-
Posts
310 -
Joined
-
Last visited
Content Type
Profiles
Forums
Gallery
Events
Everything posted by Gabek
-
Thanks, Andrew! Much appreciated. I see you have a Mosquito in your builds…I've got one on the shelf that's itching to be built! It's either the Mossie or the HMCS Snowberry sitting right beside it that I'll open up soon. Clear skies! - Gabe
- 59 replies
-
- Santa Maria
- Artesania Latina
-
(and 1 more)
Tagged with:
-
Thank you, Eindride! Your comments are much appreciated. Kind regards, Gabe
- 59 replies
-
- Santa Maria
- Artesania Latina
-
(and 1 more)
Tagged with:
-
Thanks, Bob! Seriously, I don't think I would have finished at this time without you egging me on! Much appreciated. Off to Rona for a few more things for the case. Talk and see you soon! - Gabe
- 59 replies
-
- Santa Maria
- Artesania Latina
-
(and 1 more)
Tagged with:
-
Welcome aboard! Yes, this is a great site for advice, ideas, tips, etc. I can't think of building a model without MSW at hand. Clear skies and sharp tools, Gabe
-
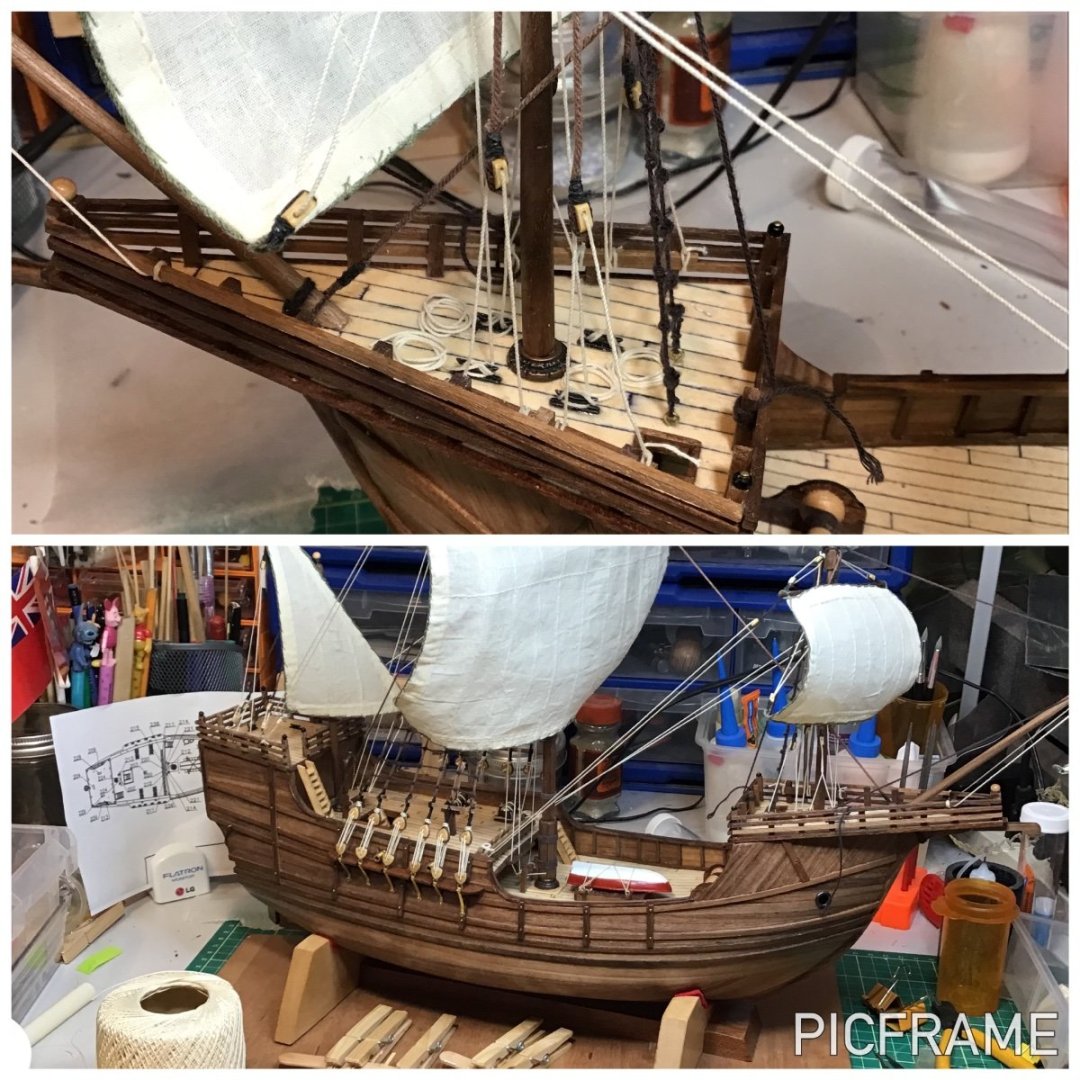
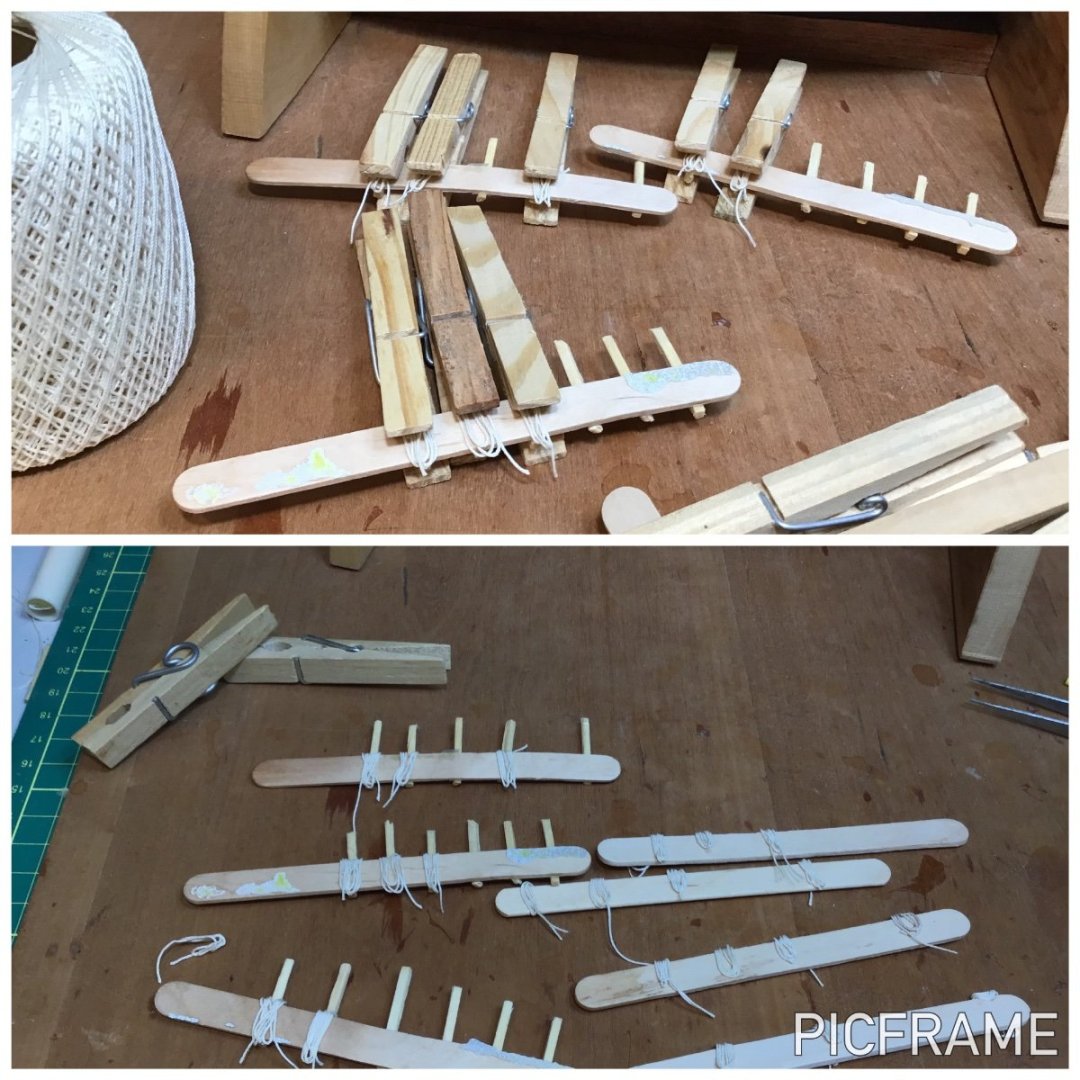
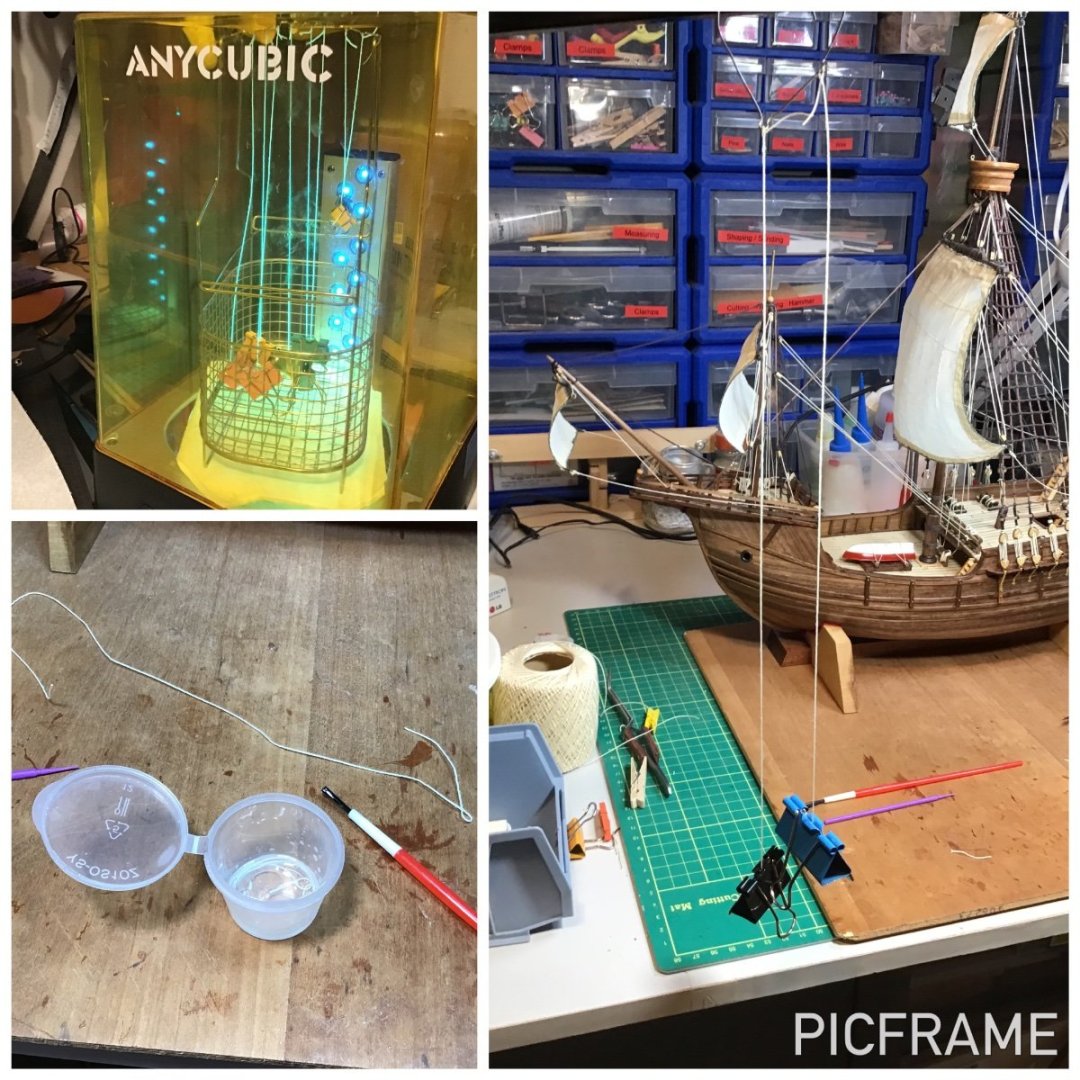
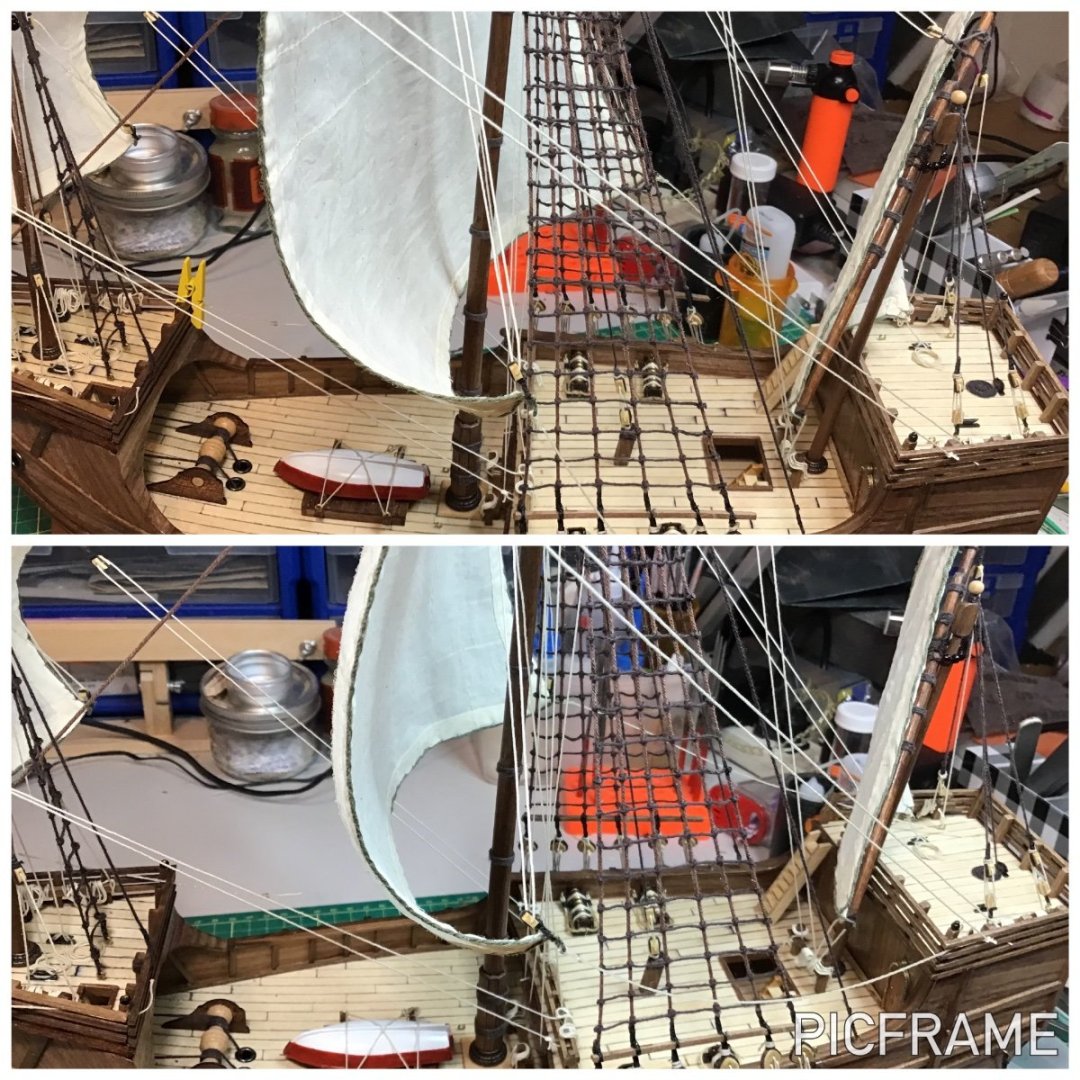
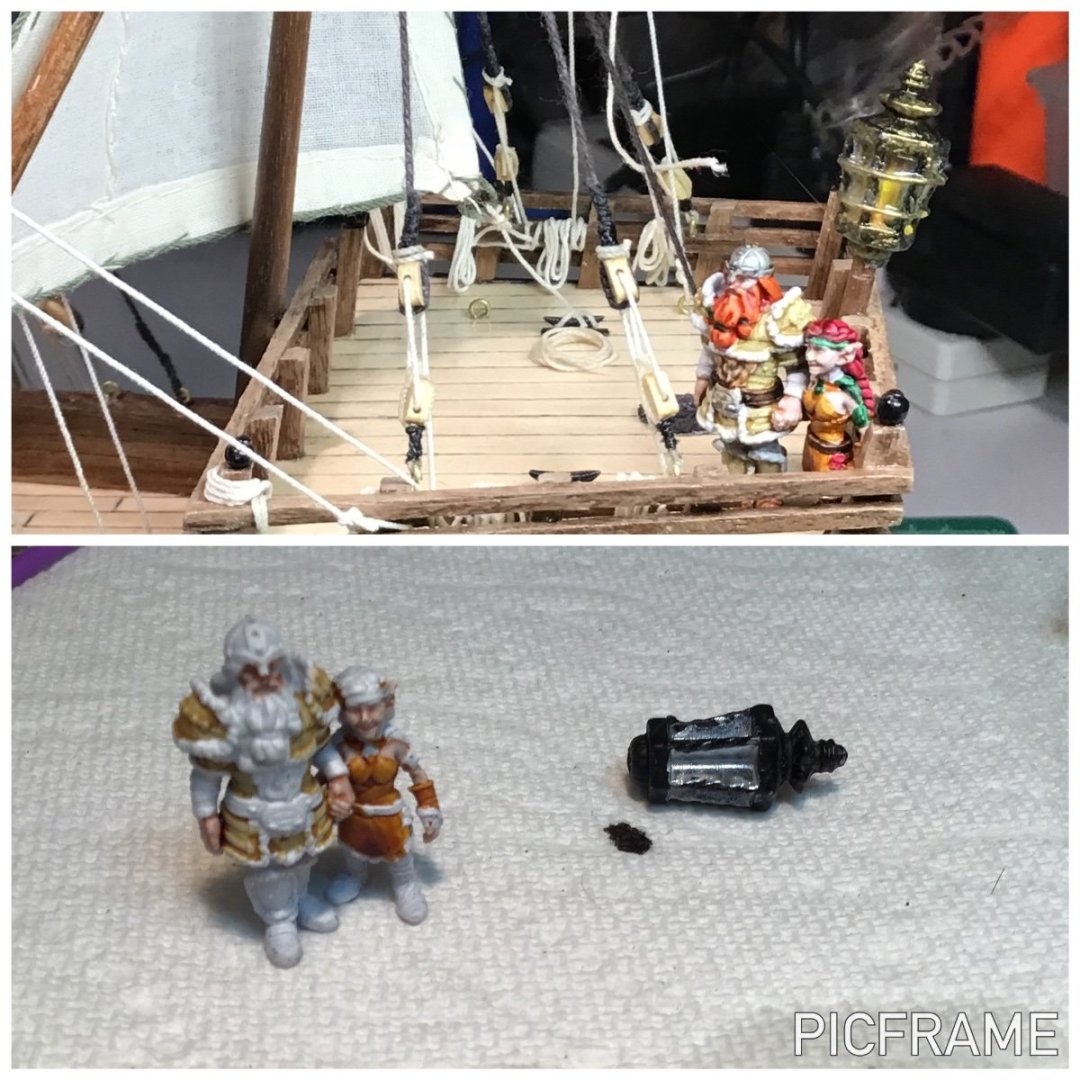
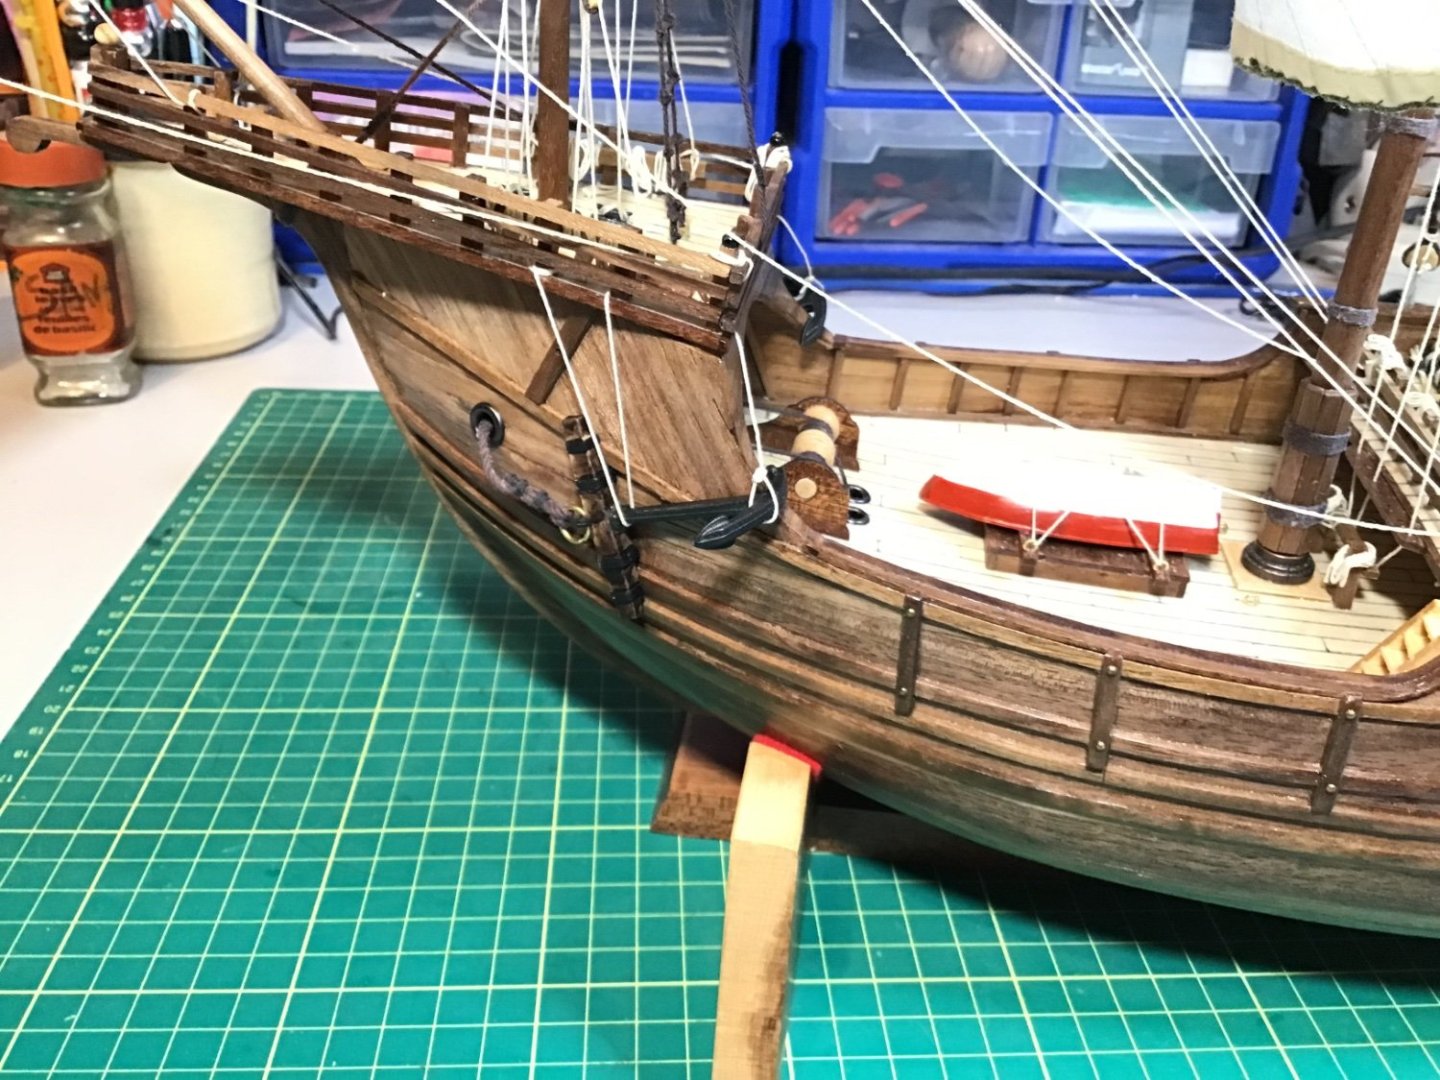
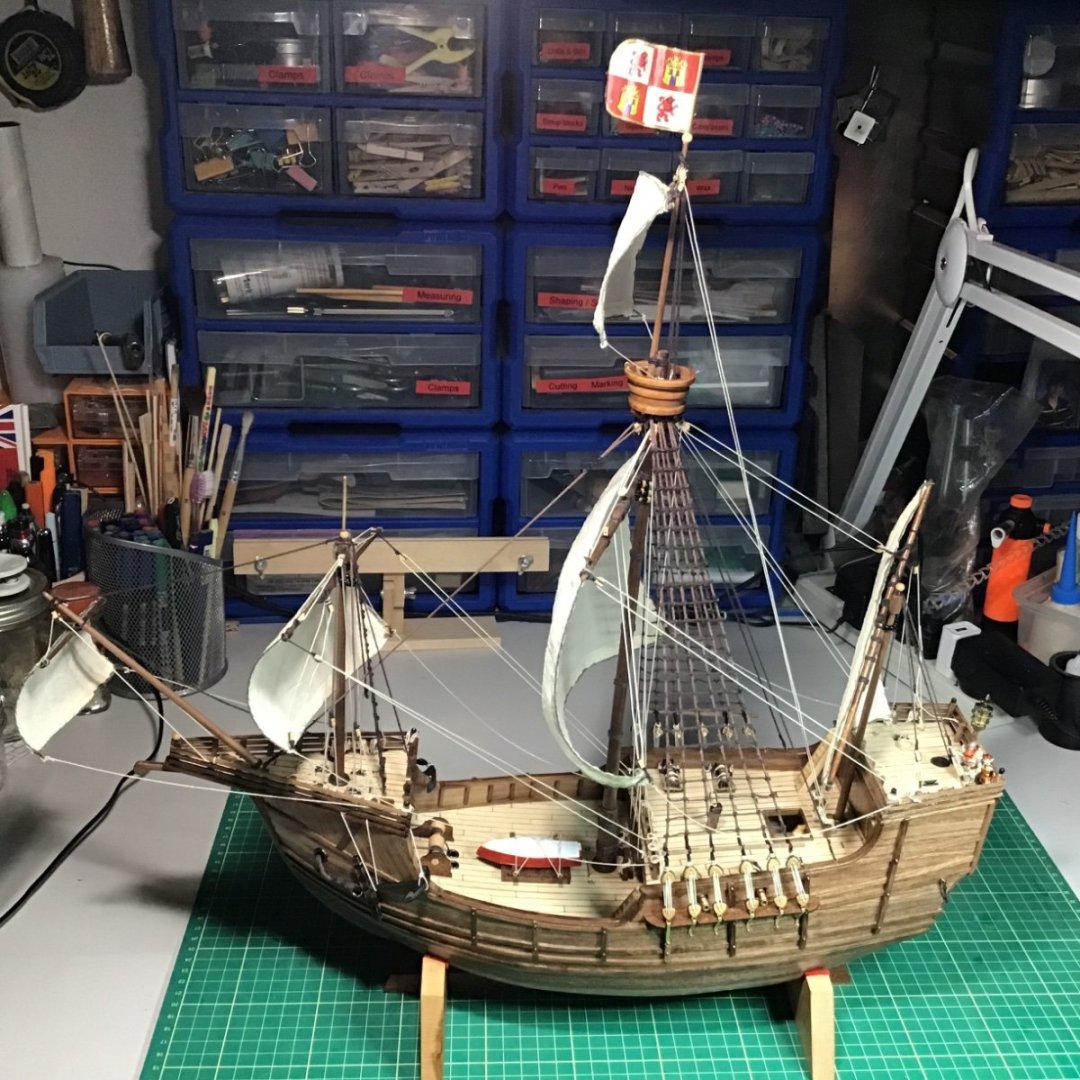
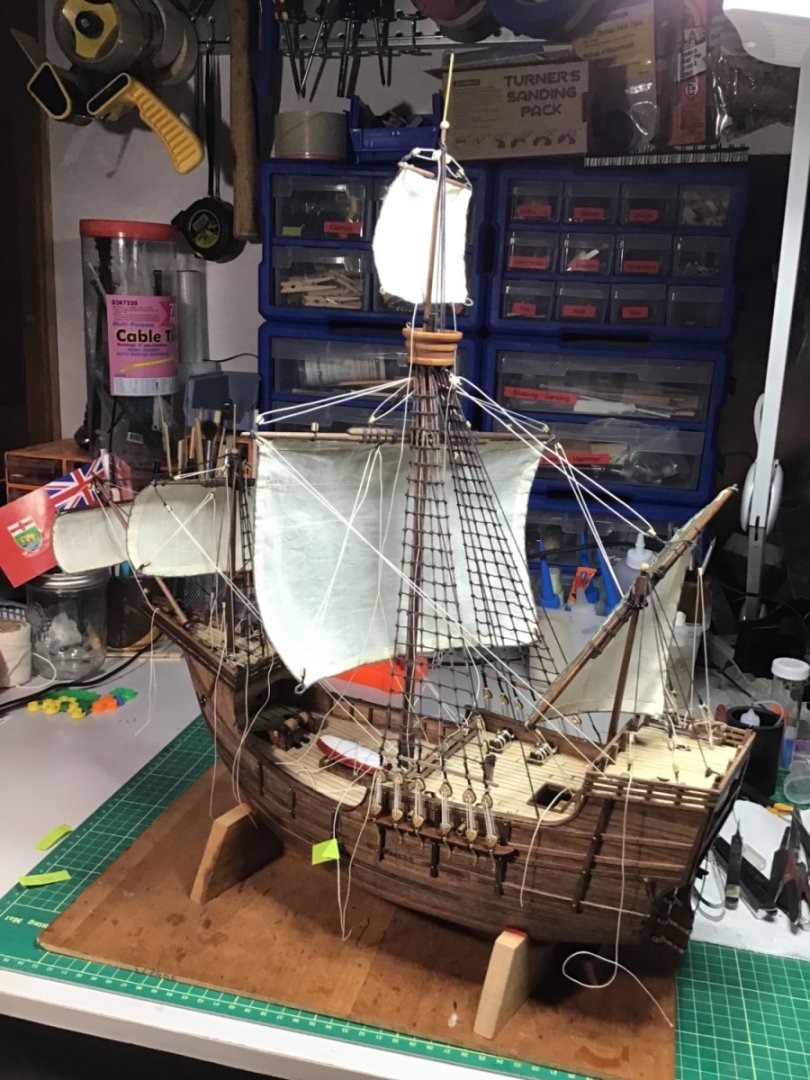
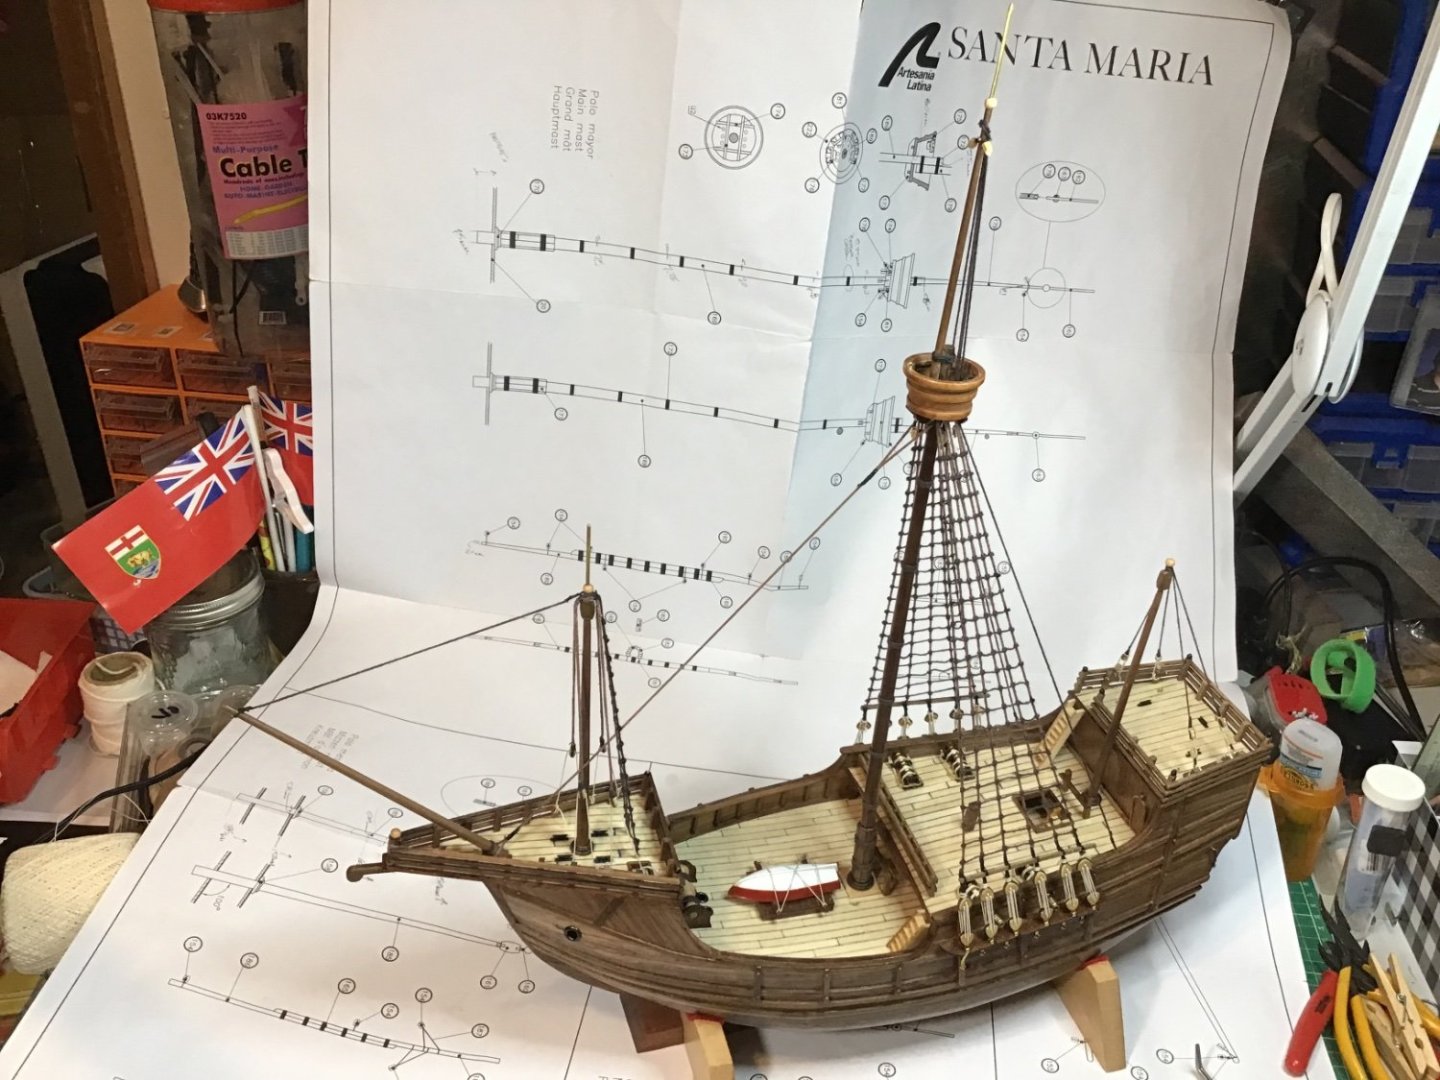
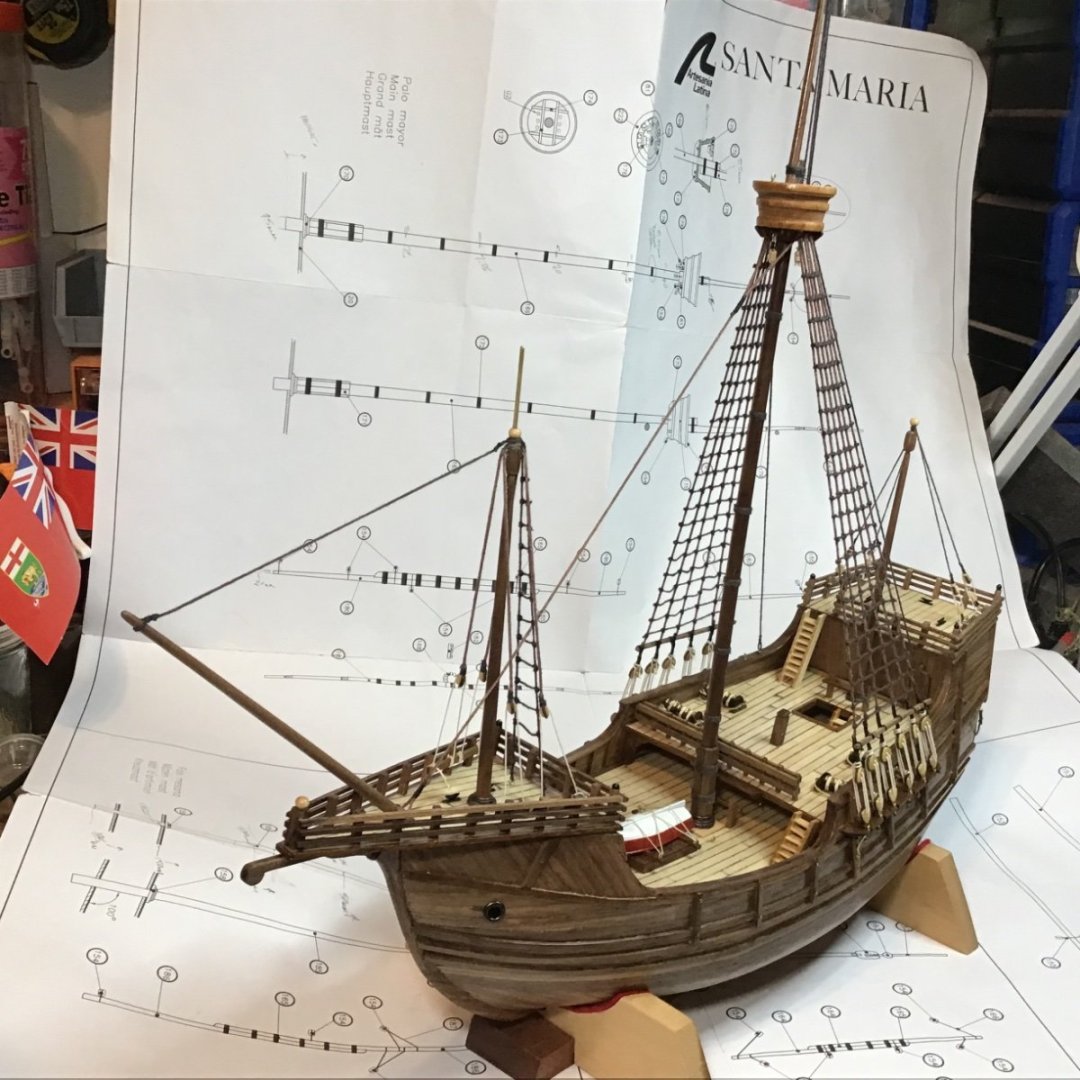
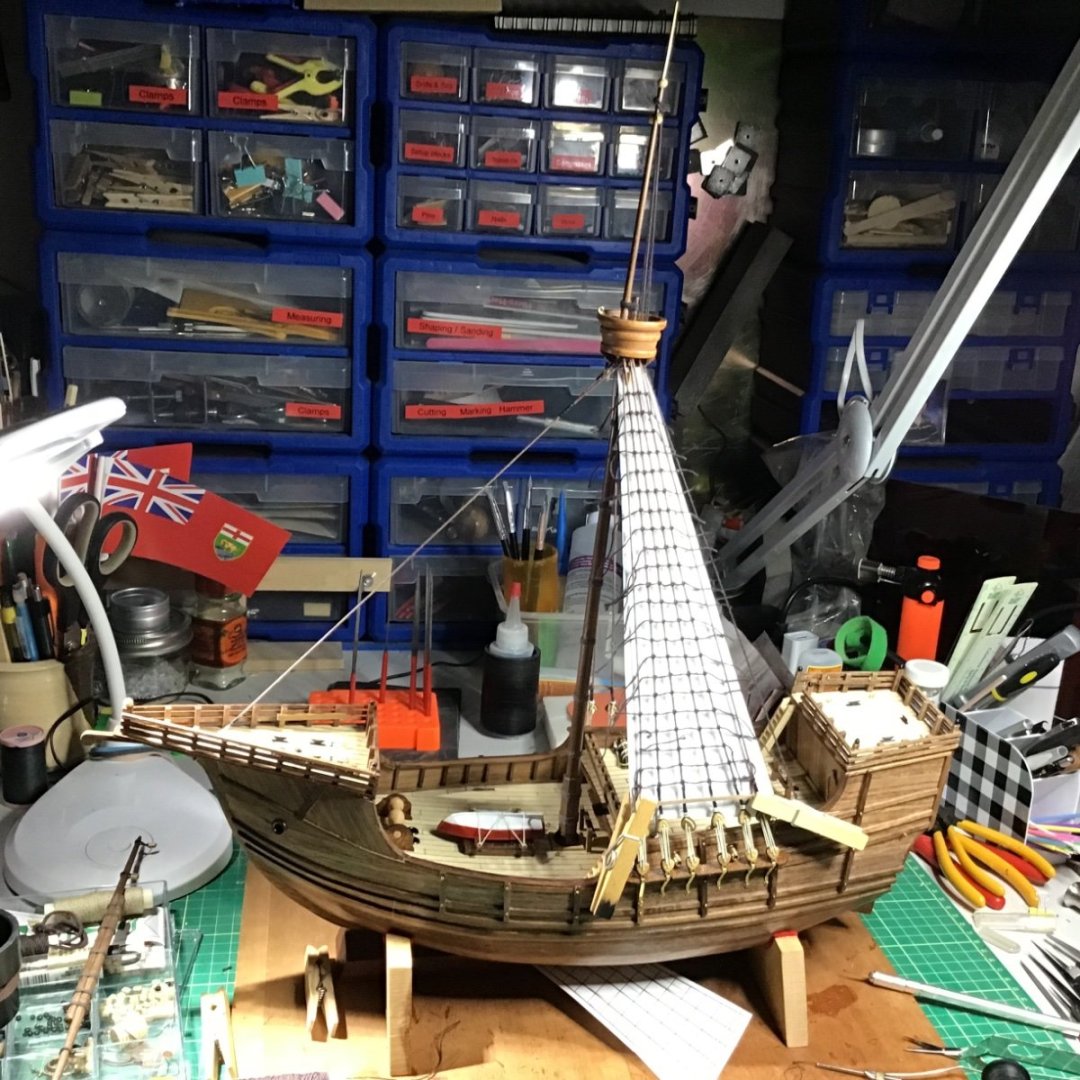
A mad dash… The last few weeks have been…busy. We couldn't ignore our cottage so it beckoned us for several days (still did some modelling, but on another ship: https://modelshipworld.com/topic/34723-hmcs-agassiz-by-gabek-hmv-card-model-1250/) Months ago we booked a trip to visit my parents in British Columbia…always a pleasure. And on our return a devastating storm hit the park where our cottage is so we had to inspect damage (Nothing, incredibly…just some clean up. Not so for many up there😢) These all added to my panic in finishing this model. So, pardon me for a lengthy catch up post… First off, I tightened up the running rigging, re-rove many lines to make a bit more sense, and created coils by soaking line in dilute PVA glue and forming them on sticks. By this point the AL "plans" were completely ignored. While I liked the shape of the sails I didn't like how the foot of the main sail, in particular, rested against the mast and main shrouds. I first thought of using wire as a tack line to hold the sail off the mast. But right beside me on my bench was my 3D resin printer and the curing station…so I thought I'd try something: I soaked some lines in clear UV resin, brushed off excess, then hanged them with weighted ends in the curing tank to see if I get a solid tack rope to push the sails where I wanted. And it sort of worked. I anticipated that the stiffness in the lines would make knot-tying nearly impossible so I made loops in the ends using a beading needle before soaking, which then cured into a solid ring through which I could tie them to the clews. IMG_7455.mov Longer pieces sagged, unfortunately. I thought of a second coat of UV resin but then I was ok with the results. The wind just dropped a little and the tacks went slack…that's my story. After gluing on all the coiled ropes I then turned to the remaining objects that needed painting. By this time I was literally exhausted with this model and all the hours of sitting were killing my back…so I have to admit I was impatient and cranky. I should have taken more photos. Painting the anchor stock went ok but I refused to just leave the anchors hooked on the gunwales like AL depicts. I quickly checked a few resources and found a rig in AotS Blandford that looked easy and doable. At this point an 18th century anchor rigging on this 15th century ship could hardly look out of place! Unfortunately, I somehow misinterpreted the drawing and somehow ended up with this nonsense: I hated the lantern. It was chunky and not elegant at all. I added some brass wire and painted the interior "baffles" silver, with an overcoat that was a blend from yellow to orange. Over brushing brass acrylic on black primer of the housing turned out ok for me. To simulate glass I used Micro-GLAZE. Results were…meh. I showed you Higref and Thonk in an earlier post…these are a couple of heroic characters that have meaning to my son and daughter-in-law. I created them in HeroForge - an online 3D character builder - and then printed the files to scale on my 3D resin printer. Painting figures is another hobby so this was enjoyable. The little splash of colour and scale they bring to the model is very pleasing to me. I posed them looking outward and forward…on their journey of discovery! I added only one of the kit-supplied flags… …and I was finished! Started on the case today. Clear skies and sharp tools! - Gabe
- 59 replies
-
- Santa Maria
- Artesania Latina
-
(and 1 more)
Tagged with:
-
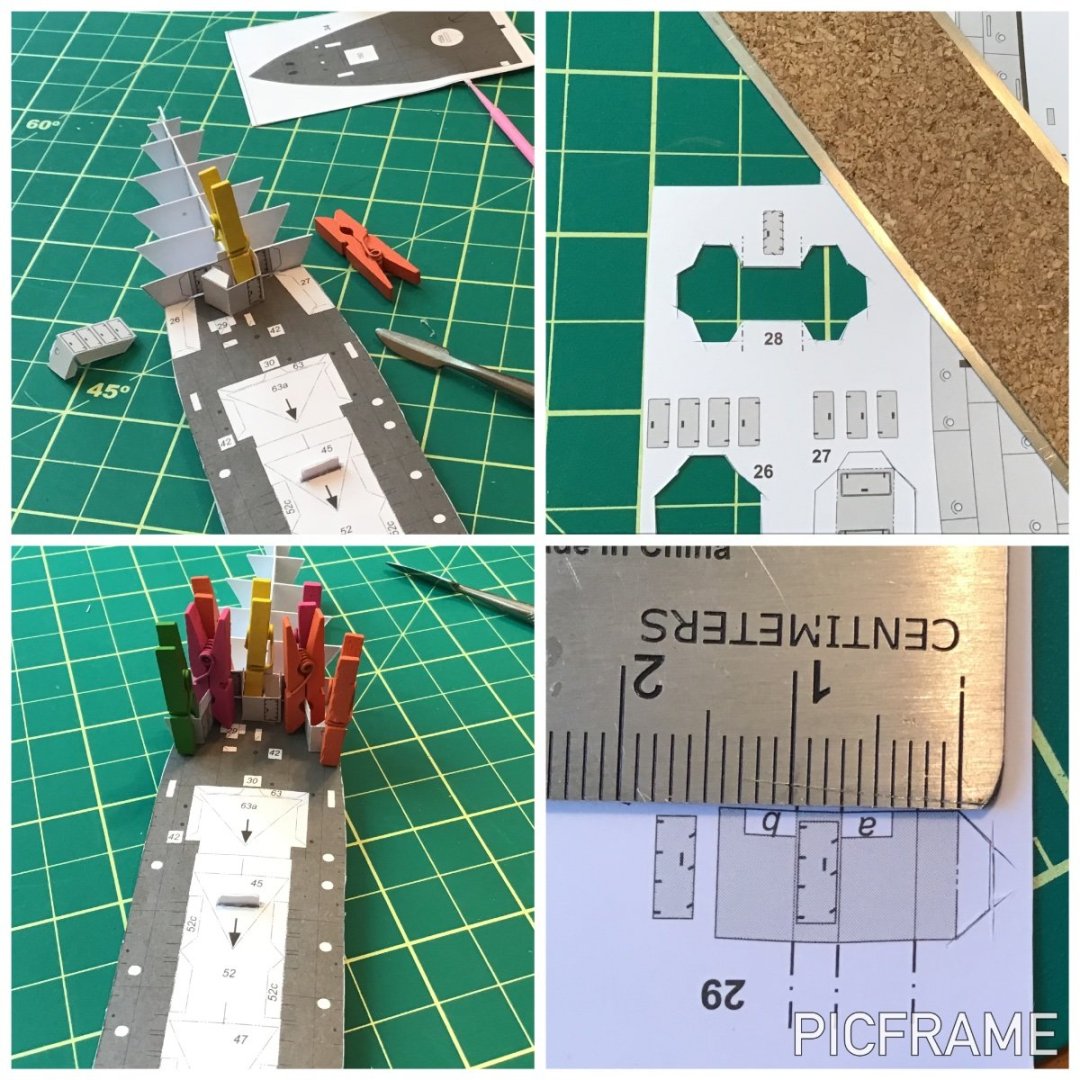
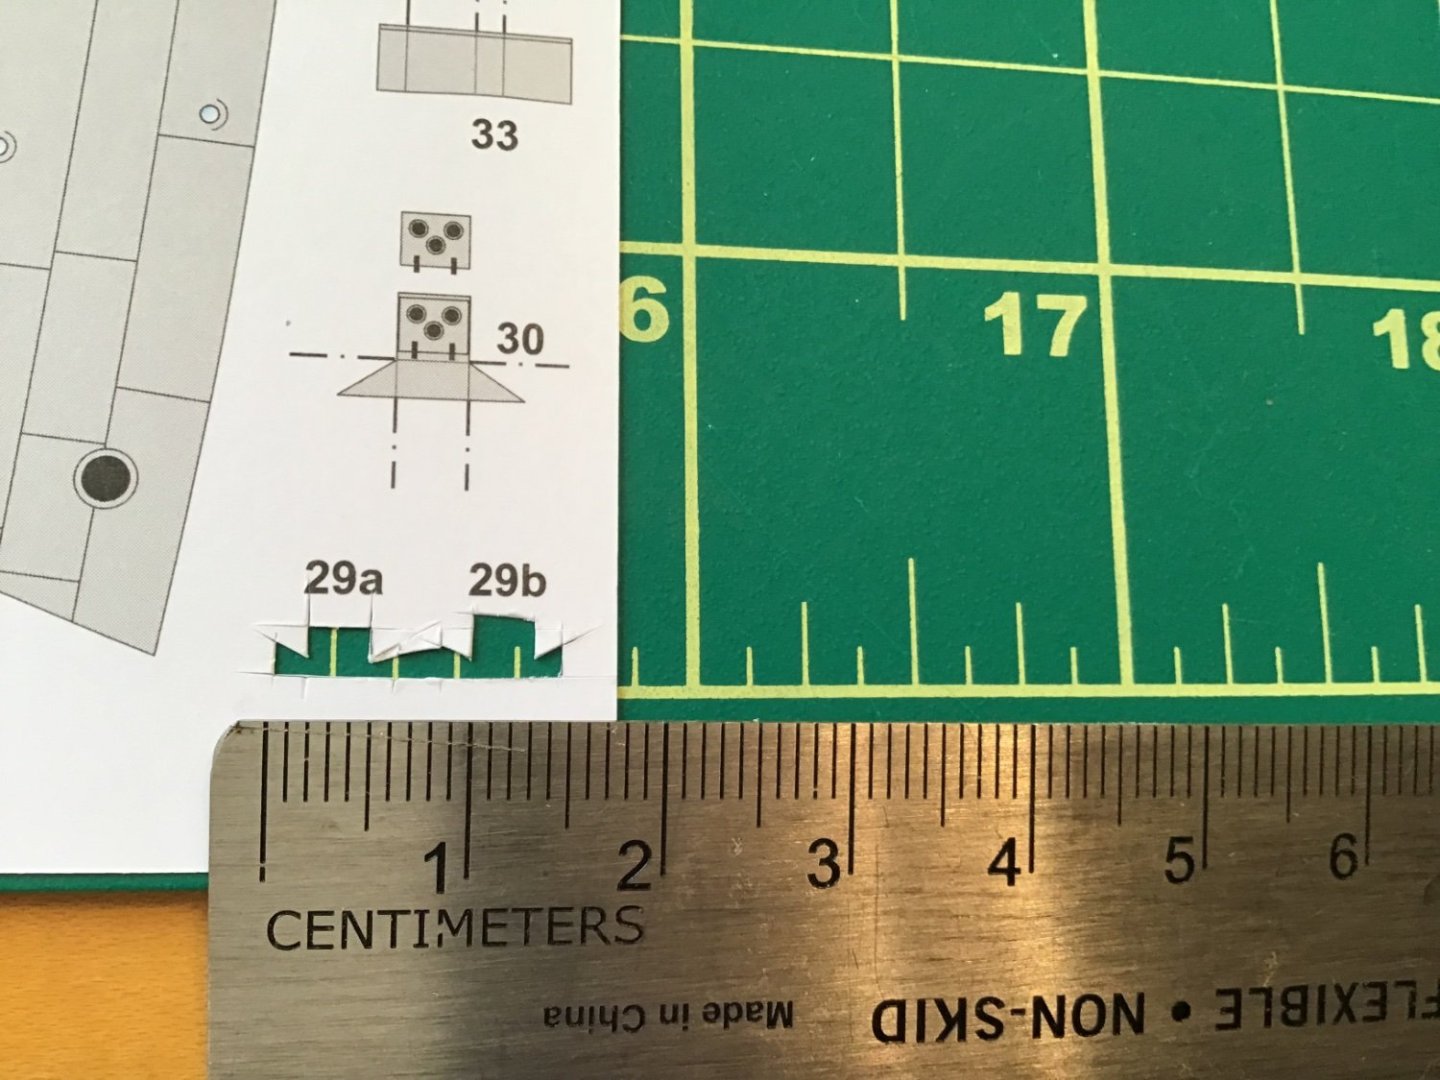
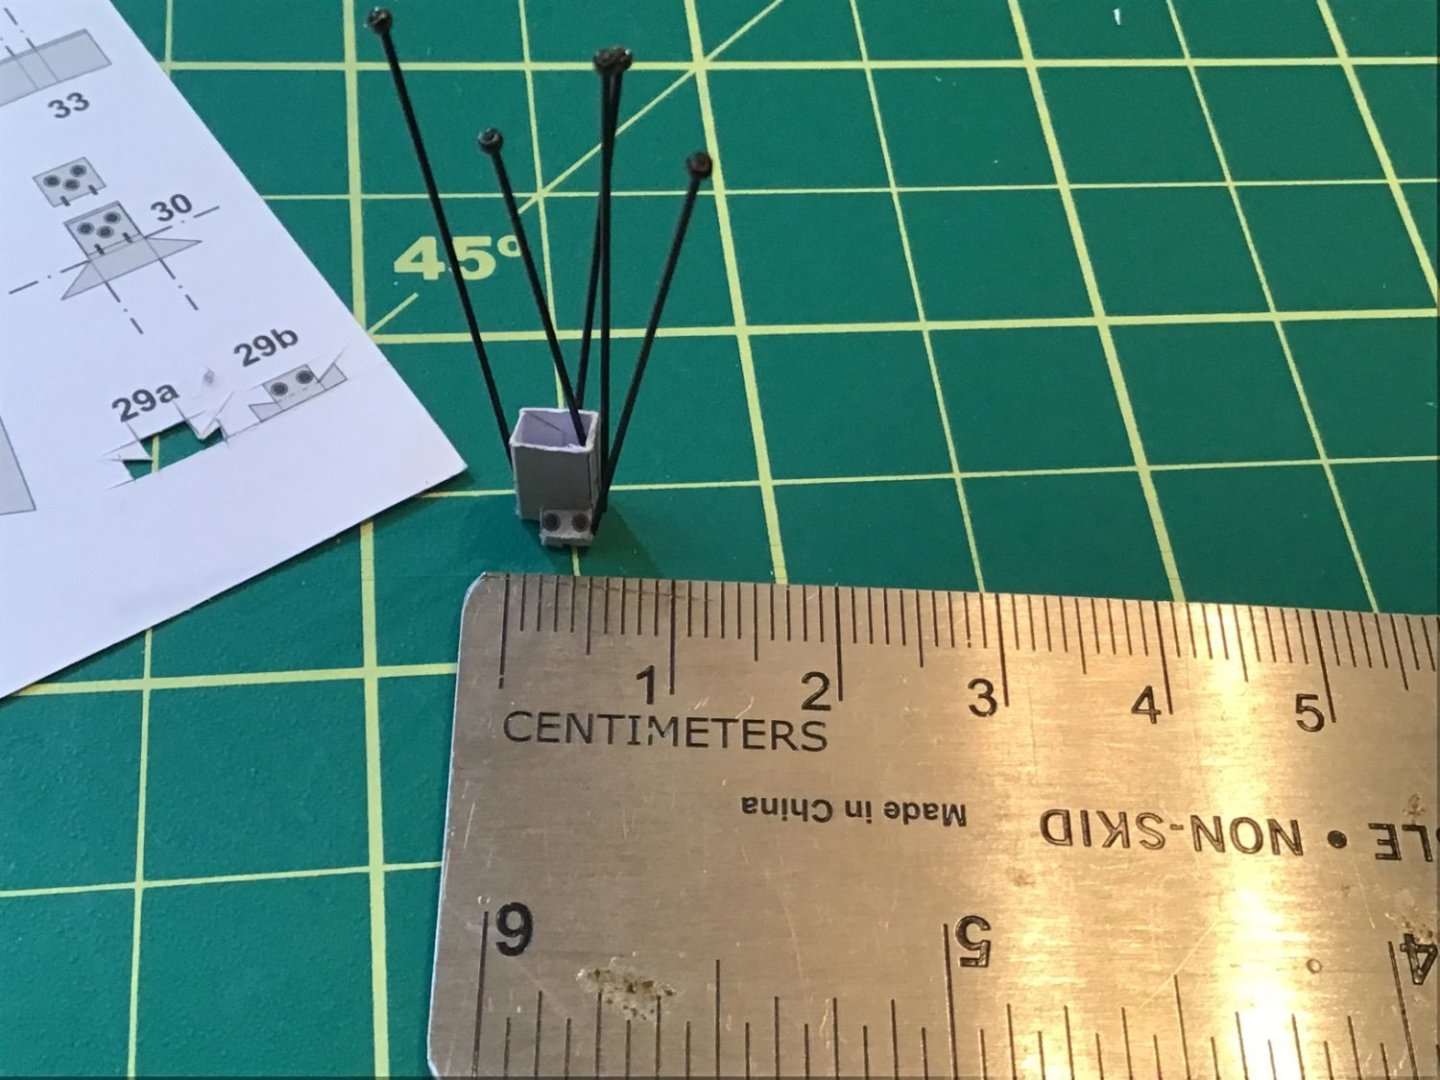
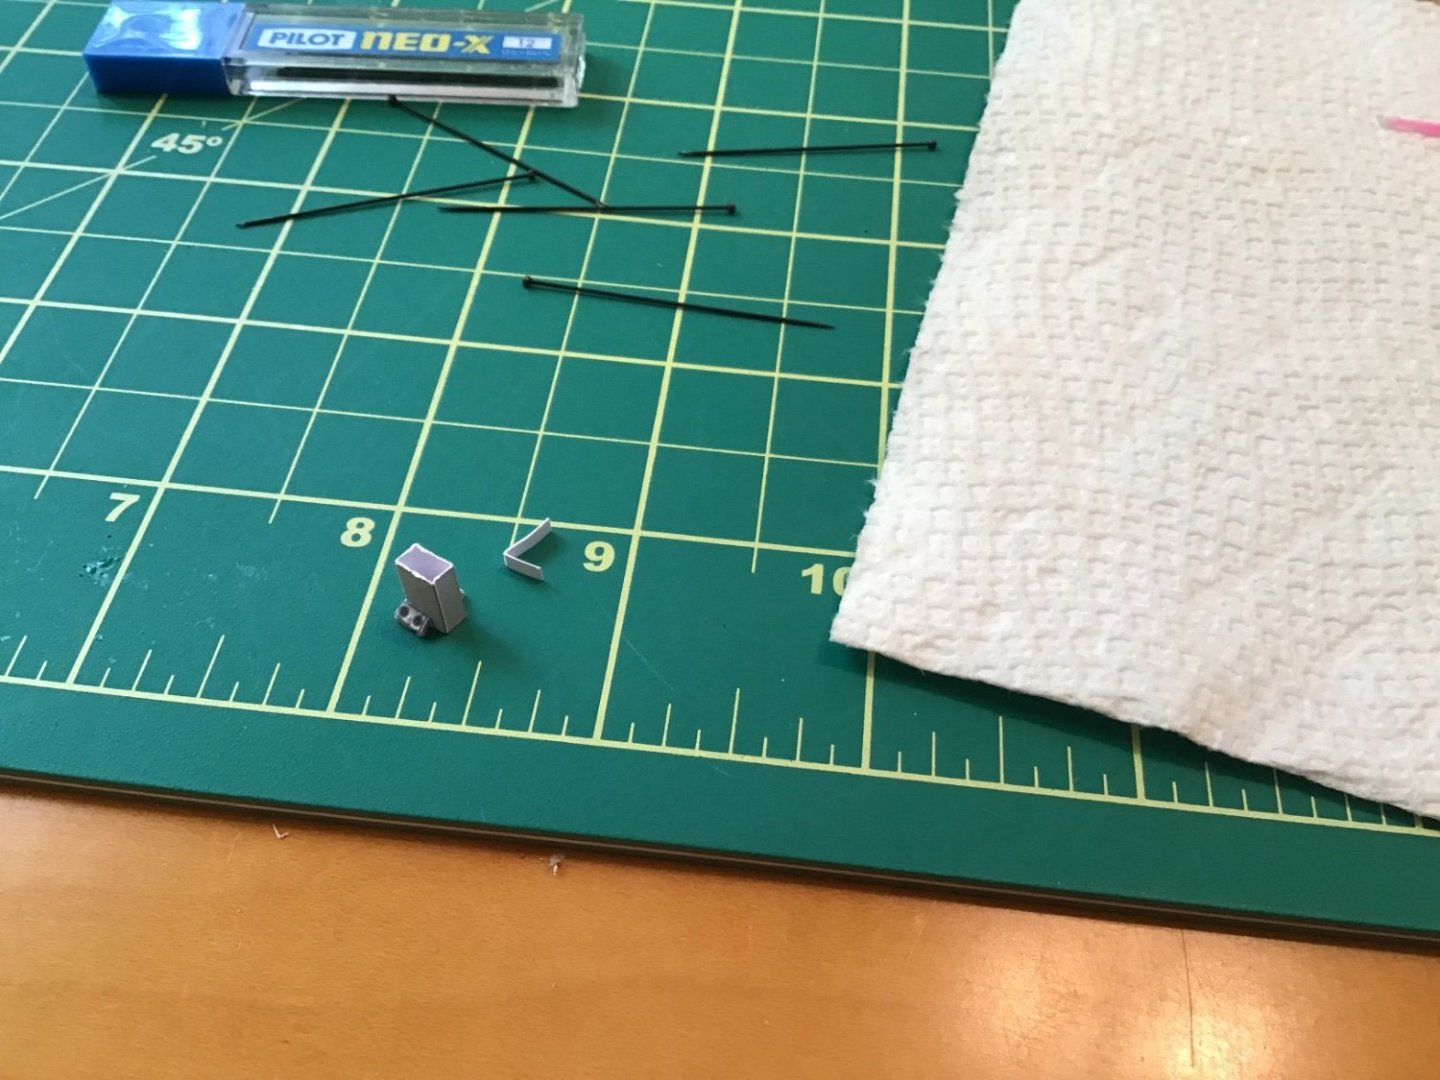
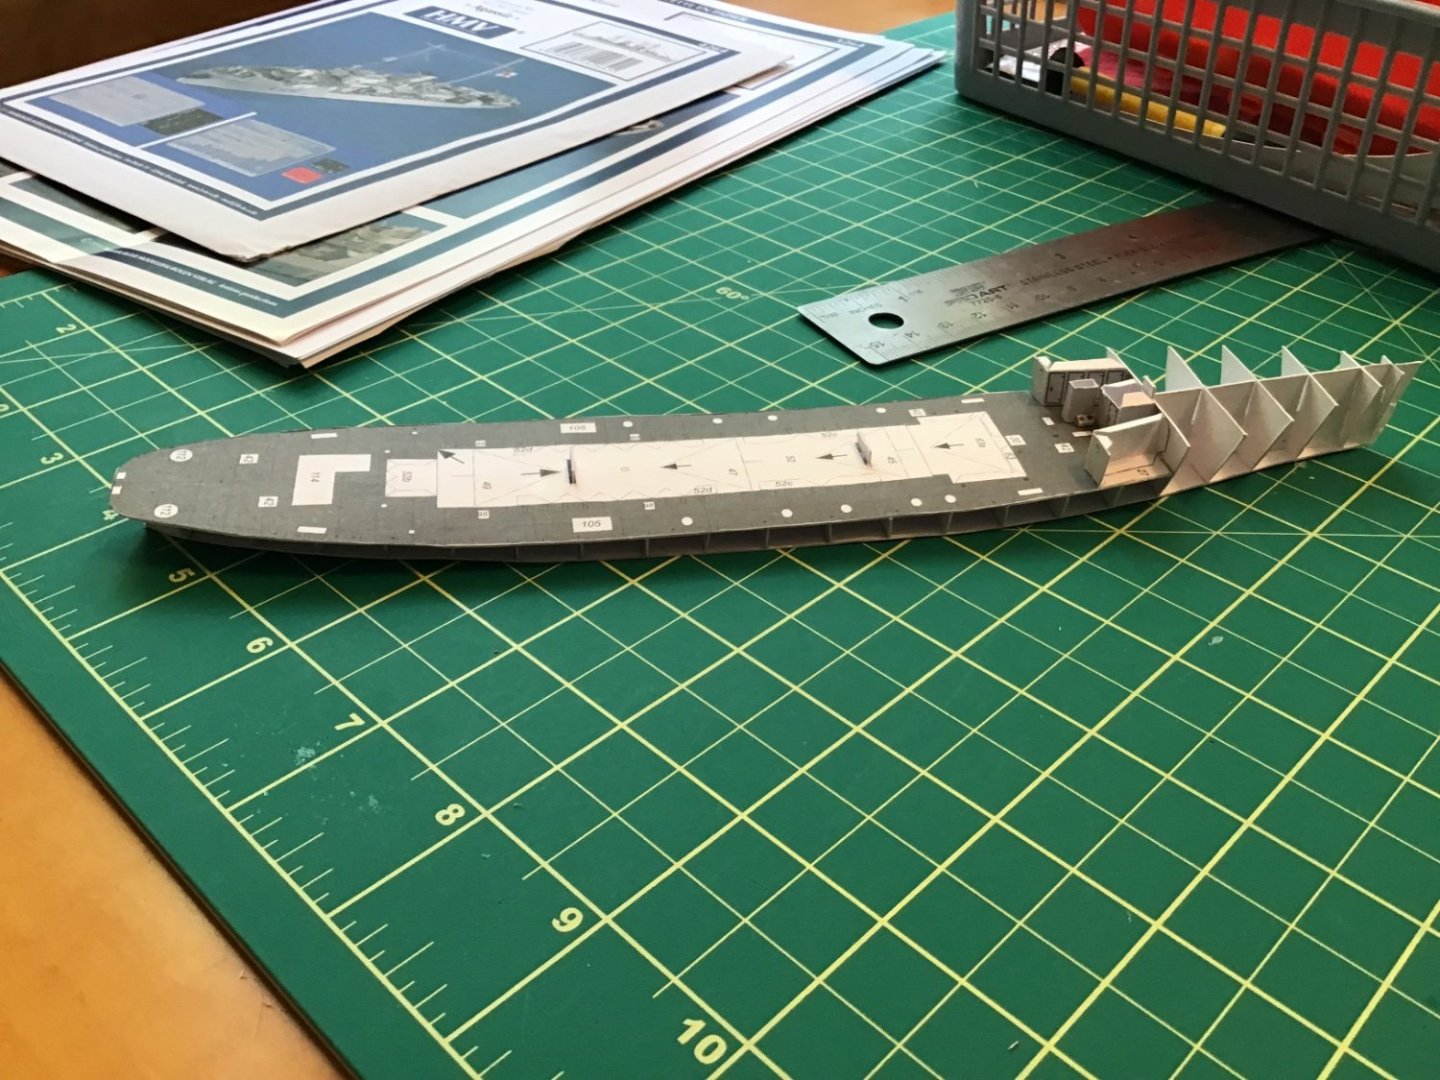
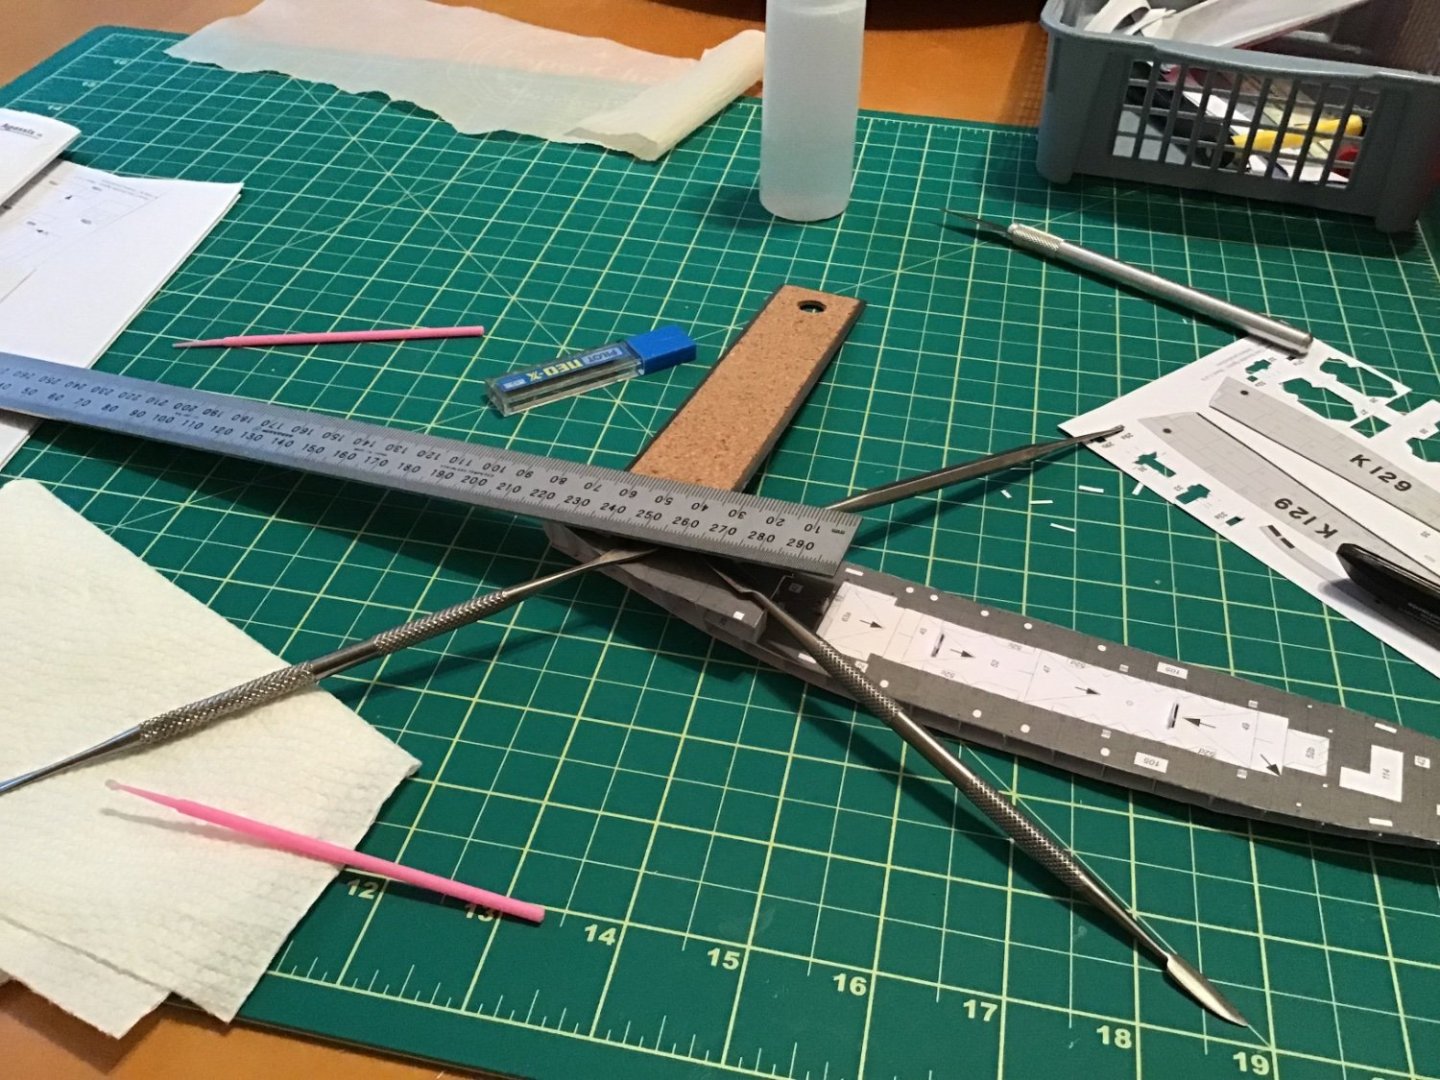
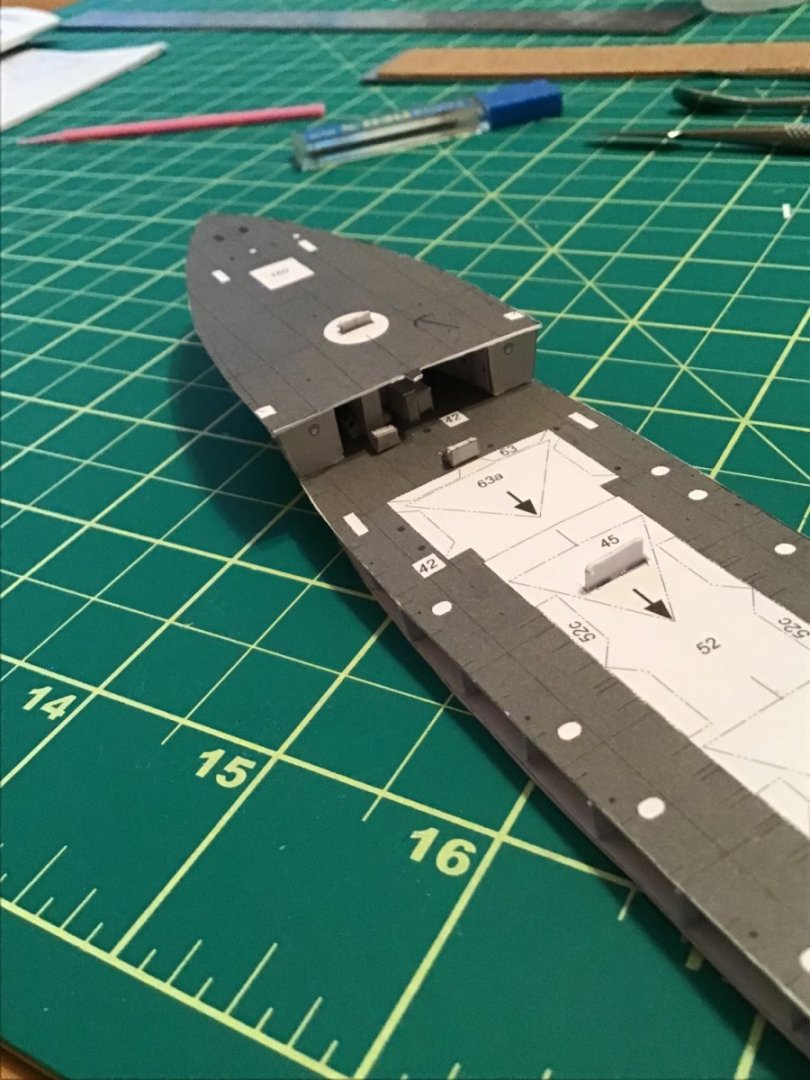
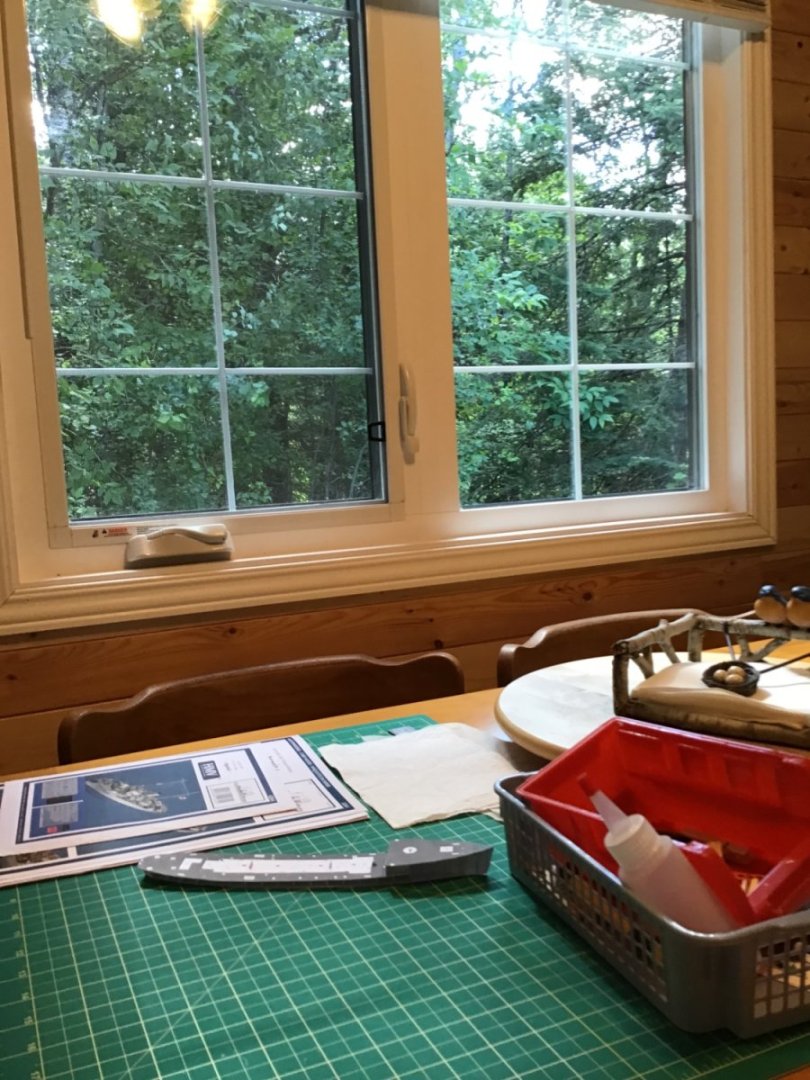
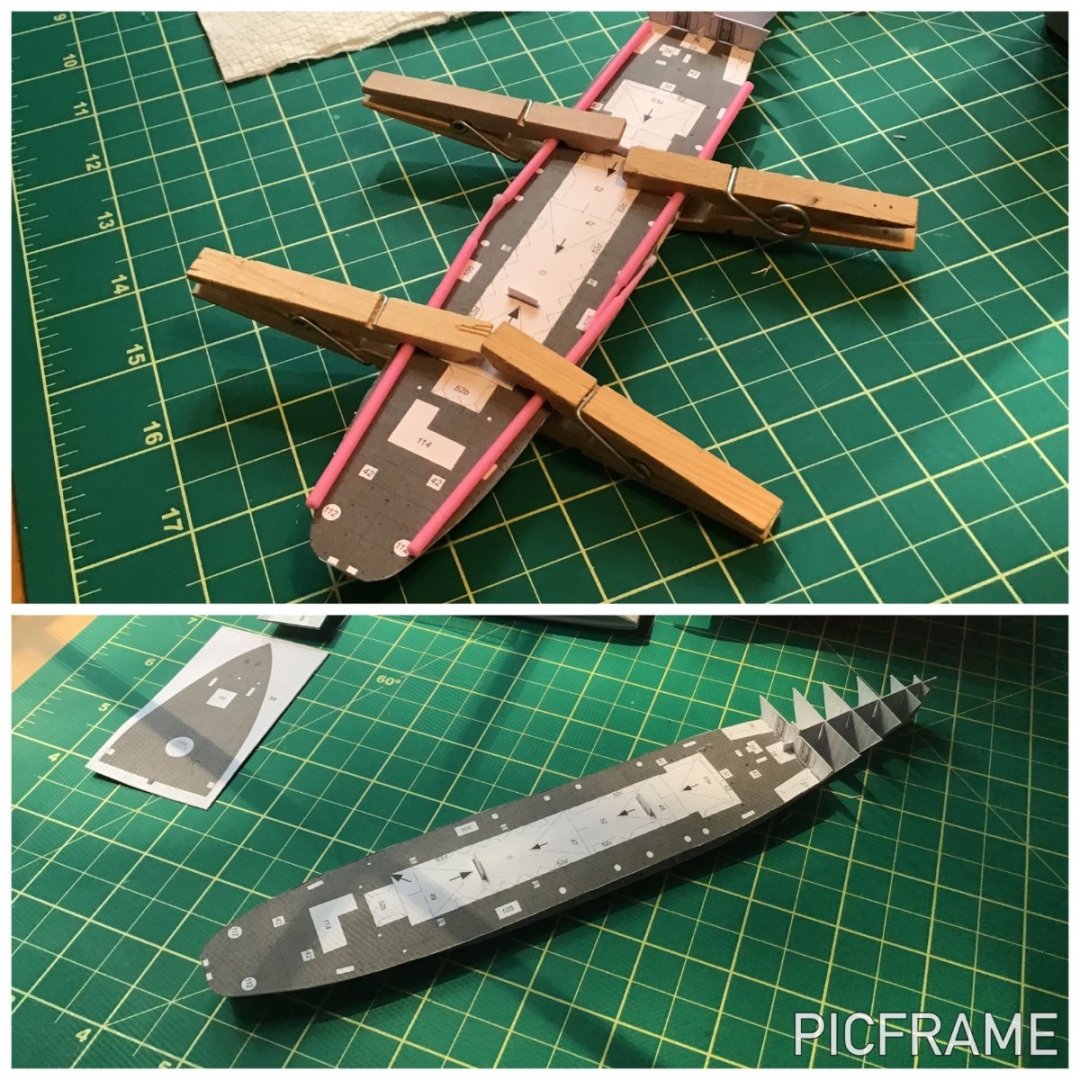
Second trip to the cottage Dreadful heat and an out-of-province trip to visit my parents kept me away from the Agassiz (oh, and the cottage🤣). Before we left last time I noticed a slight warp in the hull and placed a steel ruler across the model in the hope that time, gravity and incidental steaming in a hot cottage would straighten it out. Sure enough, it worked! The model now sits perfectly flat. That was the good news. The bad news was that this trip was primarily to inspect our cottage after crazy storms passed through the park. We couldn’t believe our luck that almost no trees or branches fell in our property…we couldn’t say the same for many of our neighbours who had many fallen trees and damage to their cottages. Power was out for several days and even though the Agassiz’ shipyard is by a large window I discovered that I couldn’t work on the model without some kind of lamp. Thanks to days of tireless work by Manitoba Hydro 👏🏼 in clearing all the fallen trees and reconnecting power lines, electricity was eventually retored and I got a bit of model building done. GET ON WITH IT! Before the fore deck gets put on the model a few forward structures needed to be installed. Parts 26, 27, and 28 represent cabins and bulkheads of some kind (I think it would be nice if the directions named the parts). These were easily cut out, scored, folded and eventually glued in place. Because the gluing tabs would be hidden I didn’t feel that I needed to be exactly precise when cutting around them which reduced some anxiety. As usual I used a straight edge to make my cuts as much as possible but I discovered that some of these parts didn’t follow straight lines! I tipped my hat to the designer as it dawned on me that, even at this scale, small parts followed the camber and curve of the deck. 29, eh? (AKA: A sign of things to come…) Just as I began feeling good about my progress I just stopped and stared at parts 29a and b. For the first time I was faced with SMALL parts…and these aren’t even the smallest! Cutting, scoring and folding these left me drained of energy and I was glad to walk away to let the glue dry…for at least a day! I think the lack of gluing tabs made it tough for me. I cut 29b so it would have at least some small tabs and I glued a pre-folded scrap piece inside of the main part 29 to help affix it to the deck. Another difficulty was in handling and holding down tiny parts as I was folding and gluing. I was very thankful for the insect pins I brought along - leftovers from my early university days. I’ll need to add another indispensable tool from my entomology degree: very fine tweezers I looked at upcoming pieces and began adding tabs when cutting out the rest of this set of forecastle parts. It dawned on me that all these little parts would be underneath the forecastle deck…and I was very glad that the dubious workmanship would be mostly hidden. Hopefully my skill would improve as pieces became more visible! A little bit shaping with a burnishing tool allowed me to fit the fore deck to the ship…and several tools were enlisted as weights to keep it in place as the glue sets. And here the model will stay until our next visit… Clear skies and sharp tools! - Gabe
-
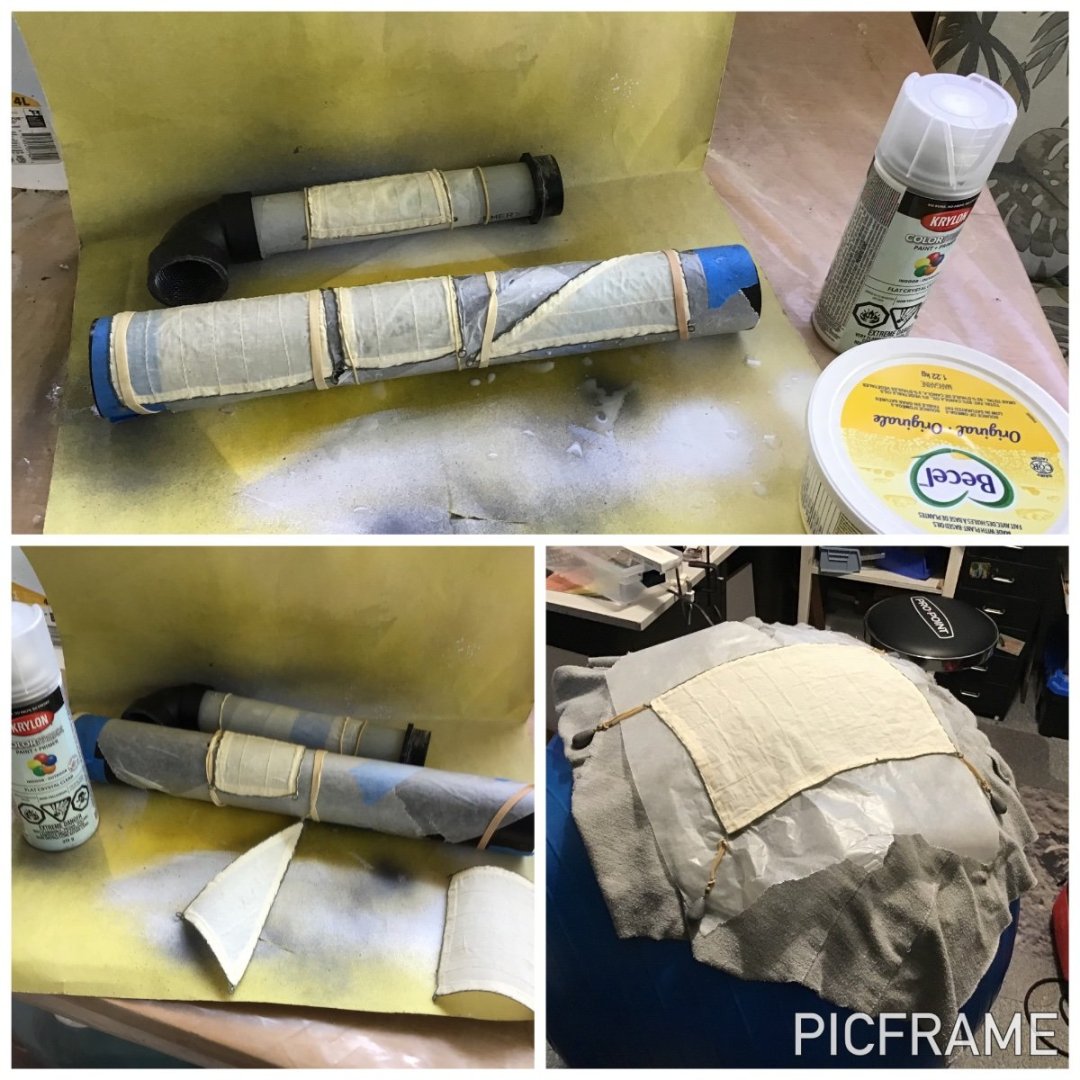
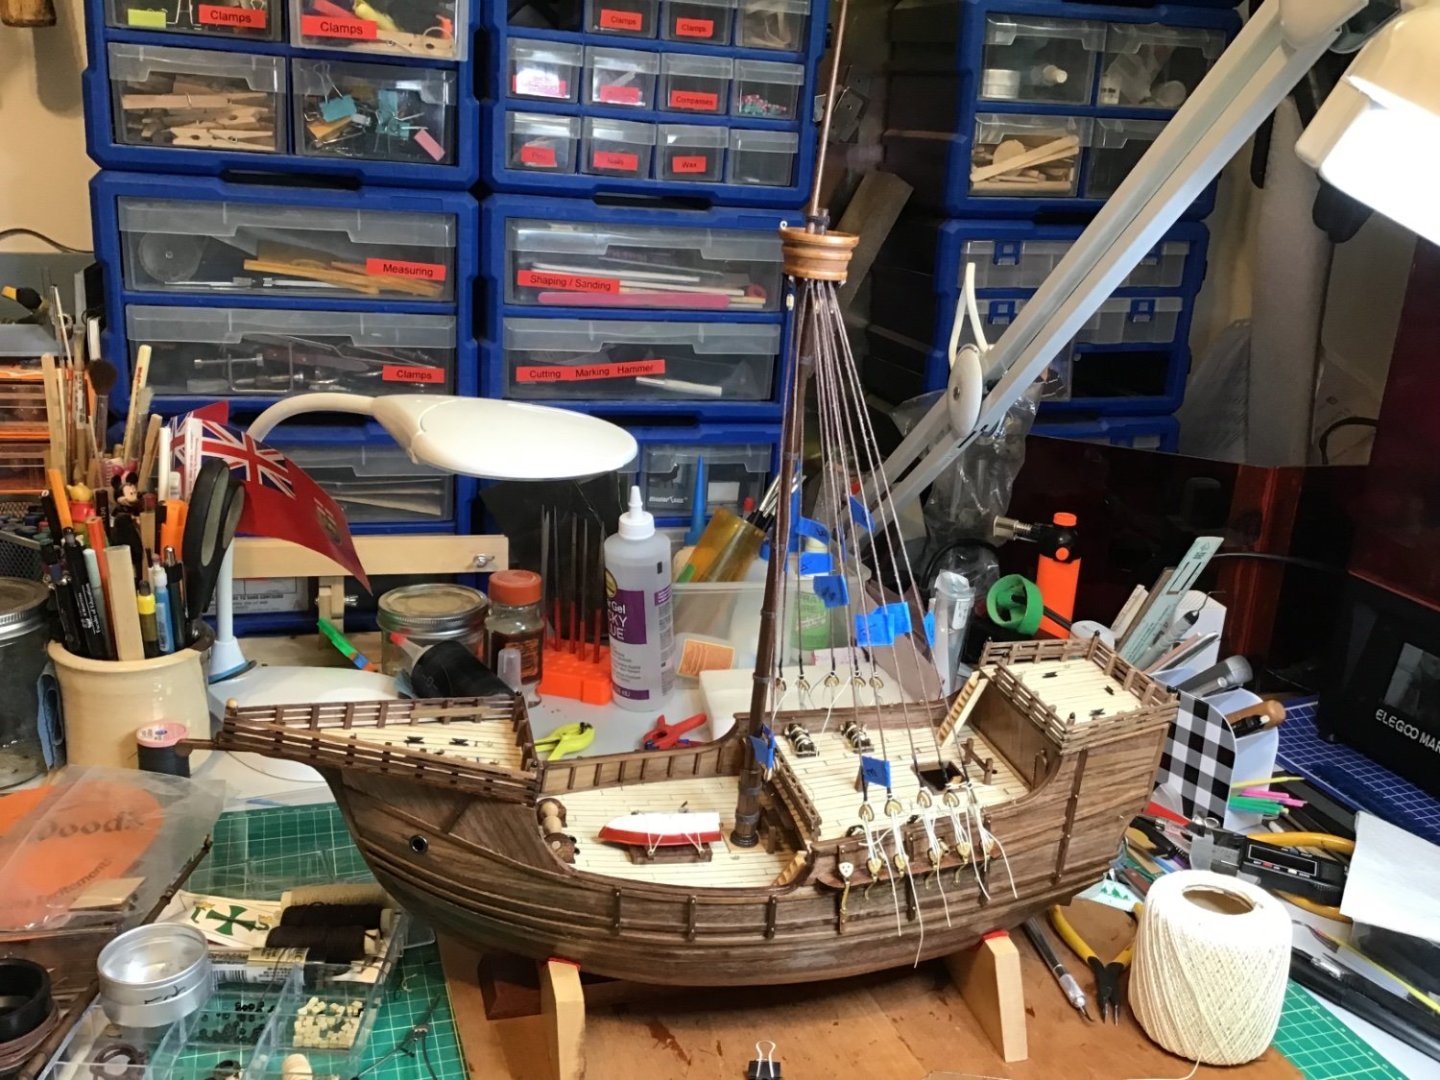
Zooming along… I've been forgetting to take photos as I go. Finally remembered to do so today…I have "roughed in" all the rigging. I wanted the sails to be full, so I soaked them in thinned PVA and stretched them over some pipes and our exercise ball. Once dry I gave them a coat of flat varnish. They're holding their shape really well. LOTS of complaints about AL's plans and rigging design…but I'll sum them up when I'm finished. Clear skies and sharp tools! - Gabe
- 59 replies
-
- Santa Maria
- Artesania Latina
-
(and 1 more)
Tagged with:
-
Thanks, Chris! This is awesome information! I was already thinking of designing and printing some of my own parts, (resin printing is a hobby) but I may just give Darius some business as thanks for the fine work on this model design. I still may print up some bollards and a few other details that look easy to produce. Clear skies and sharp tools, Gabe
-
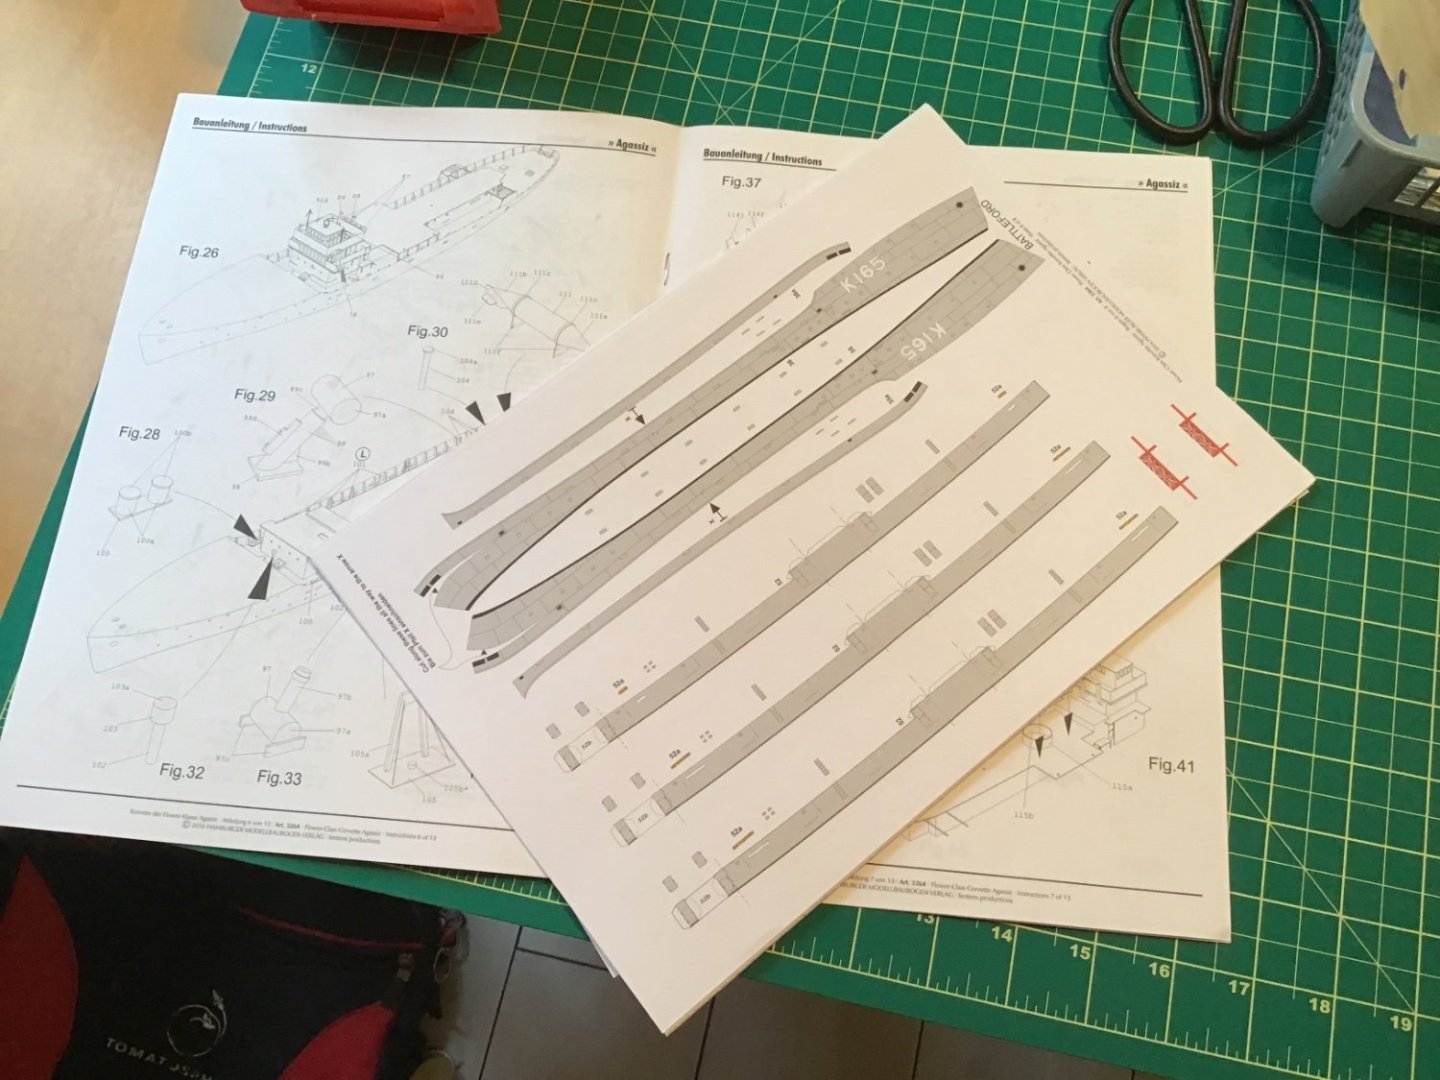
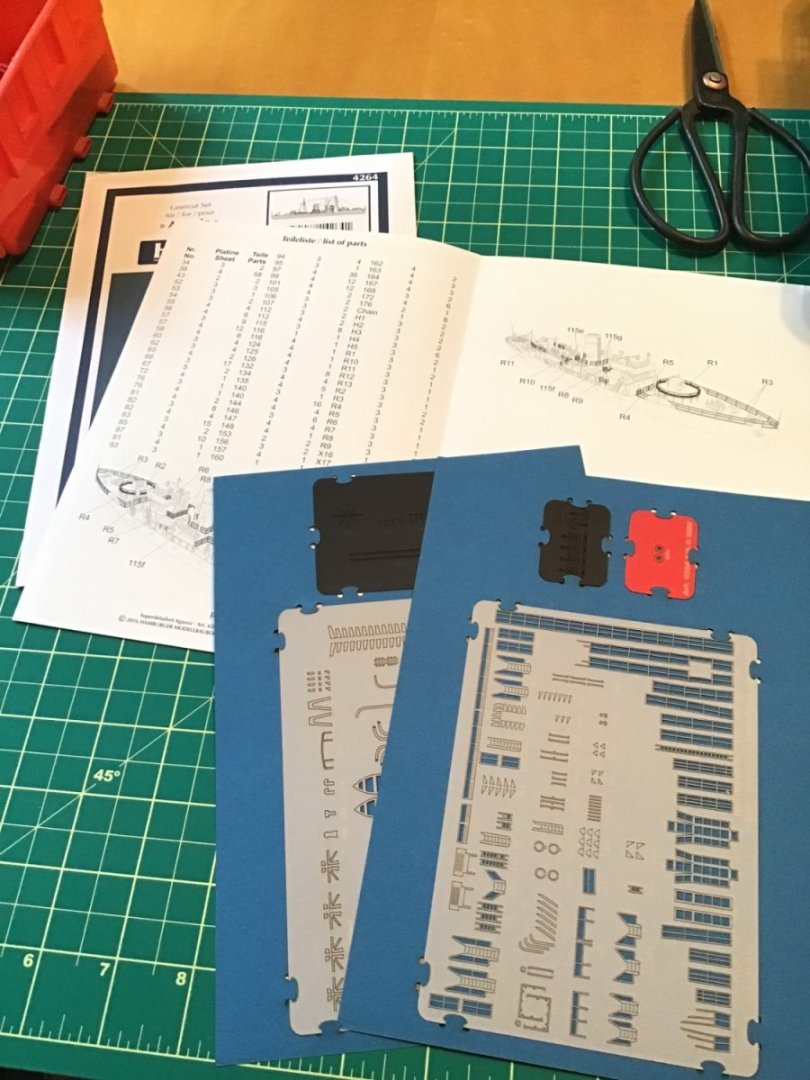
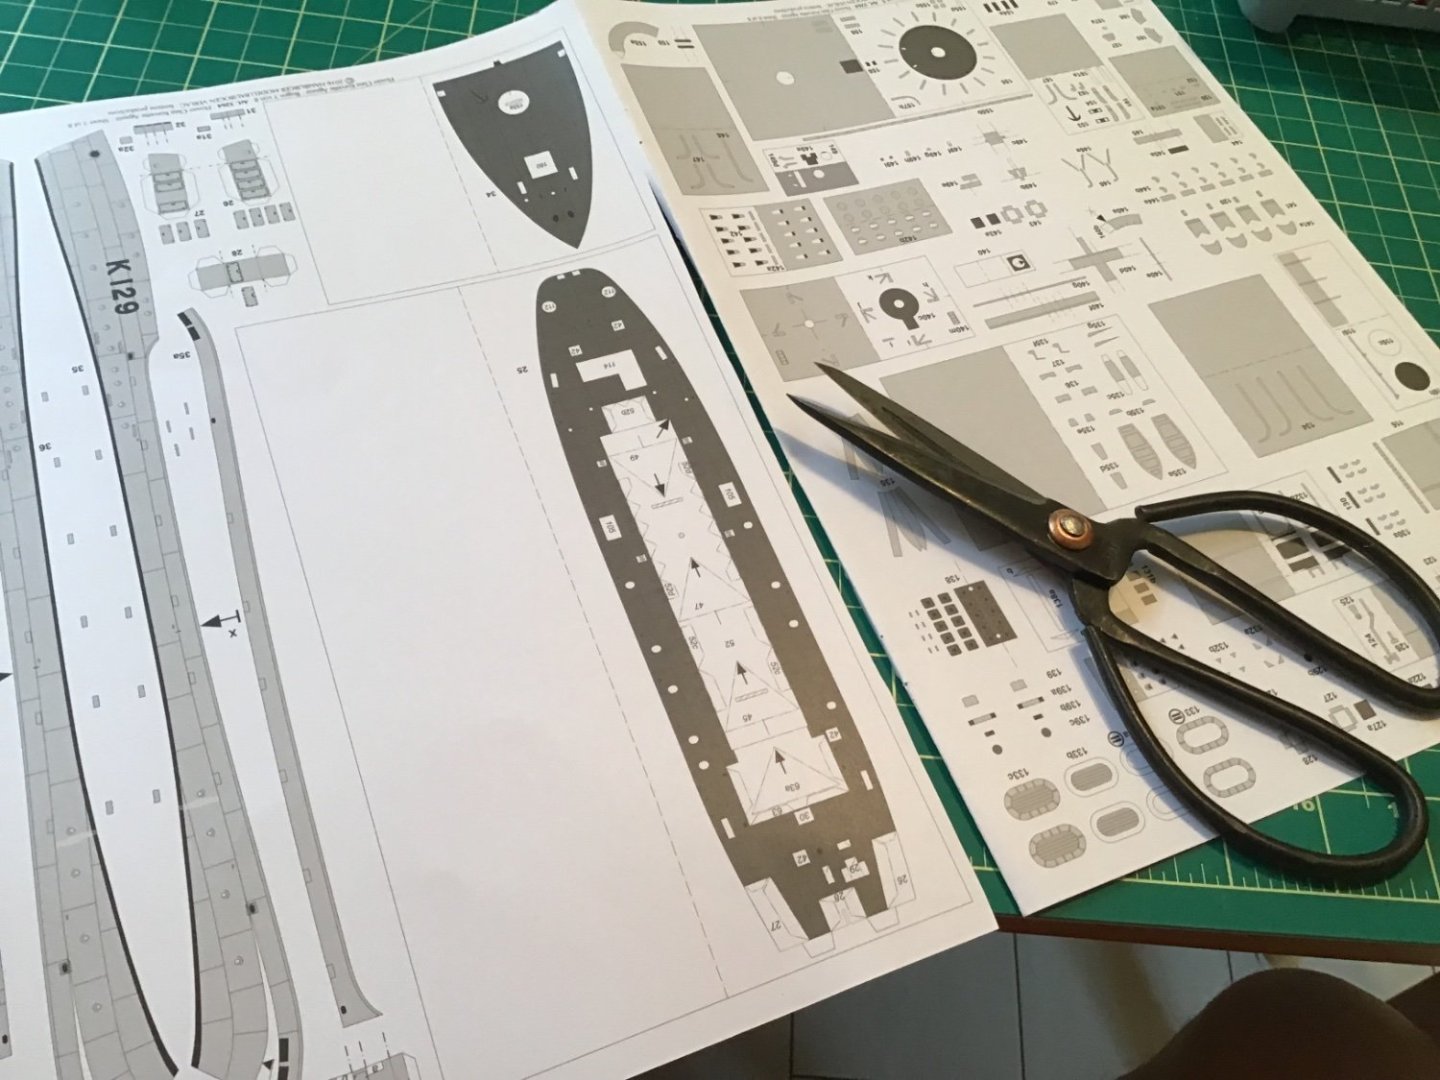
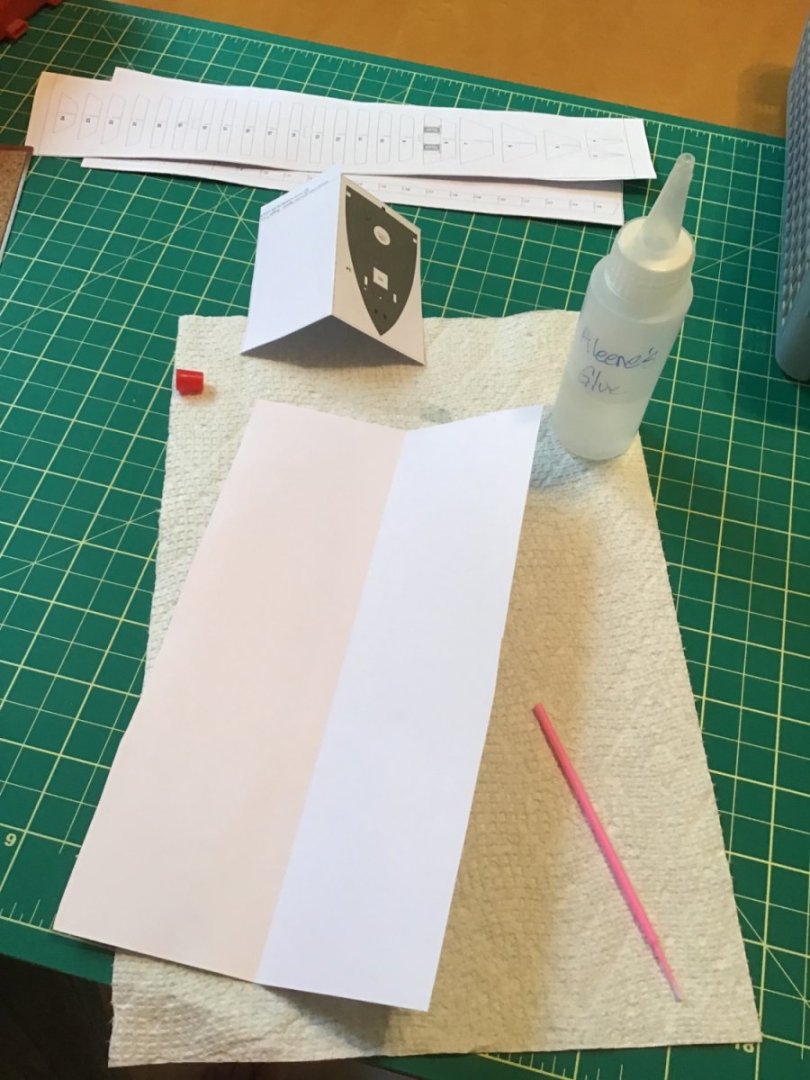
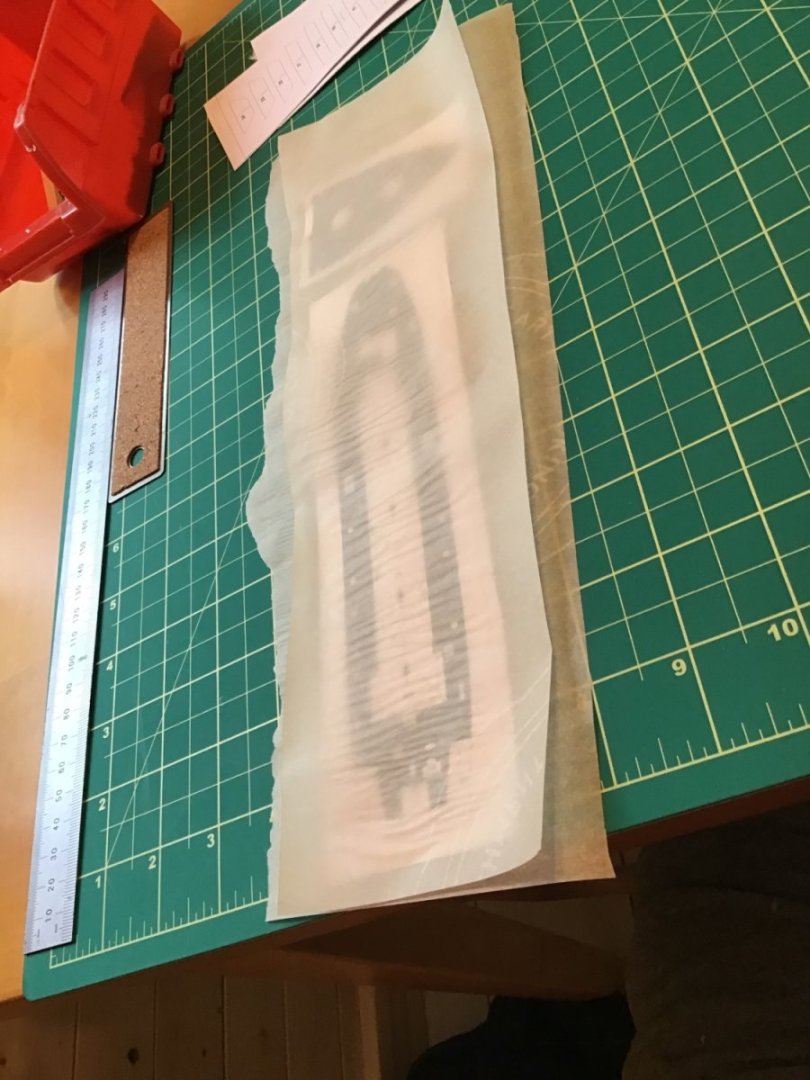
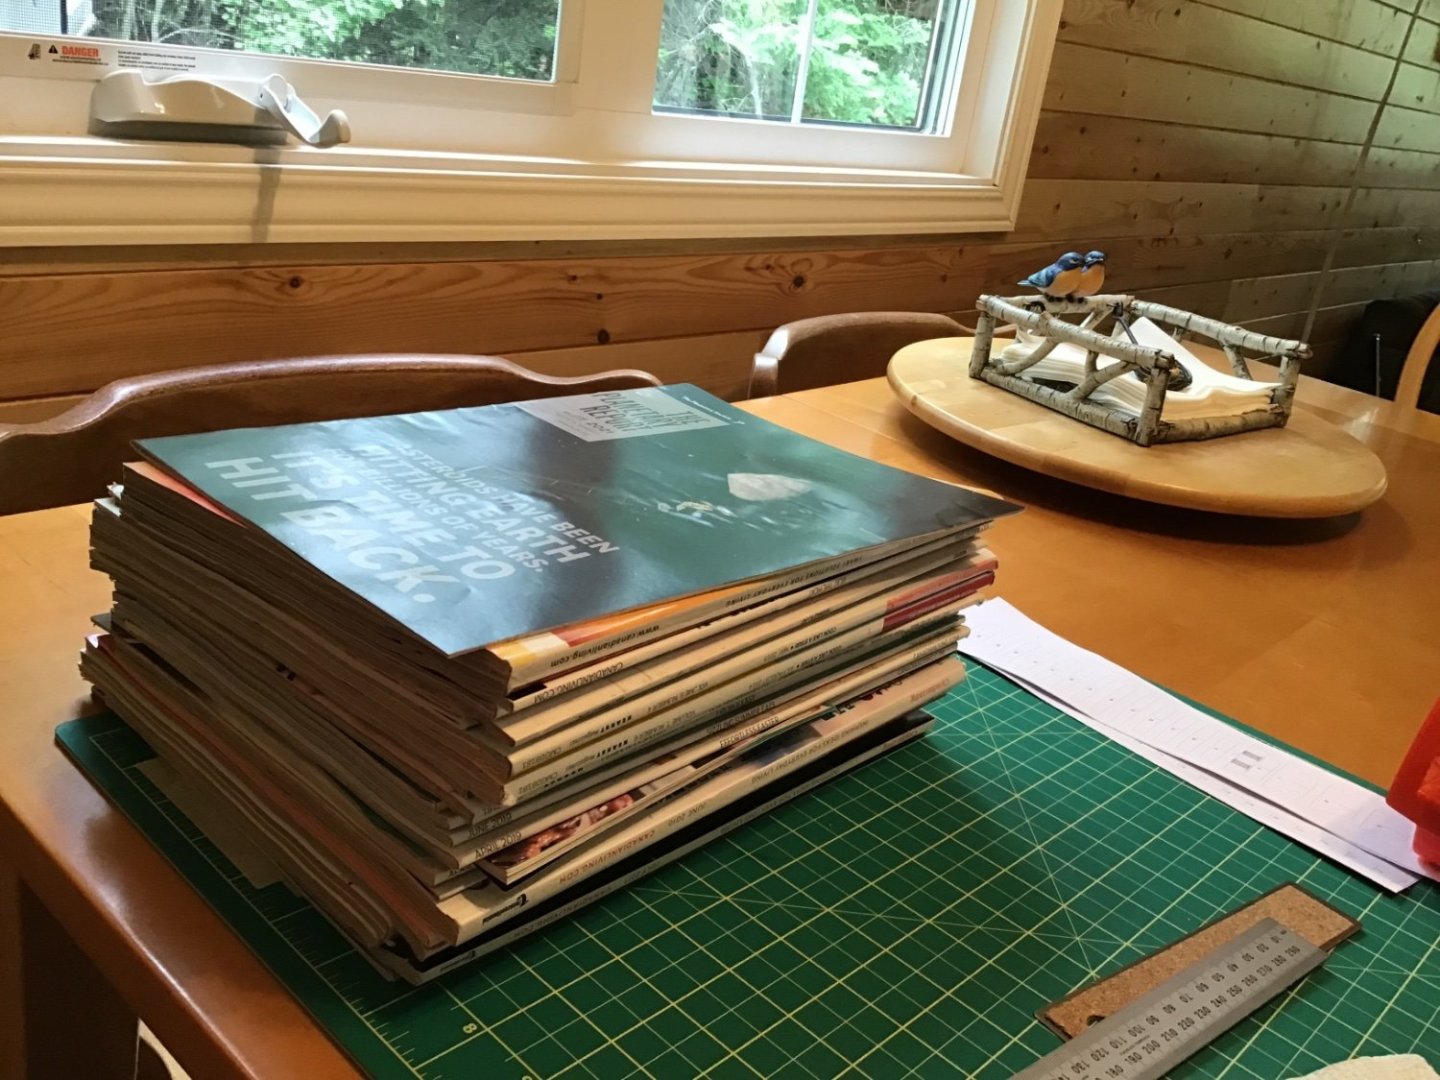
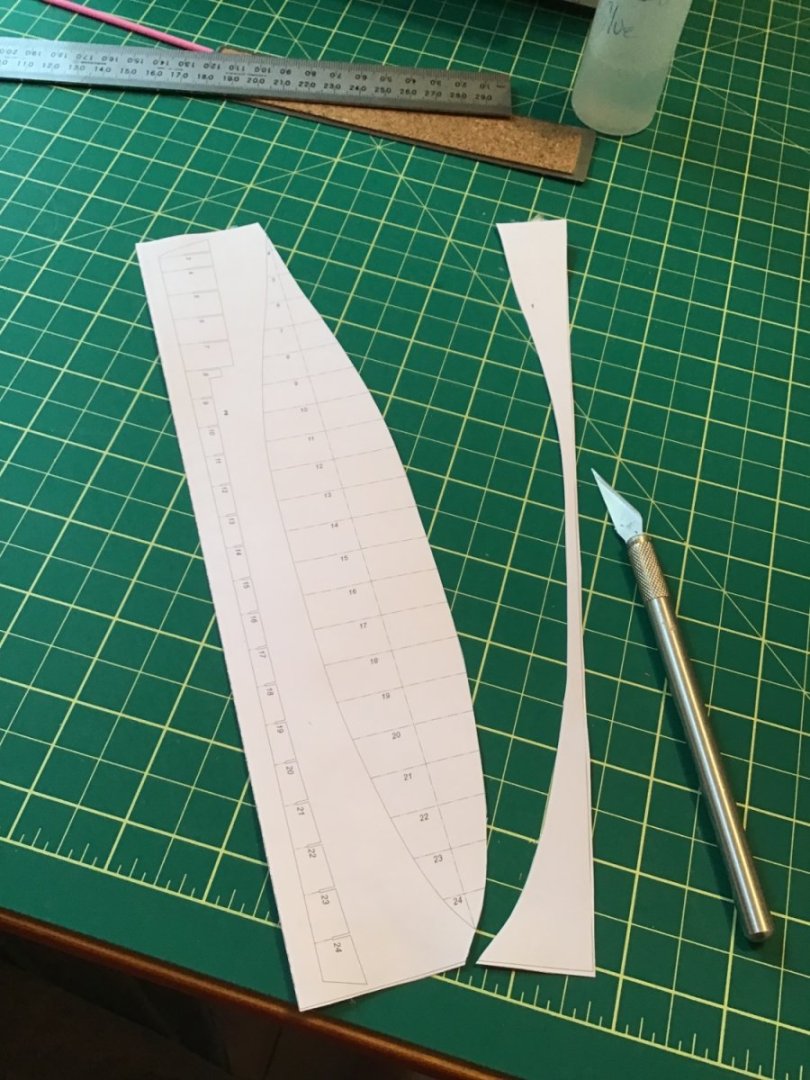
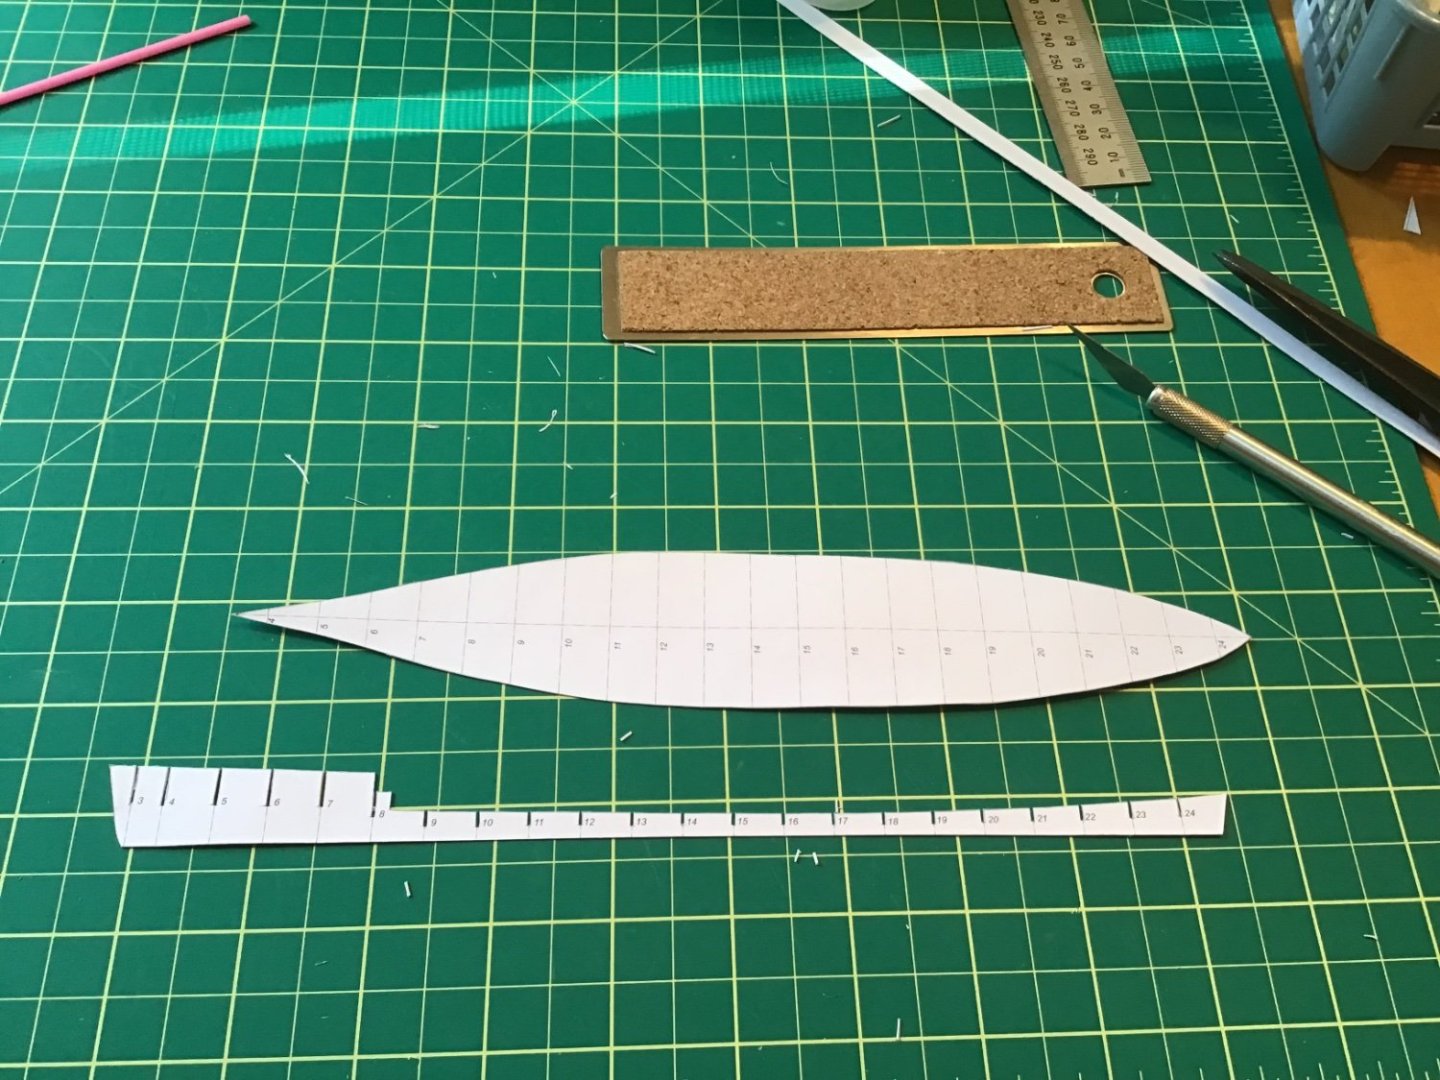
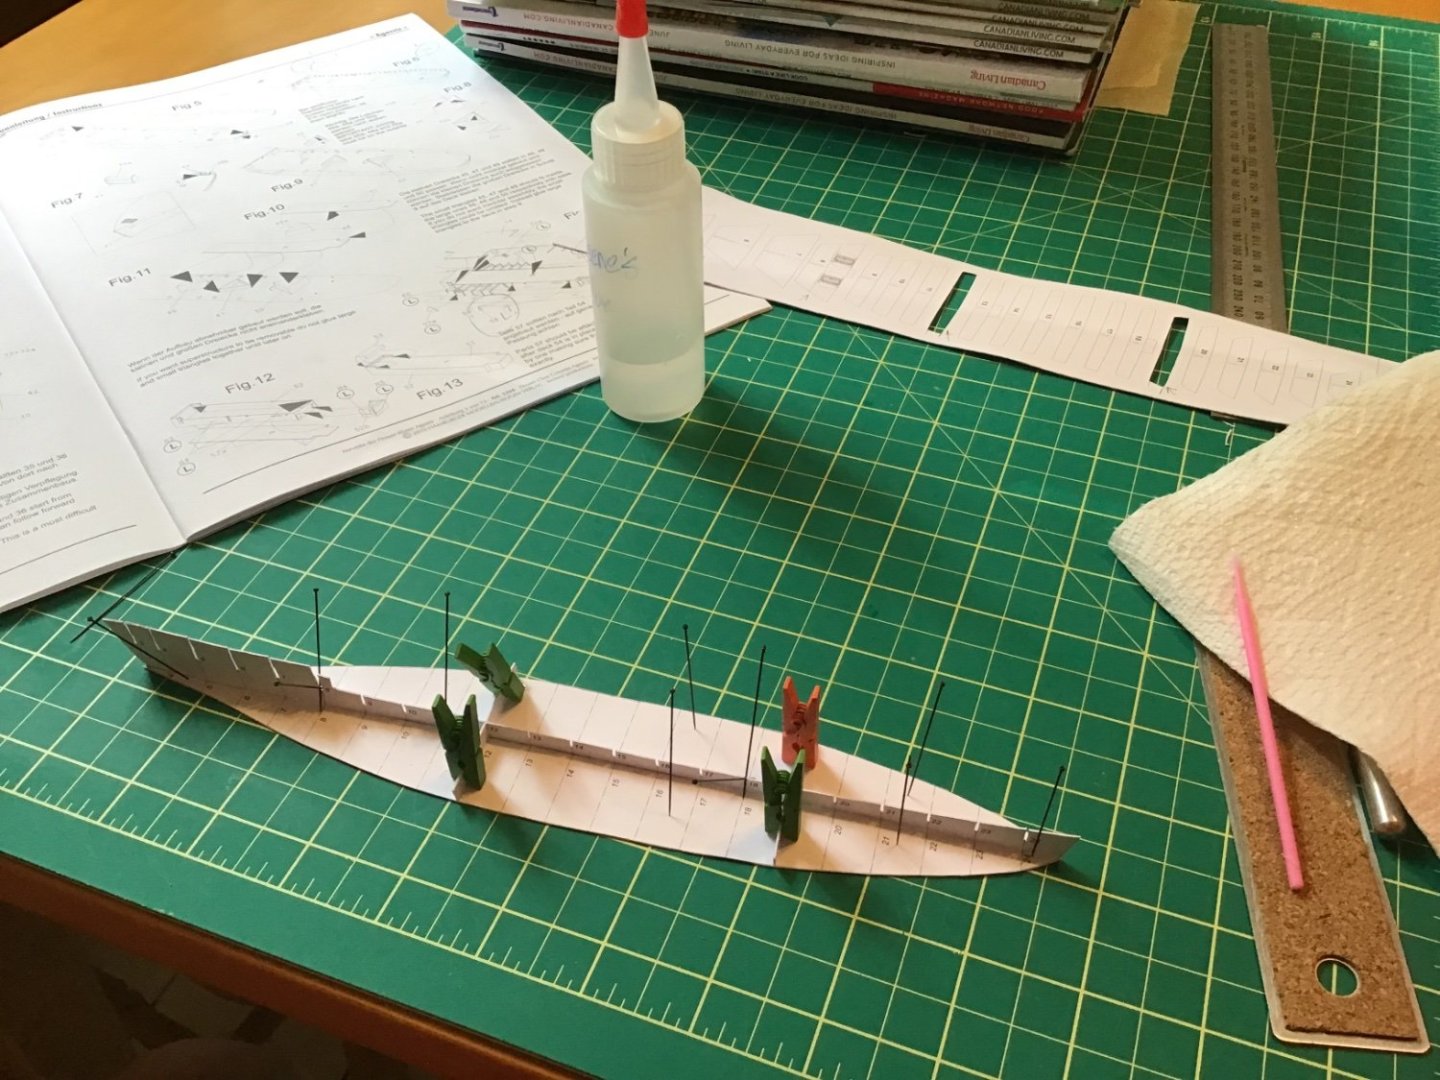
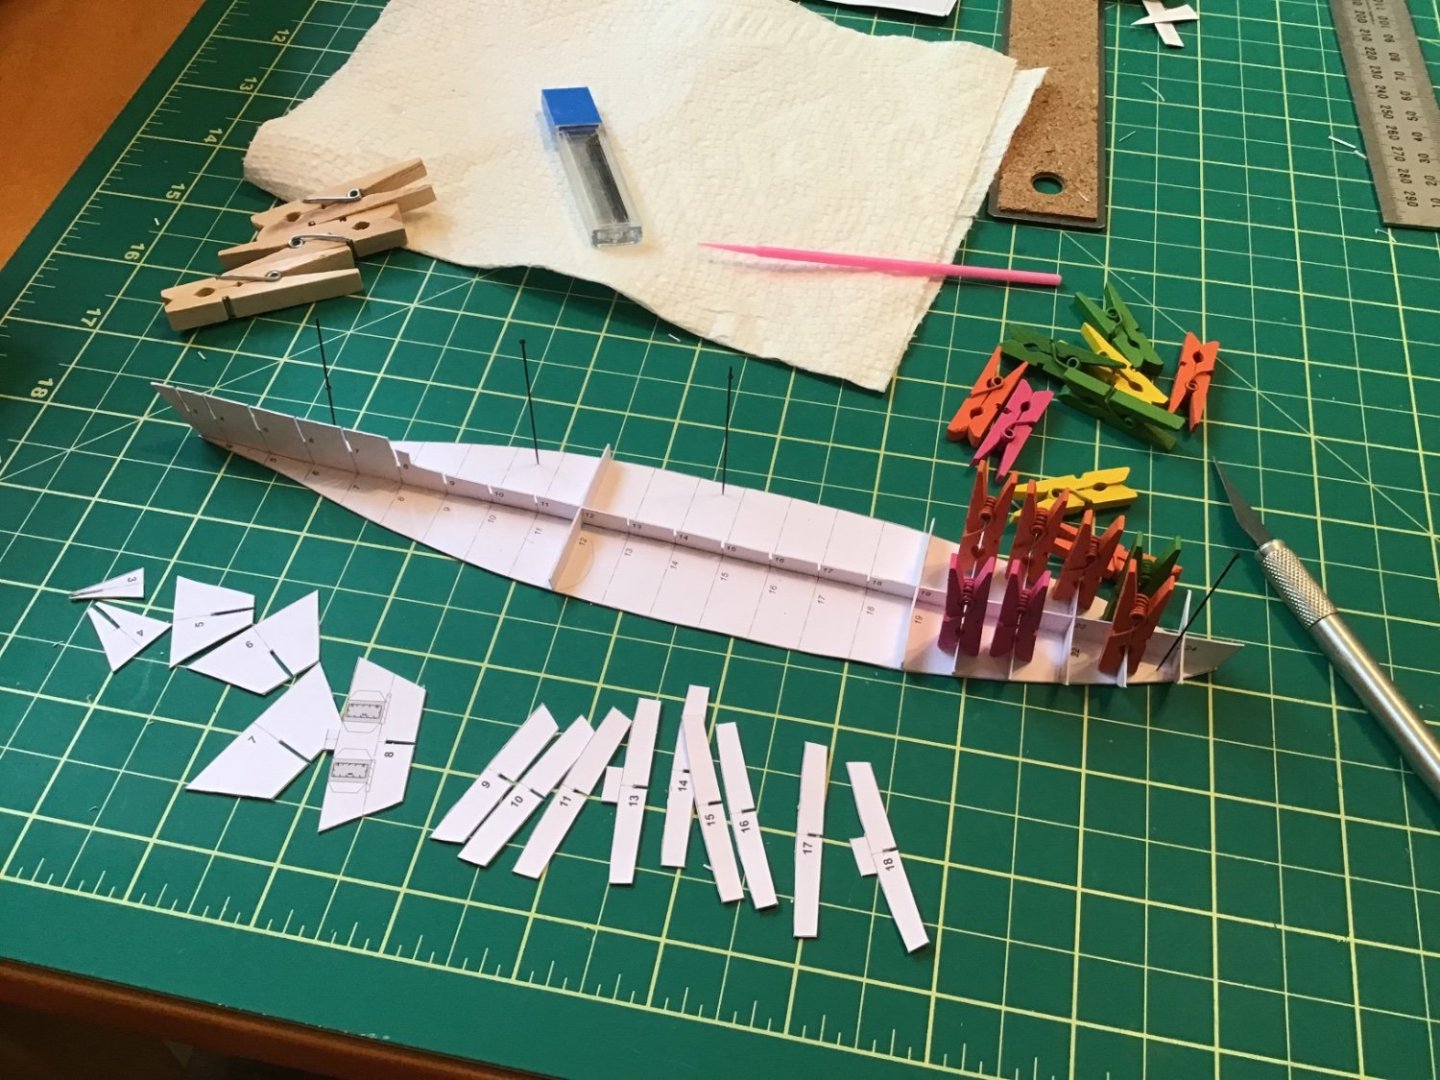
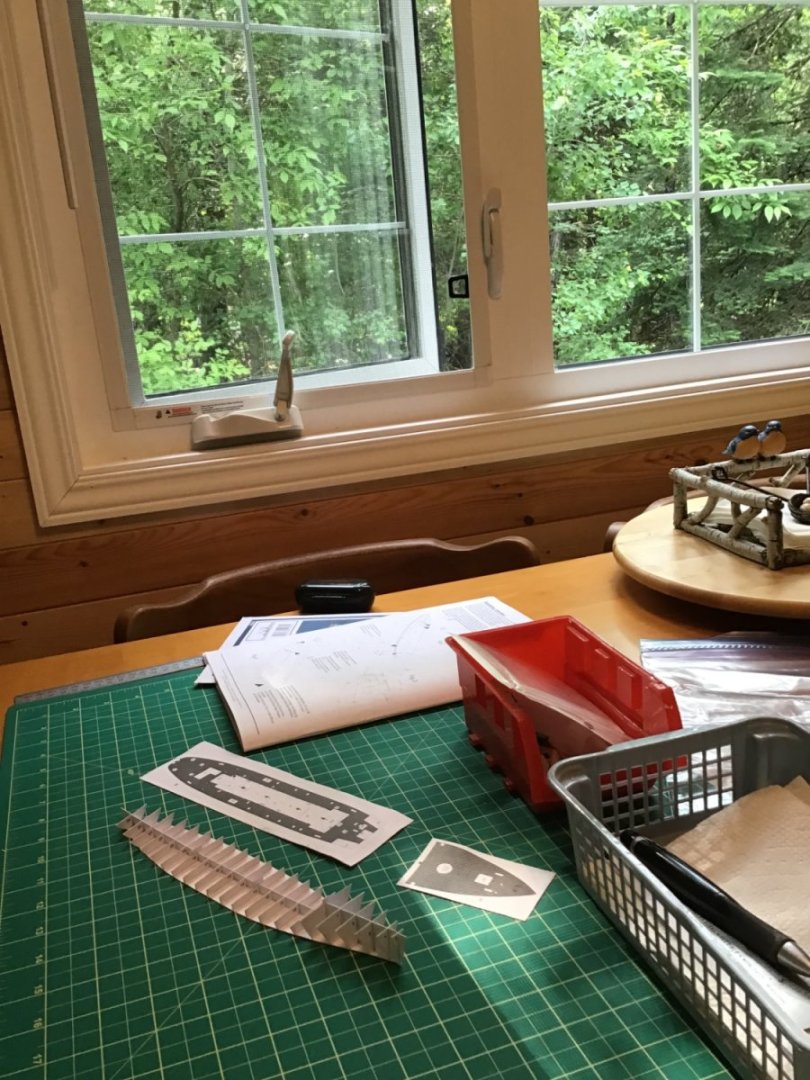
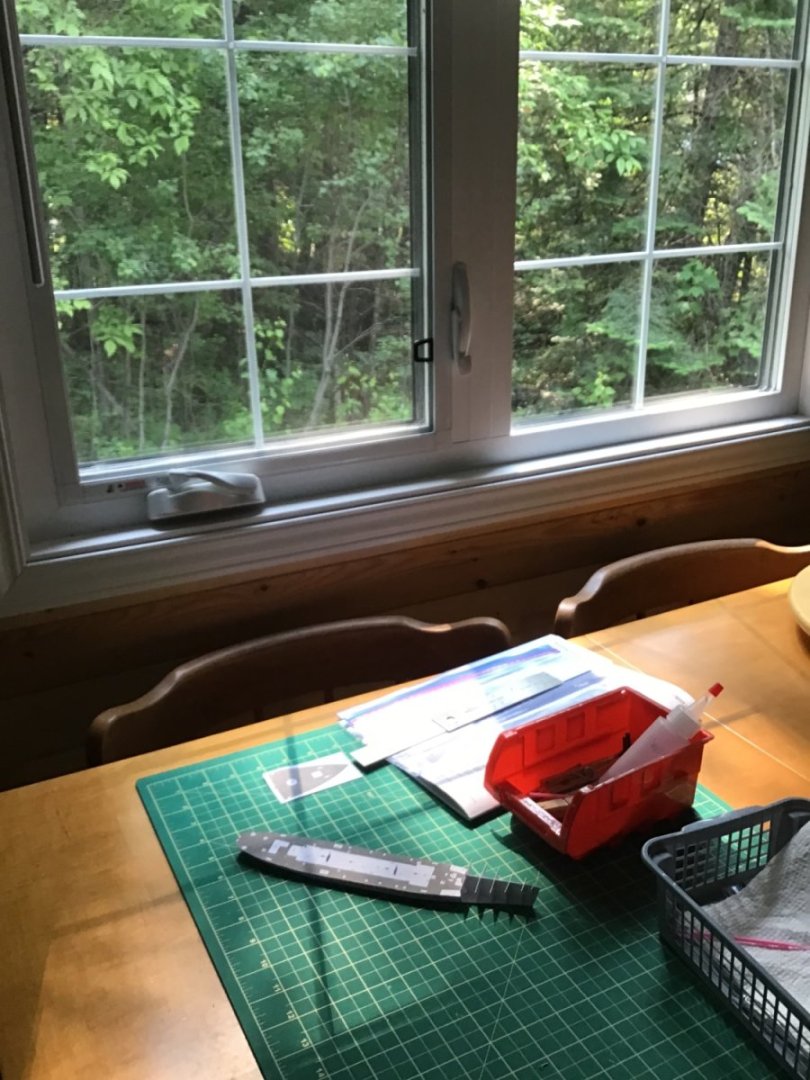
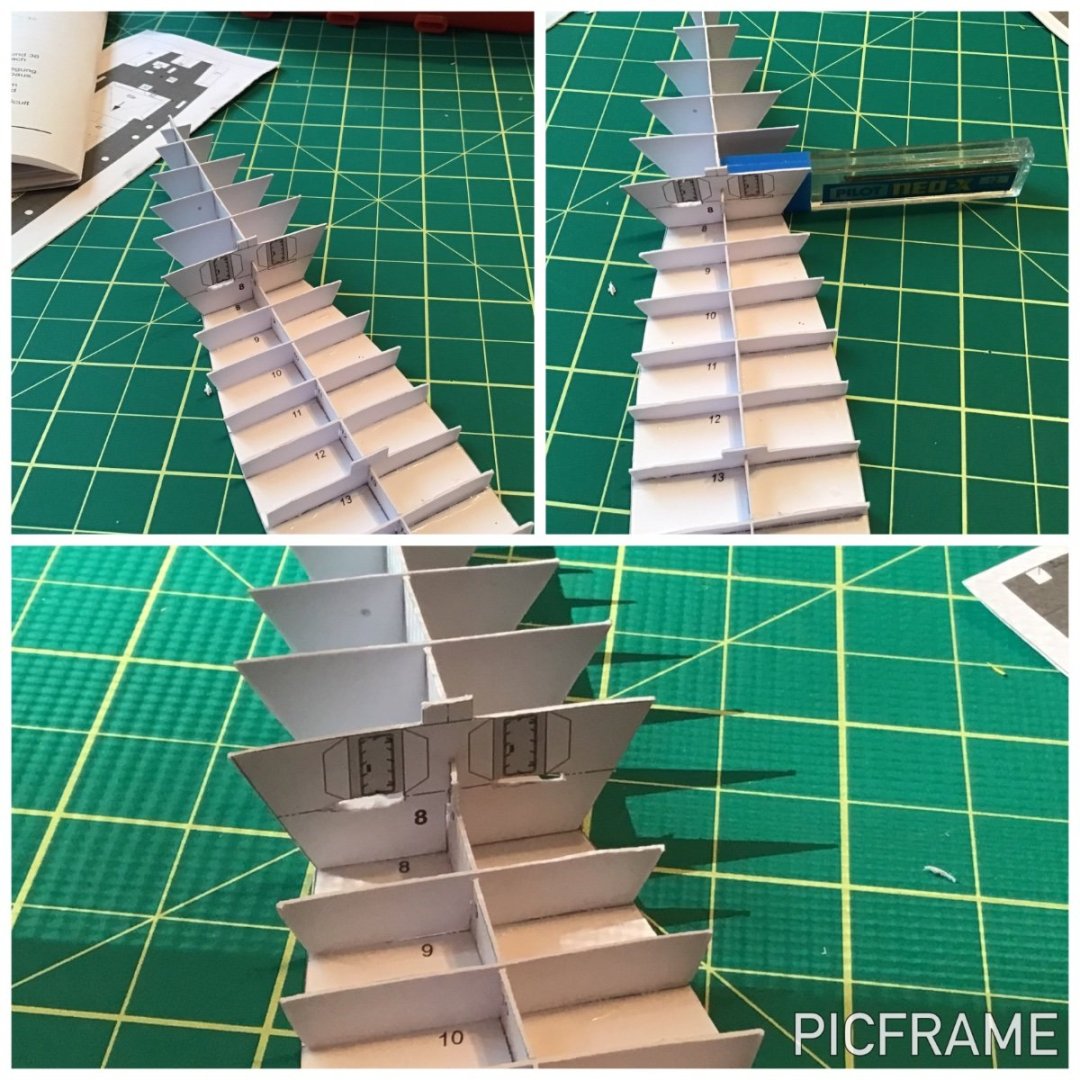
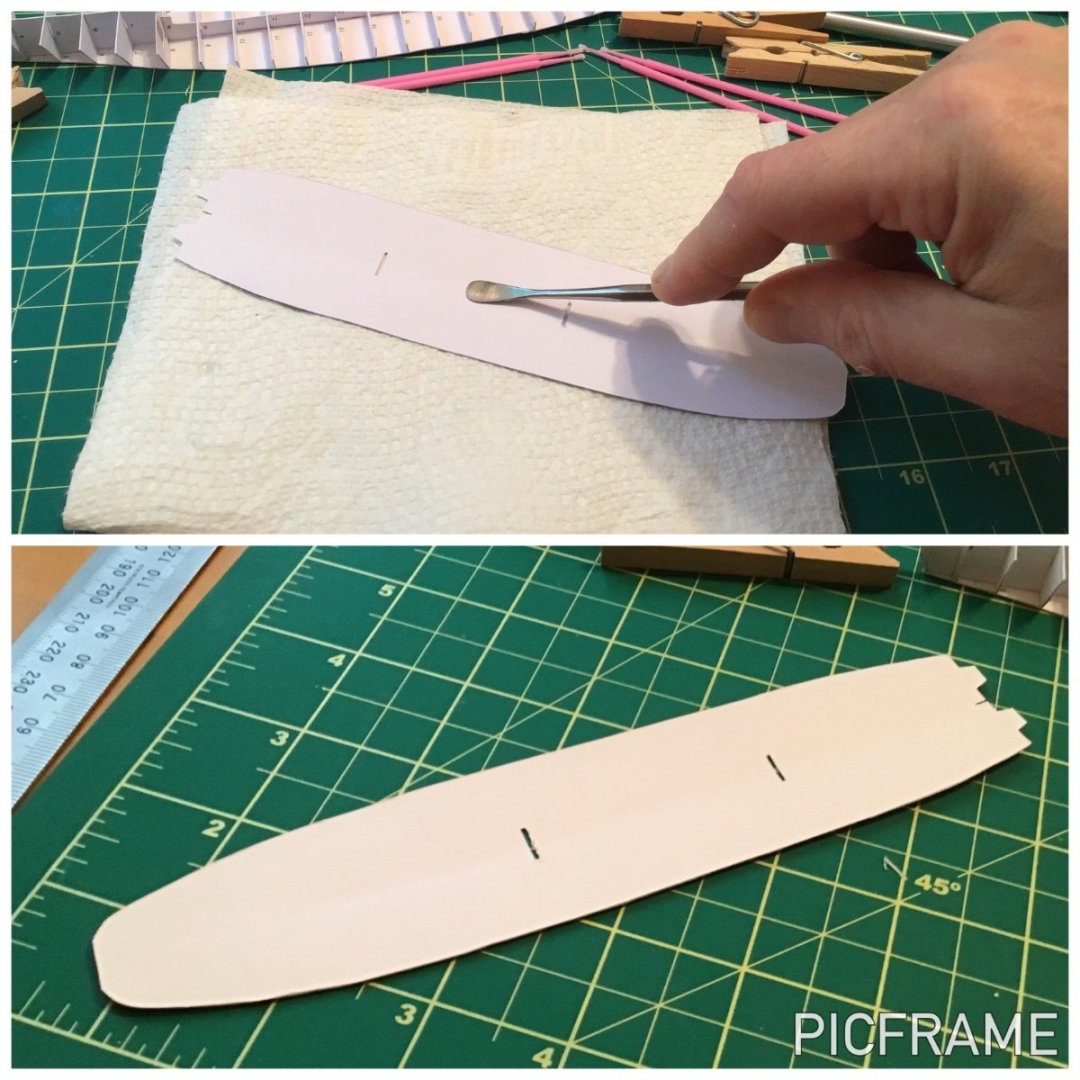
First trip to the cottage. Opening the Kit First off, the instructions are very well laid out and the English translation from the original German is superb. Everything comes in an A4 (?) booklet. The printed parts are on several pages of thicker stock stapled in the centre of the booklet. I chose to open the staples and remove these pages for ease of cutting, etc. In the card model workshops I attended the presenters had said that parts like bulkheads, decks, false keel, etc, might need to be glued to thicker stock which you need to provide yourself. H.M.V. has provided space on the printed pages to fold over and glue these parts in a double thickness. I highly recommend that you read several steps ahead carefully before proceeding with your build. Assembly is done in numerical order but while the instructions are very clearly printed the diagrams are rather small and quite full. So, finding the next part number can take a bit of a search. The fine lines, the profusion of small parts, and different dashed lines that denote upward folds, downward folds, and glue locations can be a bit overwhelming at first. It took me several readings and actual assembly of a few parts before I started making sense of what was going on in the diagrams and on the part assemblies. Even studying ahead I actually missed cutting out two, tiny red hatched slots in bulkhead 8 which made things a bit bothersome later. (You'll see this soon.). There are labels in the instructions for where laser cut parts are substituted, but I found a few omissions only because I read ahead and double-checked against the list of laser cut parts parts. I am very impressed with the quality of these parts and the documentation. Building begins I brought a very small kit of tools: Xacto blade knife, straight edge, Aleene's tacky glue, plastic swabs/applicators, insect pins, three sizes of clothes pins, and a couple of clay modelling tools to act as burnishers/shapers for creating curves in parts. The waterline, centre keel and bulkheads needed to be doubled up and glued. The plastic swabs worked very well as glue spreaders when laid flat and used like a roller/spreader. I practiced scoring these folds using the back of the 11A xacto blade. I placed the folded parts under a stack of old magazines to help keep them flat. Parchment paper was used to keep the magazines from sticking to the model. I left this overnight. The next day was my first test of my cutting skill. I found that taking two passes worked best. A first, medium pressure pass acted like a jig for the second, firmer pass to cut through. The lines are about a blade width thickness and are meant to be cut out. A straight edge was used where appropriate. The initial assembly of the centre keel and waterline required two bulkheads for squaring. All edges in contact were glued together and left overnight. The next day I installed all the remaining bulkheads and left them overnight. I noticed a slight warp to the model. I used insect pins to hold it flat on the cutting mat hoping that it would straighten out with more bulkheads added. After I cut the deck out I discovered that there were two tabs that needed to be inserted into bulkhead 8…and this is where I forgot to cut out the slots. I eventually managed to cut the slots (the second much better than the first). Now, I did see the cutouts on the deck! The deck required a slight camber and, following advice from the workshops, I managed to add the camber using a spoon-shaped, clay modelling spatula. A very complicated gluing and clamping job followed. Clamping paper has certainly become an exercise in problem-solving! And this is where the model sits…until our next trip up! (The blinds were closed before we left!) Clear skies and sharp tools, Gabe
-
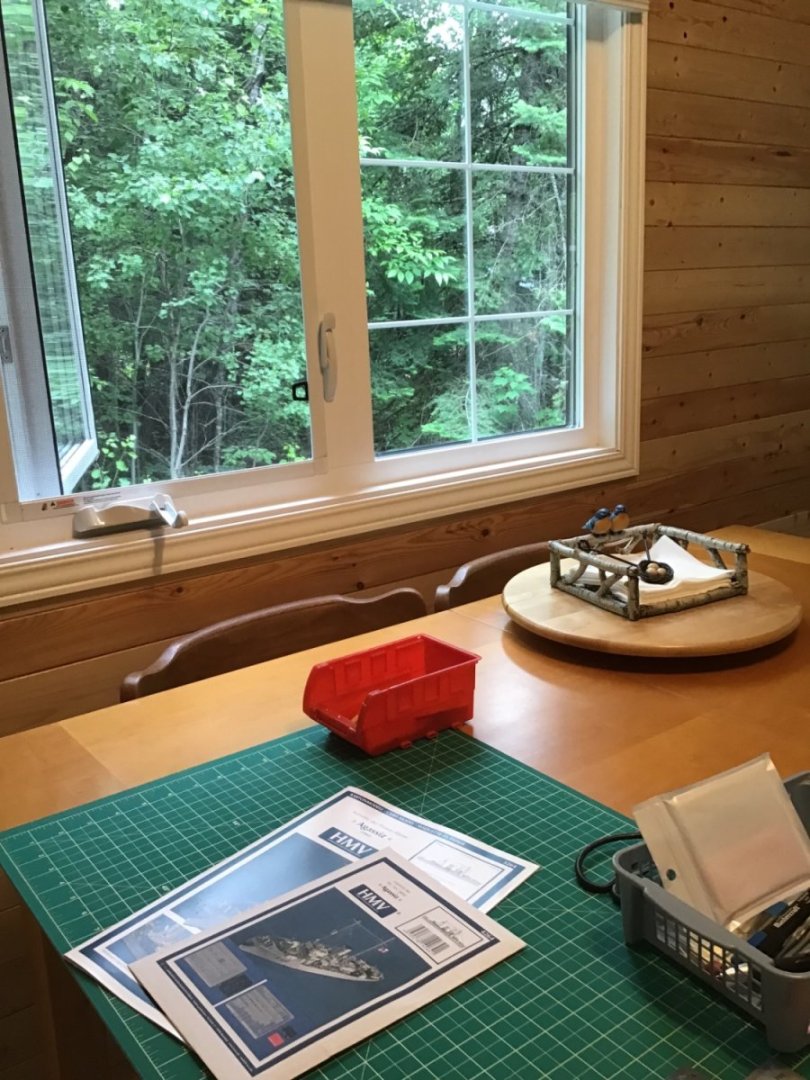
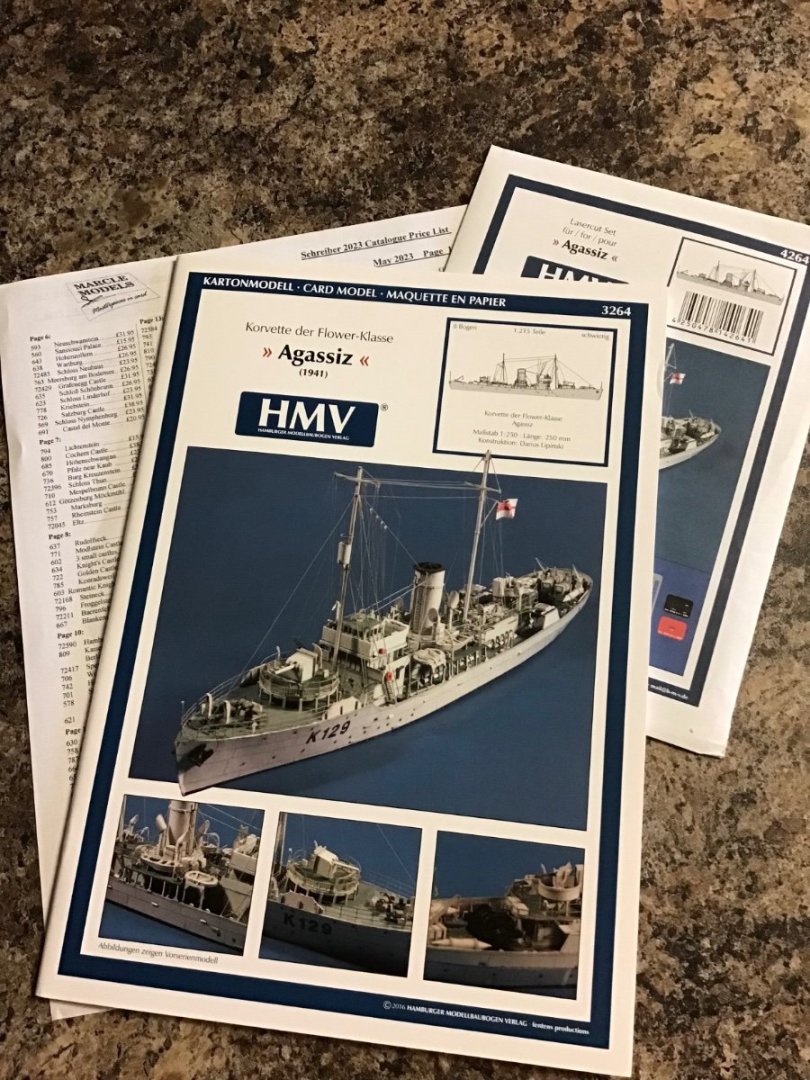
Introduction Ah, summer! When you live in a cold place (the centre of Canada) summer is the time to take advantage of the warm sun and, if you’re lucky like I am, to relax at your cottage. You would think that going to a secluded forest, being away from the bustle of city life, yard work and the lure of the internet you would have quality time with your modelling hobby. Not really. I found transporting a model and as many tools and materials as I anticipated needing an exercise in frustration. Inevitably I was missing something and there really wasn’t adequate space to set up a long-term work area. Until now. Several months ago I joined the Model Shipwrights of Niagara (MSON) and, as a member, I was able to attend a couple of online workshops this spring that featured card models. Veteran card modellers gave us invaluable advice and espoused the virtues of a hobby that was easy to transport, used very few small tools, and promised fun. Christopher Cooke, owner and proprietor of Marcle Models in the UK, presented an incredible range of models from several vendors. I had found my cottage hobby! Not long afterward I ordered the H.M.V. model of HMCS Agassiz - a flower-class corvette - plus the laser-cut accessory kit from Marcle Models. Mr. Cooke did inform me that there would be a delay because he did not stock this kit but it arrived as anticipated in perfect shape. So, on our next trip to the cottage I added a small satchel with the model, some Aleene’s glue and a few tools to our regular cargo. And now the build…
-
Thanks, Sergey. Right away I see the rigging on this plan is much more realistic…pairs of dead eyes on fore mast and mizzen shrouds stand out. Enjoy the build! - Gabe
- 59 replies
-
- Santa Maria
- Artesania Latina
-
(and 1 more)
Tagged with:
-
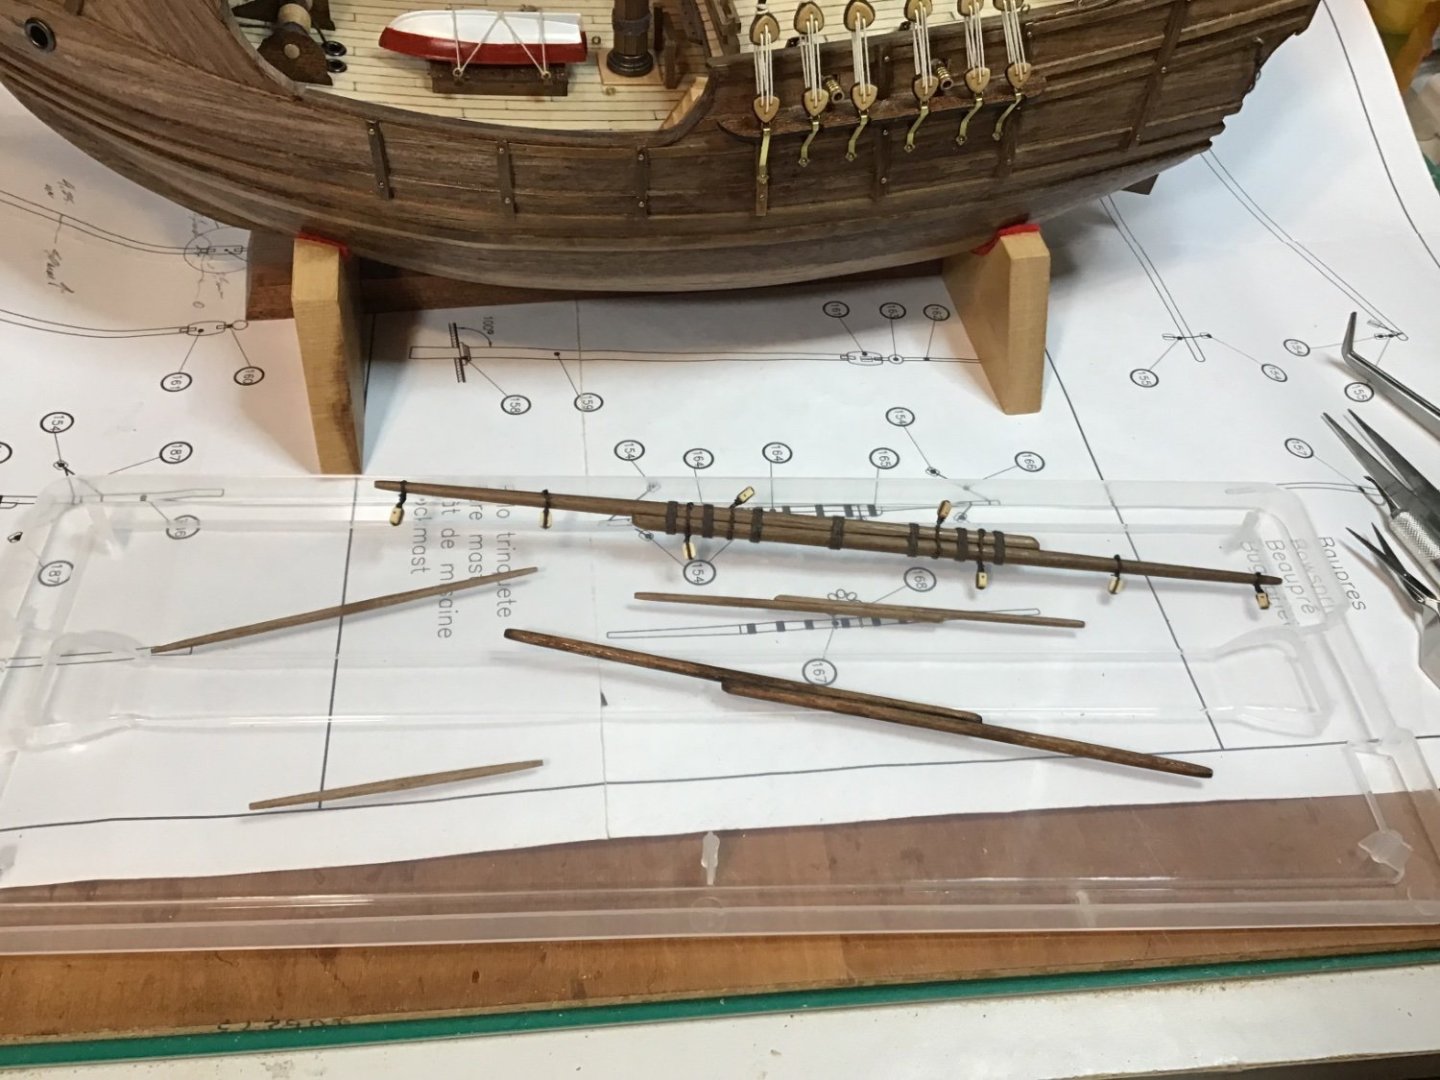
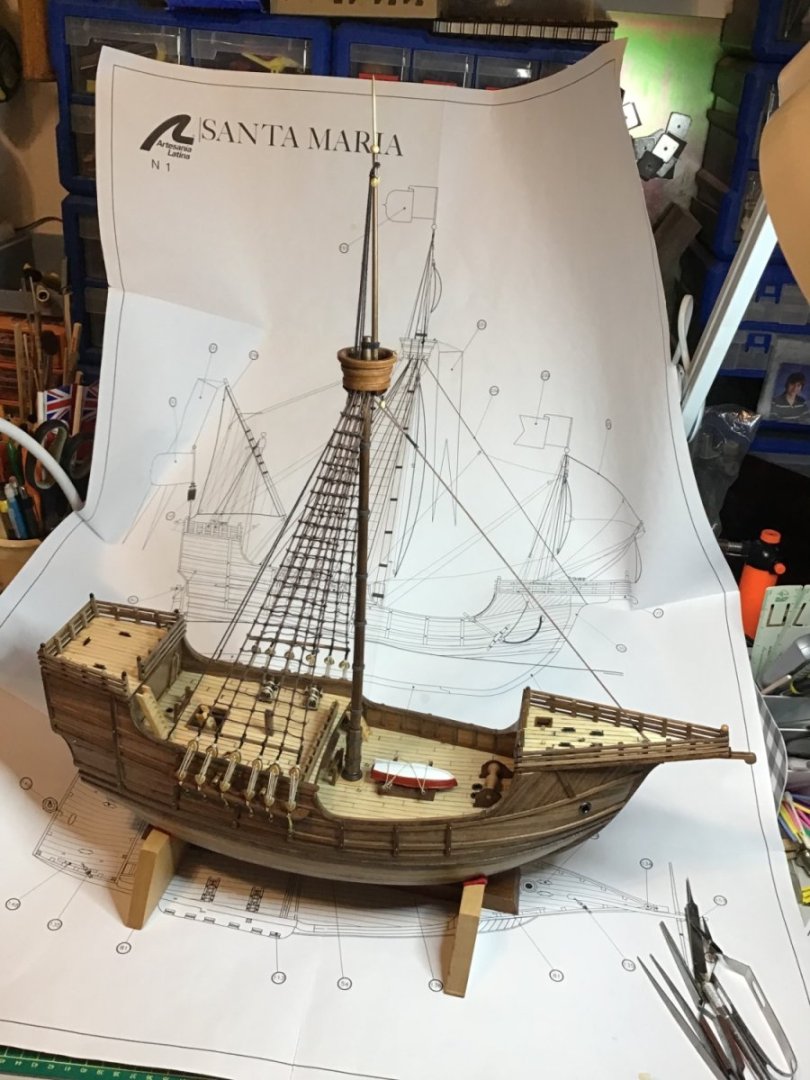
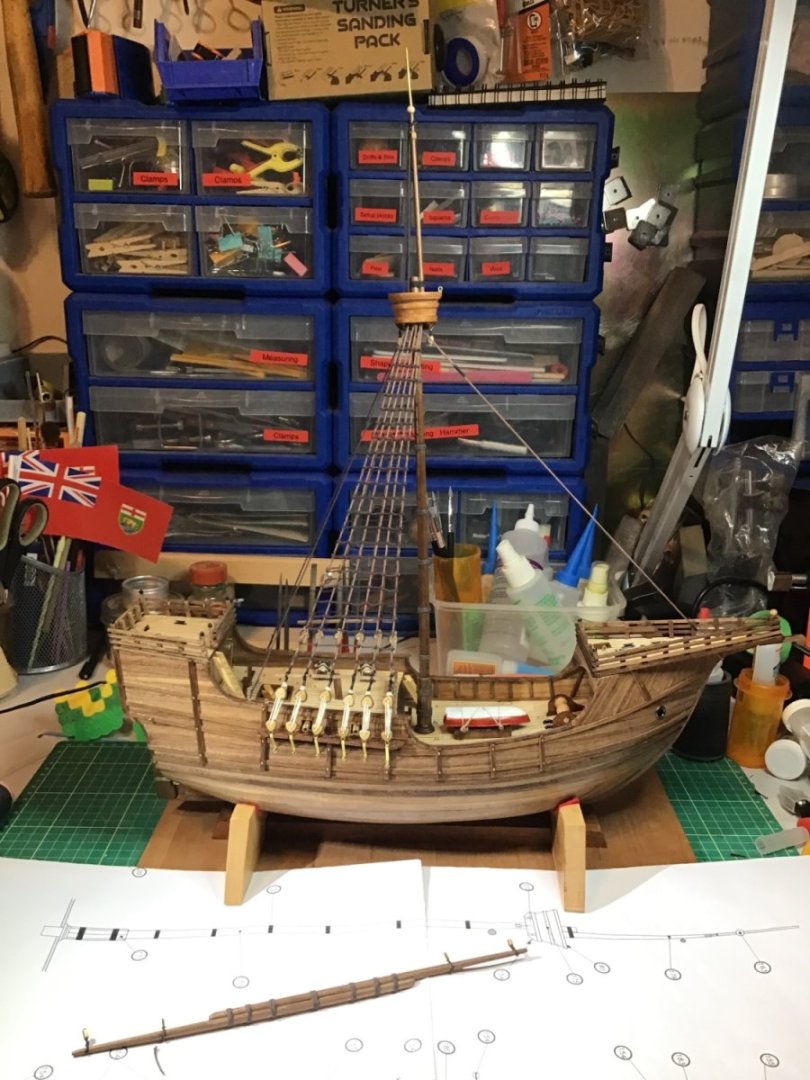
Well, all the masts are stepped and the standing rigging is all done. All the spars have been shaped. I'm thinking that I should rig the sails on the yards before hoisting them. Any thoughts? Clear skies and sharp tools! - Gabe Dear Artesania Latina, Your rigging plan leaves me scratching my head…did caravels actually run the shrouds on the mizzen and foremast to single blocks on cleats in the rail? Would eyebolts on a cleat be strong enough to hold up a mizzen mast with a lateen sail? A single stay going from foremast to the top of the bowsprit makes it look like it is rigged like a crane, not a mast. Perplexed, Gabe
- 59 replies
-
- Santa Maria
- Artesania Latina
-
(and 1 more)
Tagged with:
-
Slowly going knots 😆 Finished the ratlines. All 264 knots. This finishes the standing rigging on the main mast. I think the mizzen will be next. Clear skies and sharp tools! Gabe Dear Artesania Latina, Seriously…thanks for 1:1 drawings. I made a copy of the side elevation showing the ratlines and clipped it to the shrouds so I could space them consistently. Very useful. But, don’t get your hopes up…I already see funny things with the mizzen mast. - Gabe
- 59 replies
-
- Santa Maria
- Artesania Latina
-
(and 1 more)
Tagged with:
-
Thank you @modeller_masa! I appreciate you sharing your expertise. I think I did manage a passable installation of the main stay. I just can’t believe that there is absolutely no guidance from AL for many, many items on this model. All the guessing and decision-making is slowing me down. My biggest worry is having to add something in a really tight place to solve some glaring error I didn’t pick up now. Clear skies and sharp tools! - Gabe
- 59 replies
-
- Santa Maria
- Artesania Latina
-
(and 1 more)
Tagged with:
-
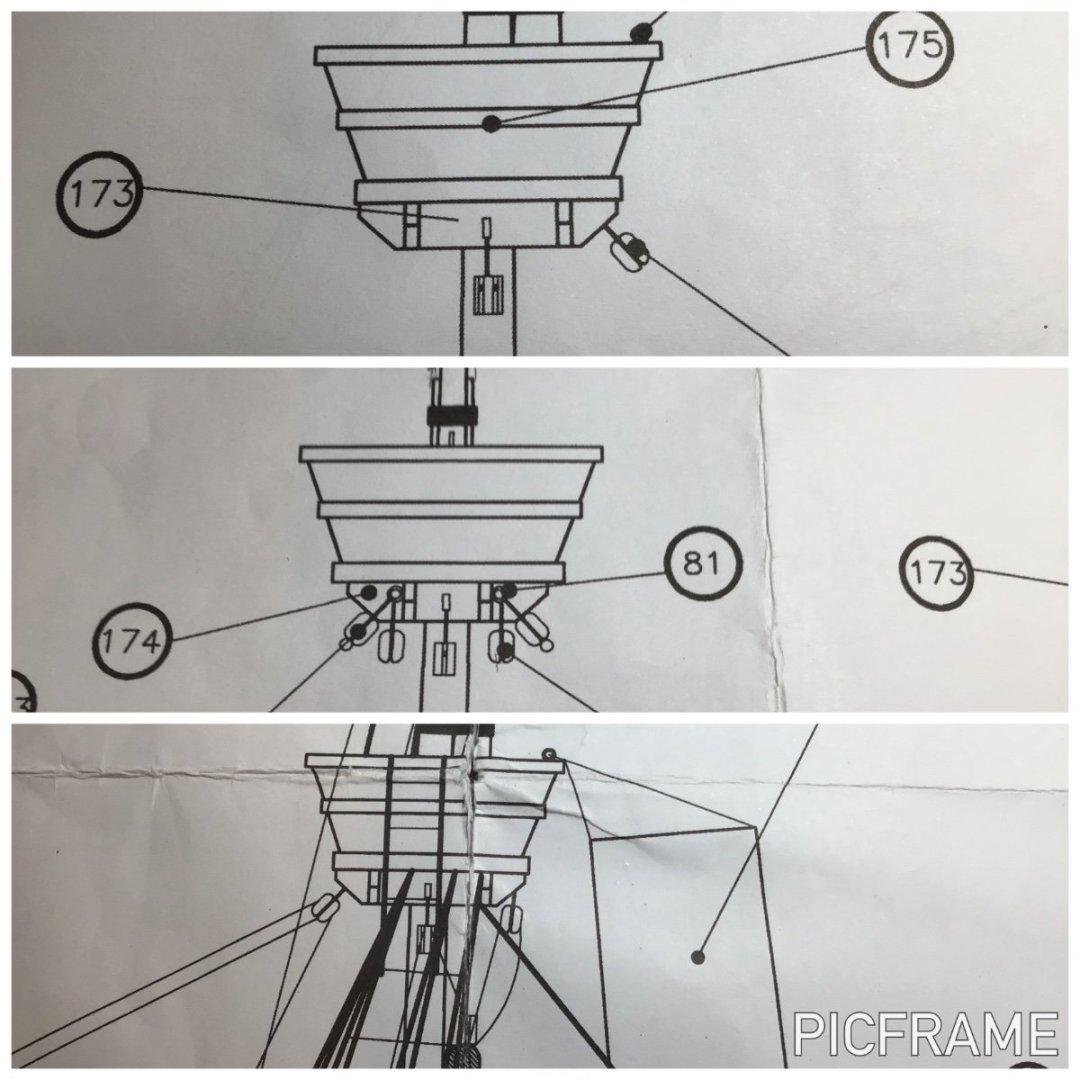
A few additions to the hull, primarily the boat was painted and lashed down. Started on the main mast. The total lack of instructions, or clear diagrams, or decent photos has made much of this step a nightmare in guessing what to do - which is slowing me down. Not happy… Clear skies and sharp tools! - Gabe Dear Artesania Latina, How do you expect people to finish this model without showing where to attach the standing rigging? For example, how does a minor thing like the mainstay connect to the main mast? Oh, and help me interpret this… Based on the top diagram it looks like I have to install three blocks to the underside of the crow's nest…No! 5 like in the middle diagram (or would there be a 6th one on the aft side?). Or is it 4 blocks like the bottom diagram? More coming, Gabe
- 59 replies
-
- Santa Maria
- Artesania Latina
-
(and 1 more)
Tagged with:
-
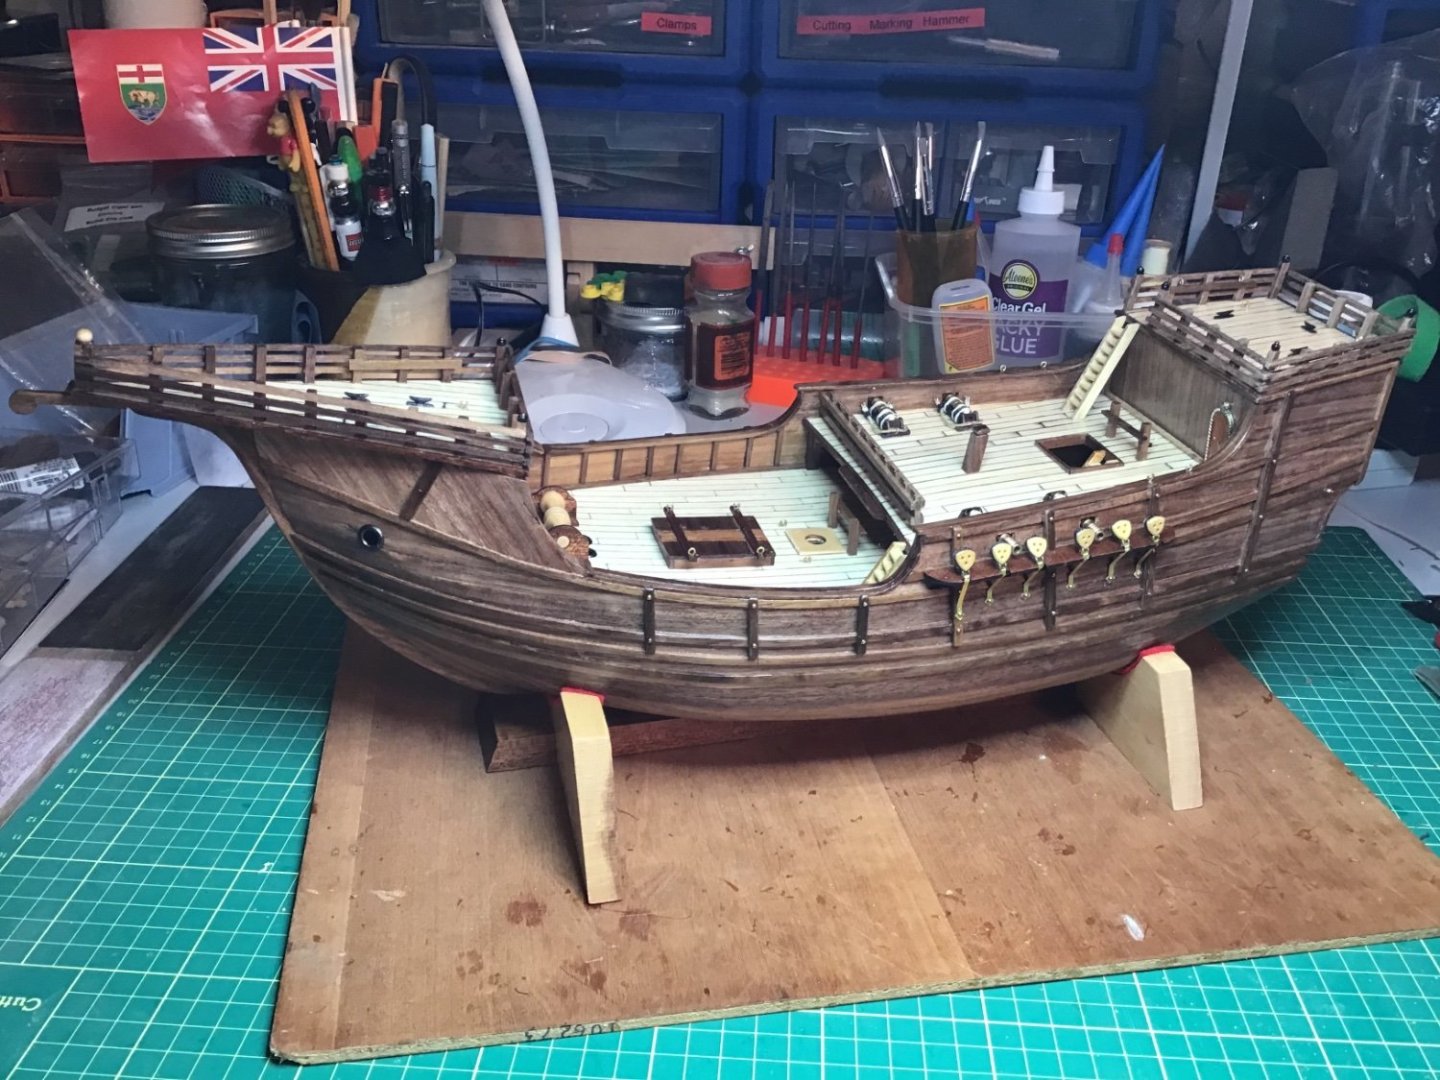
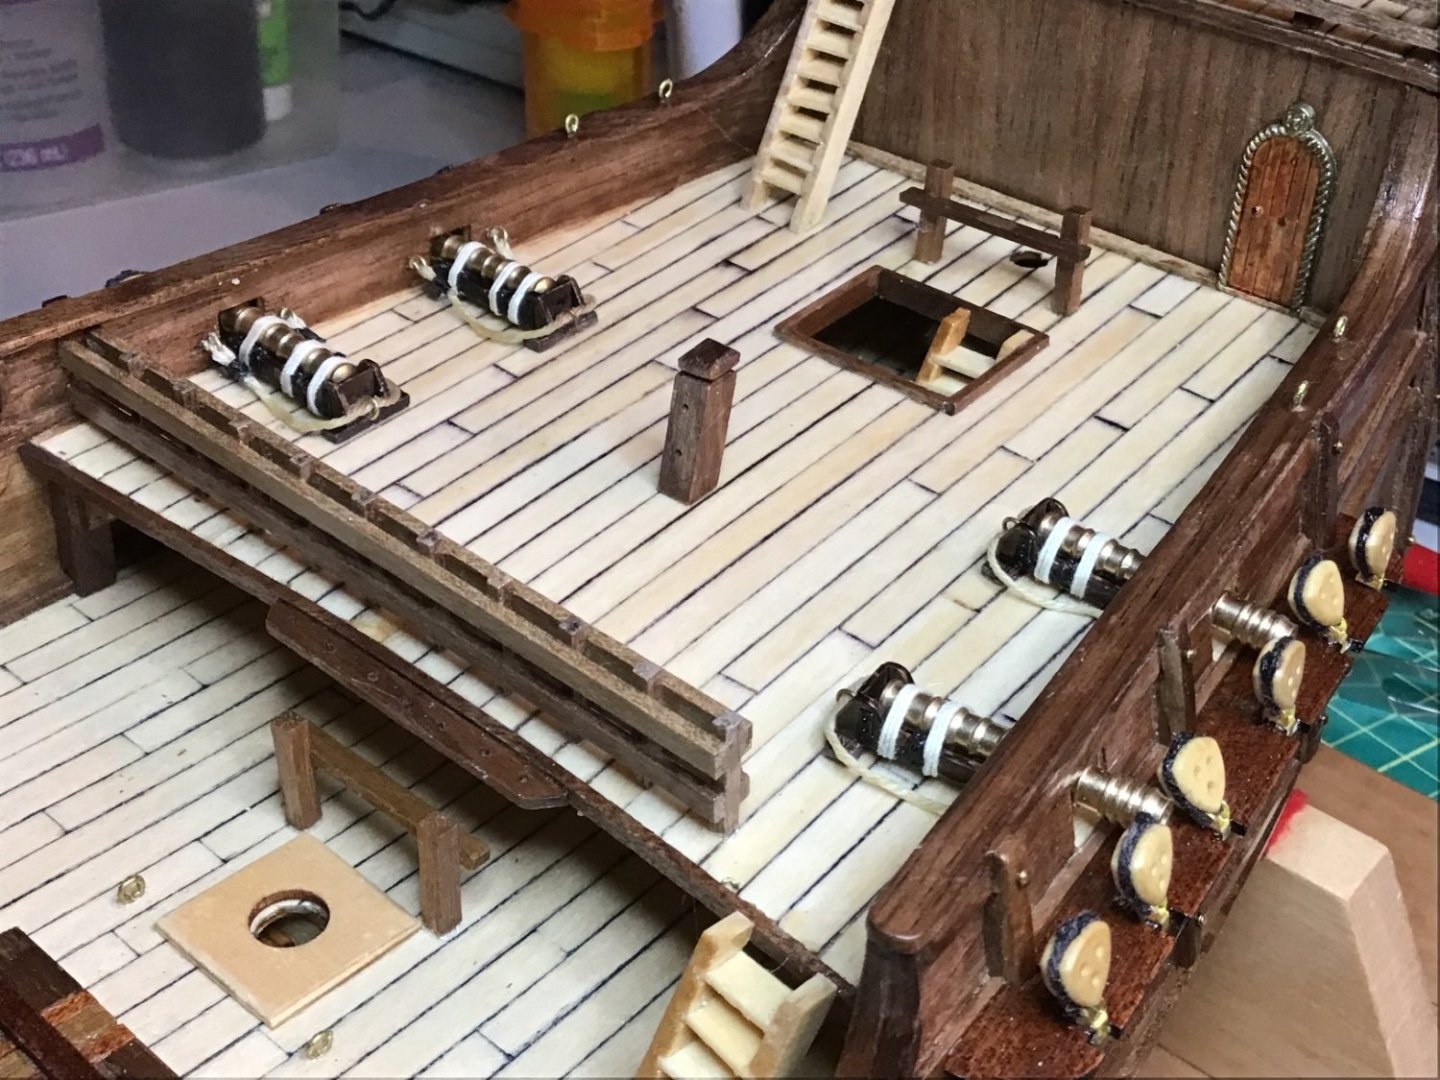
Milestone - hull is complete I thought I had finished the hull a few days ago but I just kept finding things that still needed to be done. The cannons took most of my time - I just couldn’t slap them on the way AL wanted, so I used some of my fly-tying skills to make them look better and more palatable even though they are a bit whimsical. Main mast is moving along. Clear skies and sharp tools, everyone! - Gabe
- 59 replies
-
- Santa Maria
- Artesania Latina
-
(and 1 more)
Tagged with:
-
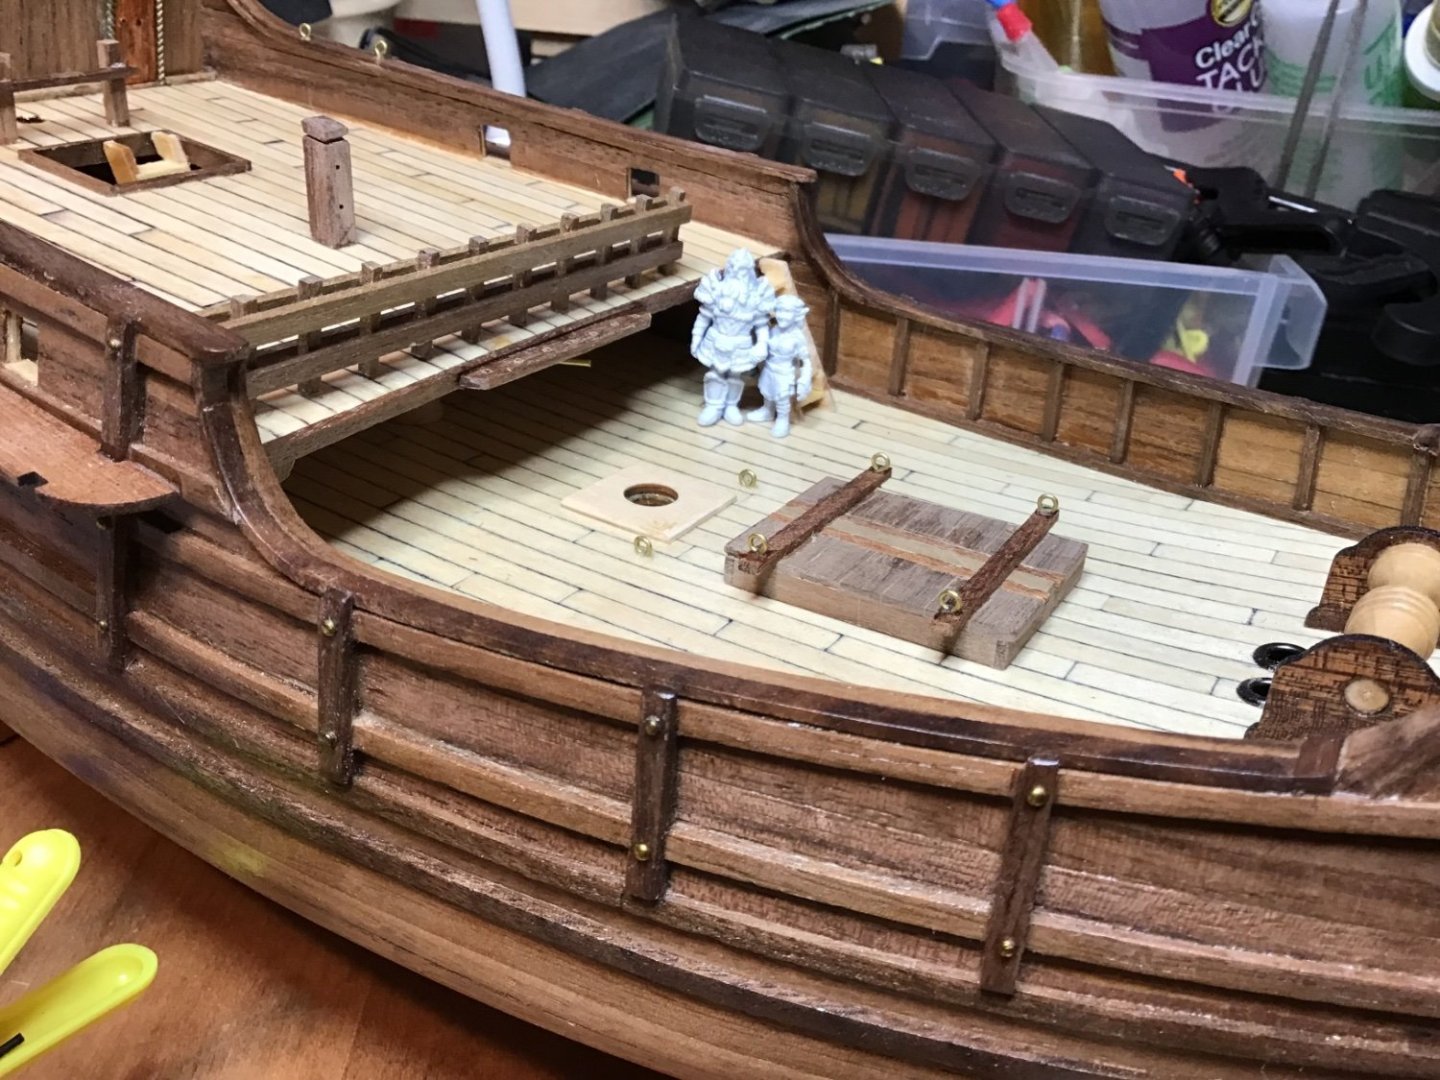
I never thought of that, Ferrus! AND, there should be pretty substantial deck beams in there! Here is a figurine that I printed that will go on the model…an inside joke with my son and daughter-in-law. At 1:65 scale…and the female character represents a gnome! Now, I'm not suggesting that 15th century Portuguese and Spanish sailors were gnome-like…but we hadn’t discovered vitamins, yet! 🤣 Clear skies and sharp tools! - Gabe
- 59 replies
-
- Santa Maria
- Artesania Latina
-
(and 1 more)
Tagged with:
-
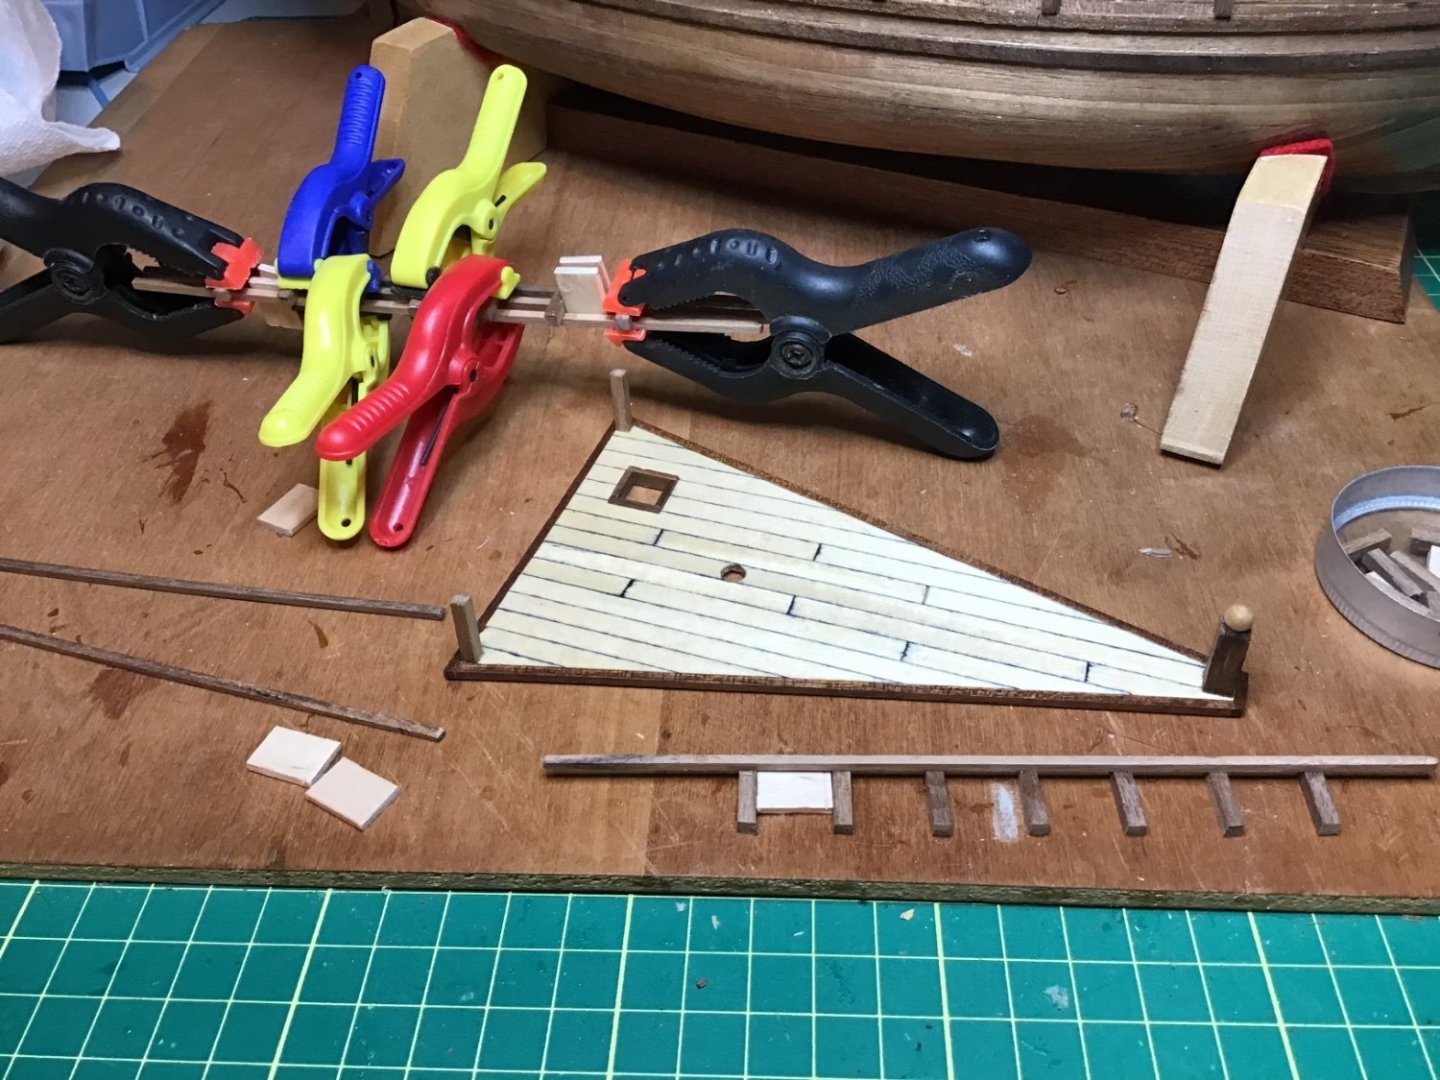
Absolutely, Johnny! I have caught several things in this plan that were not in a good work order. For instance, I still haven’t installed the forecastle…I'm building it off the model to be installed as a completed unit. Saves me reaching into tight spaces, bumping it as I work on the main deck, etc. But, I missed this capstan! 😢 Clear skies and sharp tools, Gabe
- 59 replies
-
- Santa Maria
- Artesania Latina
-
(and 1 more)
Tagged with:
-
- 59 replies
-
- Santa Maria
- Artesania Latina
-
(and 1 more)
Tagged with:
-
Awesome work on this model! Could you give me the dimensions for your grating? I'd like to see if I can create one on my resin 3D printer. Clear skies and sharp tools! - Gabe
- 61 replies
-
- Agamemnon
- Ardent-class
-
(and 2 more)
Tagged with:
-
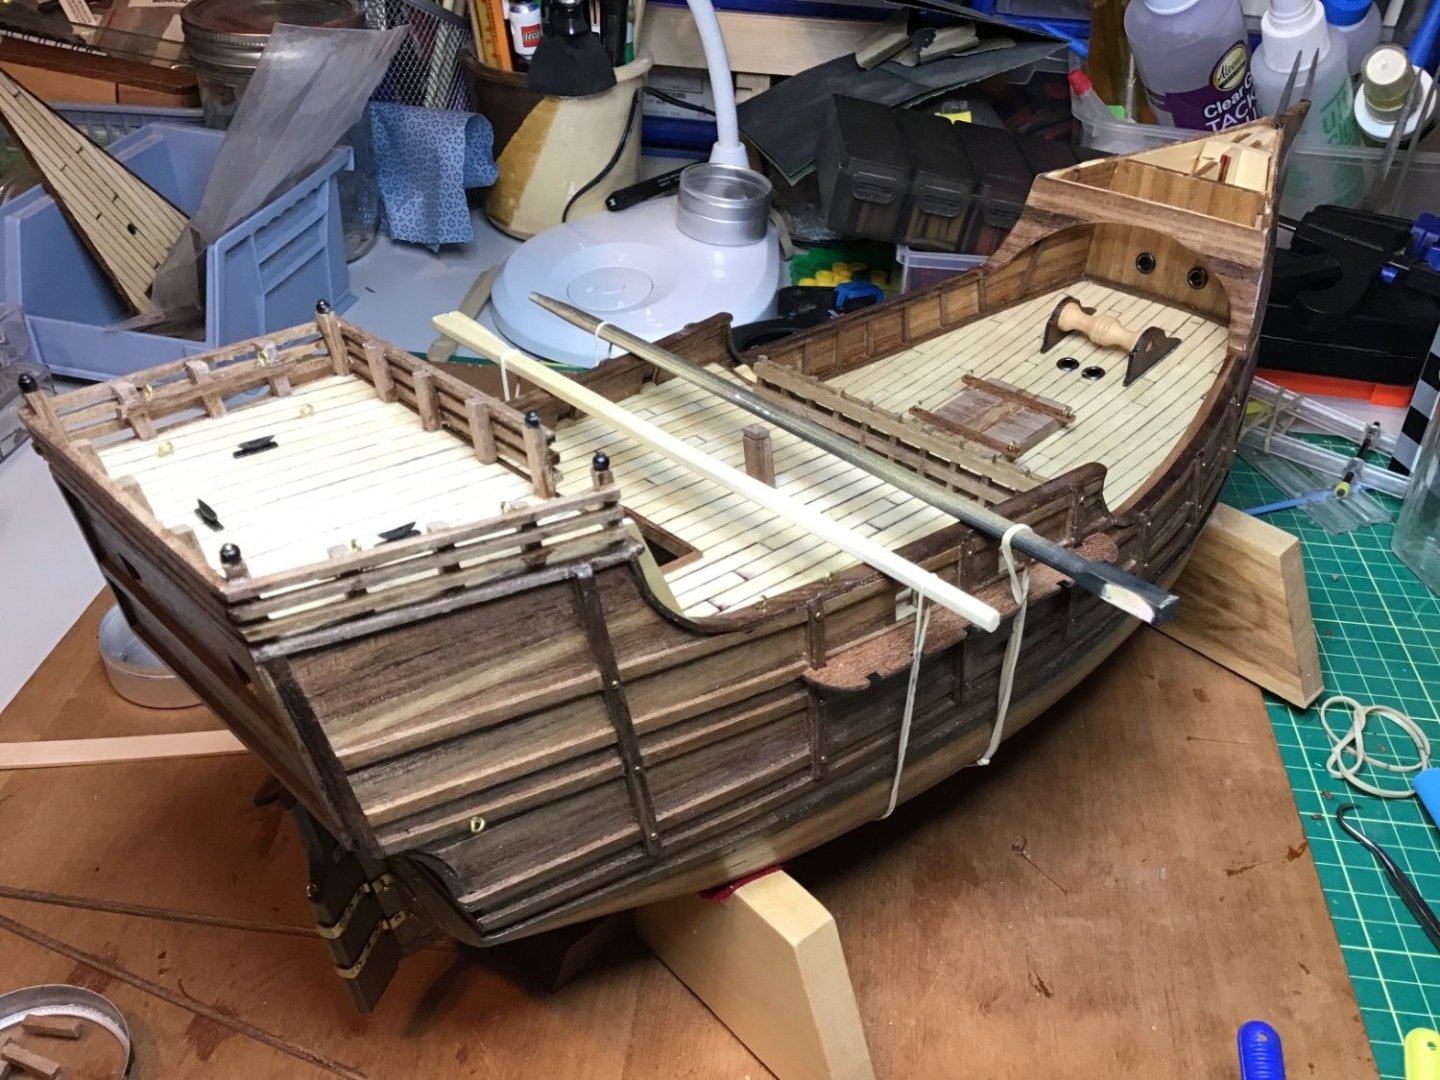
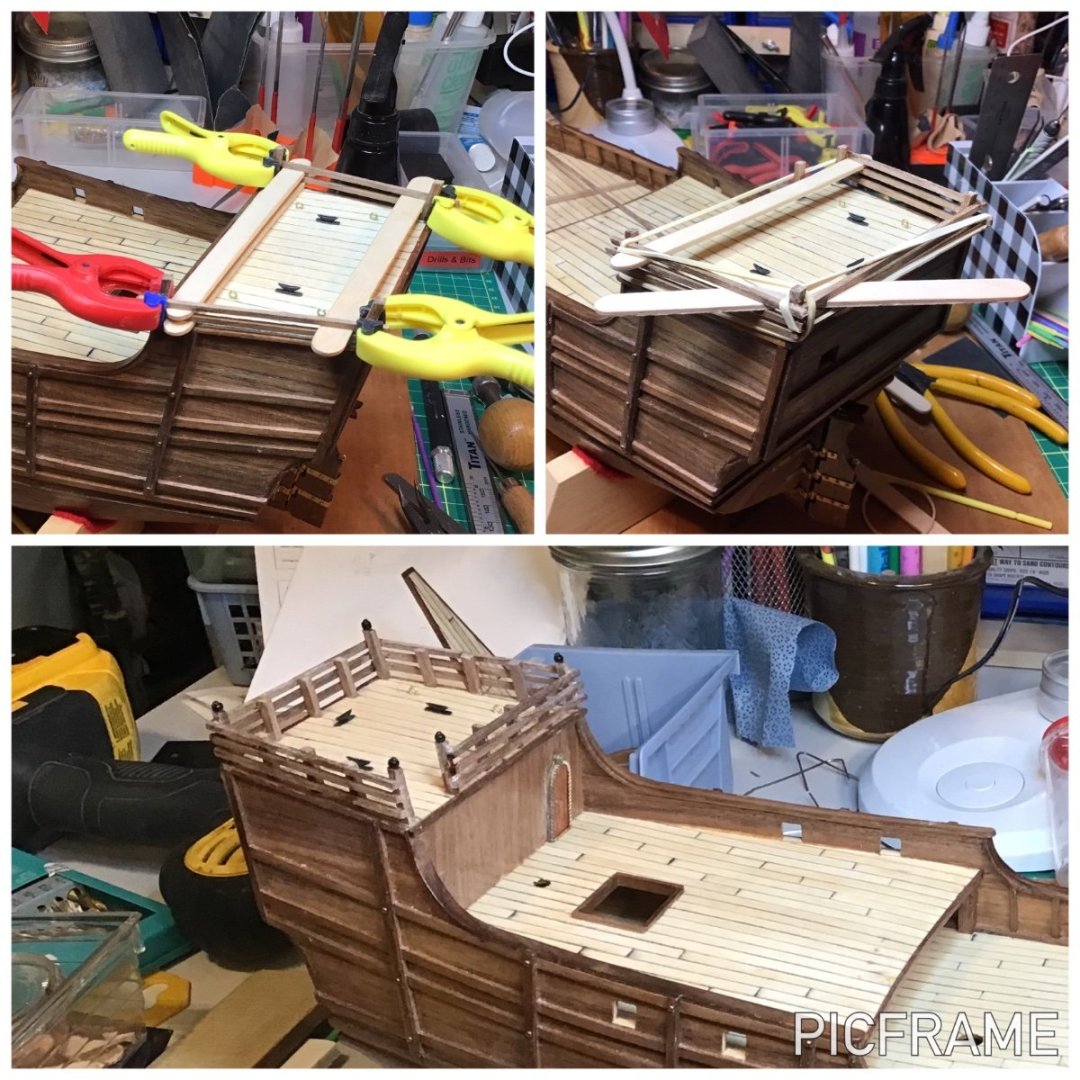
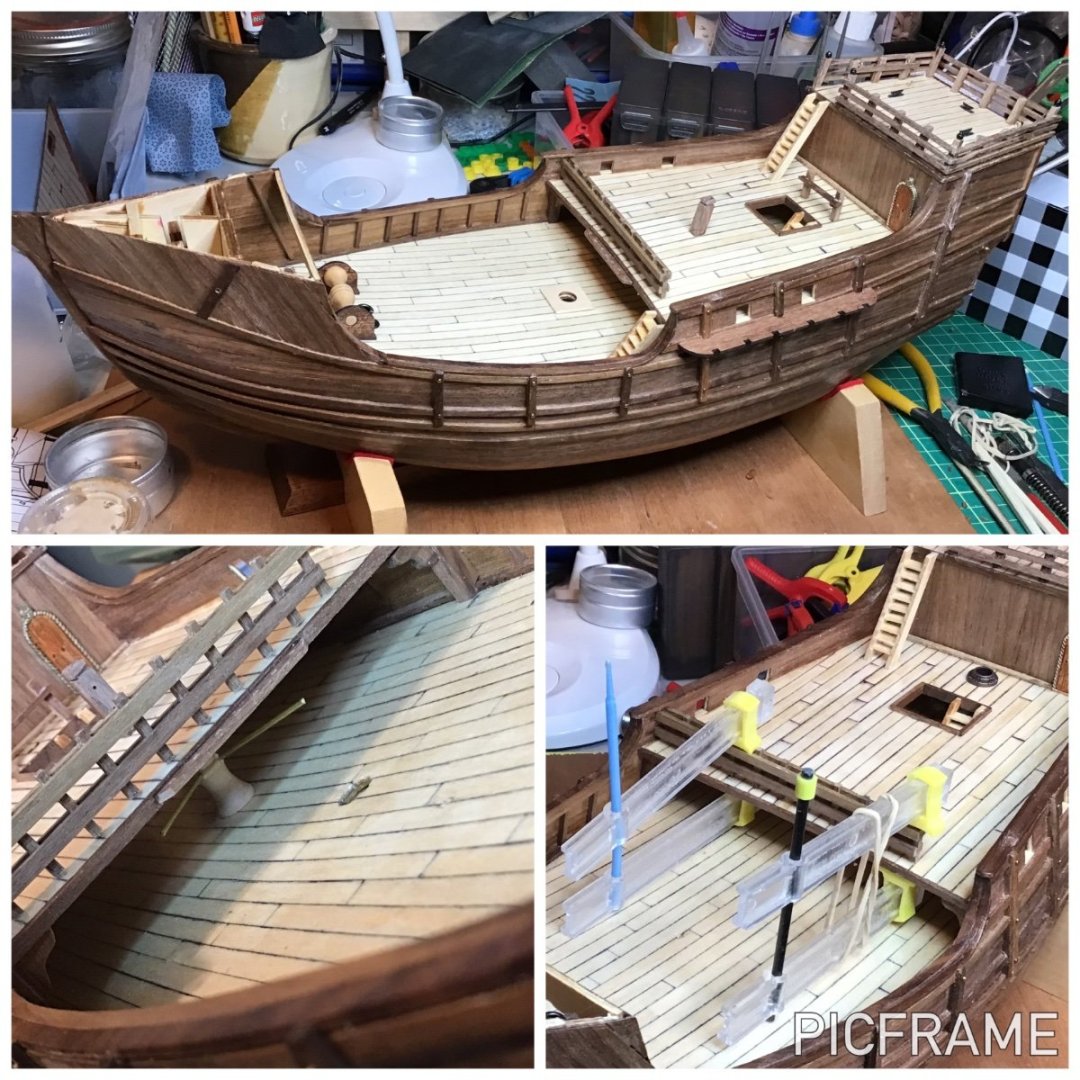
Headaches and bling (AKA Railings and deck furniture) Because of the cant in the stanchions I thought it would be better to build the railings on the model. I was quite proud of using popsicle sticks as spacers…but the glue wasn’t doing its job! 😡Gel CA with clamps and the horizontal pieces still kept snapping away. I think it was because I had only installed the corner stanchions. I had less trouble once I installed all the stanchions, which were drilled on the bottom and pins glued in for accurate positioning and strength. I worked my way forward adding bits and pieces. The whole quarter deck rail was built off the ship because all the pieces were 90 degrees and easy to square up. I also tried out a new glue: Aleene's Tacky Glue. Anyone here have some reviews on it? My big concern is longevity. I enjoyed fitting the channels but was really amazed at how I managed to clamp them: chopsticks across the bulwarks with elastic bands slung under the hull hooked on each outboard end. I was able to control the pressure perfectly without pushing the channels out of position or out of square. (Sorry, no photo). Dear Artesania Latina, The capstan is a nice touch, but it would have been much easier to install BEFORE the quarter deck was in place. Furthermore, it will never be seen again - so why bother? (And there wasn’t enough brass for the bars) - Gabe
- 59 replies
-
- Santa Maria
- Artesania Latina
-
(and 1 more)
Tagged with:
About us
Modelshipworld - Advancing Ship Modeling through Research
SSL Secured
Your security is important for us so this Website is SSL-Secured
NRG Mailing Address
Nautical Research Guild
237 South Lincoln Street
Westmont IL, 60559-1917
Model Ship World ® and the MSW logo are Registered Trademarks, and belong to the Nautical Research Guild (United States Patent and Trademark Office: No. 6,929,264 & No. 6,929,274, registered Dec. 20, 2022)
Helpful Links
About the NRG
If you enjoy building ship models that are historically accurate as well as beautiful, then The Nautical Research Guild (NRG) is just right for you.
The Guild is a non-profit educational organization whose mission is to “Advance Ship Modeling Through Research”. We provide support to our members in their efforts to raise the quality of their model ships.
The Nautical Research Guild has published our world-renowned quarterly magazine, The Nautical Research Journal, since 1955. The pages of the Journal are full of articles by accomplished ship modelers who show you how they create those exquisite details on their models, and by maritime historians who show you the correct details to build. The Journal is available in both print and digital editions. Go to the NRG web site (www.thenrg.org) to download a complimentary digital copy of the Journal. The NRG also publishes plan sets, books and compilations of back issues of the Journal and the former Ships in Scale and Model Ship Builder magazines.


