

P.Raveneau
-
Posts
15 -
Joined
-
Last visited
Content Type
Profiles
Forums
Gallery
Events
Posts posted by P.Raveneau
-
-
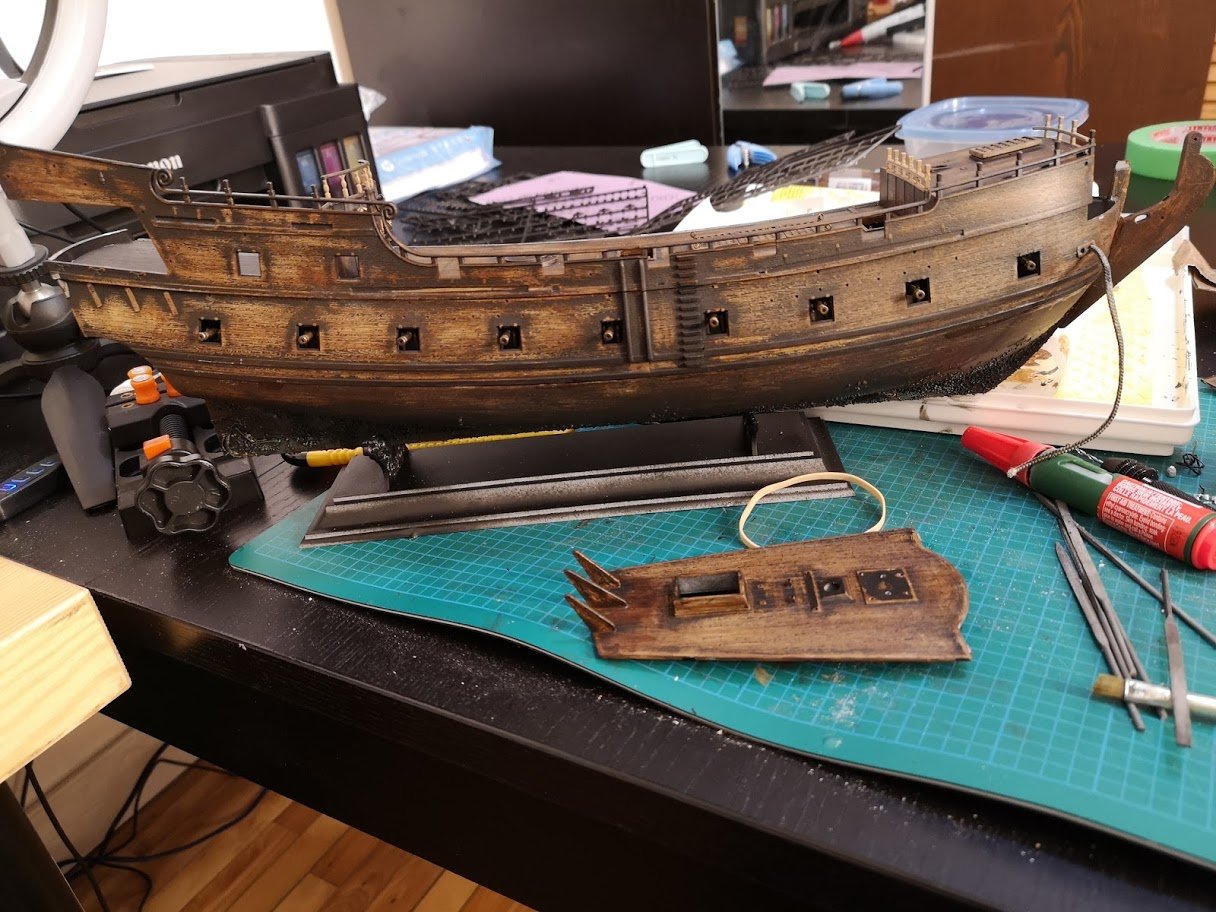
Haven't posted in quite a while , been a busy last few weeks , but progress was made
")
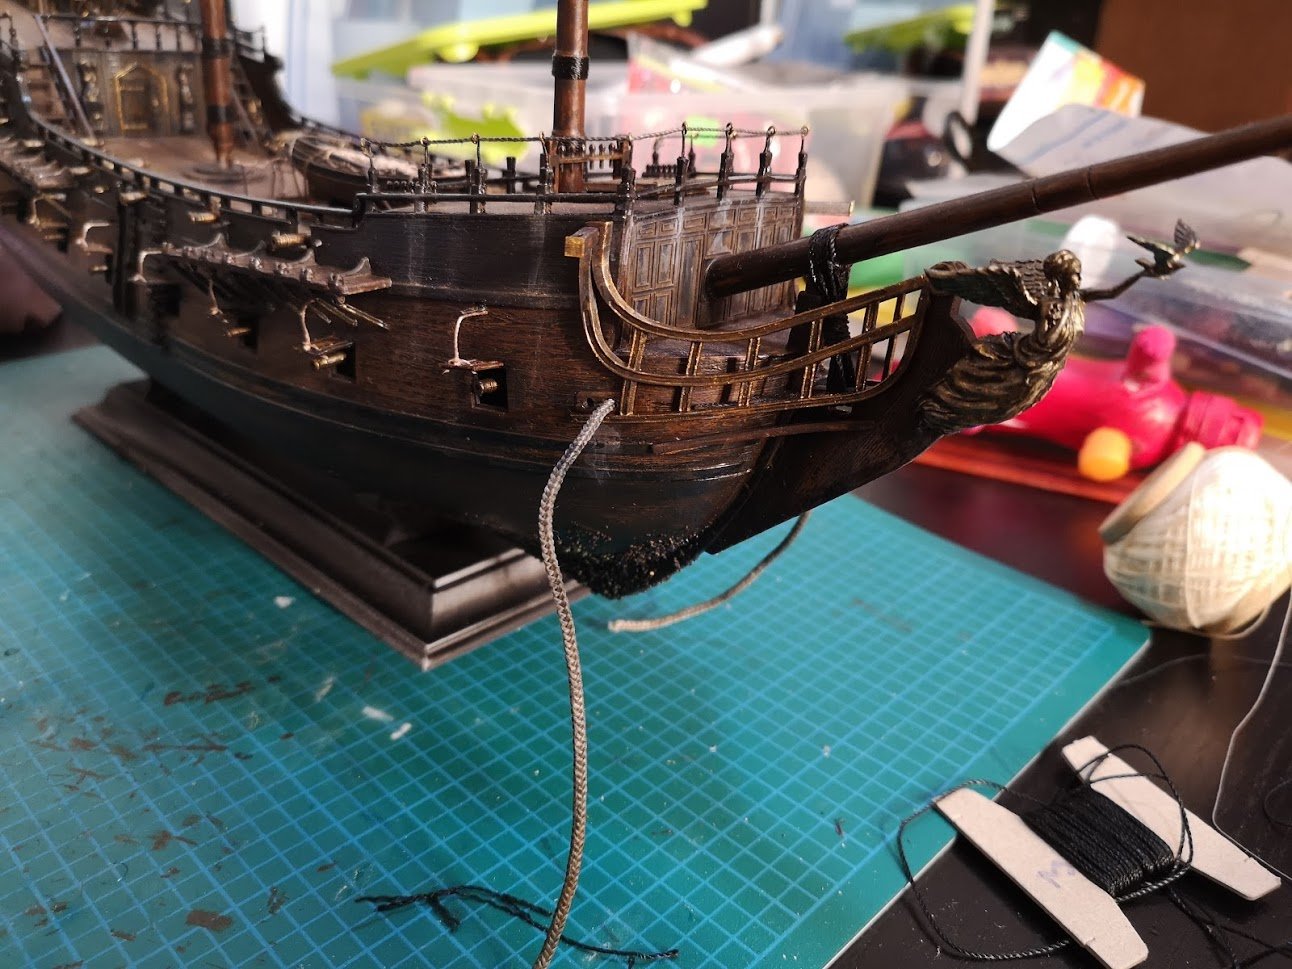
Front of the ship
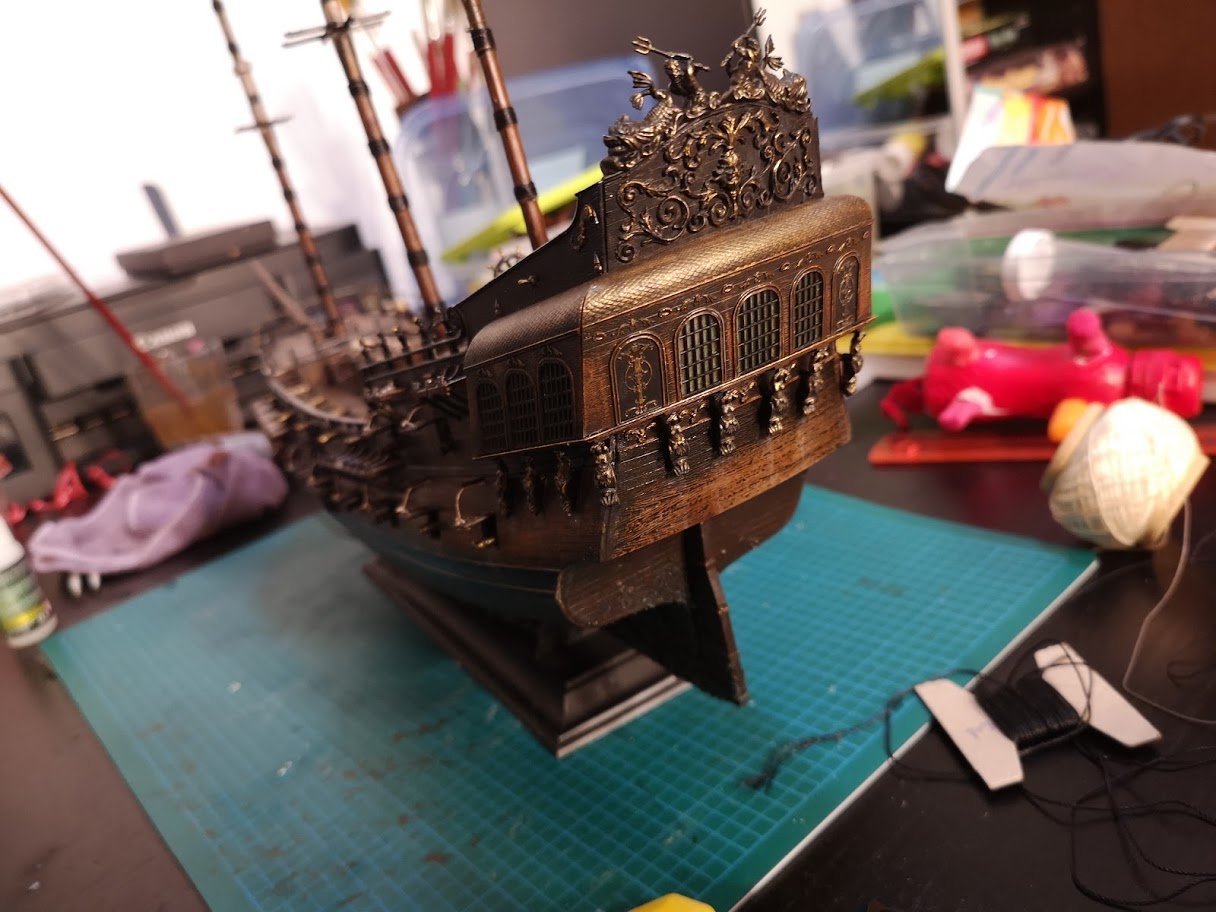
back figures
Did all the canons port holes traps ( tedious)
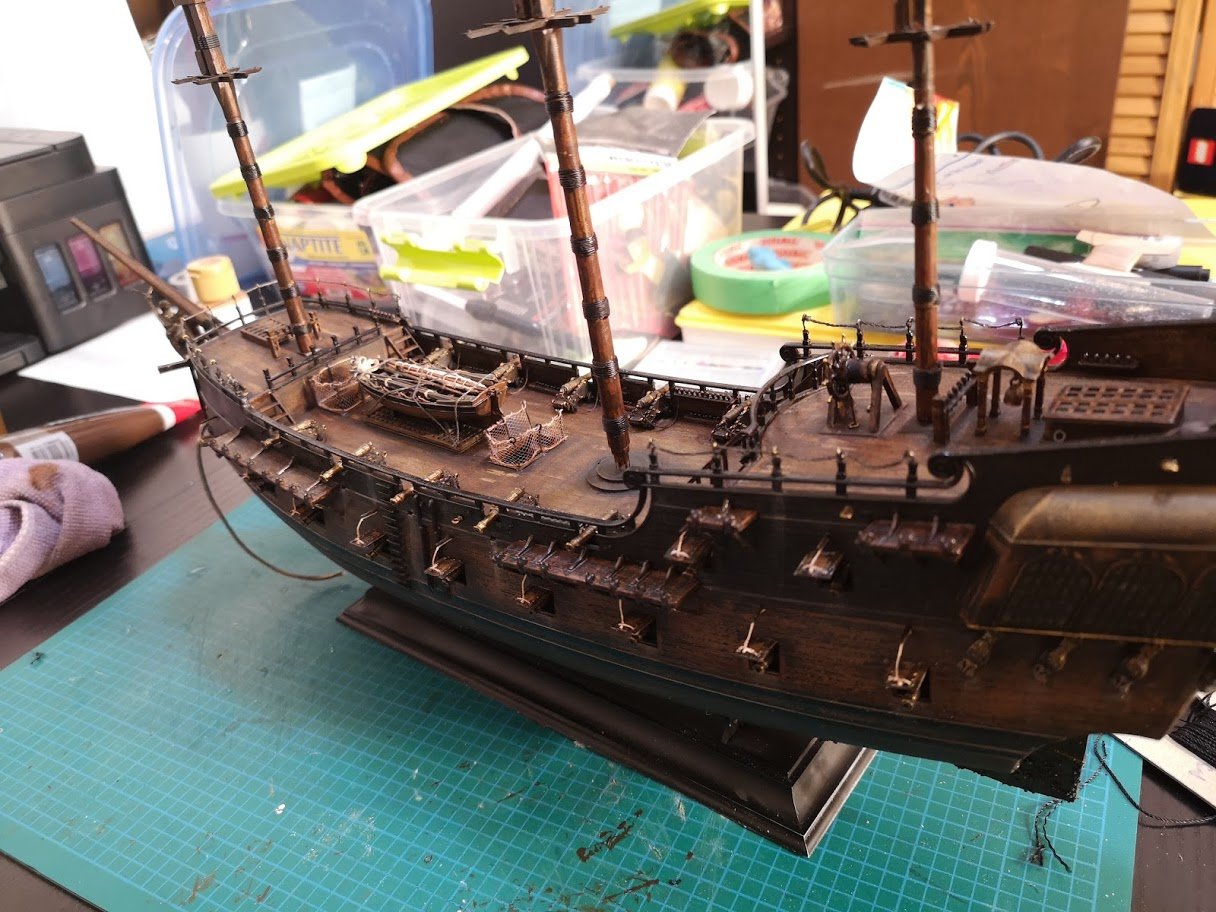
And dry fit the masts
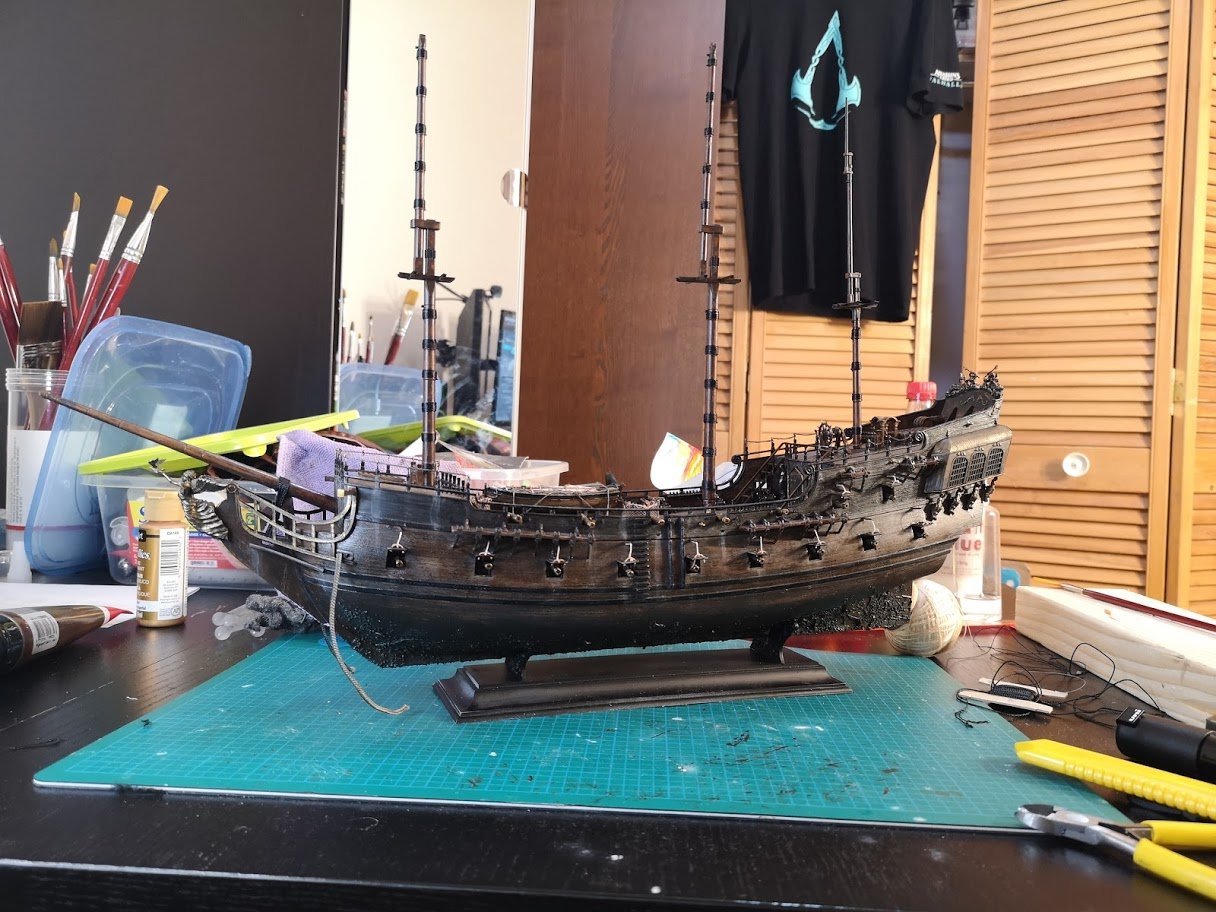
I redid all the ropes around the masts , it was a learning process to get clean ones , wish i could go back in time to redo the first ones sob* still , better than the plastic ones
Best
- GrandpaPhil, Ryland Craze, lmagna and 2 others
-
 5
5
-
23 minutes ago, Old Collingwood said:
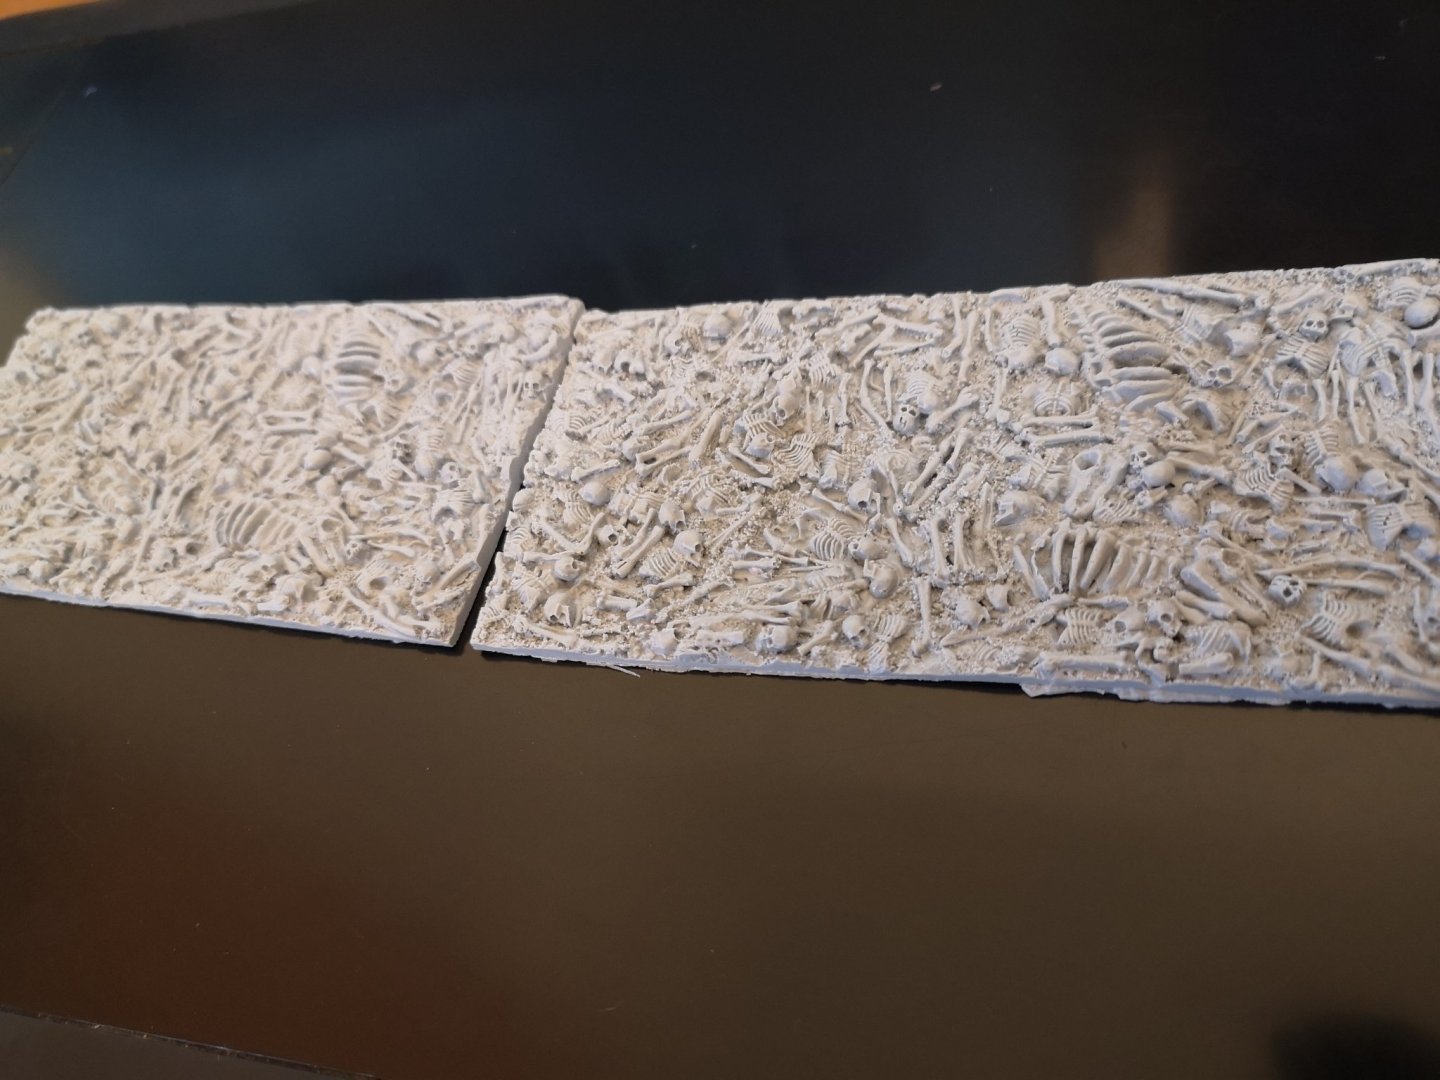
That will look Superb with washes and highlighting to bring the bones out - could you not remove the base from the bottom of the Pearl and use the Two legs pushed into Two gaps on the above skeleton bases - it would look Amazing (Totally like Nothing else that anyone has done) keep up the great work.
OC.
That's more or less the goal but the skull and bones base is too flimsy to hold anything , it was made to be snapped and cut , so pretty fragile overall.
The 2 support legs, i probably will do custom ones , that i will send to some friends owning 3d printer .Here is more or less what i am thinking off .
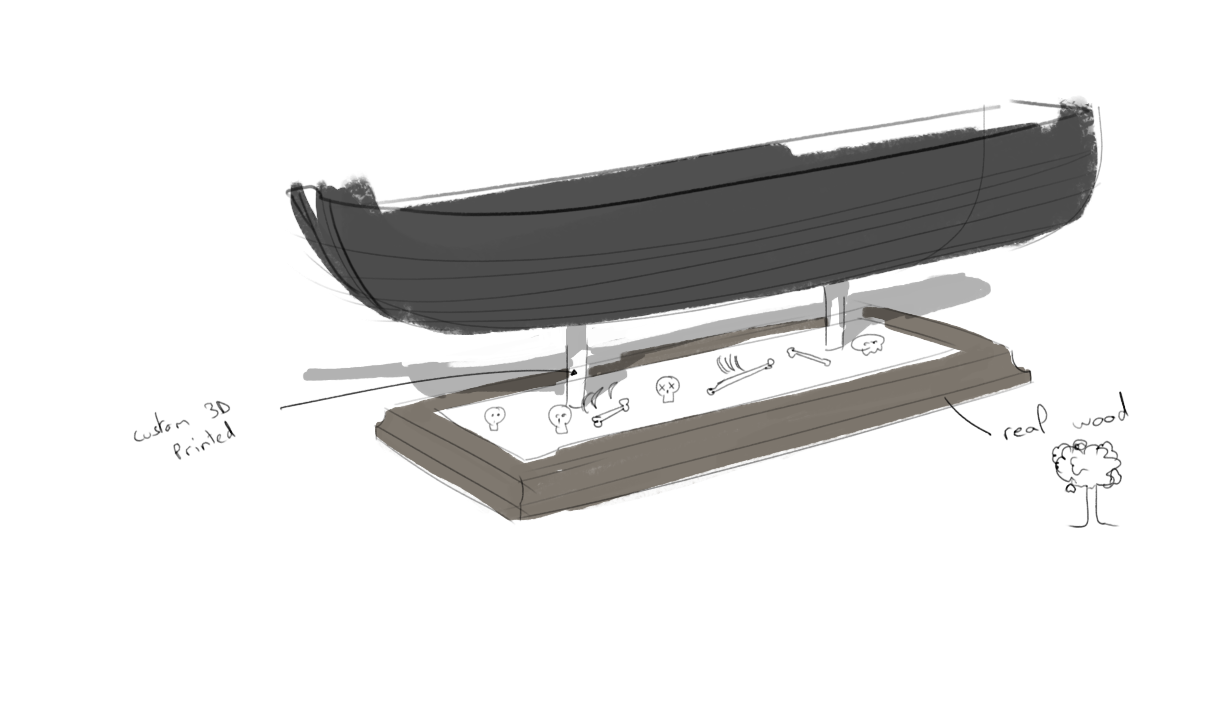
I probably will end up buying a wood base and trying to dig a place to install those skull and bones plates .
I am not looking too much into it for now , still thinking for different ways of doing it , but it's useful to get external inputs on it thank you !
- lmagna and Old Collingwood
-
2
-
12 minutes ago, Old Collingwood said:
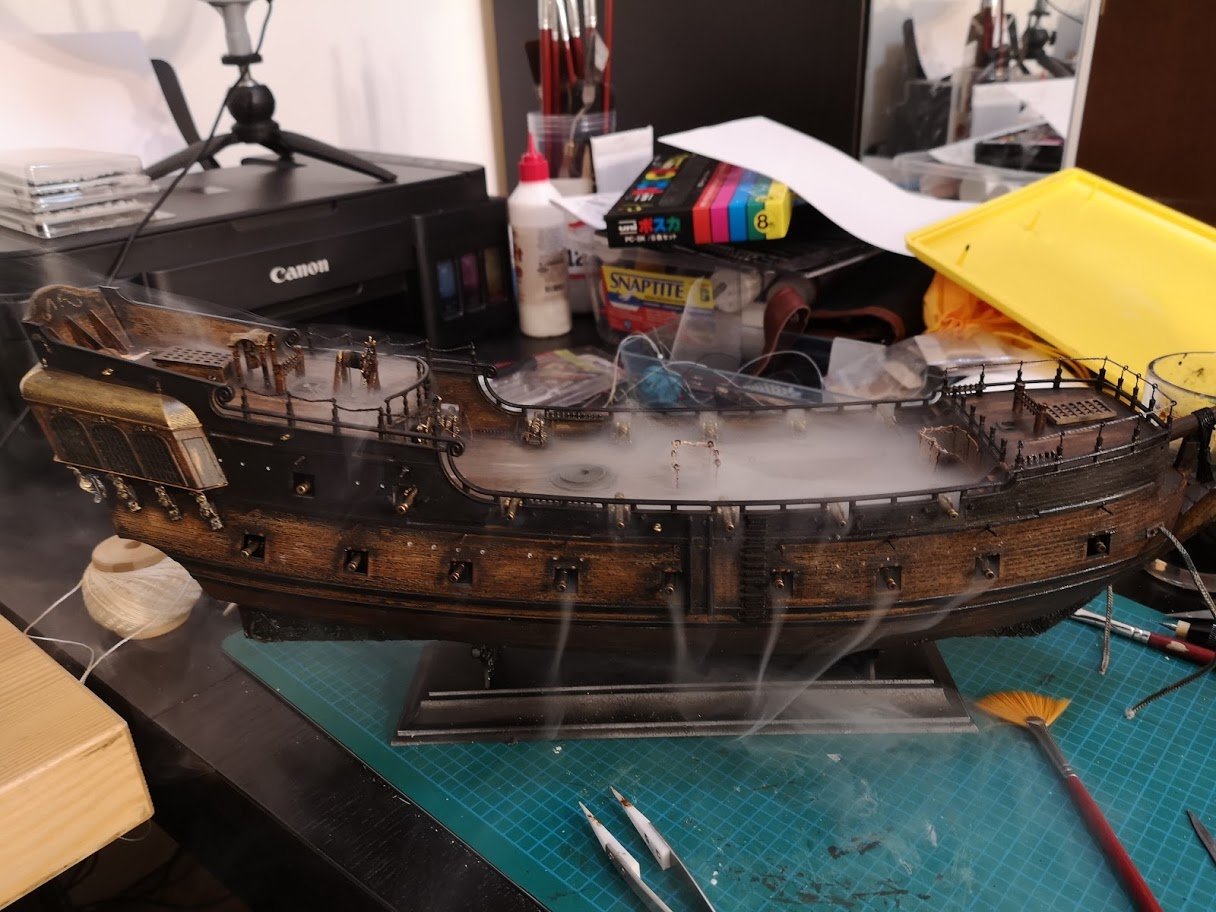
Looking very very nice - and how you have done the mist is Amazing, you should put some pirate figures on aswel.😉
OC.
Thanks a lot OC, i have no plan to add figurines for now, i found those lacking details at this scale but i do have plans for a new base using those embedded into it.
Still thinking on how to build it with my limited tools.
- GrandpaPhil and lmagna
-
2
-
13 hours ago, Old Collingwood said:
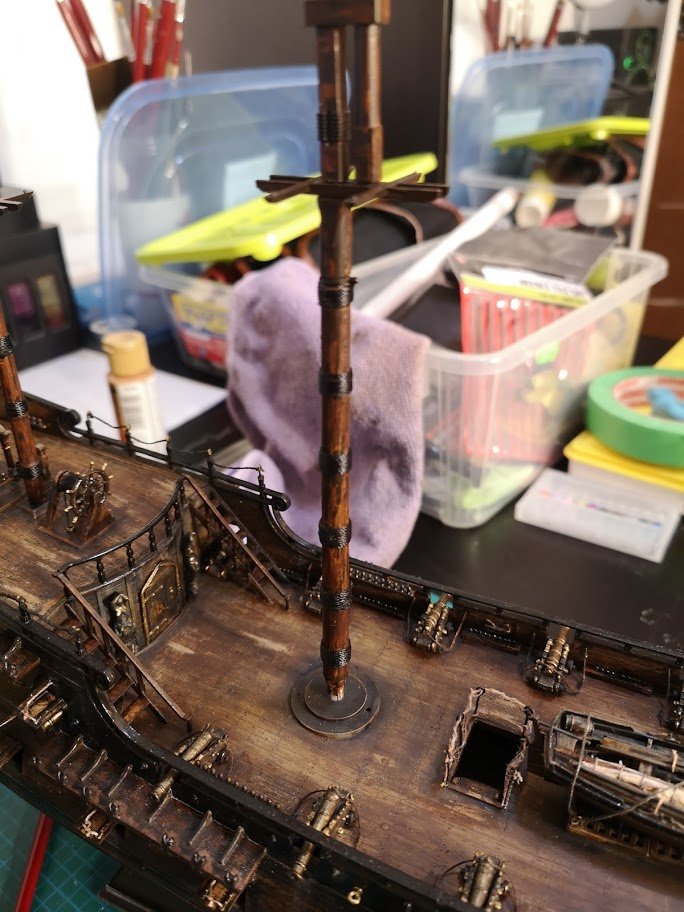
Have you any wood stock - dowels? I shaped some to go inside the plastic masts and even made the masts yard arms out of wood, to help the strength for when the ropes go on.
OC.
I may have some wood sticks ( BBQ , dollar store stuff) .
That is actually a good idea , i have not remove the mast from the sprues but i can totally imagine those being flimsy so yep i will totally see into it , thanks as usual :).Last night progress
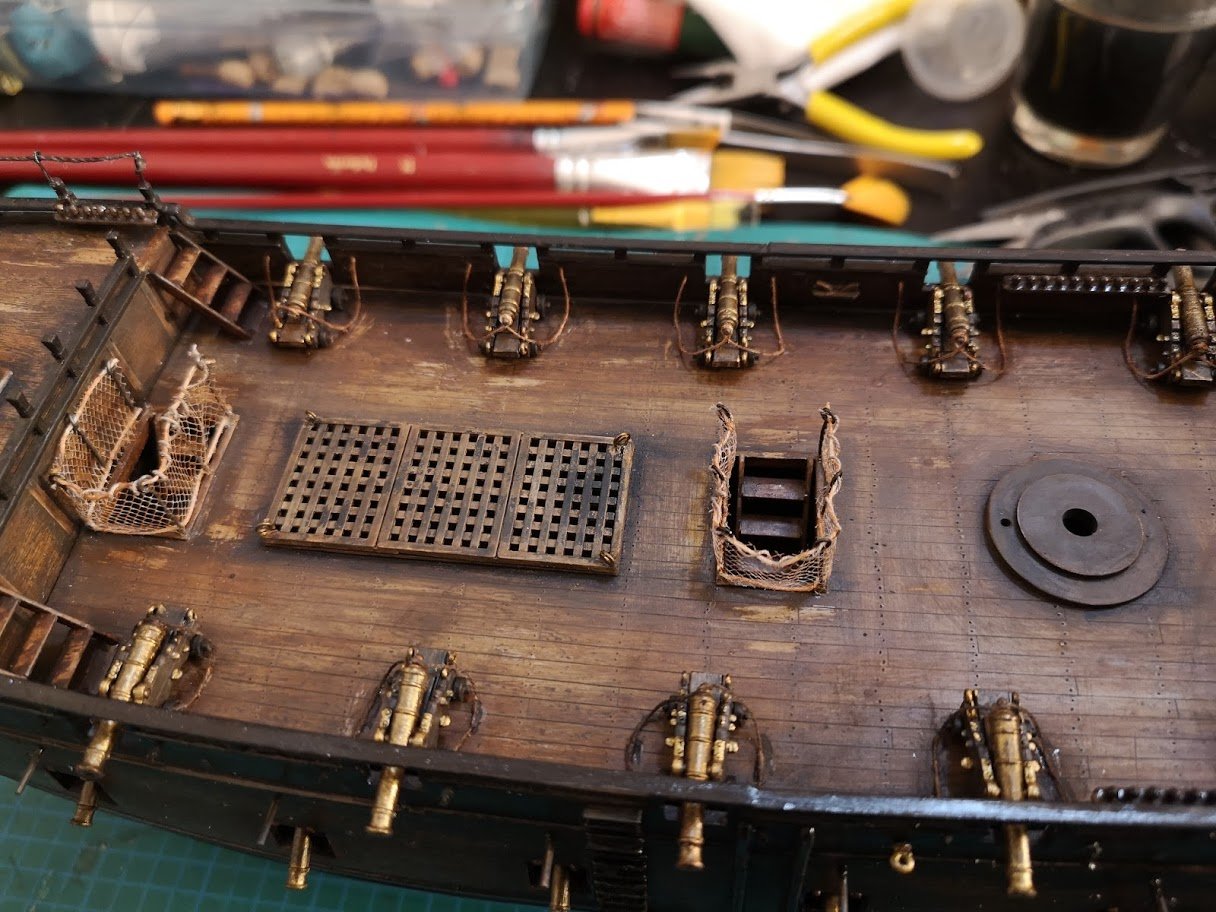
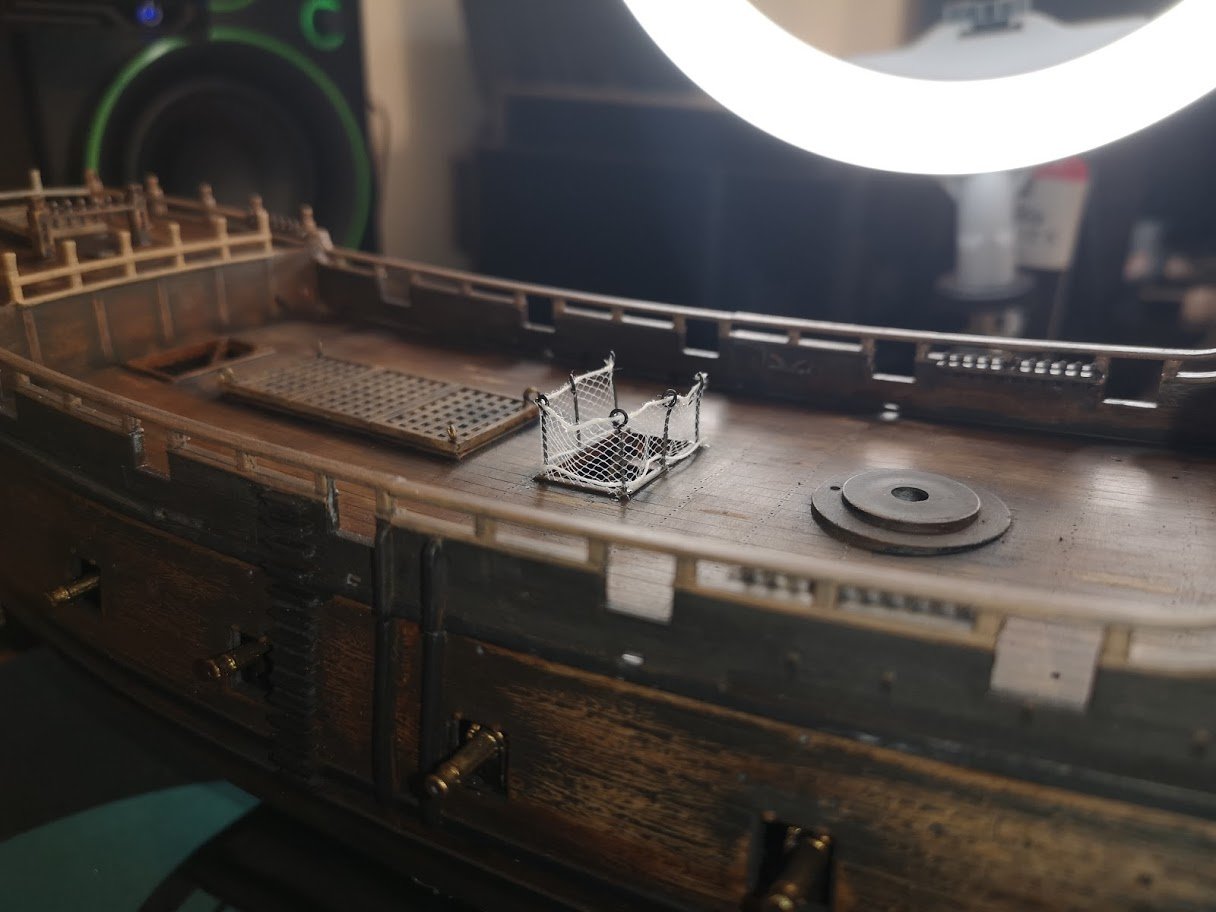
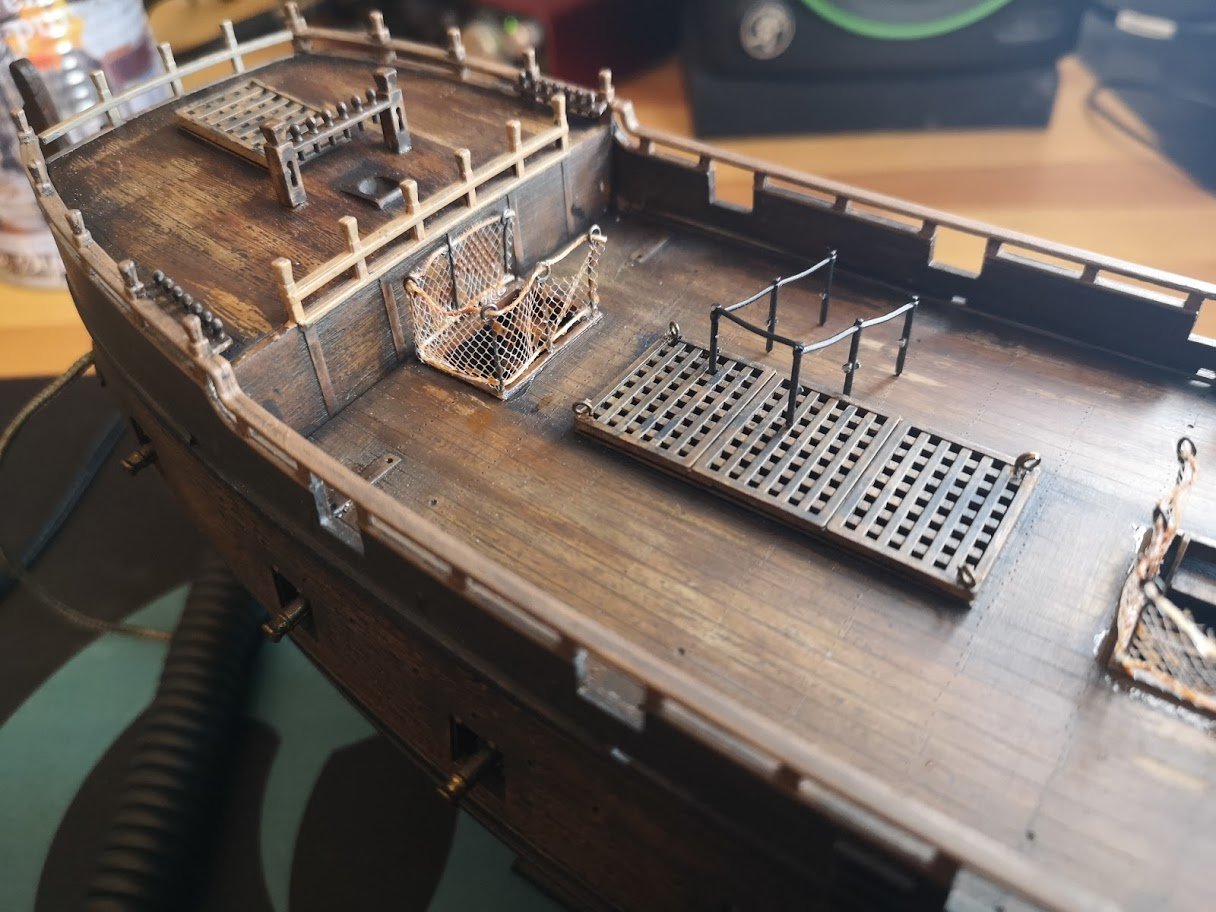
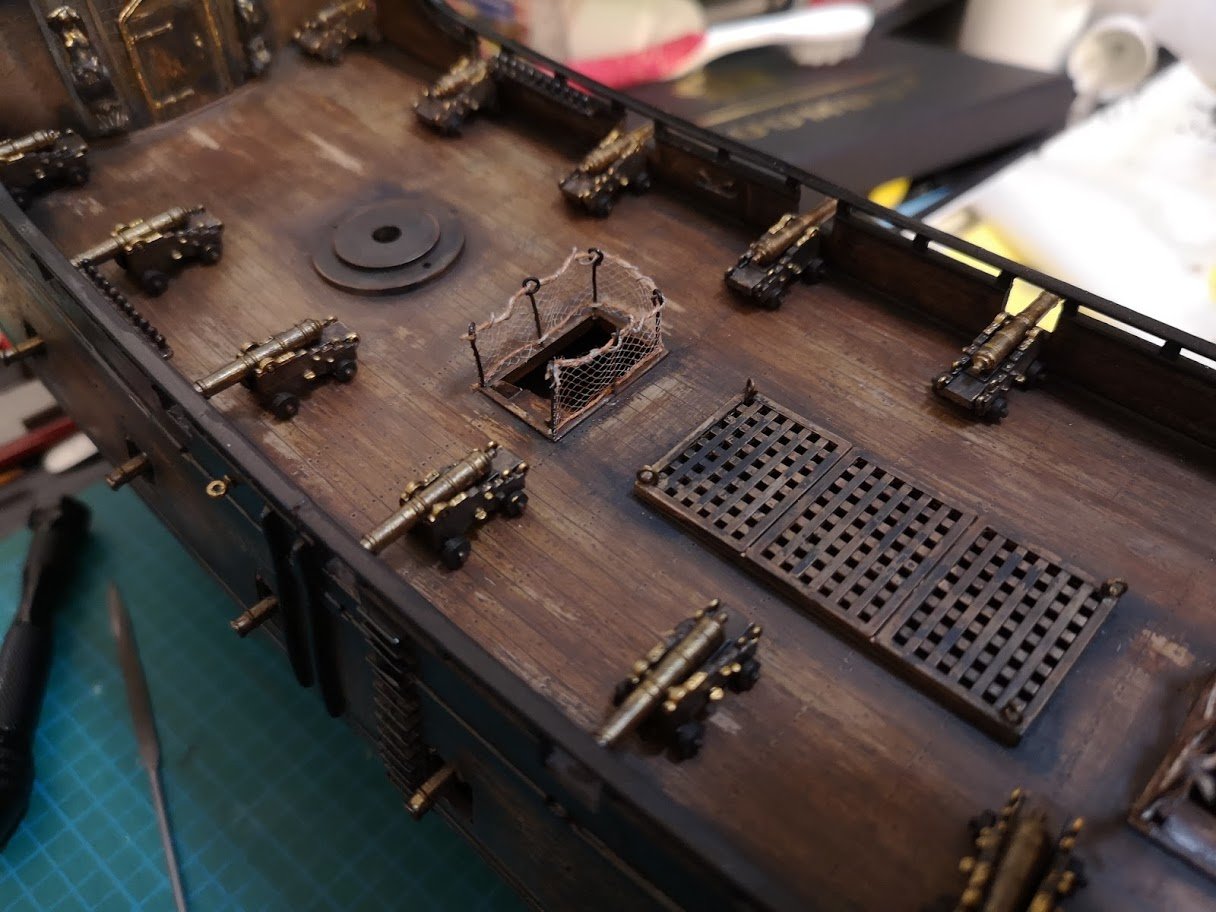
finally find out a way to do canon racks , popsicles sticks yay !!
the steps from popsicles to canonball rack
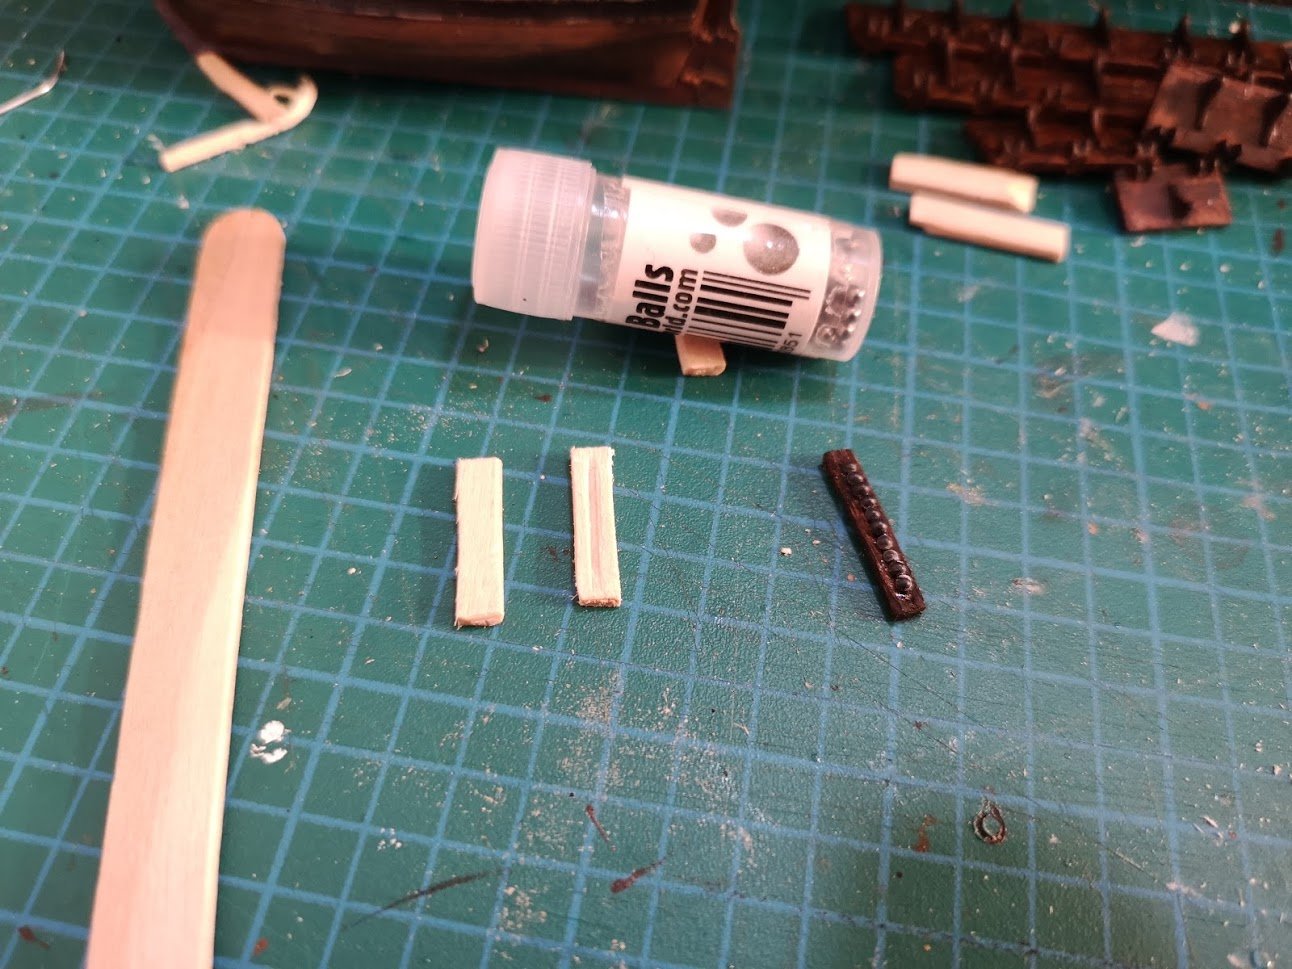
end result
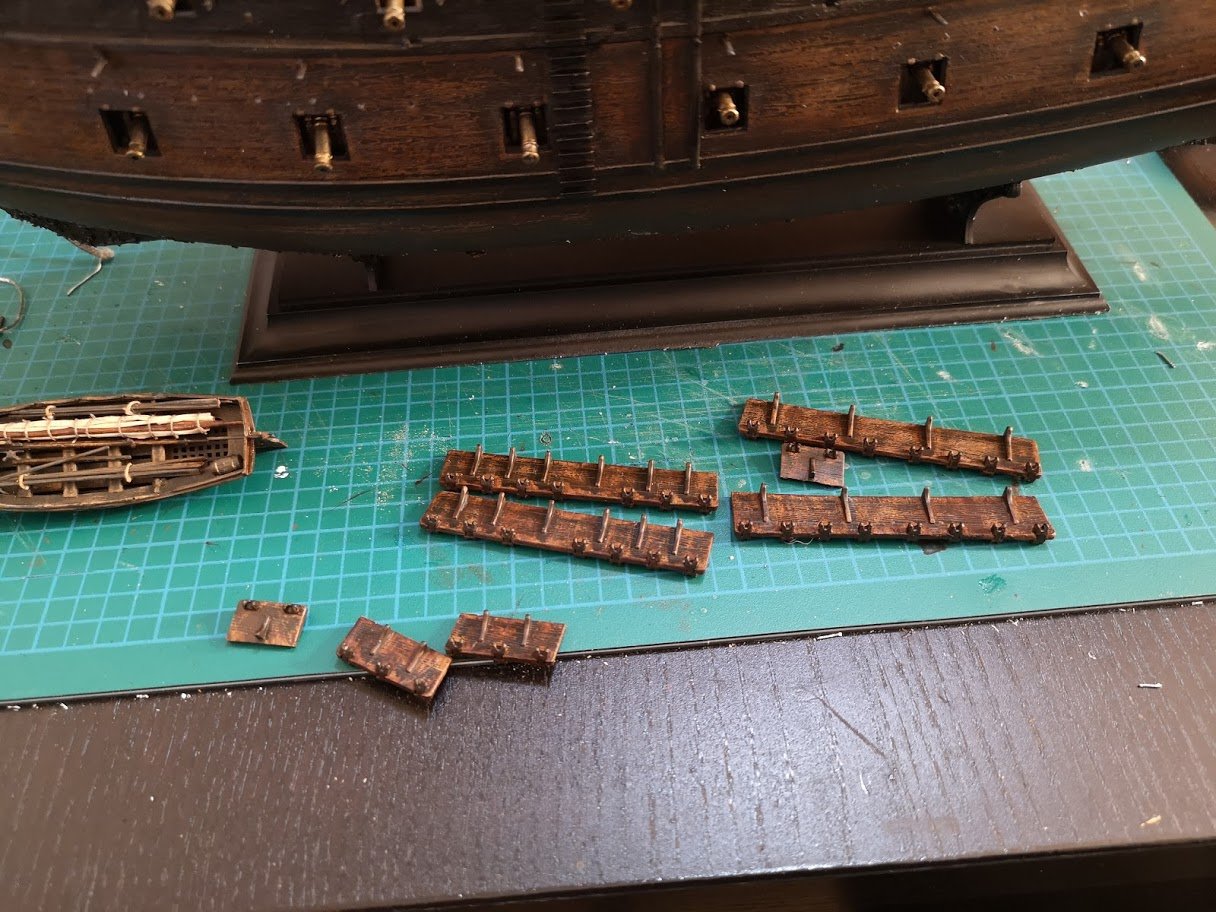
Installed the chain-whales/channels
( feels good to put some legit words )
Also don't mind the mess hehe
and that is it
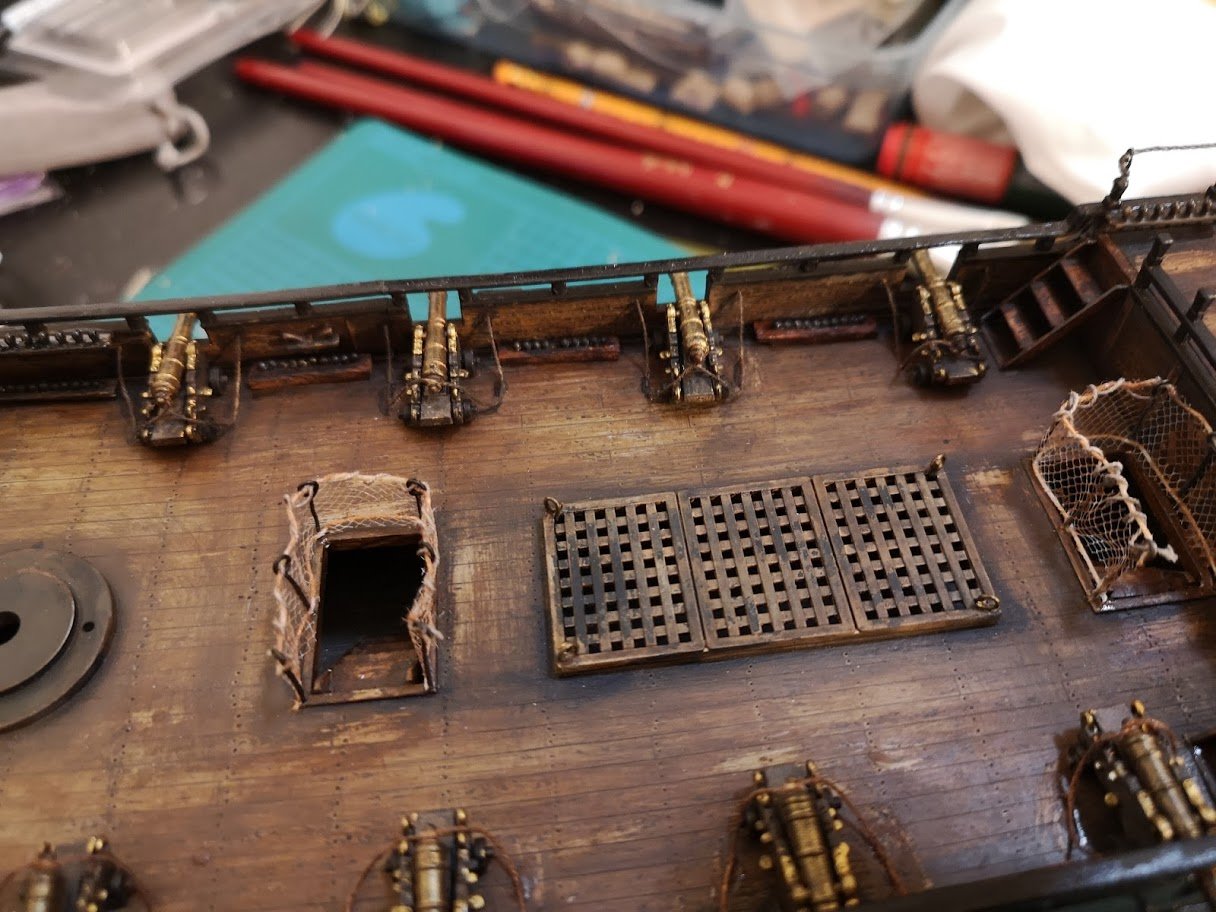
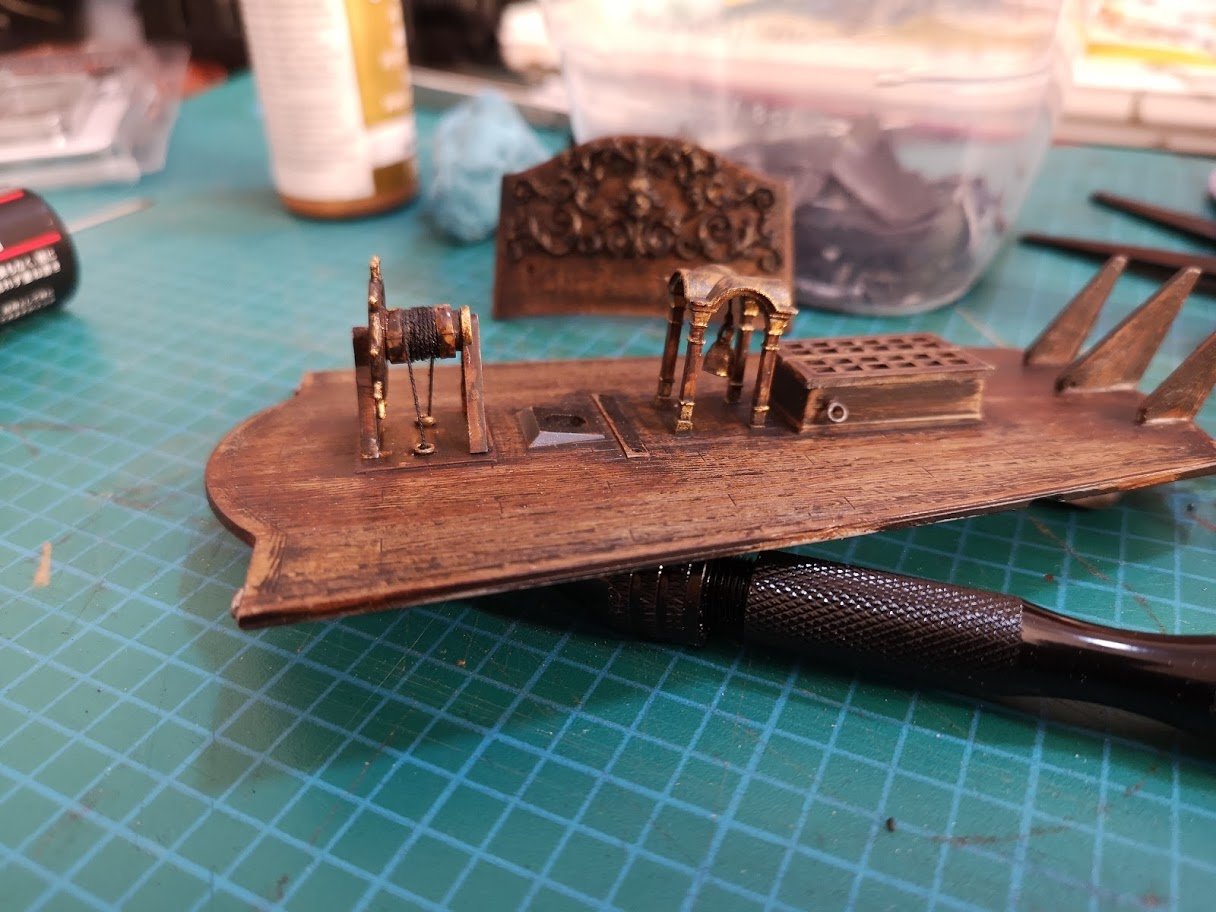
Bonus: spooky deck

-
36 minutes ago, Jeff T said:
They are called channels or chain-wales.
Looking great 👍🏻!
excellent , i need to improve my vocabulary so don't hesitate to correct me or tell me the proper term if you see that i could use it somewhere .
Omg the thing i was calling the pilot deck is in fact called the poop deck😱 ... the more you learn 😁 -
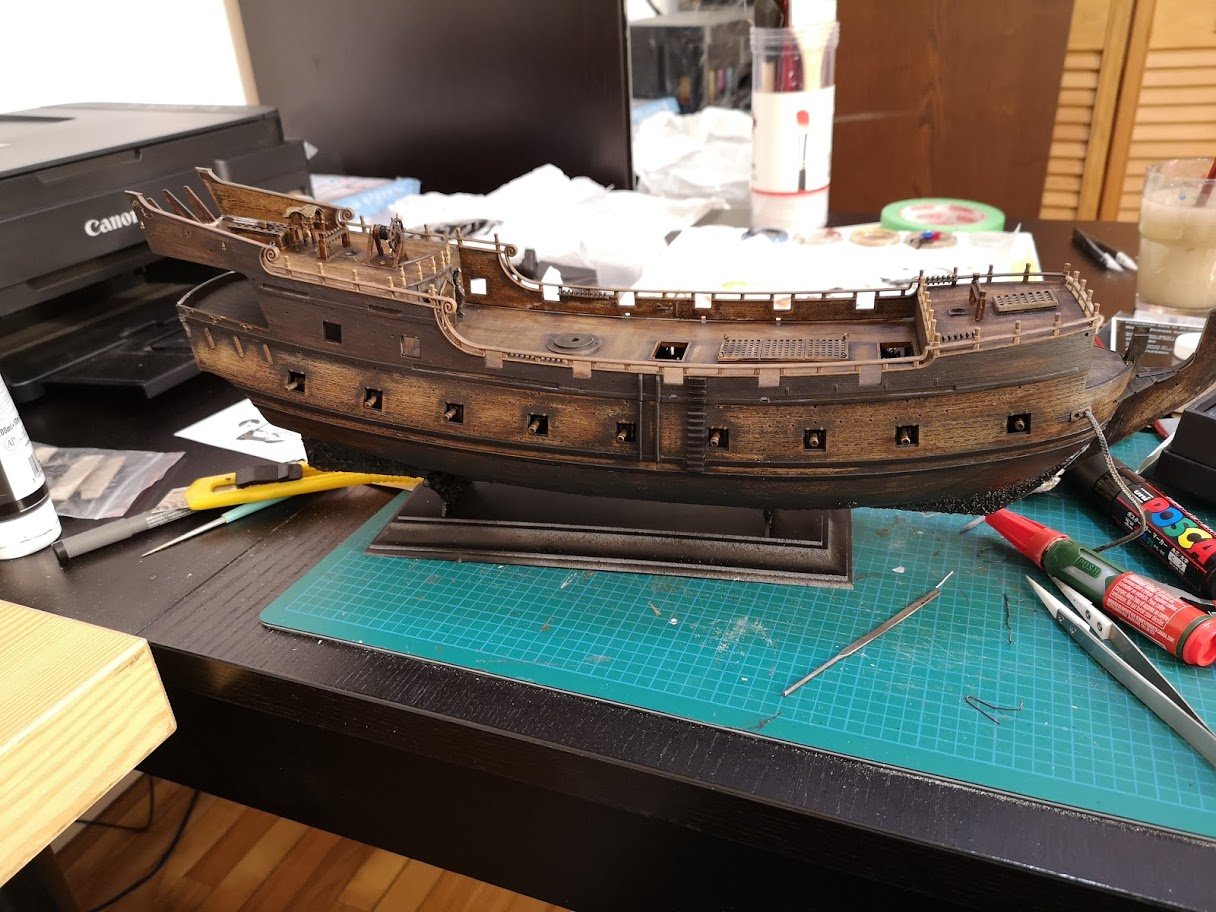
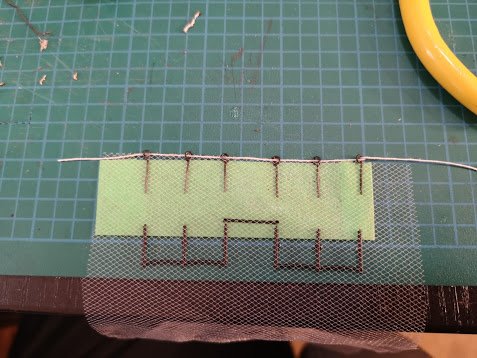
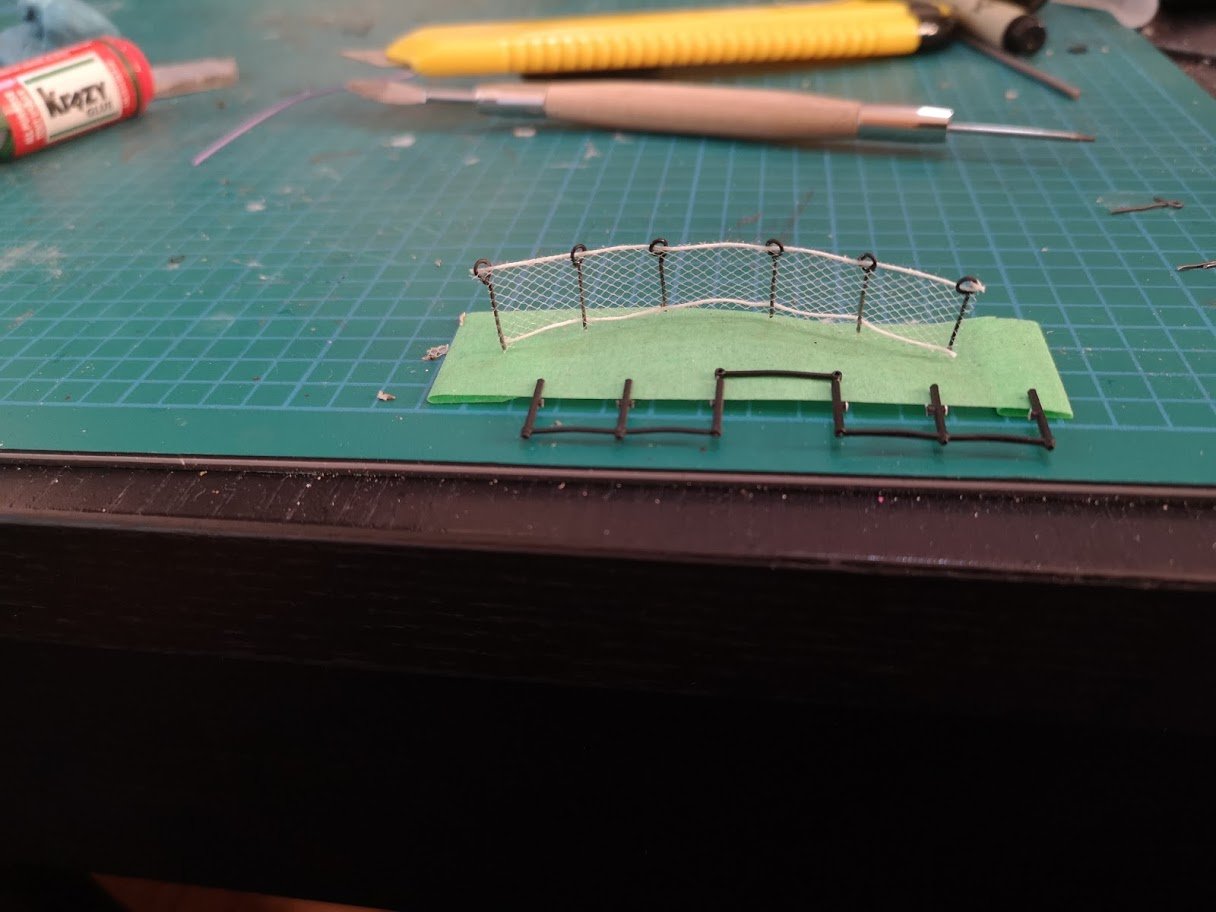
result of 2-3 nights
I built and painted the ratlines base ( not sure about the name )
Rigged the canons to the boat, doing what sir @Old Collingwood did on his own rig because that was easier and better looking ( thank you )
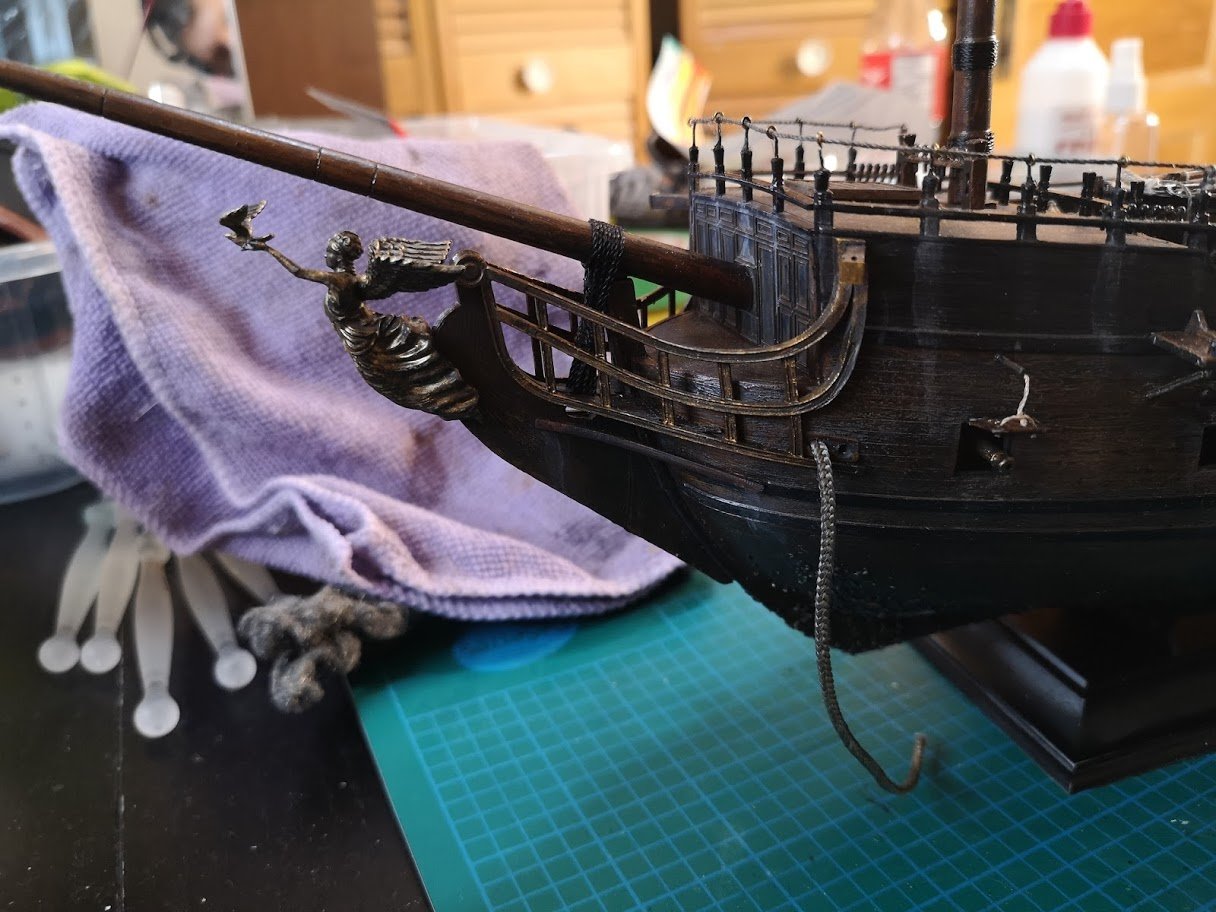
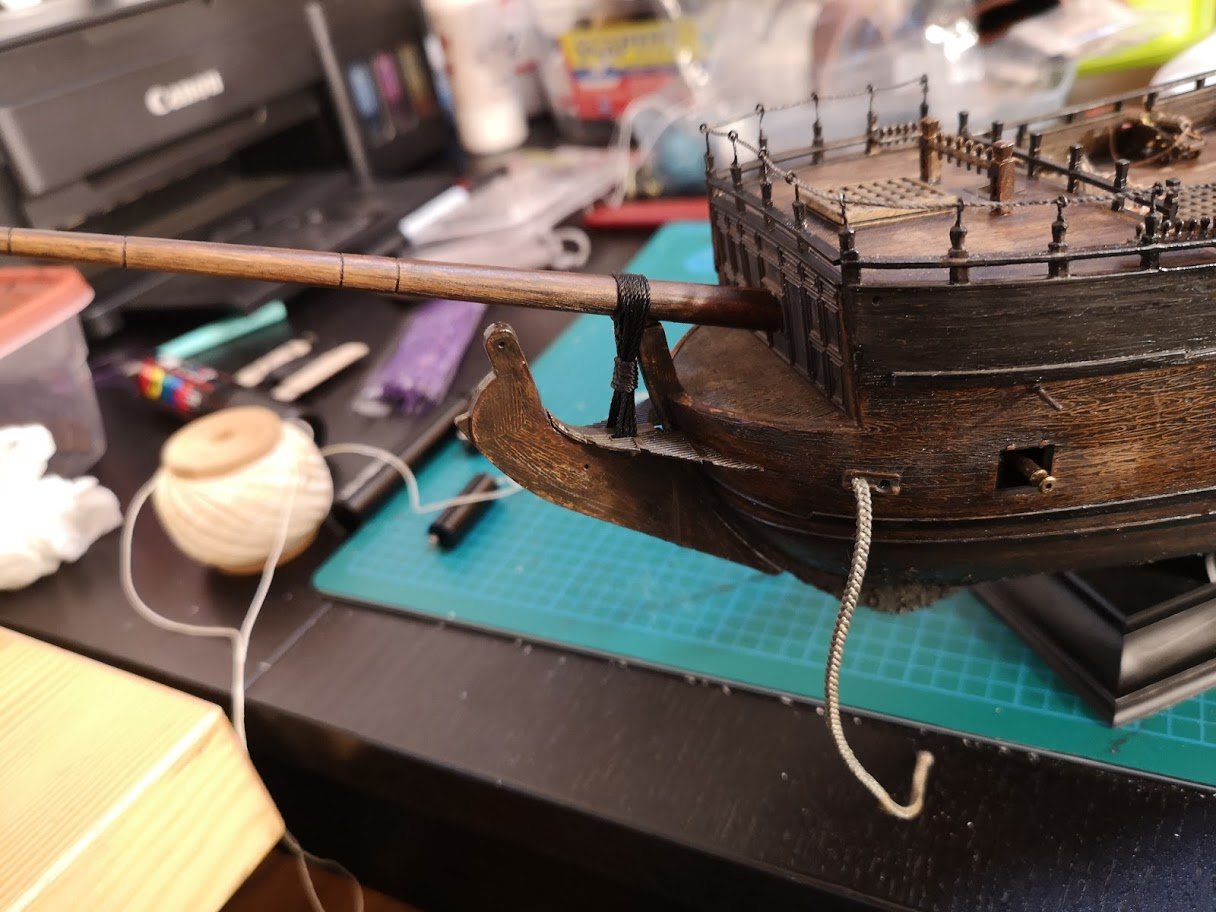
I did the Gammoning as best as i could .
And added rope handrail on the front deck and pilot deck
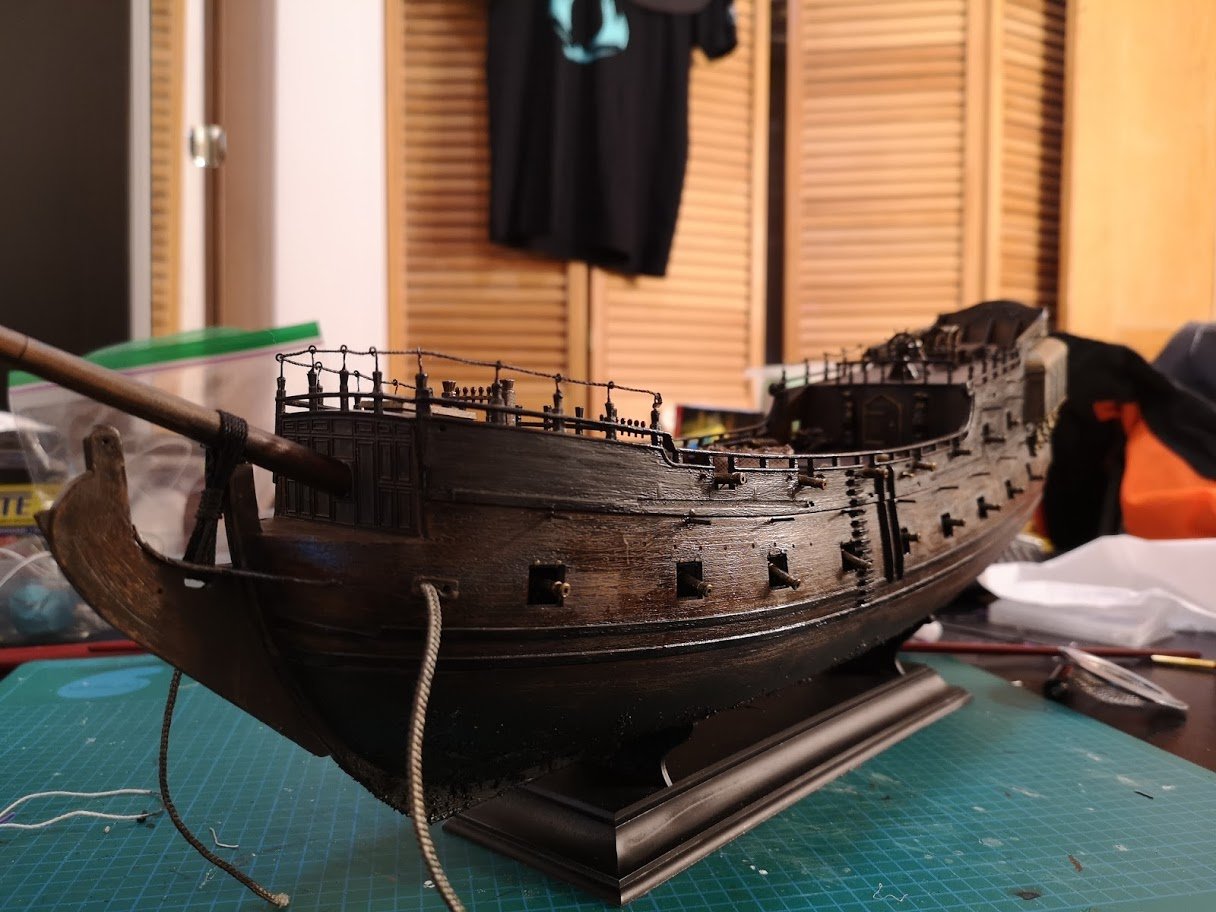
next will be finding a easy way to build a rack for the canon balls .
-
19 hours ago, lmagna said:
Paint is a building skill as well PR.
Your painting is truly top notch! Using only the pictures it is hard to tell that the model you are building is not wood, a sometimes difficult effect to achieve.
Thanks for fixing the pictures. It shows that you are building a very impressive model. It is hard to believe you have only been at it for a few weeks.
19 hours ago, Old Collingwood said:Well said Lou, its a hard kit to make look realistic and needs work to get there, but as I found out also a thoroughly enjoyable kit to work on - and good quality also.
OC.
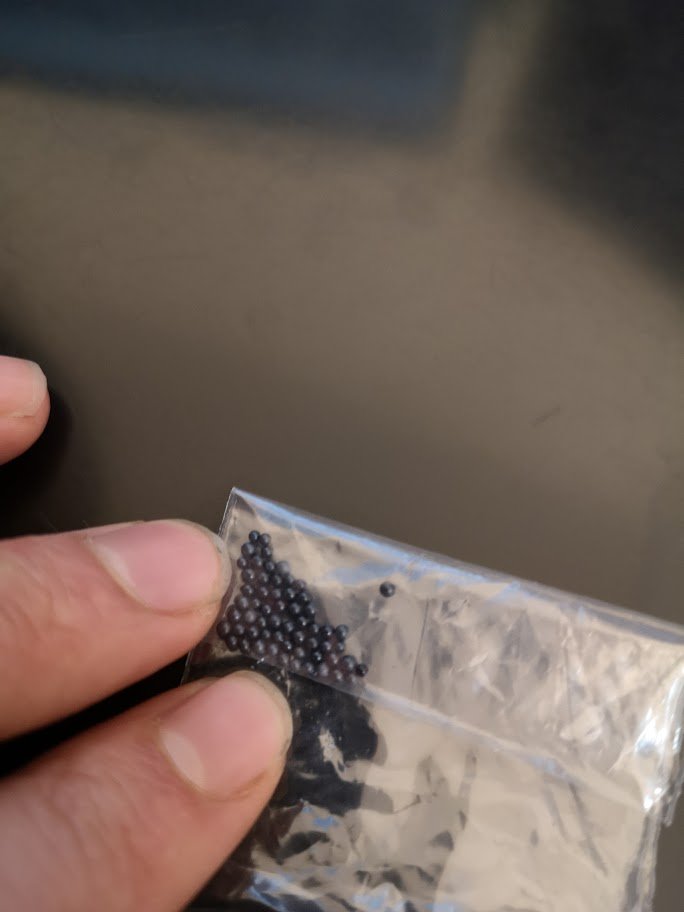
15 hours ago, Jeff T said:I can see your photos now and I would like to congratulate you on a great job (especially for your first sailing ship)! I love the weathering — including the barnacles — and your attention to detail. Bravo!
Thanks a lot guys
i am humbled really, it means a lot thanks !!!
-
3 minutes ago, Ryland Craze said:
Nice work on the weathering. Everything looks so realistic.
Thanks so much , i am trying to make up with paint my lack of building skills haha
-
15 minutes ago, Old Collingwood said:
I also built this for my Admiral - have a look as I did some different things with the build.
OC.
Oh i recognize your build !! seen it before . Such a great custom , i am thinking following your footsteps with the canons ropes as i am not sure i can pull off the small ropes and pulley ( god i miss vocabulary ) originally in the kit ... Also you had the guts to custom the main stairs to the pilot deck , i was thinking on how to bend those but i don't think i will , too scared to break those. I don't have much equipment and certainly none to work with wood sadly ( one day , one day ) . Such an inspiration i will check at your thread once more !
-
13 hours ago, Jeff T said:
The bit of rigging on the bowsprit to which you are pointing in the last picture is called gammoning. Here is a link that has some information on how to do it:
I am not sure of the reason, but all of the other pictures that you placed in your post are not visible to me (they are just blank). What technique did you use to place them in the post (e.g. drag and drop, or copy and paste)? Maybe some of the other people viewing the post can see them?
Thanks so much !!
13 hours ago, Old Collingwood said:I can't see most of them also - just lots of picture code.
OC.
Sorry about that , hope it's fixed now
9 hours ago, lmagna said:Only the last picture came up for me.
Sorry , hopefully it is fixed
1 hour ago, Ryland Craze said:I am having the same problem.
Sorry , hope it's better now .
- Ryland Craze, Jeff T, ccoyle and 1 other
-
4
-
thanks guys , much appreciated
- Ryland Craze and mtaylor
-
2
-
Hi everyone , new newbie here
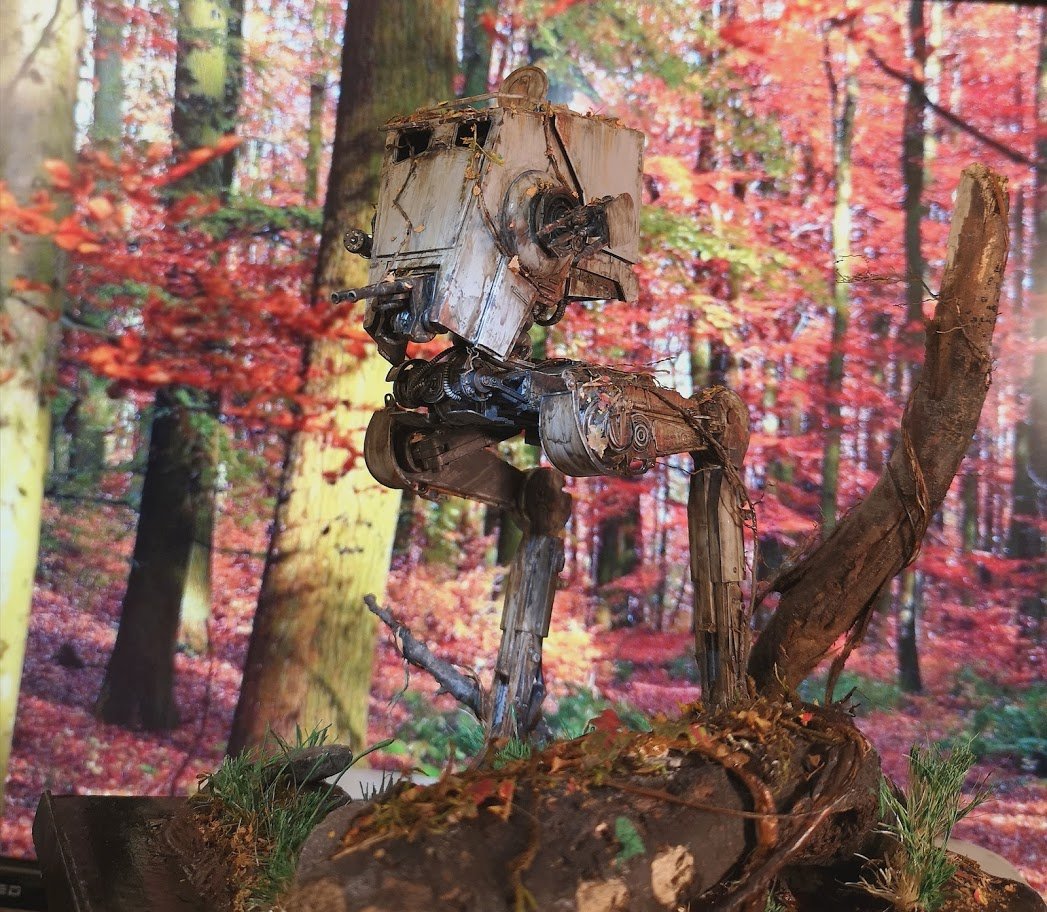
As i mentioned in my introduction , i am pretty new to the hobby , the only model i did was an AT-ST from starwars a year ago .
I really fell in love with tallship during the confinement and wanted to give it a try .
Most videos , and ressources i checked were about wooden ship , and , i know myself , i would give up at planking , also i don't have the proper space and tool for that .
So i decided to start slow and take a plastic model .
So far so good , i am liking it , and who know one day i may find the courage to get into wooden build
So i am a bit advanced in the project , that is when i realize i may need advice and help in the futur .
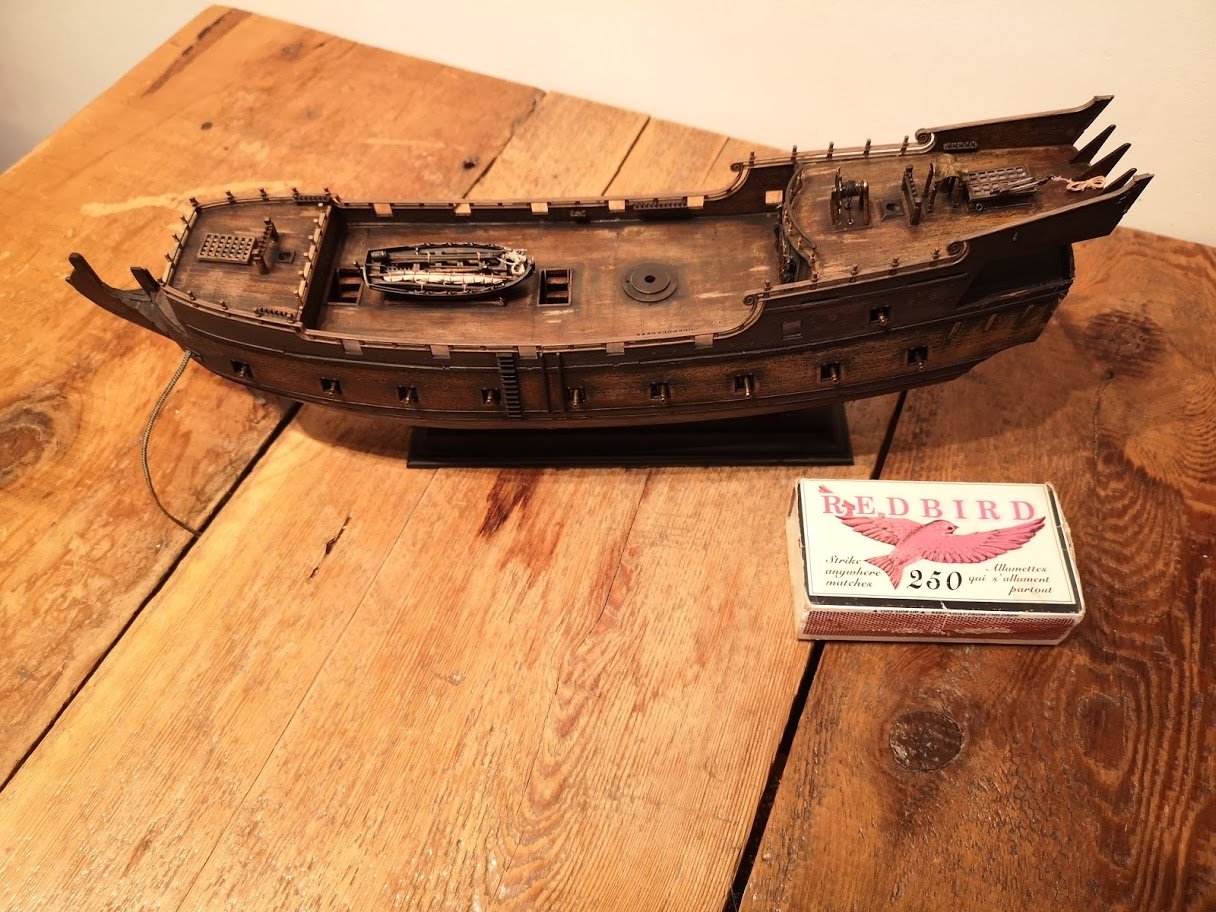
Anyway , here is a retrospective on my build so far
( sorry for the lack of ship vocabulary , i am learning little by little)
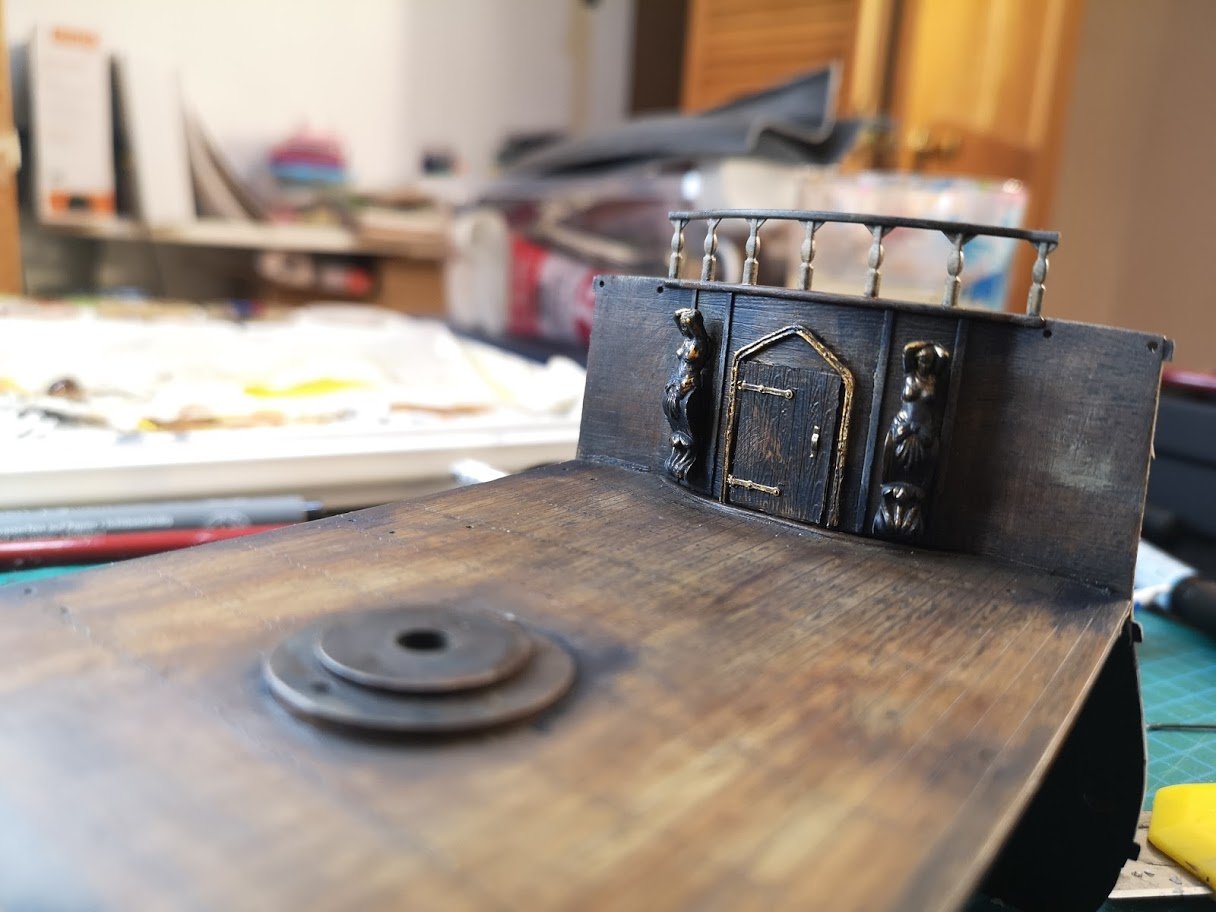
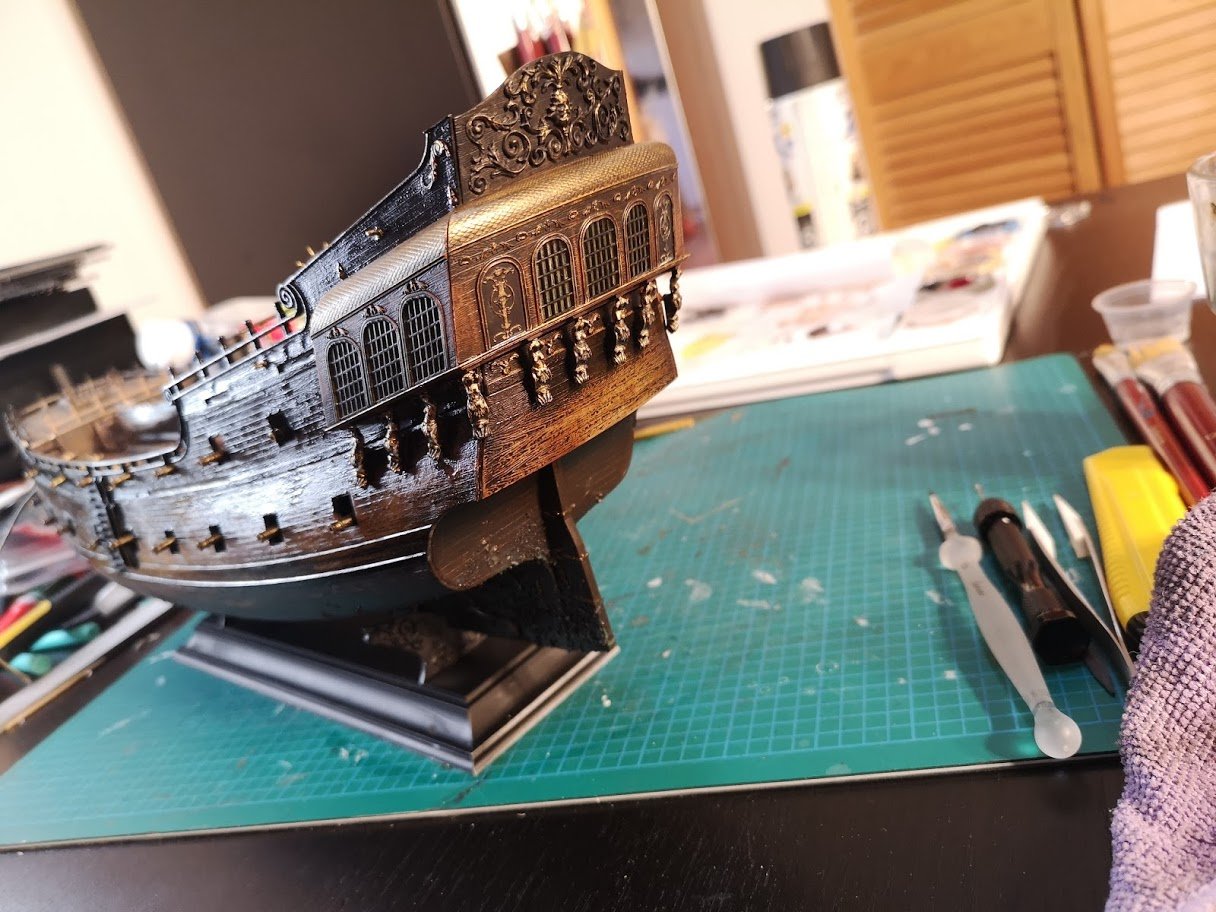
1: my first thing was to take the statues from the base and stick those on the side of the captain door , to get a bit closer to the original look ( and also because the vanilla model was boring) also doing a frame to the door with some metal wire
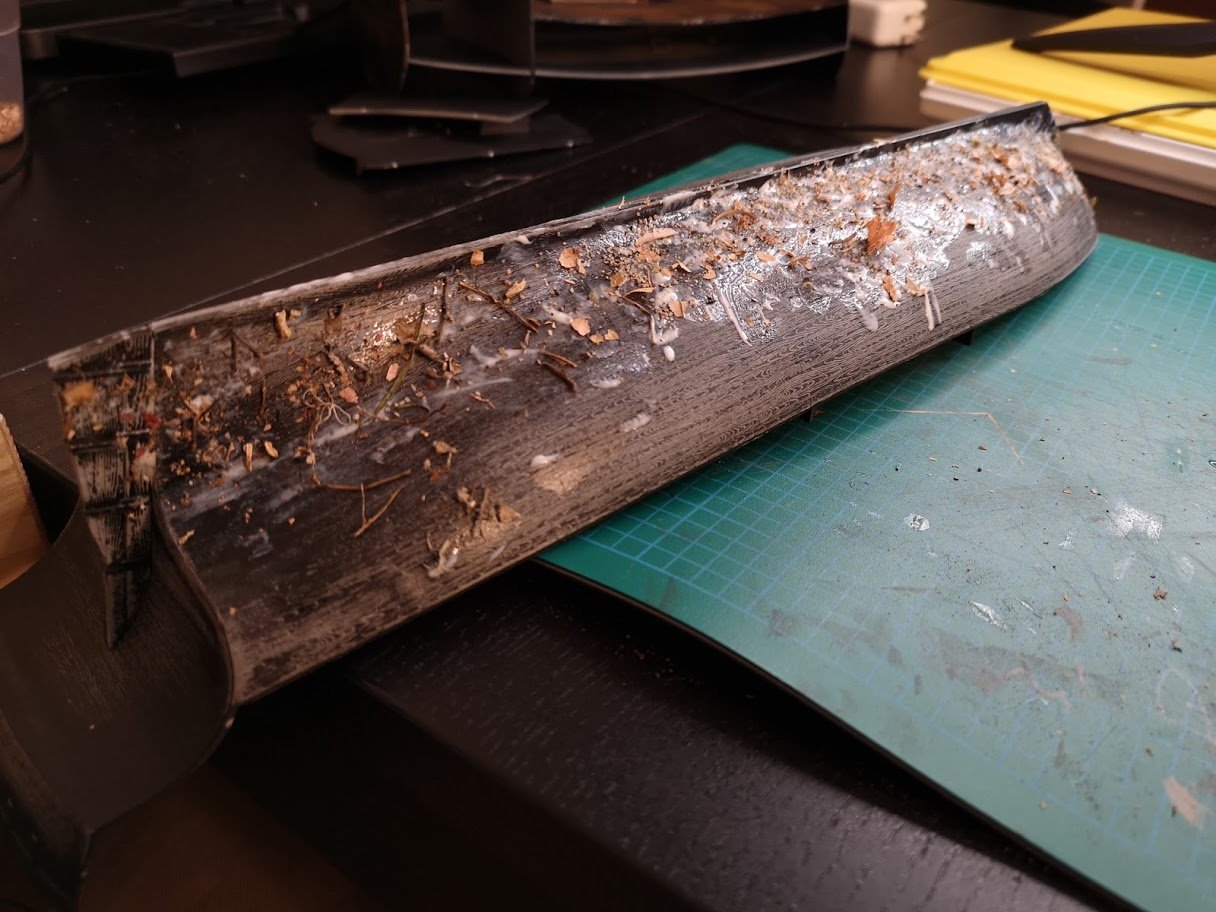
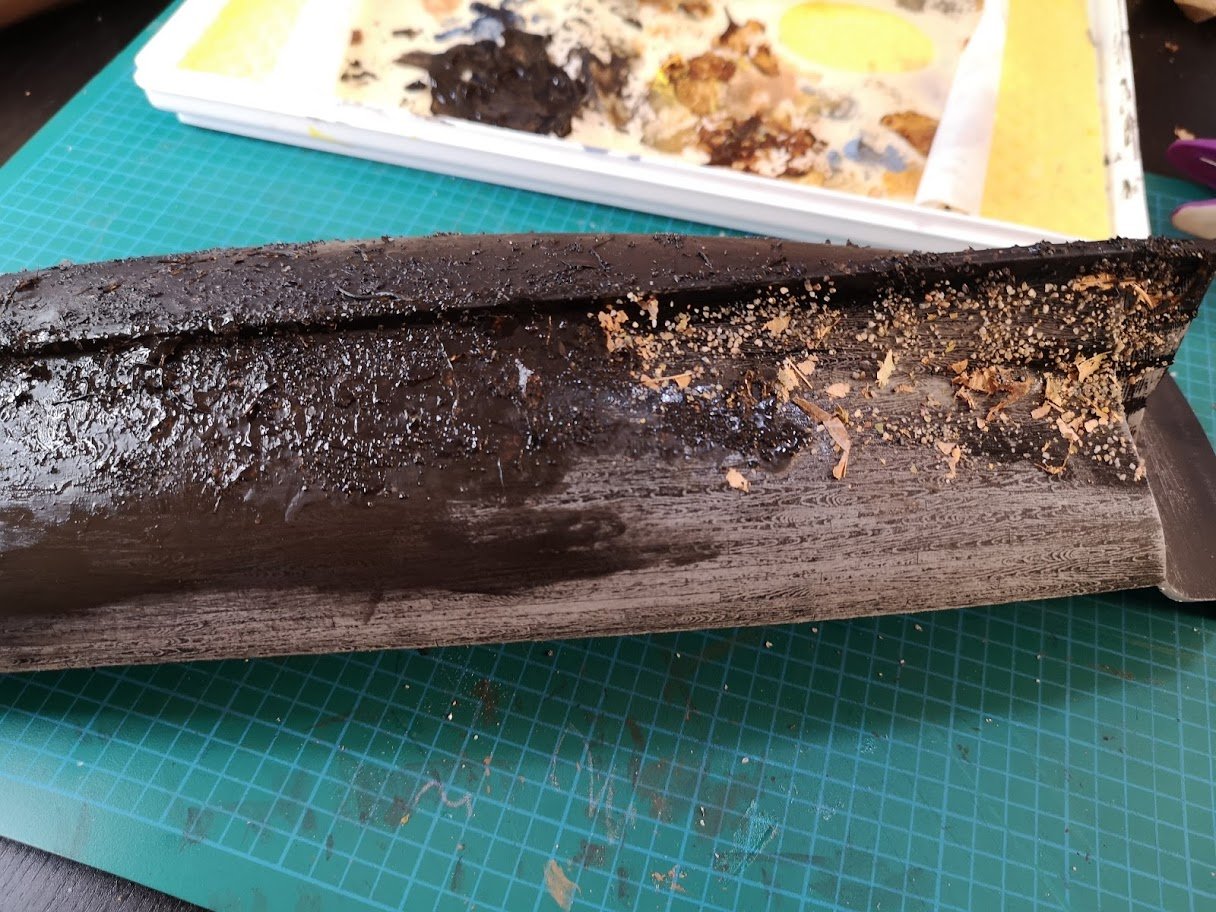
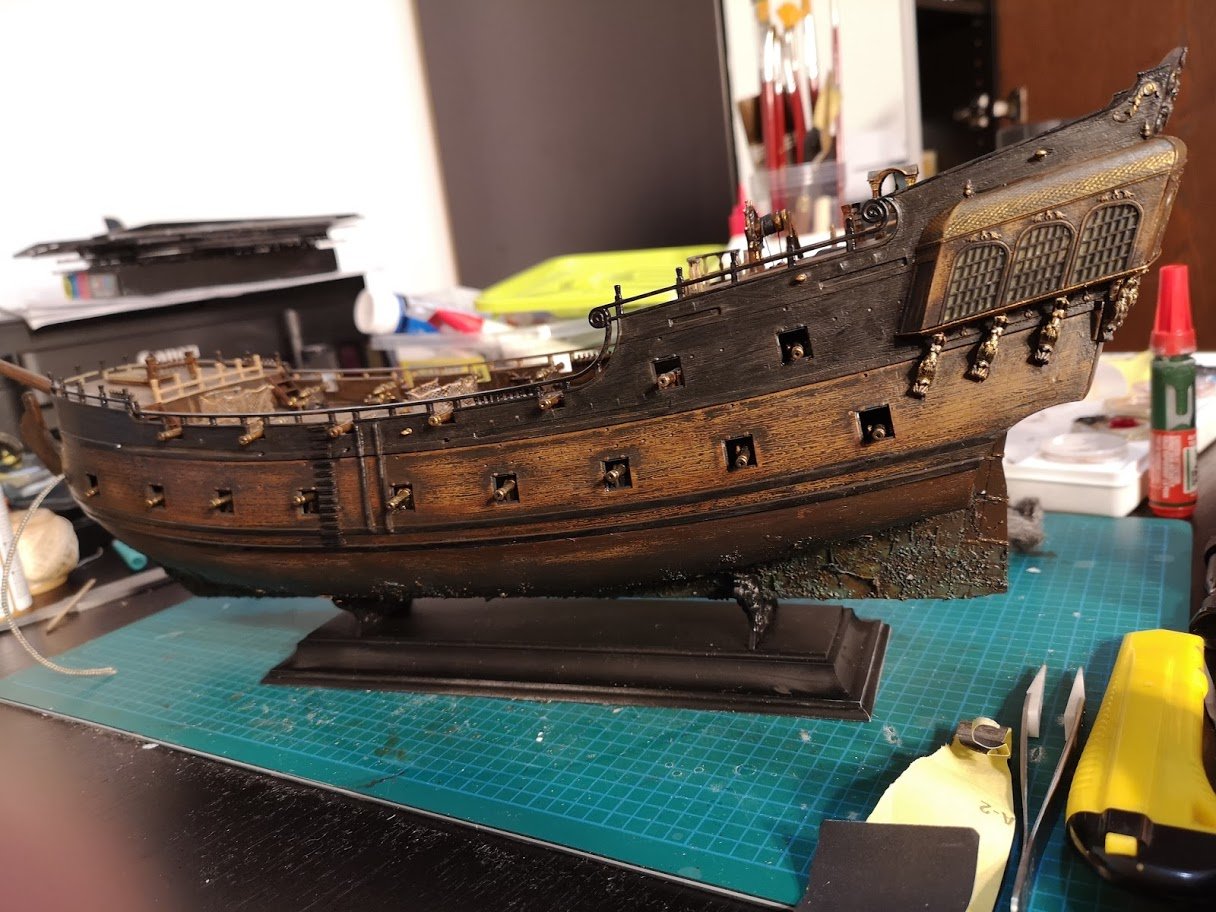
2: was to get some algua/seashells on the hull , i know most ship builder like clean versions , but i do enjoy when it feels it has been used , i don't know it's like there is story telling in the model
3: almost died of boredom with those canons , god that is boring T_T , but the result is satisfying
Also i didn't wanted to go full black , i like to play with texture and paint , color variations etc , so i went with wood texture .
I had to sand the hull and deck as the texture overall was too strong for my liking.
4: Sanding the ..erhh wheel axis {?} to replace the plastic rope by a real one , also piercing some holes to let the rope goes down . Adding some small metal rings here and there to get a more "detailed" feel
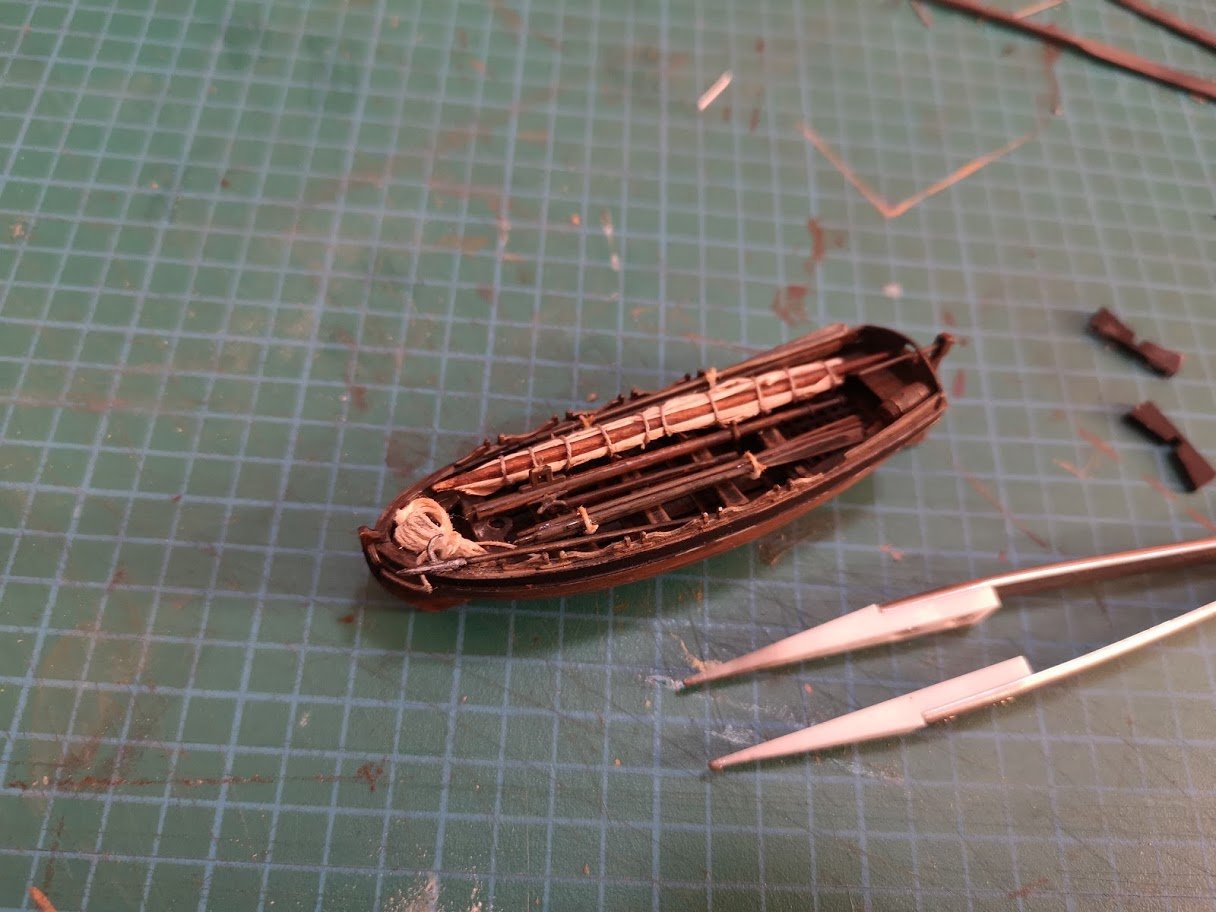
5: Replacing the plastic folded sail of the ..erh..small boat by a custom one . adding some ropes too.
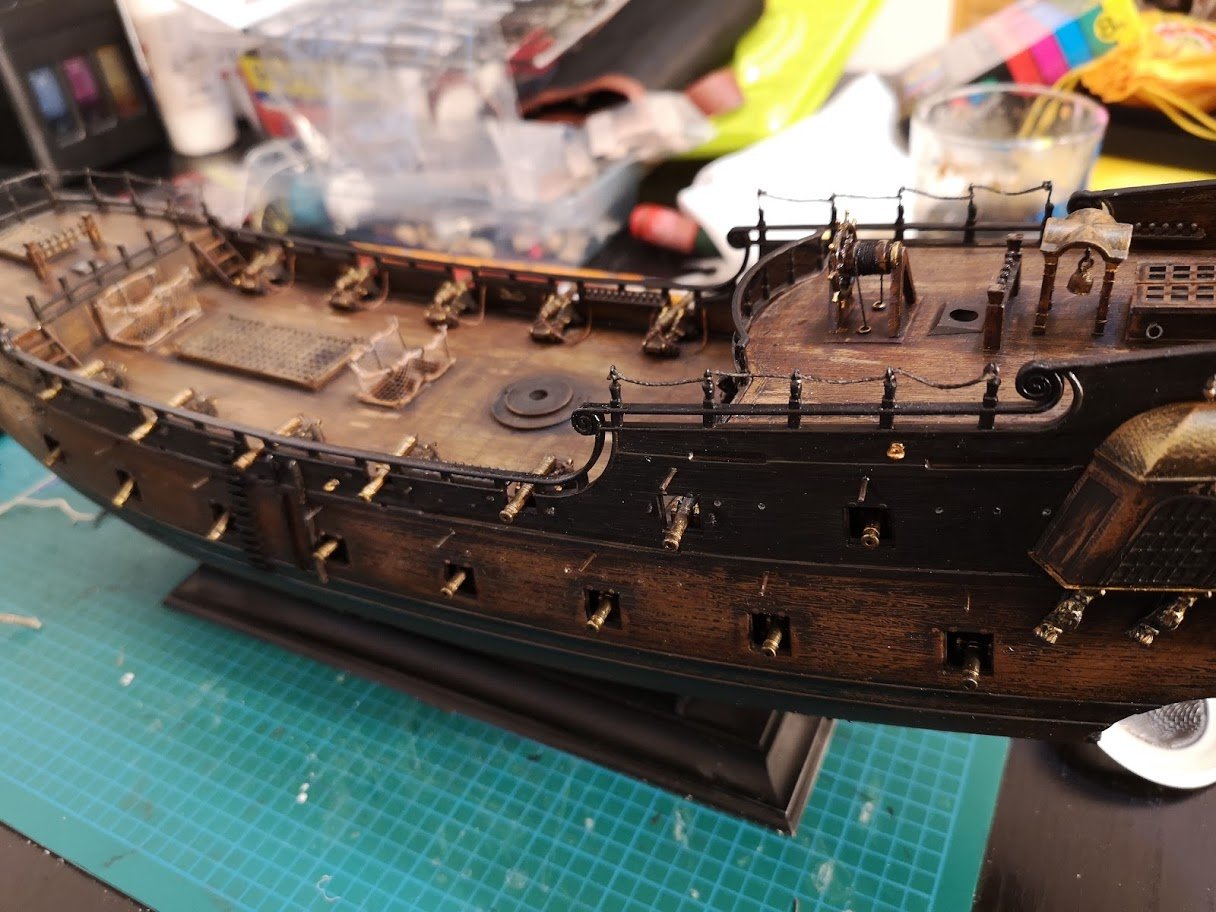
6: trying to bring a contrast in the colors with a darker upper part .

7: i was like a kid here *_* start to looks like a ship indeed
7: i wanted to remove the handrails that goes down into the hull by something custom ( a bit proud of this)
new vs original , not perfect but i did fixed it later ( also i added some metal hoops on the grid thingy where the lifeboat will be attached later)
Final

8: added some 3d printed barrels ( that a kind friend printed for me )
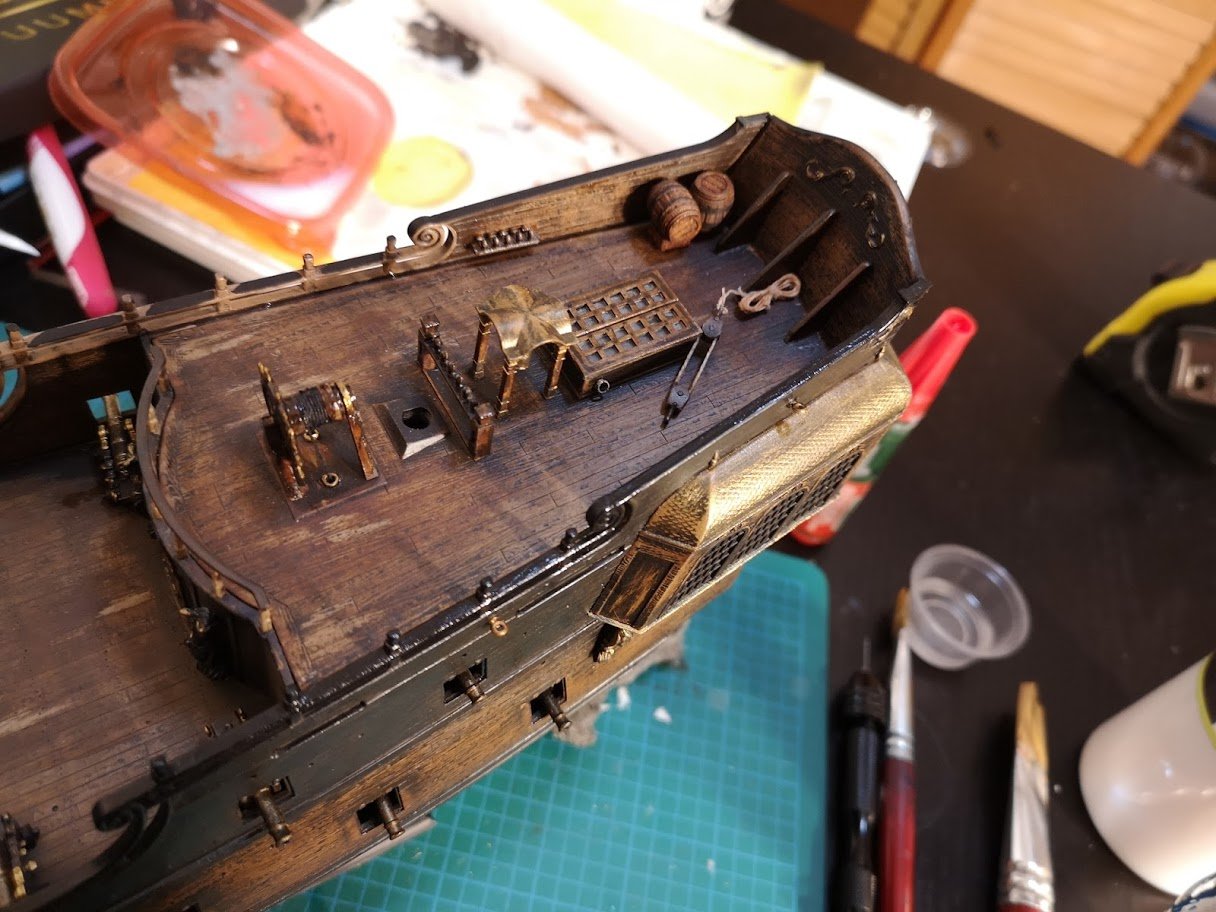
9: mounted the upper deck canons captain quarters

And that is where i am at .
I have been at it for 3 weeks i think , after work at night ( when kiddo i asleep) so i am pretty satisfied with the overall velocity .
Do you guys happen to know the name of this rope thing on the bowsprit so i can look up how it's made/rigged, couldn't find any info on how it's called . Not sure if it's a 8 figure or else.

That was a long post
Thanks
-
-
HI everyone ,
As the title said , i have almost no experience in modeling ( did a bit of warhammer in my youth) except one starwars AT ST from a year ago ( my first model kit )
I fell in love with ship building through internet , and wanted to give it a go. BUT experience of being a compulsive passionate person tells me that if i start with a wooden ship i would be in over my head and won't finish it .
So i started with the Zvezda Blackpearl 1:72 , it's challenging but i am having a lot of fun so far , mostly with customization .
As i am really new to shipwright , i realize that i could really need some advices here and there
I will be setting up a Build log , even though i am a bit advanced in the build
Thanks a lot , looking forward to start interacting with you people
Build log : https://modelshipworld.com/topic/26161-zvezda-blackpearl-172/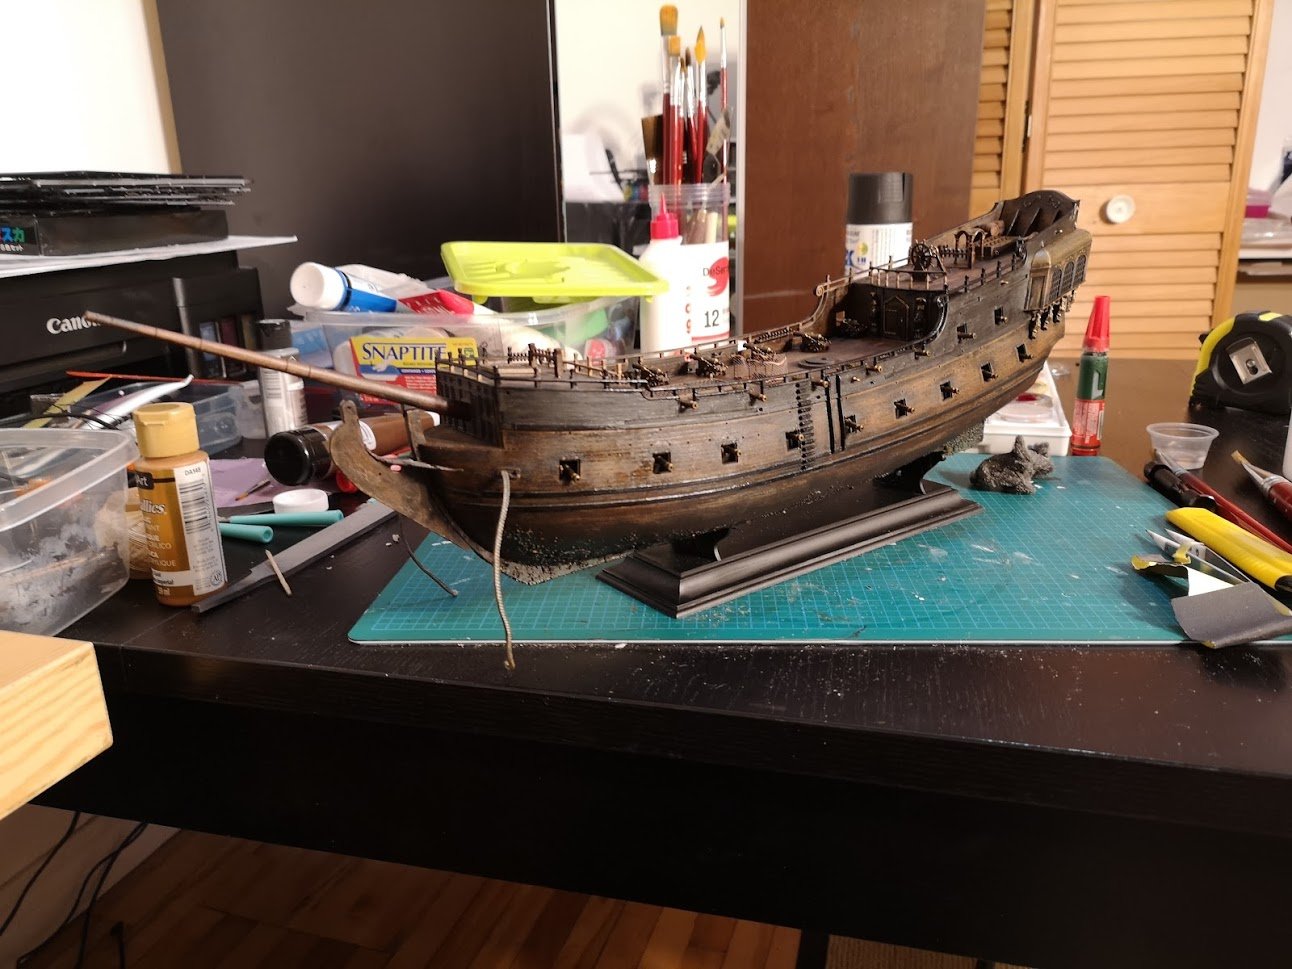
- Geowolf, Ryland Craze, AON and 5 others
-
8

Black Pearl by P.Raveneau - Zvezda - 1:72 Scale - PLASTIC
in - Kit build logs for subjects built from 1501 - 1750
Posted
4 years ... wow that is necromancy haha
So i am back at it , my black pearl will probably change a bit , i am aiming to do a bit my own thing with the ship ( probably will change also the front figure to reflect that , i do have a bit of a scenario in mind for this ship but still need to be fleshed out.
Here are some progress after 4 years of hiatus.
I did not had the courage to do the ratlines , i tried and it was too much for me ( thats also when I did quit, not sure if related) so i did decide to use the plastic one sadly ... it pains me because as much as i tried to make those looks realistic (and it kinda work from far away) it's still plastic and look like plastic ... but i would rather move forward and being able to finish this build rather than give up for another few years.
At least i made the sails from real fabric , i wouldn't have been able to live with myself with those ugly plastic molded sails.
Thanks to everyone who gave me advices and sorry for my lack of updates , i am hoping this time i will reach the finish line with a minimum of sacrifice ( arg those ratlines are haunting me ).