


Trond
-
Posts
165 -
Joined
-
Last visited
Content Type
Profiles
Forums
Gallery
Events
Posts posted by Trond
-
-
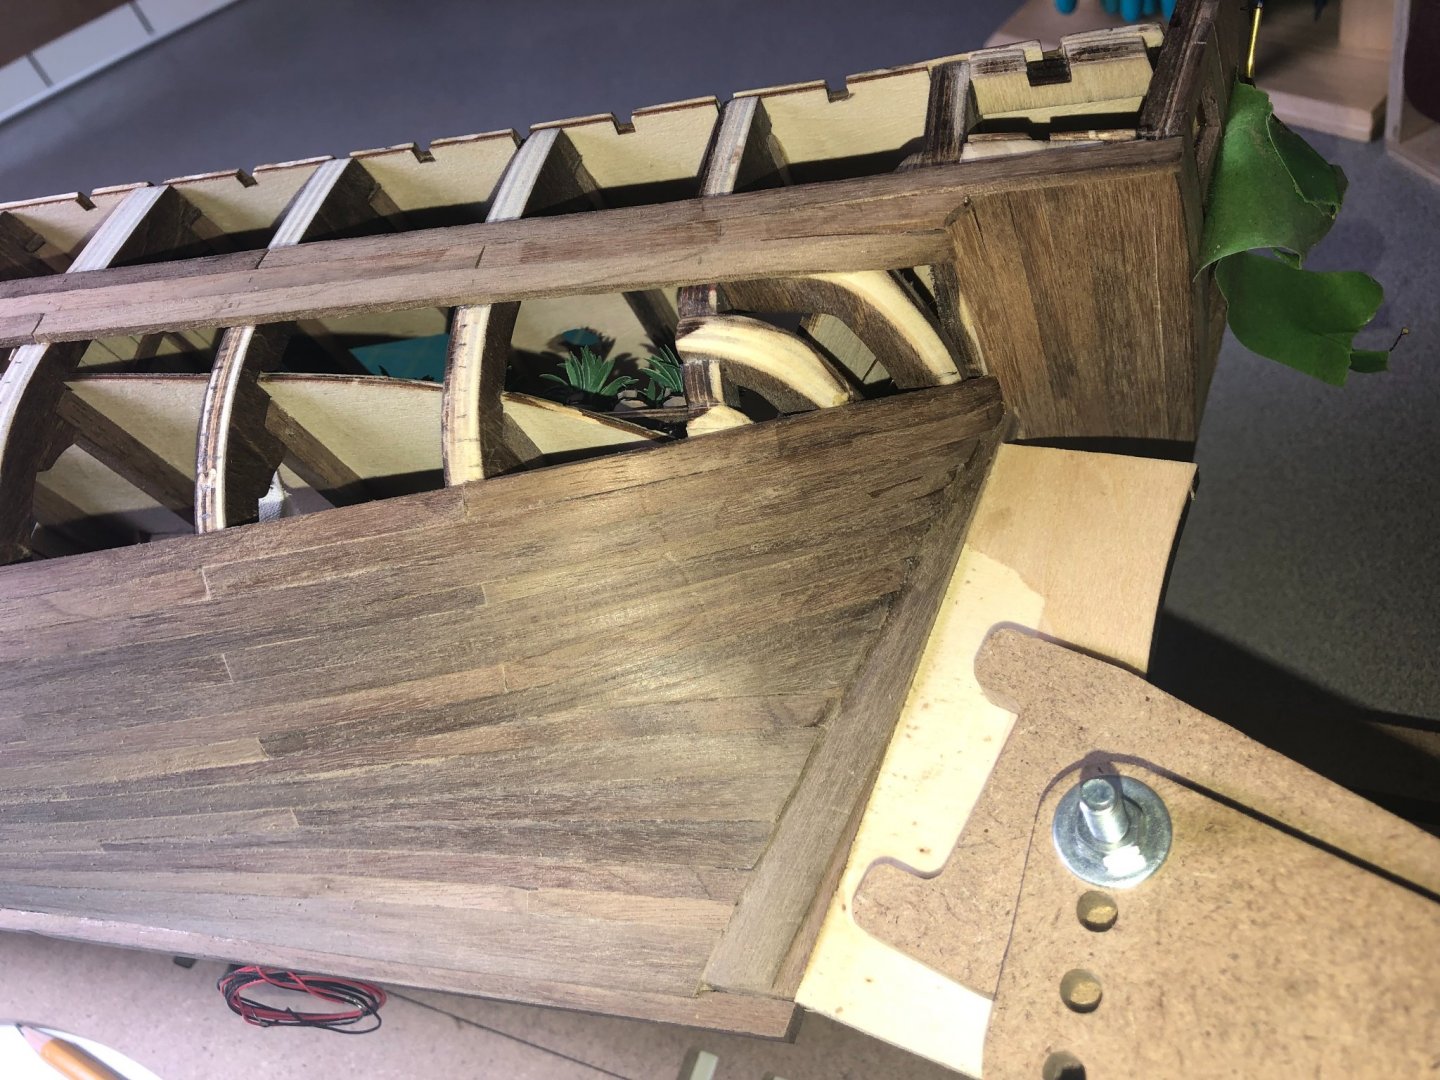
The side panels are on, but needed some ajusting.

- AJohnson and Keith Black
-
 2
2
-
That break was longer than planned. To much wokr at the office.
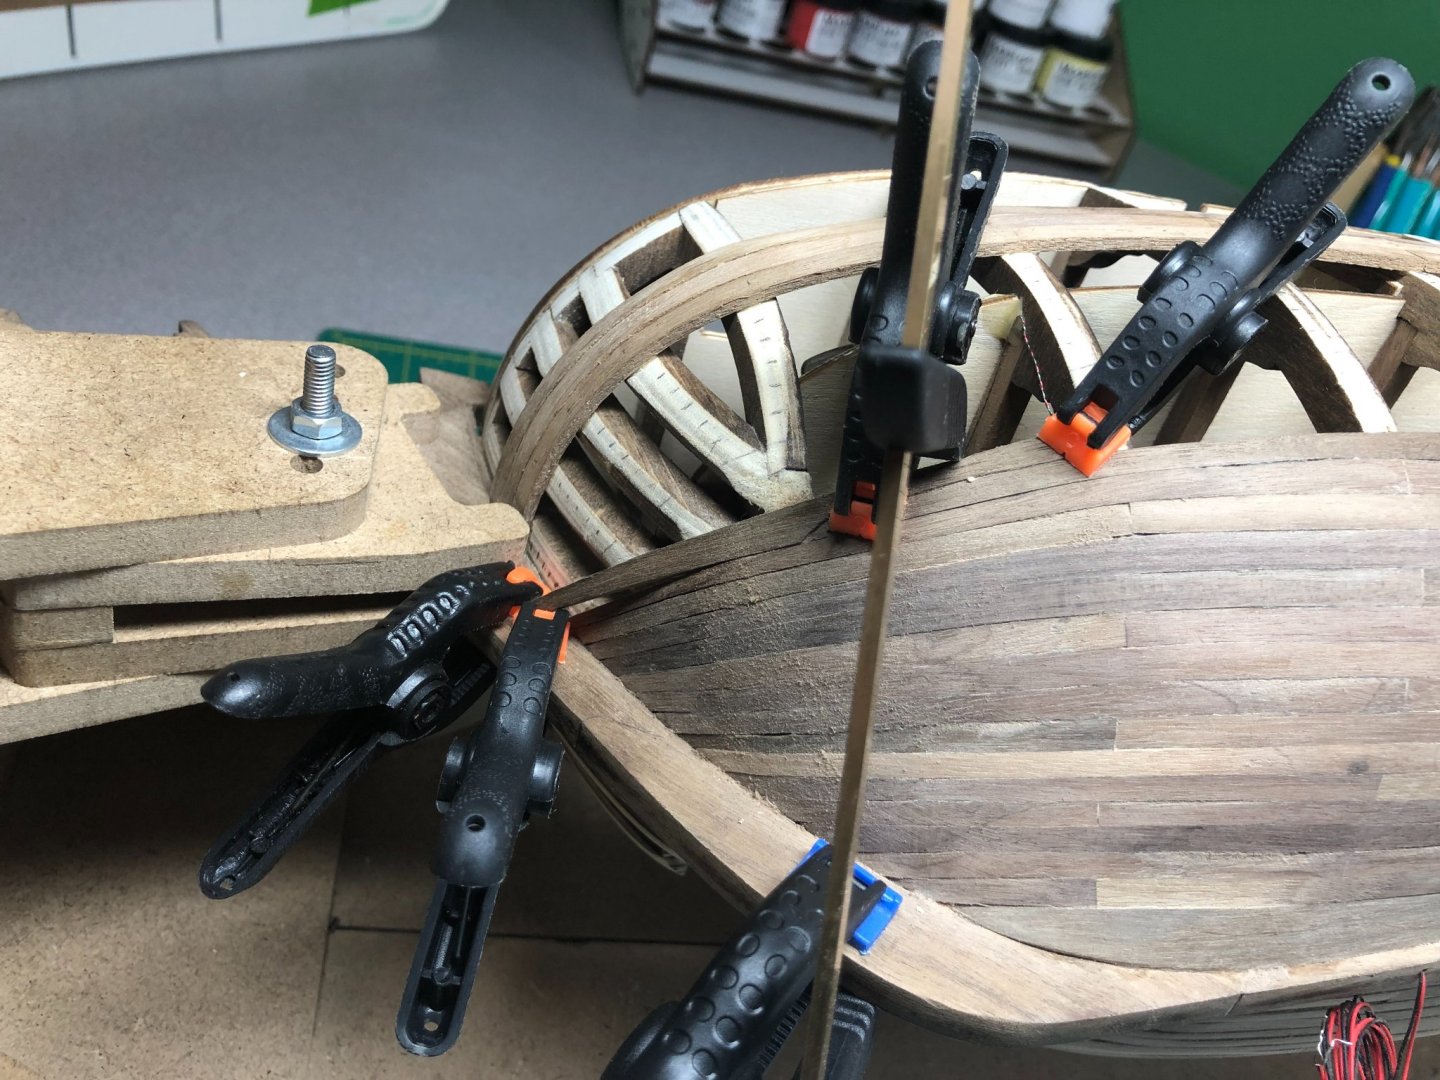
Well, finaly glued on the support back on the boat. I've tried angled them with the ship side (angeling inword). It would definetly have been easier and most likley better result if the frame plates had this included.
Had first to make jig support and then try the new side bordin such a way that it tiltet inword eavally along the side. A pain in the @##
At least I learned what to do with my next project.

- Keith Black and AJohnson
-
2
-
In one way I'm like the bird that fly forth and back during spring and autumn. When the sun starts shining (living in part of the world where there is a lot of rain in winter/autumn) , warm weather and trees are blooming I need to work outside in garden/house (no admiral pushing me around 😉).
The rain is back and then I go inside working on my ship
")
Just came back from 2 weeks vacation in south of Europe and plan on starting up soon.
- DaveBaxt, AJohnson and Keith Black
-
3
-
On 6/8/2021 at 5:24 AM, LyleK1 said:
Made some decent progress this week.
Got in some sanding on some of the lower planks and around the bow... lots more to do.
Also, did my first stealers plank at the bow:
Turned out pretty good... I had to make the piece 3 times because every time I tried to bend it, it would break! Very frustrating!
Walnut is very unforgiving. Finished piece in place:
The stern is coming together fairly well too. No sanding yet or very little:
Overall, about 2/3rds done... to the wales:

I'll keep plugging away!
I will be starting another build later this week. My dad turns 86 in August and I am building the "Sea of Galilee boat" for his birthday. Not sure if I can finish it in time but I'll give it a try!
Hoping to work both models at the same time but will definitely be pushing the Galilee boat to finish on time.
If you're interested in following that build log, watch for the link in my signature below.
Very nice job!
- LyleK1, mort stoll and DaveBaxt
-
3
-
-
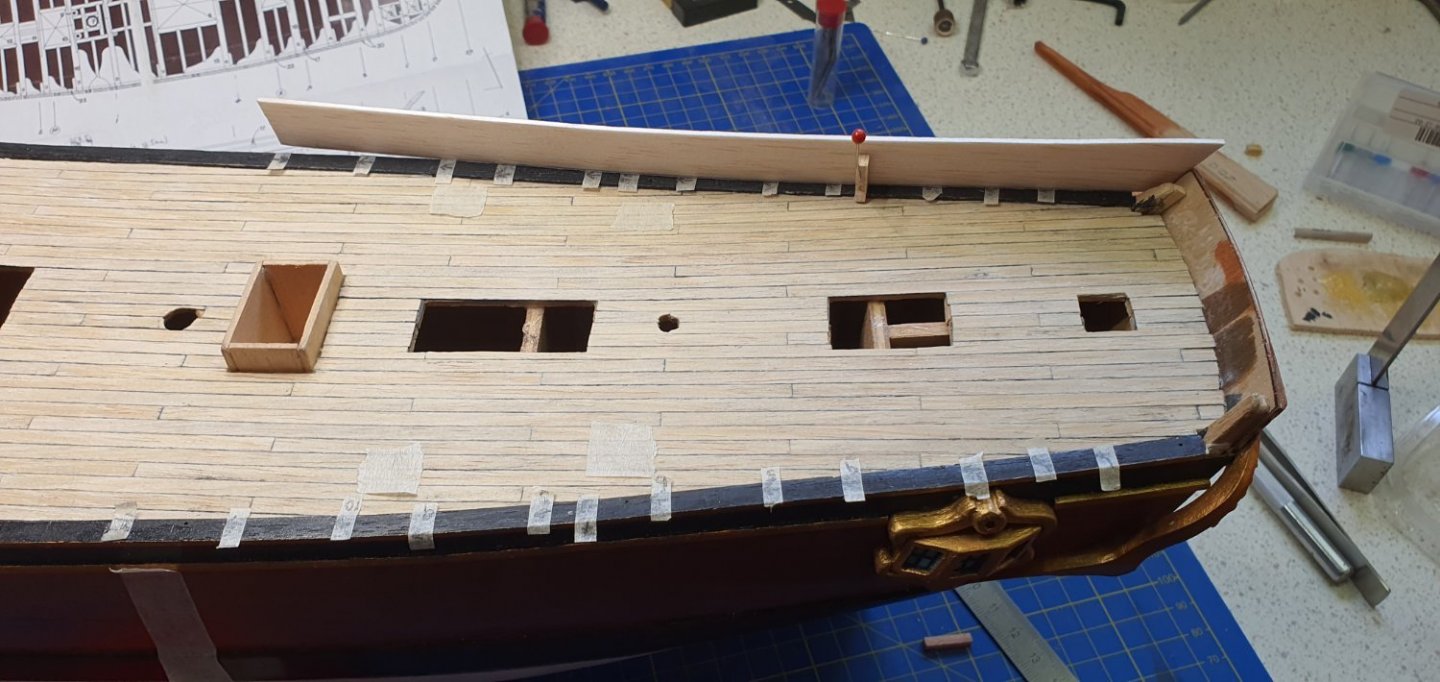
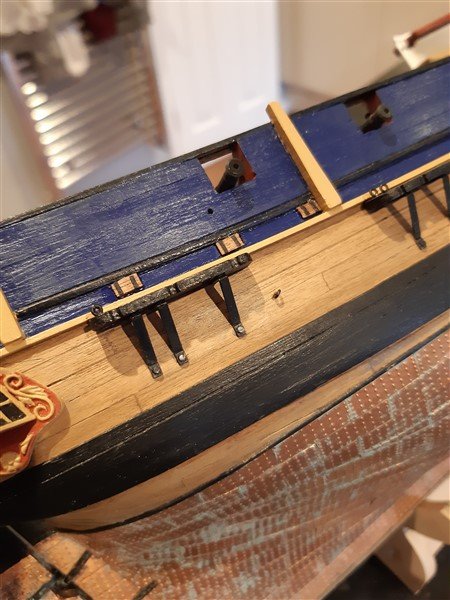
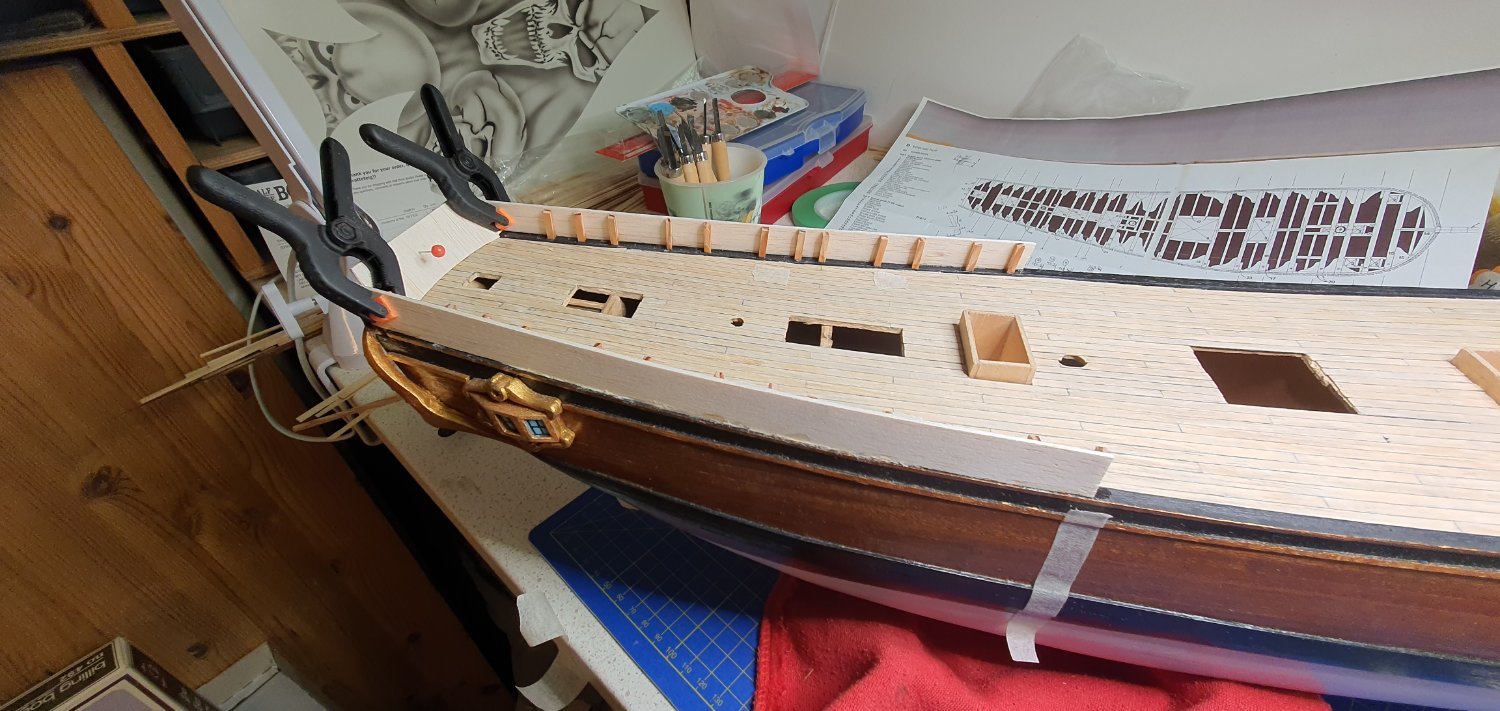
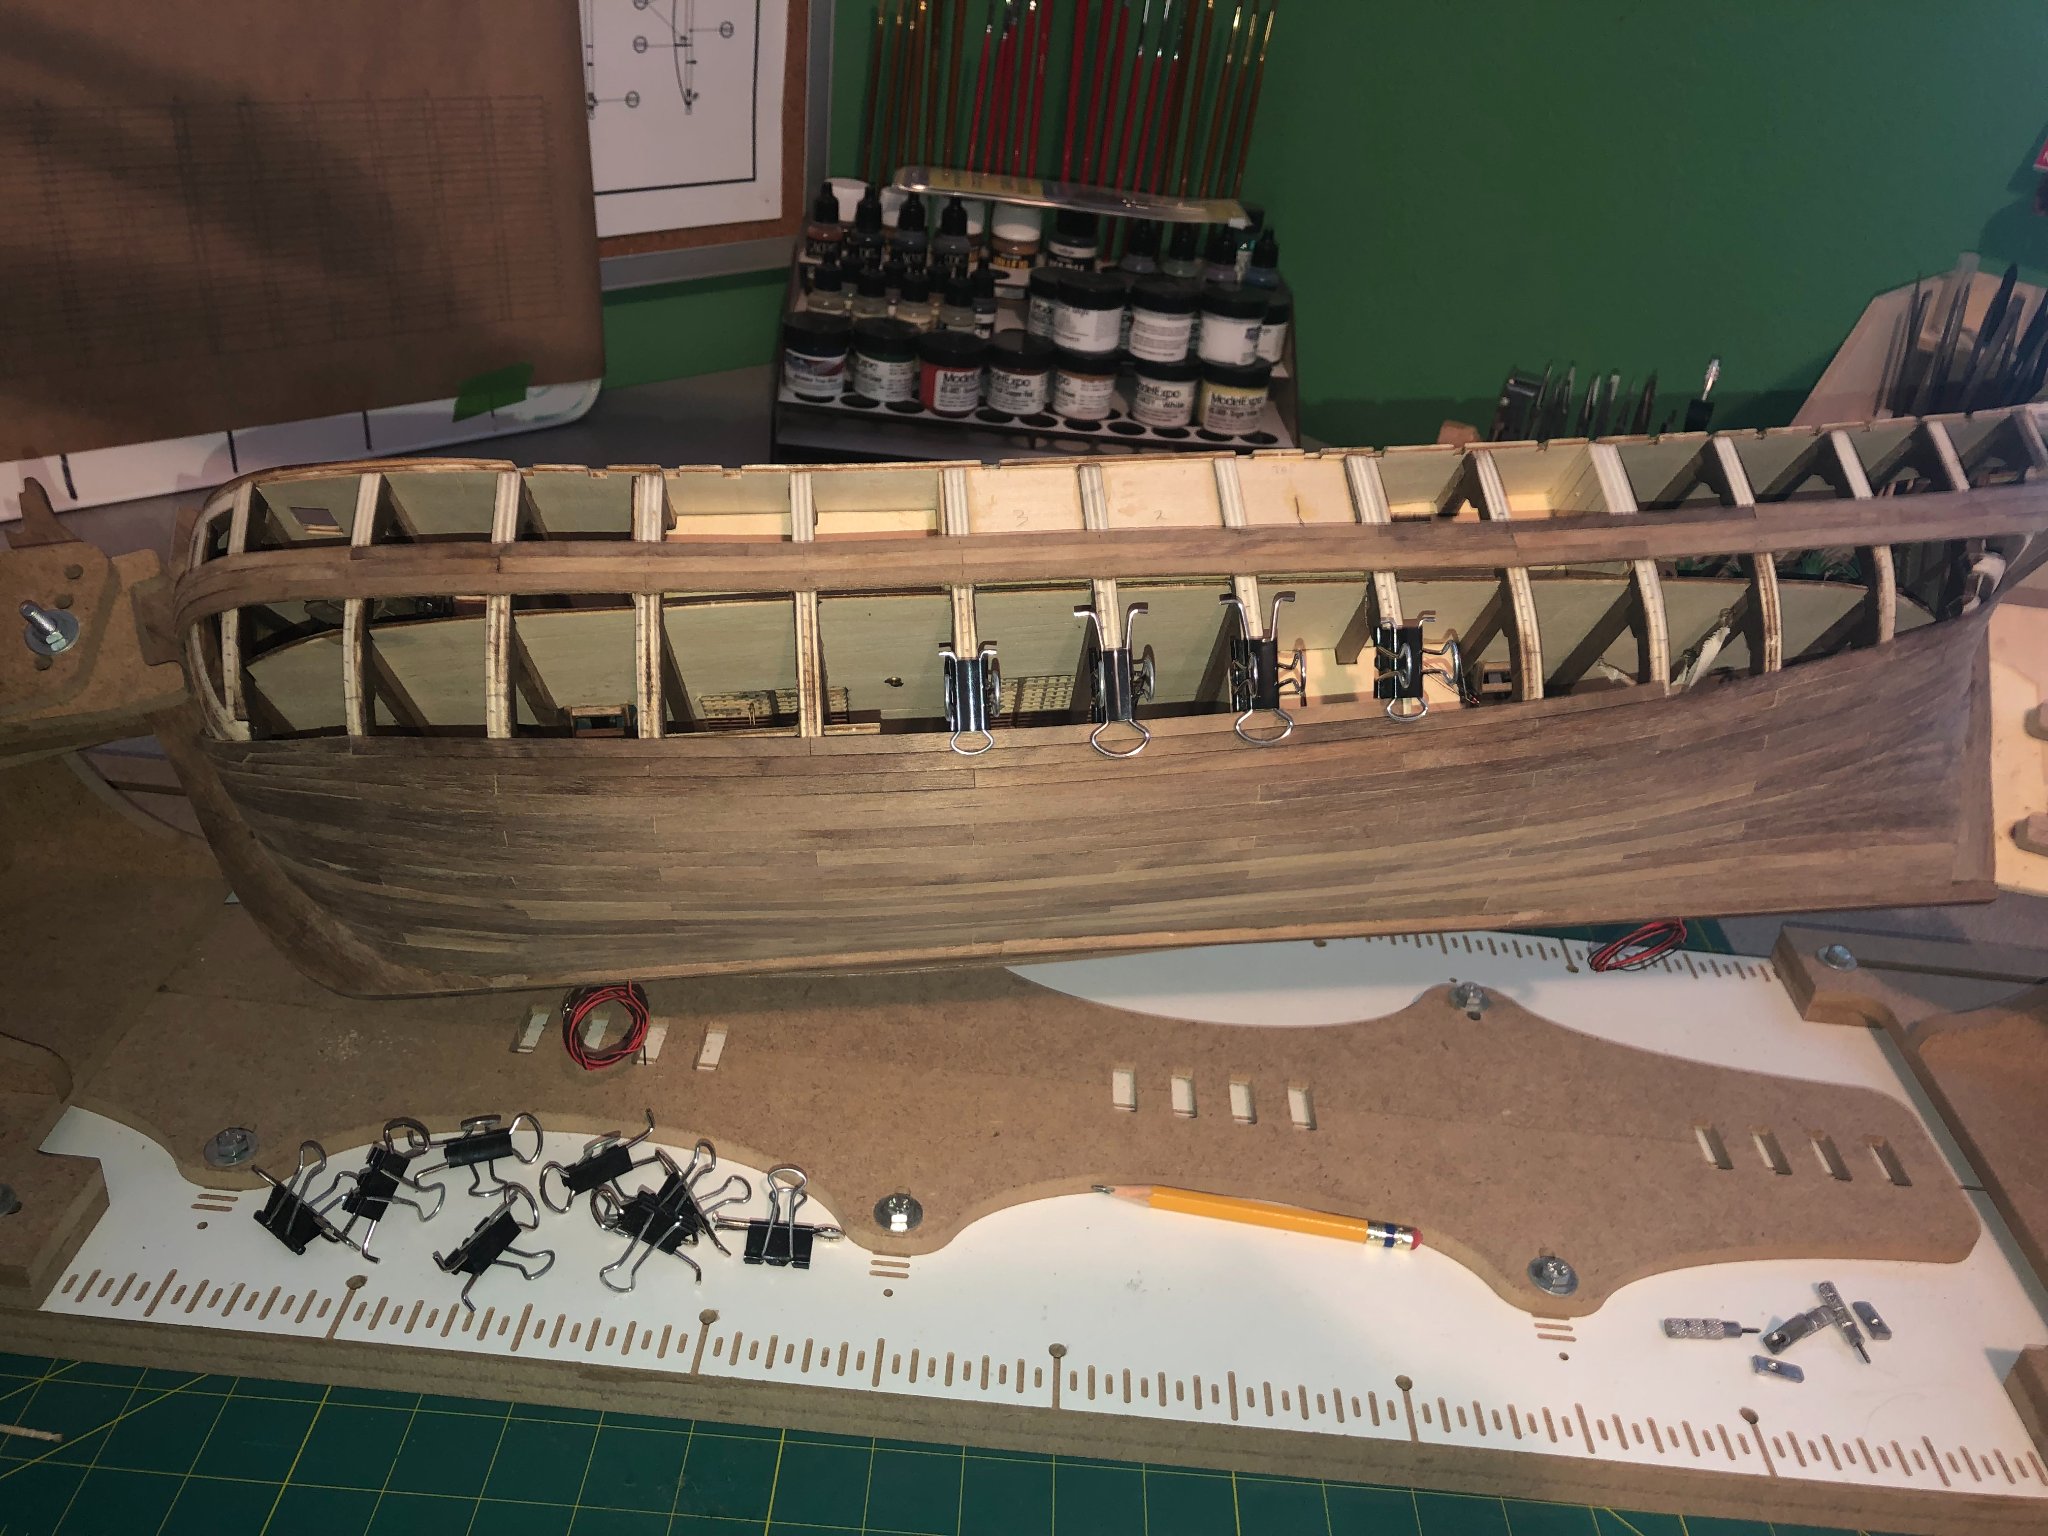
Been going forth and back on the aft railing.
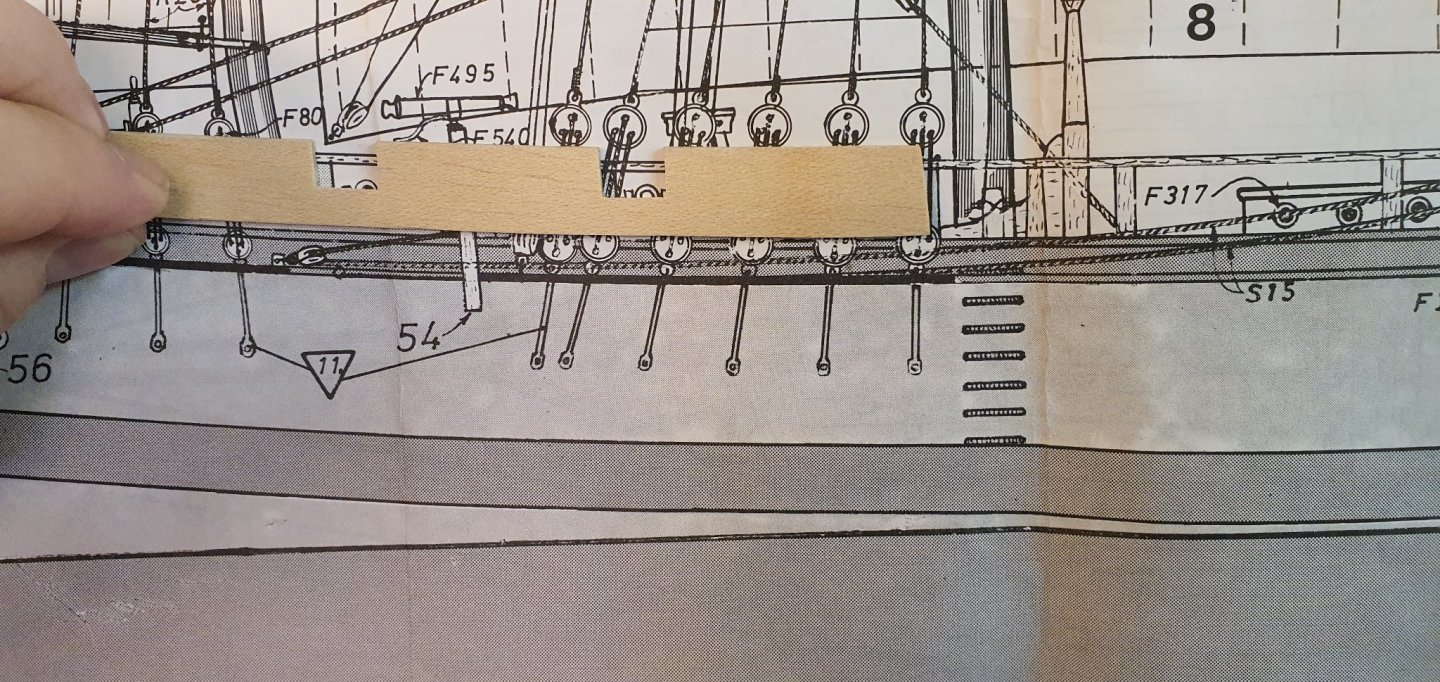
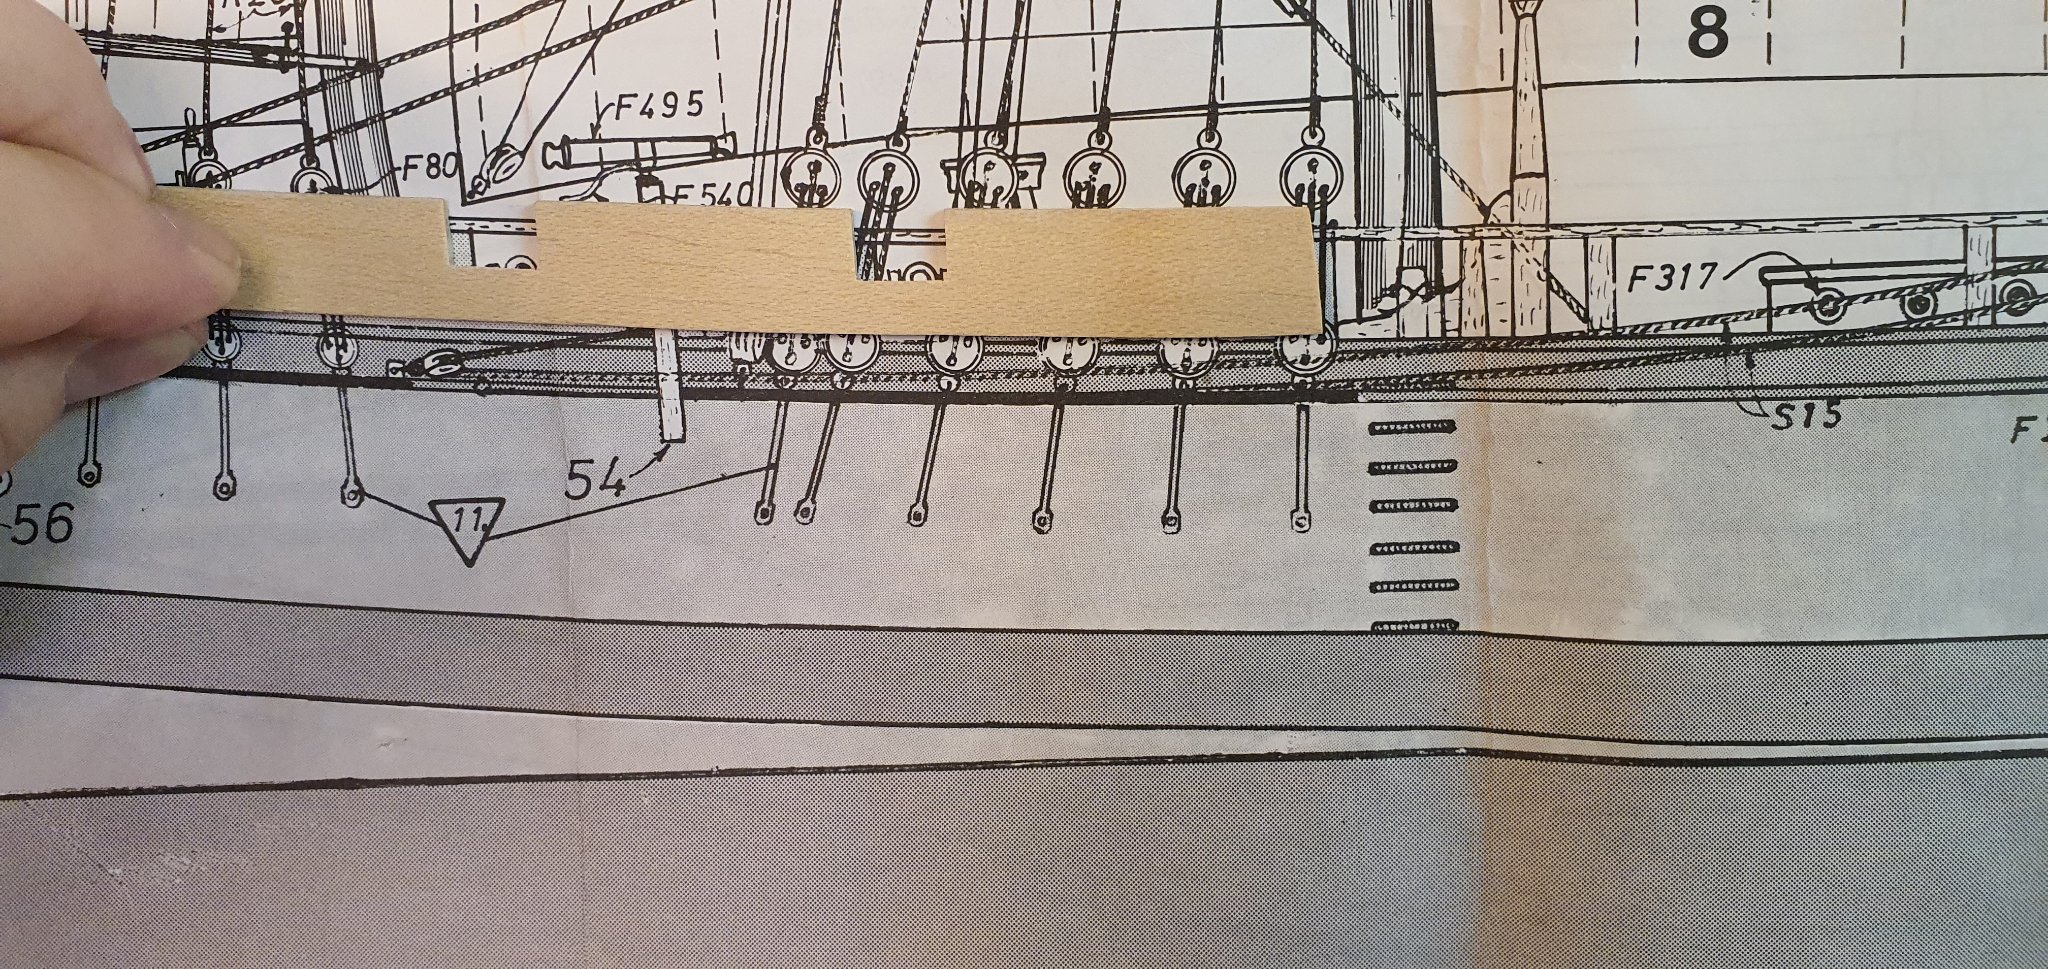
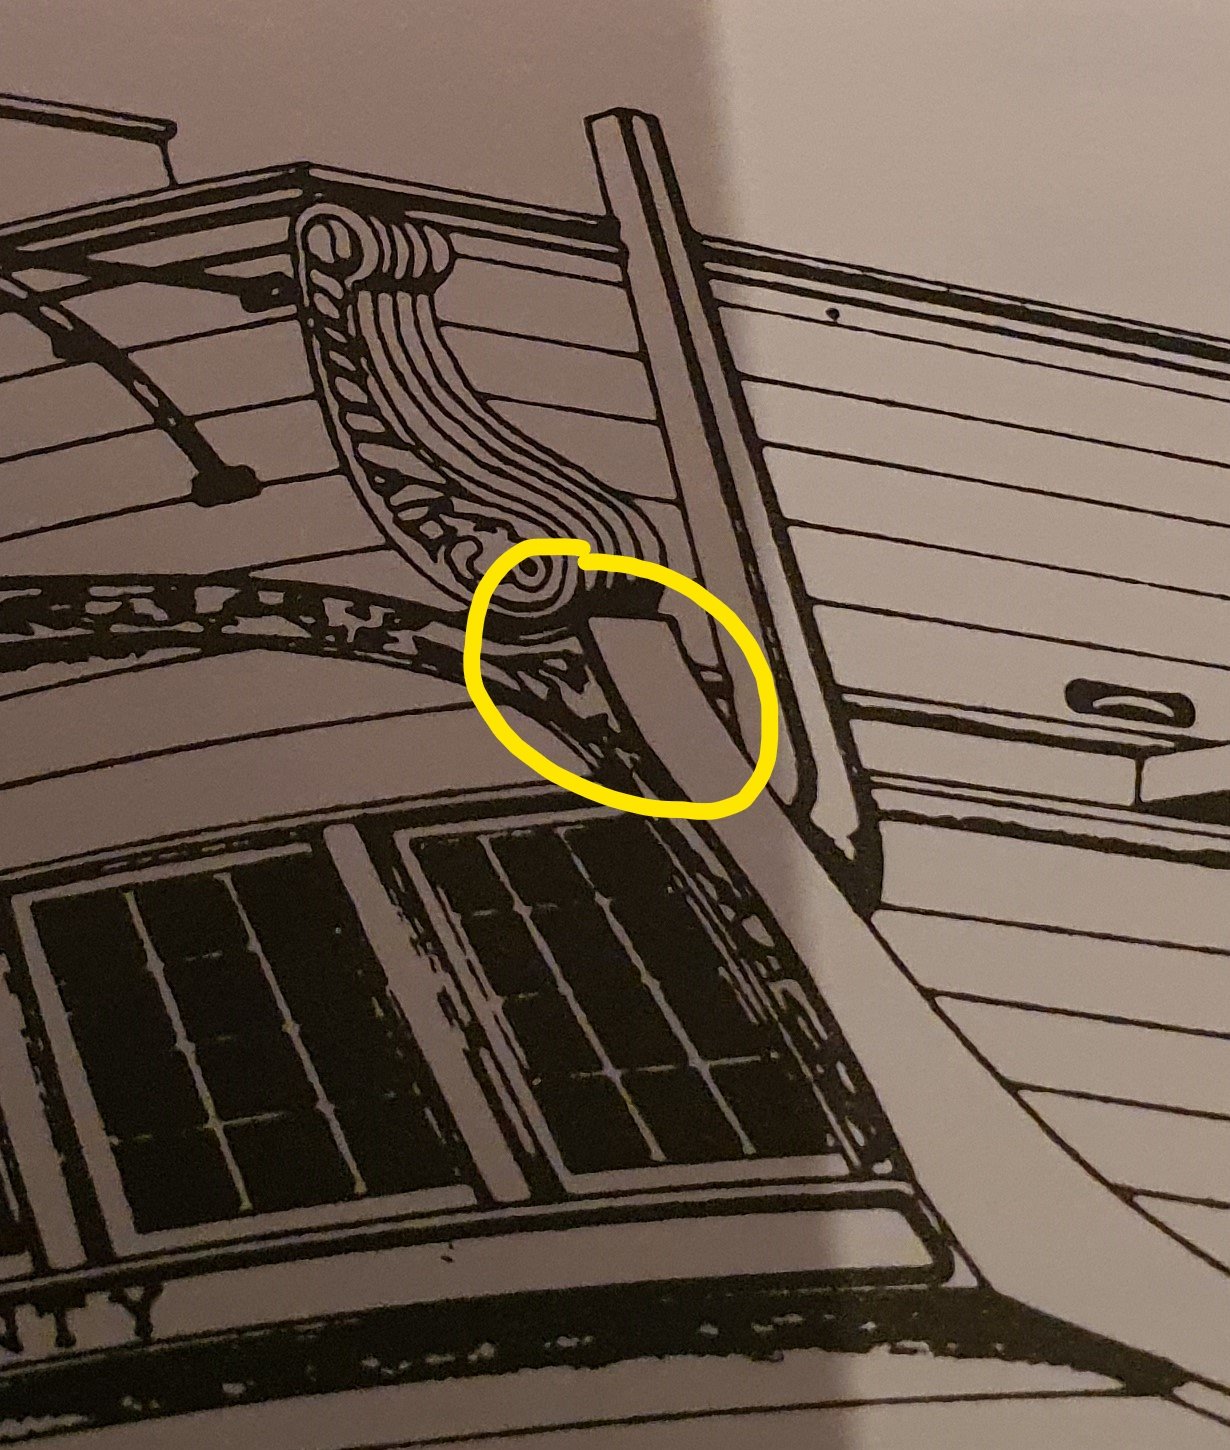
 Started marking up the suport for the railing and though there where something wrong with the supplied railing. When I compered it with the book I can easaly see the differnce.
So I decided to mark all up as in the book and make new aft railing.

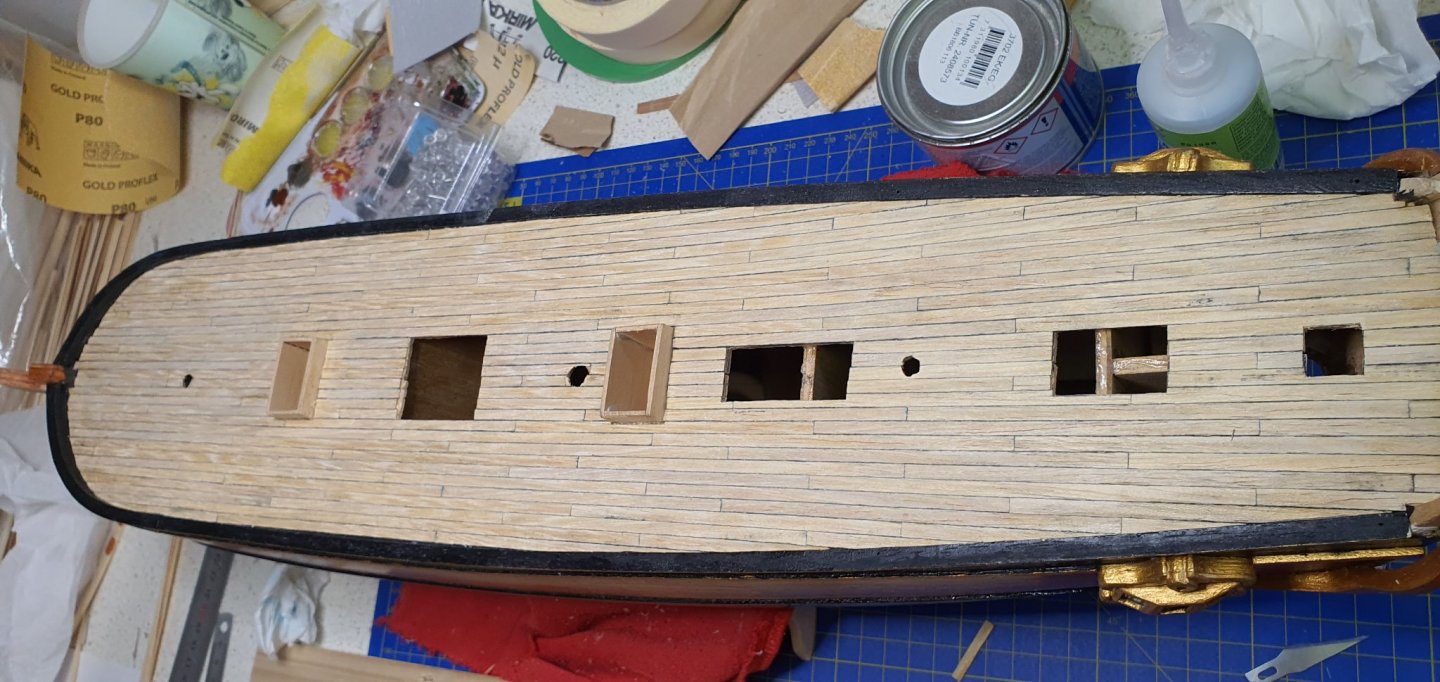
So the arrows show where the support will stand and then I will need to make planks for the aft railing.
The larger patches indicate where the canons will be.
I had to improvise where the "last" support will be since the long tape show where the outside stares will be and that shall be parallell to the mast.
The problem is that the kit is not in scale with regards to total length, so I have to improvise a little and reduce the distance between the two last railing staind to make it look acceptable.
Does anybody else here on the forum have the problem that the total length of the ship is not correct, in accordance to Armed Transporter Bounty?
- AJohnson, LyleK1, Keith Black and 1 other
-
4
-
I found a varnish for when painting soldiers that is water based and I whent with that. It gave the look I wanted.
3 layers of varnish.
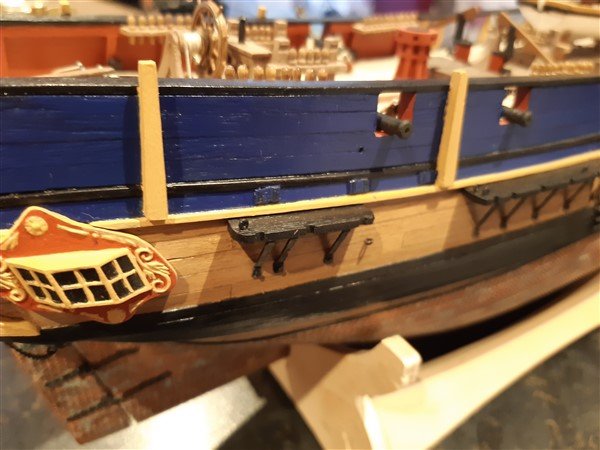
Know I'm moving onto the aft "railing" and here there are some differences between drawings and parts.
Parts larger that other parts.
Again I'm turning back to Armed Transporter Bounty for facts.
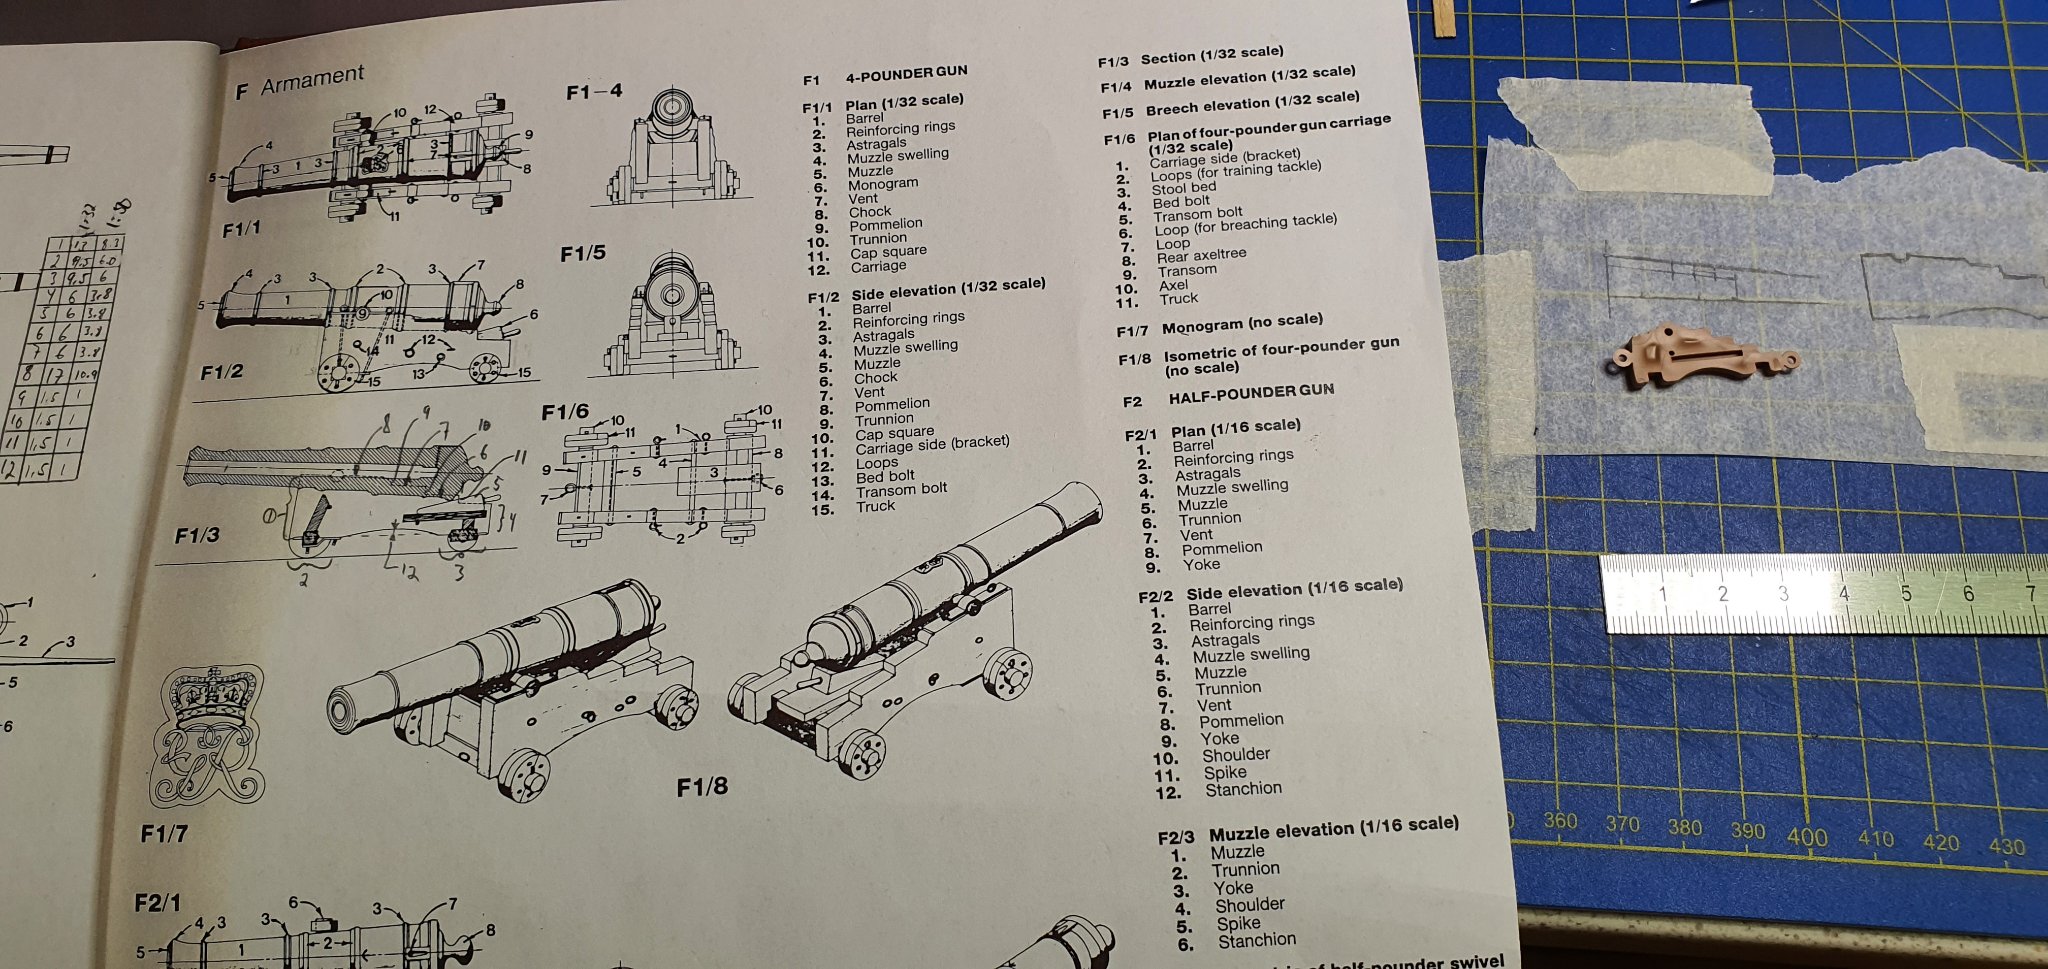
I did some comparisent to the canons so see how they fit in here.
And it turns out they are to high on the deck.
Did some converting and drew up the canon base so see and they should be smaller.

So I need to do some adjustment to the aft railing, find out what material I should use for the railing and than finish of the railings.
Canons I will do later.
- Halvor, AJohnson, Keith Black and 1 other
-
4
-
This is what it's all about, rigging. Keep up the good work.
I'm both looking forward to it and also worrying about it 😉
-
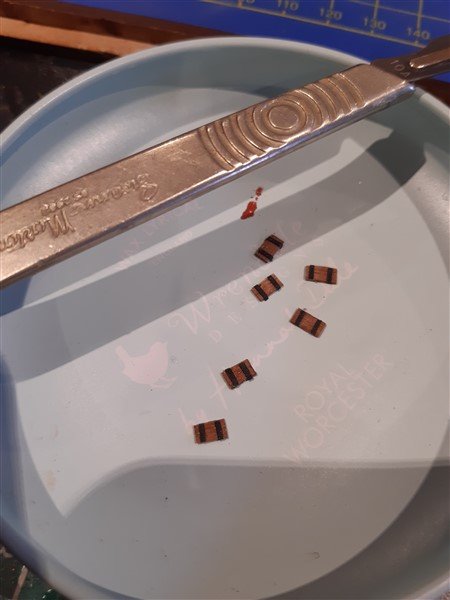
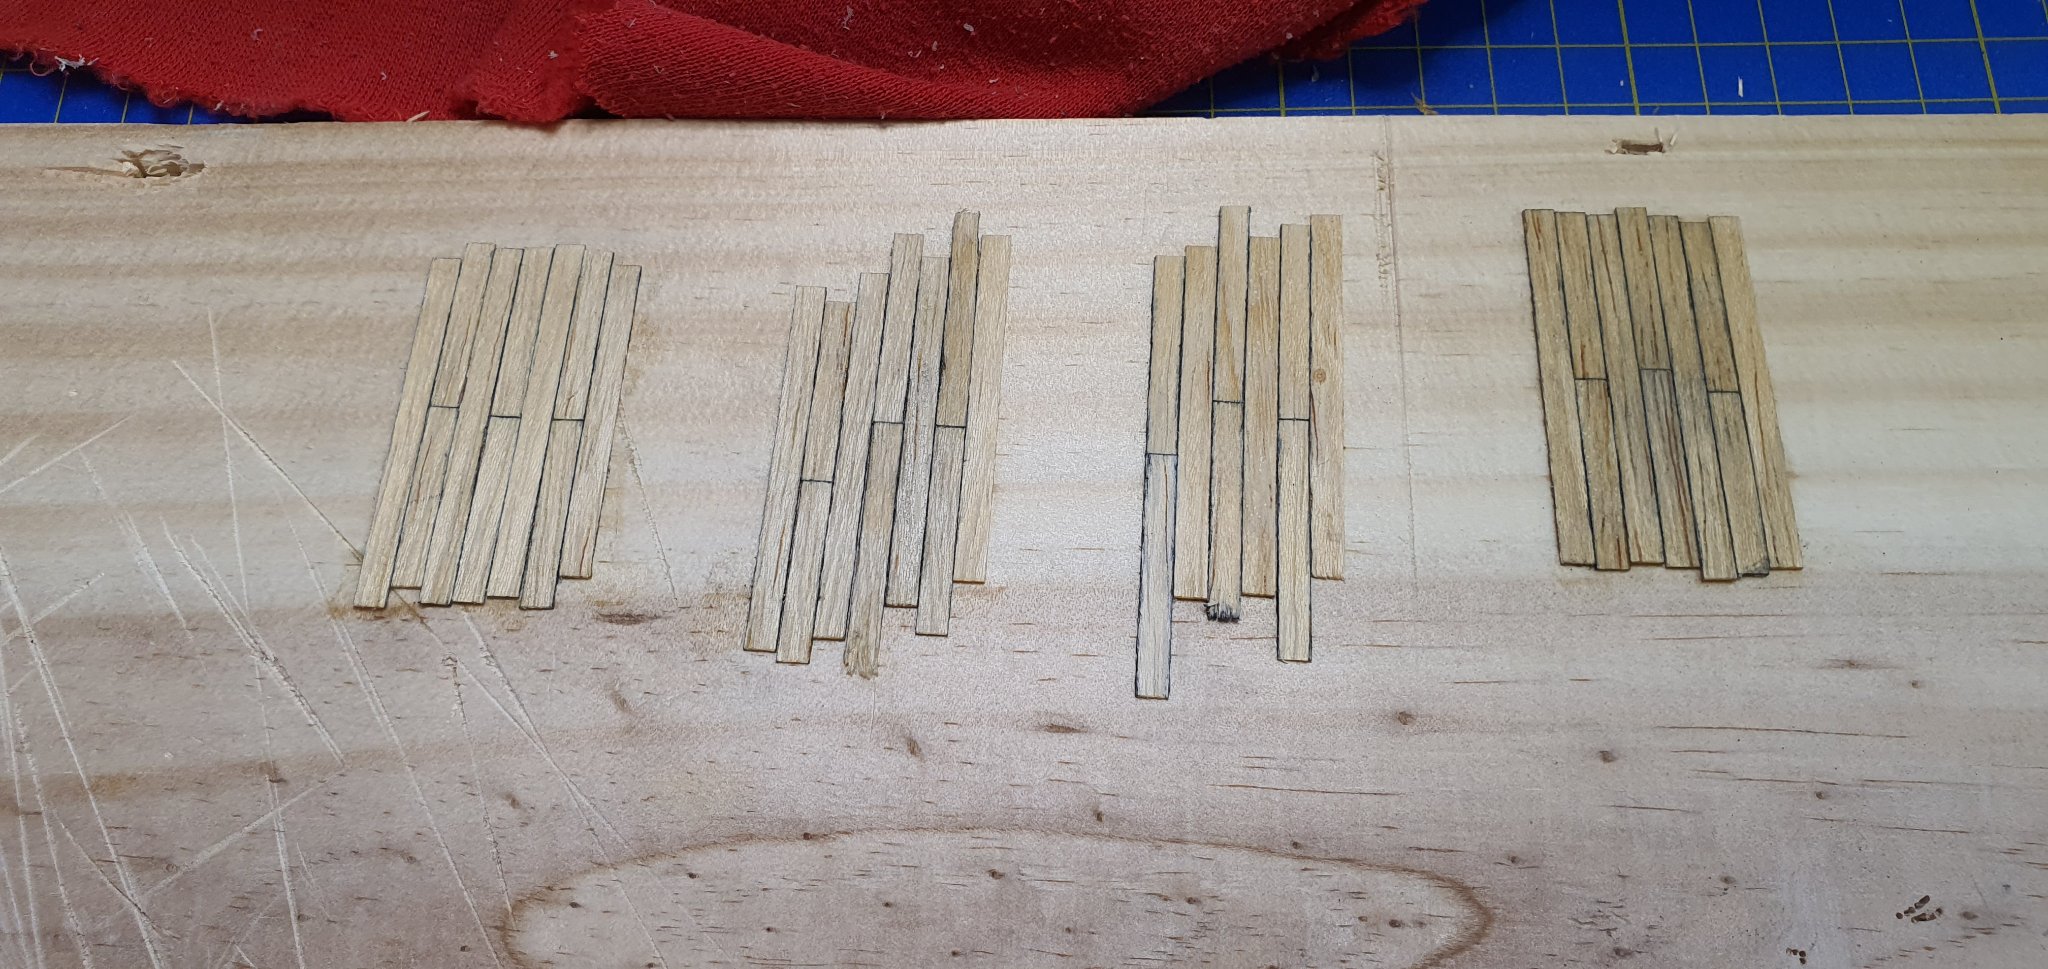
Have done some more test.

From left to right: nothing, varnish with some red, dark deck stain thinned out with methylated spirit (not good at all), mat varnish.
The second one has a more "glow/worming" color comapred to the mat varnish.
I'm very unsure what to pick.
- LyleK1 and Keith Black
-
2
-
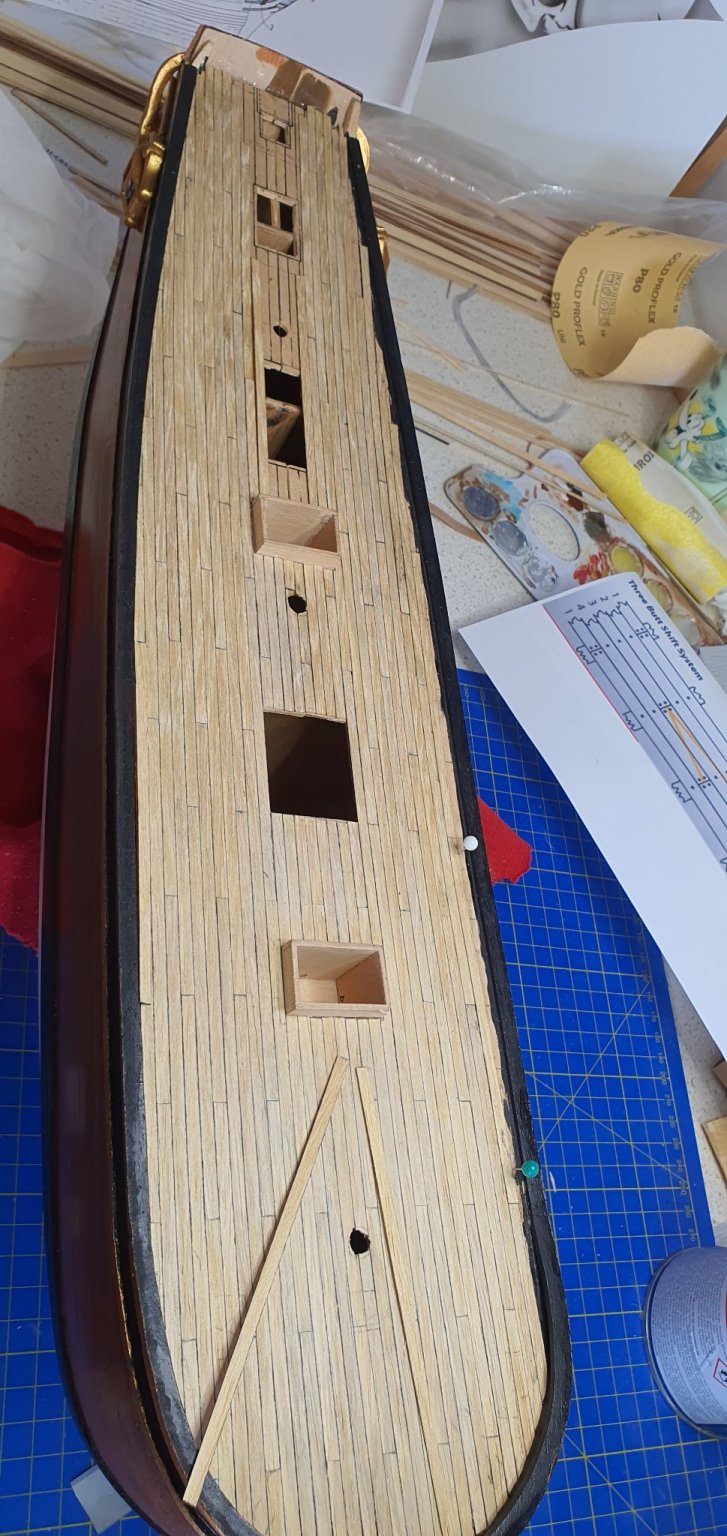
Finally finished the deck planking, scraped and lightly sanded. The 4 plank configuration with 120mm long planks turned out ok. It is great to have other here on the forum to use as references. Thanks all 🙂

So now is the time to decide what to do with it? varnish, deck stain...
I've glued up some mini deck for doing some testing. Couldn't it before since I wasn't sure I had enough planking.
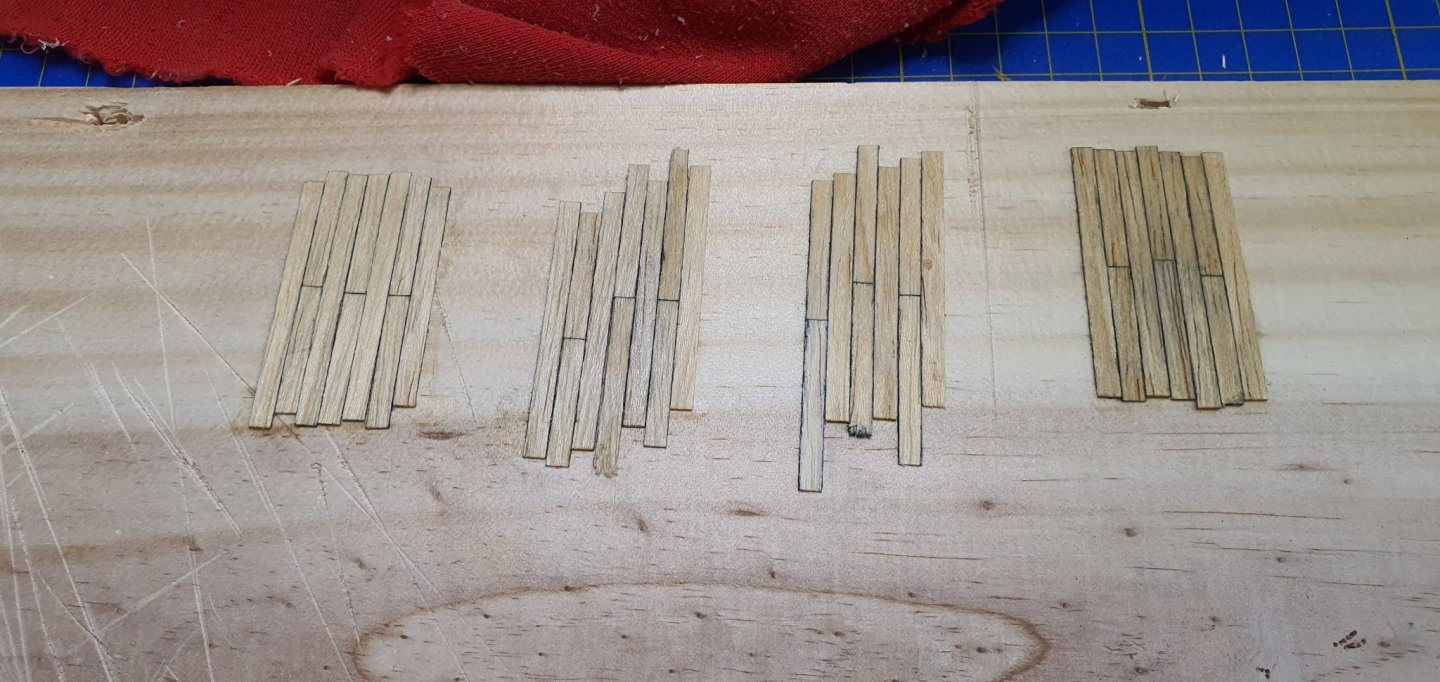
The one to the right has mat varnish and the other ones are untreated yet. Since it is holiday today and all shop are close I need to wait until tomorrow.
Any suggestions on who the deck should look like with regards to color?
- LyleK1, Keith Black and AJohnson
-
3
-
12 hours ago, AJohnson said:
Following on from yesterday's update, I've finished the air scuttles and quarter galleries, adding details to the kit not provided by Caldercraft, by reference to McKay's "Anatomy of the Ship" book and comments provided elsewhere on MSW about the appearance of the Bounty.
The air scuttles (added by Bligh to help ventilate the great cabin for the Breadfruit plant cargo) were made with spare planking with black card simulating the hinges. The domed roof of the quarter galleries were made with scrap MDF, which was easier to profile than a hard wood and as it was to be painted, no one would see, detailing again in card strip.
Finishing off the anchors next and then on to the swivel guns!

Very nice touch. I see the hatches in the book Armed Transporter Bounty, but it is very easy to miss, since it is not focus on them. I will defiantly see if I can put them on my Bounty (it might not fit due to technical problems/early mistake from my part)
-
3 hours ago, Keith Black said:
Trond, this is a Hatton and Hart photograph of the USS Tennessee ca 1880 showing close up deck detail. There is no visible evidence of nail, screw, or even plugs. Also notice the two patches behind Captain Stanton, there is also no evidence of nail, screw, or plugs.
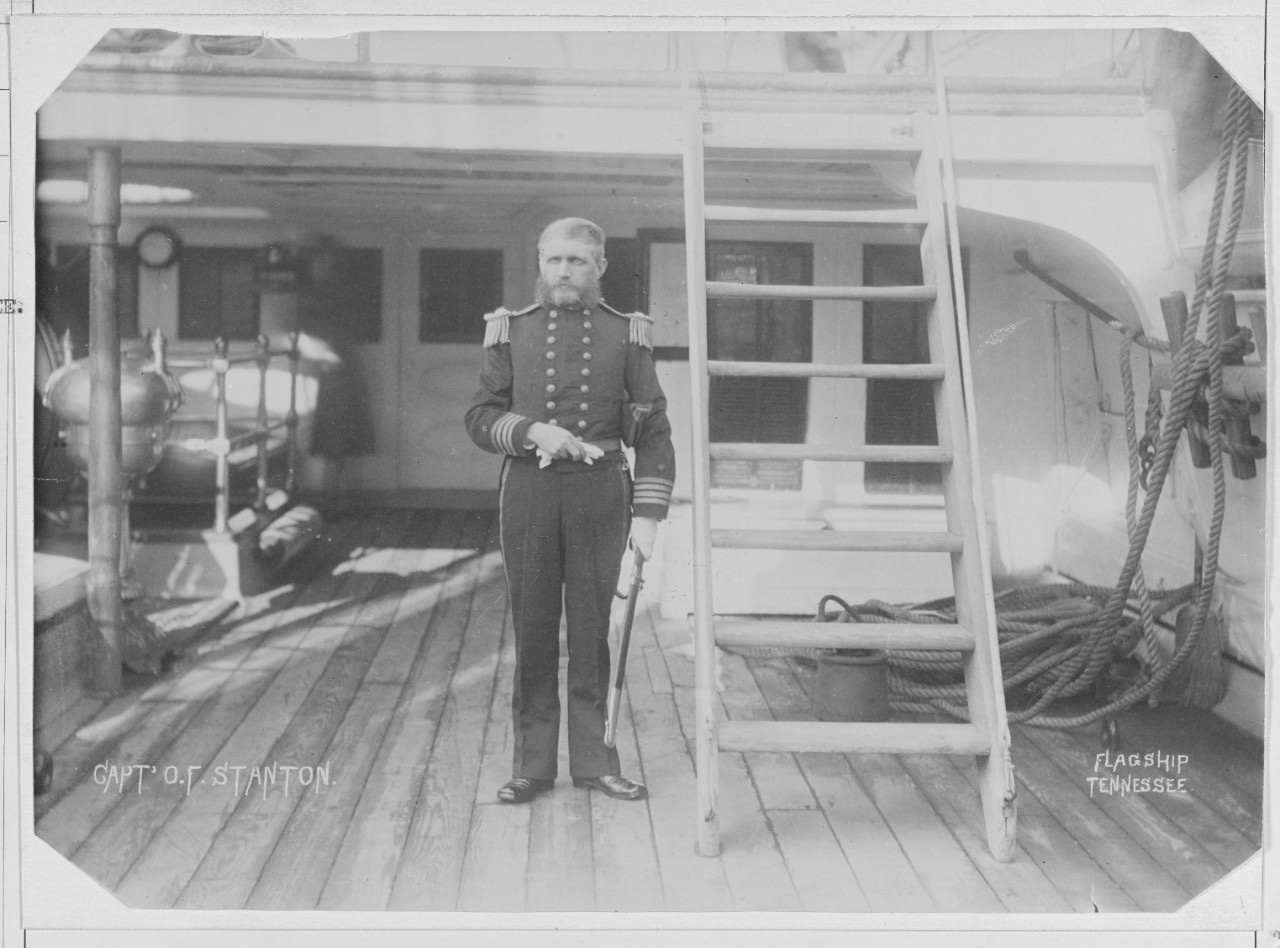
Nice picture Keith and yes there is no visible nails.
I'm glad I listen to you guys.
Thanks
- Keith Black and LyleK1
-
2
-
I see your logic. So I've decided to skip it.
I'm almost finish.

- yvesvidal, LyleK1, Keith Black and 1 other
-
4
-
-
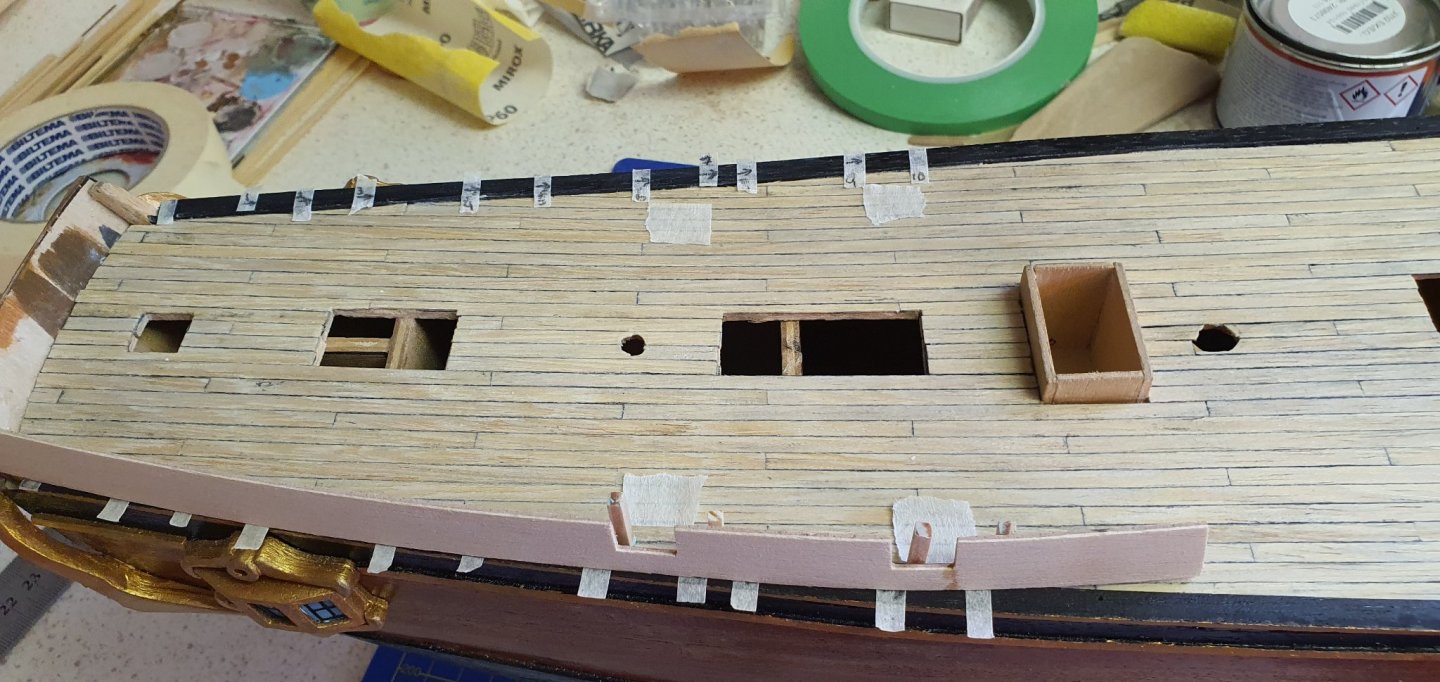
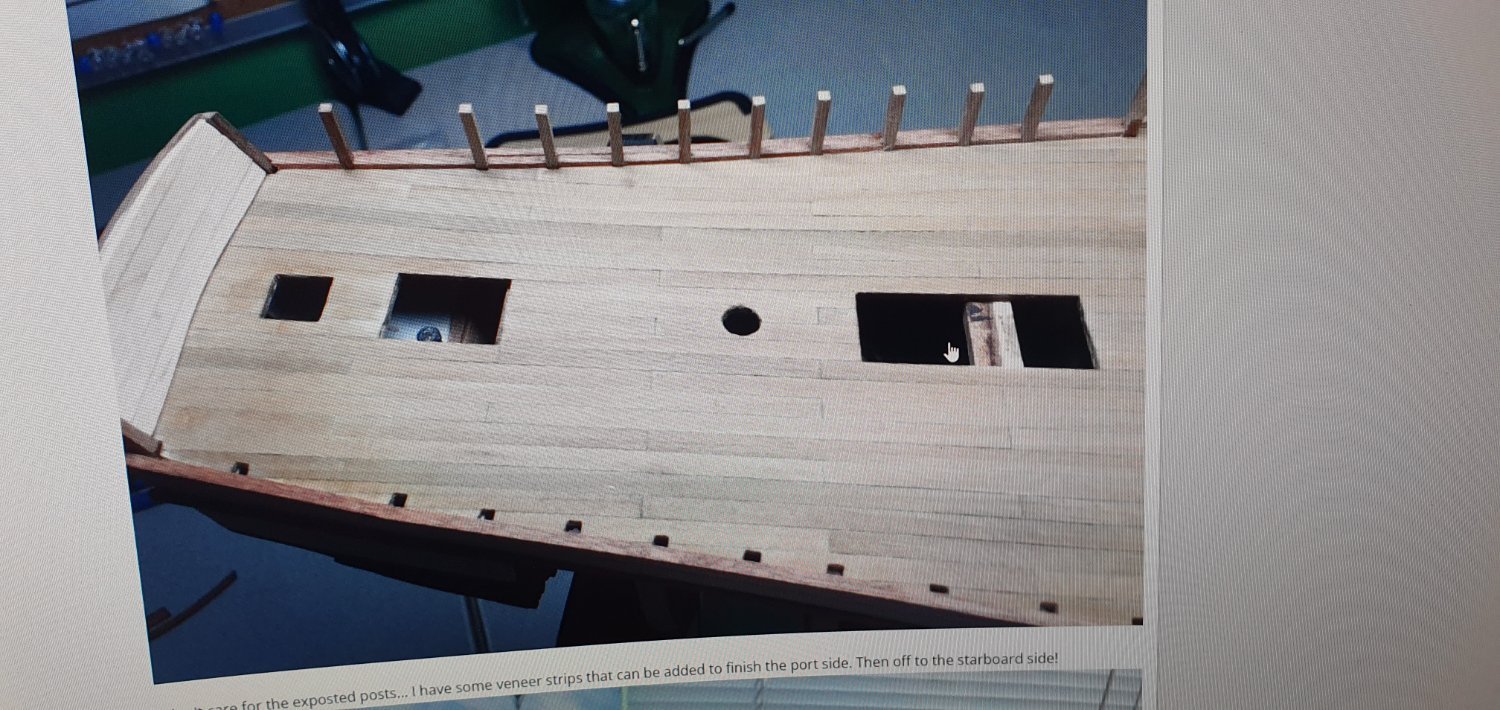
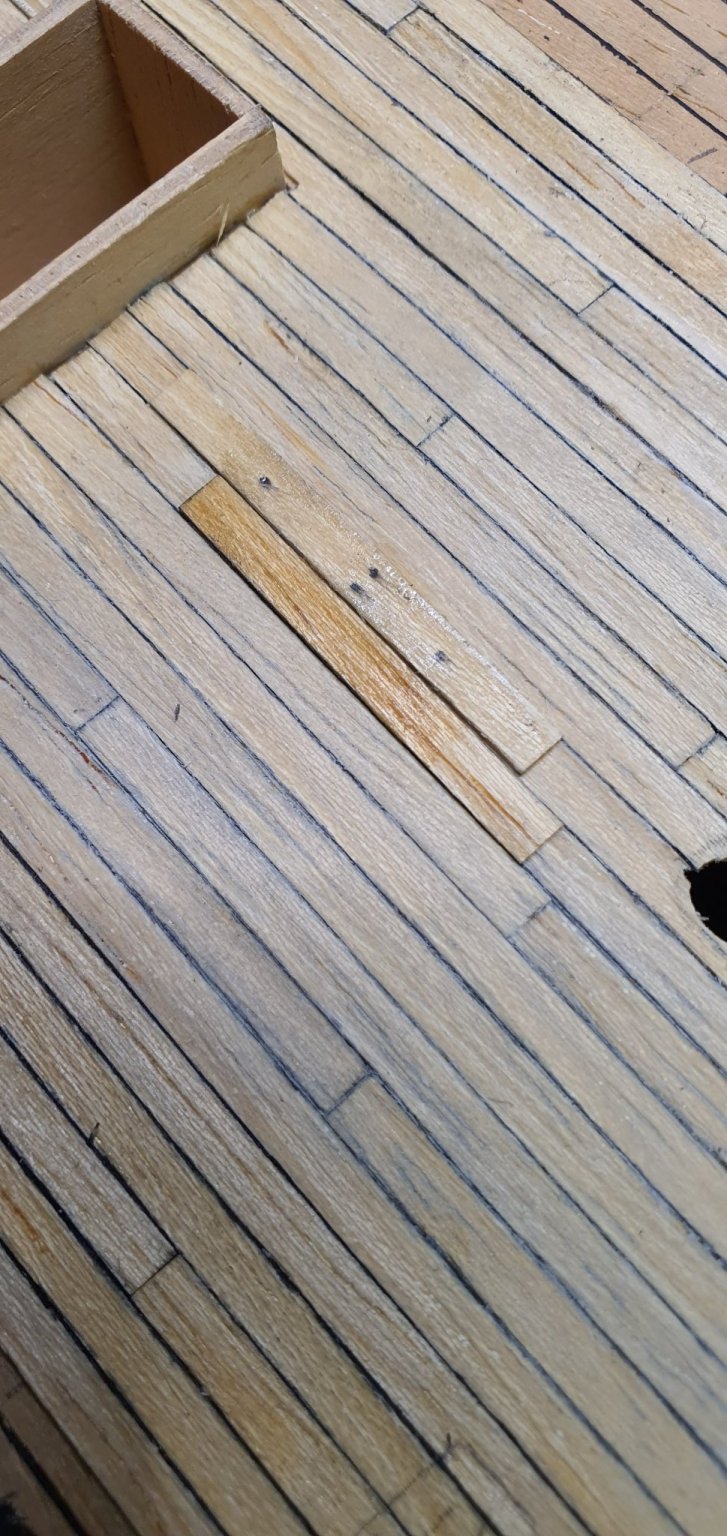
This is a lot of work. I started with using a marker, but then I went over to pencil. It is much faster and forgiving. So I'm mixing between marker and pencil plank and it looks not to bad. I need to do some scraping of the plank to get it even. It suppose to be highest in the middle and then out to the side, but not here. Should have compensated in the beginning, but when one is total green in shipbuilding and building an advance ship kit....
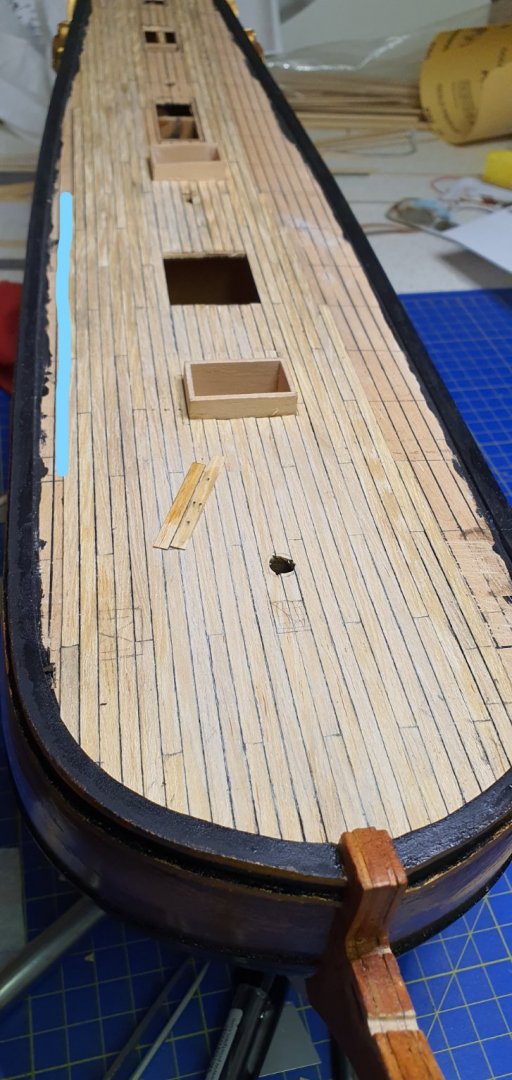
It is difficult to see on the picture, but I marked the left side with a blue line to show where I'm at.
So I'm getting close.
The two lose pieces are example on varnish; one with clear mat (right) and the other one with some redish color in it.
I also mad some pencil "hole" to see how it would look and it I should use it.

- AJohnson and Keith Black
-
2
-
I've started cutting the deck plank while the tests (test1:black marker on one side, test2:black on both sides) are drying up after been some varnish on them.
After going through different tips & tricks it was mention that it was not uncommon to have plank length of approx. 6m. So that convert to approx. 120mm in scale 1:50. So I'm cutting all my planks to 120mm.

- AJohnson, Keith Black and Halvor
-
3
-
-
Thank AJohnson,
I will test out different solution and I'll come back with pictures.
- Keith Black and AJohnson
-
2
-
3 hours ago, DaveBaxt said:
Regards the lines on the deck planks. I got the idea of a Bounty builder off this forum. He actually did one plank at a time but I managed to do 3 or 4 clamped together with the edges showing together. Running the side of the permanent marker along the edge. I did a test to make sure it doesn't run into any varnish or sand and sealer. It takes a bit to get the hang but it's much easier than caulking and quite a good effect. Just do one edge and one end only. Hope this helps. Best regards Dave. Keep up the good work.
Is there a problem of doing more than one edge or just extra work?
-
Thanks Dave for kind words. Trying to as best as I can while learning this hobby. One thing is for sure is it is very relaxing, but time consuming. I'll go to my workshop after a long workday and dinner and just forget time and place, filing on some small pieces. 🙂
I have thought of buying extra stuff from web sites, but the delivery time and my kit is 1:50 which is not very commen it seems. So far I have limited to nice blocks and deadeye from Syren.
Dave, I looked at your log for how you marked the deck plank on the side for best result, but could see what you ended up with (most likely you described it, but I didn't get it). What did you do, permeant marker or pencil? I've tried both, but are far of from your great result. Any tips would be much appreciated.
- DaveBaxt and Keith Black
-
2
-
44 minutes ago, Keith Black said:
Trond, it appears they have to be sanded to shape. It's either sand to shape or make your own pieces.
I've looked forth and back, but as far as I see I will need to make new improved pieces. Comparing the setup I have in my kit compared to other and the book, than my kit version is way off.
-
Thanks for nice word guys.
What to do next?
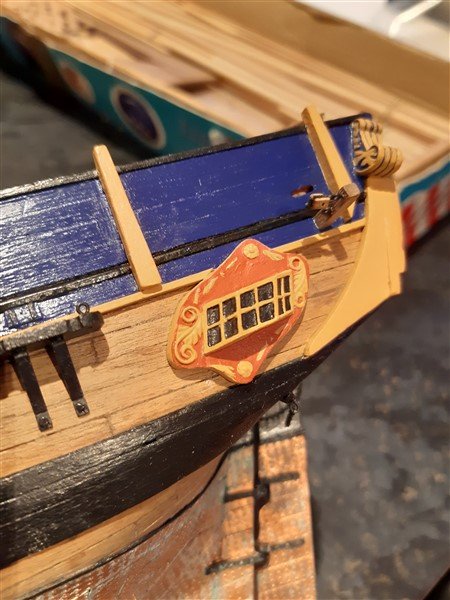
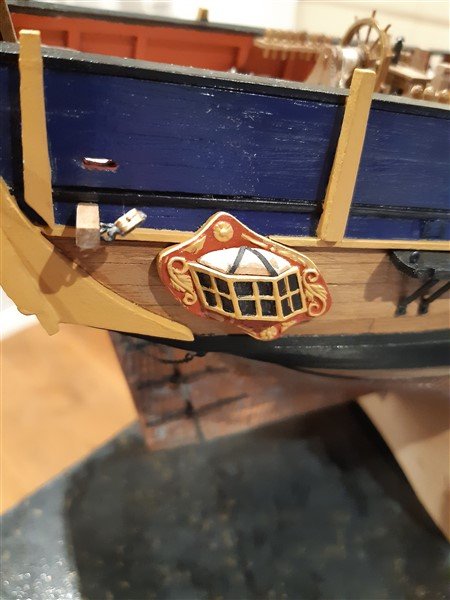
I'm not sure I can or will add on these side carving and make it look good.

since I'm missing this part on my aft carving. Will do some thinking and testing before I do this carving.
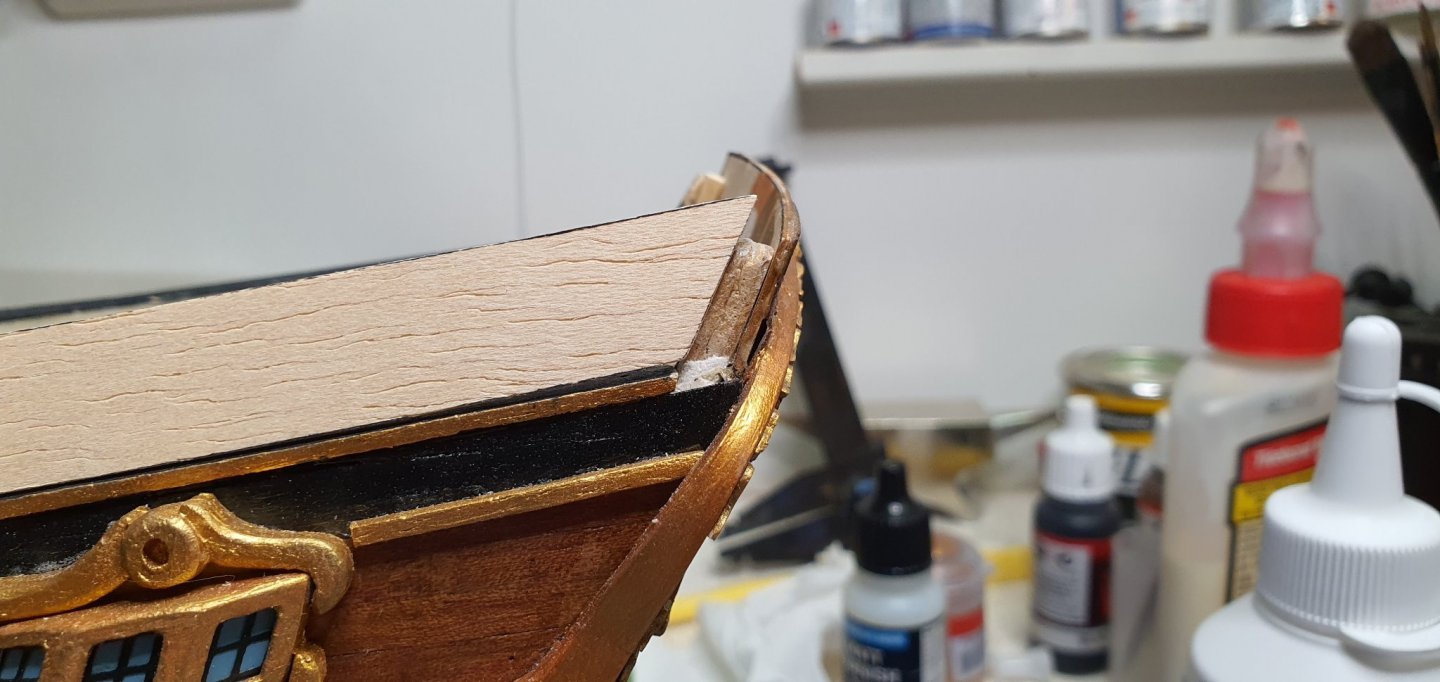
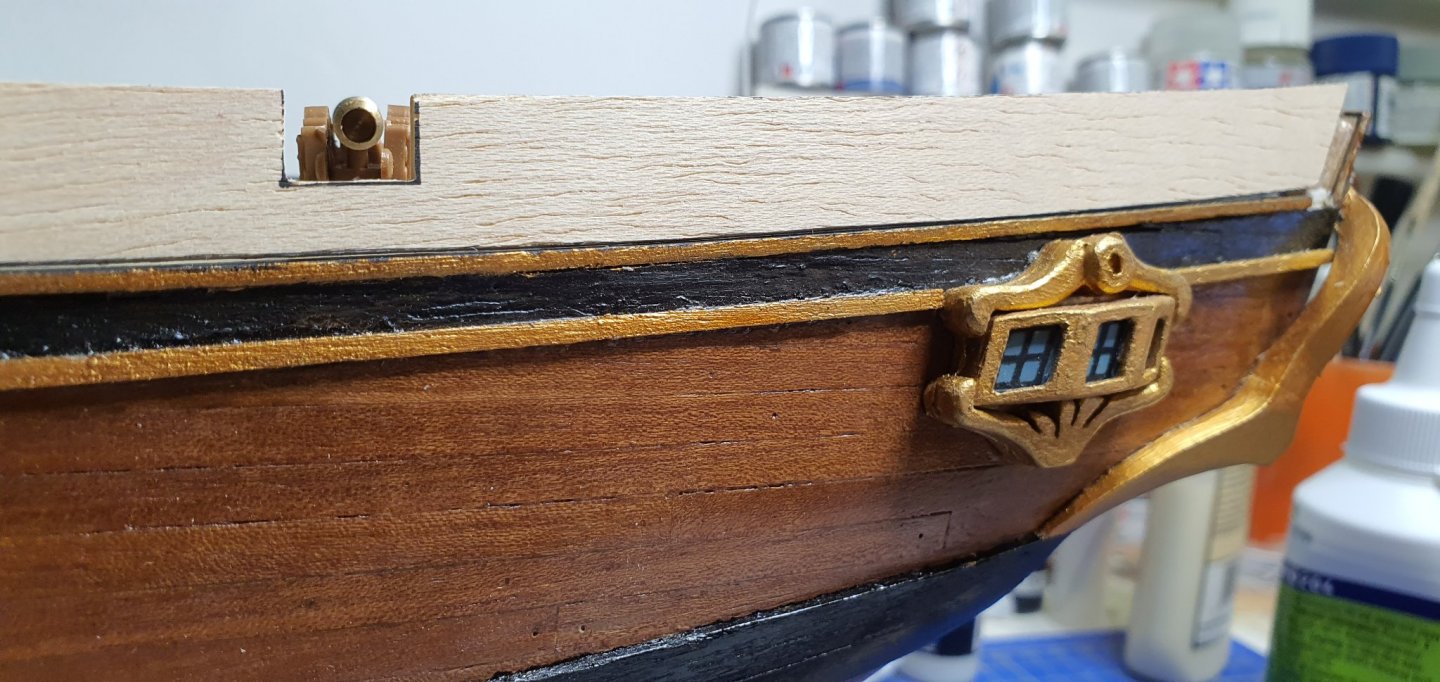
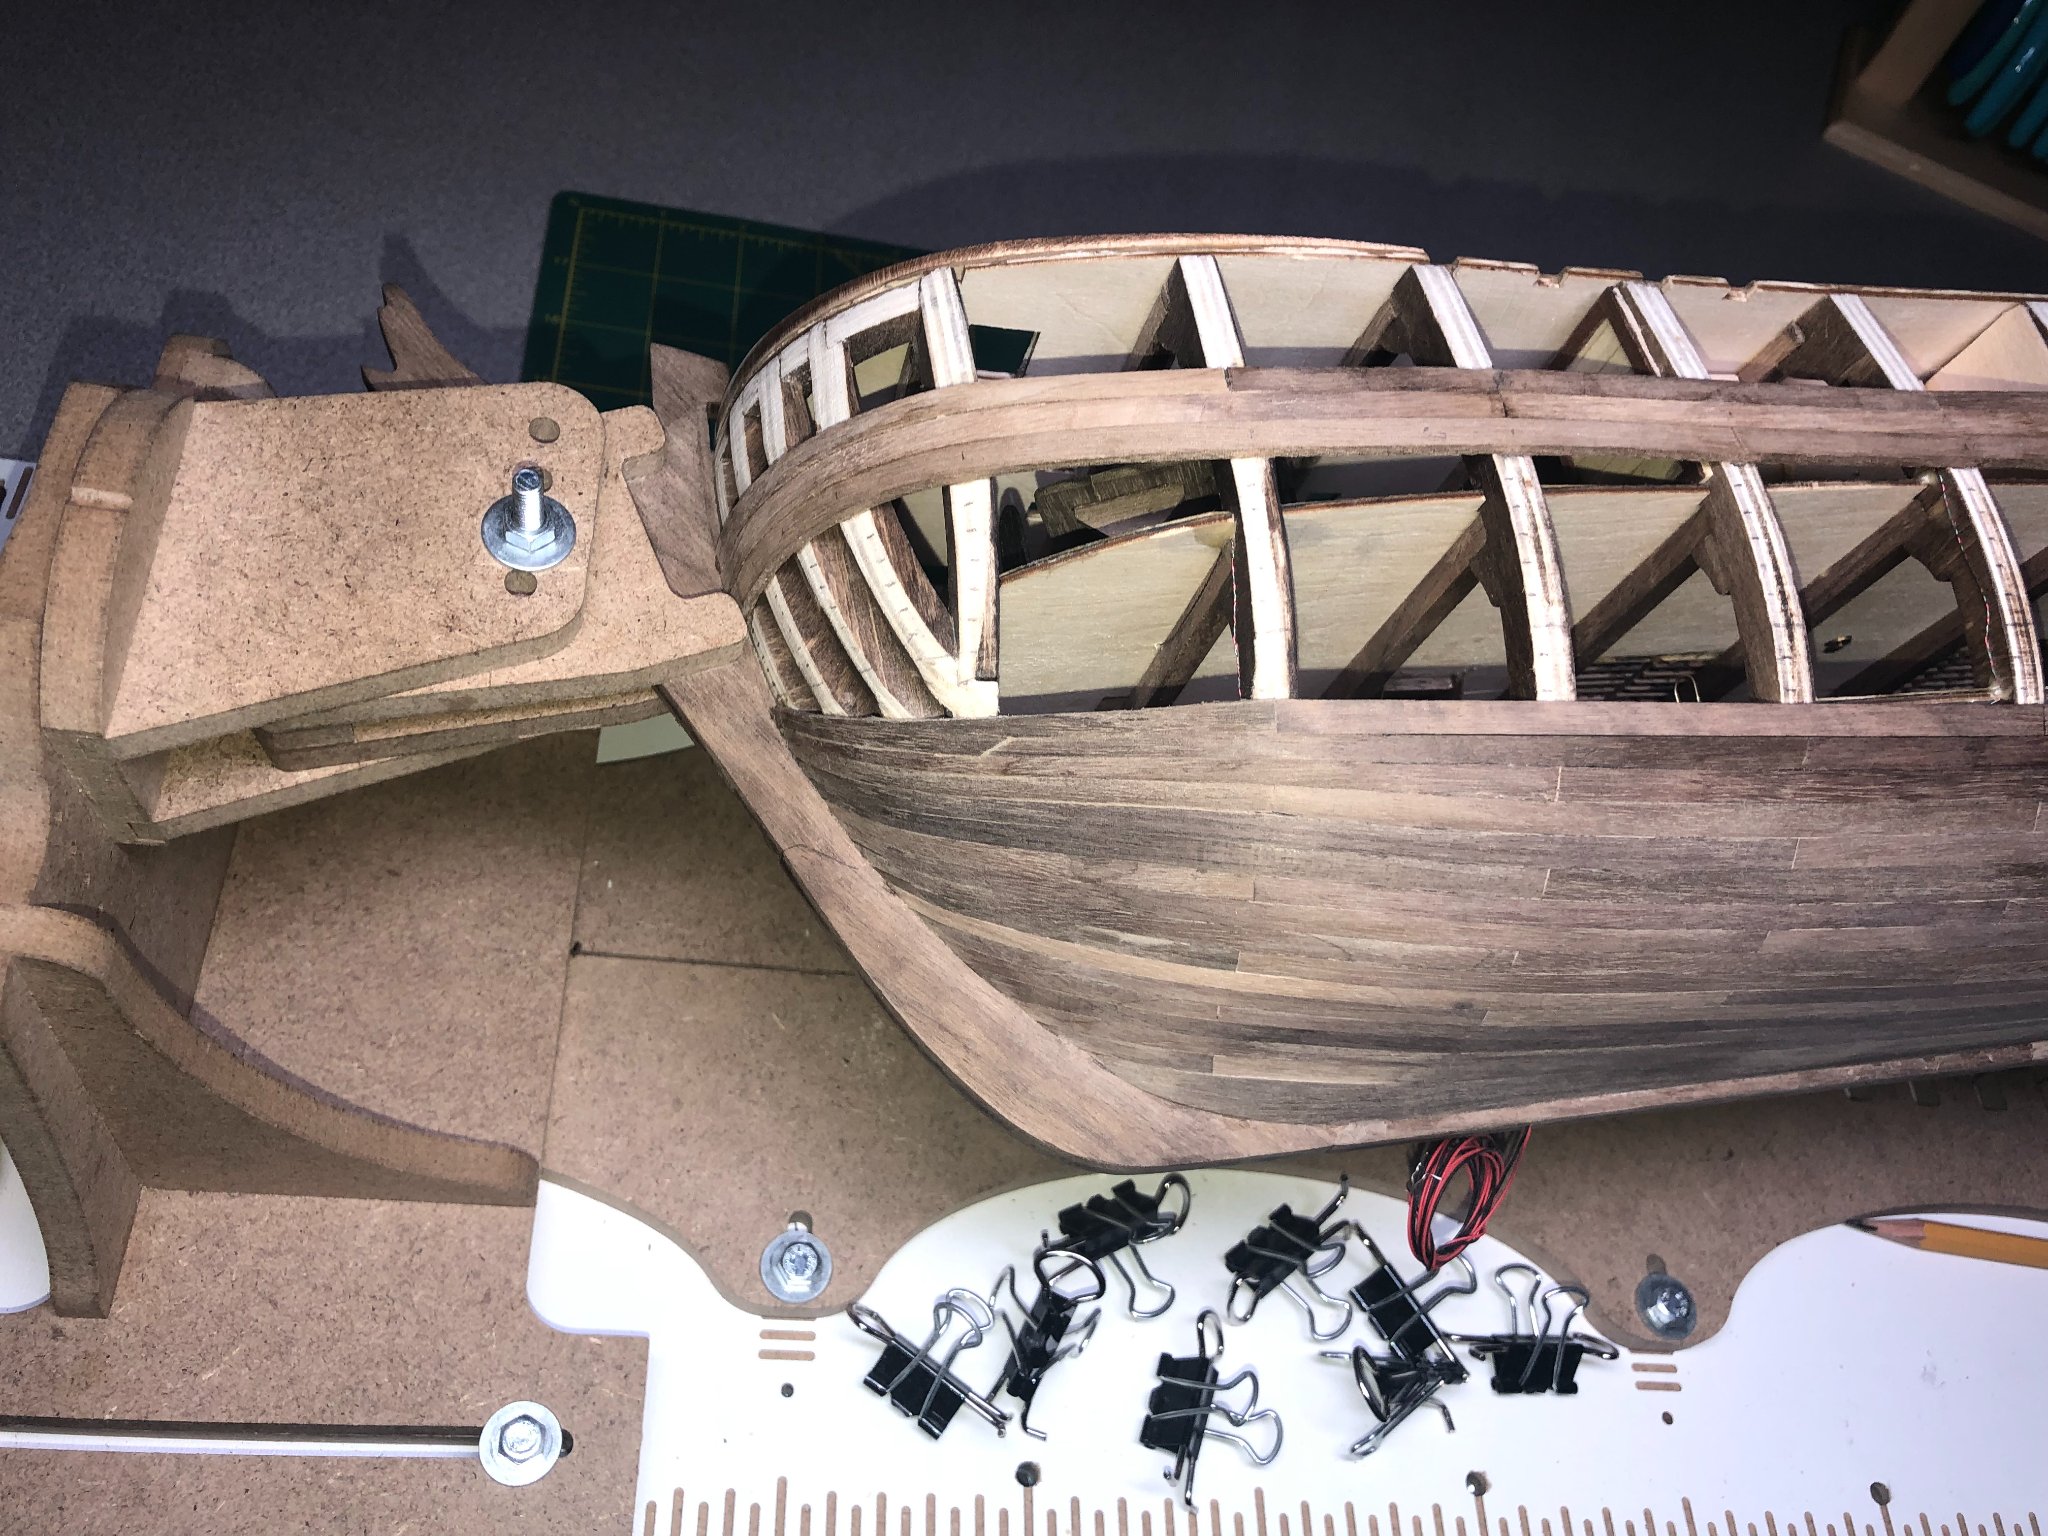
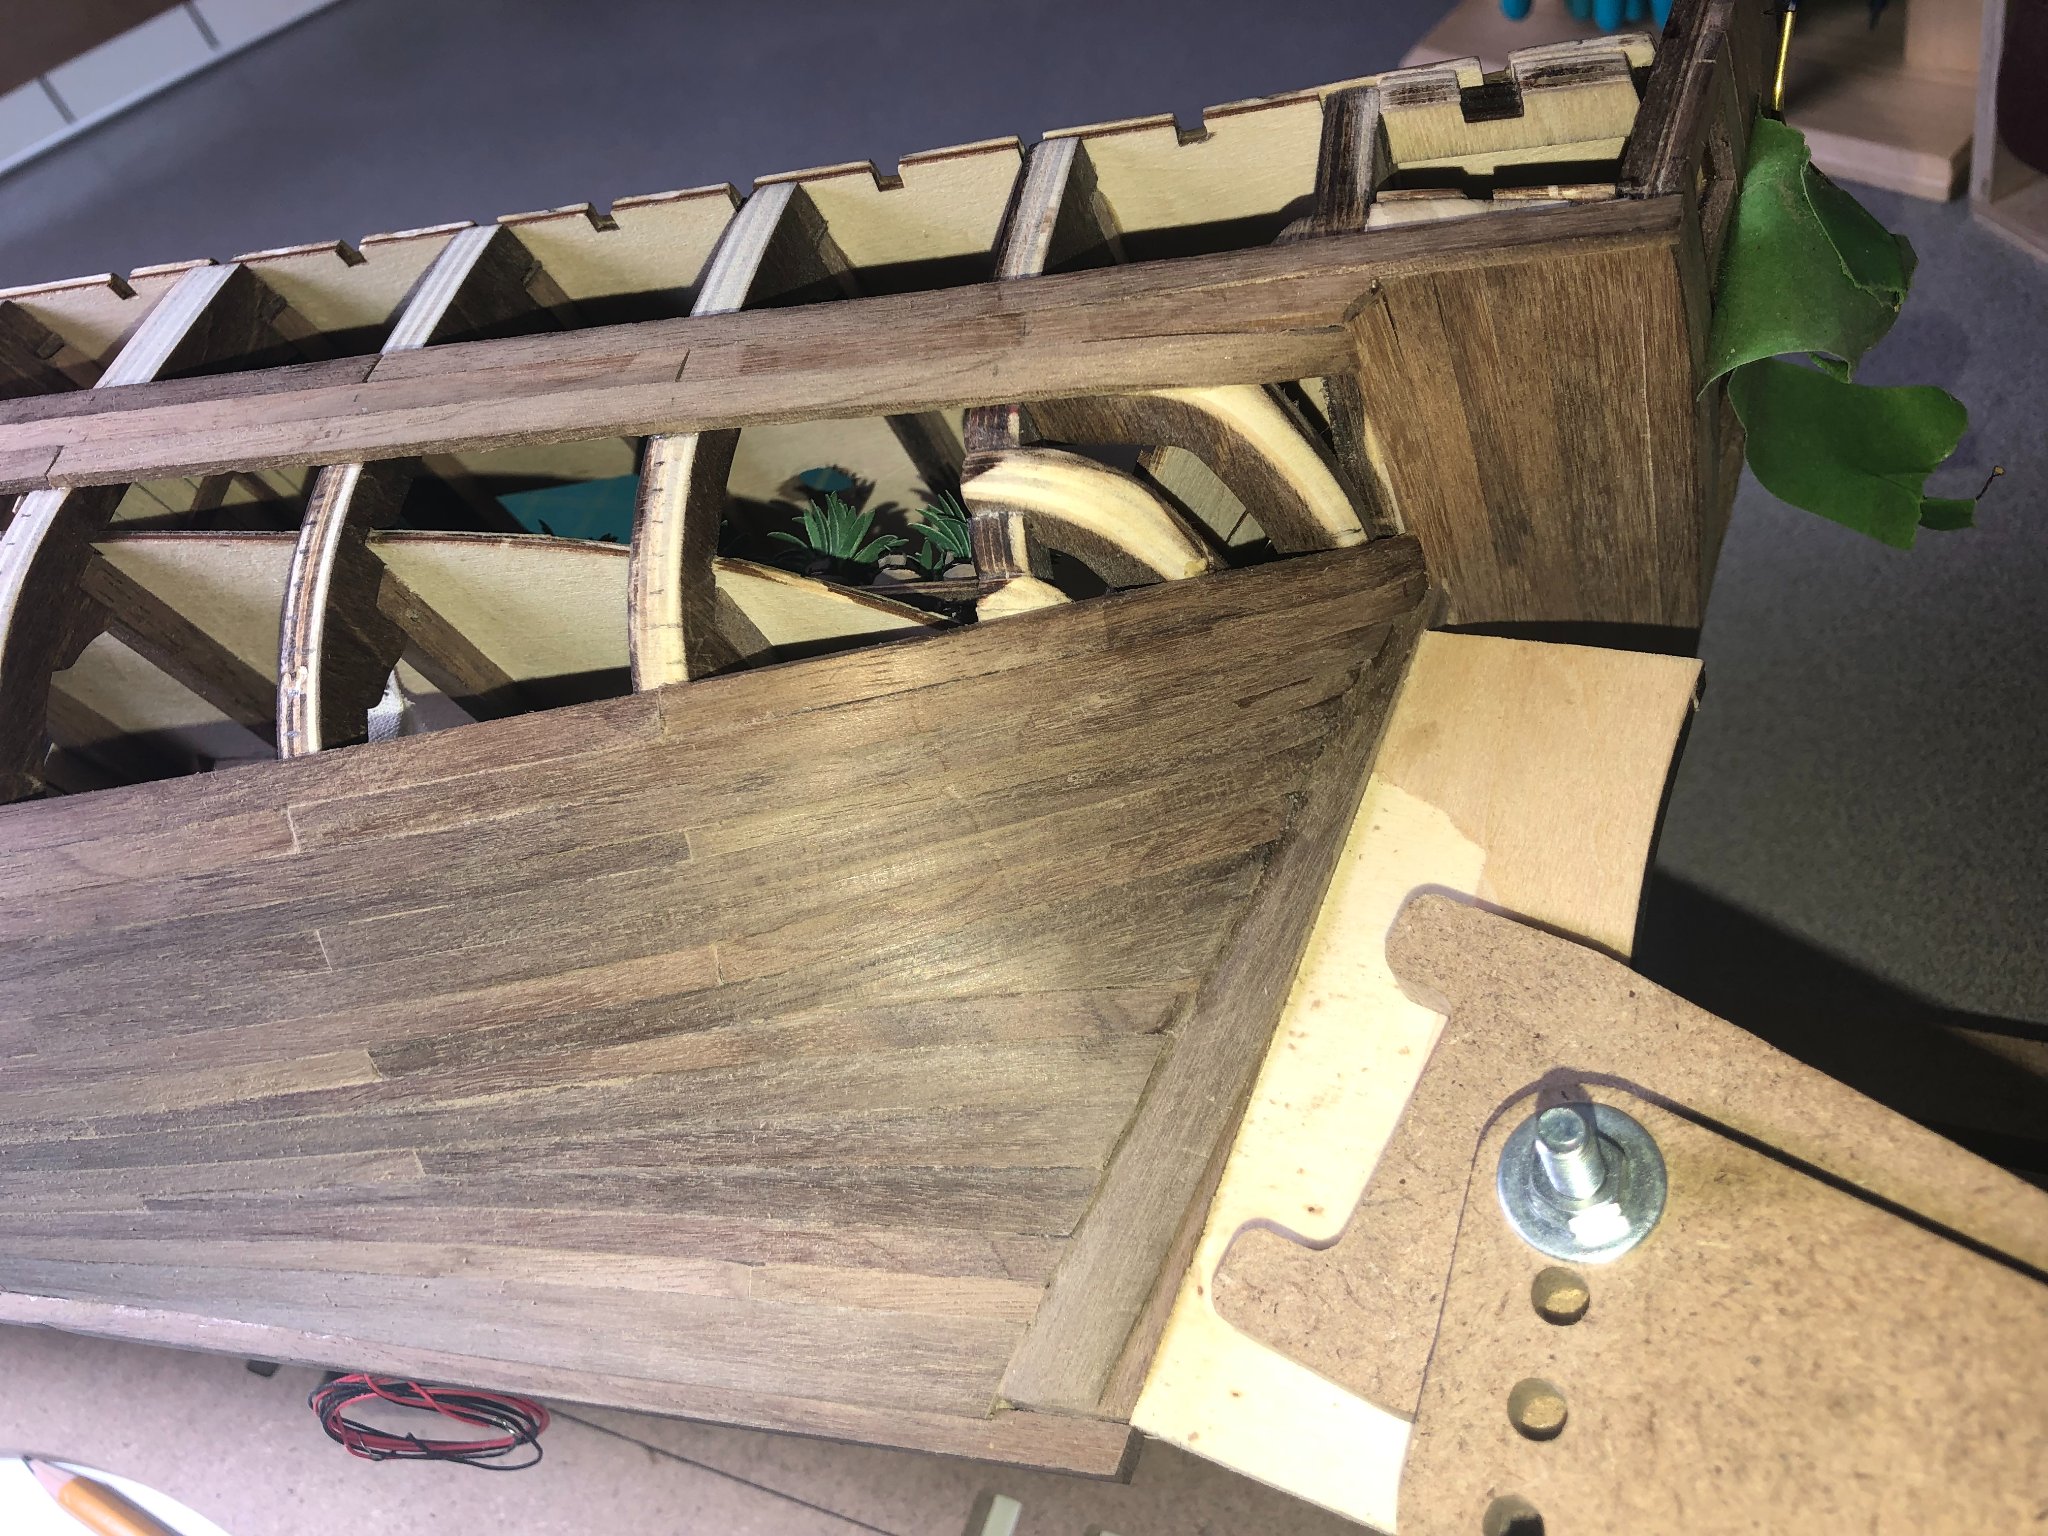
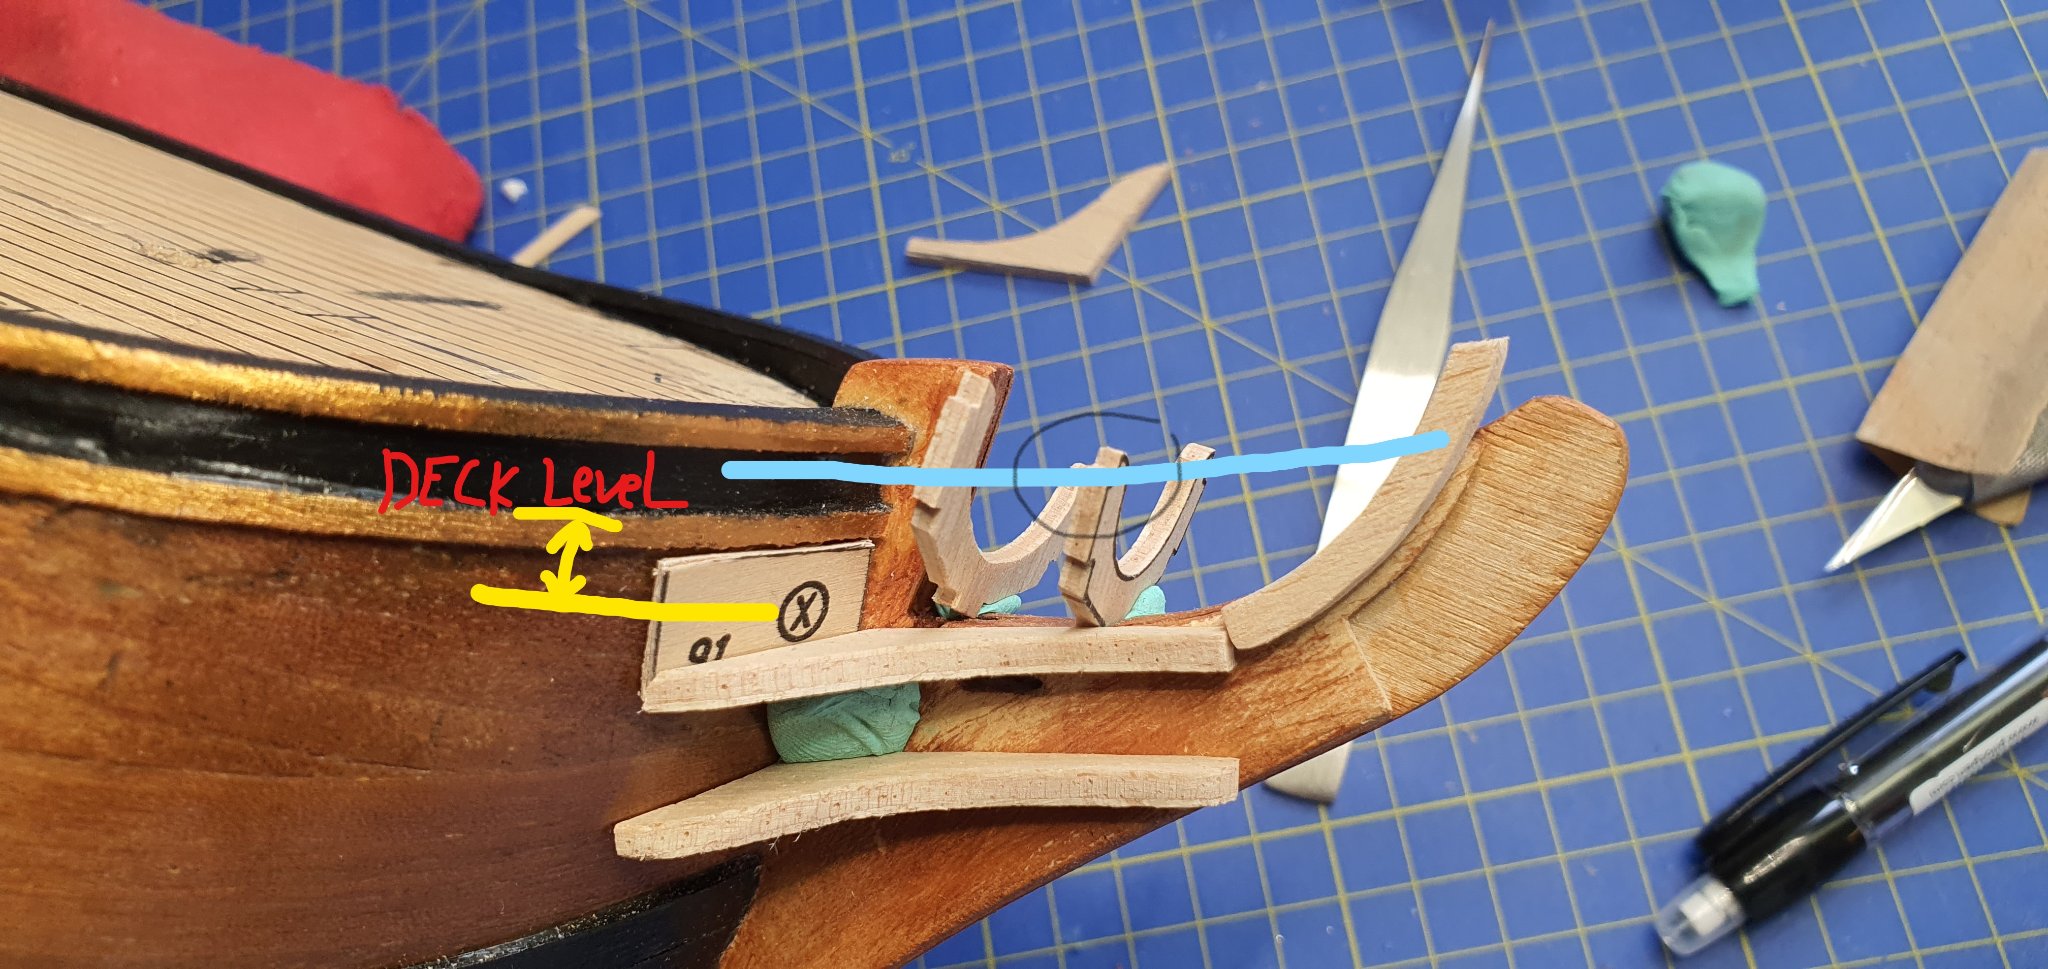
In the mean time I was looking into doing the bow detail, and daaam here we go again on kit errors.

1. The blue line represent the piece (not able to make it stay long enough to take picture with) that is suppose to fit into the both frames on bow
2. The piece with the circle and X on is from my understanding where the anchor rope is suppose to go through and that is bellow deck level
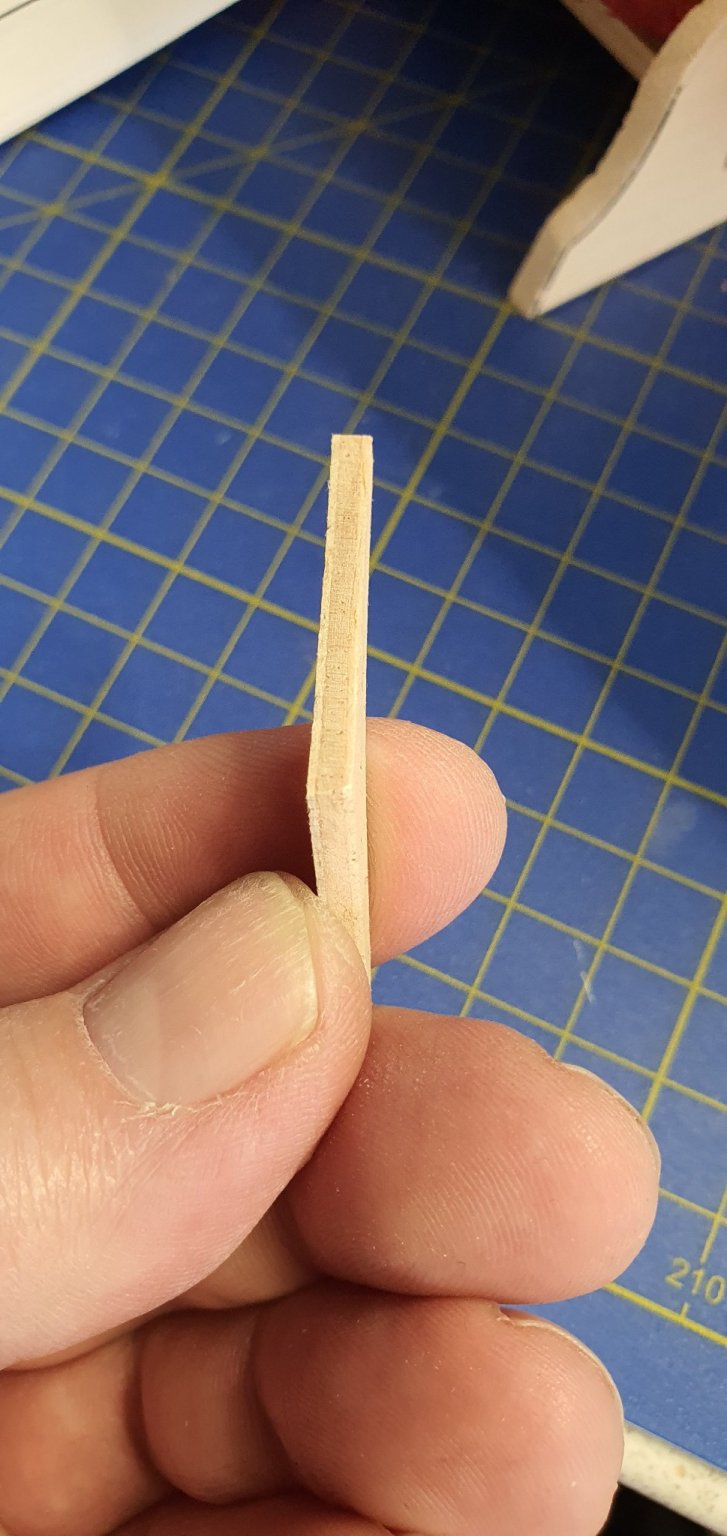
3. Both pieces that go from the hull to the bow are suppose to be bent. When you look closer on the wood piece it consist of 3 pieces glue together, which mean I cant put on water for bending.
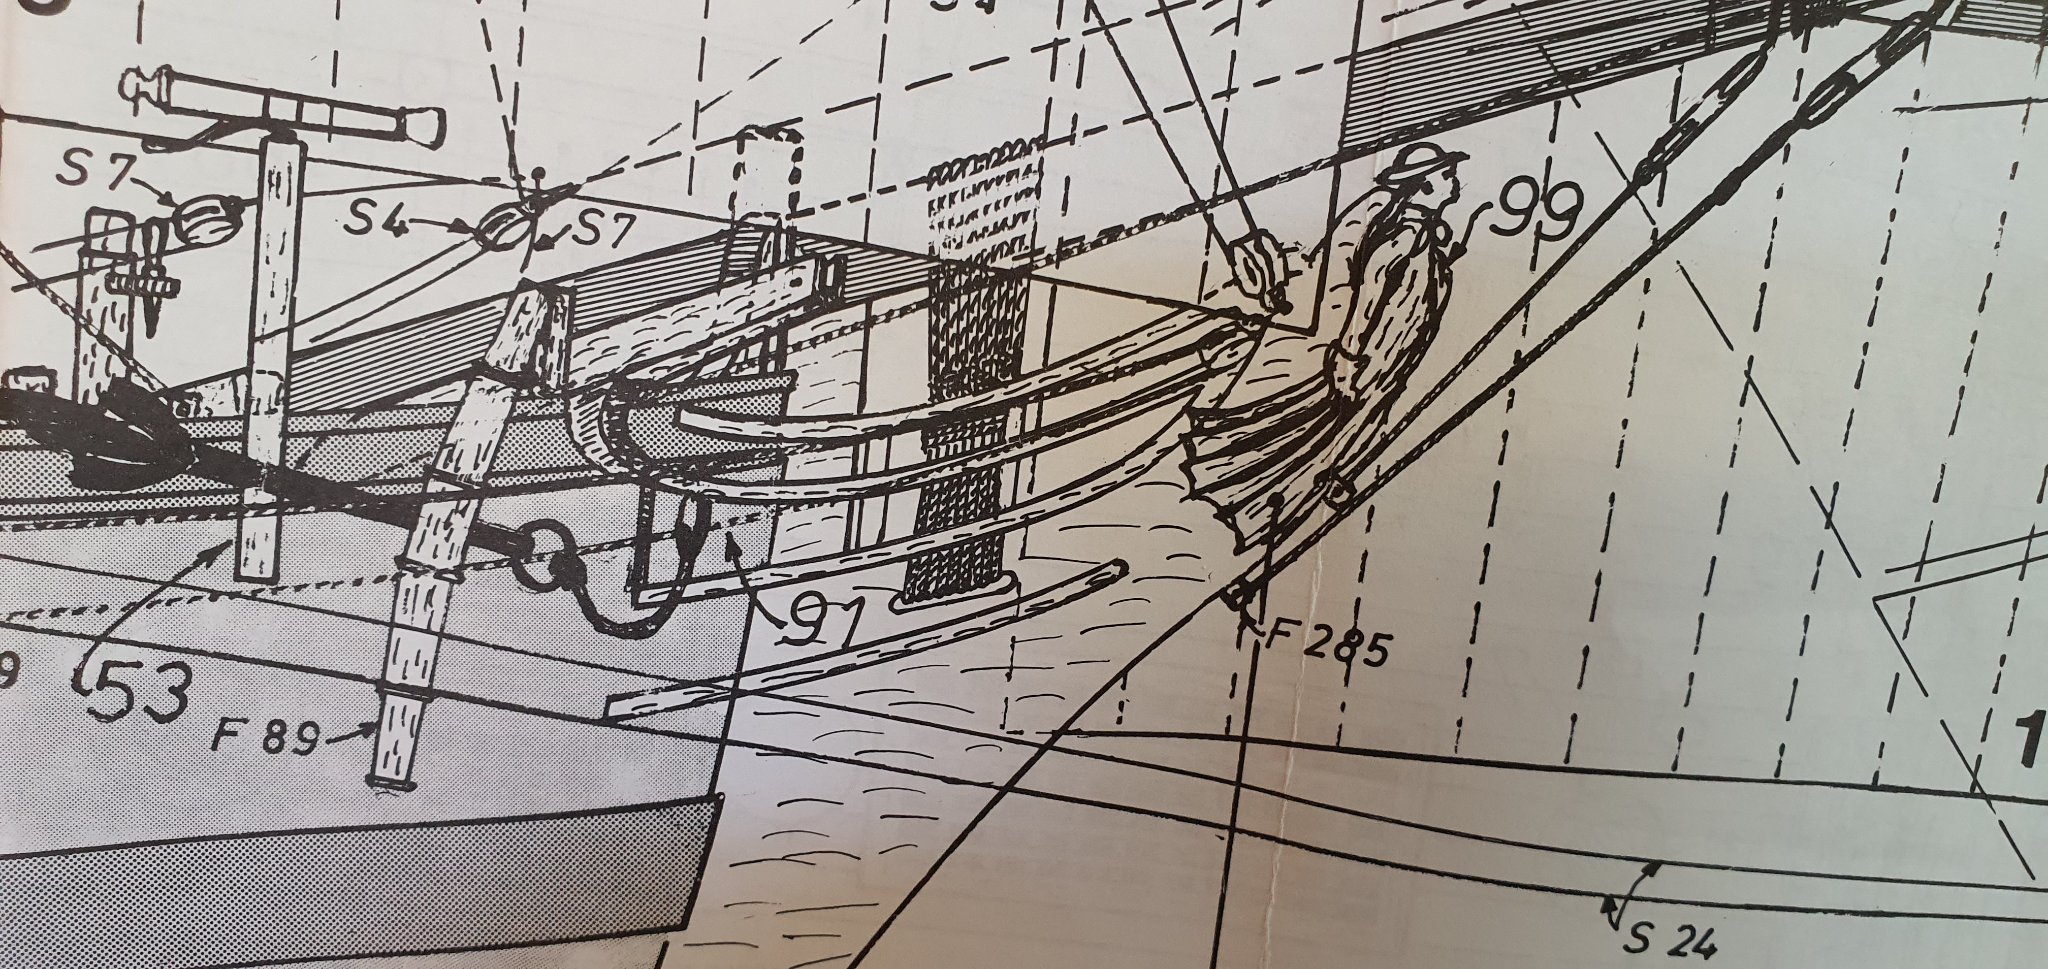
4. Look at the bellow drawings and you see errors between the A1 drawing(top) and instruction drawing bellow.


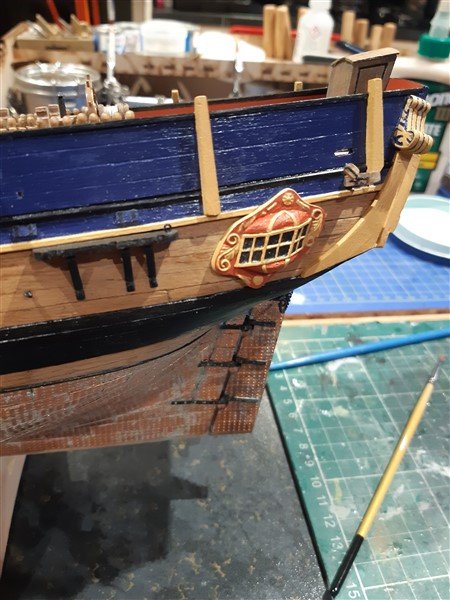
And when I compare all this to the book Armed Transporter Bounty it looks like this.
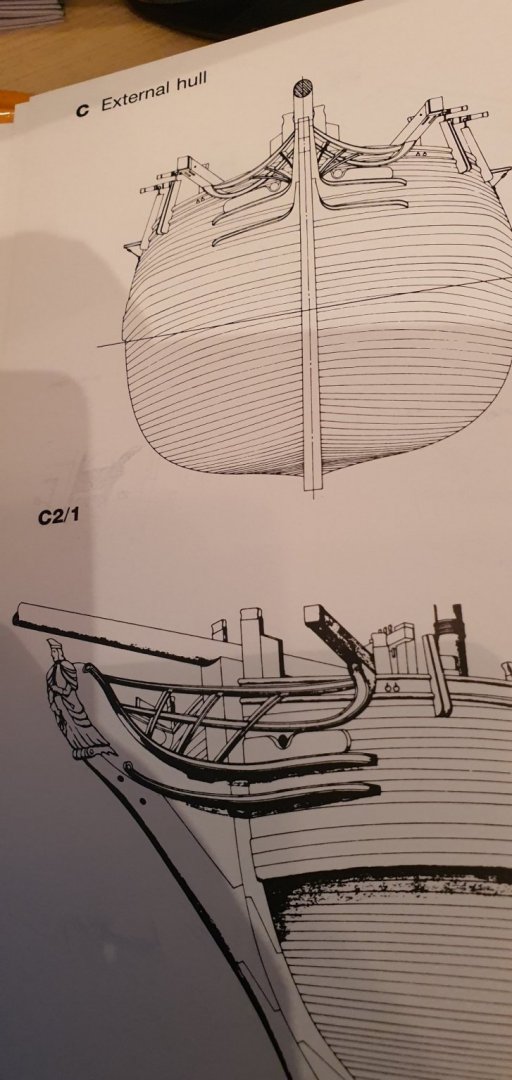
So in the end I will need to re-think the building and focus on what is in the book.
I've been on several logs in the forum, but cant actually see where/how the anchor rope go from deck and on to the anchor. If this hole is used for the anchor rope, then I hope for some suggestion on how I can fix my problem with this.
In the mean time I will do the deck planking while I do some thinking on my above problems.

-
Thanks AJohnson,
I don't know if it is deliberate from Billingboats or just cutting down cost, but there is a lot missing or wrong items on the kit. So I want to make it as good/correct as possible, which mean scratch building with help from this great community.
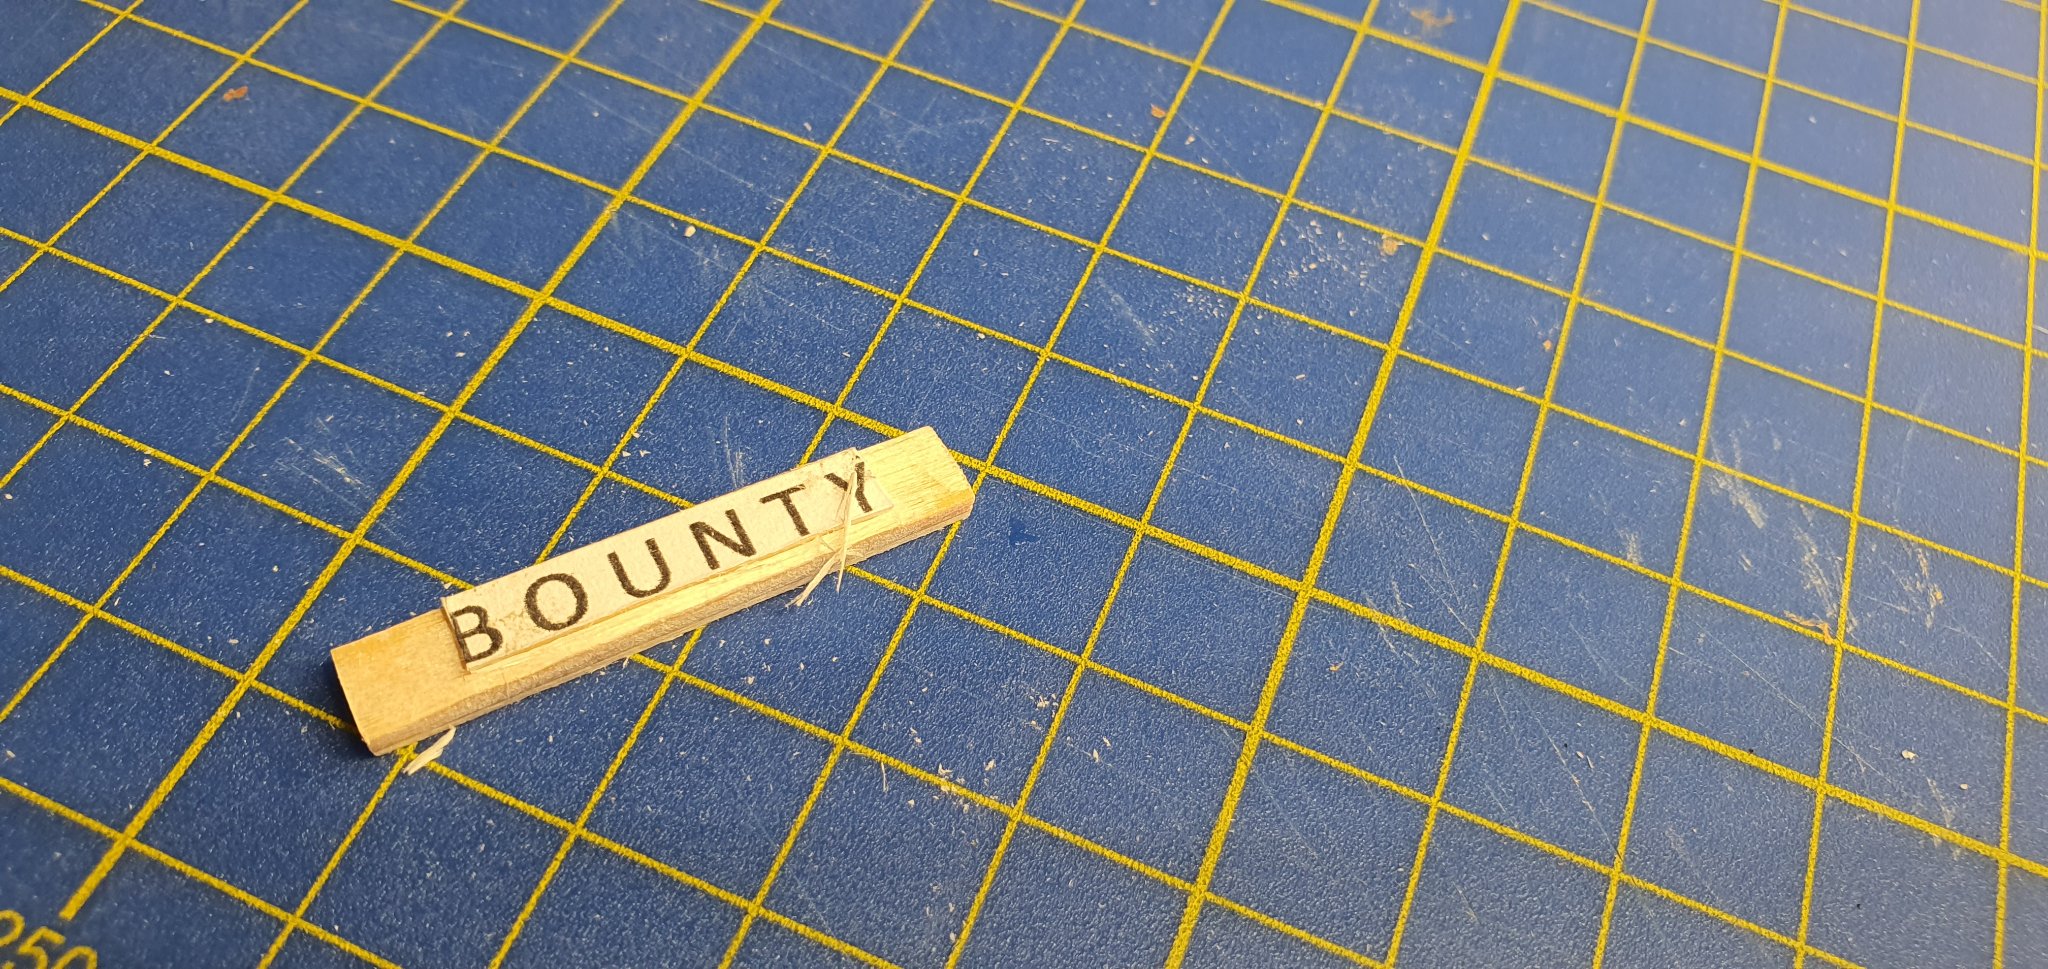
In Norwegian there is a saying "Alle god ting er tre", which translate to roughly "'The third time you'll get it right".
After two failure I got it on the third time. I printed different sizes and spacing between letters and ended up on 15 Calibri in Word with a space between each letter. It could maybe be better with one size smaller, but dam it is difficult cutting out letters in that size. In the aftermath I should have use a much harder wood for the carving of letters. Note to self for next time.
I started with a wood from the kit and glued on the printed letter.
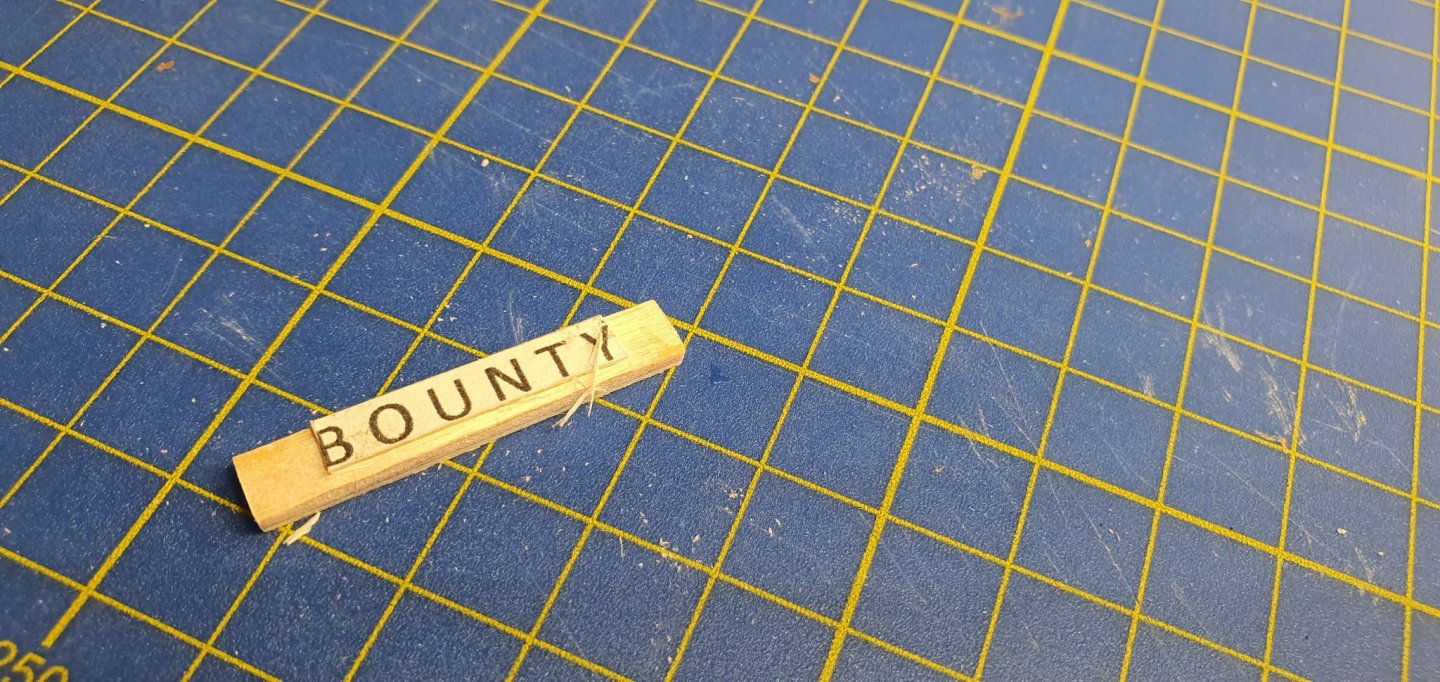
and started carving.
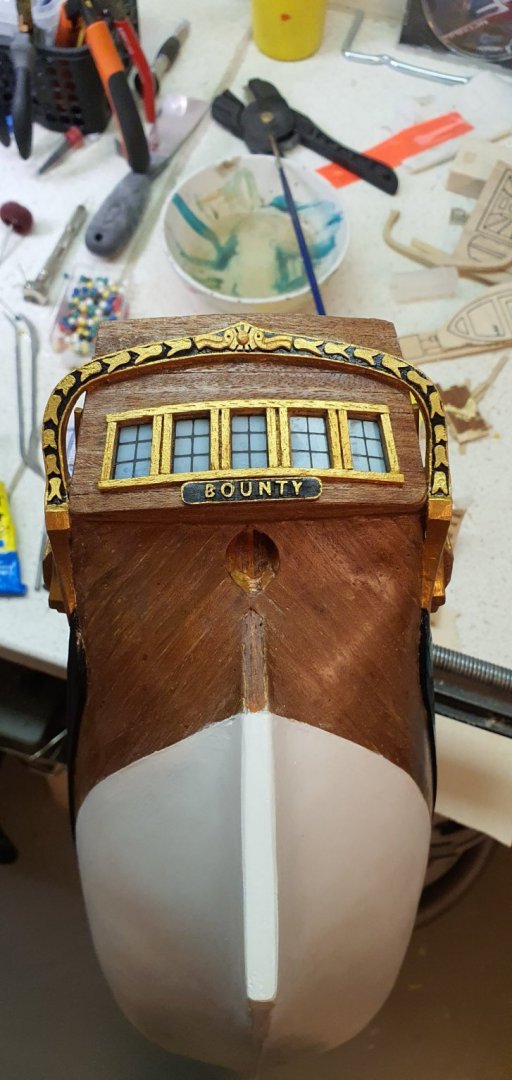
And here is the result finished carved, painted and glued on.
- Keith Black, AJohnson and DaveBaxt
-
3
-
Your doing a great job Dave. I see all the work you have done and I haven't started jet. So I guess it is a mix of excitement and worries to start rigging.
How tight are the lines? In real life it is easy tightening here, loose up other places, but on small scale?
Well , continue the great work.
TrondSB


 Started marking up the
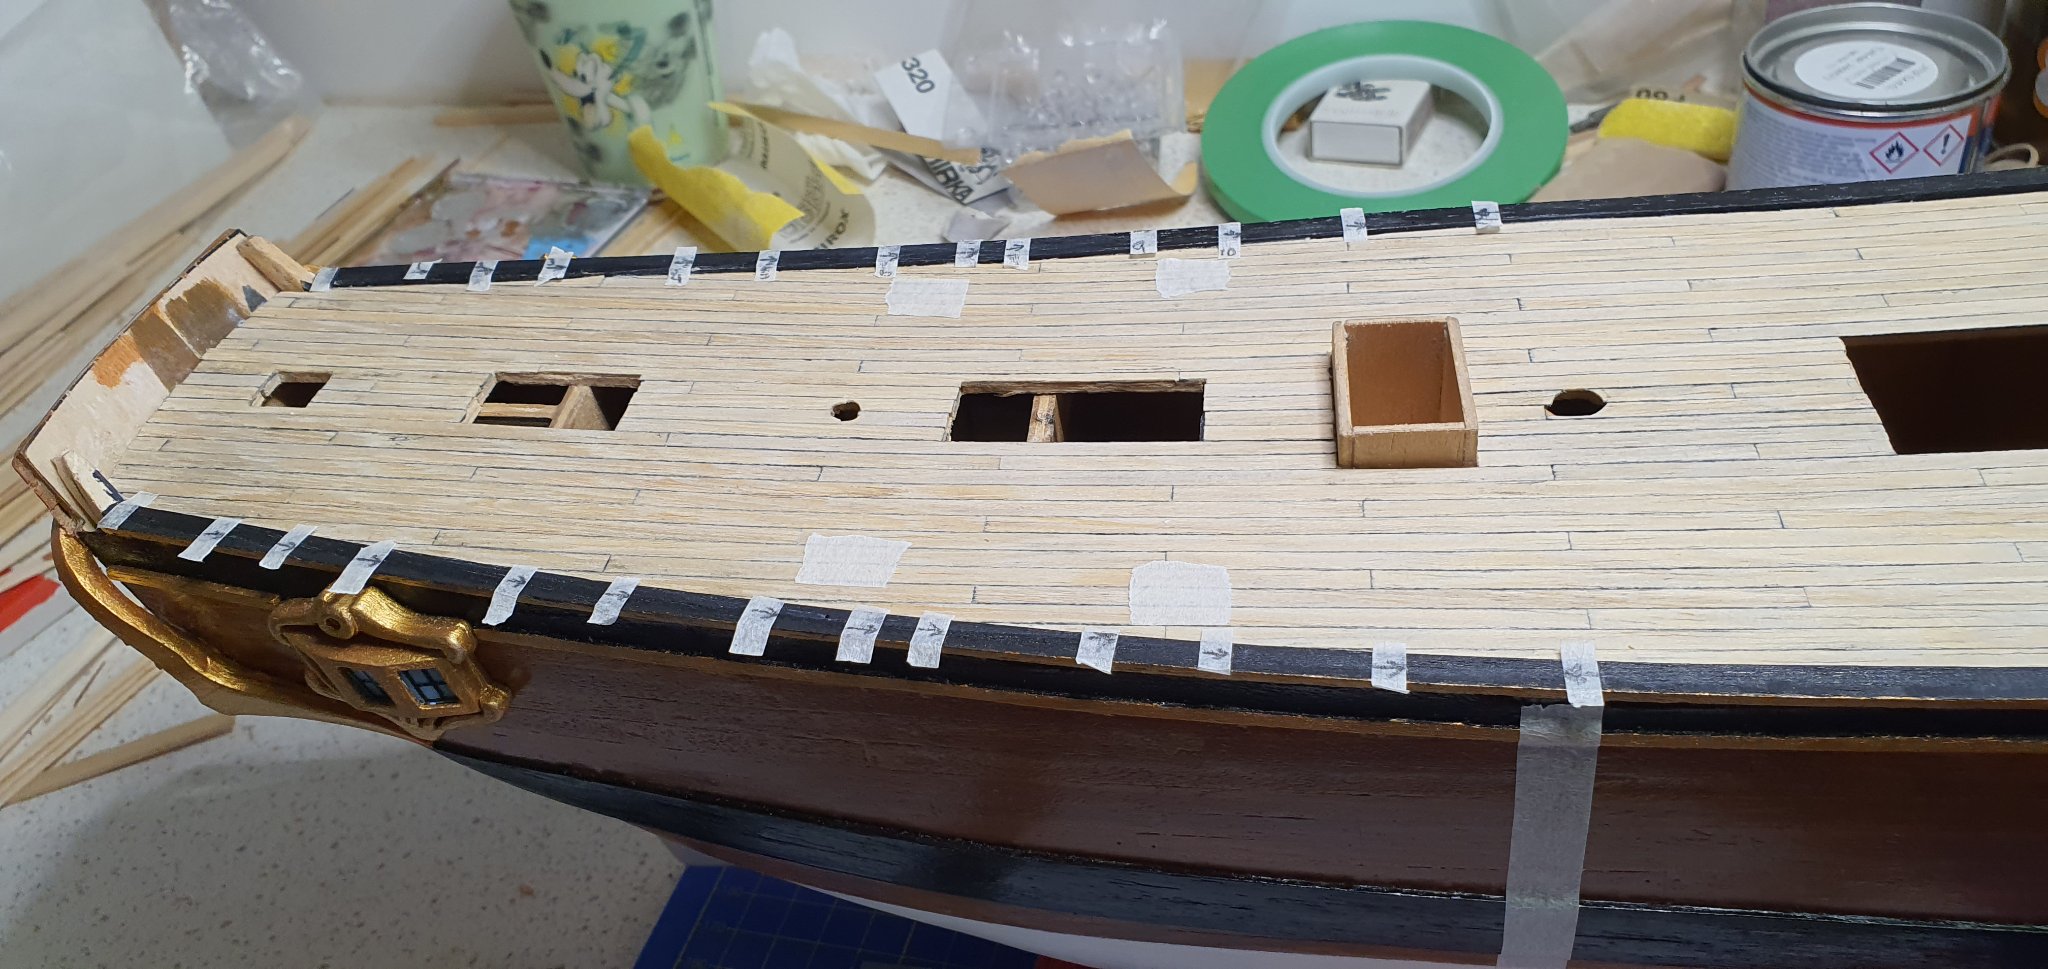


HMS Bounty by Trond - Billing Boats - 1:50
in - Kit build logs for subjects built from 1751 - 1800
Posted
I see there is different color used on the side top board. In Bounty book it meantion black outside, but what about the inside?