Robp1025
Members-
Posts
259 -
Joined
-
Last visited
Content Type
Profiles
Forums
Gallery
Events
Everything posted by Robp1025
-
Dean you are doing a fine job for sure!! It's not about if you do it better than anyone but that you enjoy yourself and learn every step of the way. I only have done 1 build (cept the fact that I have like 6 lines to run of rigging then I'm done but waiting patiently on the rope to be sent out) I made lots of mistakes but always will be striving to do better on each build. Keep up the amazing work!!
-
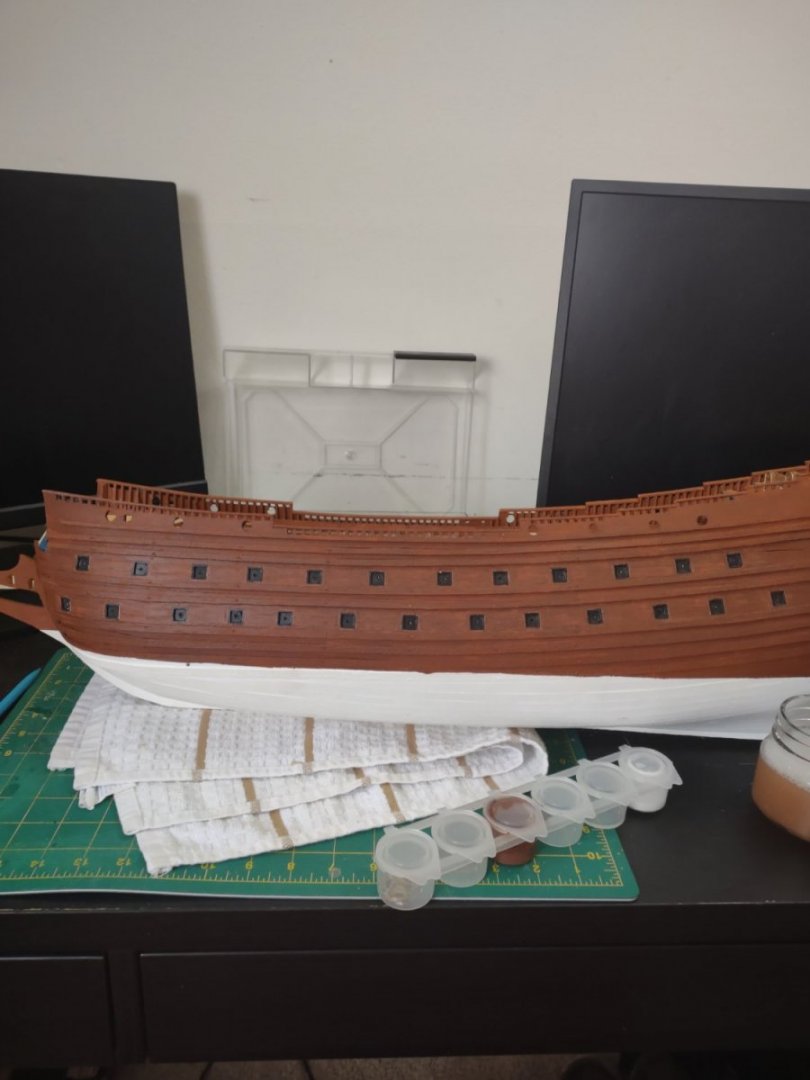
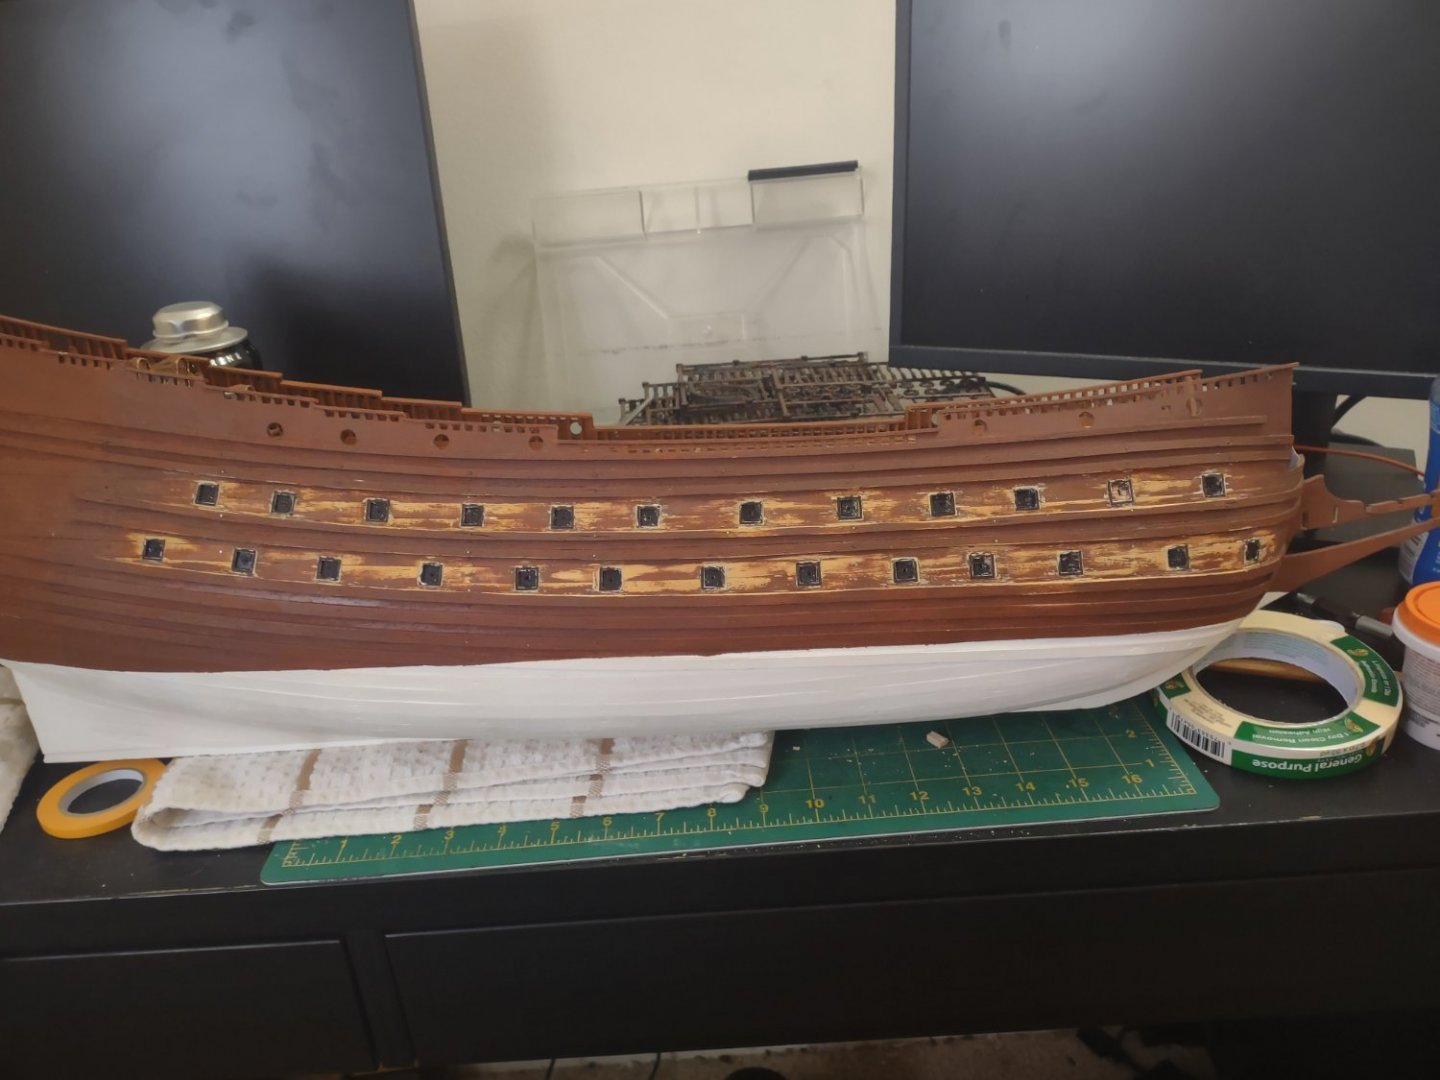
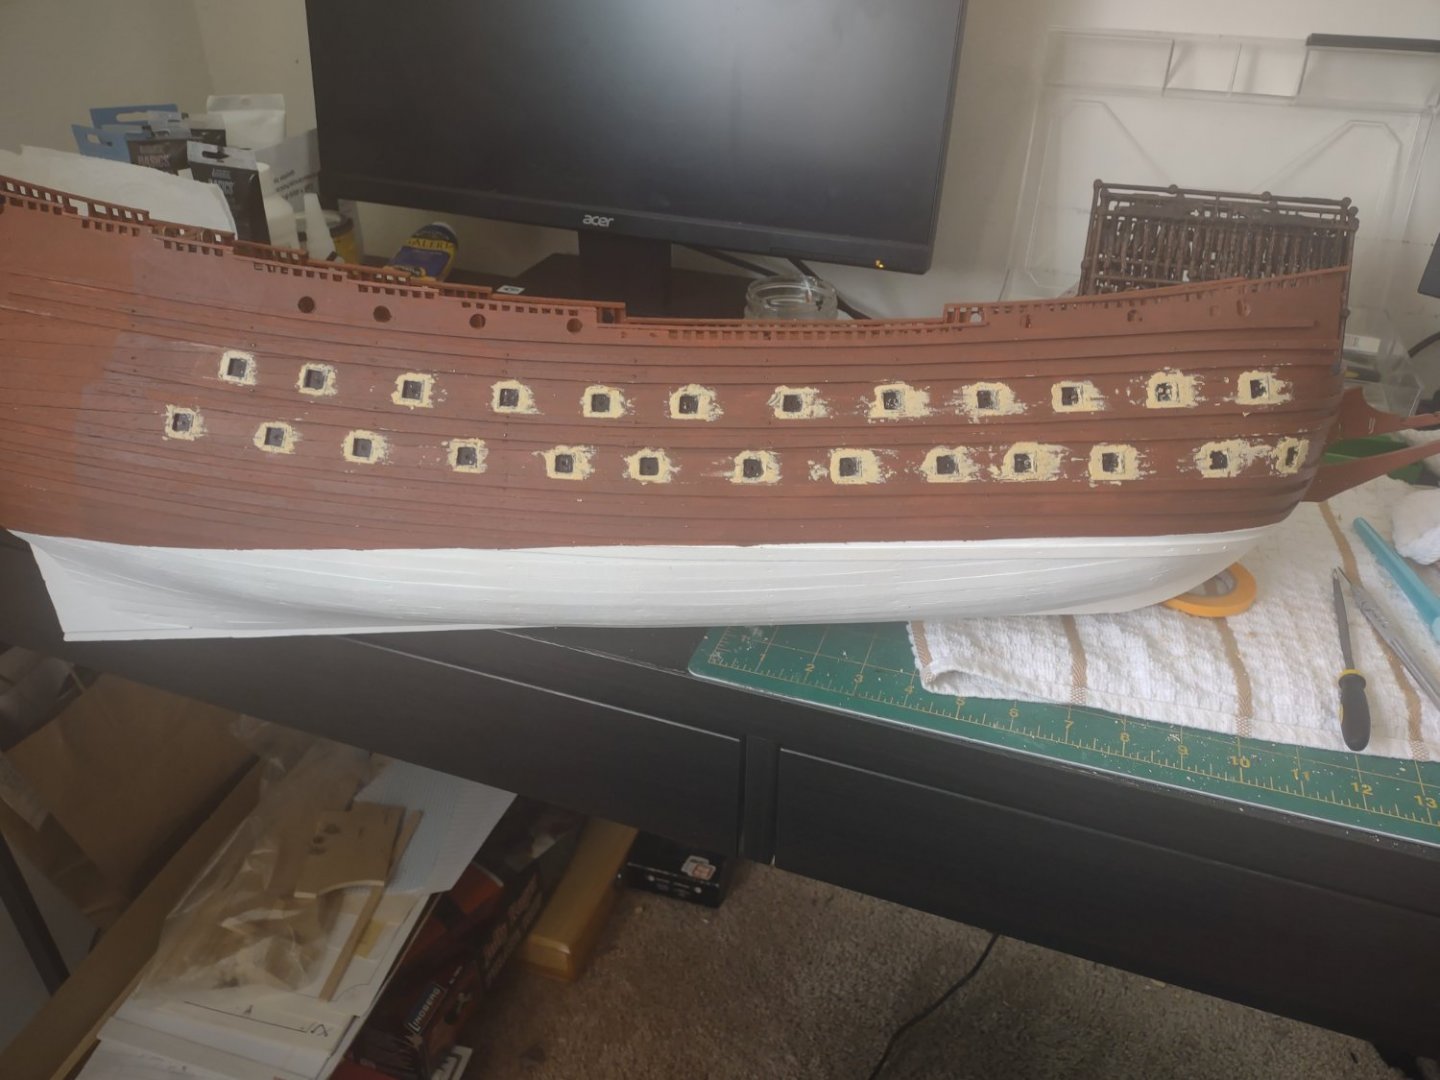
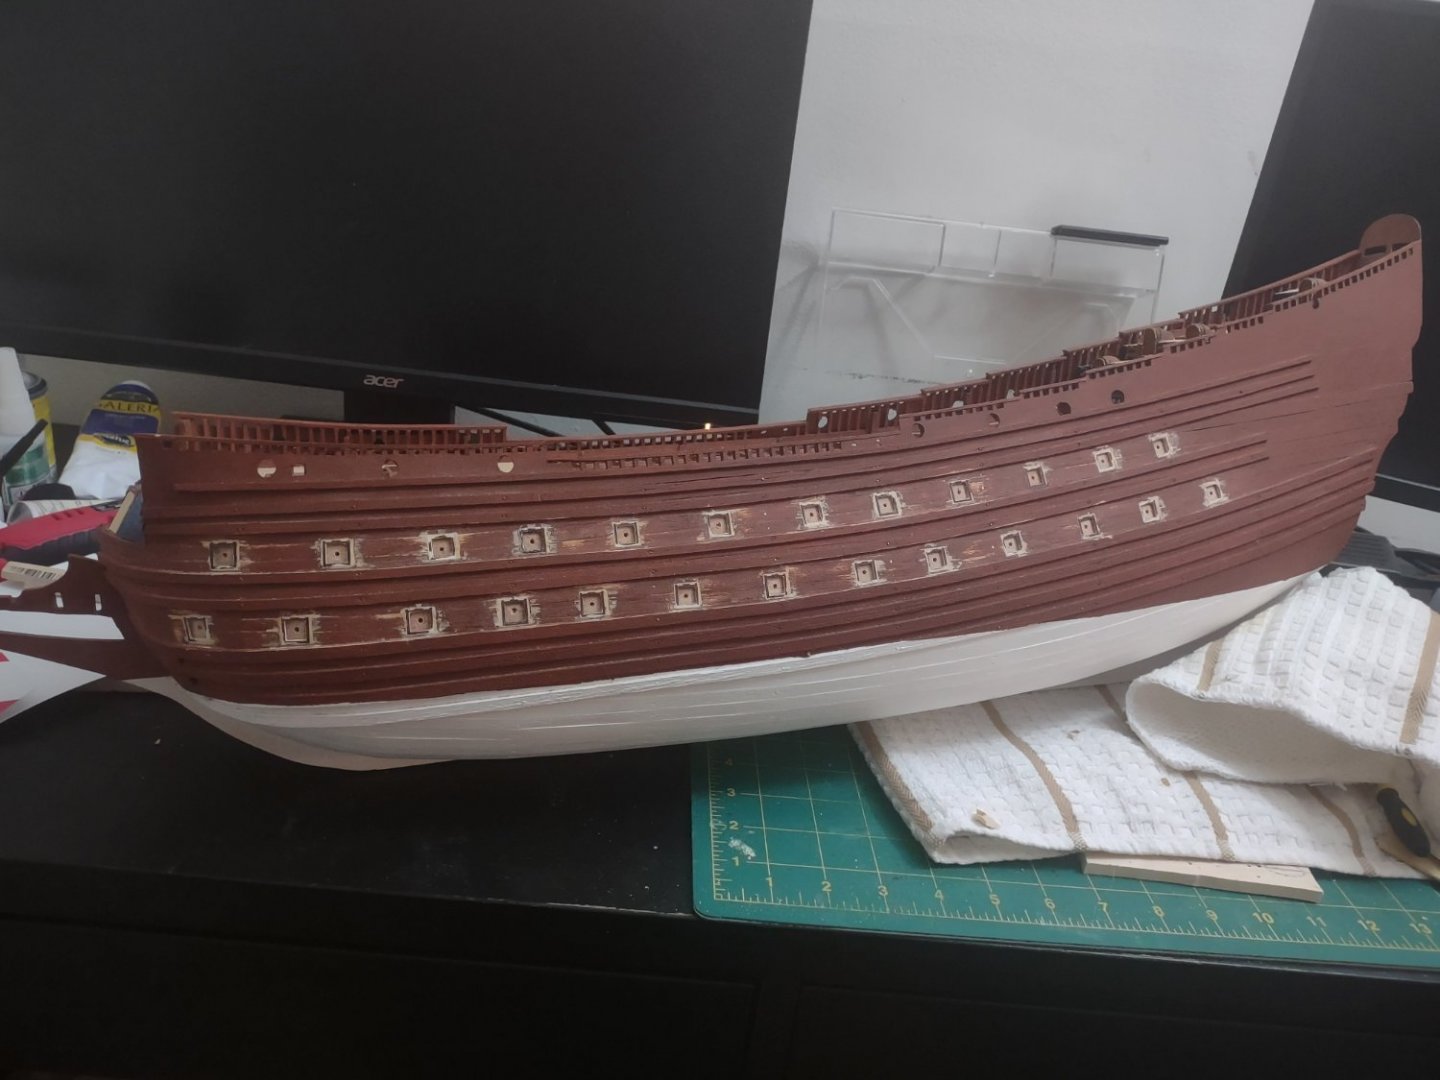
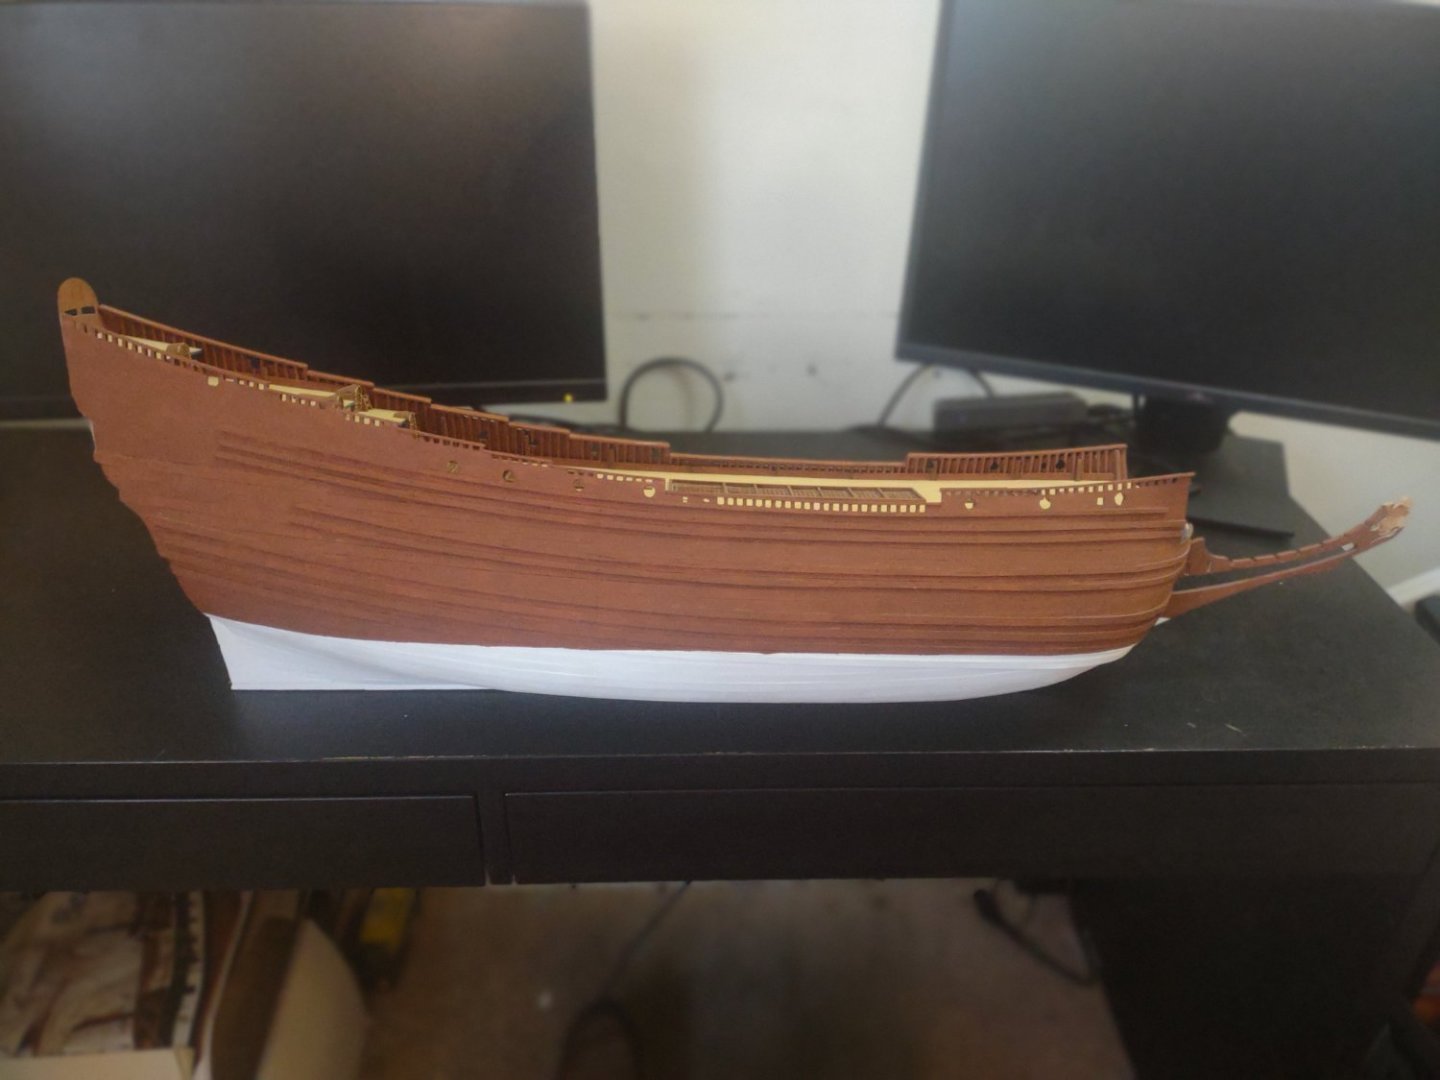
Alright and now both sides are ready for some paint after they dry up from the water wash. Looks beat up because of the sanding but I'm trusting the process lol. For sure feeling a lot better about the whole process so far. One thing I have noticed is that I am missing one frame for the cannons. So I'm going to make two for the back so they look symmetrical and just live with it. I did counts before so it's on me because I had 52 at the start of the cannon project.
-
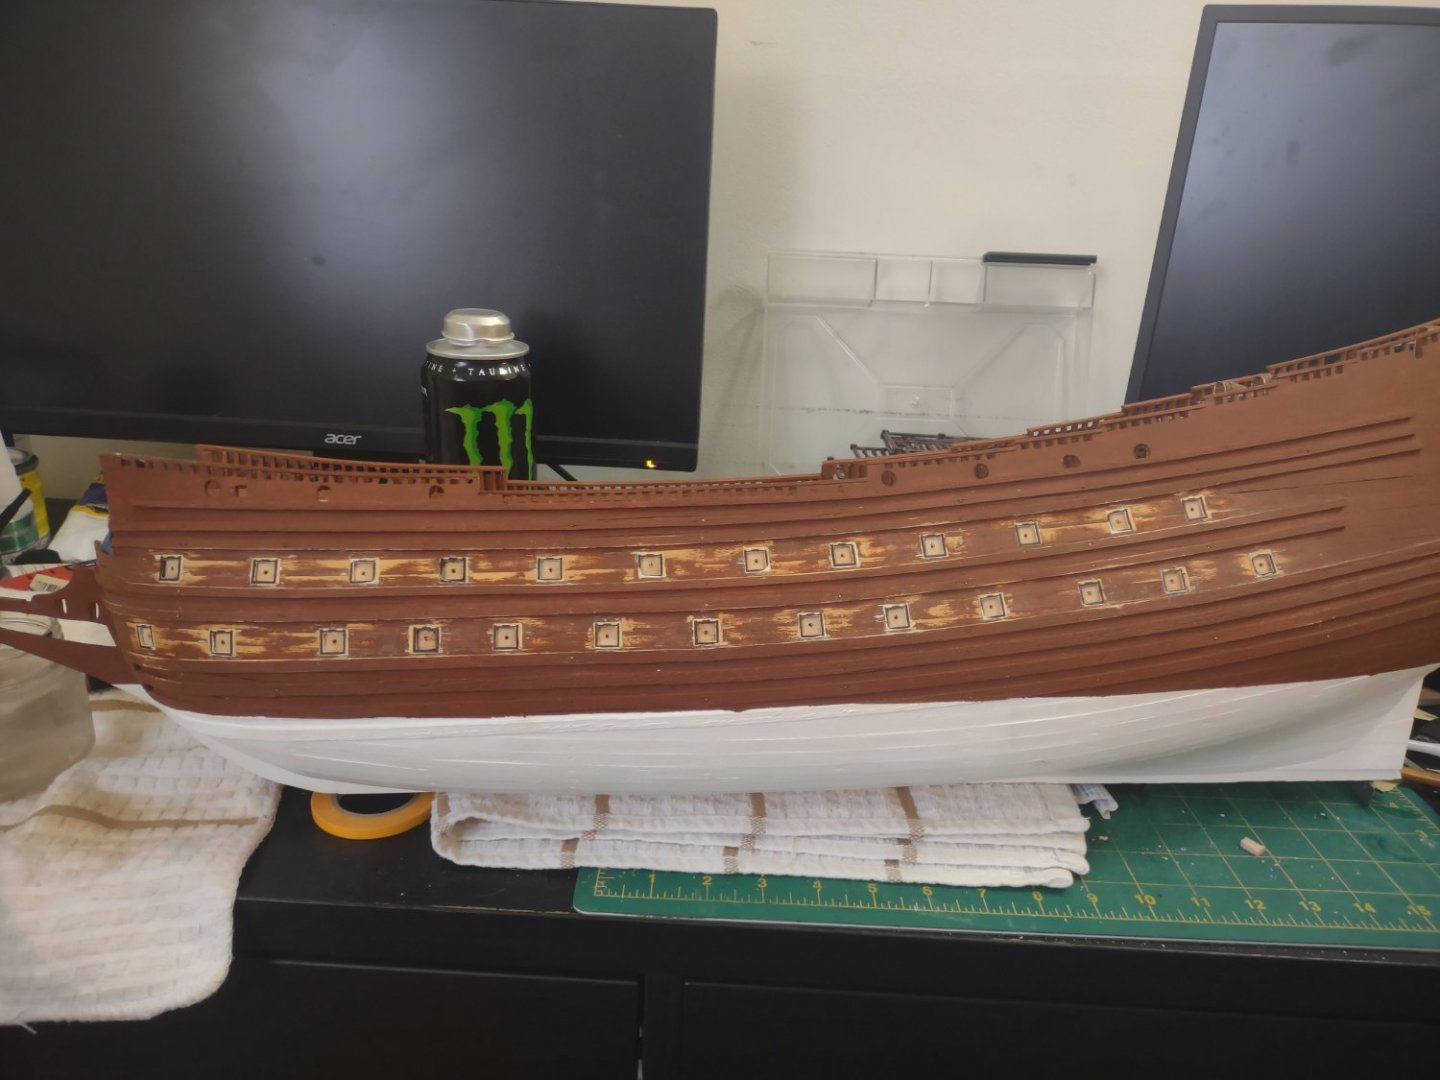
Because of how the other side came out so nice I was too convicted about the "ok" job I did on the other side that I decided we are going to attack that side with a better method lol..... So yea going backwards but tis the life of modellers.... Could I have left that side. Sure I could have... But I couldn't look at that for this whole build process and be ok with it. So if I got to go backwards then backwards I go.
-
Yes I agree with you I wish I could have done more with the hammocks as well but I only learned after doing research and being further on the build then it at point.
-
If you have not I would drill out the hole for the bowsprit now before painting because it's messing if you have painted already.
-
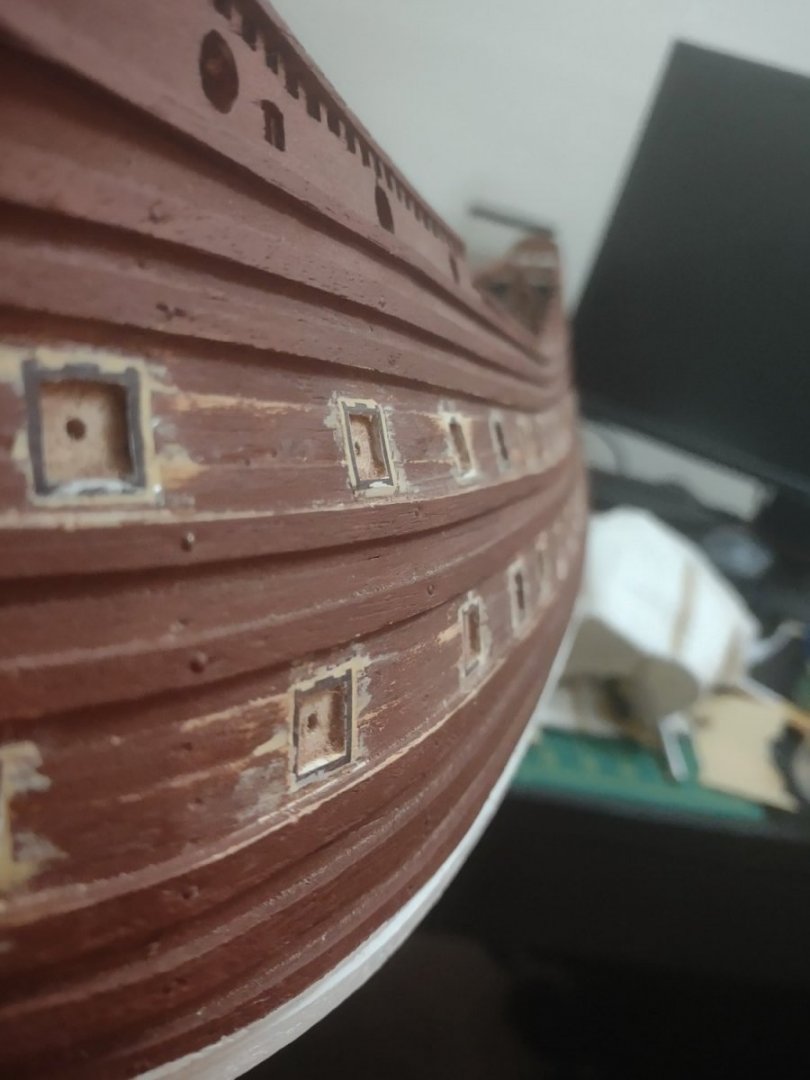
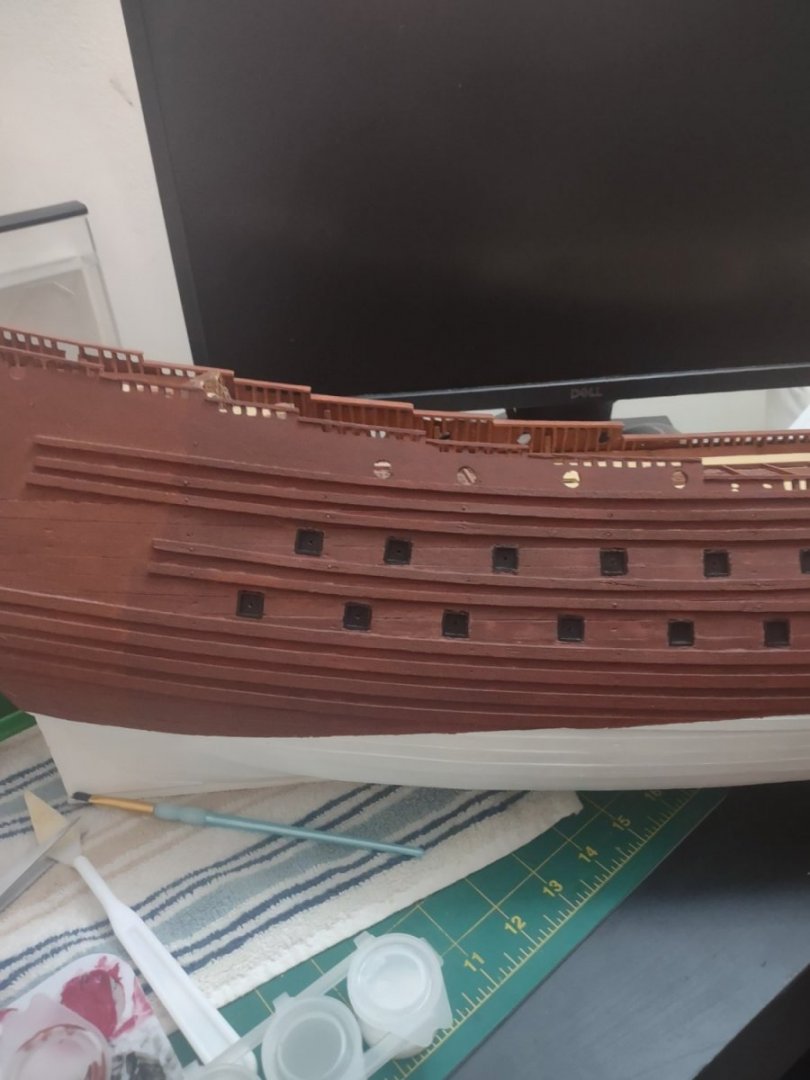
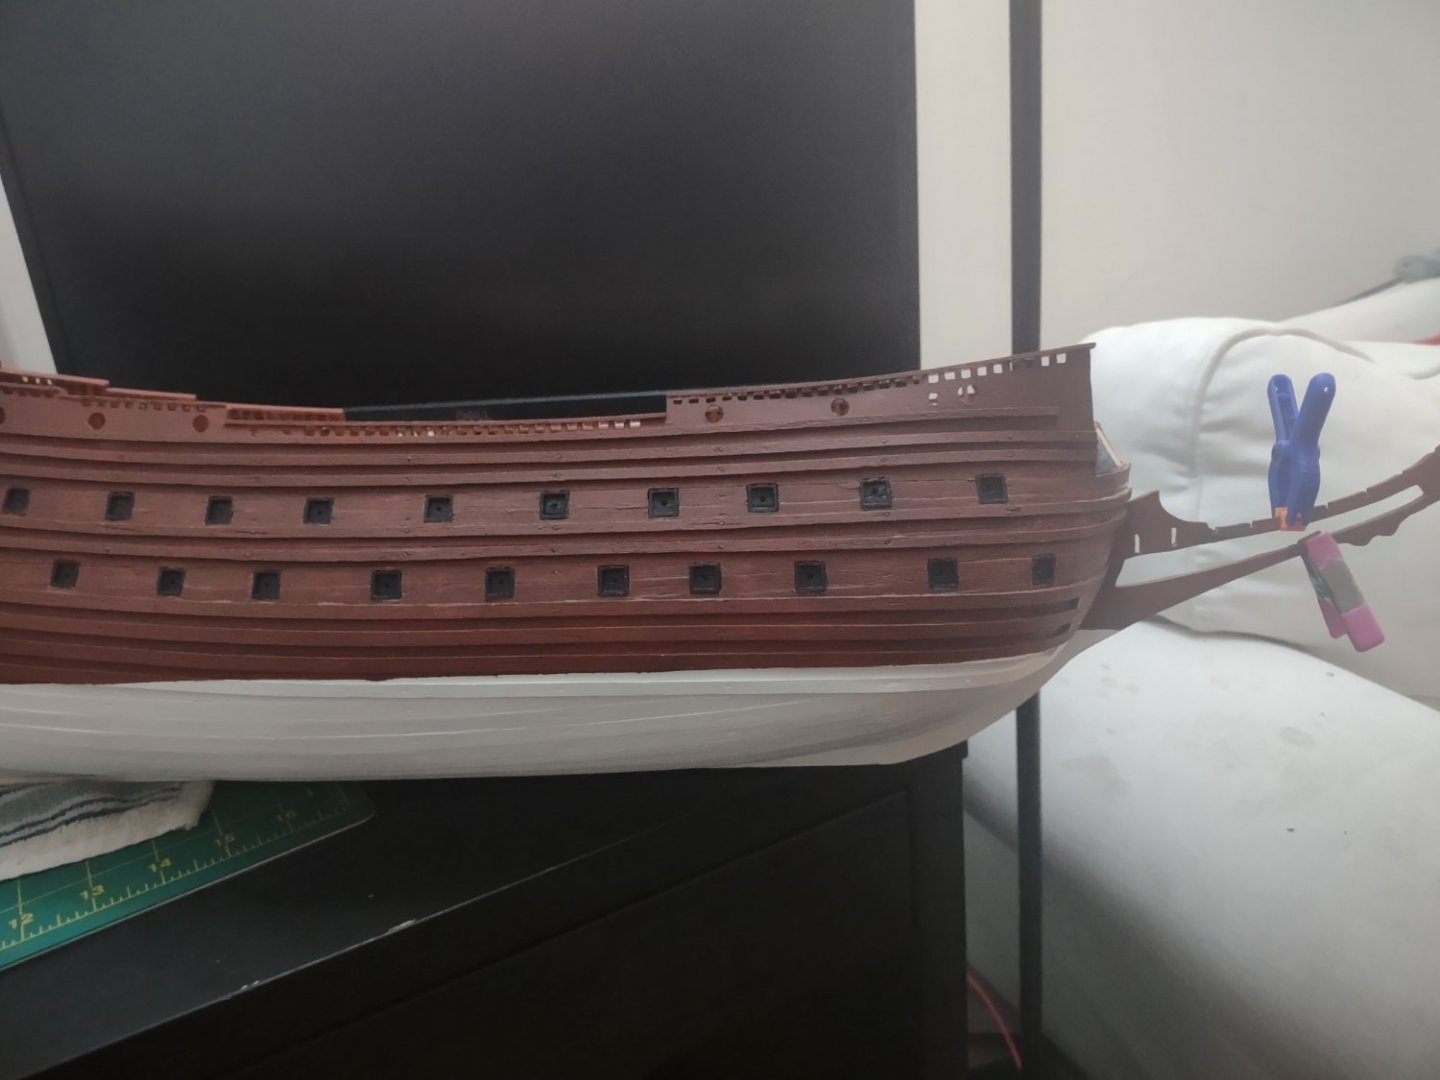
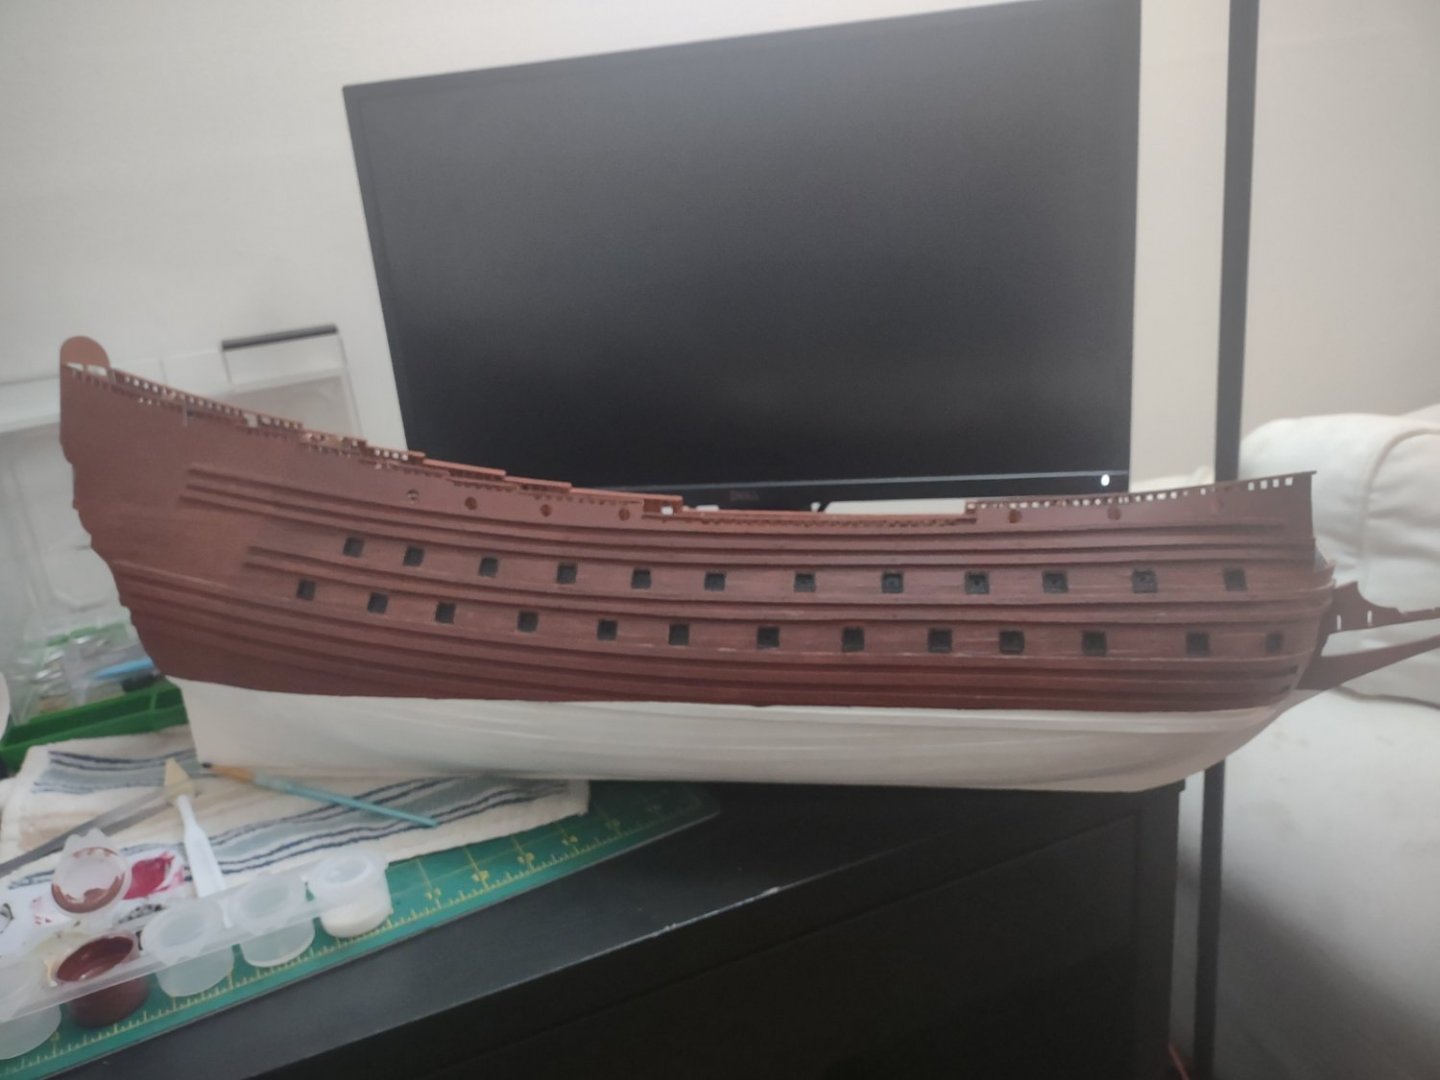
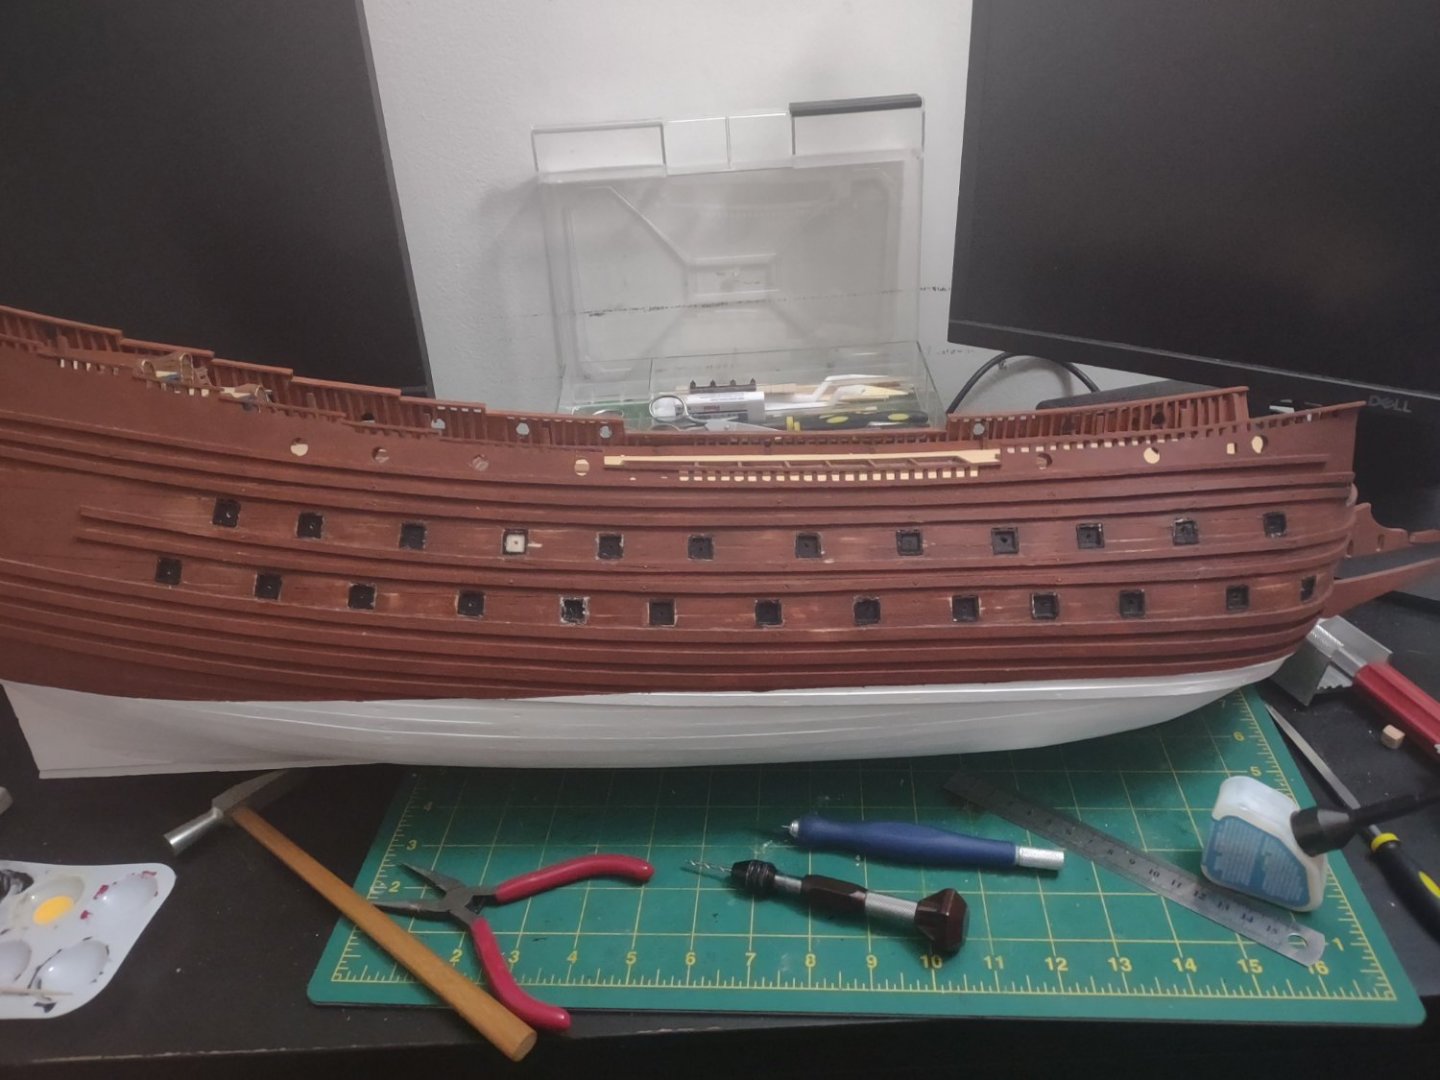
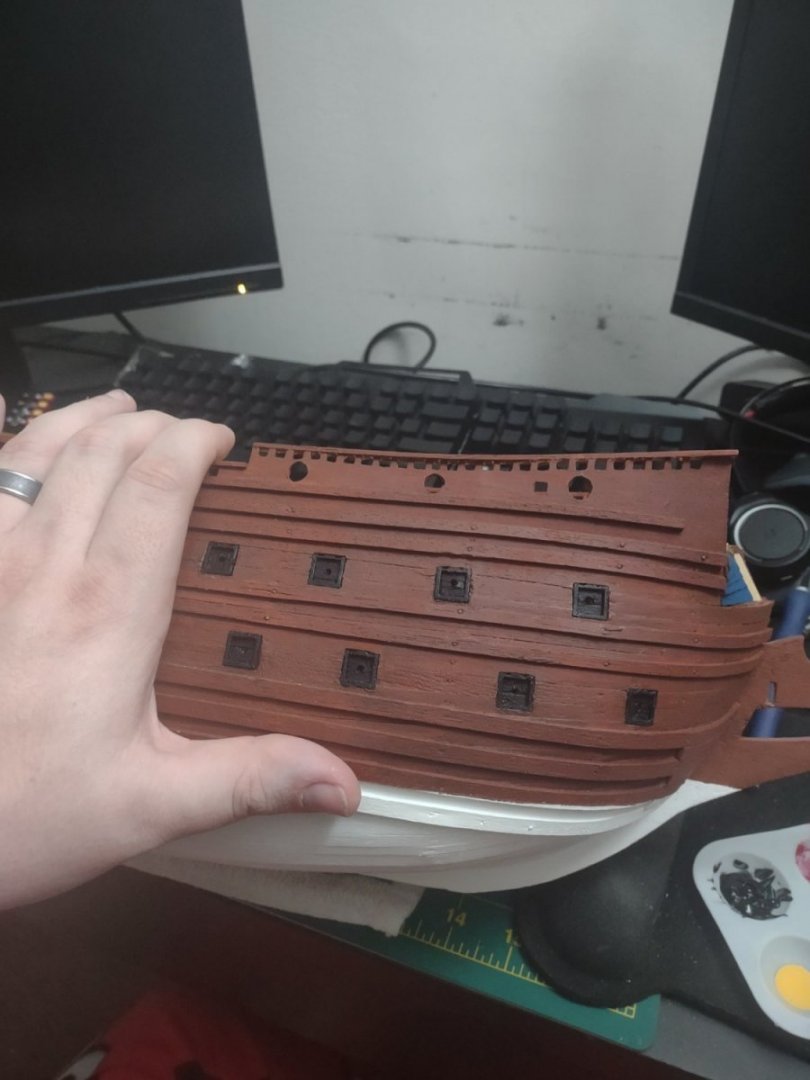
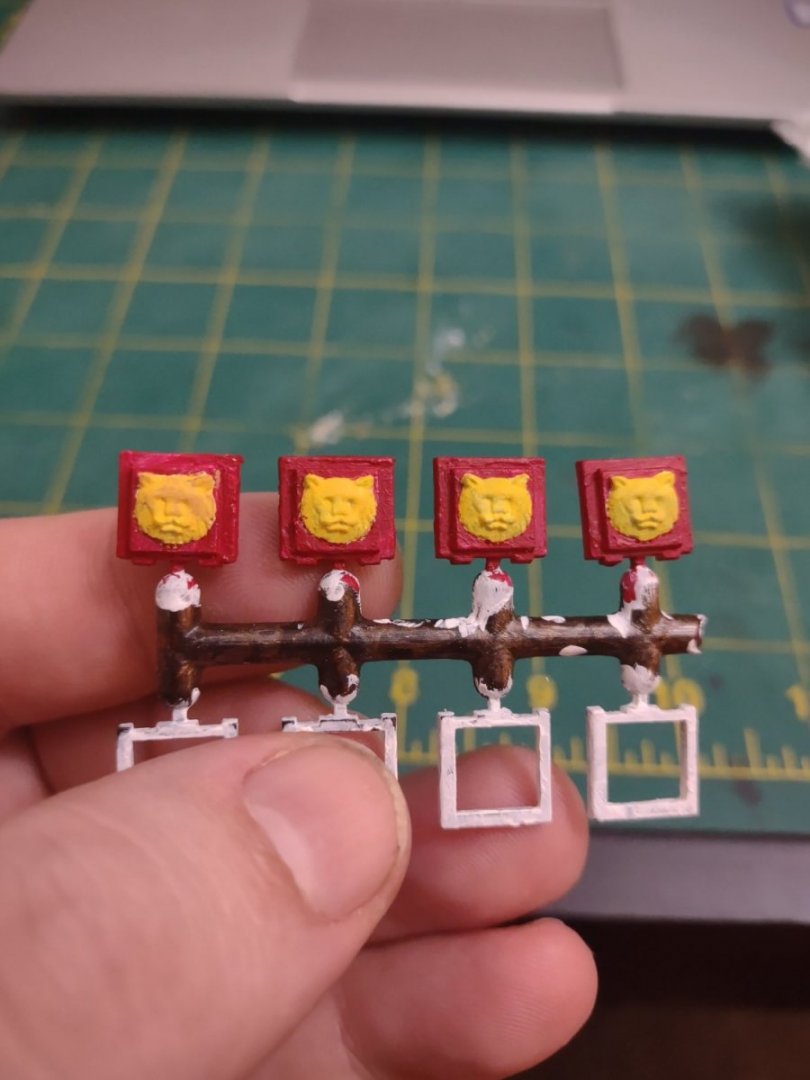
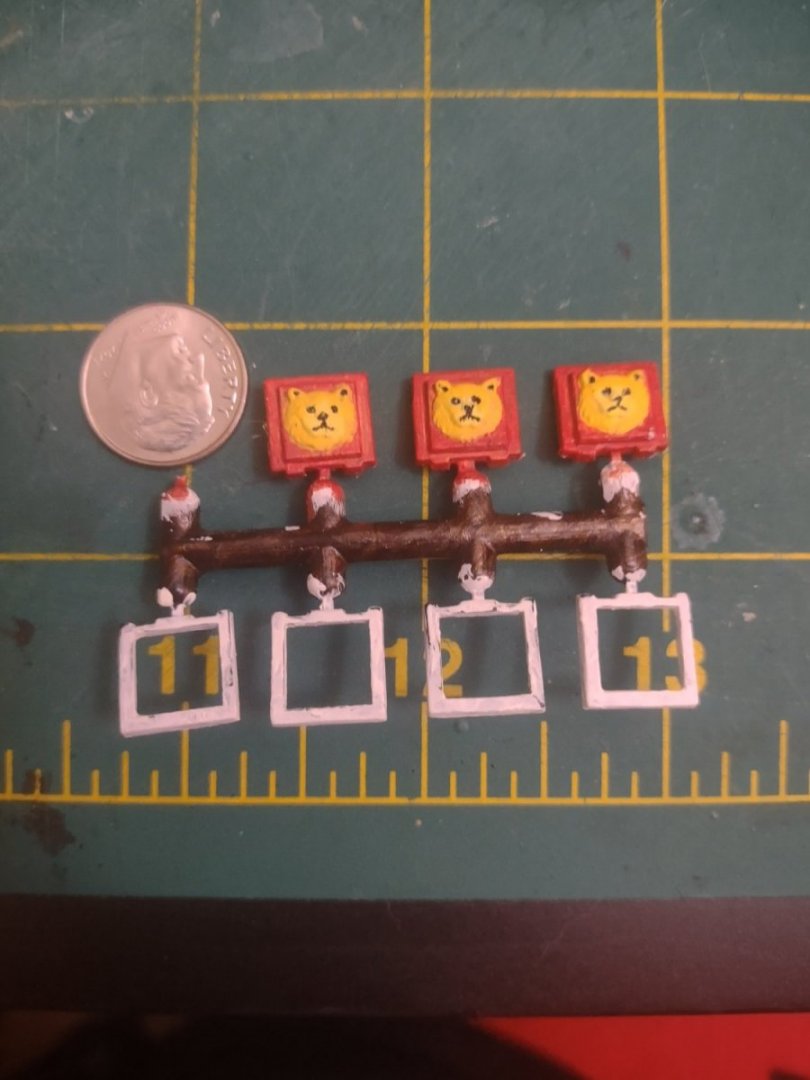
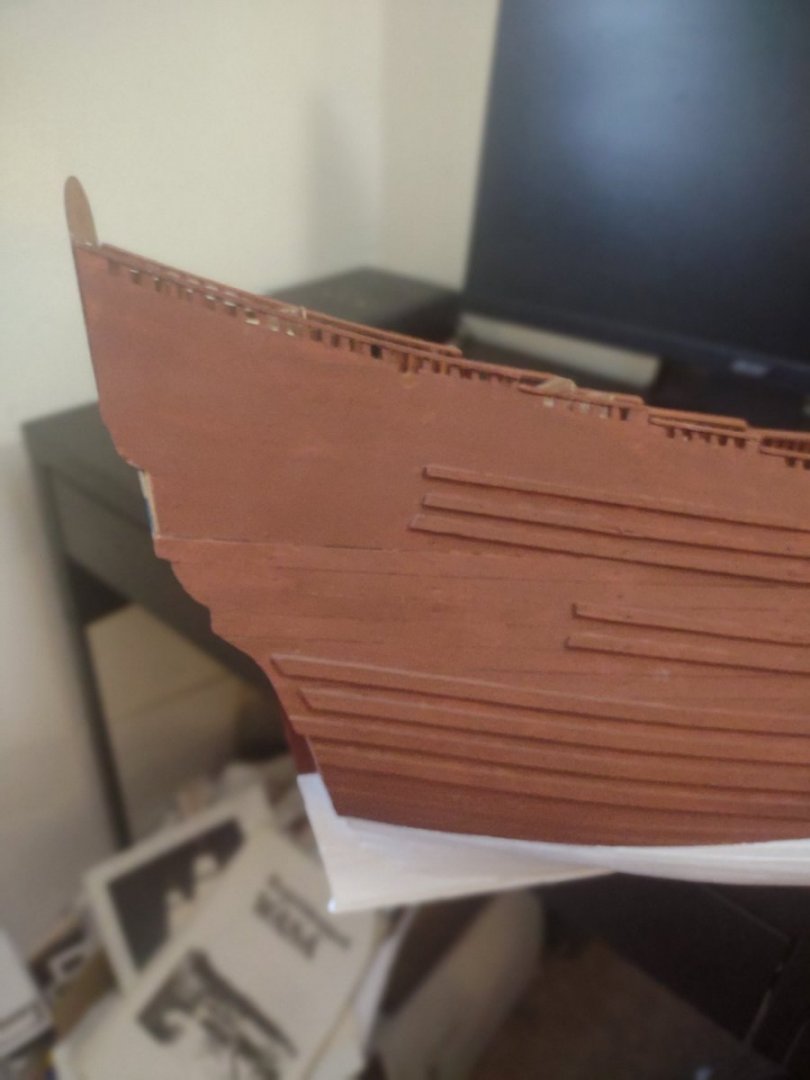
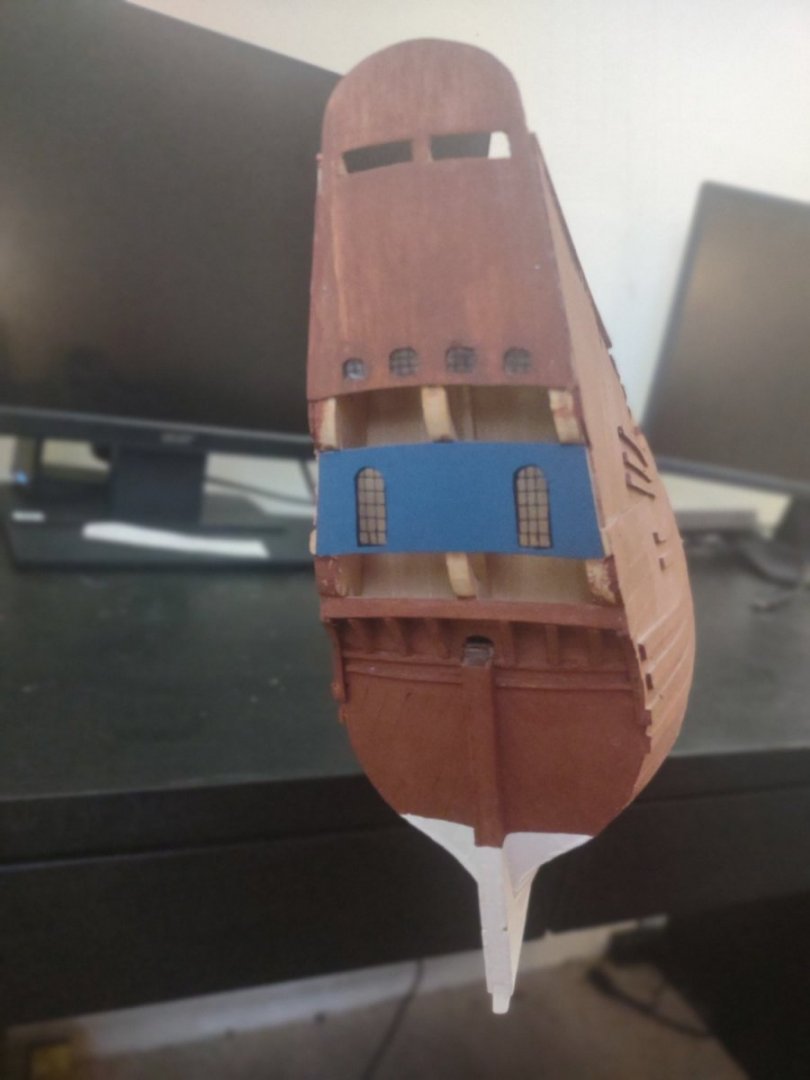
Alright so I wasted a lot time doing steps that I did not need to do yet and then struggled because of the fact that this is a single planking. I'm only posting this because of the fact that I want to make sure I'm honest in this build log. I think seeing the ugly will make the finished product all the more commendable lol. Also did a lot of painting with the lions which was a interesting project in how well I can paint. Also I will not use plastic gunports ever again...they just bend and have a hard time holding their shape when fit into place. I got a lot of clean up and re painting but it's done and feeling good about the placement and all. Also learned a lot for the other side.
-
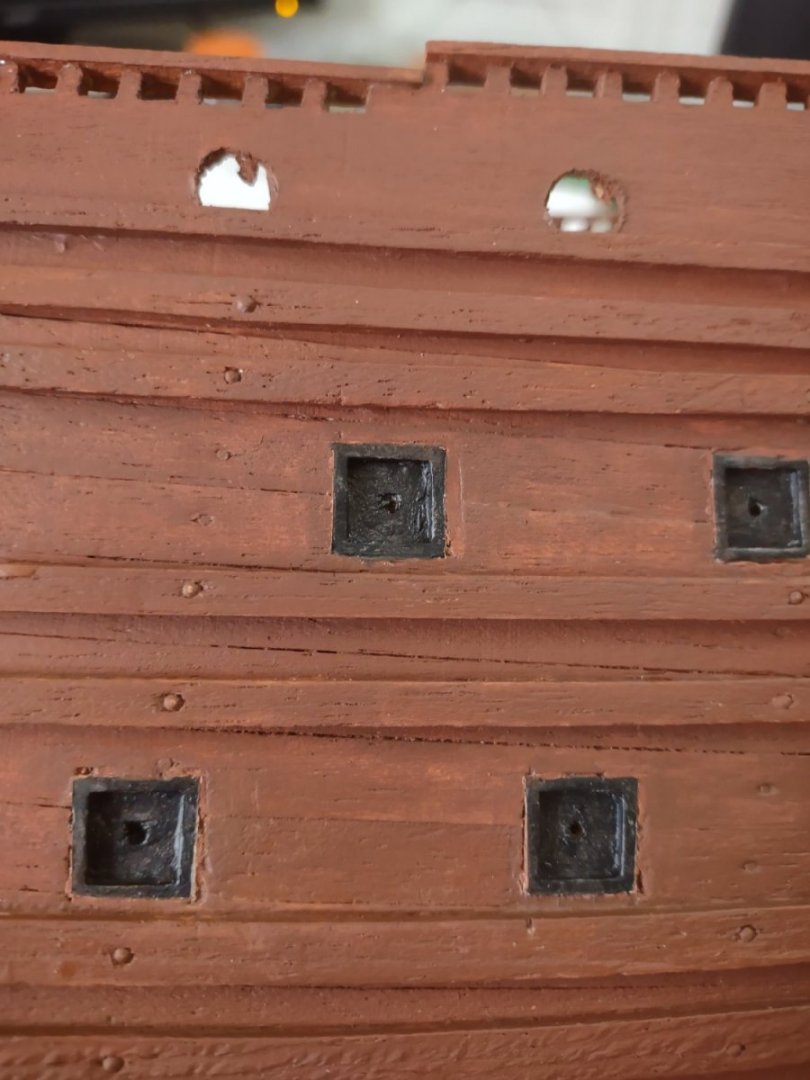
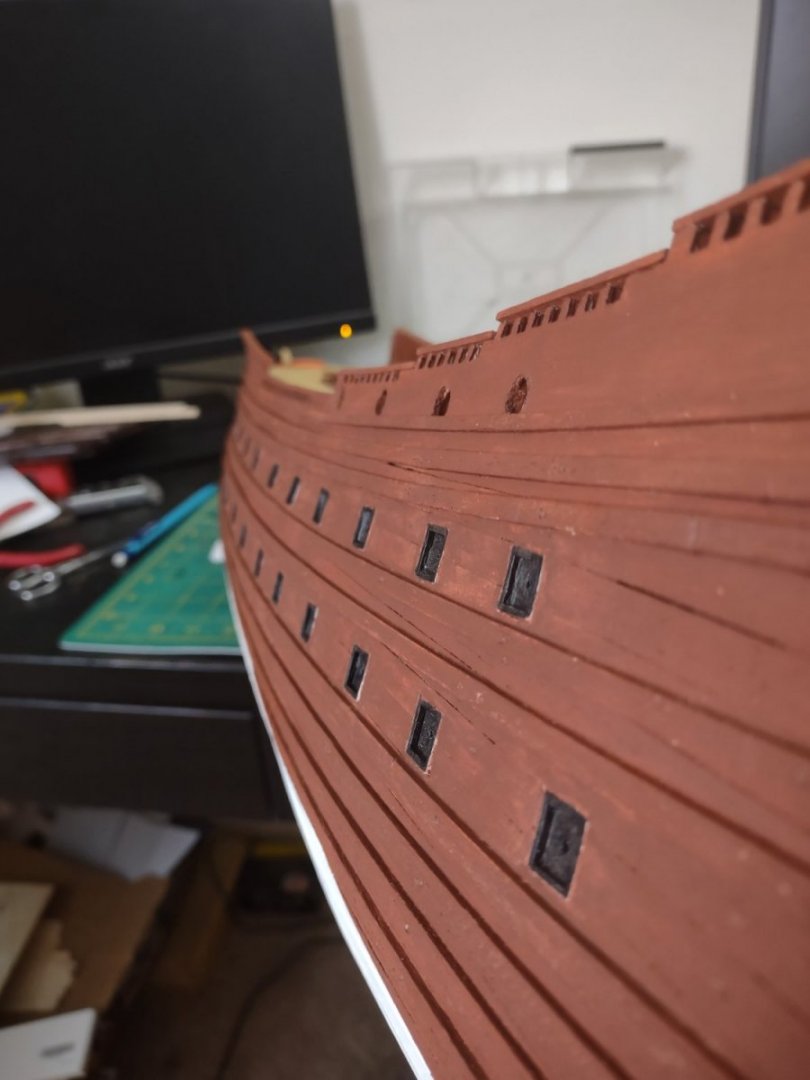
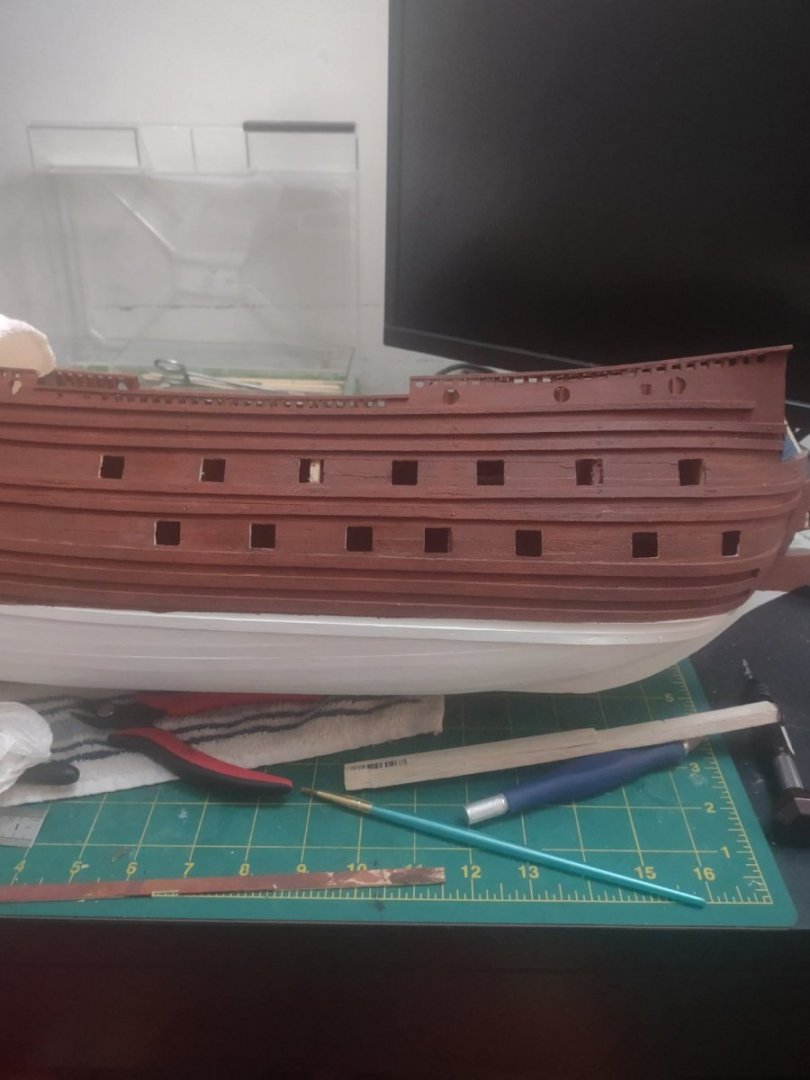
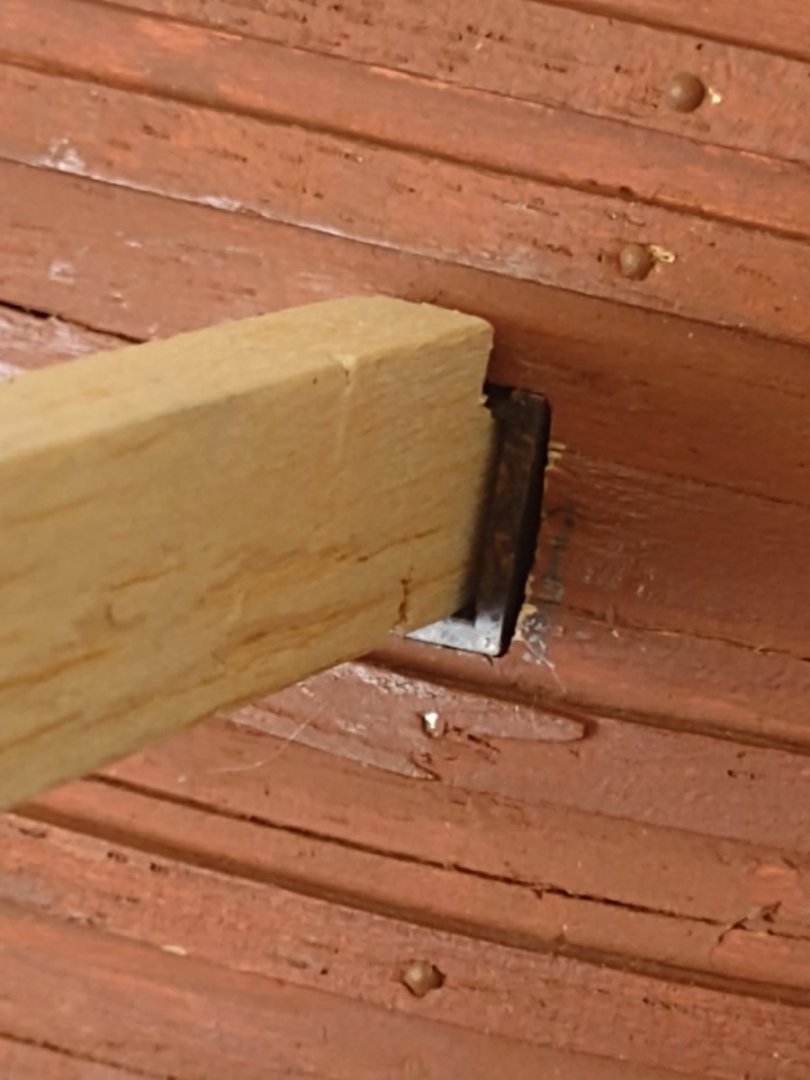
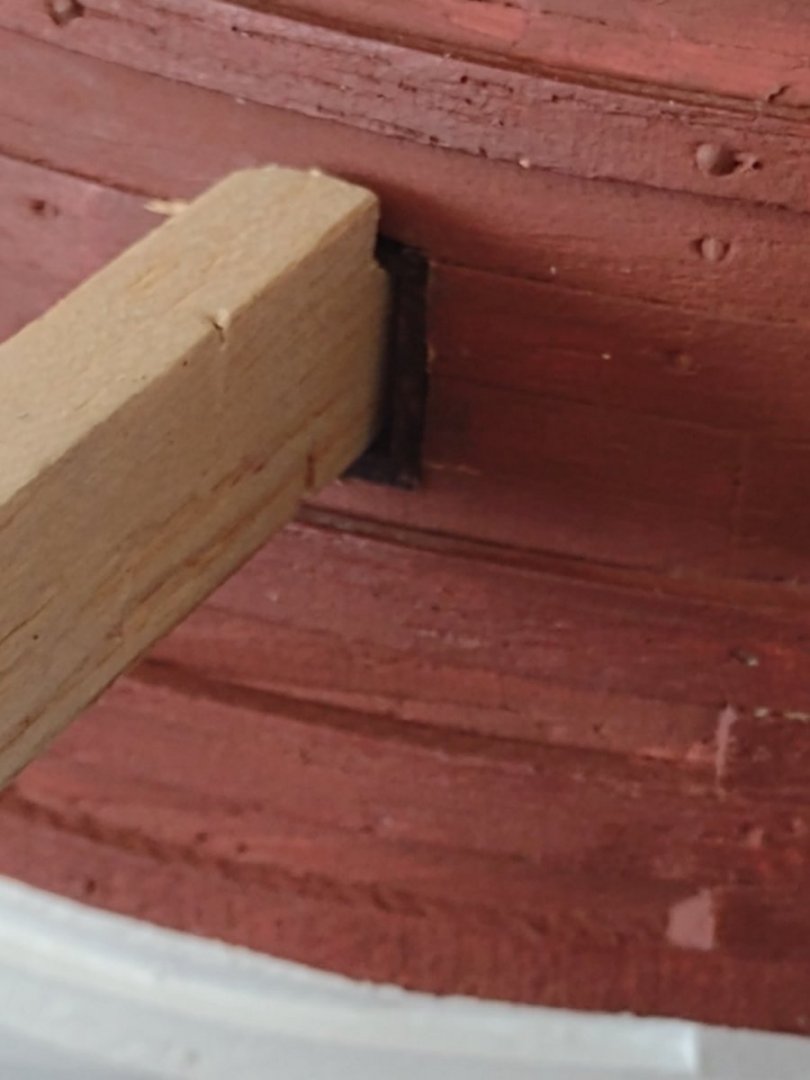
Got some work done on the gun ports which is nice. Now it's time to buckle down and get them all done. Fit some cannons in and they were sturdy so I'm happy with the result Only part I'm worried about is making sure all the cannons are same height up and down but I will attack that when the time comes.
-
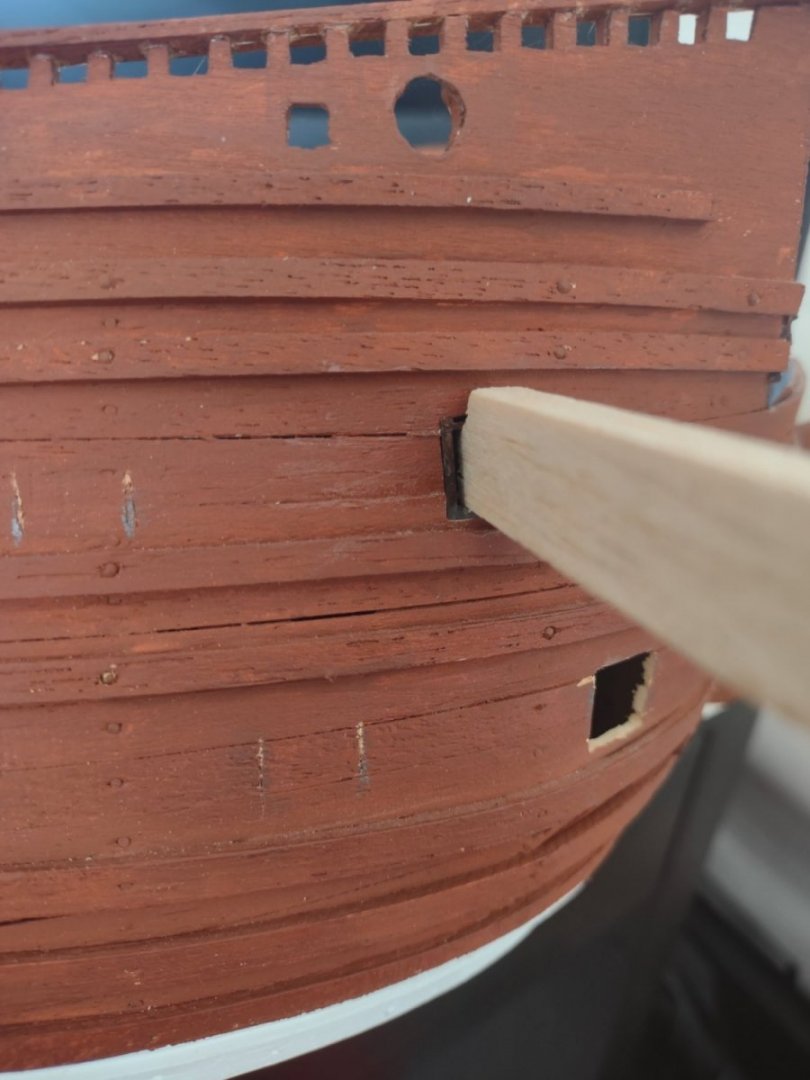
Did some work on the gun ports and found that a lot of this wood is fragile so taking my time to make sure not to do too much damage on the single planking. I'm also securing the loss planking with CA to make sure that all the planking is secured. I'm going to need to figure out what I am going to do with the bulkheads that are in the way of 6 of the ports but shouldn't be too hard. I found I can't put supports in because the space is too tight. I'm going to just do the balsa and make it's glued real good. I also primed all the gunport liners and lions heads and will start working on them.
-
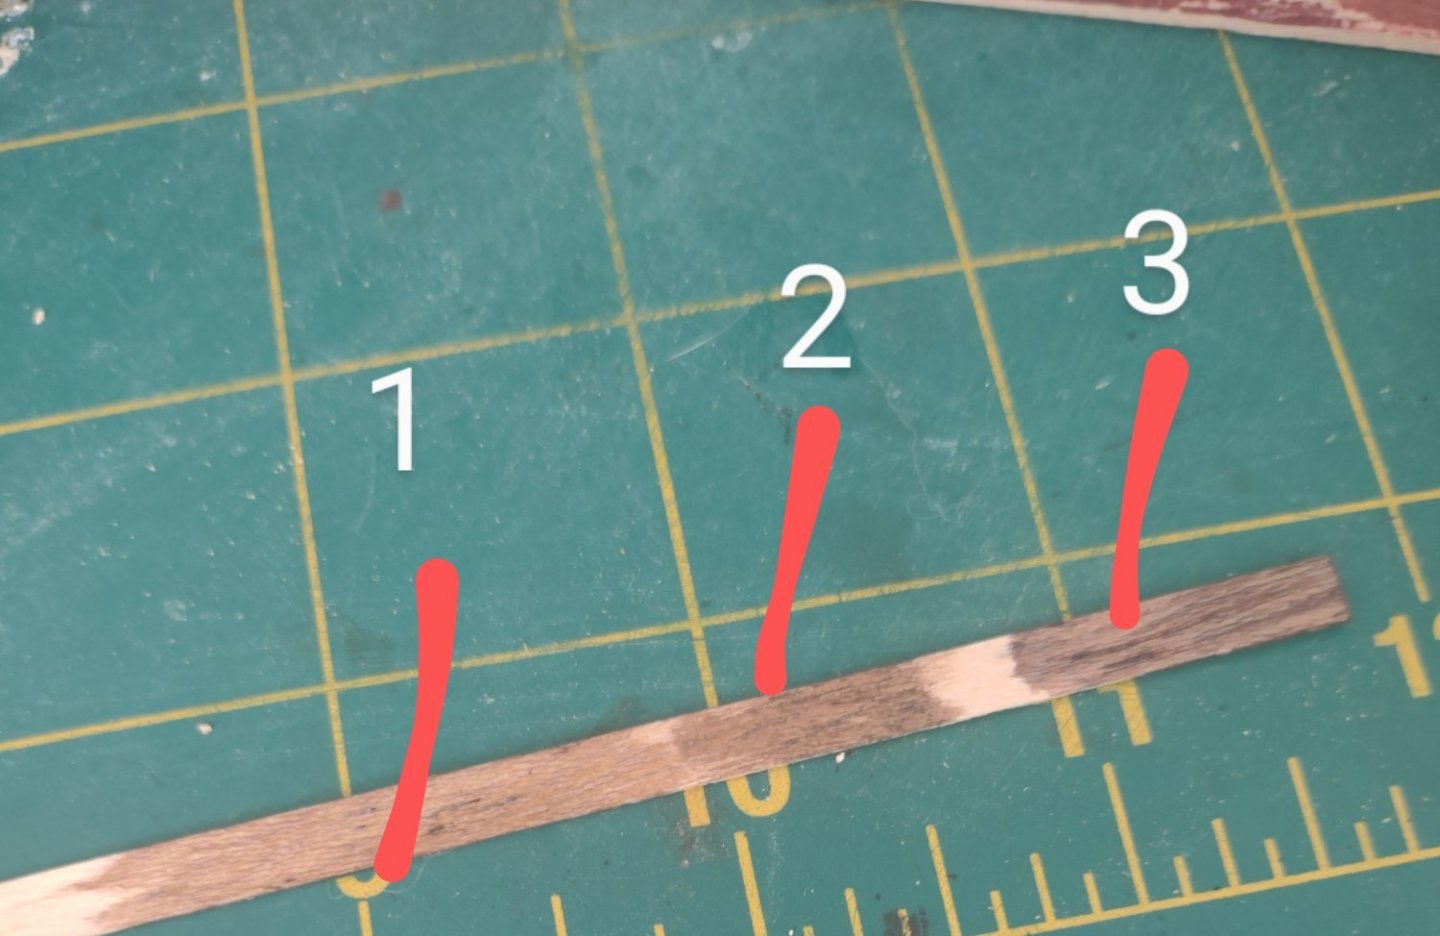
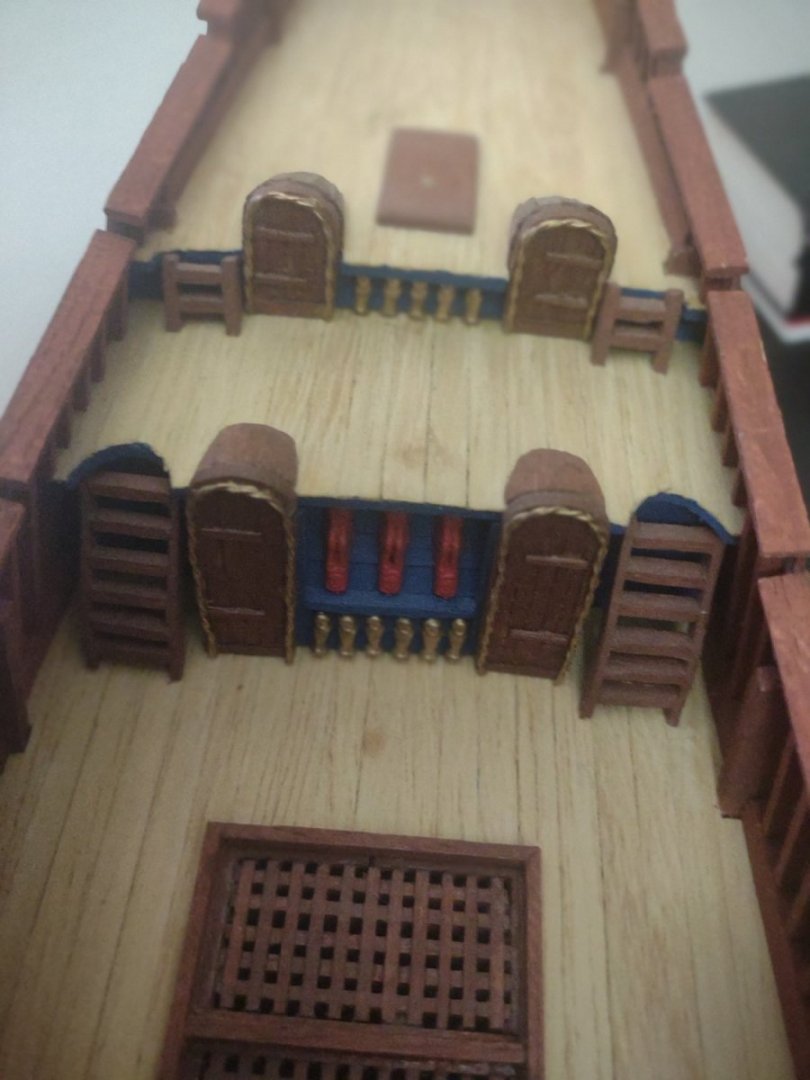
So I am finding no information of some of the color aspects of the ship because everything is dedicated to the ornate decorations. I get it but I would like to have some idea to go off of. The Hull color is a wonderful Indian red so I feel like I will keep it that color as I feel it's like the pictures of the vasa. But the deck is not really spoke about so I am going to post some stains. They are single coats at the moment so I could build on it Number 2 is an antique wax I found and 1 and 3 are both stains. If you have any suggestions besides these I would love to hear as well. I have not tried weathering mixtures so would be curious on that as well.
-
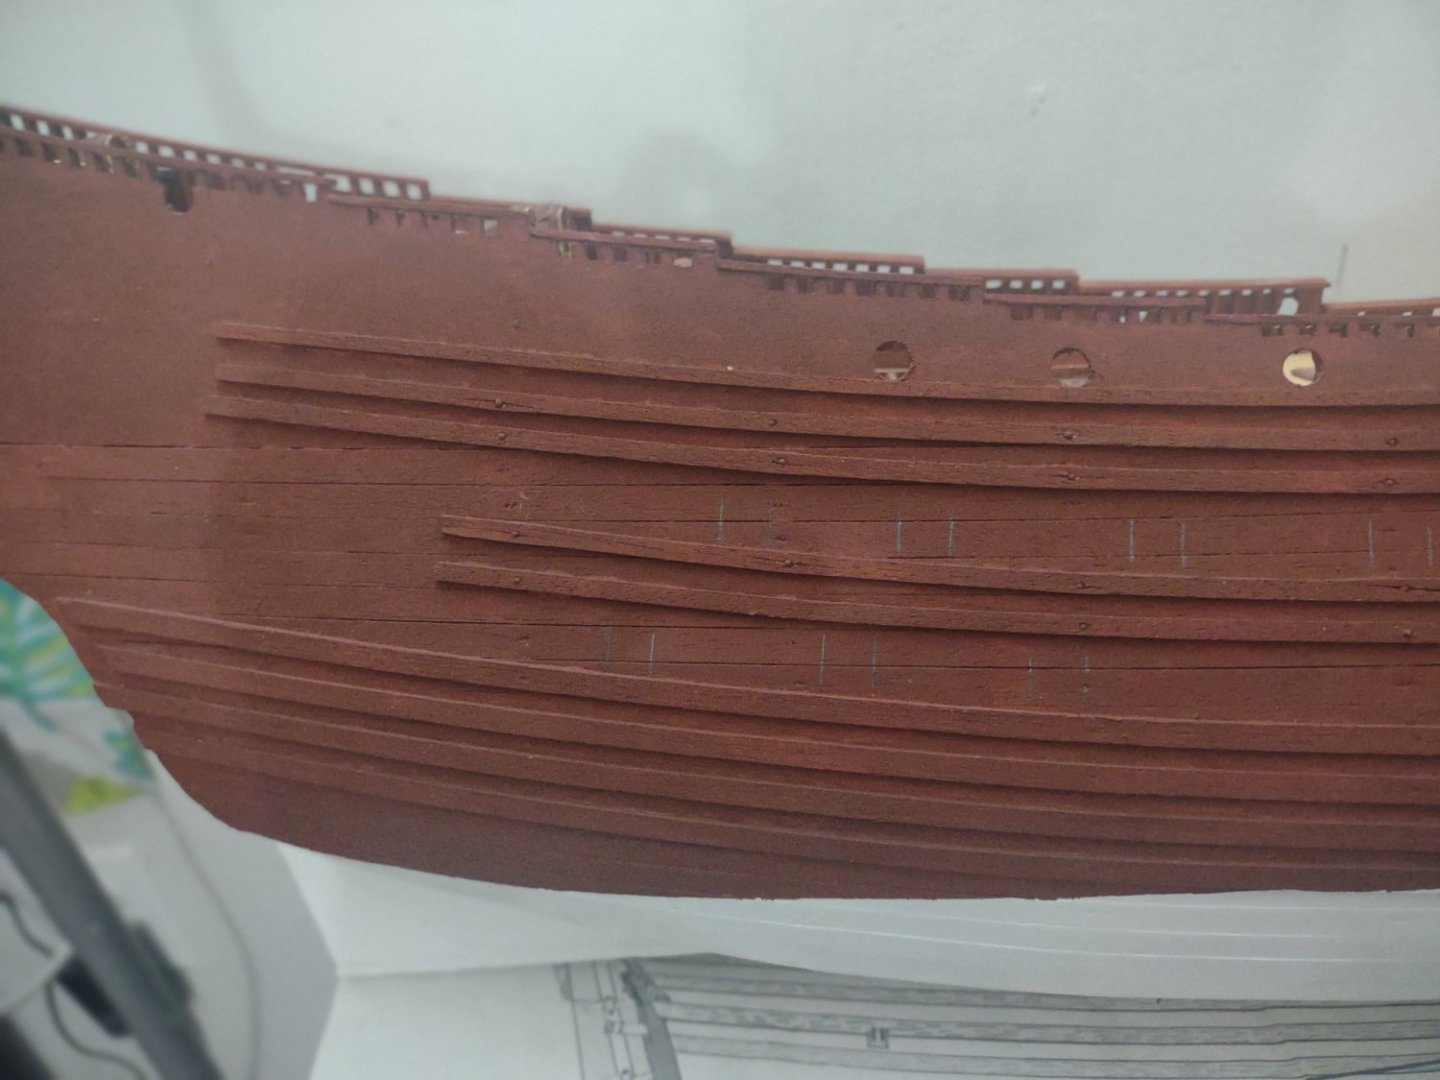
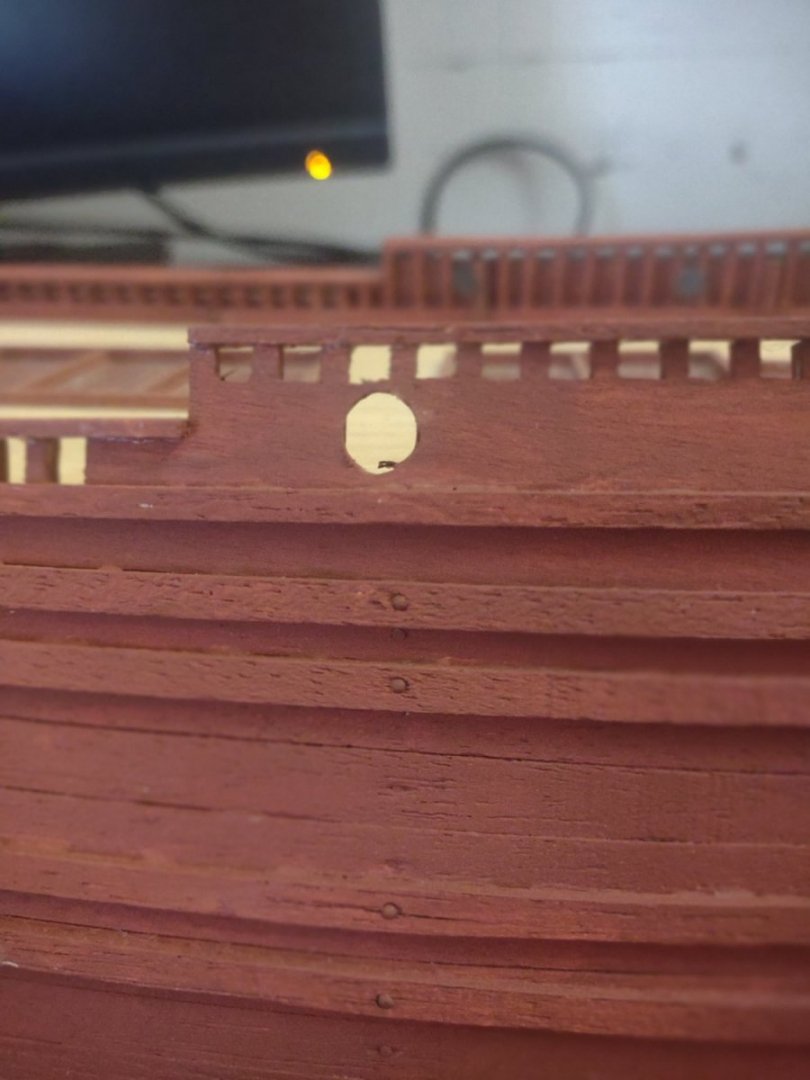
Didn't do so well on the first port because I slightly over filed. So I am going to use a very small bit of wood putty to fix the up but for my second ship I'm gaining confidence with each one I do. thats the first one that I slightly over didthis is the second that I got better on. It's going to be a process but between working on these ports and then doing some painting cause the is a lot of detail paint I need to get going so I think doing back and forth on all this won't make it too over bearing.
-
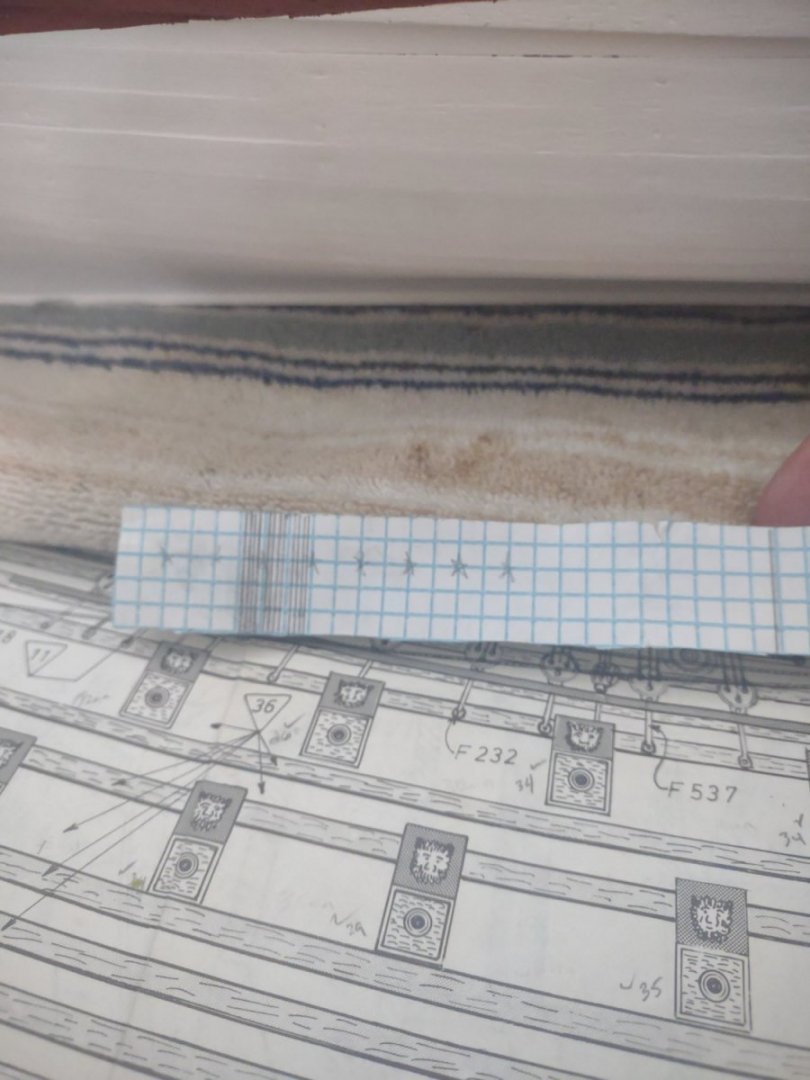
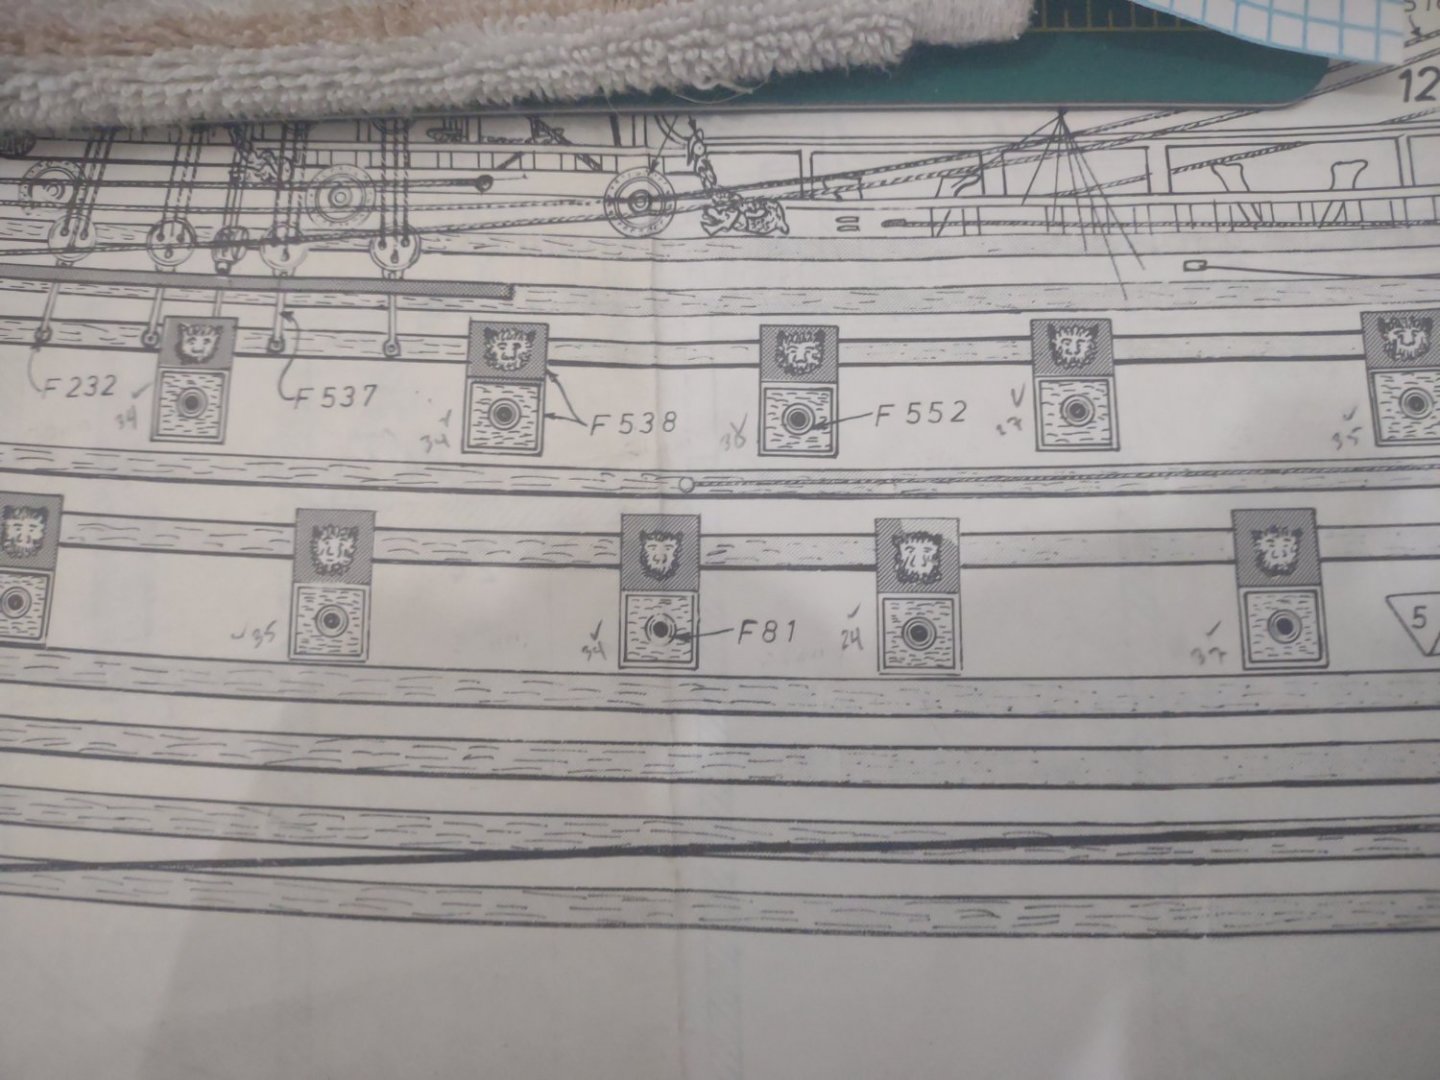
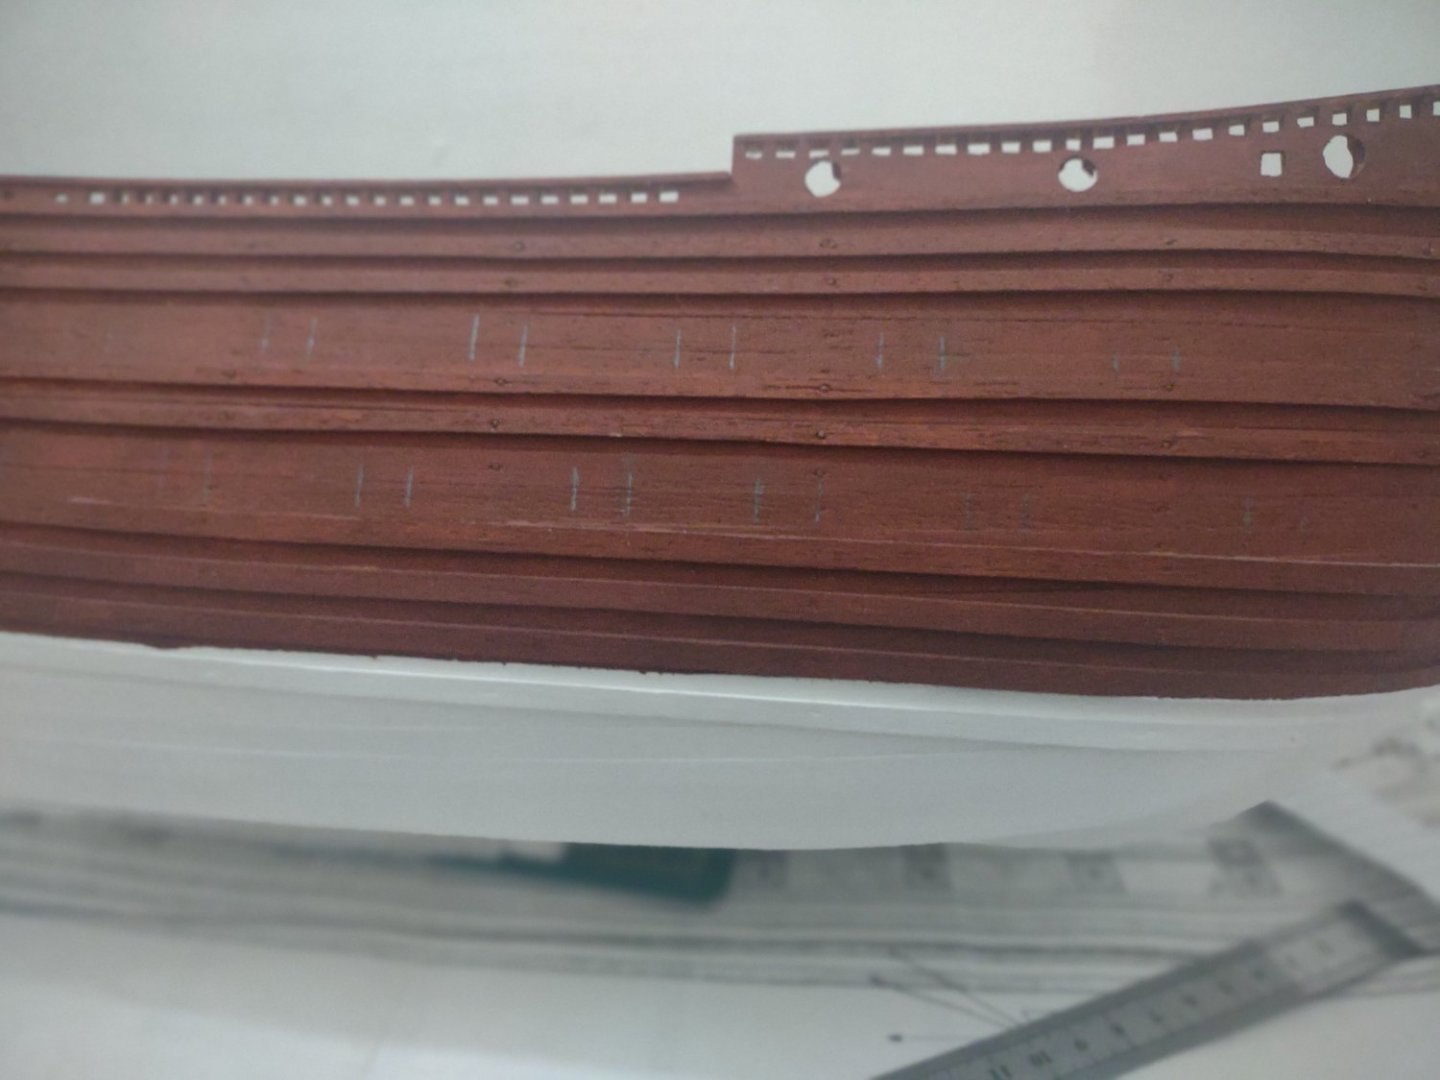
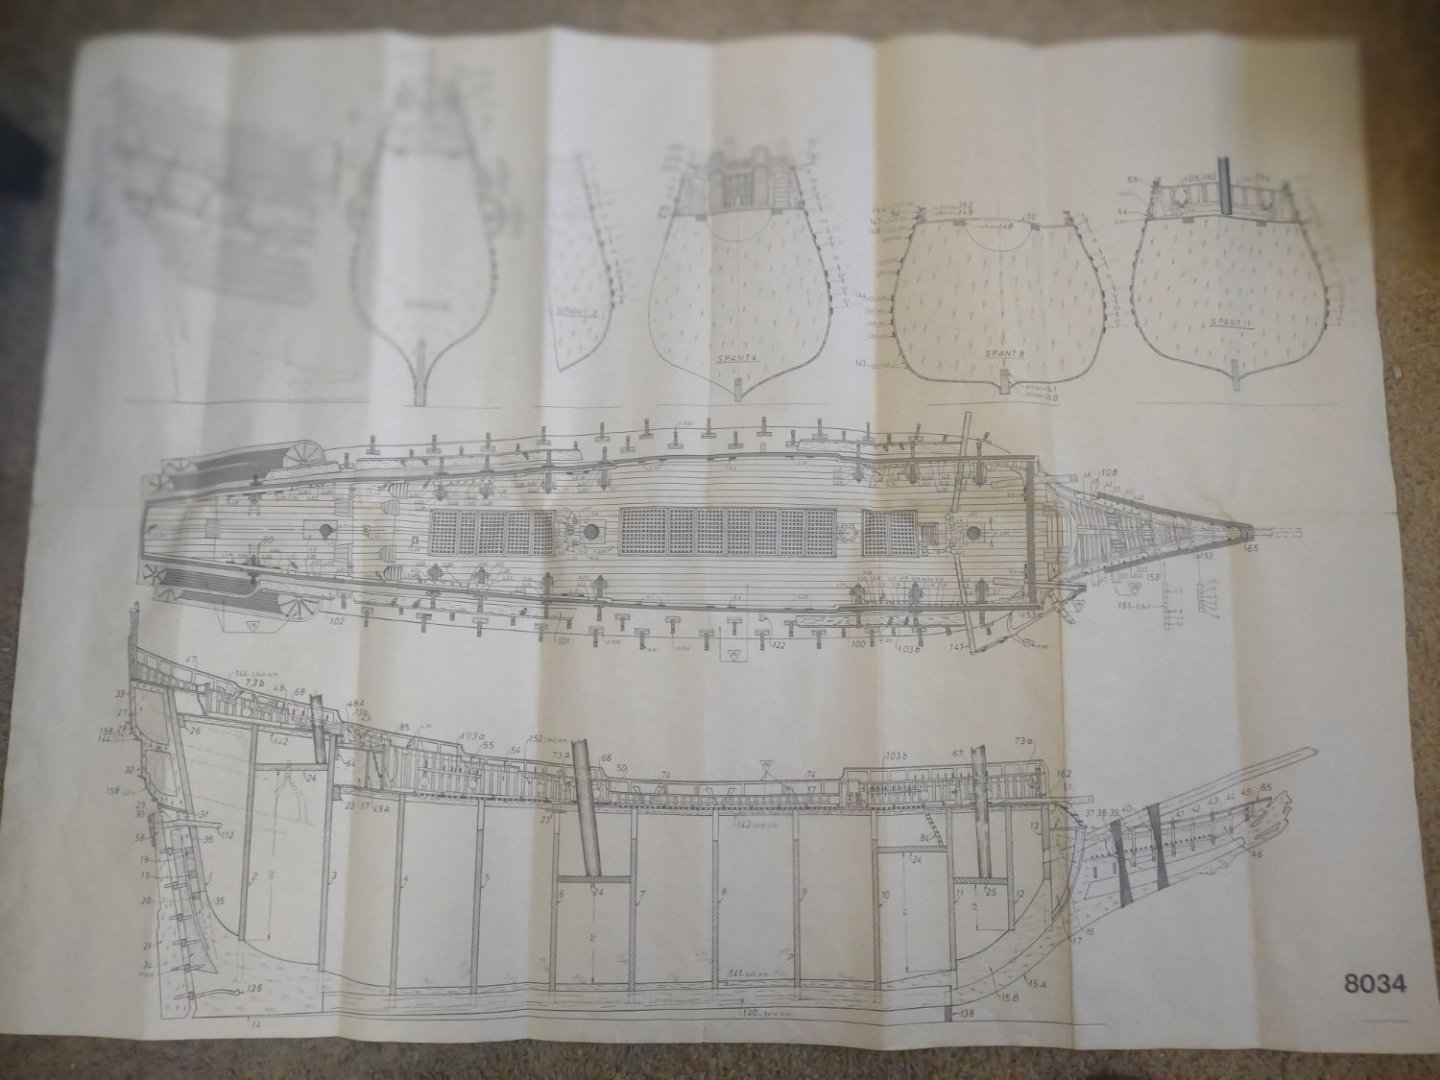
Alright so after doing some measurements and going over the plans I have found everything to be with in 1-2 mm so I decided to tackle the gun ports. I am going to need to do some painting and work on figuring out how to get the gun ports handled. From looking over the plans the previous owners plan was to measure off of the 1-1 plan and measure out each port on the hull. So I went over the measurements and lined them with my tools and interpretation of how to measure between the plan and the hull. I made this to measure over the curvature of the ships hull and marked between 25-40 mm This is my markings for distance between the ports and what I used to do the markings on the hull. the plastic squares are 10-10 mm so will measure this out and start to cut out the ports and get to figuring out how I will mount supports behind the port opens to hold the cannons.
-
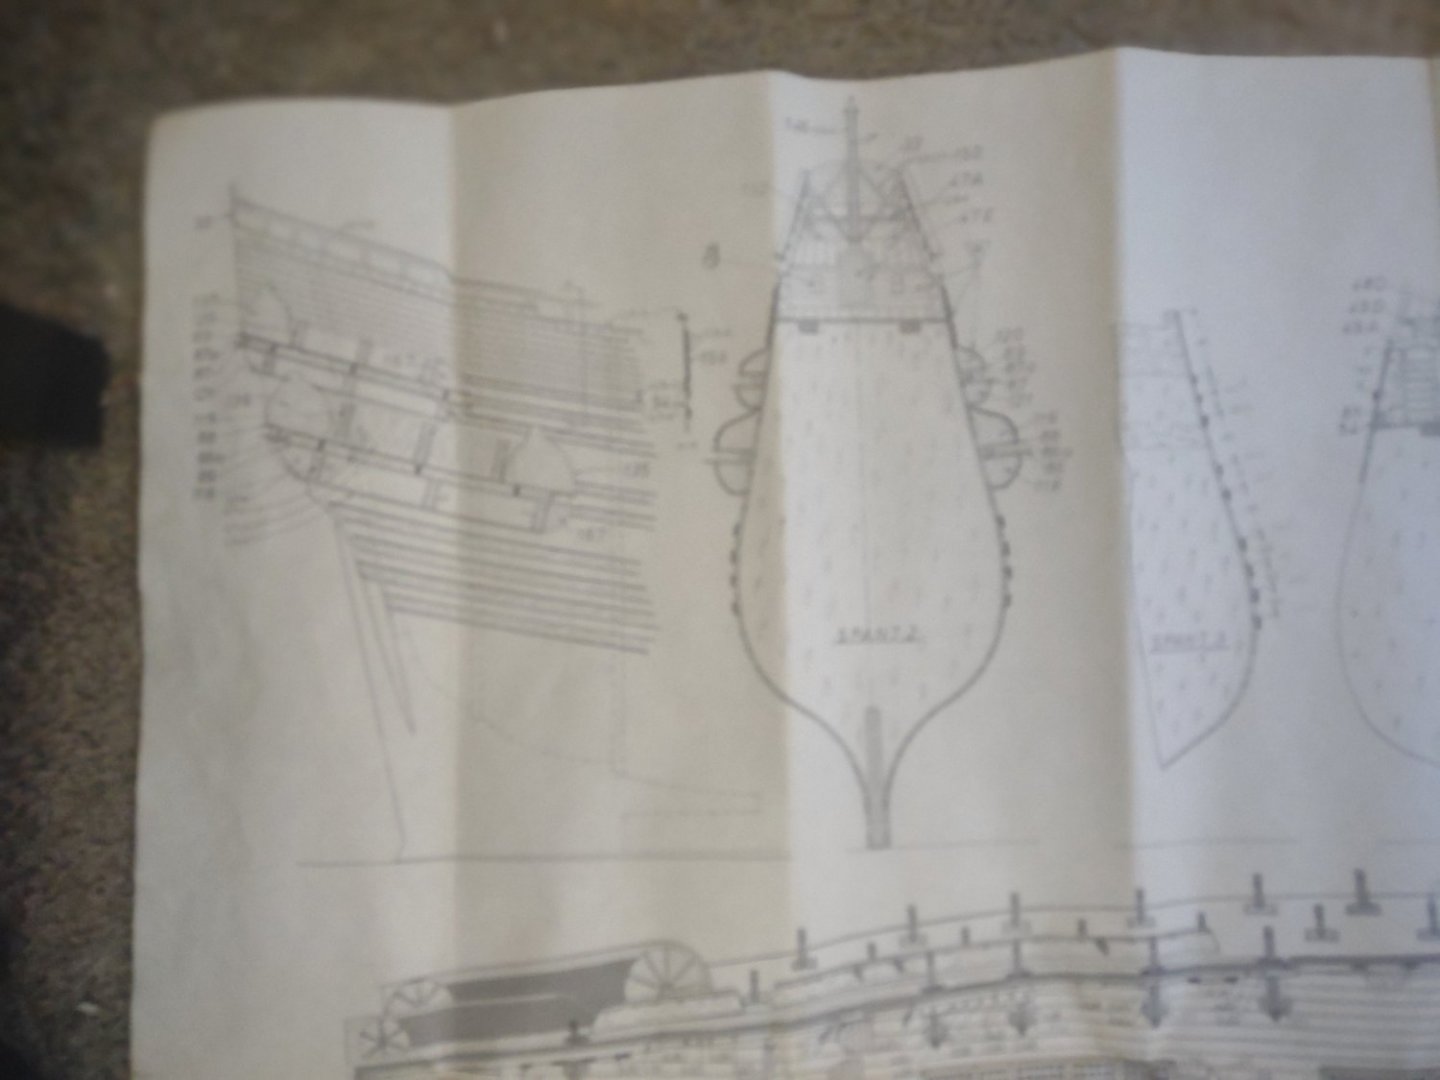
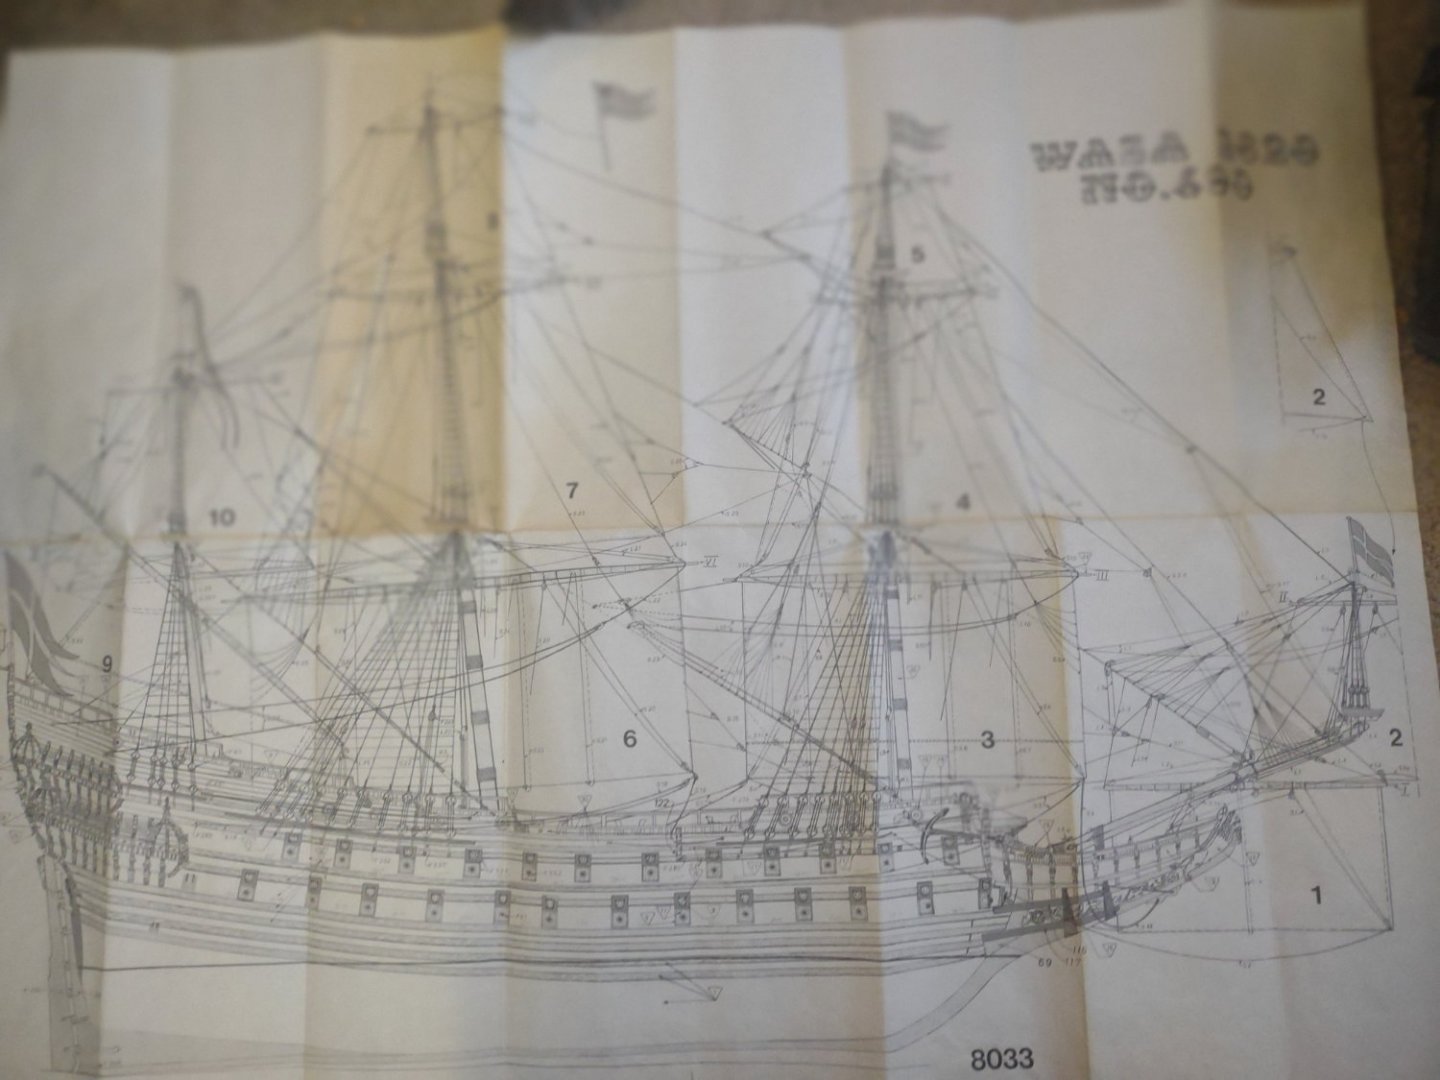
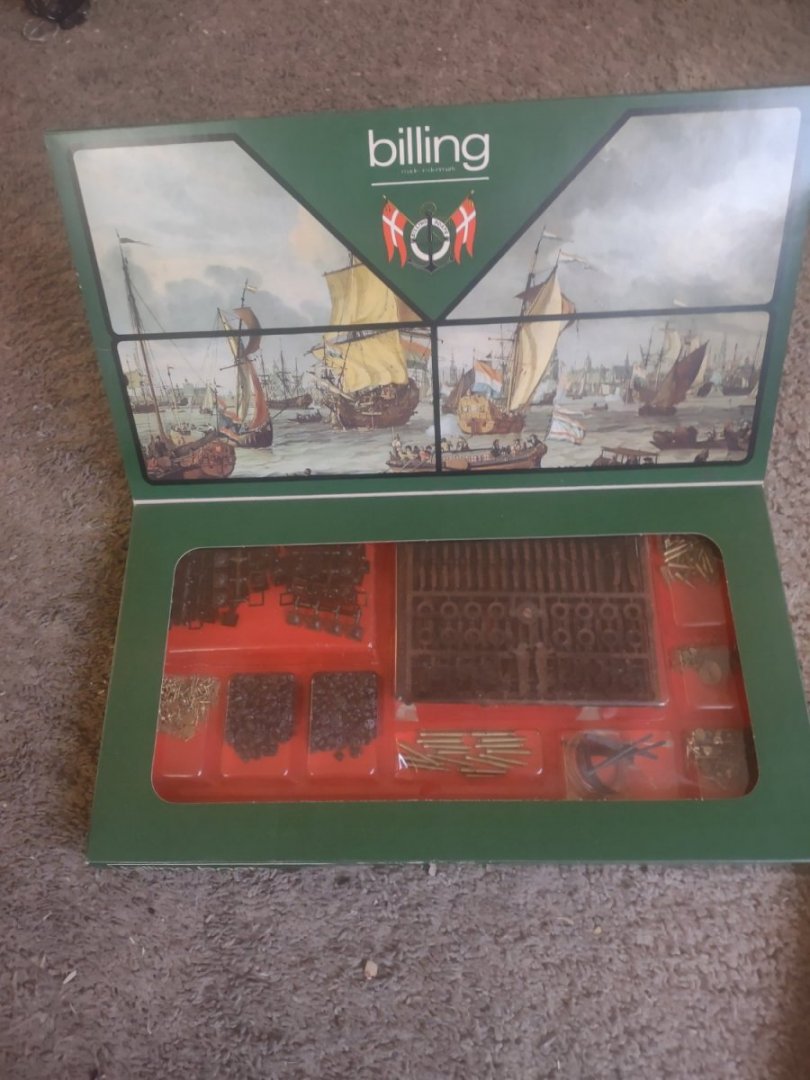
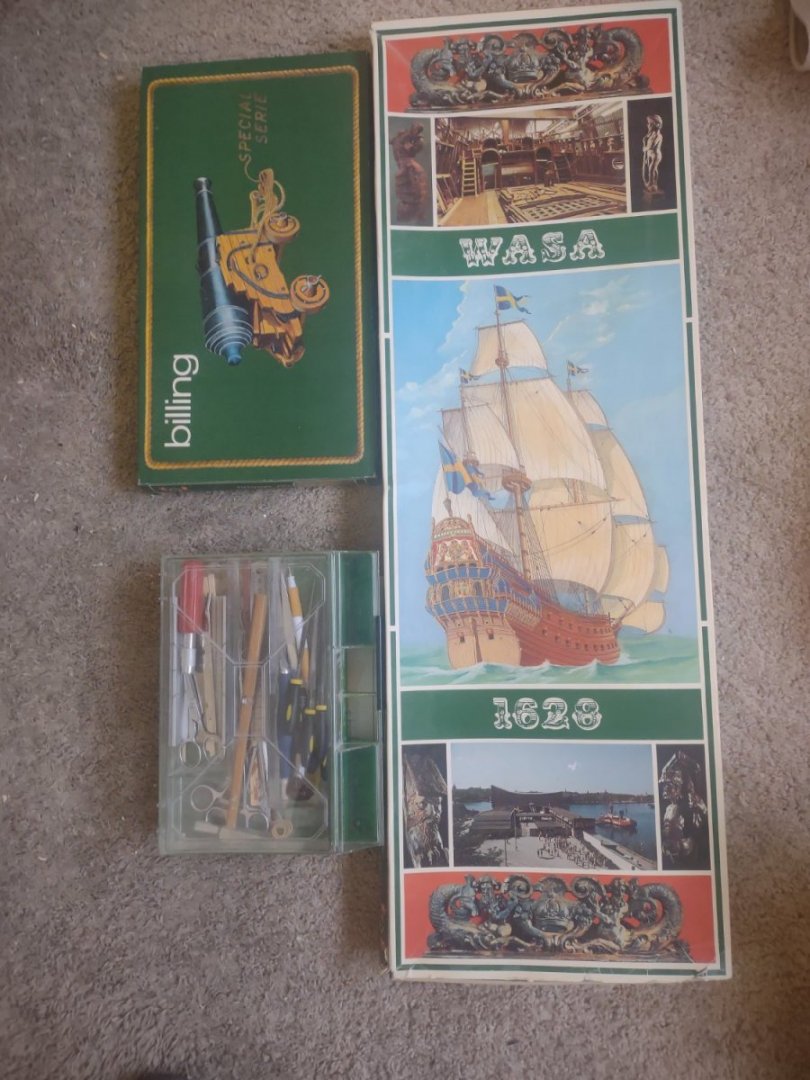
Hello everyone, So I have been able to receive a wonderful opportunity of continuing to a beautiful ship. The Wasa by Billing Boats. It's quite an old kit but we'll preserved and treated with much love. Right now I get to show it off and I want to try and do the best I can for this build. I will for sure take my time and really dedicate the proper time and effort into this to do my best and look for help as I travel this journey. this is some pictures of the plans and also came with it's instruction manual that is in good condition as well. this is everything that came in. I am excited to see how painting on all the plastic comes out because I haven't done that so I am going to need some advice on this for sure. I need to check up on all of these measurements because I feel the strakes are too long and my first starting point I decided is going to be finishing the construction of the base part of the Hull and making a good solid stand to hold the hull as I work. Hopefully you guys can join me and I hope to get some help because I am sure going to need it!!
-
I'm sorry you had so many issues with this build. I am glad you were able to realize it though and to recognize it and thank you for your honesty. I will be on the look out for your Surprise build!!
- 35 replies
-
- Mantua
- Sovereign of the Seas
-
(and 1 more)
Tagged with:
About us
Modelshipworld - Advancing Ship Modeling through Research
SSL Secured
Your security is important for us so this Website is SSL-Secured
NRG Mailing Address
Nautical Research Guild
237 South Lincoln Street
Westmont IL, 60559-1917
Model Ship World ® and the MSW logo are Registered Trademarks, and belong to the Nautical Research Guild (United States Patent and Trademark Office: No. 6,929,264 & No. 6,929,274, registered Dec. 20, 2022)
Helpful Links
About the NRG
If you enjoy building ship models that are historically accurate as well as beautiful, then The Nautical Research Guild (NRG) is just right for you.
The Guild is a non-profit educational organization whose mission is to “Advance Ship Modeling Through Research”. We provide support to our members in their efforts to raise the quality of their model ships.
The Nautical Research Guild has published our world-renowned quarterly magazine, The Nautical Research Journal, since 1955. The pages of the Journal are full of articles by accomplished ship modelers who show you how they create those exquisite details on their models, and by maritime historians who show you the correct details to build. The Journal is available in both print and digital editions. Go to the NRG web site (www.thenrg.org) to download a complimentary digital copy of the Journal. The NRG also publishes plan sets, books and compilations of back issues of the Journal and the former Ships in Scale and Model Ship Builder magazines.


