
S.Coleman
-
Posts
1,146 -
Joined
-
Last visited
Content Type
Profiles
Forums
Gallery
Events
Everything posted by S.Coleman
-
 That's a long break between. I like hows its turned out. Looks really neat. Rigging stage coming up soon by the looks of it. Good job.
 -
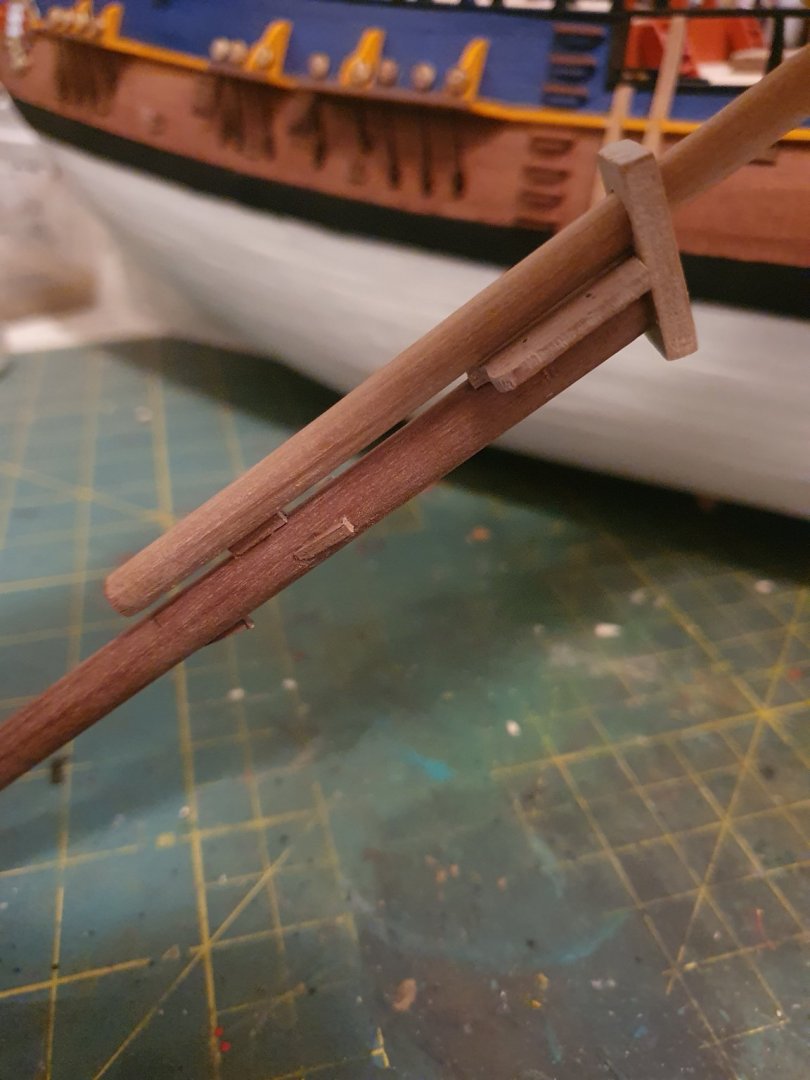
Made a start on the foremast. At the stage I have to add the side boards and bend the front. So far so good
-
The kit supplied rope is very nice to use, Don't need lots of wax to beat the fluffies down. But nowhere near as good as chucks. It will be suffice for my needs.
-
Well I have to say I'm jealous because I really want this kit. She's a beautiful ship. Maybe once im done with my Endeavour I hope. Your build looks great. Very neat and sharp. Good paint job on the windows and all. Nice job.
-
Cheers mate. She should be looking fine when complete.
-
First rigging started. It's been a while since I rigged anything. Bowsprit pin rack completed. gammoning ropes in and rigged up.

-
I removed all of the nails. I never leave any nails. I need the glue has dried nails are no longer needed sorry for the late reply.
-
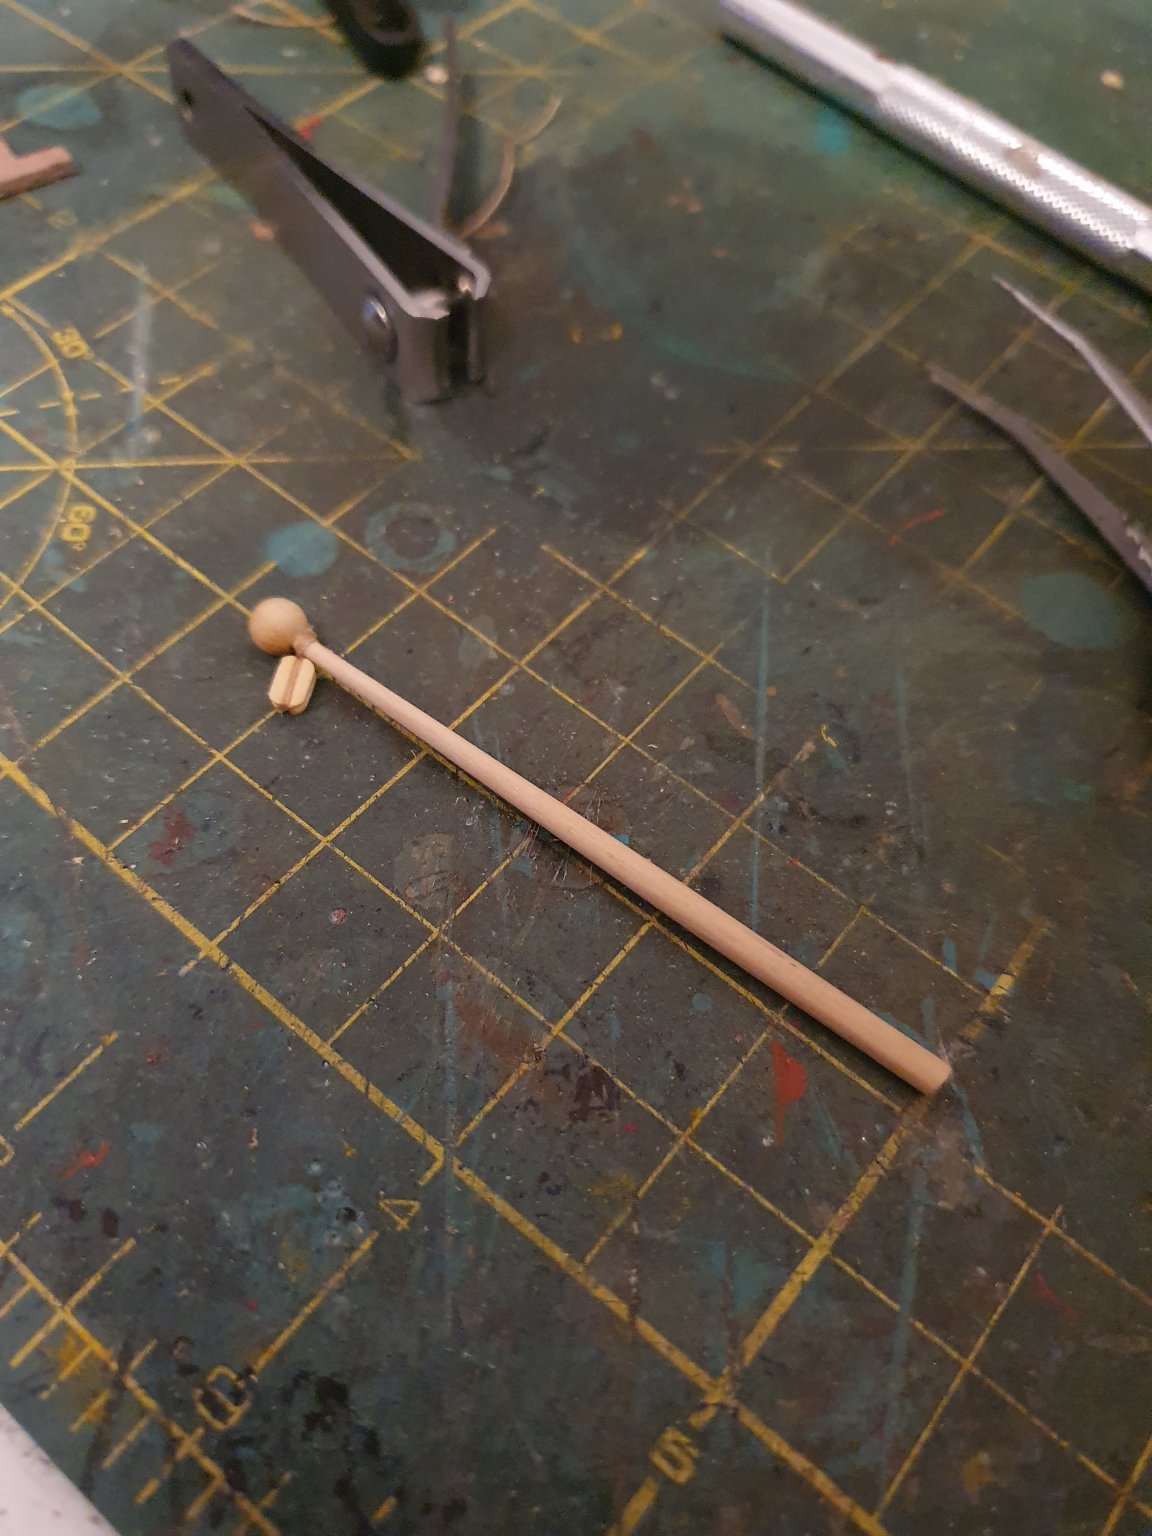
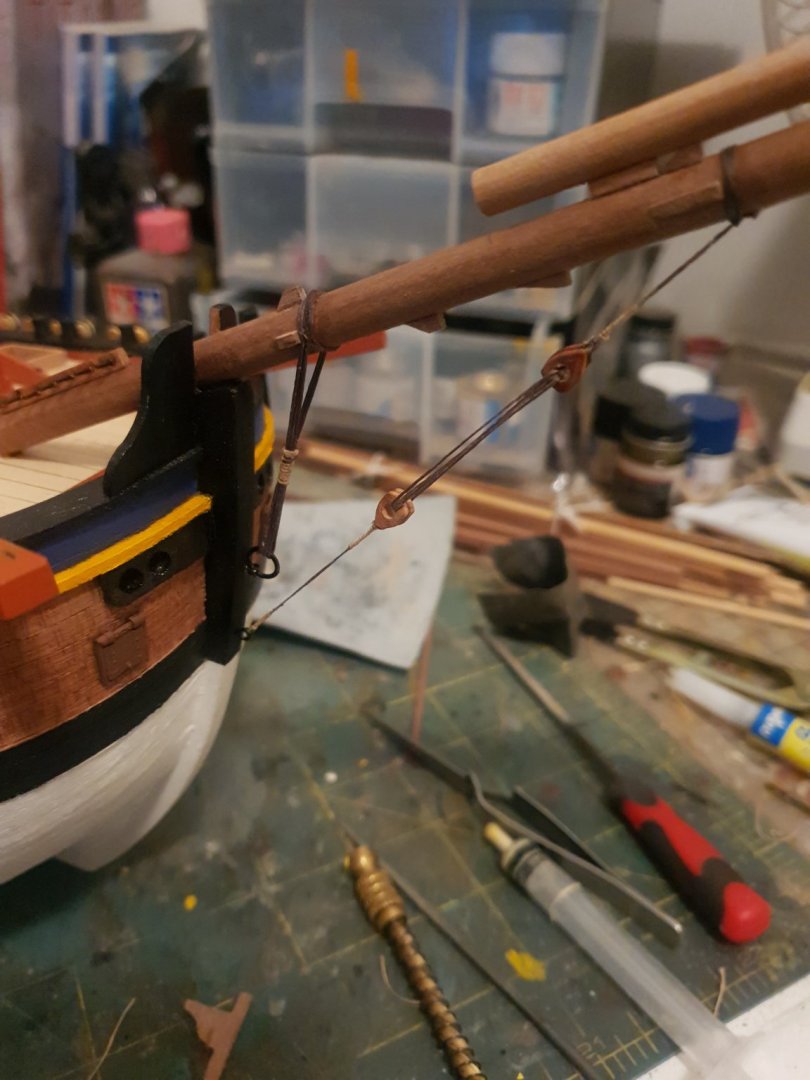
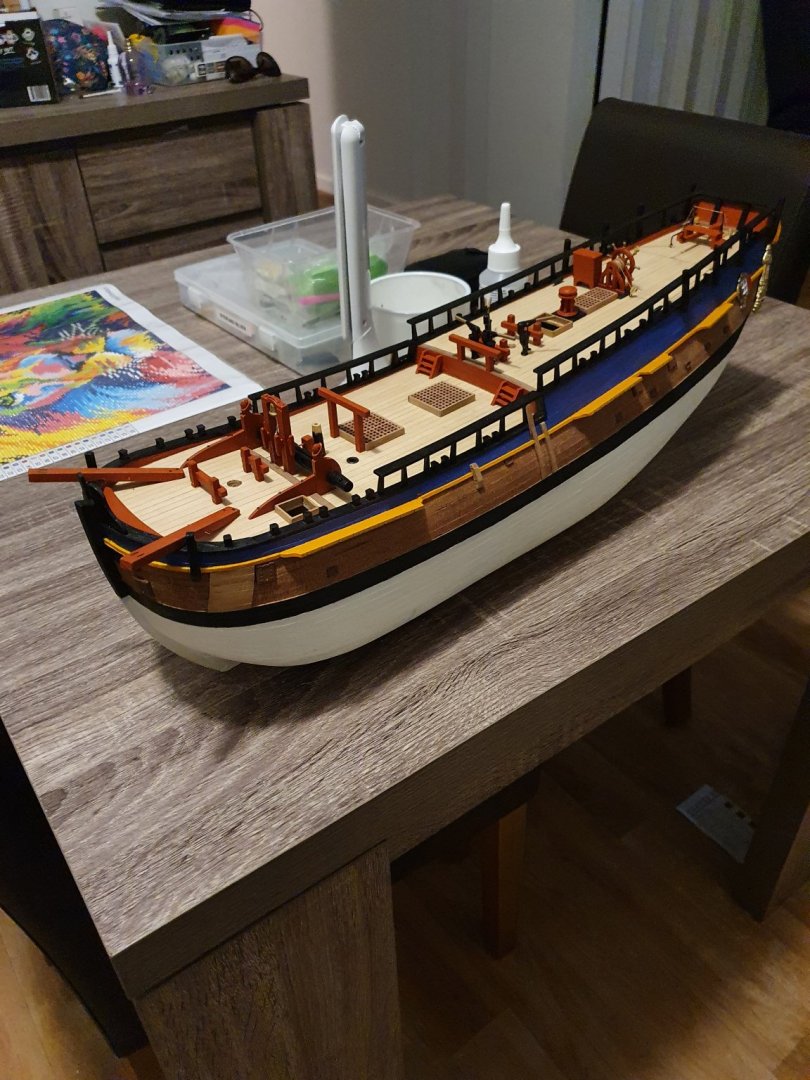
Moving on from chain plates I have made a start on the bowsprit The various cleats and bee are in position. The jack staff complete with block attached The ship at a glance of progress. Happy with the outcome so far.

-
Hello! Im building the exact same kit. Yes you nail the decks to the top of the bulkheads but only nail in halfway as you remove these nails once the glue has dried. Best of luck with your build .
-
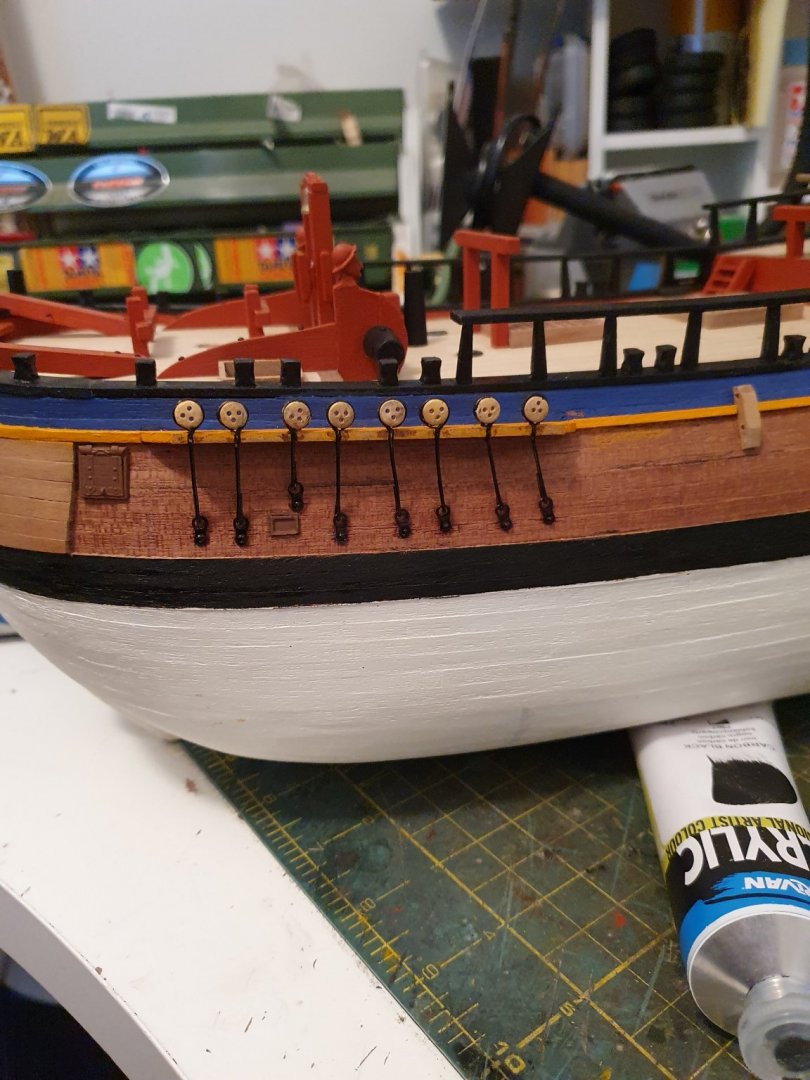
As mentioned above im not going to place a lot of photos of chainplate assembly but I will post these as evidence I'm still working on the ship haha. port side chain plates are now encased with strip on the outside and painted. Starboard side has them installed and need some tweaking to look straight and right. Hope you all like.

-
Hello Ron. Glad to see you dropped in. More than happy for you to reference my log. I don't seem to post photos of my build steps rather than just post photos of the completed section. Which I should. I had no dramas with warped keel or poor fitting bulkheads and my kit is very old. I'm currently making the deadeye chain plates and its taking a while. So I haven't posted for a bit. No one wants to see 10 or photos of chain plates!! Very soon I'll be making a start on the bowsprit. I like the corel kit too but it is costly. I found so many differences between kit manufacturers so I've taken a little bit from here and there and scratch building some parts. Cheers for dropping in. Scott
-
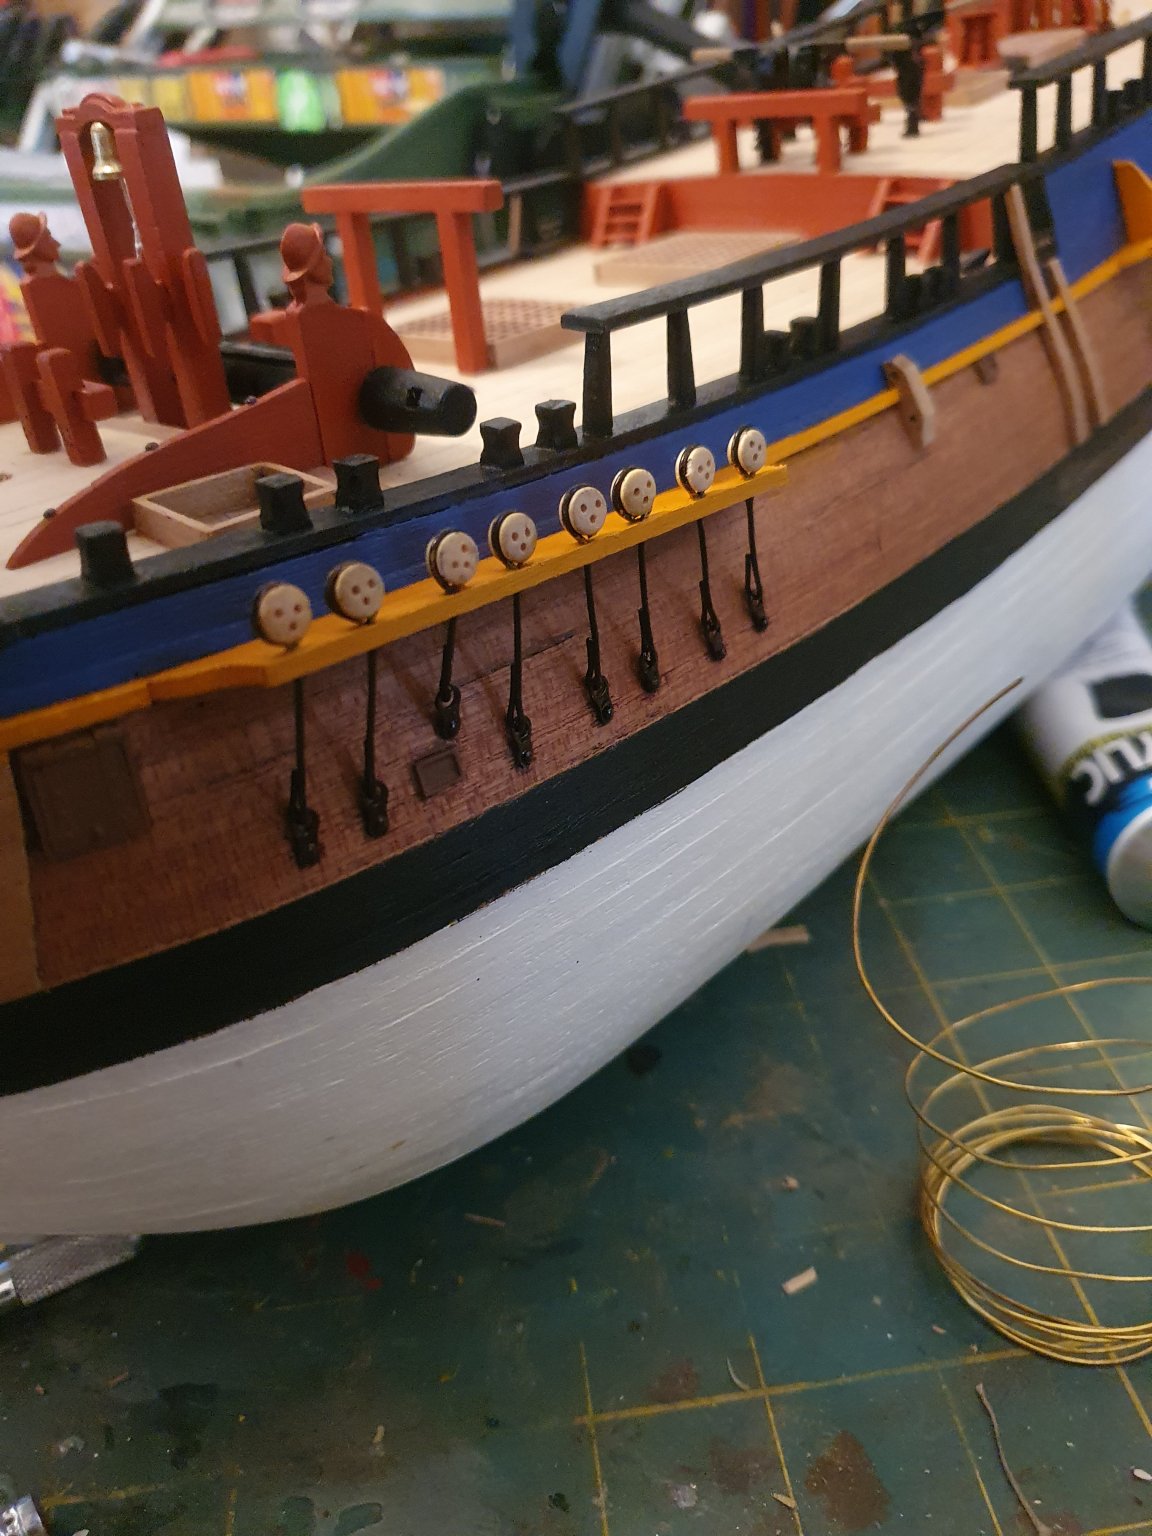
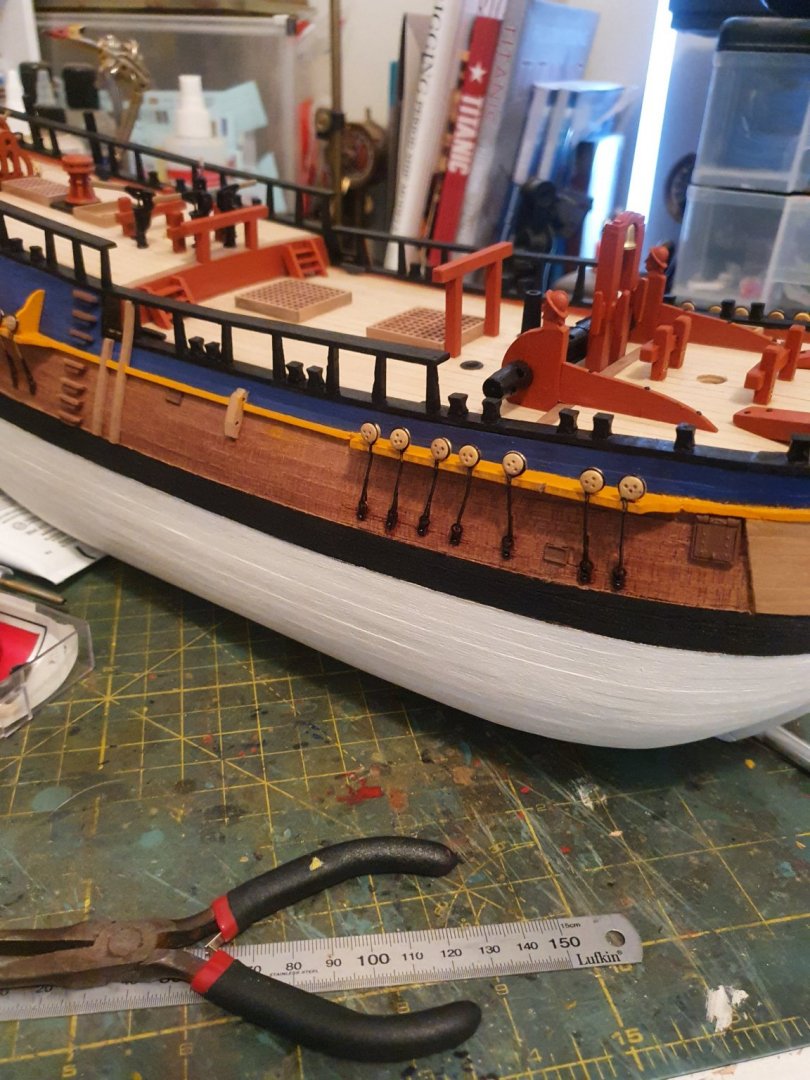
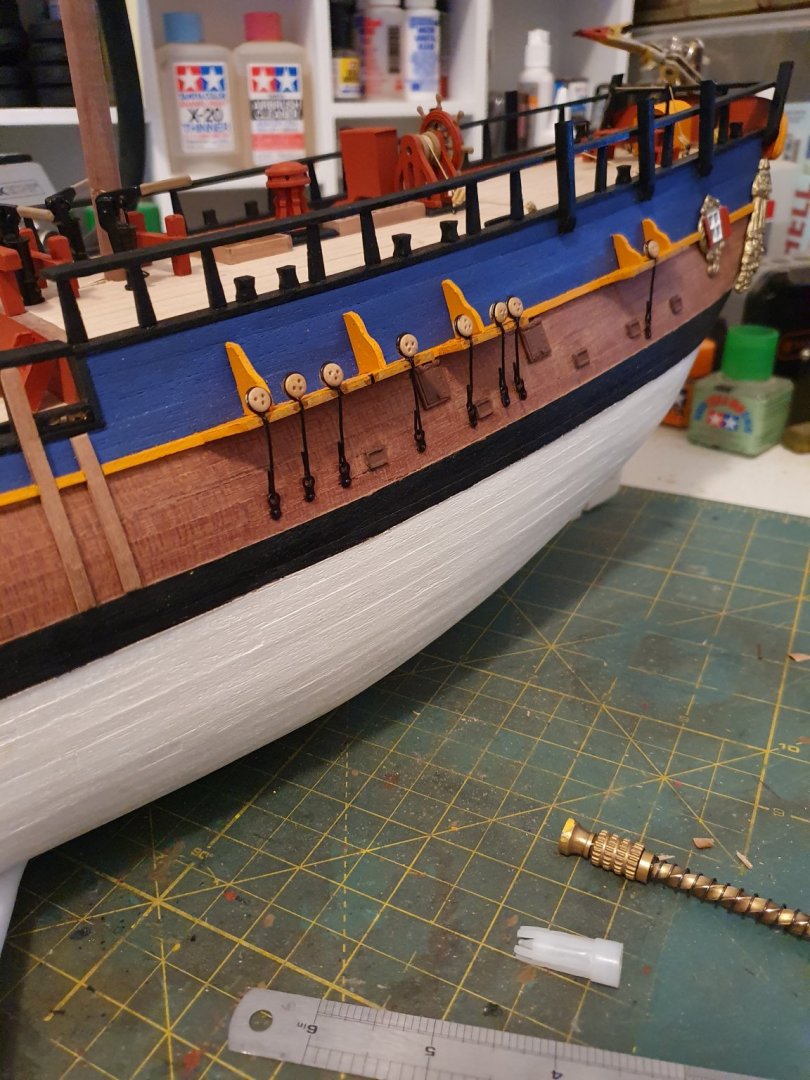
The slow and steady progress made on the first set of chainplates. These are made from 0.8mm wire wrapped around the deadeye and then crimped around the attach point on the hull. The deadeyes move freely so I can line them when it comes time to rig the shrouds.
-
Haha yes I had a 3:30 start for work so I was up and about. Lots Iof different details depending on which kit you have.
-
As I was saying. I decided to add knees onto the deadeye channel, cut these out of 2mm ply and painted up tiller housing.
-
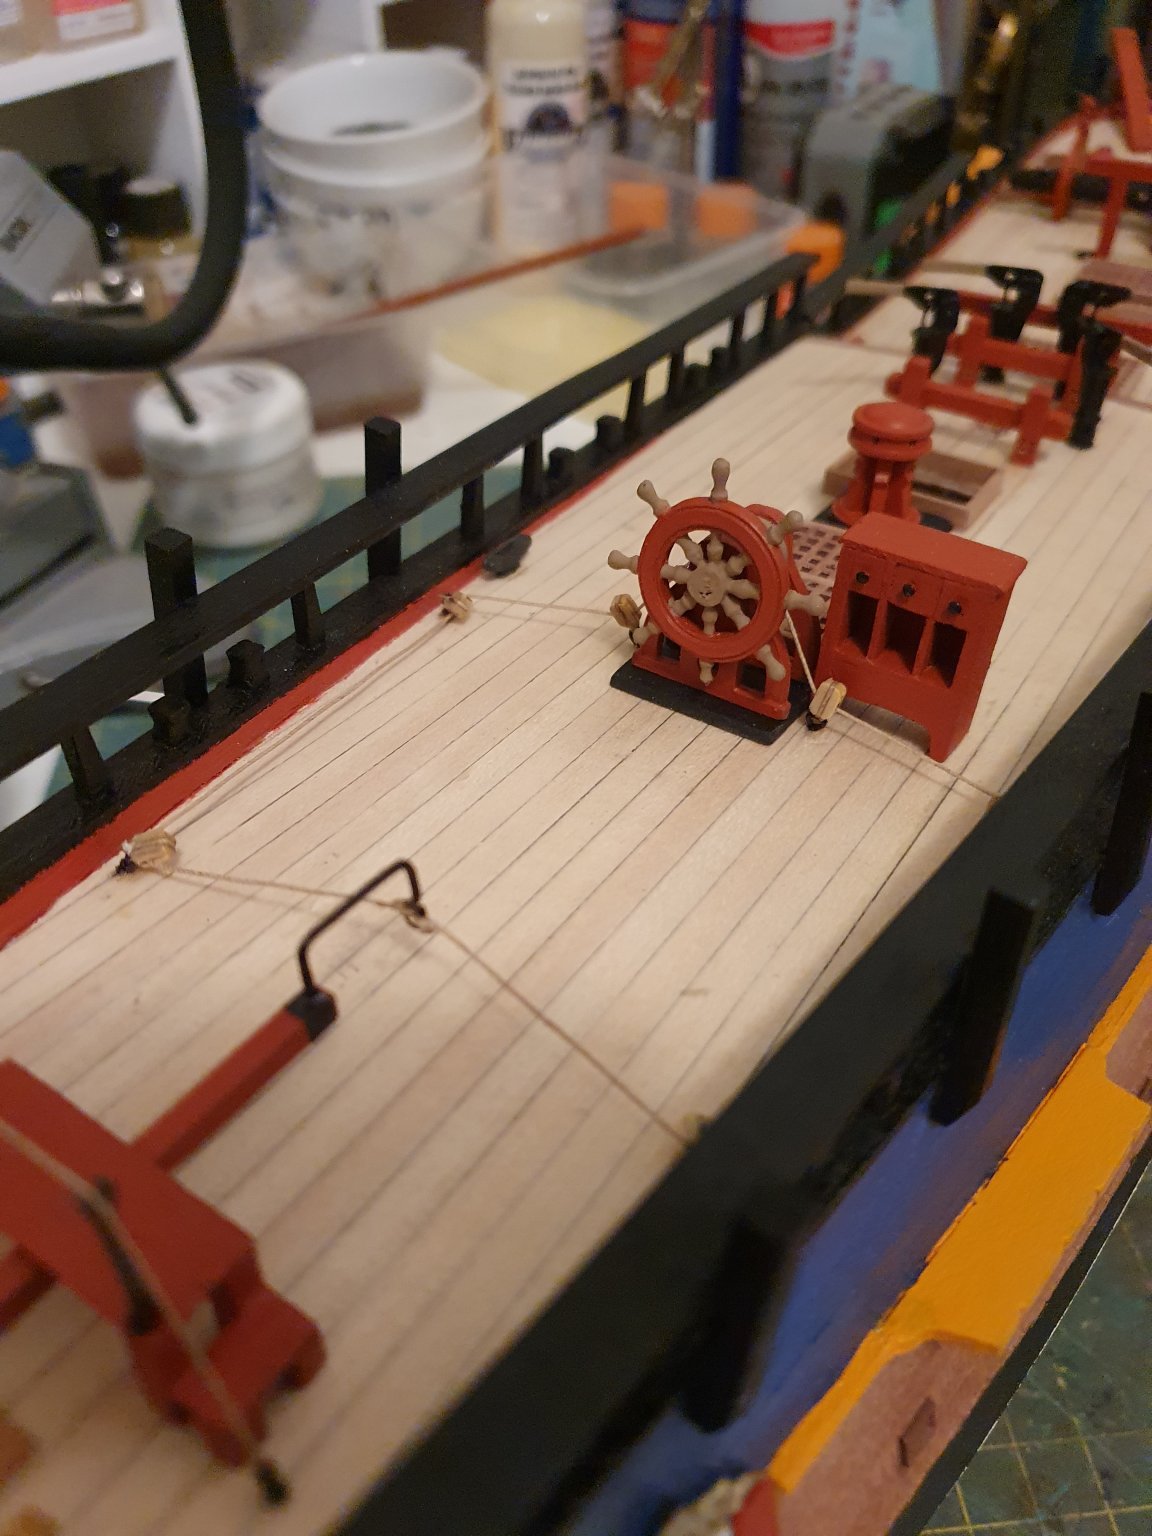
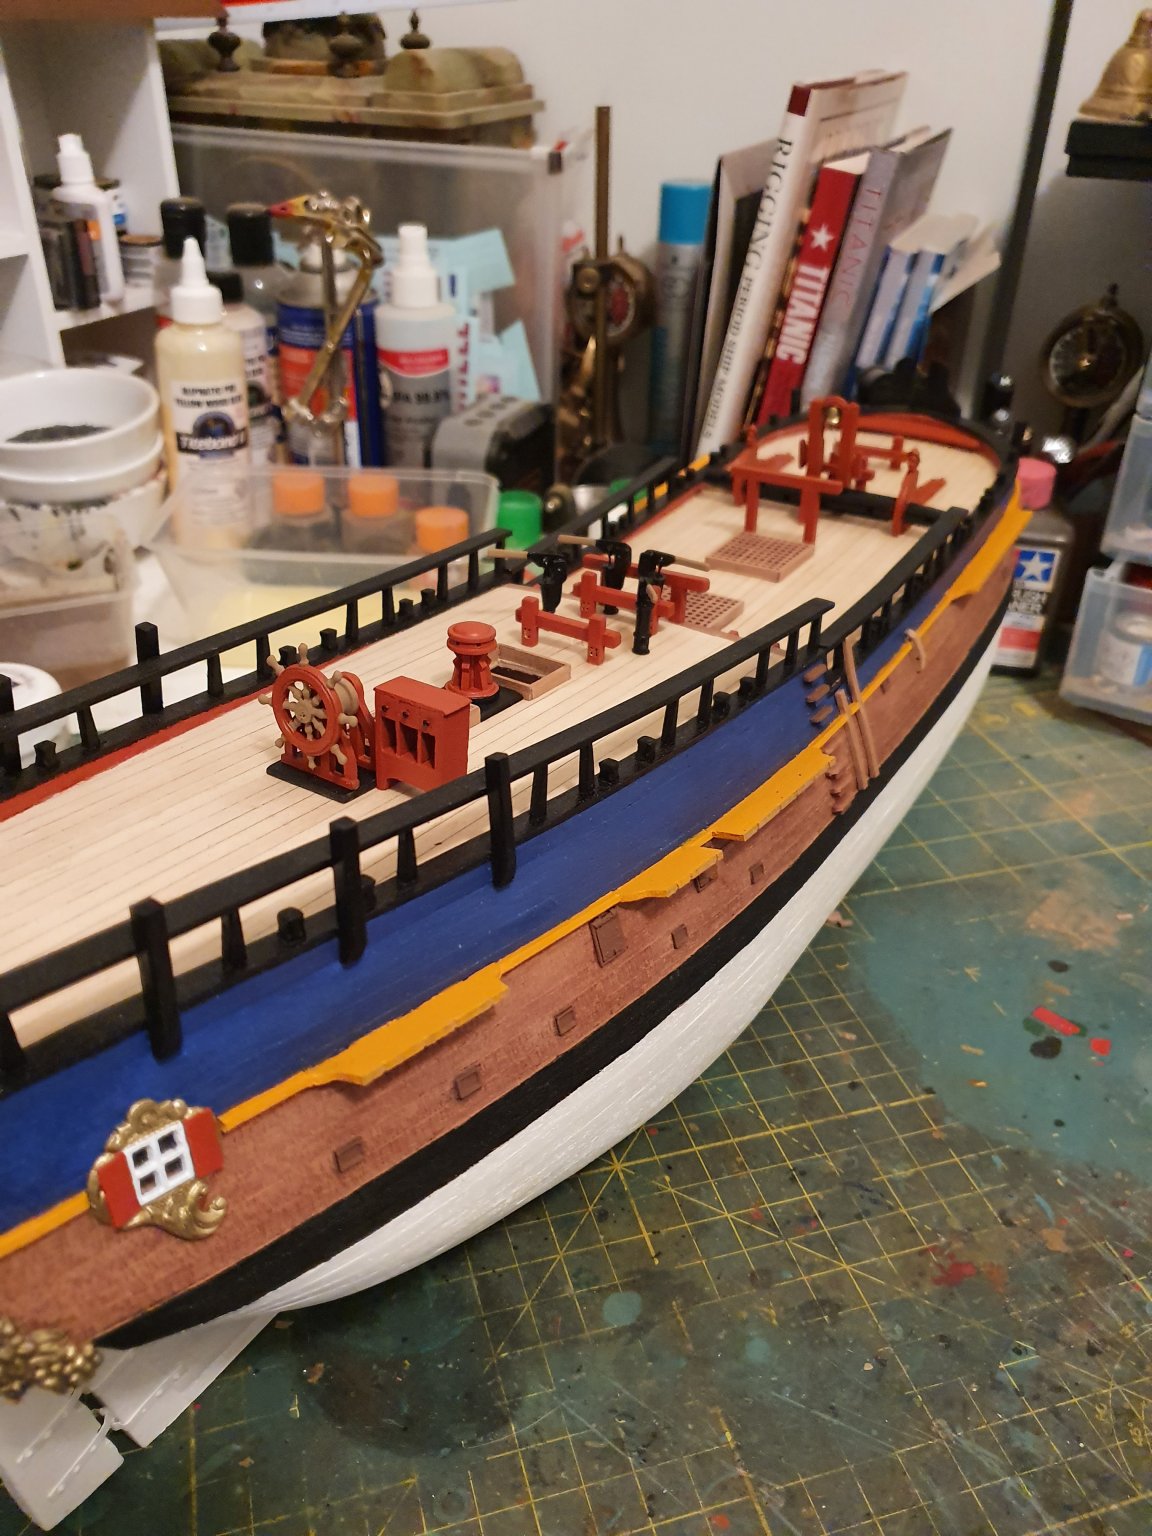
Ships wheel with rigging attached. I'm now thinking about installing knees on the deadeye channels as the kit missed out this detail as well. Let's see how we go.

-
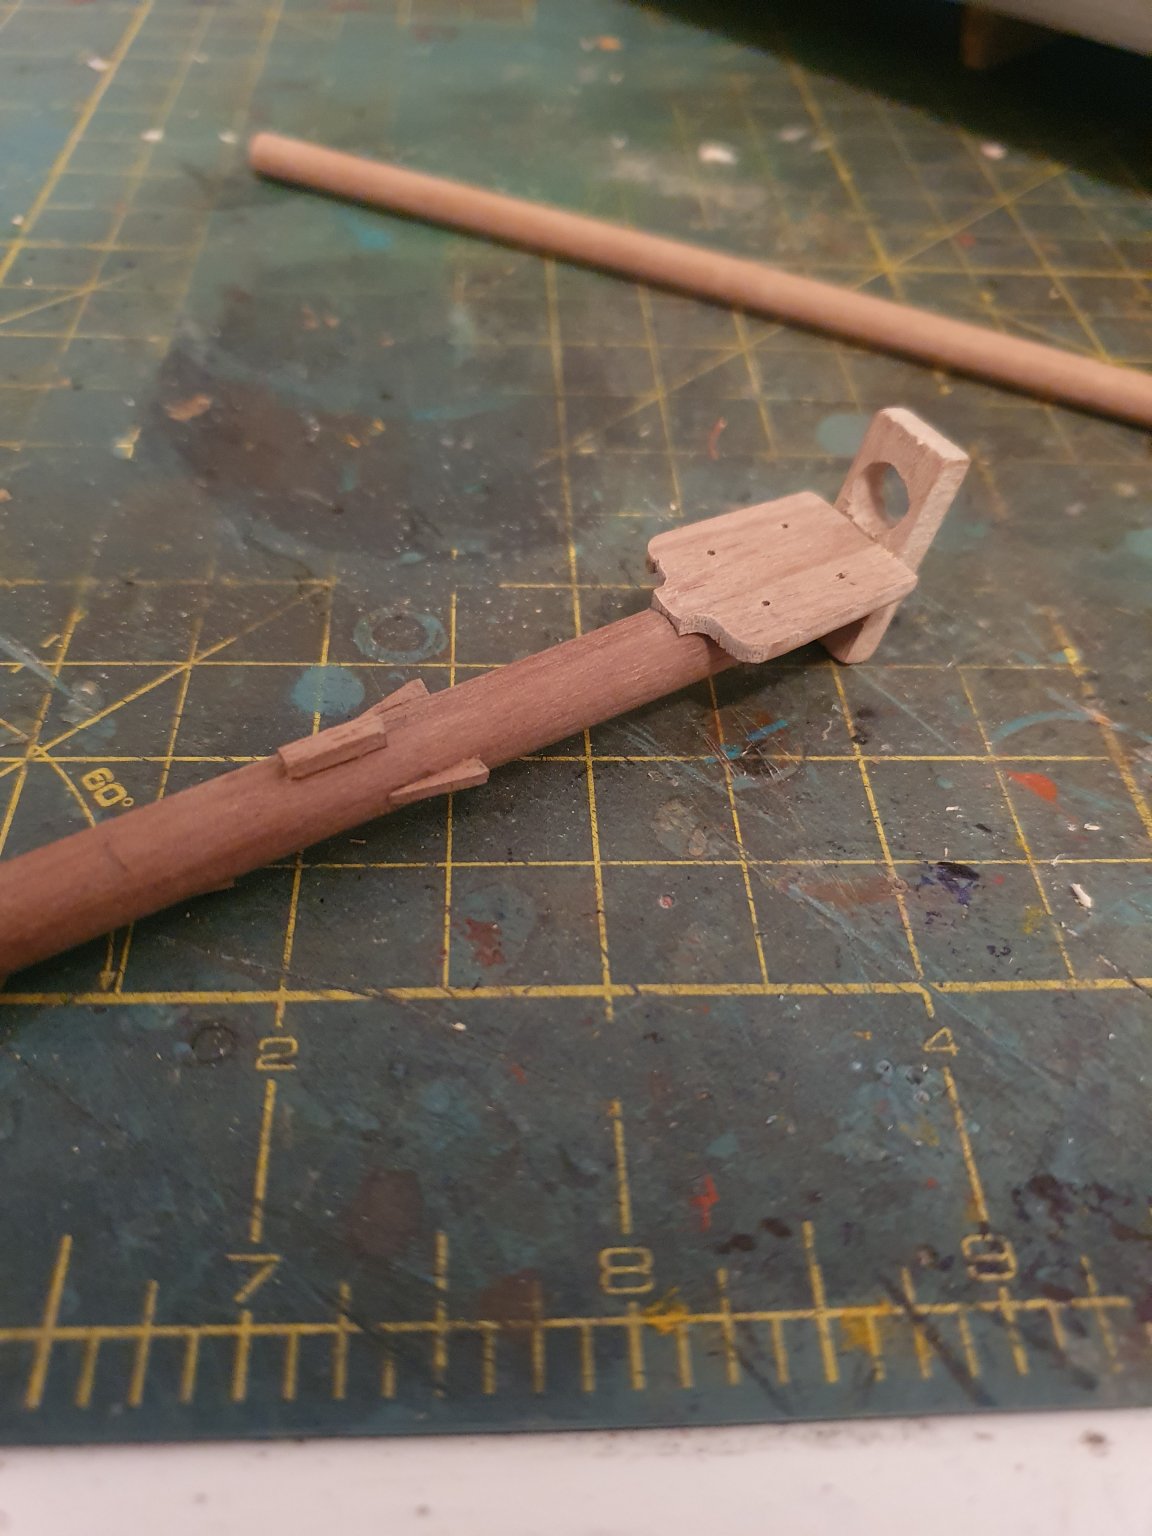
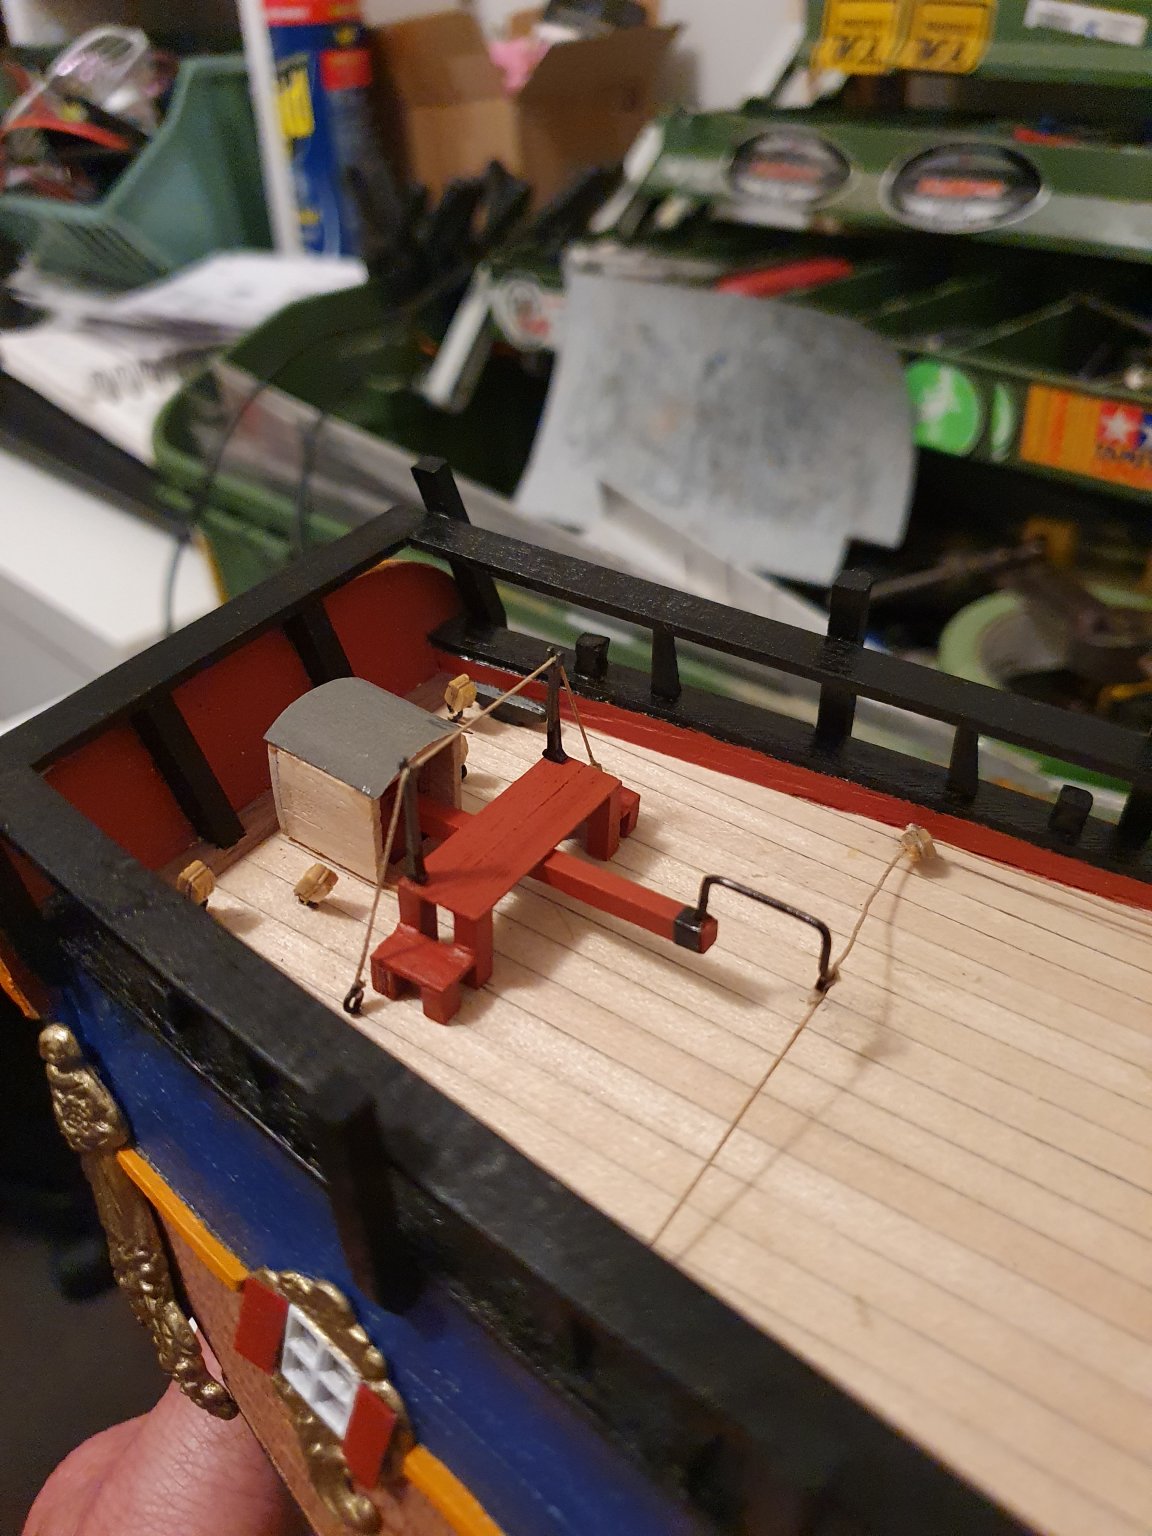
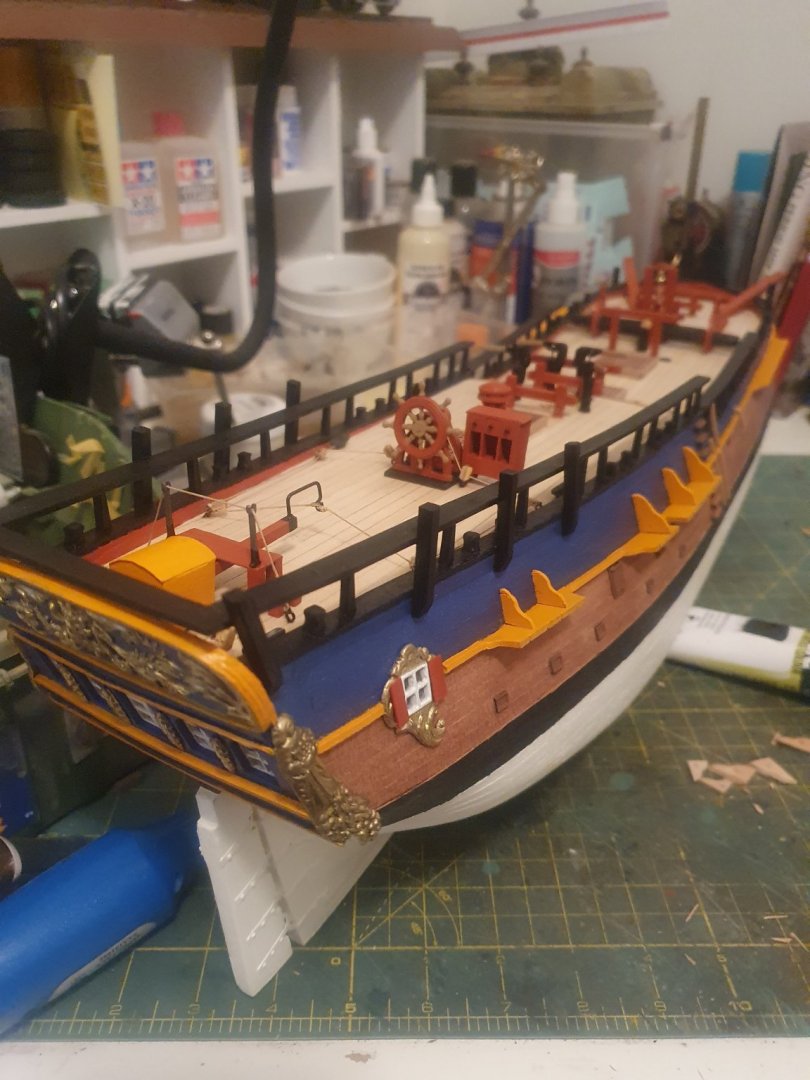
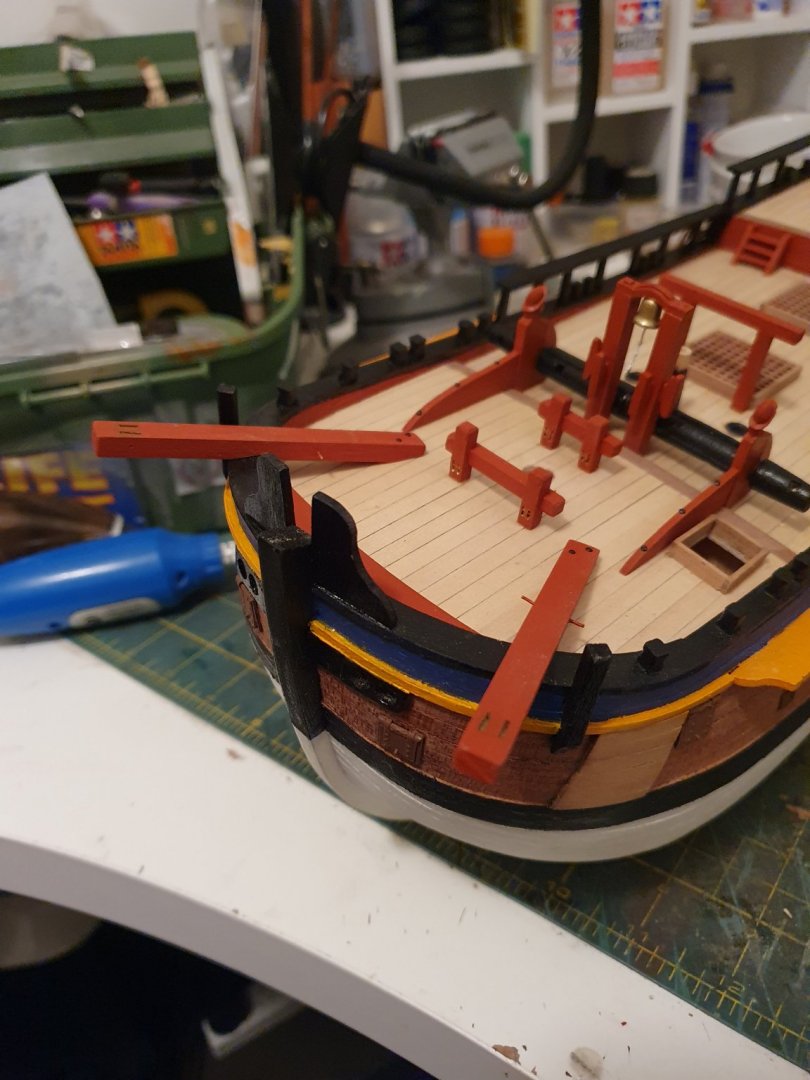
Here i have been working on the tiller, boardwalk and tiller housing. Also managed to rig up the ships wheel rigging. Unfortunately some research shows a block and tackle arrangement on the tiller bar and I did not find this out until later. I had already ripped out the original rope as it was too thick. I'll just stick to the AL plans on this one. Scratch built the board walk and tiller housing but still yet to paint it up Fabricated the cat heads and added them on. I know there are some inaccurate details but I'm not too fussed as my skills are limited. I'm happy with it so far. Hope you all like.

-
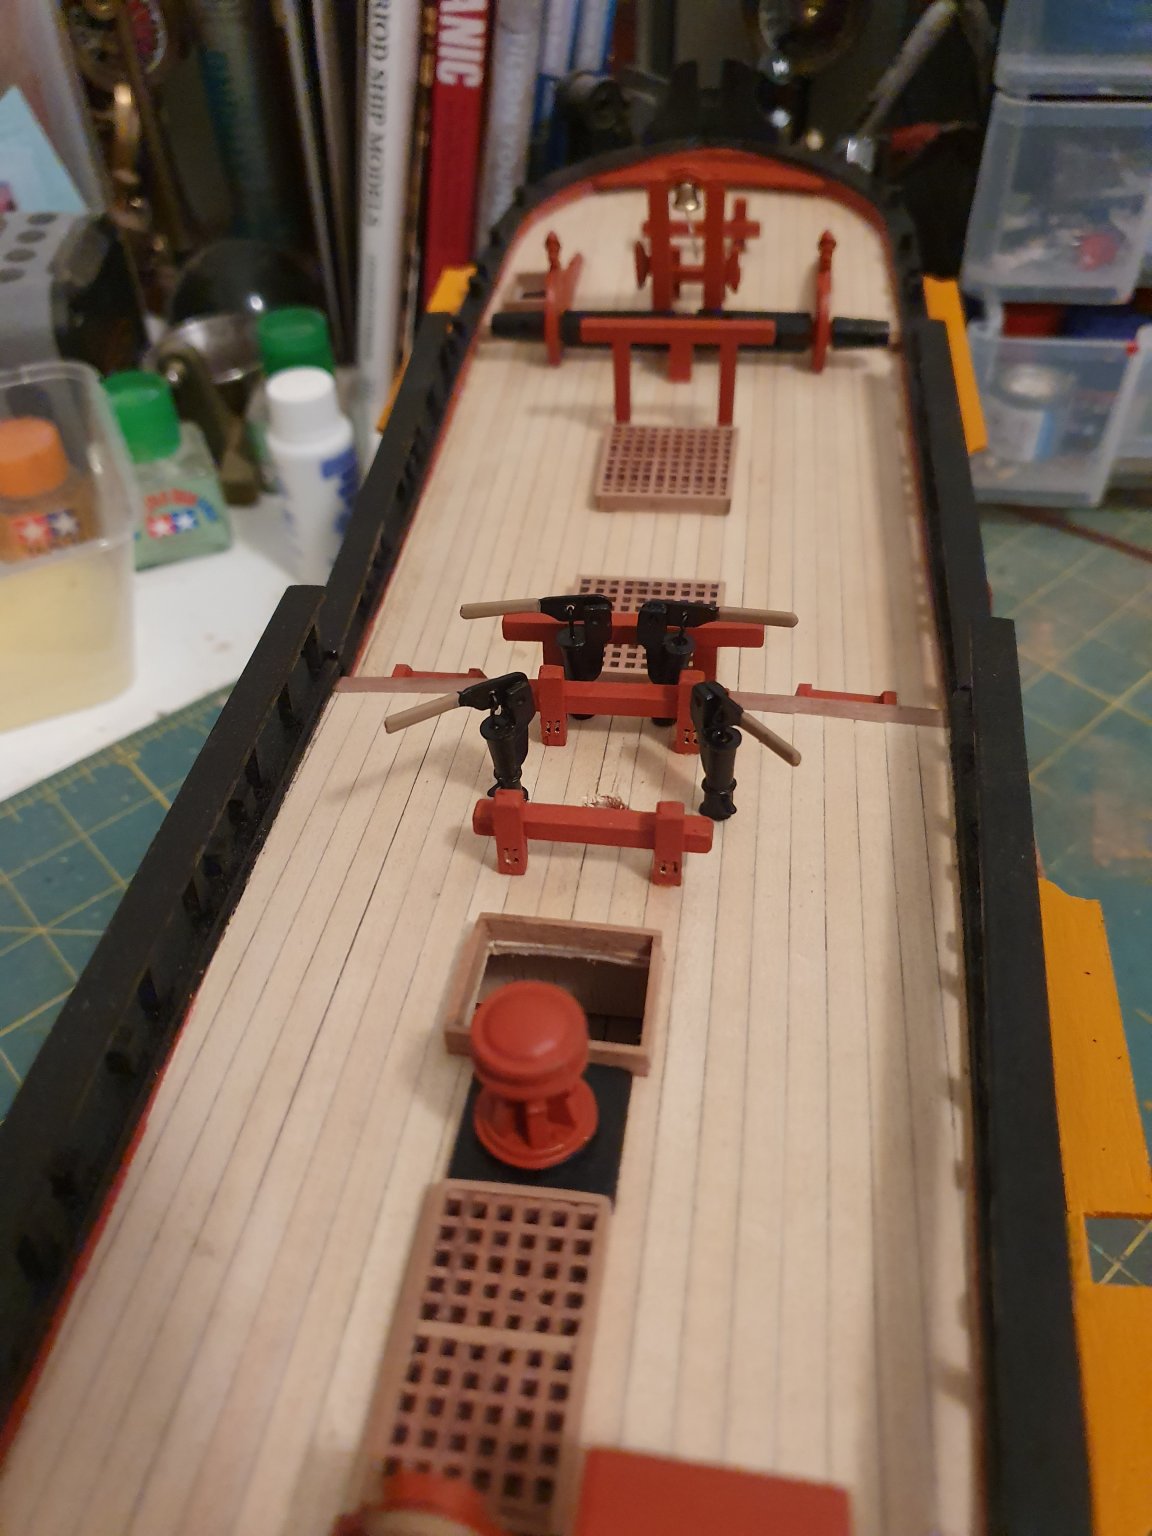
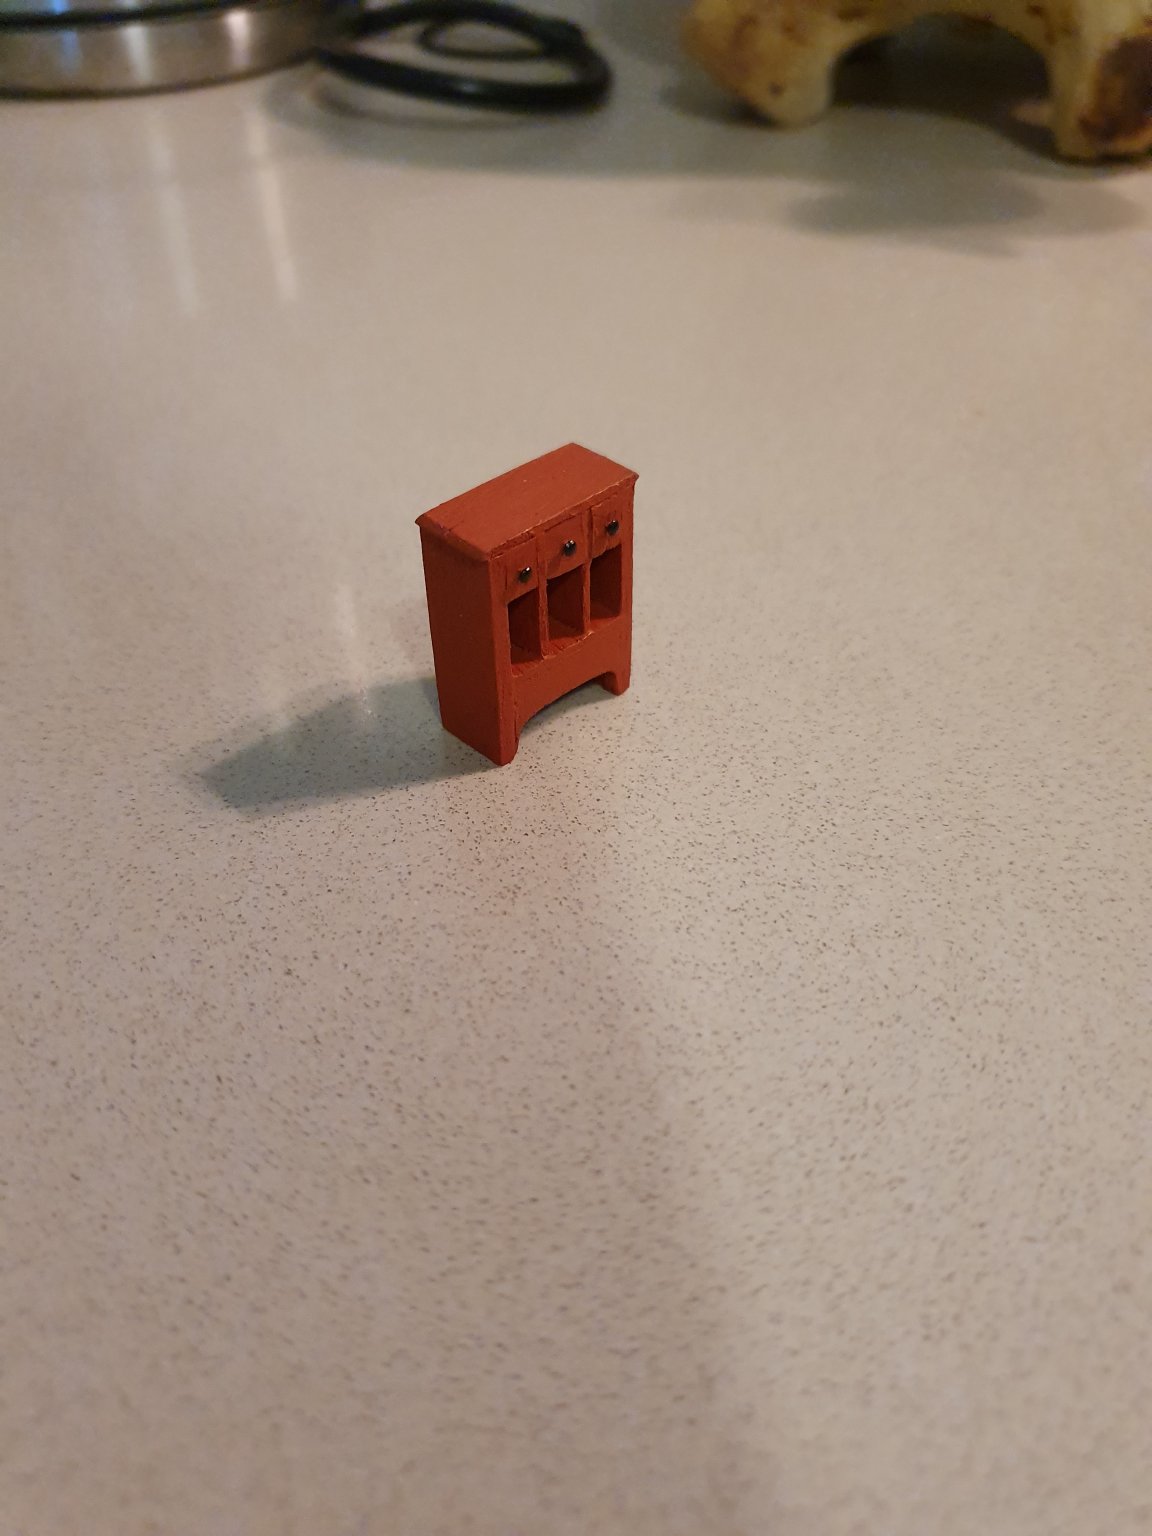
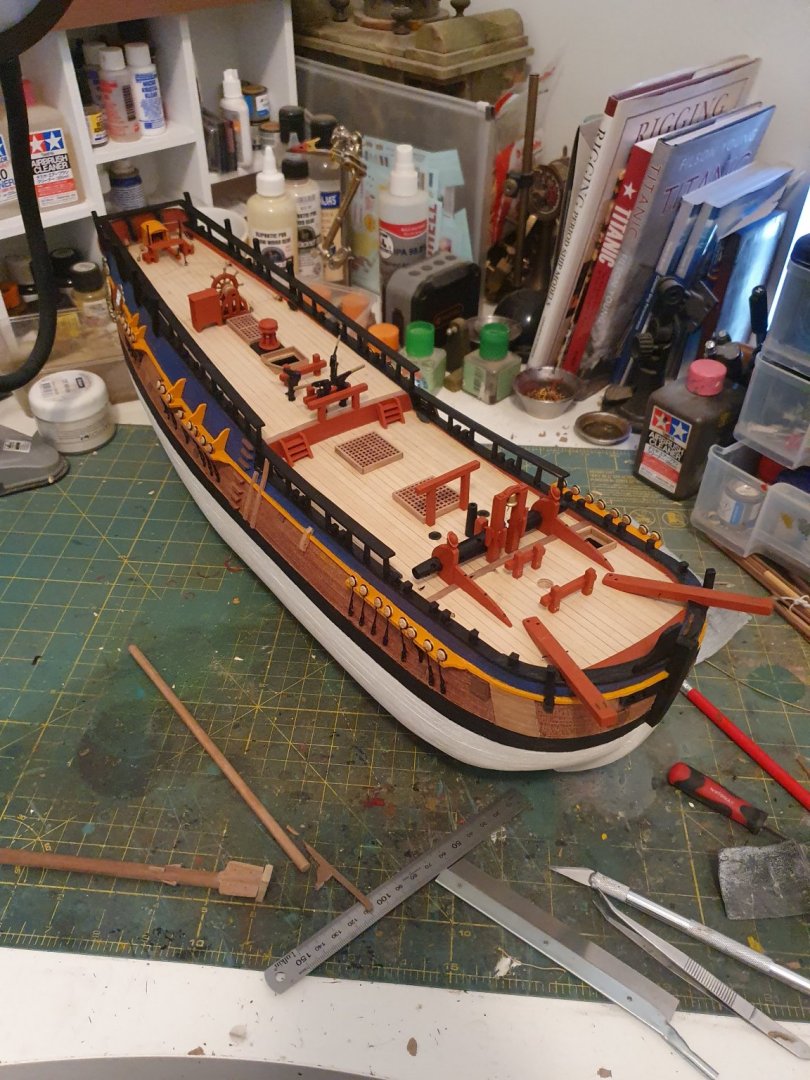
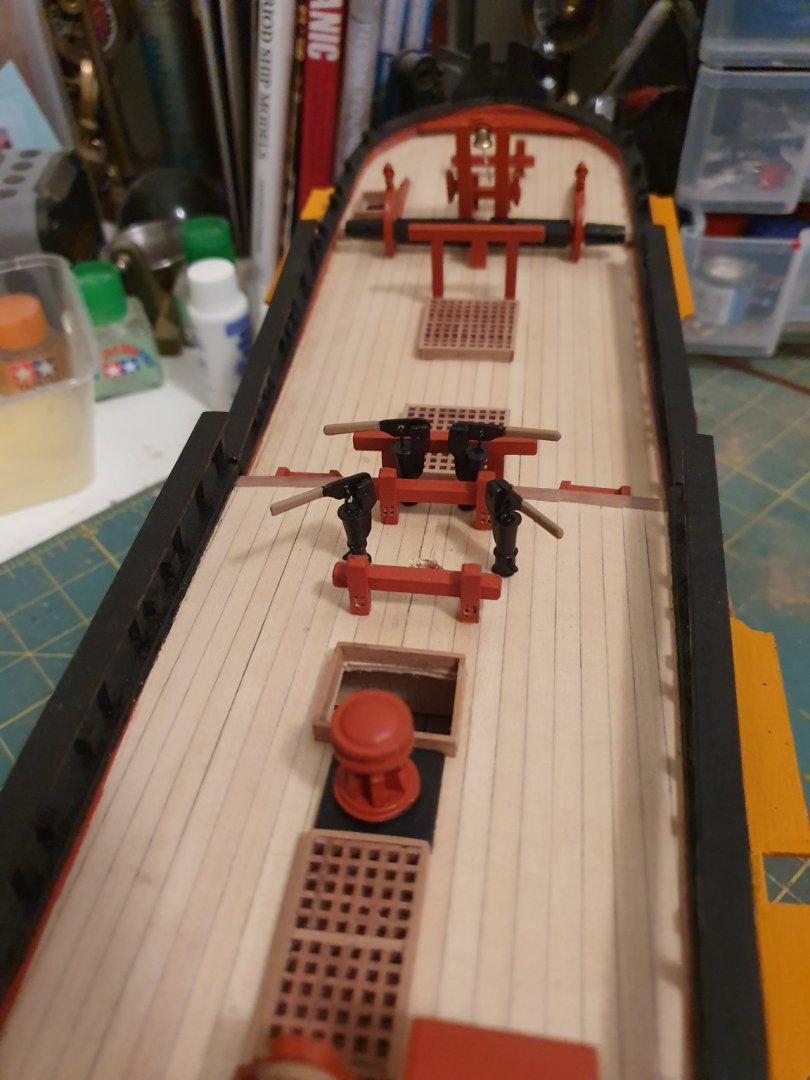
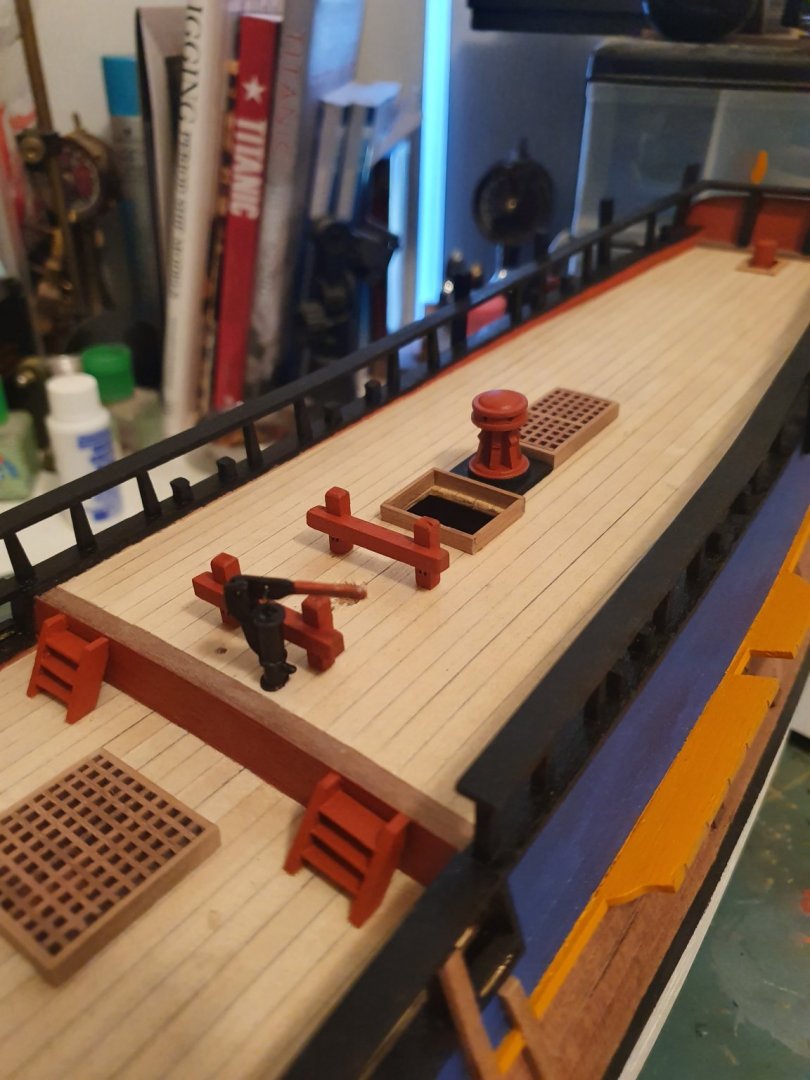
Here some progress on the deck furniture. Four pumps installed along with ships wheel, cabinet and spar and boat gallows.

-
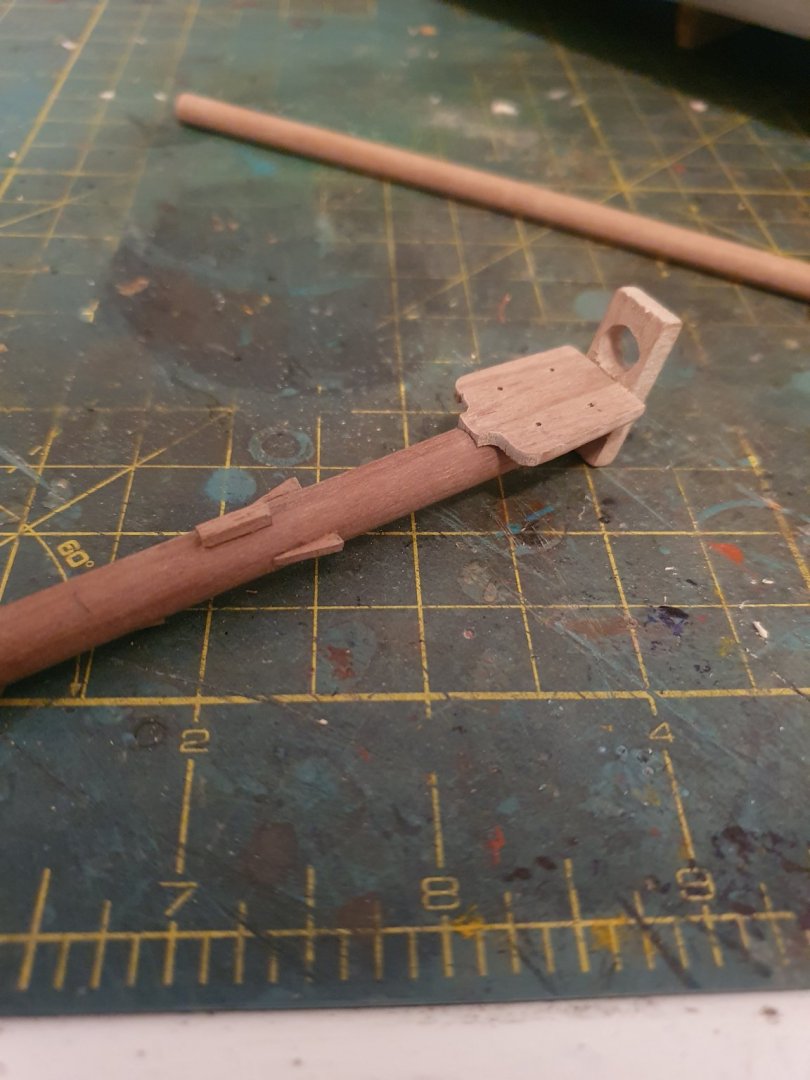
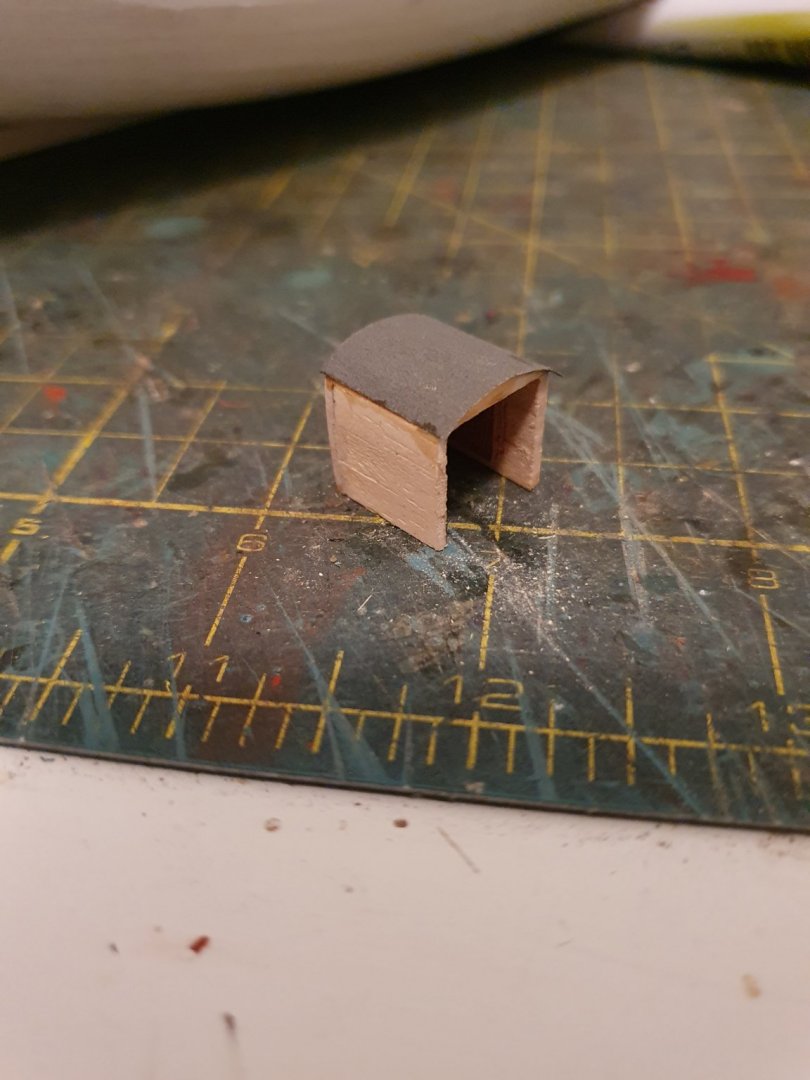
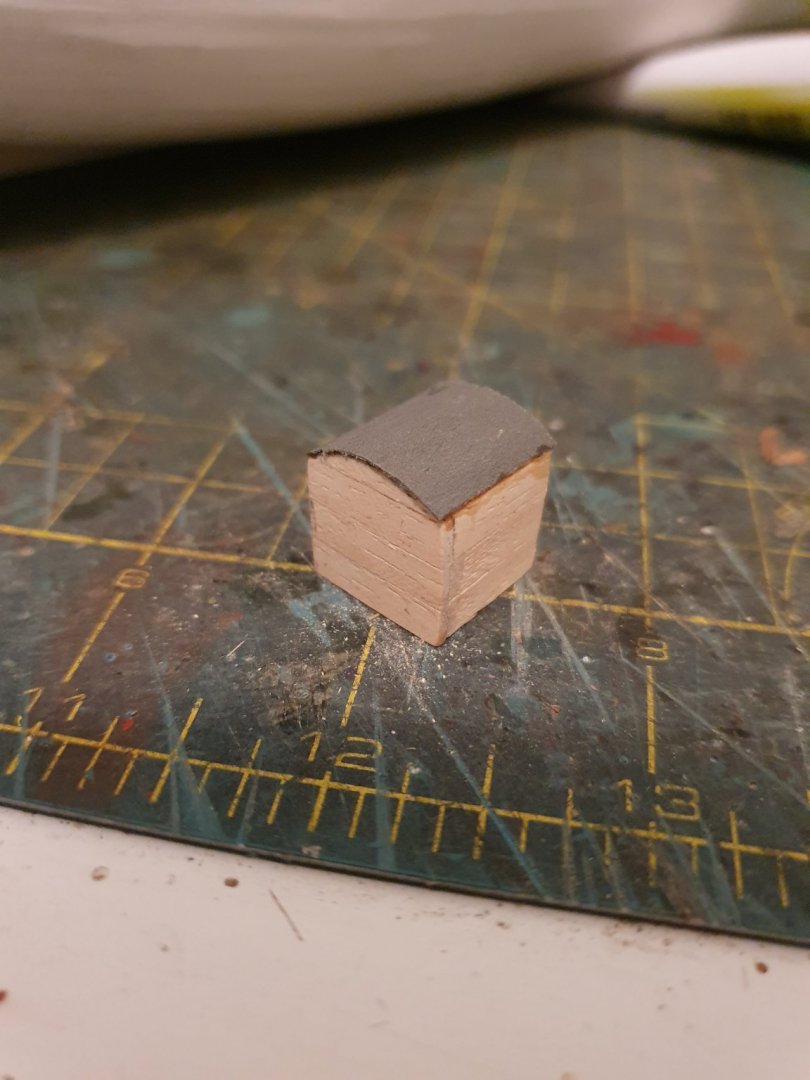
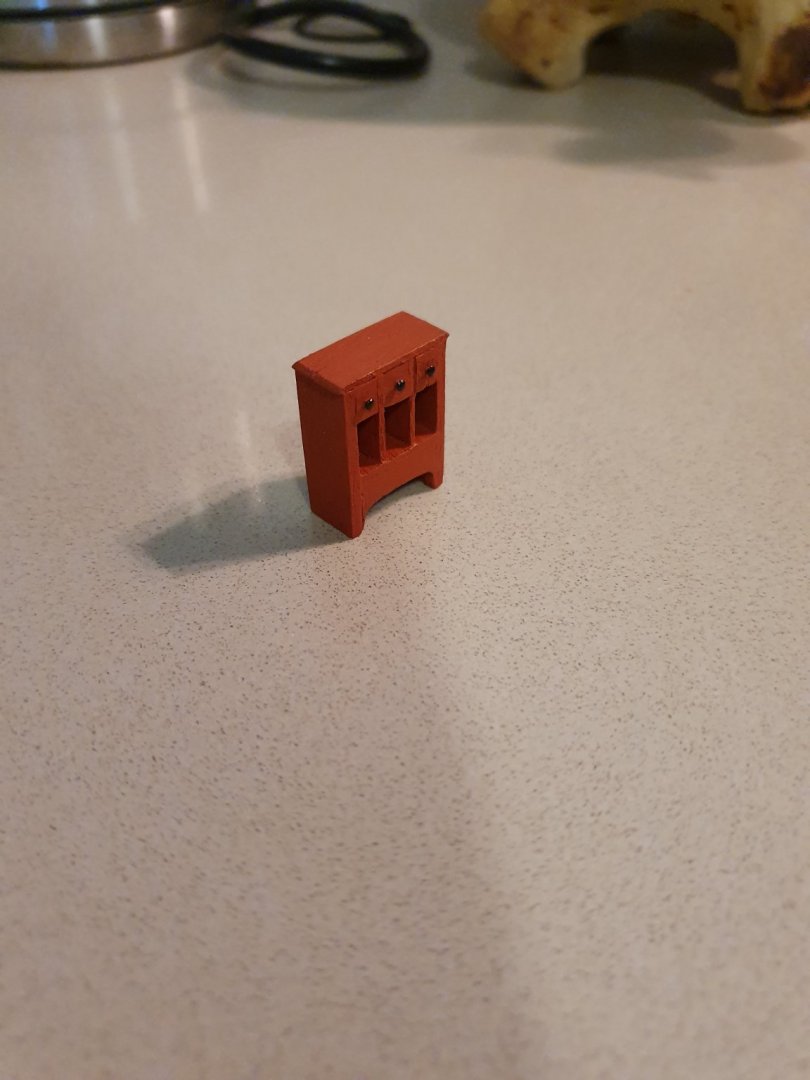
Another part missed out was this binacle cabinet. So I made my own out of some scrap 2mm ply. Got the design from the actual replica.
-
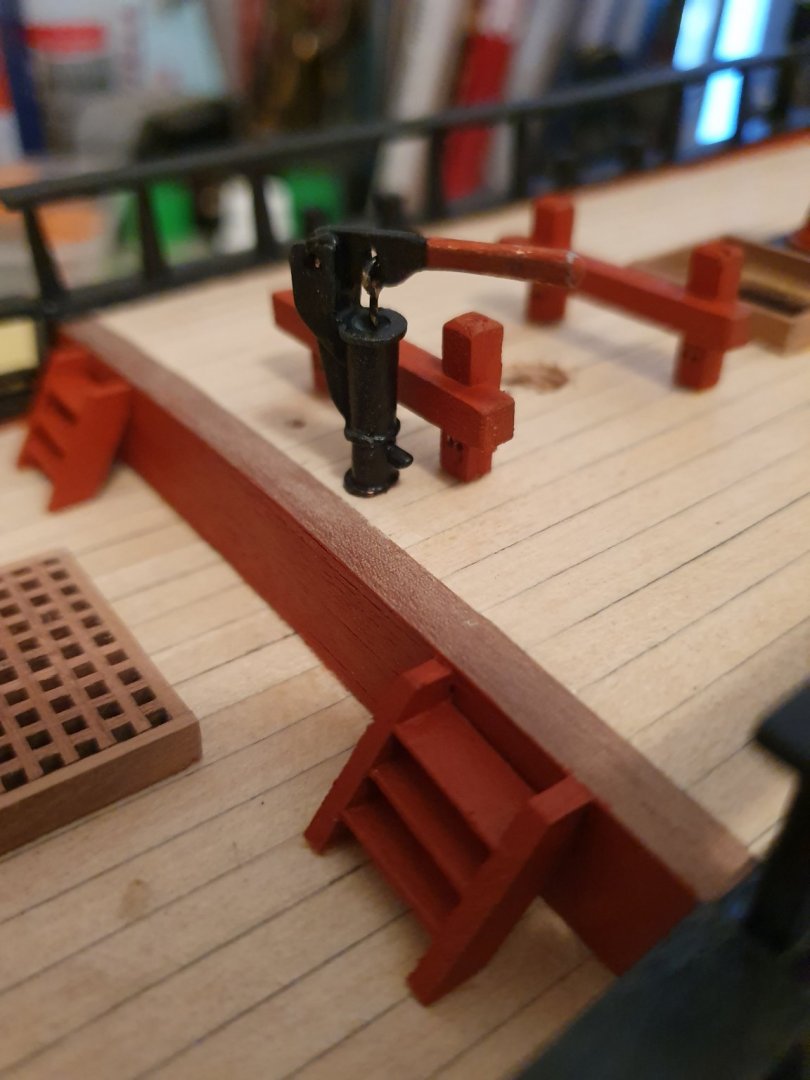
Better view of pump. Will paint up handel about better and the plunger.
-
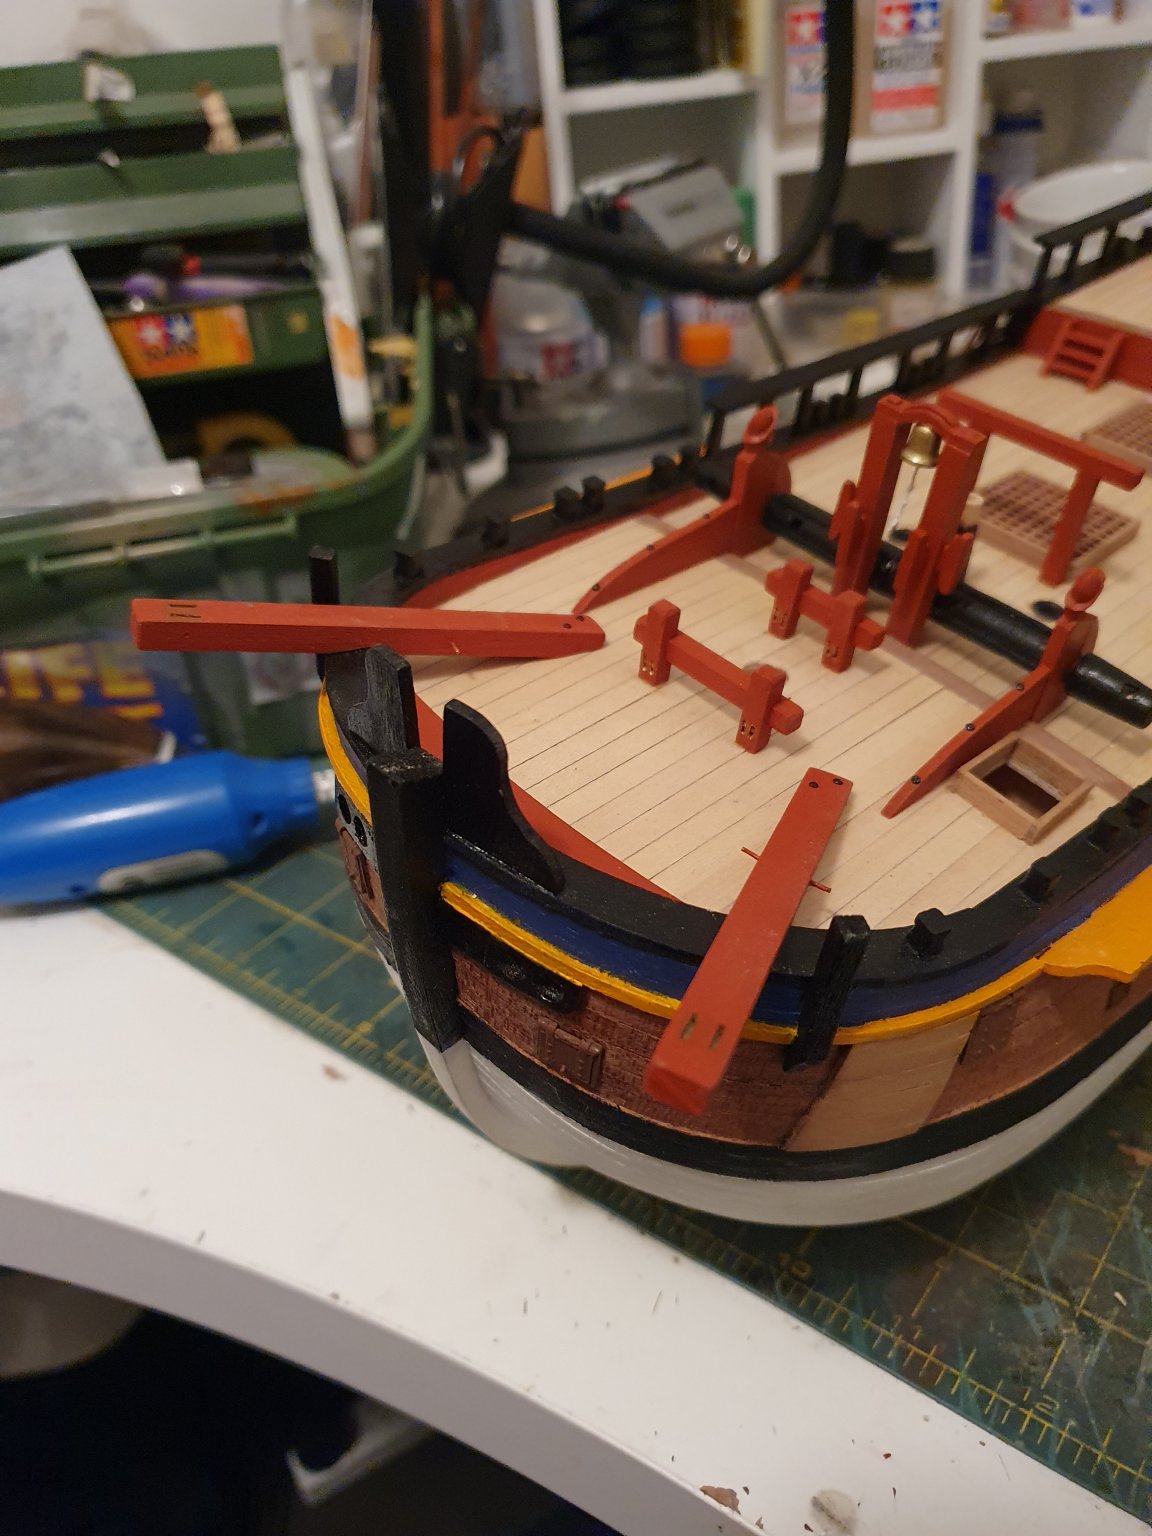
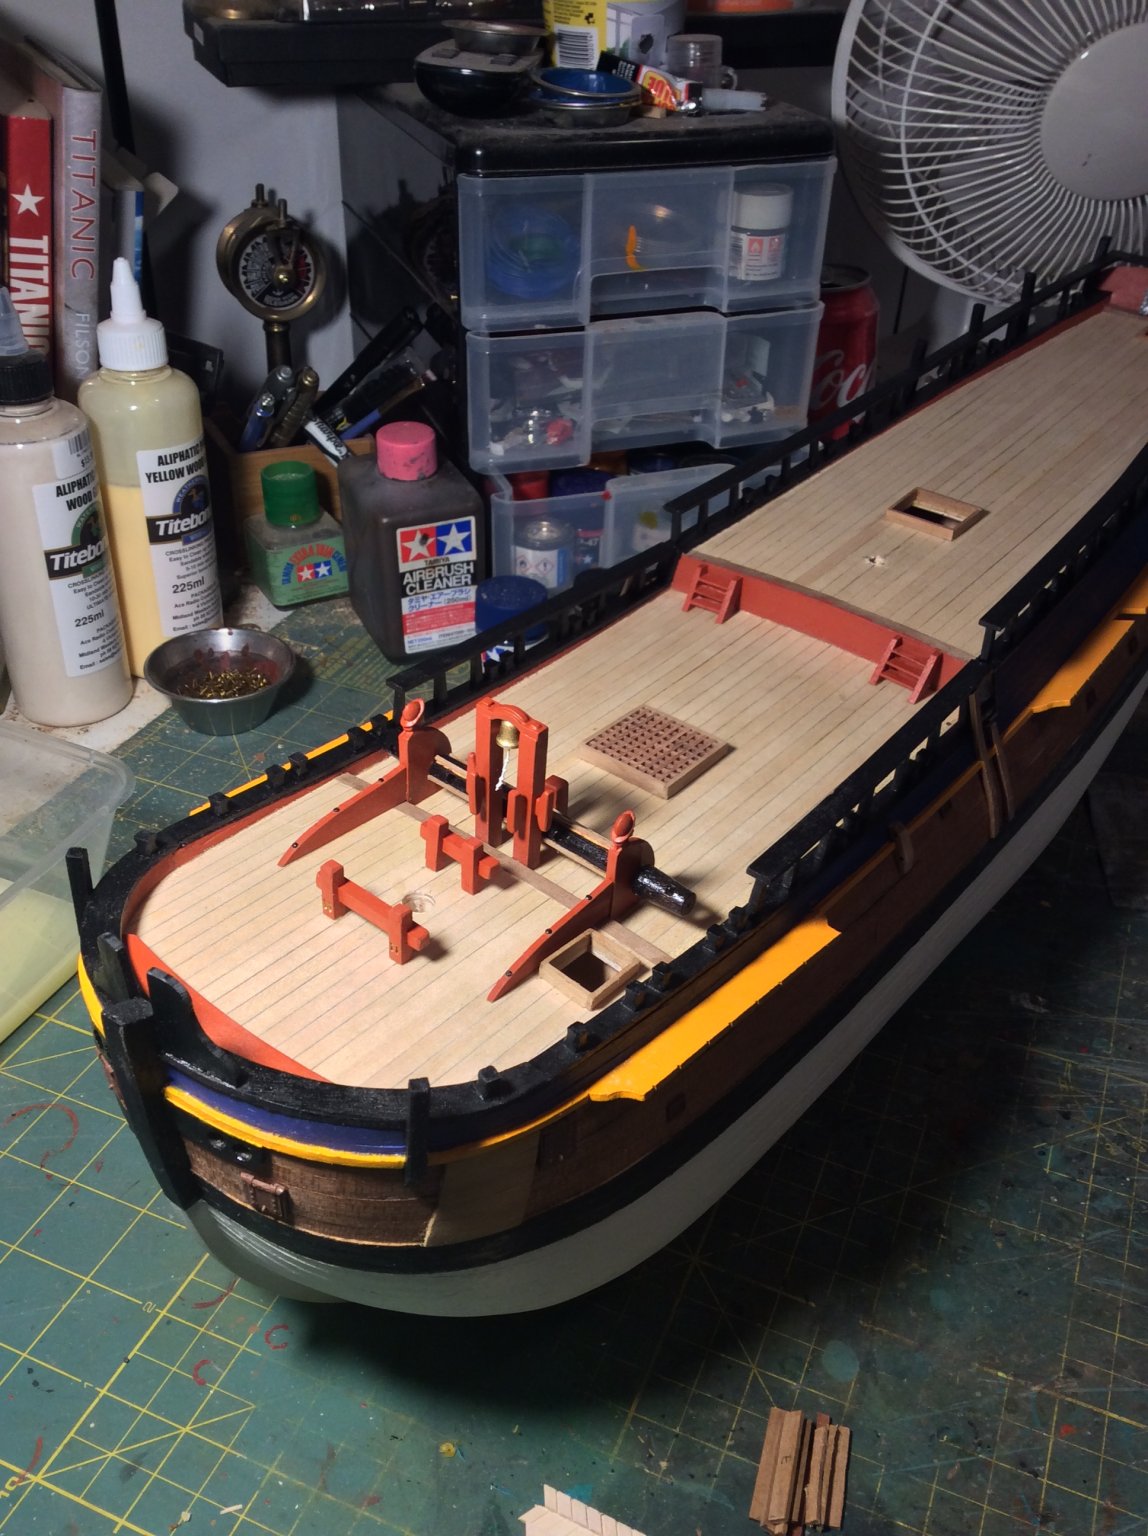
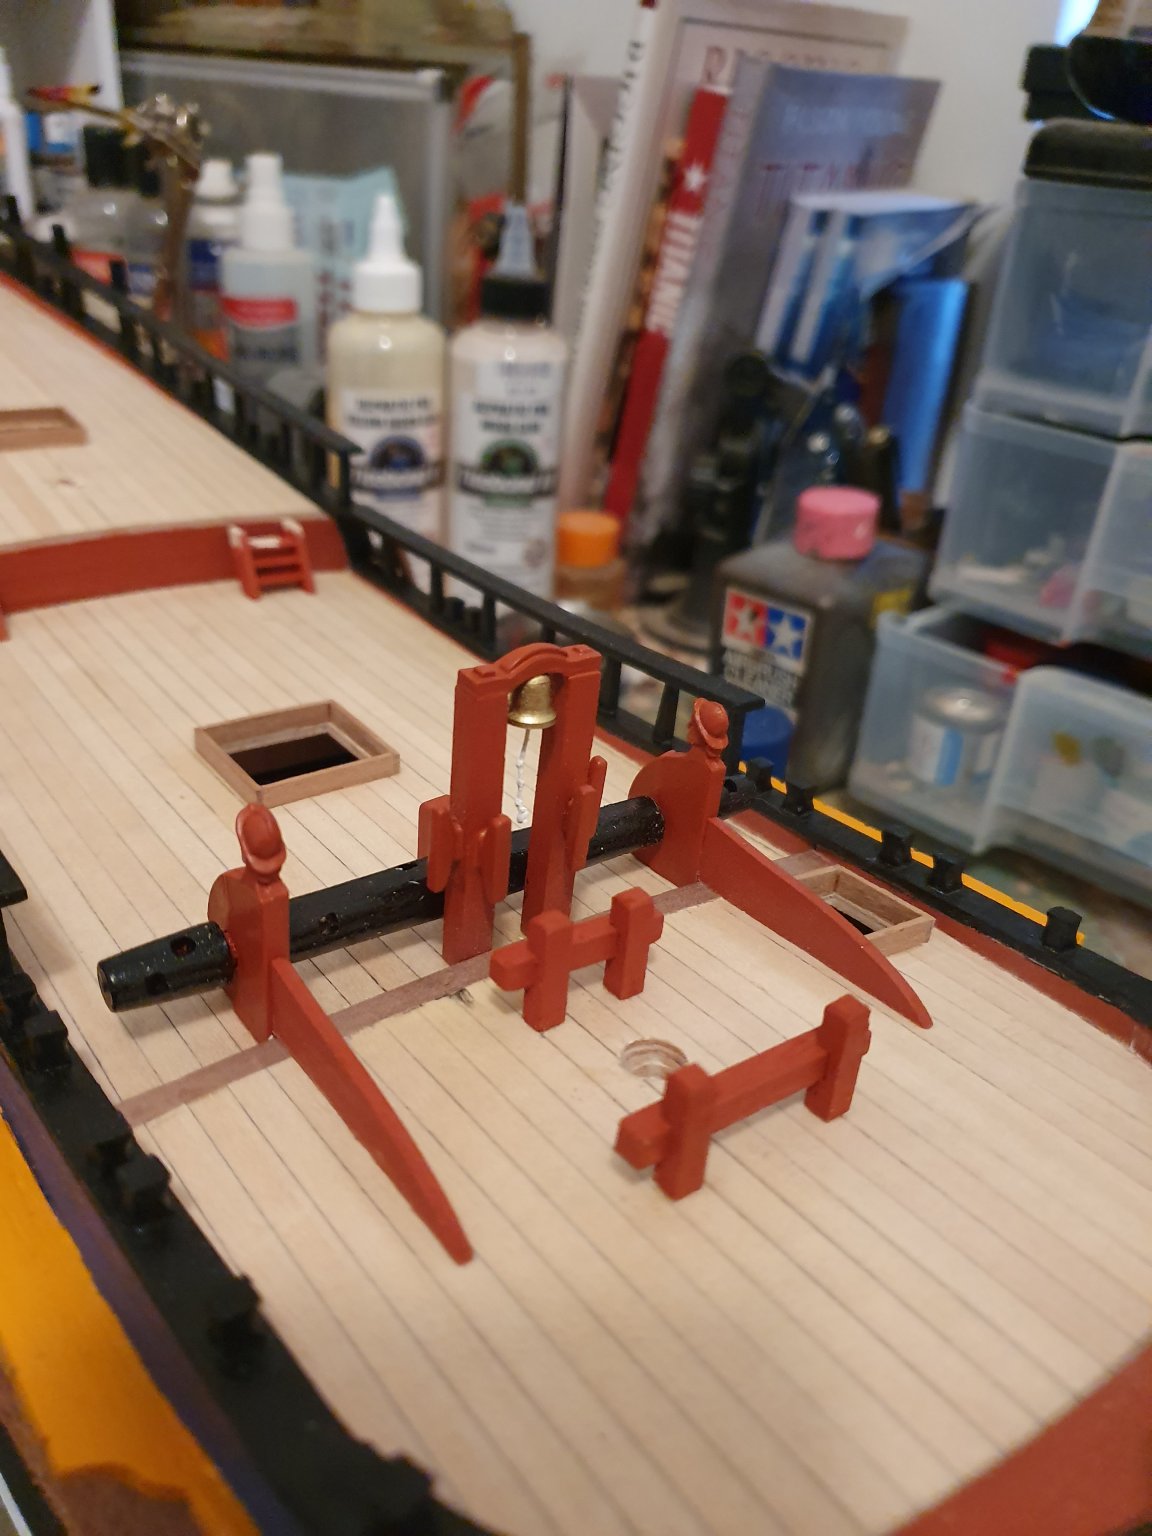
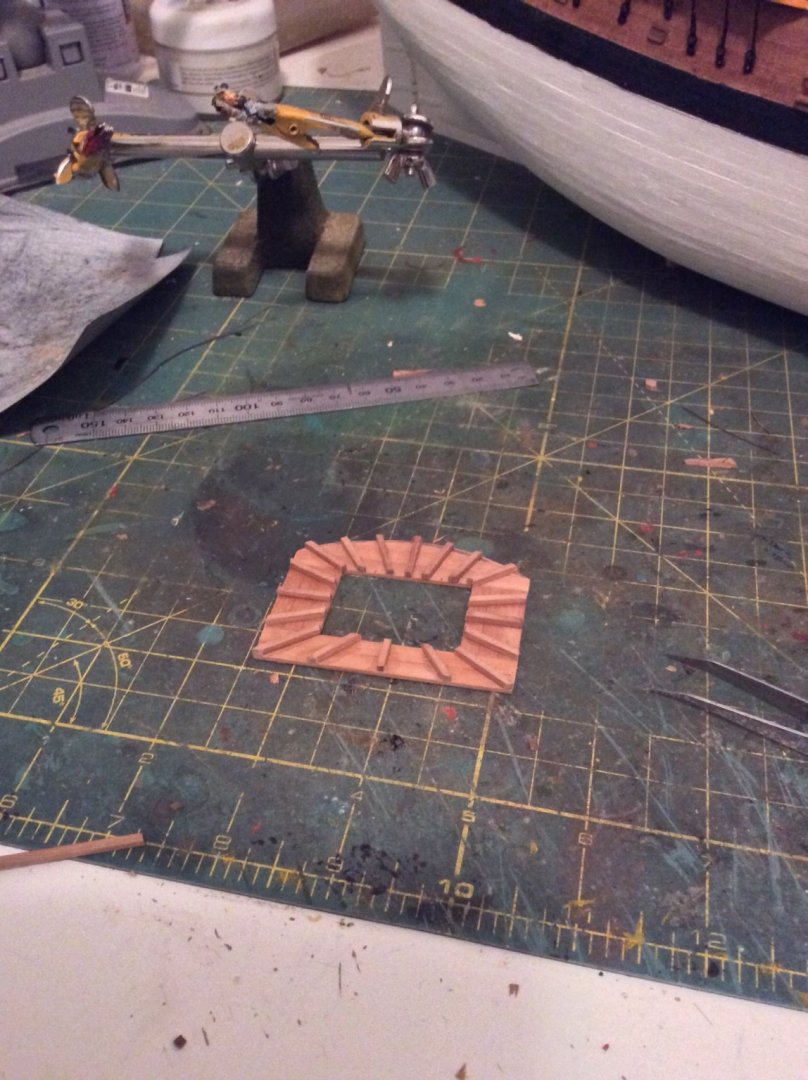
Little bit more done. Have made up more gratings, capstan belaying racks and one of the four pumps is in.
-
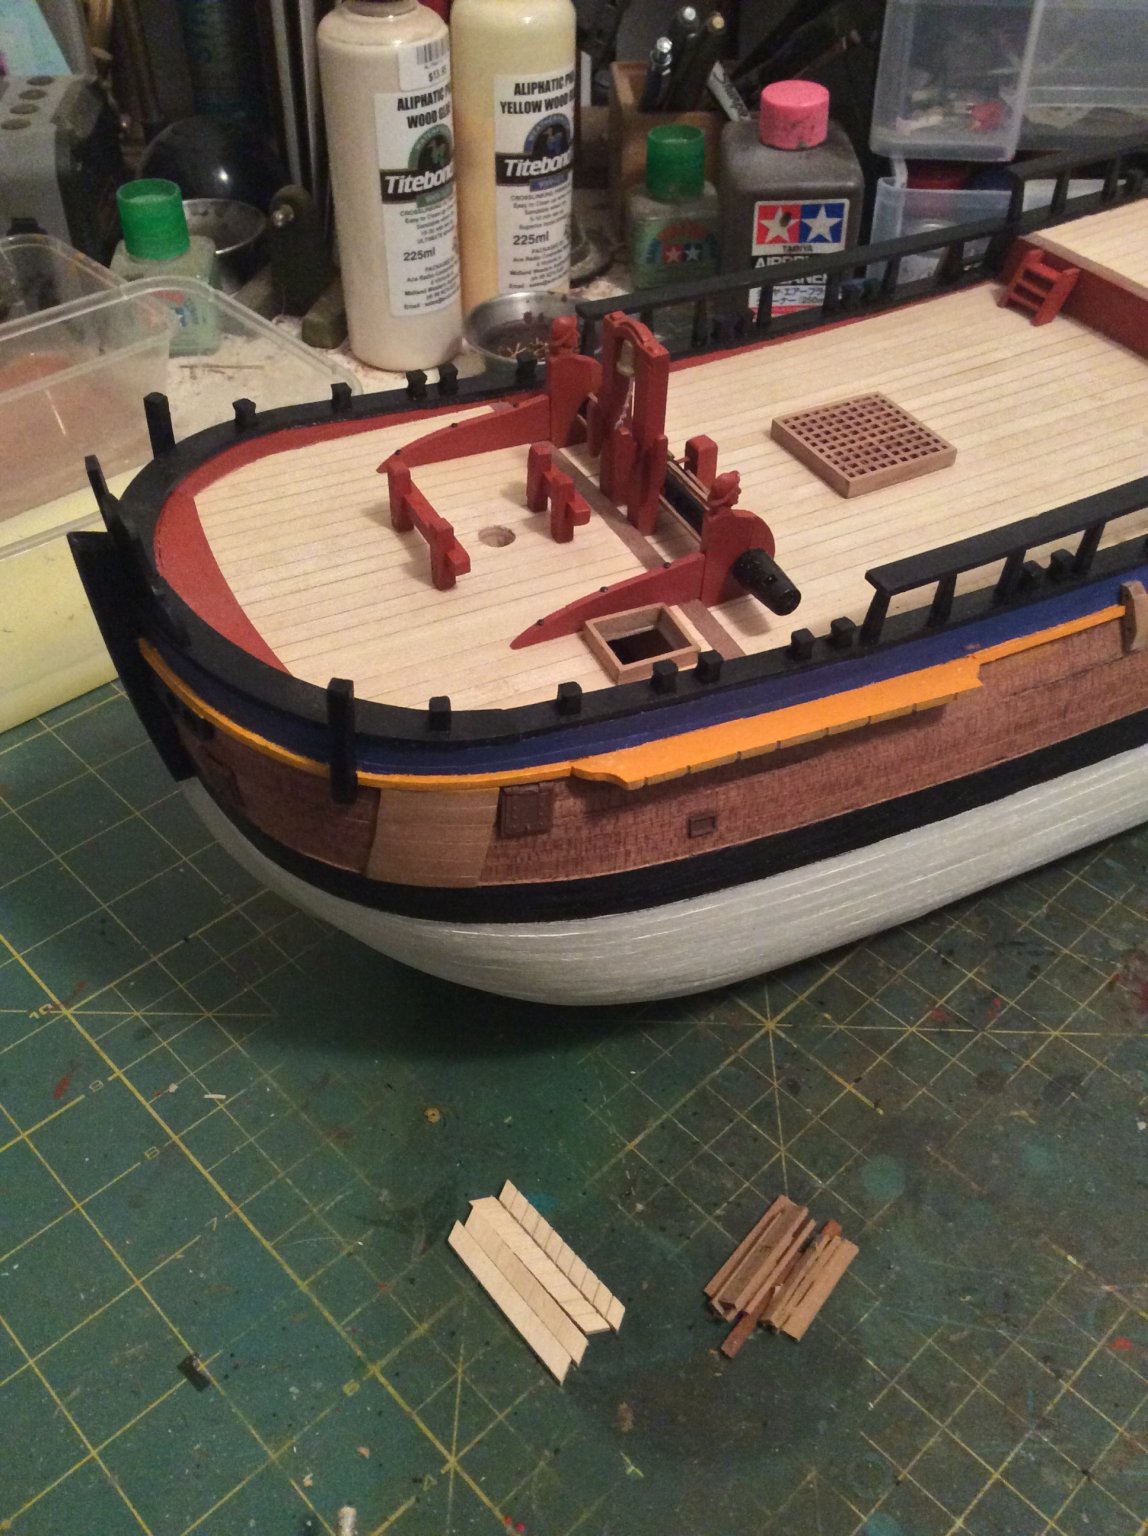
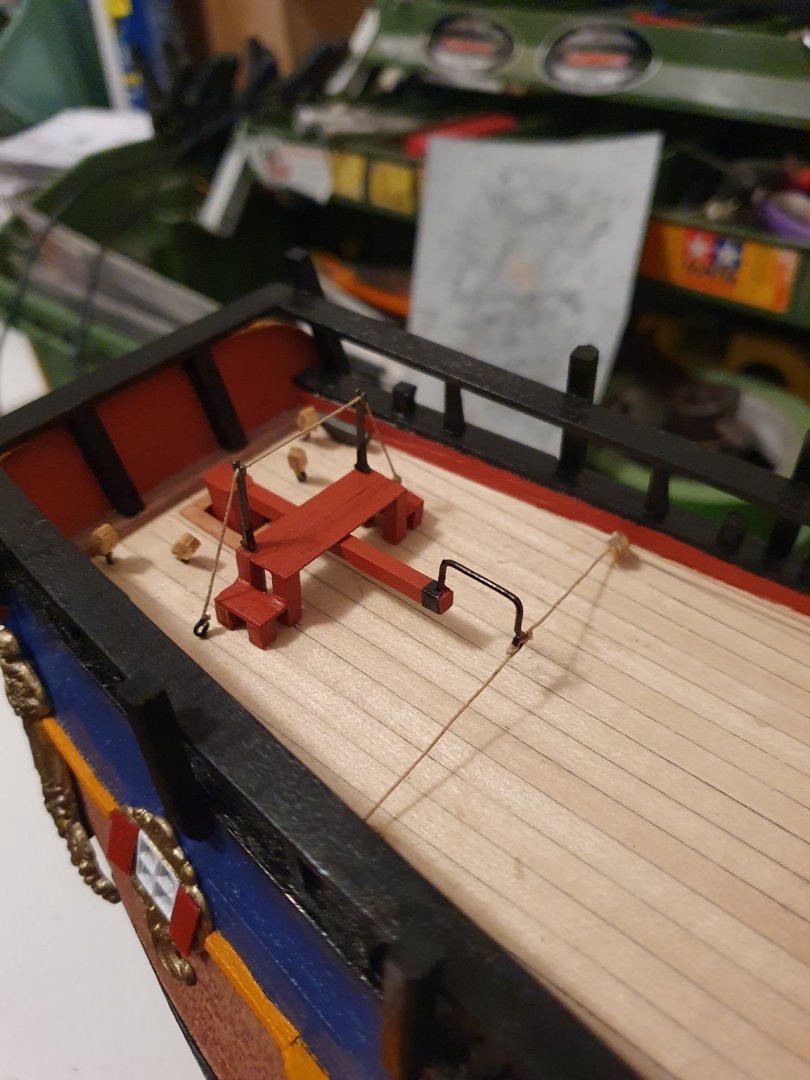
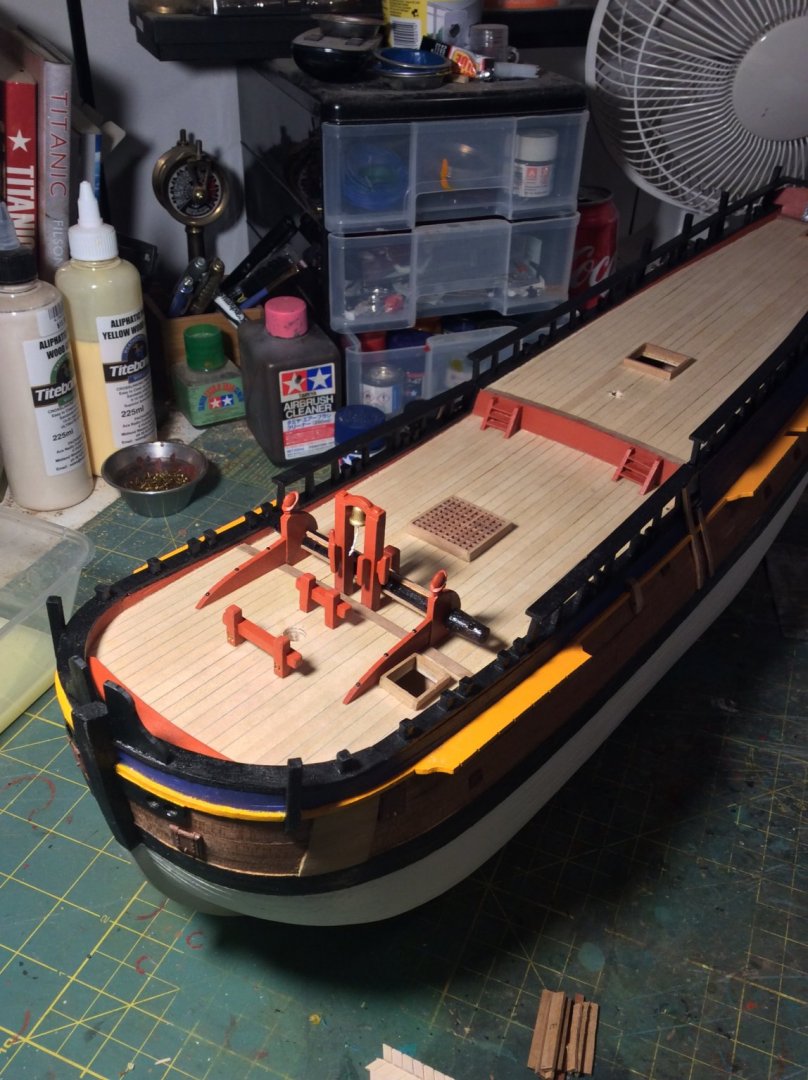
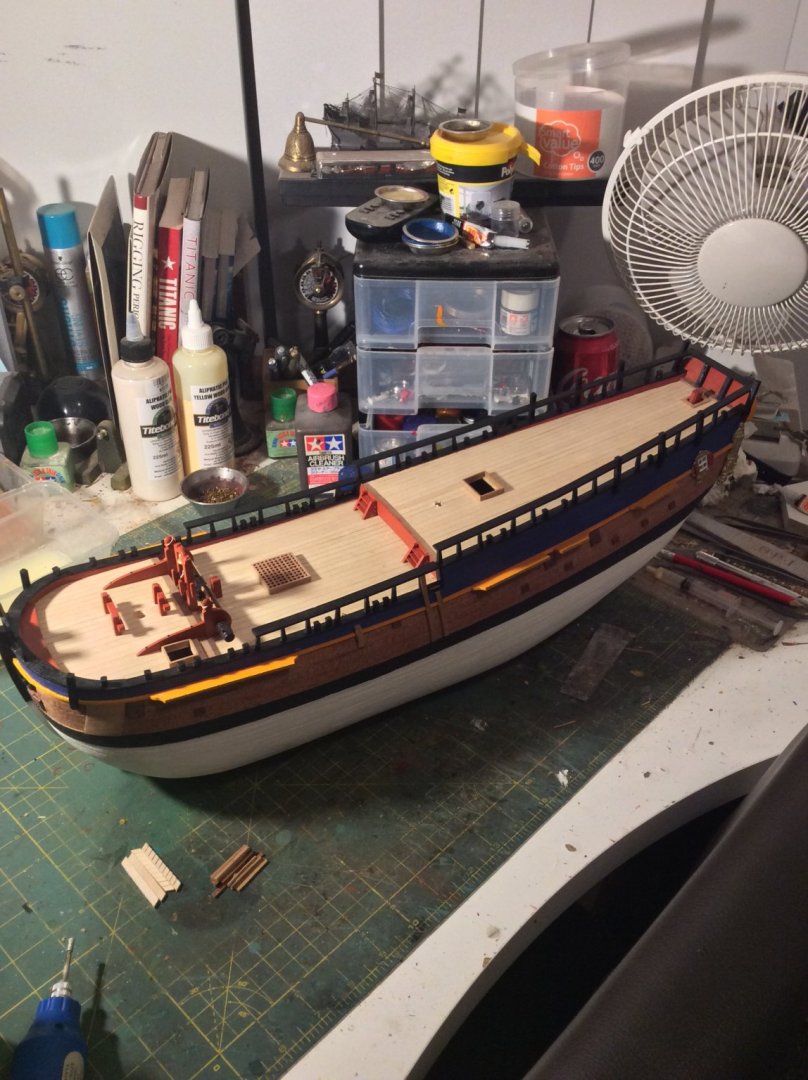
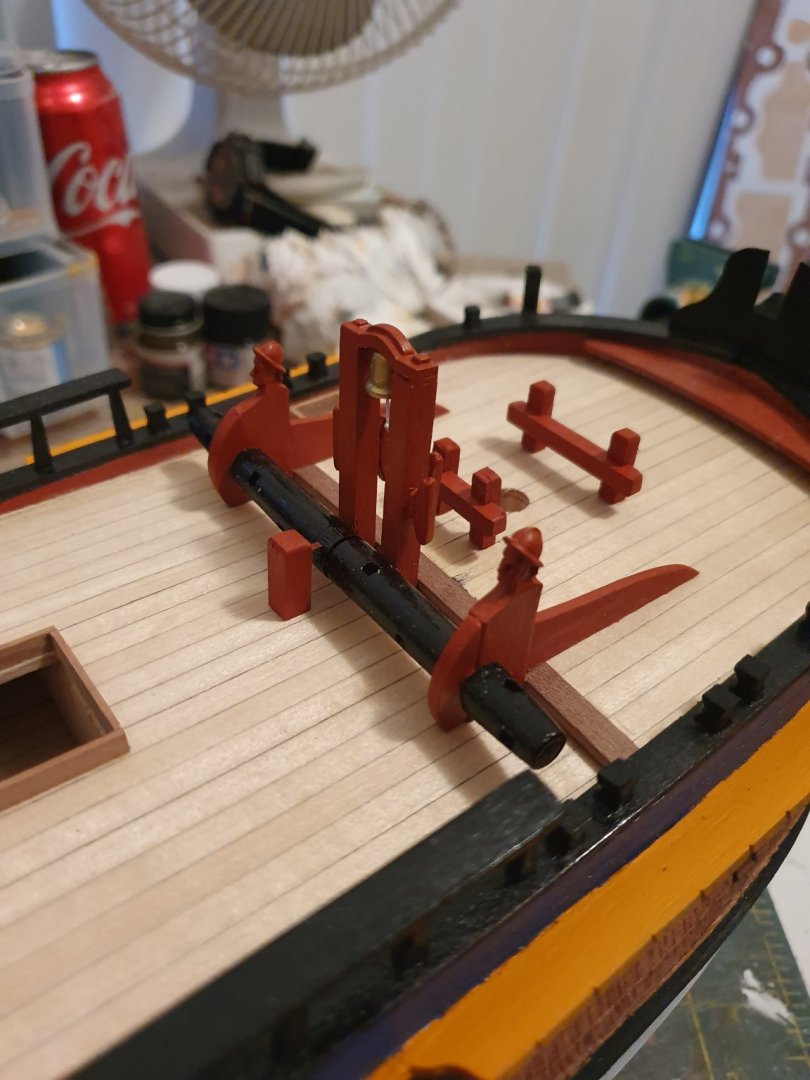
Ok so after looking at another couple of members build logs of the Endeavour it got me thinking how so much different these kits are depending on manufacturer. Huge differences and it looks like I had some extras to put on that are non existent in this kit. For example, The windlass shows no strips for the rope to purchase and is simply a smooth round dowel. No Hull armouring for the anchor flukes and no housing for the tiller. This AL kit it pays to do a lot of research unless a straight out of the box build is what you want. Thankfully I have lots of info here at MSW to help. I seem to be looking here more than the plans! I went back and ripped off the belaying bitts to add some sheves, added strips onto the windlass for rope purchase and also added bolts through the knees of the the windlass to the deck. Added grating to waist deck hatch and finished off steps to the aft deck. Will rip off fore hatch combing as it’s too high and re do. Rather now then later. Hope you like.

-
So started on the windlass. Got it all installed and added the bow belaying racks. Belfry added and made a start on the steps from the waist deck. Little bits of touch ups here and there but looks ok.

-
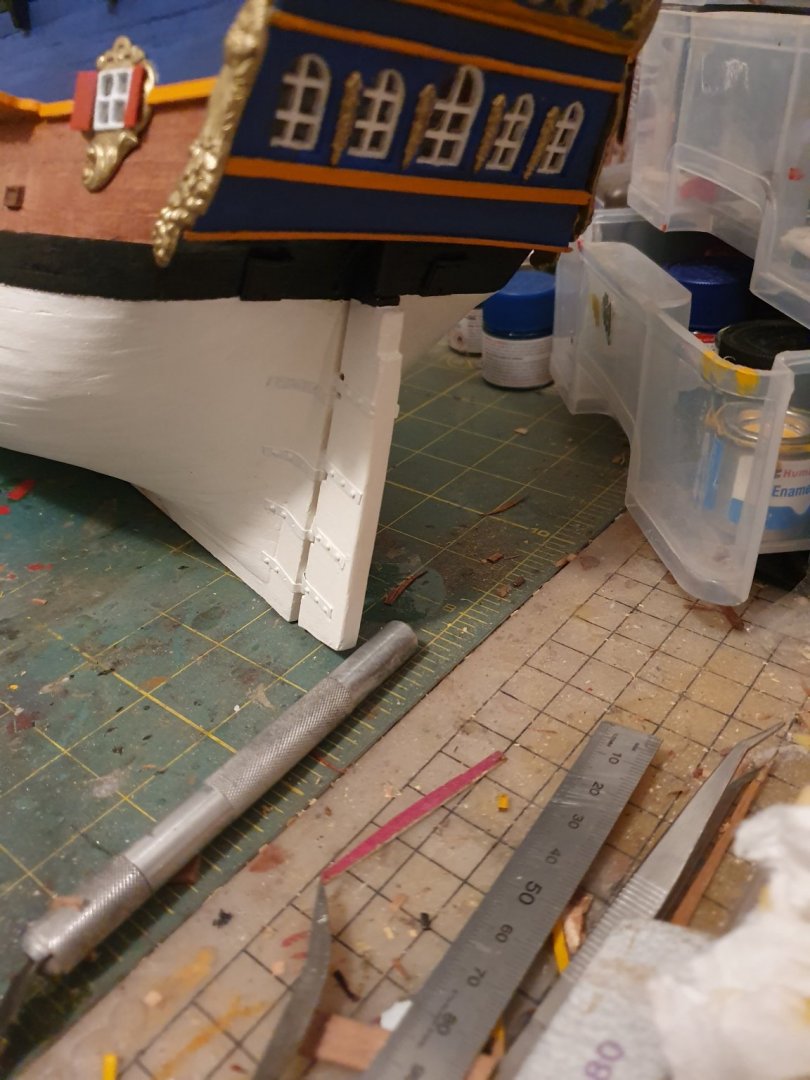
Ok. So here we are with the rudder. Installed yesterday and a couple coats of paint. Looks ok. Shortly be getting ready for deck furniture.
-
No but i tell you what, it makes you really work hard to find anything
-
Quite frankly a true master peice. The planking came up real well. Even with the planking of the stem post. The scarph joints on the wales look great. Well done.