
S.Coleman
-
Posts
1,146 -
Joined
-
Last visited
Content Type
Profiles
Forums
Gallery
Events
Everything posted by S.Coleman
-
 Deadeye channel's and hatches on the starboard side in. Gave the whole thing a repaint as i wasn't happy with it. Will start on the port side today. Biggest job so far was the clean up of the 12 billion parts that scattered over 12 kms as i knocked over the parts tray while unfolding the 1:1 Plans😡
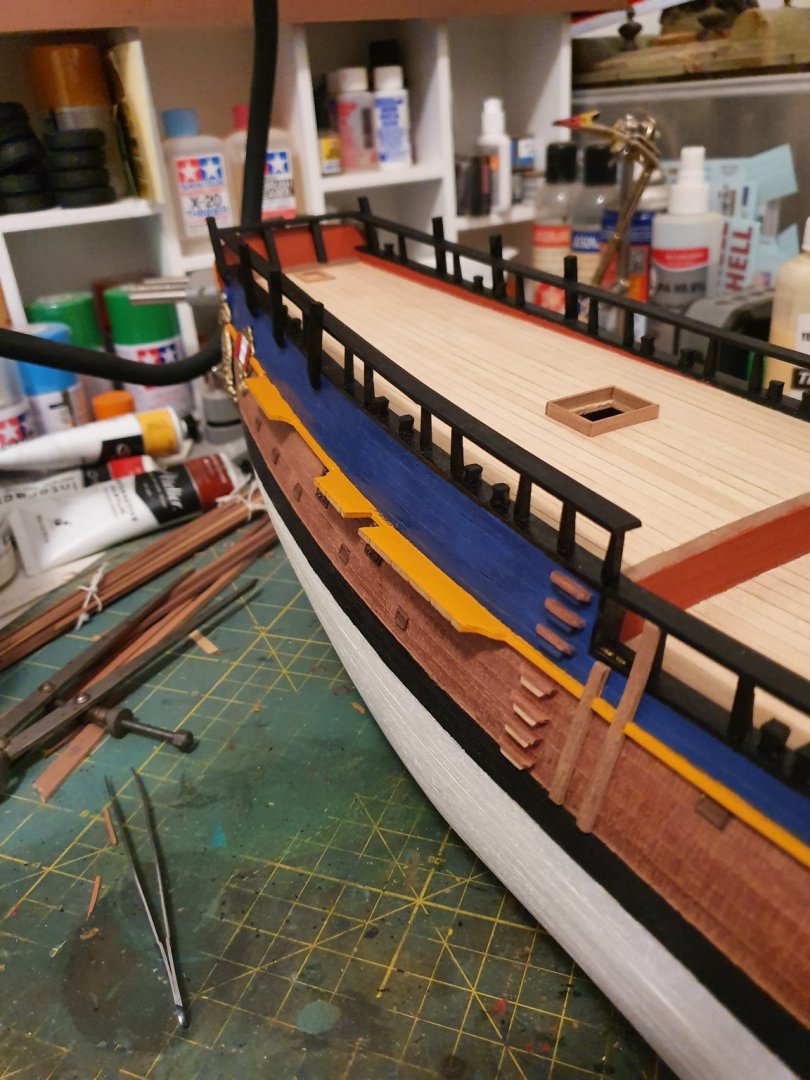
-
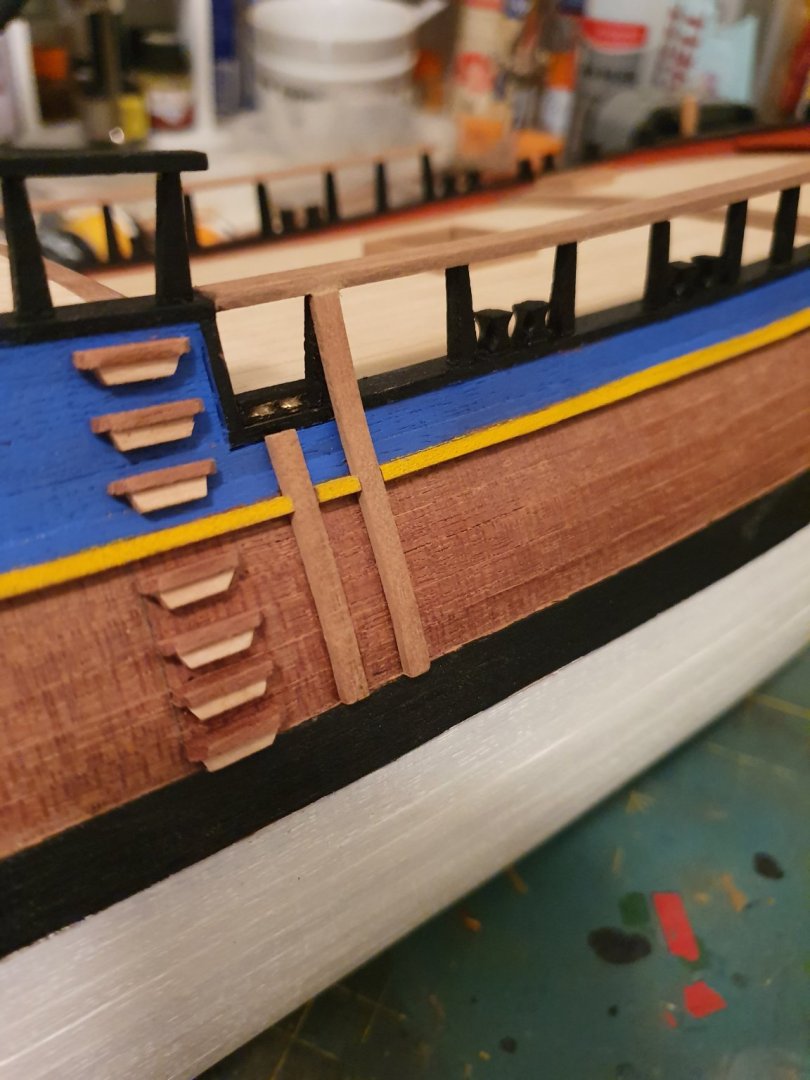
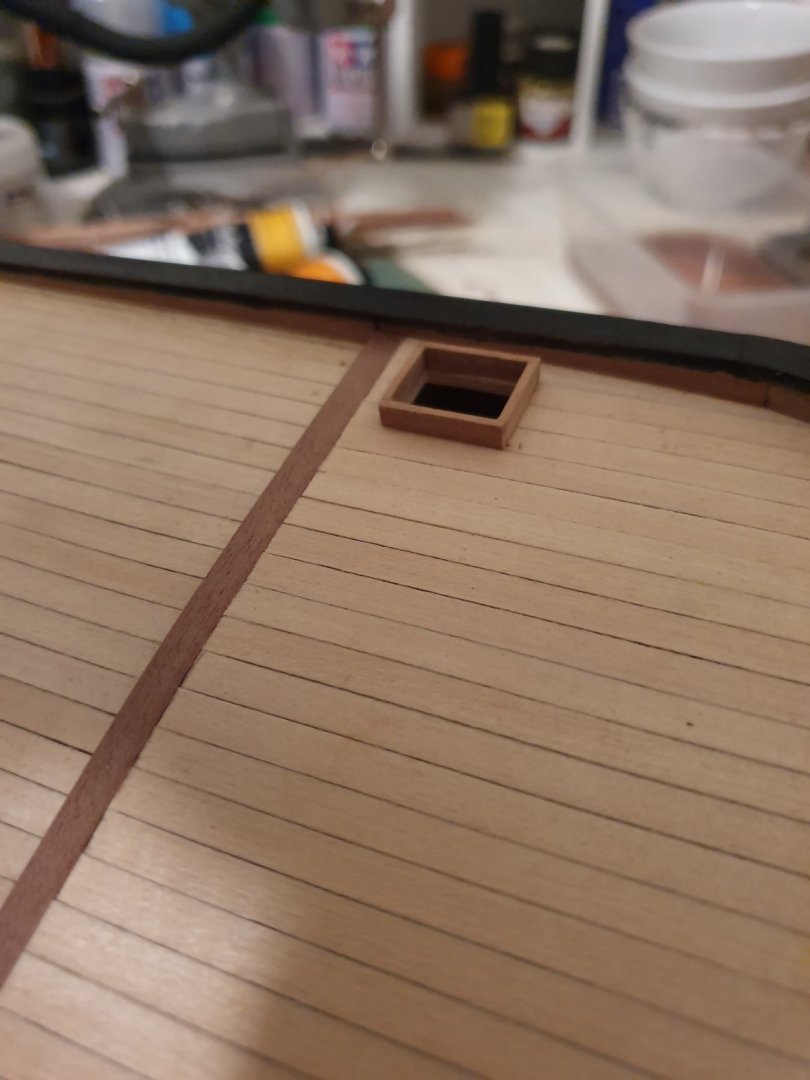
The plans say, Use a strip of 4×4 and make steps....... i was not going to sit there and carve them out so i built my own. I think they came up good enough.
-
At the moment im pretty much freed up. Lol always find time to work on it. Cheers for checking in.
-
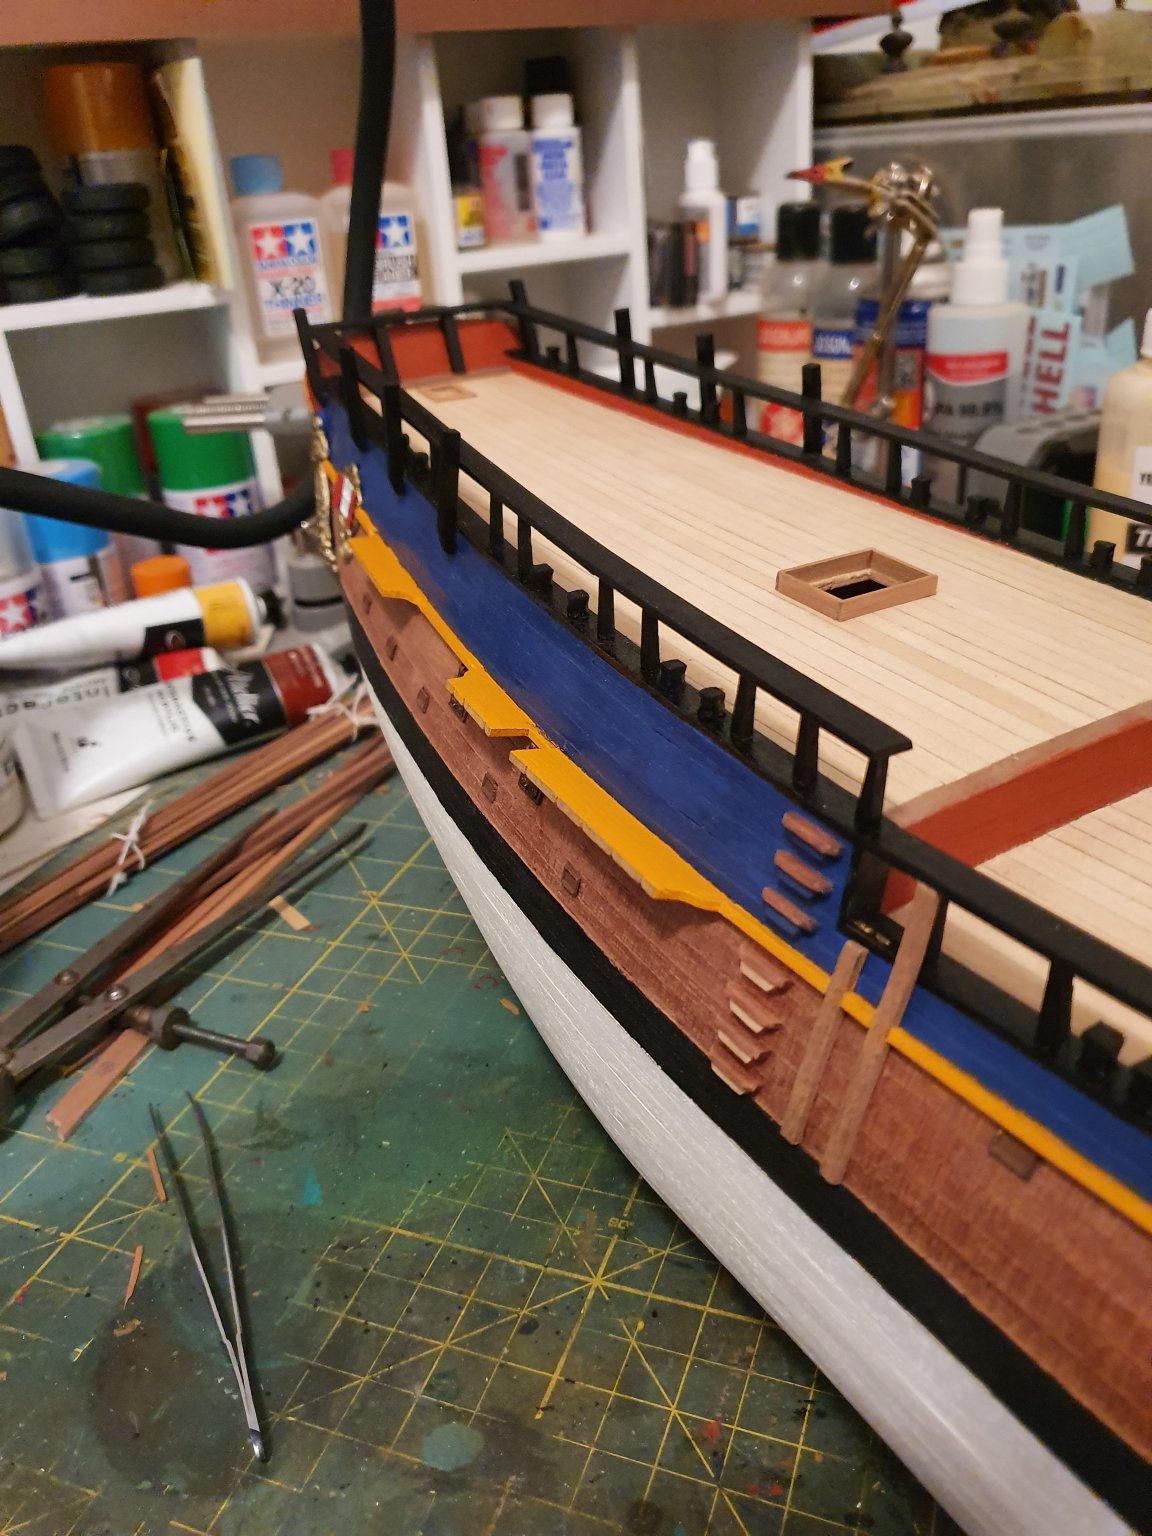
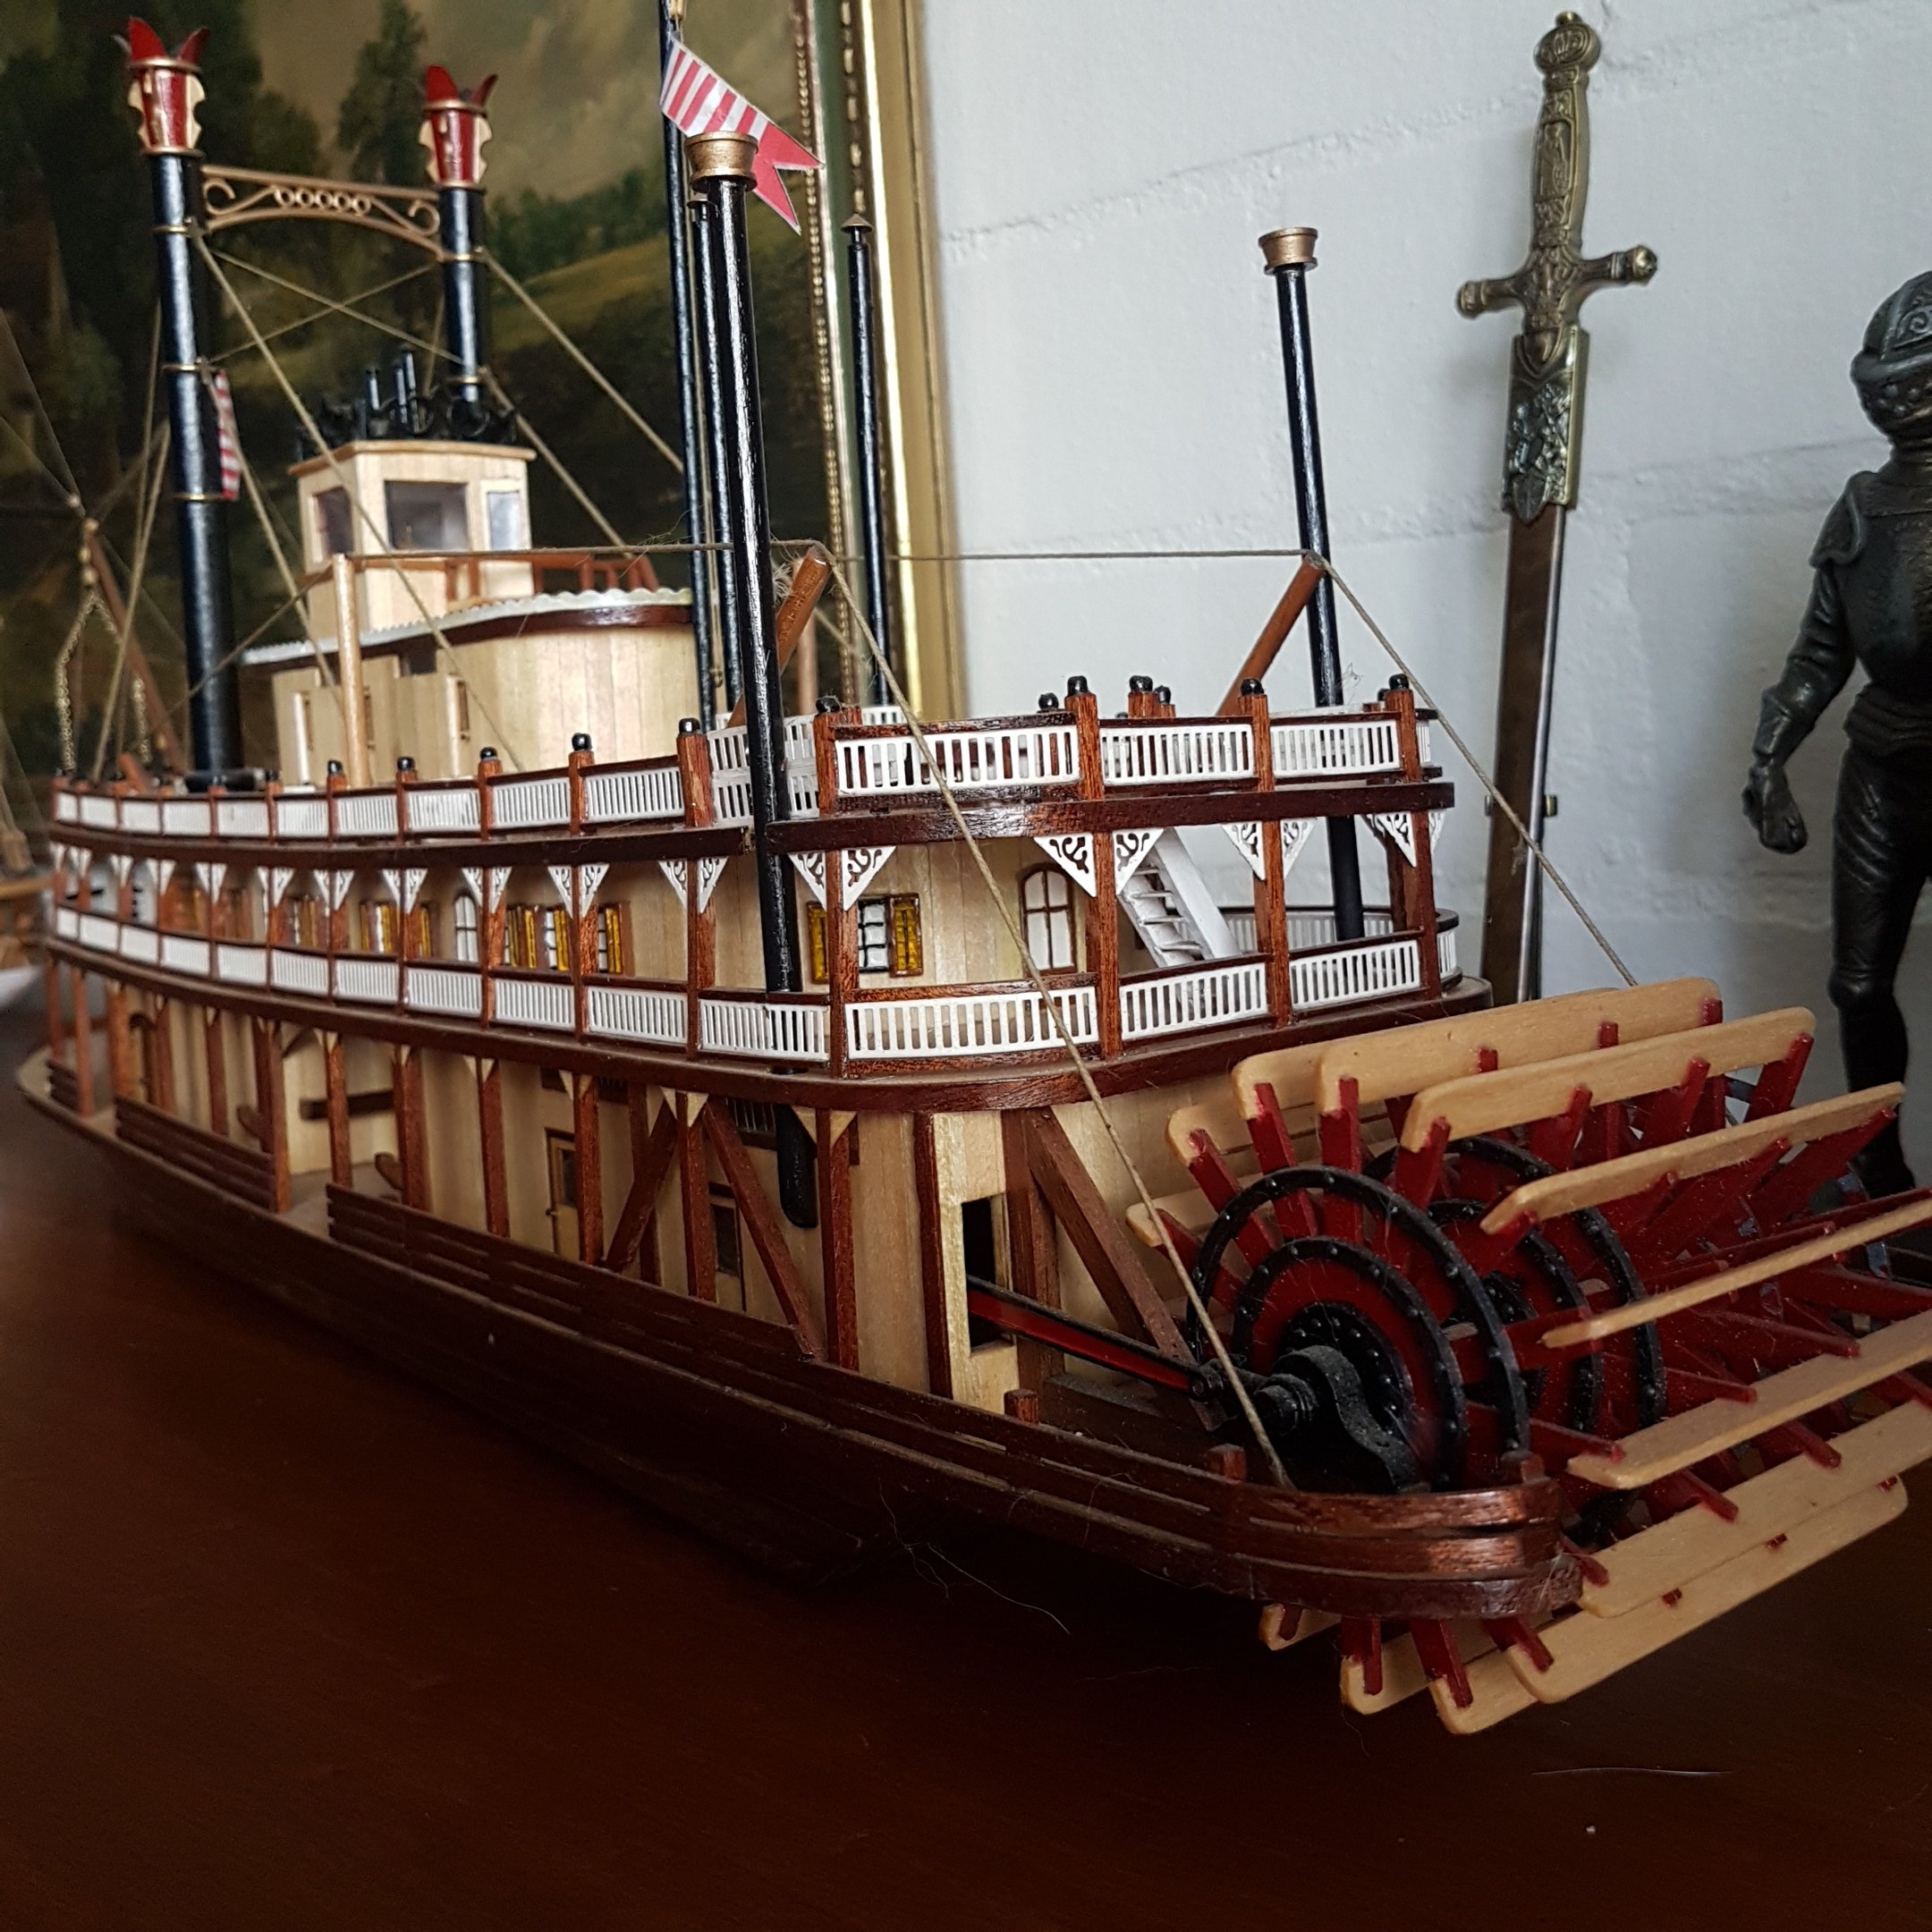
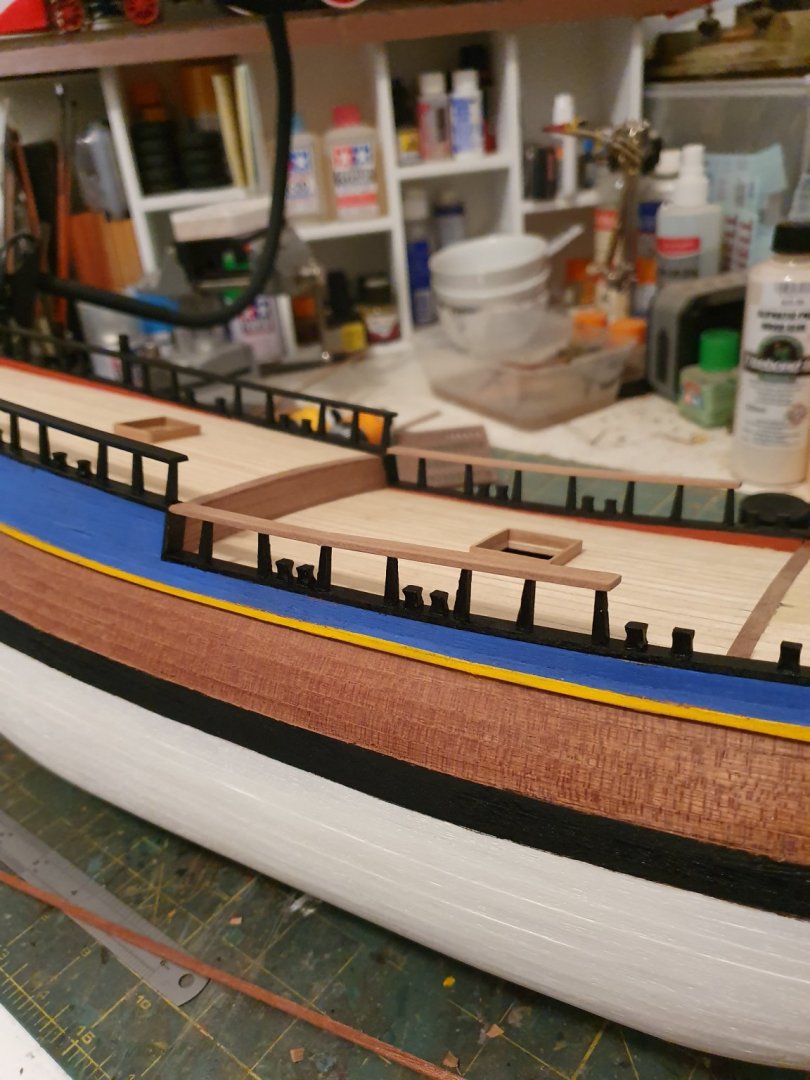
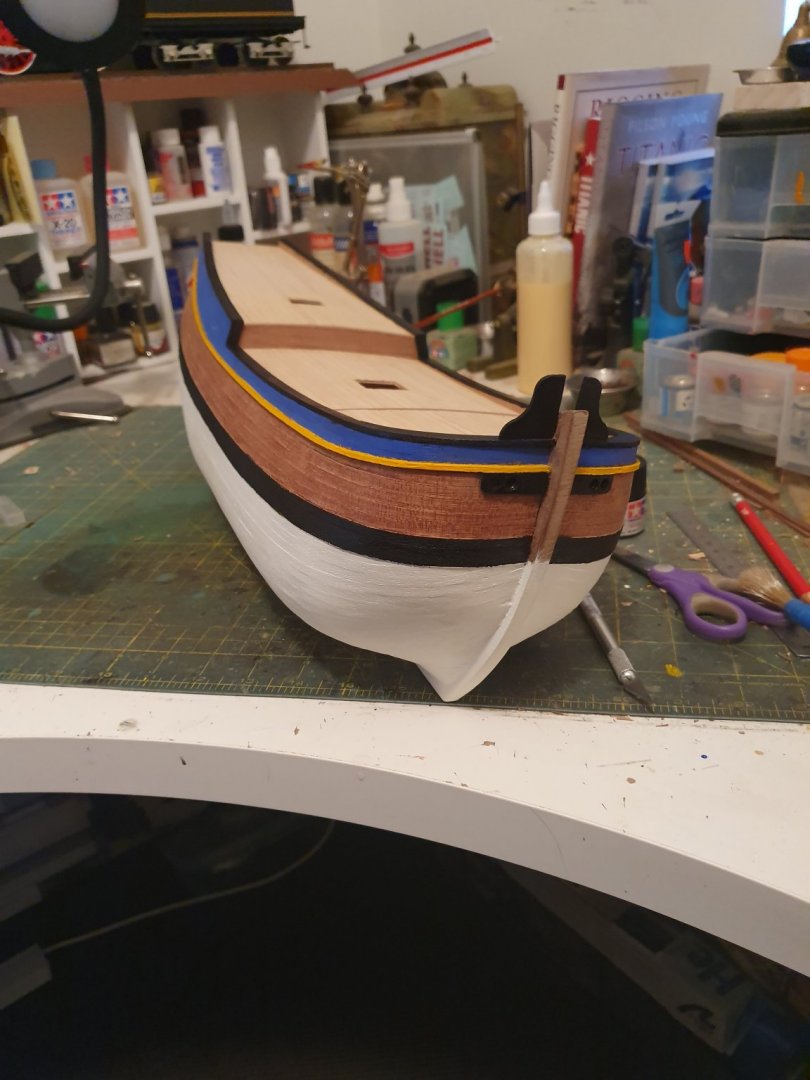
Ok little bit more of an update. These past few days i have been busy finishing off the handrails and bollards. Still have to paint the waist deck handrails but its getting there. About to start the steps up the starboard side of the hull. More to come soon......

-
Looking real smart. I love the weathered look of the wood. I never included the nails on the strakes but now I wish I did. Just check the length of your lower cannons as some kits had them too long and they would stick out too far. One builder on here had dramas and had to cut them down shorter. Top job your doing.
-
Stantchions, bollards and hatch cover coamings going in place. Each handrail stanchion is laser cut and square. To fit into the gunwale the bottom of each peice has to be filed round to fit in the hole. Each bollard is cut from 4×4mm stock and corners have to be filed round. Slowly making my way around the ship. Each stanchion has a taper of 4mm at the bottom and closes up to 2mm at the top. They look uneven but they all measure out correctly.
-
The extra time spent here pays off later in the build. Good planning. The second picture looking down on the ship looks like it’s in water by the type of glass on your table top! Is there going to be reinforcement blocks added for the masts like you have done for your stand? I’ve put them in my Endeavour build but made the fatal mistake of not documenting them so it’s going to be a mystery to solve come time to drill the deck for them 😩 Overall looking very nice and professional job.
-
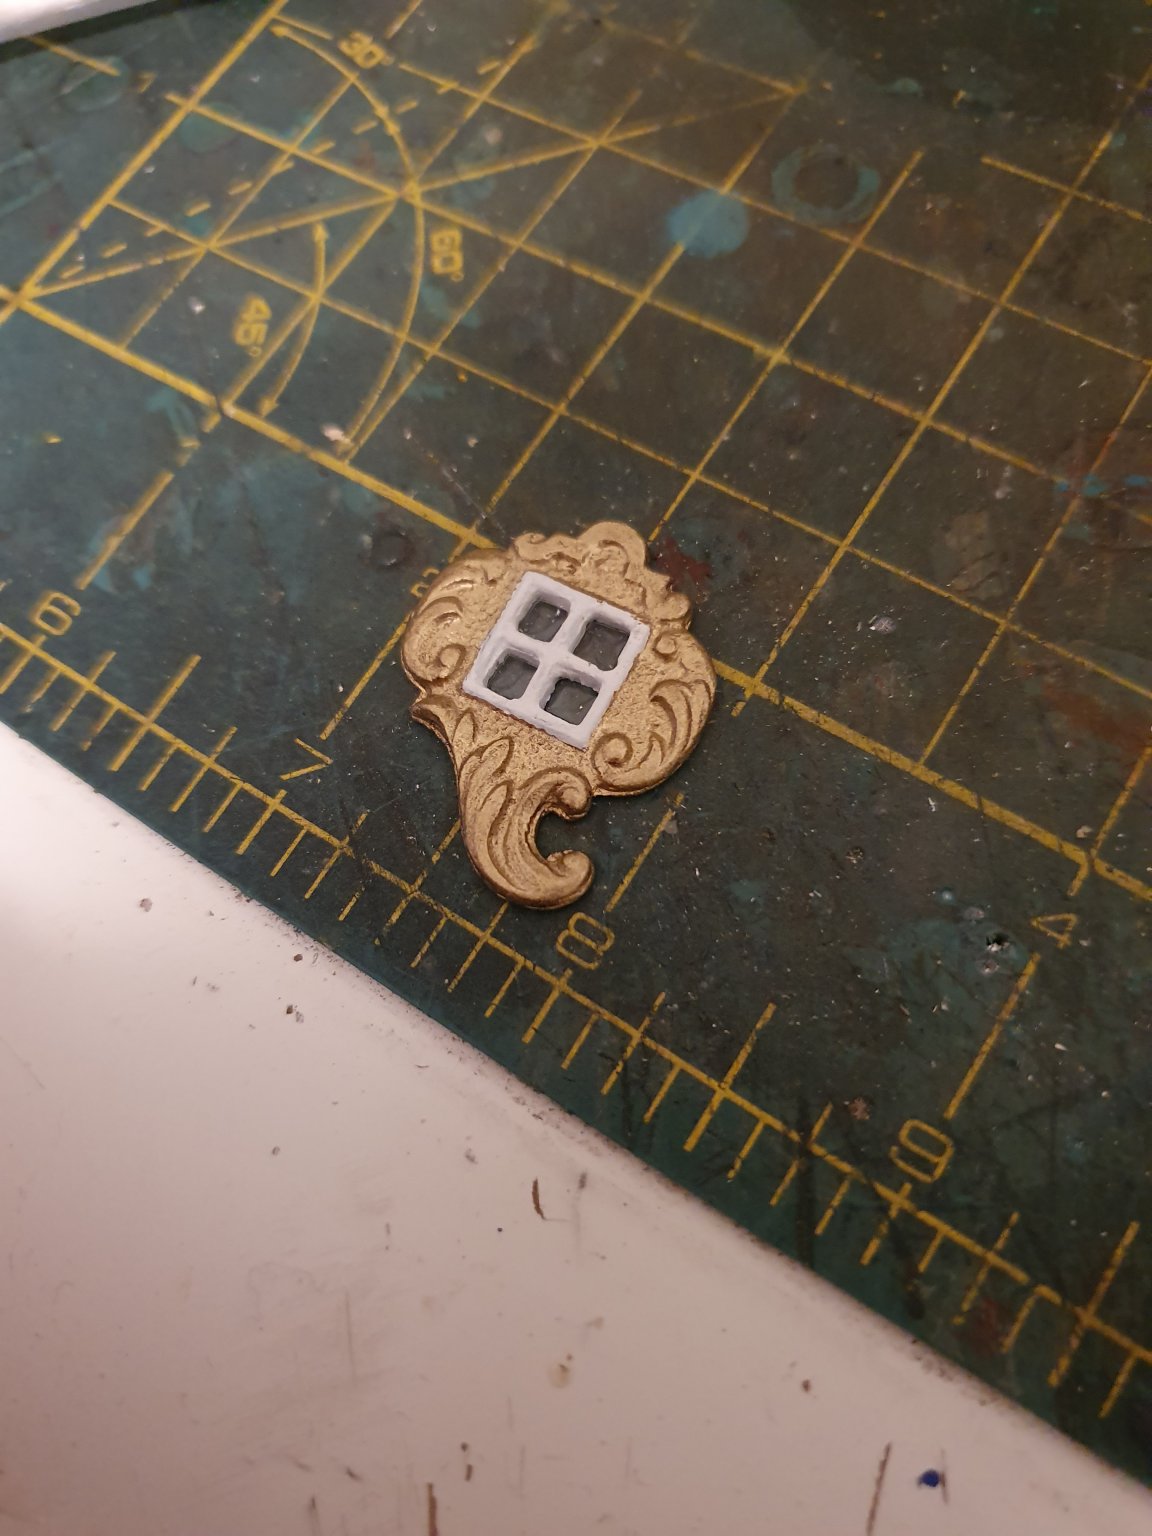
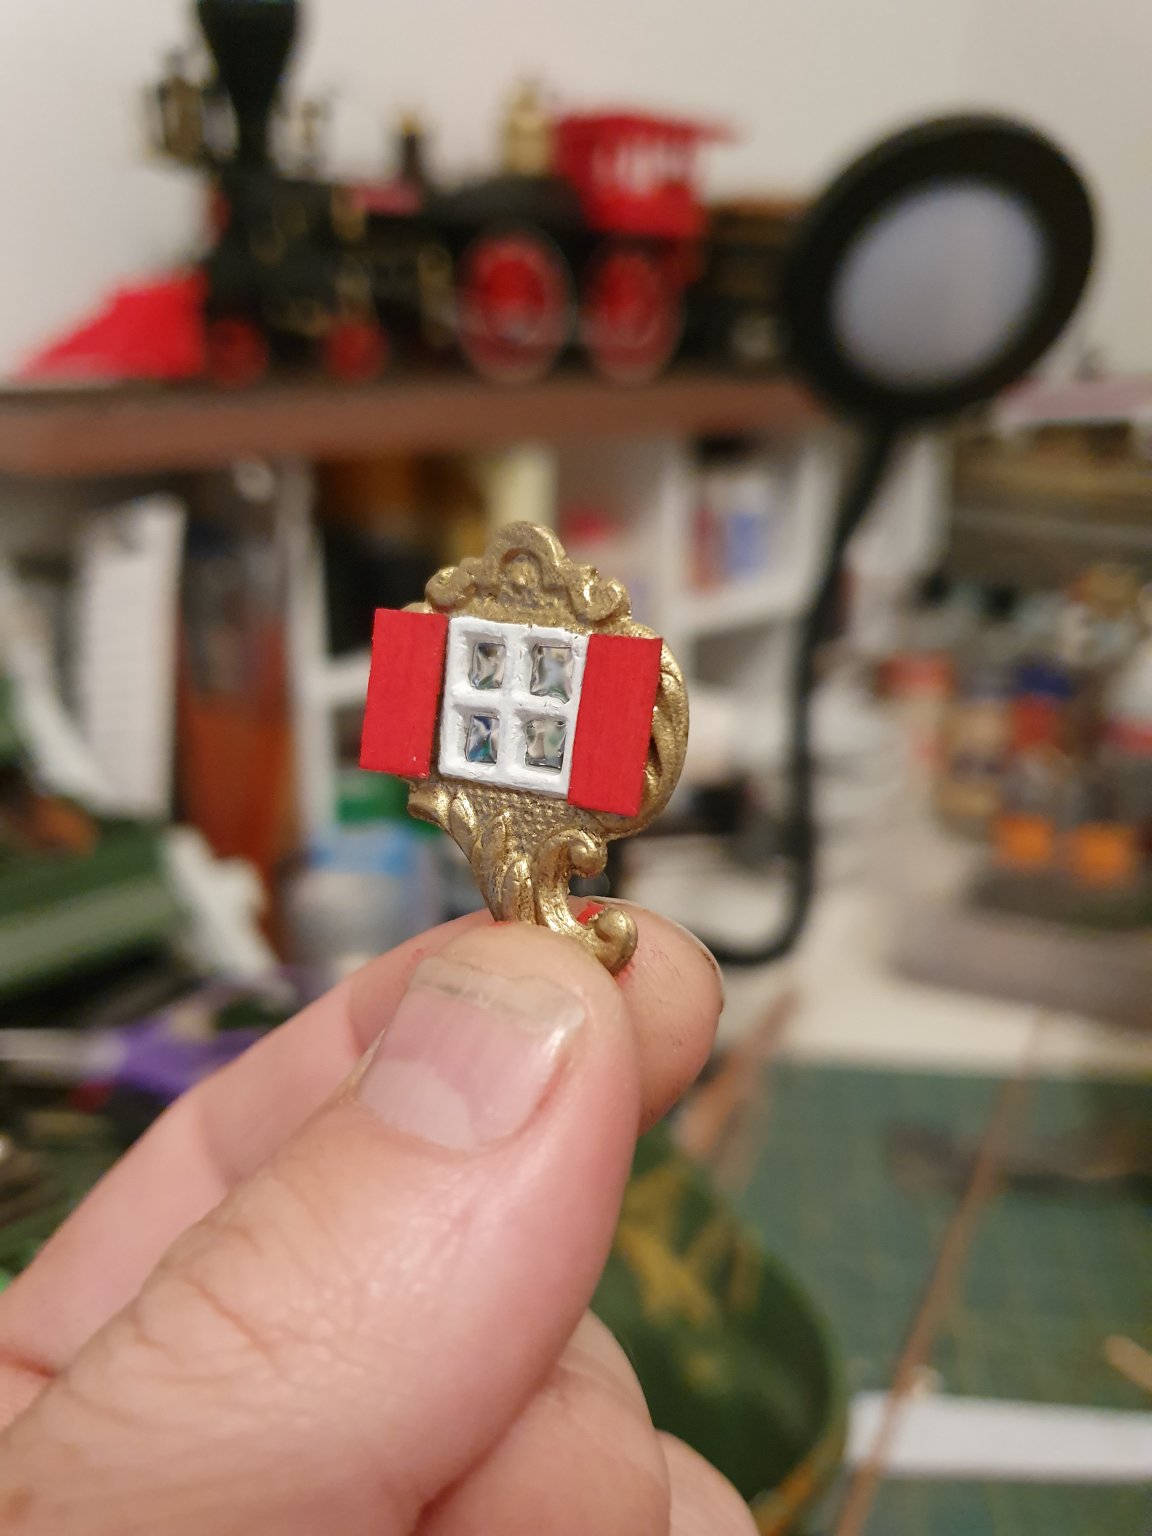
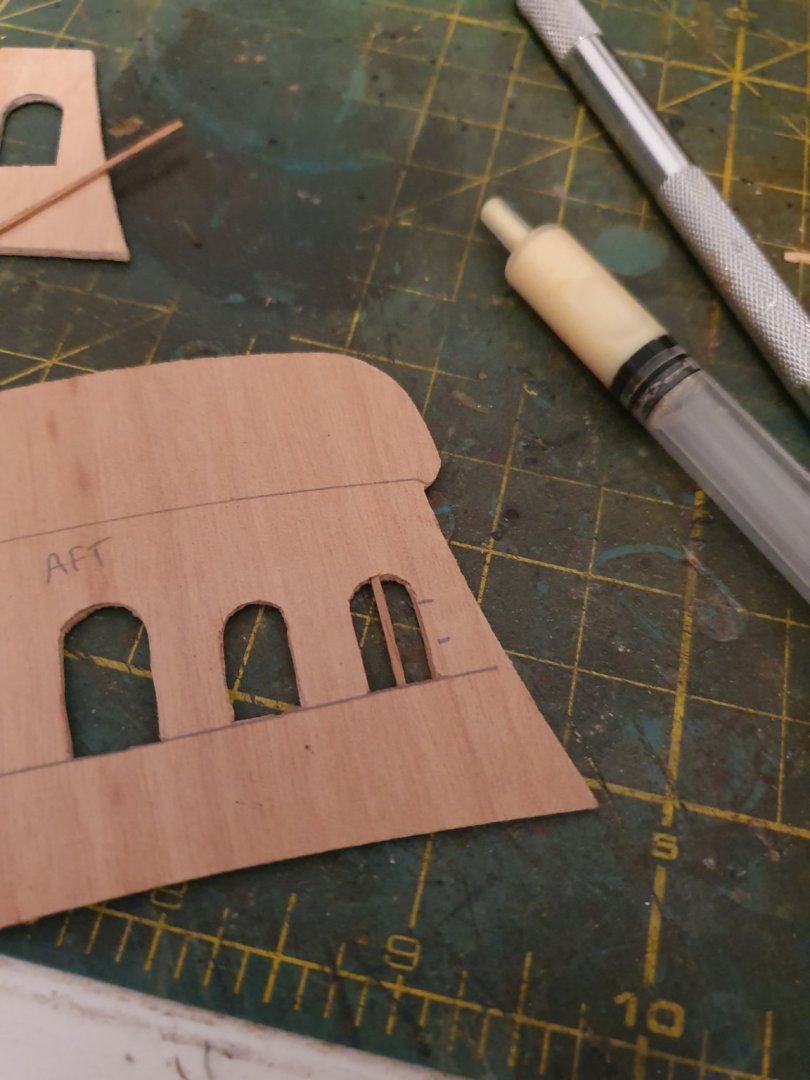
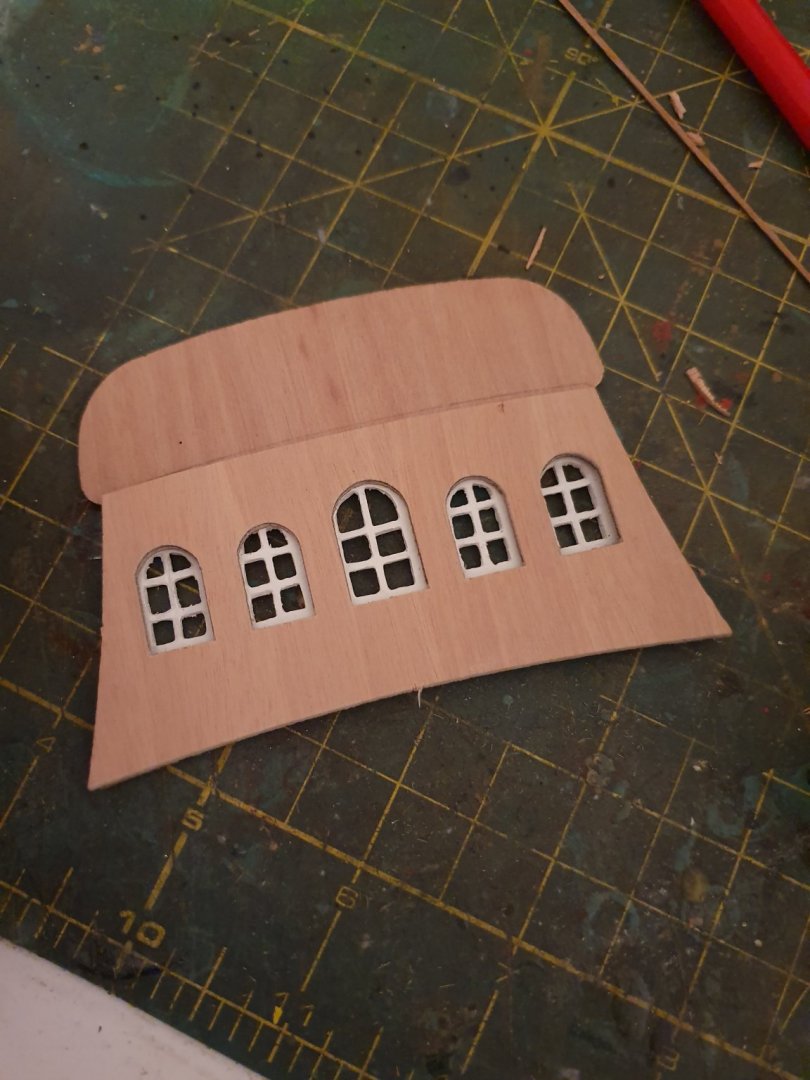
I think it looks good. Or is the window on too much of a slant?

-
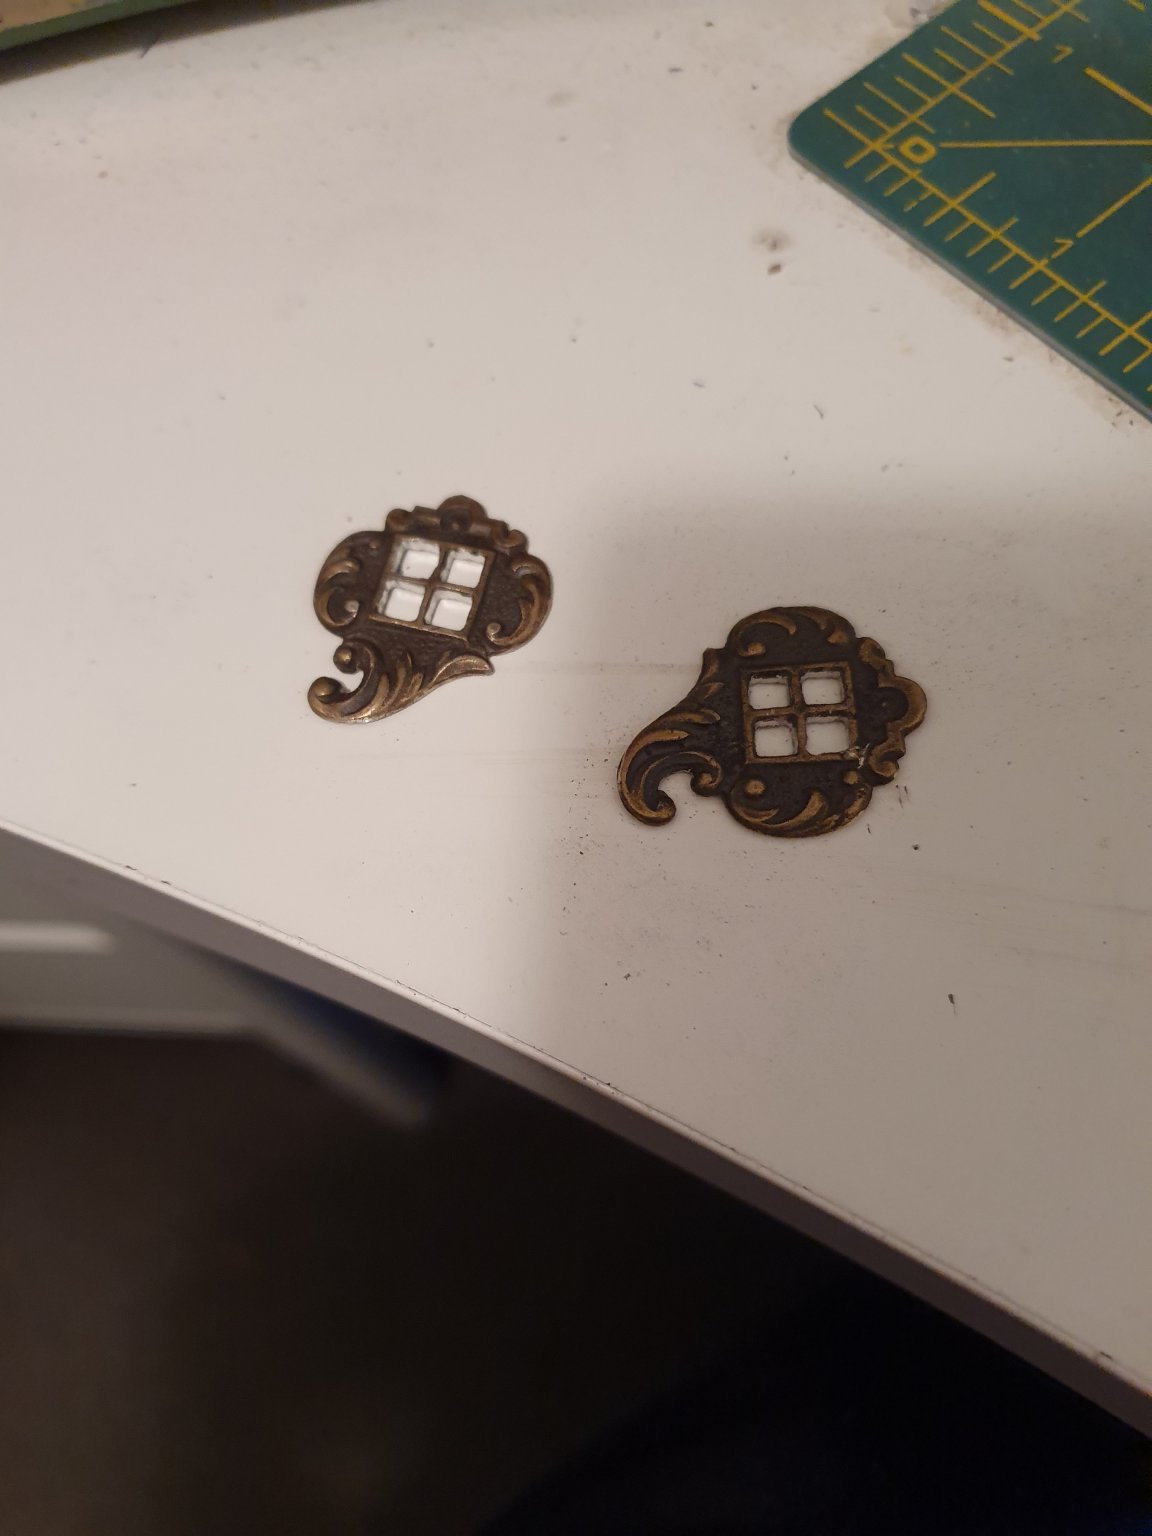
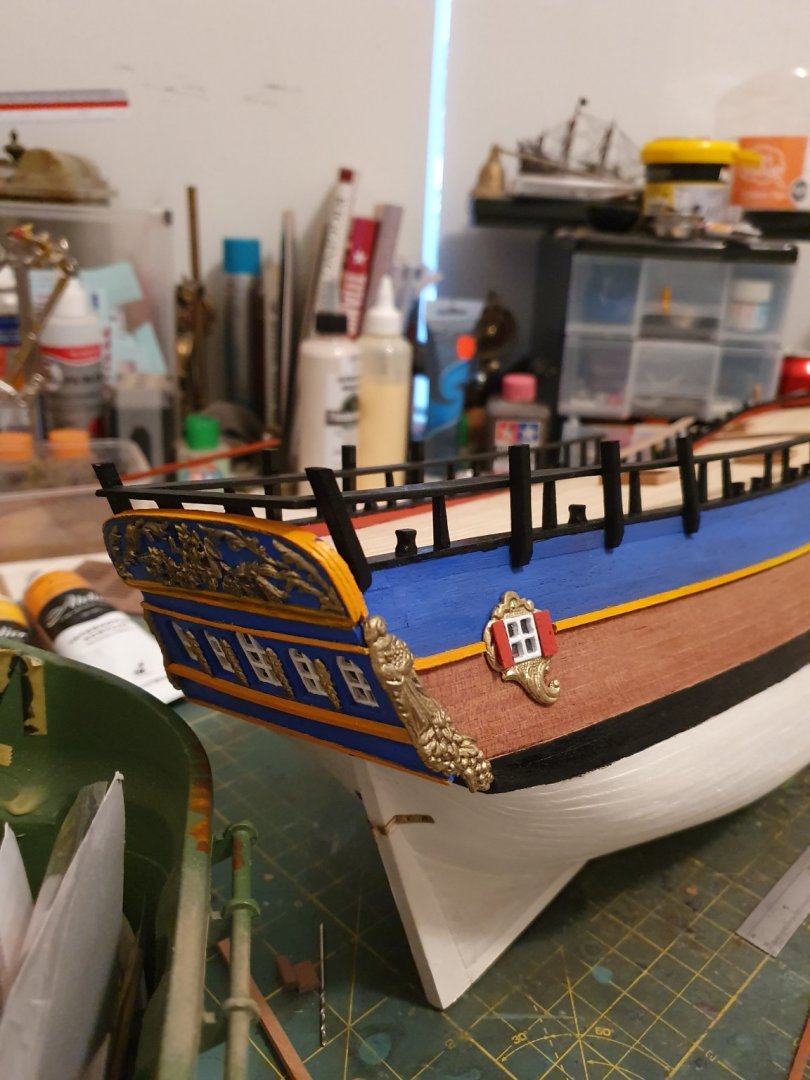
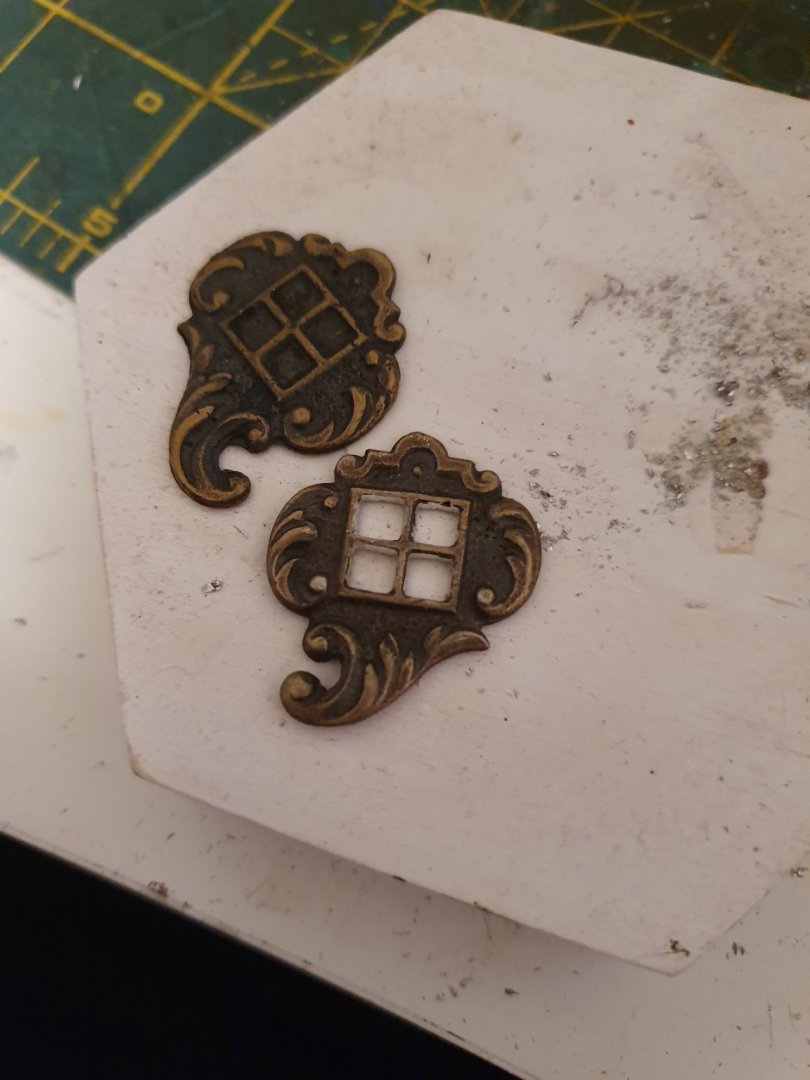
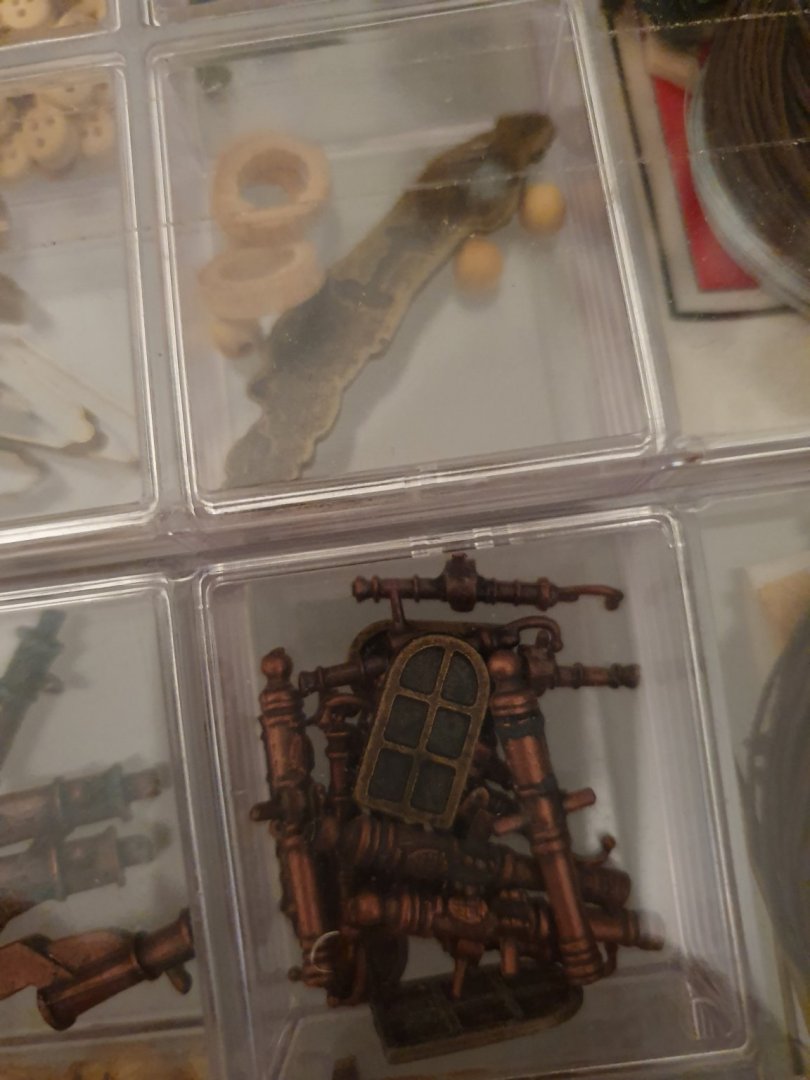
Okay so... More gastly chunks of metal. I decided to drill out the material where the glass should be and add my own glass. Trying to jazz them up abit. From photos the deadlights are red and I decided to include them. Might just have to go a touch darker red on them but we'll see.


-
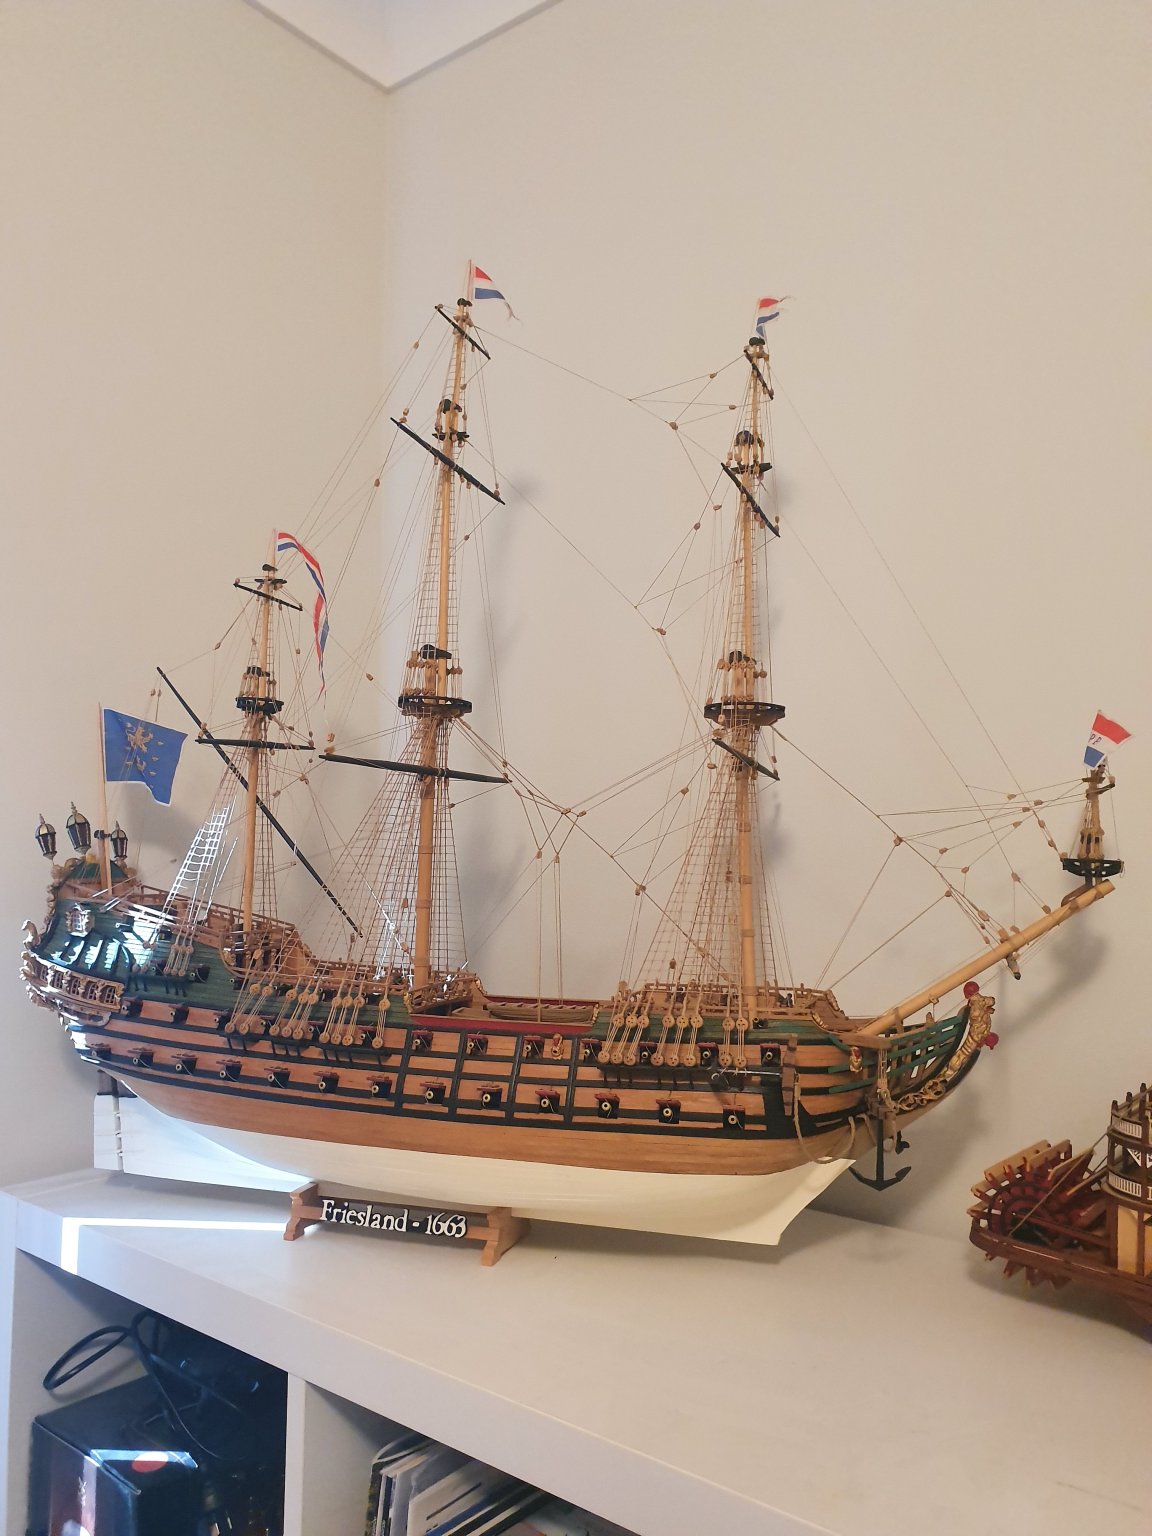
Very nice indeed. I have also built her. My build log is on here as well. Check it out if you have time. Yours already looks better than mine. I really enjoyed this kit. Hope you dont mind me posting a pic of her on here. Color of your ornamentation looks great. Good job


-
Nice job planking. Looking great. The mamoli factory burnt down a few years back and these kits are the last from that batch. Dusek has now taken over production of these and the Mini Mamoli range. So quality will be better with these new series with a couple of tweaks and small changes. Best of luck with your build.
-
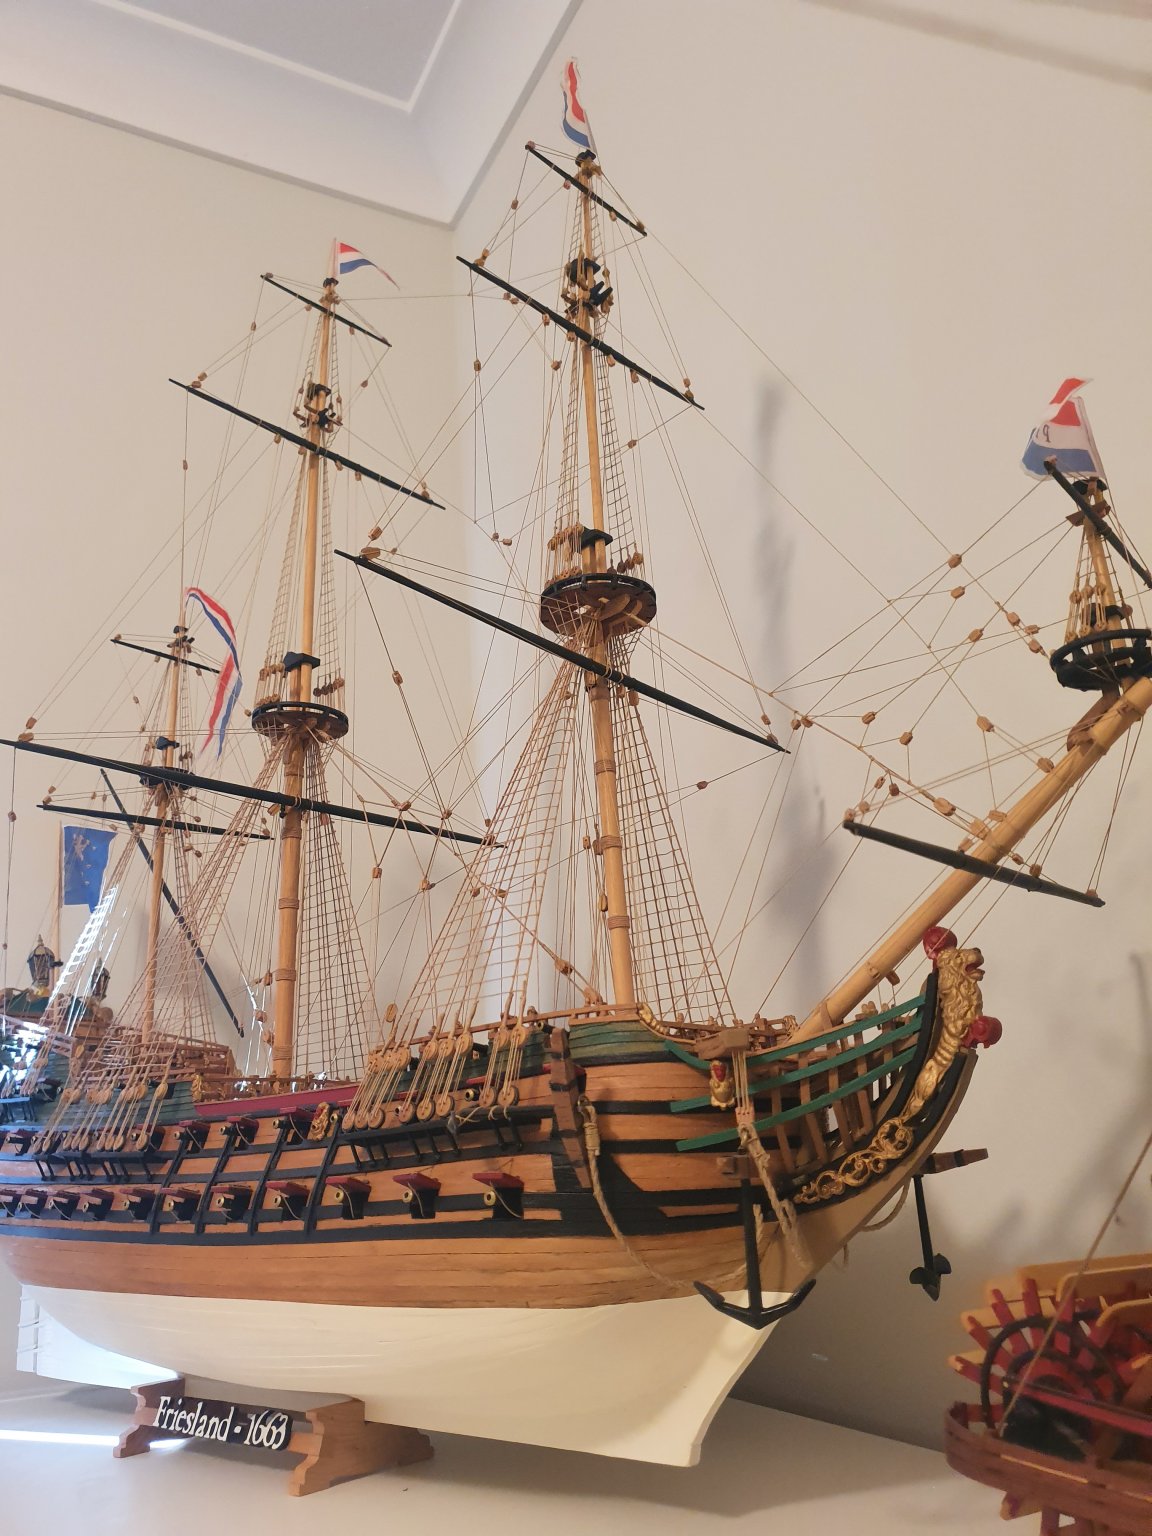
I do love a mamoli build. Especially the big ones like this one, The victory and the Friesland. Nice job on the planking. Looks even and sharp.
-
Some seriously stunning rigging going on there. Looks great. Your rope coils look the part. I hope i can be able to do that.
-
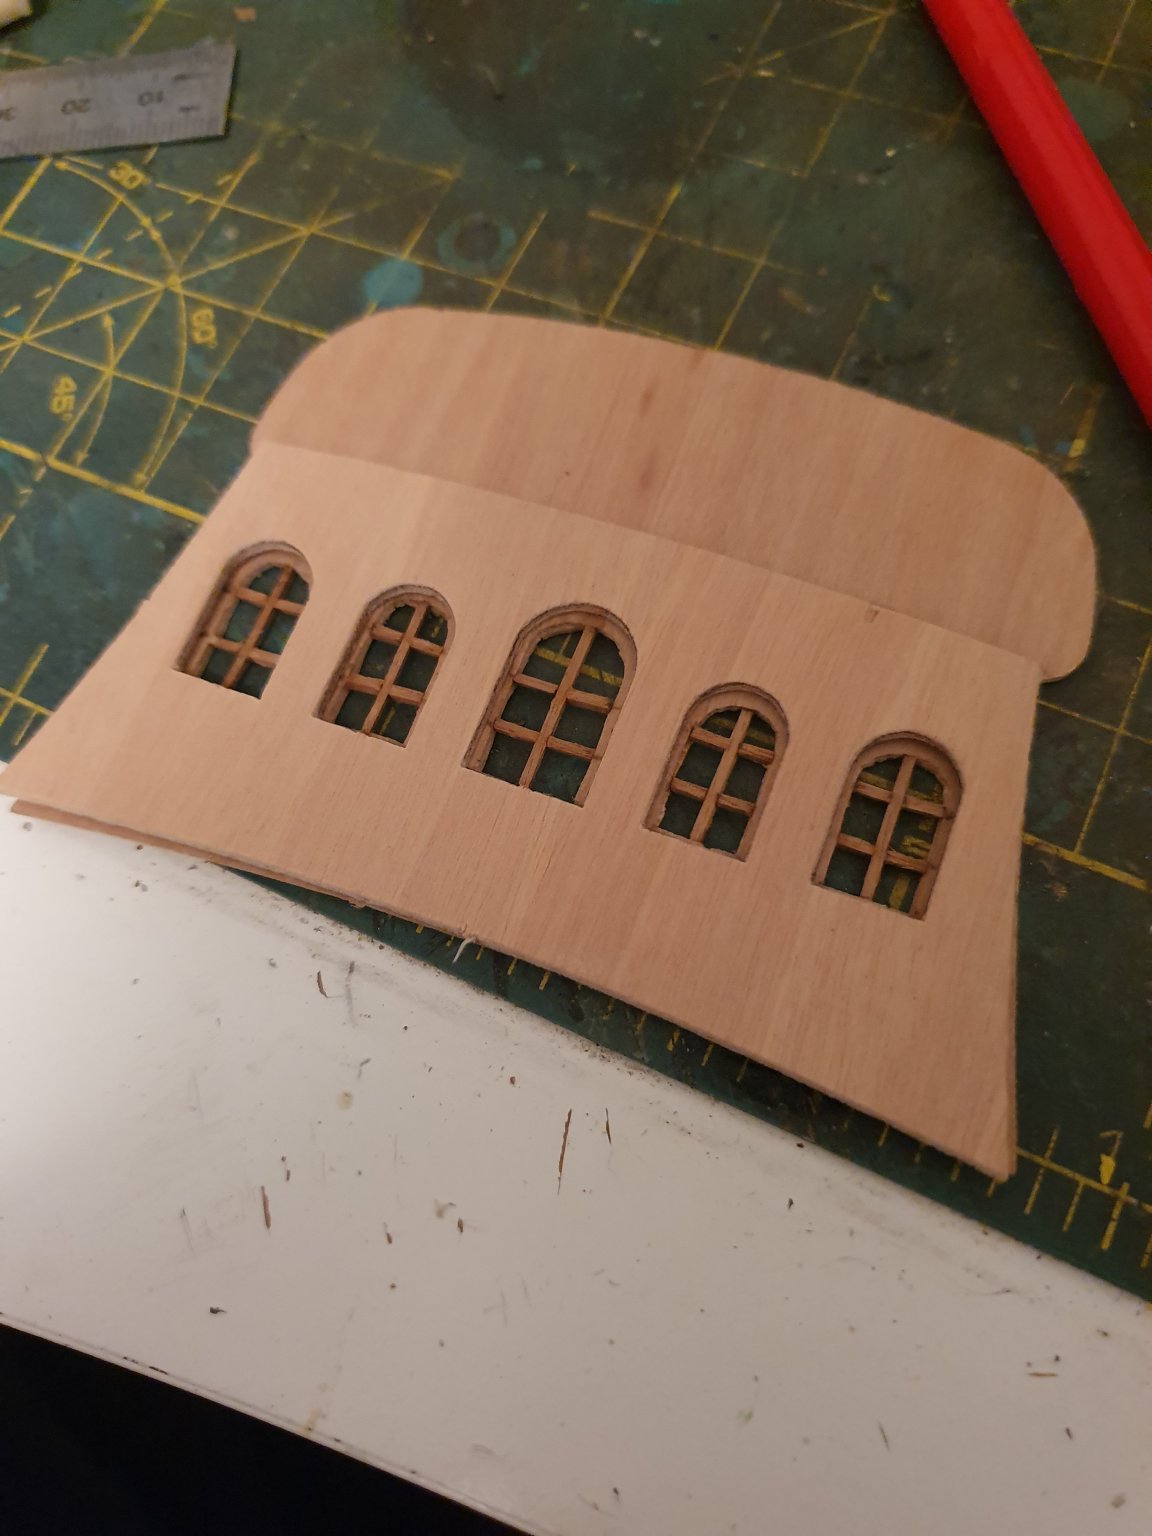
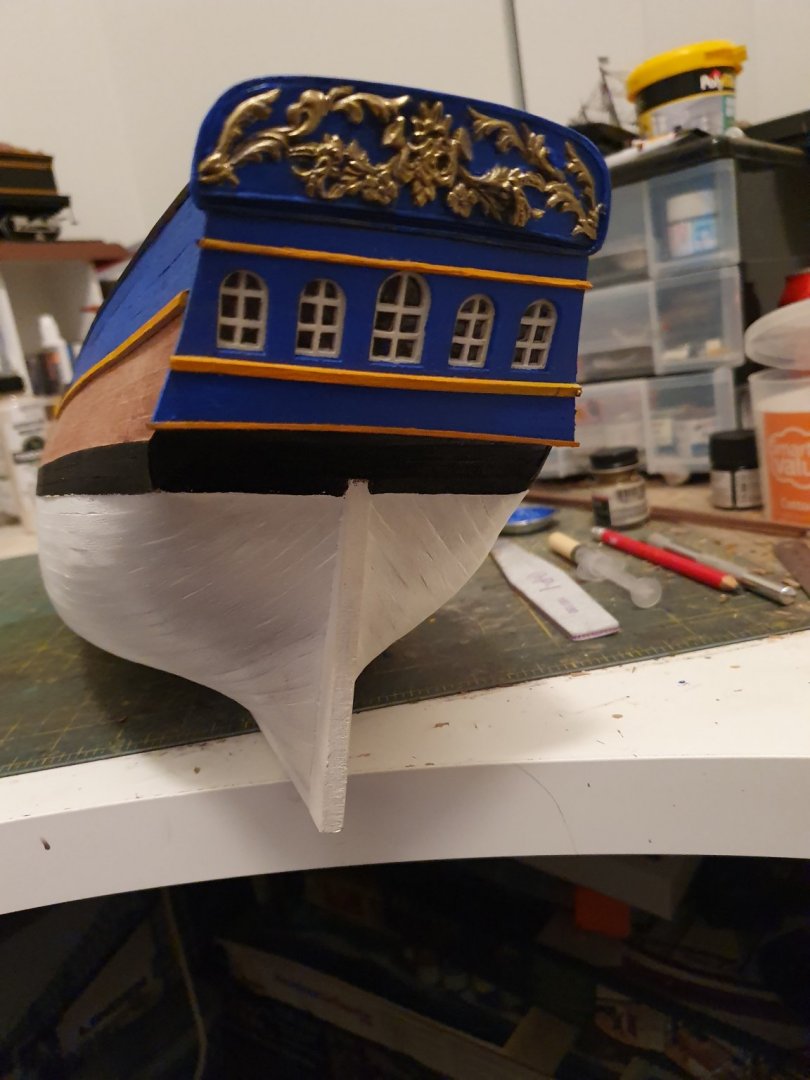
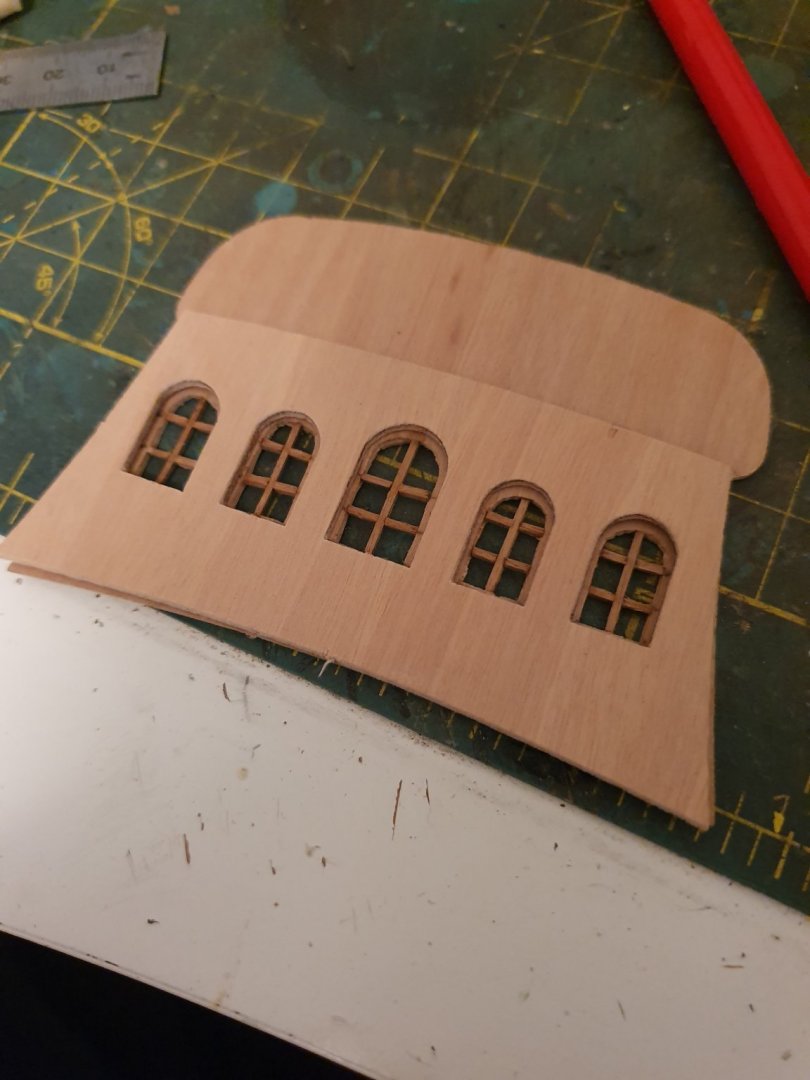
Looking very sharp. Windows came out great. All look nice and even.
-
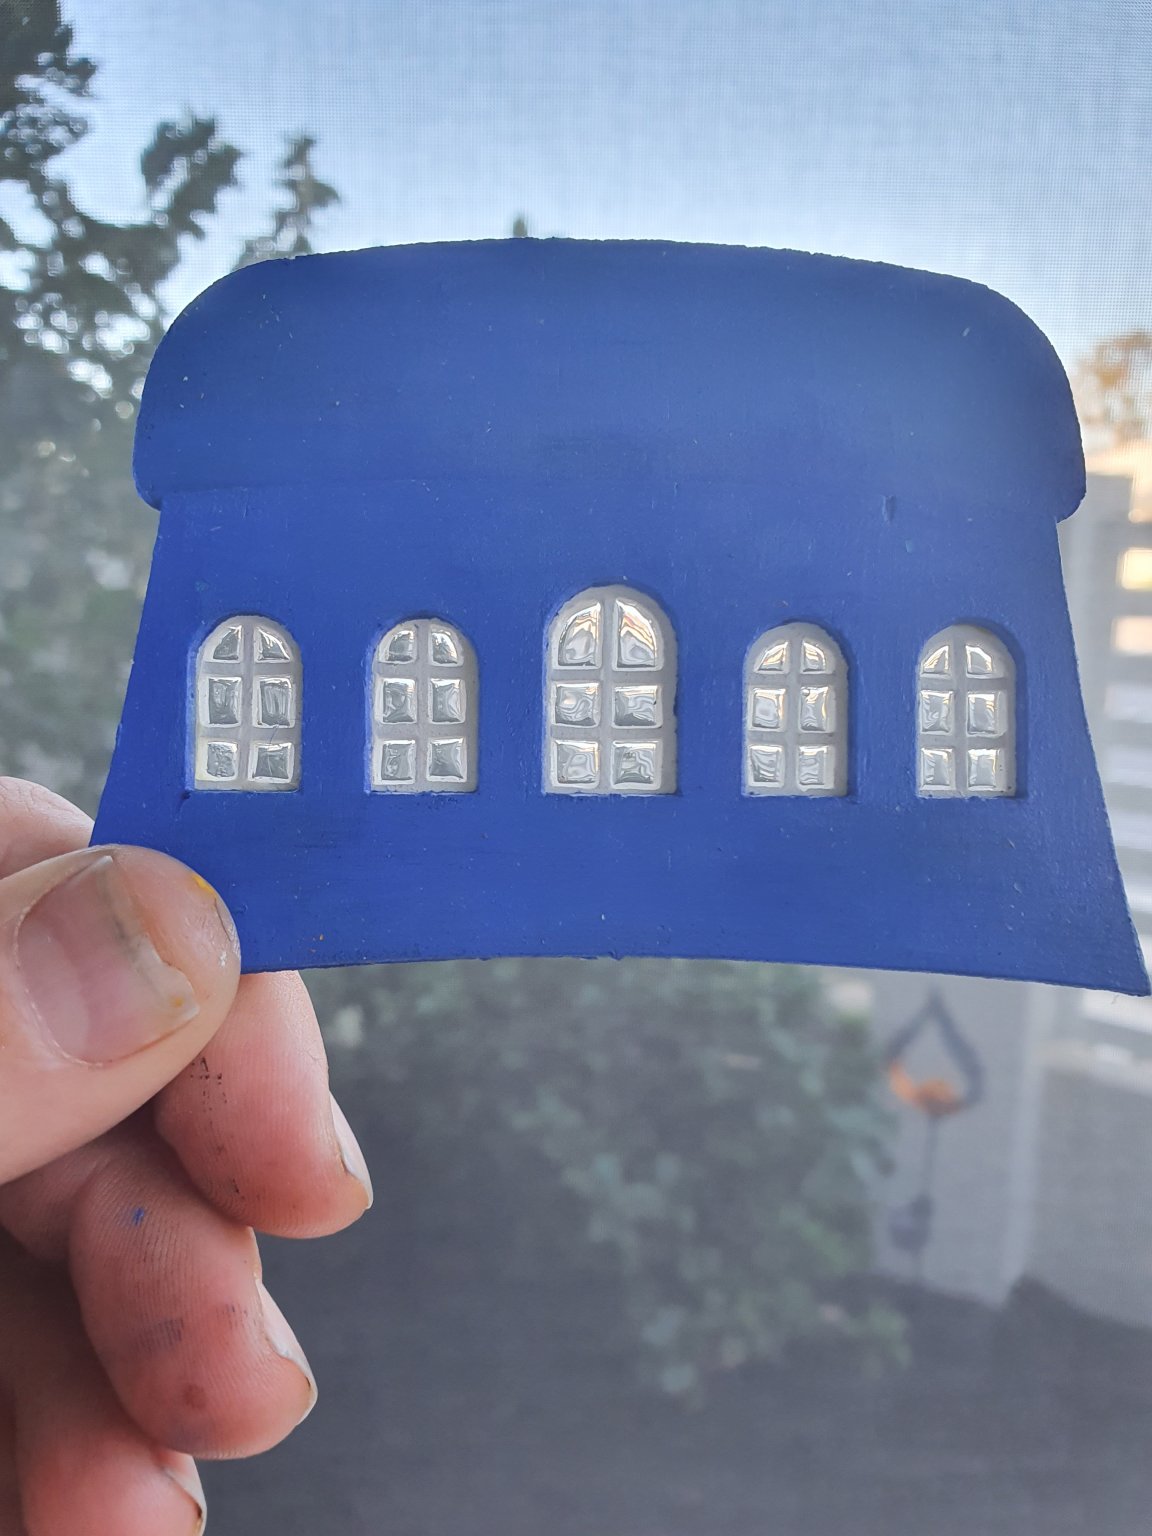
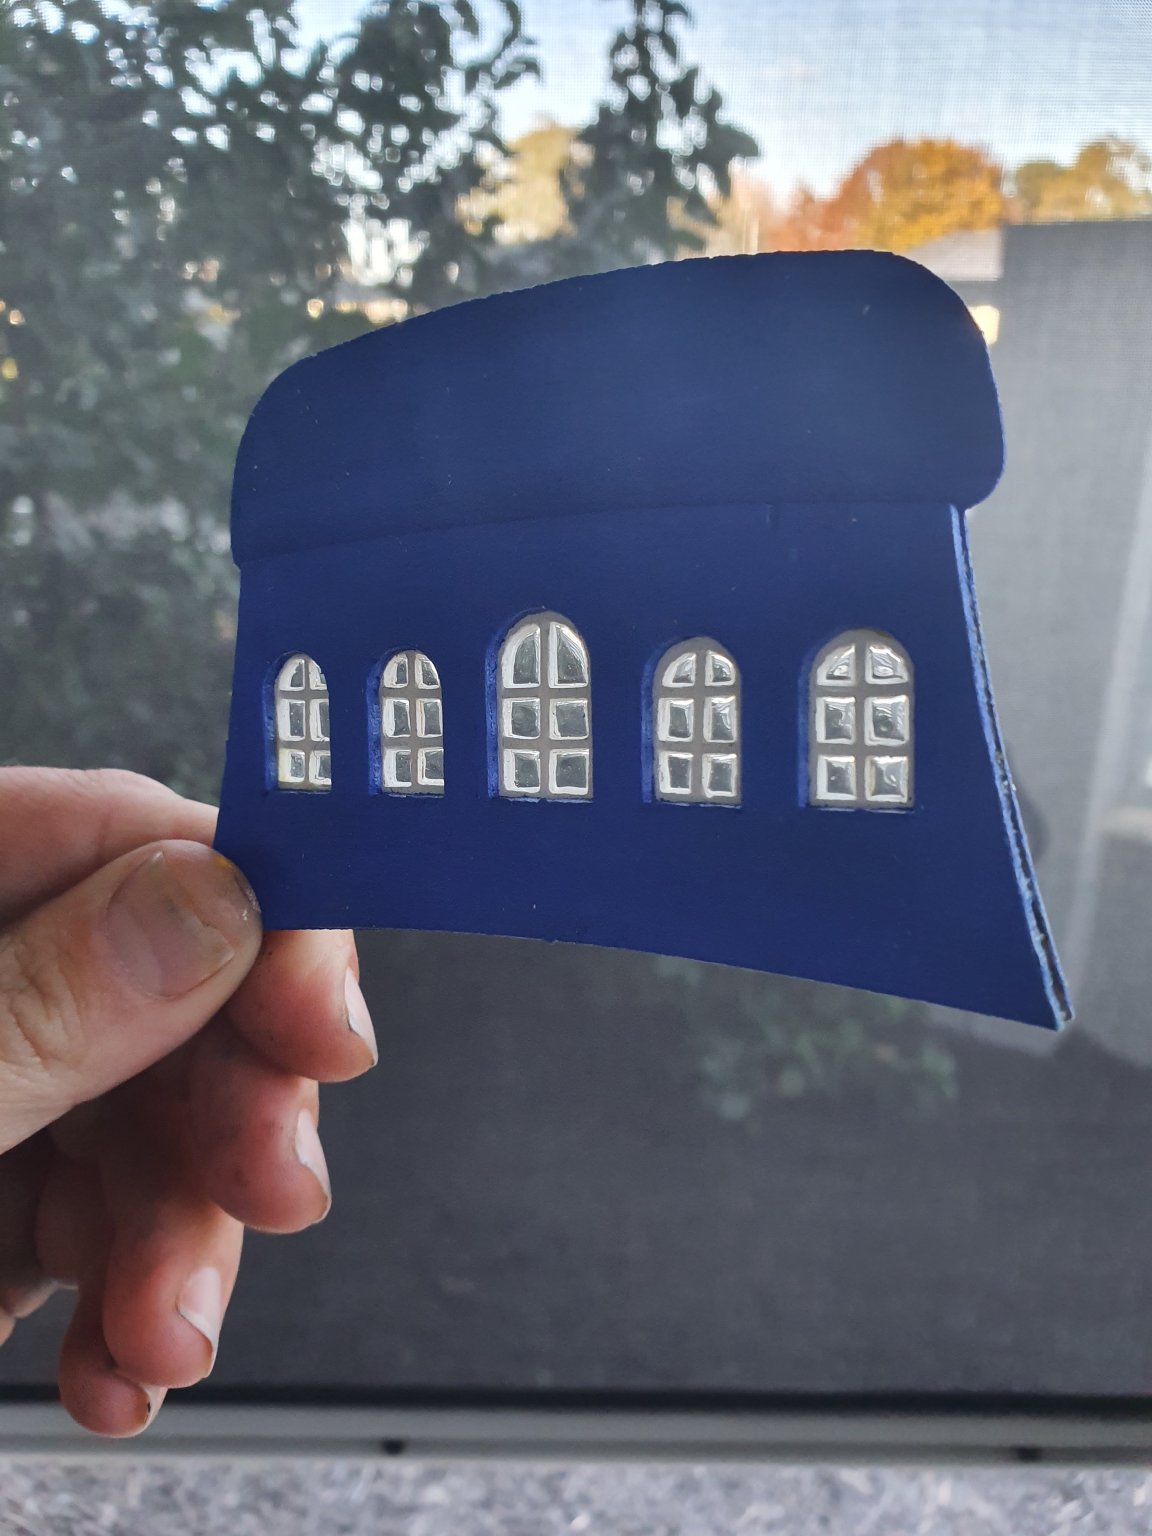
Stern assembly time. The ornaments on top came in the form of a slab of metal. Painted the recessed areas blue then applied brass paint on the protruding areas. Im happy with the outcome. Strips above and below windows added as well.
-
Cheers. Yes it works great. Takes a while to dry but it is worth it. A few touch ups on the paint and it should look good.
-
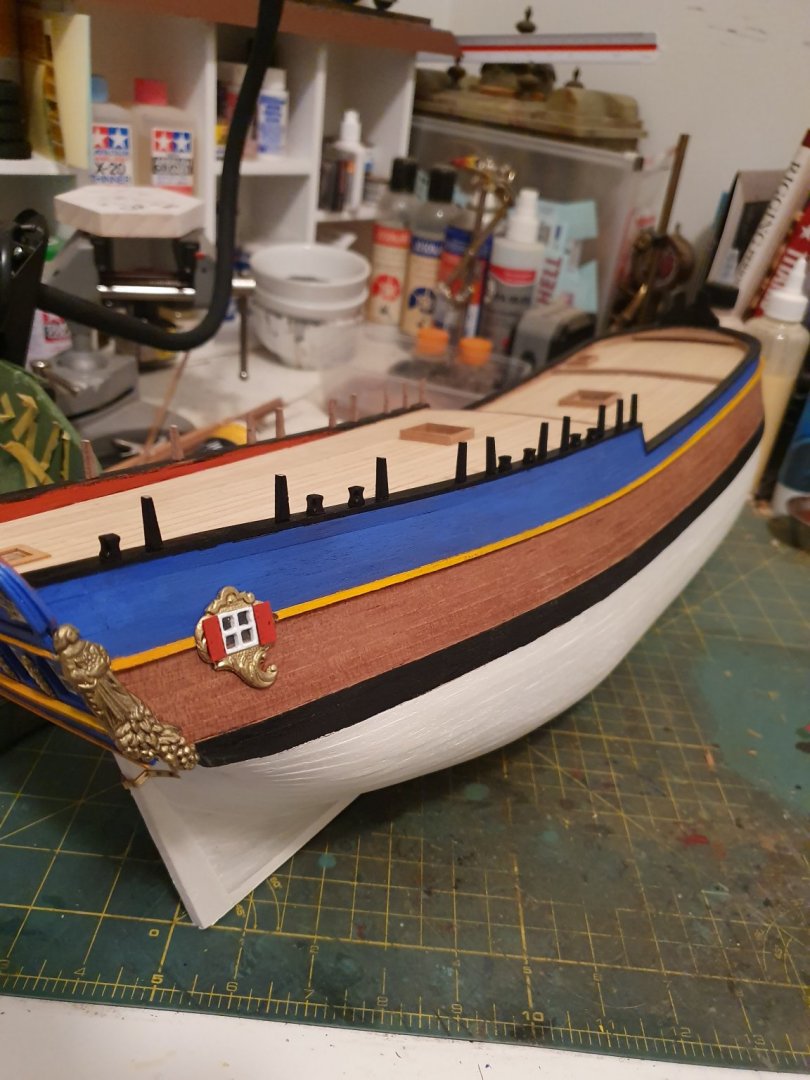
Finaly got some colour on to her. Happy with the result so far.
-
The glass came out really nice i think. Nice little bit of scratch building.


-
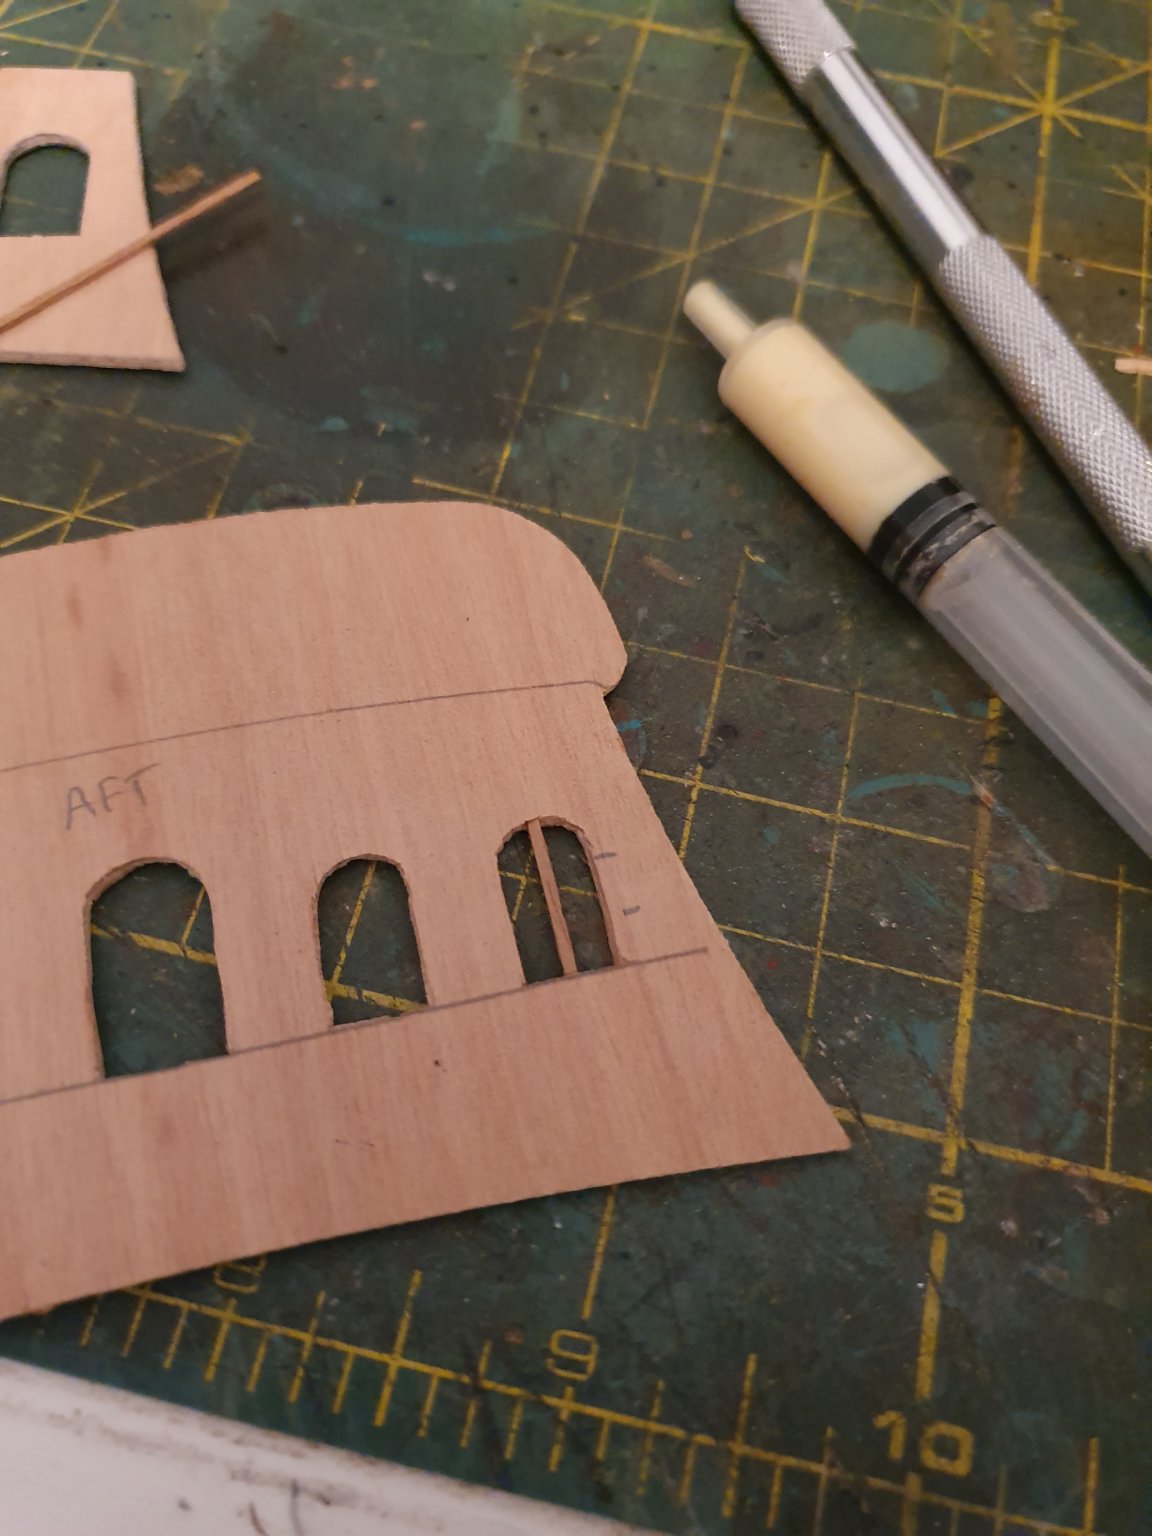
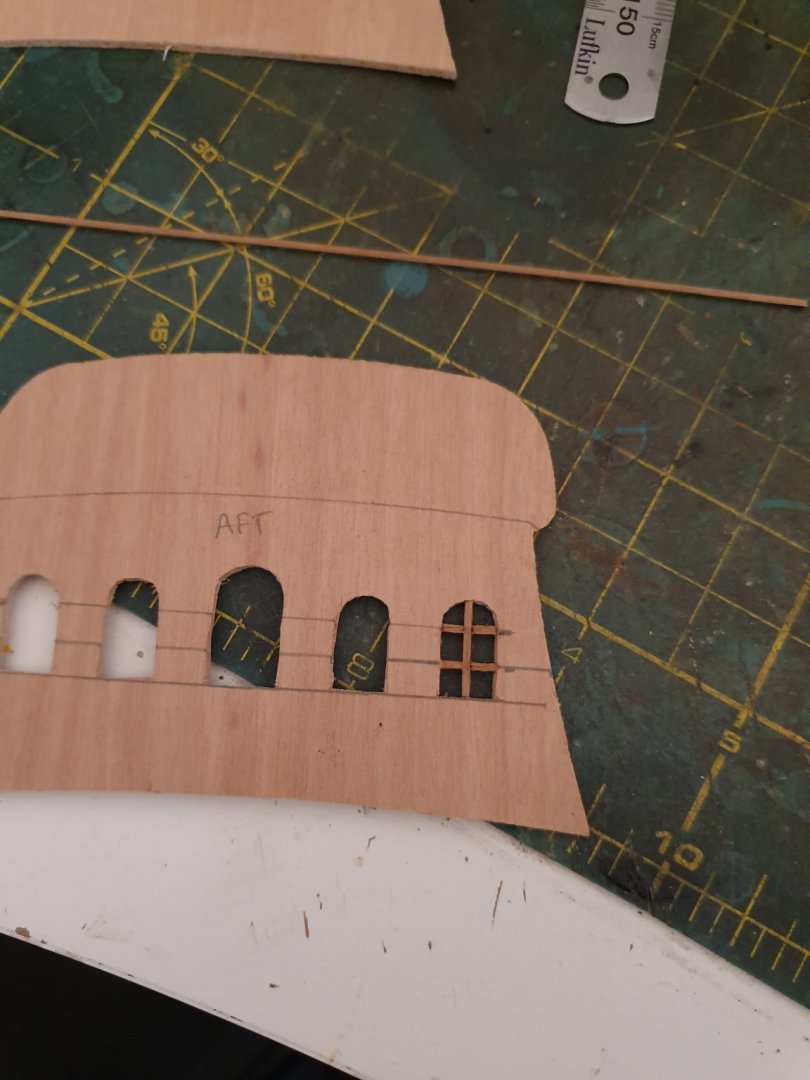
Stern windows this time! The kit supplys you with the unsightly metal cast windows which i defiantly wont be using. So instead om making my own out of 1mm×1mm stock and then make my own glass for them.
-
I got it from one of the hobby stores here in perth. Think it was ace hobbies. Just as a coincidence im doing the stern windows as well.
-
Stunning job and great painting job. Looks like fun but I’m not to crash hot with plastics. I see you are from NZ too. I’m originally from Otago. Best of luck with the rest of your build.
- 211 replies
-
- 6
-

-
- prince of wales
- tamiya
- (and 2 more)
-
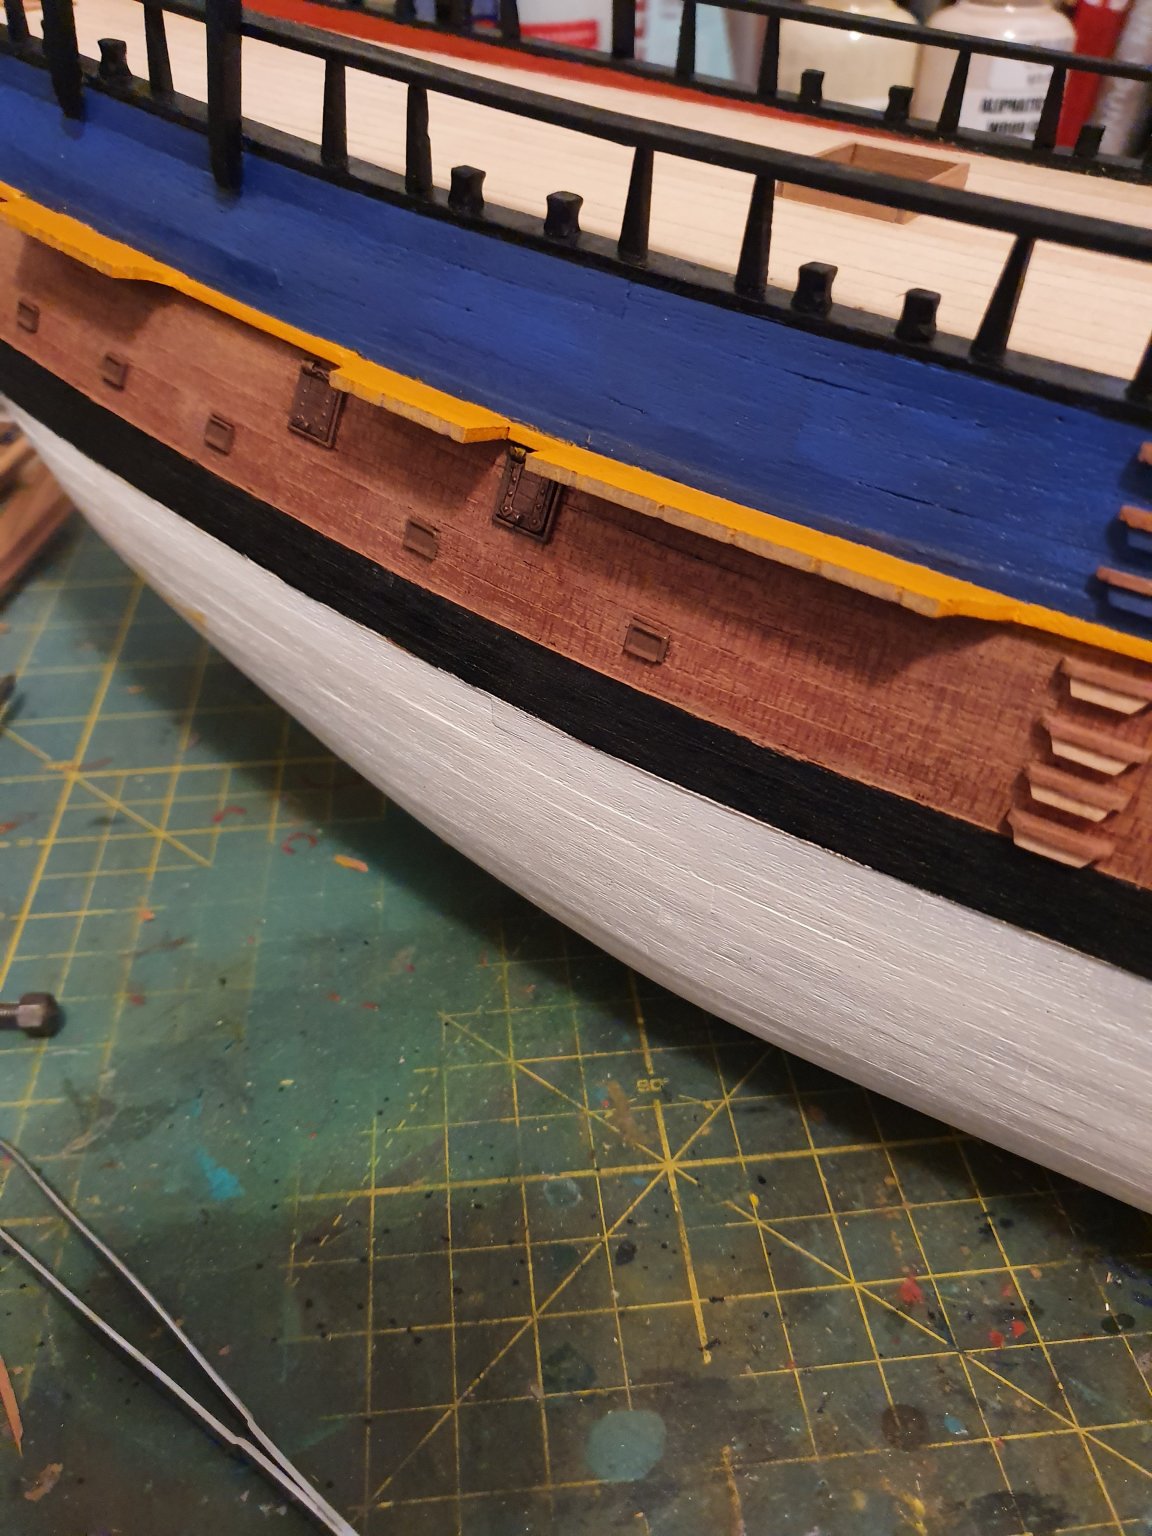
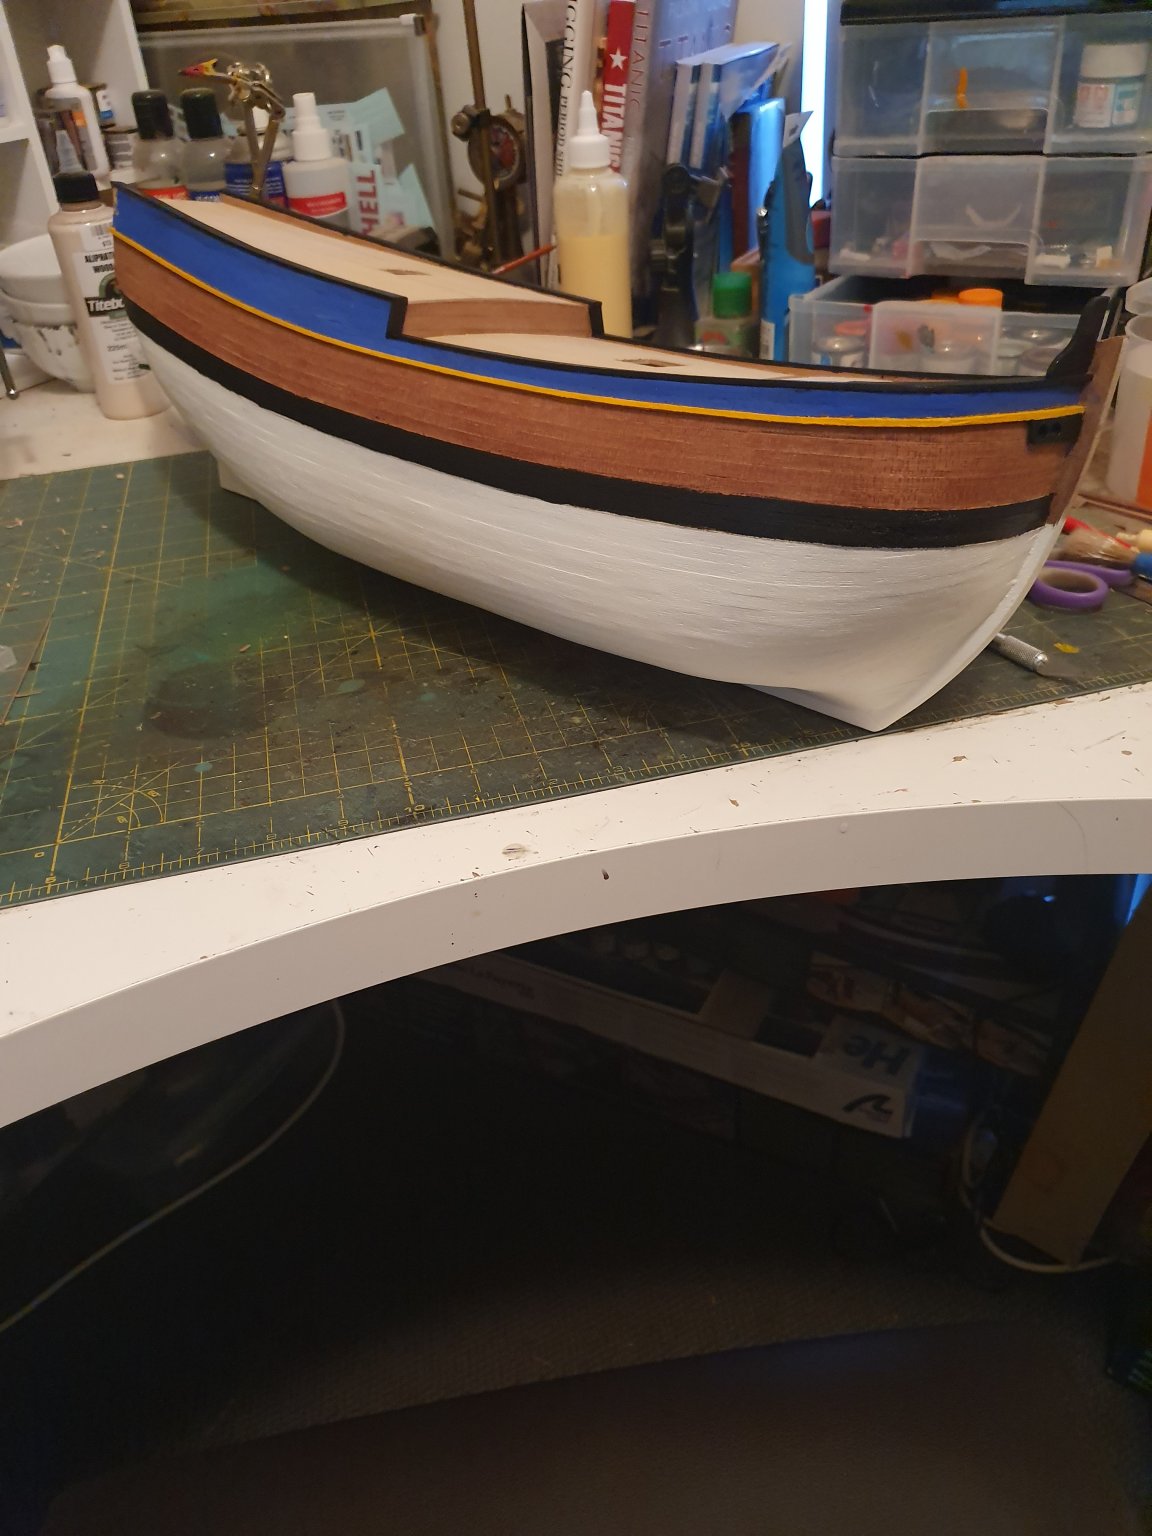
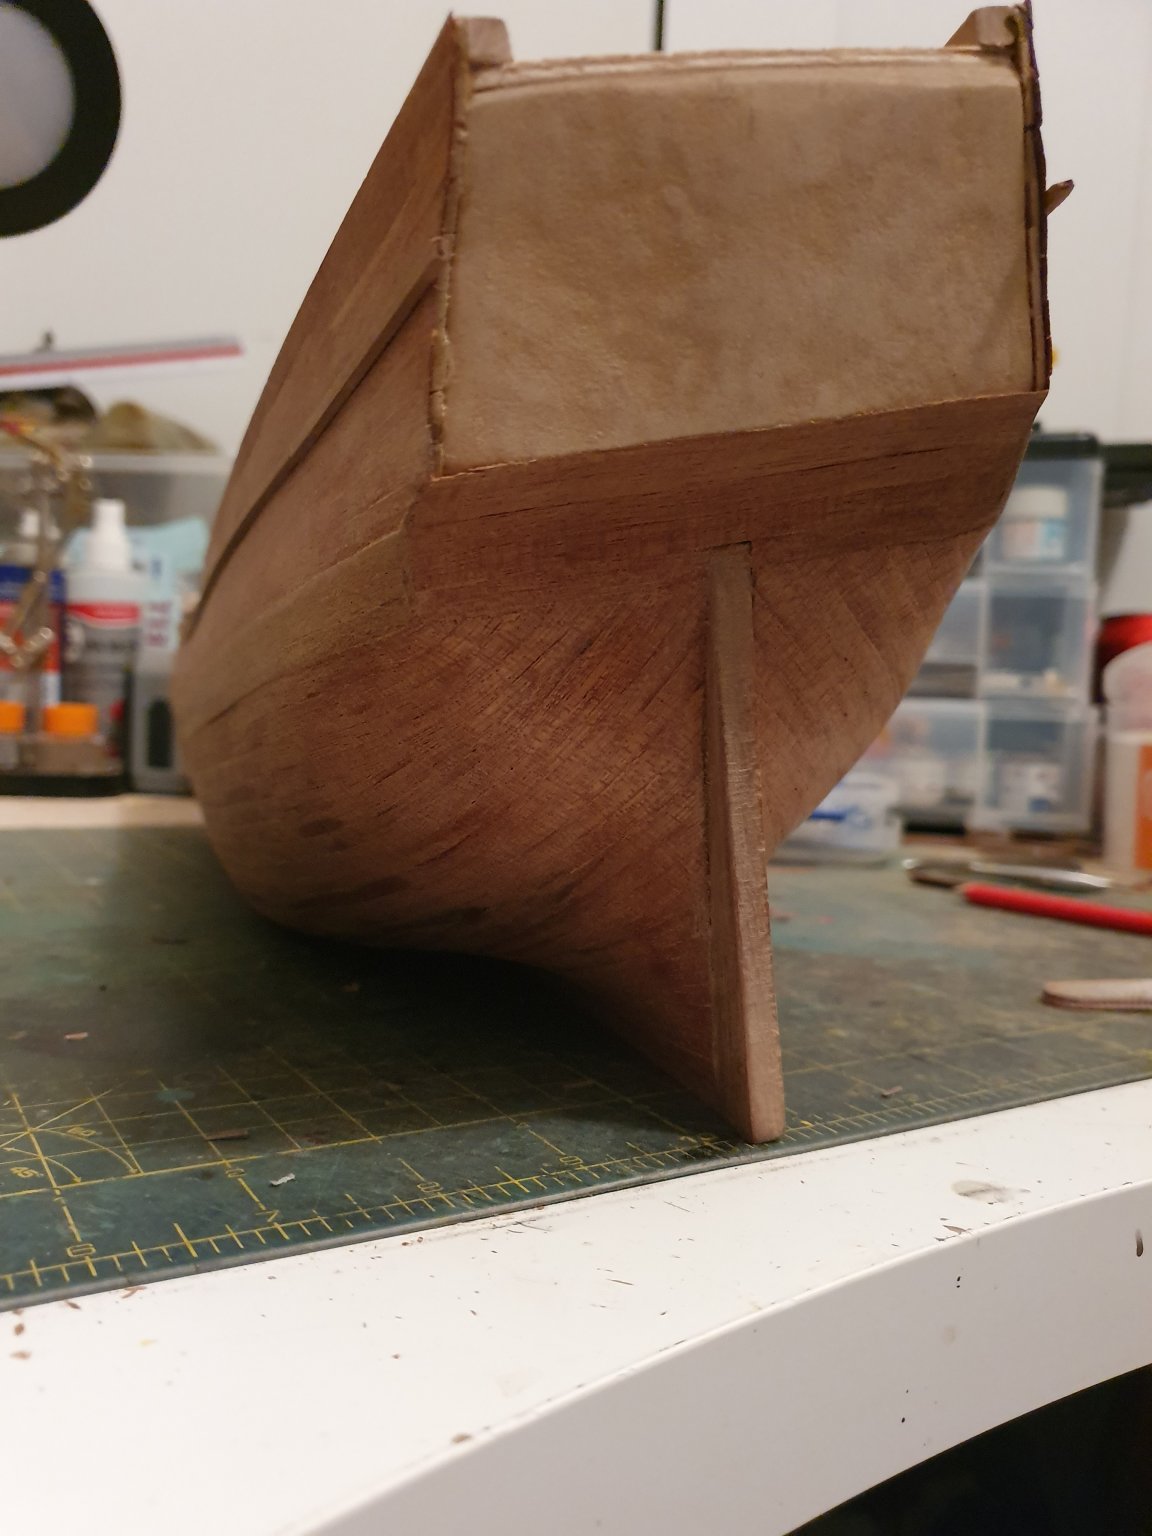
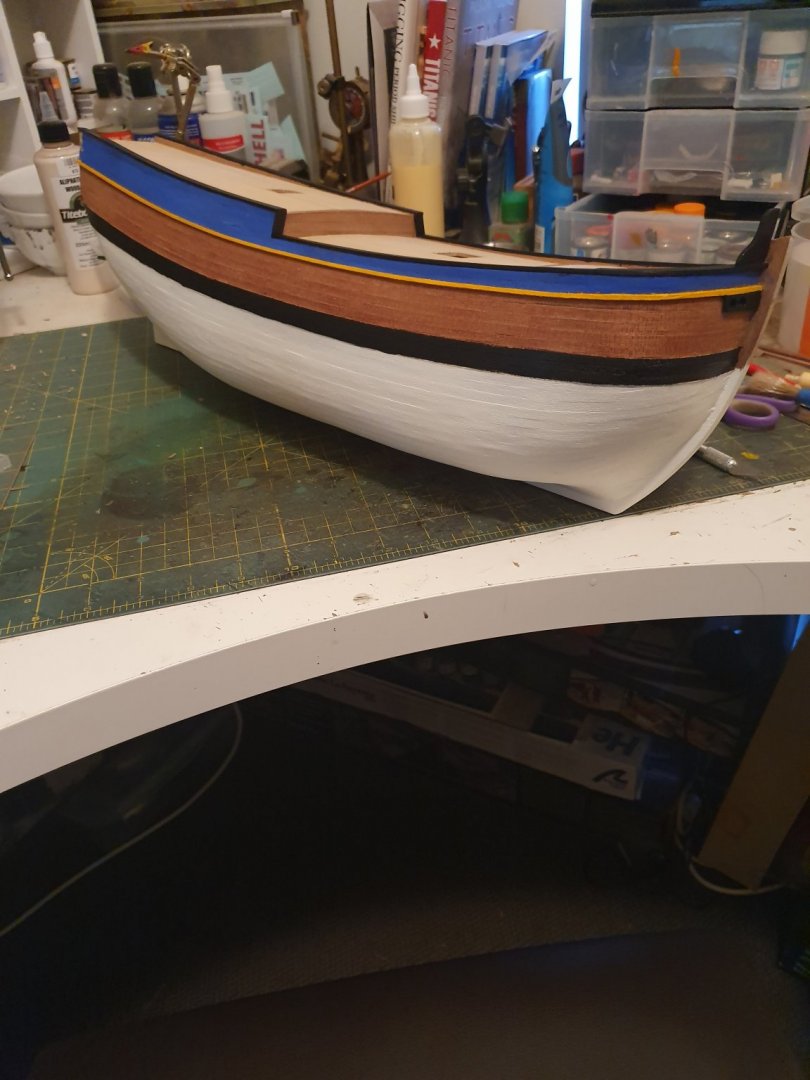
Update time. The counter planked up and the waist rubbing strakes on. Next up is the gunwales and so on. Pleased how its turned out so far

-
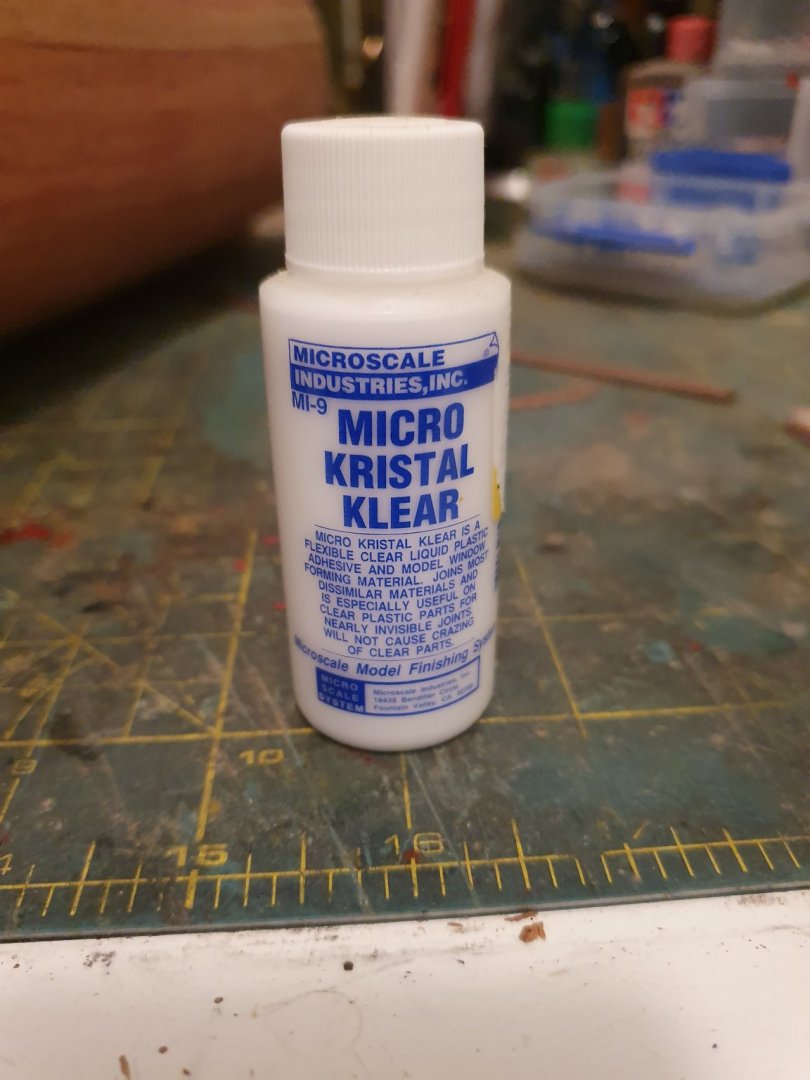
The windows came out great. What are you looking to use as glass? This micro kristal klear works good.
-
Thank you very much. Your not wrong. I like big thick planks, also gives you some wiggle room when it comes to sanding afterwards.