ECK
-
Posts
646 -
Joined
-
Last visited
Content Type
Profiles
Forums
Gallery
Events
Everything posted by ECK
-
HMS Victory by ECK - OcCre - 1/87
ECK replied to ECK's topic in - Kit build logs for subjects built from 1751 - 1800
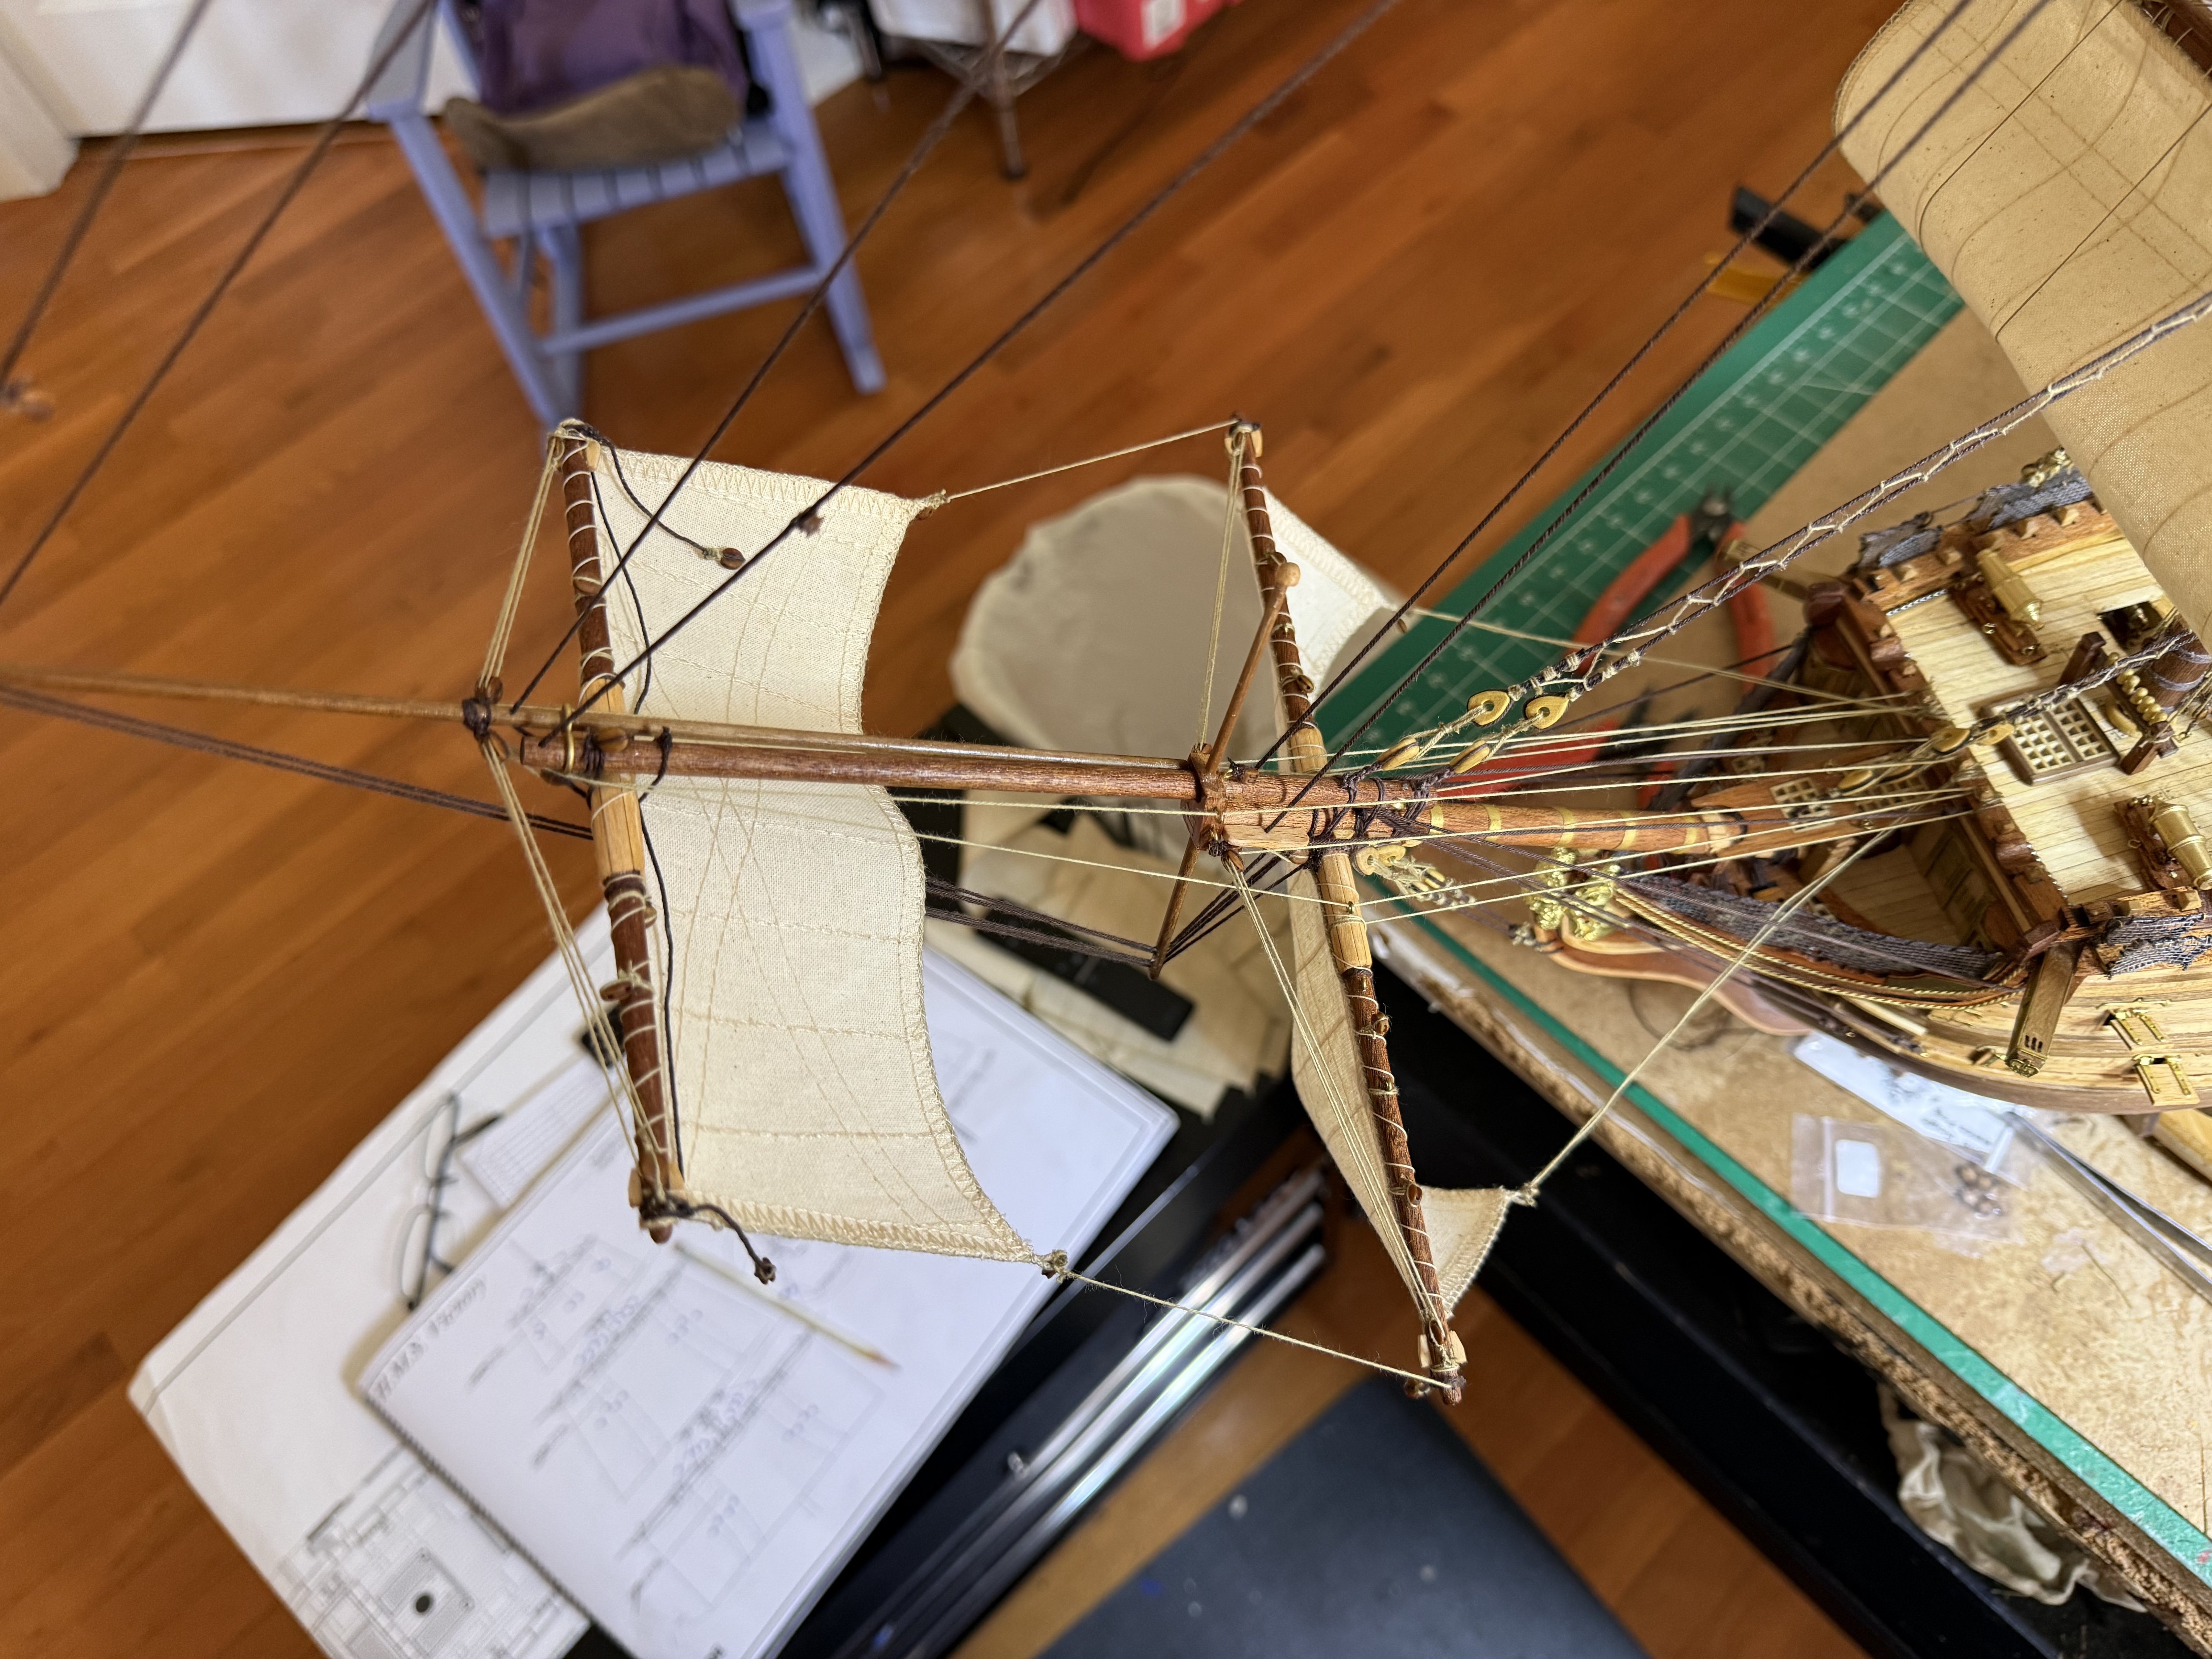
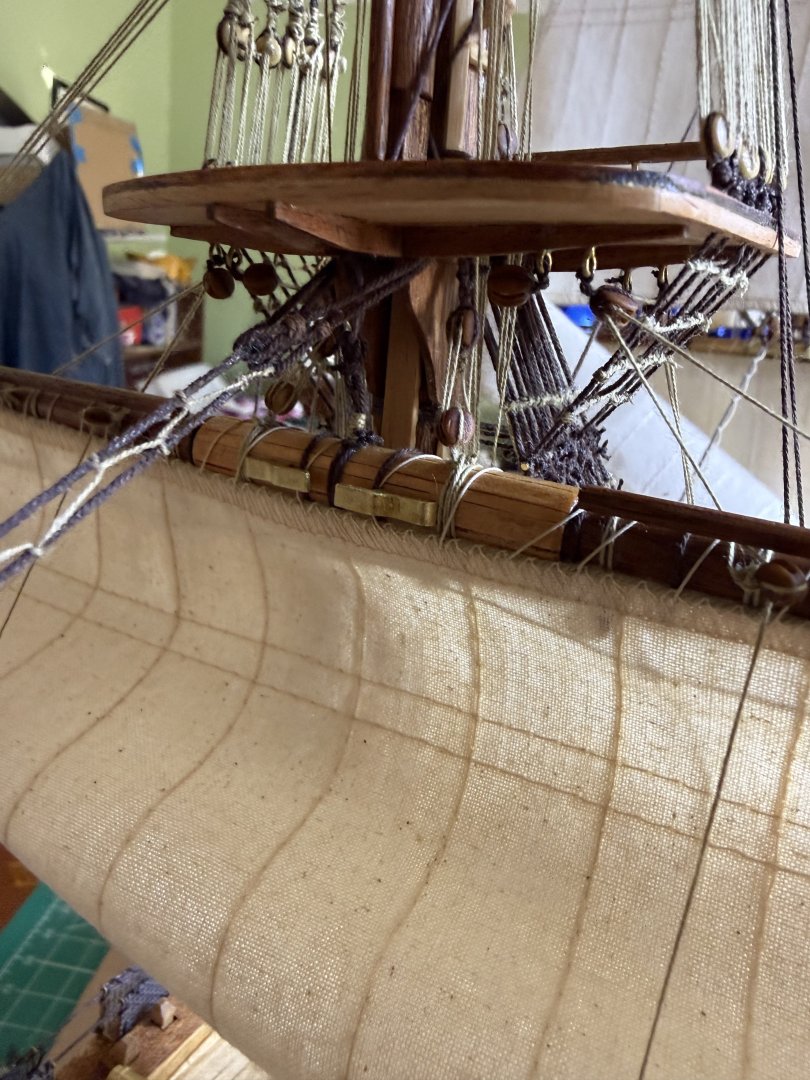
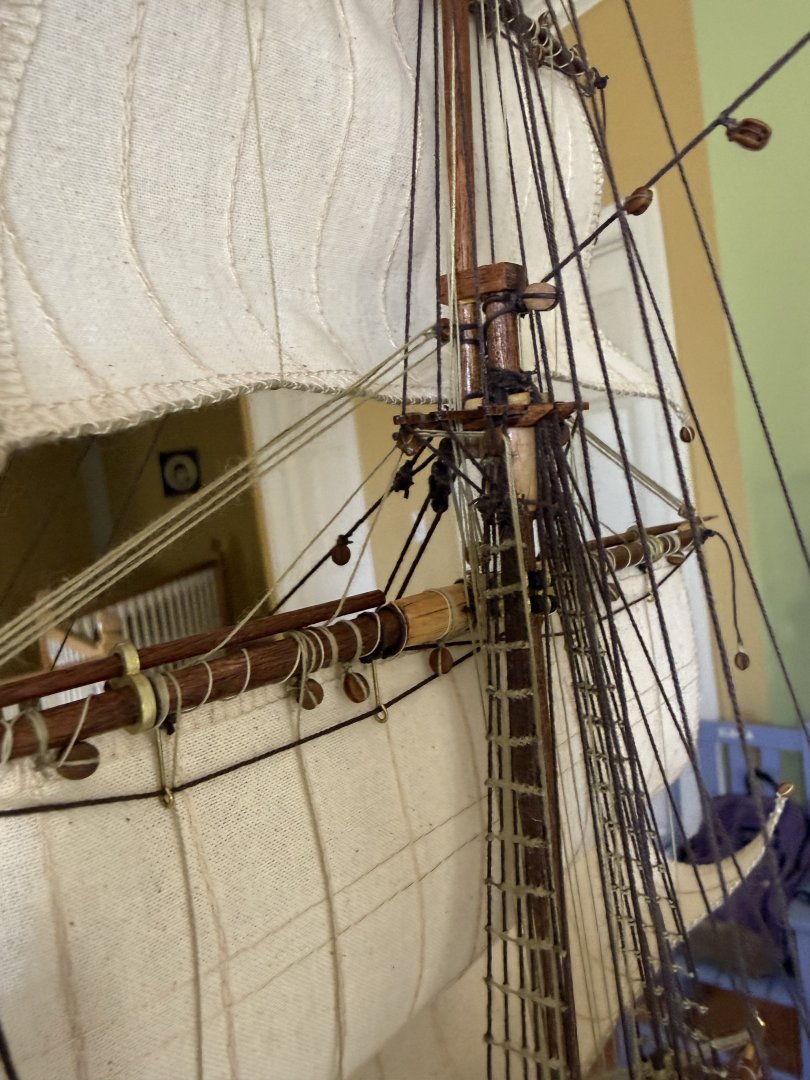
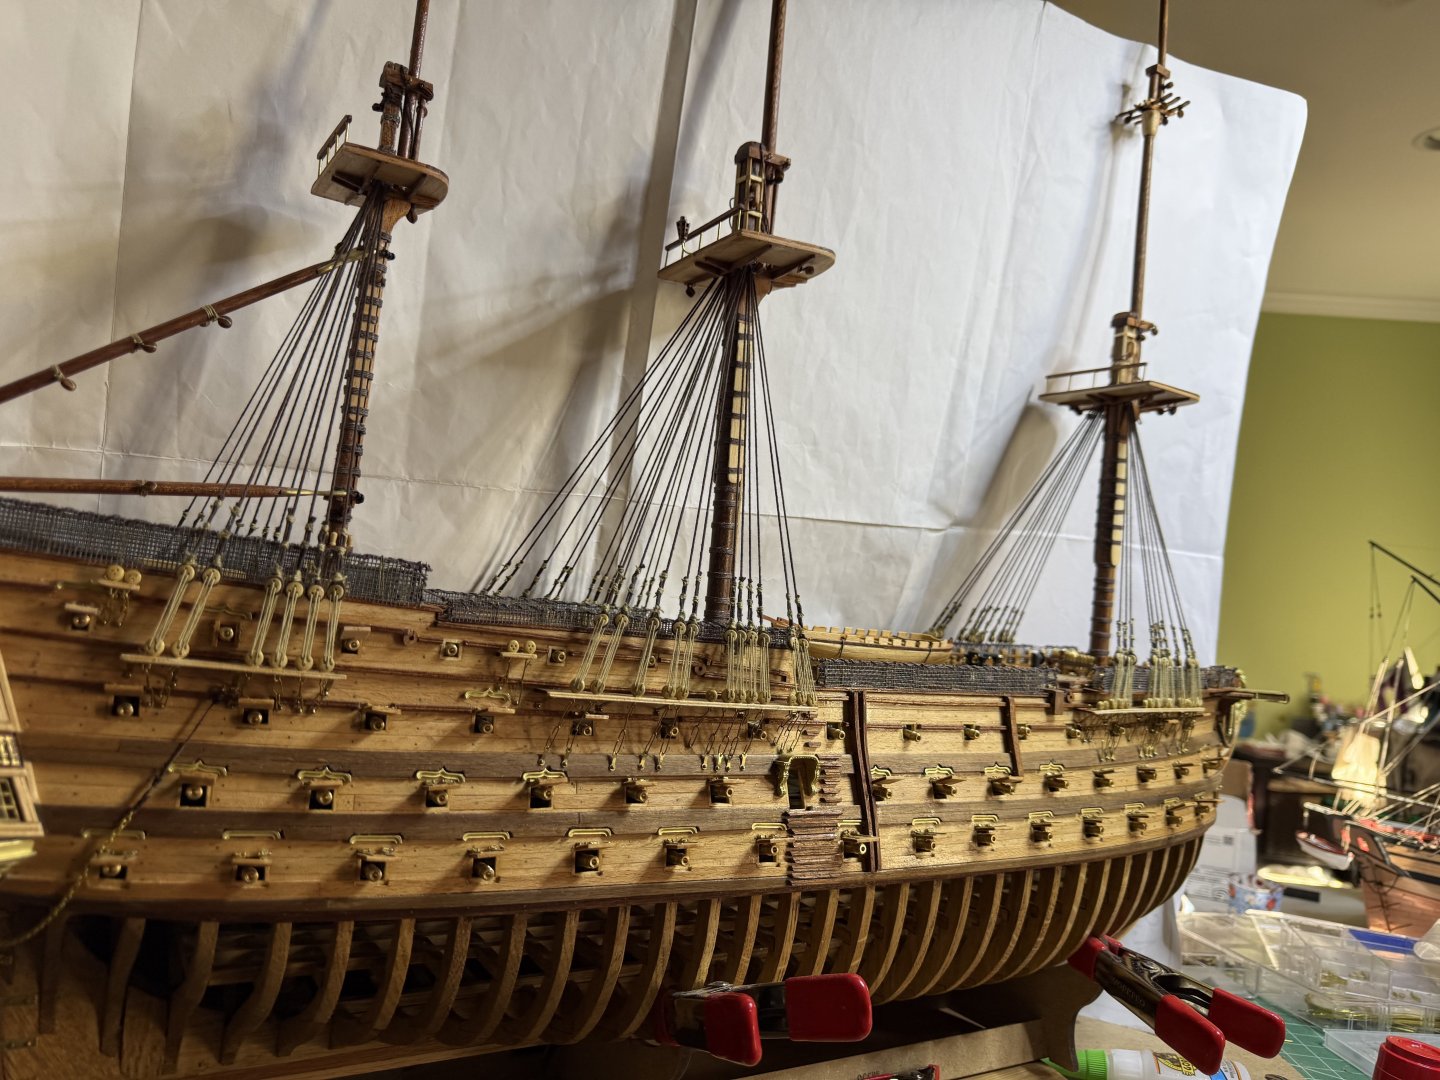
Work over the last week include completing the foremast backstays, yard lifts and starting the sail rigging.


-
HMS Victory by ECK - OcCre - 1/87
ECK replied to ECK's topic in - Kit build logs for subjects built from 1751 - 1800
Meant to say weekend work. Foremast work today, main yards and back stays friday afternoon and saturday. Spent ab out 6 hrs on it today, very relaxing for me. -
HMS Victory by ECK - OcCre - 1/87
ECK replied to ECK's topic in - Kit build logs for subjects built from 1751 - 1800
For Maid of the Mist: Sorry, did not see your note until now. Occre has 3 threads here, 0.8 and 0.5 brown and o.15 natural which is the one for ratlines and running rigging. -
HMS Victory by ECK - OcCre - 1/87
ECK replied to ECK's topic in - Kit build logs for subjects built from 1751 - 1800
Work to day includes mounting the main yards, backstays, foremast forestays and yards


-
HMS Victory by ECK - OcCre - 1/87
ECK replied to ECK's topic in - Kit build logs for subjects built from 1751 - 1800
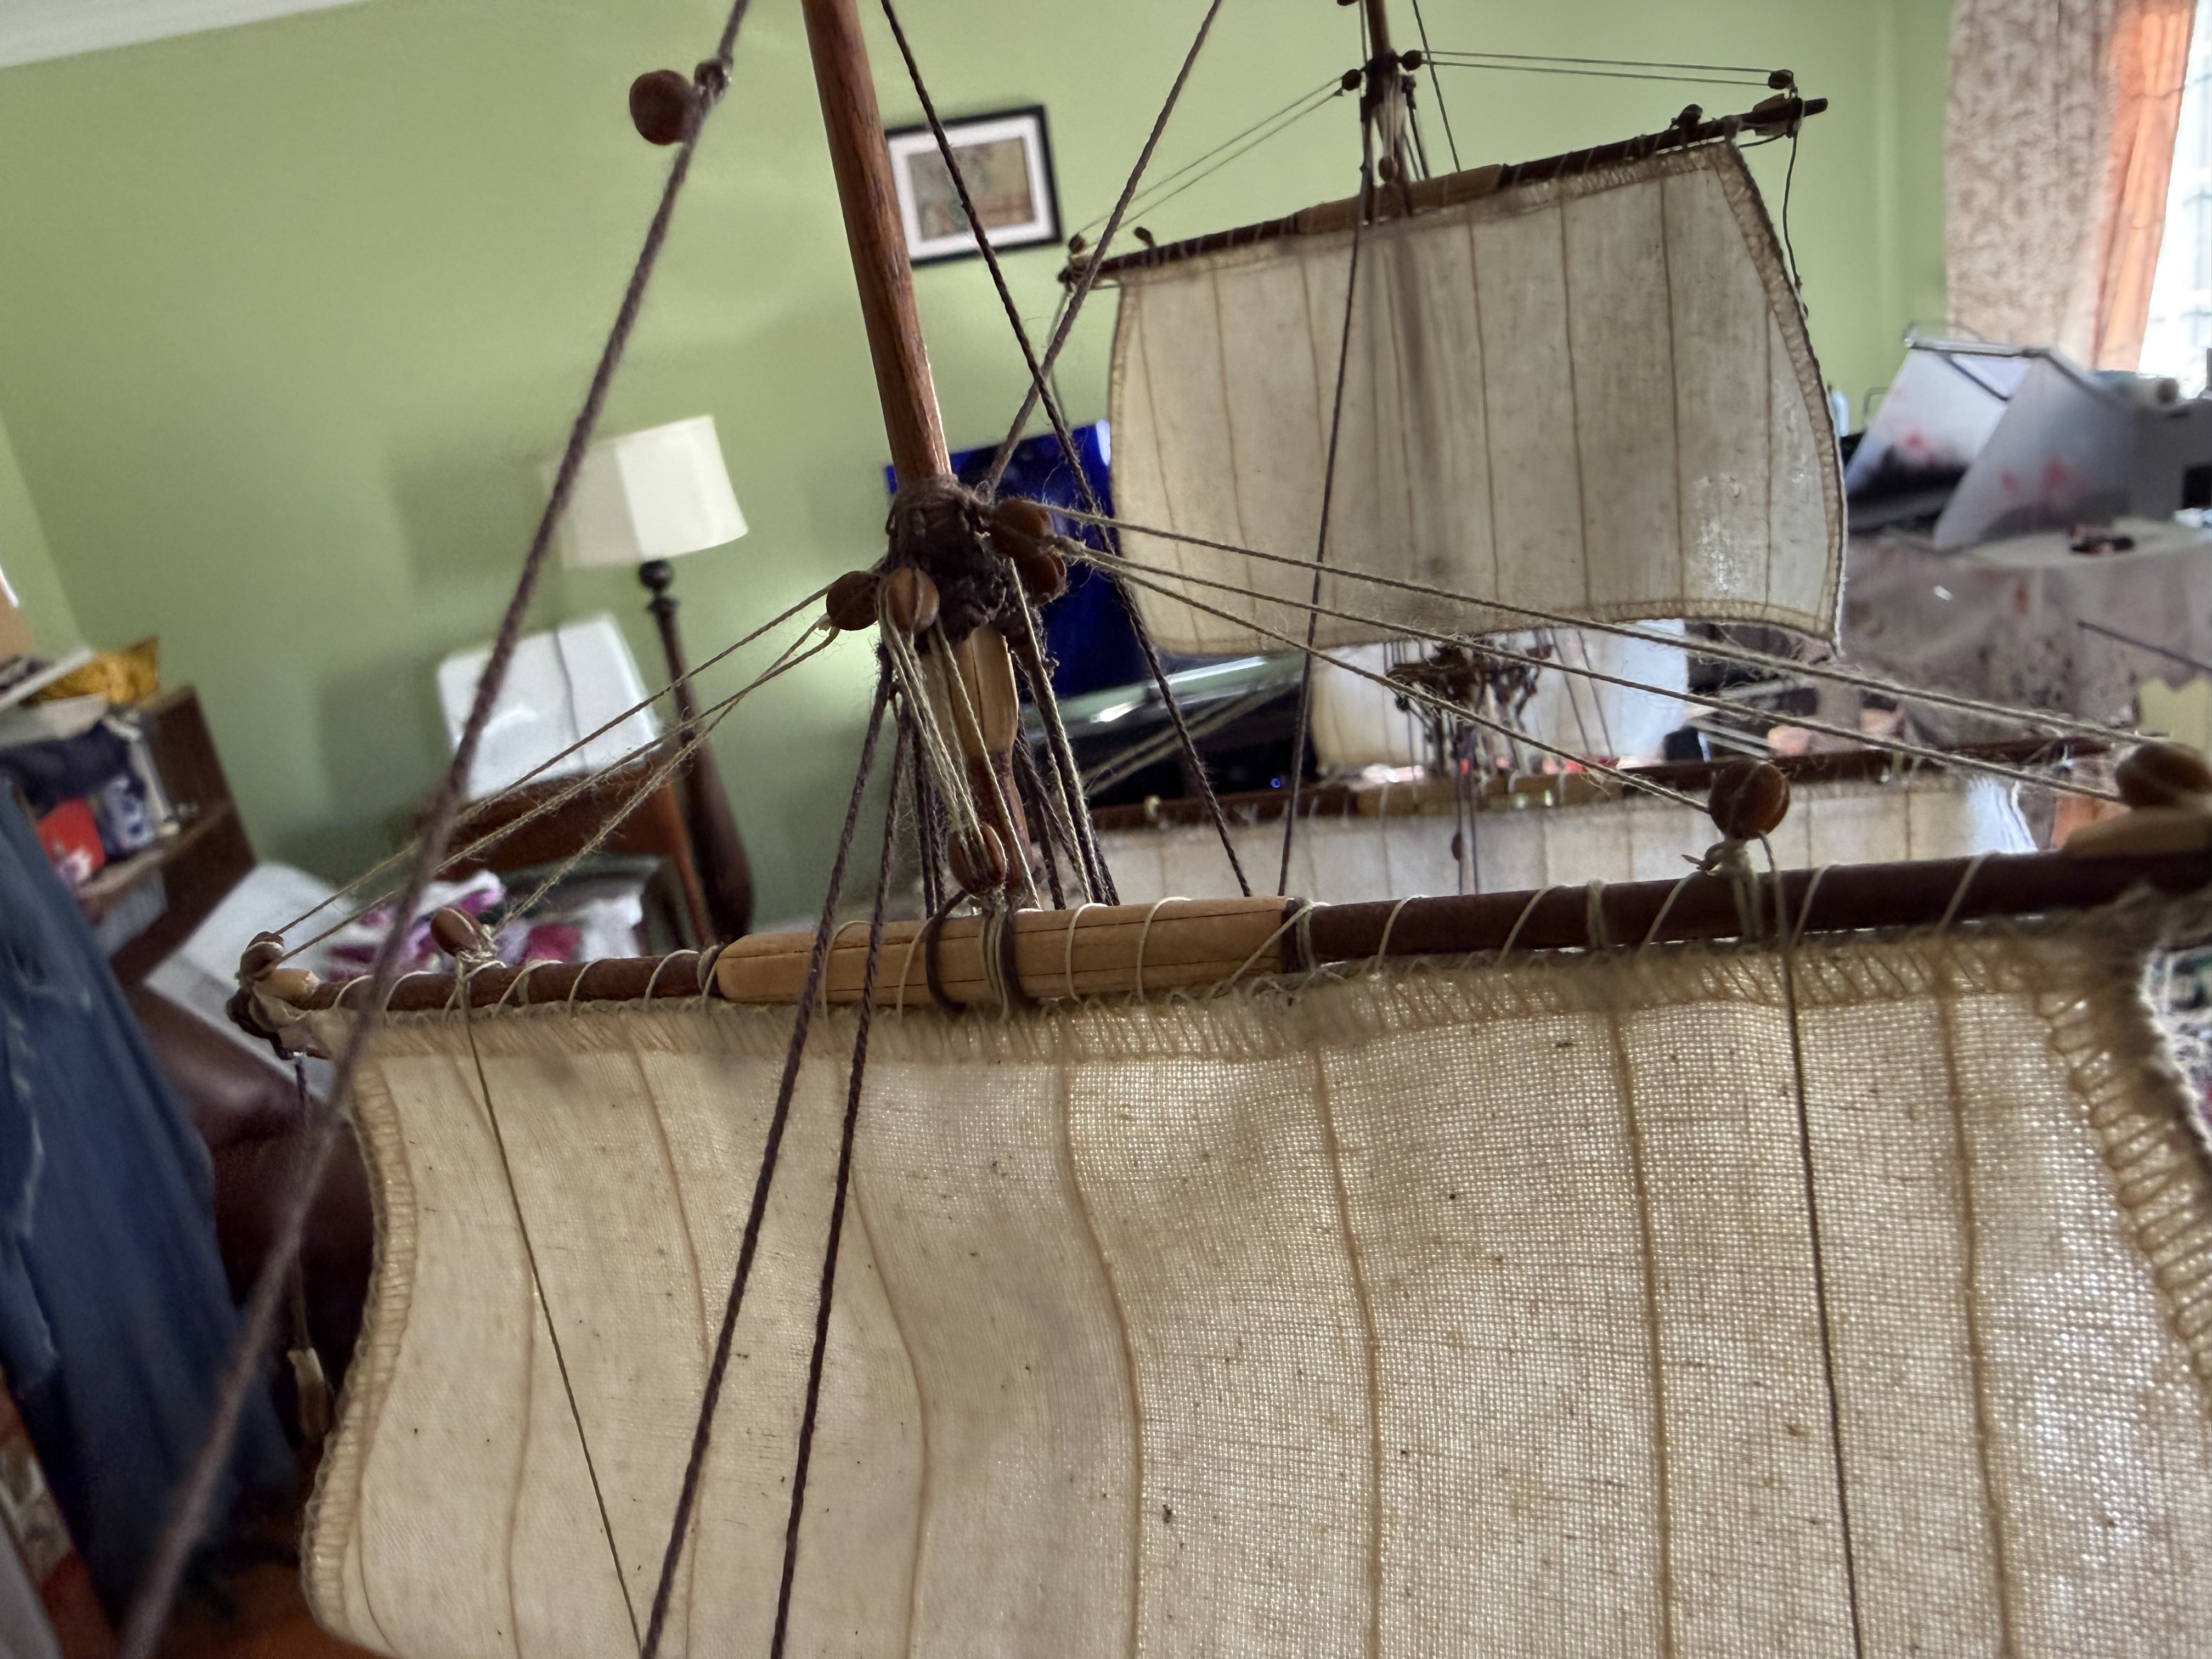
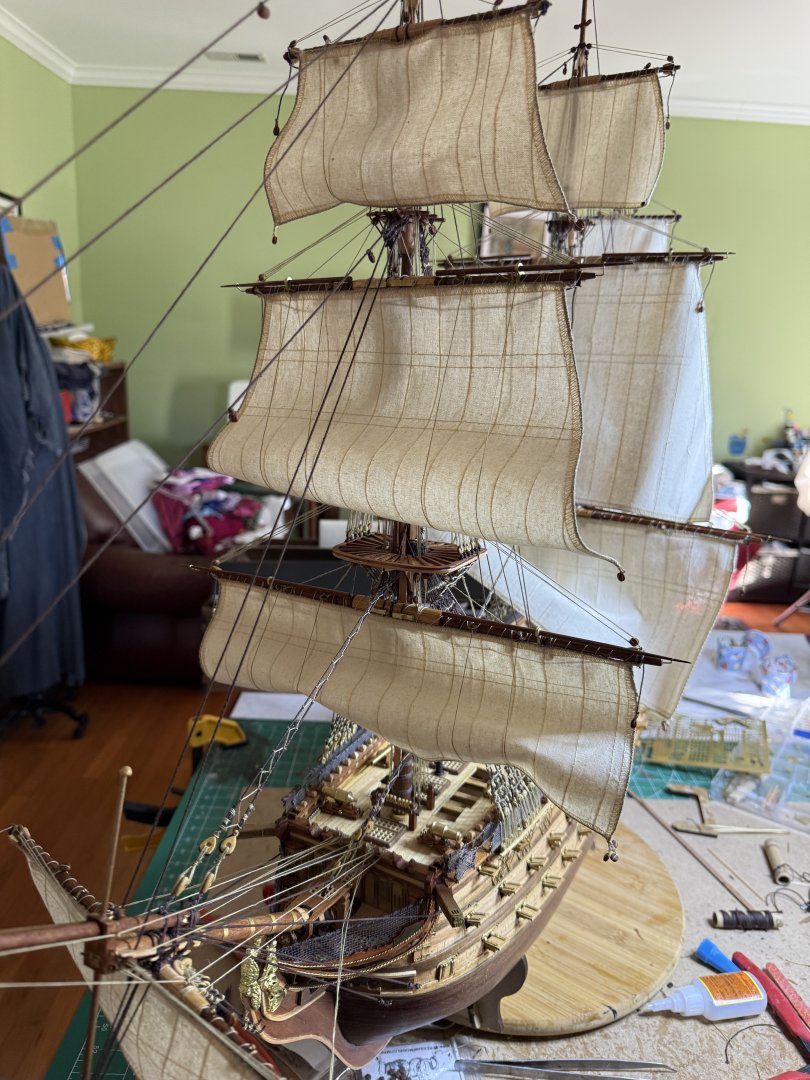
Weekend work involved attaching the mizzen yards with sails then adding the mizzen fore and back stays. Next will be the spanker rigging before finally adding the bowsprit to complete the other stays. I try to wait as long as possible before adding the spritsail yard as it sticks out so far.


-
HMS Victory by ECK - OcCre - 1/87
ECK replied to ECK's topic in - Kit build logs for subjects built from 1751 - 1800
Shrouds all done. Next bending the sails onto the yards then mounting the yards to the masts.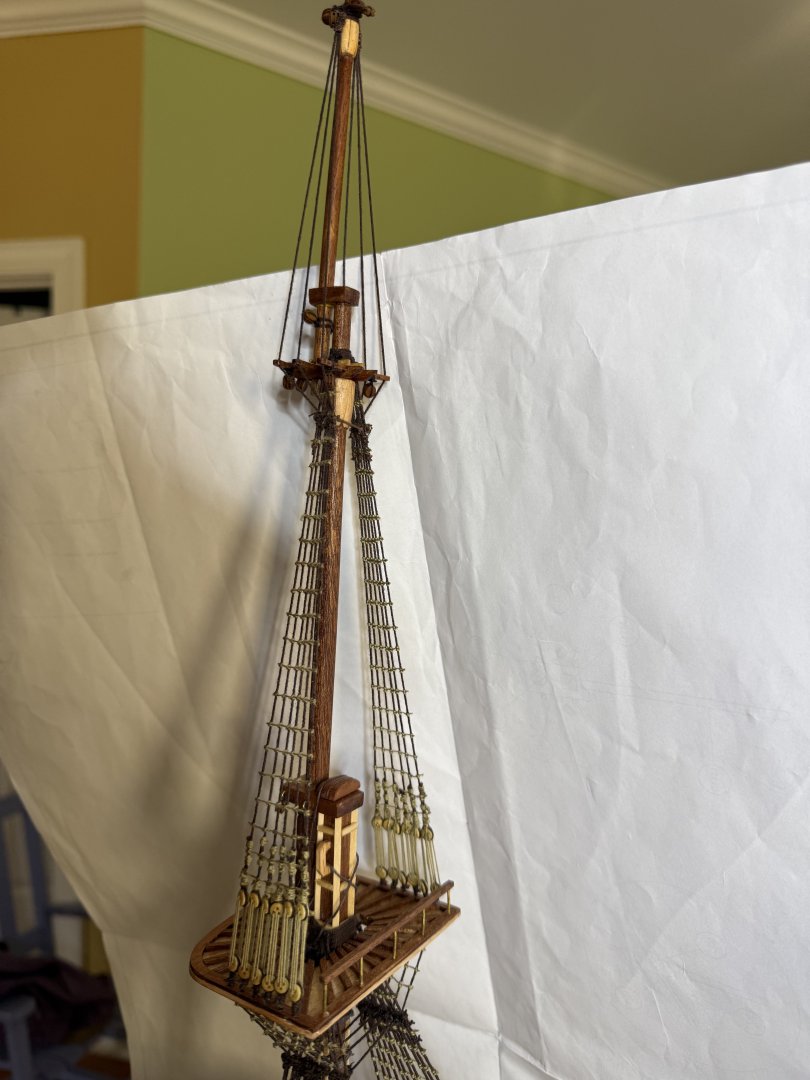


-
HMS Victory by ECK - OcCre - 1/87
ECK replied to ECK's topic in - Kit build logs for subjects built from 1751 - 1800
Thanks but unfortunately the plans show them going all the way across. -
HMS Victory by ECK - OcCre - 1/87
ECK replied to ECK's topic in - Kit build logs for subjects built from 1751 - 1800
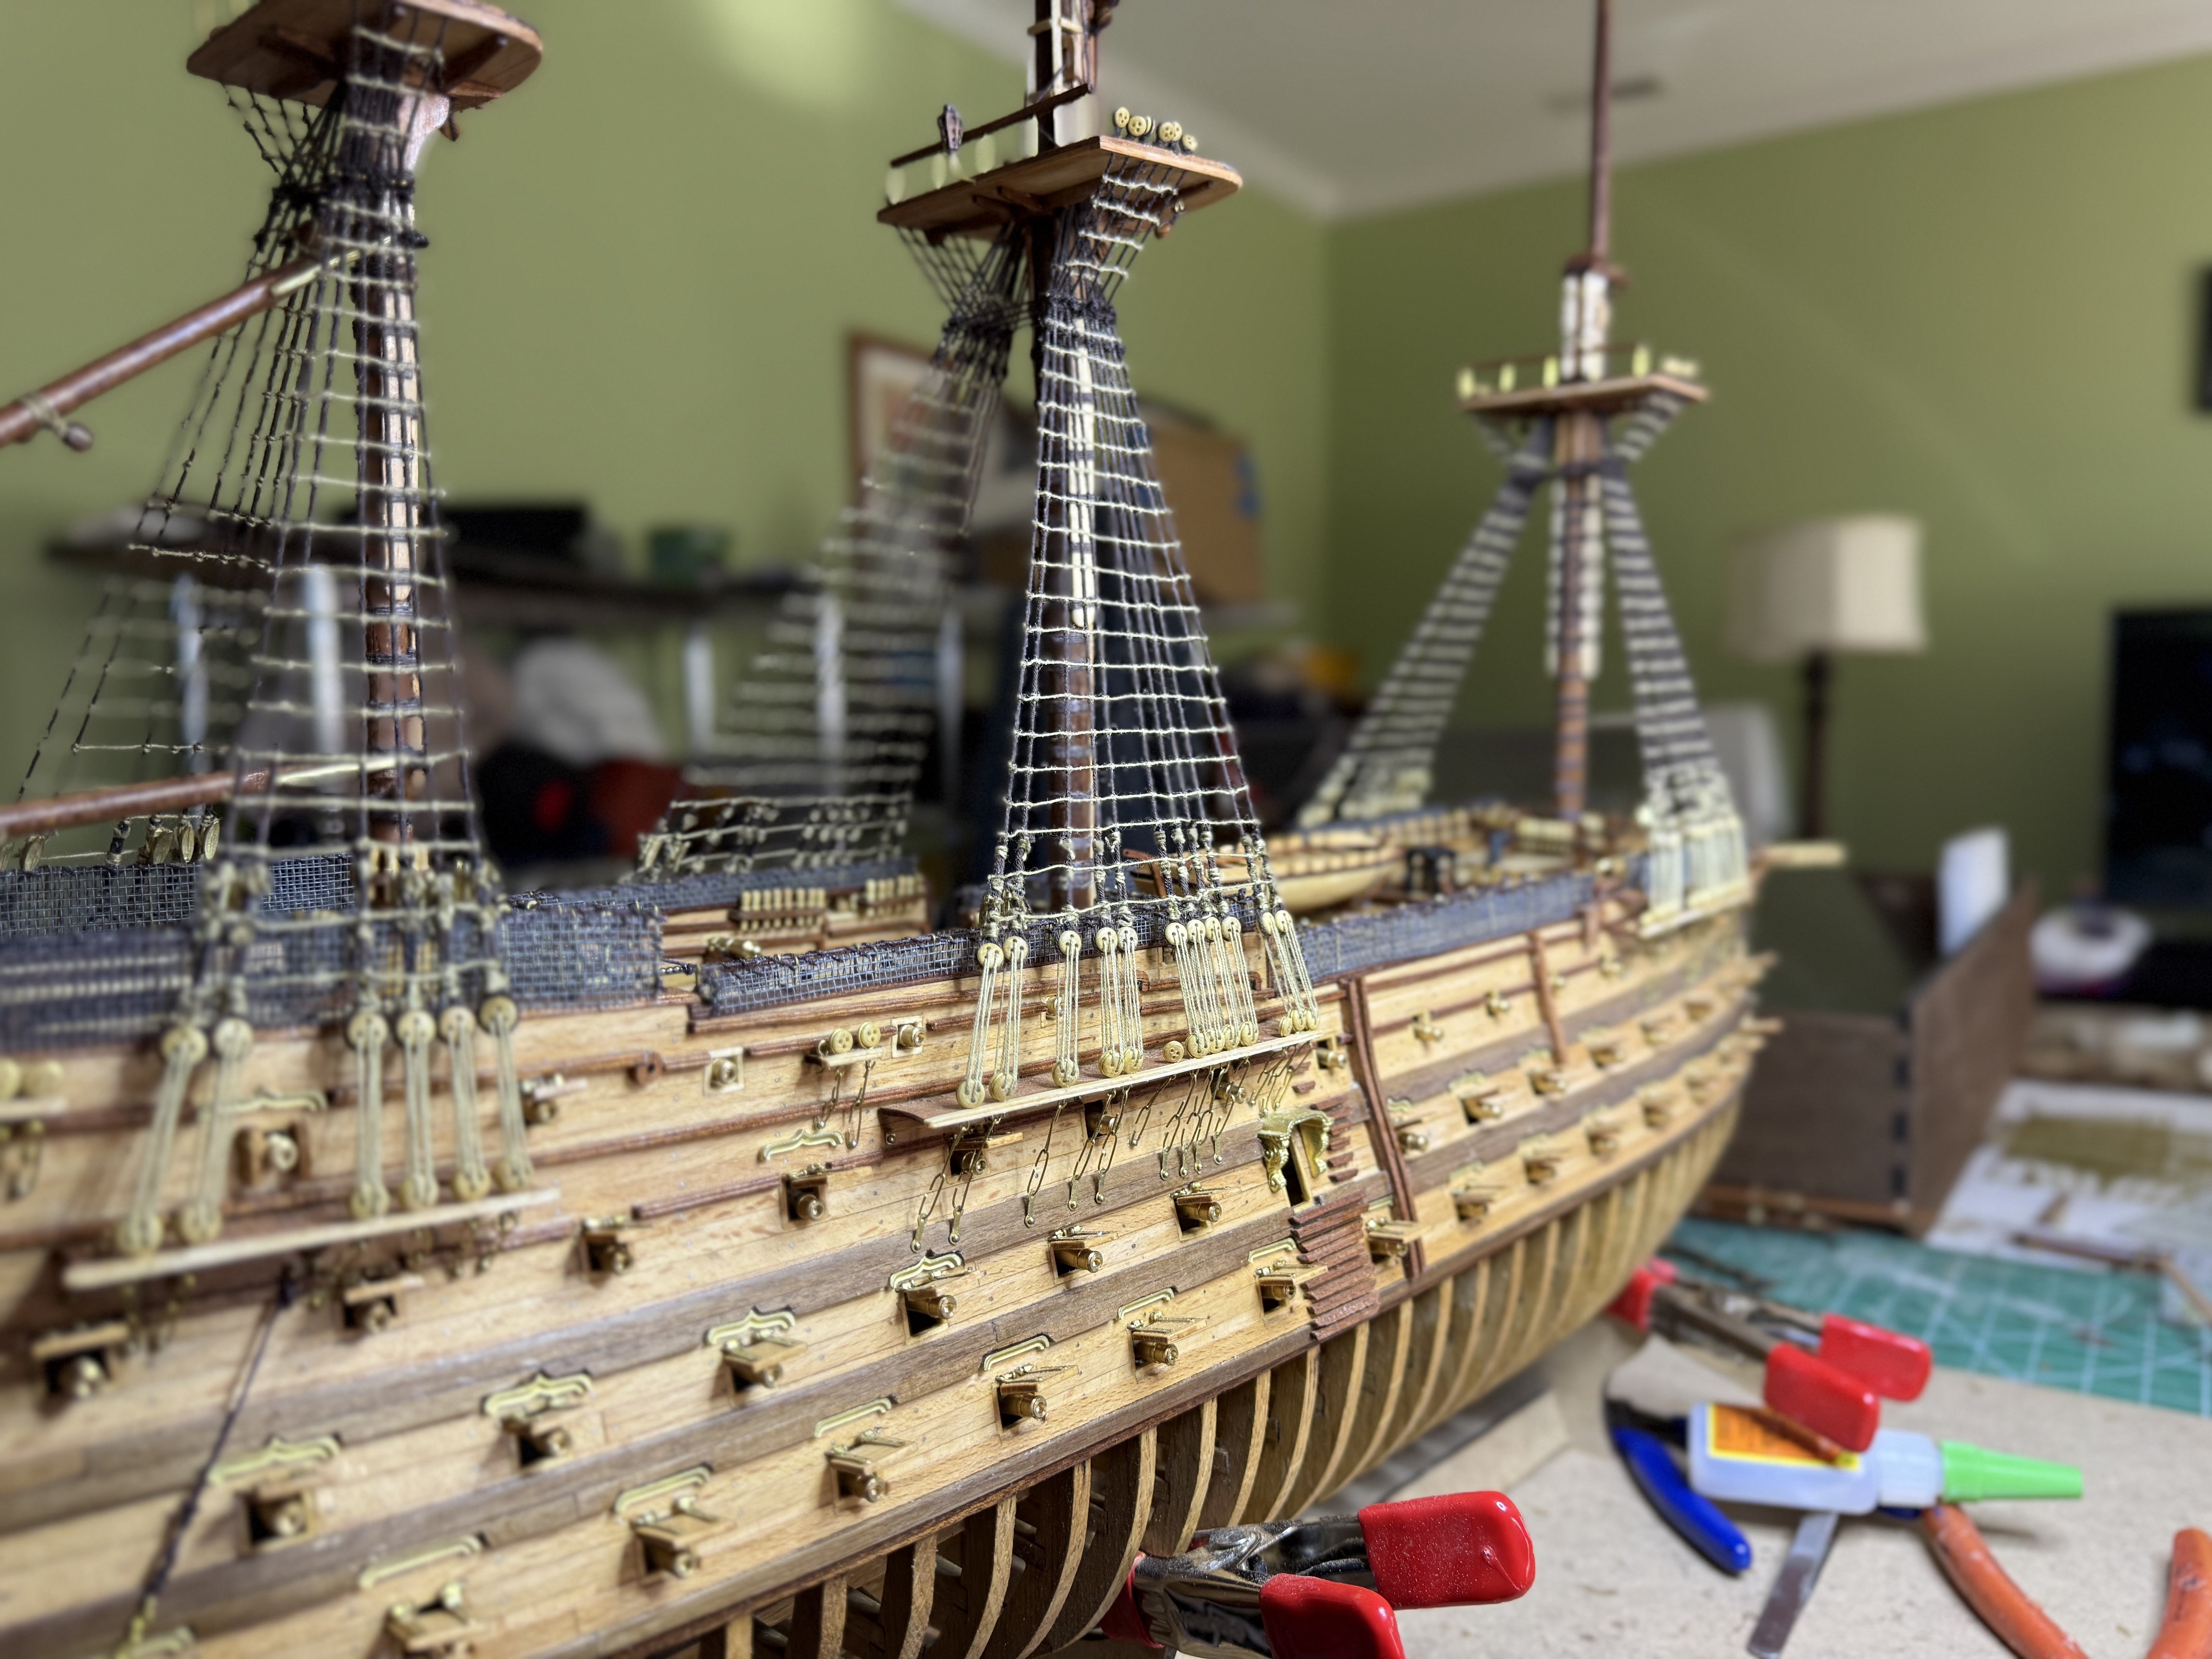
Merry Christmas! Sooooo some 1300 knots later the lower shrouds are done. Also attached cleats to the appropriate shrouds.


-
Looking excellent !
-
HMS Victory by ECK - OcCre - 1/87
ECK replied to ECK's topic in - Kit build logs for subjects built from 1751 - 1800
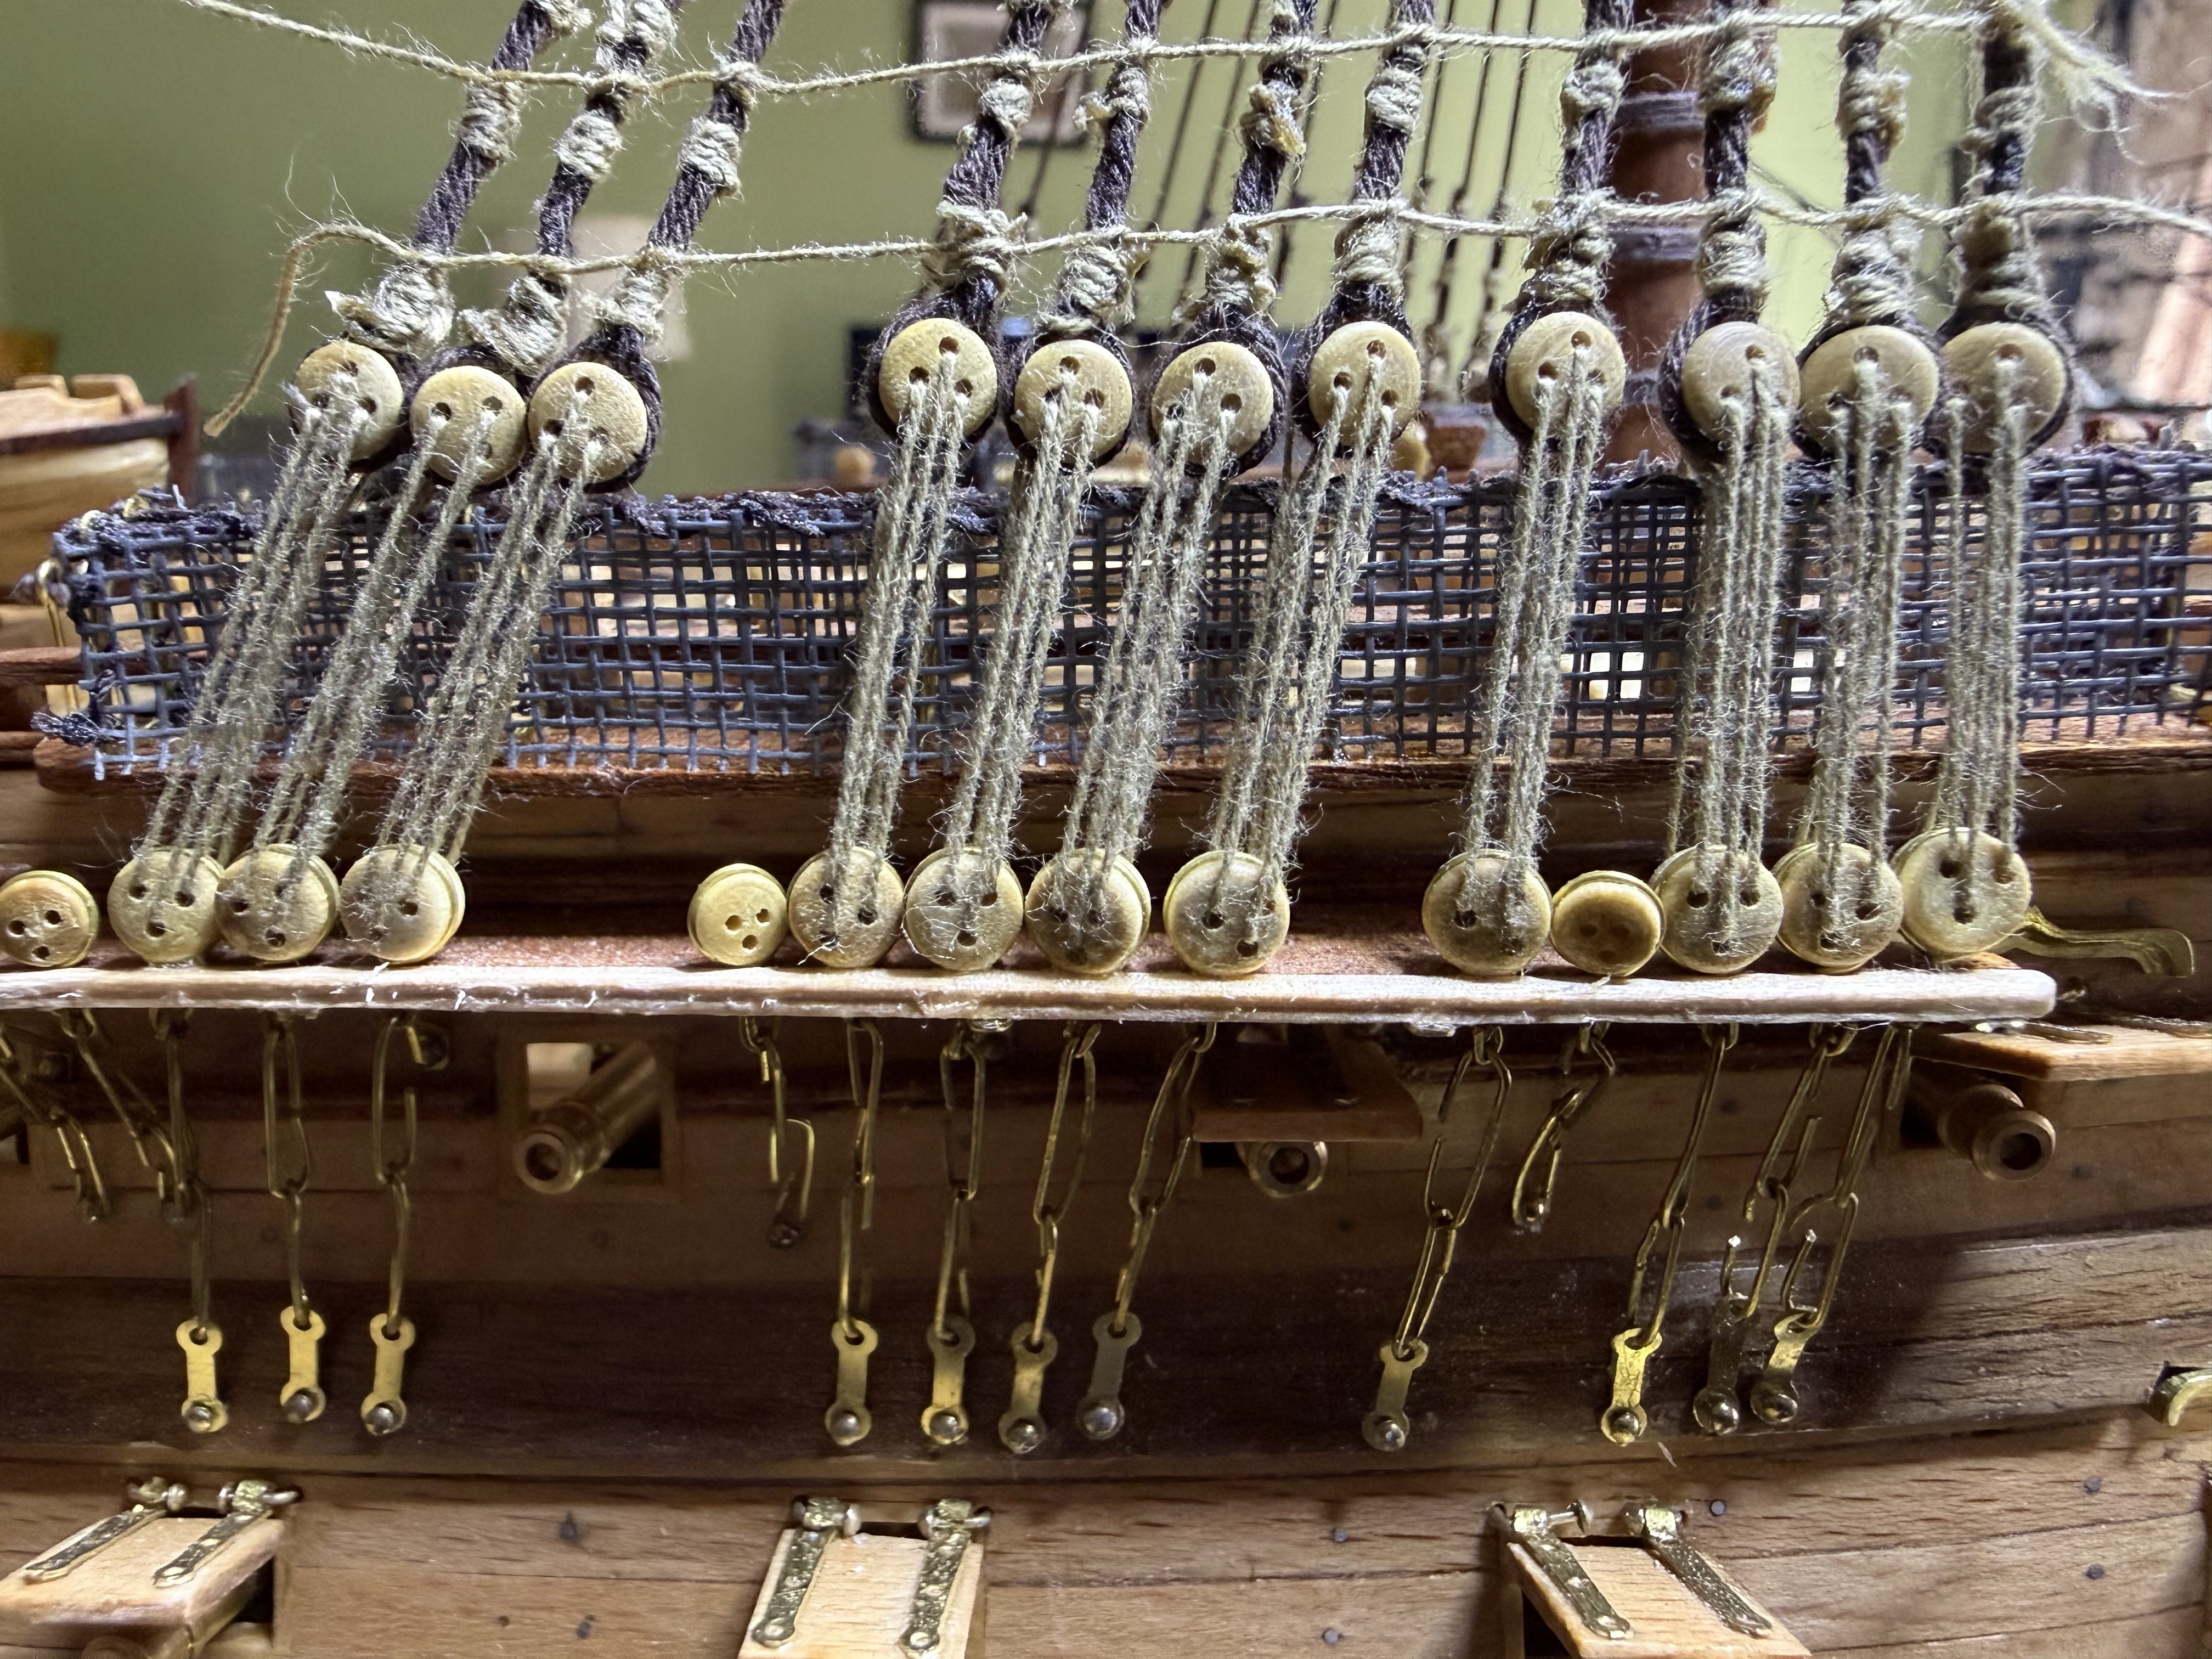
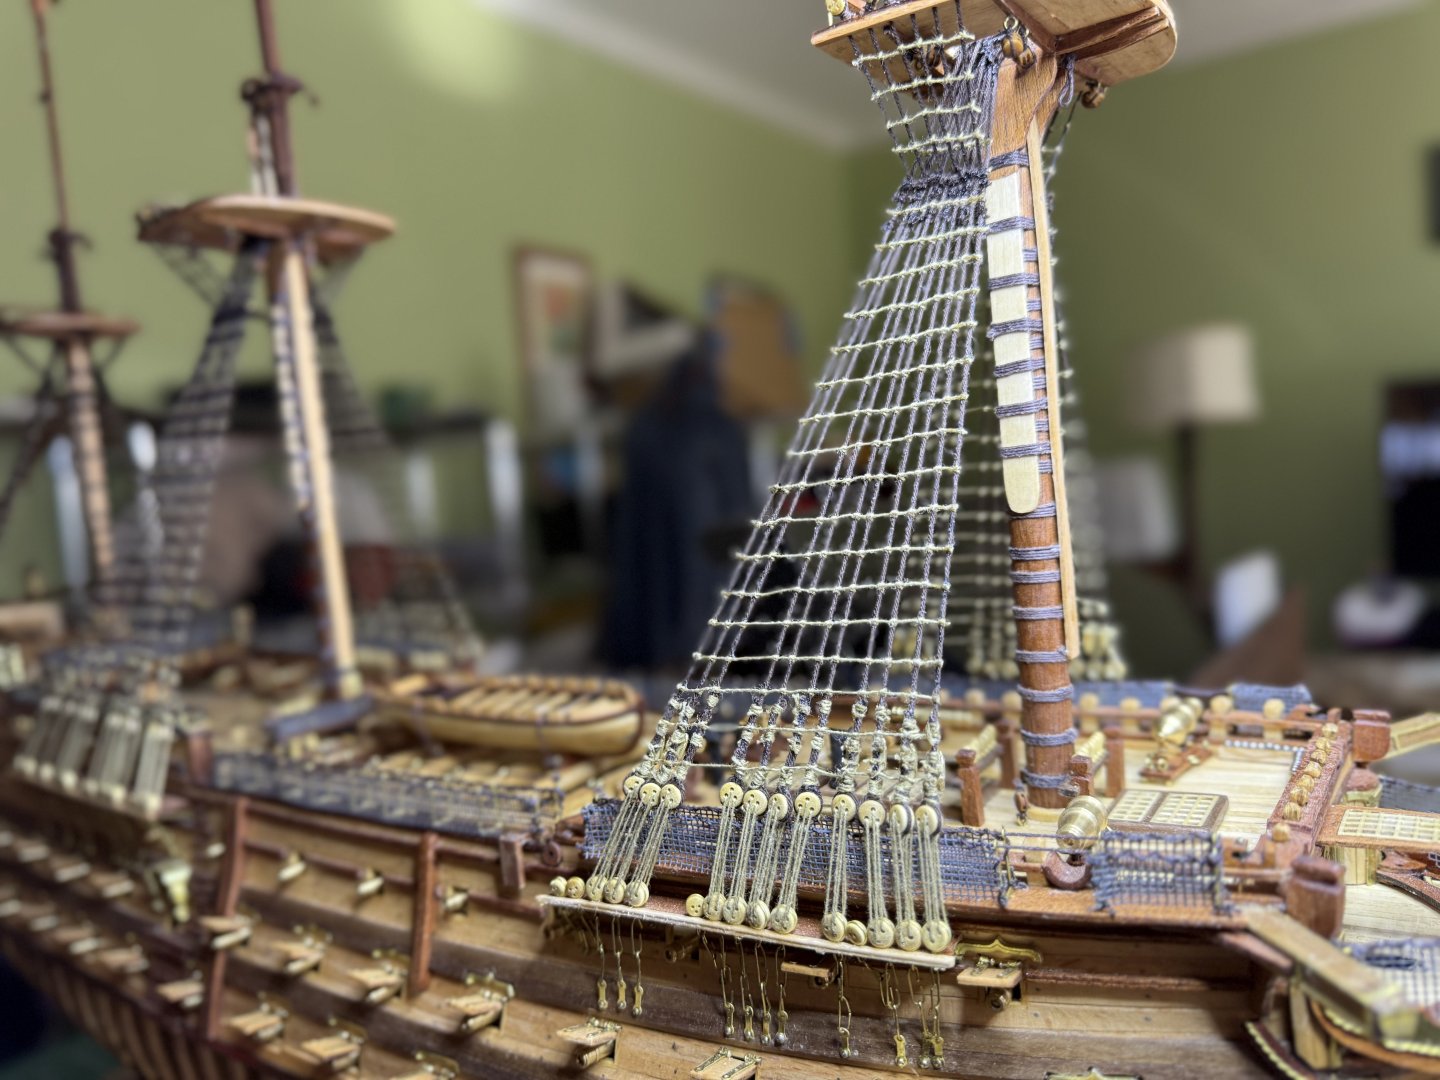
First job with the lower shrouds is to straighten the deadeyes as they tend to twist given how close they are. Next 2 rows of ratlines to lock into place Now to straighten out the upper part of the shrouds by adding the clatharins which also align bring in the back part of the shrouds which tend to flare outward.


-
HMS Victory by ECK - OcCre - 1/87
ECK replied to ECK's topic in - Kit build logs for subjects built from 1751 - 1800
Lower shrouds done. Occre need to switch to a better way to attach the lower deadeyes like Vanguard several other manufacturers. The instruction do not mention or show the clatharpins. Only shows the upper deadeyes attached to a ratline. I will add the appropriate clatharpins.
-
Part of the satisfaction is fixing mistakes so things still look good.
-
HMS Victory by ECK - OcCre - 1/87
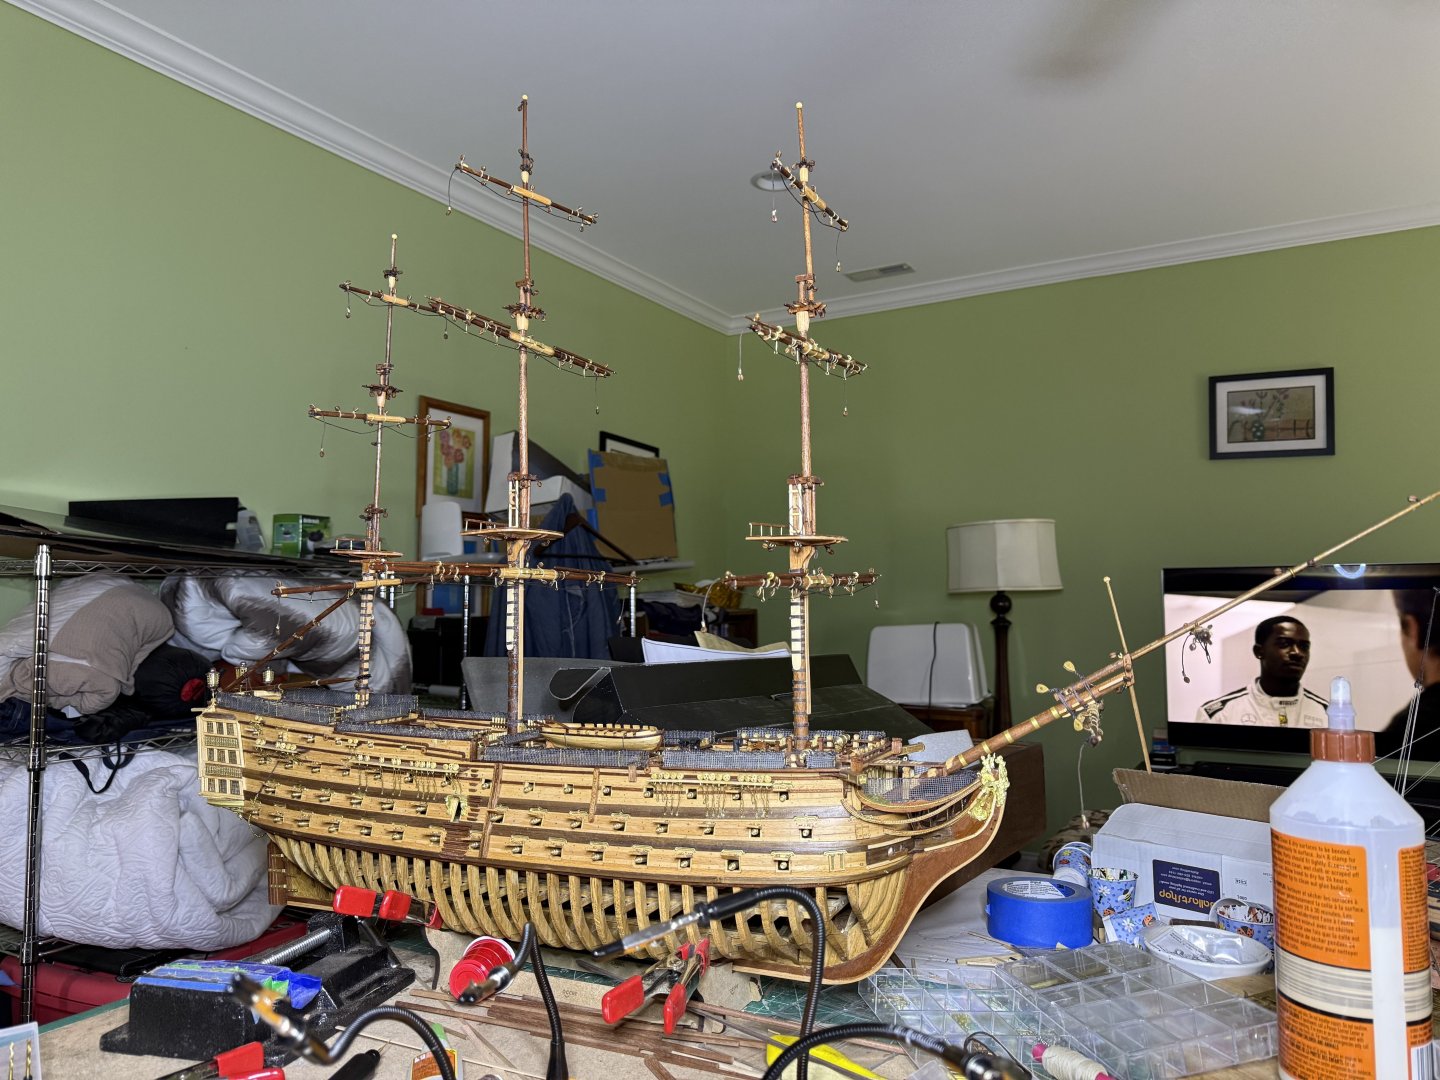
ECK replied to ECK's topic in - Kit build logs for subjects built from 1751 - 1800
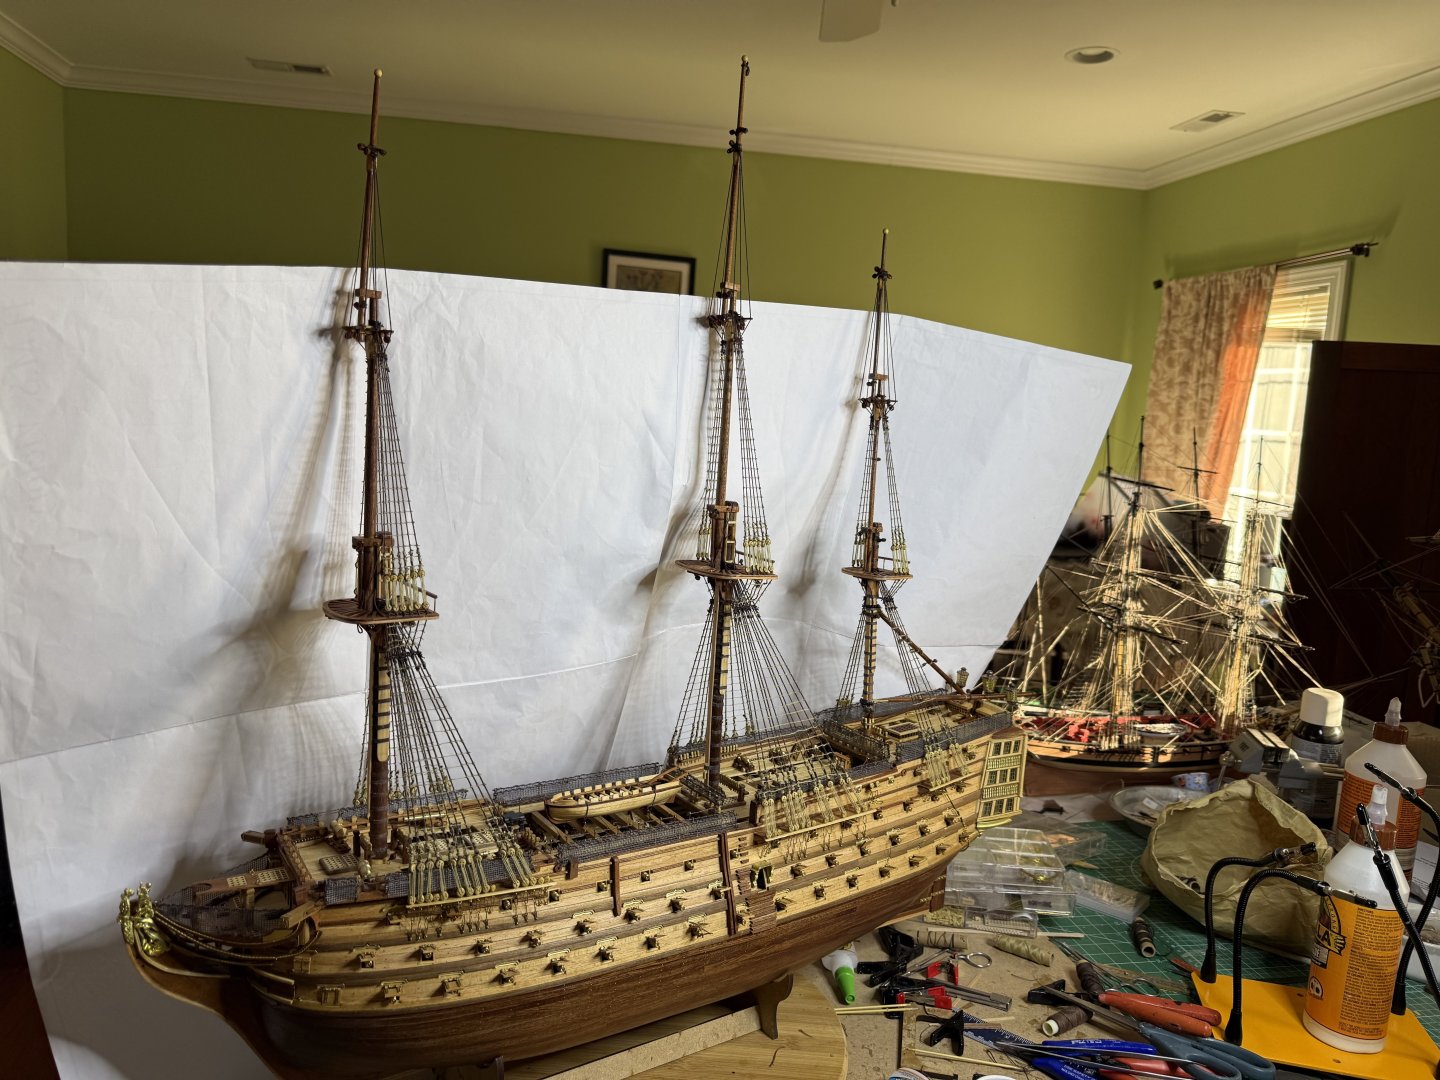
82 cm or 32 1/4 inches keel to main top -
HMS Victory by ECK - OcCre - 1/87
ECK replied to ECK's topic in - Kit build logs for subjects built from 1751 - 1800
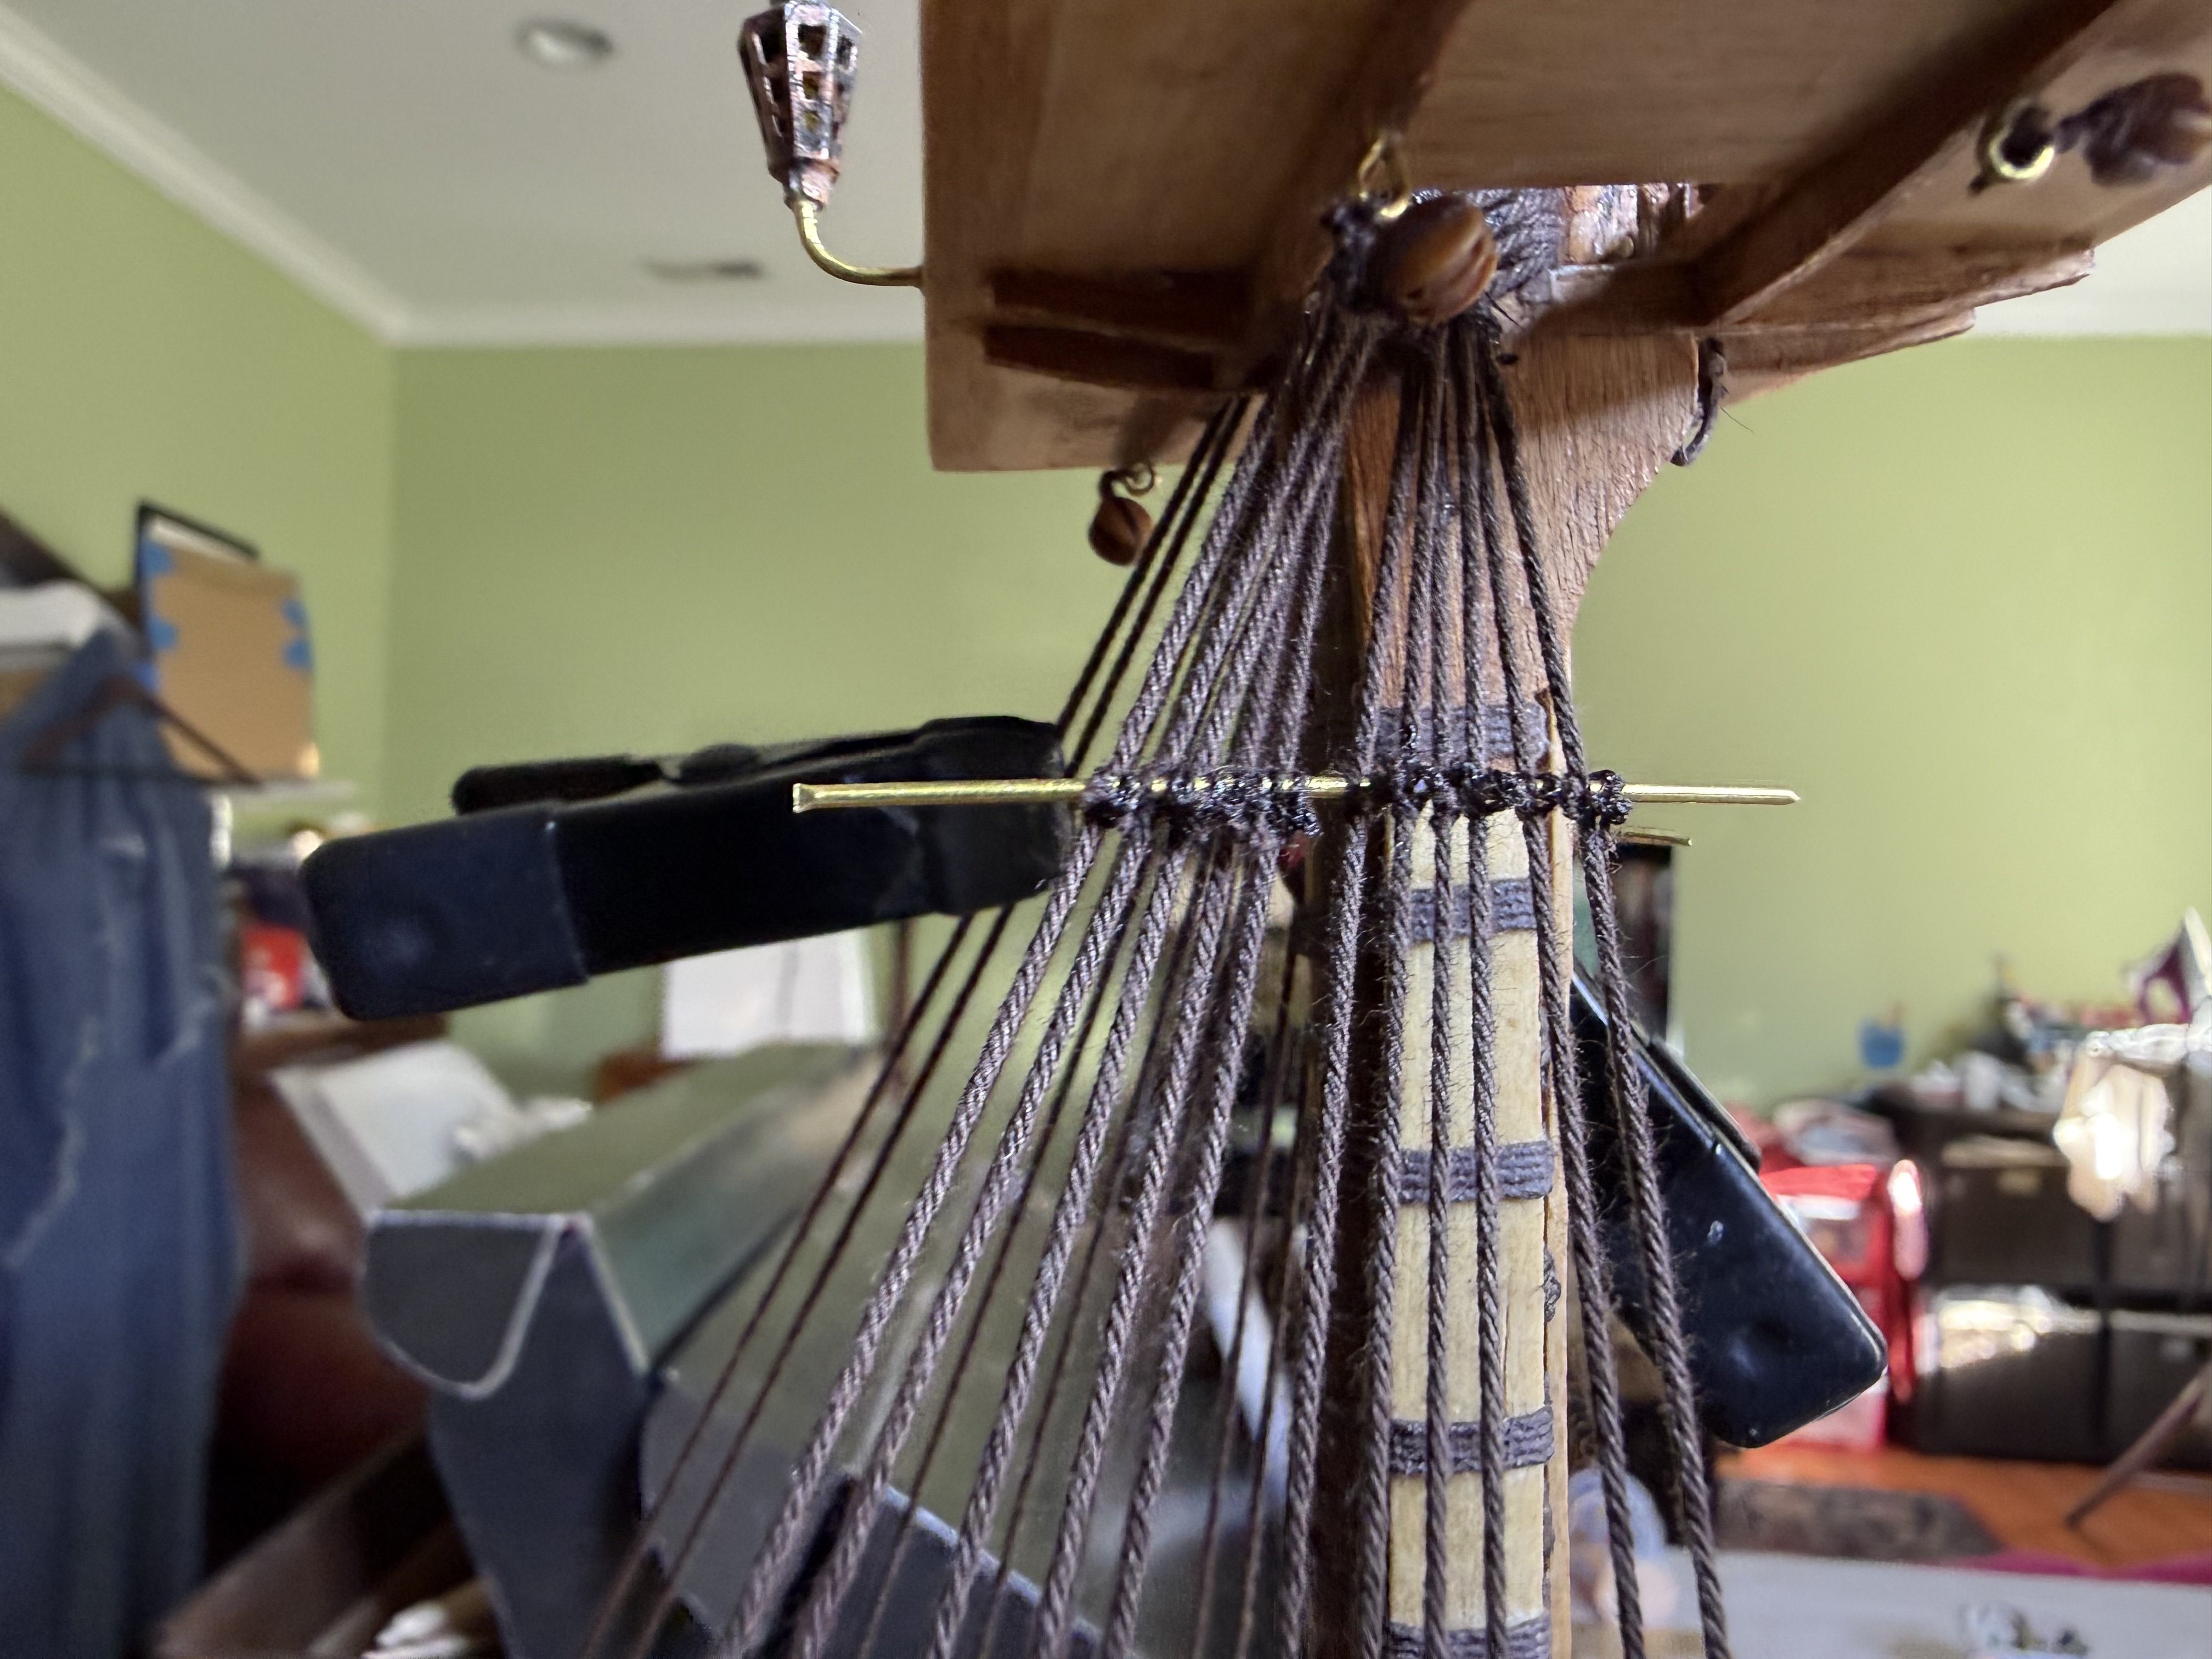
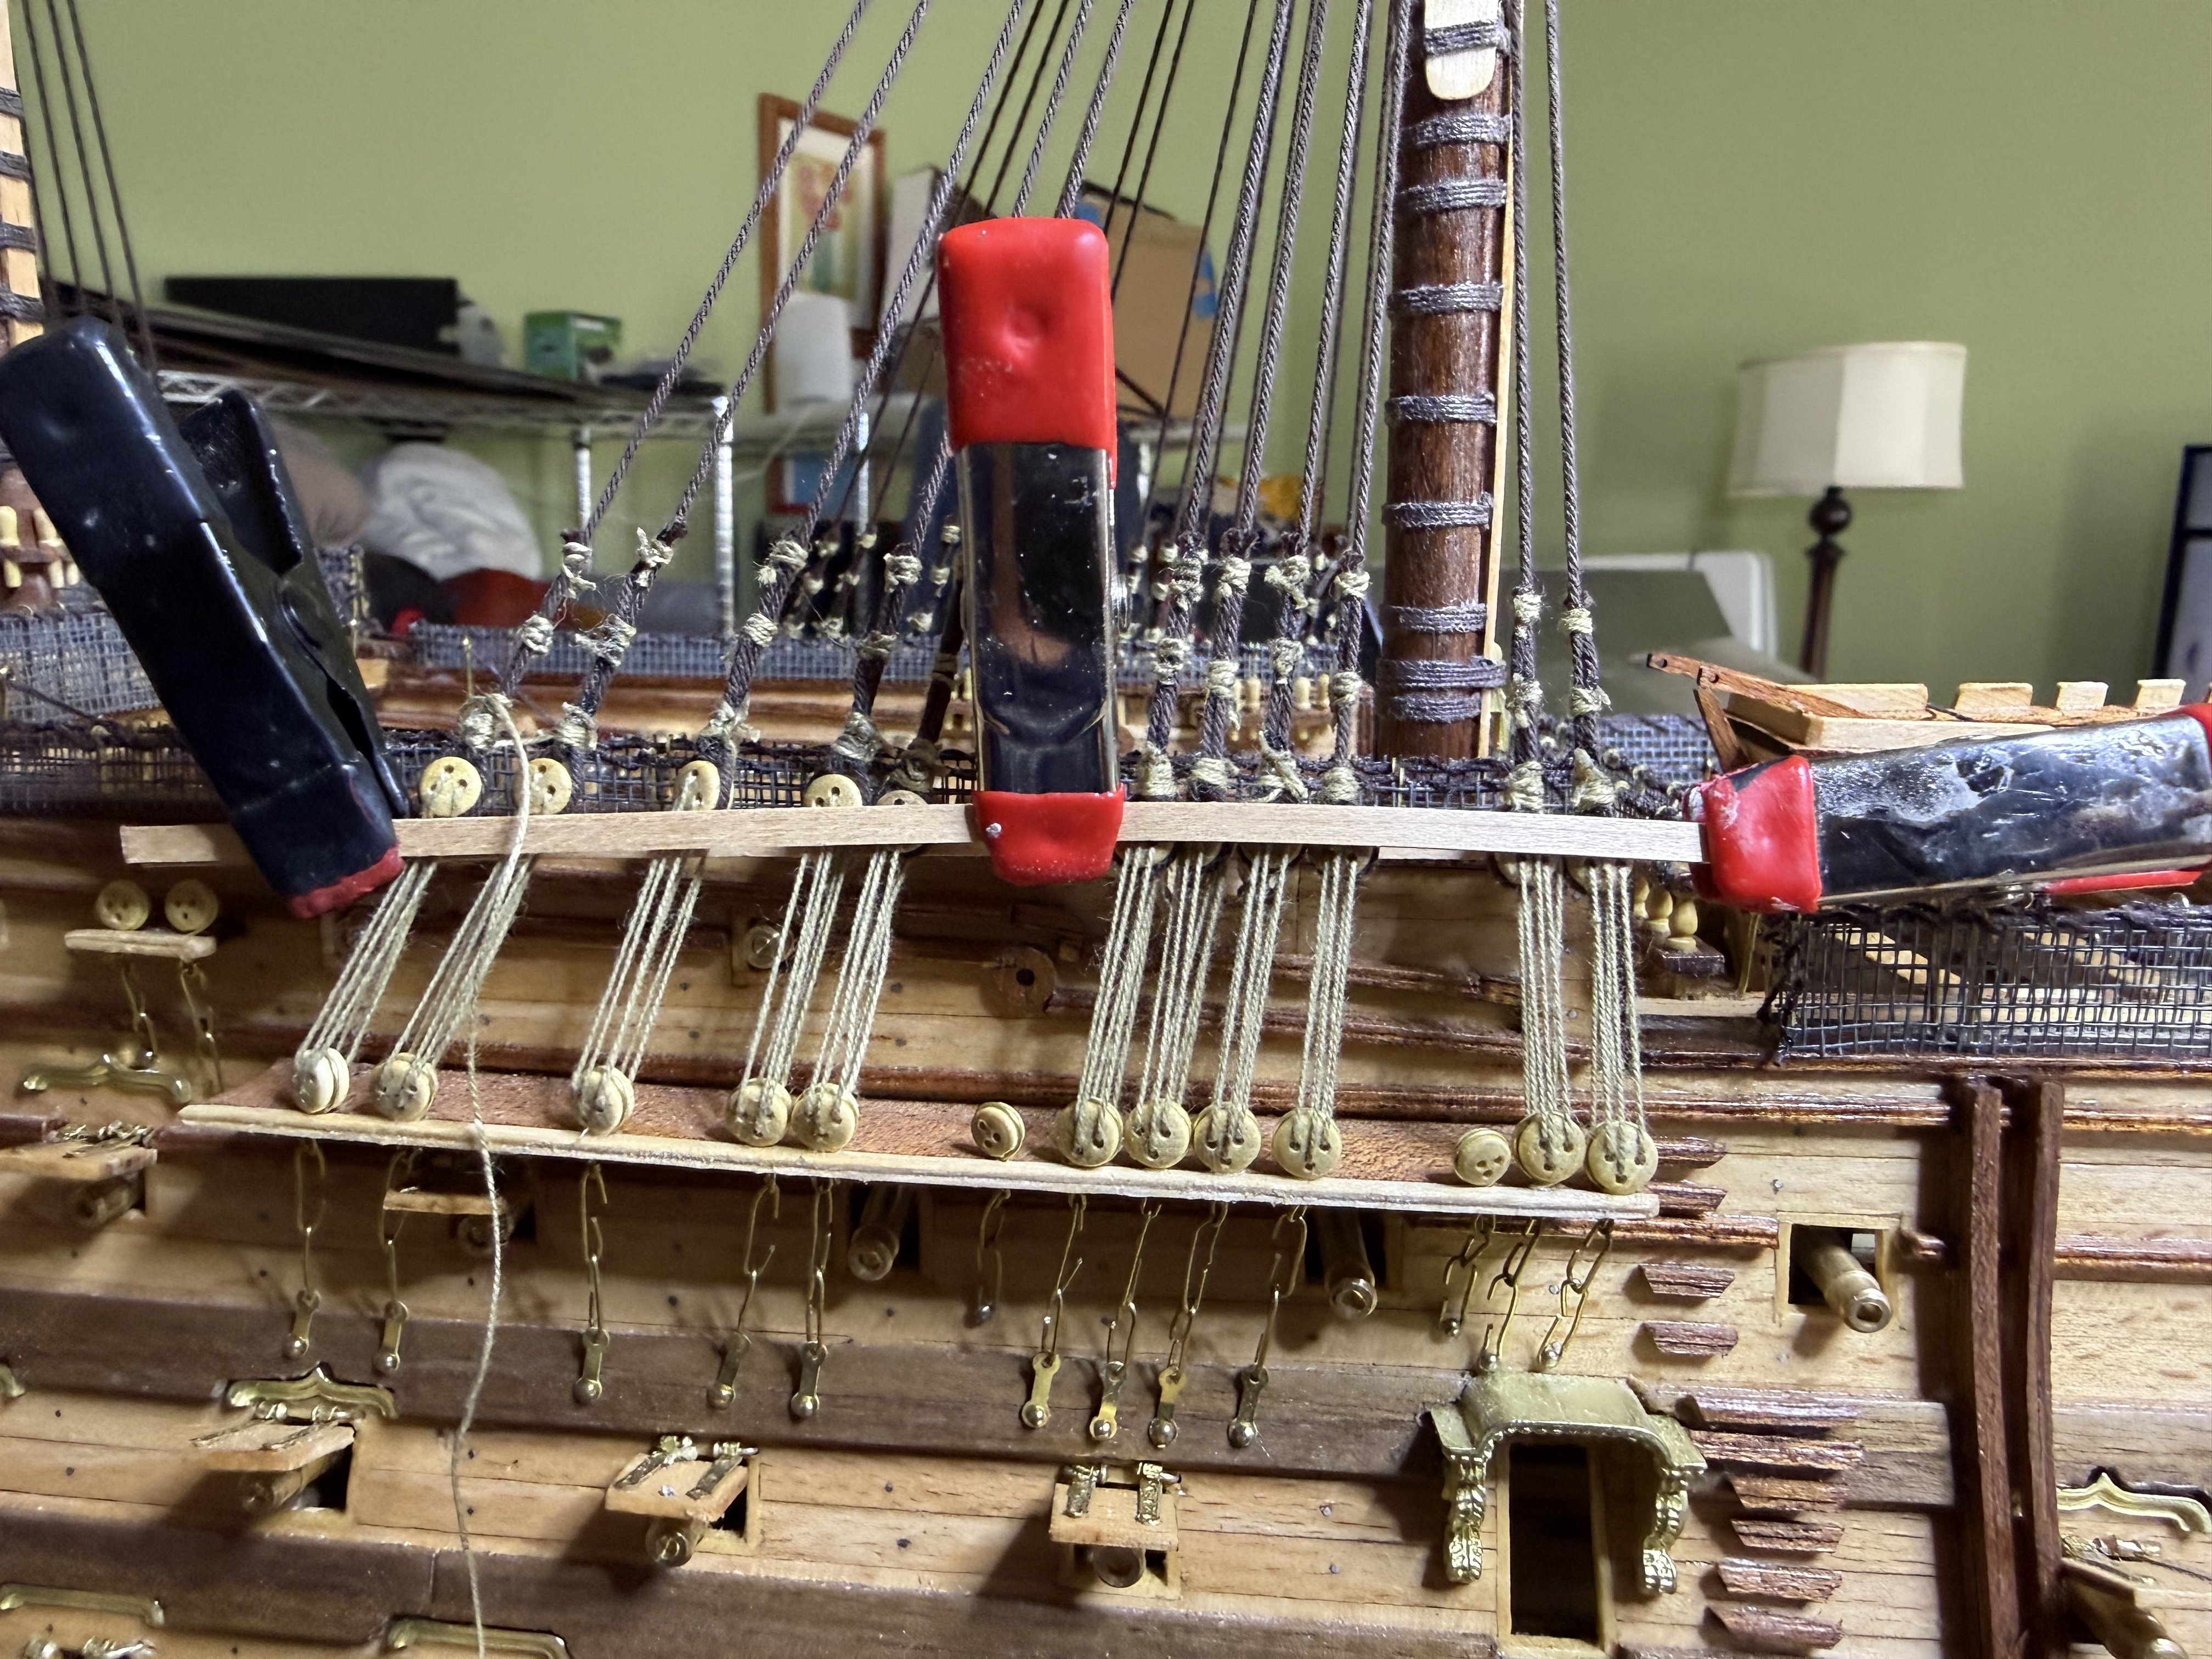
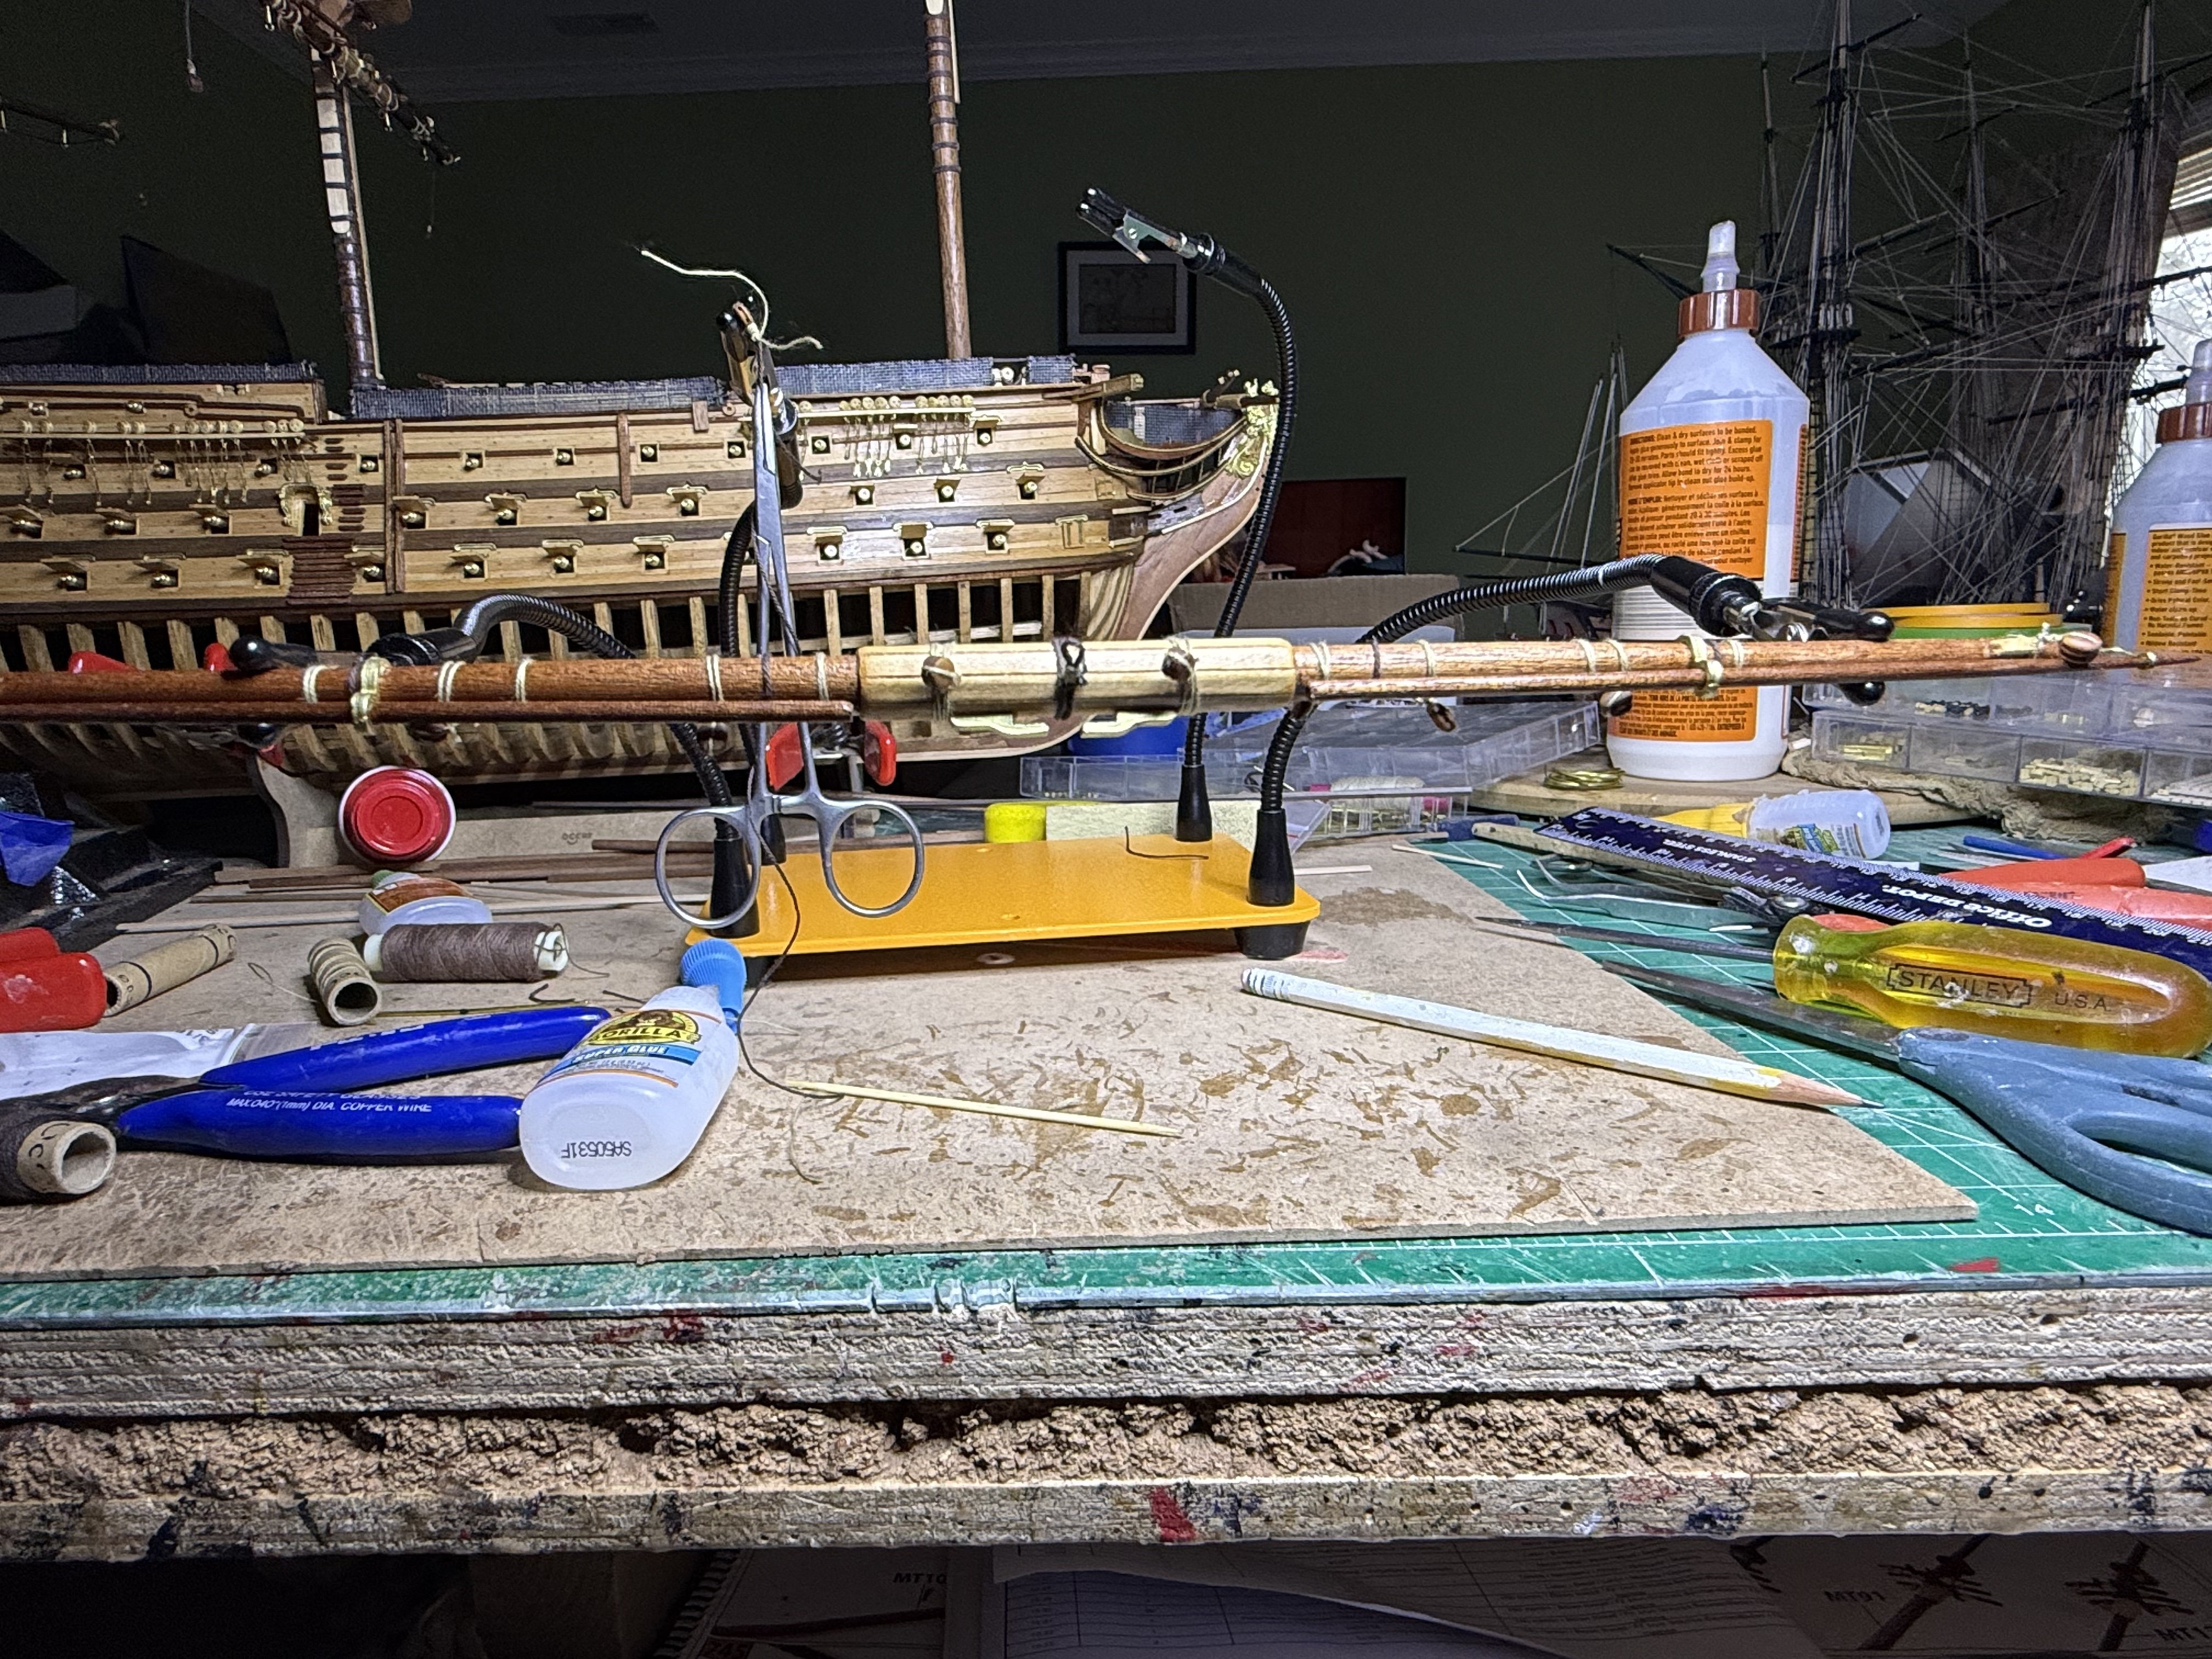
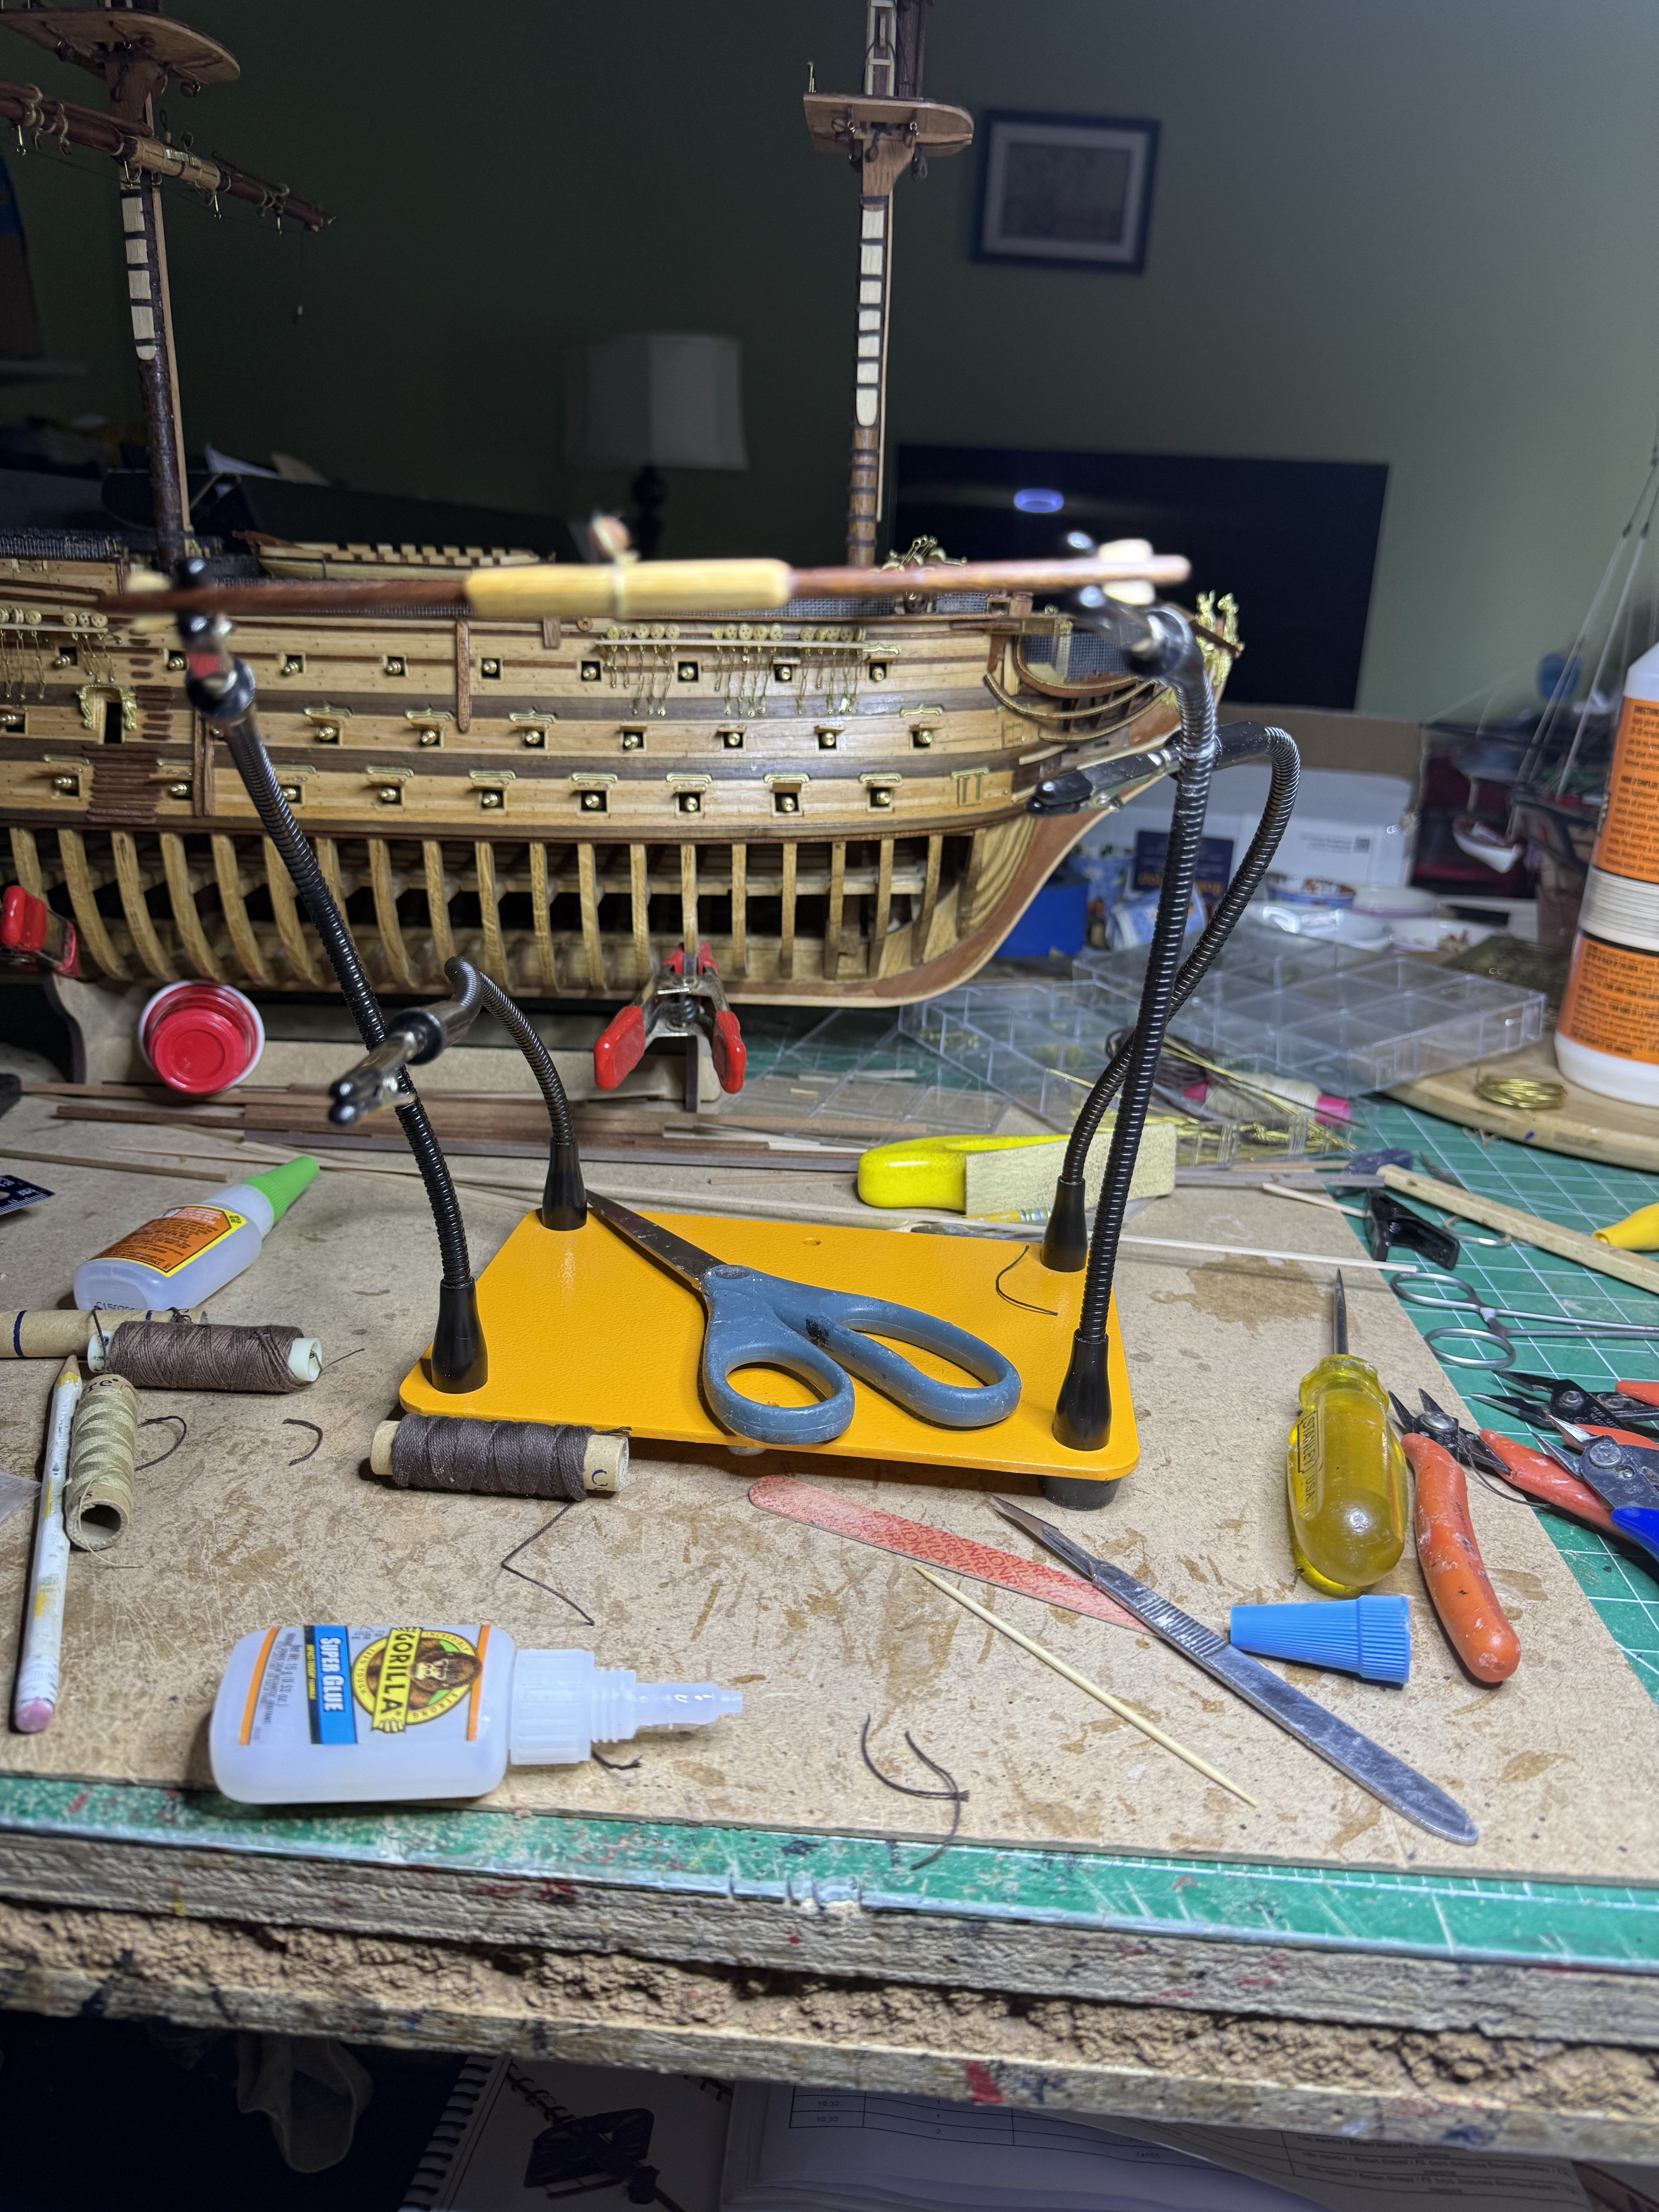
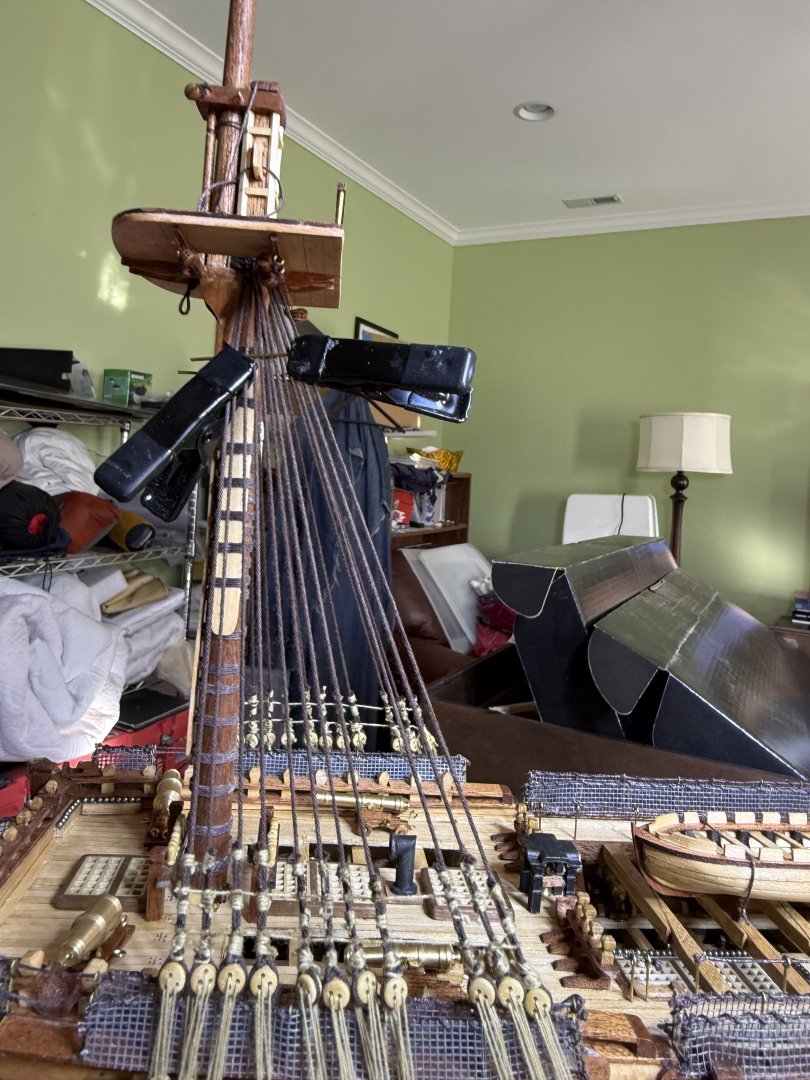
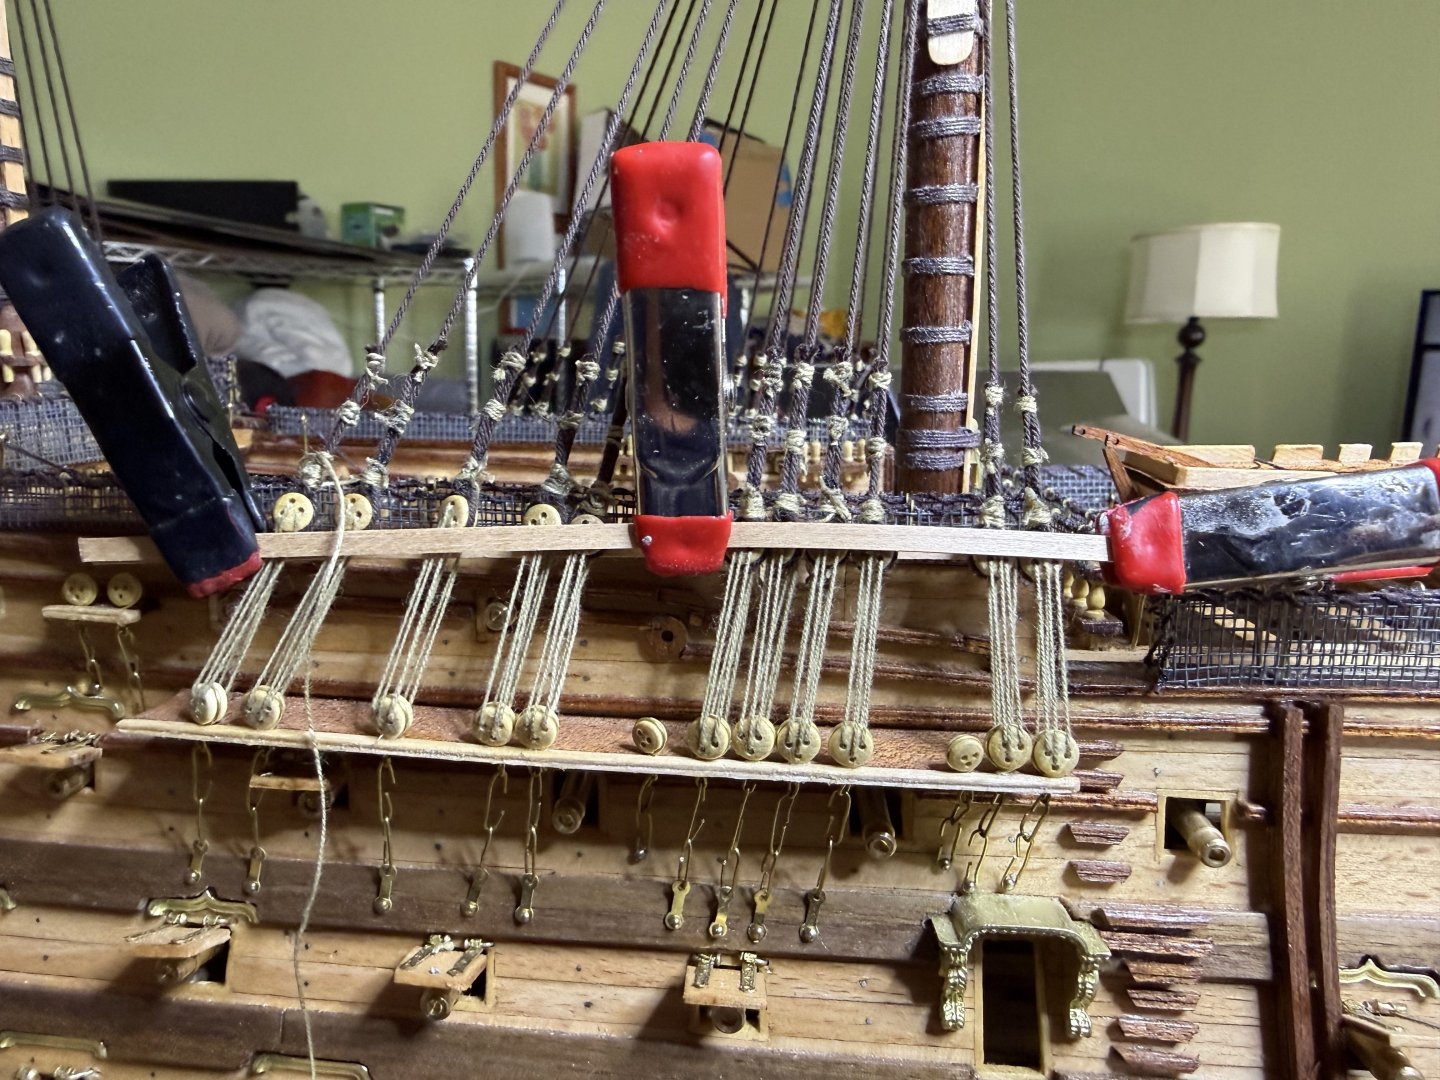
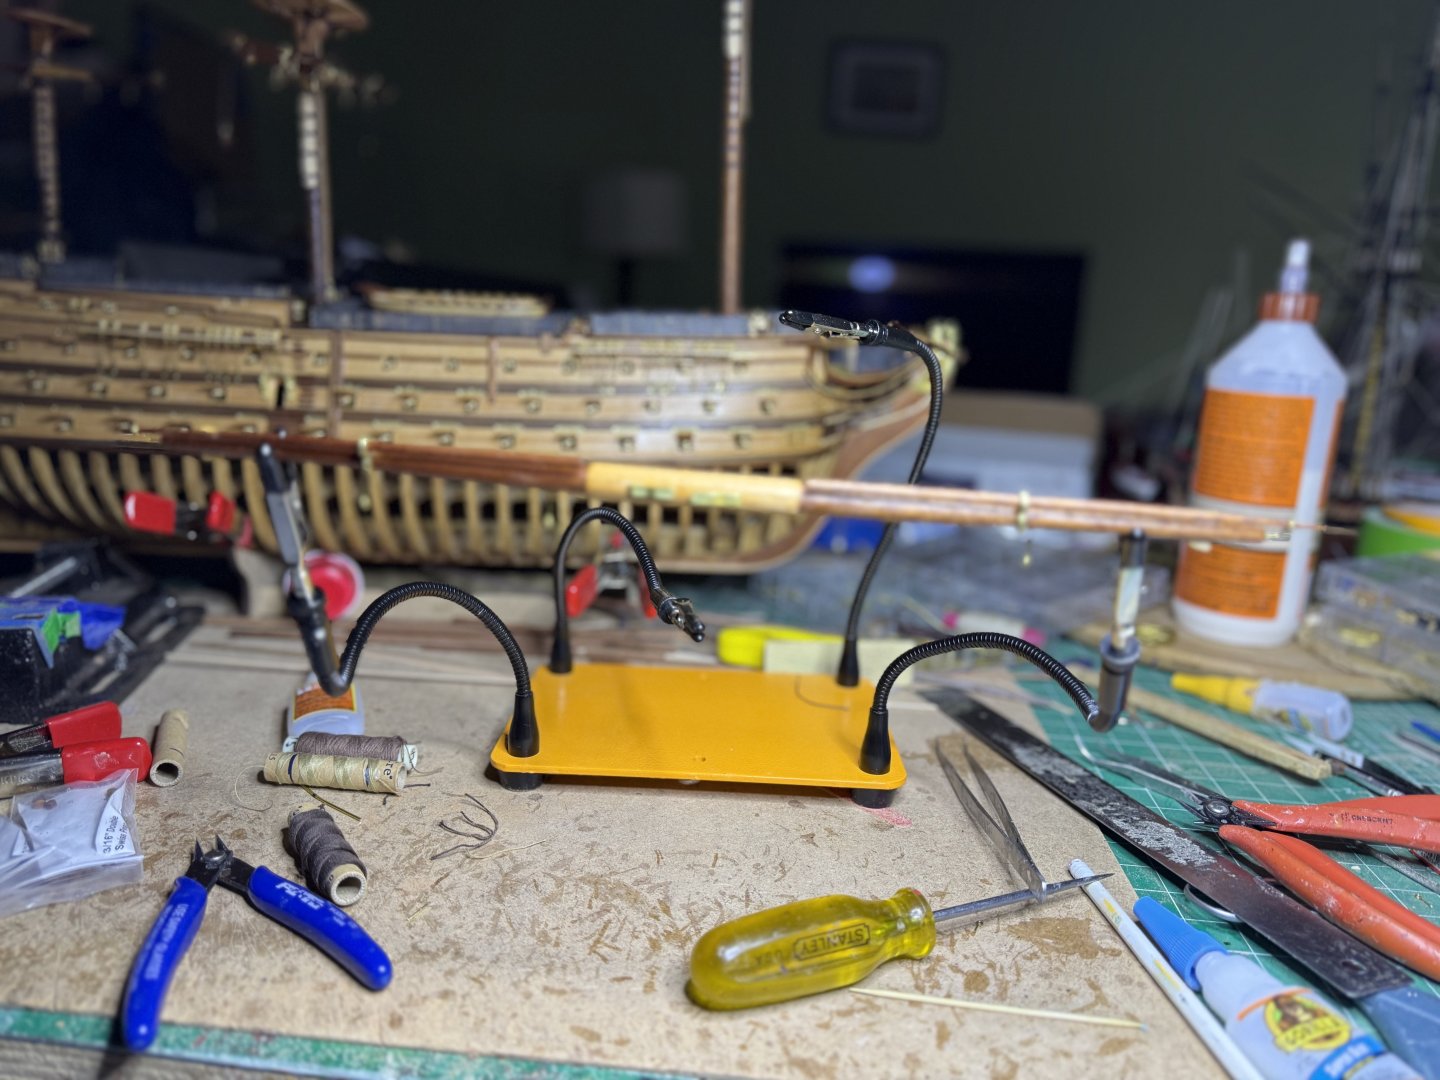
Spent the week rigging all the various blocks to the yards. Finally got to use my new gadget, a quad hands,making the whole process easier Here with yard in place Also used third clamp to hold blocks for tying Sorry for the focus. Finally pinned the yards temporarily in place. Usually at this point I like to attach the yards then do the shrouds but as this model will have sails, I will do the shrouds first as it is easier to bend the sails onto the yards with the yards off the mast and the sails would get in the way of setting up the shrouds.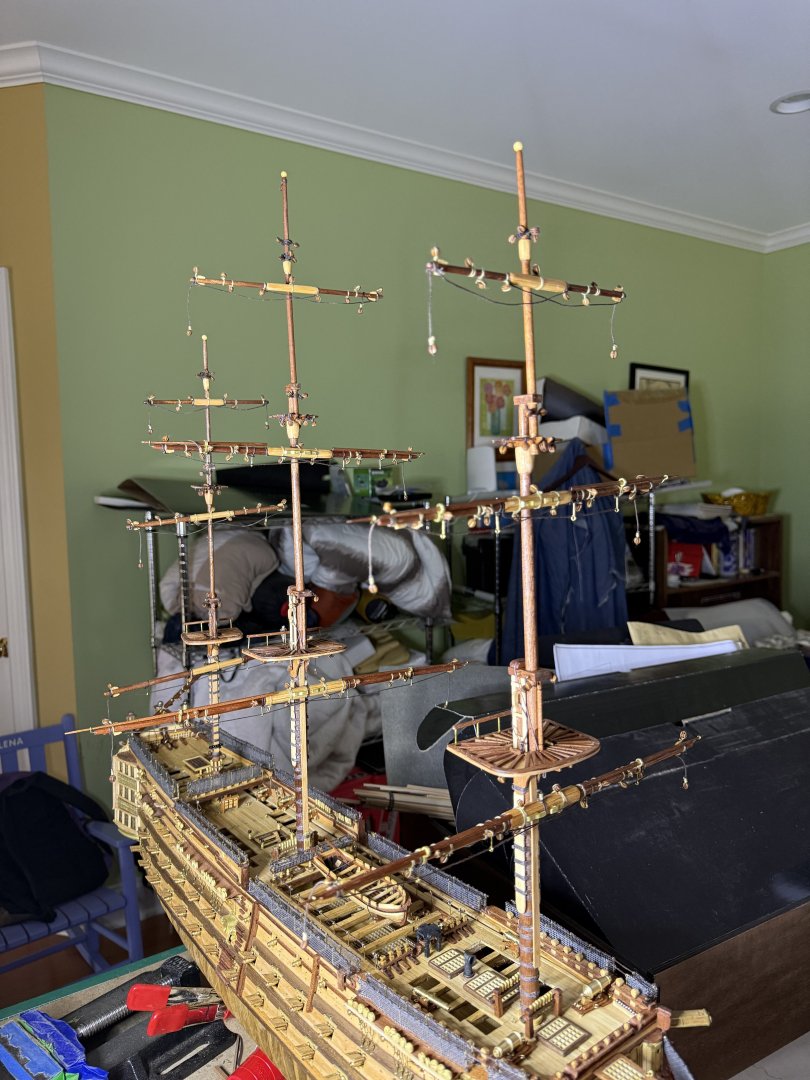


-
HMS Victory by ECK - OcCre - 1/87
ECK replied to ECK's topic in - Kit build logs for subjects built from 1751 - 1800
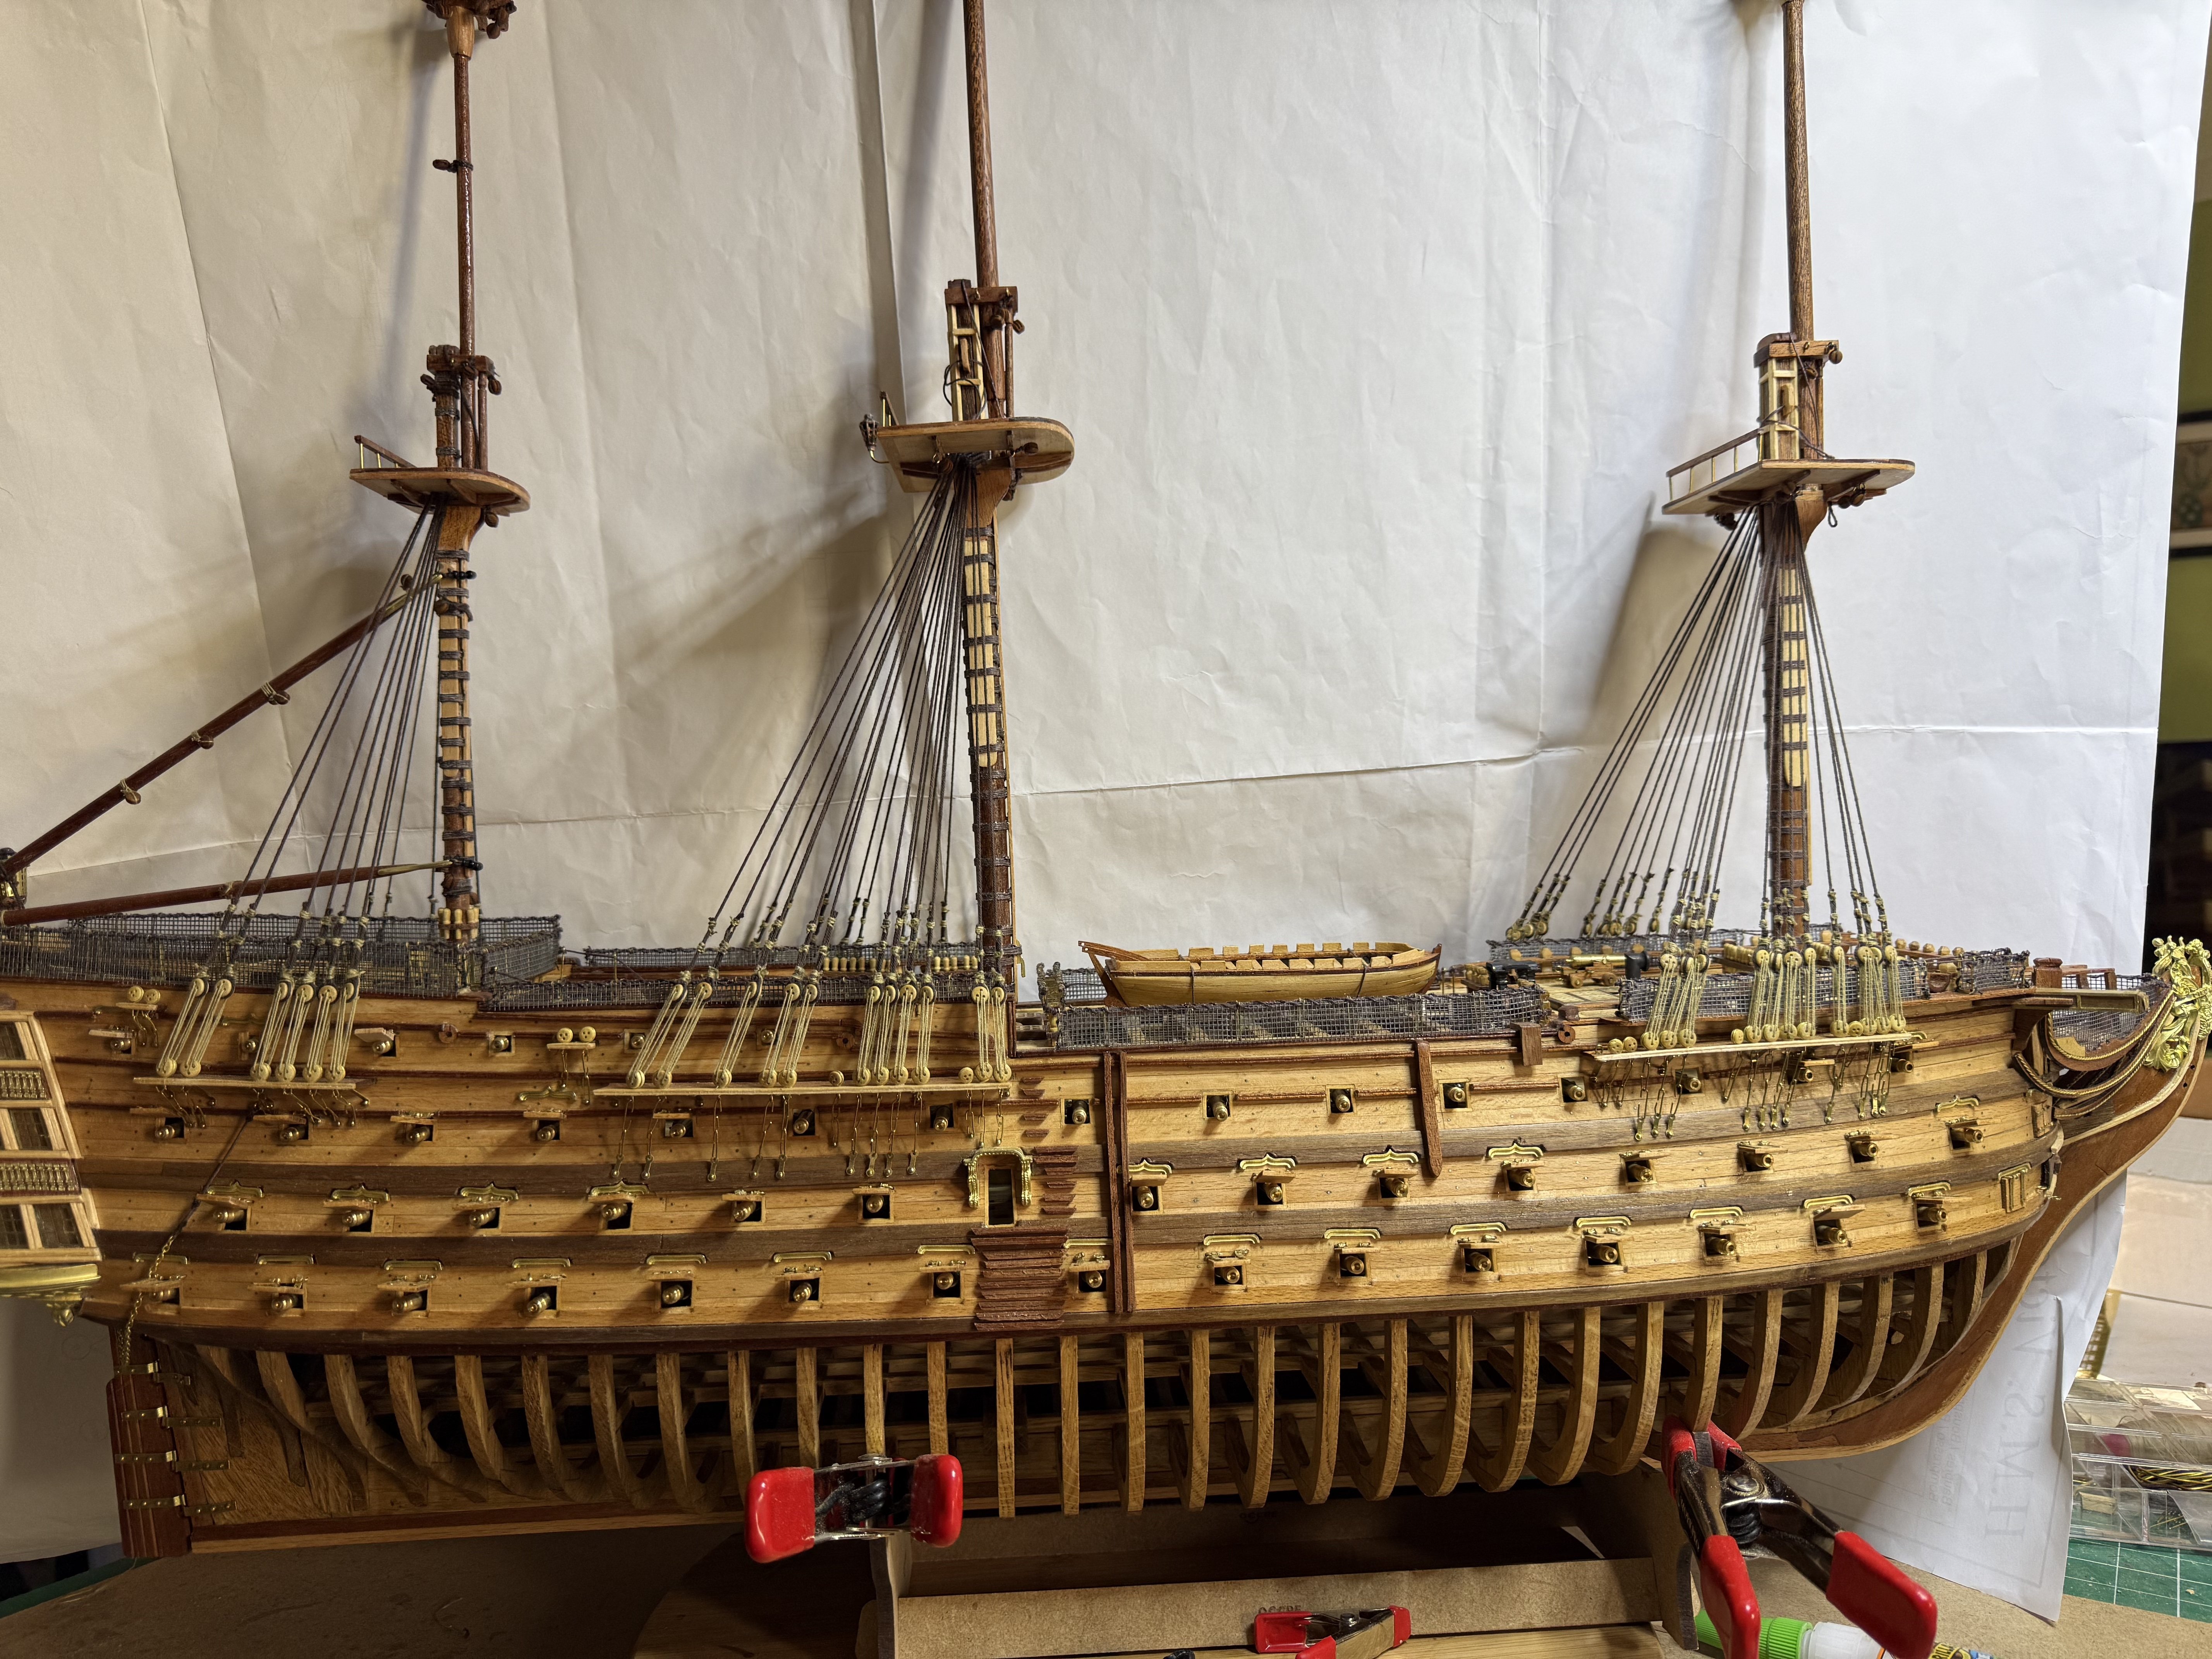
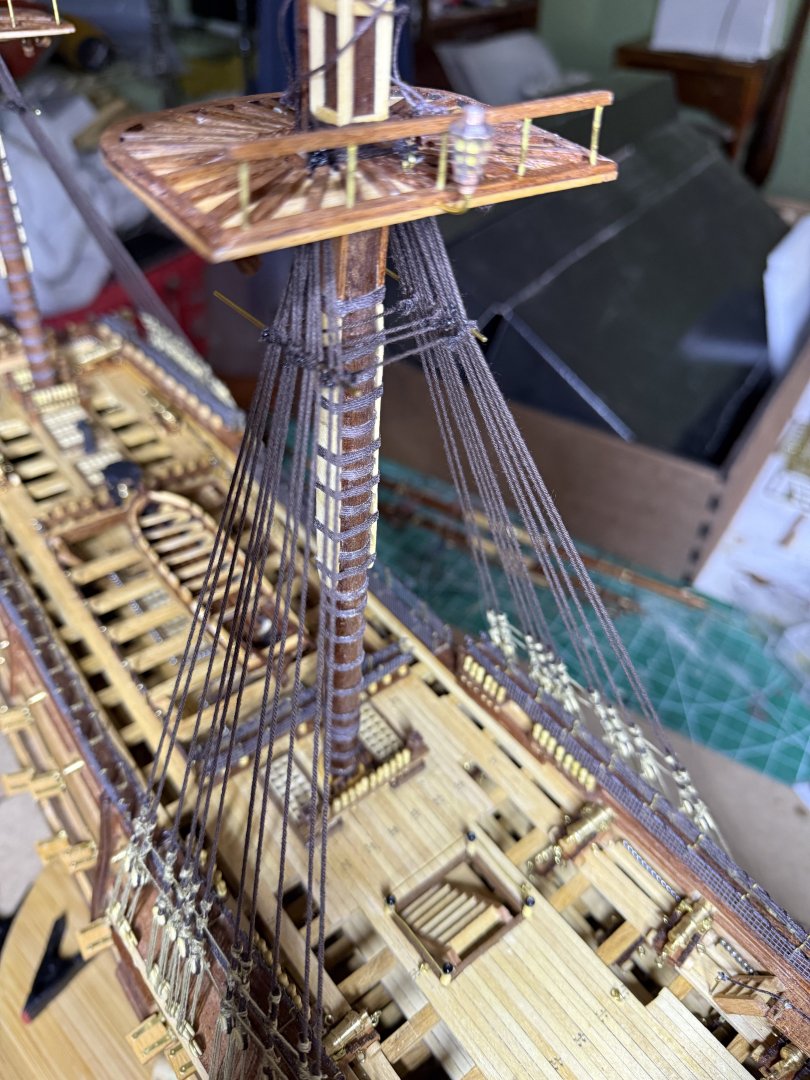
For the weeks work, Masts rigged, example below Yards all made , sealed and poly'd. Next will be putting all the blocks on. In this model there are only 2 kinds of blocks 4mm single and 4 mm double. i opted to buy realistic ones from Syren as once I got used to using them on my Vanguard builds I just could not go back to the cheap single holed ones as the ships look much better in the end.

-
Excellent News. Just waiting for the moment I can order your next new kit, HMS Surprise with all the bells and whistles ! ECK
-
HMS Victory by ECK - OcCre - 1/87
ECK replied to ECK's topic in - Kit build logs for subjects built from 1751 - 1800
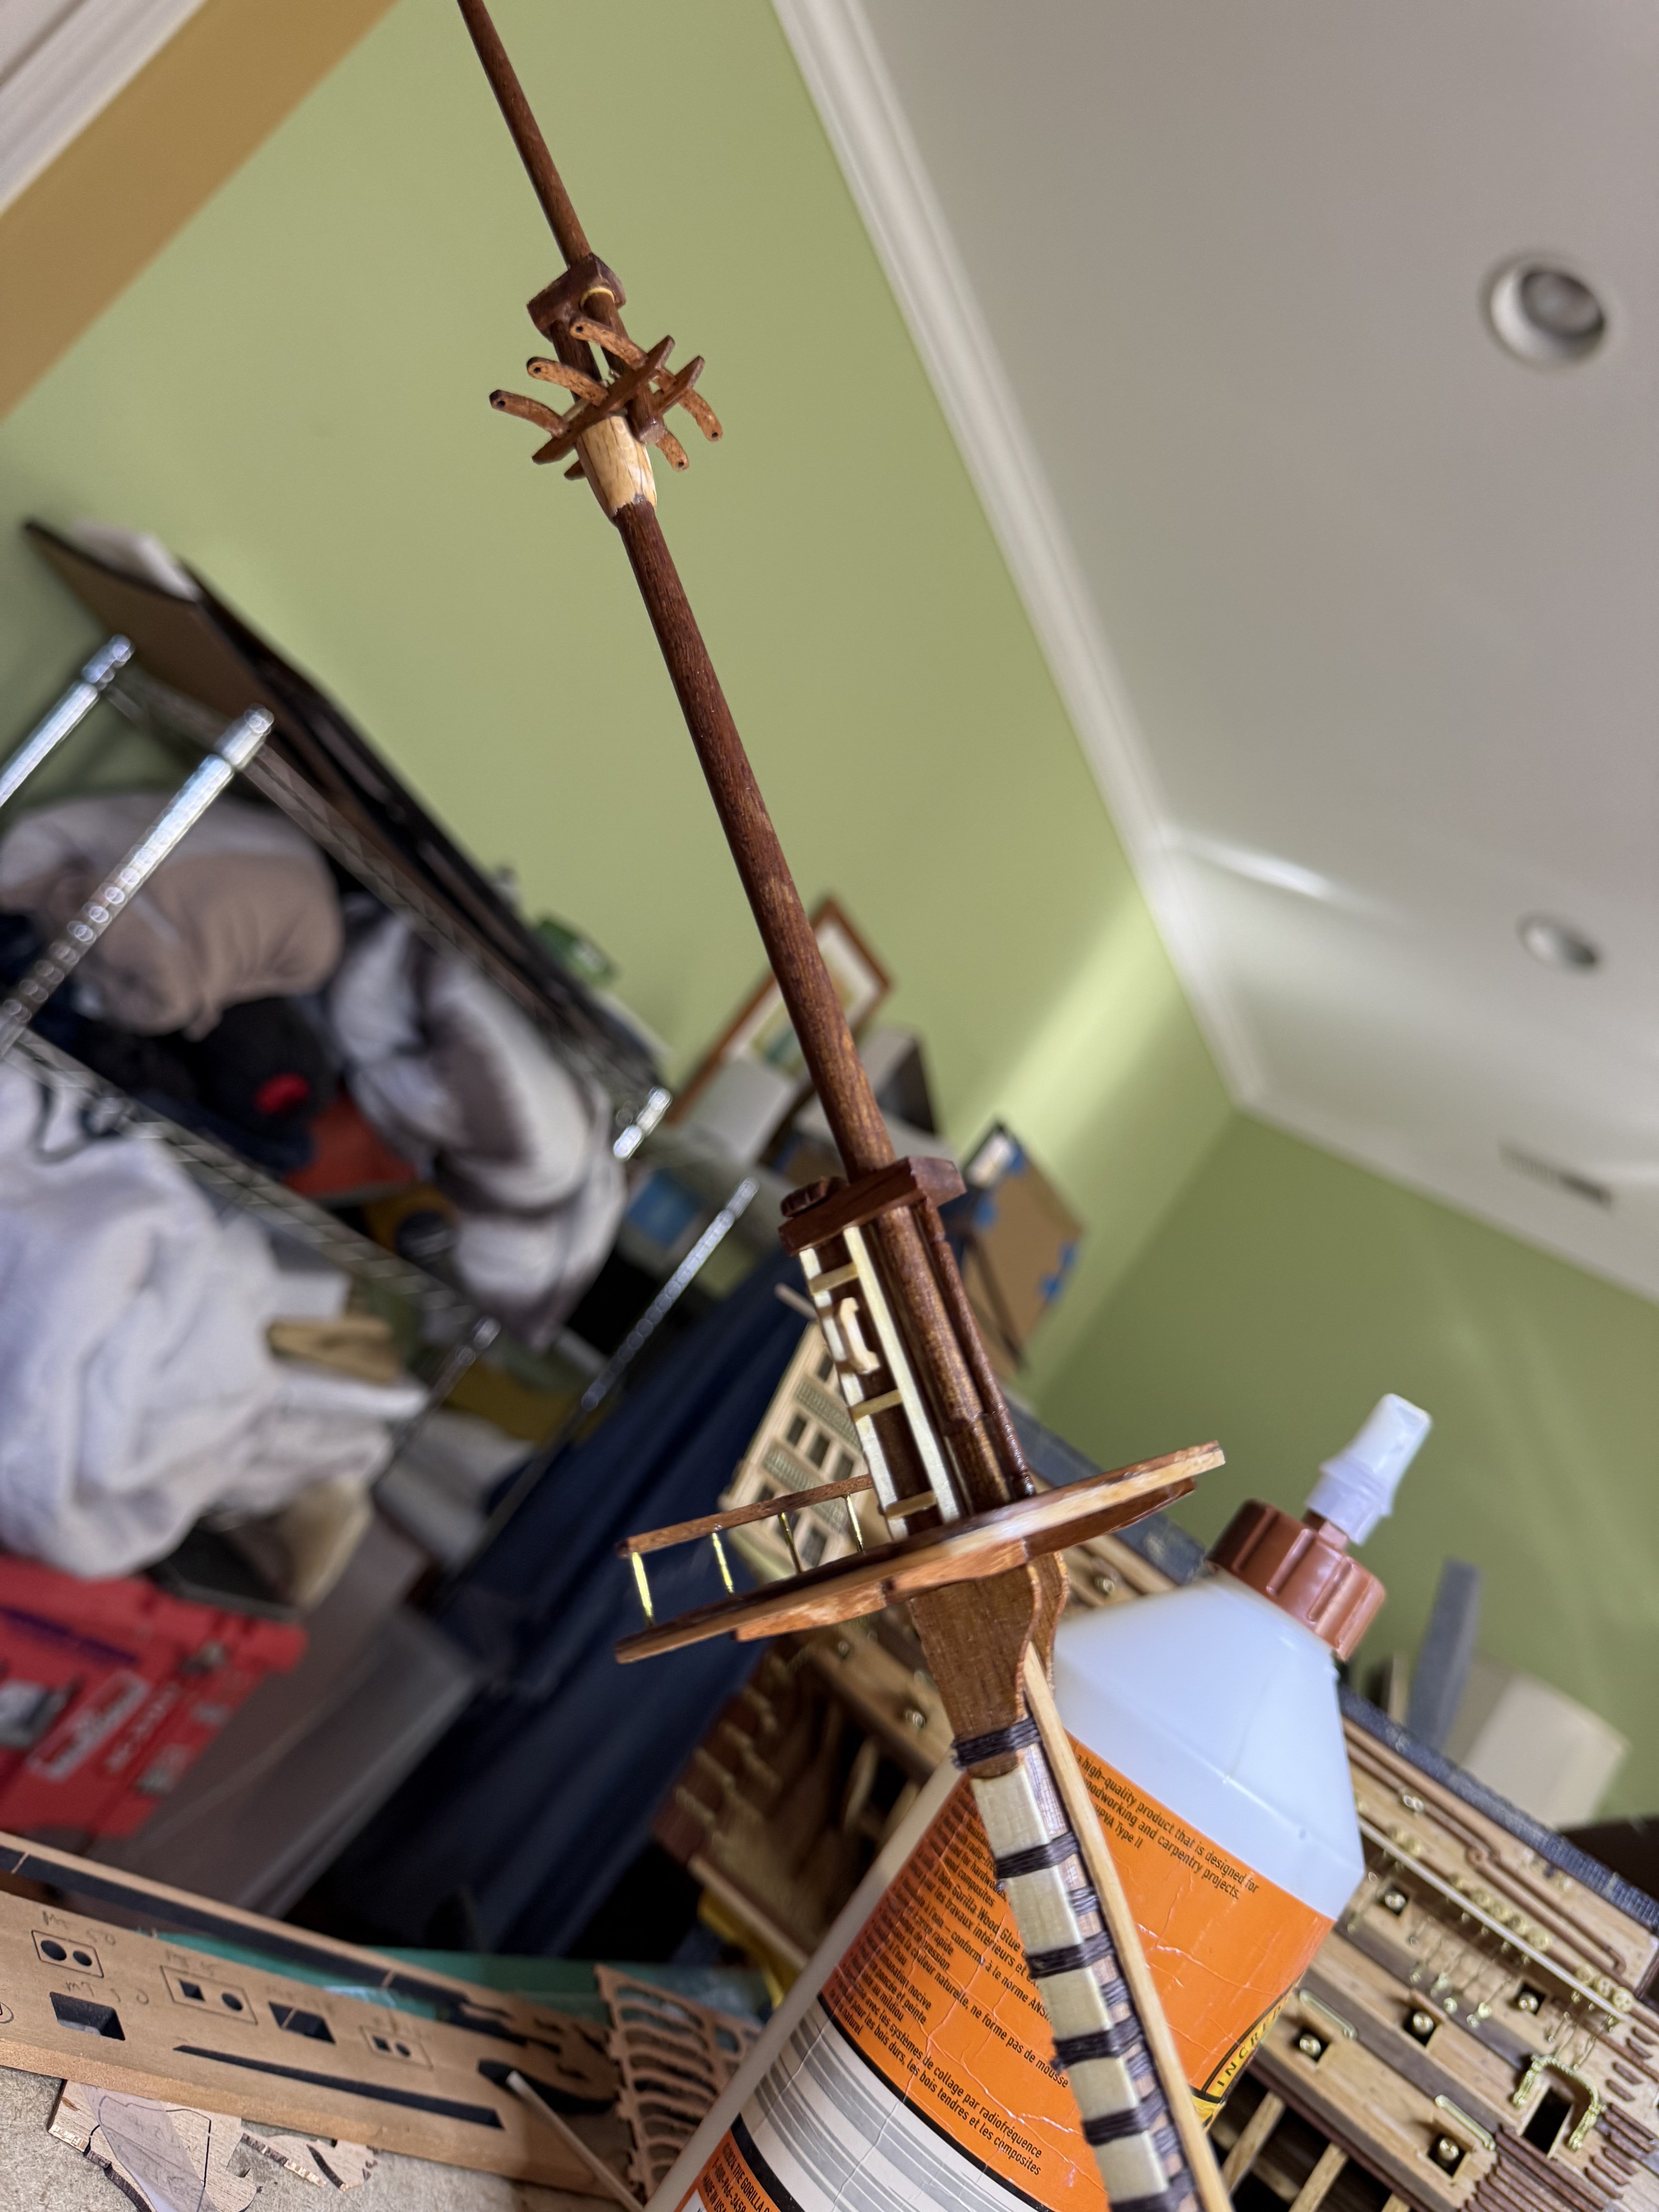
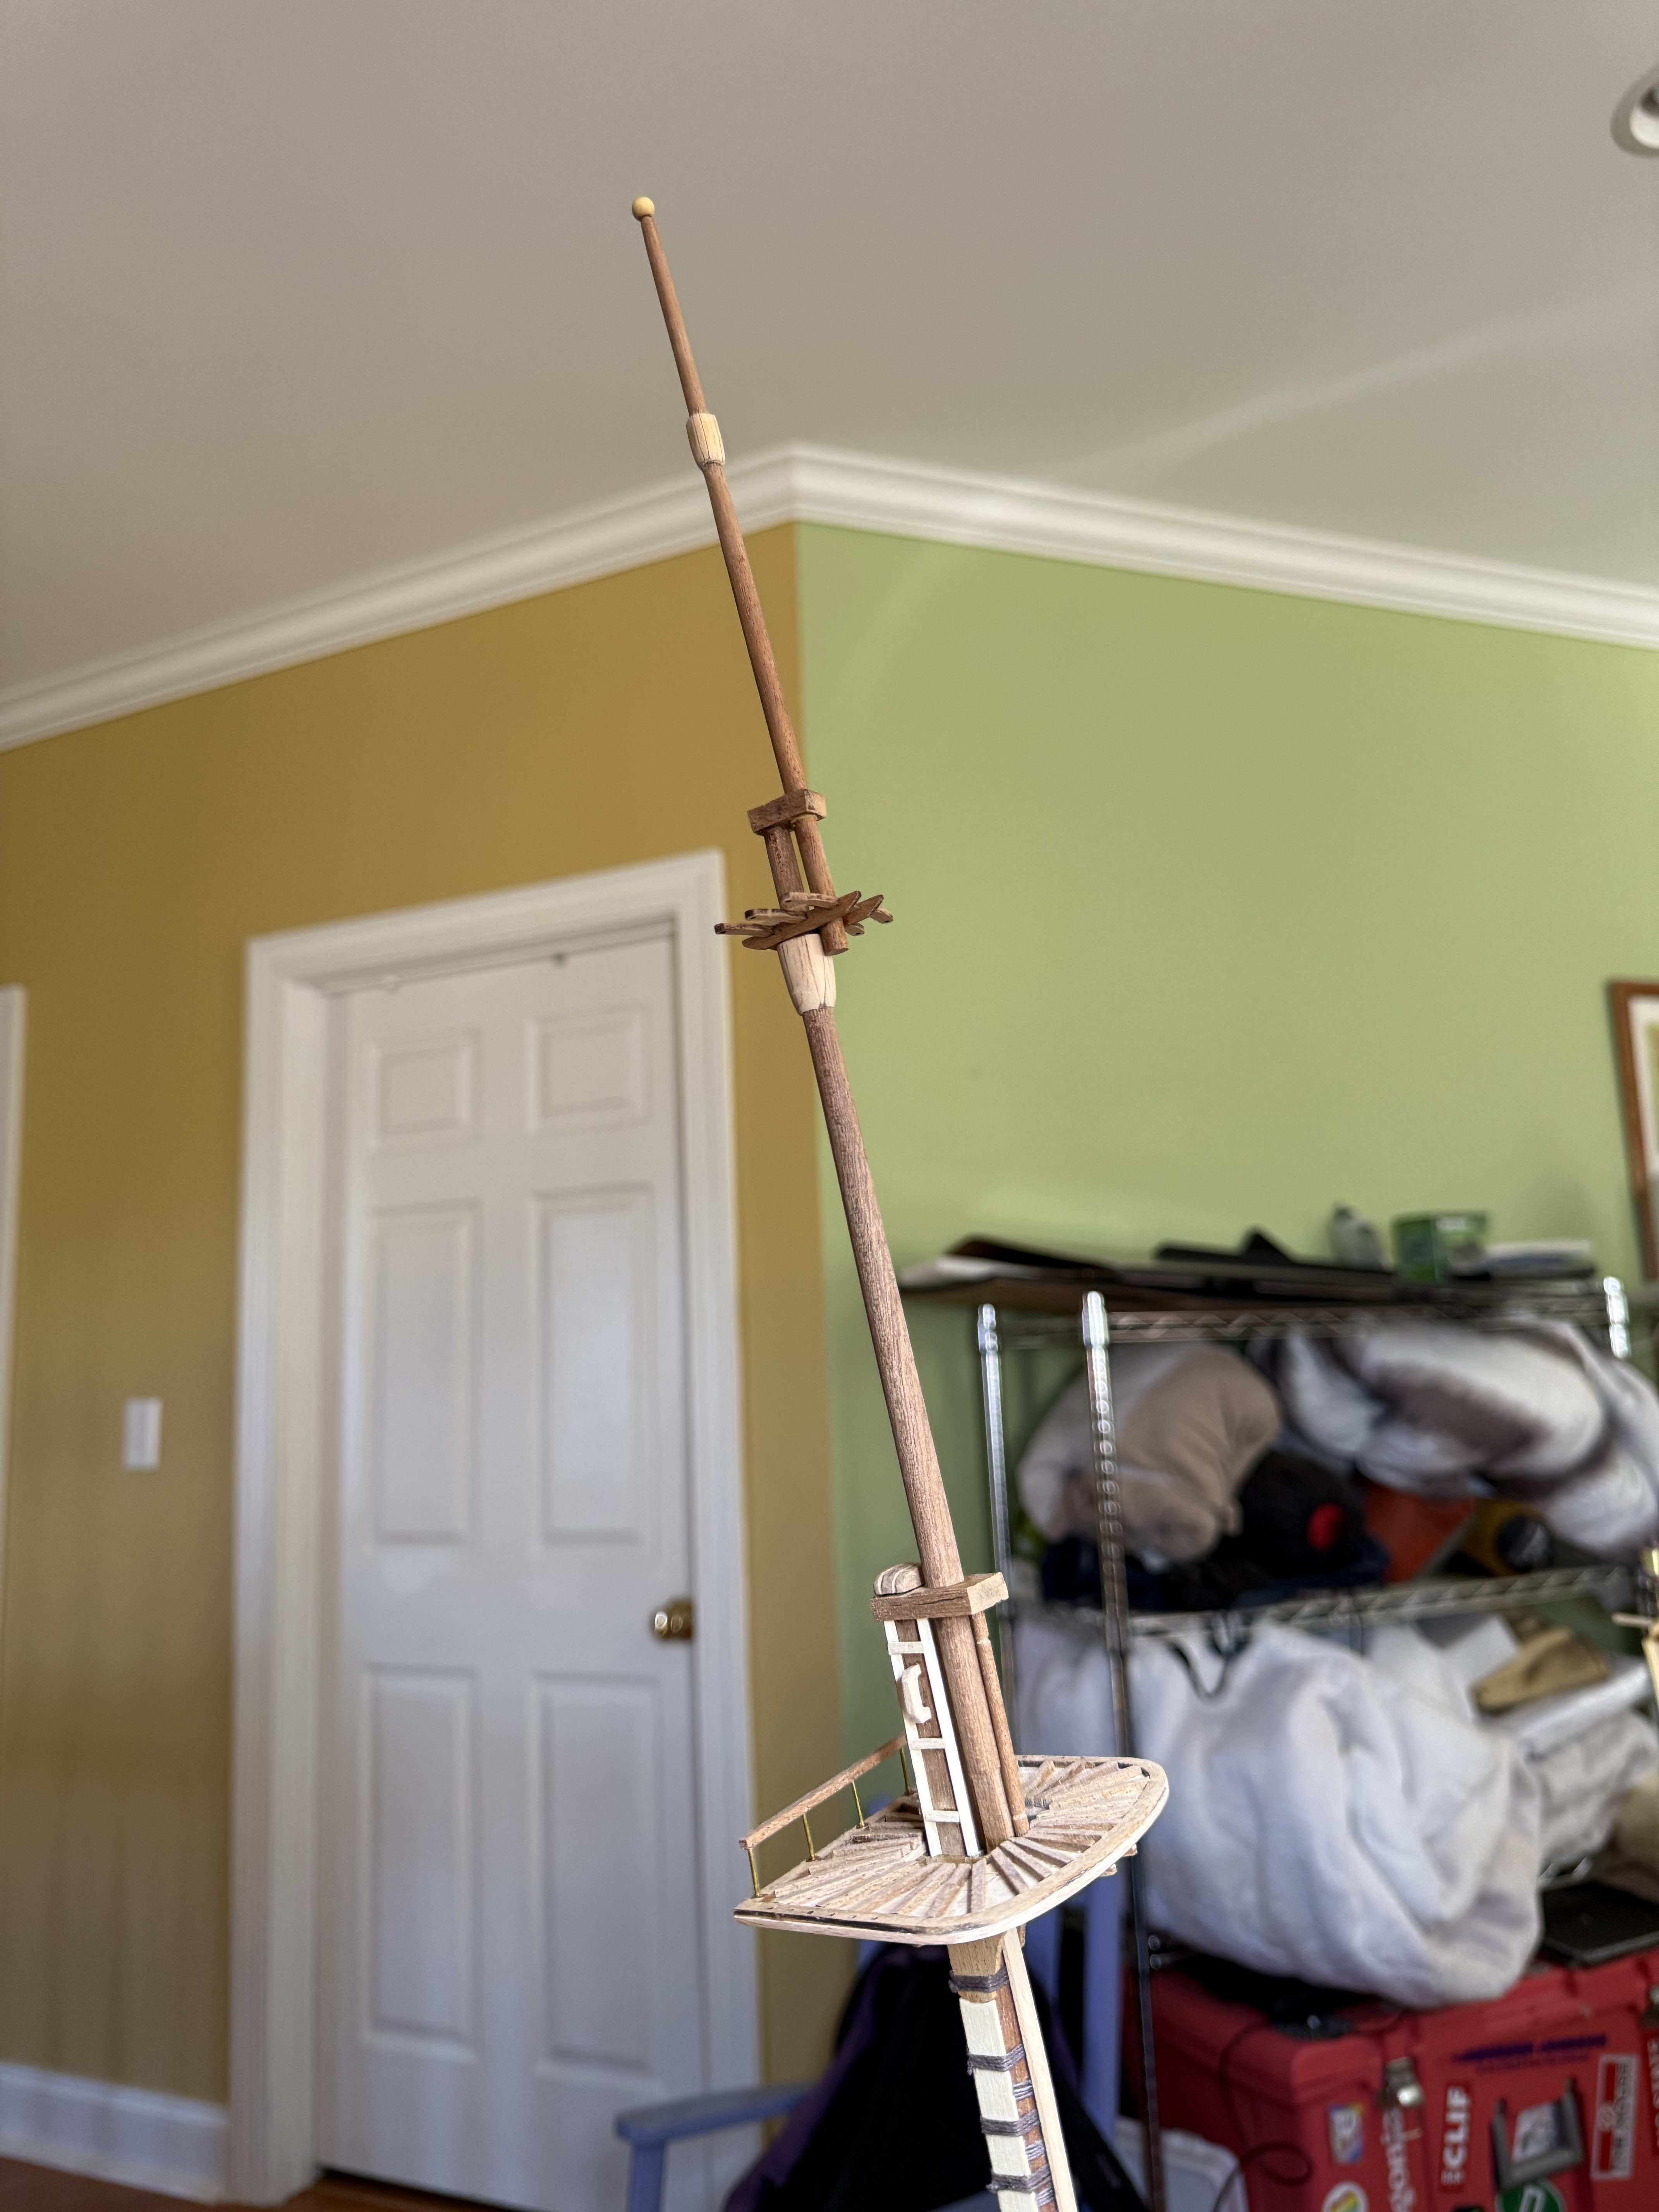
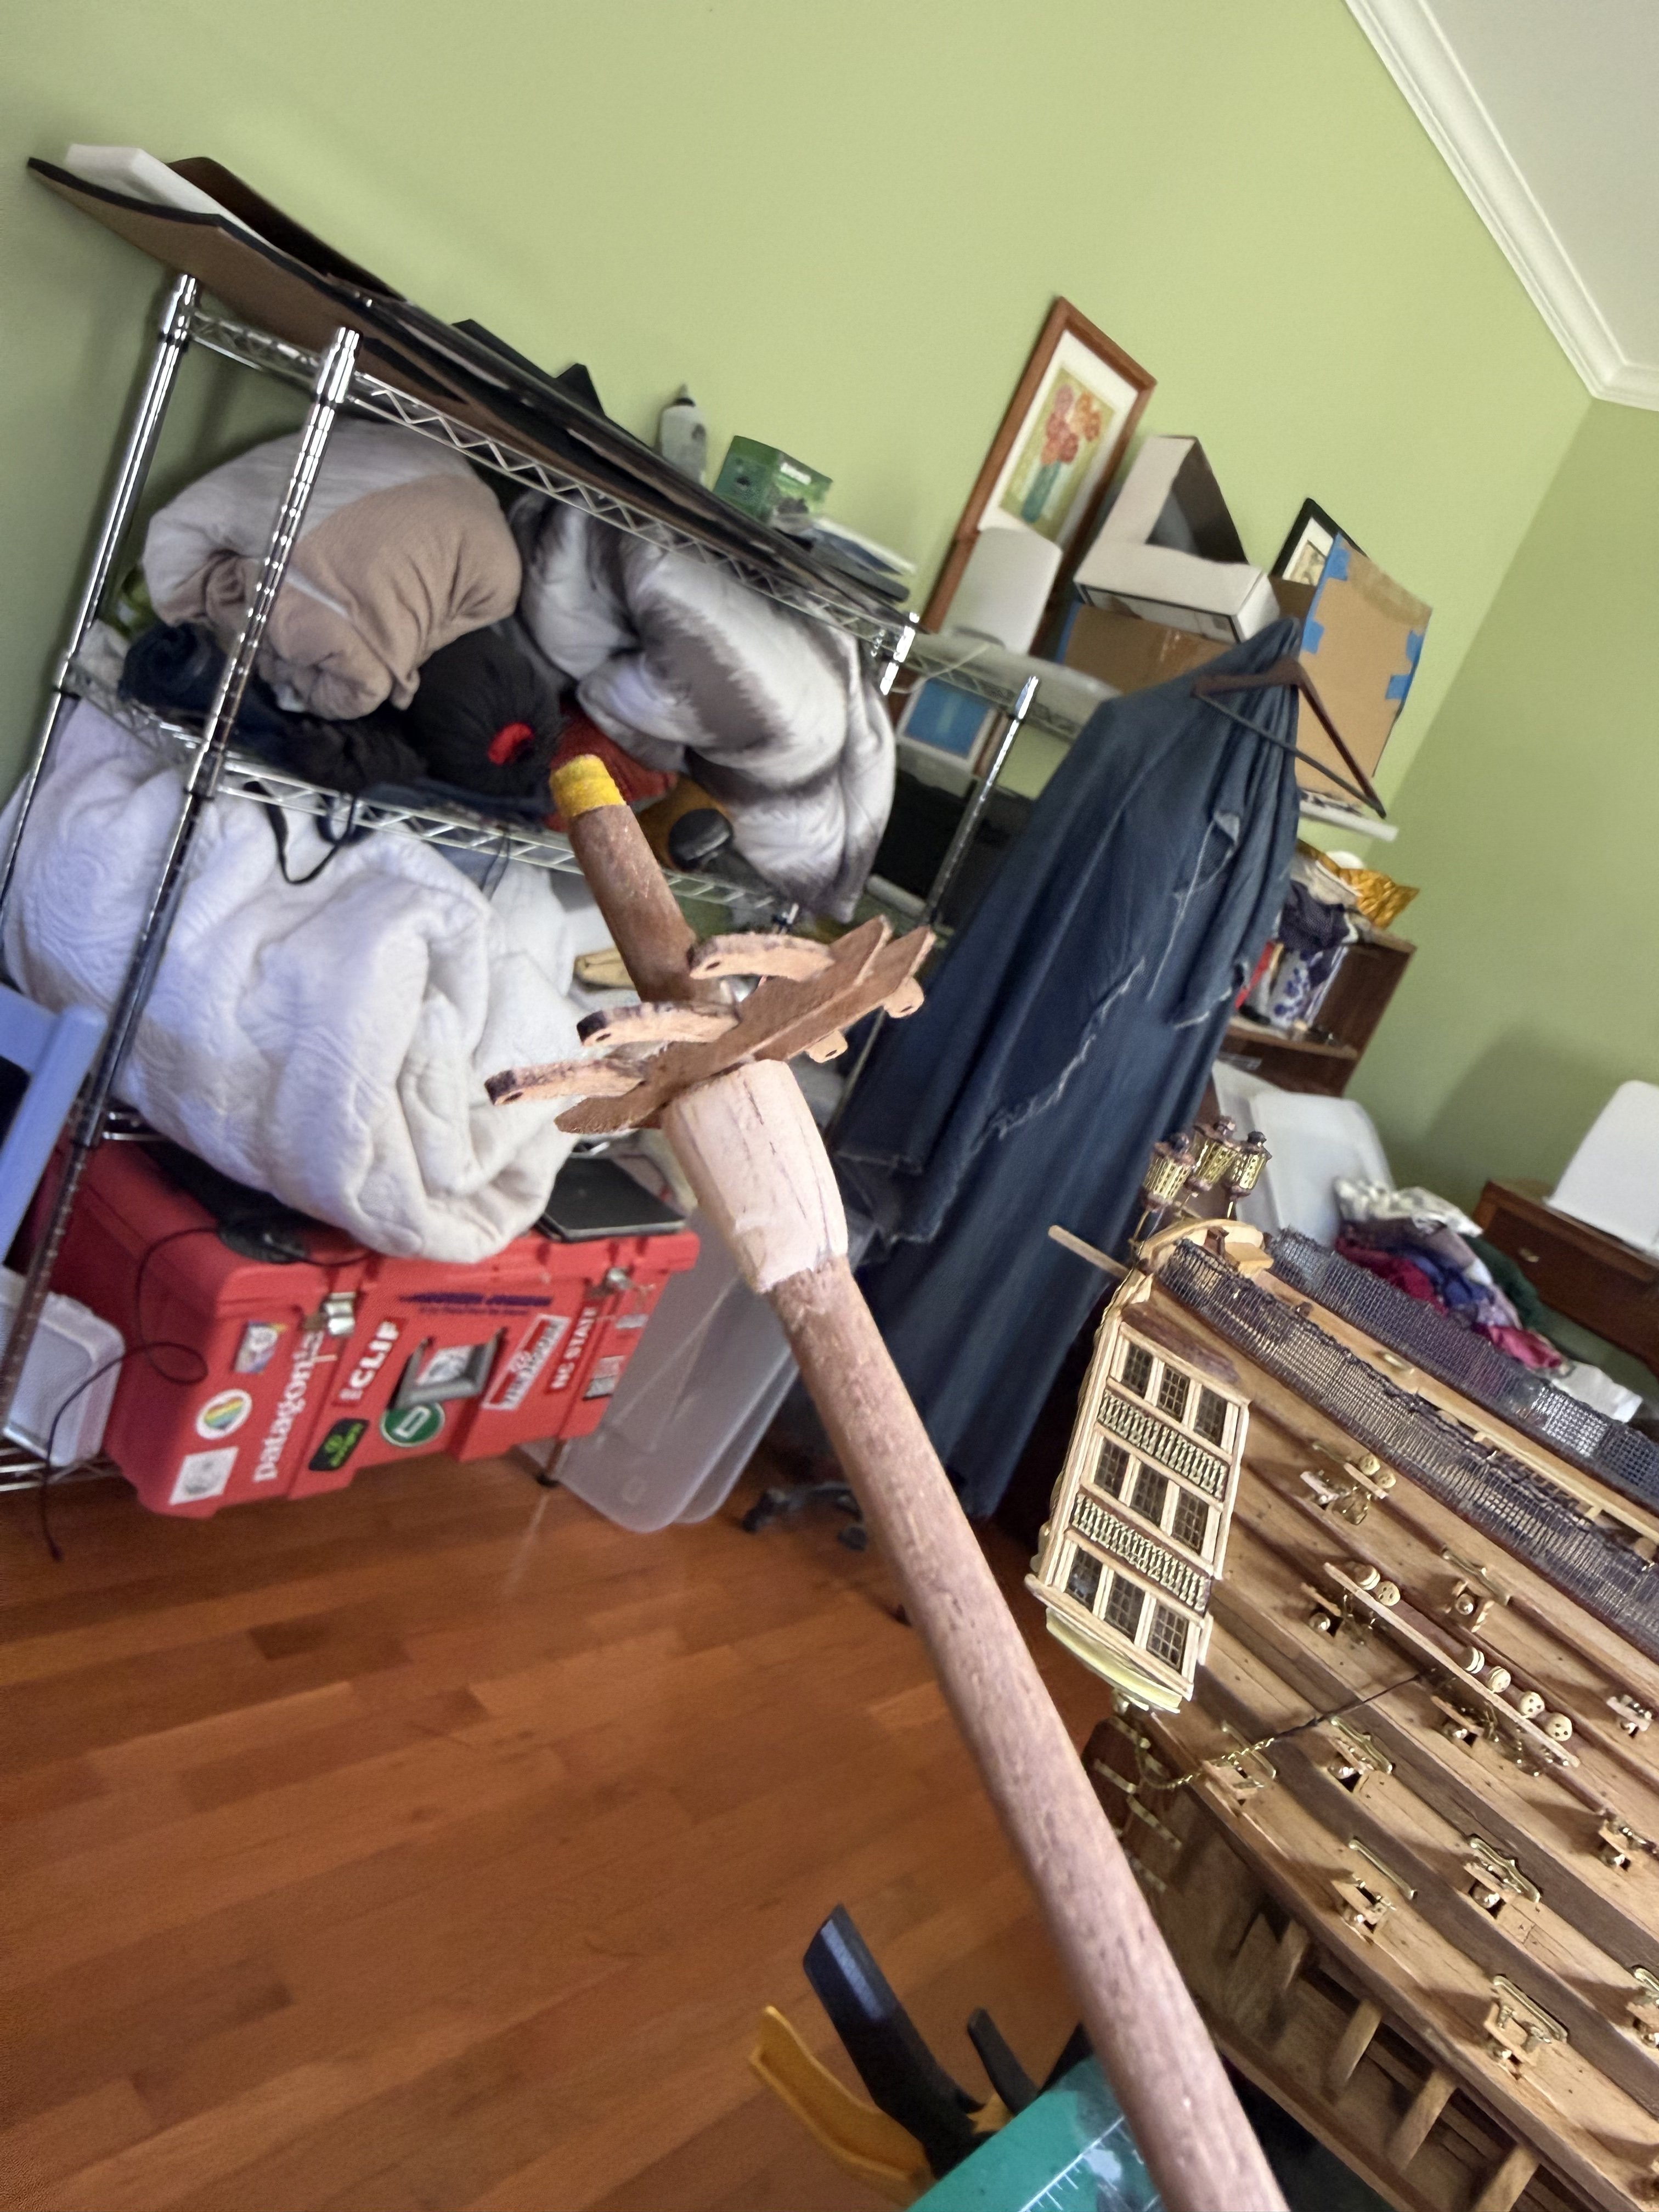
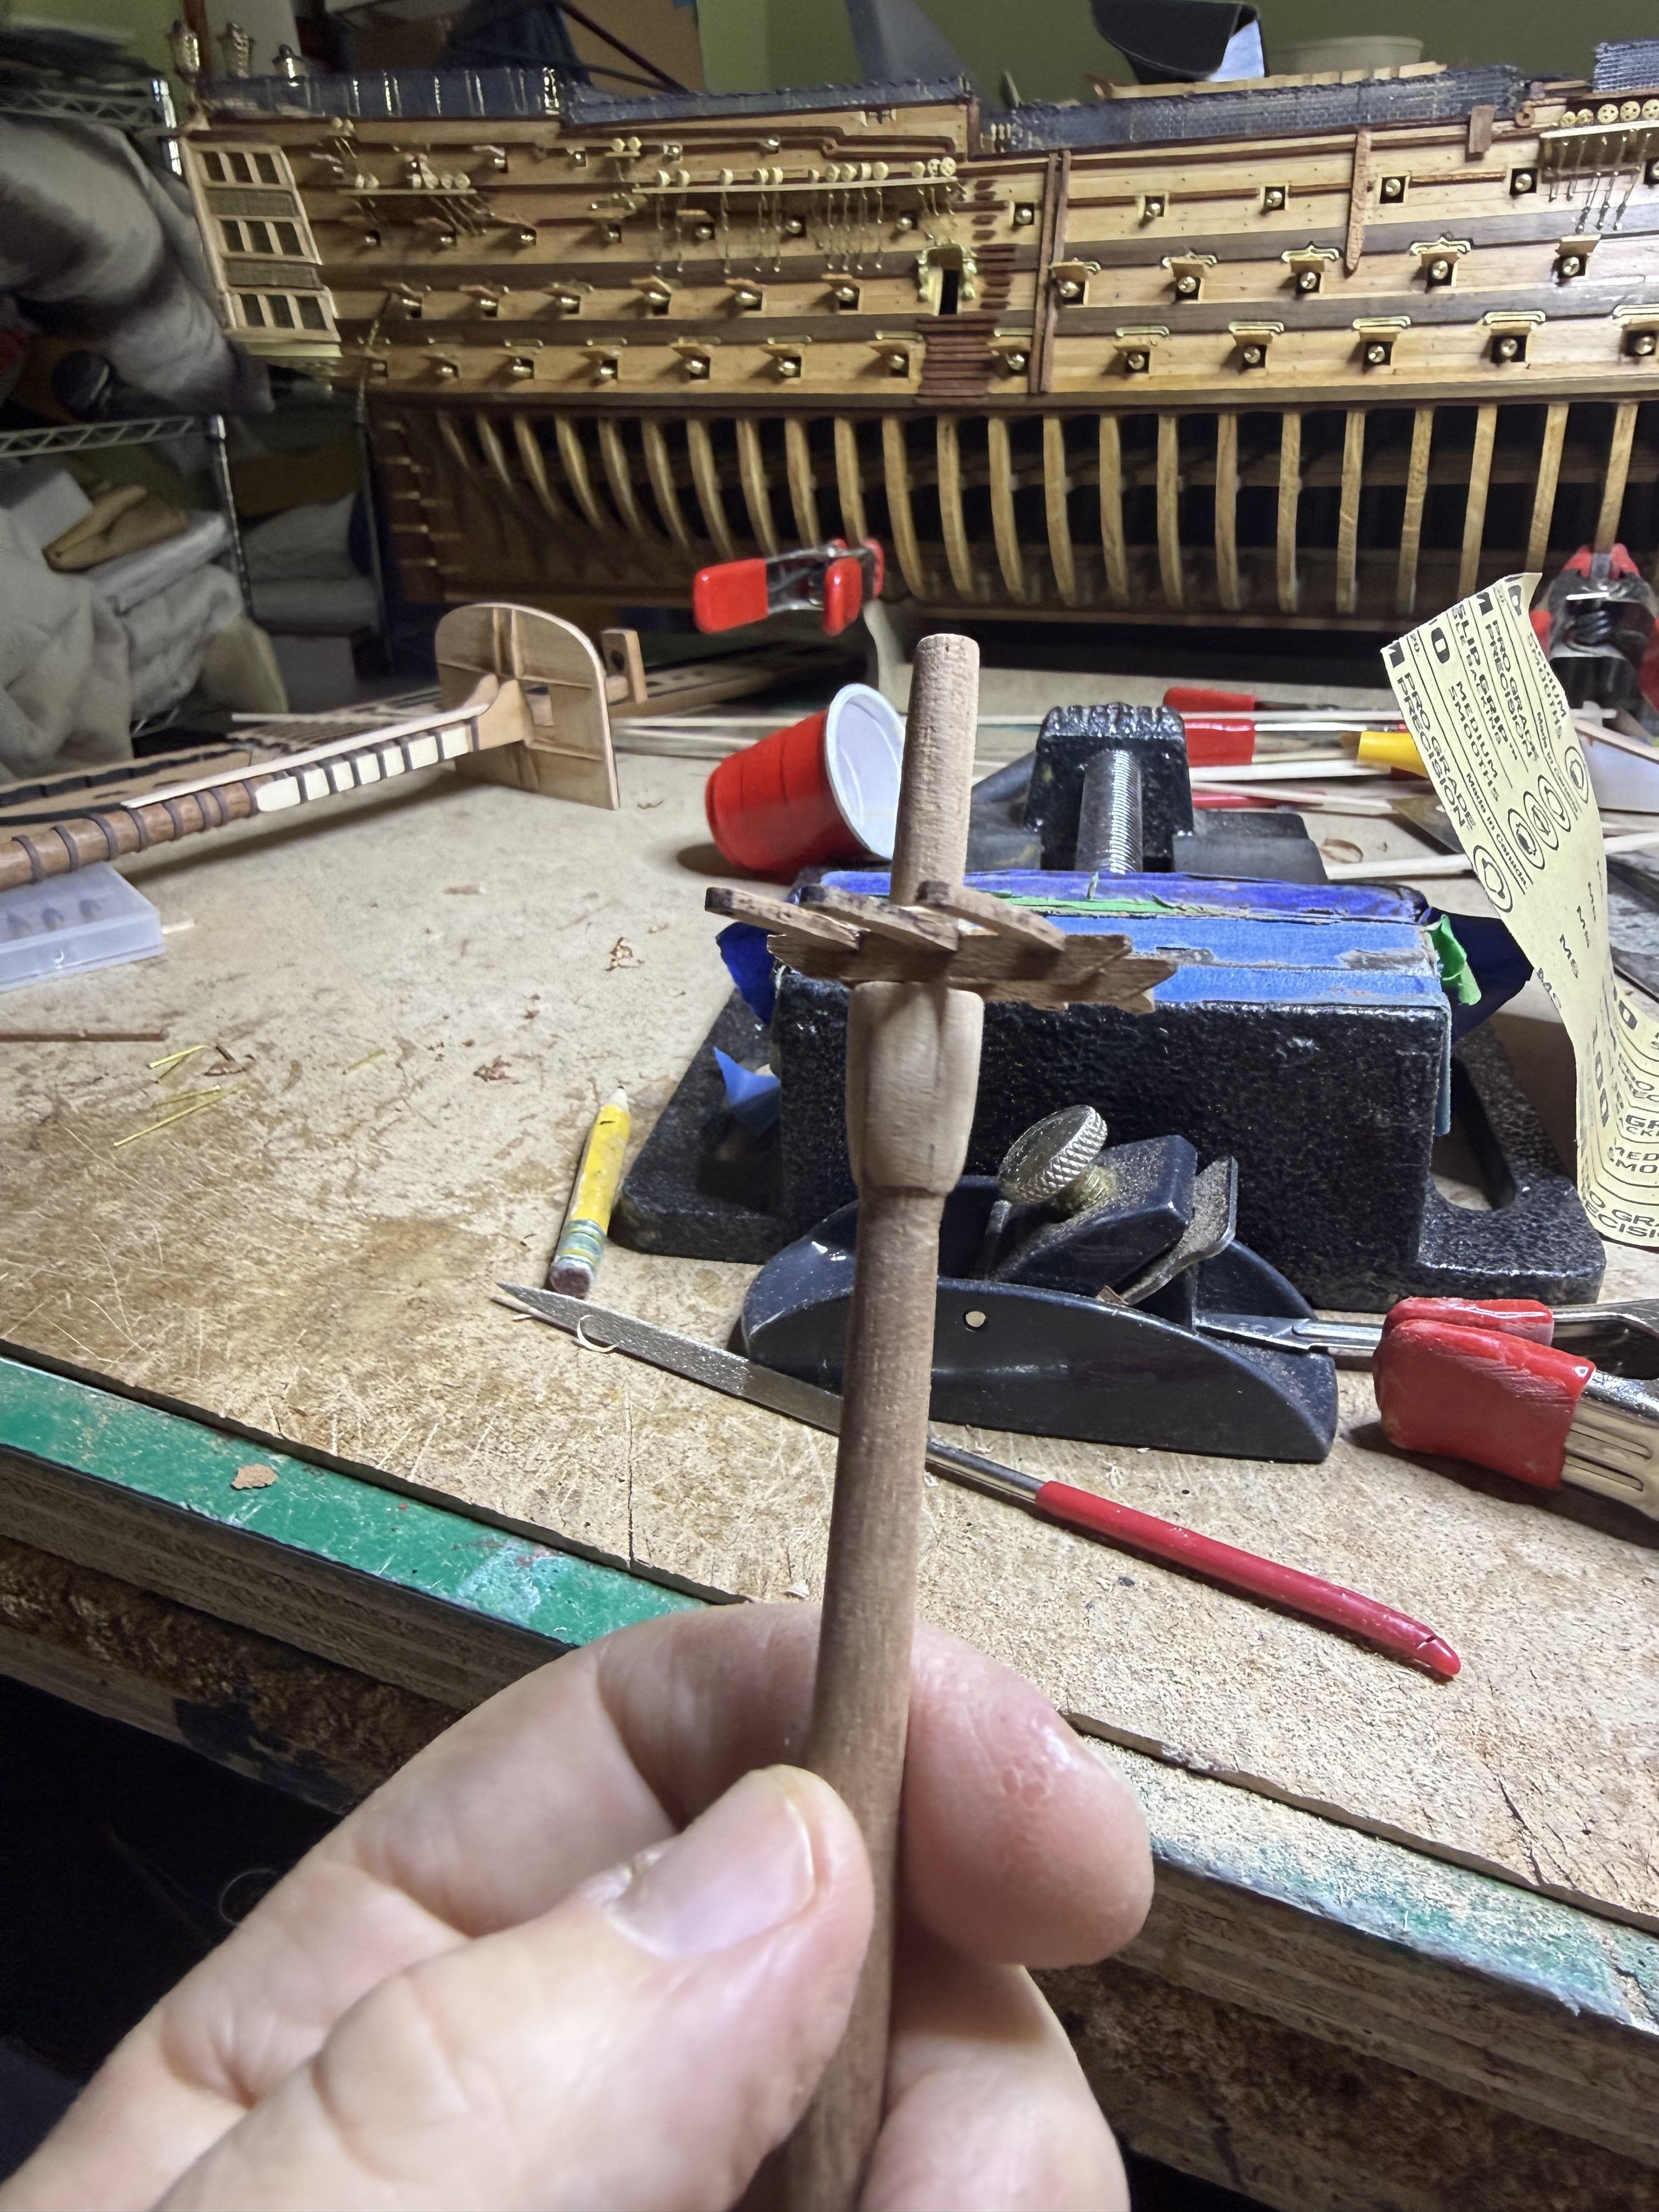
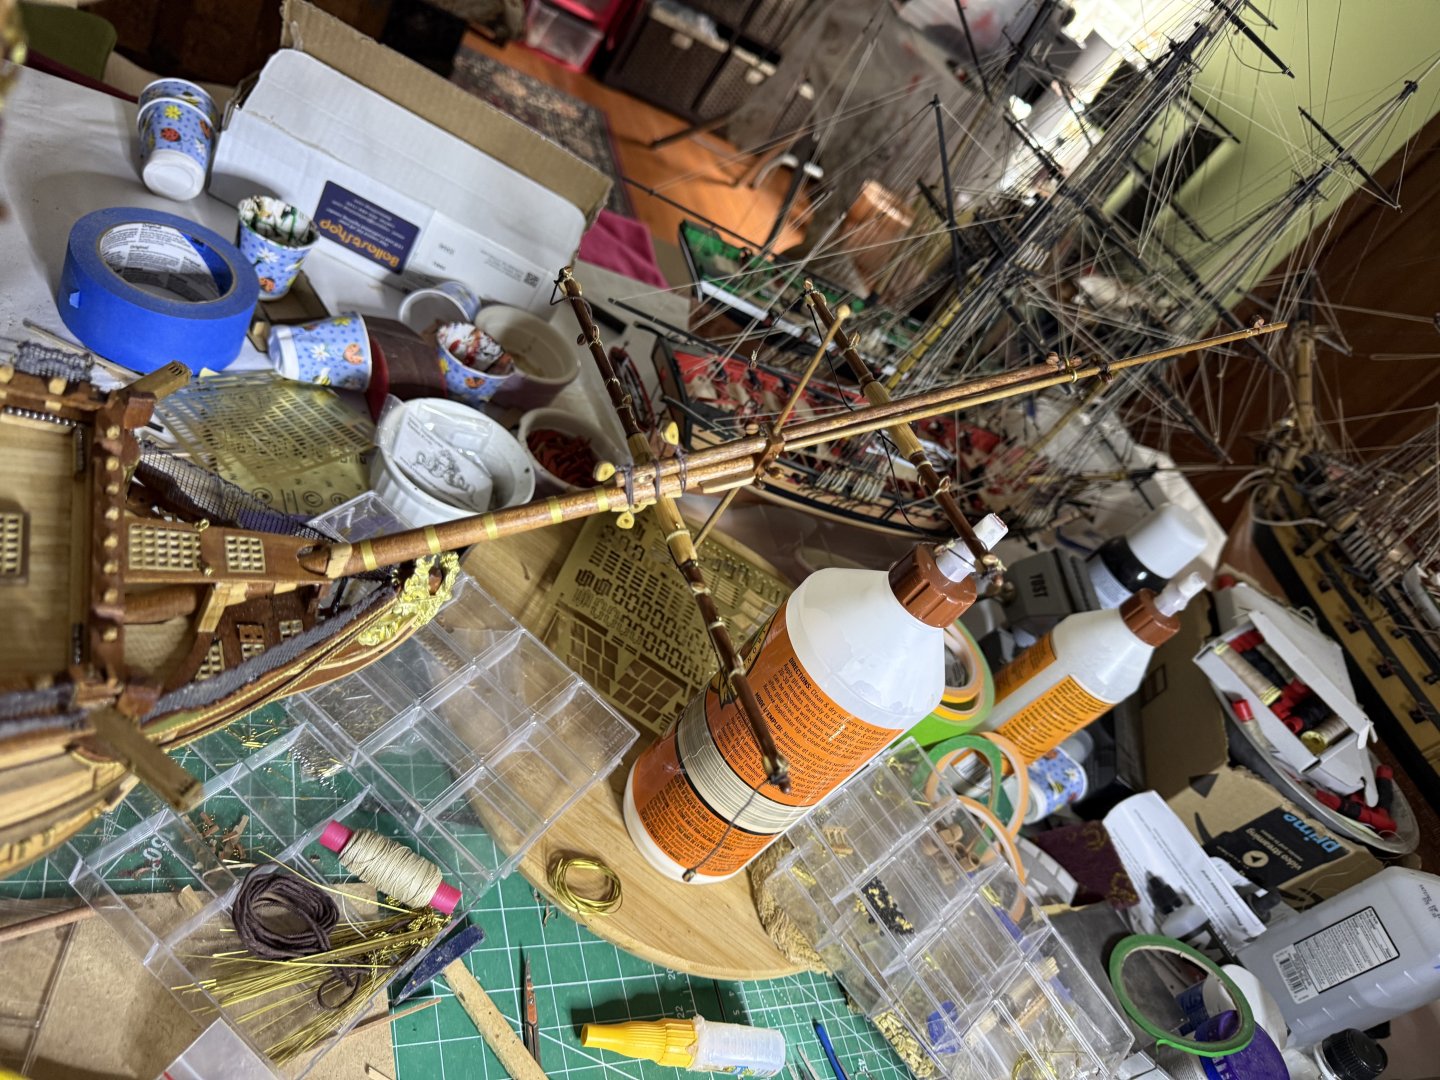
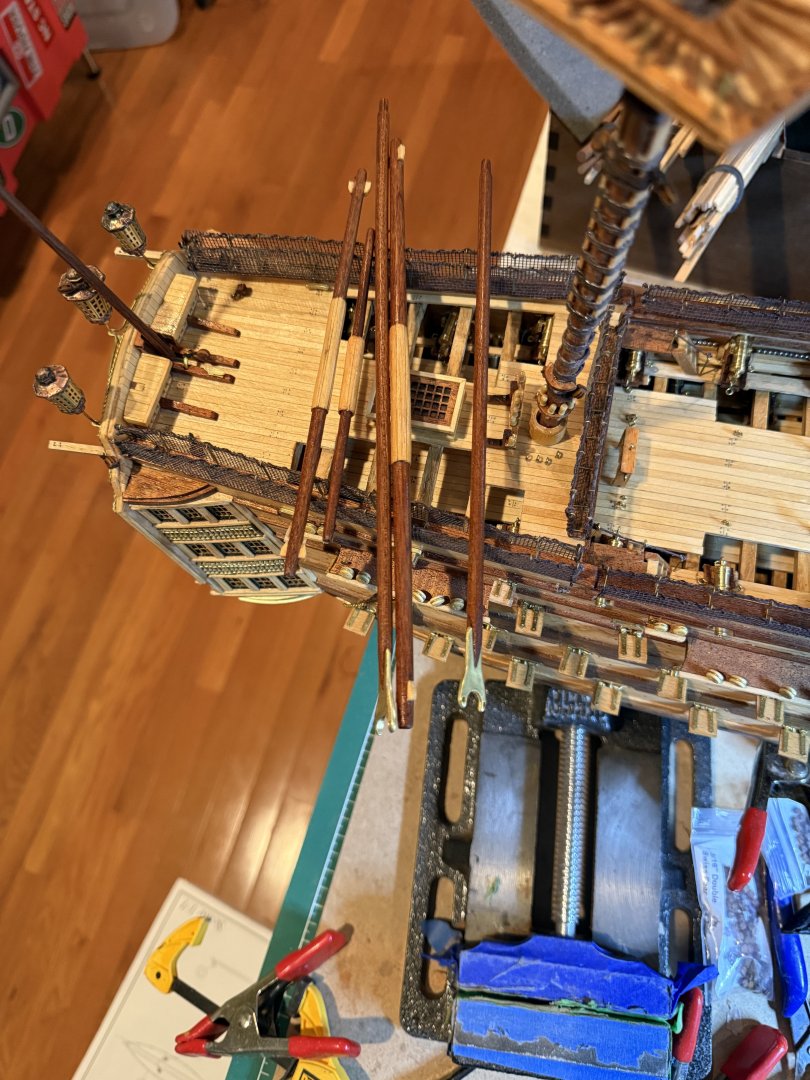
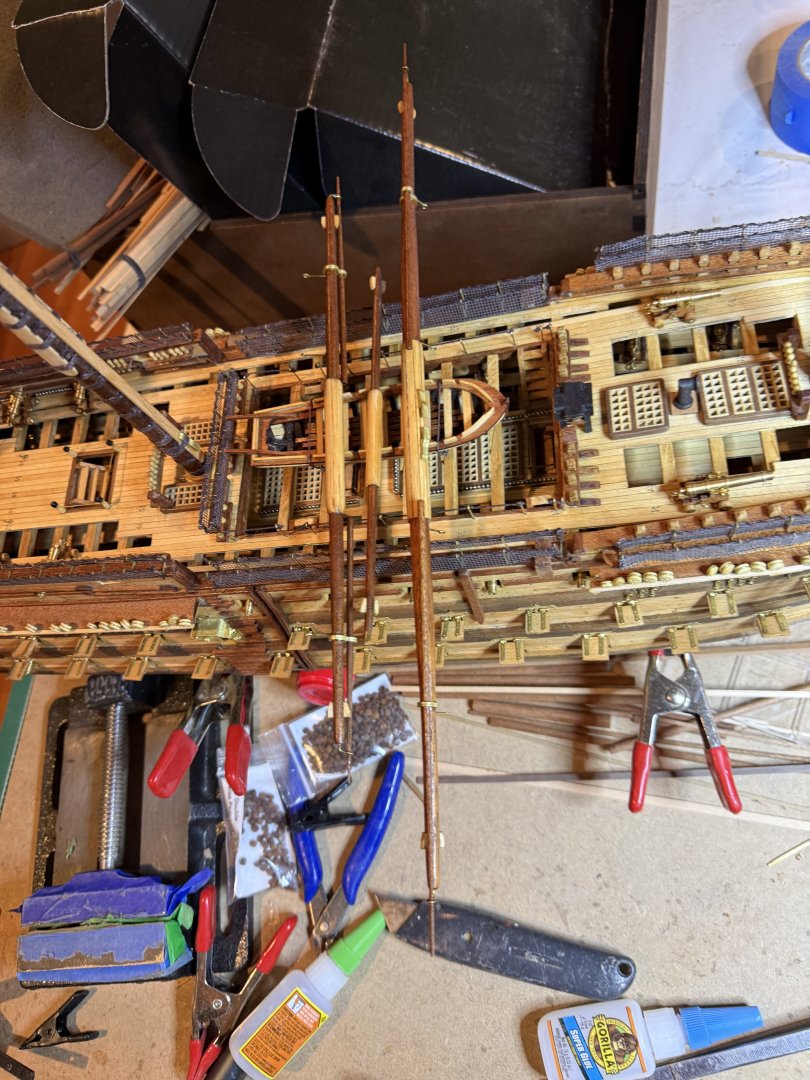
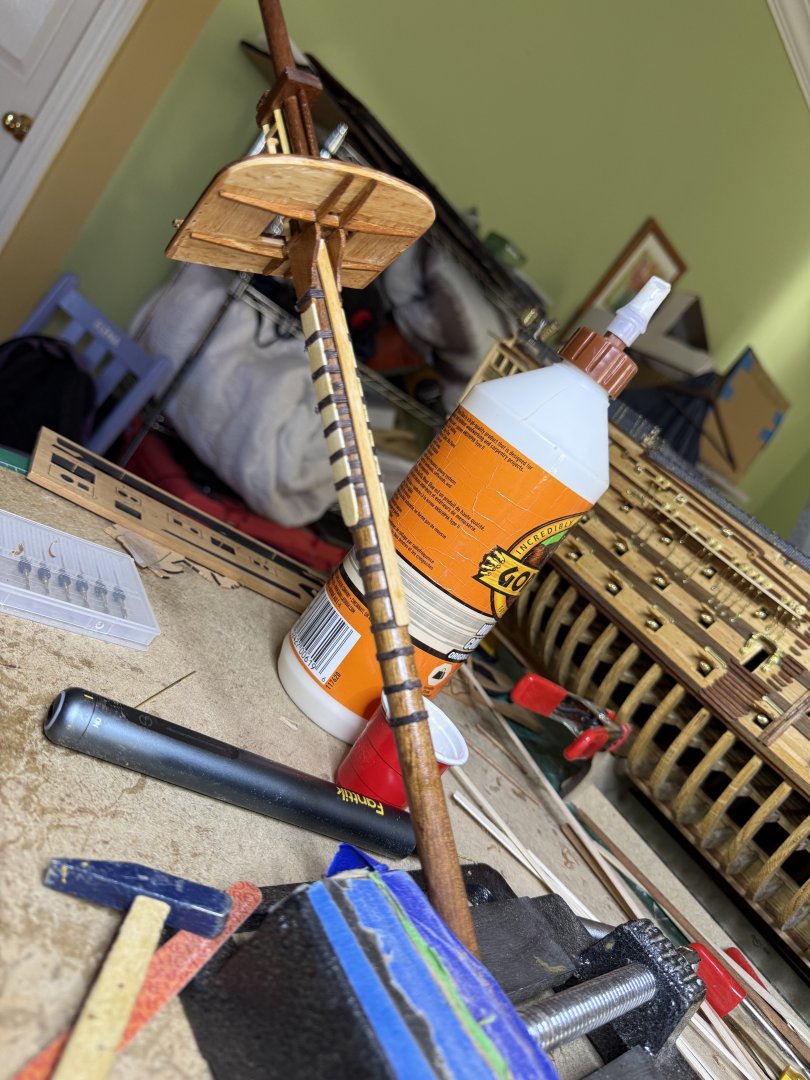
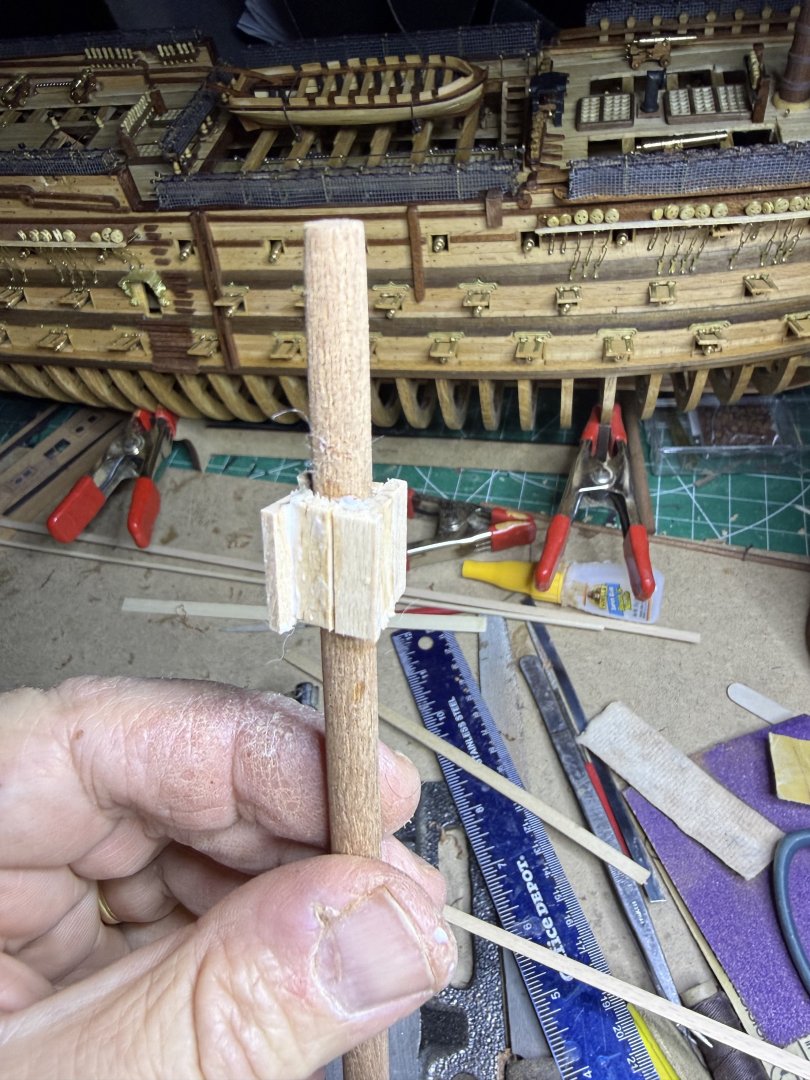
One of the mast construction plans. After putting up the Christmas decorations, spent several hours making the bowsprit. Most tricky thing is getting the angle correct for the mast. I was a bit off and glued in a filler piece. Once sanded, can't see anything. Next had to carve out an insert for the pulley and also make a figure 8 loop from 1 mm brass wire for the spritsail mast ' Once completed the masts line up pretty straight. Tomorrow will start attaching the various blocks and deadeyes the the masts. I will attach the bowsprit much later once done with all the shrouds as it gets in the way and end up breaking .


-
HMS Victory by ECK - OcCre - 1/87
ECK replied to ECK's topic in - Kit build logs for subjects built from 1751 - 1800
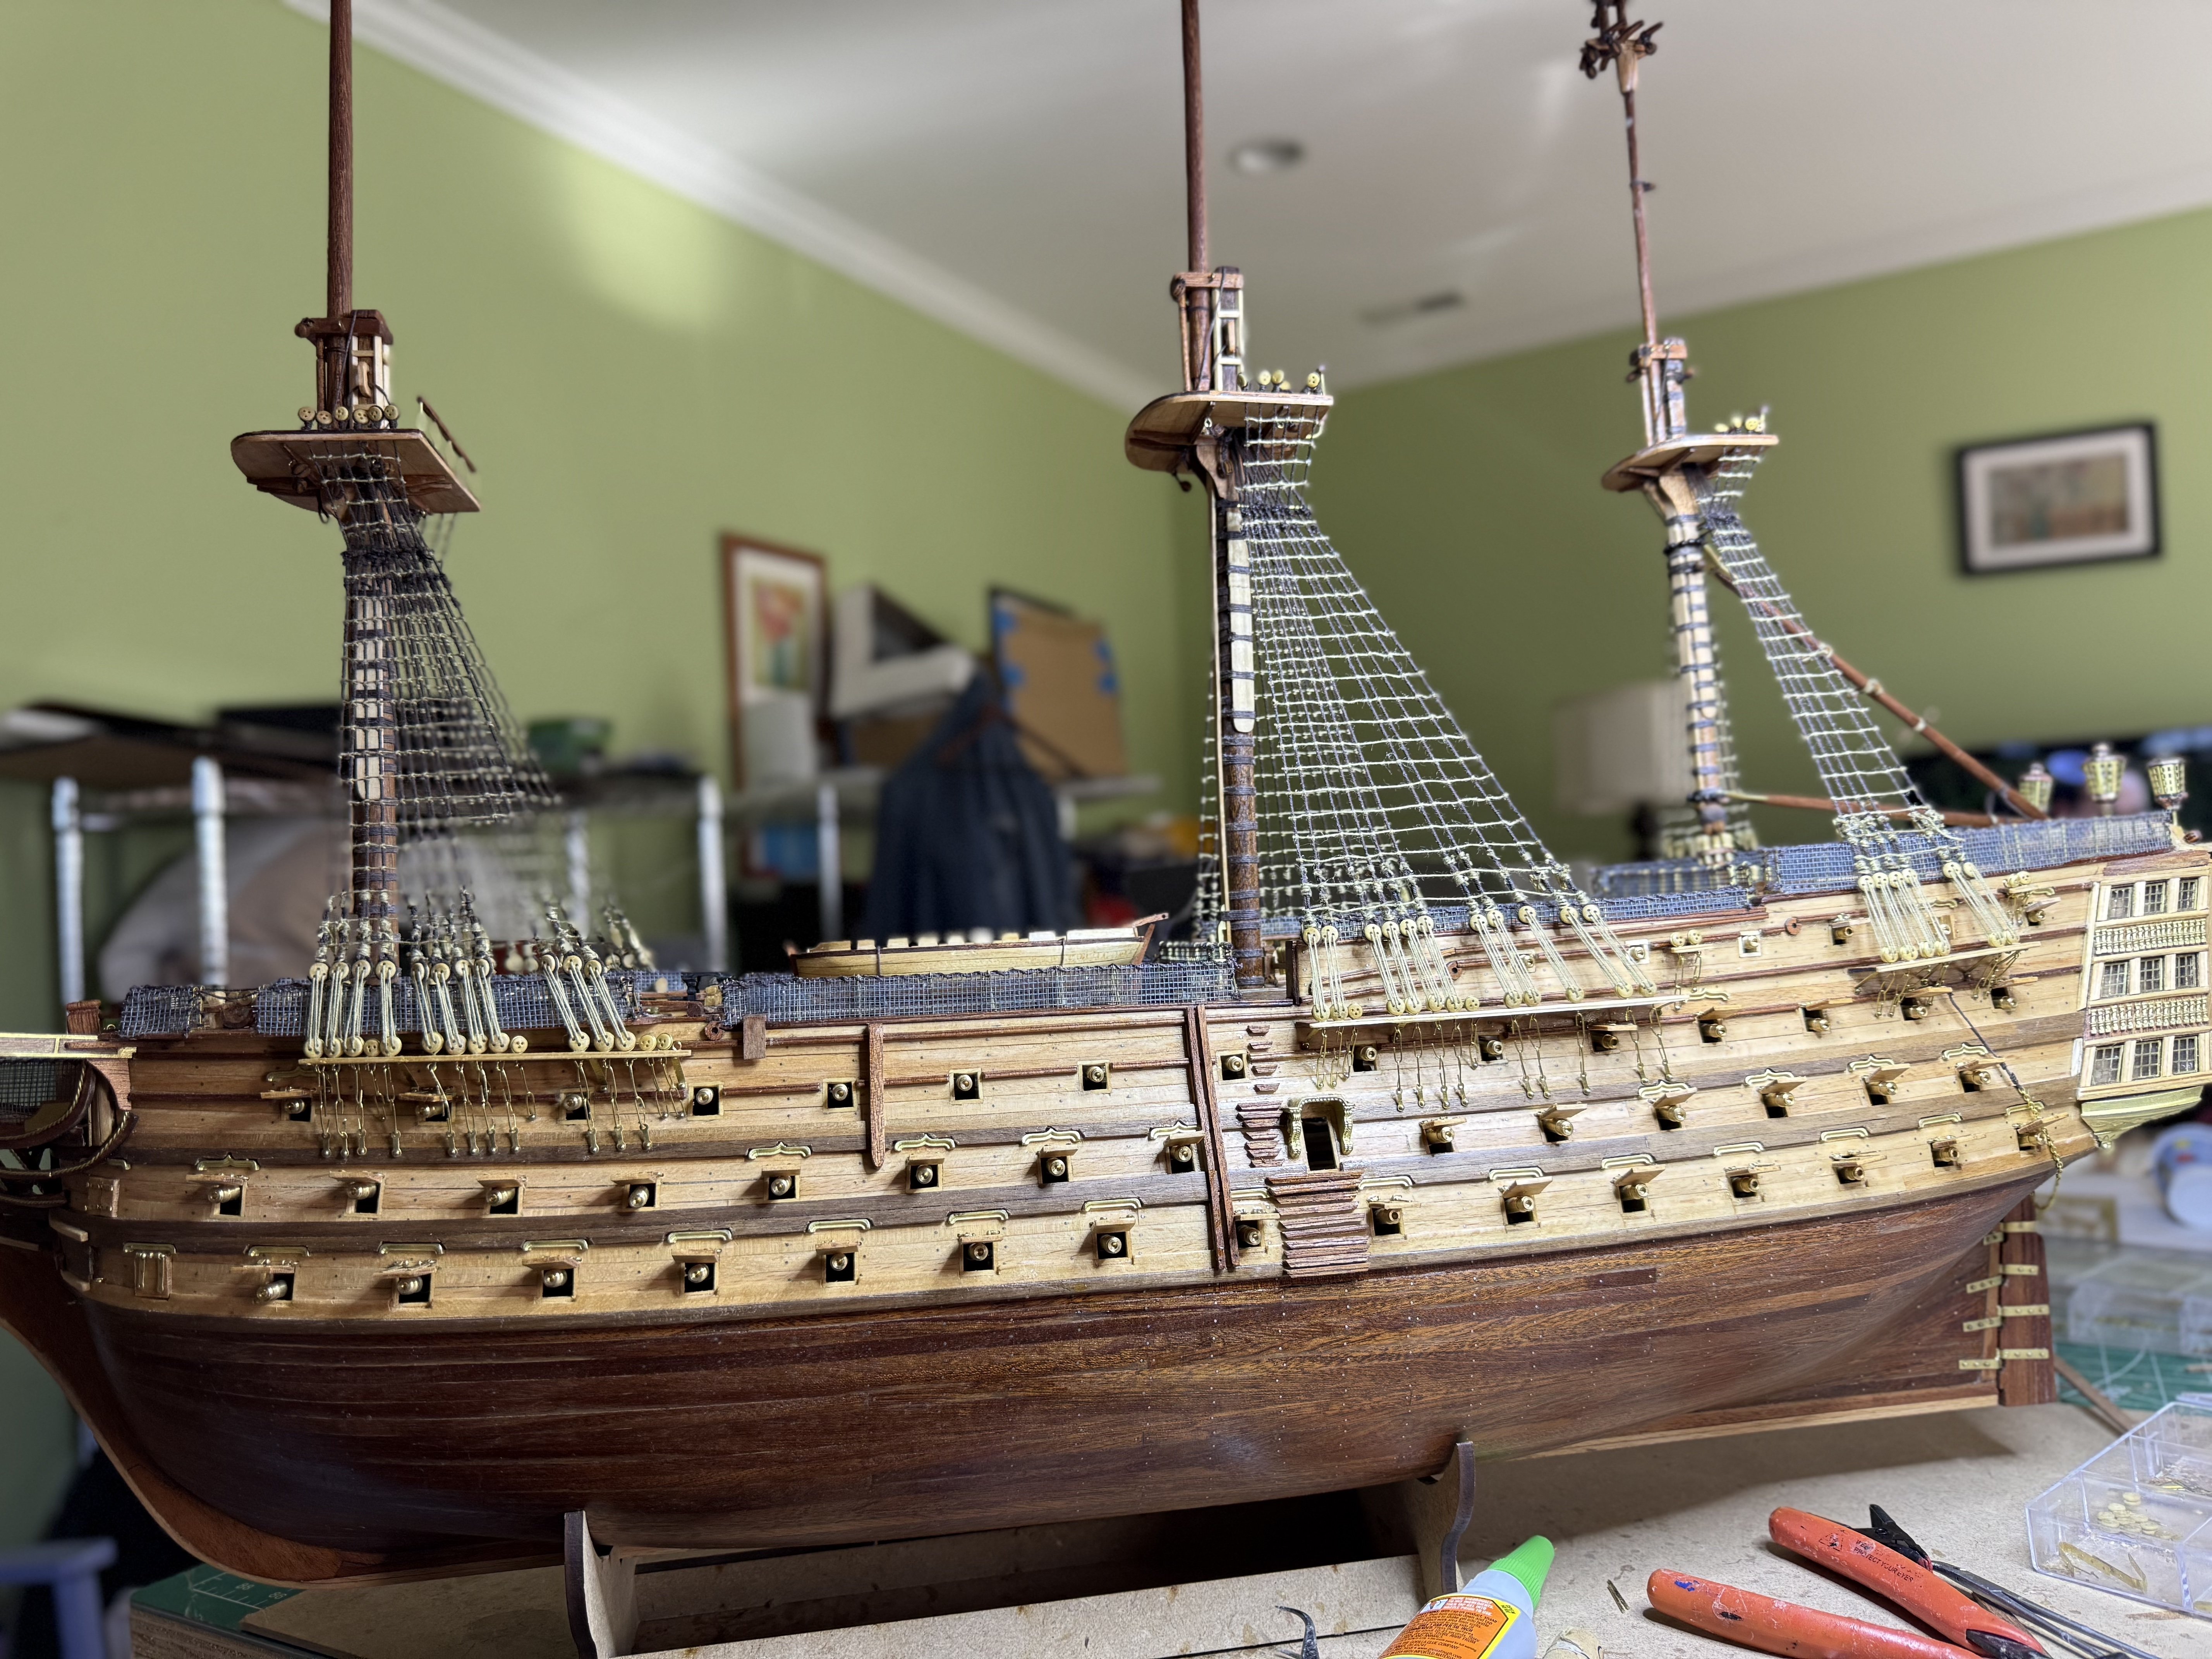
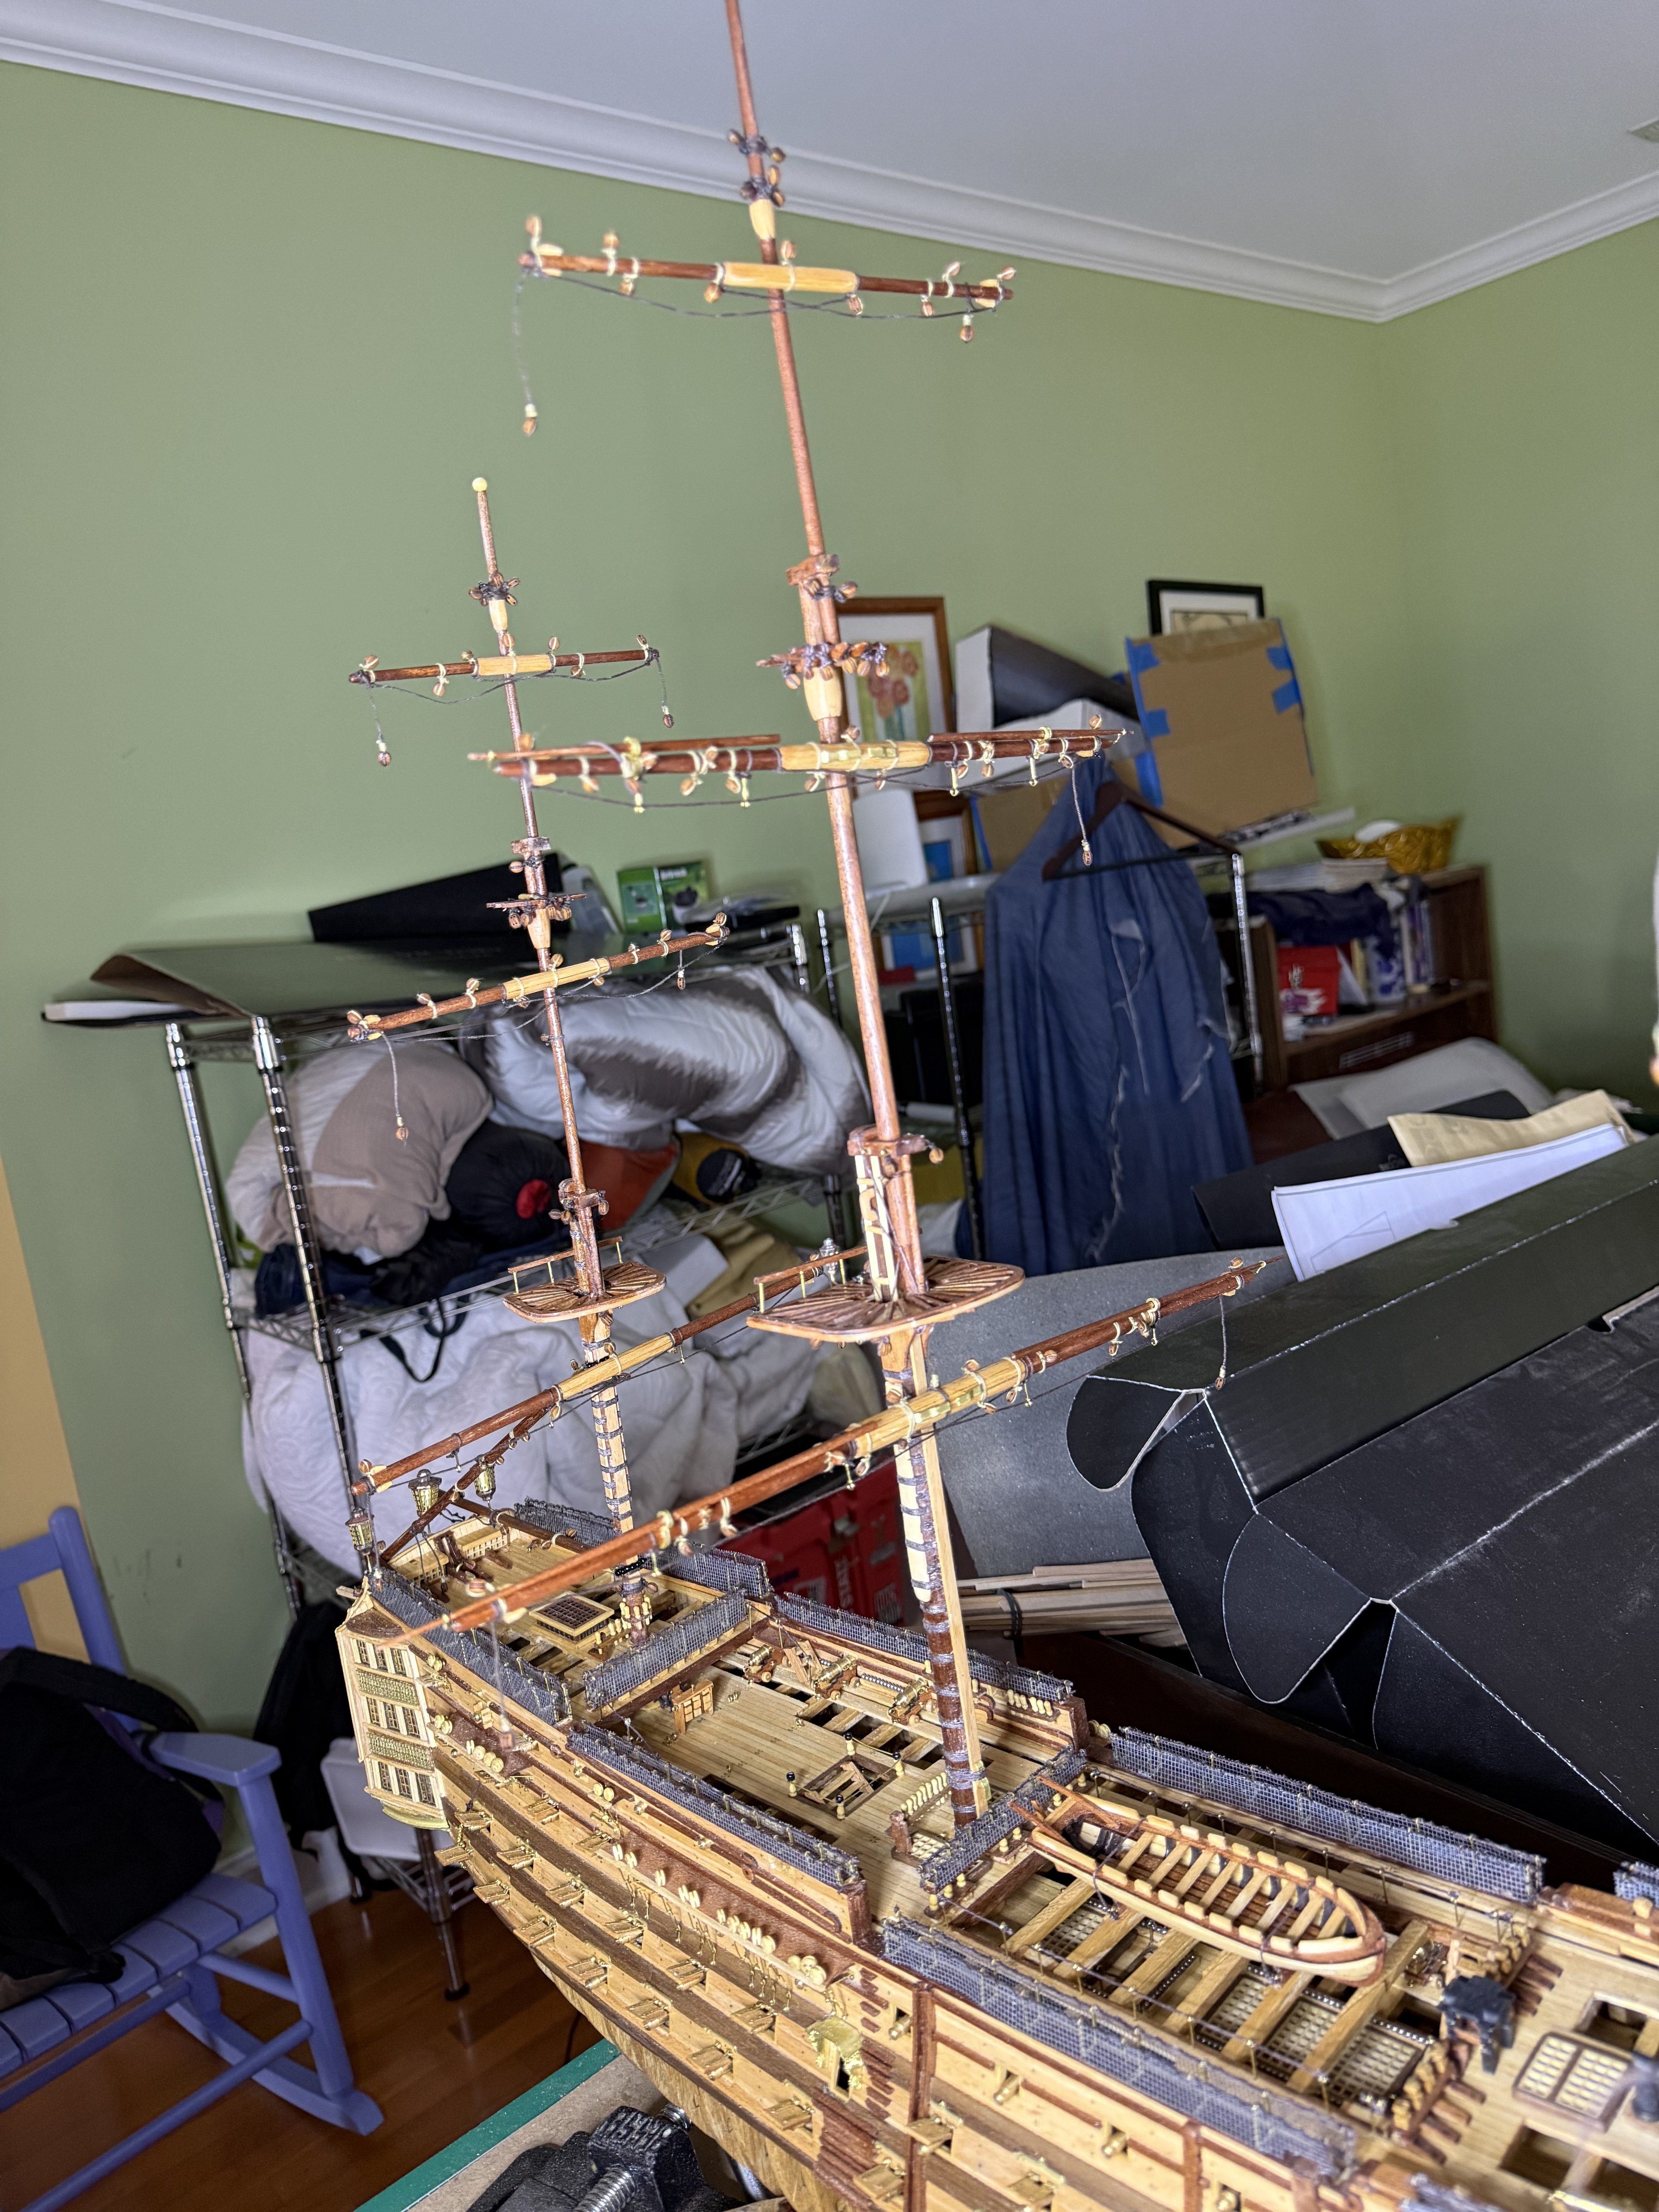
Fore, main and mizzen masts complete, although not rigged. Will next do the bowsprit tomorrow then start attaching the various blocks to the masts. They line up pretty straight


-
HMS Victory by ECK - OcCre - 1/87
ECK replied to ECK's topic in - Kit build logs for subjects built from 1751 - 1800
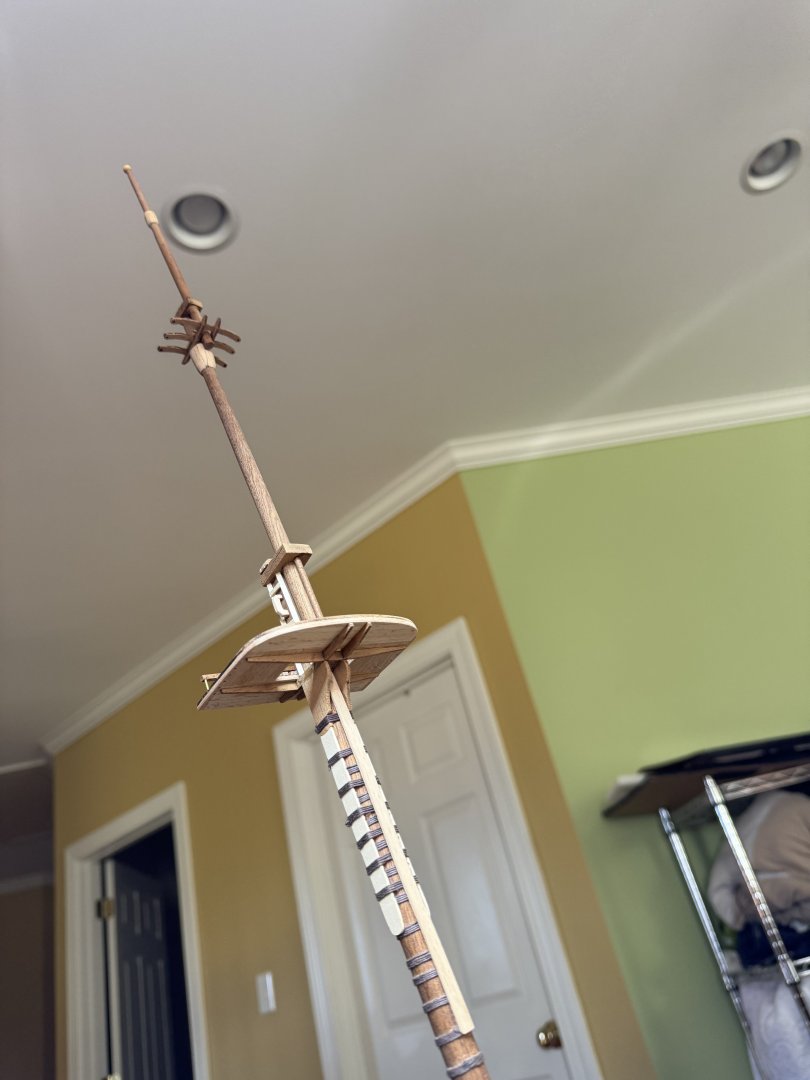
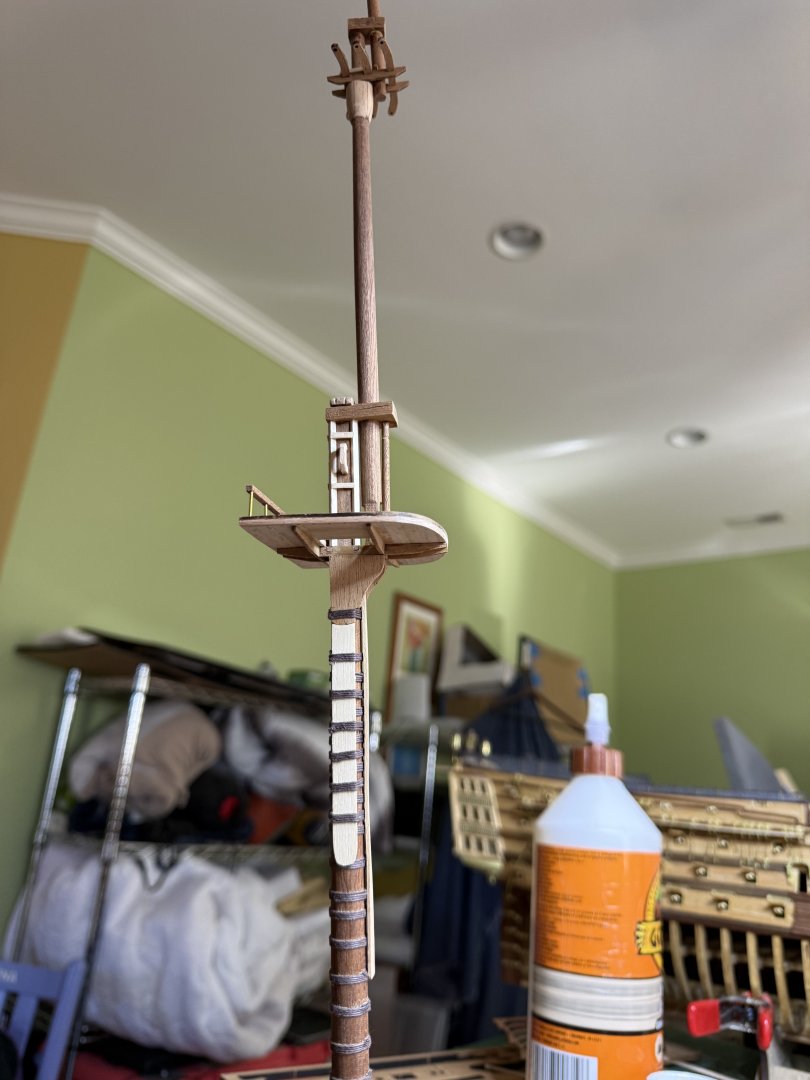
Today completed but not rigged the foremast. First the lower part Then to do the supports for the upper shrouds made encircled the mast with strips then sanded down Then the topmast Pre sanding sealer And after


-
HMS Victory by ECK - OcCre - 1/87
ECK replied to ECK's topic in - Kit build logs for subjects built from 1751 - 1800
Now for the masts. First as I earlier complained, the fighting tops have to be assembled from 2x5 ,pieces of stock. Here is the instruction page provided. The written part that accompanies the picture book is rather useless, basically saying assemble as in picture. The part list gives the dimensions for the pieces. Turned out the assembled pieces were not wide enough for the premade edges S So added to each side Next glued the edging on instead of the plans recs to add ribs first Next sanded the top to shape and marked for the ribs lastly added the ribs, sanding the inner edges flat


-
From my conversation with medical students, residents and fellows, when I mention Nelson, HMS Victory or Trafalgar I get blank stares.
-
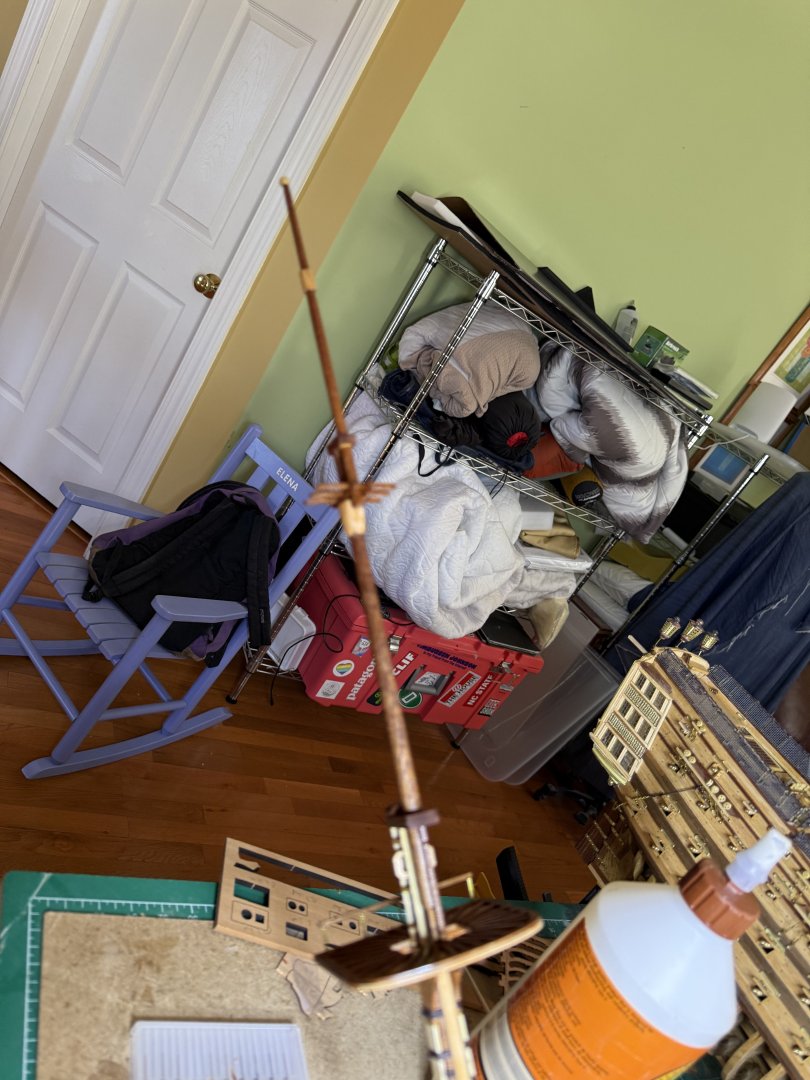
I also agree, starting in my 50's (now in my early 60's) when we became empty nesters with time and more disposable income available. Also able to take over the kid's play room and convert it into my shipyard. The kids were the ones who encouraged me to take the leap ! As we get older I think the hobby is a good way to keep manual dexterity and avoid cognitive decline given all the different mind processes need in ship building.
-
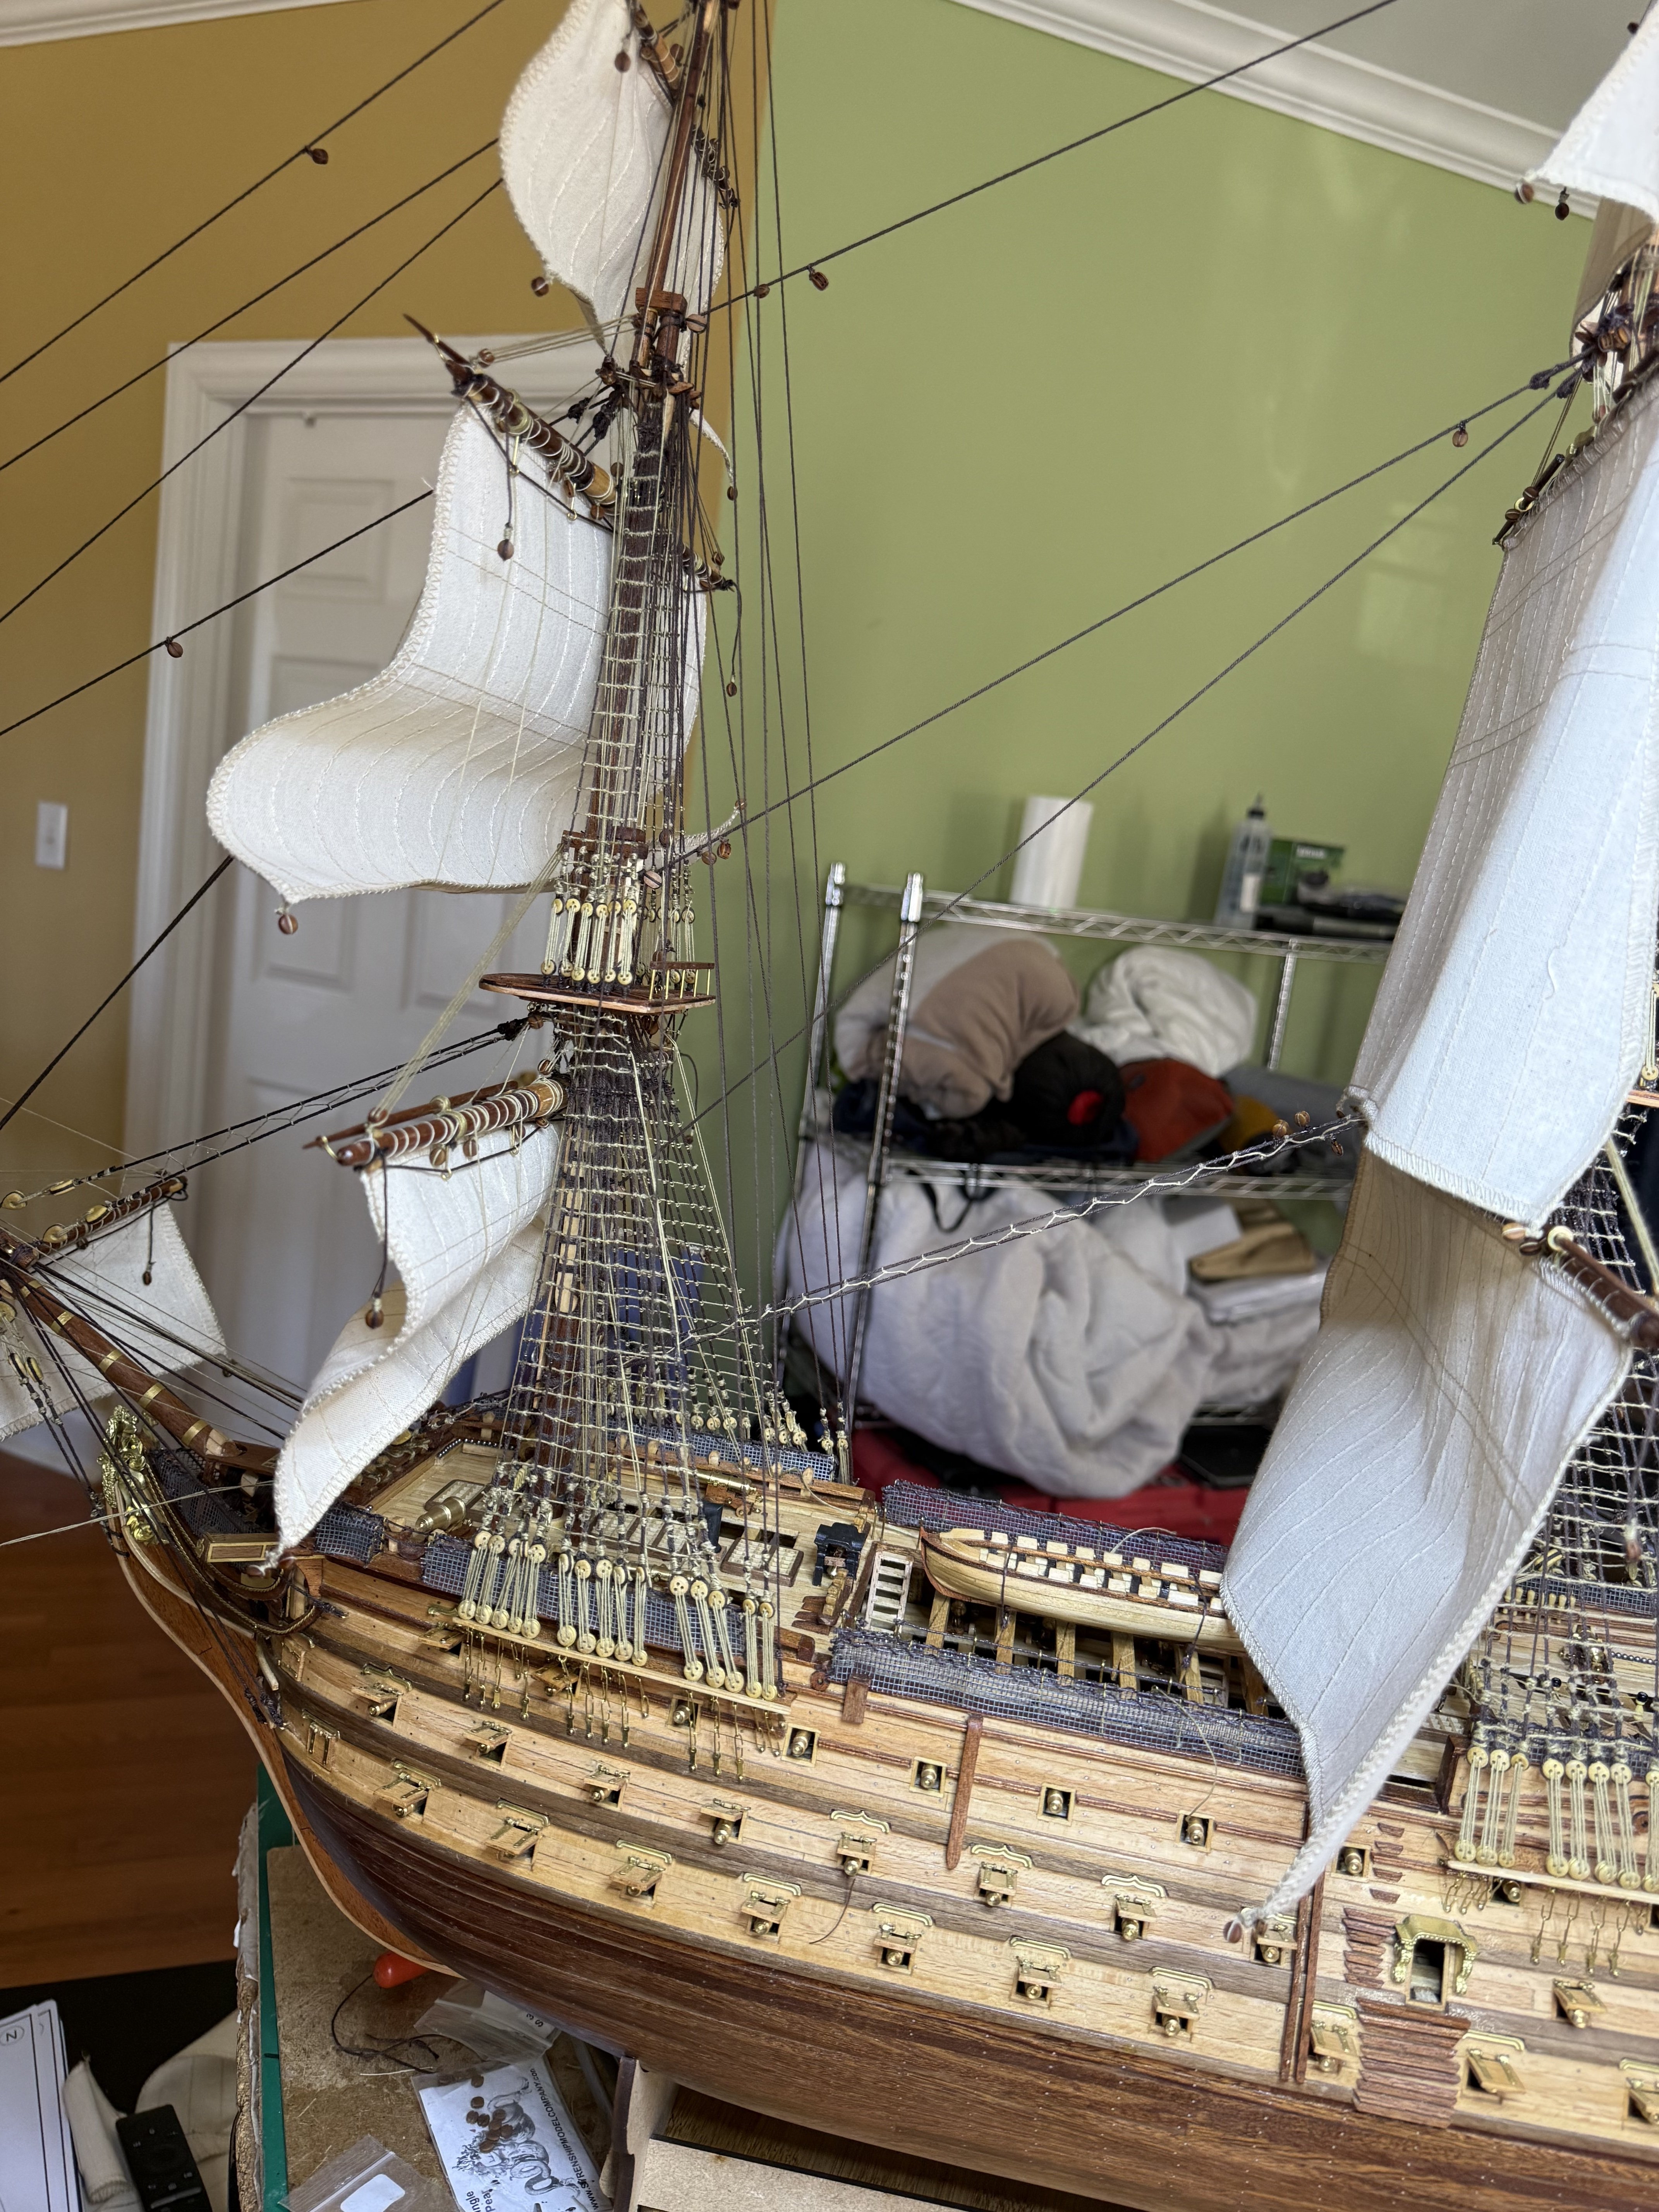
HMS Victory by ECK - OcCre - 1/87
ECK replied to ECK's topic in - Kit build logs for subjects built from 1751 - 1800
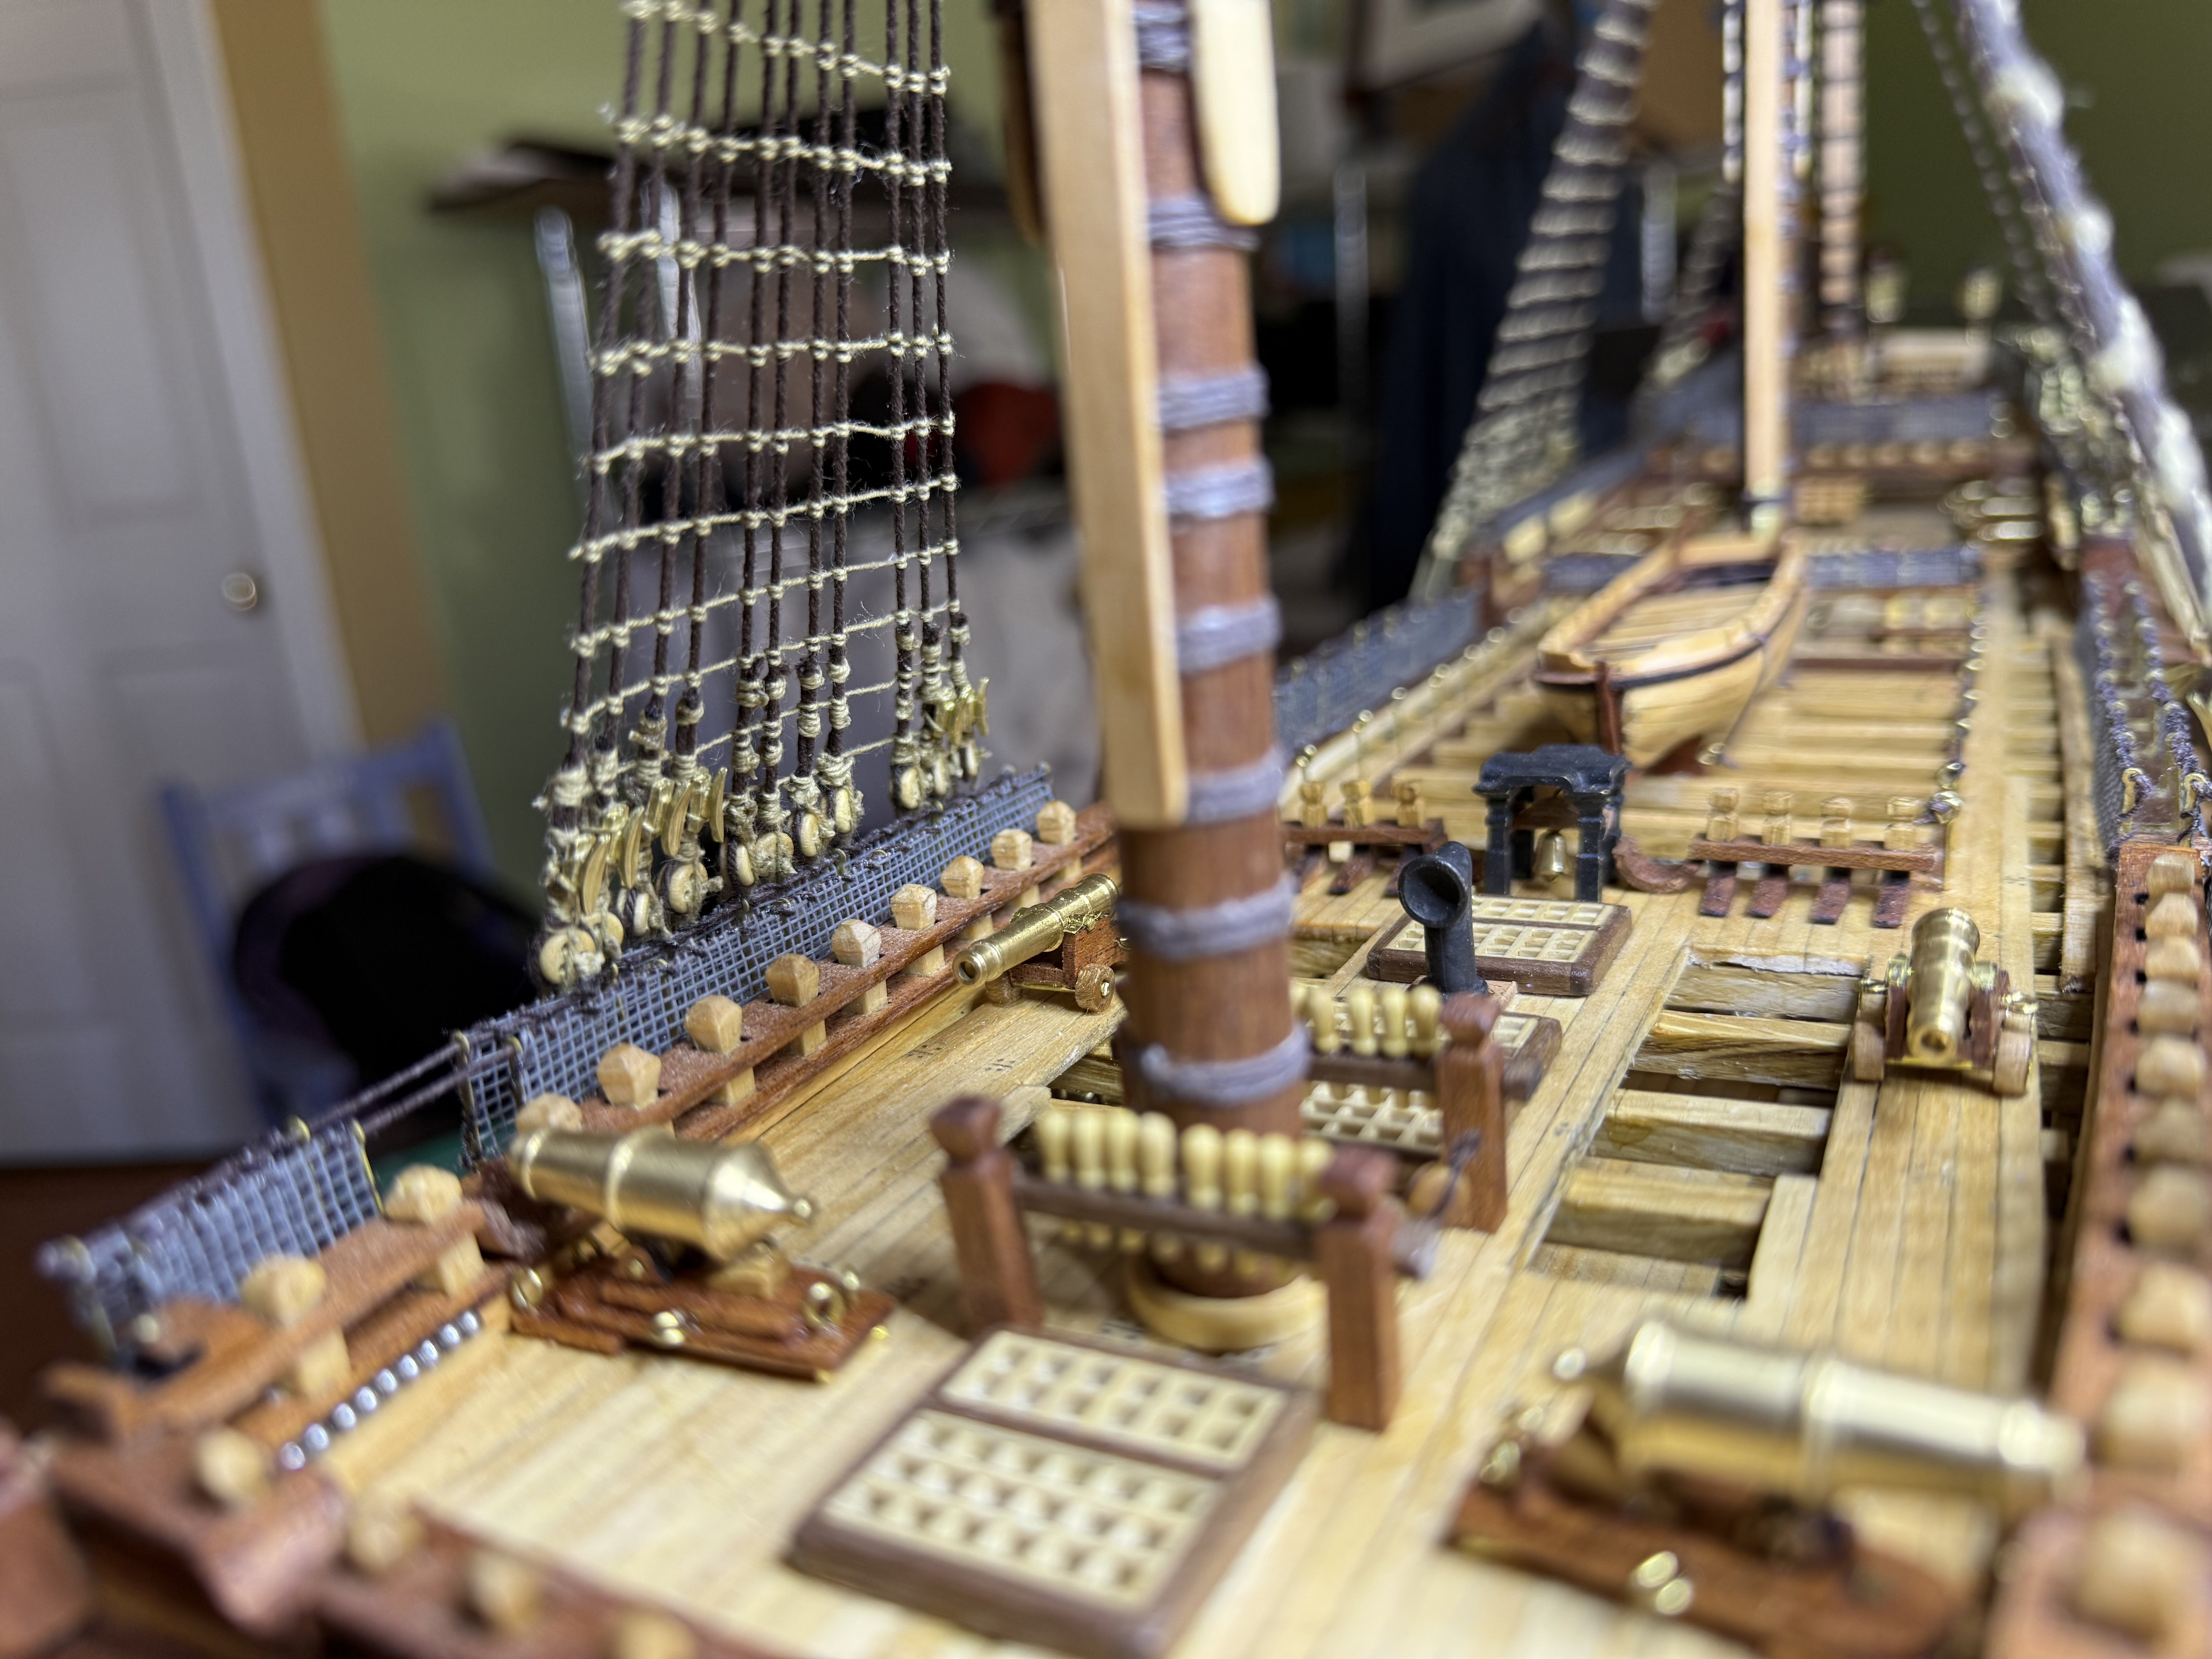
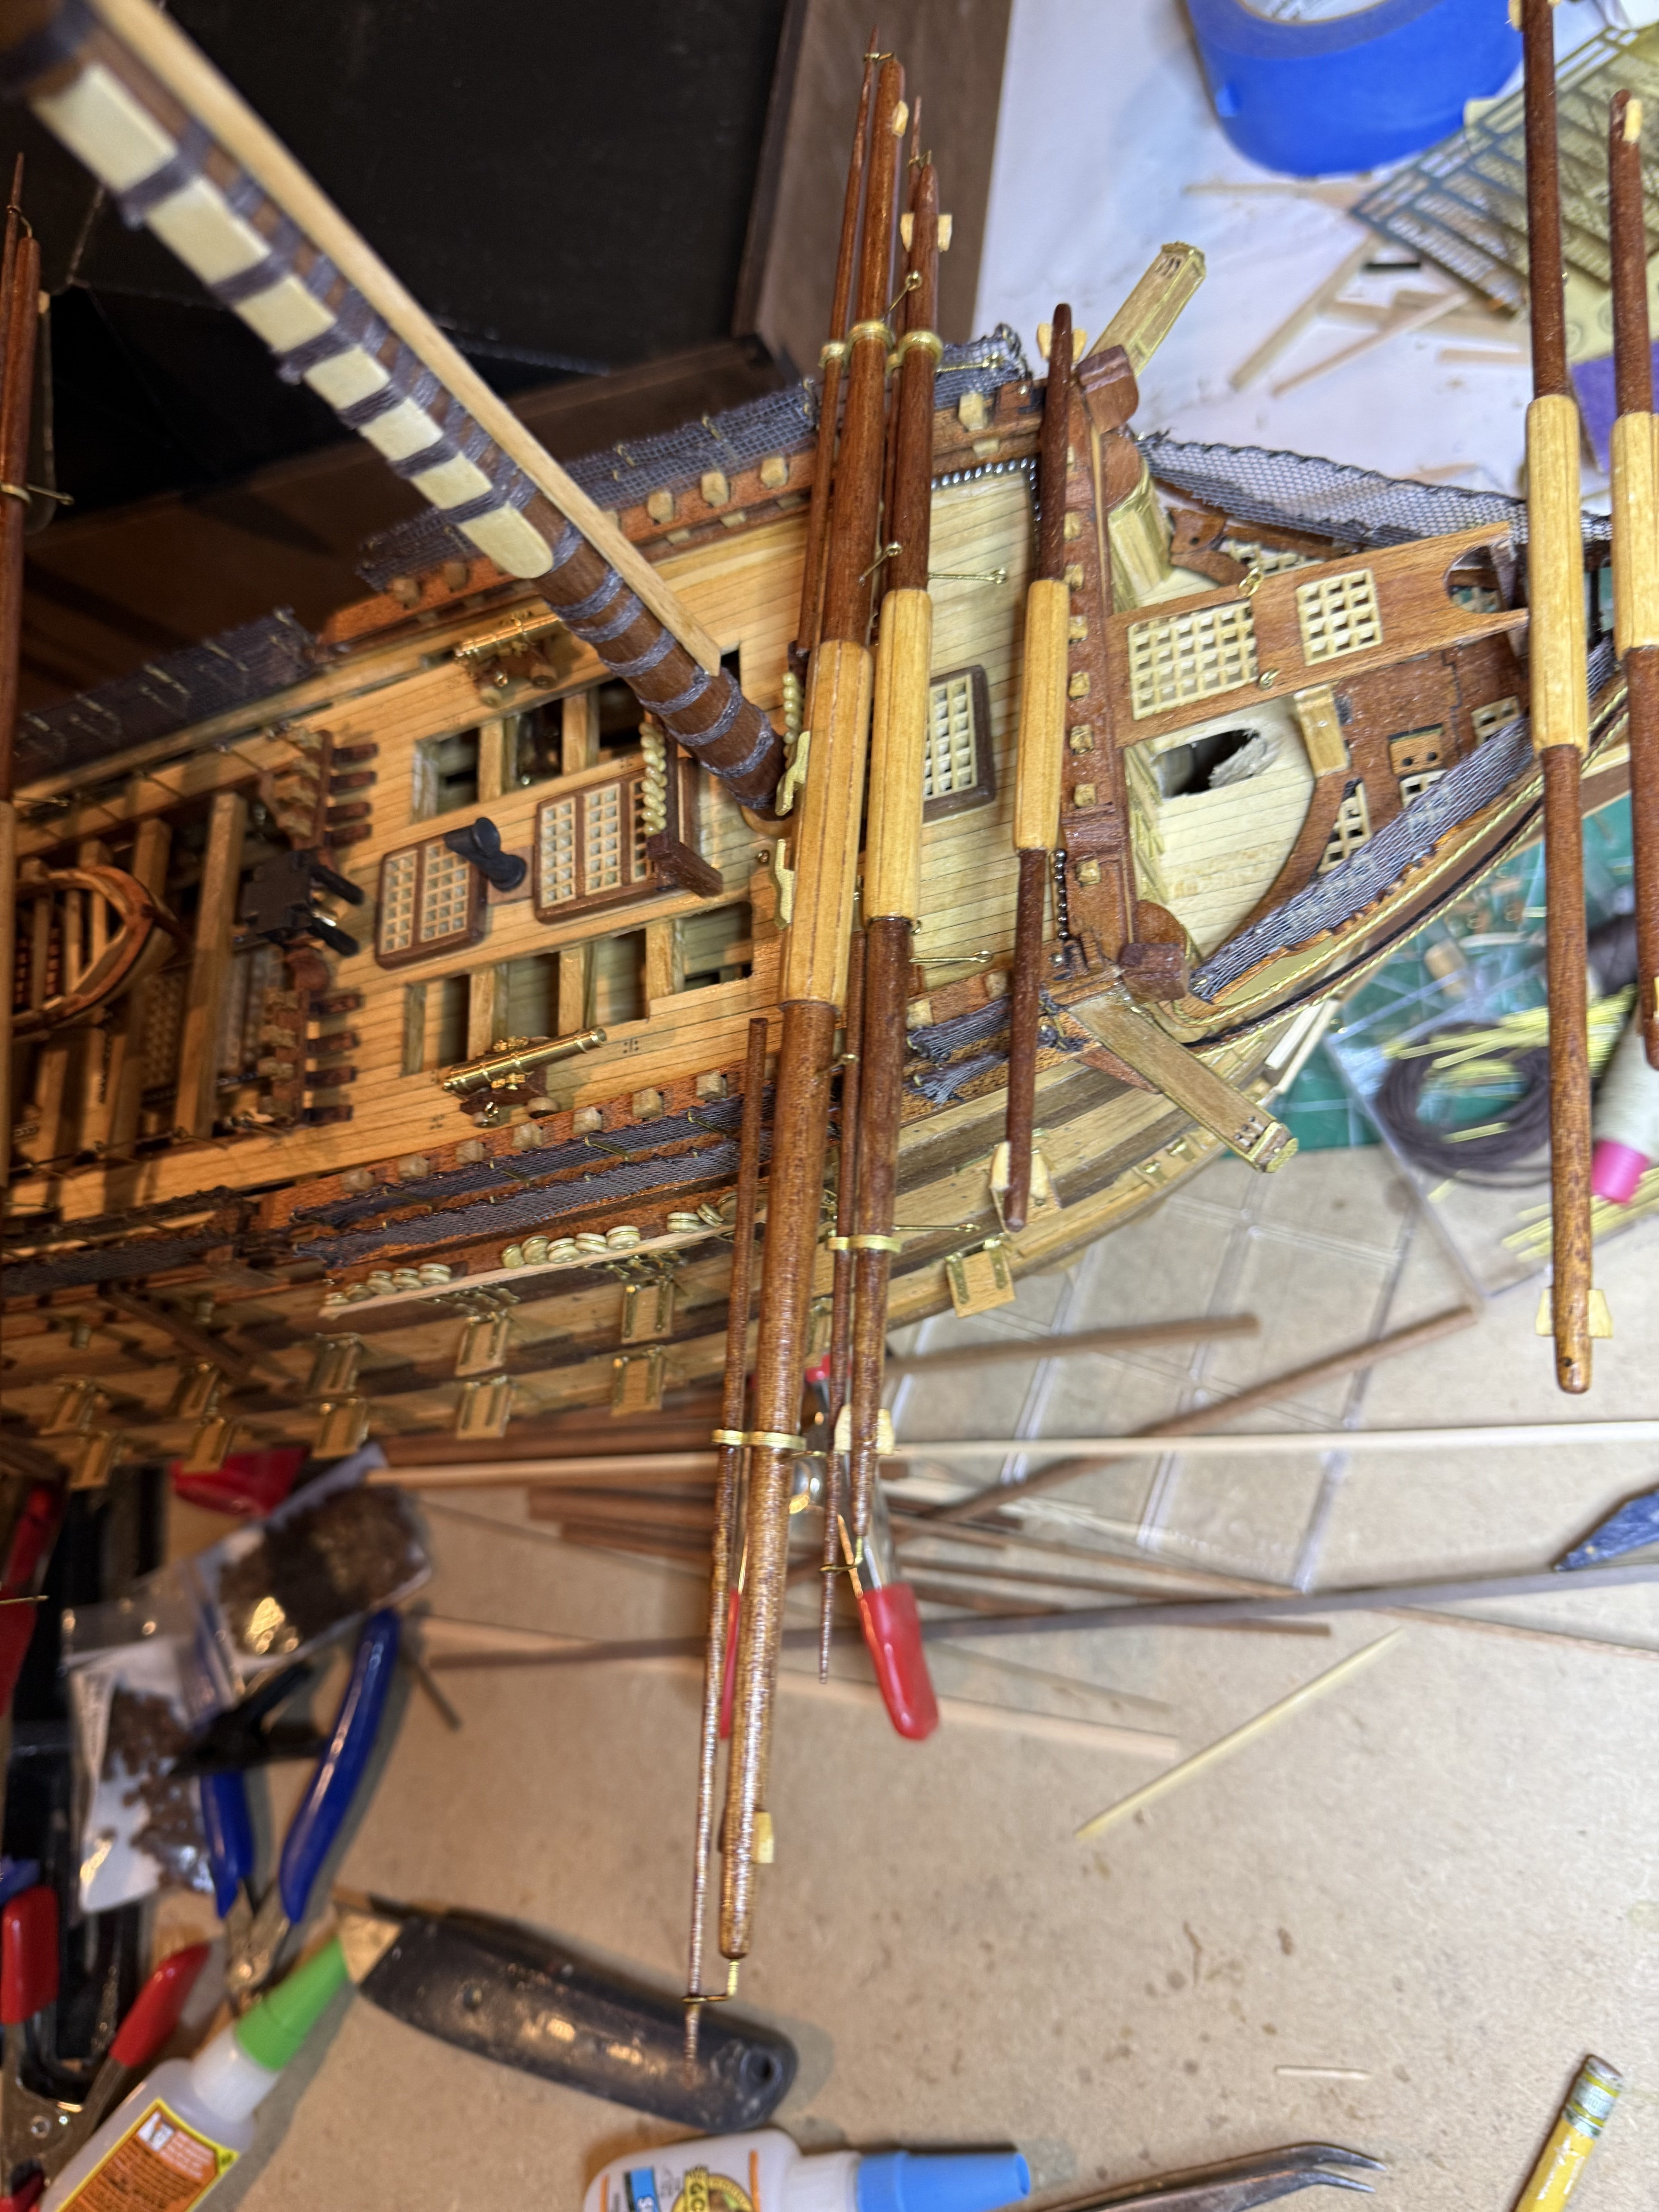
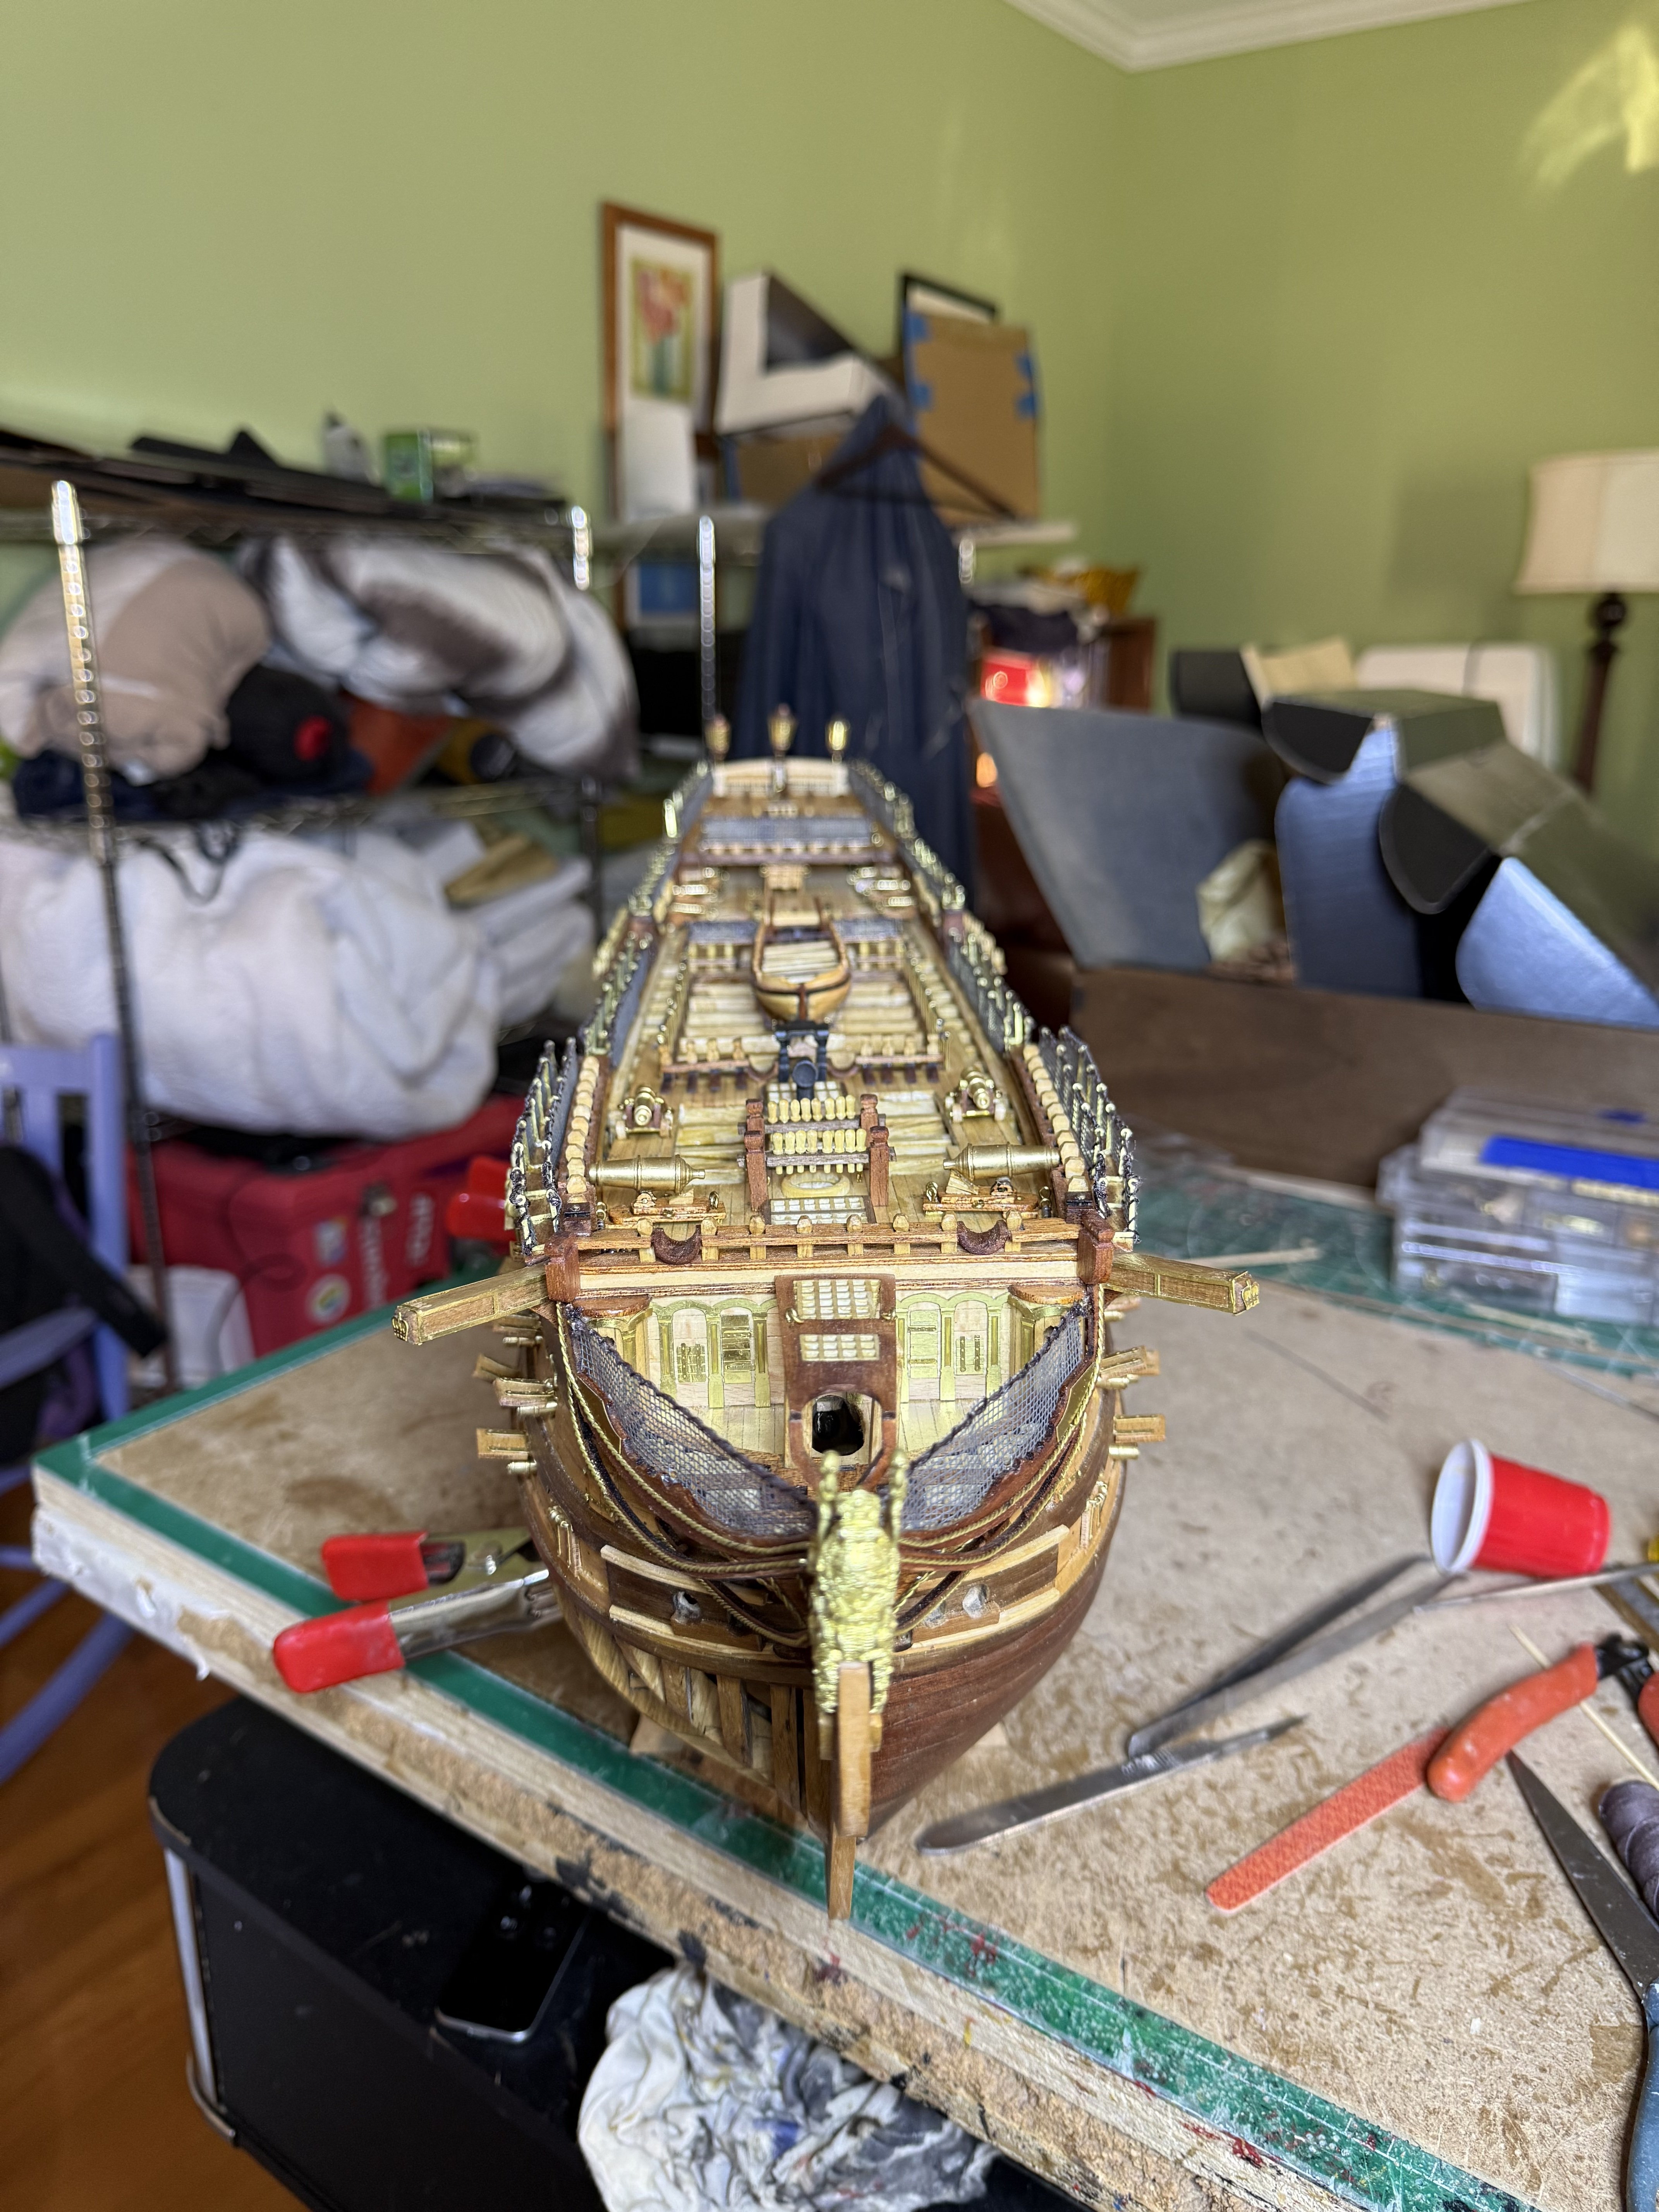
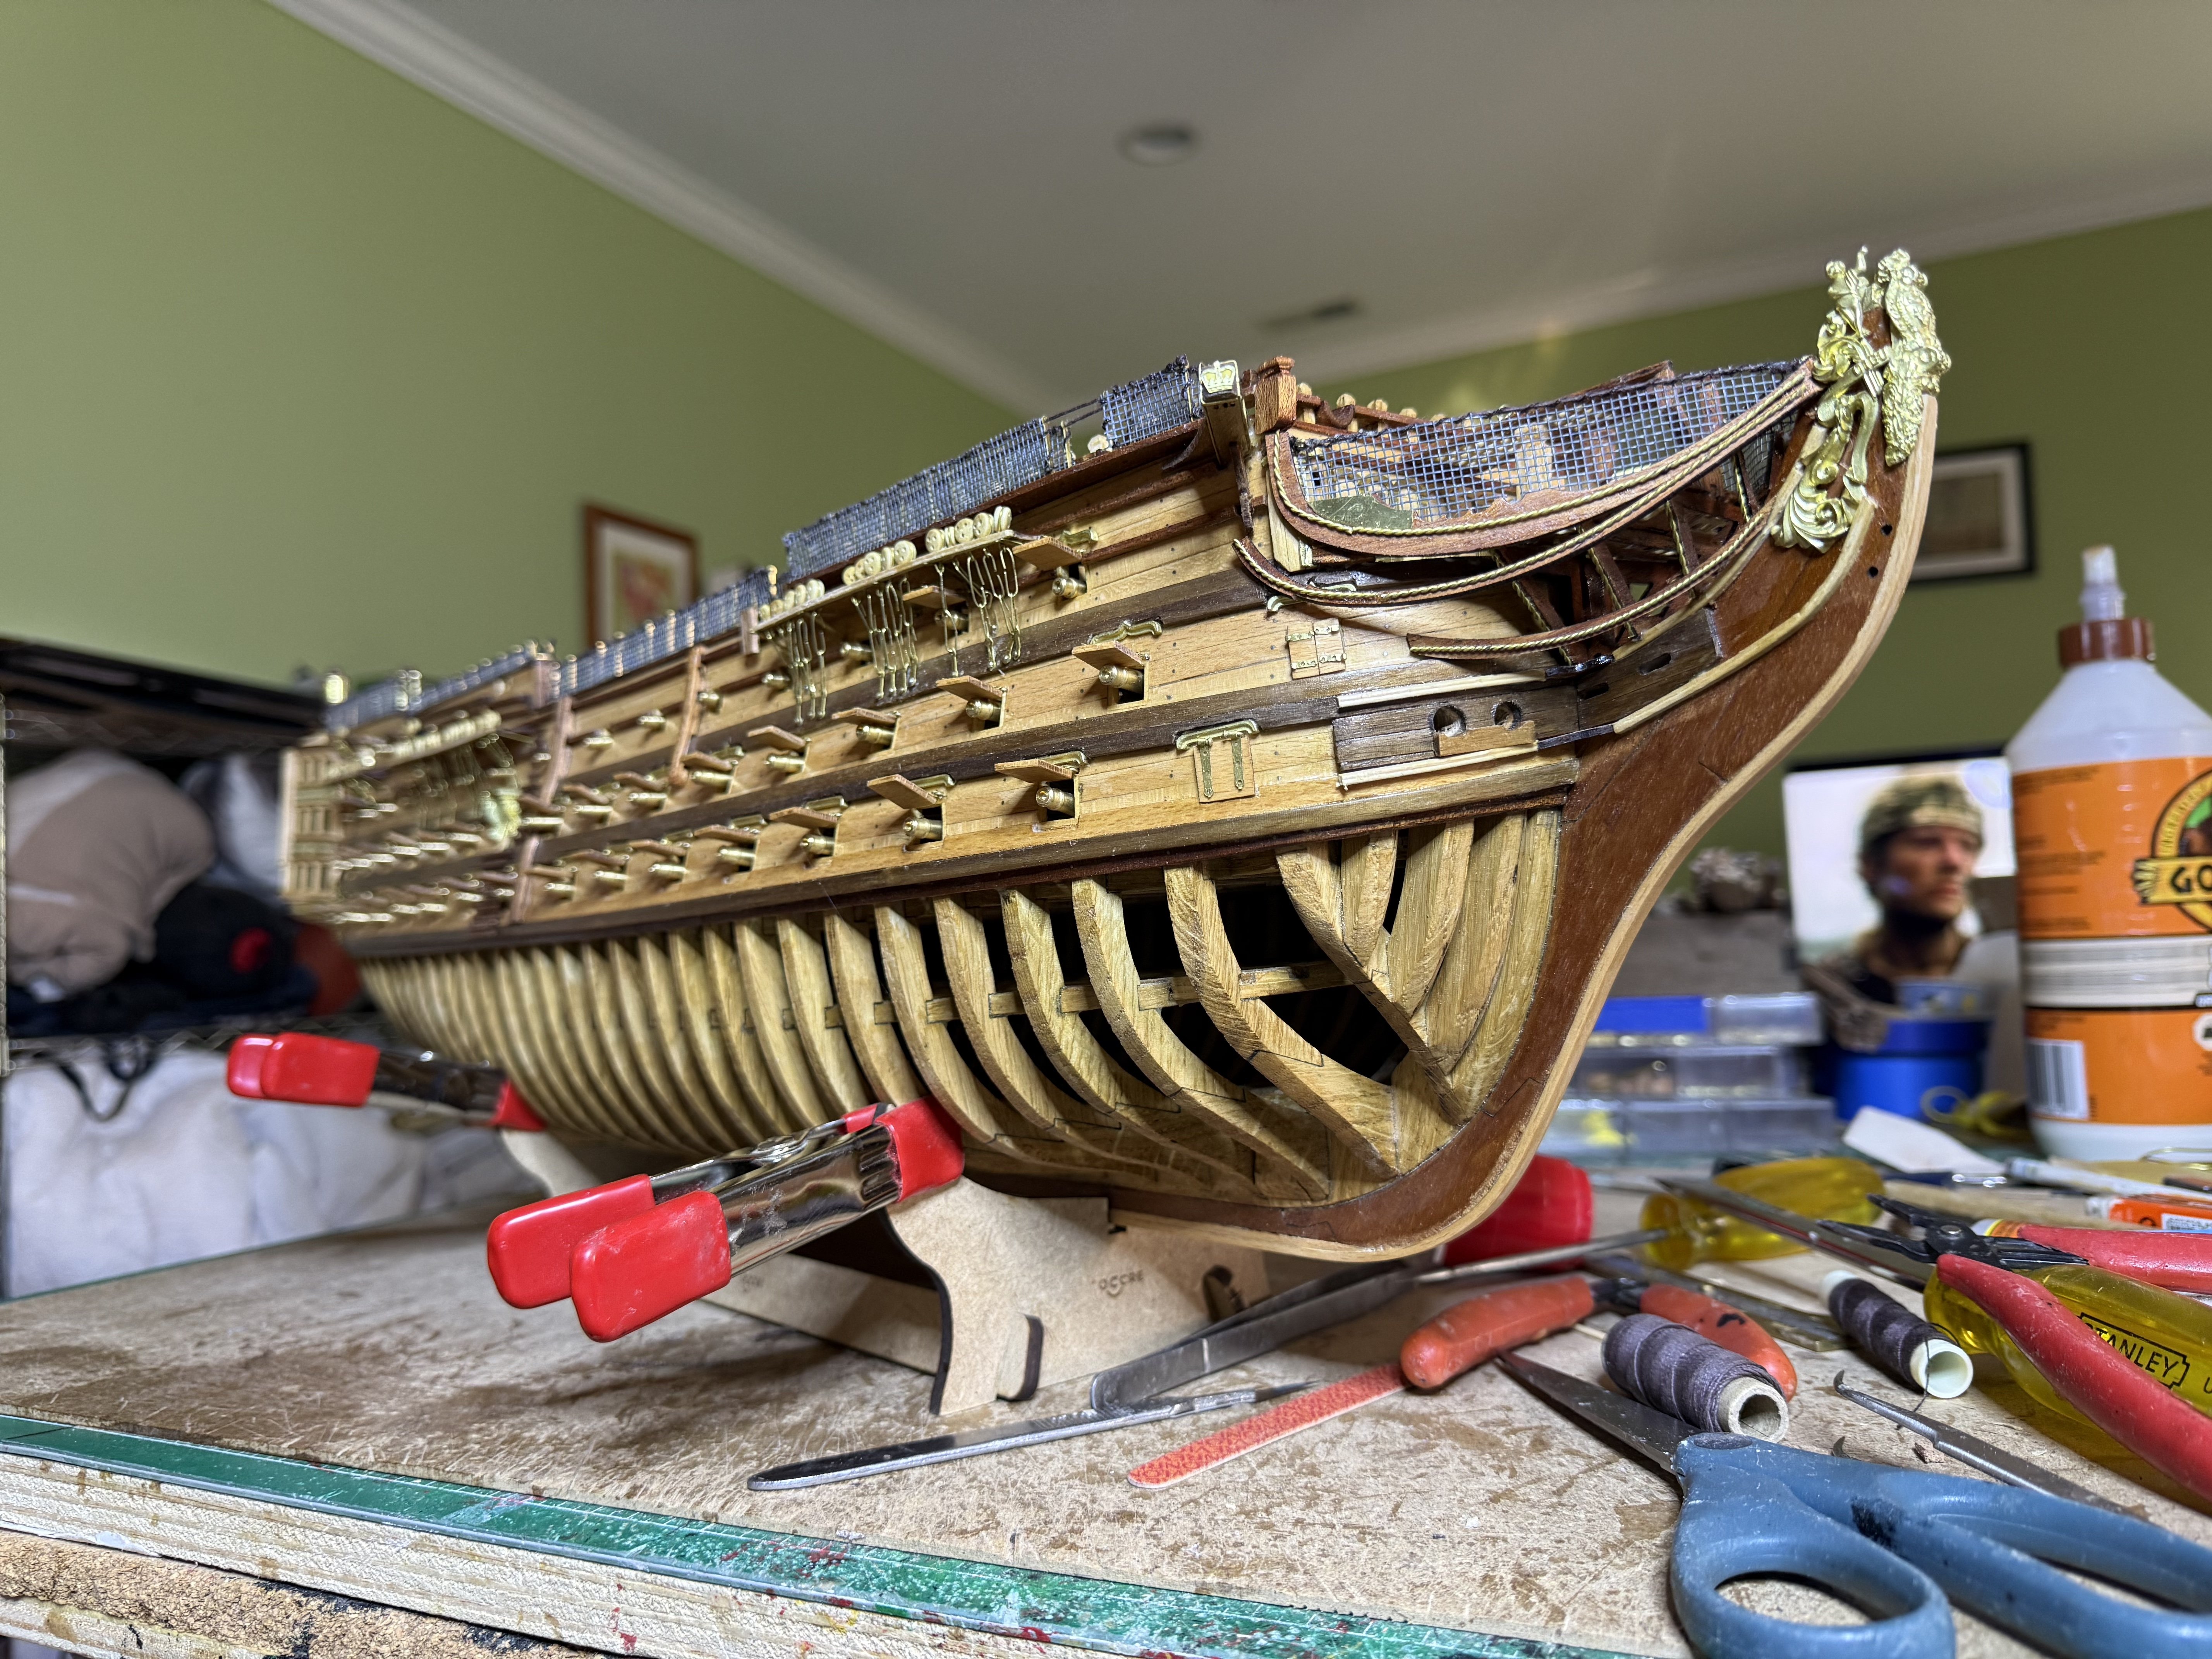
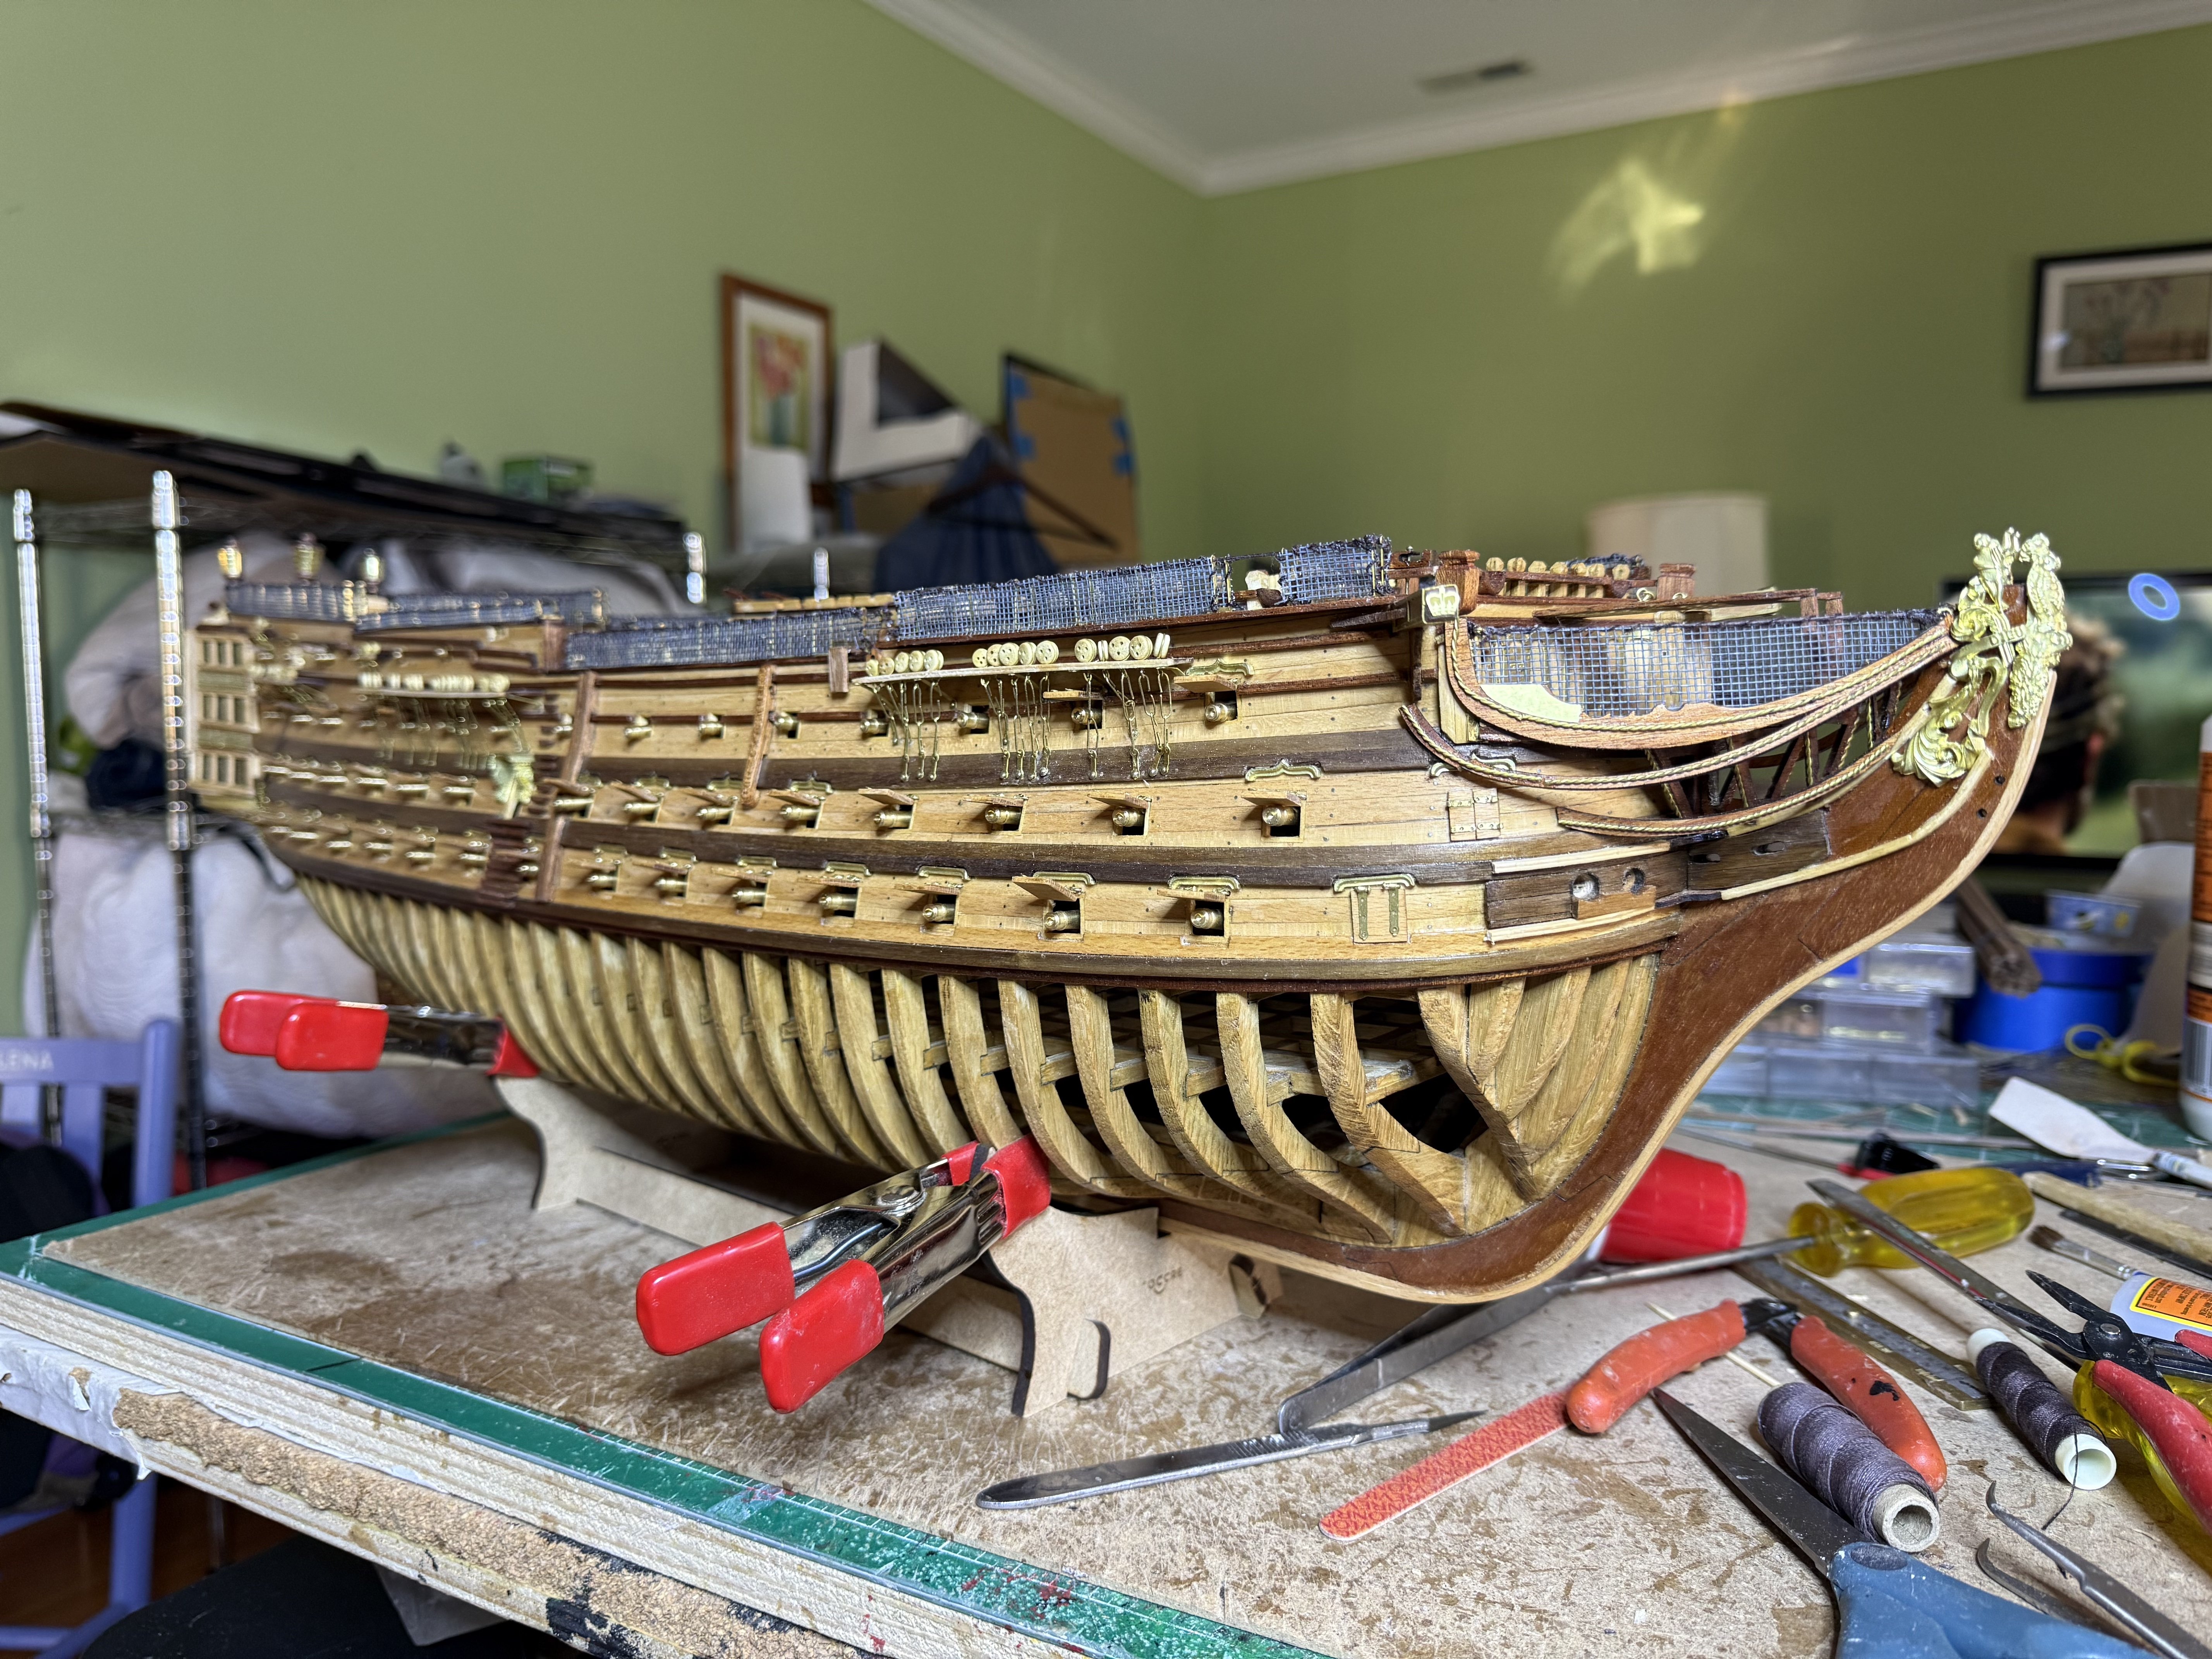
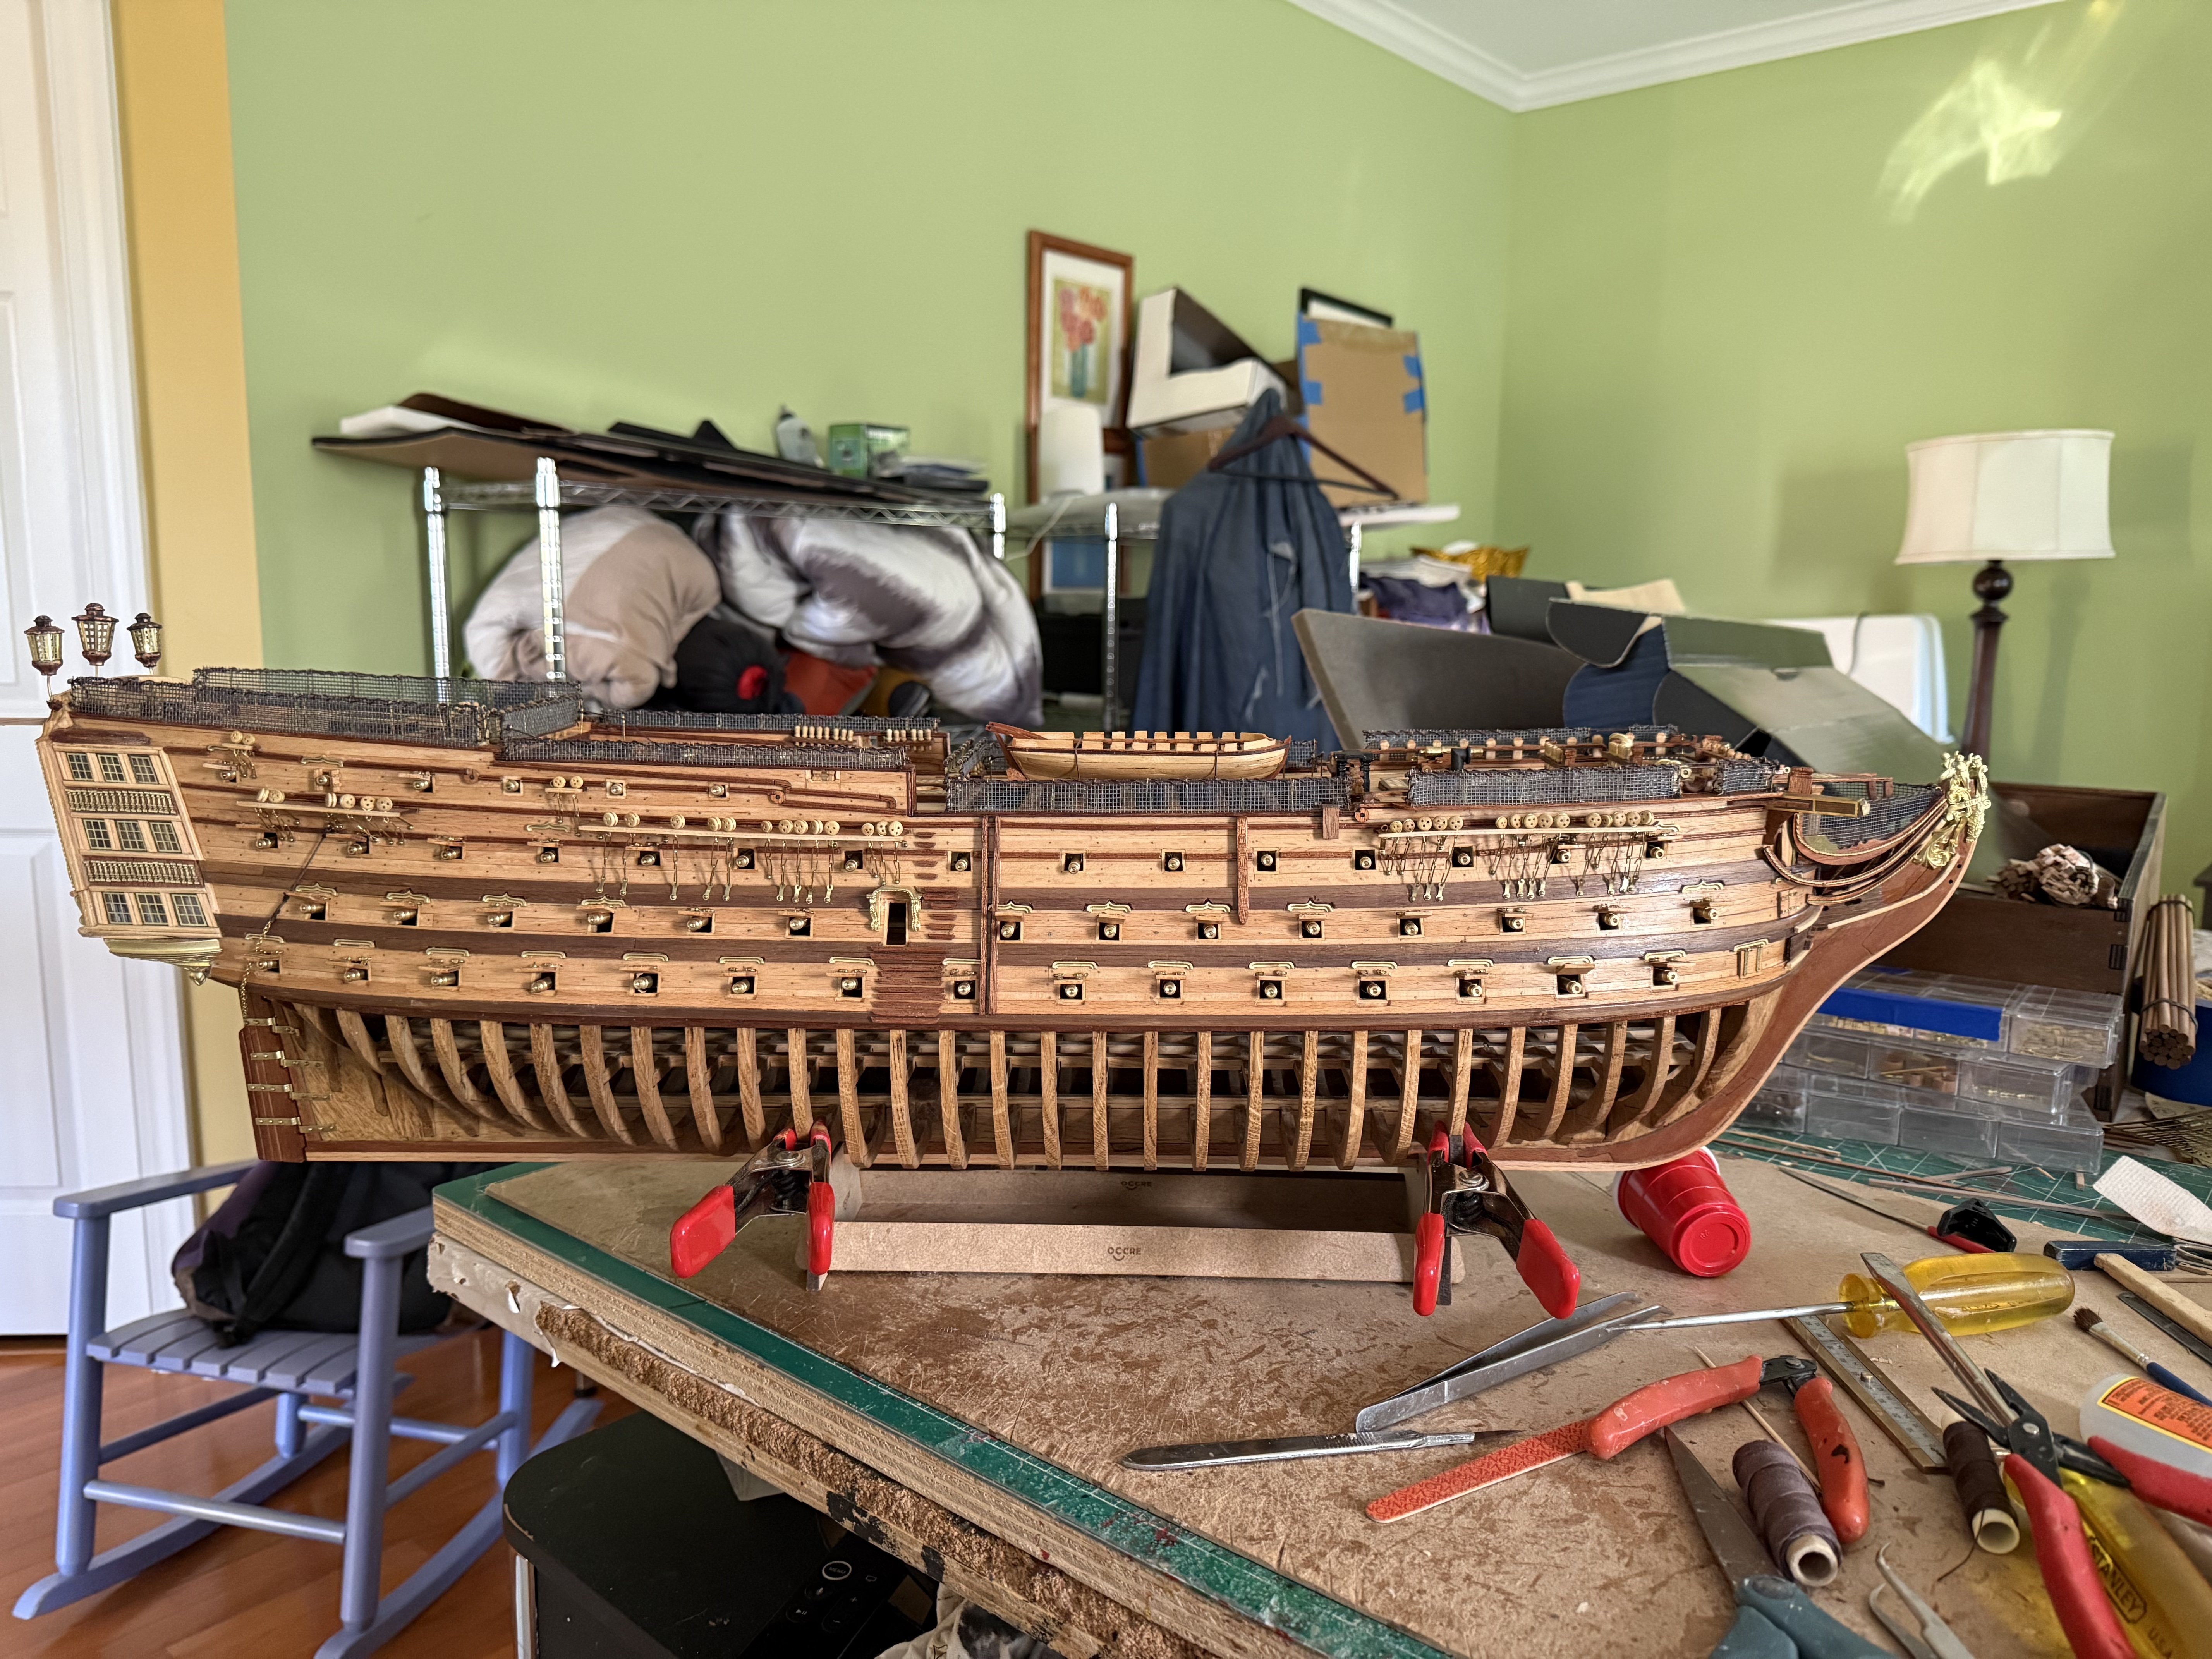
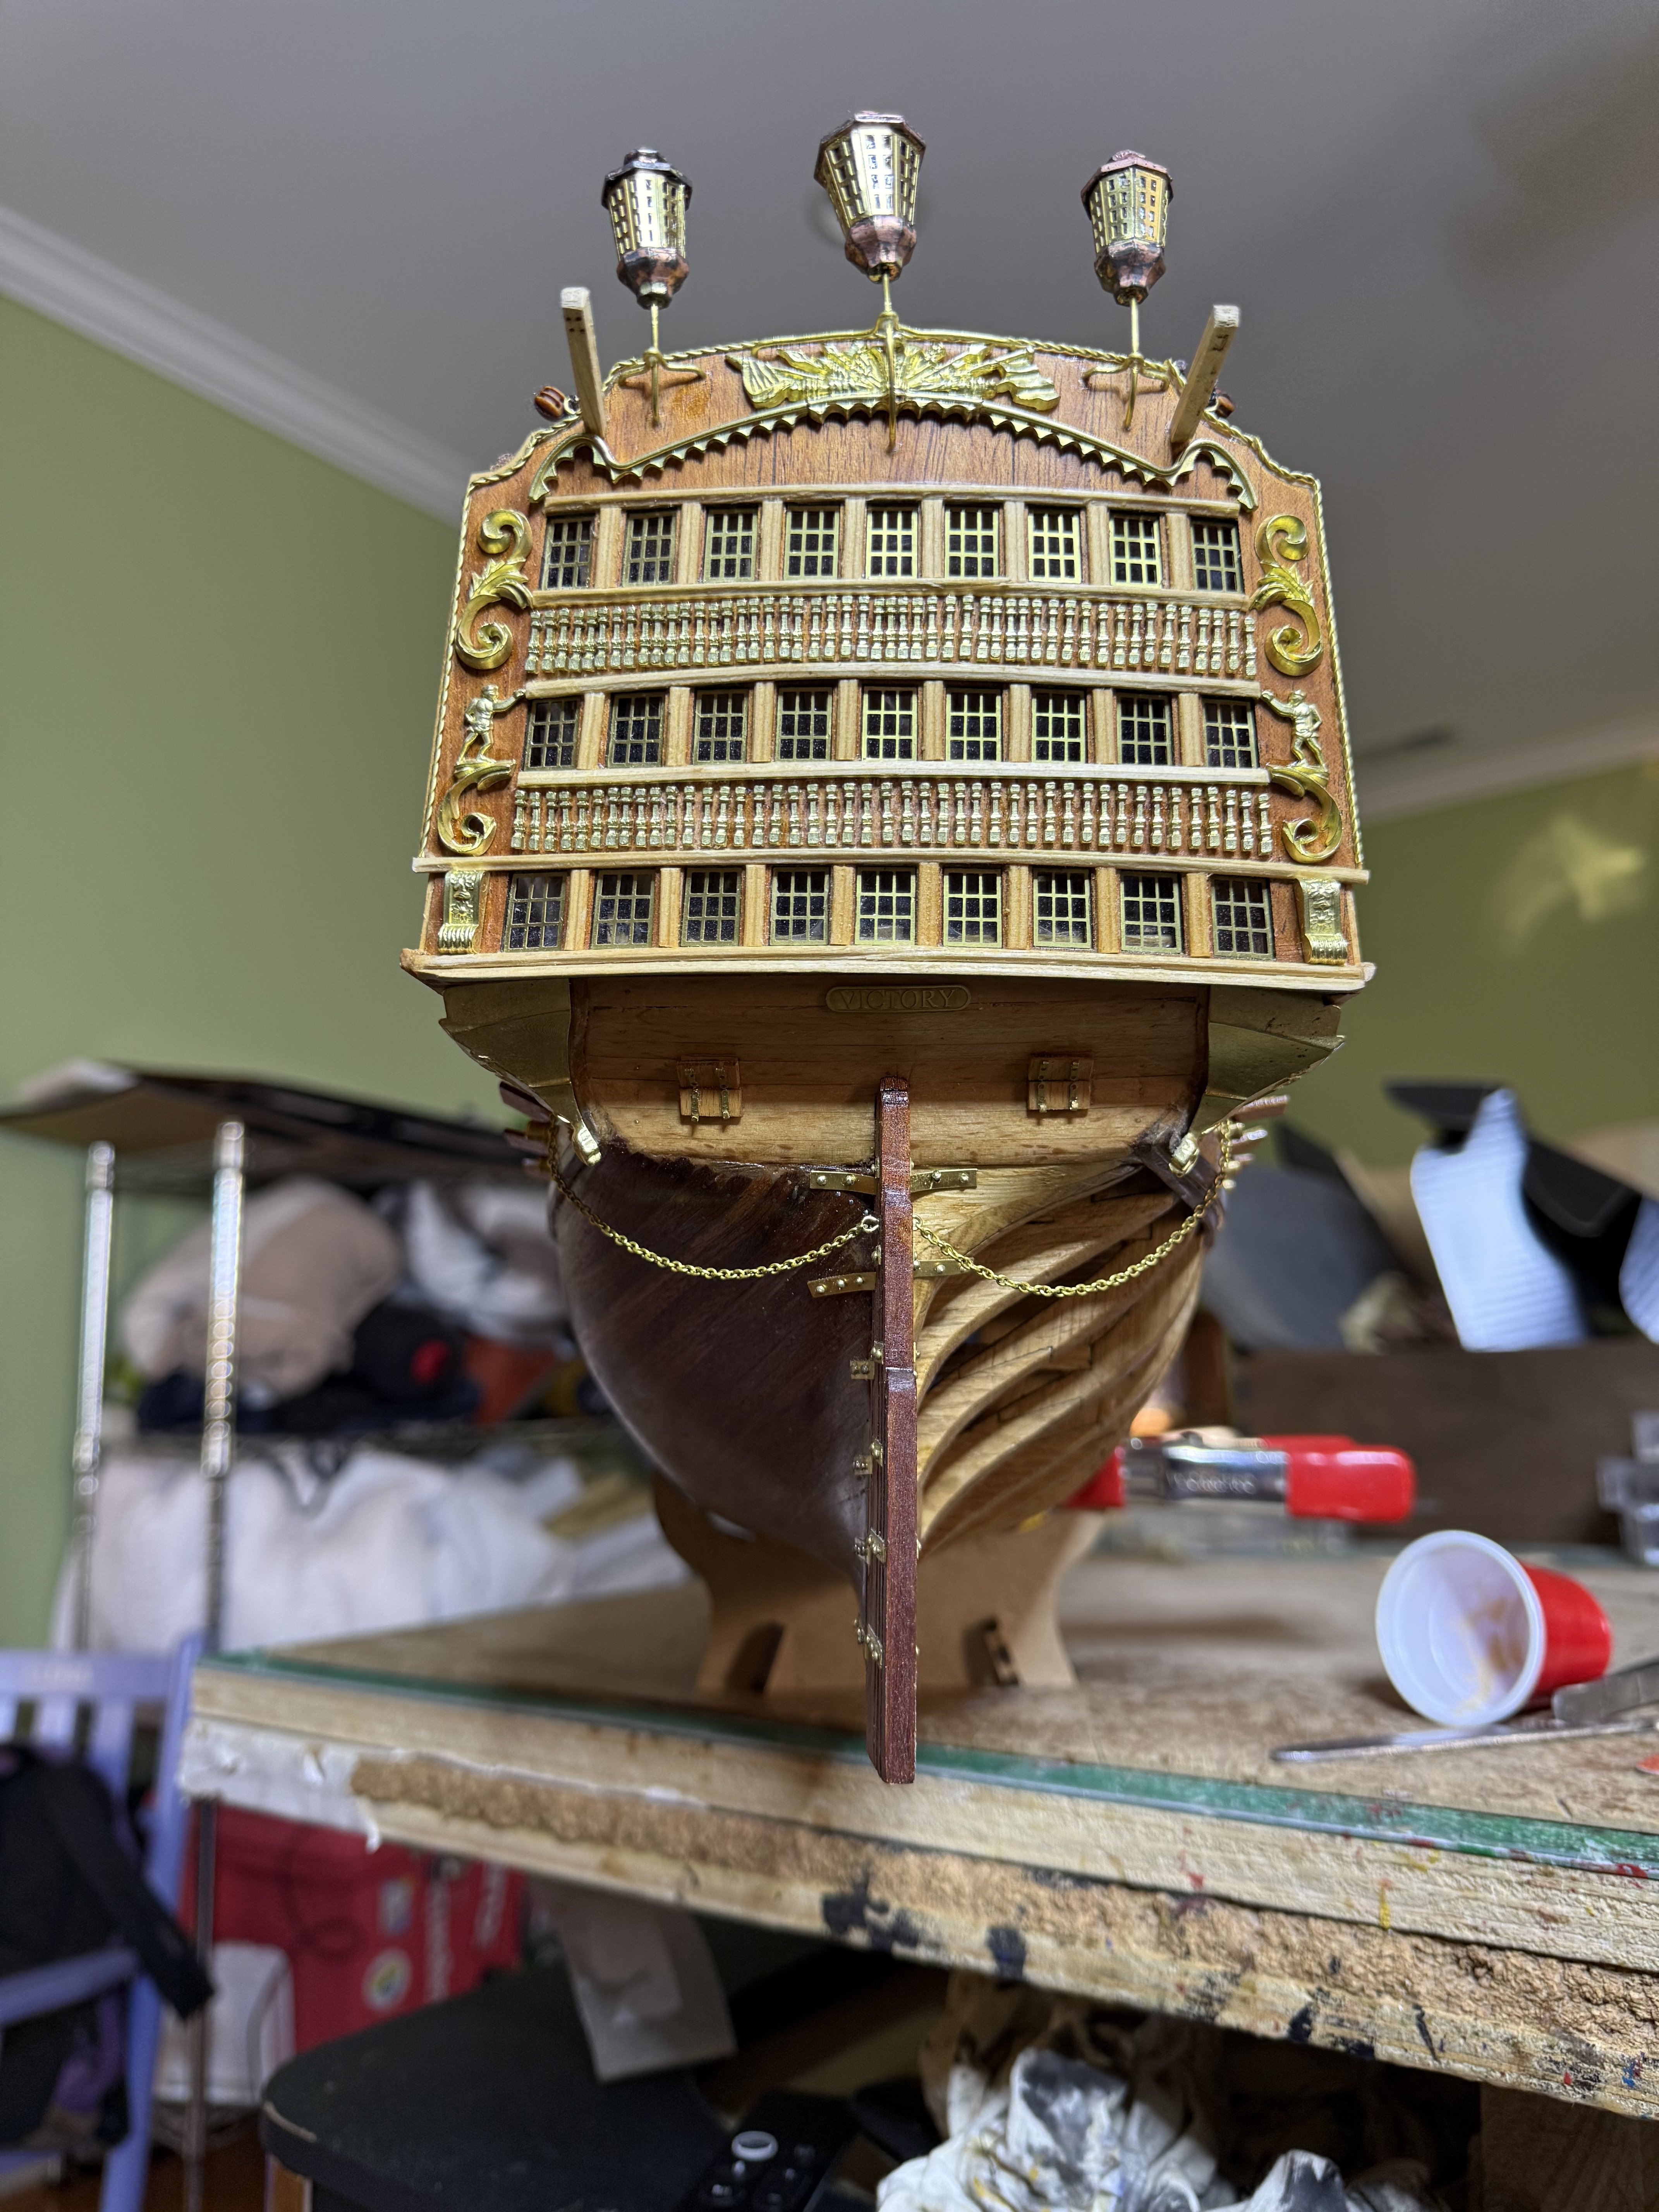
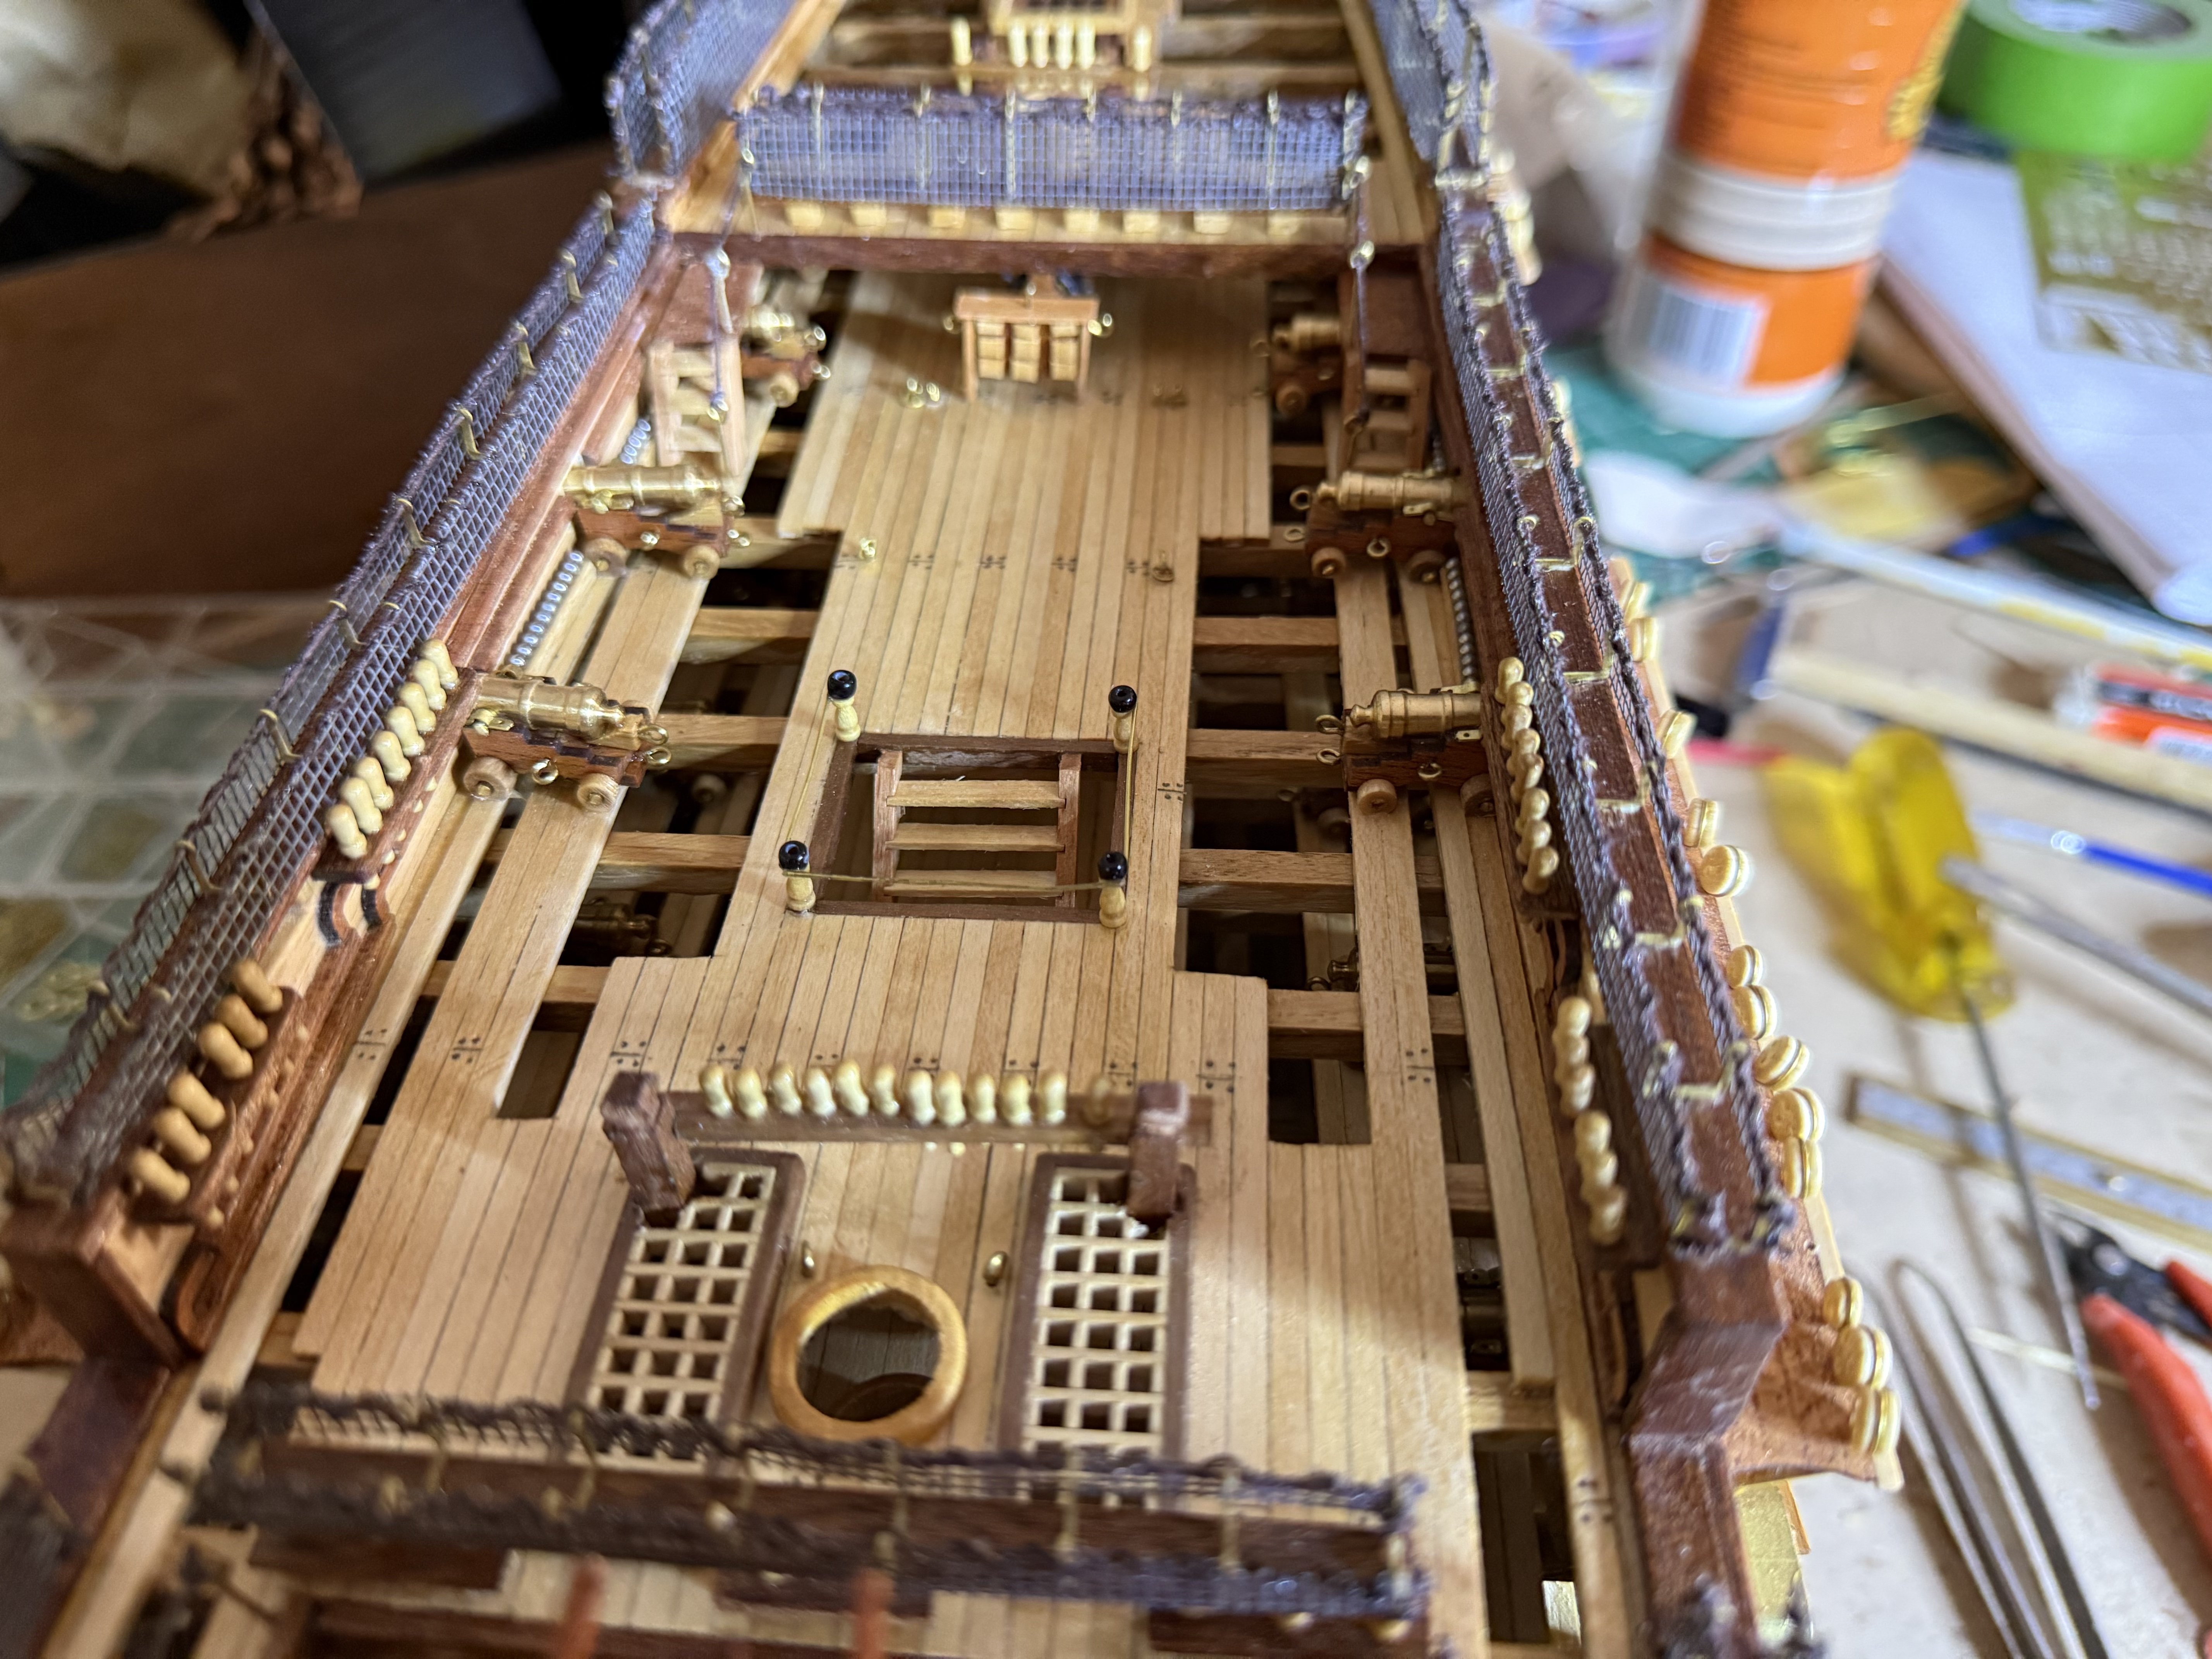
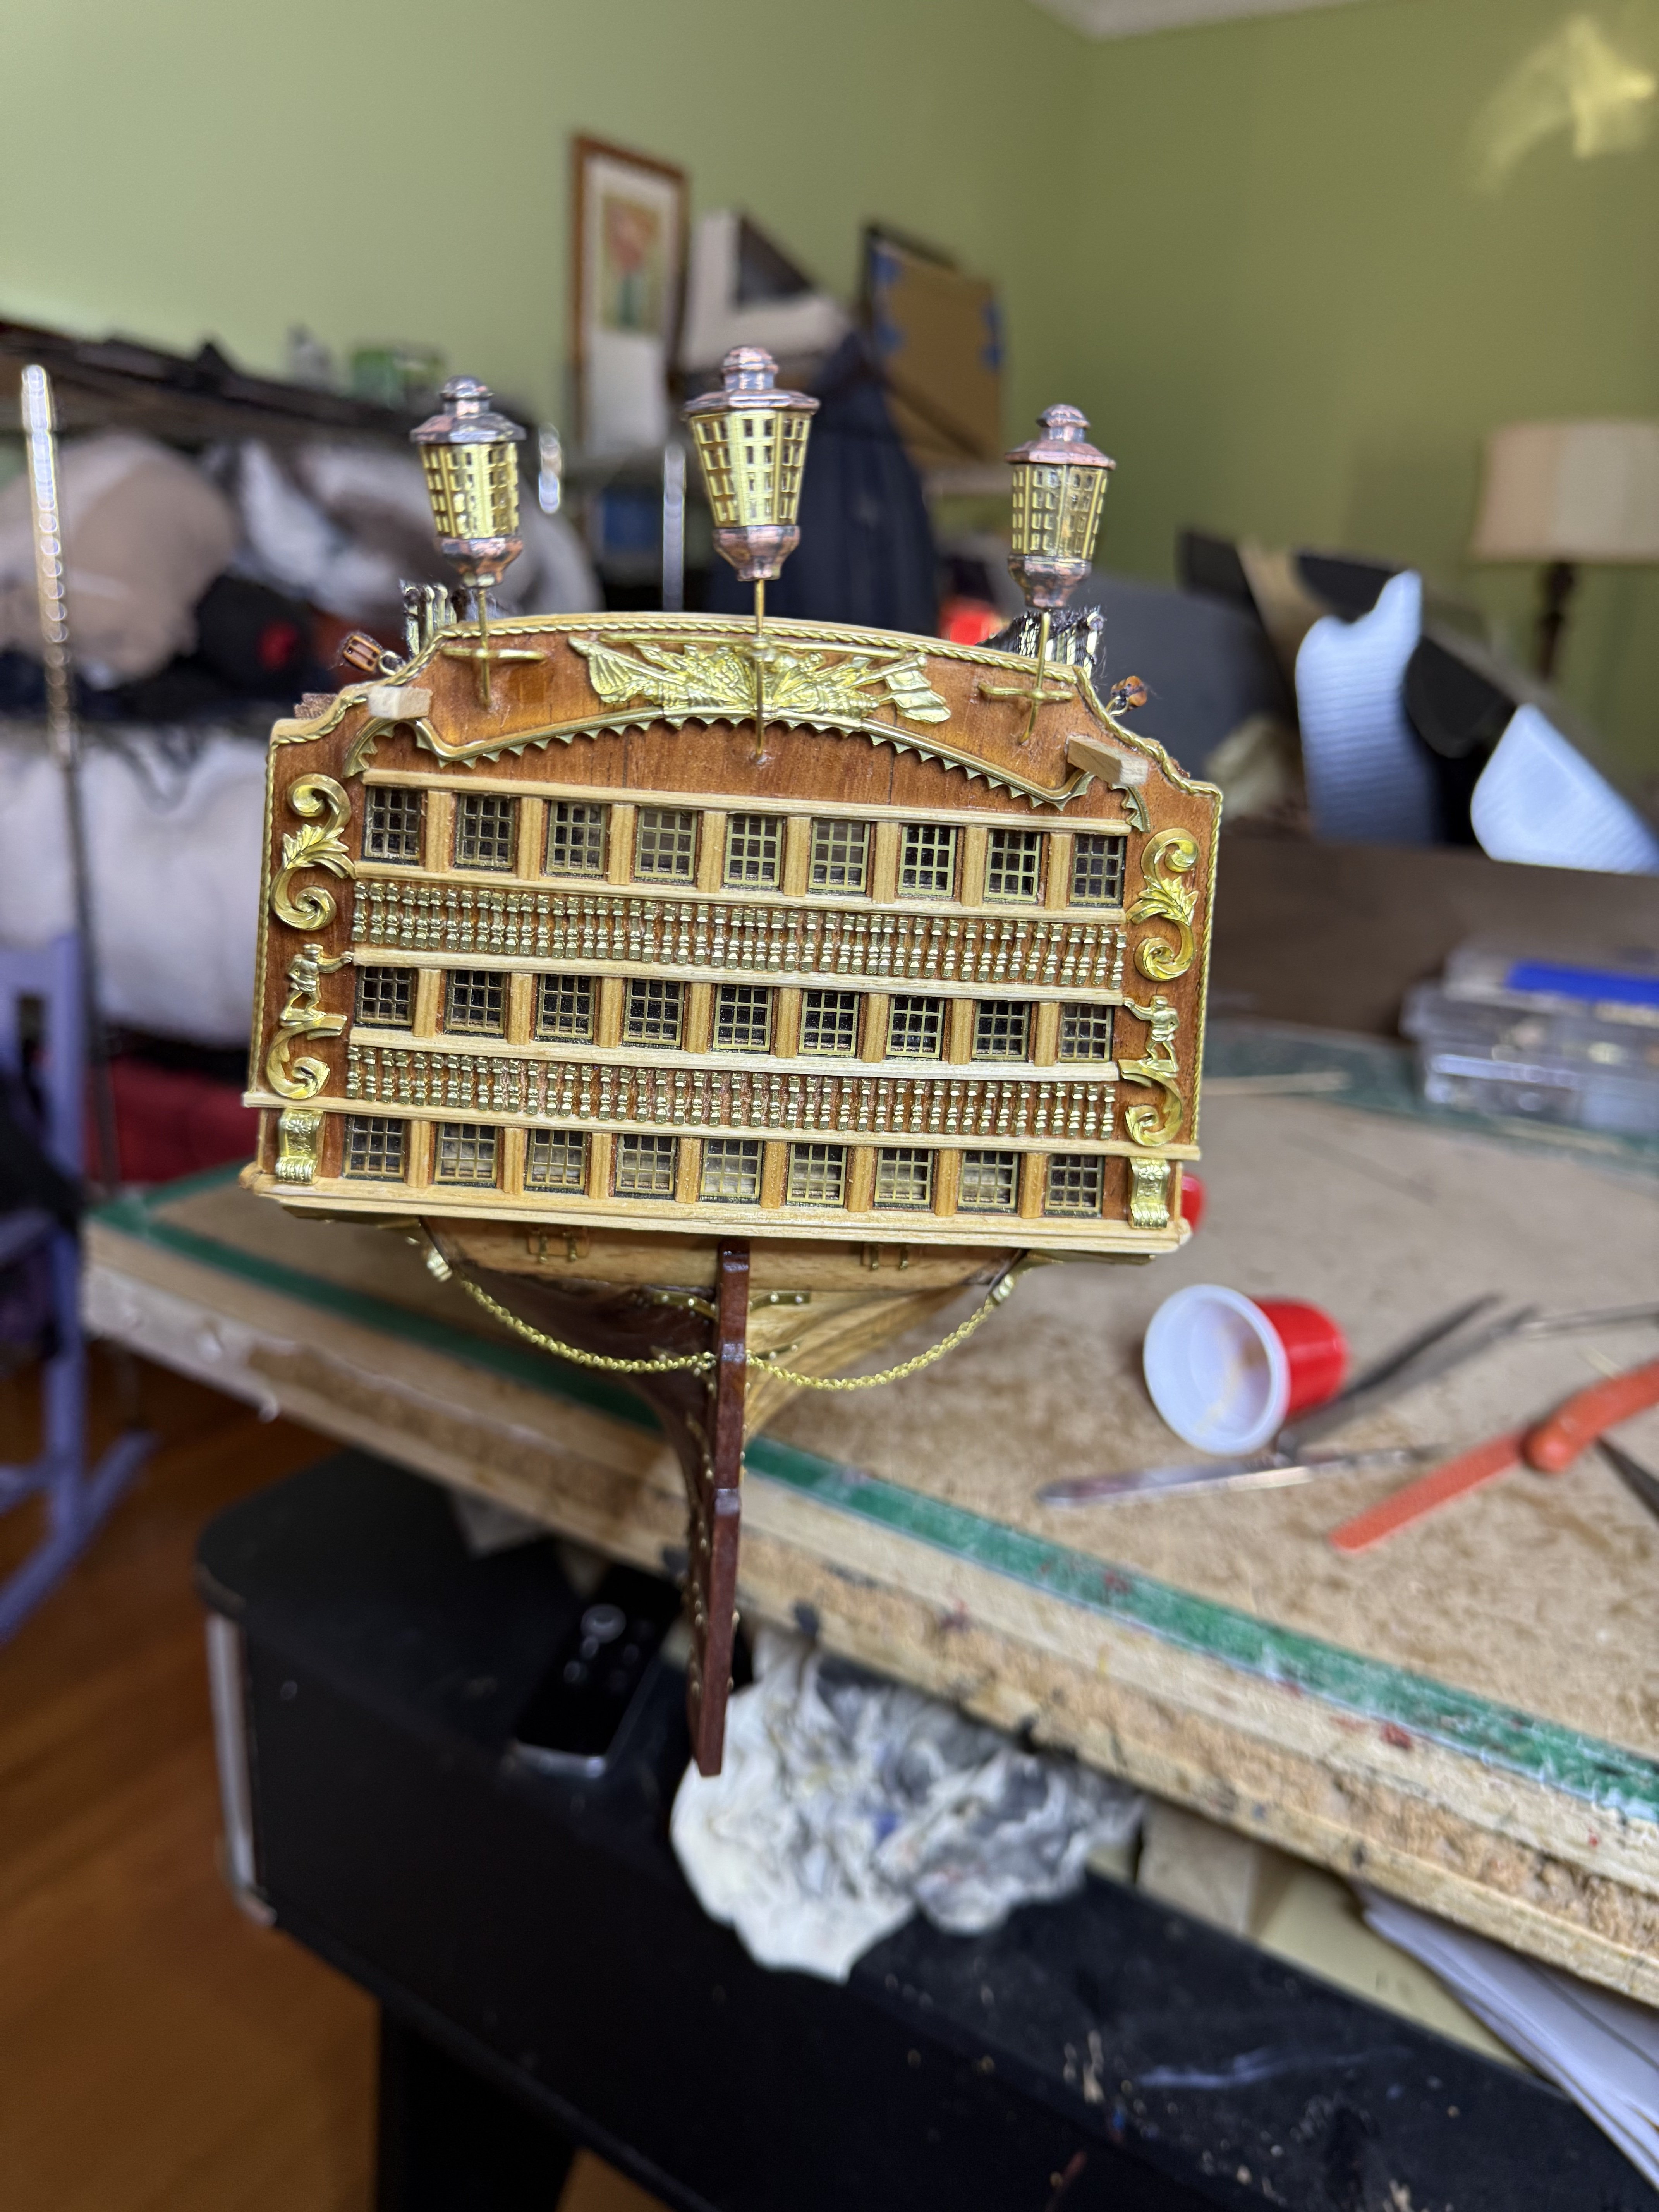
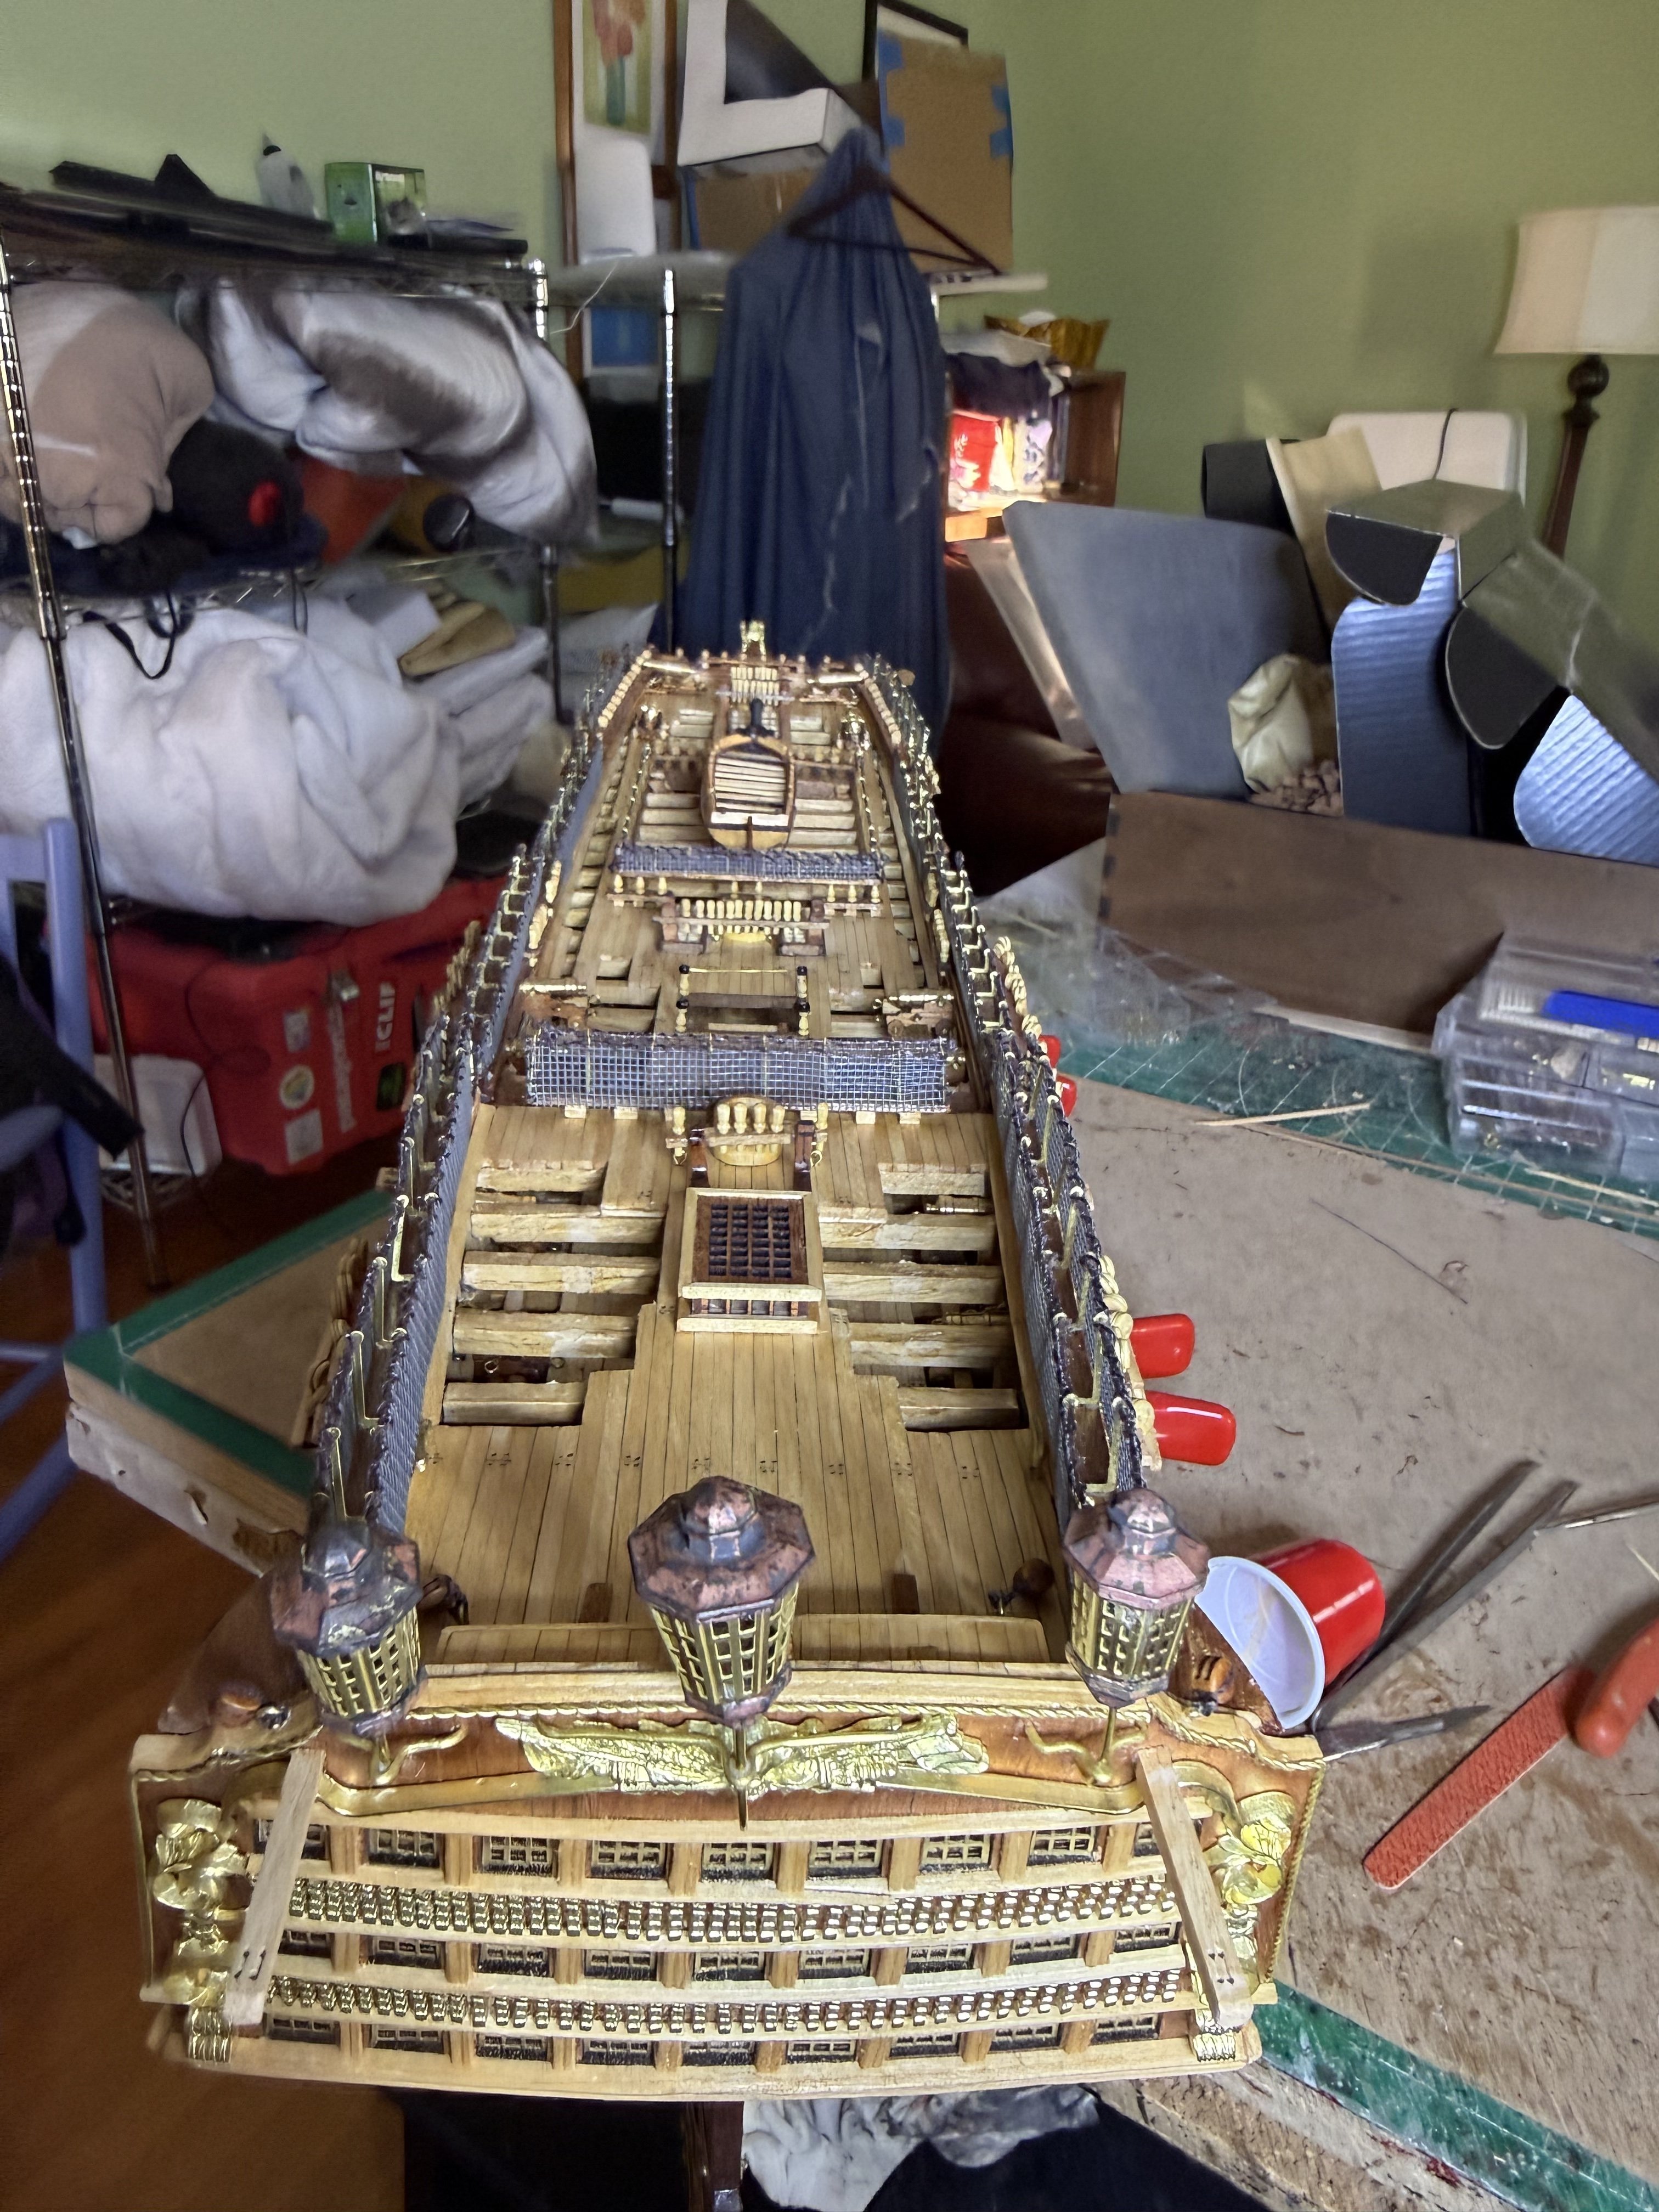
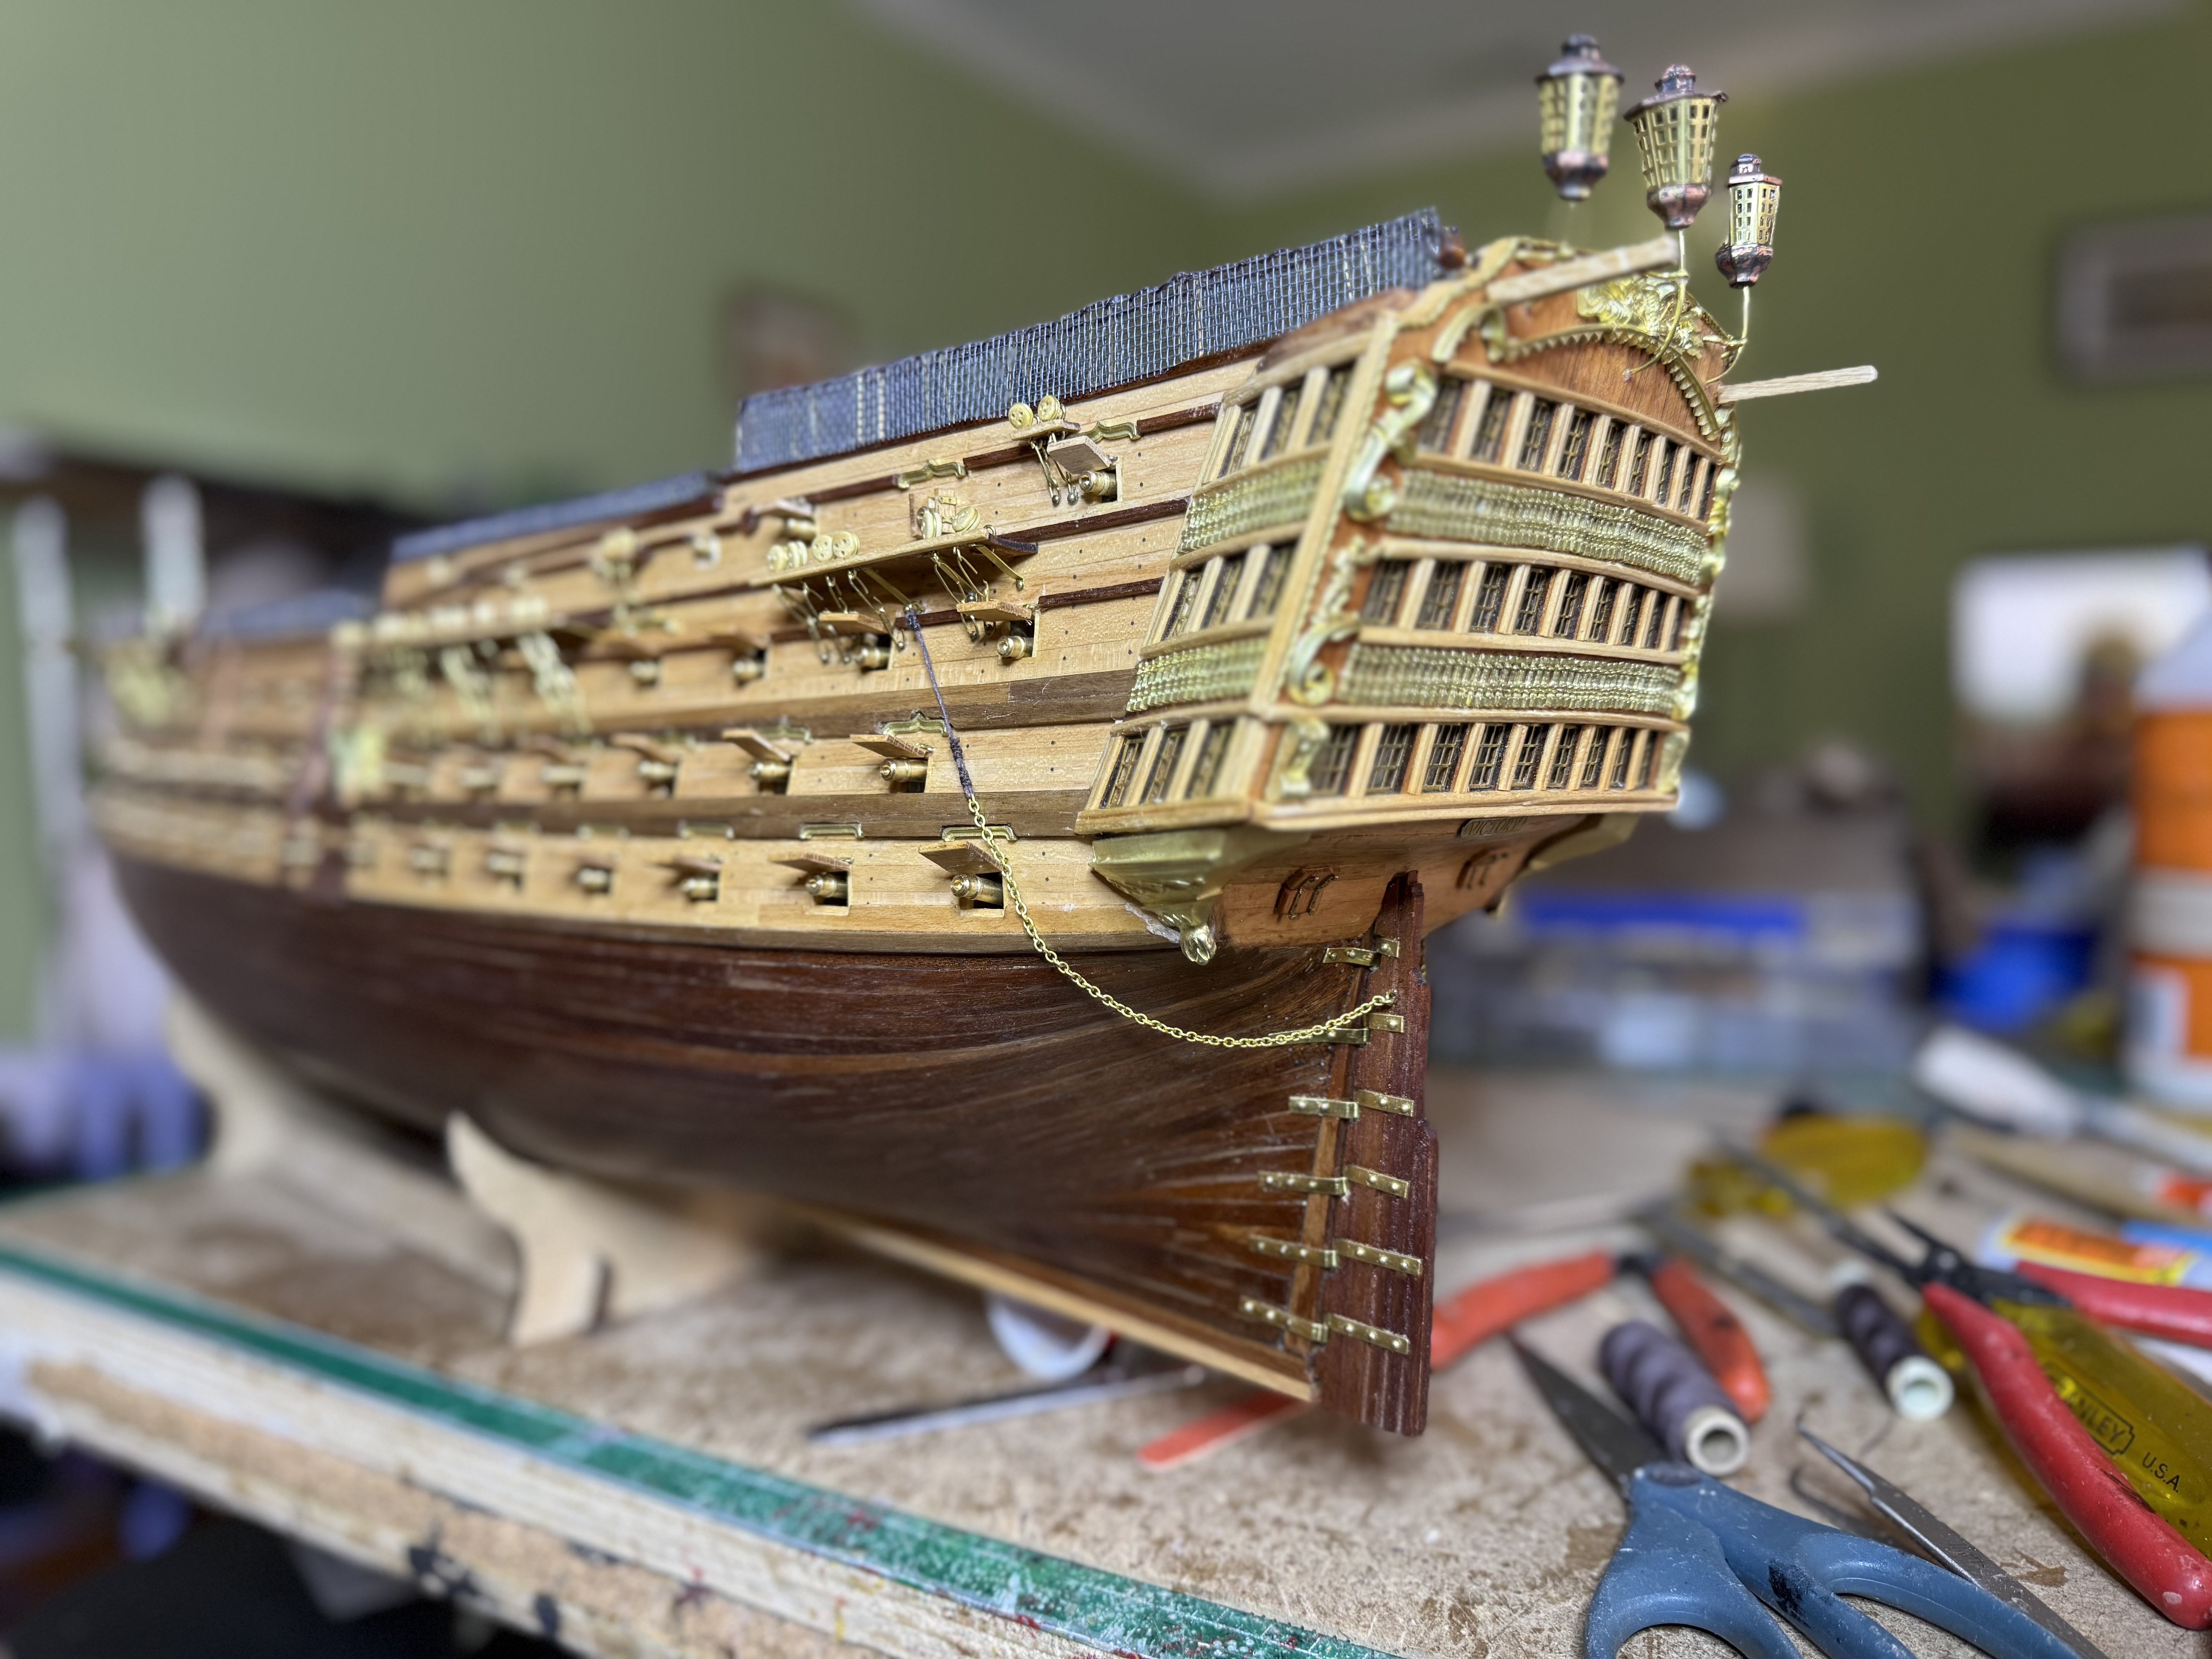
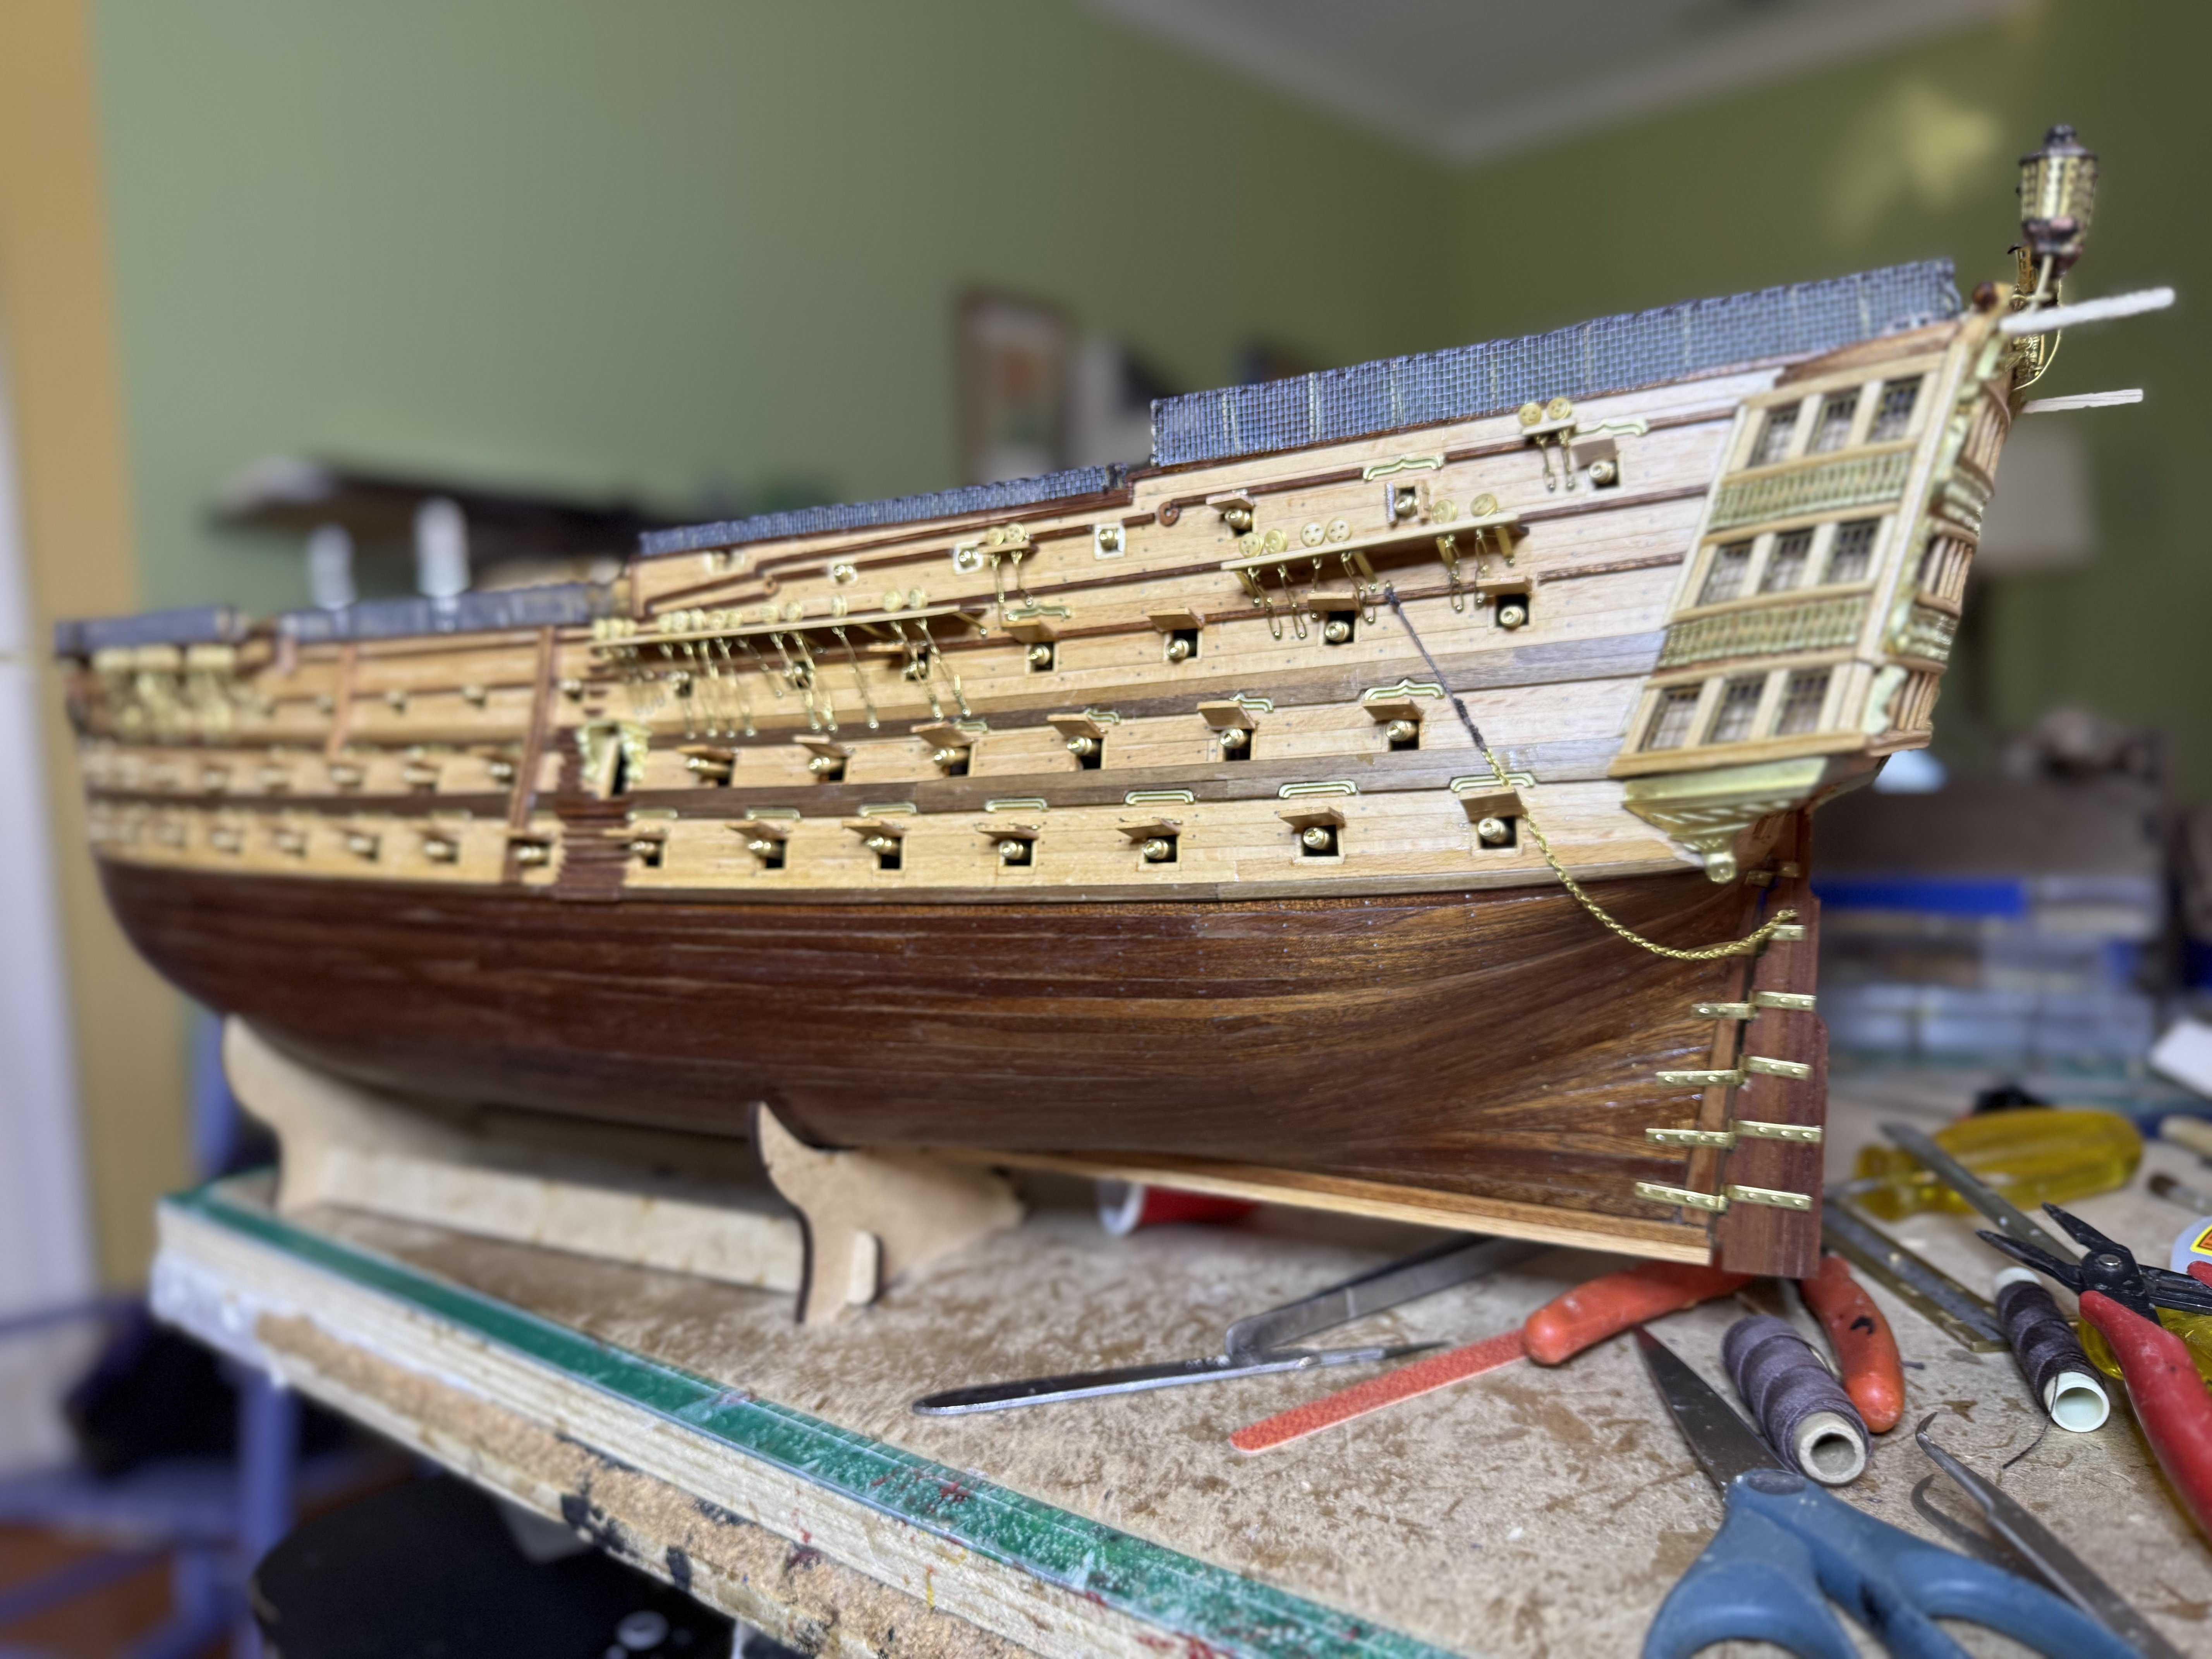
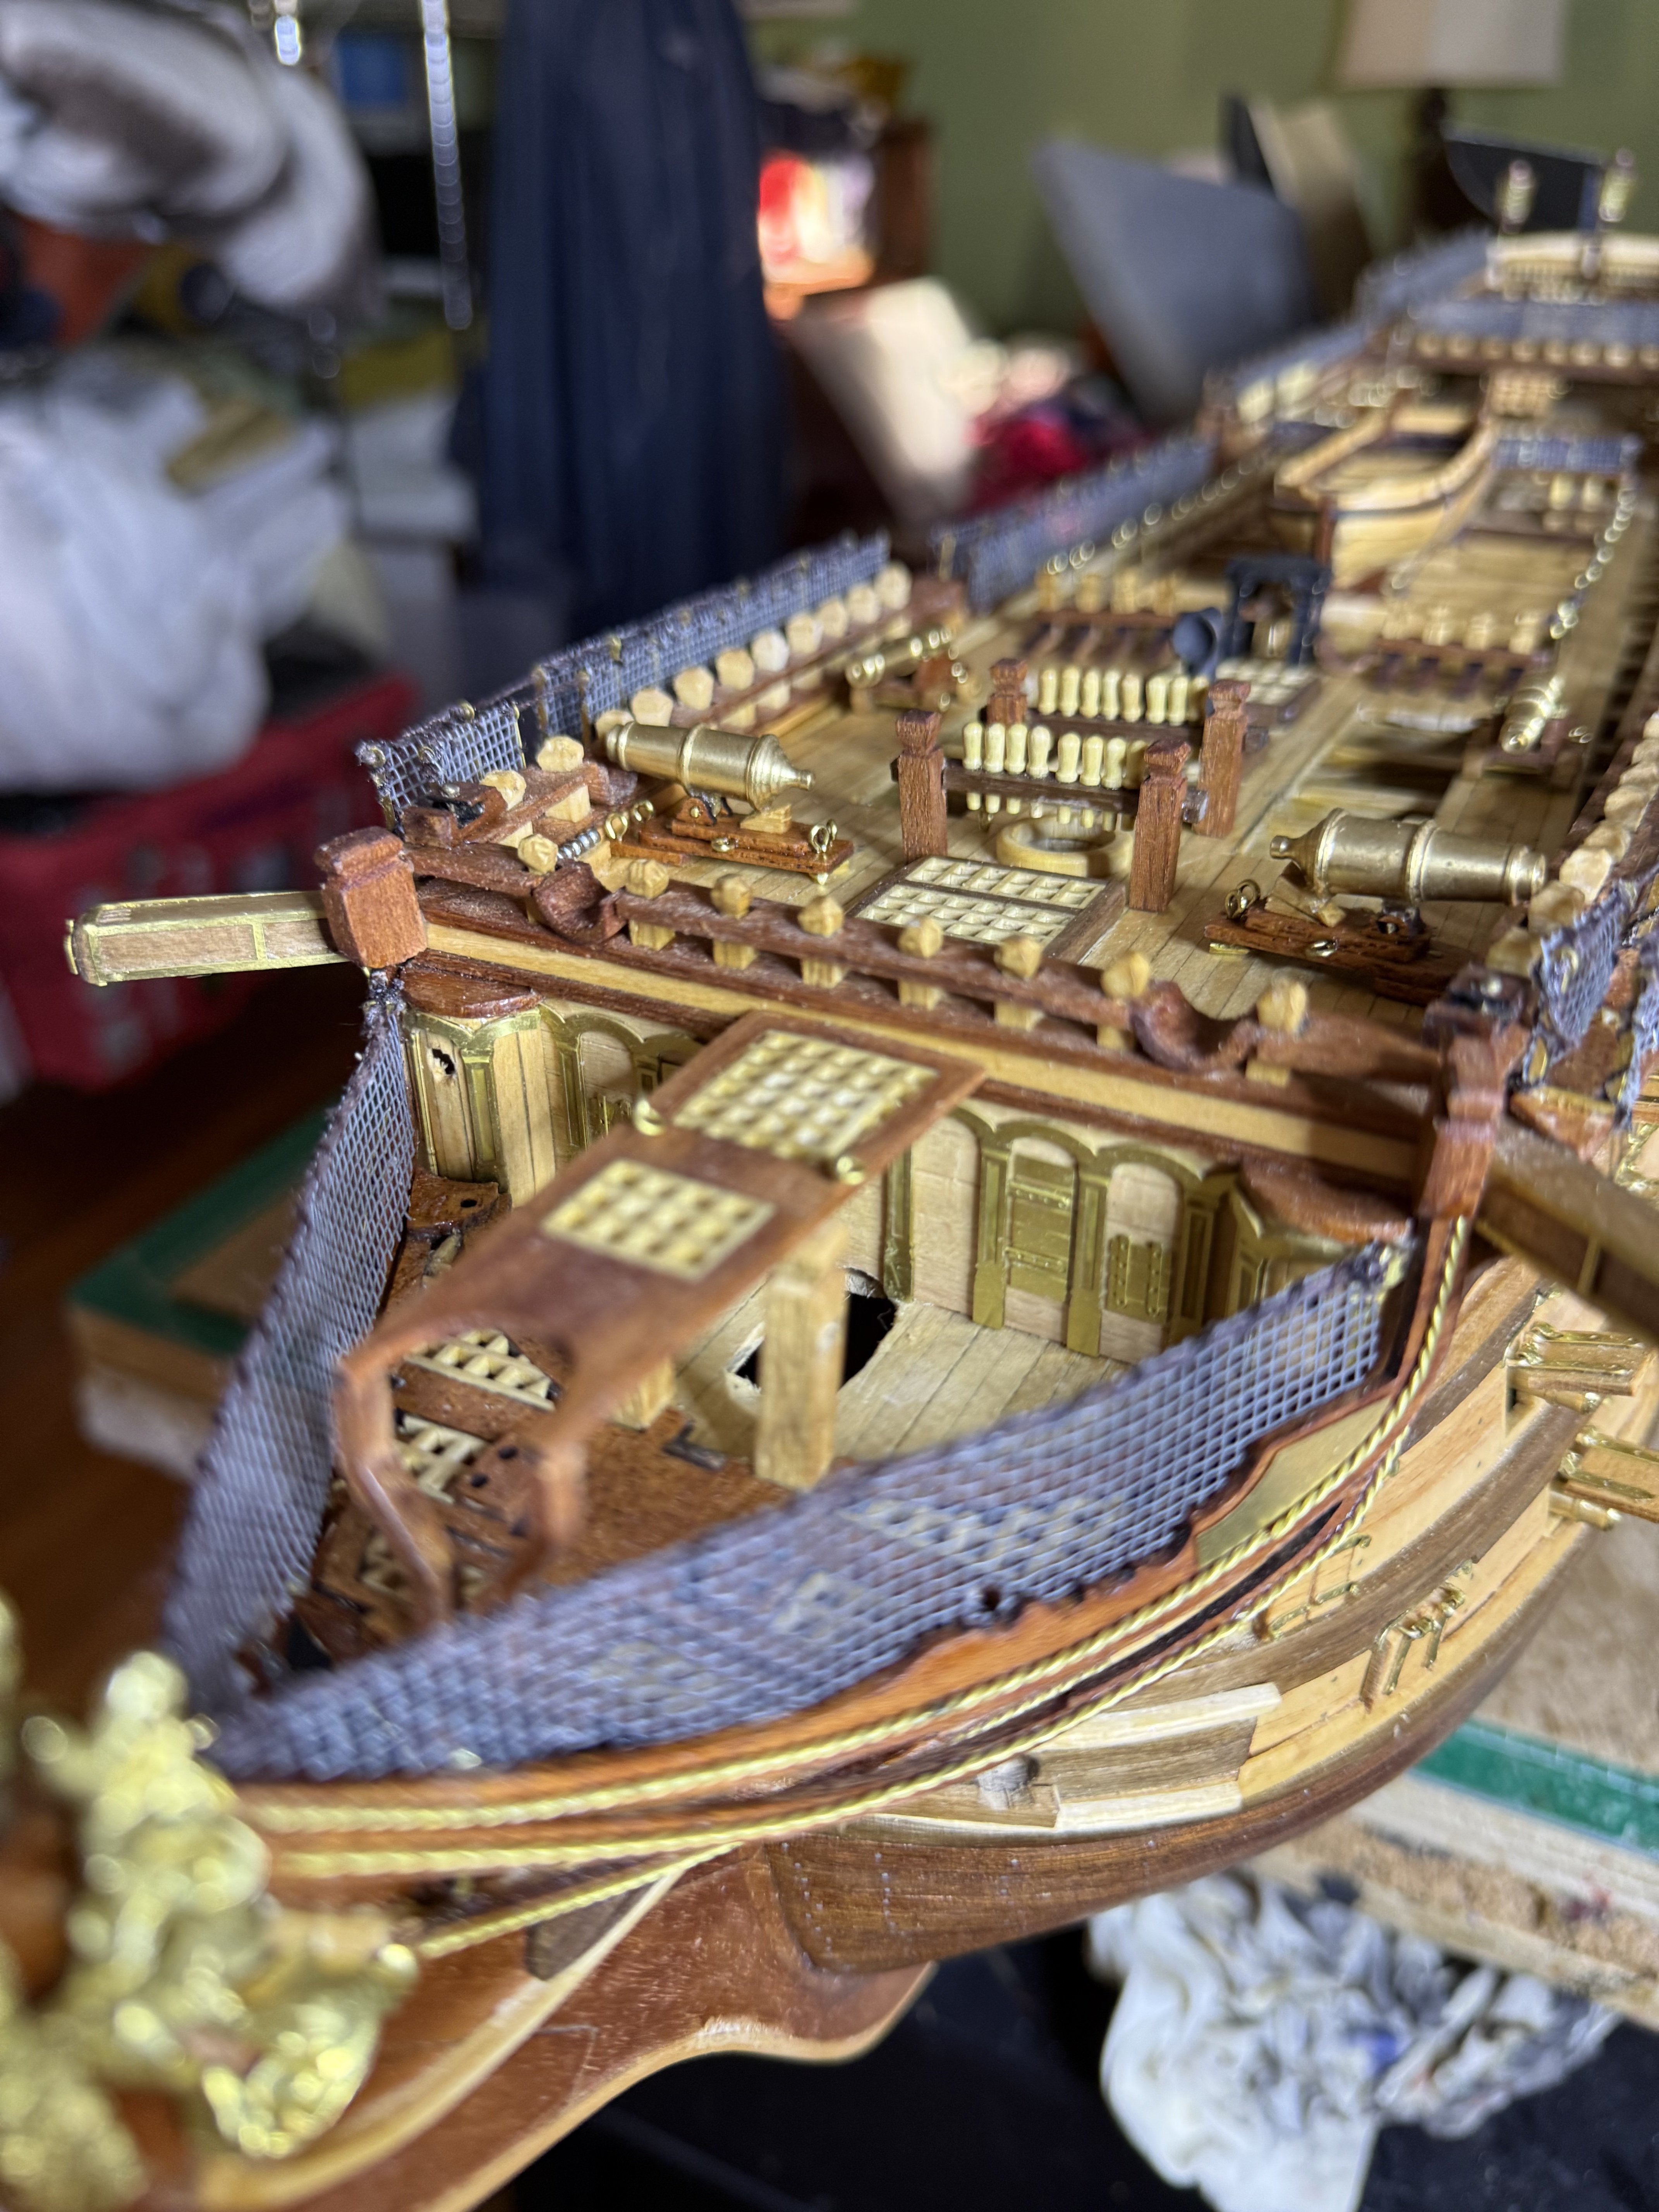
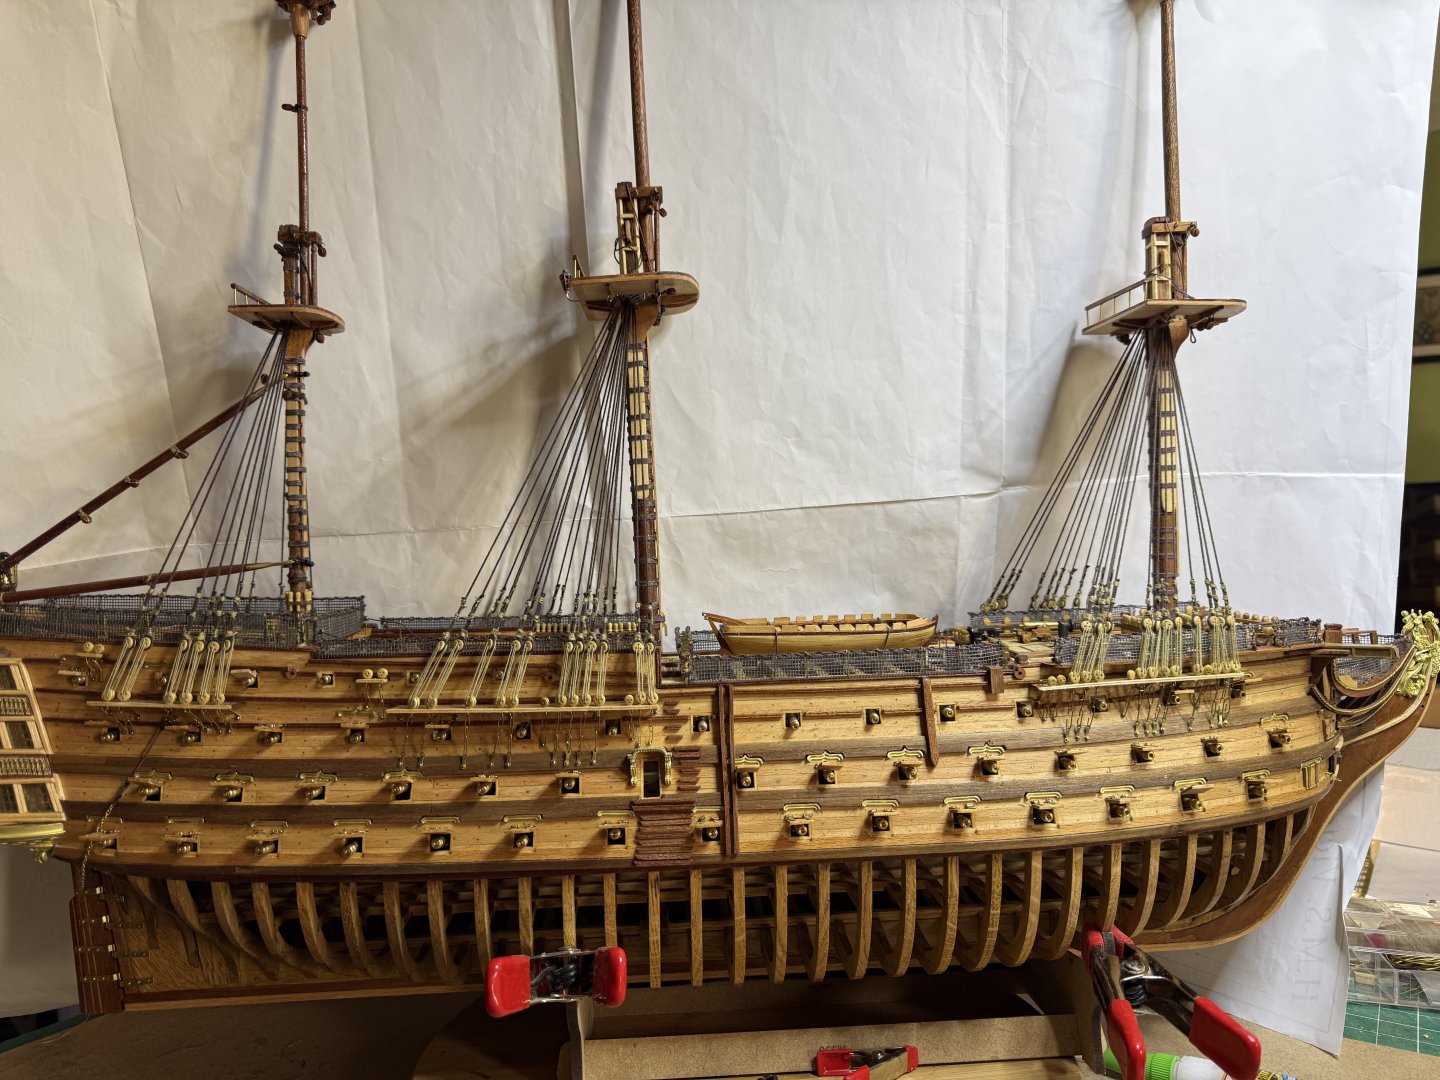
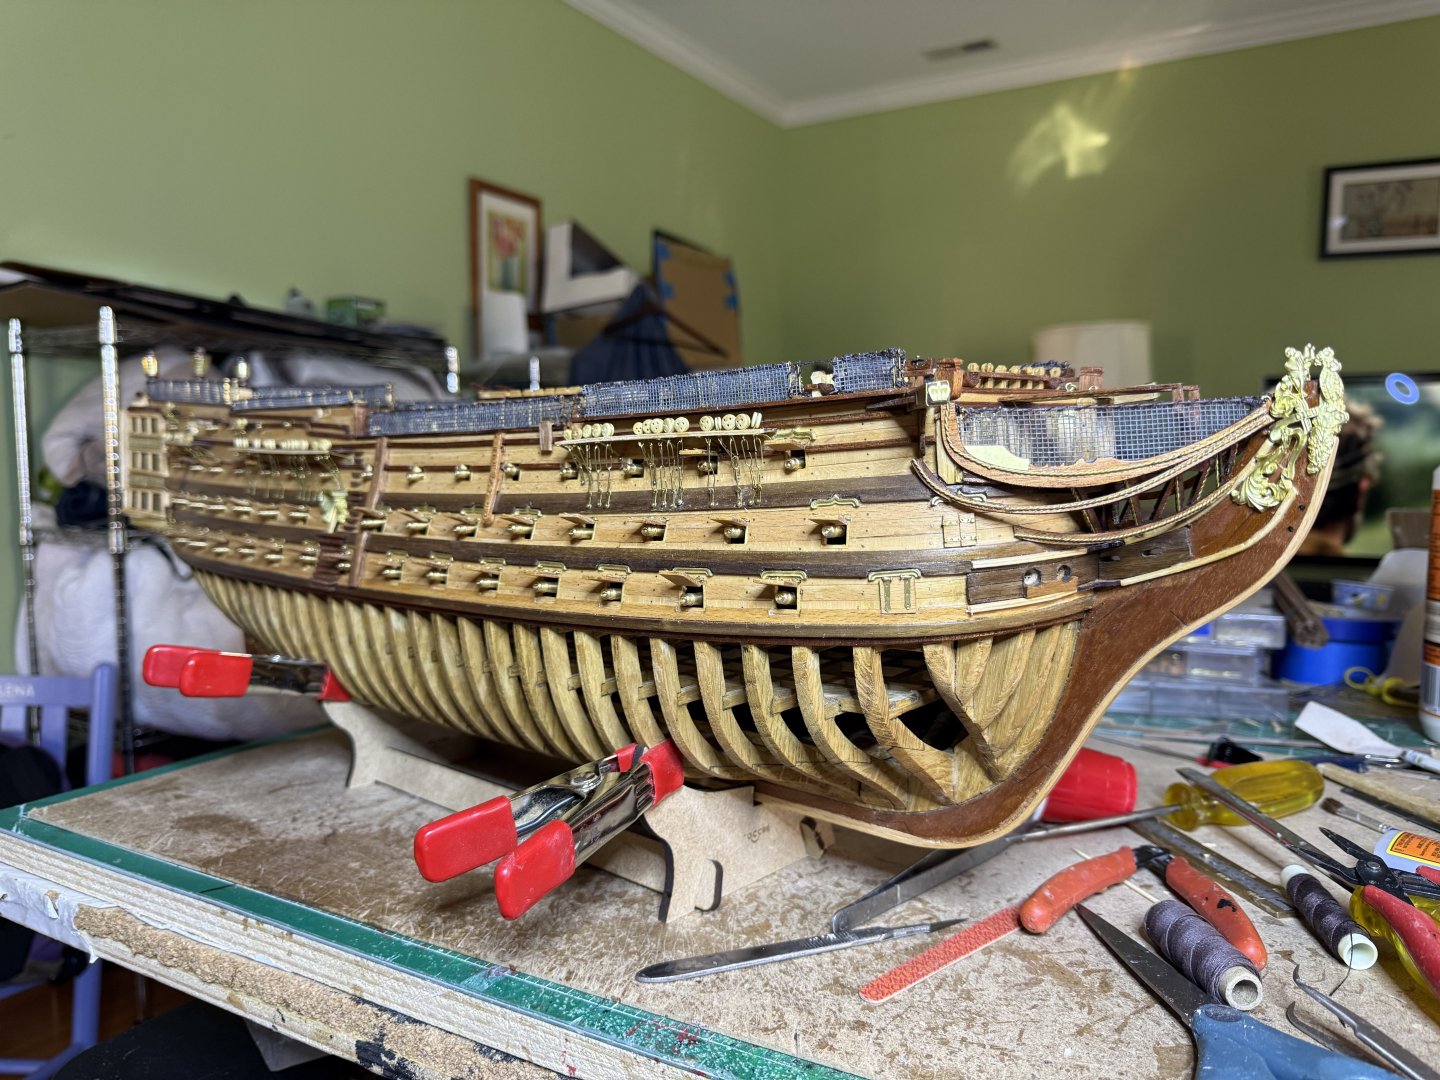
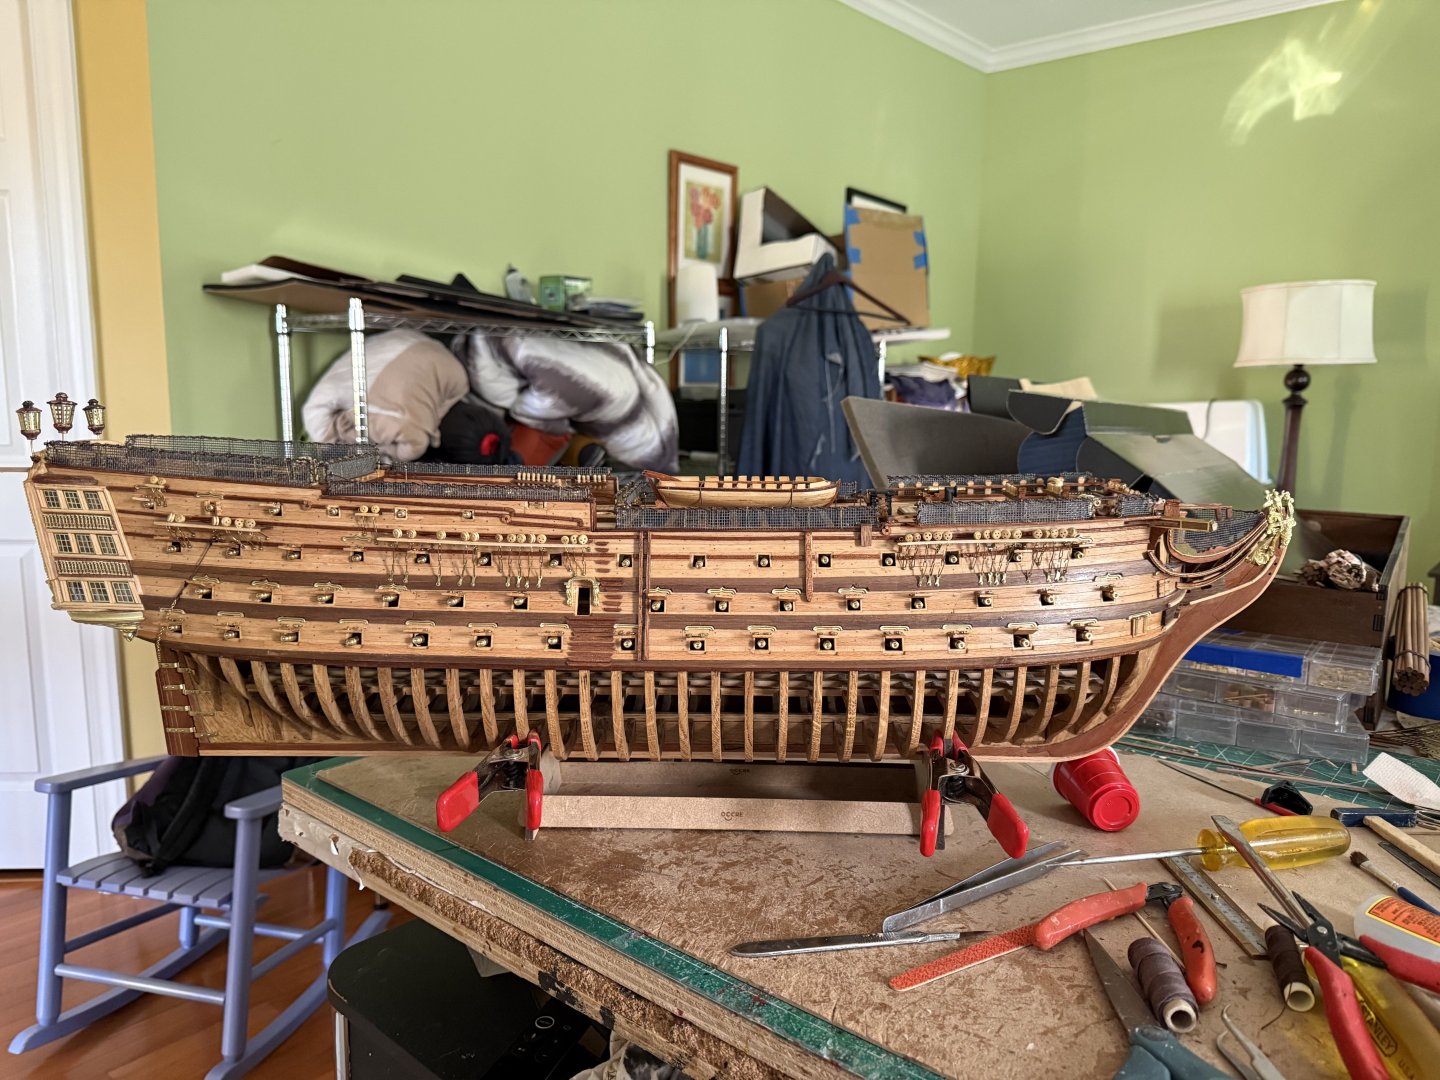
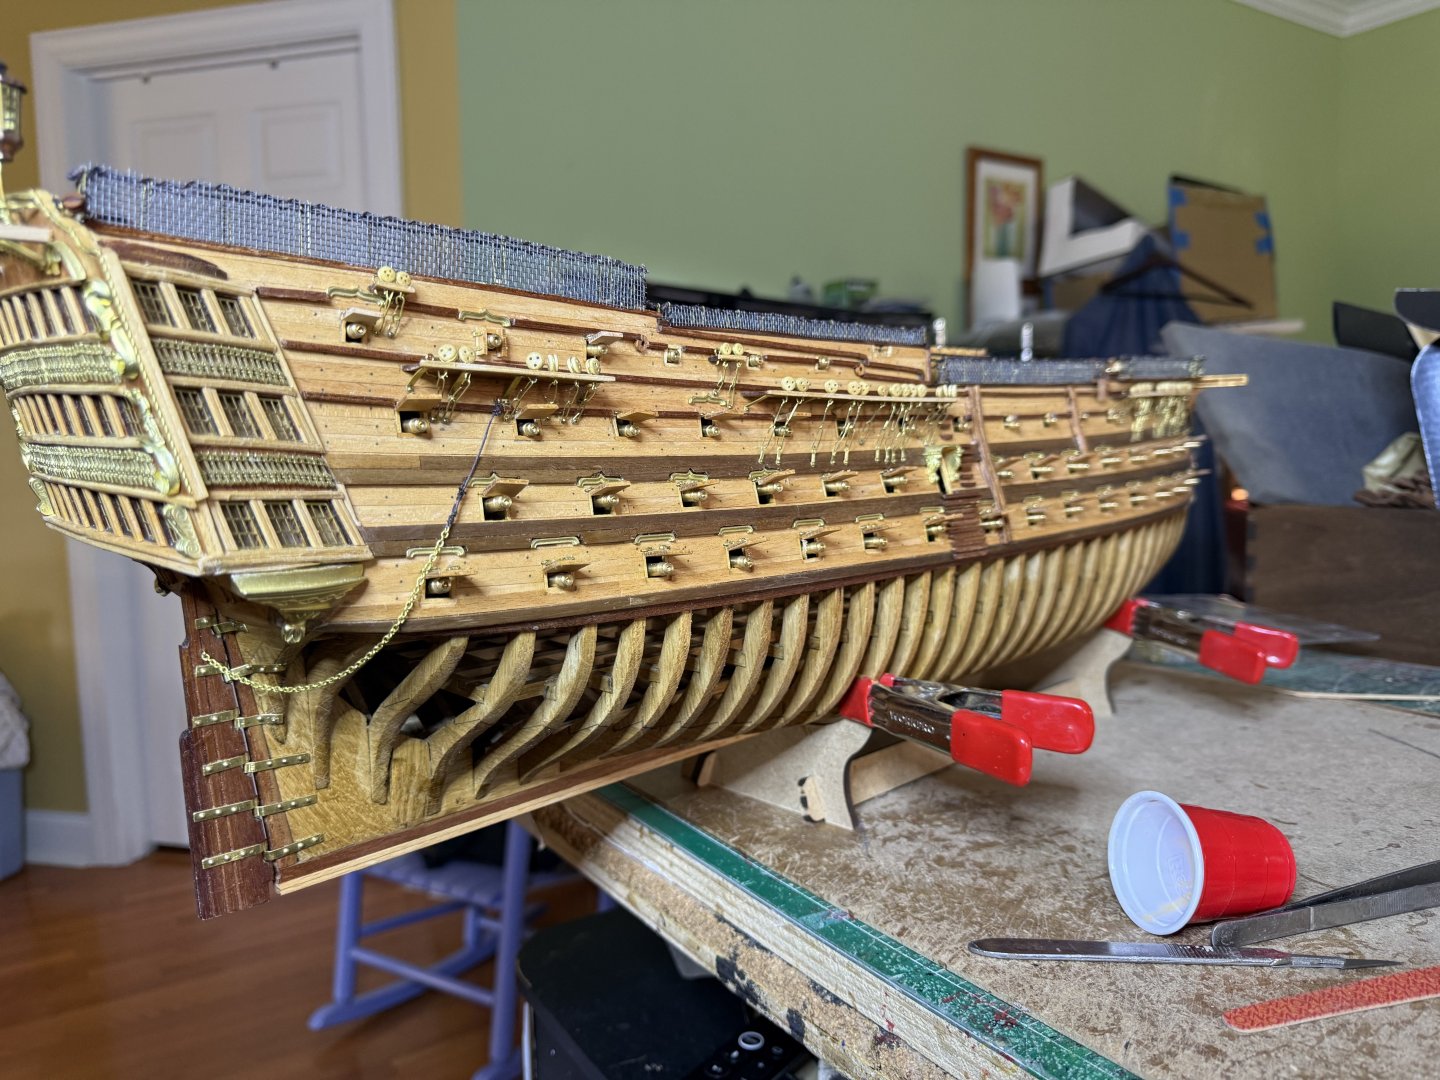
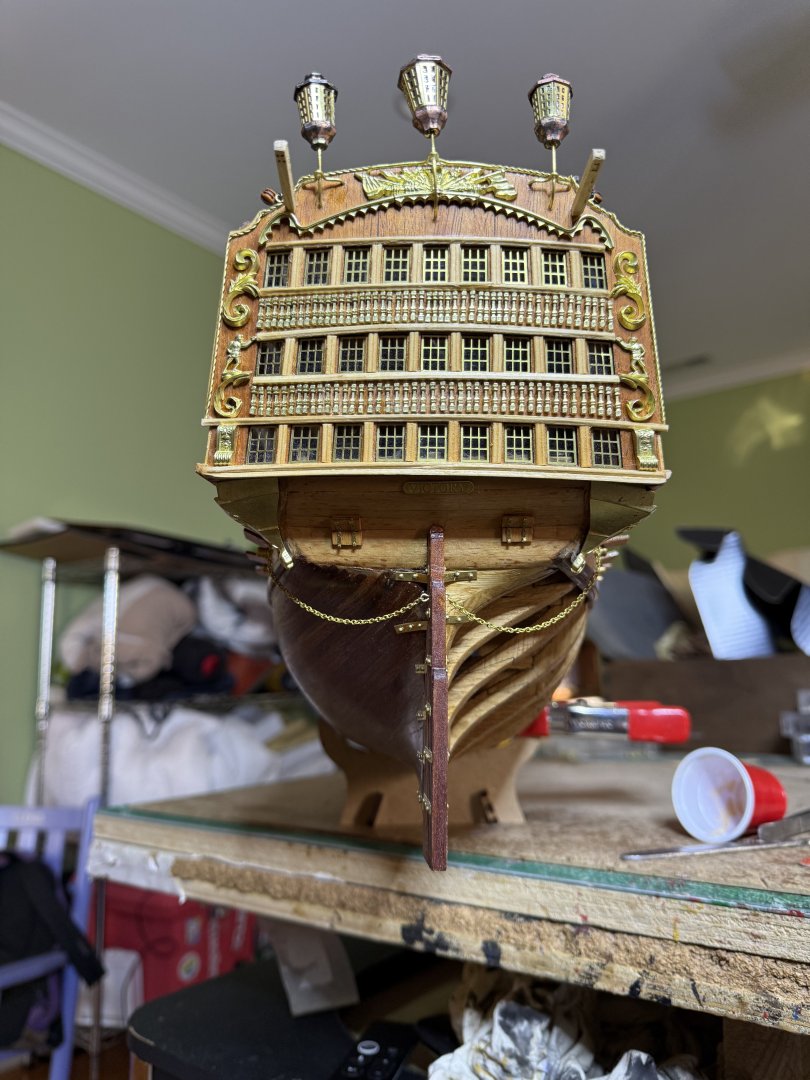
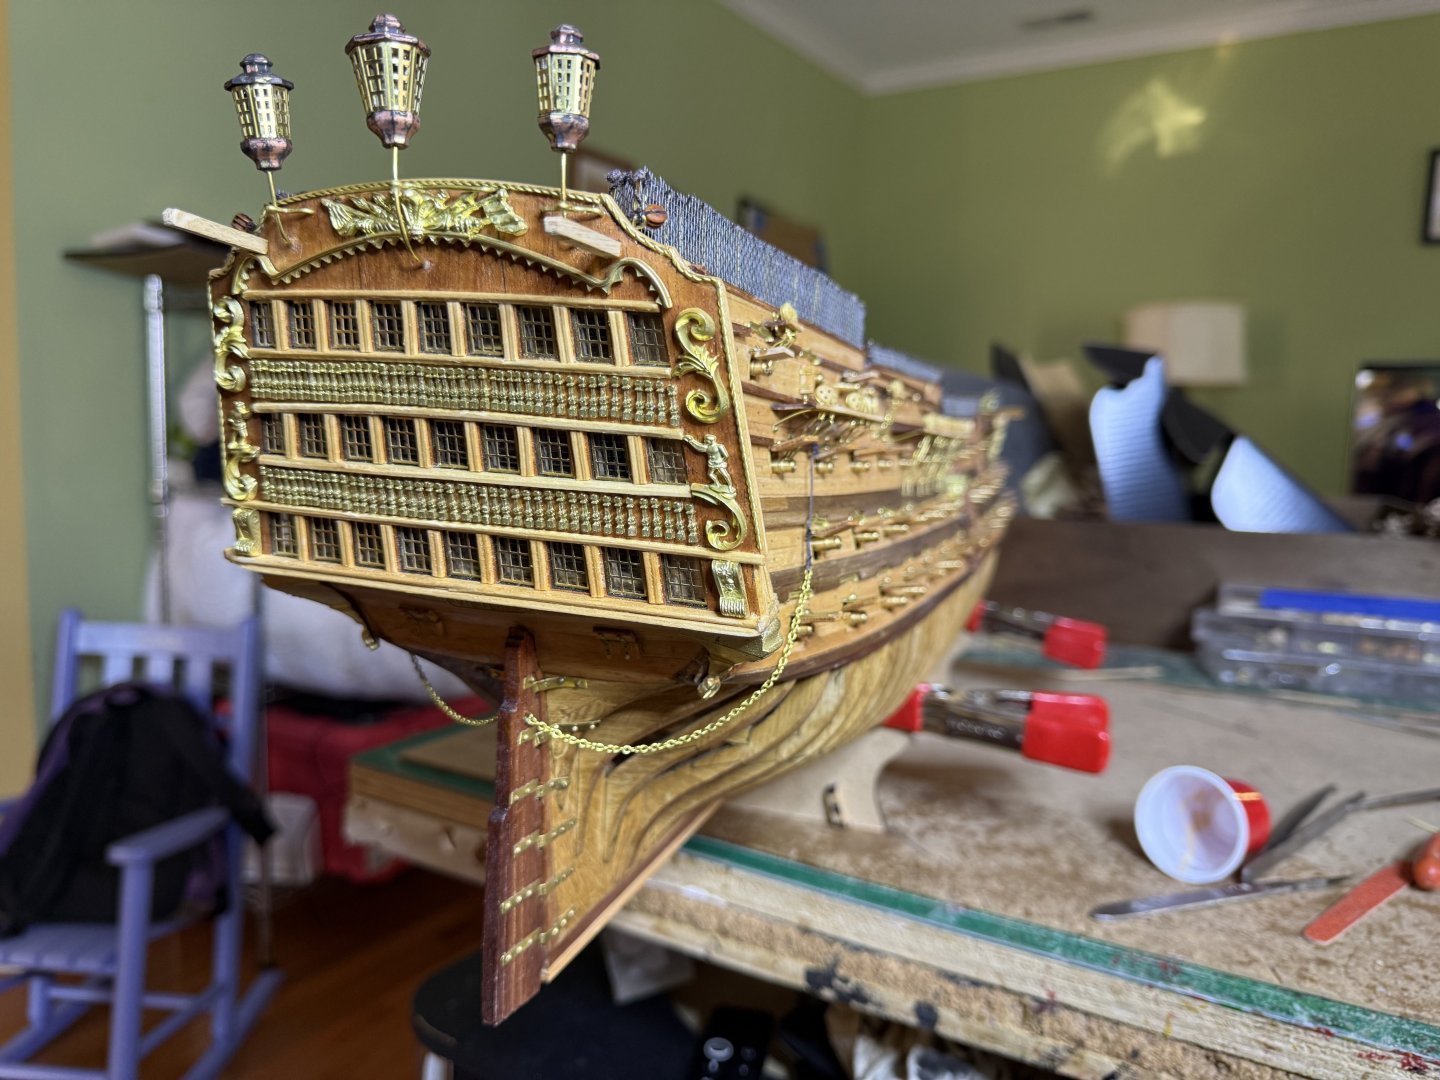
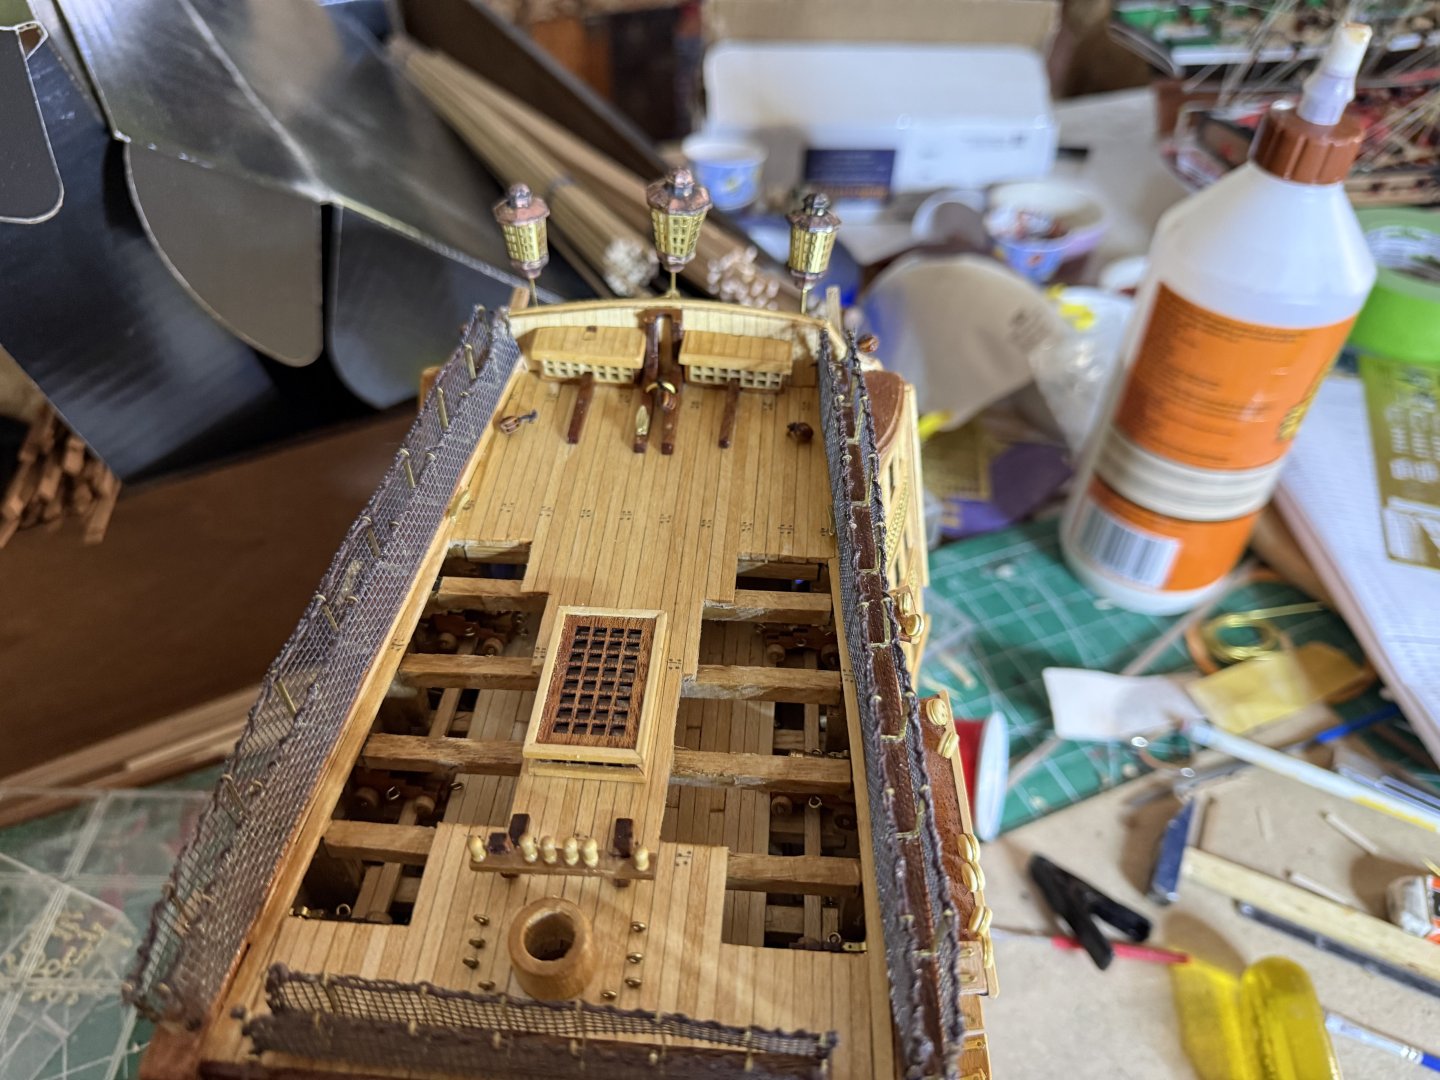
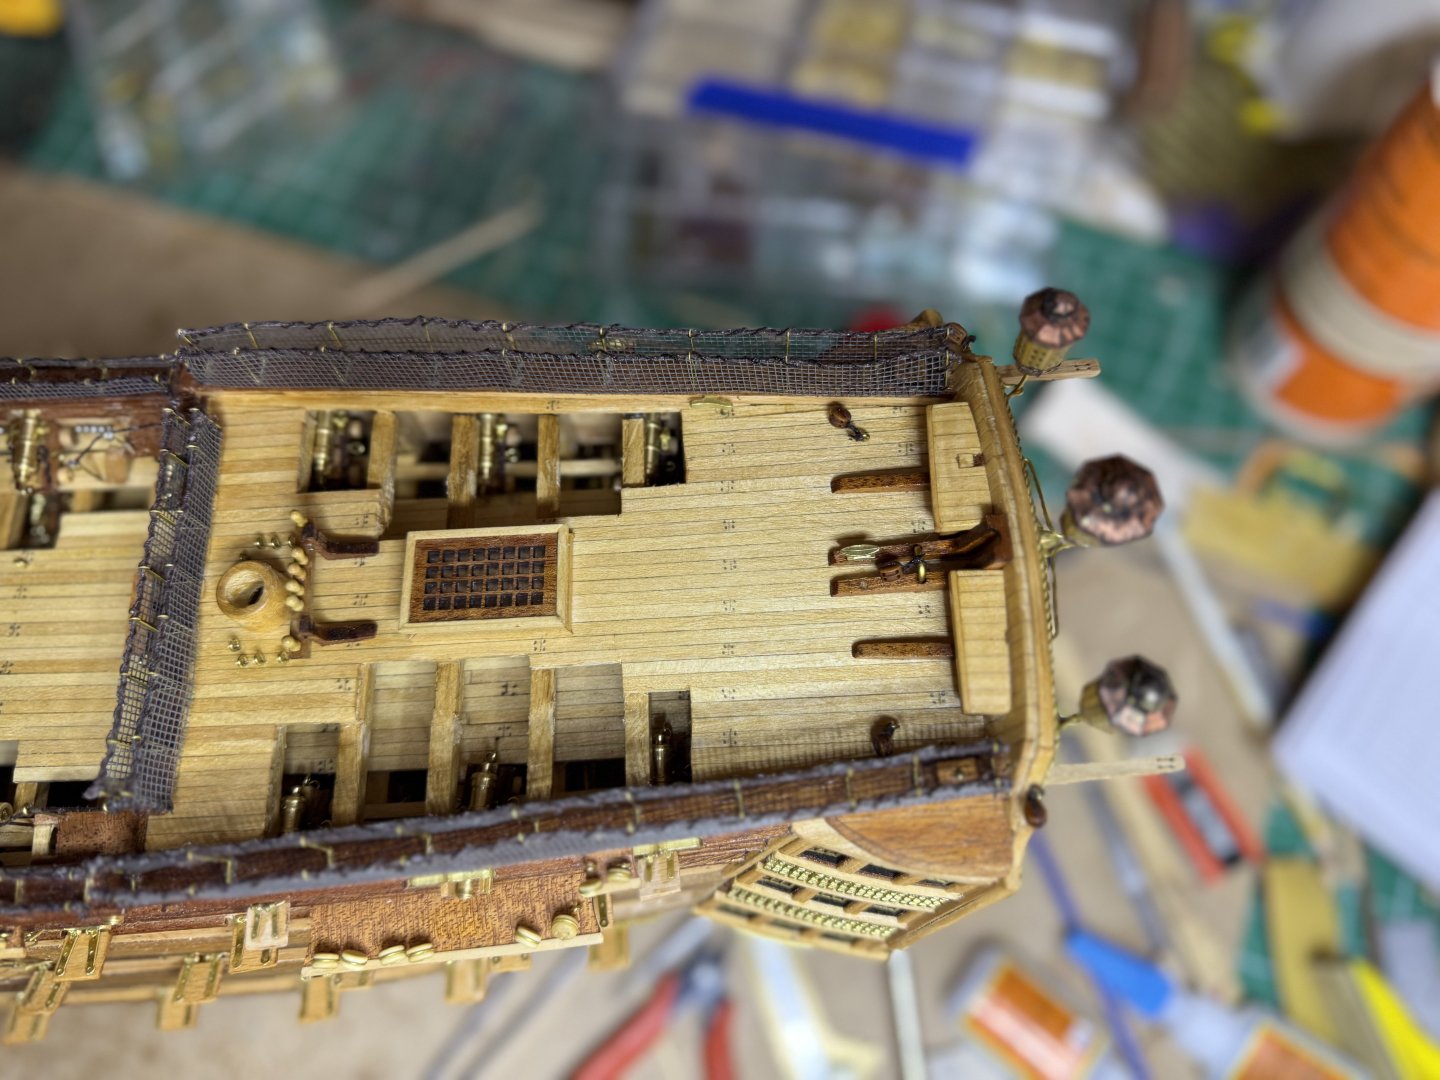
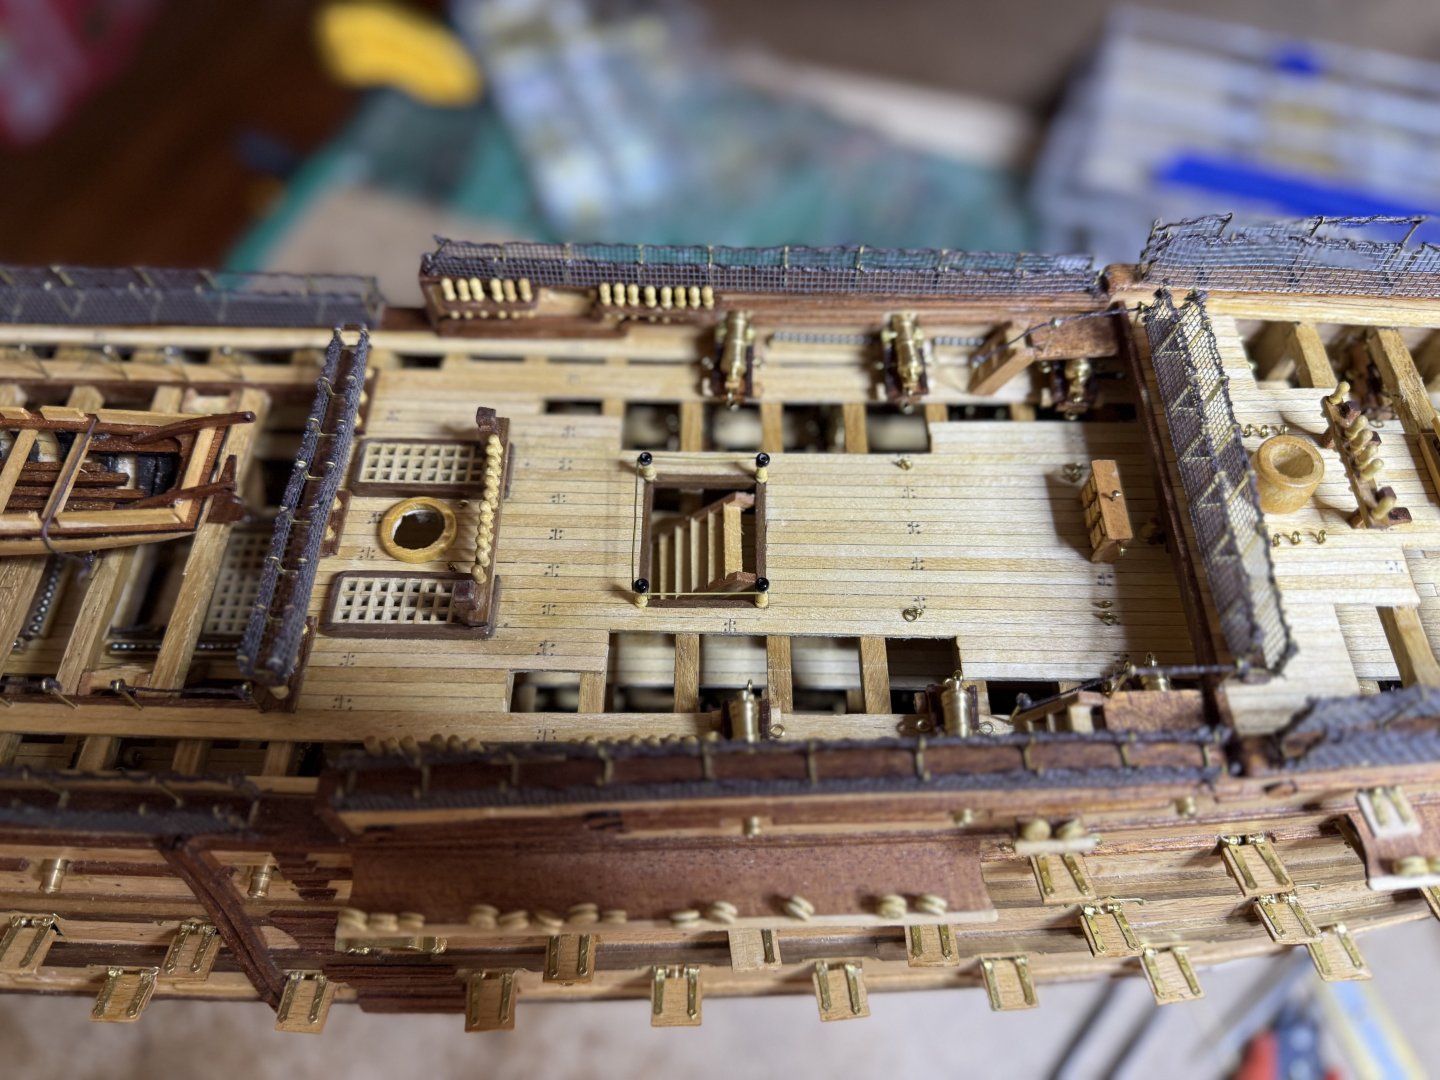
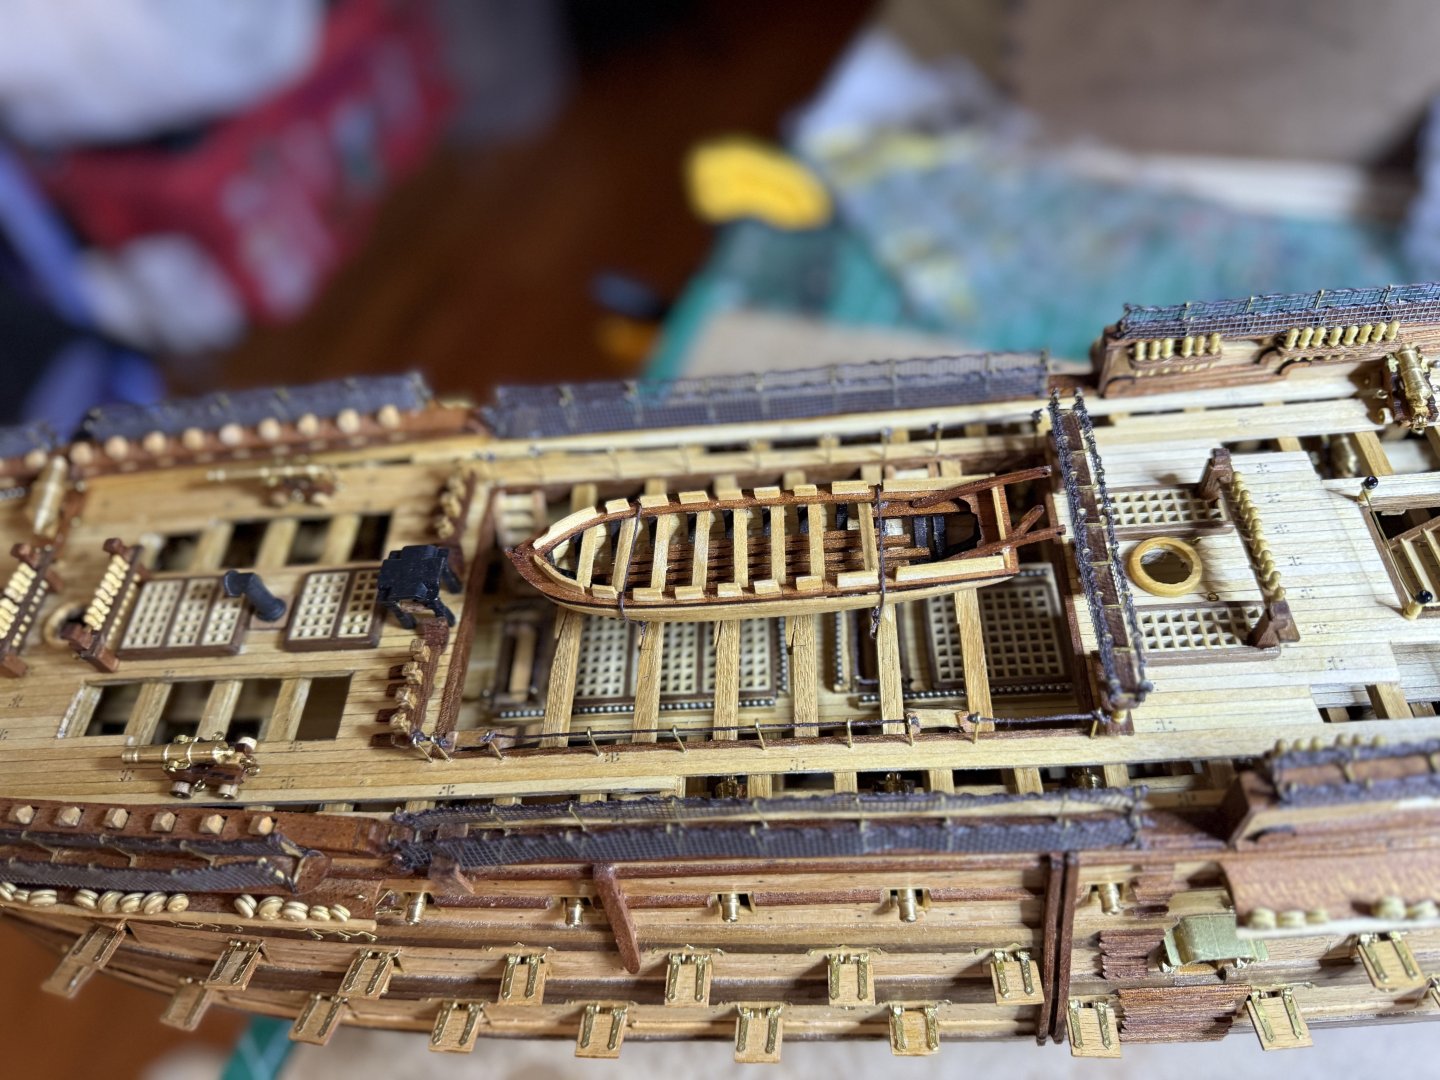
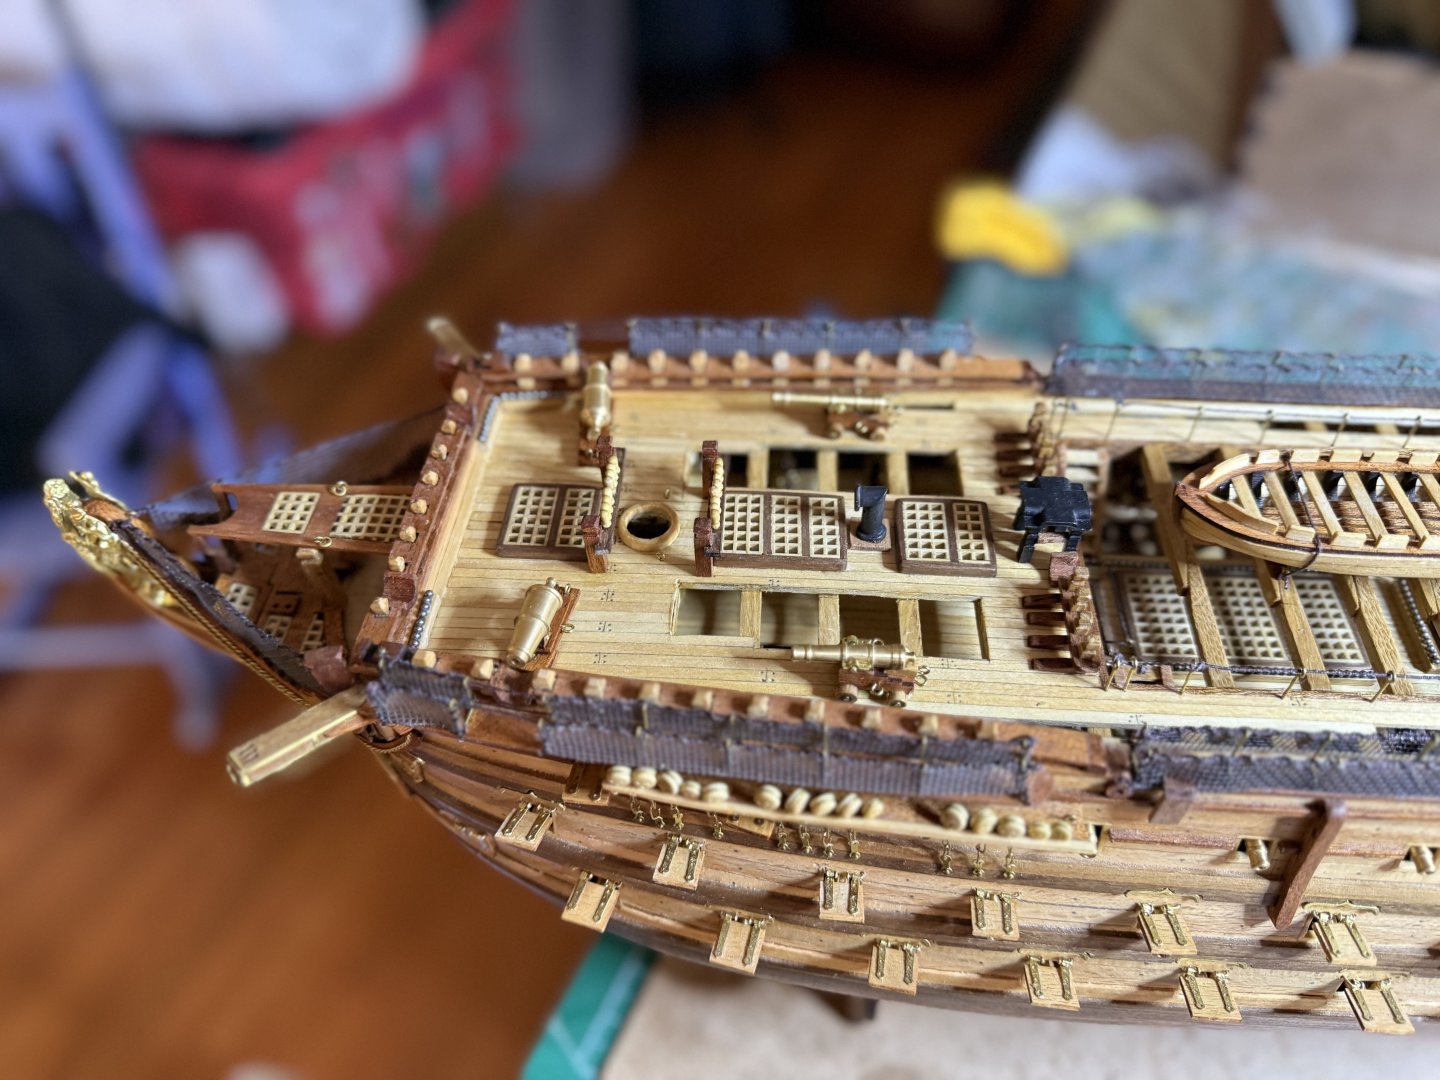
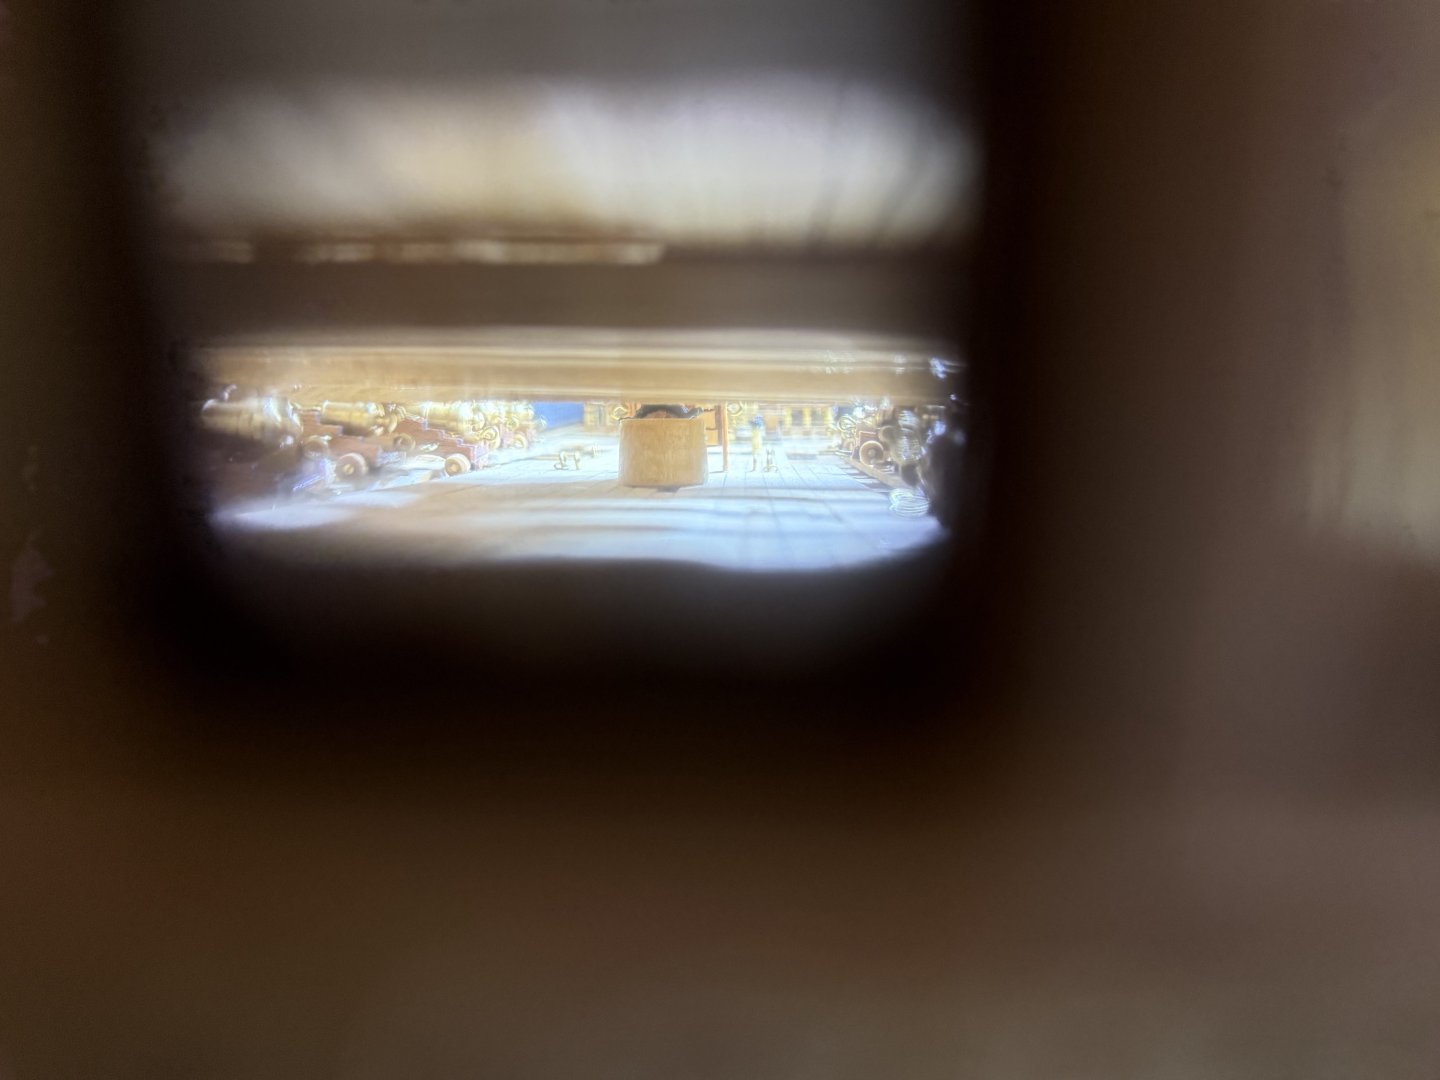
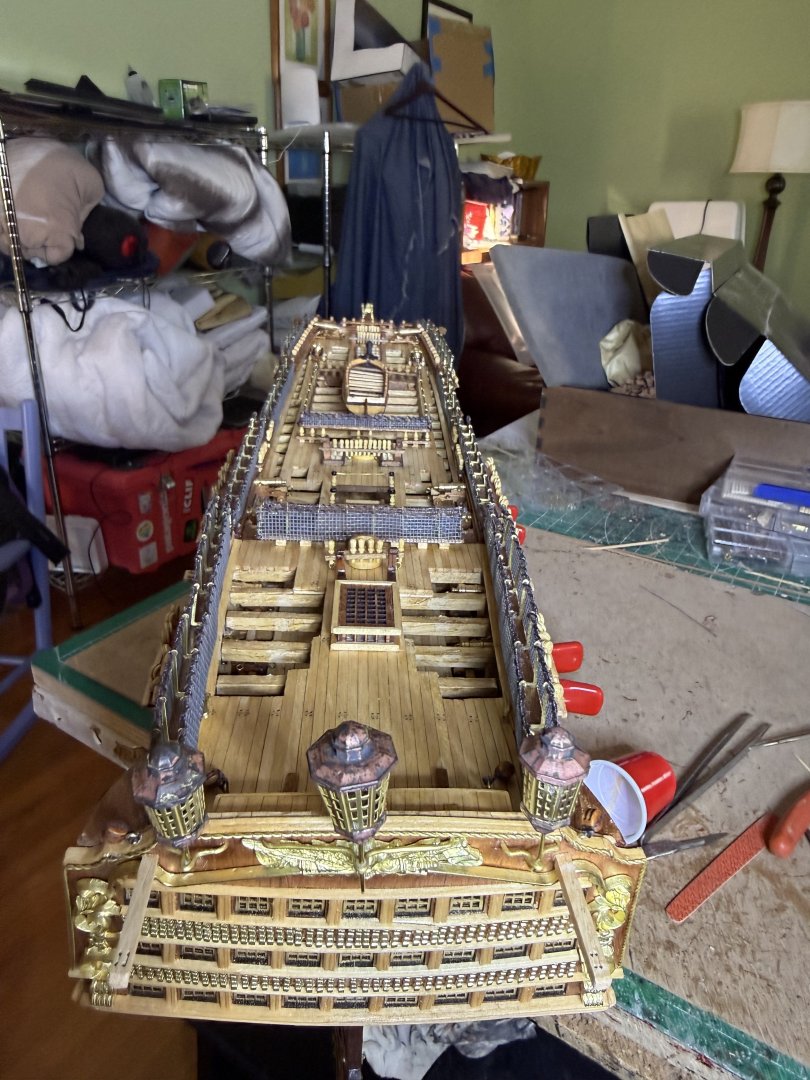
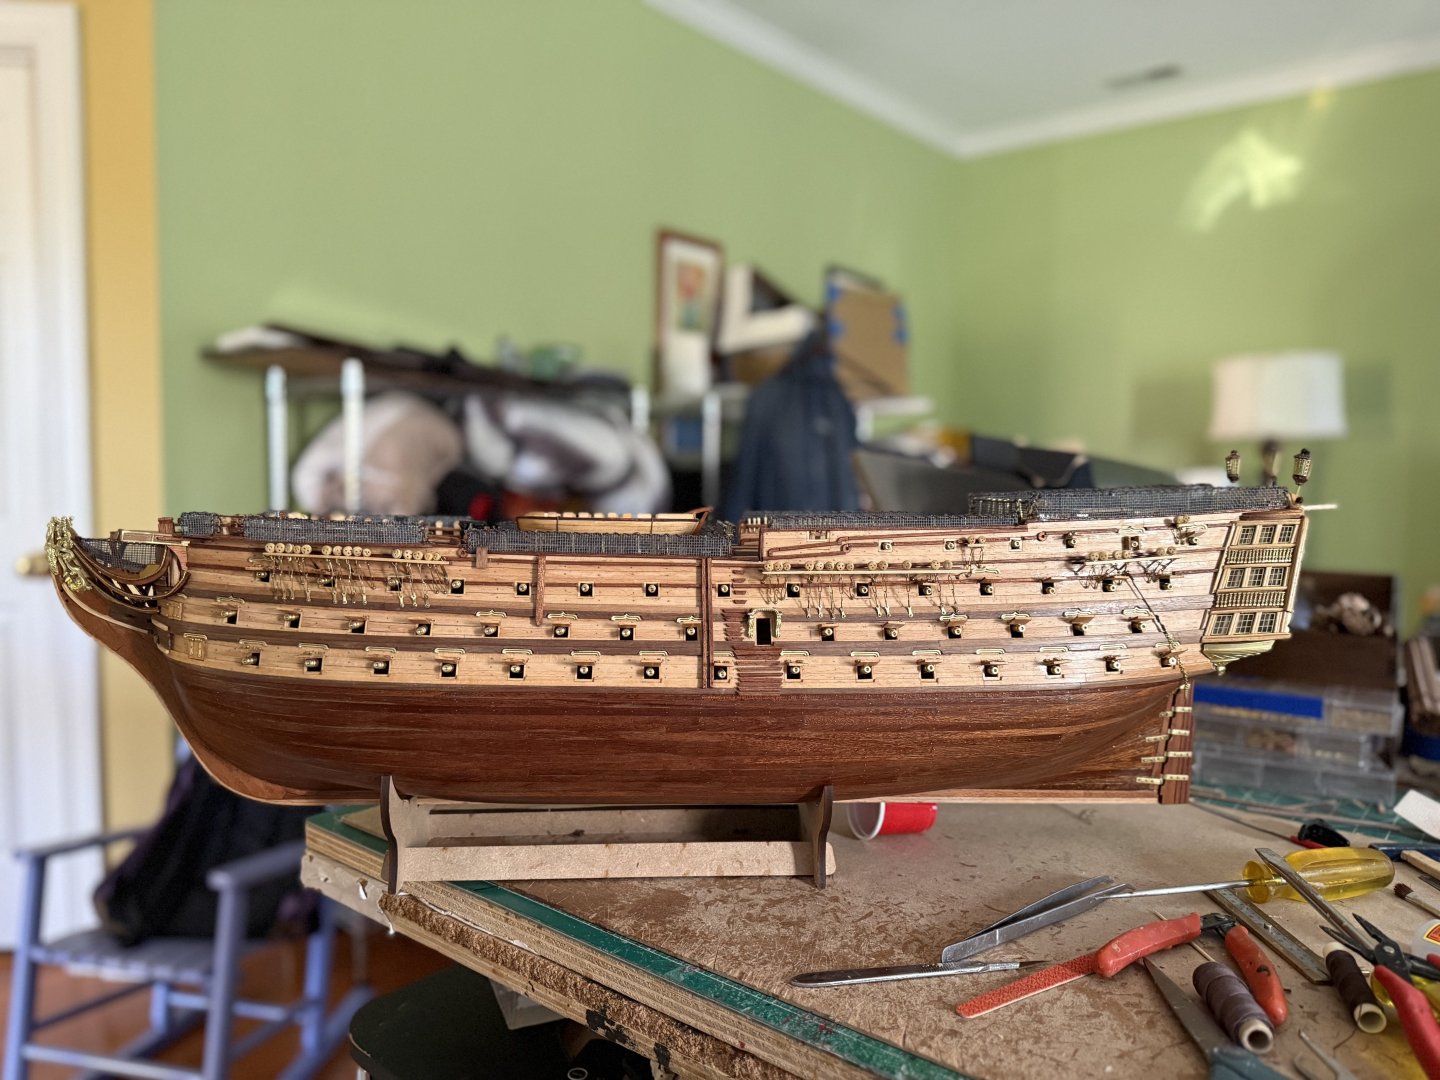
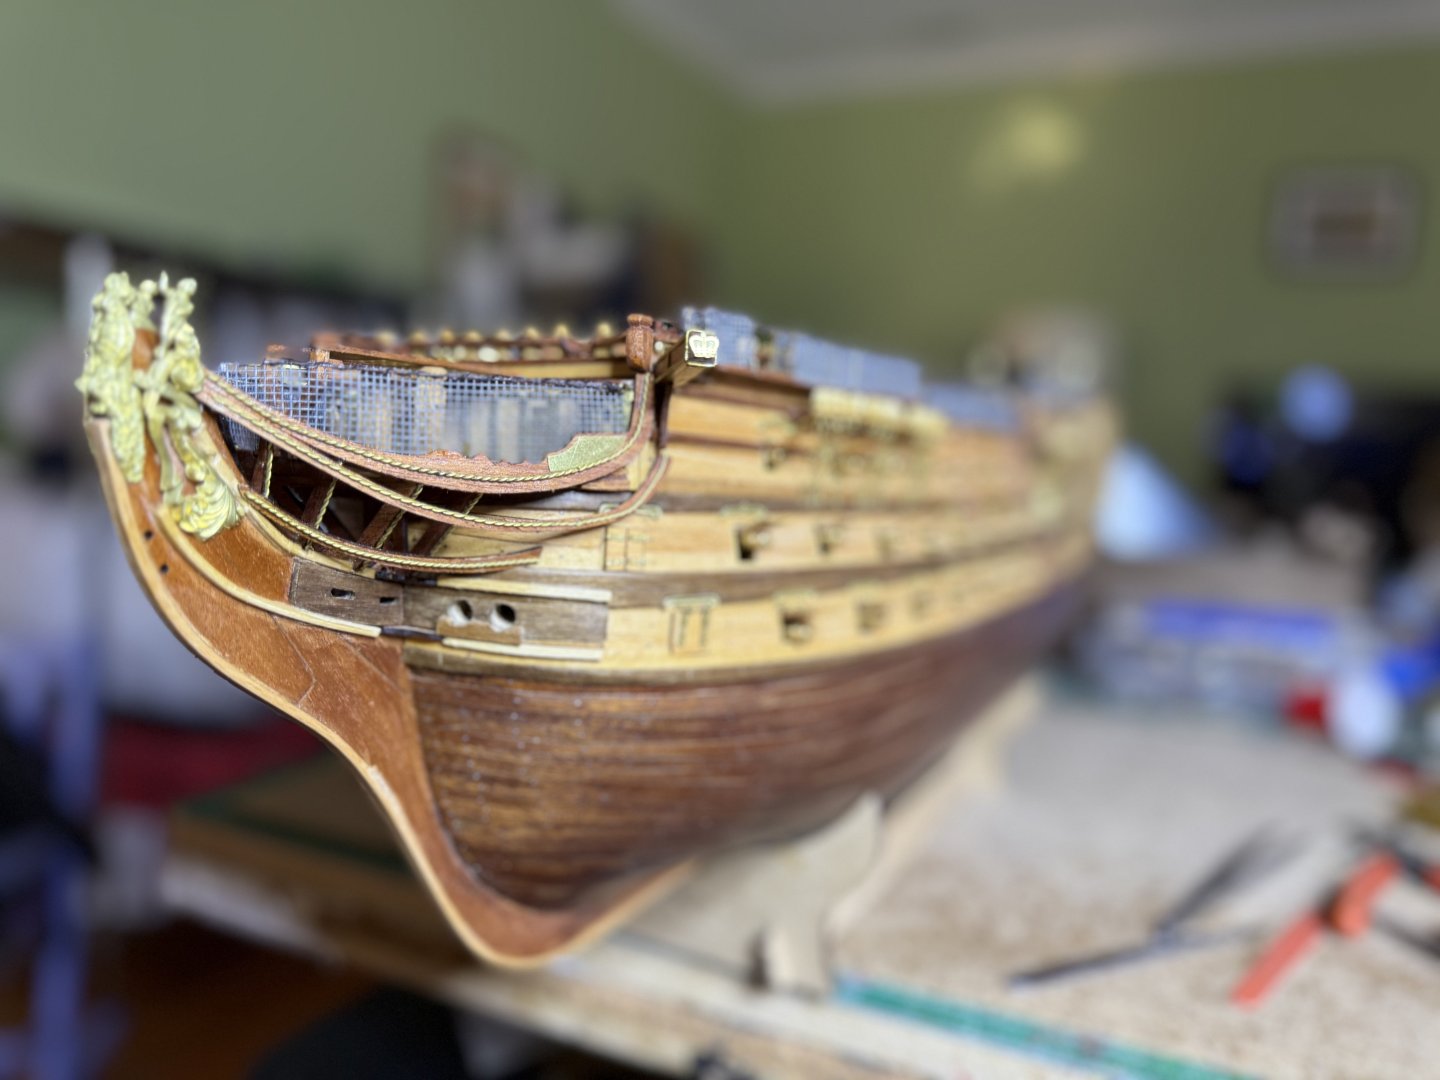
okay, the hull, minus boomkins, ship's boats on the davitts and the anchors (all added after rigging) is complete. Some pictures are views through the stern windows to see the lower decks. Looking at the mast plans, they don't provide a laser cut tops but require you to assemble them from multiple pieces pf wood. For a kit this expensive a bit cheap. The hammock nettiings took some time but I got a variety of nice curved needles (upholstery ones) which made things a lot easier.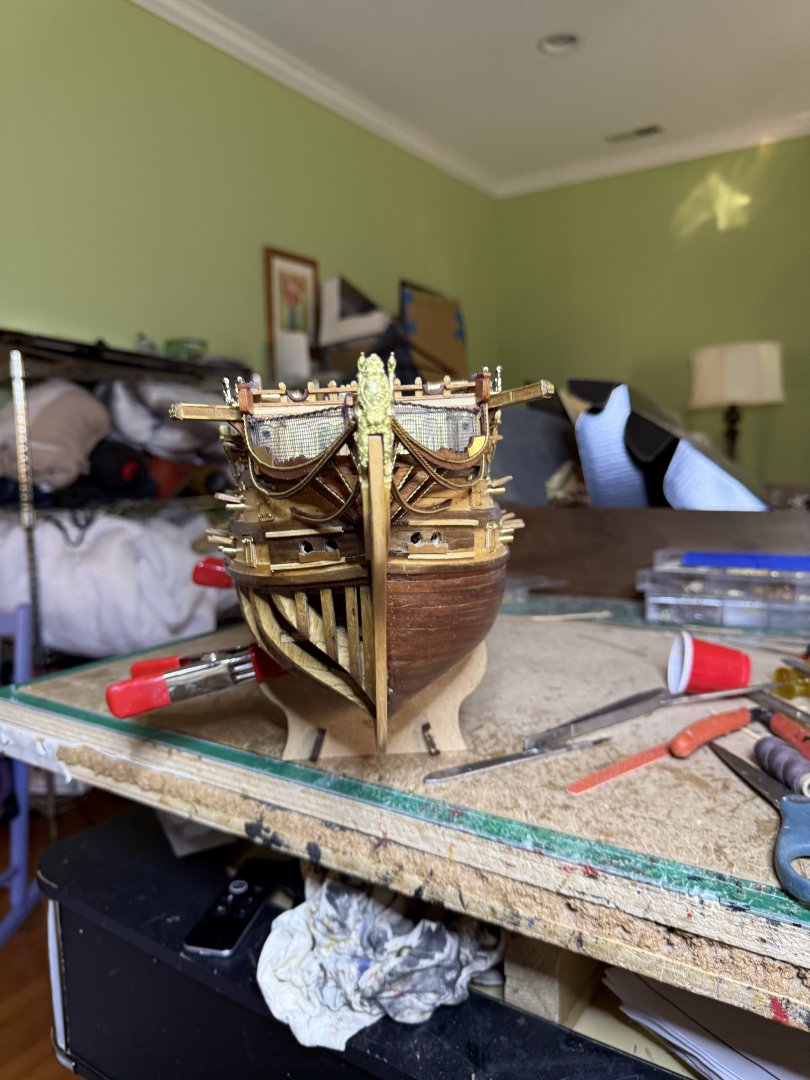


-
Yup I am down the road in Bull City.
-

I think either my next build, or the following, will be the Vanguard Models HM Sherbourne. I love the looks of the Grecian, but folks legitimately warned me off that one. The Sherbourne is a beaut too and I have found a long form YouTube playlist by ModelKitStuff for the kit that is very detailed. So, all is good
Anyway, is there a group around here that gets together. I noticed that yvesvidal is local too. It would be great to pick the brains of experienced wooden ship modelers if things get sticky.
-
-
I saw some of the forum builds. They will help quite a bit.
I'm really thinking of building both the Sherbourne and the RN Ajax (plastic 1/700) at the same time. I think I will like the pace of the wood build and the topic of the WWII Ajax.
While I have yet to build anything of wood, I really like what I see in the Vanguard kits on the builds here. That is why I leaned that way. It is obvious that the designer of those kits has spent the time necessary to create a good product.
You will see a build log for the Sherbourne NLT December. My Admiral Graf Spee build is finally completing.
-
-
We all have made similar mistakes. I find that a hair drier often will soften the glue to make it easier to remove