HOLIDAY DONATION DRIVE - SUPPORT MSW - DO YOUR PART TO KEEP THIS GREAT FORUM GOING! (Only 20 donations so far - C'mon guys!)
×


ECK
-
Posts
635 -
Joined
-
Last visited
Content Type
Profiles
Forums
Gallery
Events
Everything posted by ECK
-
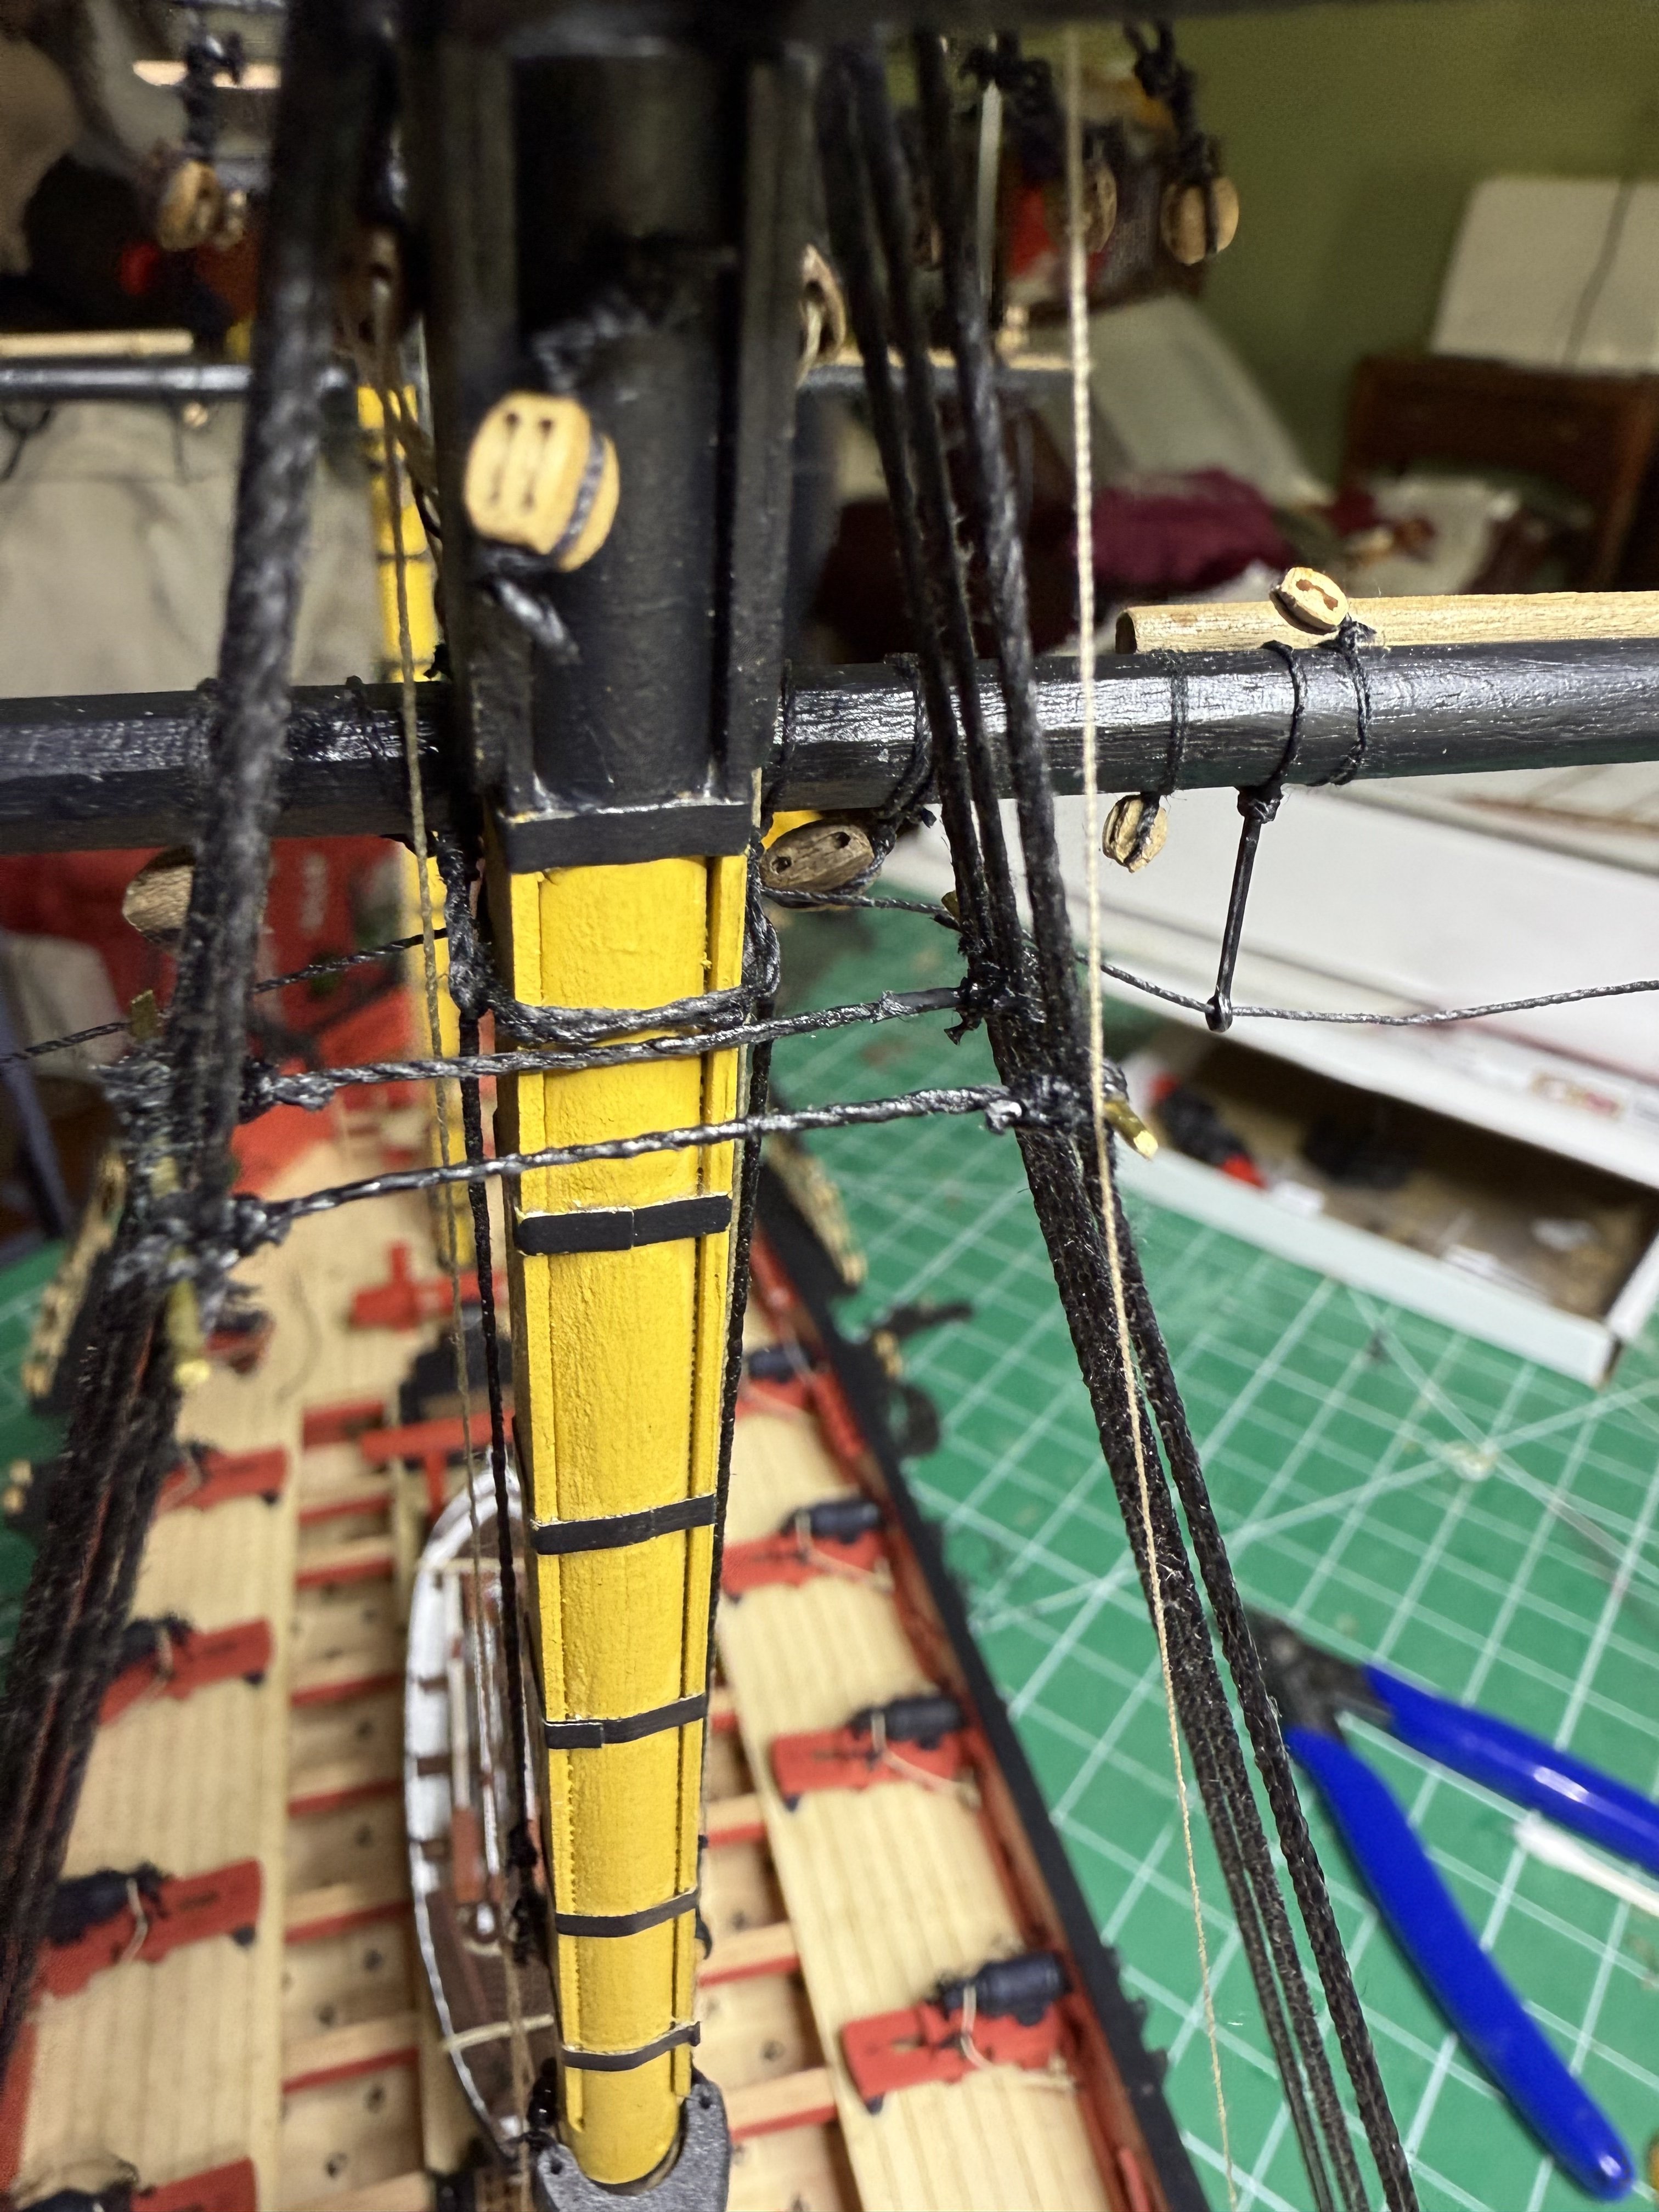
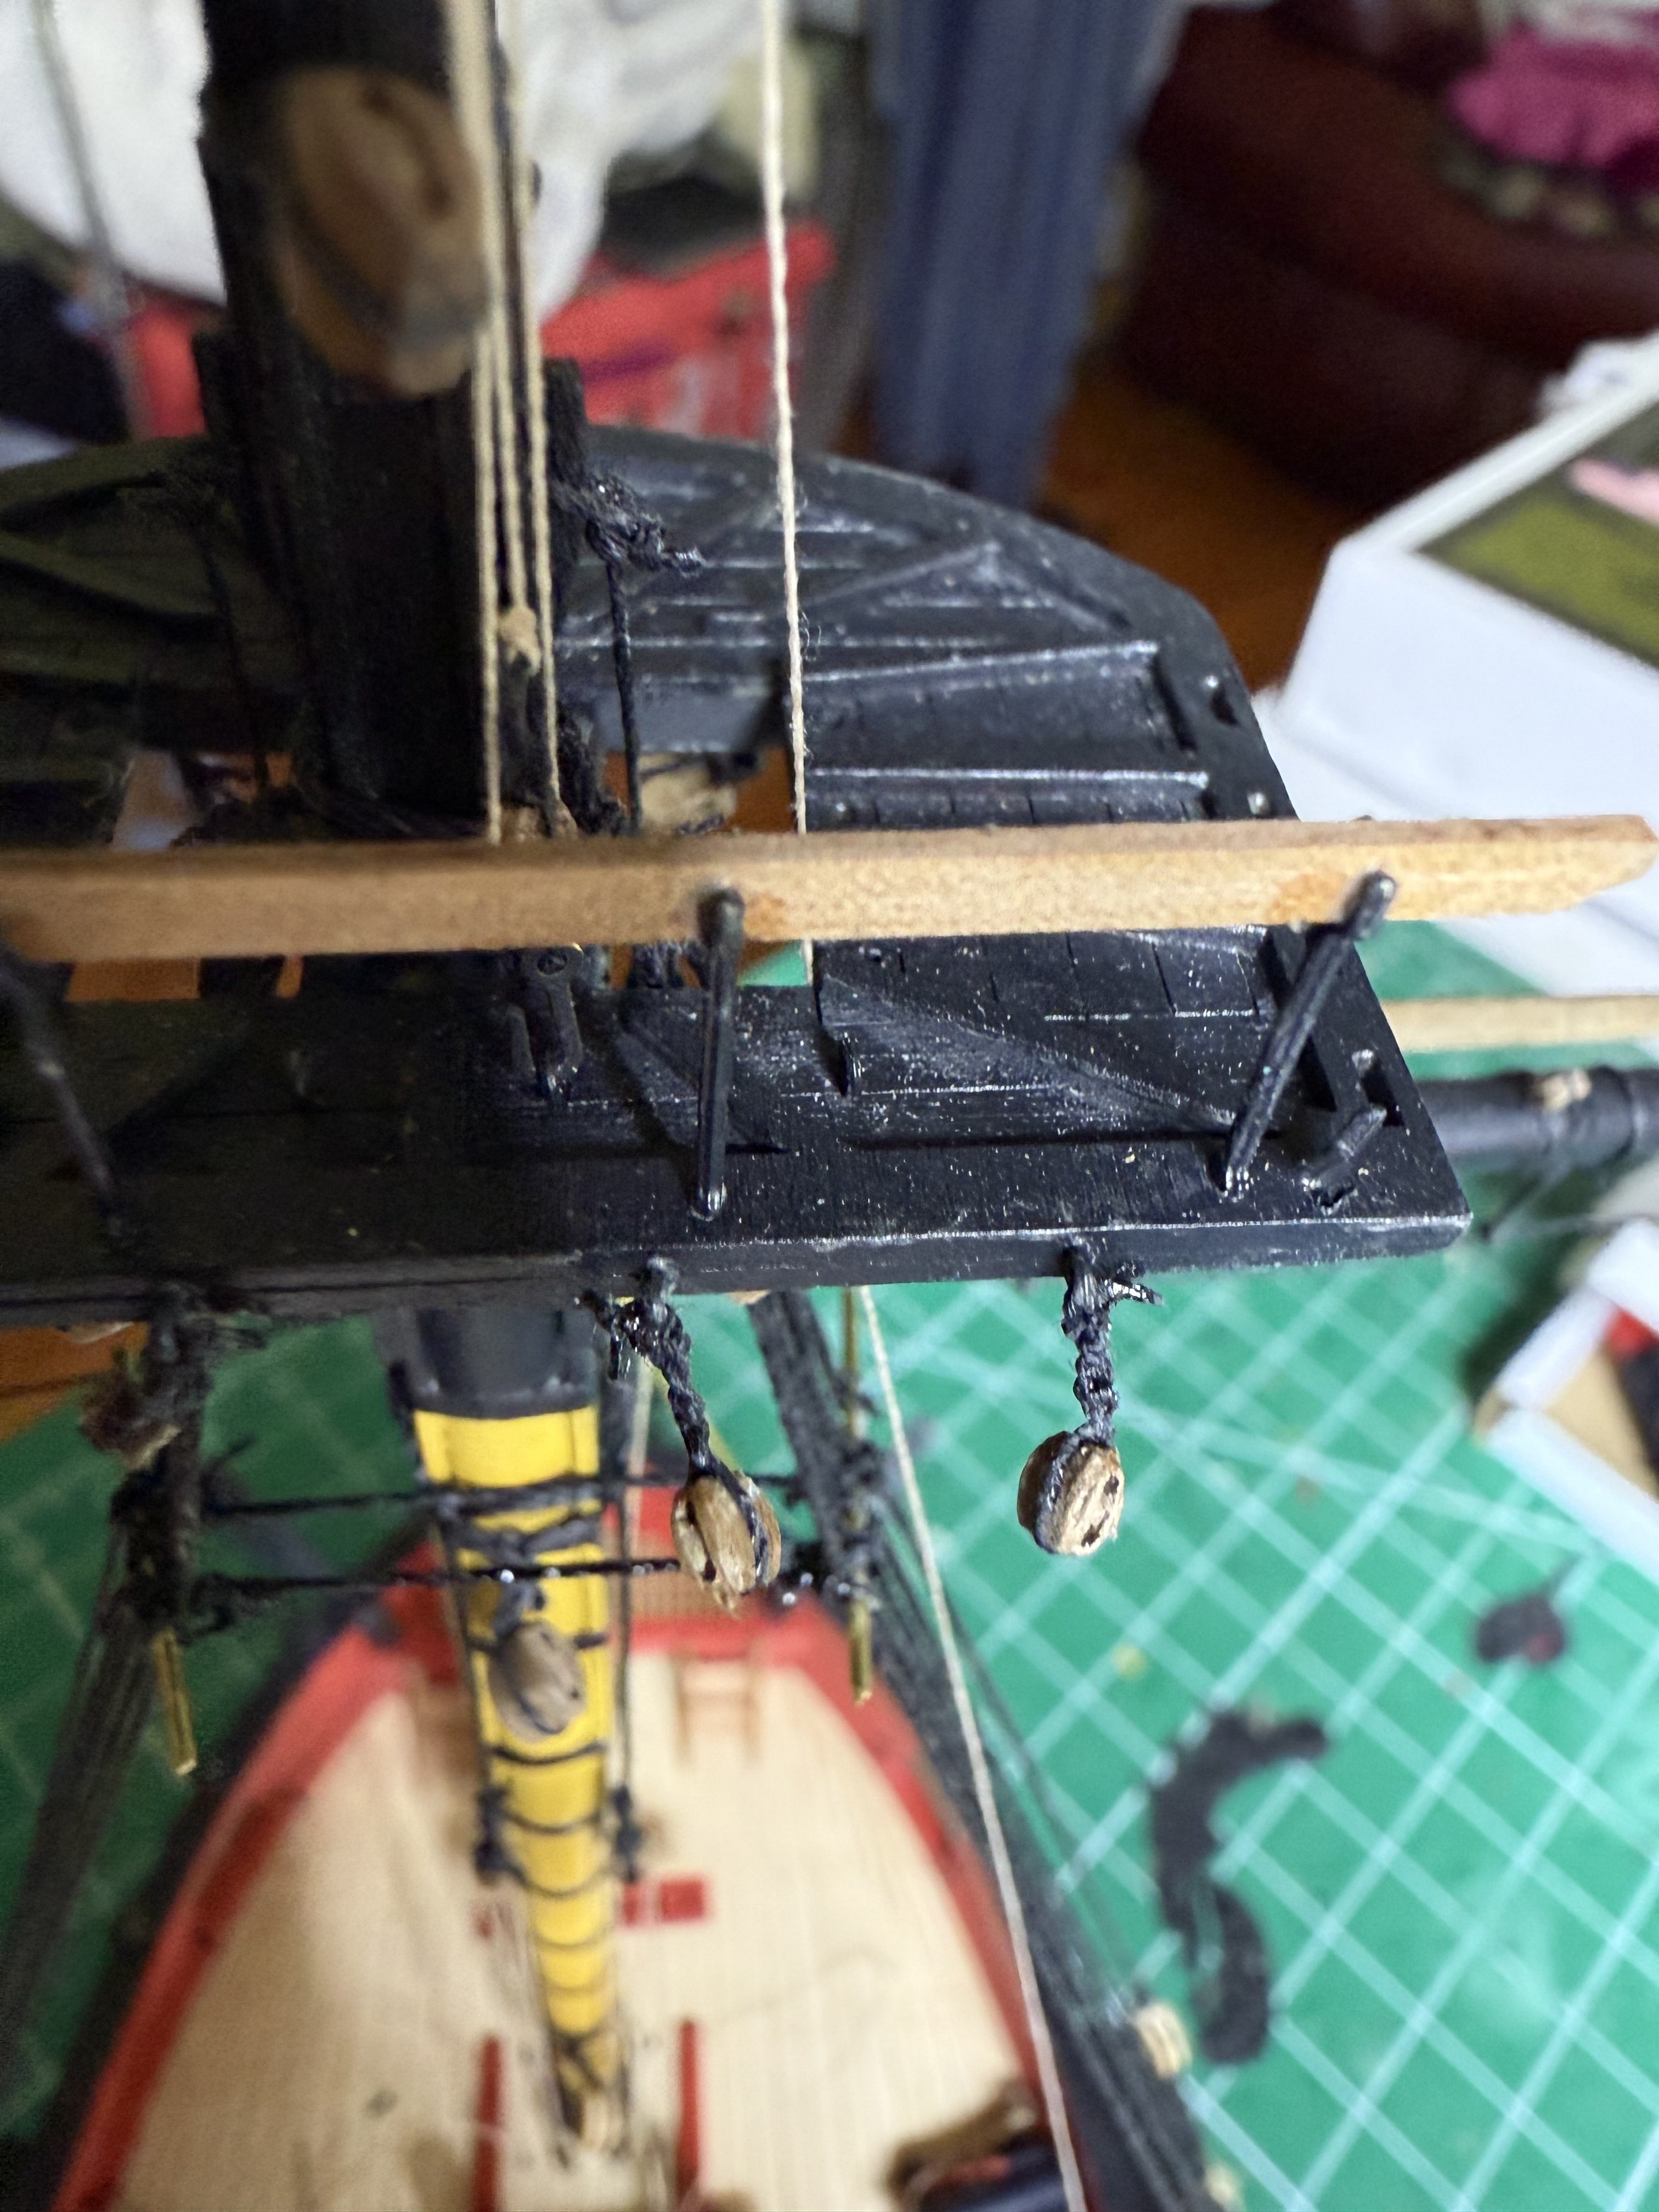
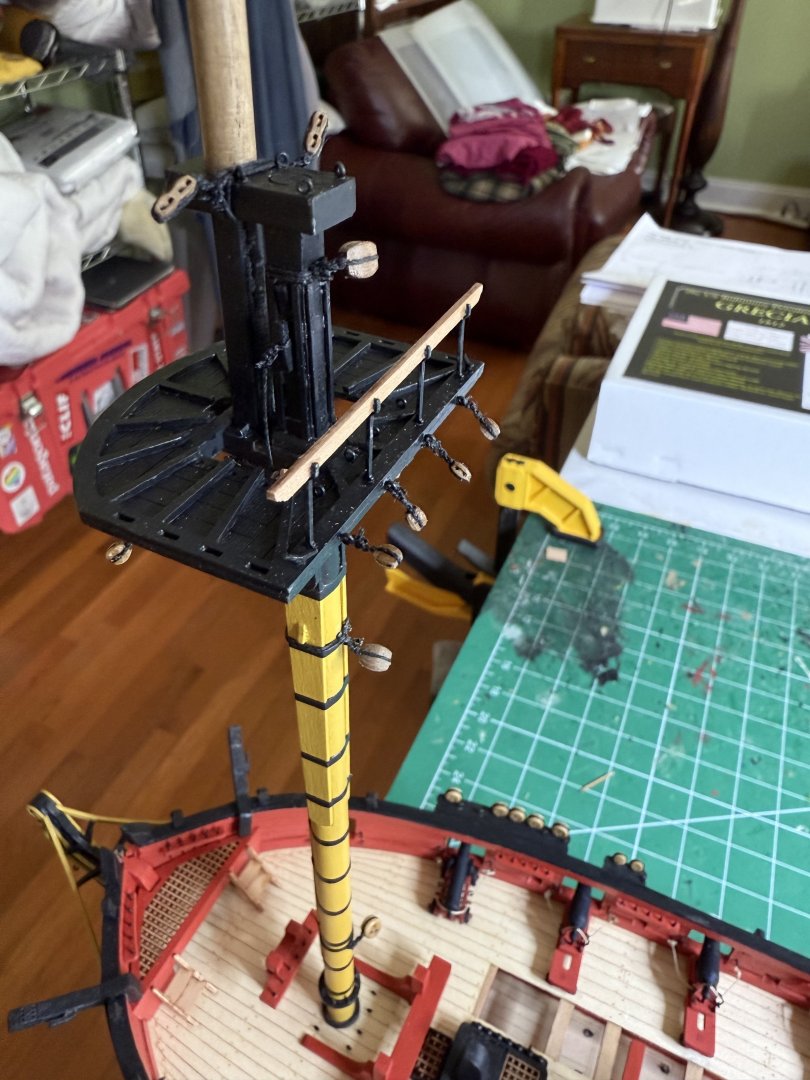
Looks really good and agree the batten will add the perfect last touch to it.
-
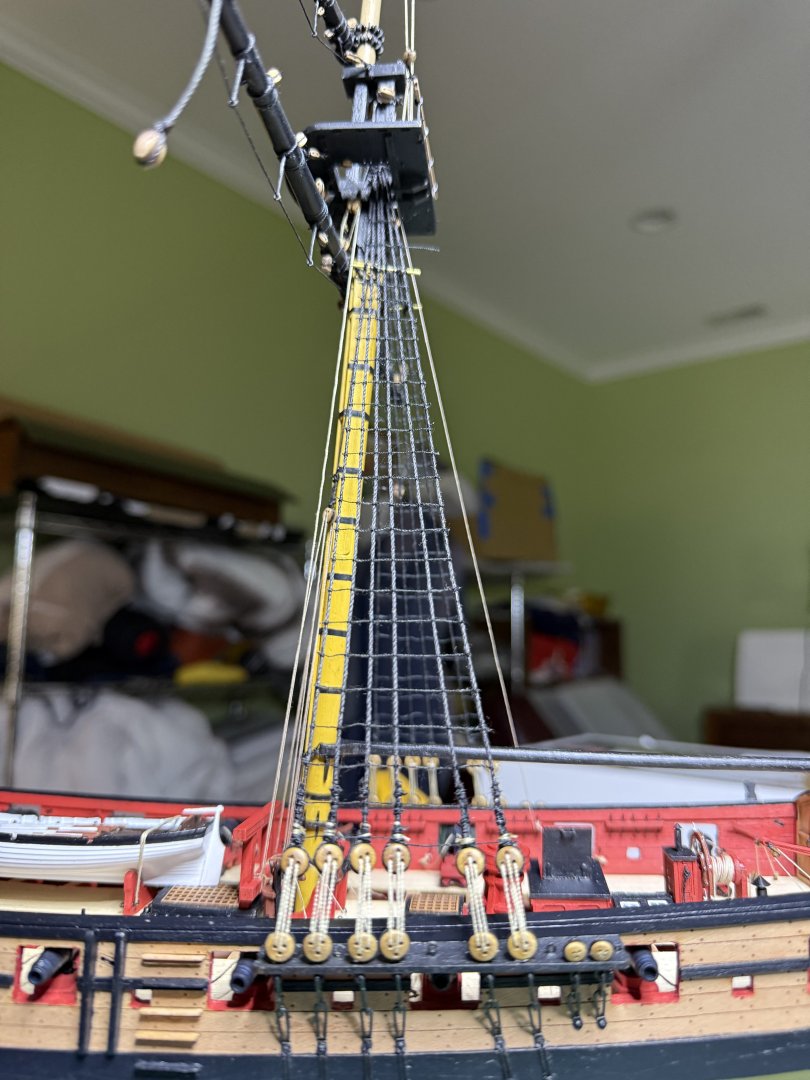
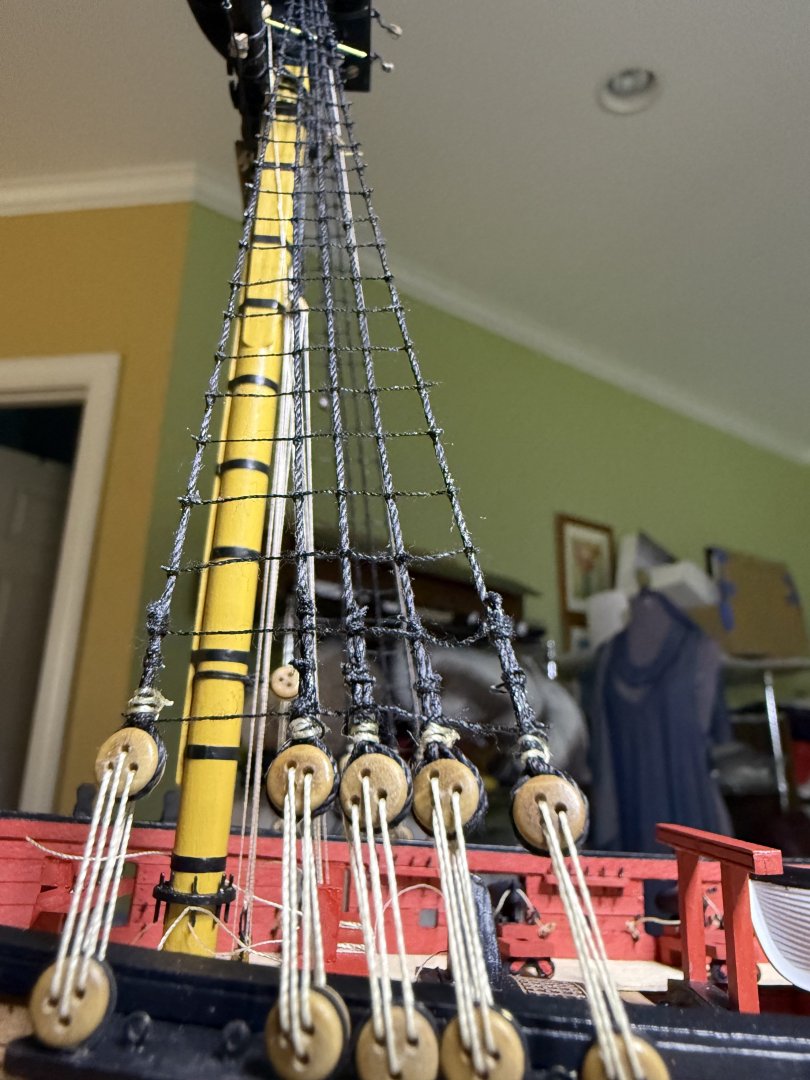
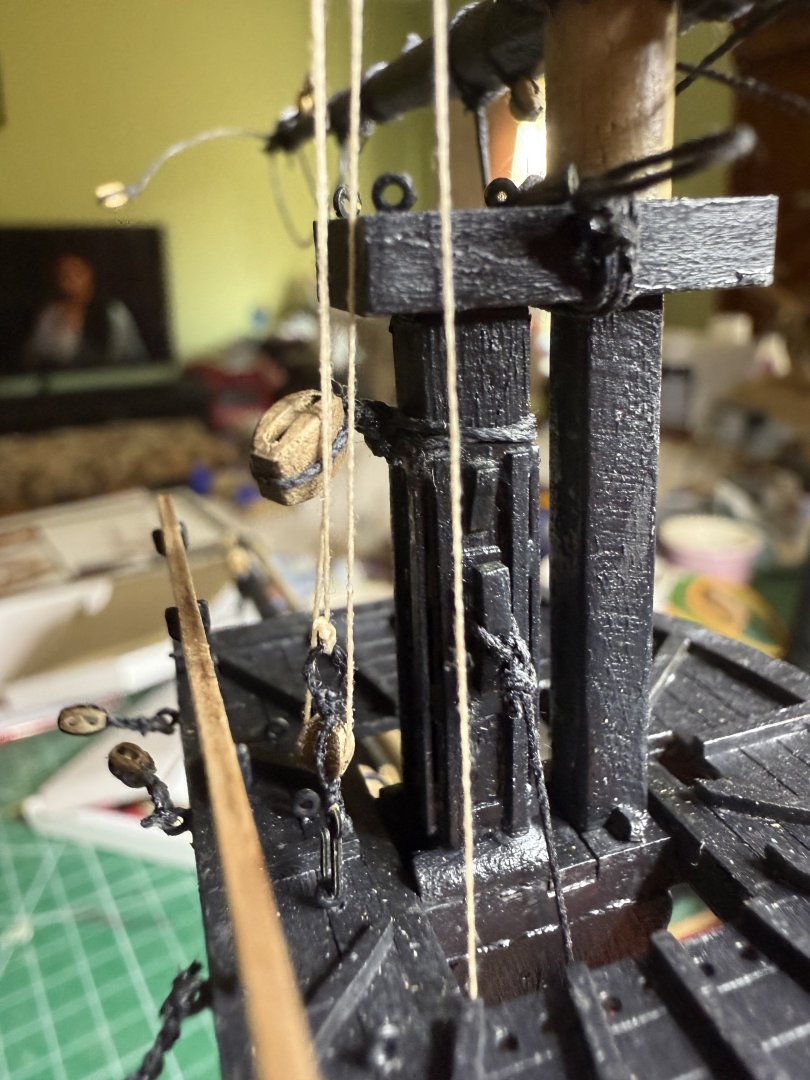
A few days of rhythmic knotting and the lower ratlines are done.
- 73 replies
-
- 10
-

-
- Harpy
- Vanguard Models
- (and 1 more)
-
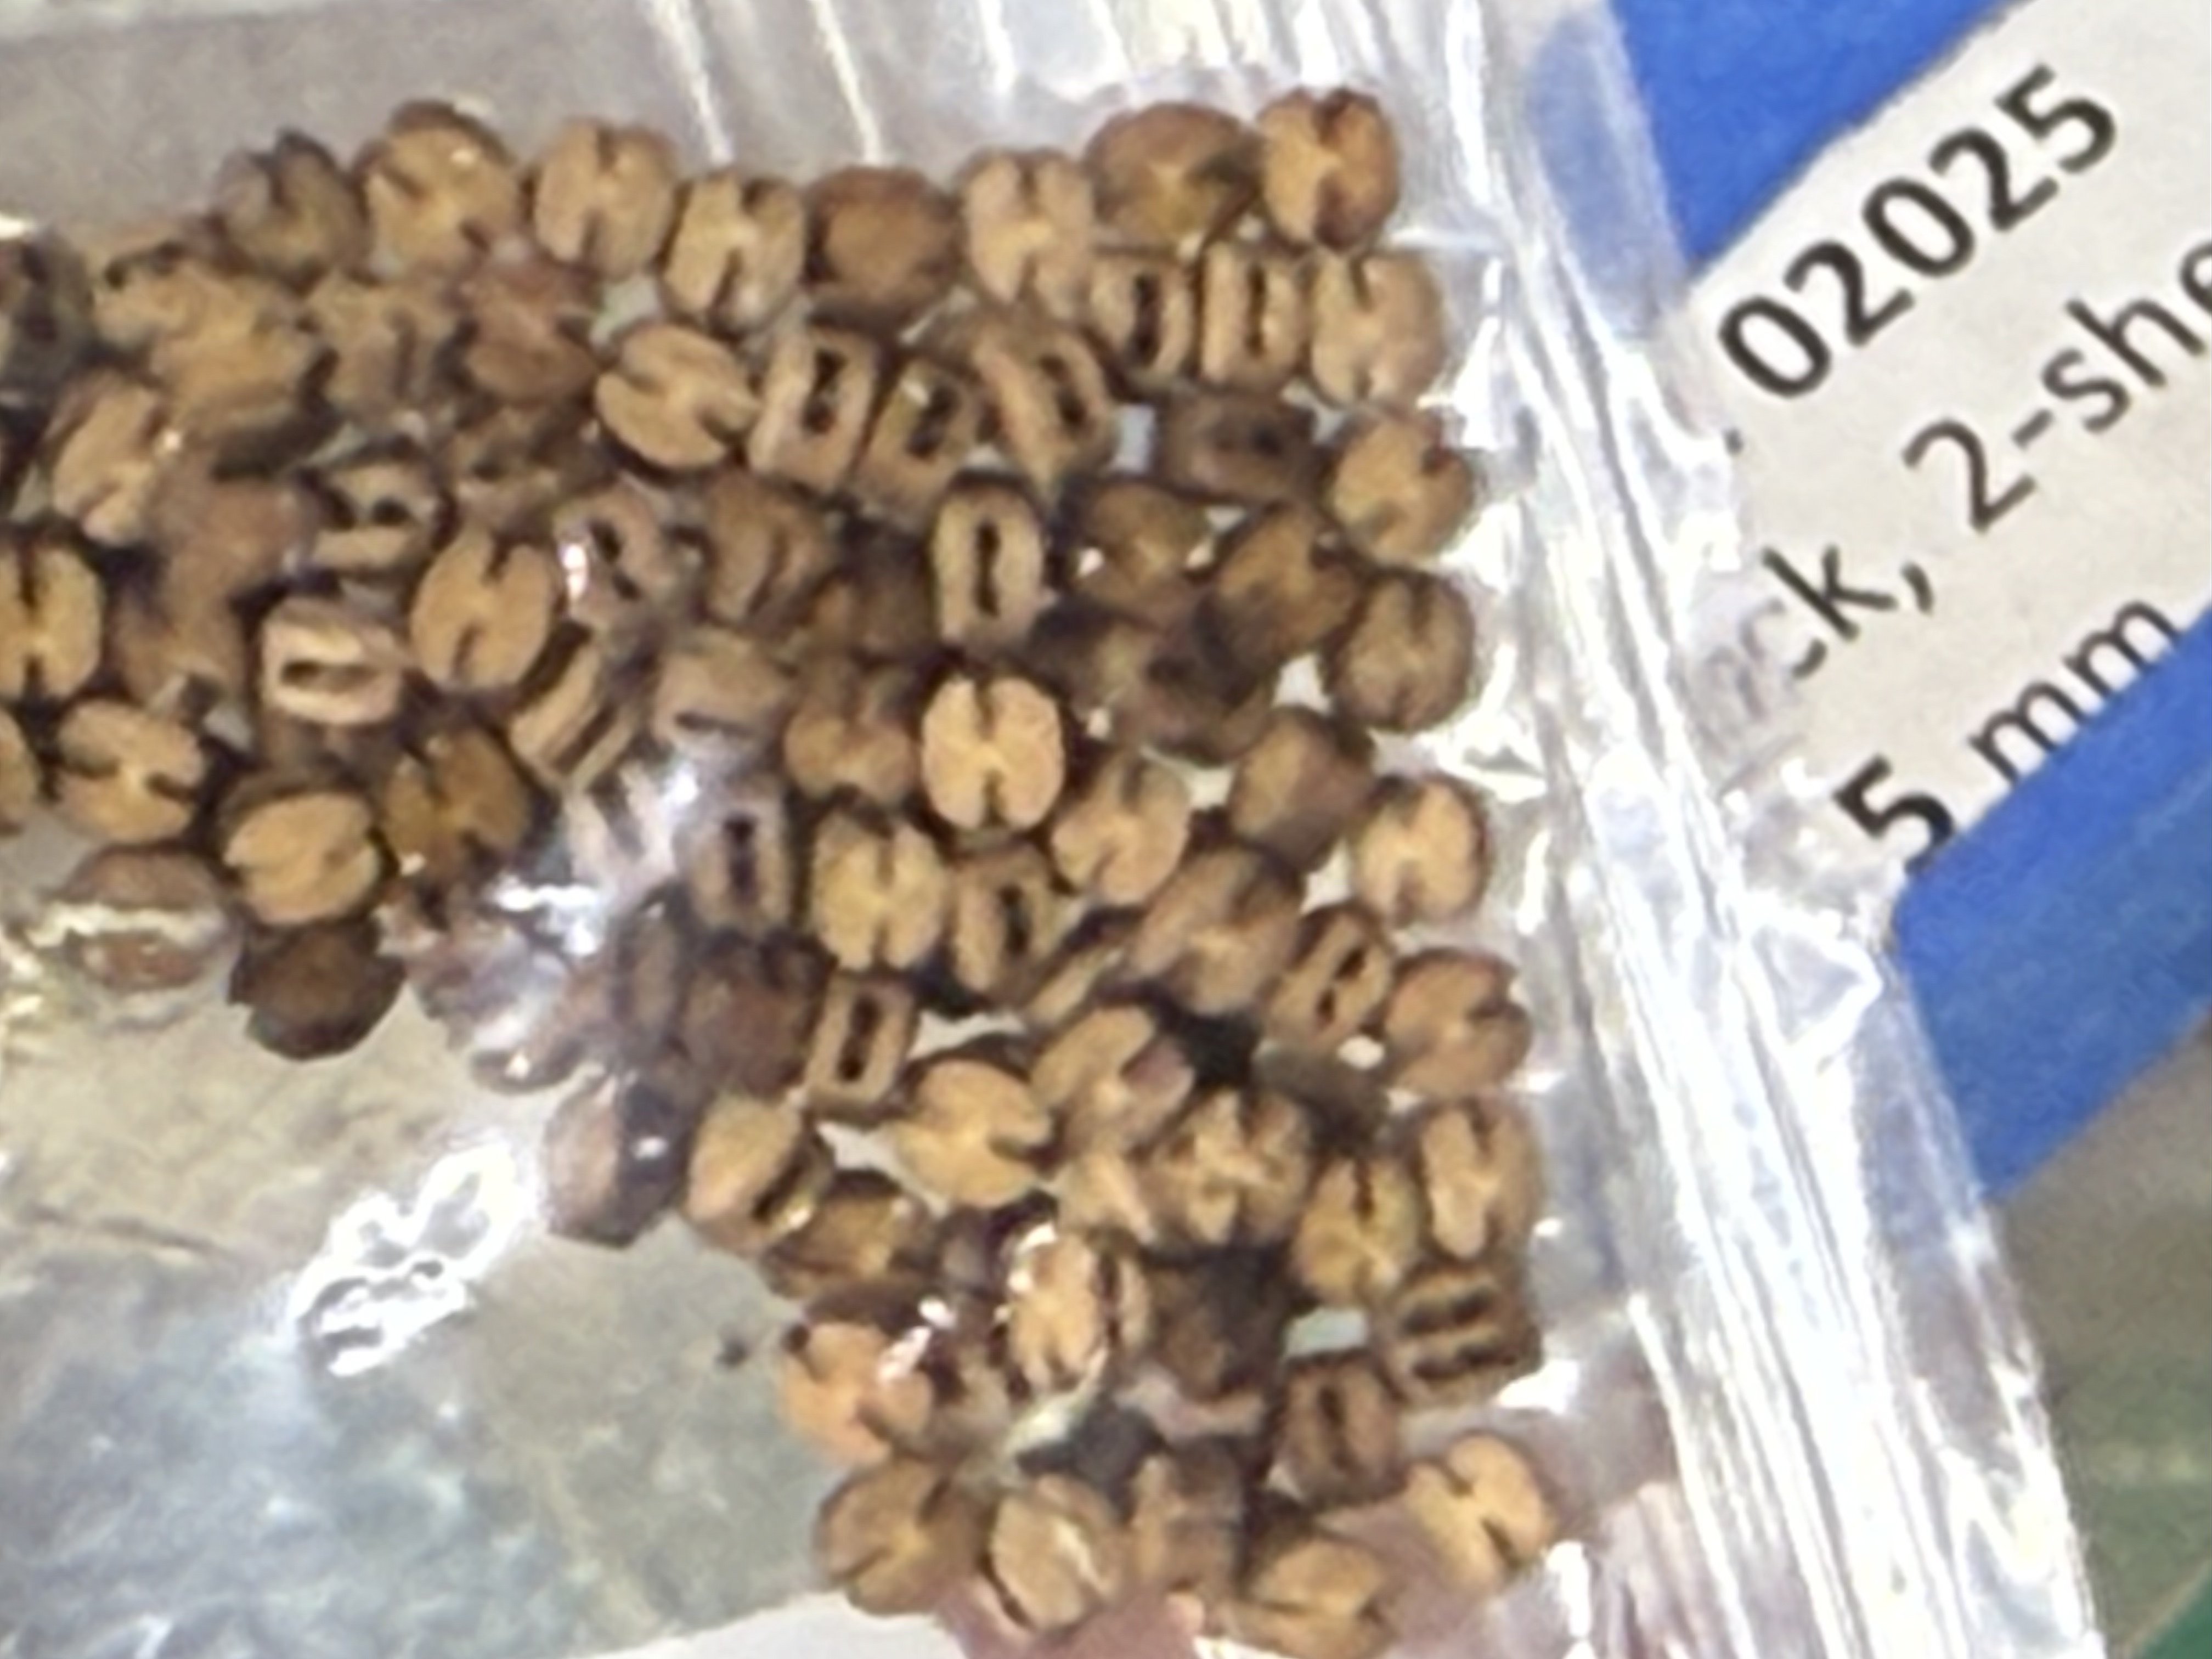
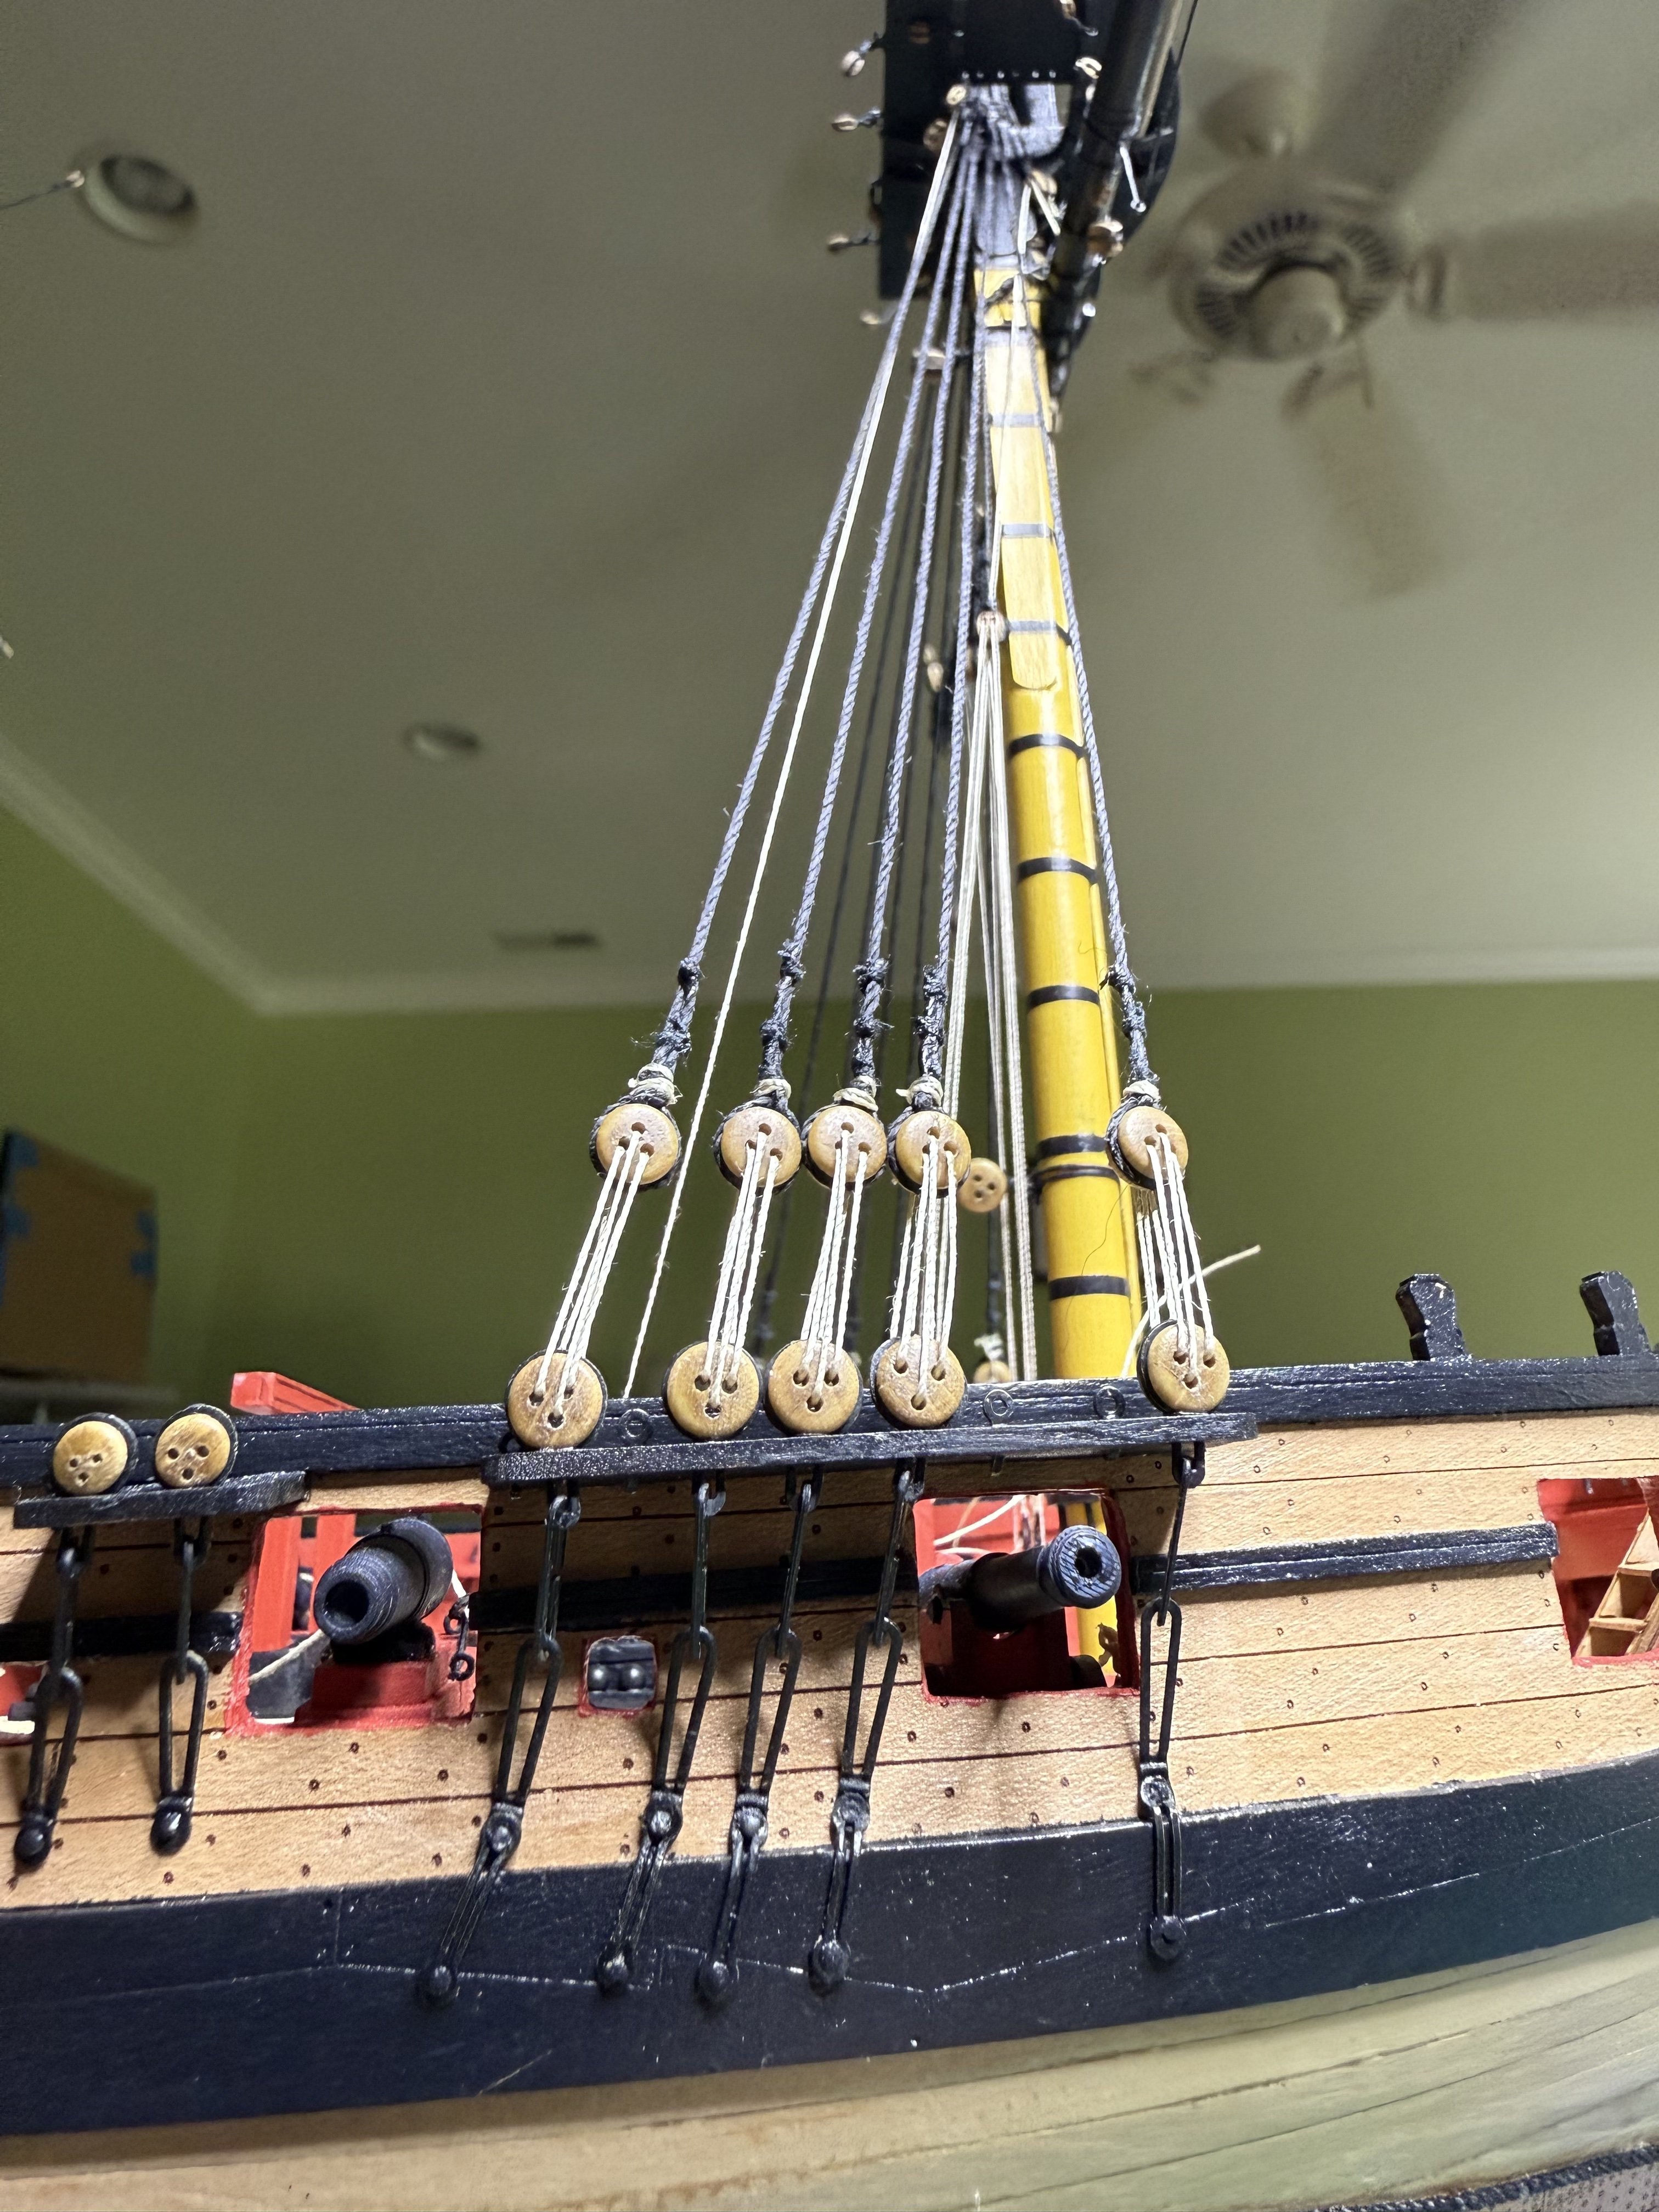
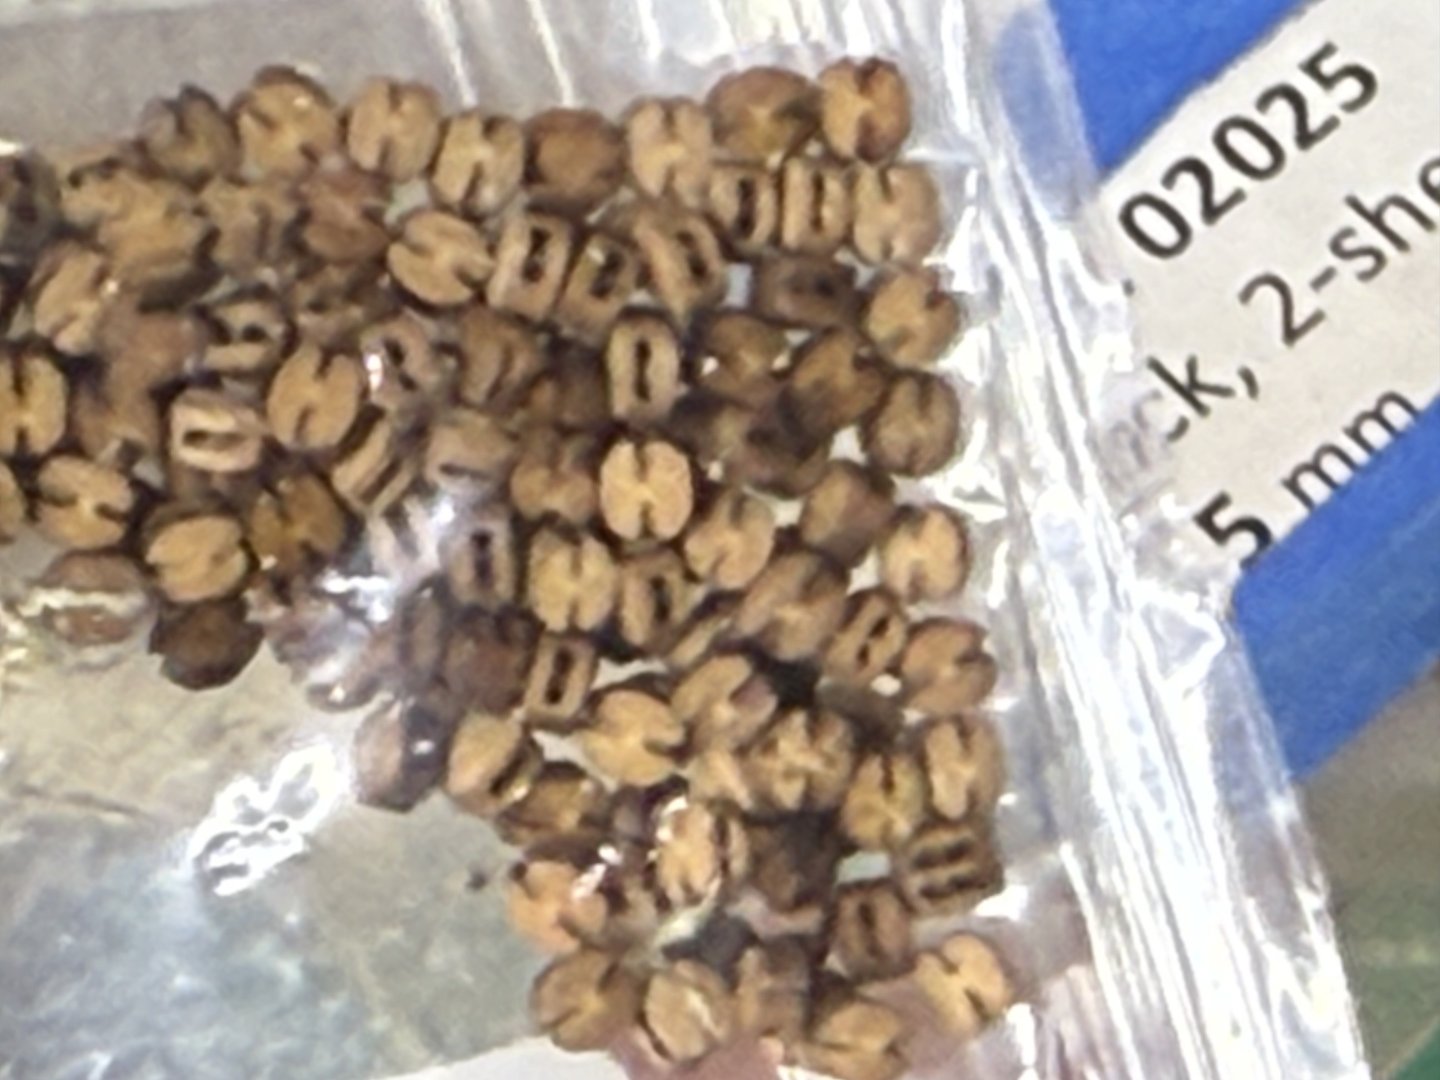
I found better 2 mm single and double 2 sheeve block online. They fit better and use 1 mm thread Found them at https://syrenshipmodelcompany.com/boxwood-rigging-blocks.php , https://drydockmodelsandparts.com/collections/pearwood-blocks and https://www.agesofsail.com/

-
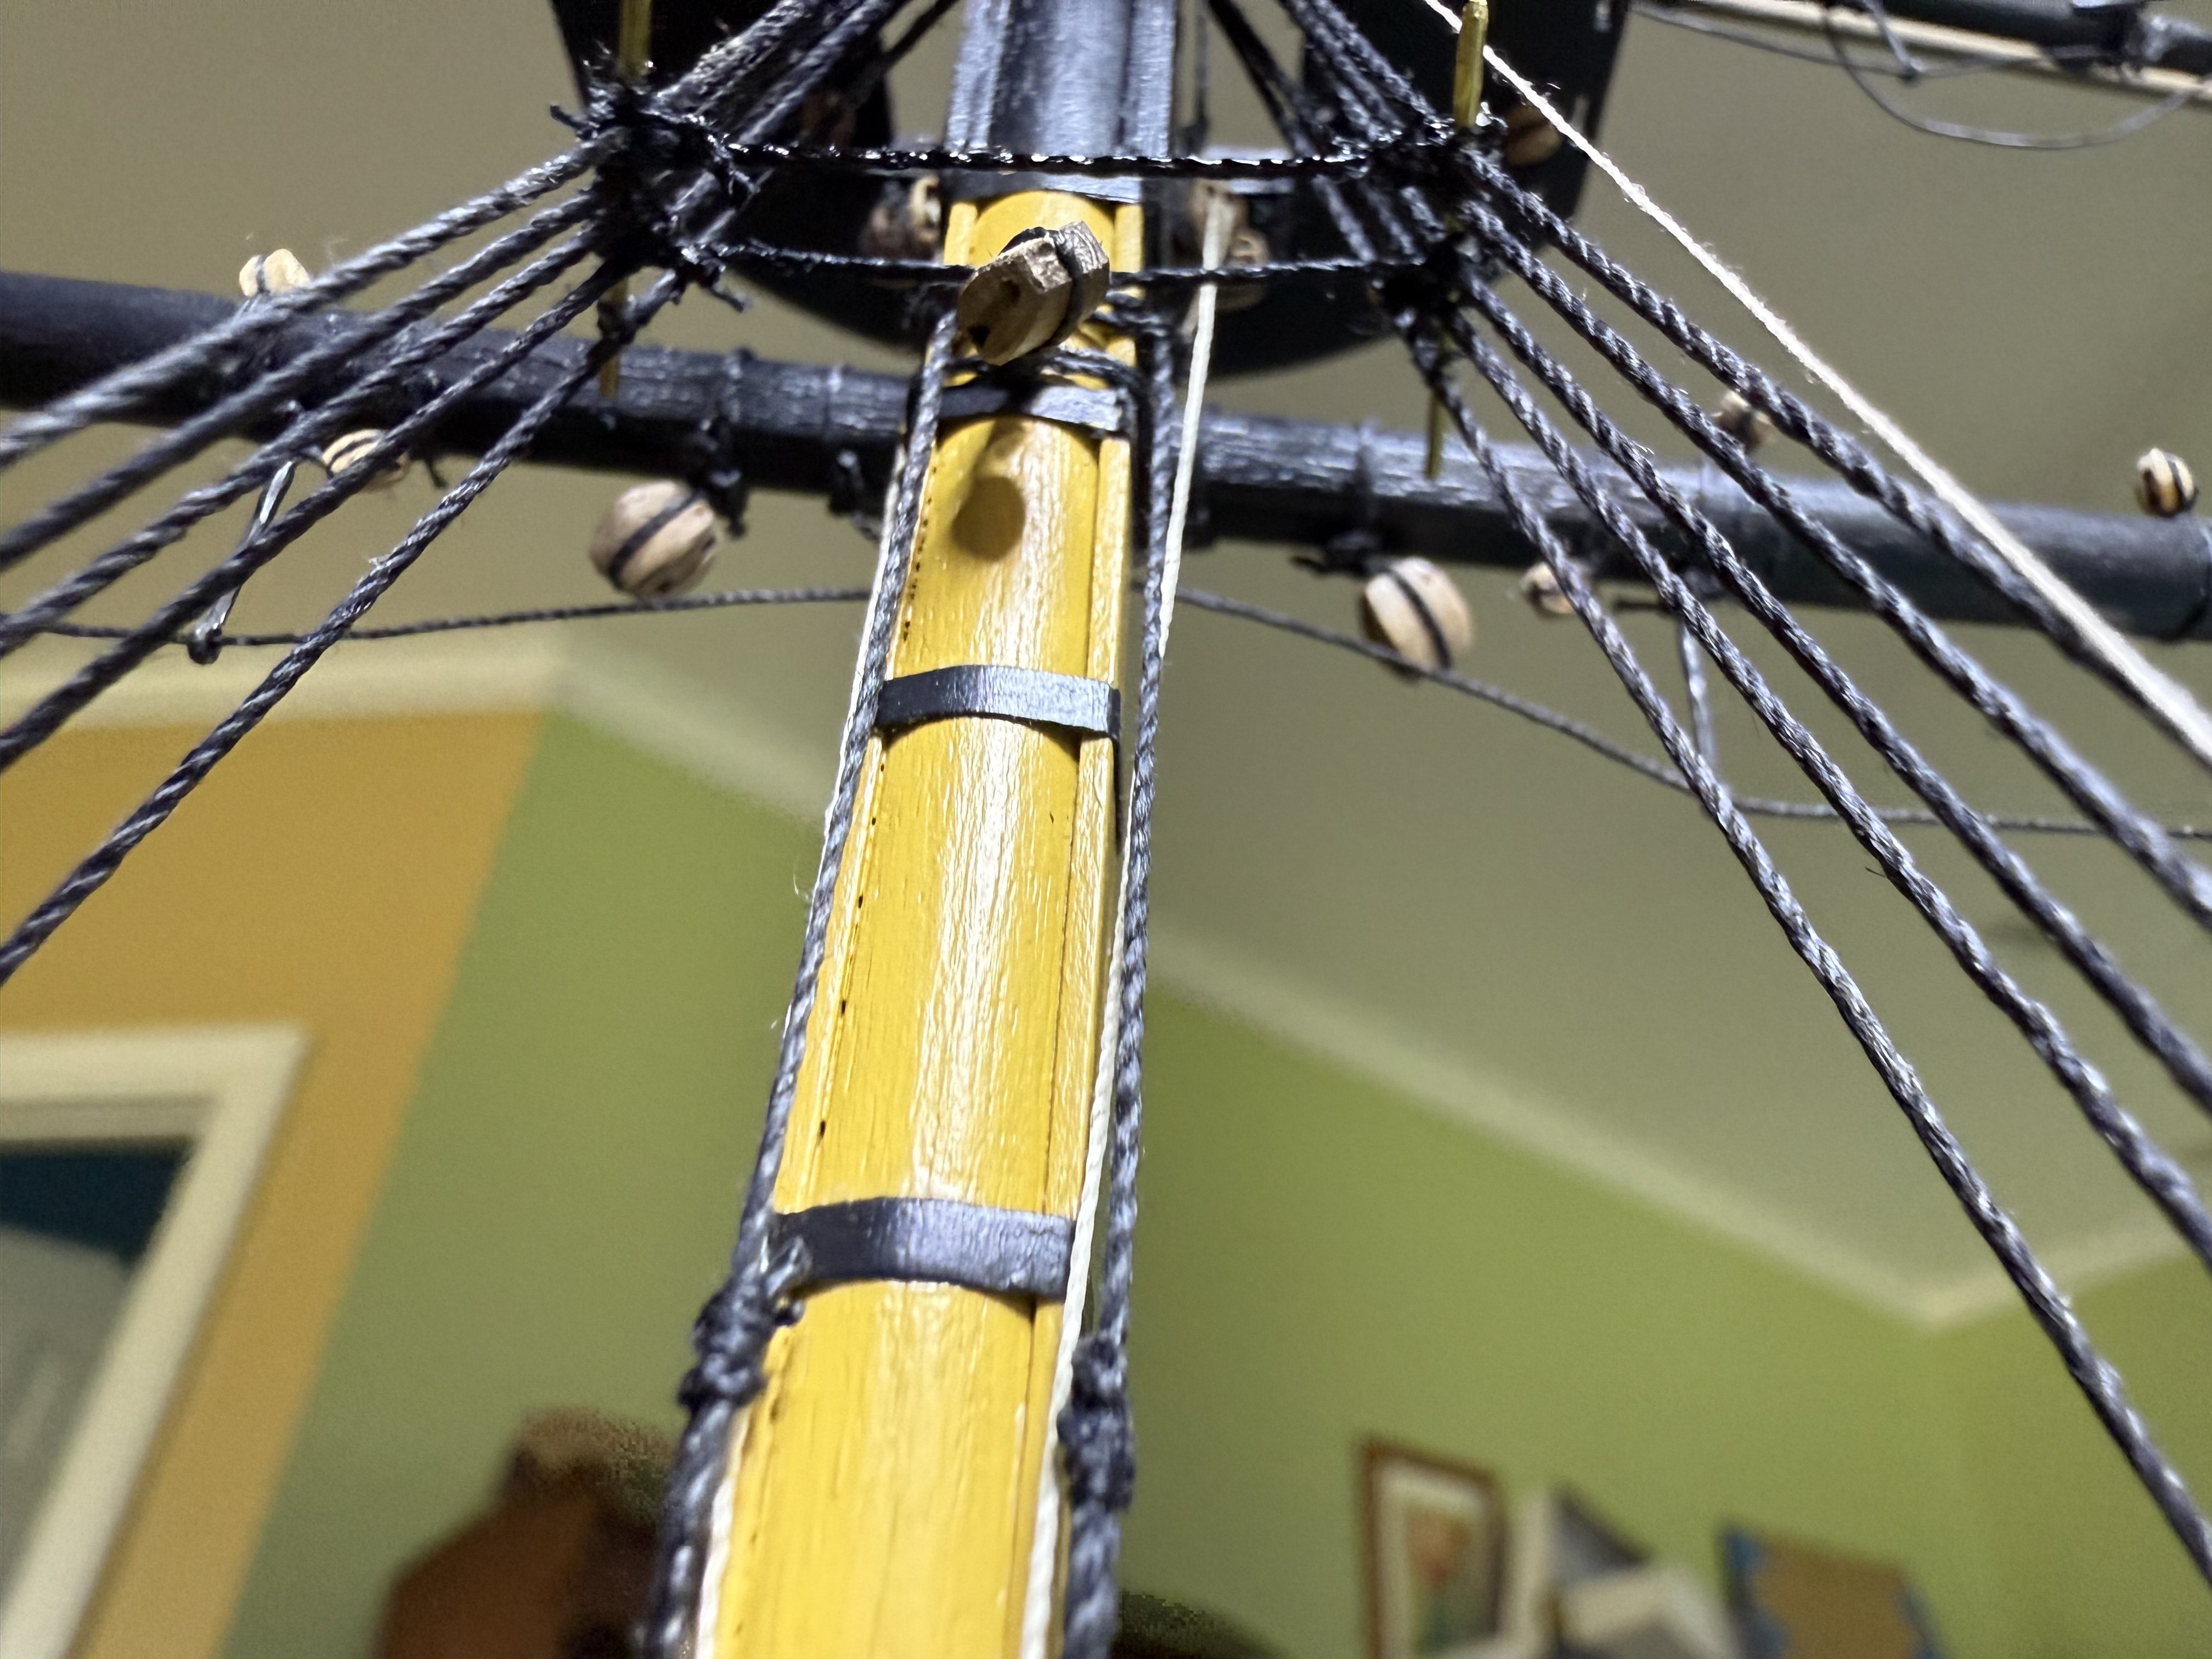
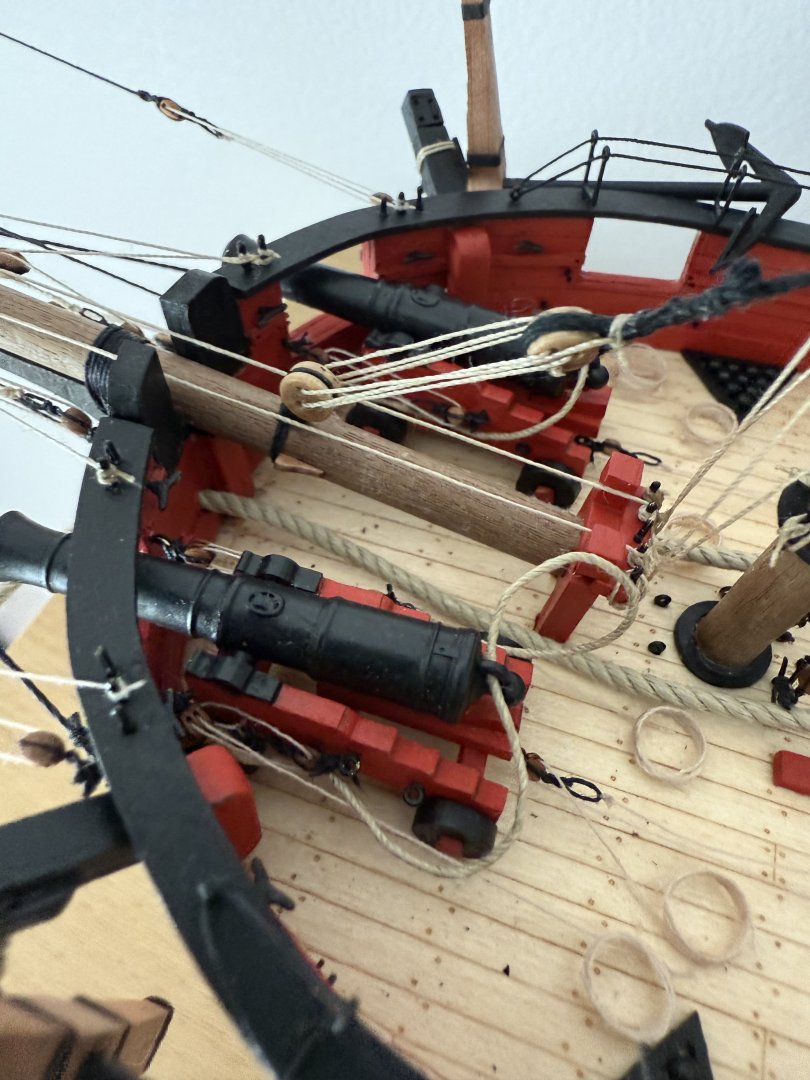
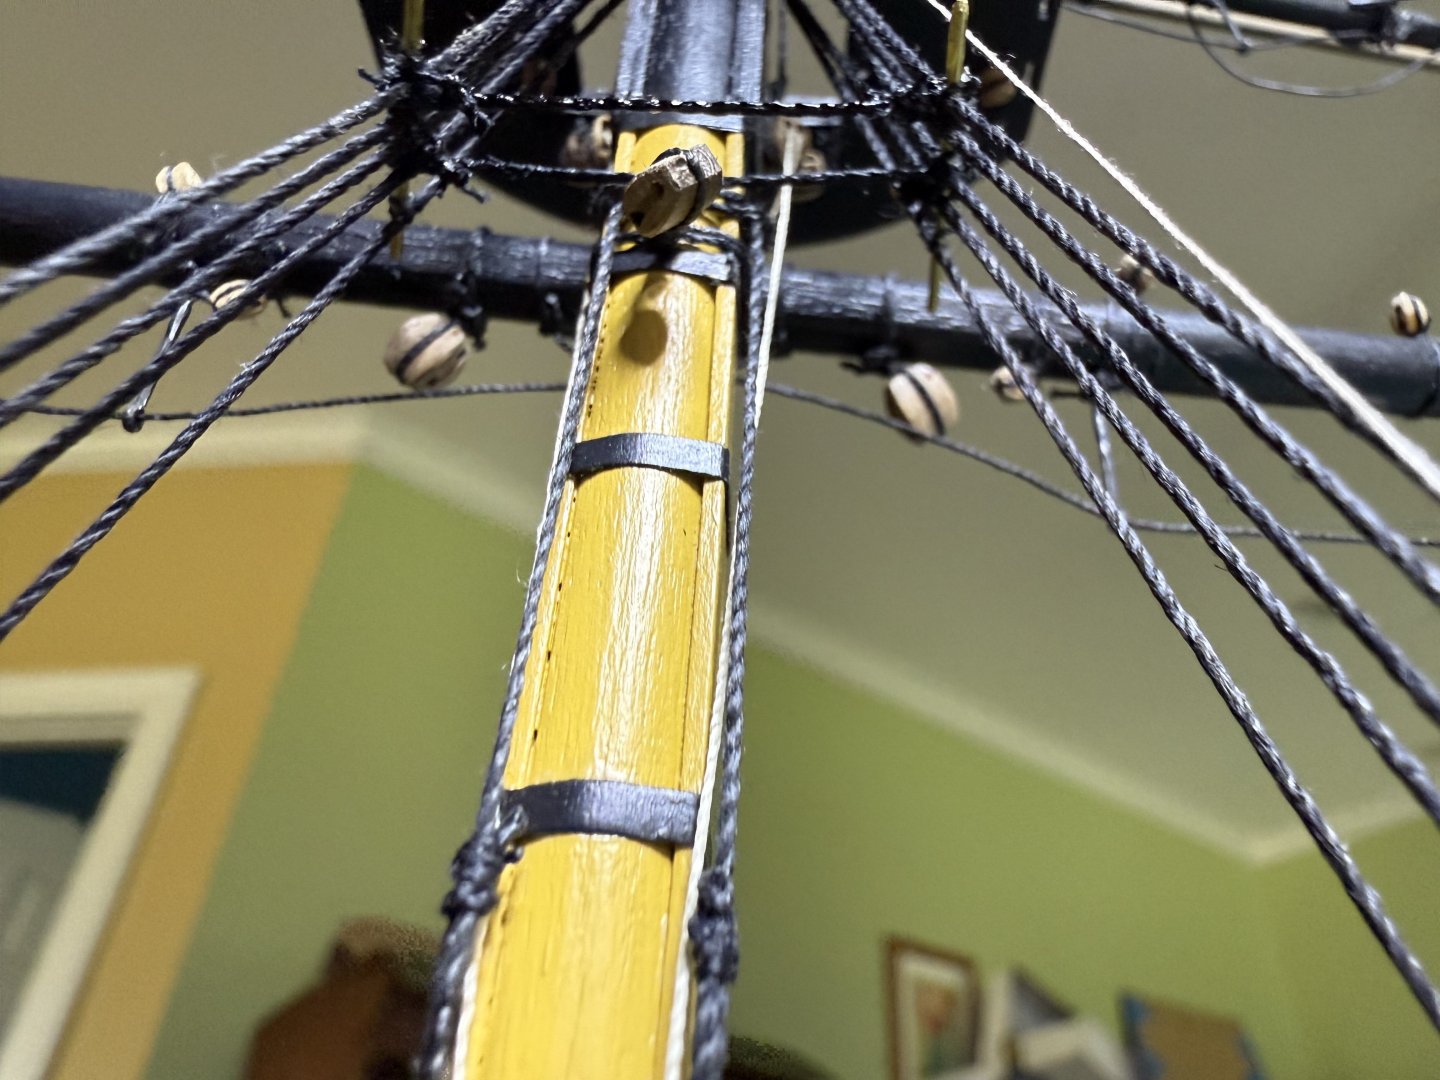
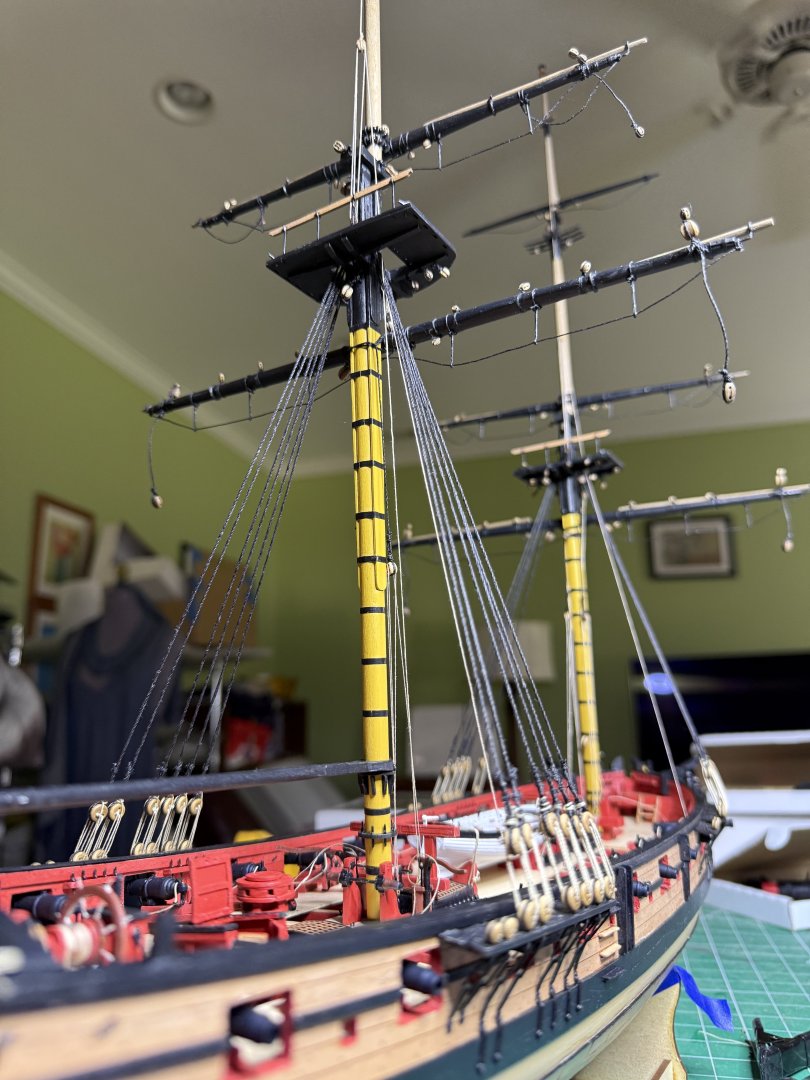
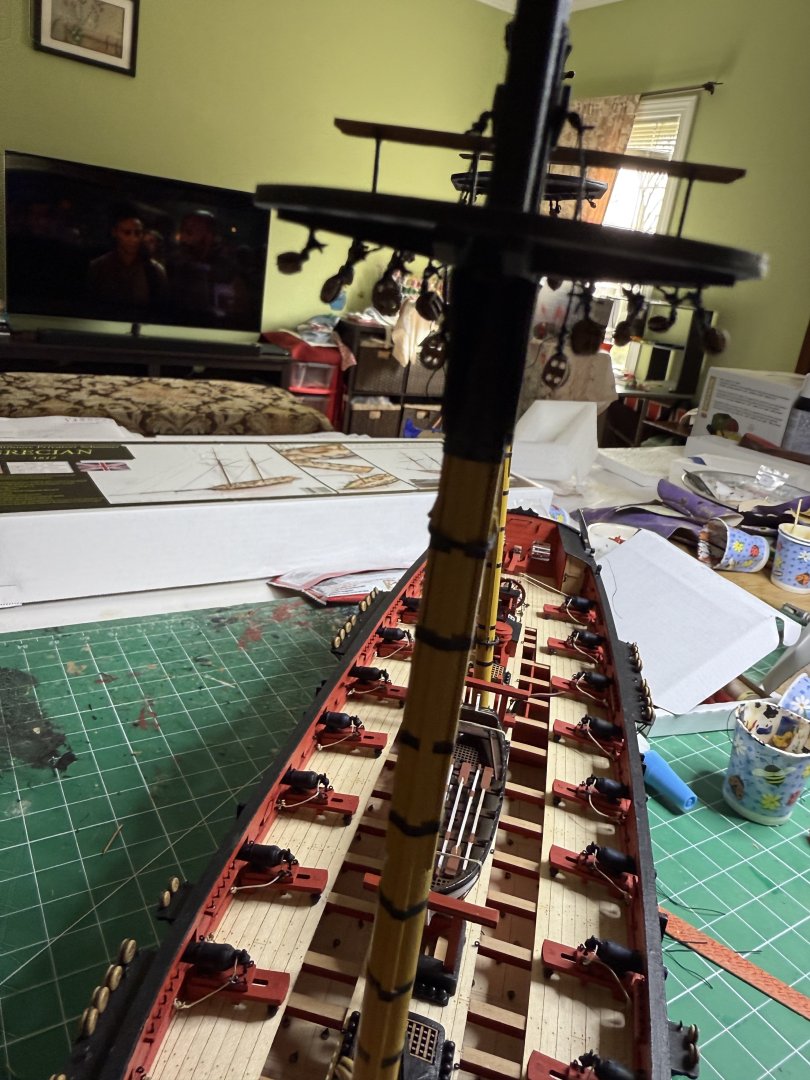
Lower shrouds now done Next are the catharpins Next few days will be spent doing ratlines


- 73 replies
-
- 11
-
-
- Harpy
- Vanguard Models
- (and 1 more)
-
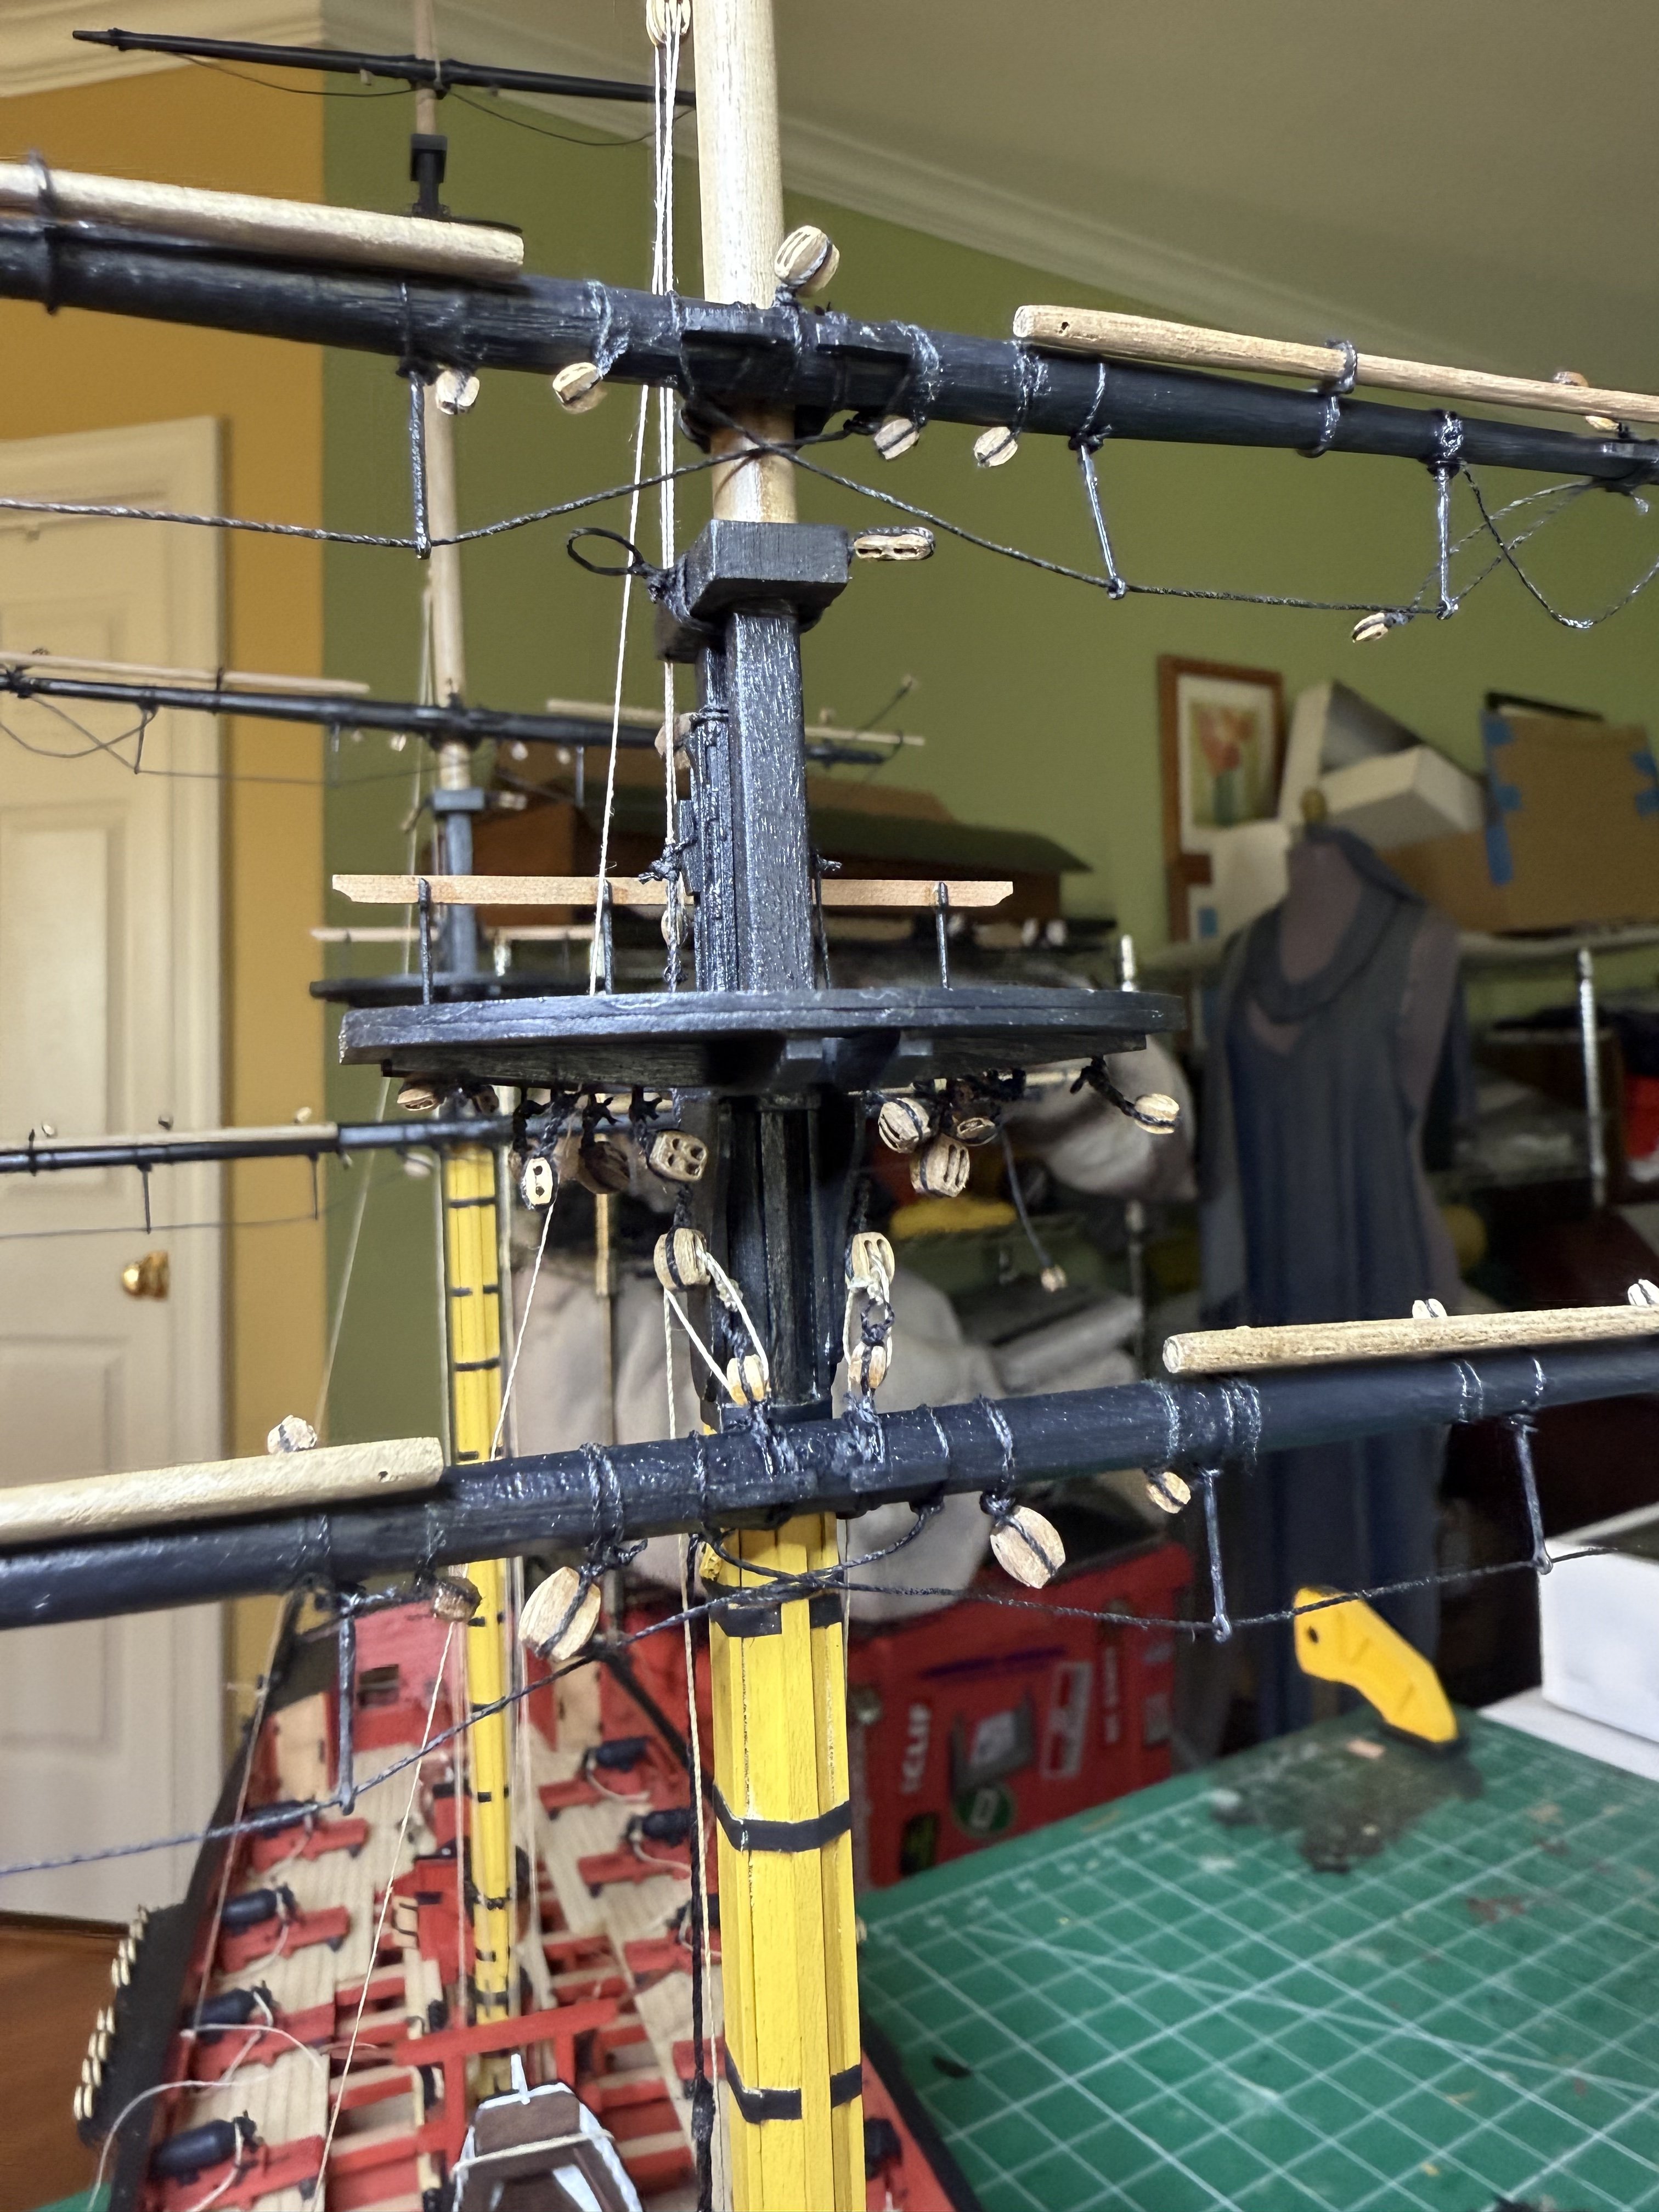
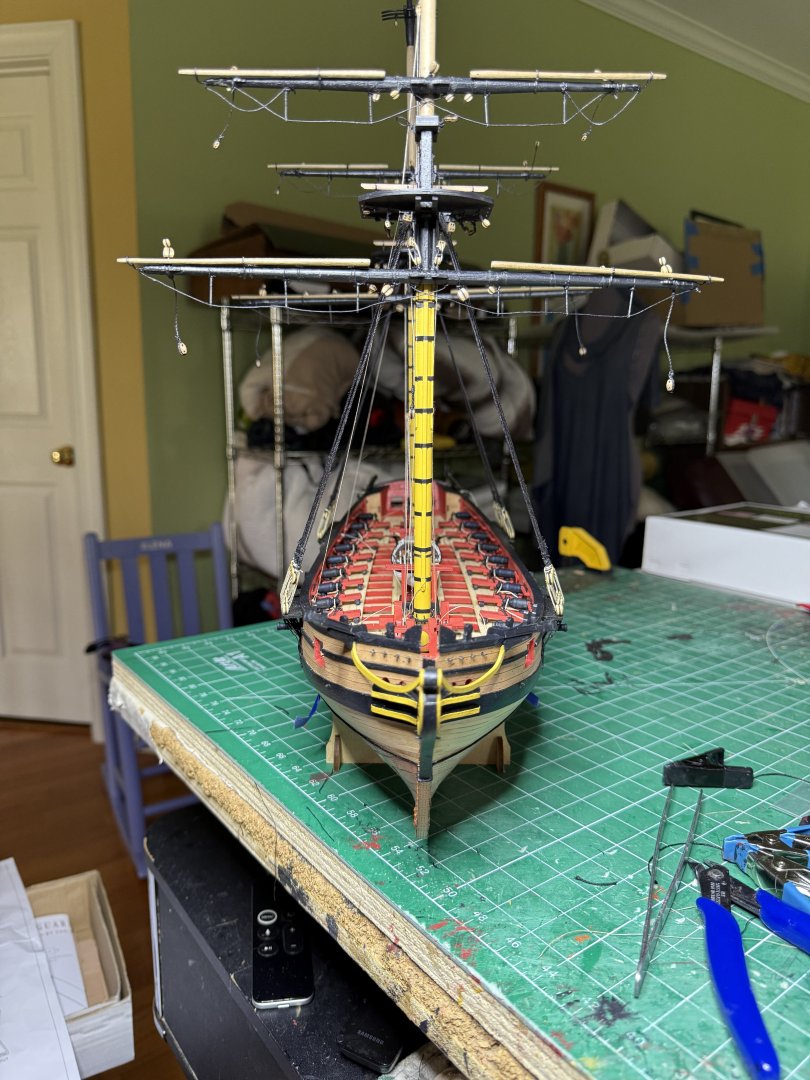
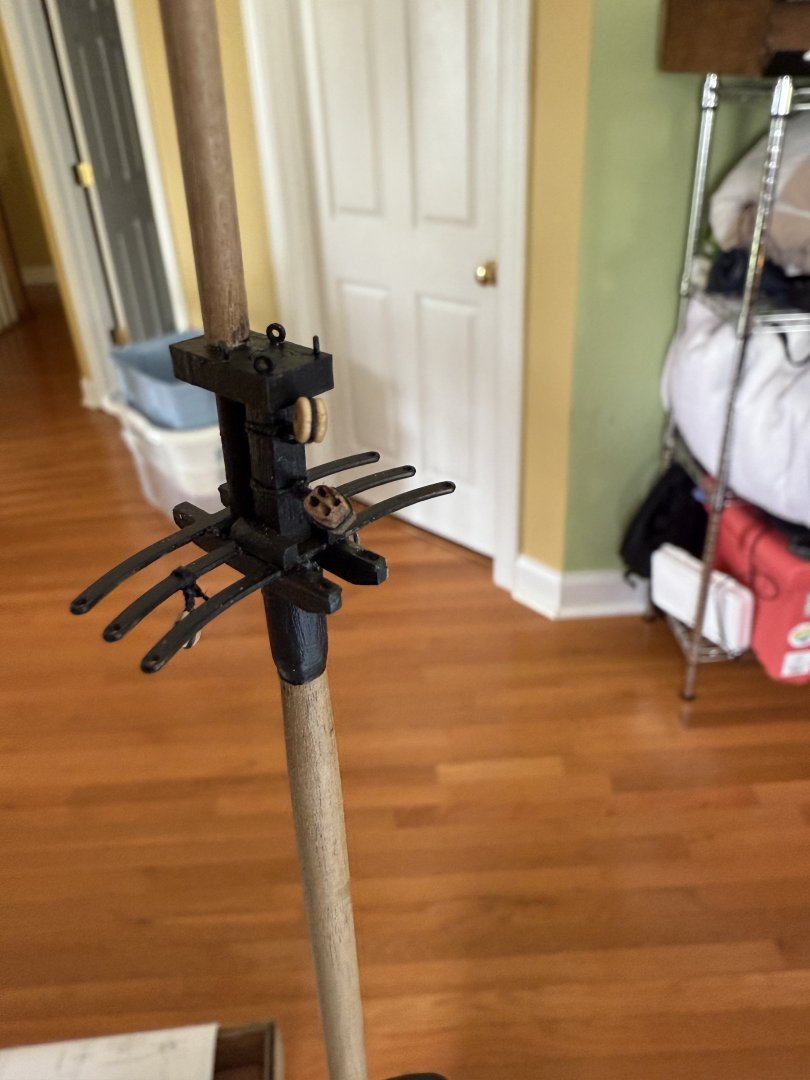
I prefer to attach the yards to the masts first as there is more room to maneuver. Next job will be the shrouds


- 73 replies
-
- 8
-
-
- Harpy
- Vanguard Models
- (and 1 more)
-
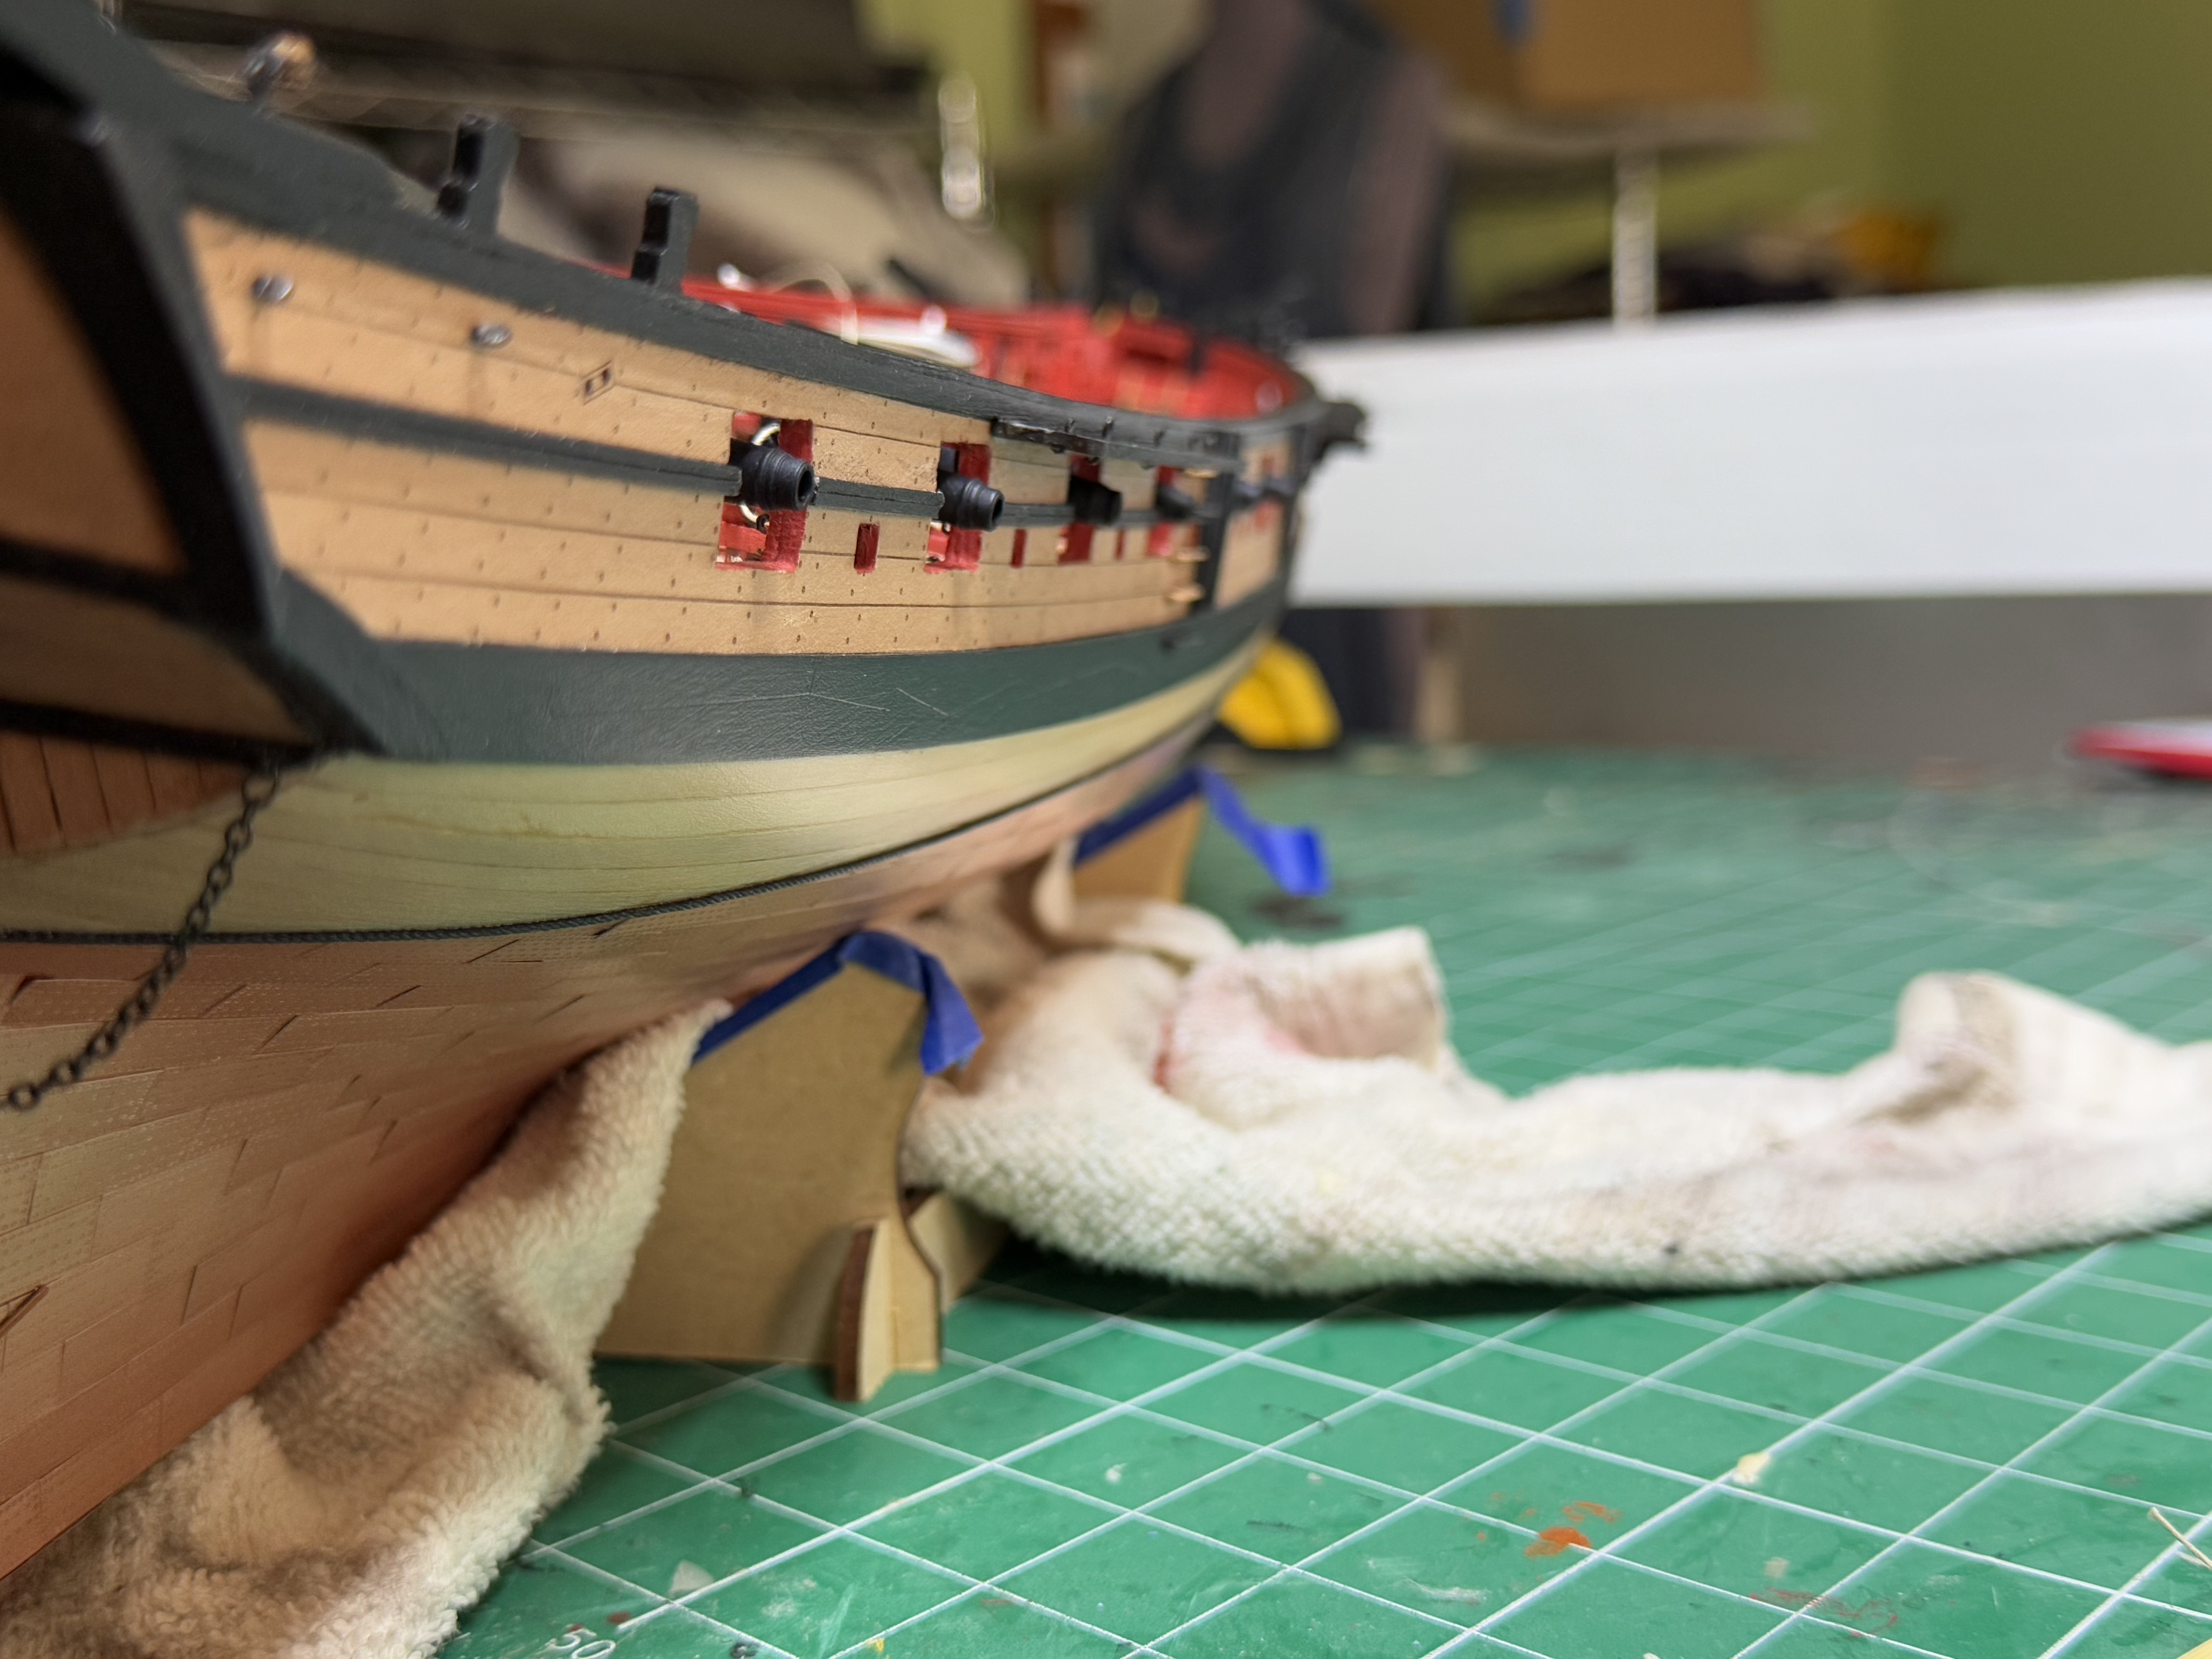
You can also paint the below the waterline white as many of the other Vanguard models, pre-copper so to speak.
- 241 replies
-
- 1
-

-
- Vanguarrd Models
- Harpy
- (and 1 more)
-
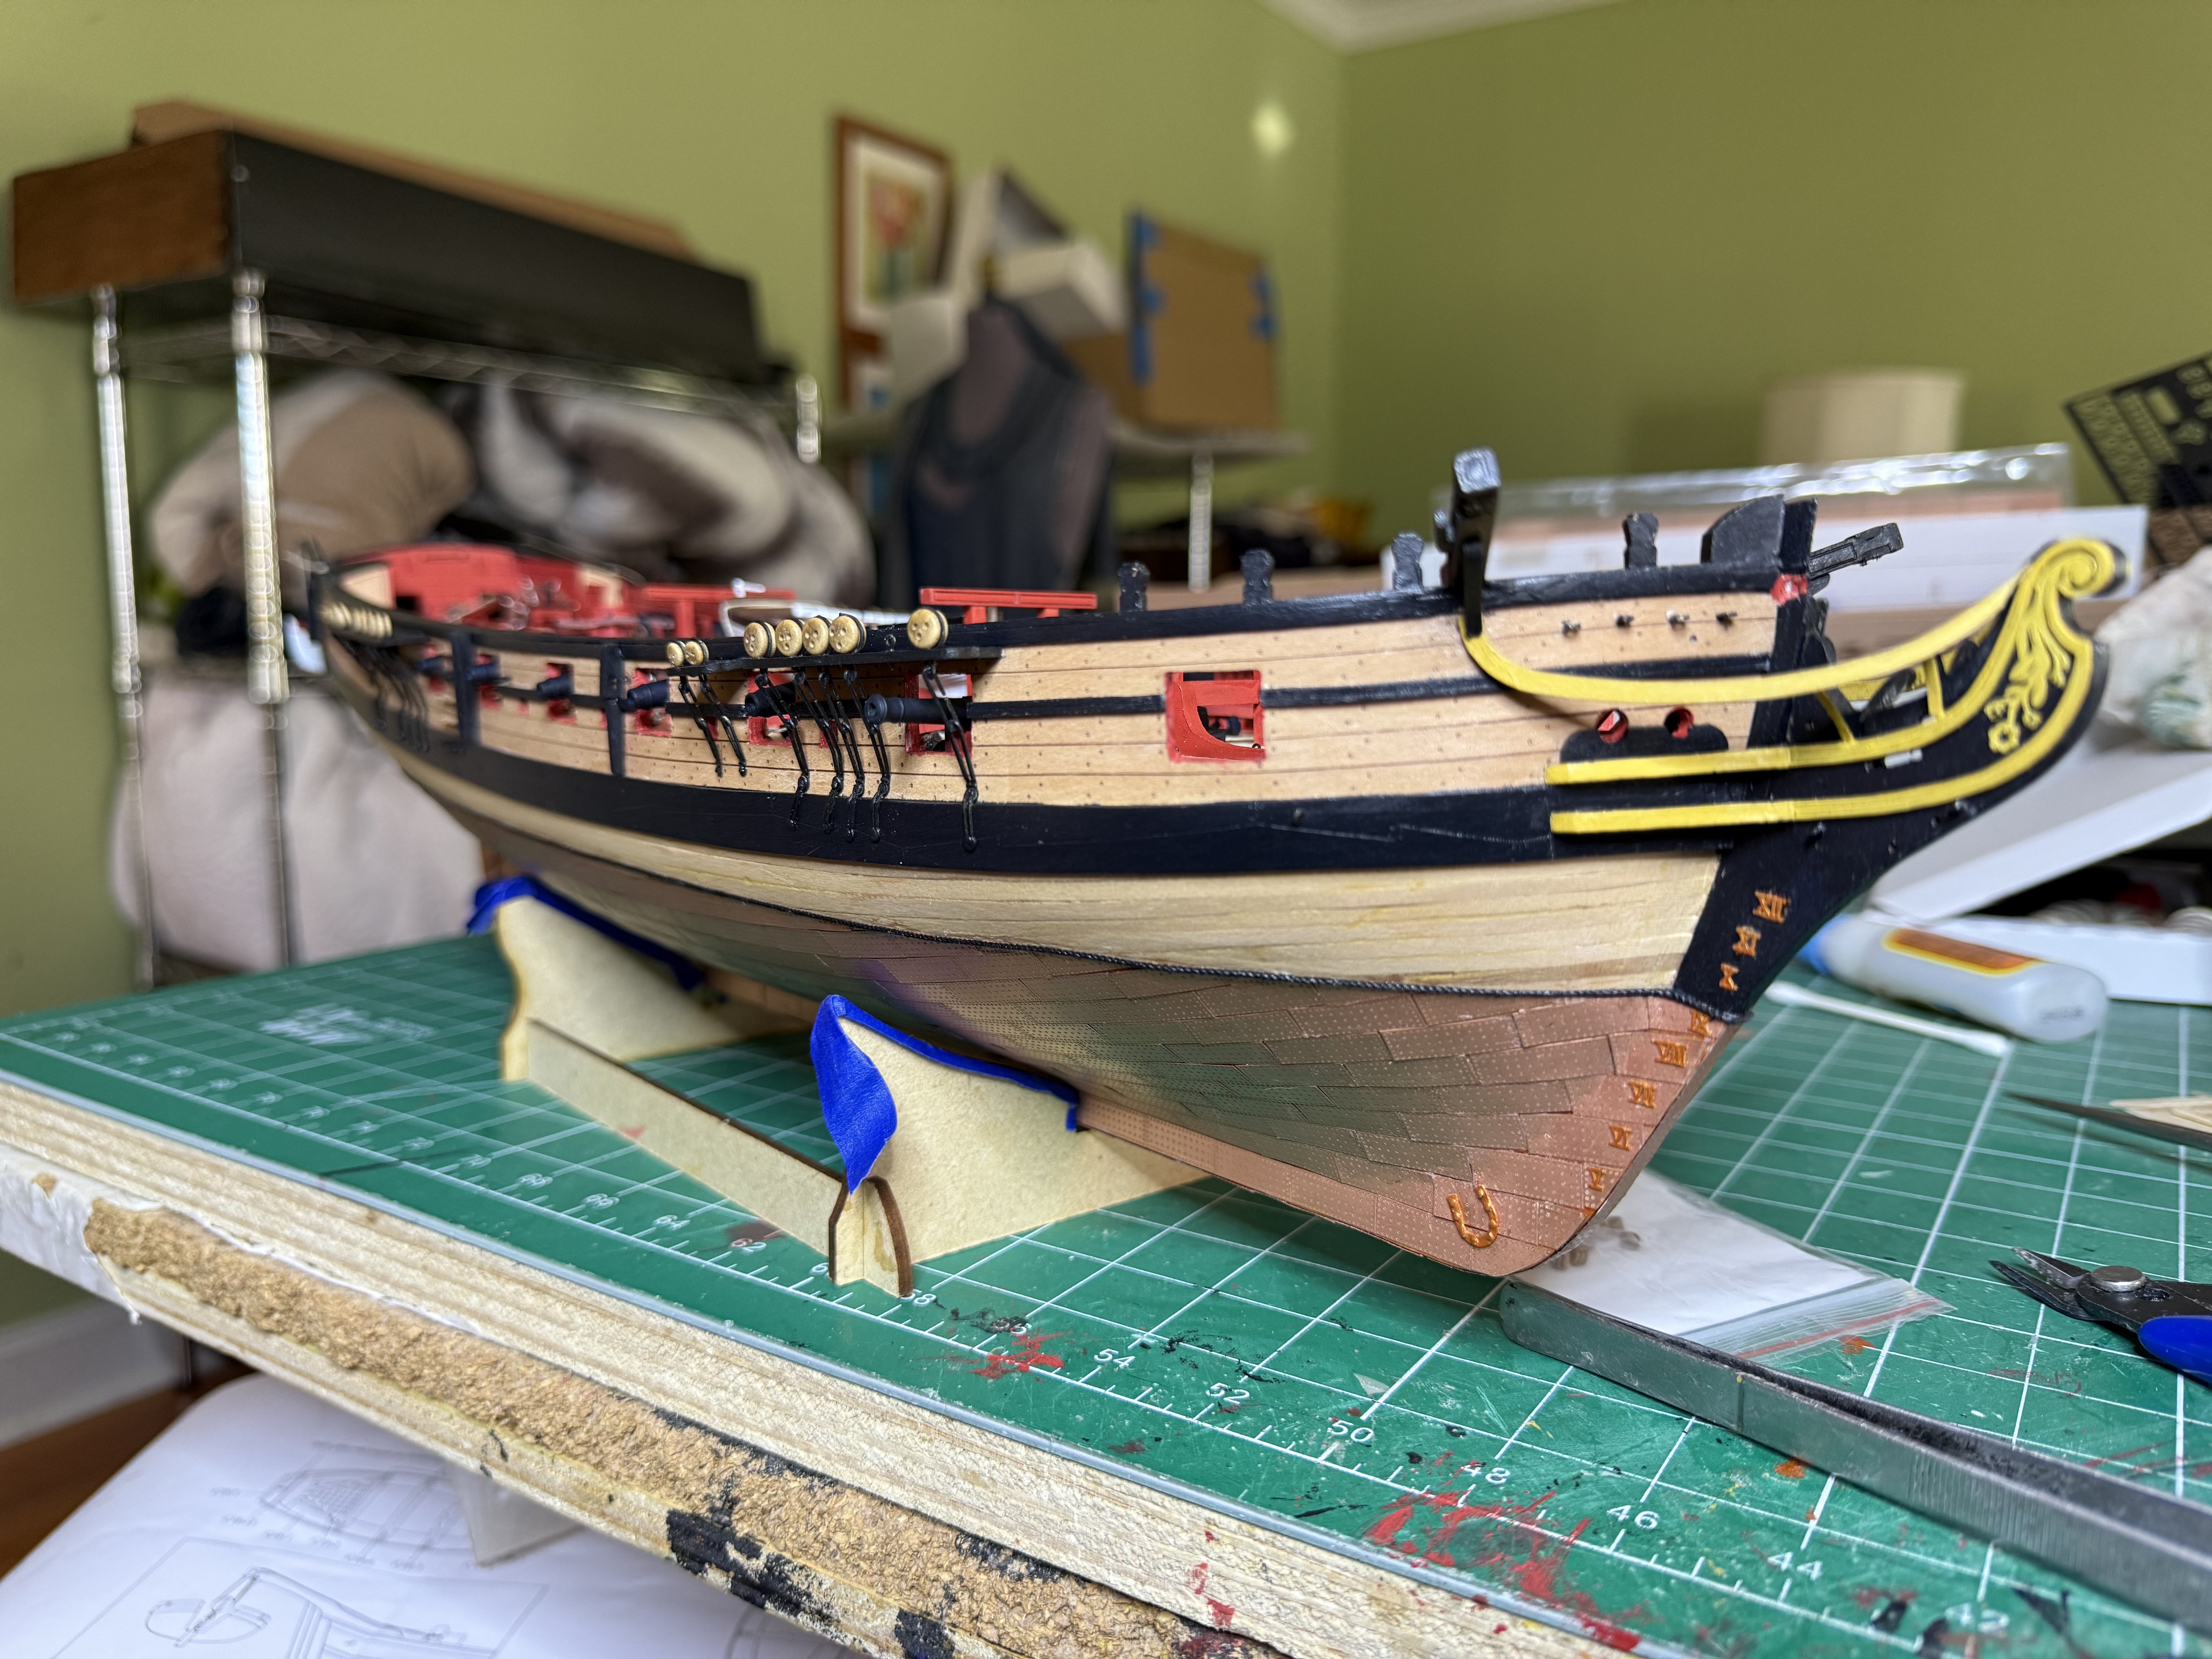
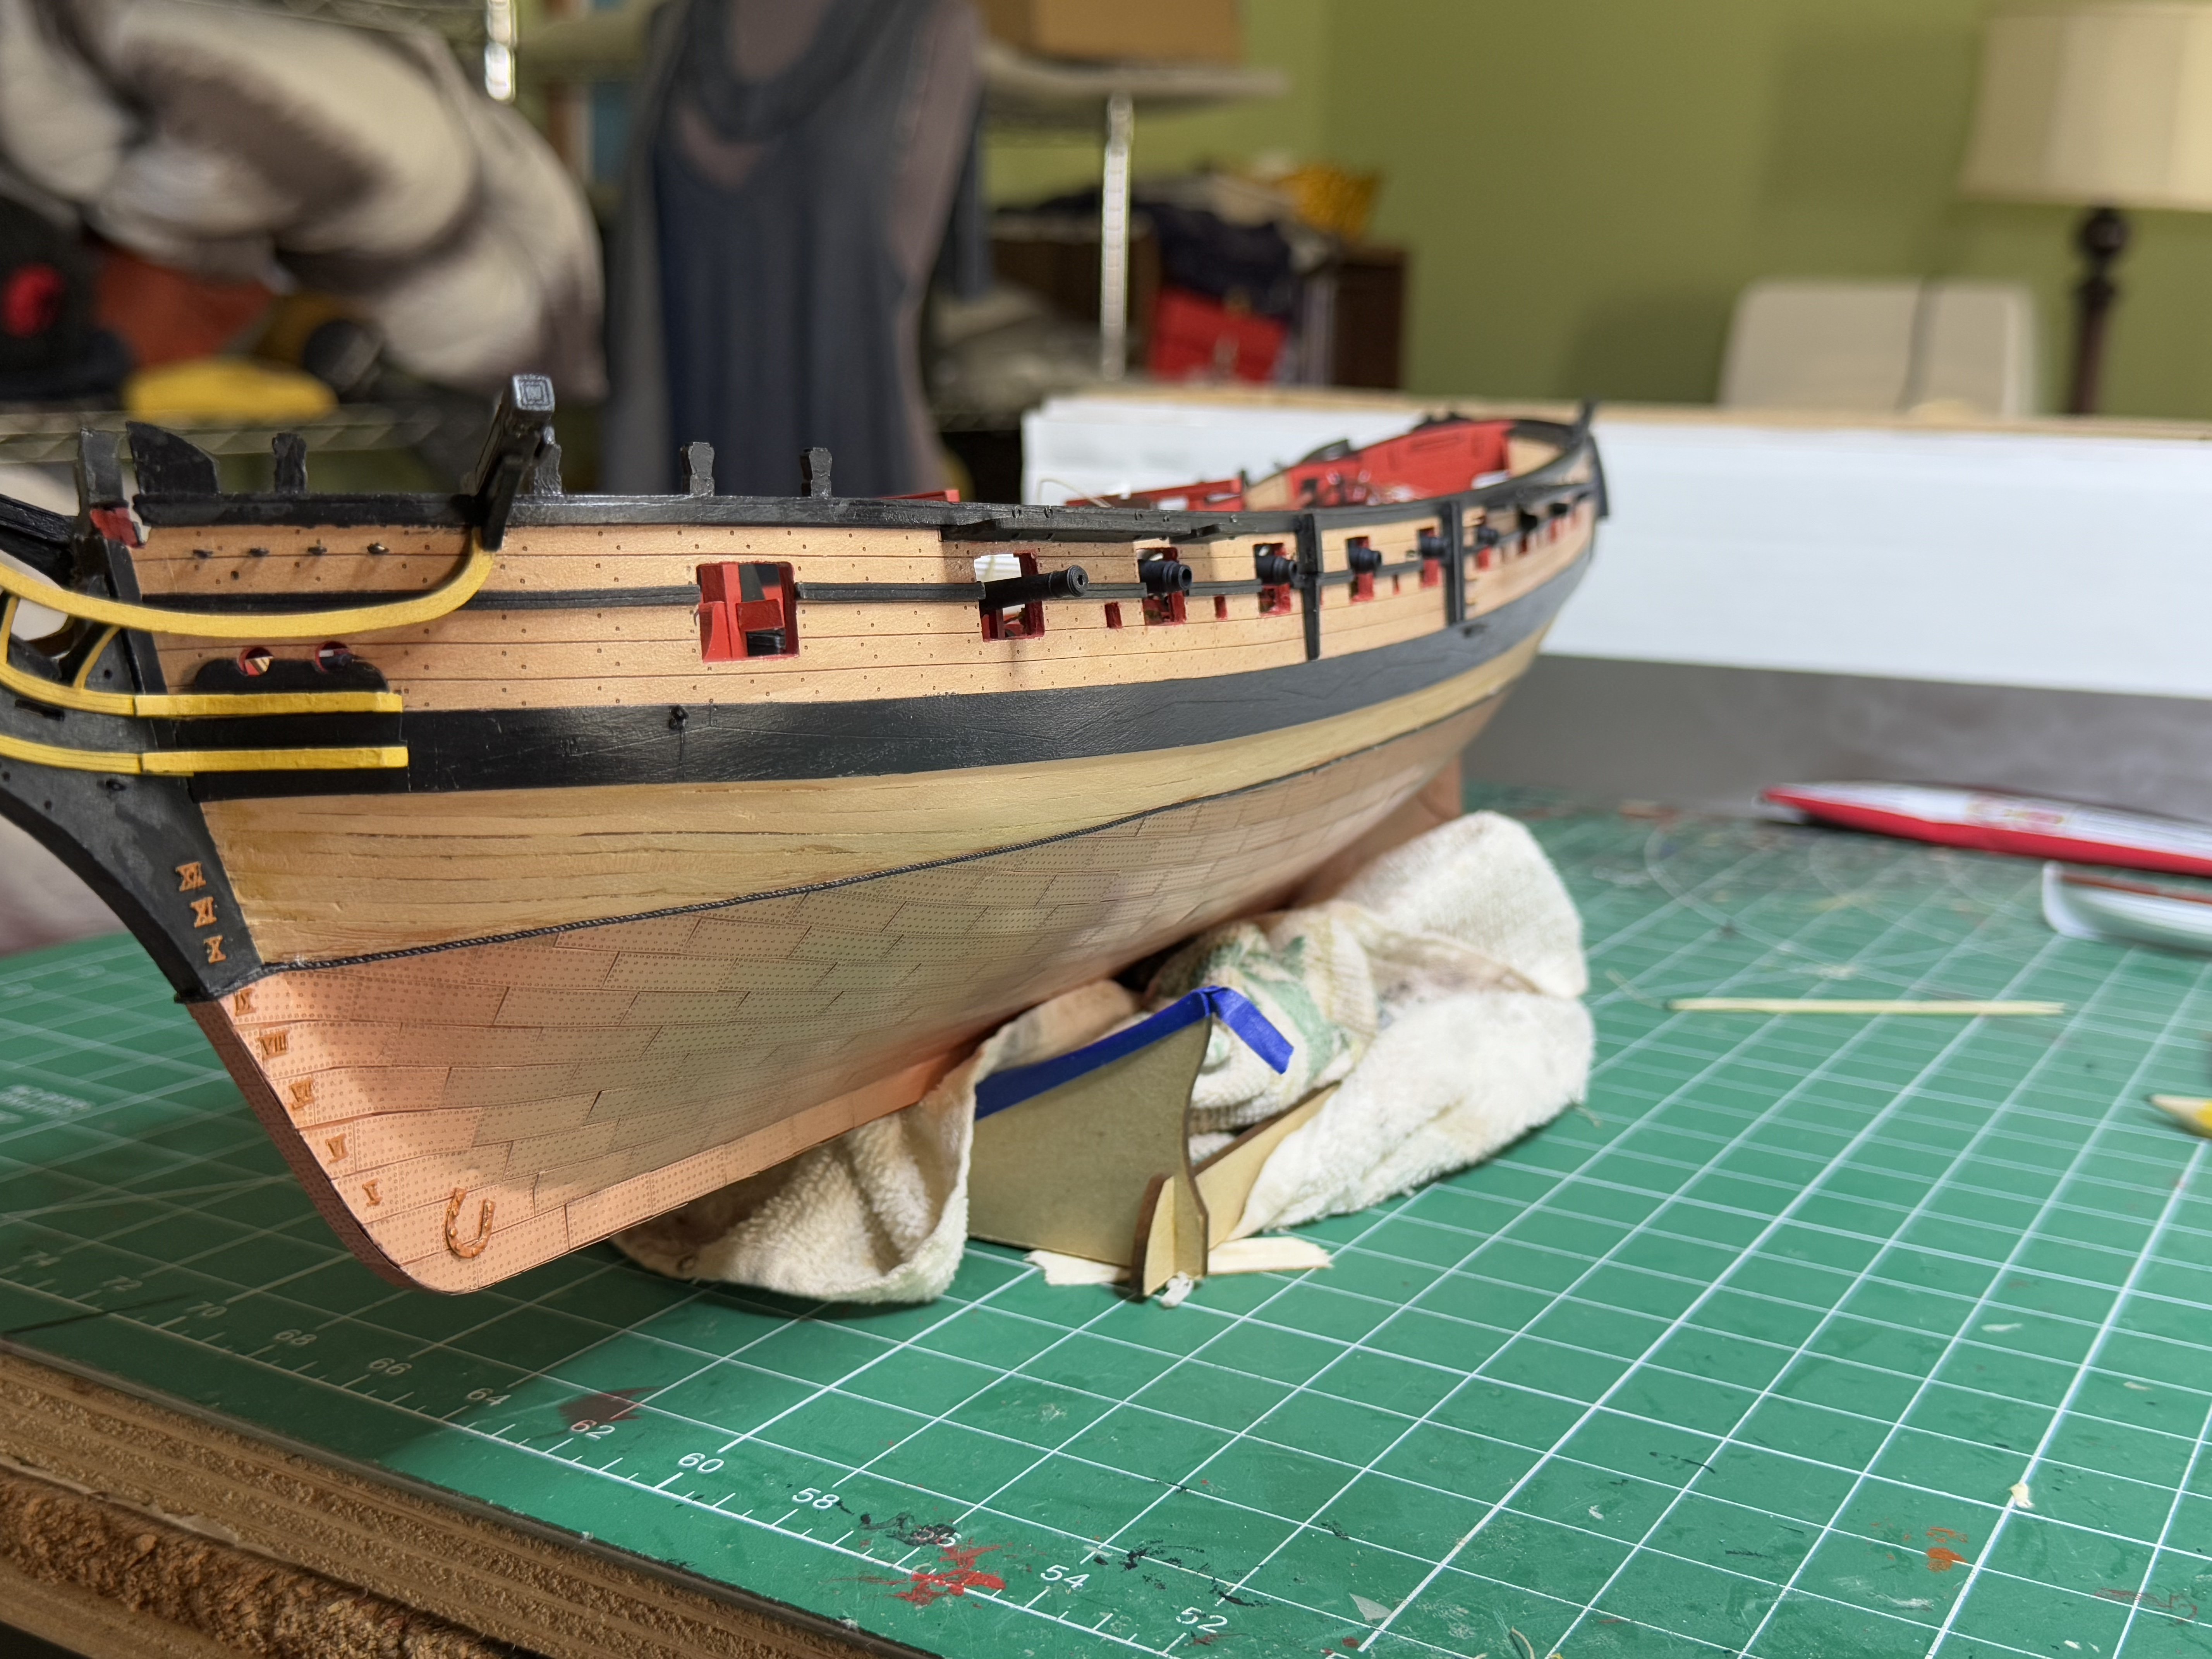
I painted the hull copper before plating. The plates stuck pretty well with the cyano after.
-
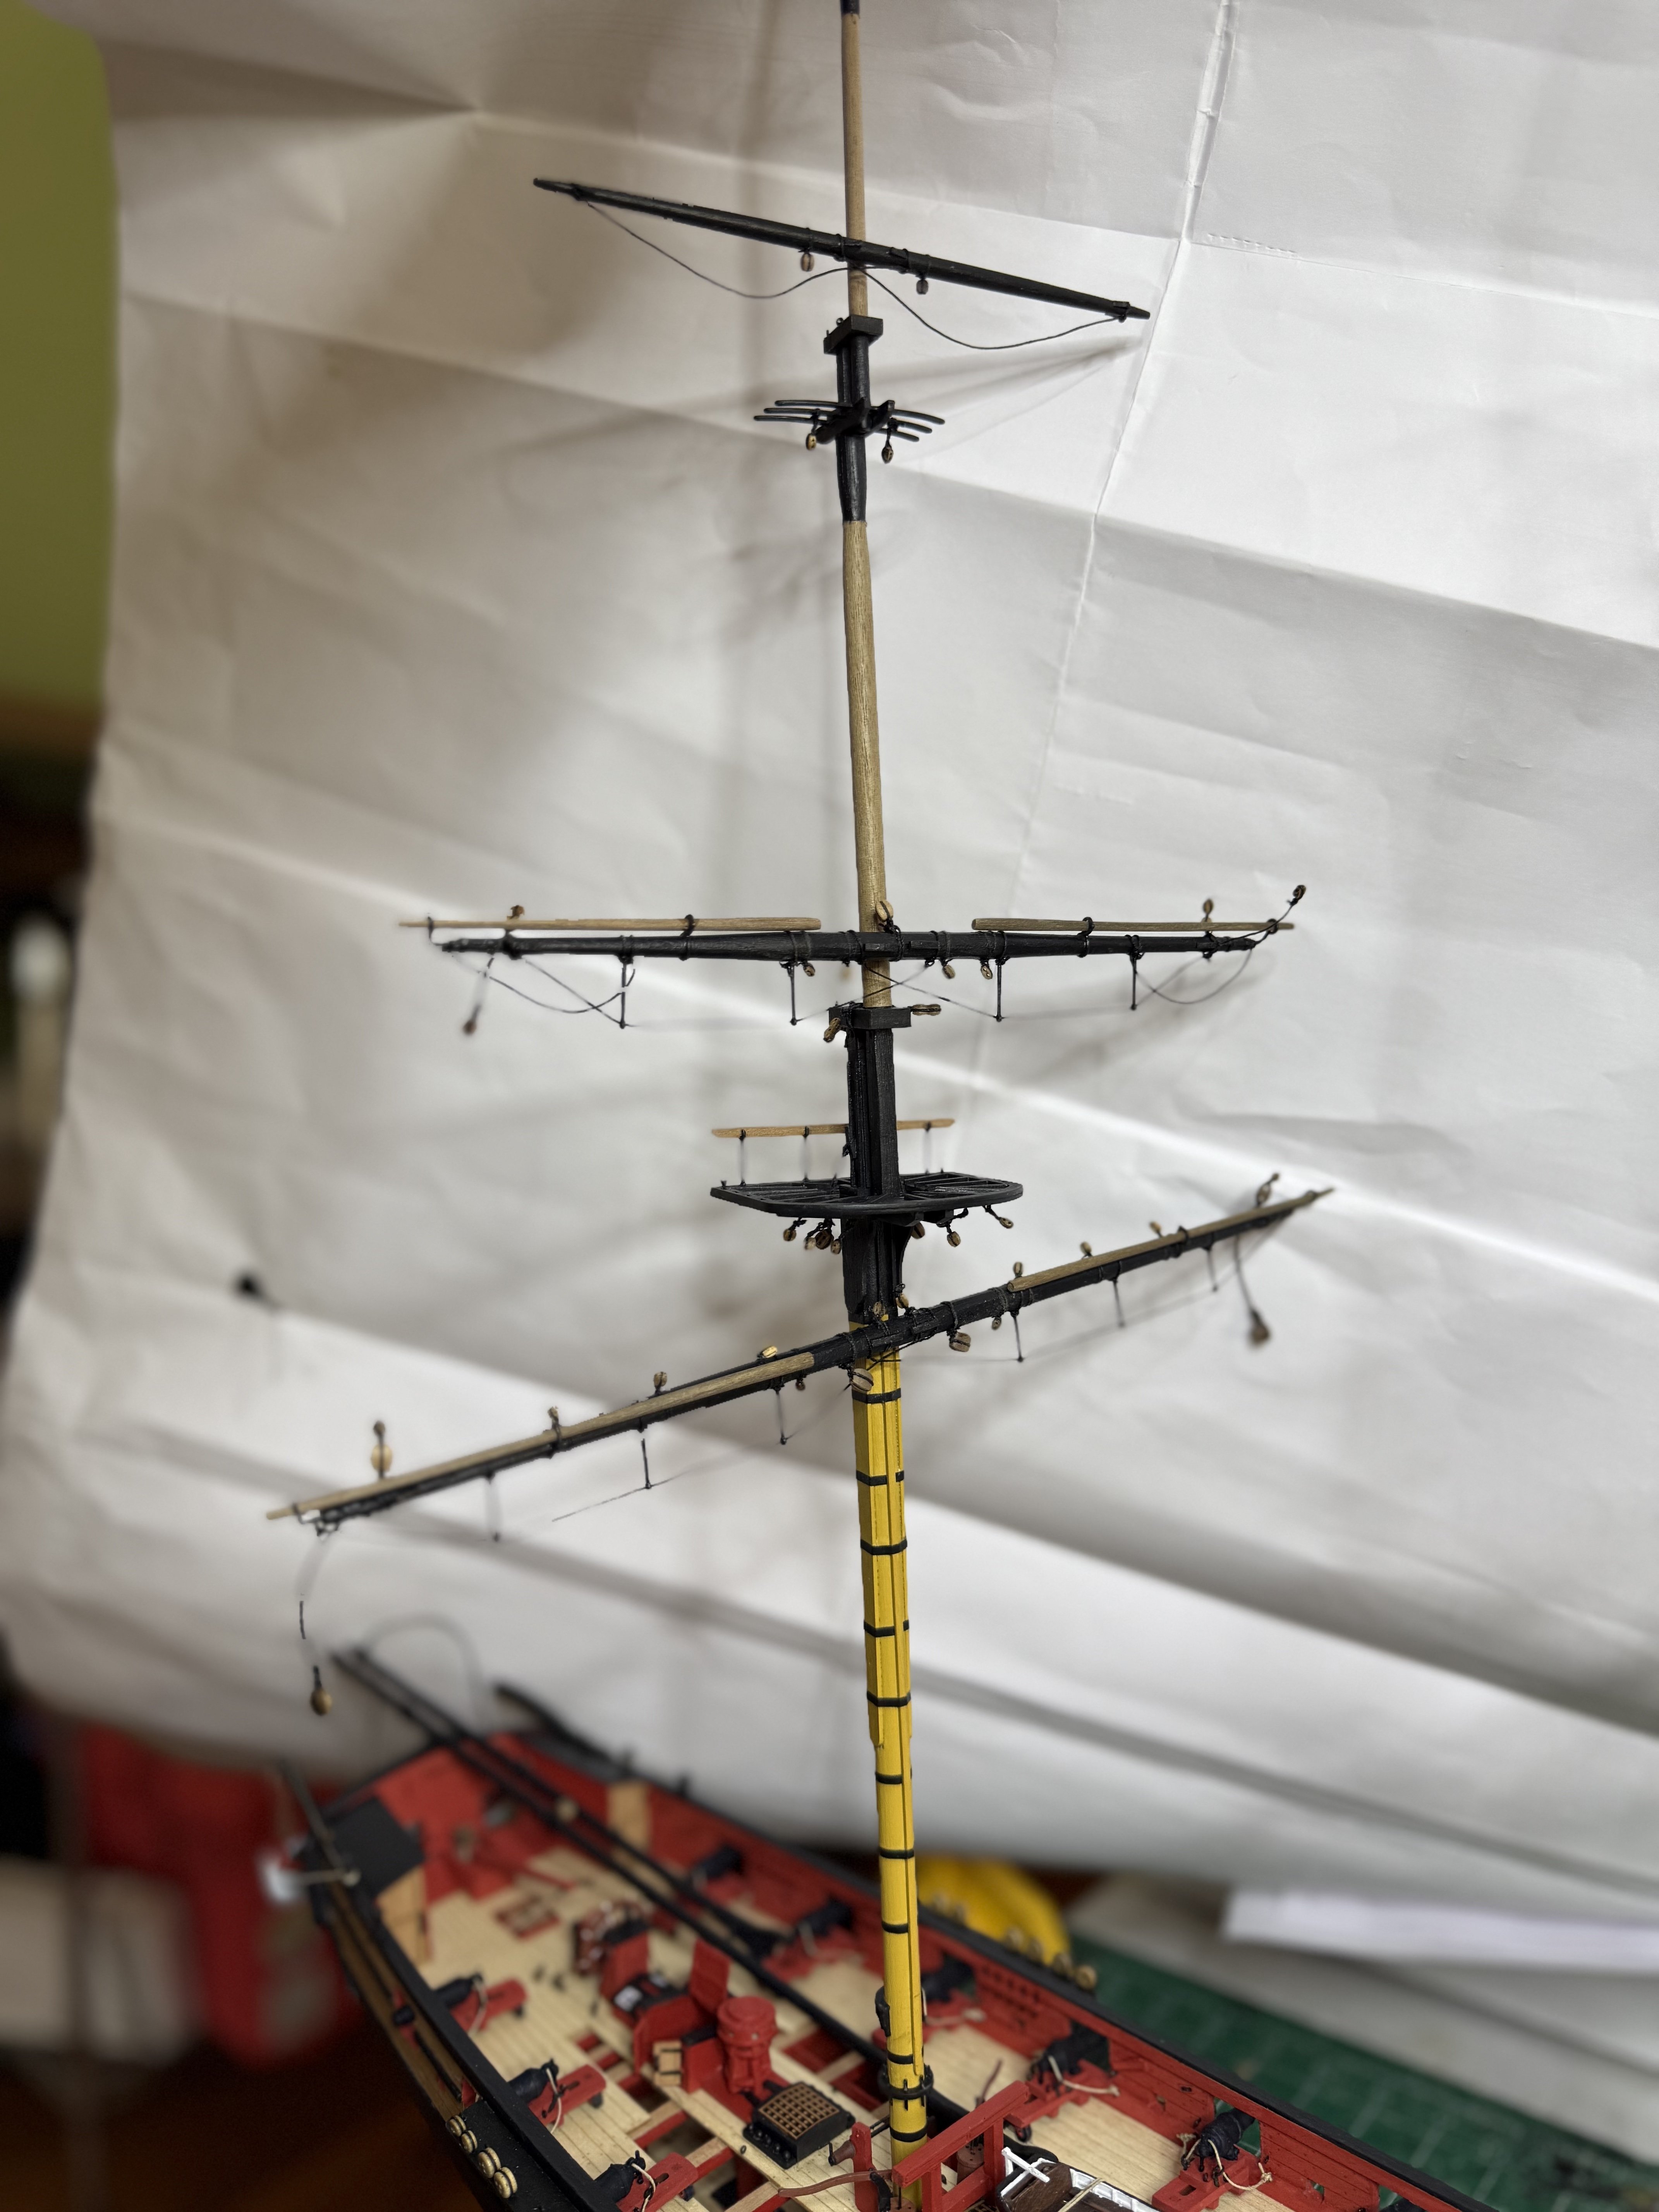
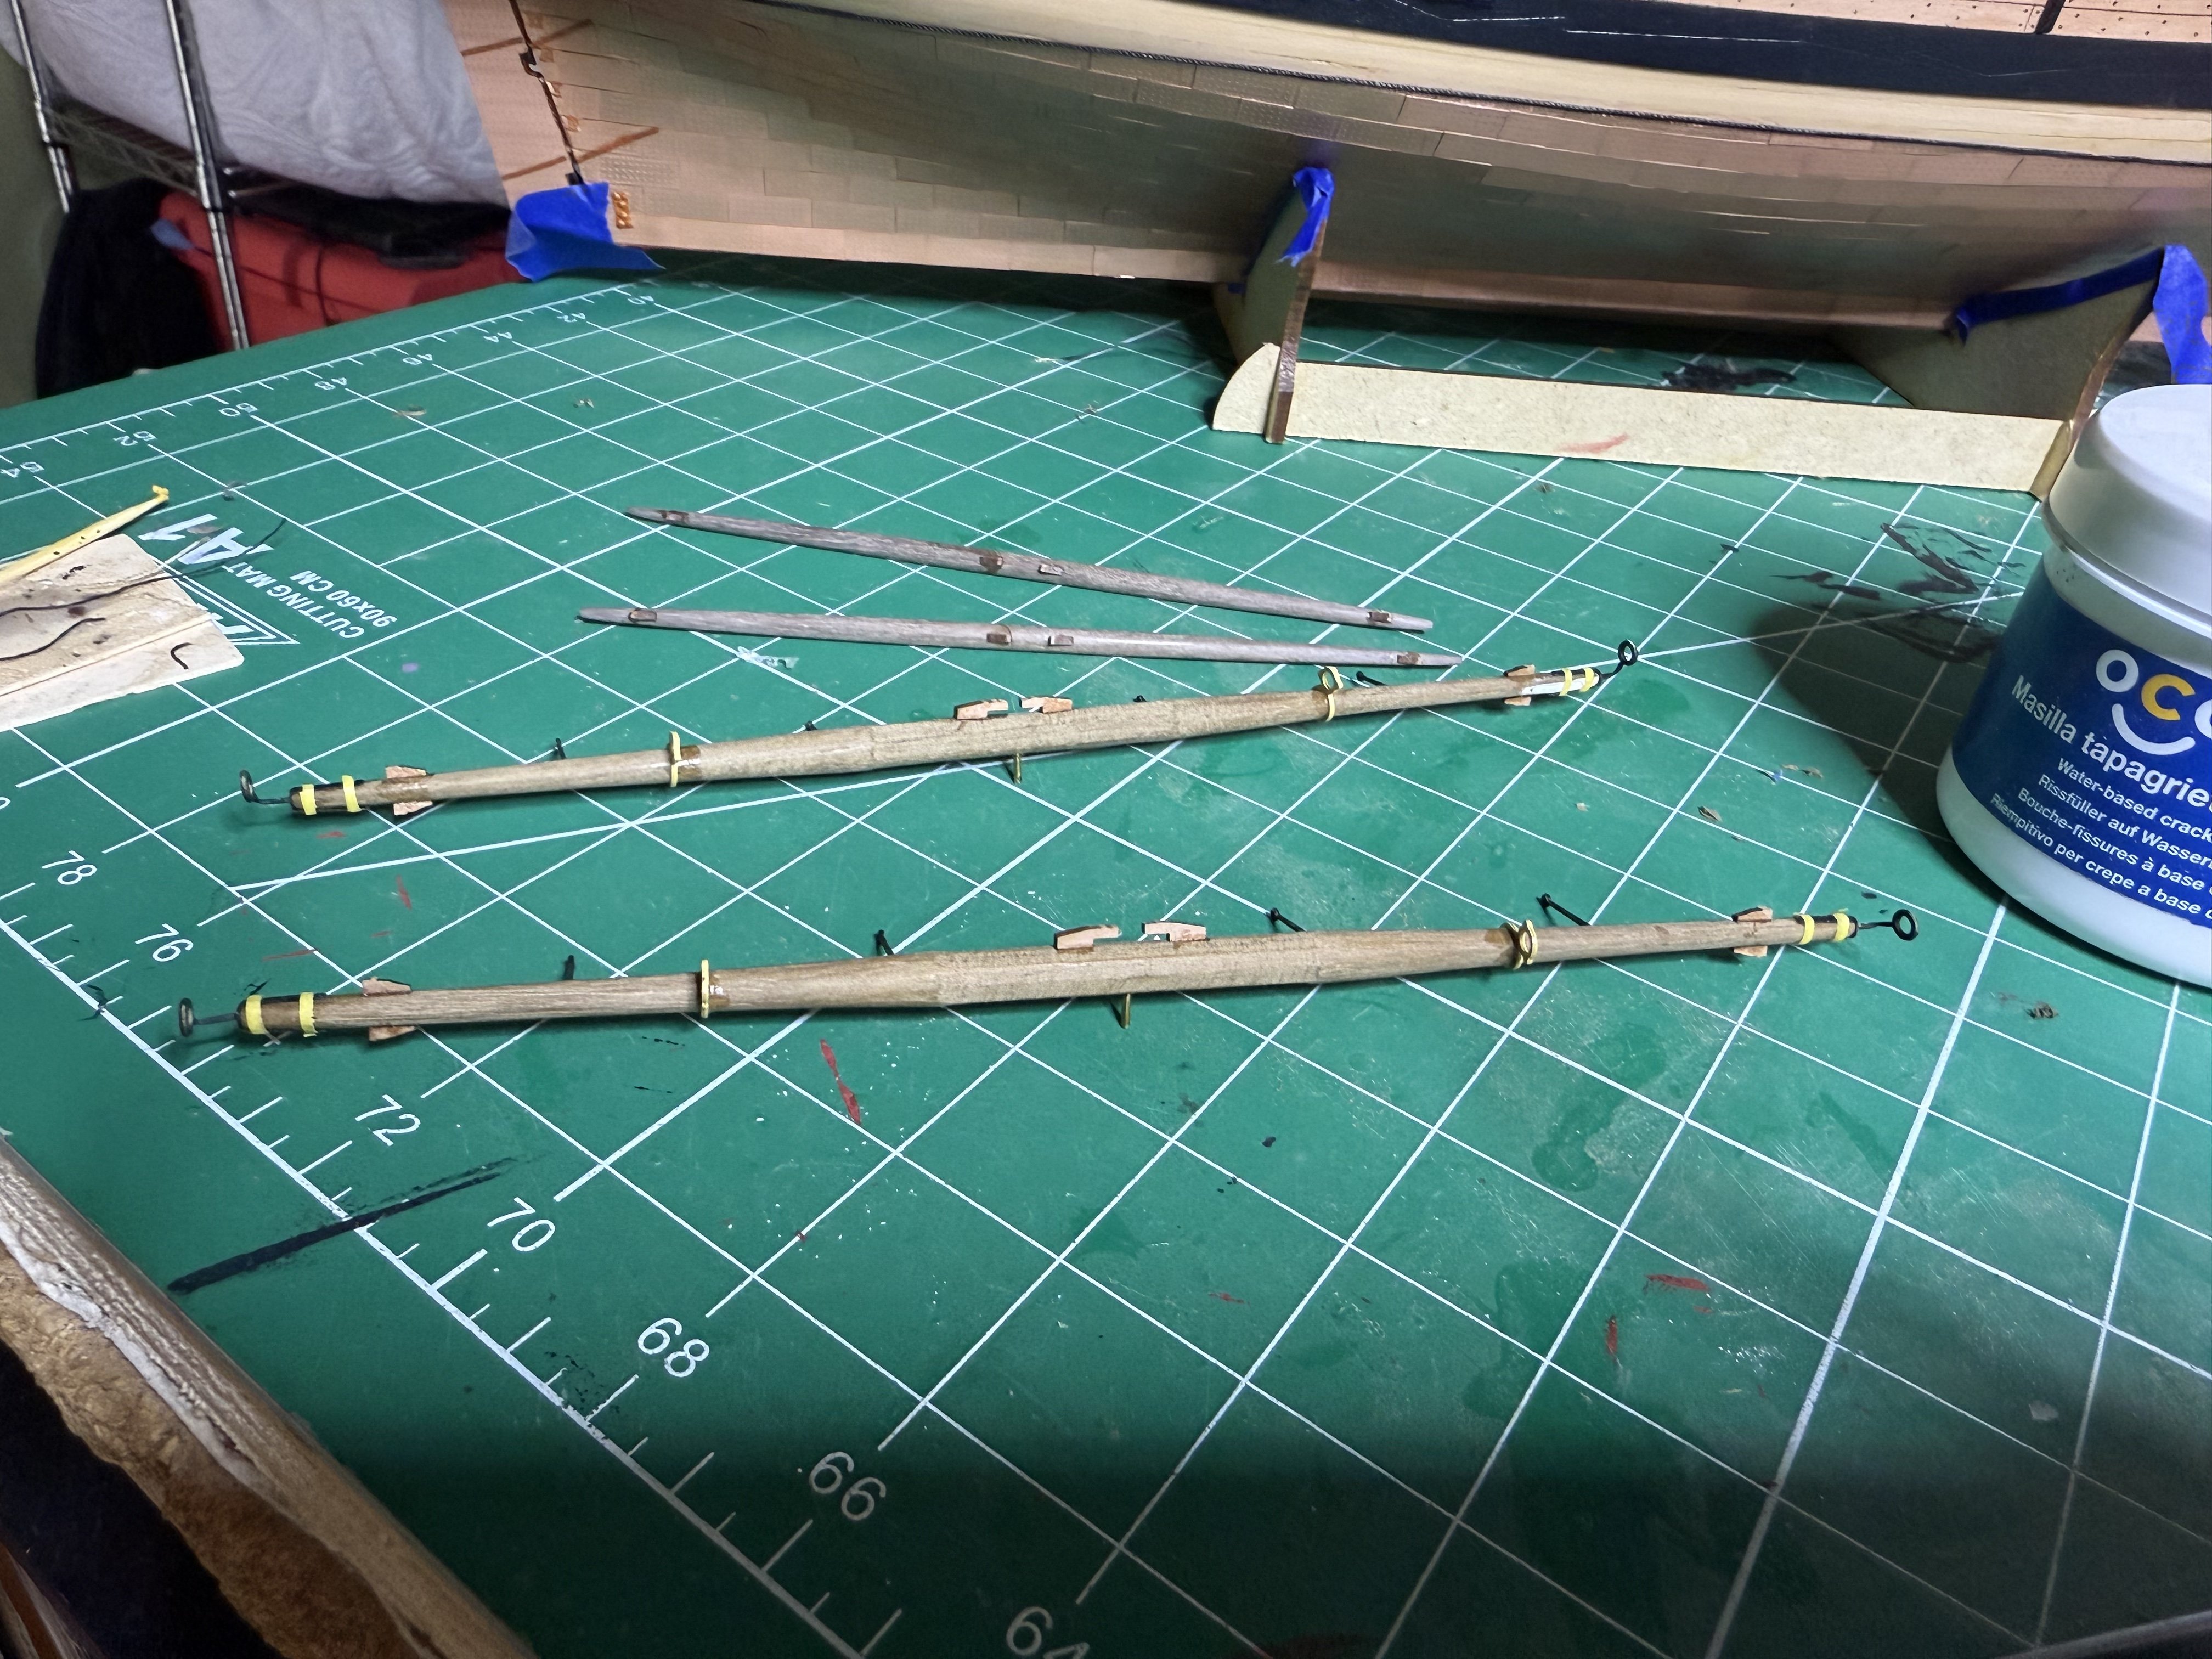
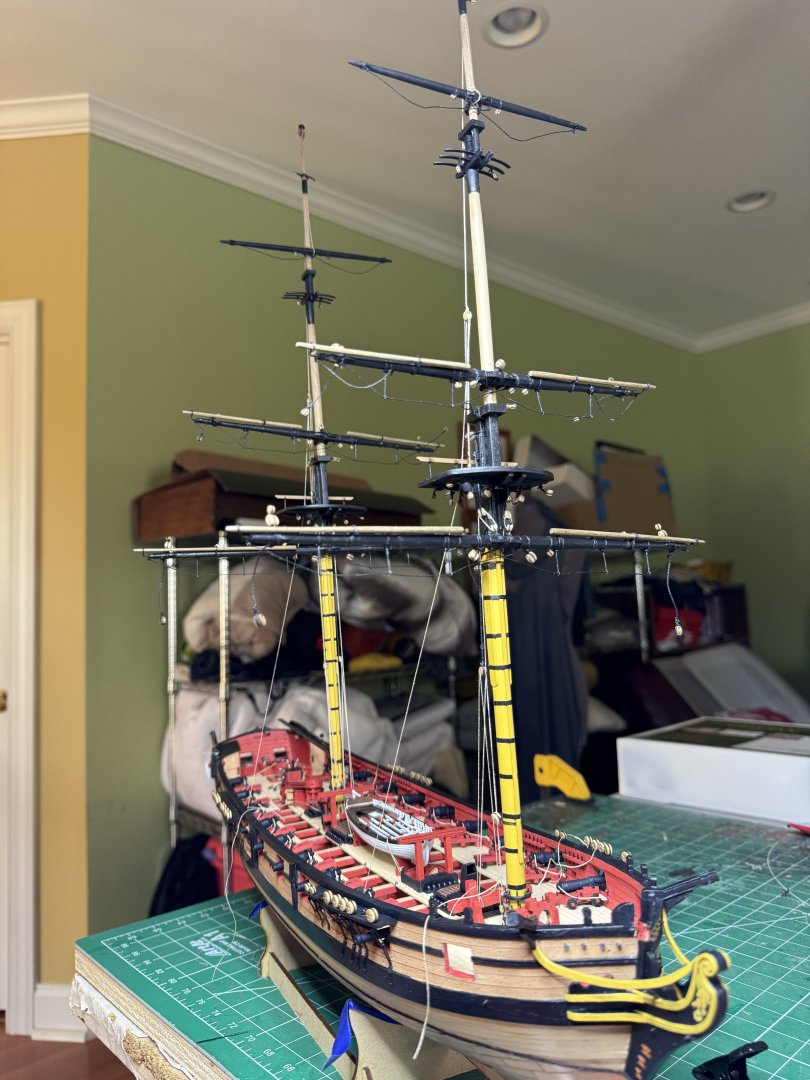
Finished attaching the various blocks to the yards. Here they re temporarily pinnegn to the masts. Next is rigging the spritsail then i will mount the yards to the masts properly before starting on the shrouds.


- 73 replies
-
- 8
-
-
- Harpy
- Vanguard Models
- (and 1 more)
-
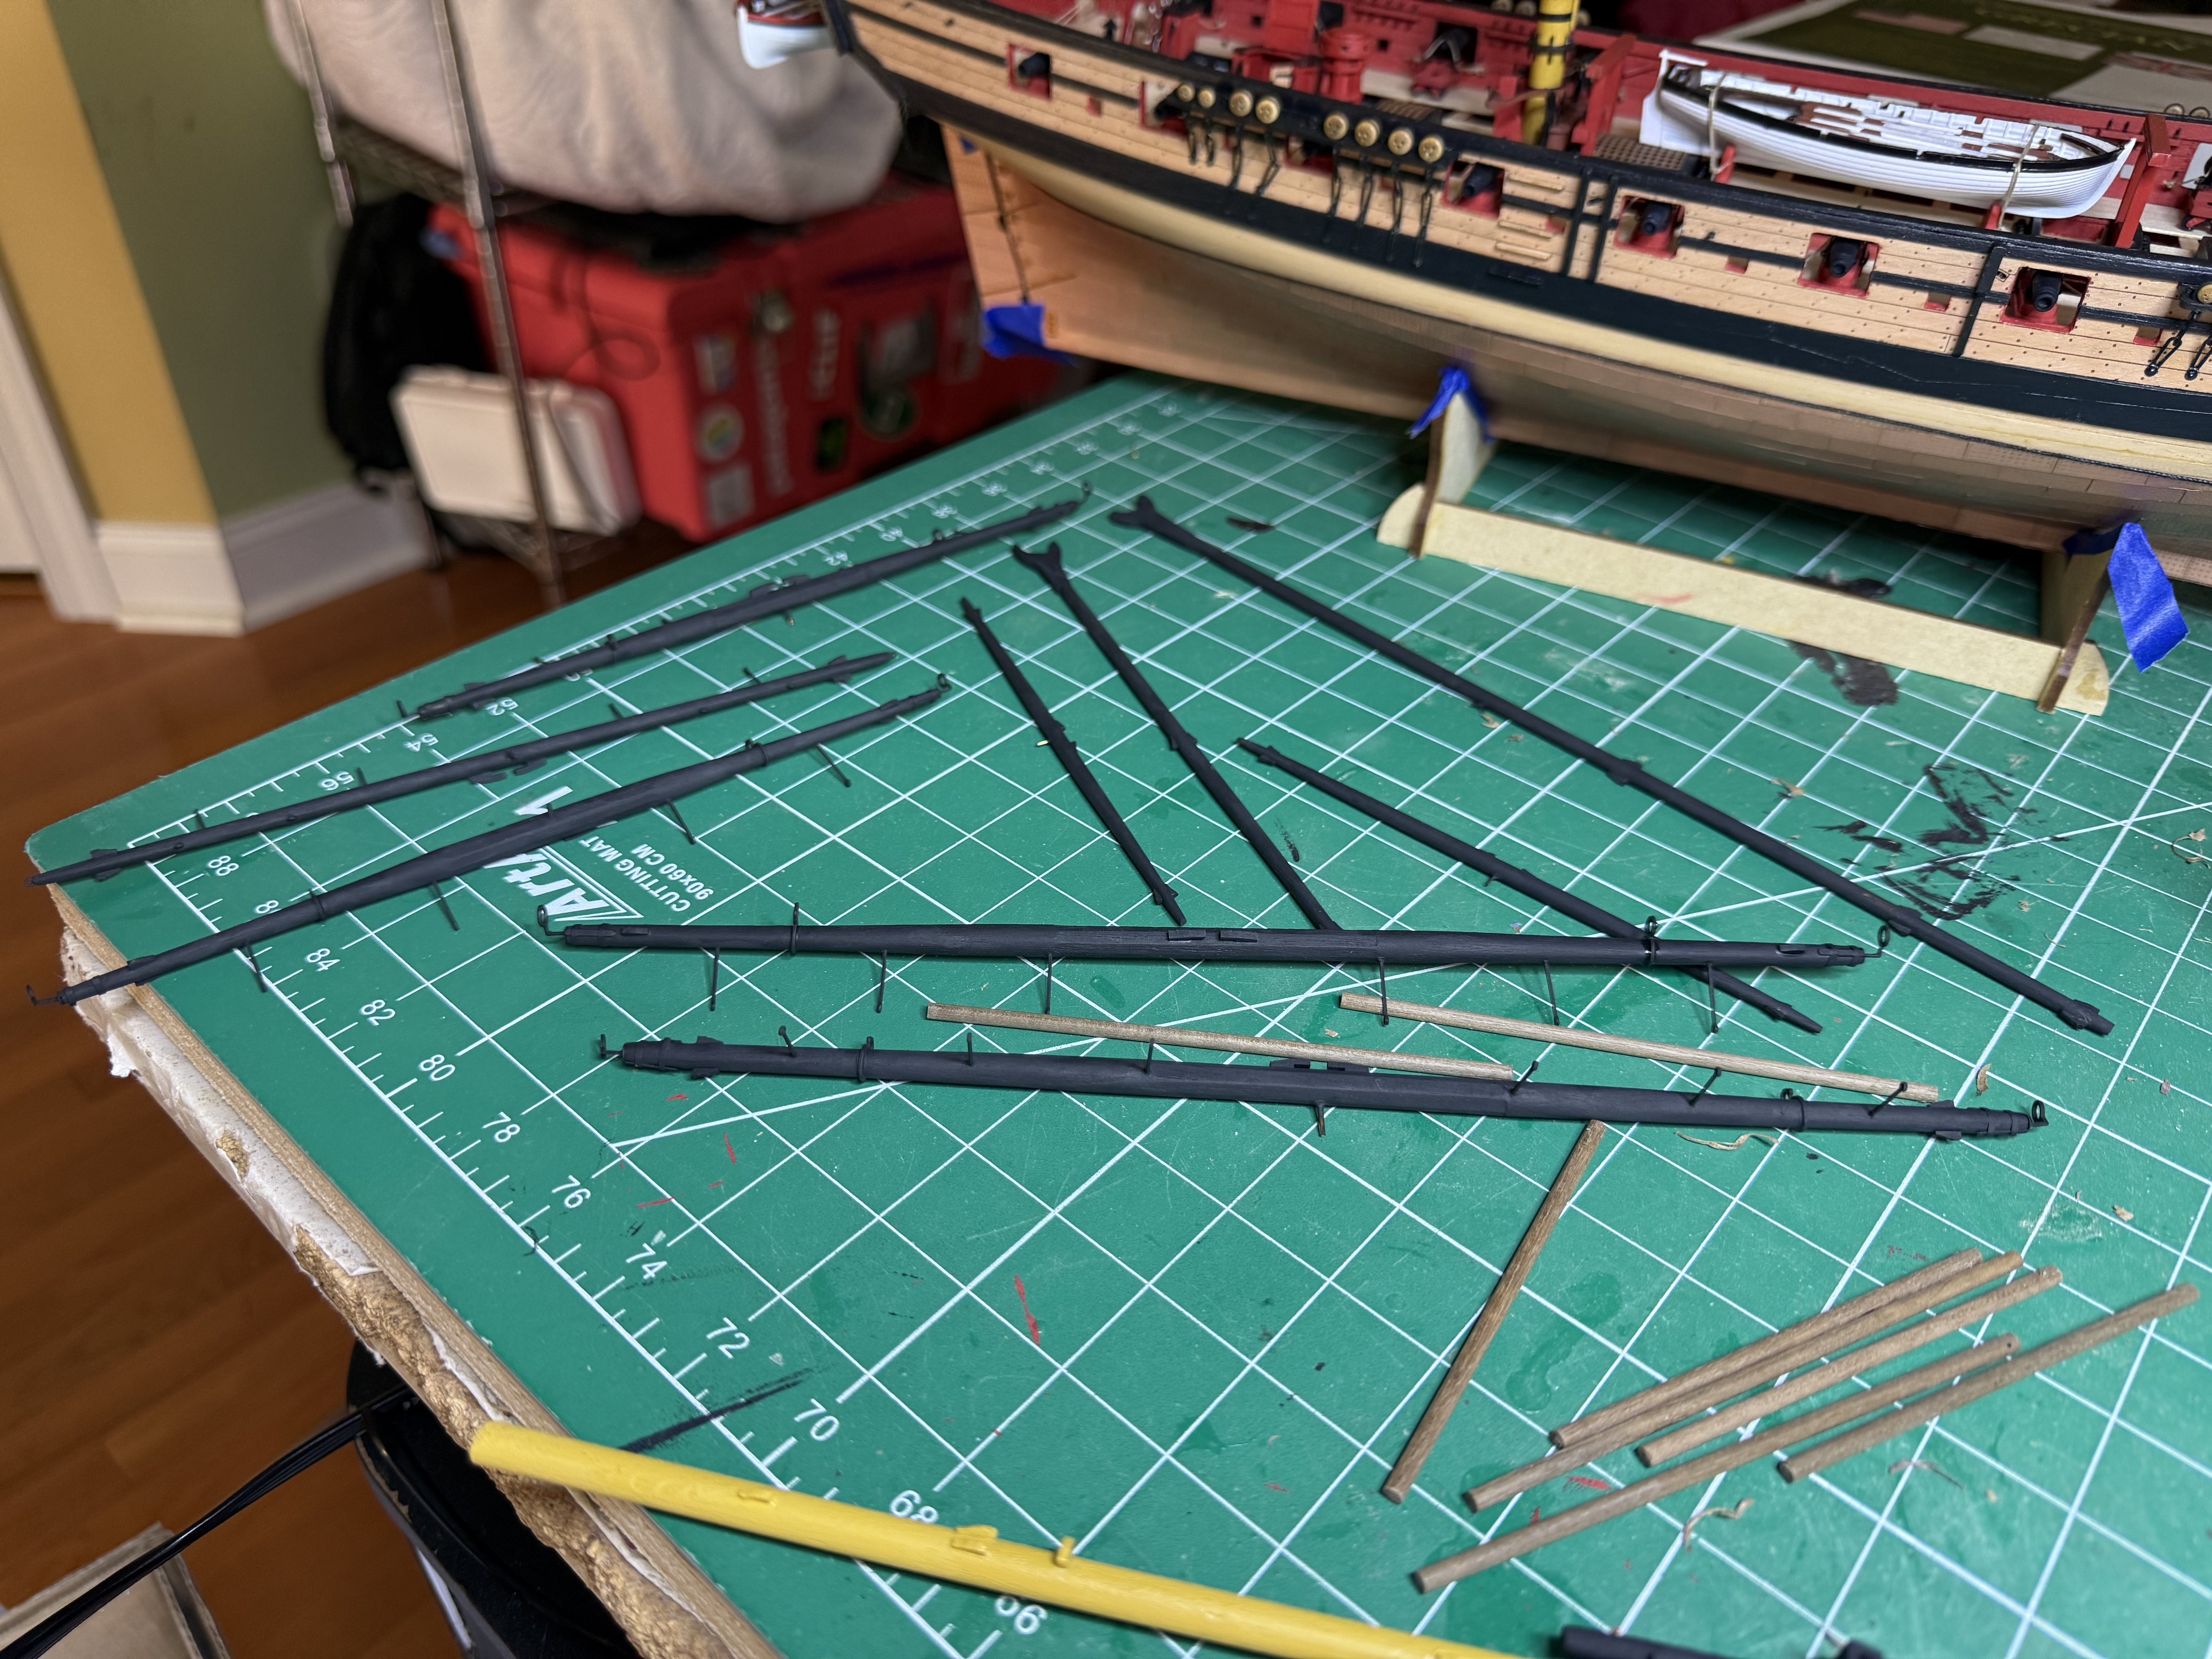
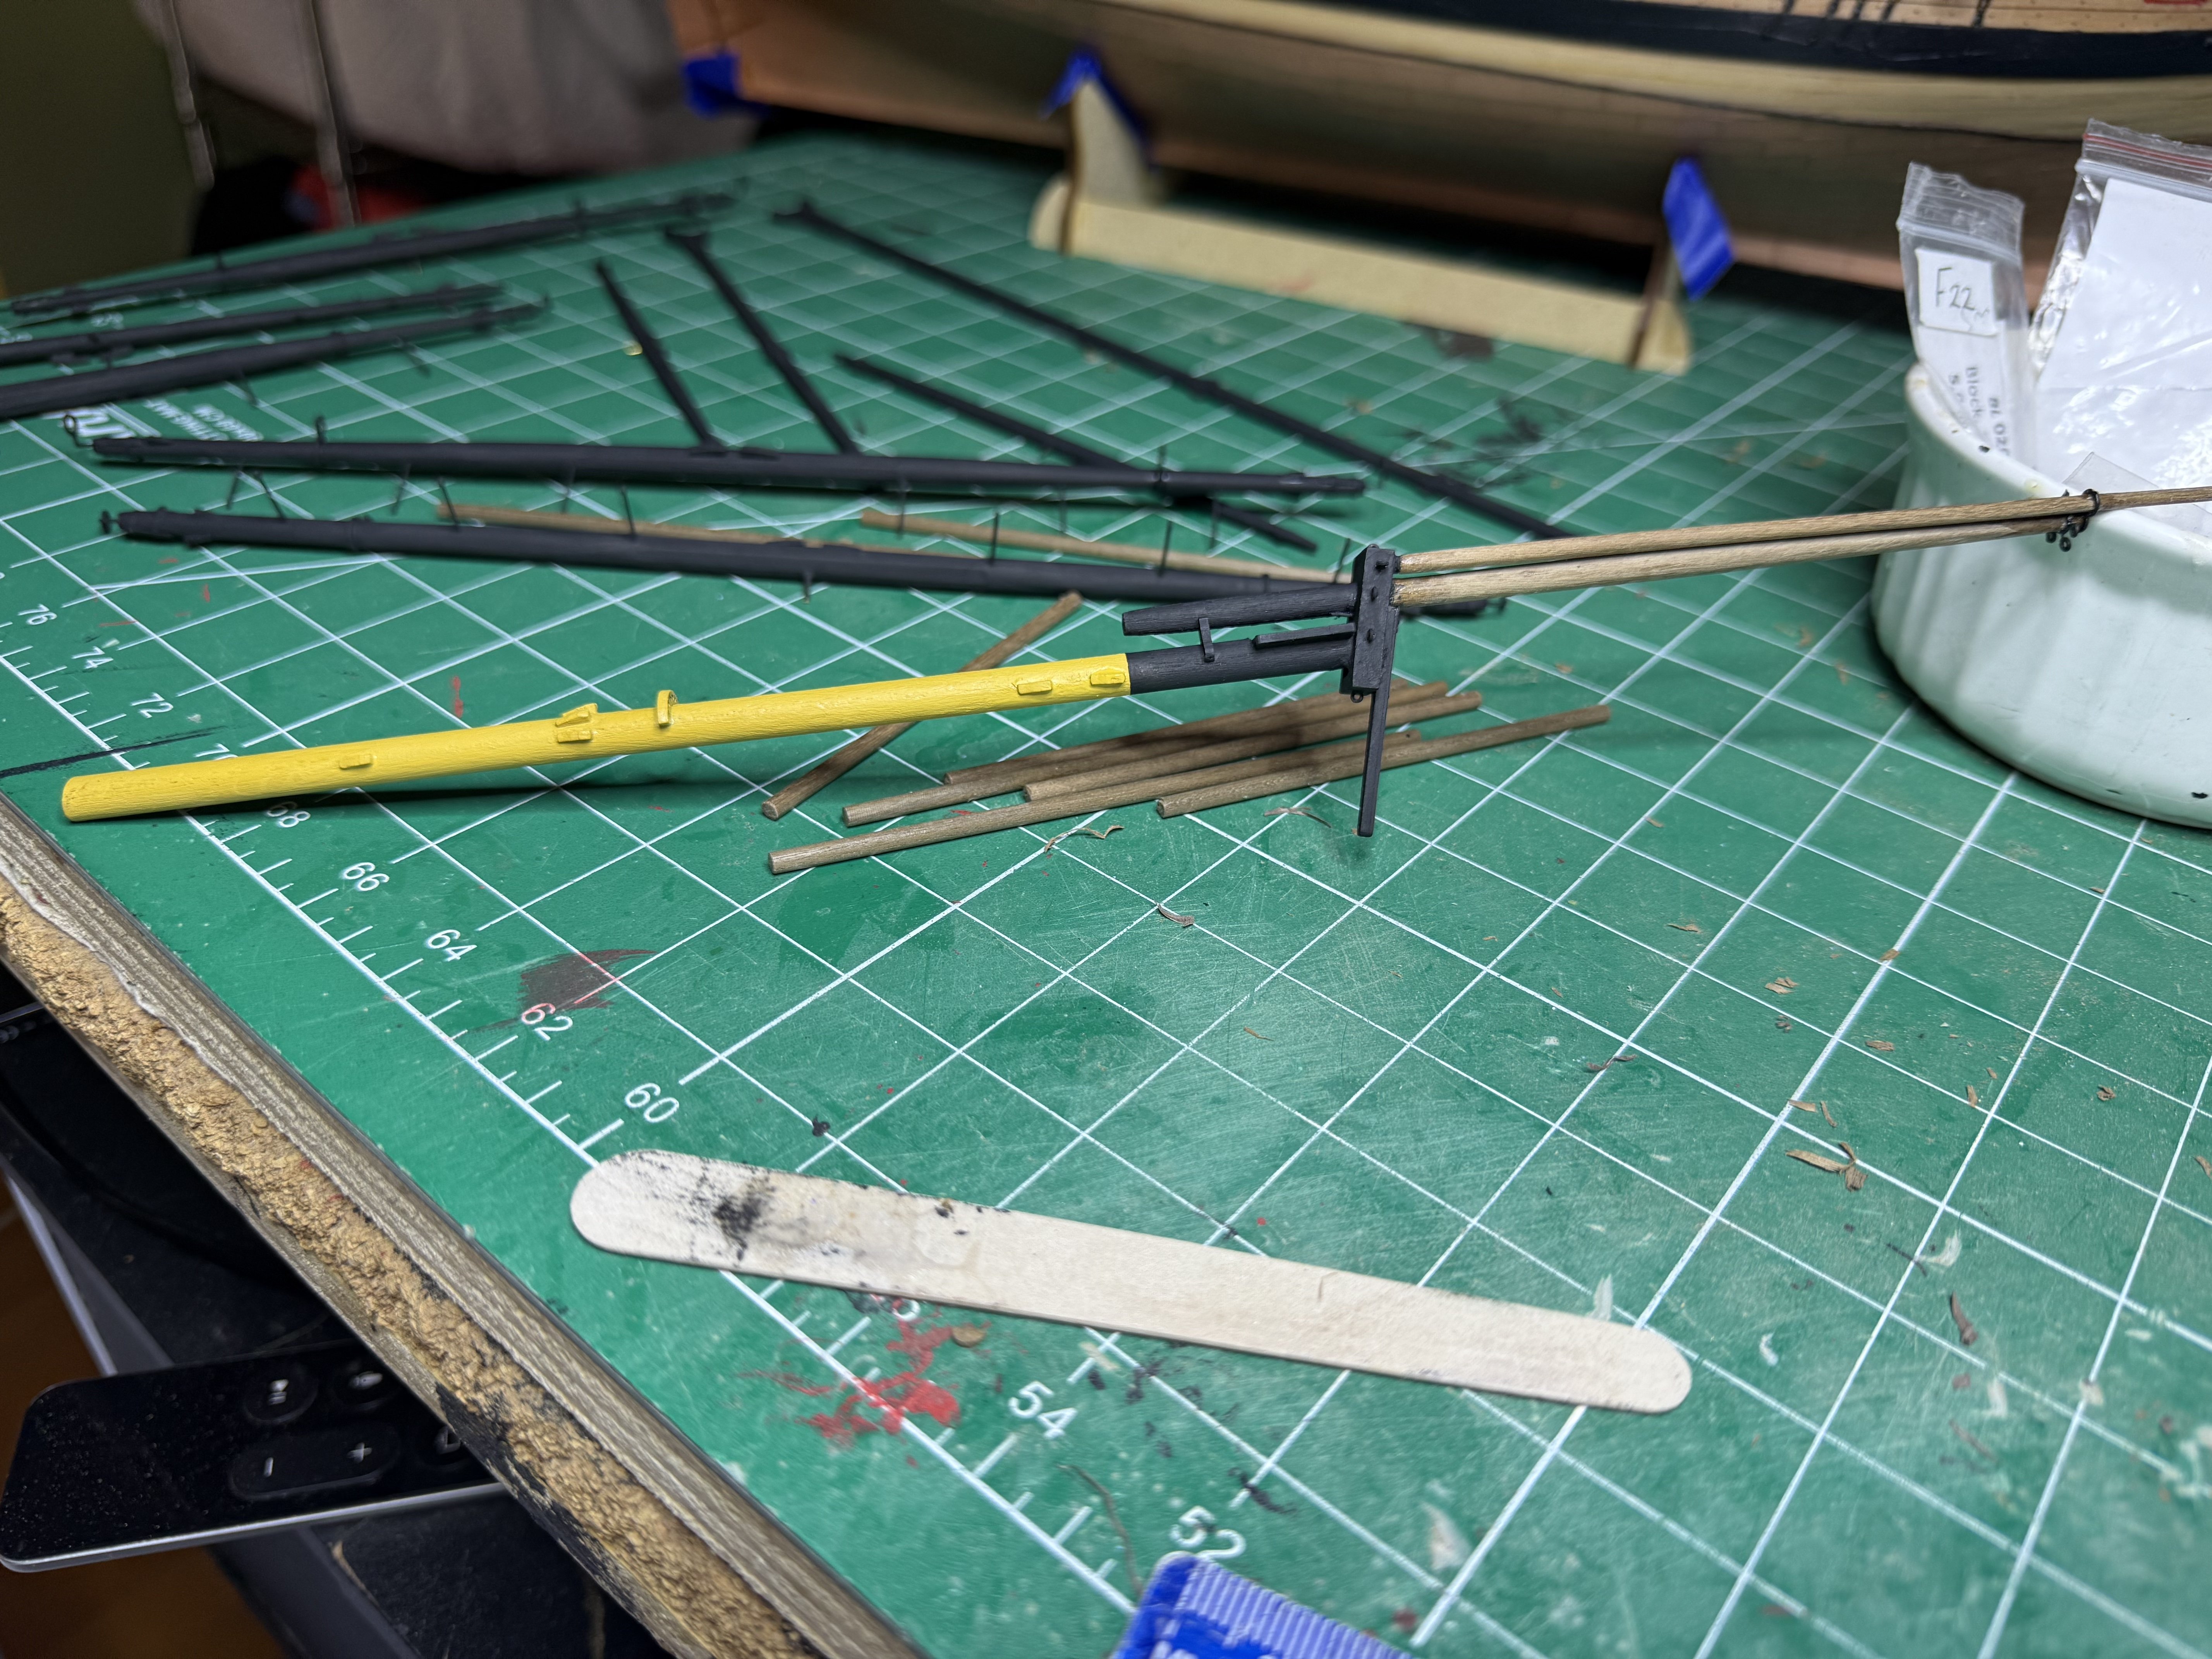
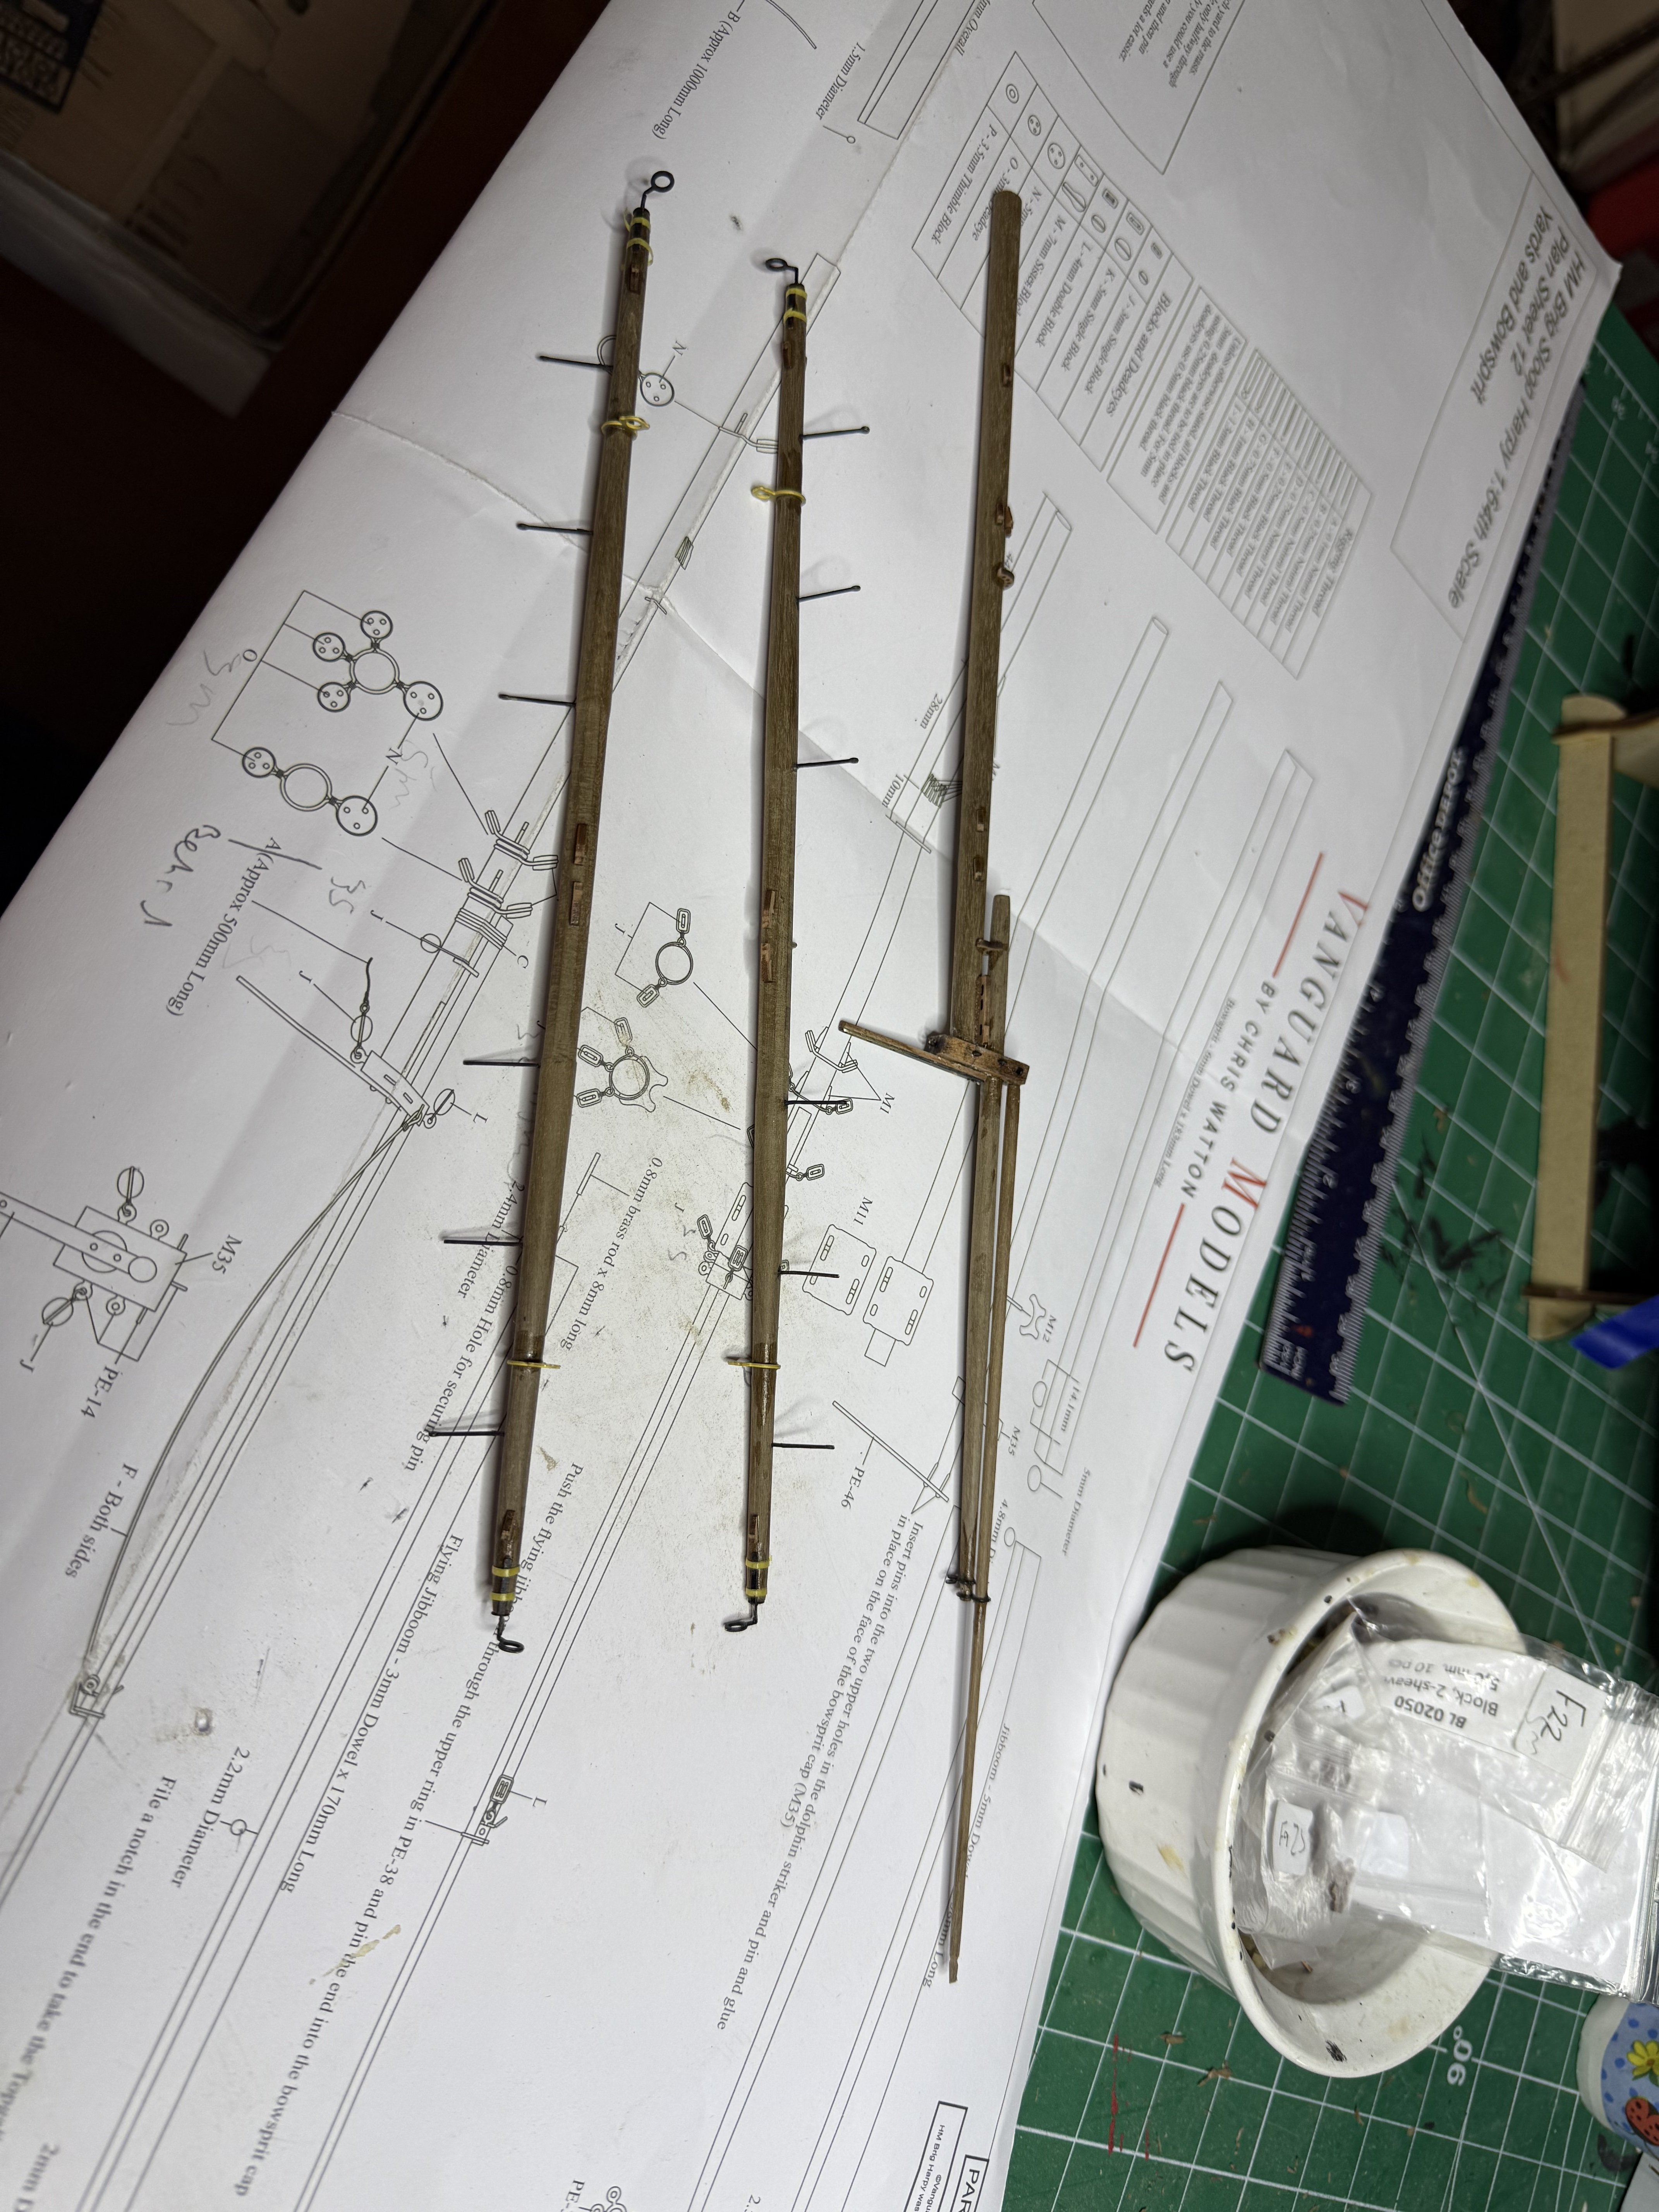
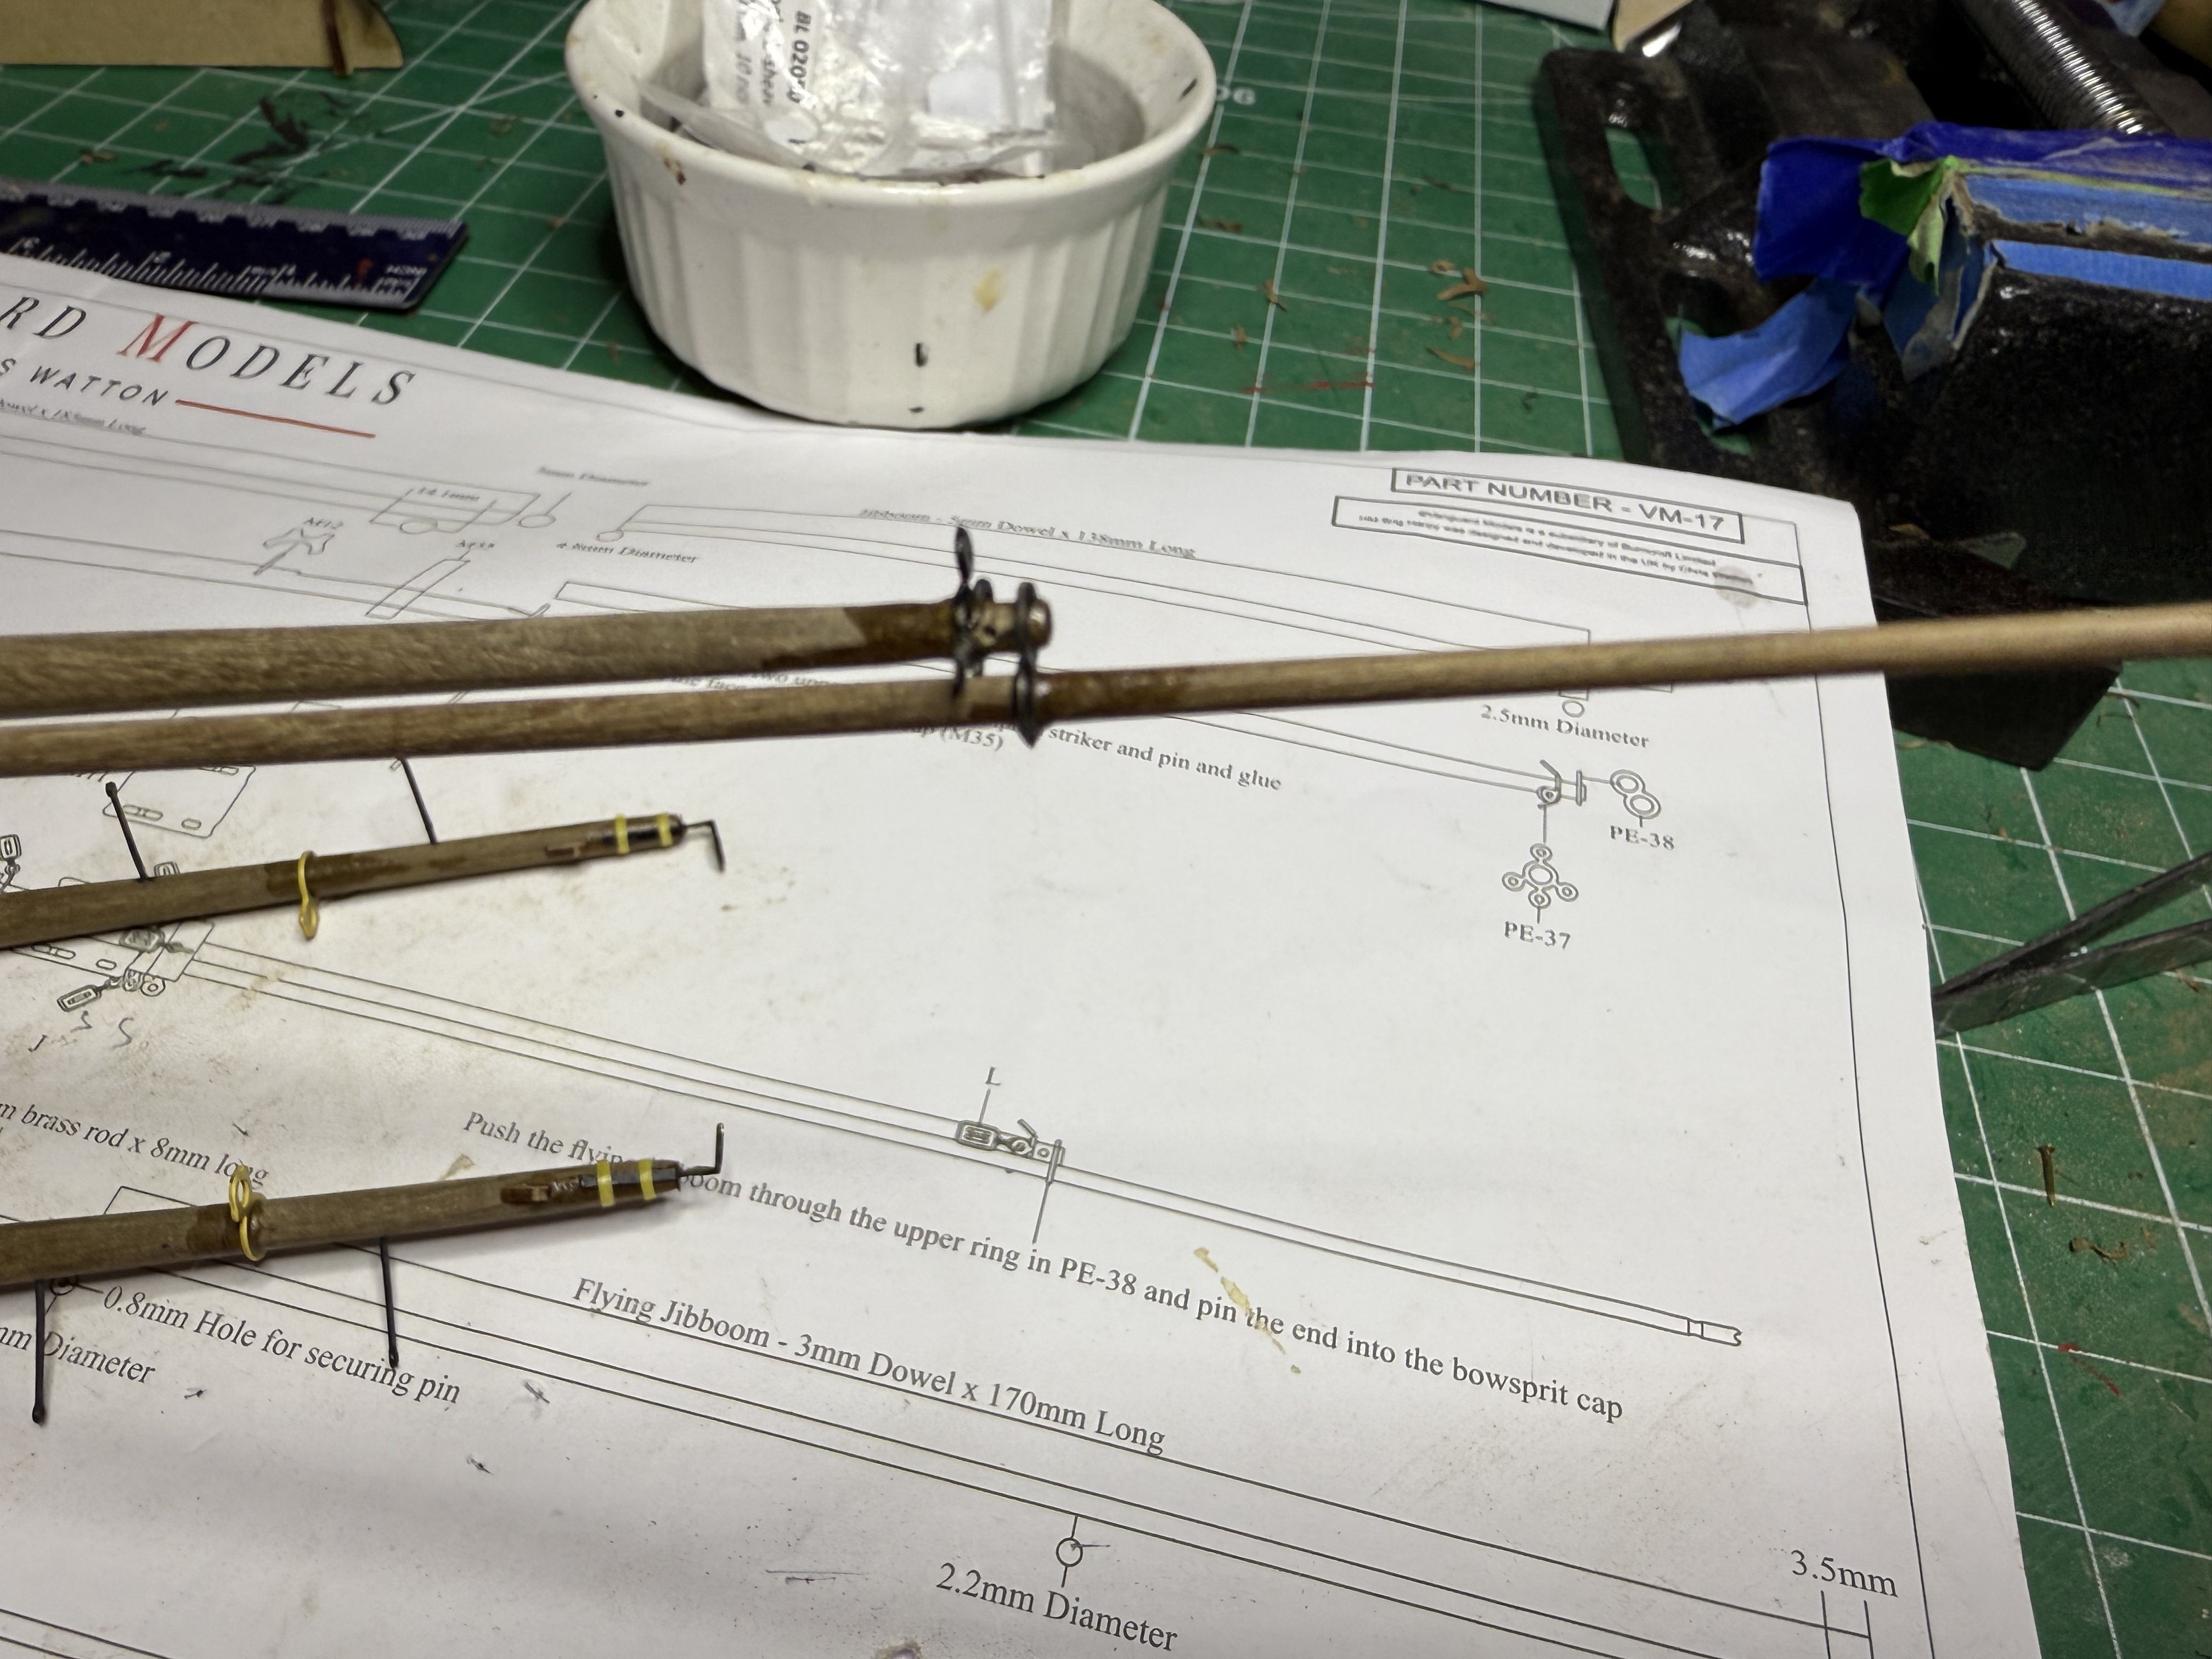
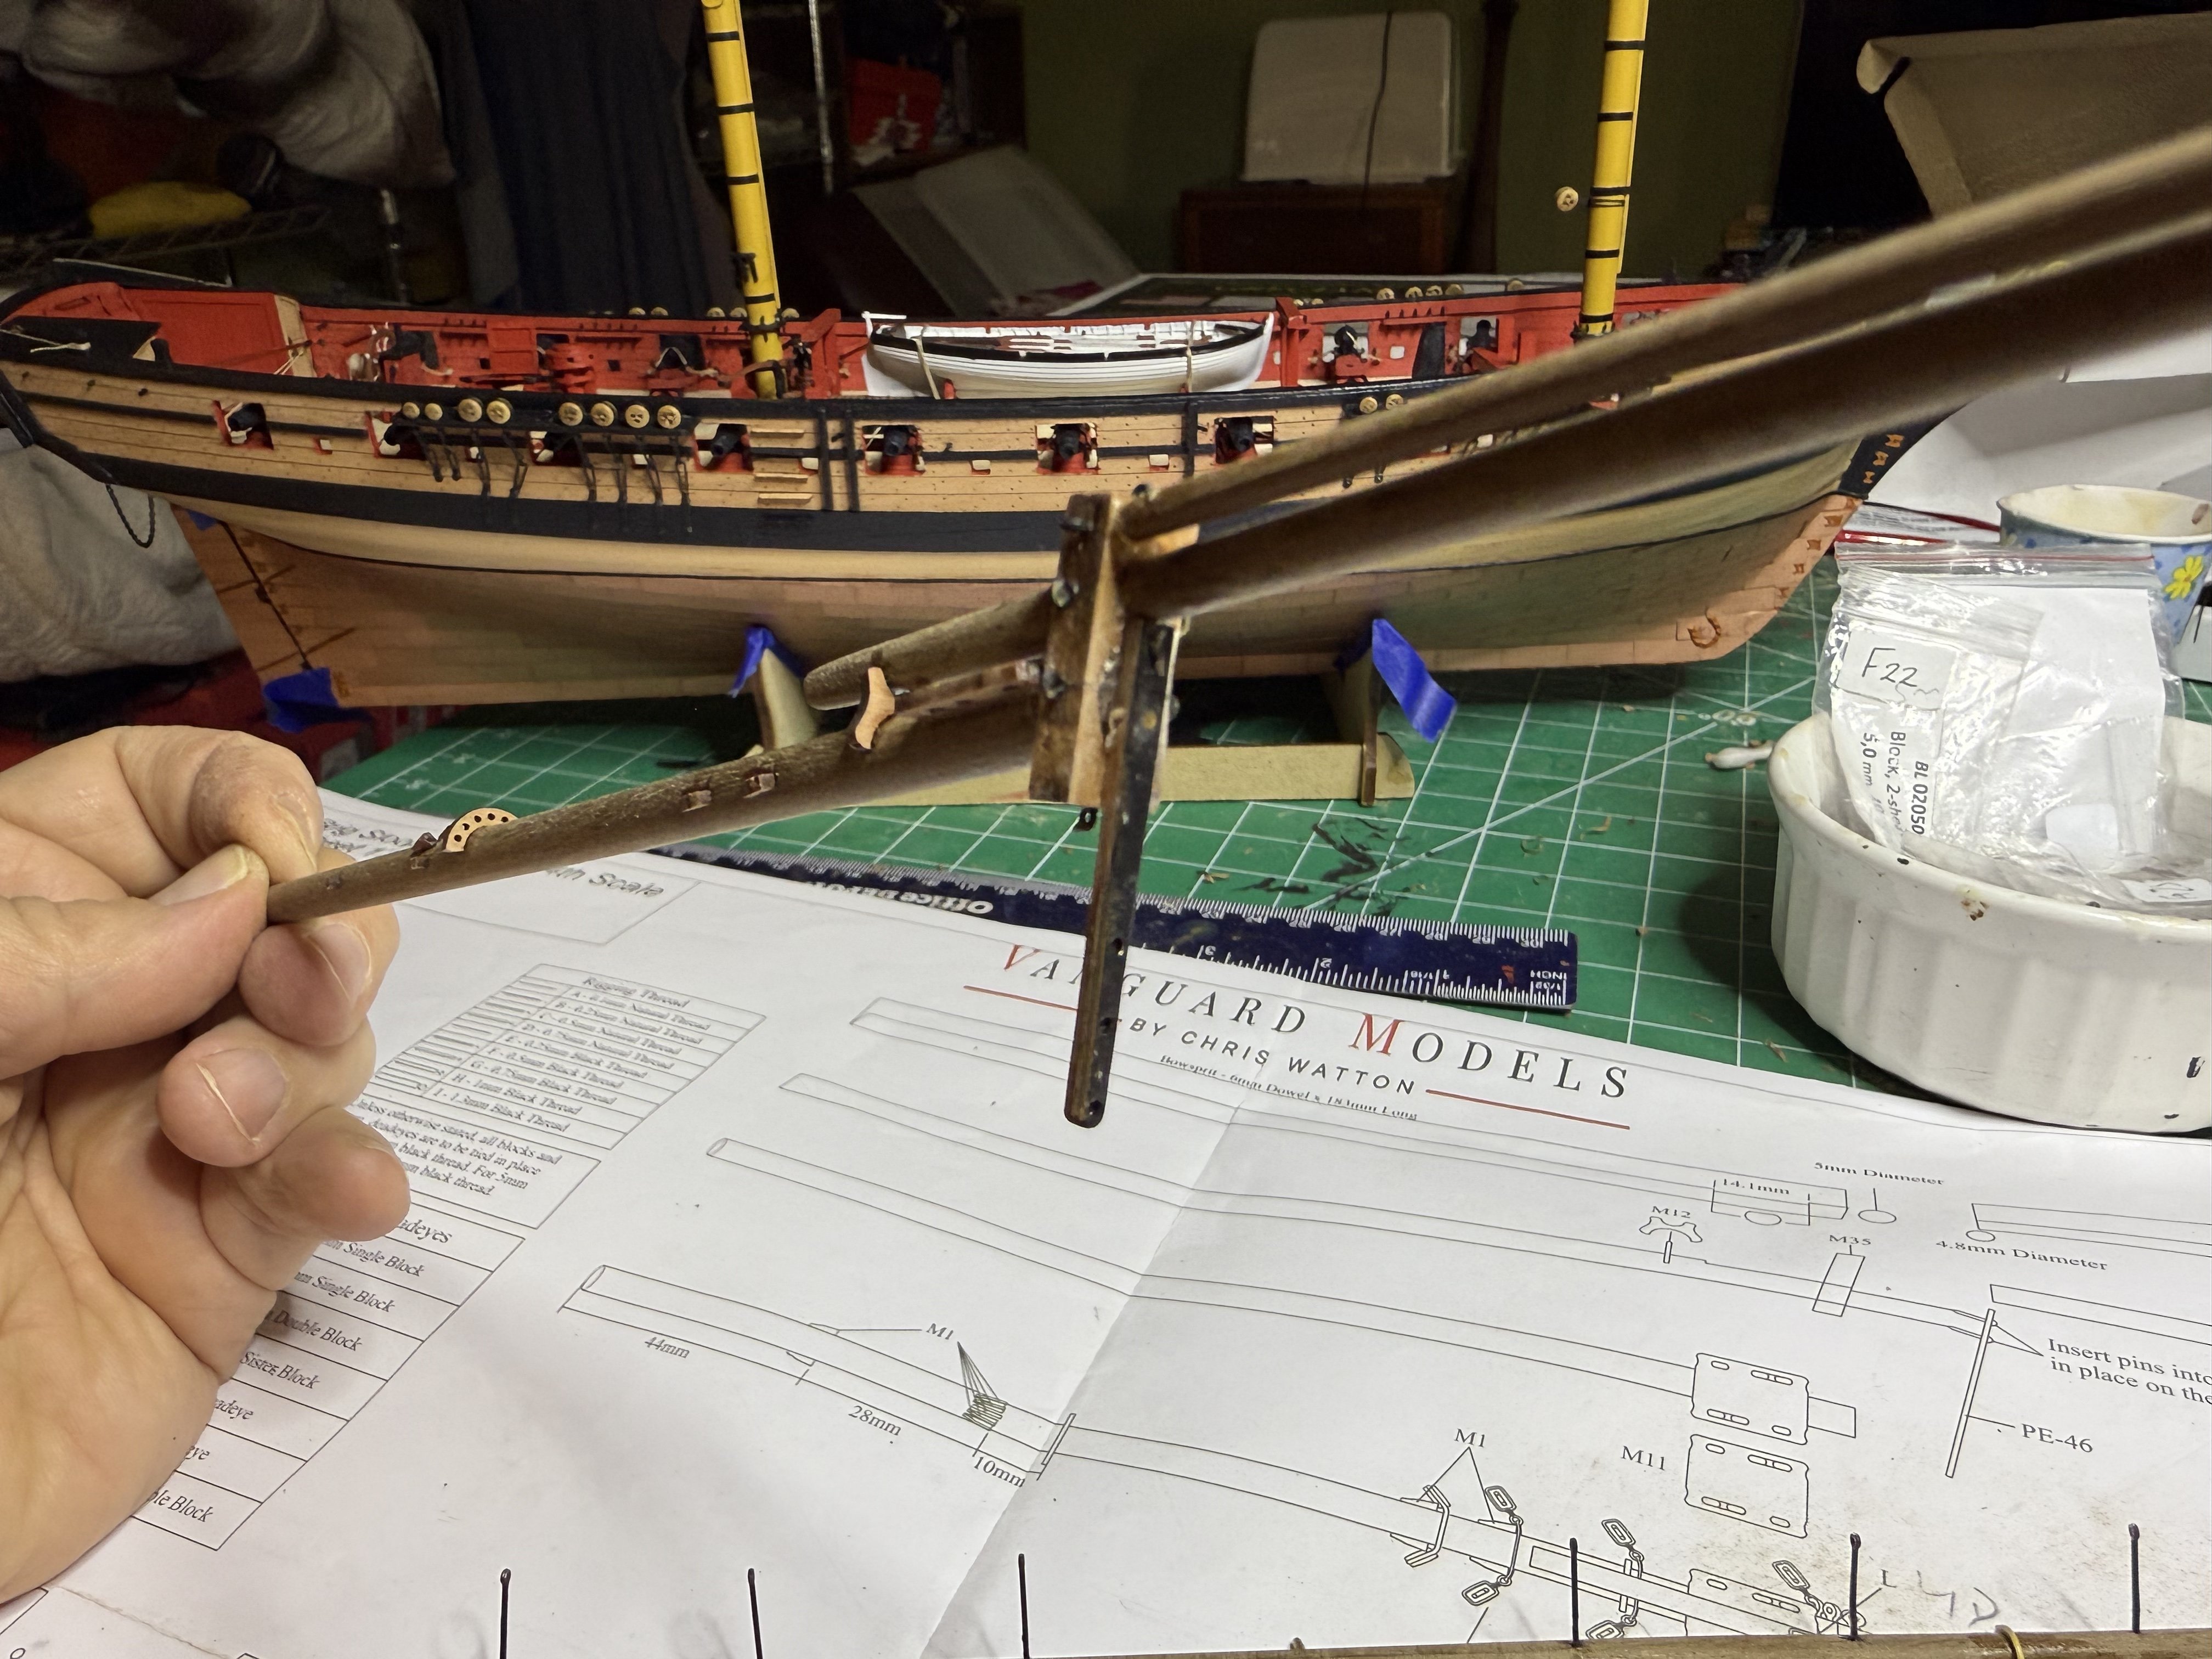
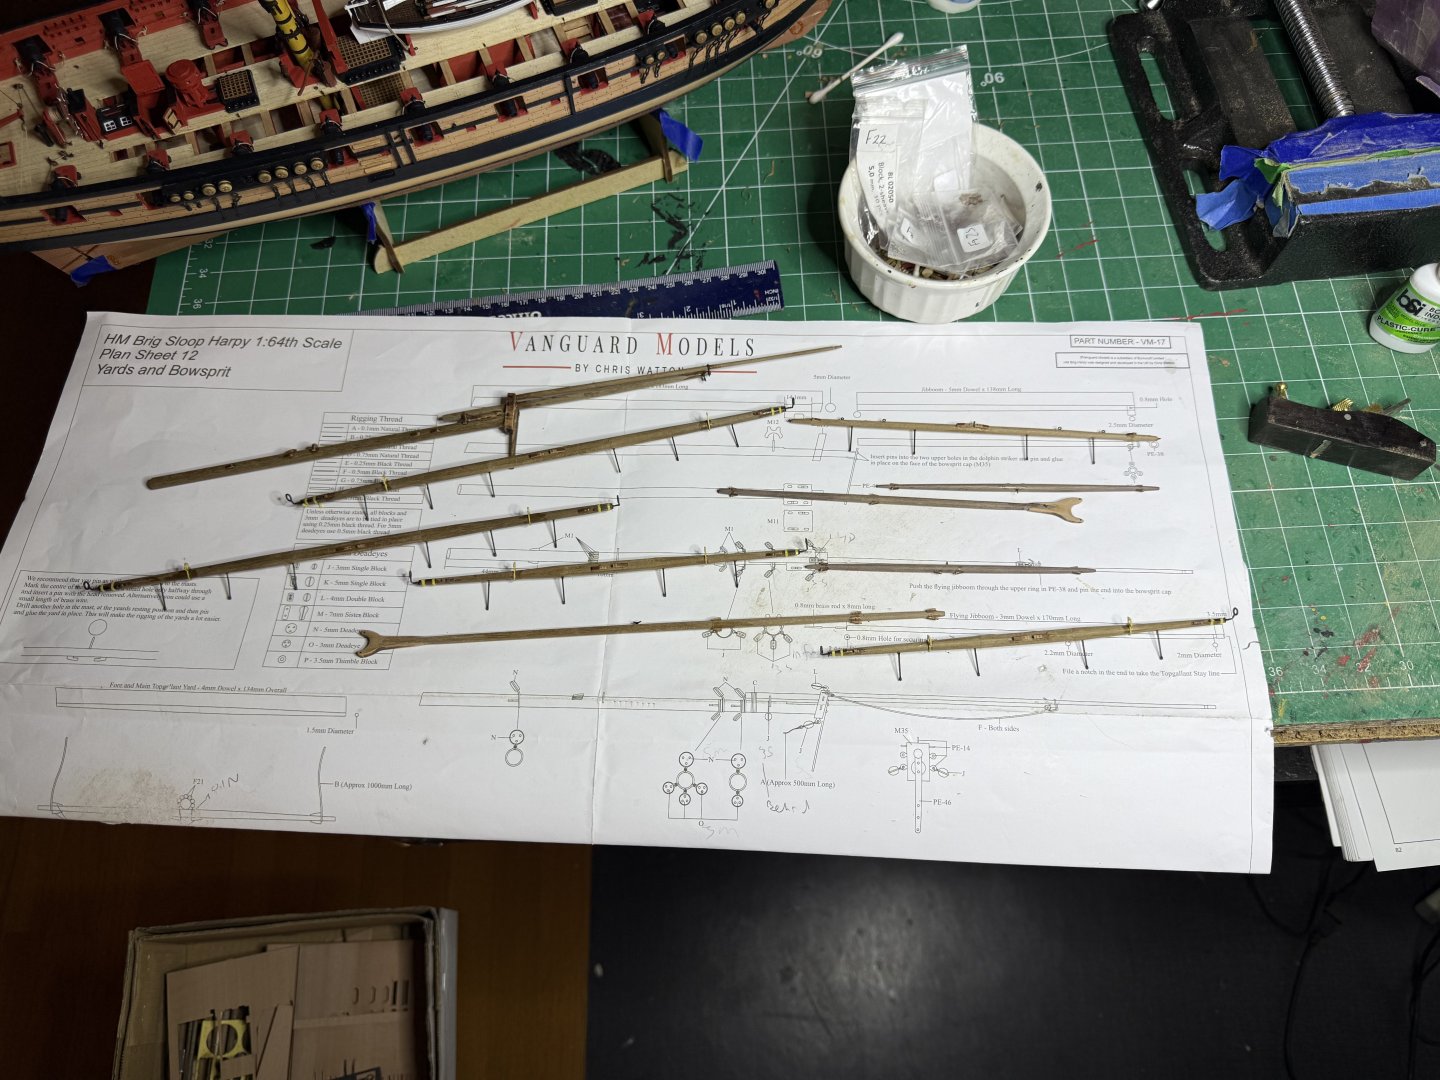
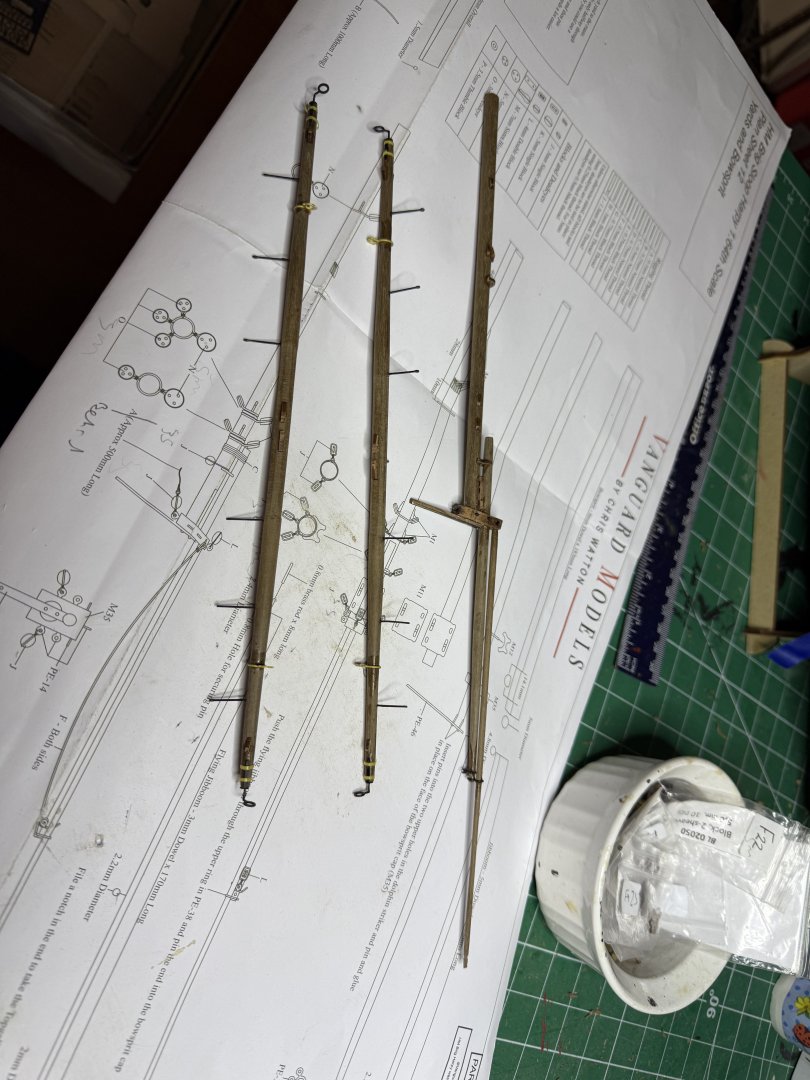
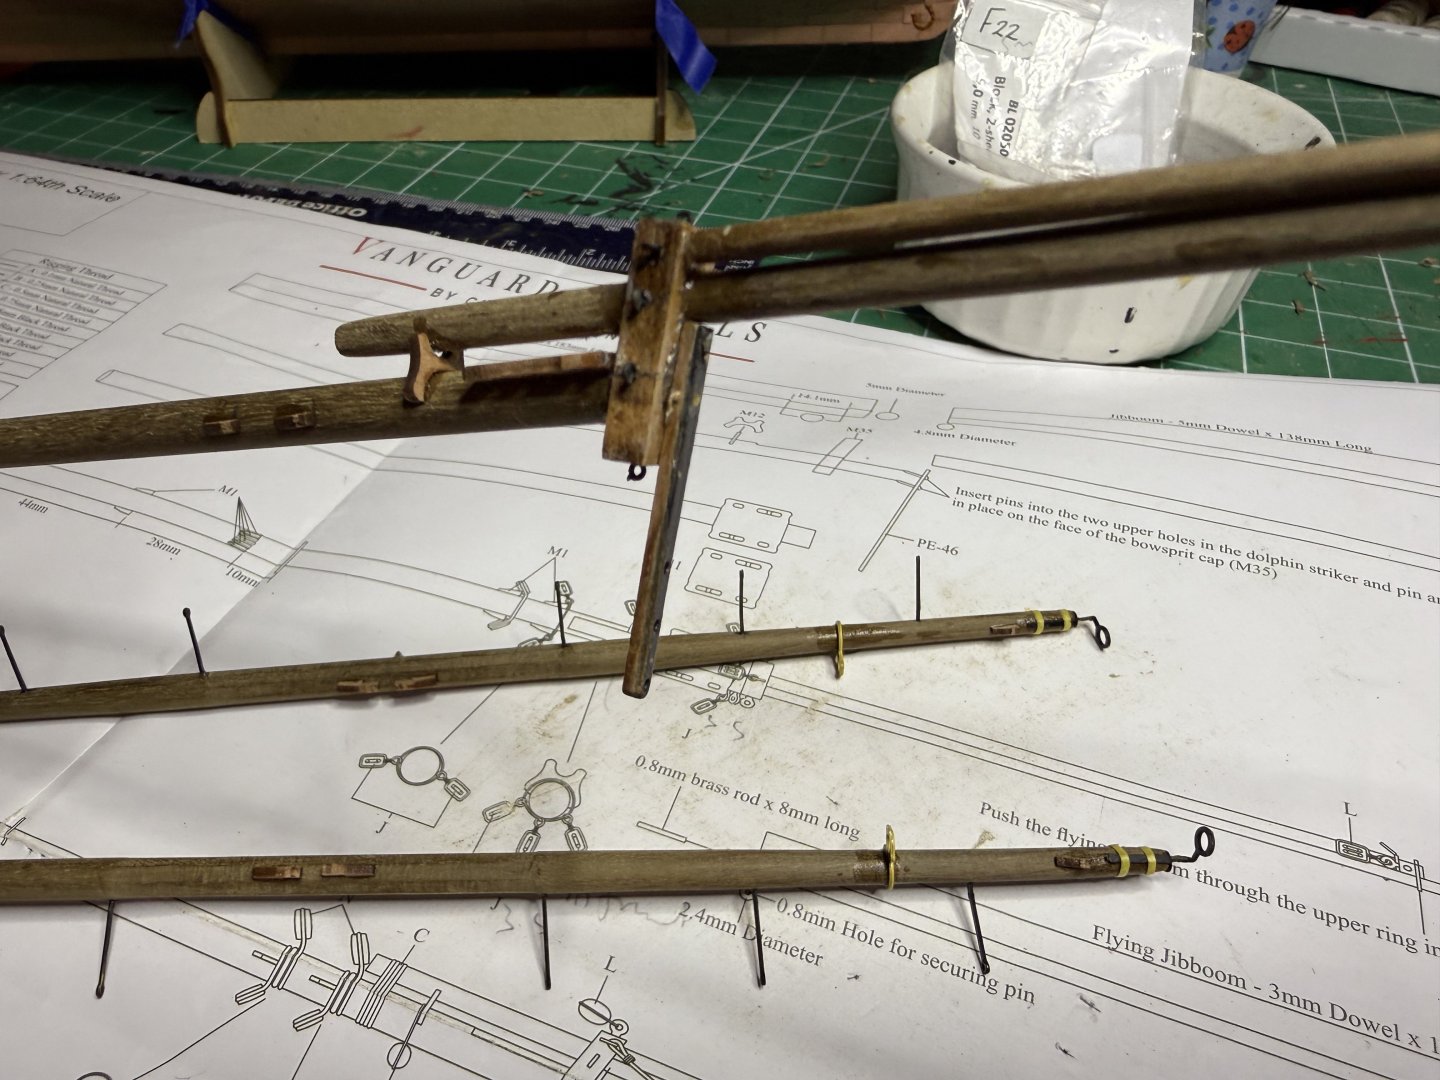
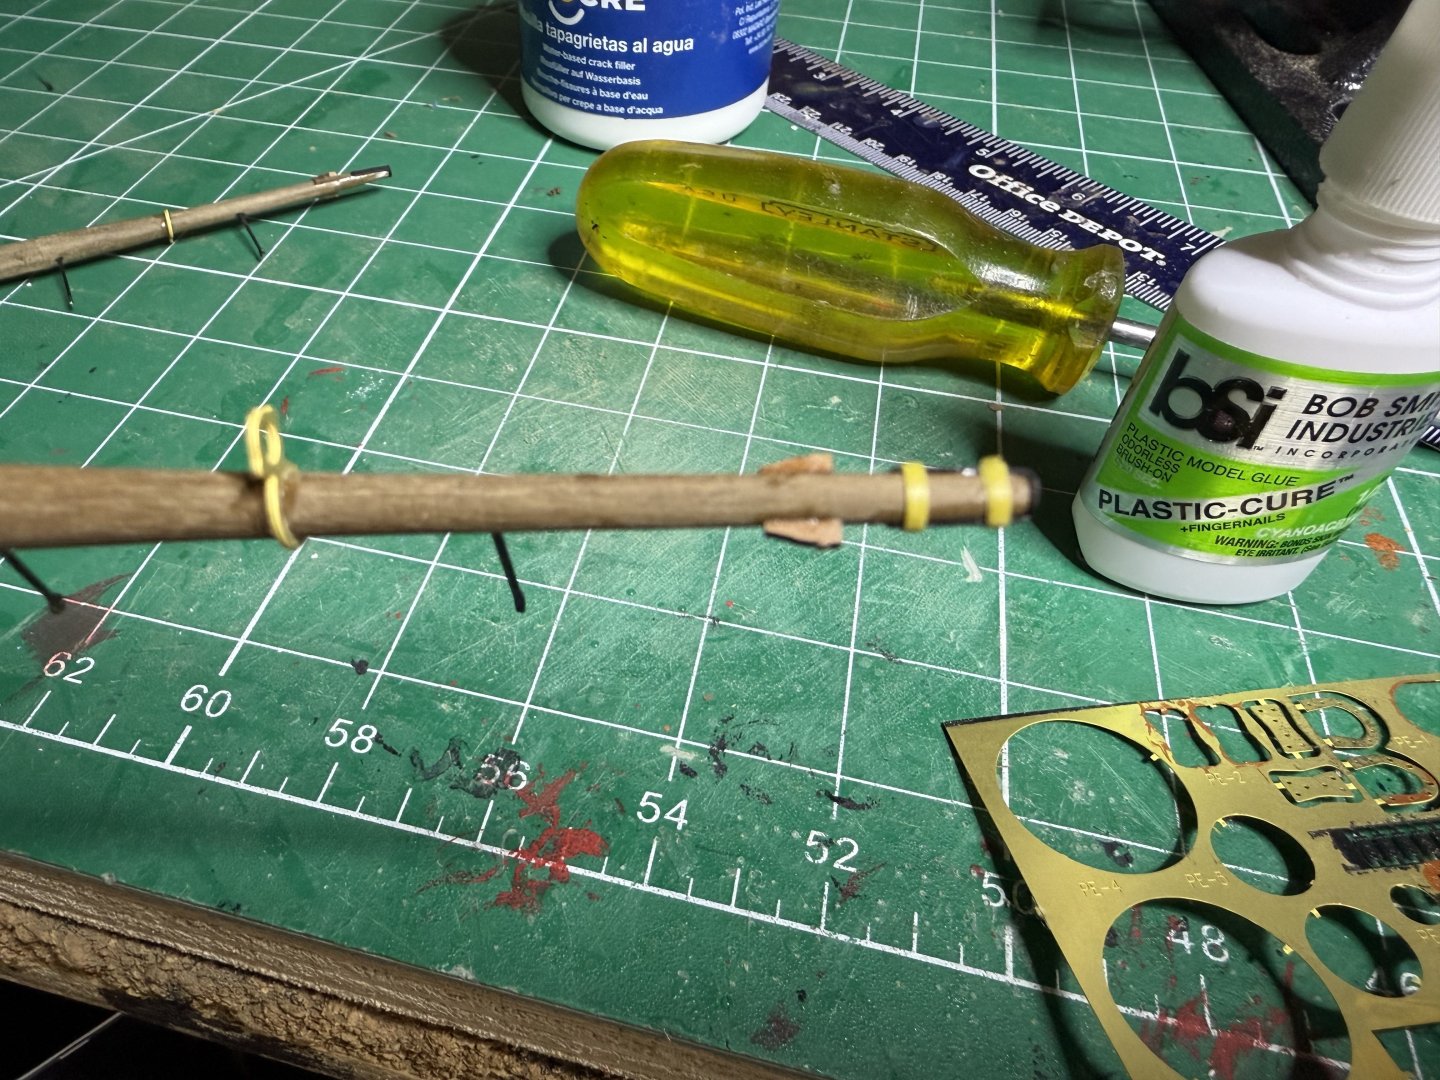
Finished main yards and bowsprit Now all ready for the paintshop


- 73 replies
-
- 9
-
-
- Harpy
- Vanguard Models
- (and 1 more)
-
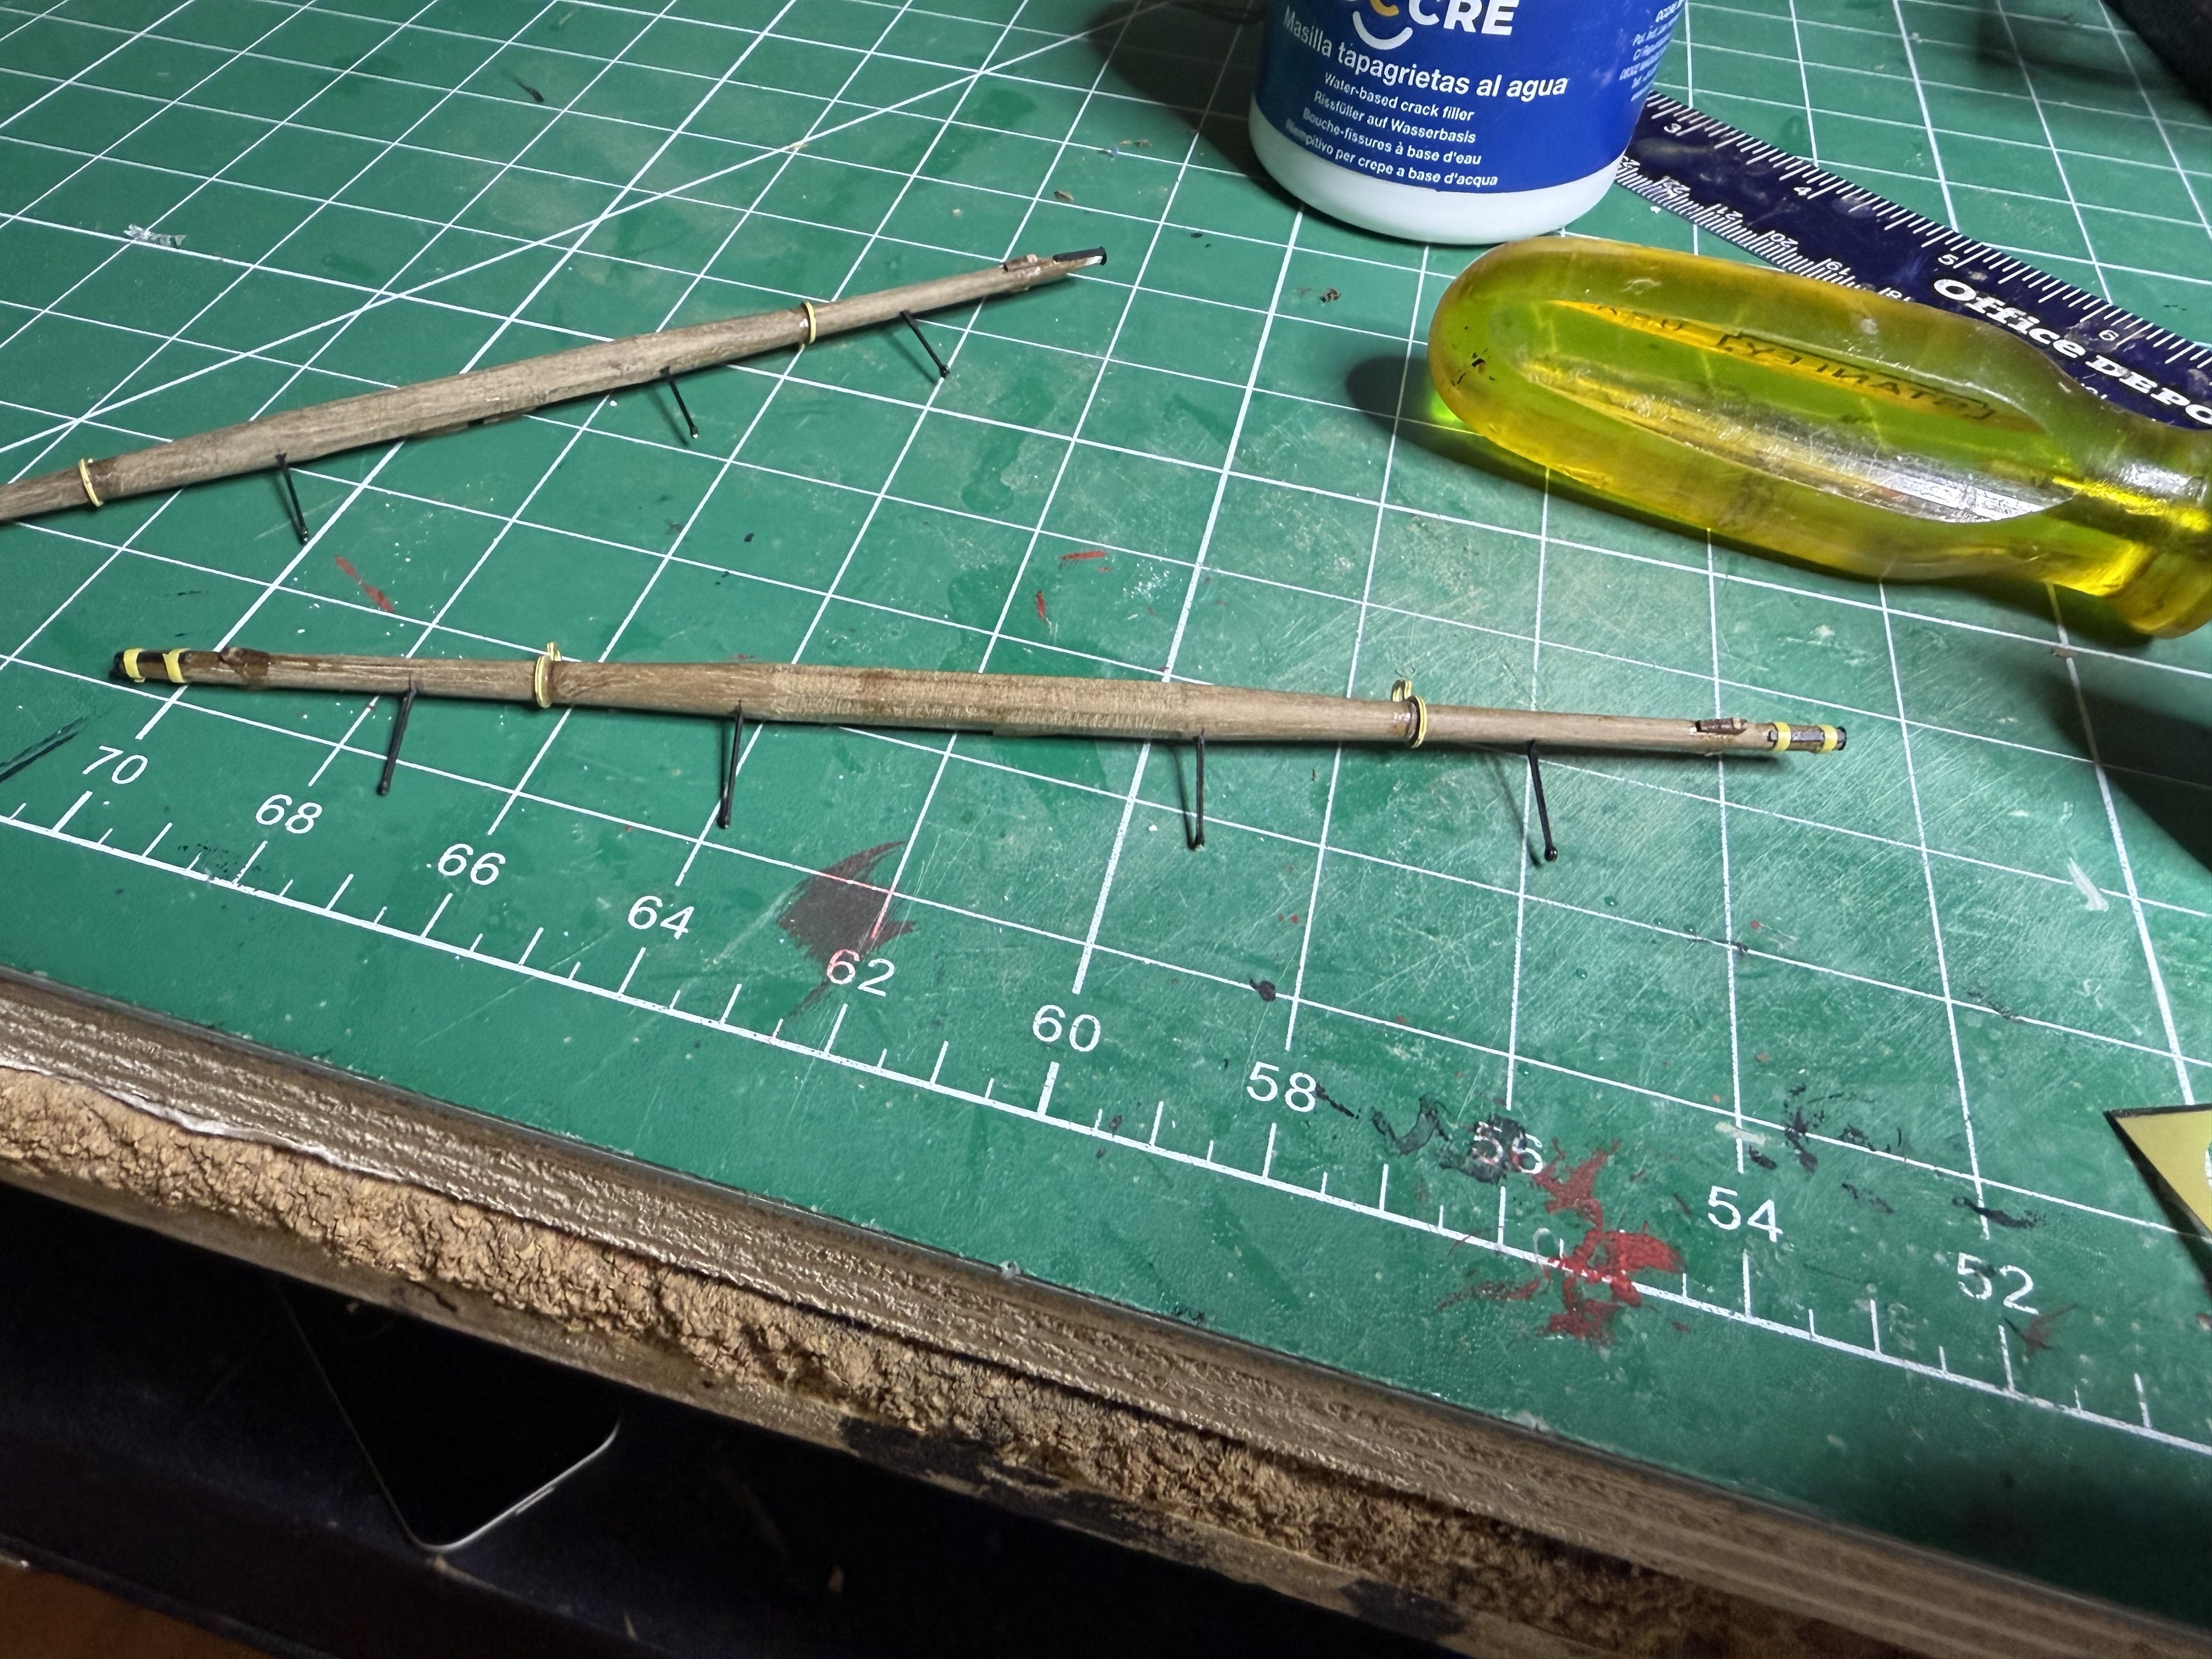
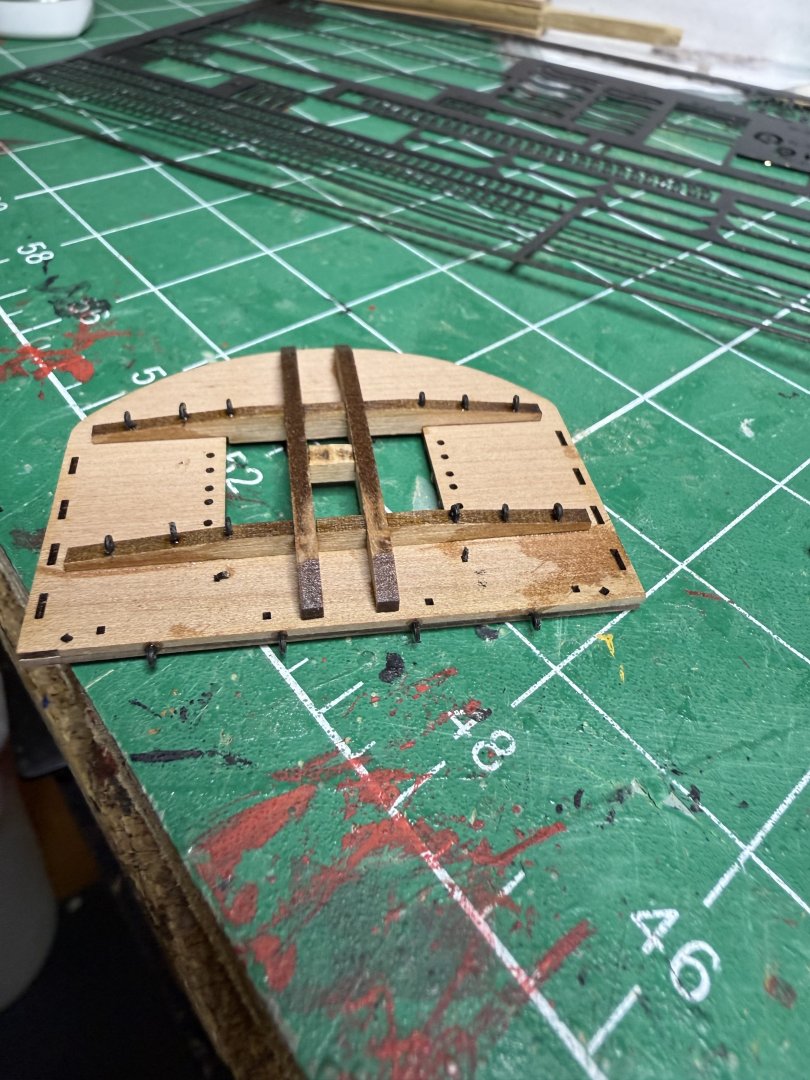
Pent my time today making the t'gallant and topmast yards. I prefer using tape over the cardboard as all will be painted black and stick together better. Also added pin to help attaching later to the mast.


- 73 replies
-
- 5
-
-
- Harpy
- Vanguard Models
- (and 1 more)
-
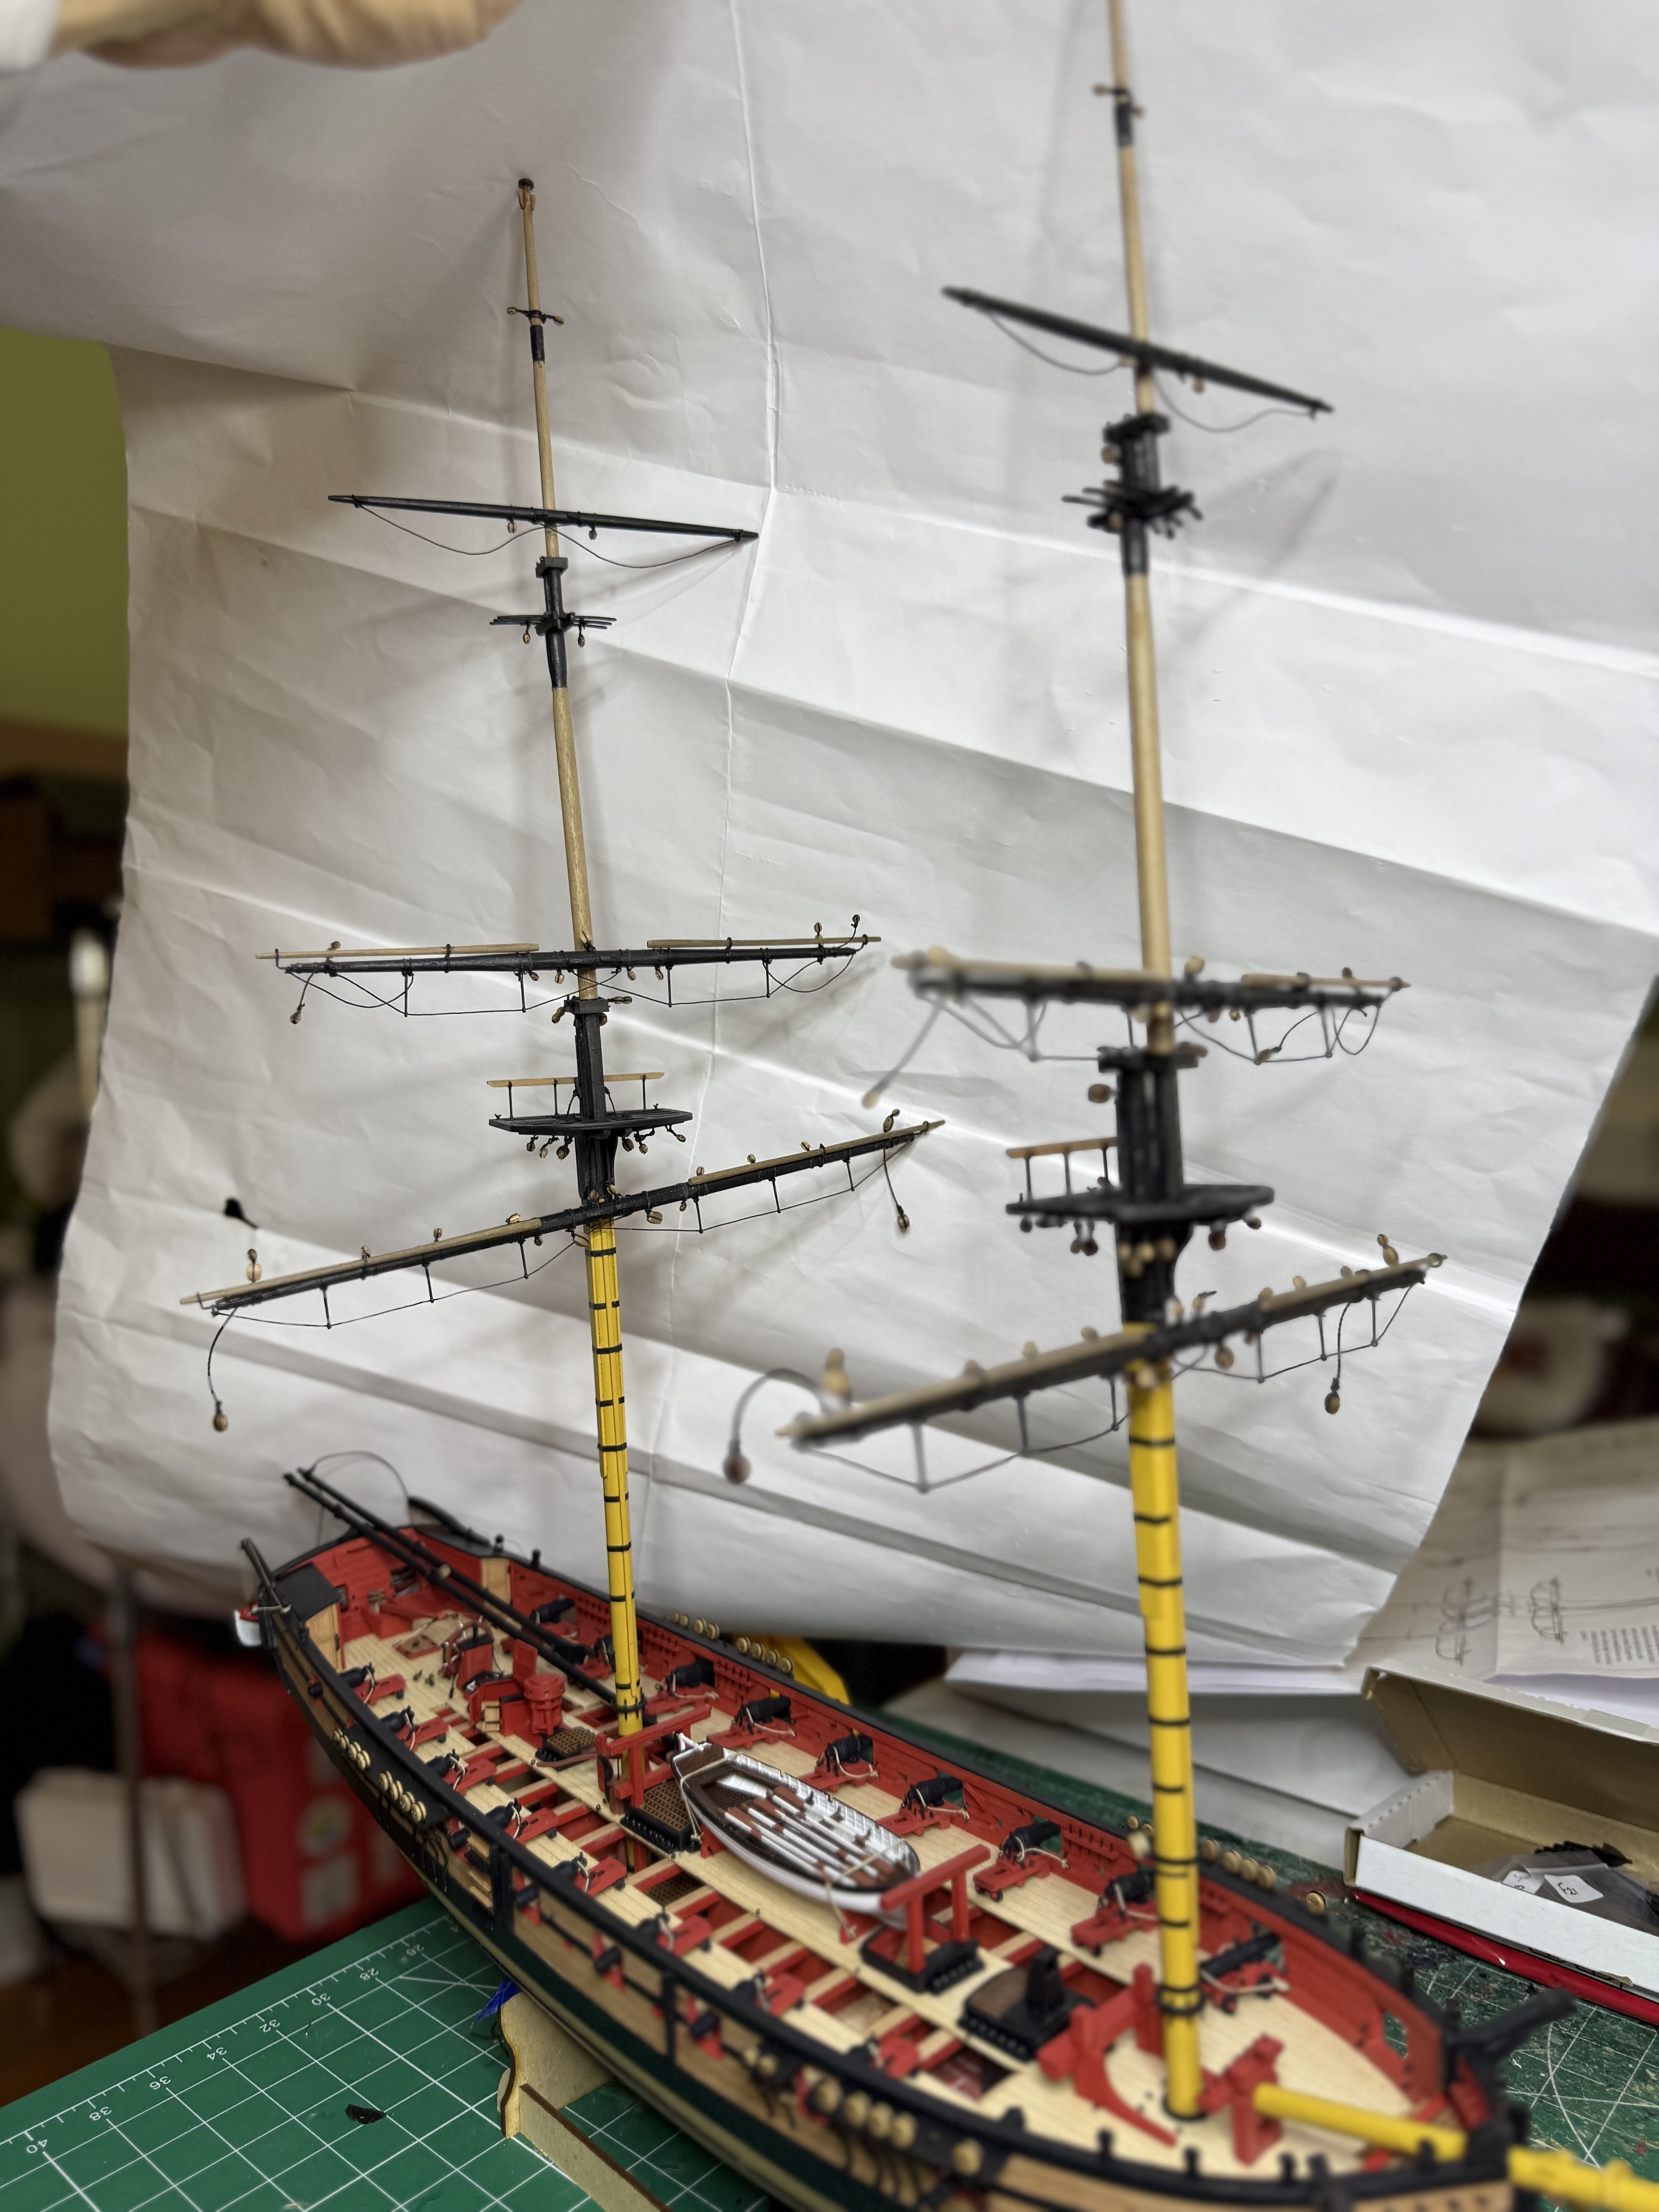
Finished putting all the blocks on the masts. Next will be making all the yards and bowsprit.


- 73 replies
-
- 8
-
-
- Harpy
- Vanguard Models
- (and 1 more)
-
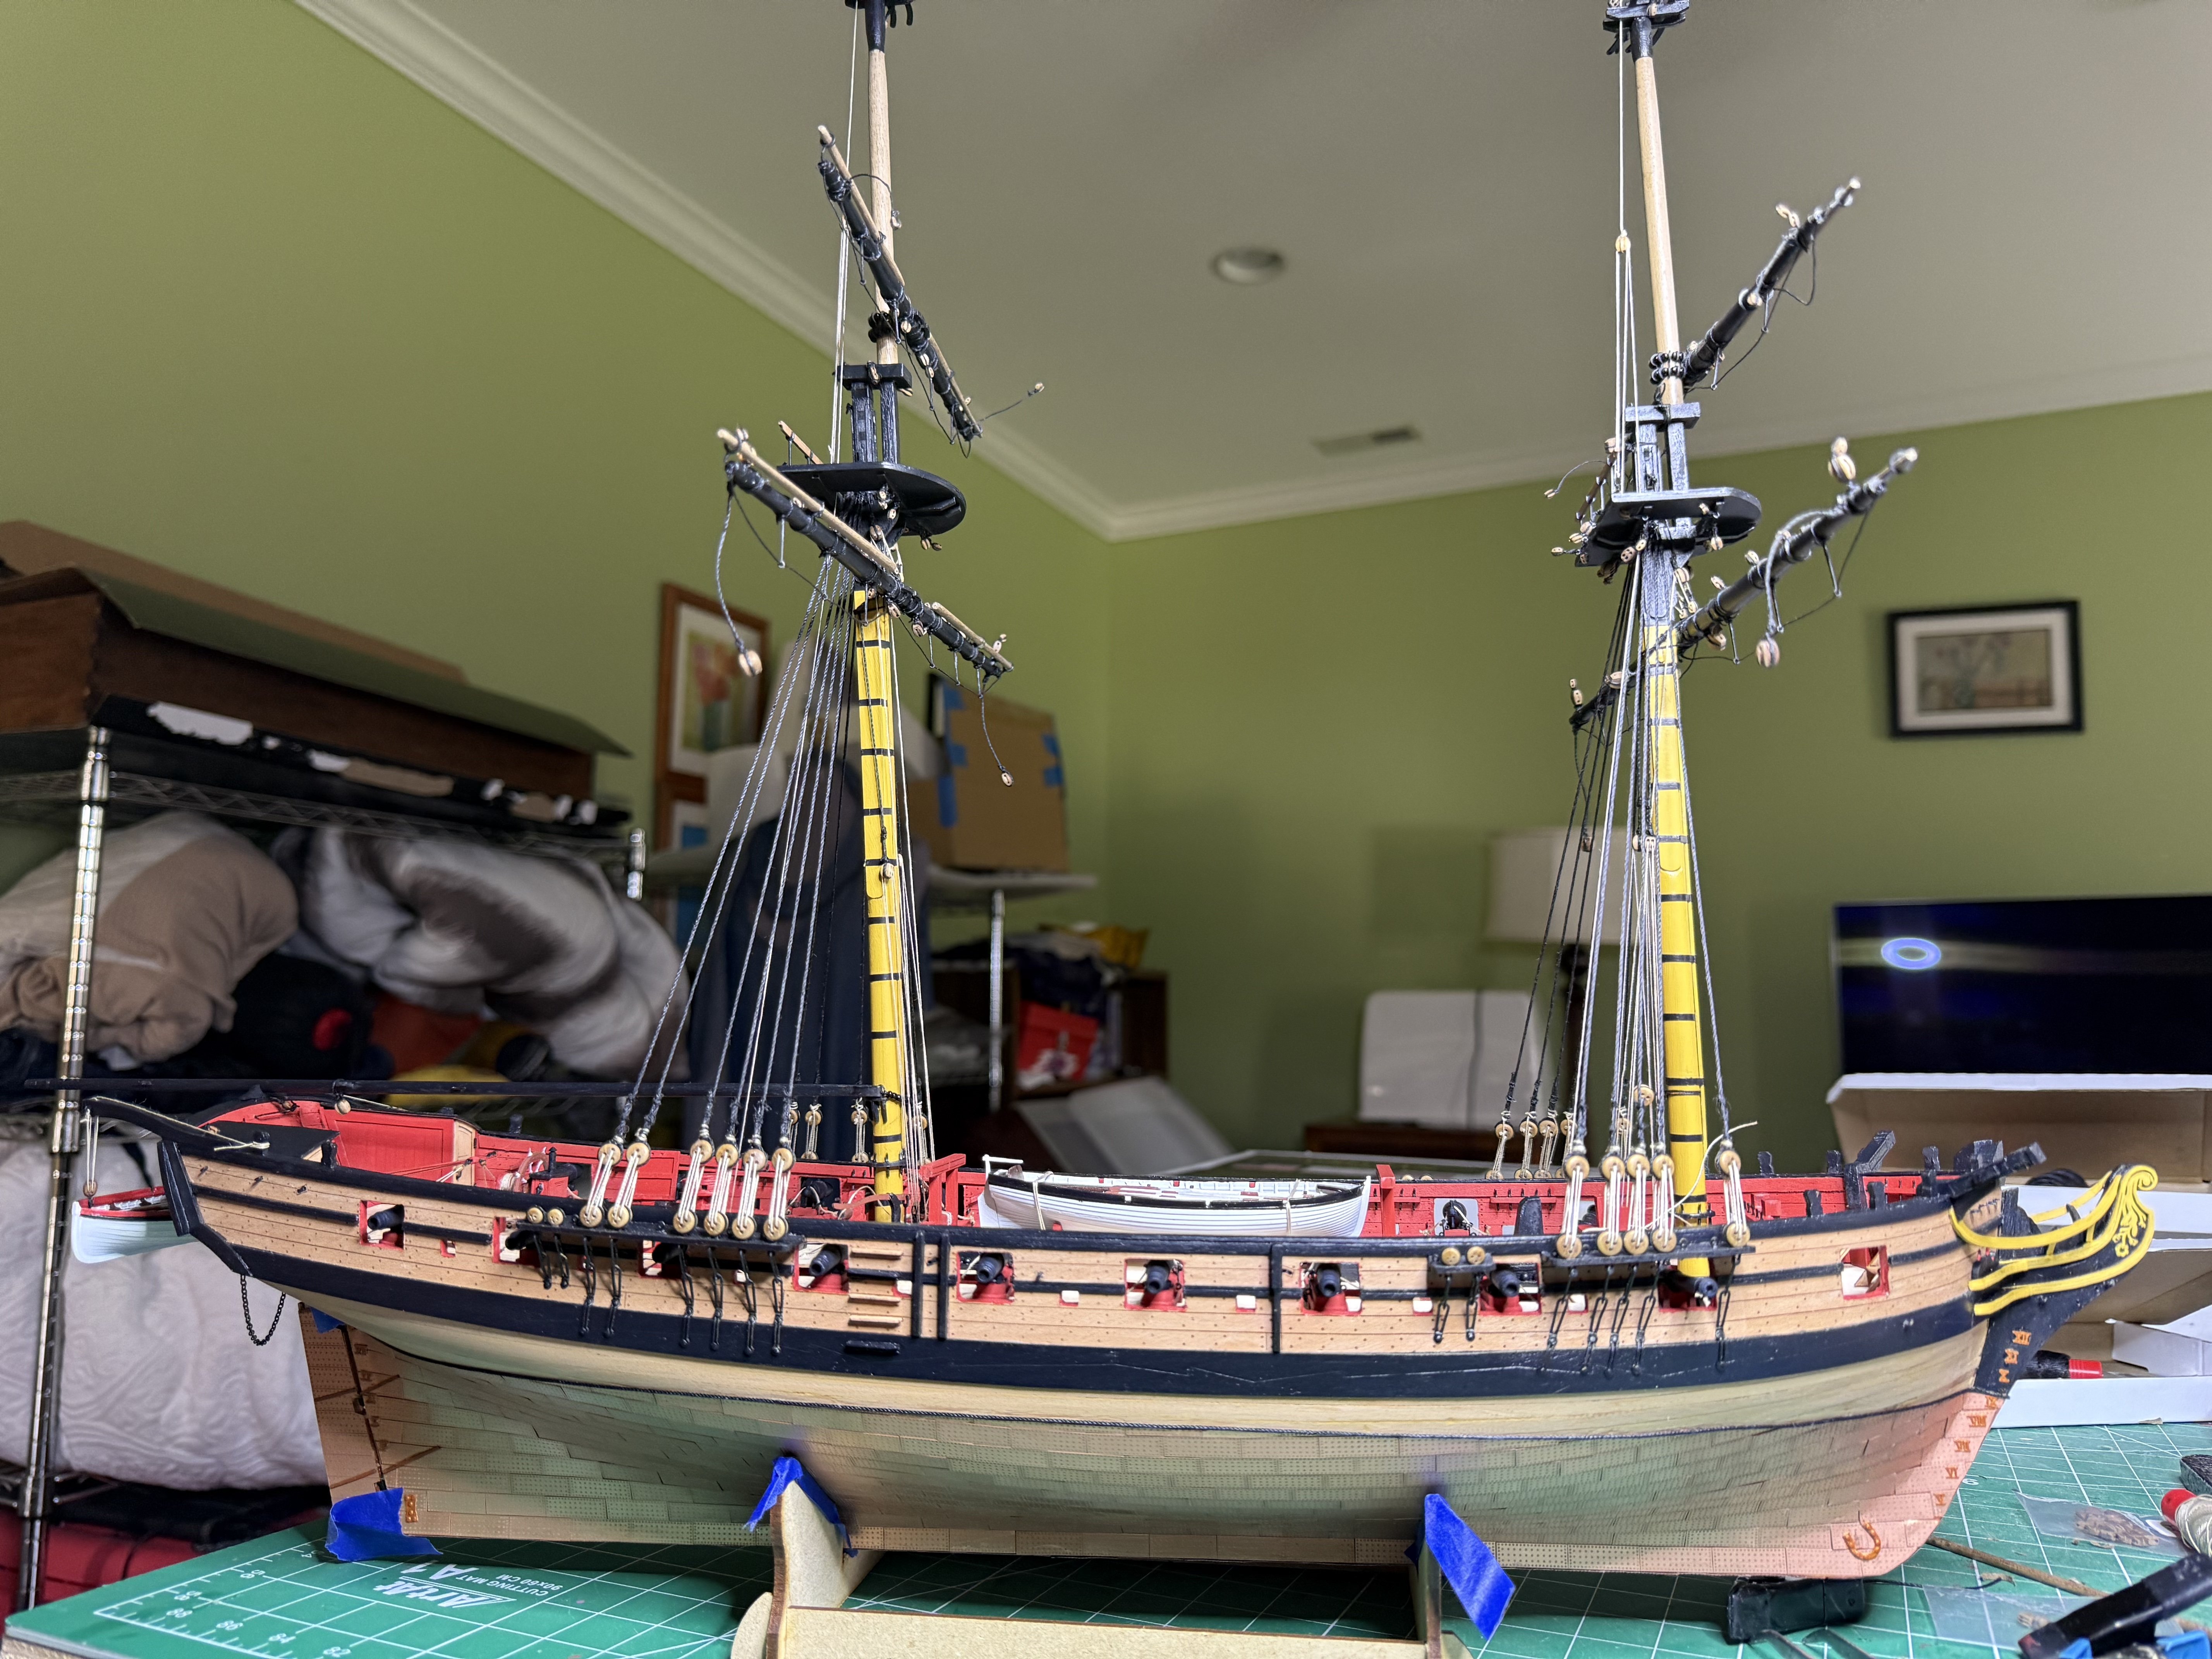
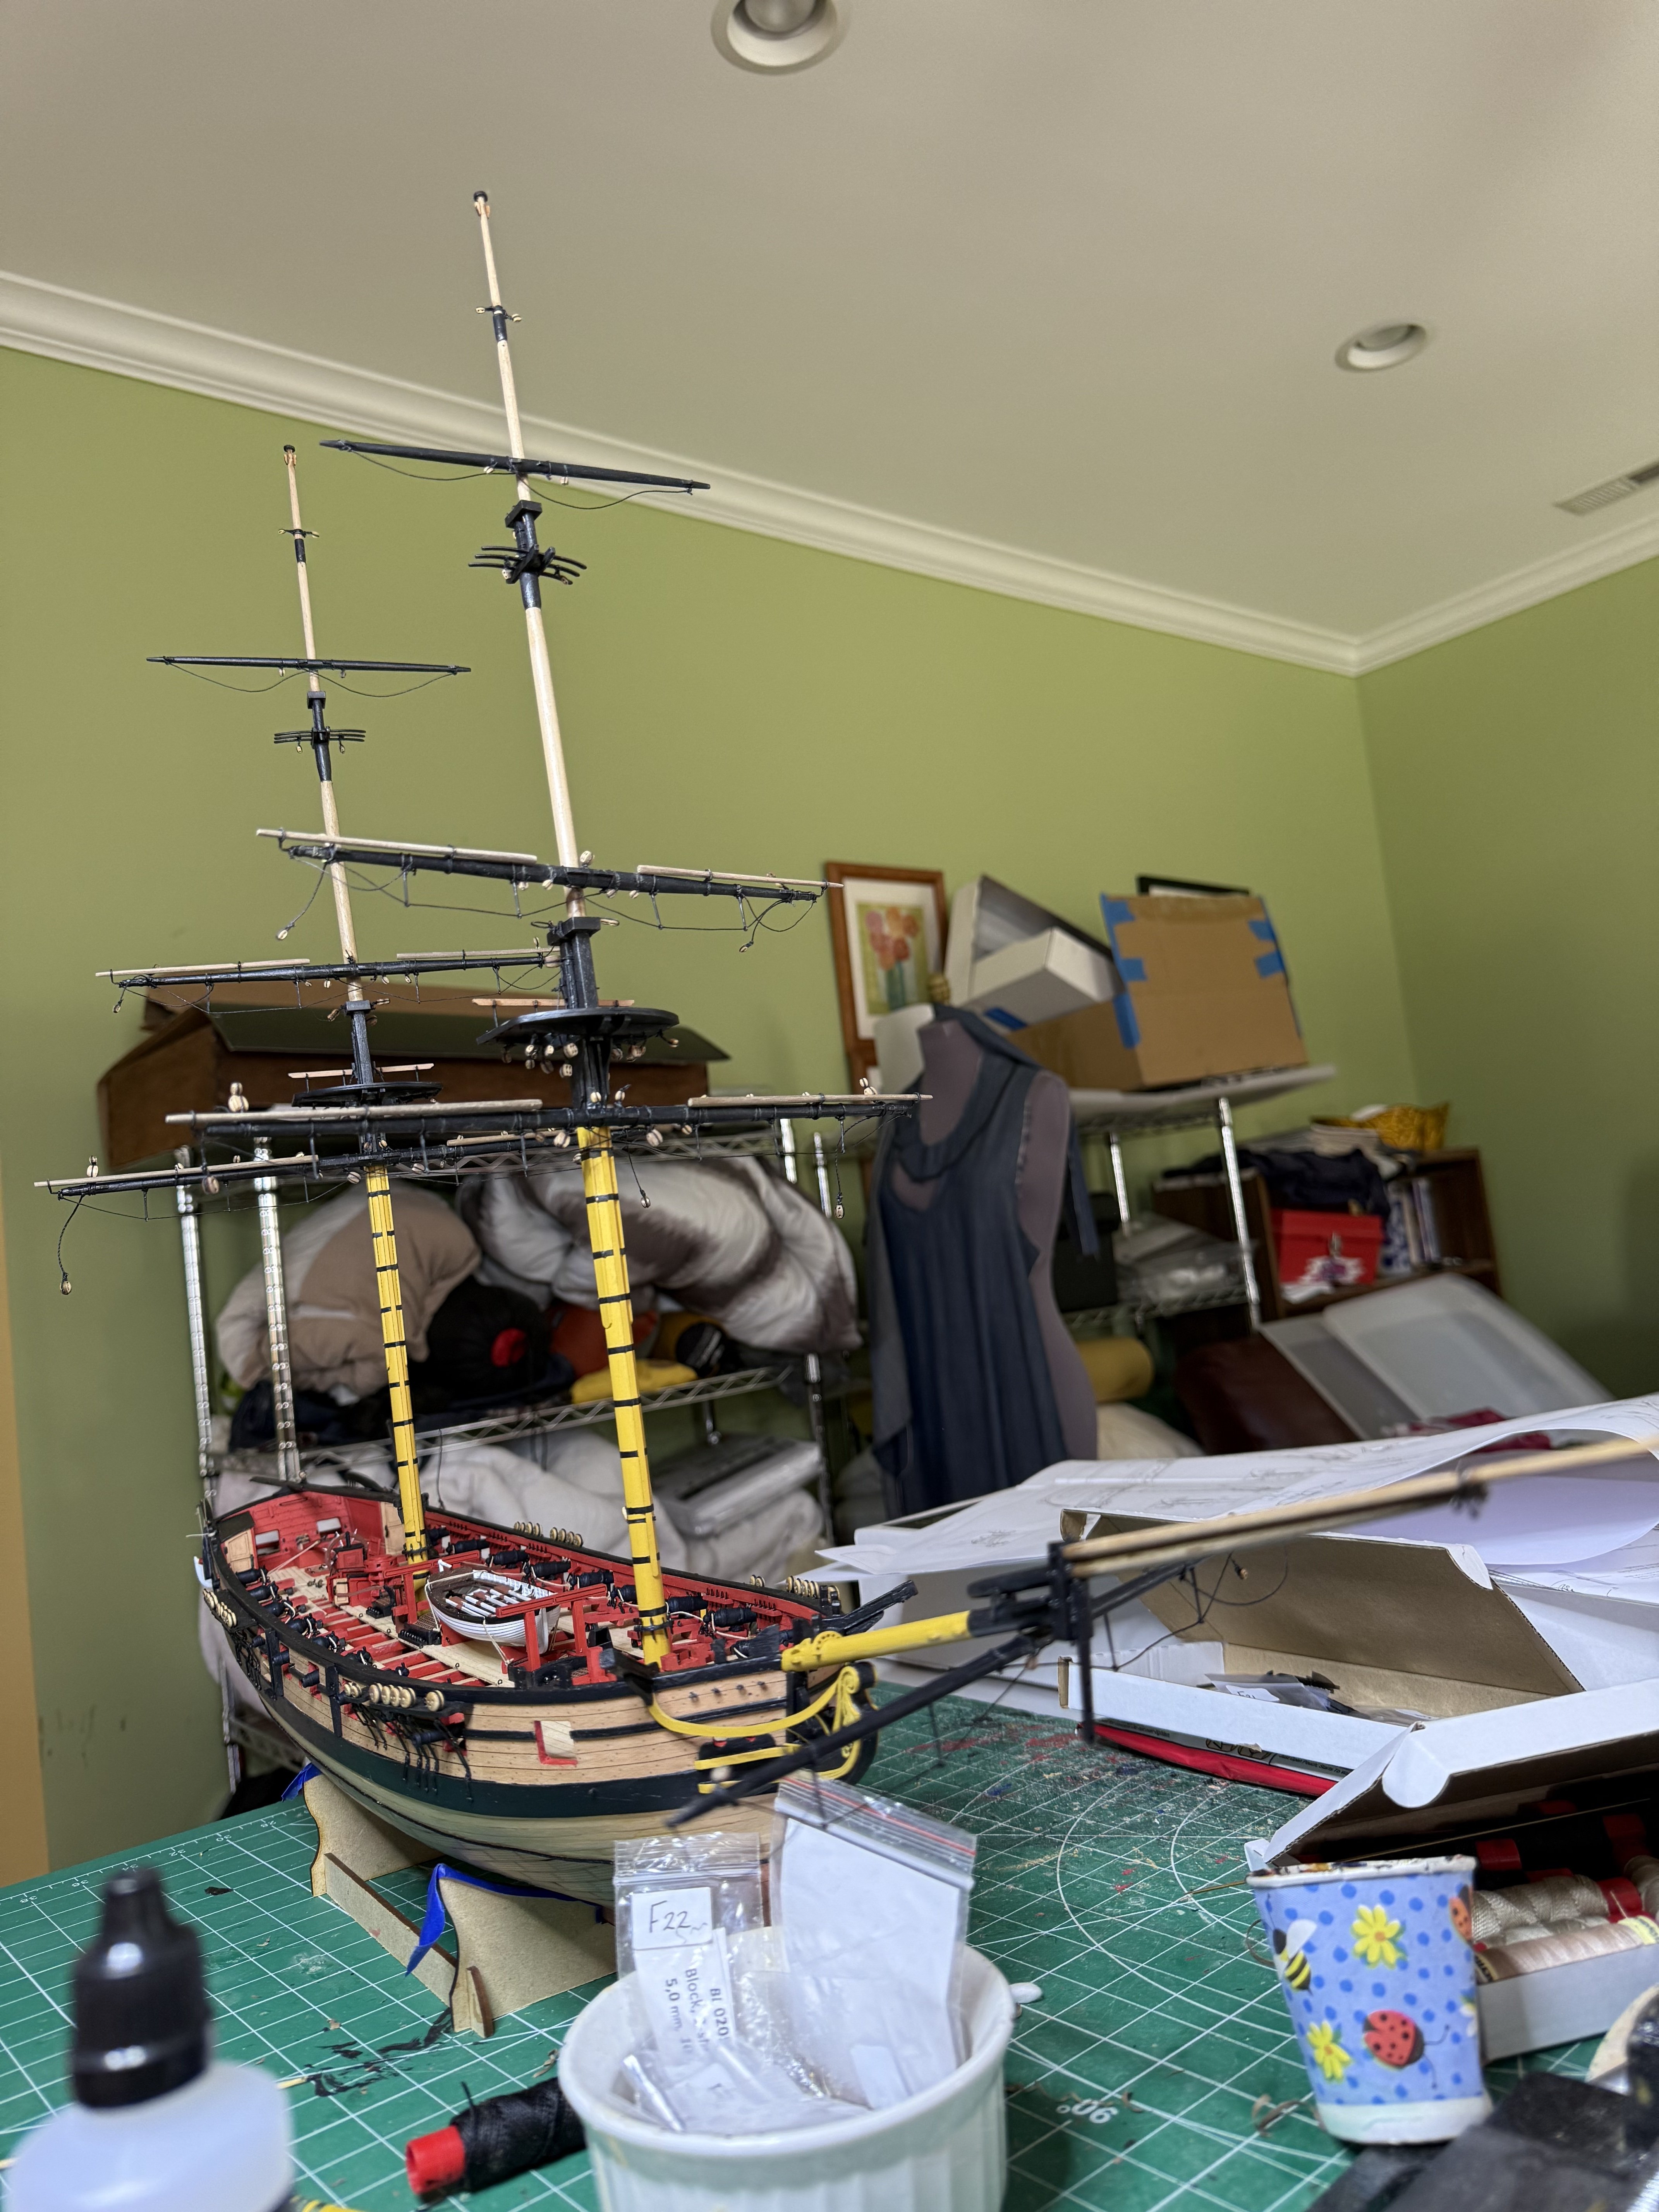
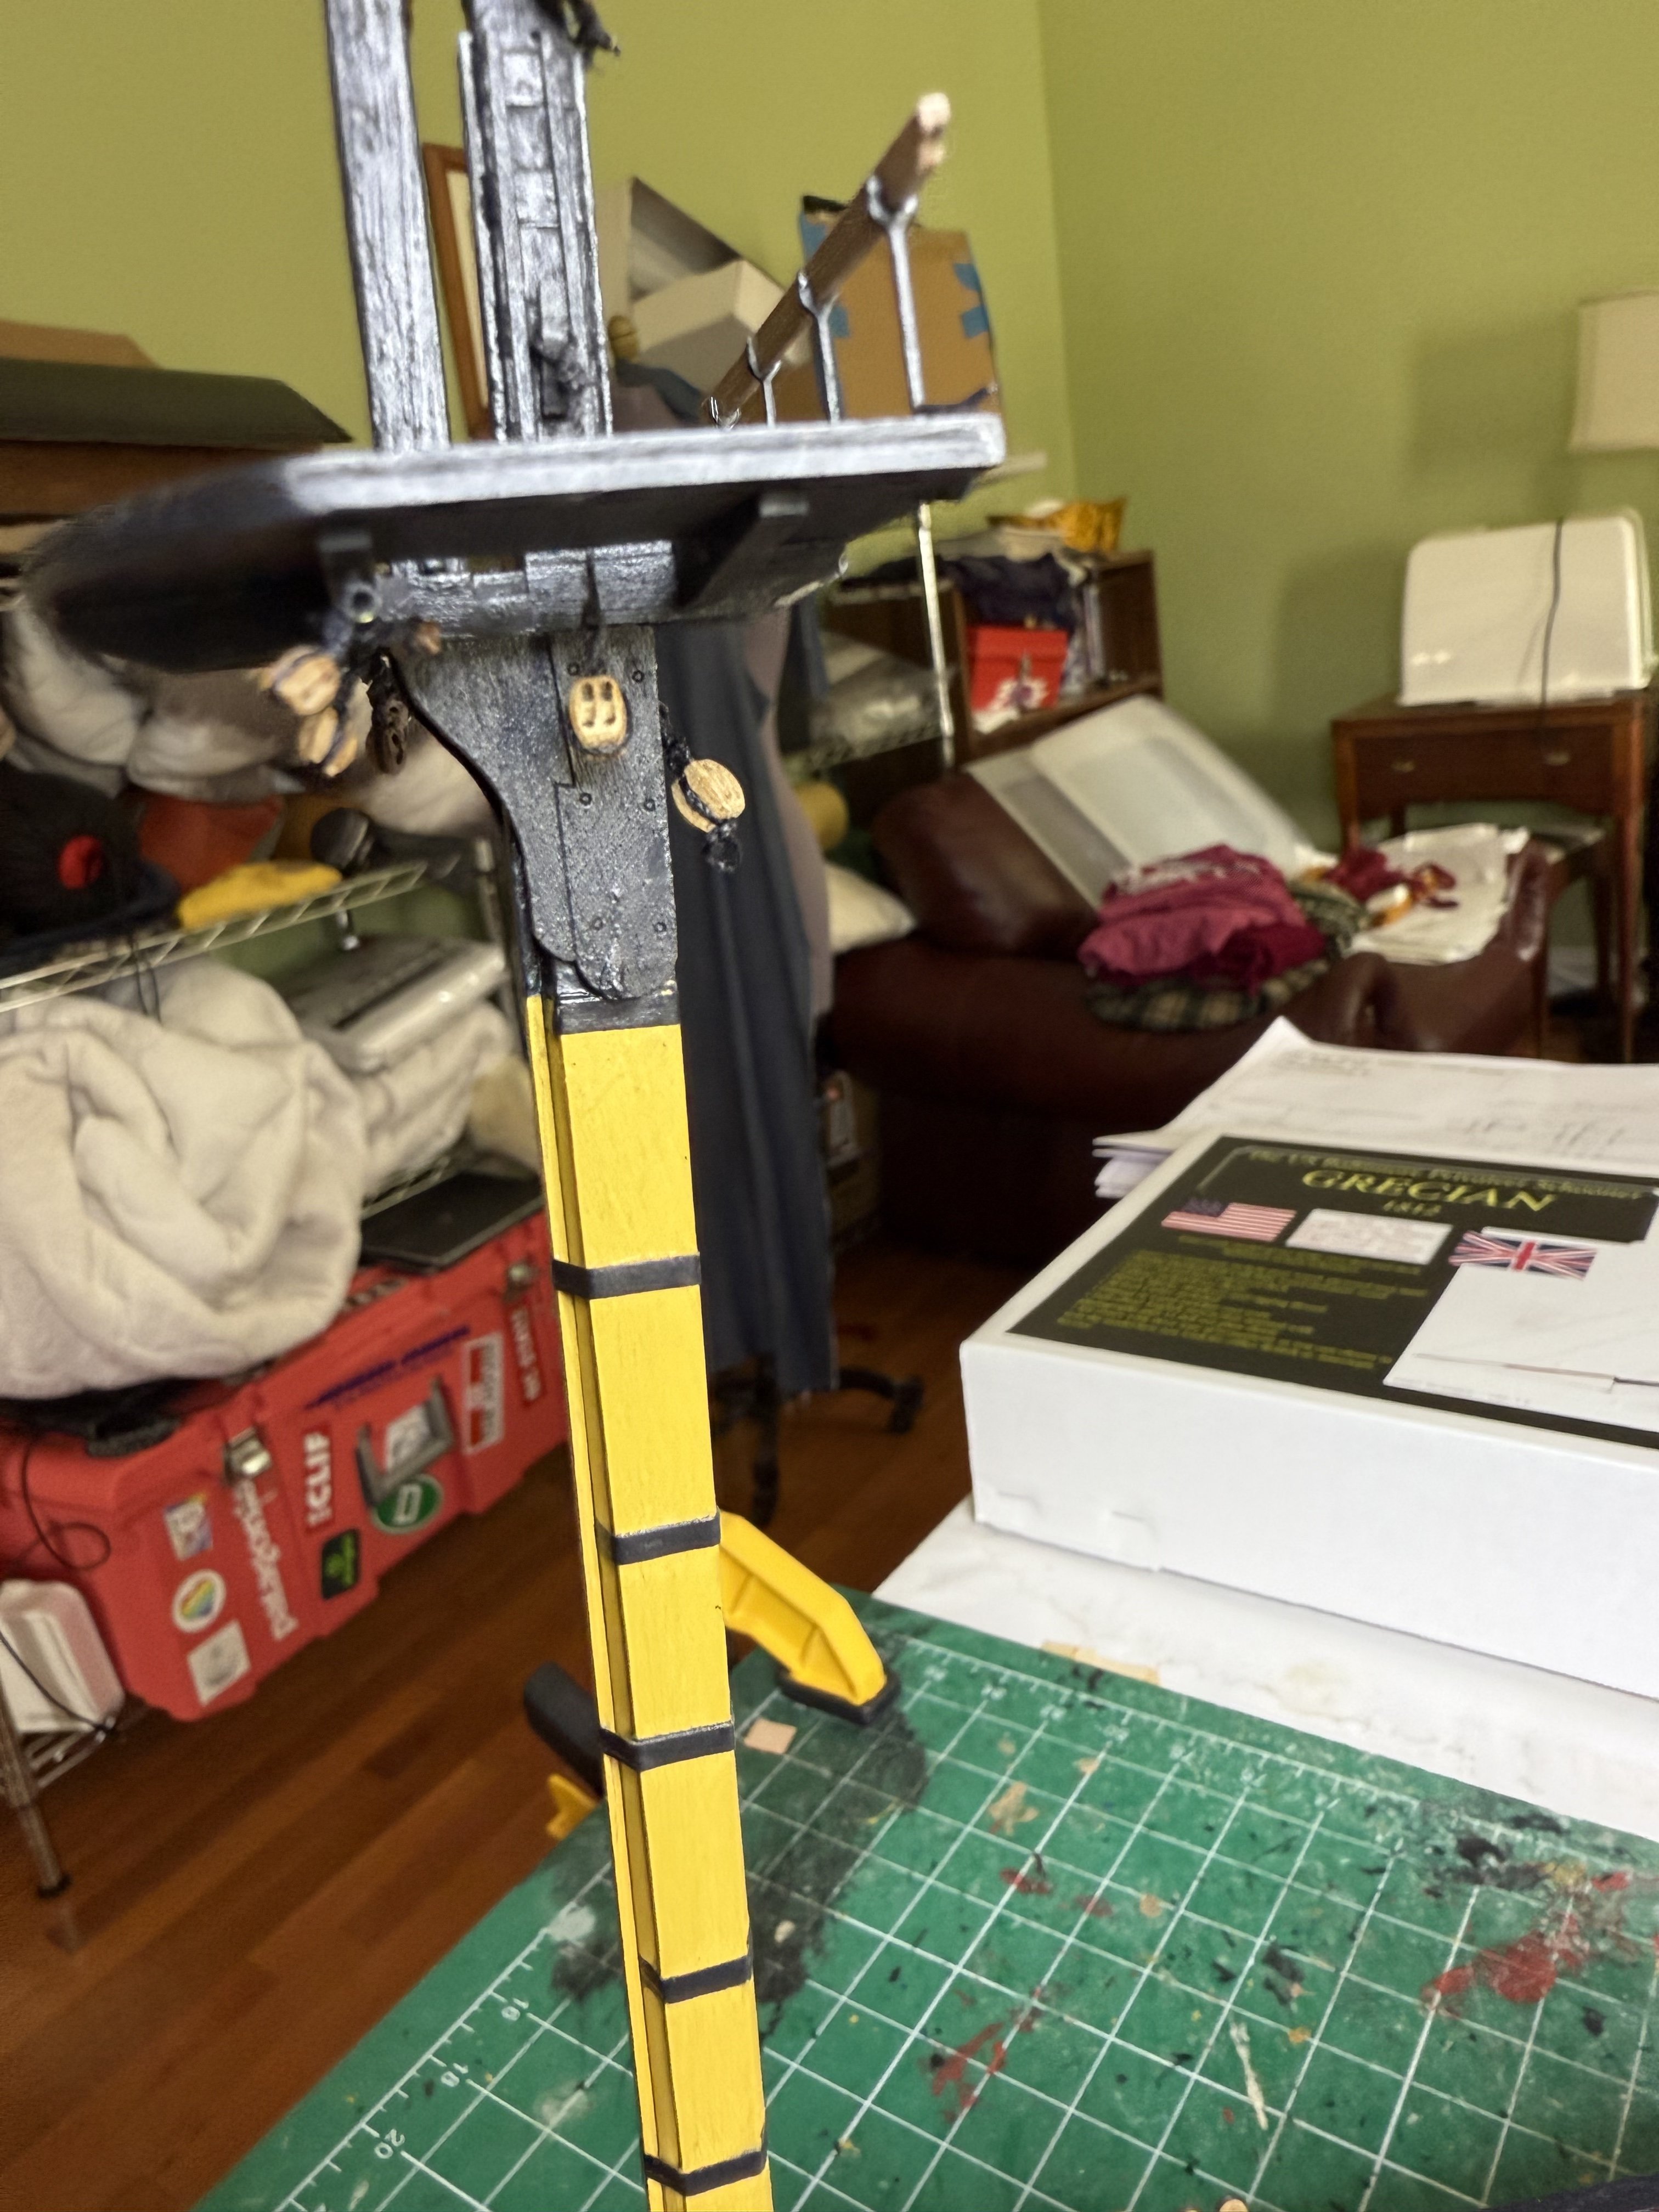
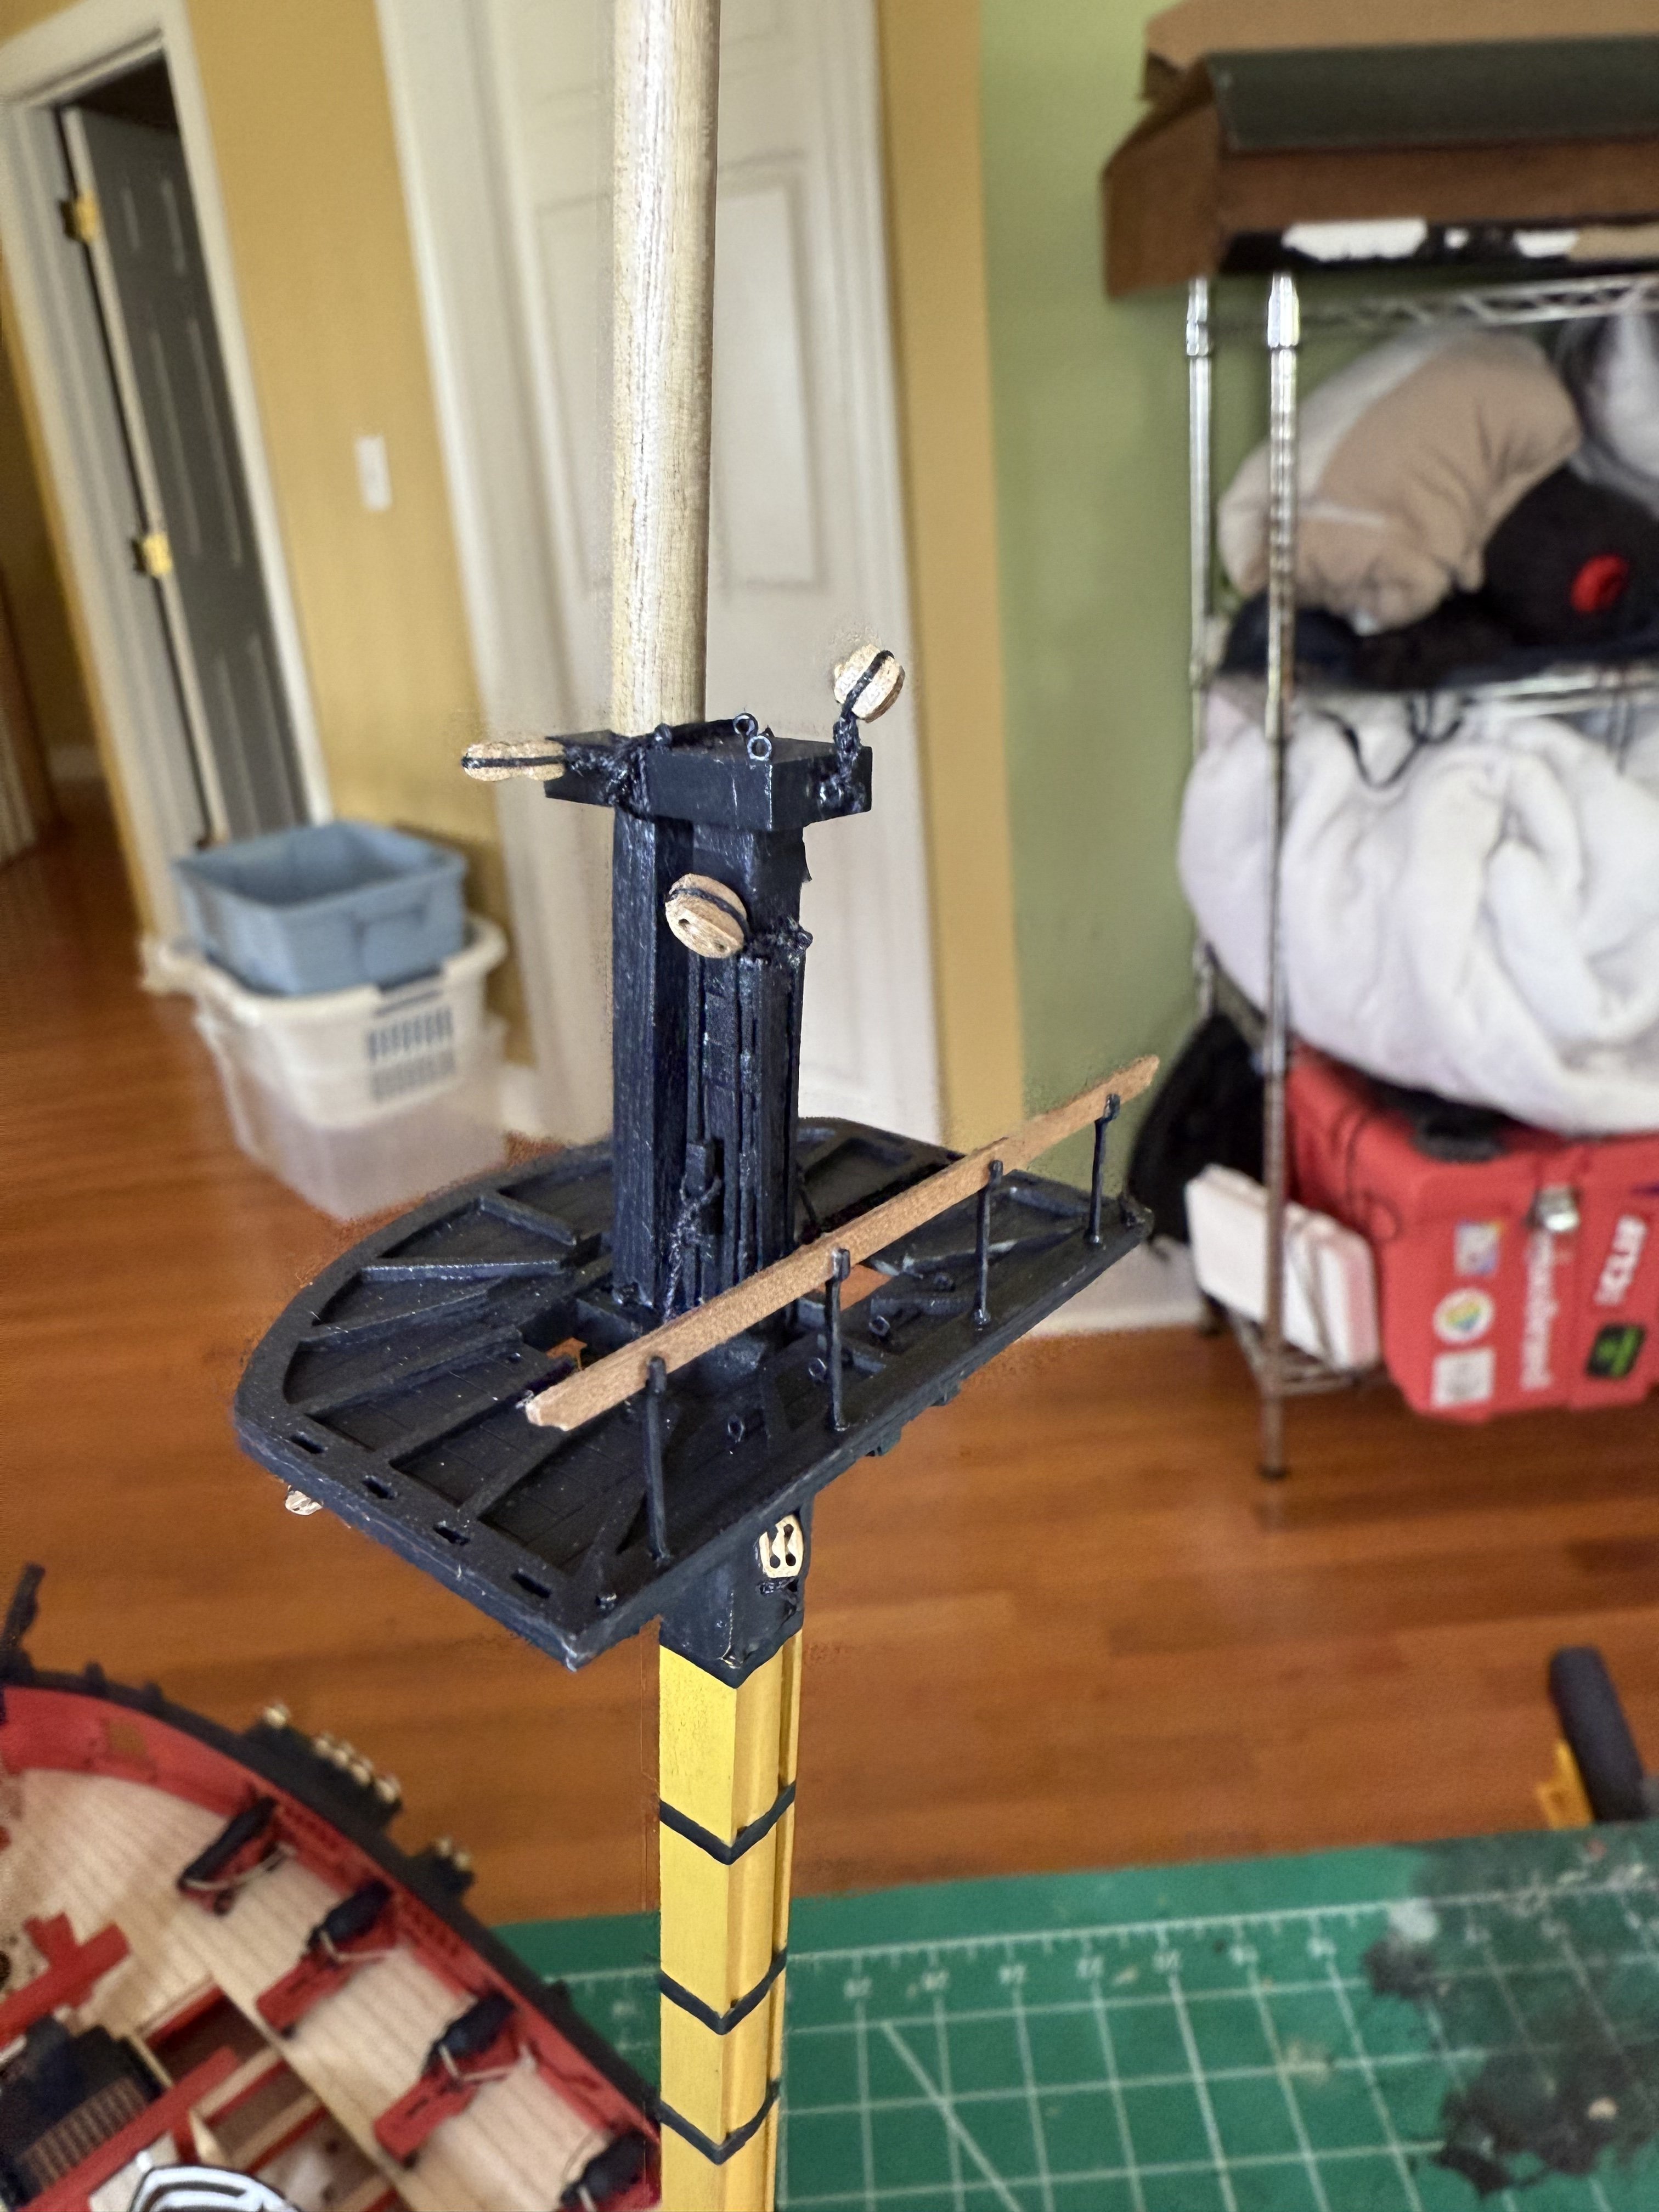
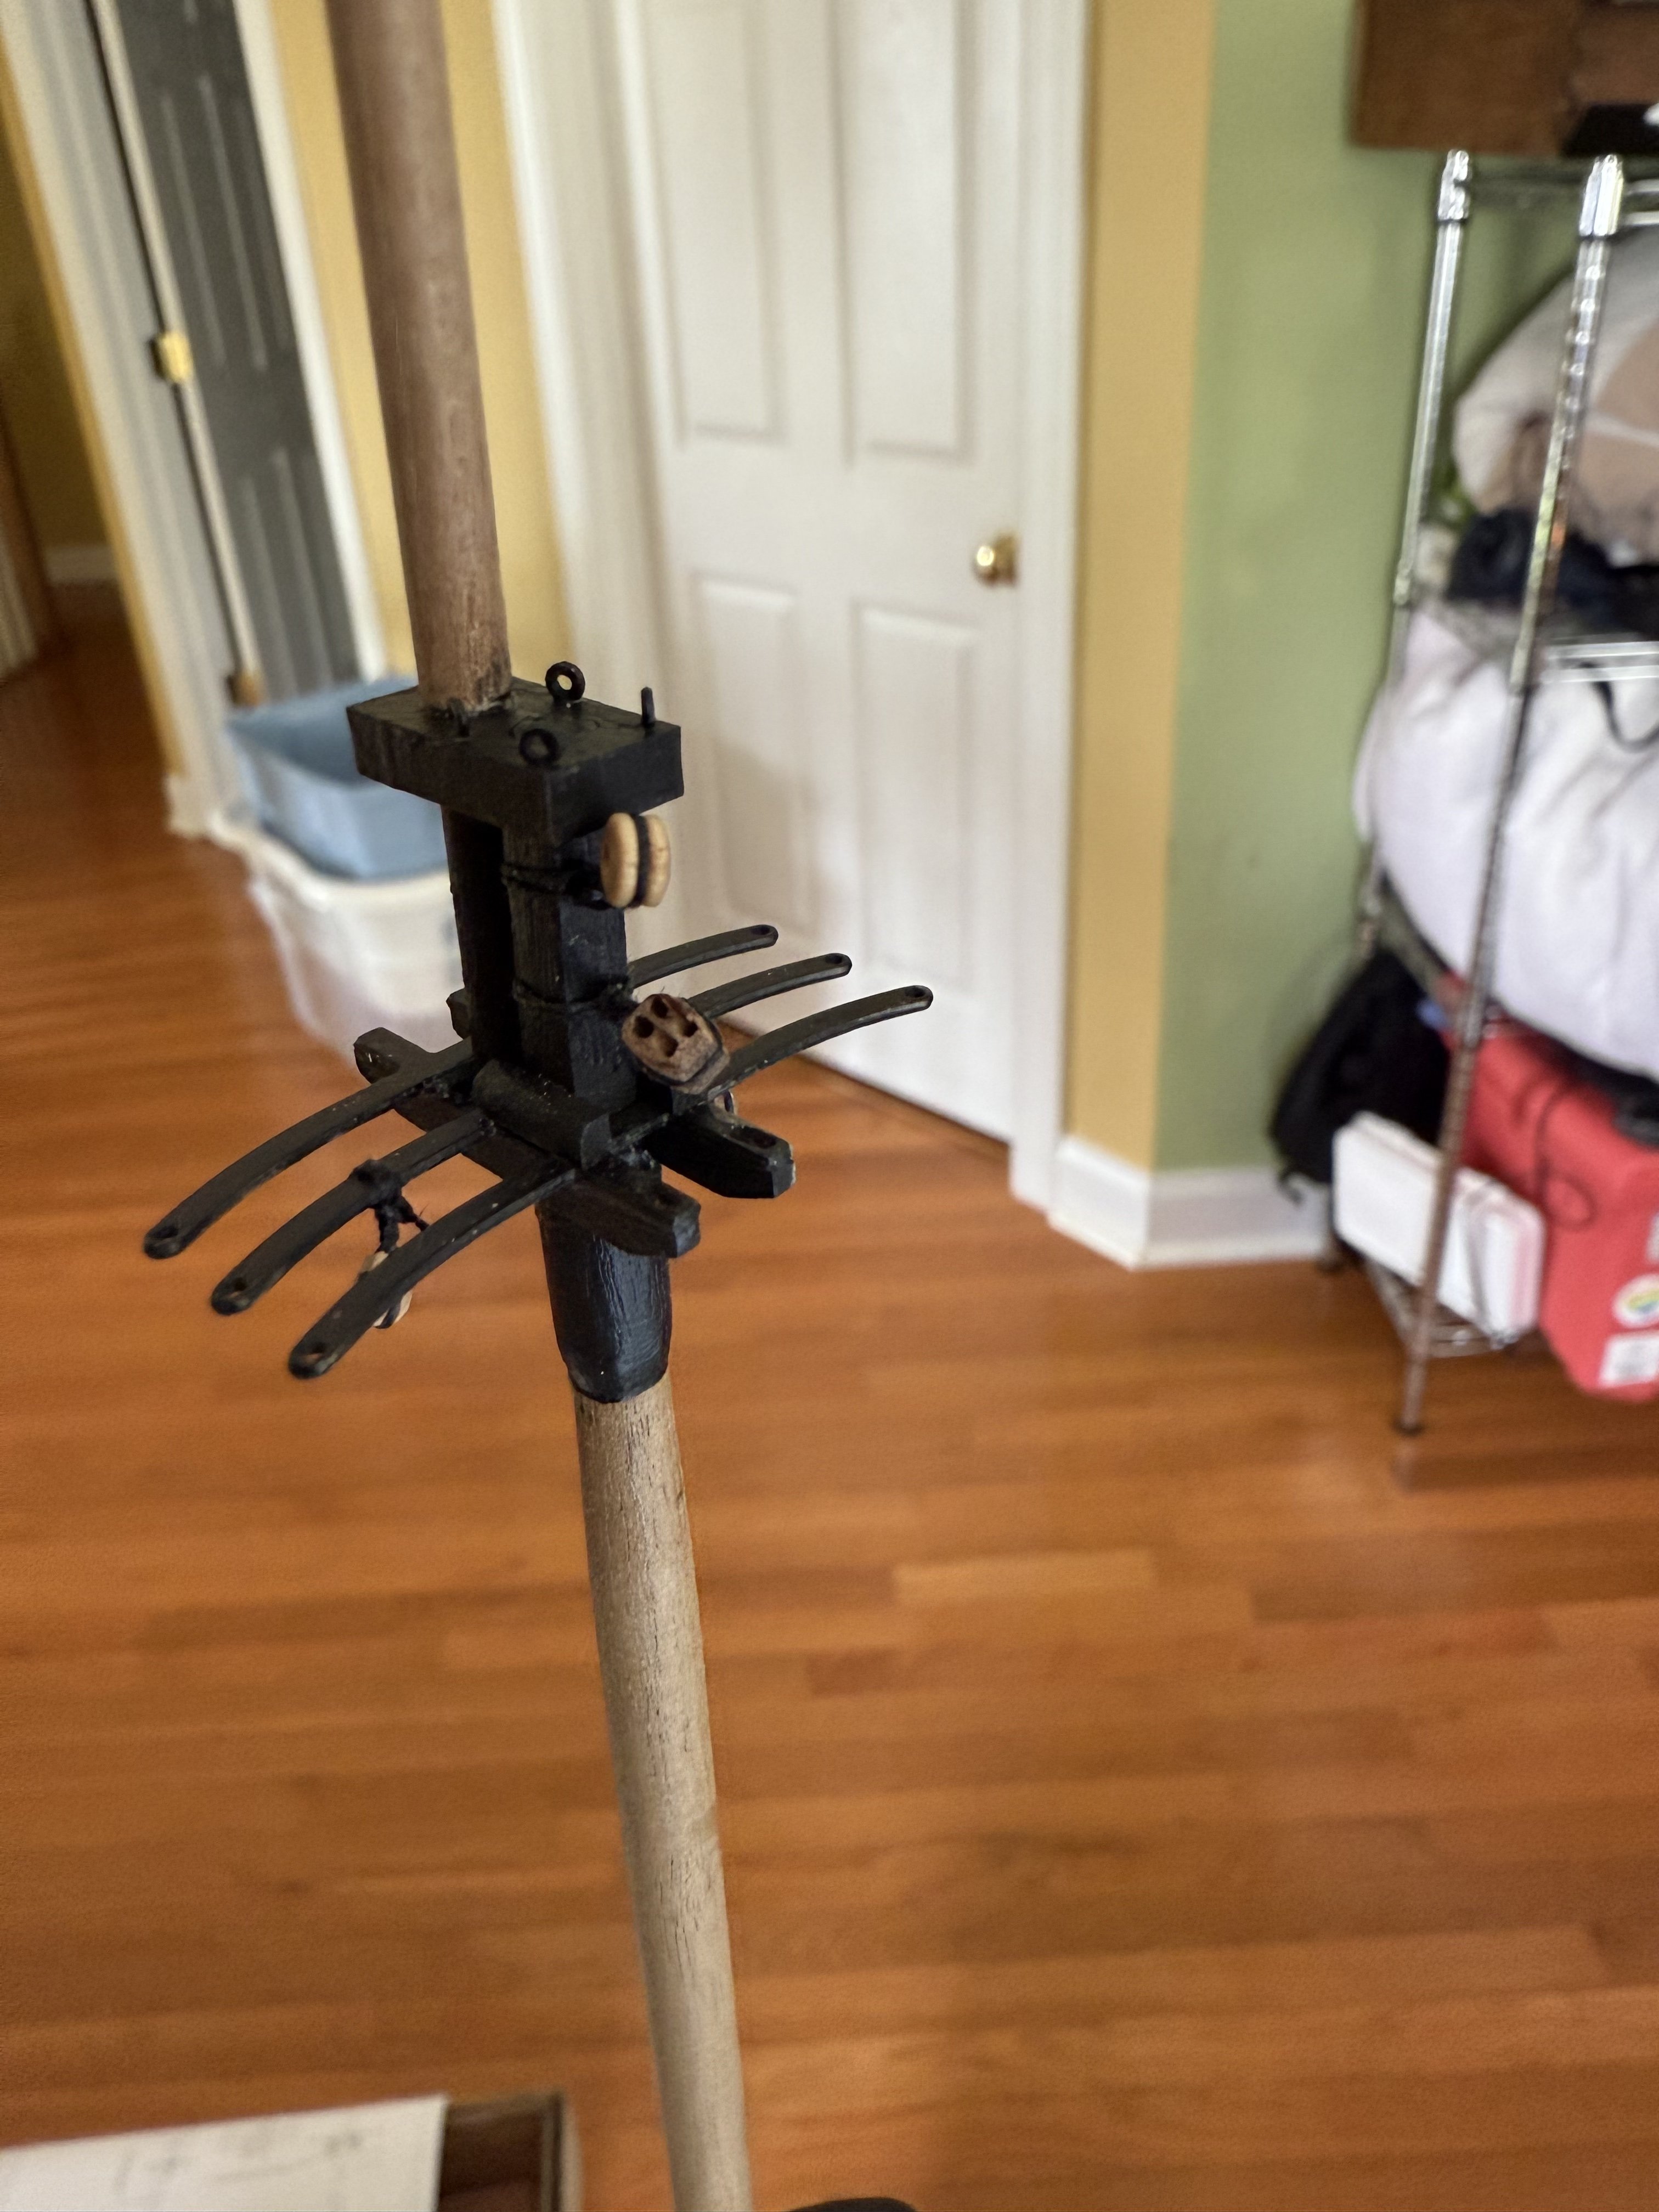
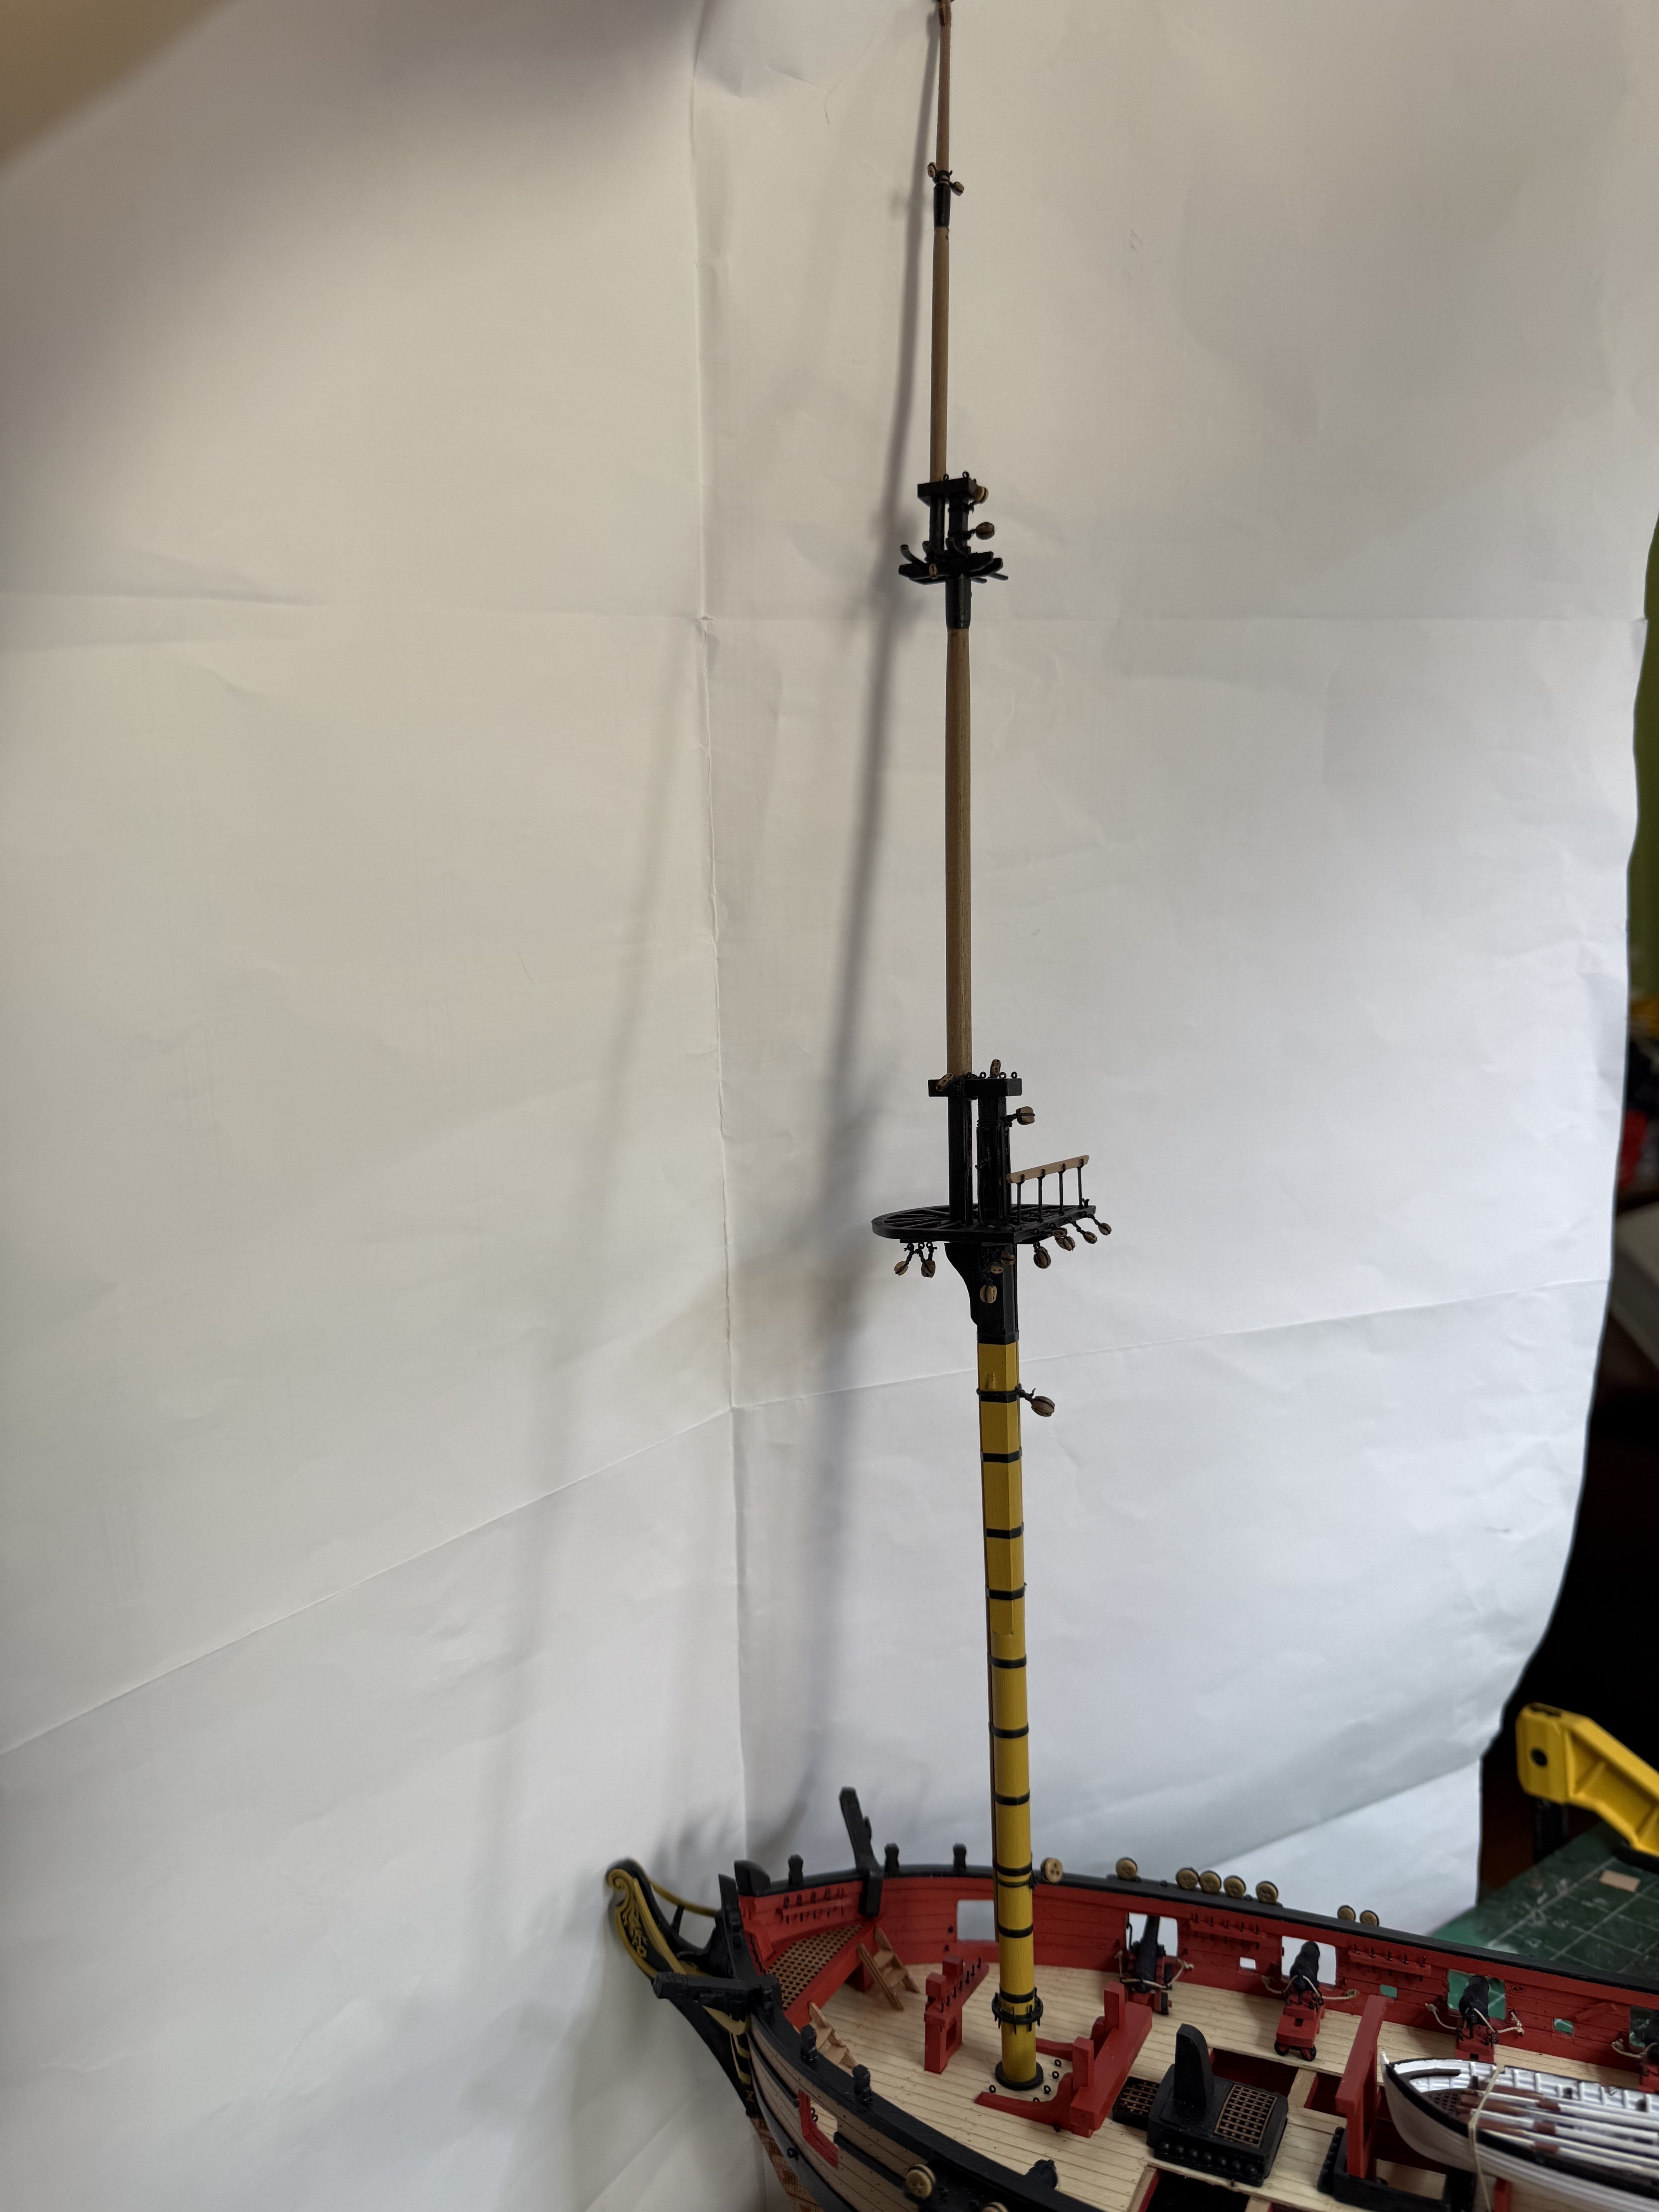
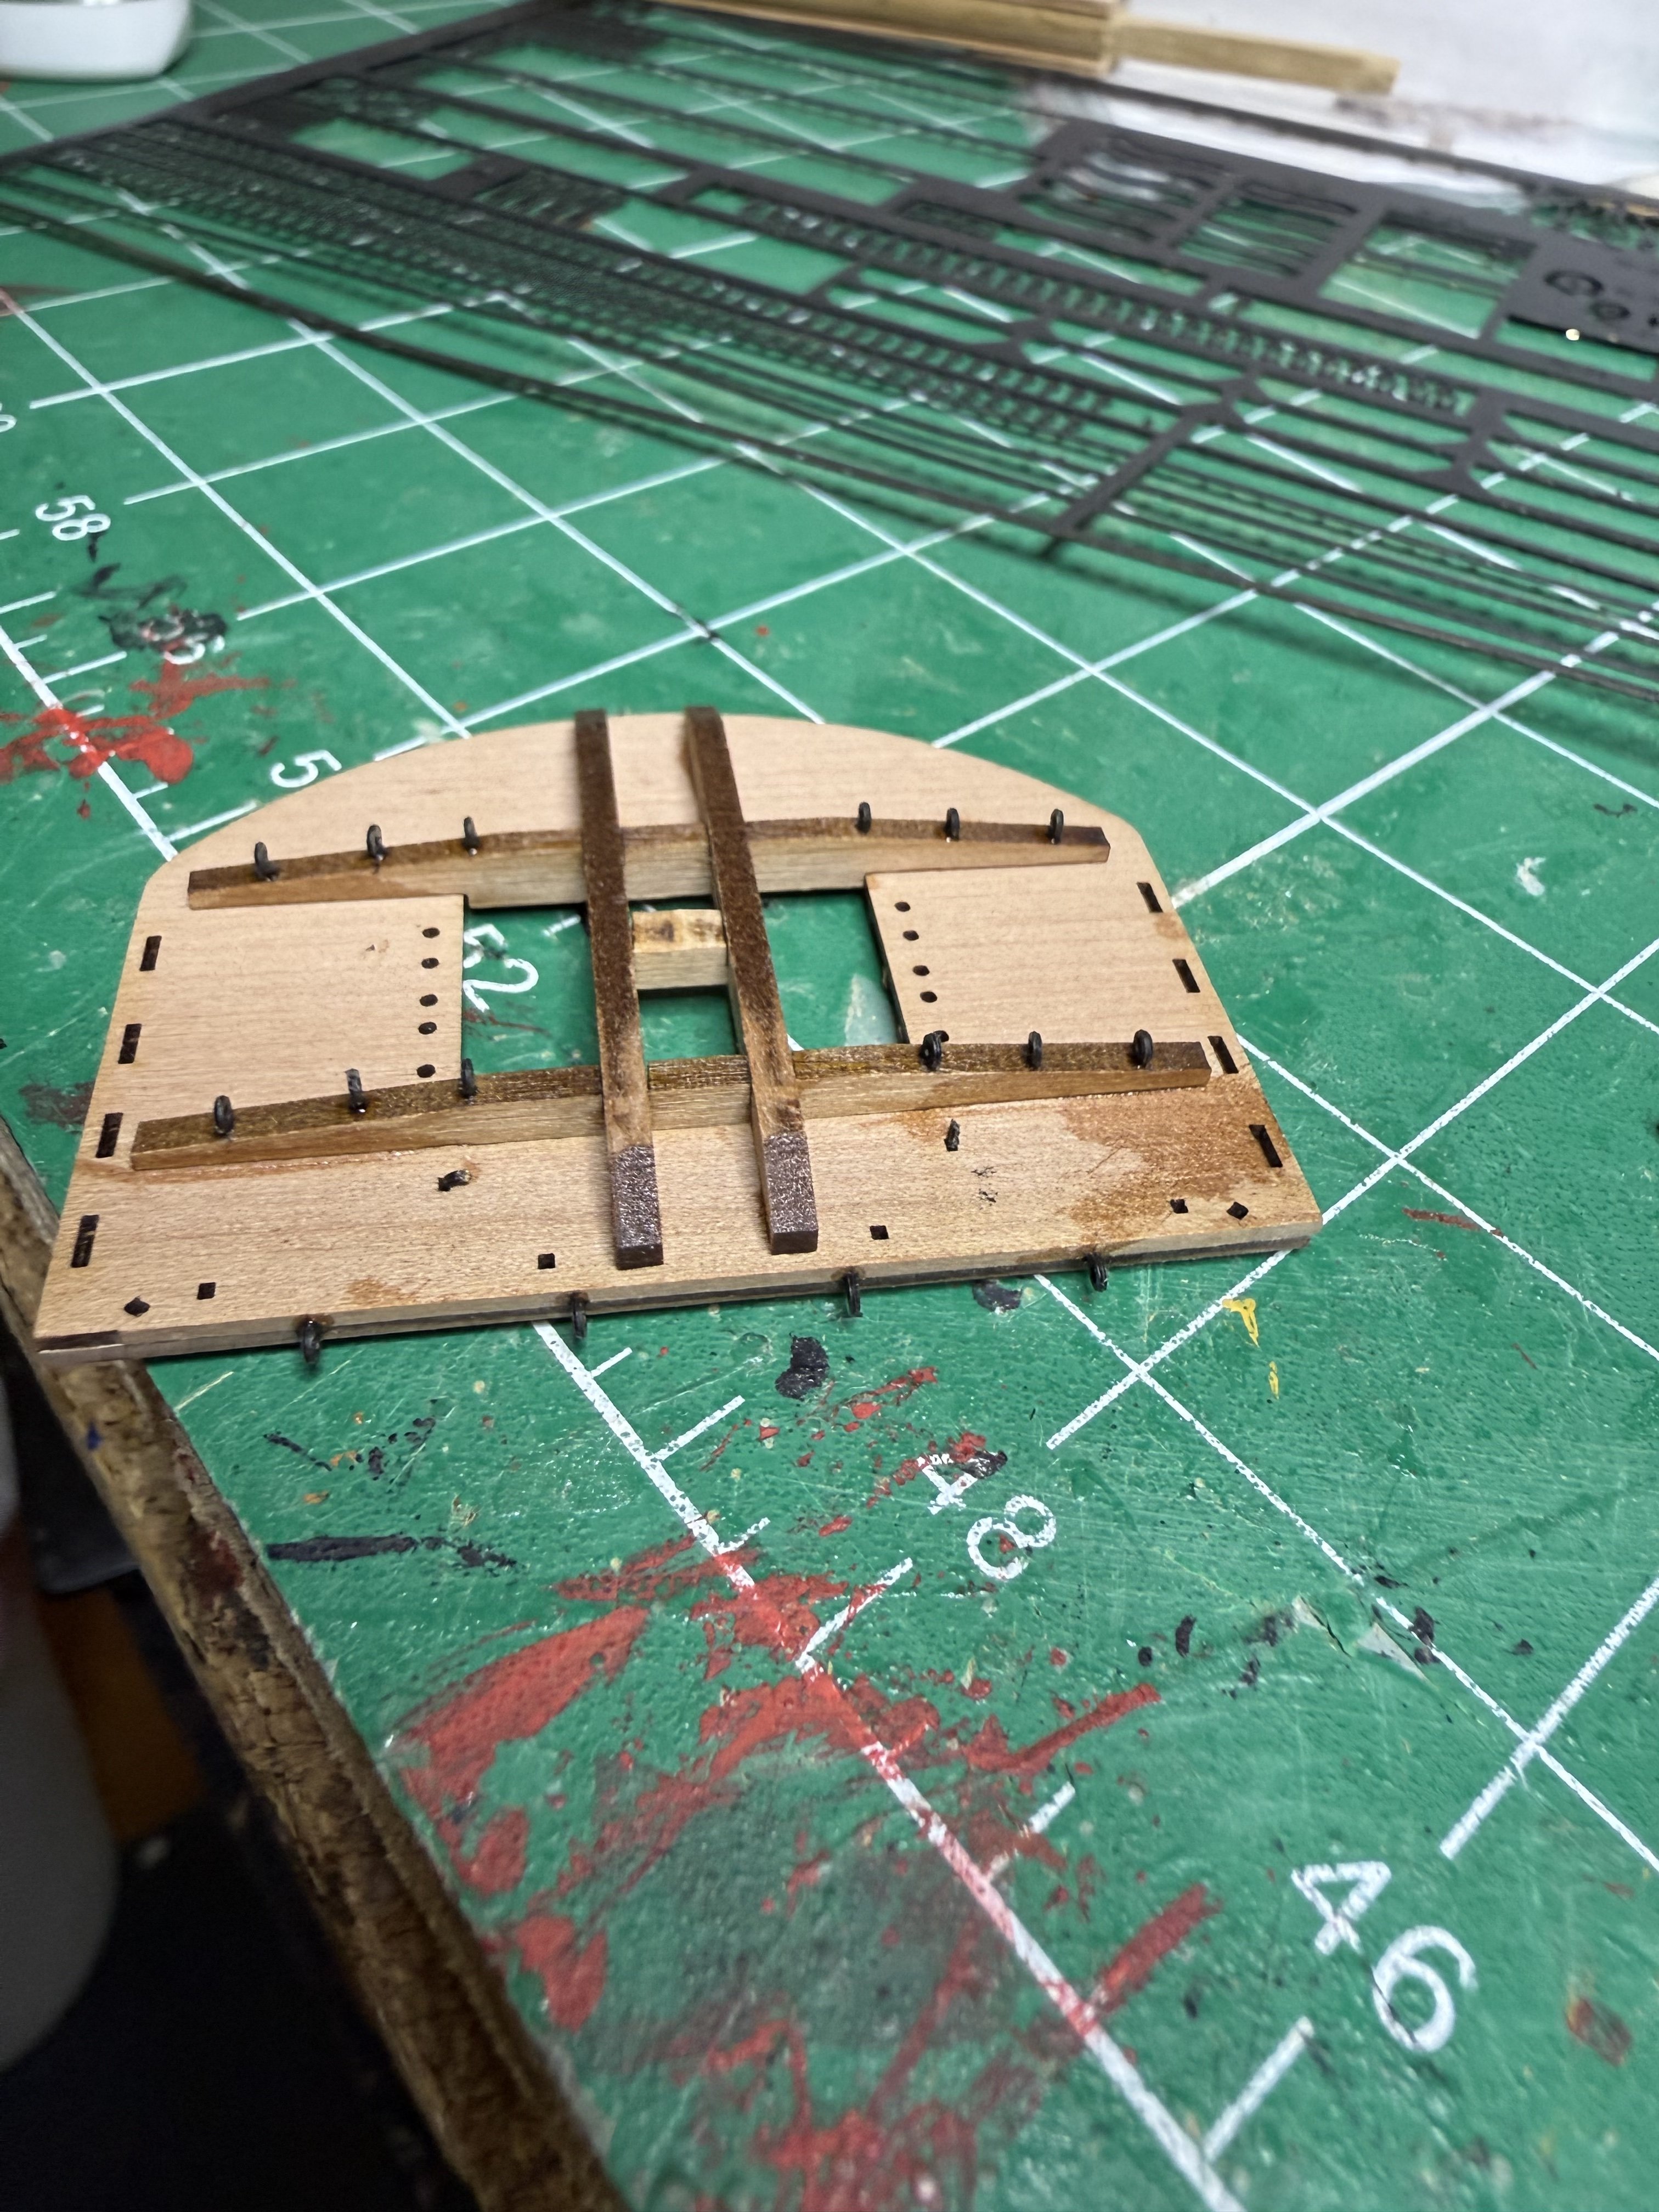
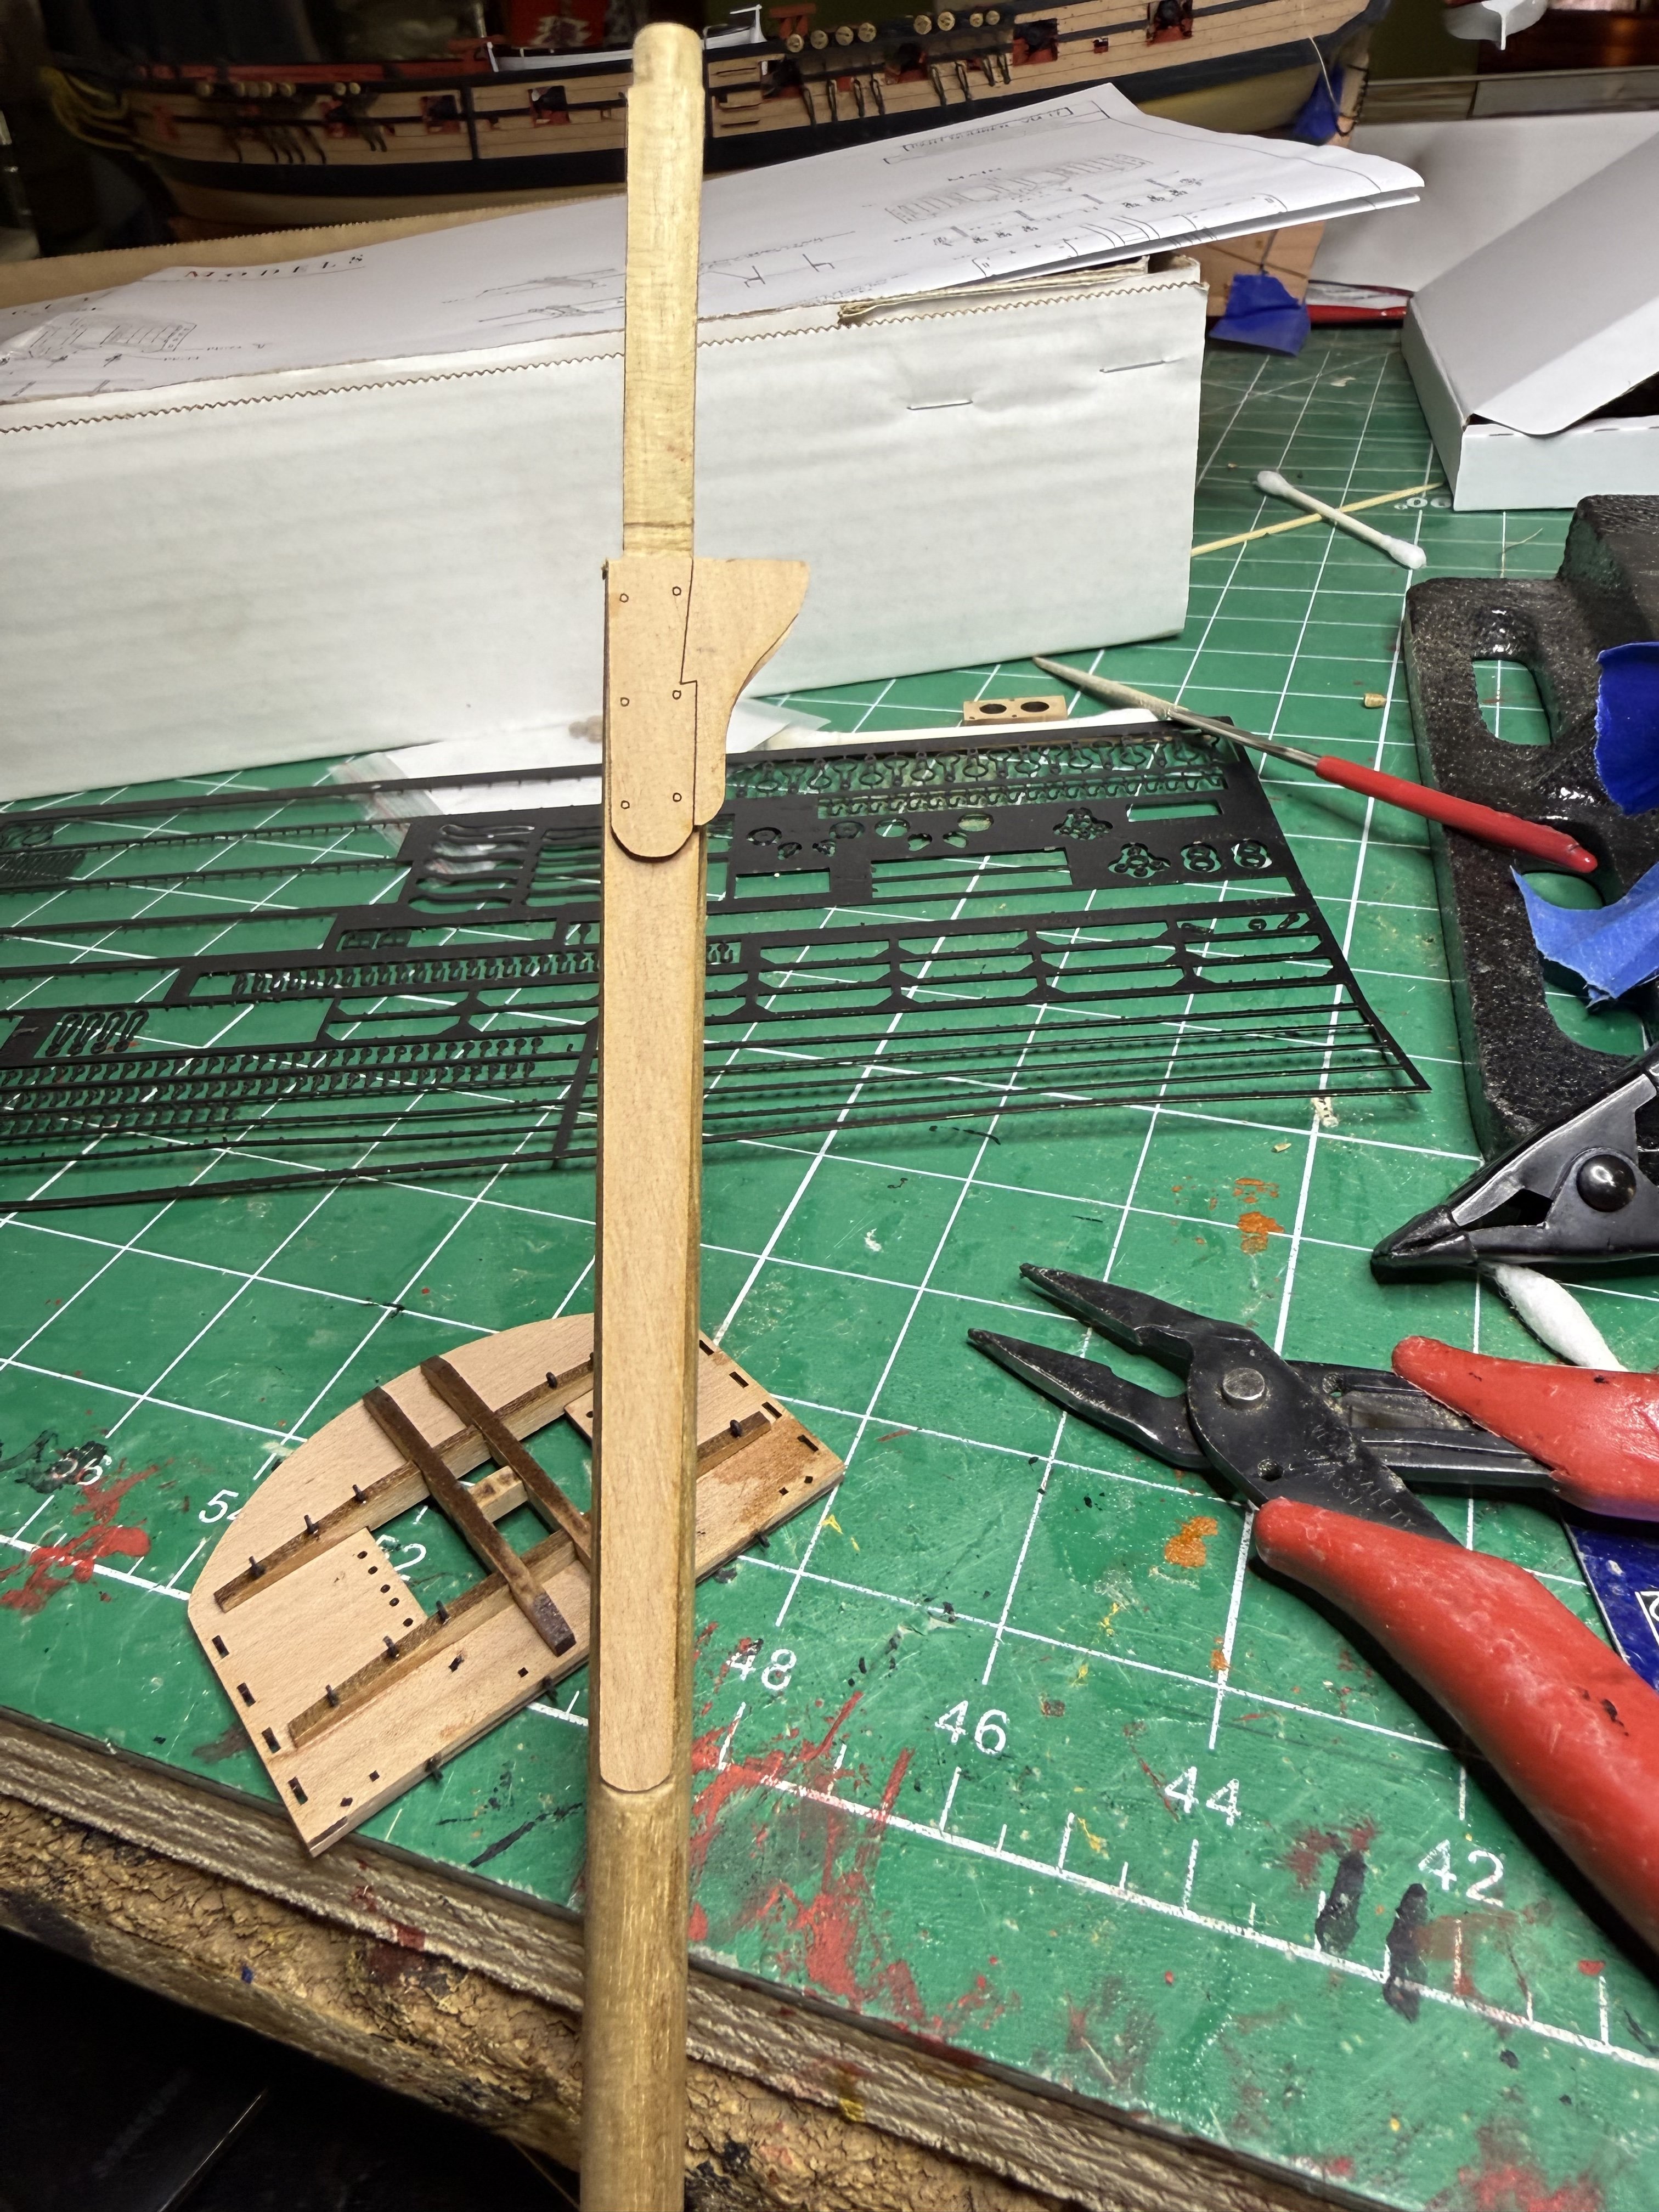
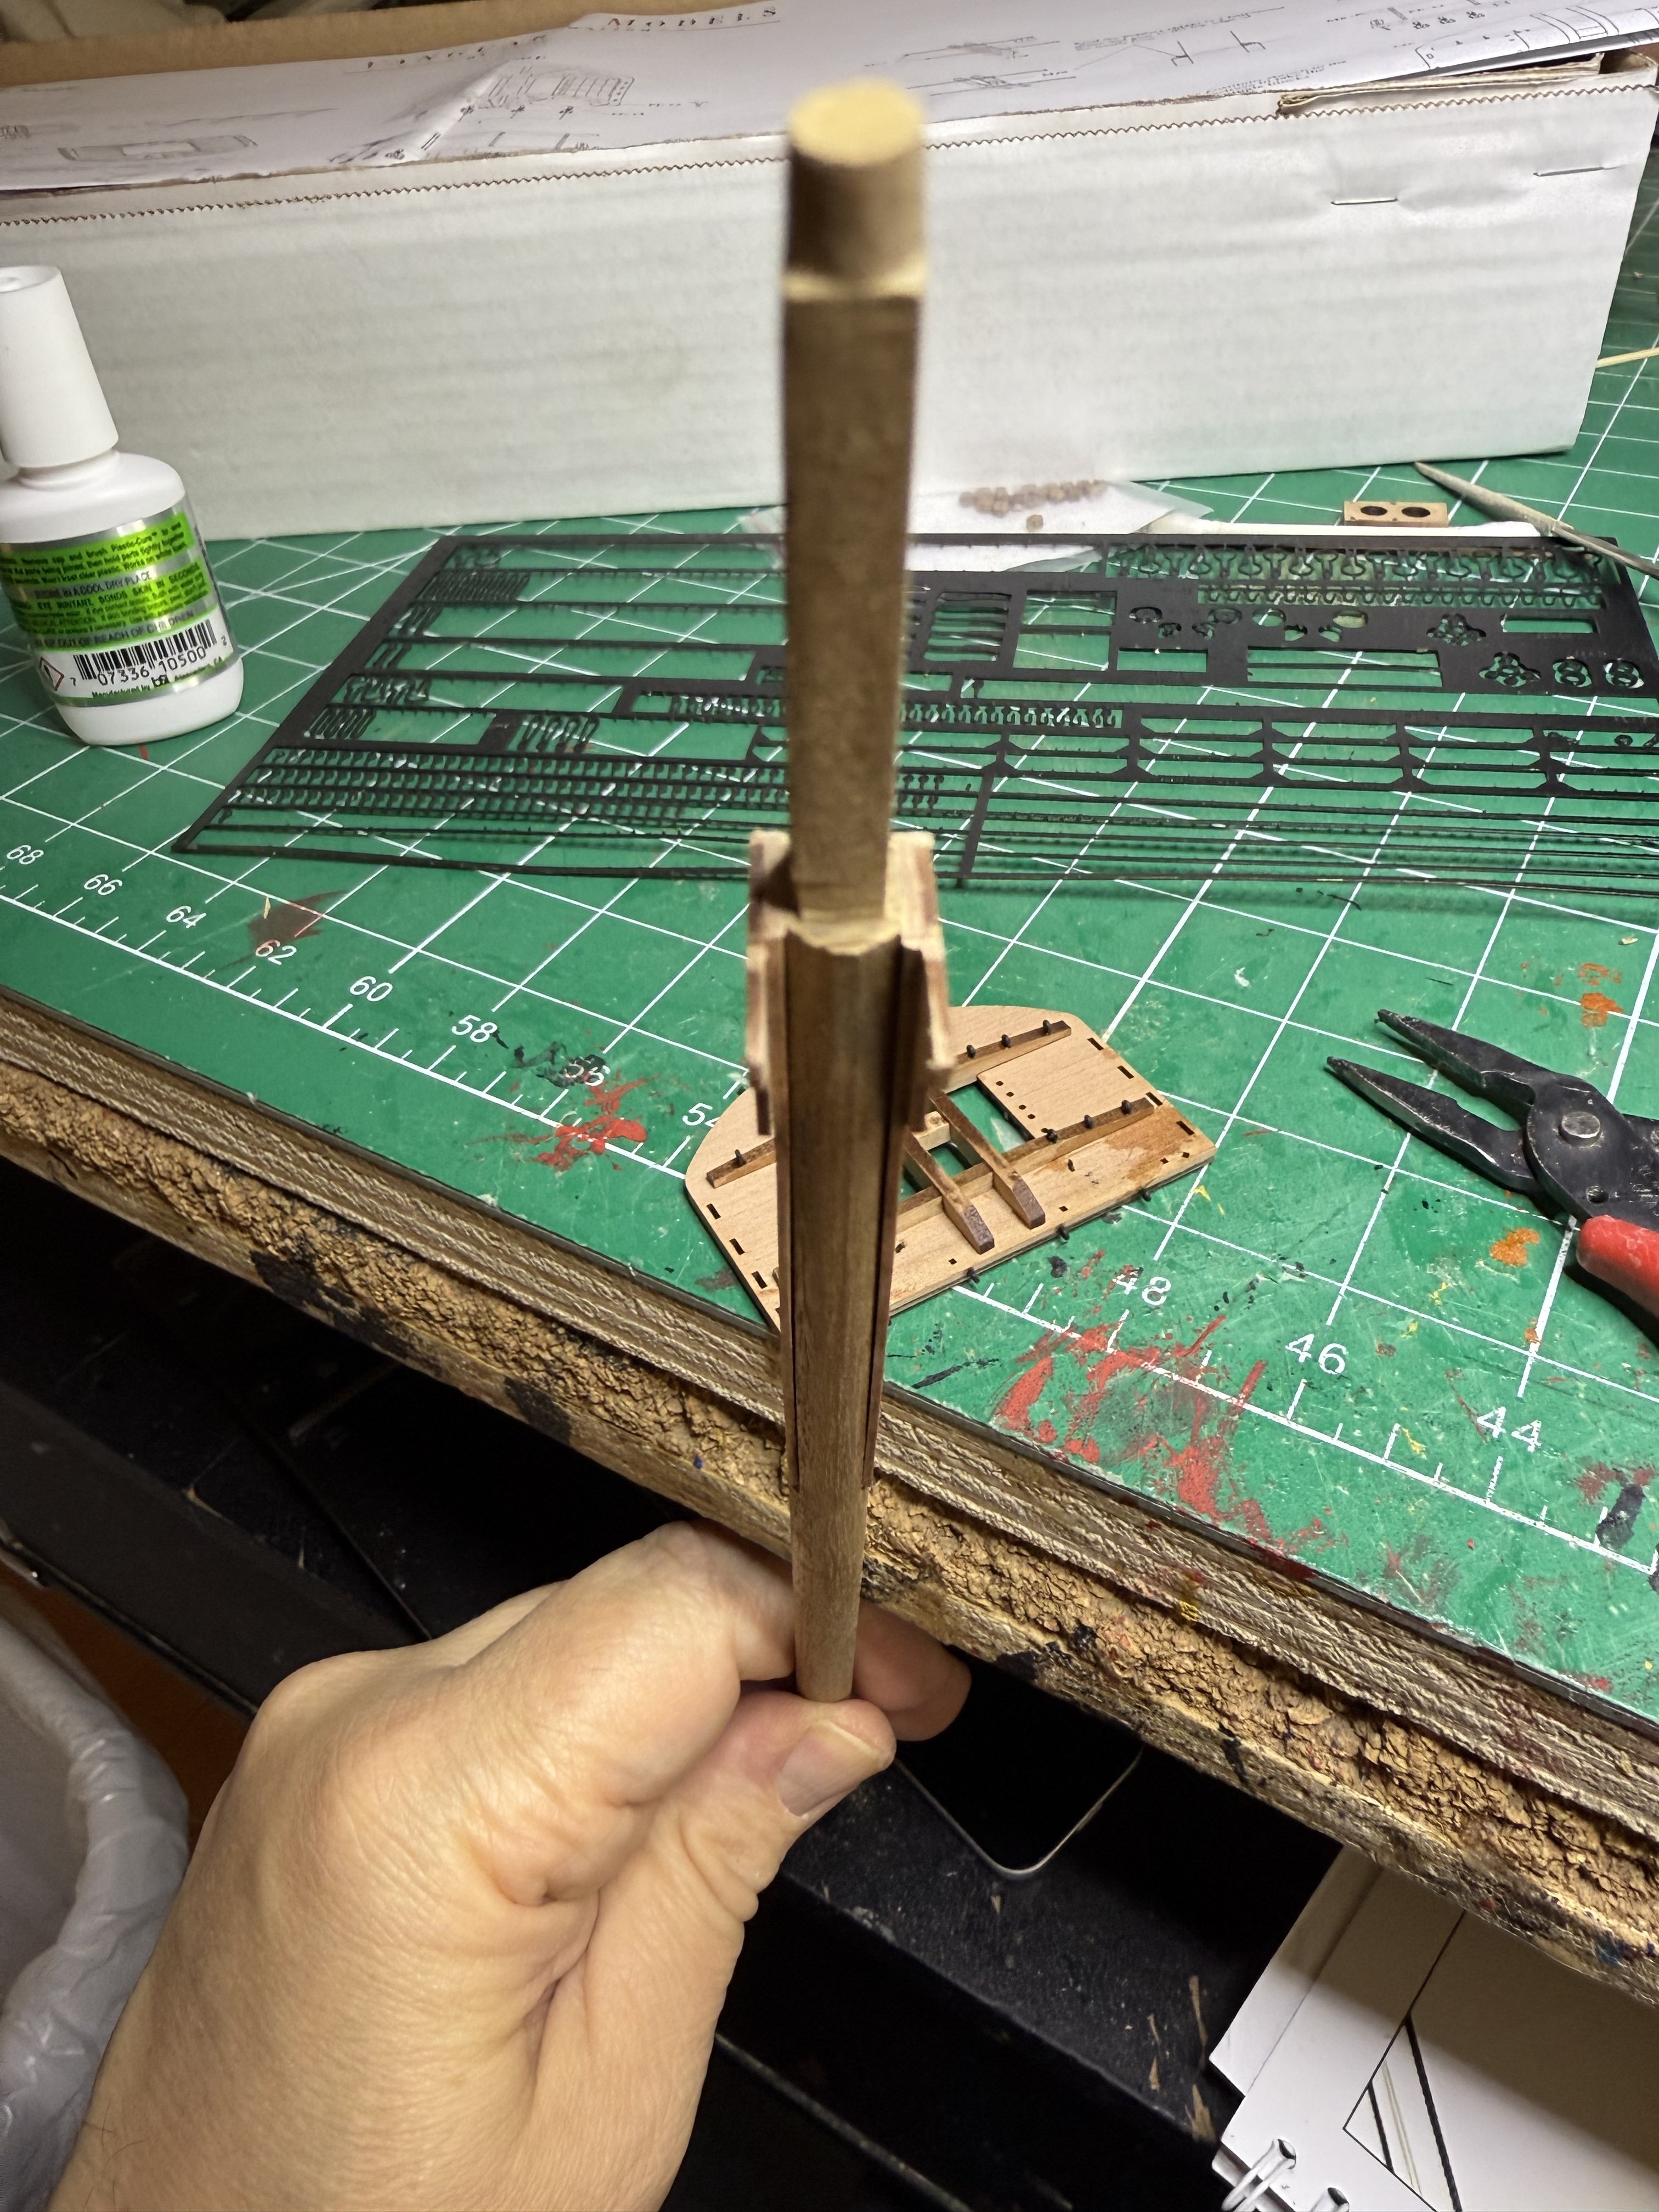
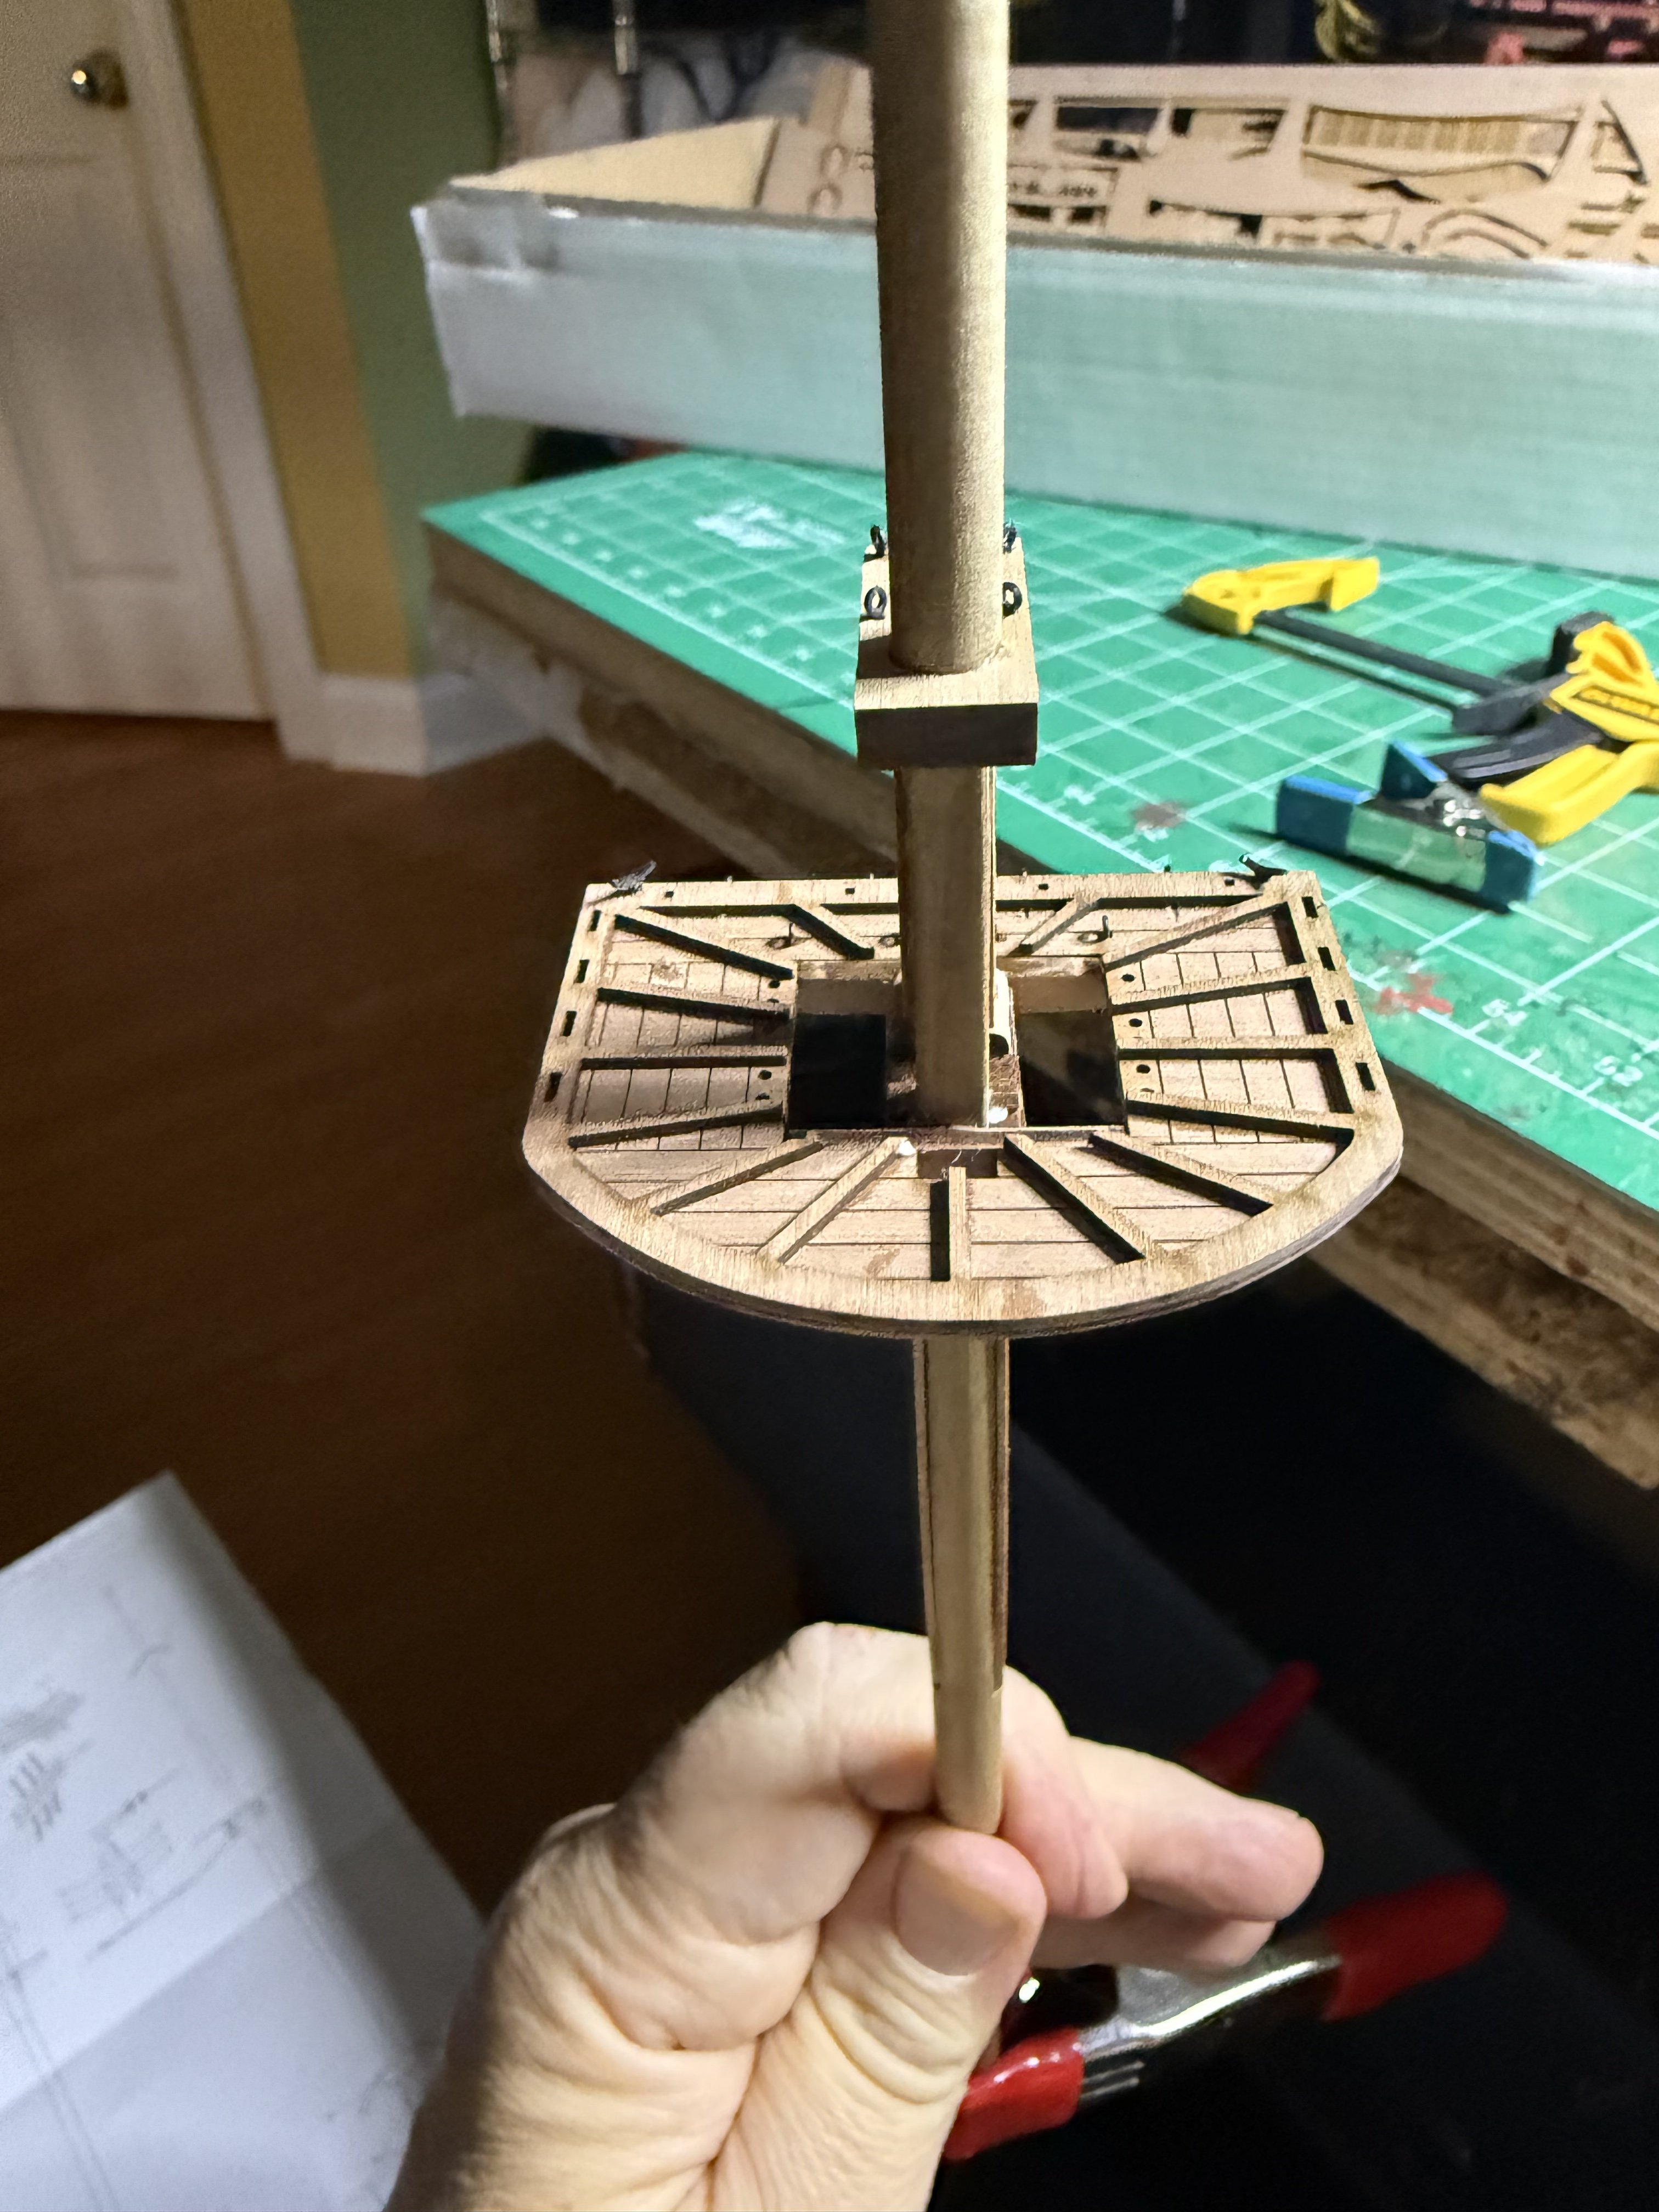
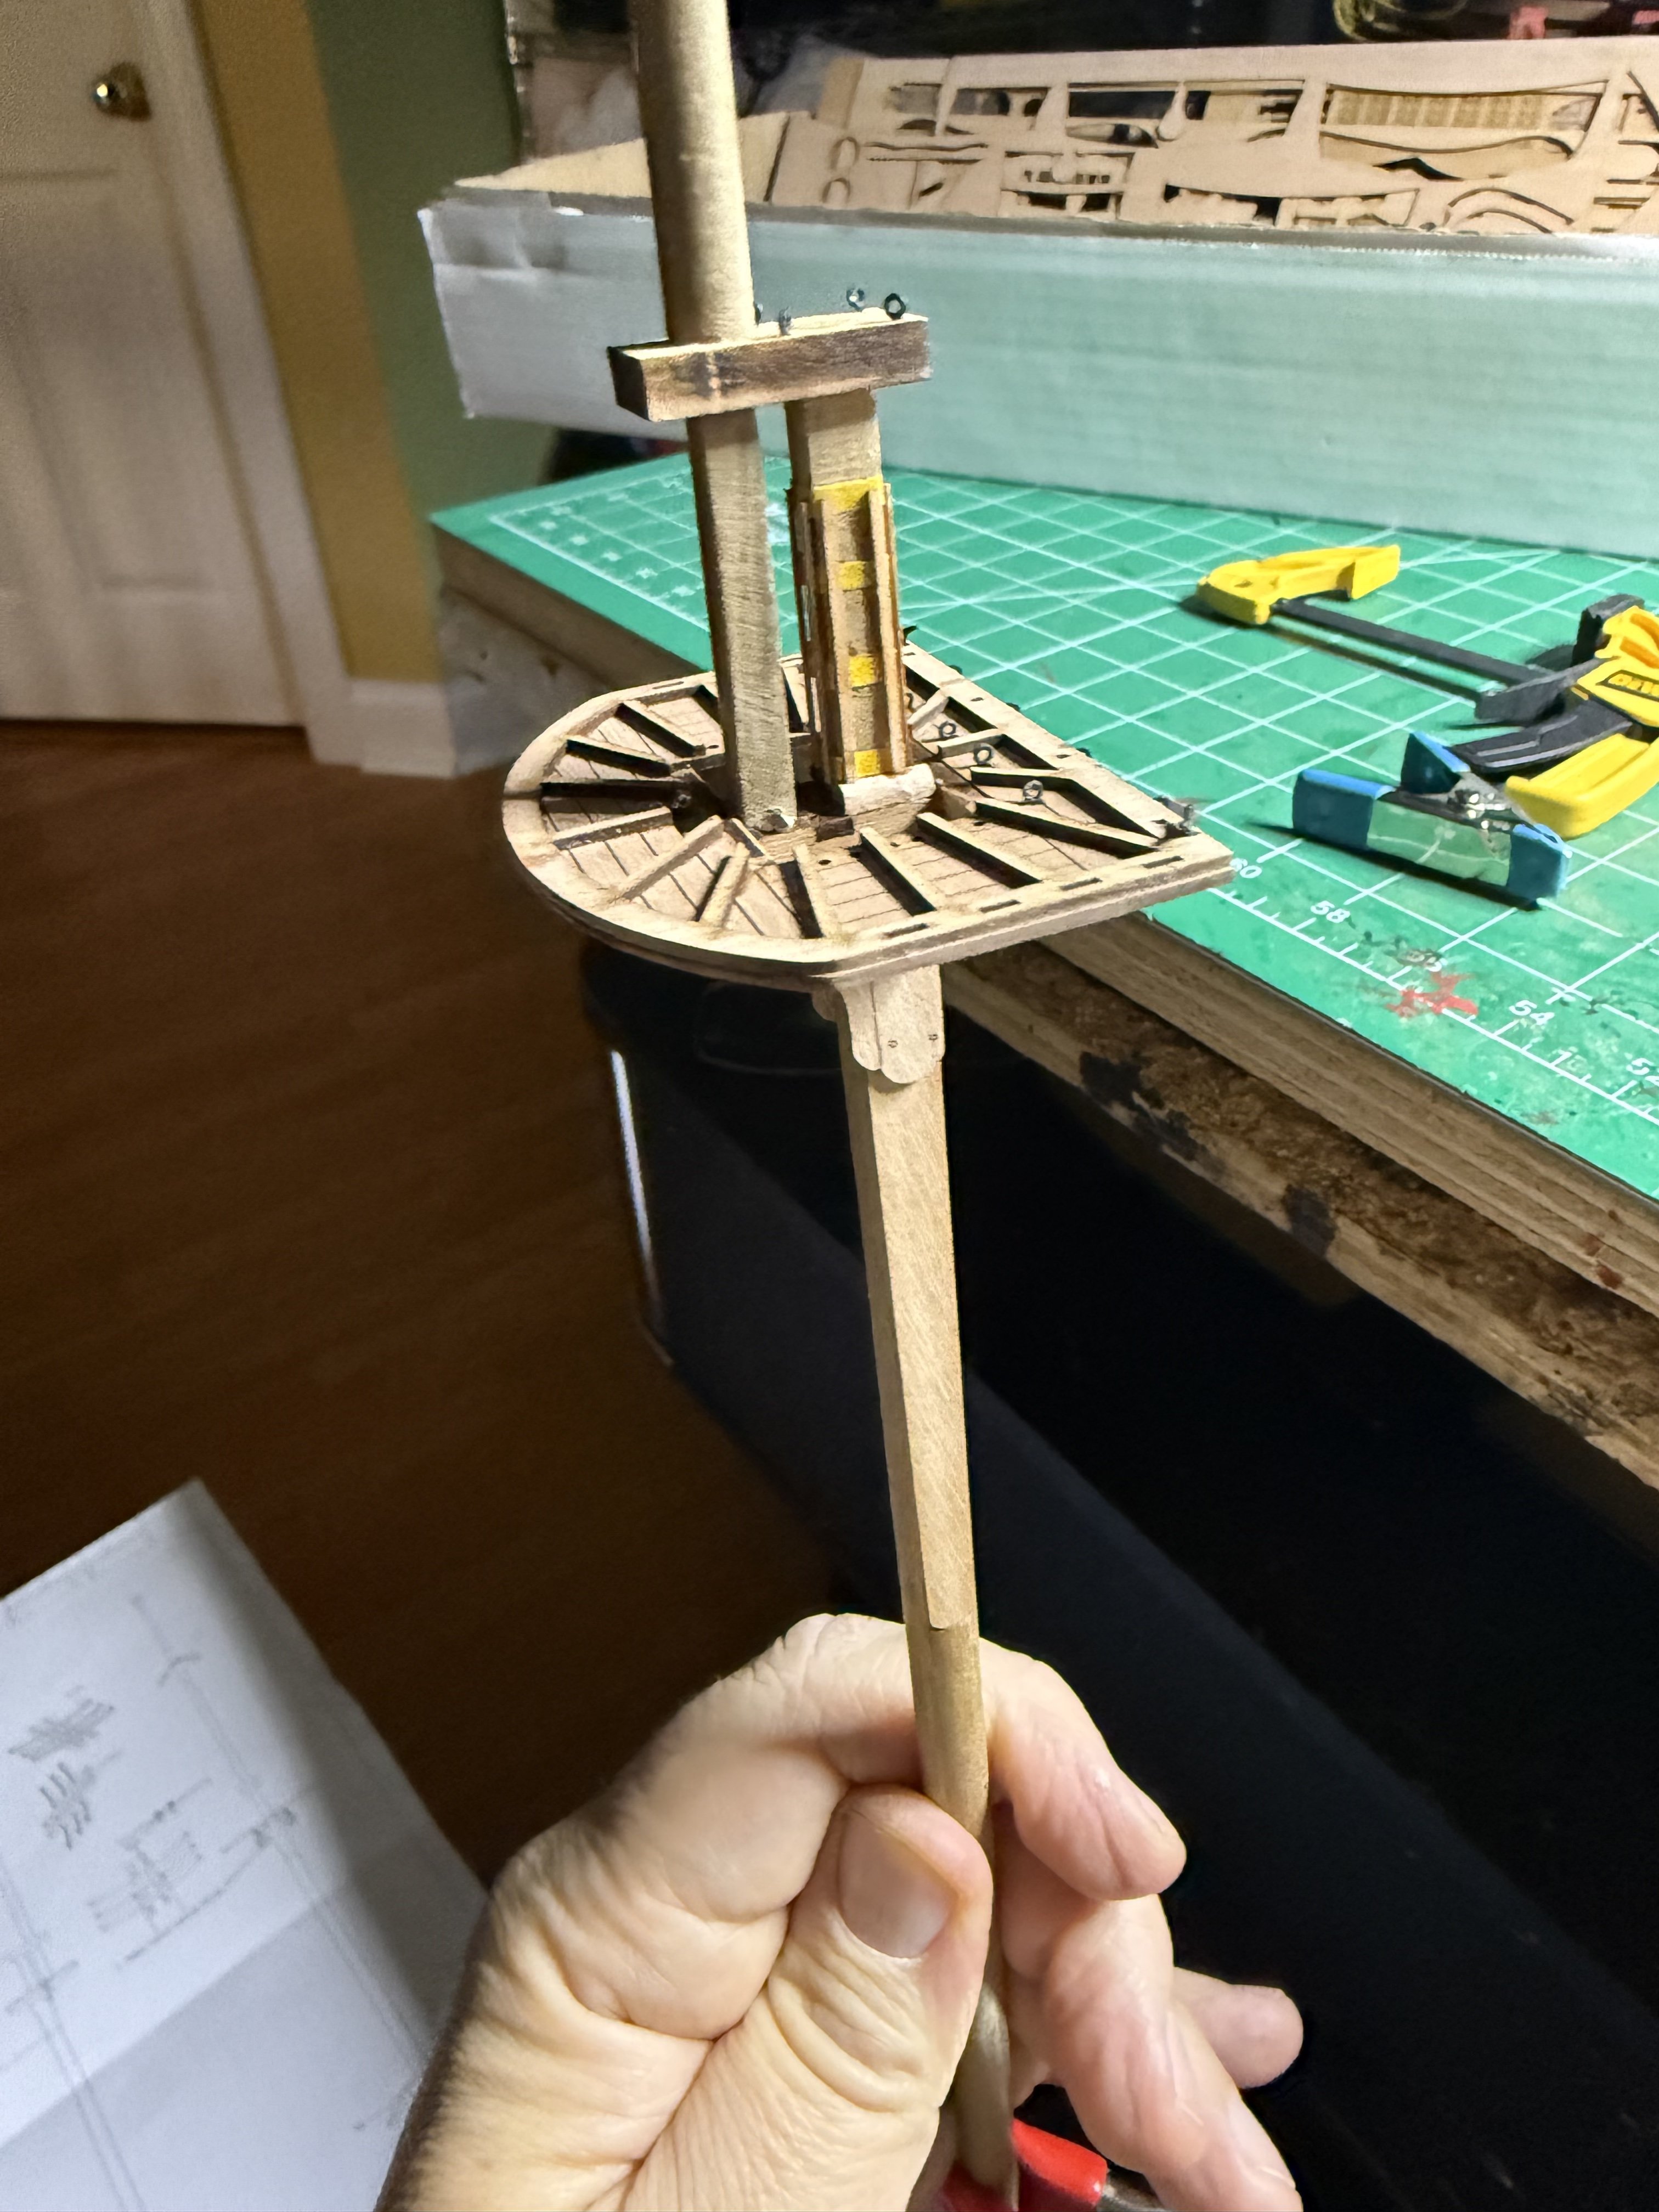
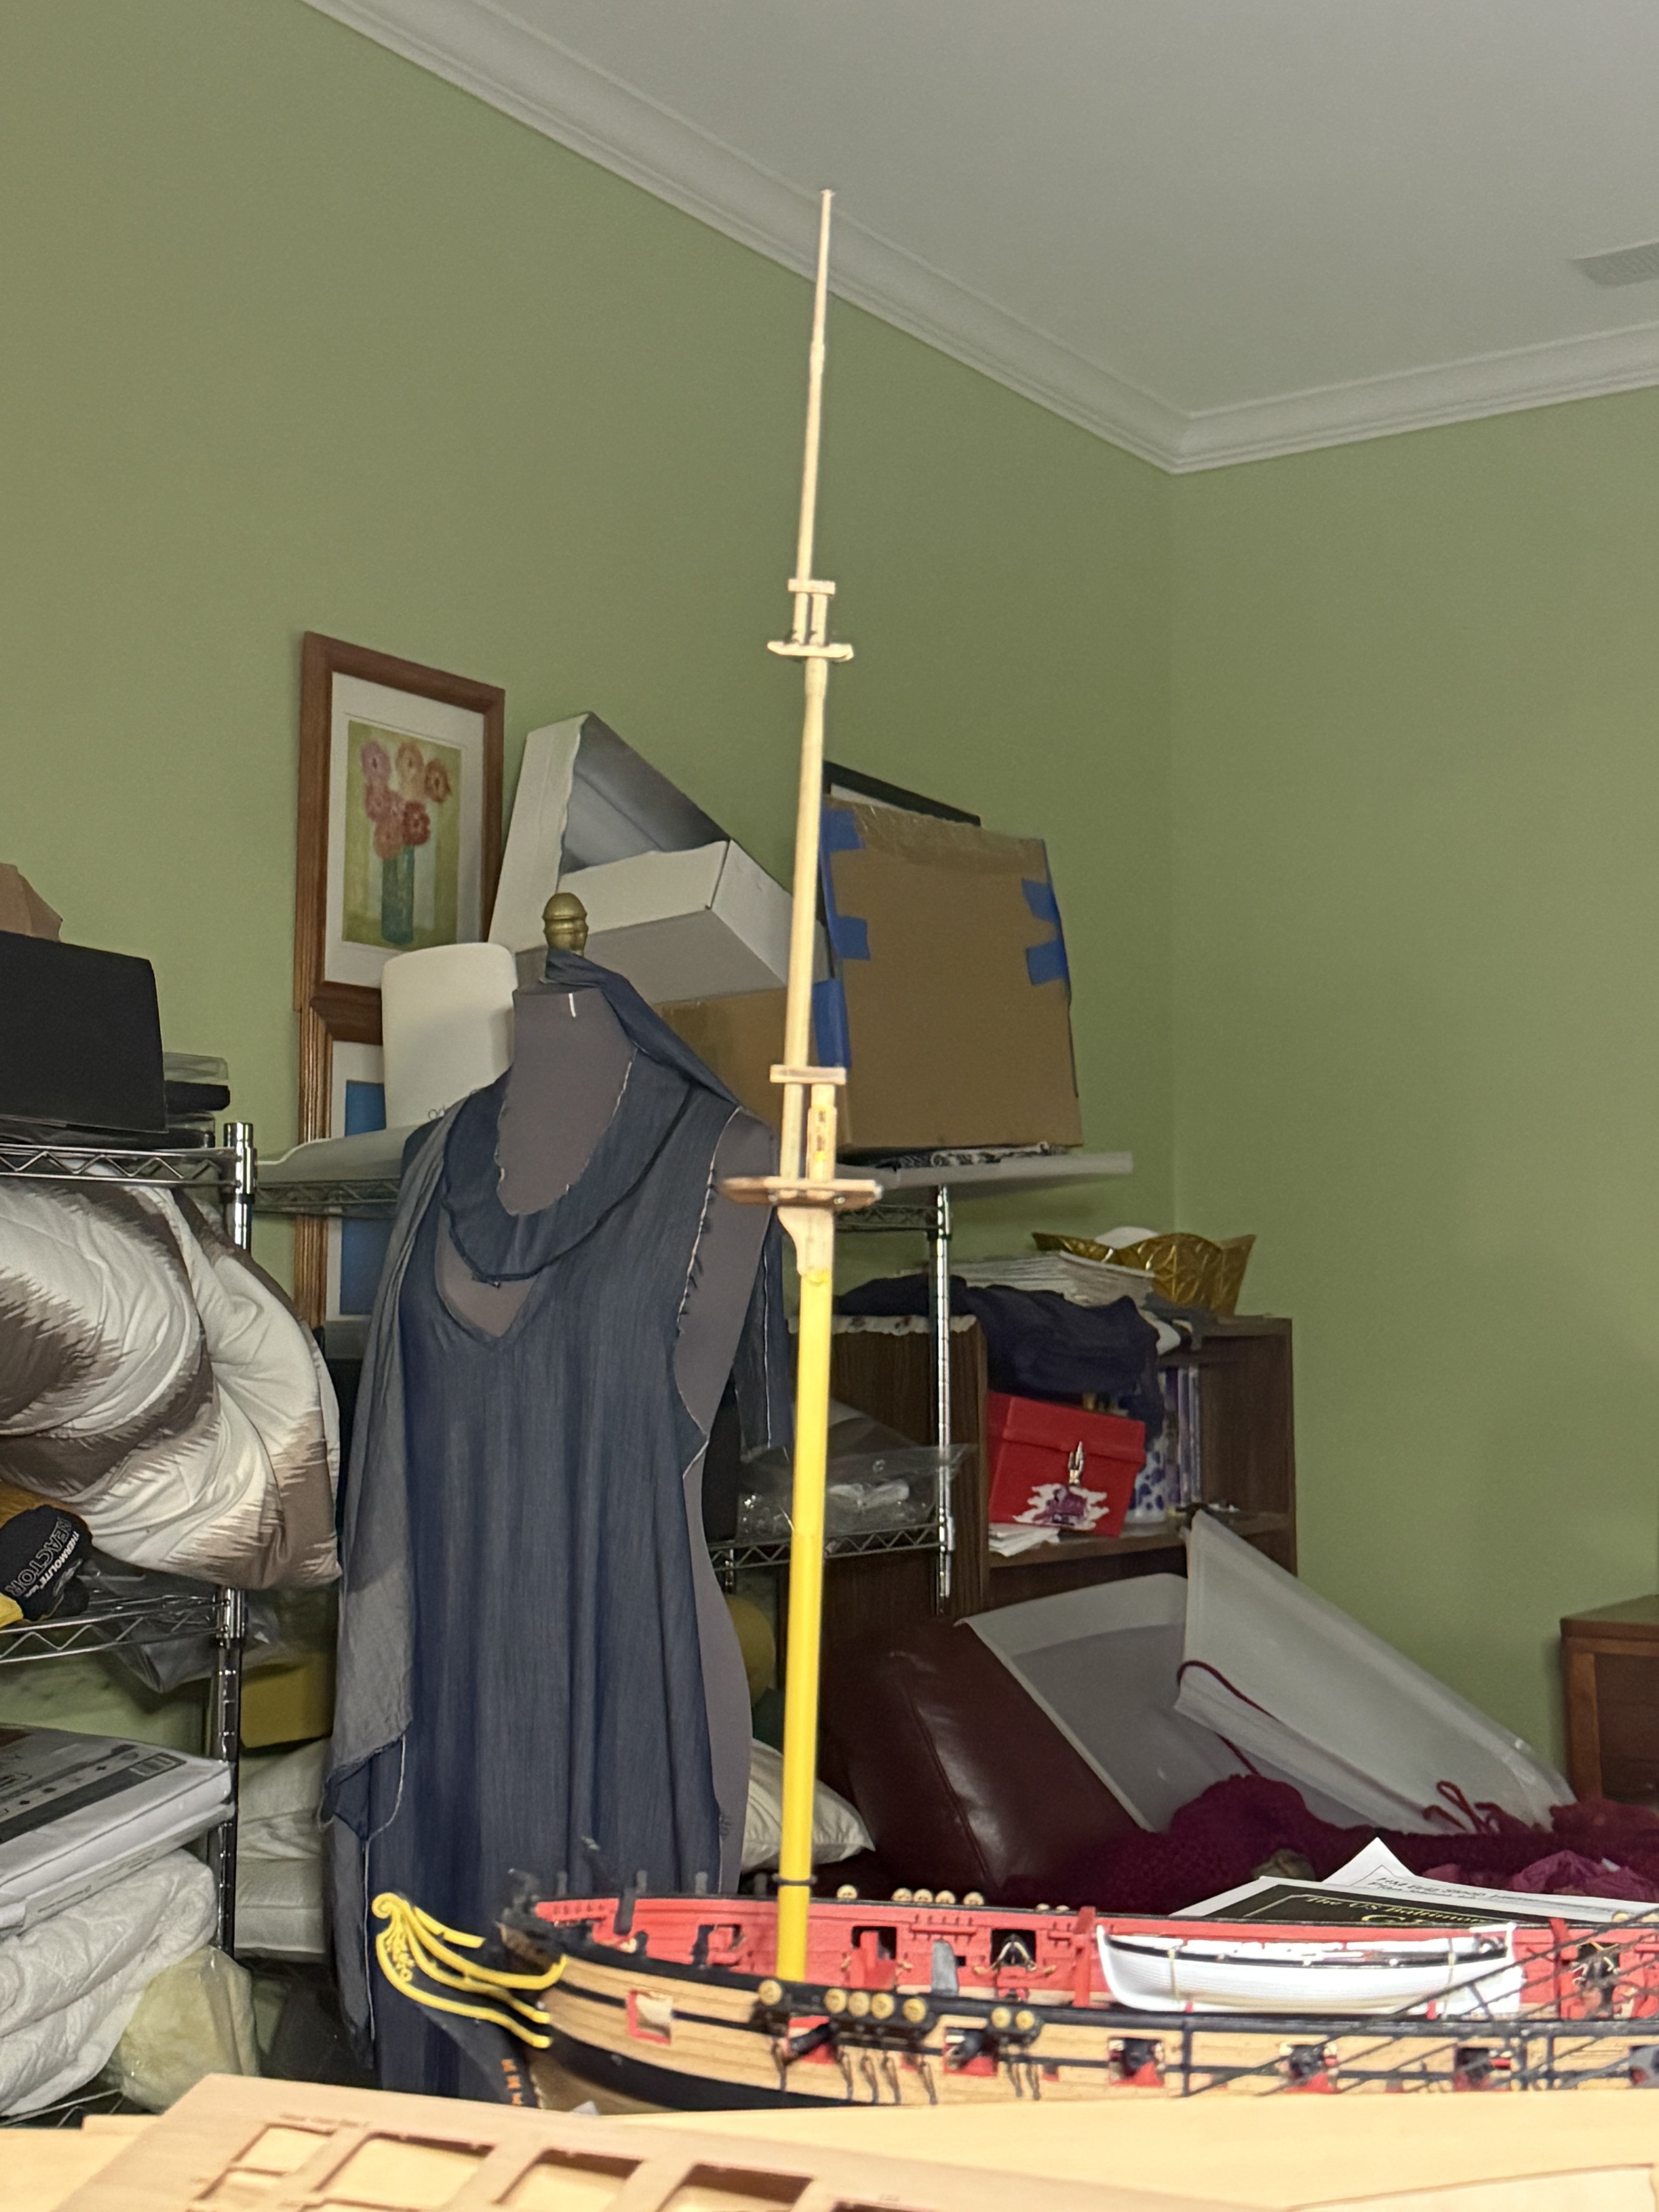
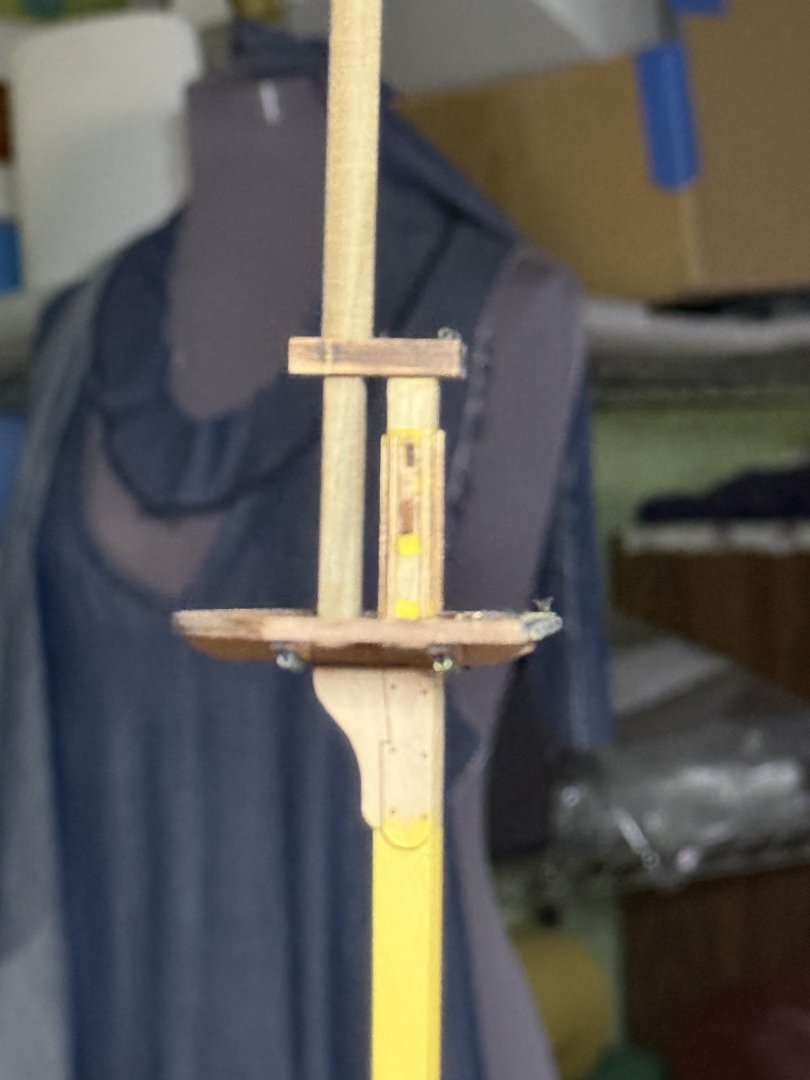
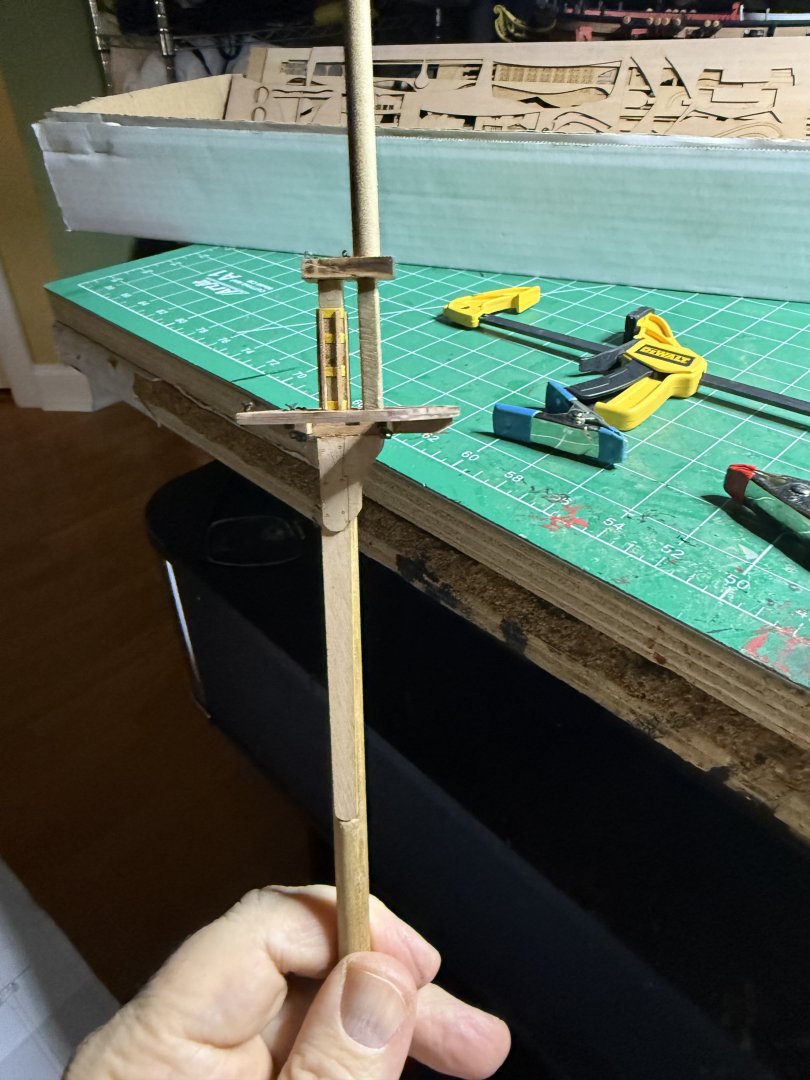
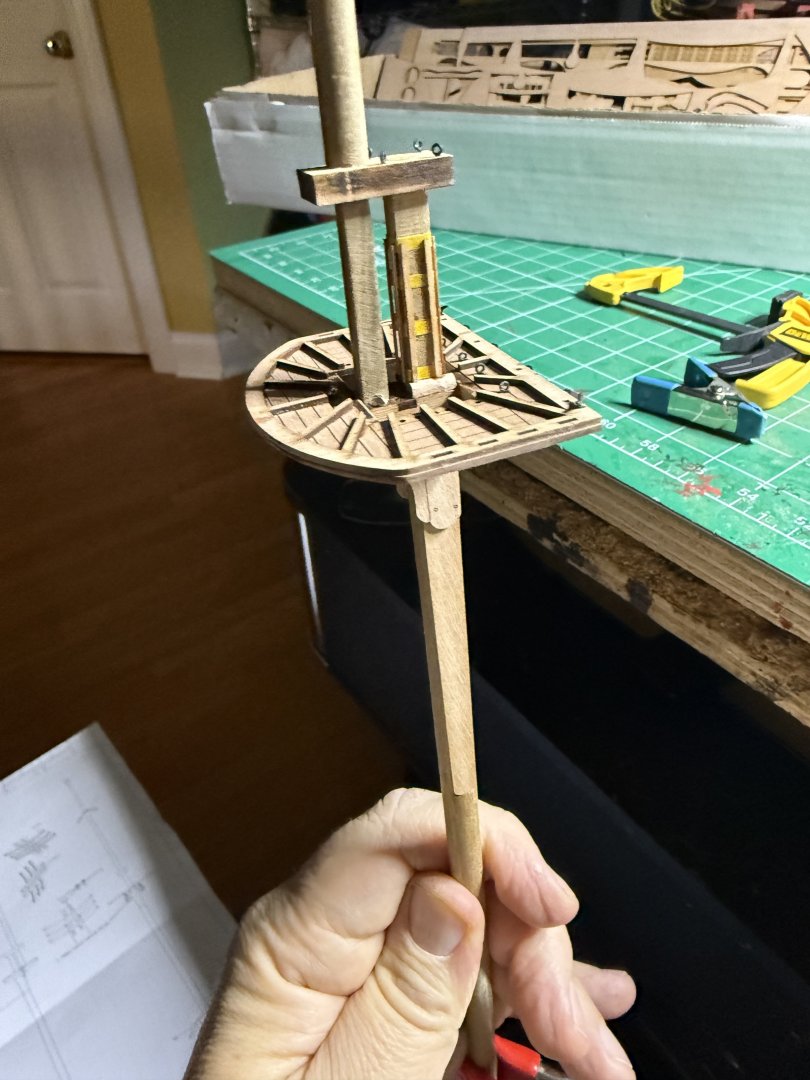
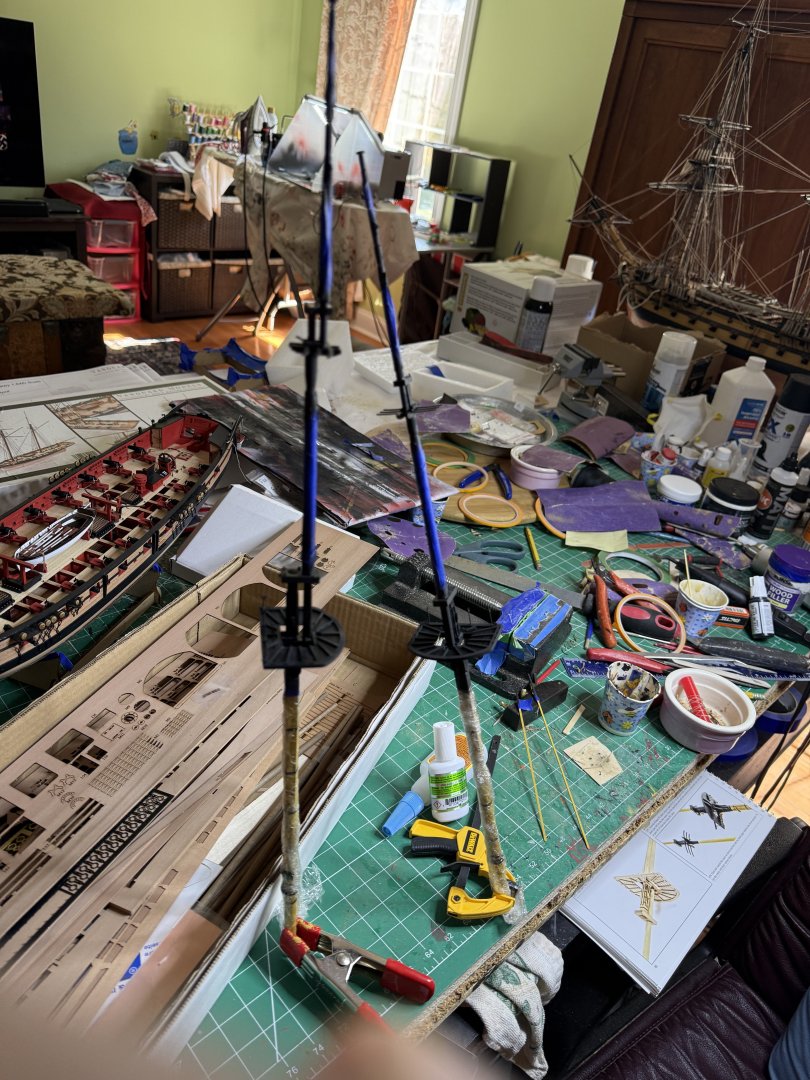
Spent the week making the masts. Almost done Now masking to airbrush the tops


- 73 replies
-
- 12
-
-
- Harpy
- Vanguard Models
- (and 1 more)
-
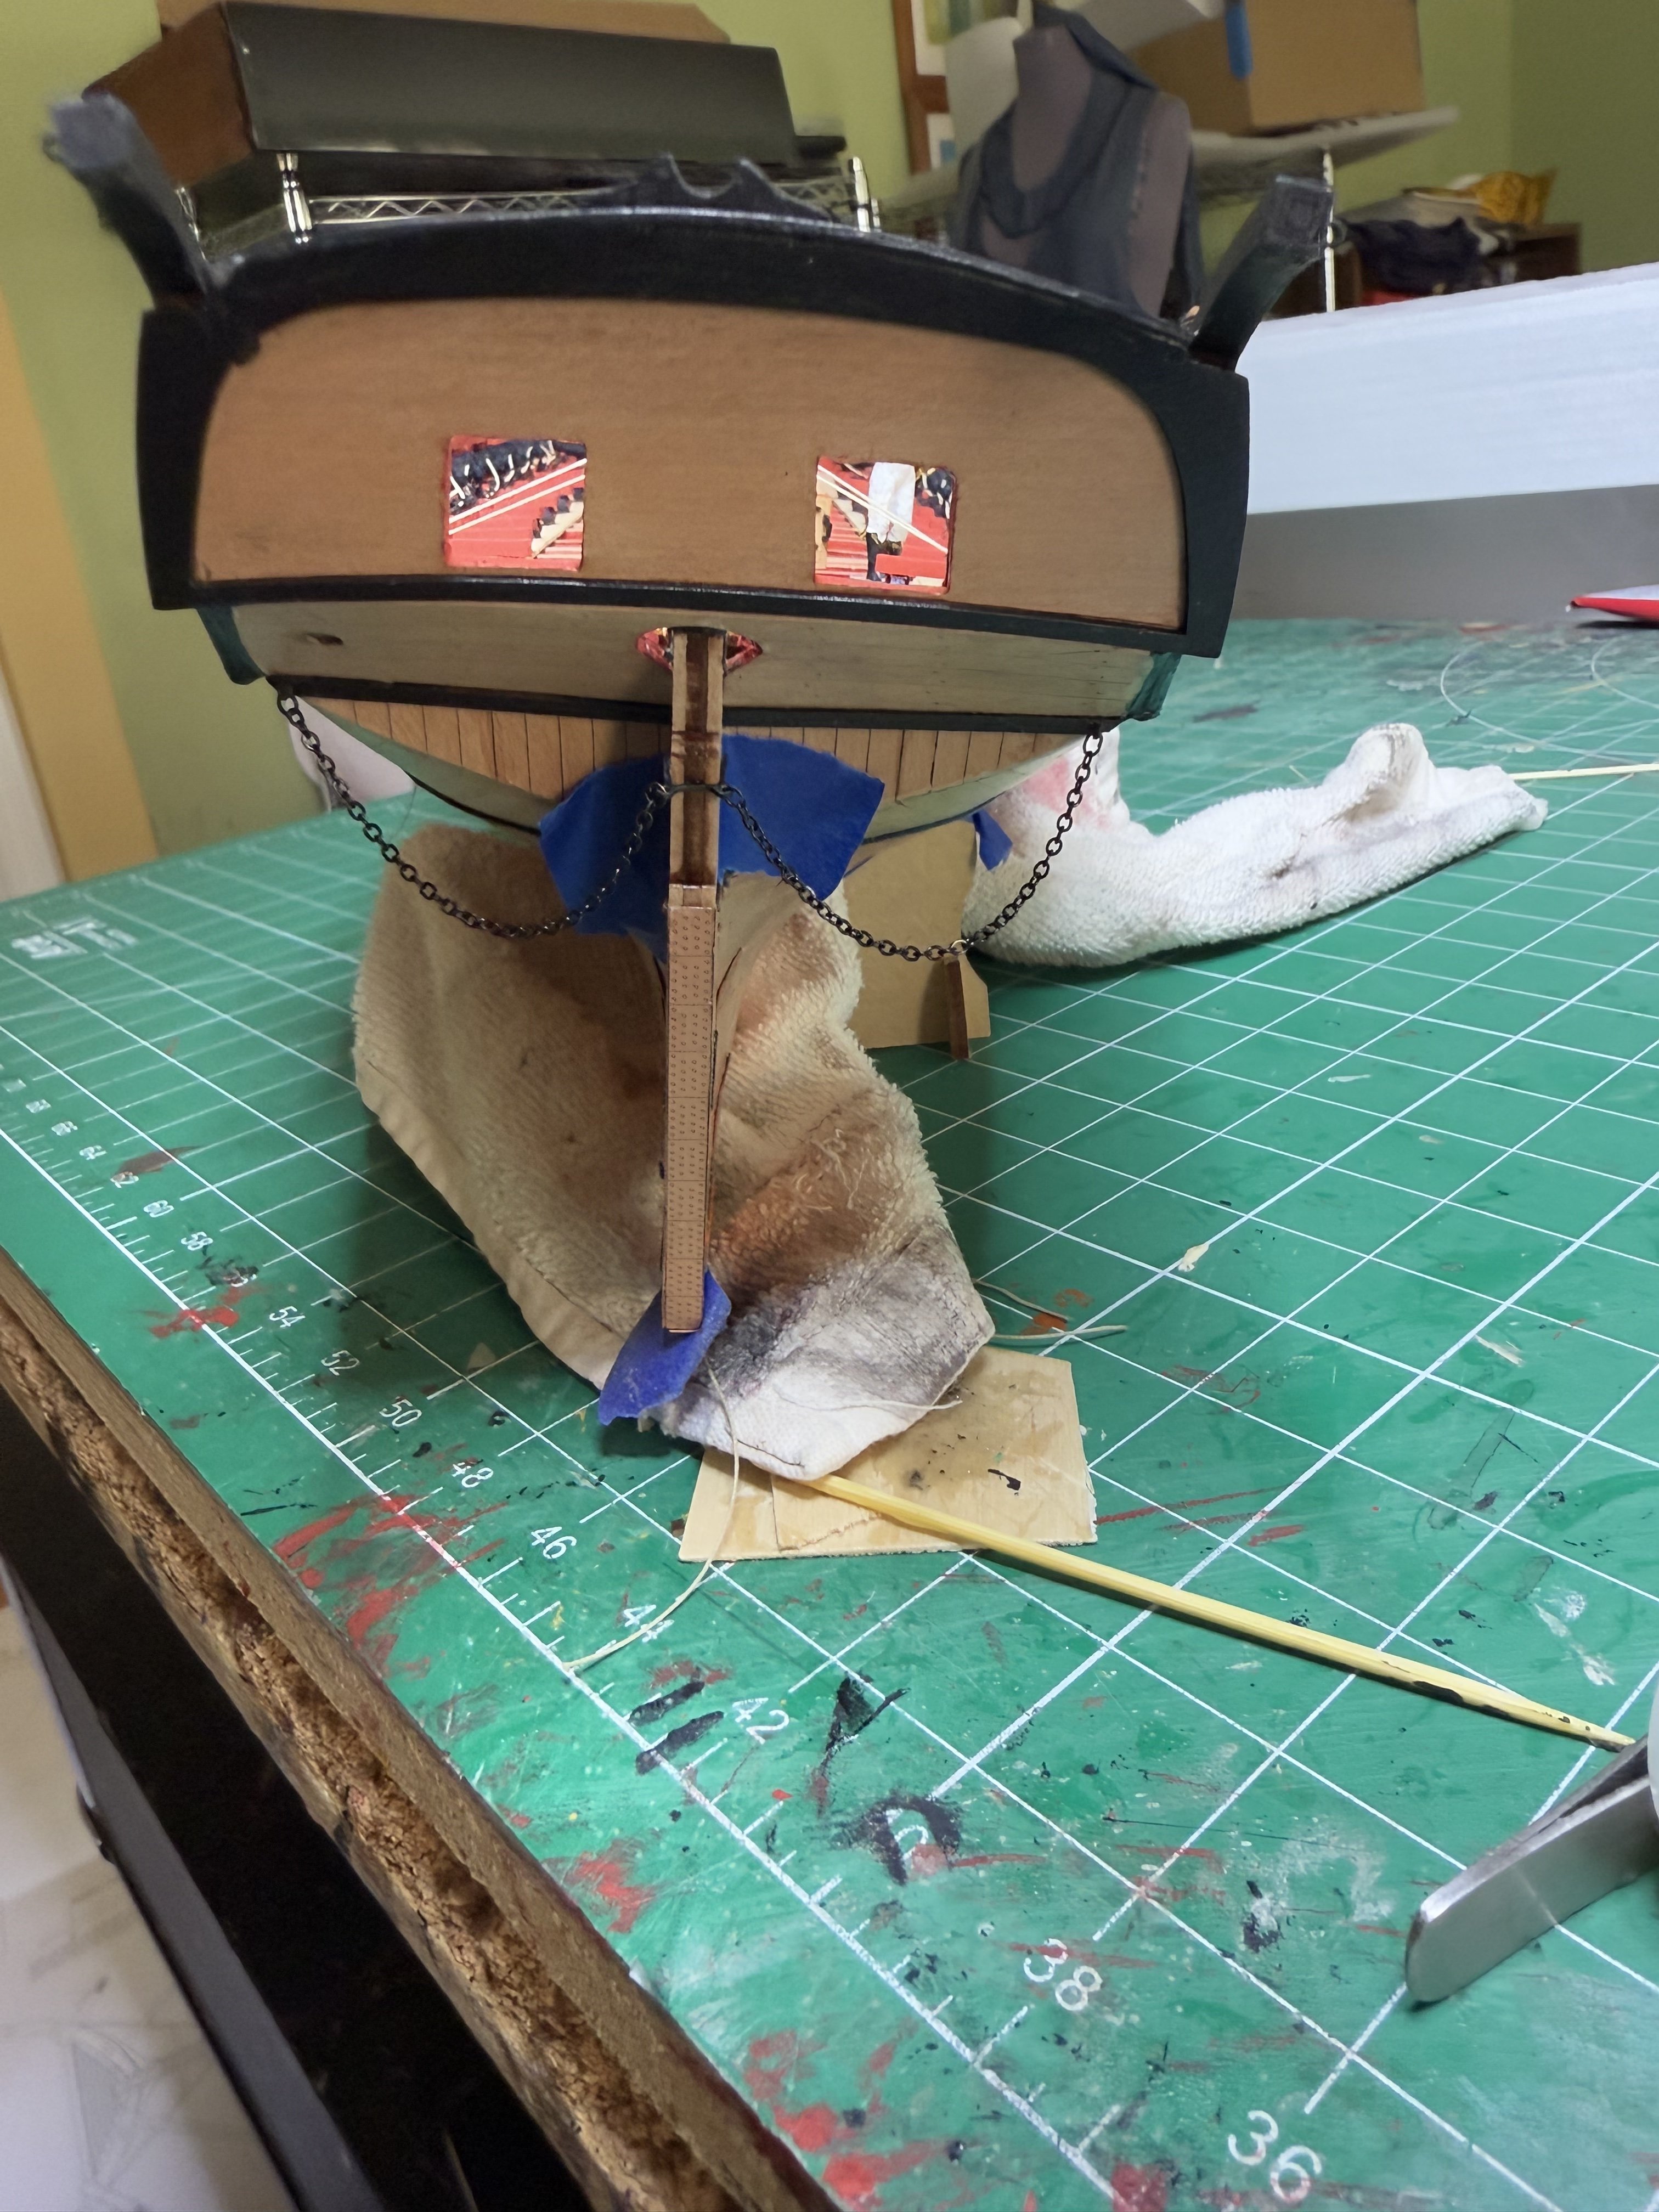
Very nice. Only issue is given the wood nature of the pintles. I banged it and broke the rudder off resulting in my gluing the rudder back on and taping it until the end to prevent another bump and brake
- 332 replies
-
- 1
-
-
- Harpy
- Vanguard Models
- (and 1 more)
-
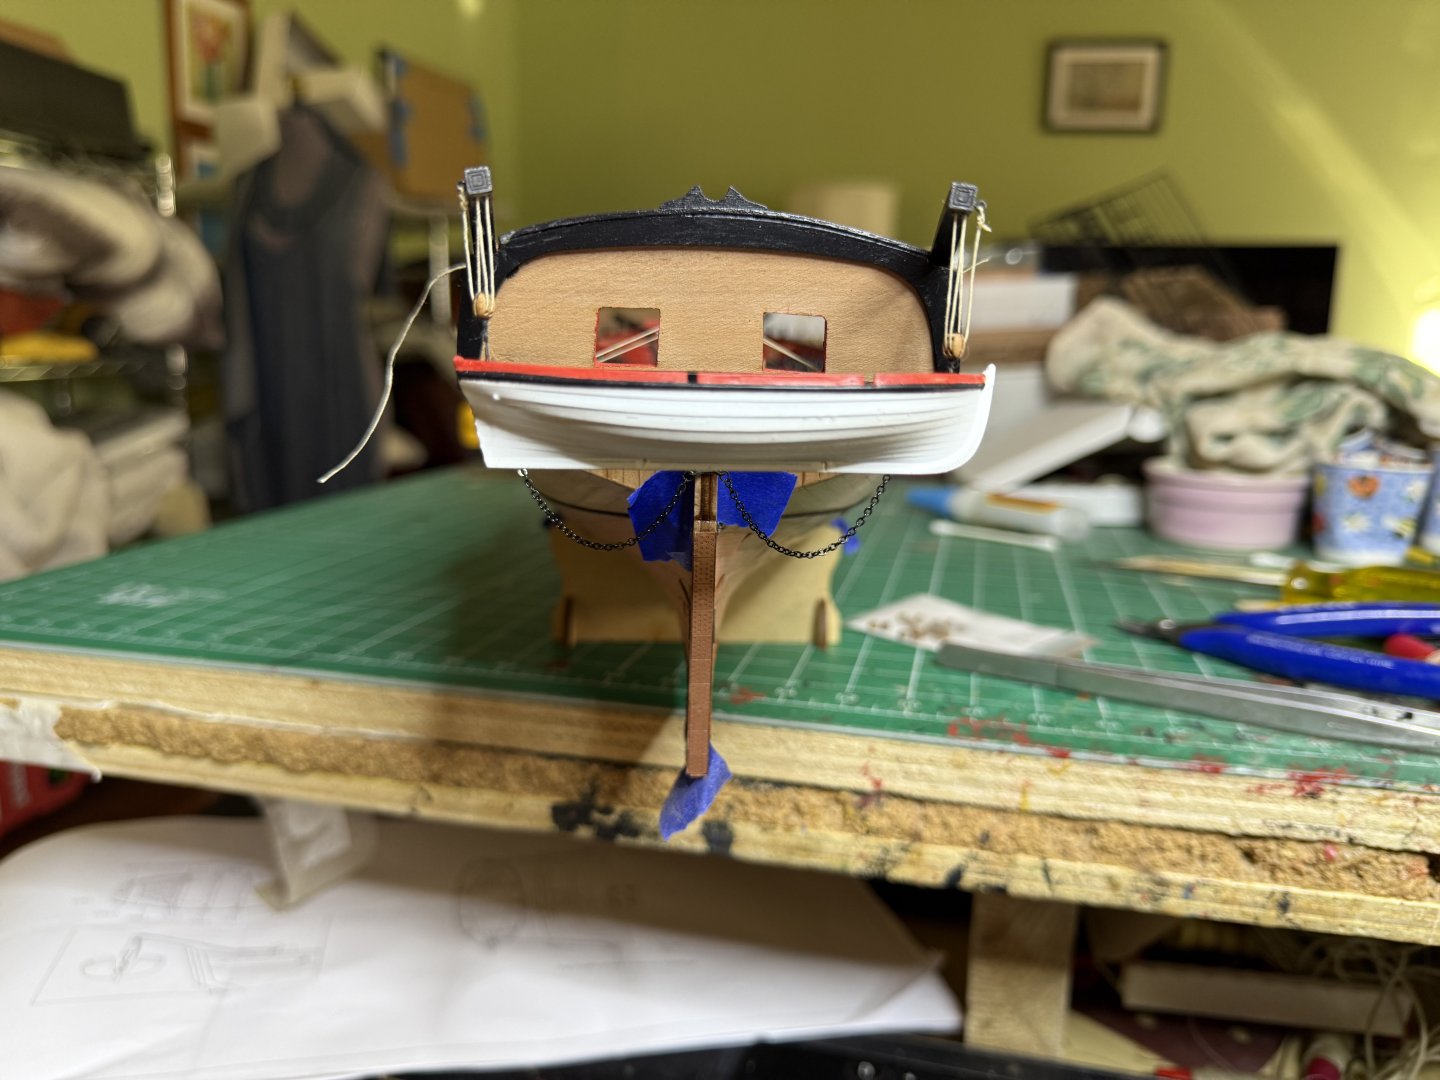
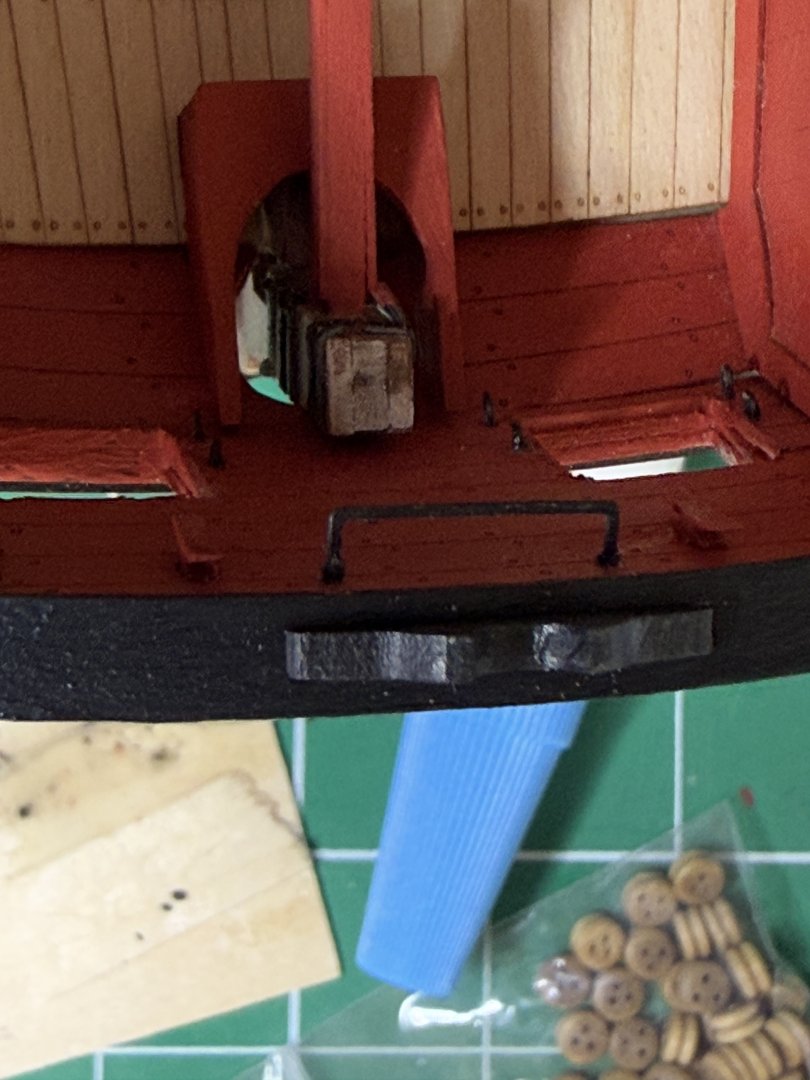
I replied to Blue Ensign about the issue. I sanded back the edge of the roof and lowered the angle a bit of bulwark a bit as the davits take up the whole width of the capping rail.

- 241 replies
-
- 6
-
-
-
- Vanguarrd Models
- Harpy
- (and 1 more)
-
I actually sanded the roof edge back and also sanded down the bulwark down as the davits later take up the whole width of the capprail. See below


- 332 replies
-
- 10
-
-
-
- Harpy
- Vanguard Models
- (and 1 more)
-
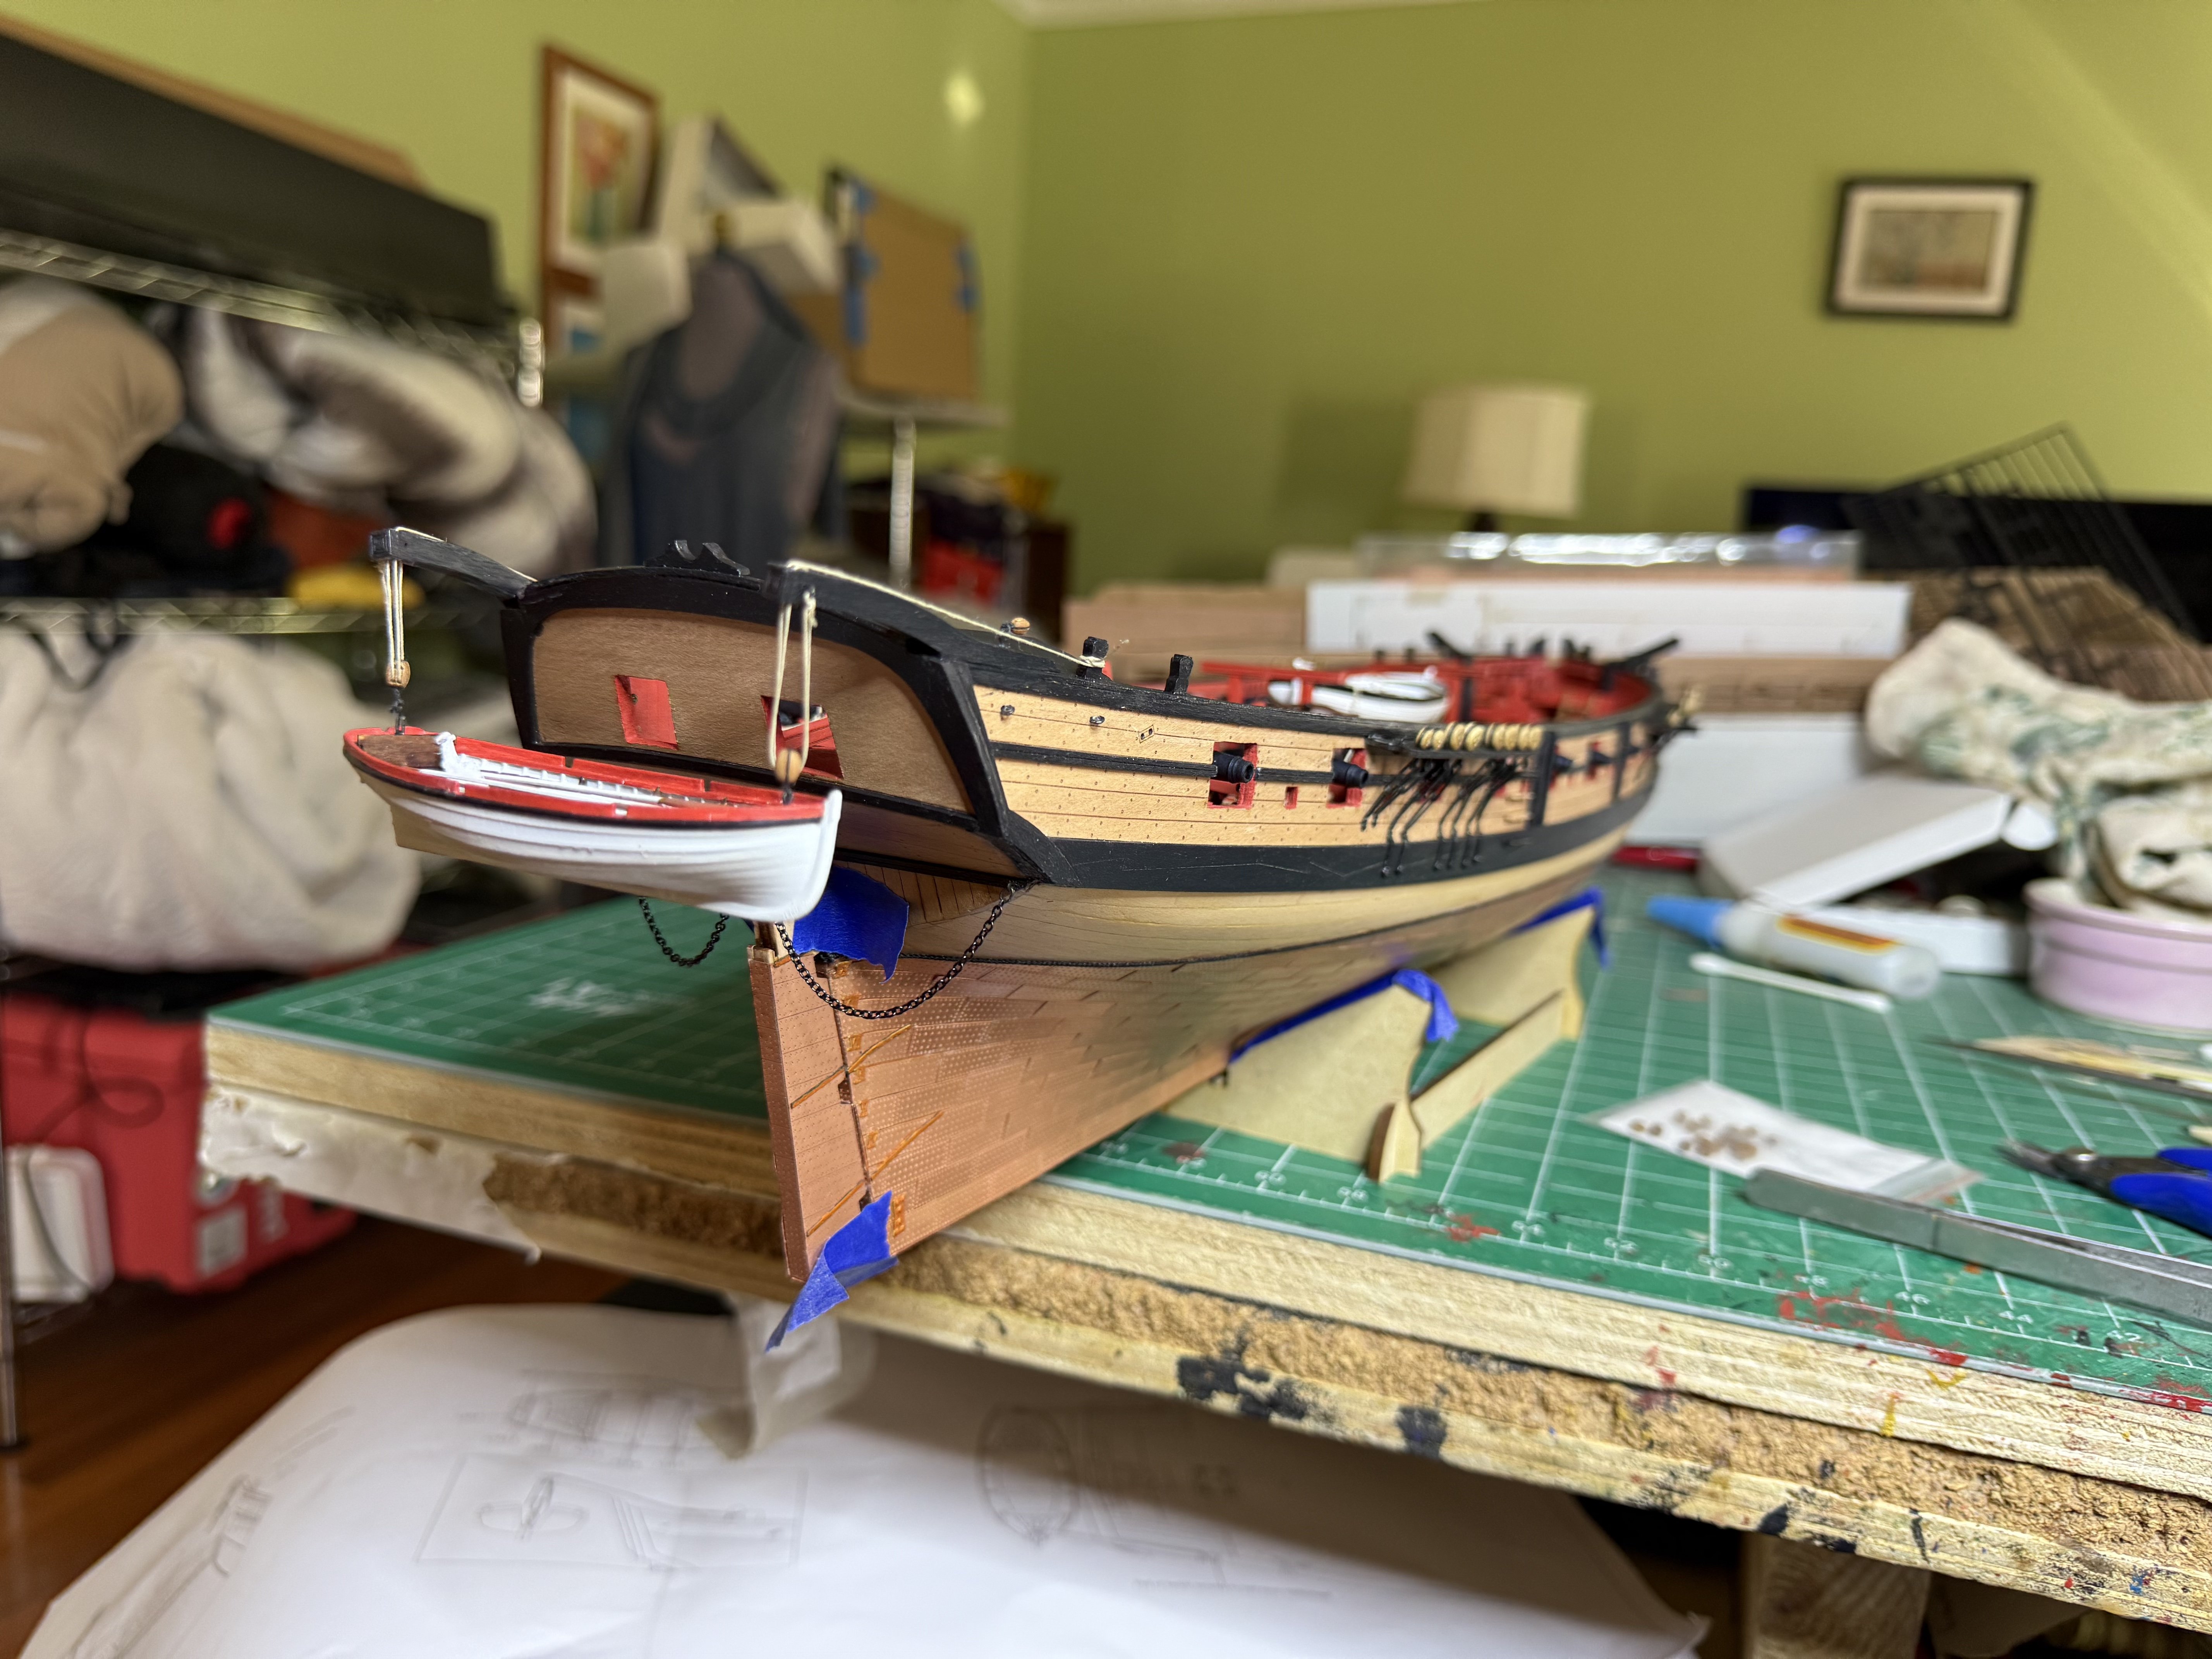
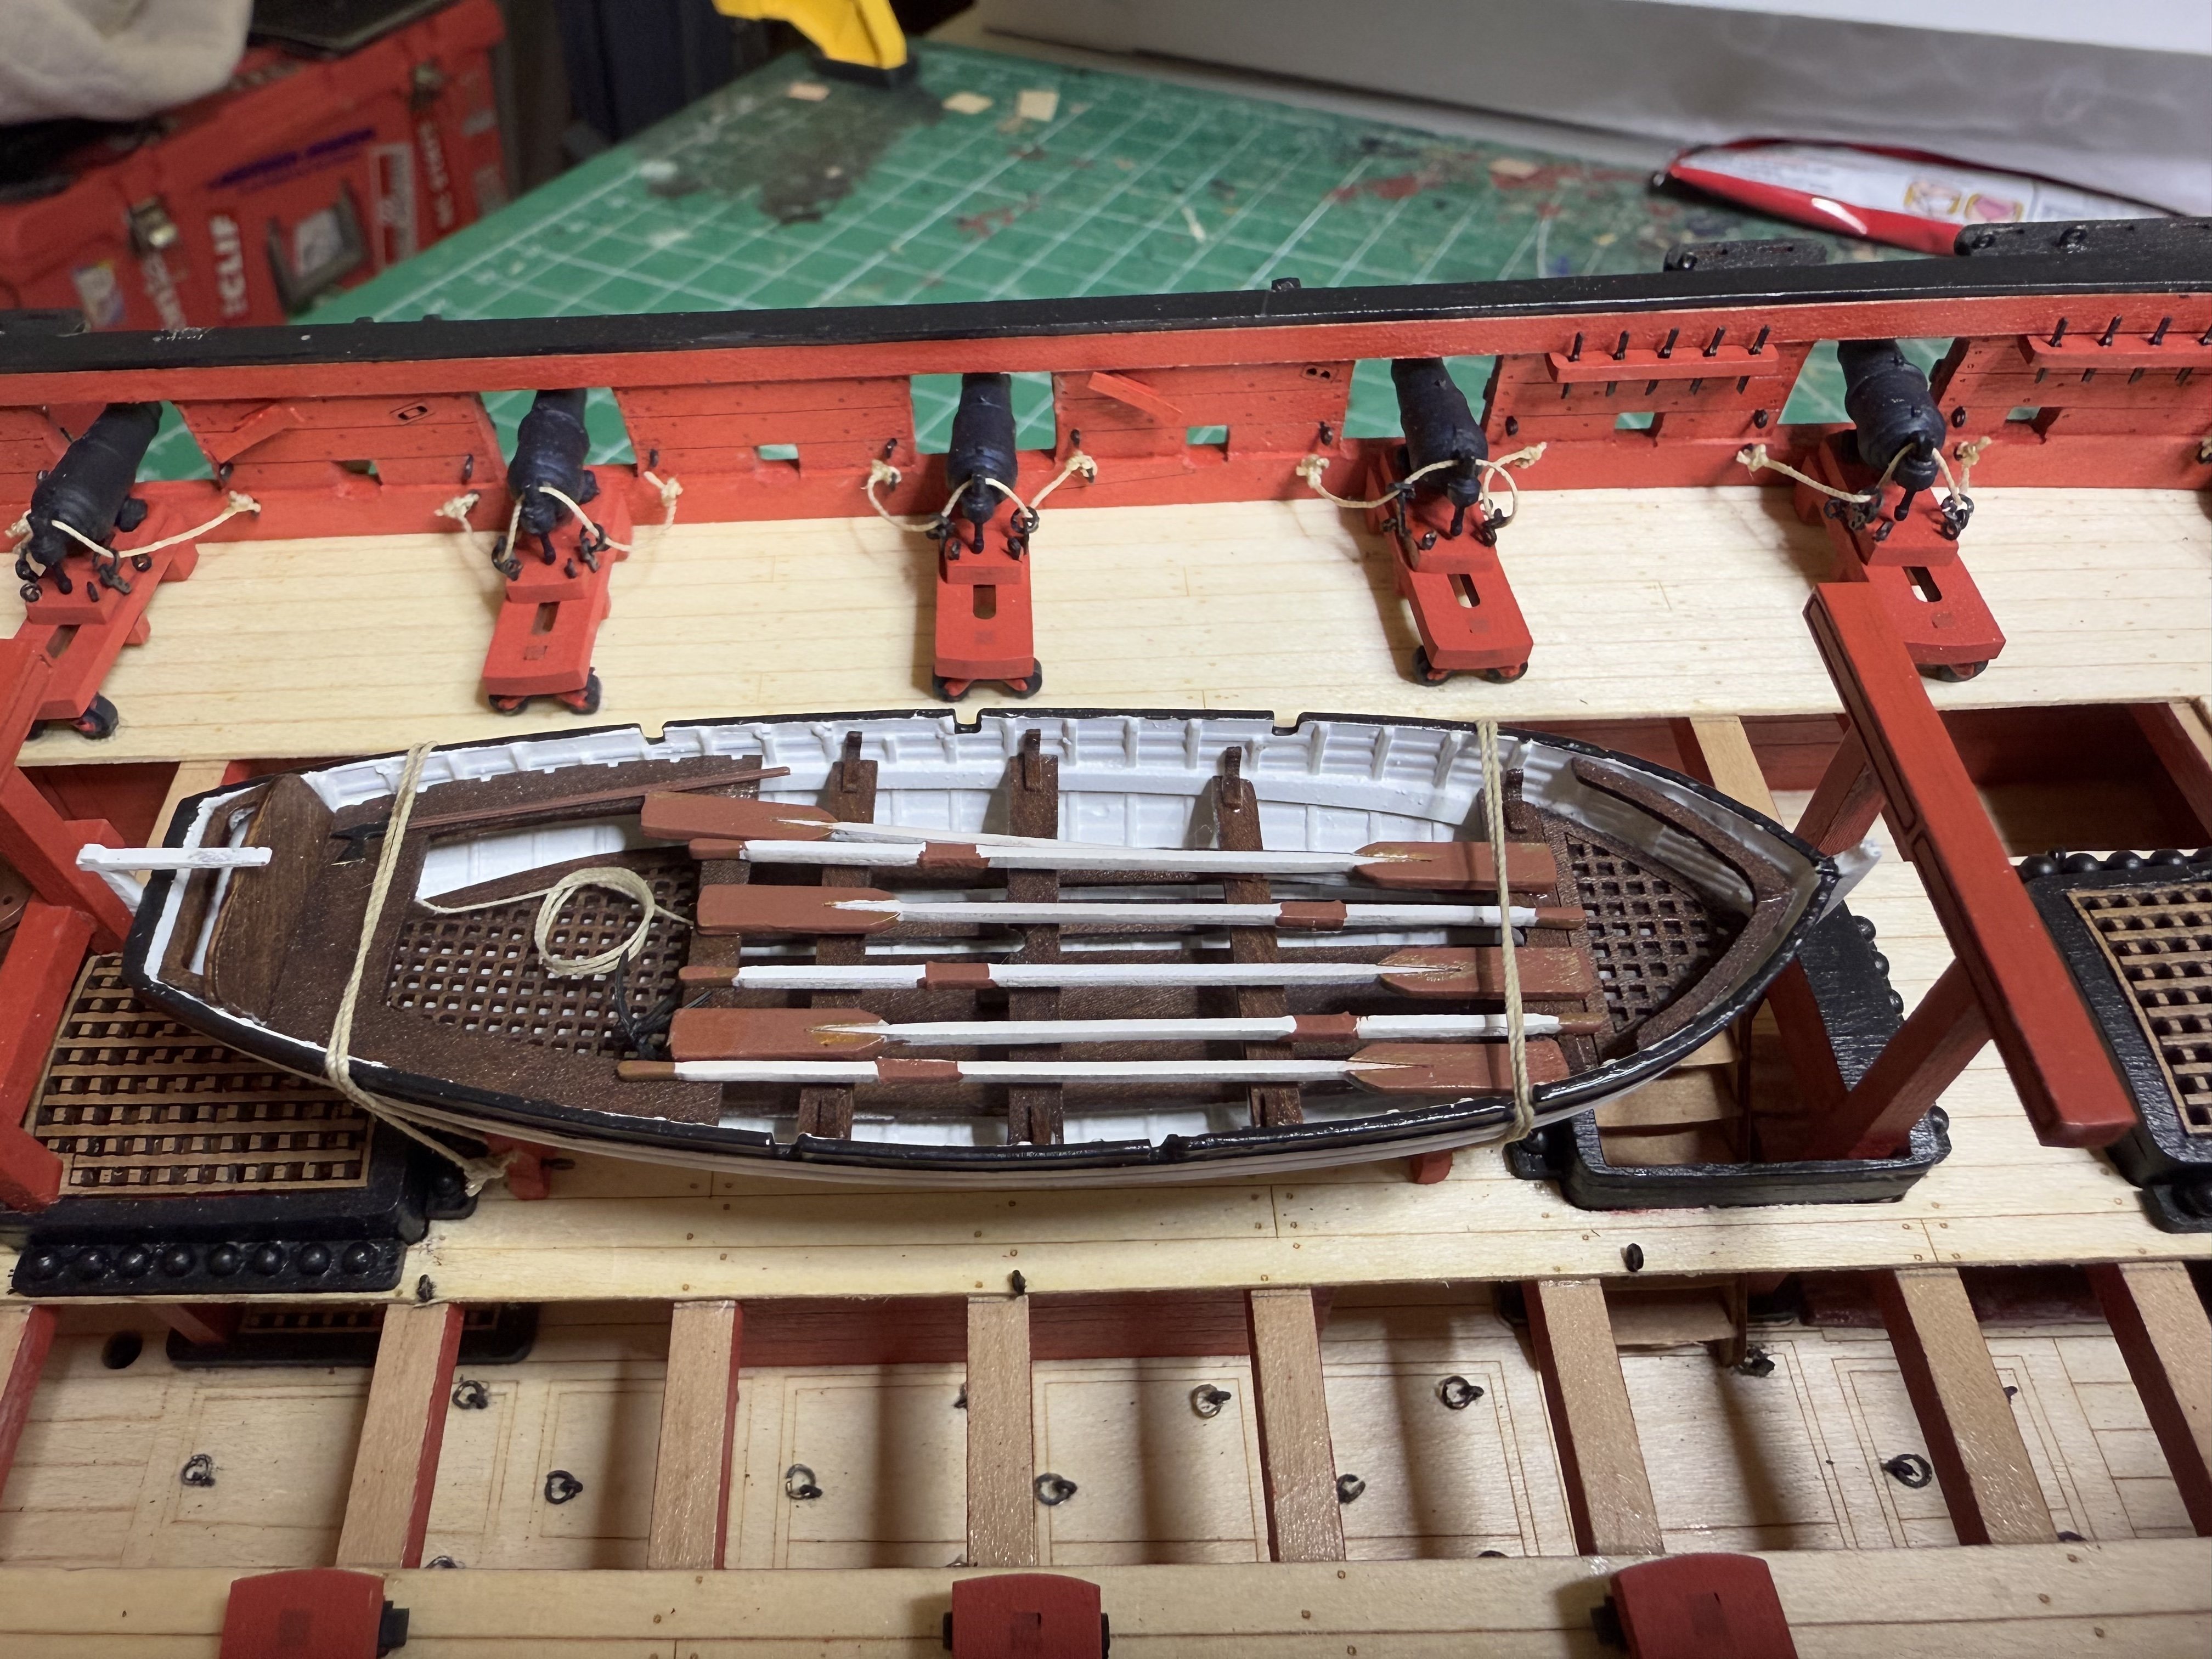
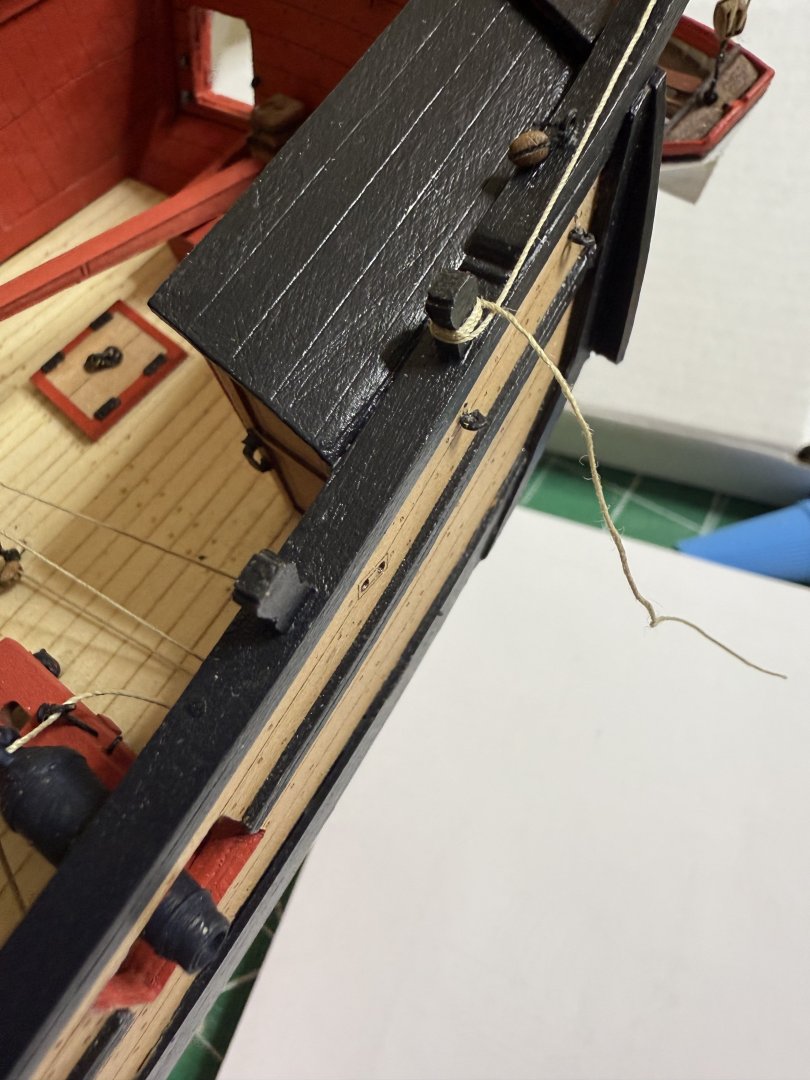
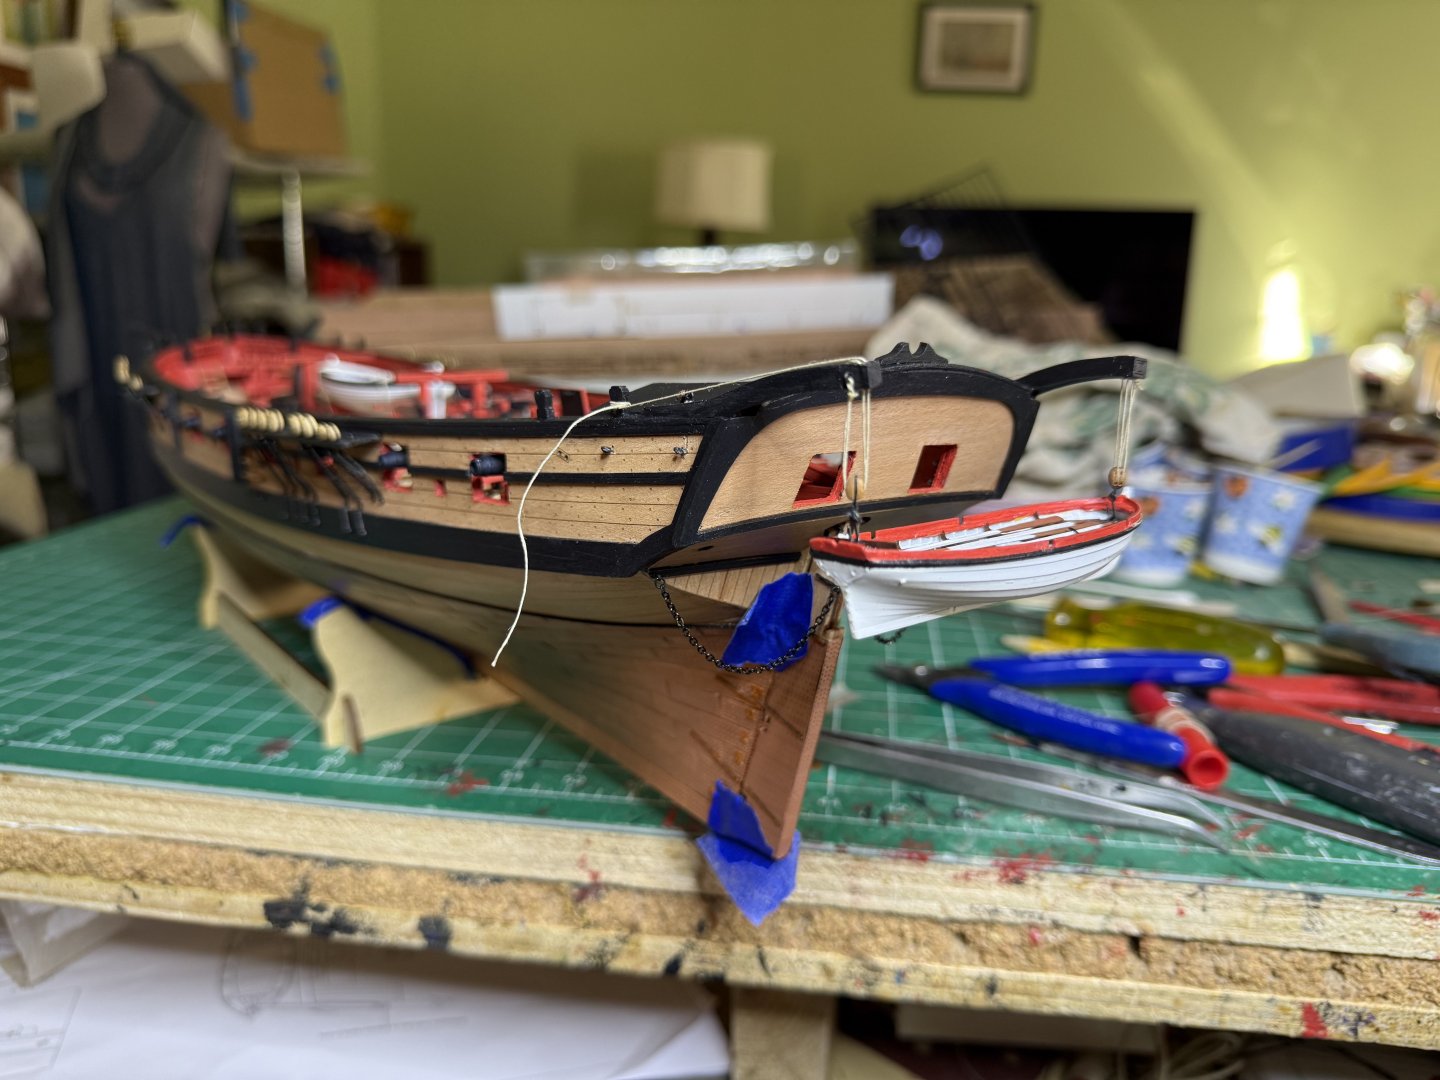
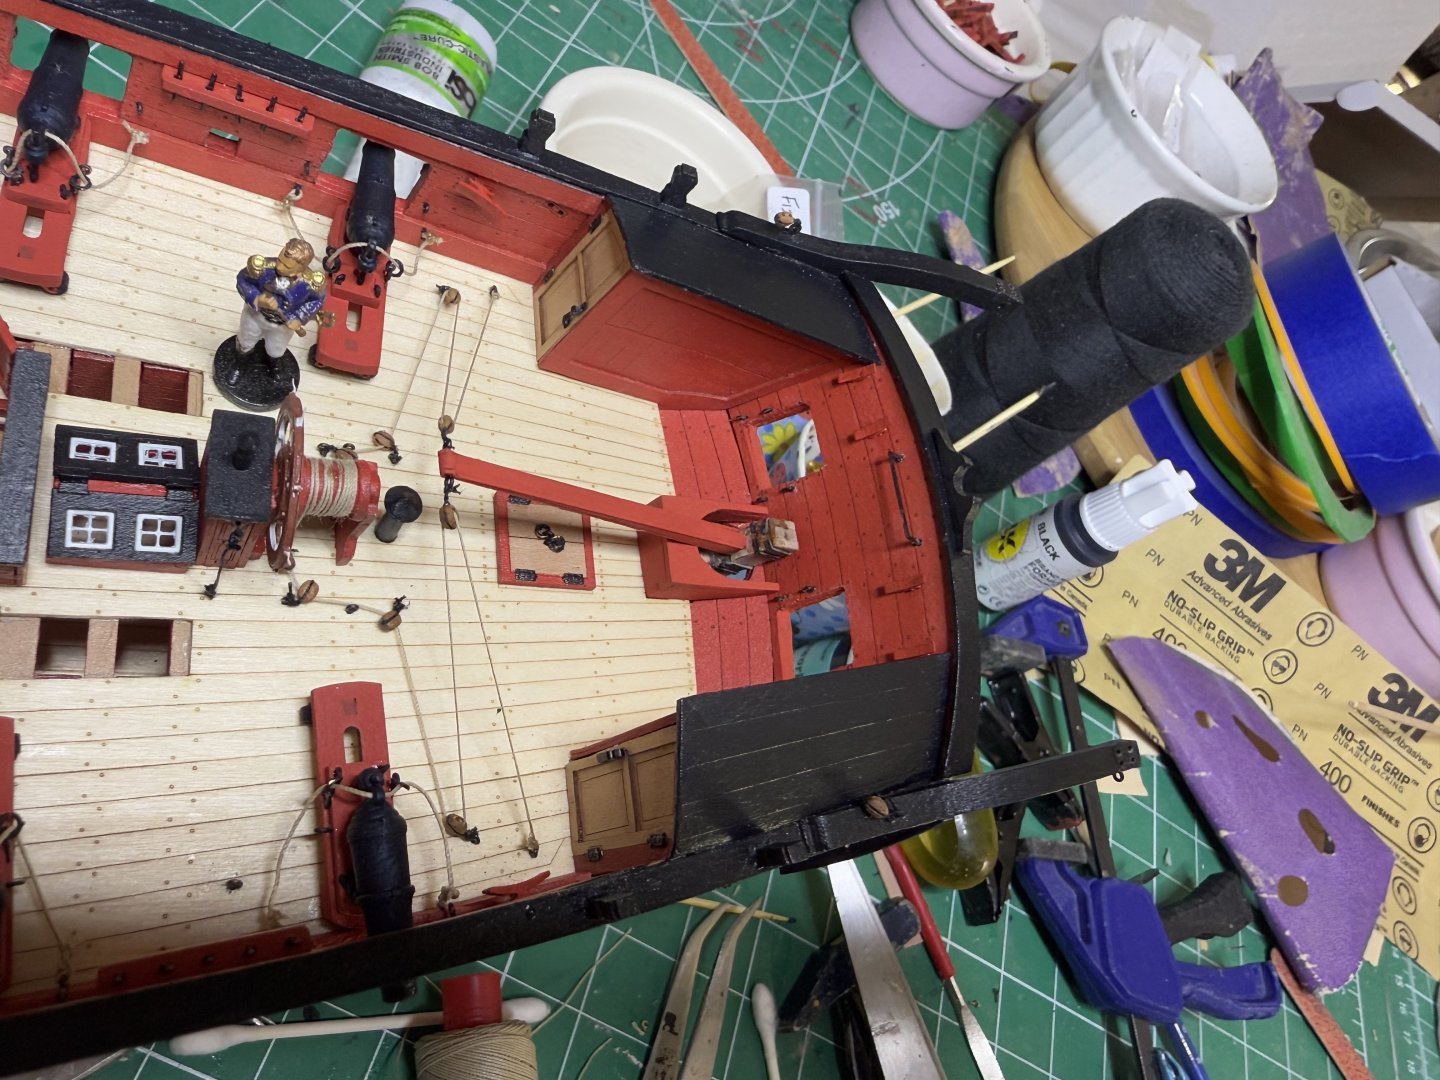
Thanks! They are included if you want to mount them on the stern. There also 2 stairs not mentioned in the instructions but in the kit to go from the deck to the rails where the battons for boarding on the side are. As they cover a cleat, will add them later once I tie off rigging to the cleat.
-
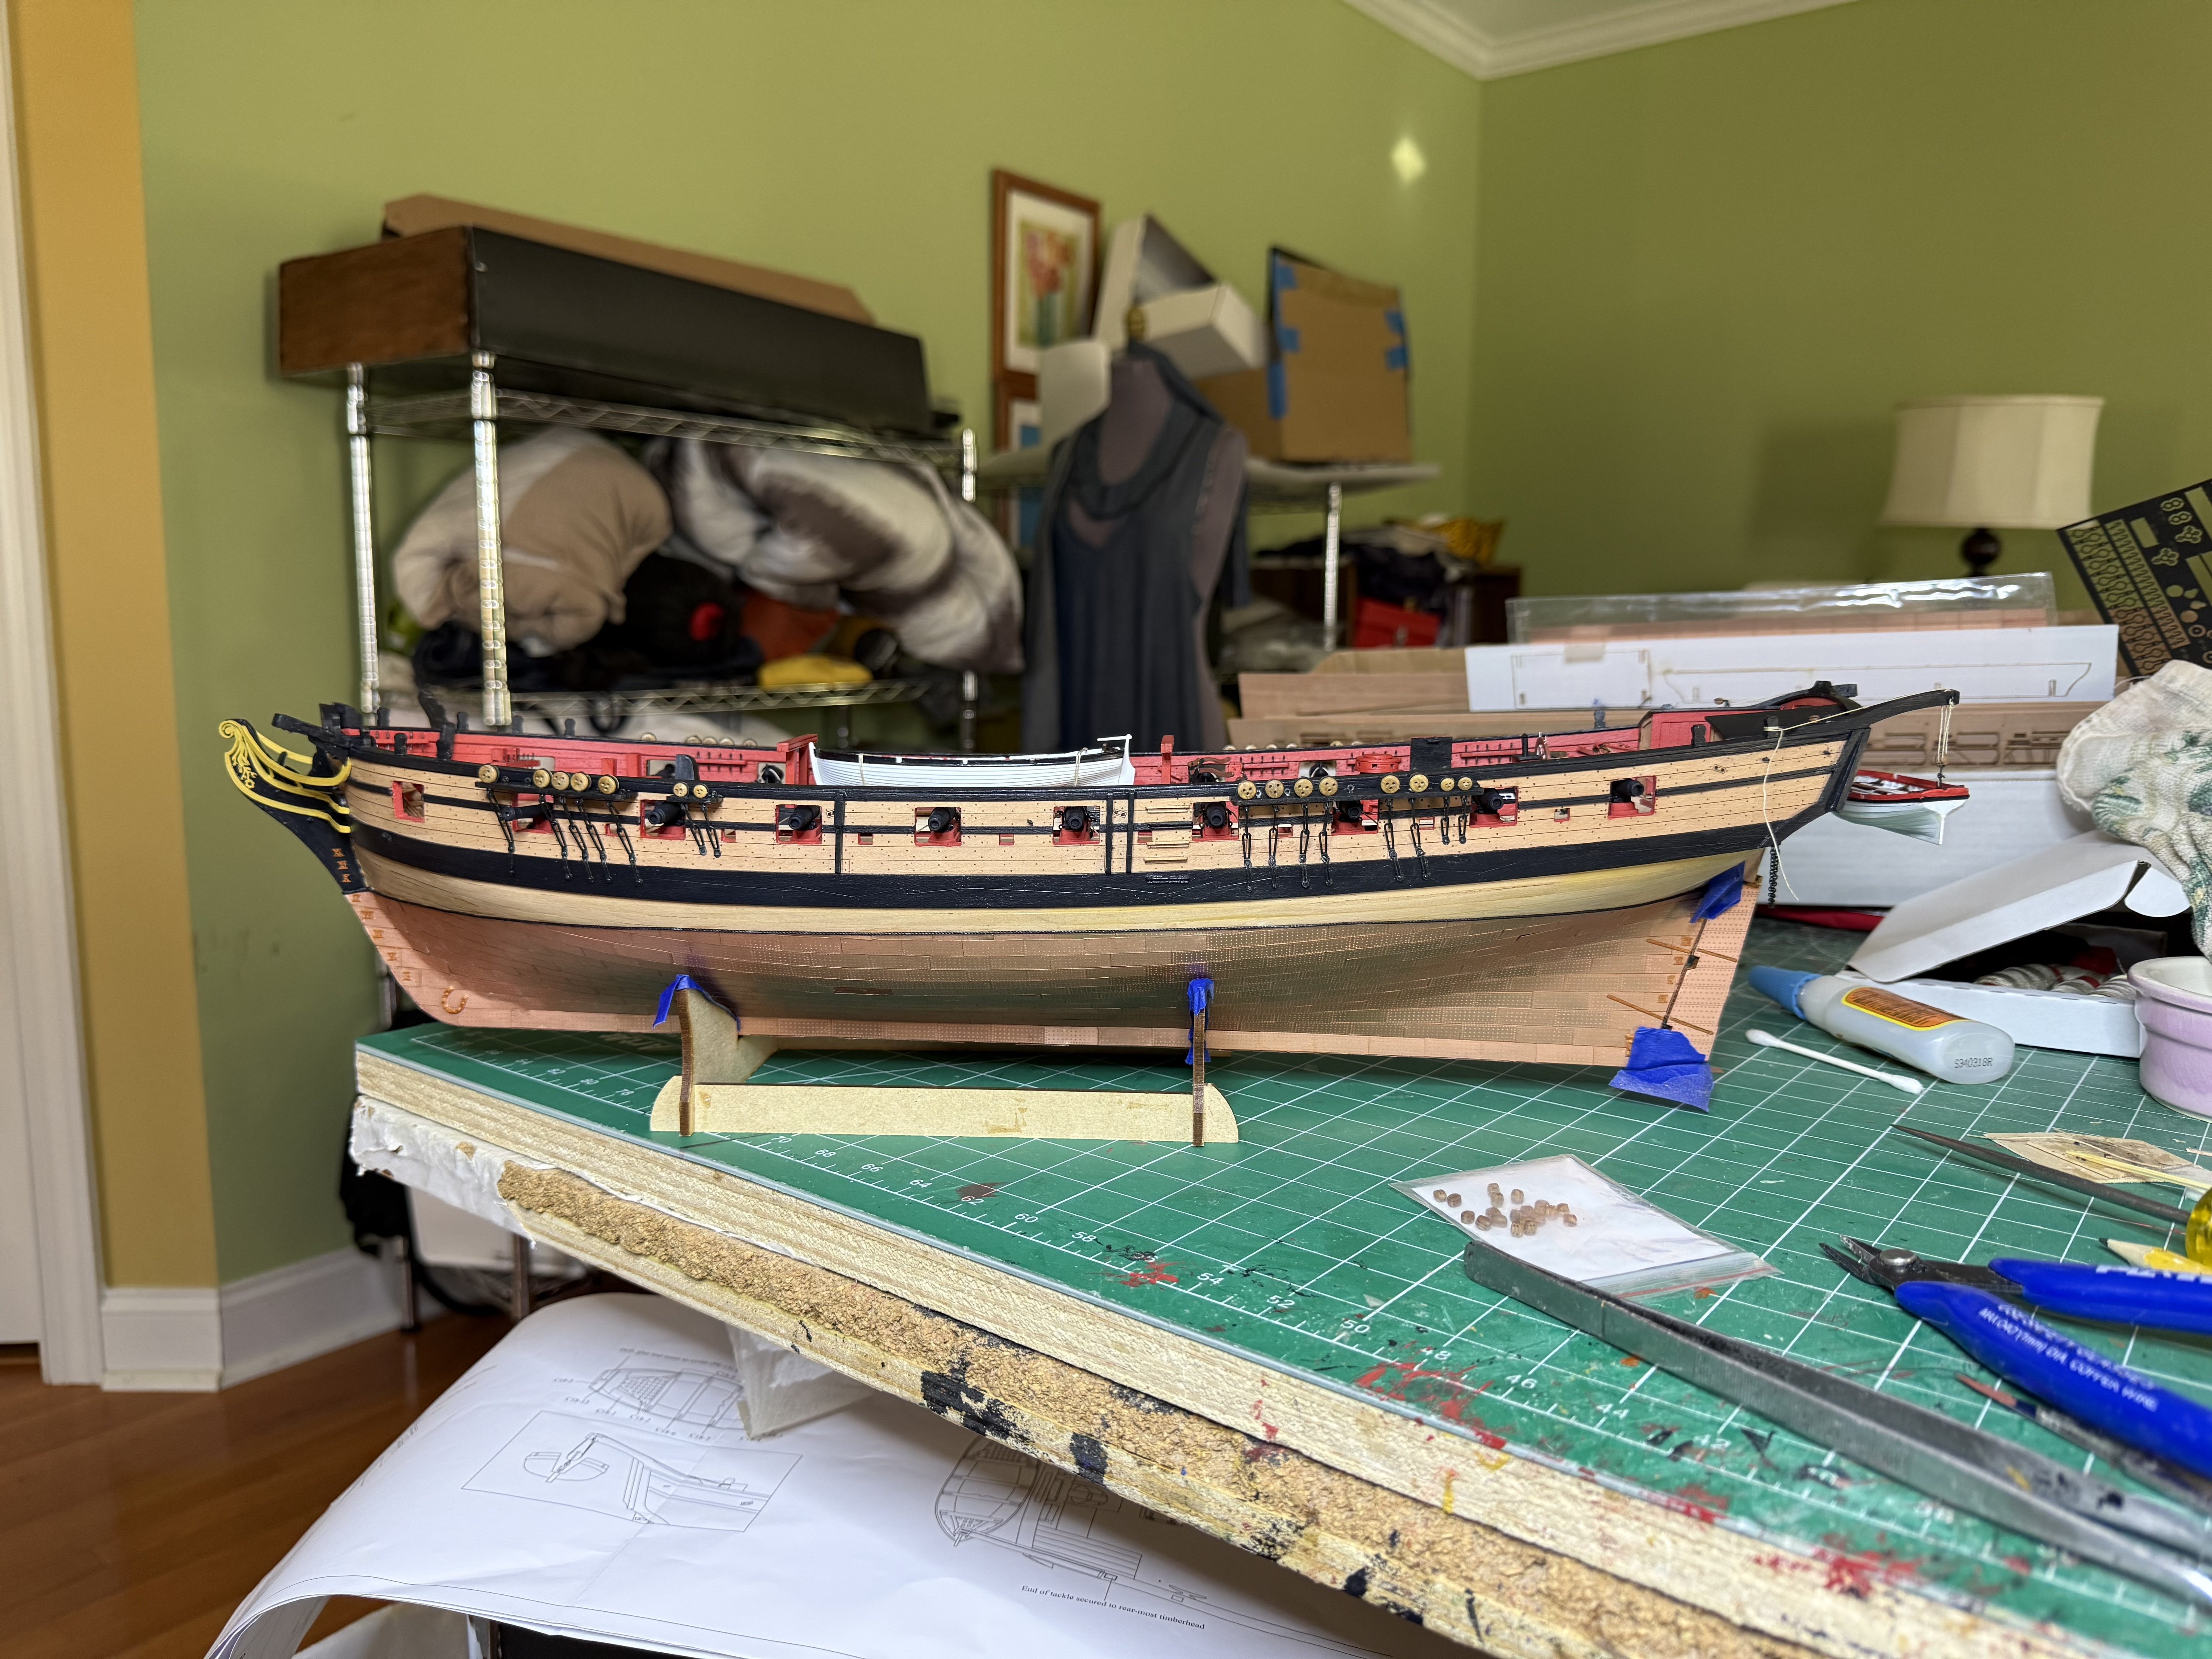
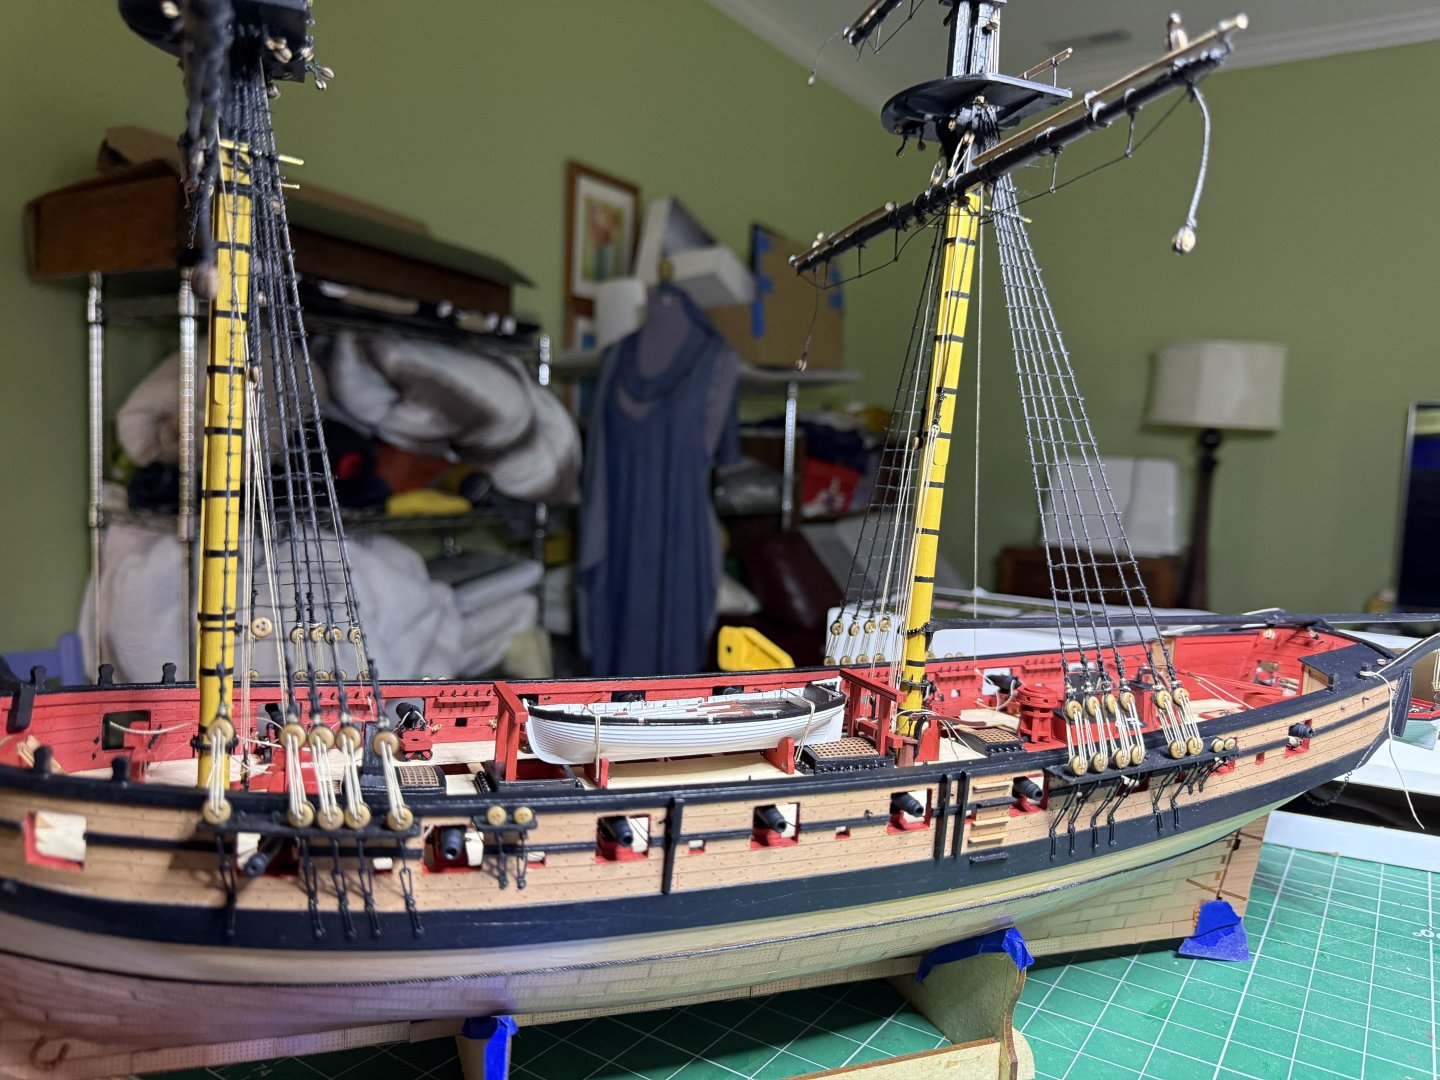
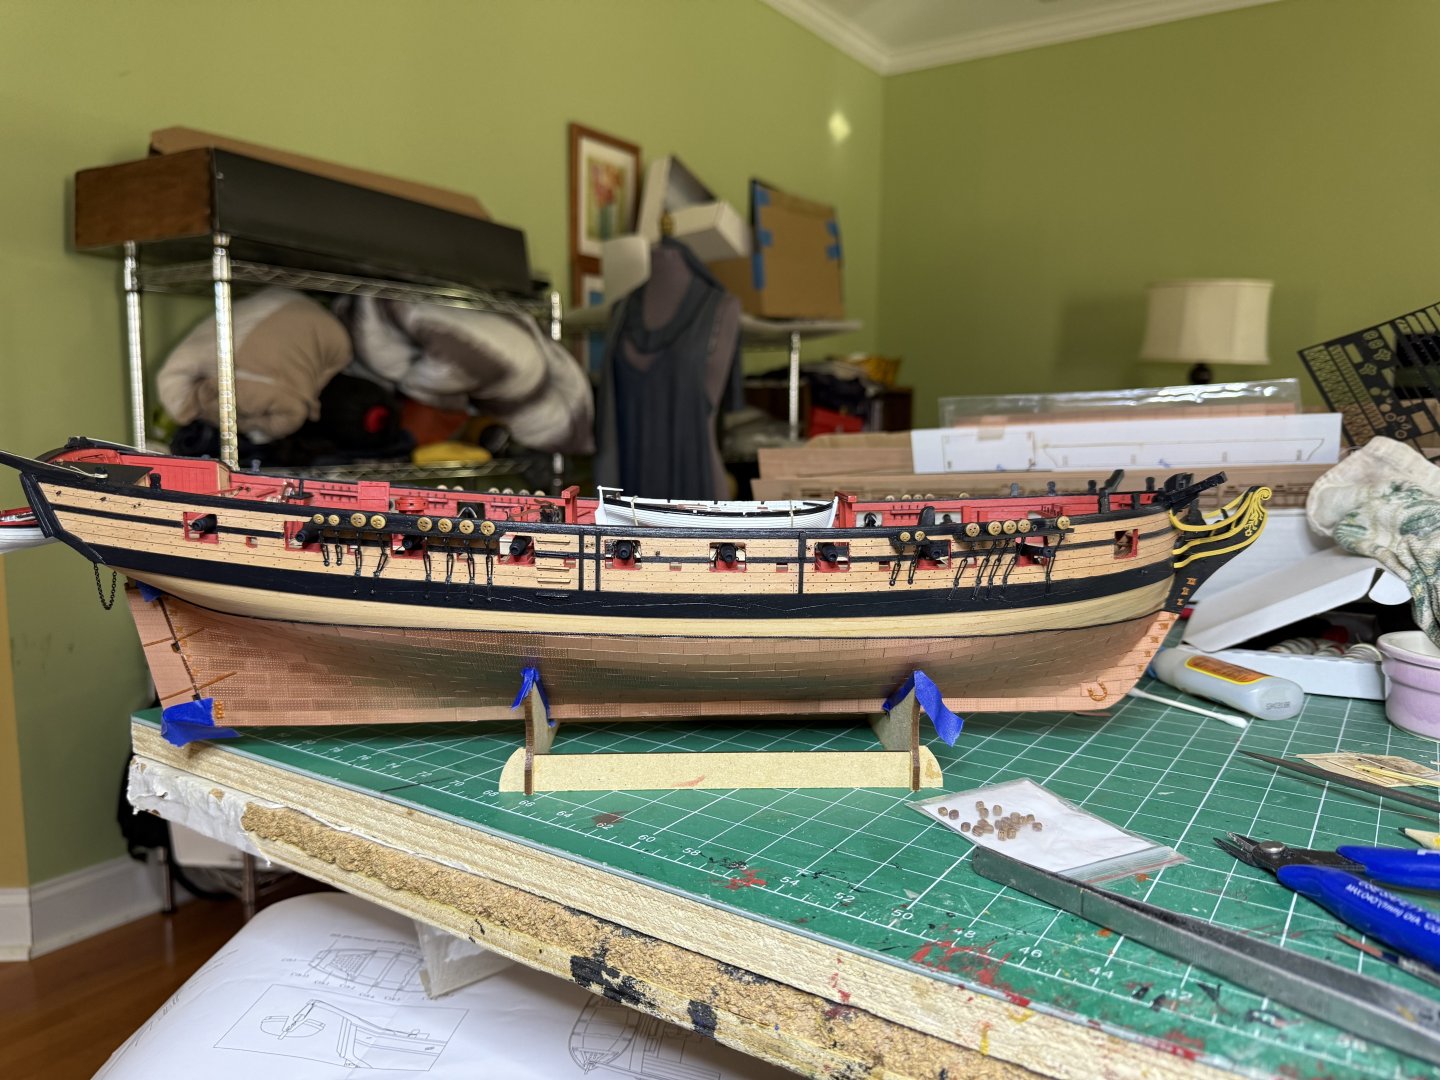
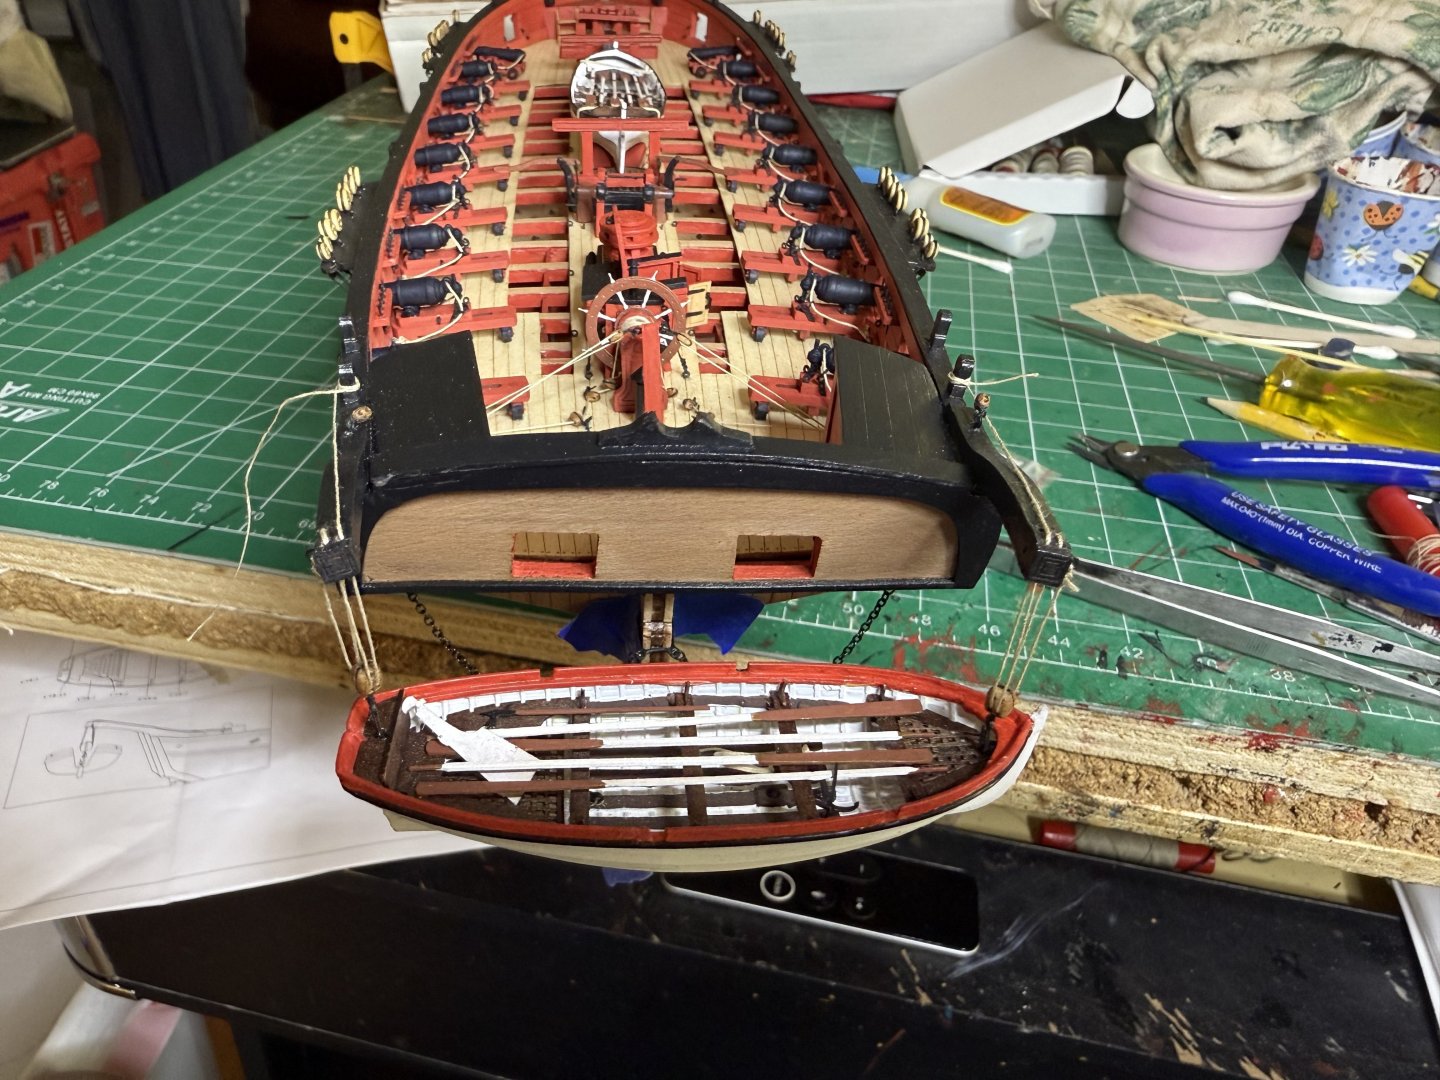
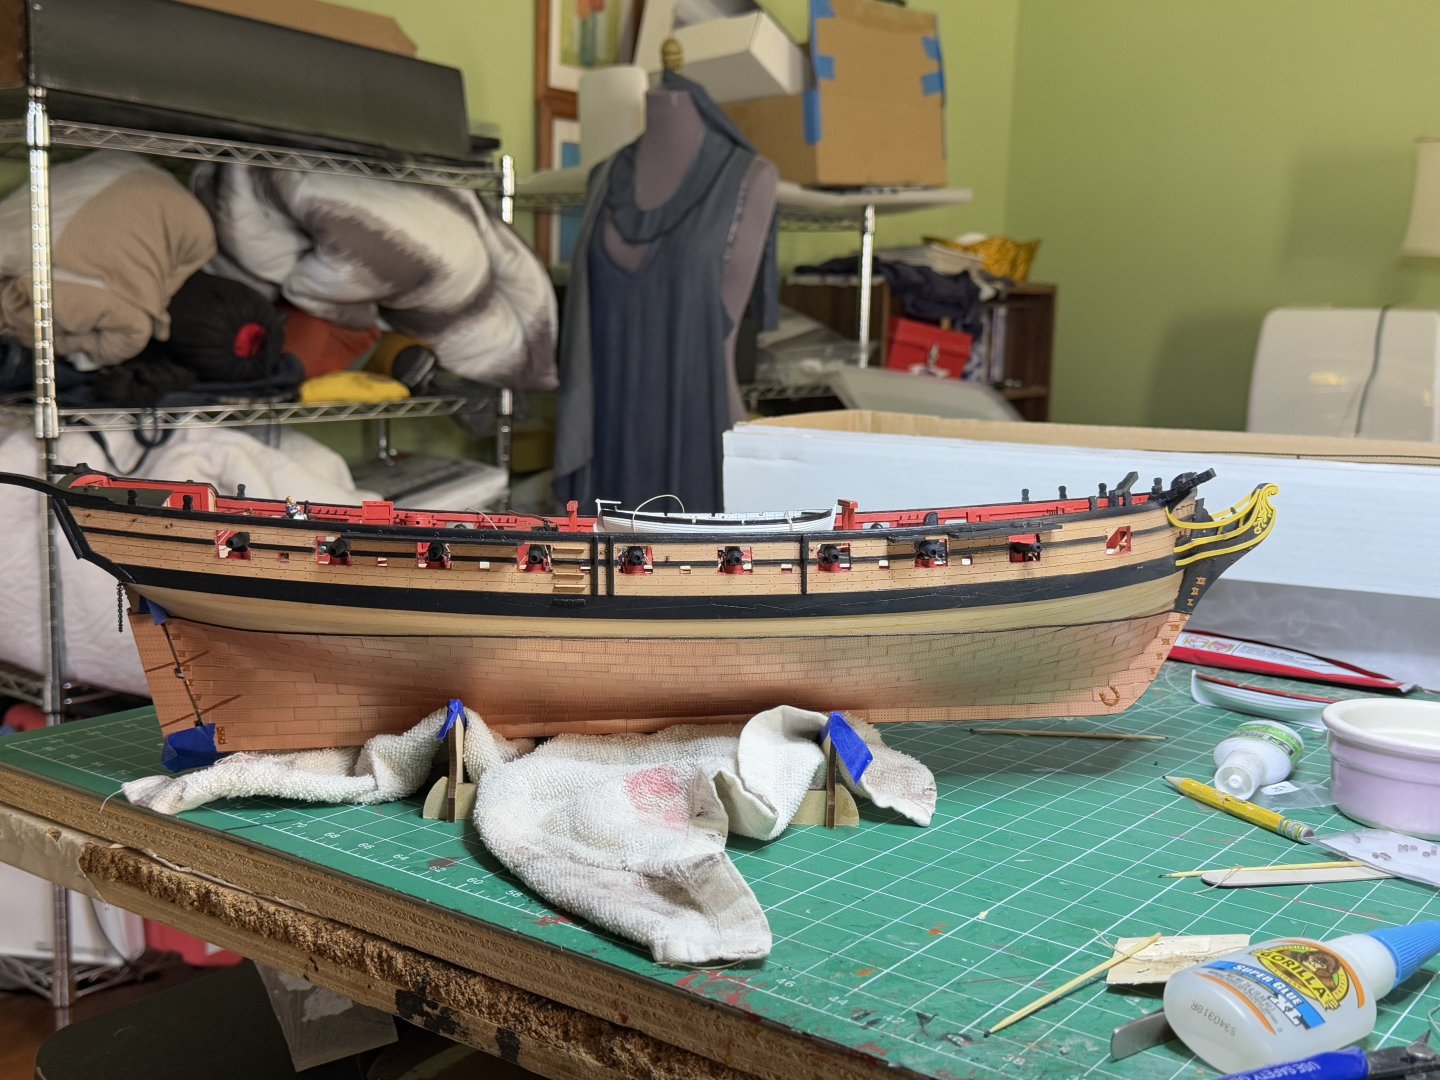
So the hull is pretty well done. Few things I will add at the end as I usually break anything sticking out while I do the masts/yards/rigging. May not get much work done this weekend being on call. Fitted the 18ft cutter to the stern davits.


- 73 replies
-
- 11
-
-
- Harpy
- Vanguard Models
- (and 1 more)
-
Take heart. I had to sand down quite a bit . There is a small gap but not easily seen unless you look real close. The sides of the cabin needed quite a bit of sanding to fit. Initially looked a lot like yours. See below at the lines of the edges, so I chose option C


- 241 replies
-
- 3
-
-
- Vanguarrd Models
- Harpy
- (and 1 more)
-
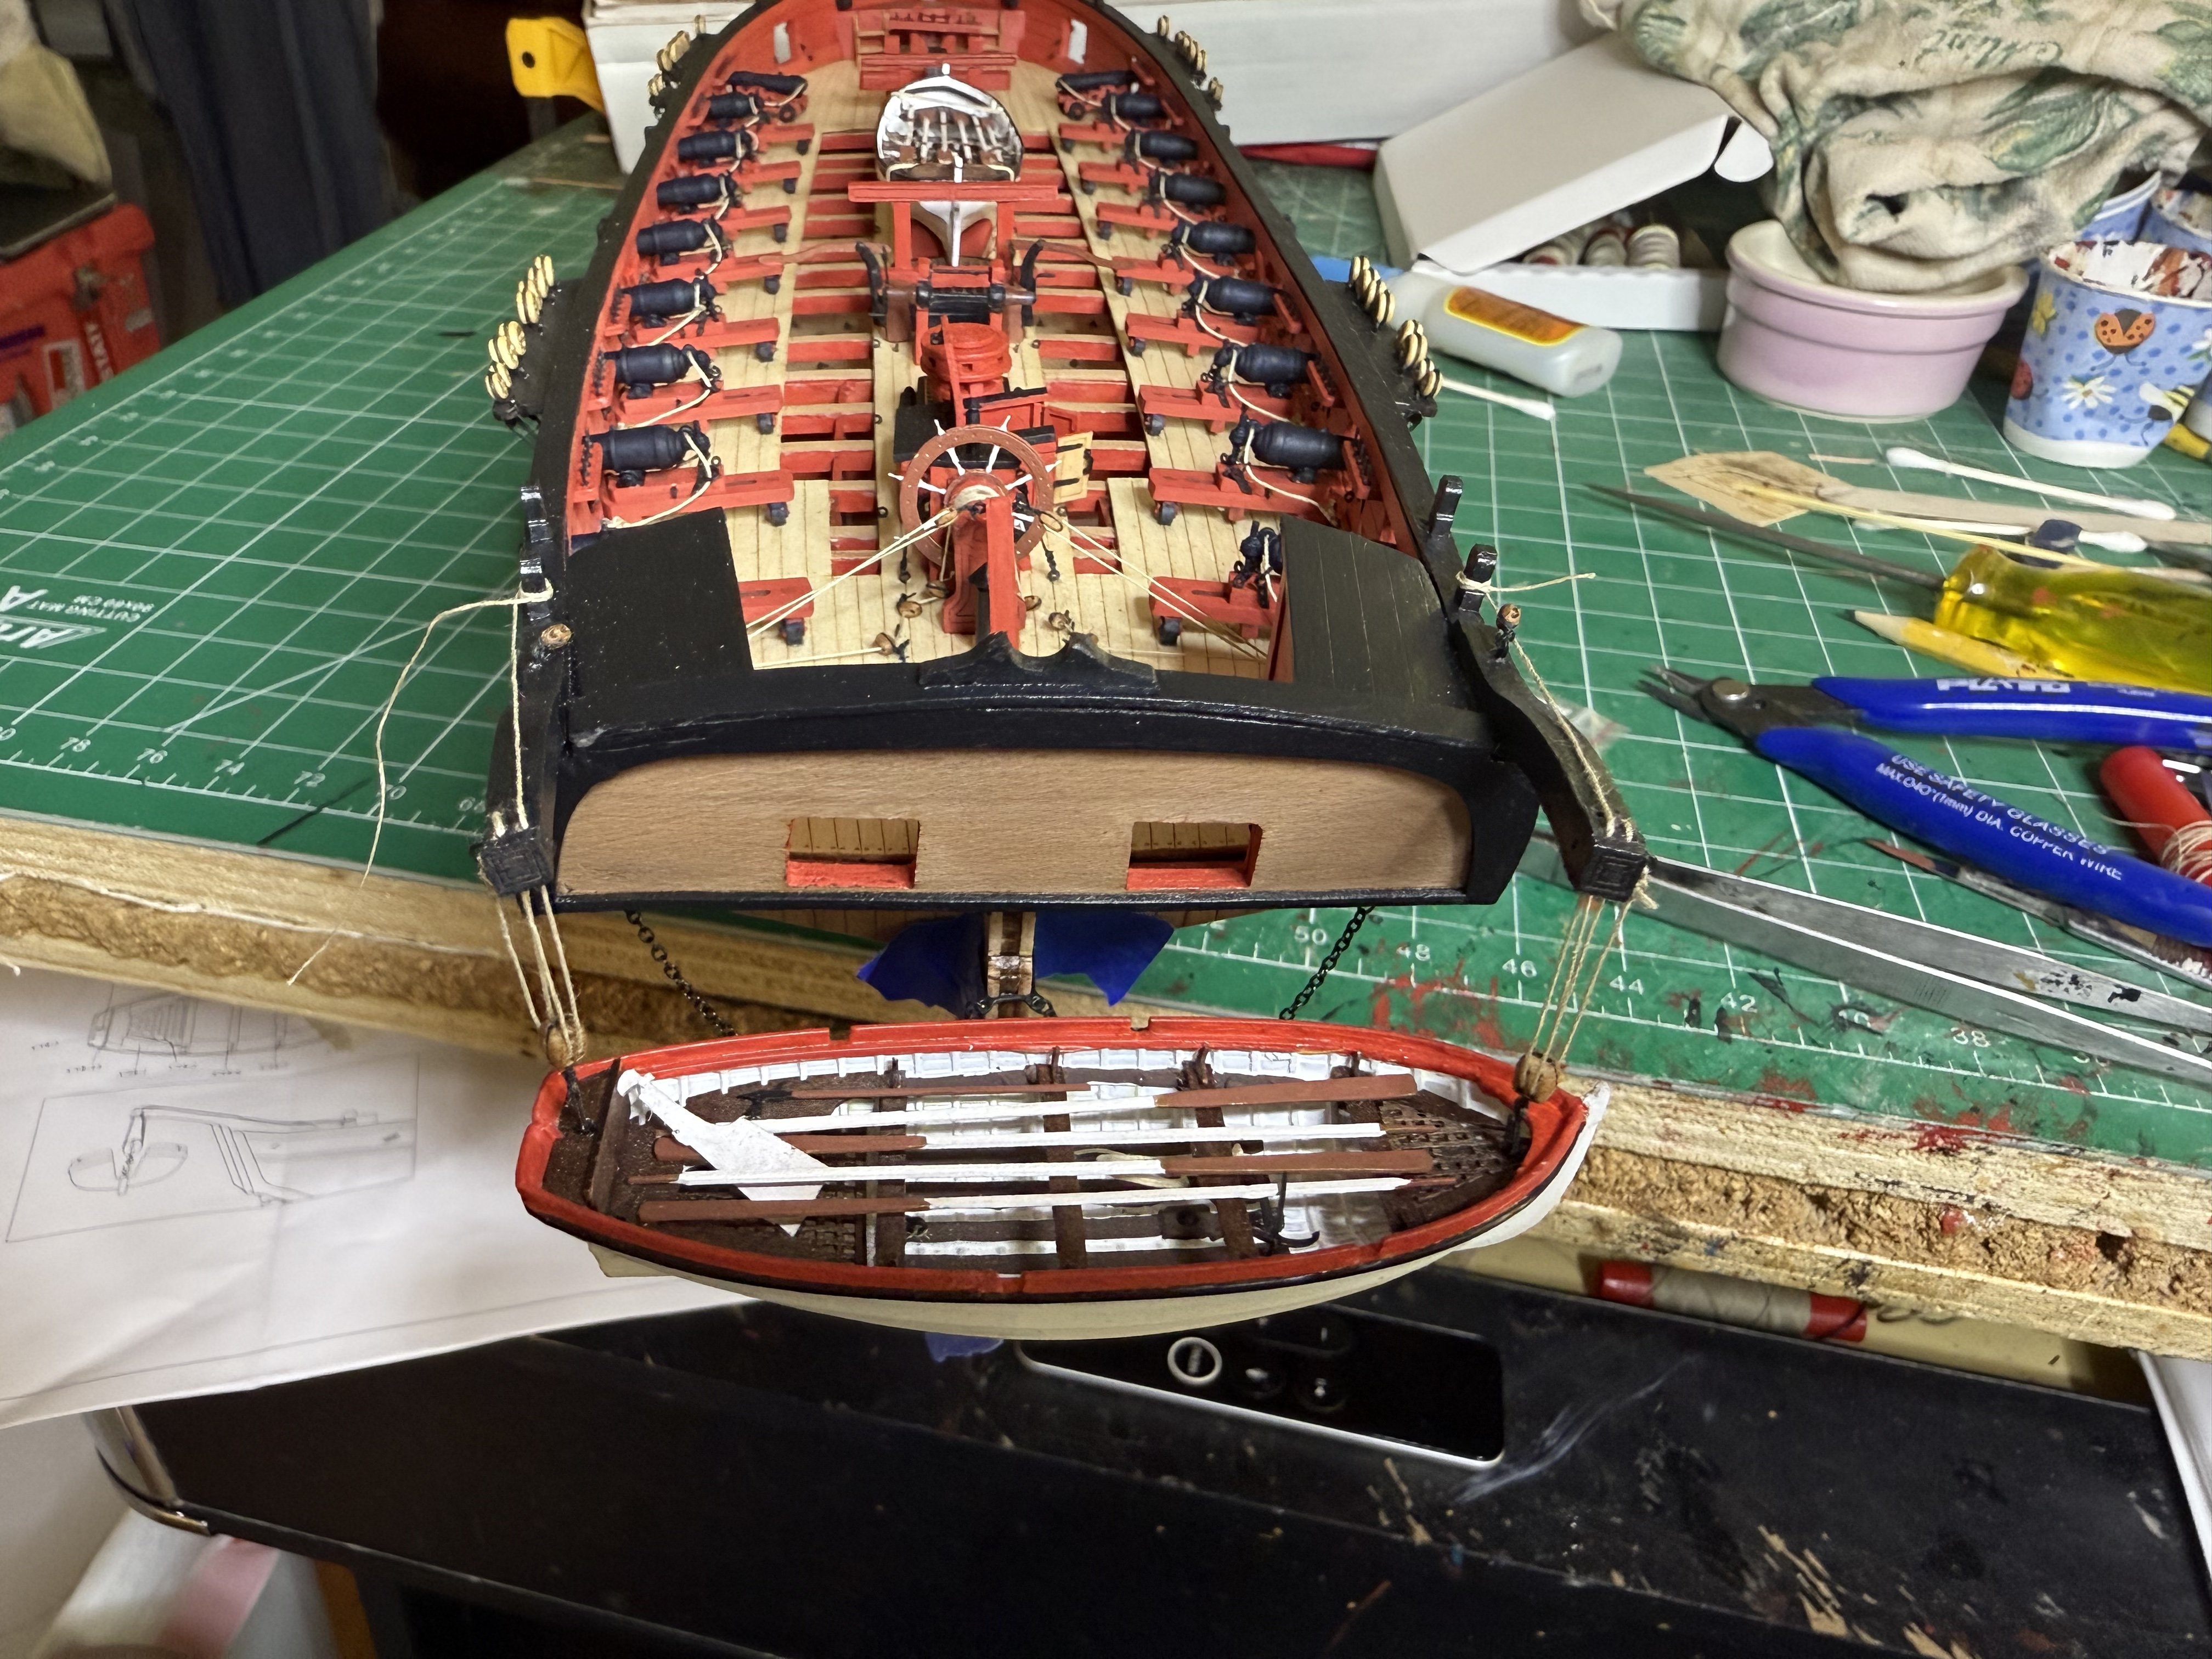
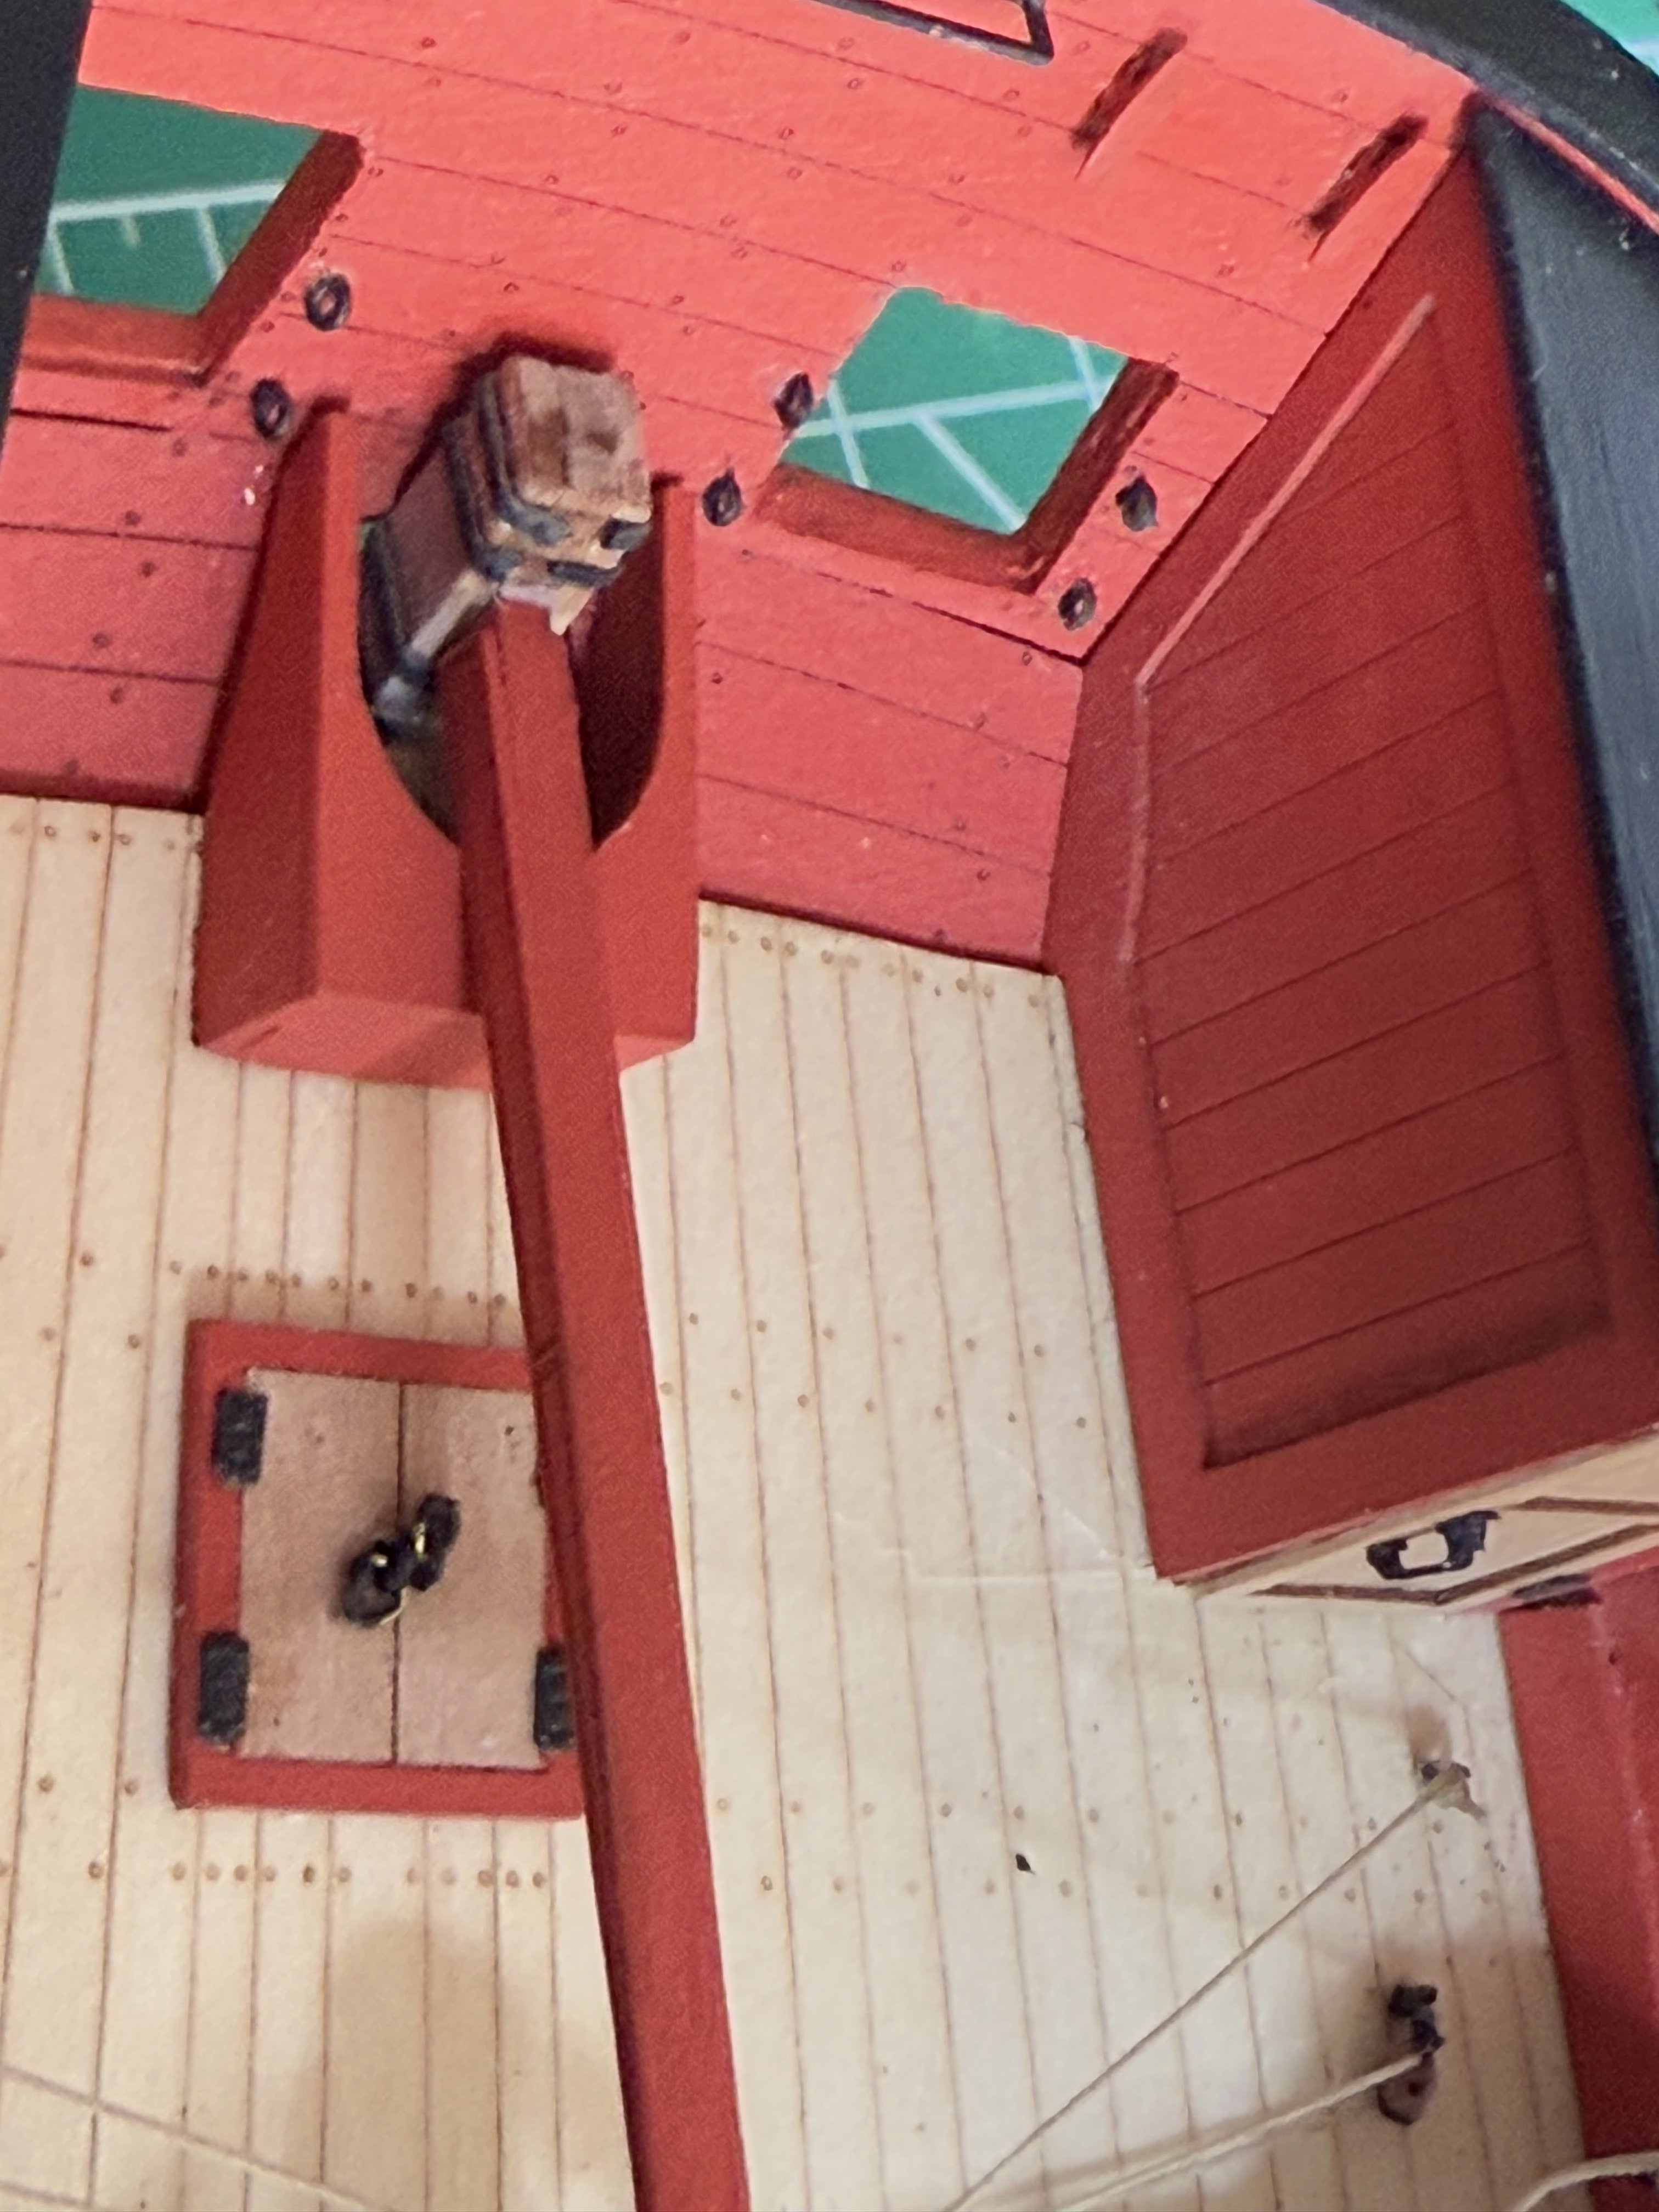
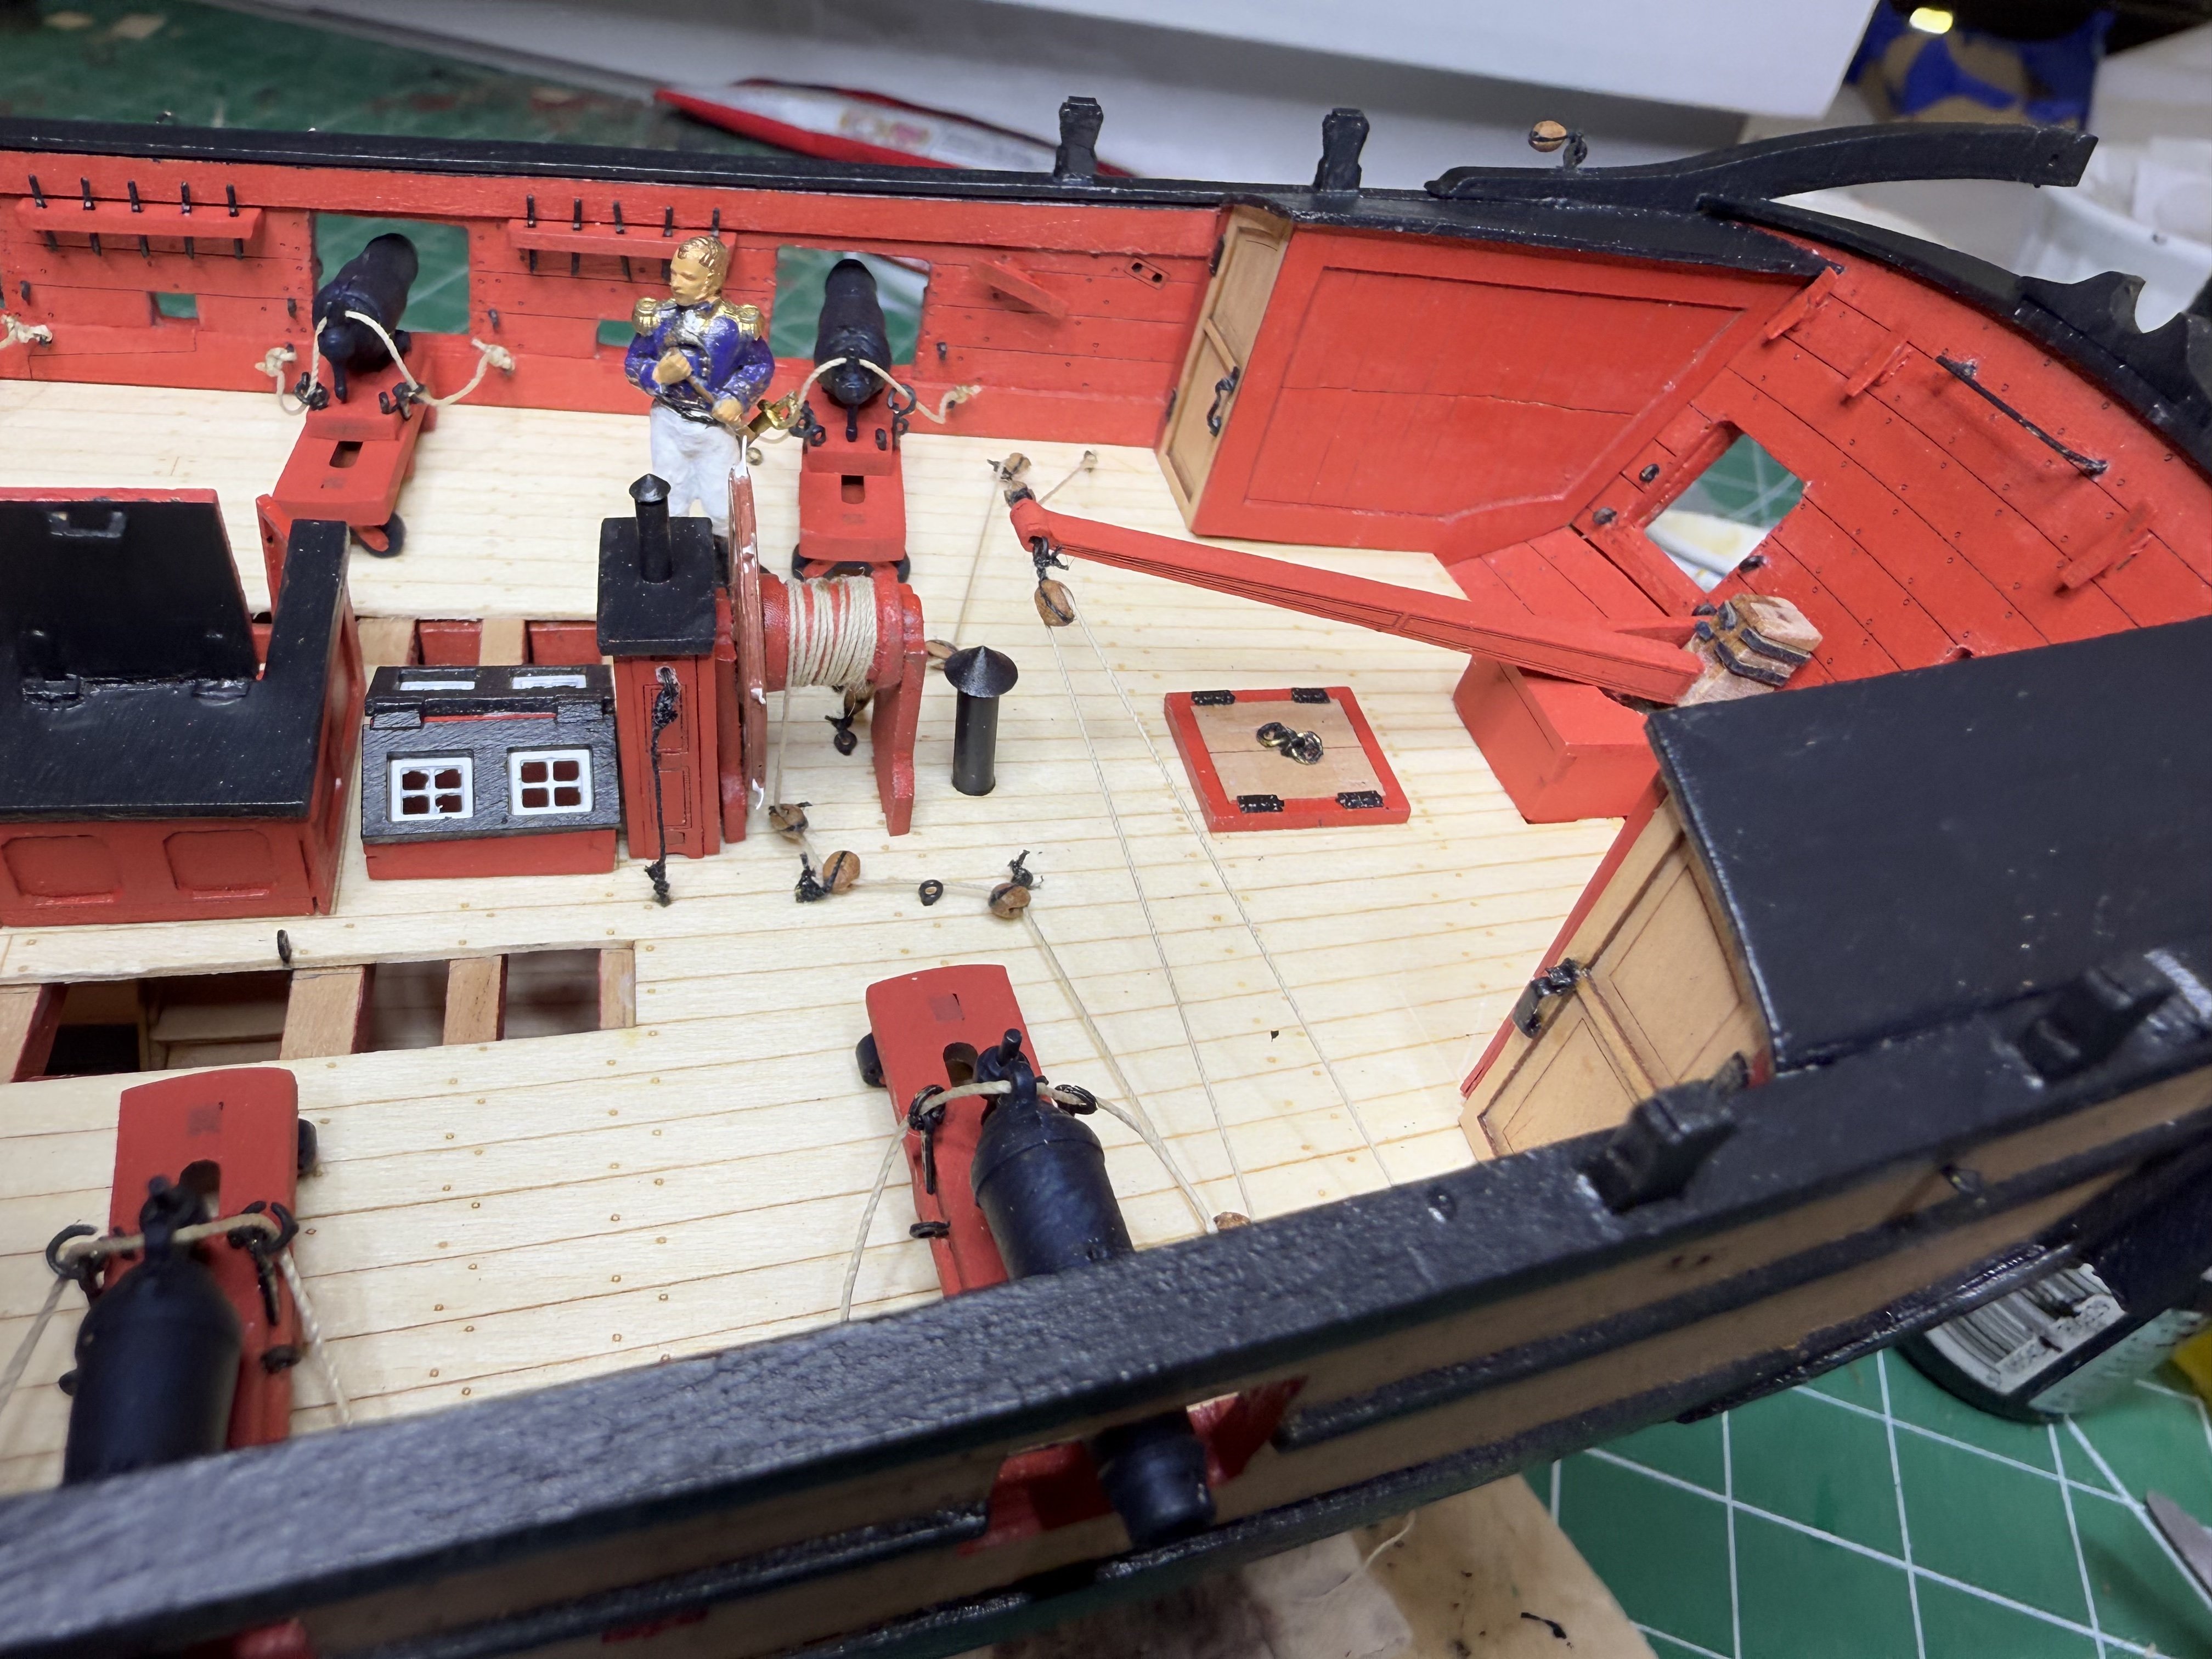
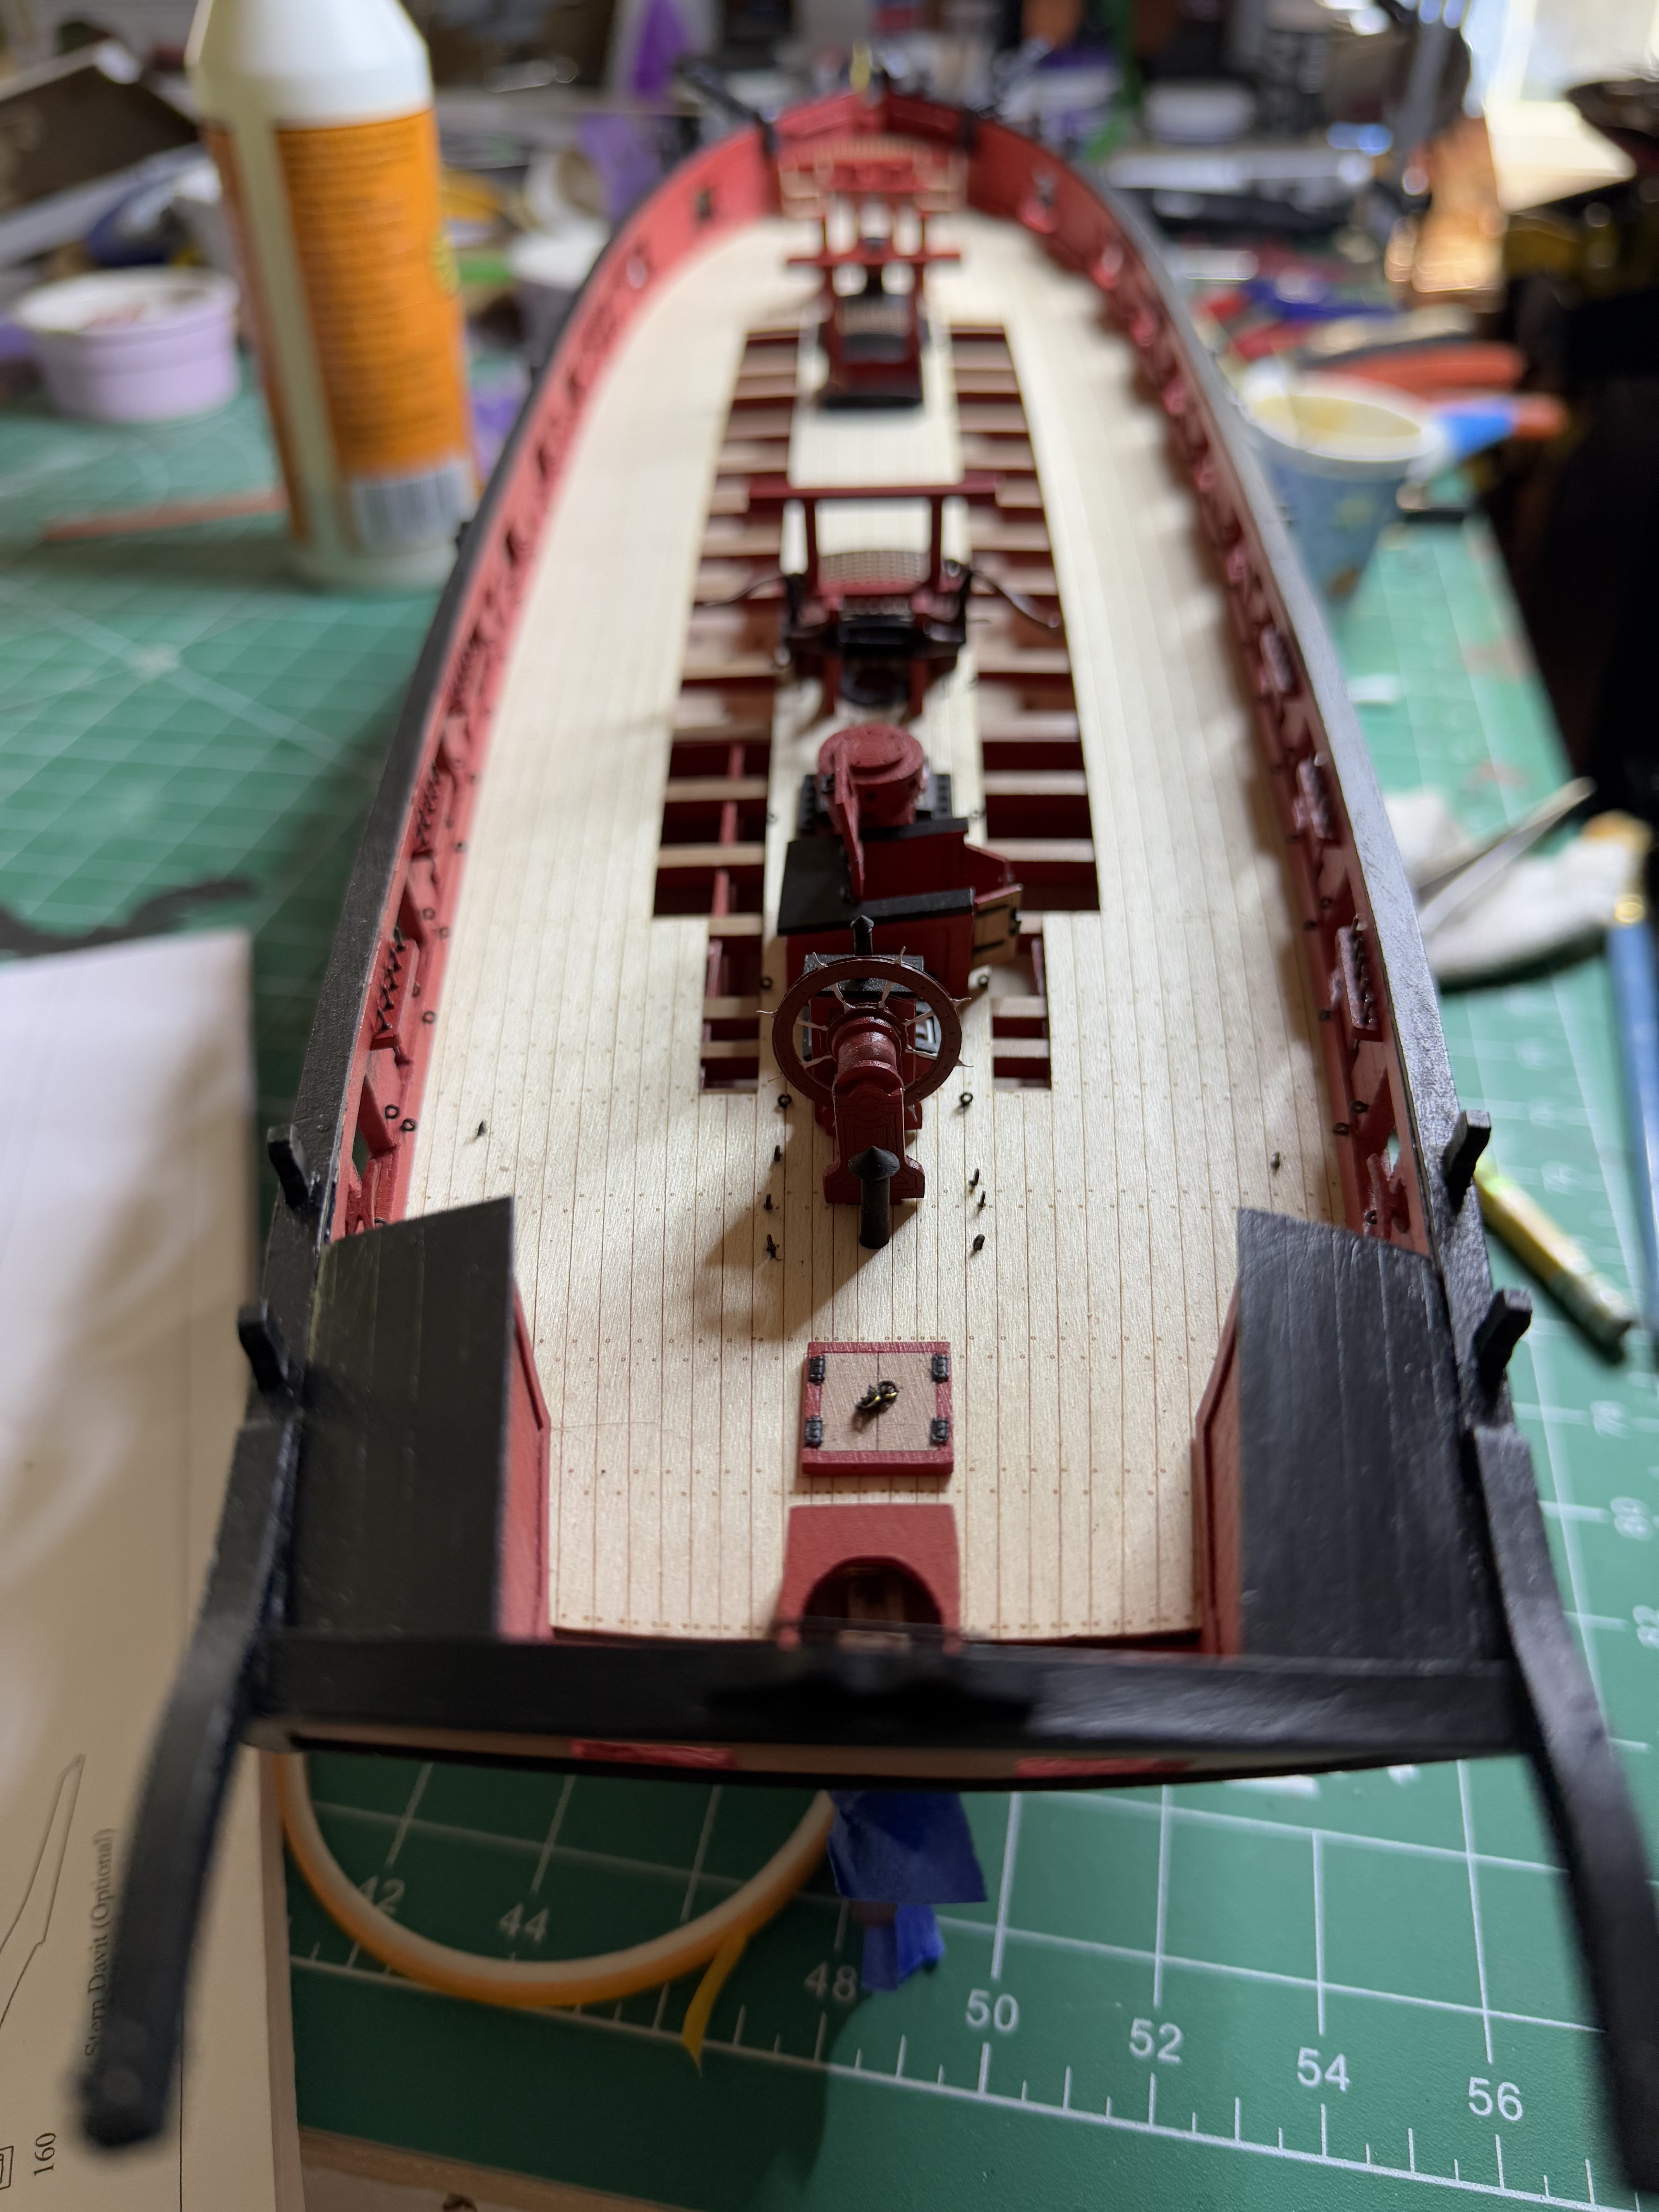
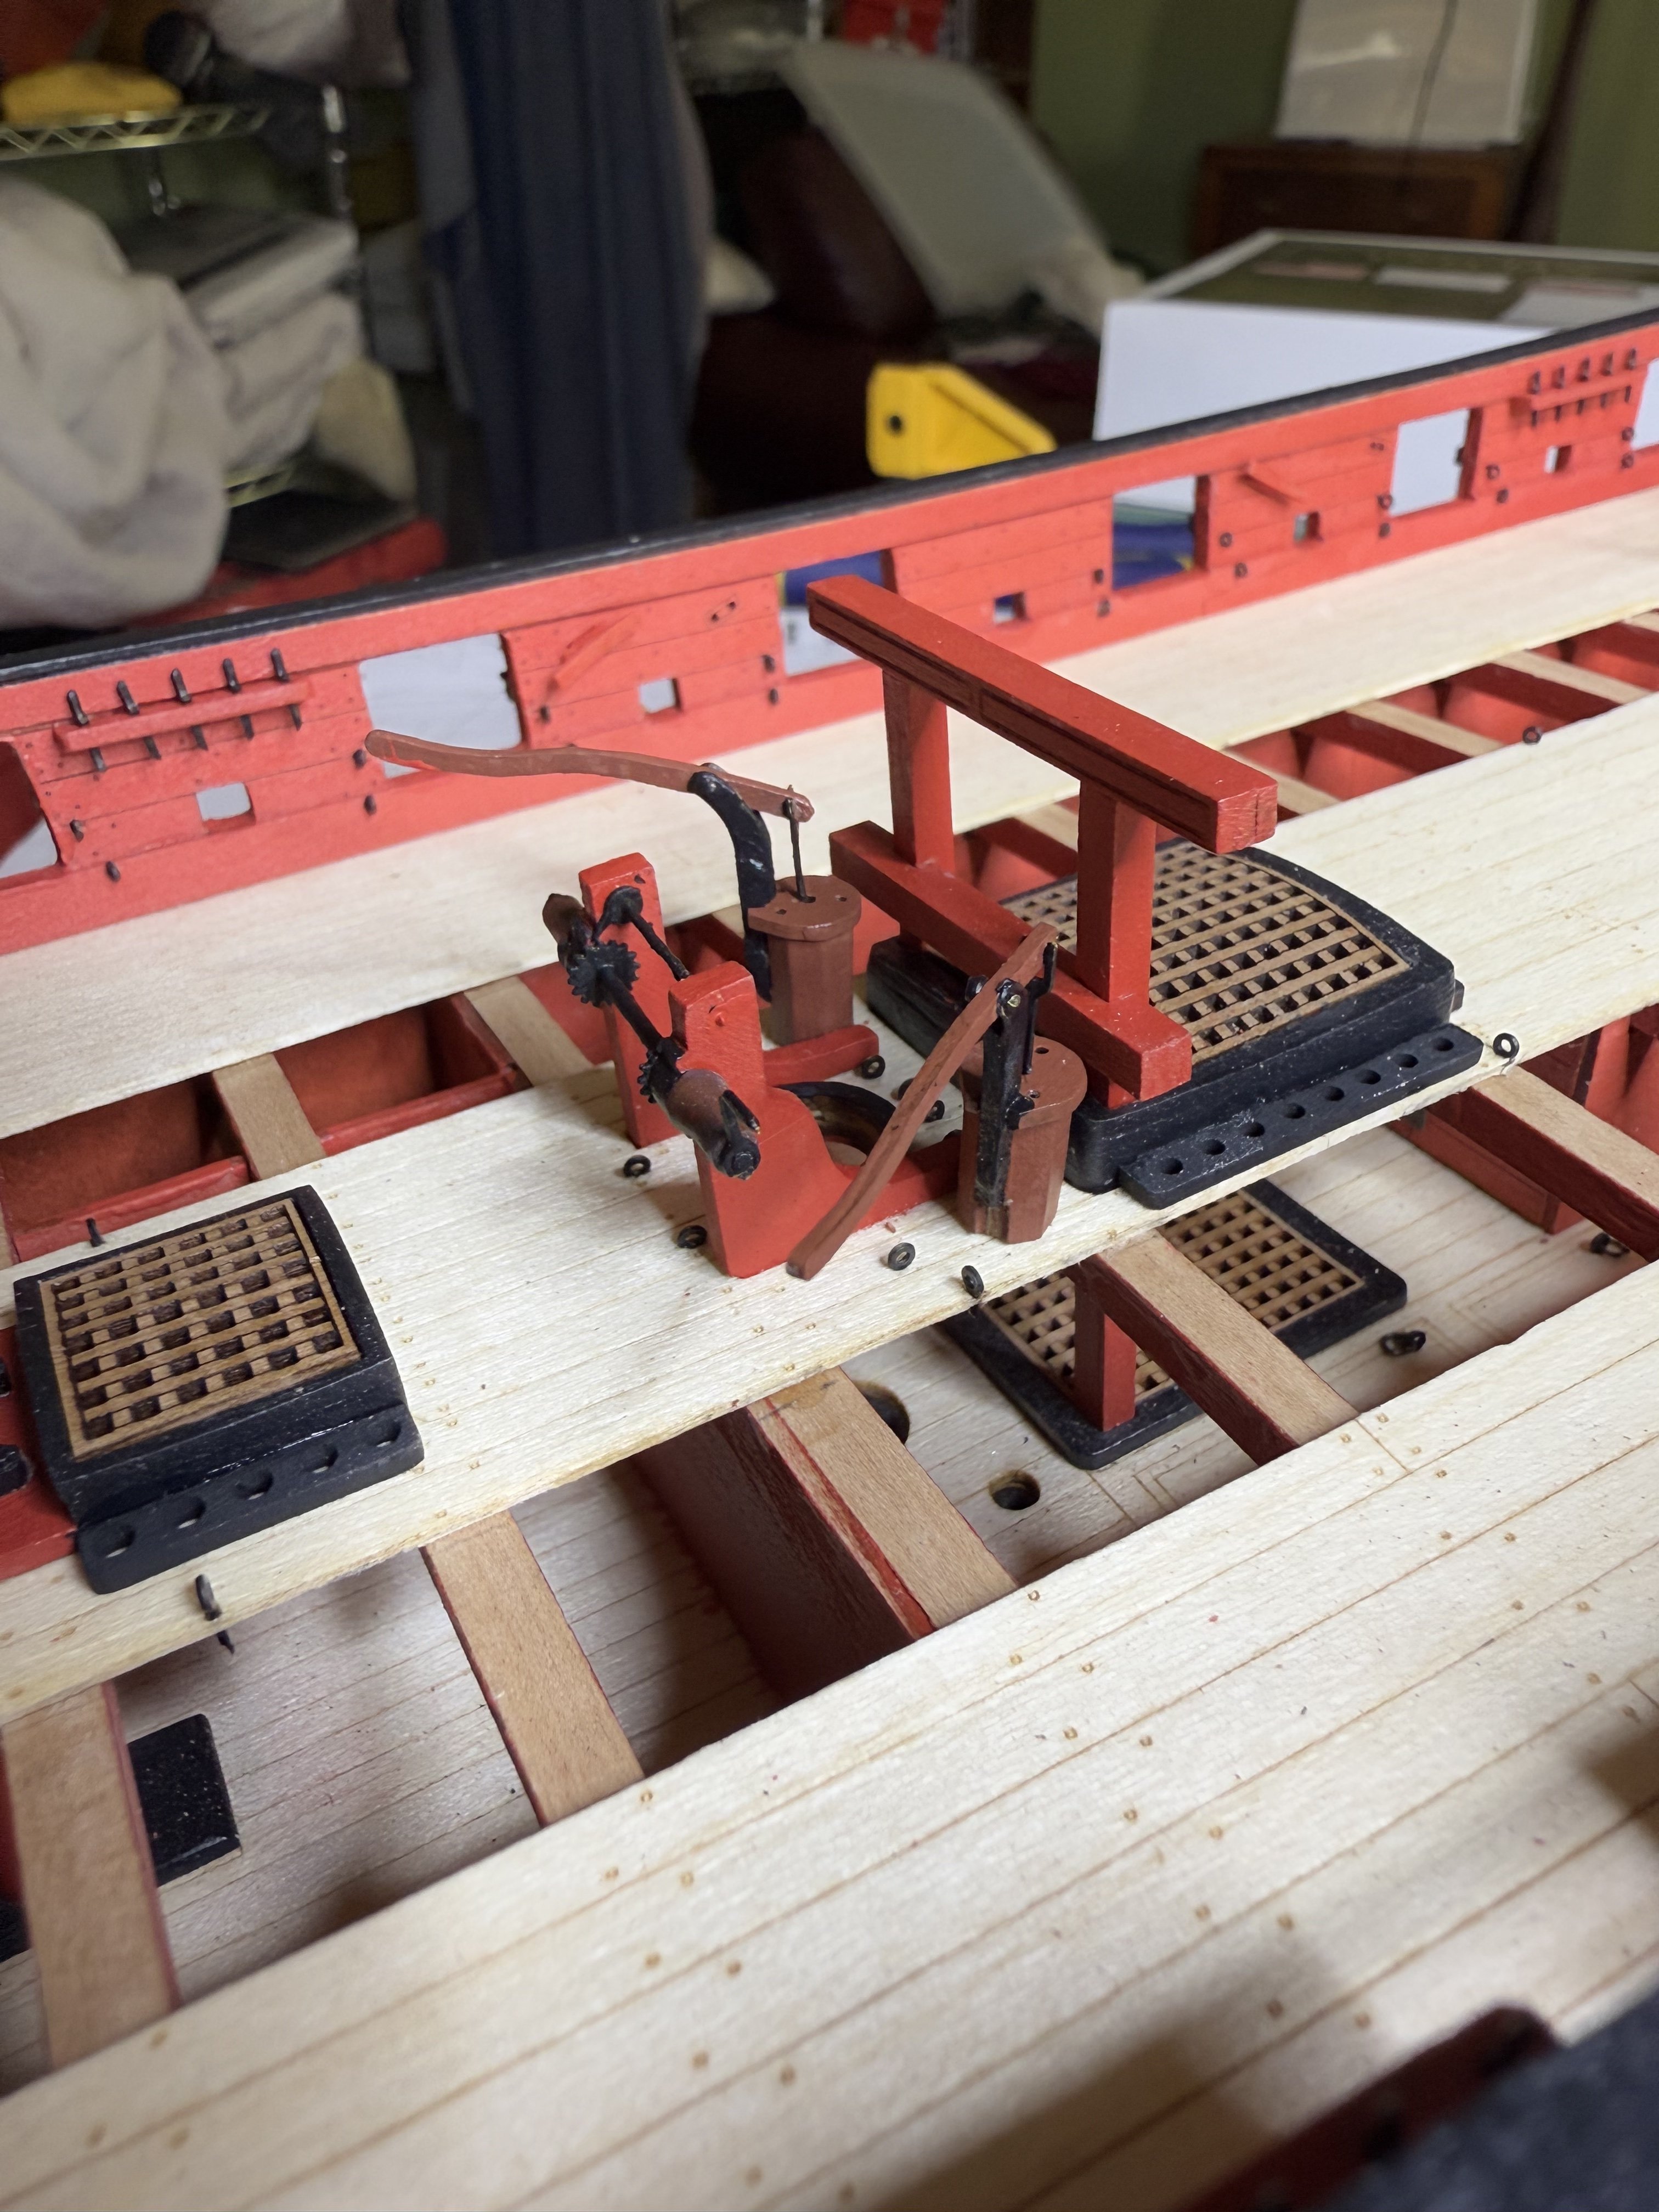
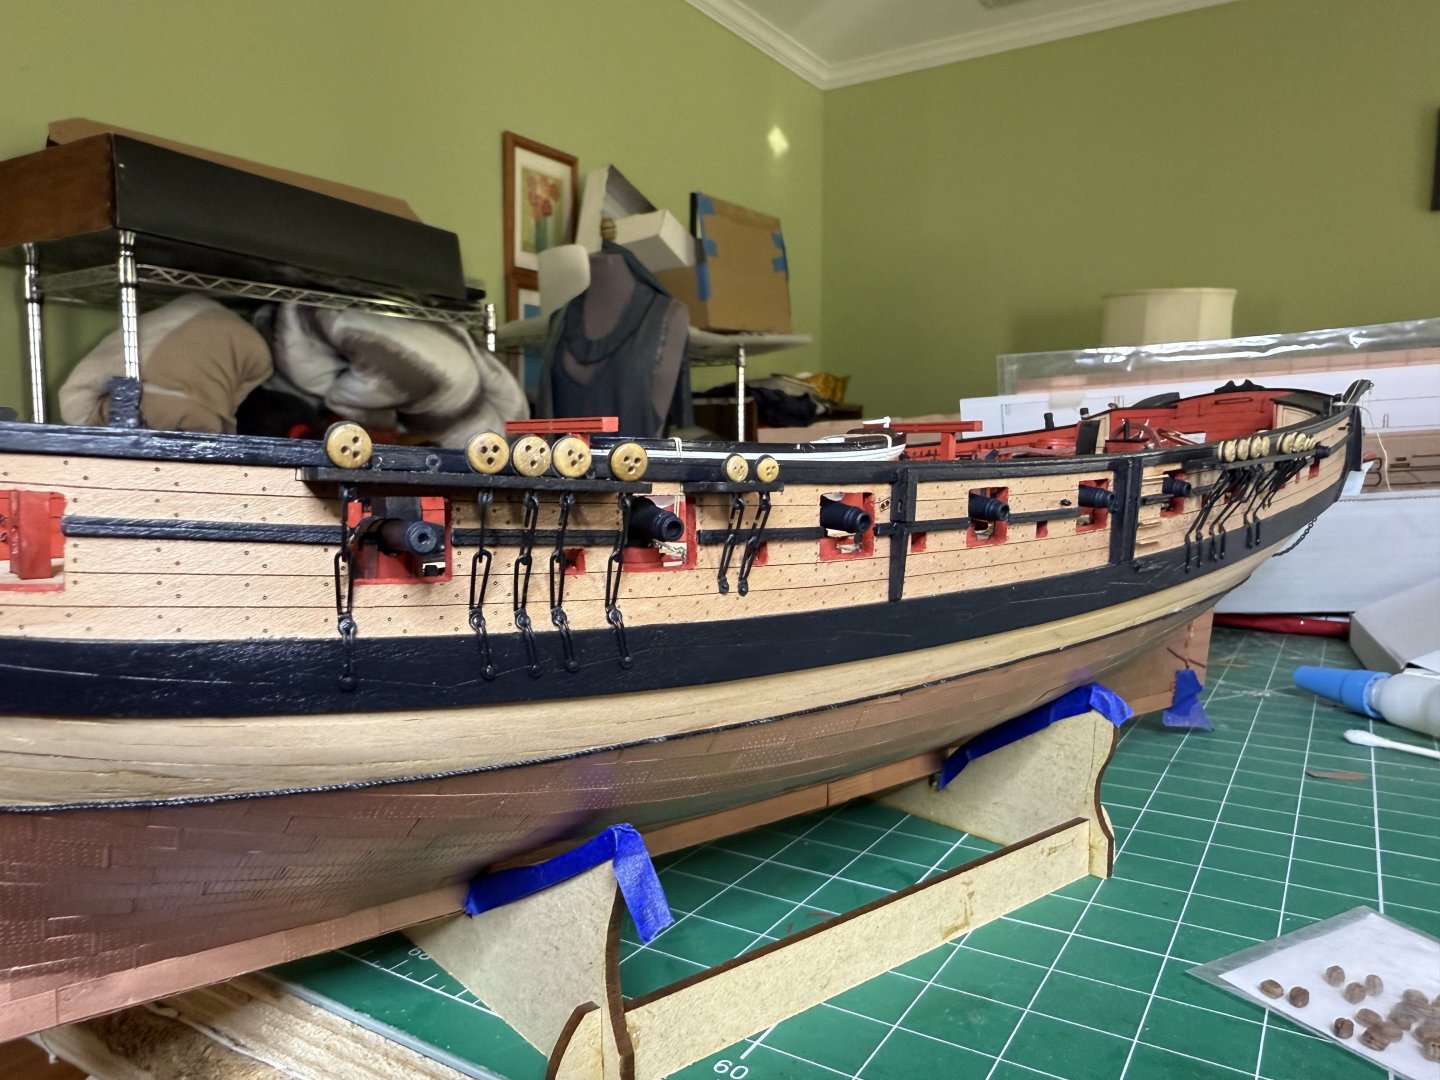
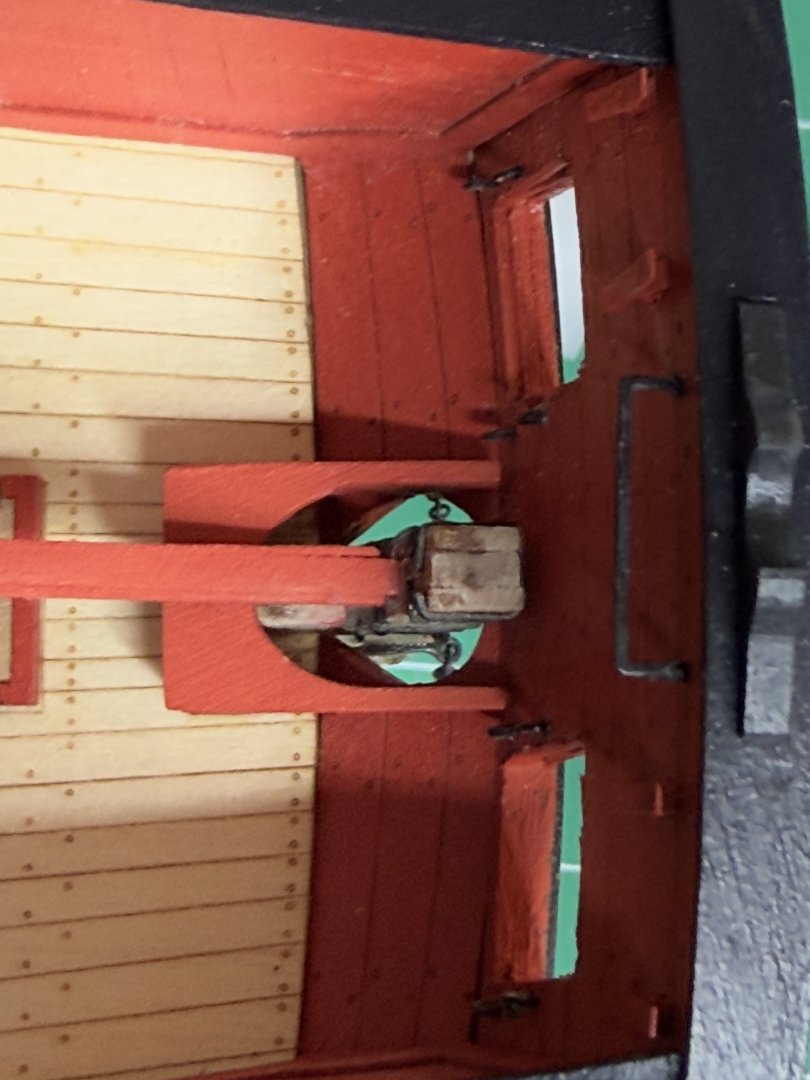
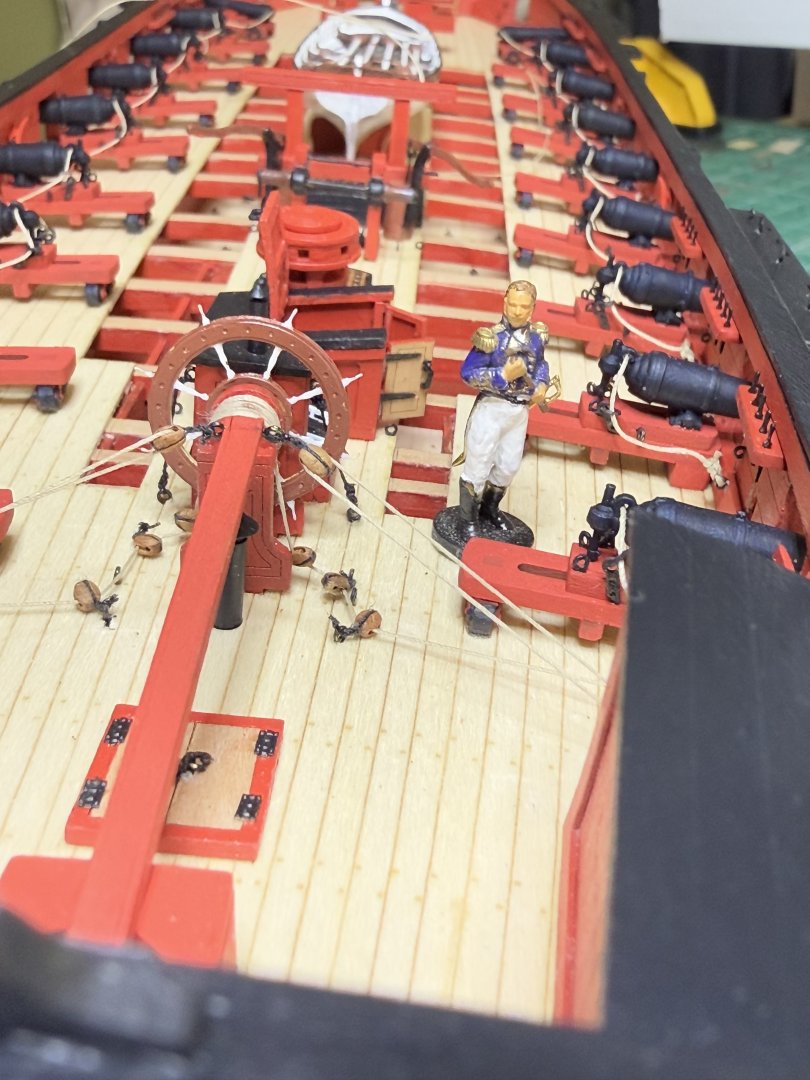
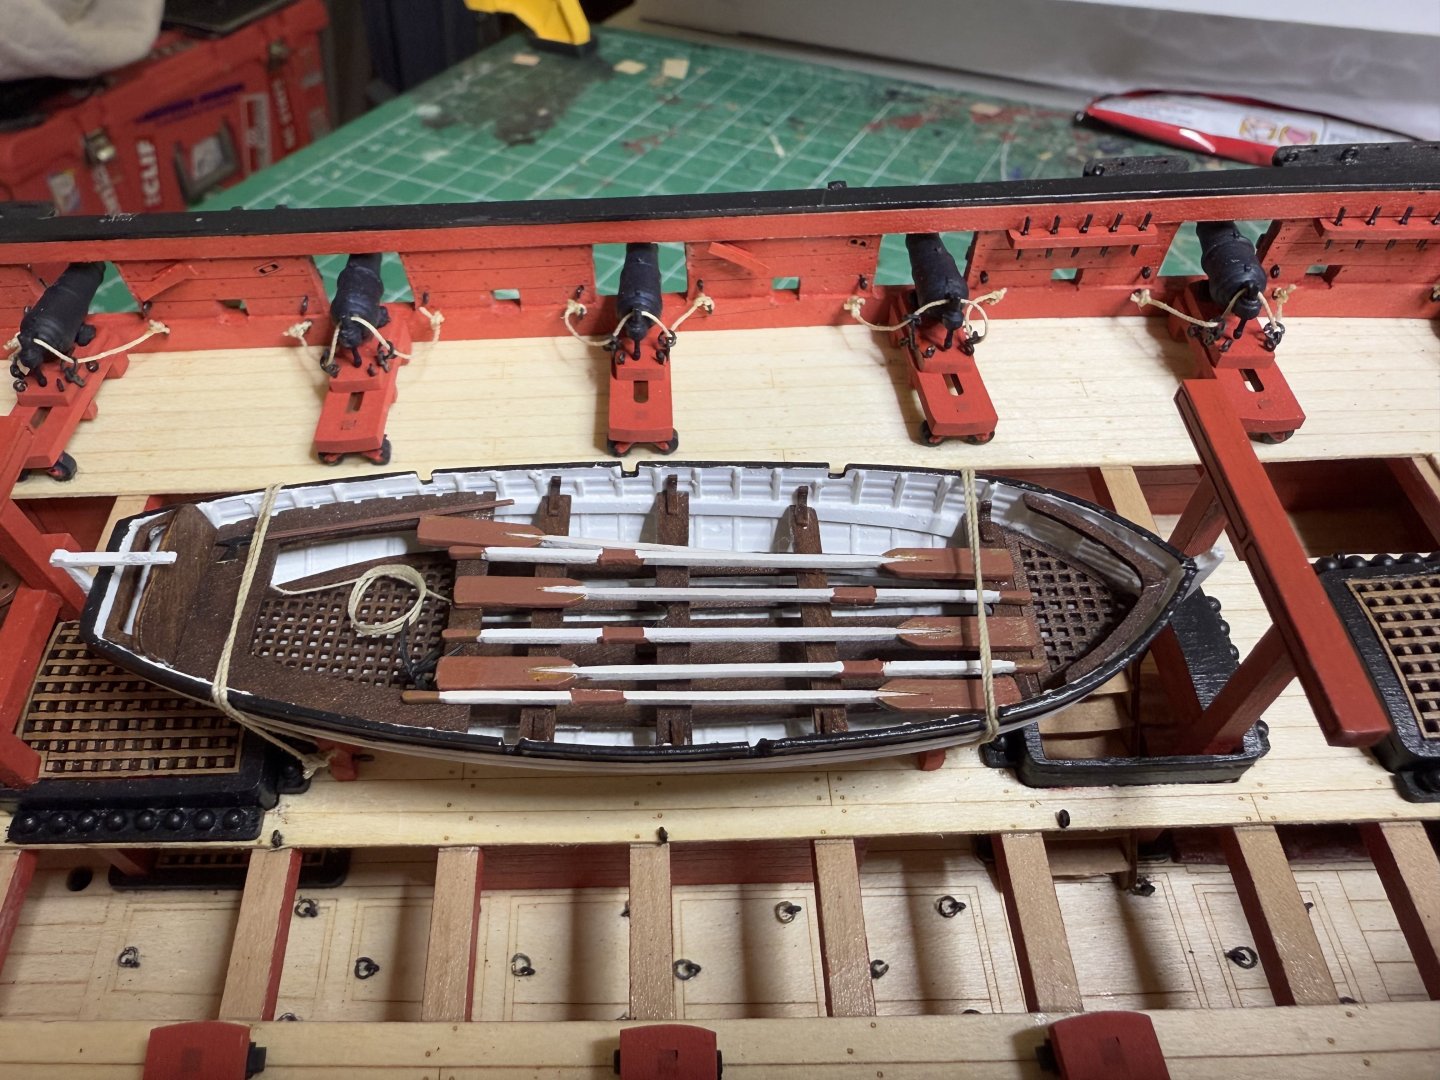
Finished the steering gear, guns, rudder chains and ships boat. Next is installing the deadeyes and putting the second ship's boat on the stern davits. Admiral Cochrane paid a visit.


- 73 replies
-
- 11
-
-
- Harpy
- Vanguard Models
- (and 1 more)
-
Thanks! I am jealous of your skill set as not sure I would have the patience to your more historically accurate approach to ship building. Your skill set is amazing and certainly gave me good ideas during the build so far. Your and Glenn UK planking skills definitely much better although for the next one I will try and incorporate some of your tricks of the trade
- 73 replies
-
- 4
-
-
- Harpy
- Vanguard Models
- (and 1 more)
-
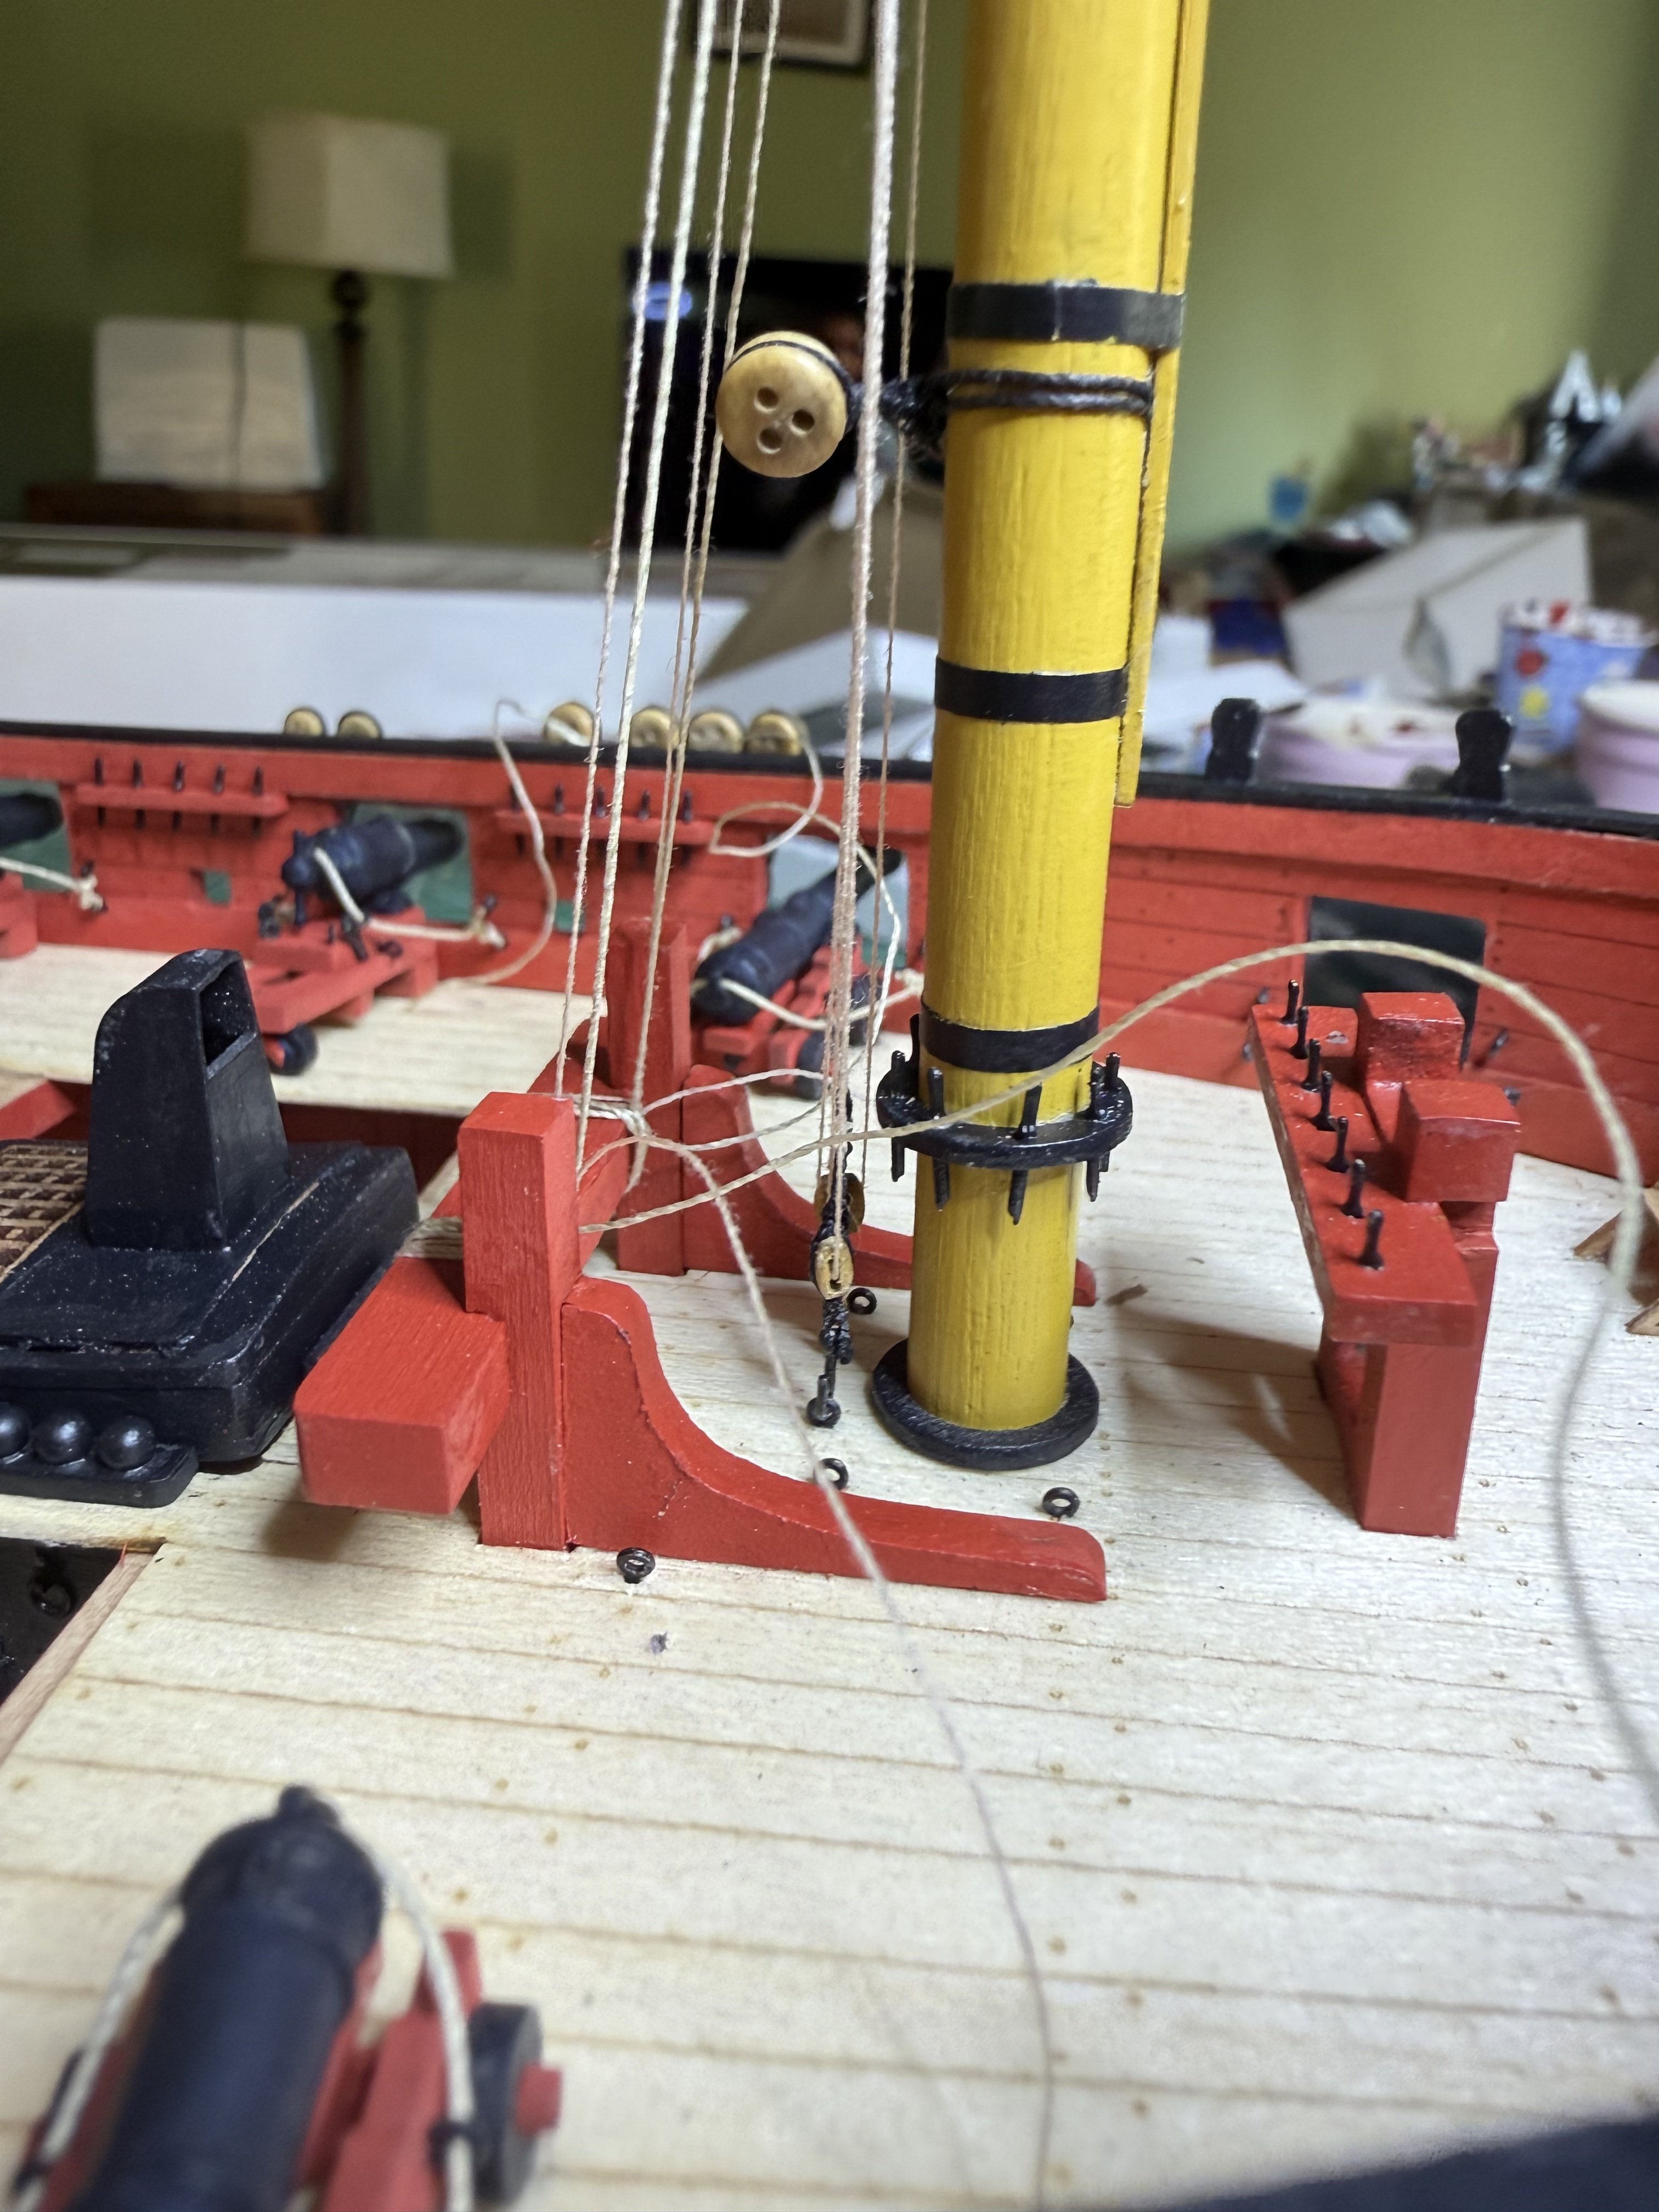
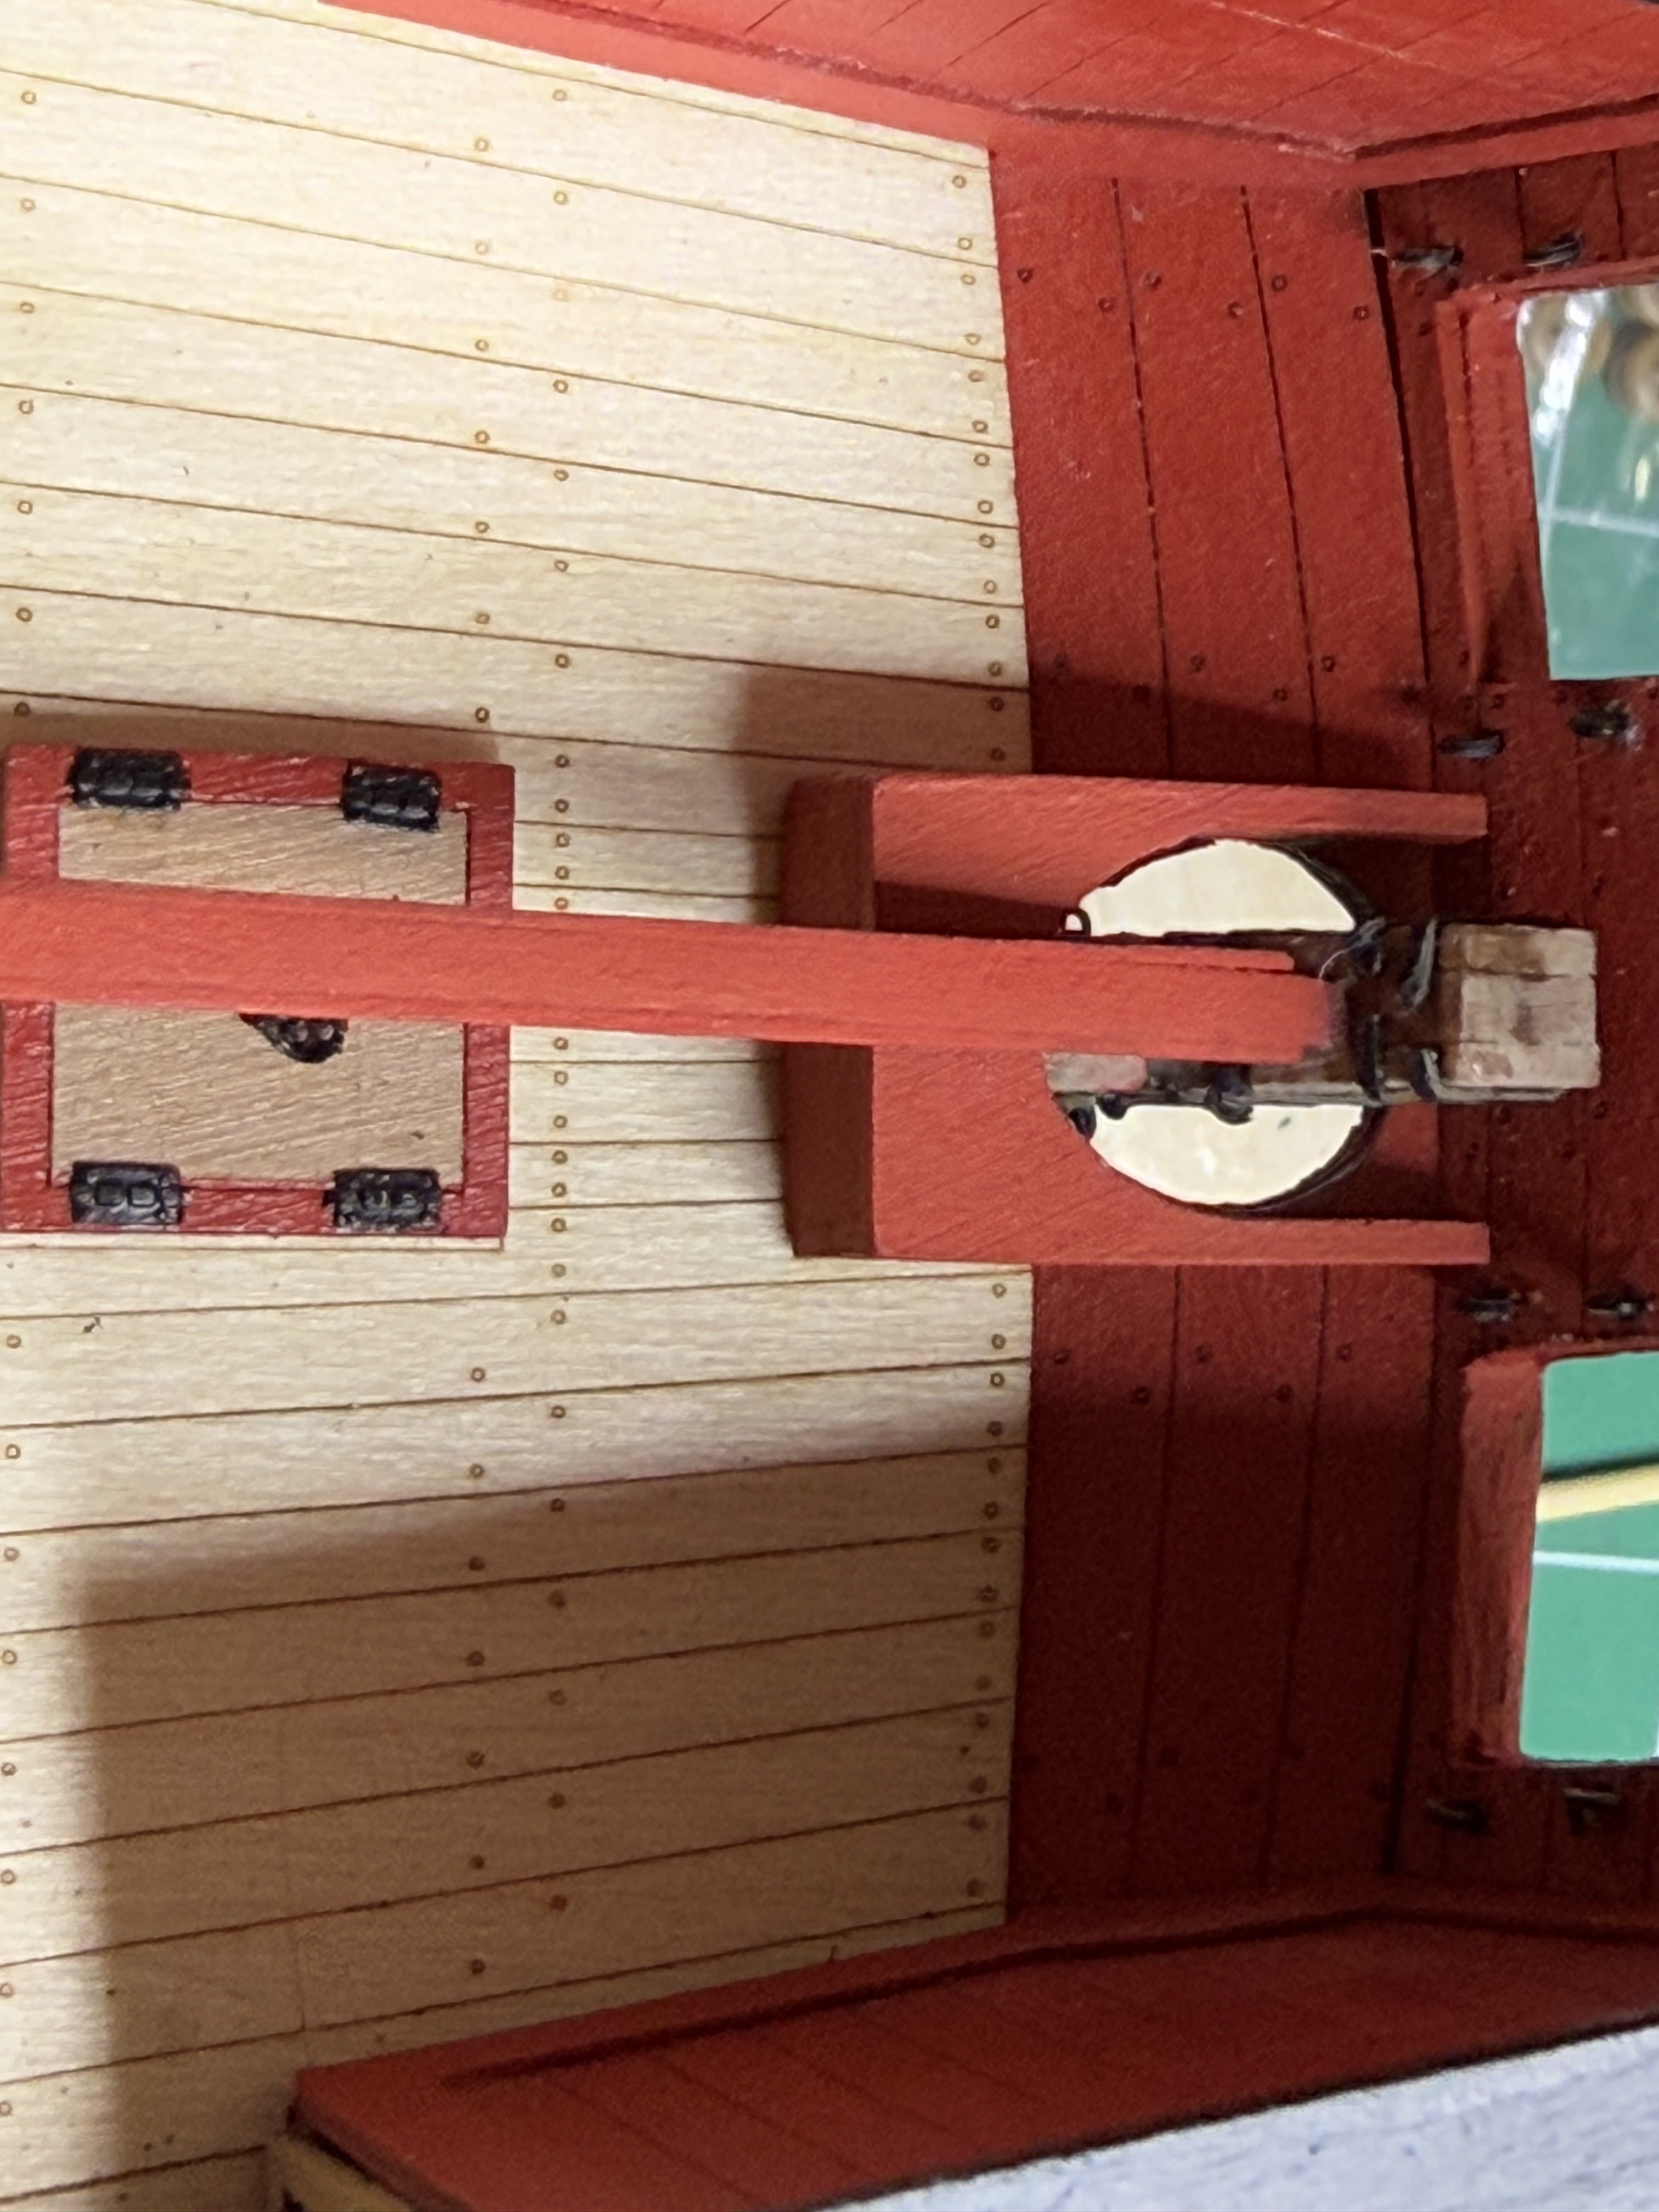
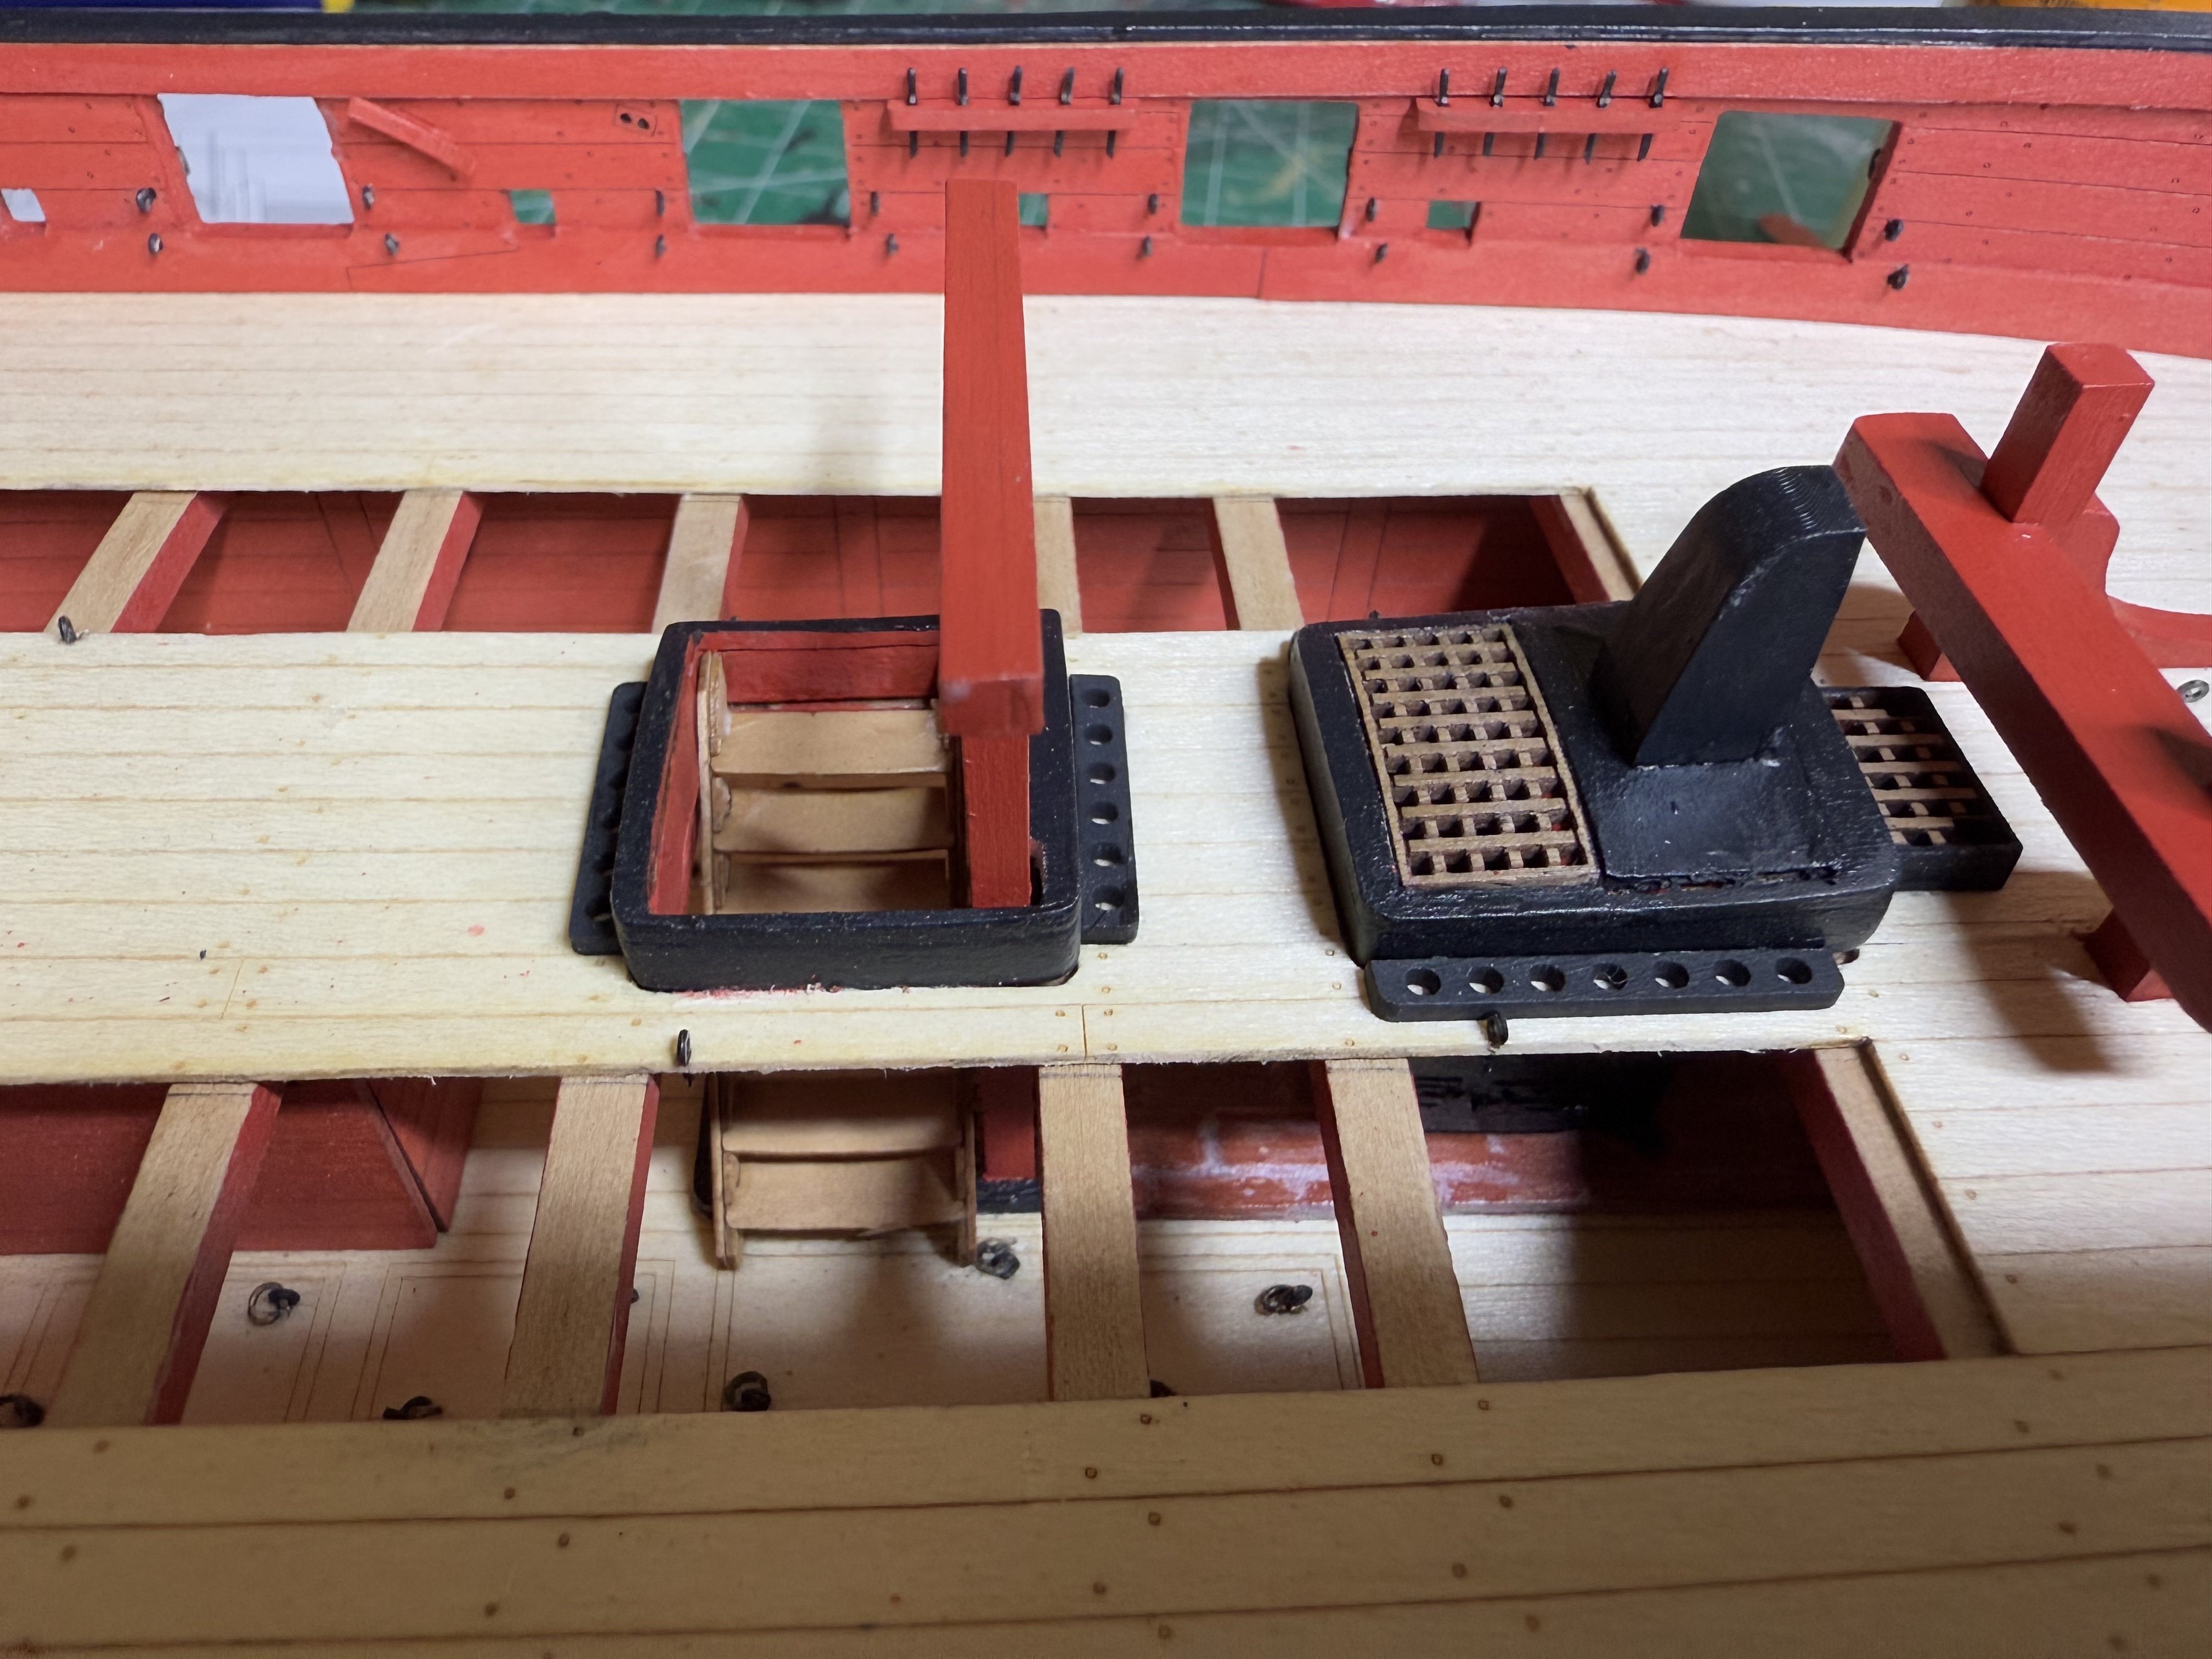
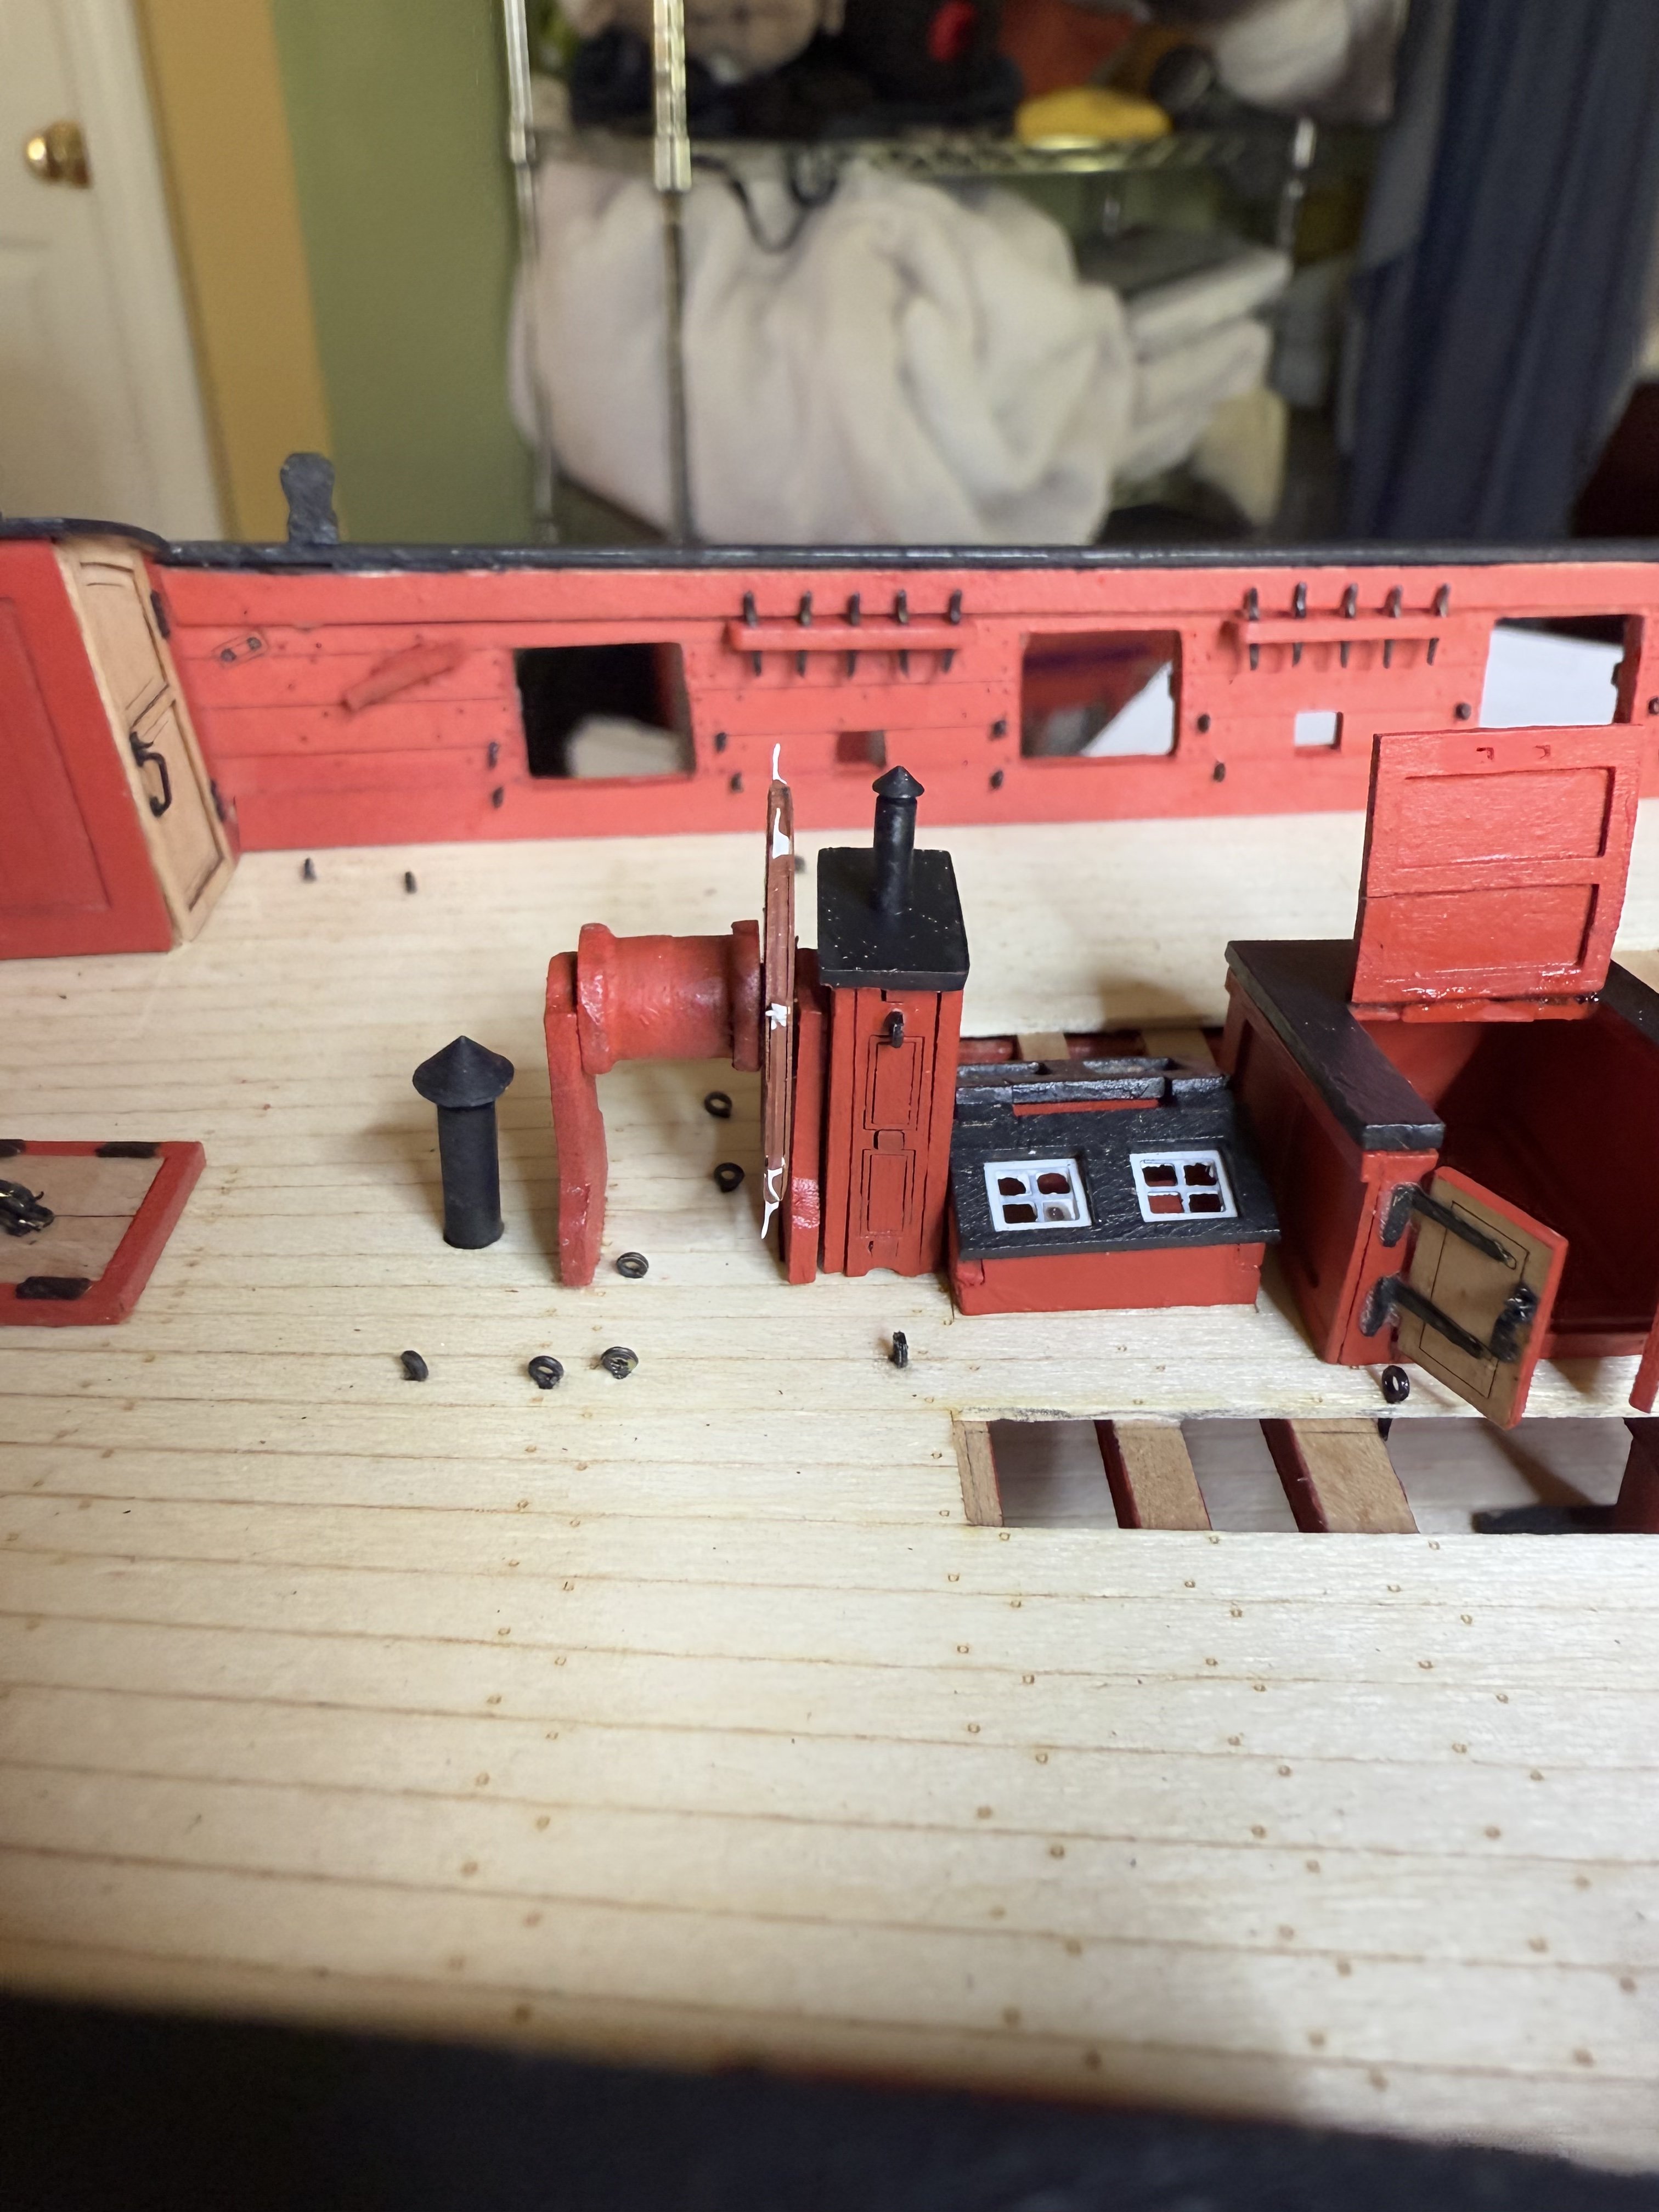
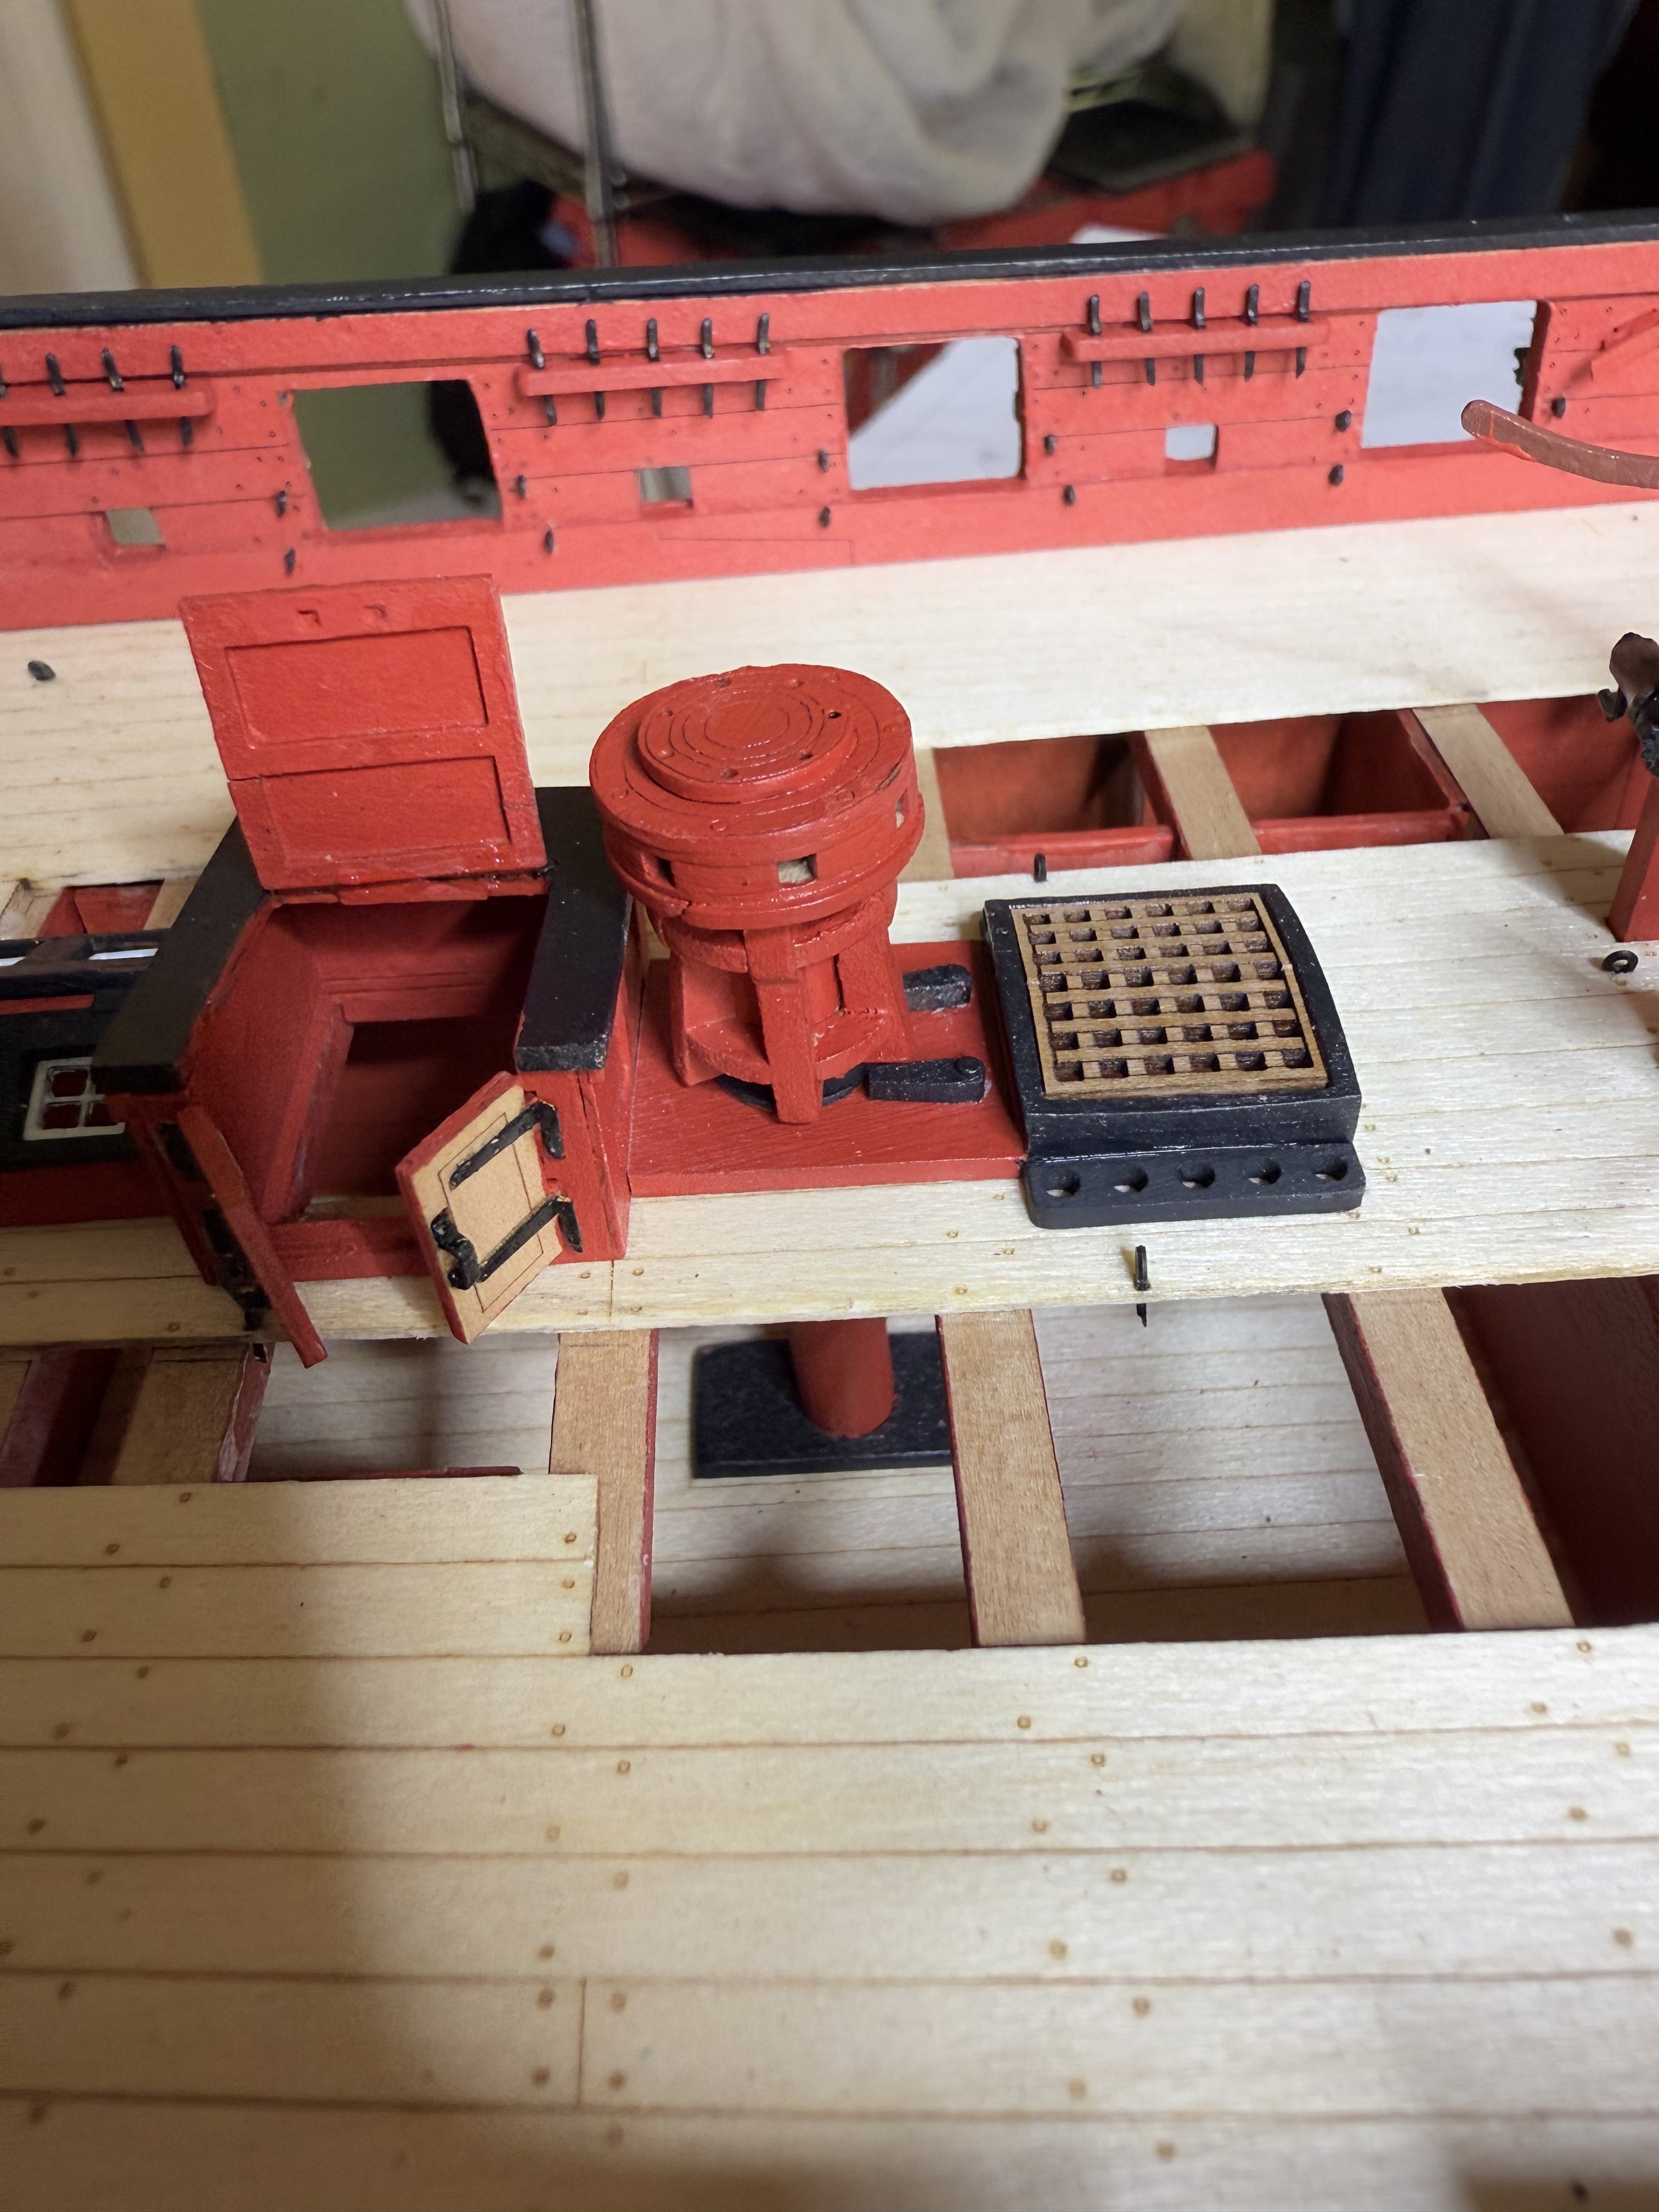
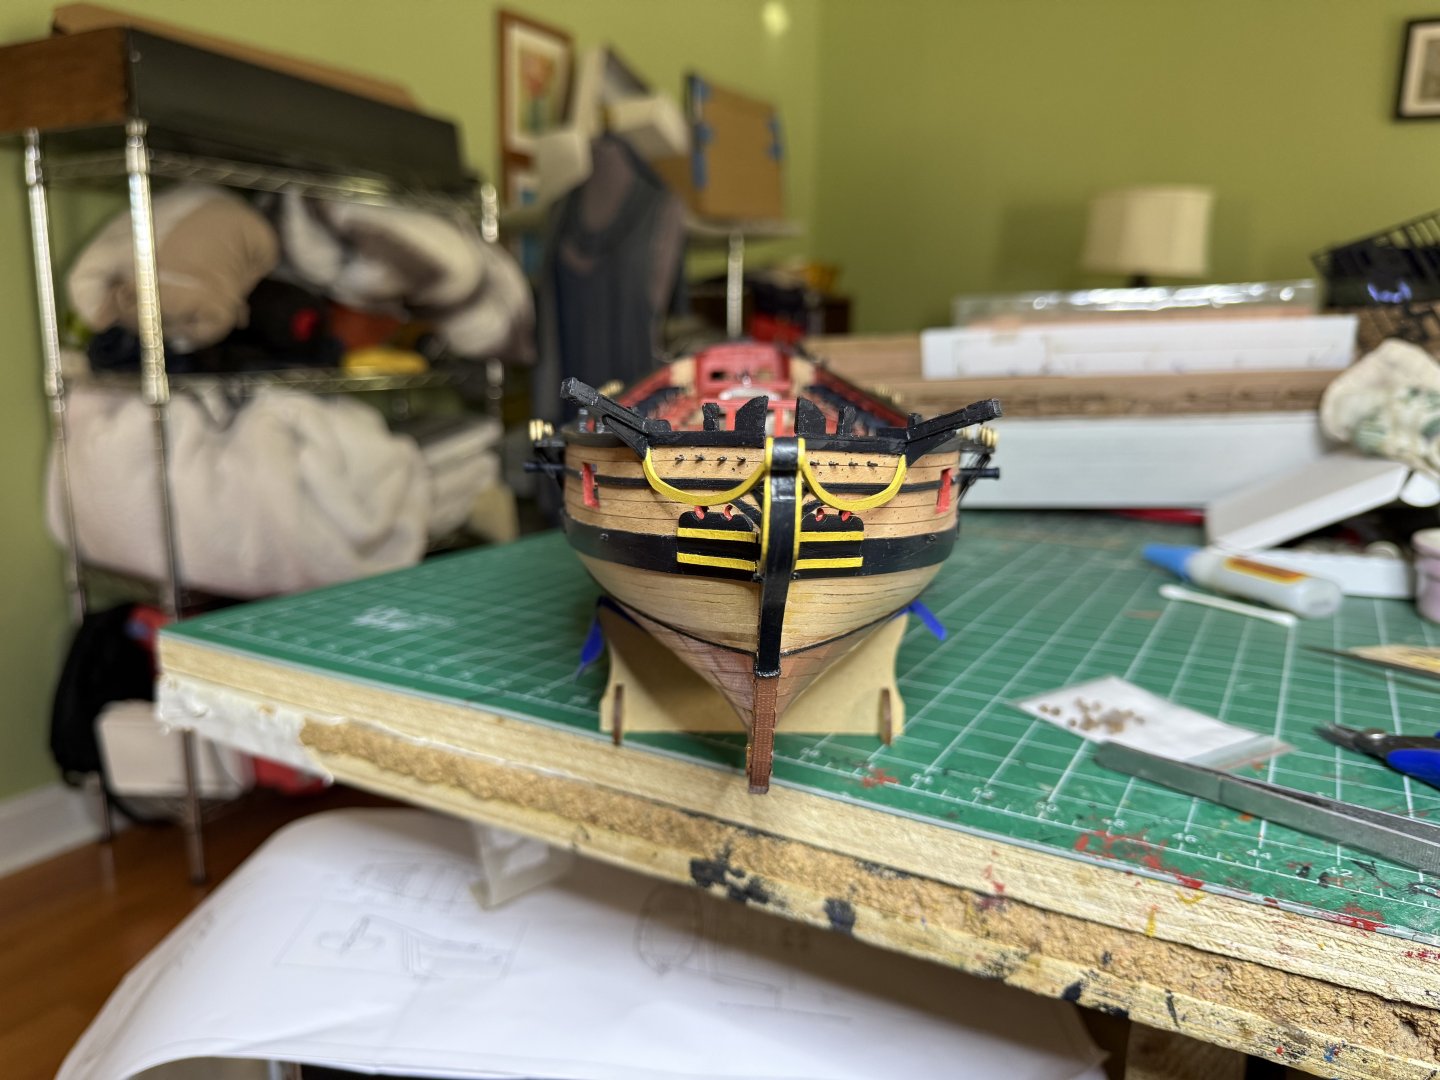
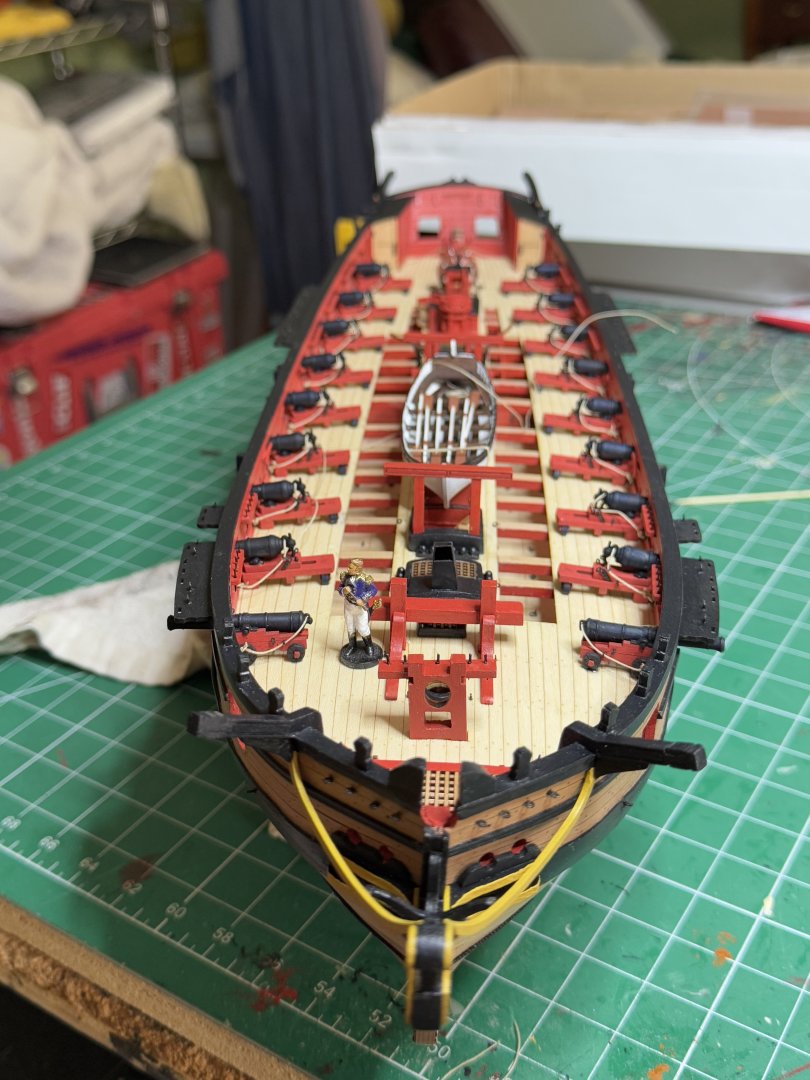
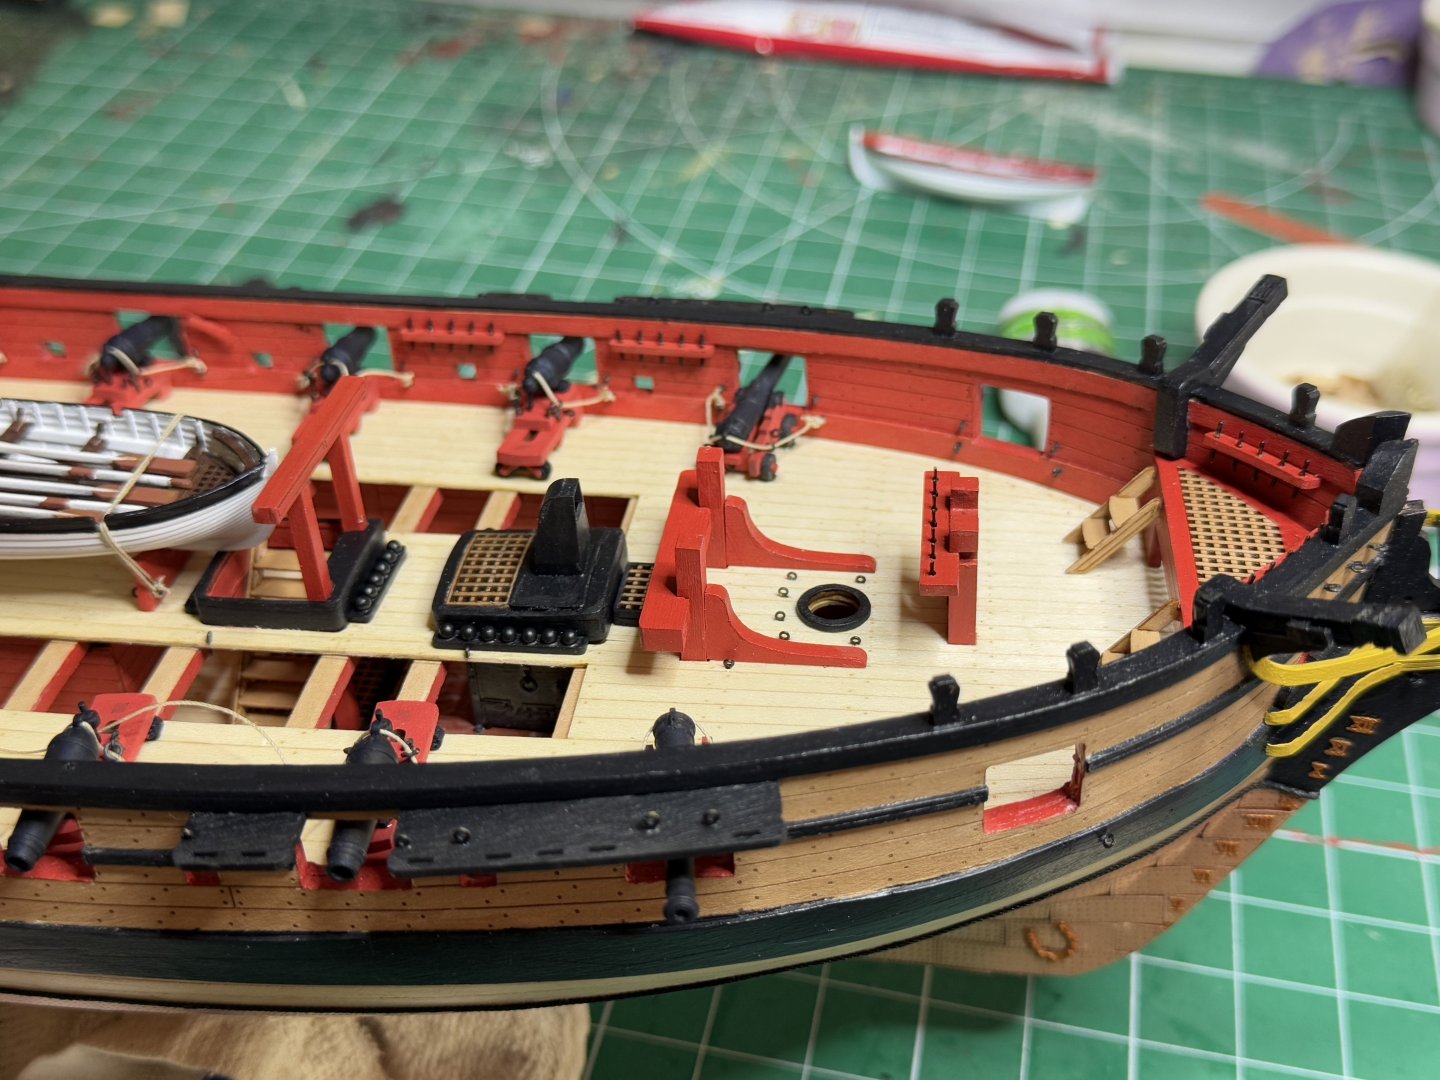
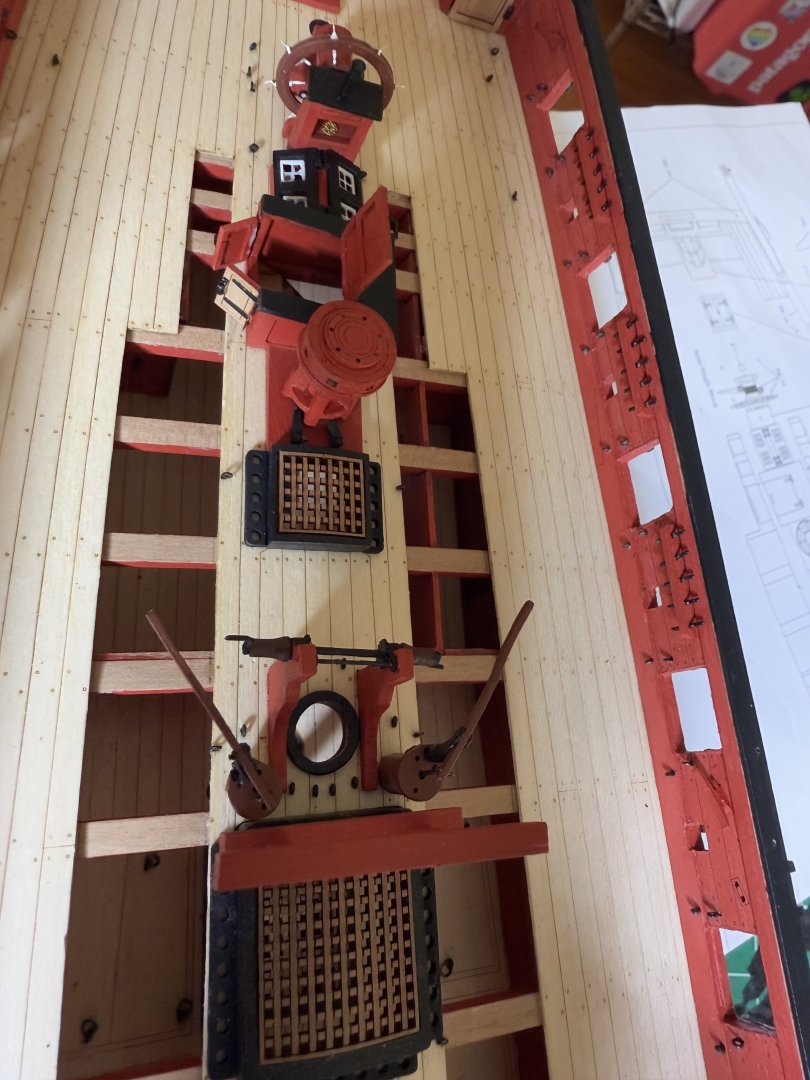
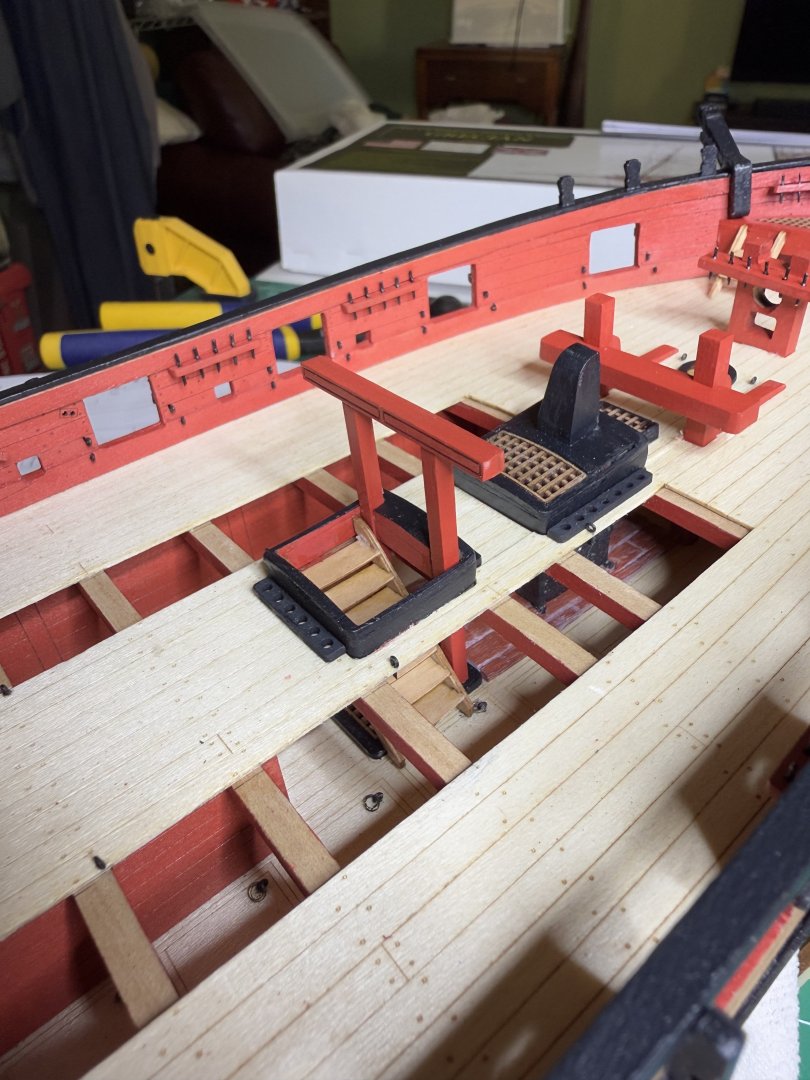
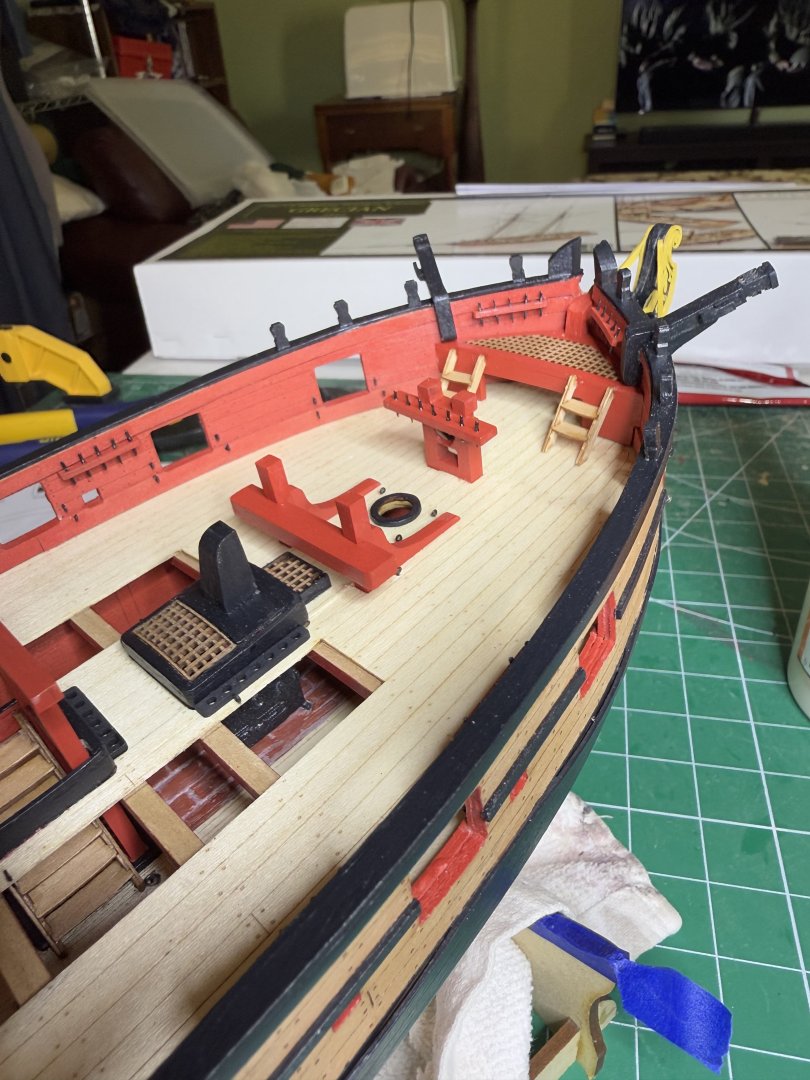
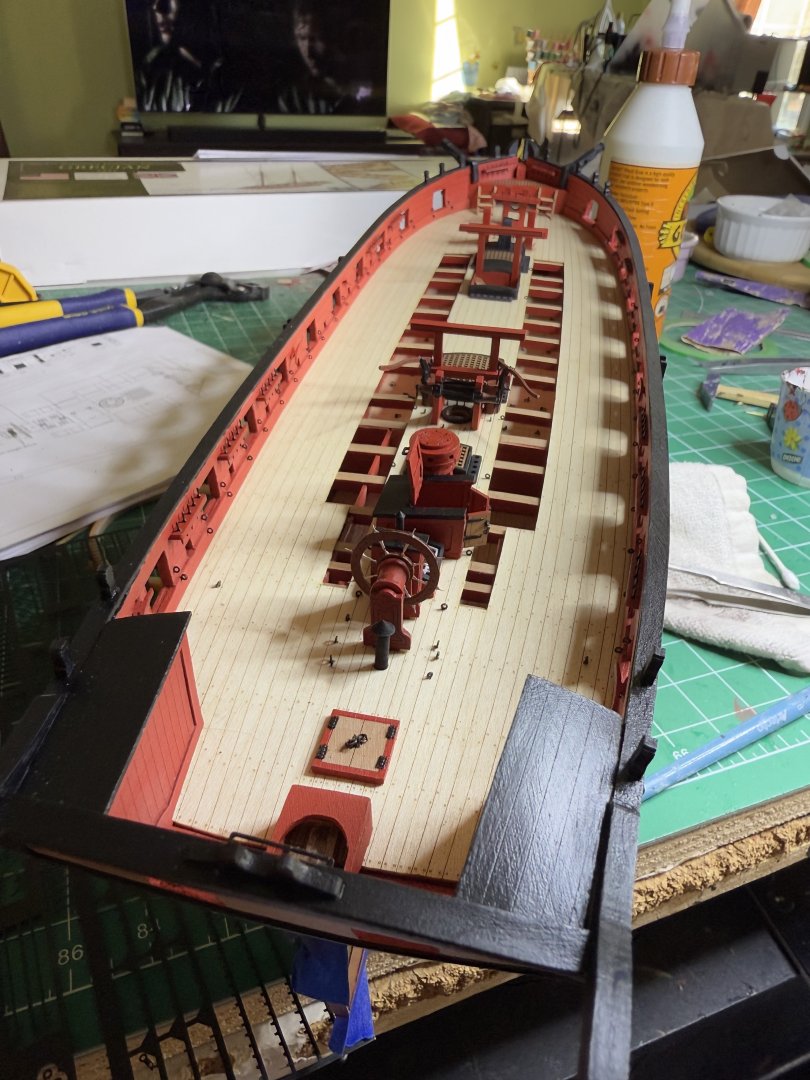
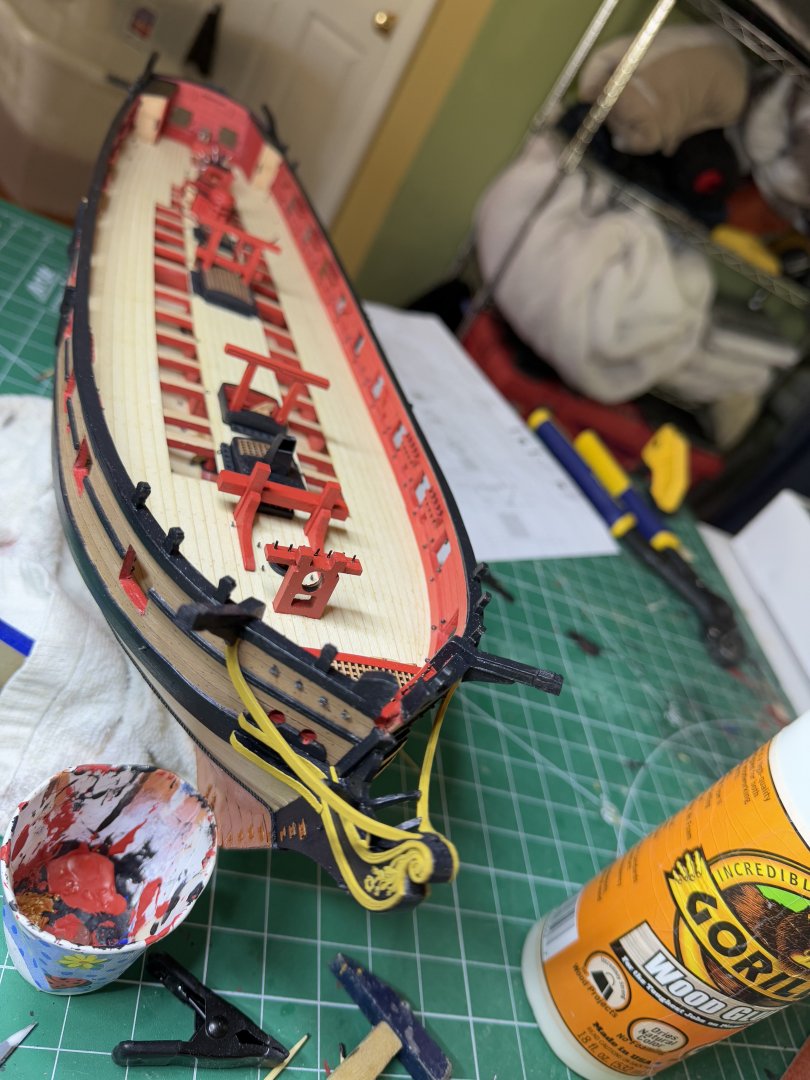
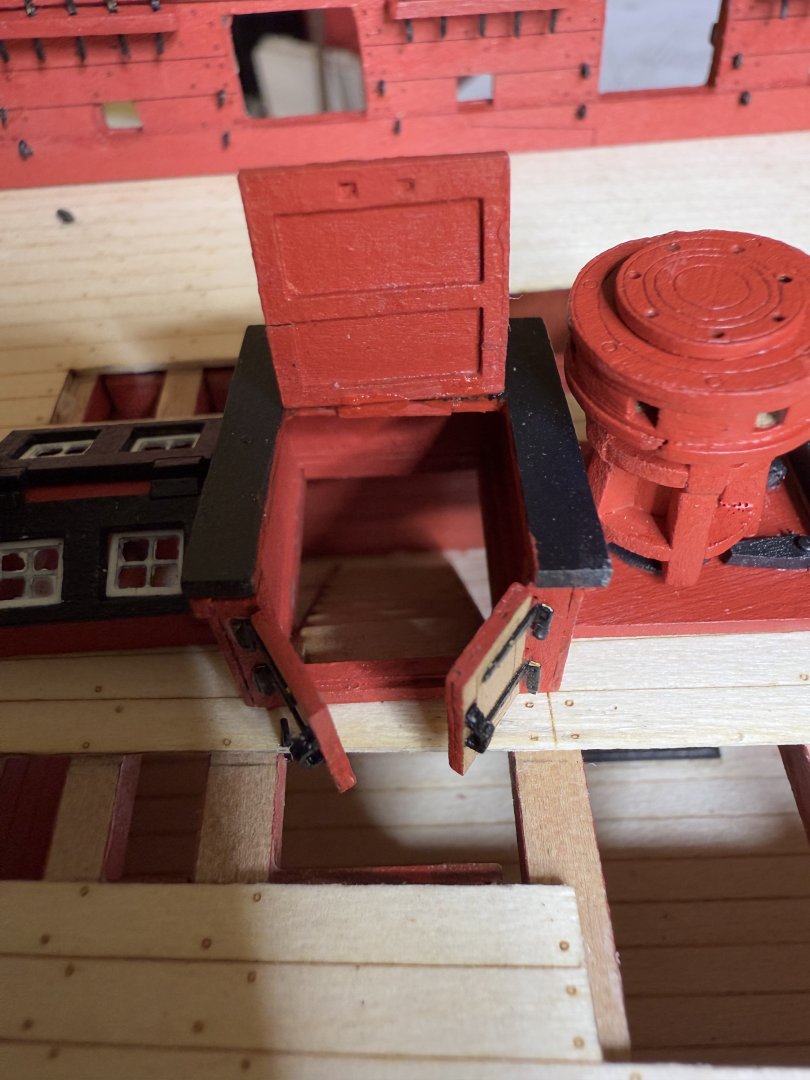
Spent the last few days adding various deck fittings.


- 73 replies
-
- 14
-
-
- Harpy
- Vanguard Models
- (and 1 more)