HOLIDAY DONATION DRIVE - SUPPORT MSW - DO YOUR PART TO KEEP THIS GREAT FORUM GOING! (Only 20 donations so far - C'mon guys!)
×


ECK
-
Posts
635 -
Joined
-
Last visited
Content Type
Profiles
Forums
Gallery
Events
Everything posted by ECK
-
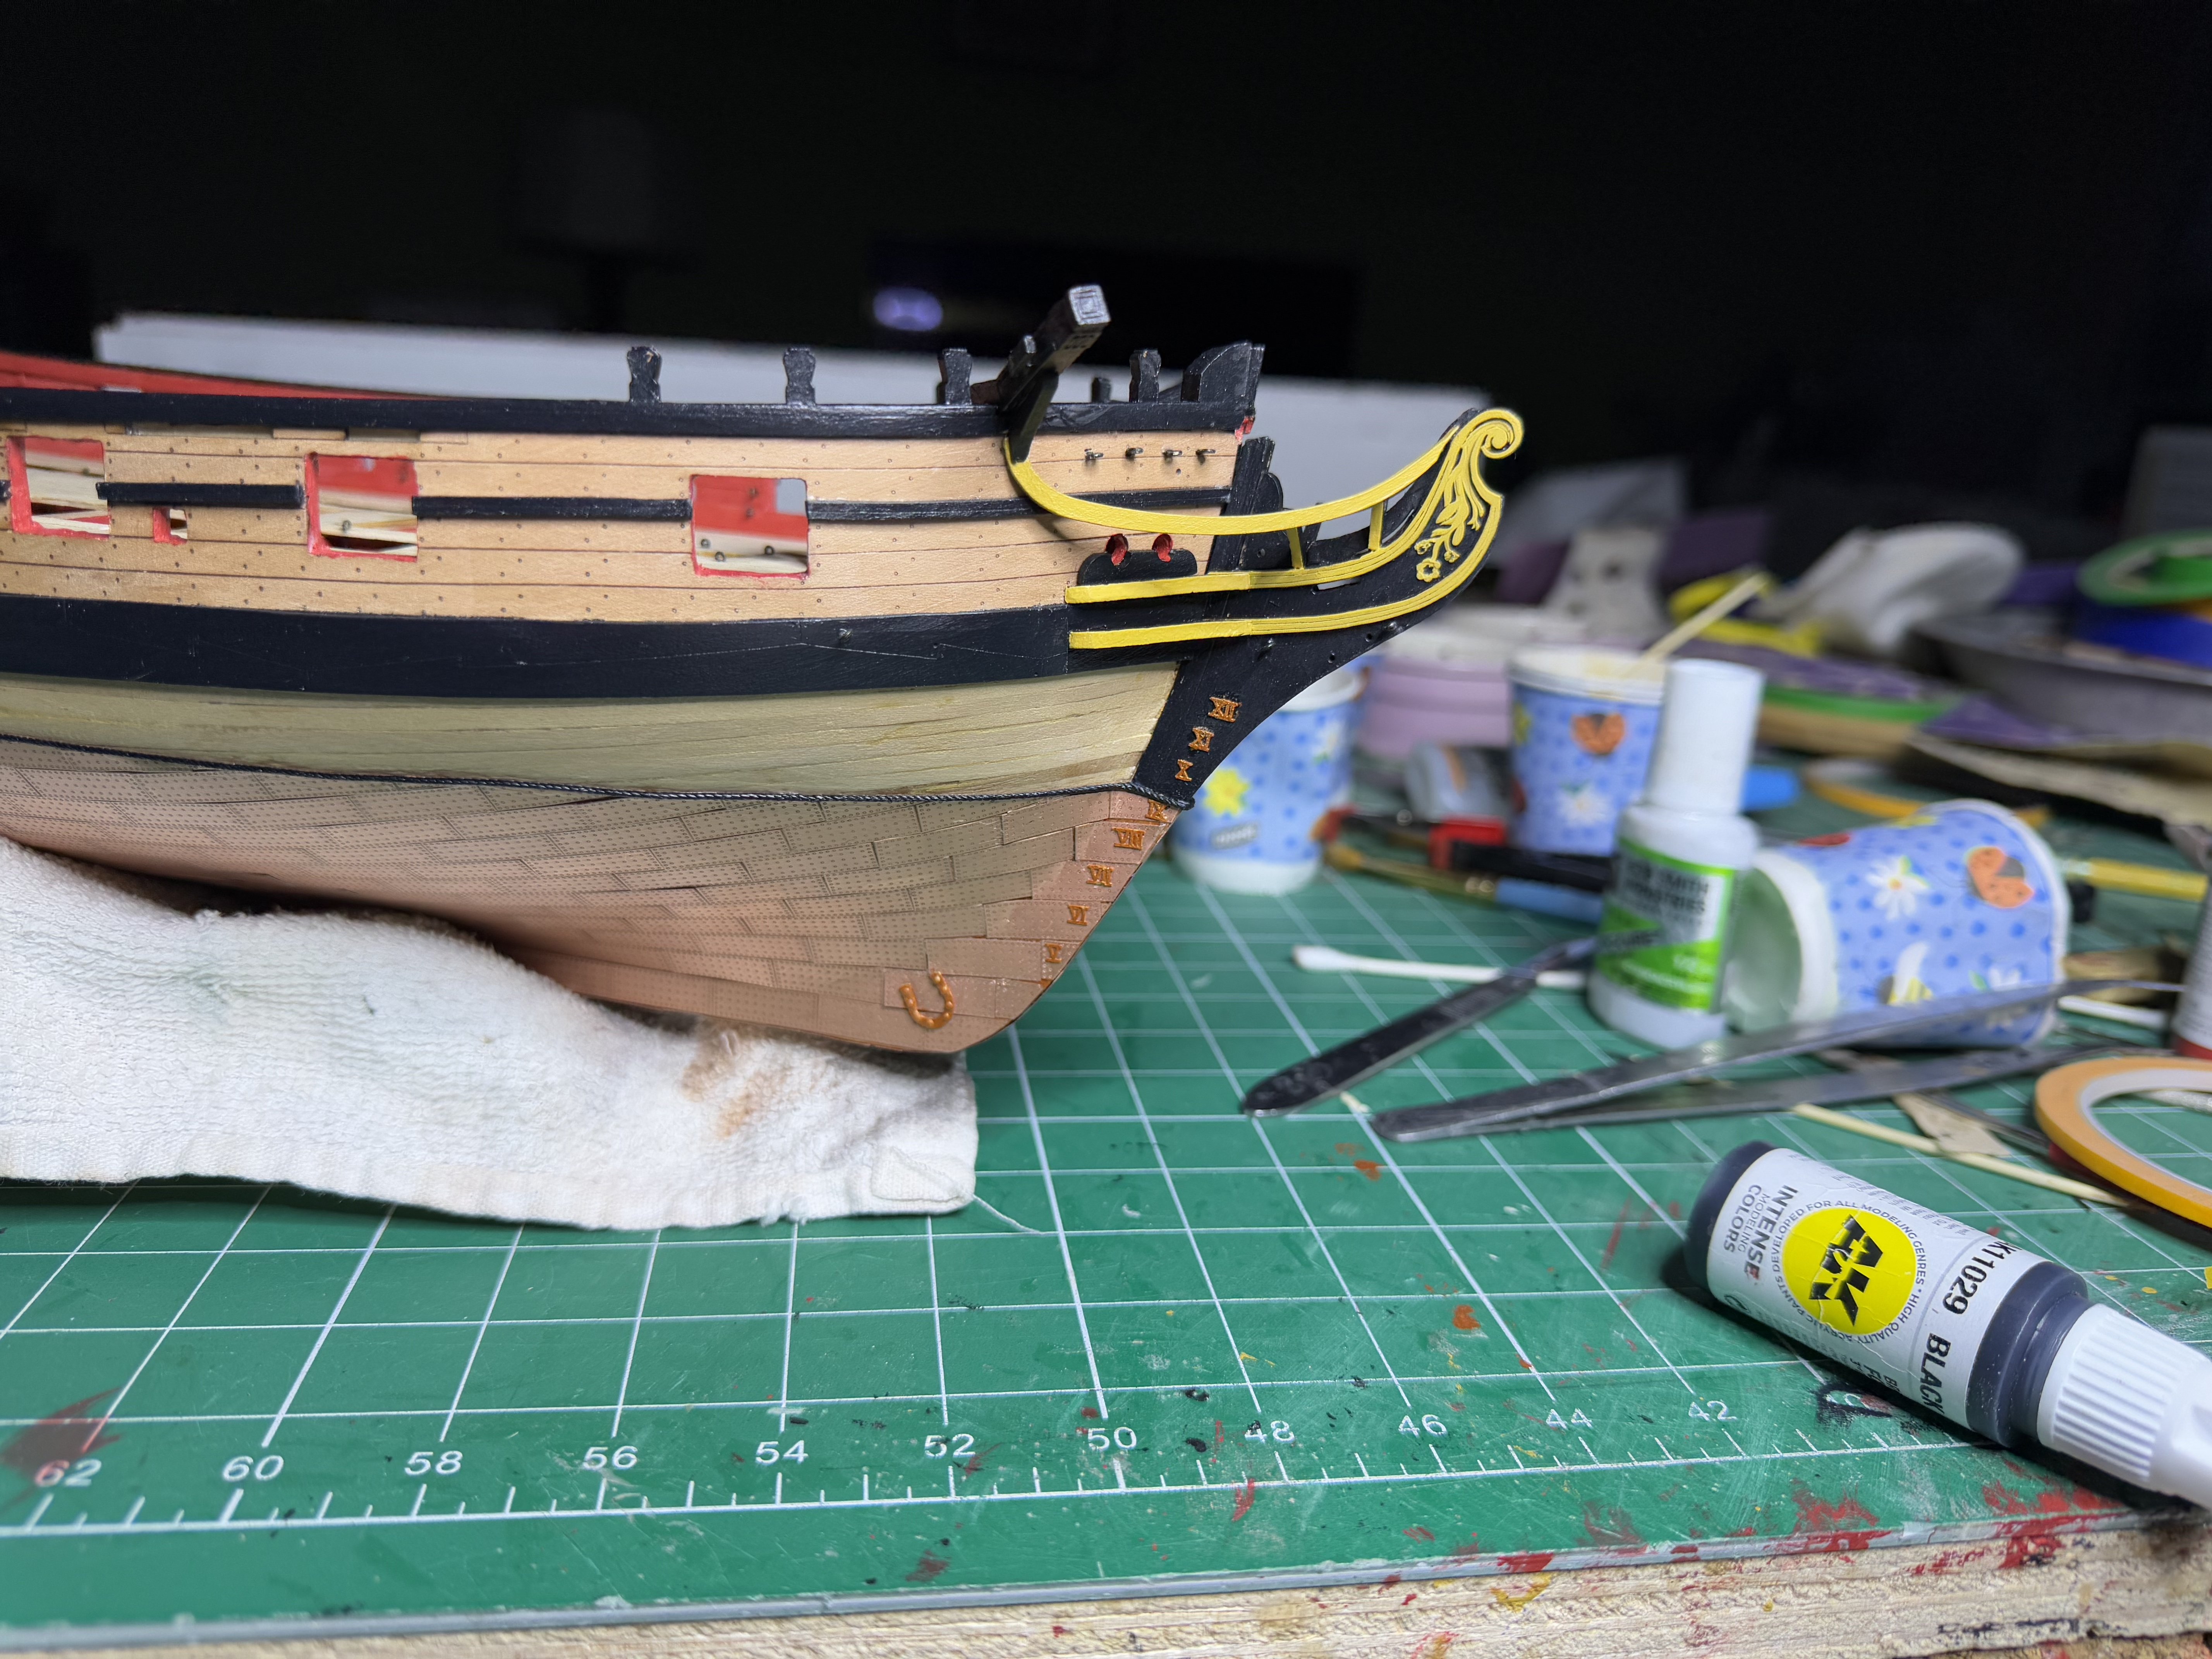
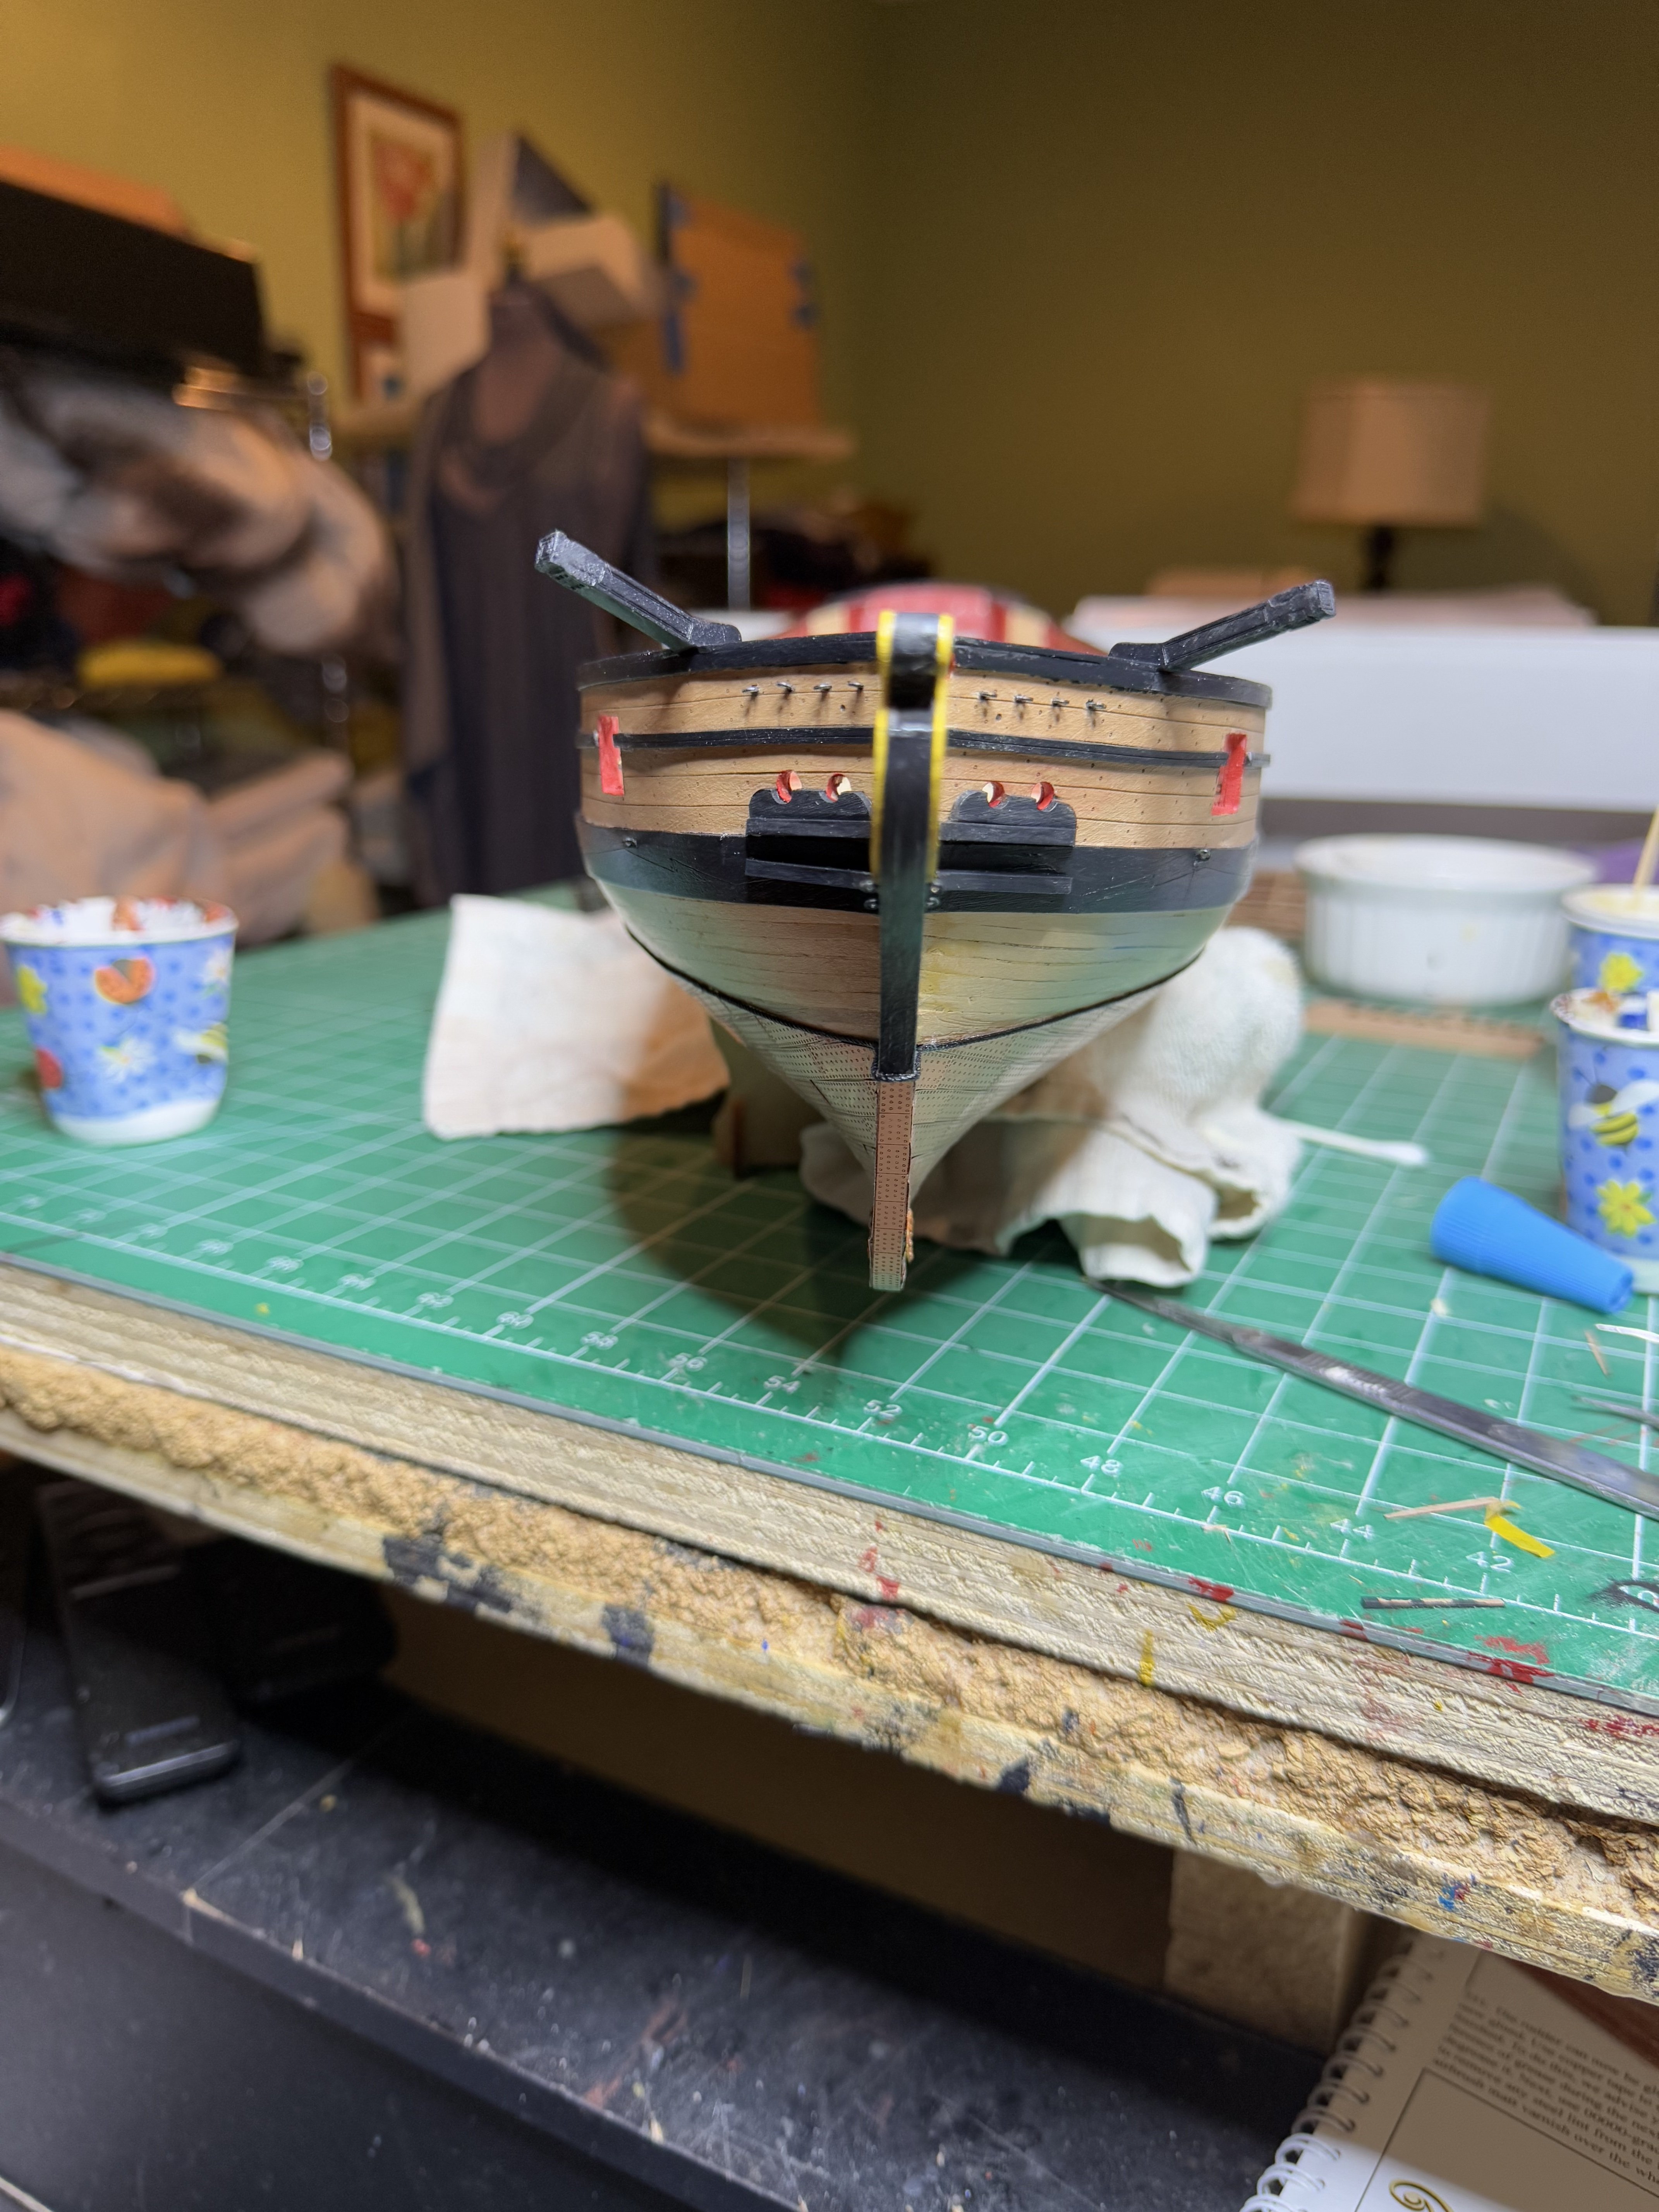
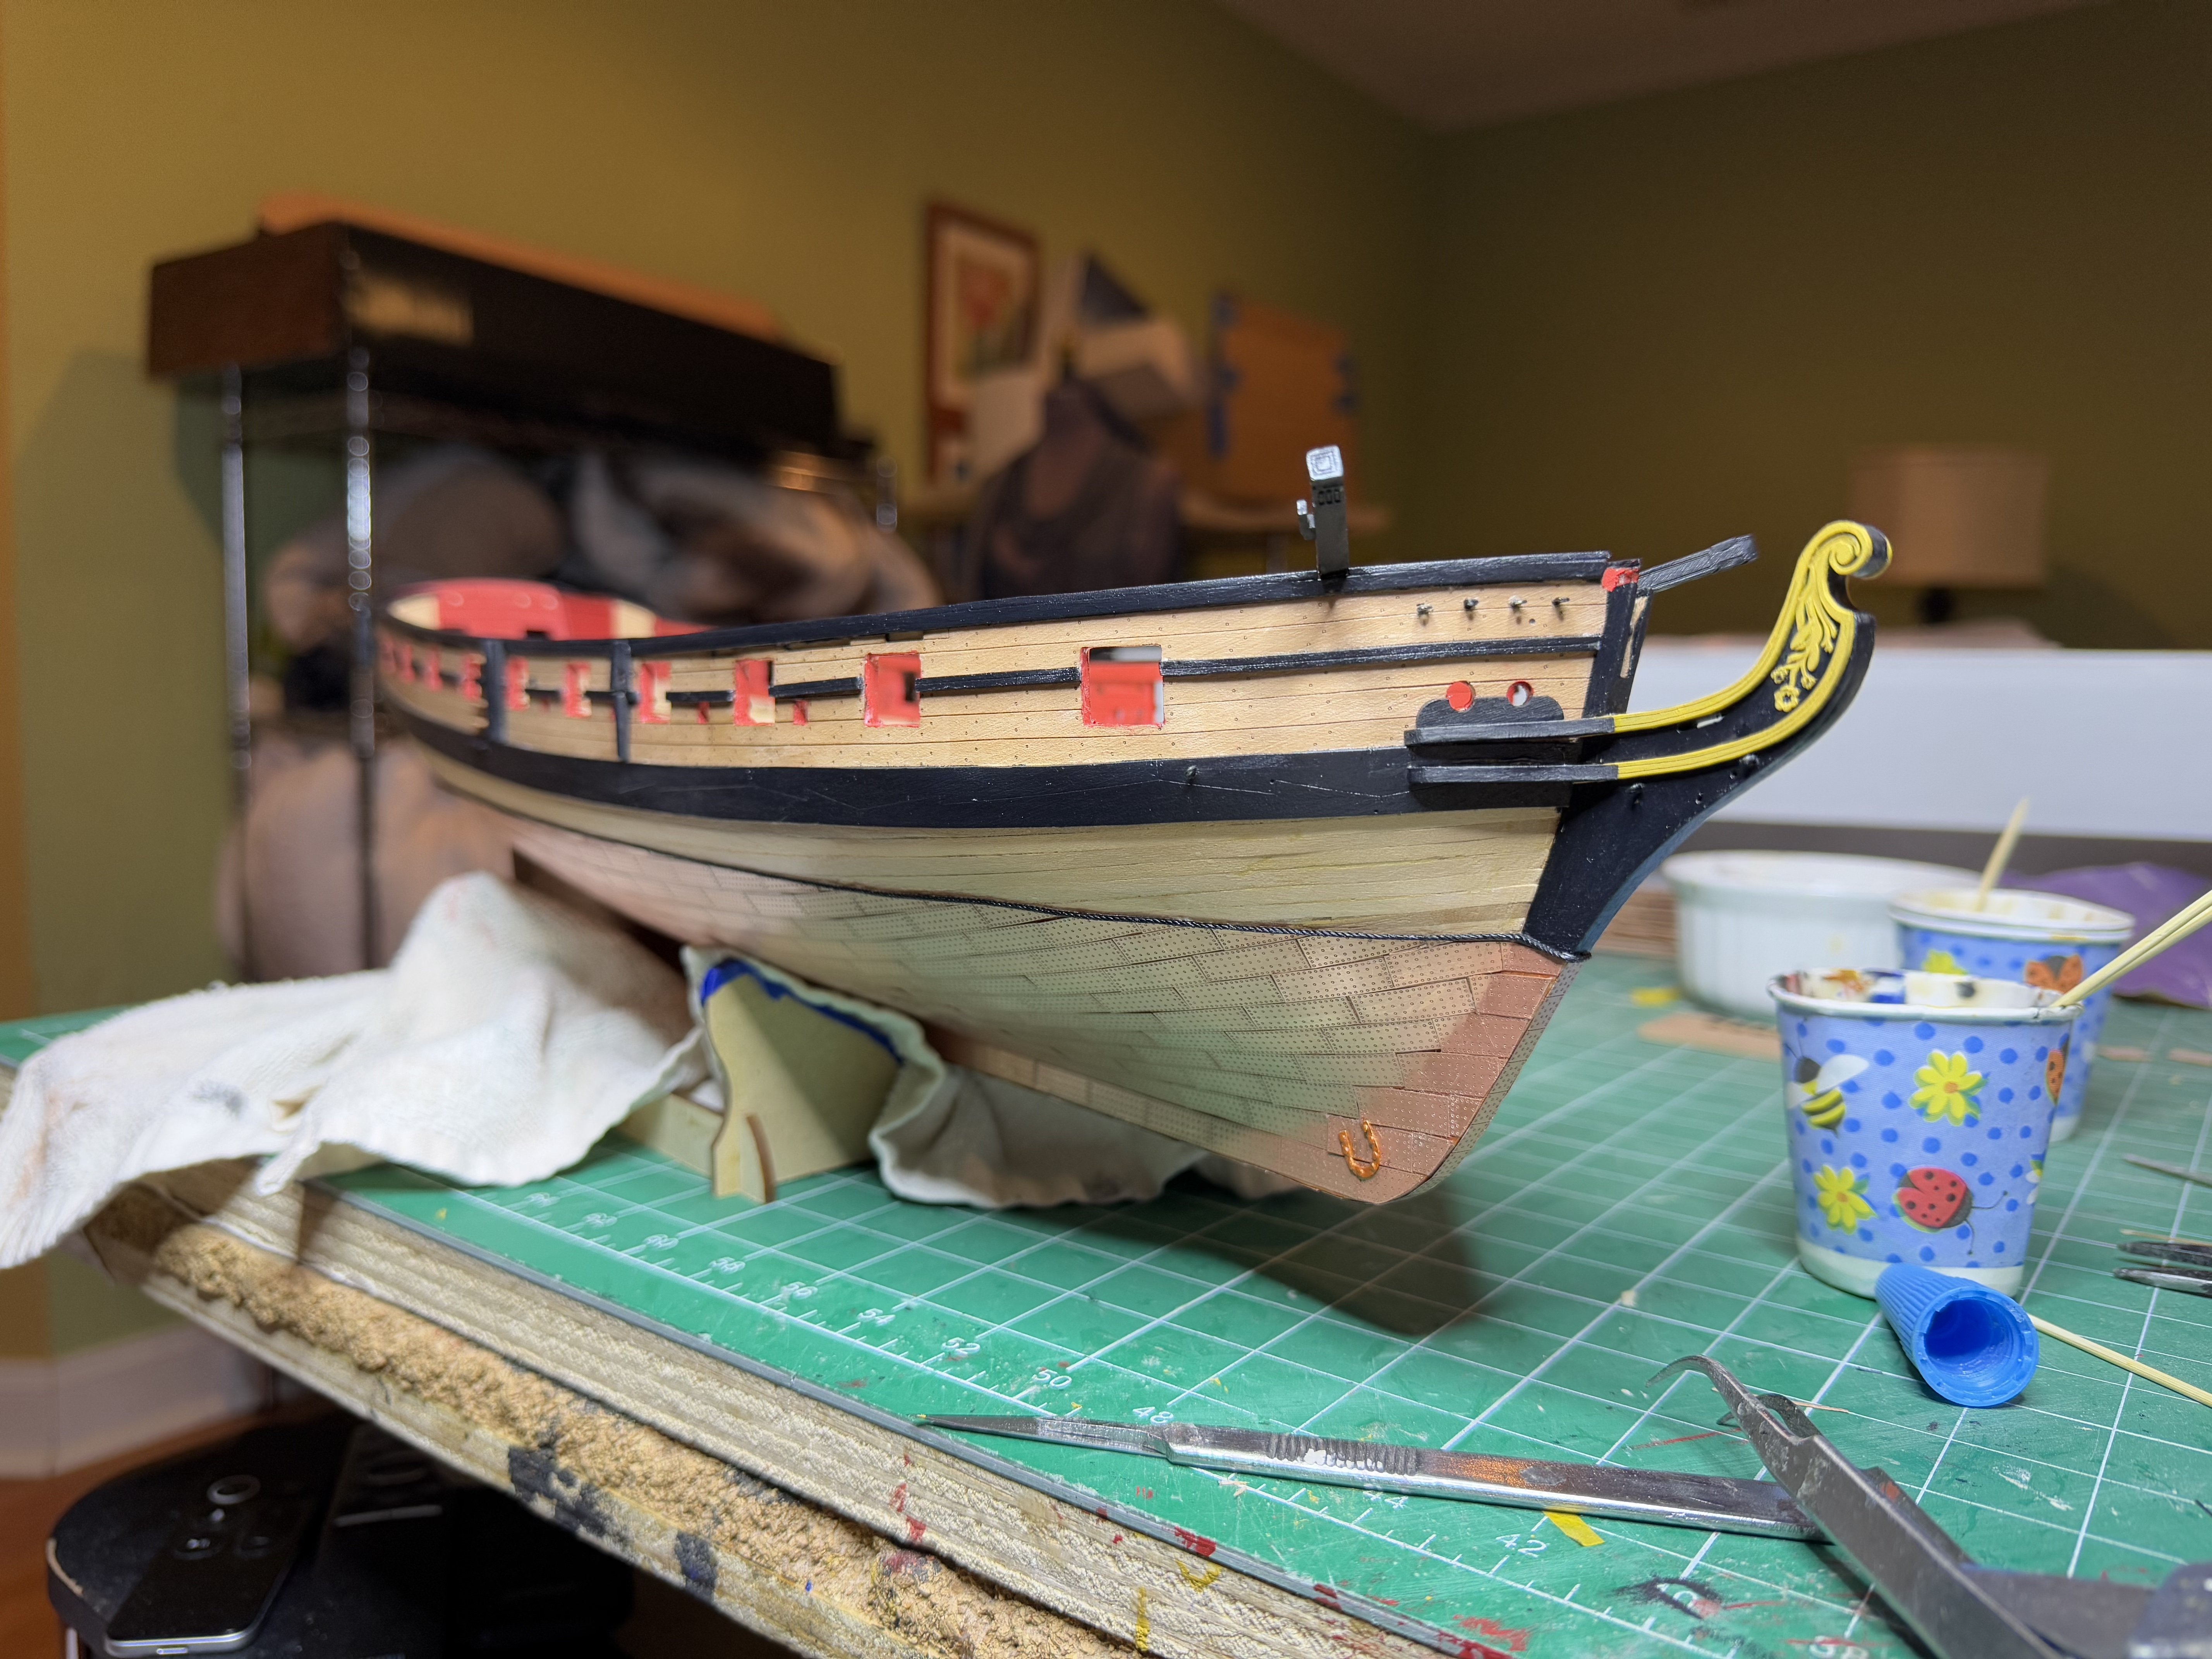
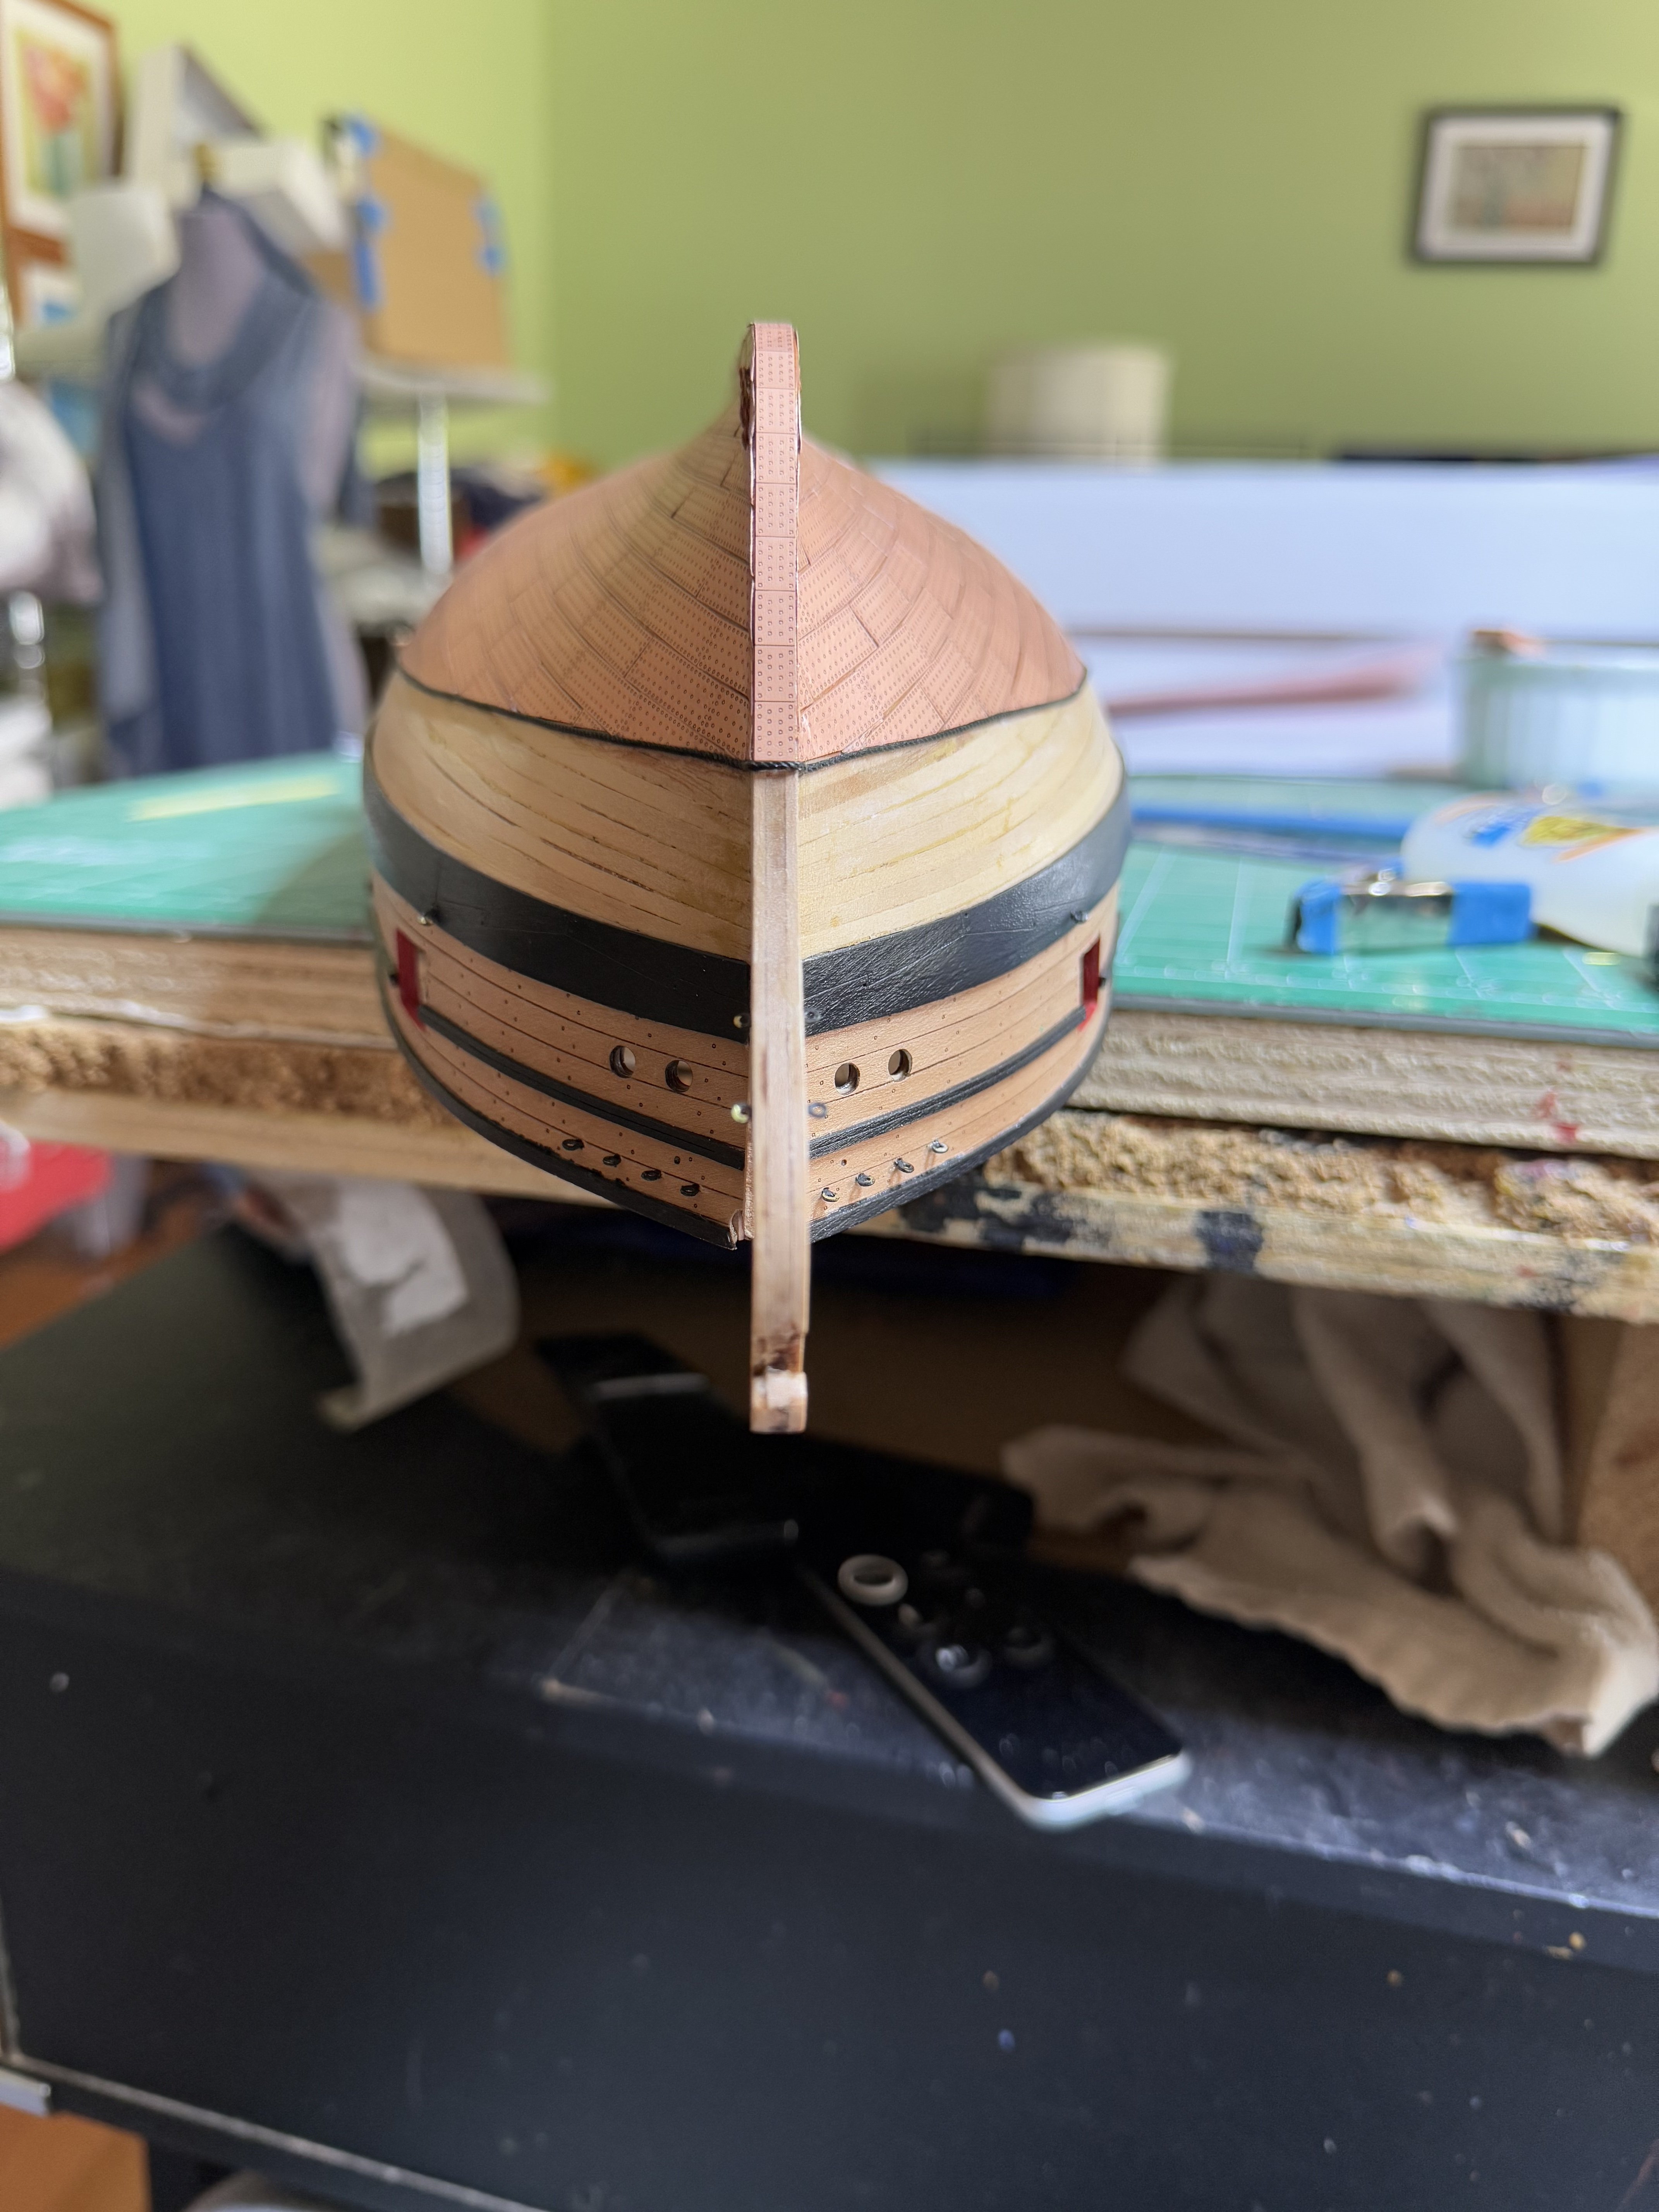
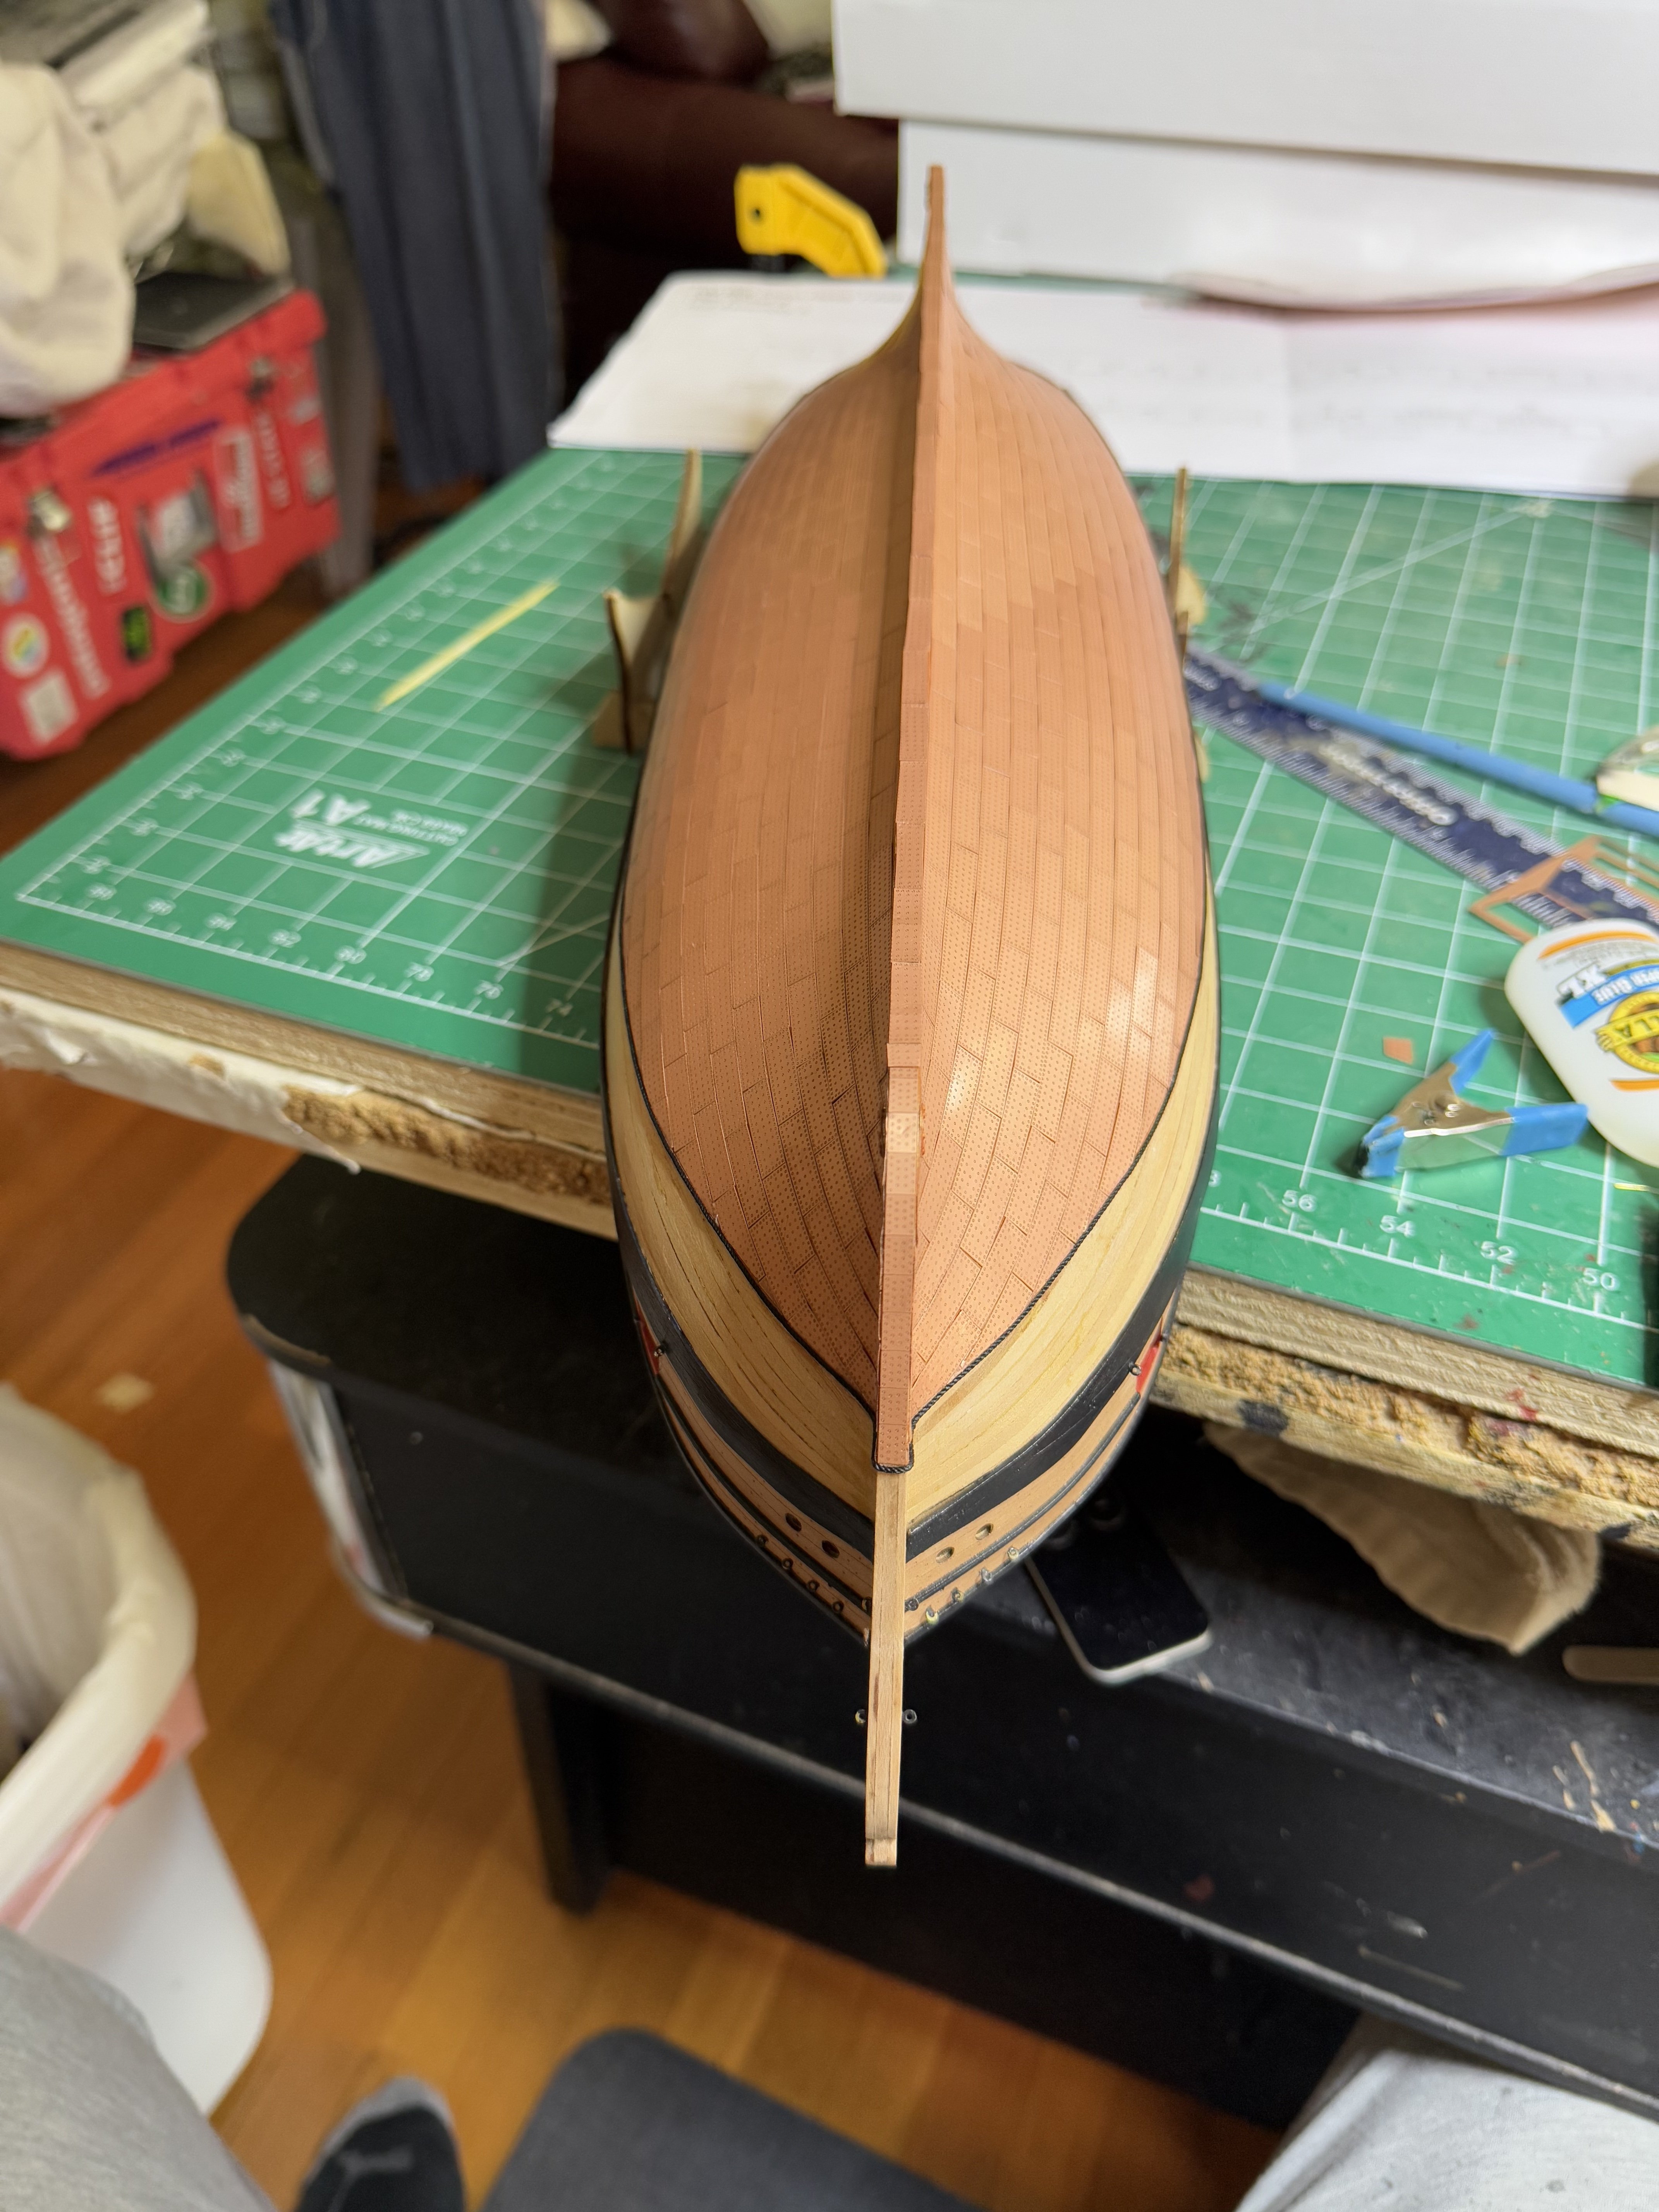
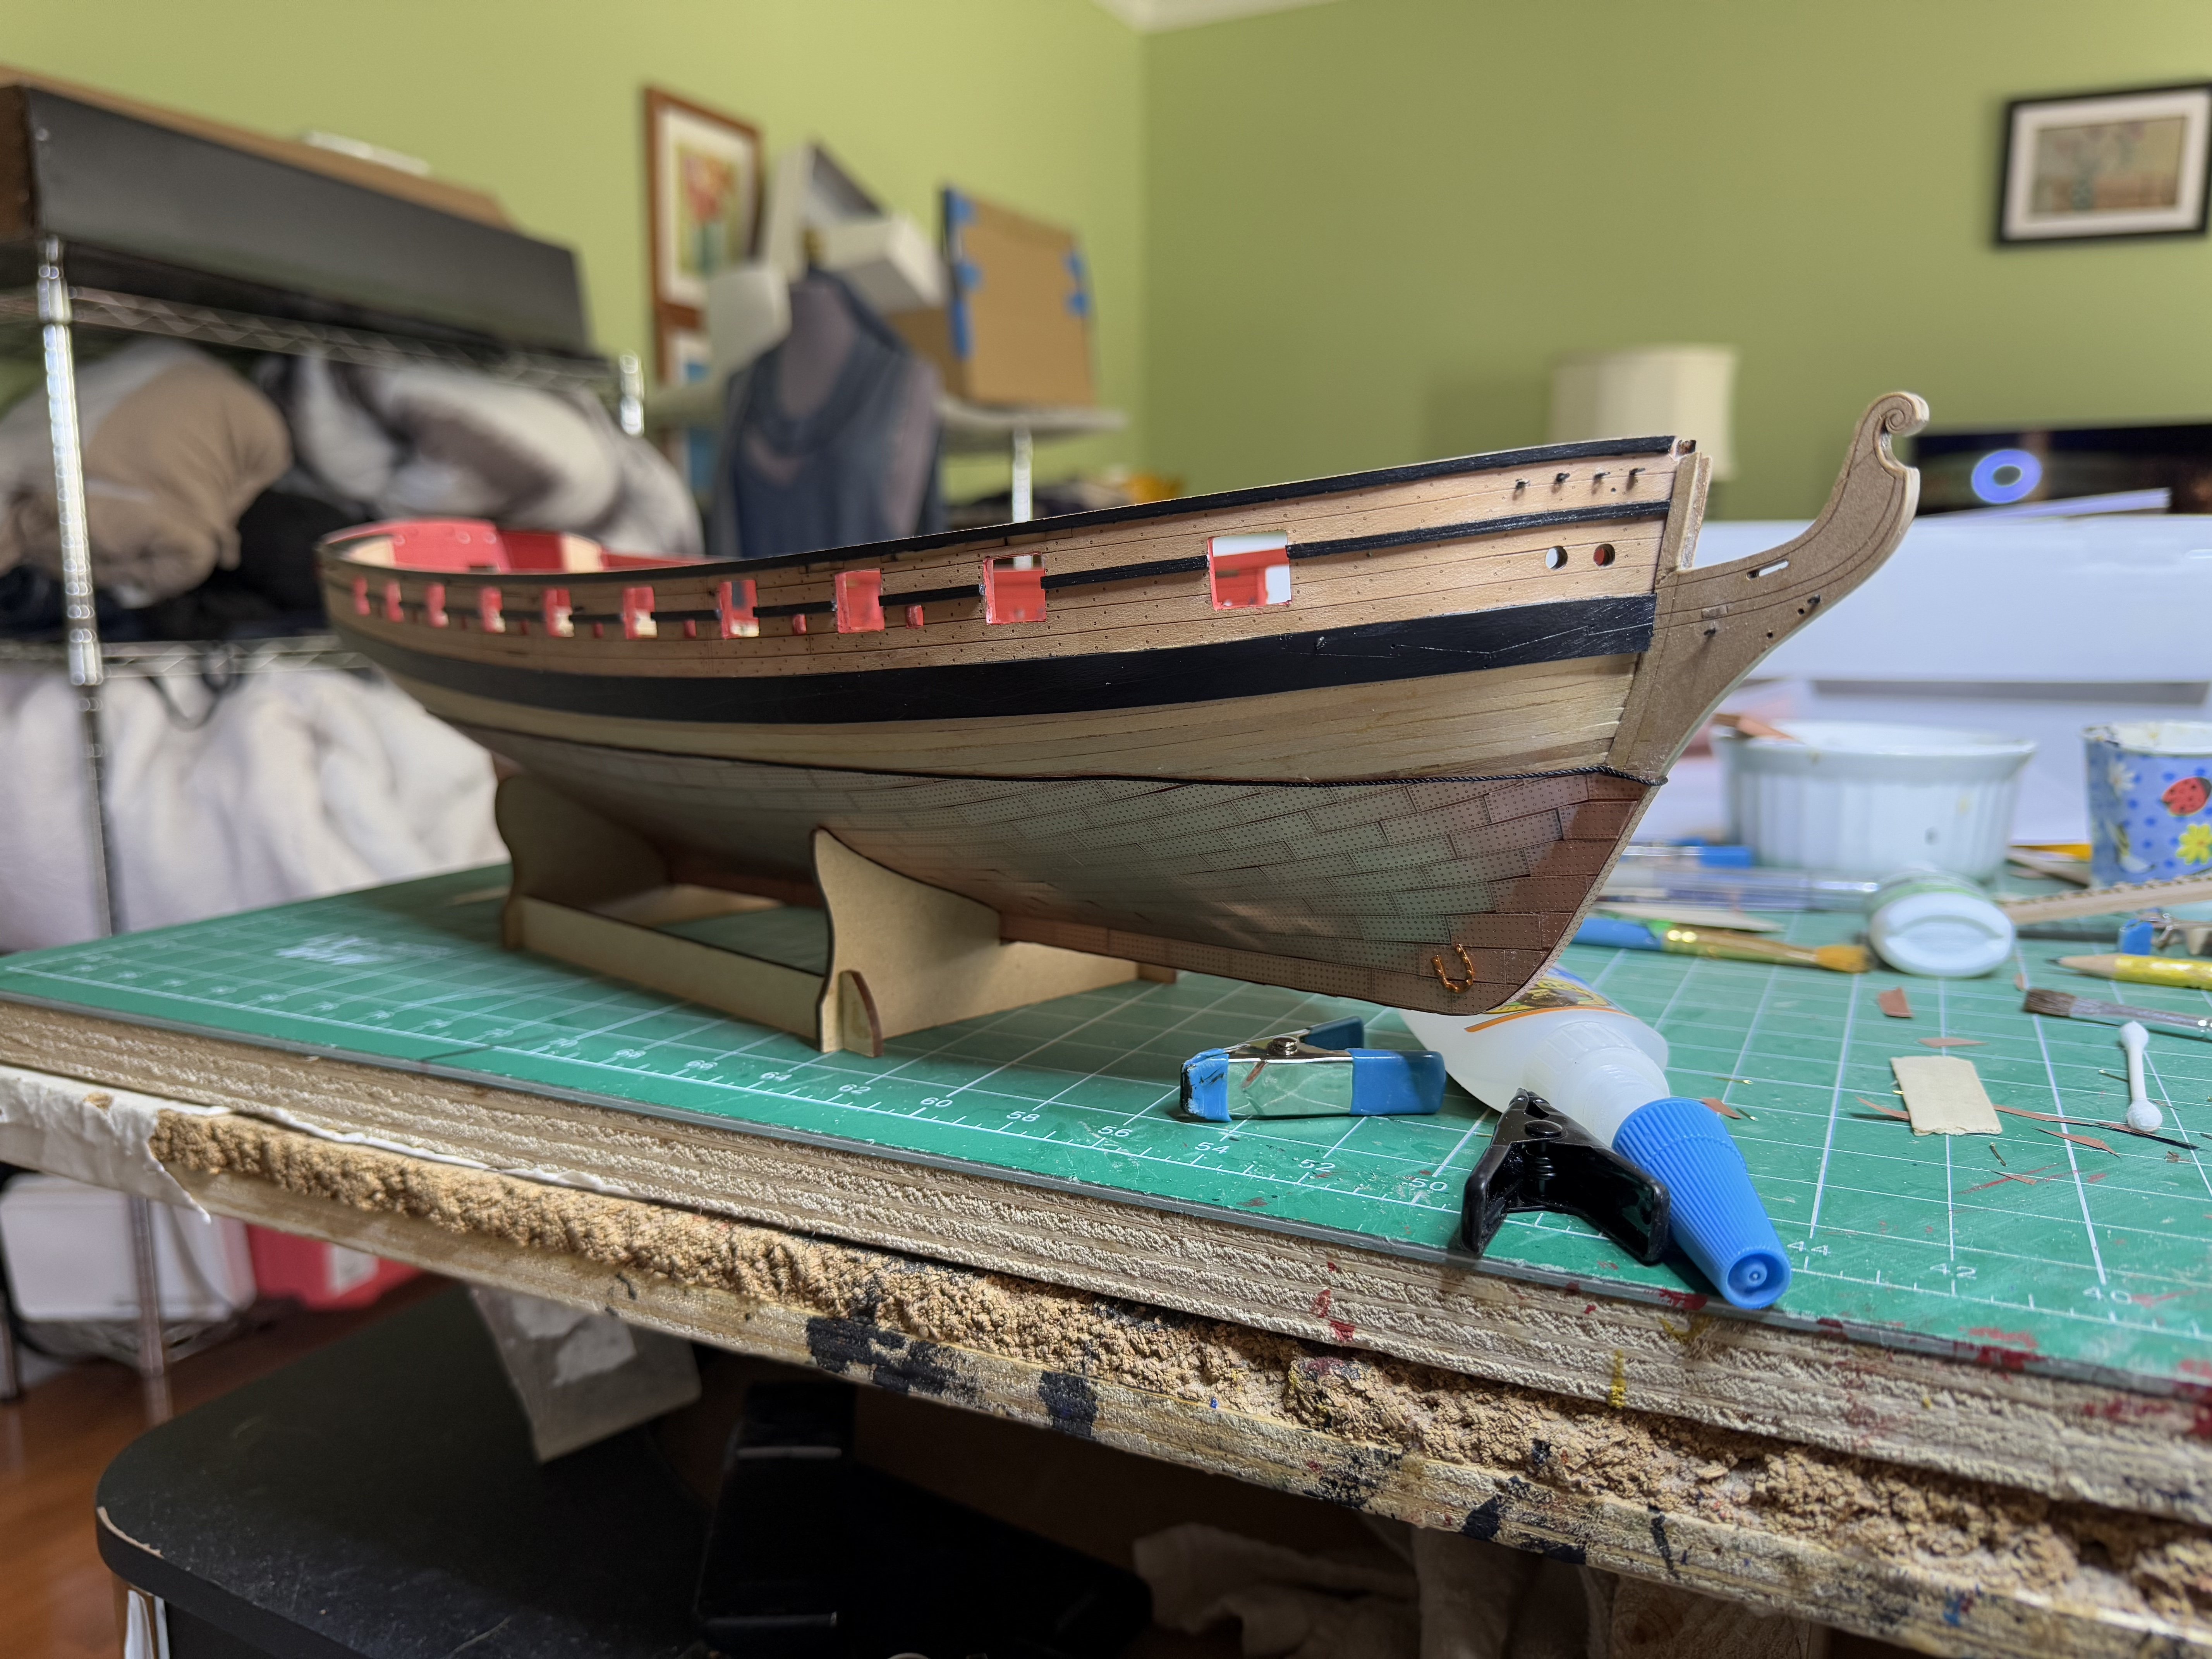
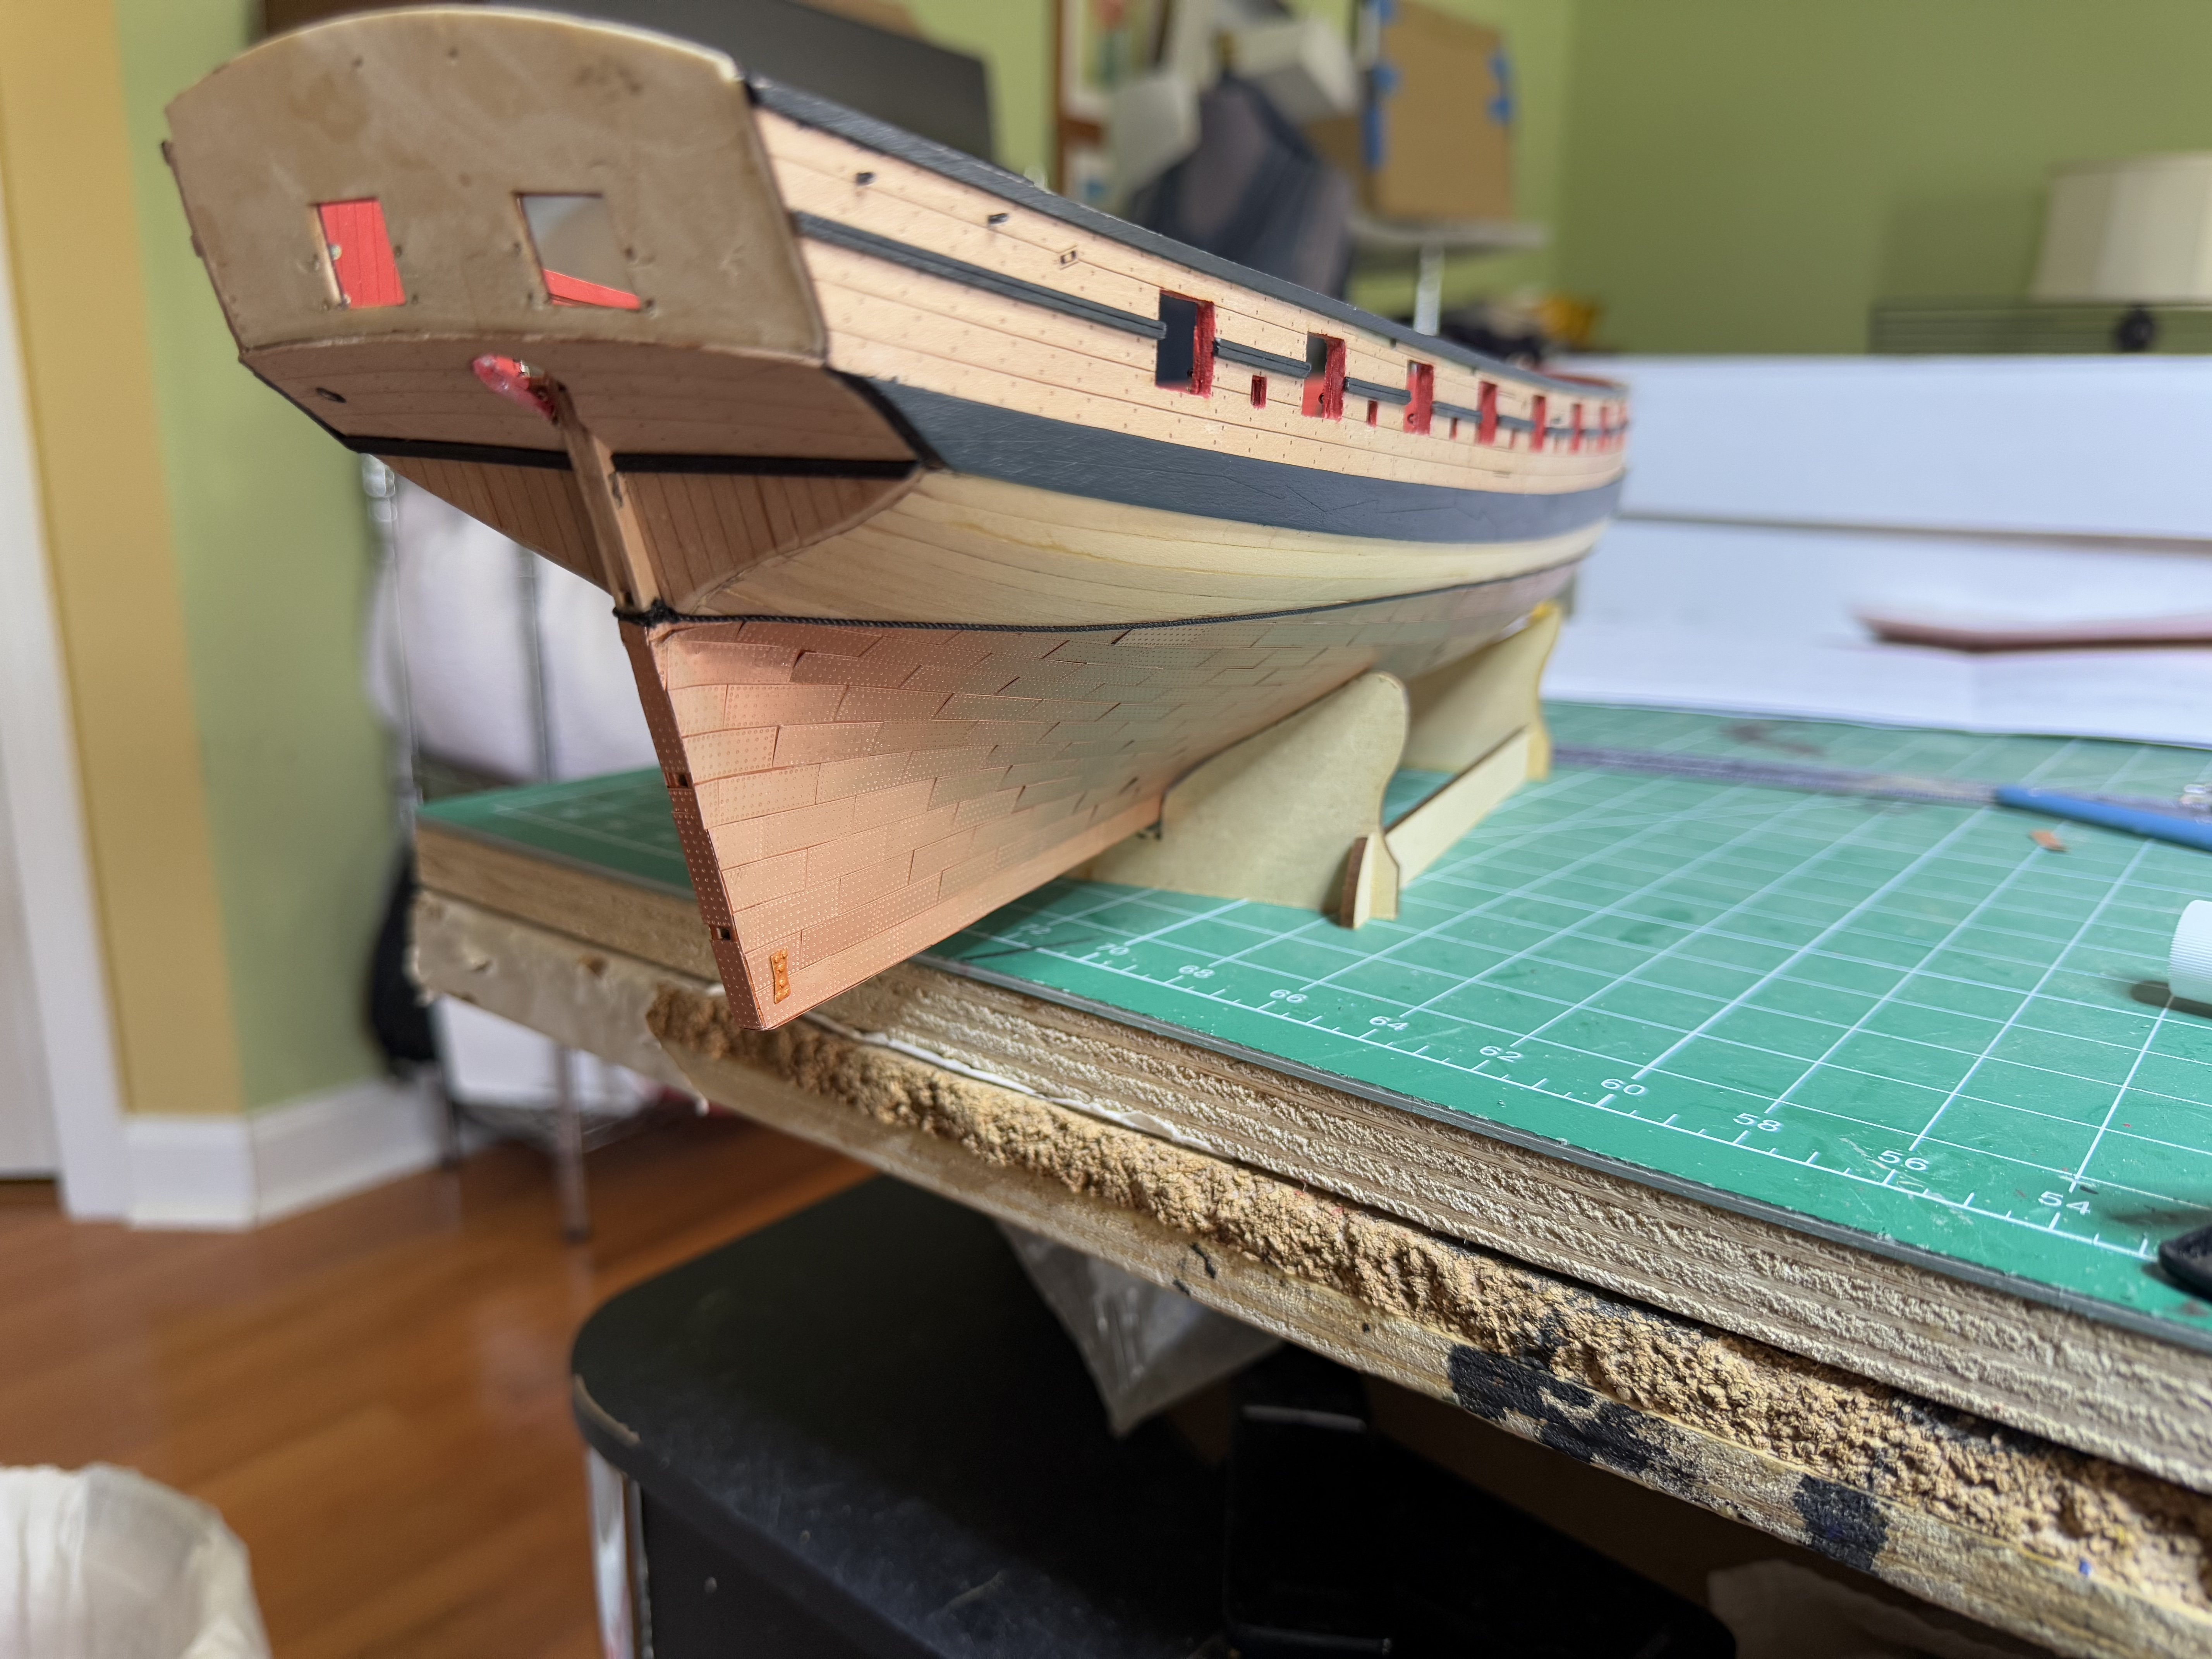
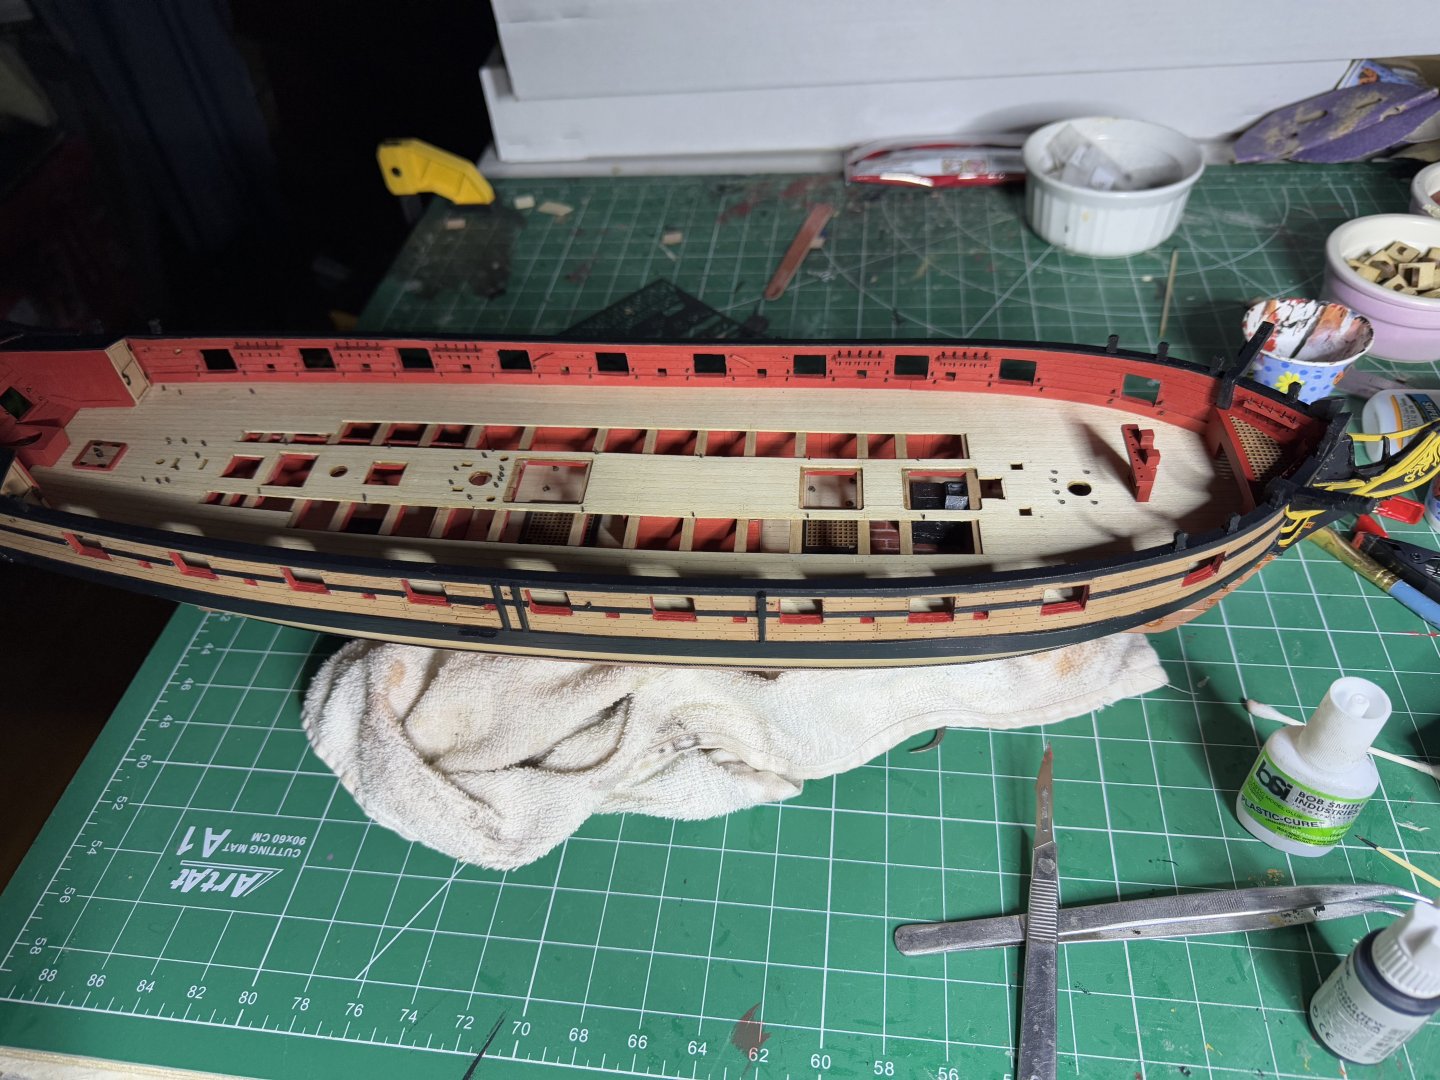
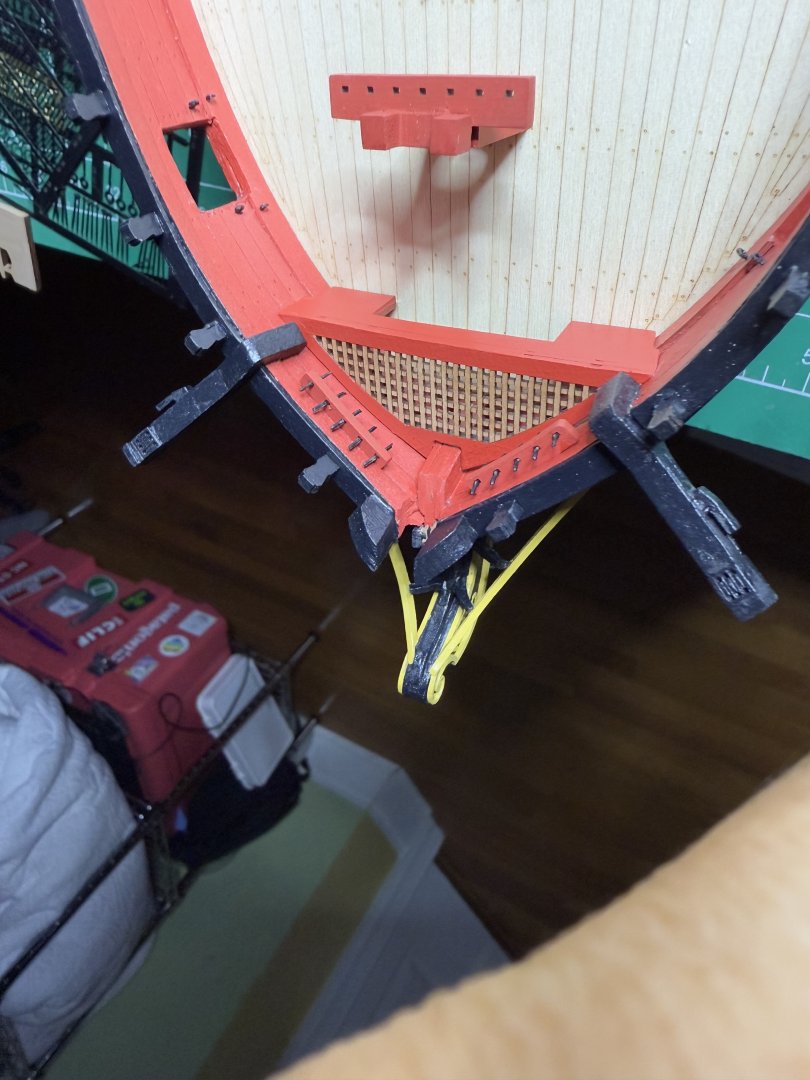
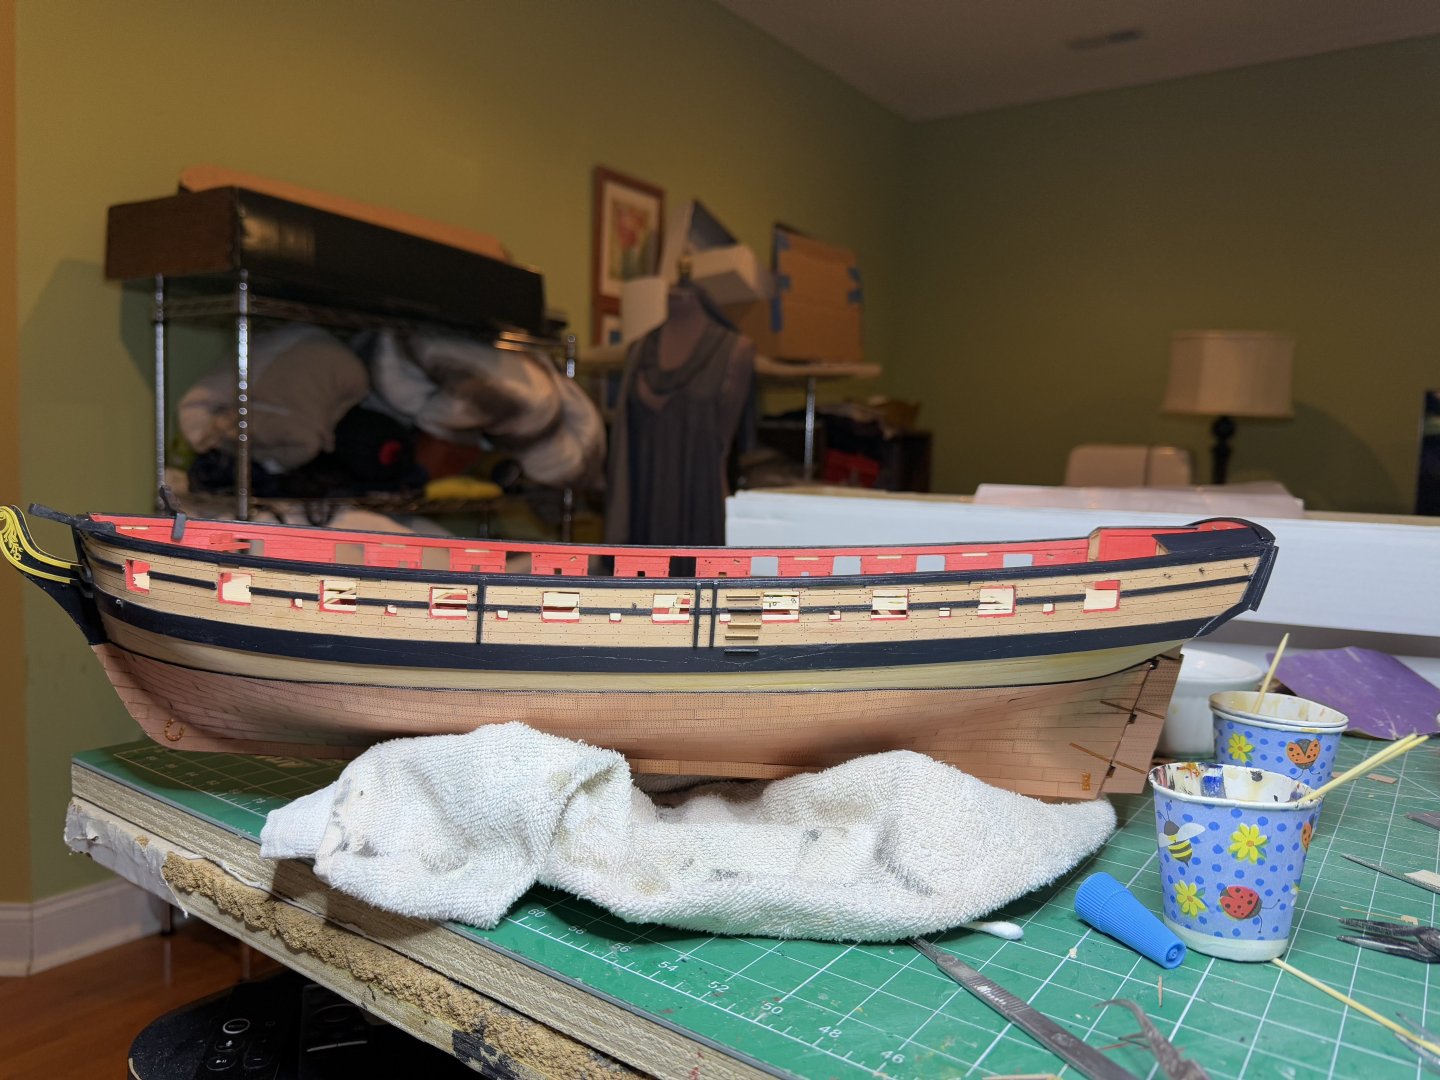
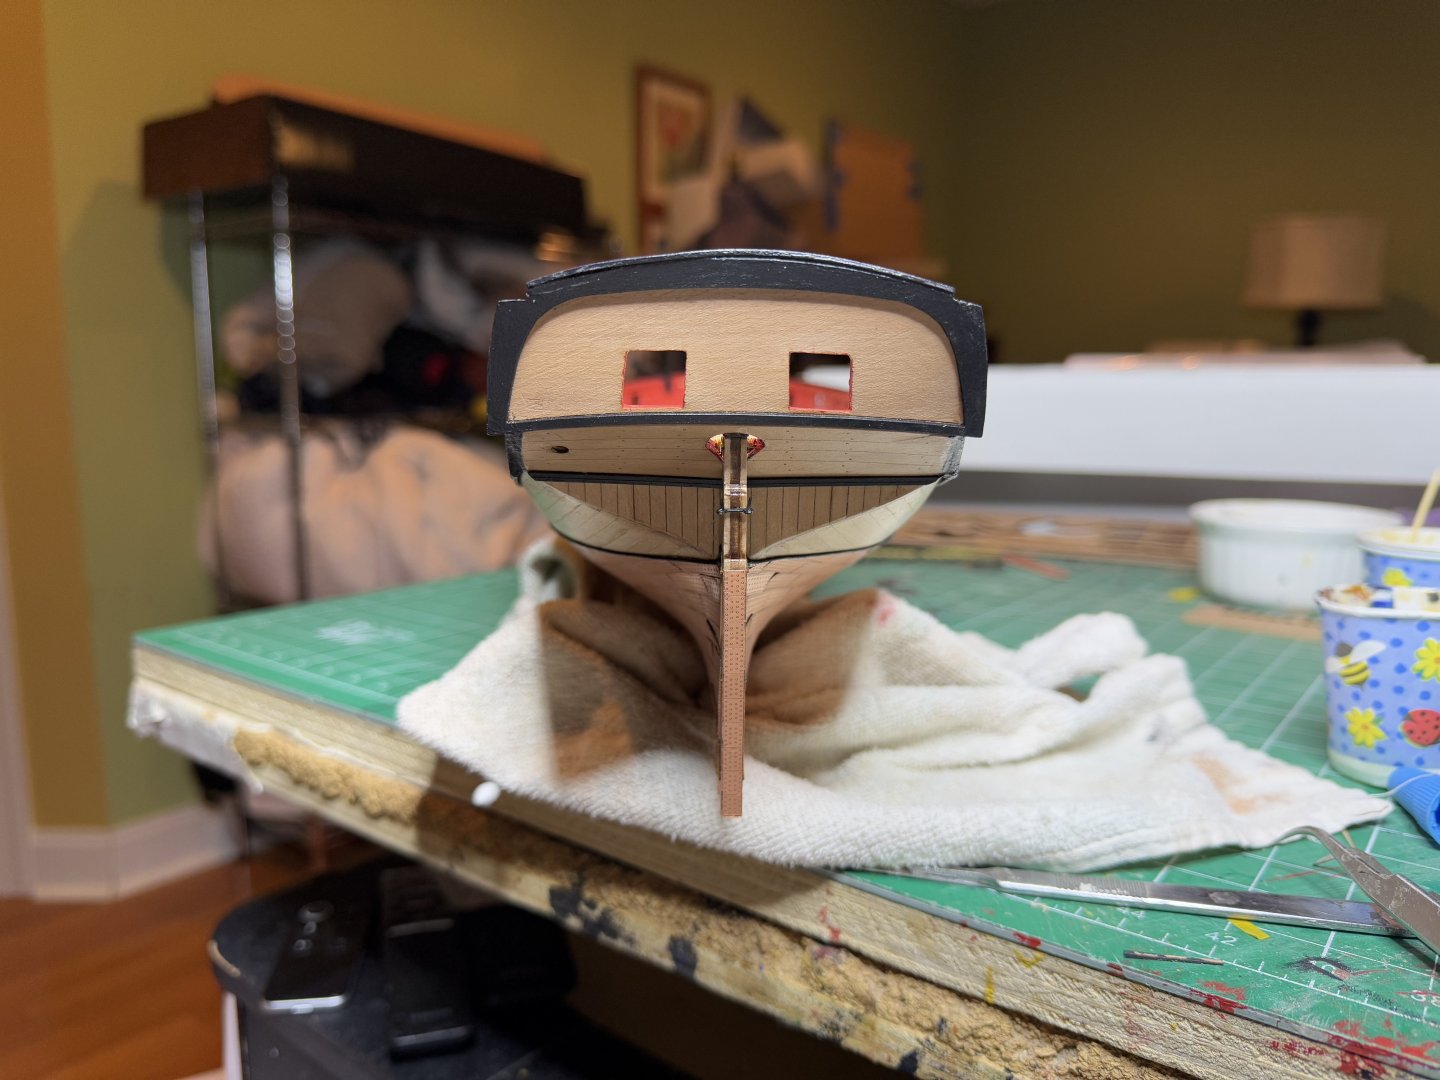
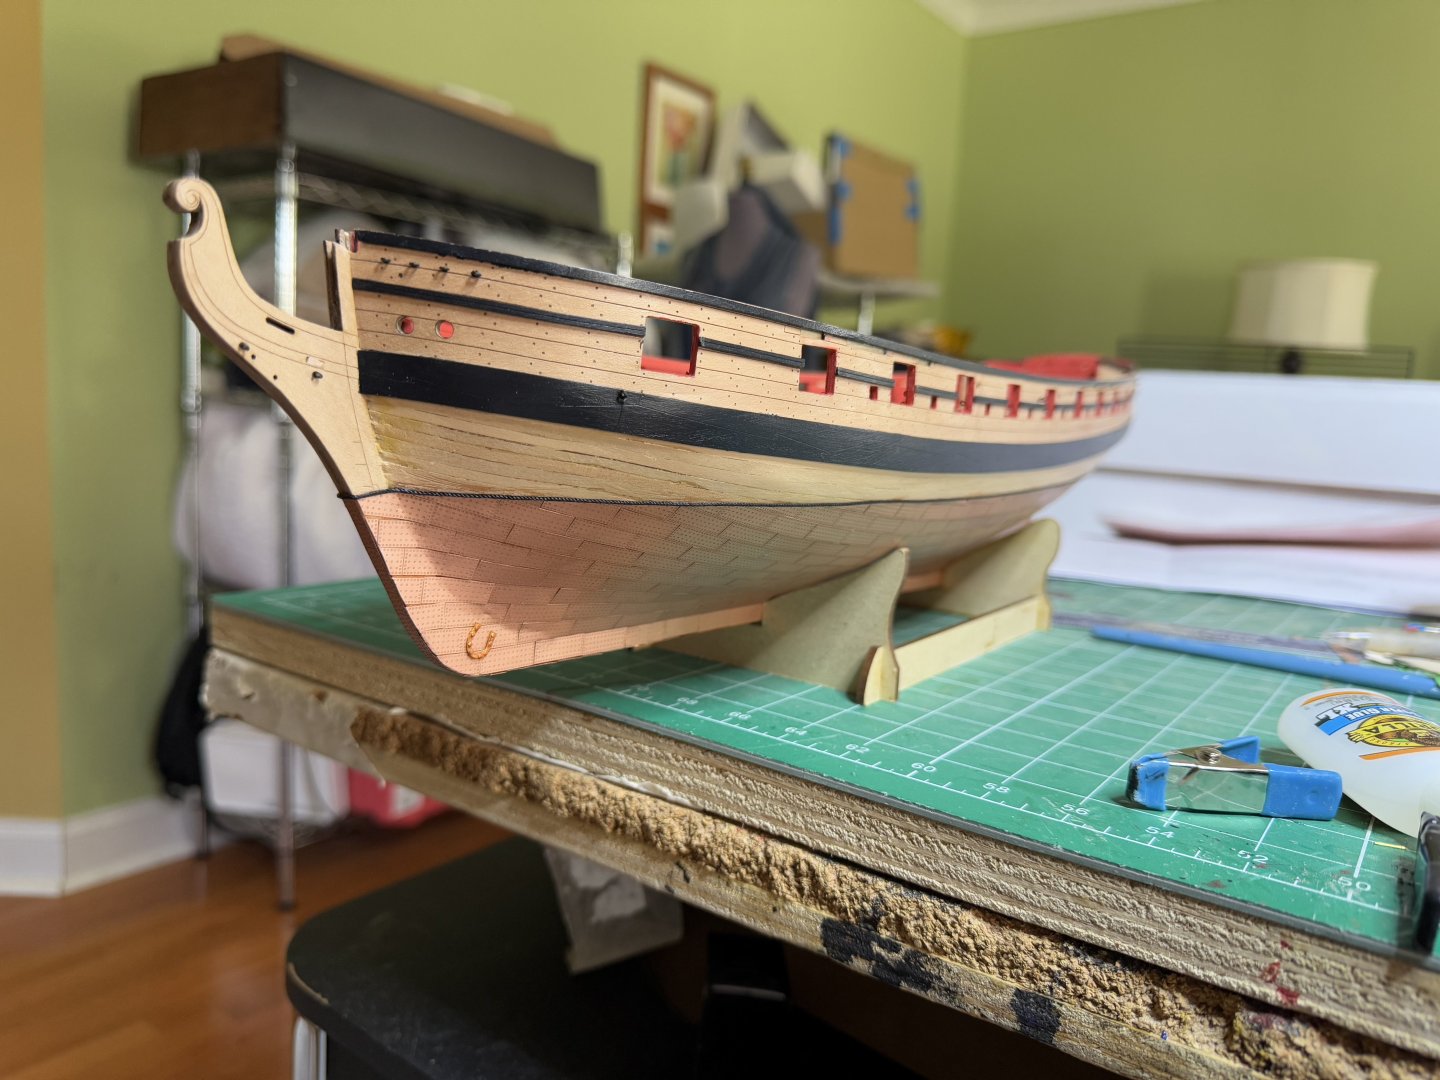
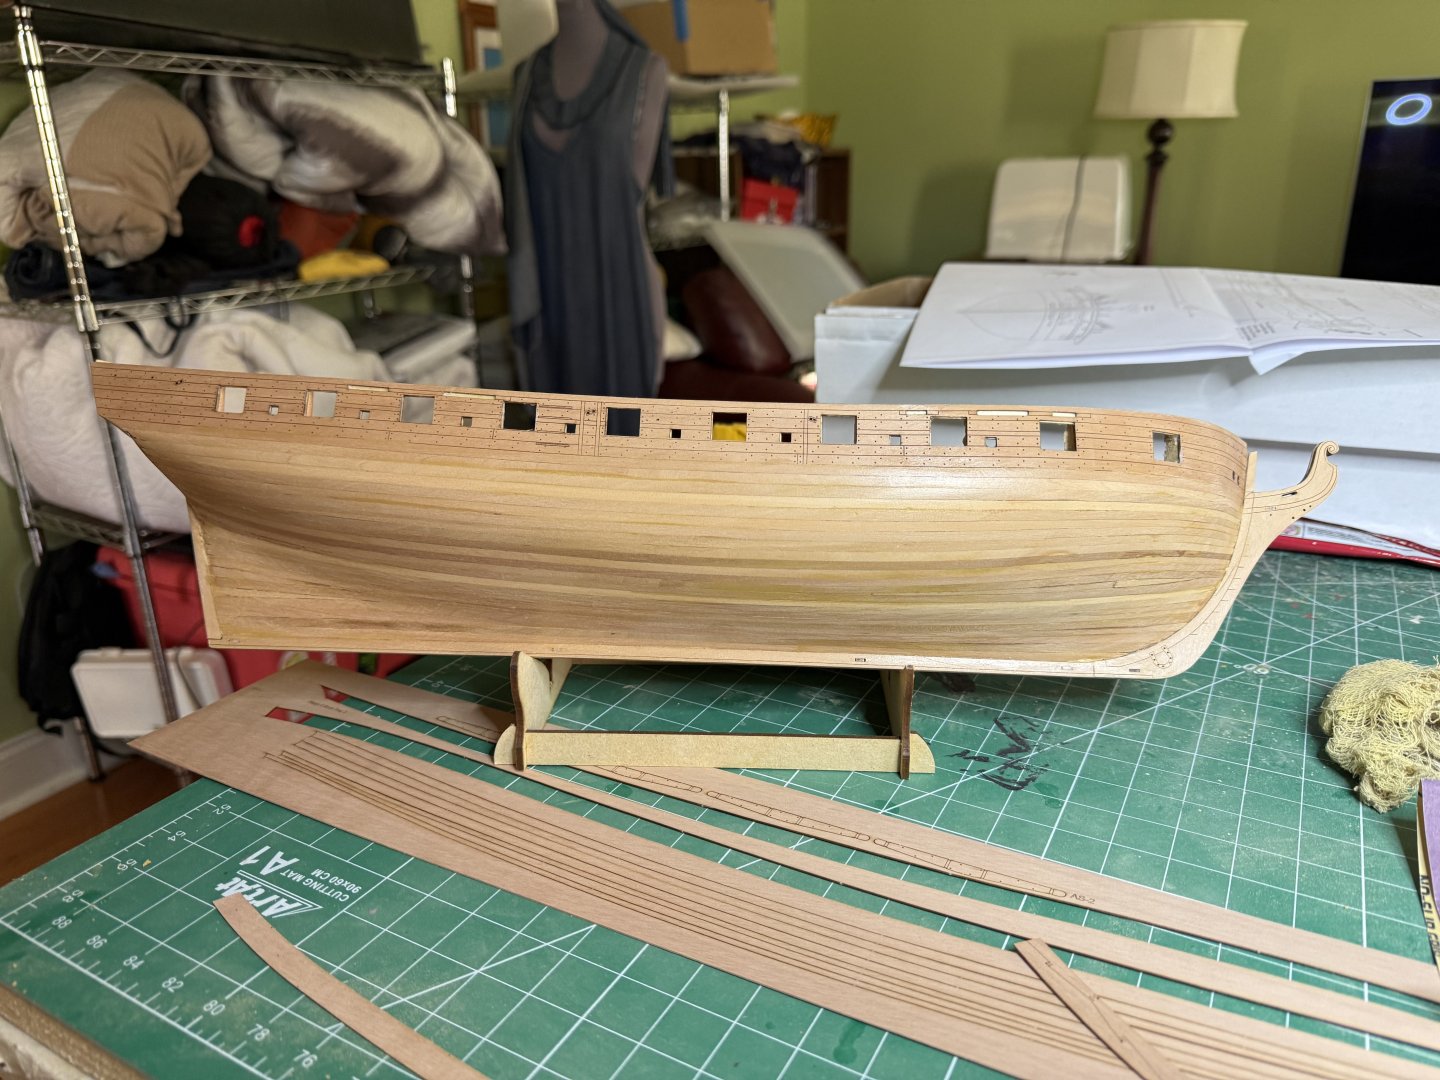
Finished the prow, added the davits on the stern and other bits and pieces. outer hull done, just need to finish all the deck pieces.


- 73 replies
-
- 14
-

-
- Harpy
- Vanguard Models
- (and 1 more)
-
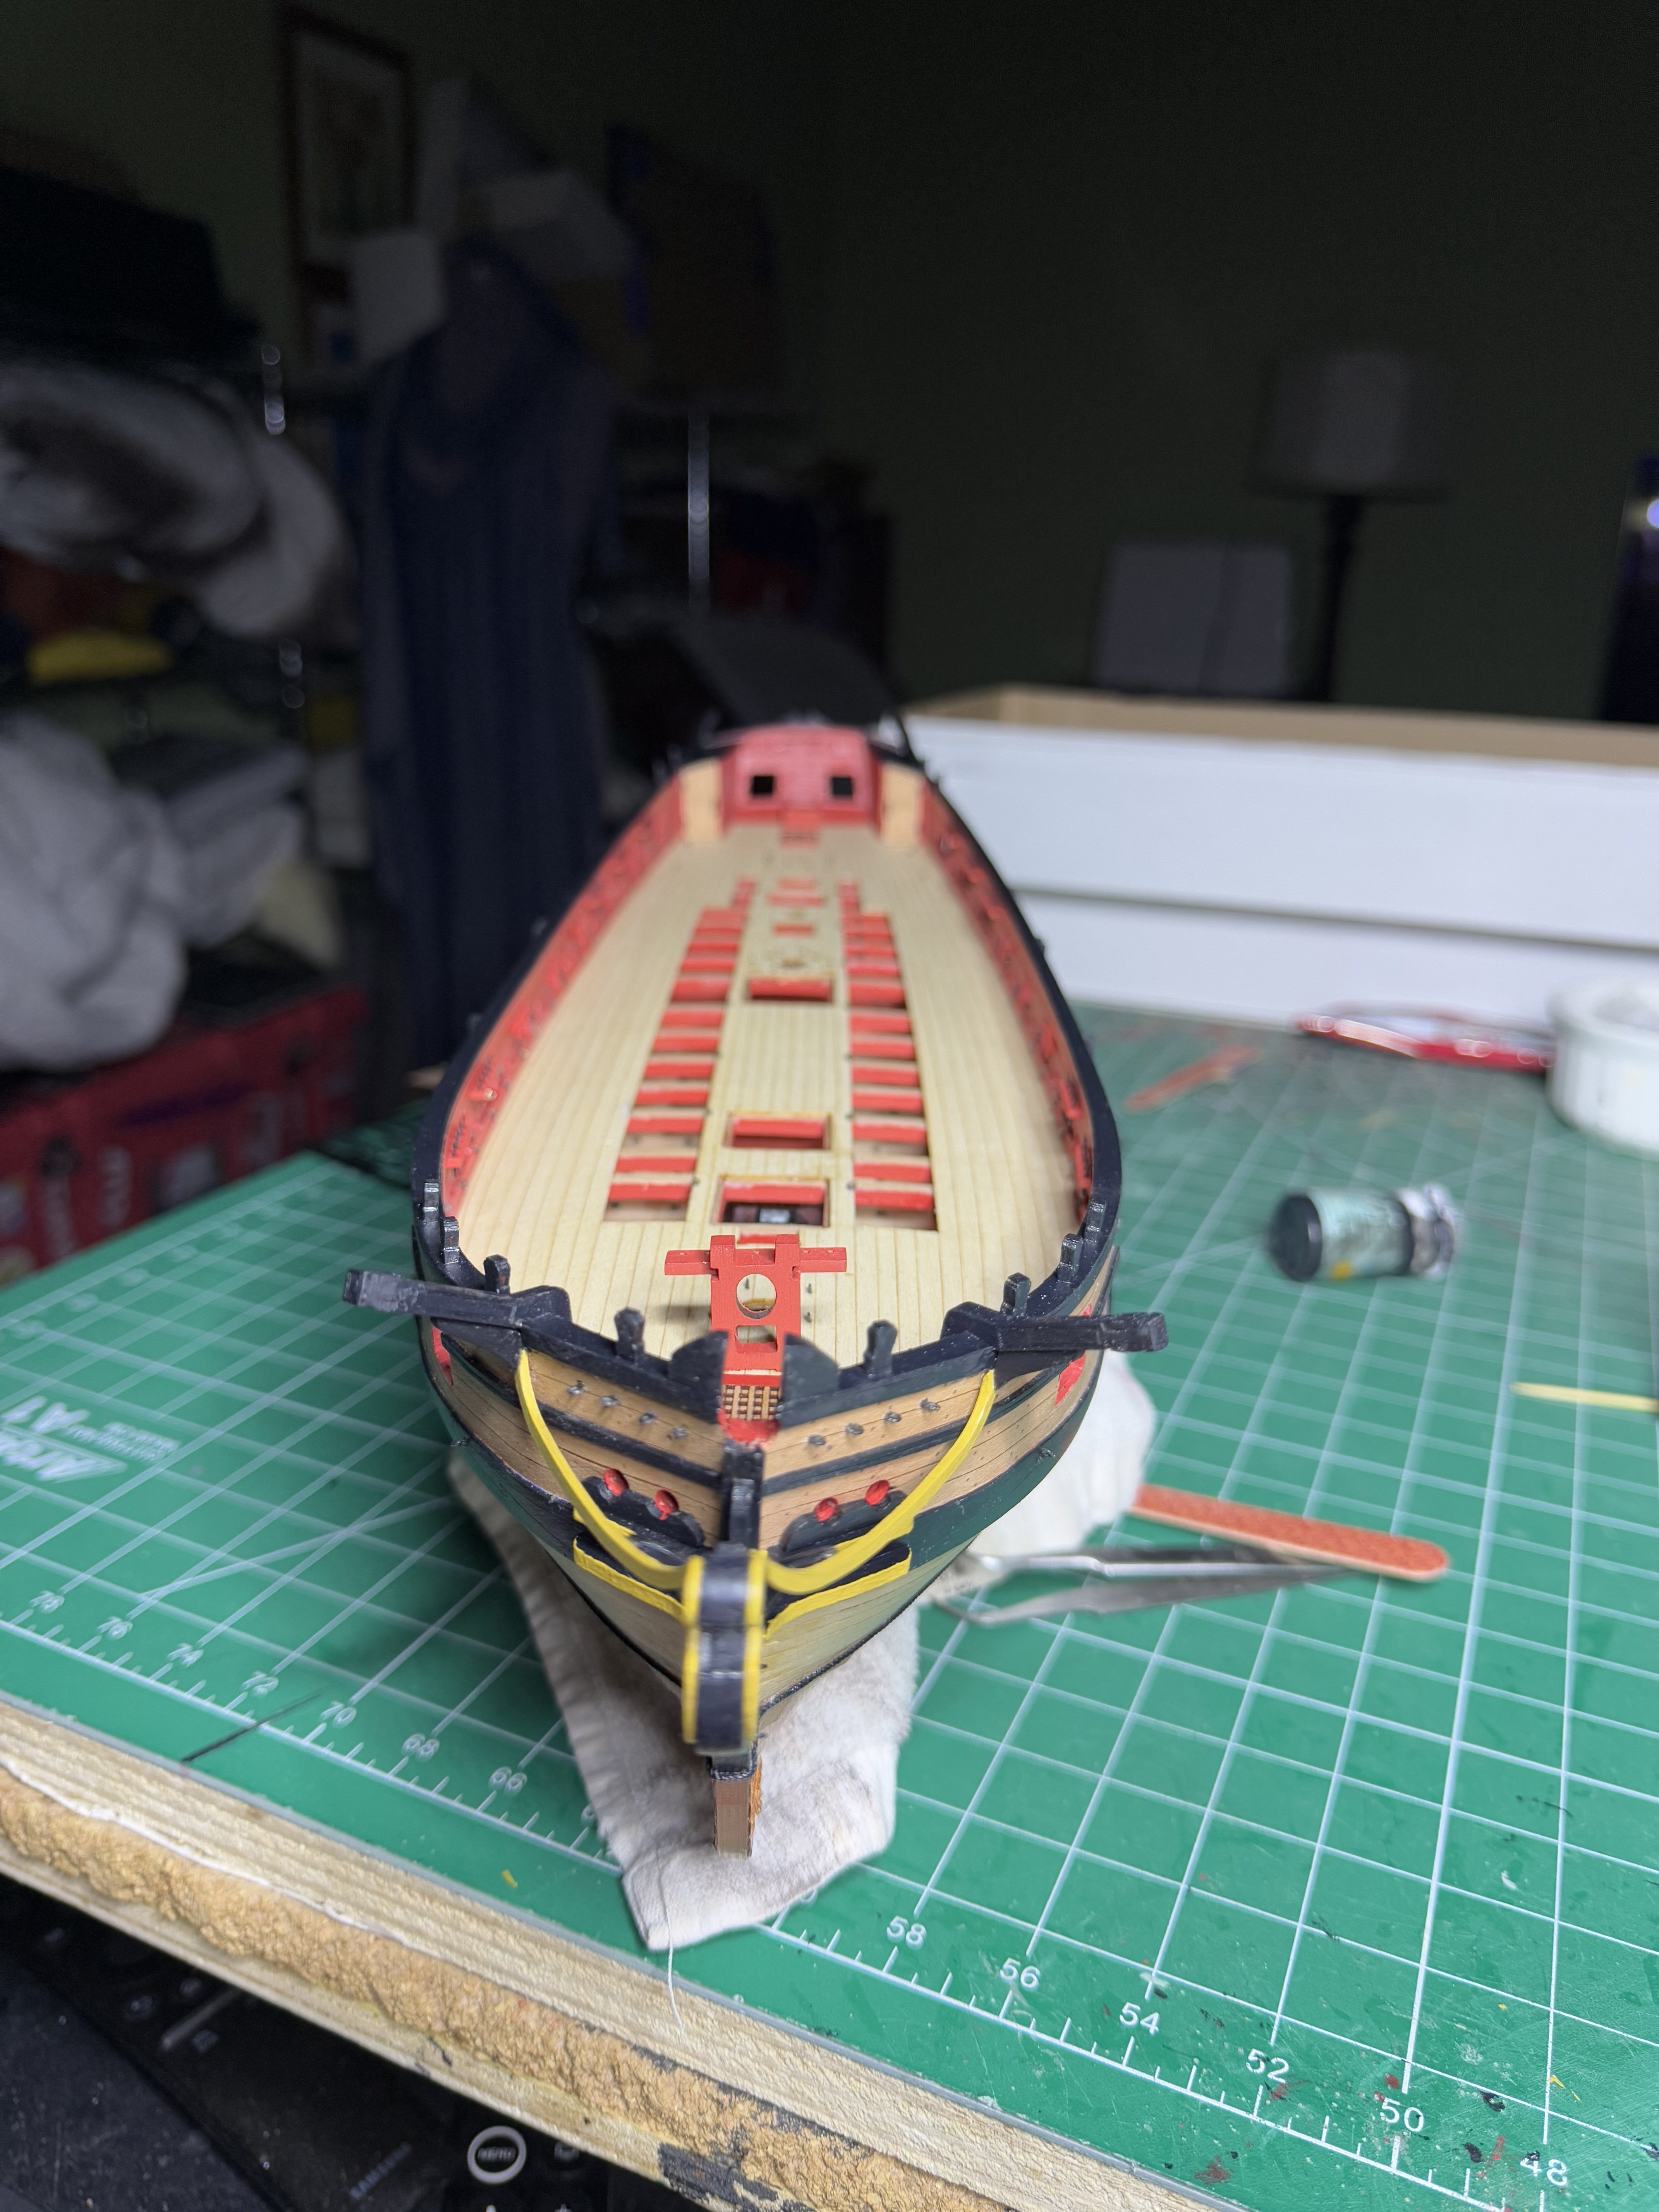
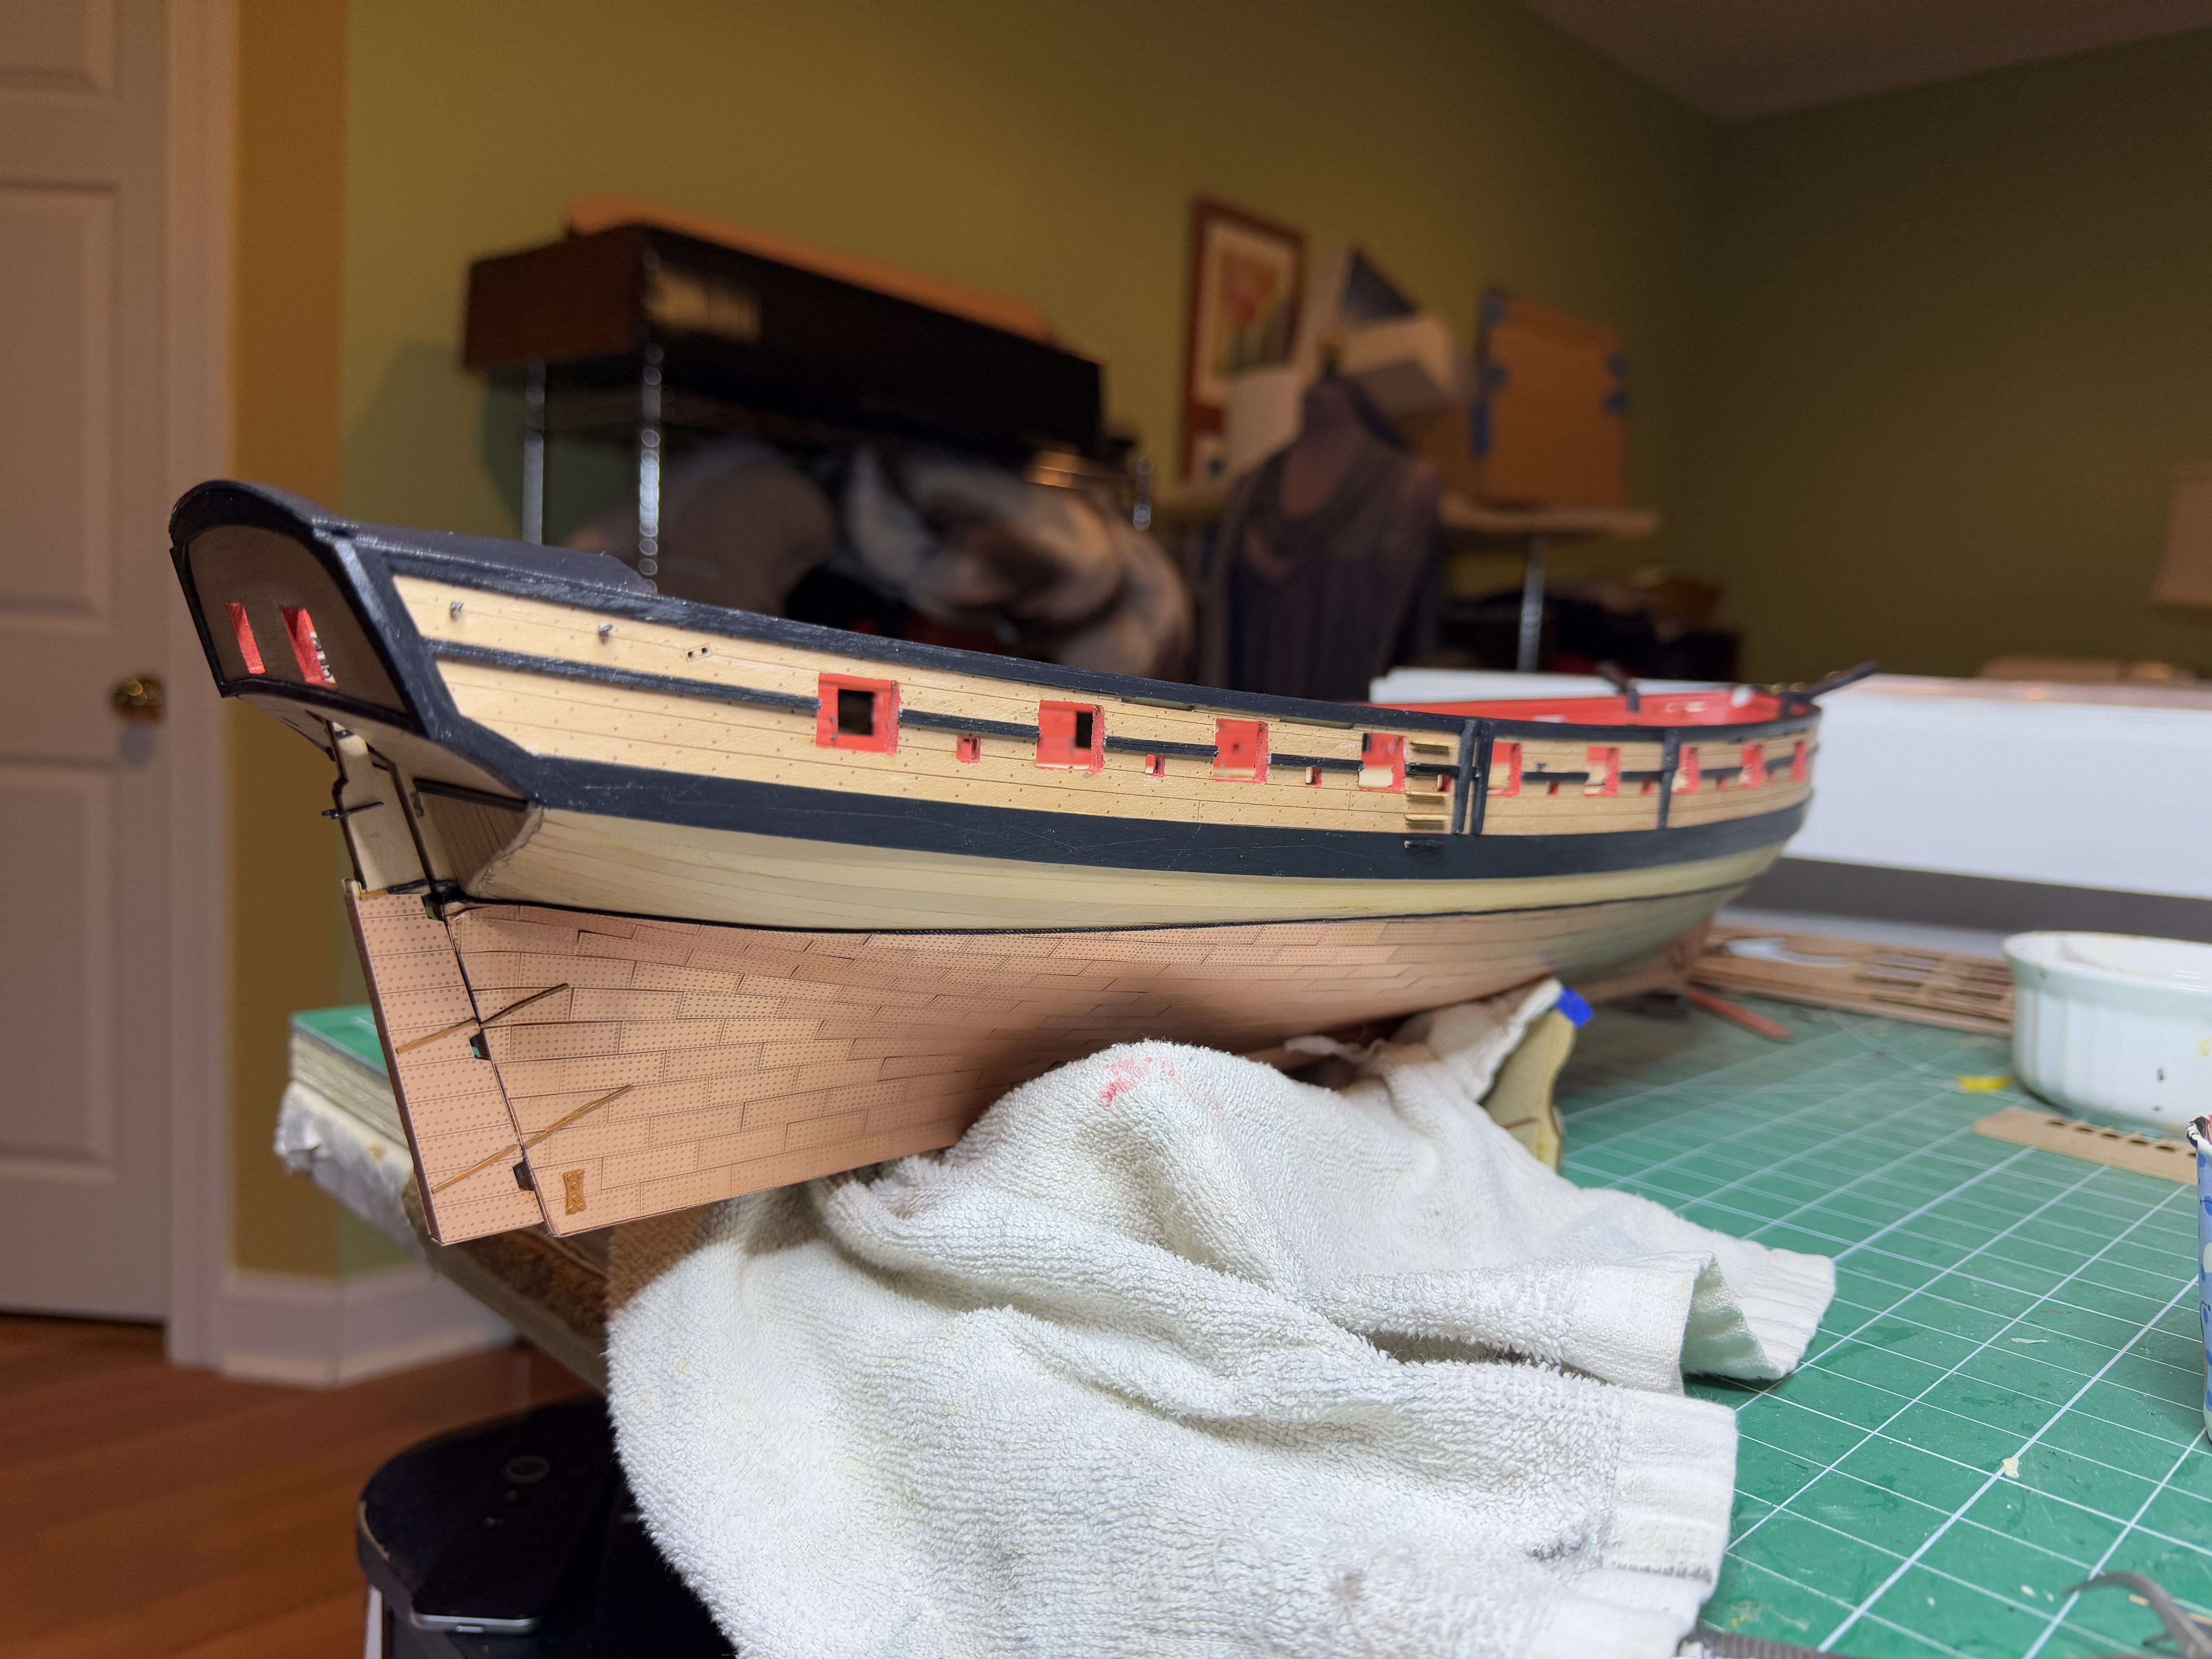
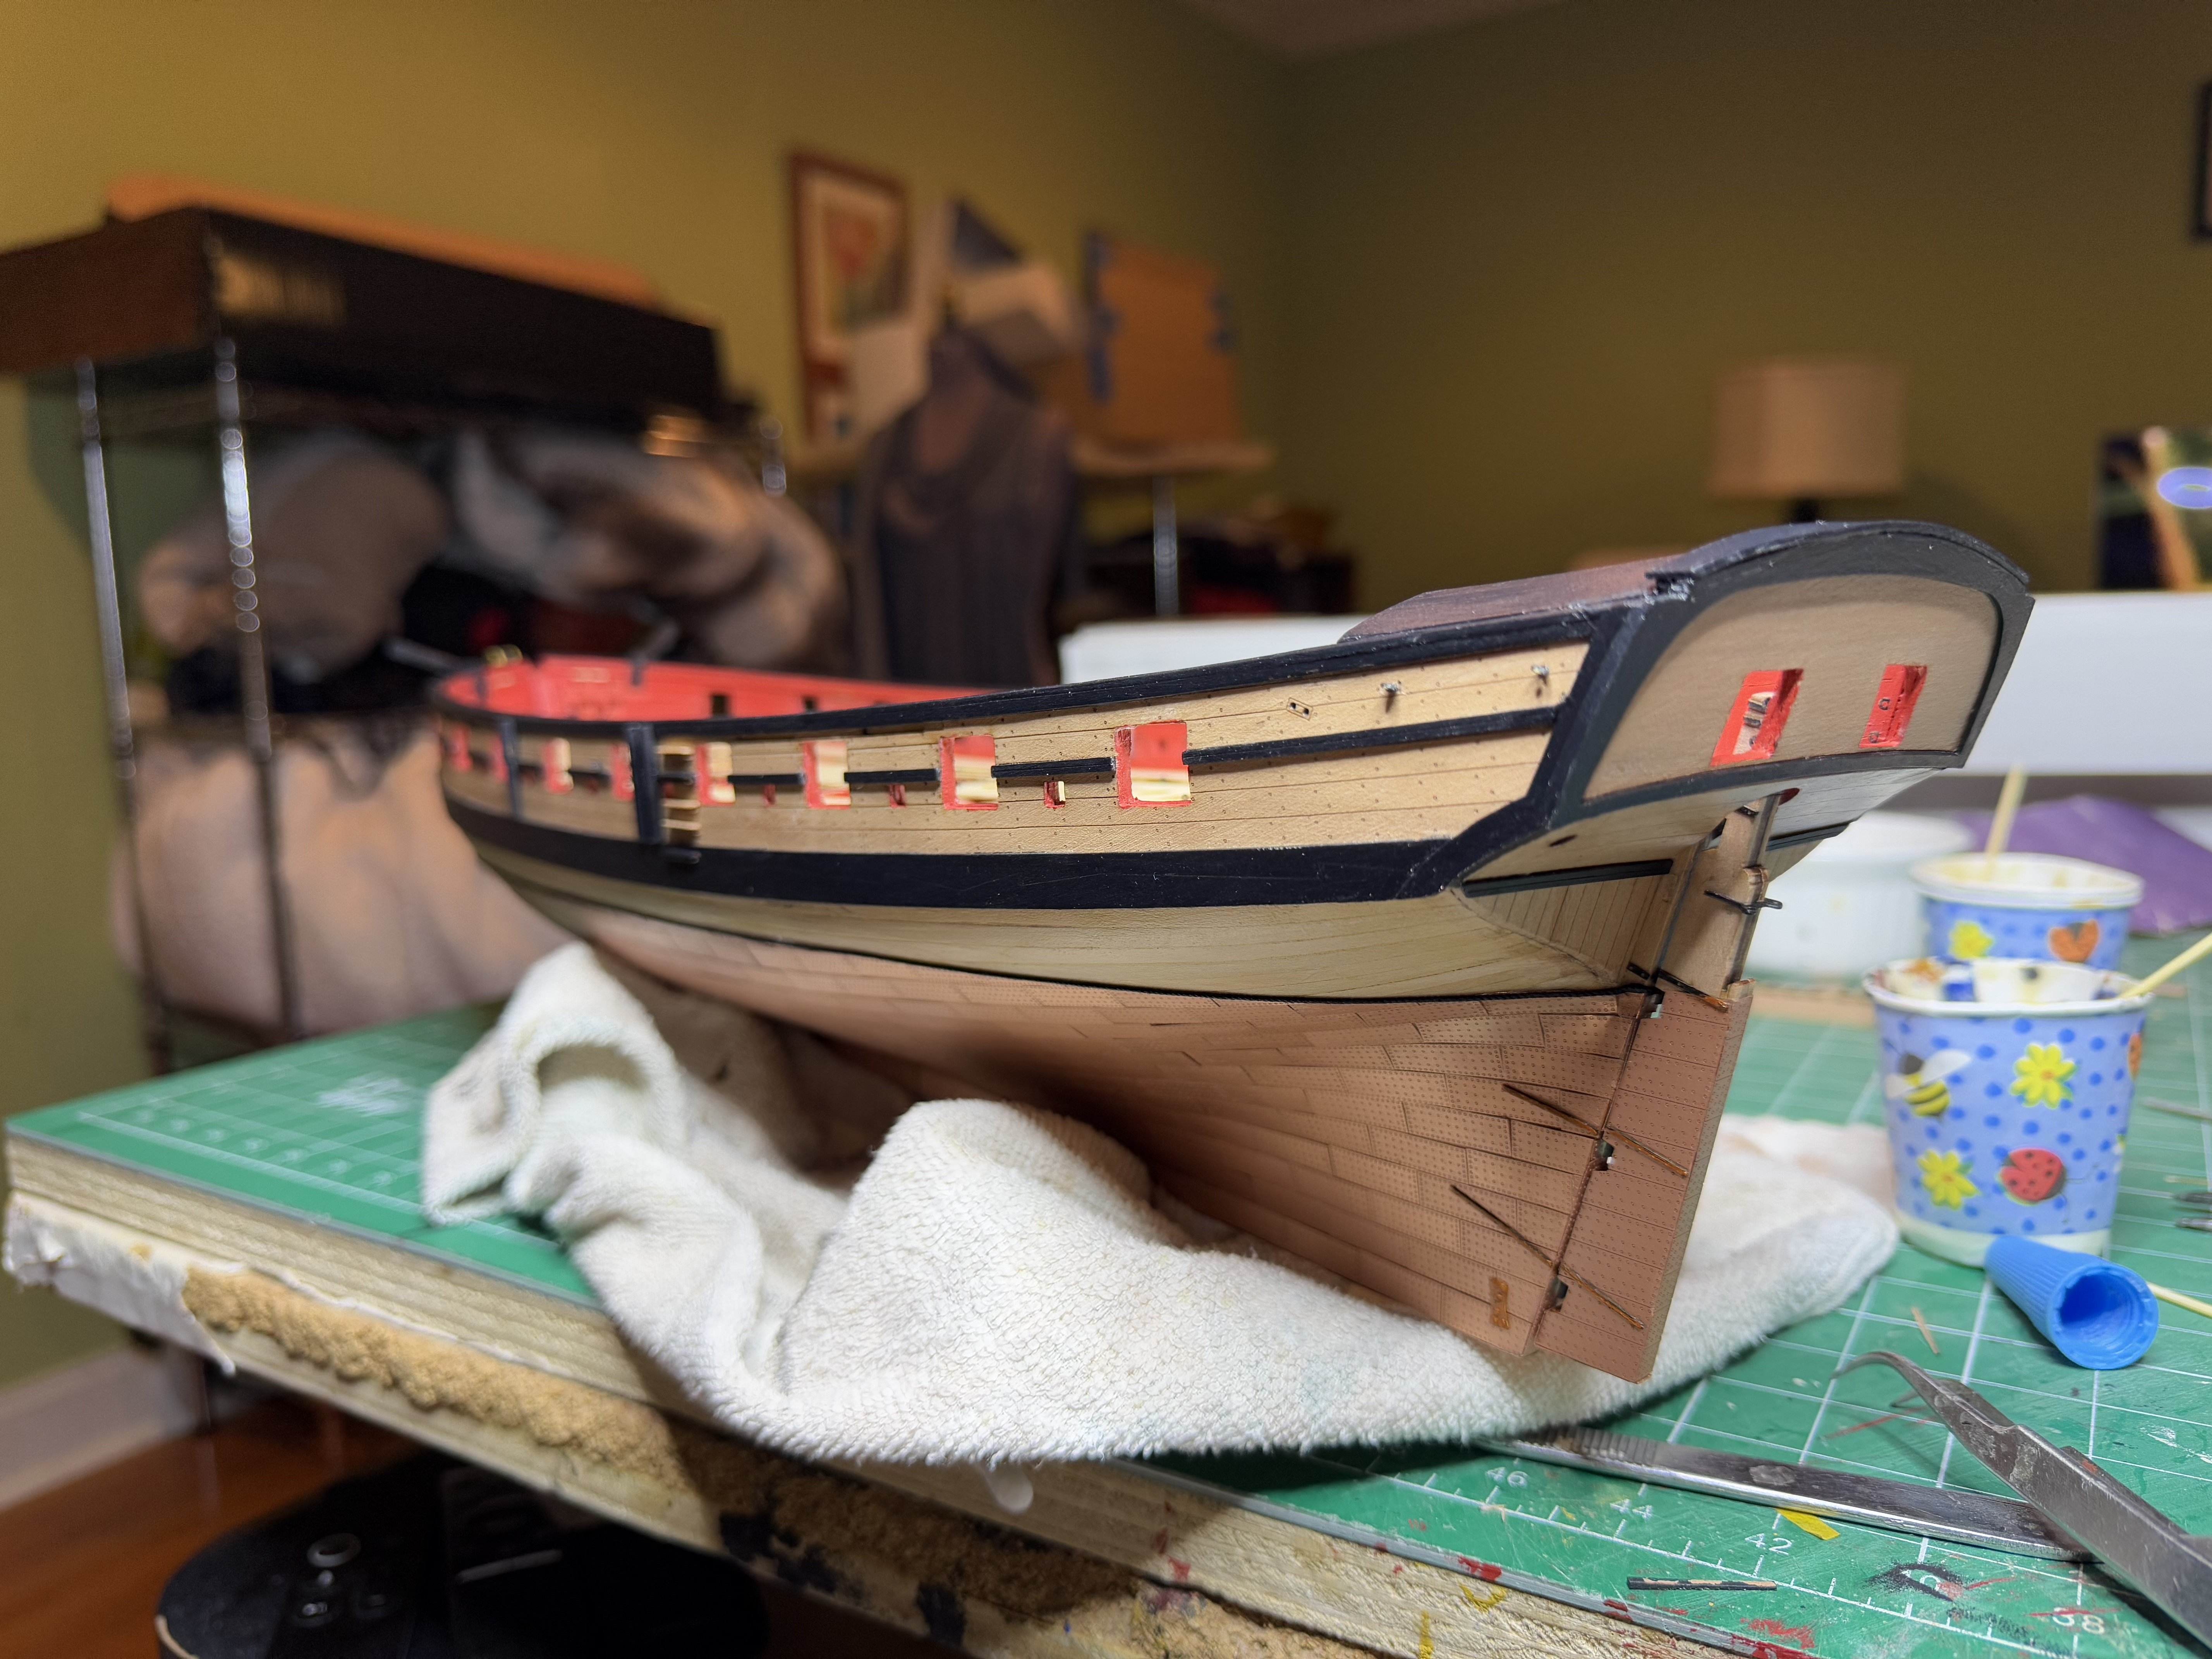
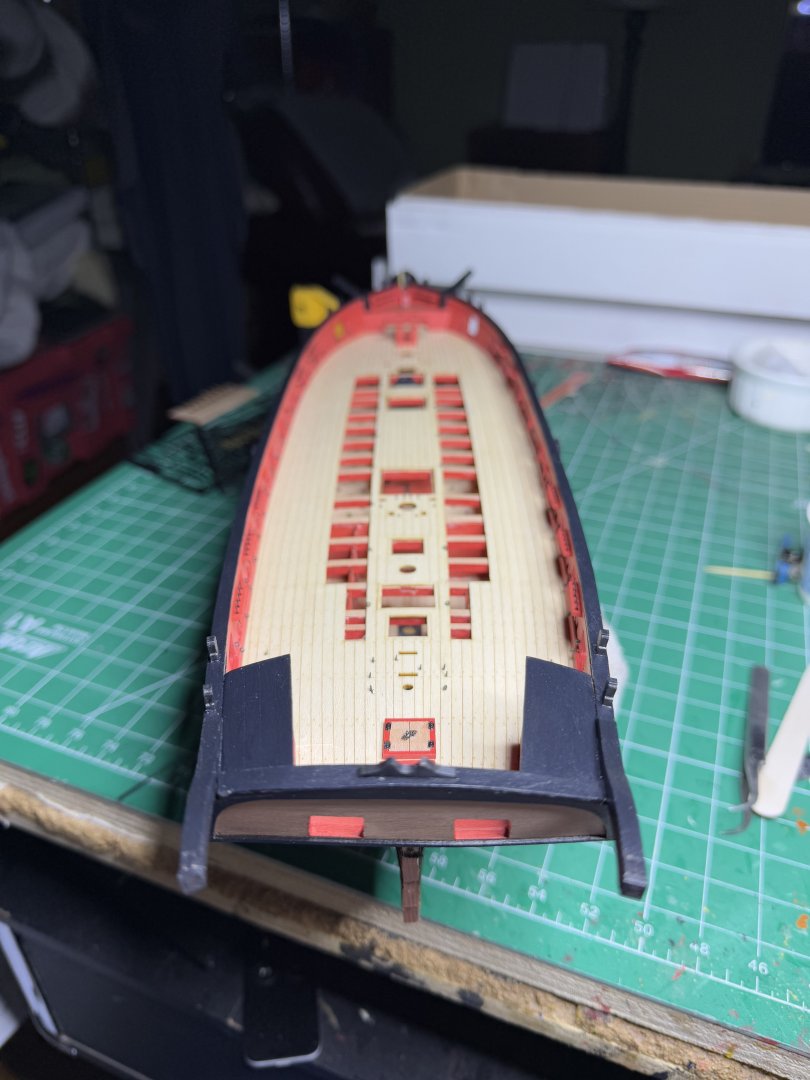
Continued today adding bits and pieces to the hull and completing the stern


- 73 replies
-
- 14
-
-
- Harpy
- Vanguard Models
- (and 1 more)
-
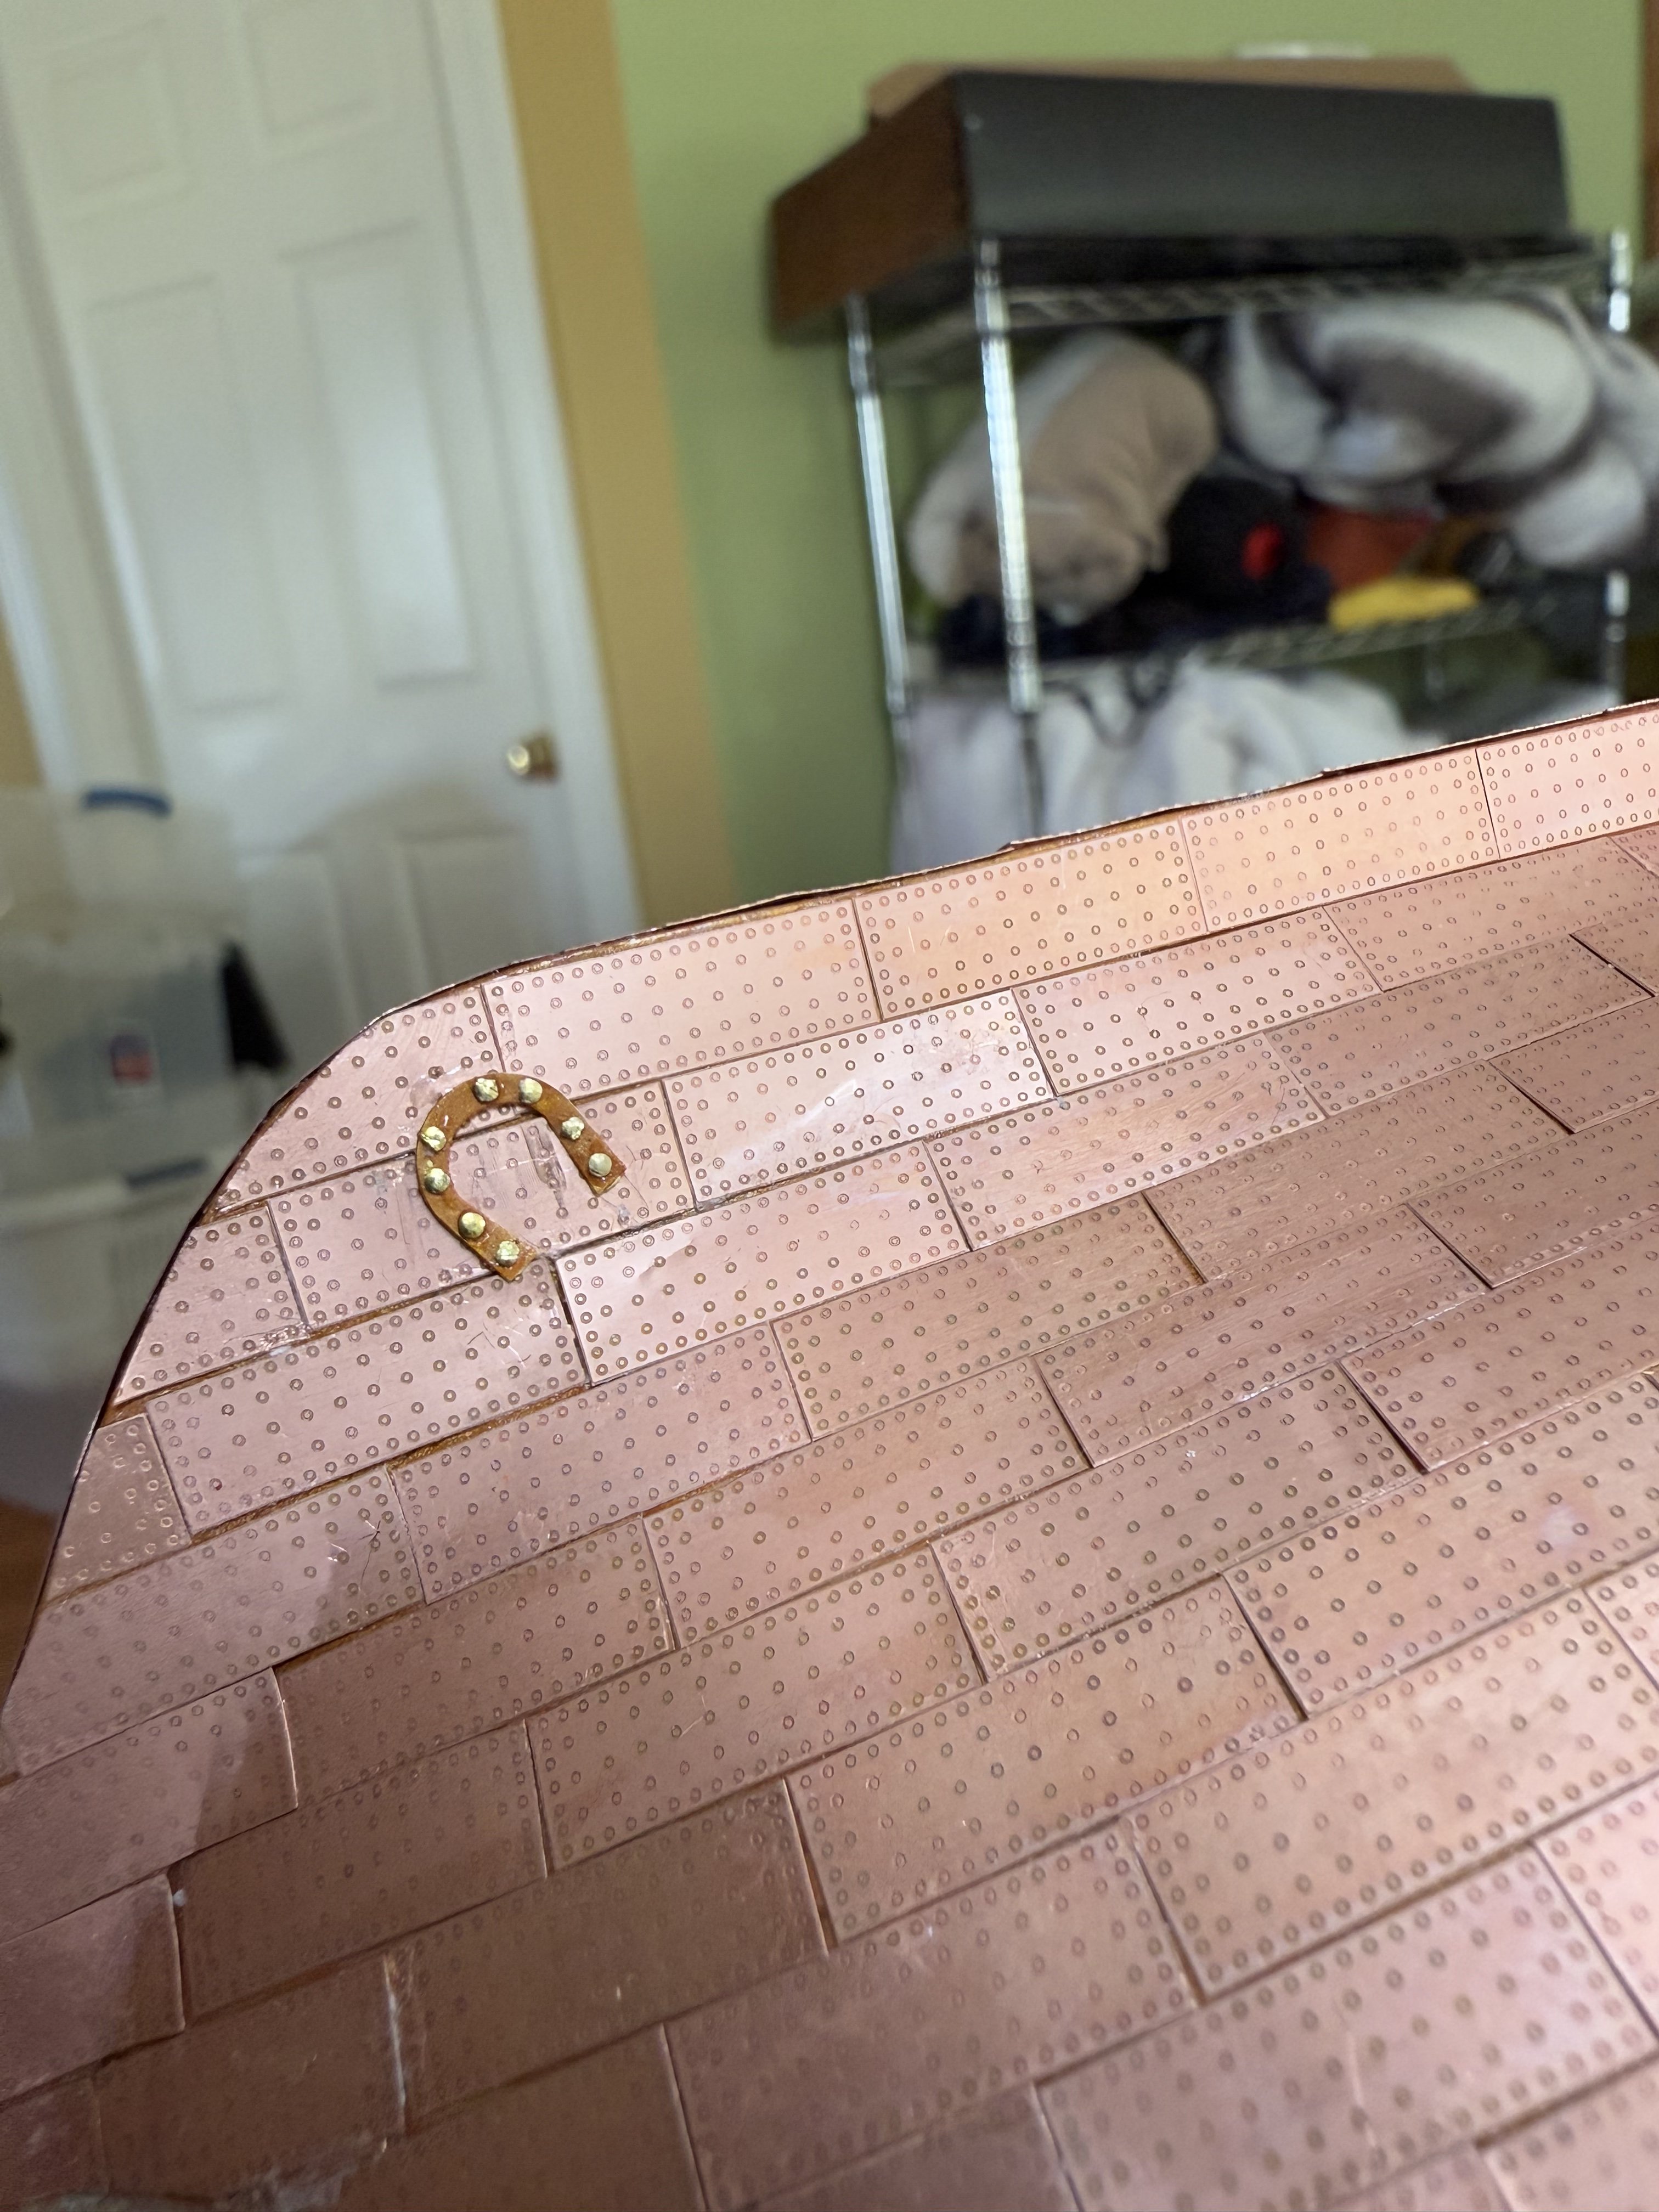
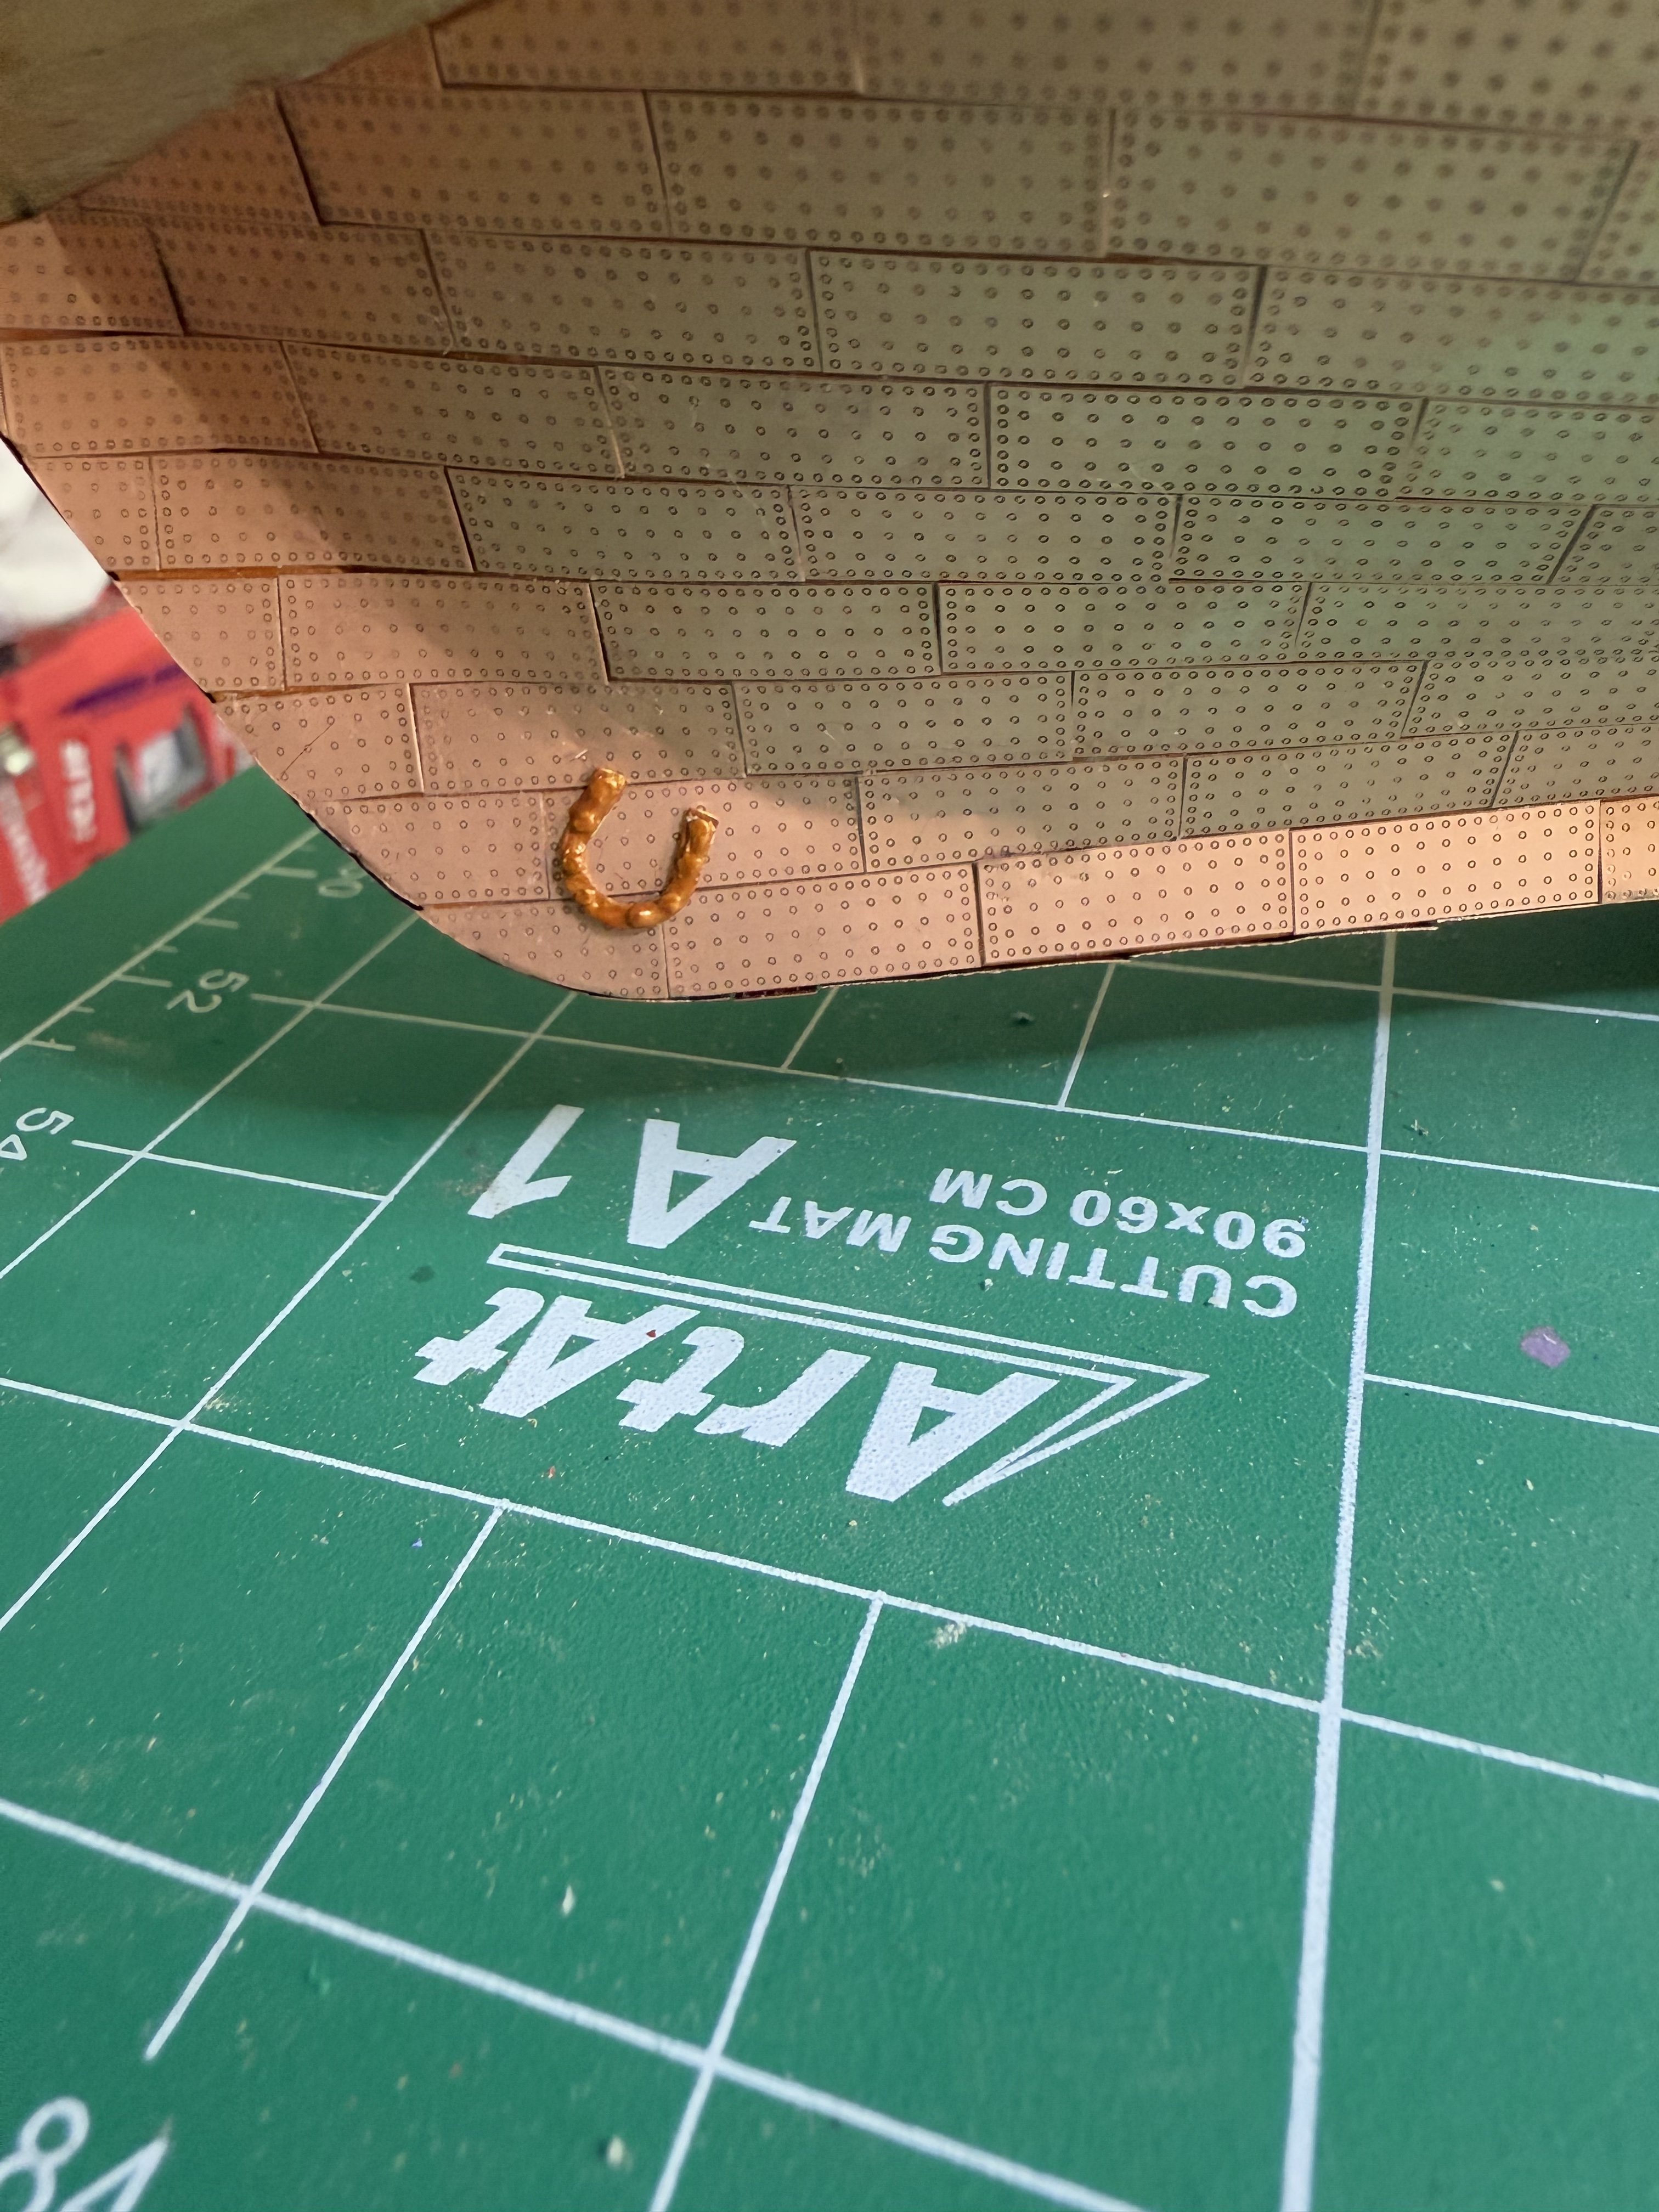
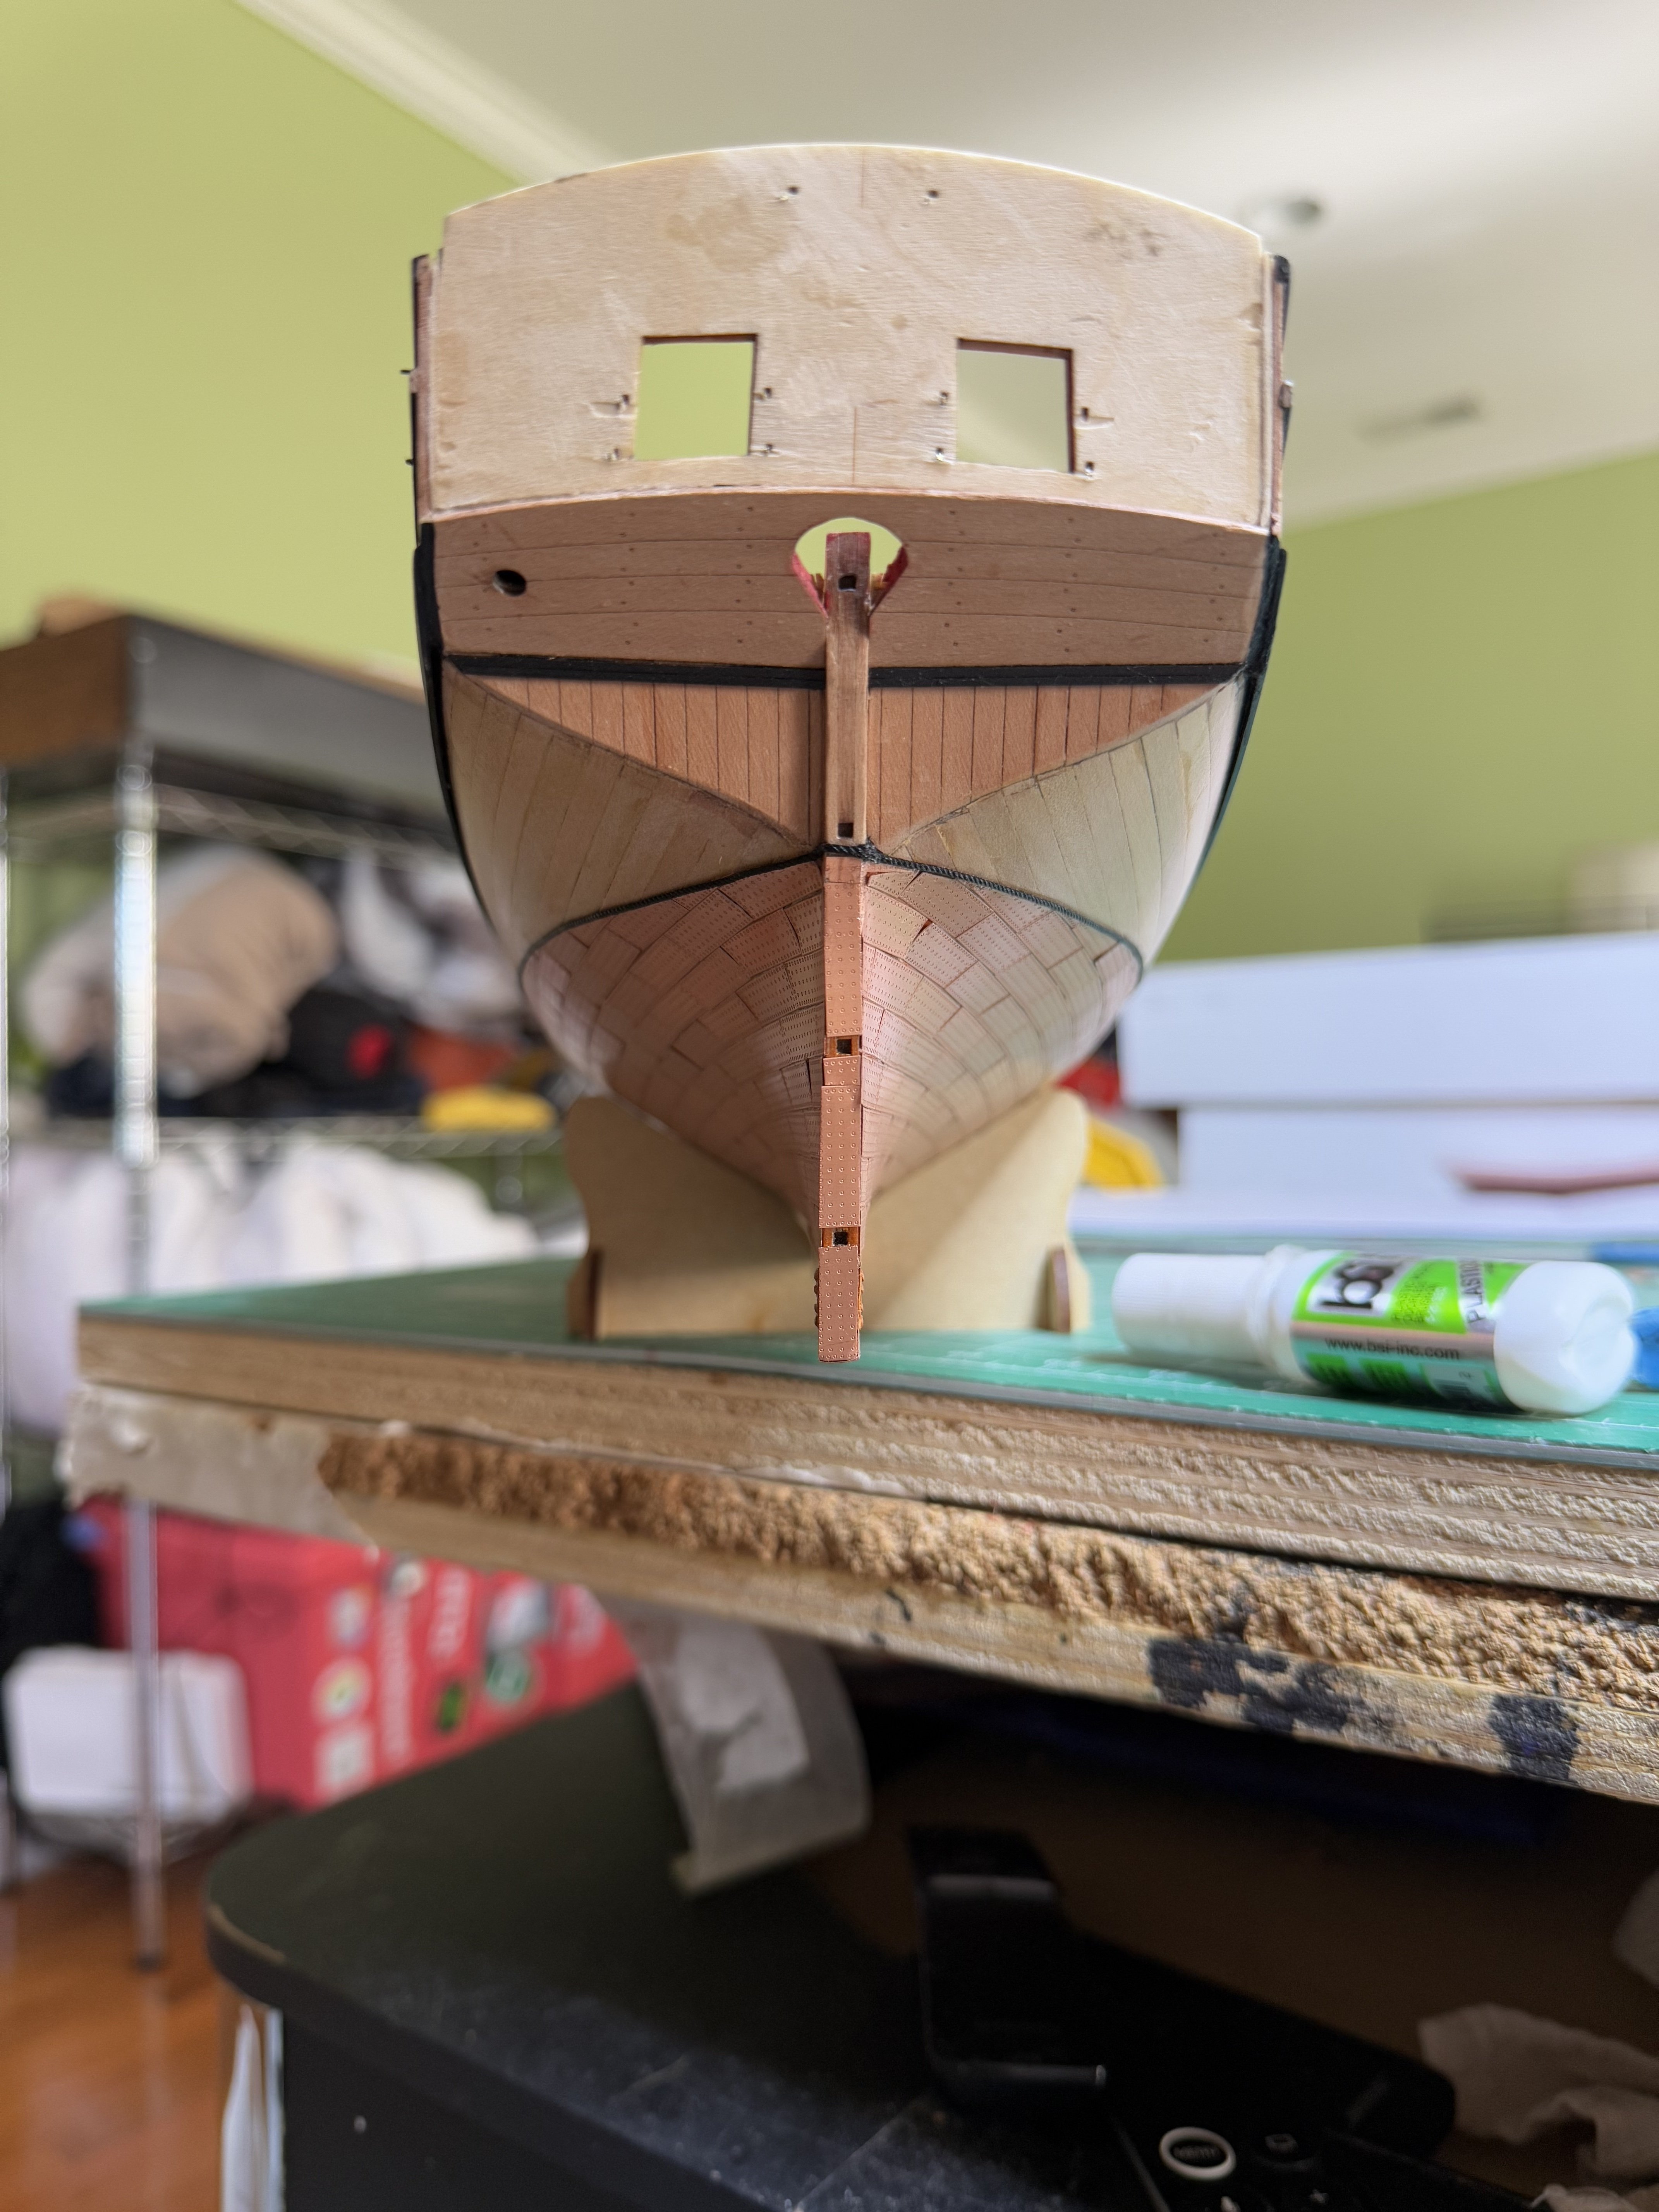
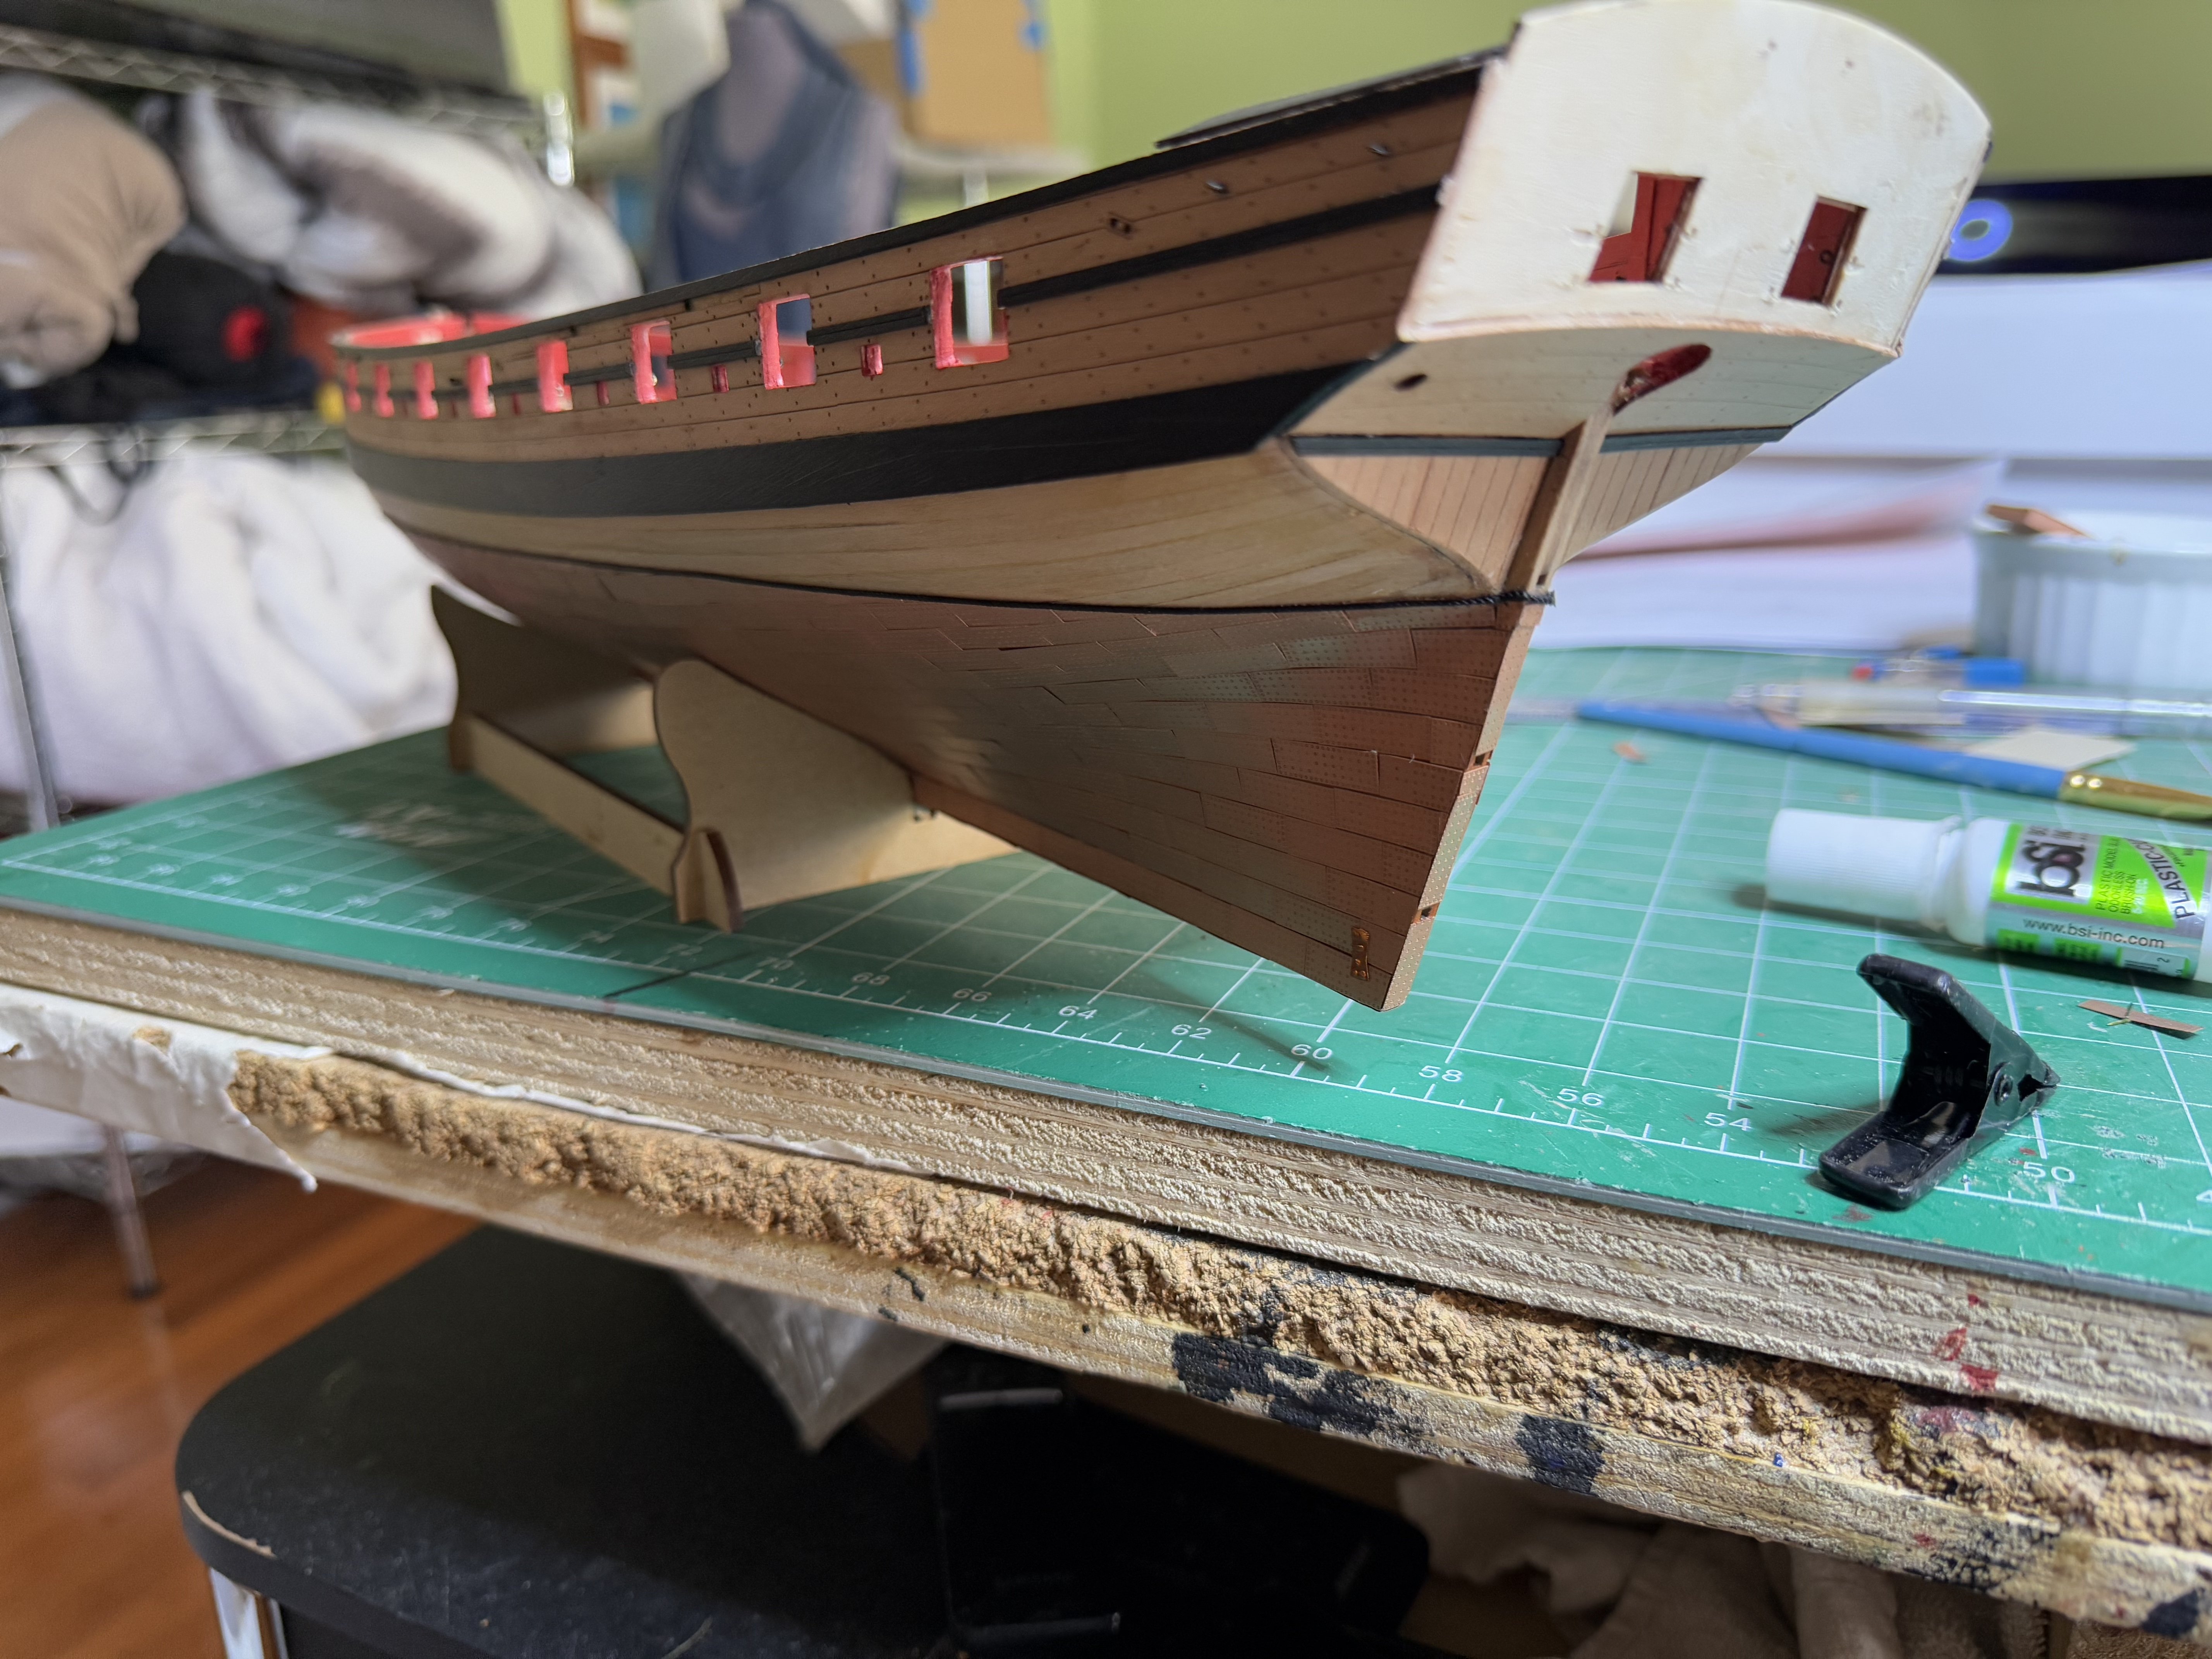
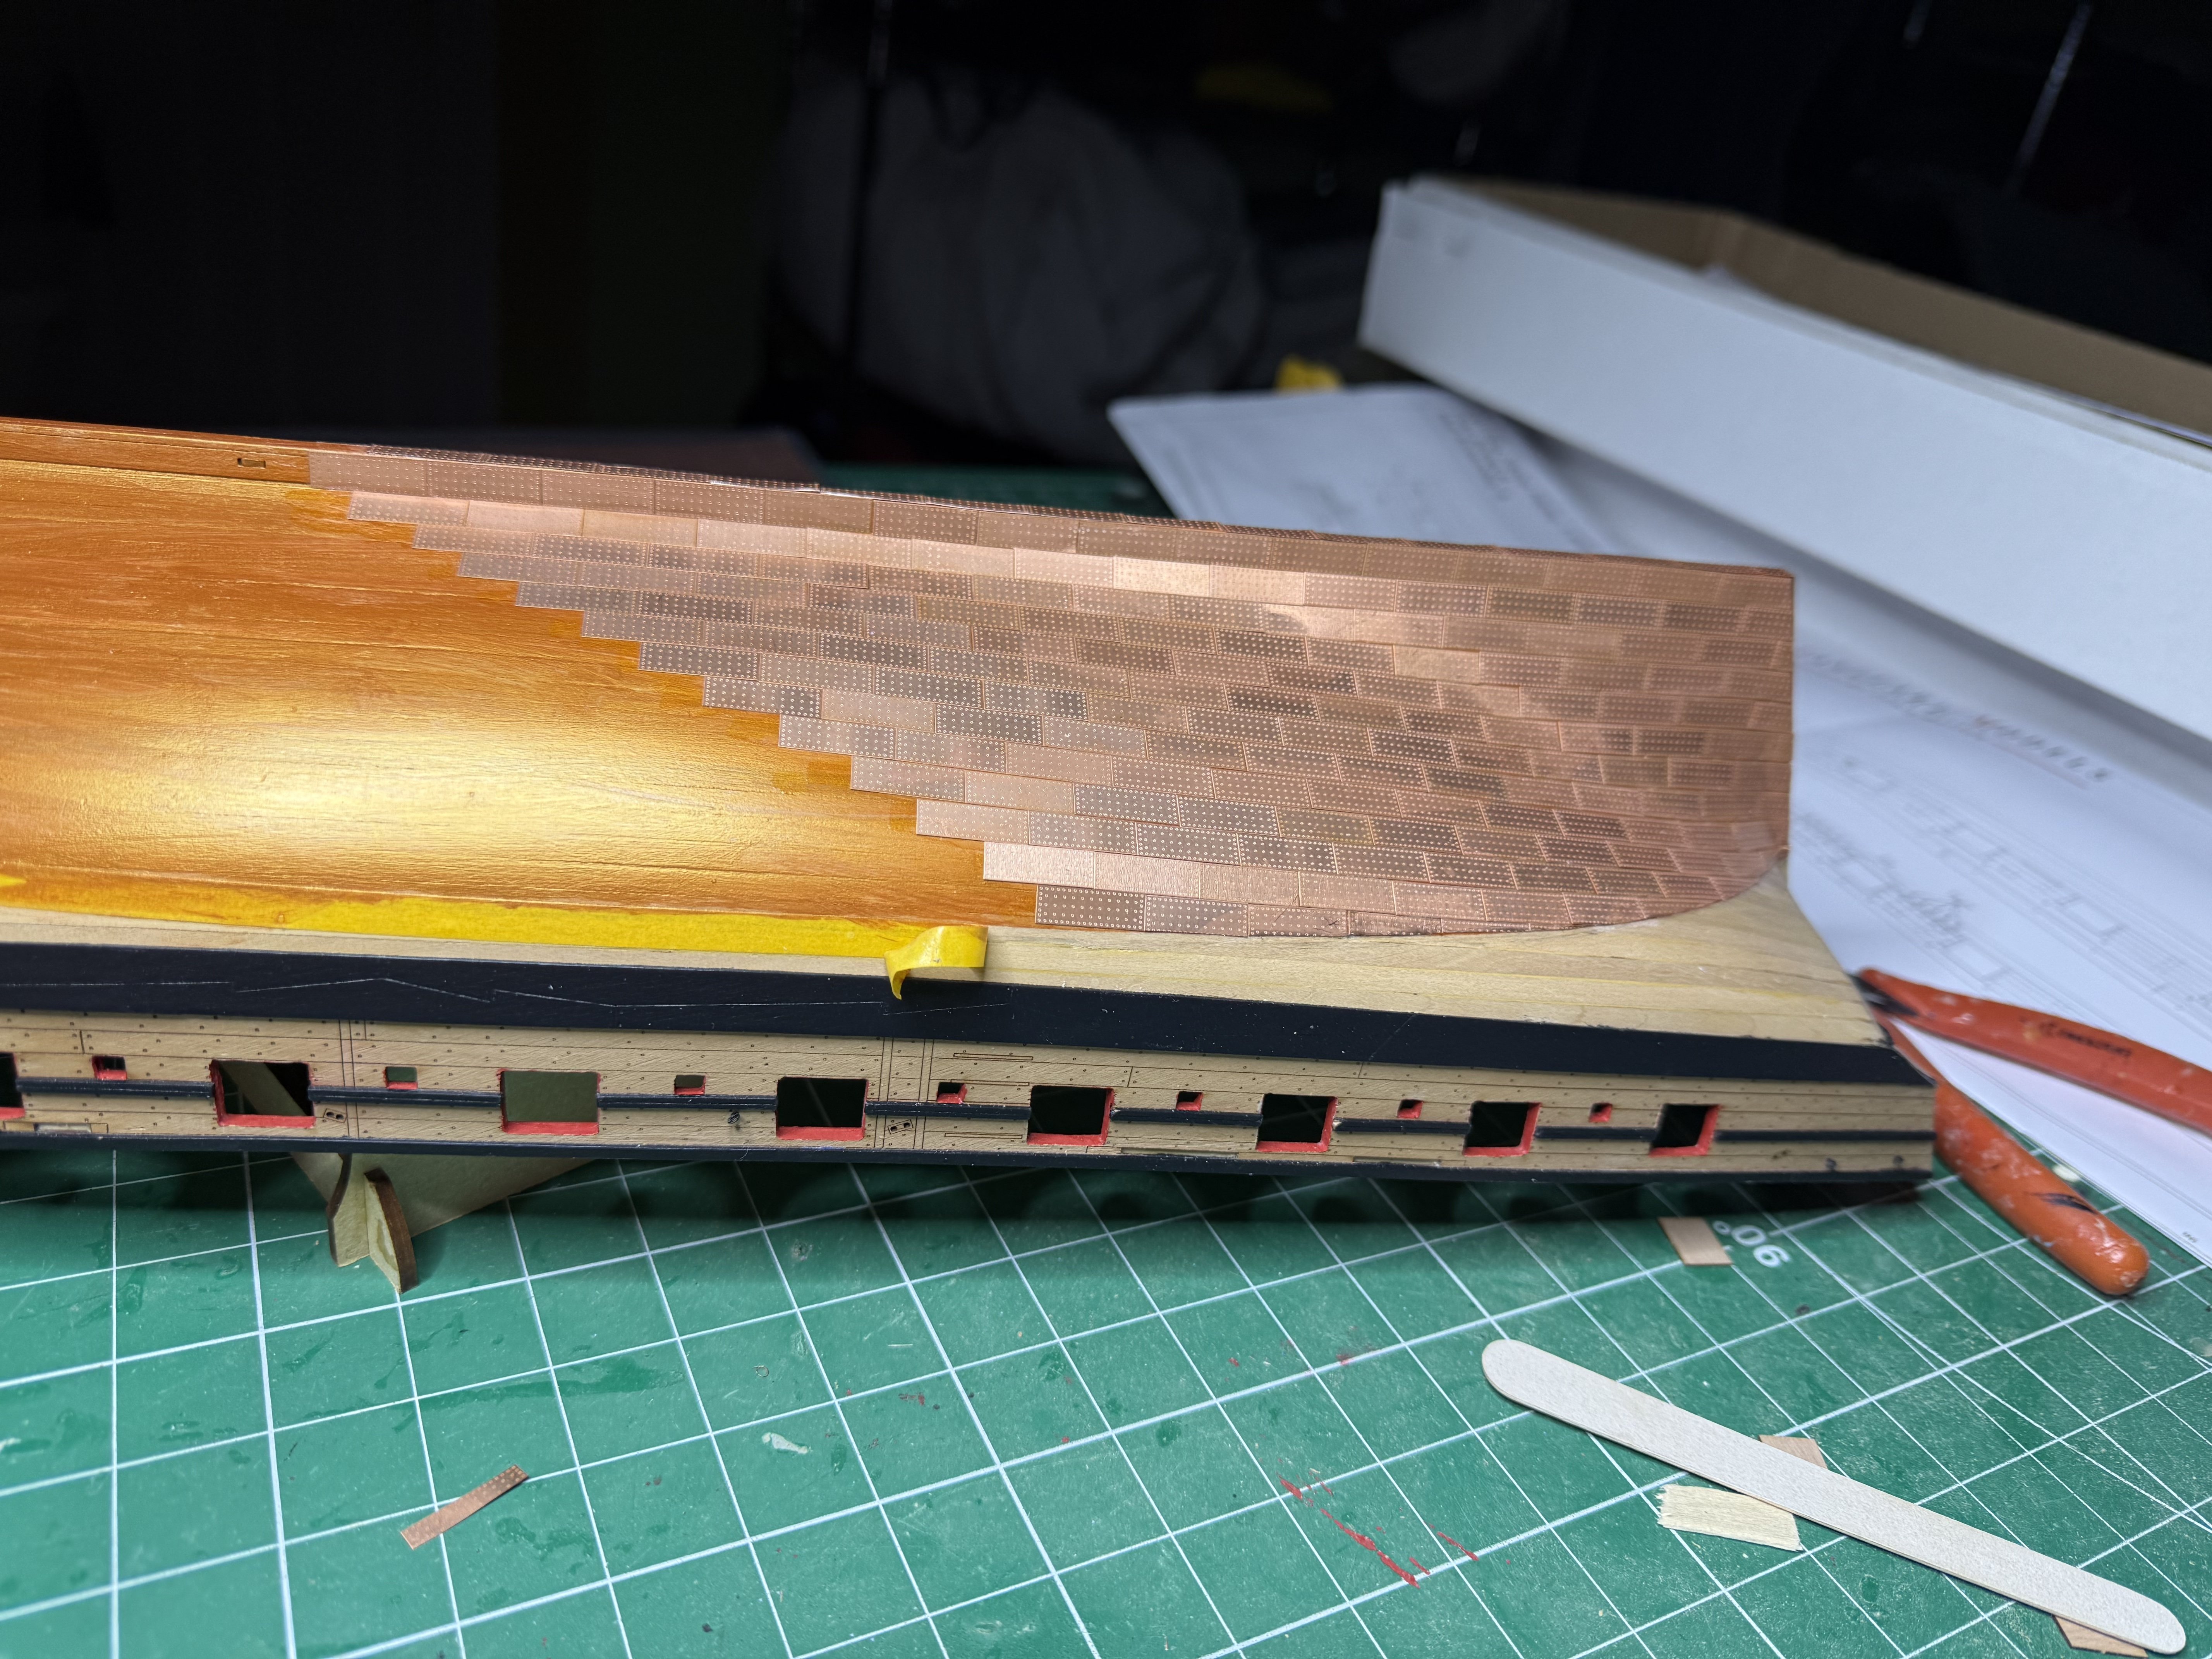
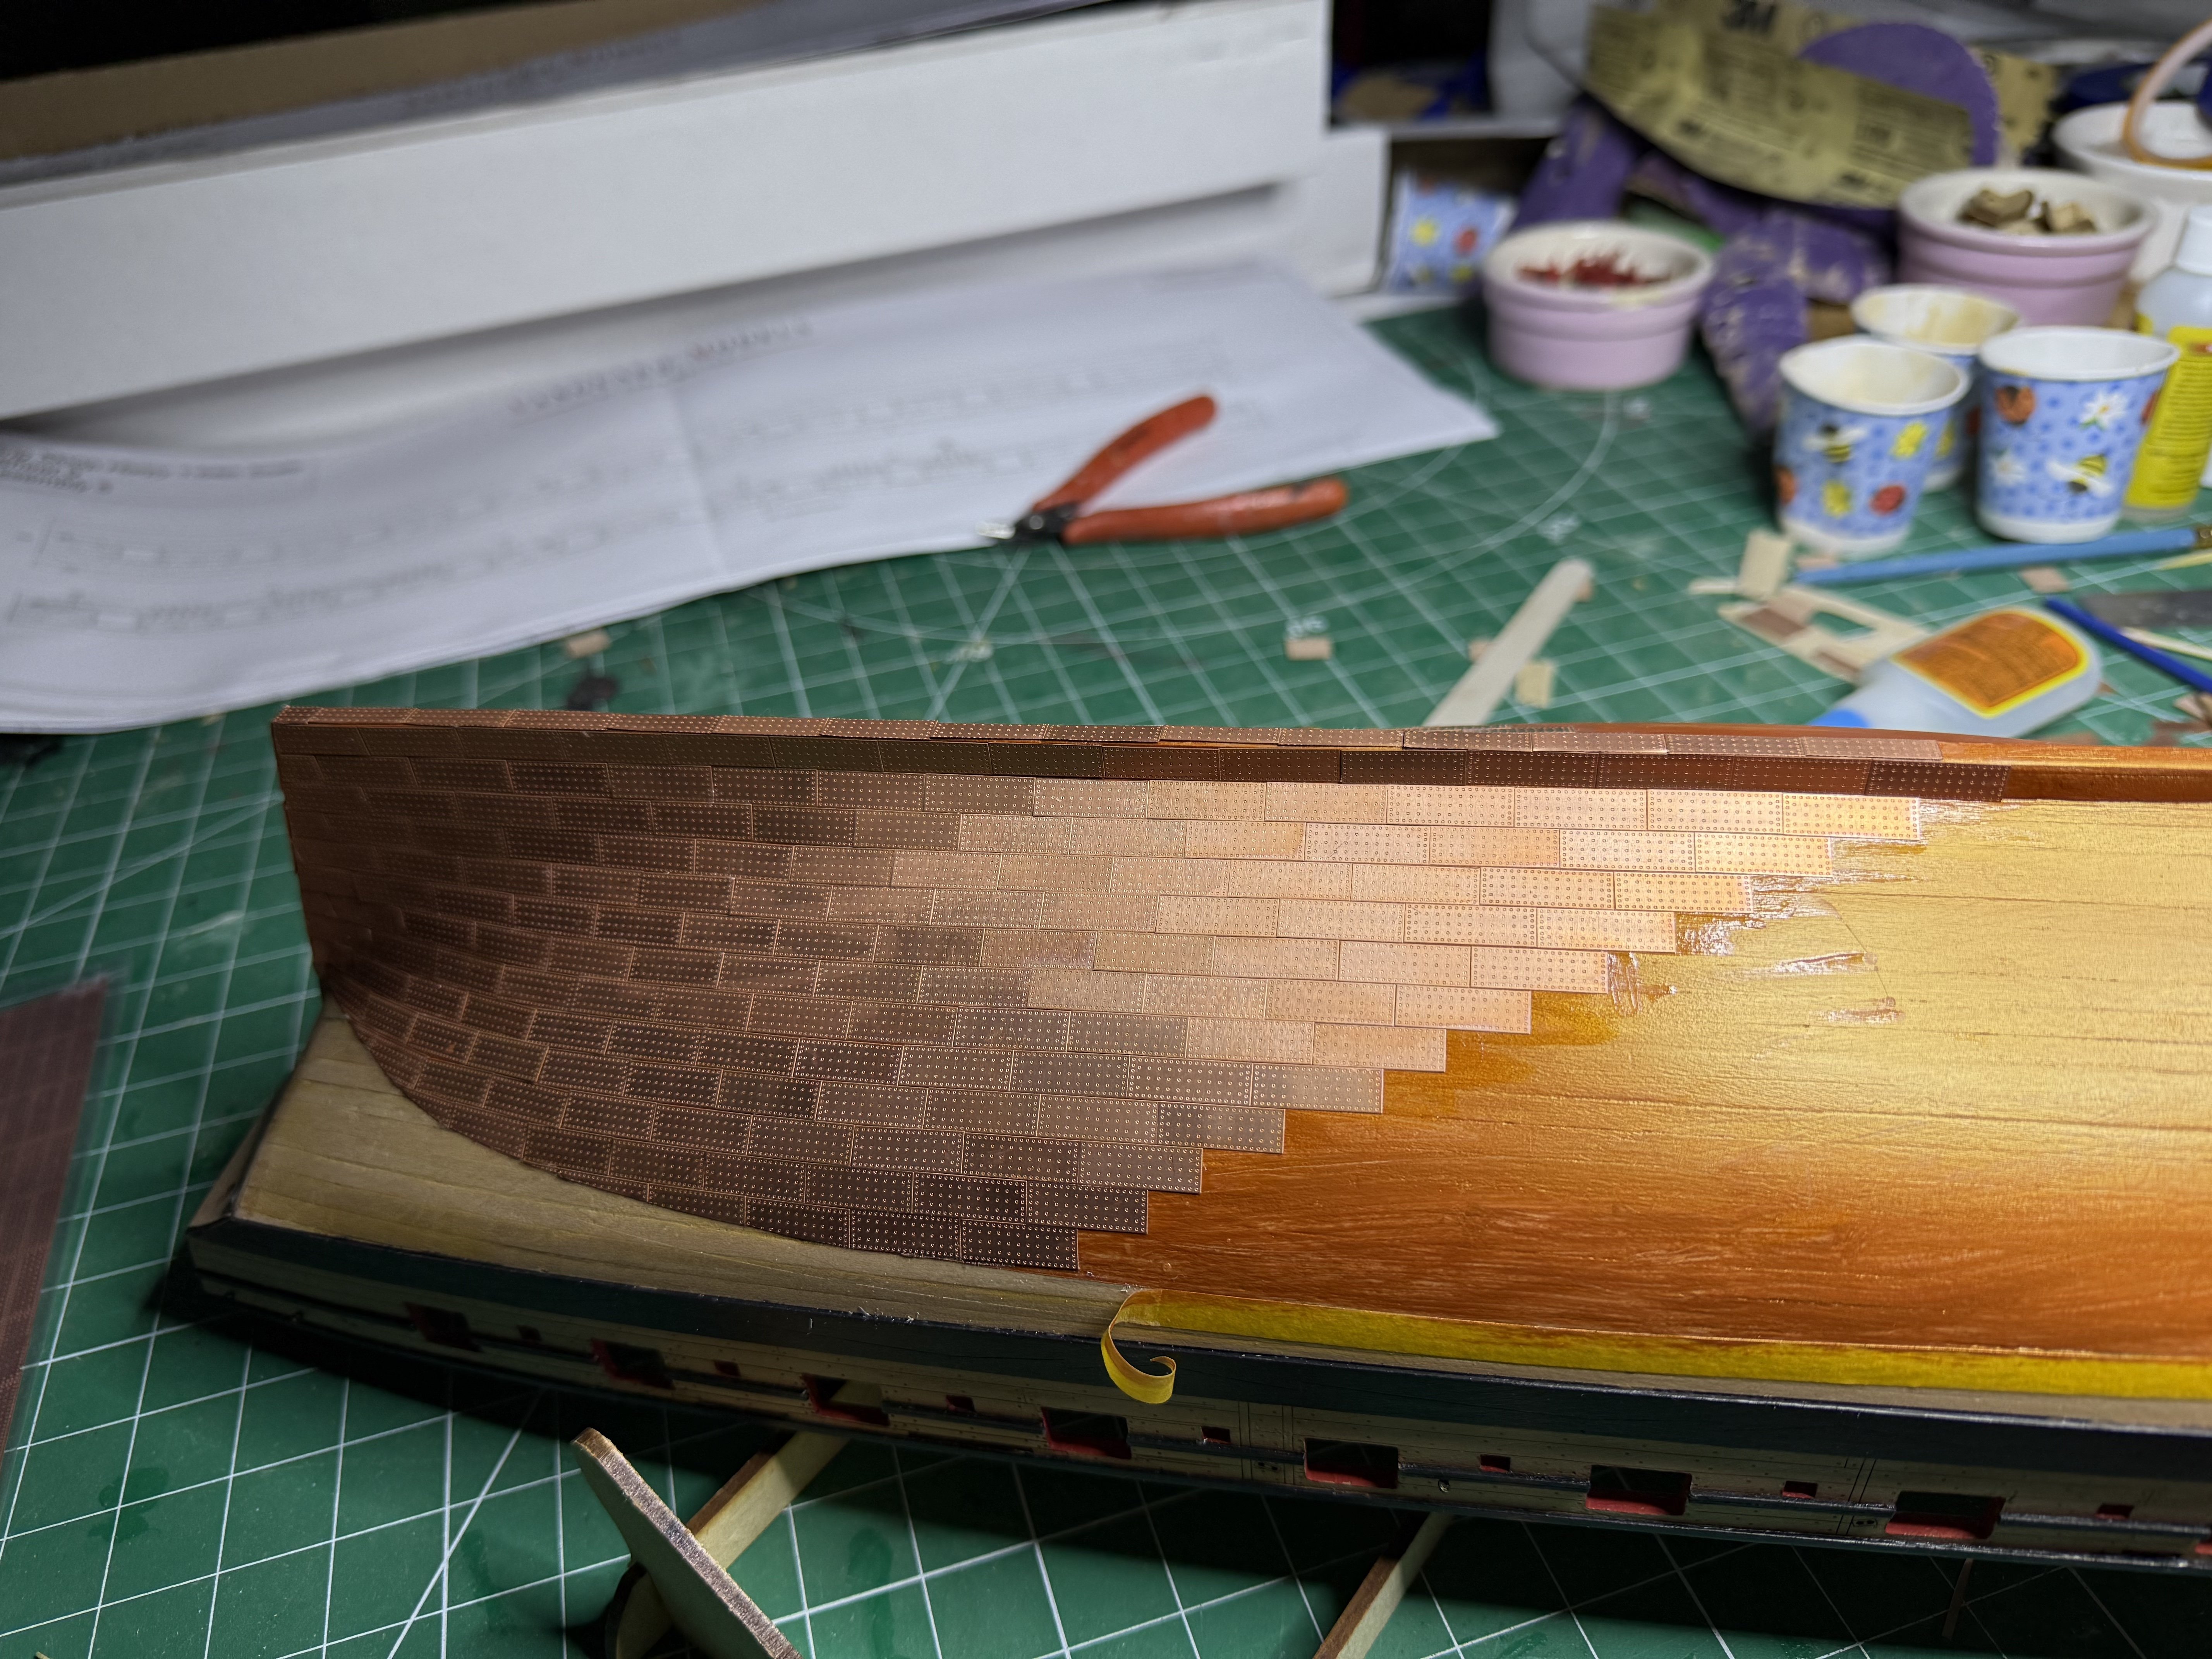
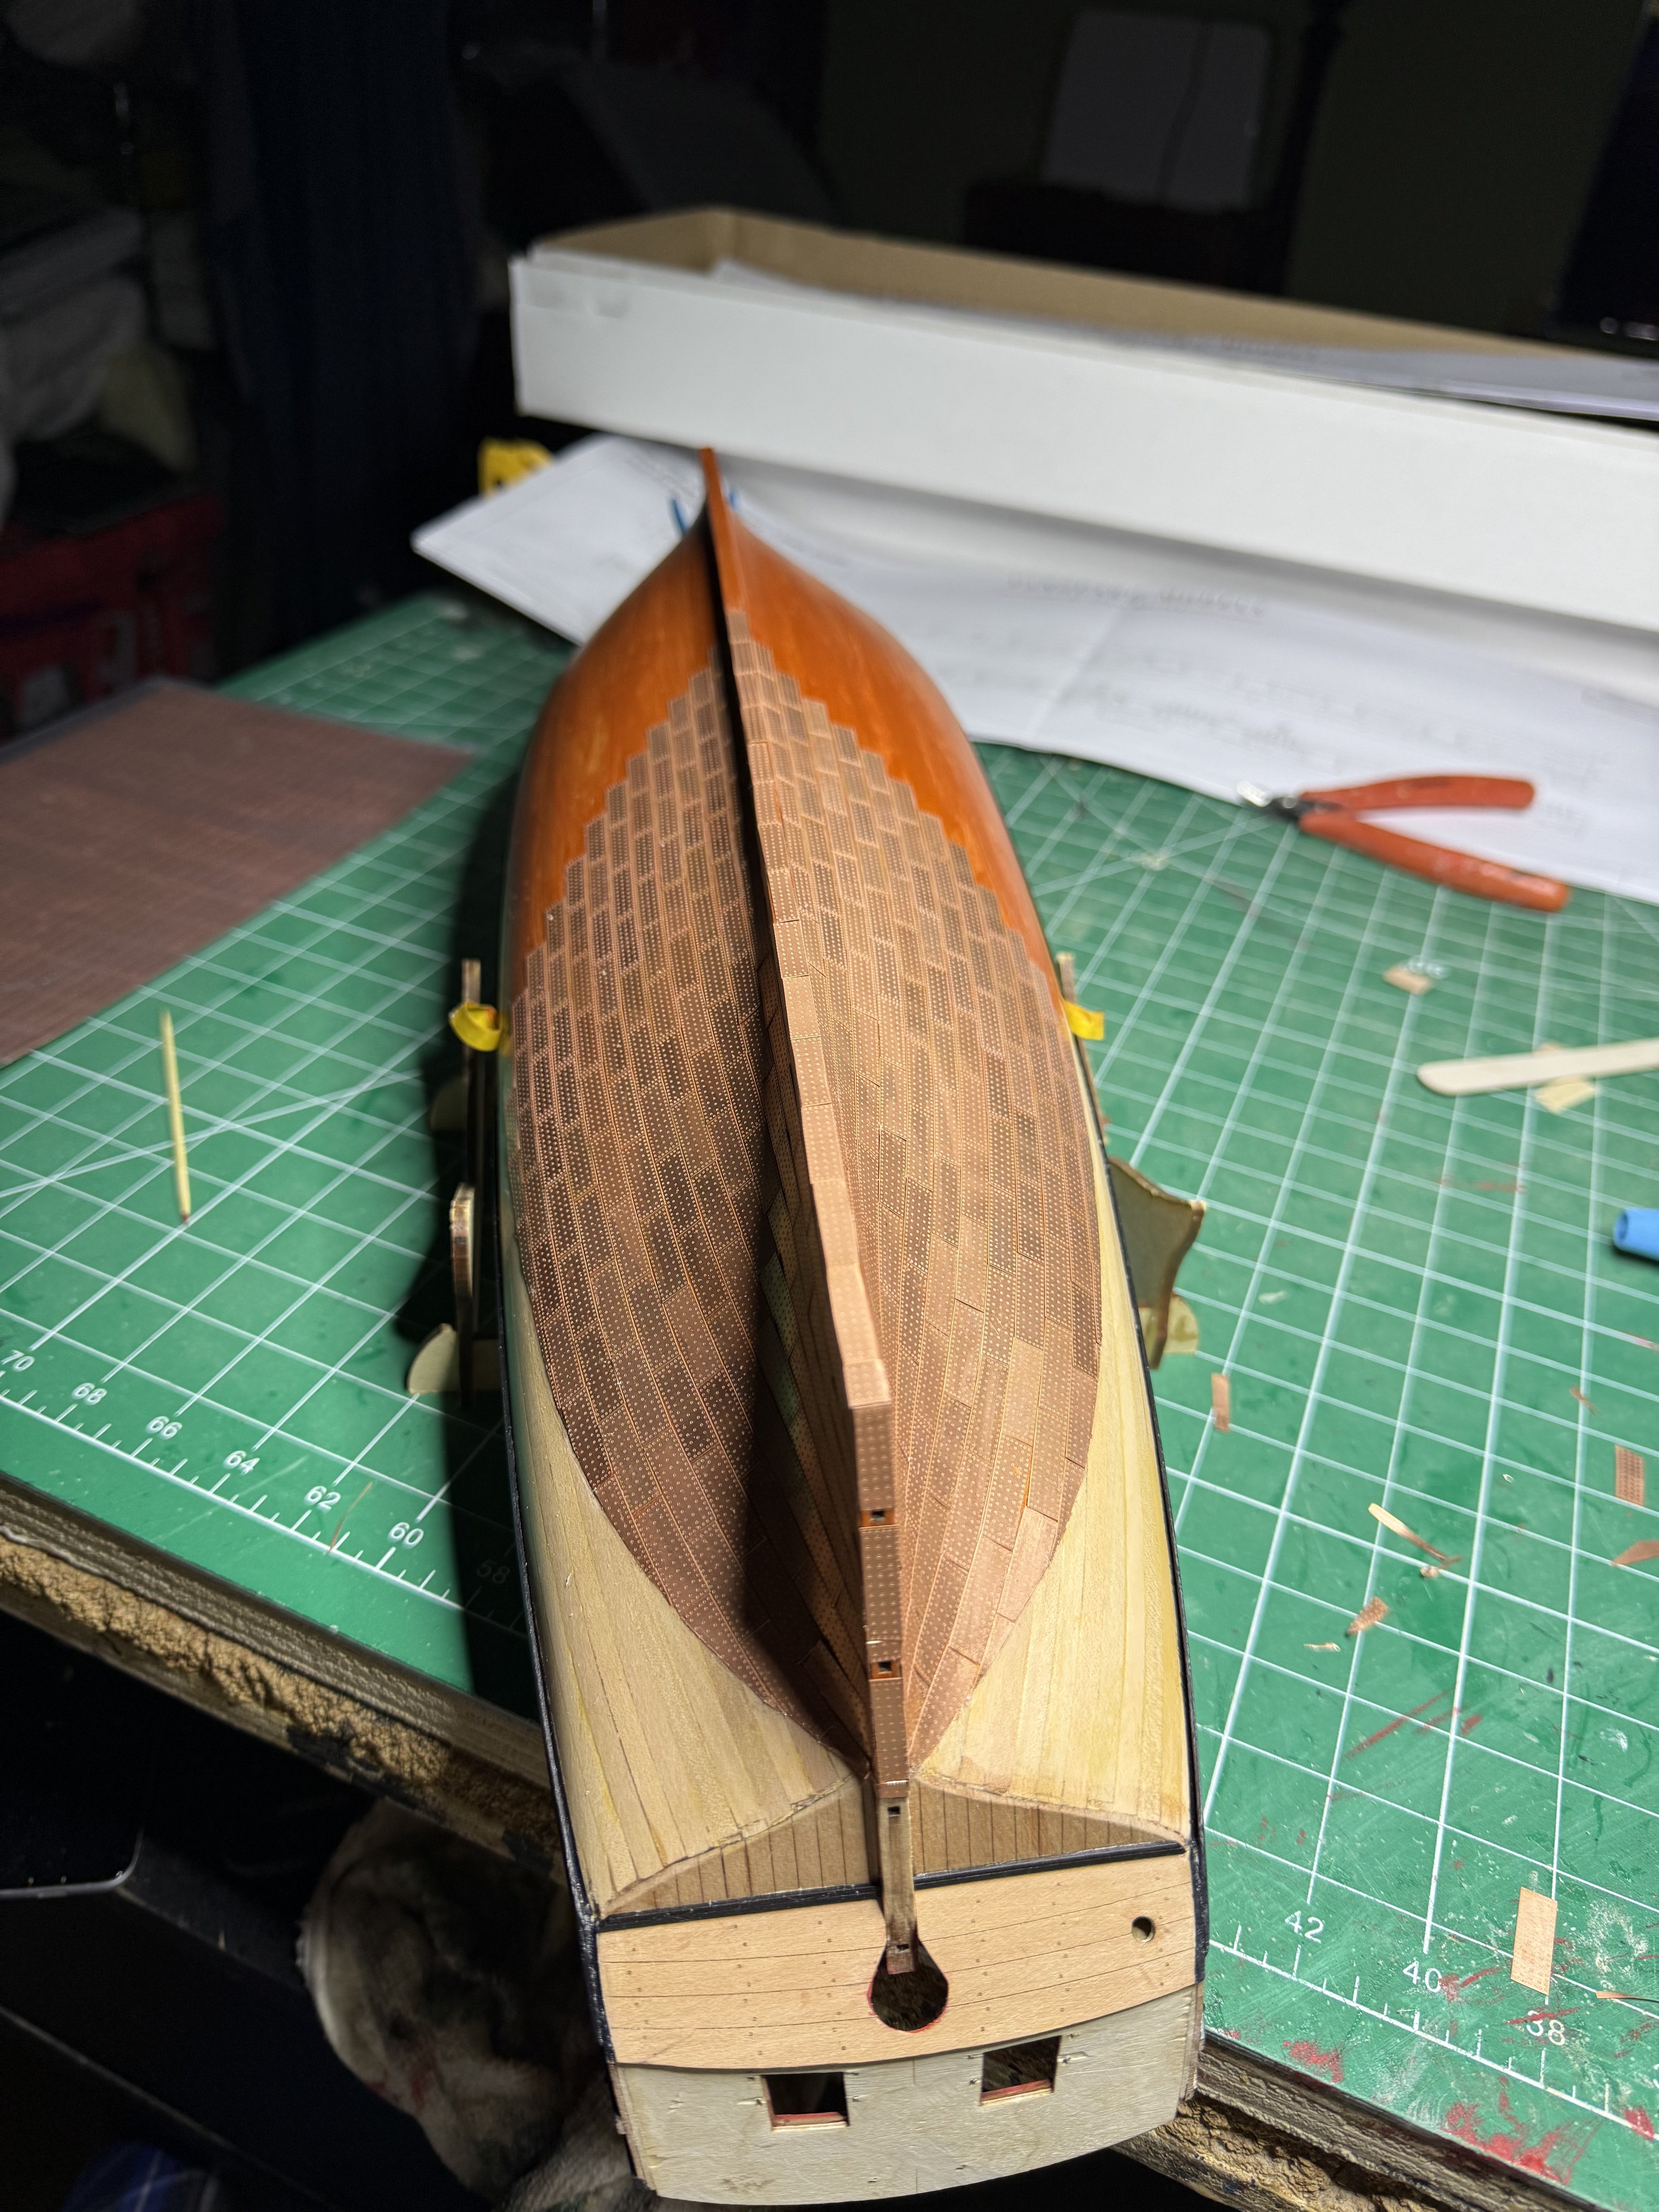
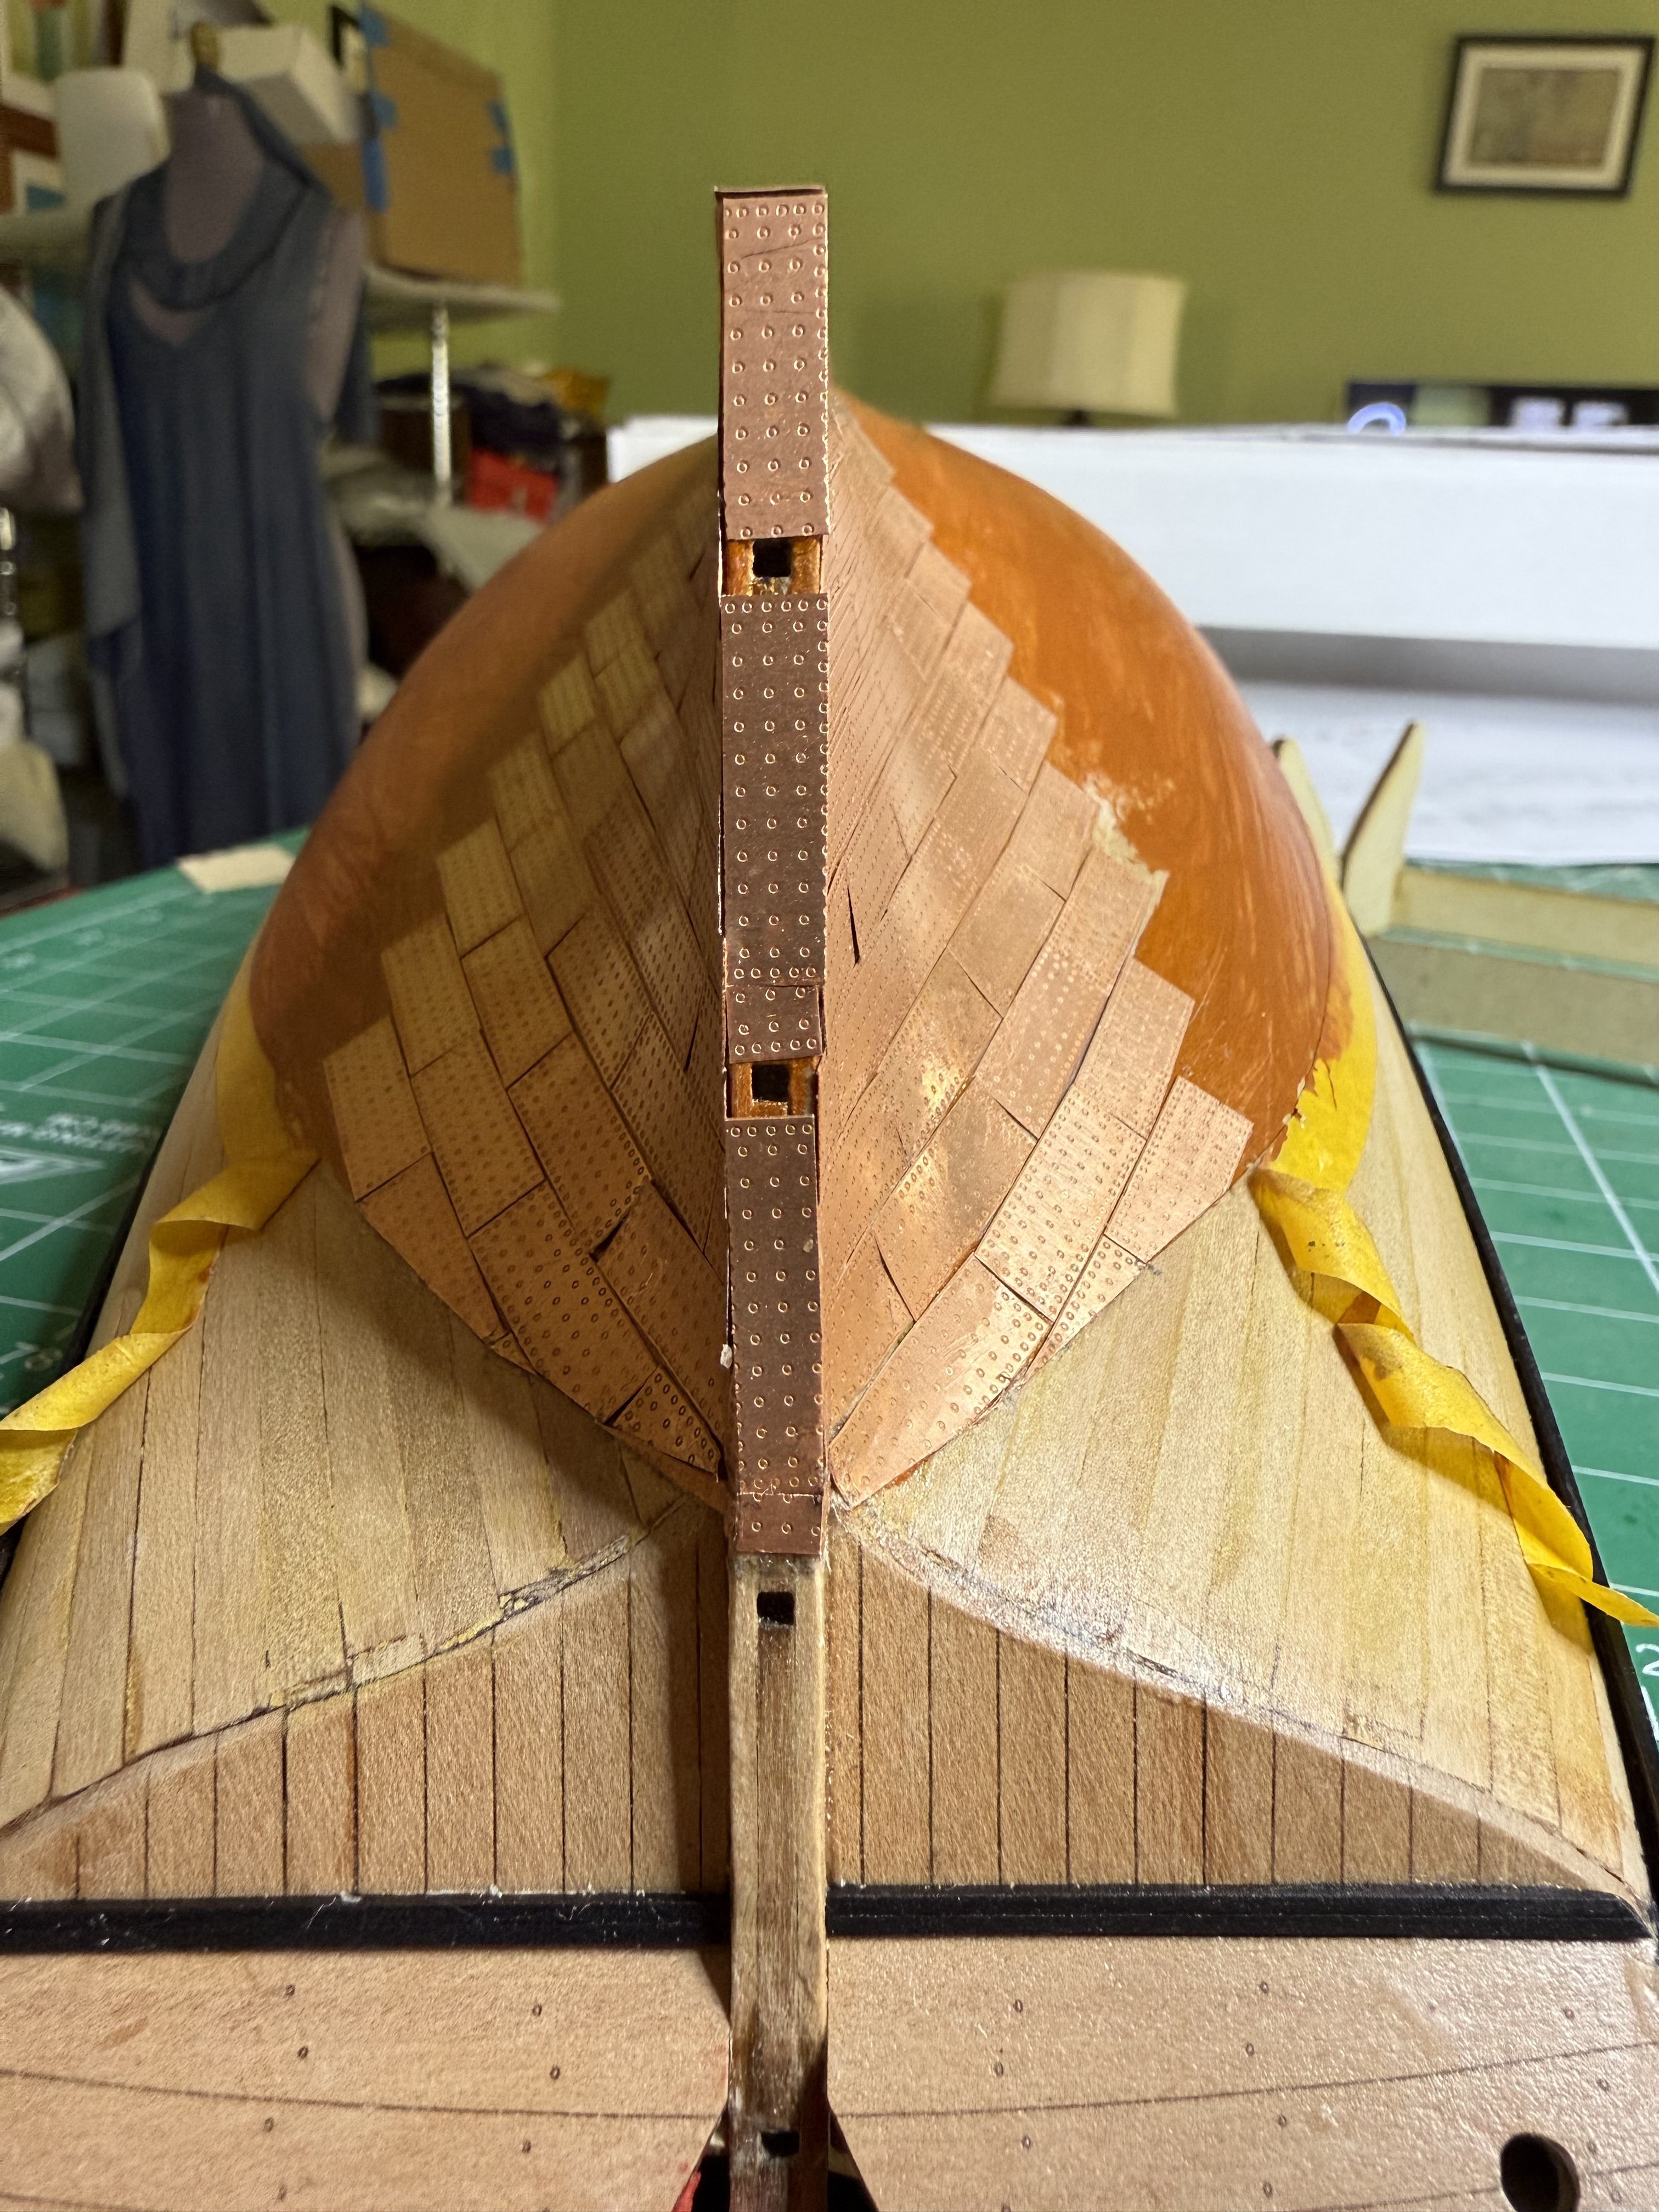
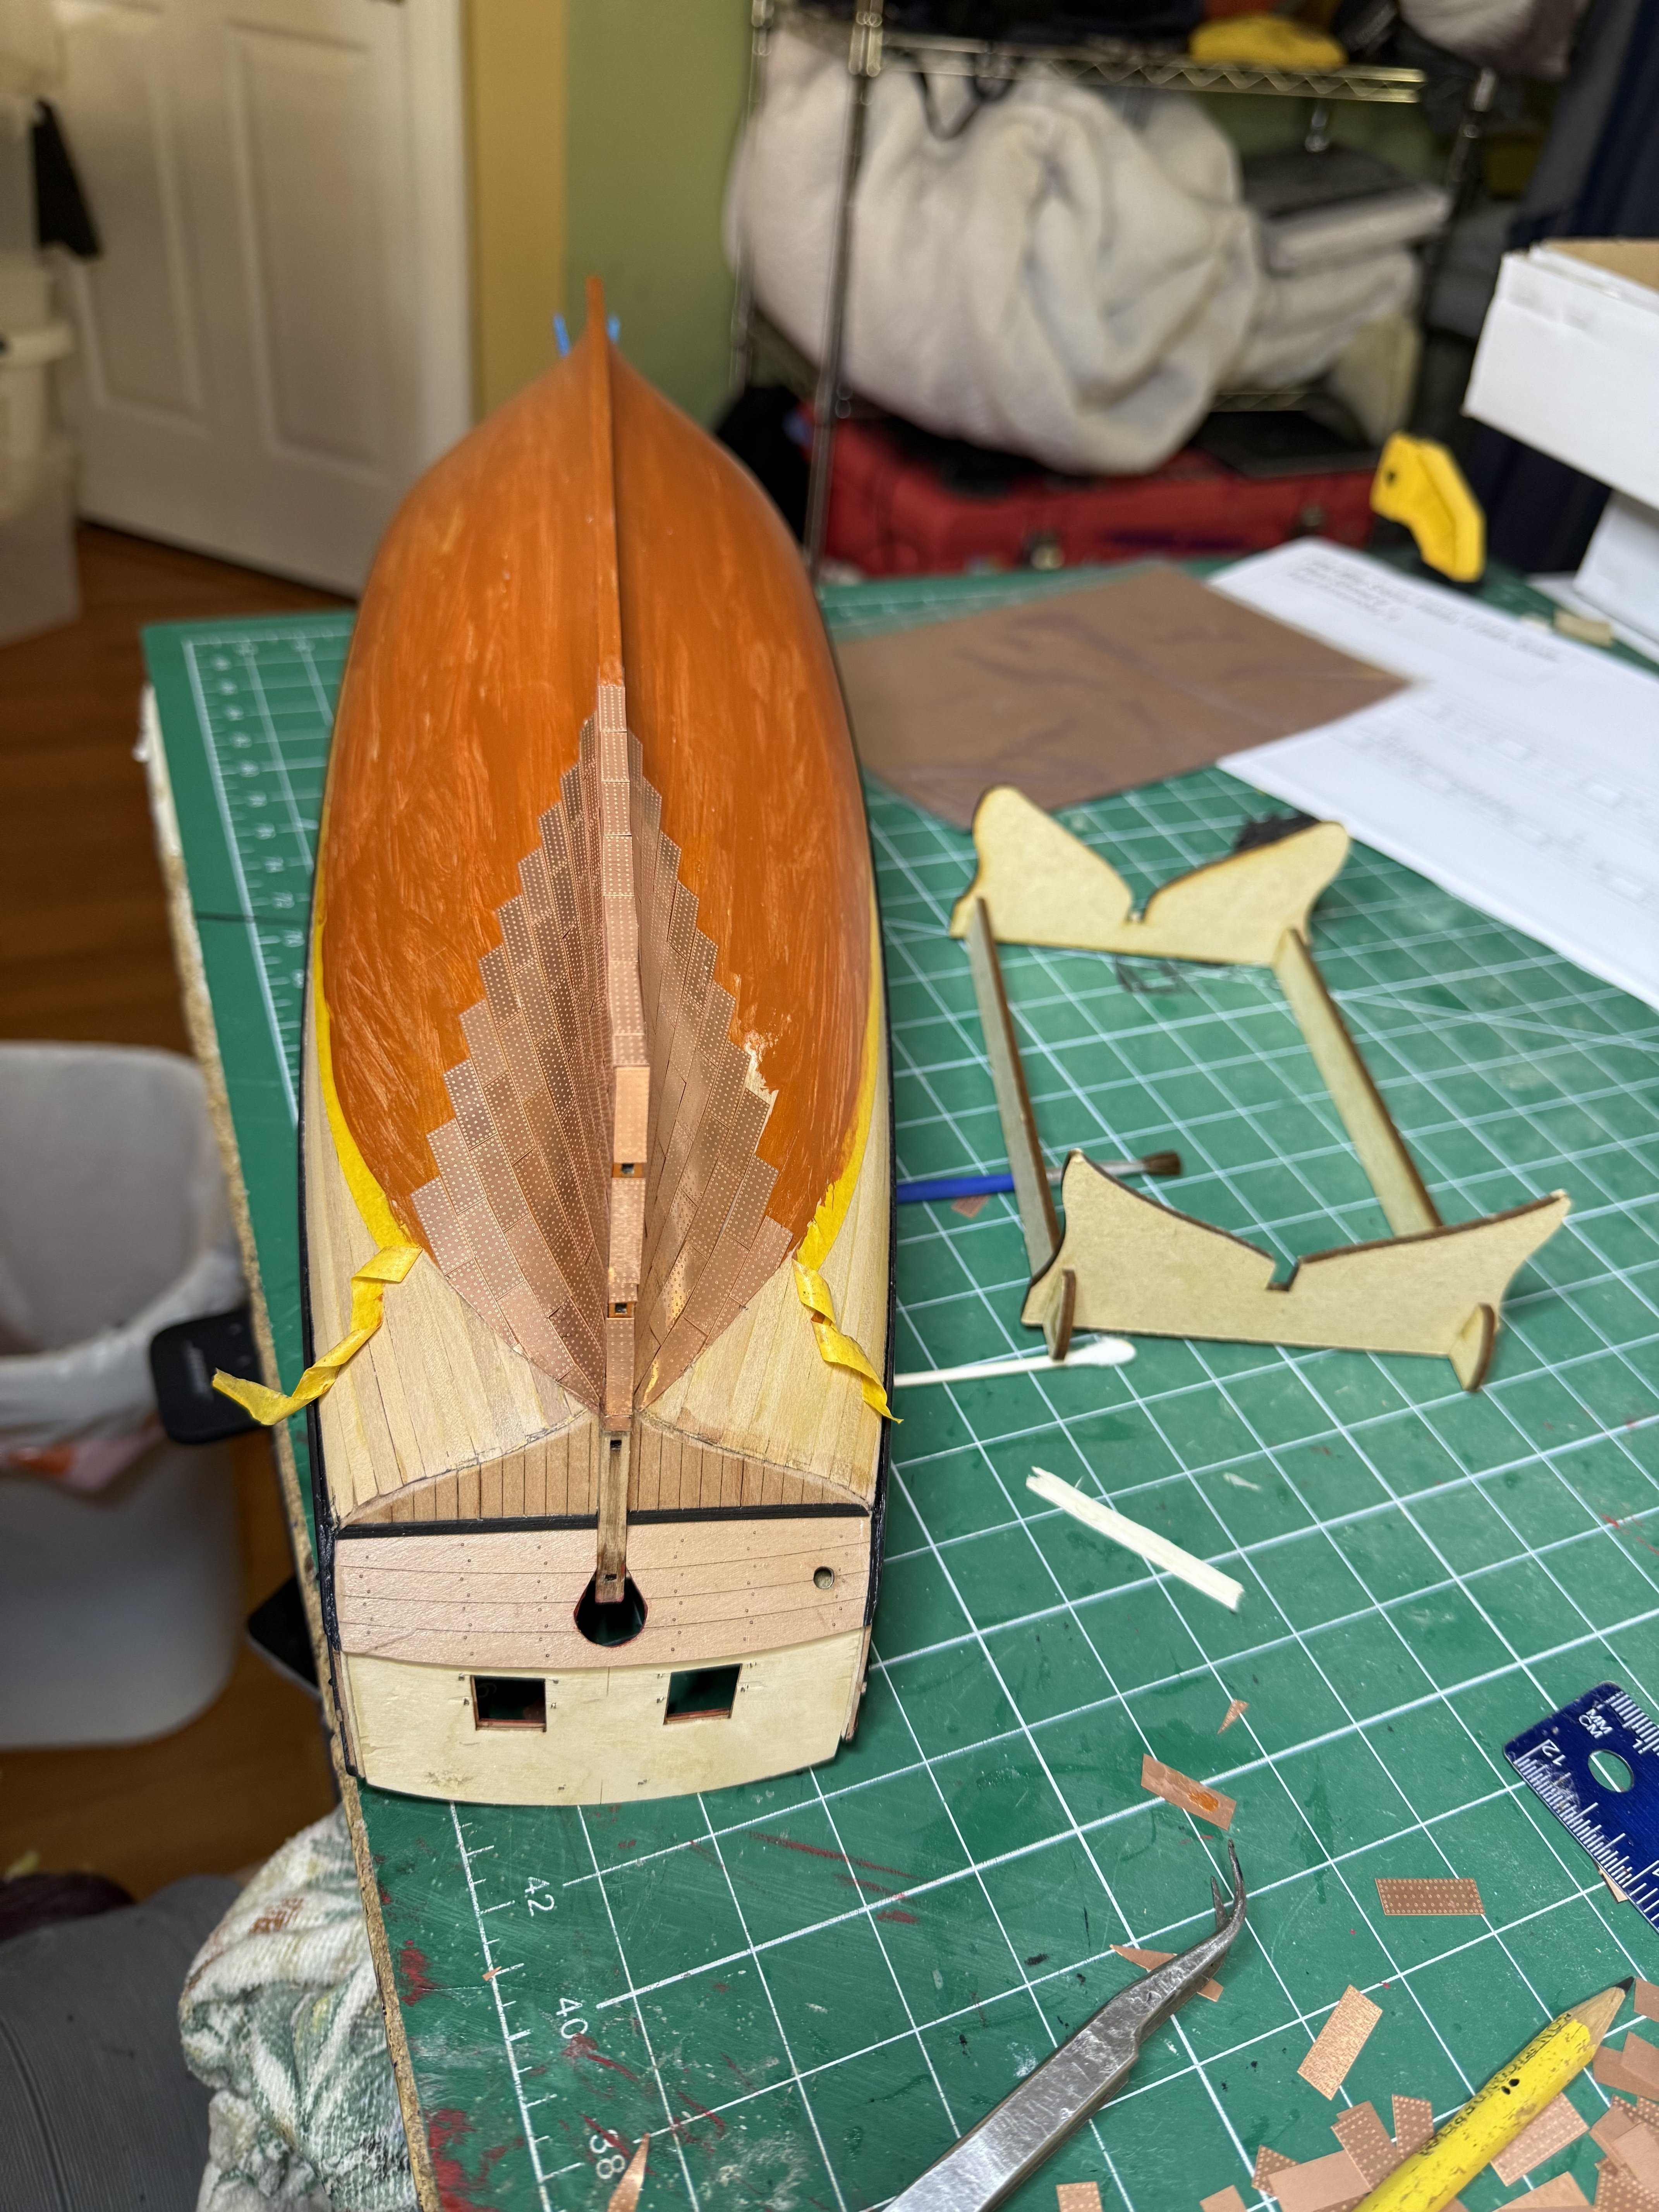
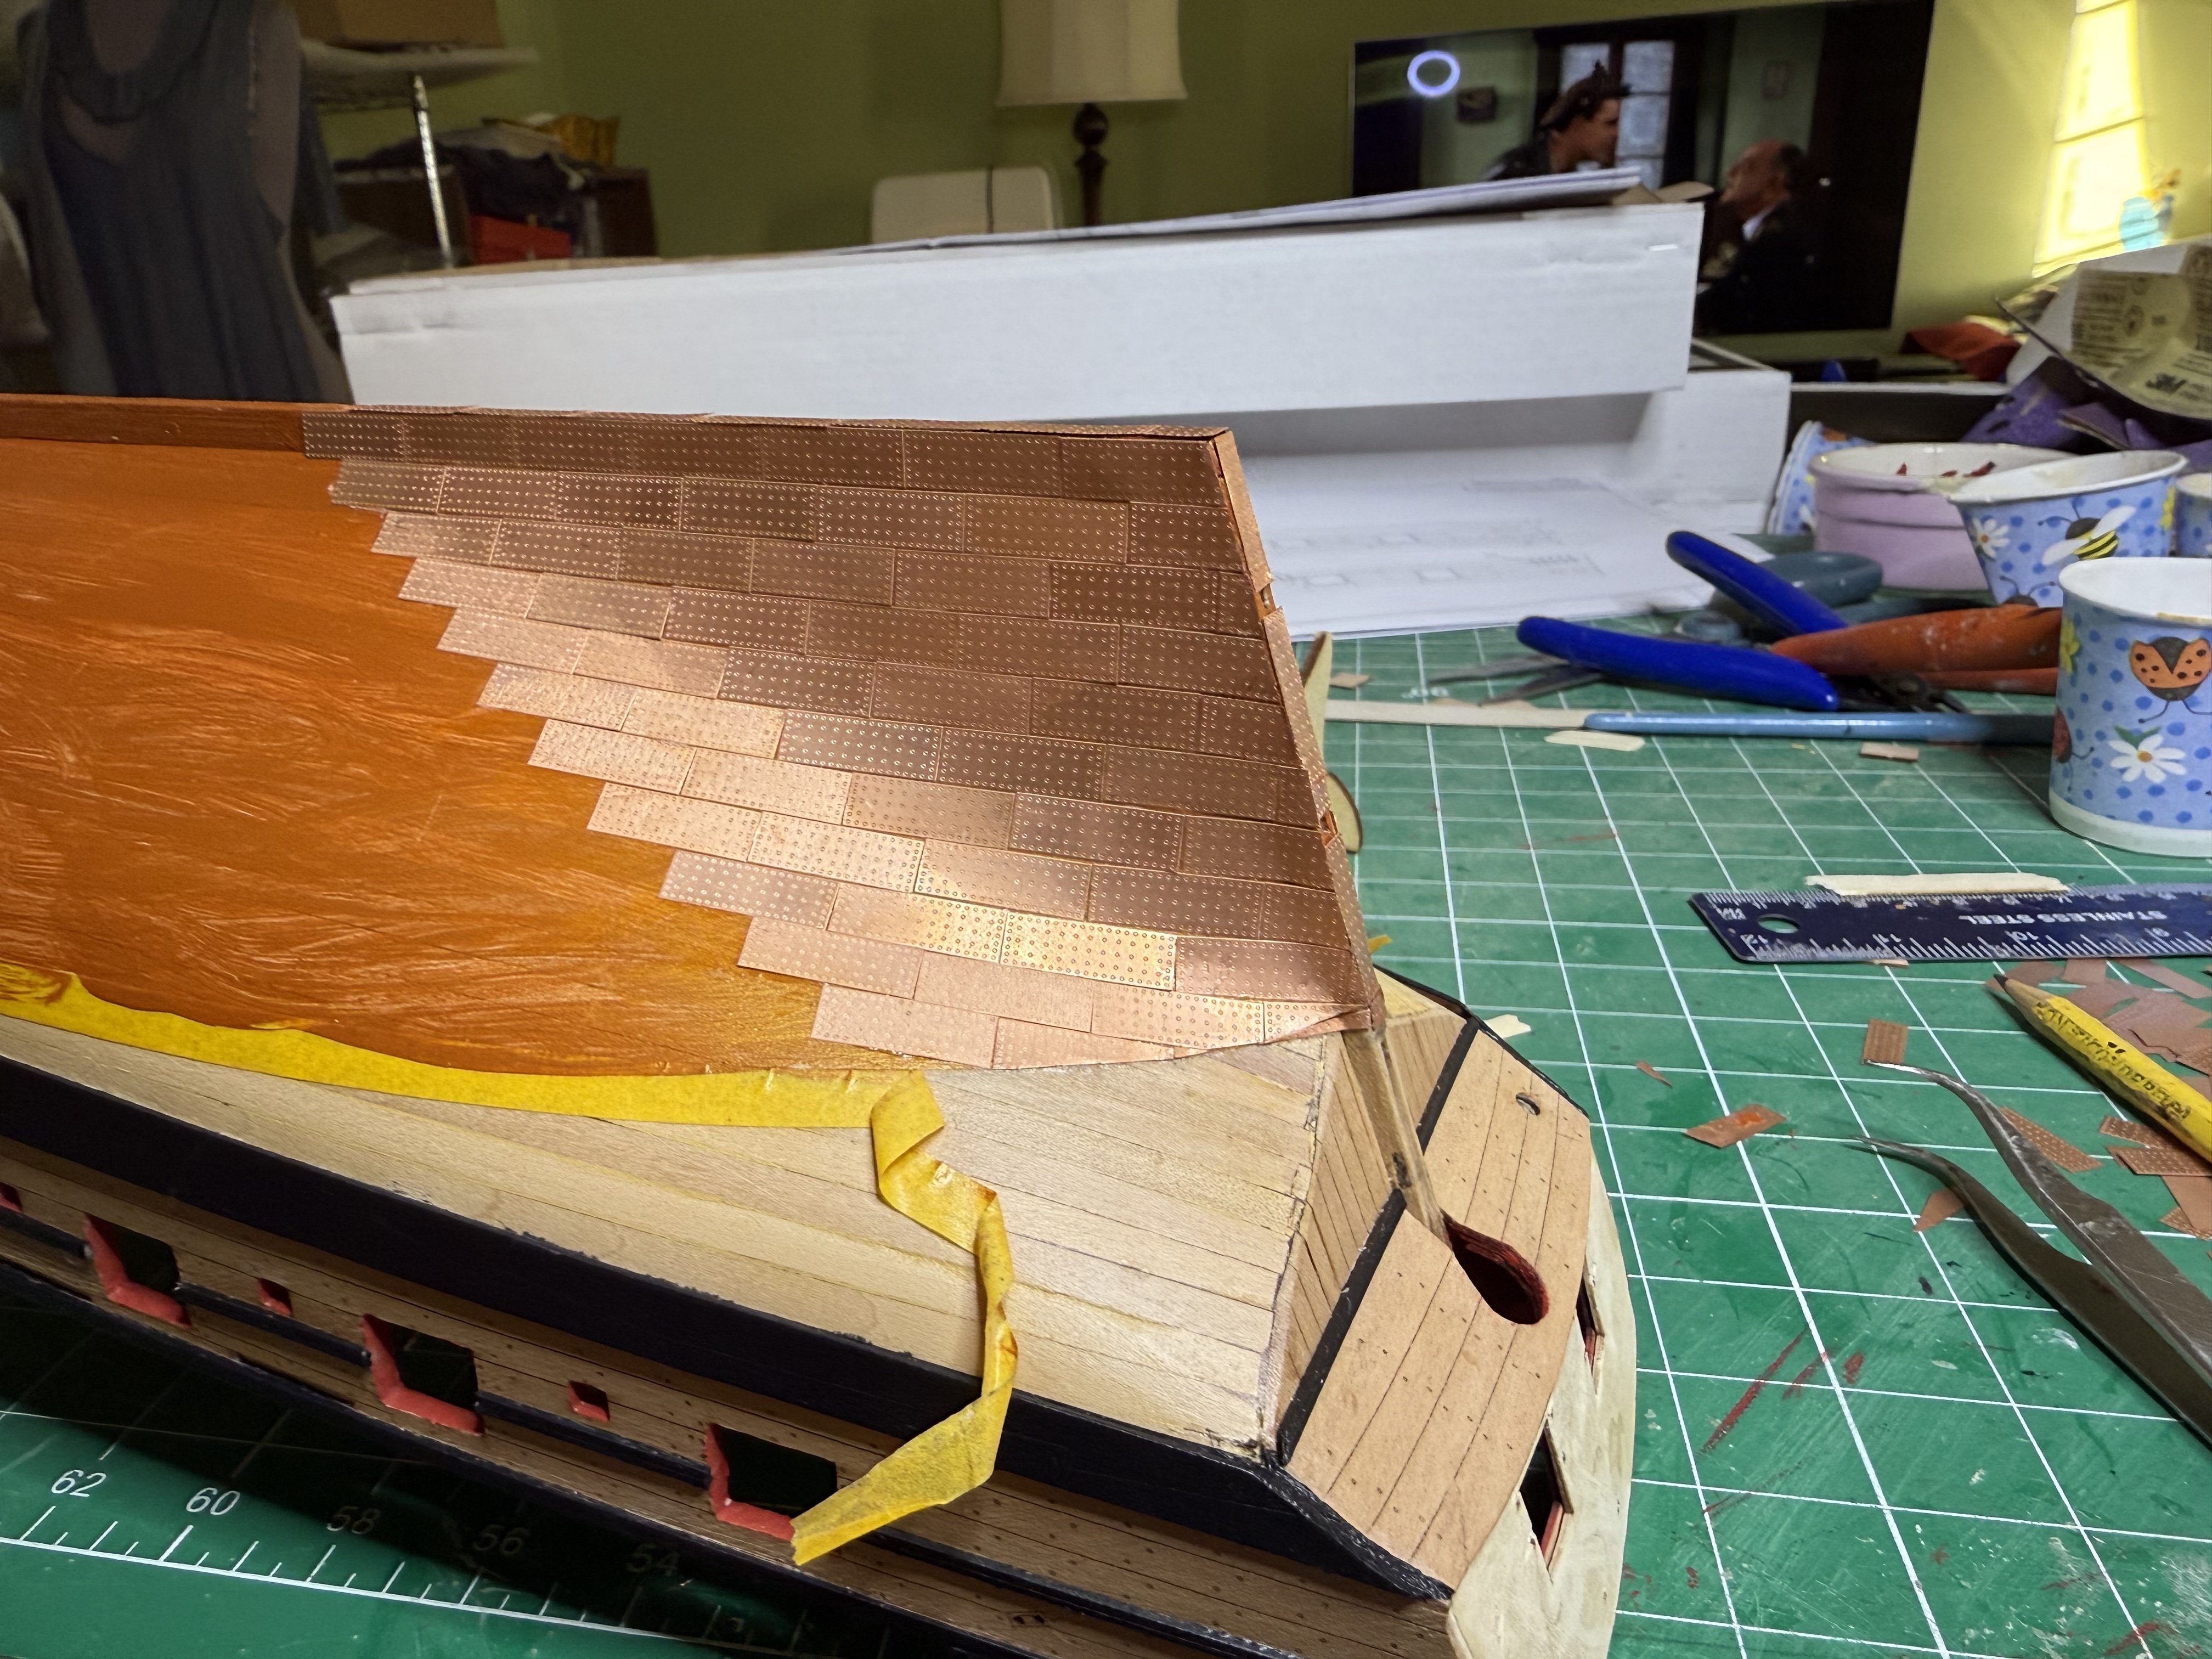
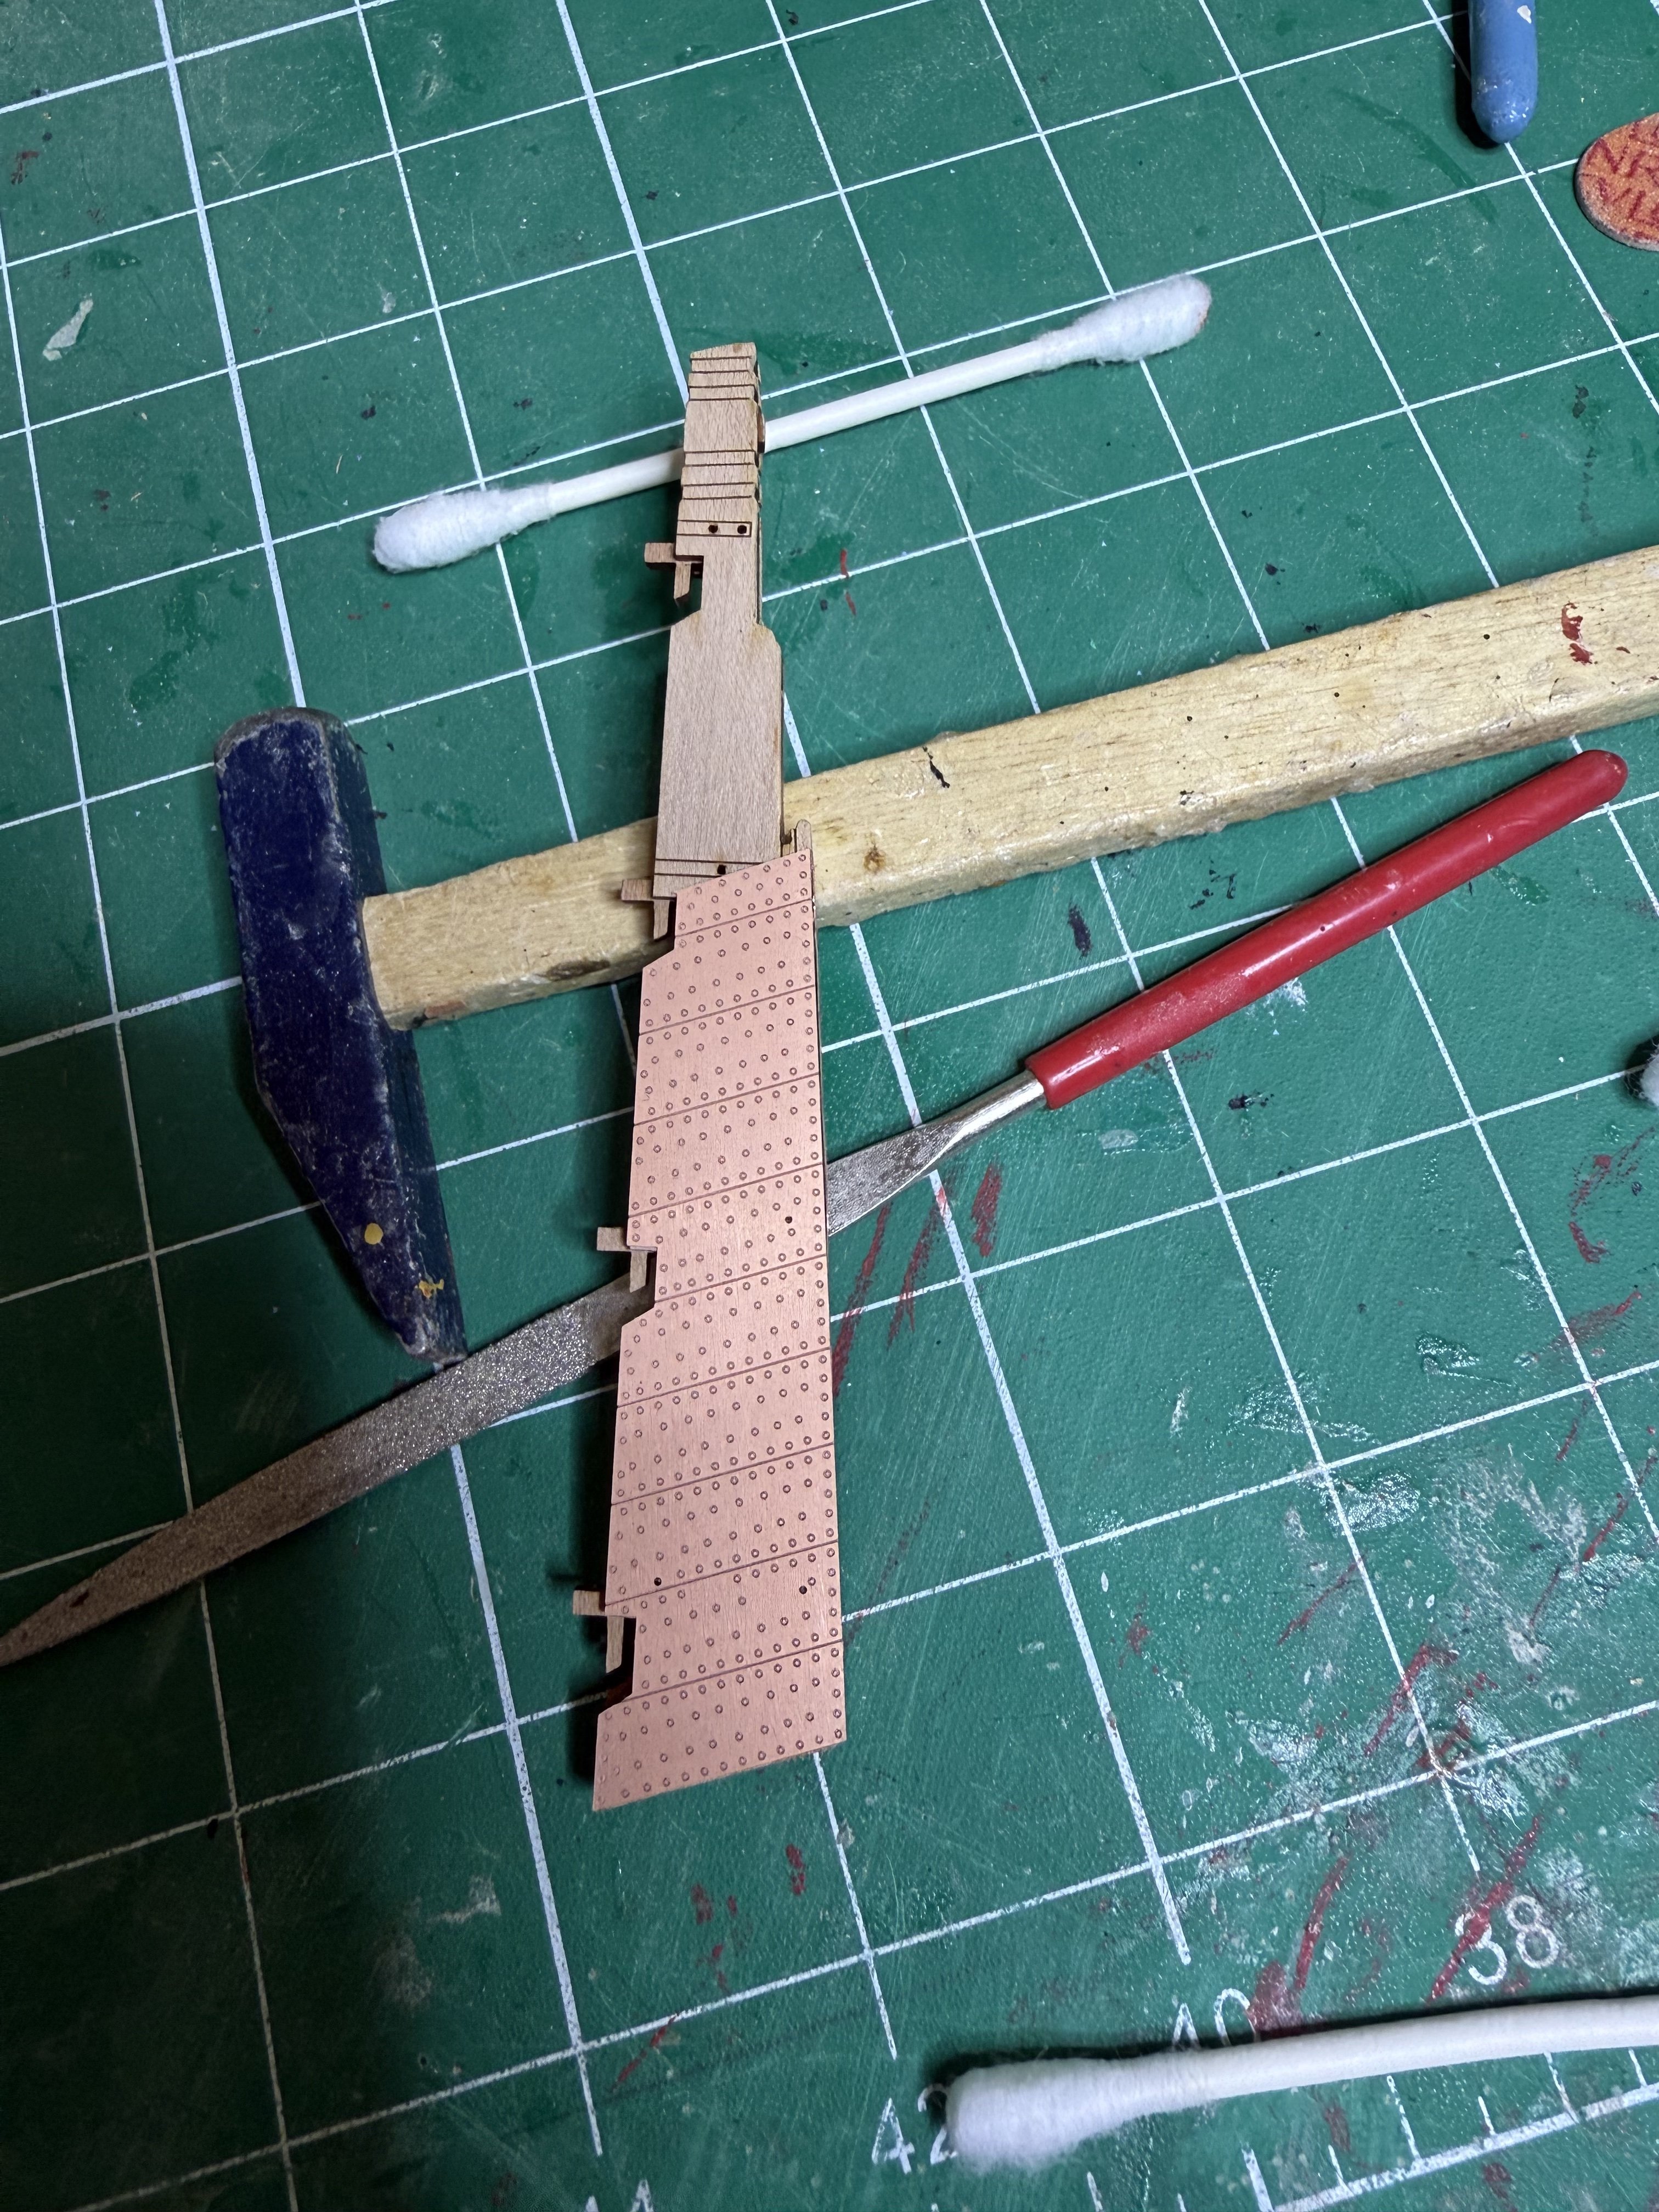
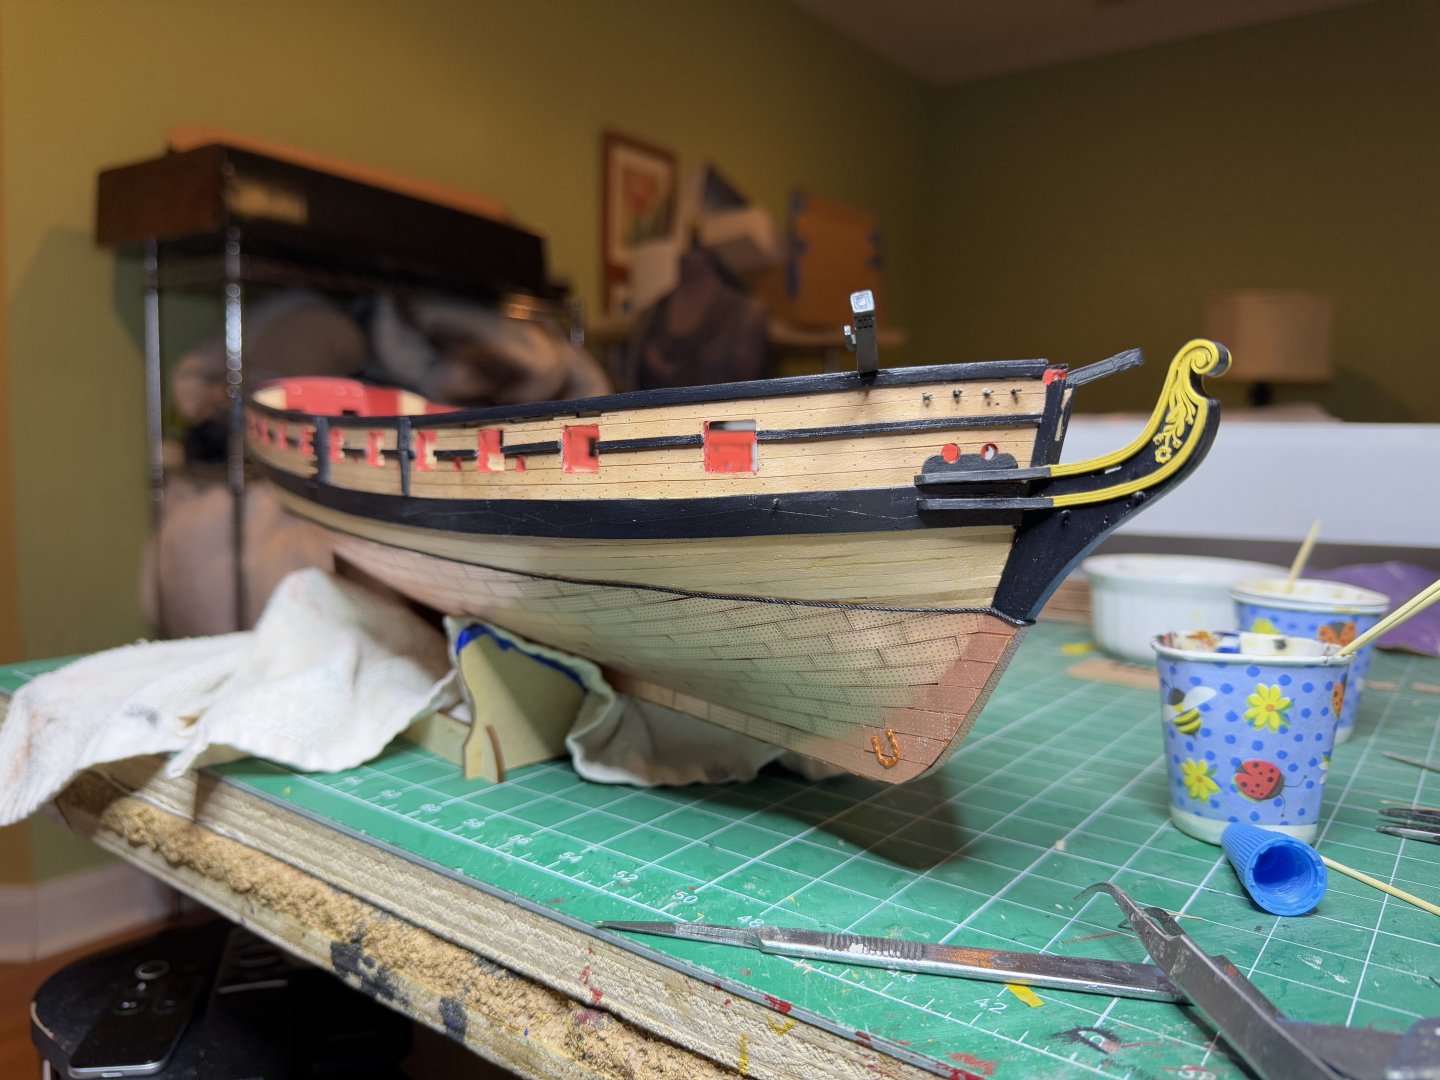
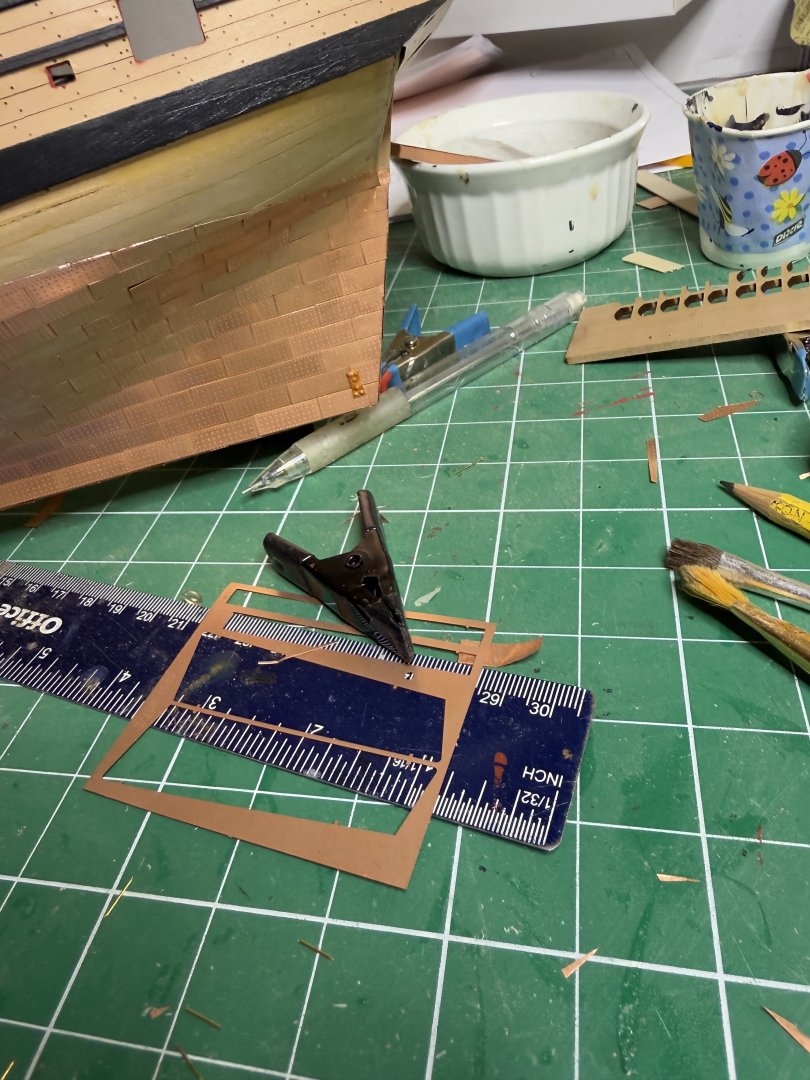
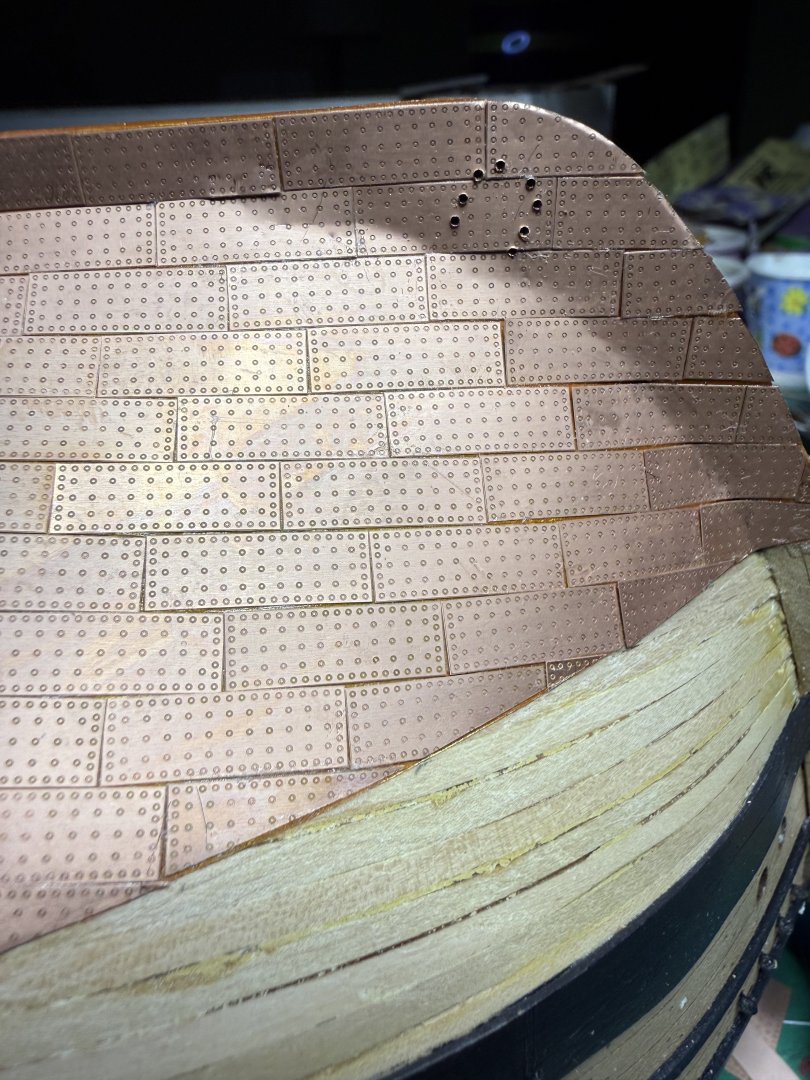
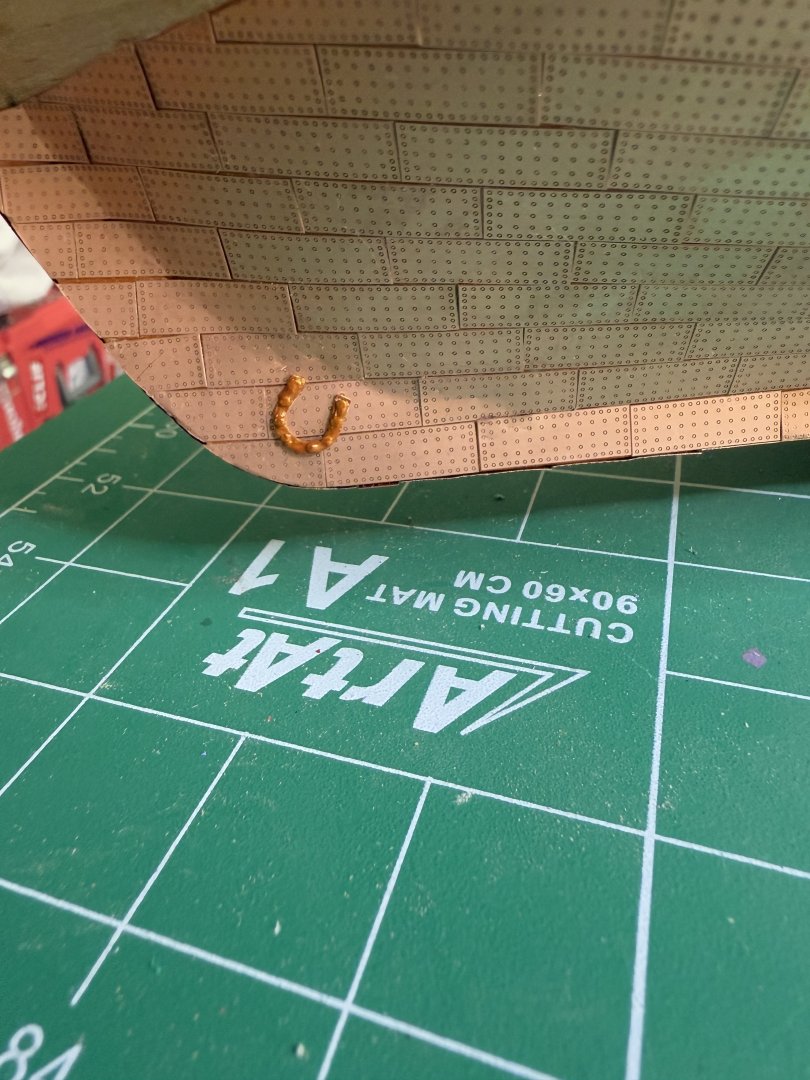
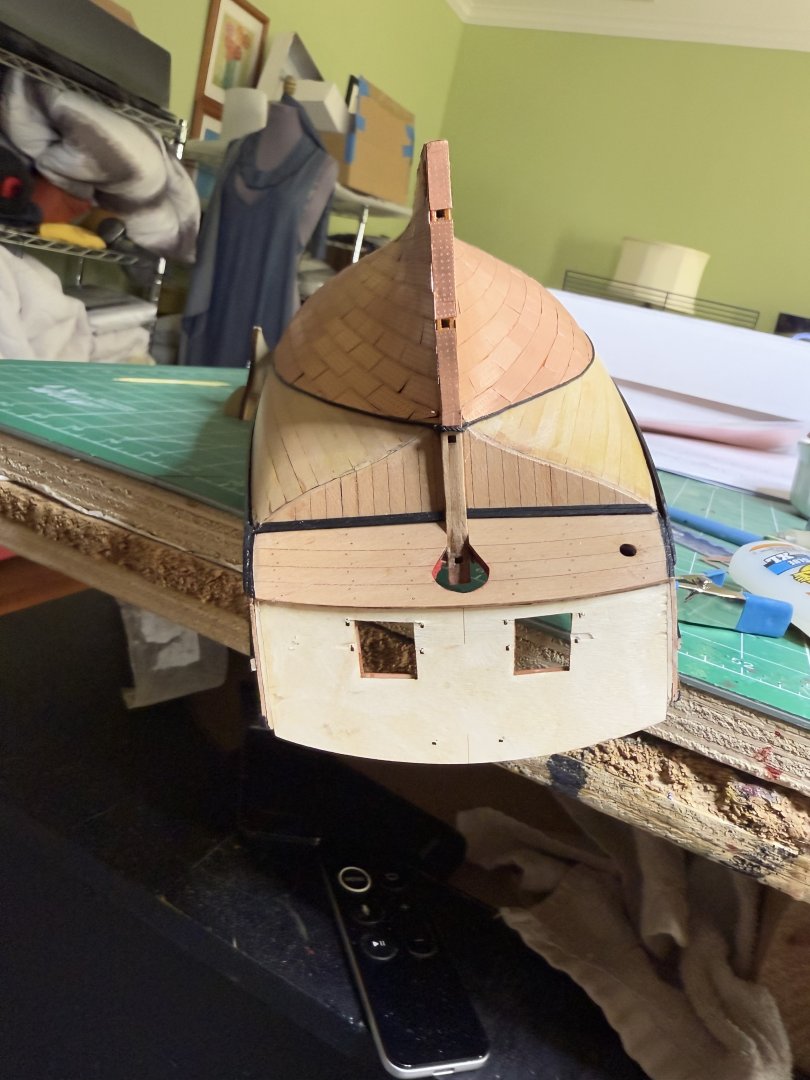
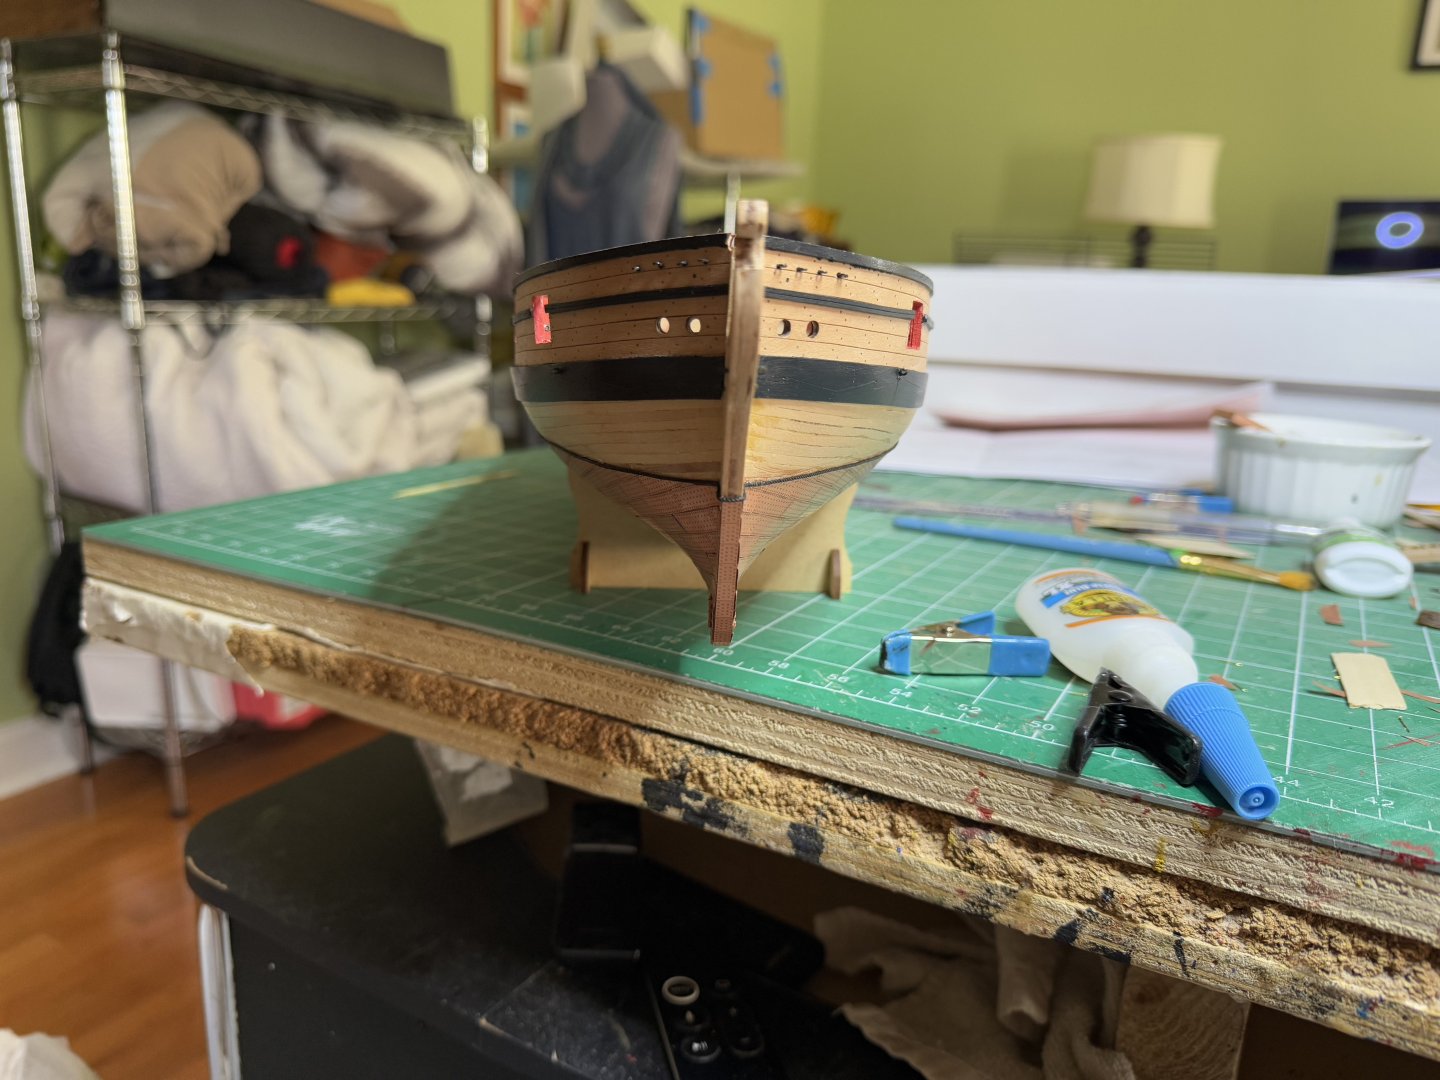
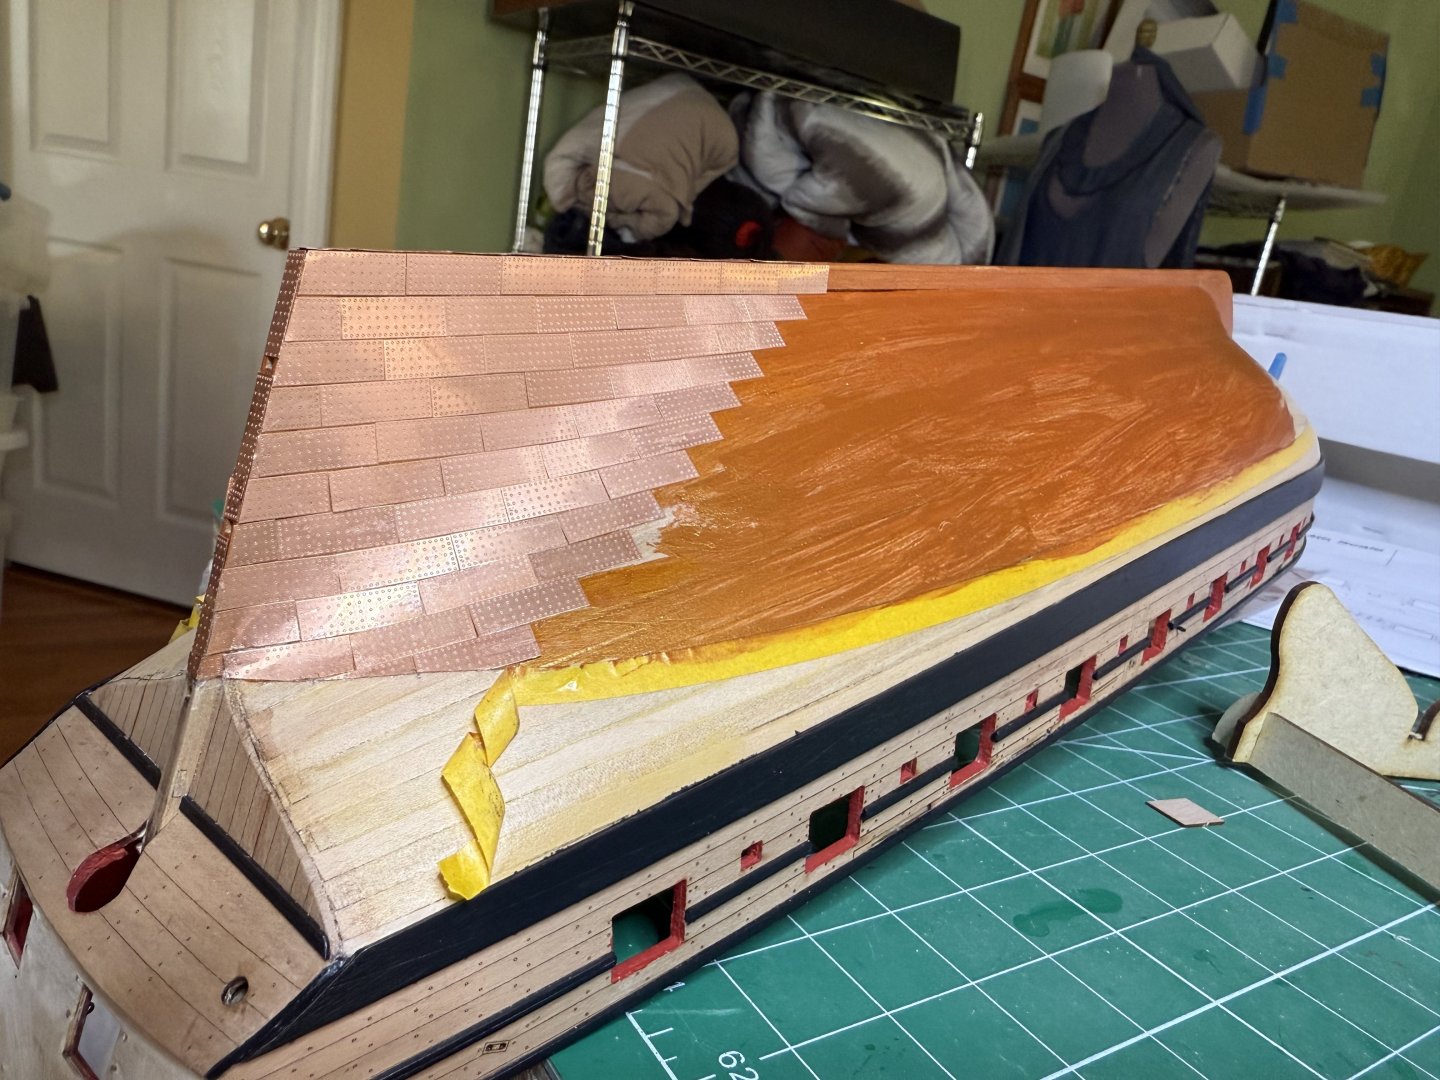
As I was finishing coppering , had to add the stern fish plate. I just put some pin heads in to give more 3-d appearance and then glued as there were no holes in the false keel. Next was the prow horseshoe plate. There are holes pre-drilled in the false keel. I could have juste covered with copper and glue it on top but decided to finish one side then clamp a thick piece of scrape wood over the copper then drill from the un-coppered side then repeated the process for the other side. Then just nailed into place and painted Finally cleaned the tiles then I used Blue Ensign's idea of lining the copper border as he did in Pegasus. He figured 1mm width. As I had no scrap that size I substituted 1mm rope instead. Final product came out not bad.


- 73 replies
-
- 16
-
-
- Harpy
- Vanguard Models
- (and 1 more)
-
I think I will use your example and edge the copper line.
- 332 replies
-
- 3
-
-
- Harpy
- Vanguard Models
- (and 1 more)
-
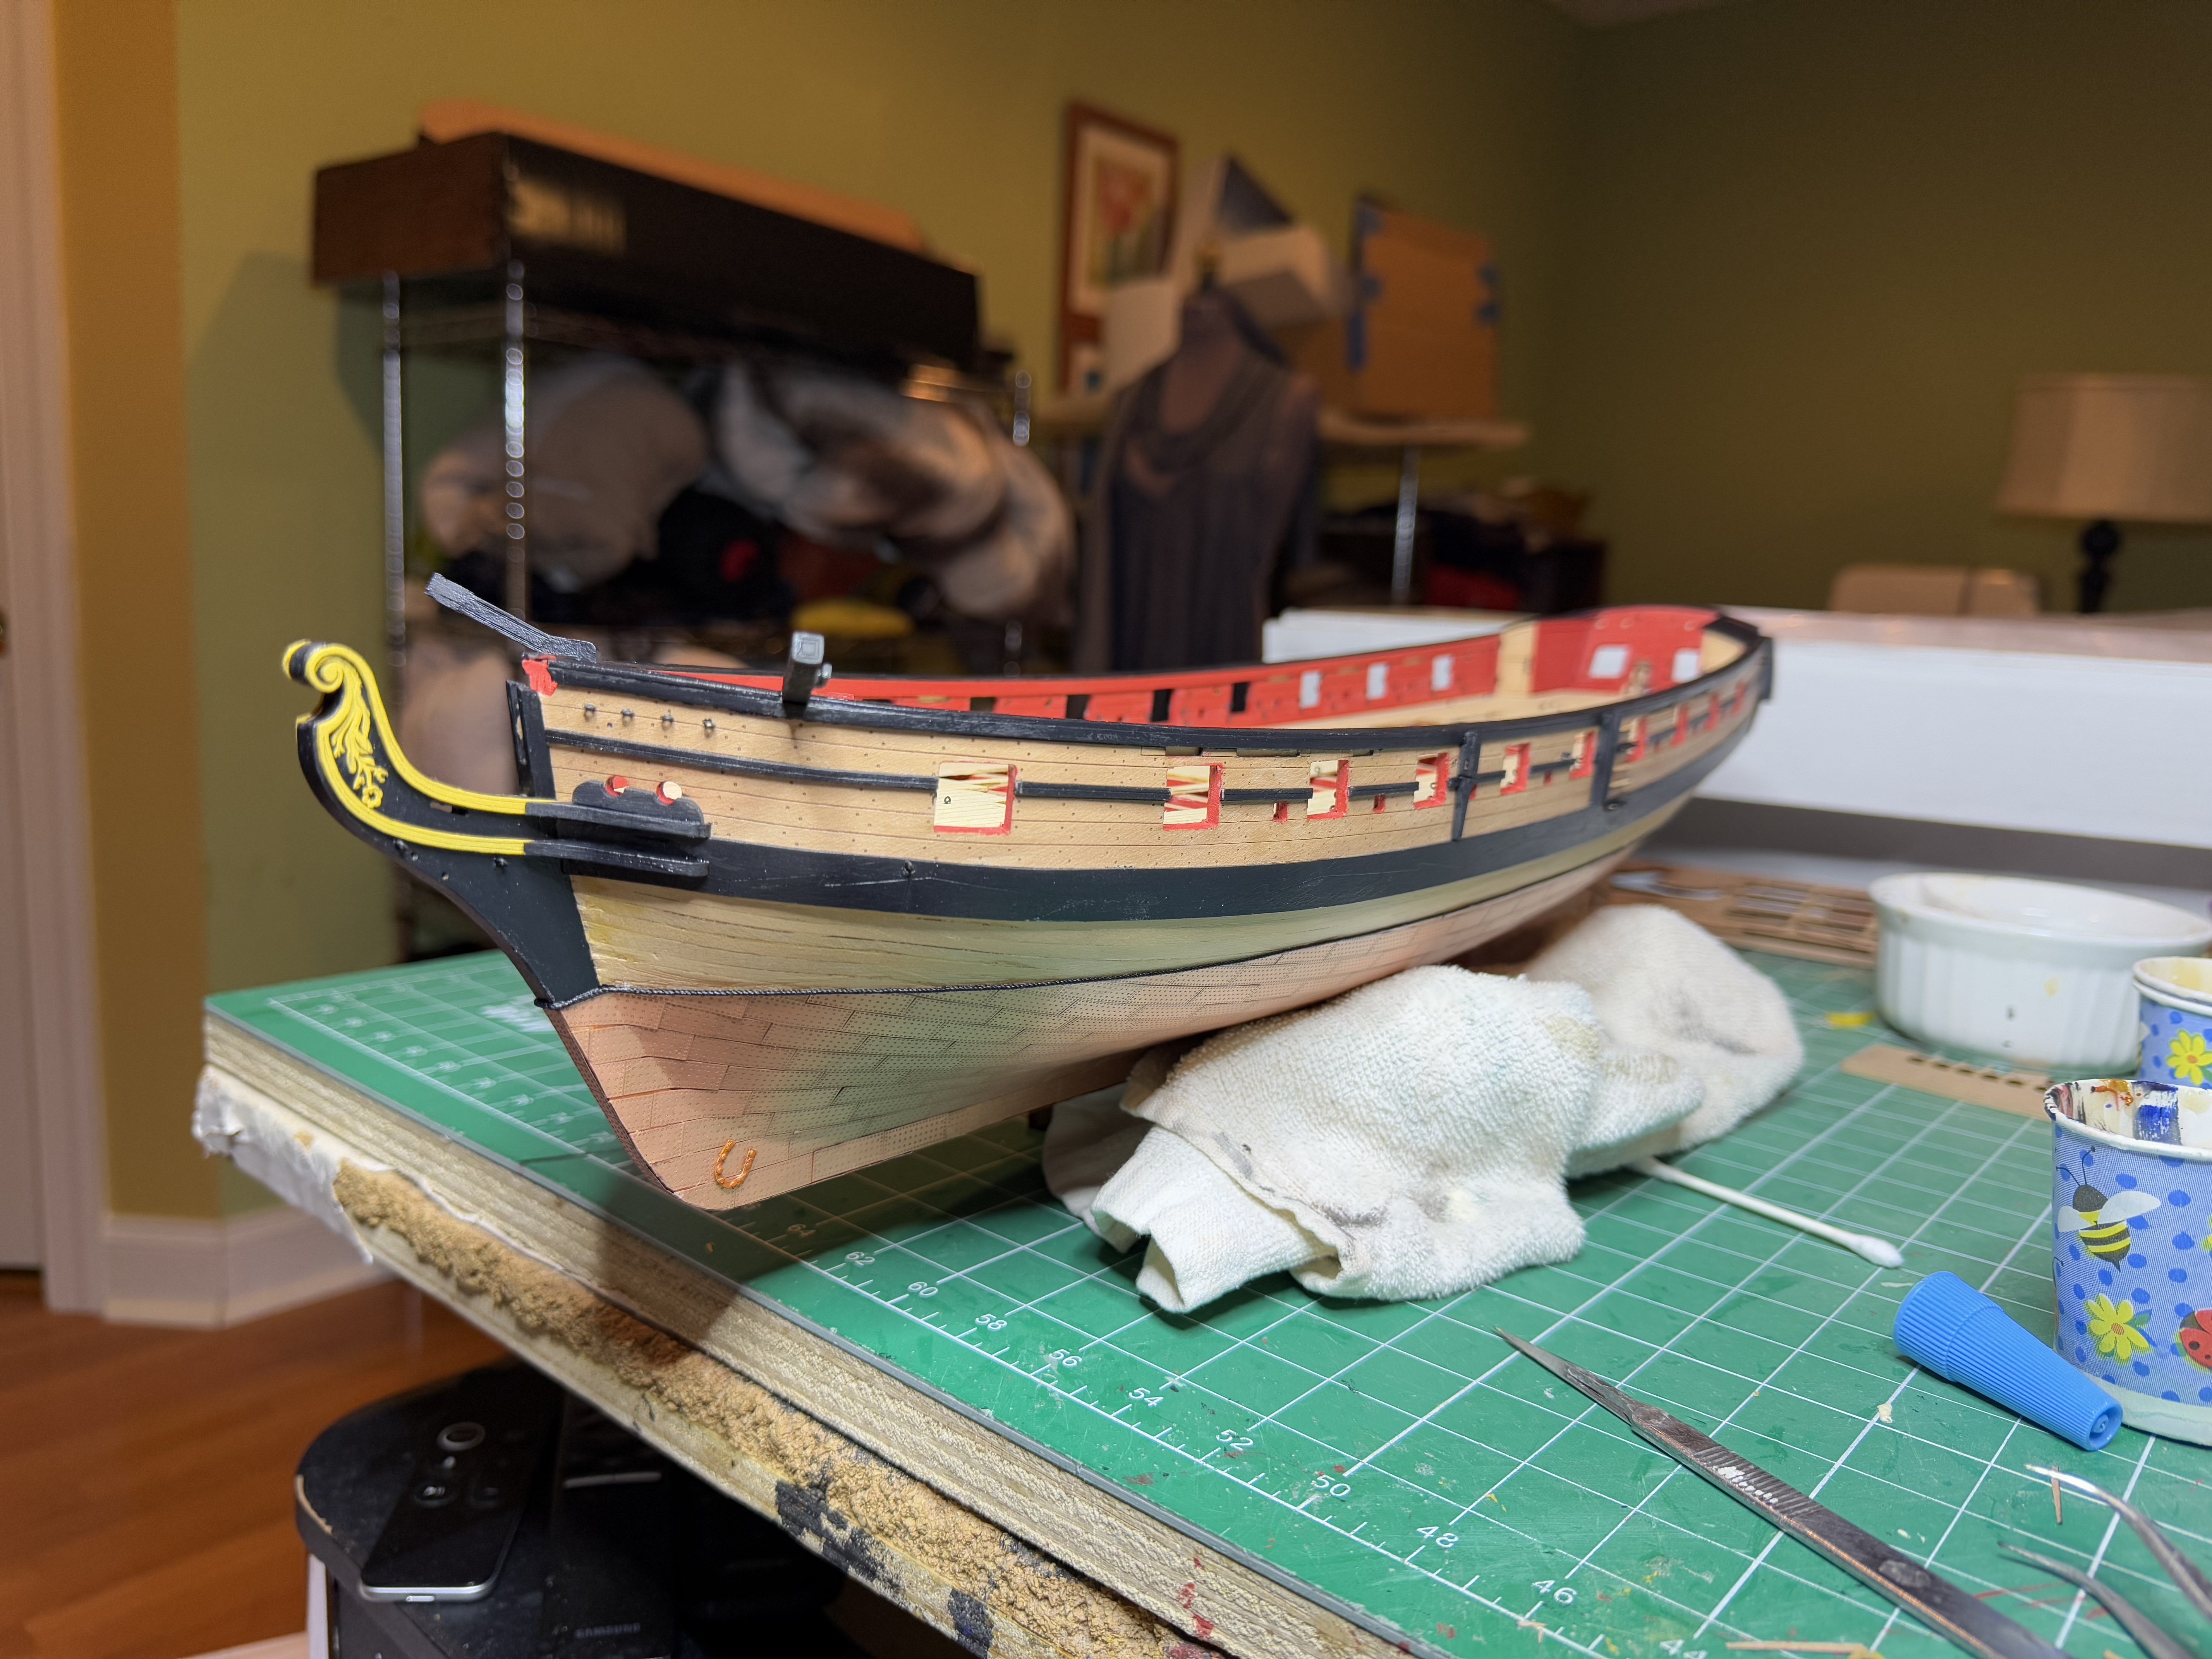
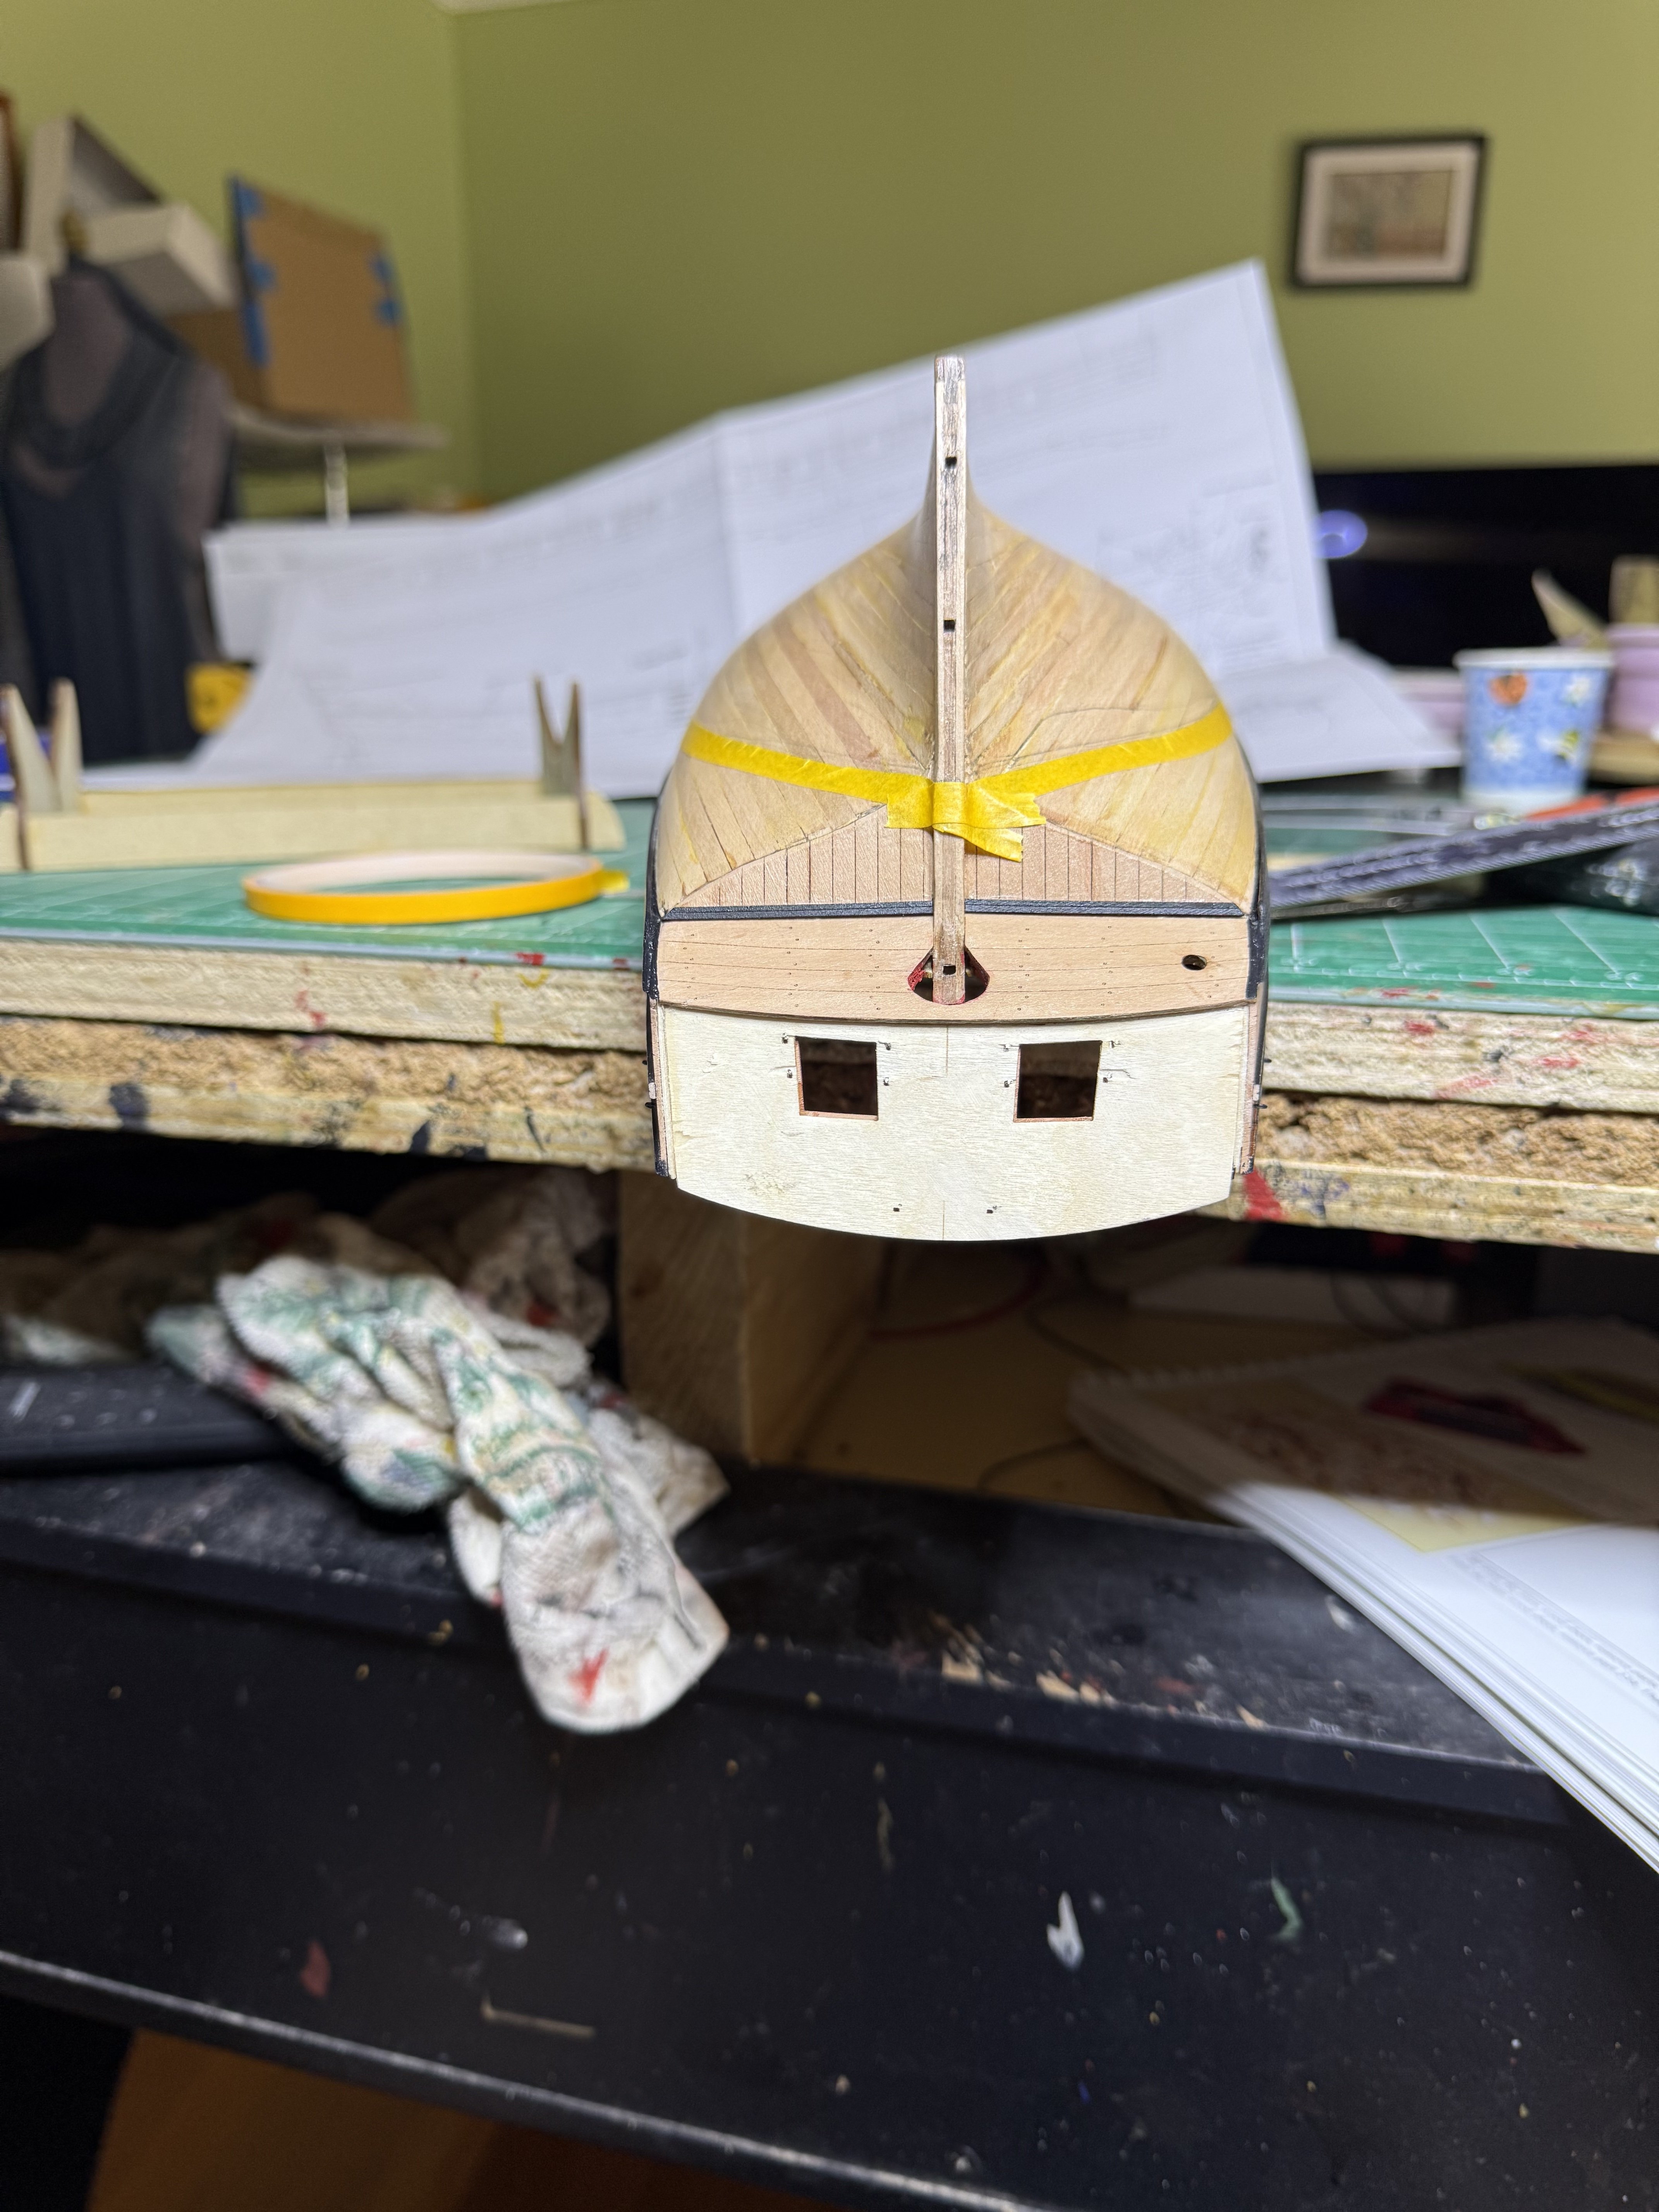
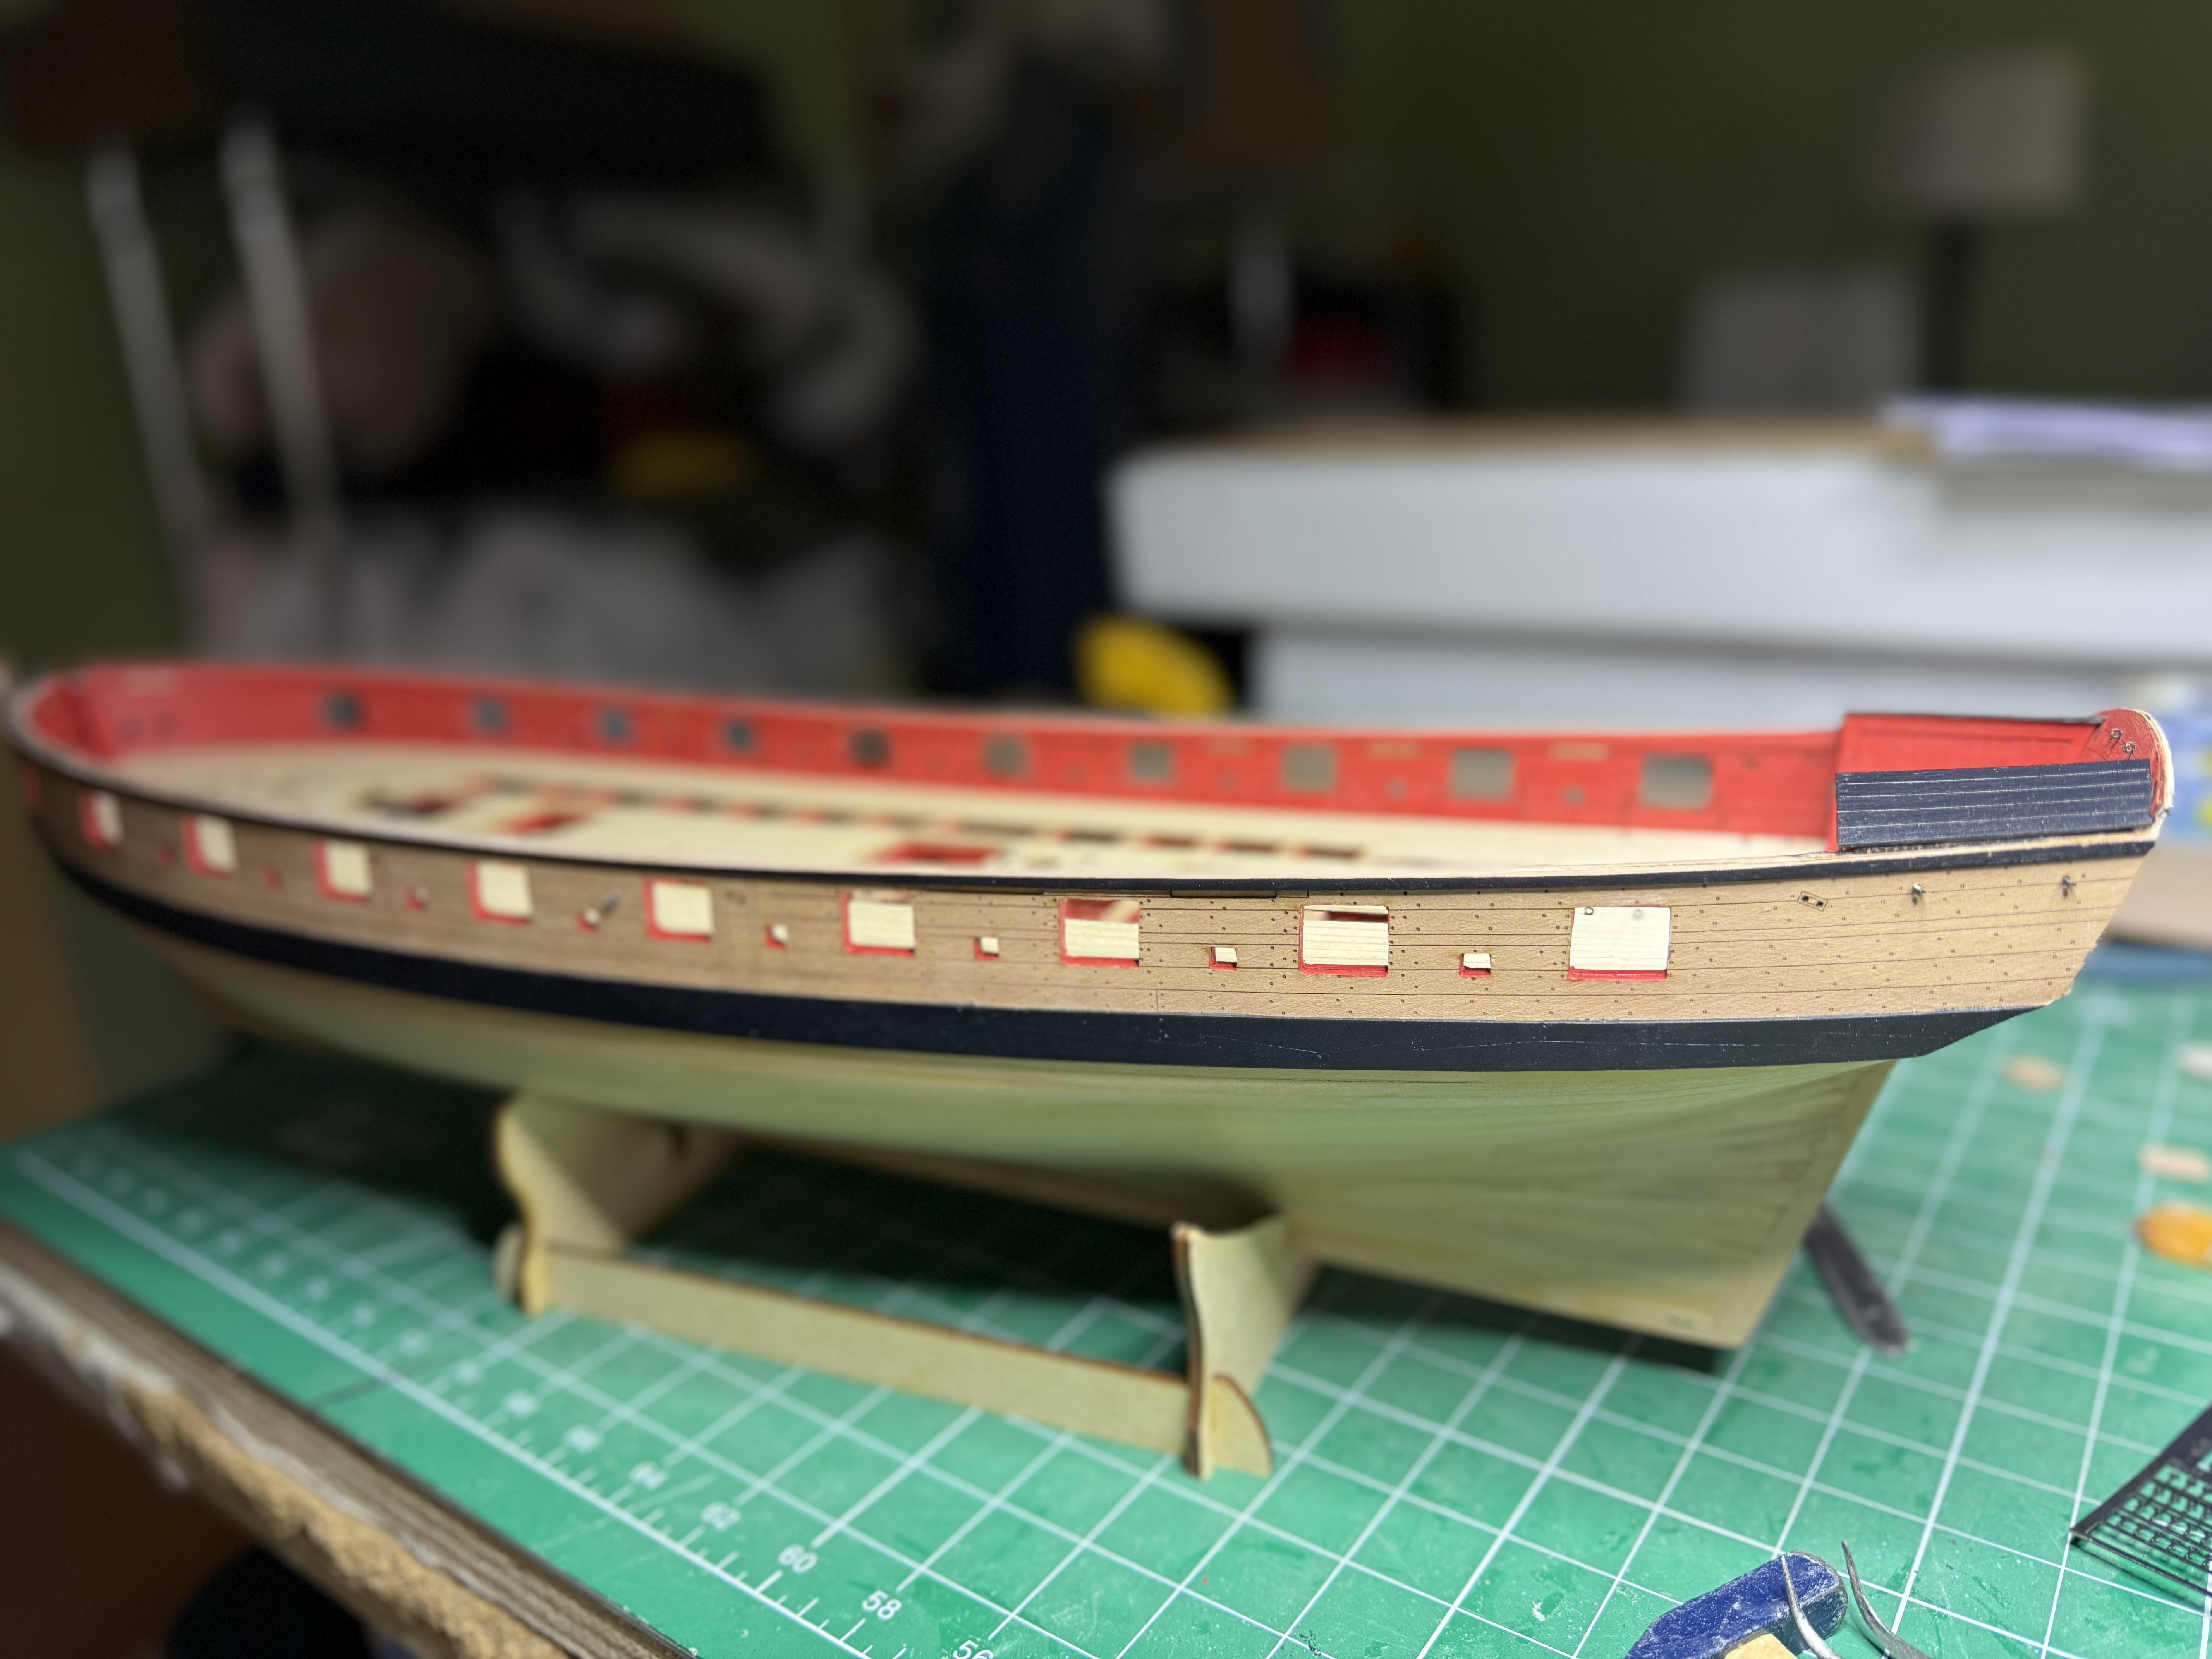
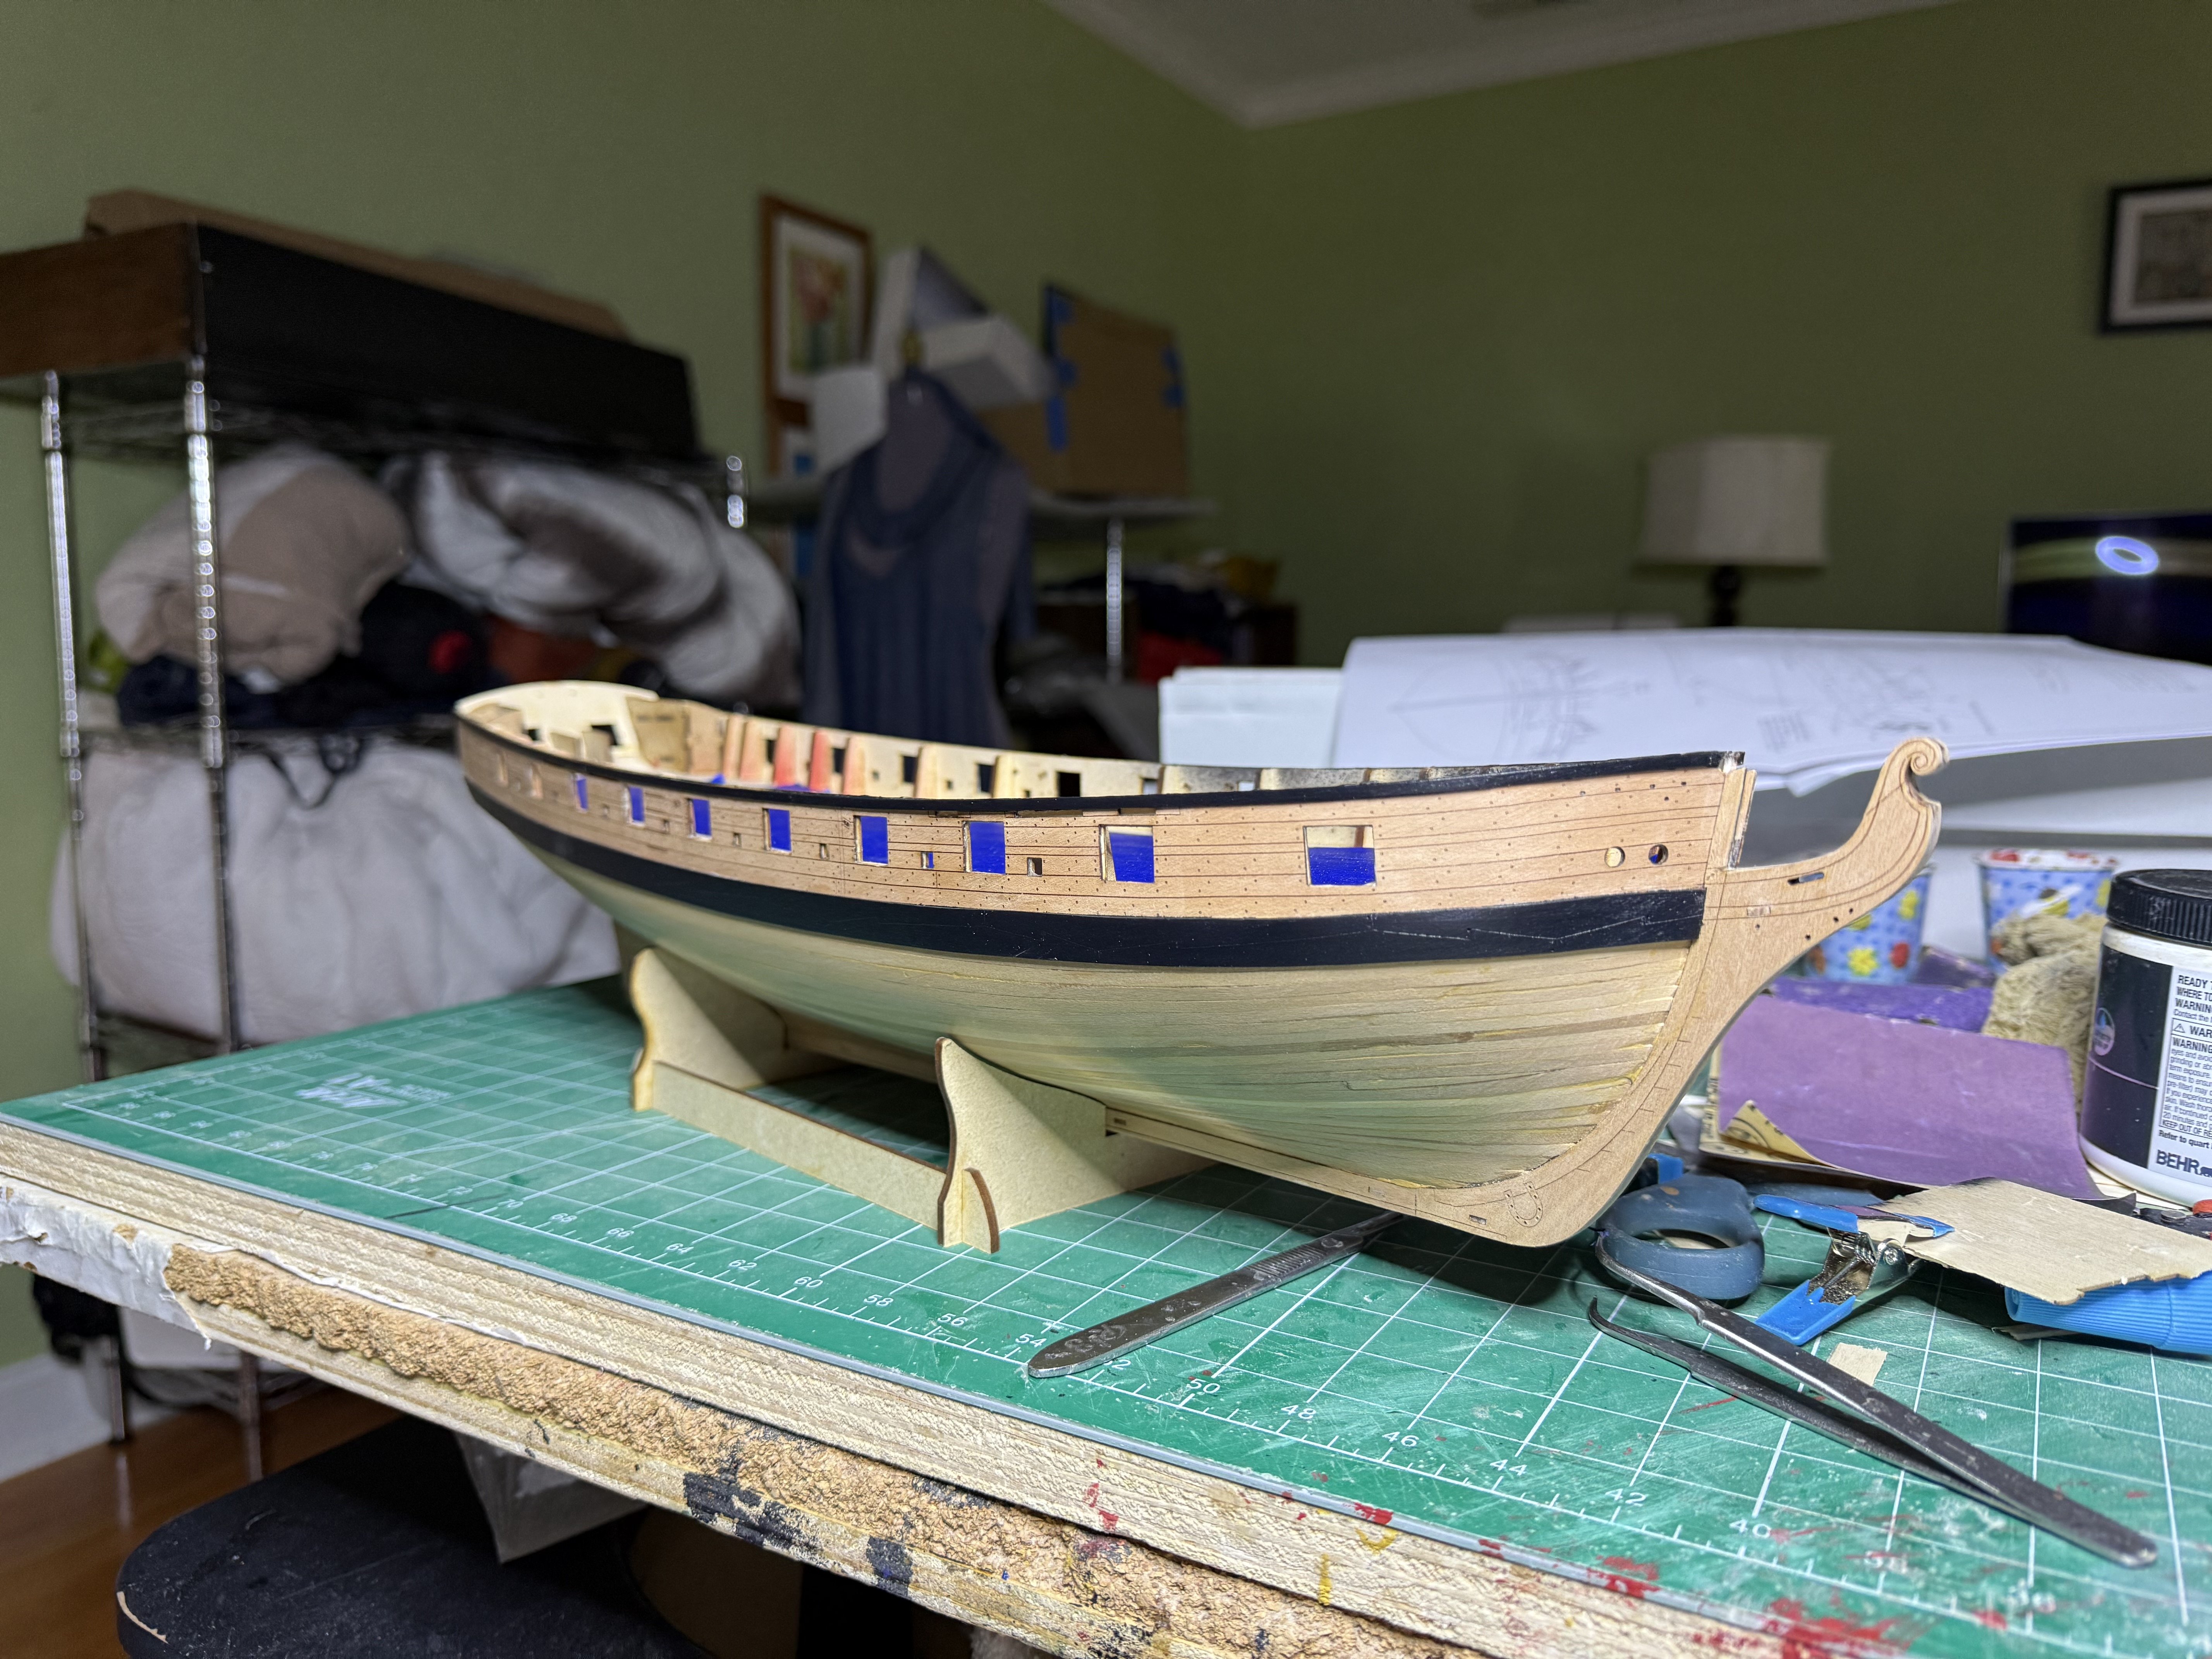
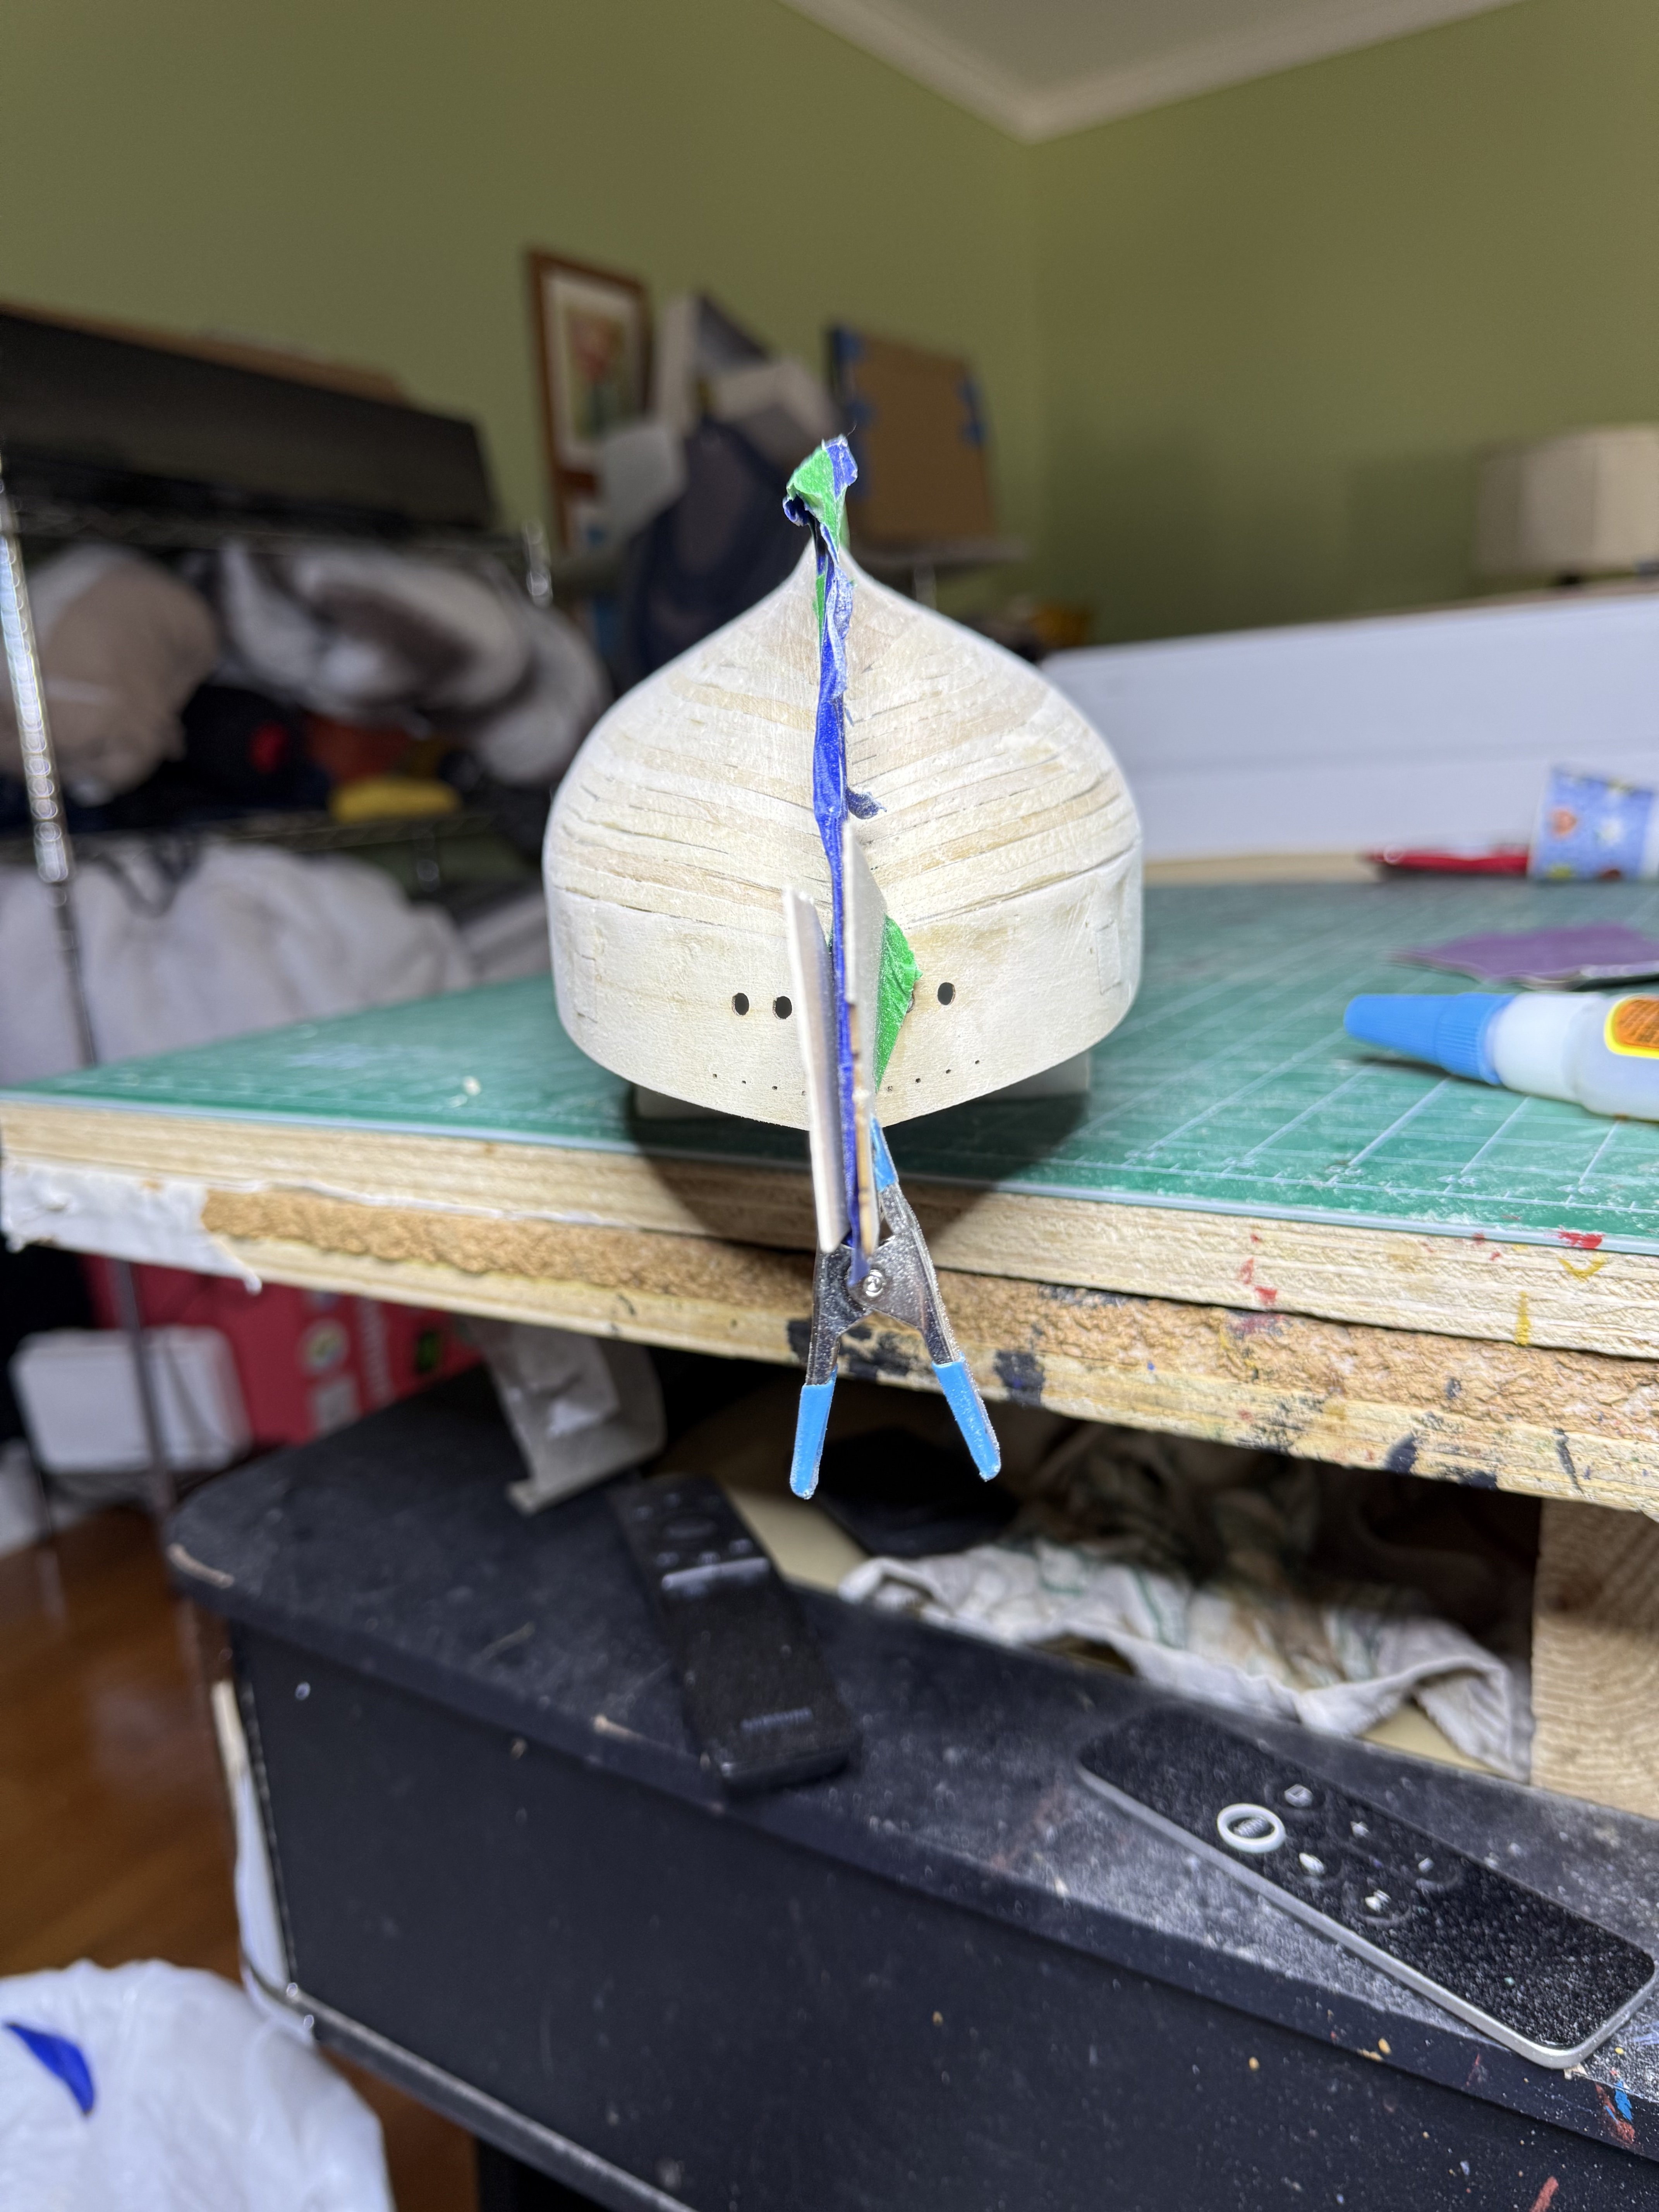
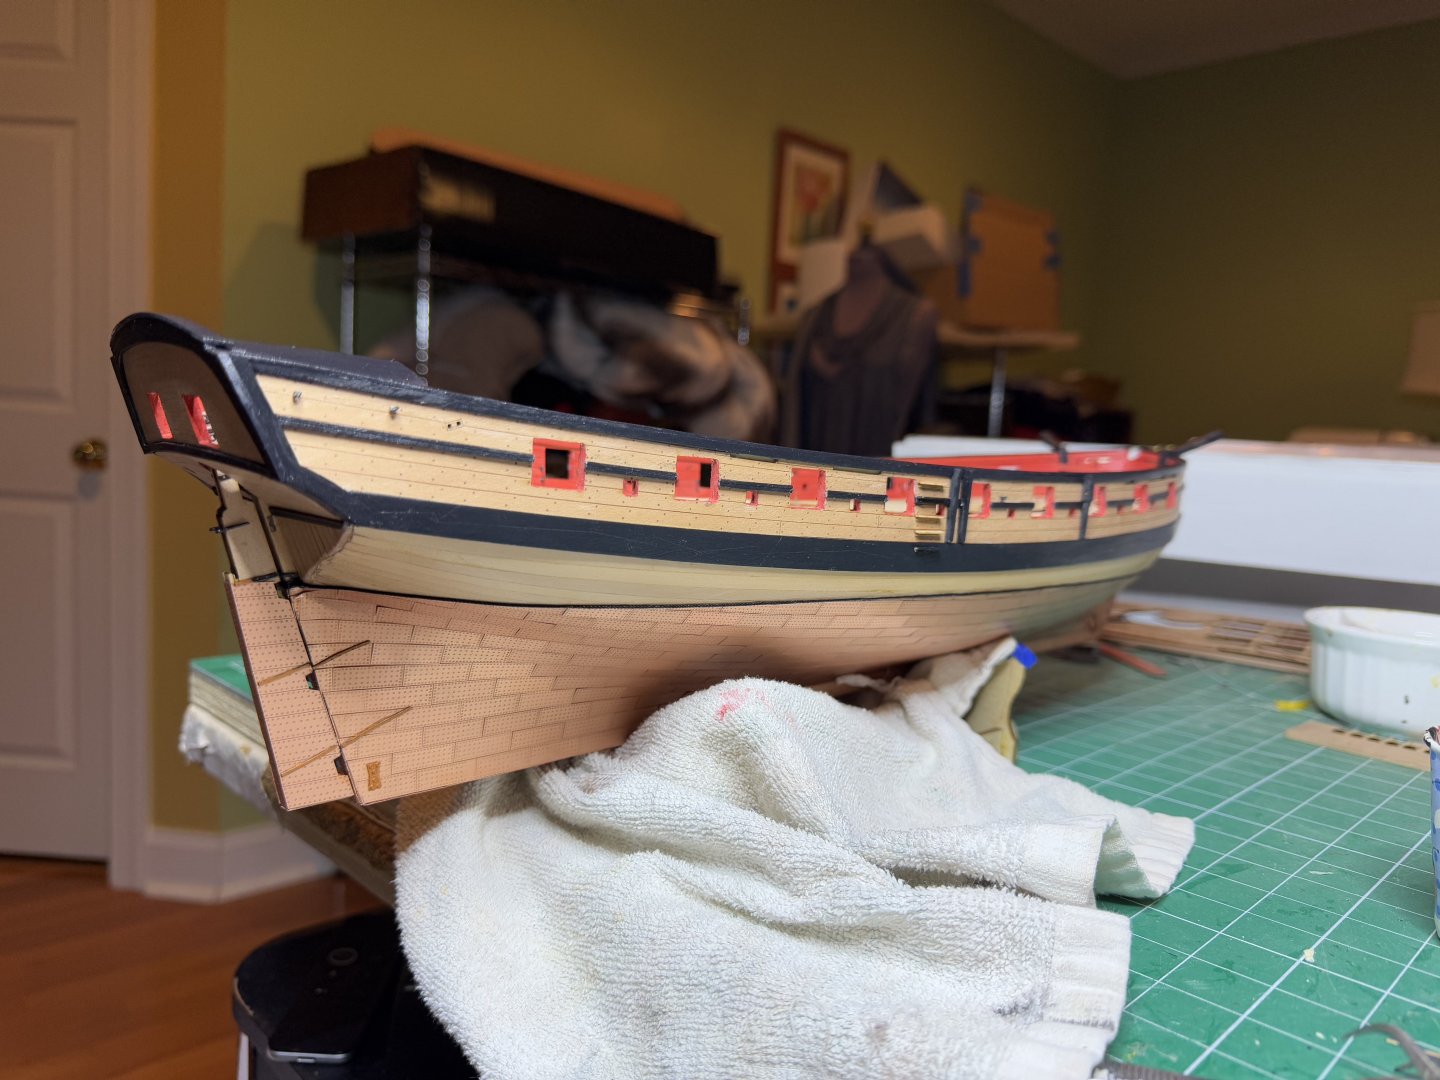
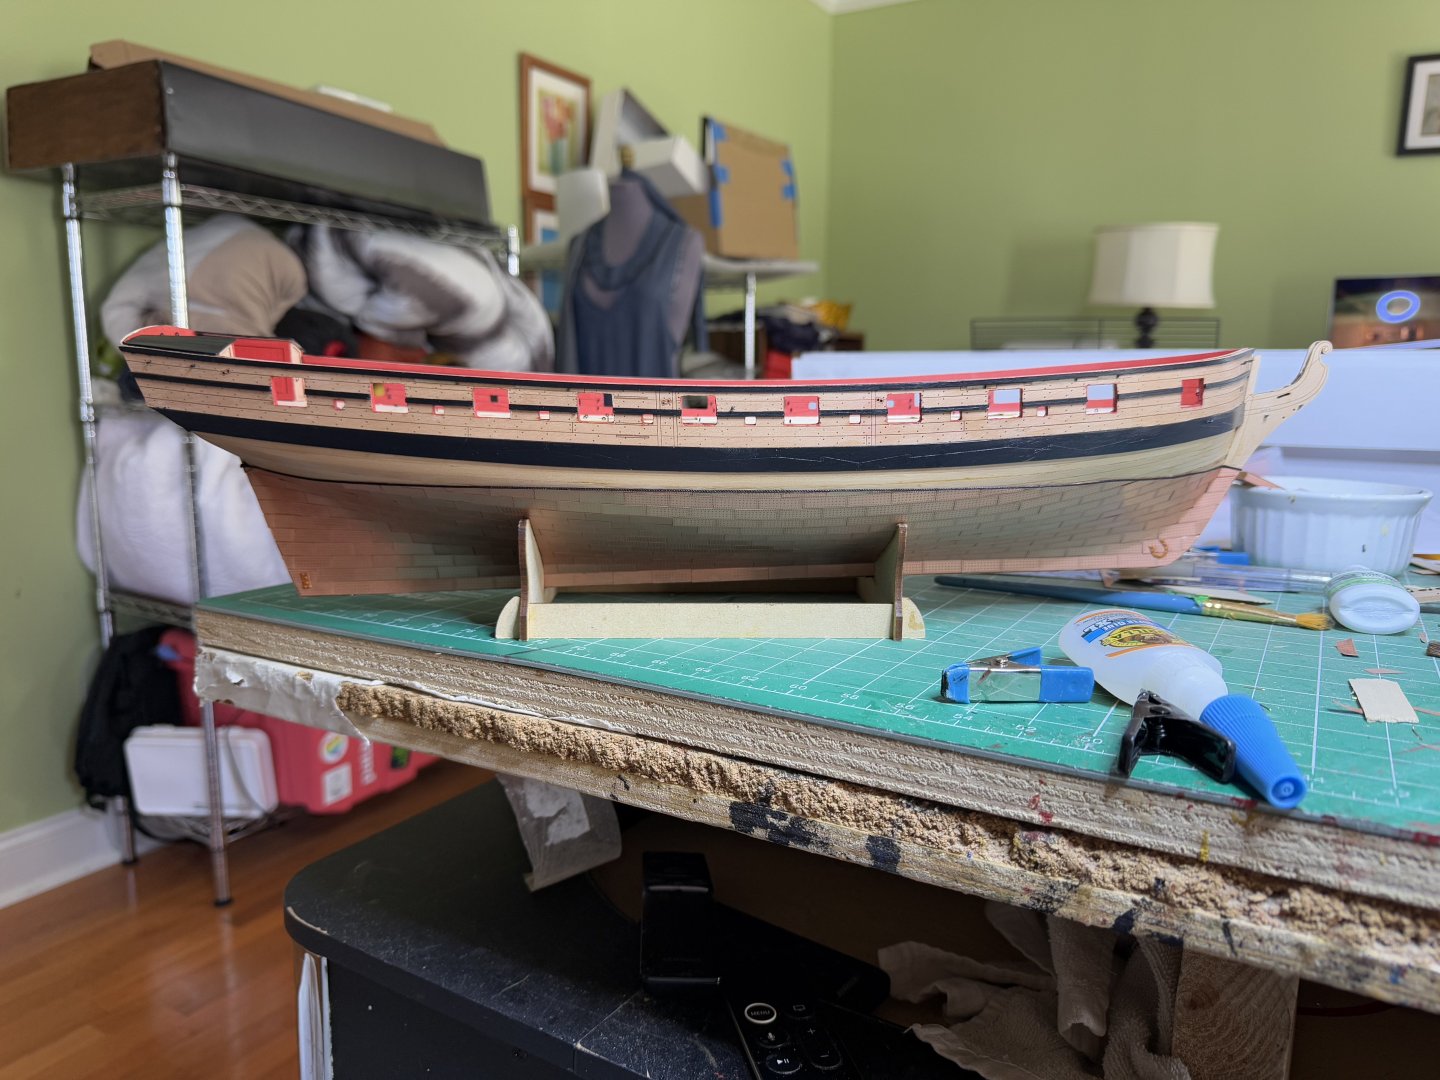
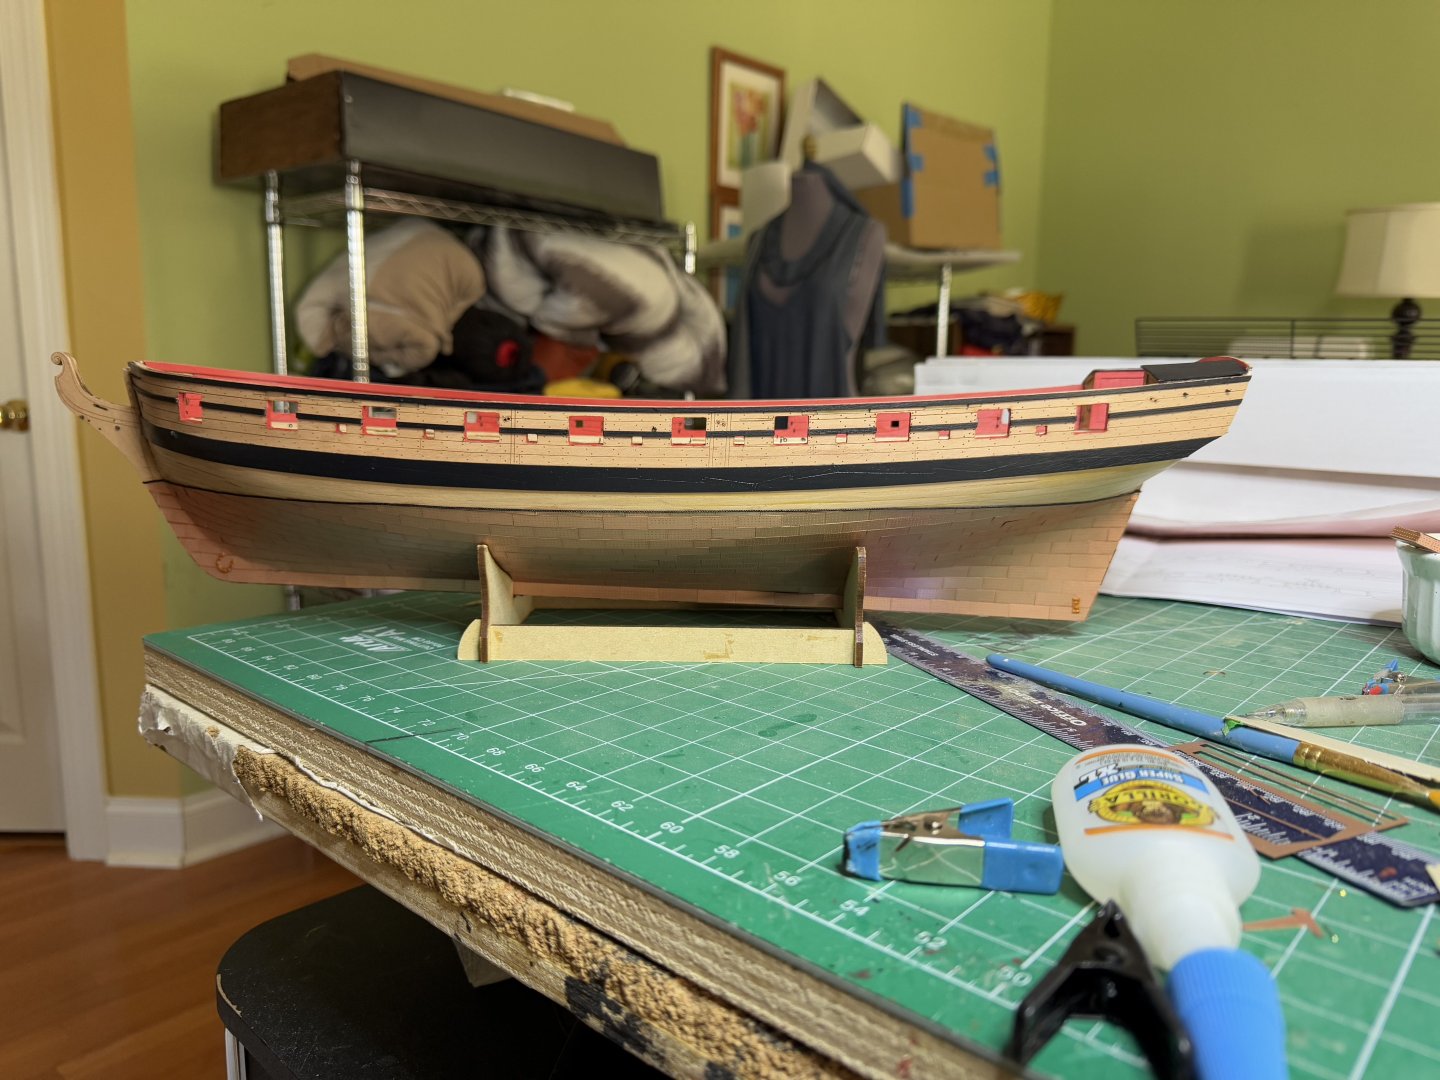
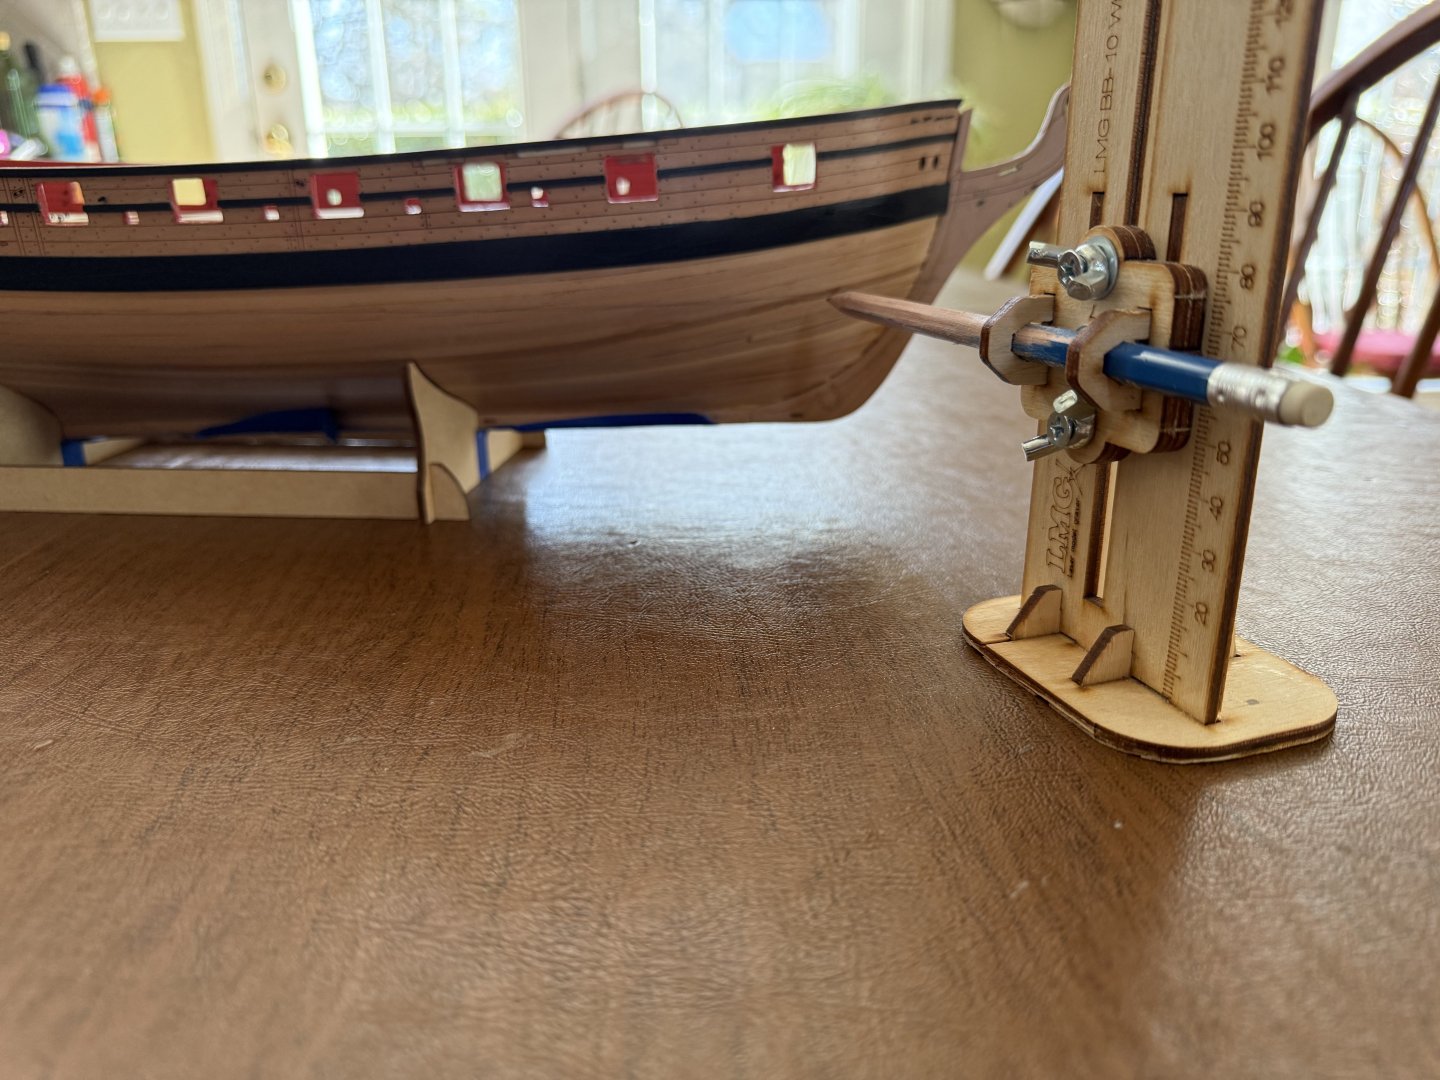
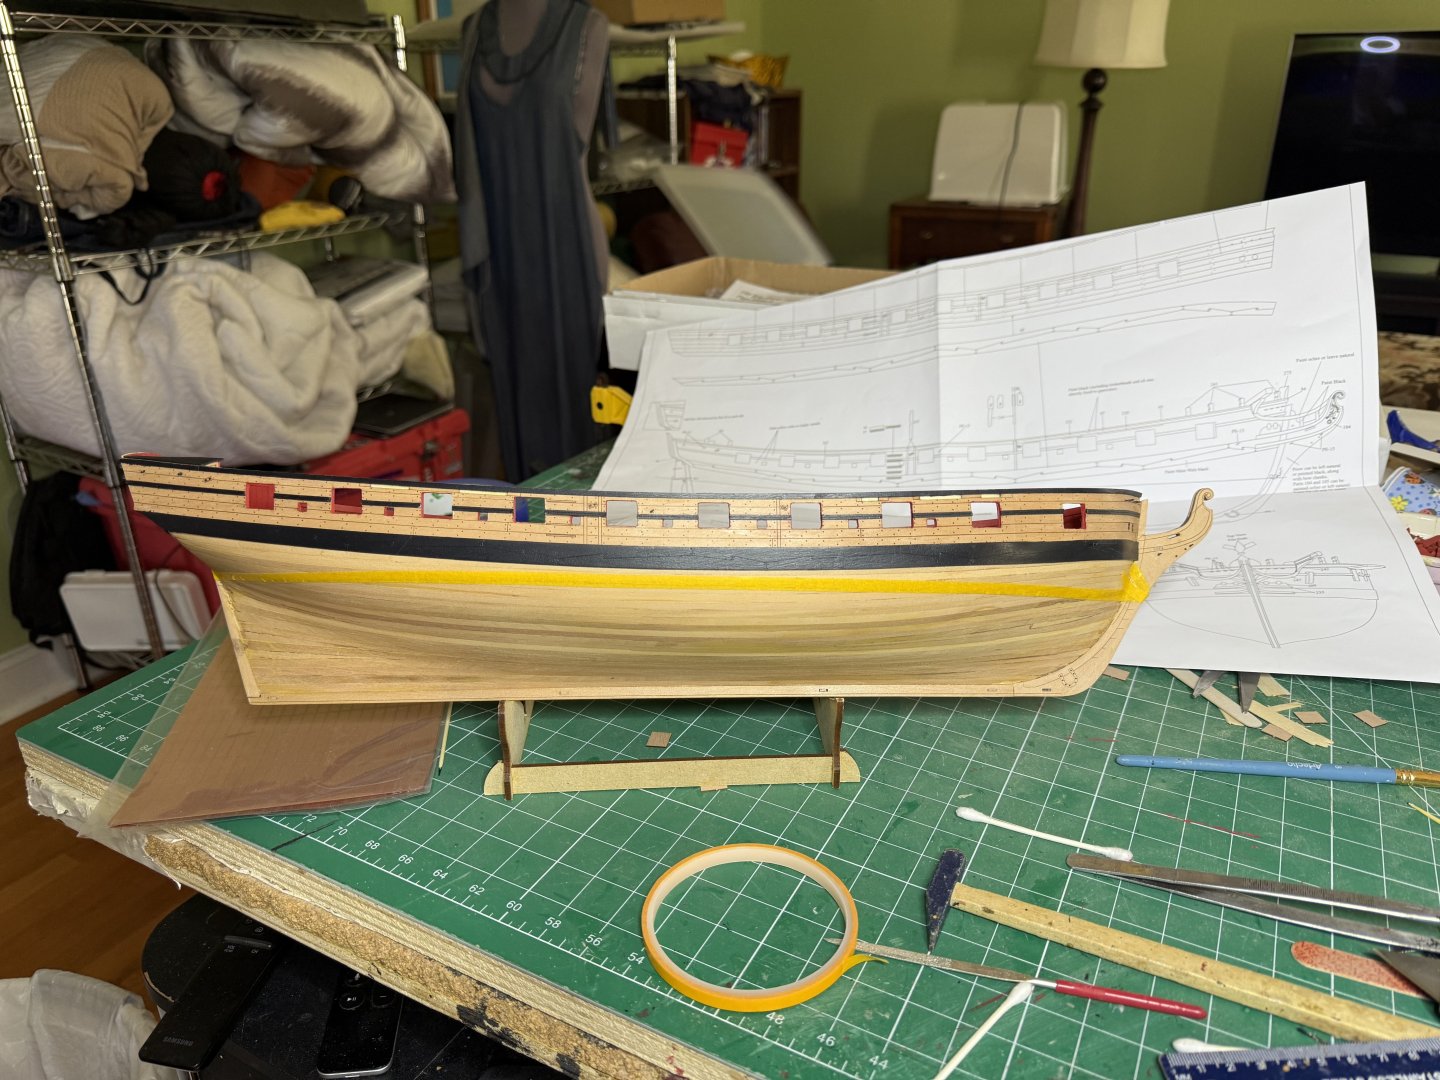
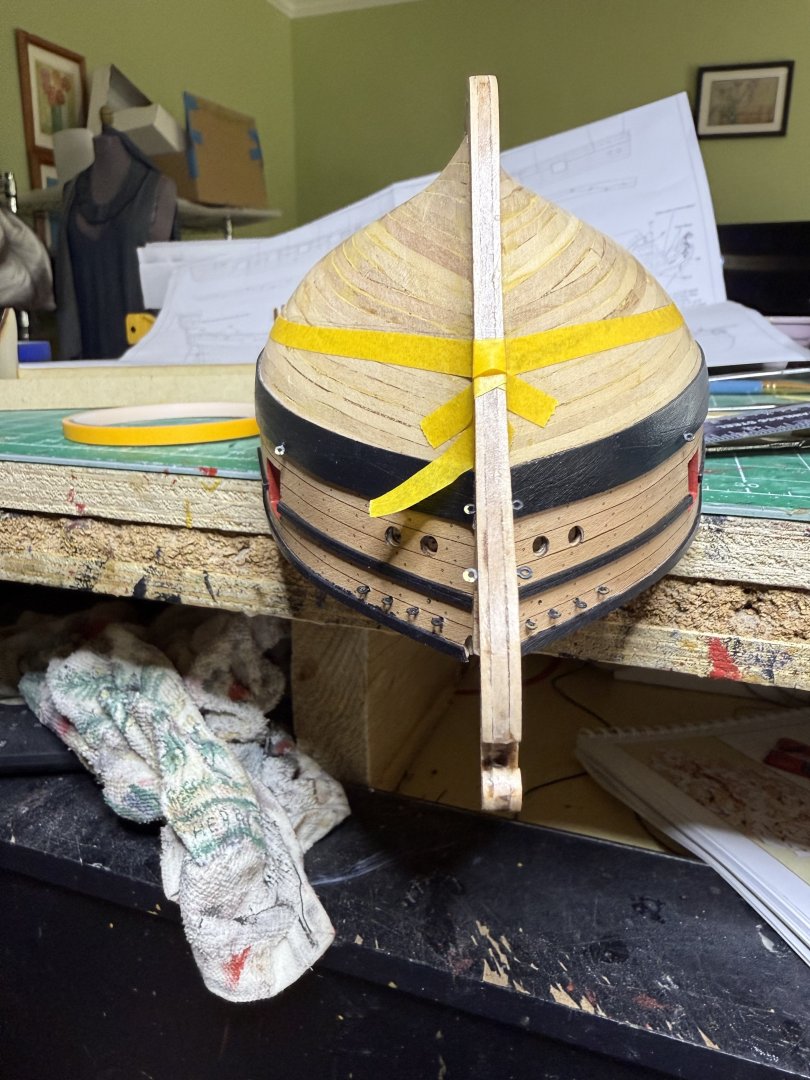
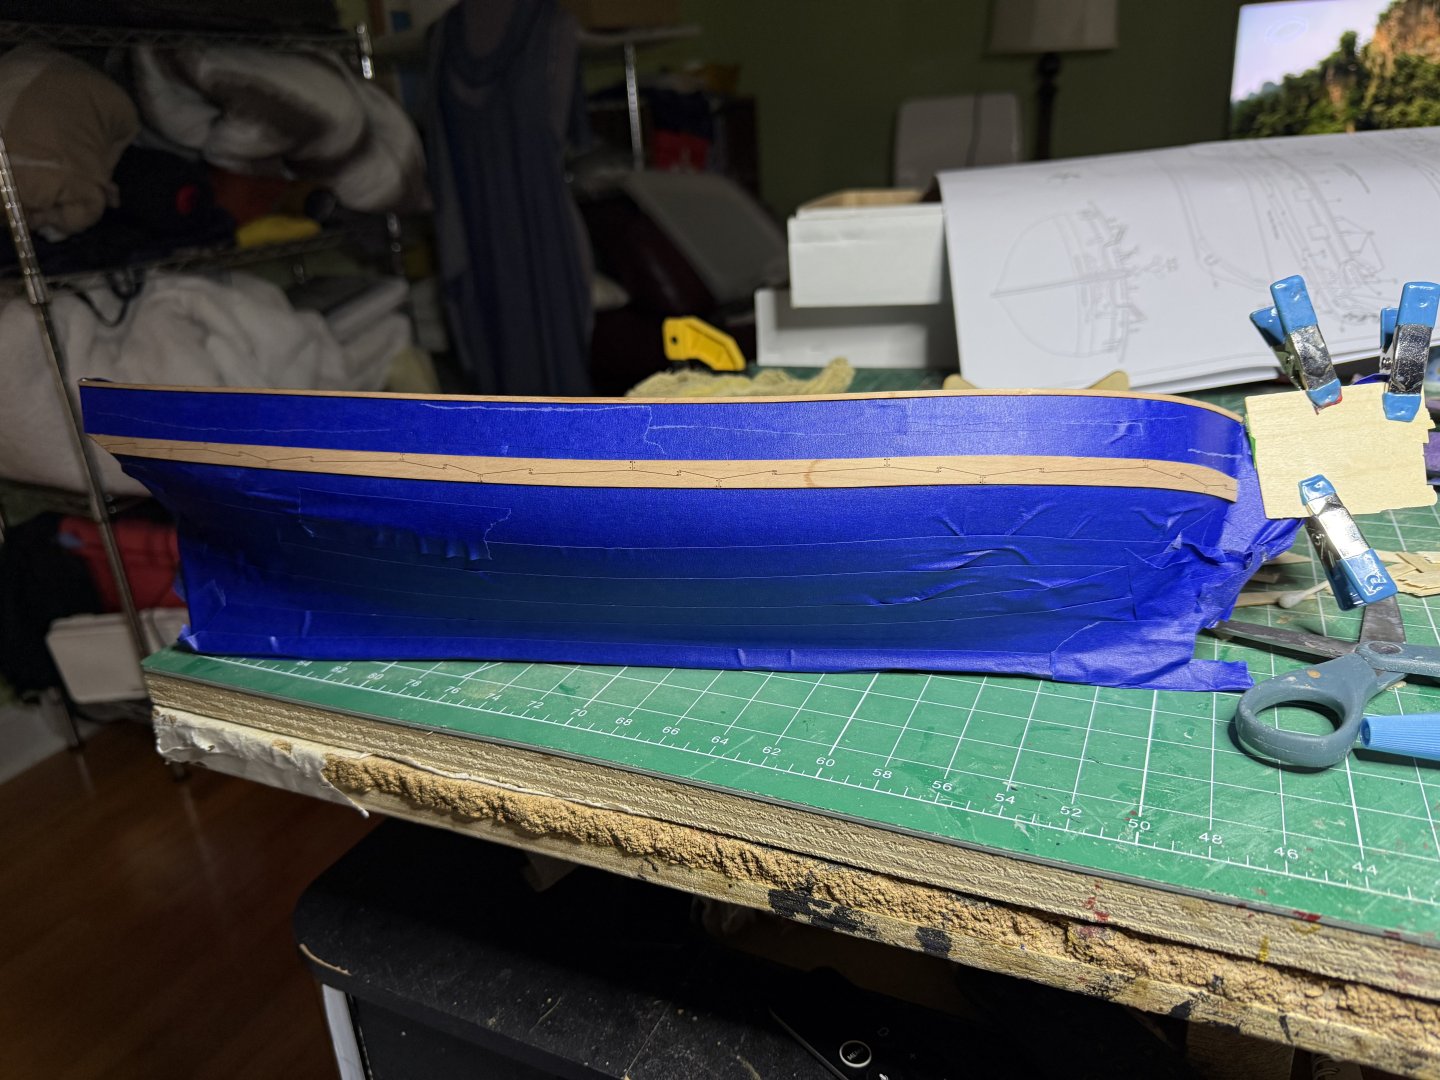
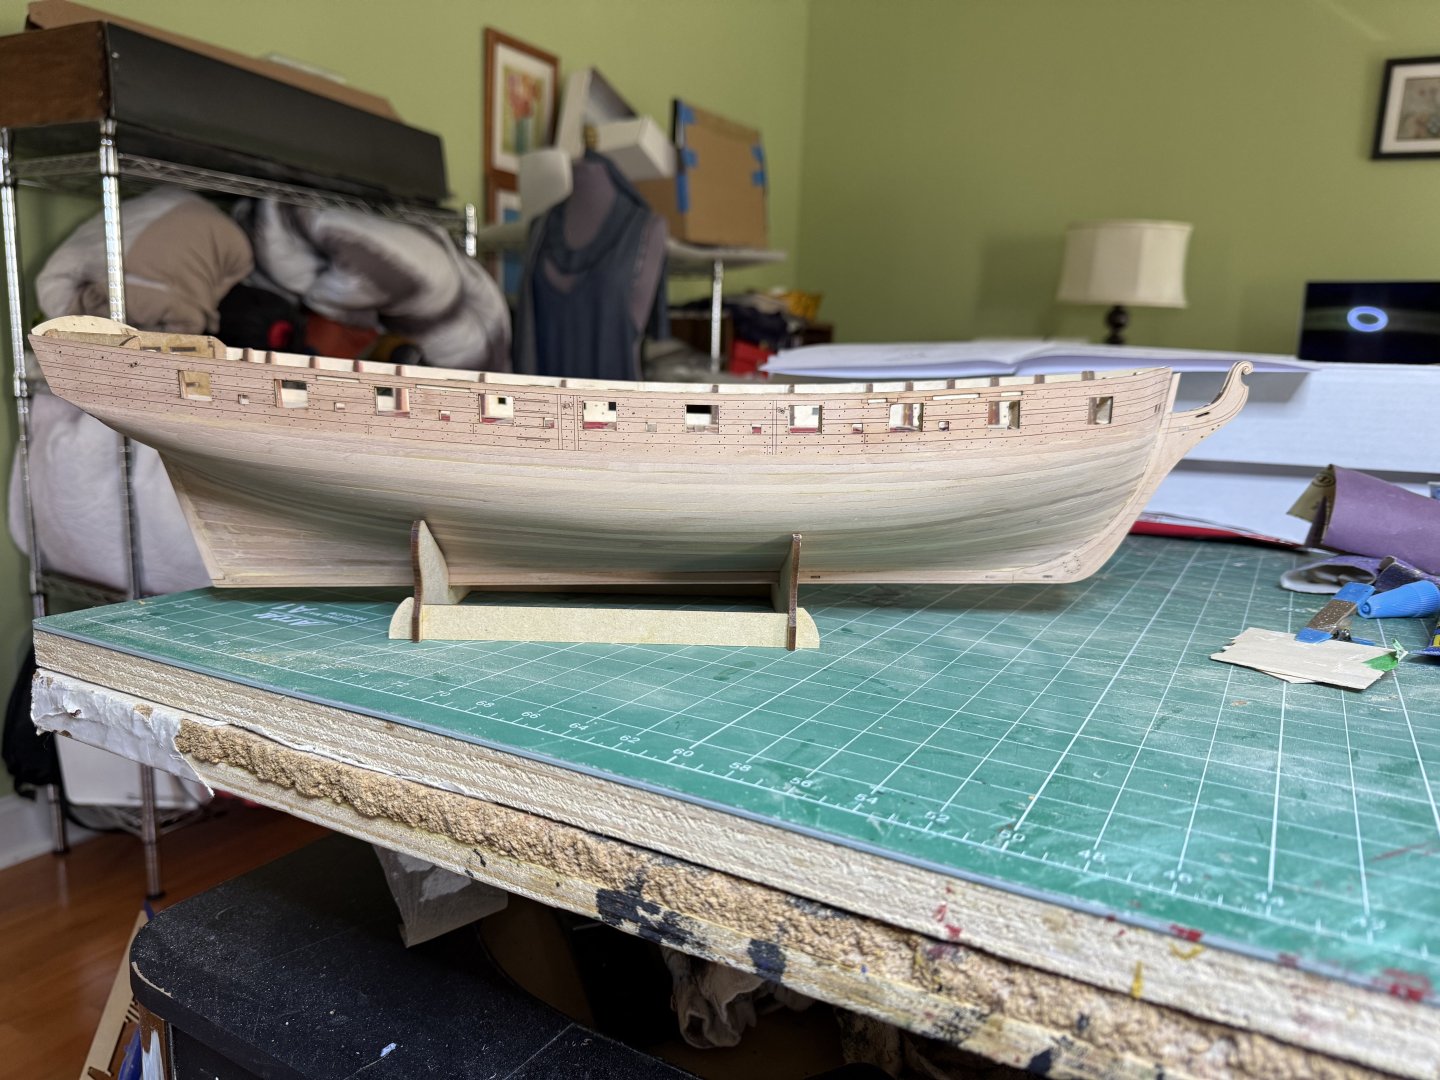
I scribed the waterline using the tool from Vanguard which works very well. You may also noticed I also added the upper strake. Although not called for I painted it black so it would be more noticeable. Following that, I taped the . After a few adjustments it looked even and the distance from the ports to the line the same on both sides. The a the fun began . I also painted the area in copper paint to minimize any small openings from standing out. The rudder also had a nice single piece to cover it . Otherwise it is a pain to copper it.


- 73 replies
-
- 14
-
-
- Harpy
- Vanguard Models
- (and 1 more)
-
Thanks. Airbrushing really helps with the big pieces and especially allows the engraving to be seen better.
-
Spent the day installing all the eyebolts, painting the gunport/sweep openings and then putting poly on it all. Tomorrow will be the start o the copper work.


- 73 replies
-
- 13
-
-
- Harpy
- Vanguard Models
- (and 1 more)
-
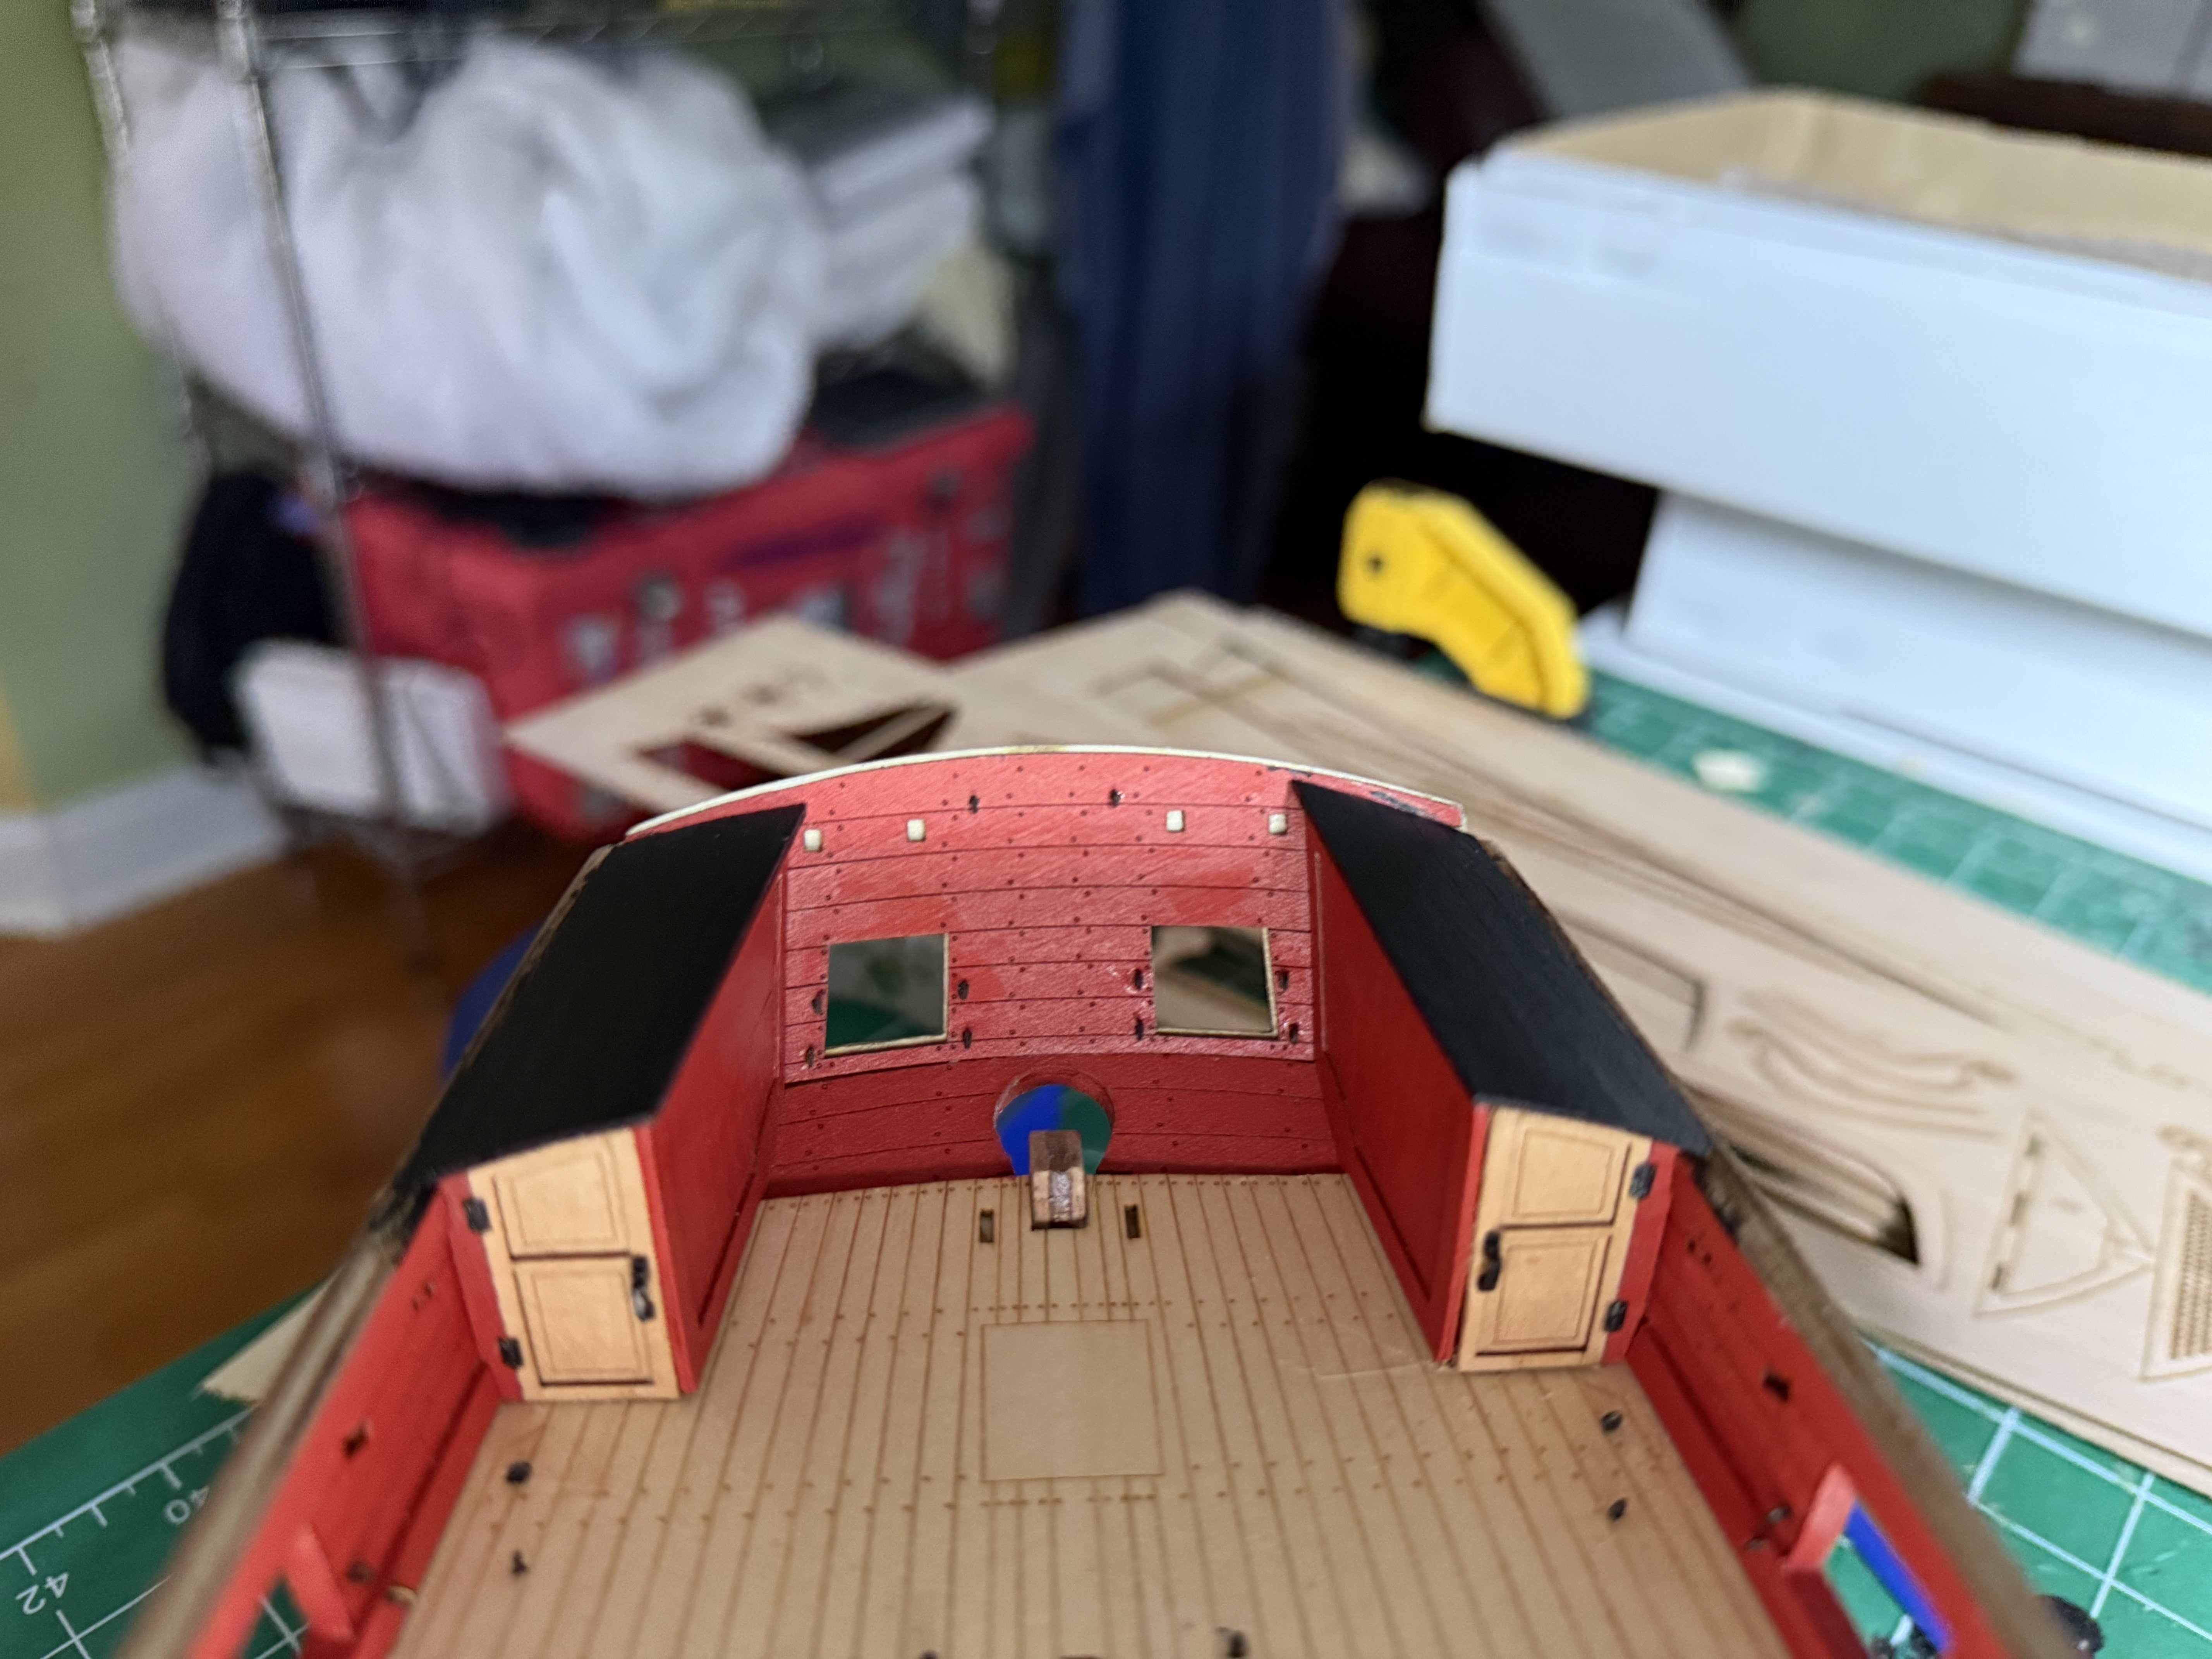
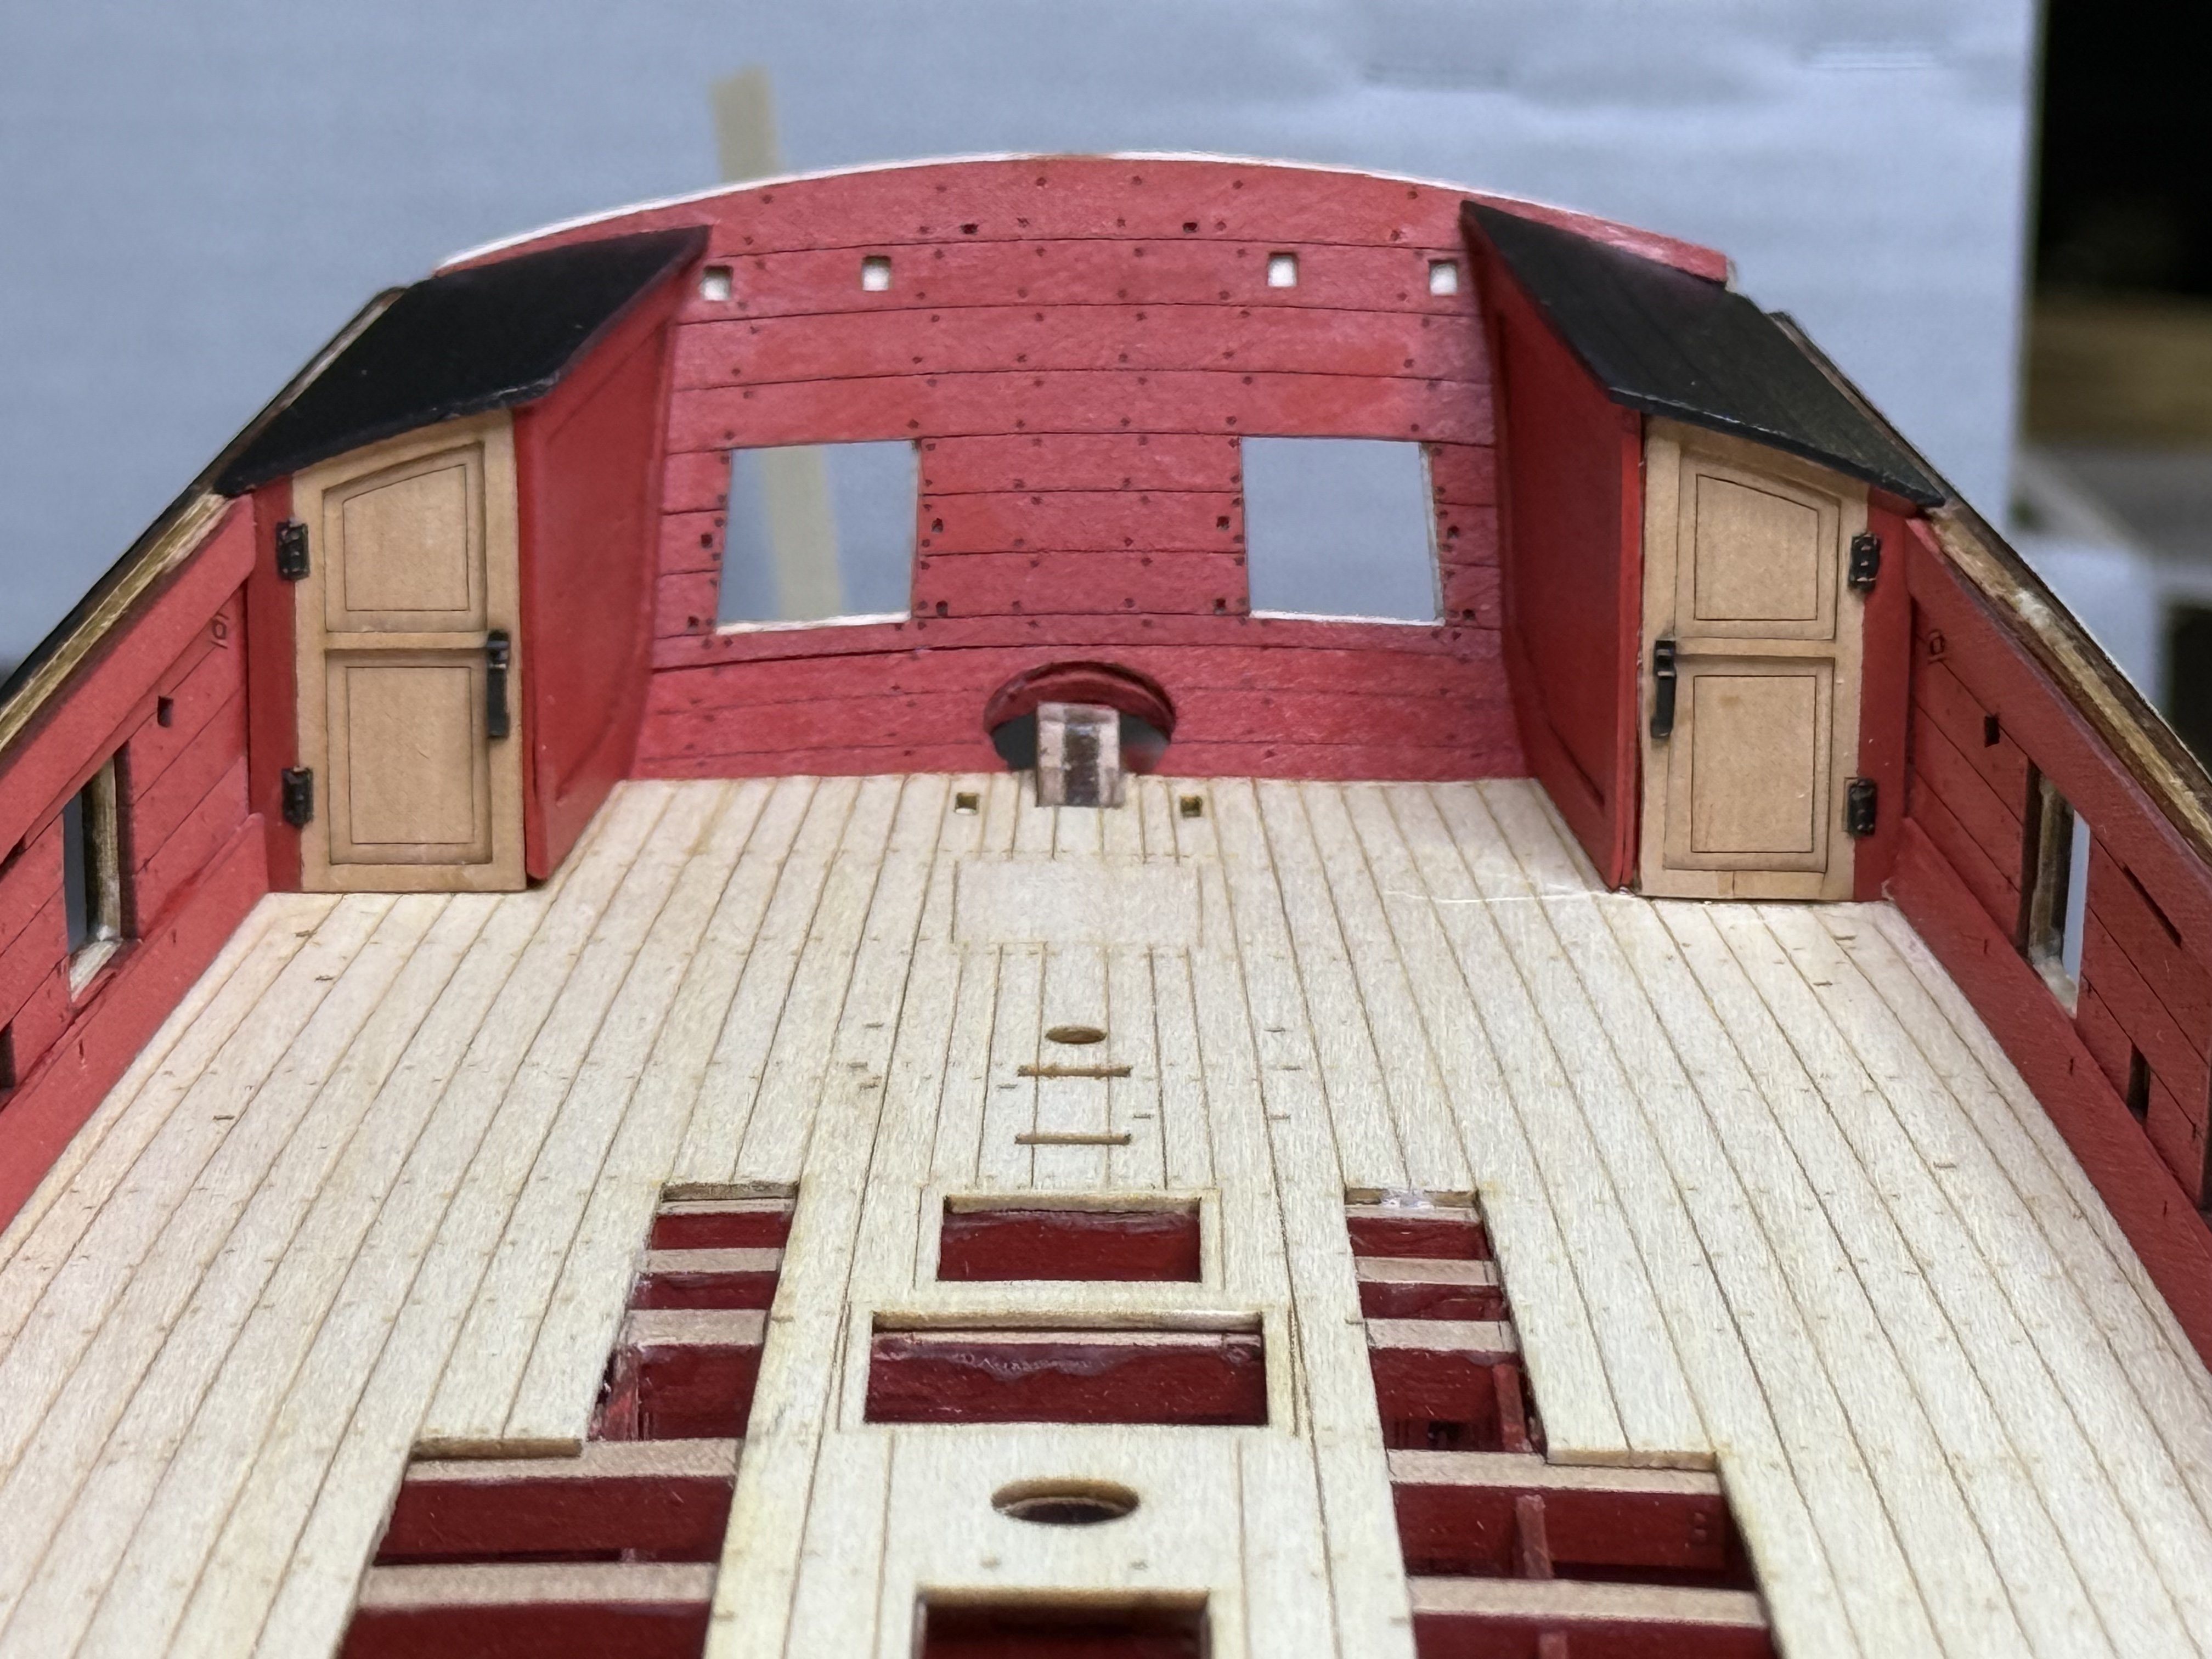
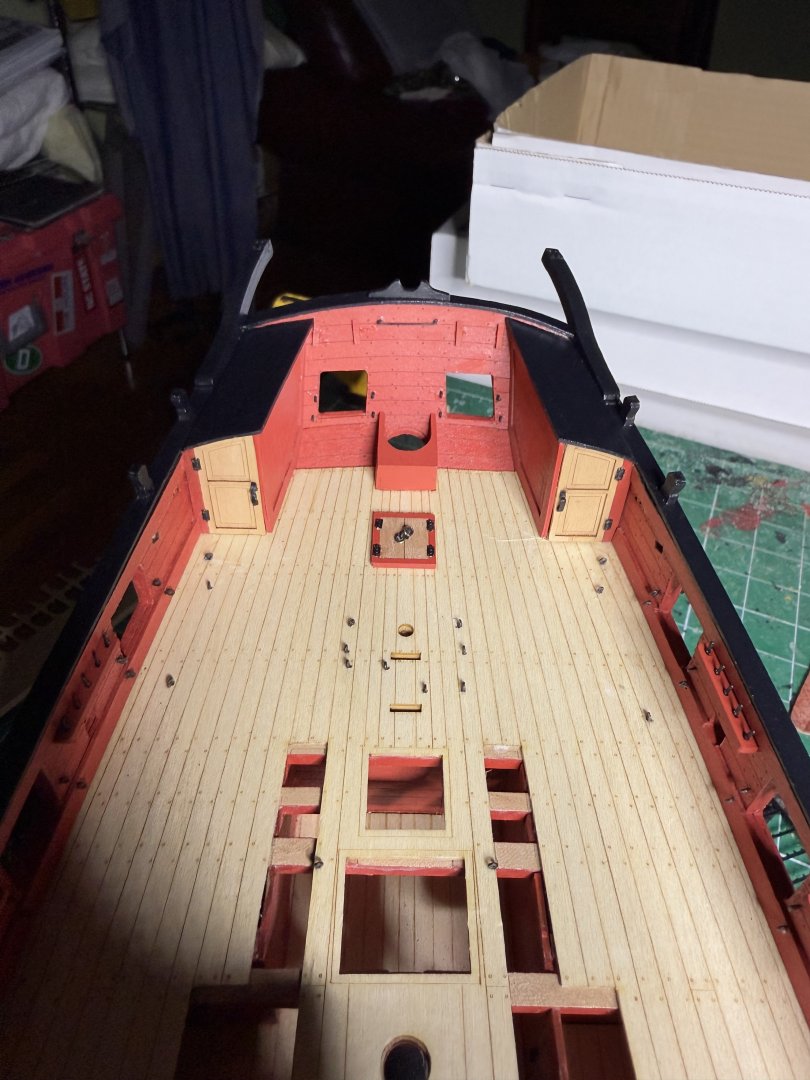
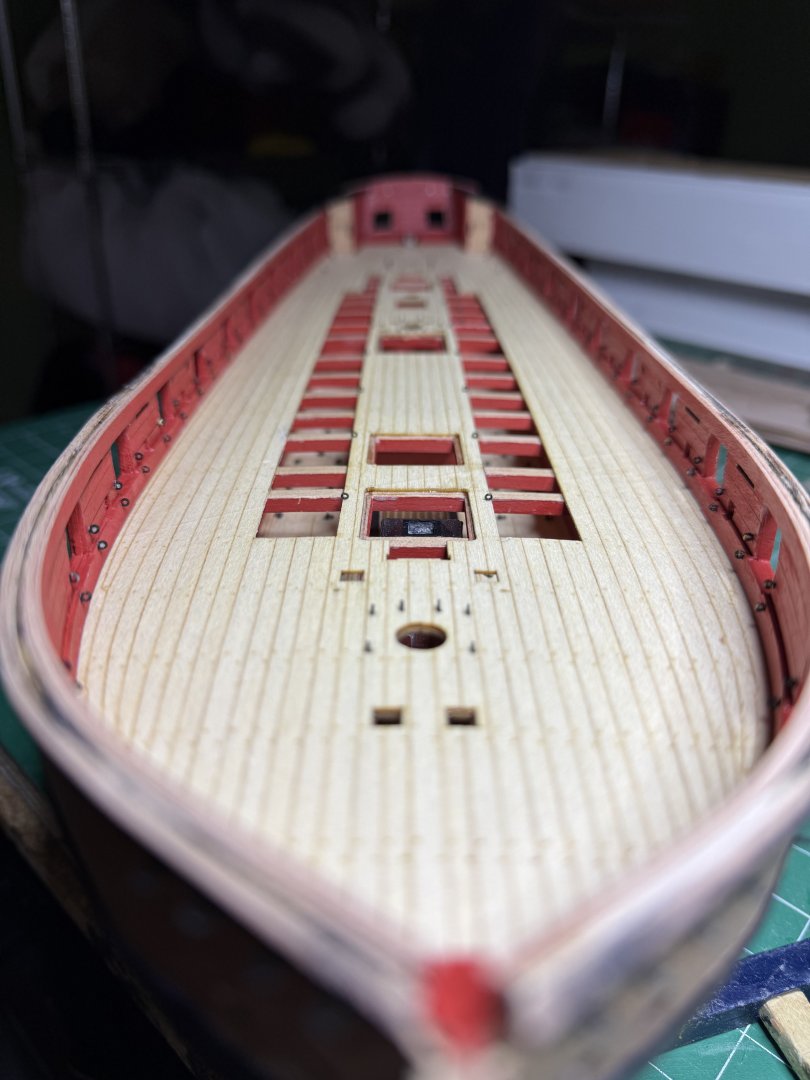
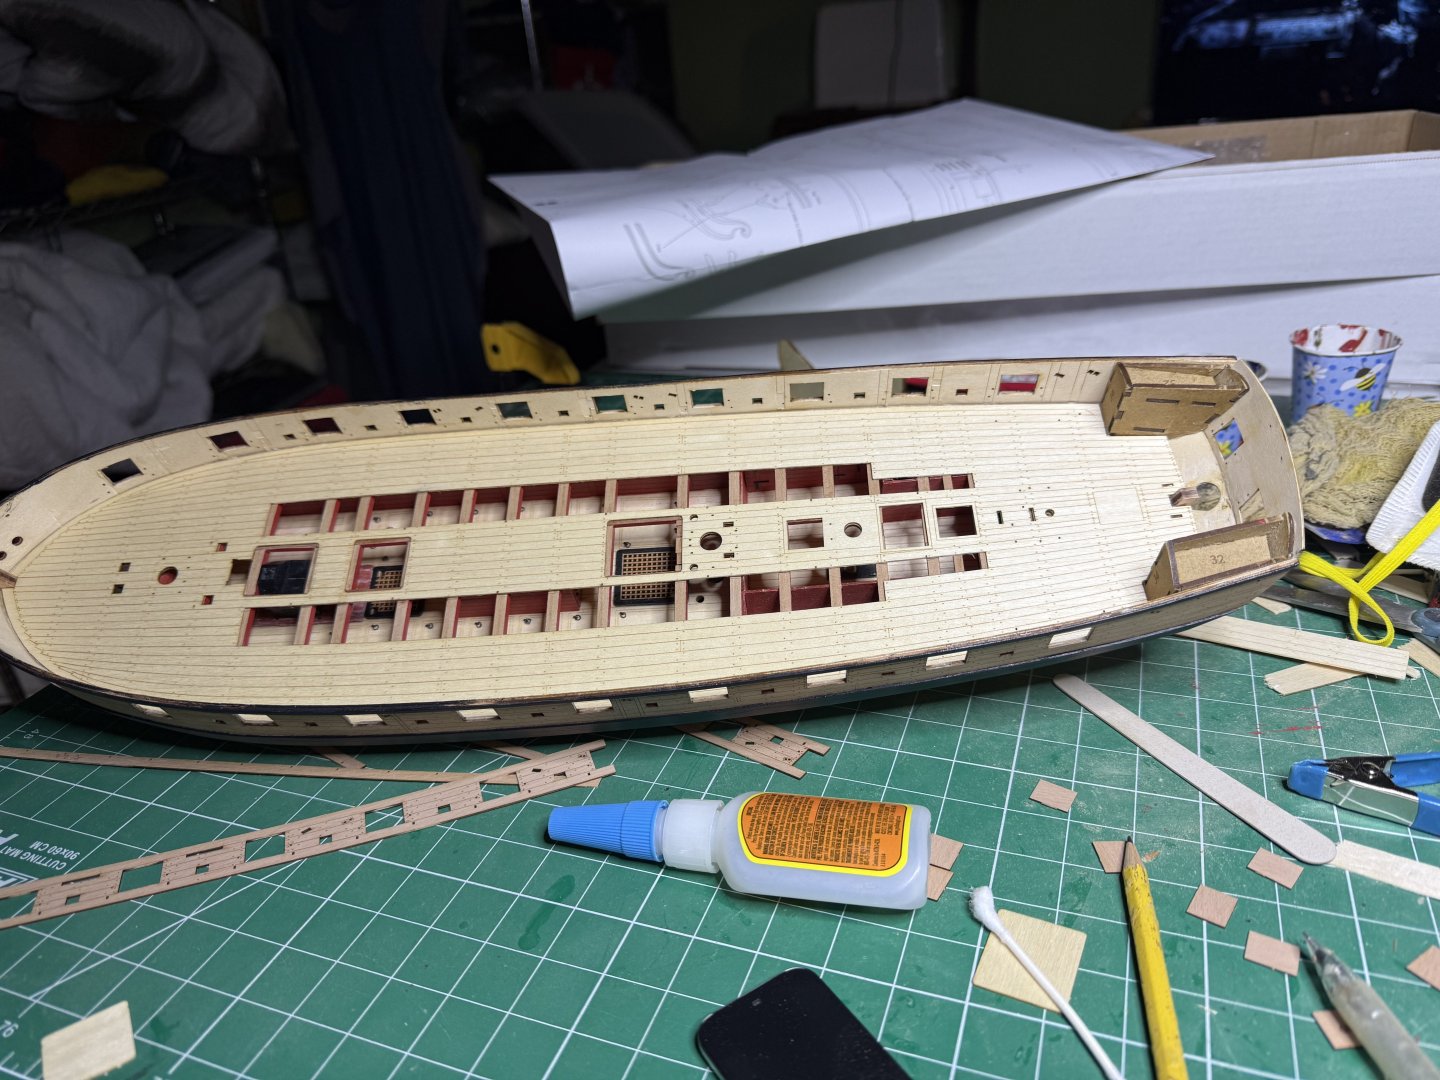
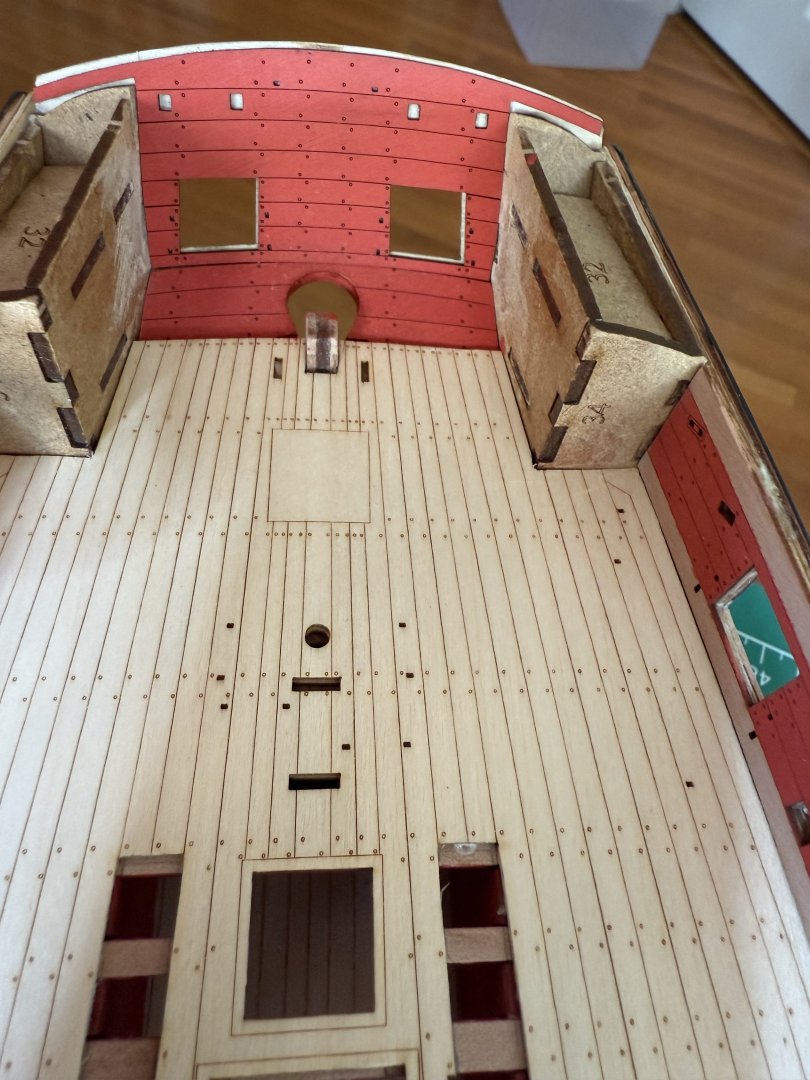
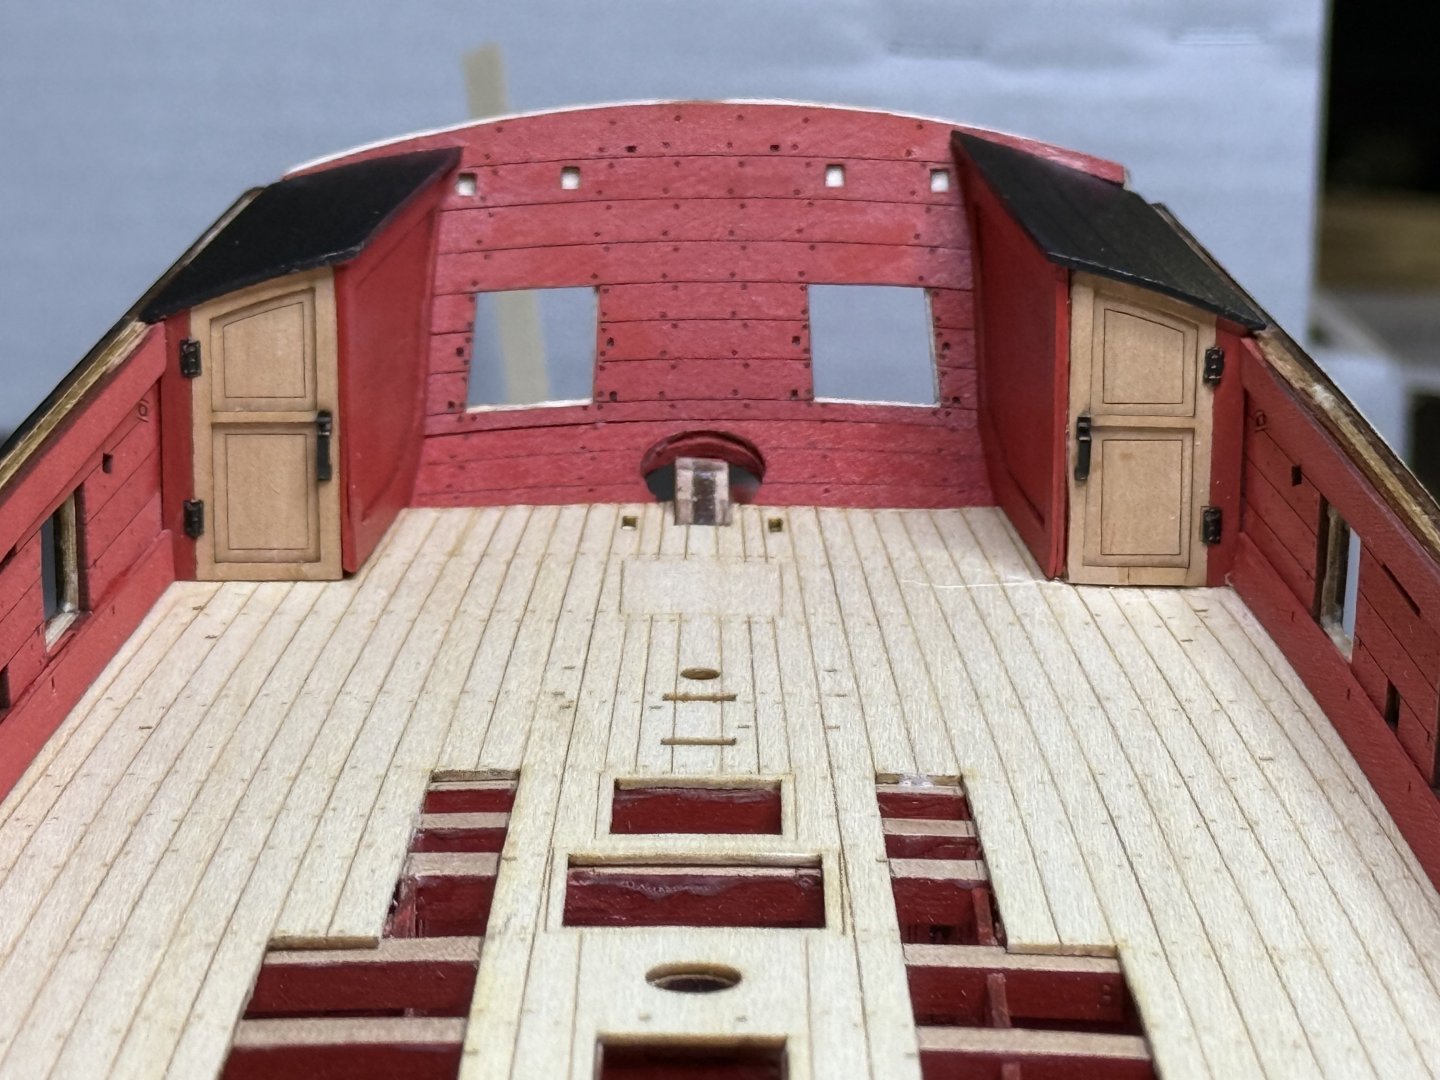
Decided to place the deck and inner bulwarks in before coppering.The deck just needed a little tweeking but fit nicely. Soaked and clamped the forward bulwark overnight then airbrushed all the parts prior to installing. Stern veneers fit after a little filing Doors in. Used latches I had ordered from Syren and decided to airbrush the sides and roof. Of note the veneers are very delicate, unfortunately one split. Then installed the rest

- 73 replies
-
- 9
-
-
- Harpy
- Vanguard Models
- (and 1 more)
-
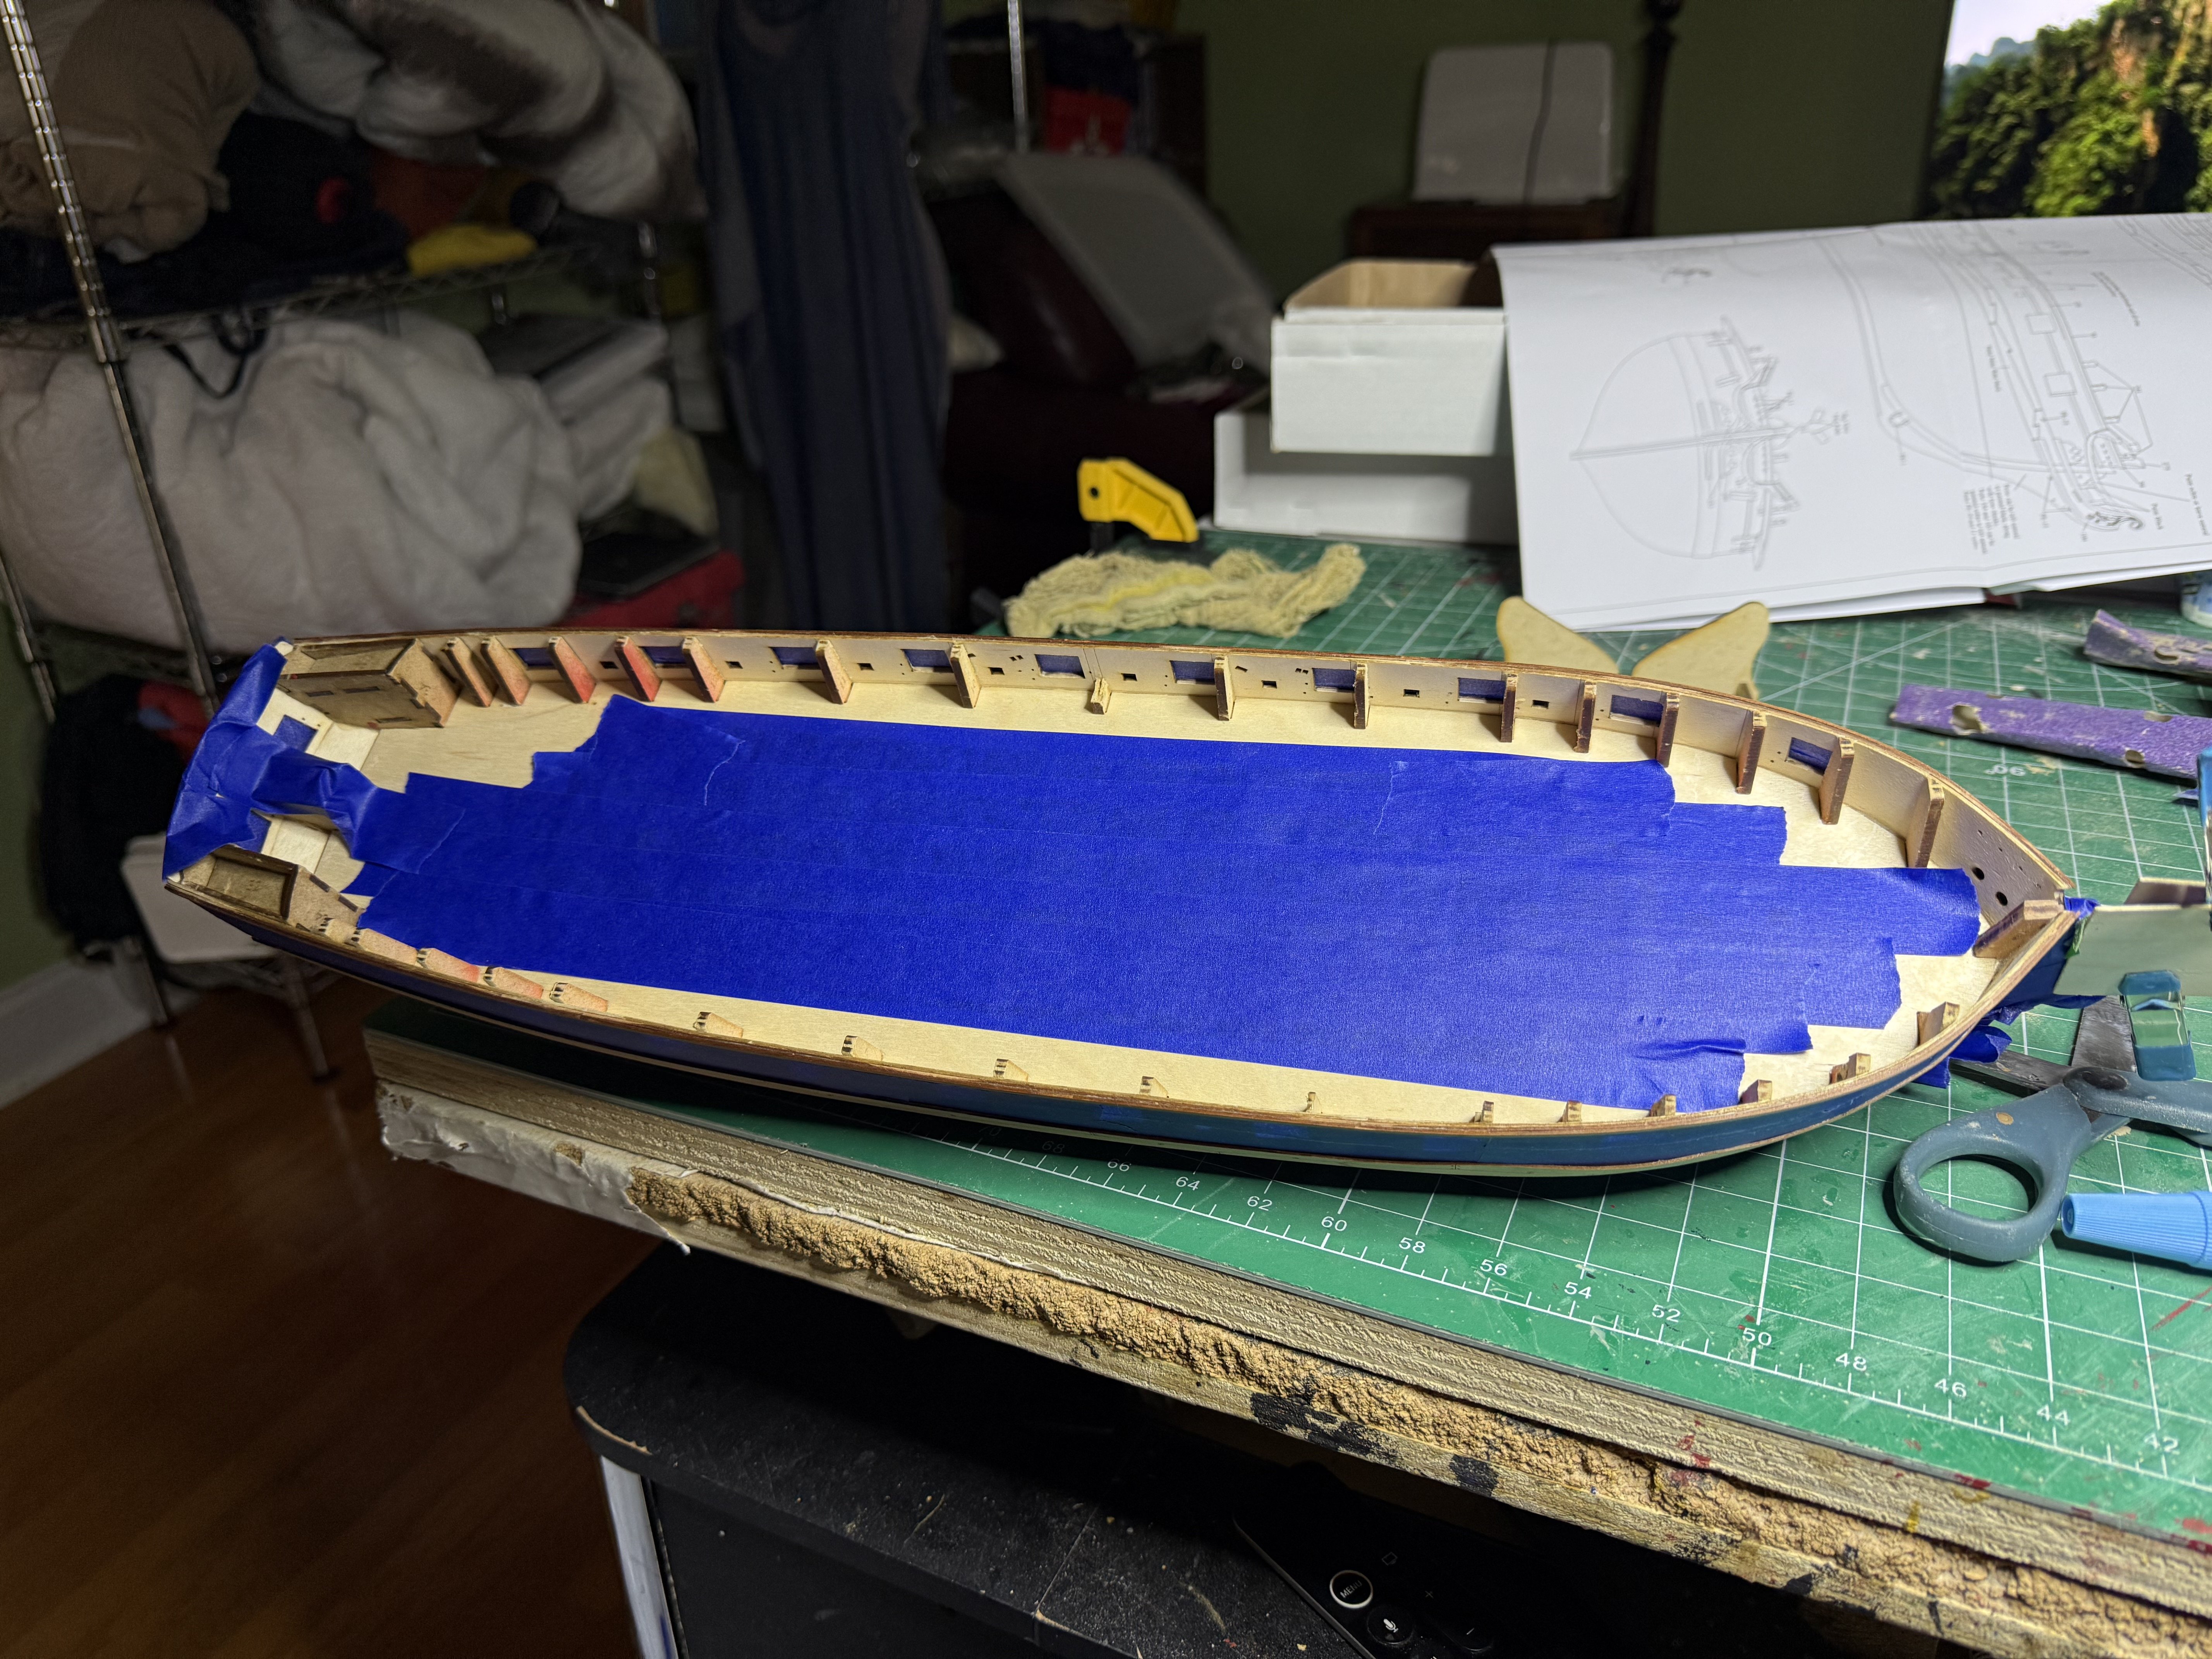
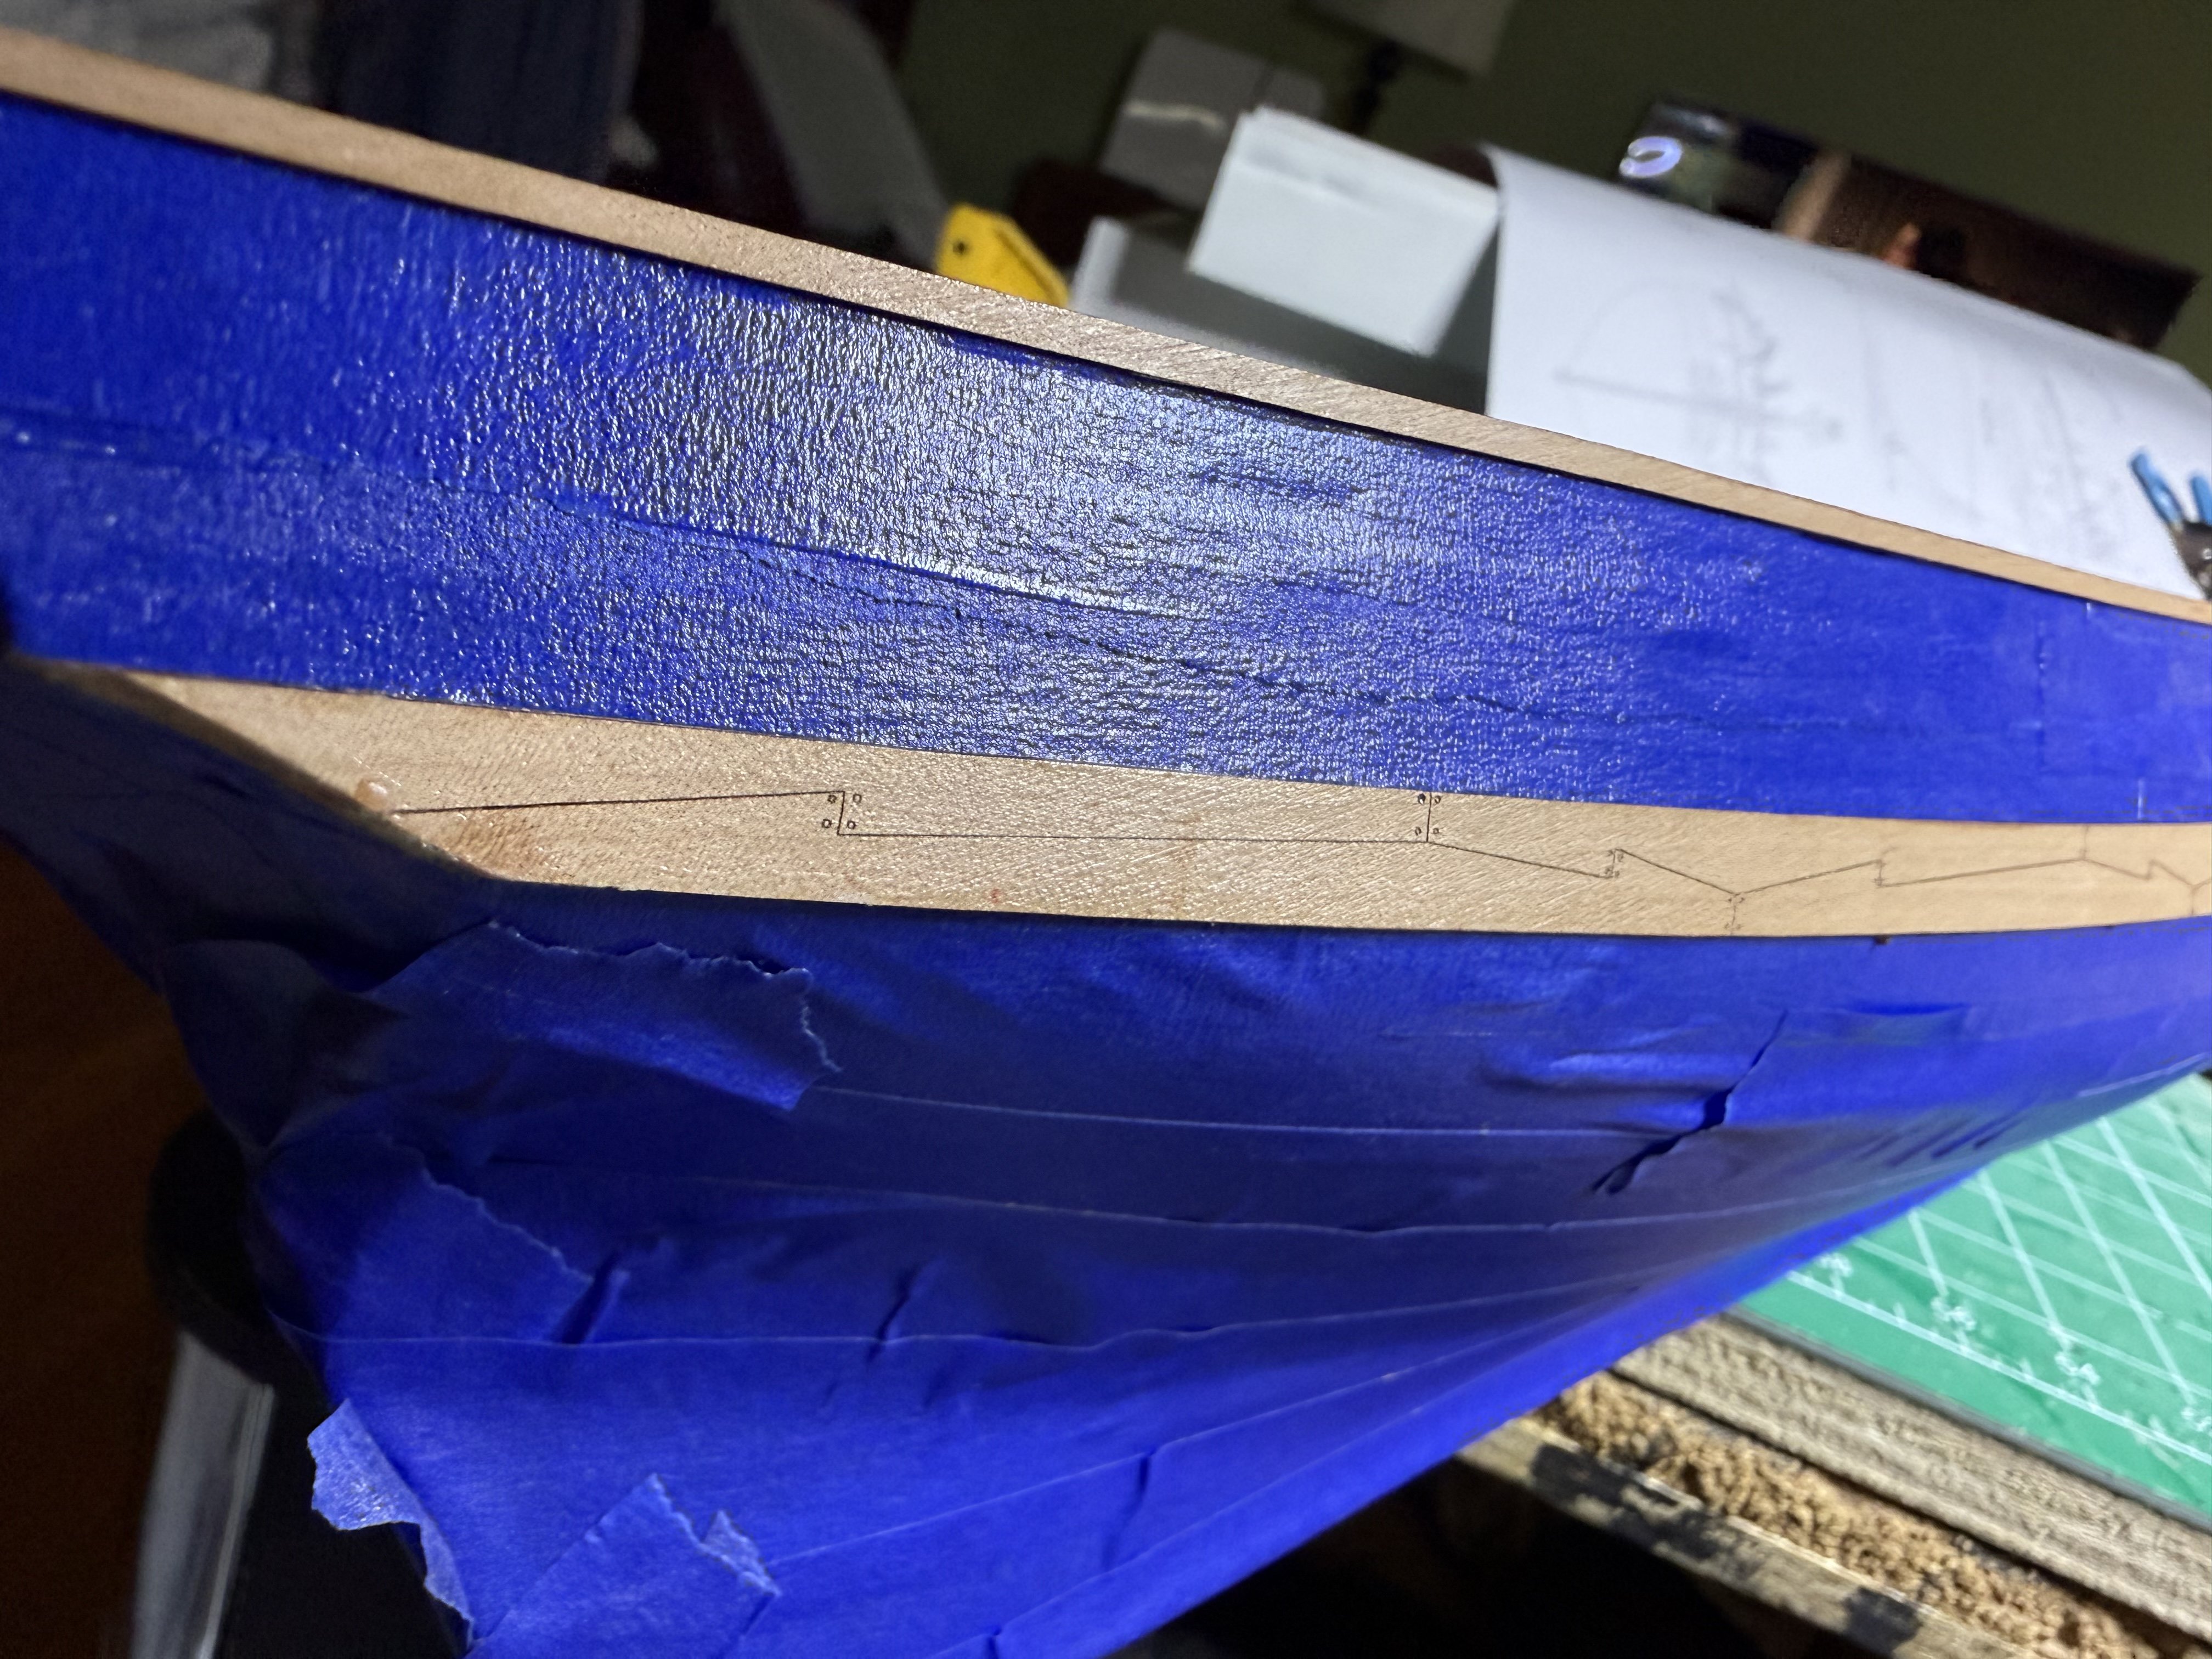
Had taped everything up tight to airbrush strake but had issues so just used old fashioned brush. Had painted tape edges with poly to seal any spots that might bleed paint. Did this before the maindeck area to prevent any accidents.


- 73 replies
-
- 12
-
-
- Harpy
- Vanguard Models
- (and 1 more)
-
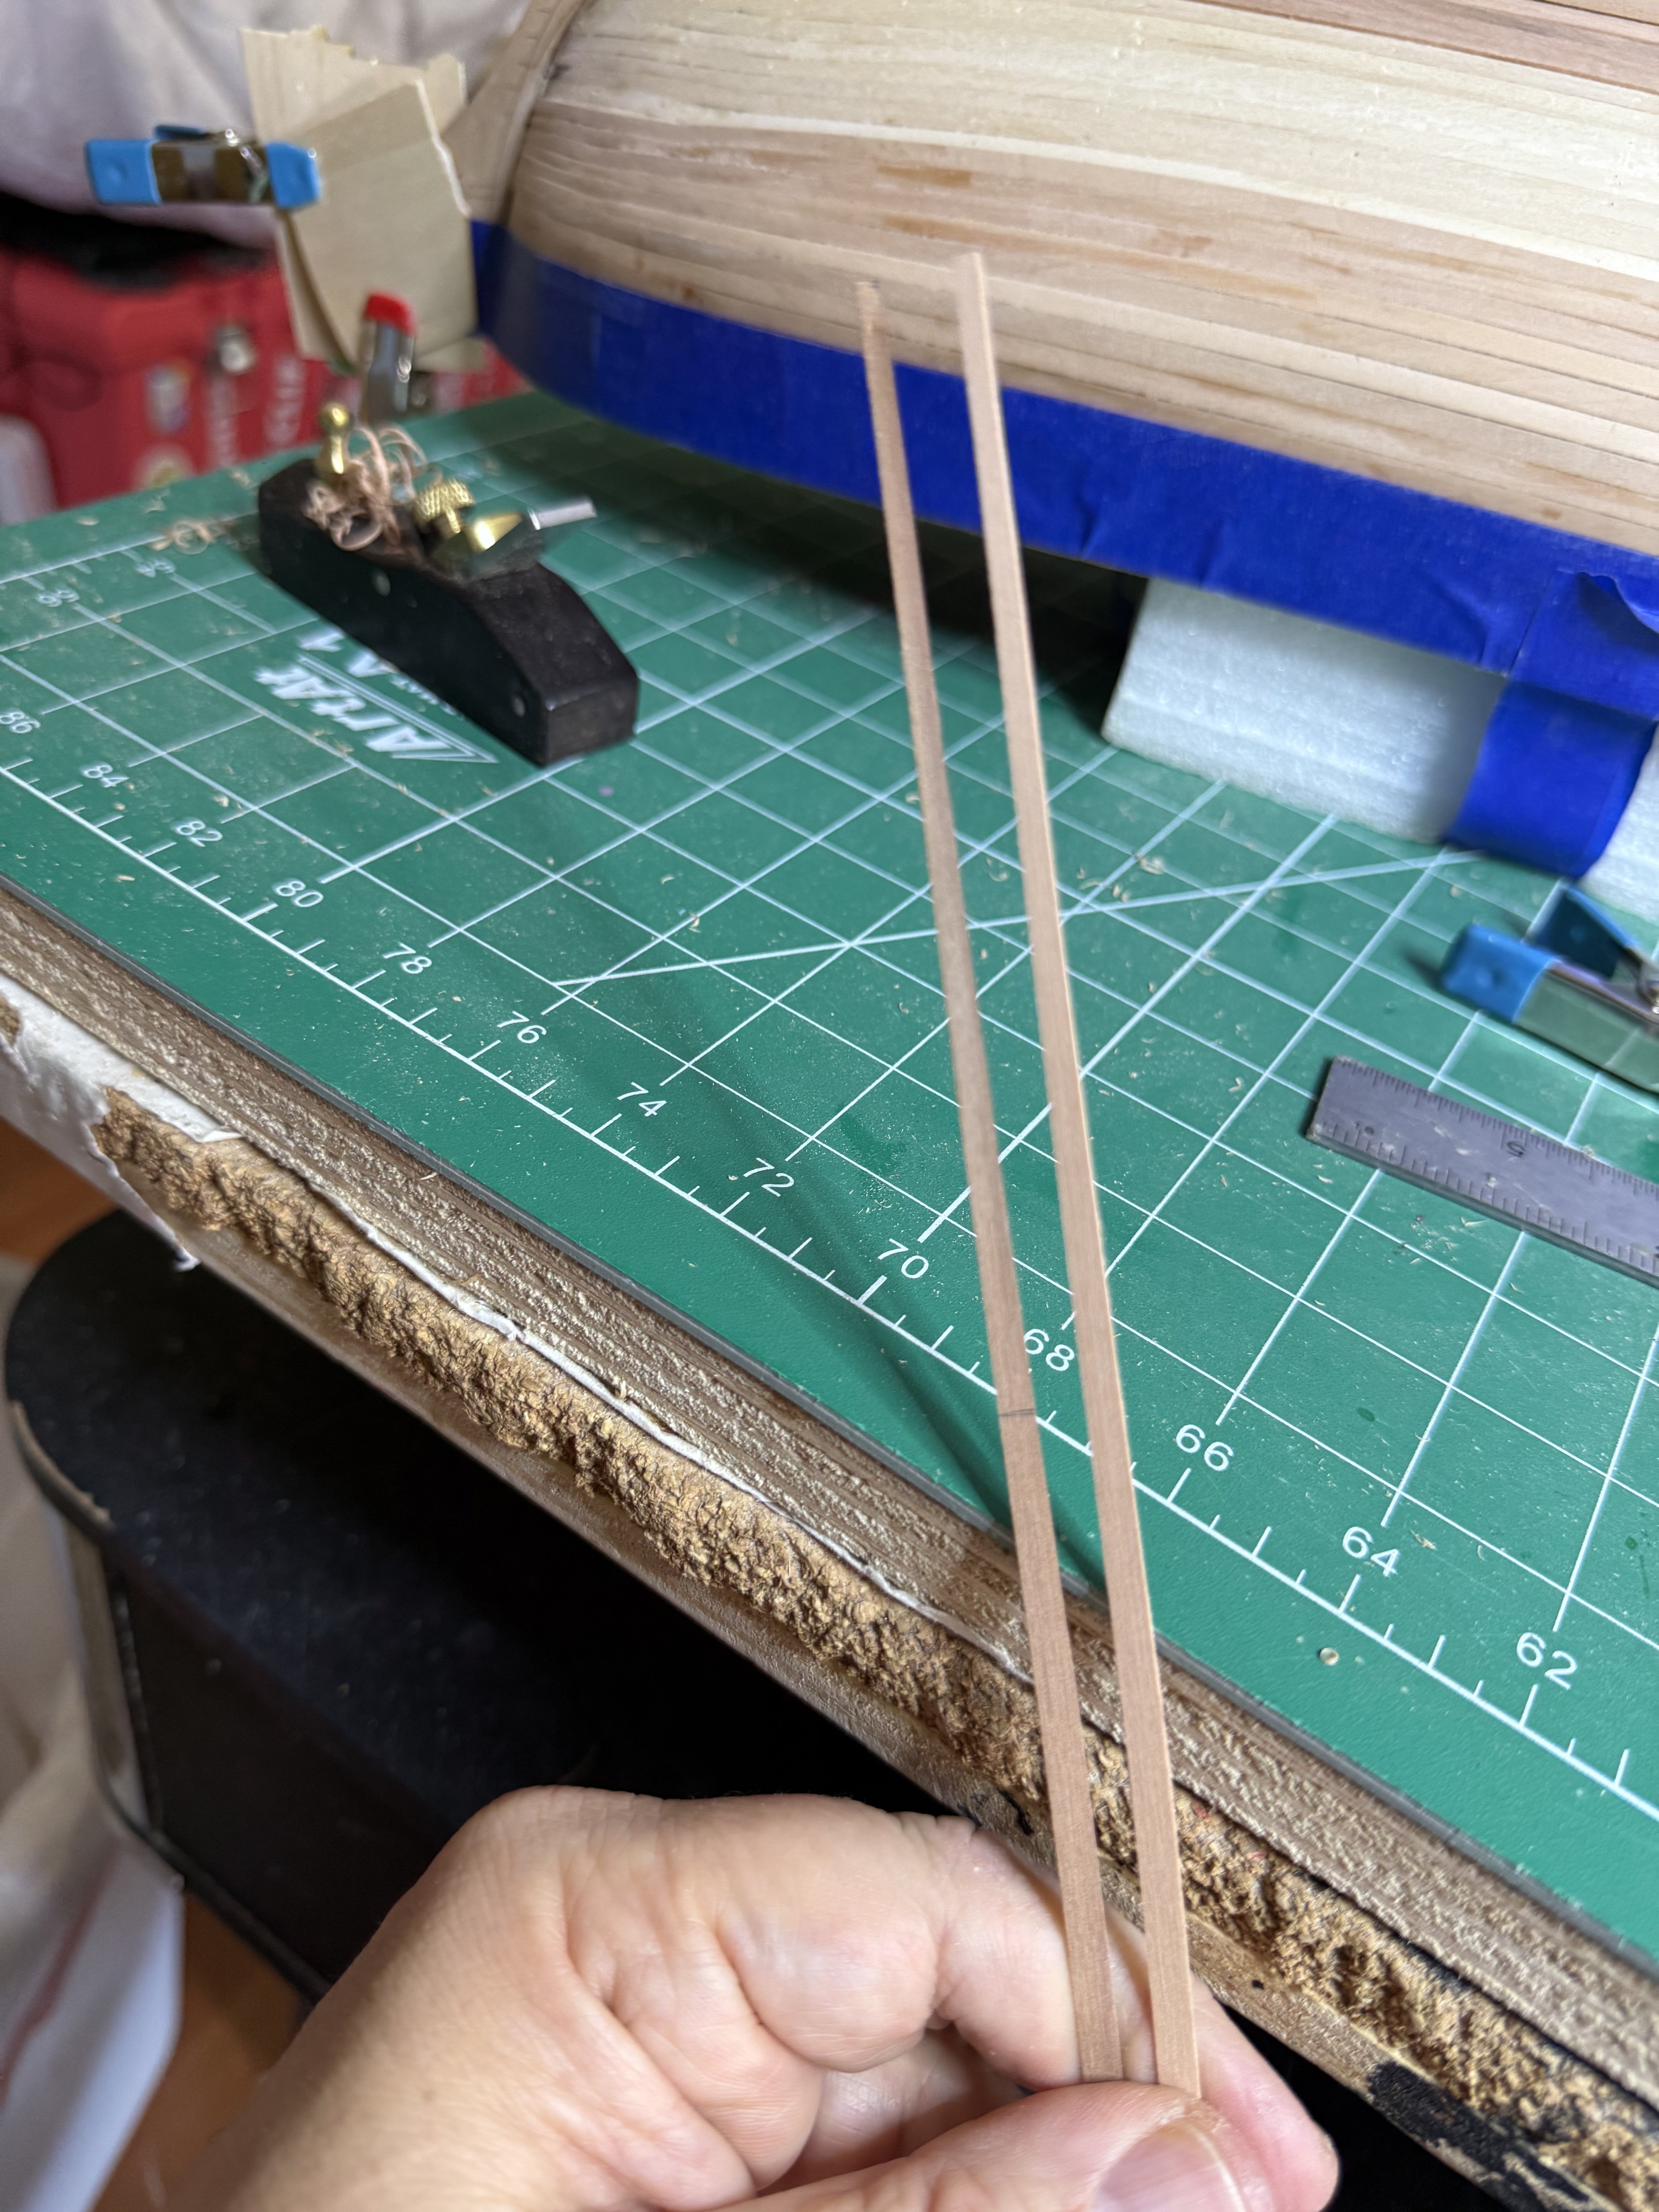
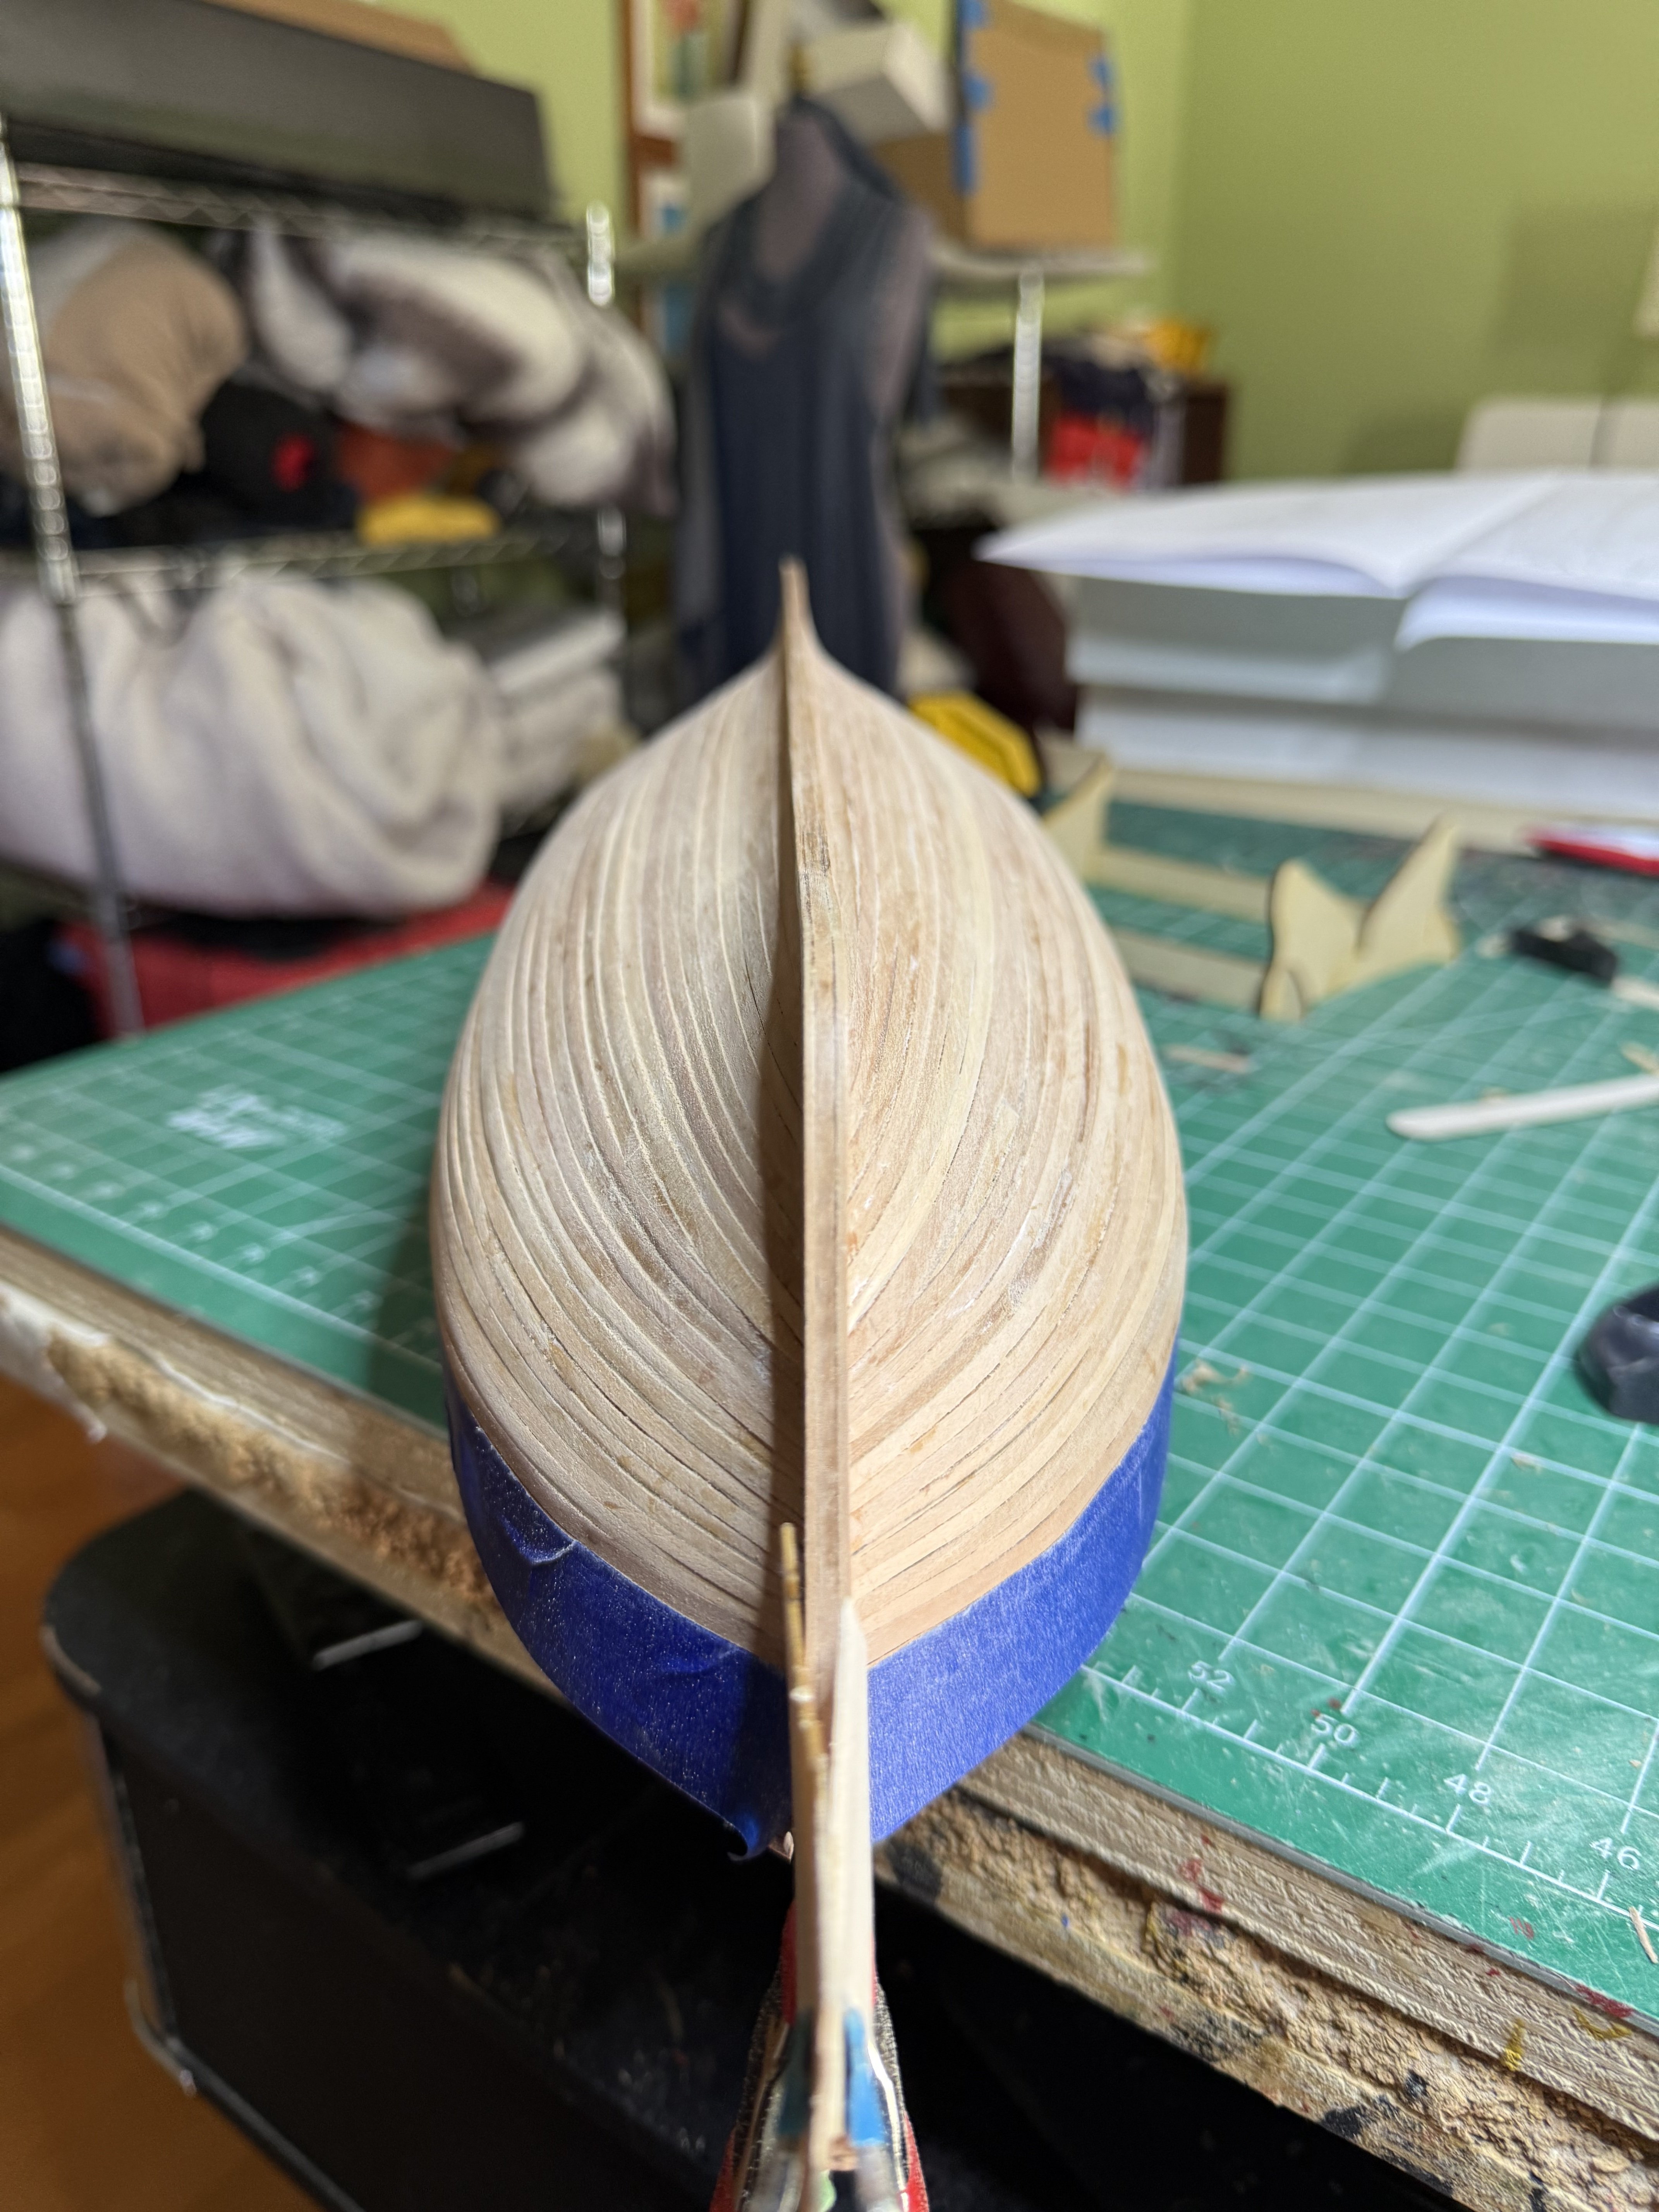
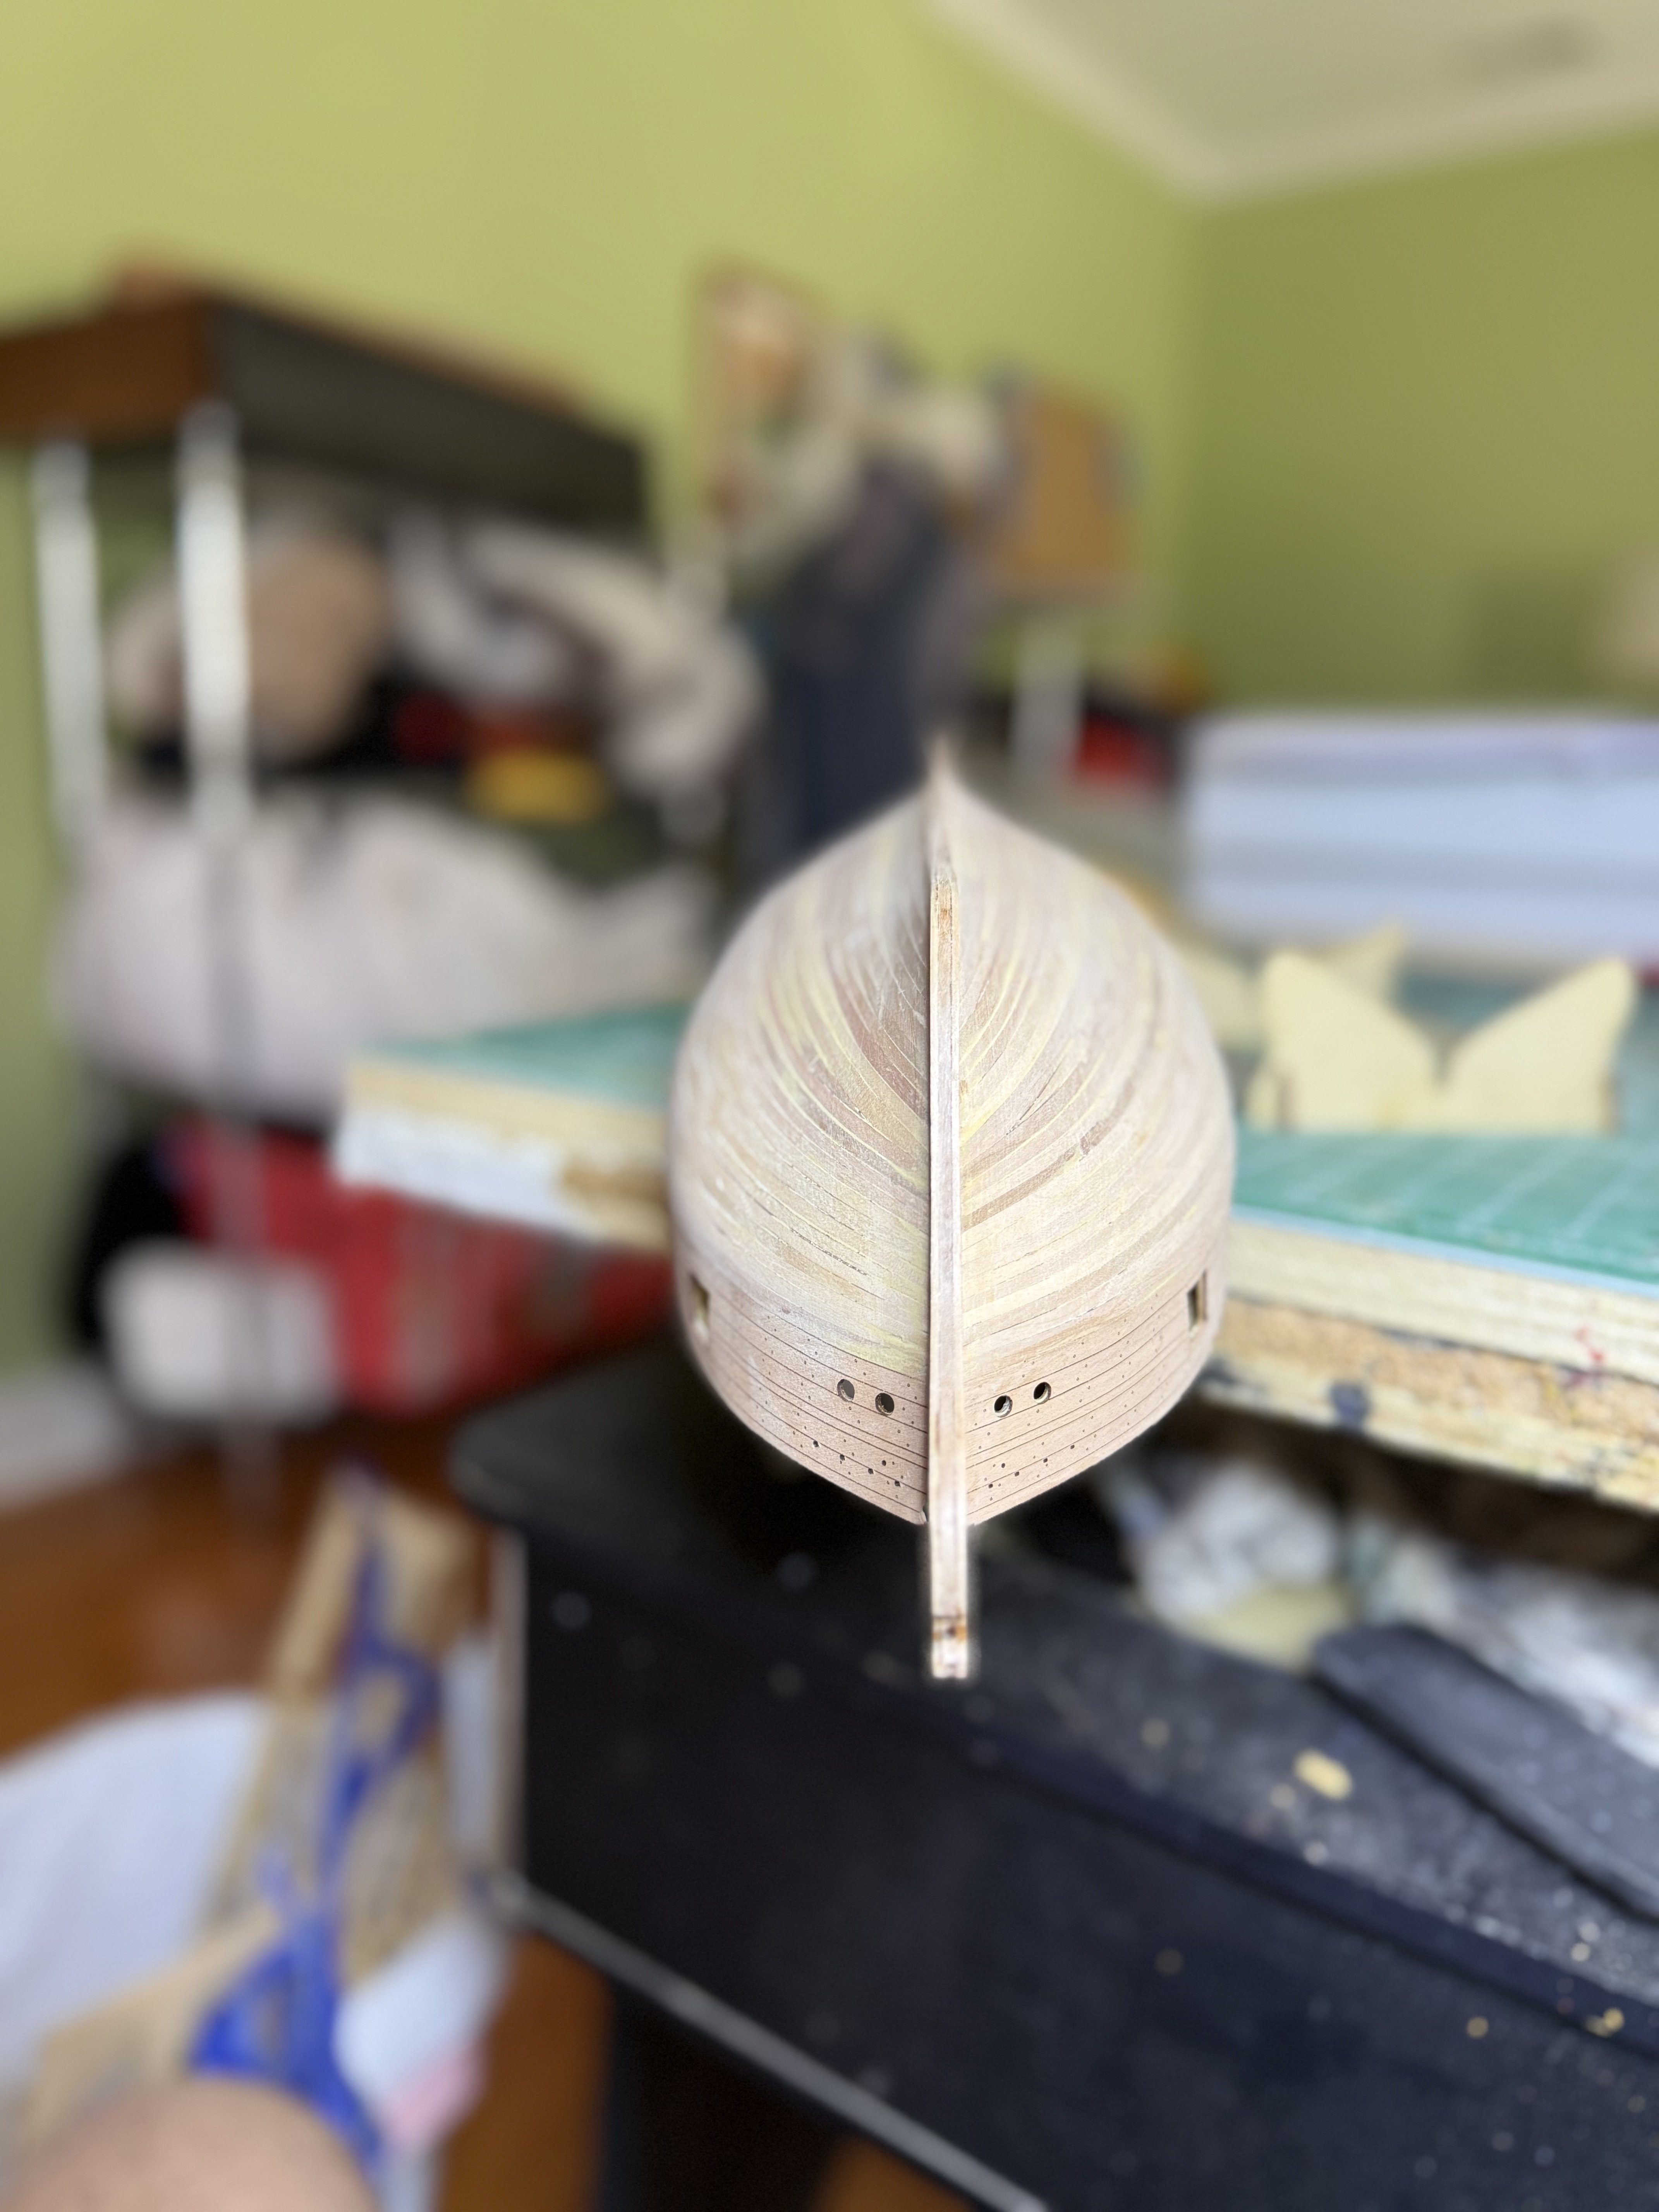
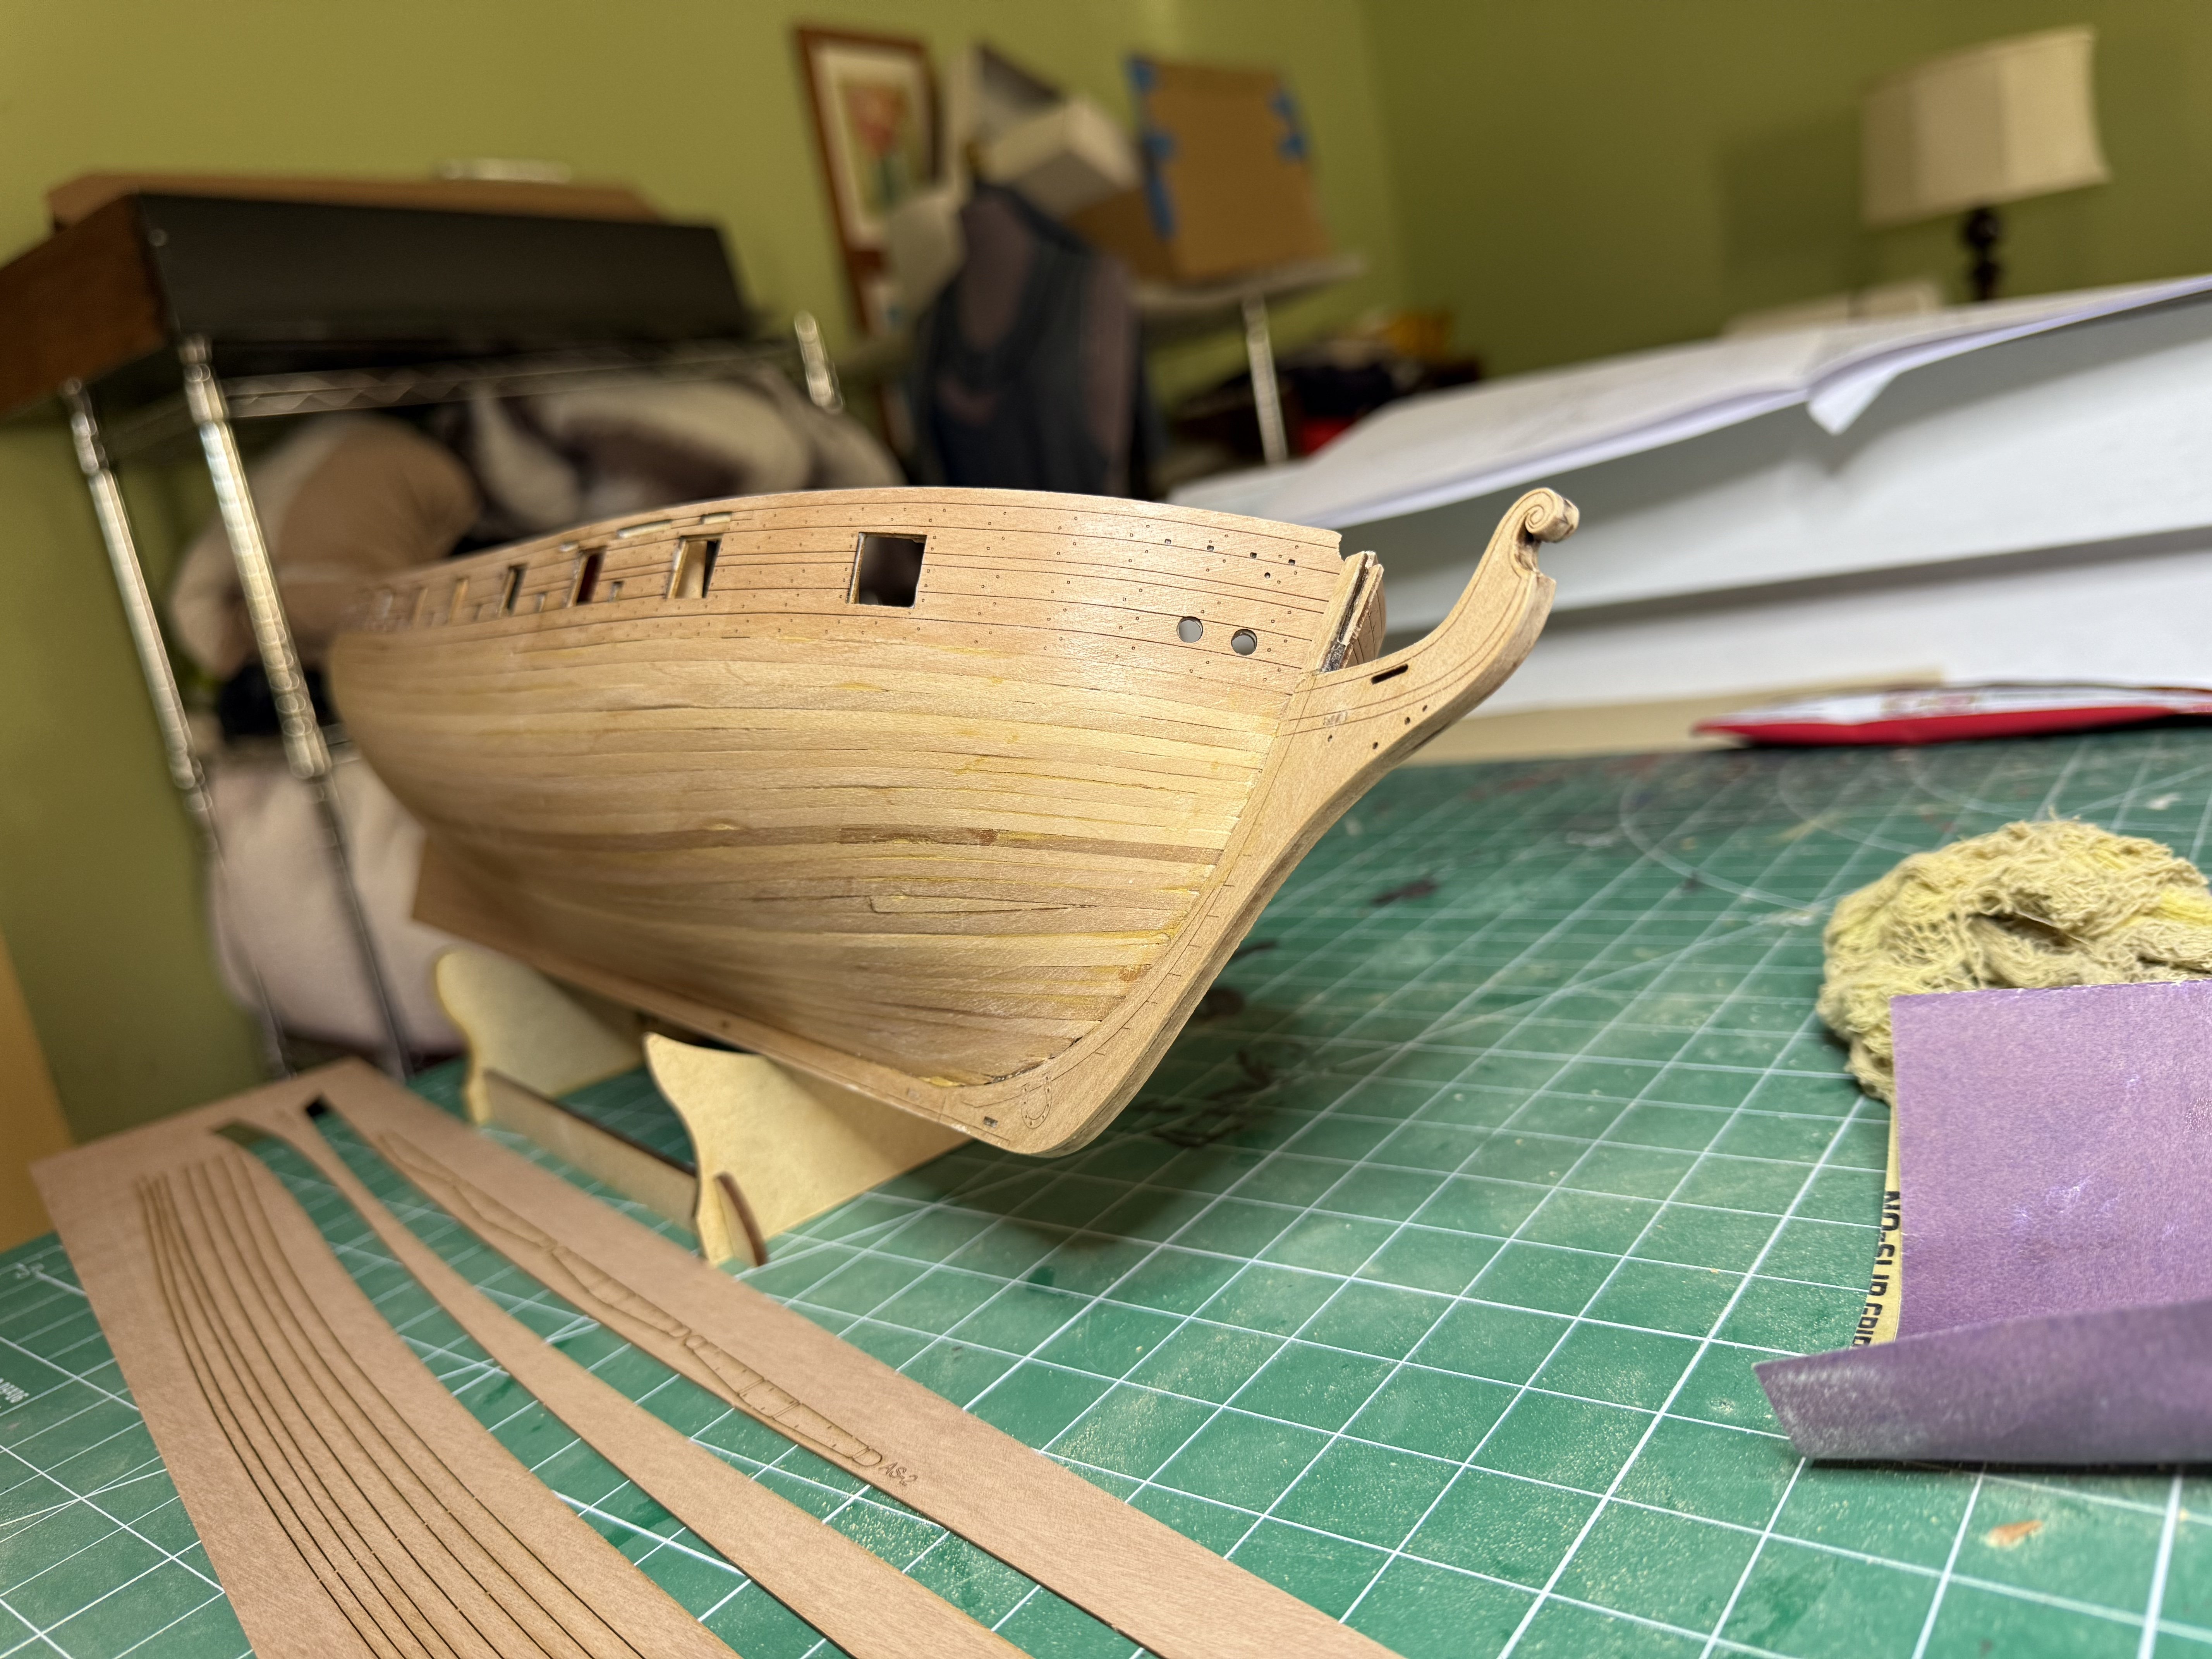
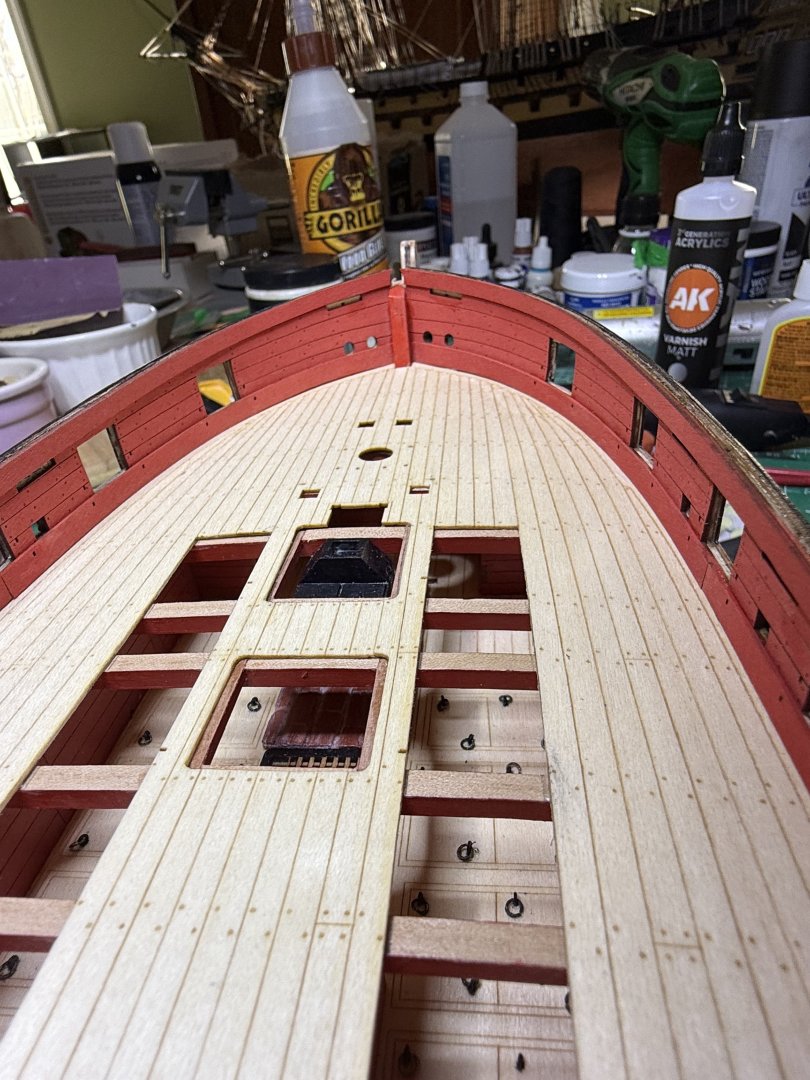
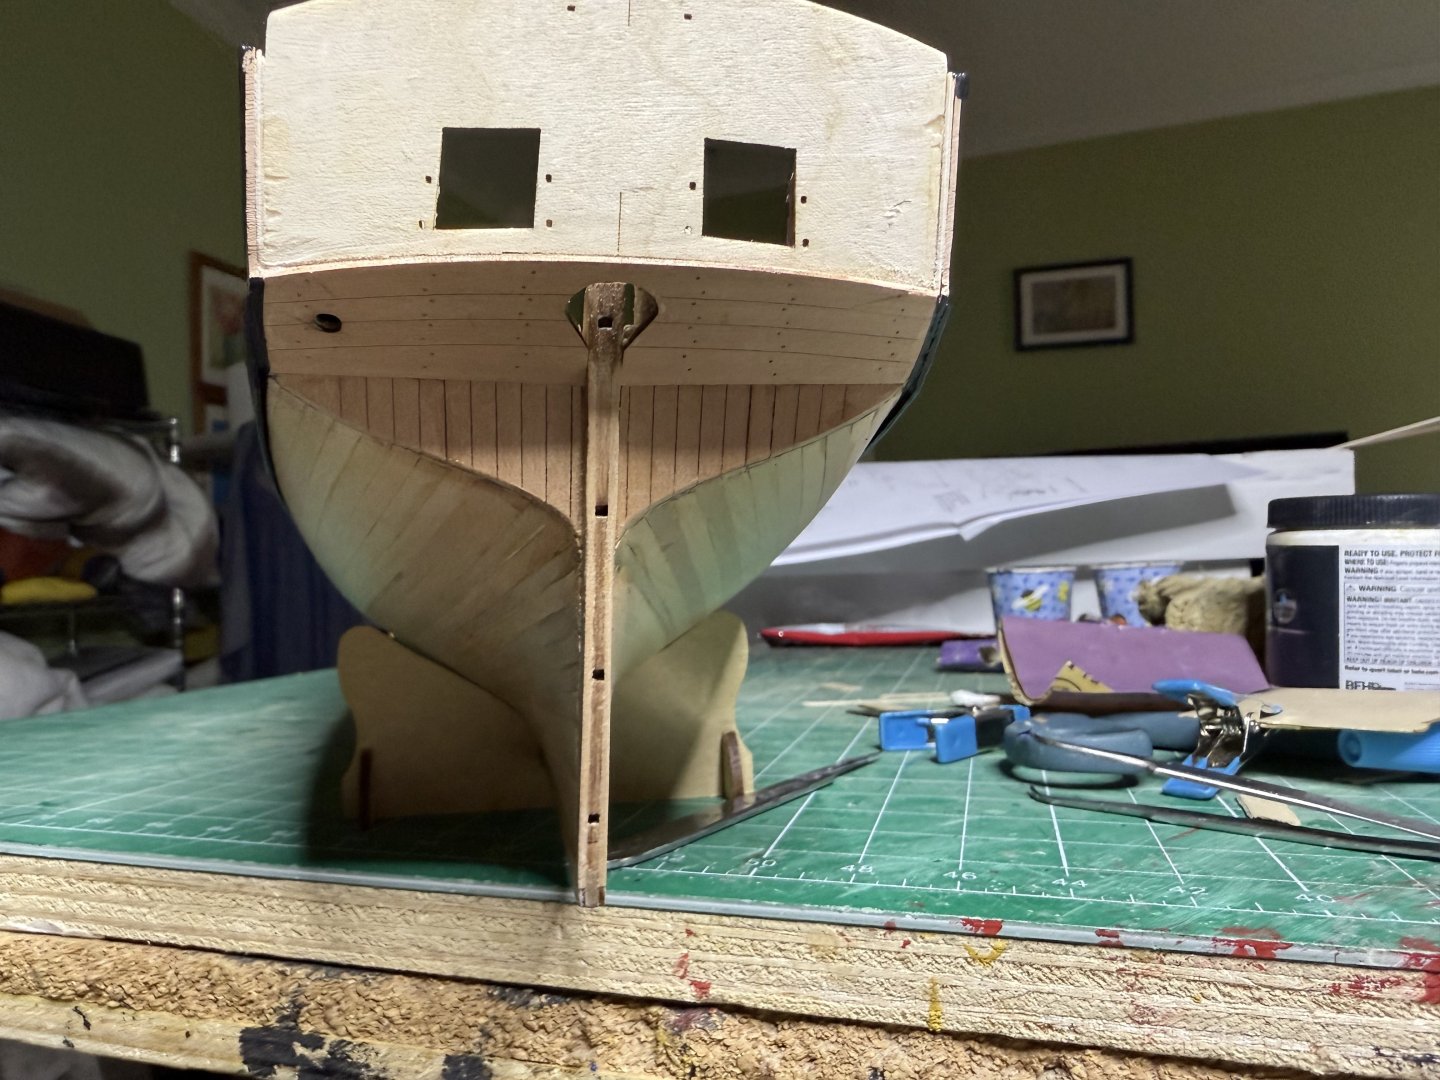
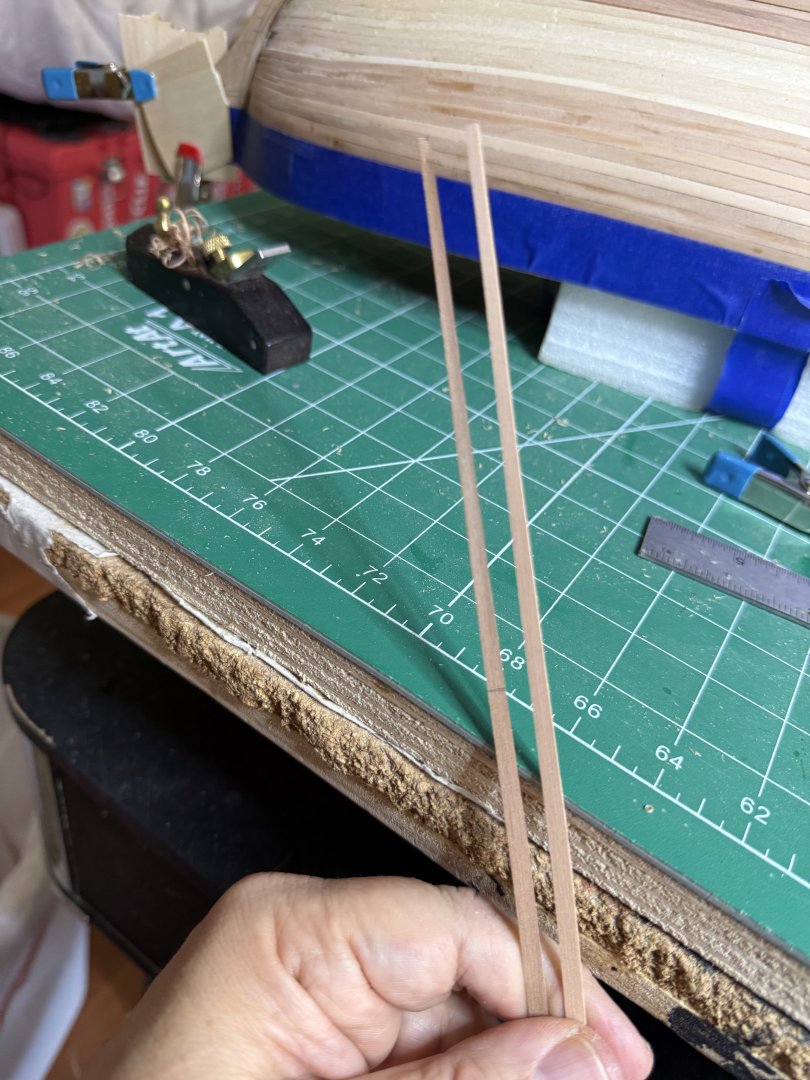
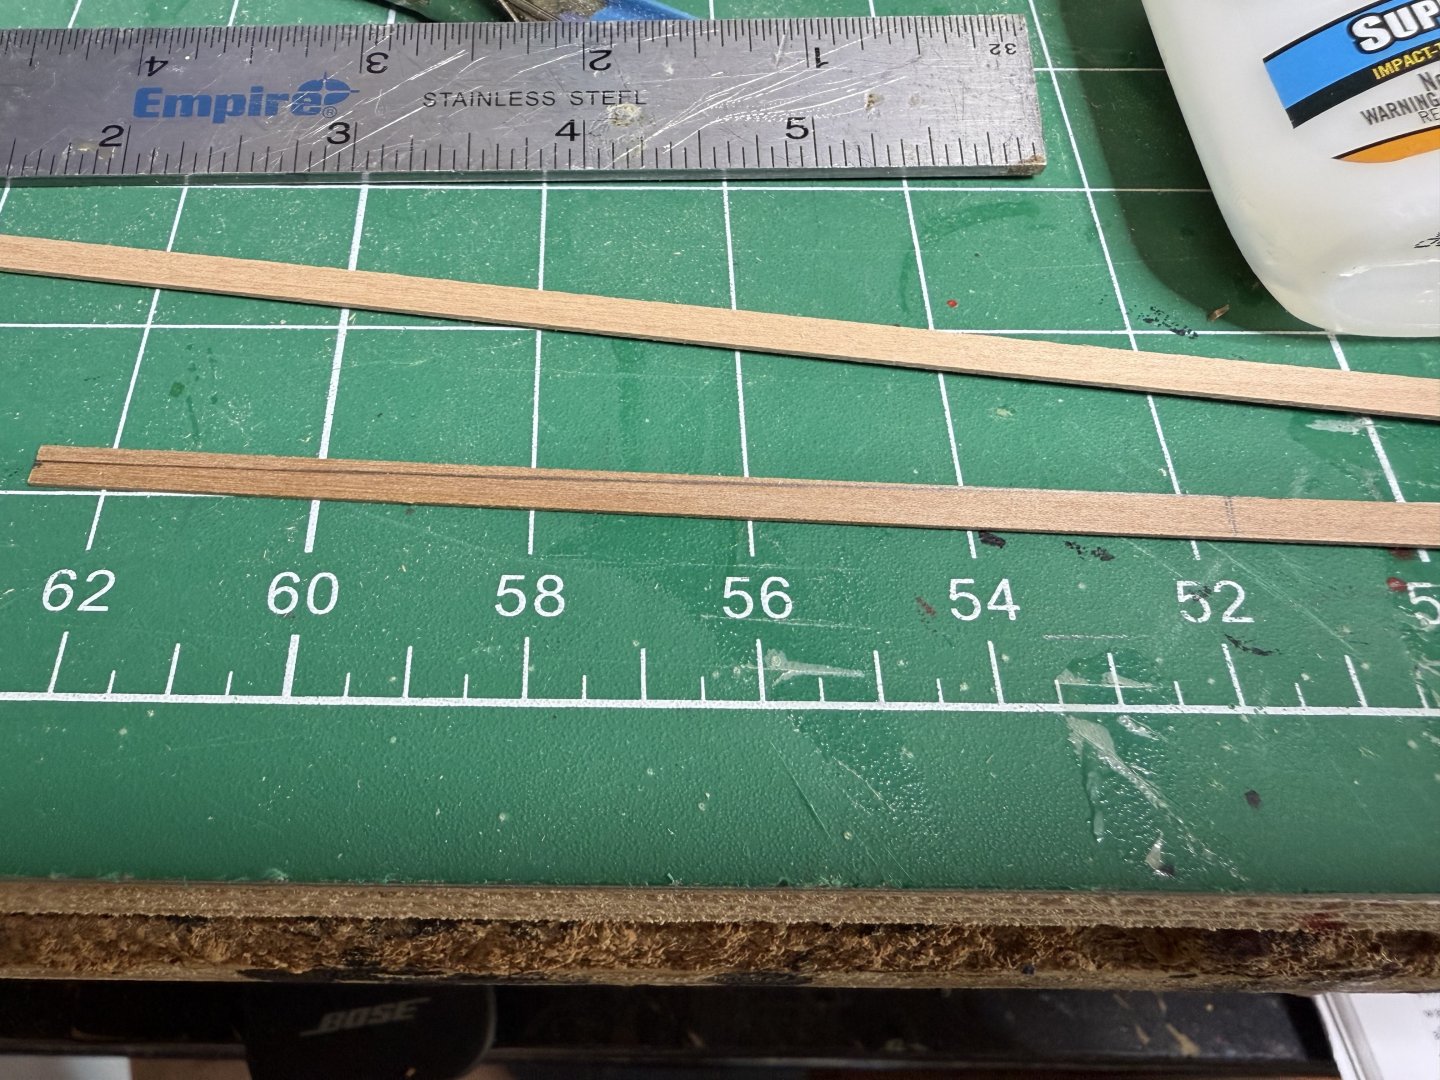
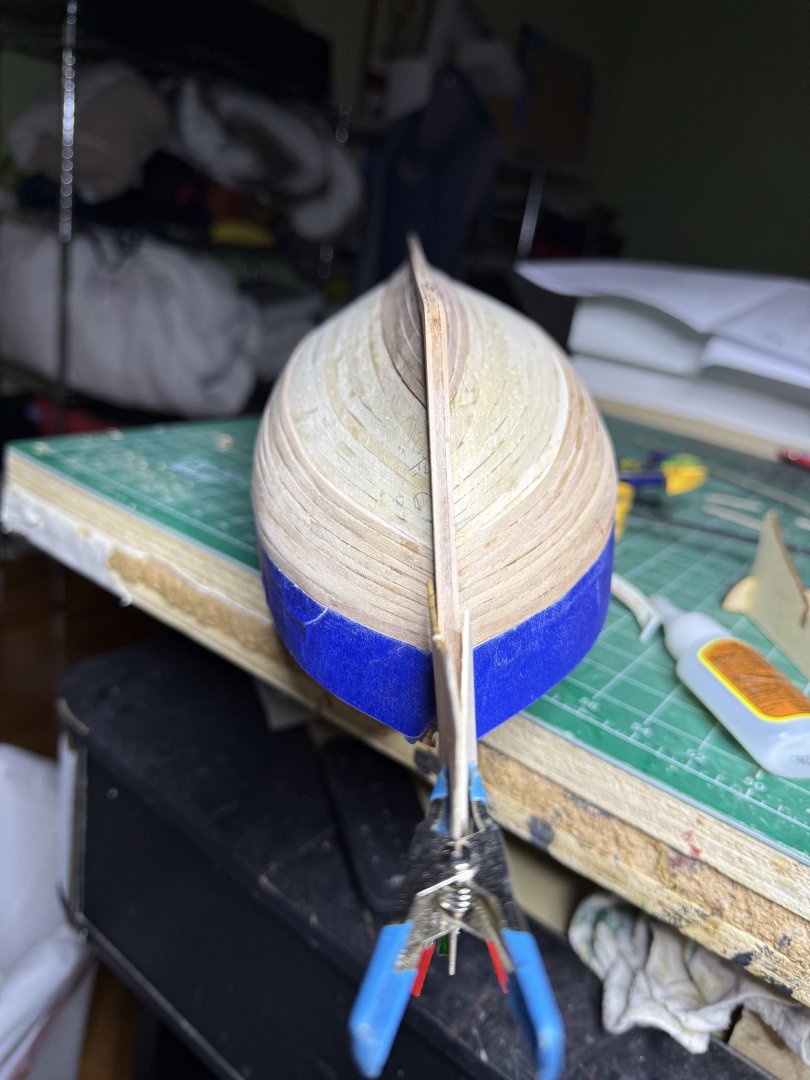
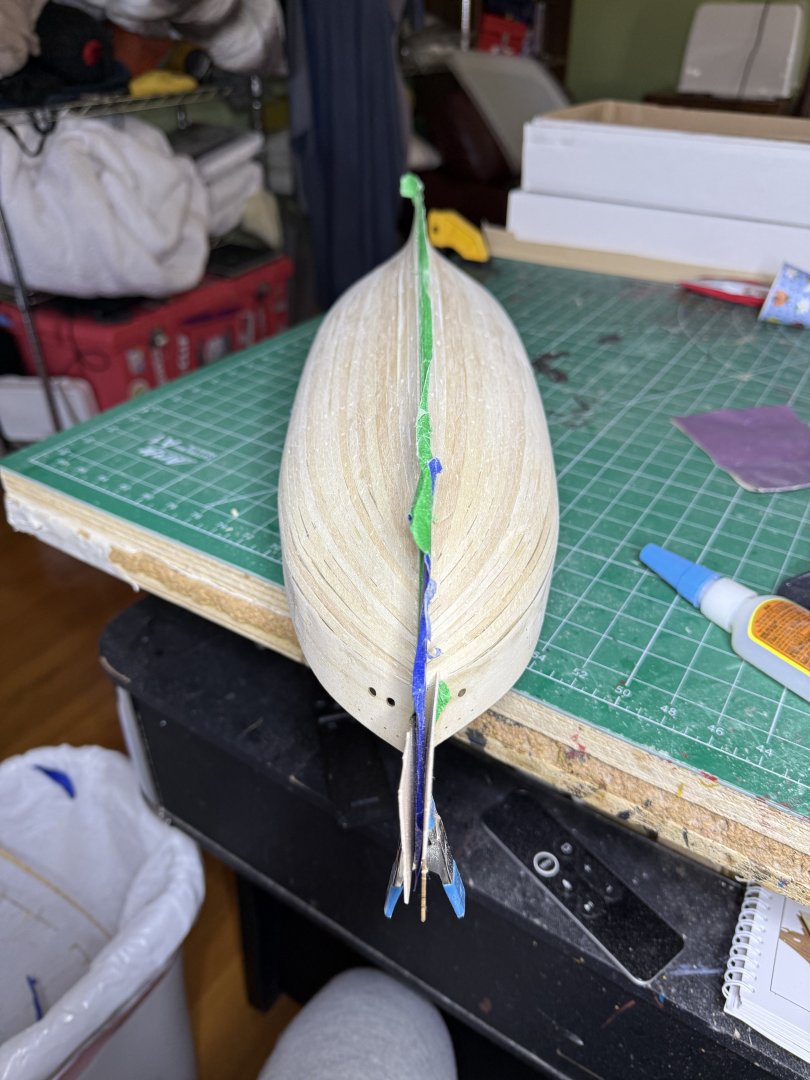
Thanks, definitely enough room. I like to add the poly since if I accidentally get paint on the unpainted areas I can scrape/ light sand off without major damage. Of note, I have tried various method of tapering the bow sections of the planks. Always hard with blade /ruler method to get each side symmetrical. Settled on marking the are to be removed, clamping the 2 planks together and then planning done to get 2 almost identical curved planks.

- 73 replies
-
- 5
-
-
- Harpy
- Vanguard Models
- (and 1 more)
-
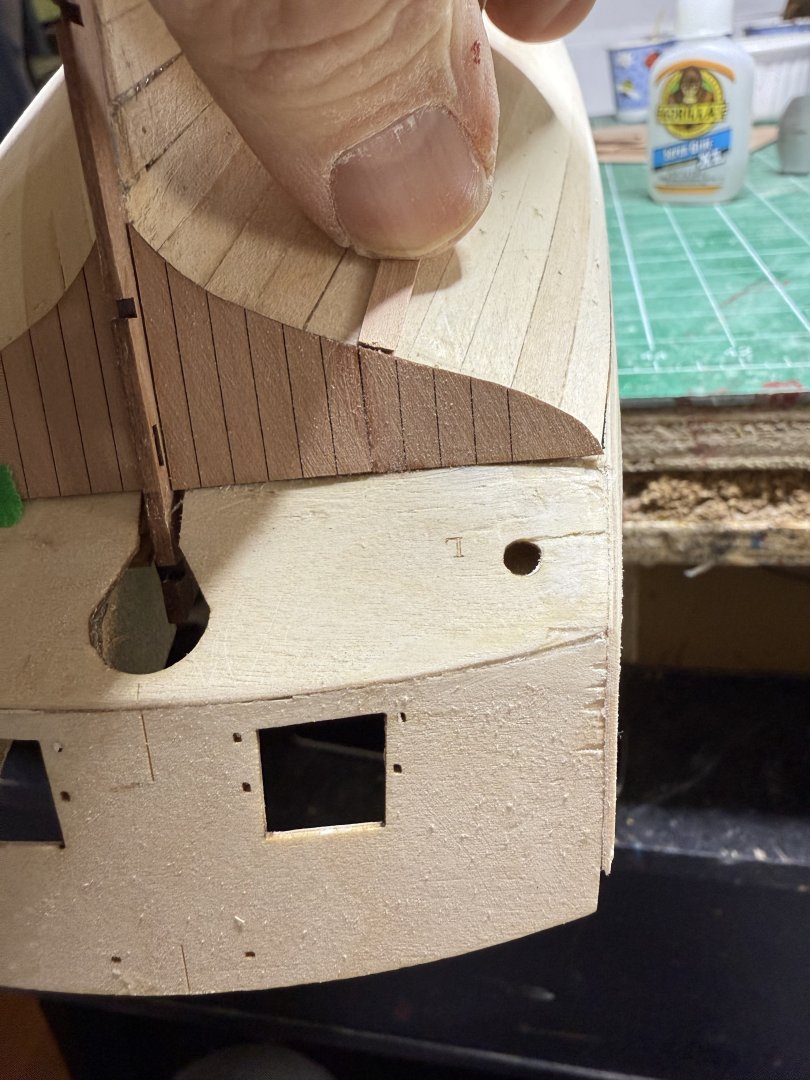
I also found the bow sections of the veneers needed significant trimming to align properly.
-
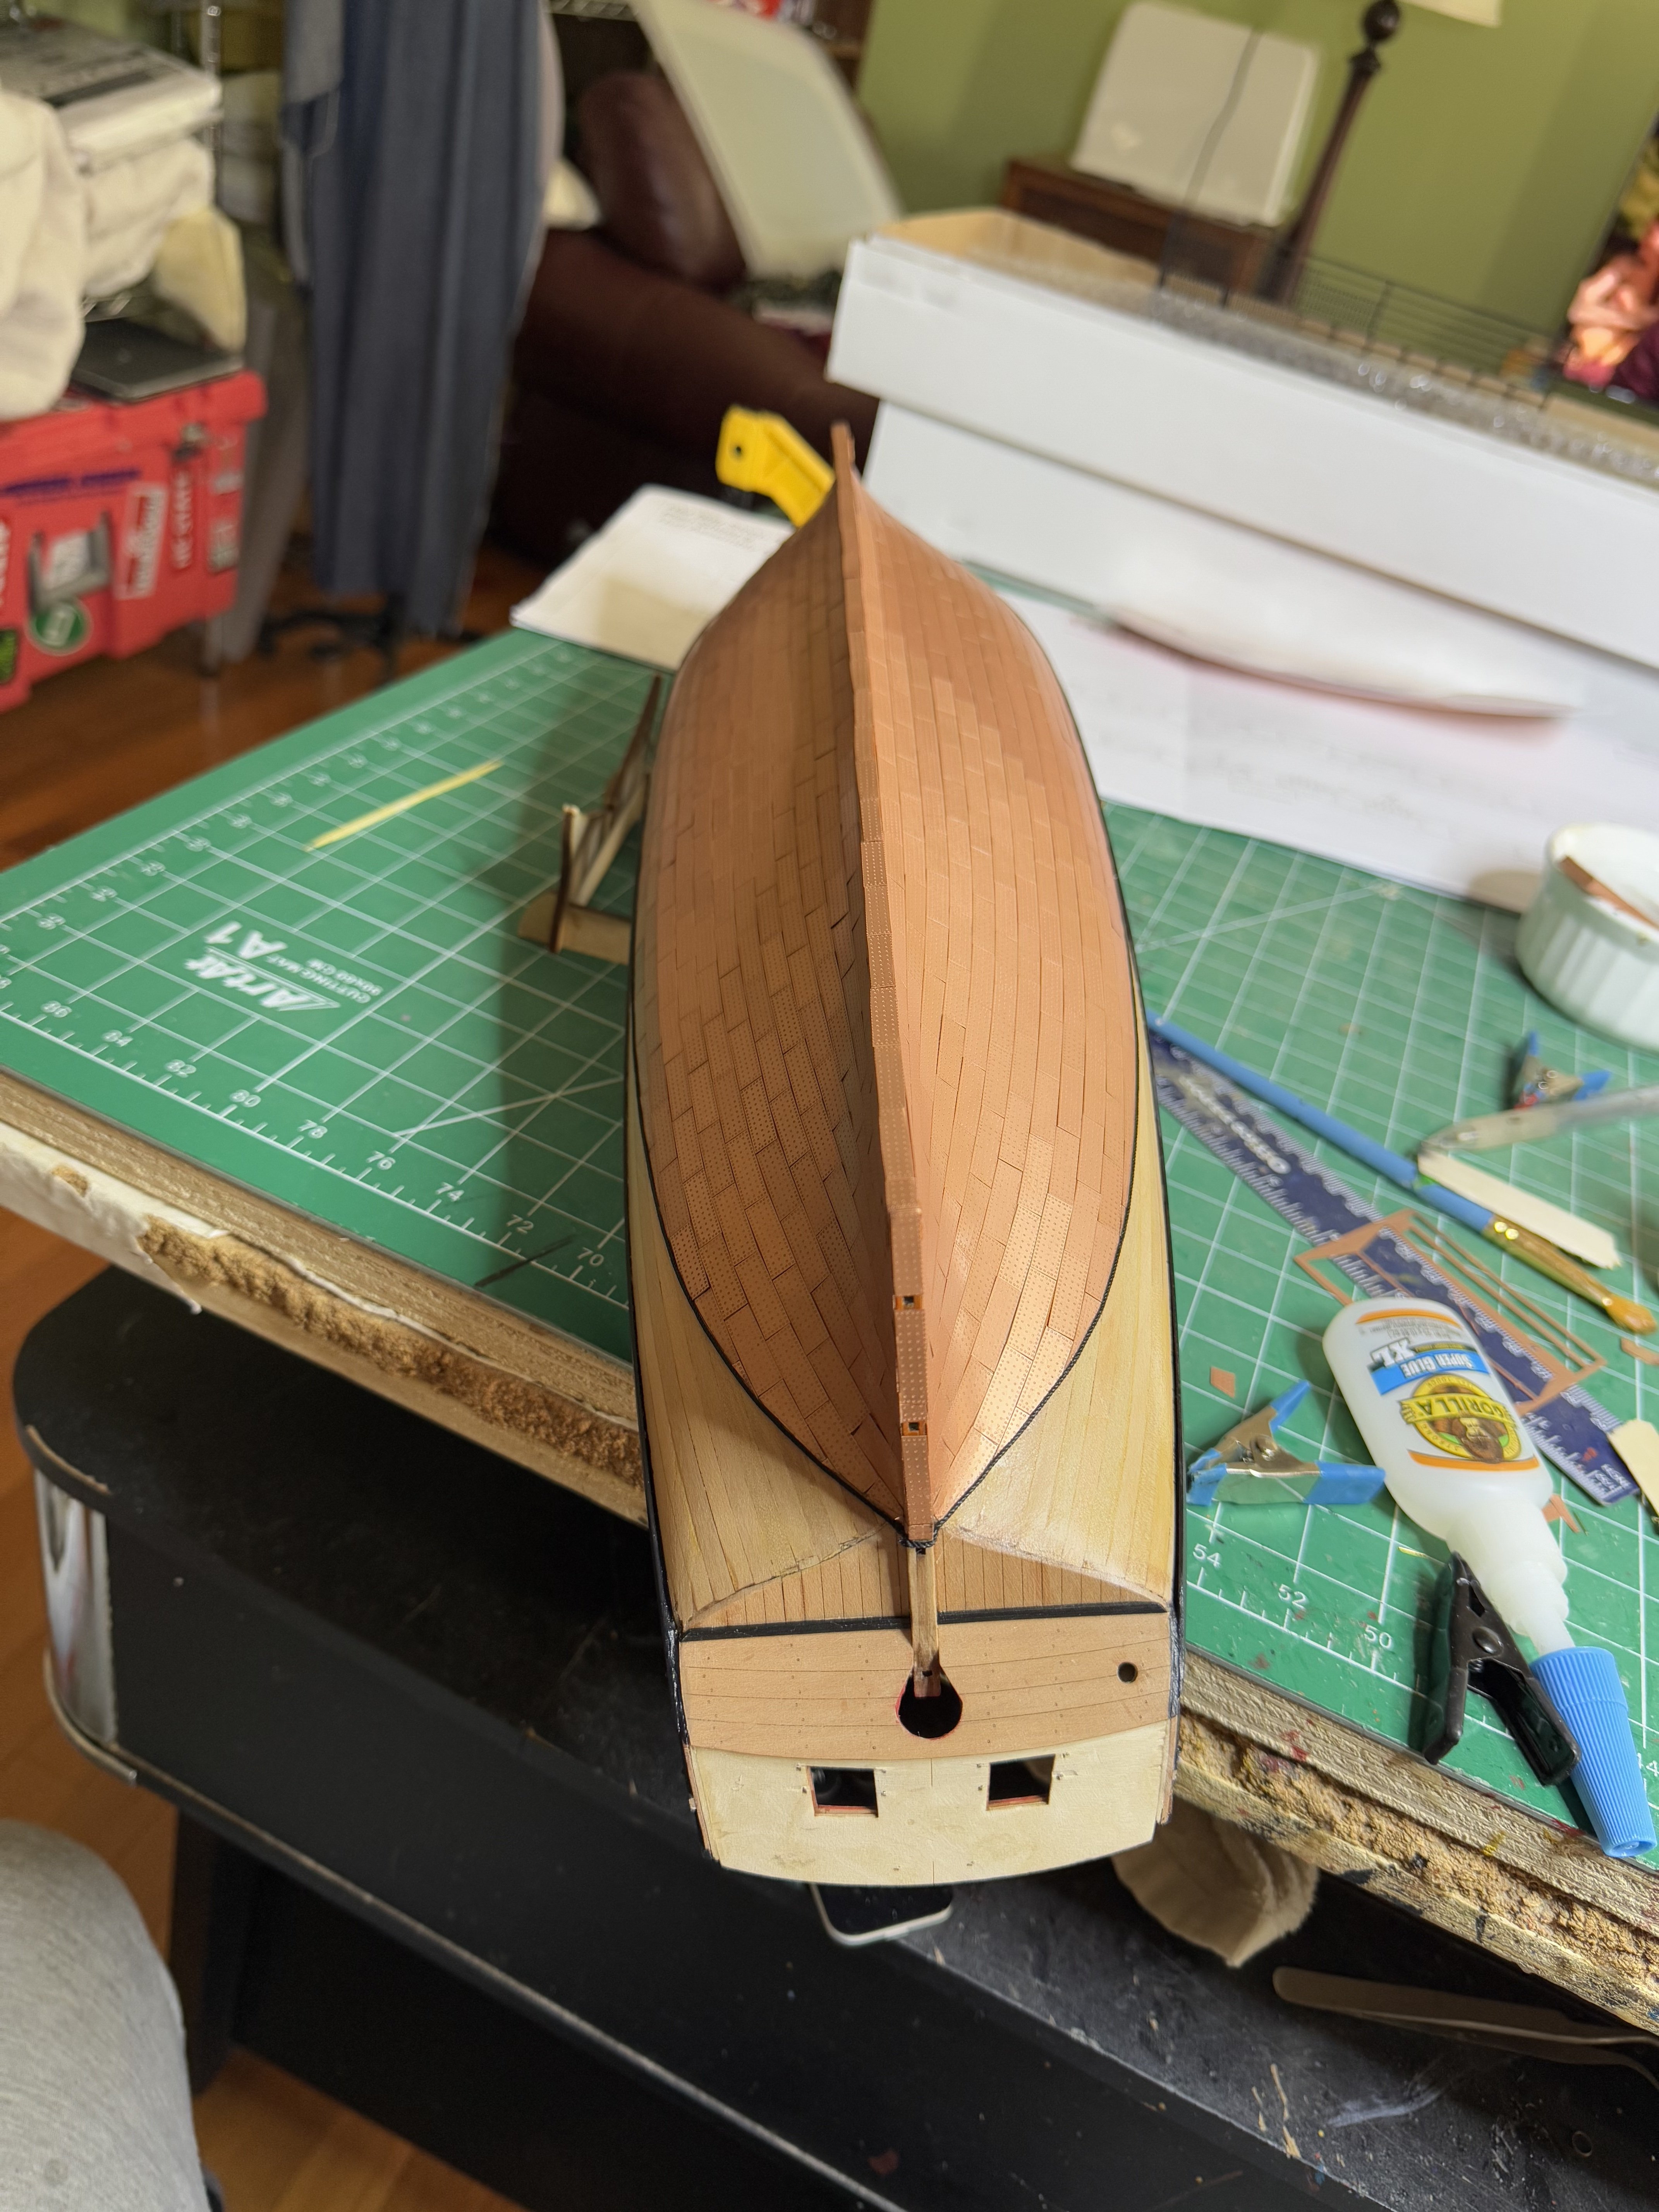
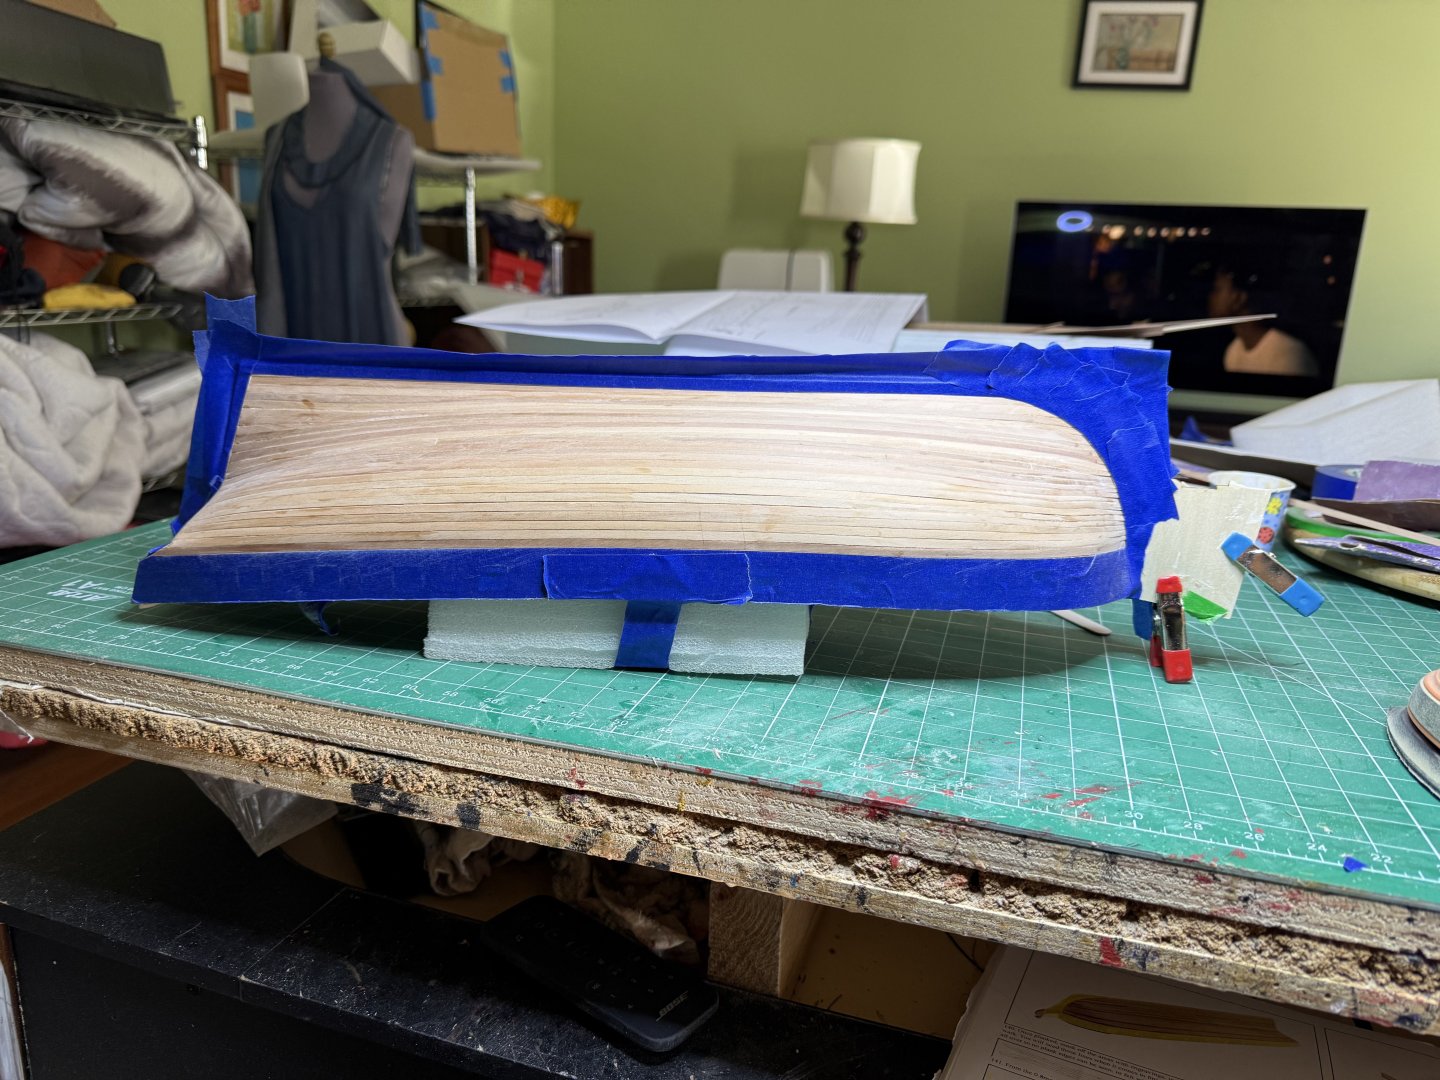
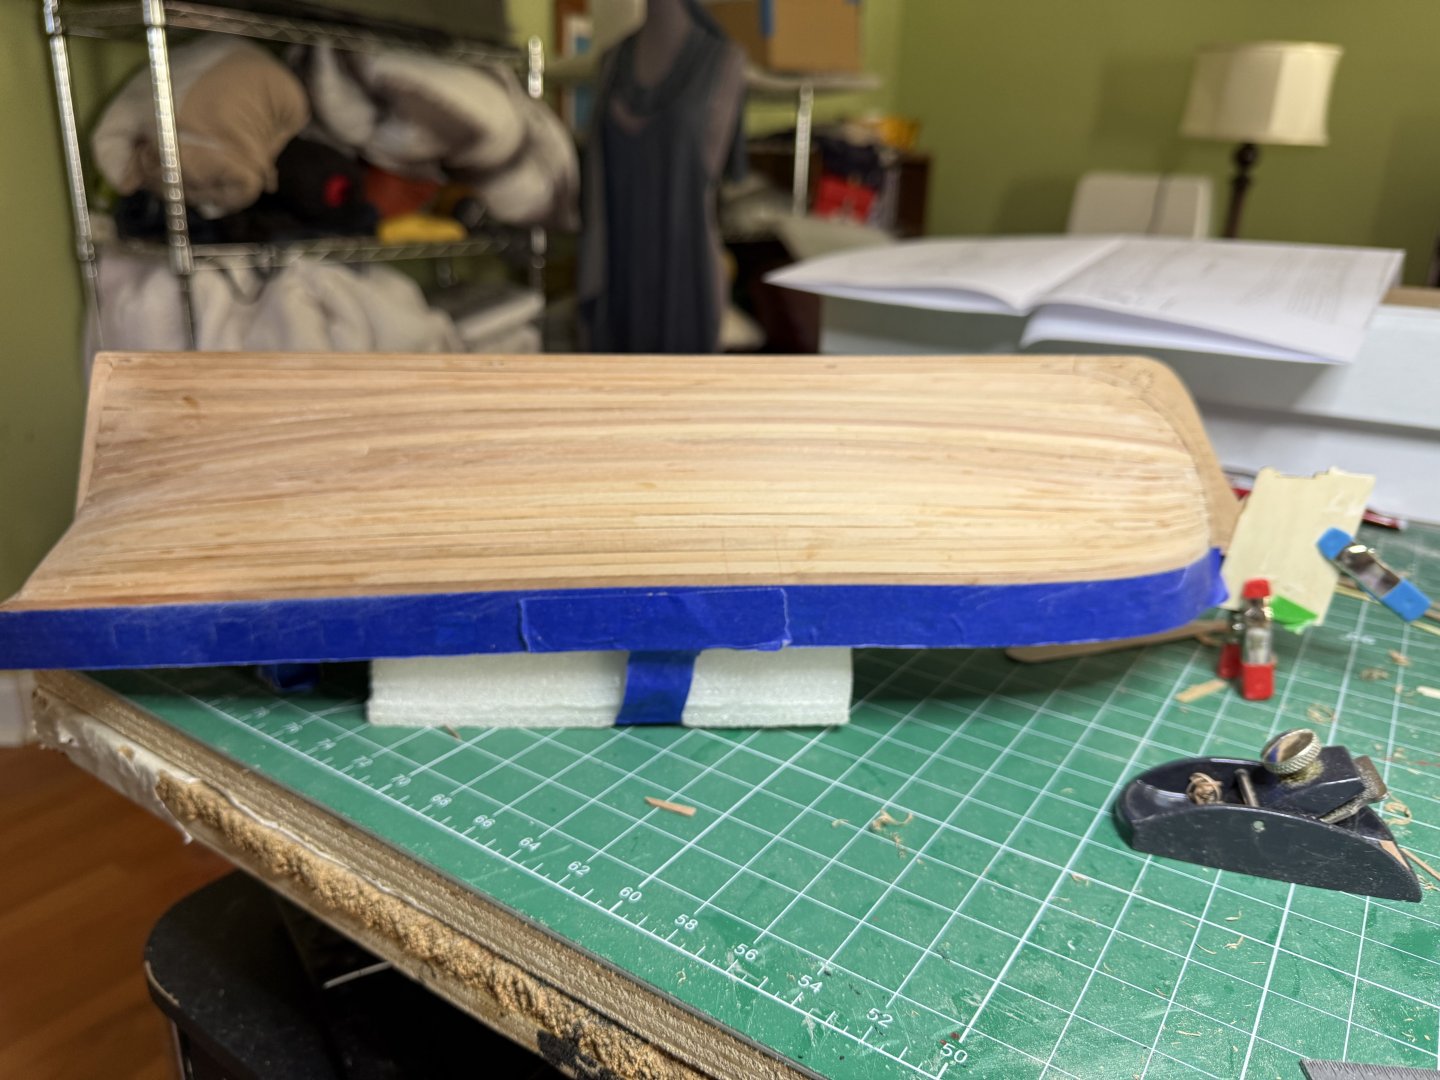
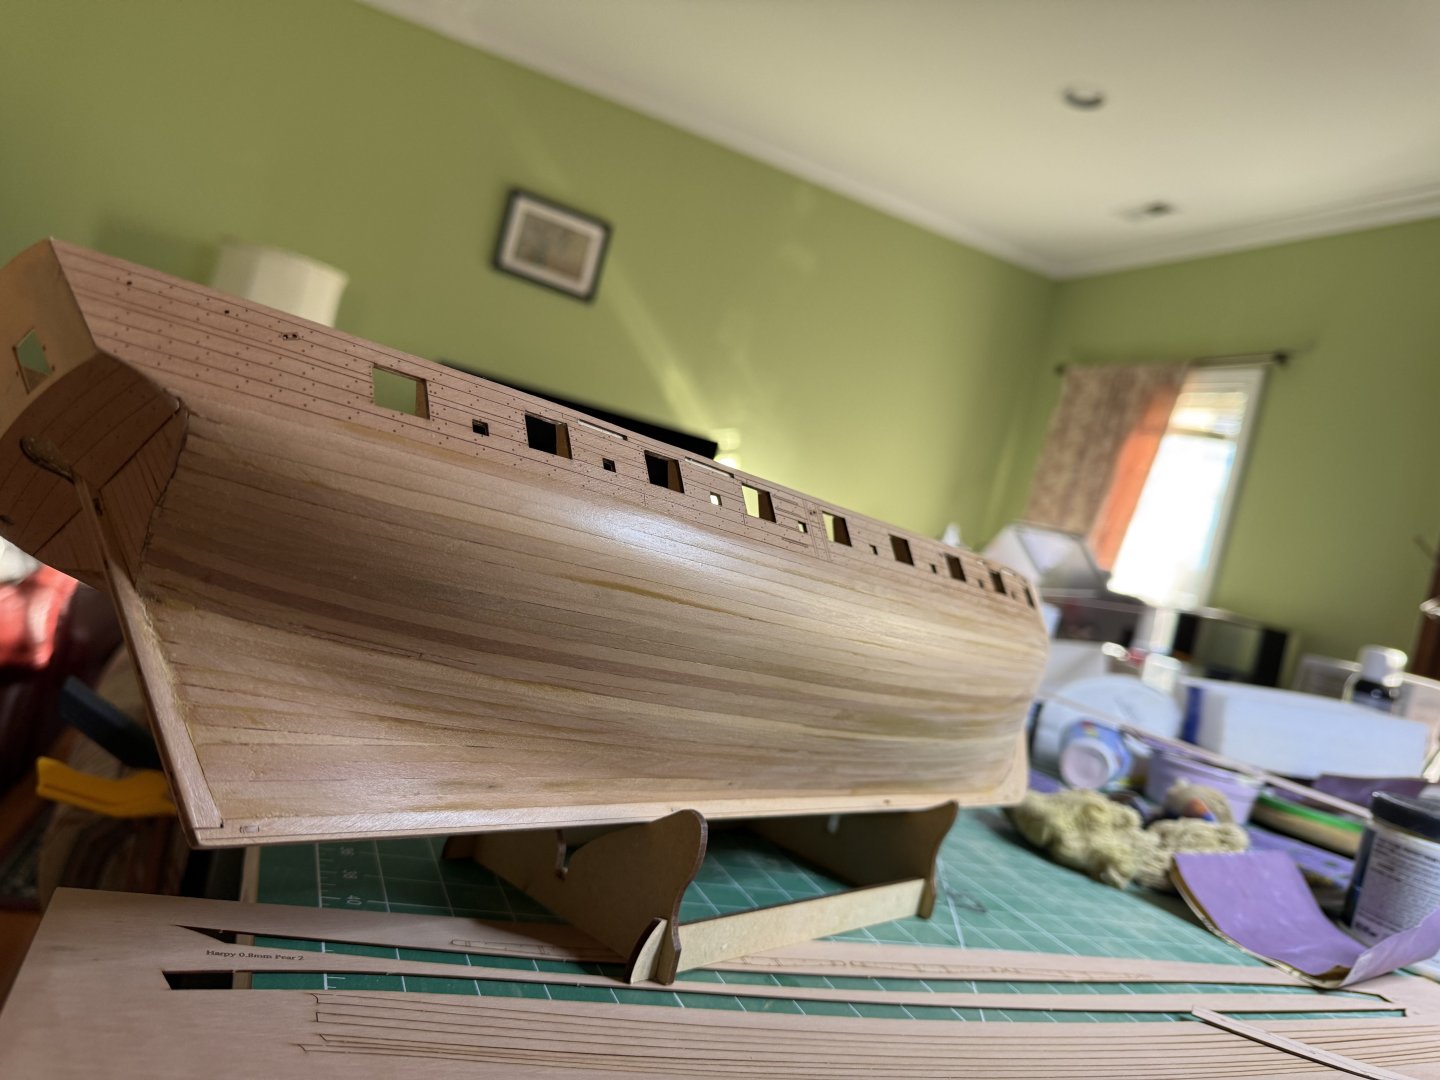
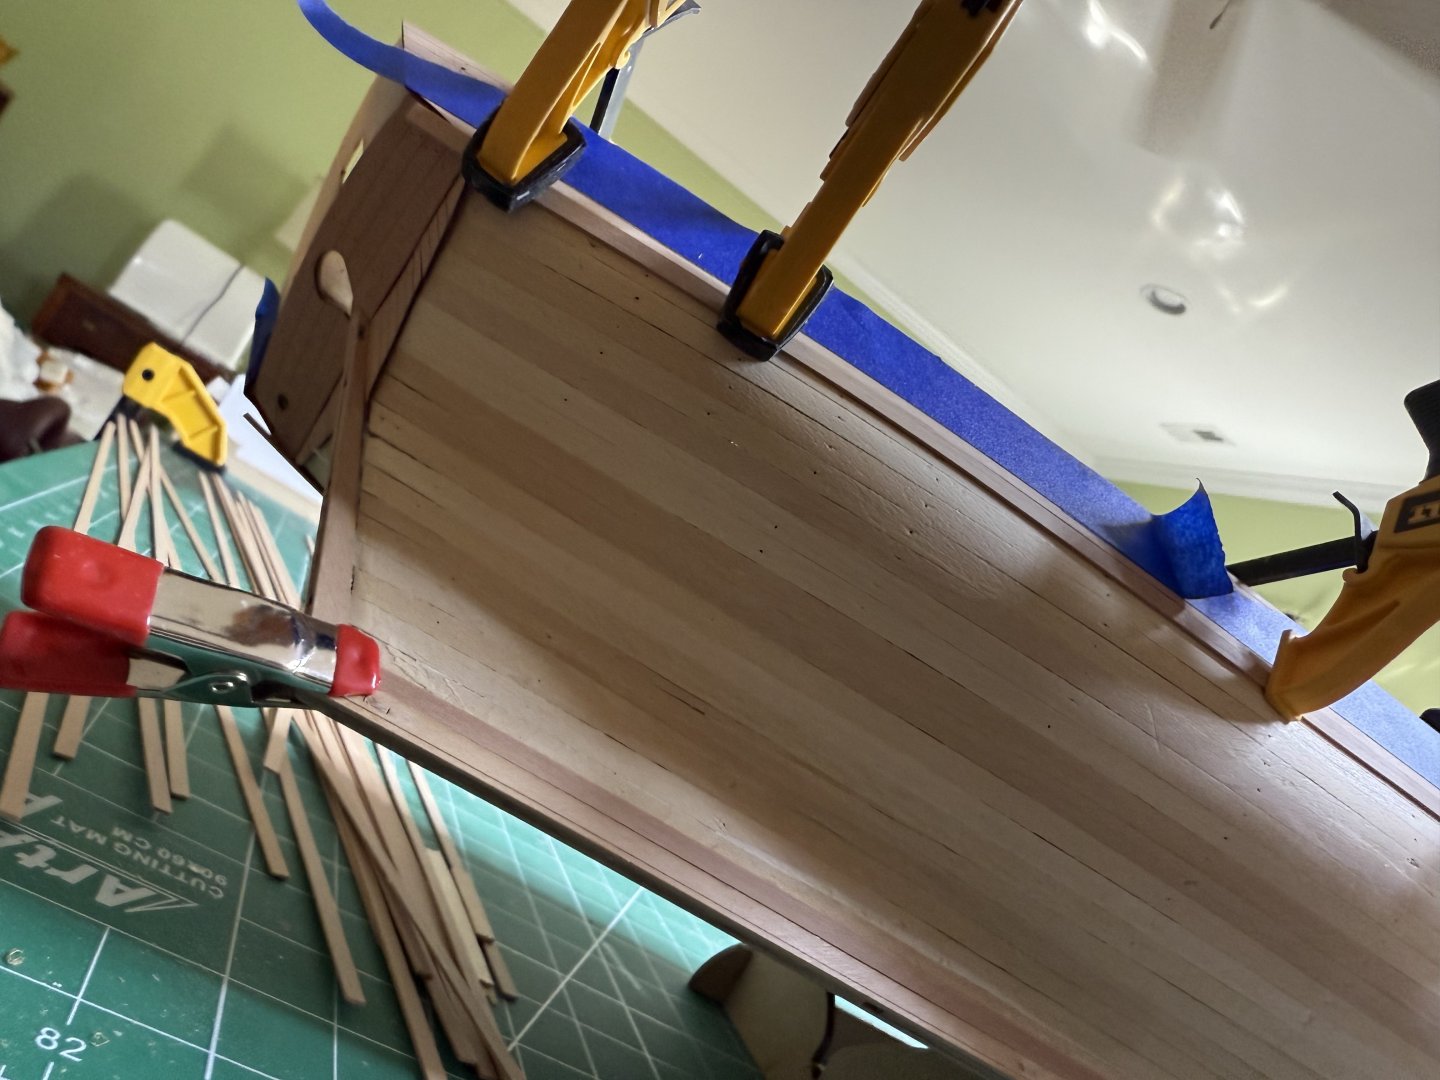
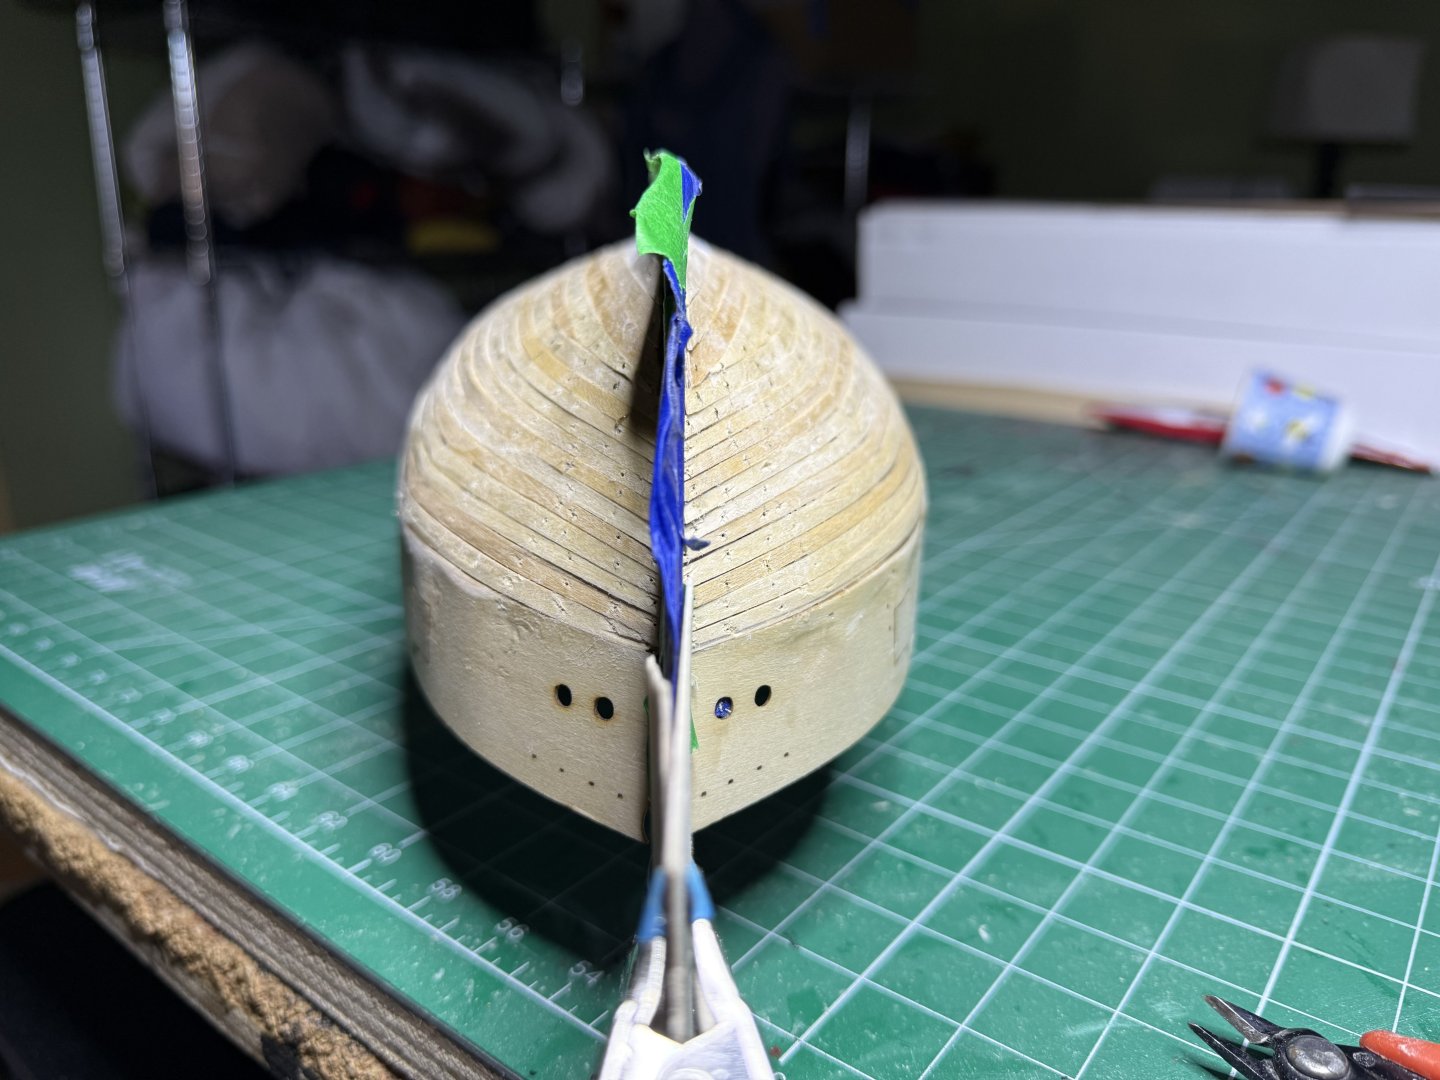
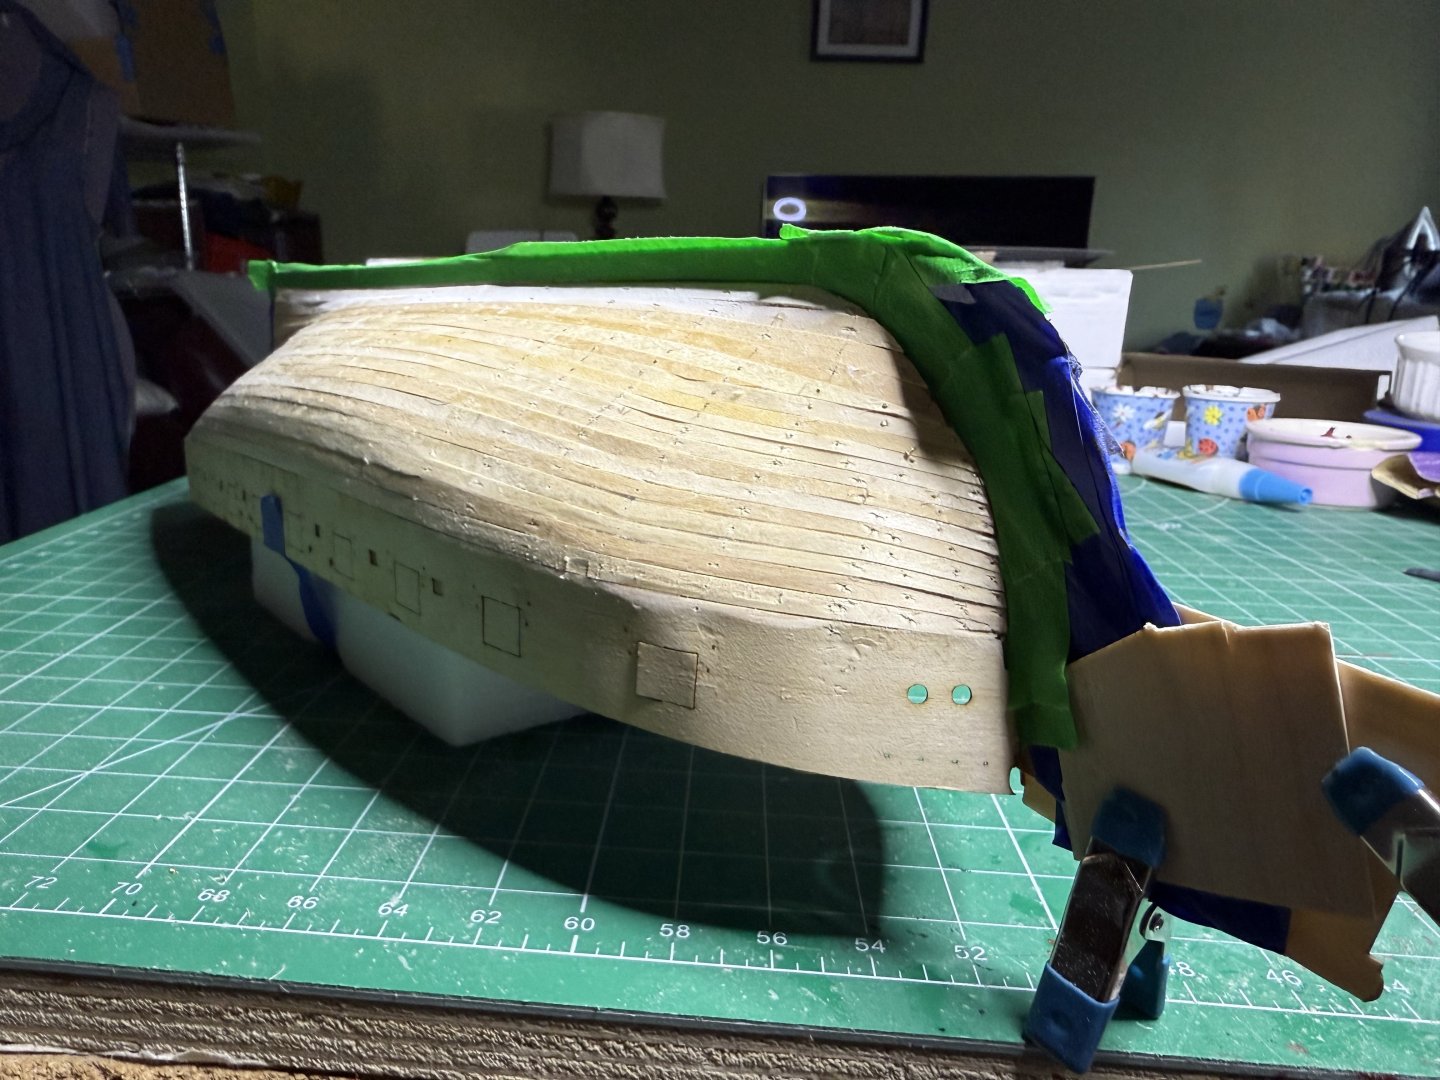
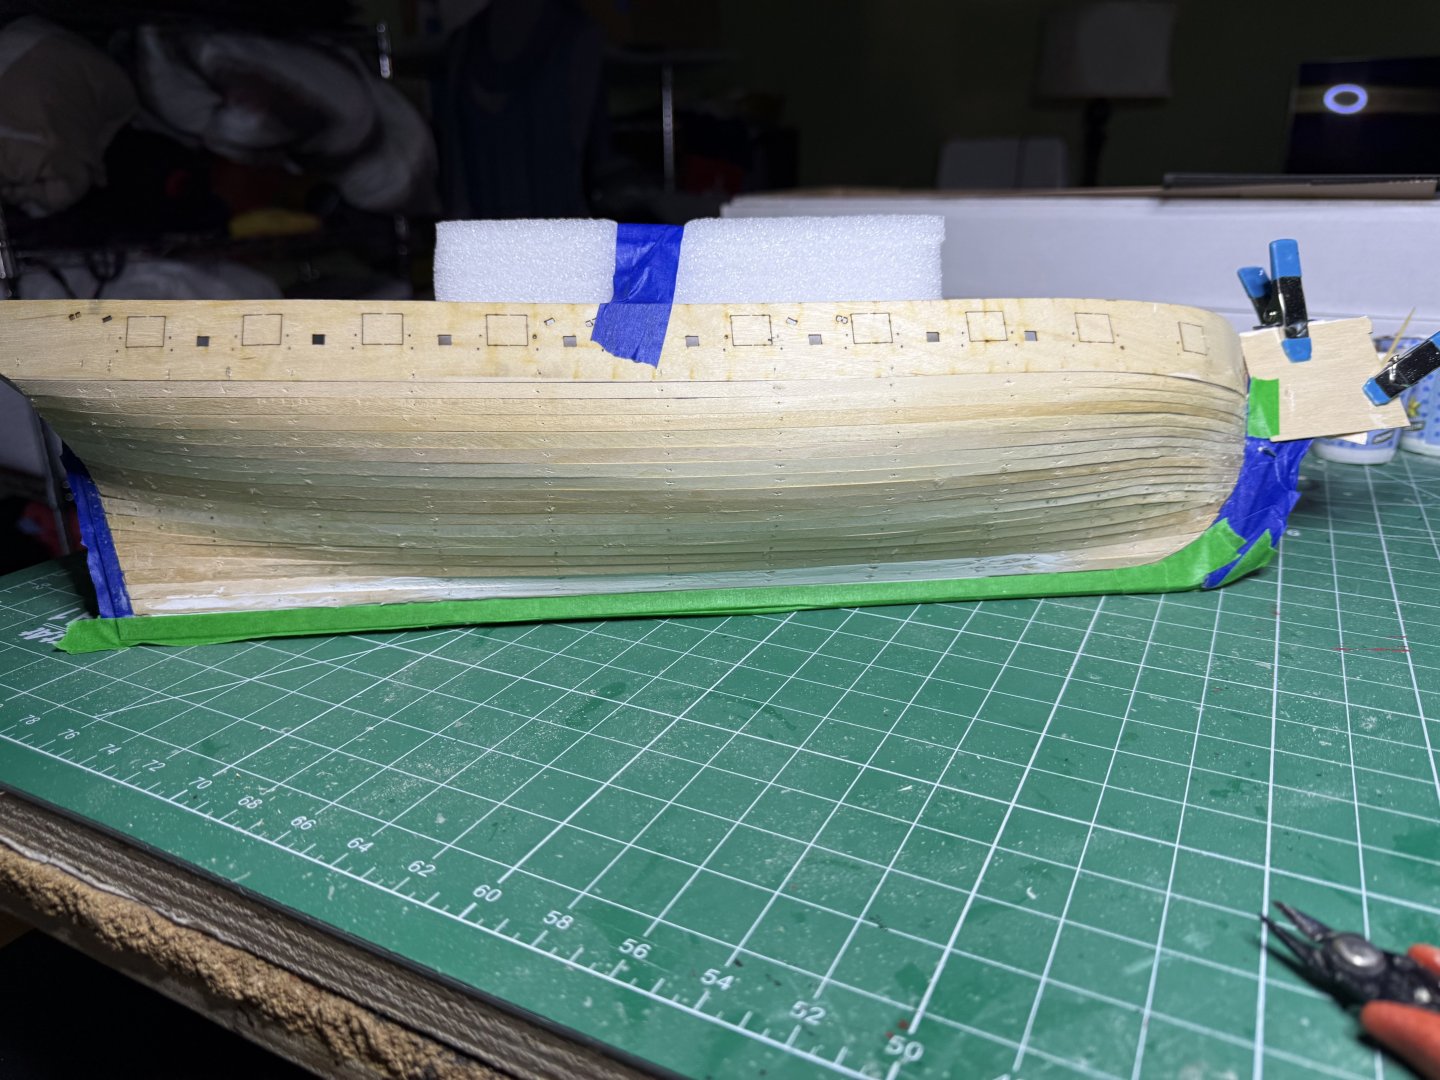
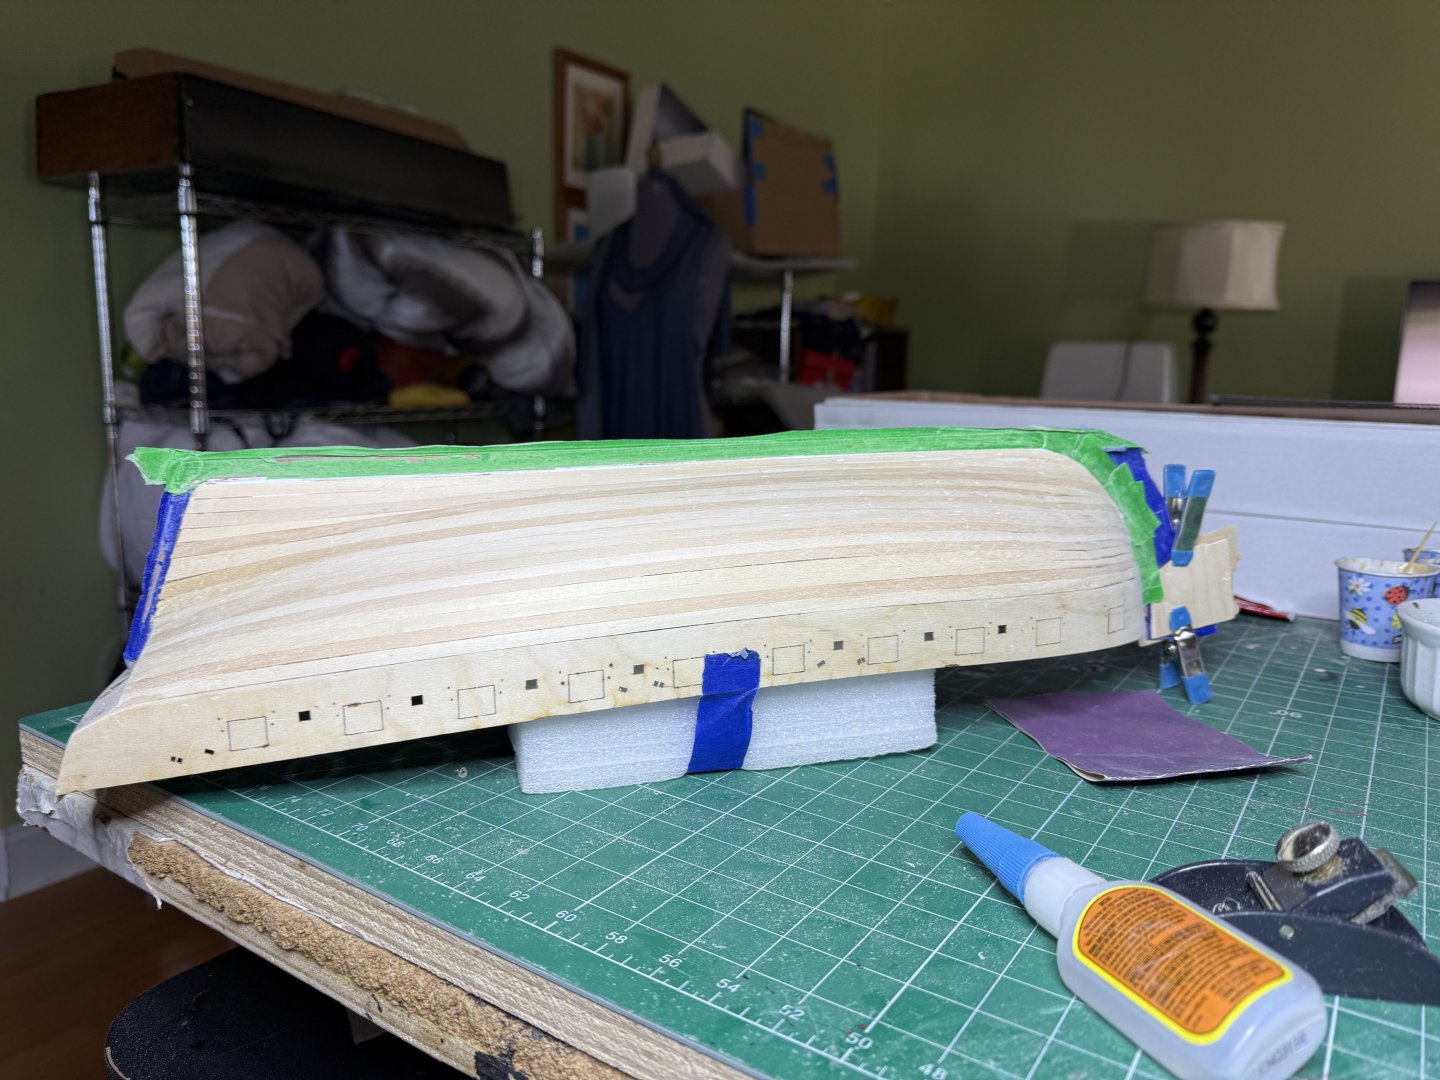
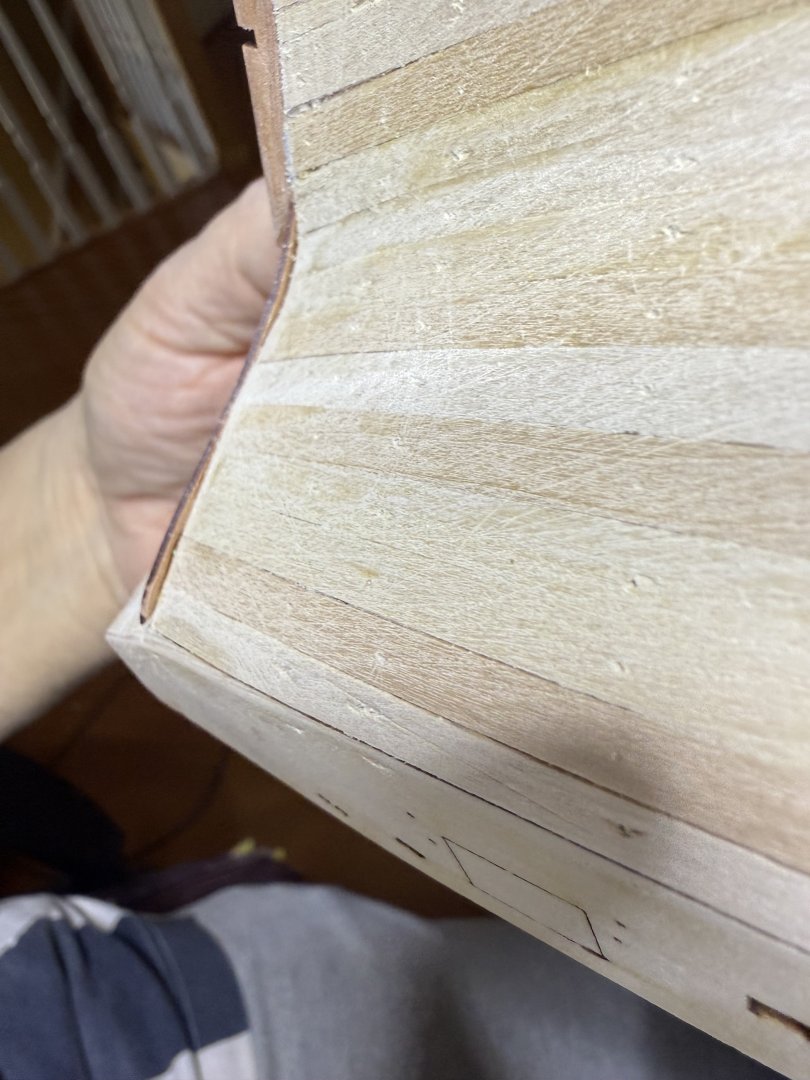
Second planking done. Here before sanding All taped up for sanding After sanding And after a little poly


- 73 replies
-
- 11
-
-
- Harpy
- Vanguard Models
- (and 1 more)
-
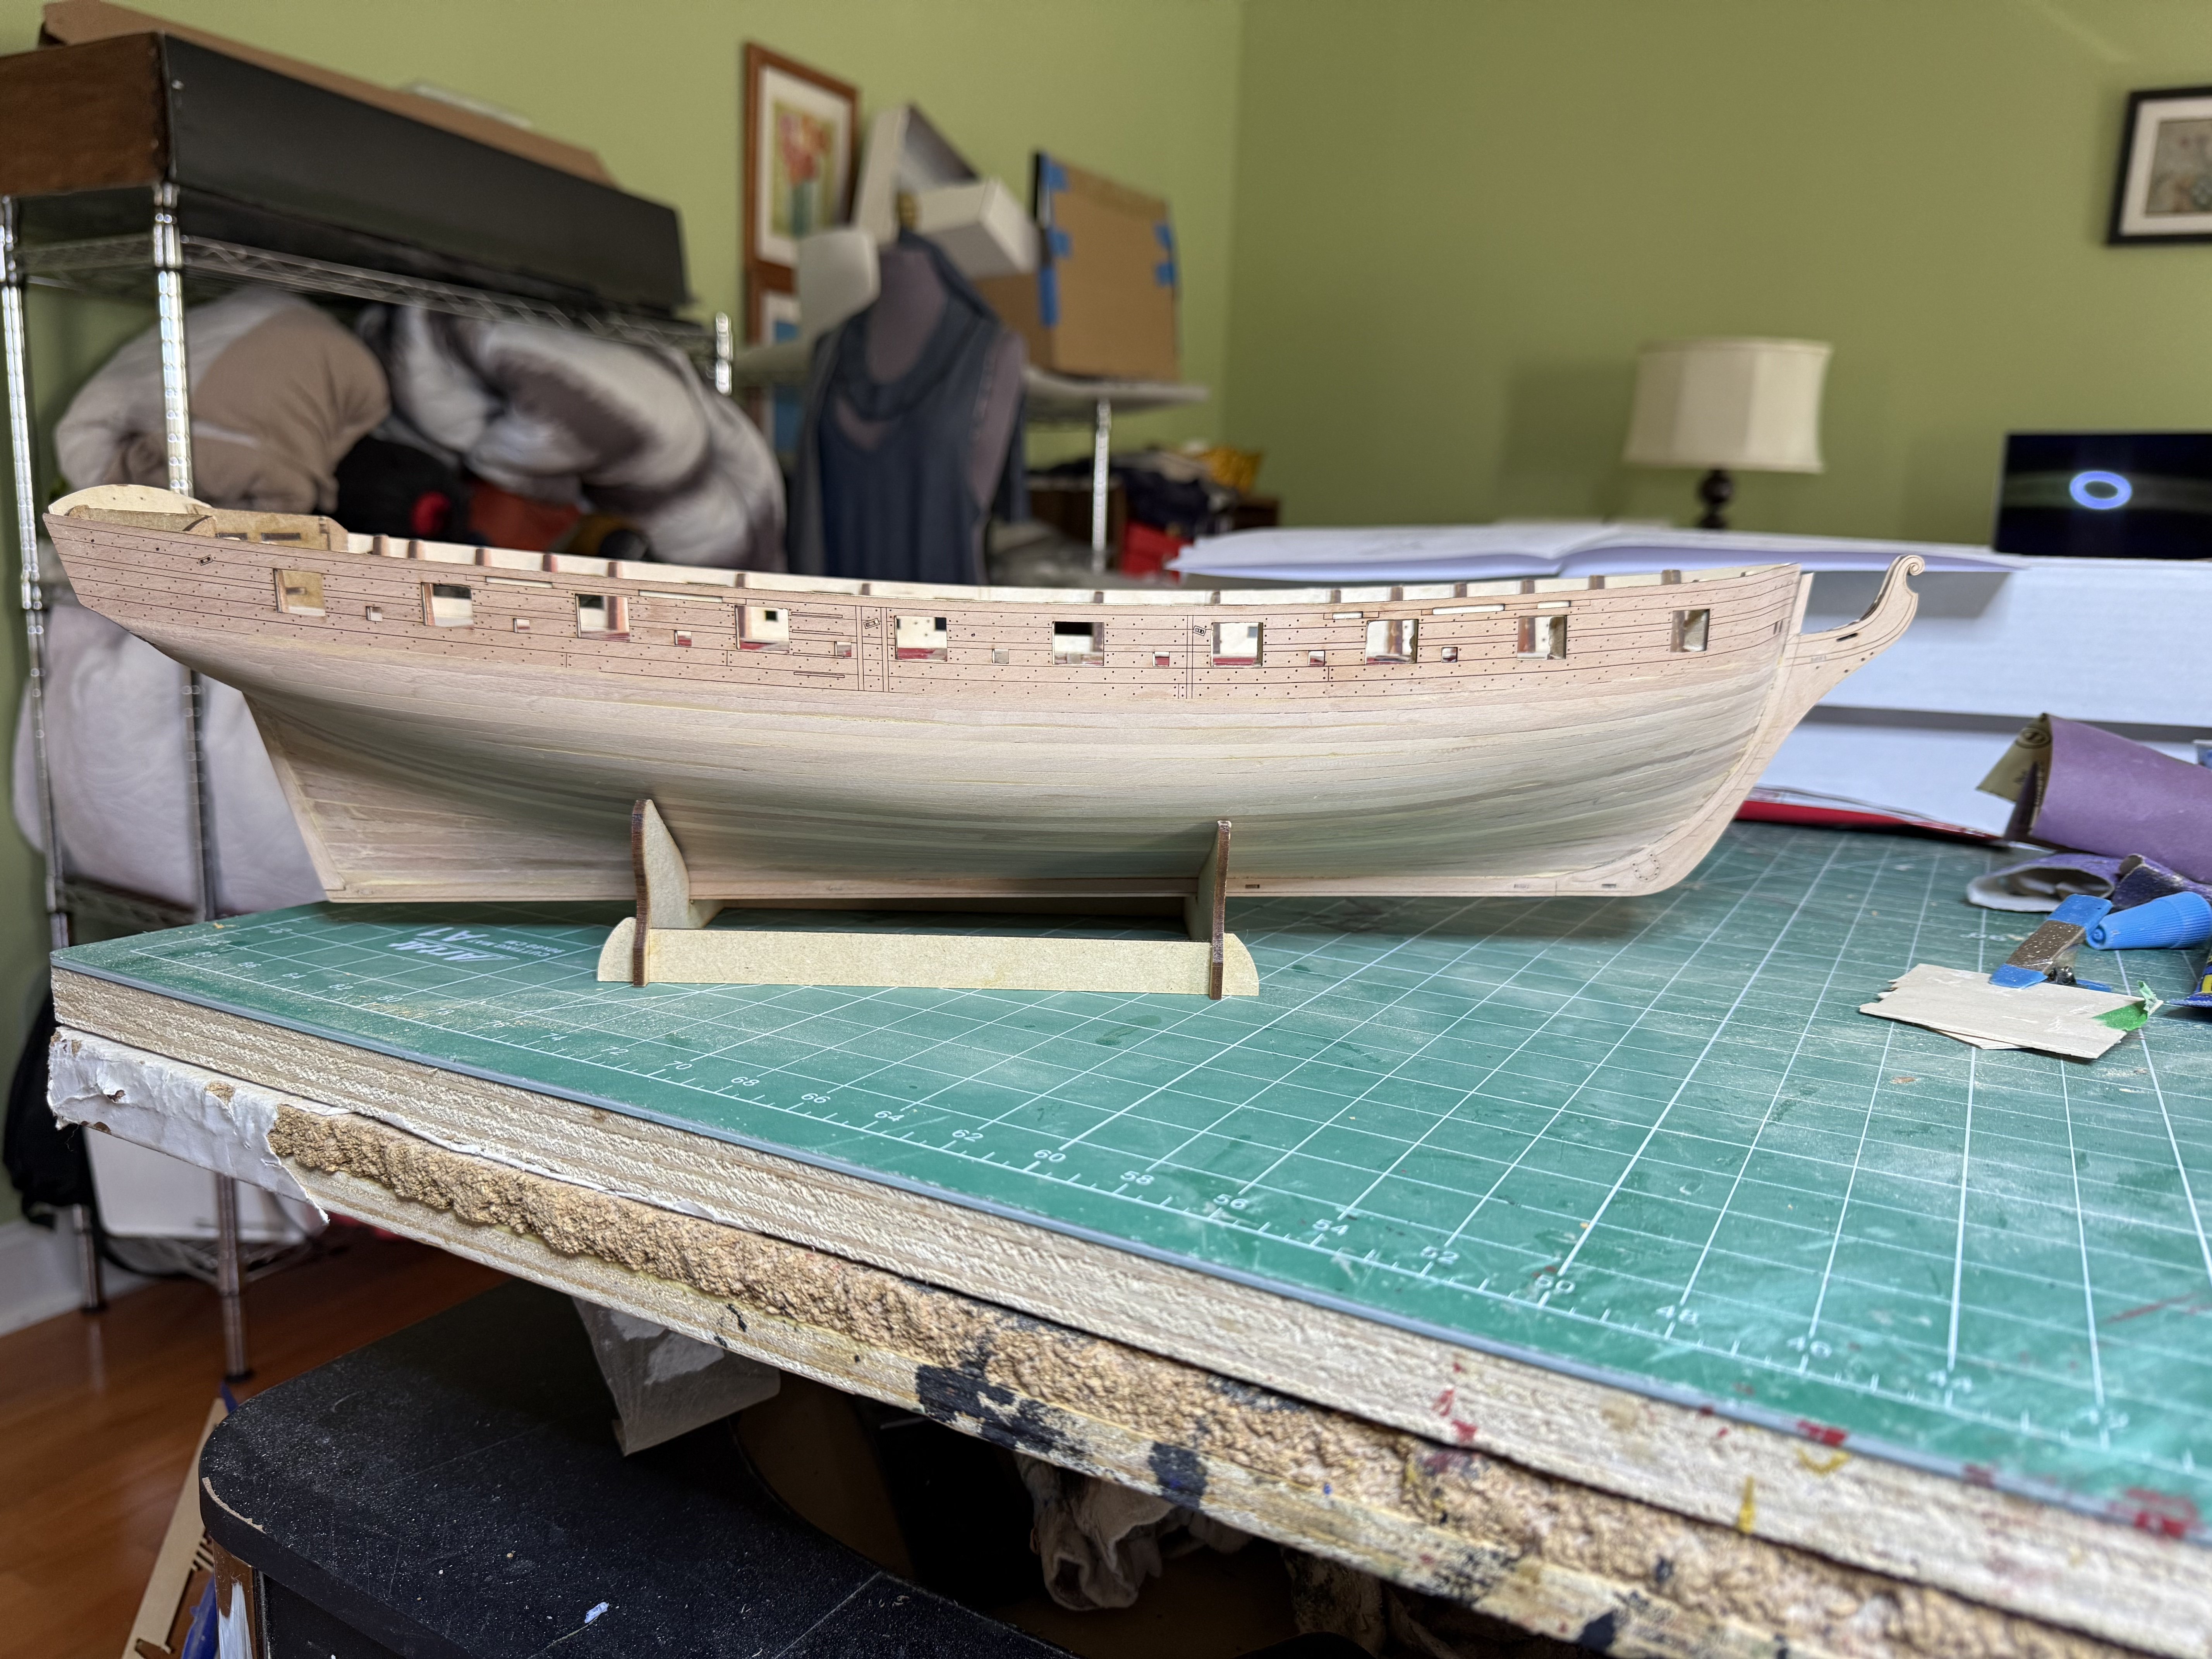
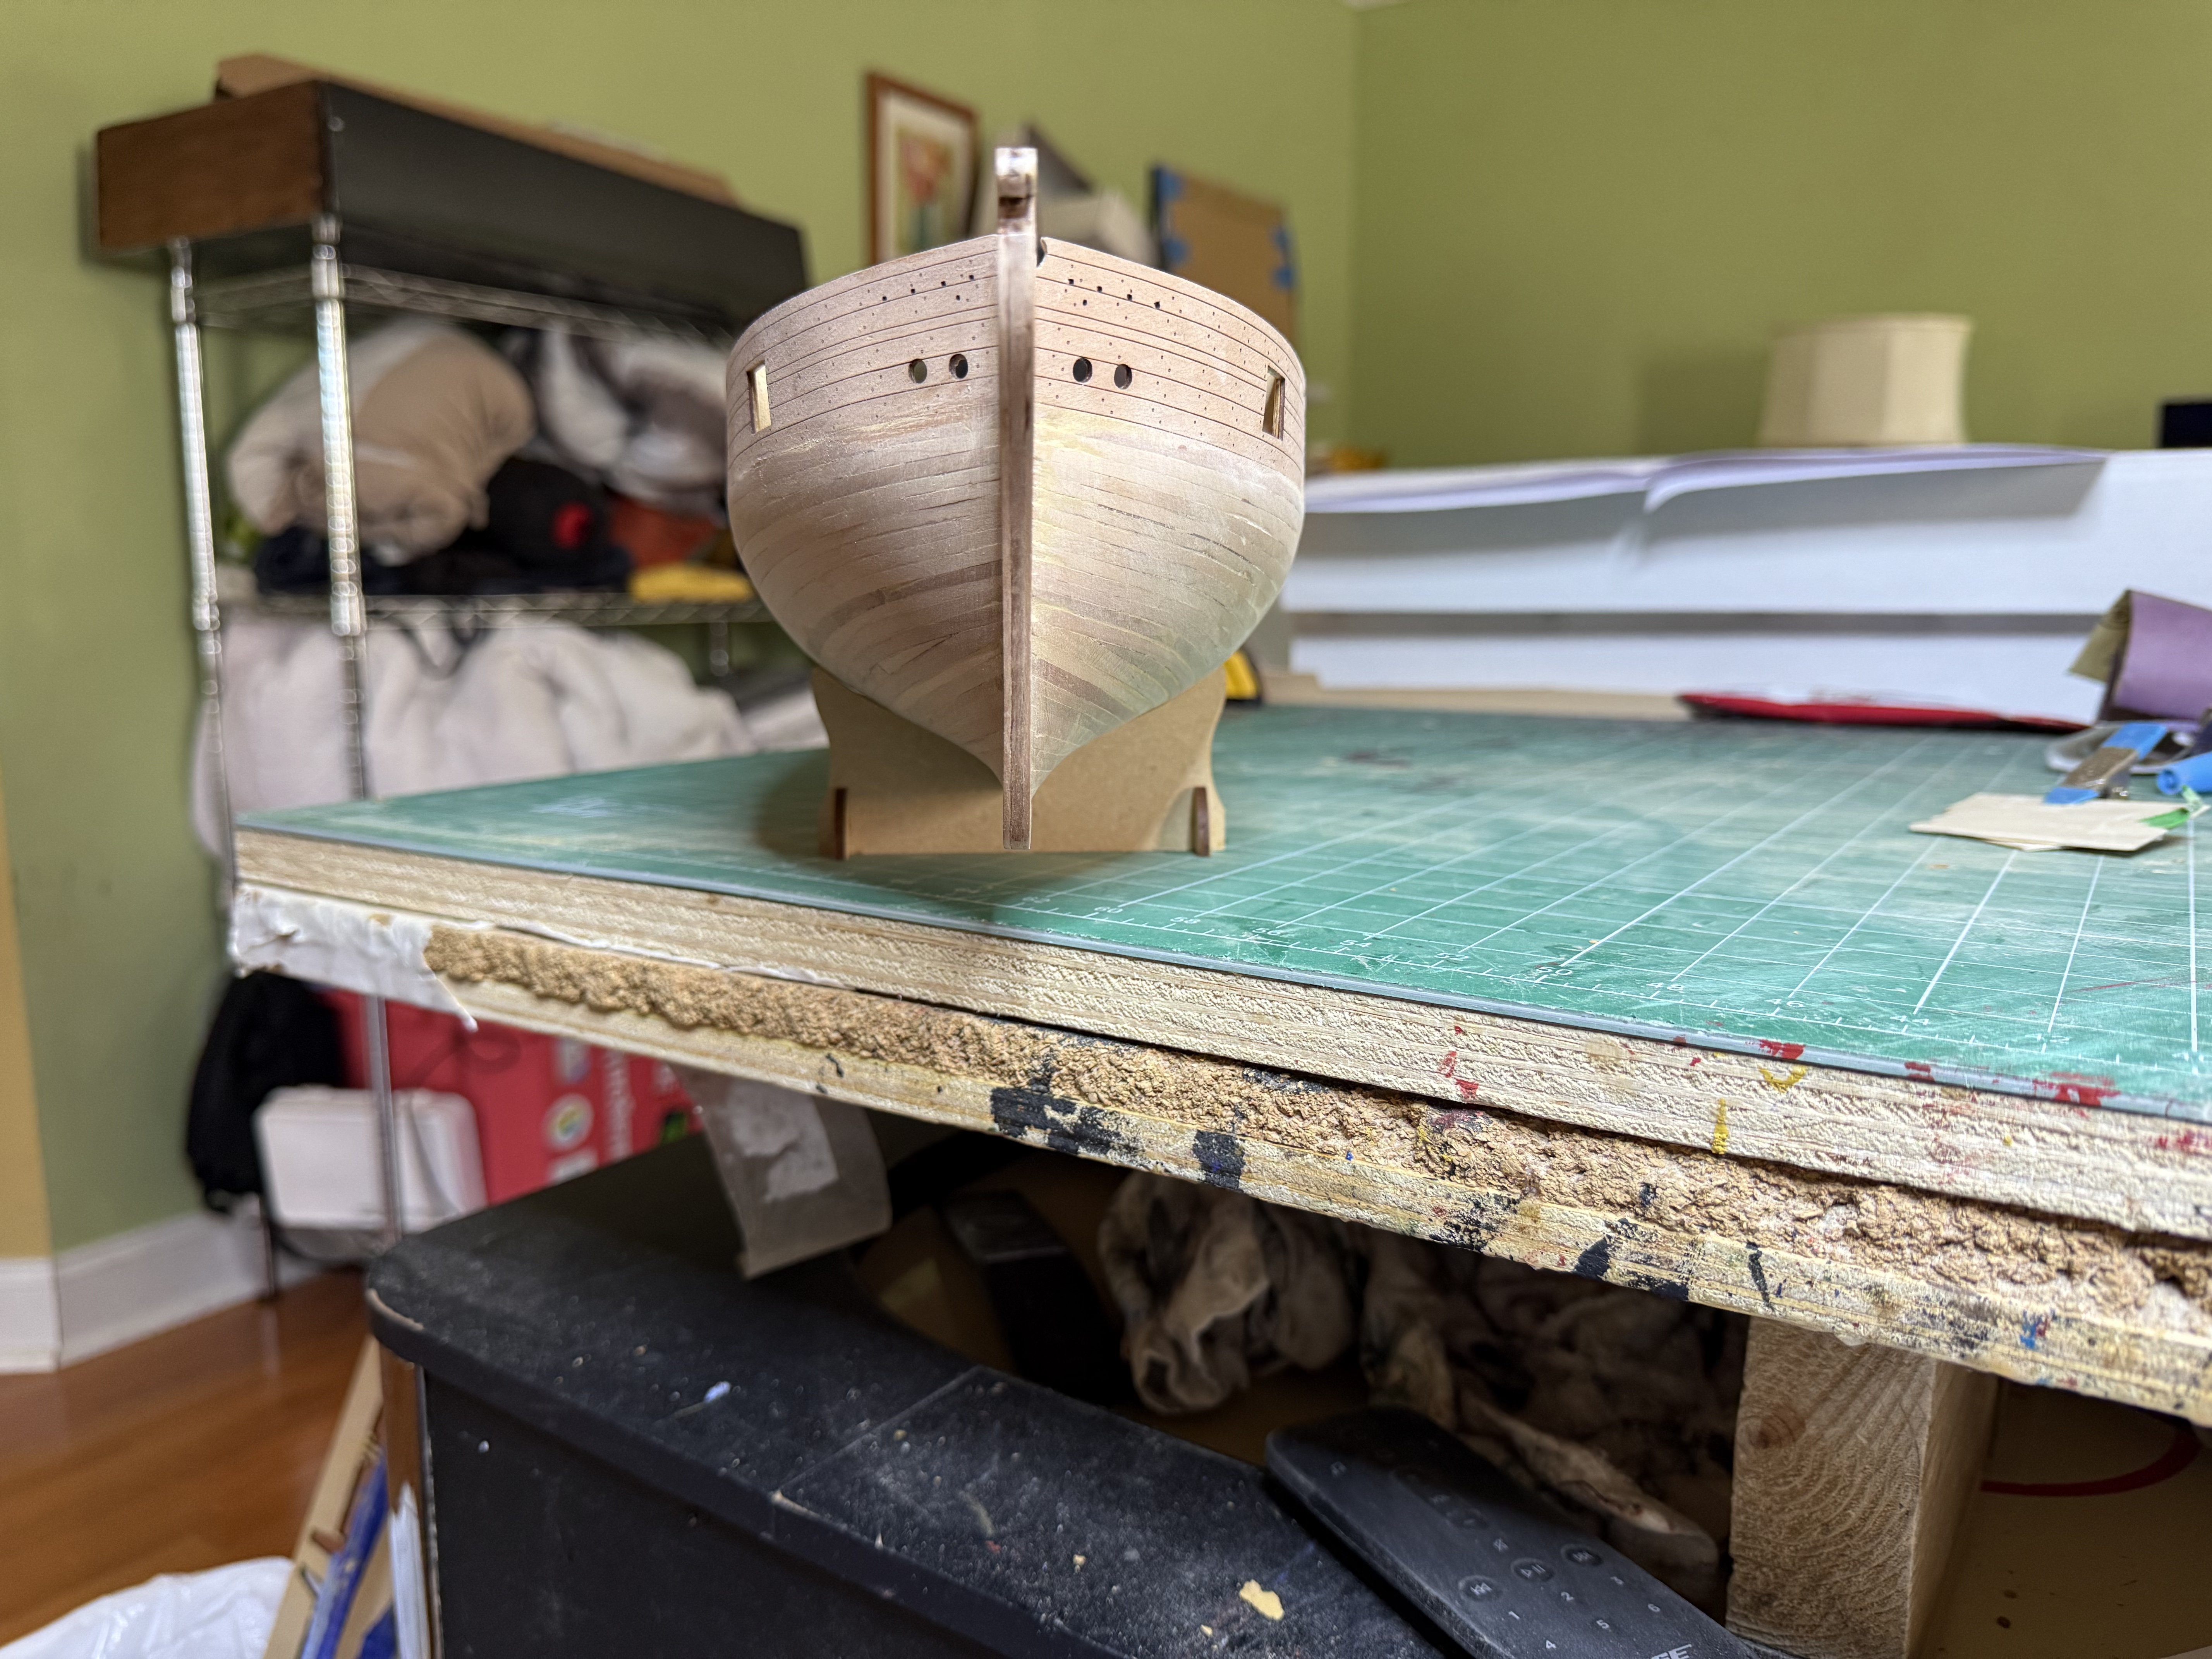
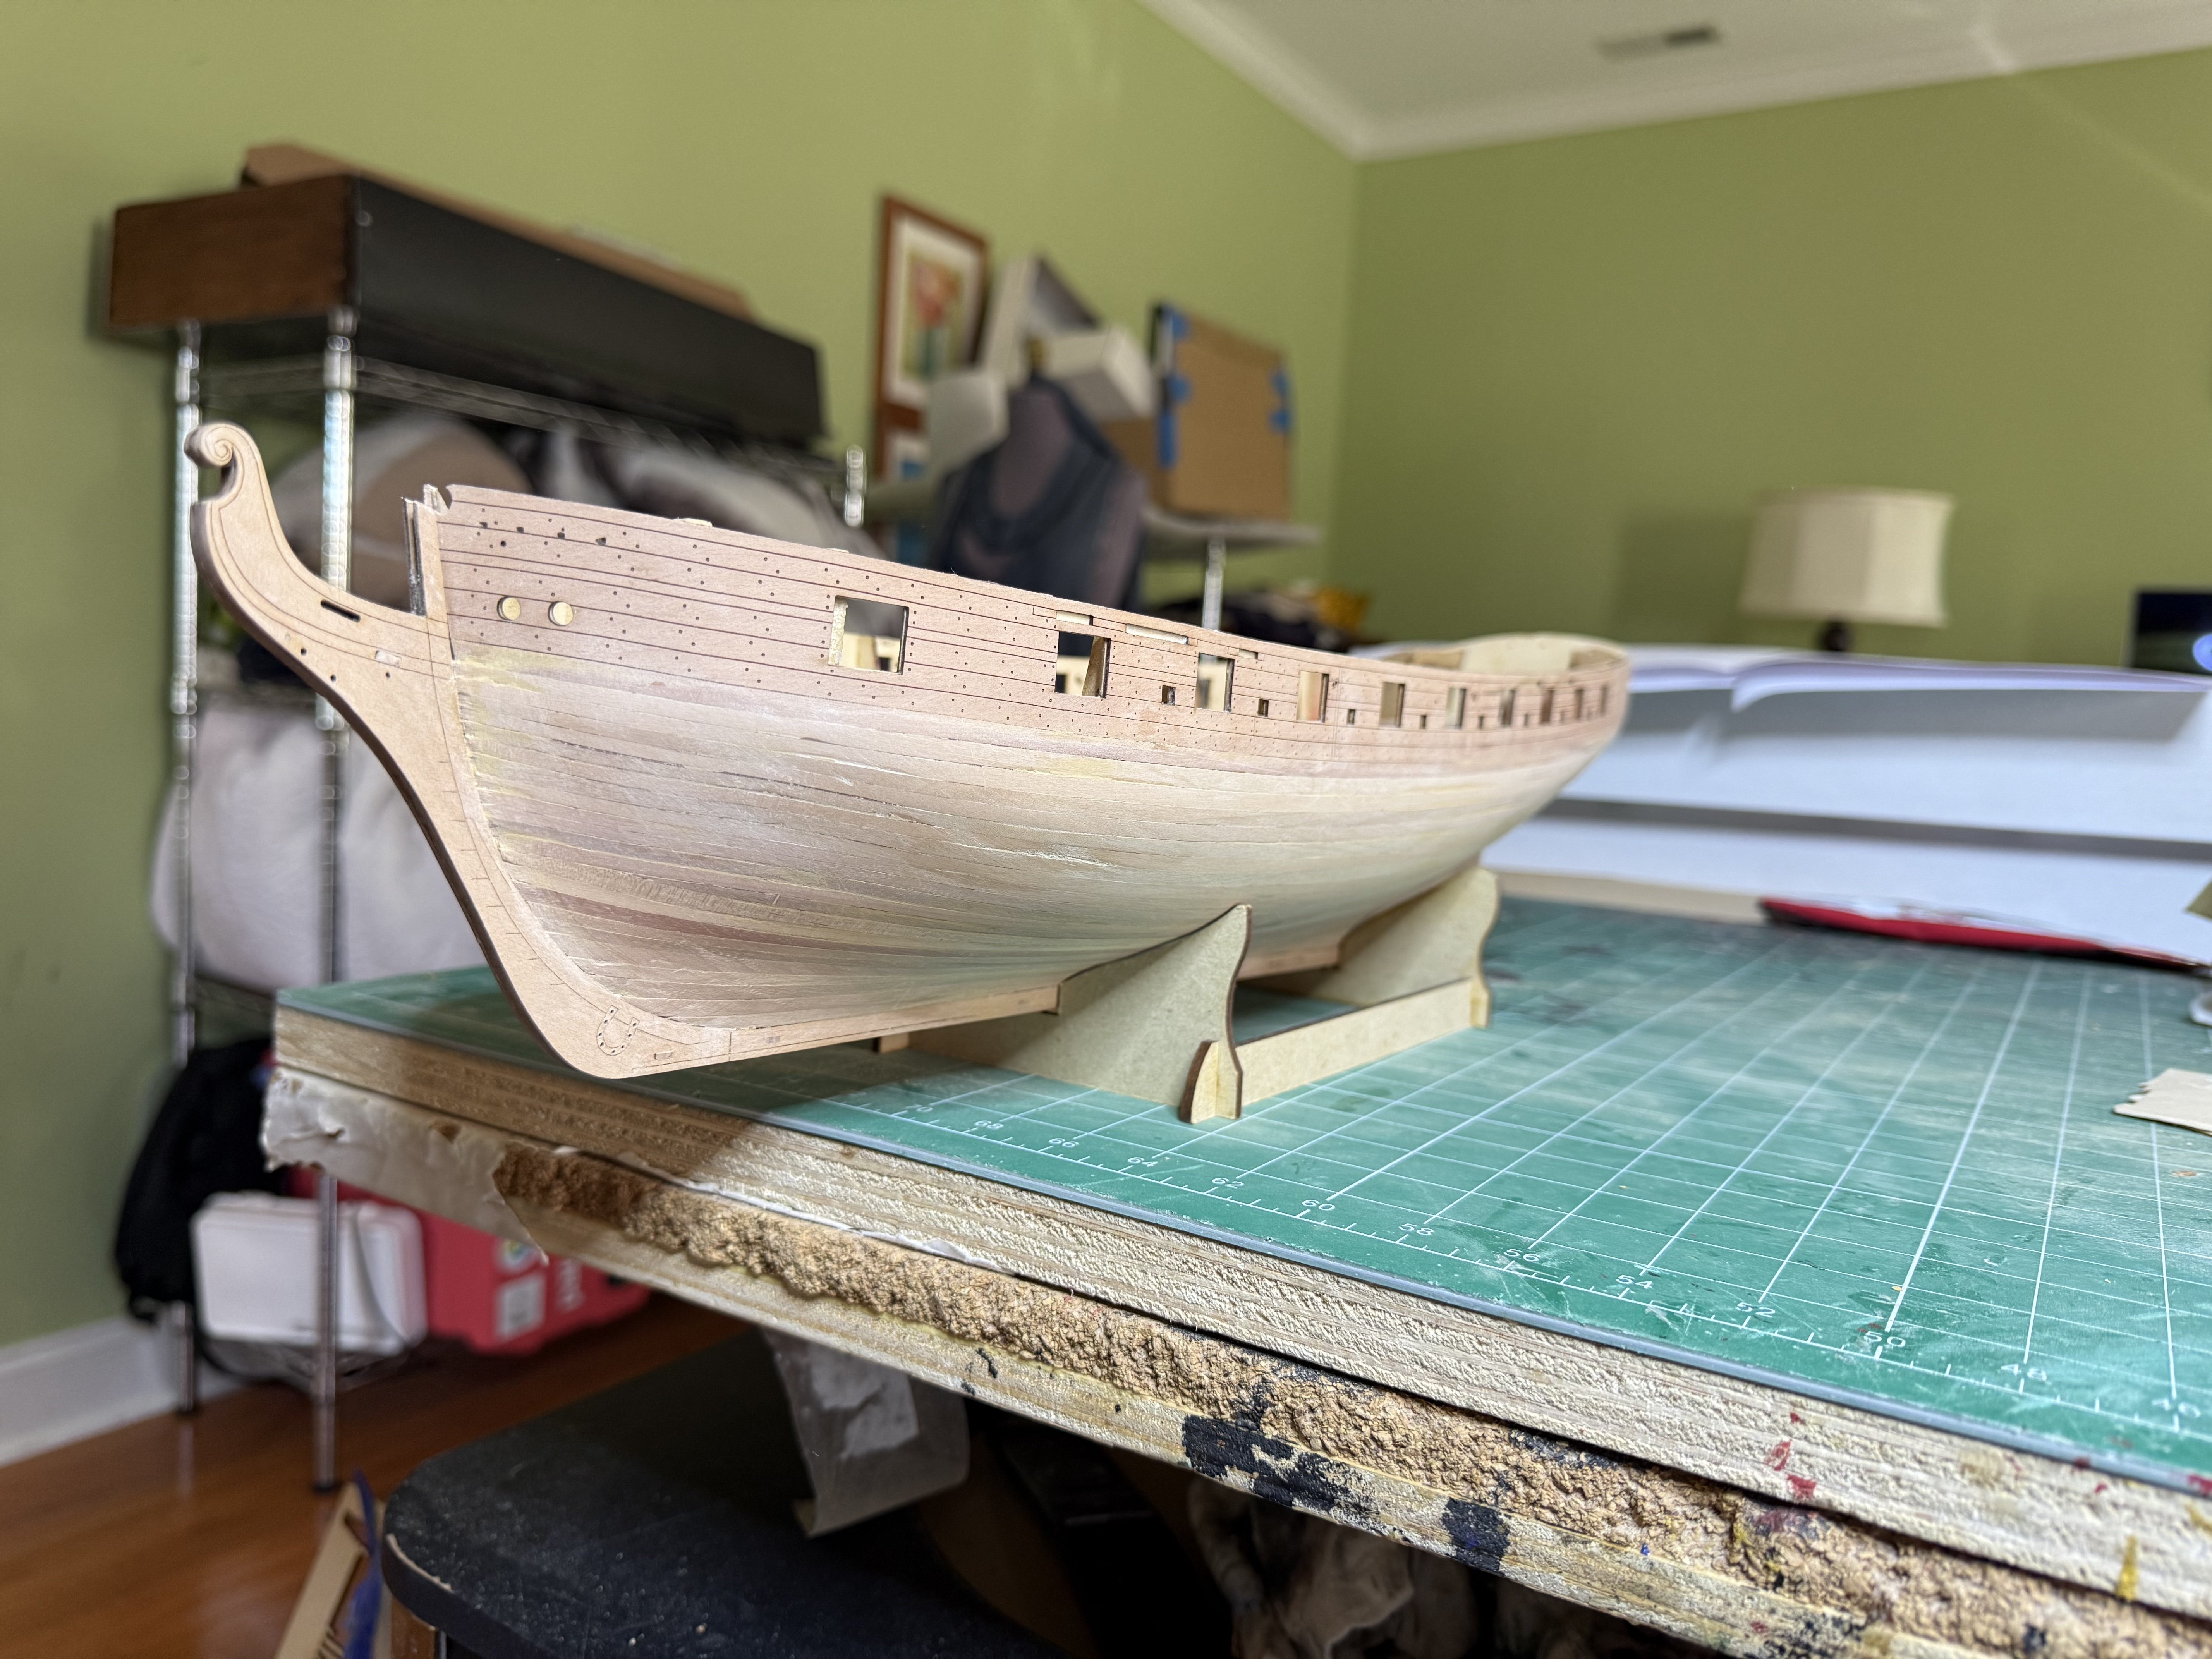
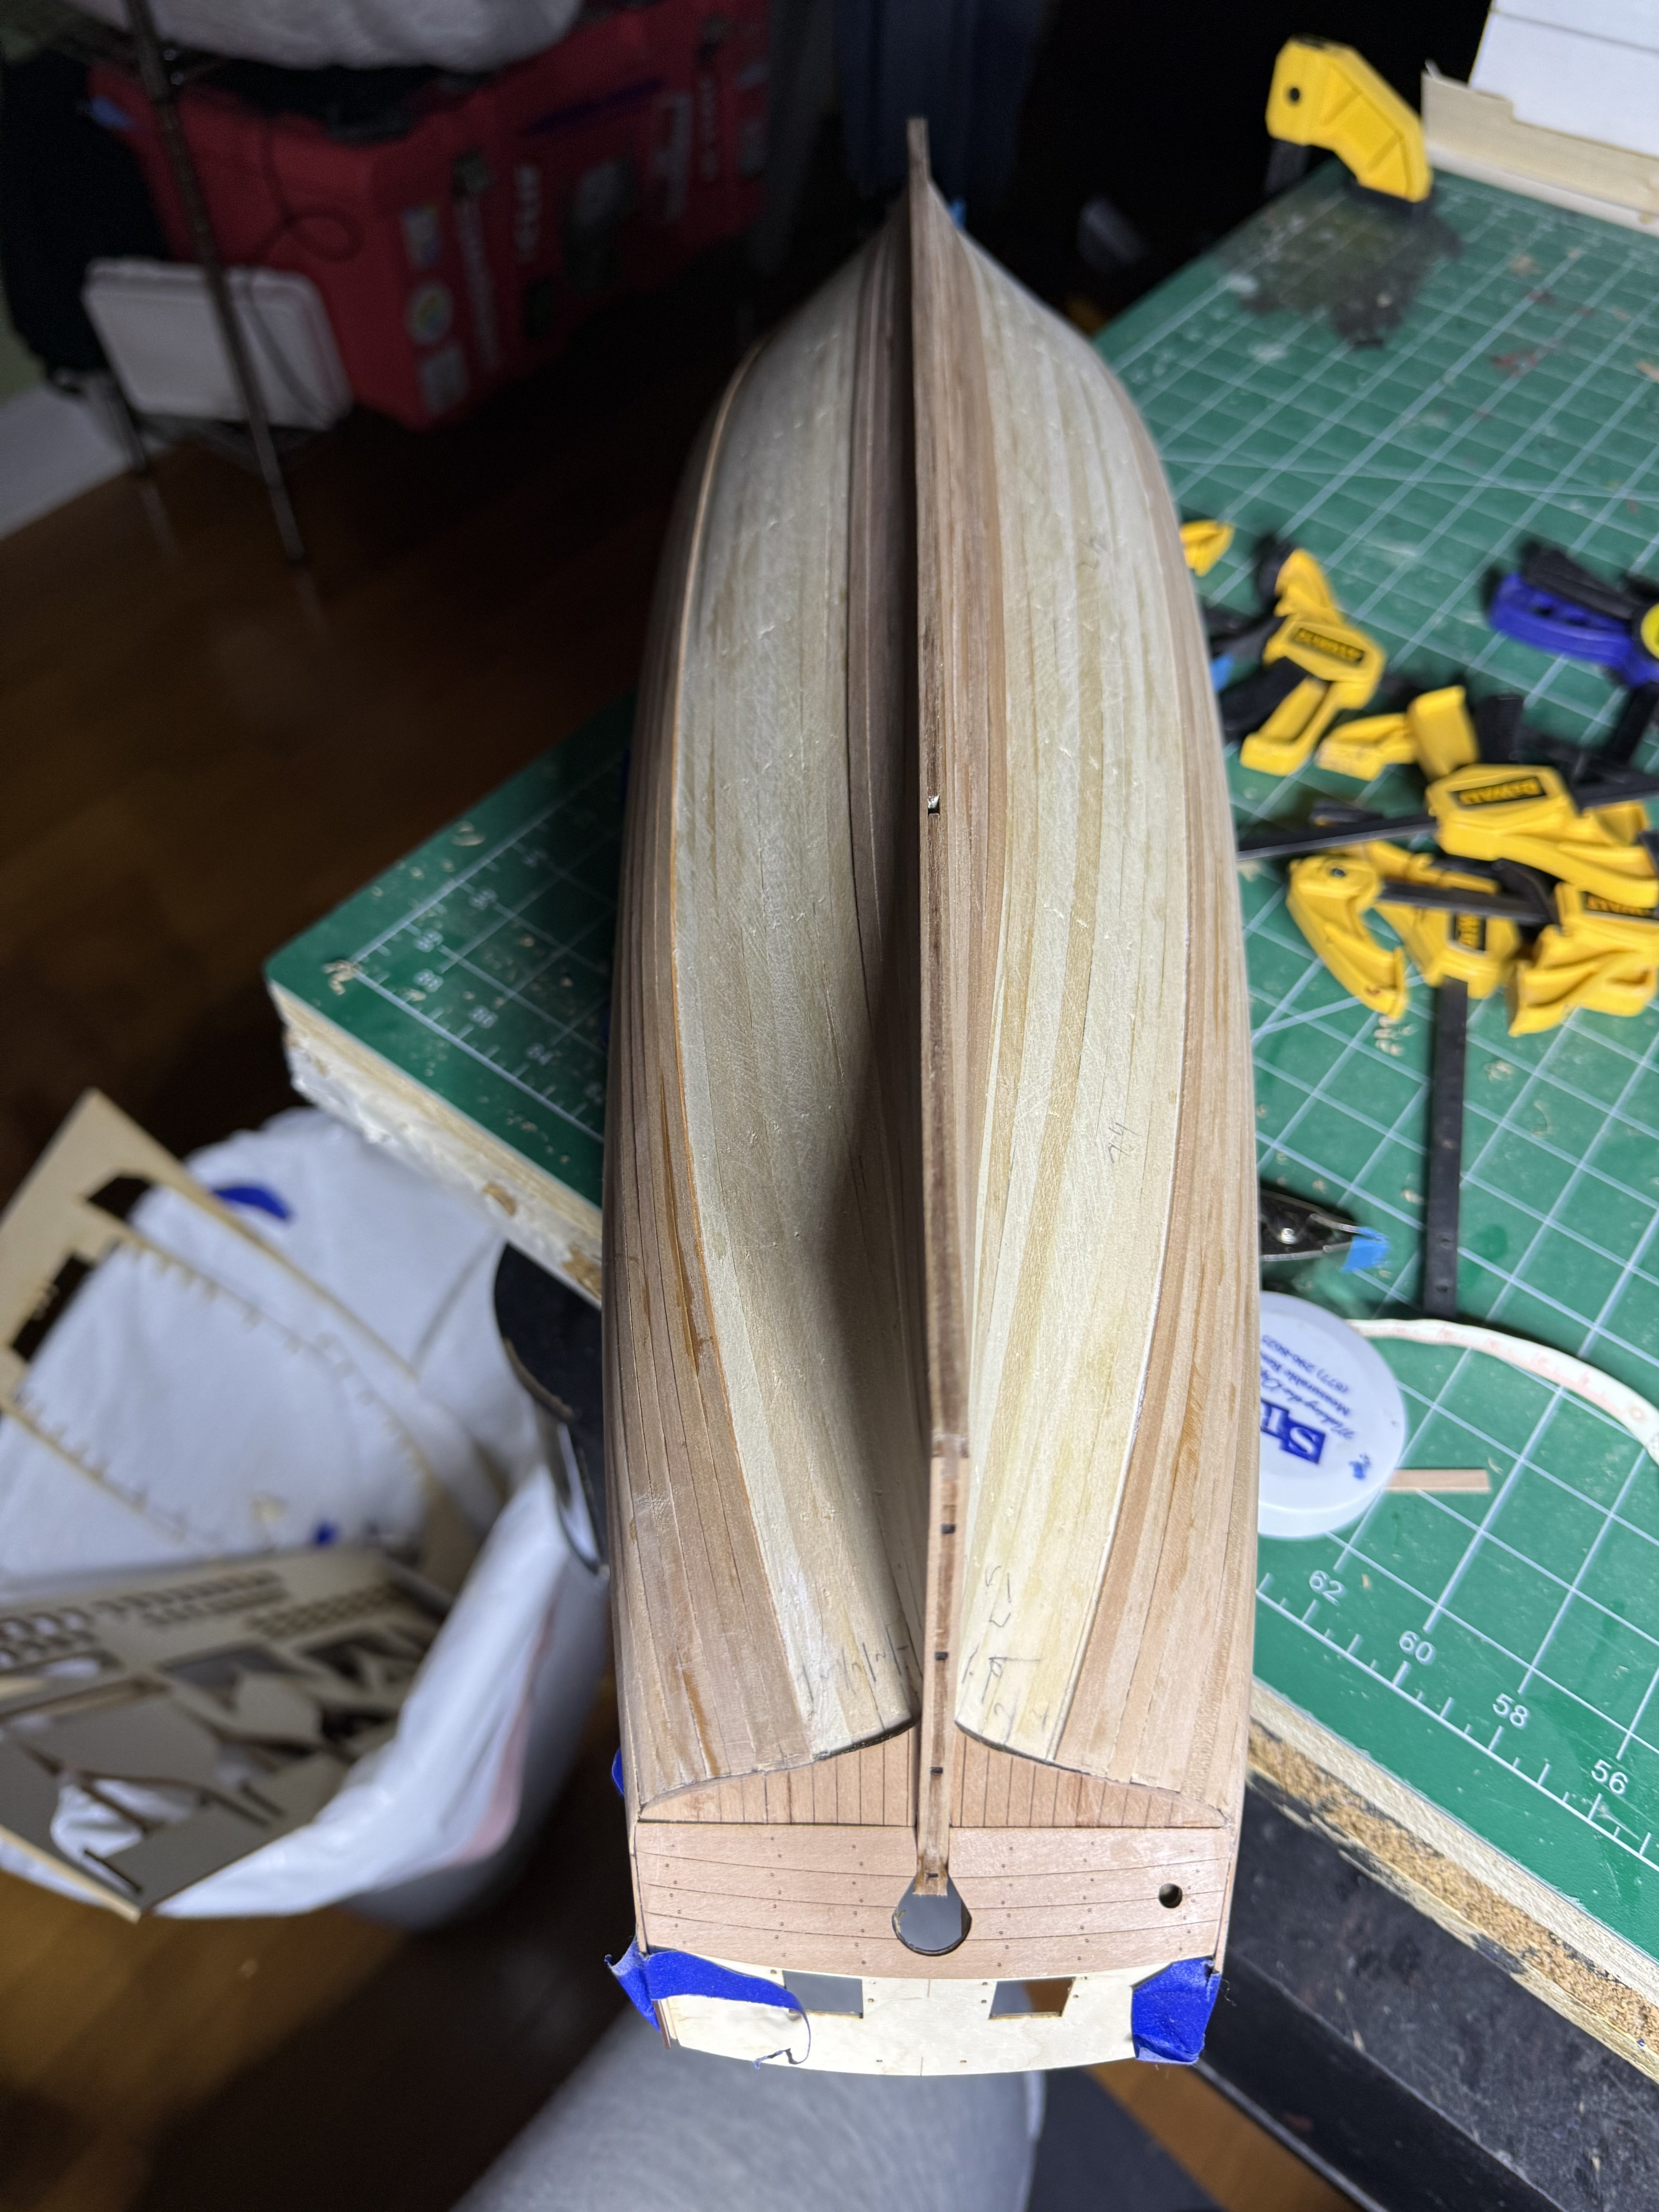
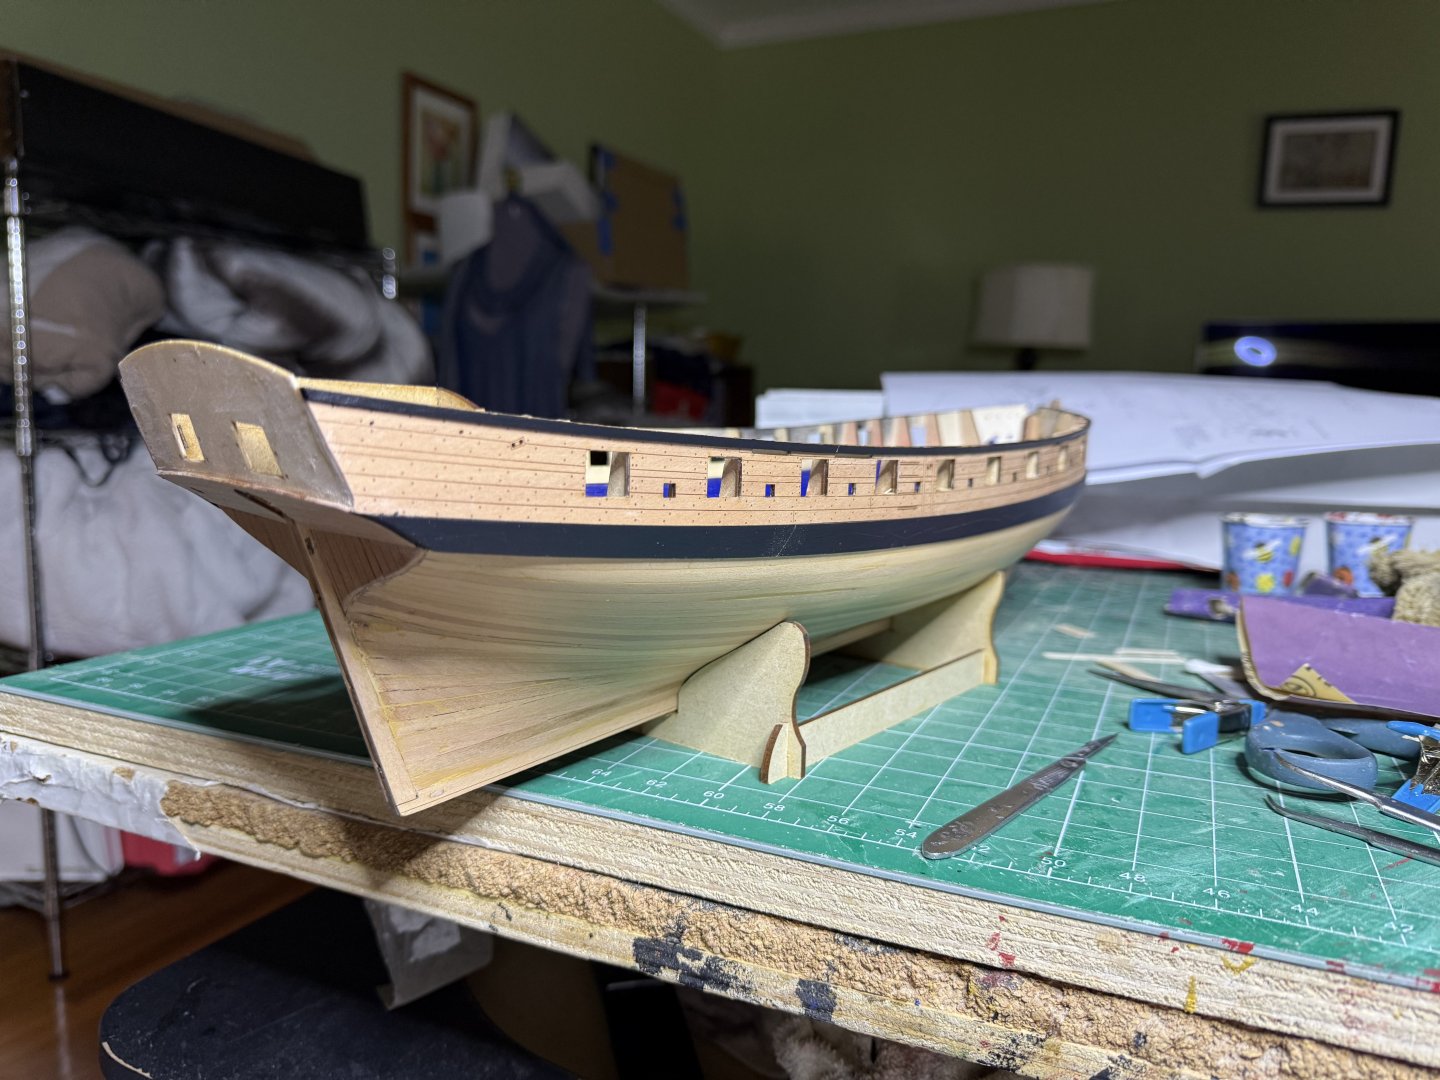
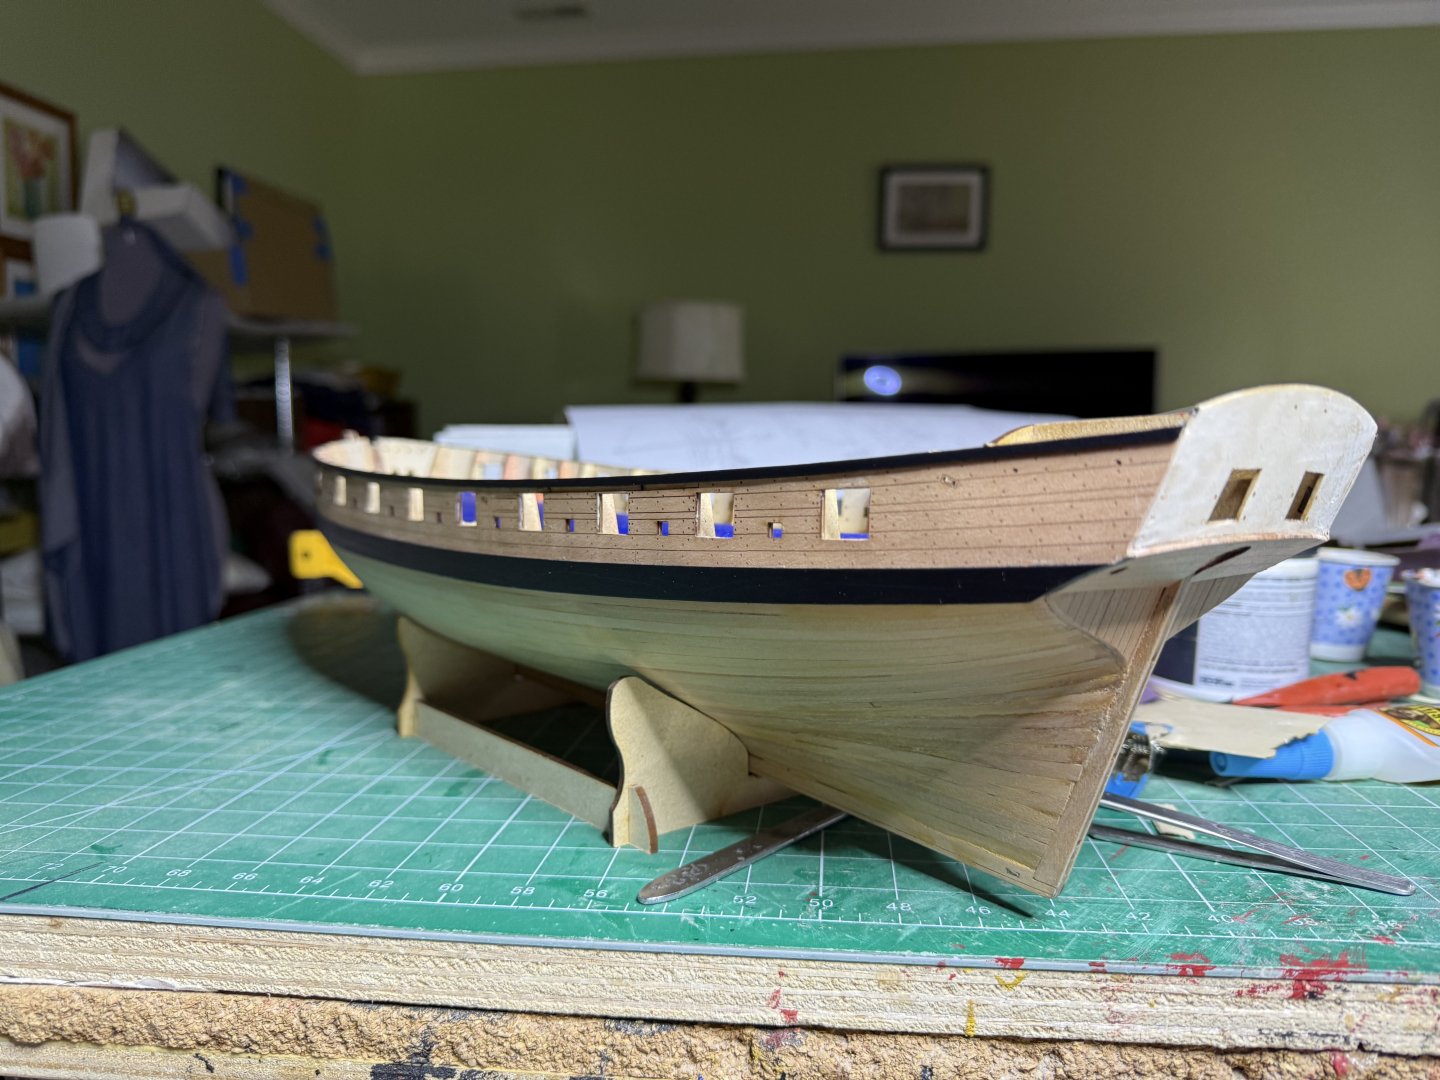
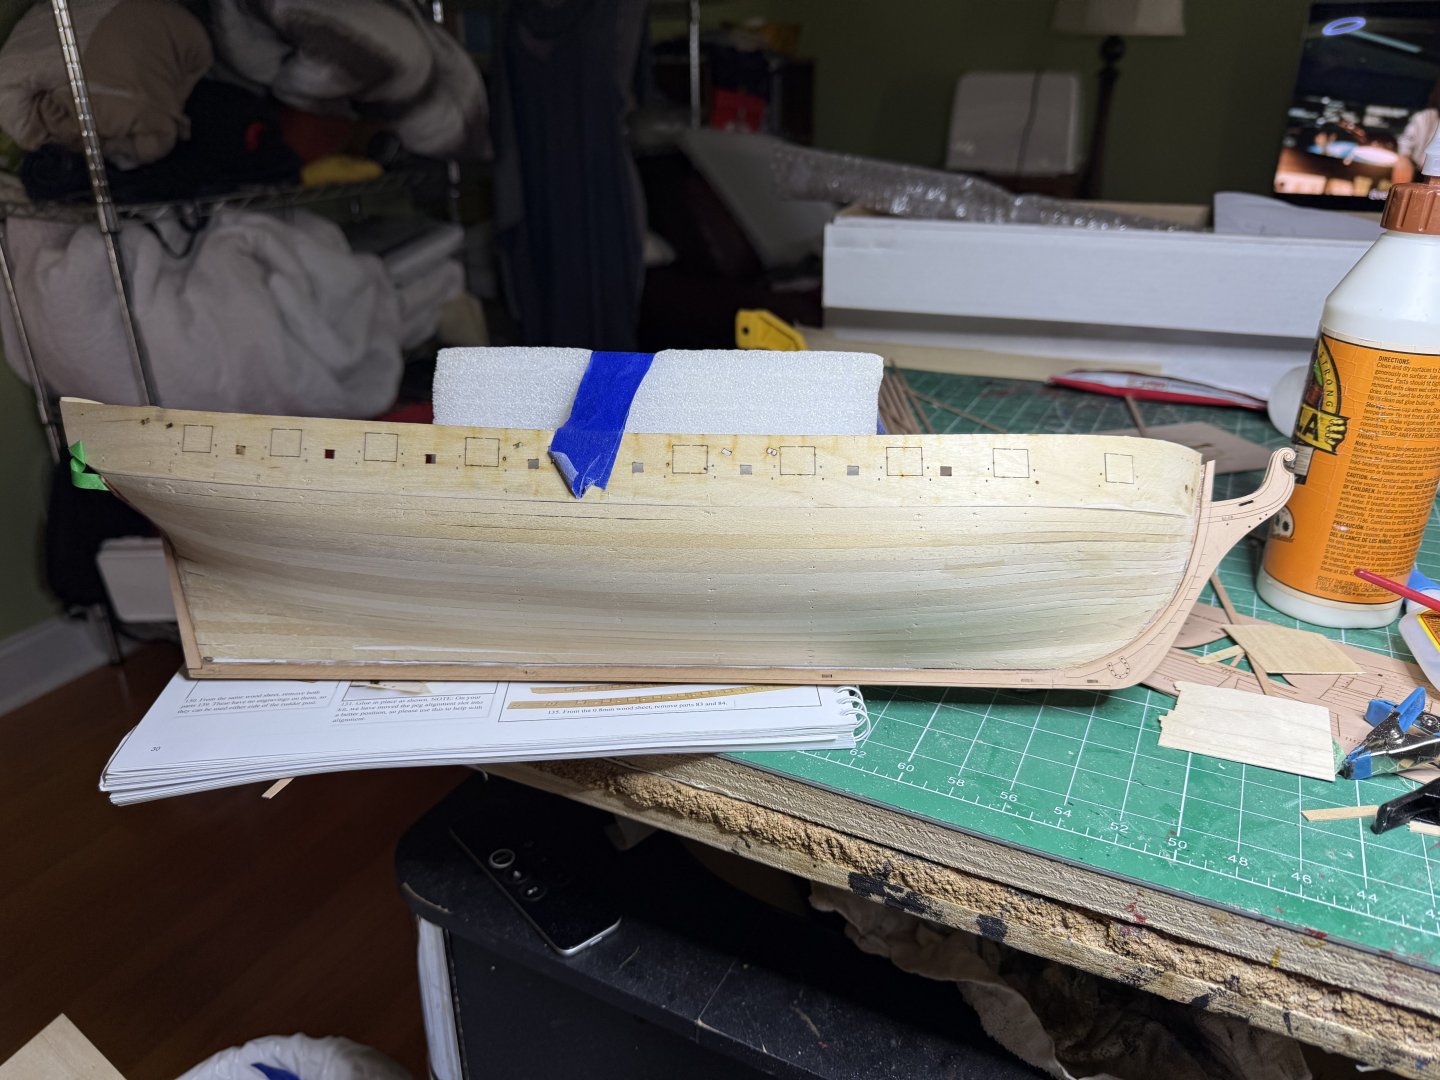
Spent the weekend doing the second planking. About 13 rows to go. So far pretty symmetrical. So far my not sanding down the stern fascia and planking into it seems to be working


- 73 replies
-
- 10
-
-
- Harpy
- Vanguard Models
- (and 1 more)
-
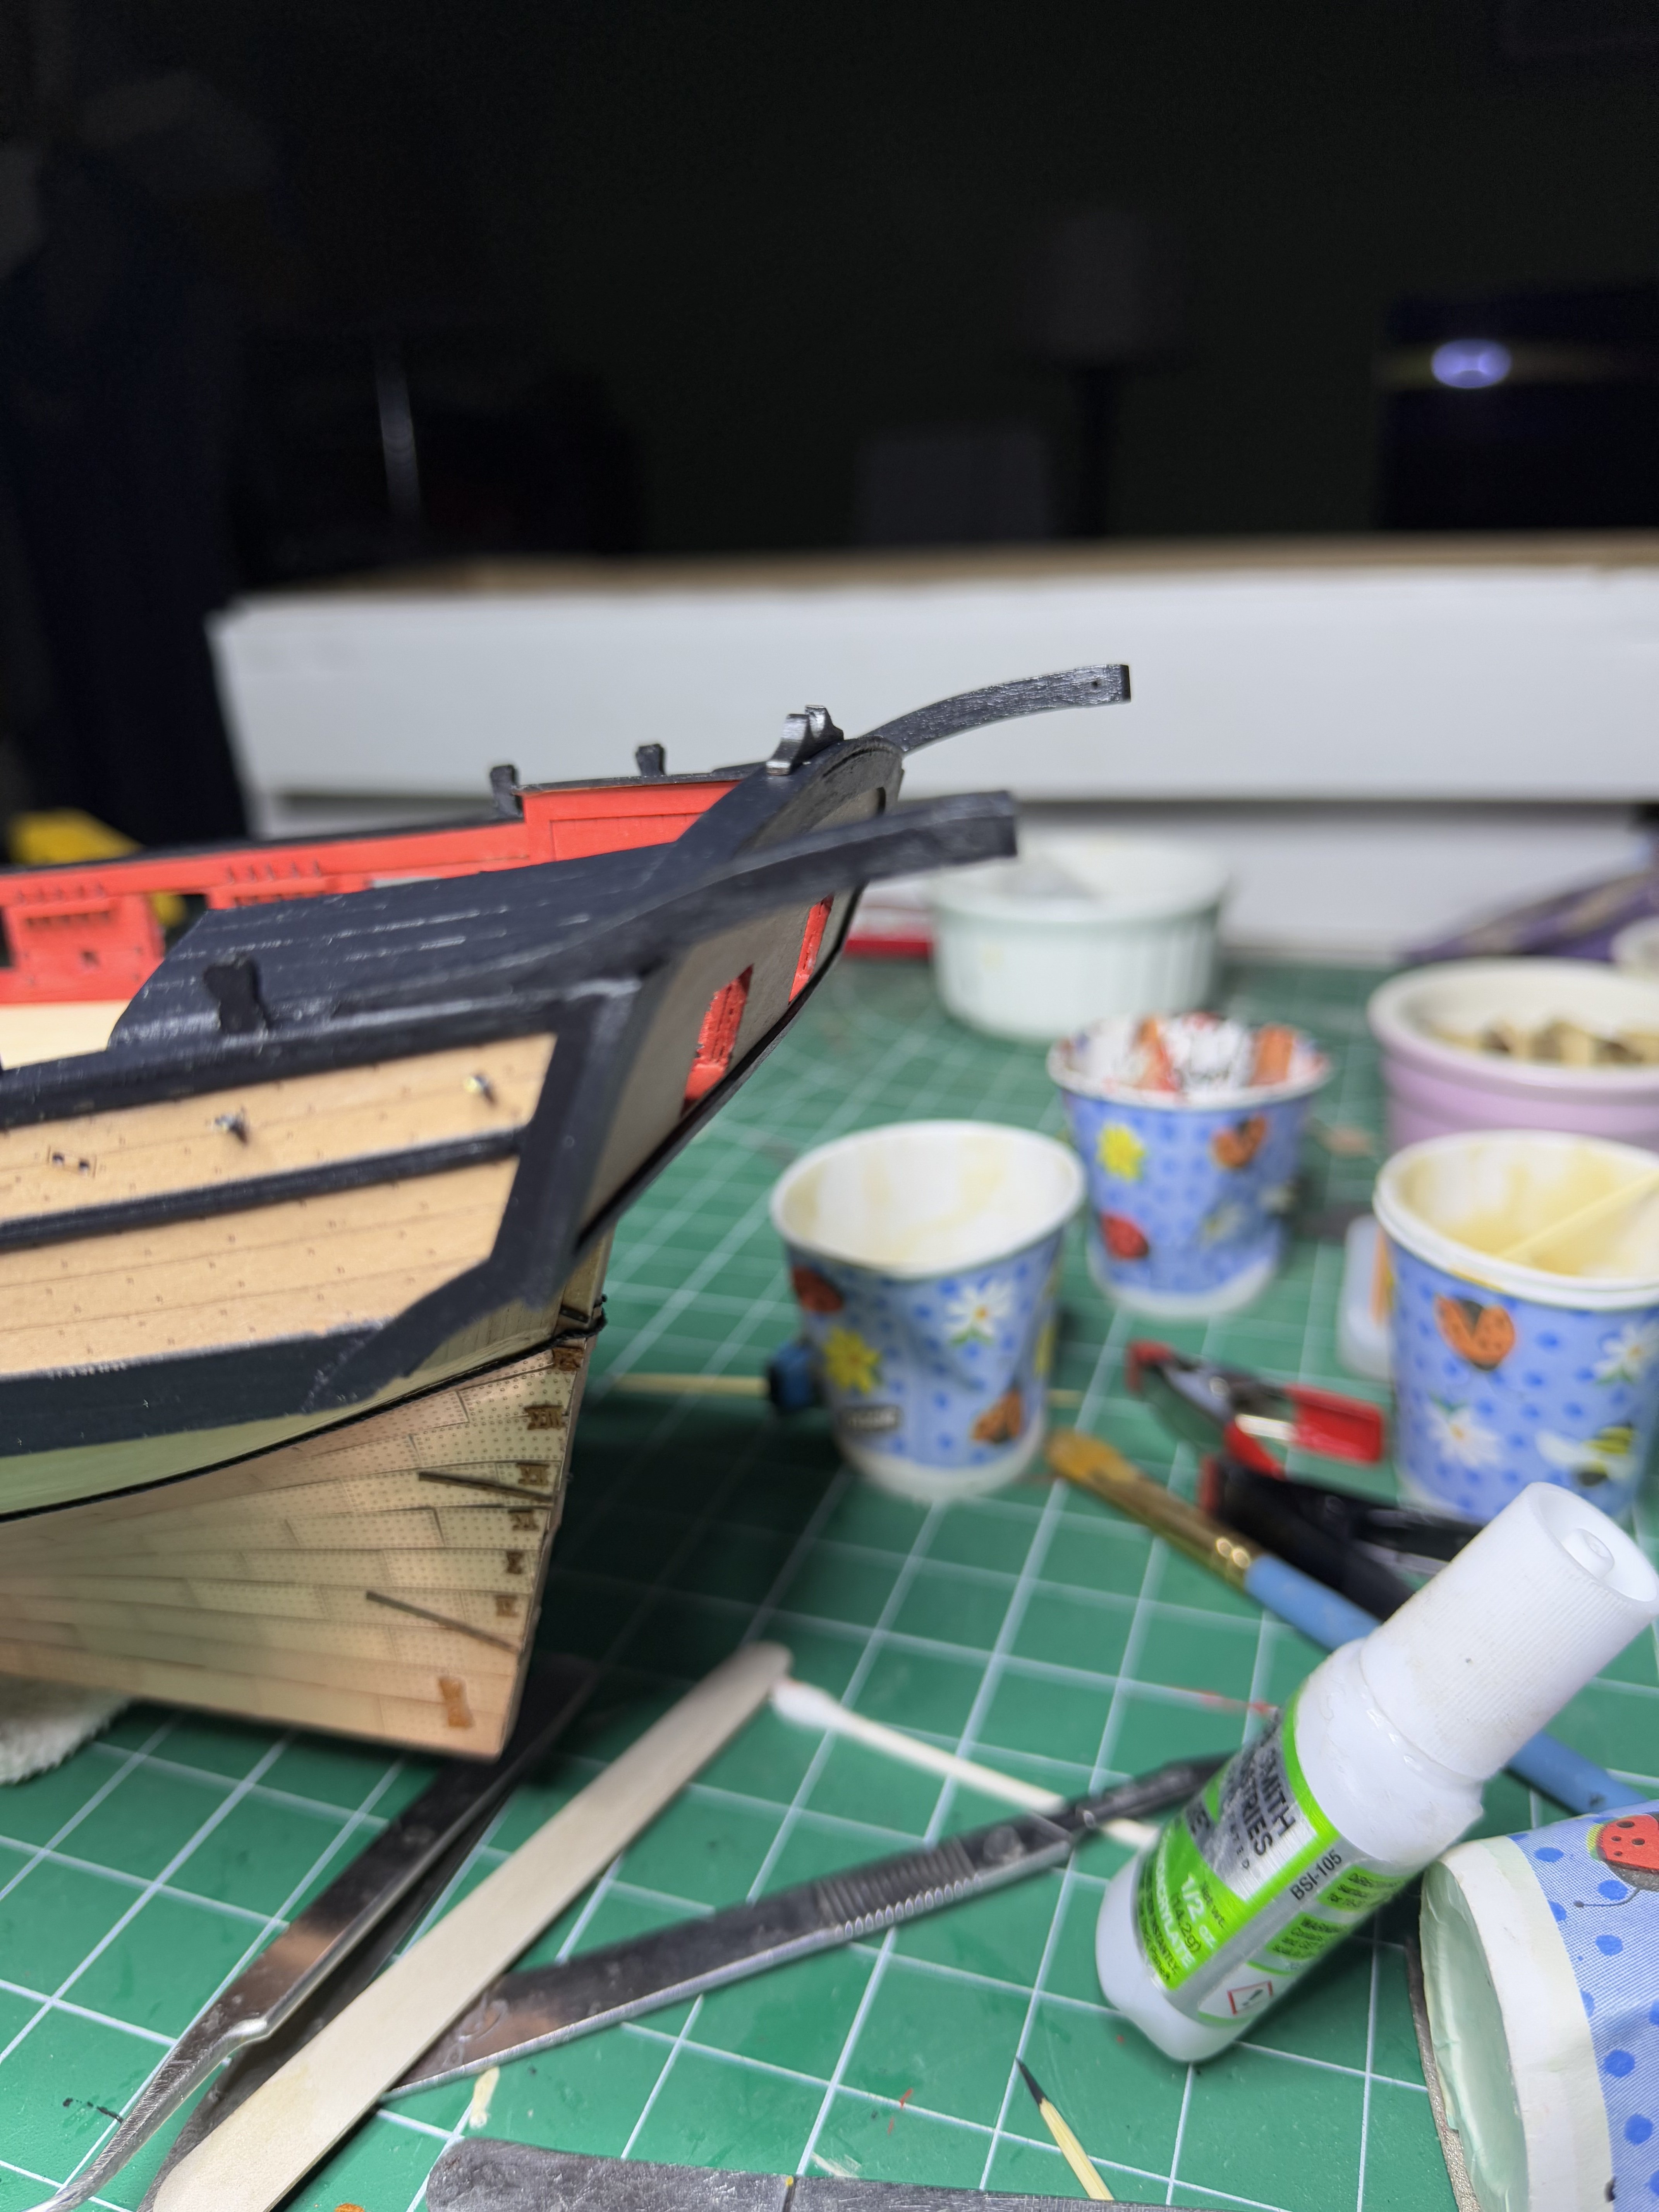
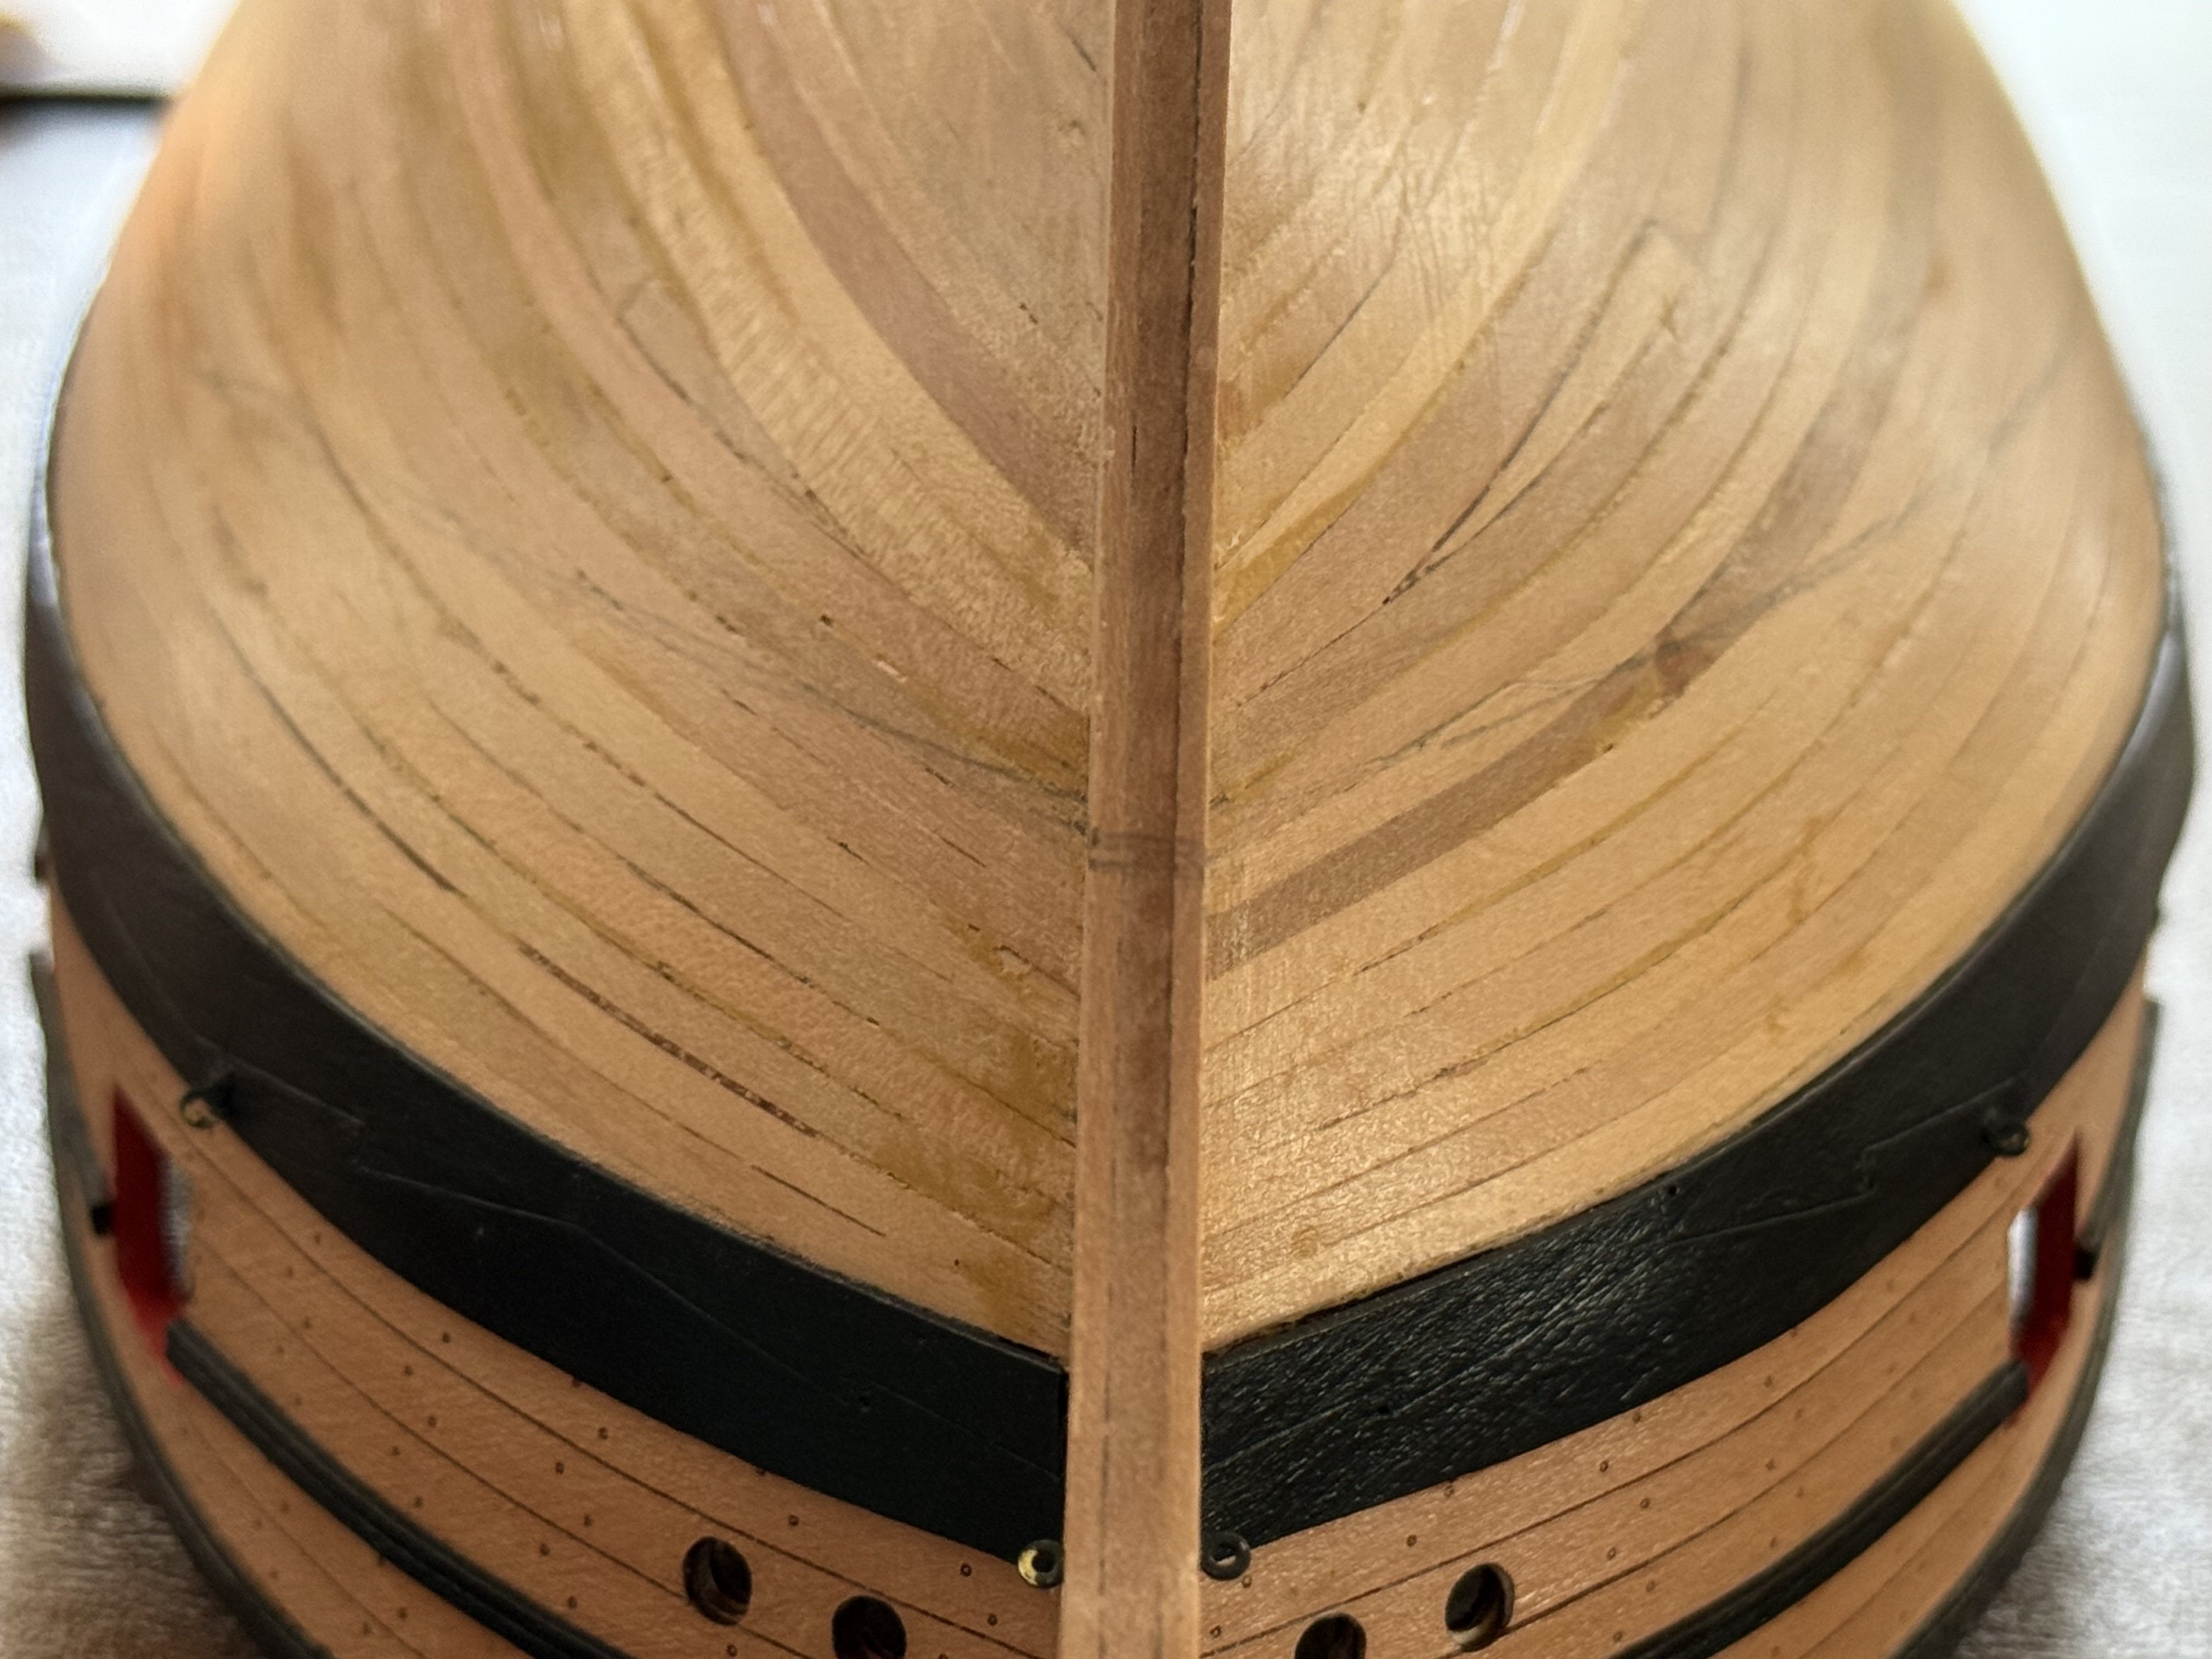
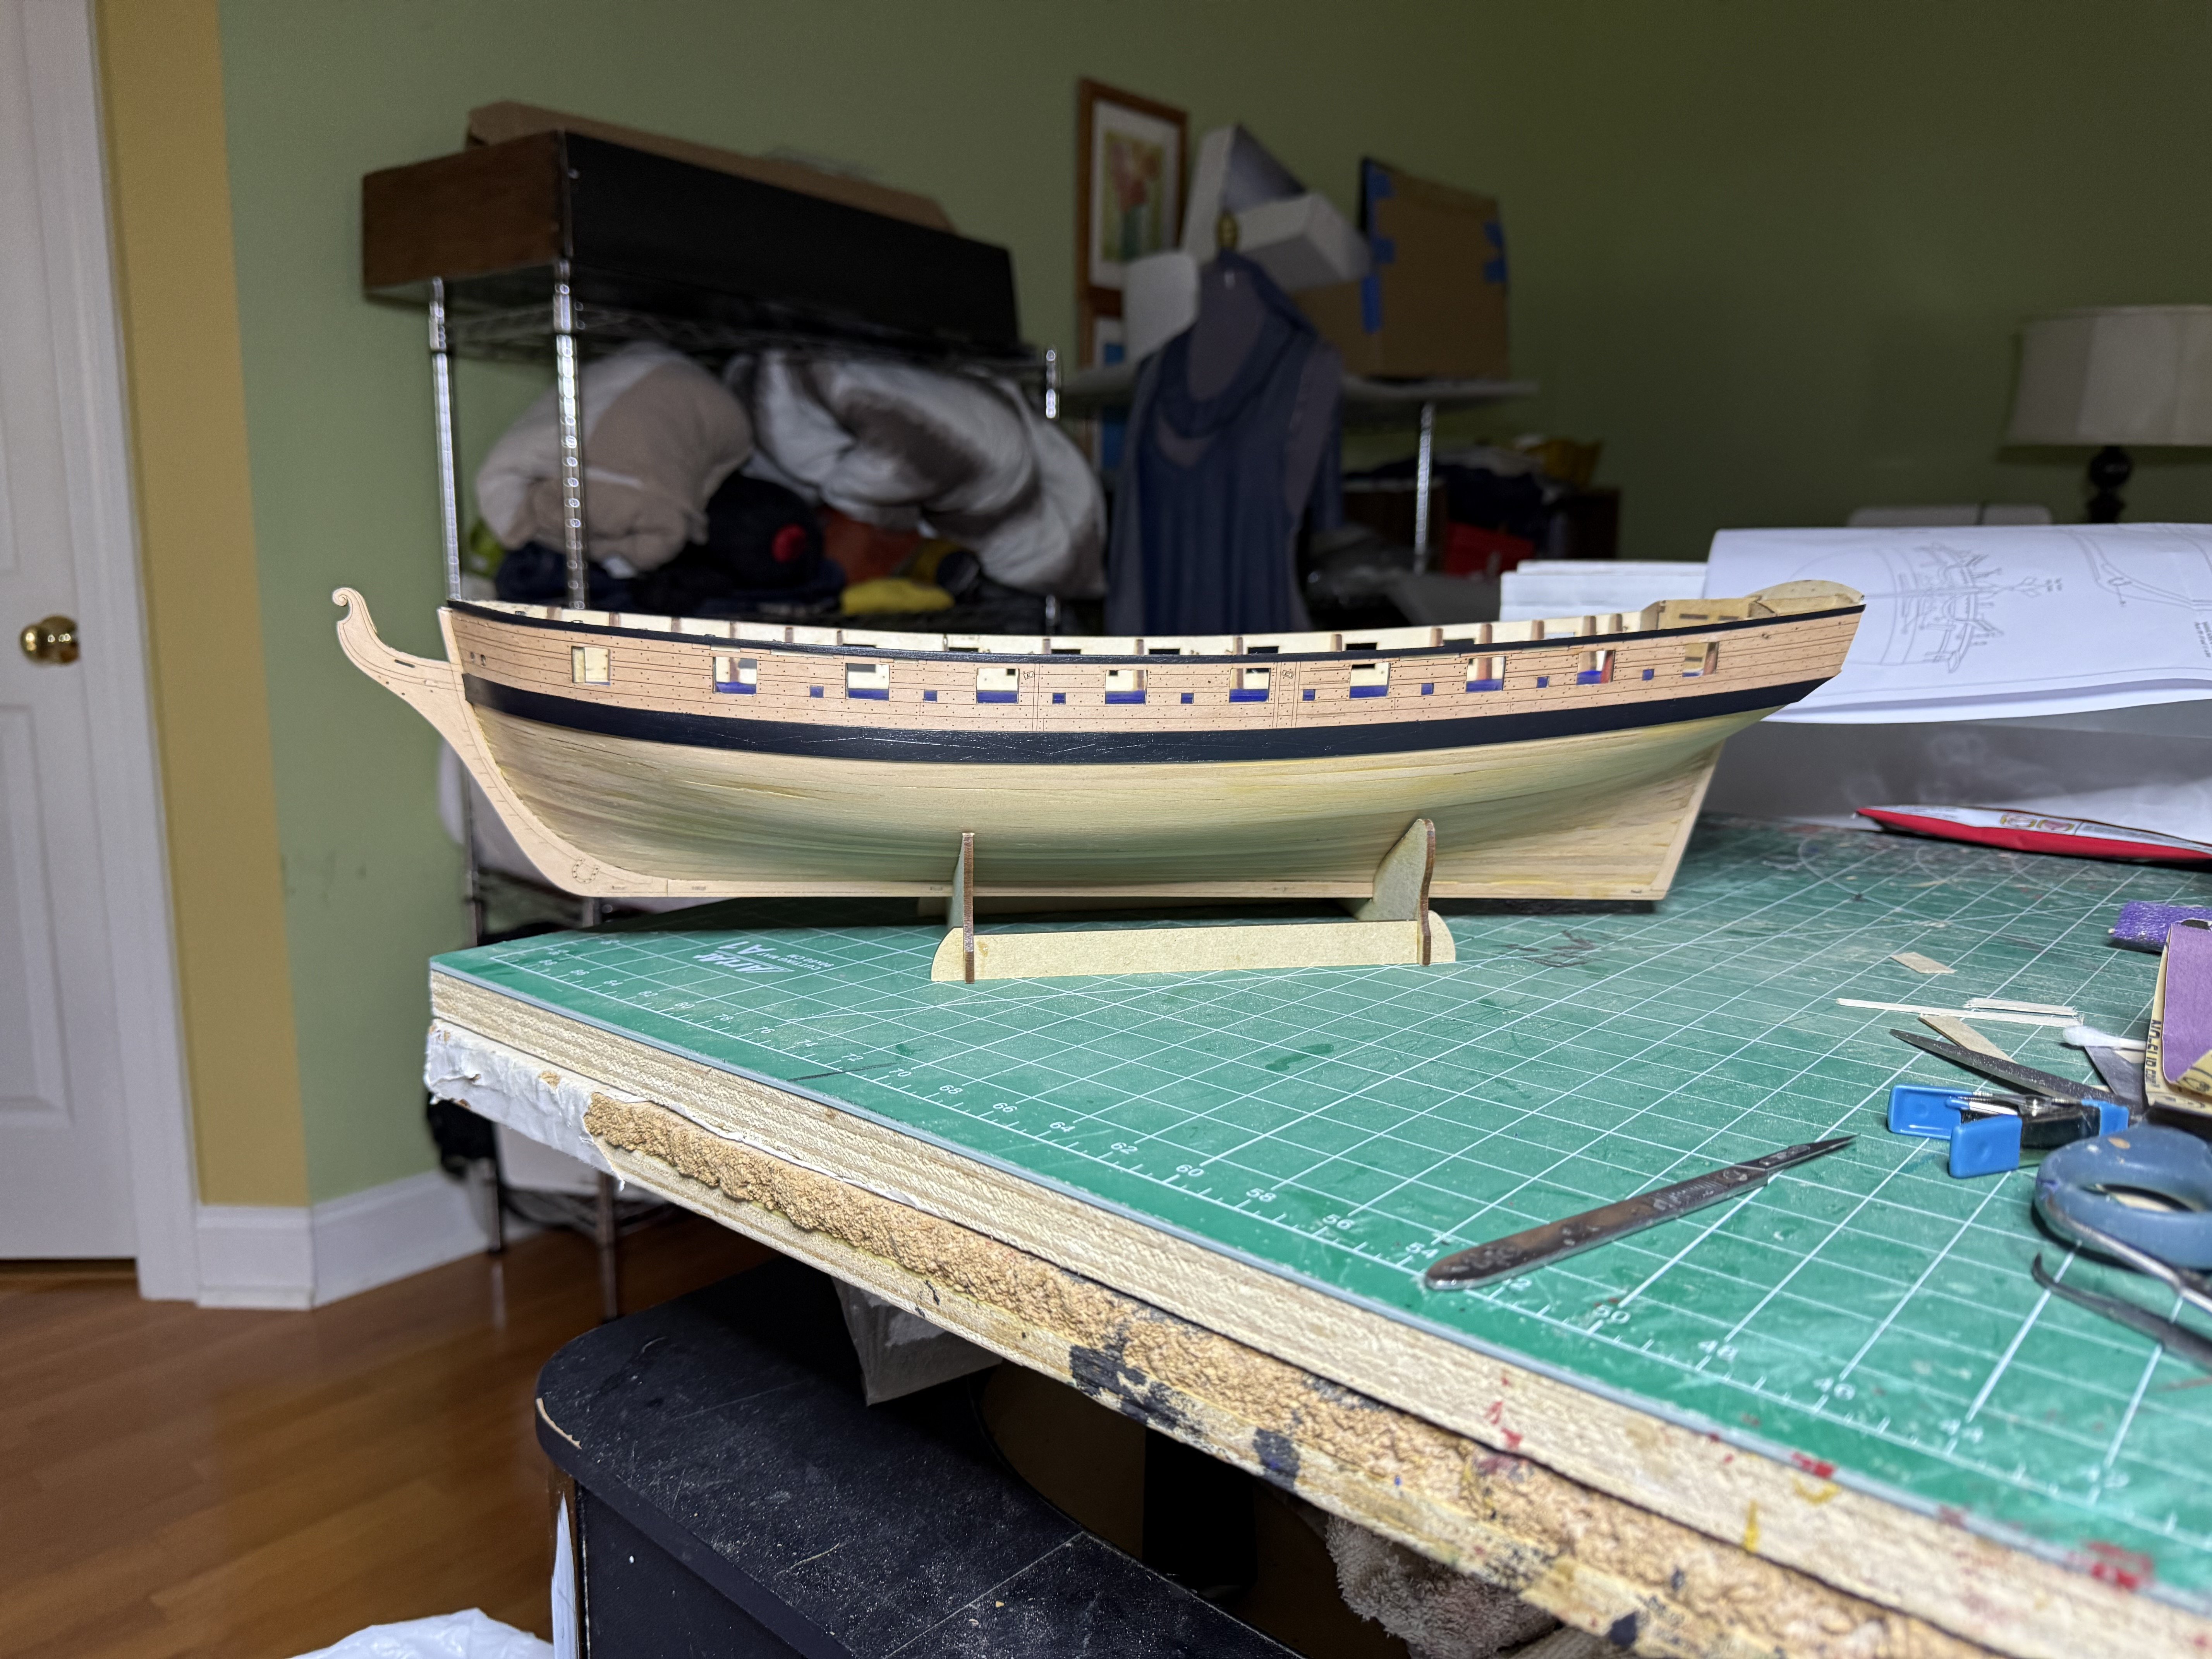
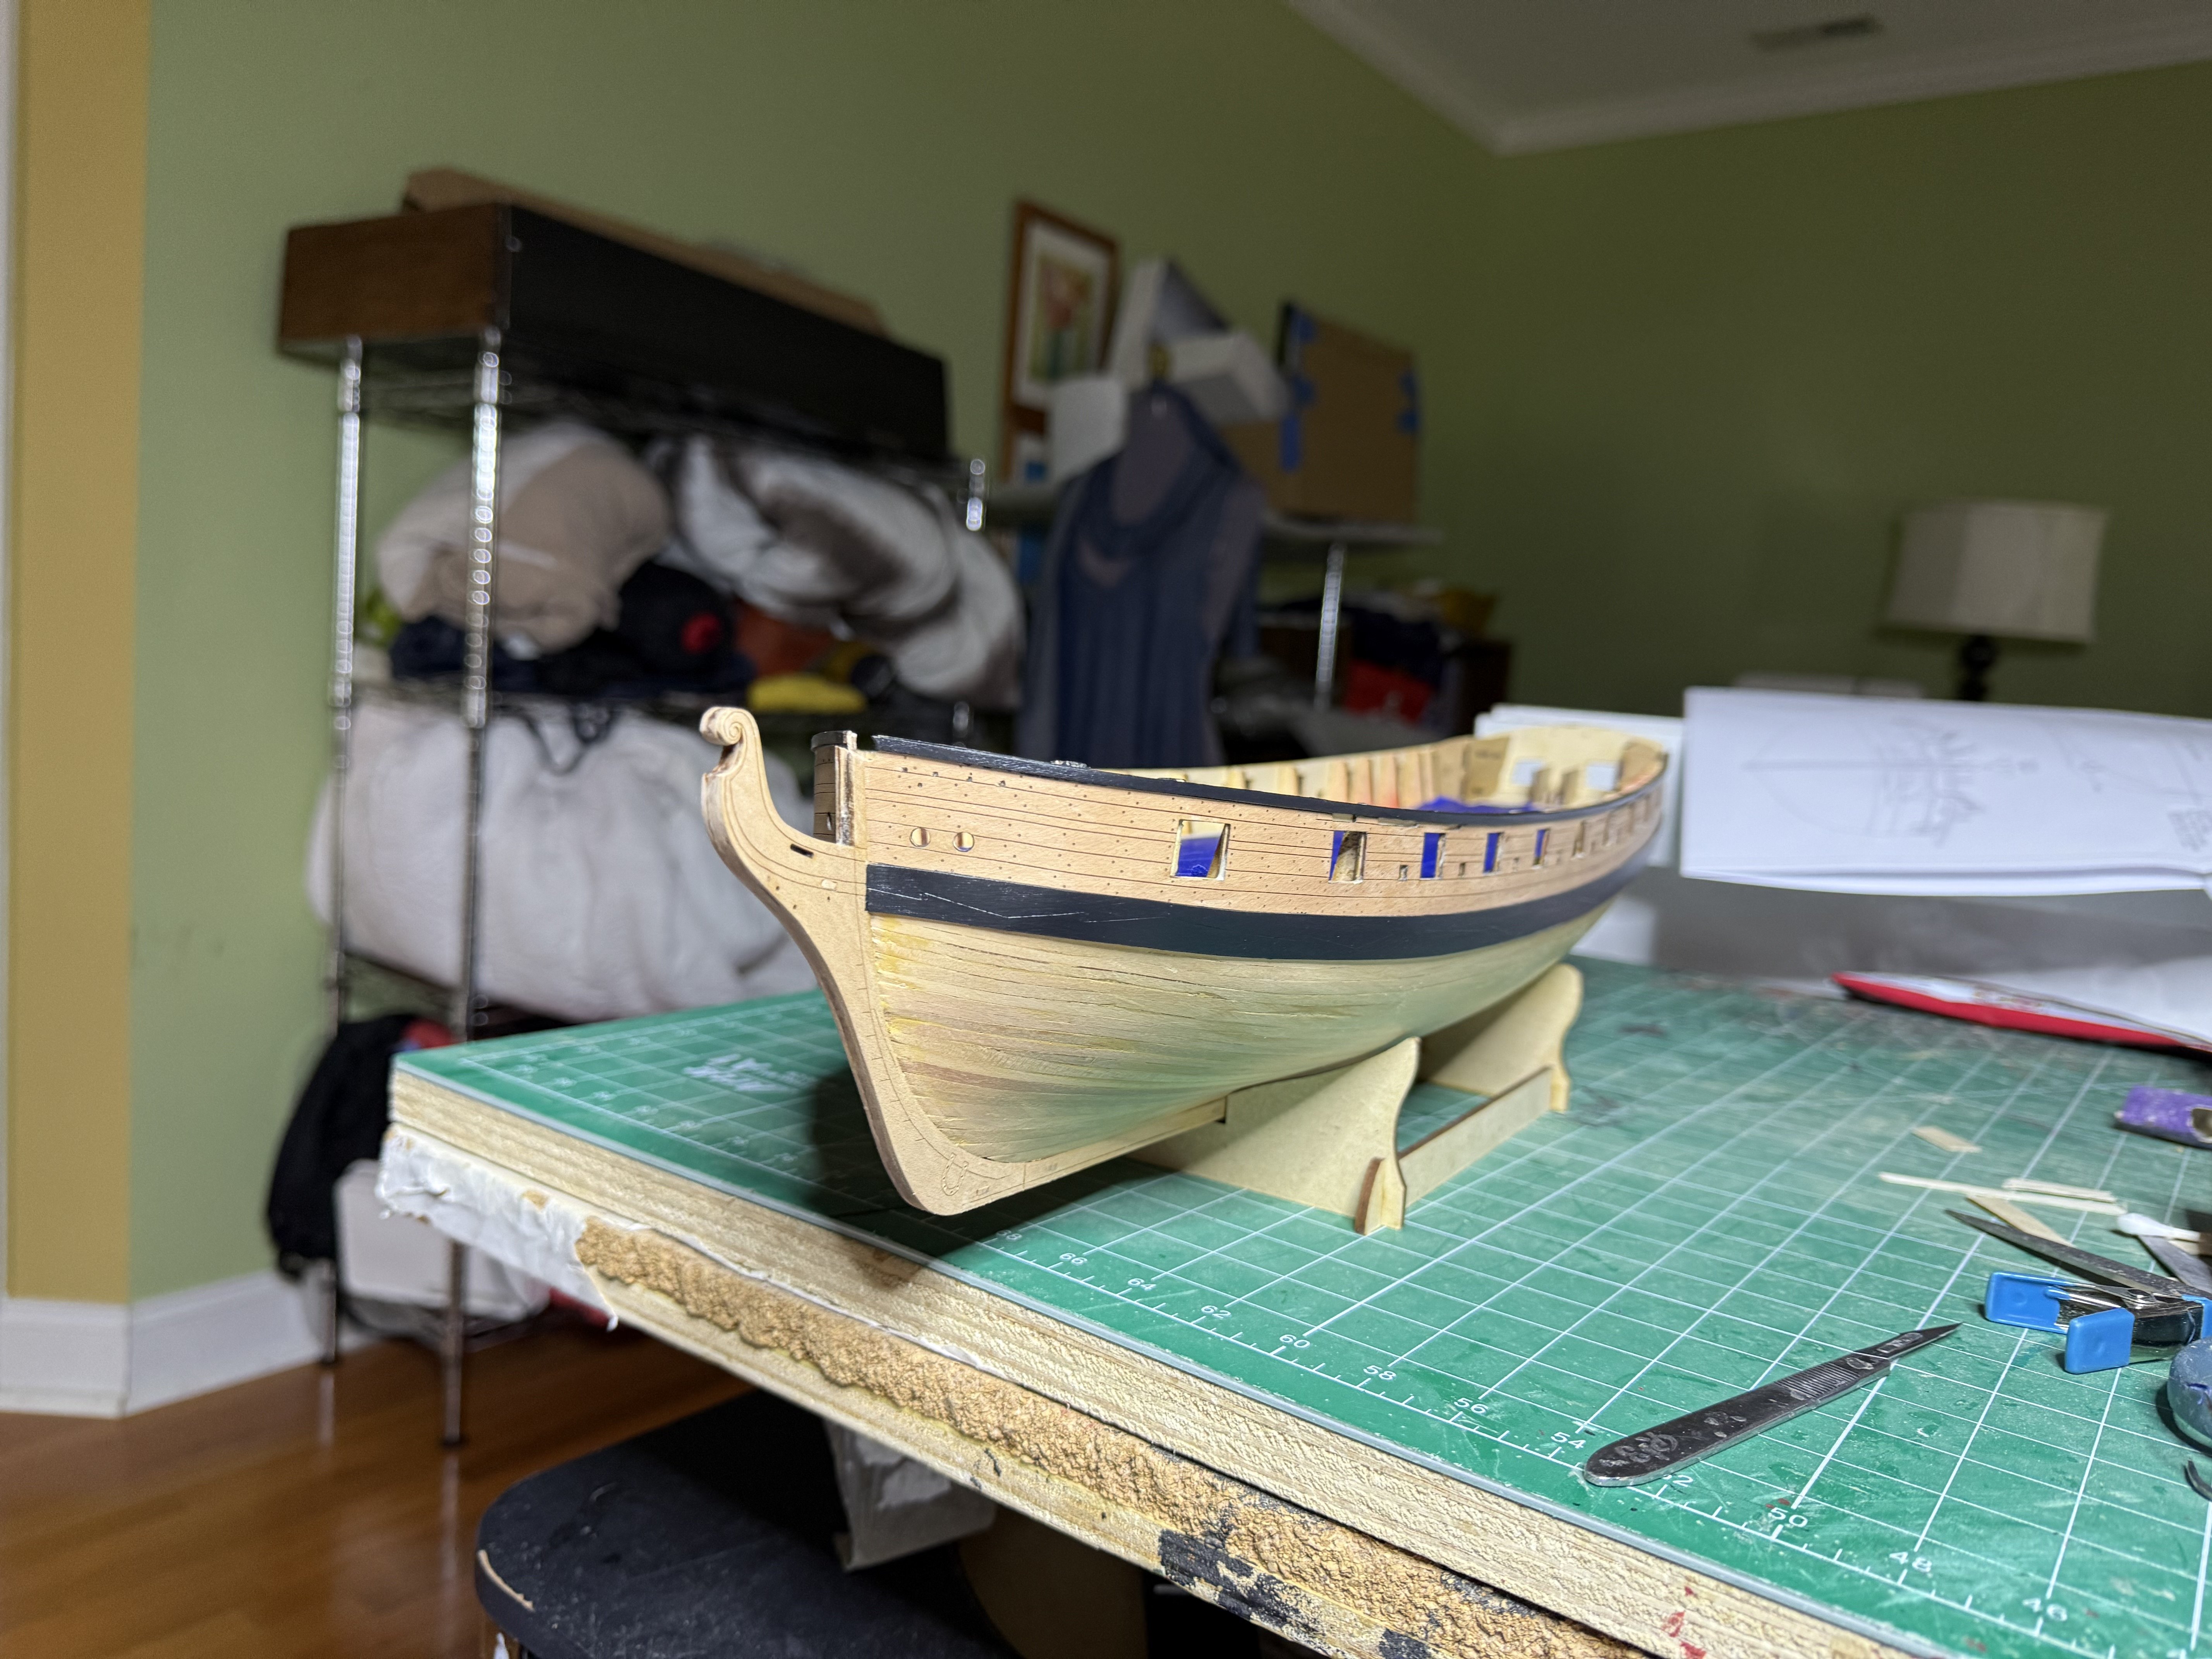
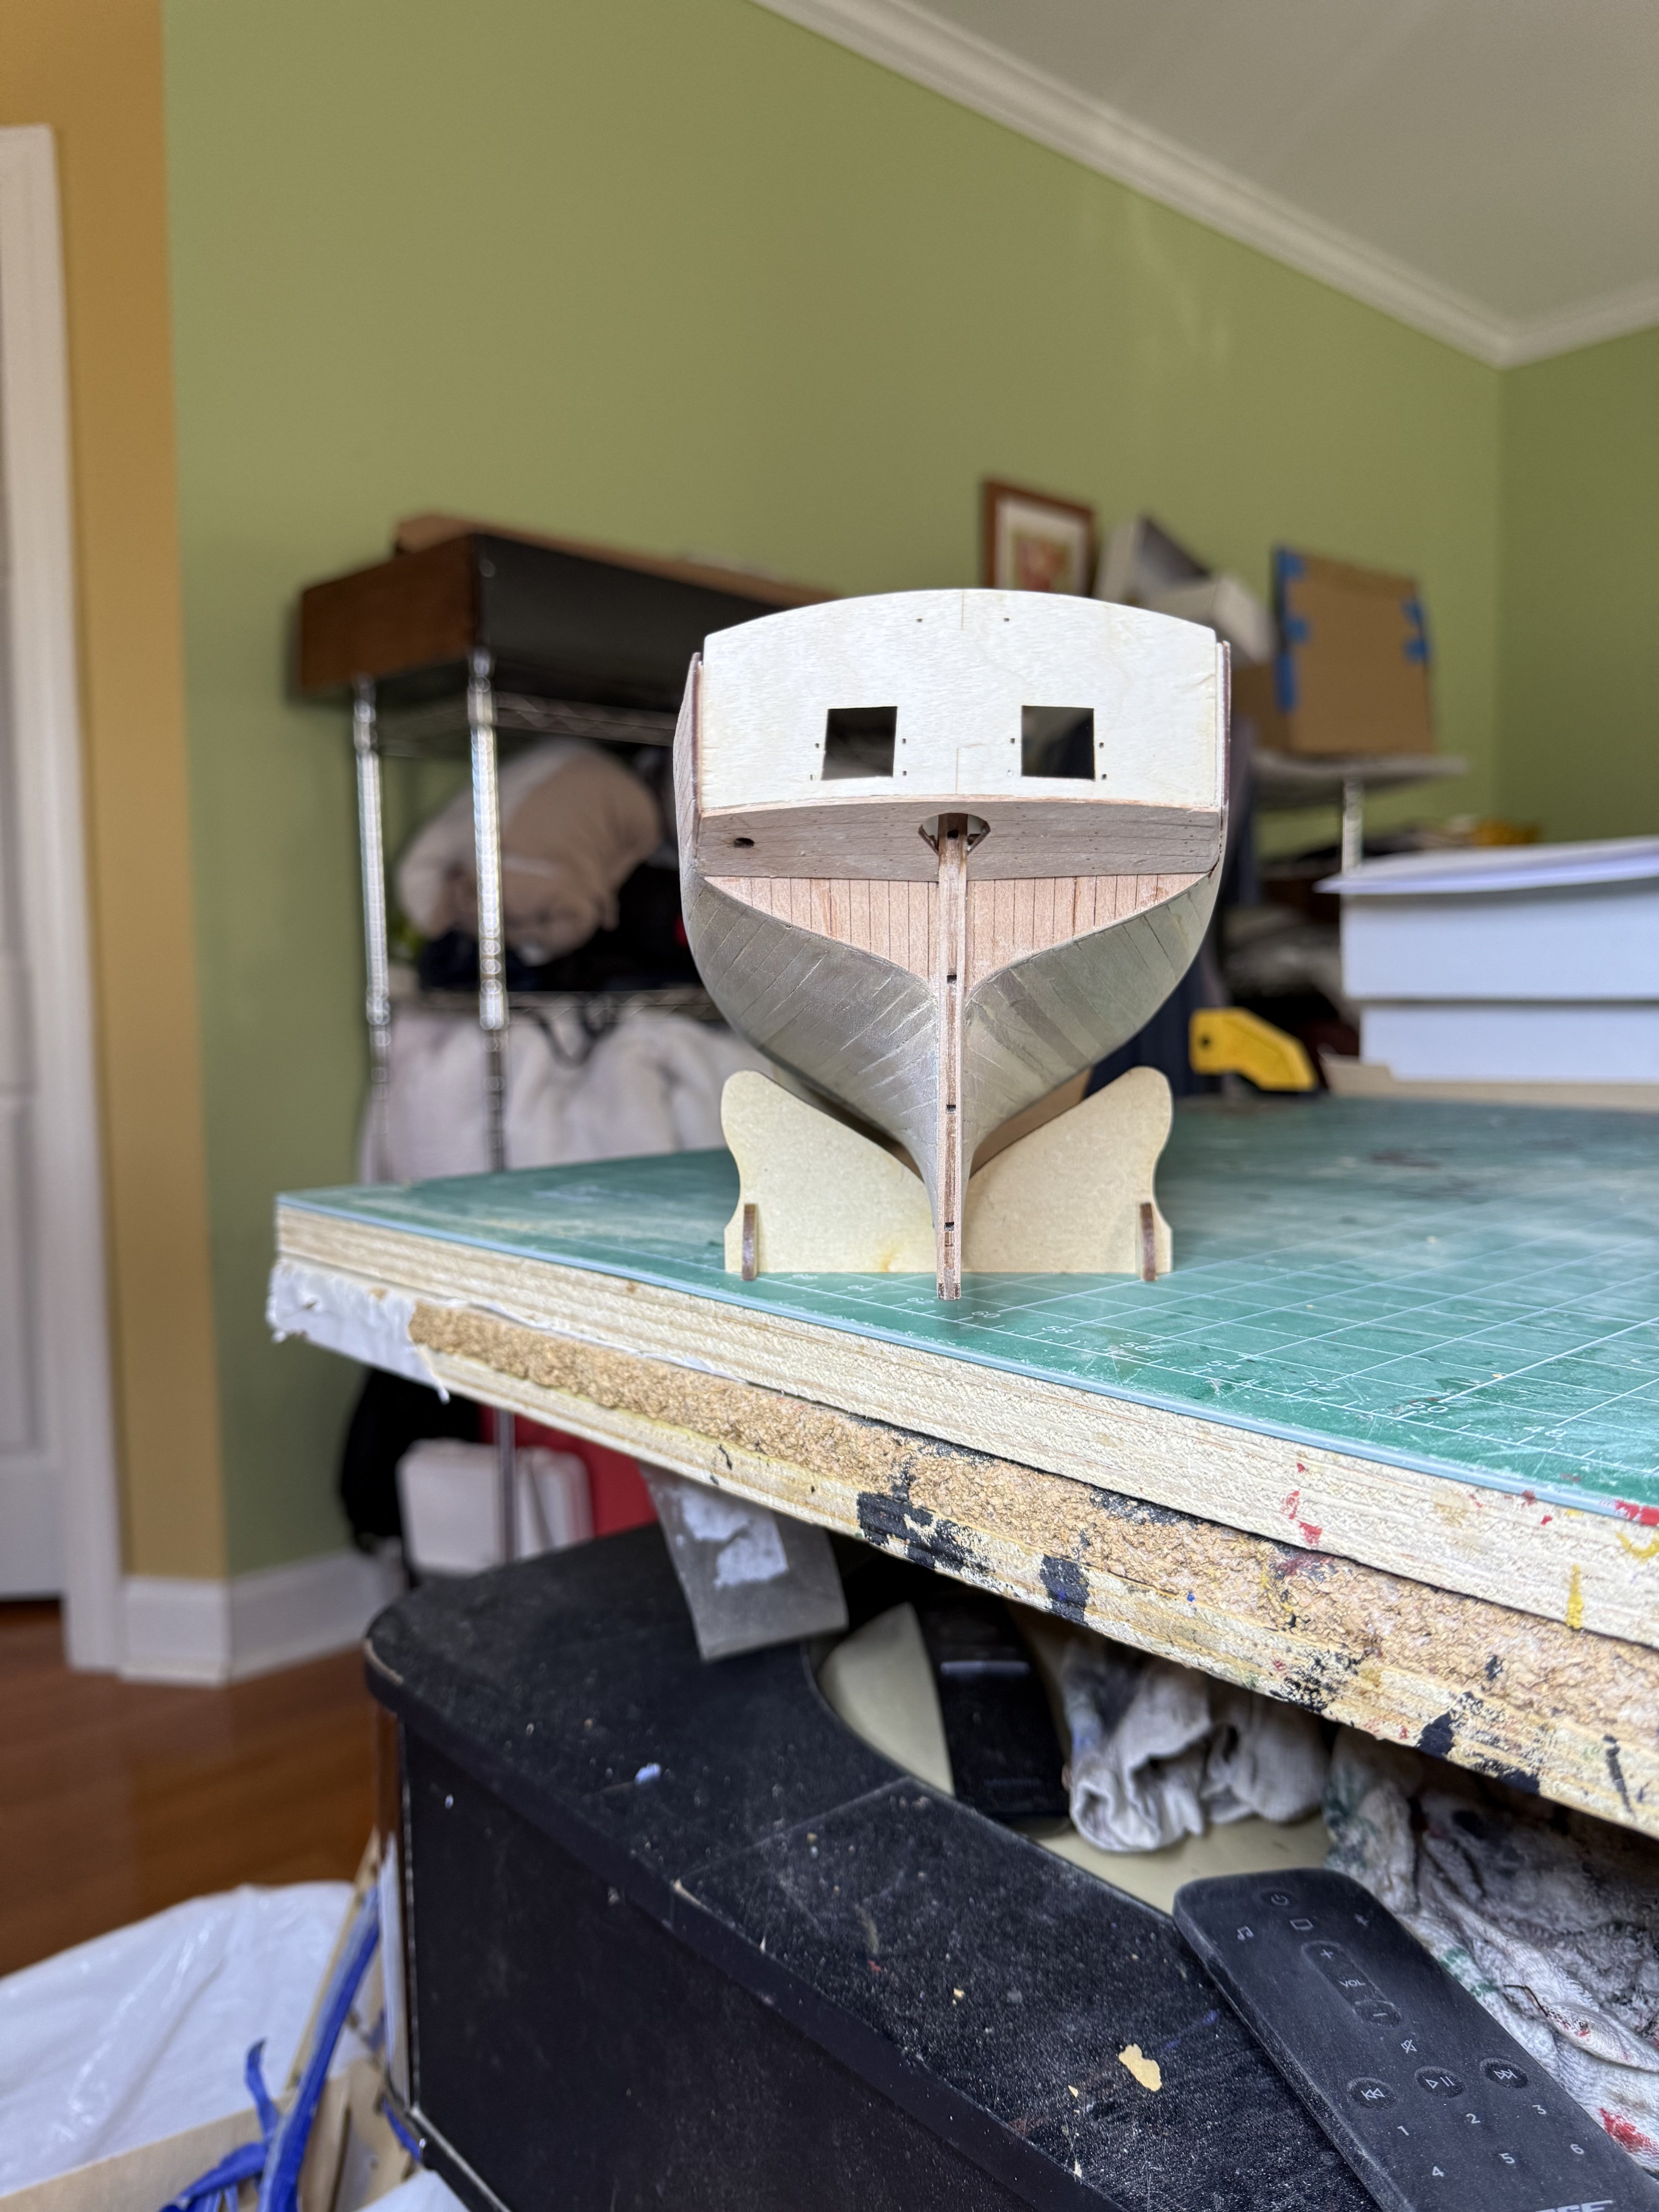
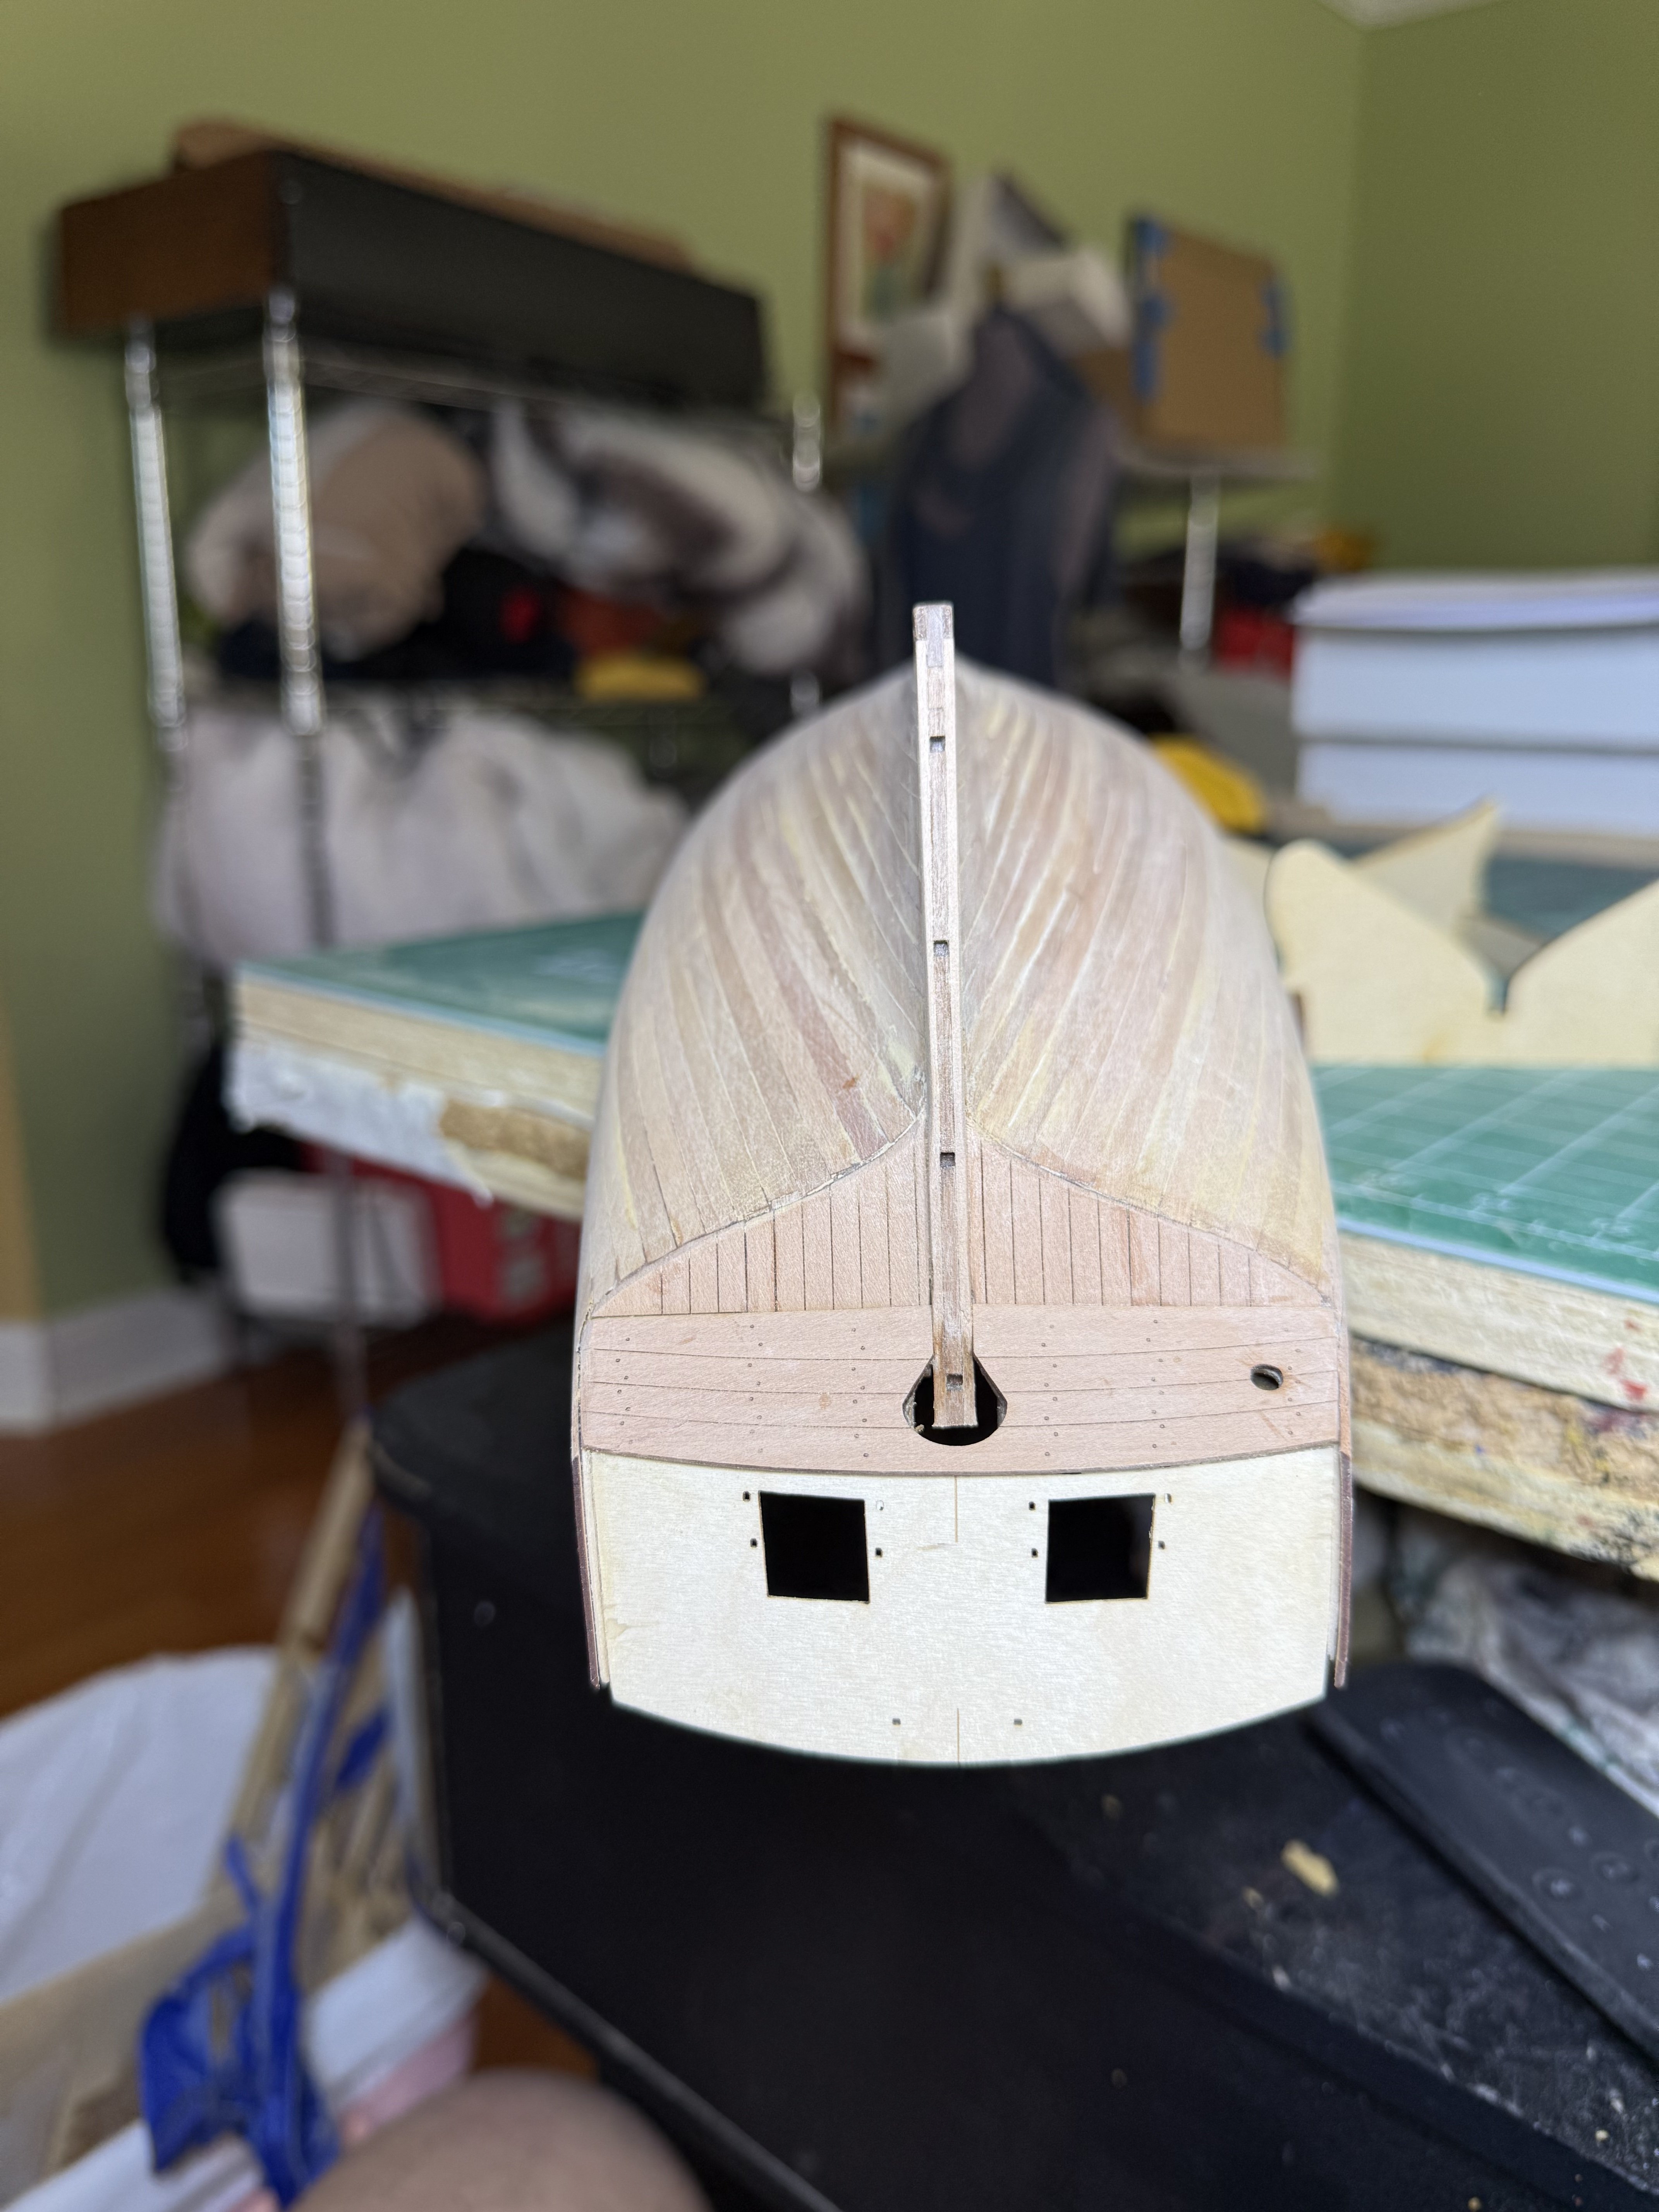
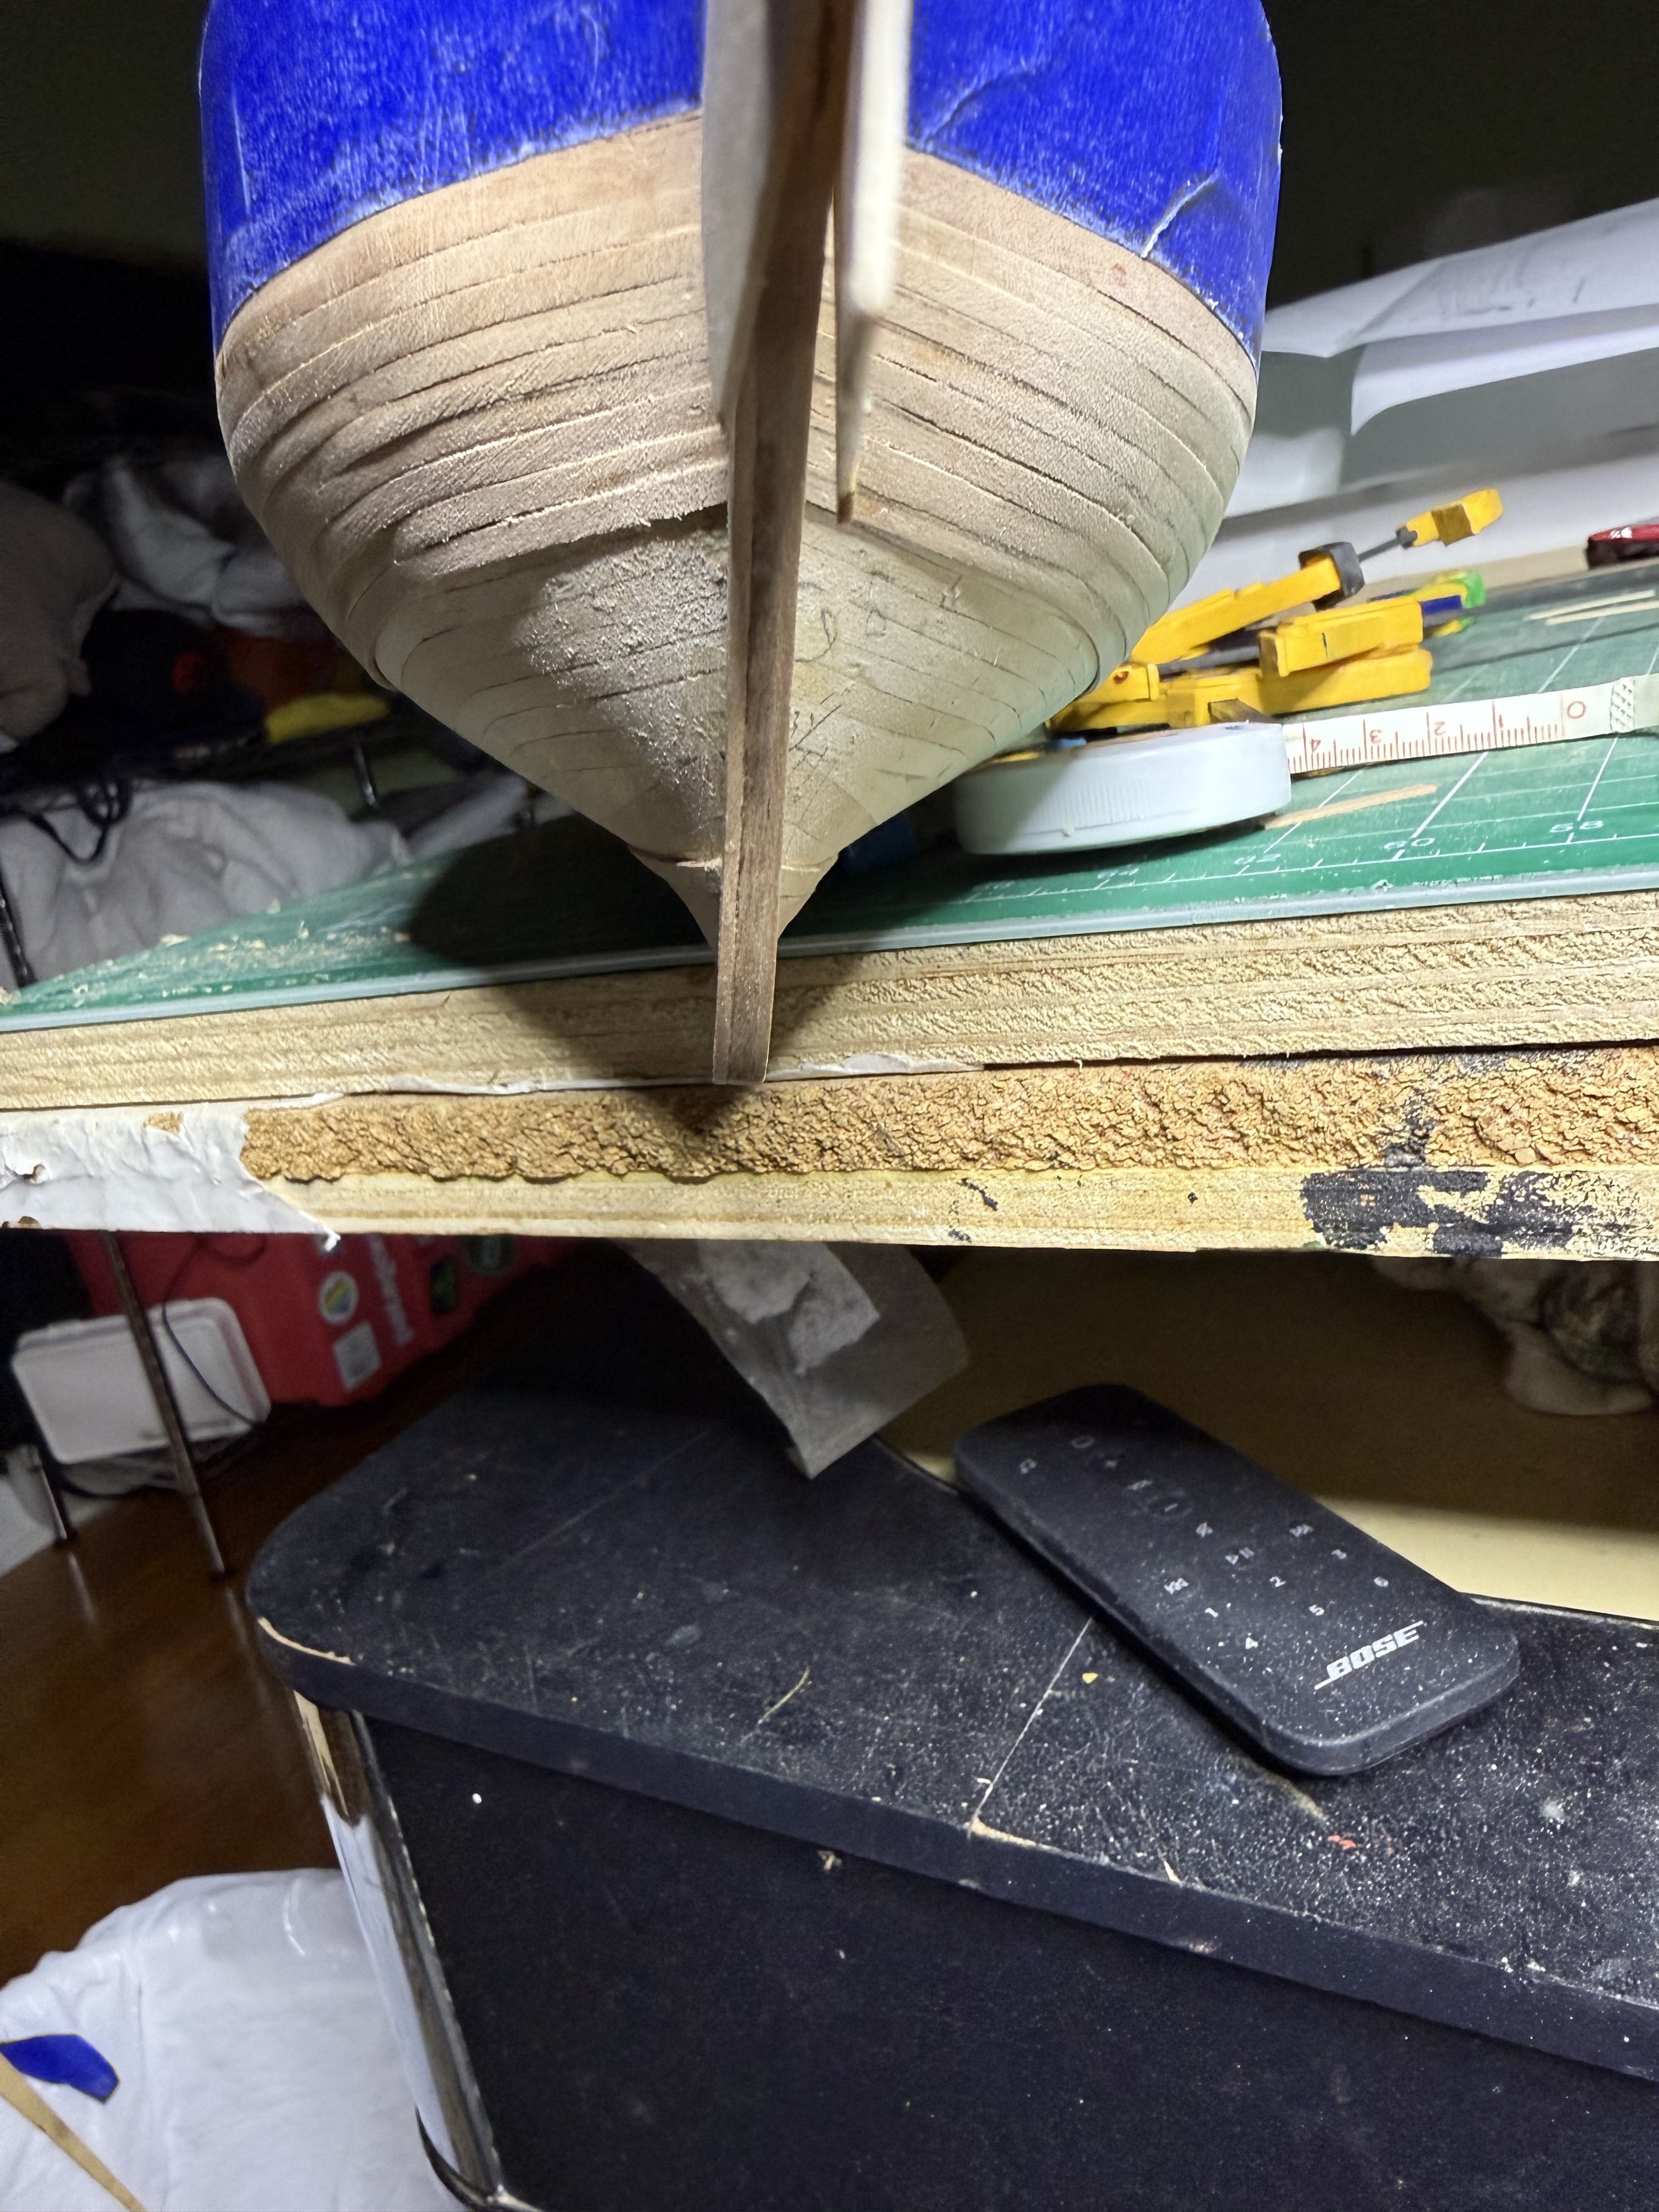
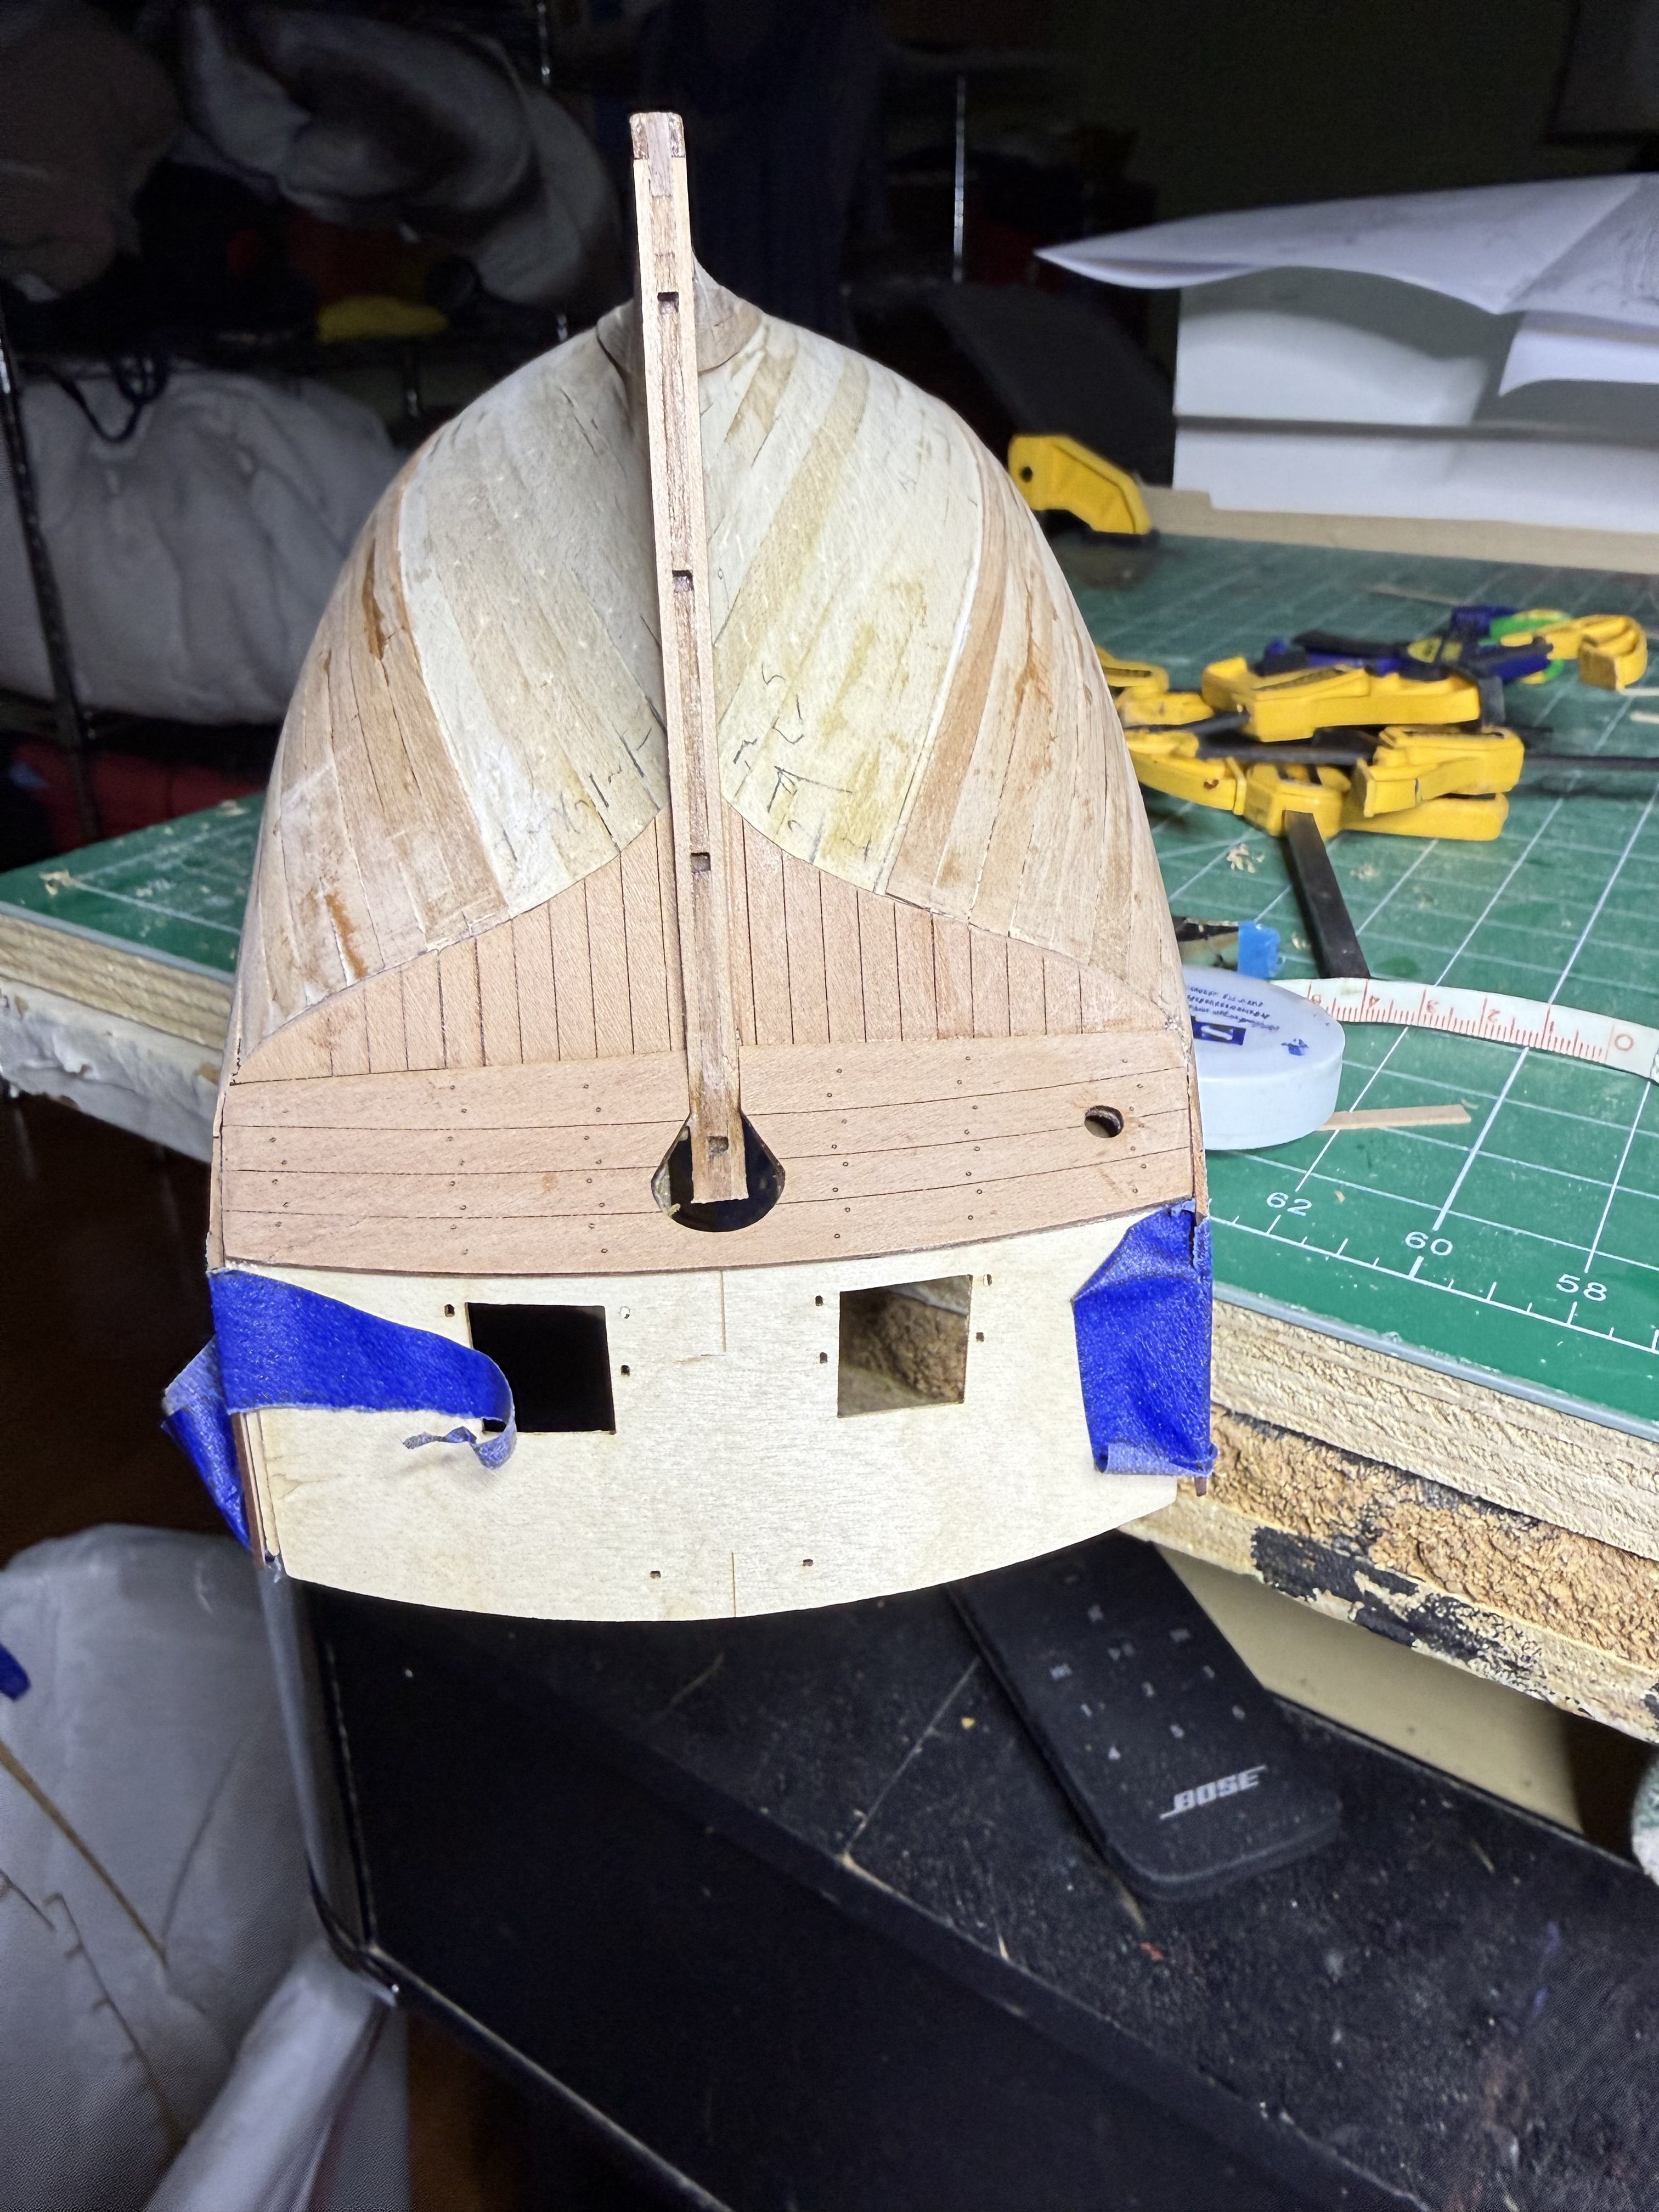
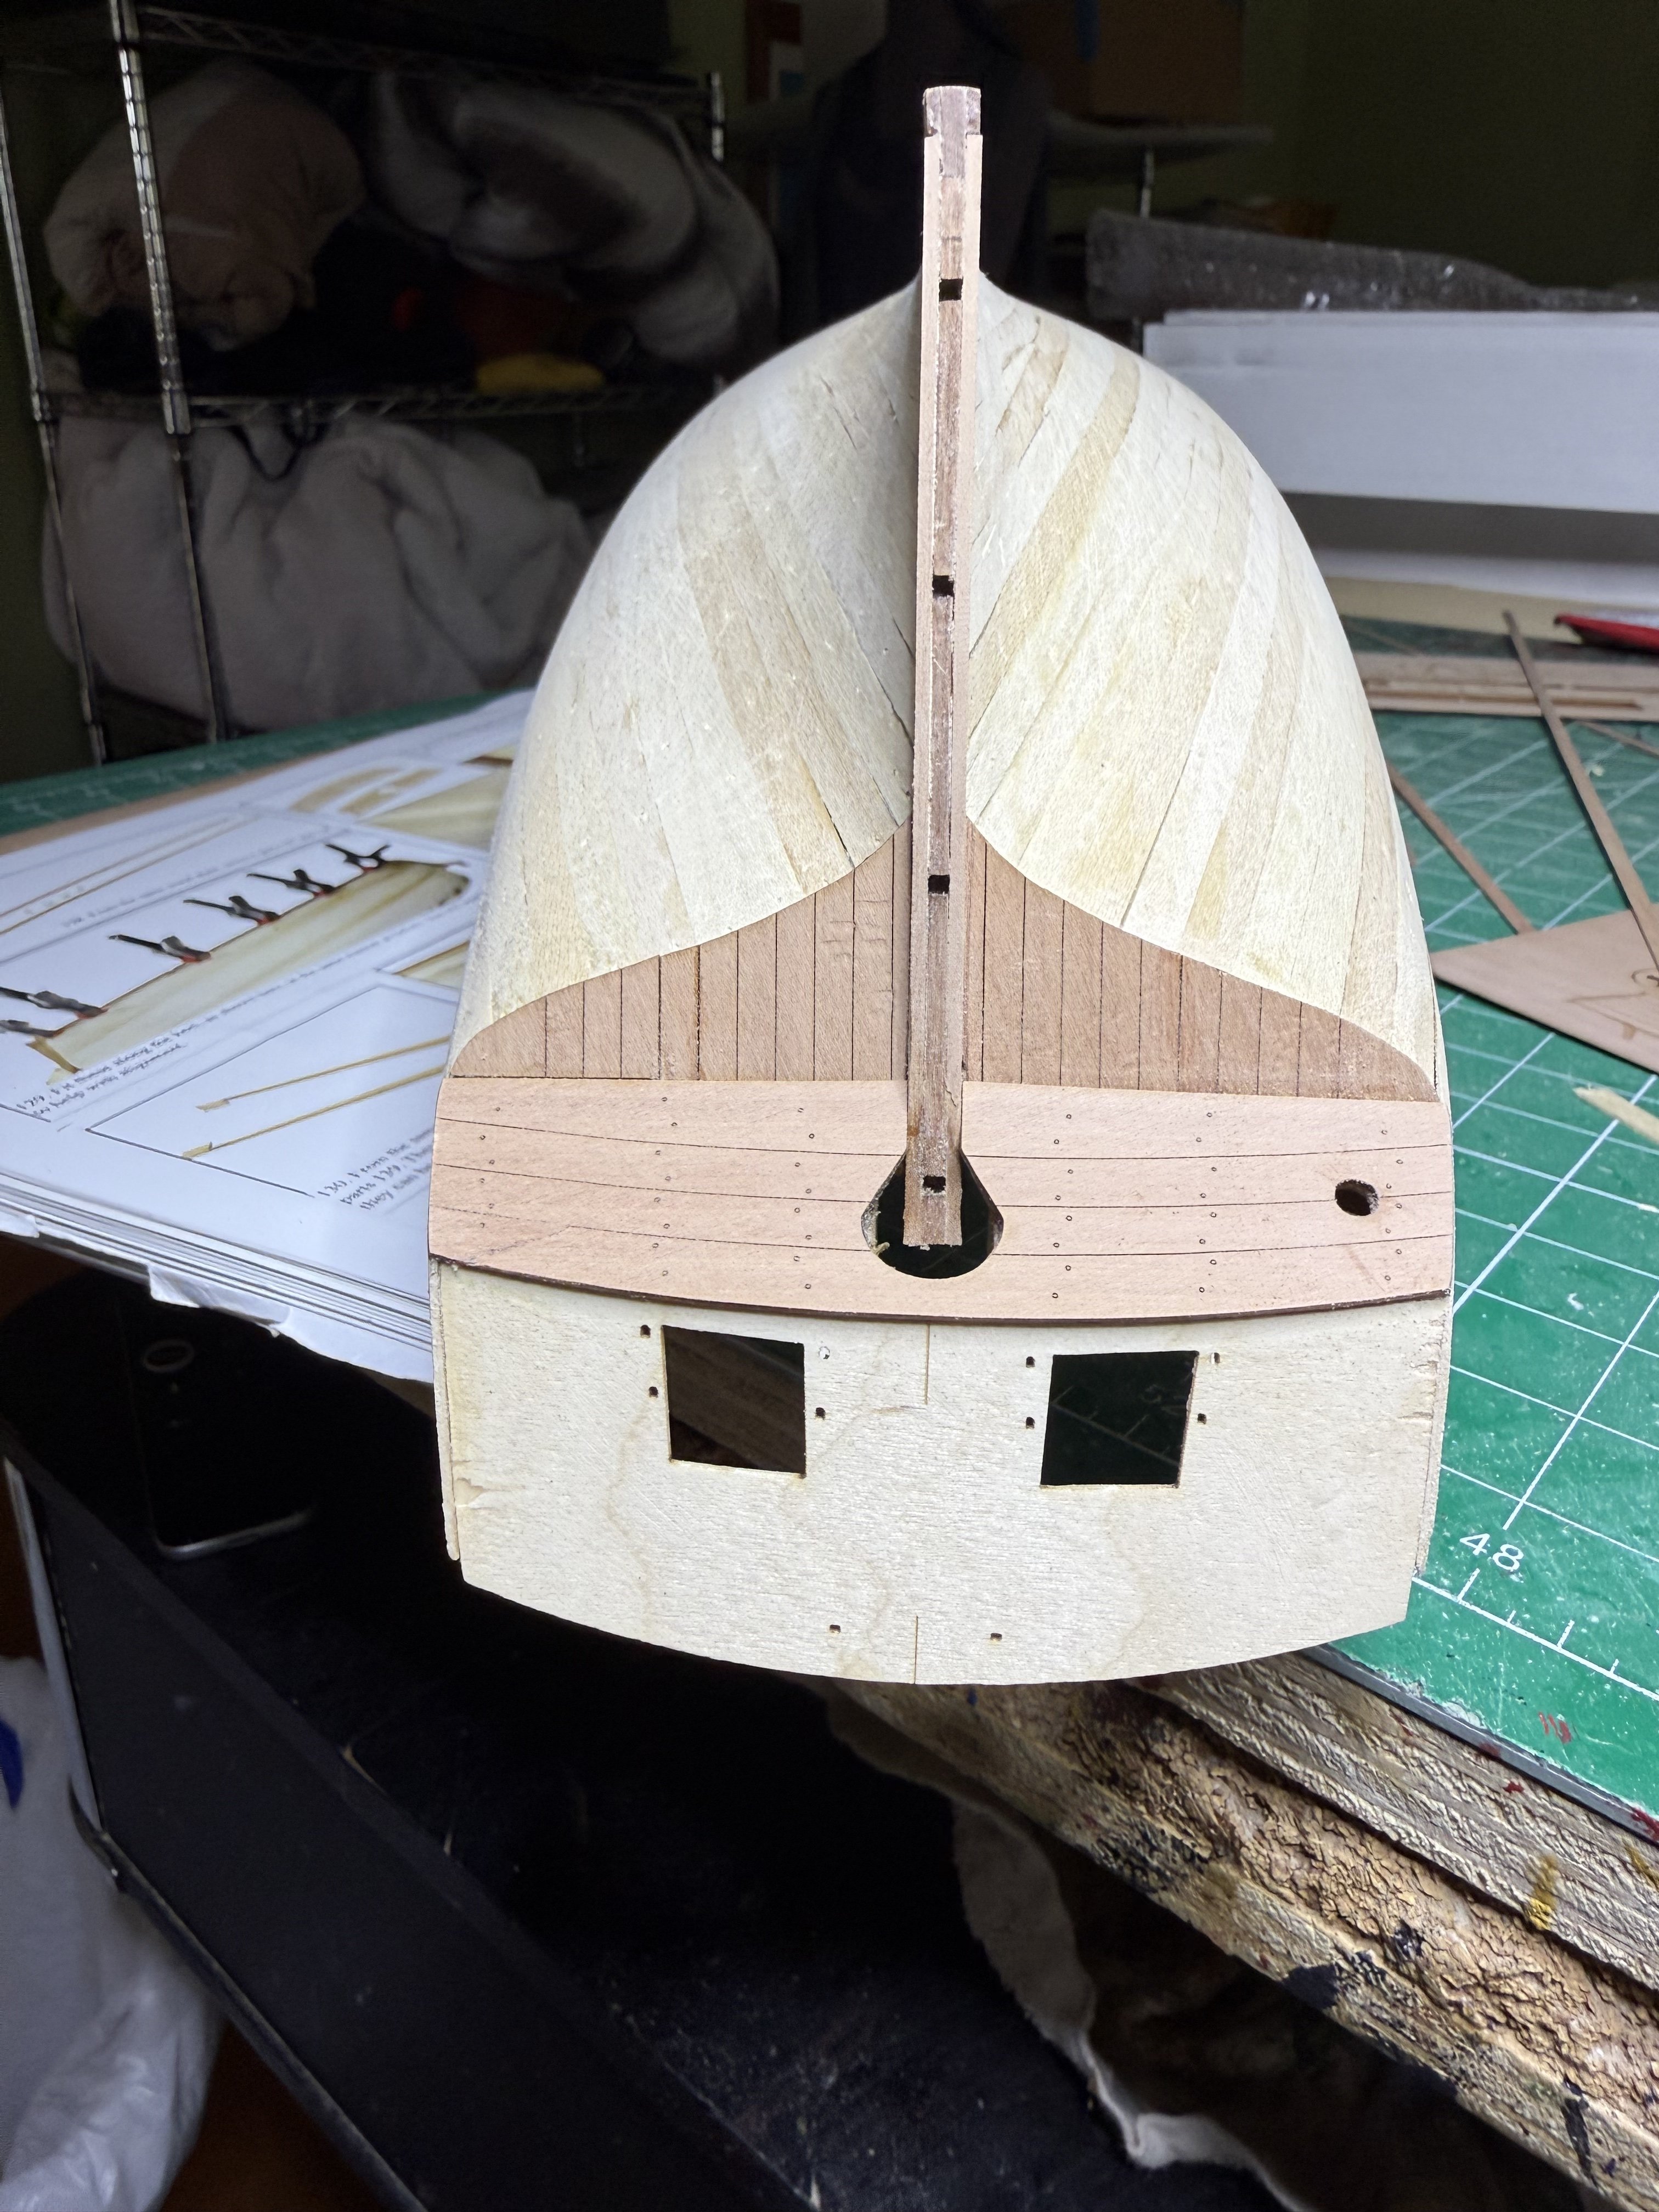
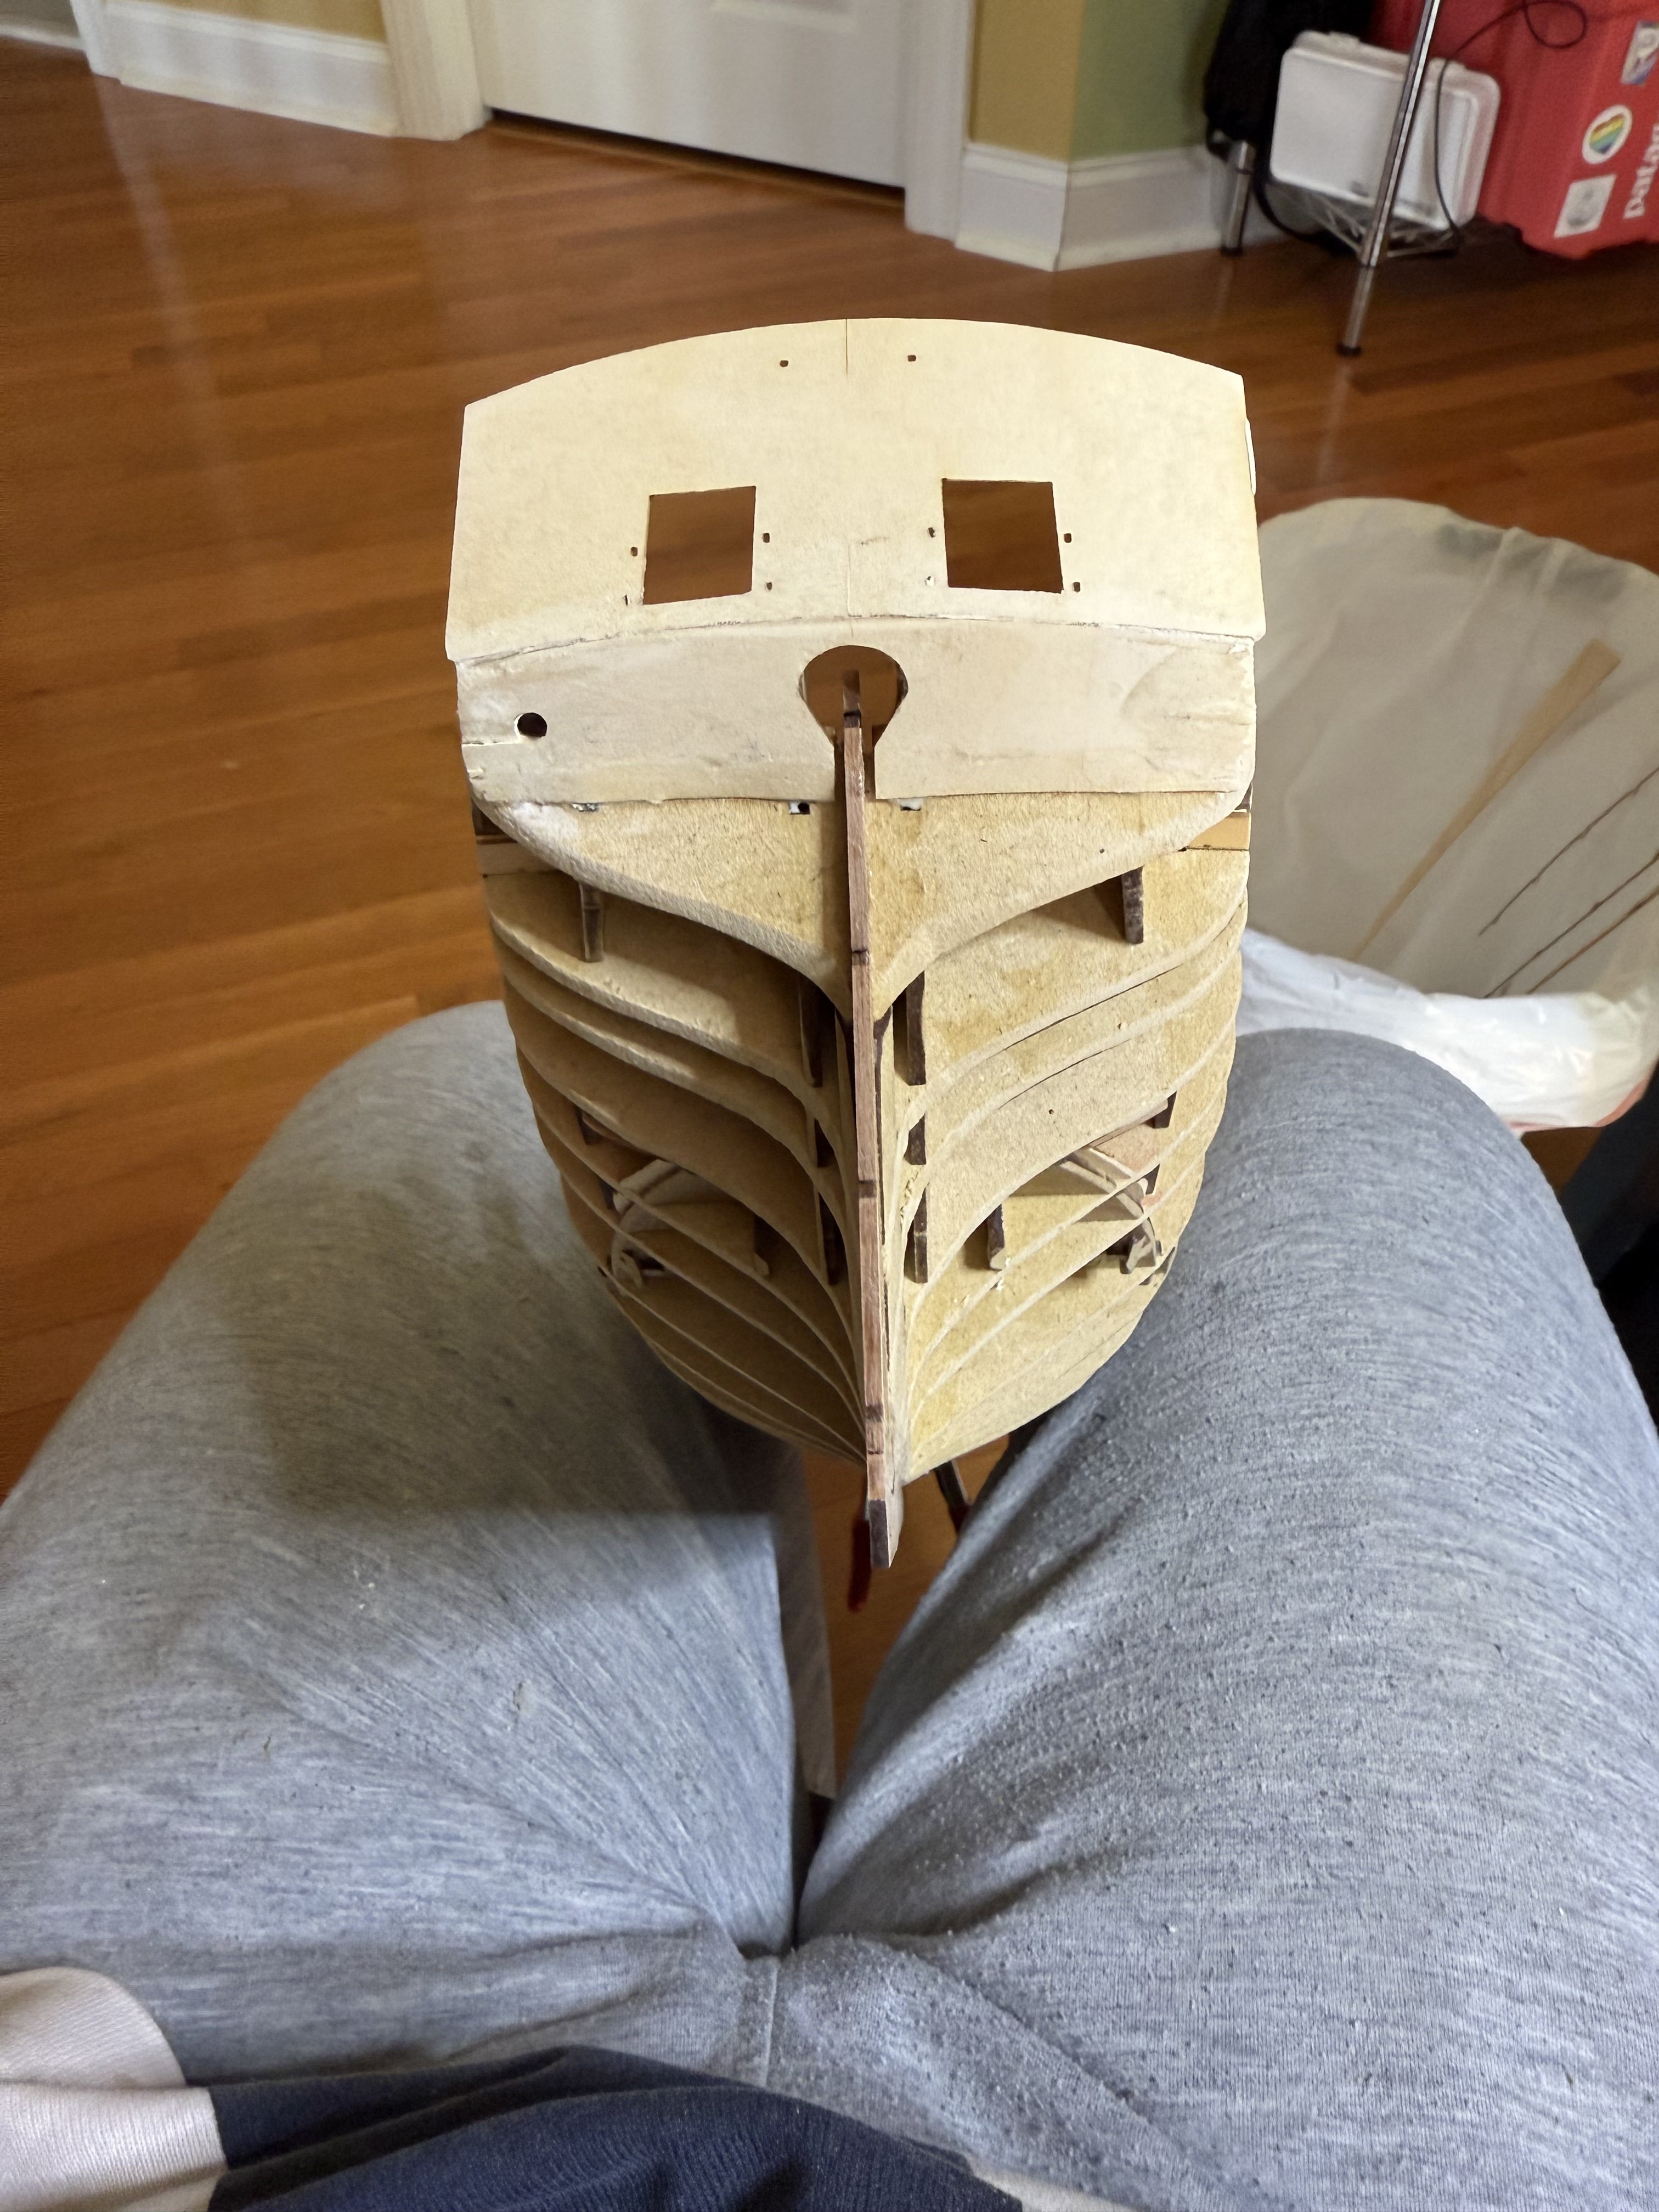
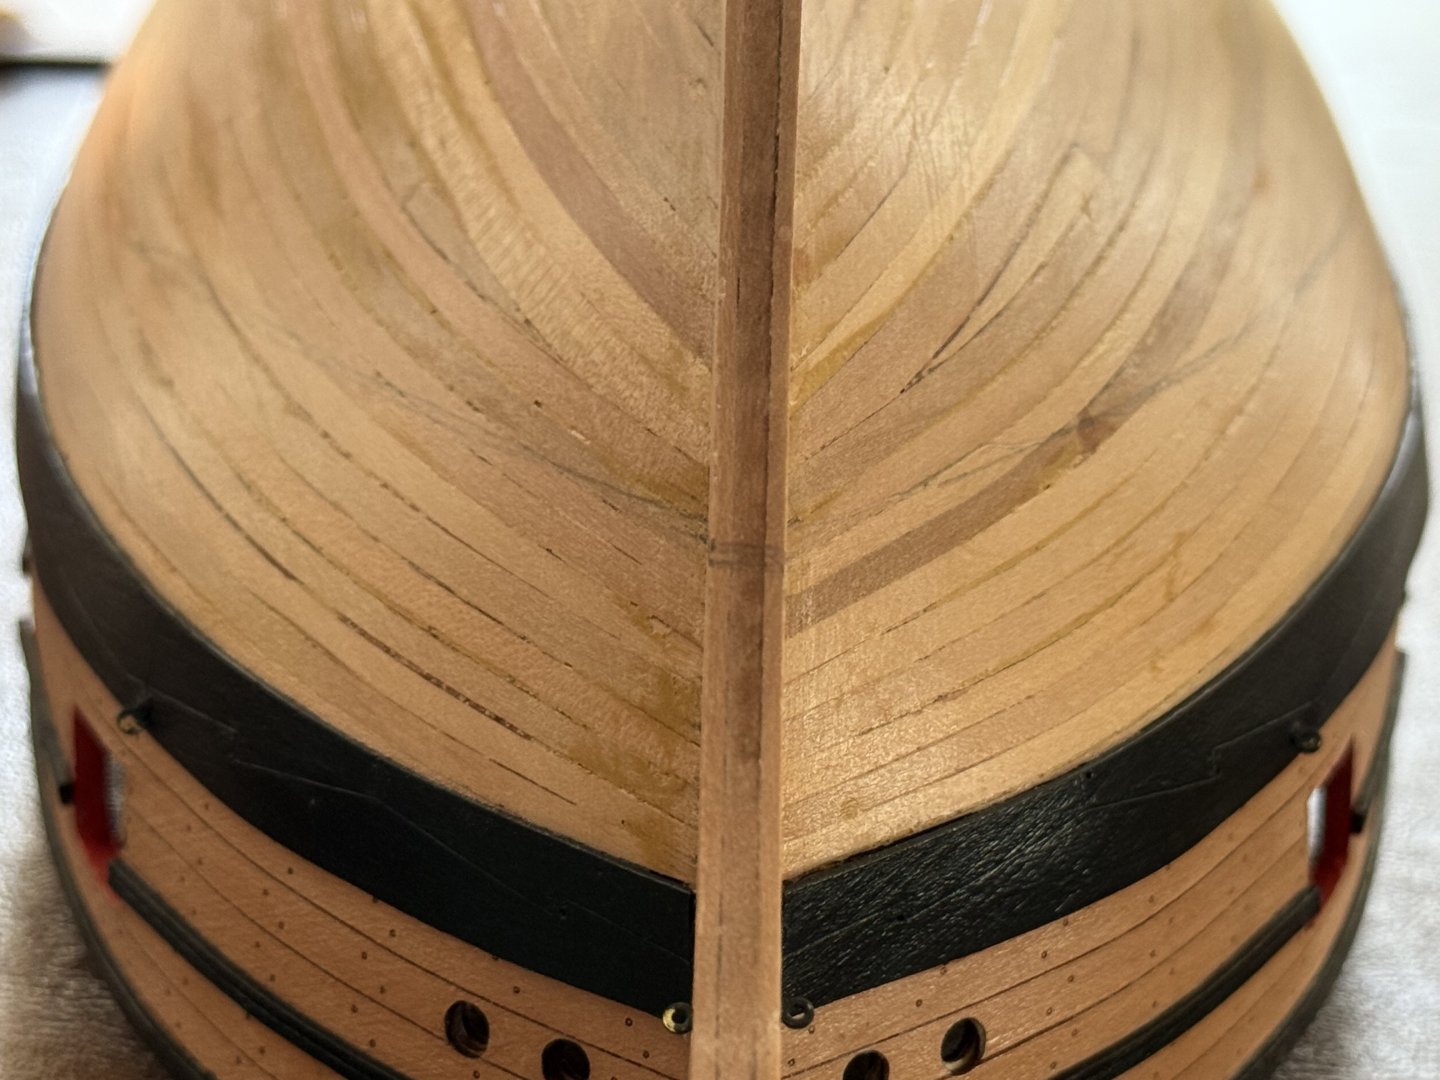
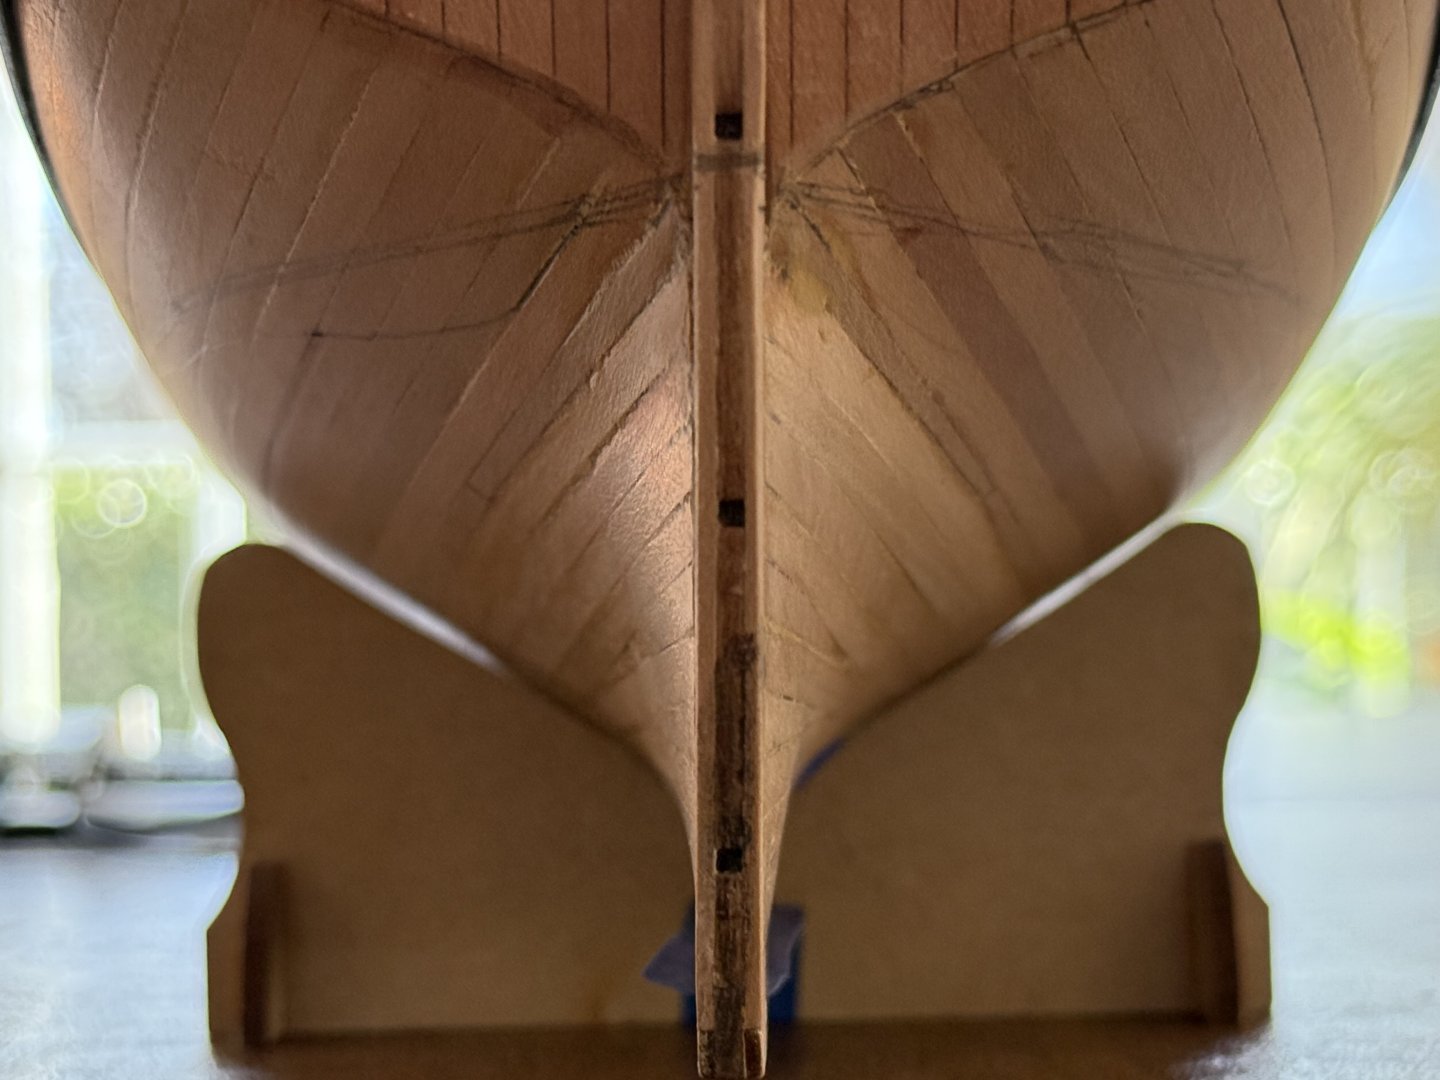
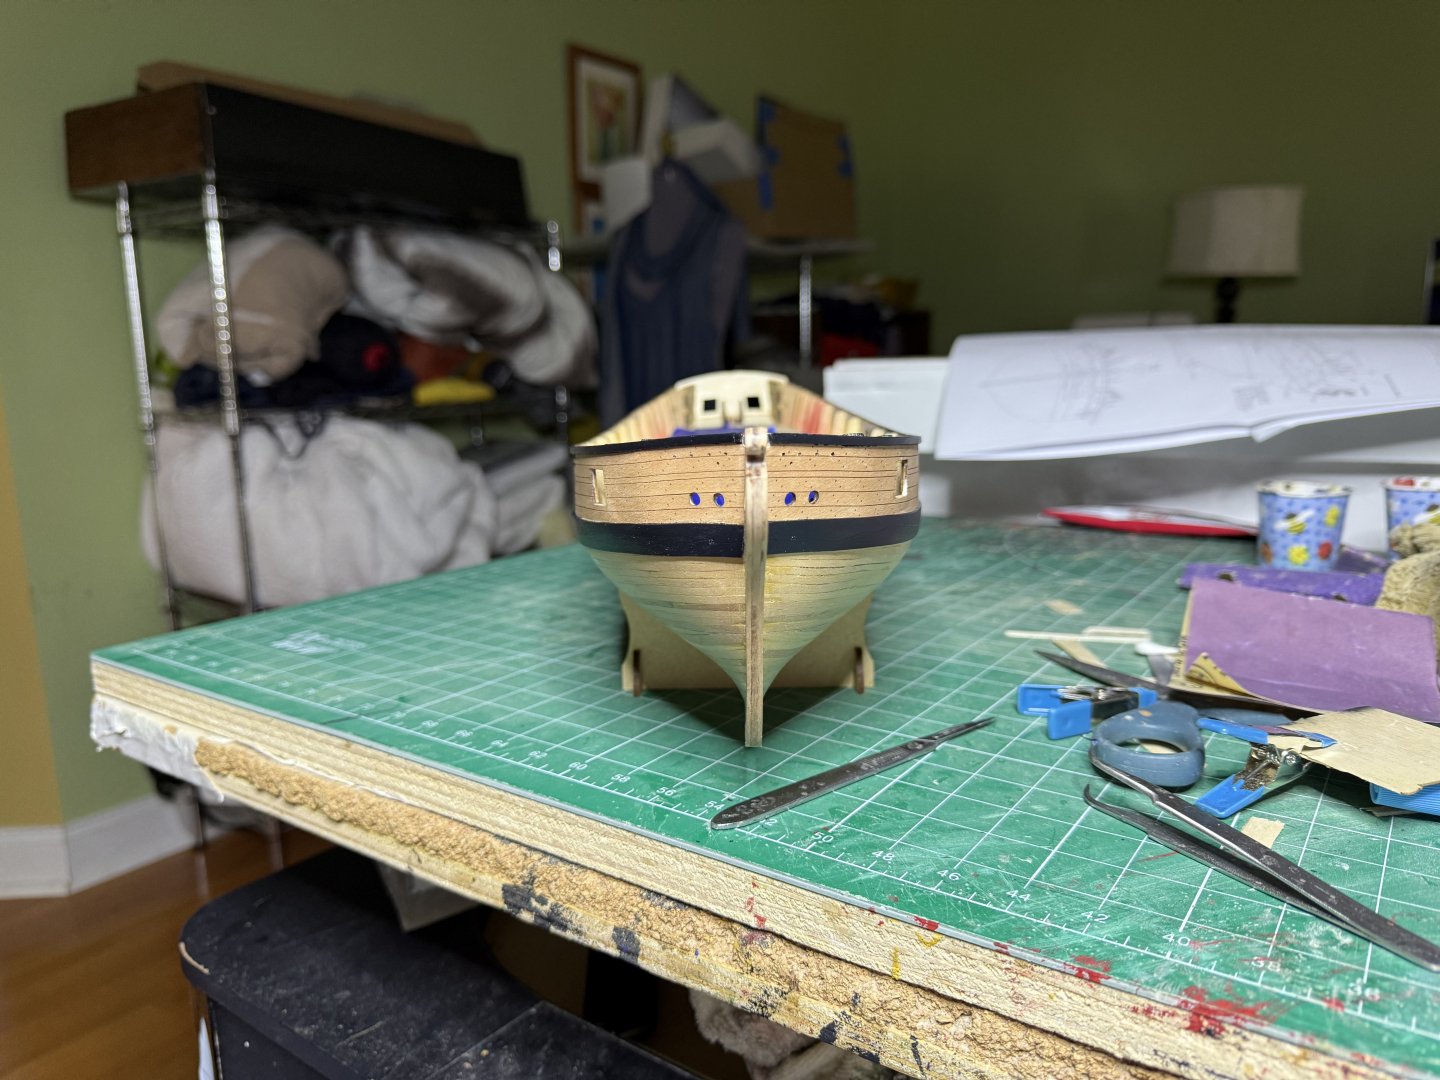
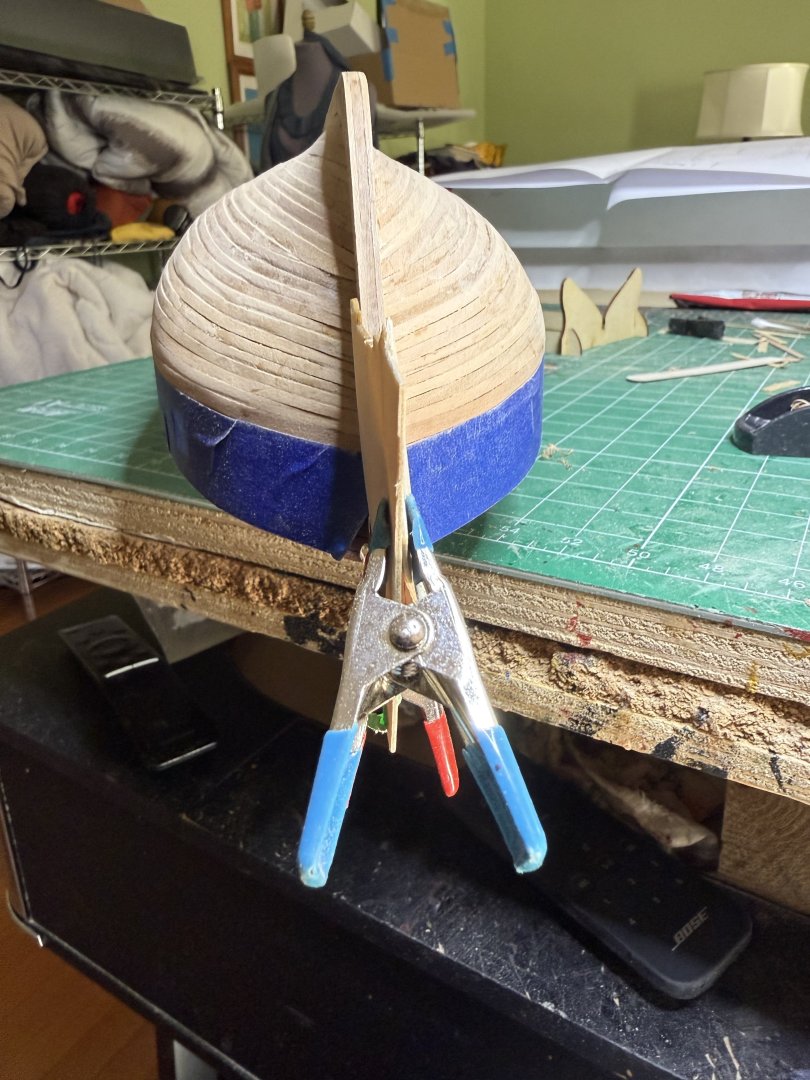
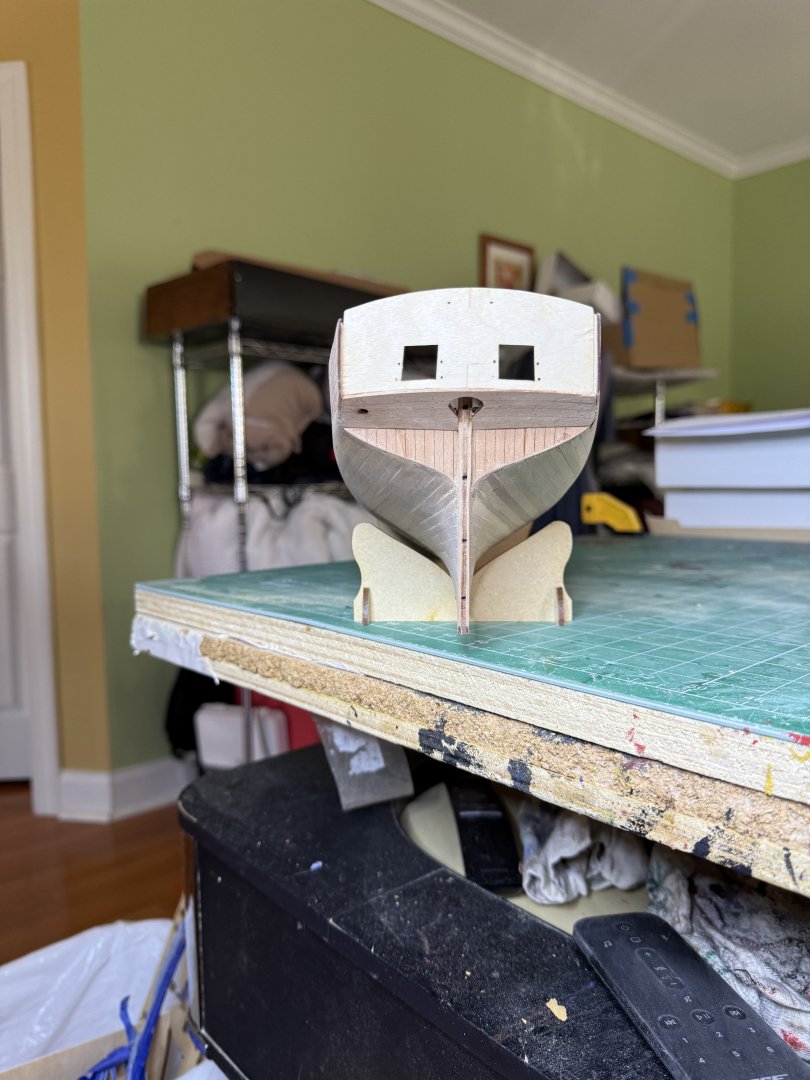
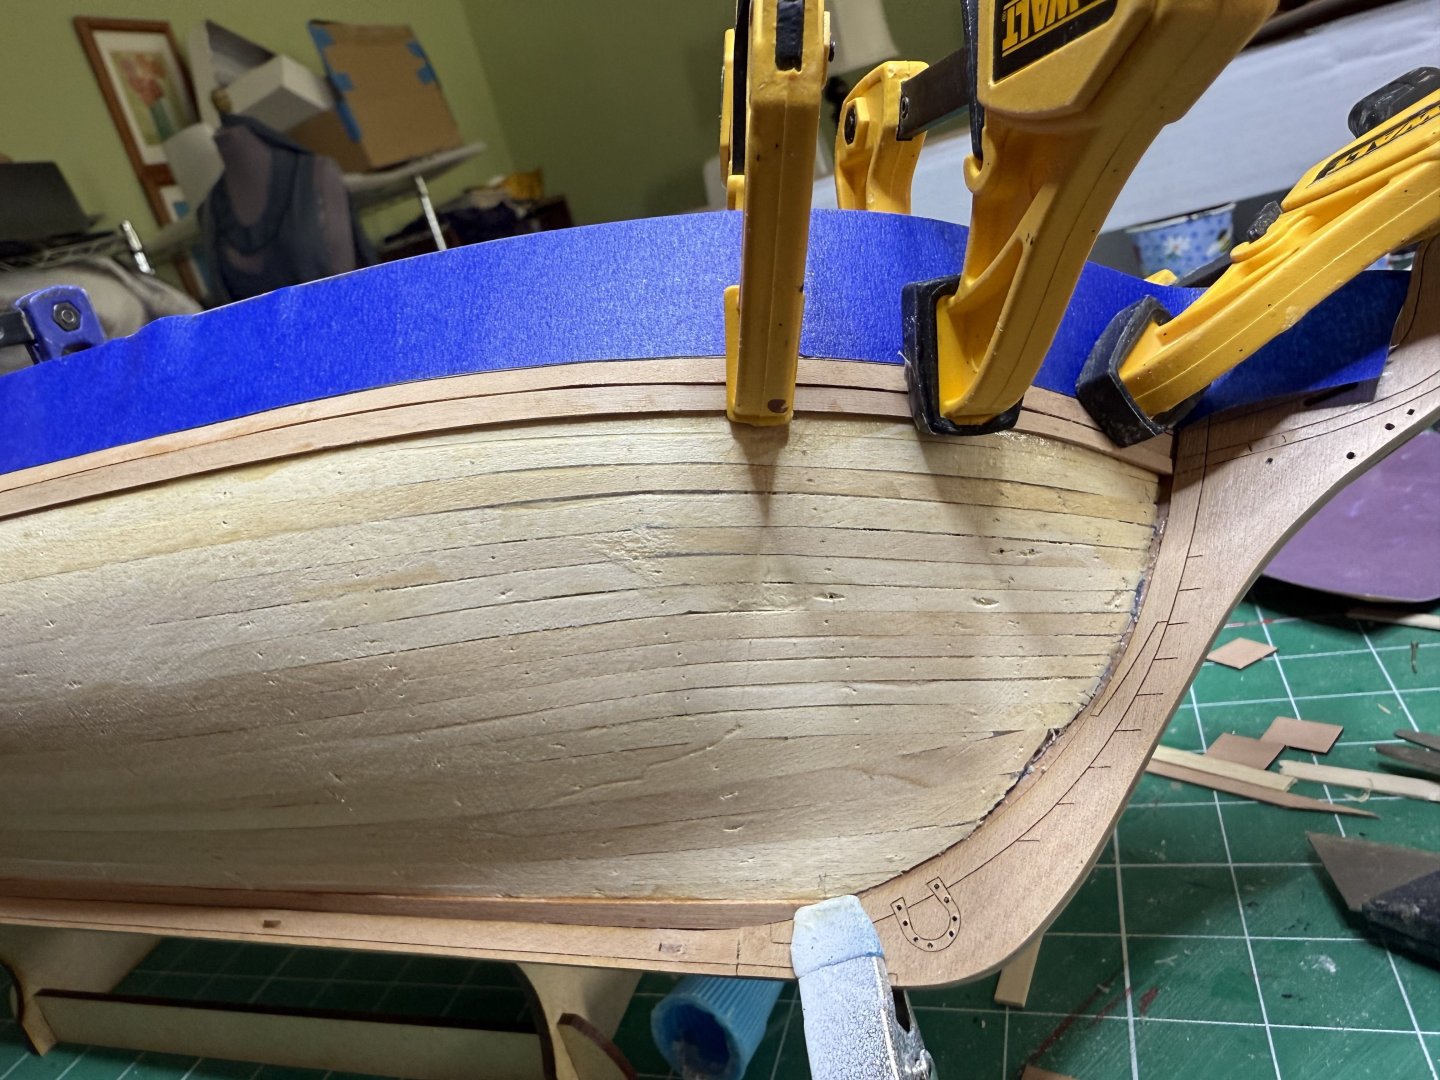
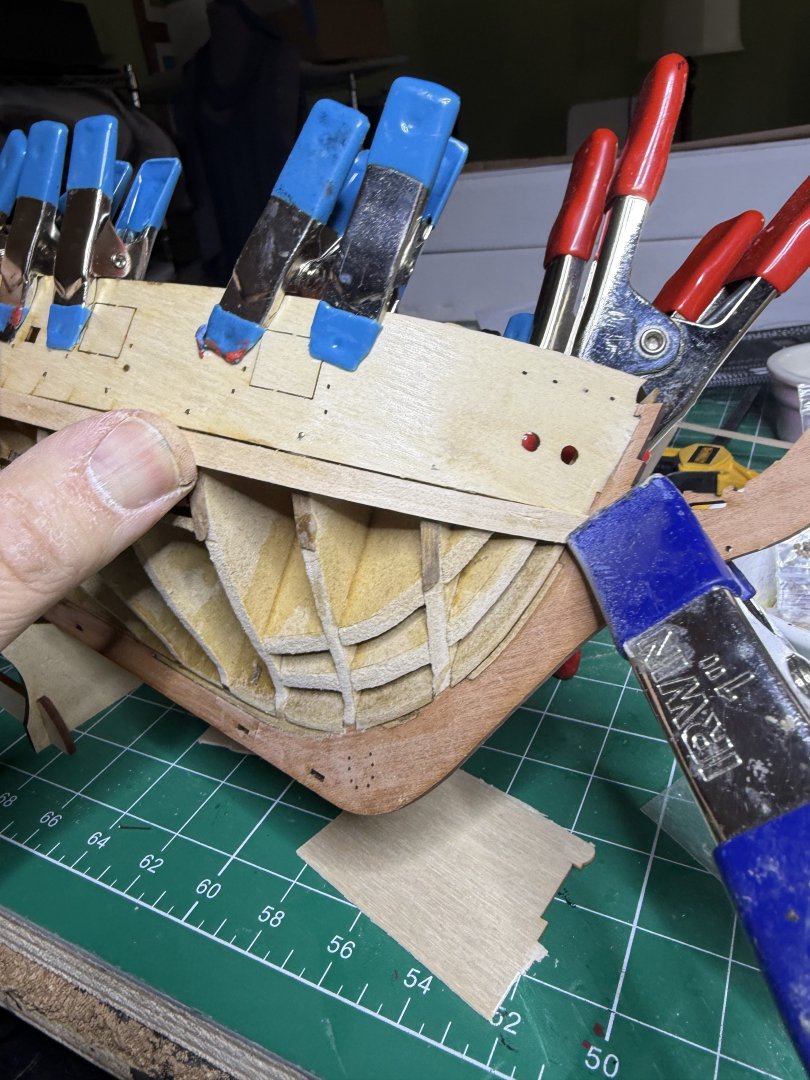
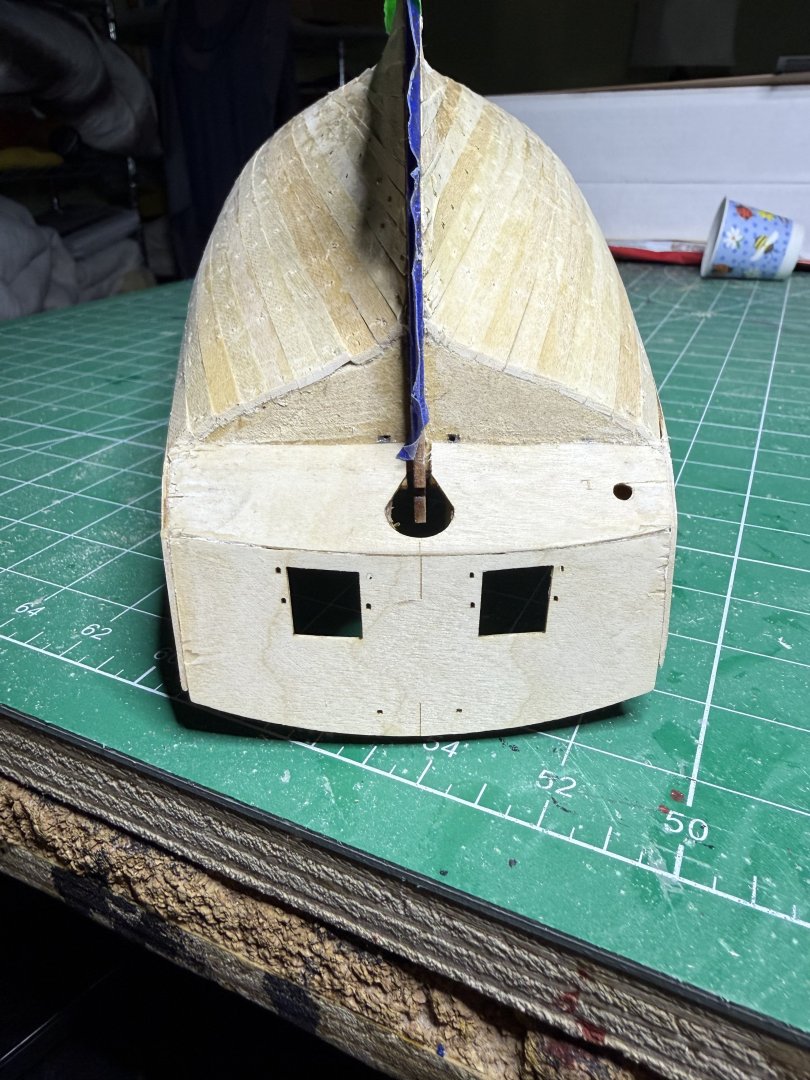
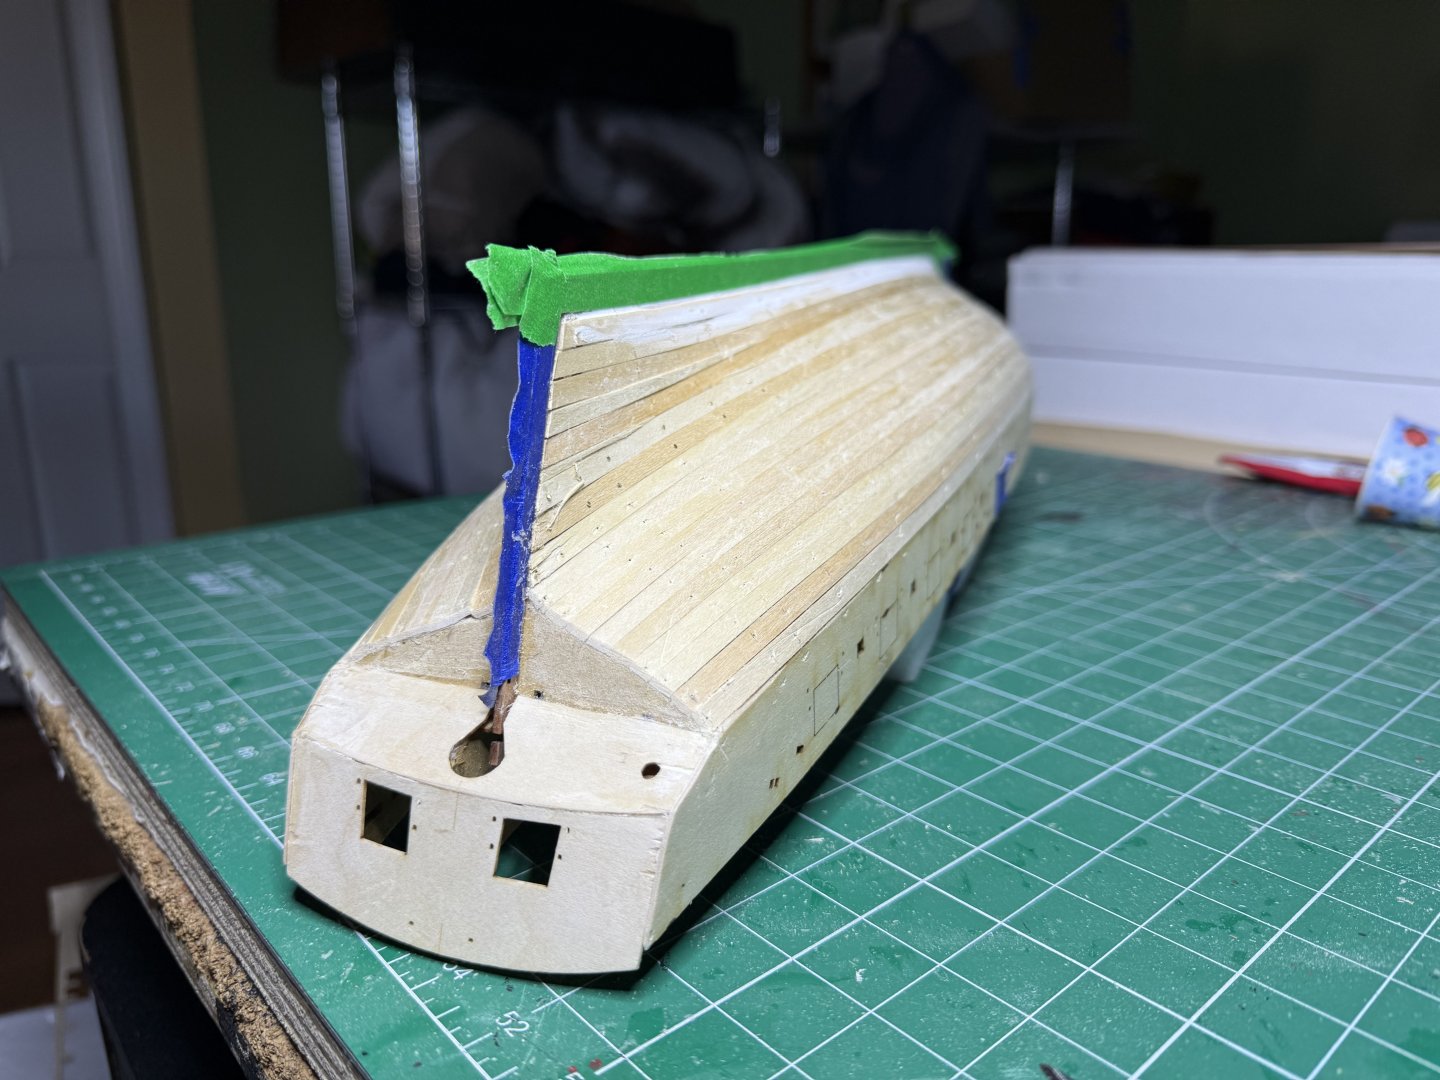
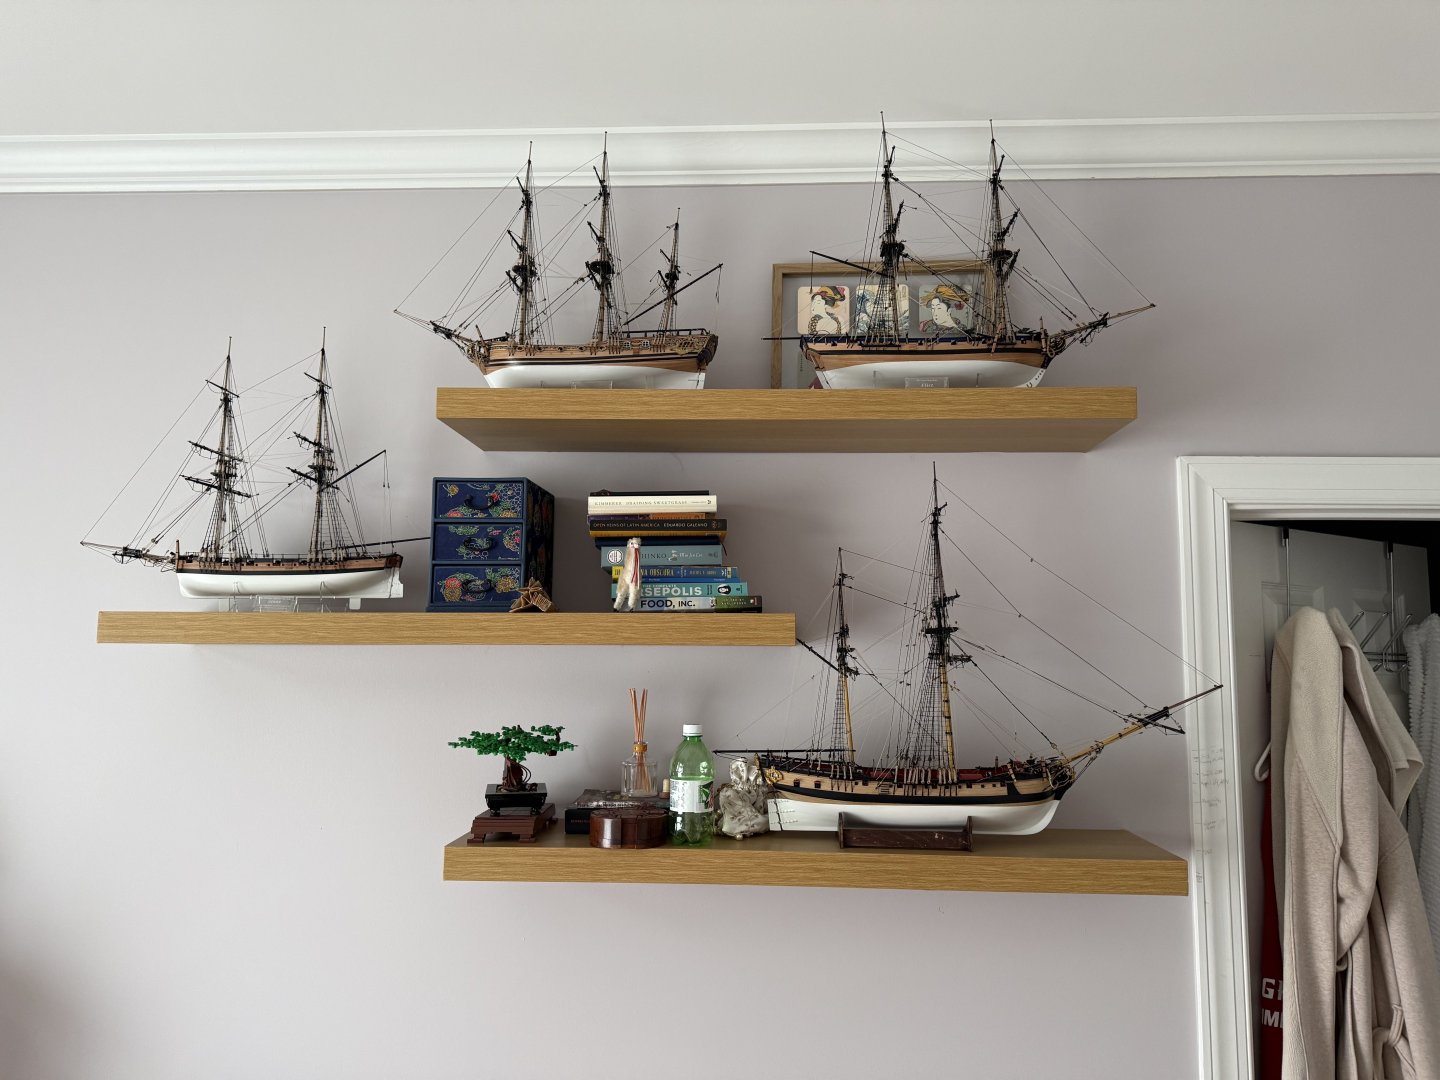
It has been a busy week in more ways than one. Having glued the bulwark in, I started the planking process. You can see the rough planked hull Then after cleaning it up. You can see I am trying to protect the bow as it just wants to break Next added the outer layer over the sternpost , bow and false keel. followed by the stern fascia As Blue Ensign noted, it would be nice to cover the endgrain of the second planking rather than leaving exposed as in the original instructions. When adding the stern fascia it is advised to sand it down flush with the first planking. I noticed there seems to be enough room to actually but the end of the second planking against it so I'll gice it a try. This would pbviate me needing to produce a larger fram from scrap pieces of wood. As an aside, with several empty nest rooms , found a place to display several of Chris' designs, Granado, Flirt, Duchess and Adder


- 73 replies
-
- 9
-
-
- Harpy
- Vanguard Models
- (and 1 more)
-
Glad you caught it. Same thing almost happened to me. Seems when you align the stern it twists the bow upwards.
- 241 replies
-
- 2
-
-
- Vanguarrd Models
- Harpy
- (and 1 more)
-
Nice. I noticed the same issue I run into where the first plank runs around the ow but leaves a gap between the plank and the bulwark.
- 241 replies
-
- 2
-
-
- Vanguarrd Models
- Harpy
- (and 1 more)
-
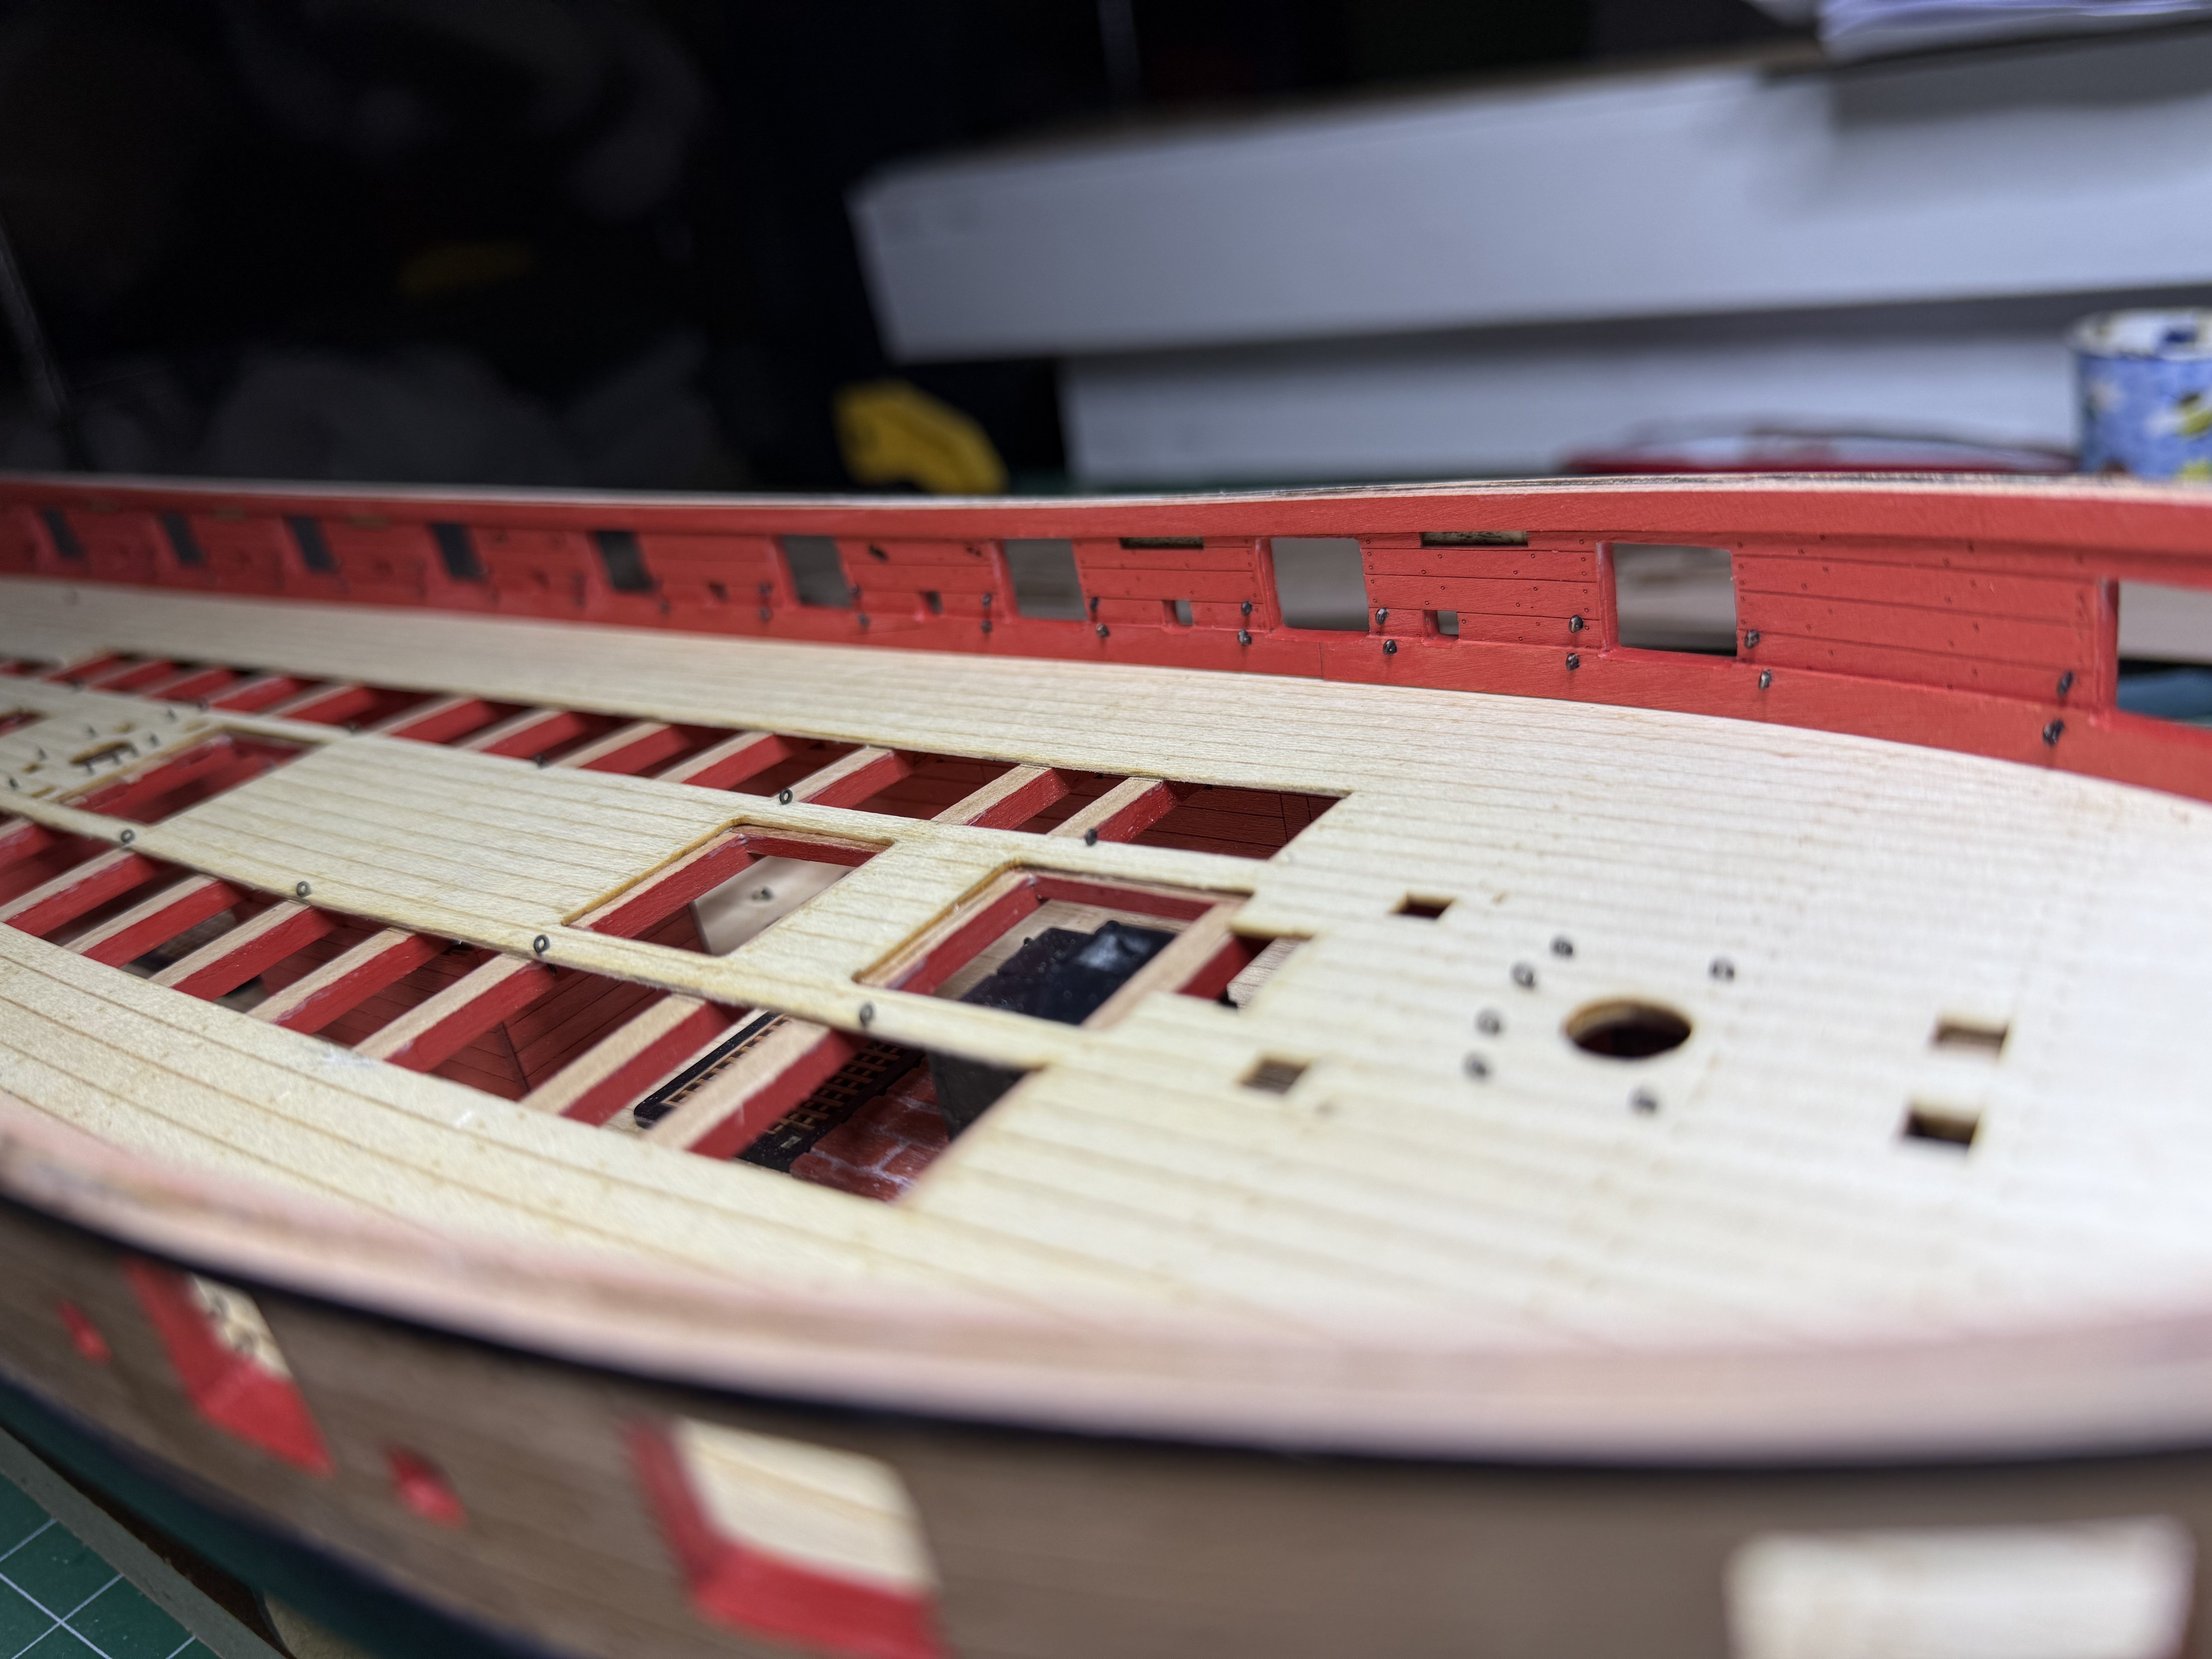
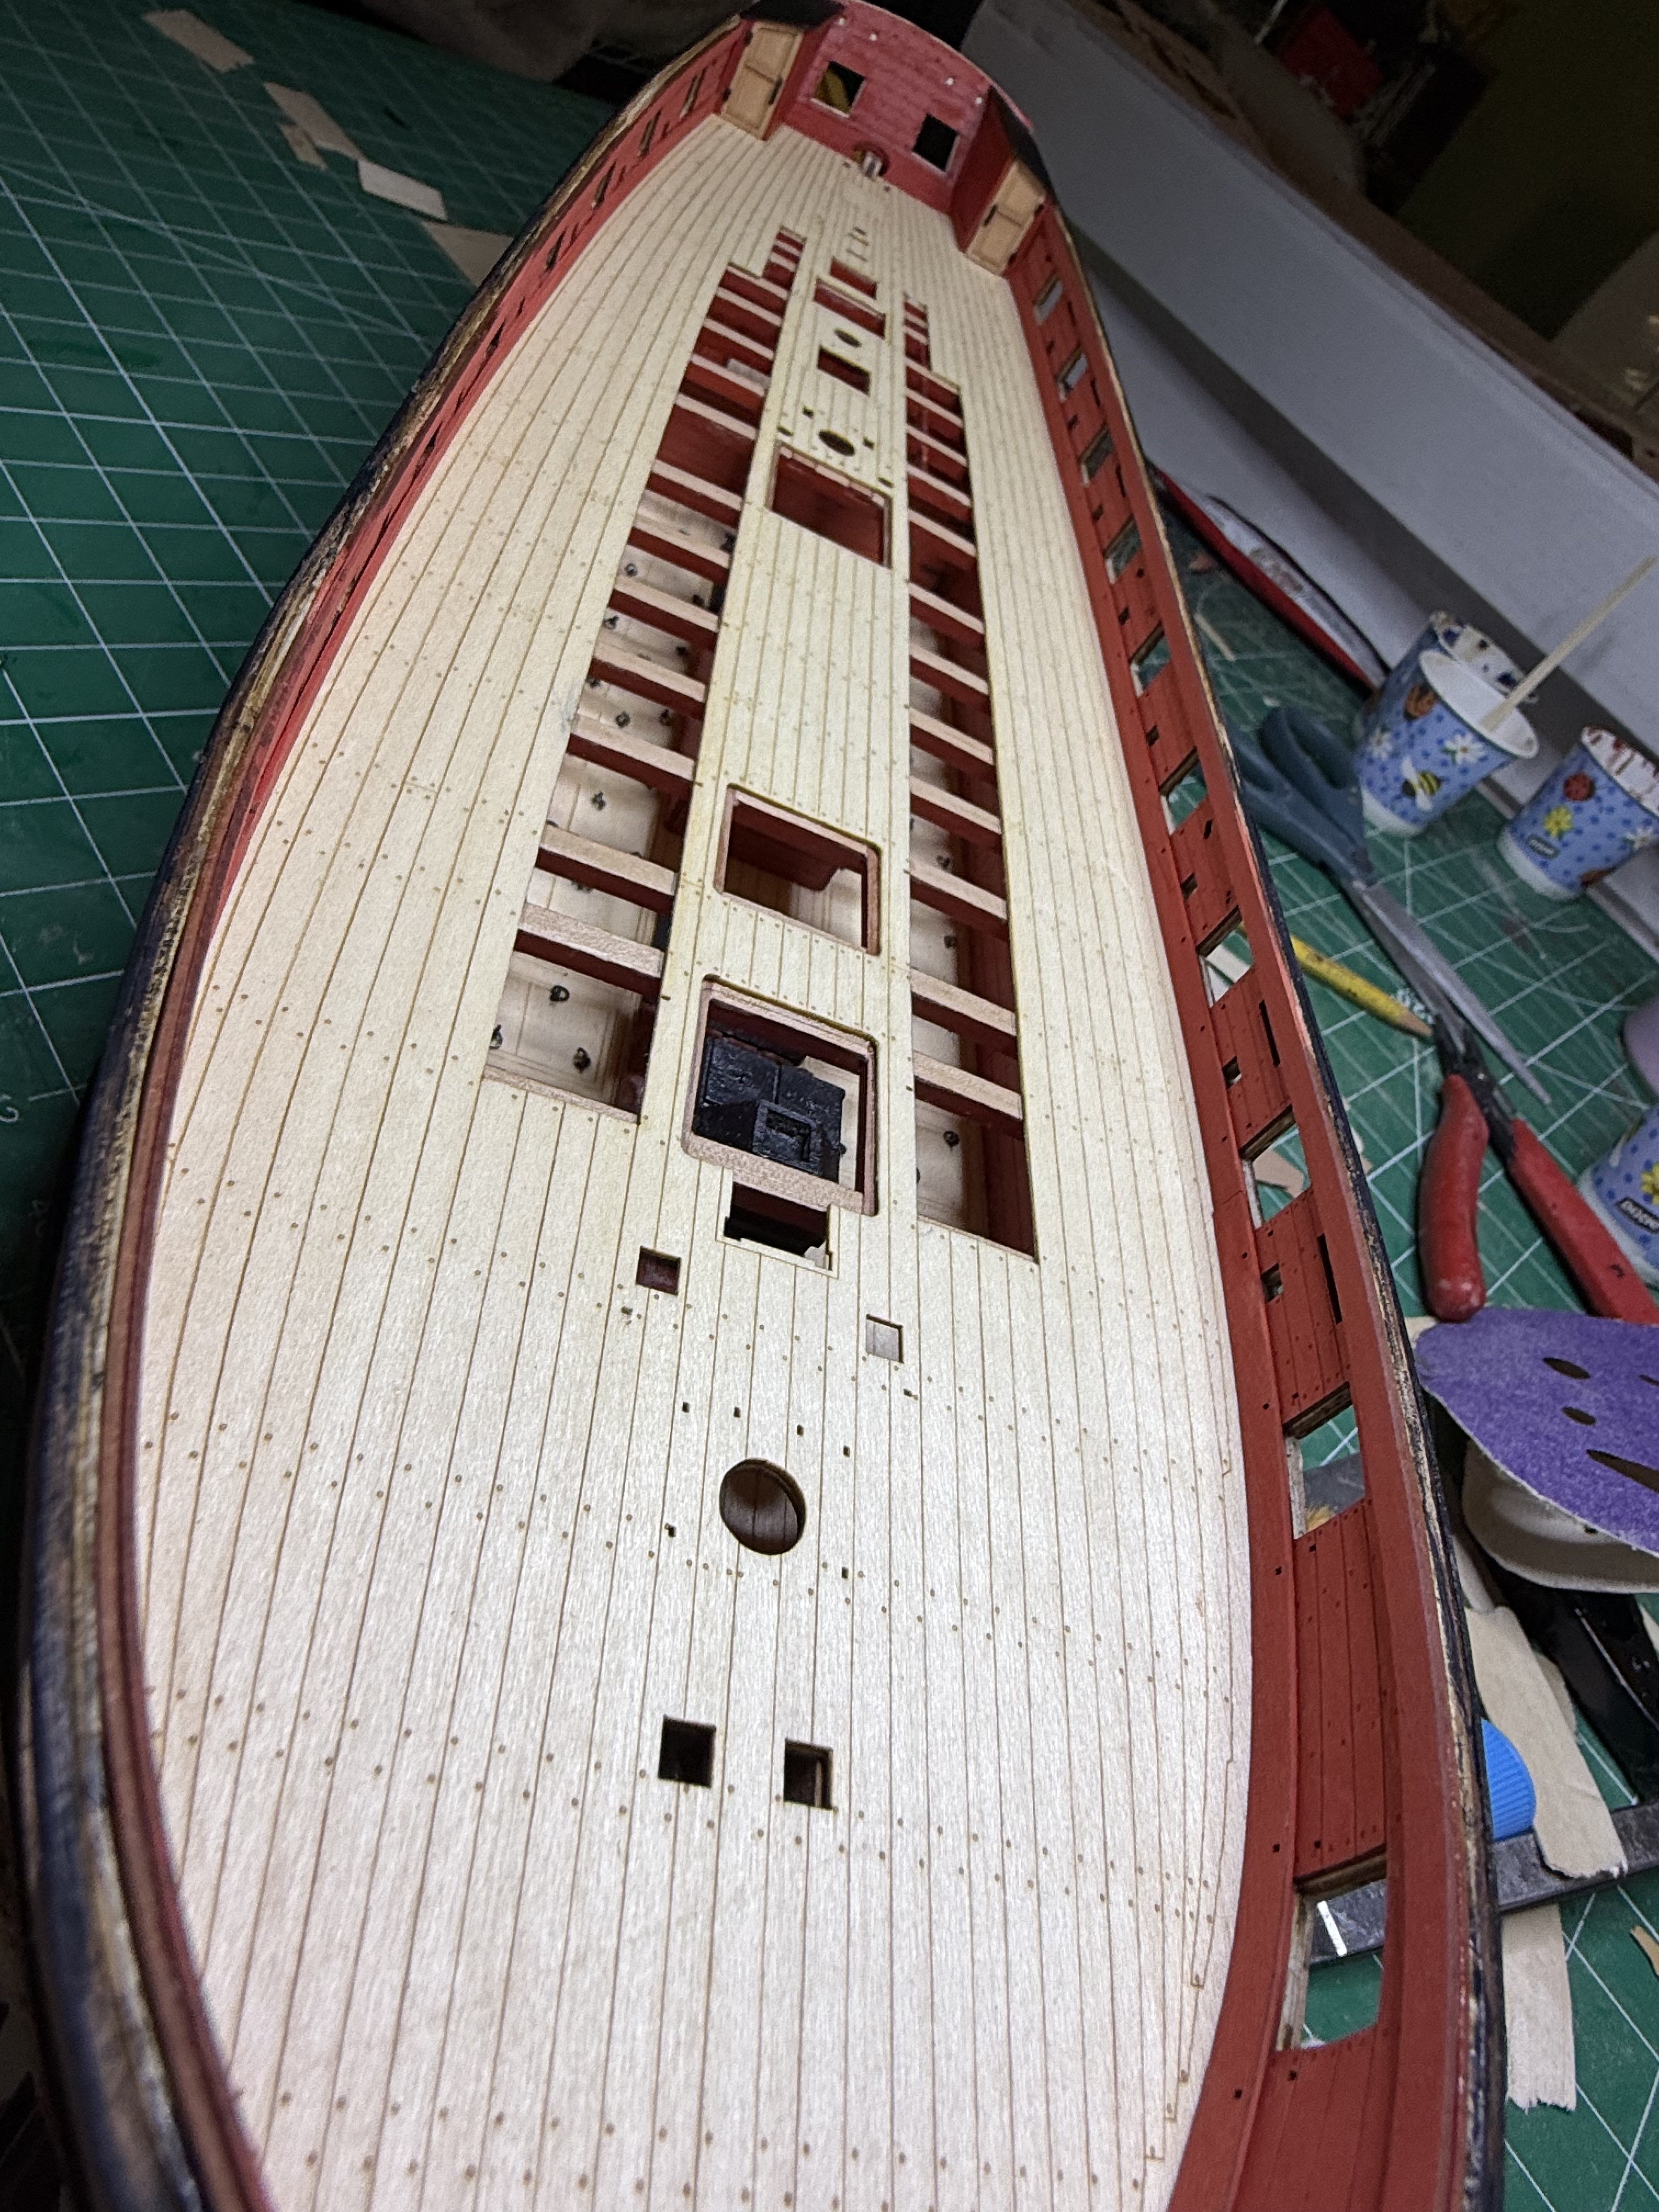
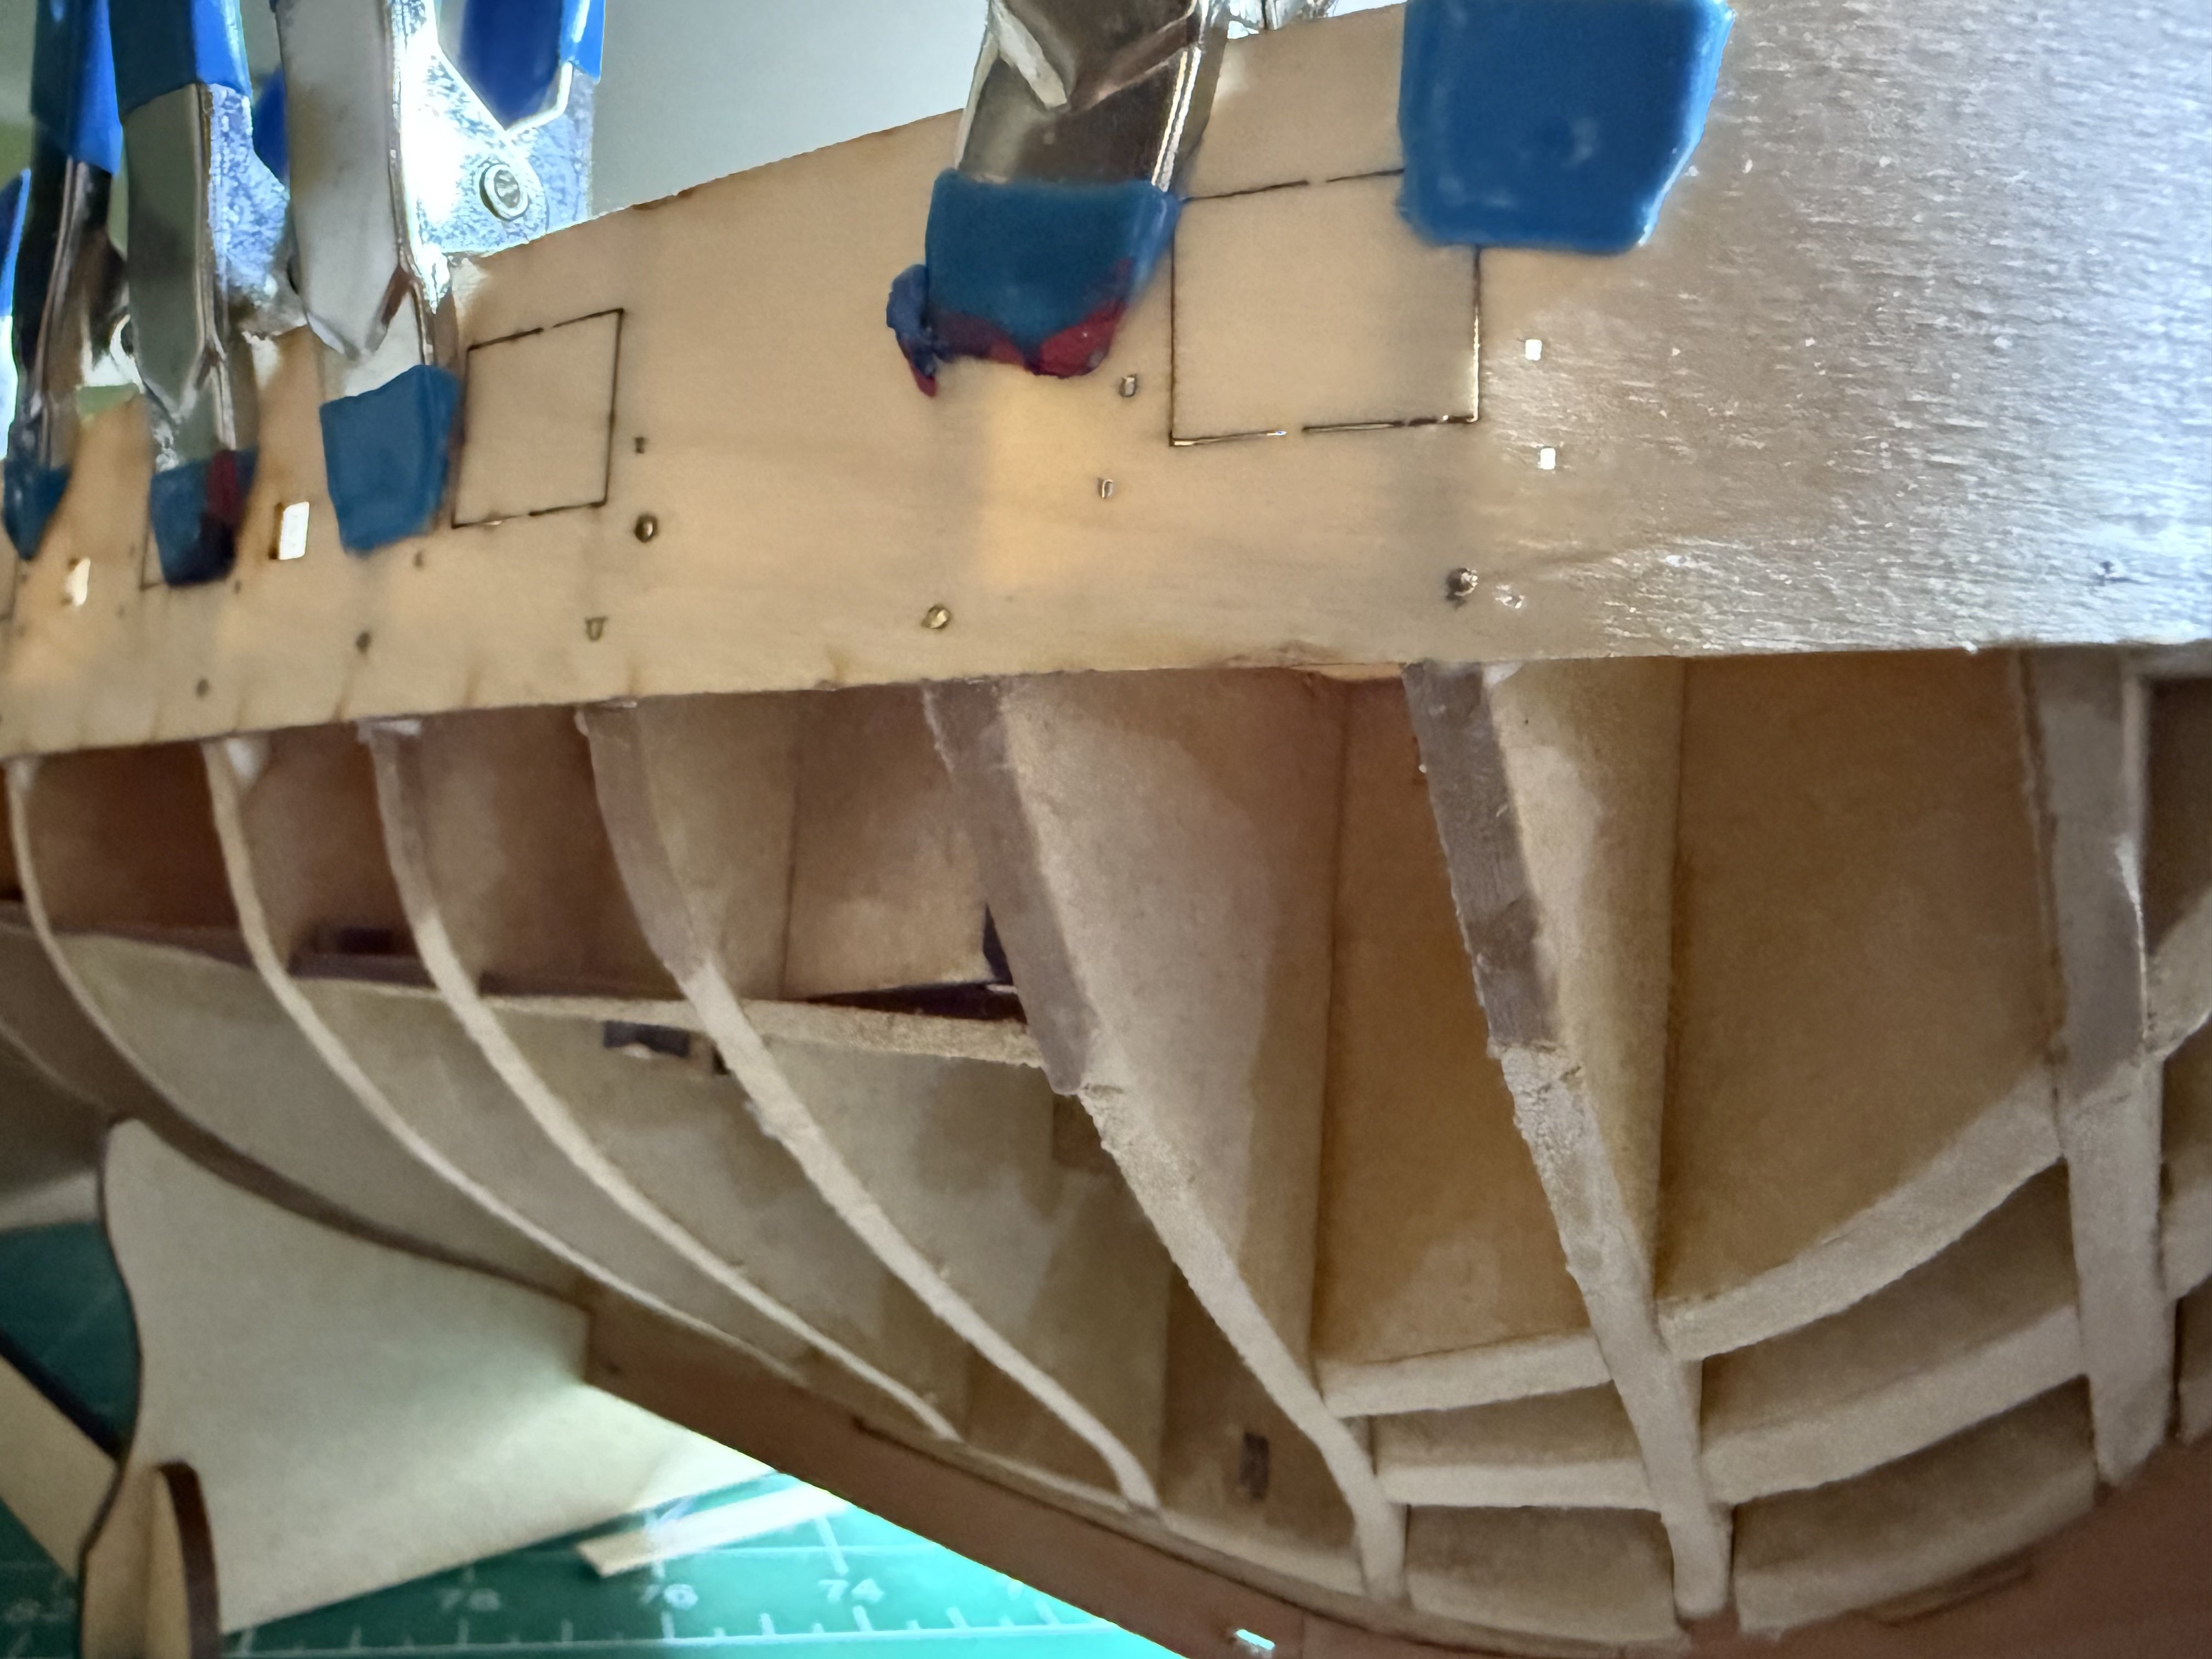
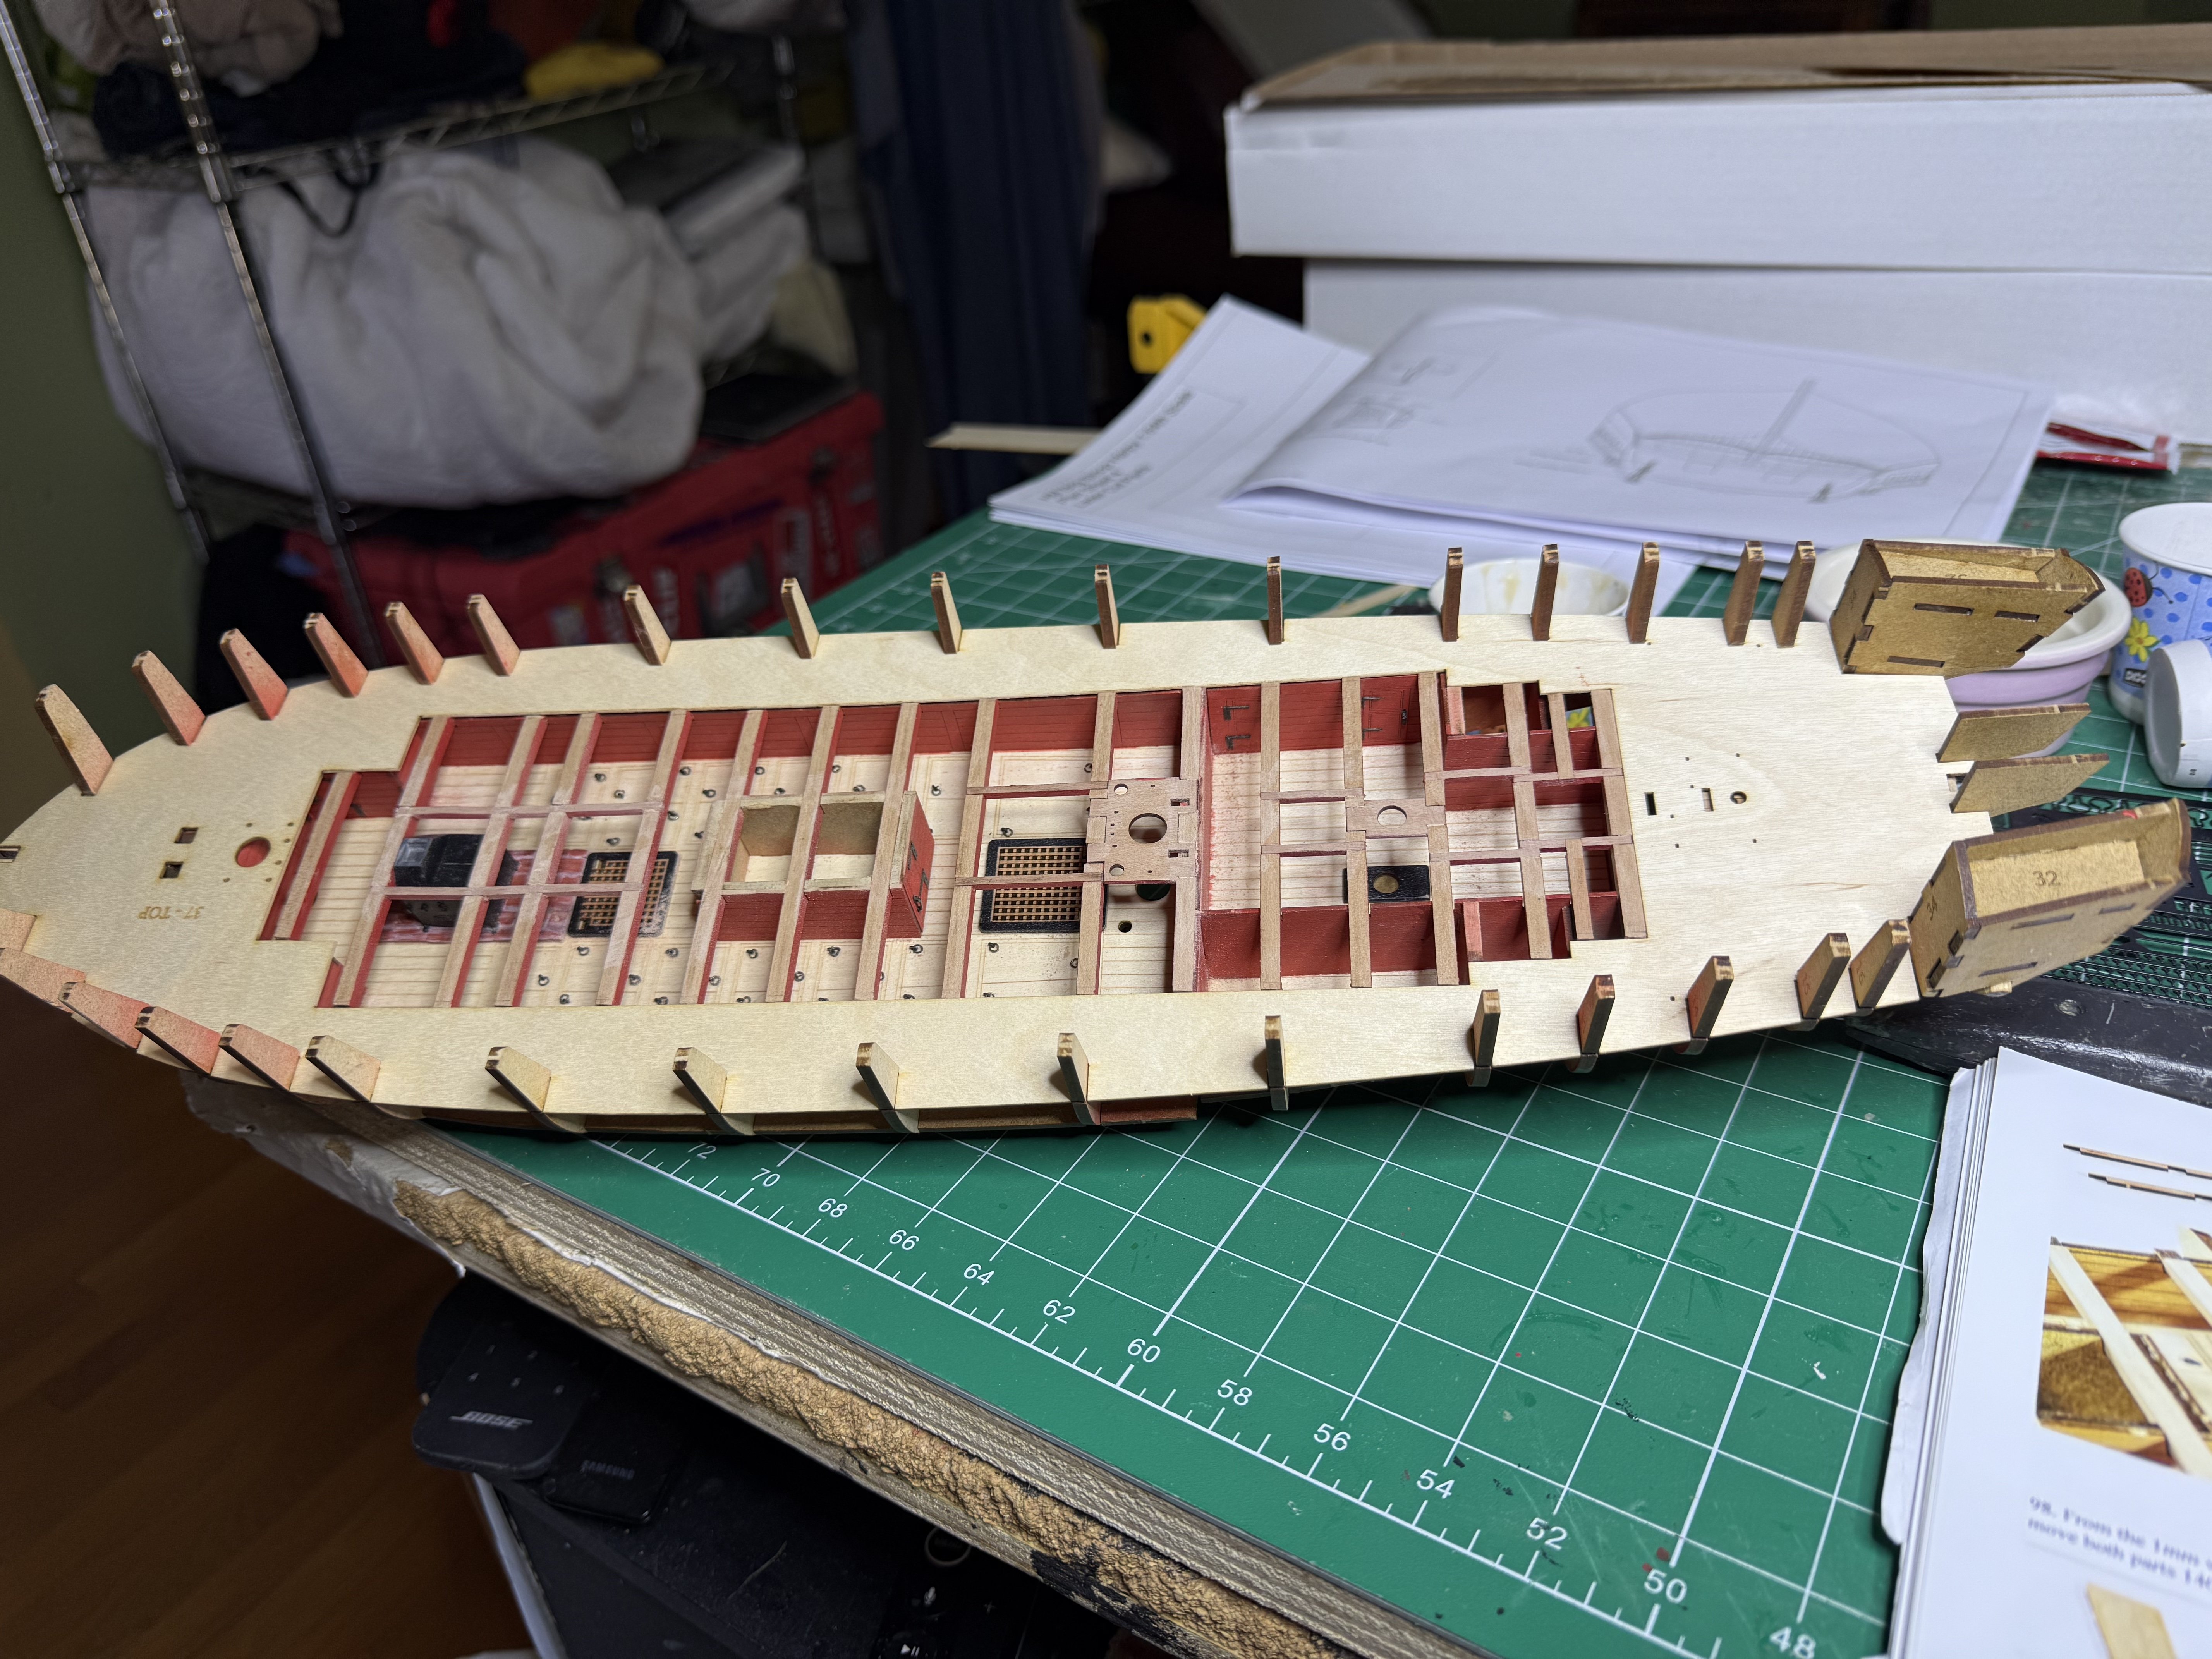
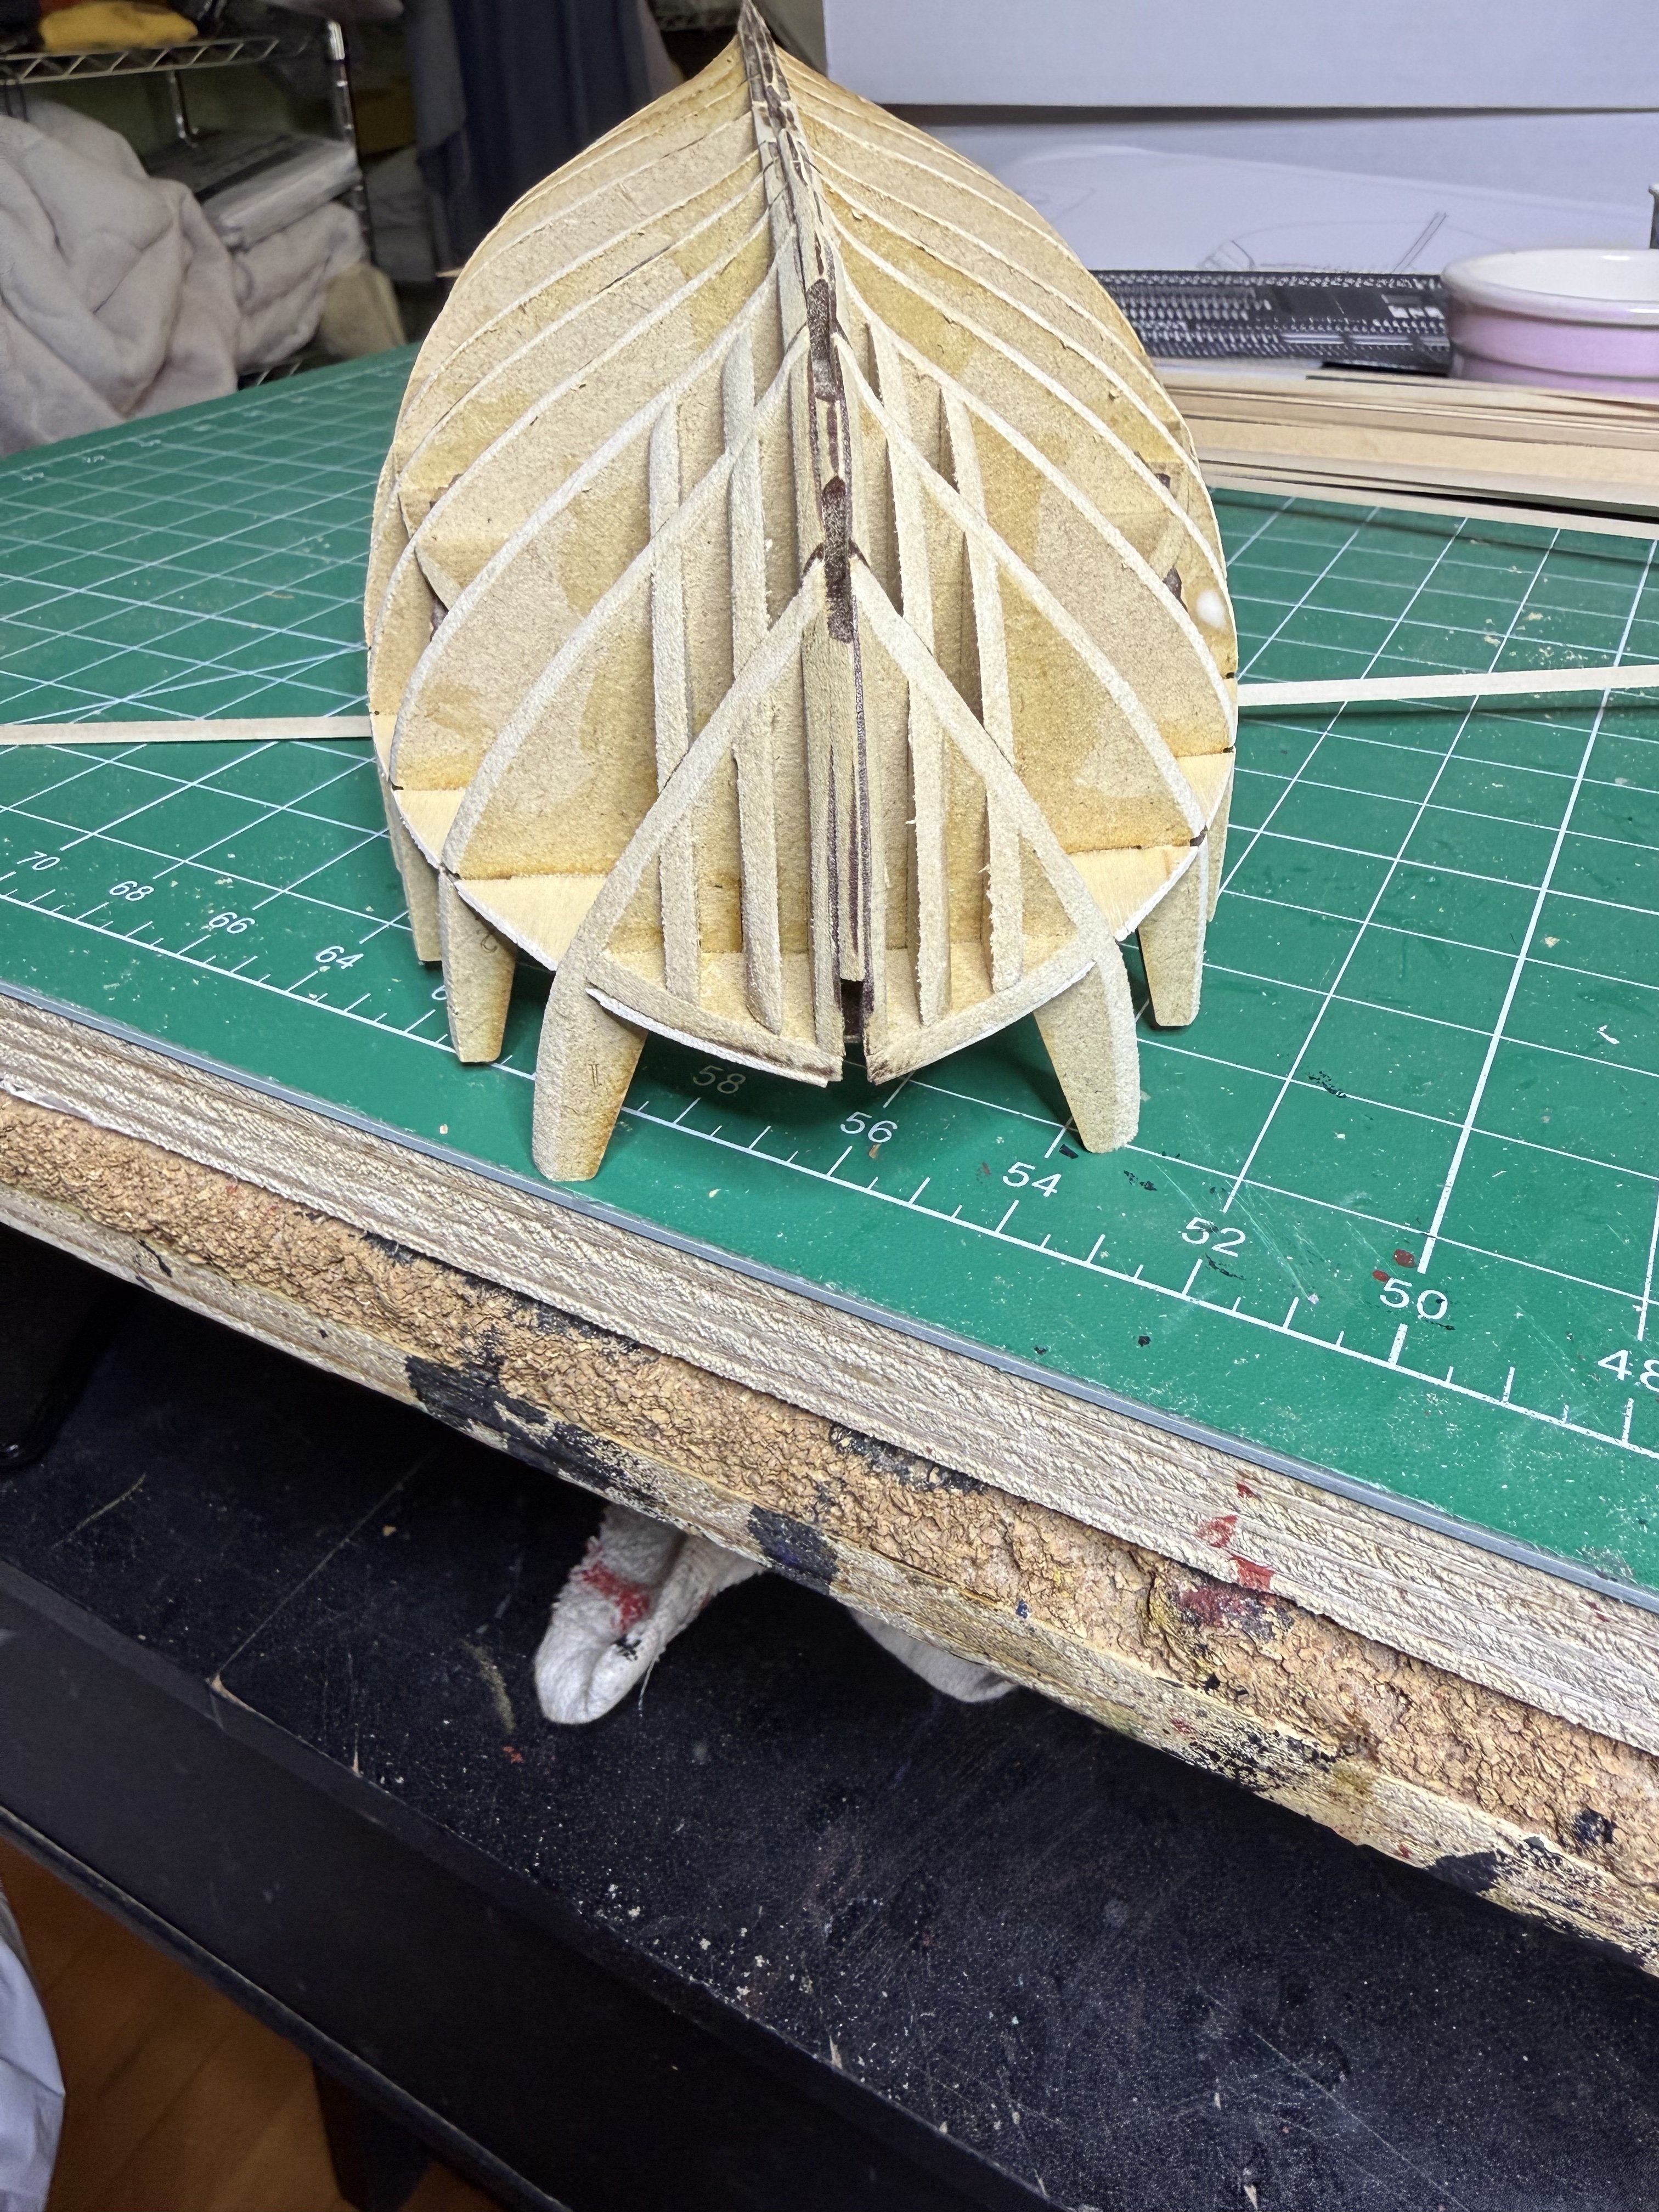
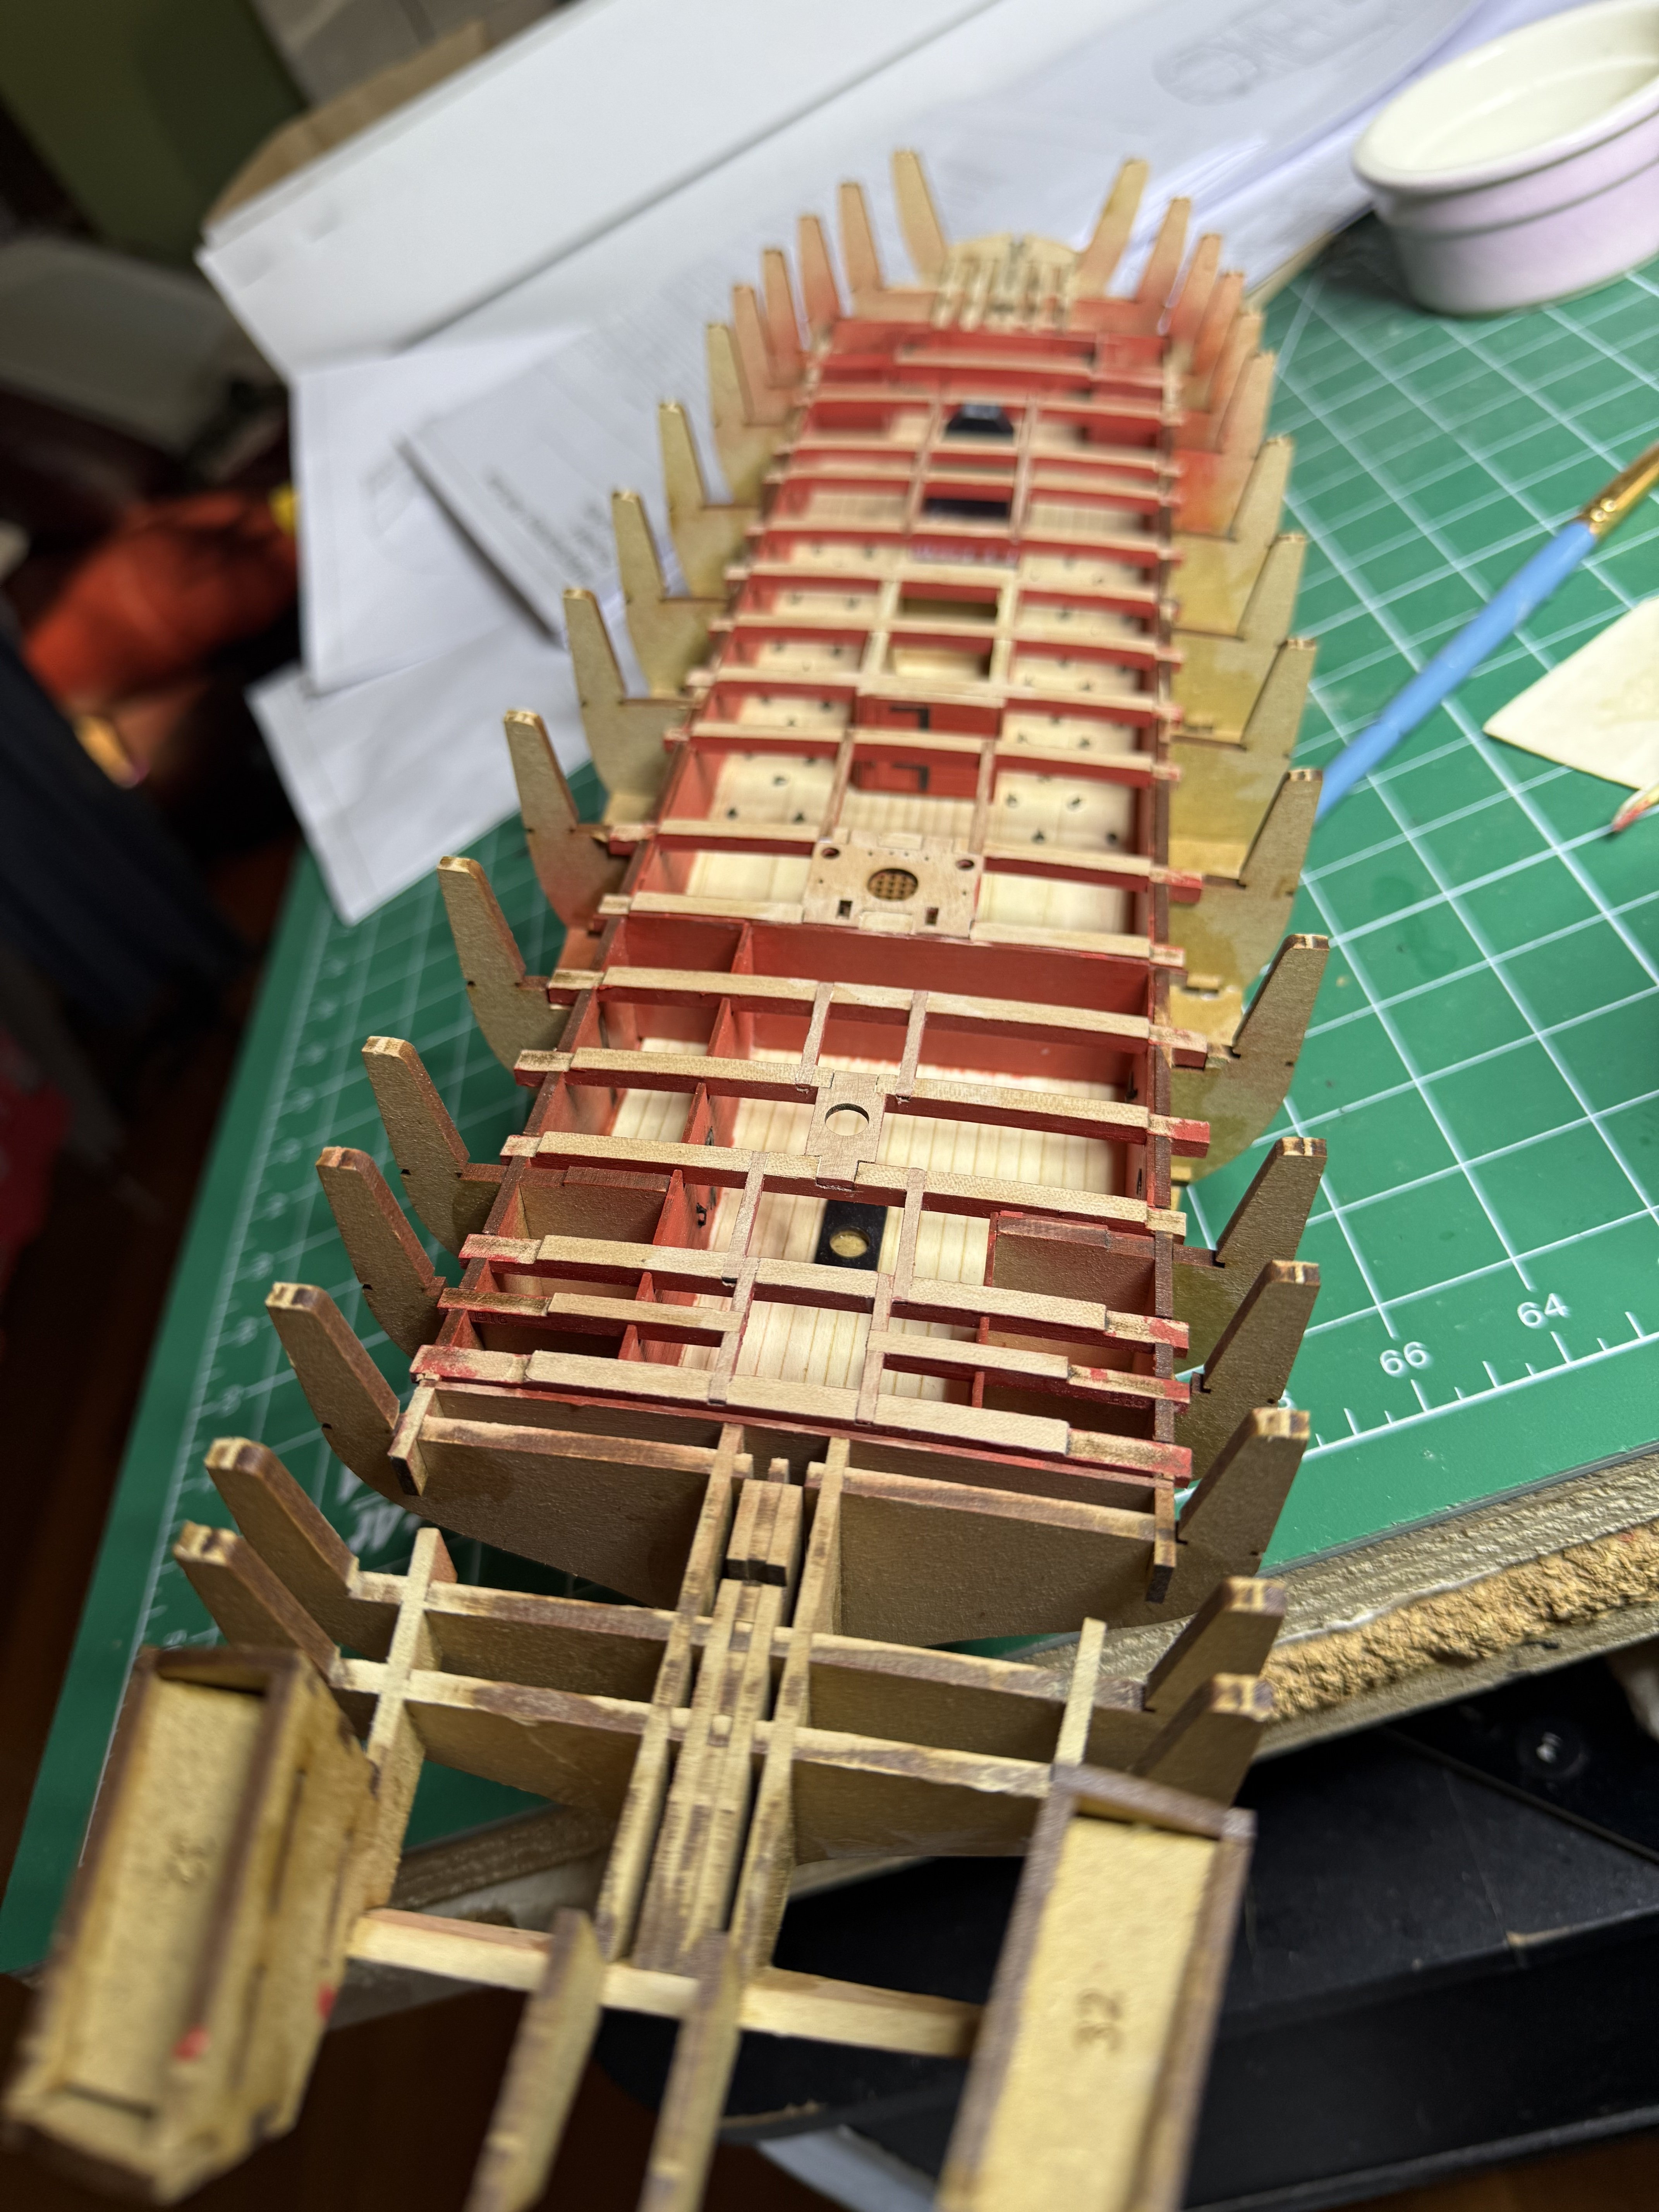
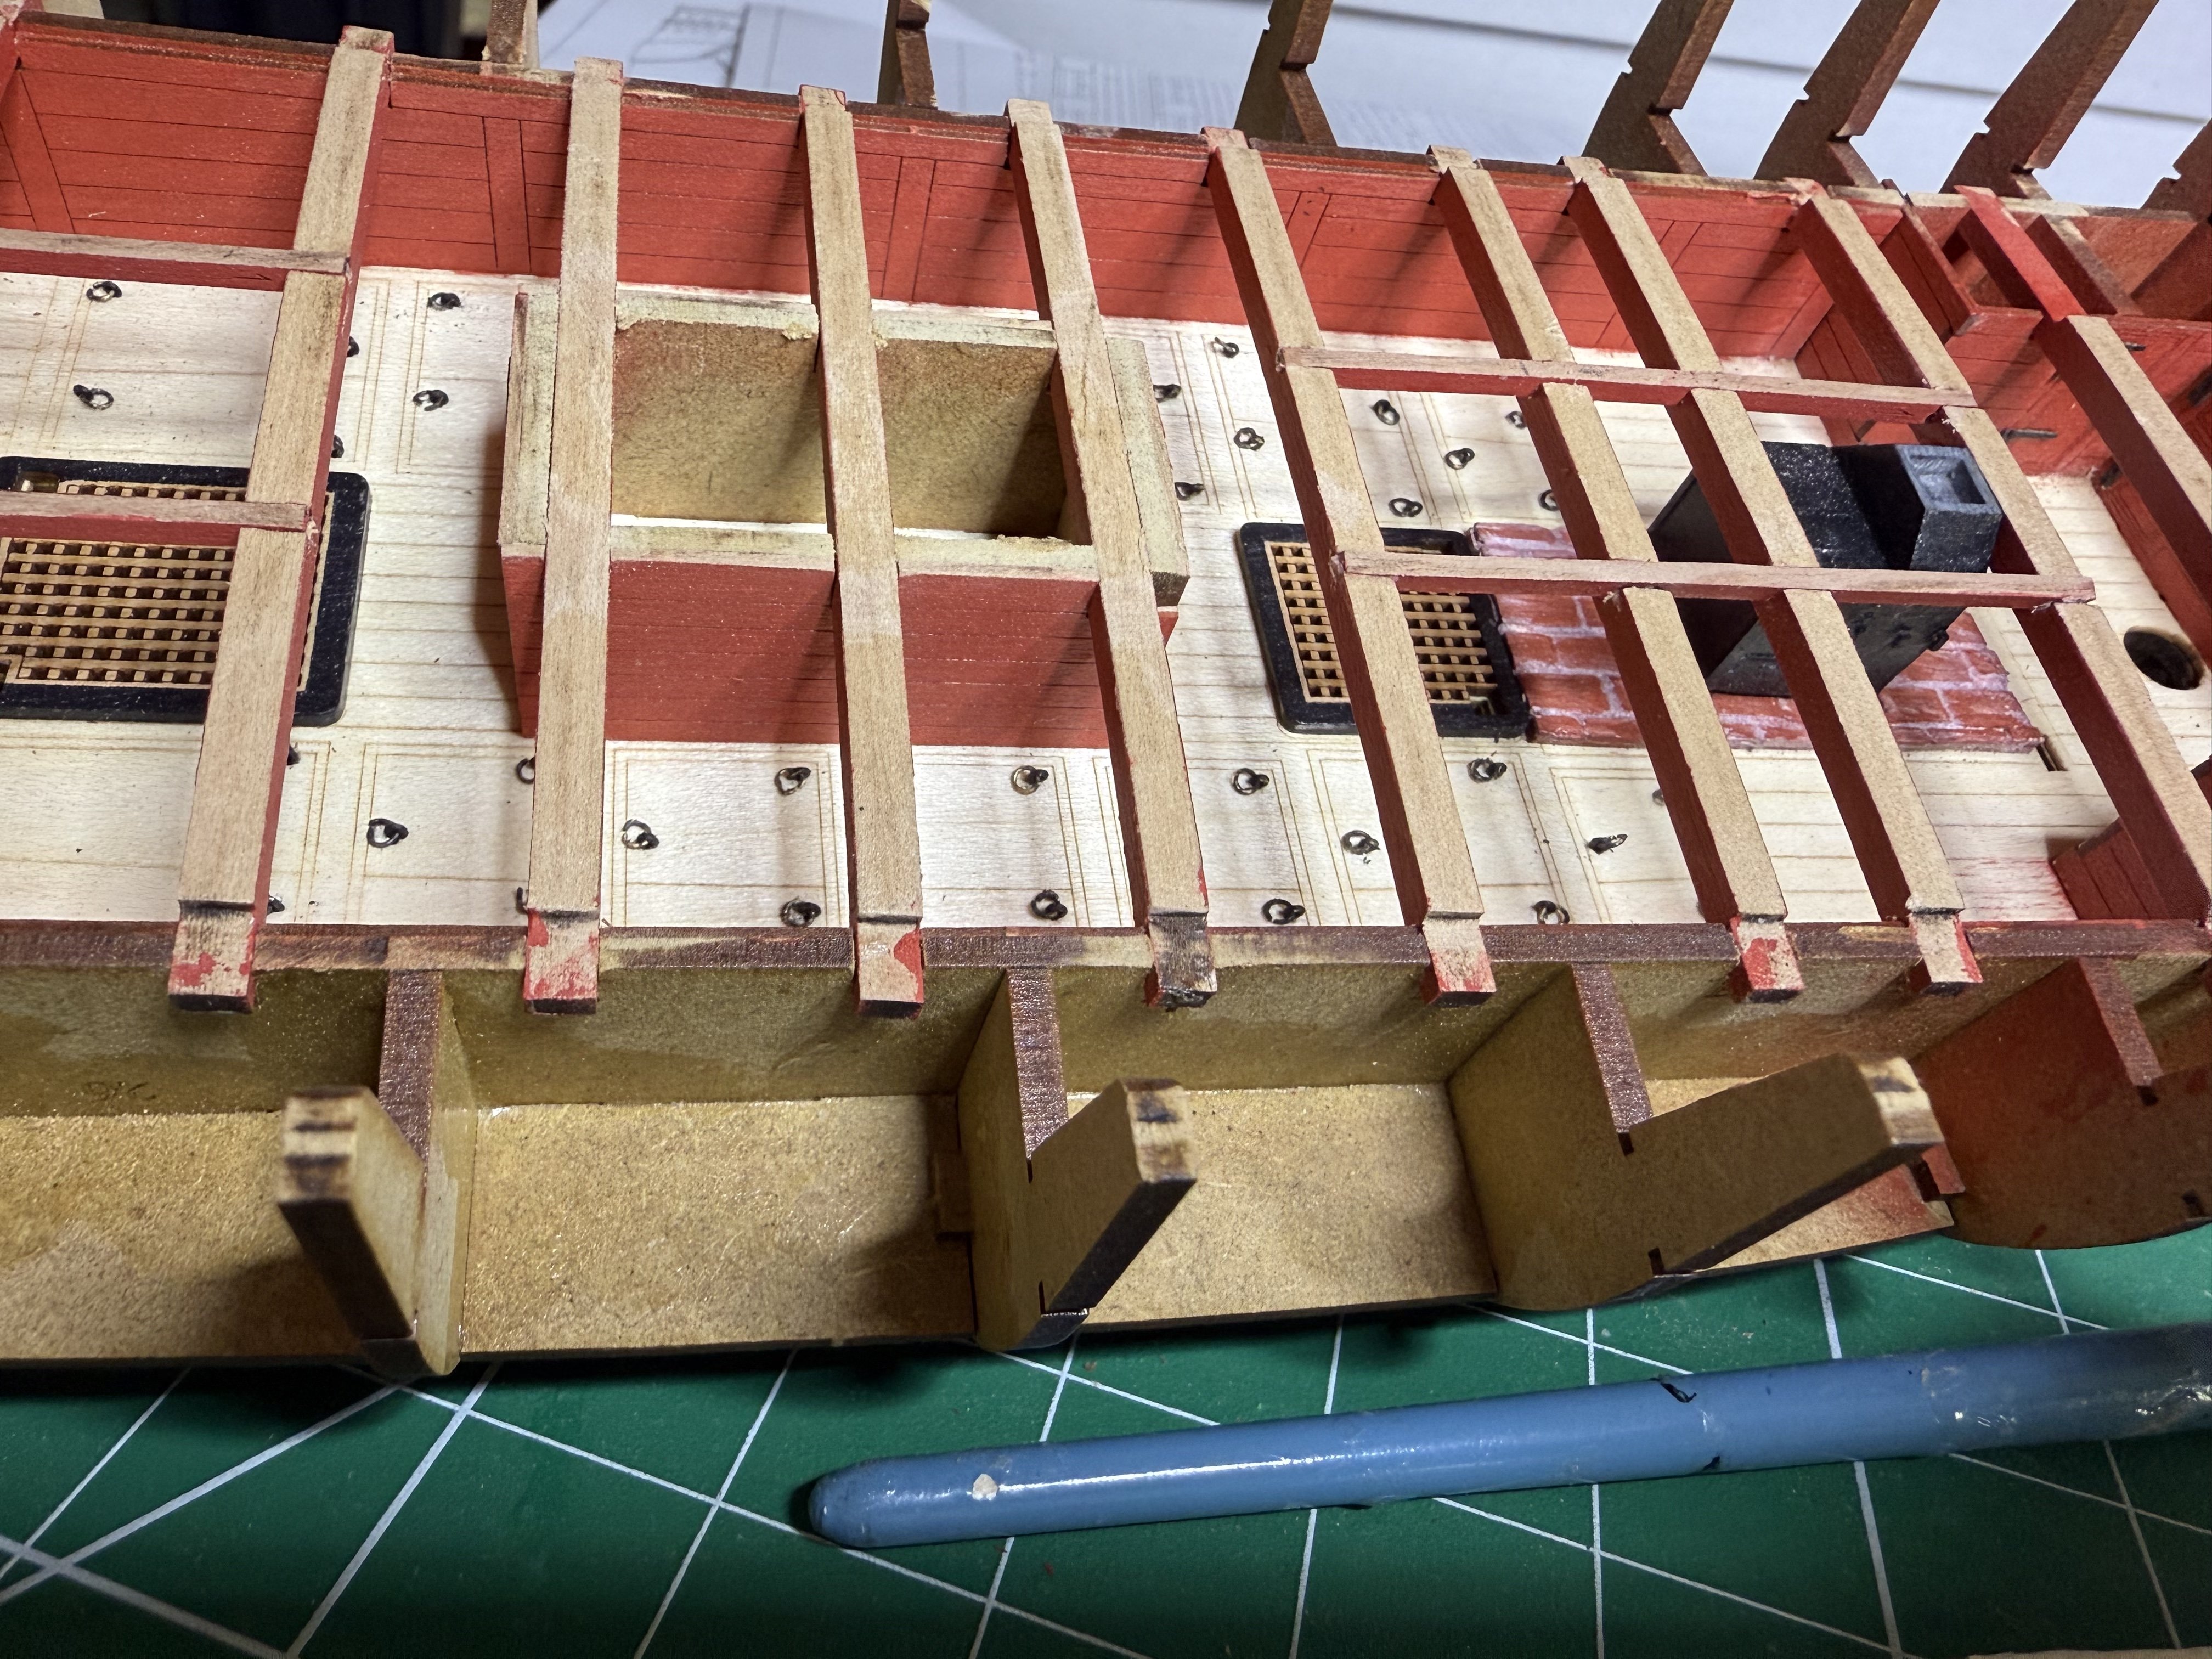
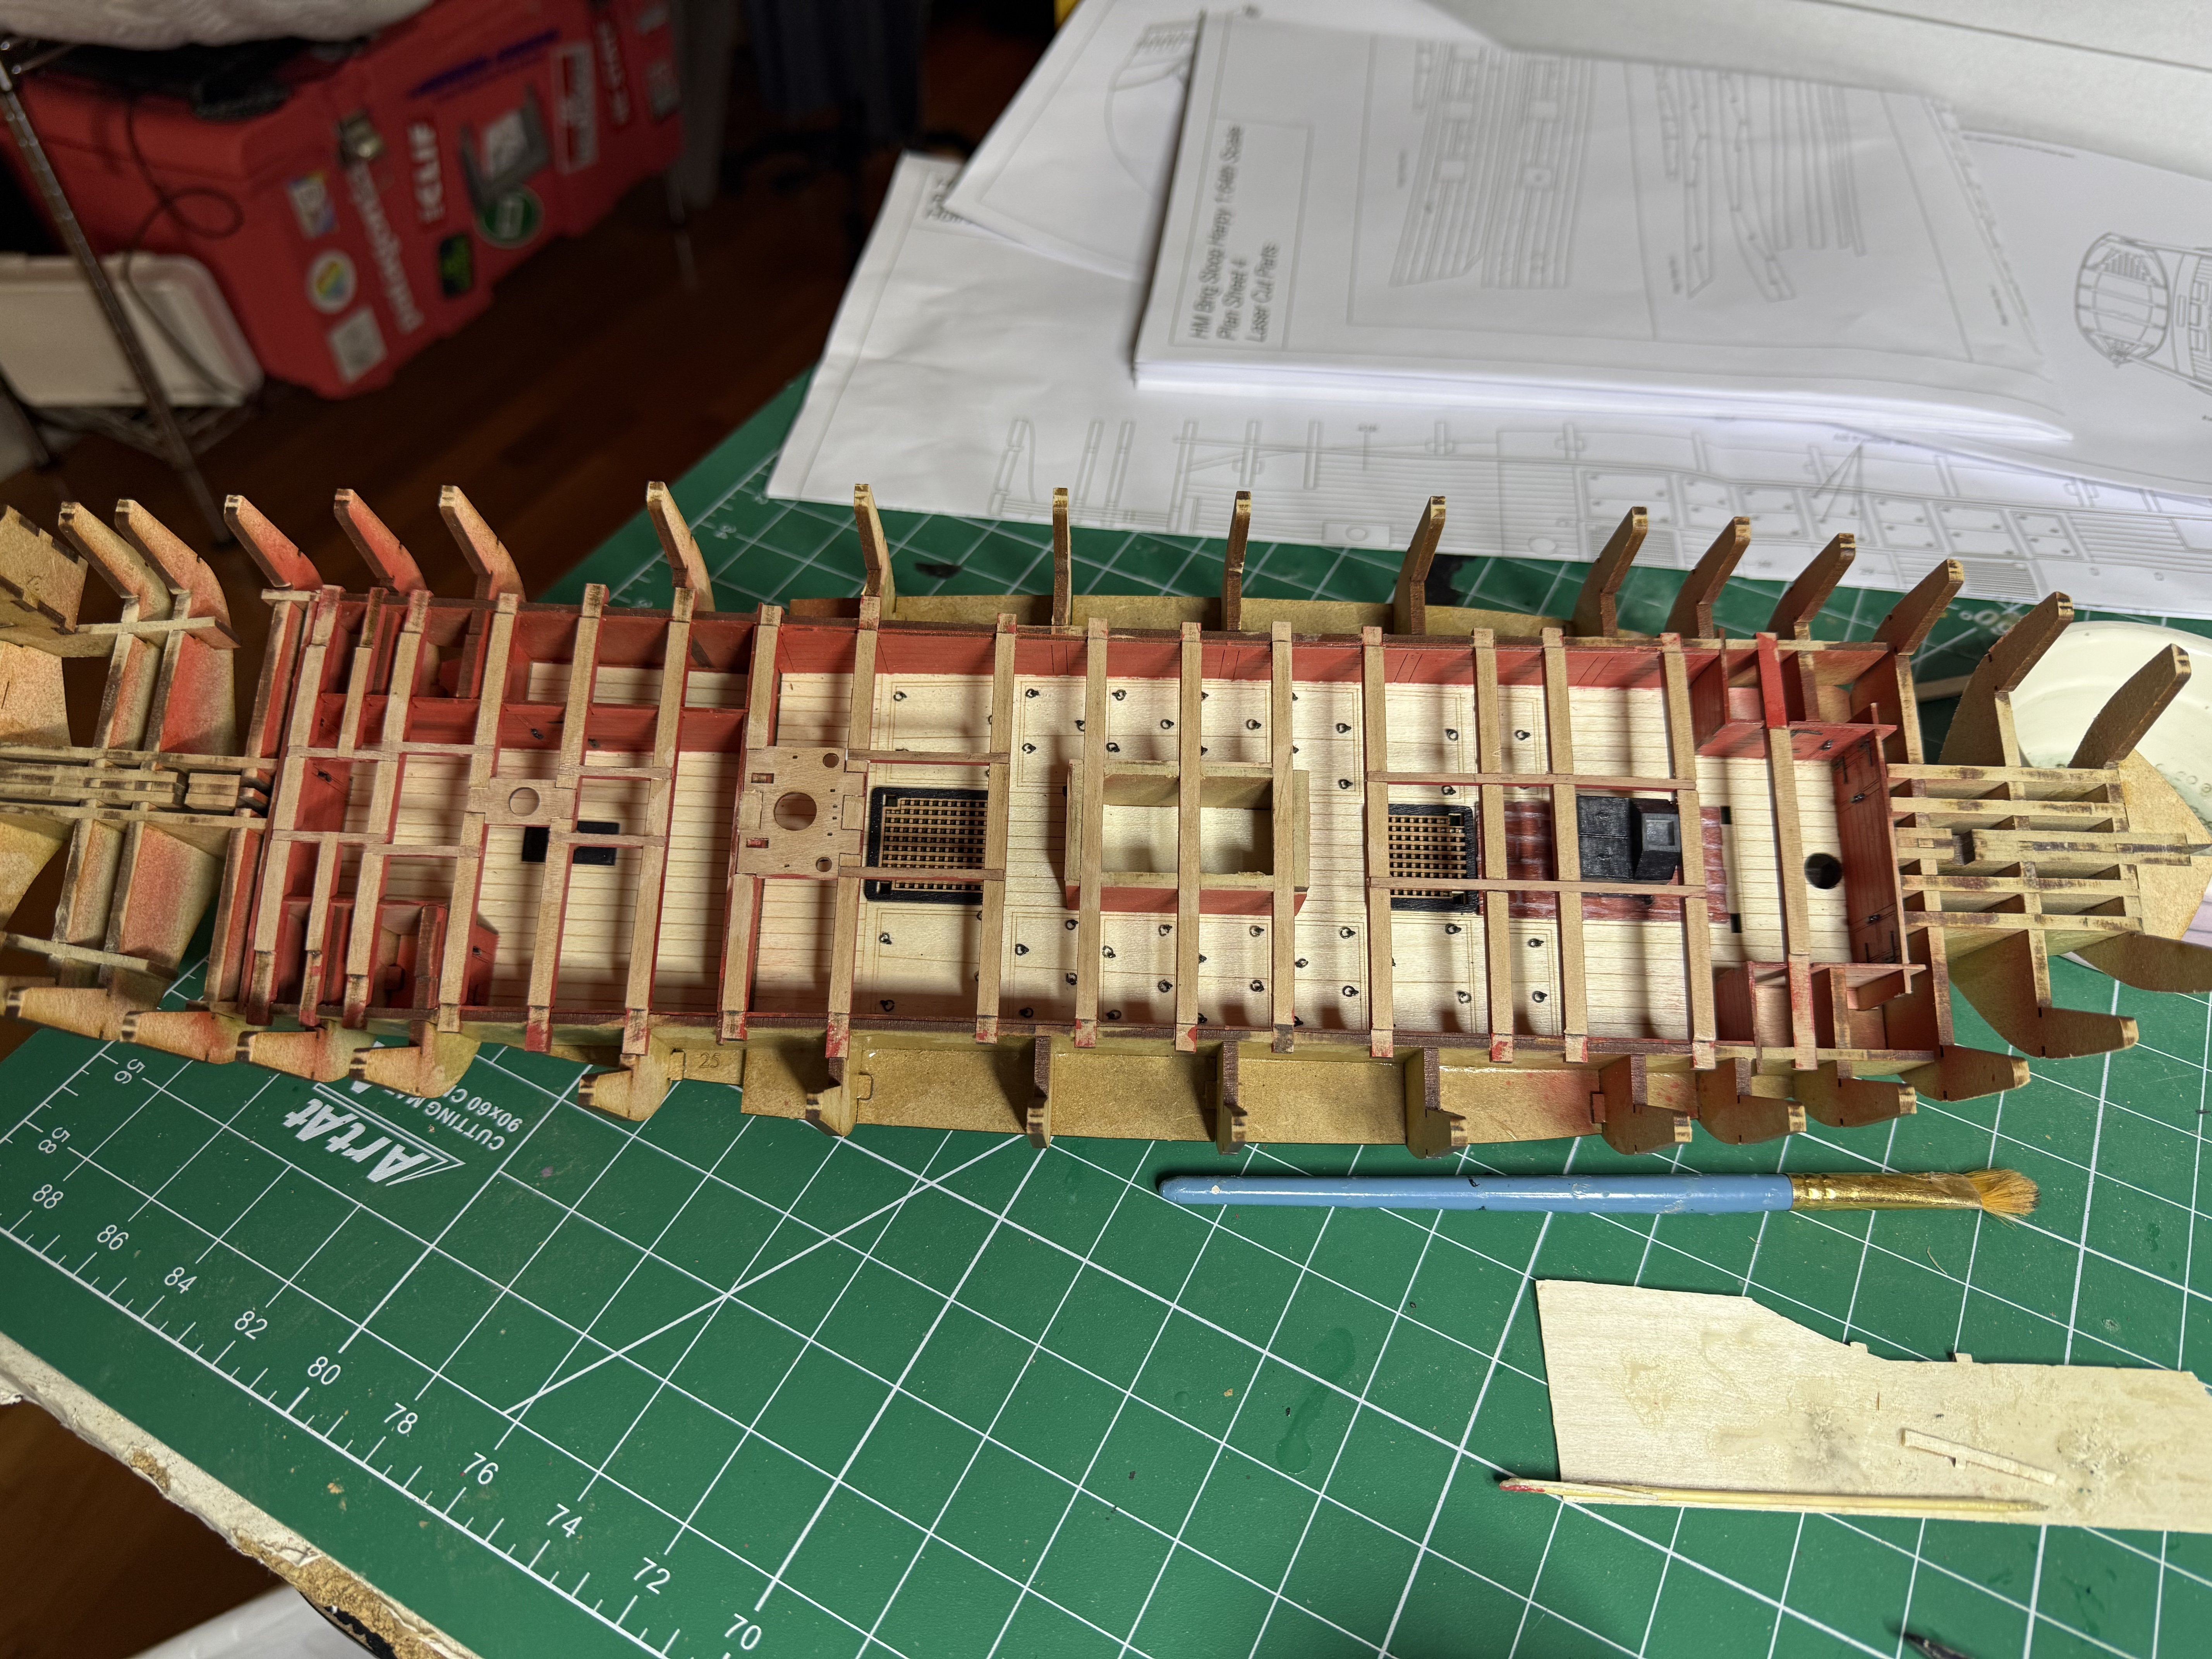
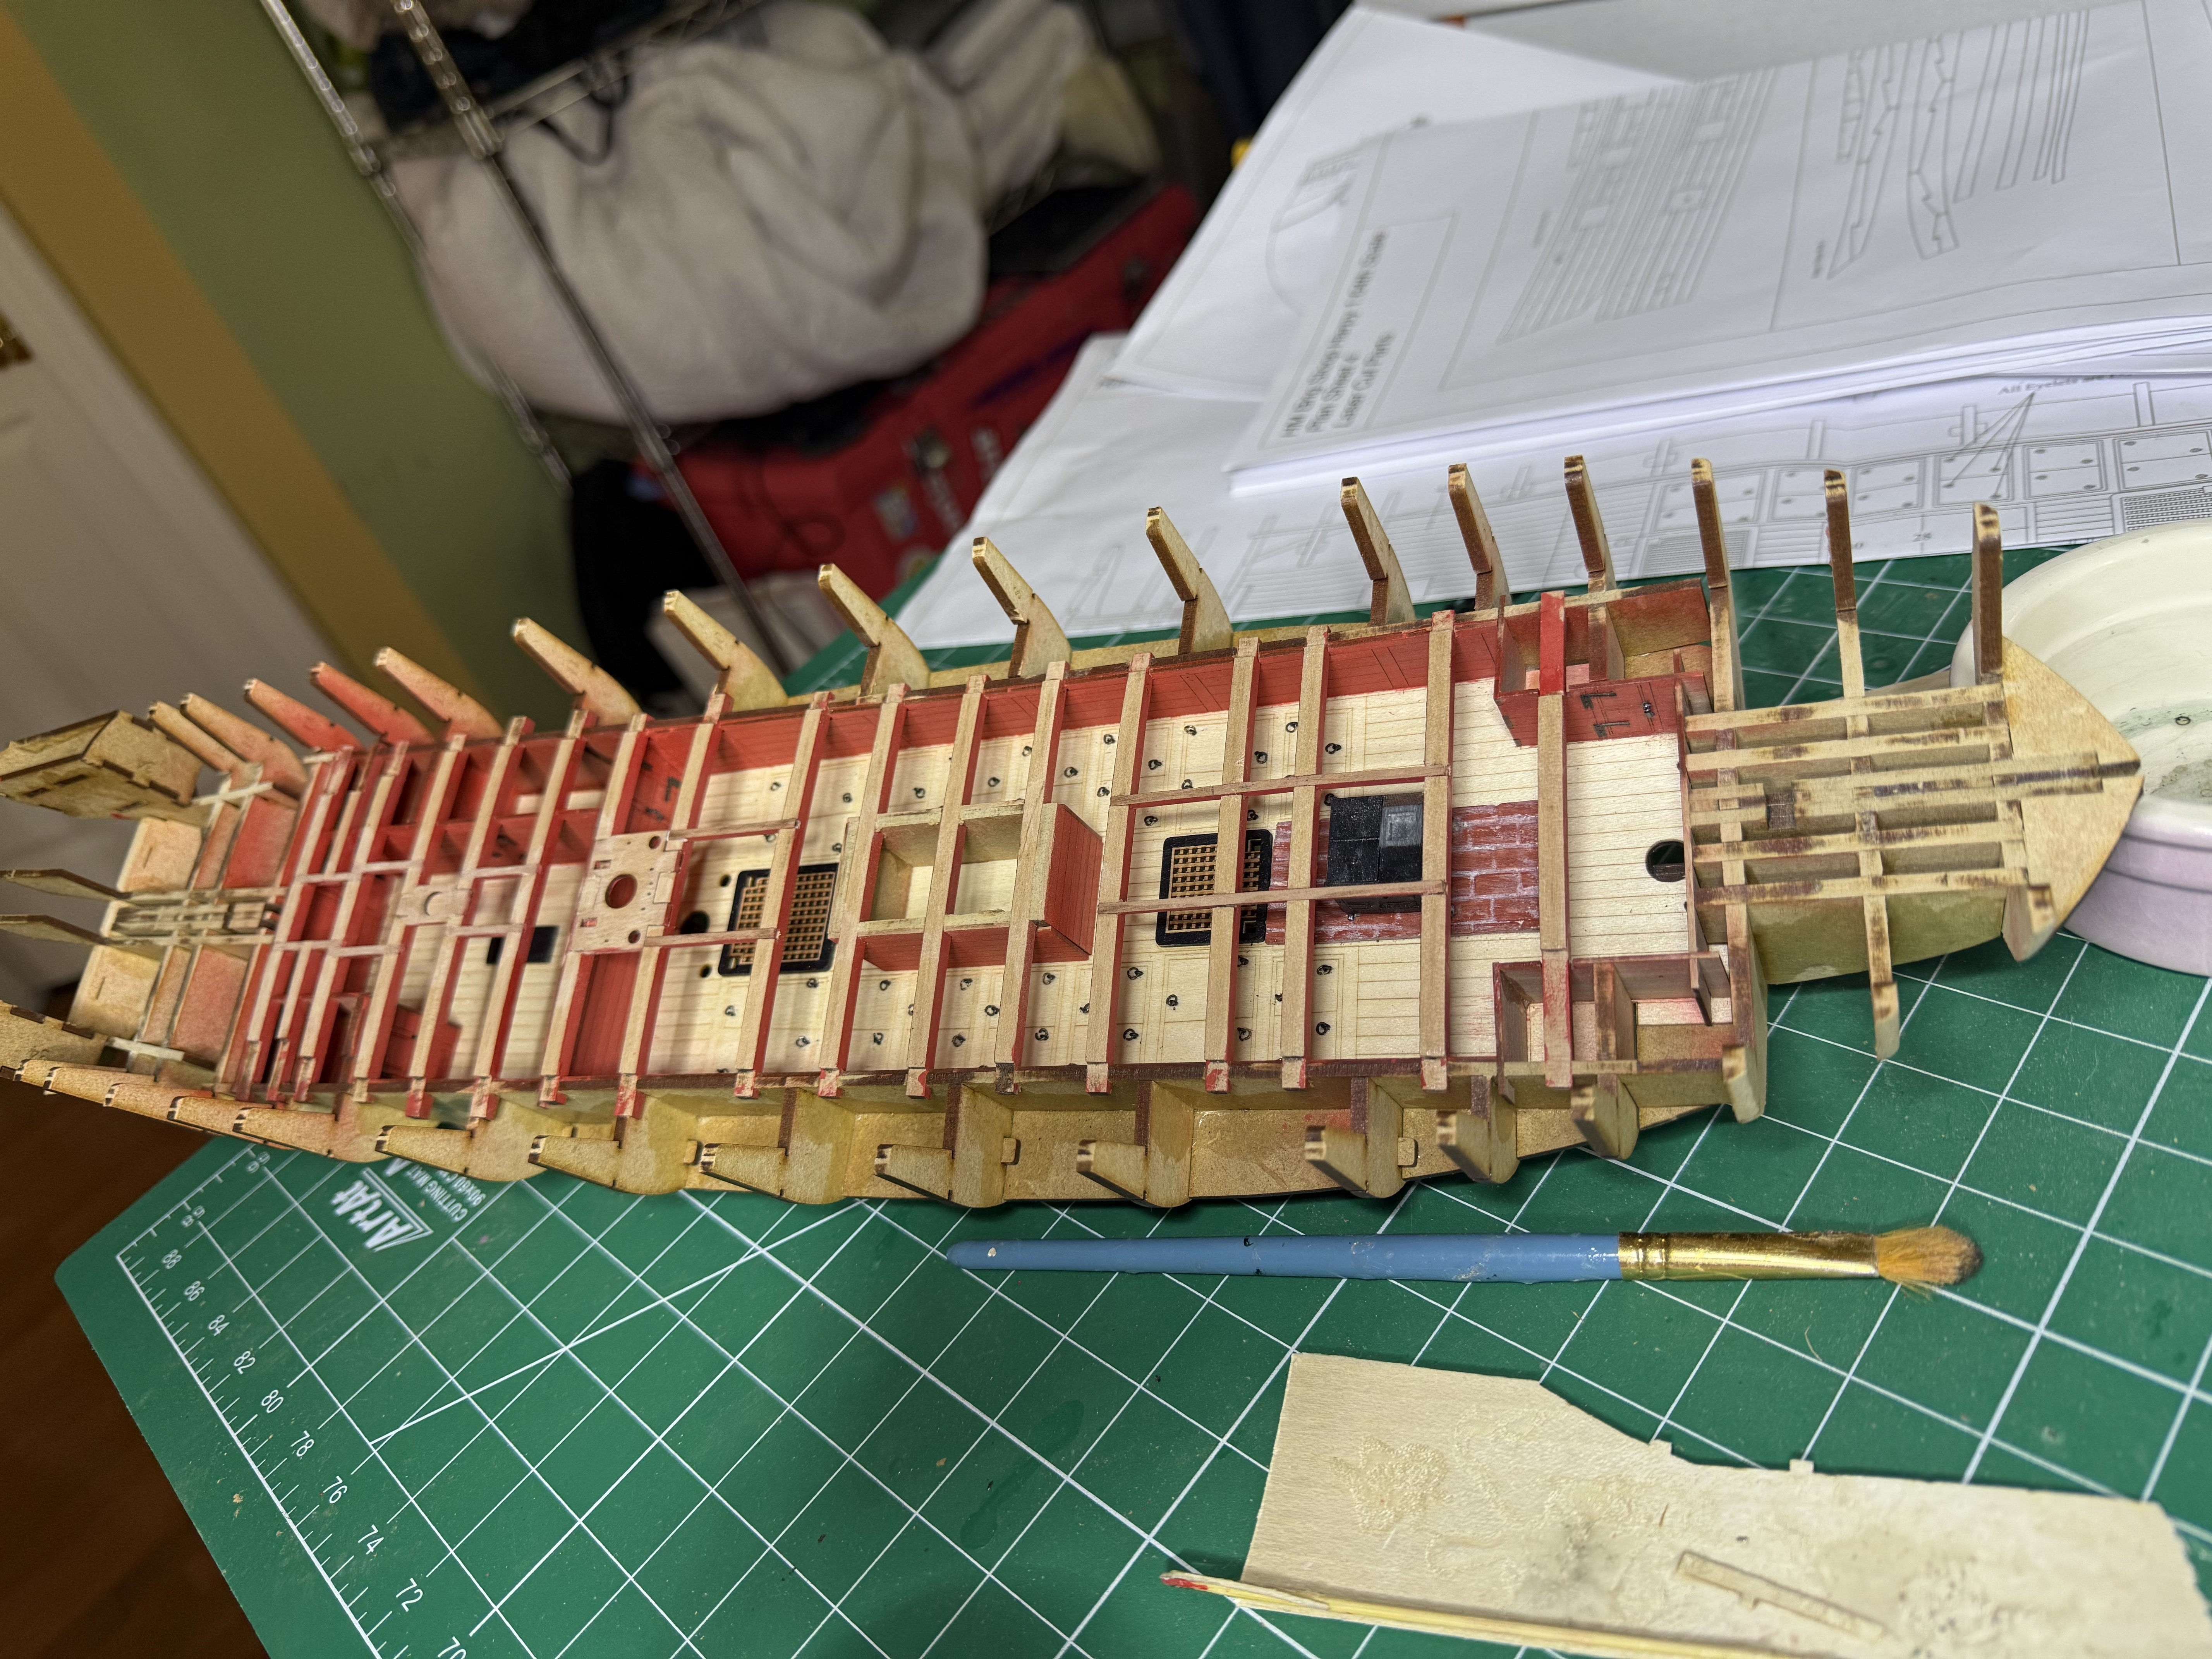
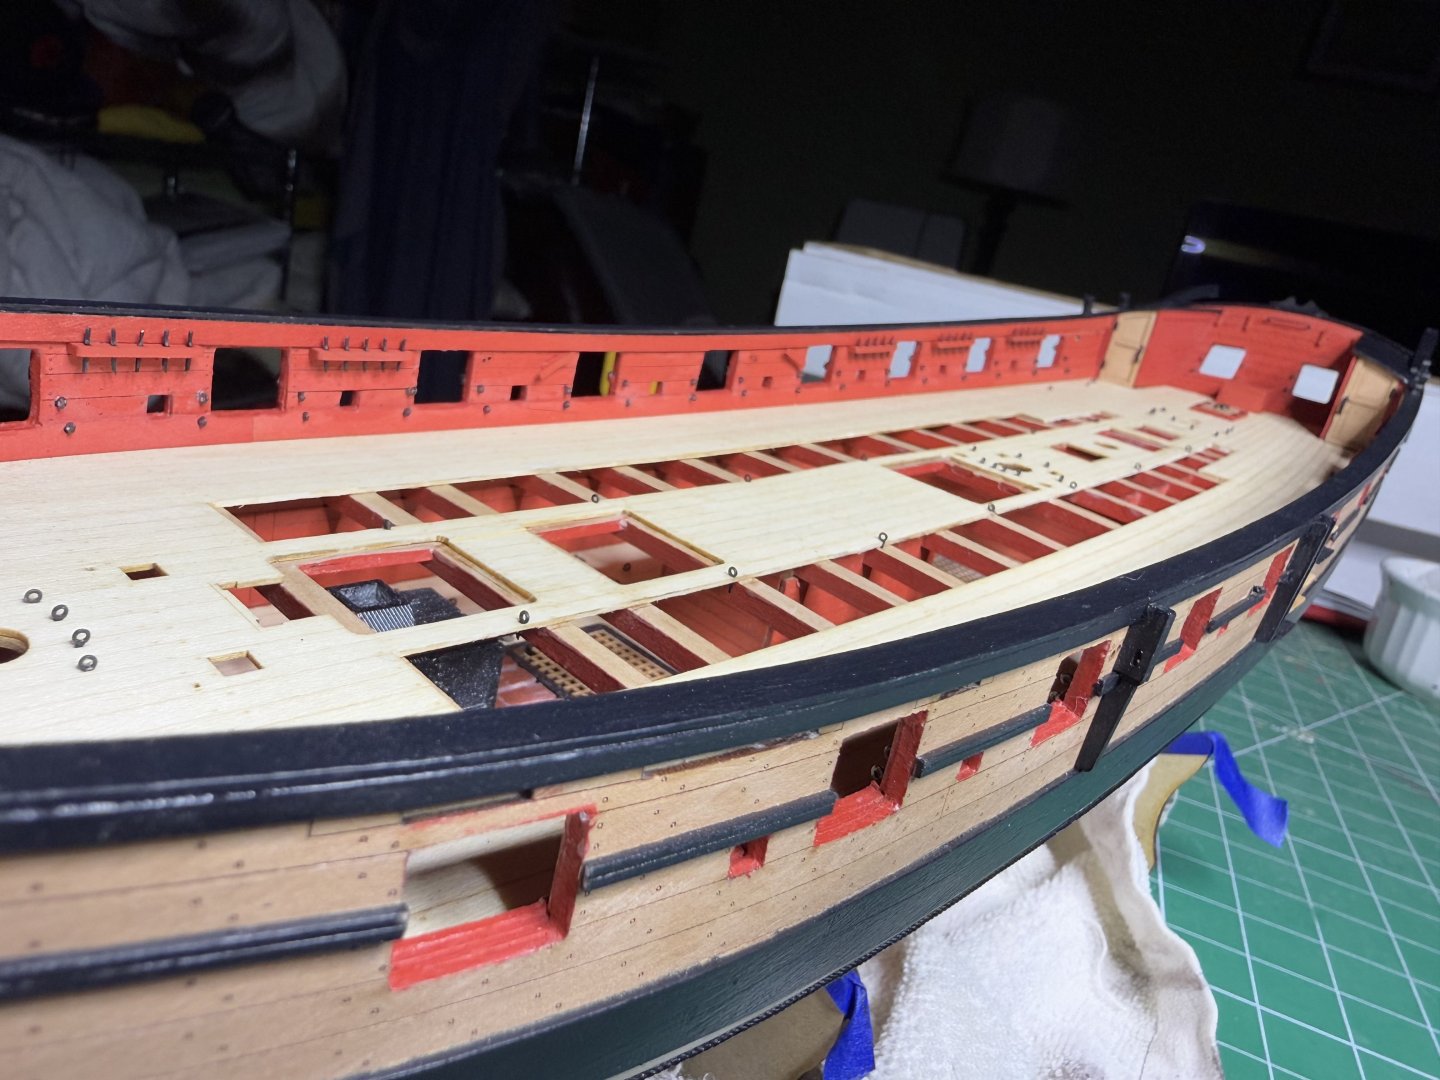
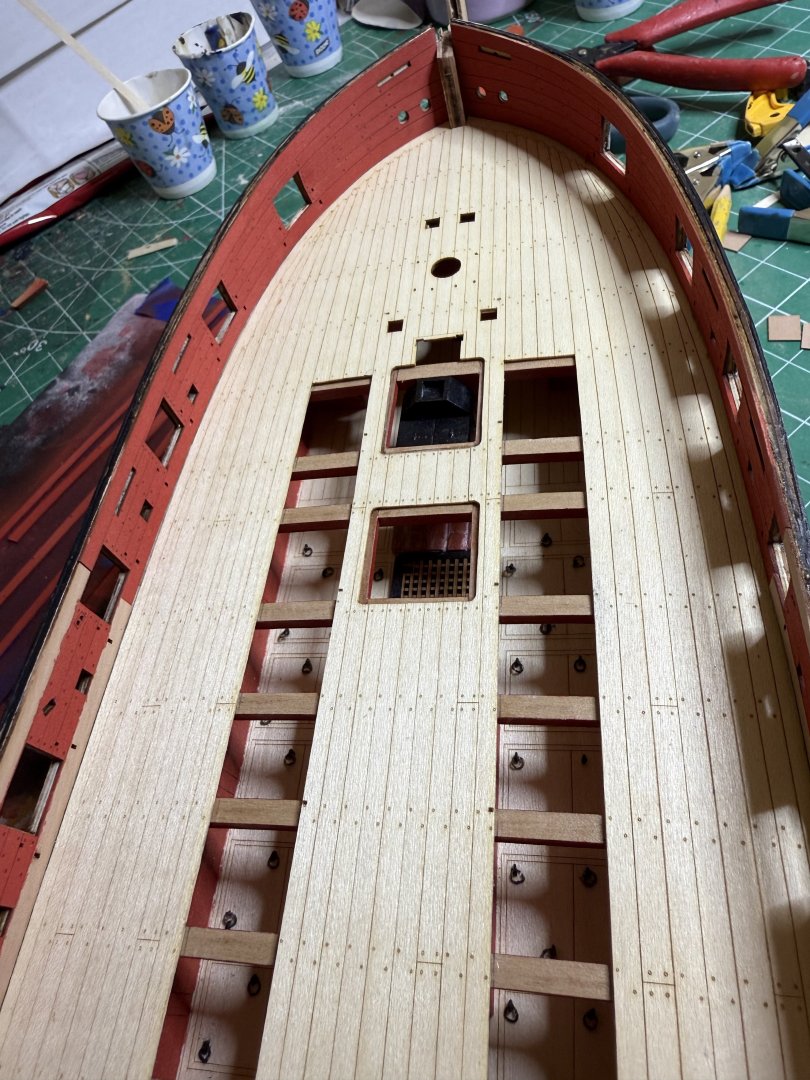
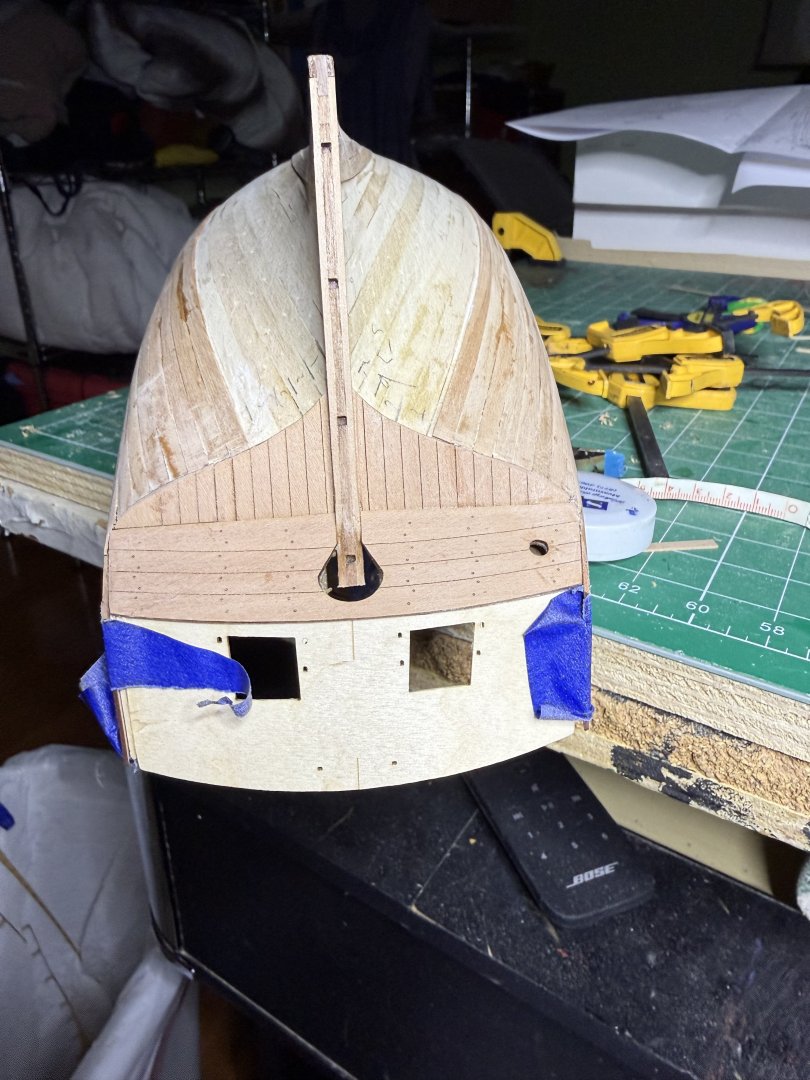
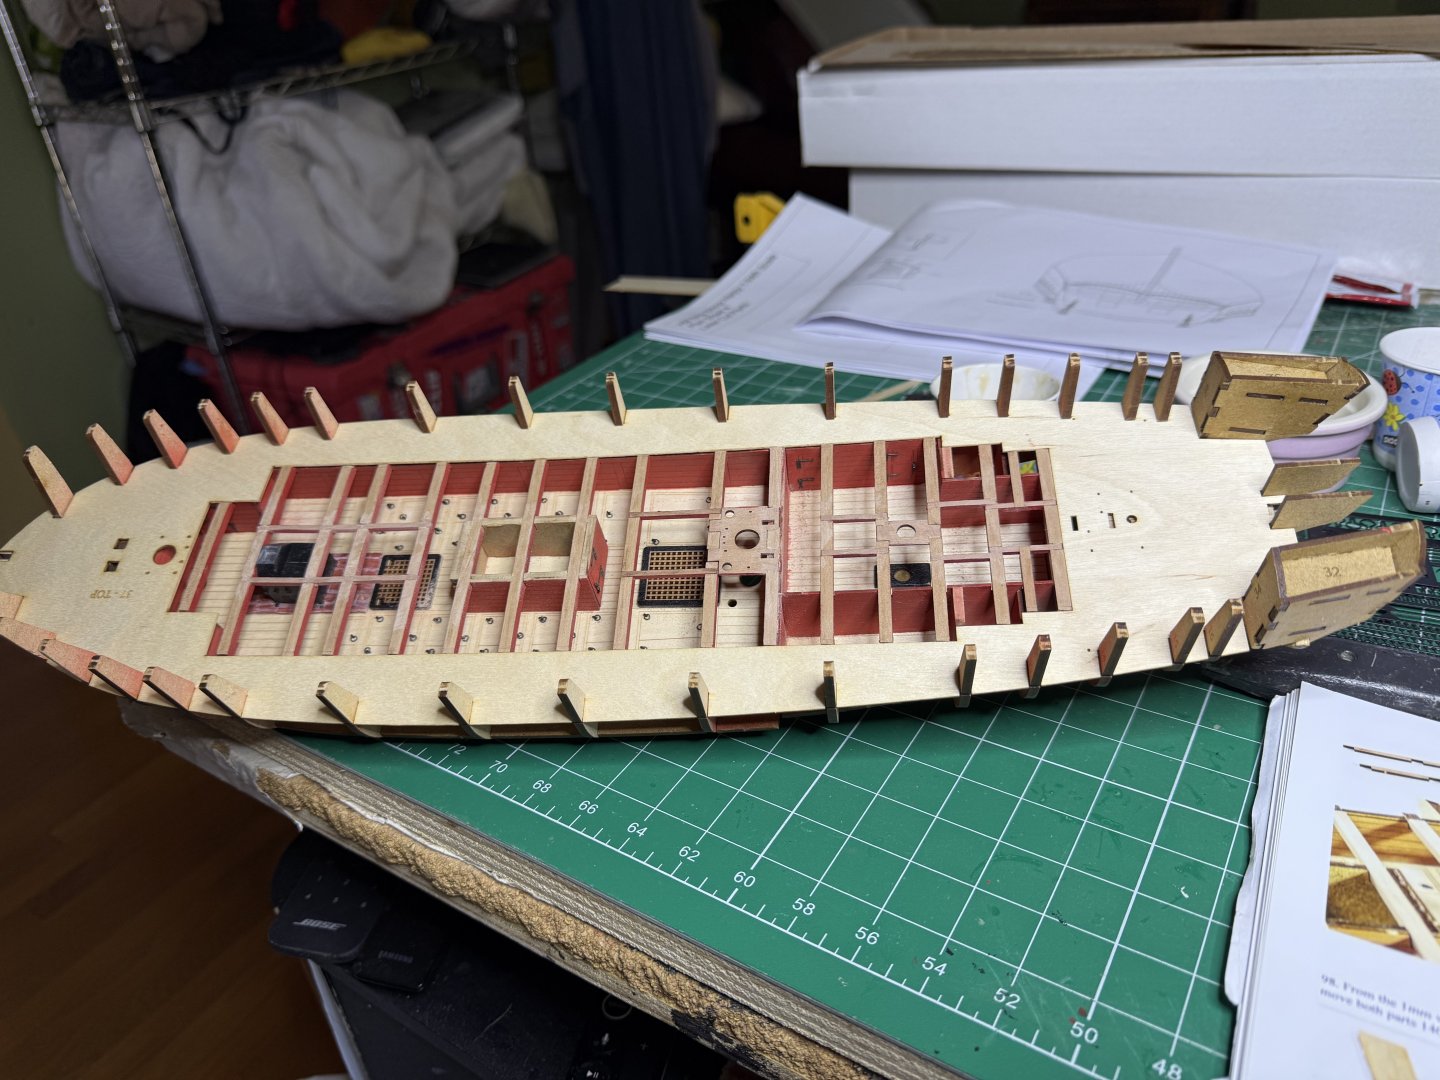
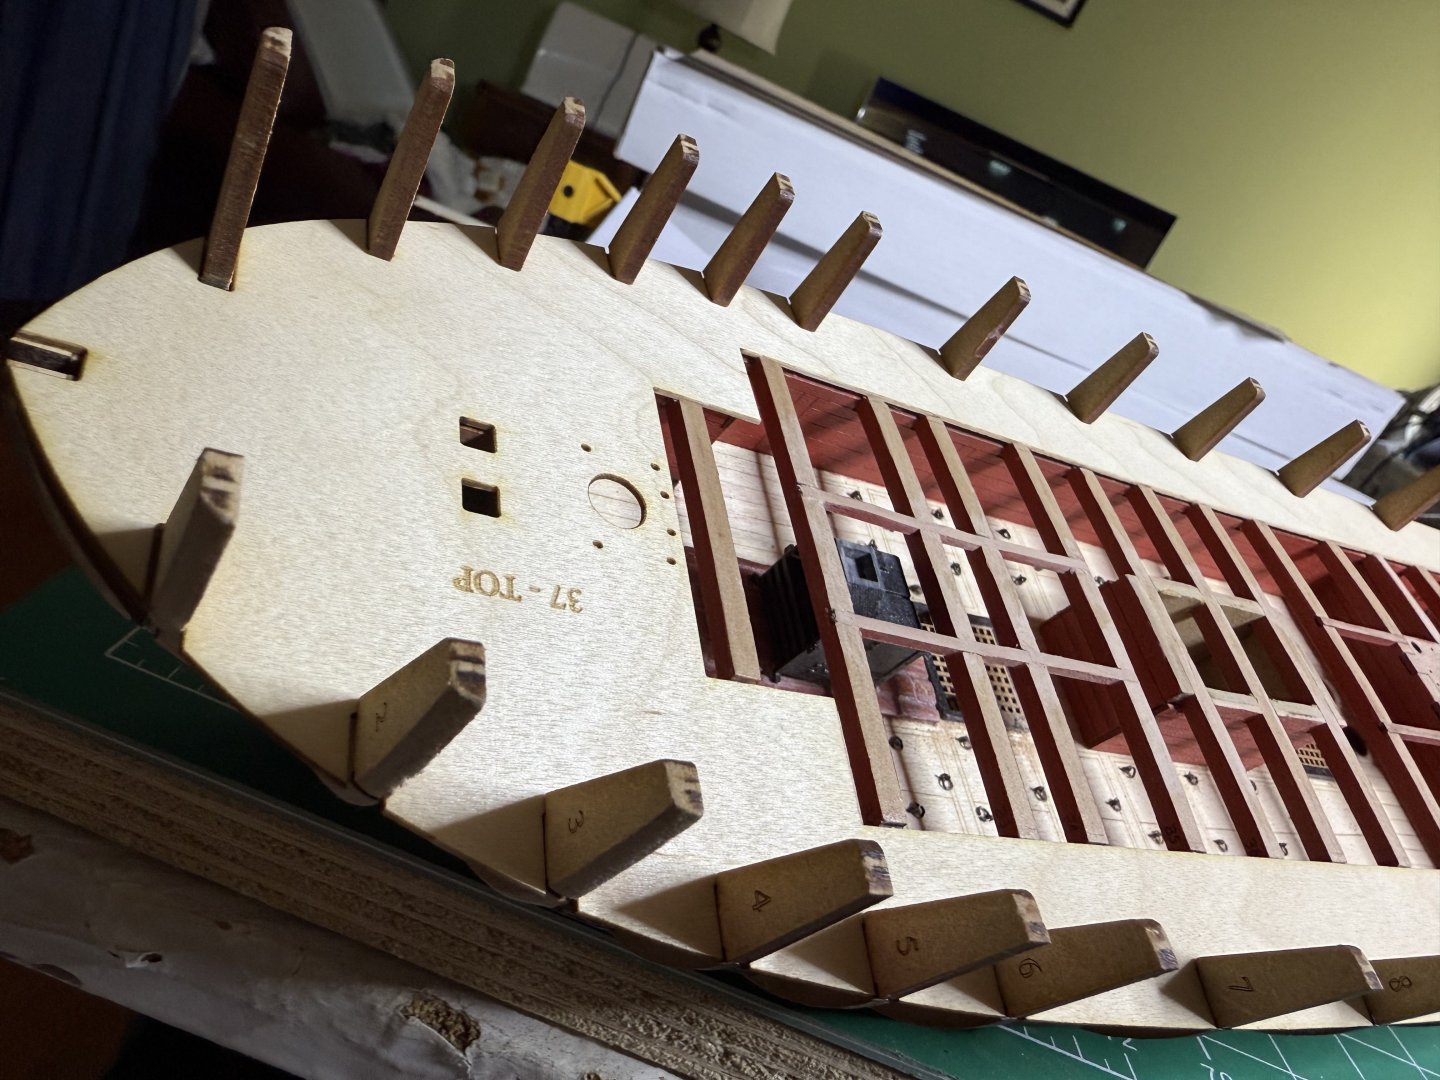
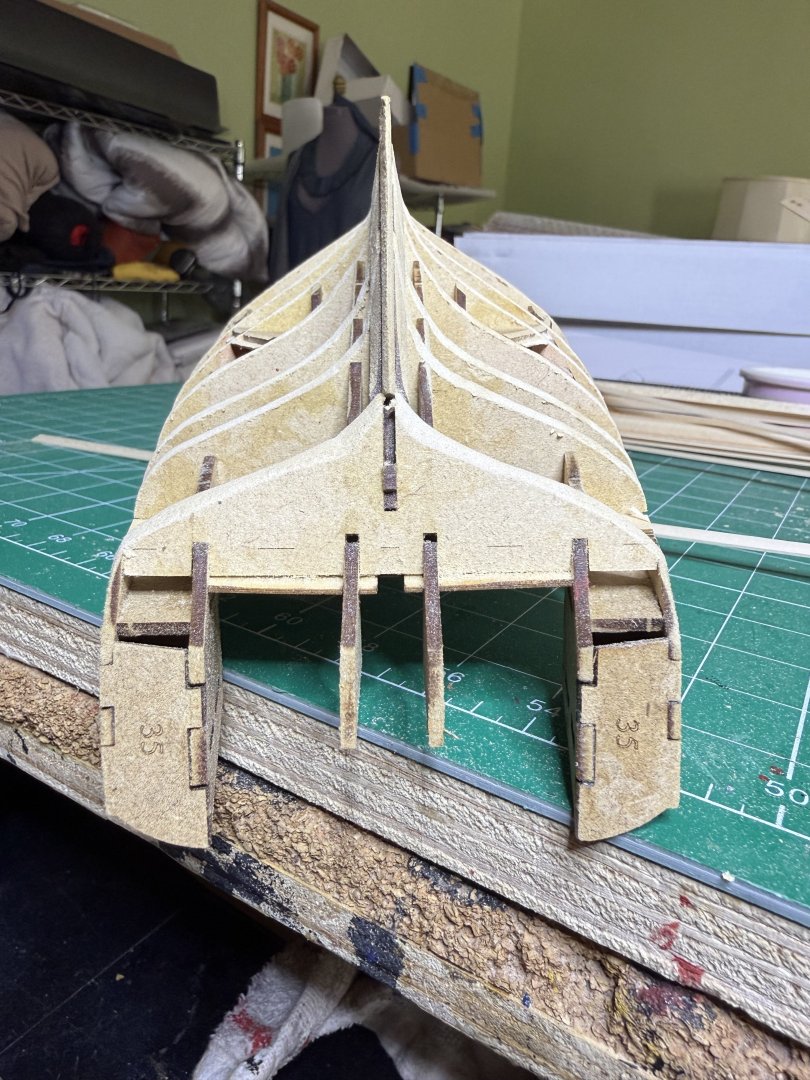
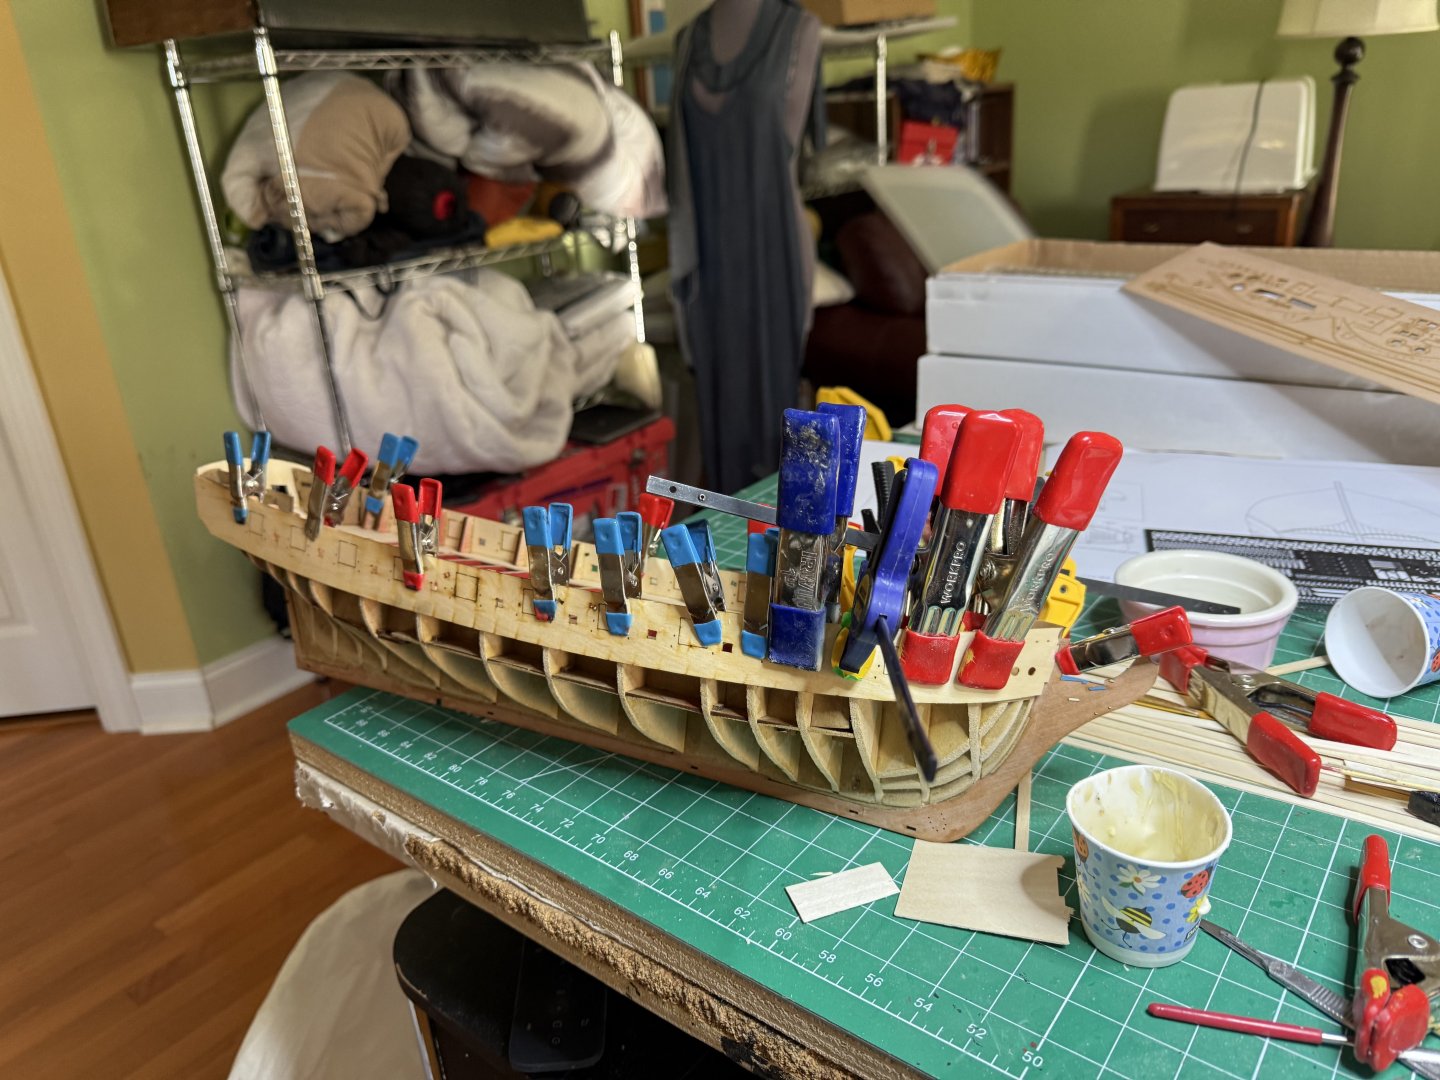
As advertised, the deck clicked into place without and fiddling needed Next feathered the ribs Nest the stern patterns Finally soaked and bent the the hull siding to dry overnight. As others have noted, you need a lot of clamps.


- 73 replies
-
- 12
-
-
- Harpy
- Vanguard Models
- (and 1 more)
-
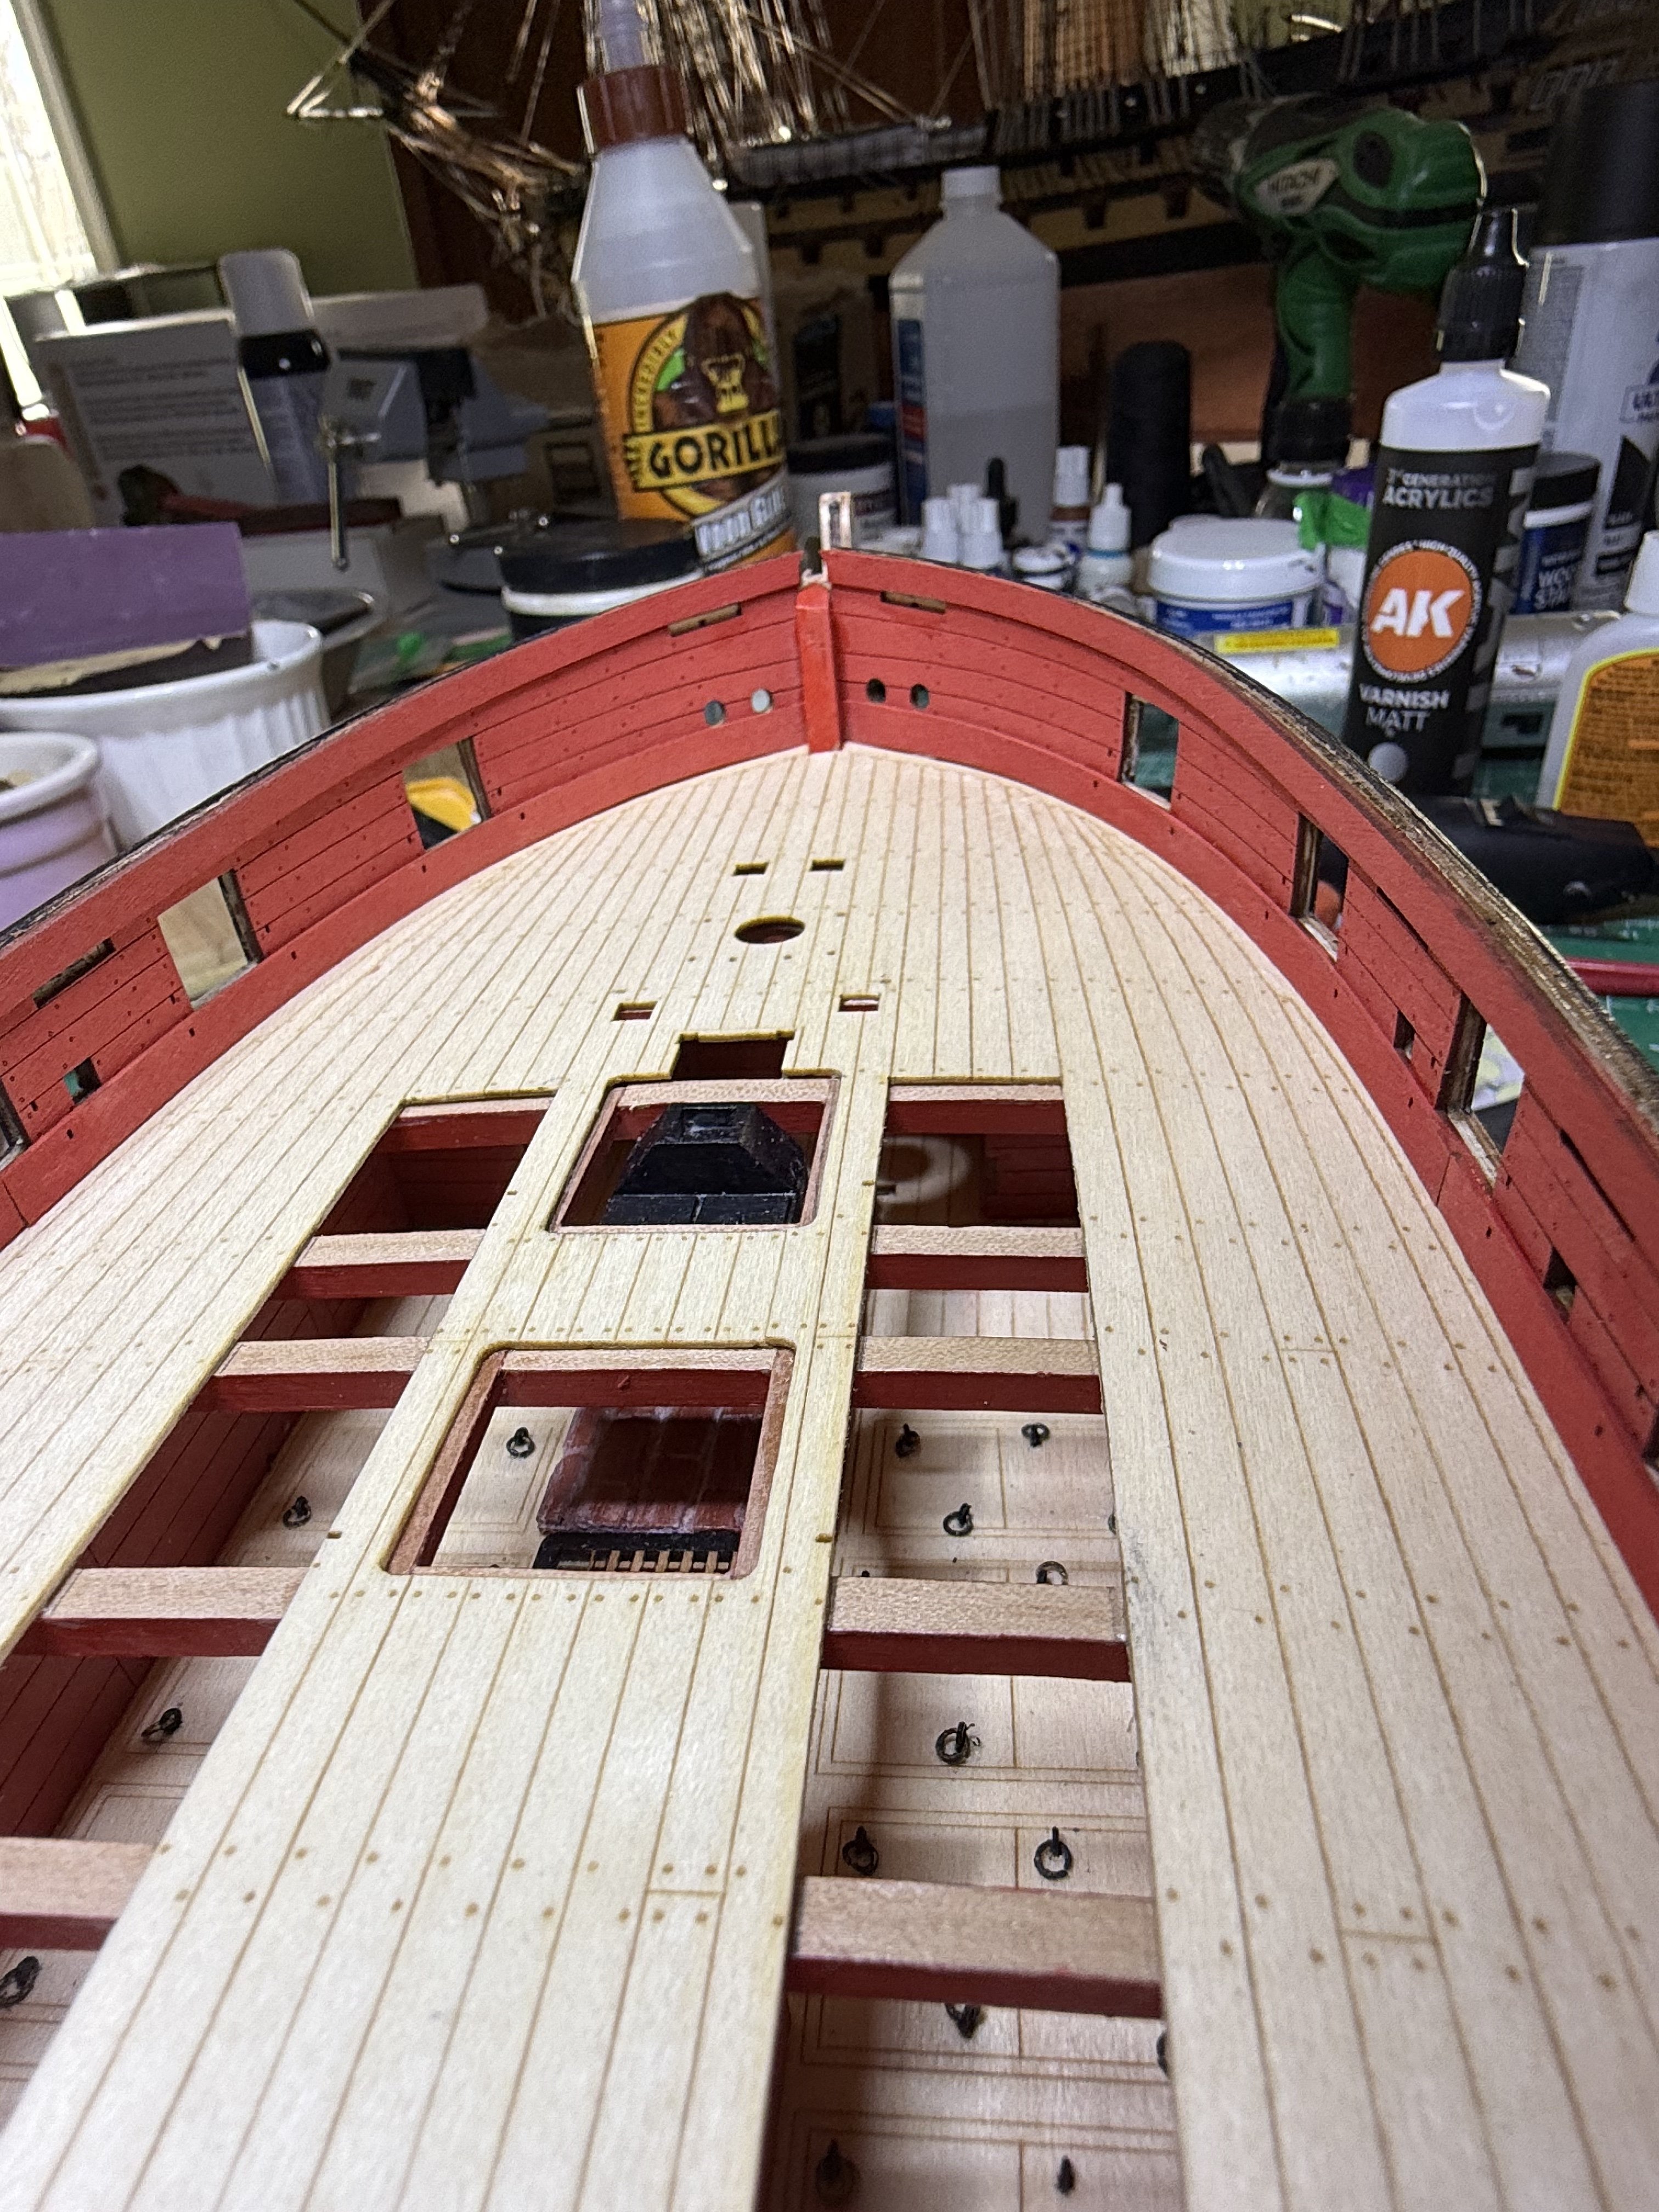
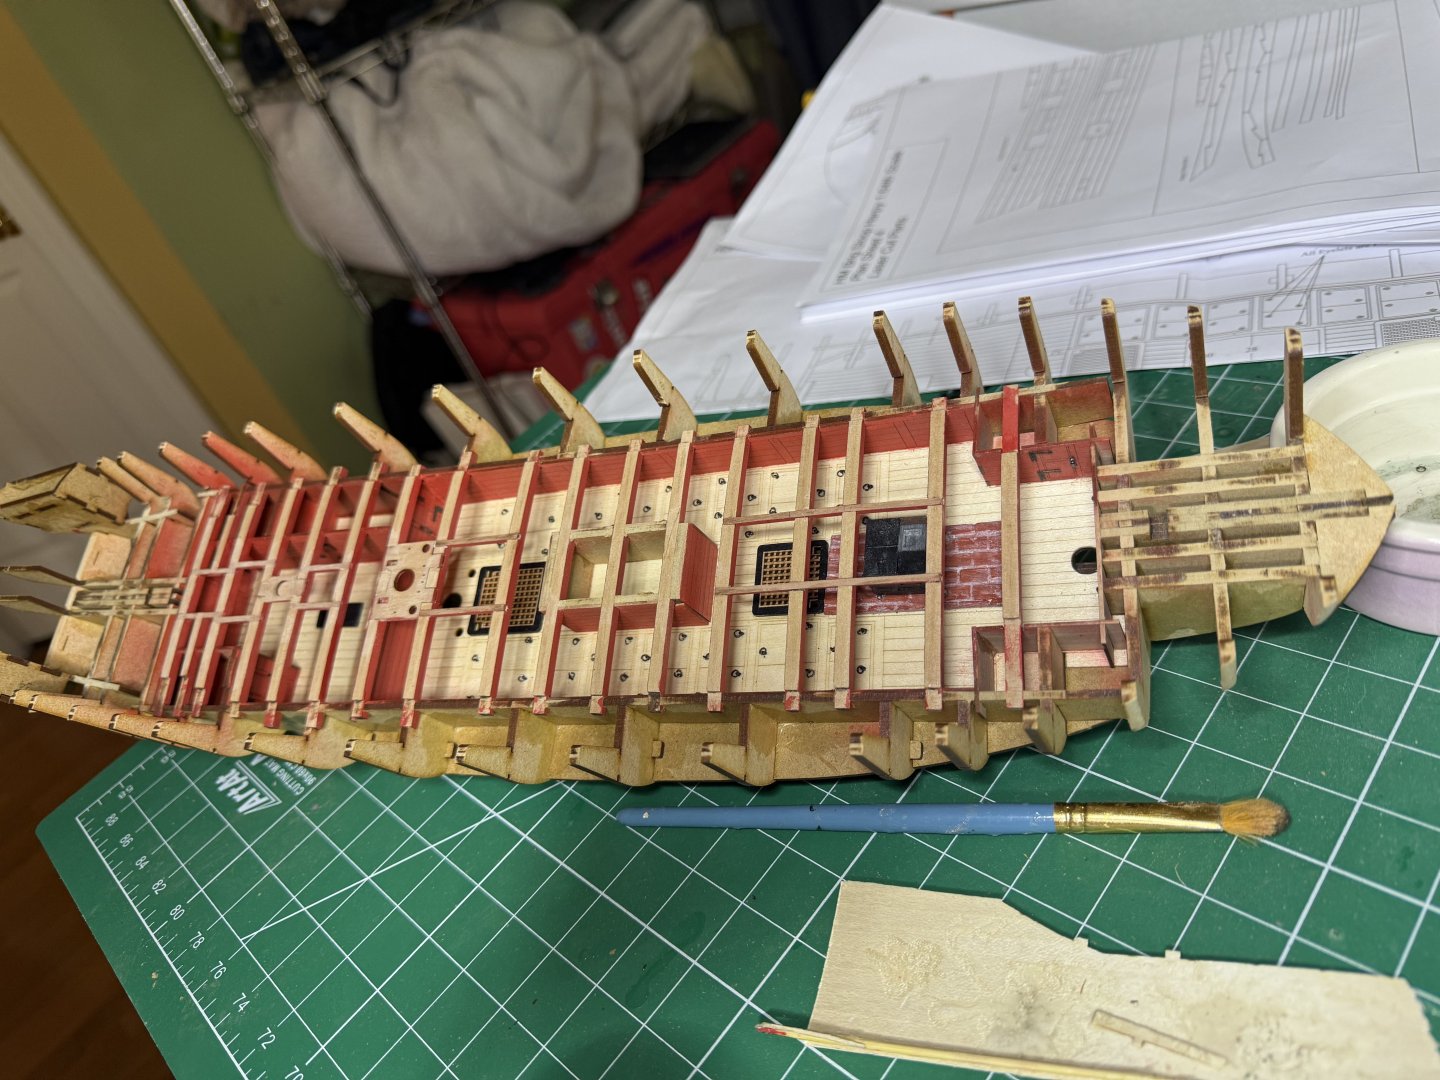
Finally installed the bolts and rings then completed the beams


- 73 replies
-
- 12
-
-
- Harpy
- Vanguard Models
- (and 1 more)
-
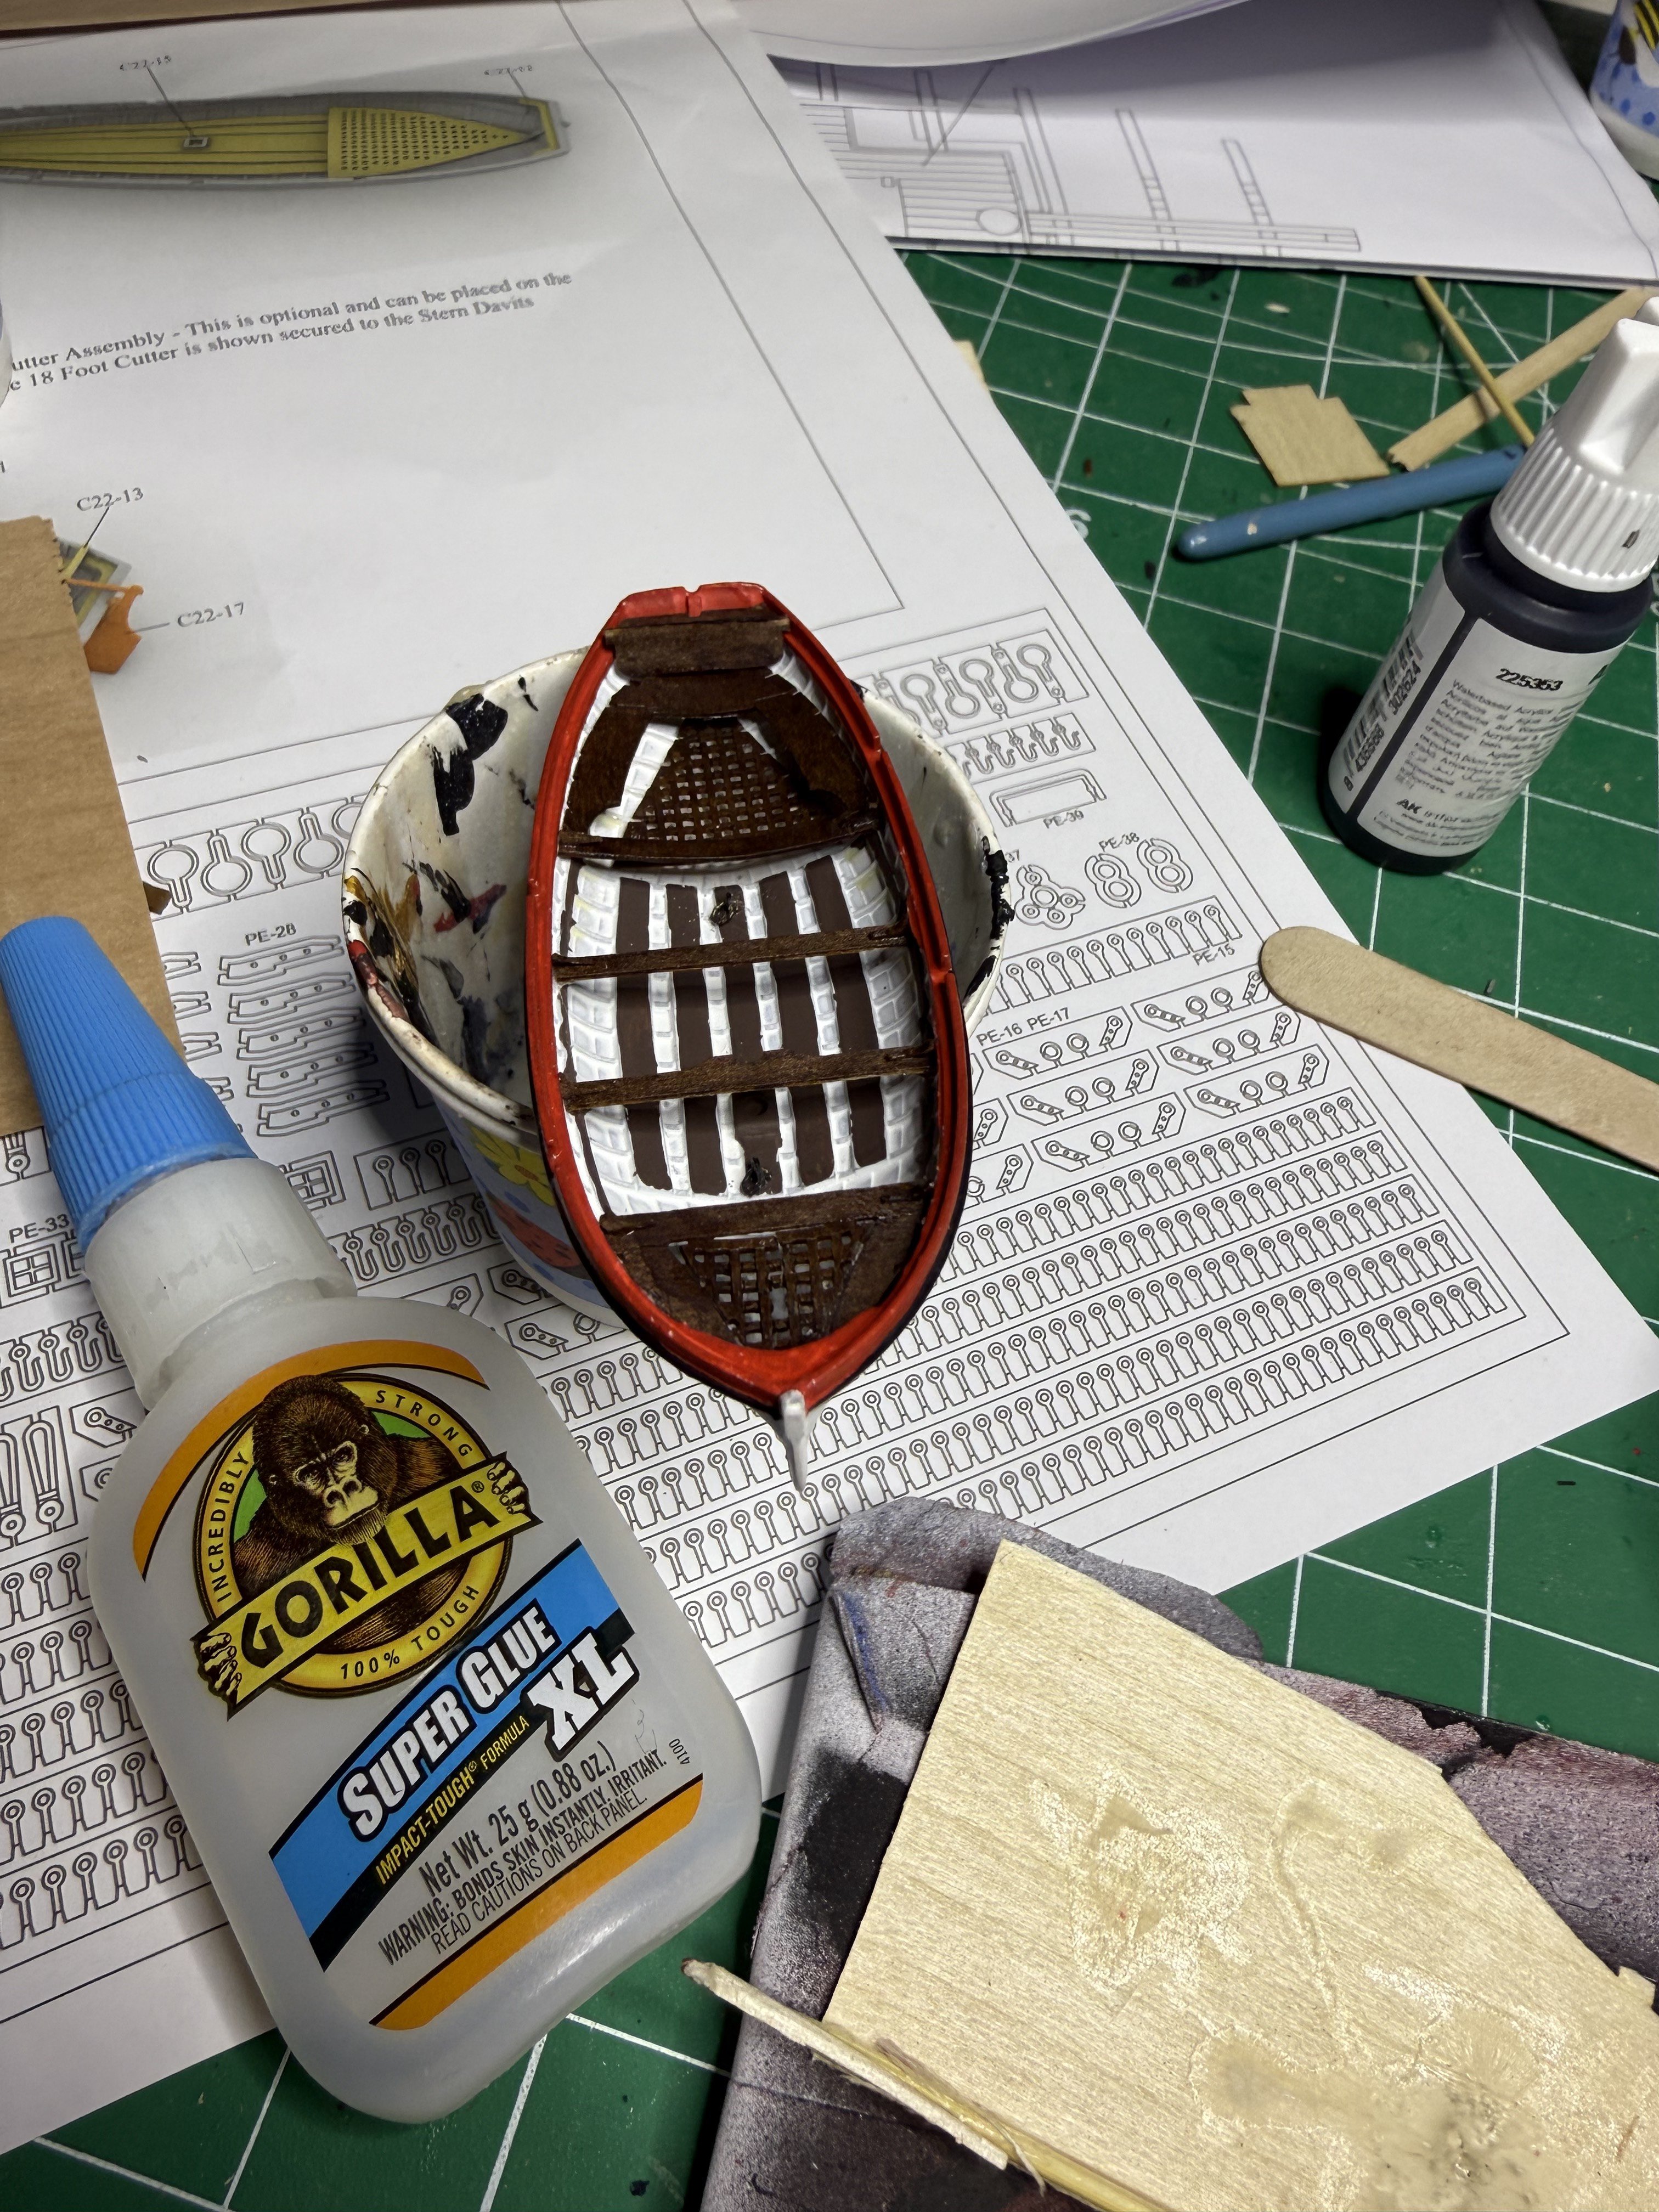
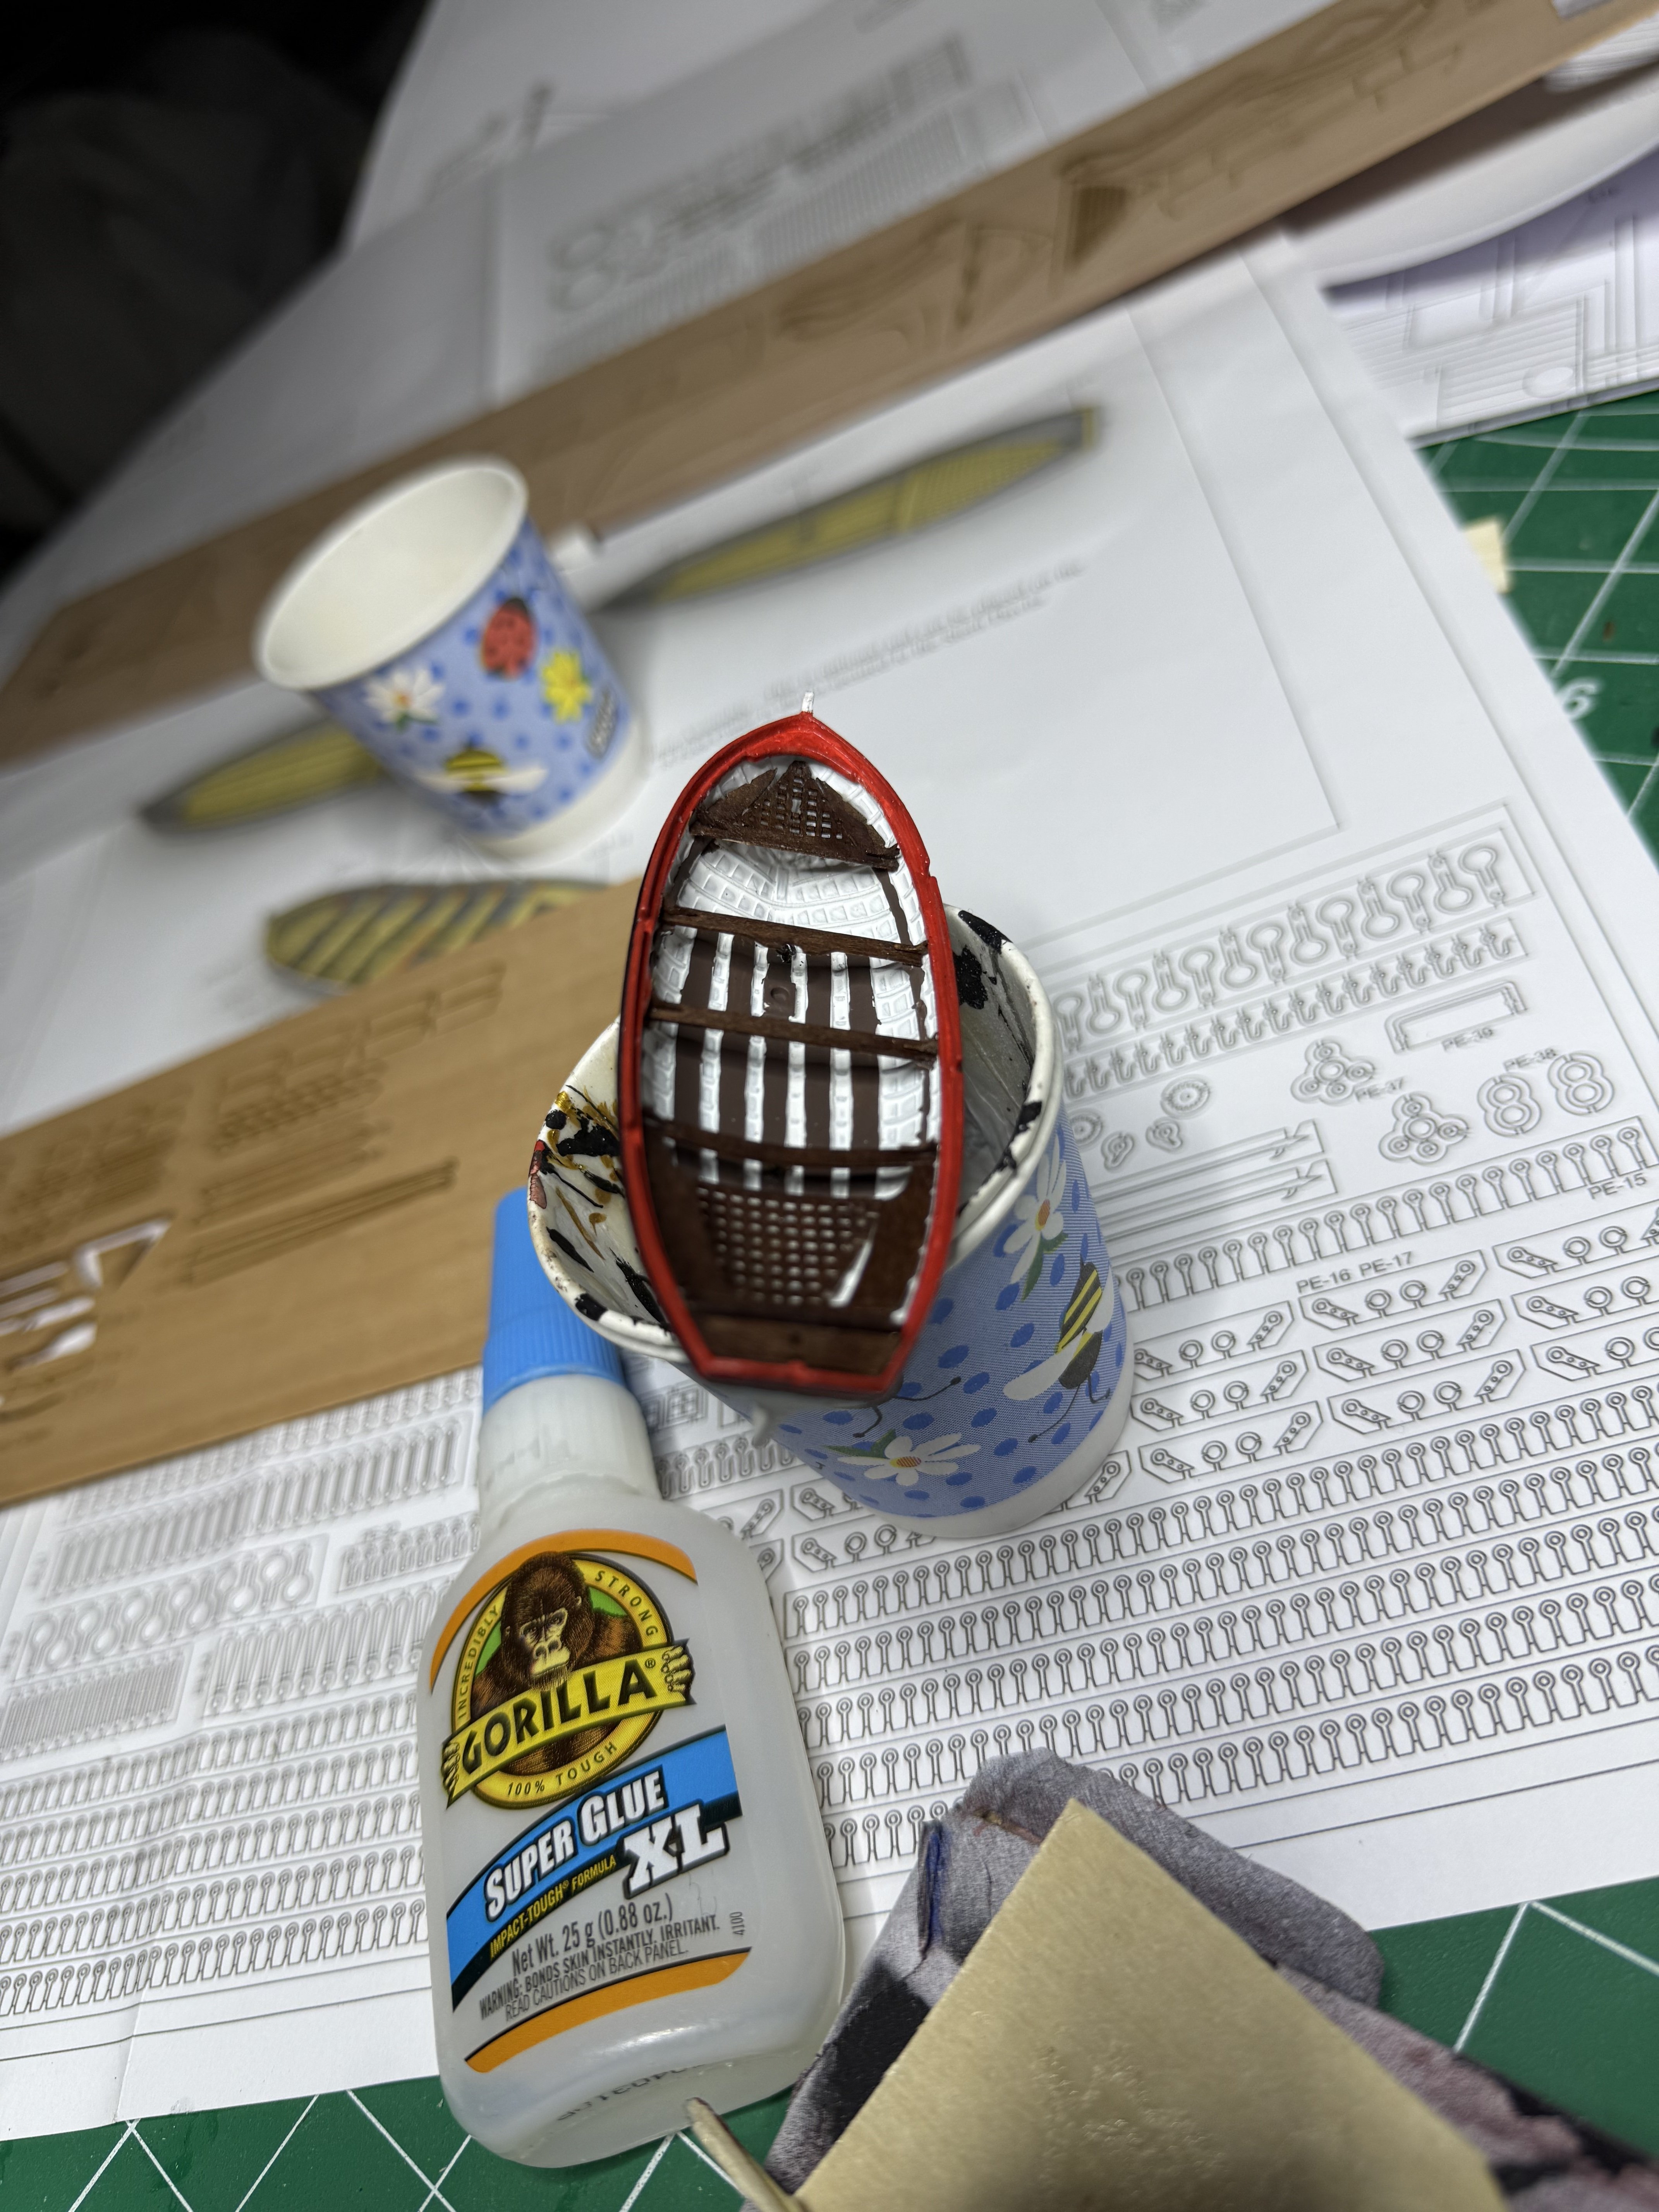
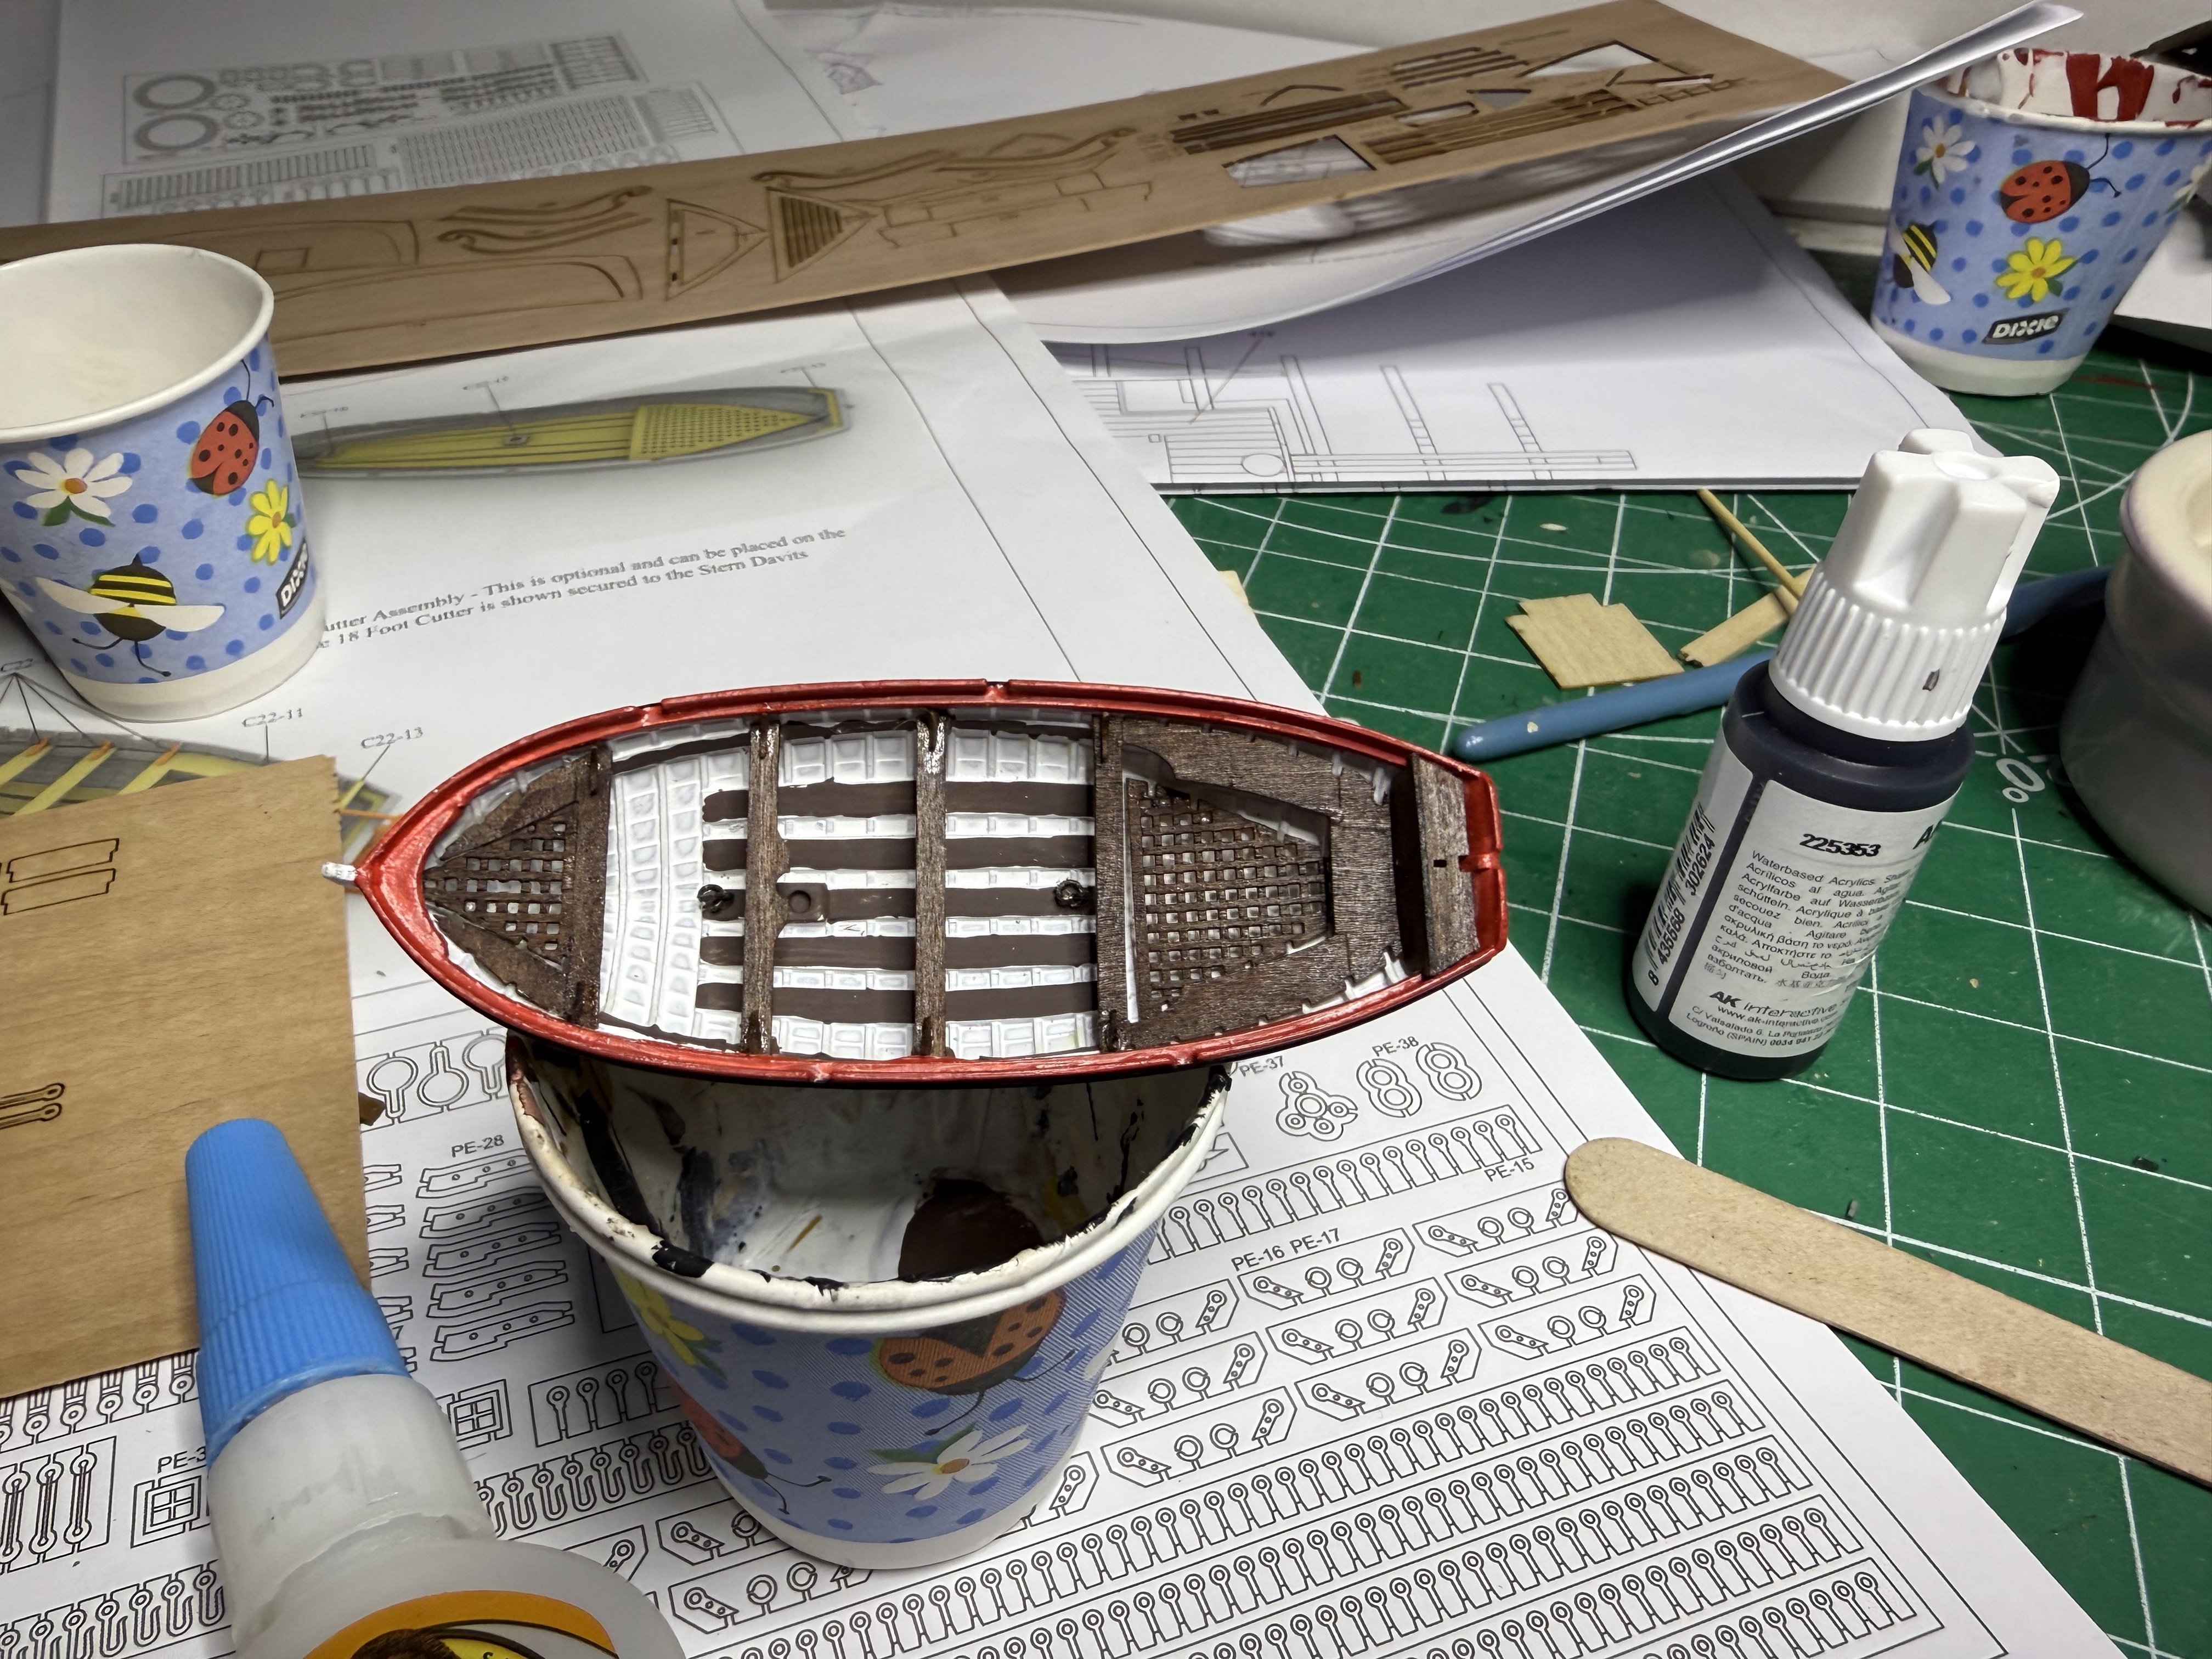
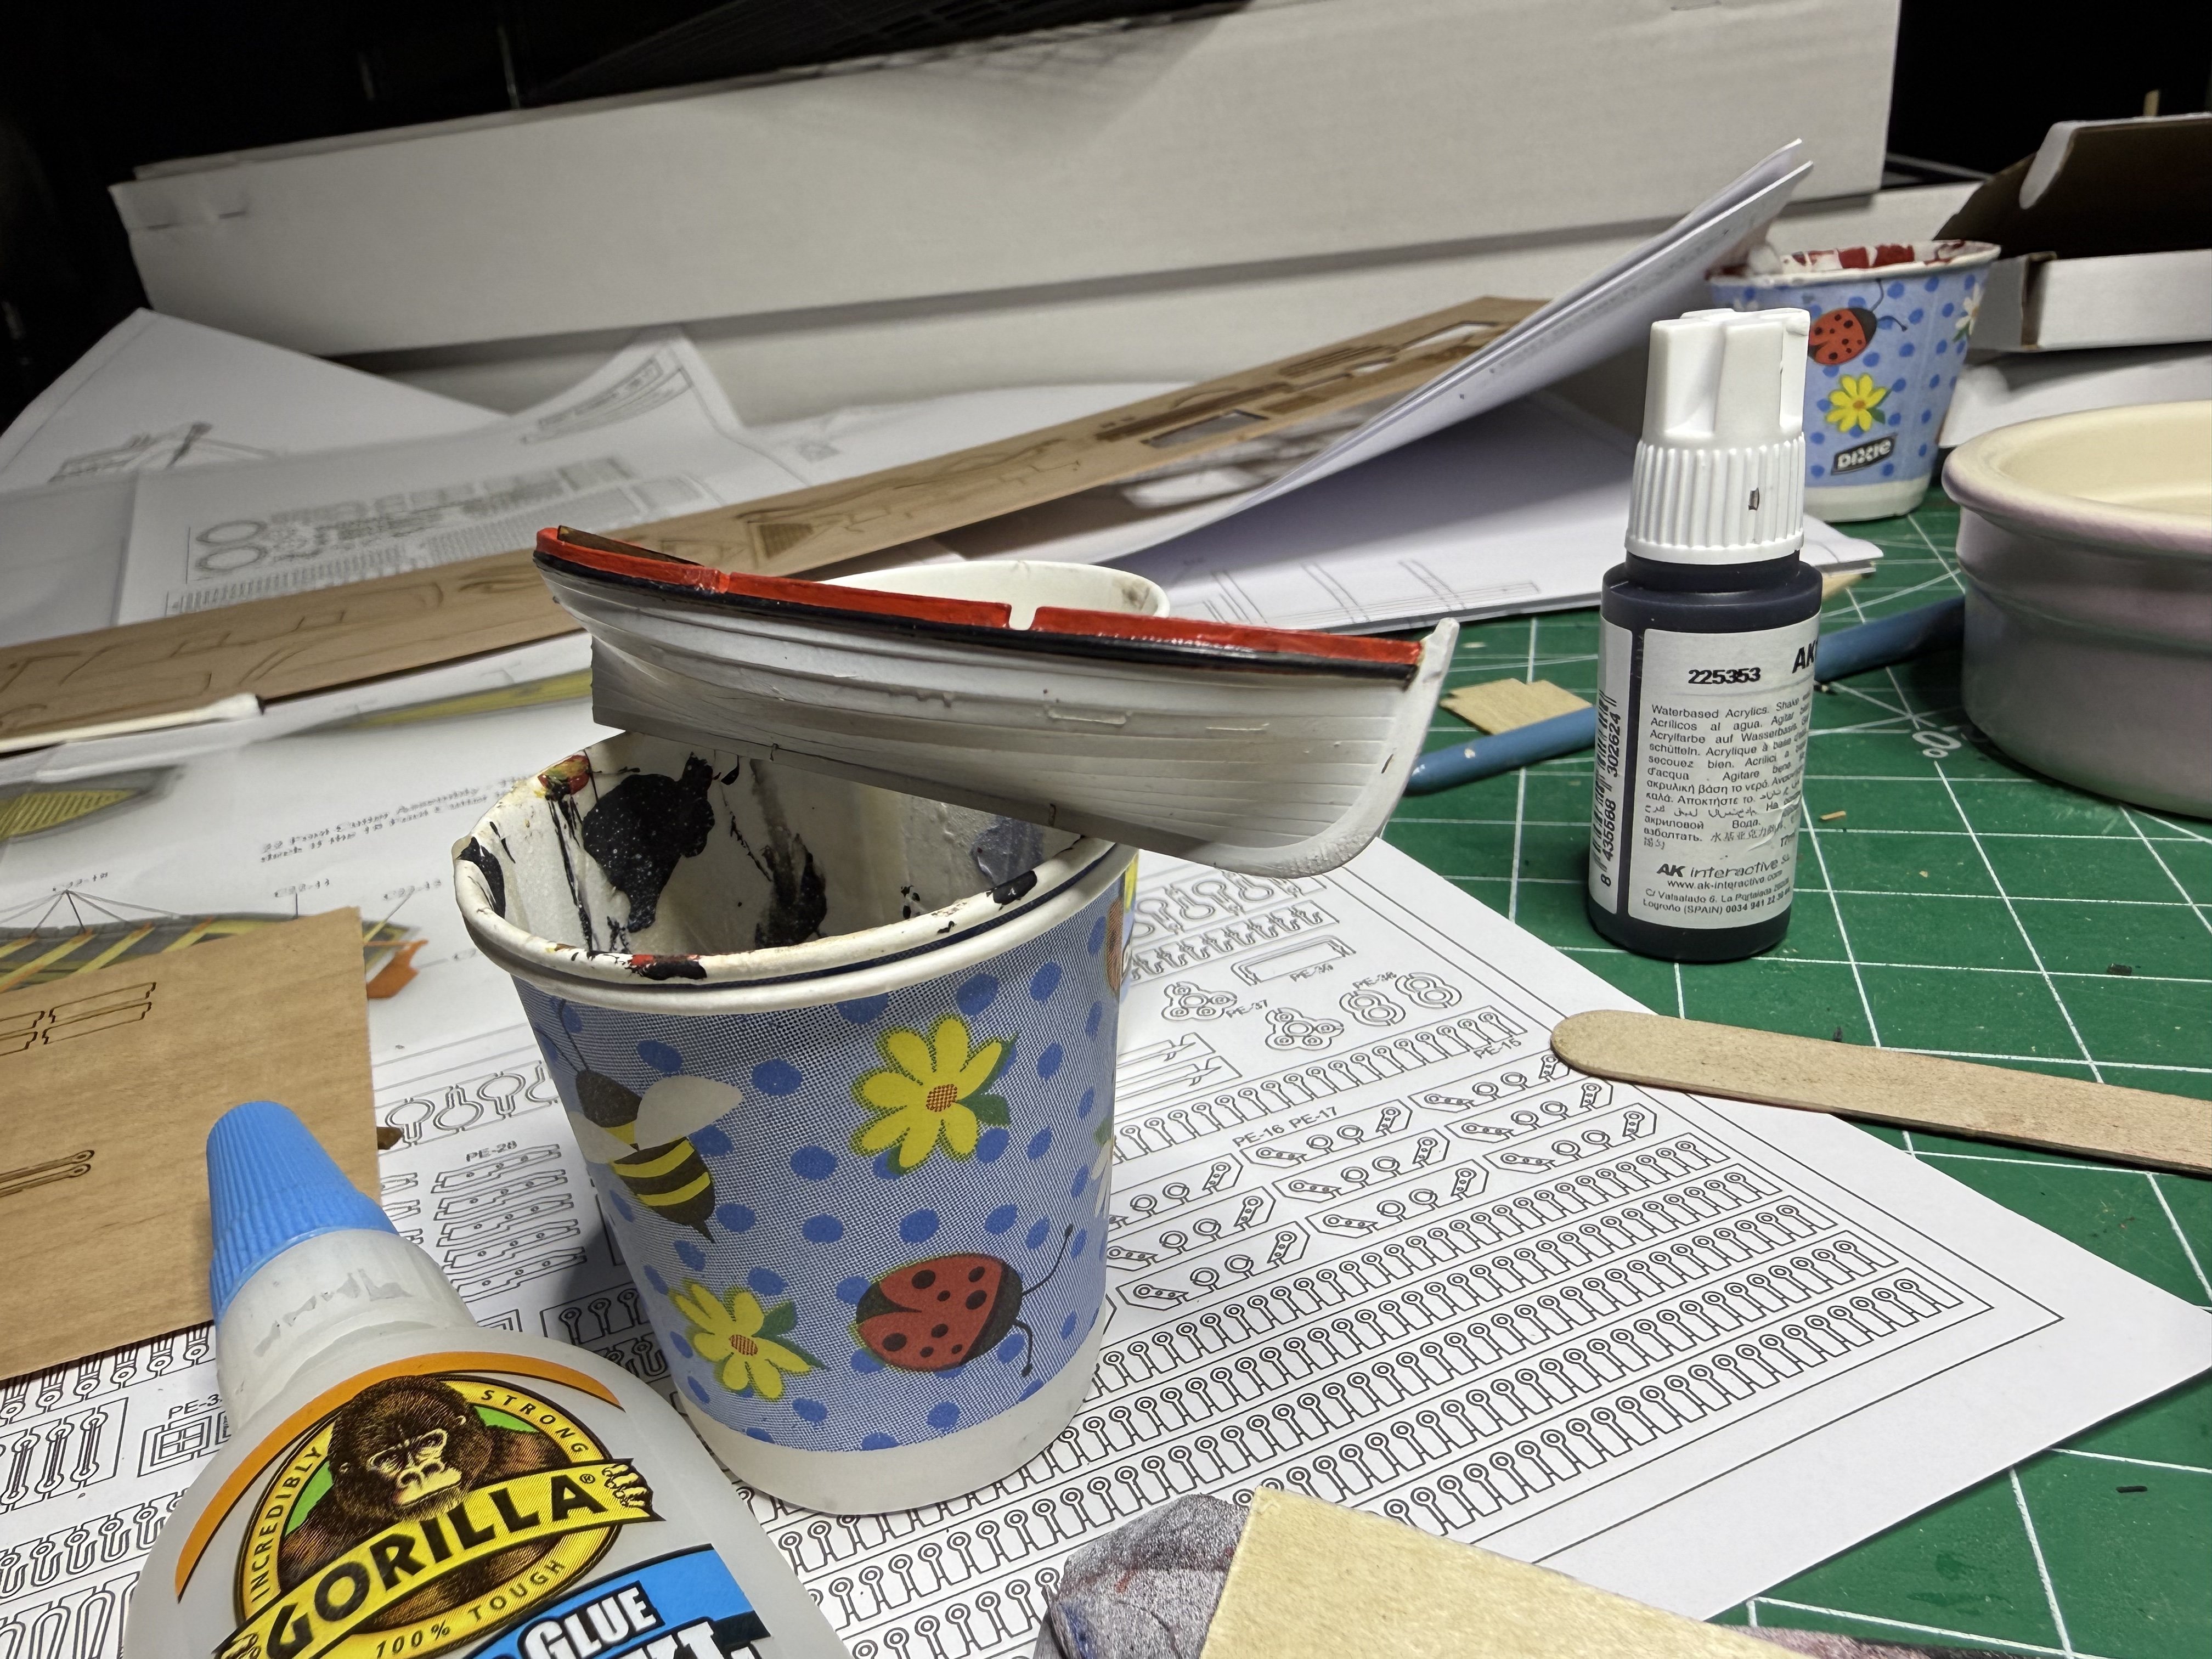
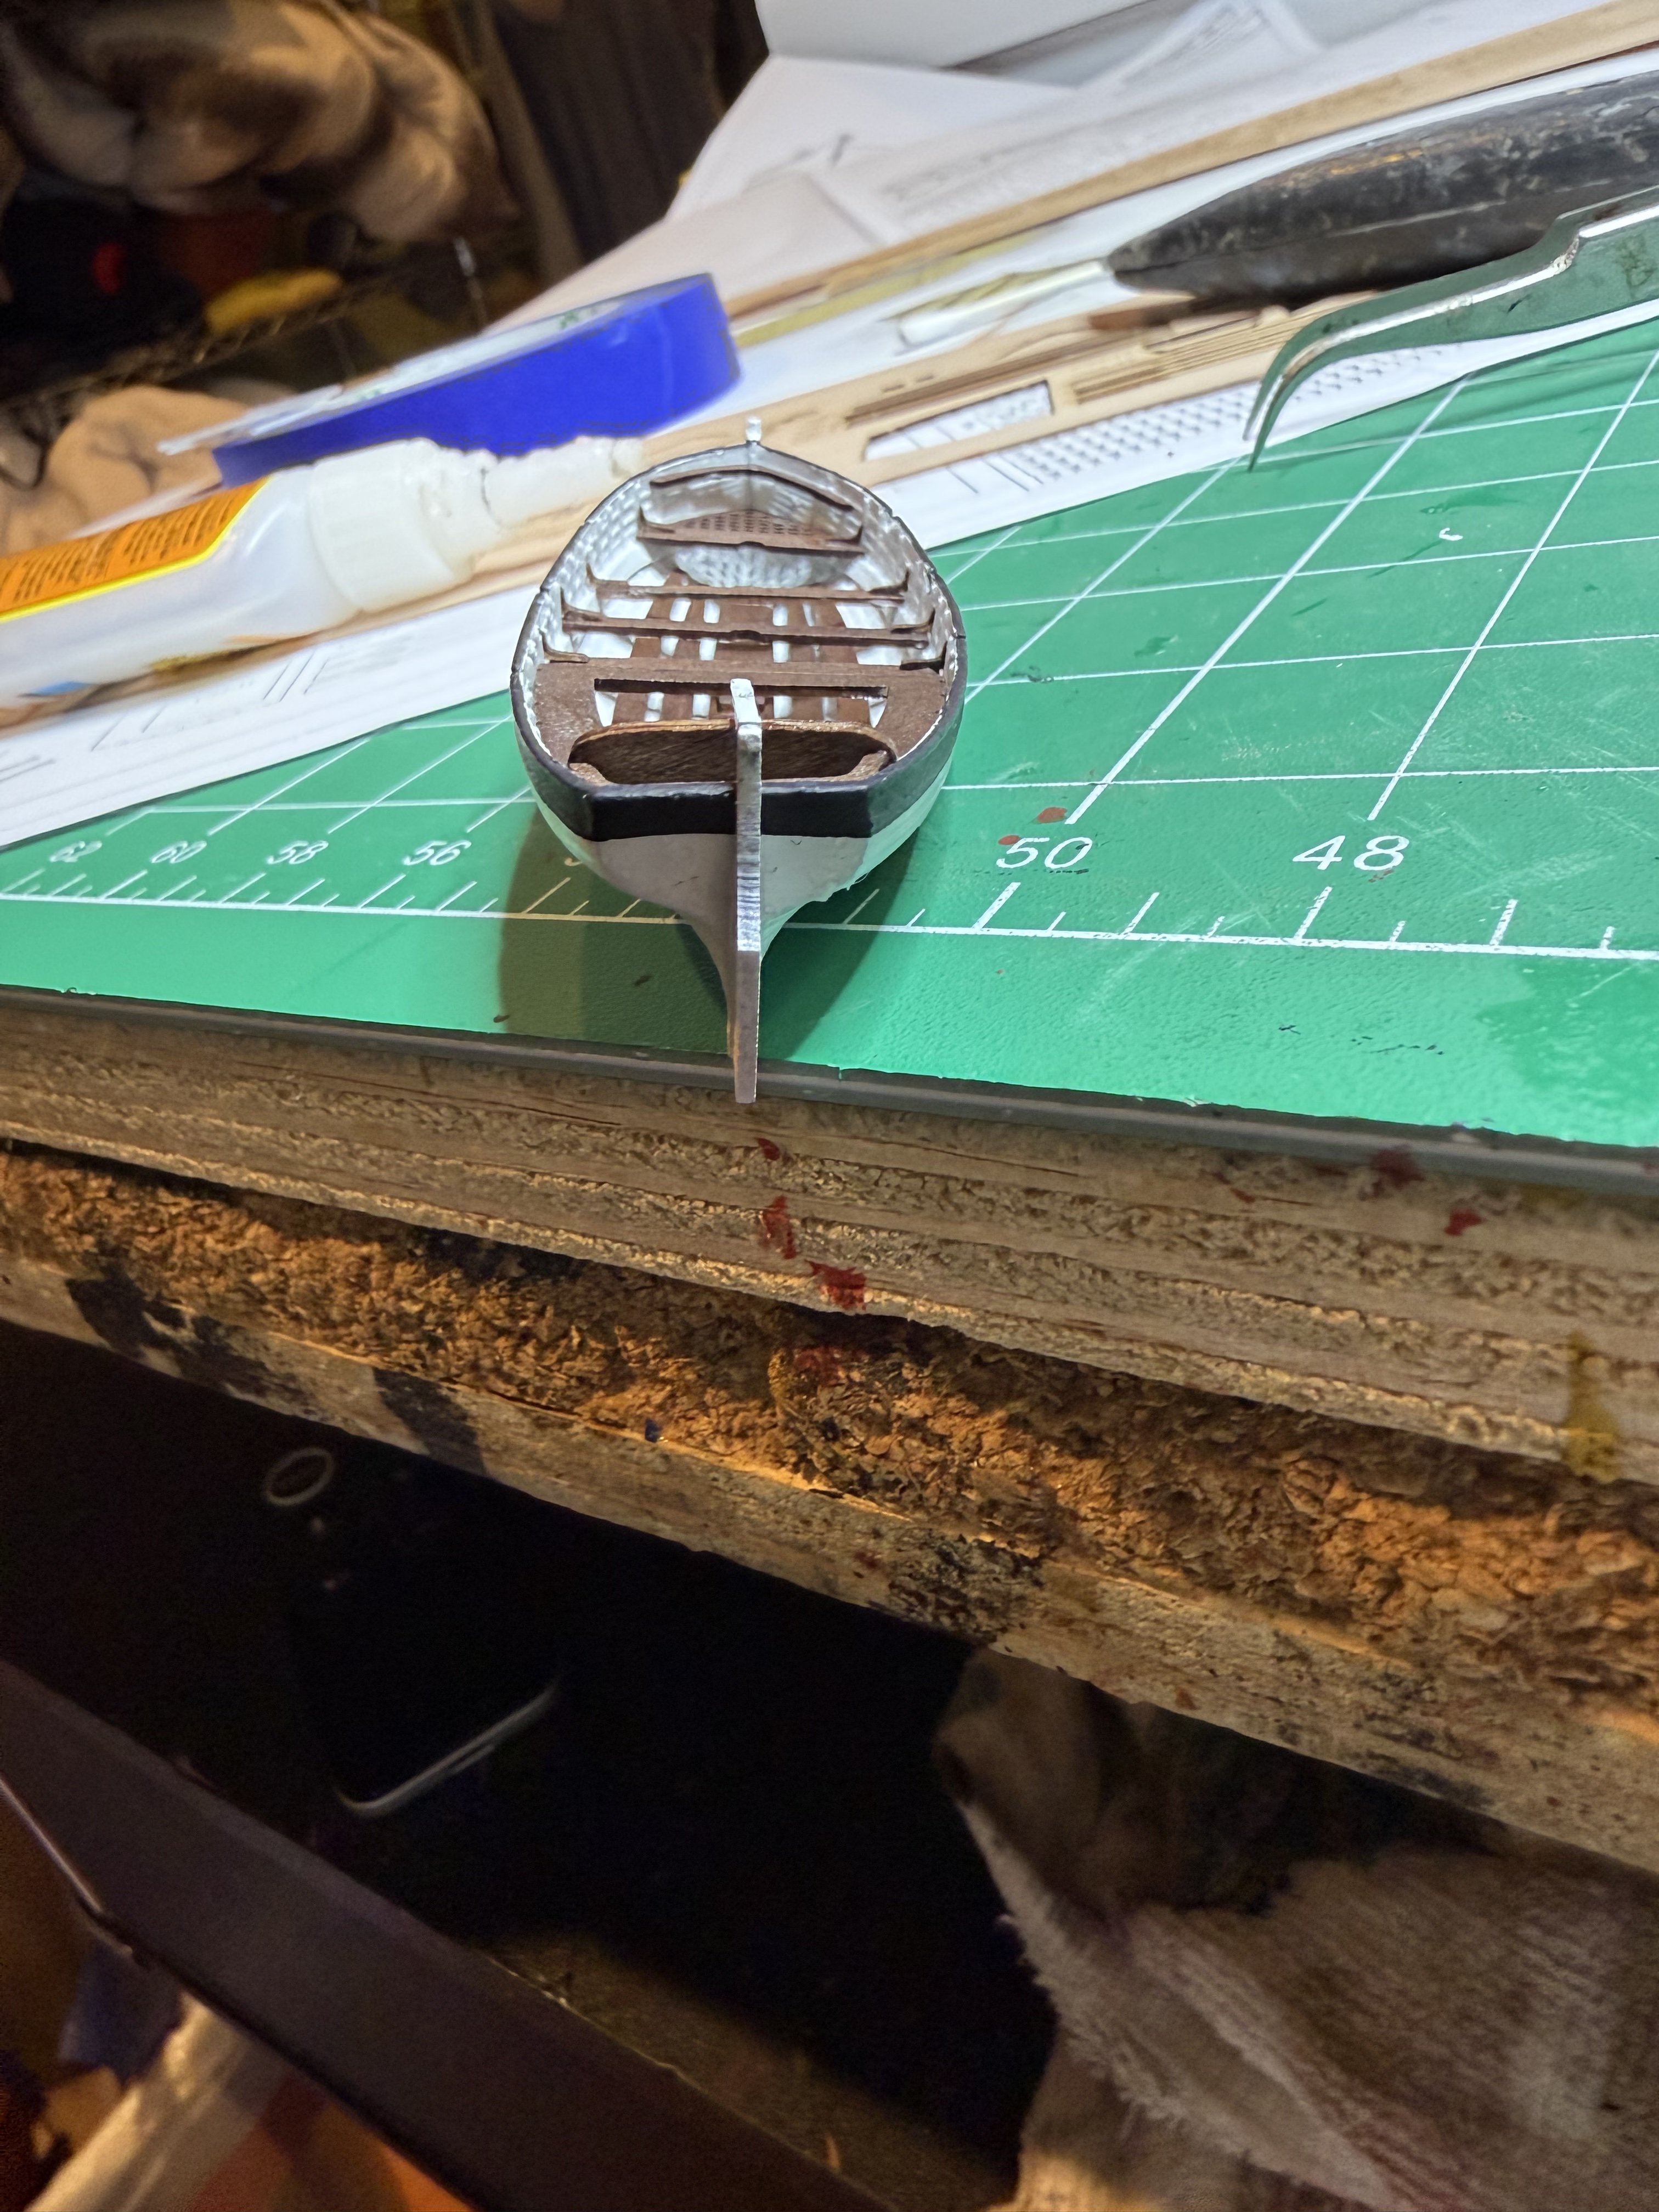
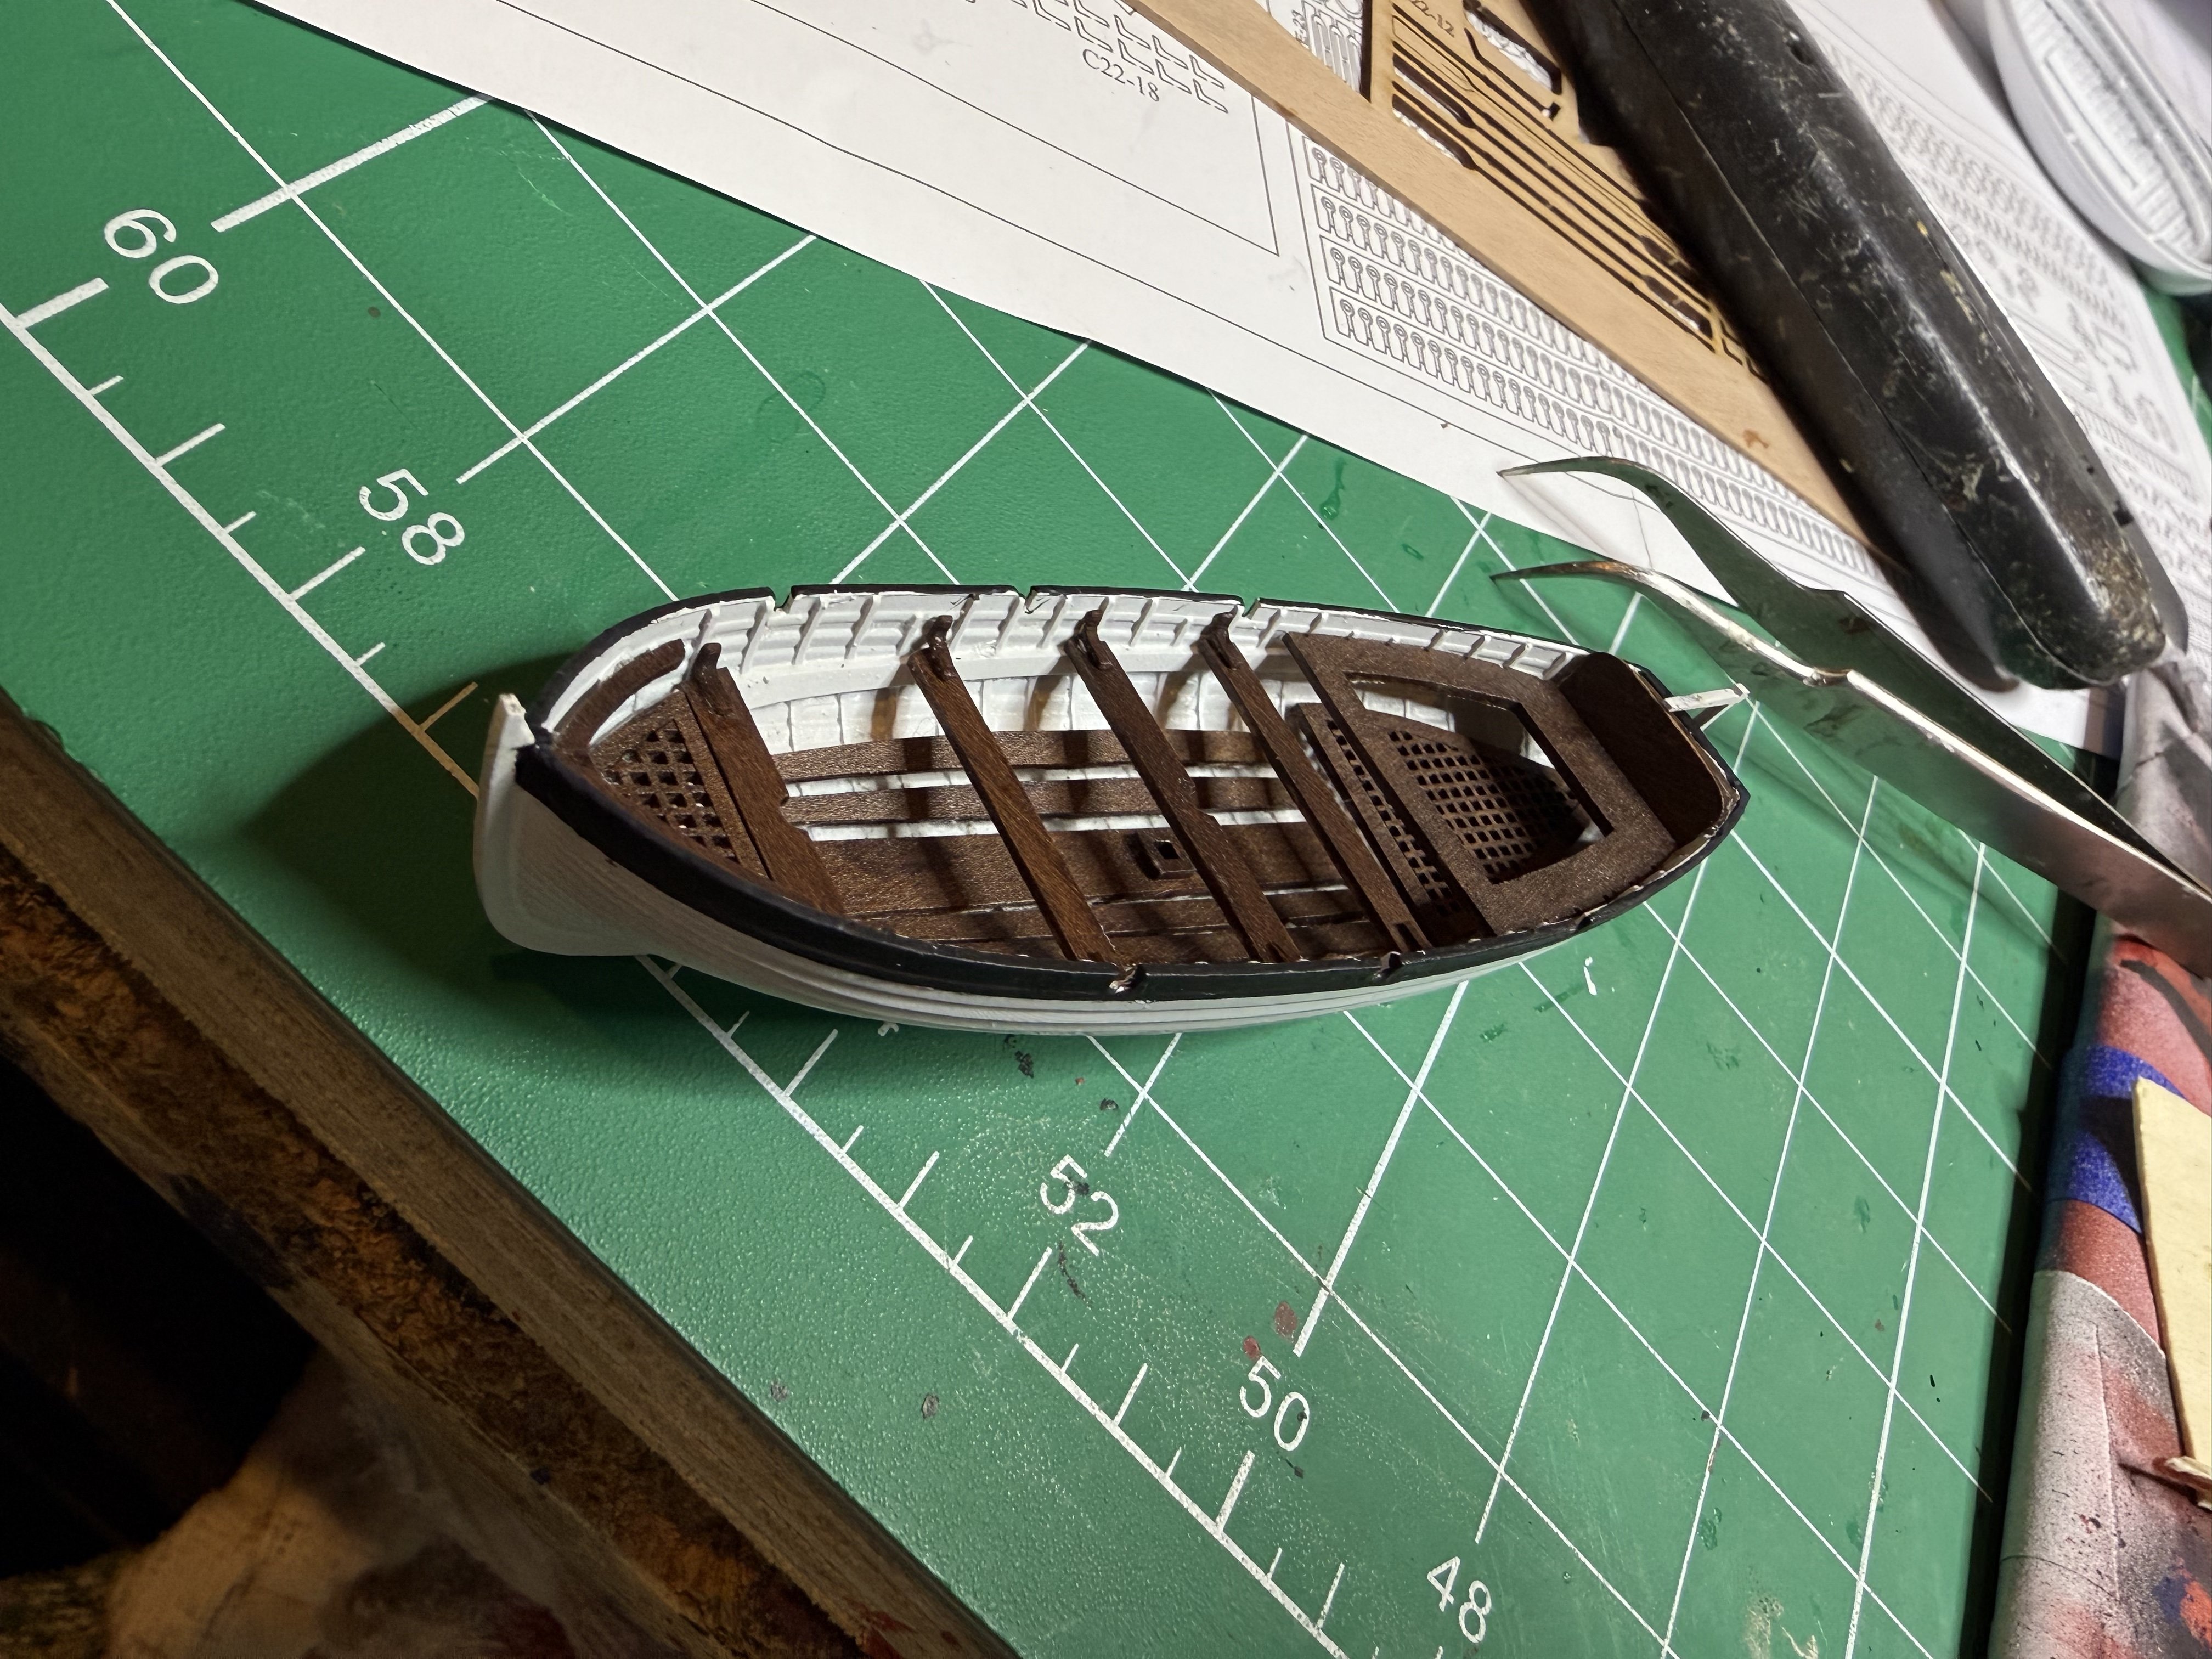
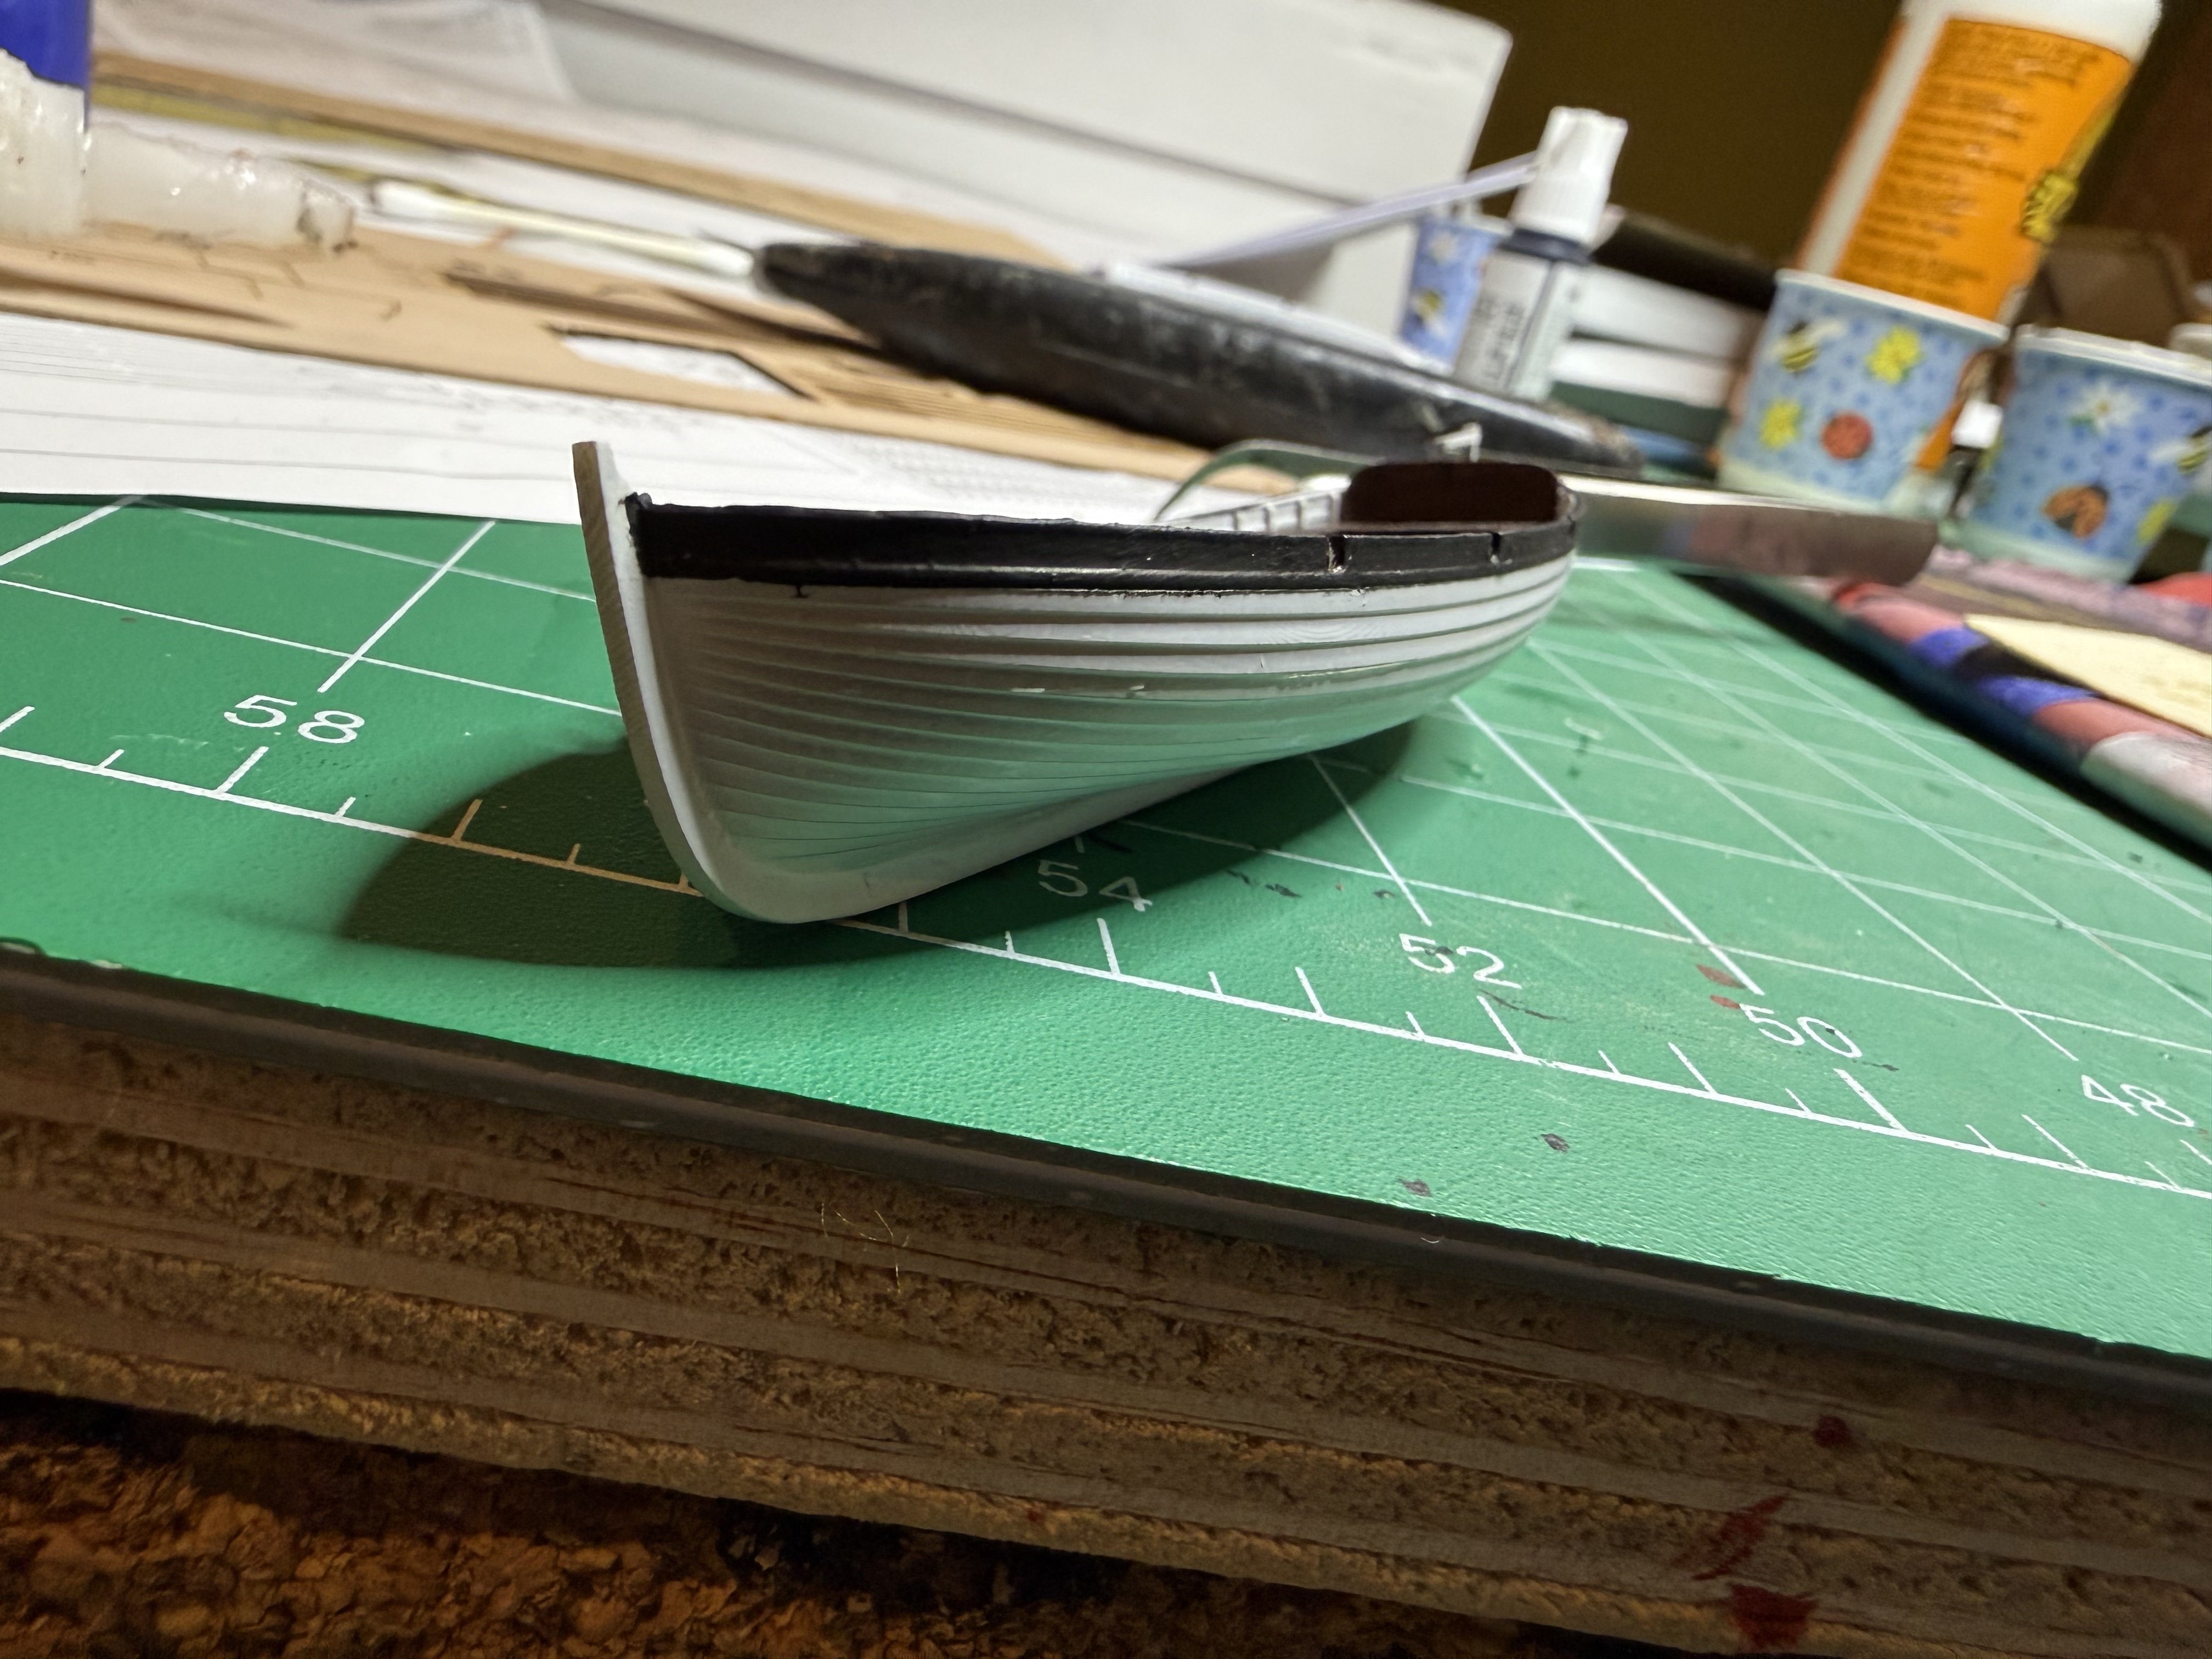
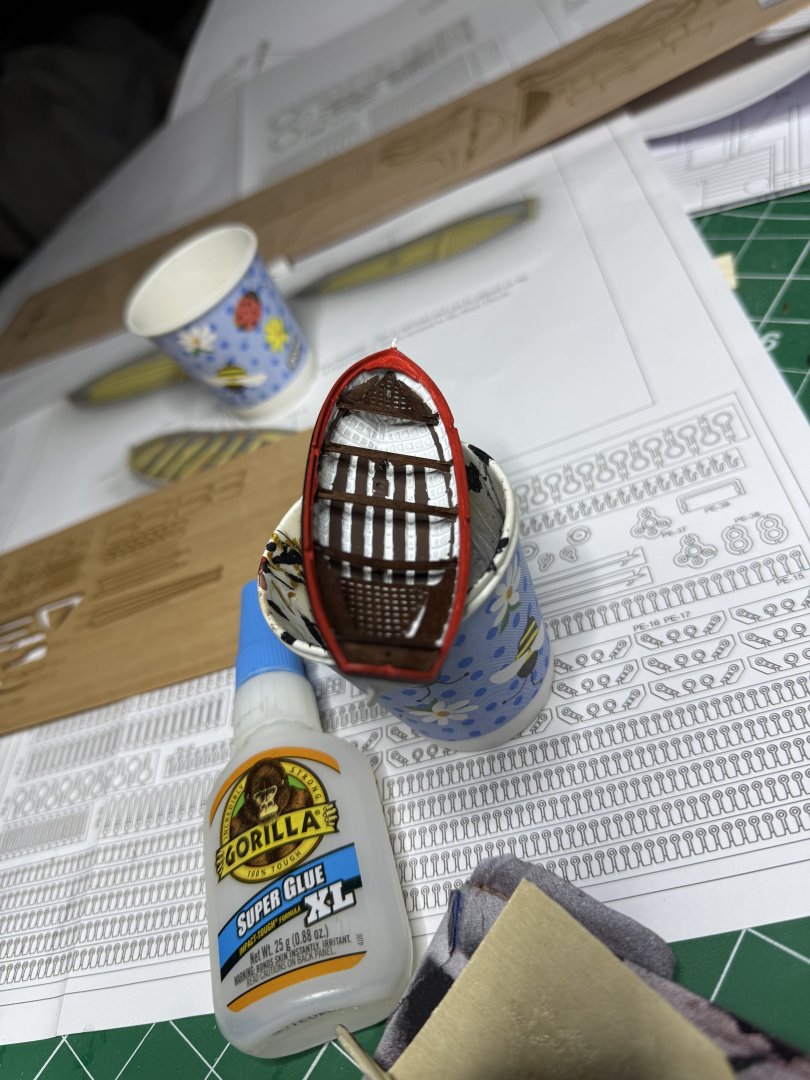
Finished the 18 ft cutter. My rings came in so I can get back to the hull tomorrow.


- 73 replies
-
- 6
-
-
- Harpy
- Vanguard Models
- (and 1 more)