HOLIDAY DONATION DRIVE - SUPPORT MSW - DO YOUR PART TO KEEP THIS GREAT FORUM GOING! (Only 75 donations so far out of 49,000 members - C'mon guys!)
×


ECK
-
Posts
640 -
Joined
-
Last visited
Content Type
Profiles
Forums
Gallery
Events
Everything posted by ECK
-
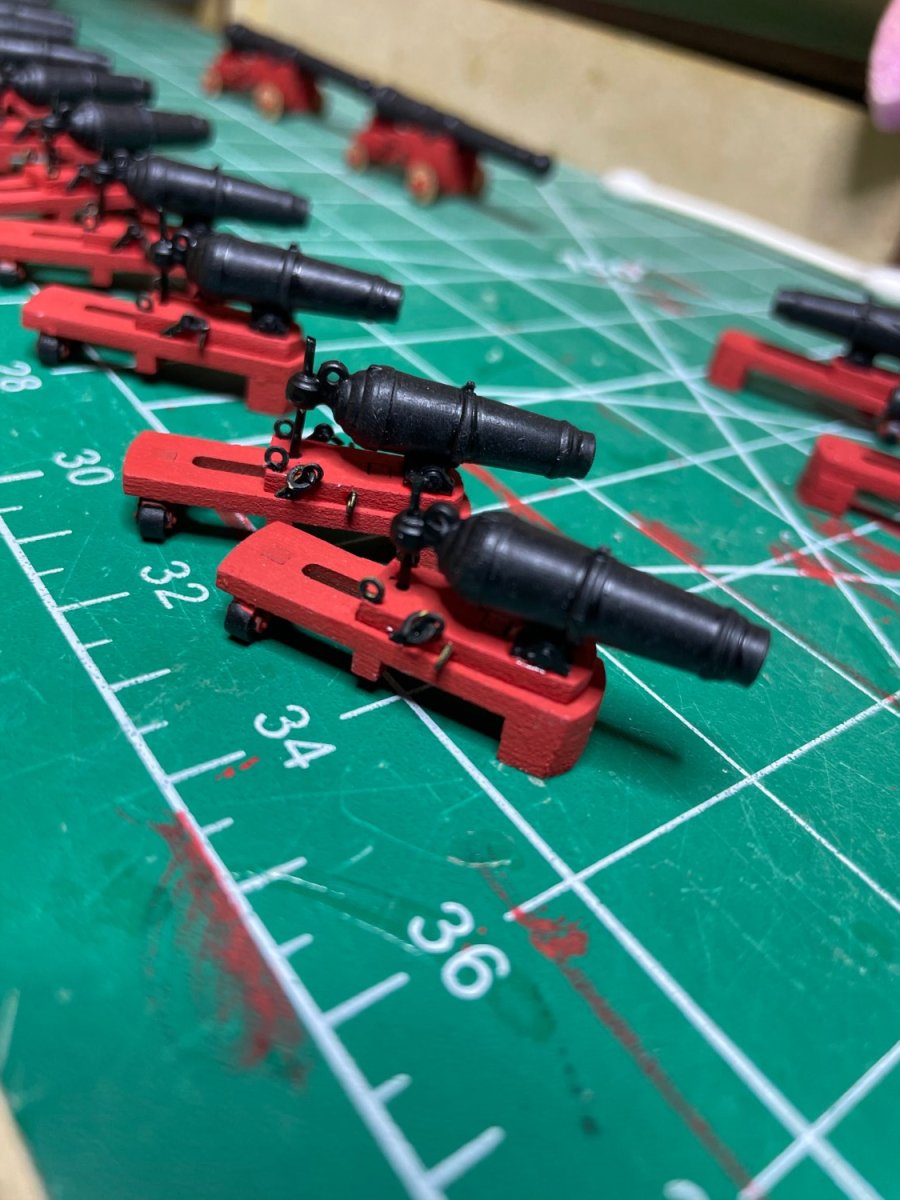
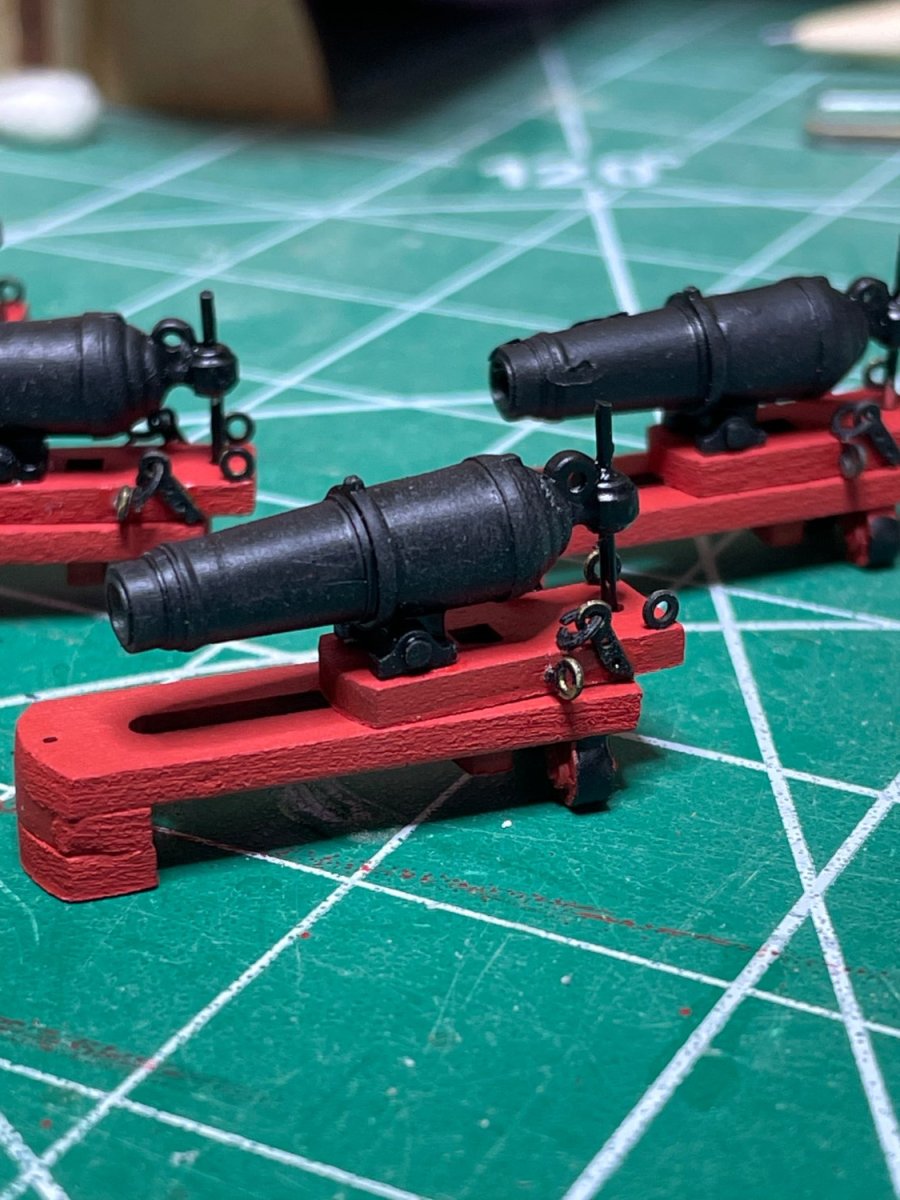
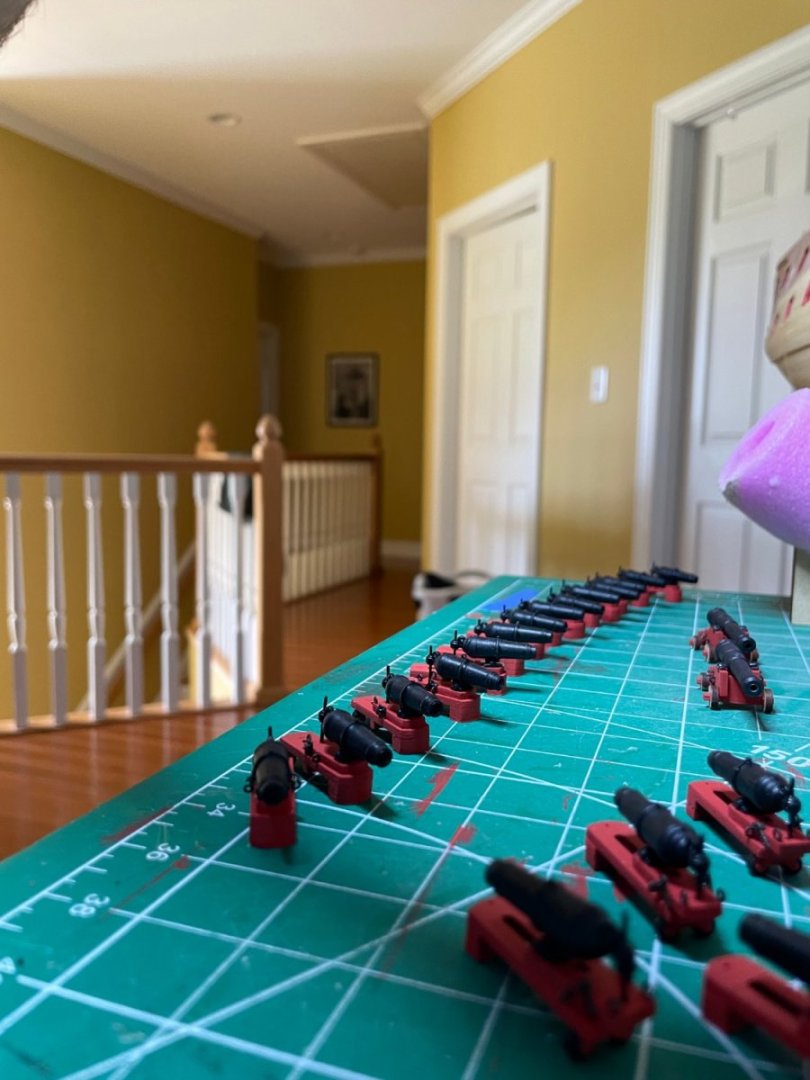
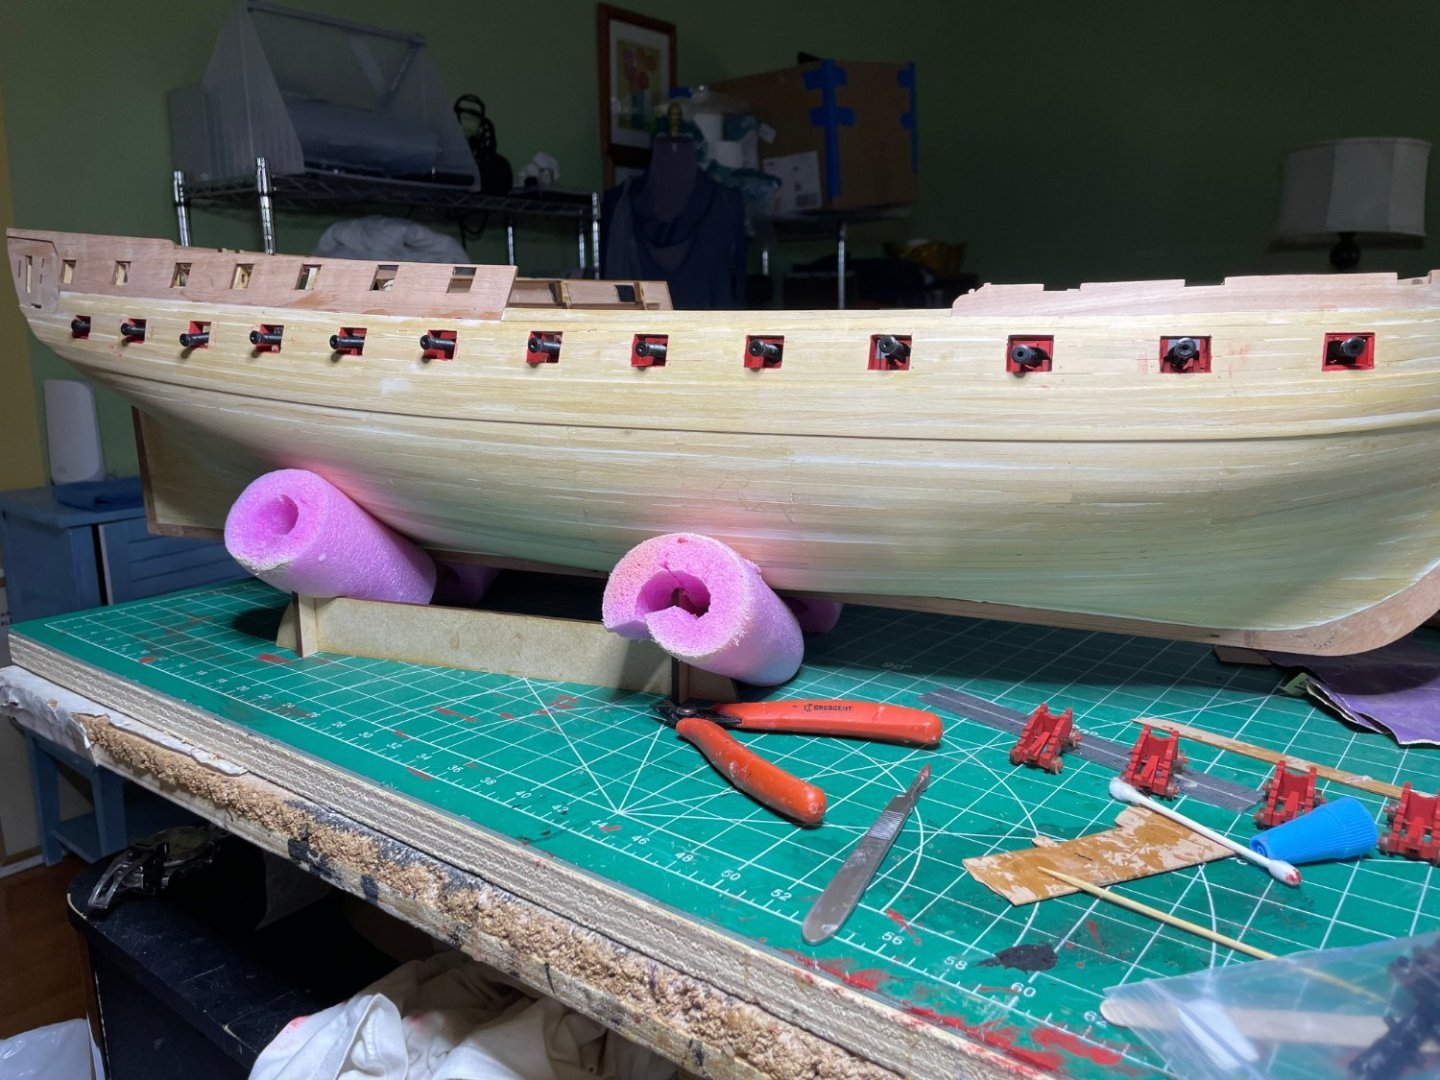
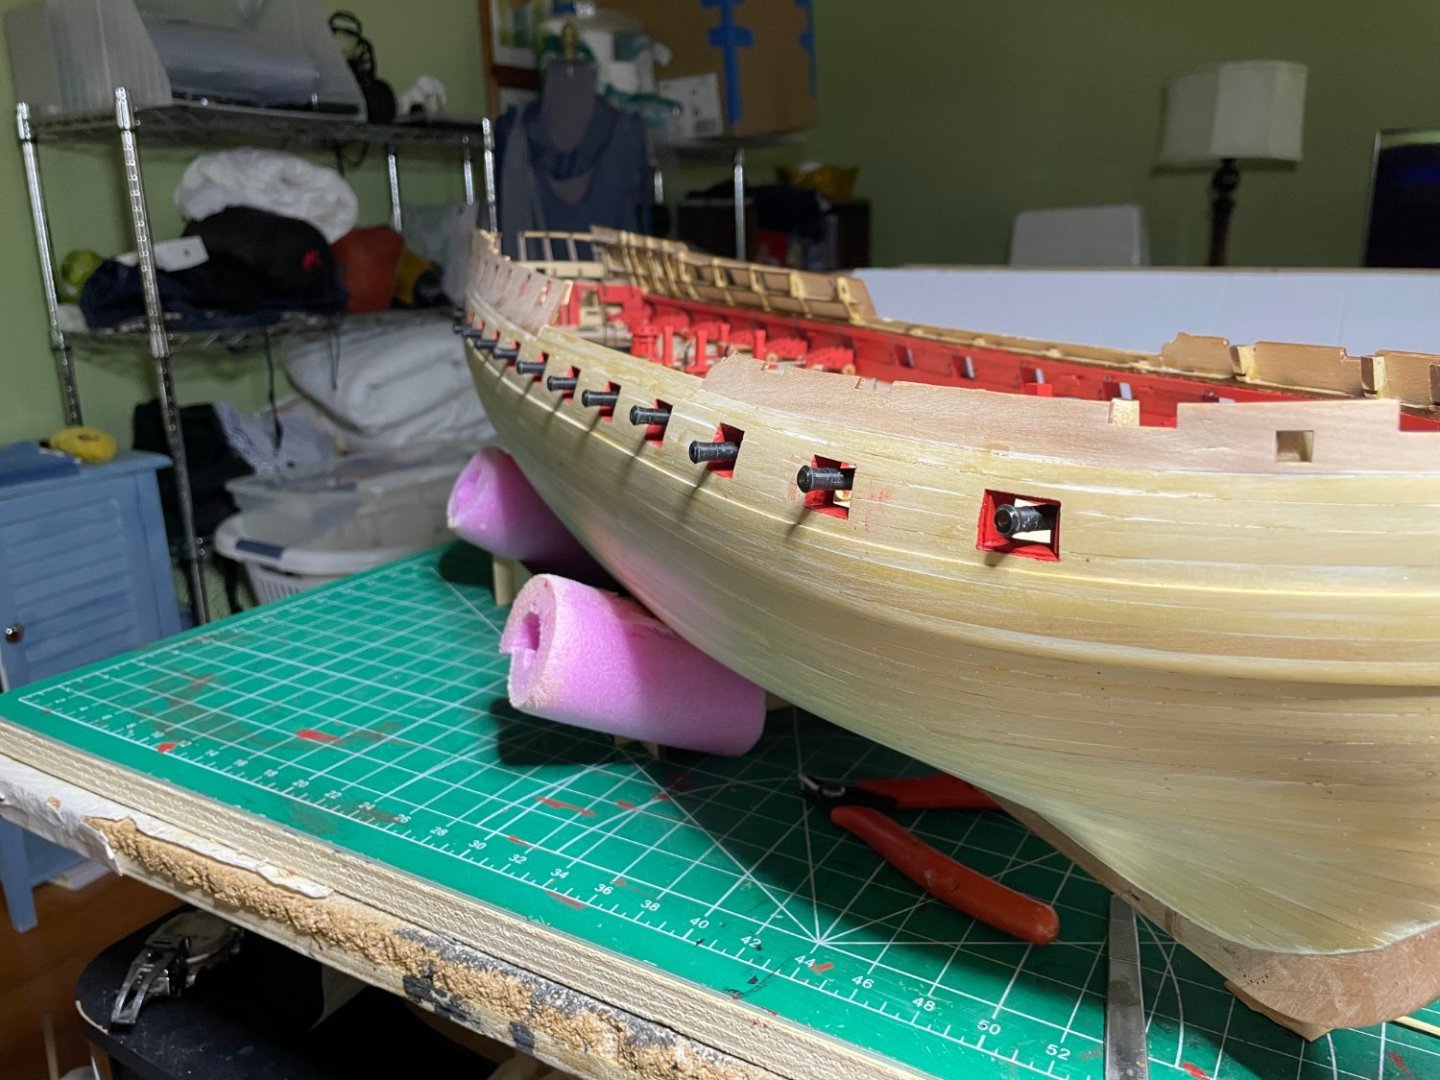
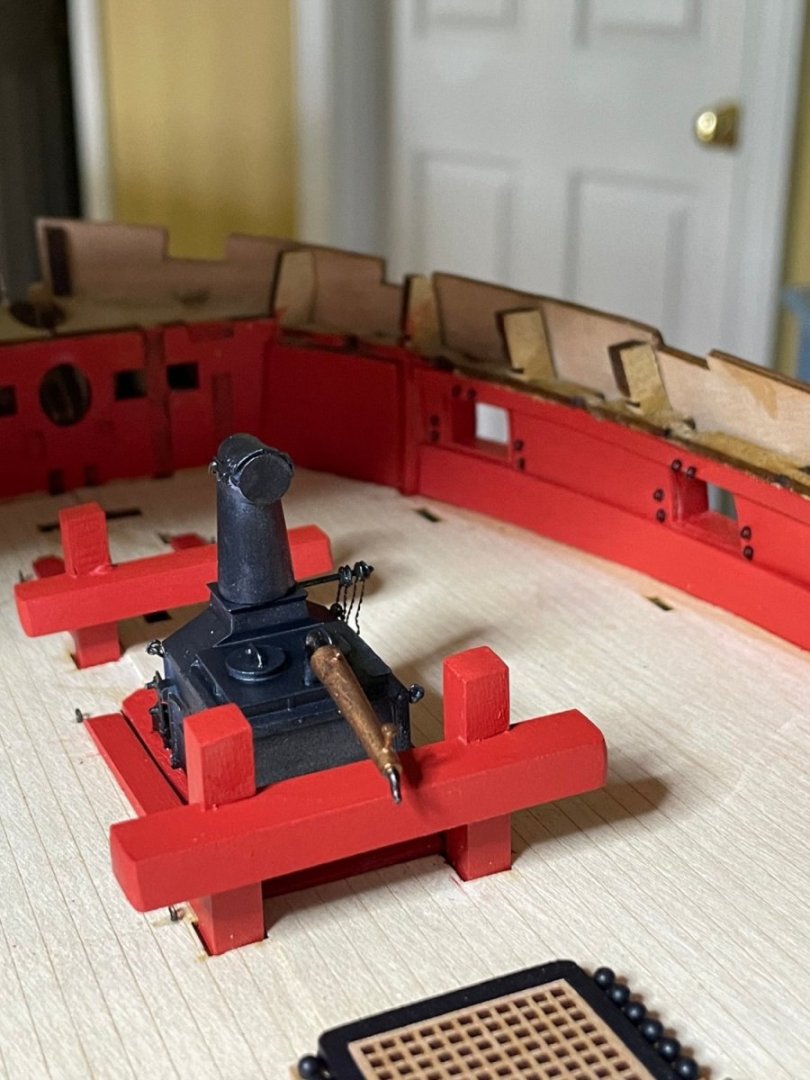
Finally finished all the carronades. Undecided yet to rig except for breech line. Also did the 9 pounders The carrondes going into the main cabin need to slide so they can be tucked in during painting


- 233 replies
-
- 9
-

-

-
- Indefatigable
- Vanguard Models
- (and 1 more)
-
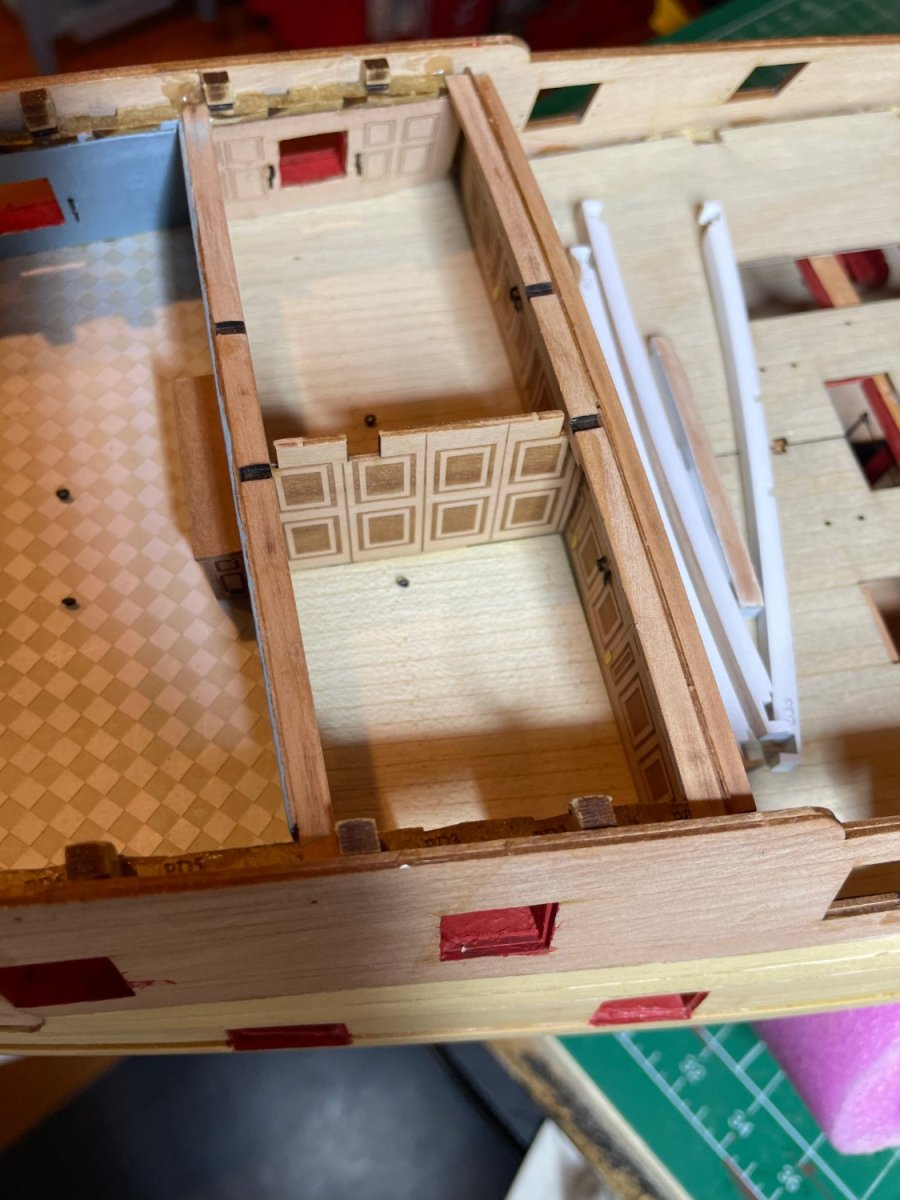
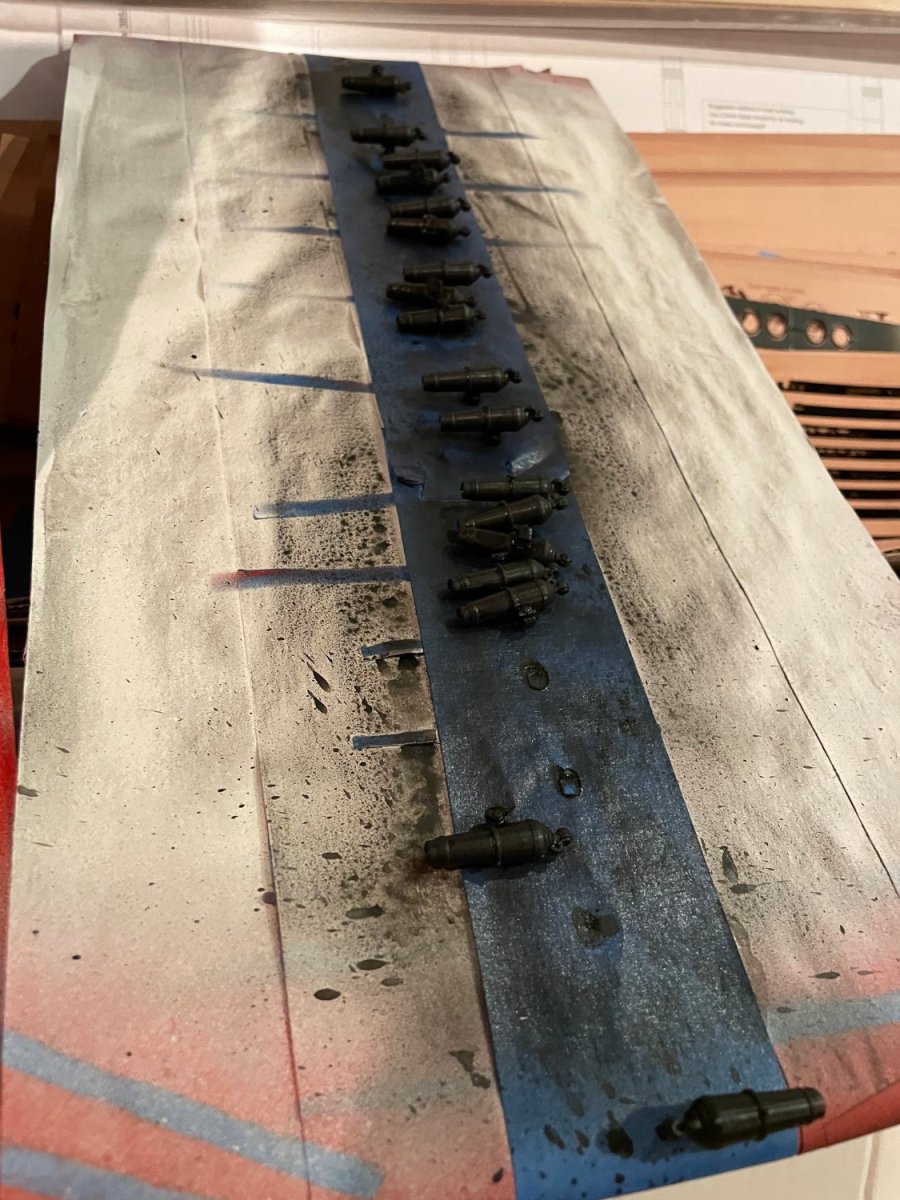
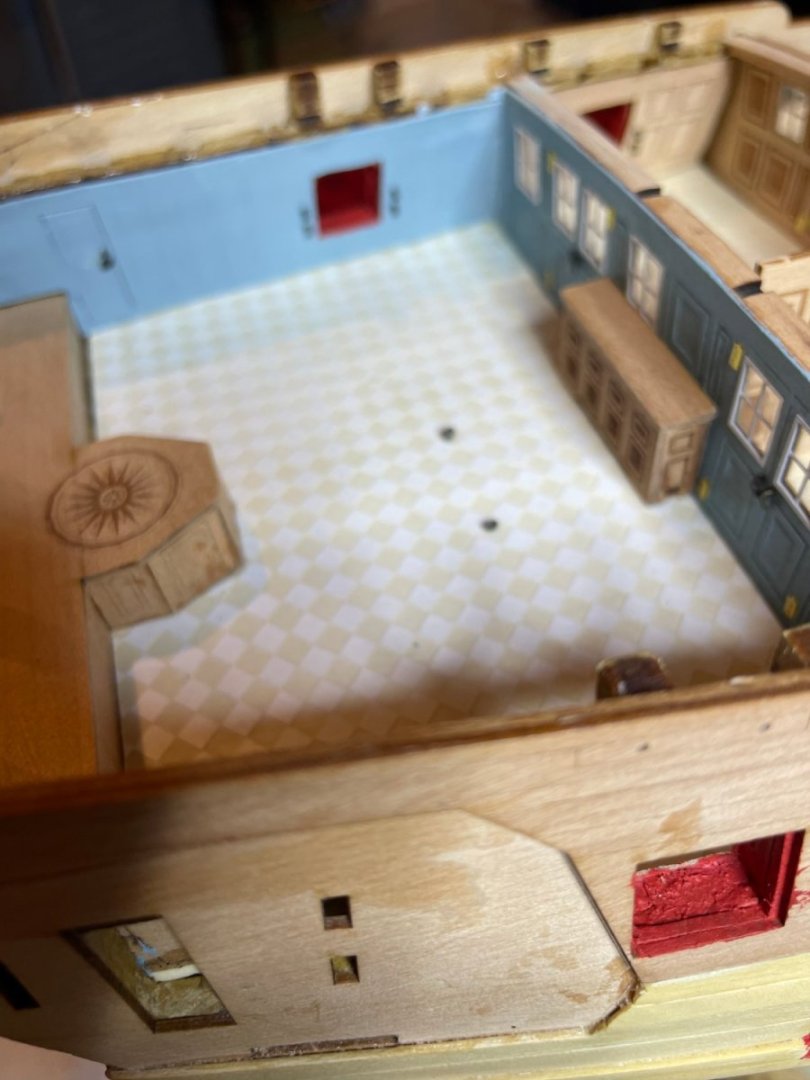
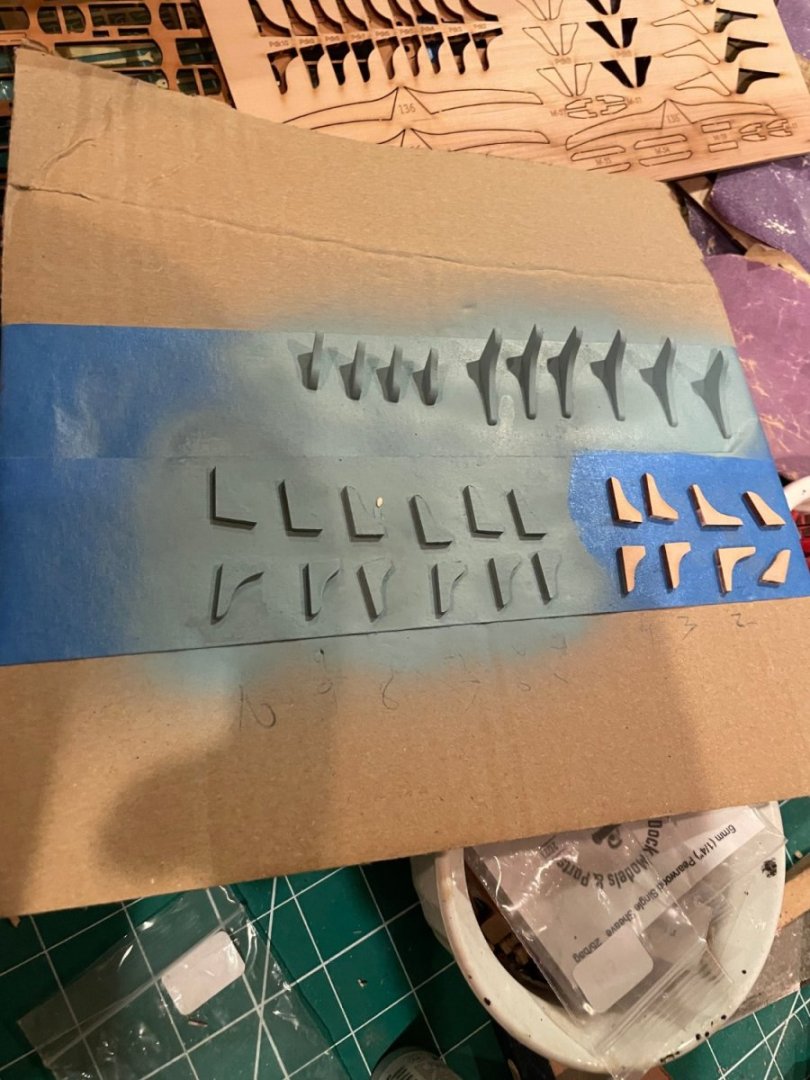
Working on the stern cabins. painted beam you see are for the main cabin. As I had to make 4 carronades I decided to do all of the as air brush makes the painting easier. Also airbrushed the guns and knees for the Captain's cabin.


- 233 replies
-
- 12
-
-
- Indefatigable
- Vanguard Models
- (and 1 more)
-
Morning work shows the completed beams and knees with a visit from Adm Cochrane


- 233 replies
-
- 6
-
-
- Indefatigable
- Vanguard Models
- (and 1 more)
-
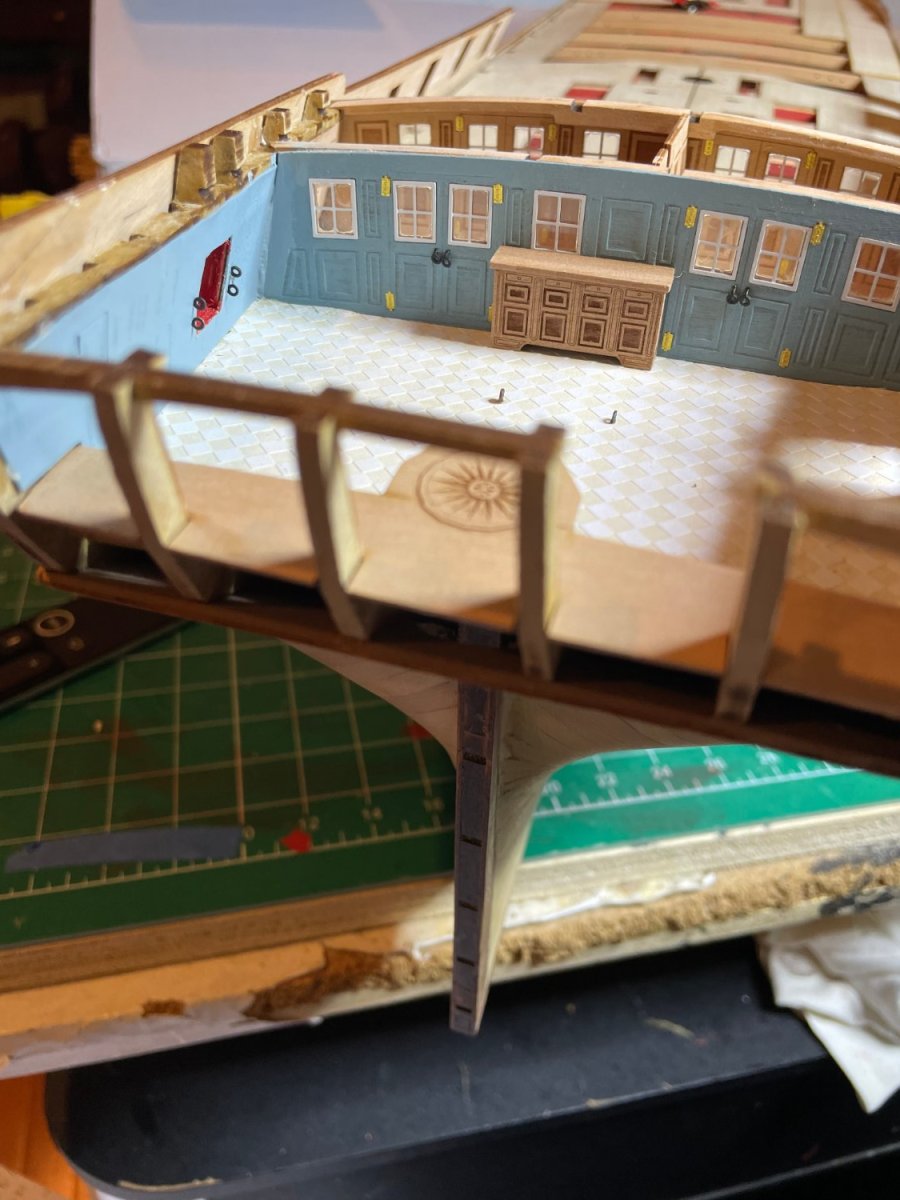
Looks good, I think I will go the same way with the window colors
- 443 replies
-
- 4
-
-
- Indefatigable
- Vanguard Models
- (and 1 more)
-
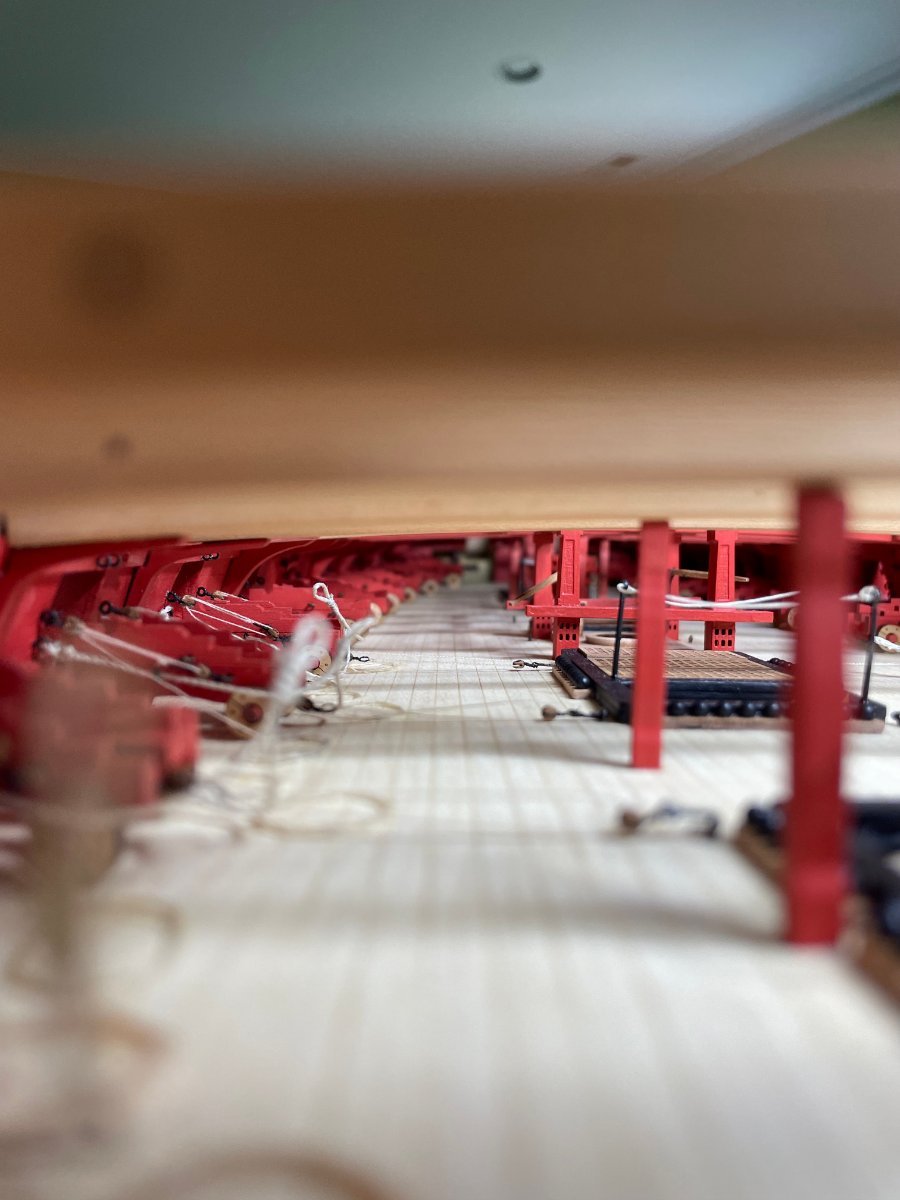
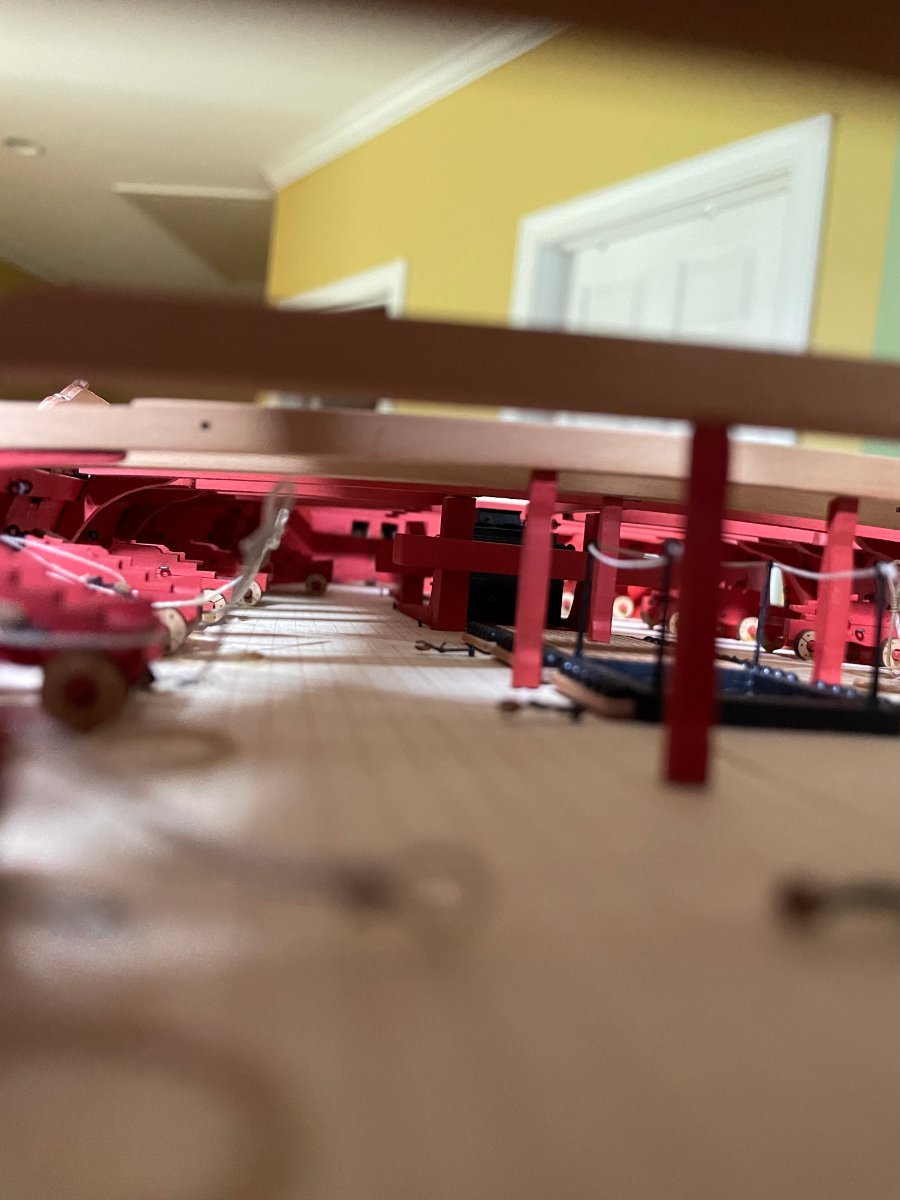
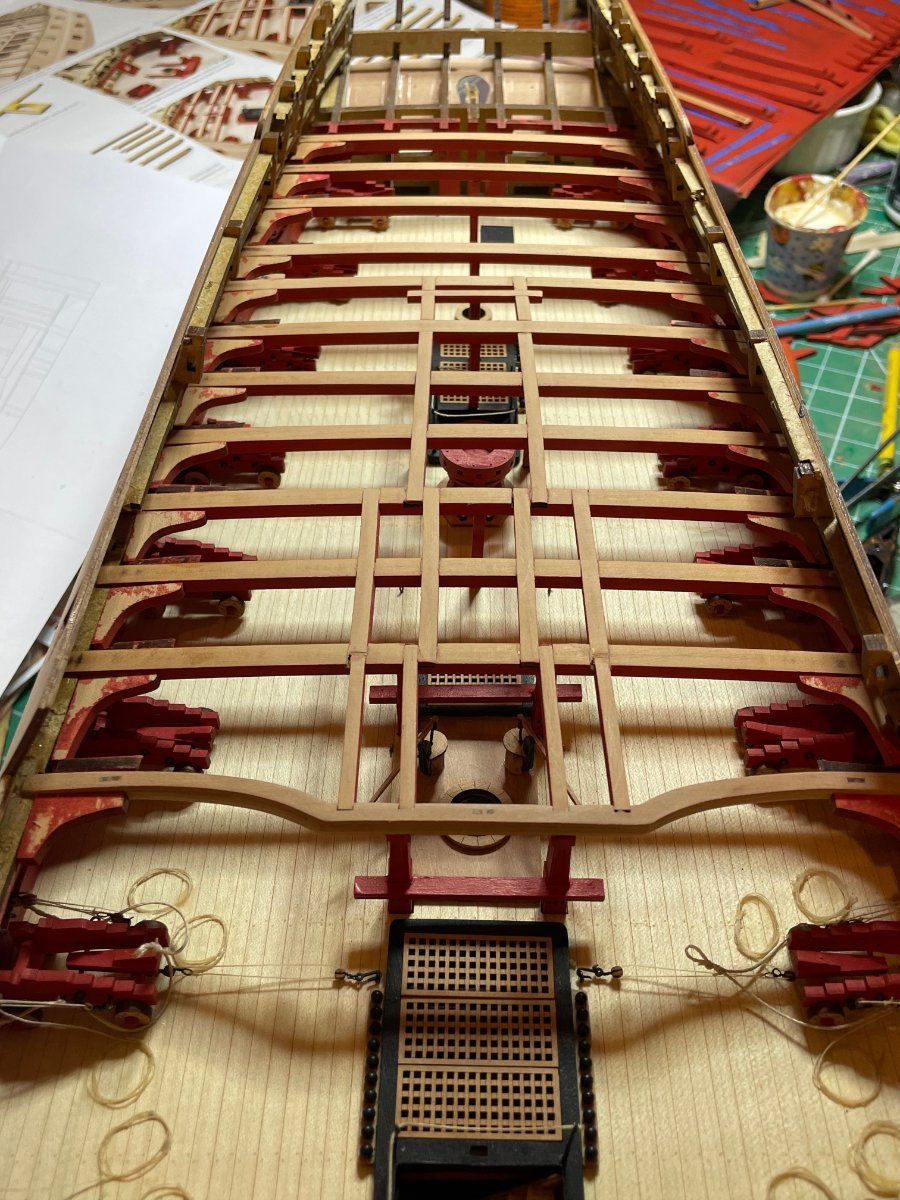
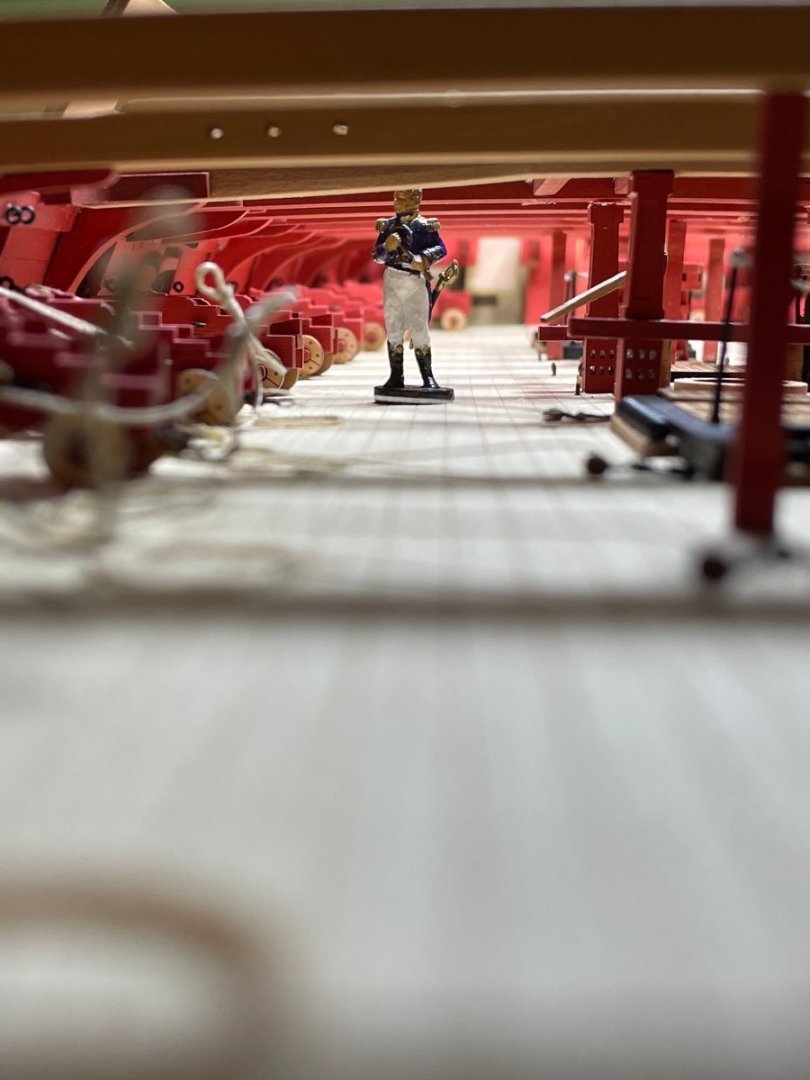
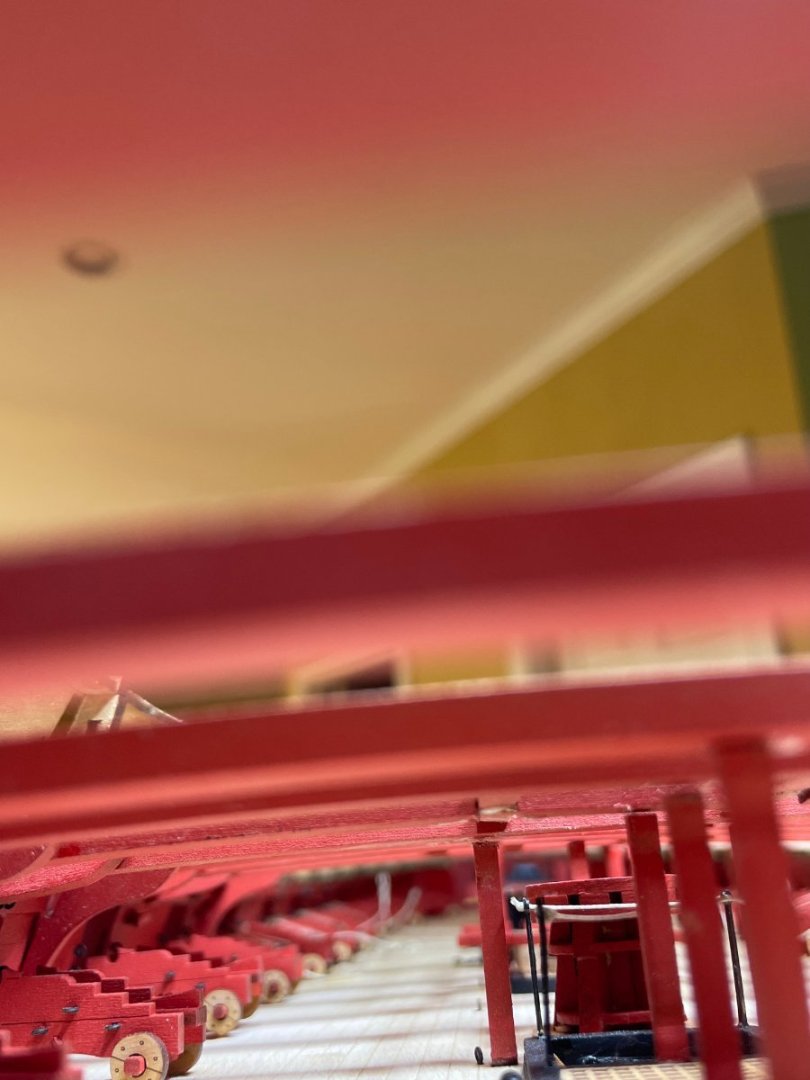
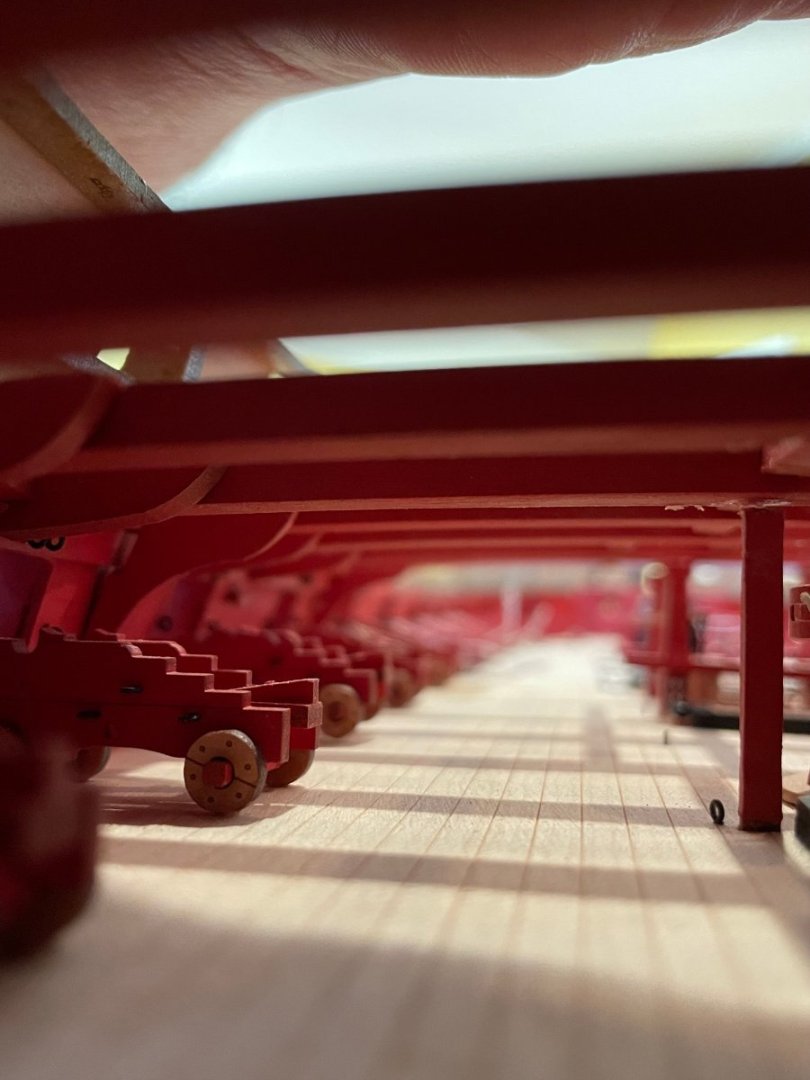
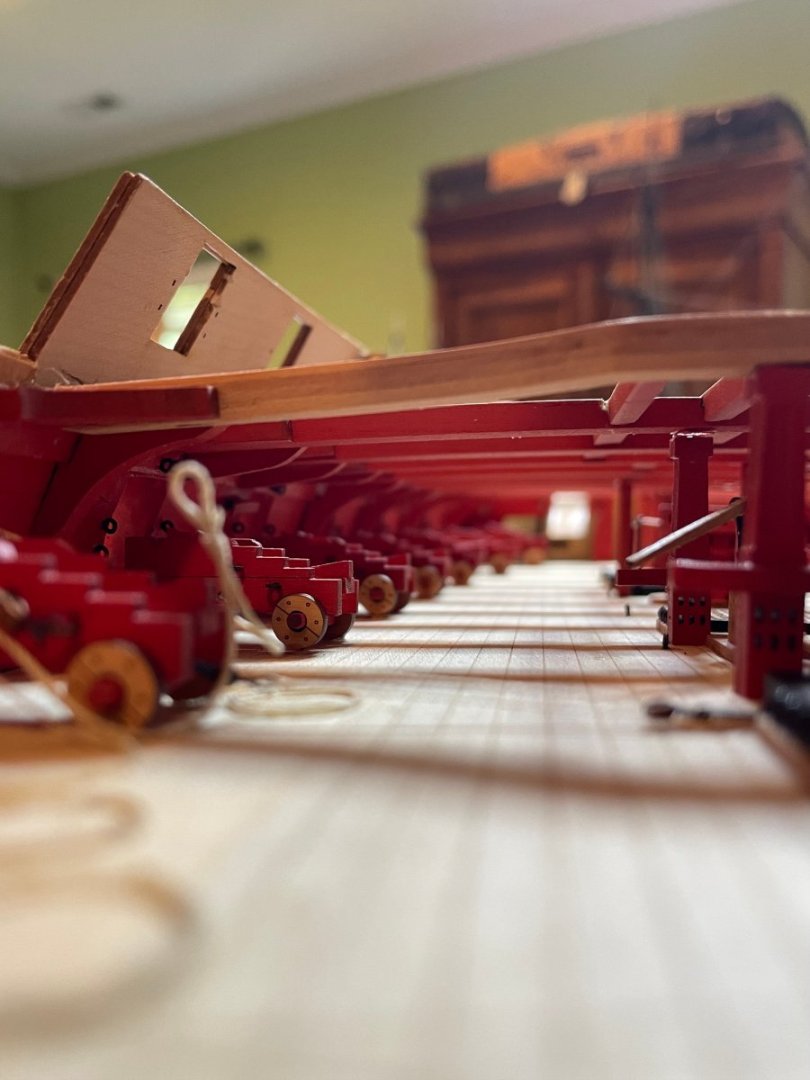
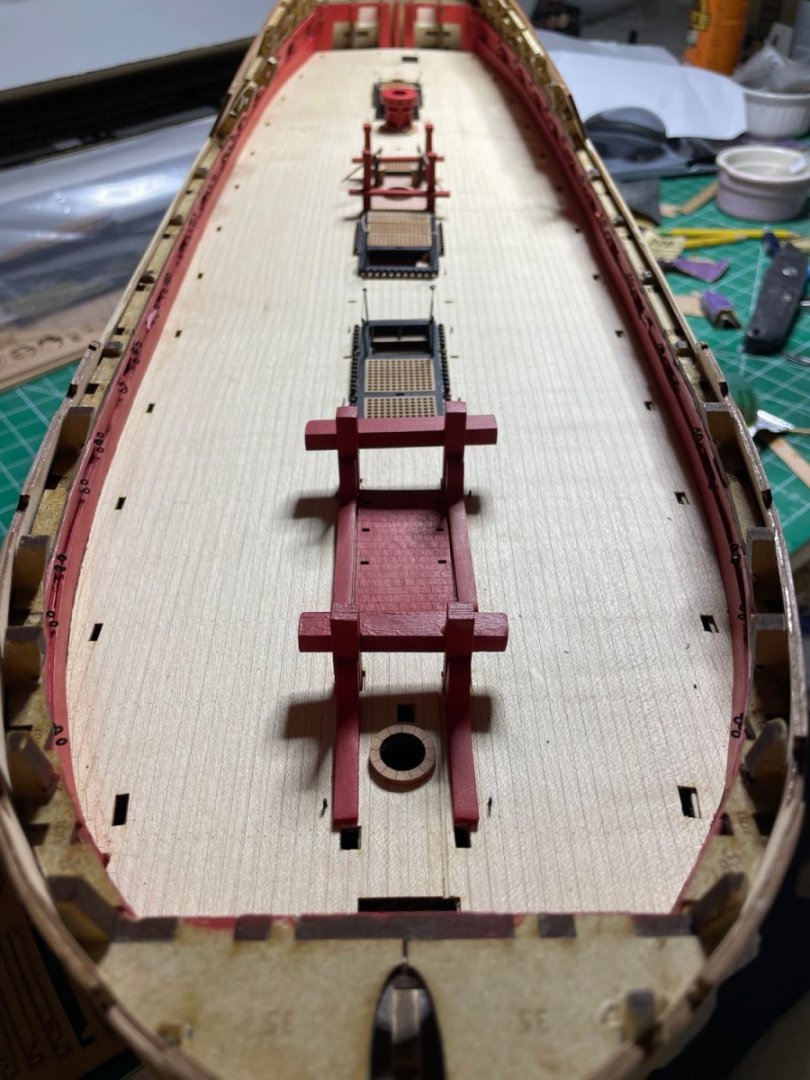
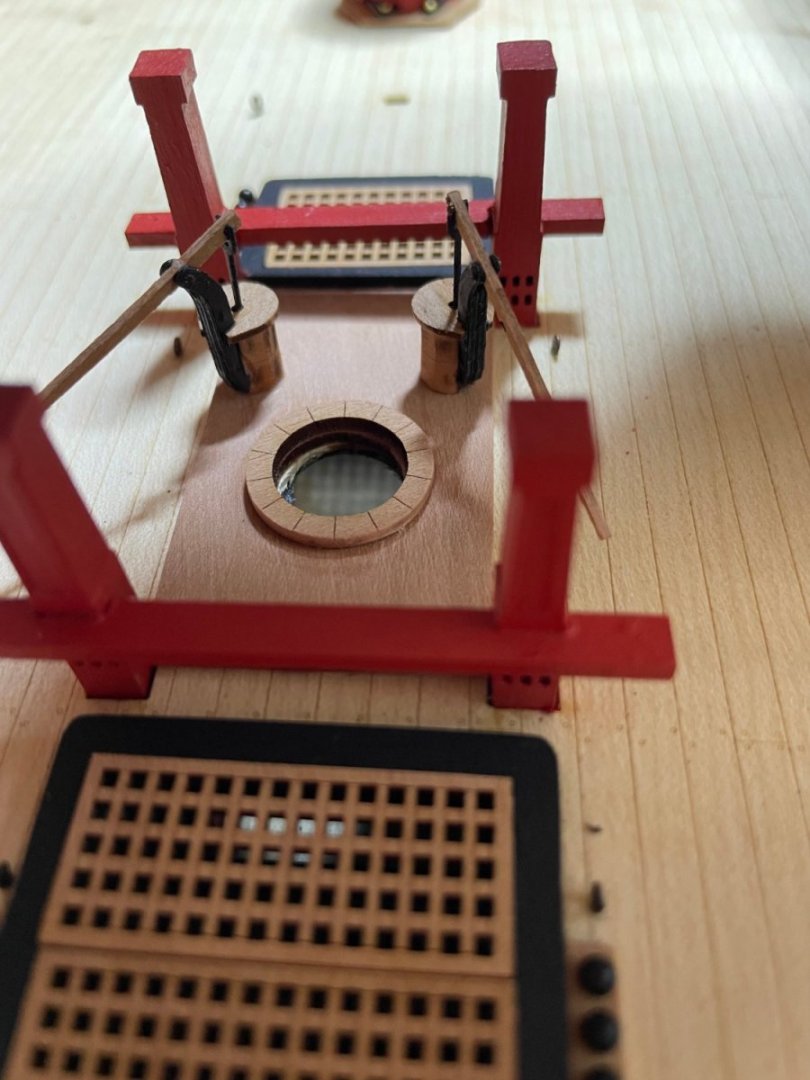
Days work done. Assembled the stern beams including all the vertical and horizontal knees. Although will not really be seen, the picture of the gun deck looks great from deck level with the knees in place. Not sure how they would turn the capstan on this deck without removing the posts.


- 233 replies
-
- 8
-
-
- Indefatigable
- Vanguard Models
- (and 1 more)
-
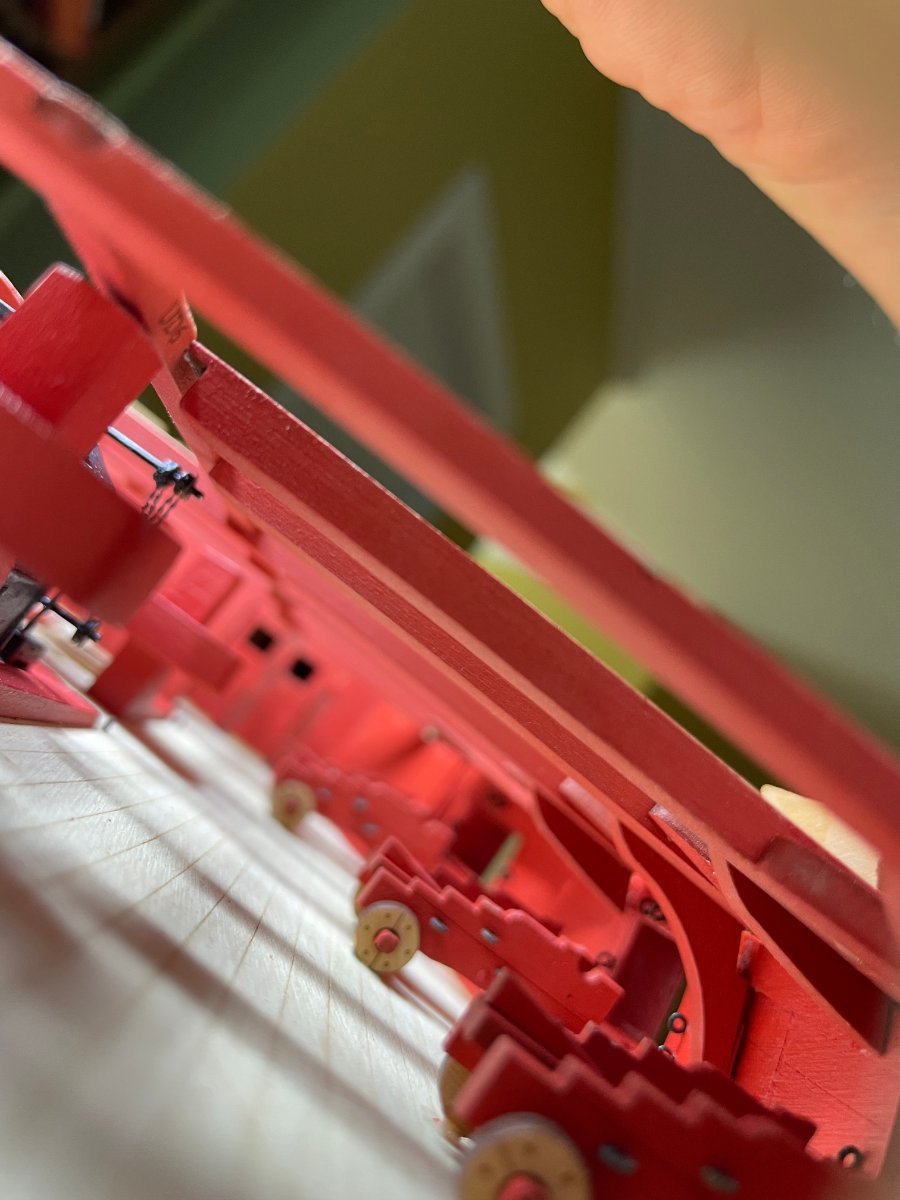
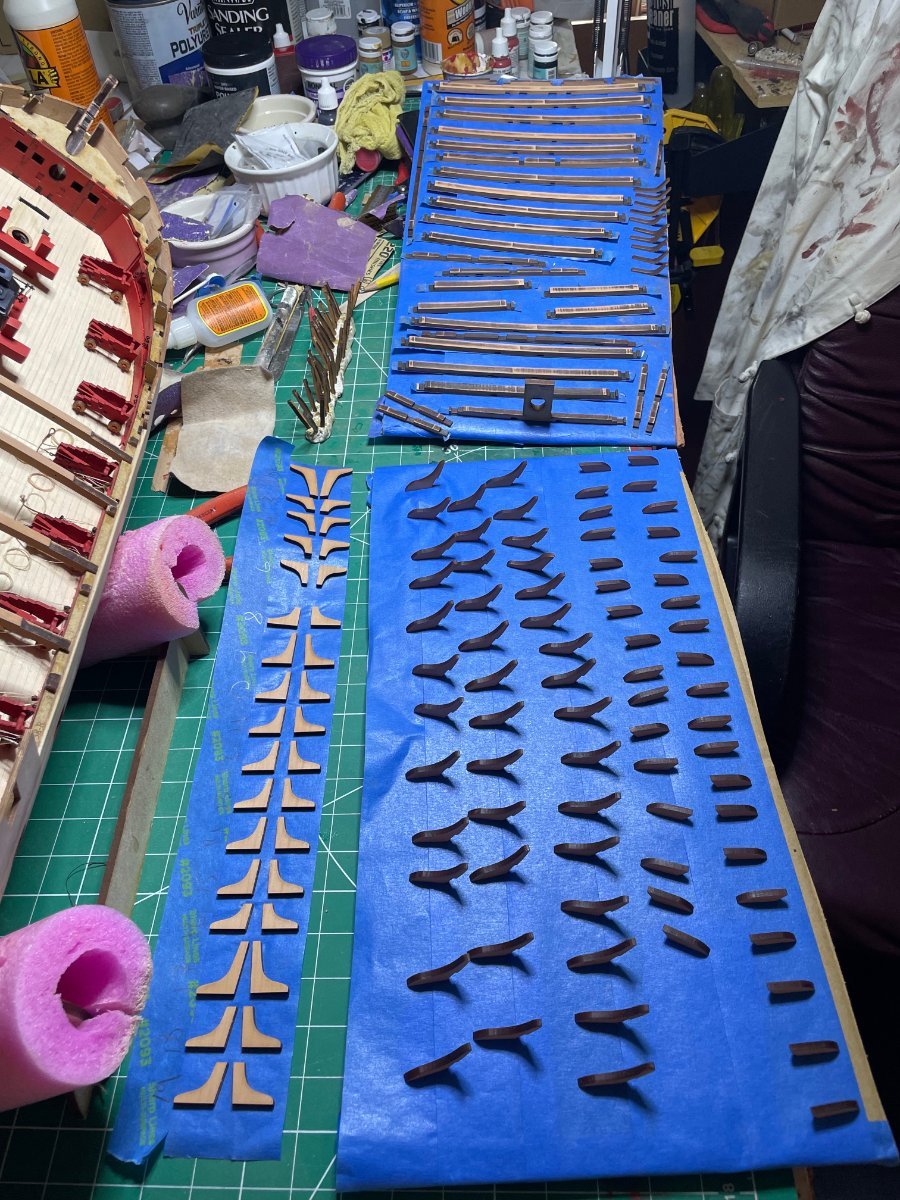
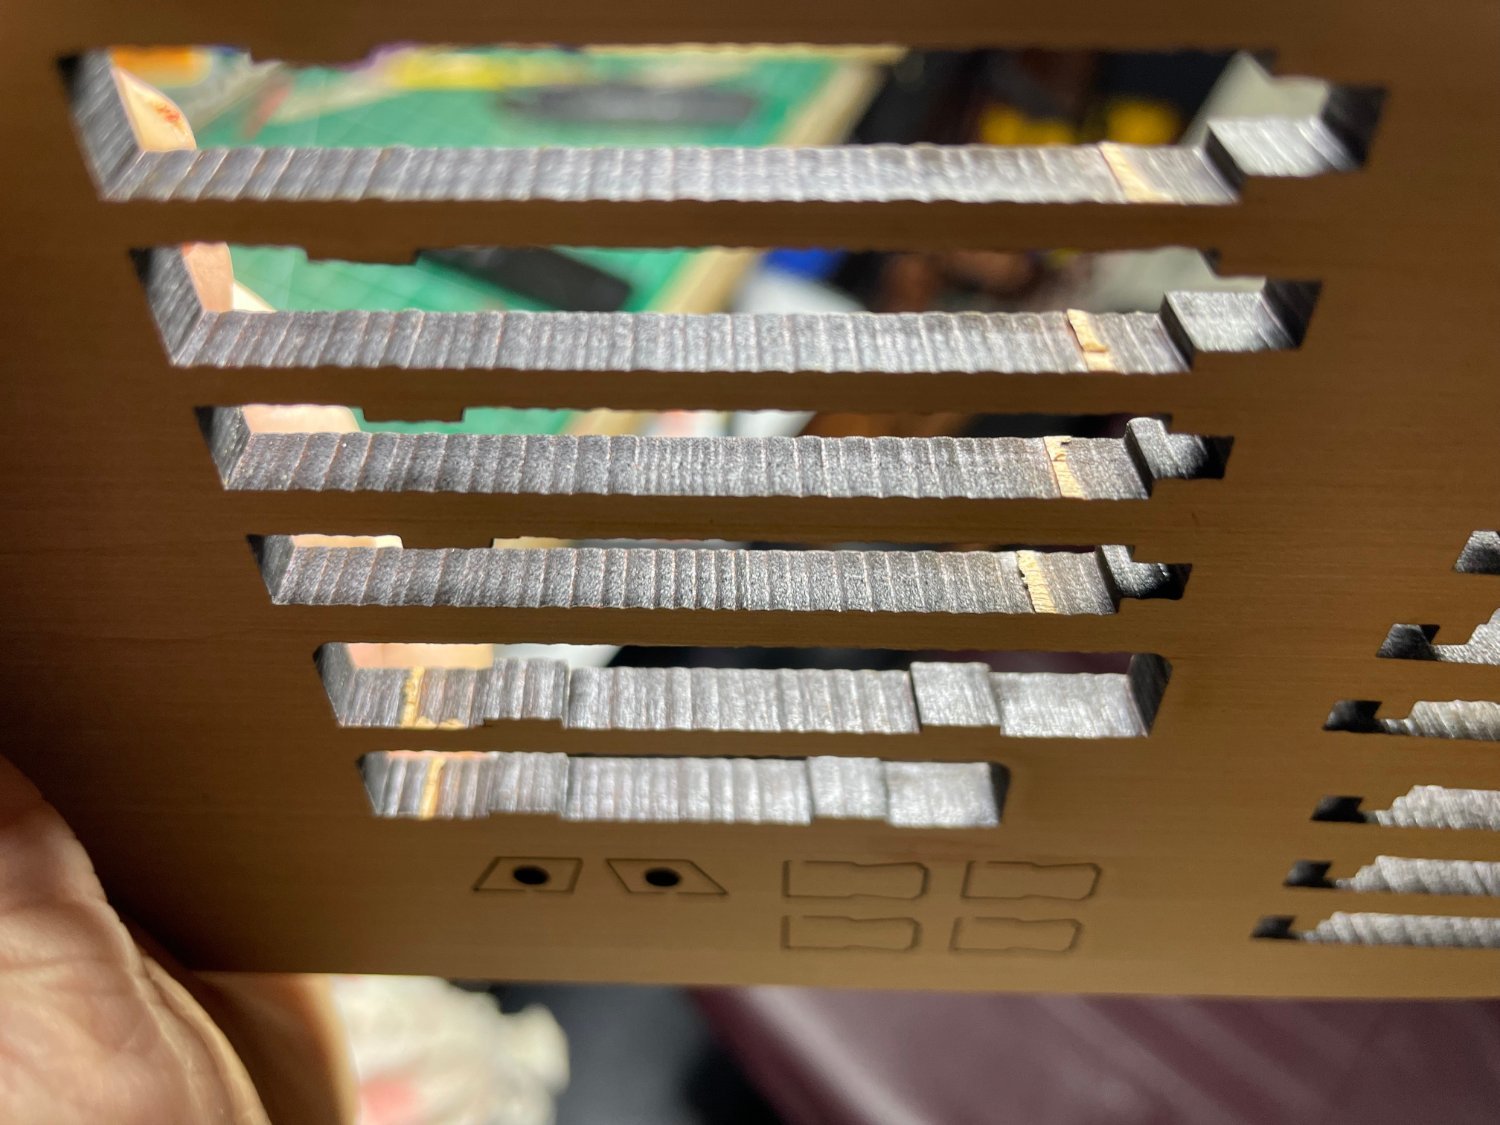
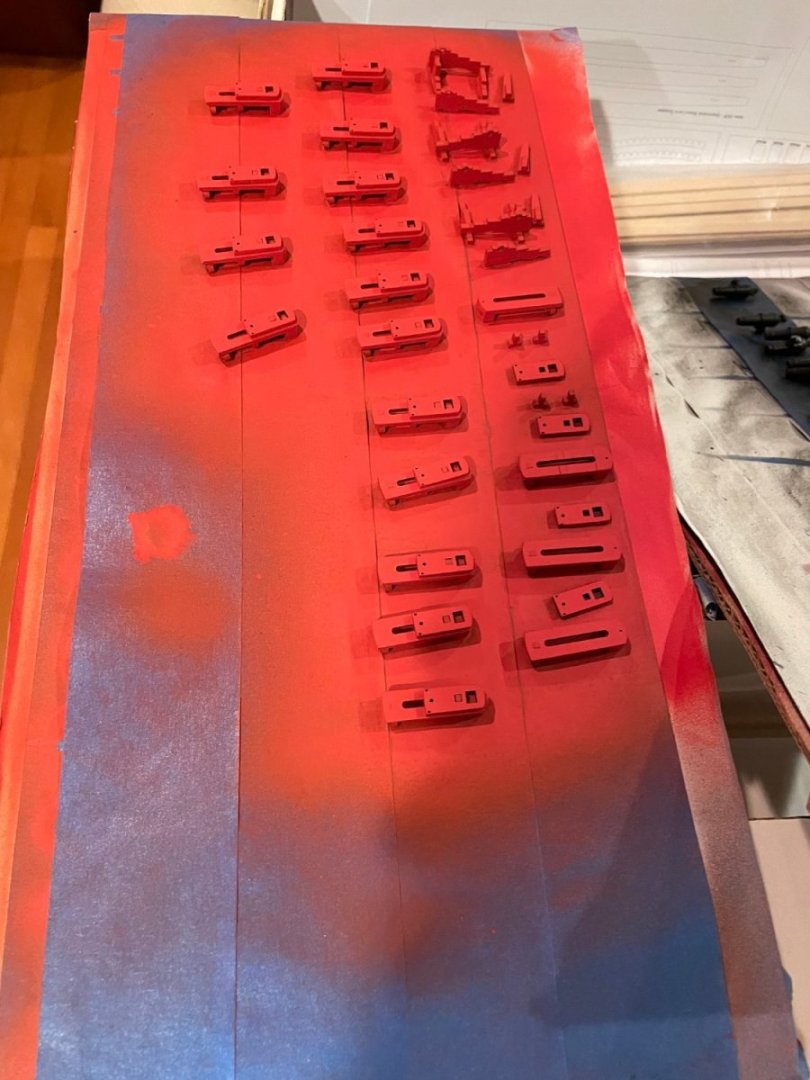
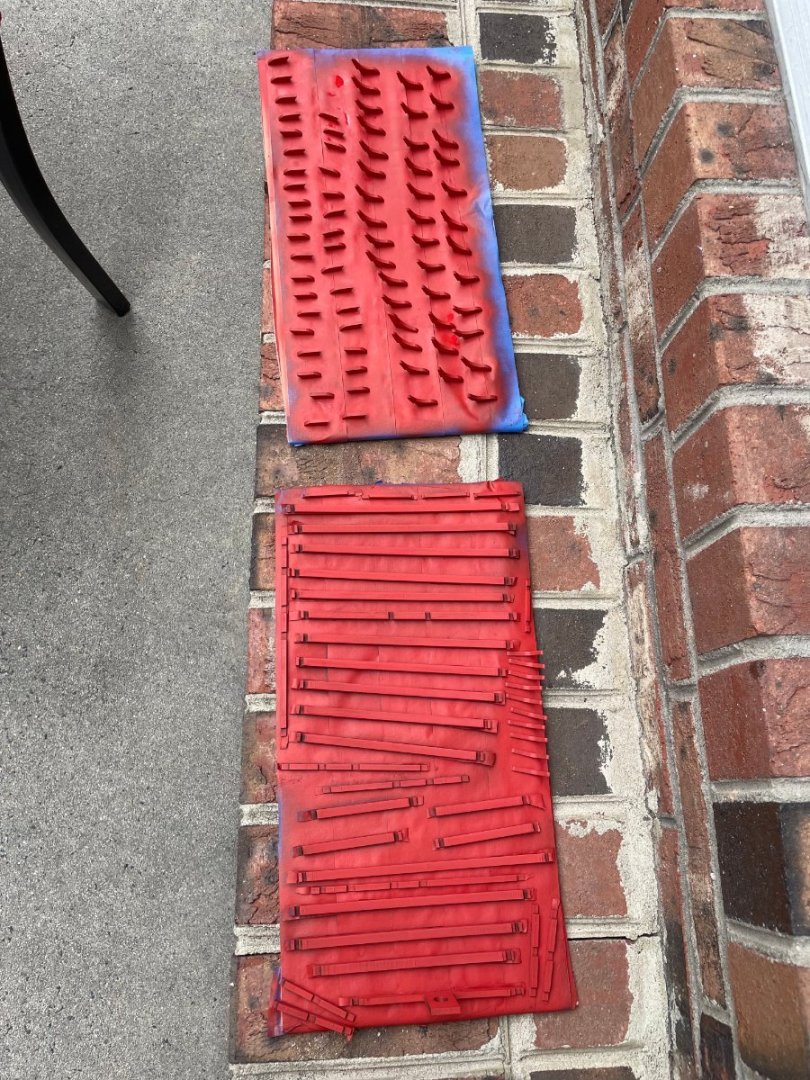
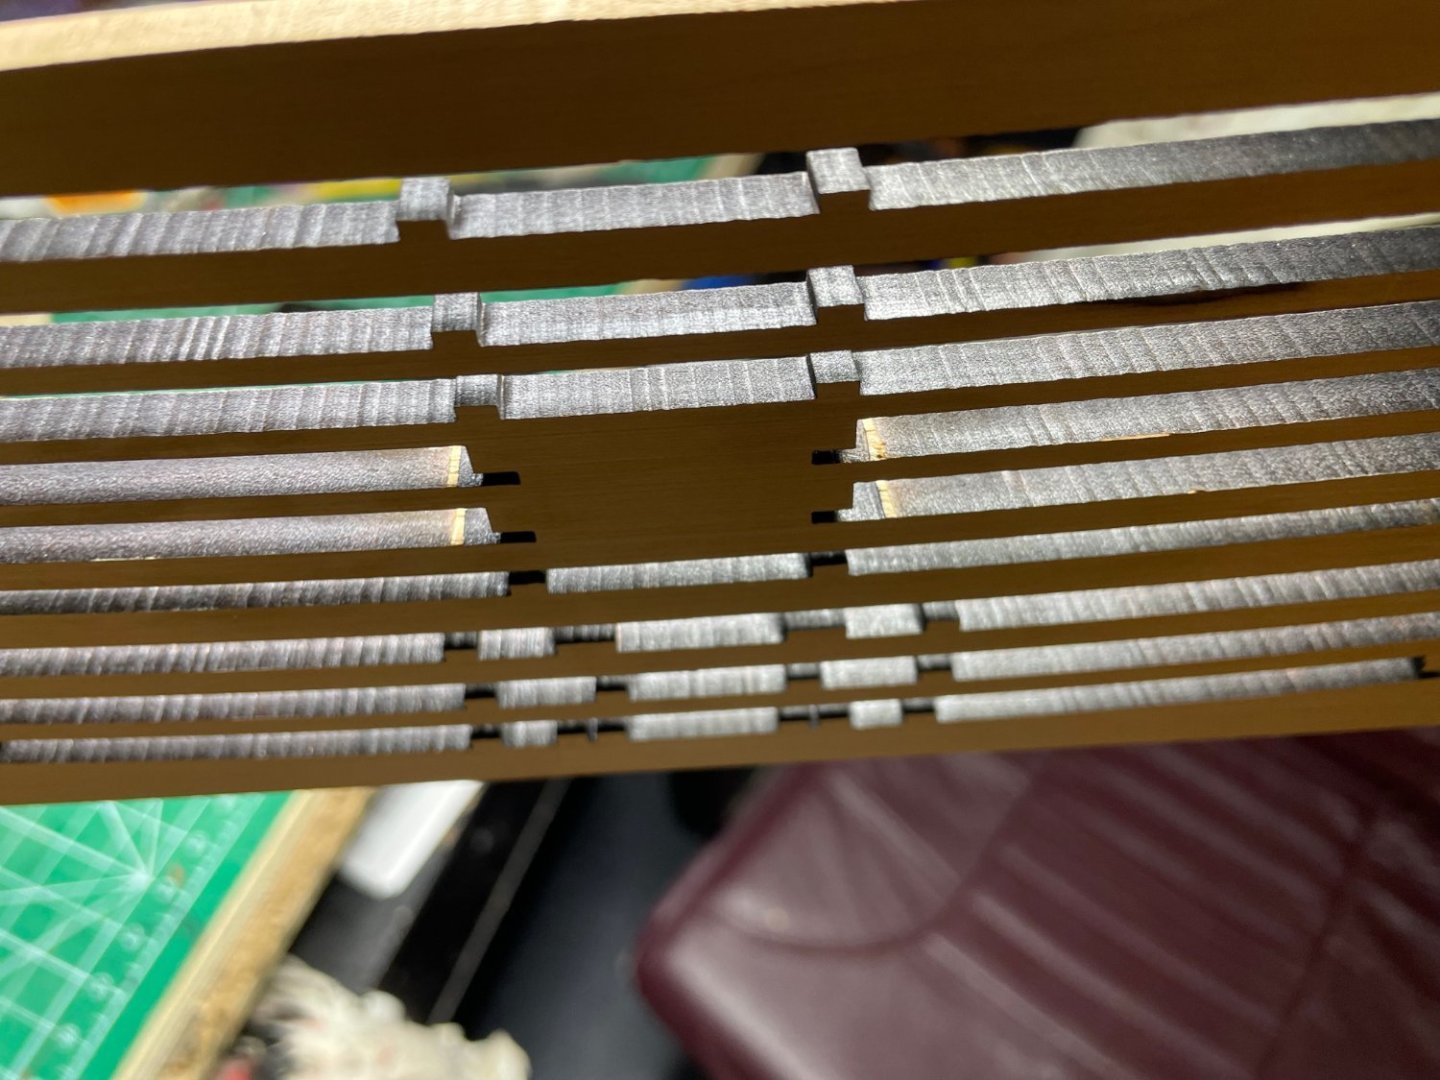
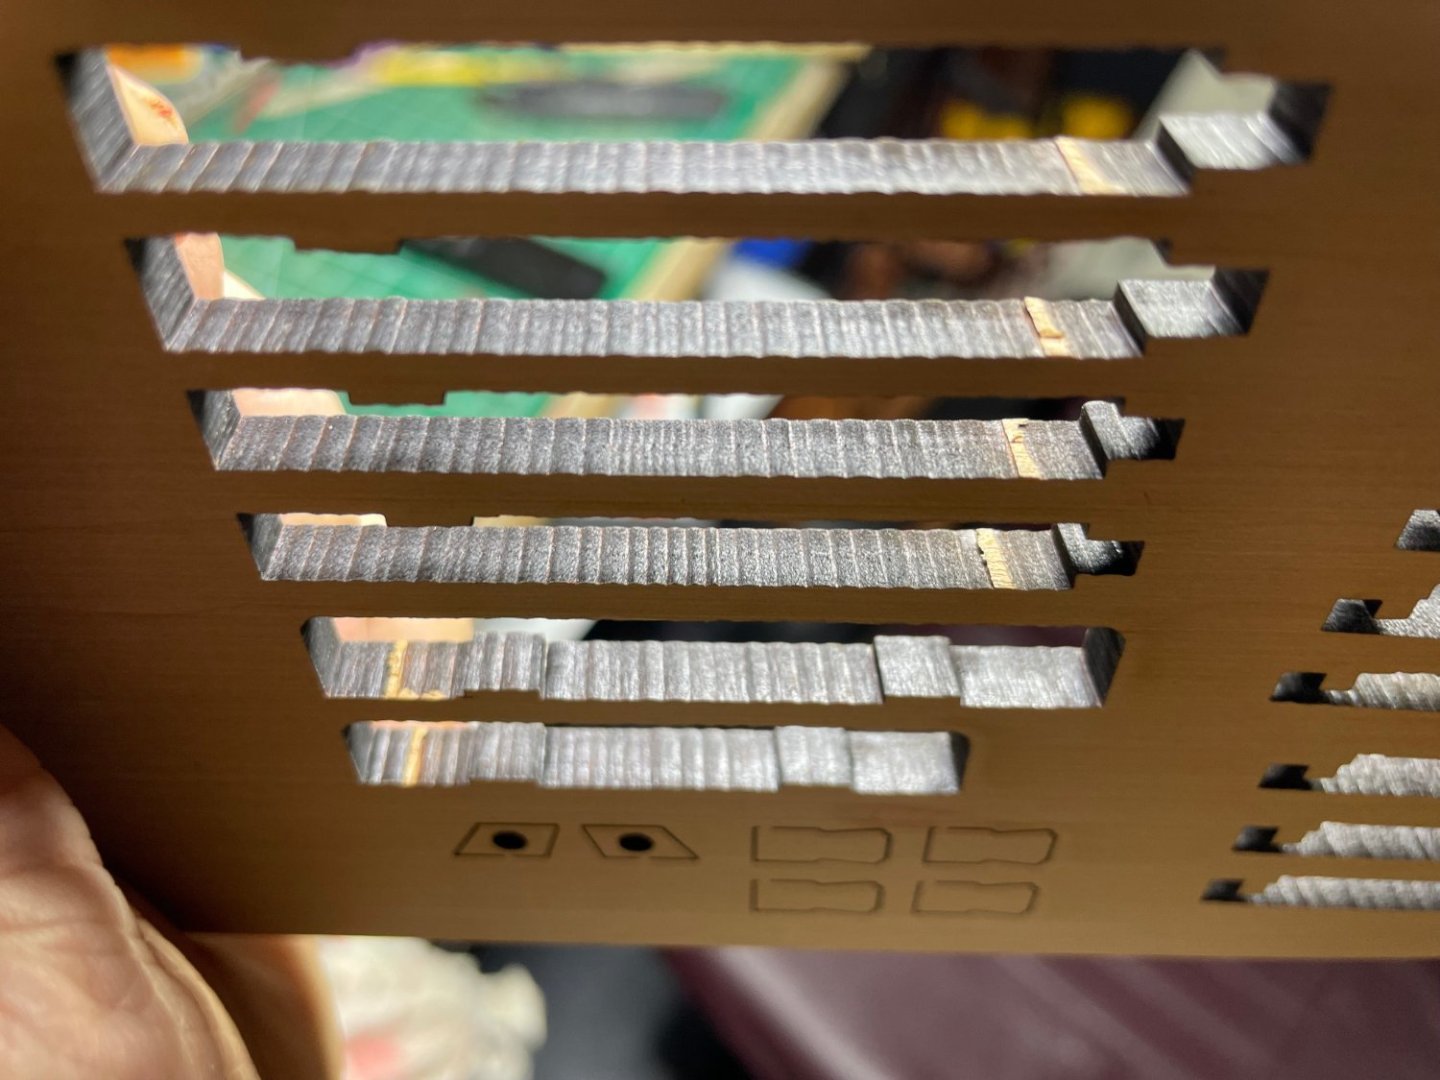
It took awhile to get all the beams and supports ready. As you can see, I lined them all up and spray painted them. Getting rid of the laser burn on the main beams took forever. Unfortunately the laser cutting several of them out must have had a drink or two as the cuts were a bit wobbly and required quite a bit of work to clean up. Hopefully will not affect the fitting of the deck. The char I did not remove from the pillars takes a lot of paint to cover.


- 233 replies
-
- 3
-
-
- Indefatigable
- Vanguard Models
- (and 1 more)
-
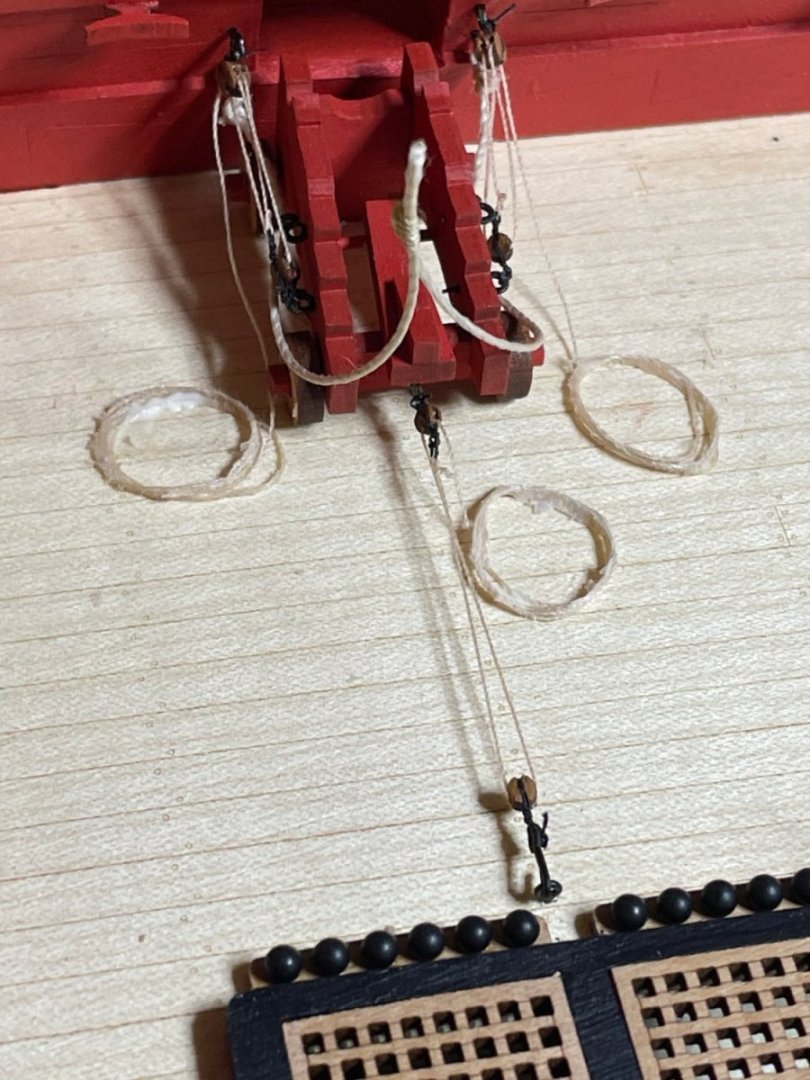
If you look at the constitution they do not use hooks on the double block attached to the side. Anyway, I finished my extra work and can now move on to finishing the gundeck

- 233 replies
-
- 6
-
-
- Indefatigable
- Vanguard Models
- (and 1 more)
-
So looking for contemporary examples, HMS Victory upper deck guns, you can see the double and single blocks. I believe these are 24 pounders. Alsop on USS Constitution, albeit an American ship, similar and they are 24 pounders I did not use hooks as scale so small. So from available ships seems like double/single may be for 32 and 24 pounders. I suspect the single/singles may be more for 18 and 9 lbers.


- 233 replies
-
- 2
-
-
- Indefatigable
- Vanguard Models
- (and 1 more)
-
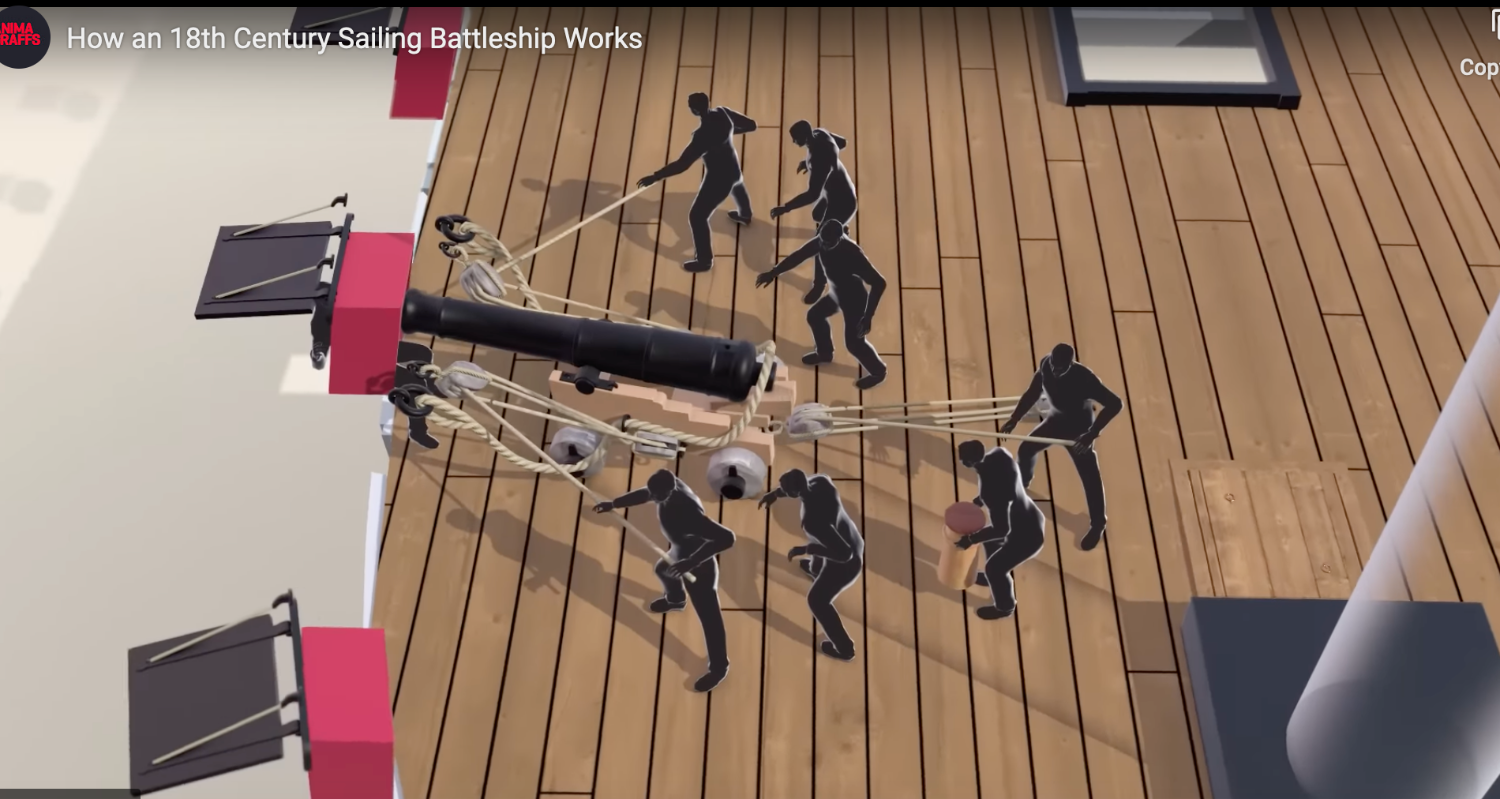
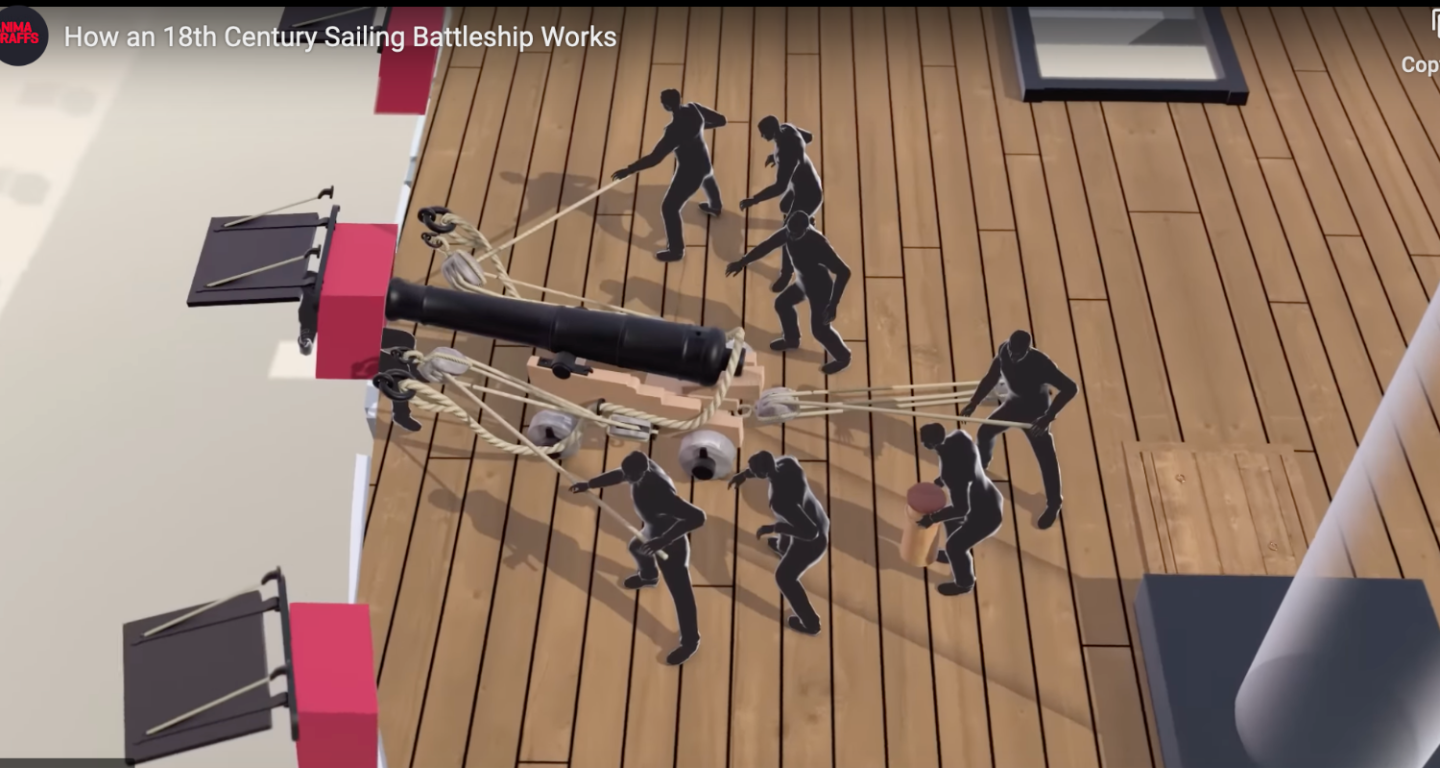
I use the gun rigging recommended in Sphinx and Duchess of Kensington. Also if you watch the 3-D video I posted earlier the below screen shot shows similar rigging although a double block is on the rear
- 233 replies
-
- 3
-
-
- Indefatigable
- Vanguard Models
- (and 1 more)
-
This is the kit that I got on amazon. Just the airbrush and compressor are around $100

- 233 replies
-
- 3
-

-
-
- Indefatigable
- Vanguard Models
- (and 1 more)
-
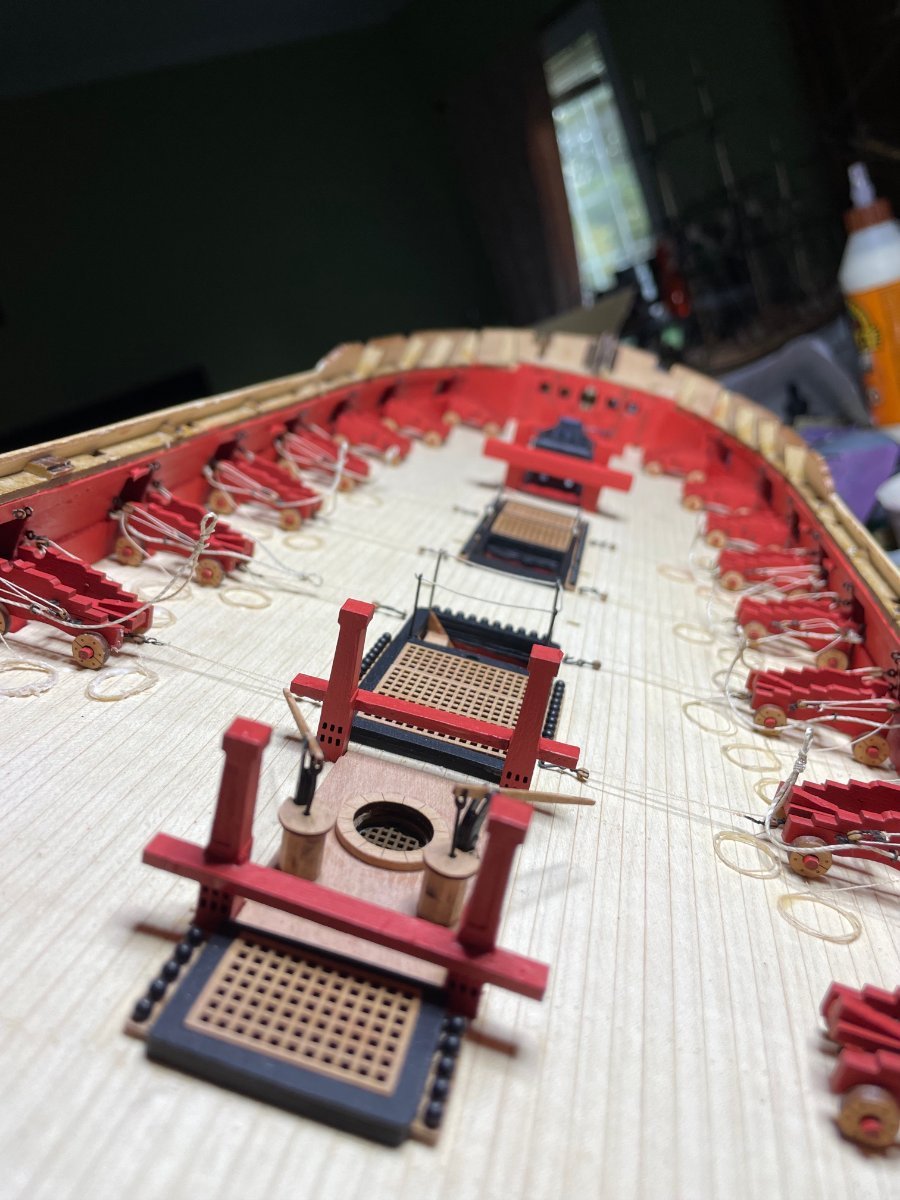
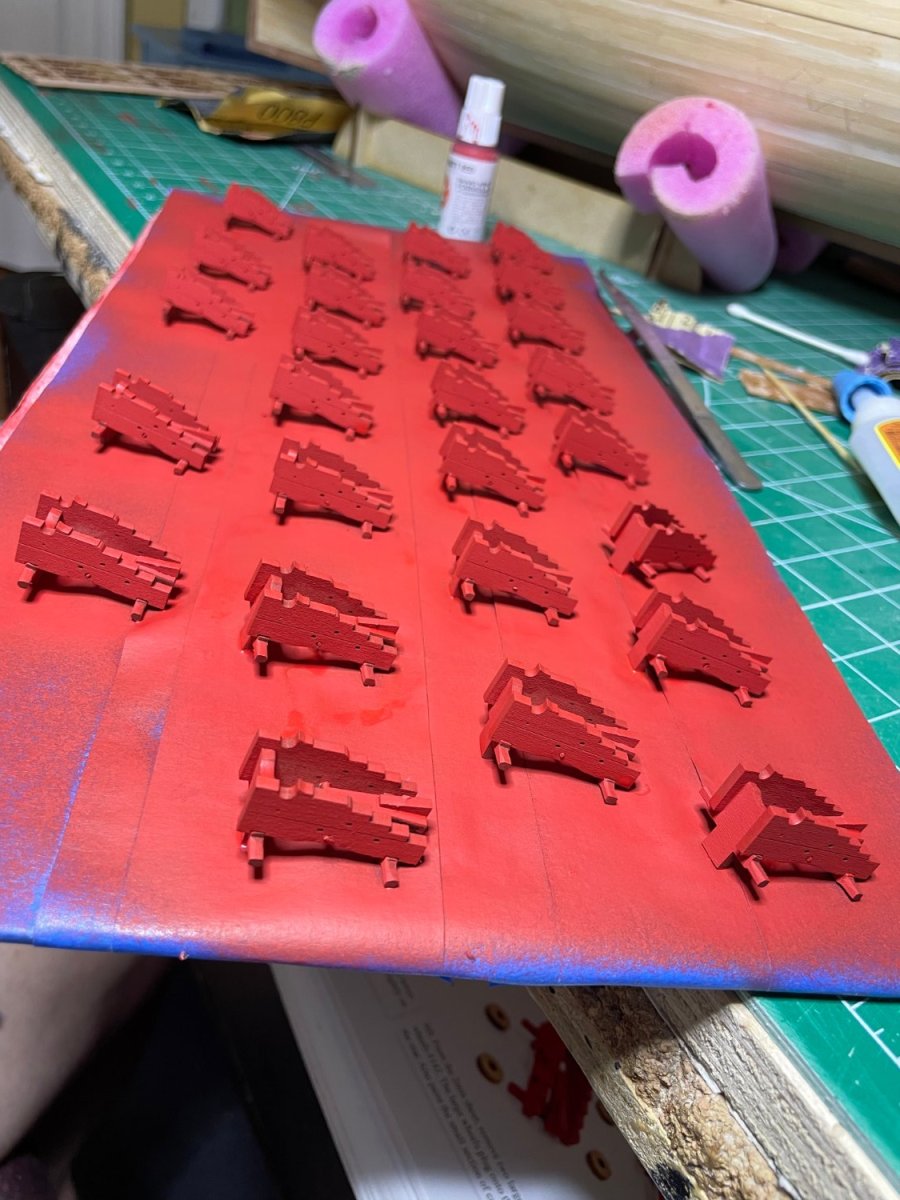
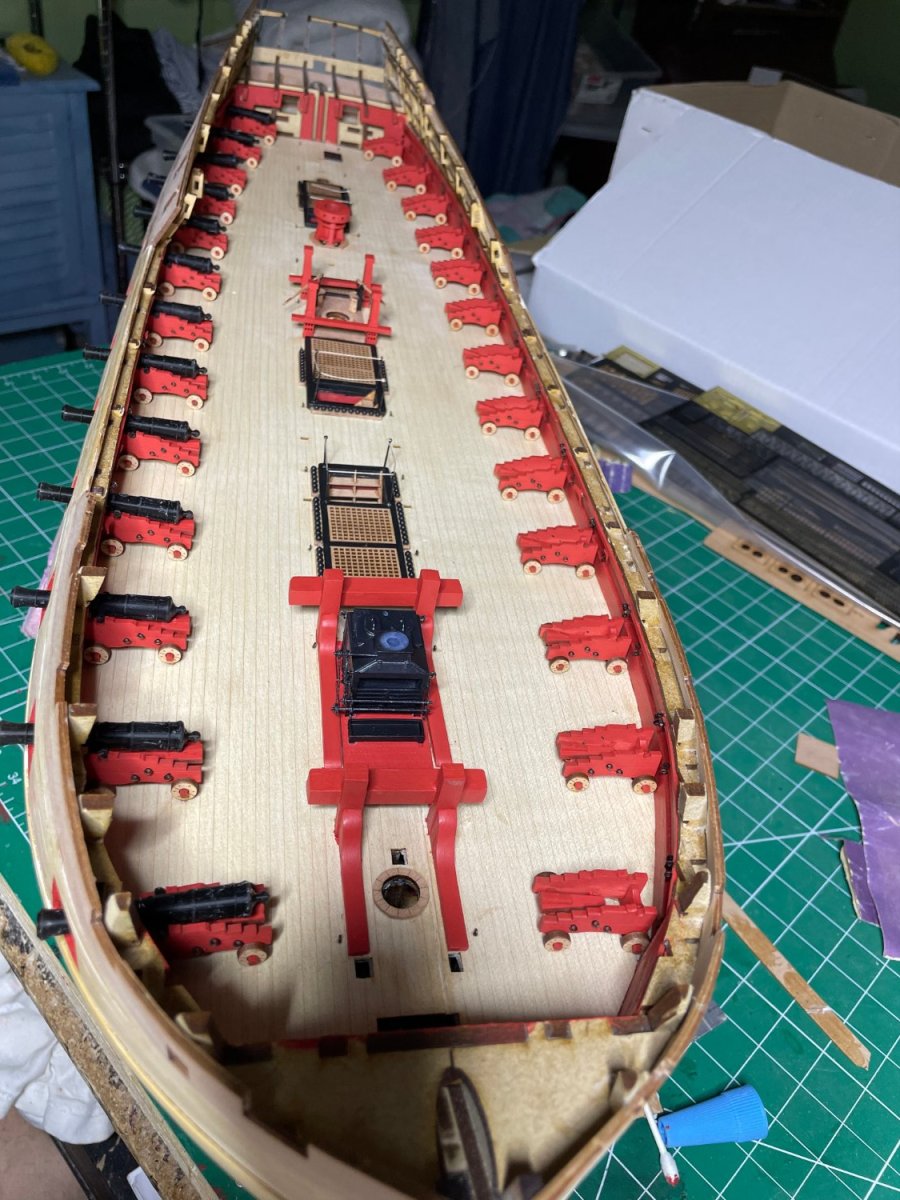
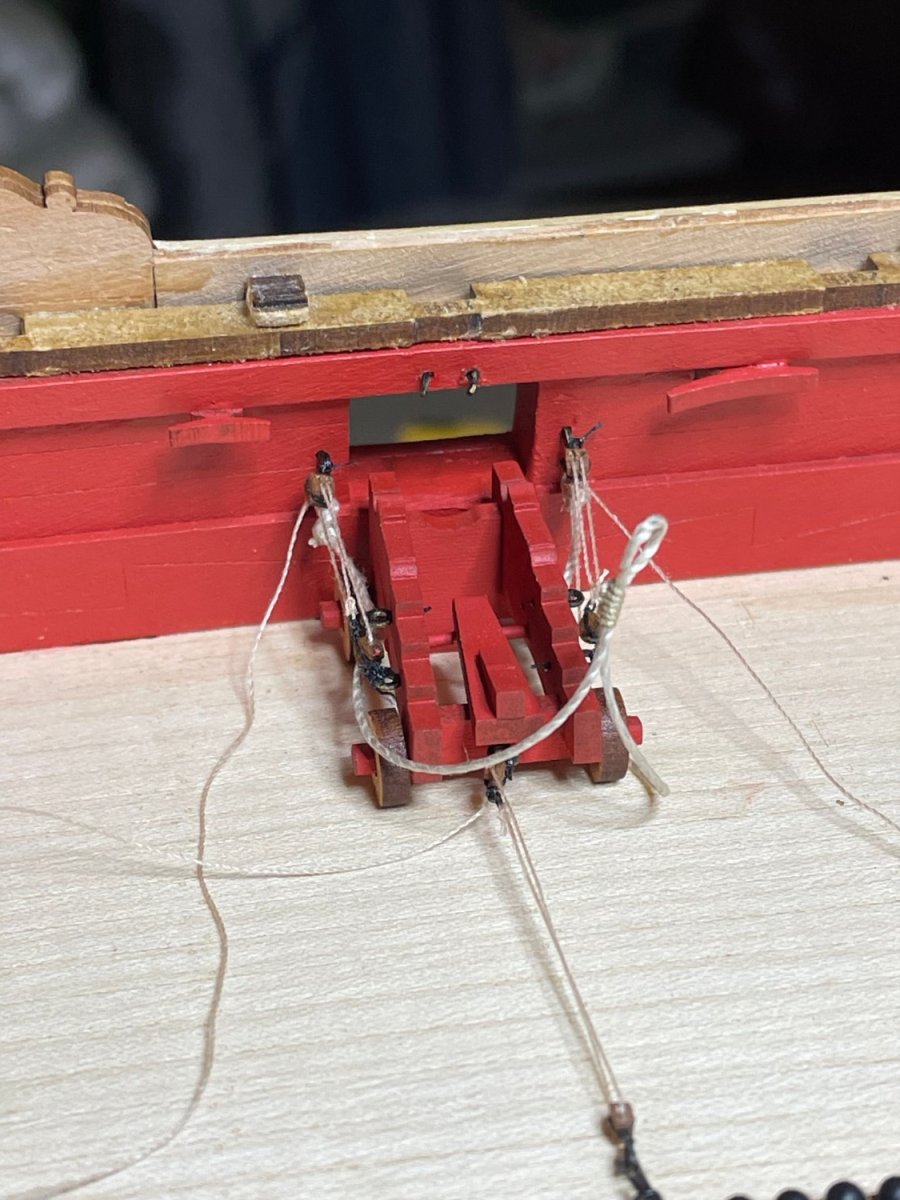
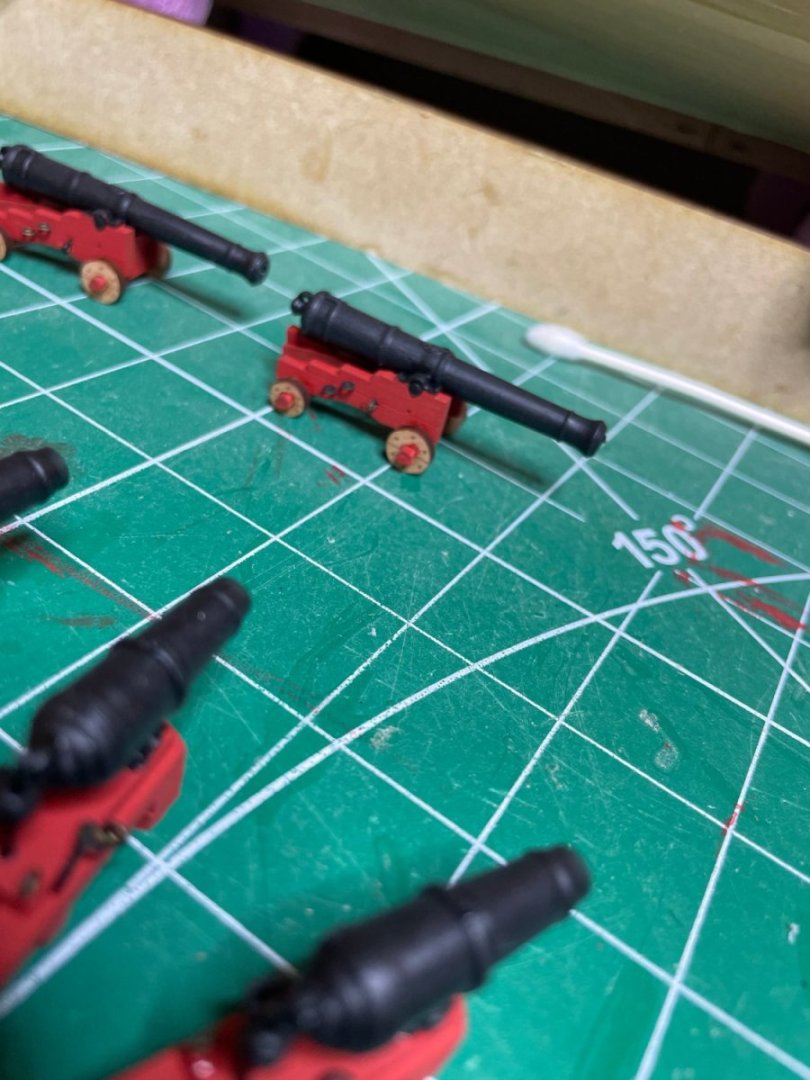
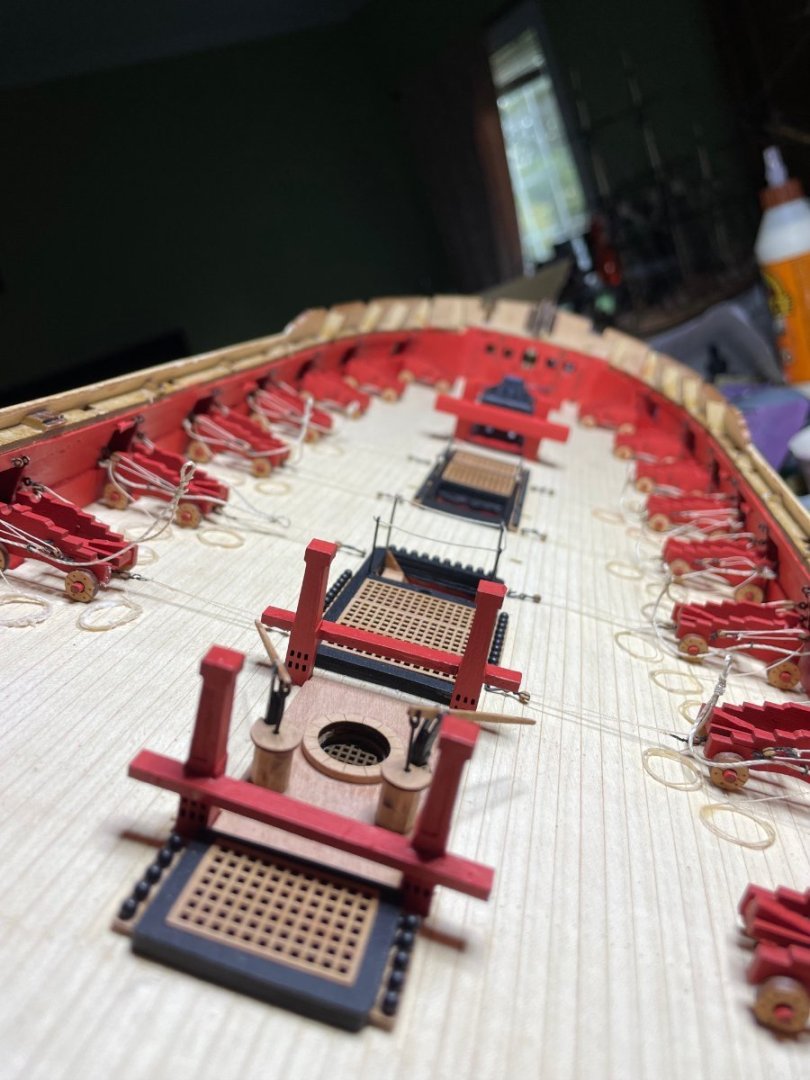
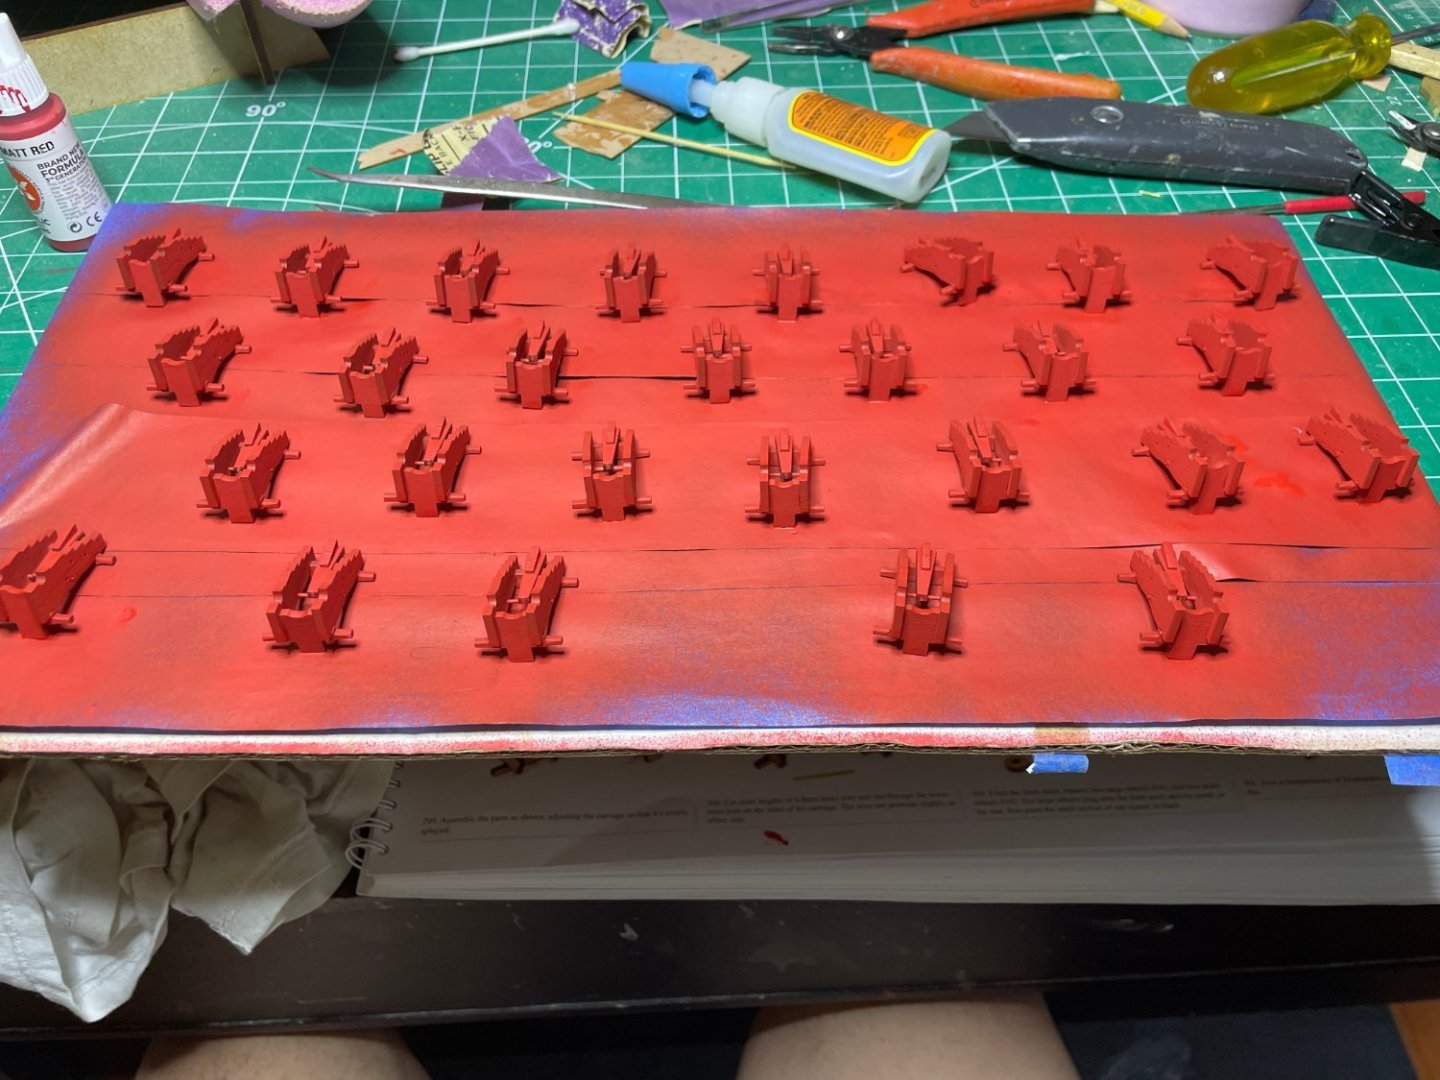
So got a air brush for Christmas, never used one until now . Tried it out on all those gun carriages. made life a lot easier. I liked the insert that ensures they will stay put as my experience with just gluing the wheels always results in one getting loose later. Hers they are with guns dry fitted. For some extra work I decided to rig the 4 guns on each side that can be seen from the upper deck. Once I slide in the barrel later i can hook the loop over the end of the cannon. Used 2 mm single and 2.5 mm double blocks and 1 mm rigging line.


- 233 replies
-
- 7
-
-
- Indefatigable
- Vanguard Models
- (and 1 more)
-
Hope the back is recuperating with the fresh air and scenery.
- 587 replies
-
- 2
-
-
-
- Indefatigable
- Vanguard Models
- (and 1 more)
-
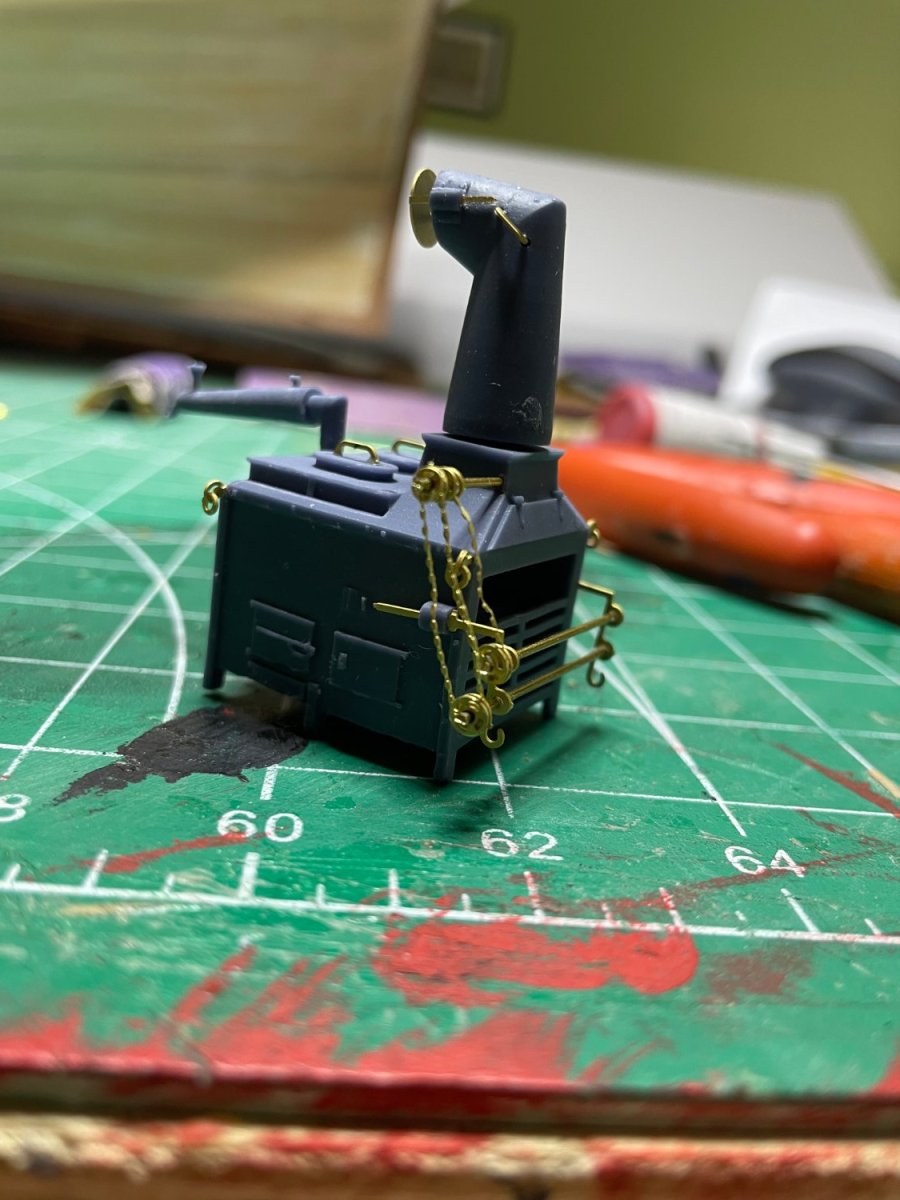
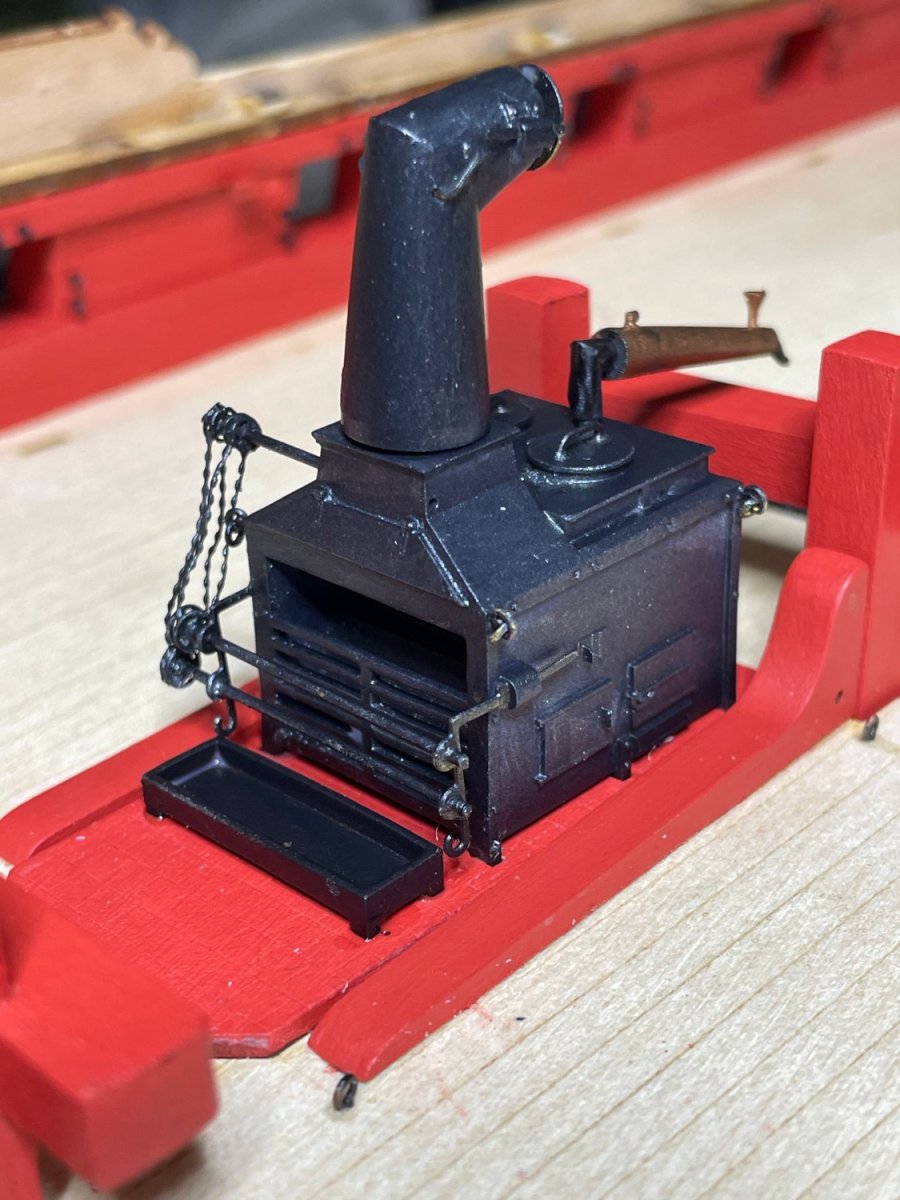
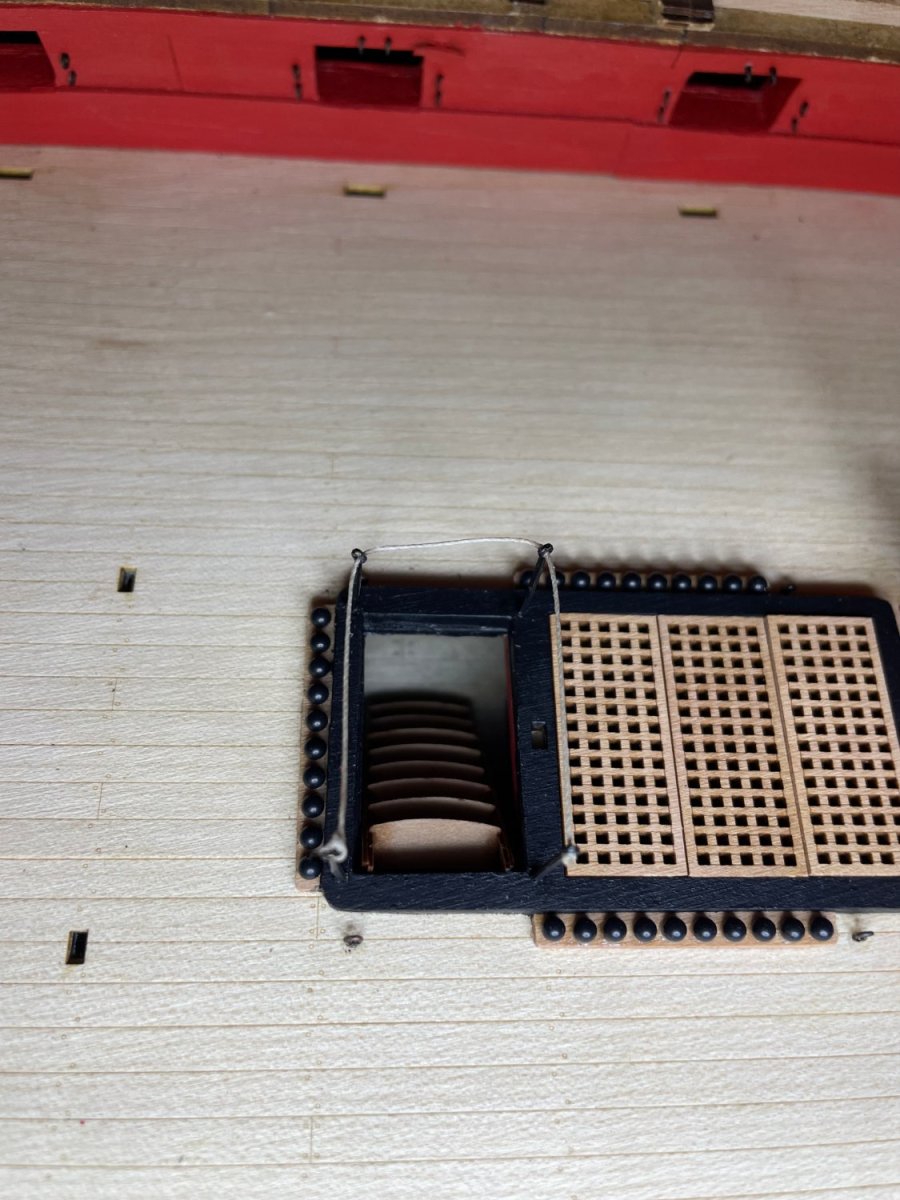
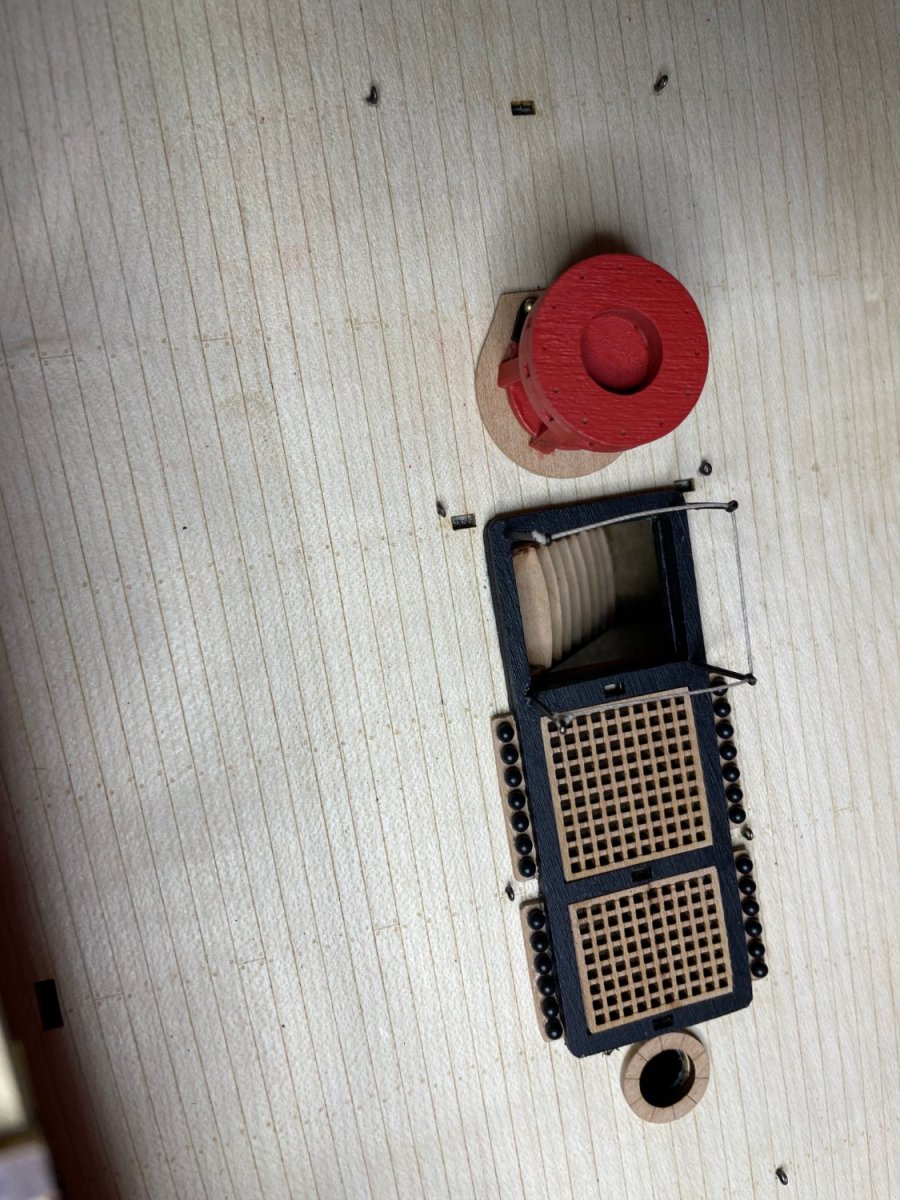
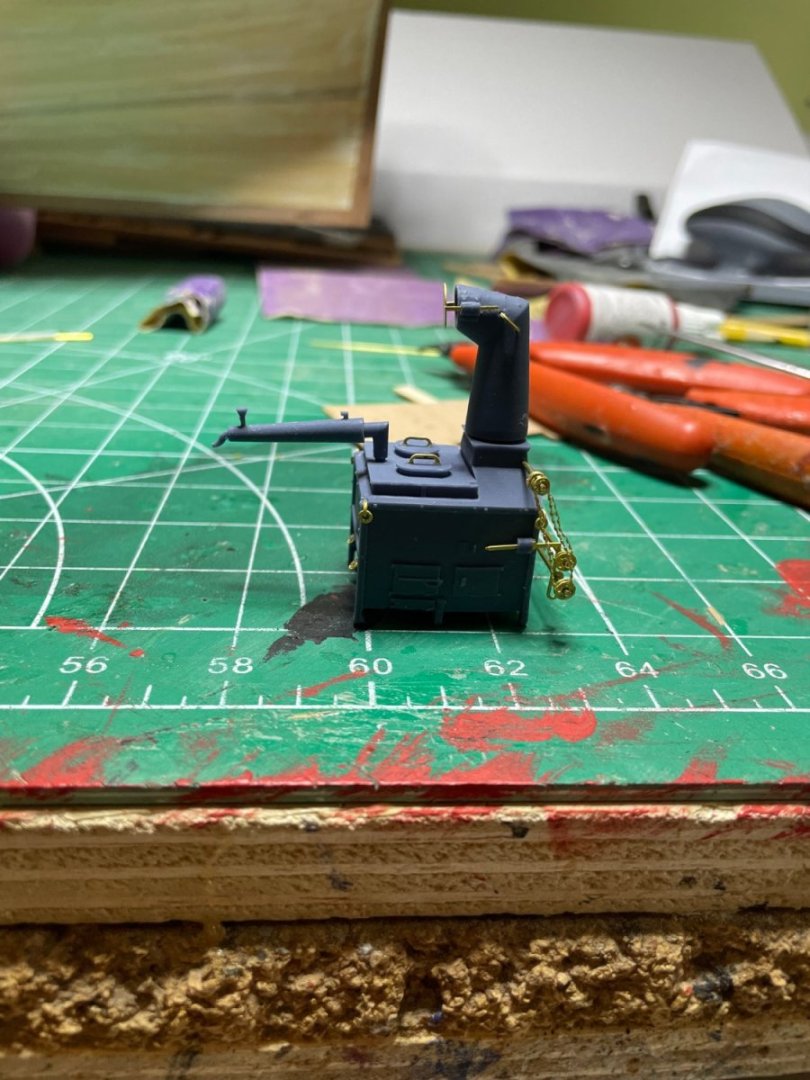
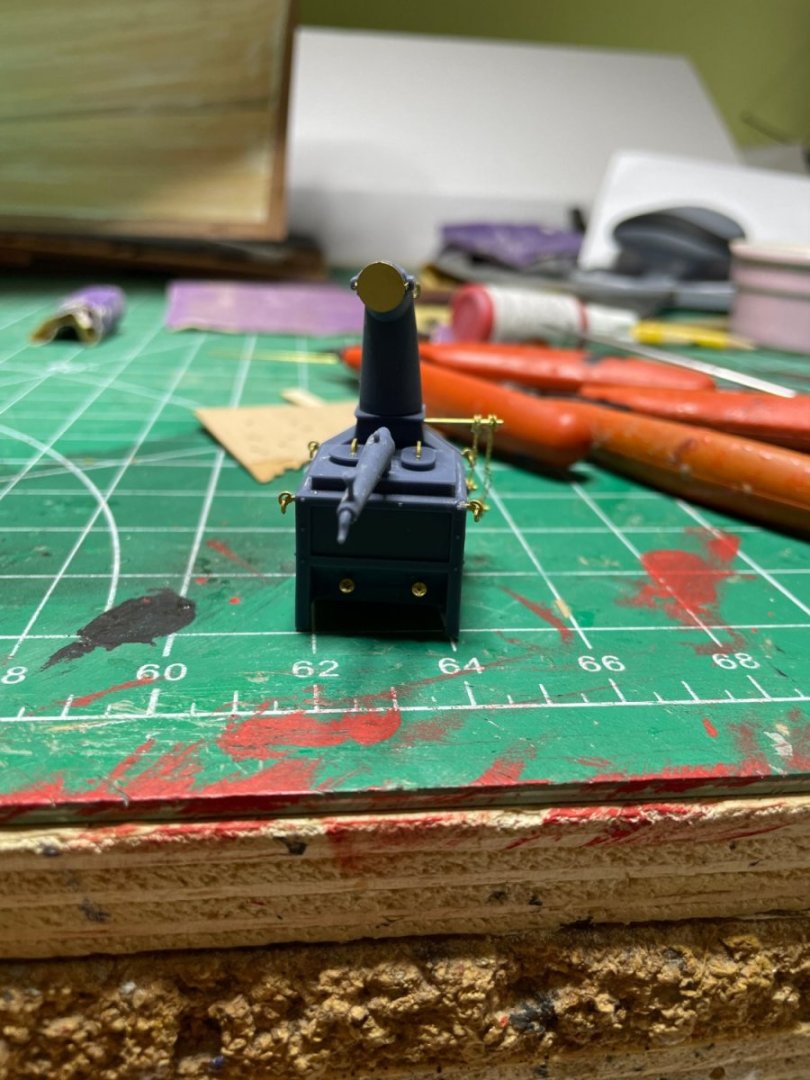
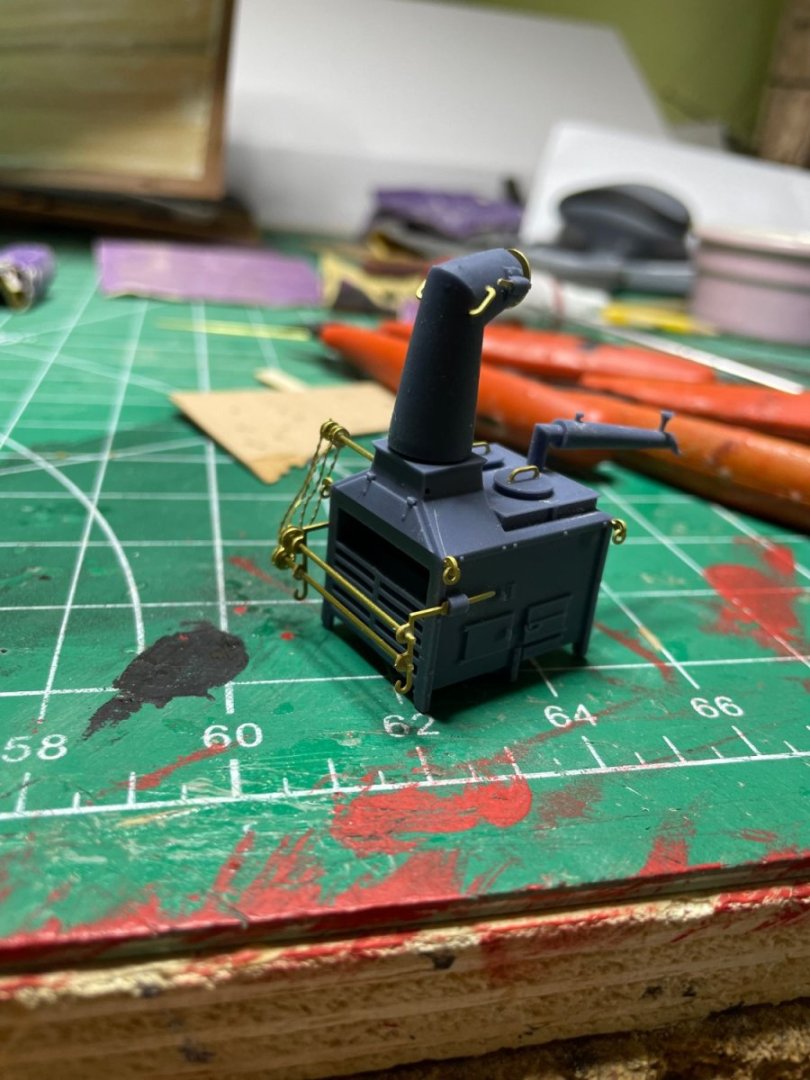
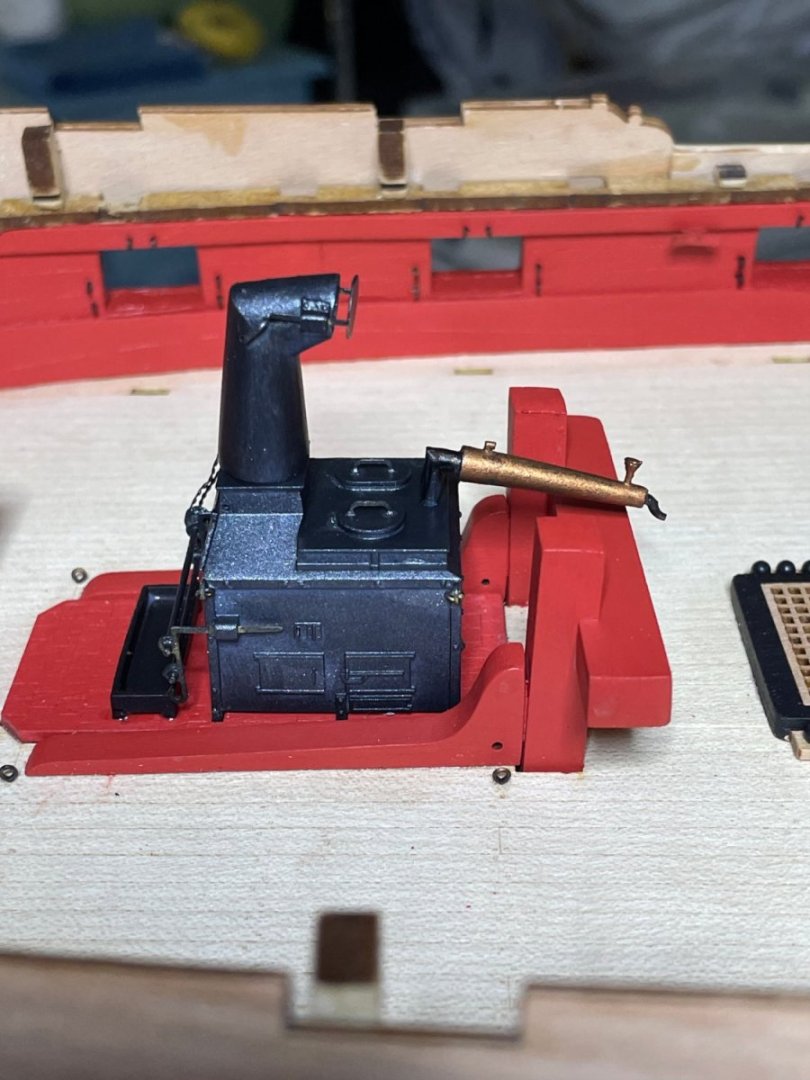
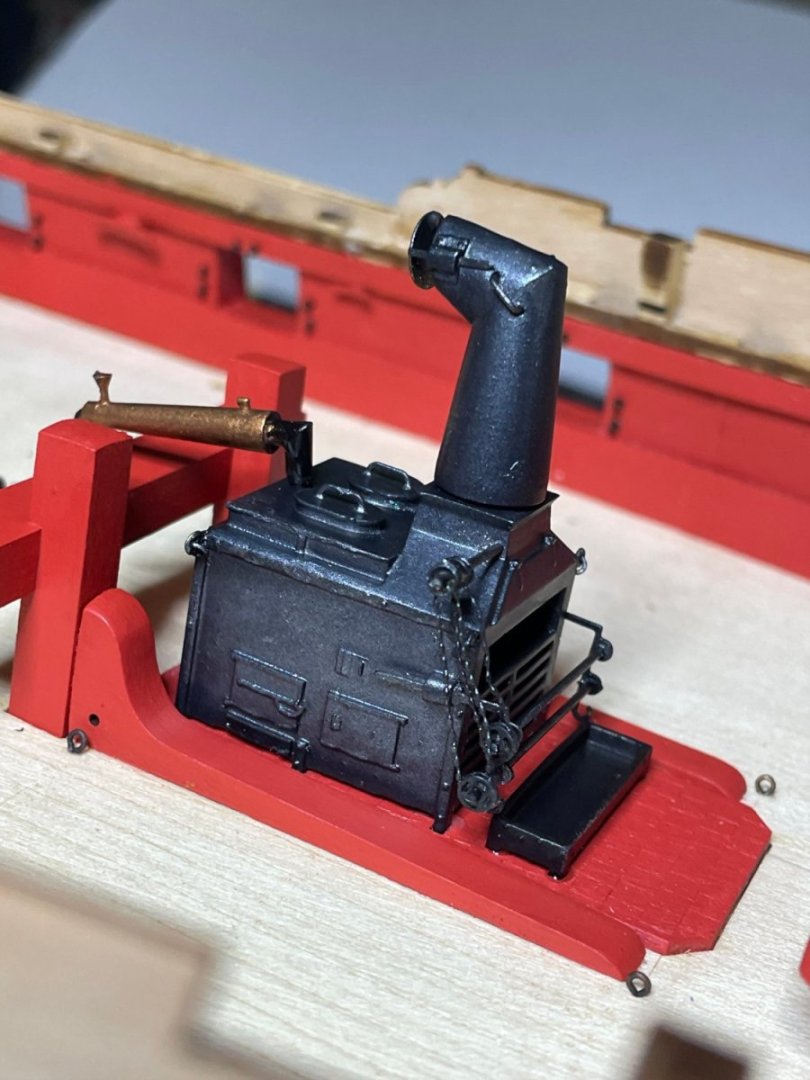
Stove pre-paint Post paint and in place. Chimney and condenser dry fitted until upper deck done


- 233 replies
-
- 7
-
-
- Indefatigable
- Vanguard Models
- (and 1 more)
-
Found this from another members Youtube link. Nice 3-d breakdown of the Victory
- 233 replies
-
- 3
-
-
- Indefatigable
- Vanguard Models
- (and 1 more)
-
On the Rhine
-
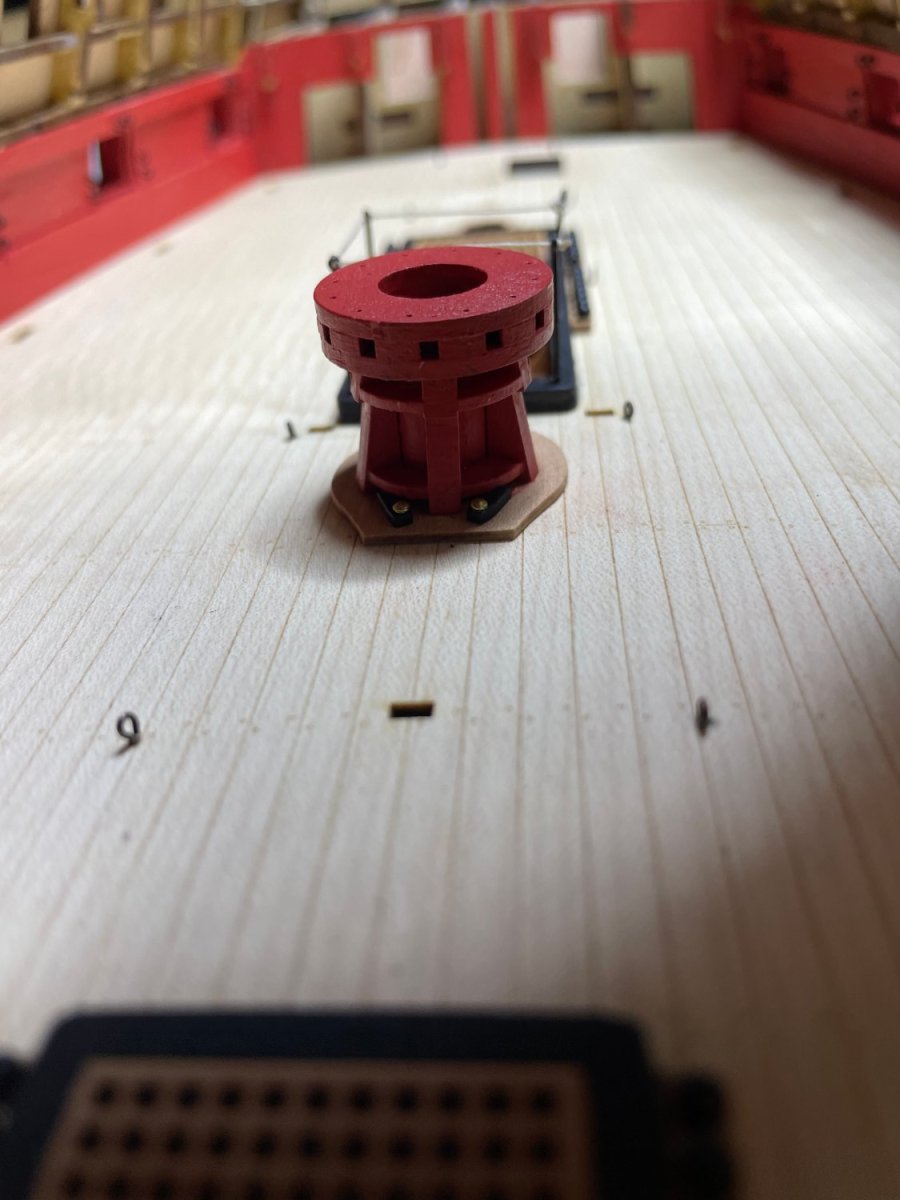
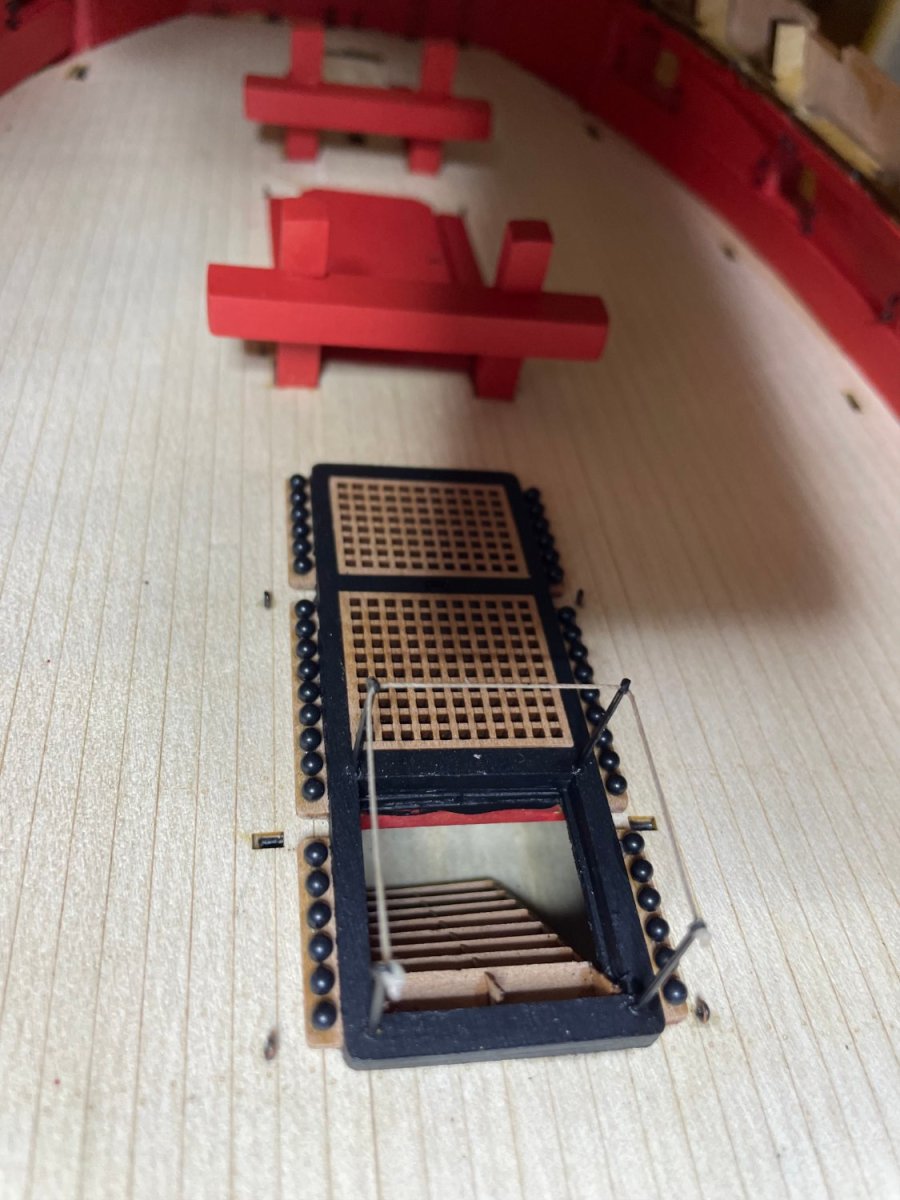
Completed most of the lower deck fittings. Will b e spending the weekend making up the stove an many, many gun carriages.


- 233 replies
-
- 6
-
-
- Indefatigable
- Vanguard Models
- (and 1 more)
-
Nice work. I see how it goes when I copper mine with regular tiles. May not get such a great waterline. Is that Nelson or Hornblower peaking through the cabin windows?
- 443 replies
-
- 3
-
-

-
- Indefatigable
- Vanguard Models
- (and 1 more)
-
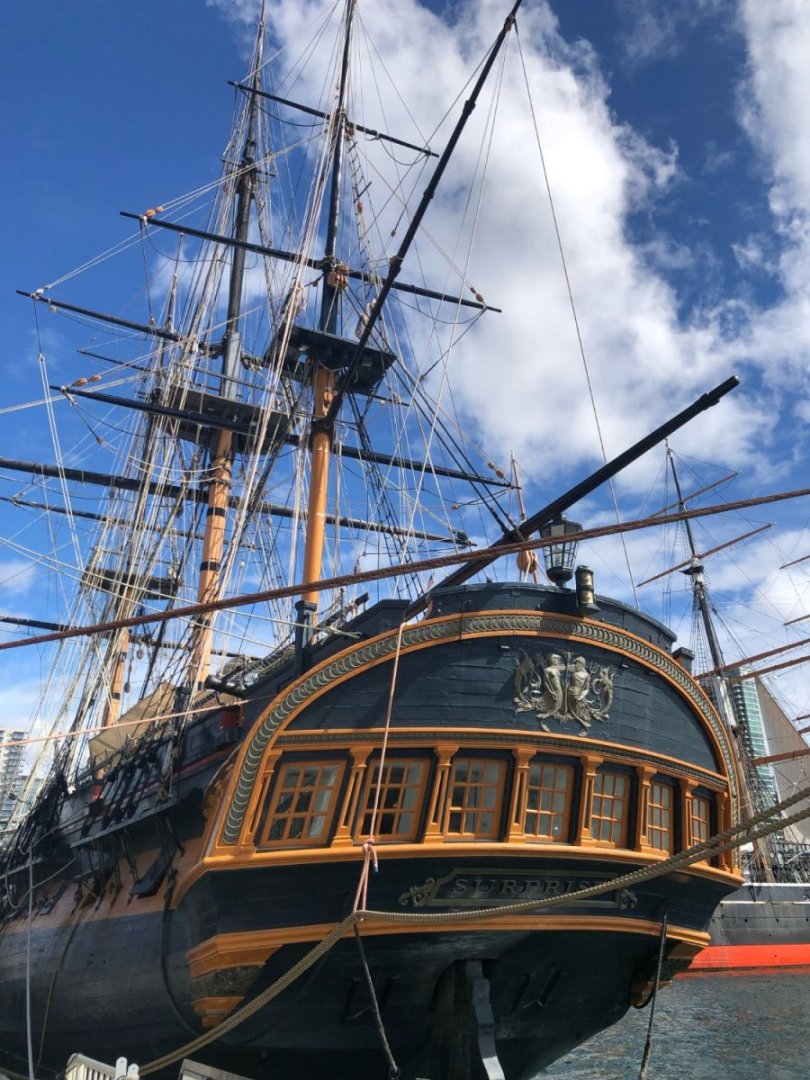
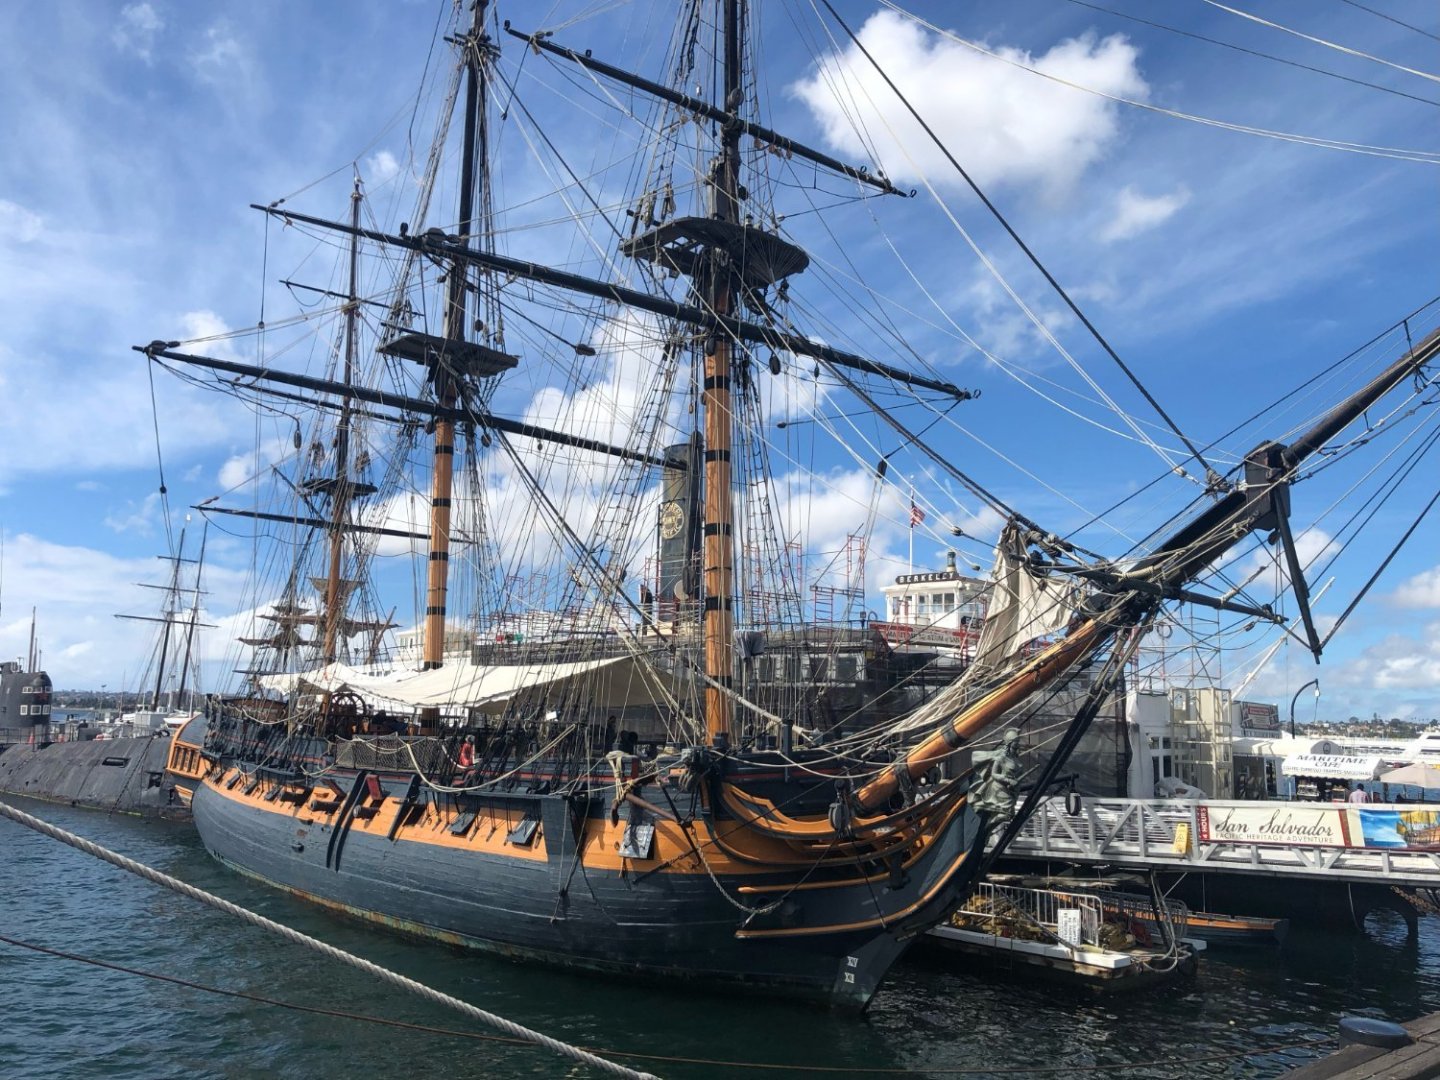
Nothing can be finer than being in the Carolinas in the morning. Another sort of historical note. My favorite age of sail movie, besides Hornblower, is Master and Commander Far side of the world. When I was at a conference there in 2019 the HMS Surprise used in the movie ( a converted ship) is docked in San Diego at the maritime museum. Looks great and you can join the ship community keeping it fixed and I believe they actually take it out (it does have an engine). The gun deck looks goo from the outside but inside it is not one level space but actually 2 raised steps for the cannons with an alley in between. Wonder how much they spent to make such an accurate and functional ship. Behind it is a soviet era diesel sub.
- 233 replies
-
- 4
-
-
- Indefatigable
- Vanguard Models
- (and 1 more)
-
Very interesting. Tried to find current museum ship pics but can't really see due to lighting. I am tempted.
-
I am relying on Chris's research. The plans do not mention any tapering there. Of the other 9 models I have built this was also never described. Thanks for the compliment!
- 233 replies
-
- 3
-
-
- Indefatigable
- Vanguard Models
- (and 1 more)
-
Thanks, just following the instructions and trying to avoid the mistakes of my youth.
- 233 replies
-
- 1
-
-
- Indefatigable
- Vanguard Models
- (and 1 more)
-
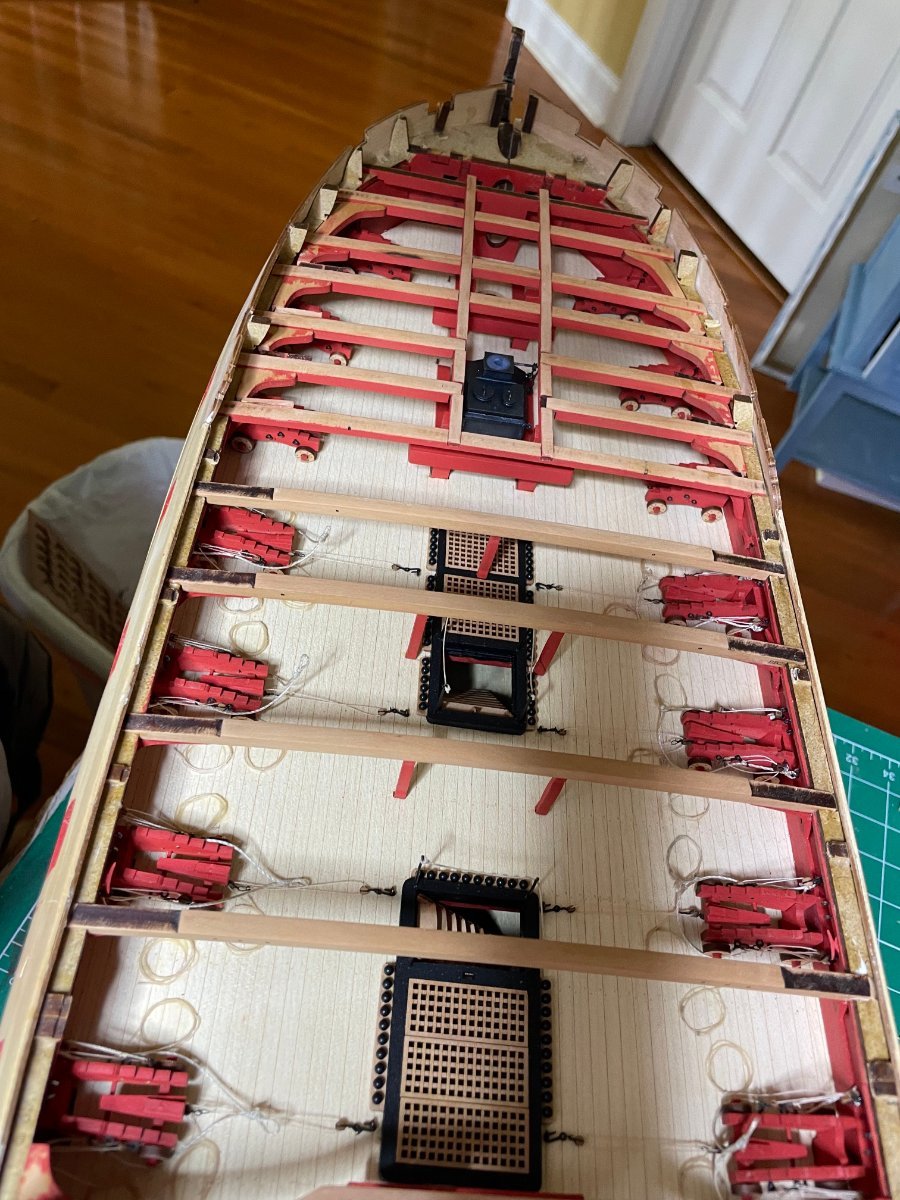
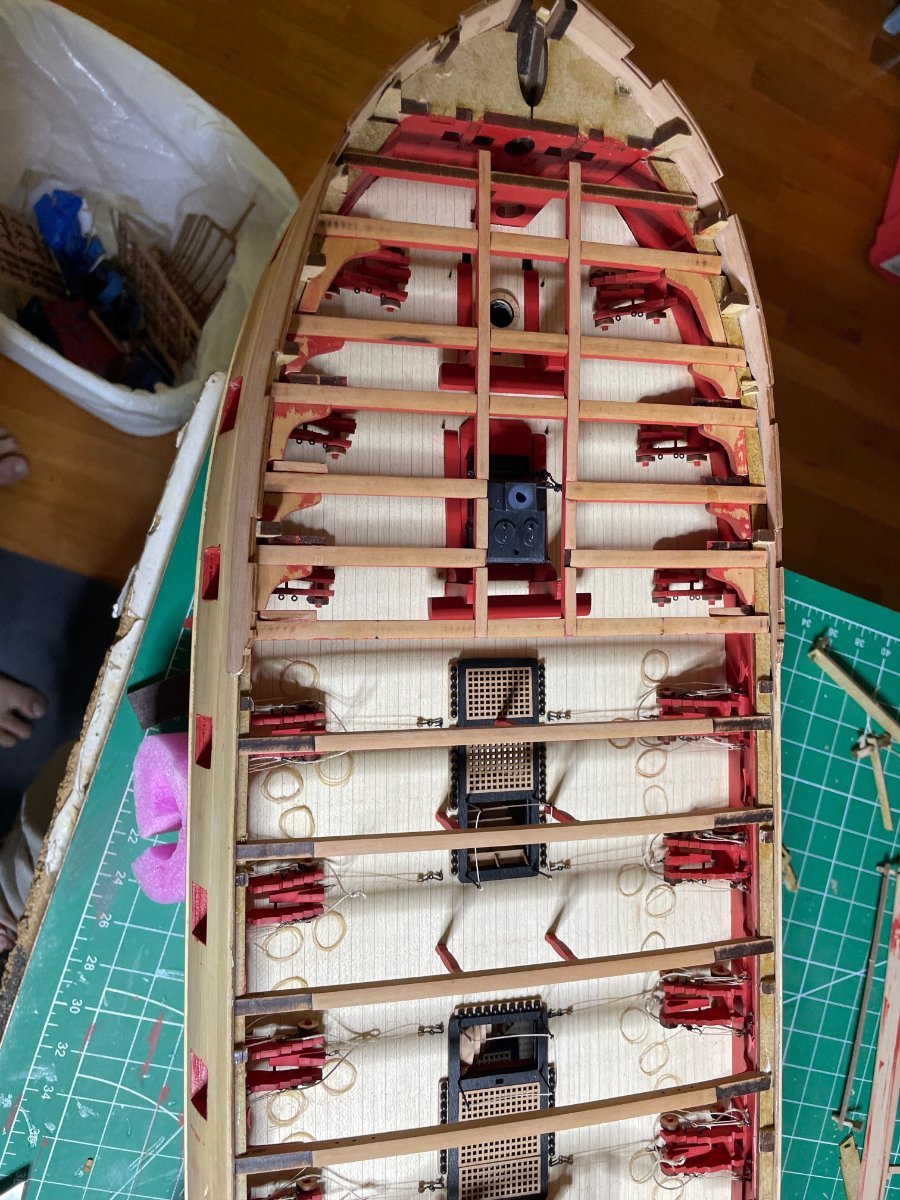
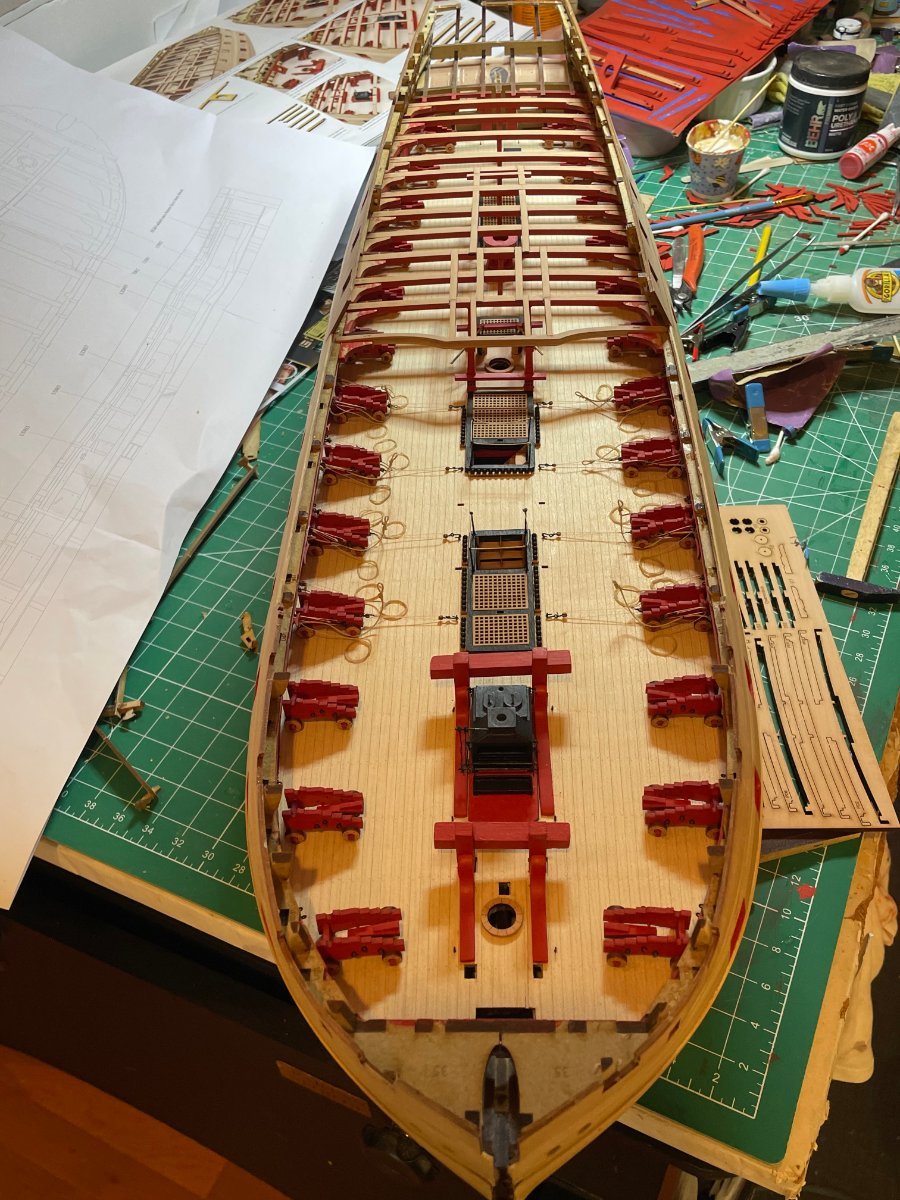
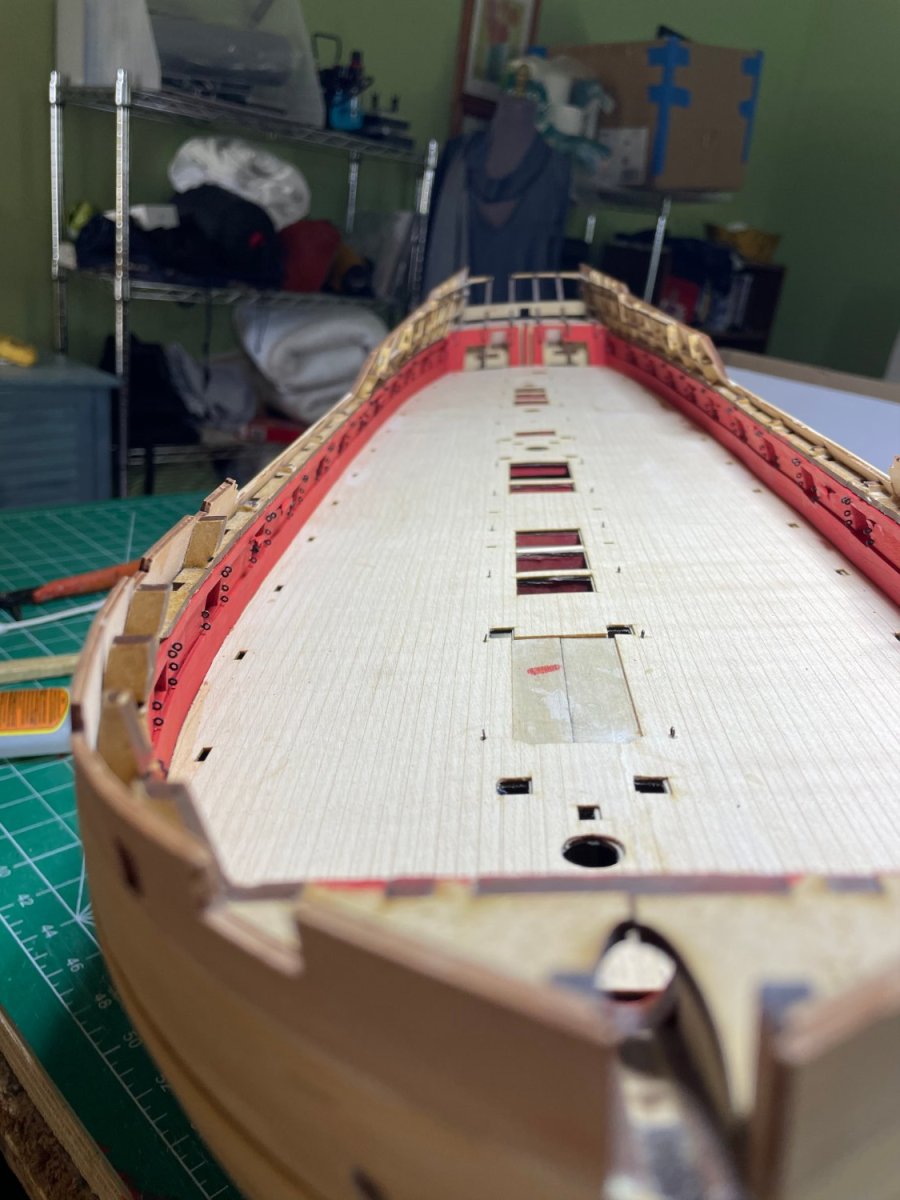
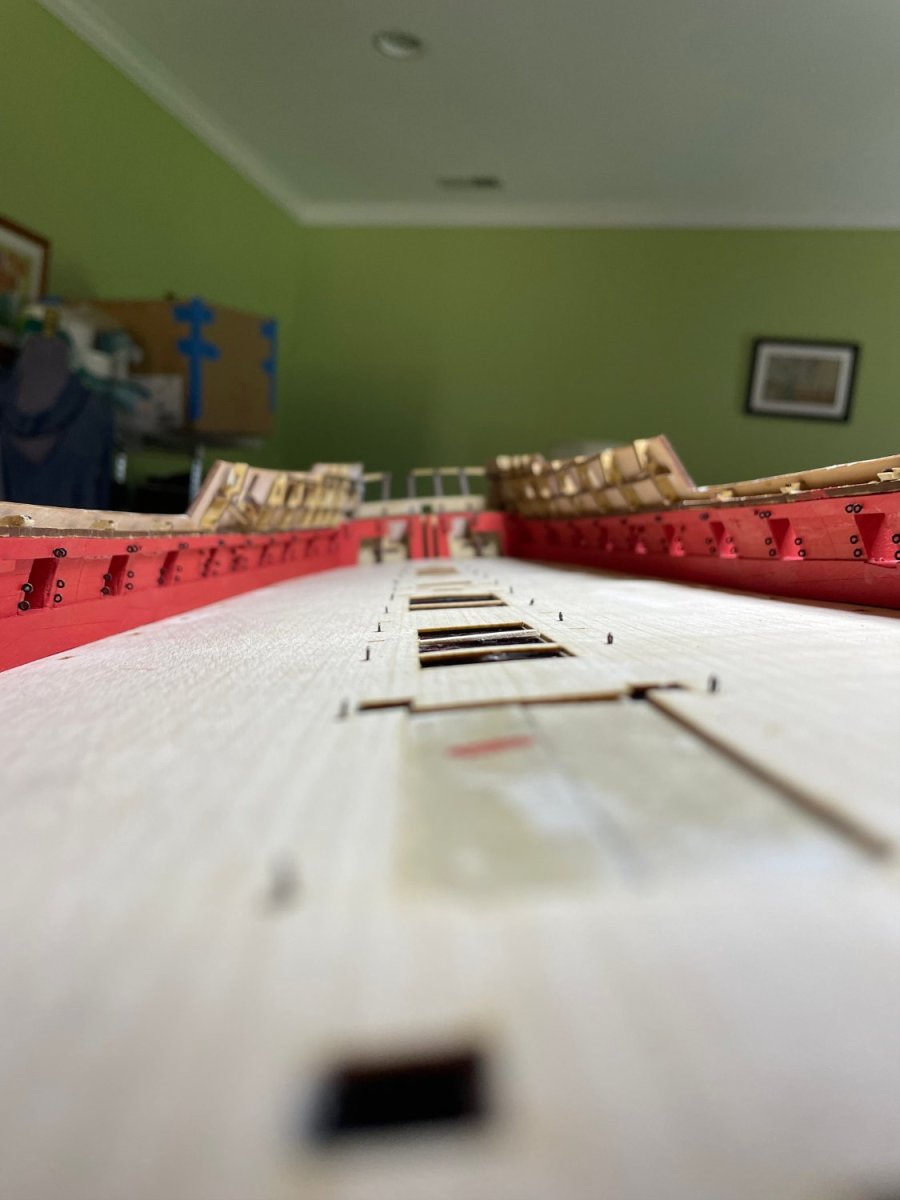
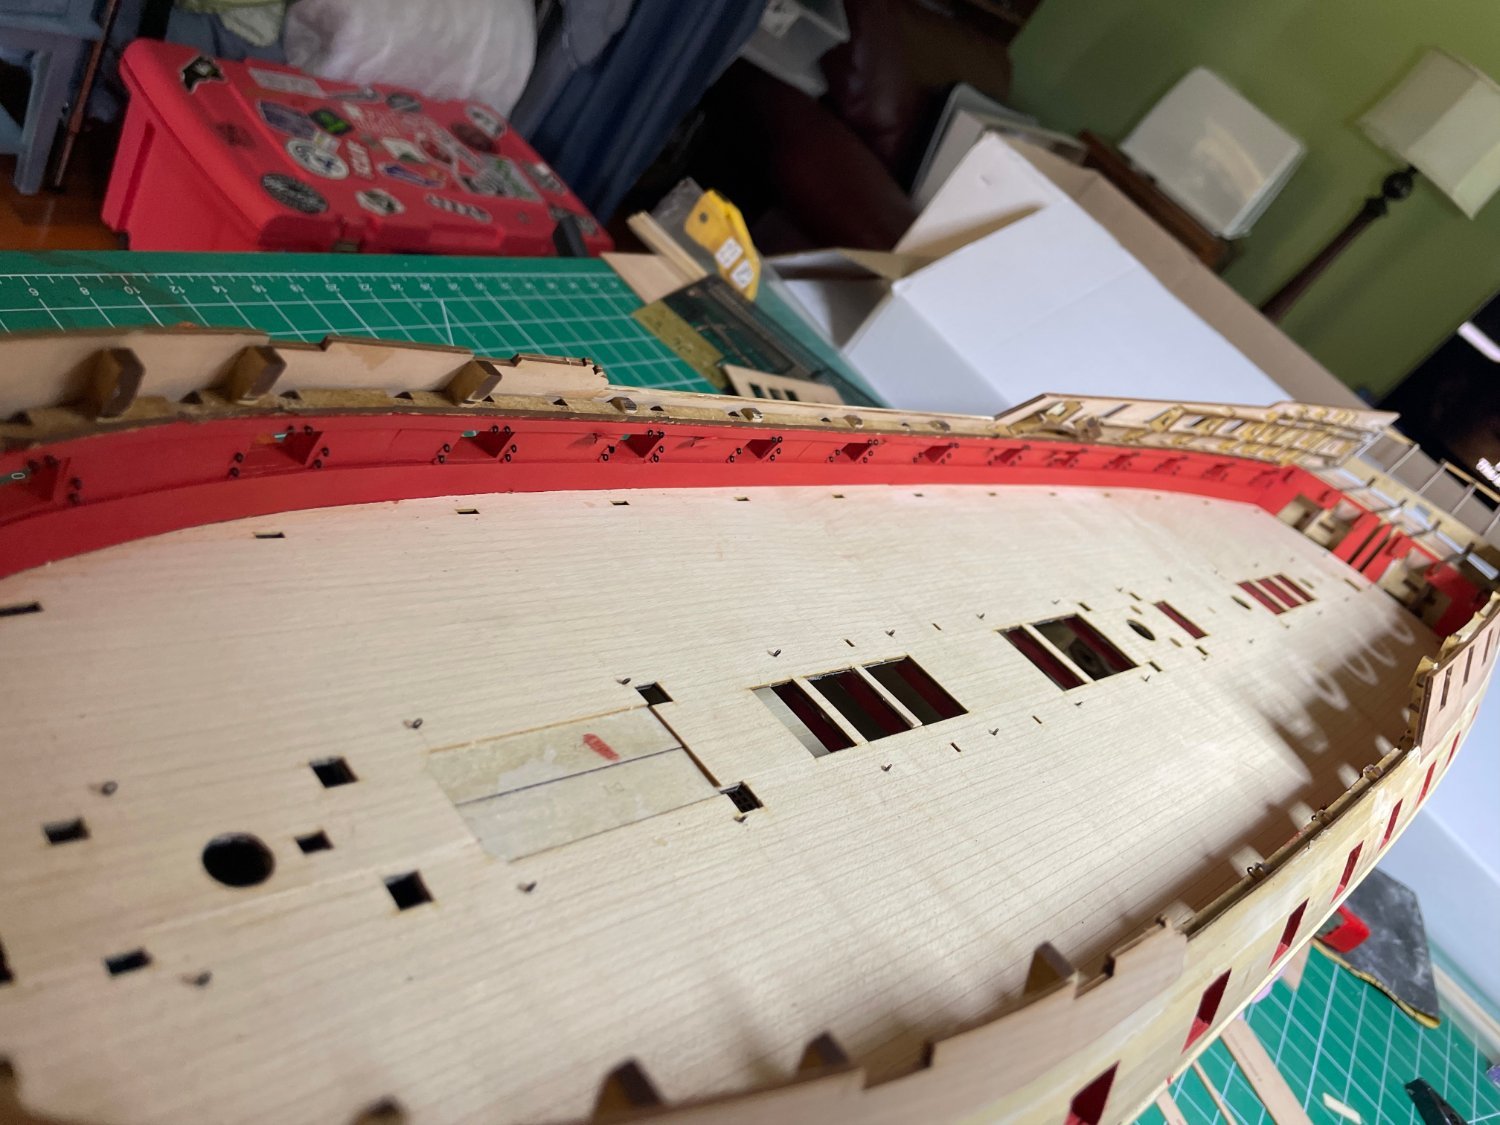
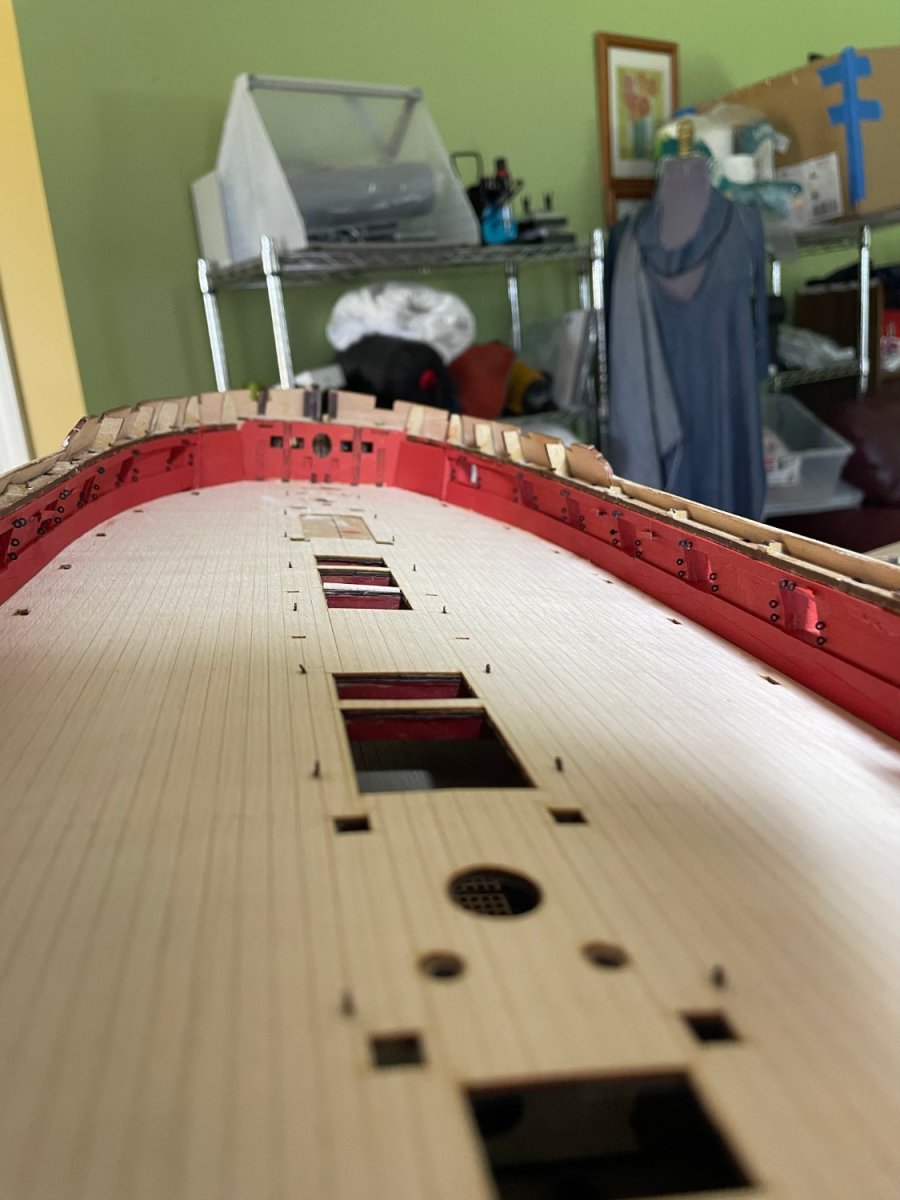
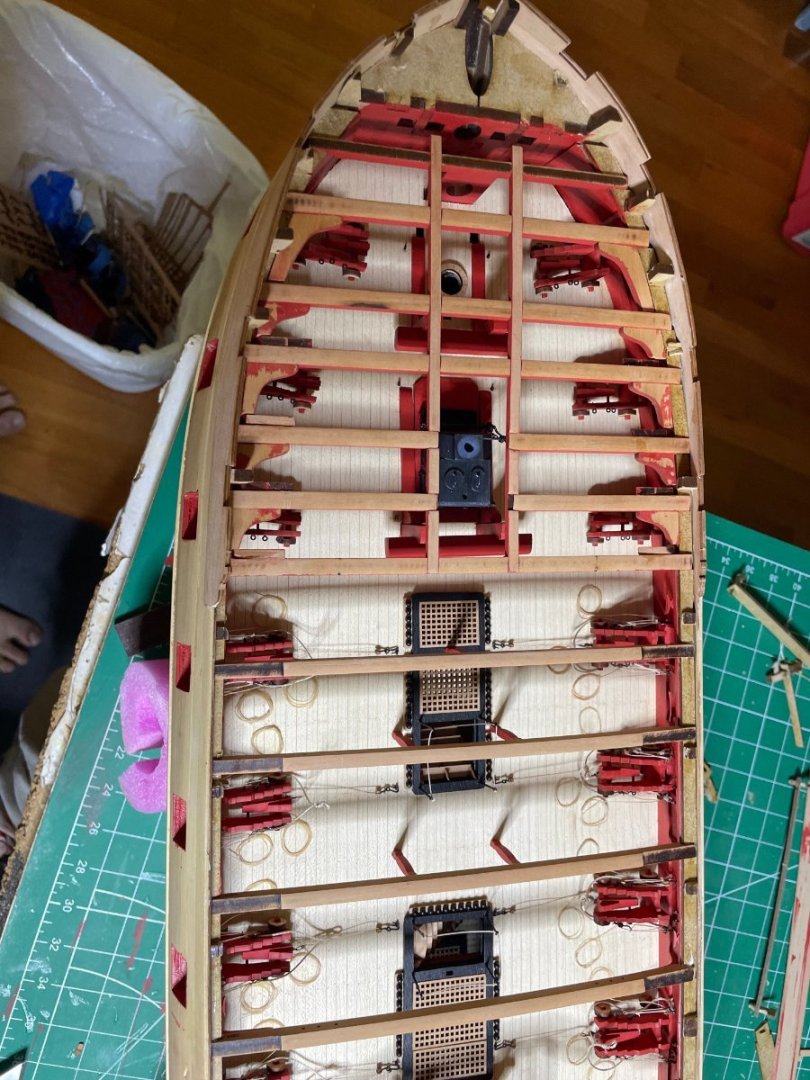
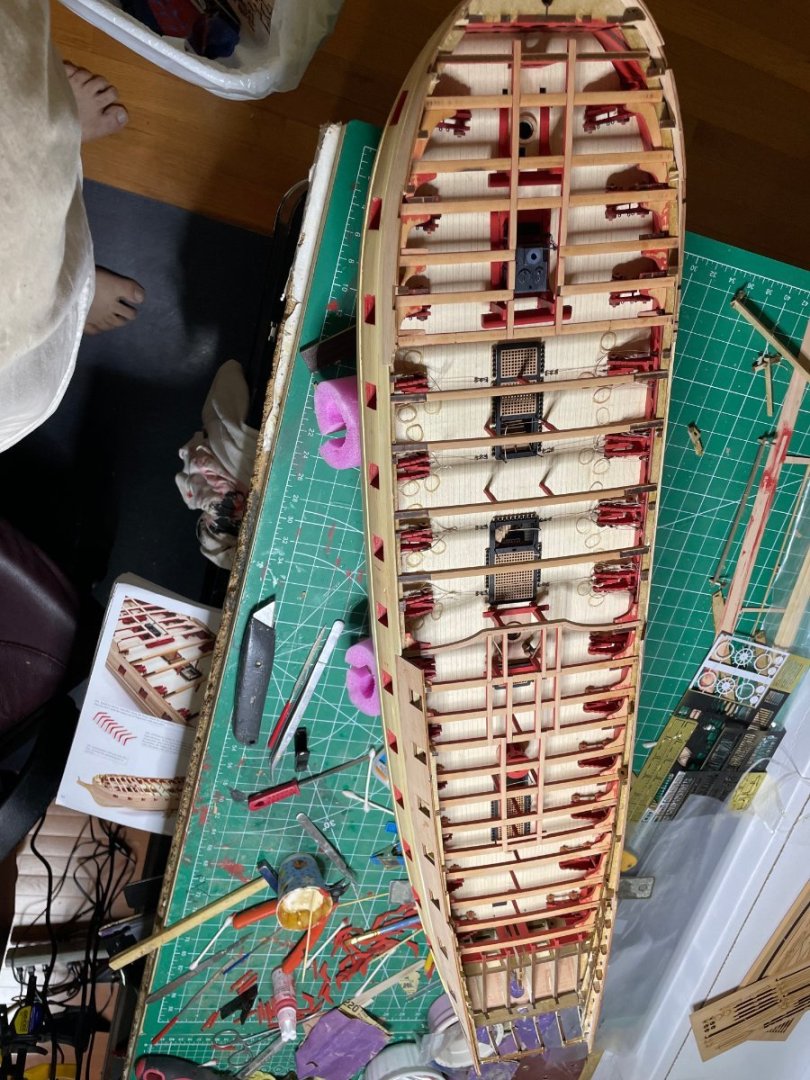
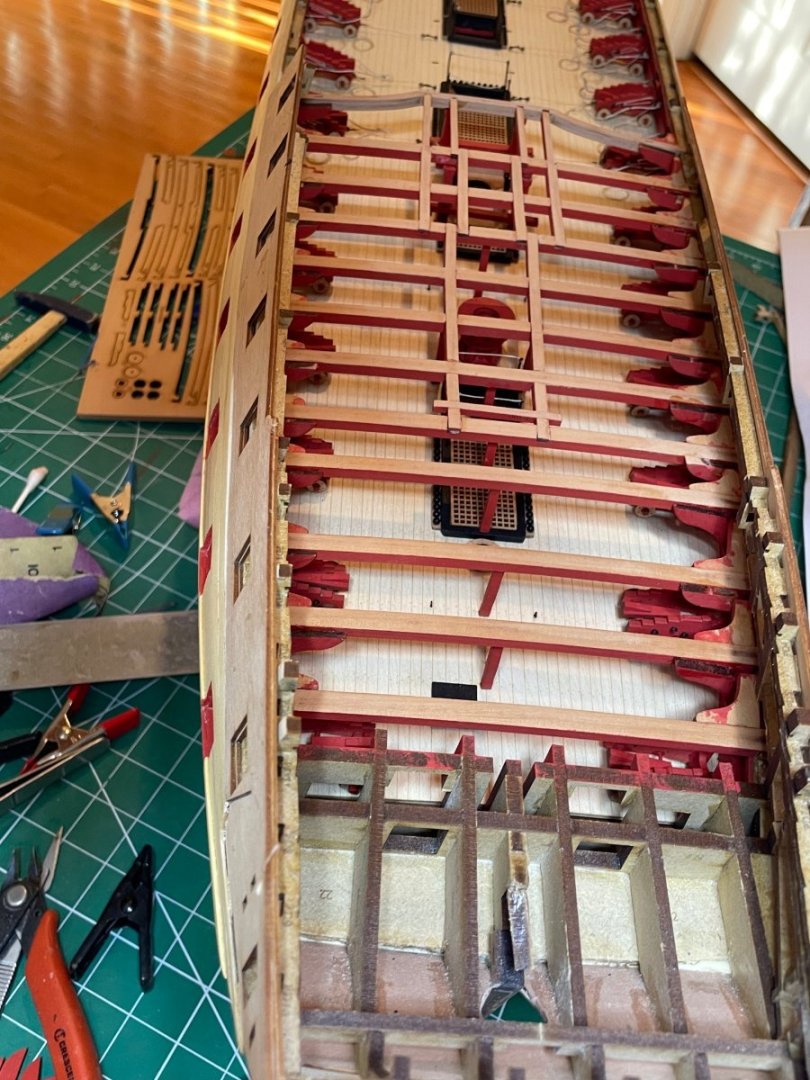
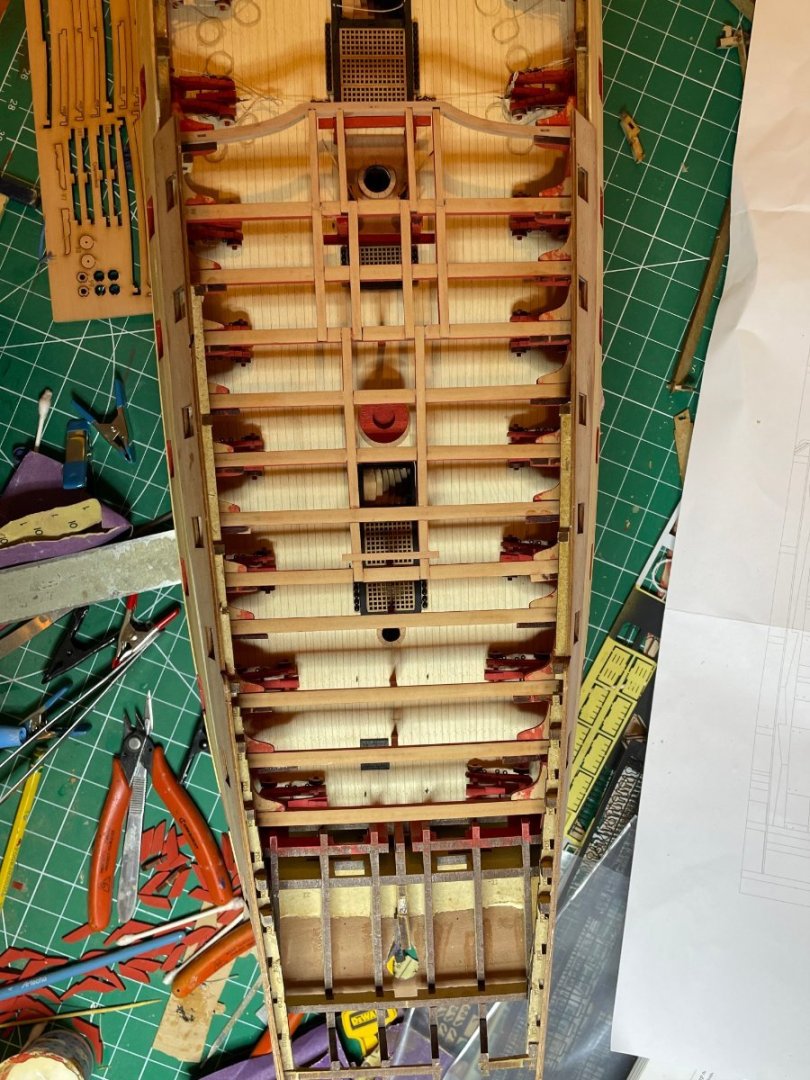
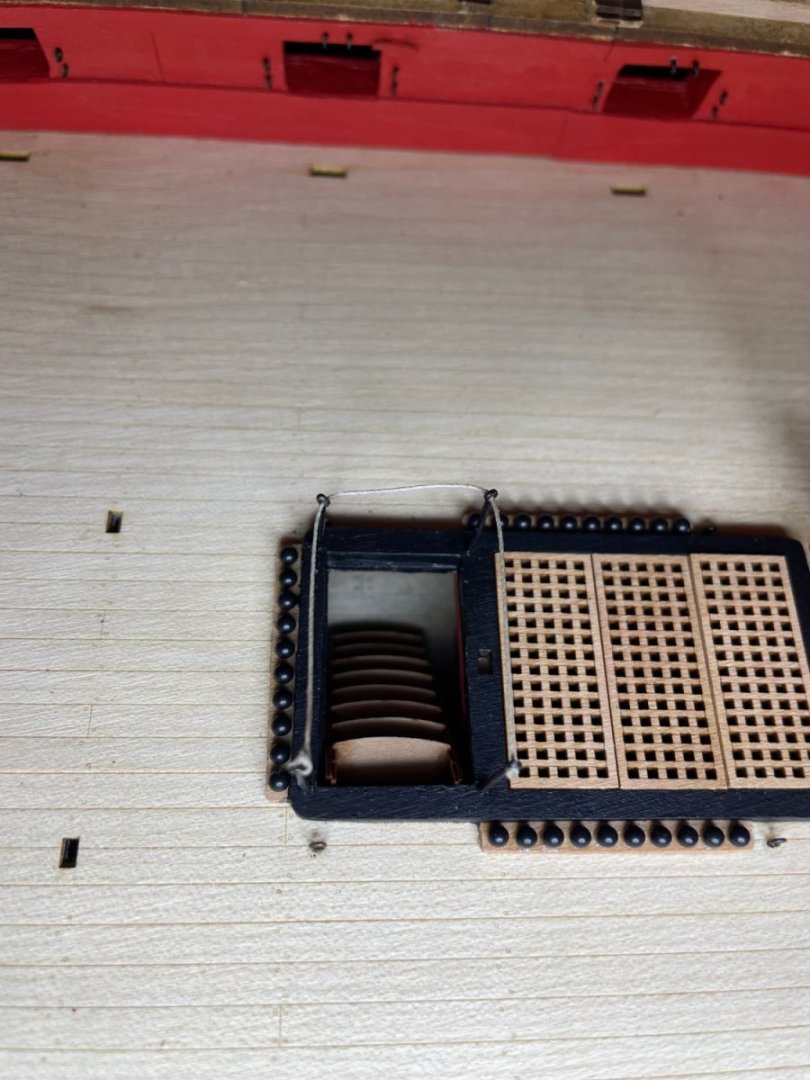
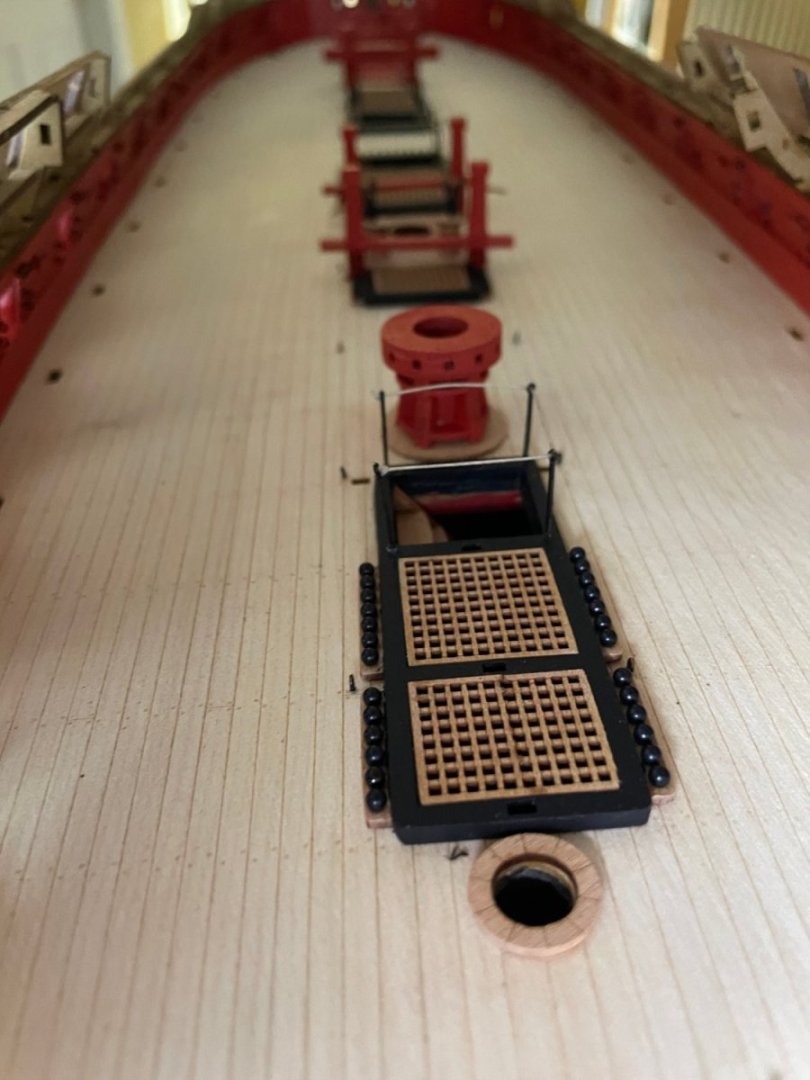
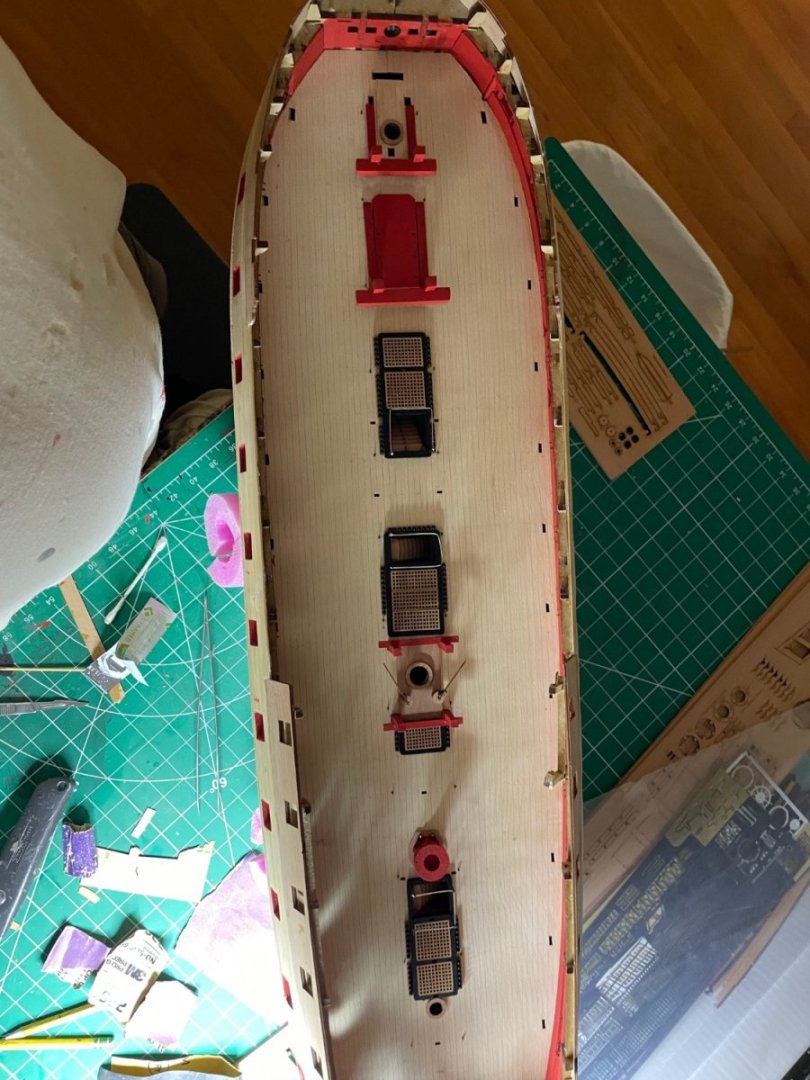
After 182 eyebolts, the gundeck lined, painted and bolts in. Everything fit nicely.


- 233 replies
-
- 7
-
-
- Indefatigable
- Vanguard Models
- (and 1 more)
-
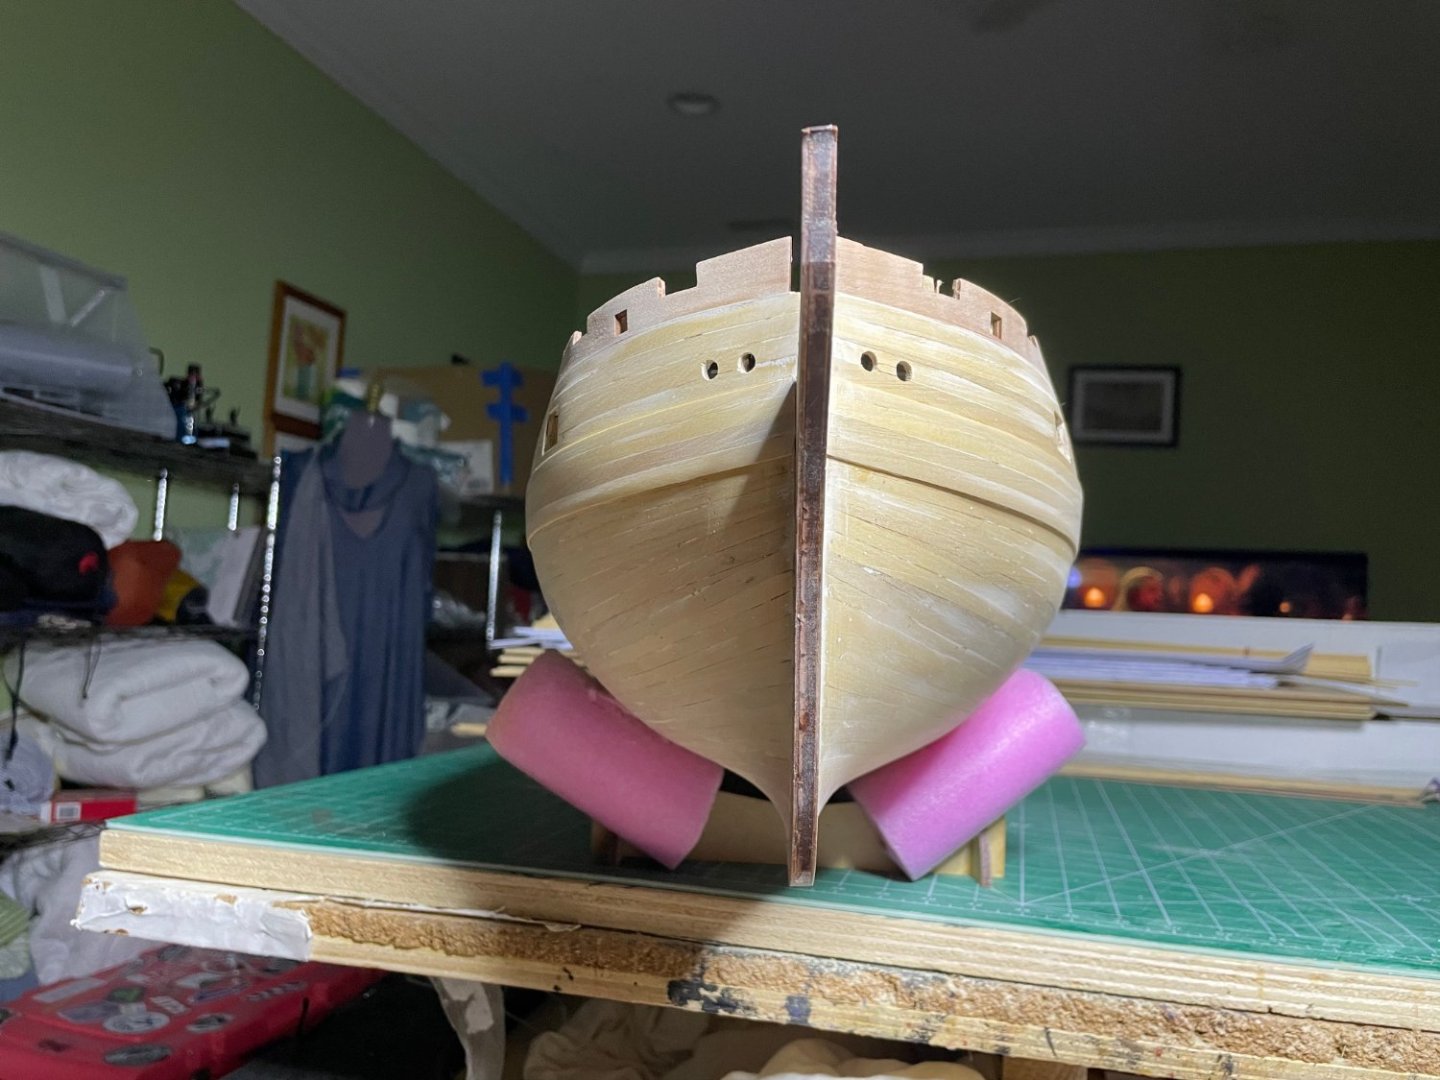
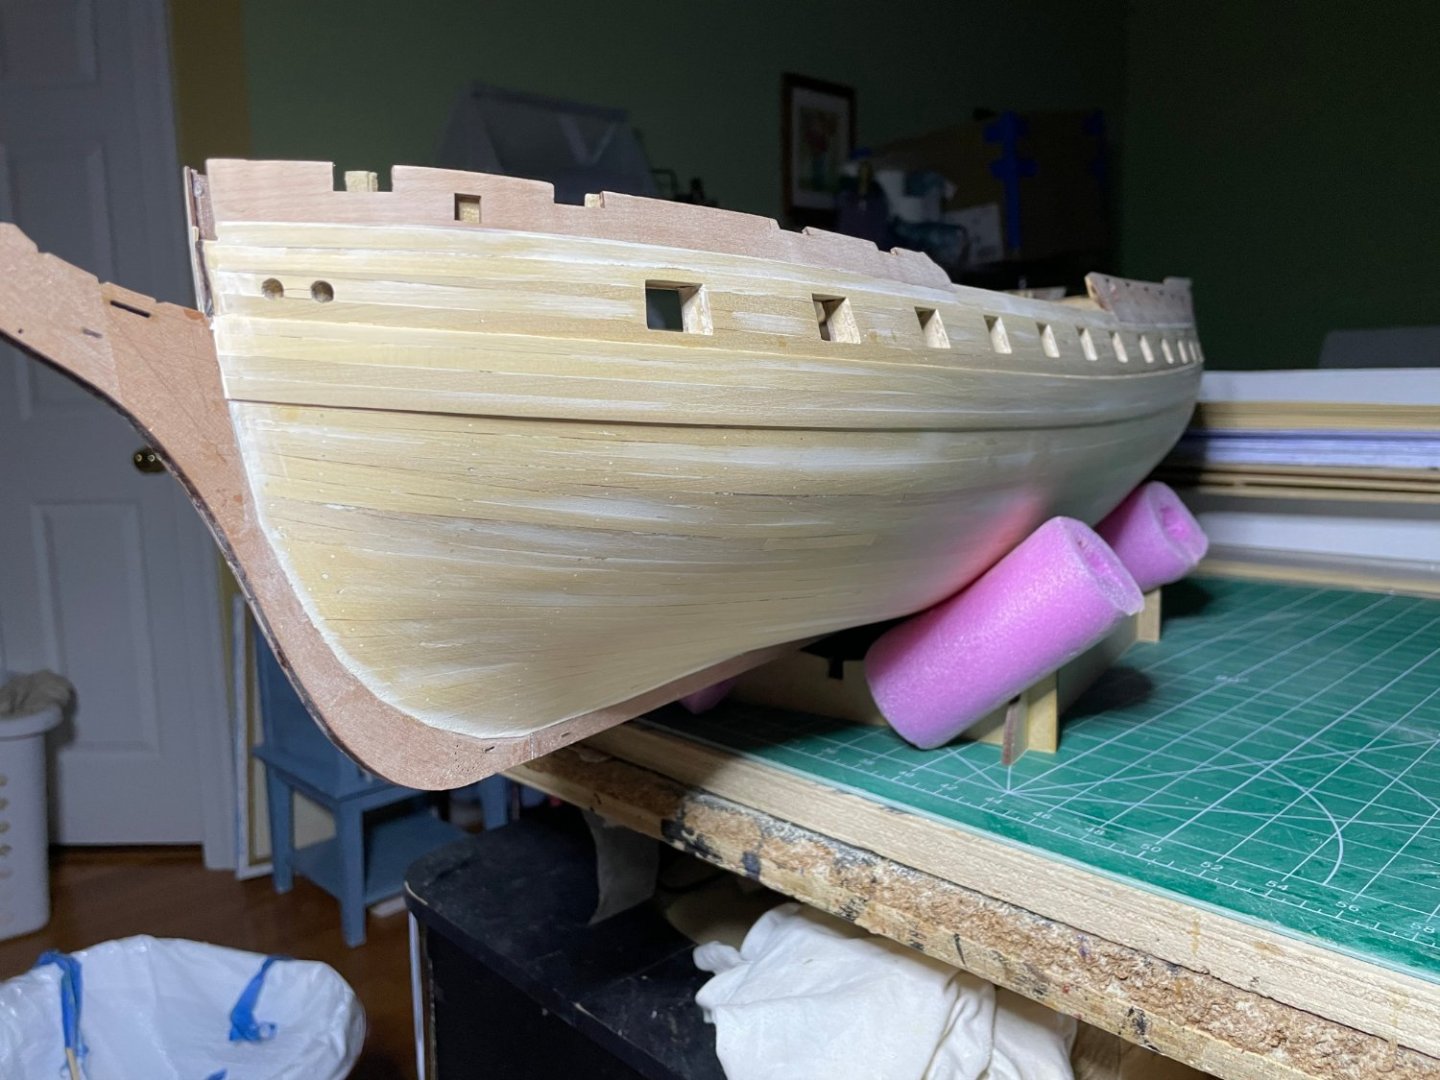
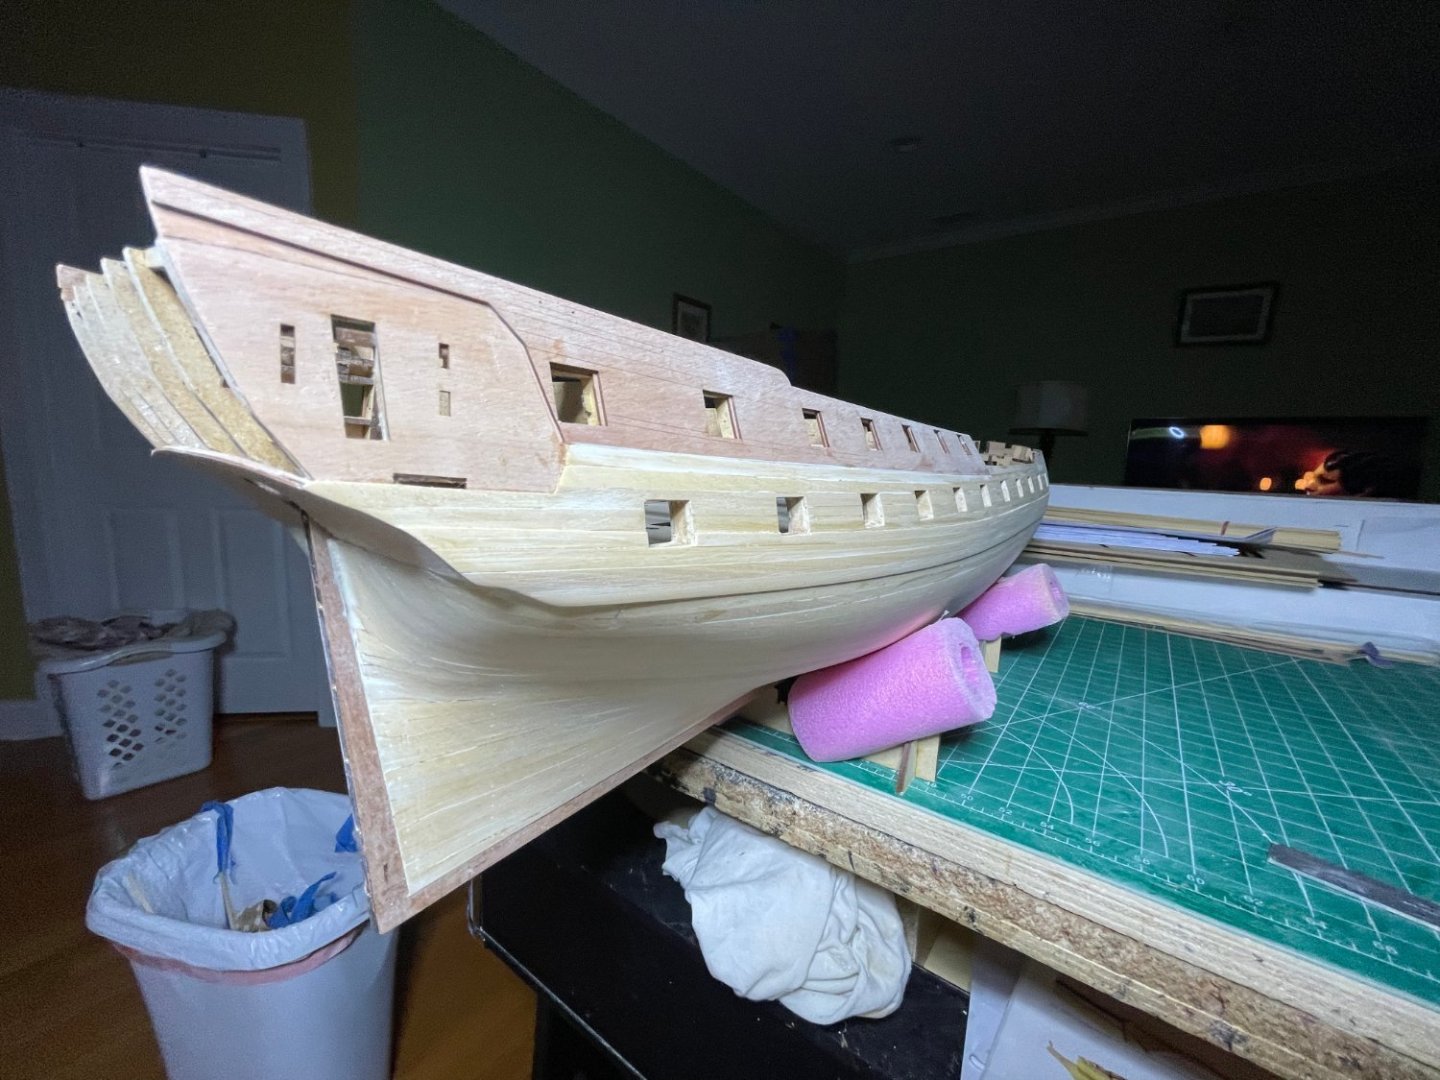
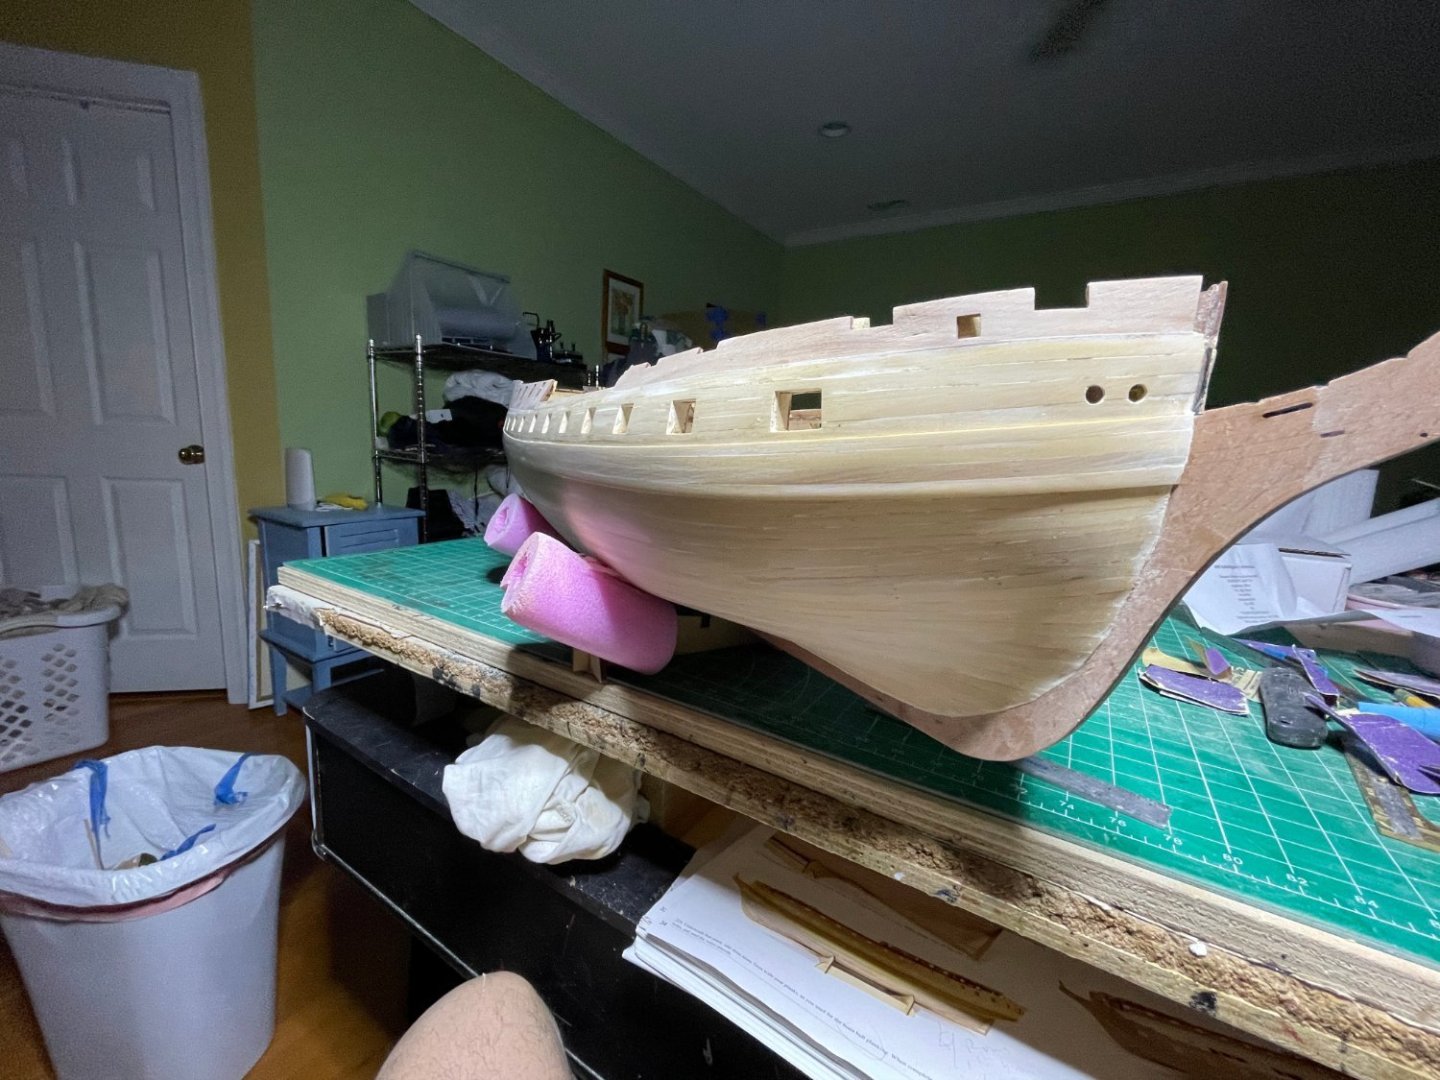
Okay, last post for the day. Hull and wales filled and sanded. Smooth as can be.
- 233 replies
-
- 6
-
-
- Indefatigable
- Vanguard Models
- (and 1 more)
-
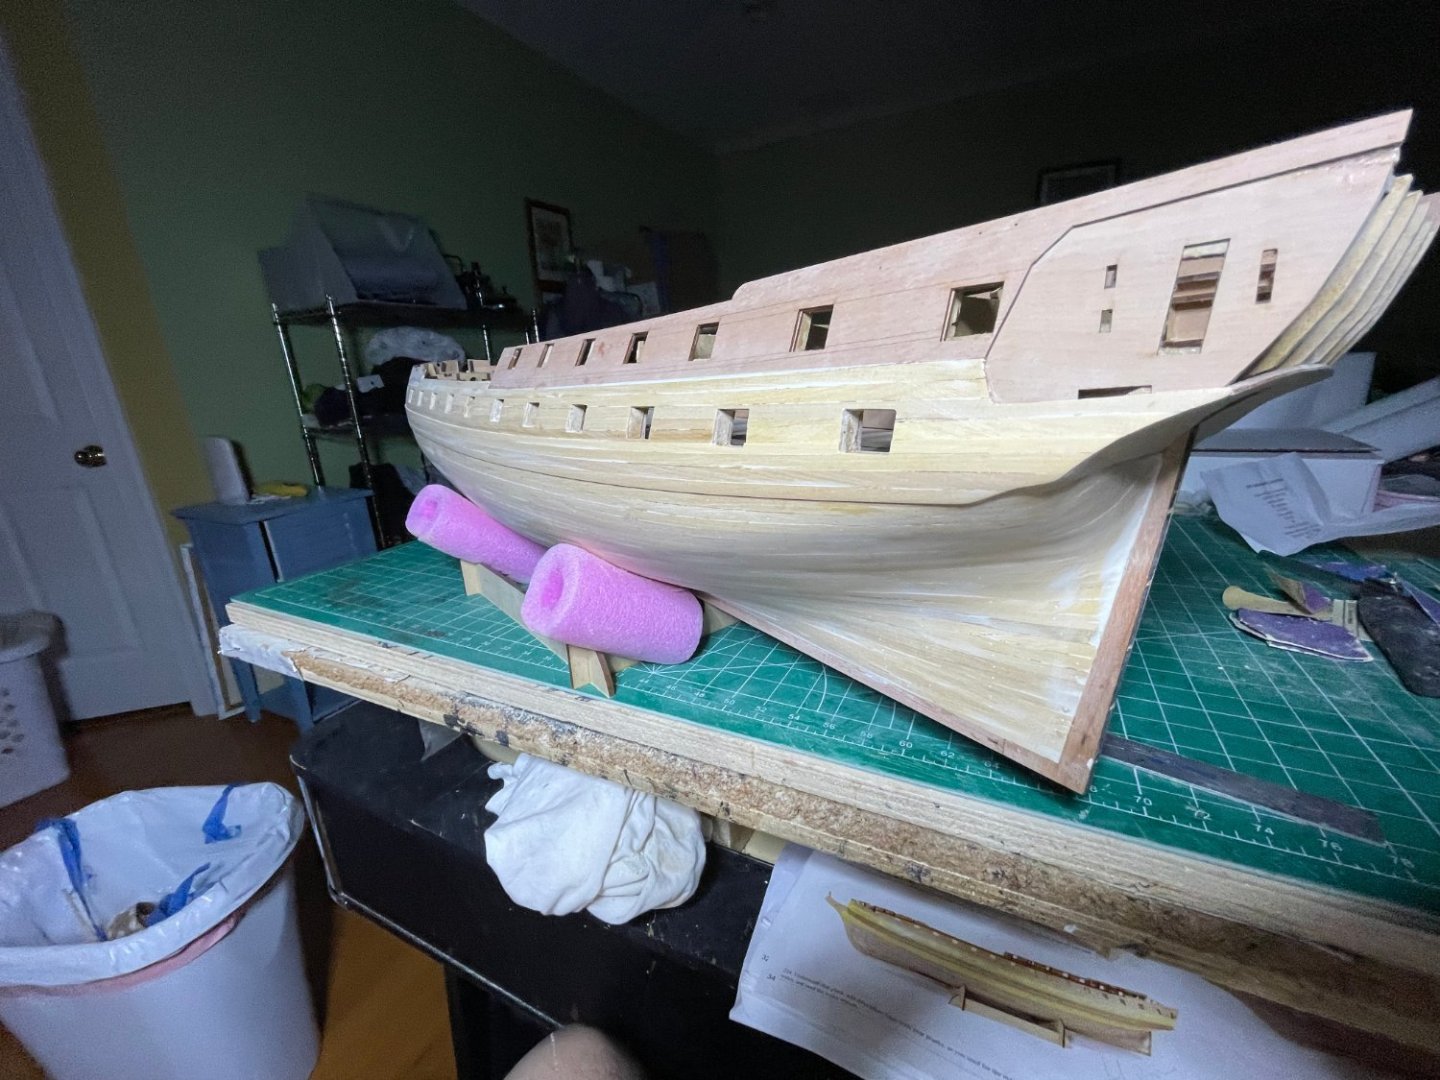
Second planking I think you meant to say. Boy, one step in the instruction took awhile to do. Now can make more noticeable progress.
- 233 replies
-
- 2
-
-
- Indefatigable
- Vanguard Models
- (and 1 more)