HOLIDAY DONATION DRIVE - SUPPORT MSW - DO YOUR PART TO KEEP THIS GREAT FORUM GOING! (Only 20 donations so far - C'mon guys!)
×
Rock_From_Korea
-
Posts
310 -
Joined
-
Last visited
Content Type
Profiles
Forums
Gallery
Events
Everything posted by Rock_From_Korea
-
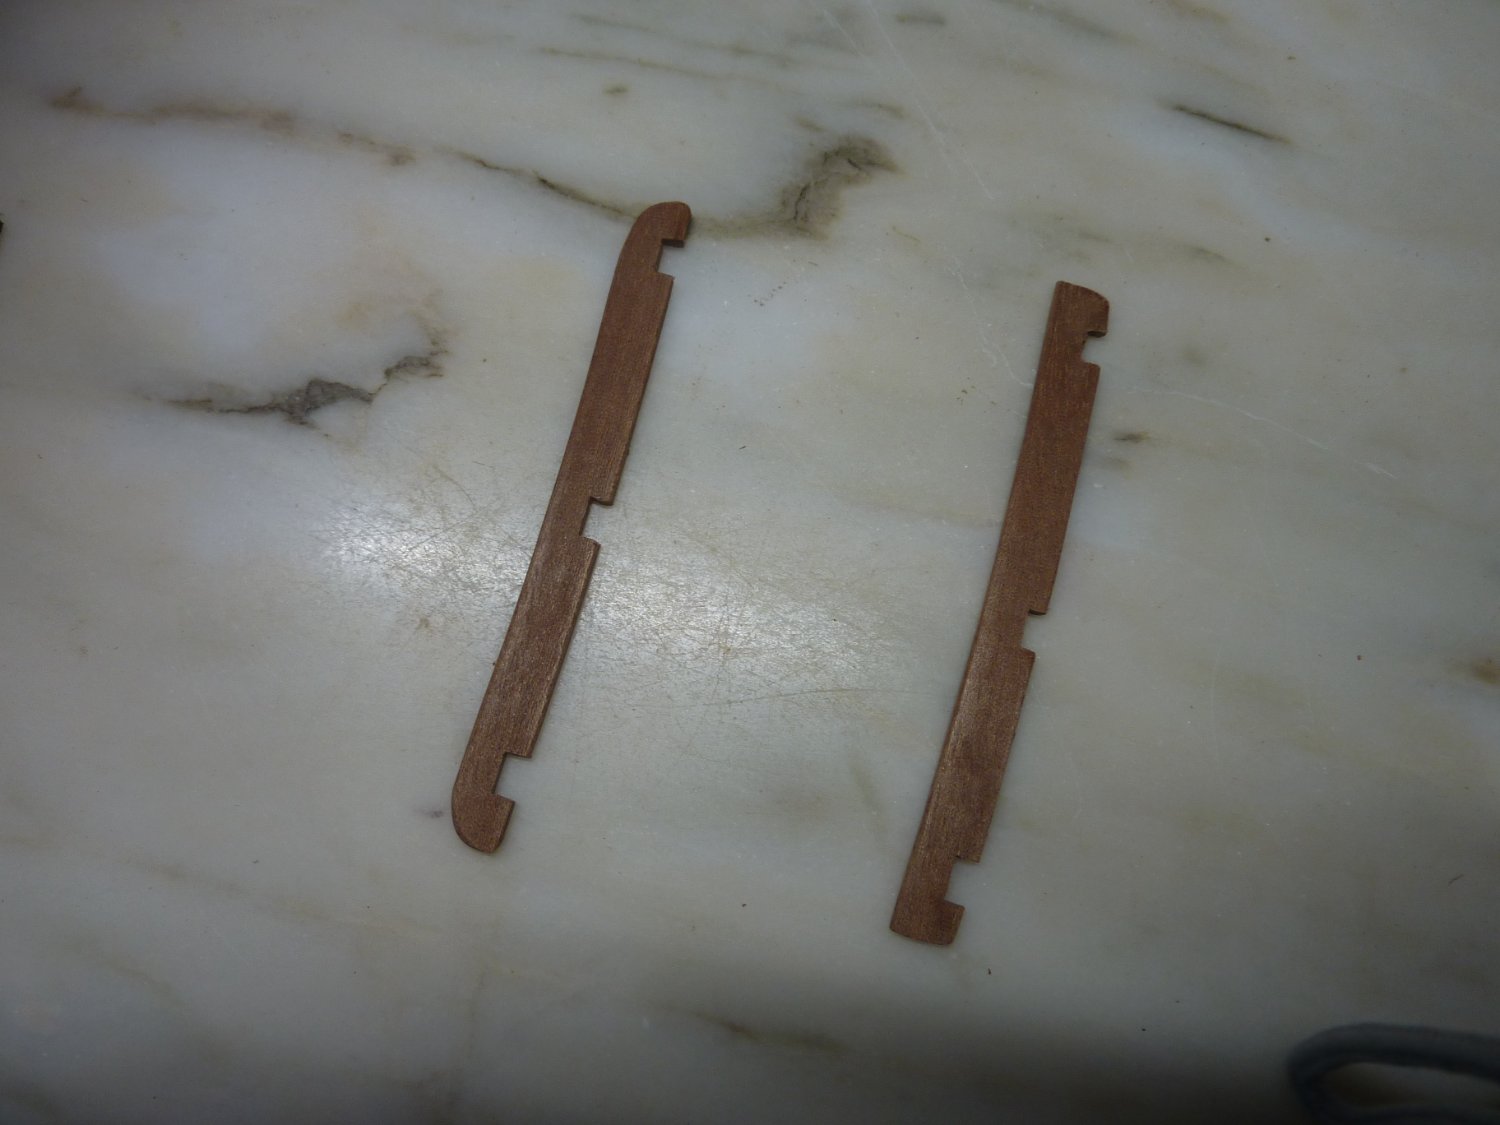
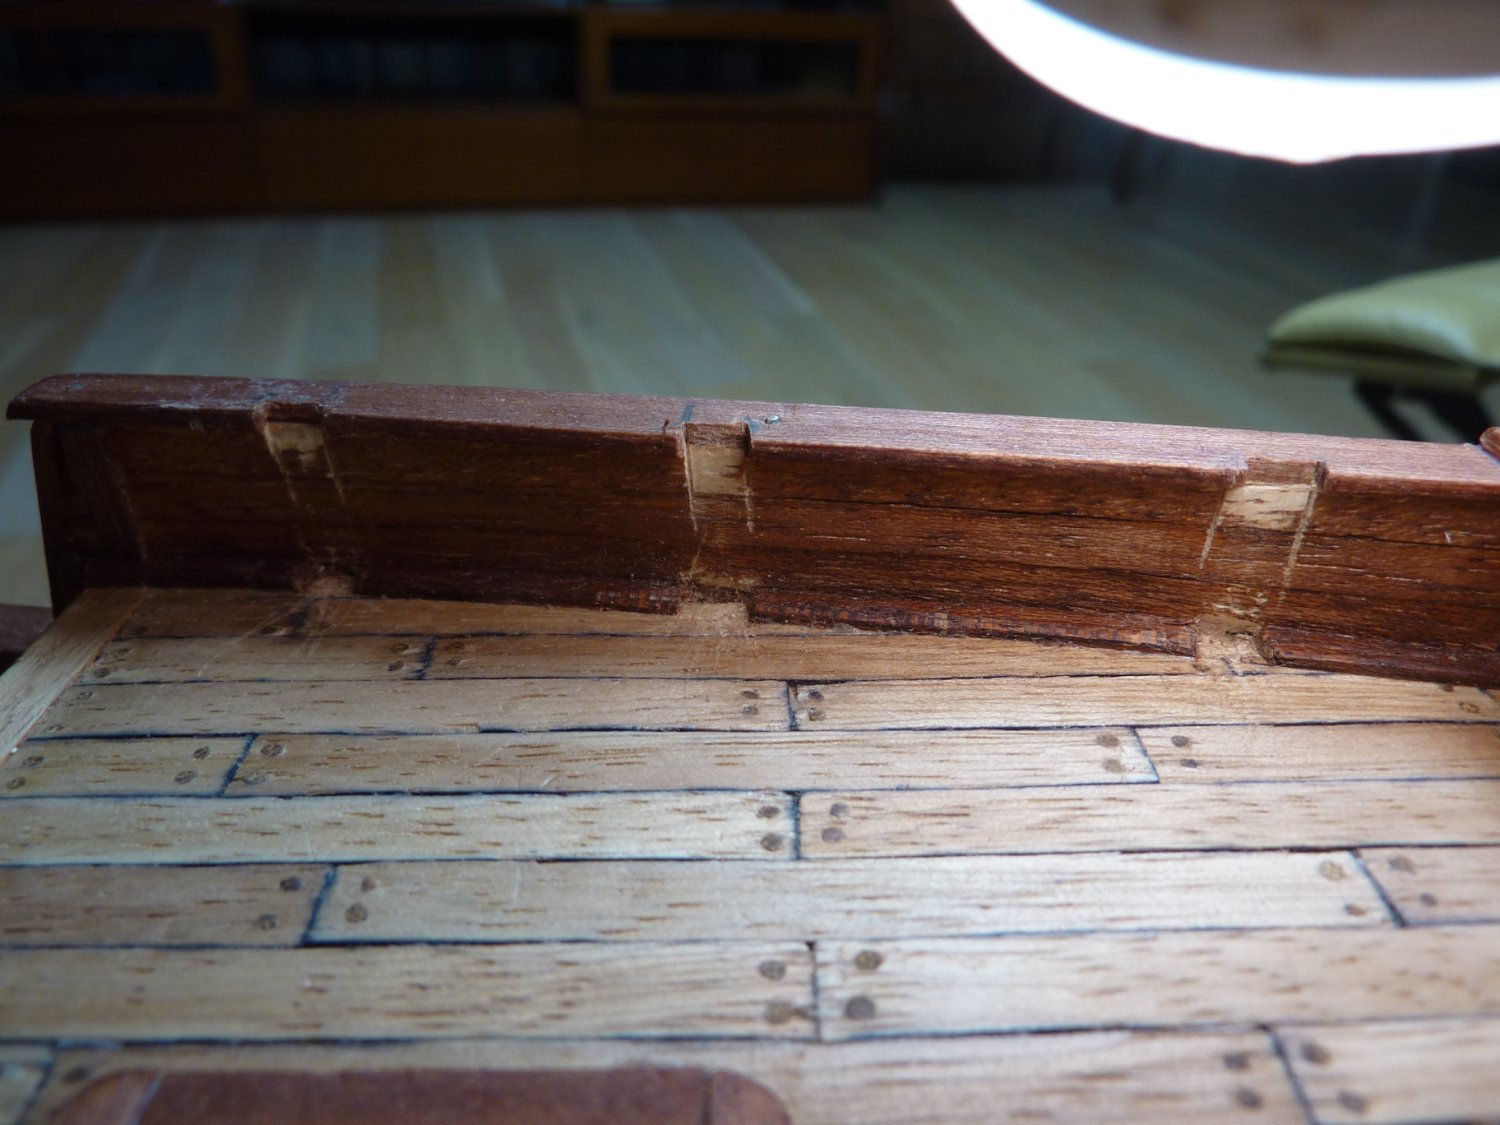
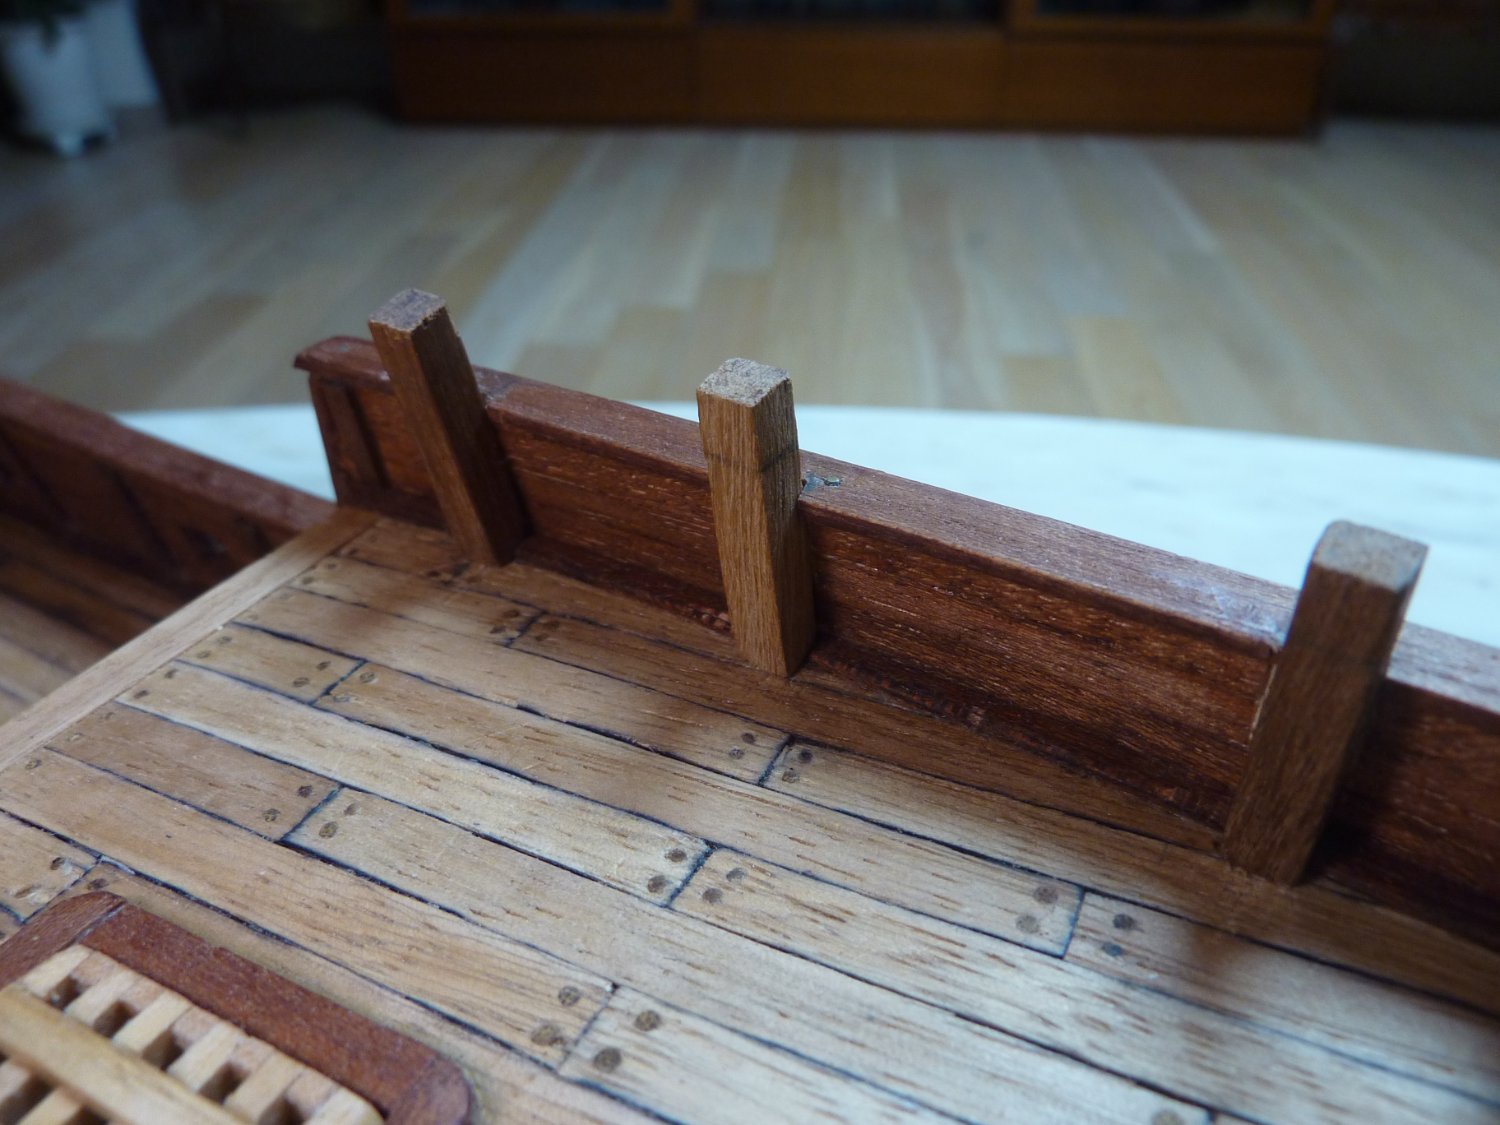
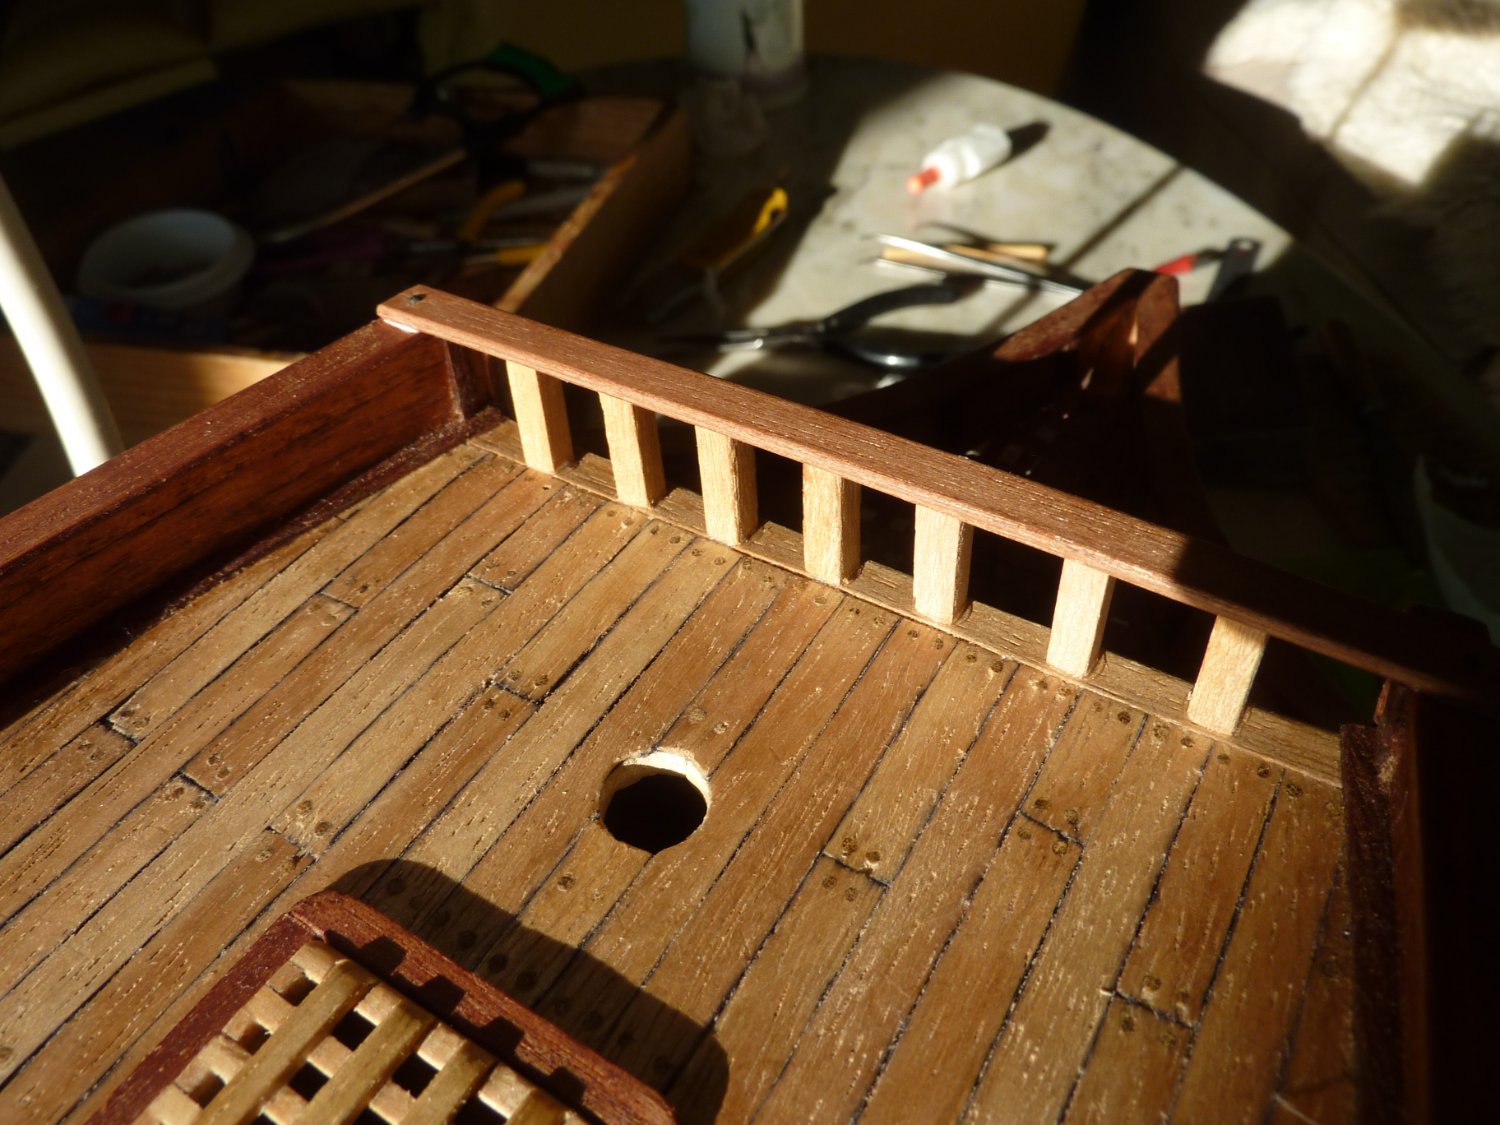
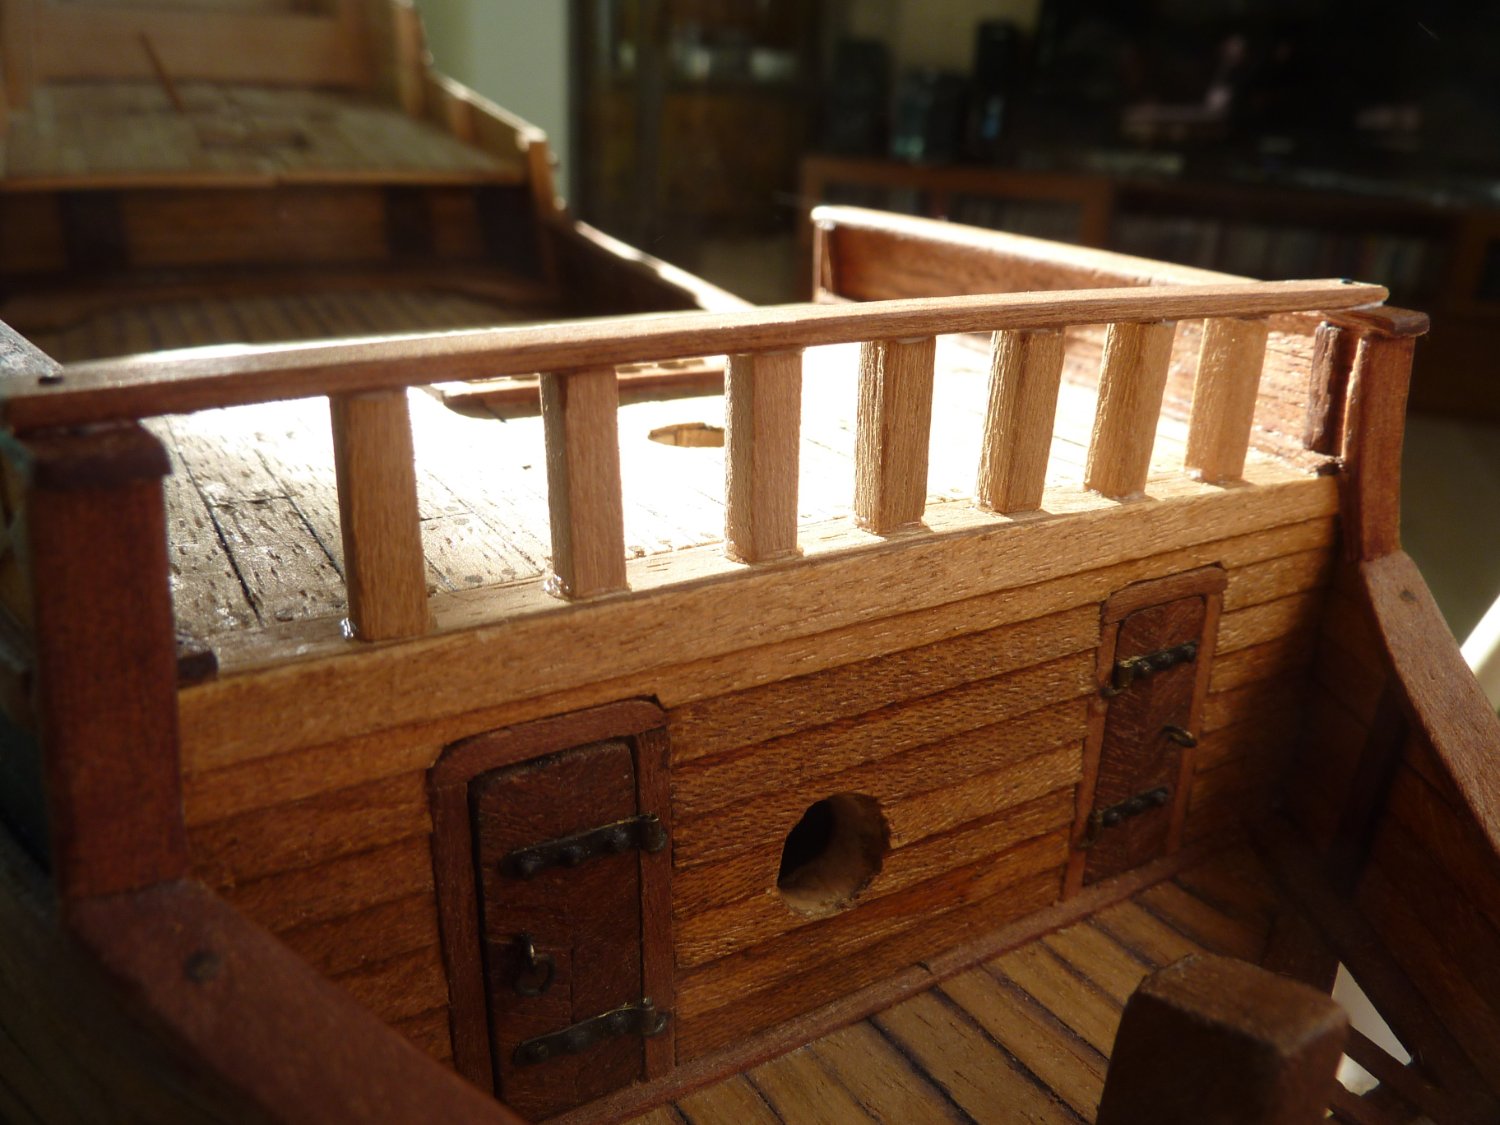
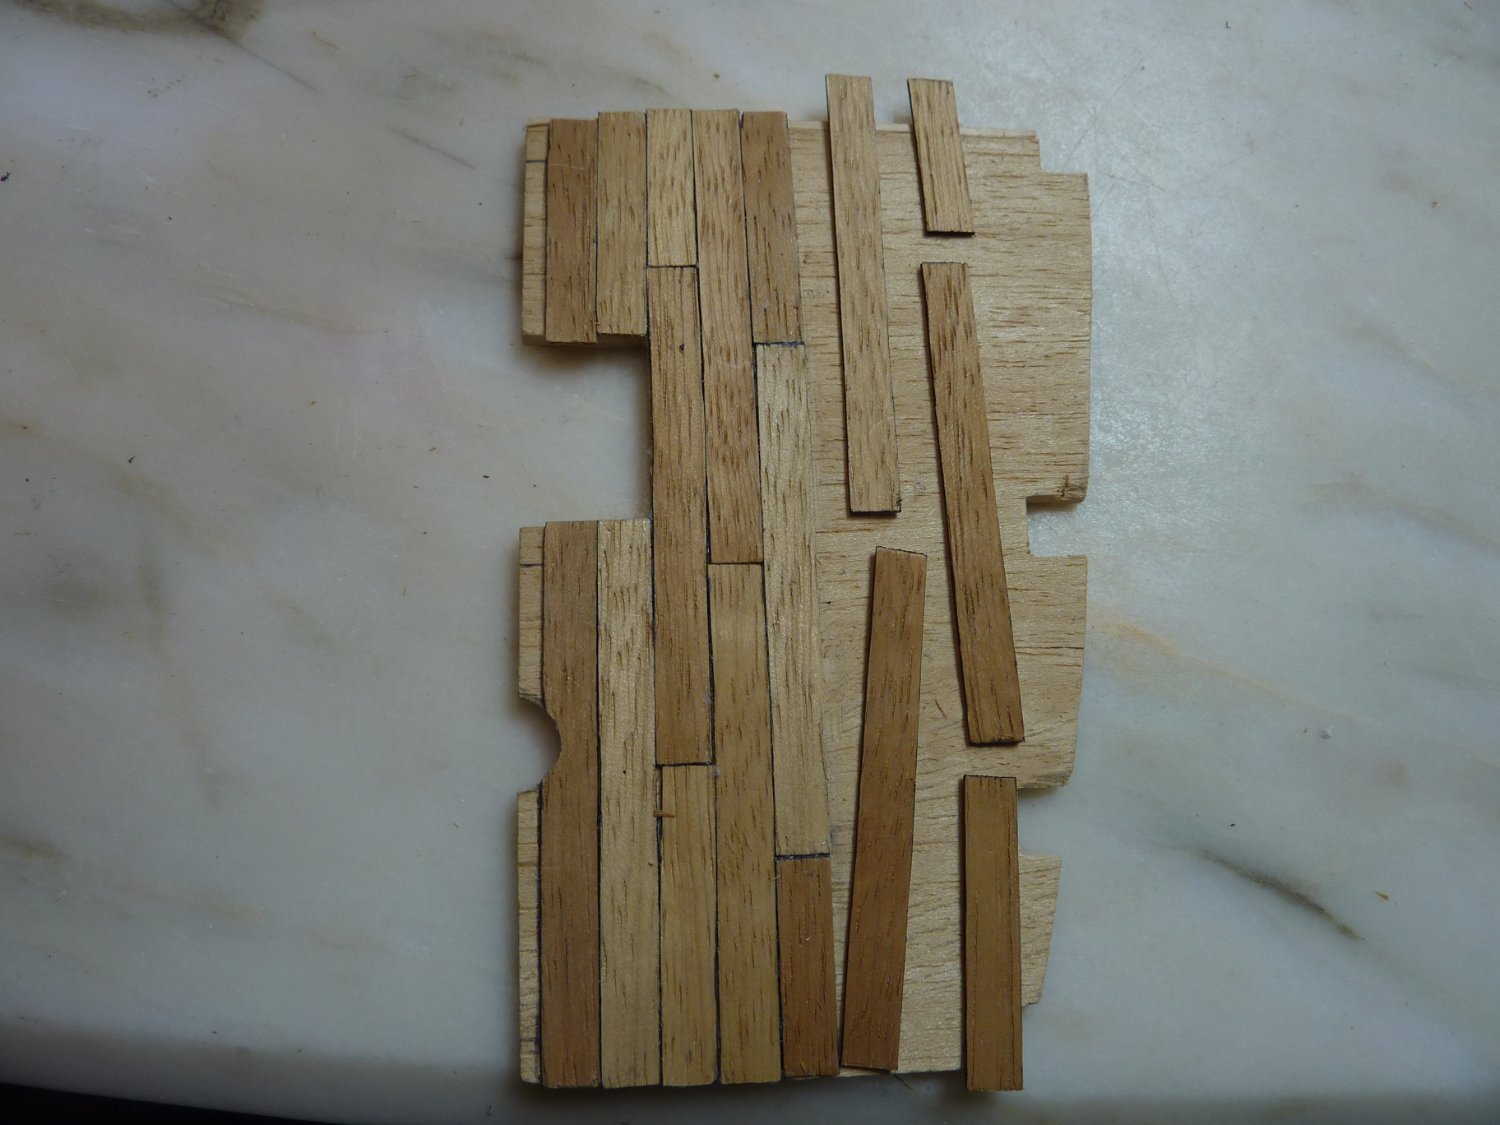
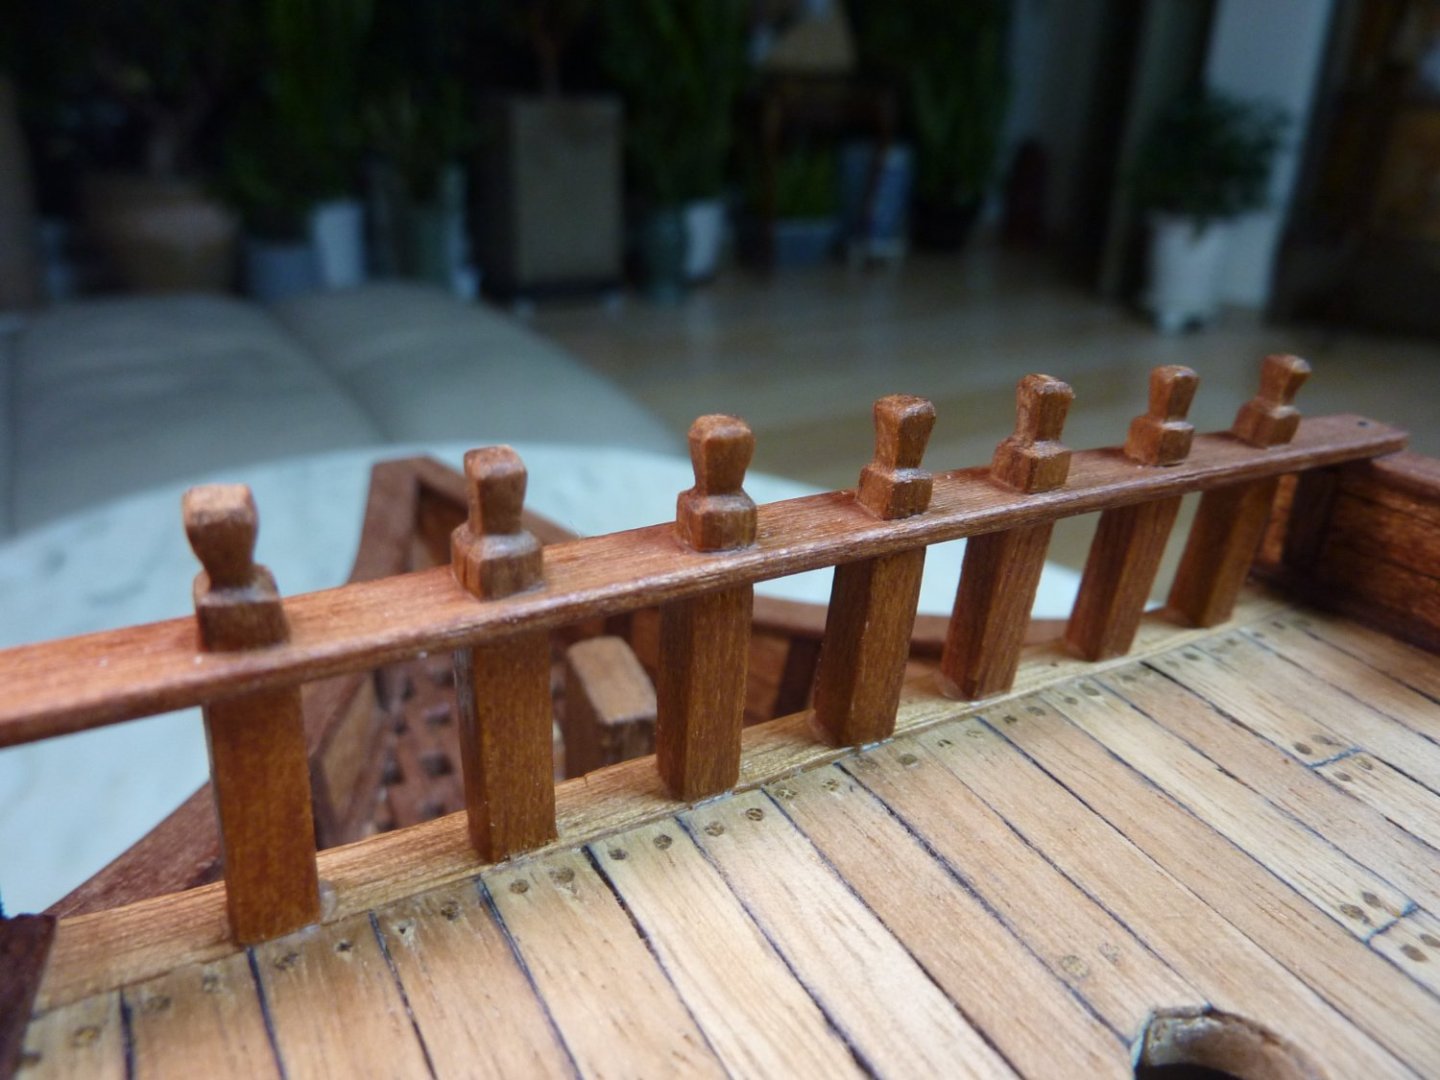
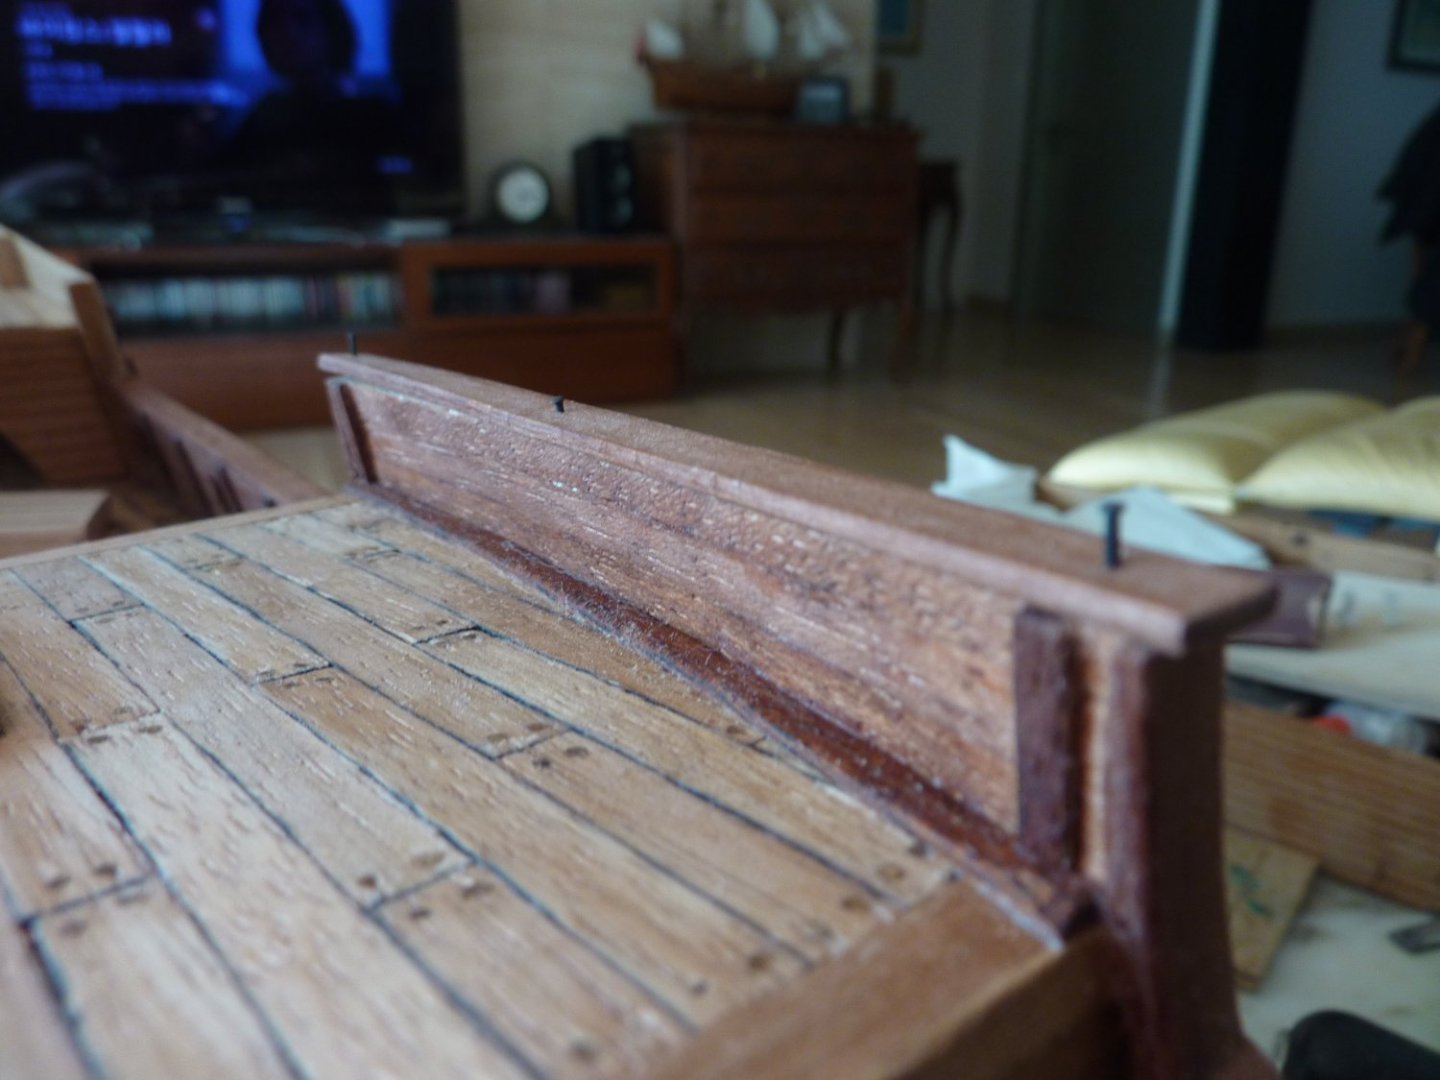
 Hi All, Continued working on the forecastle area - belaying pins, pin rack and halyard knighthead. First the pin rack rail is done - laminated hardwood sheets cut according to the contours of the rail and then laminated.
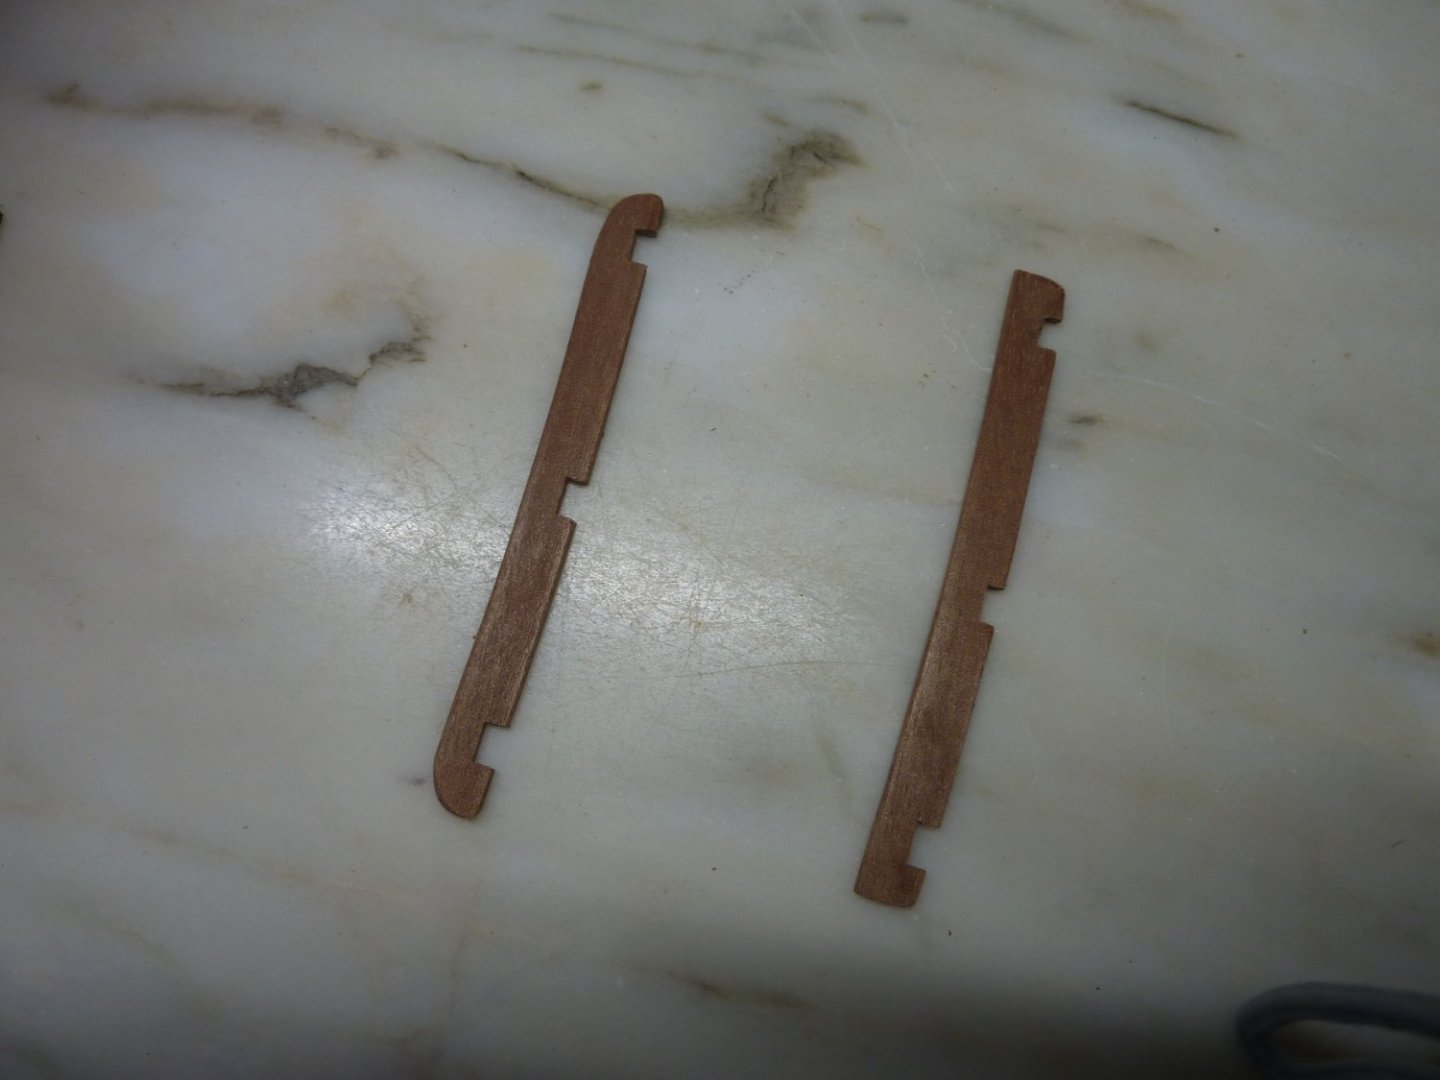


-
Thanks very much, Alan! Still a long way to go~
-
Thanks very much for the encouragement, Gus!
-
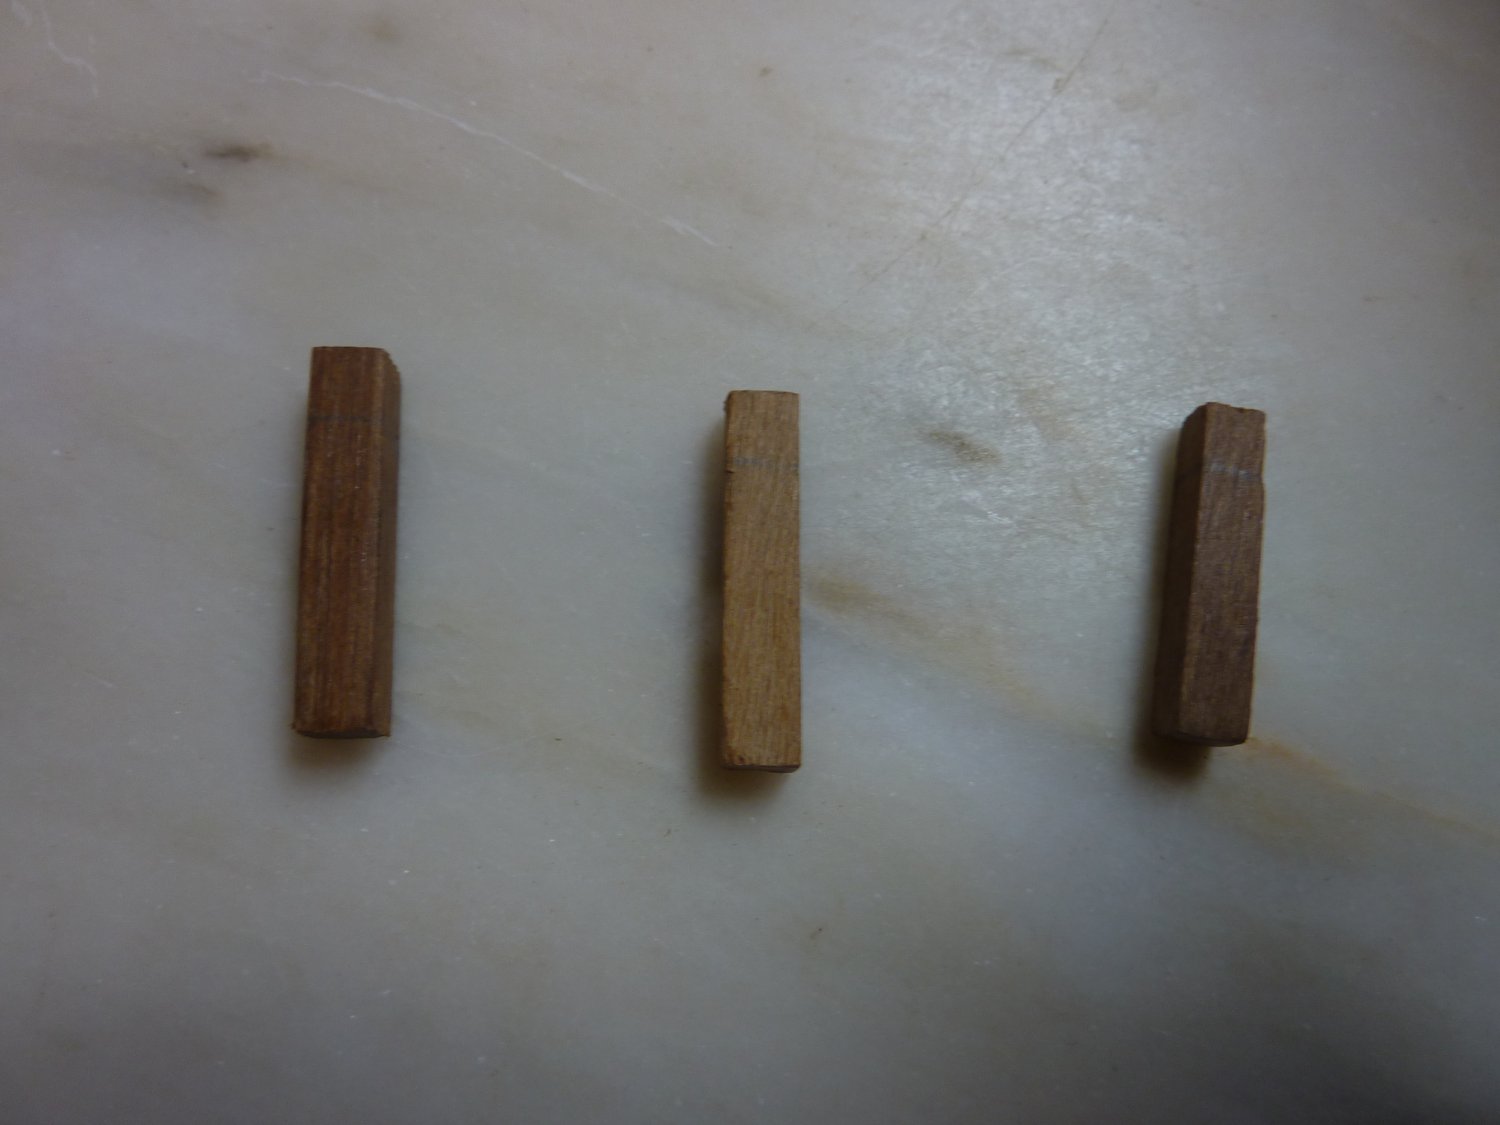
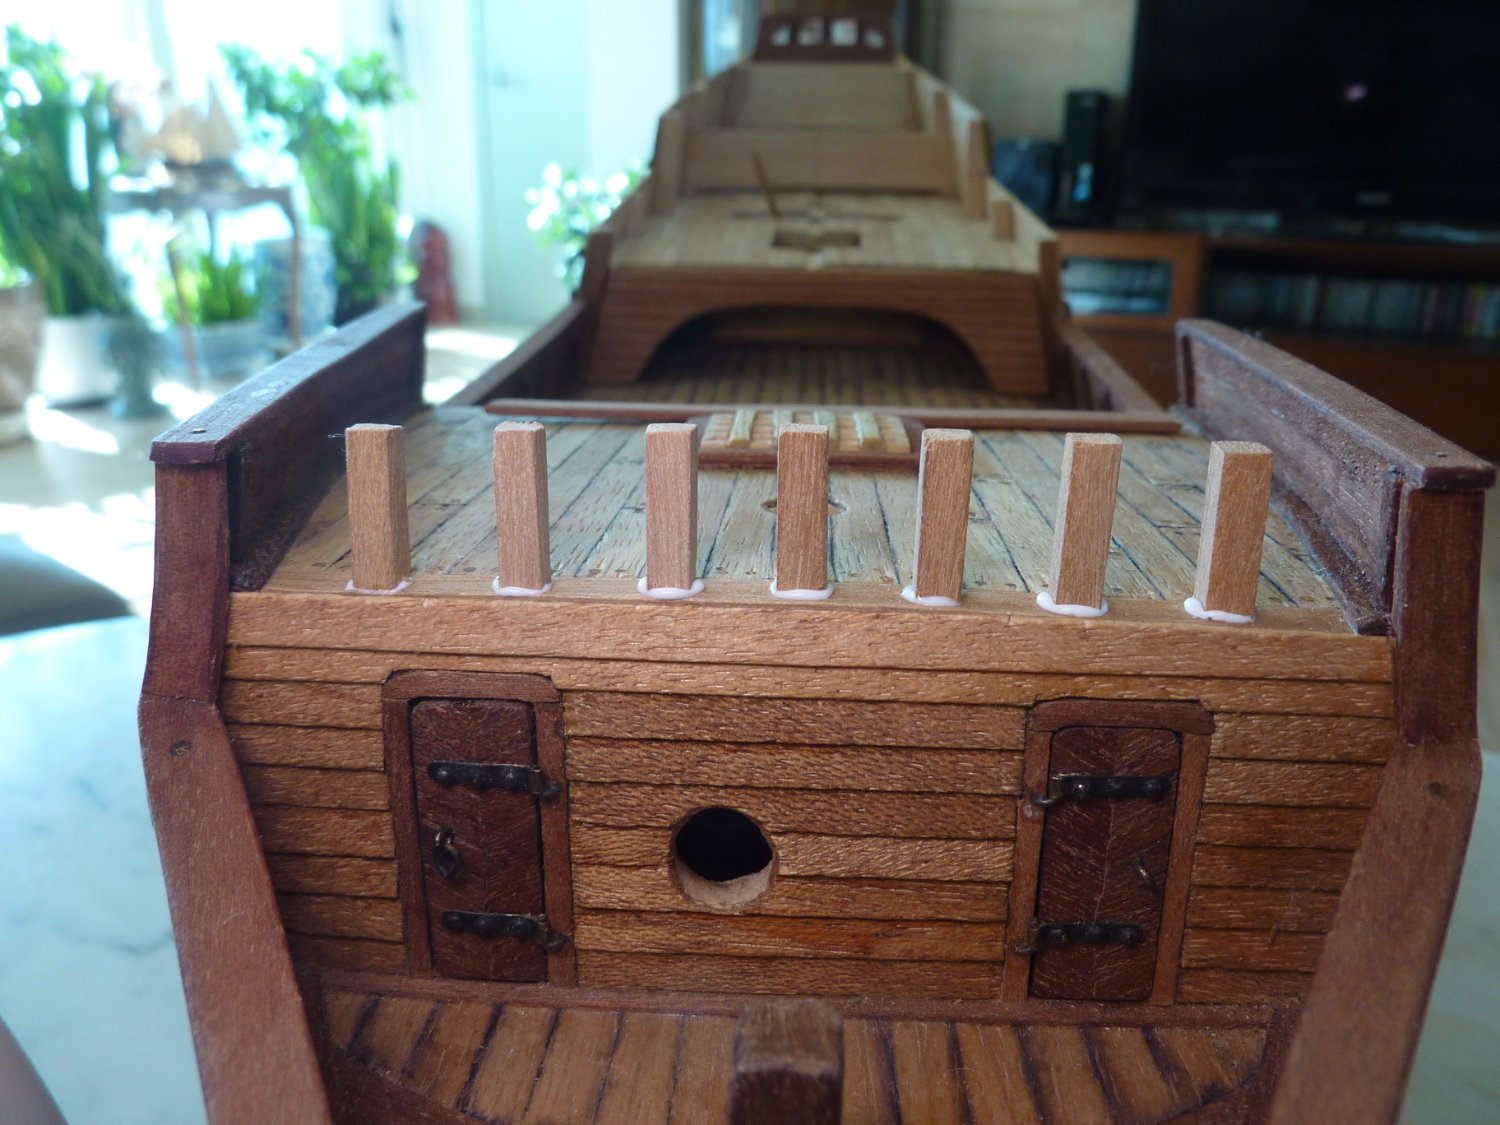
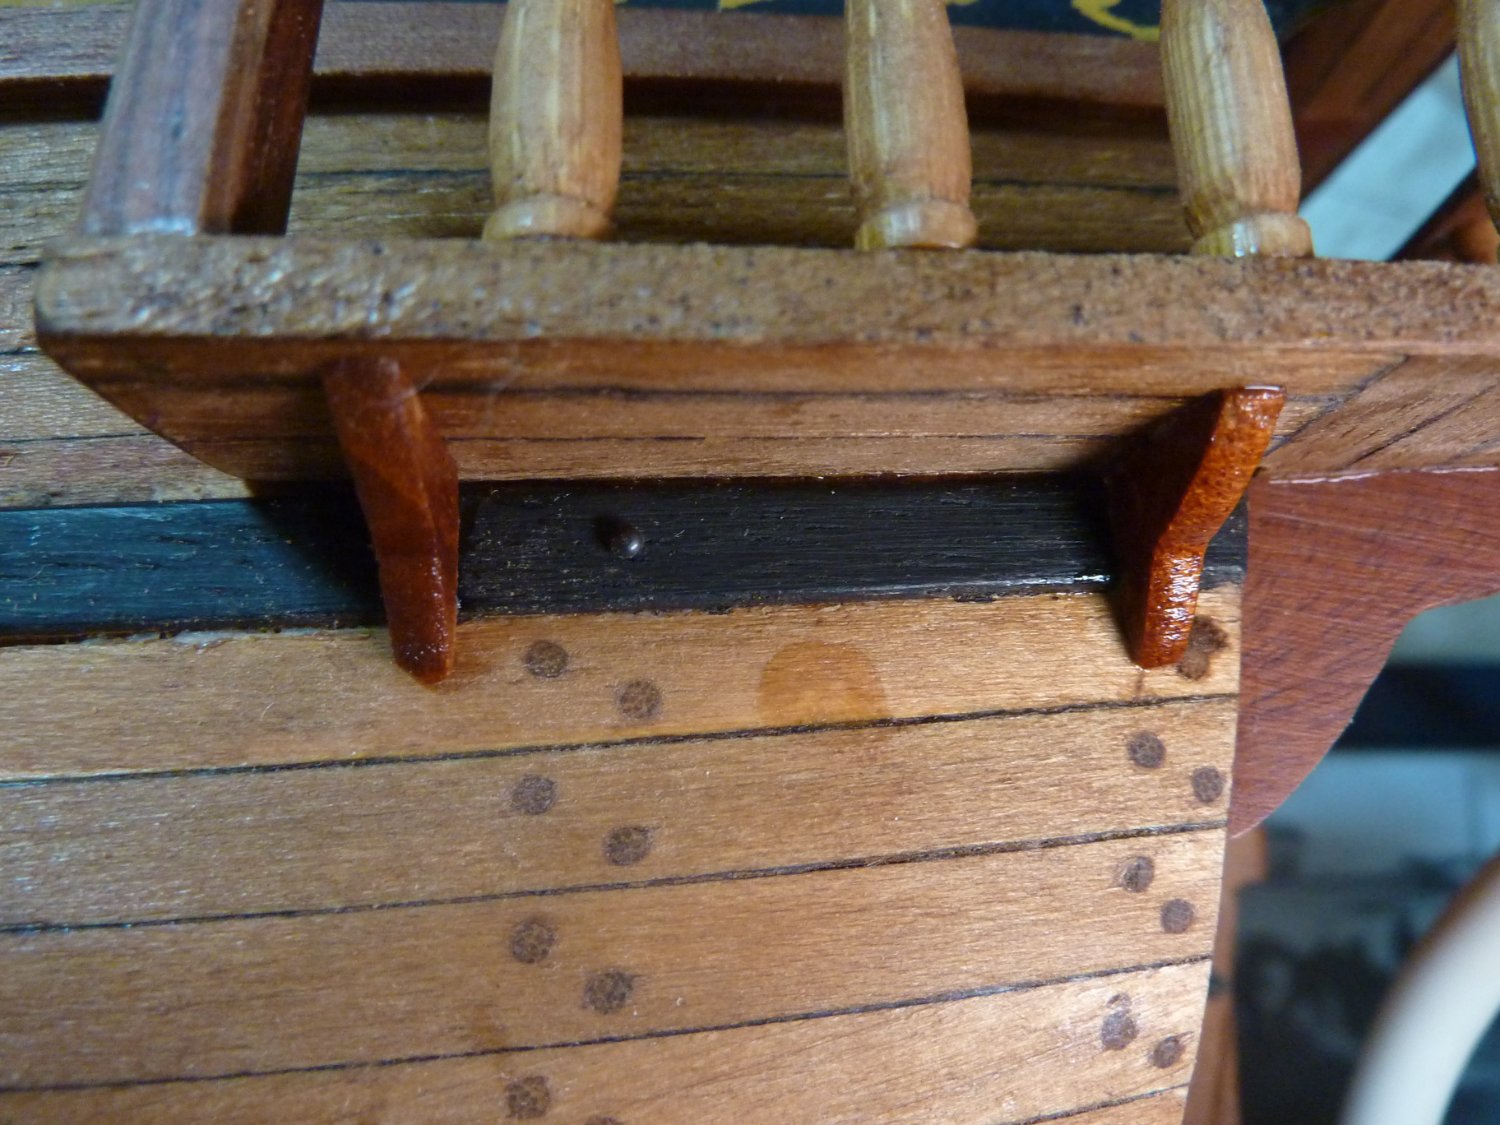
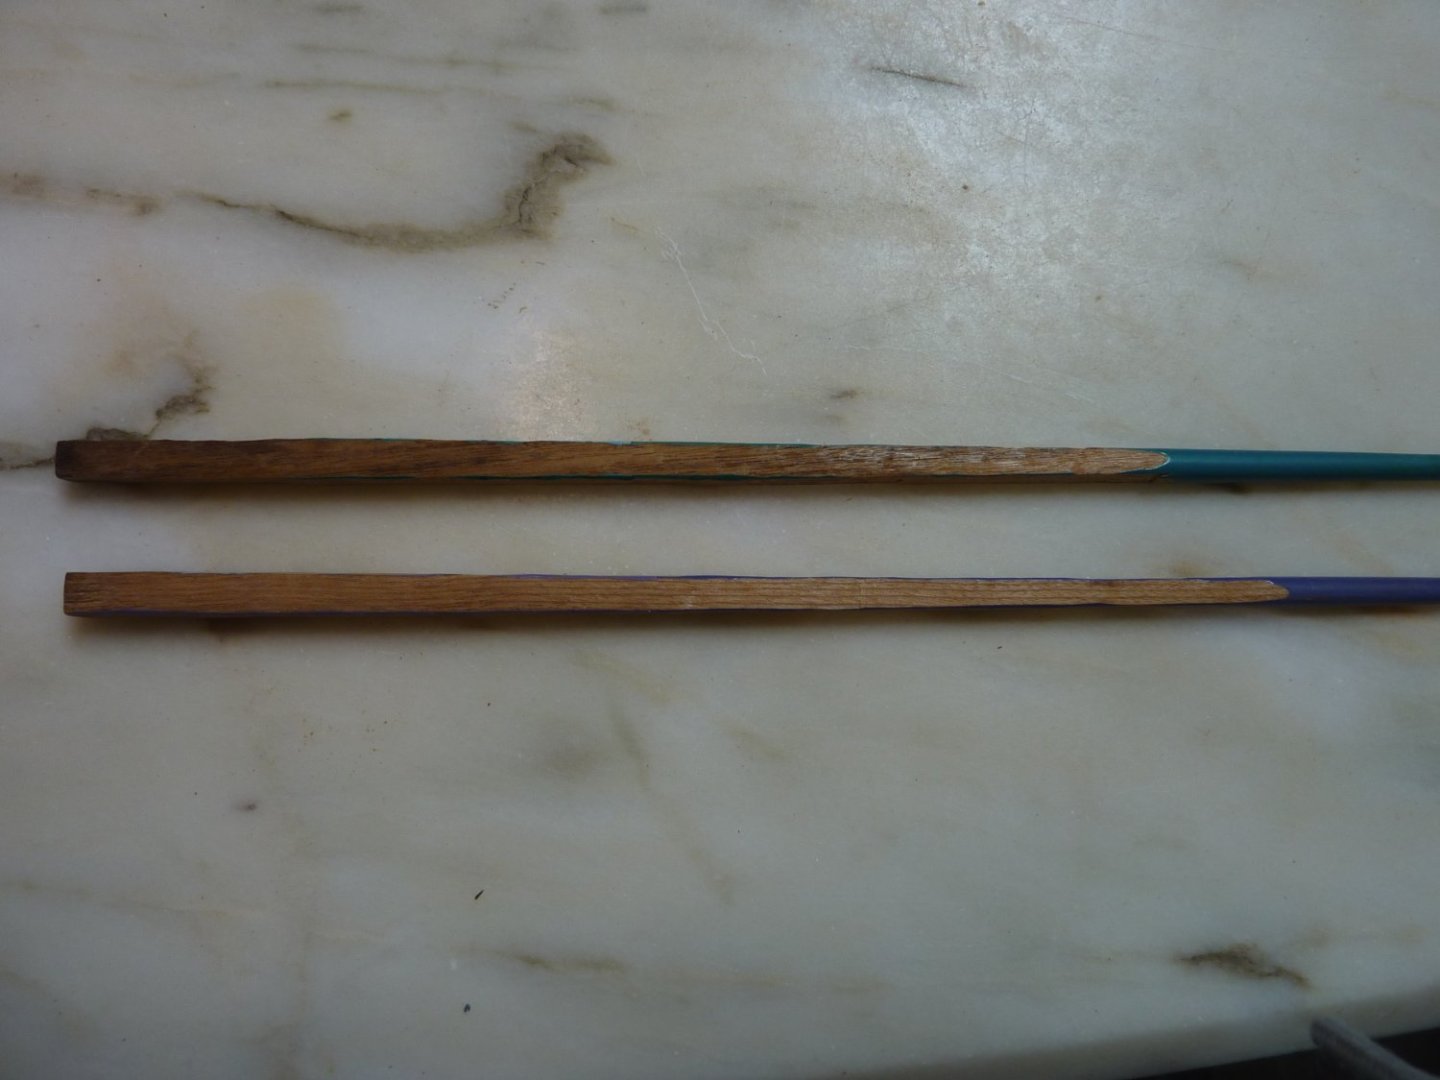
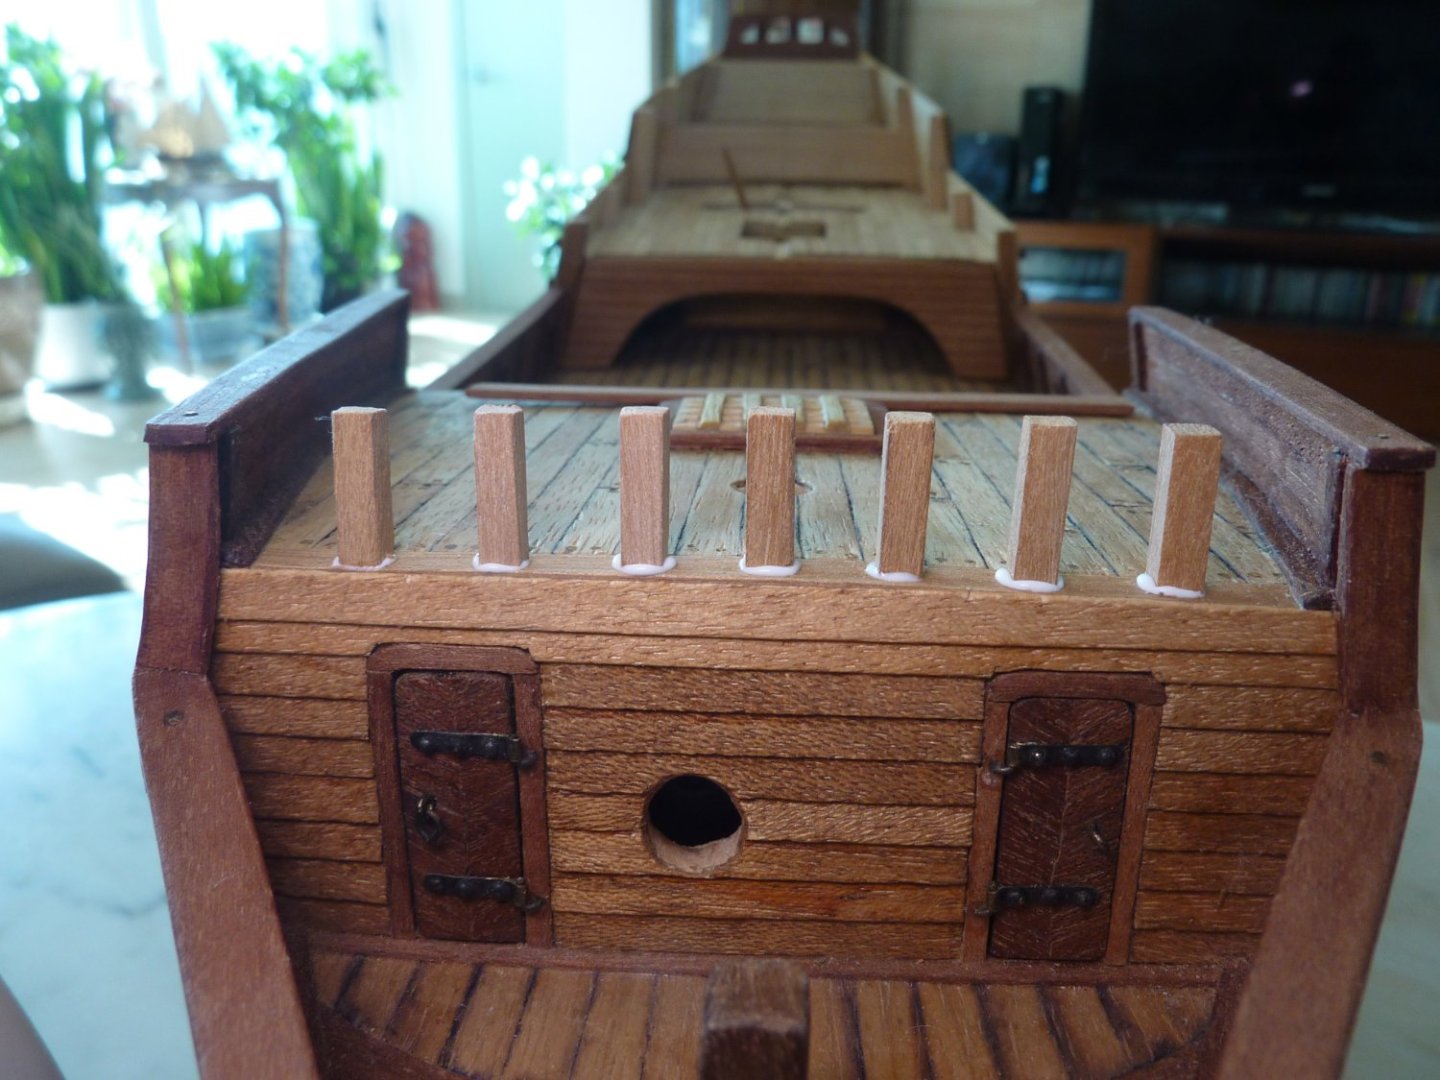
Forecastle belaying pin rack work - once again decommissioned hard wood chopsticks came in handy.


-
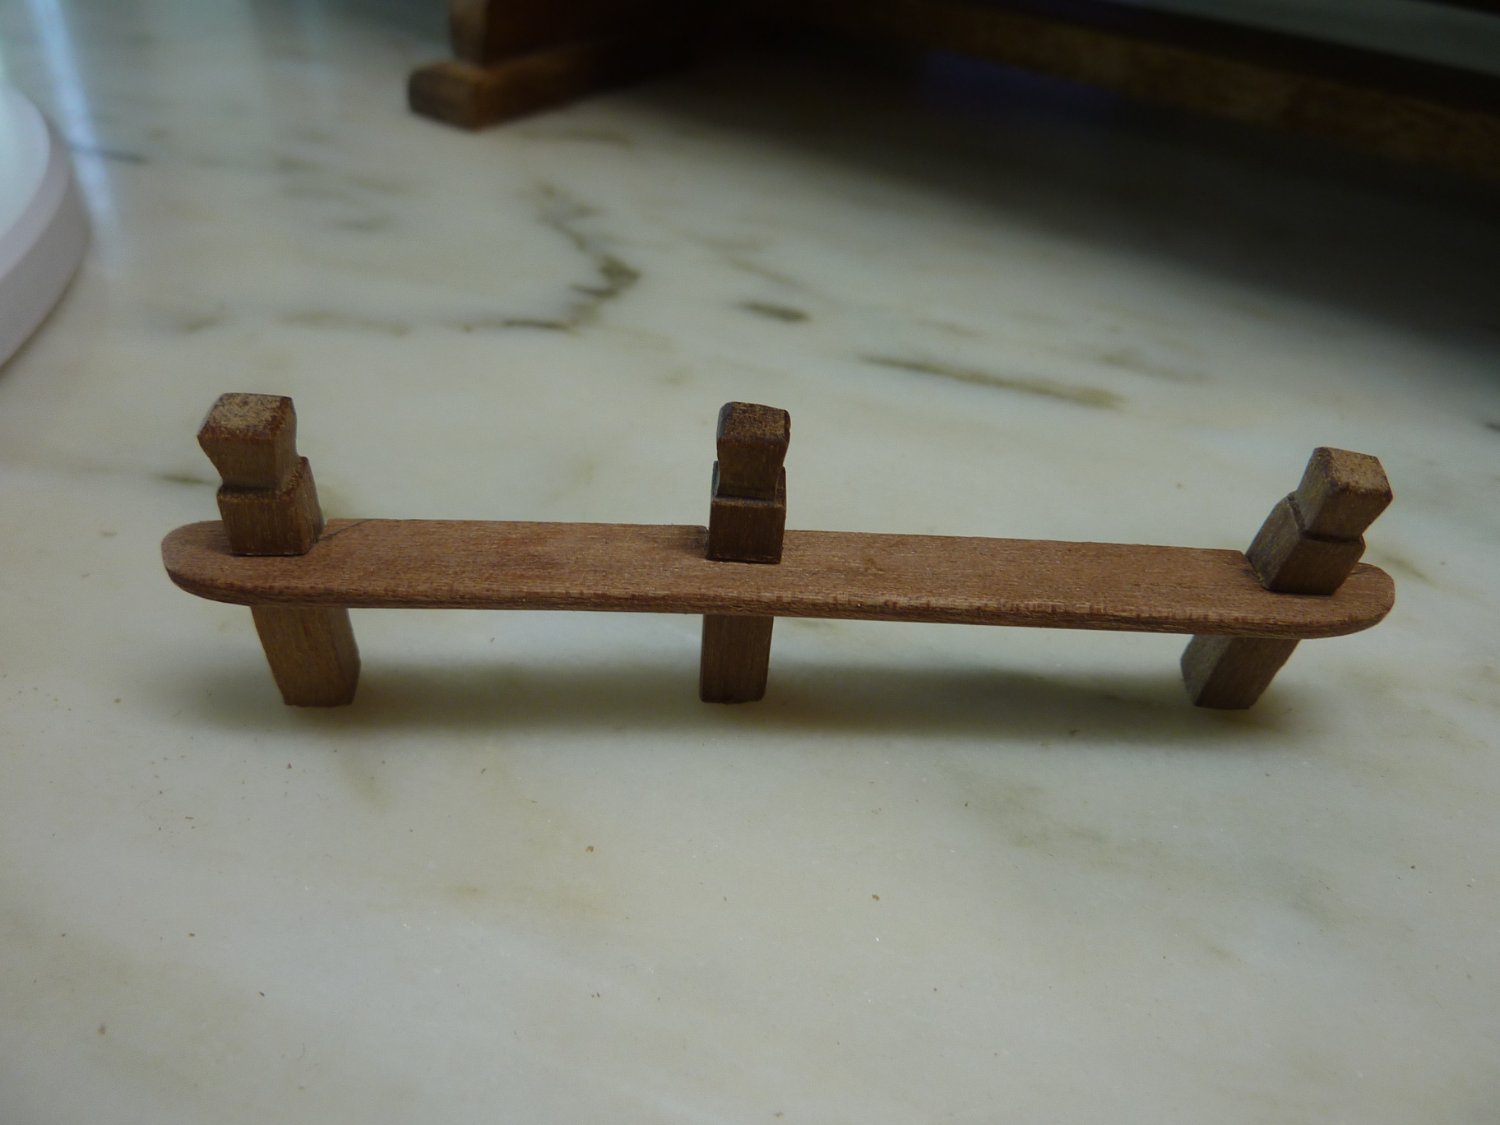
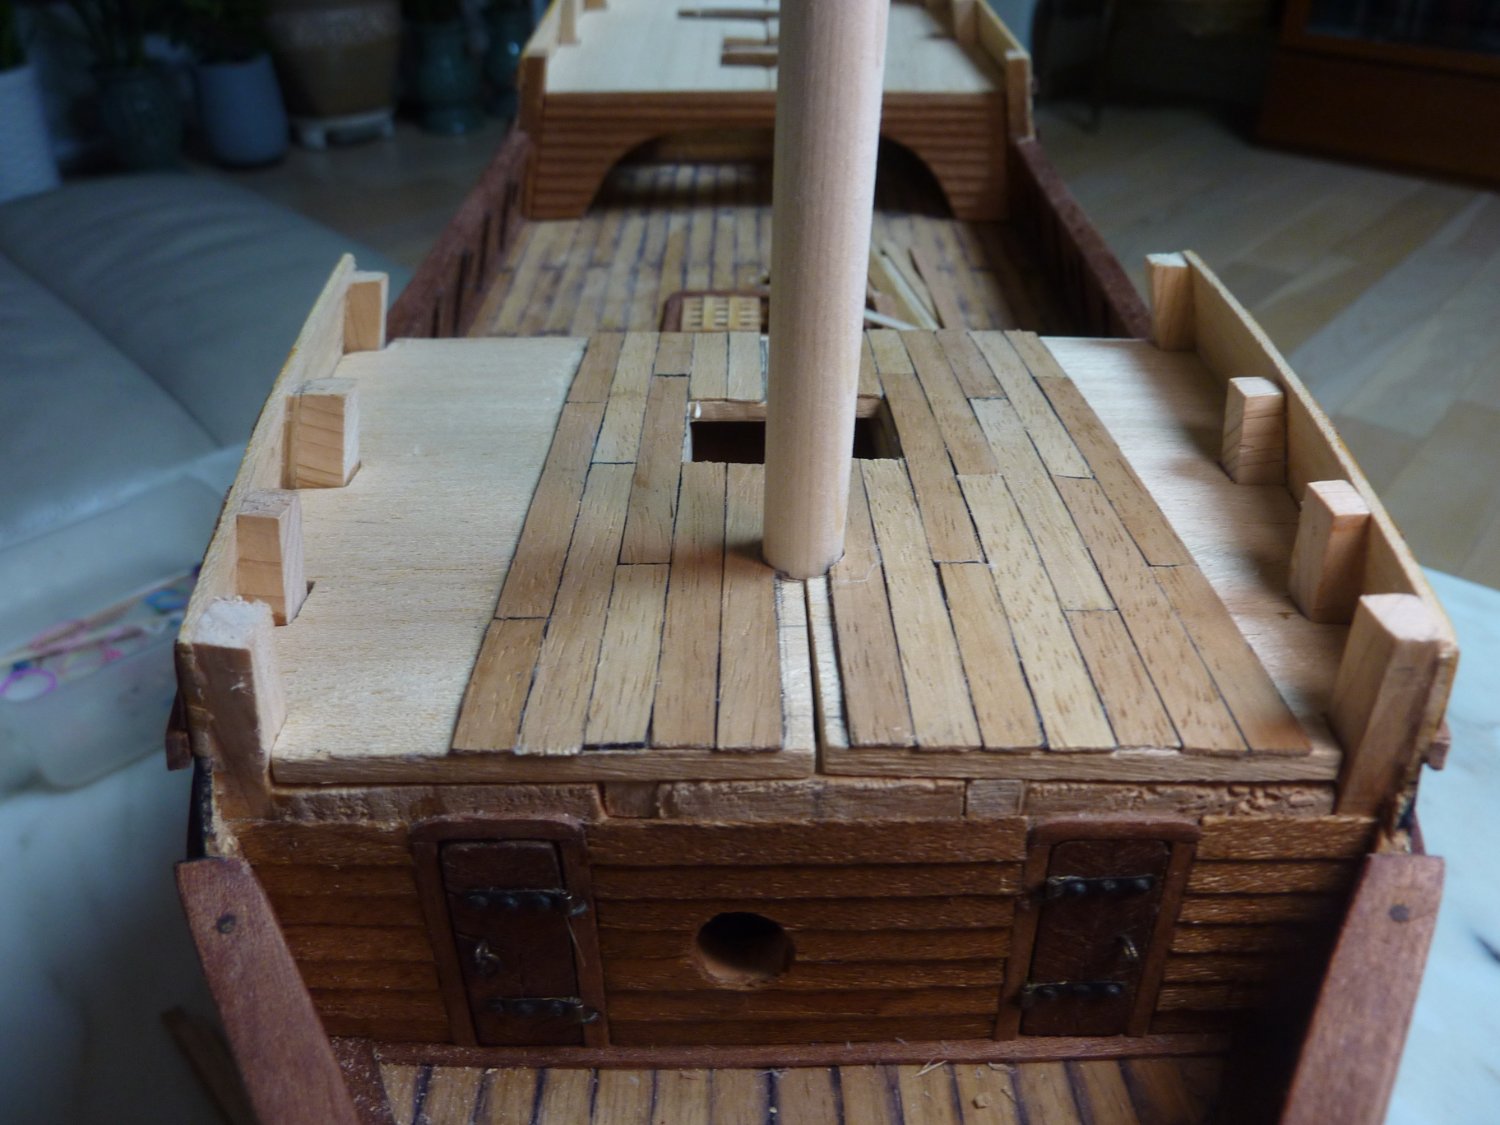
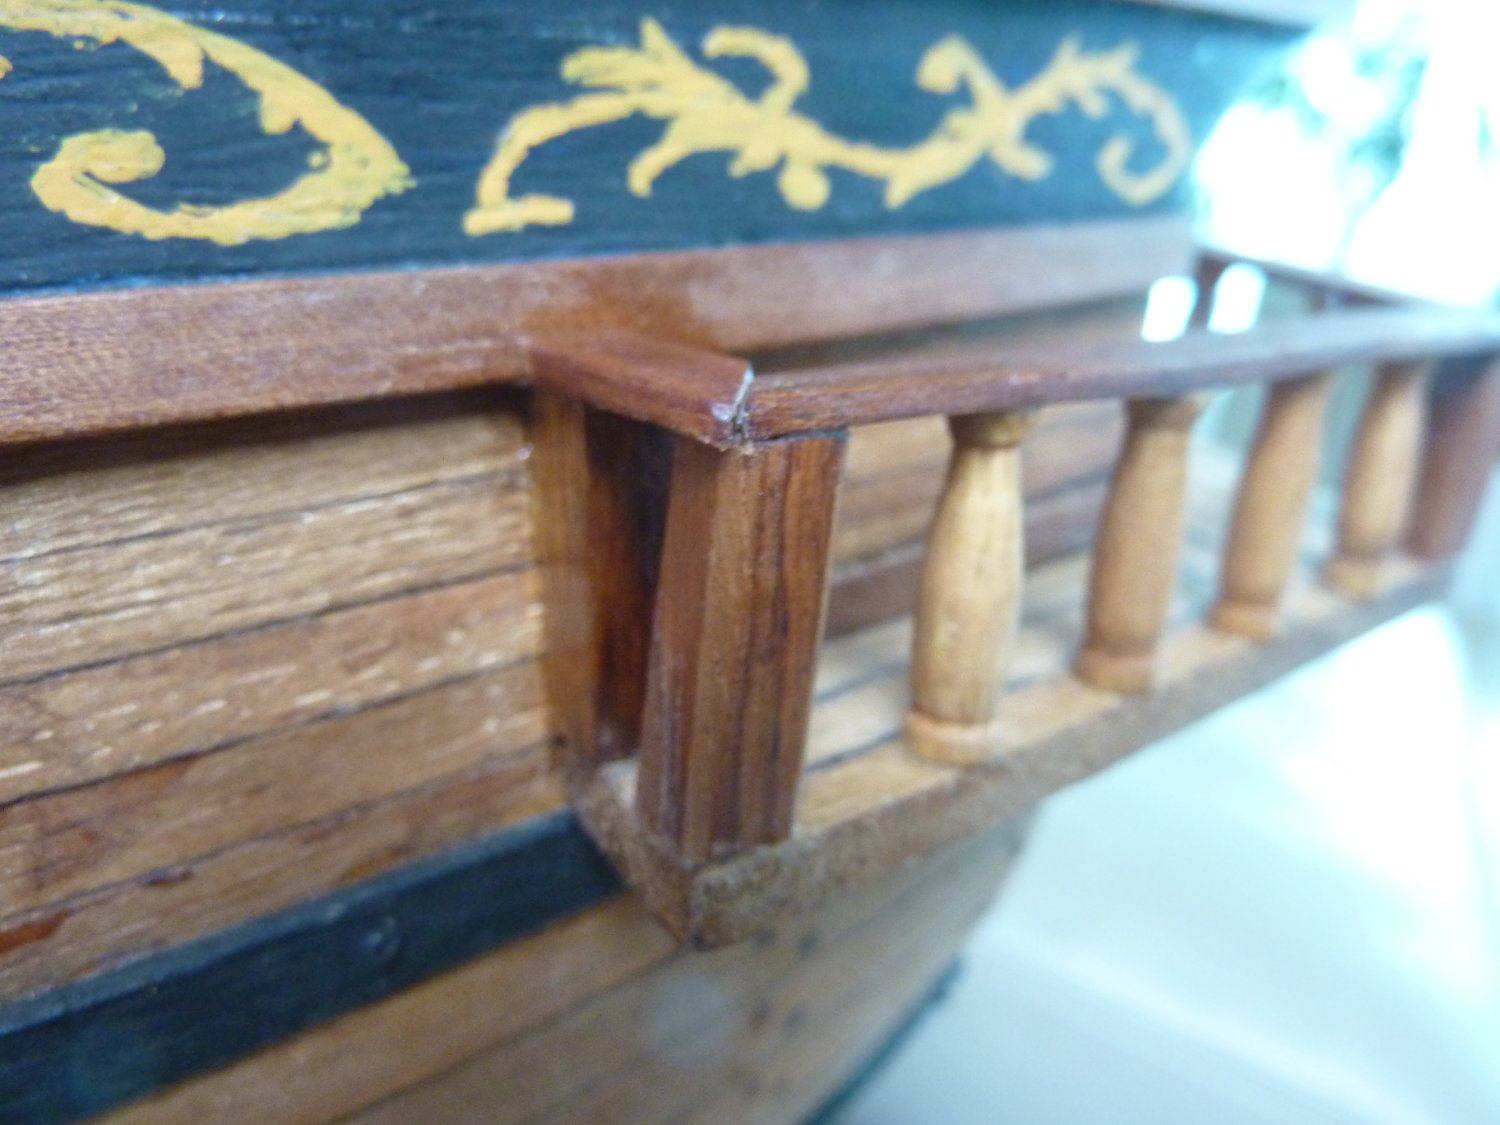
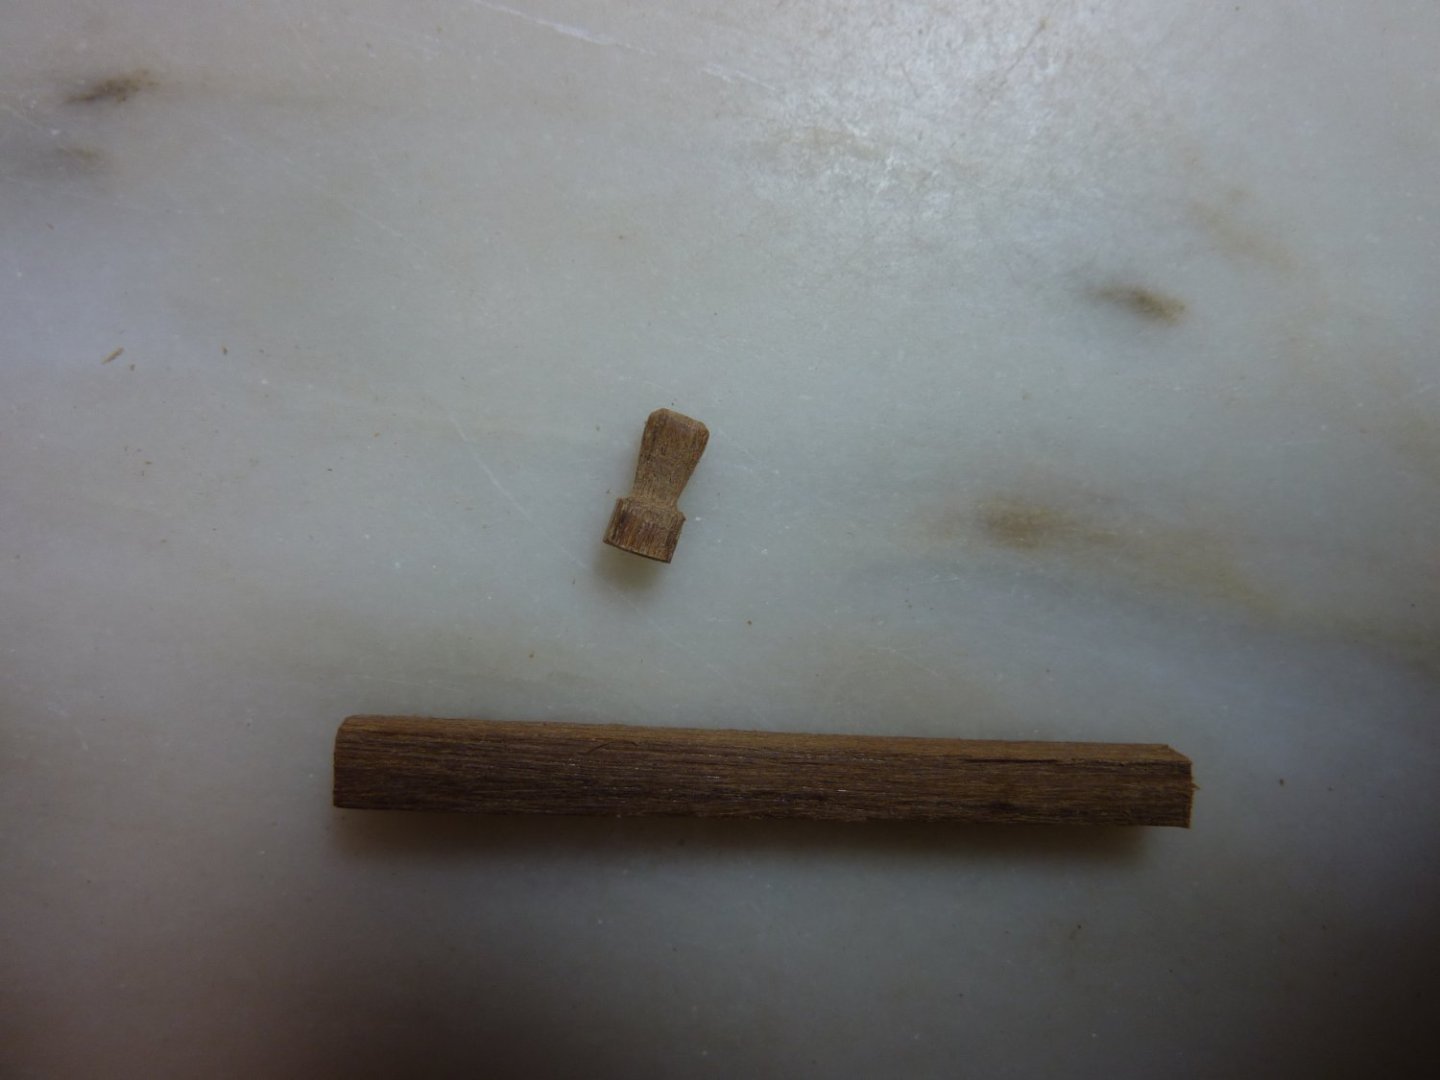
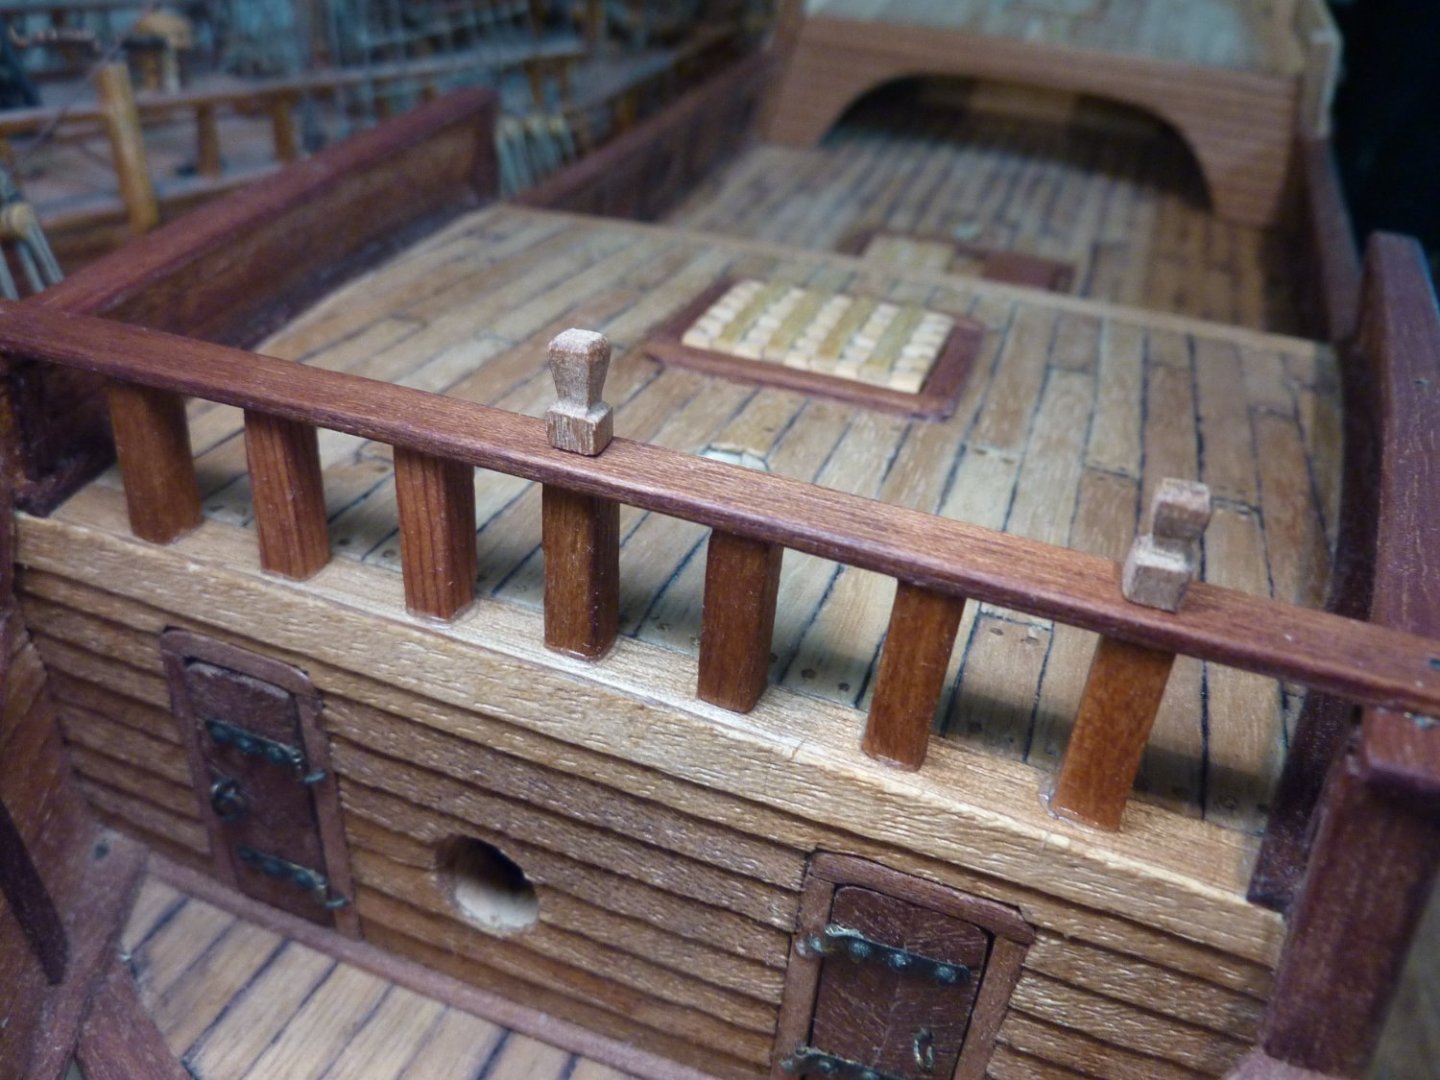
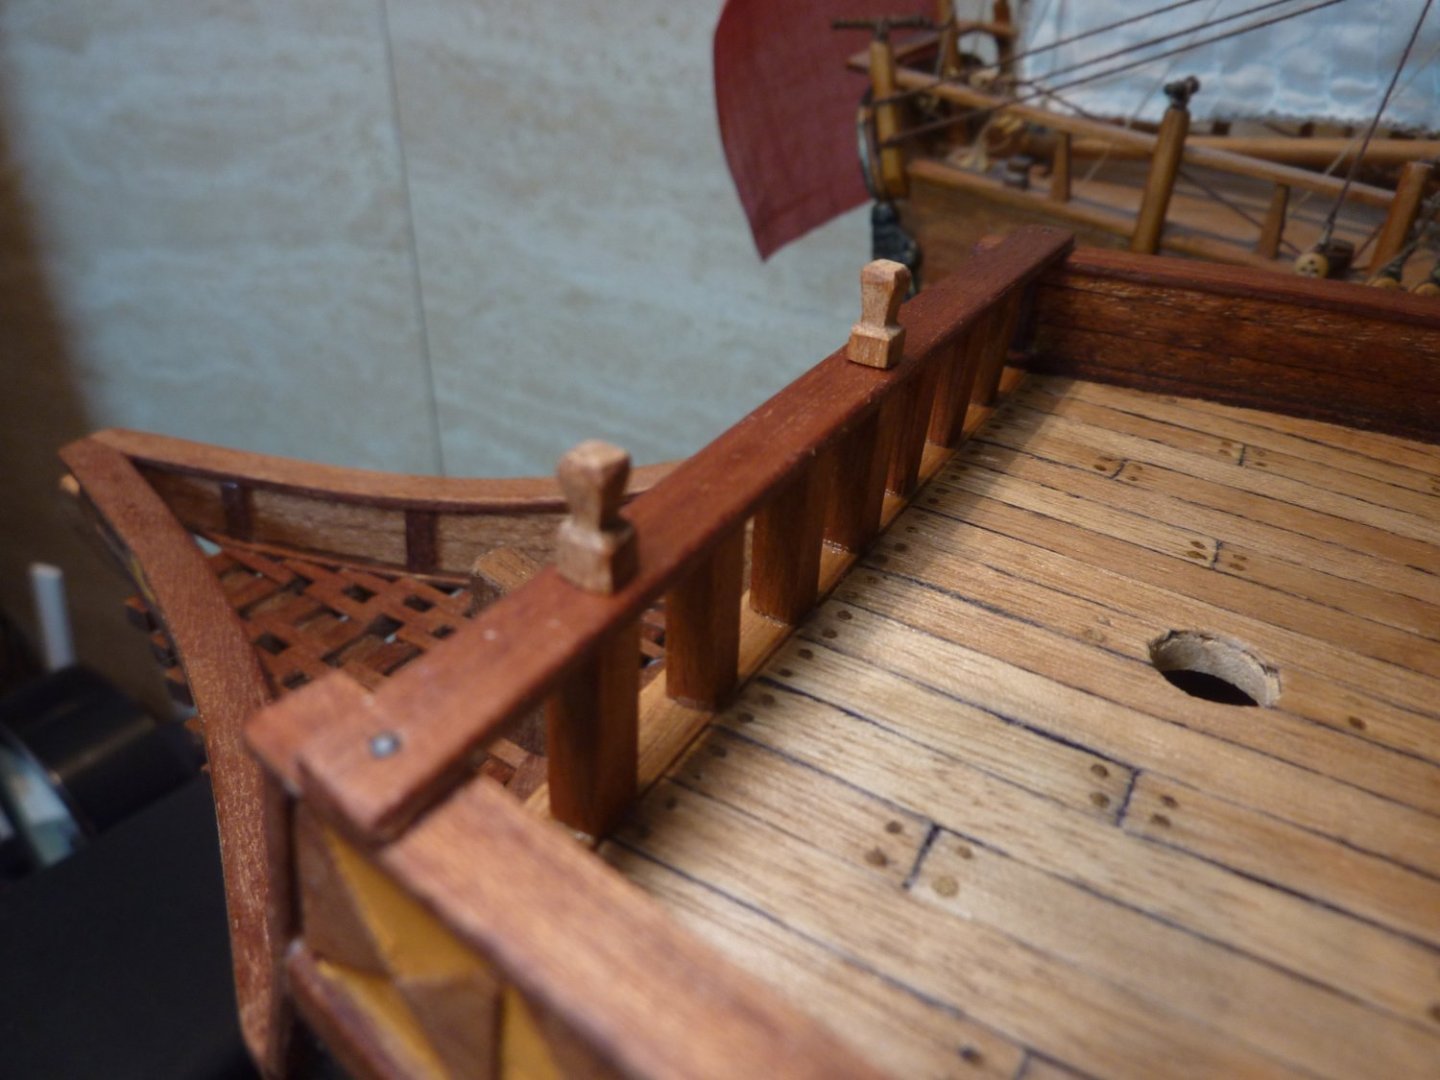
I decided to put in an alternative structure (I forgot the name of this) in place (on top of the forecastle front rail) to ease the rigging work later on. I was not sure how these would look in the end, but they came out OK I think.
-
Hi All~ Almost spring here in Korea~ I had to make some emergency repairs to Santa Maria that I built about 20 years ago (my first wooden ship model) - a present to my mother. Consequently, I did not have much time to spend on my current project. Nevertheless, there has been some progress on the forecastle - the front rails and its structures, forecastle belaying pin rack. Originally, I intended to use no belaying pins on my GH and only apply 16th century belaying structures. However, after much consideration, I decided that belaying all the required rigging without any belaying pins would be too painful. I will, however, limit the usage of belaying pins as much as possible. Below are some pictures on these works. I still have not been successful in sourcing hard wood strips. And once again, decommissioned hard wood chopsticks became quite useful.


-
Yeah~ I think you are right. I used olive oil to see how the wood would look like once vanished. But I suppose I can do without olive oil in most instances. Thanks Mark!
-
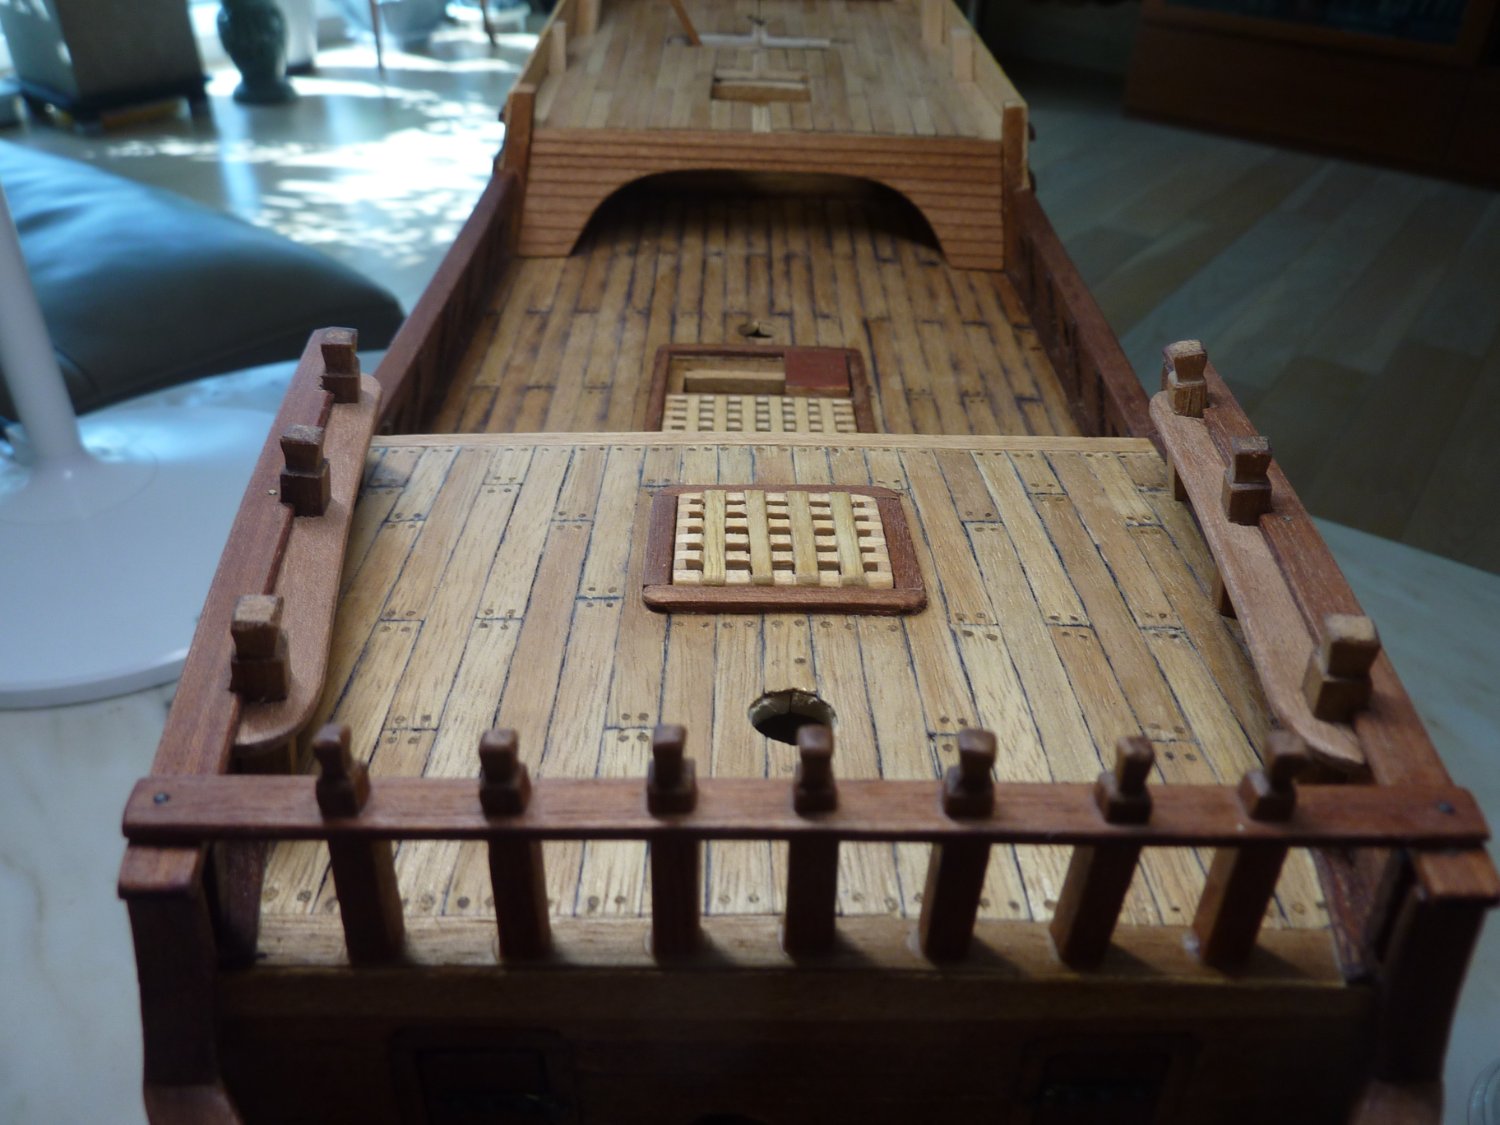
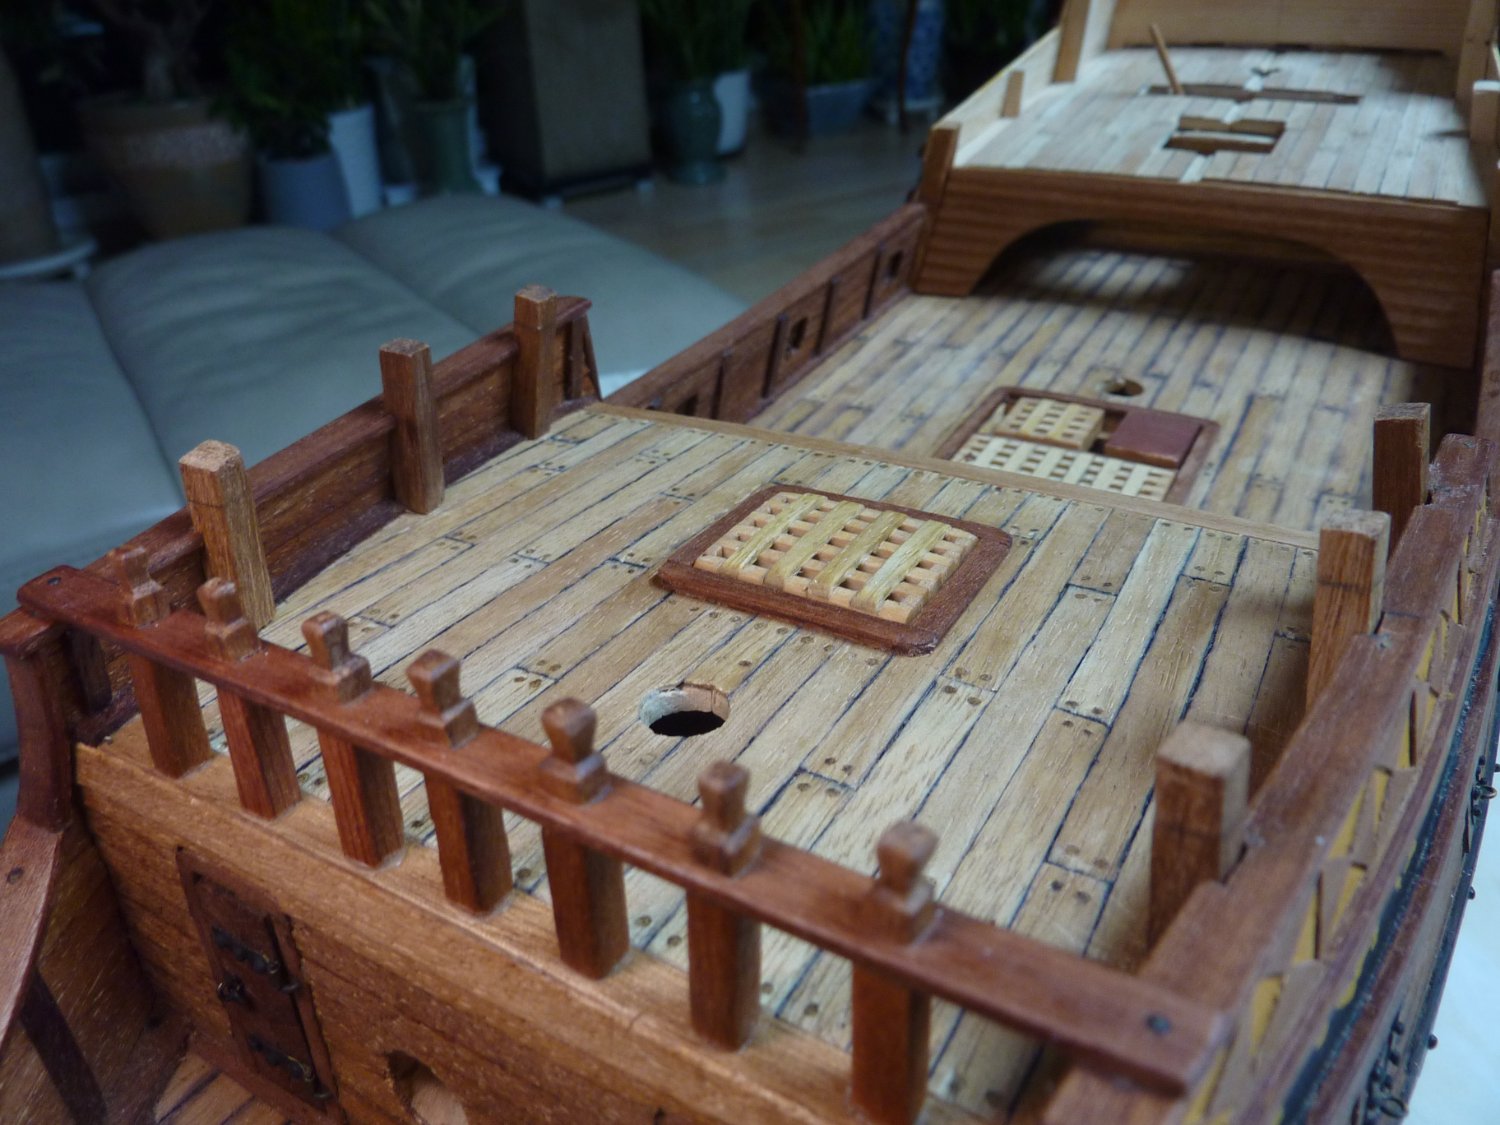
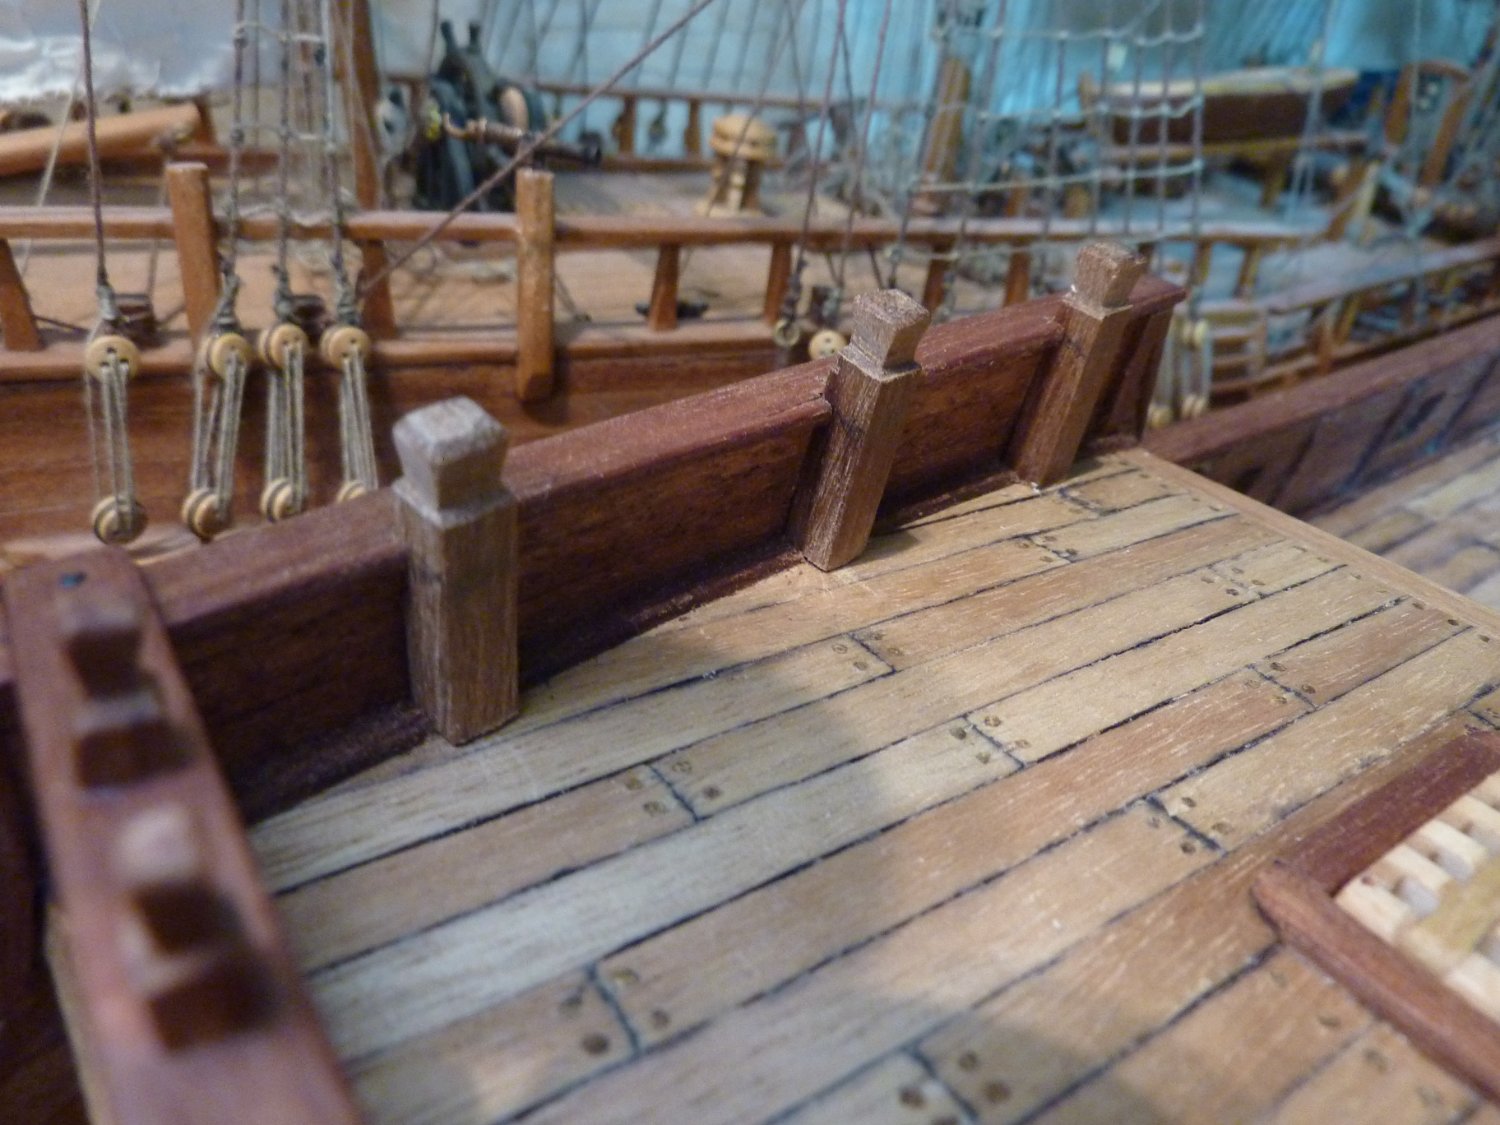
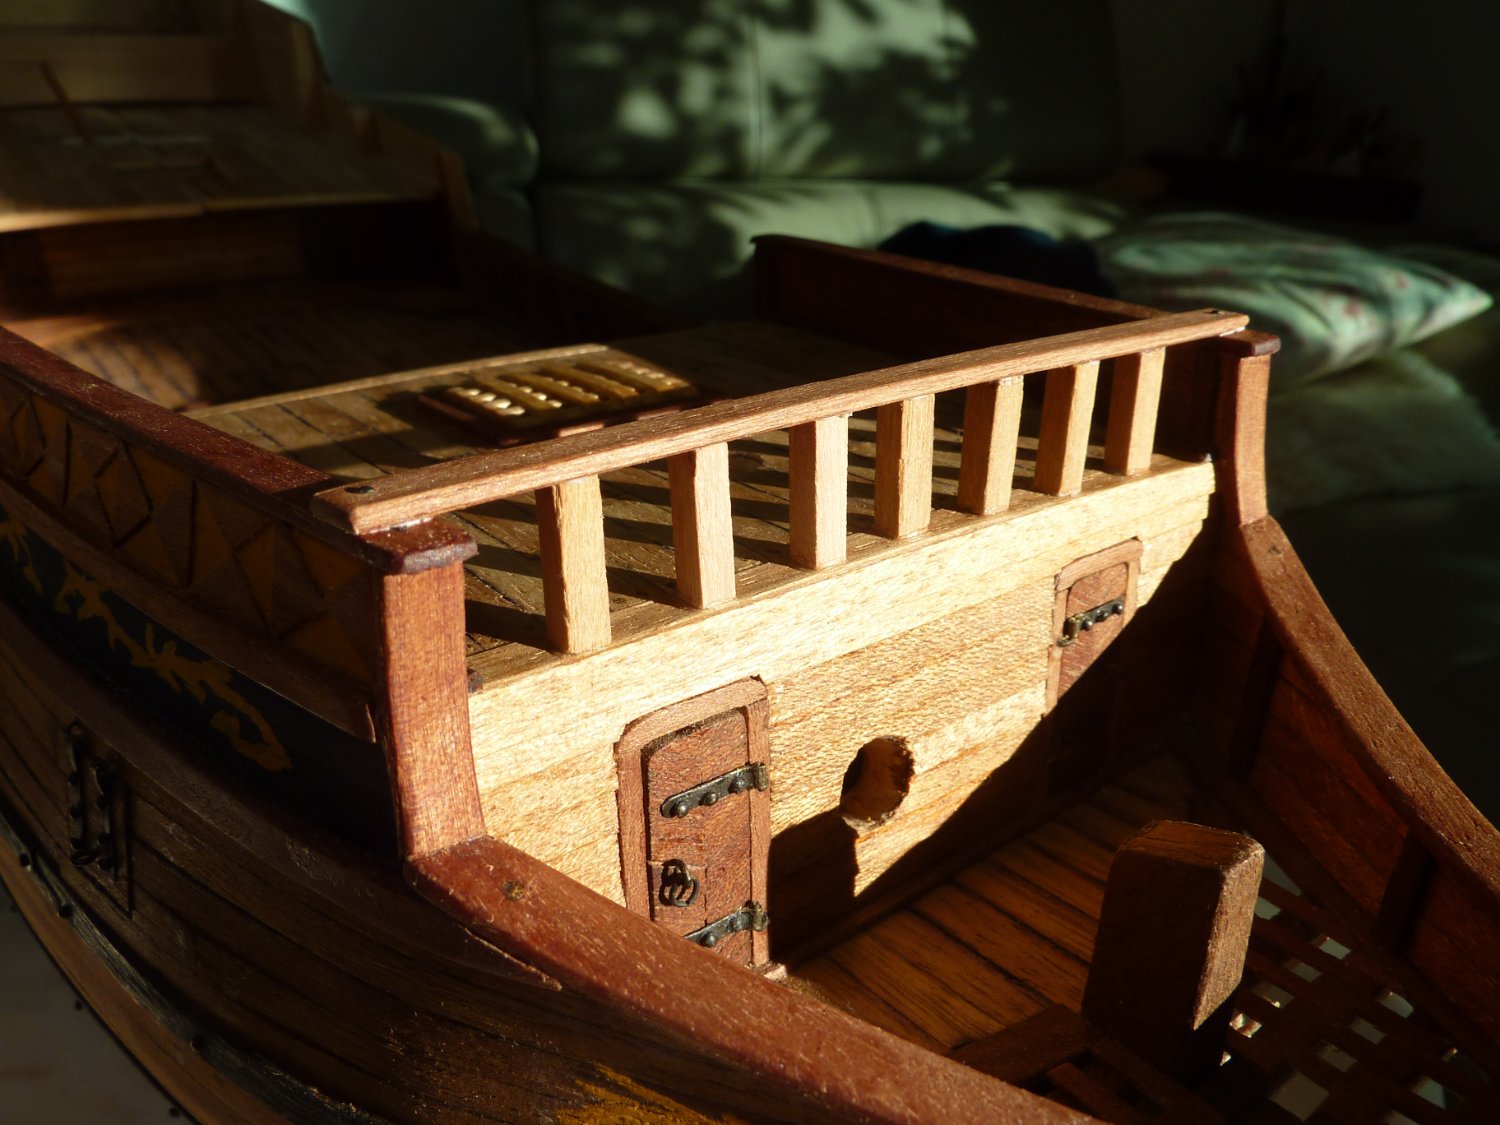
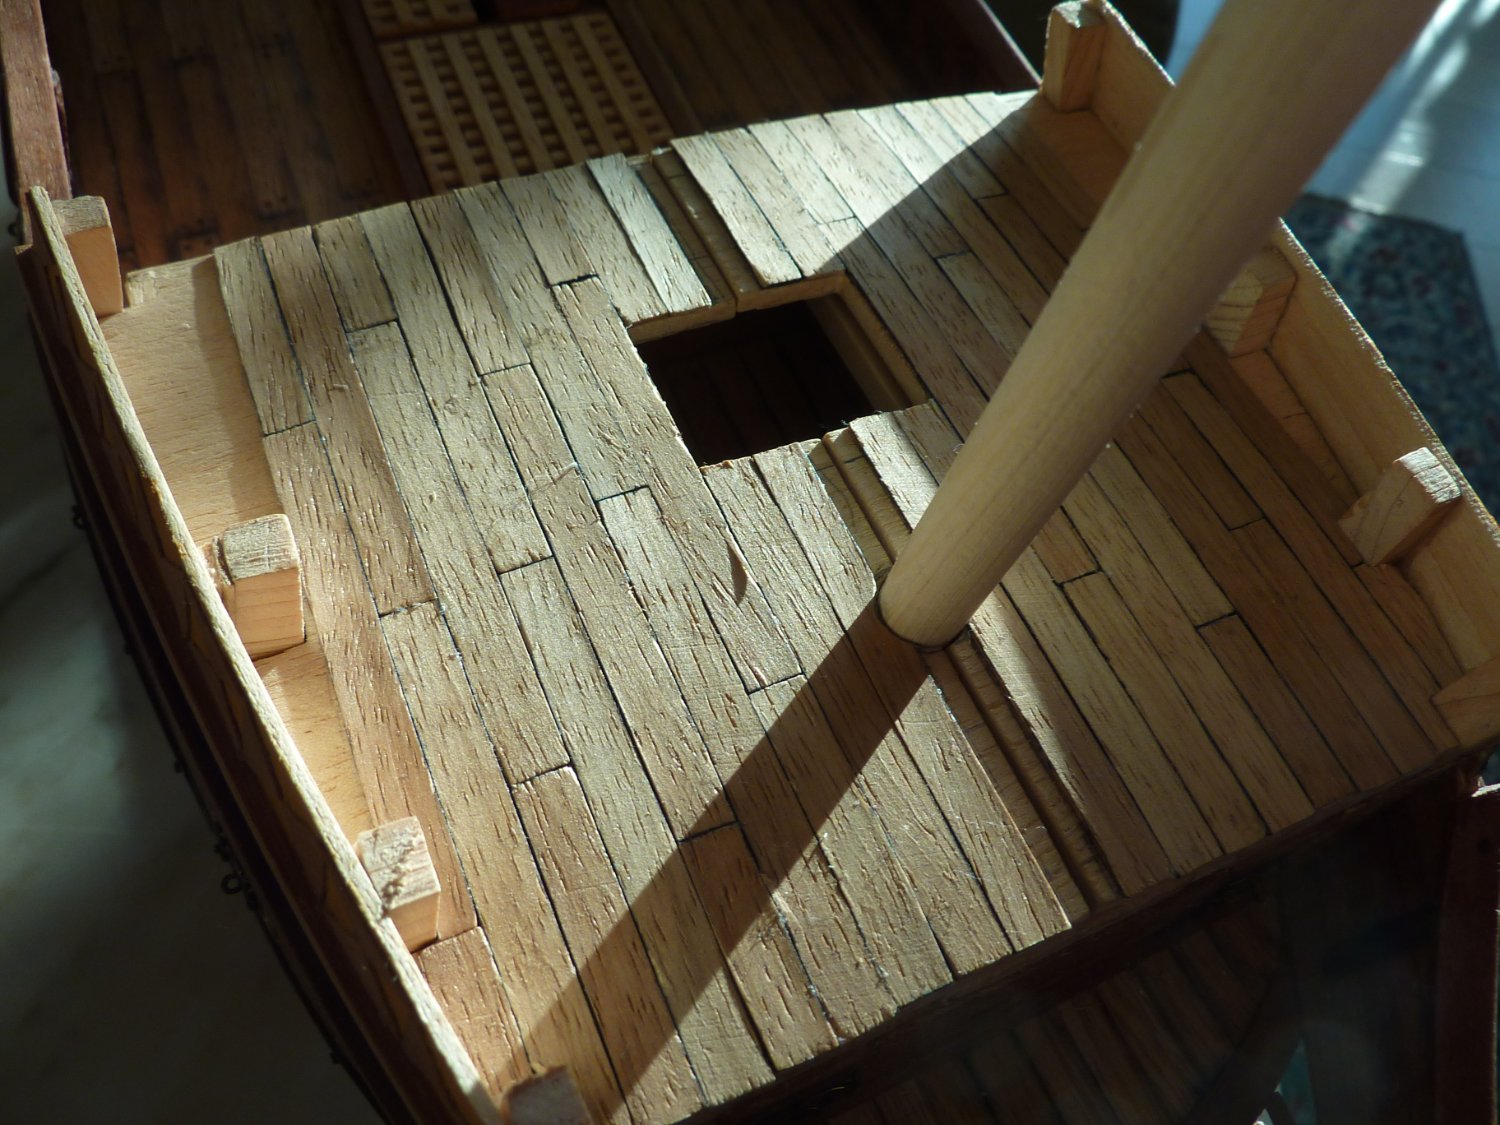
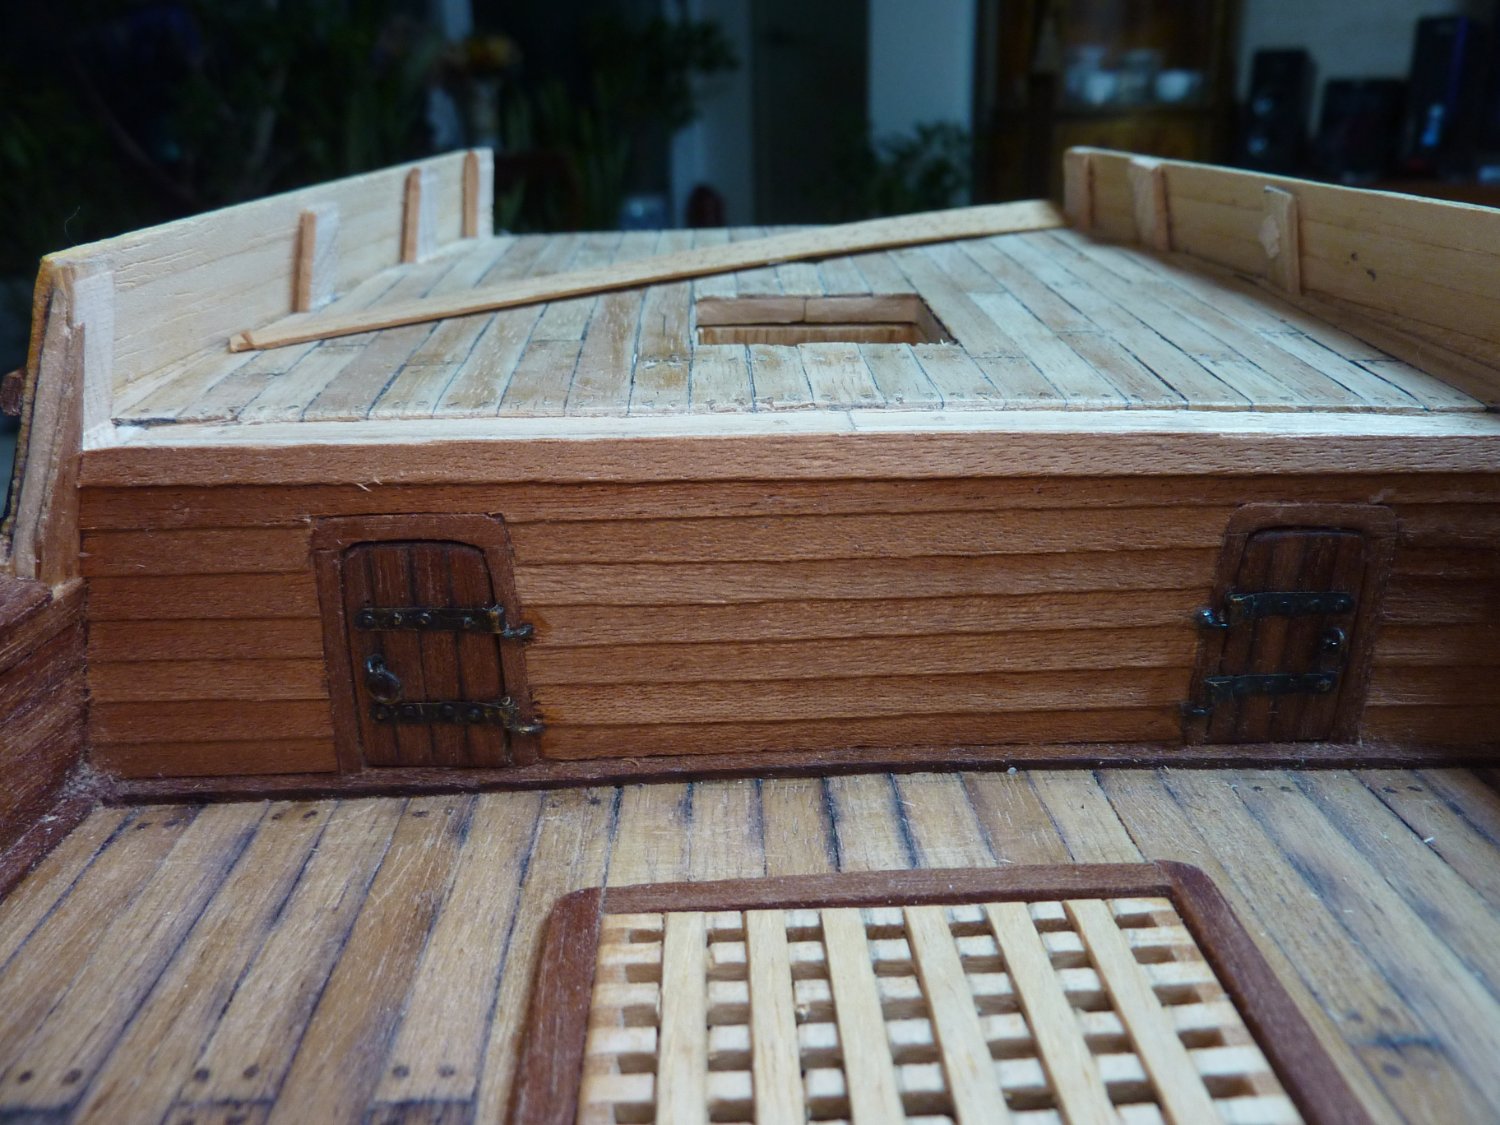
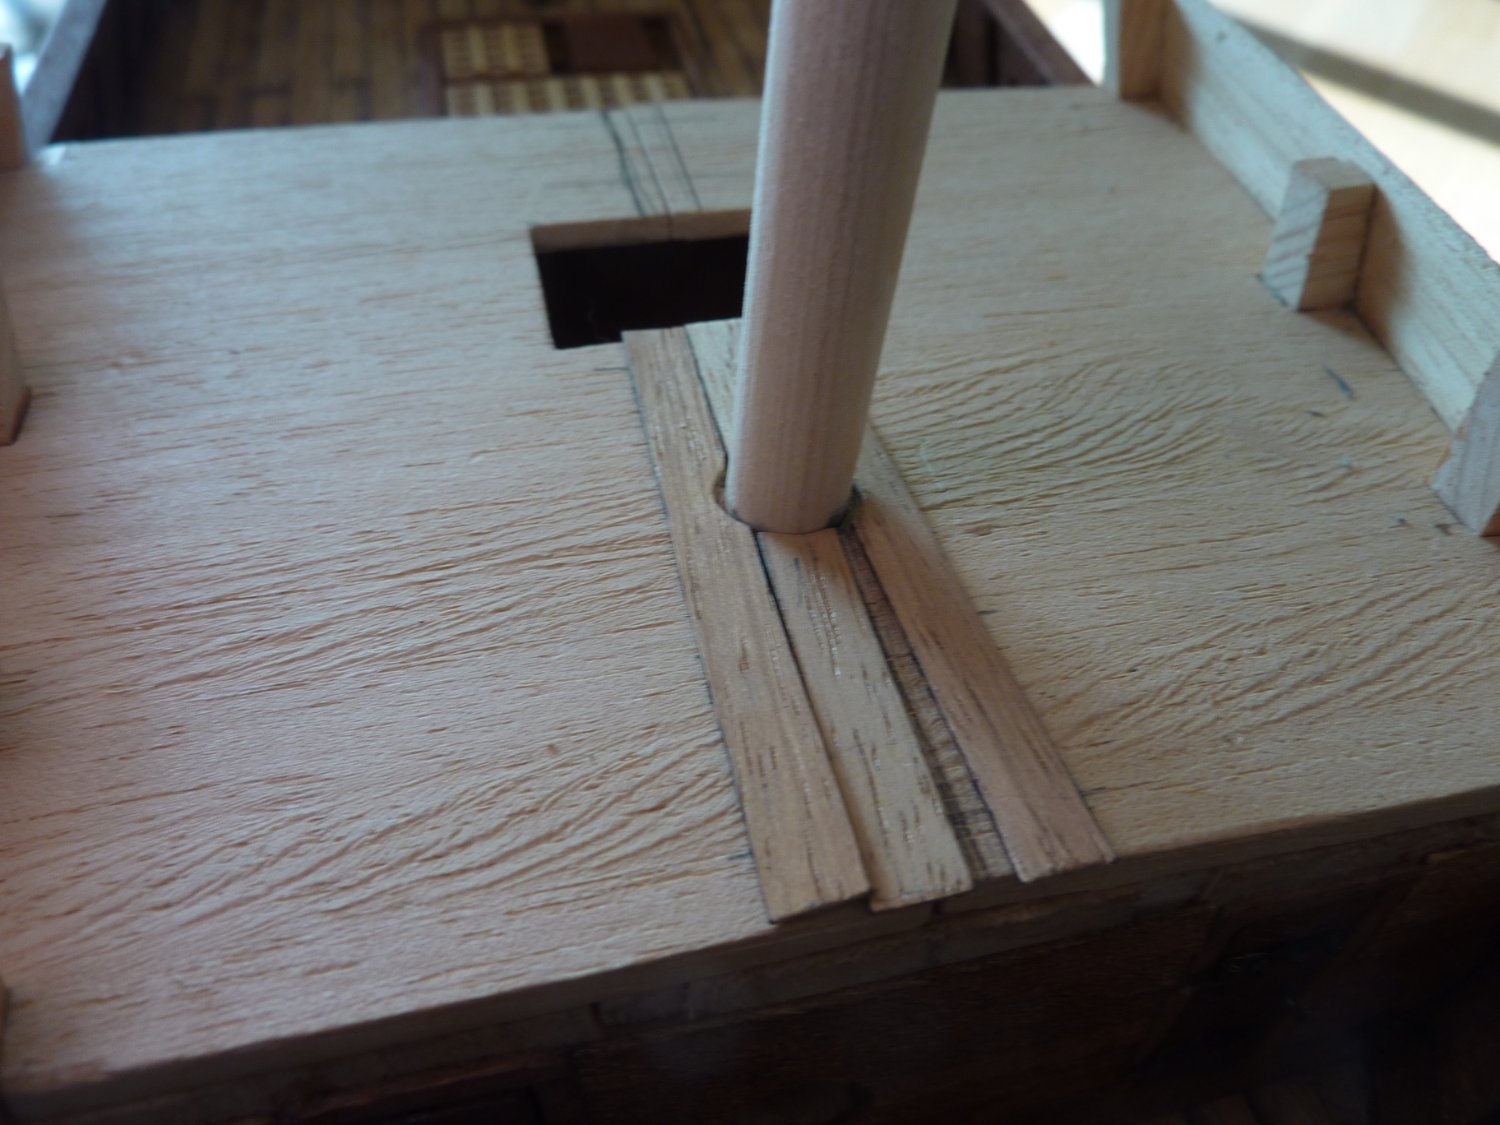
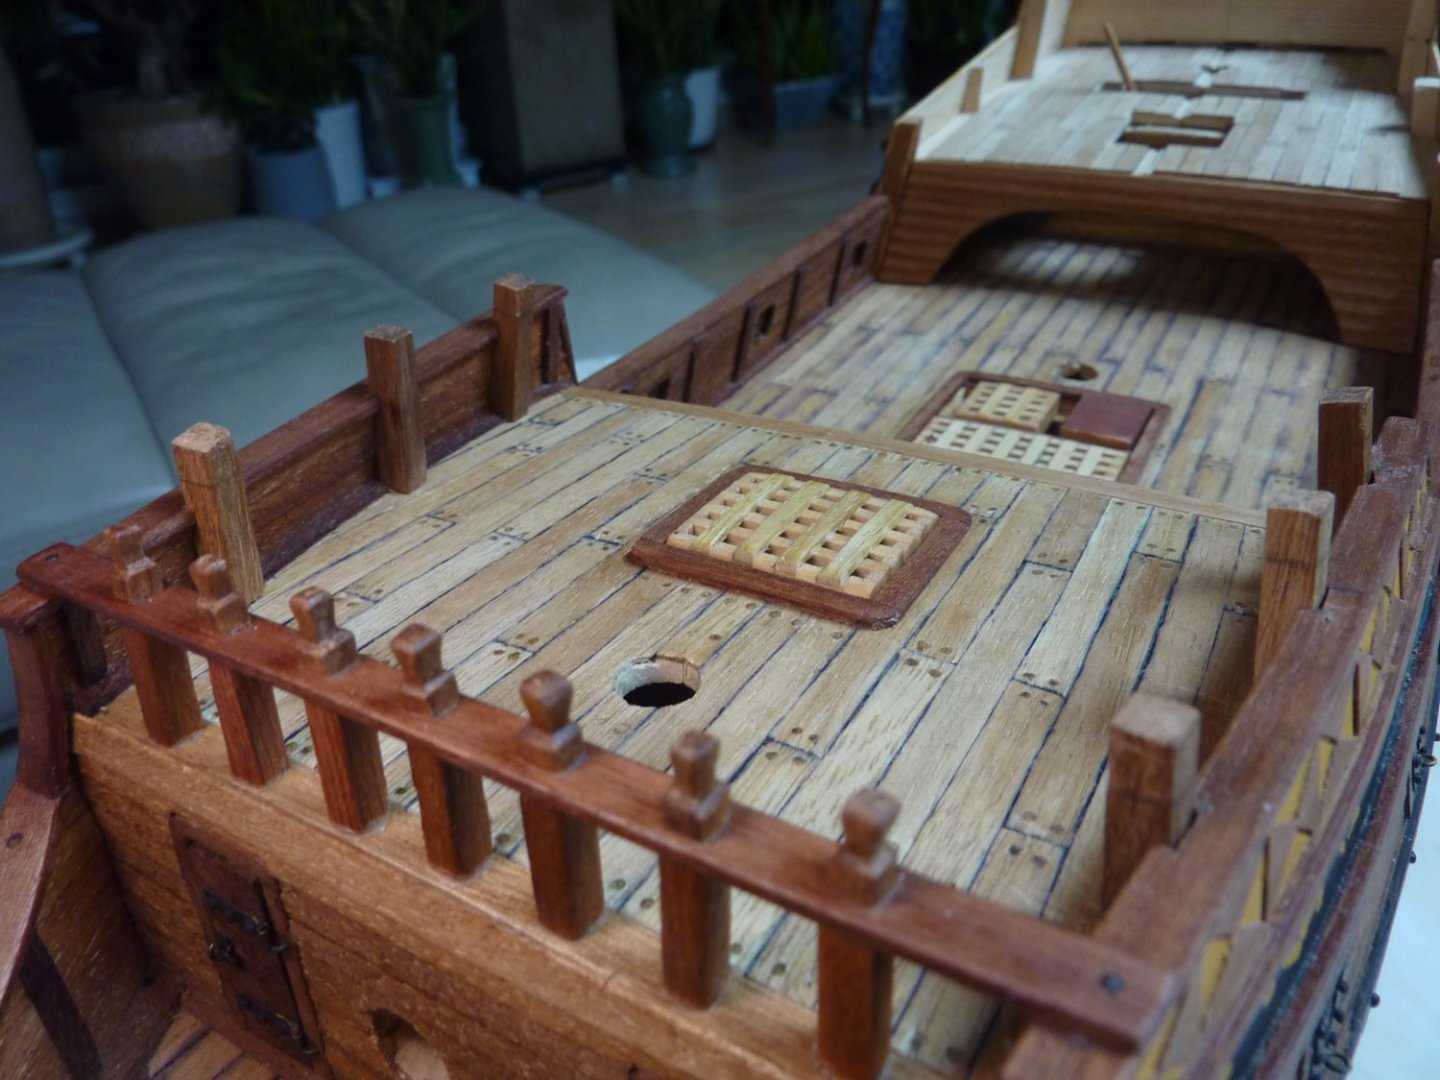
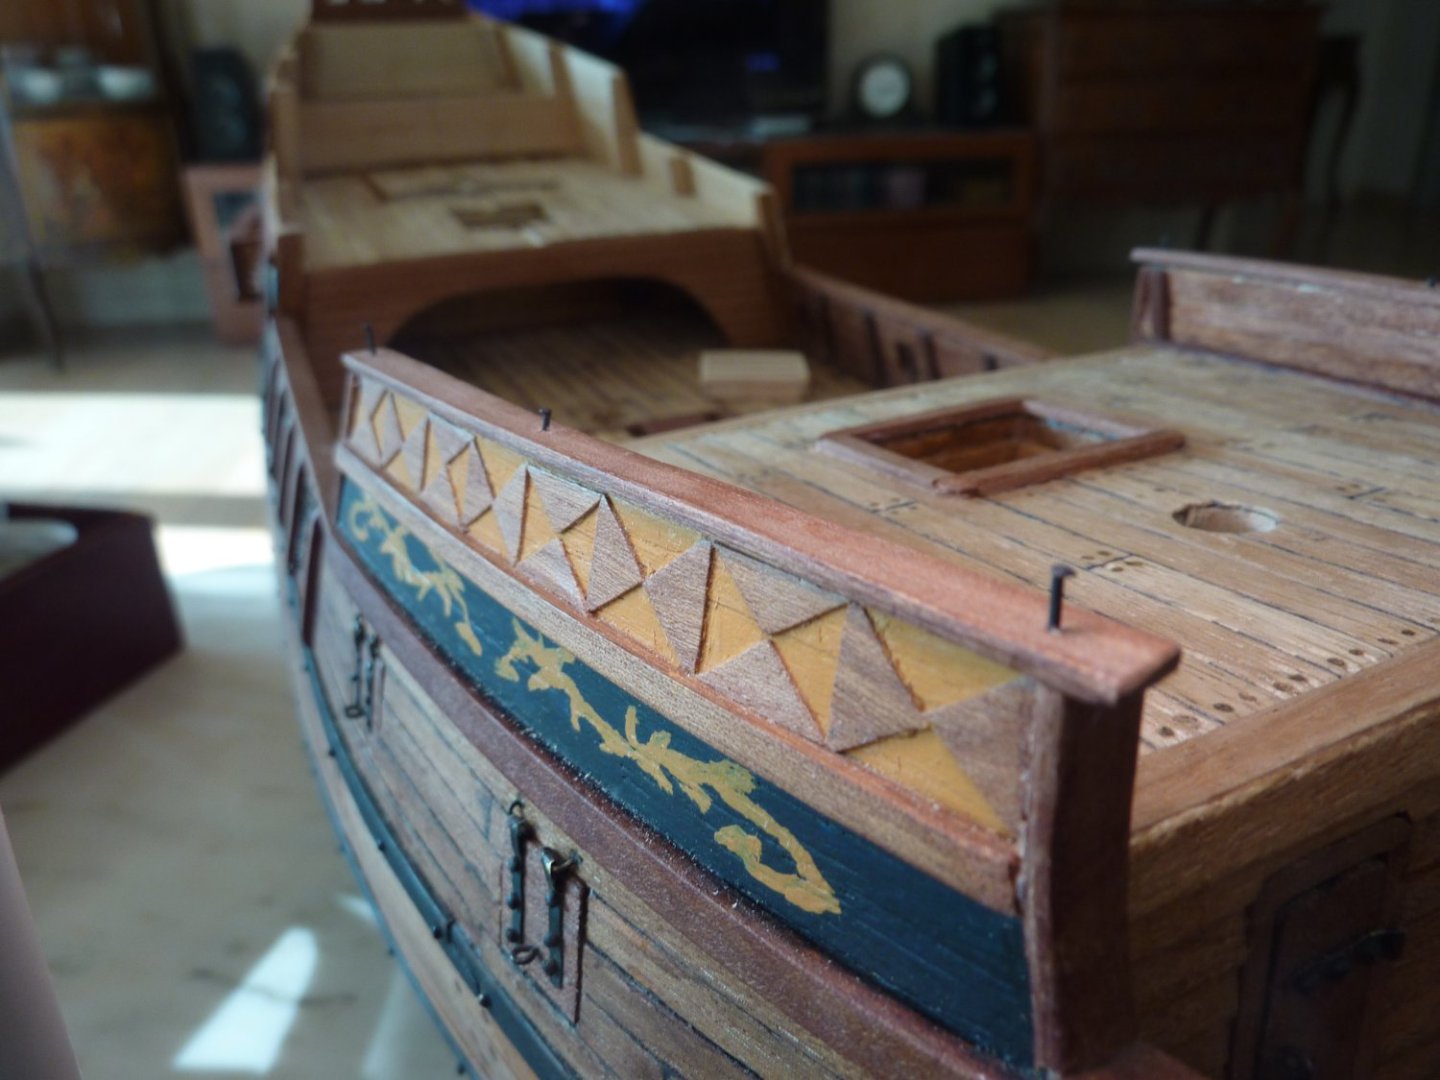
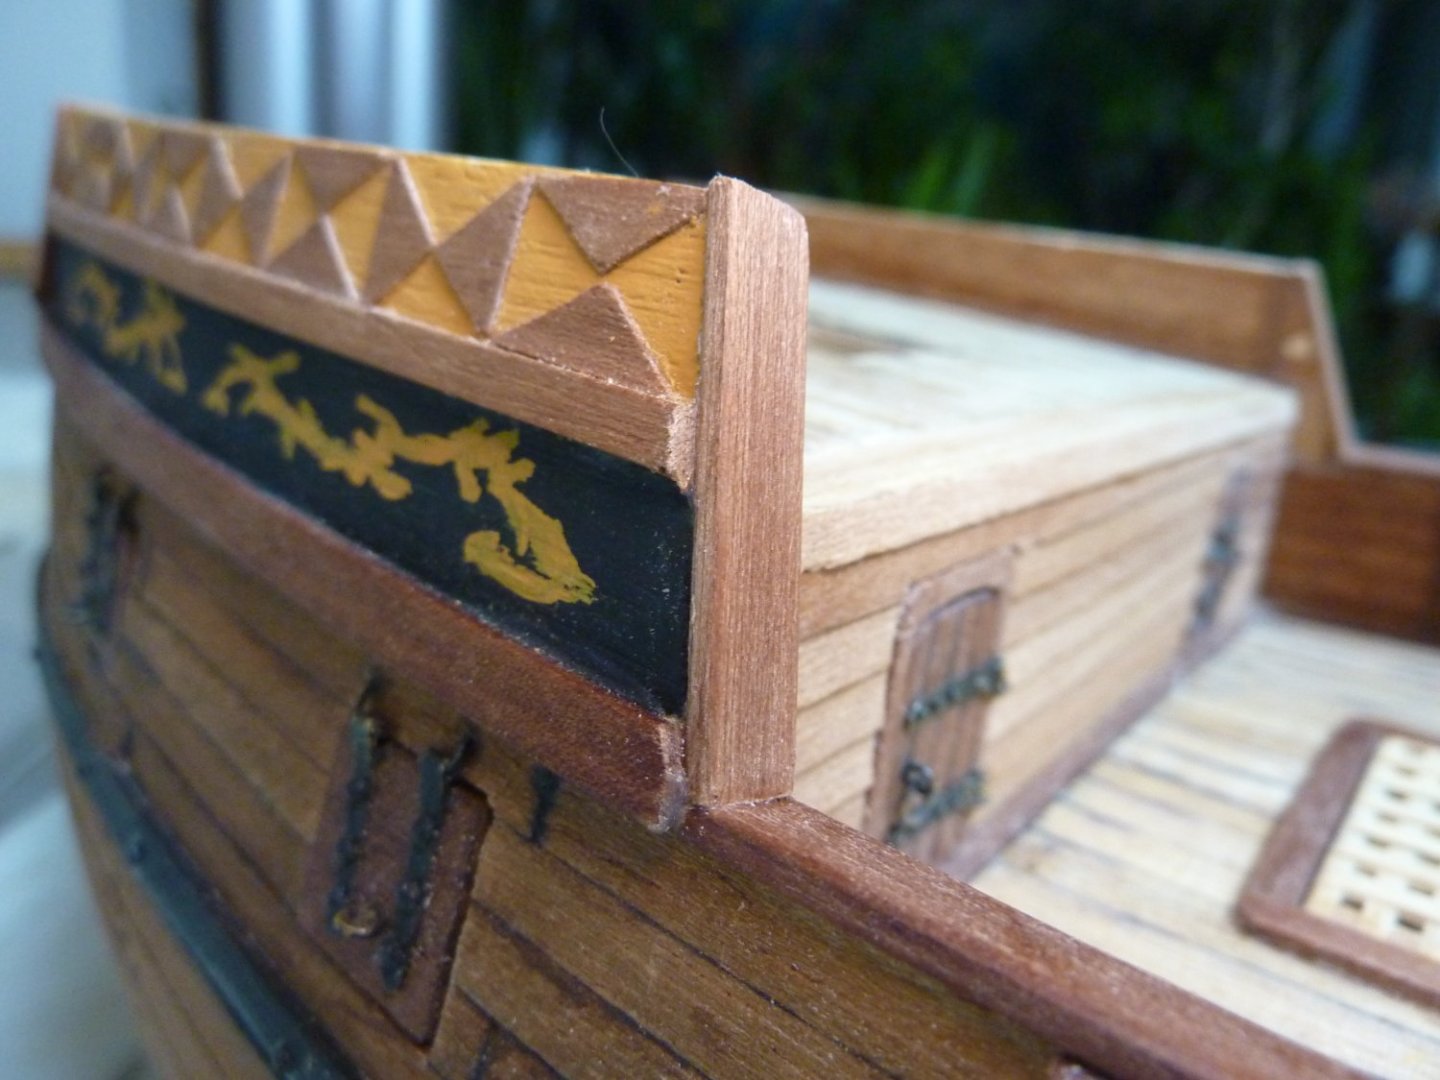
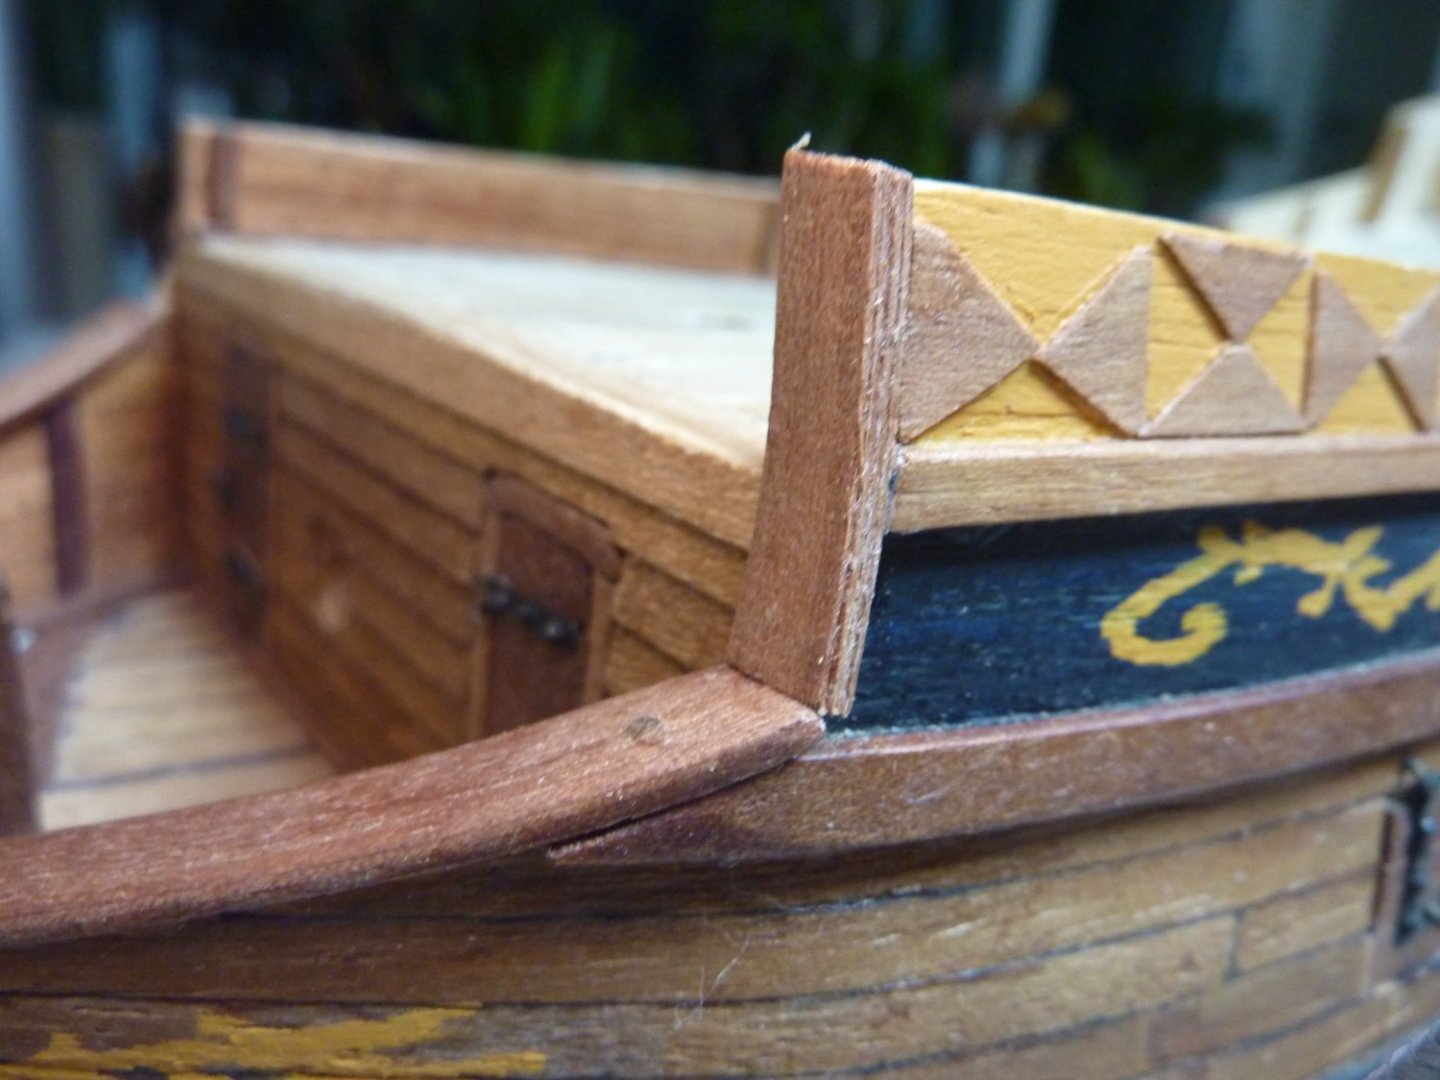
Finishing the forecastle deck area. The main railing on top of forcastle had to be bent a bit in order to adjust to the hulls's curvature.

-
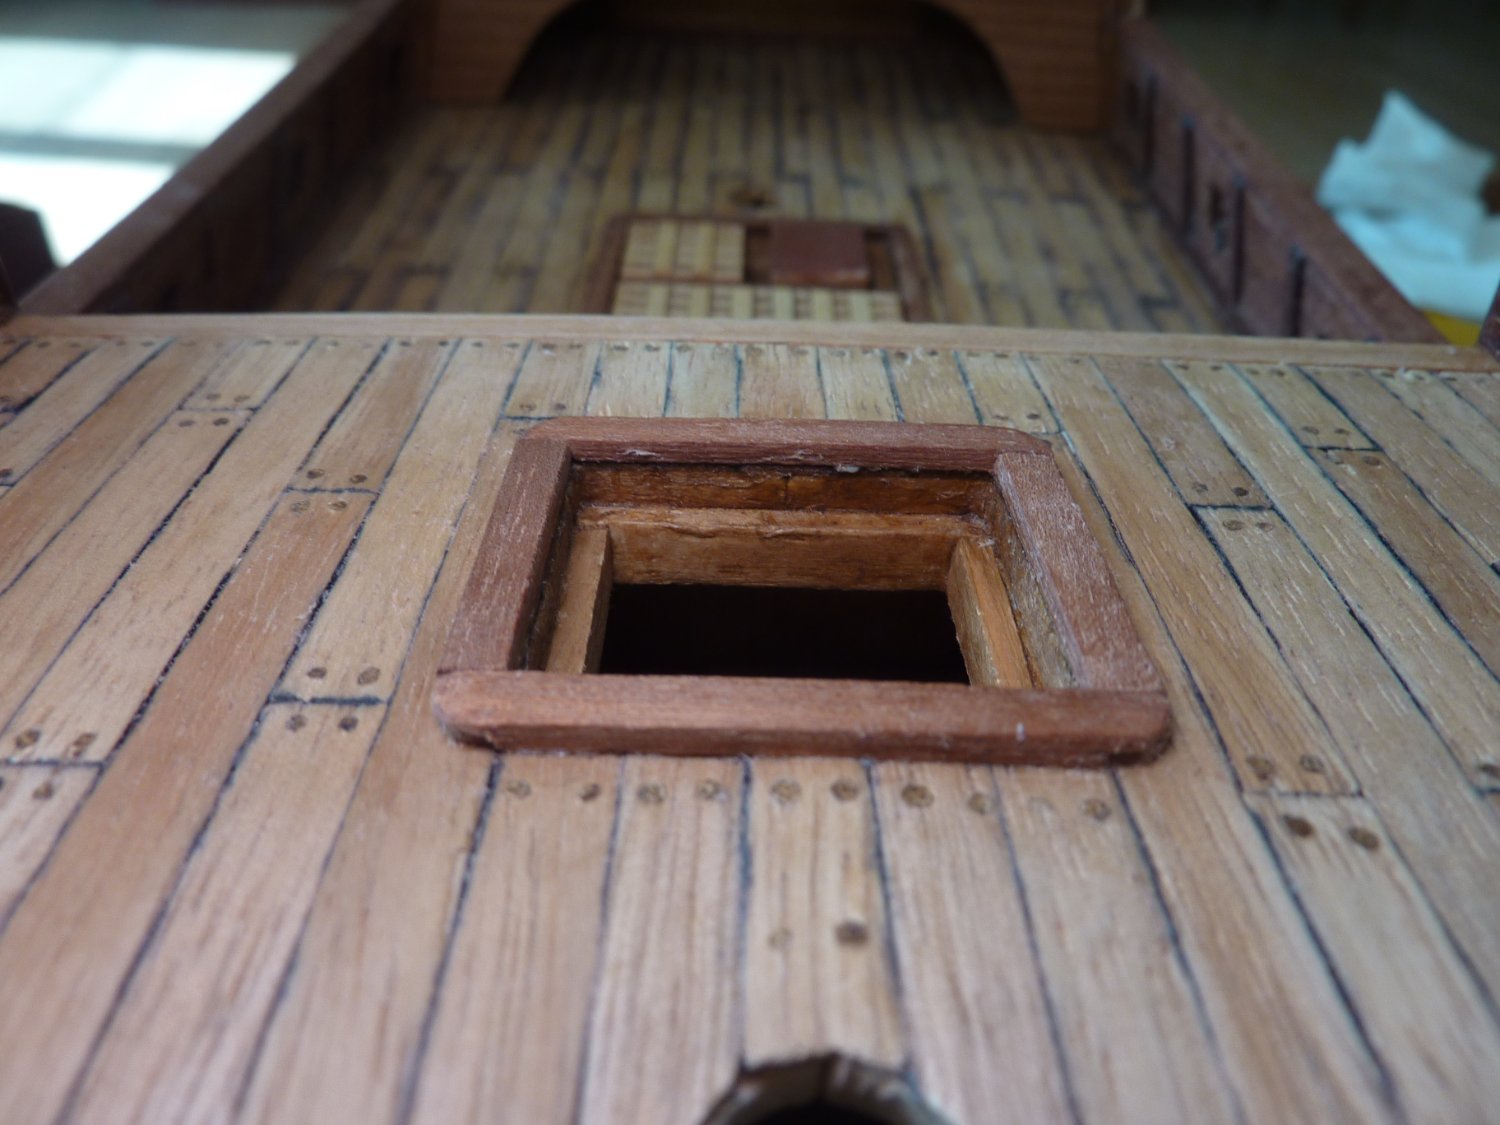
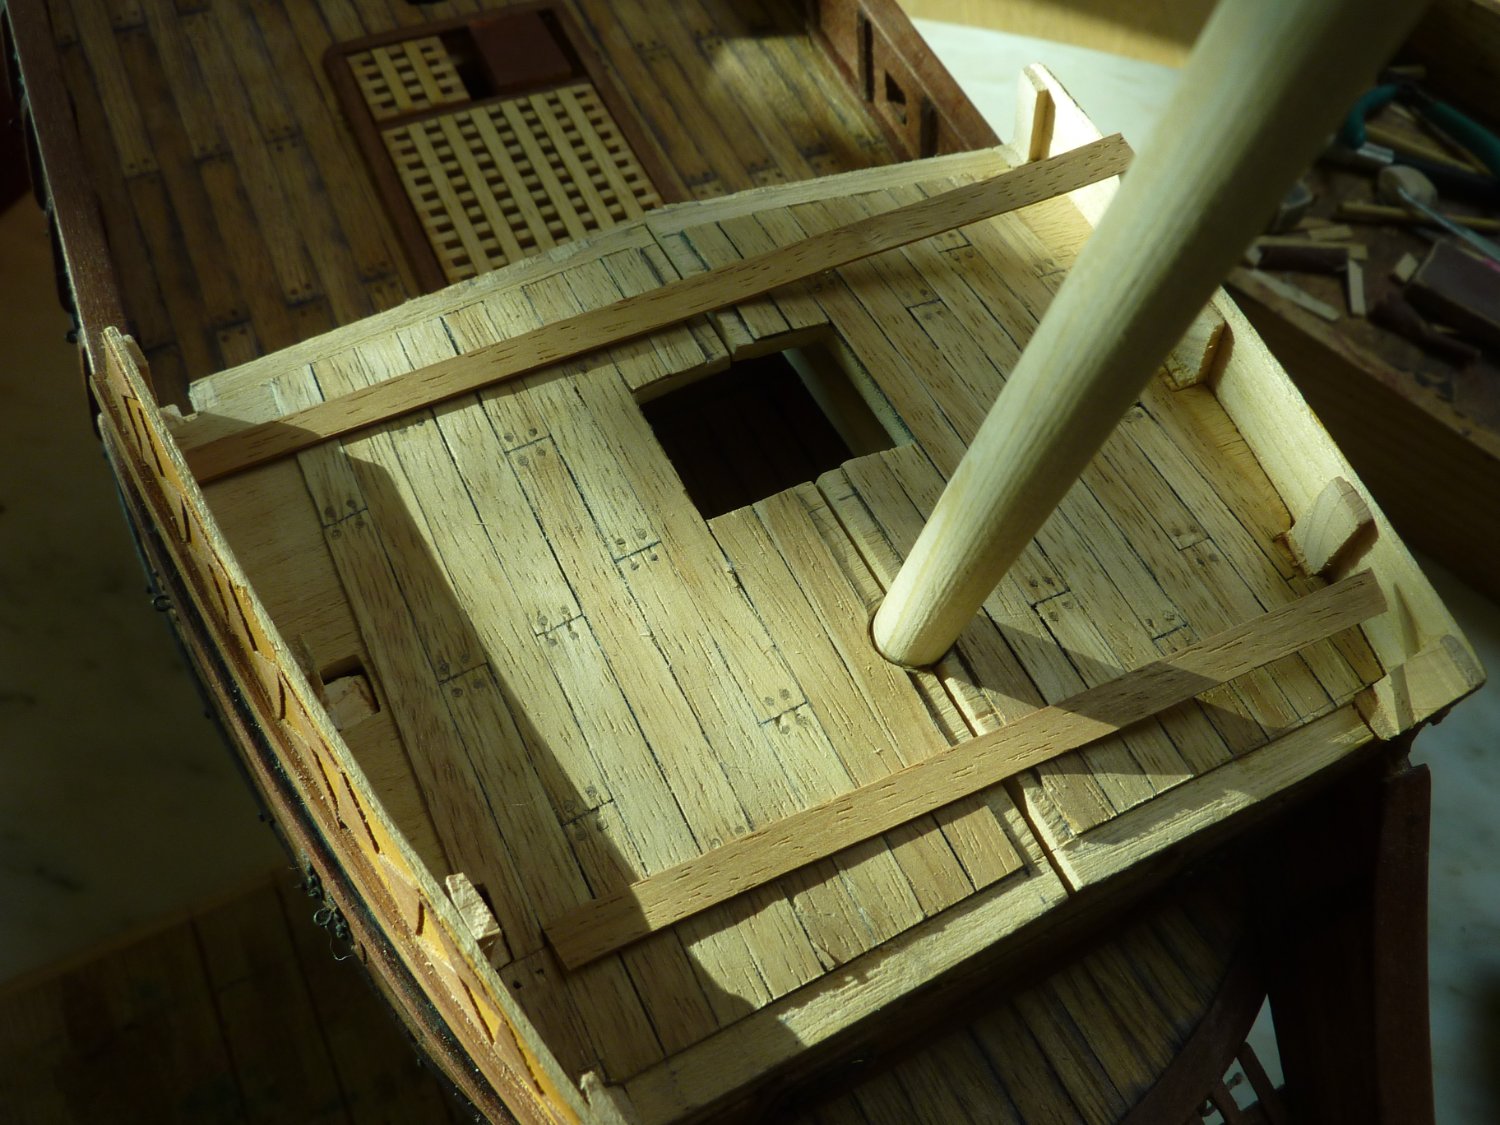
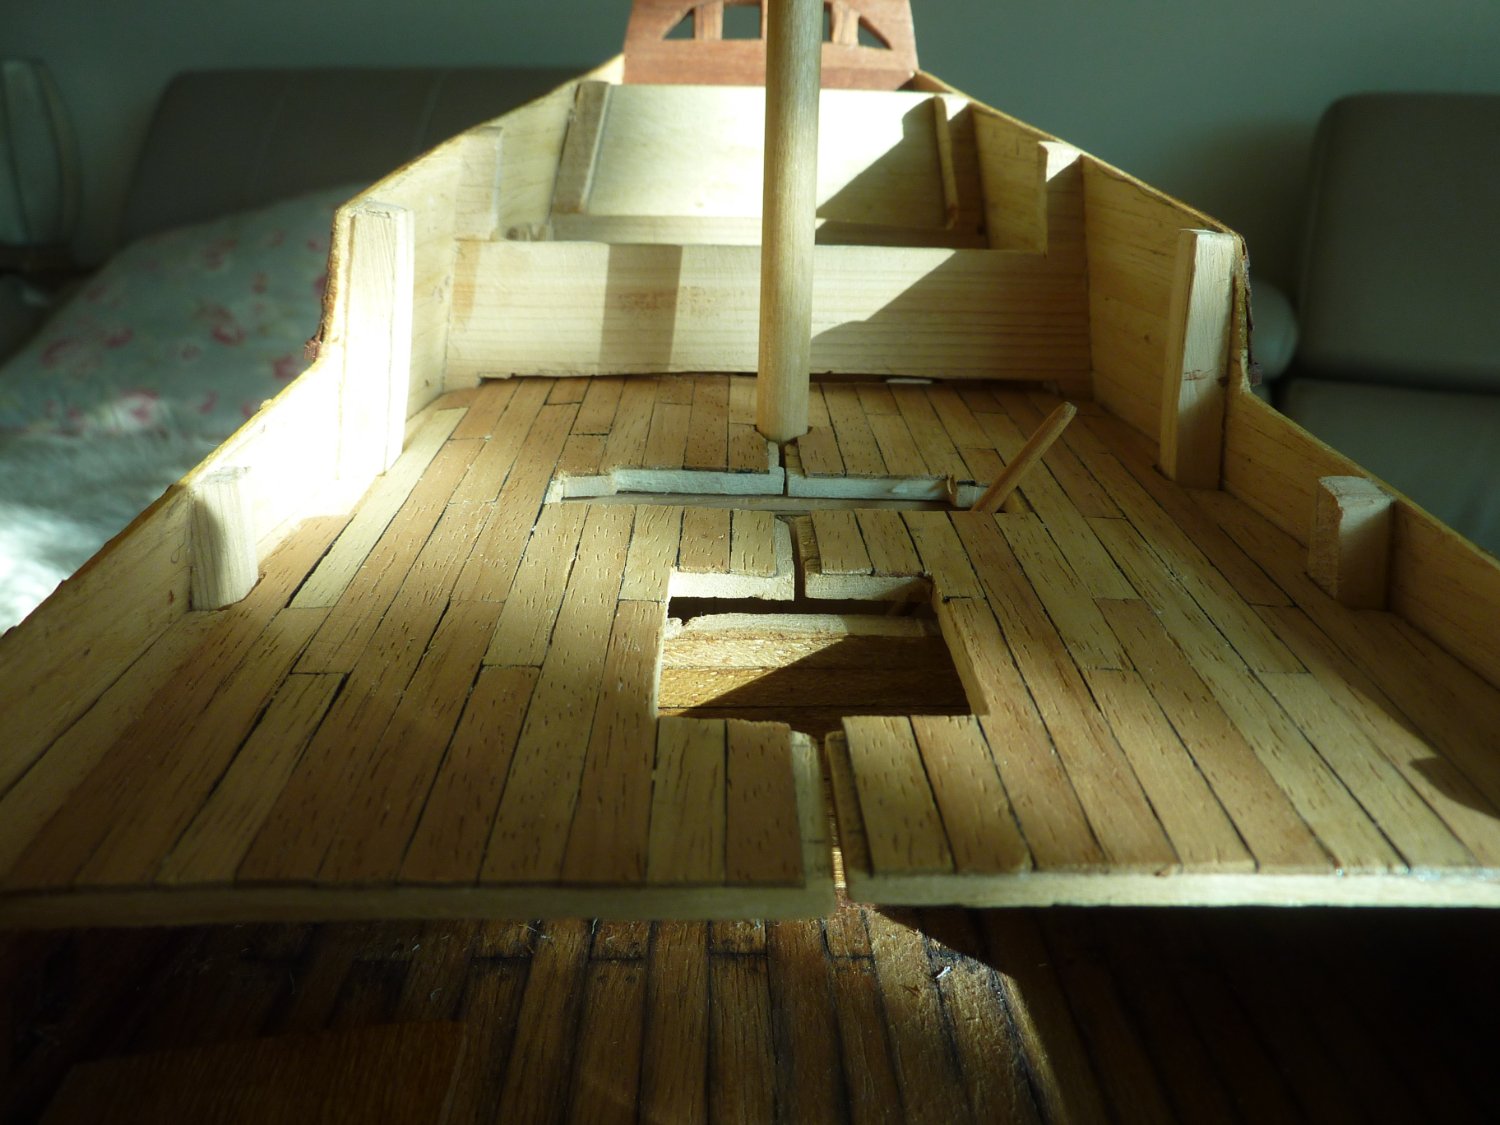
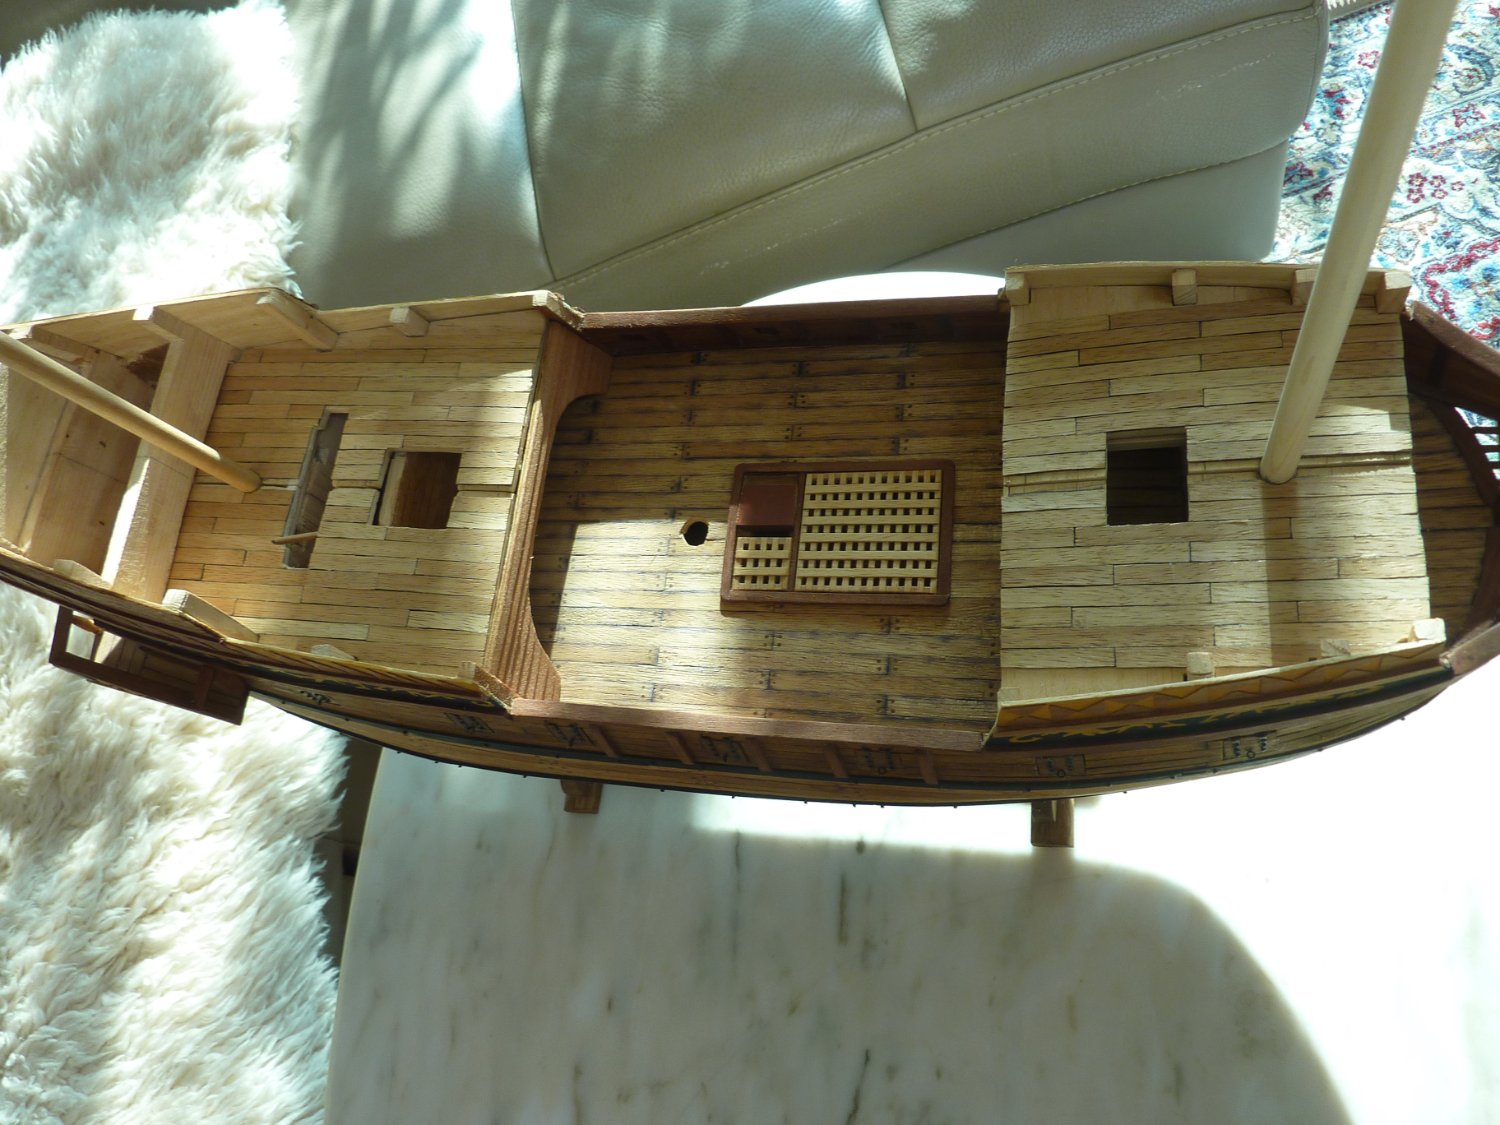
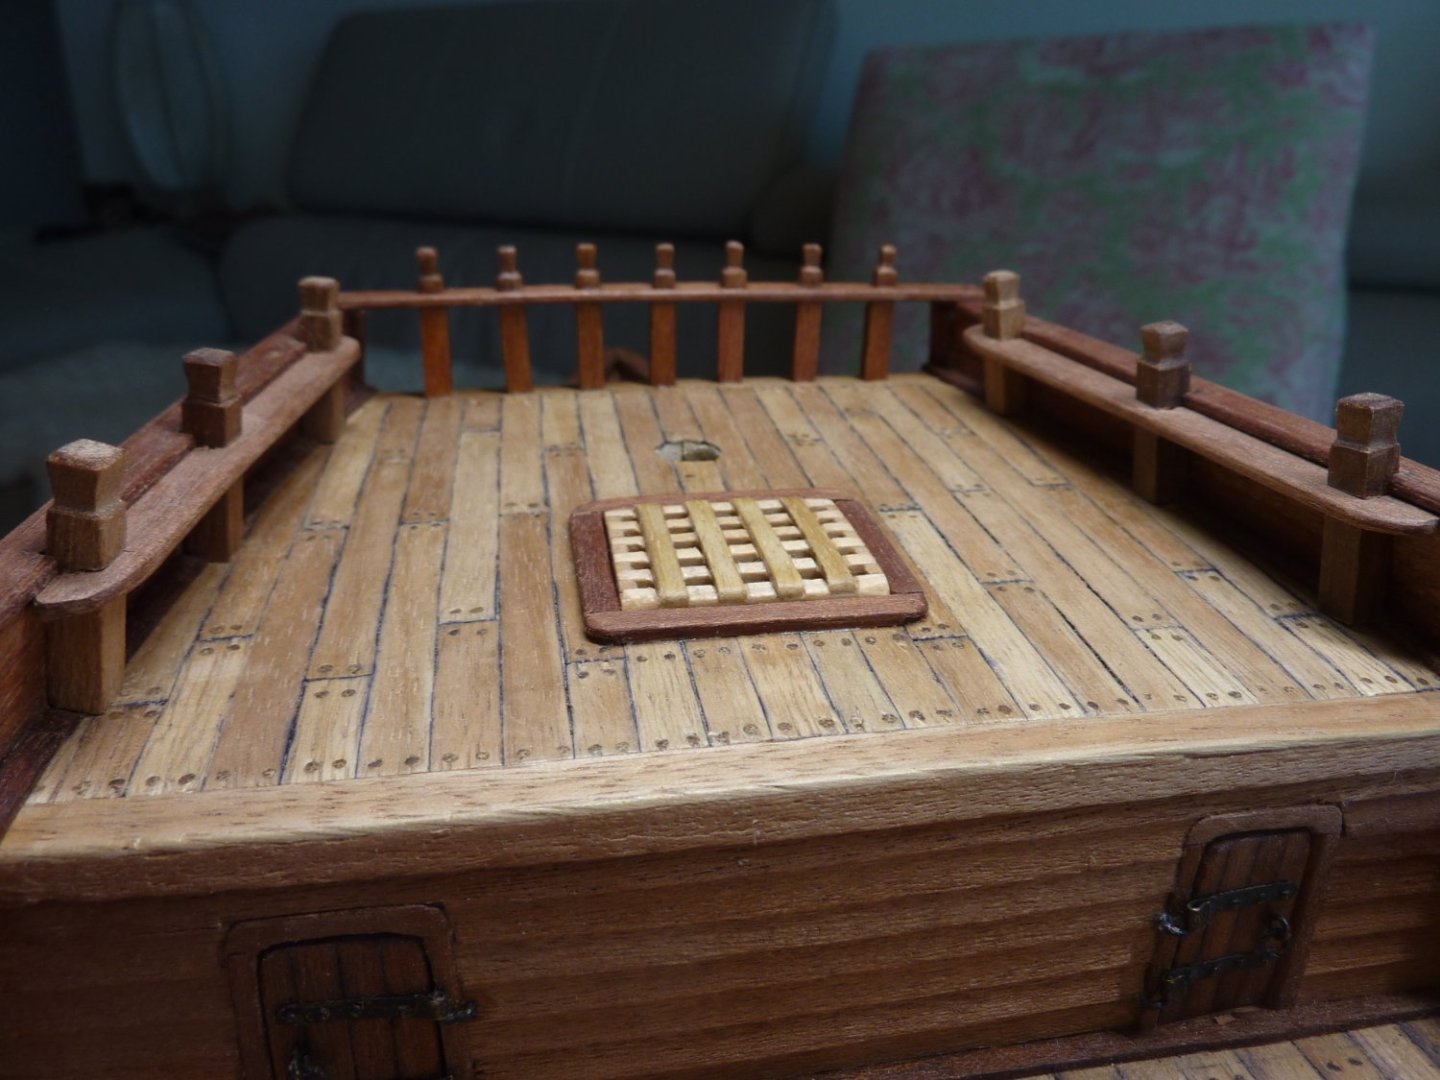
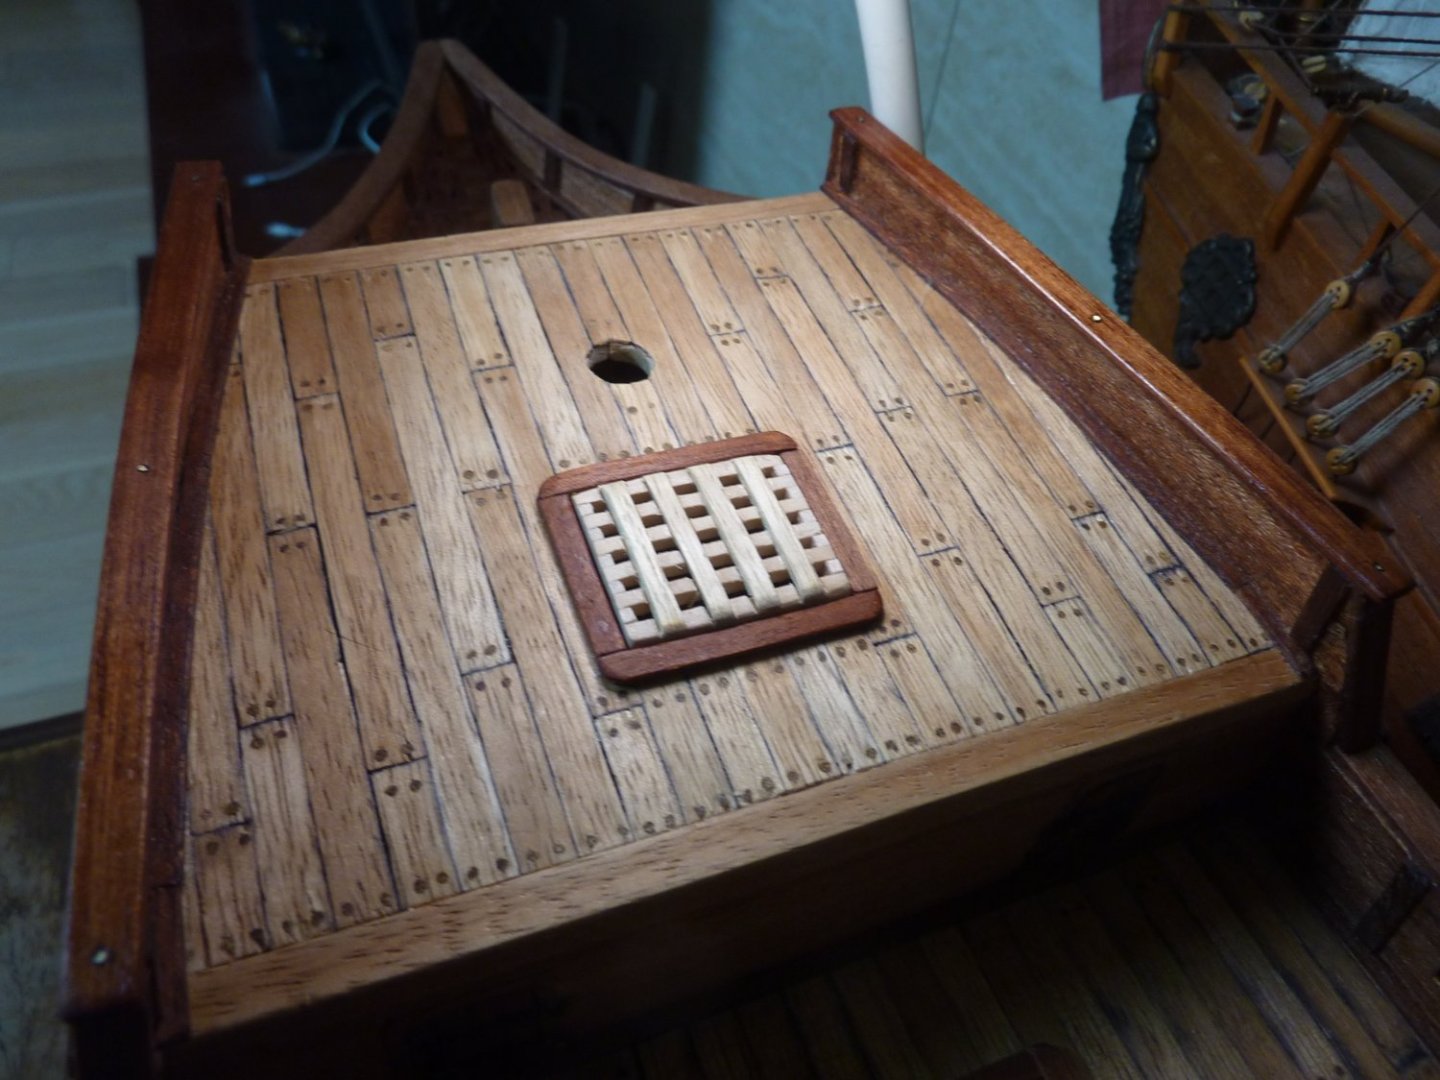
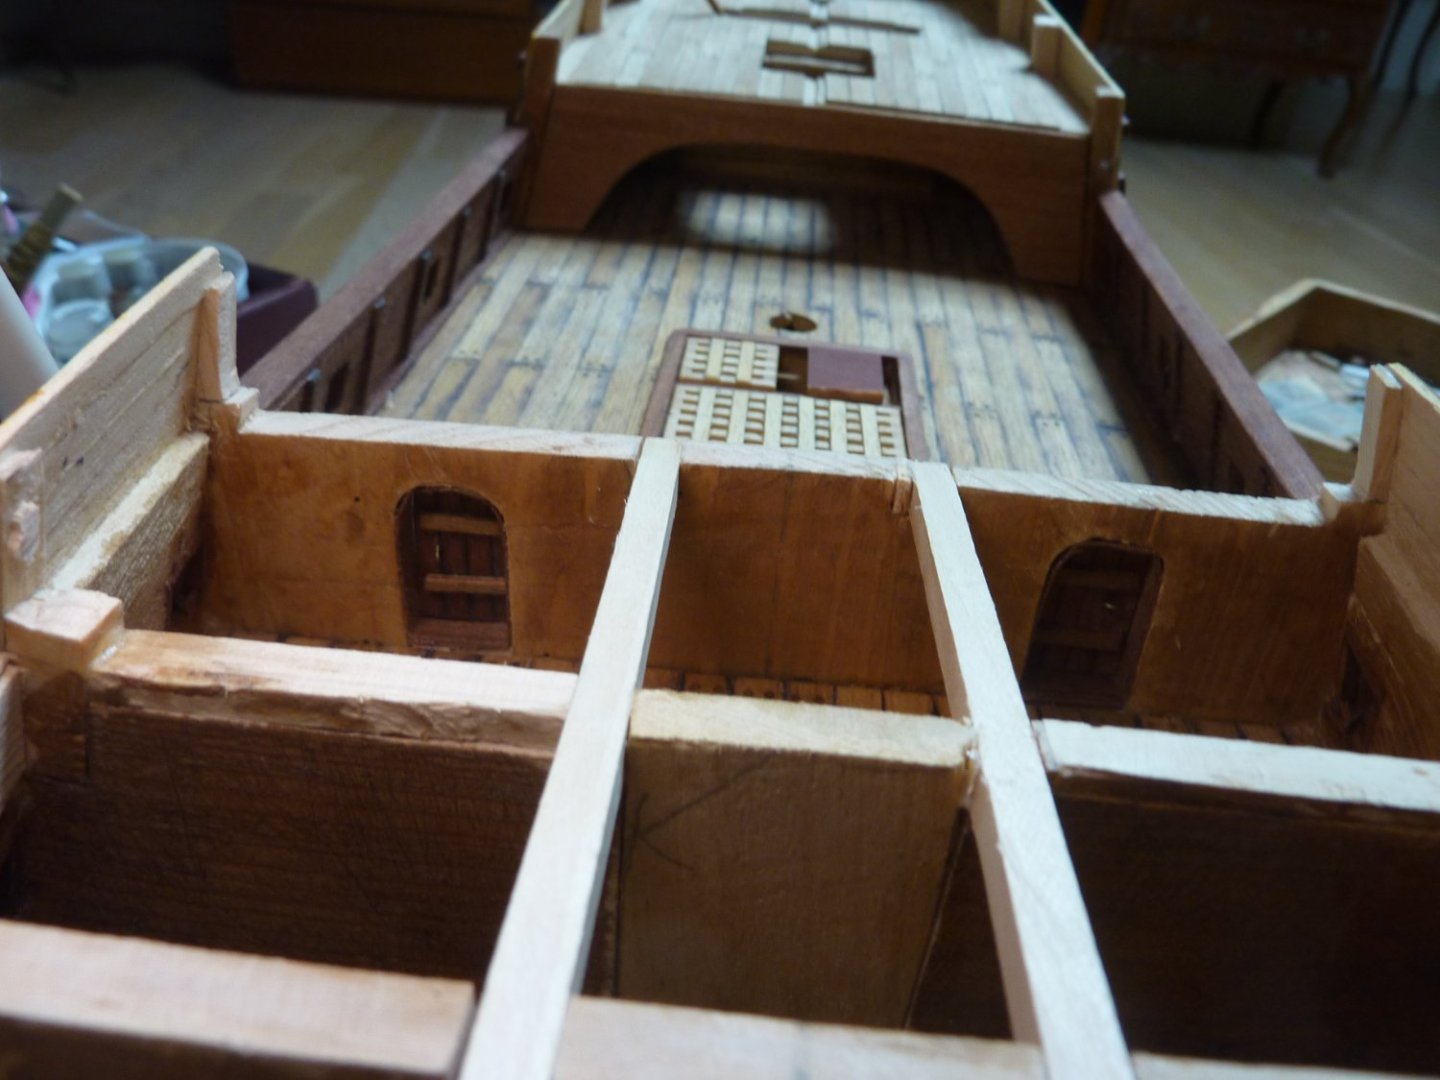
Continued from the 1st upload. Railings around the forcastle intalled and forcastle inner hull work done. Forcastle grating work begins- I decided not to put a ladder there.


-
By the way, when a certain section is all done and no more glueing required, I usually apply varnish to finish that section. I suppose varnish would mitigate some of the negative impacts of olive oil?
-
Oh~ ok.. did not know that olive oil would have such an adverse impact compared to teak oil. I just could not get hold of teak oil in Korea. Someone in MSW suggested that olive oil could be a good alternative to teak oil. I suppose I will have to look harder for teak oil then. Thanks for you input, Mark!
-
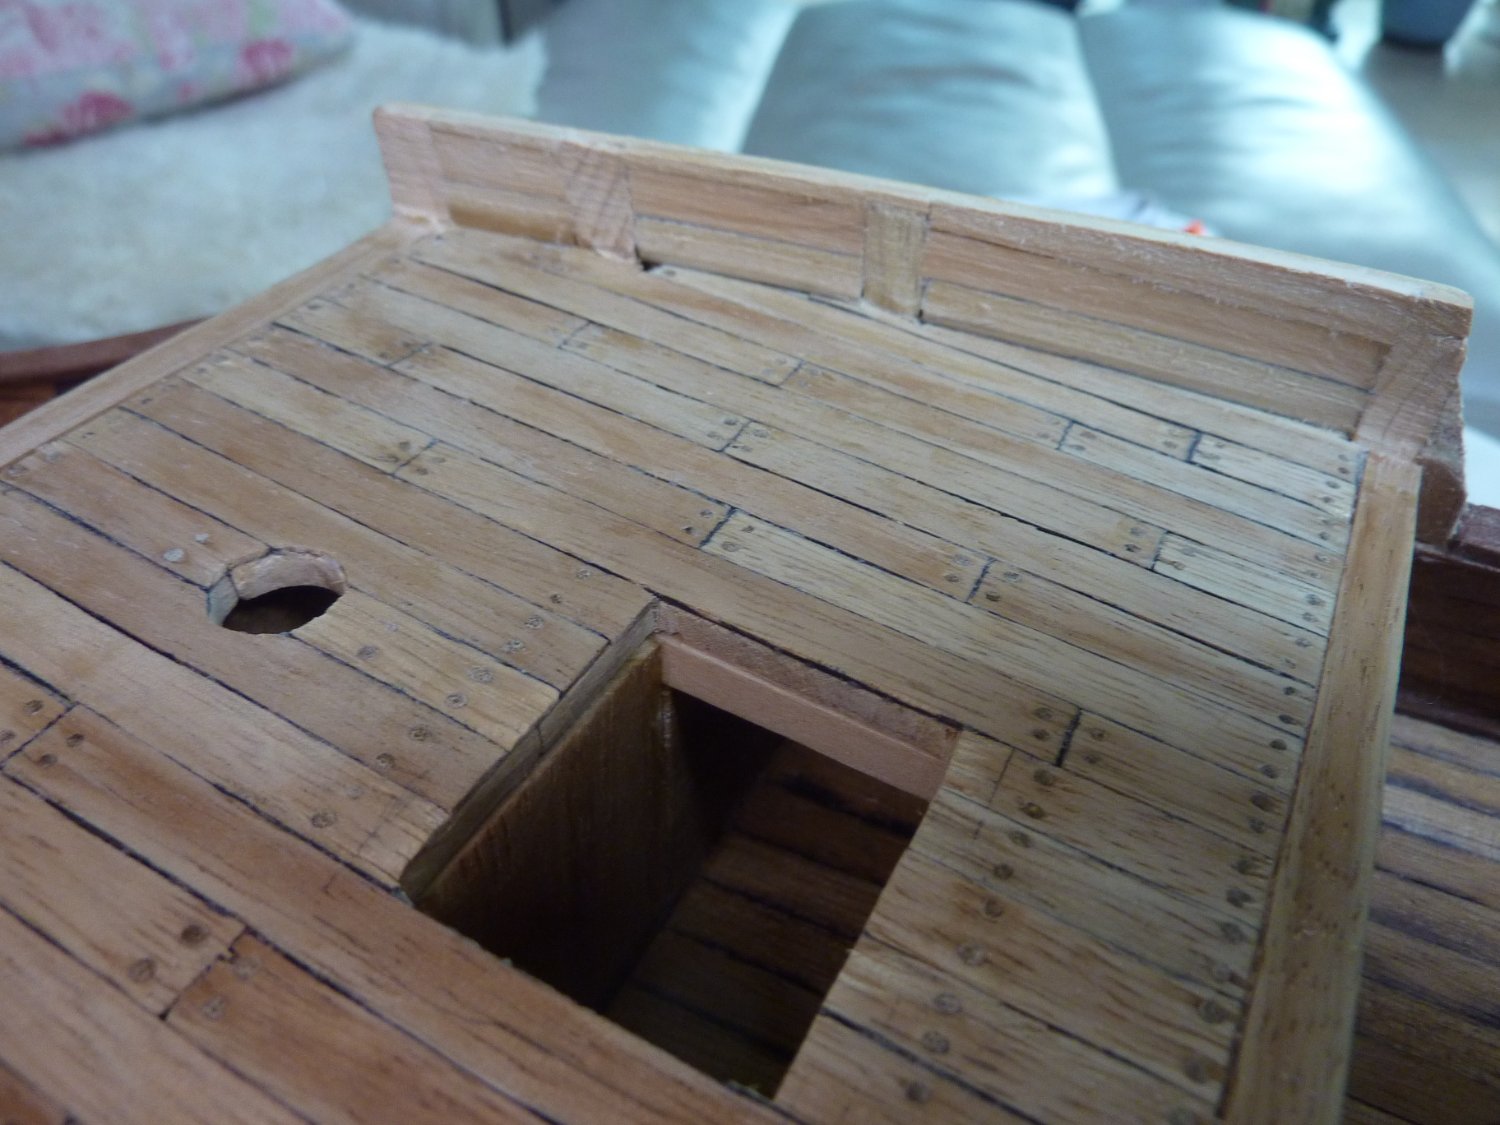
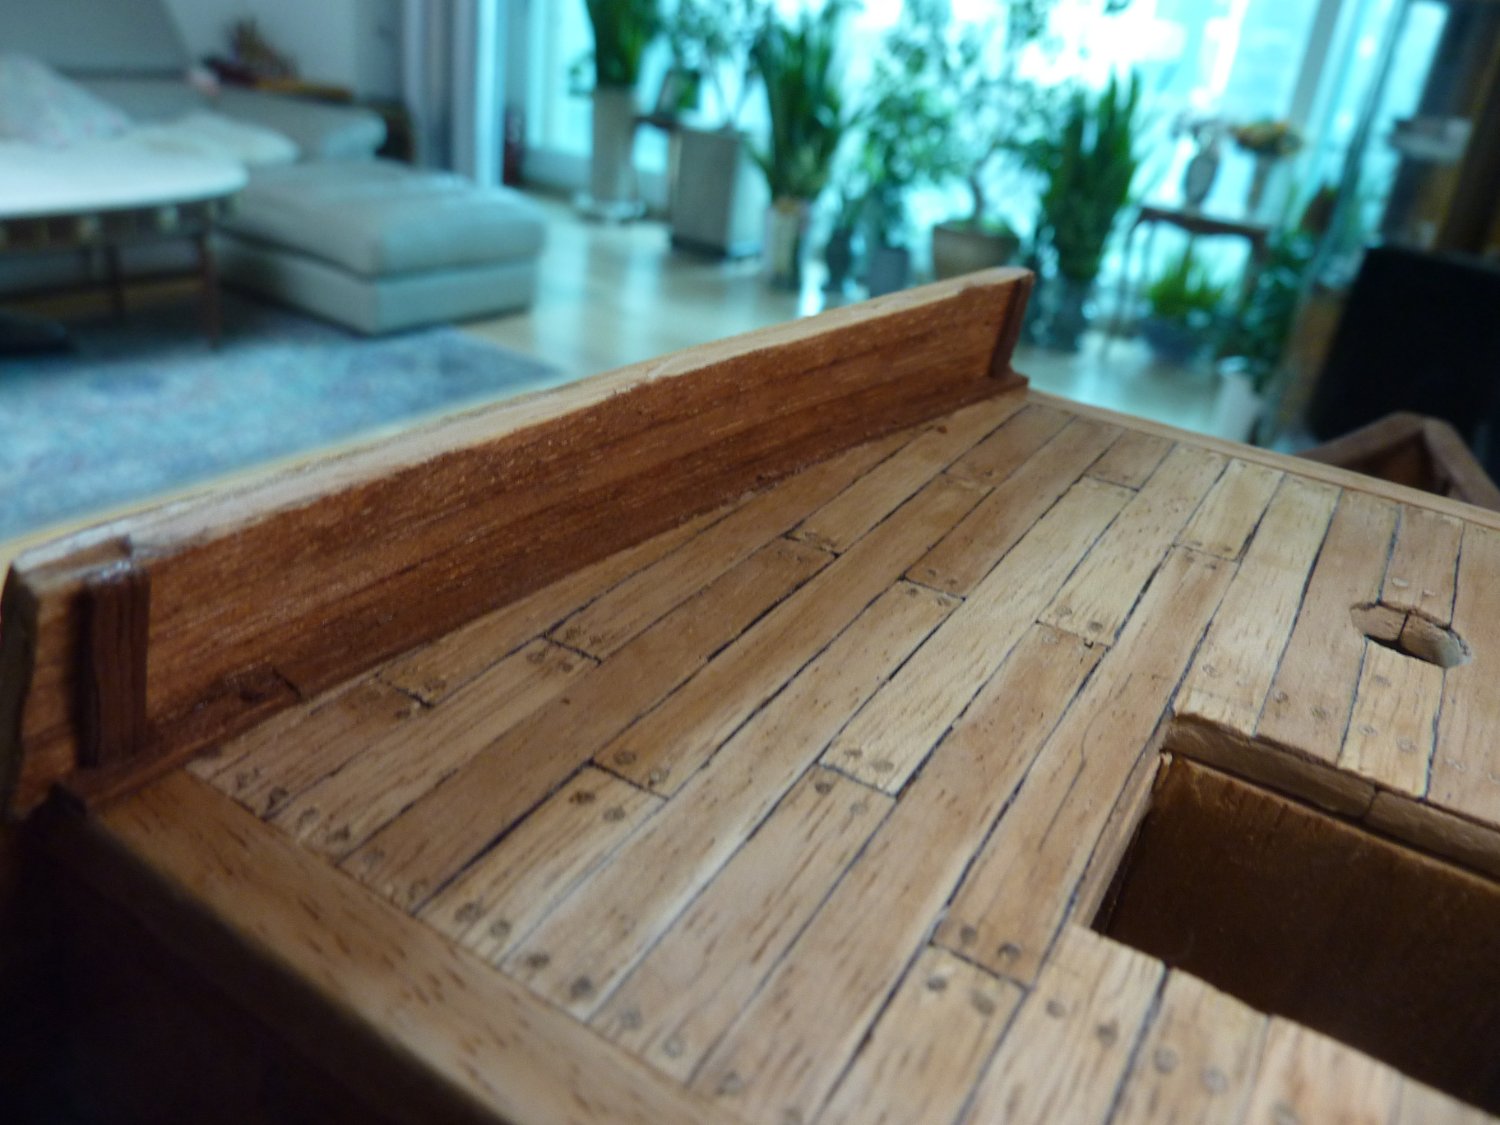
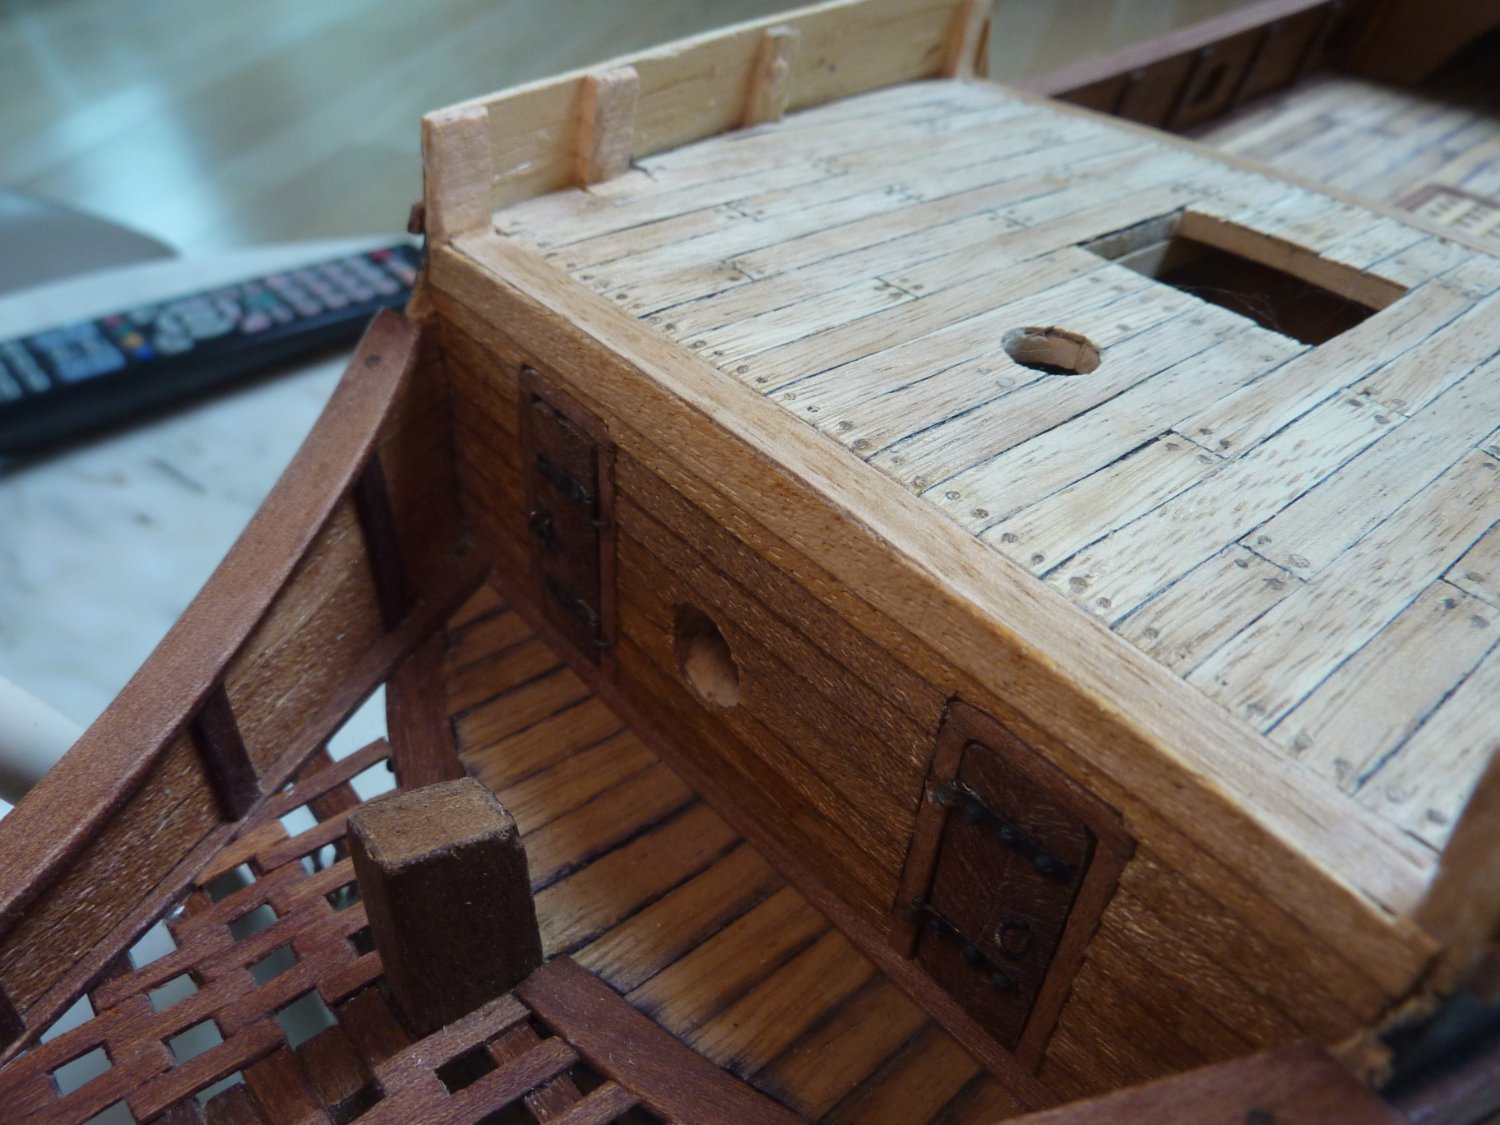
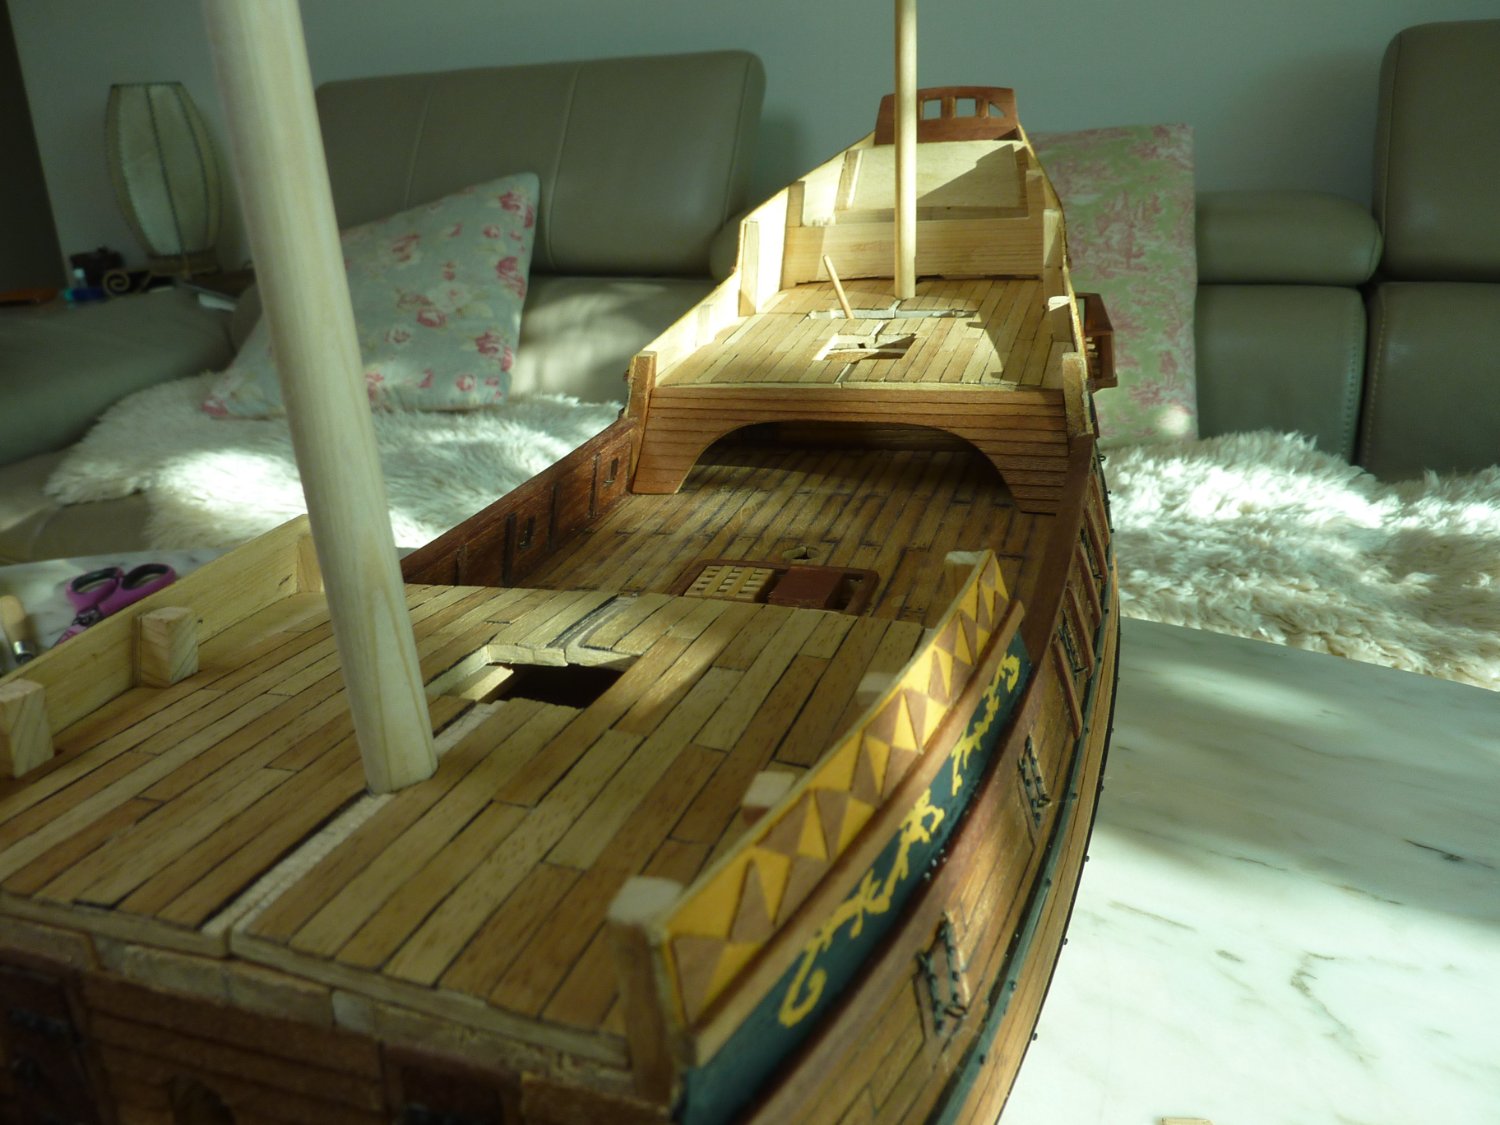
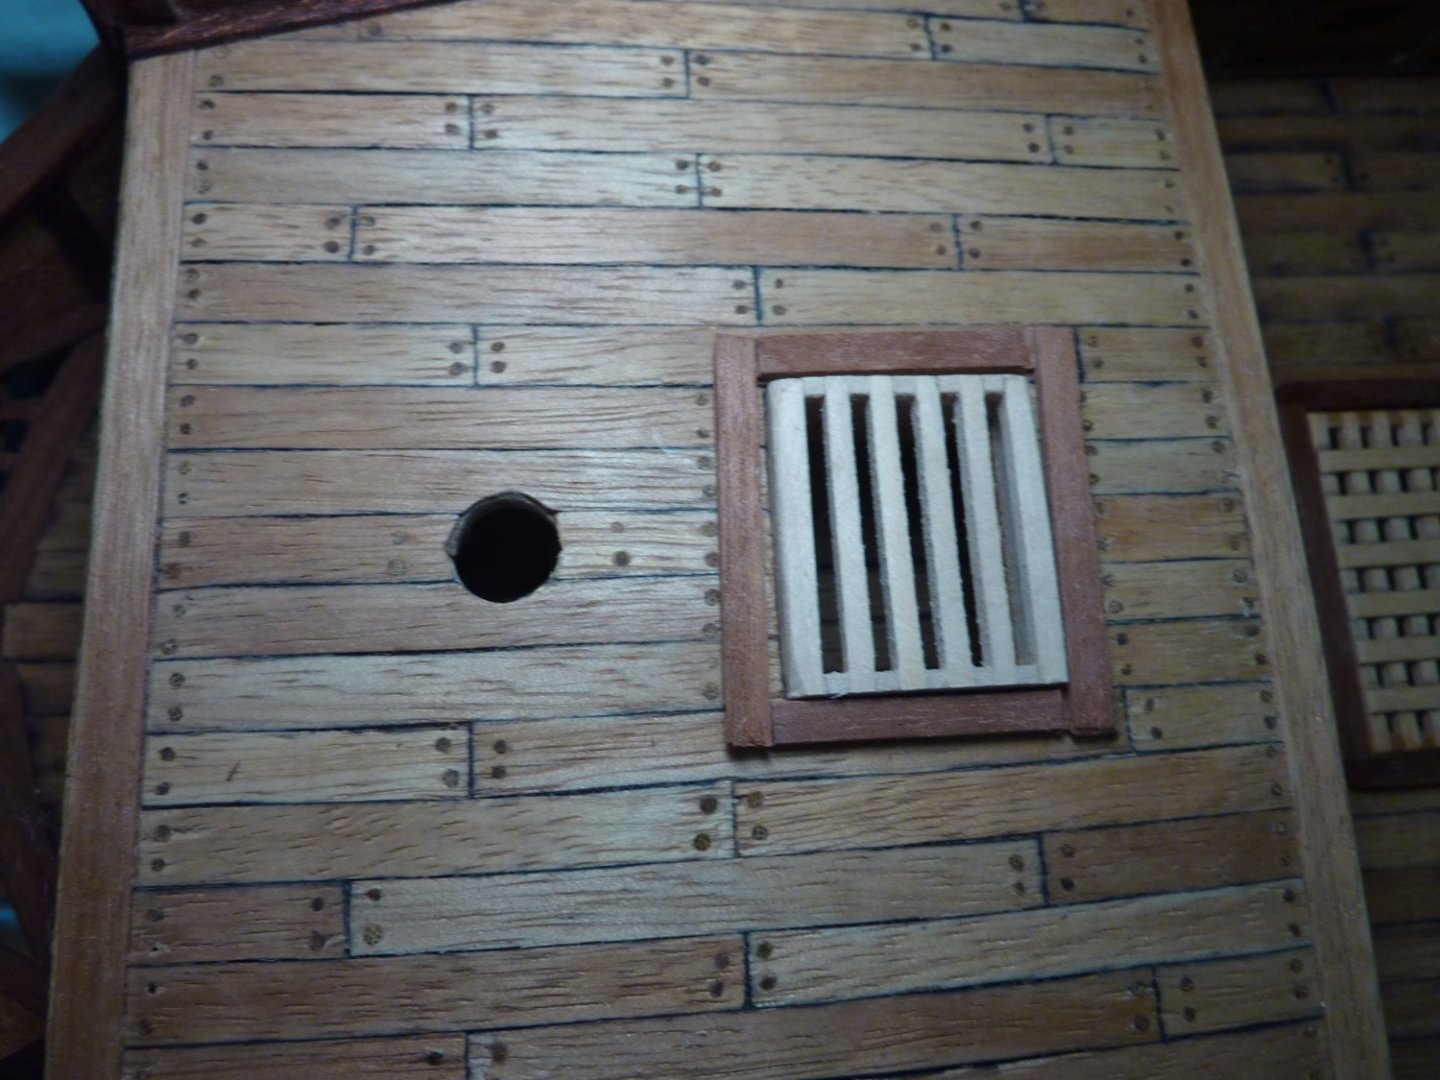
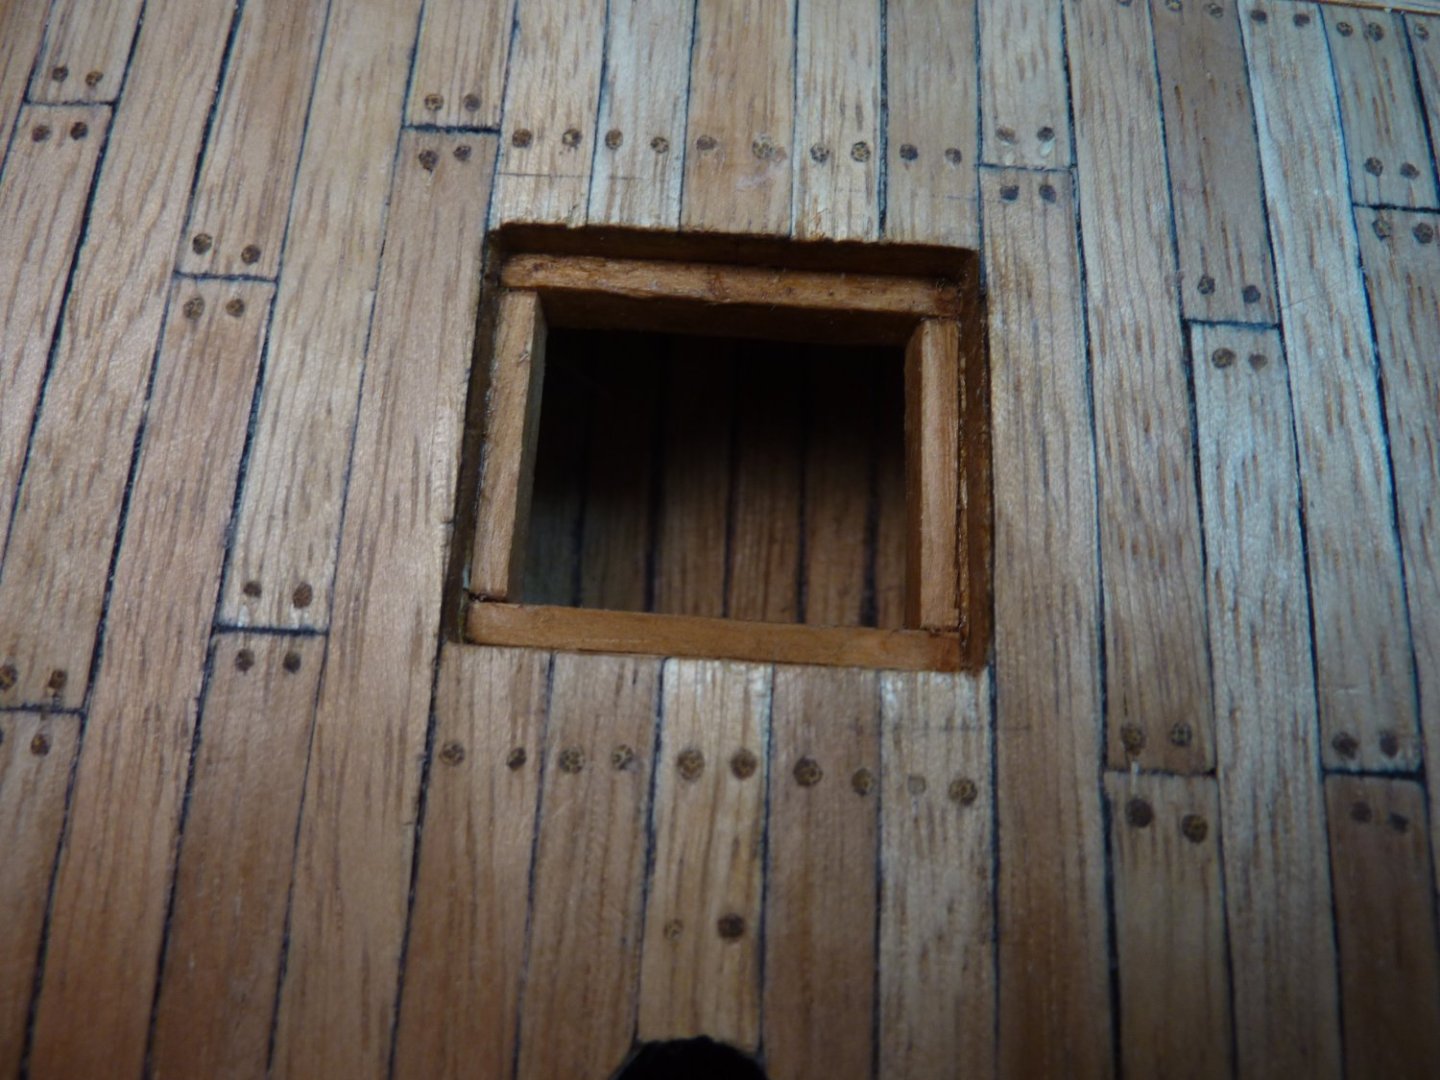
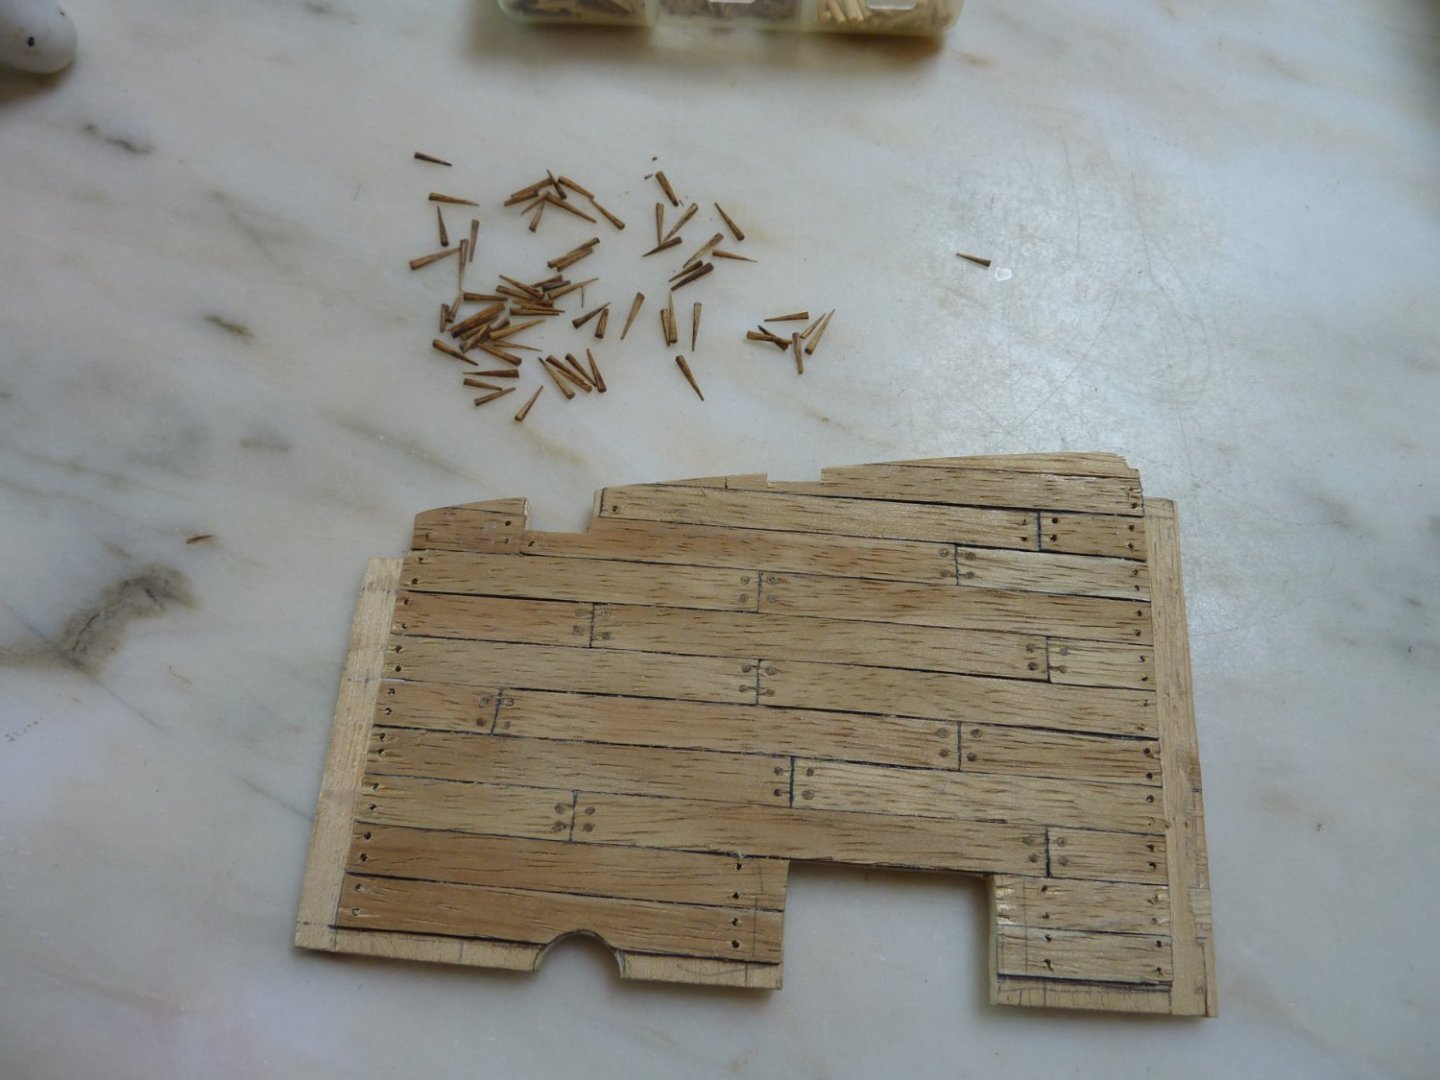
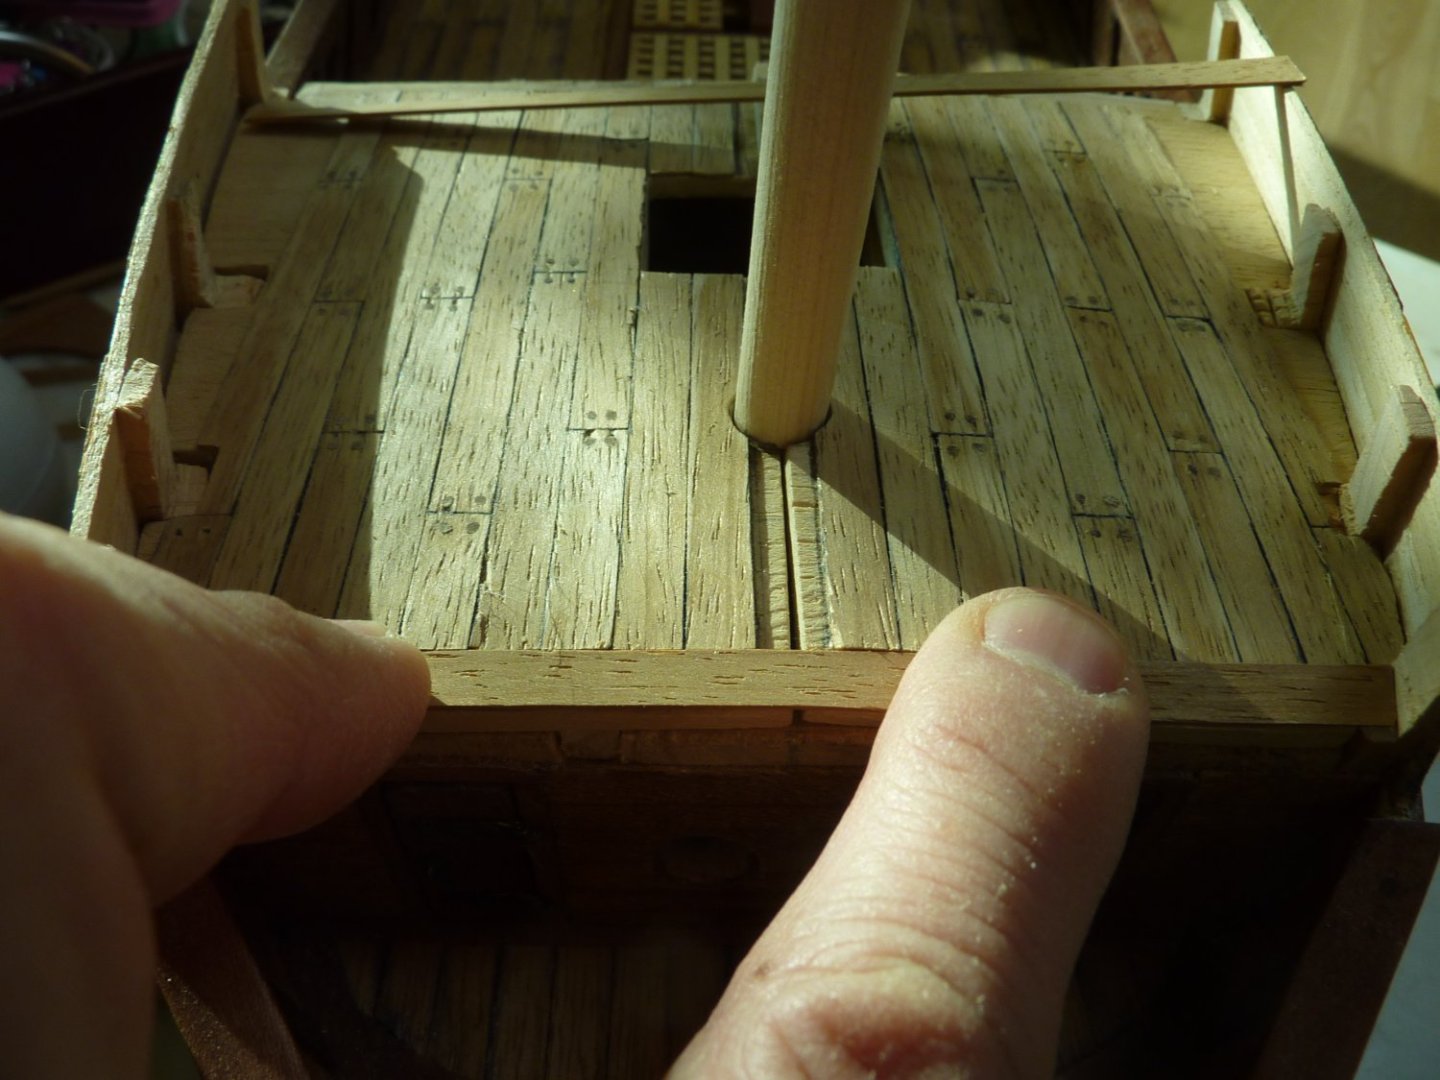
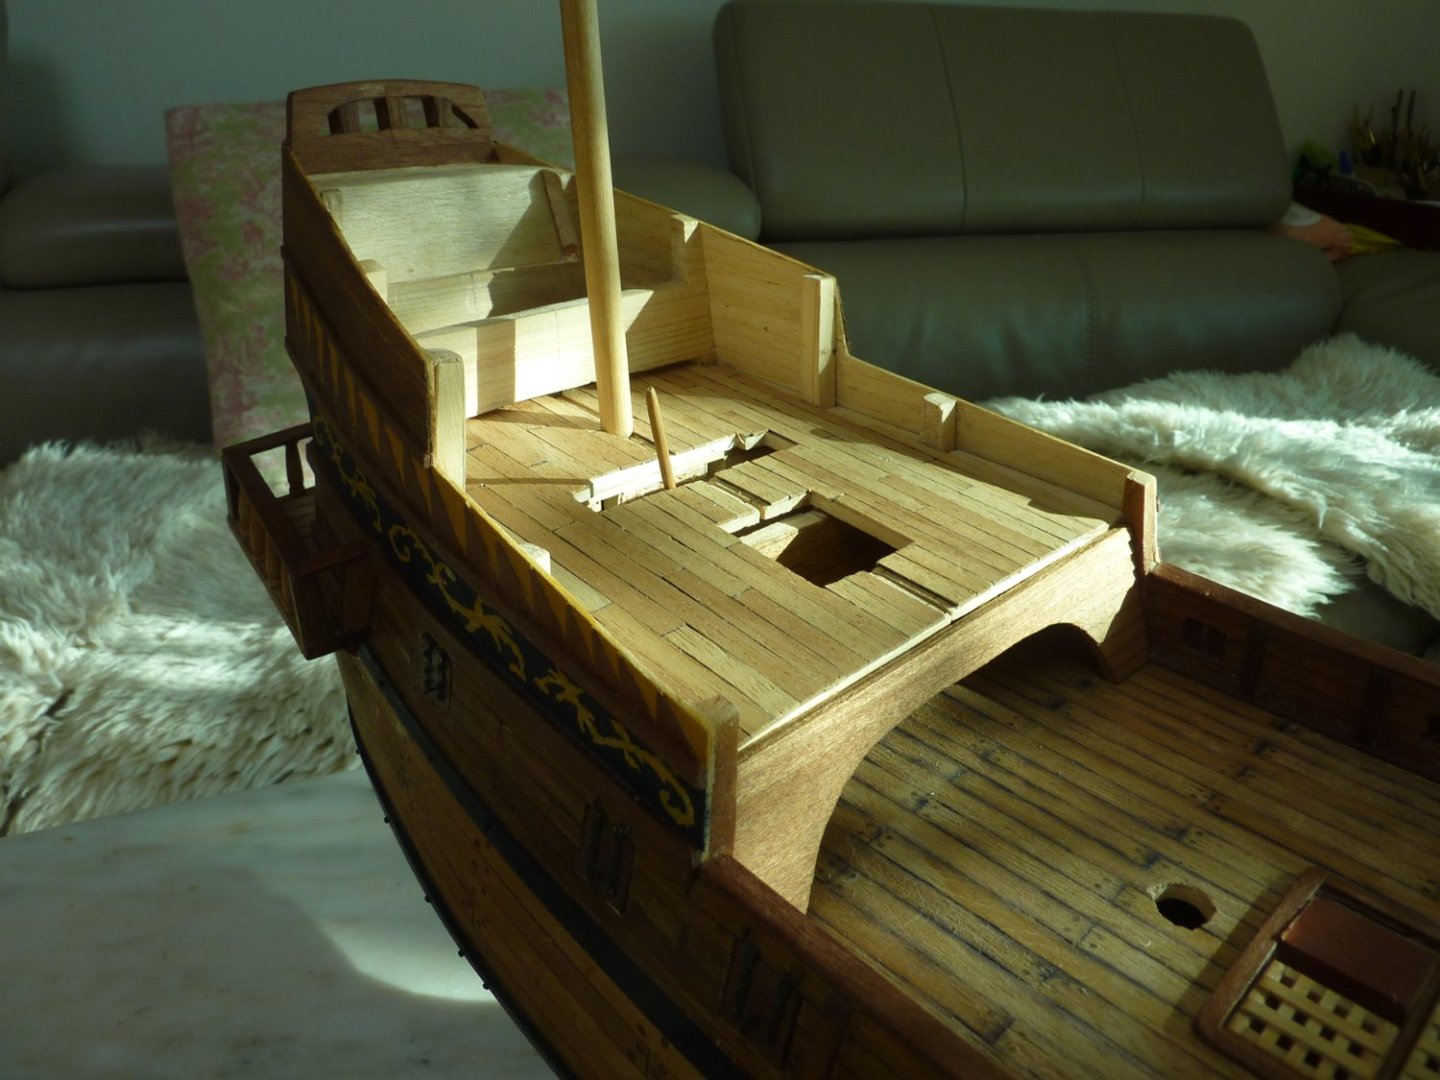
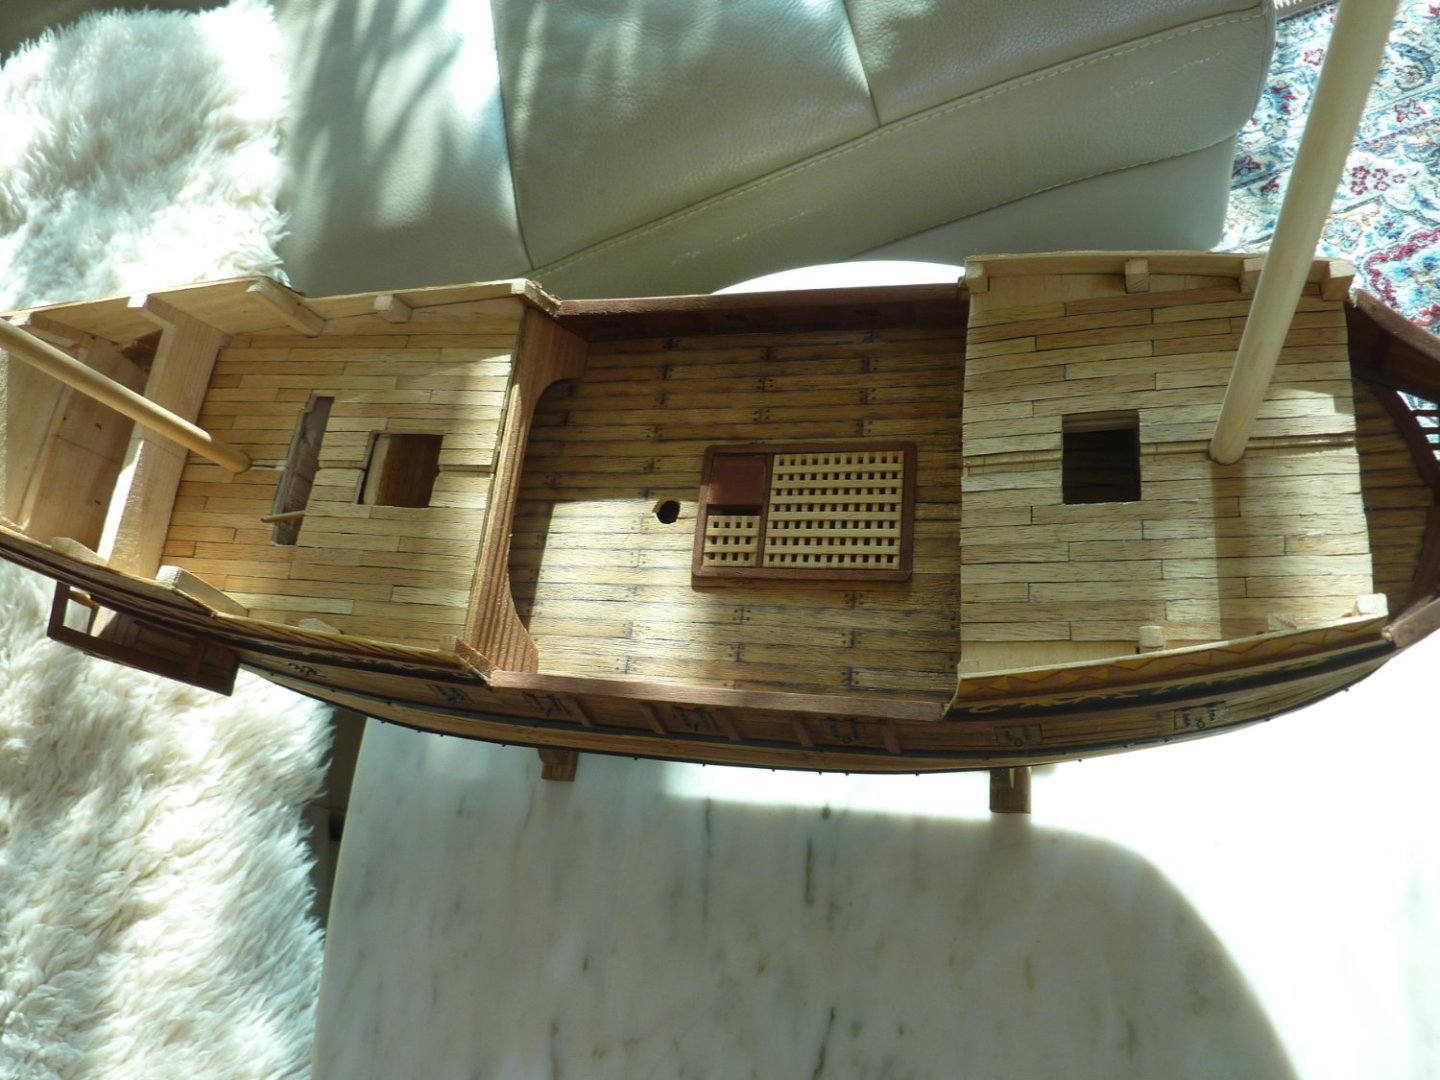
Hello shipmates~! Still quite busy at work, but getting slightly better. I have finshed the forecastle decking, treenails on the forecastle deck, railings around the forecastle area and the grating on forecastle. A tiny amount of olive oil has been applied to the forecastle deck - looks better and cleaner than the gun deck where I applied lots of olive oil and thus inadvertently smeared the deck with the black pen used to bring out the caulking effect. Please see below some pictures during the work.


-
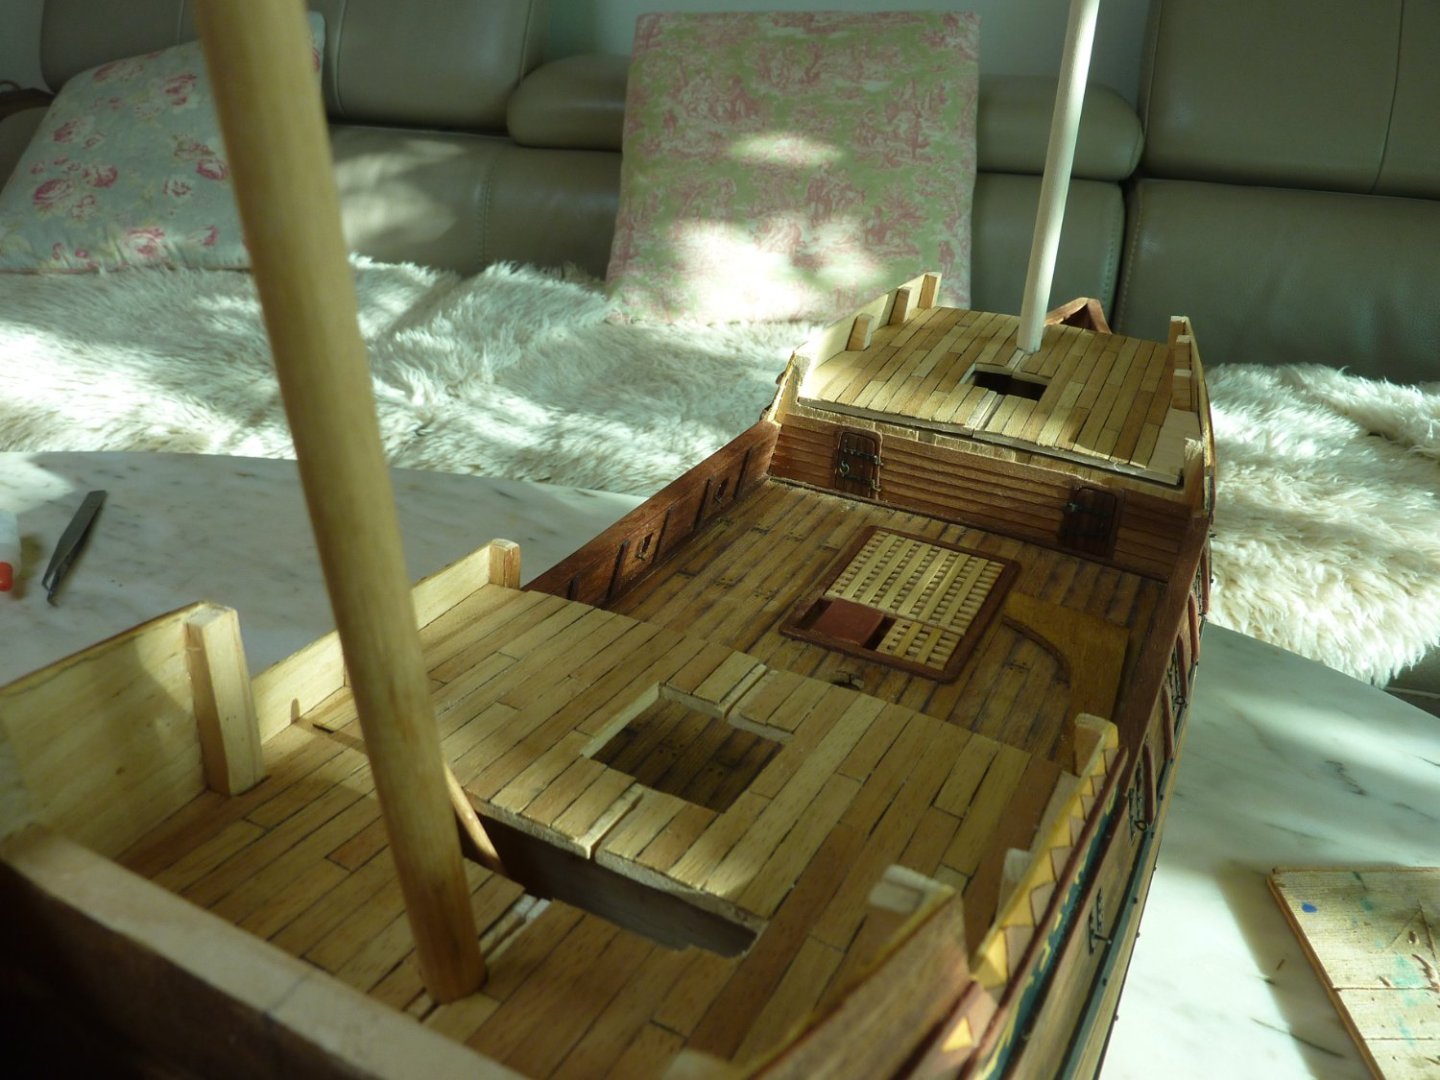
Mostly done on the forecastle and upper quarterdeck decking.


-
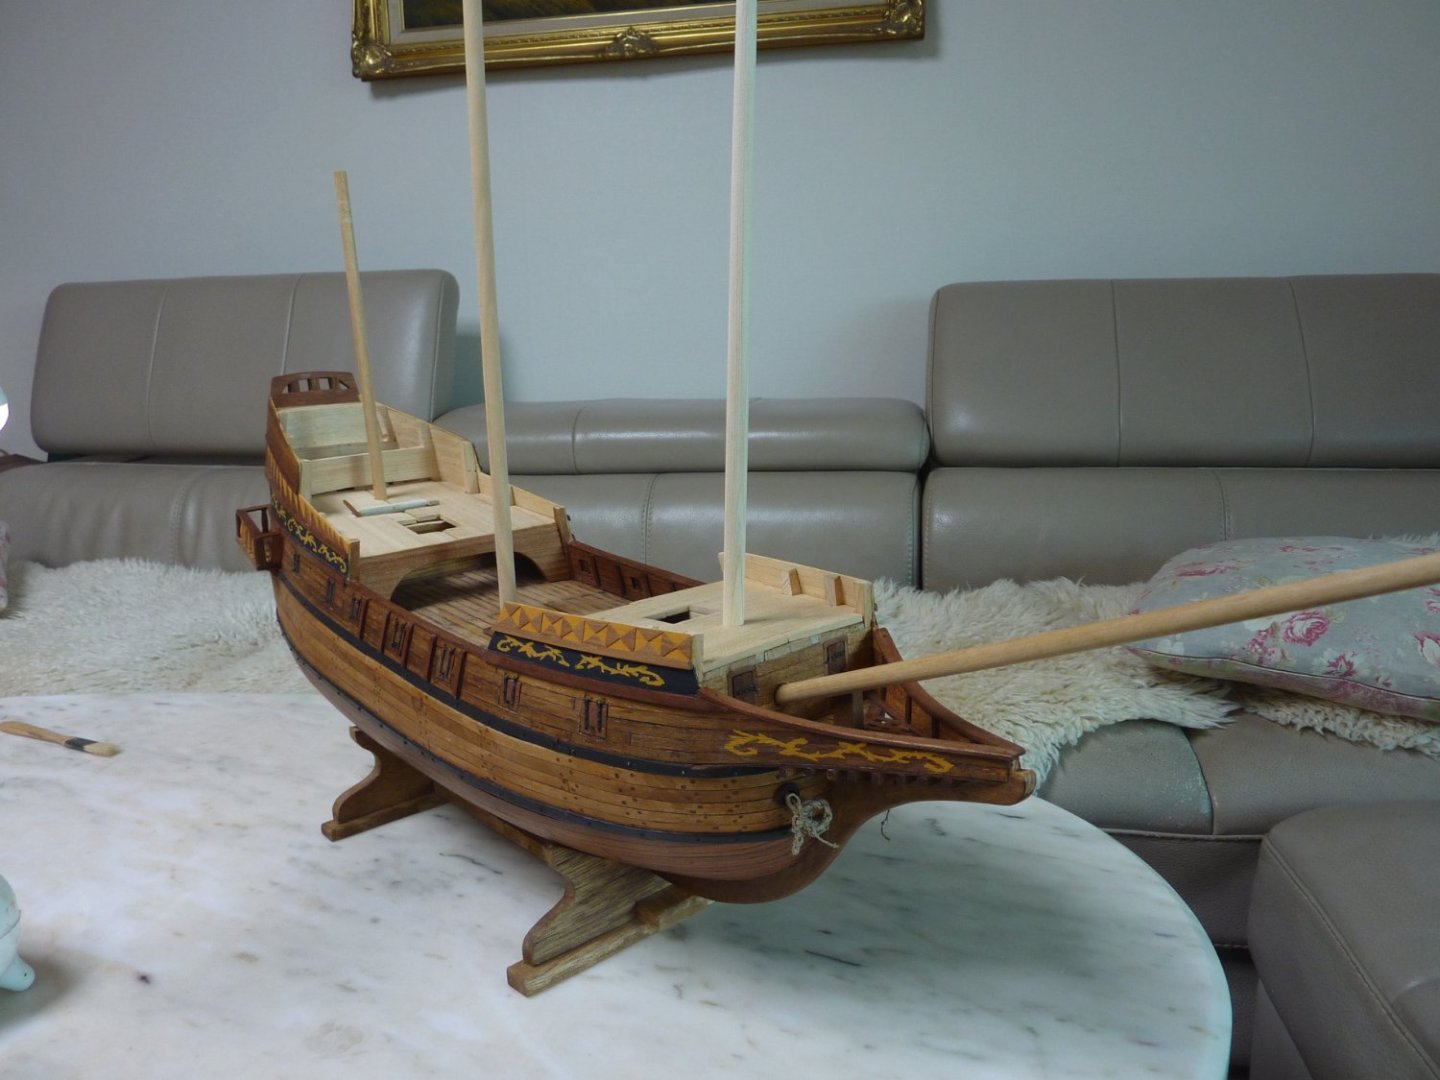
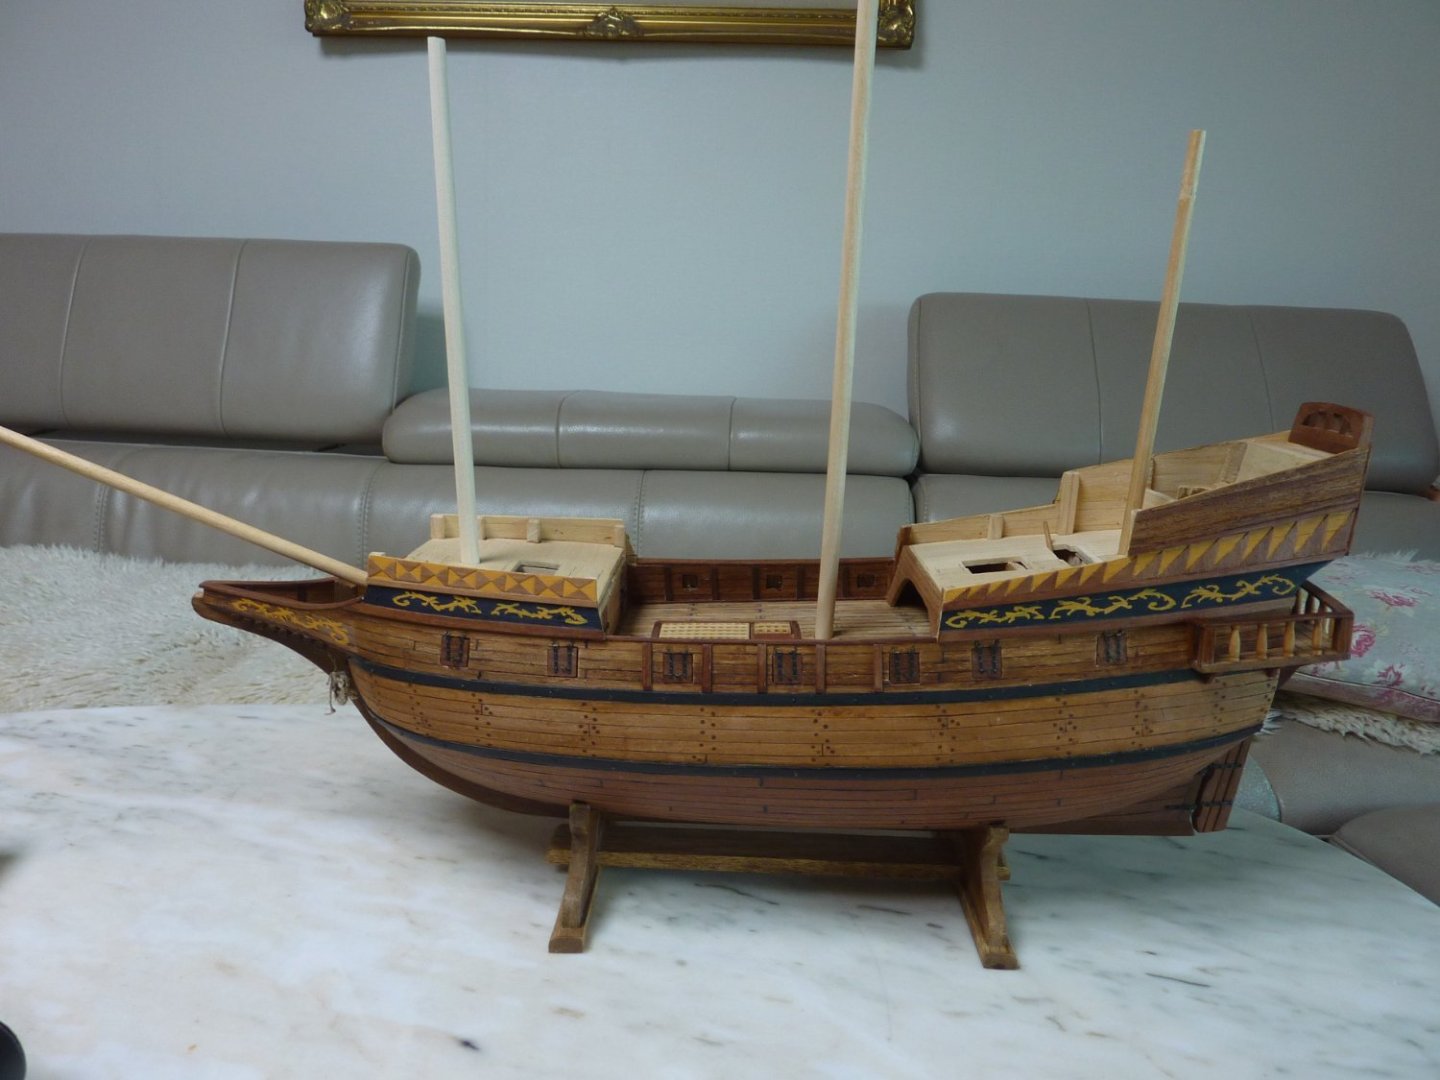
An interim overall look and the decking begins. I have posted just a few pictures on decking work as this involves much generic work already covered in my log.


-
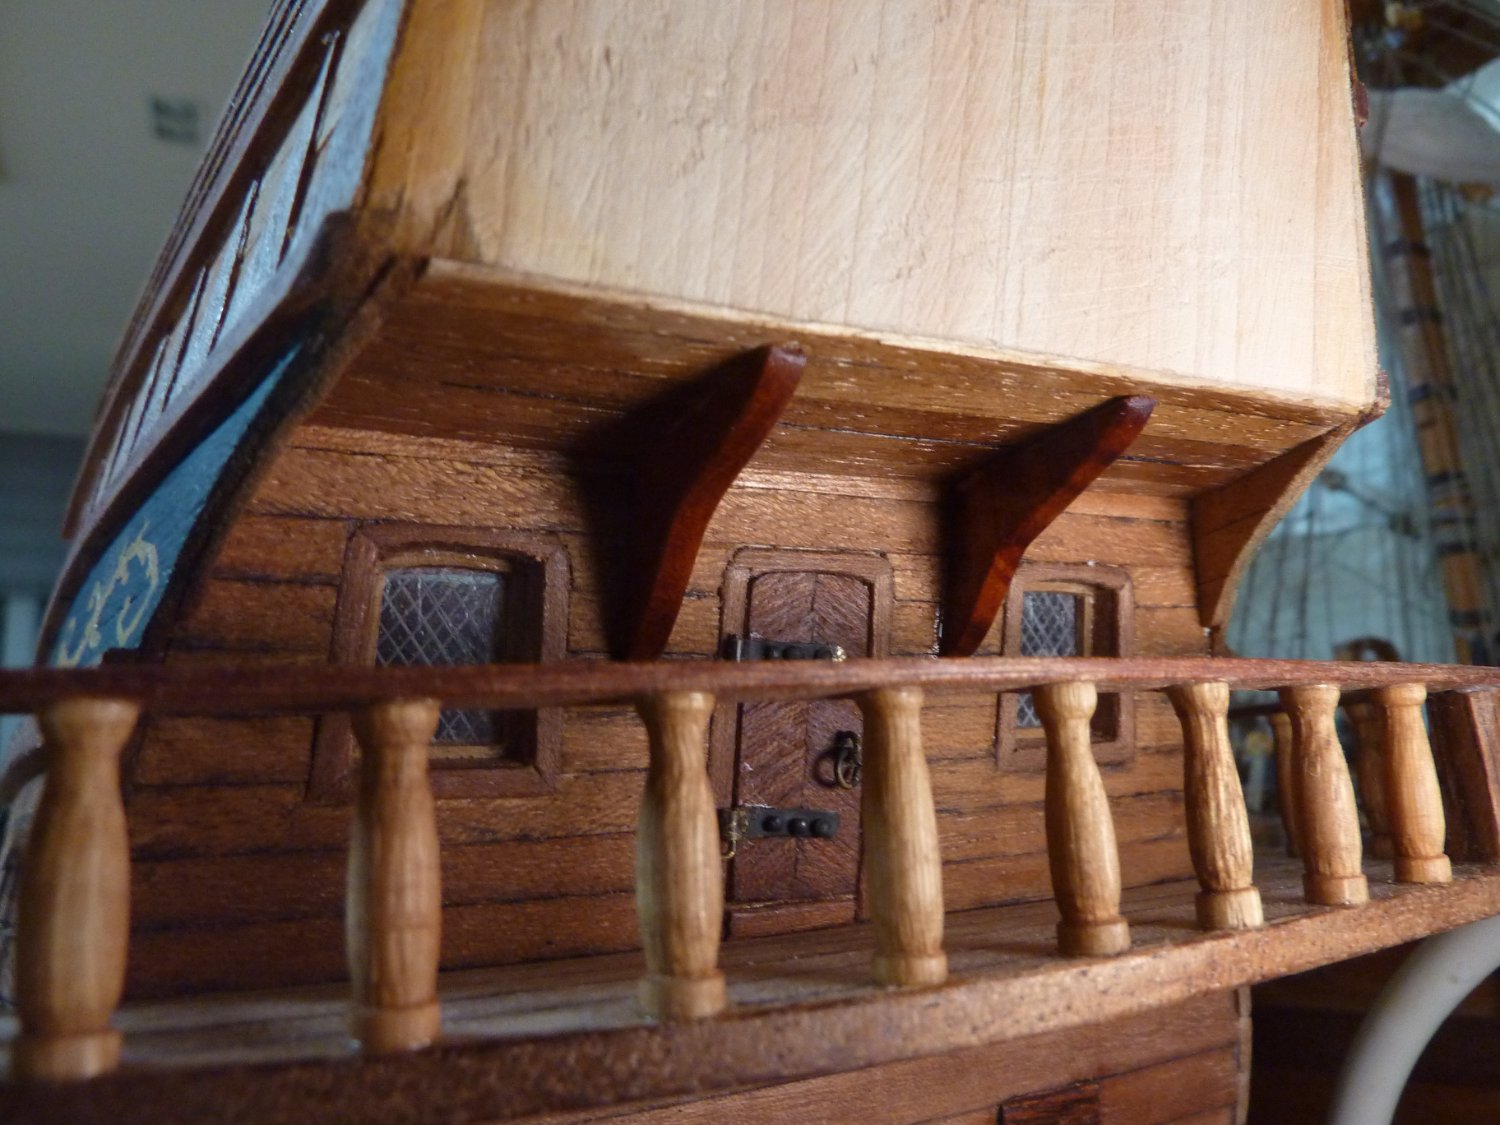
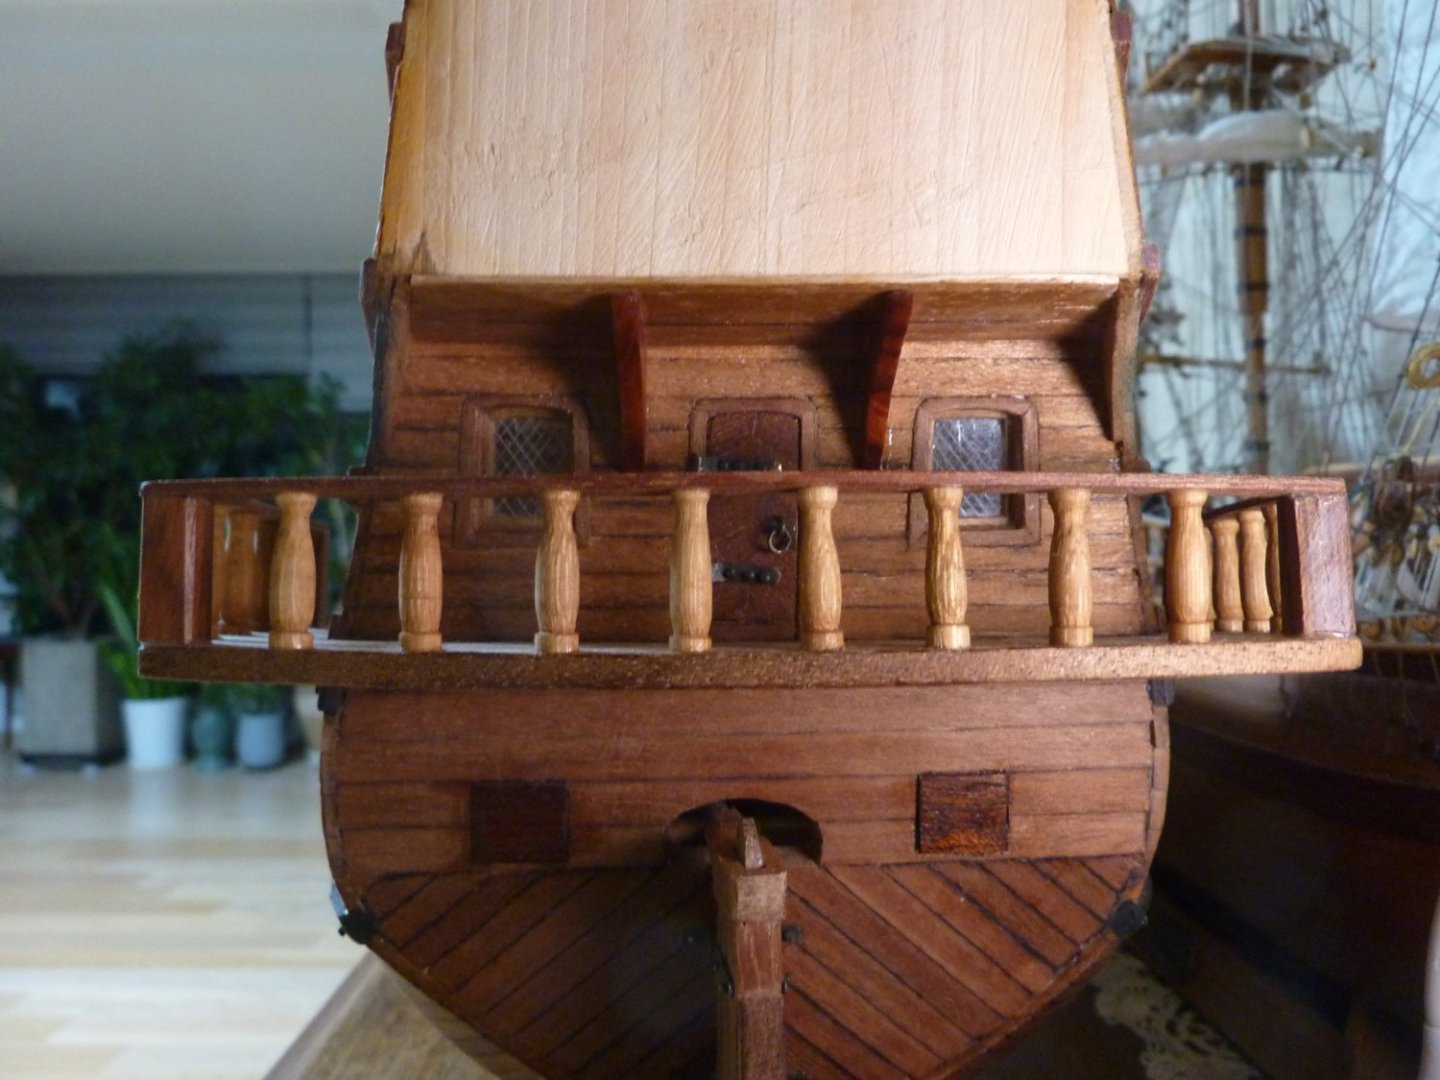
Hi All, It has been quite hectic at work and thus the recent tardiness on the shipyard. I have managed to do the finishing touches on the balcony, and further deck laying on the forecastle area and the upper quarterdeck. The below are some recent pictures of the finishing touches on the balcony.


-
A big congratulations! Patrick! What a beutiful model~ I am still long way from finishing my first scratch built Golden Hind, but I have a good teacher such as yourself. Rock
- 756 replies
-
- 3
-

-

-
- galleon
- golden hind
- (and 2 more)
-
Hi Masa~ It is a pleasure to see a MSW member who is based in Korea! Where in South Korea are you located? I am located in Seoul. Also, you seem to have sourced beautiful pear wood in Korea. Would you be able to share where you managed to source such fine wood please? Thanks and regards, Rock
-
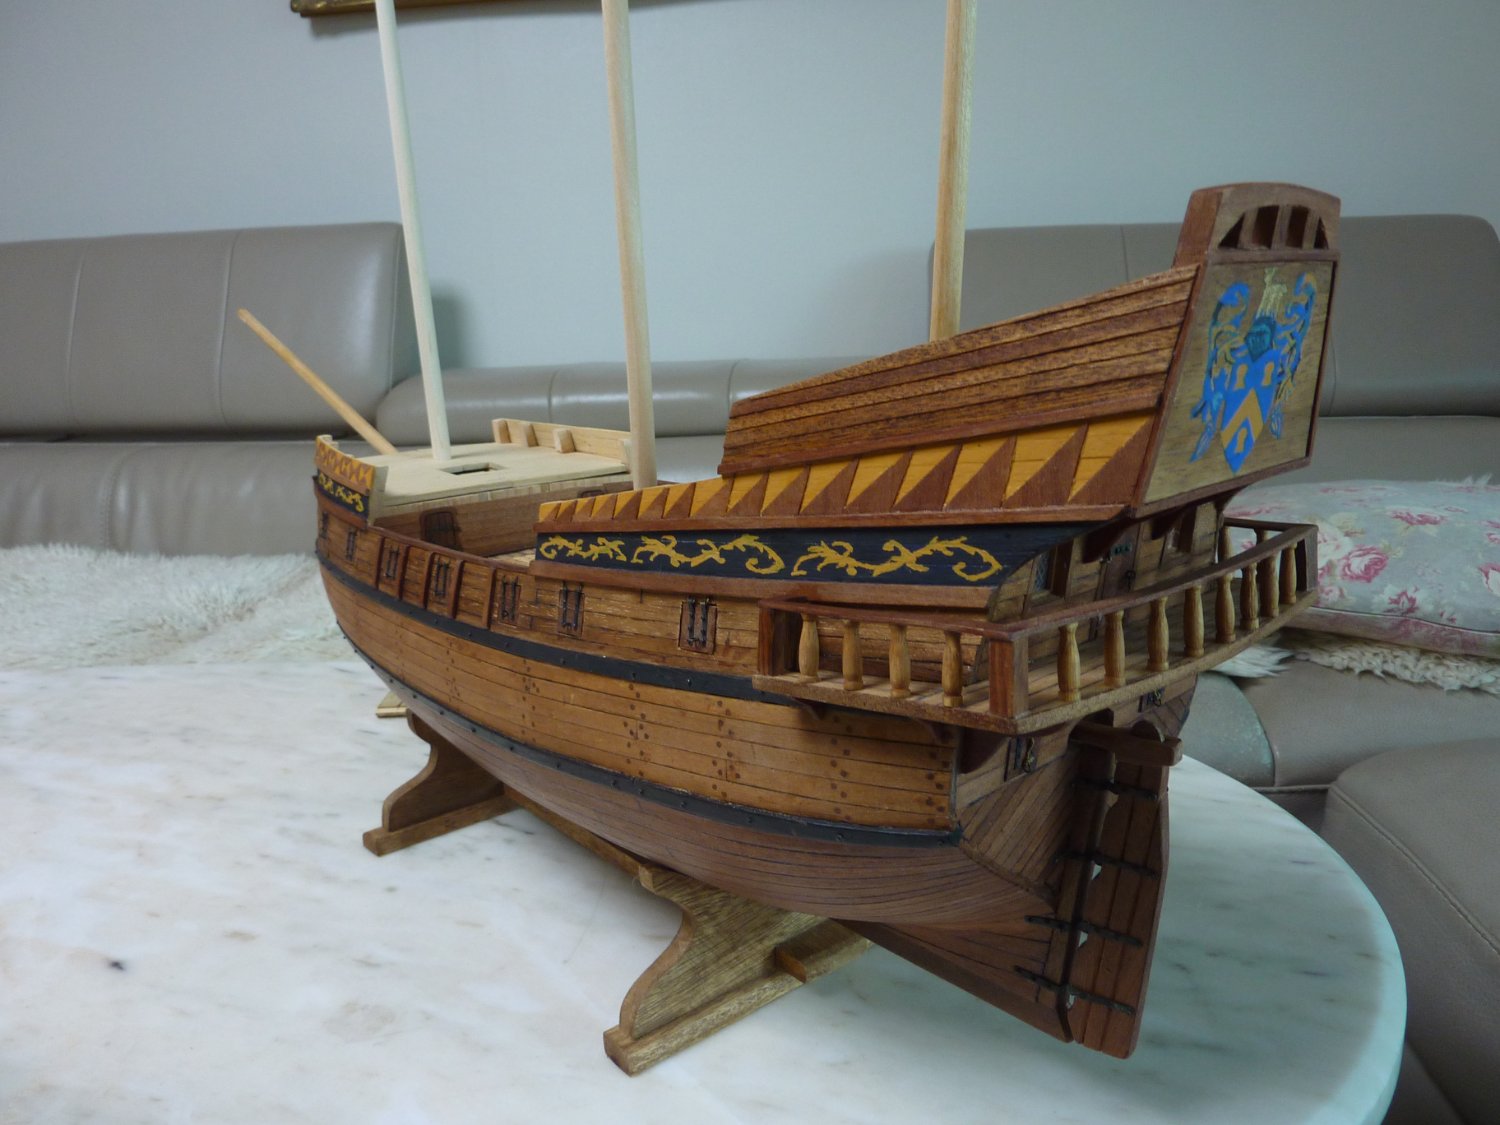
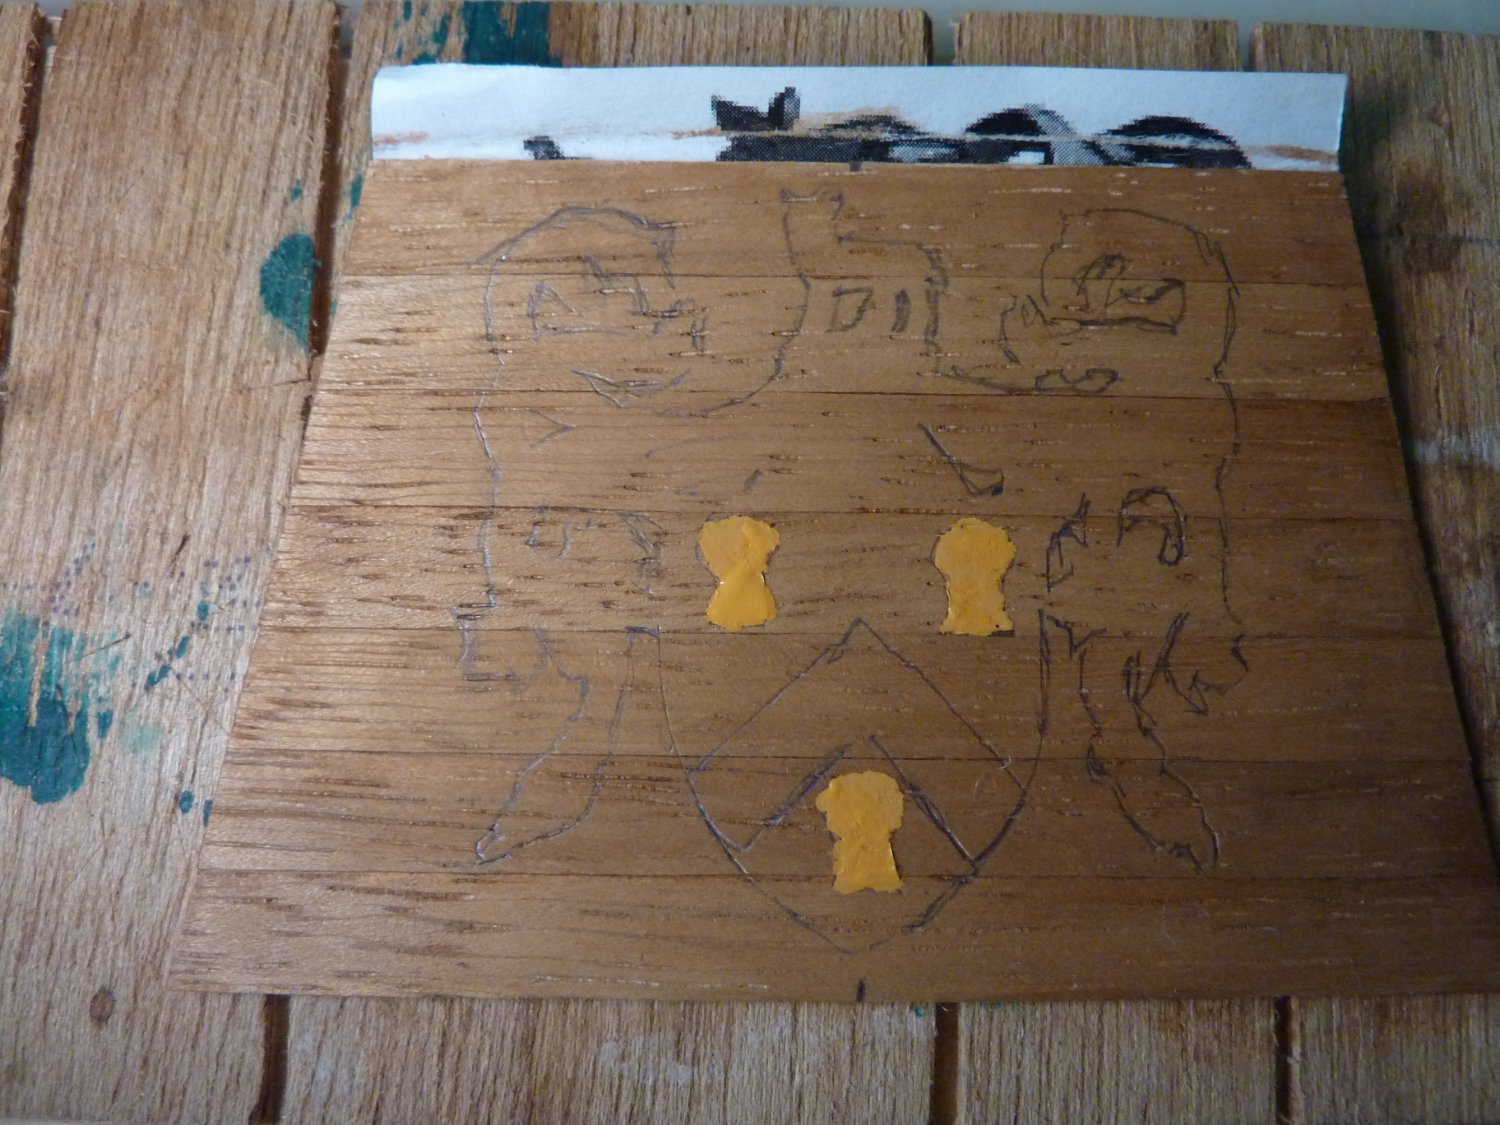
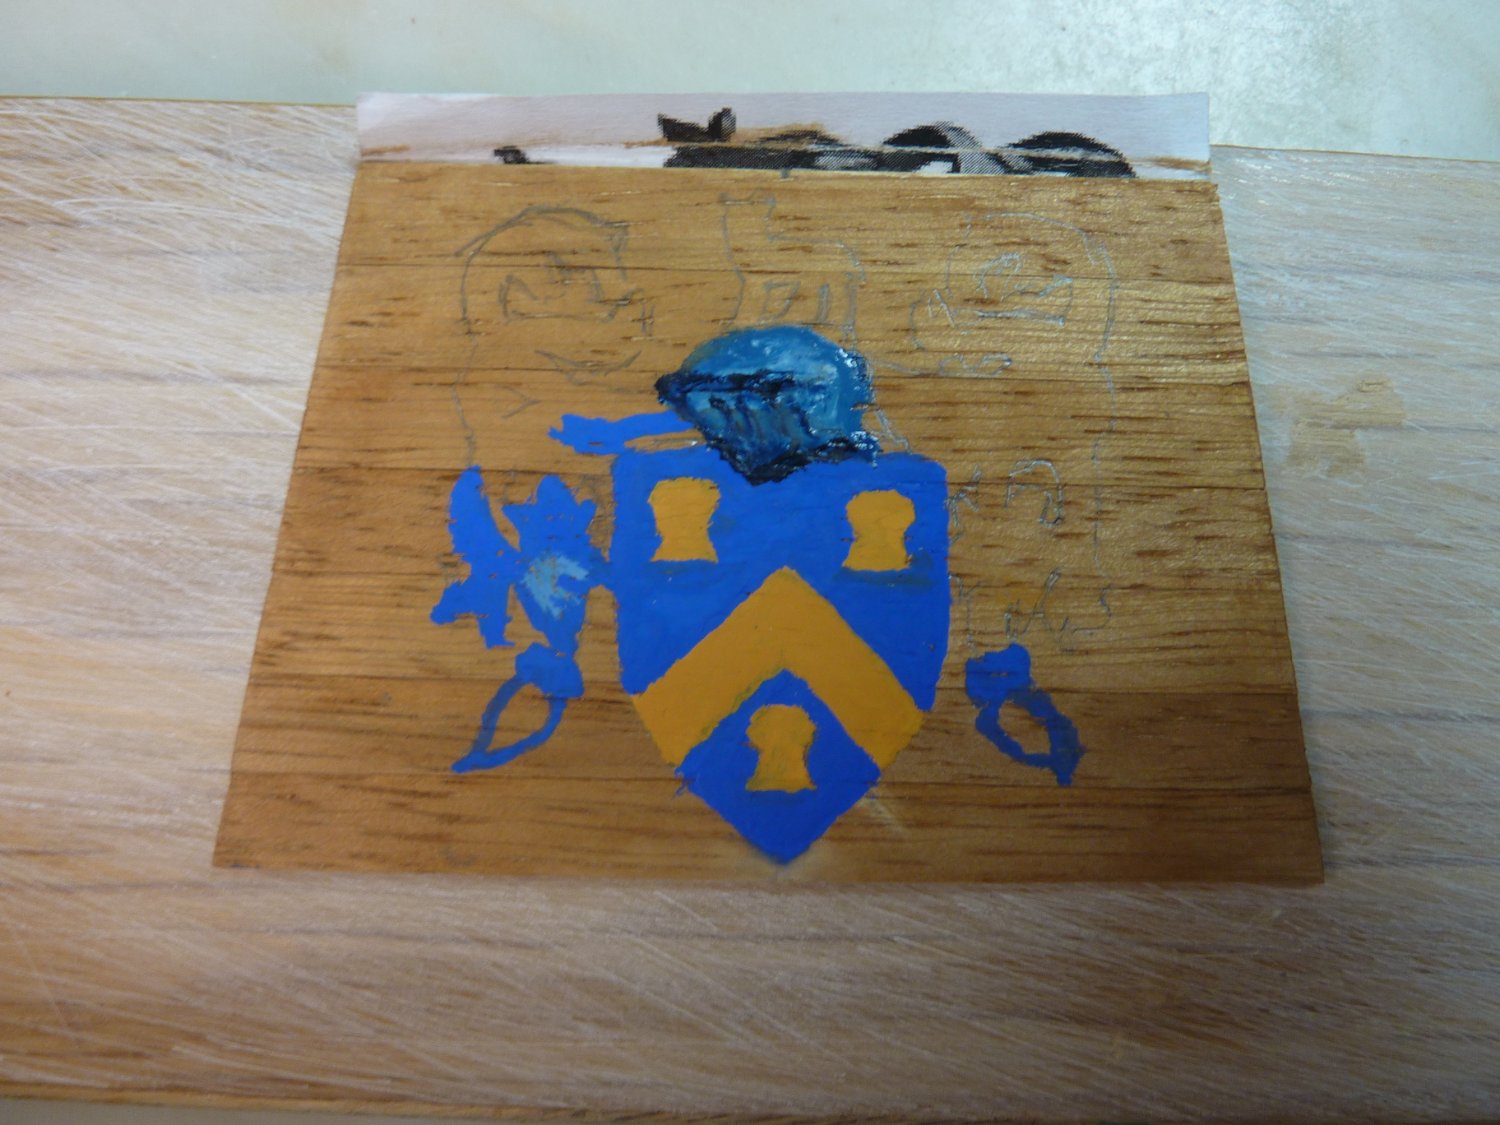
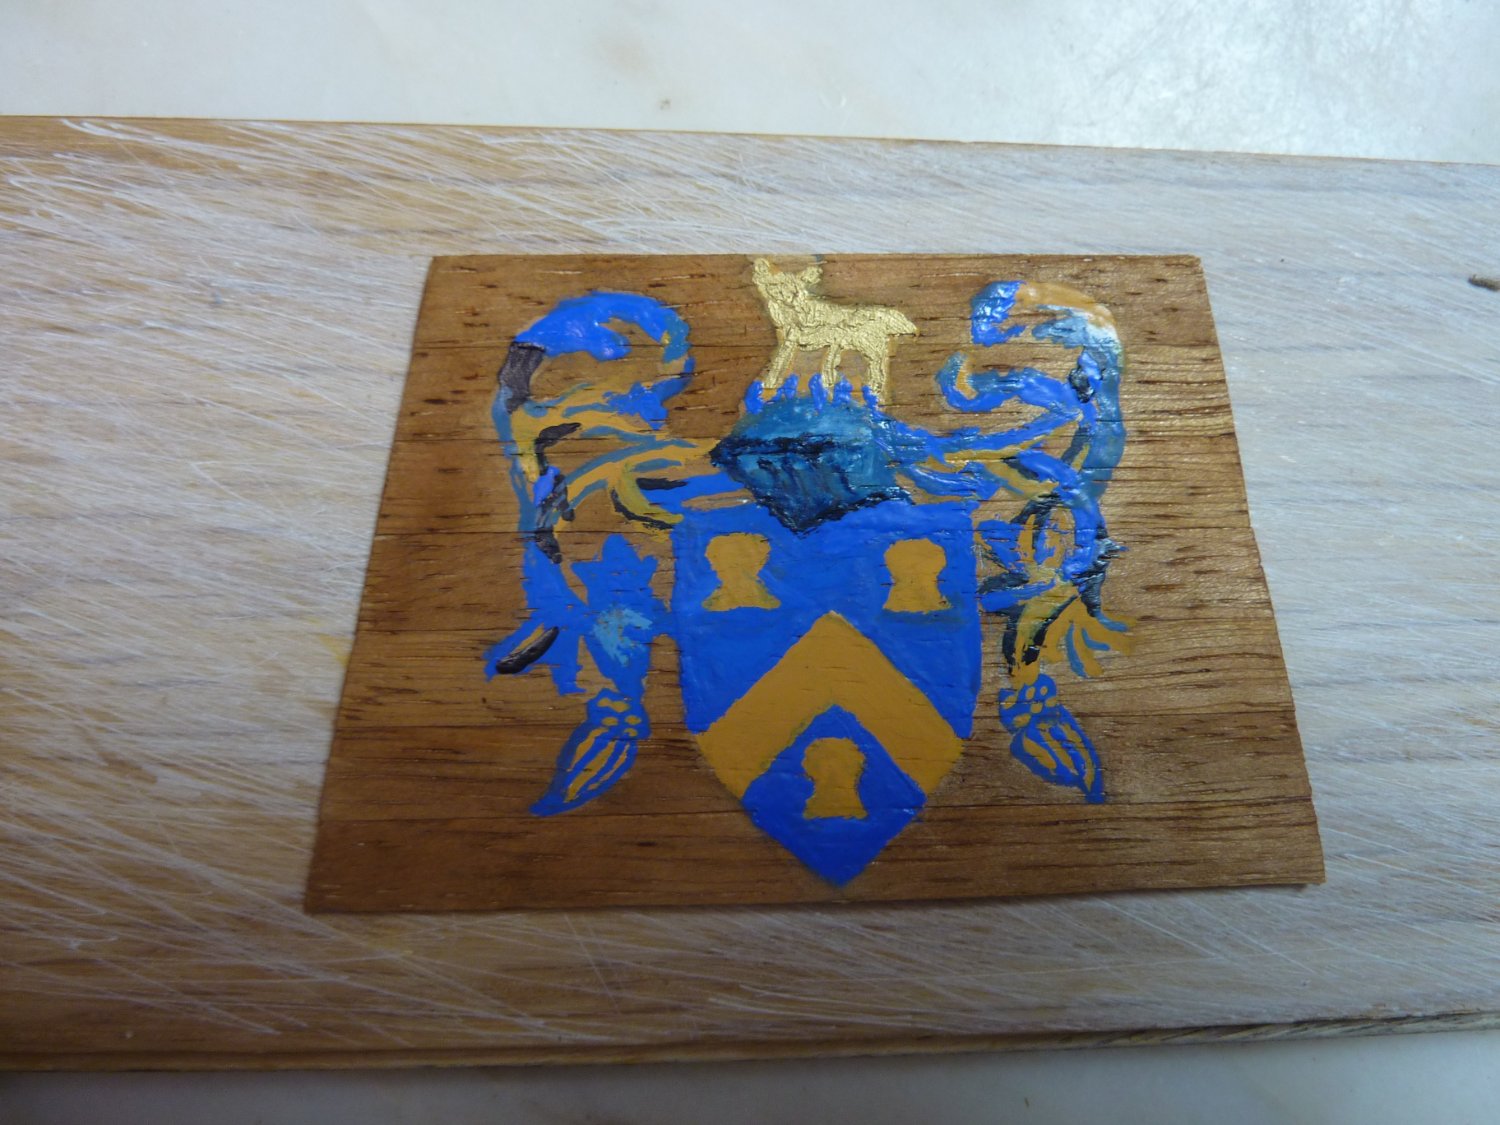
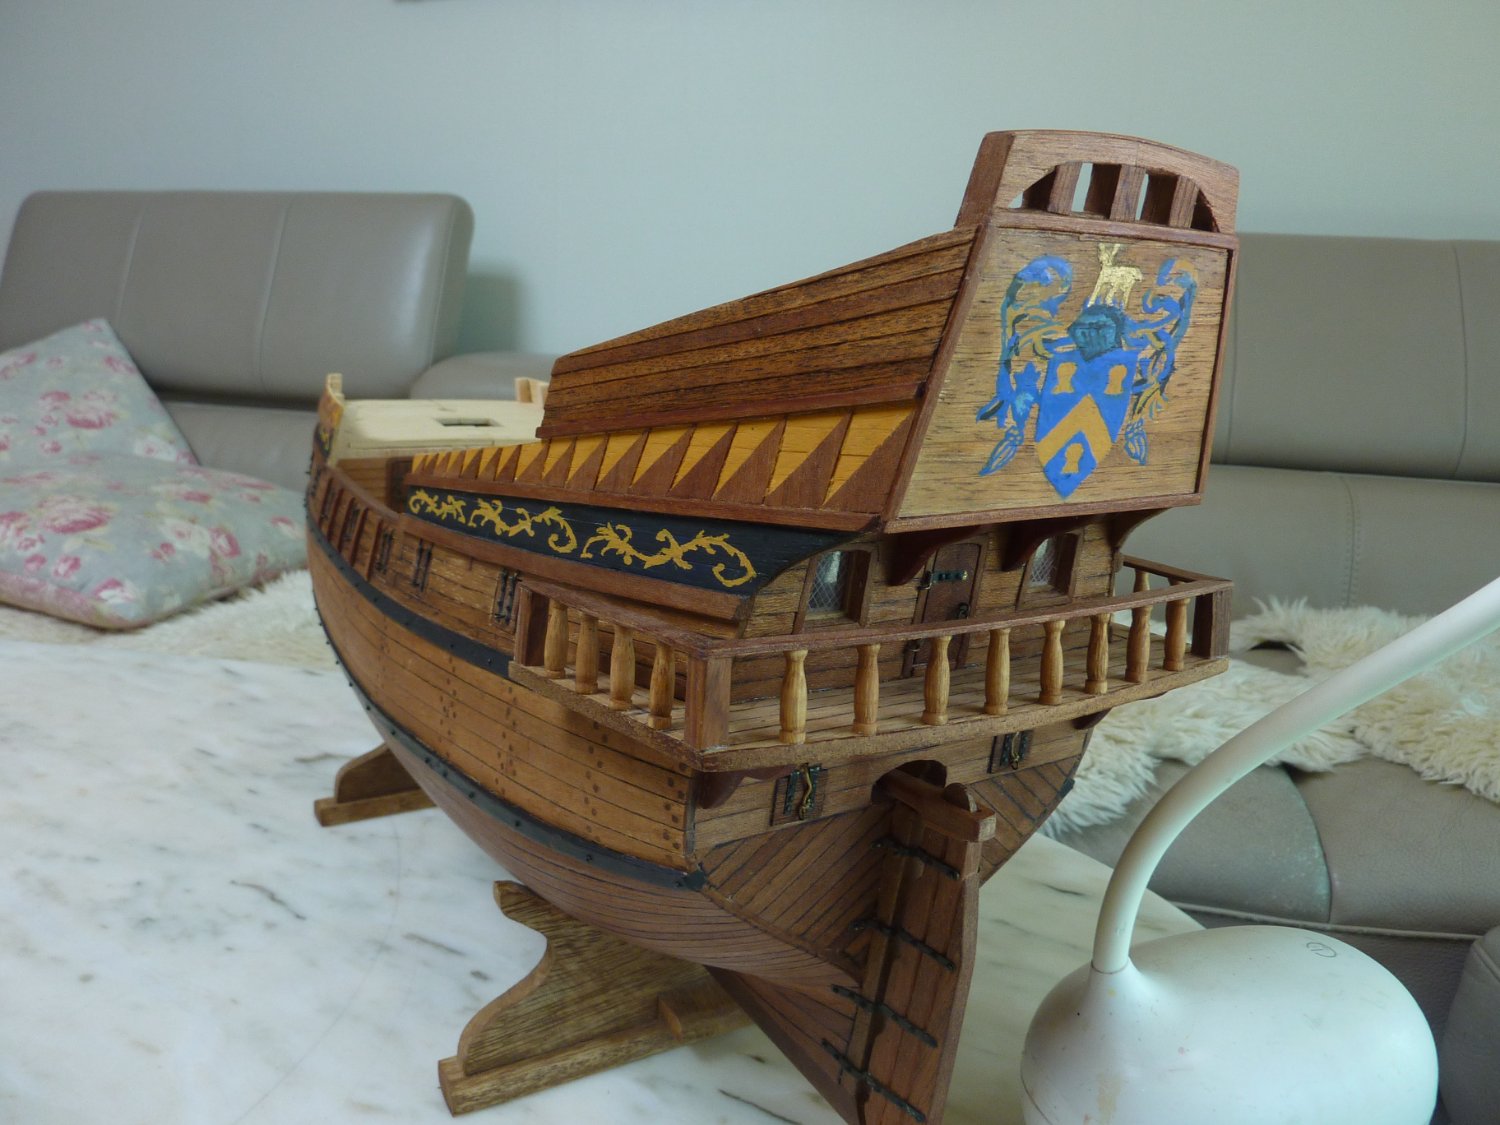
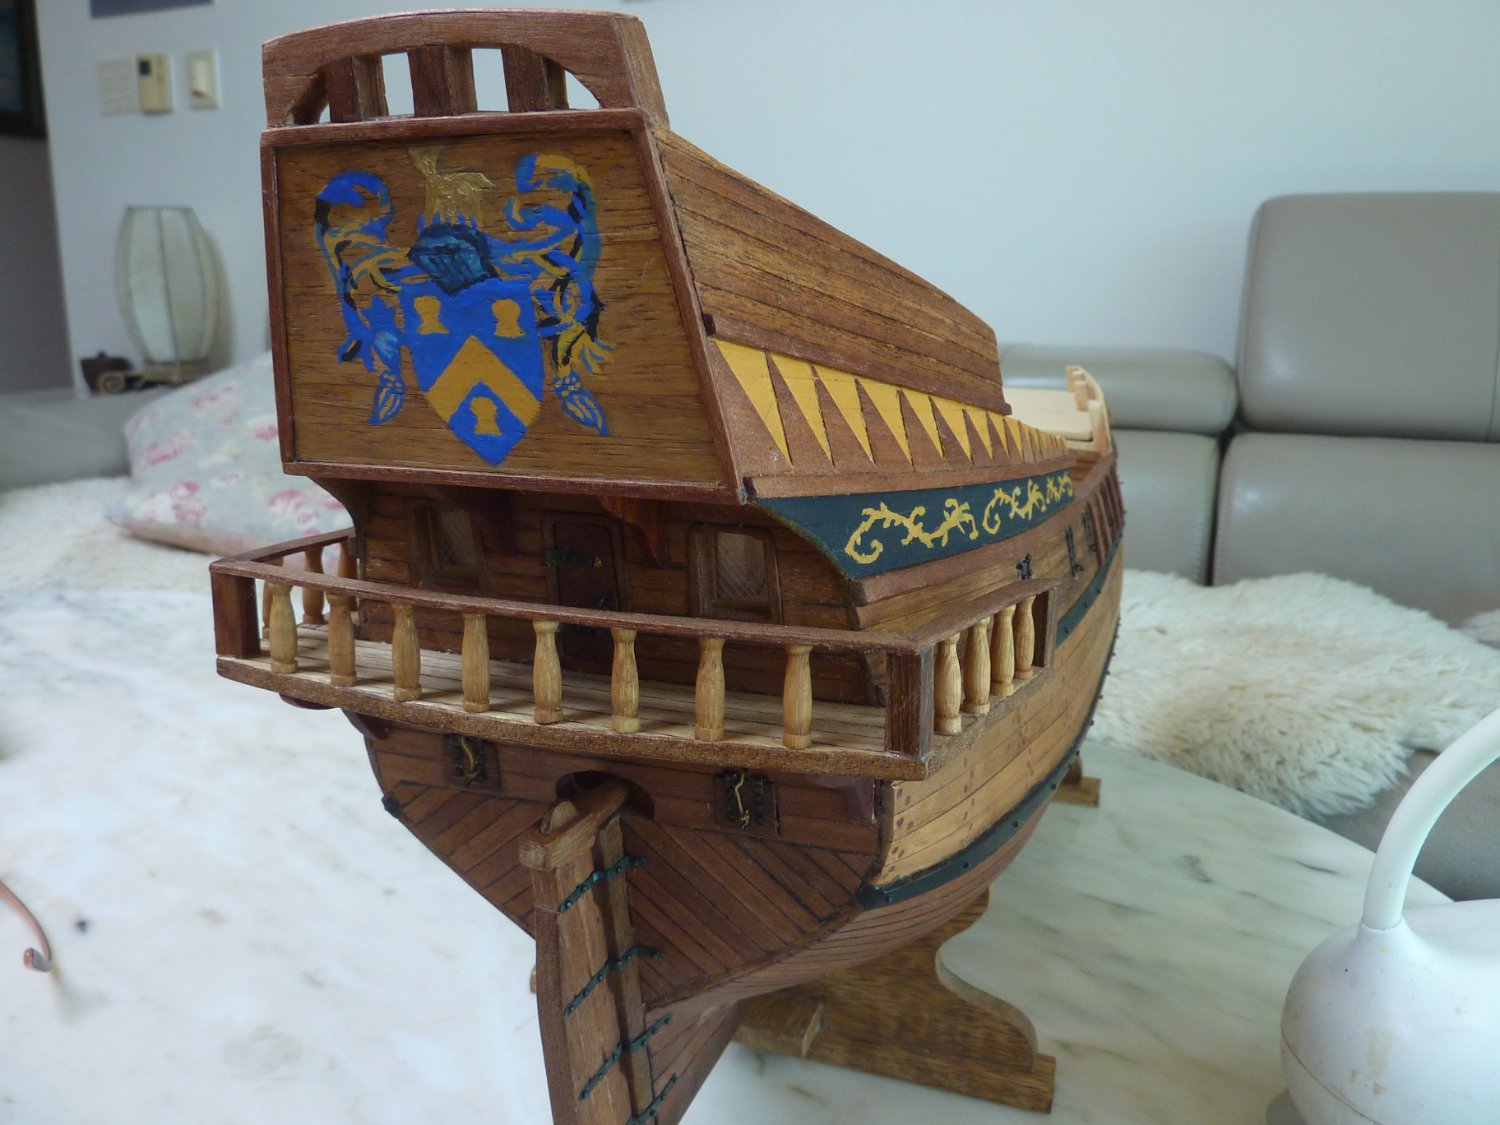
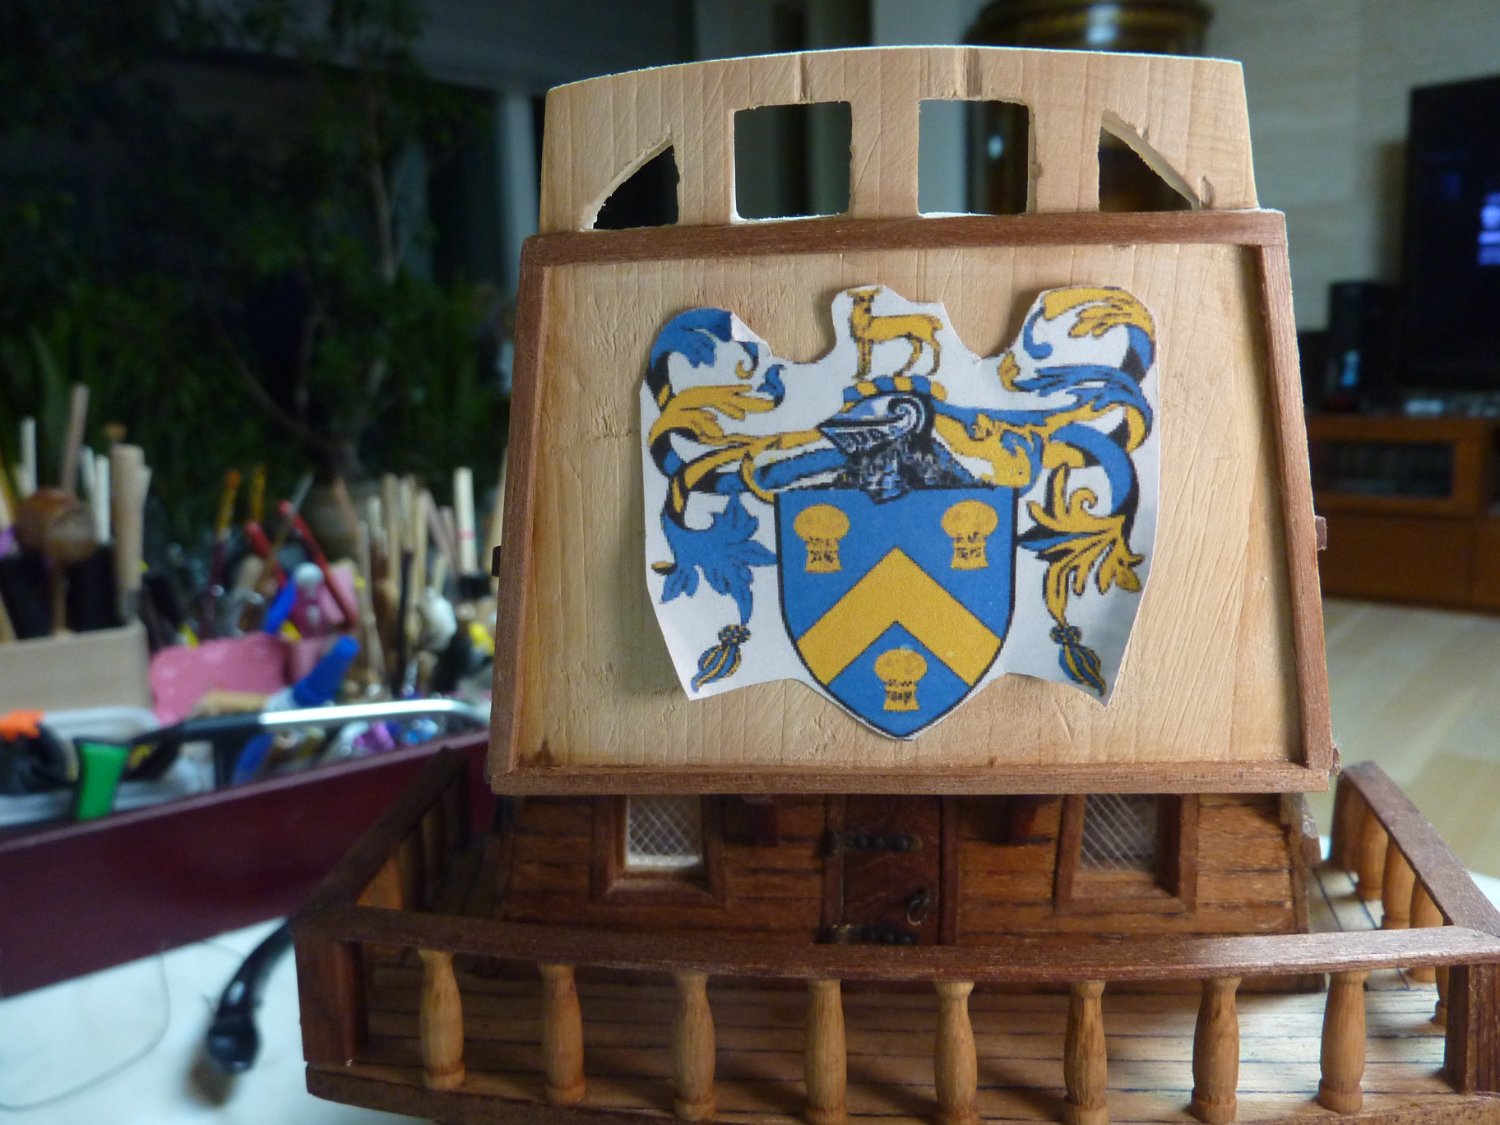
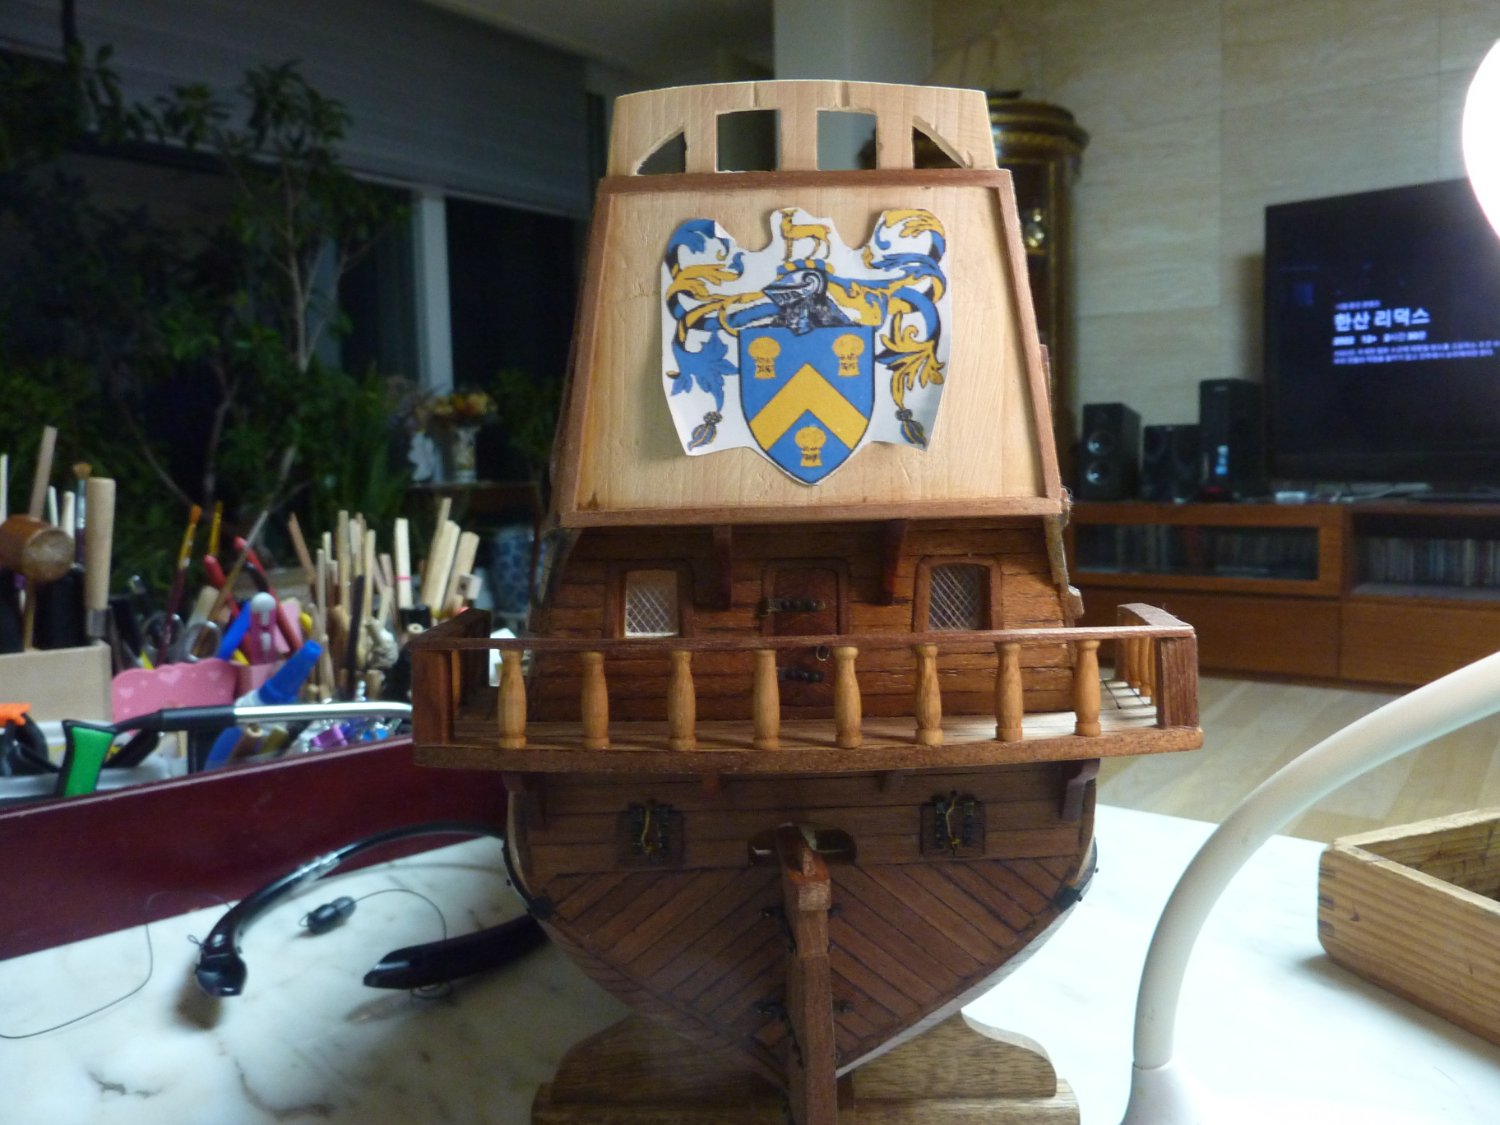
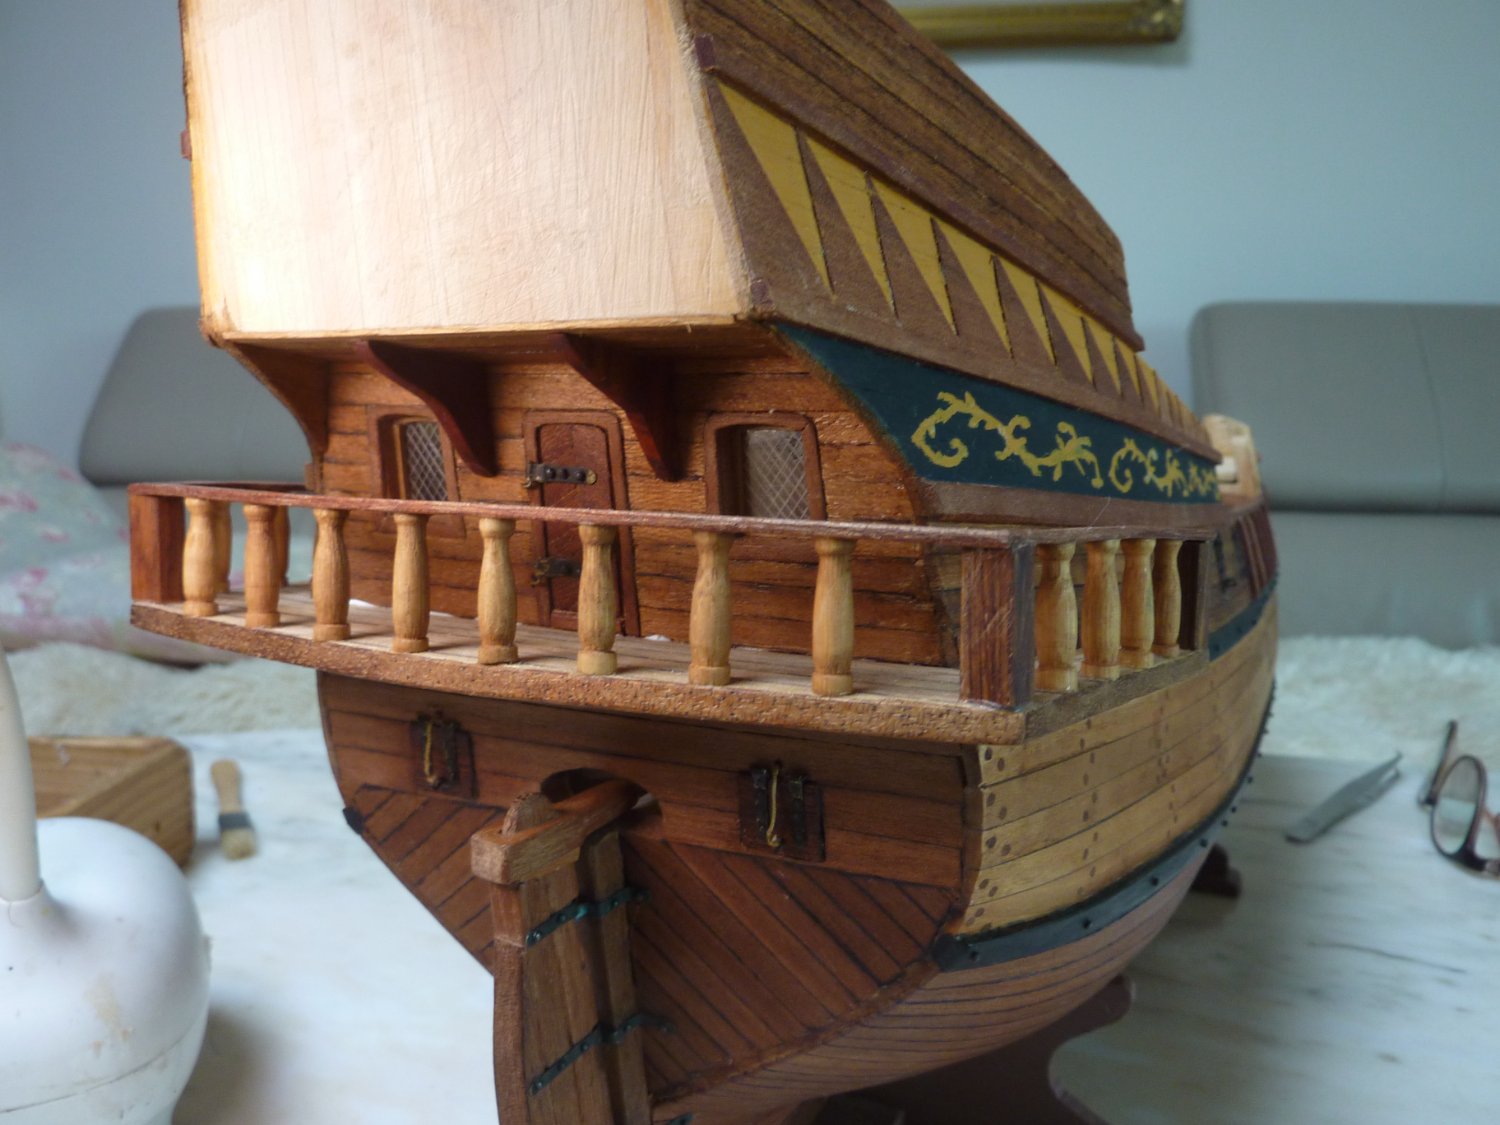
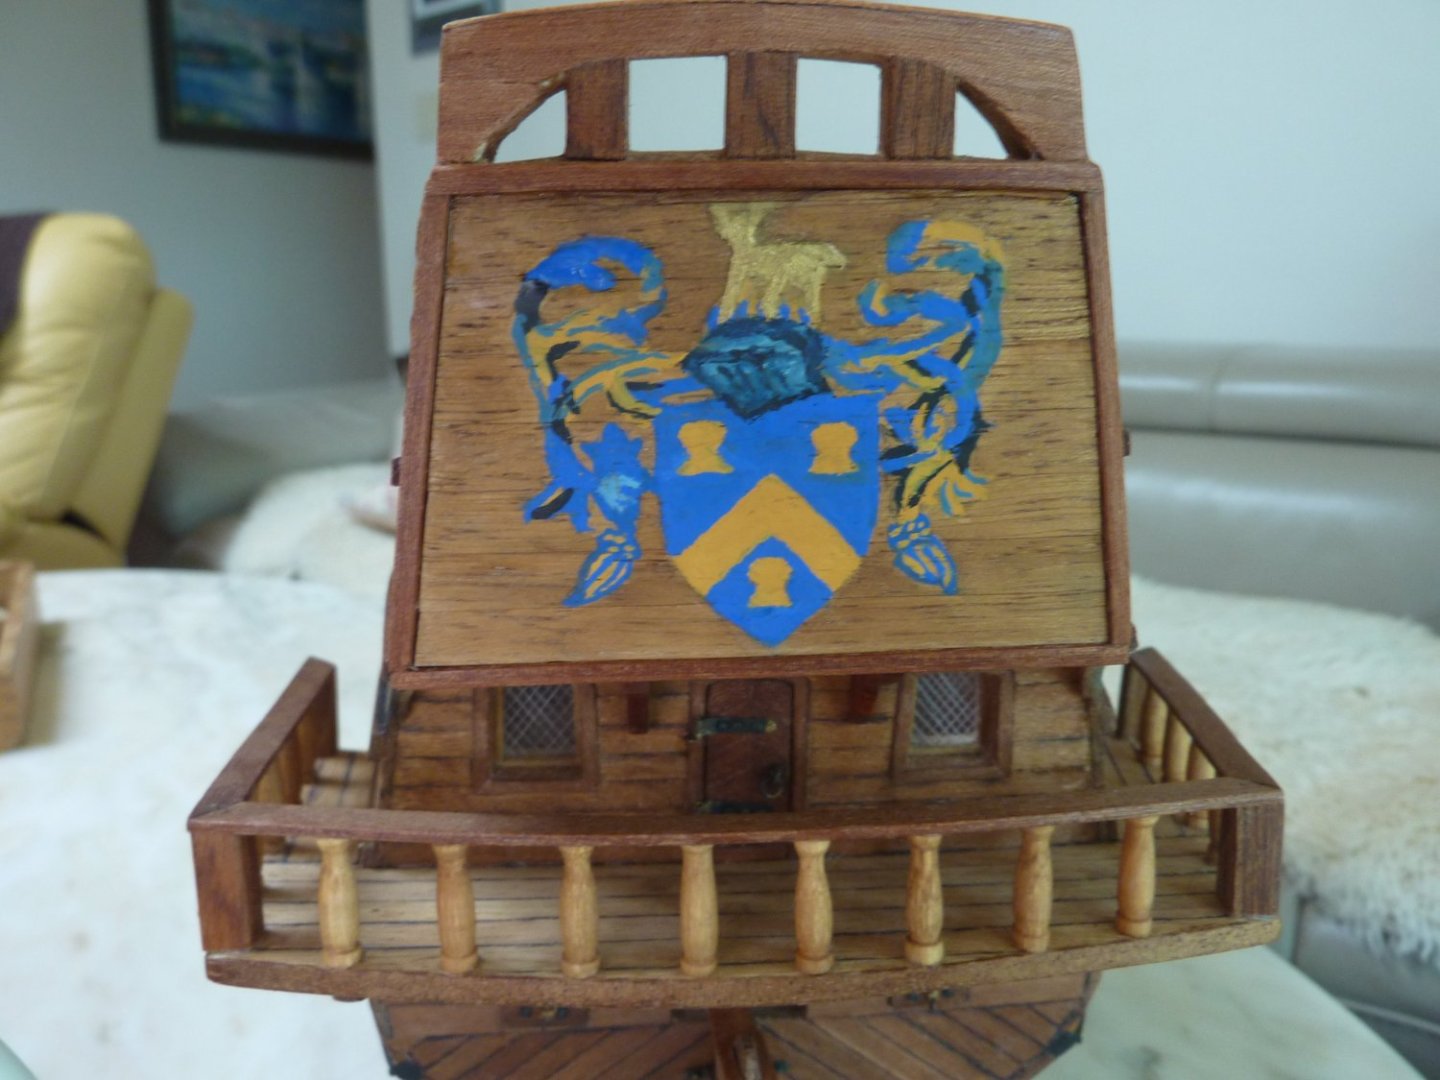
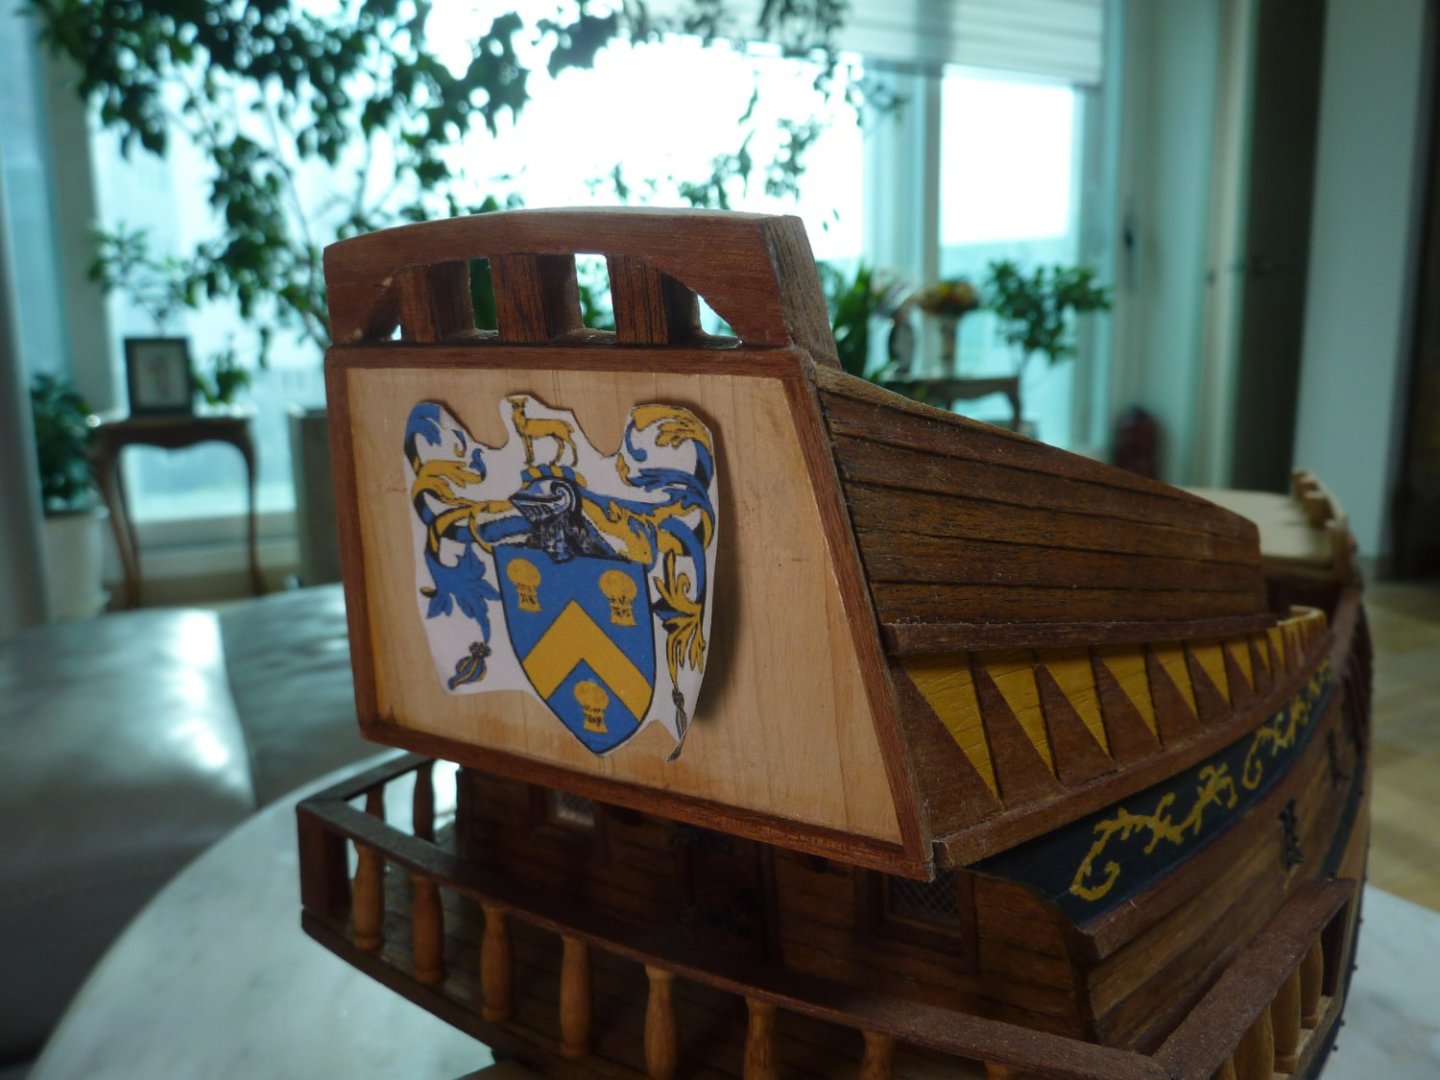
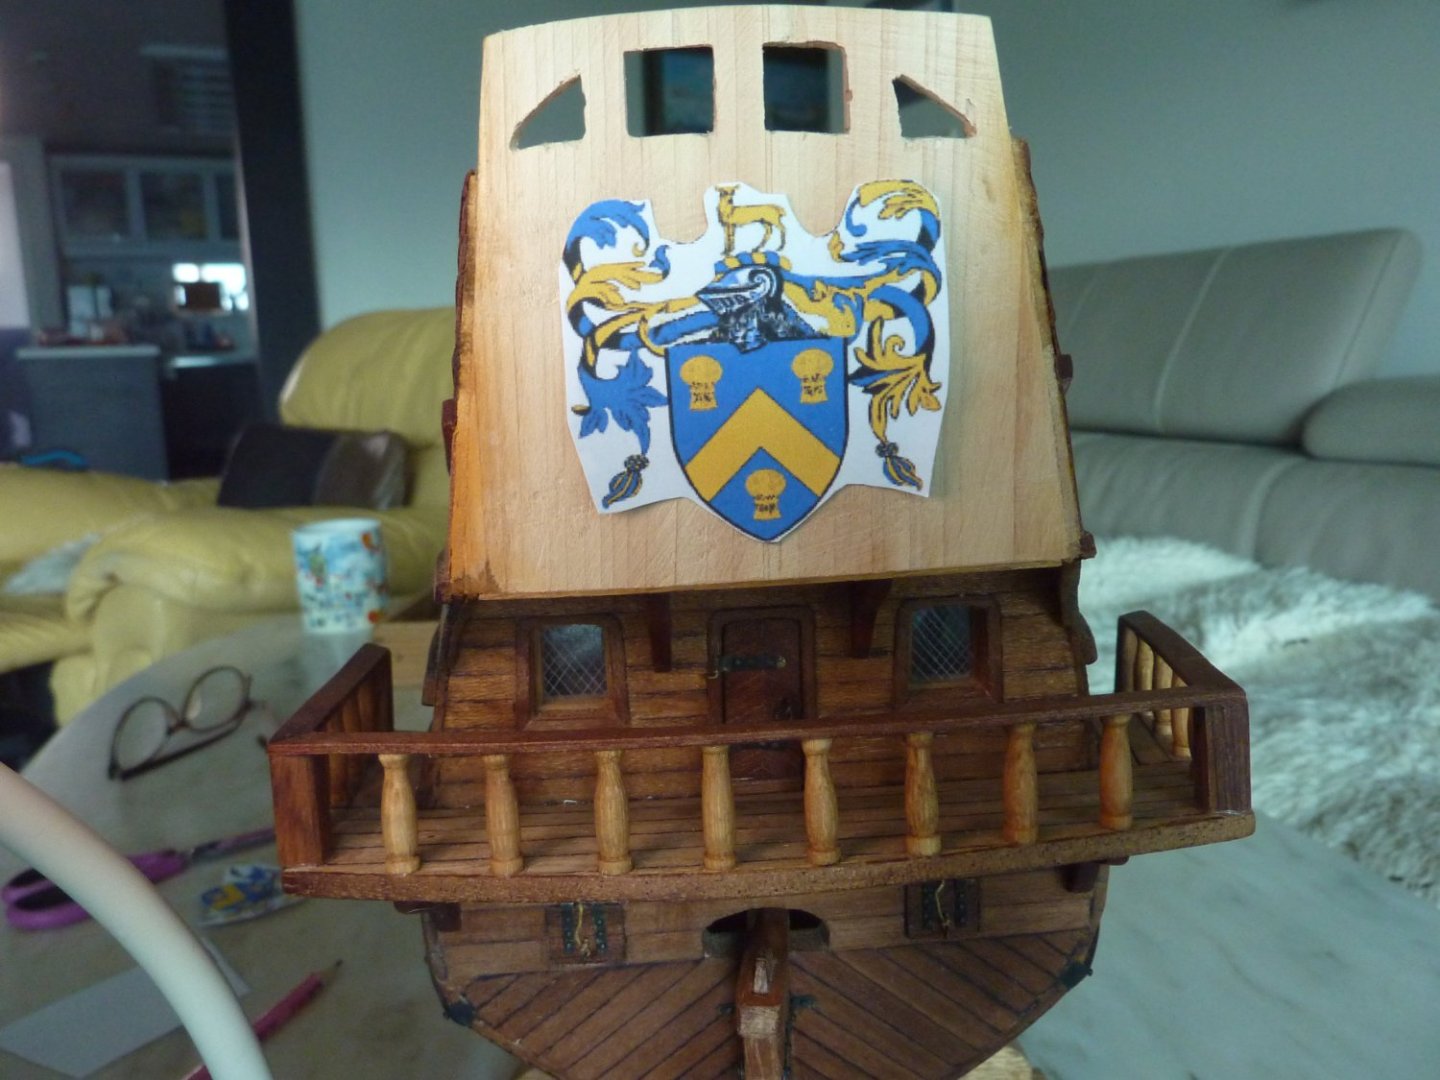
The painting begins in ernest. I regretted this decision from this point onwards (I should have chosen the big golden hinde option!!) as the chosen design seems to be much more difficult to render as I thought. Anyway, although the final result is not exactly satisfactory, I think it looks OK at least from some distance. The close up picture definitely shows my lack of artistic talent. I did not make another attempt as I was not sure if the subsequent attempts would produce significantly better outcomes. For GH2 and GH3, I shall attempt for improvements, if not achieved I think I may either turn to a simpler design or decide to glue a print-out and varnish over it - which I was tempted many times for the GH prototype as well. The small golden hinde at the top looks more like golden hound than hinde......lol~


-
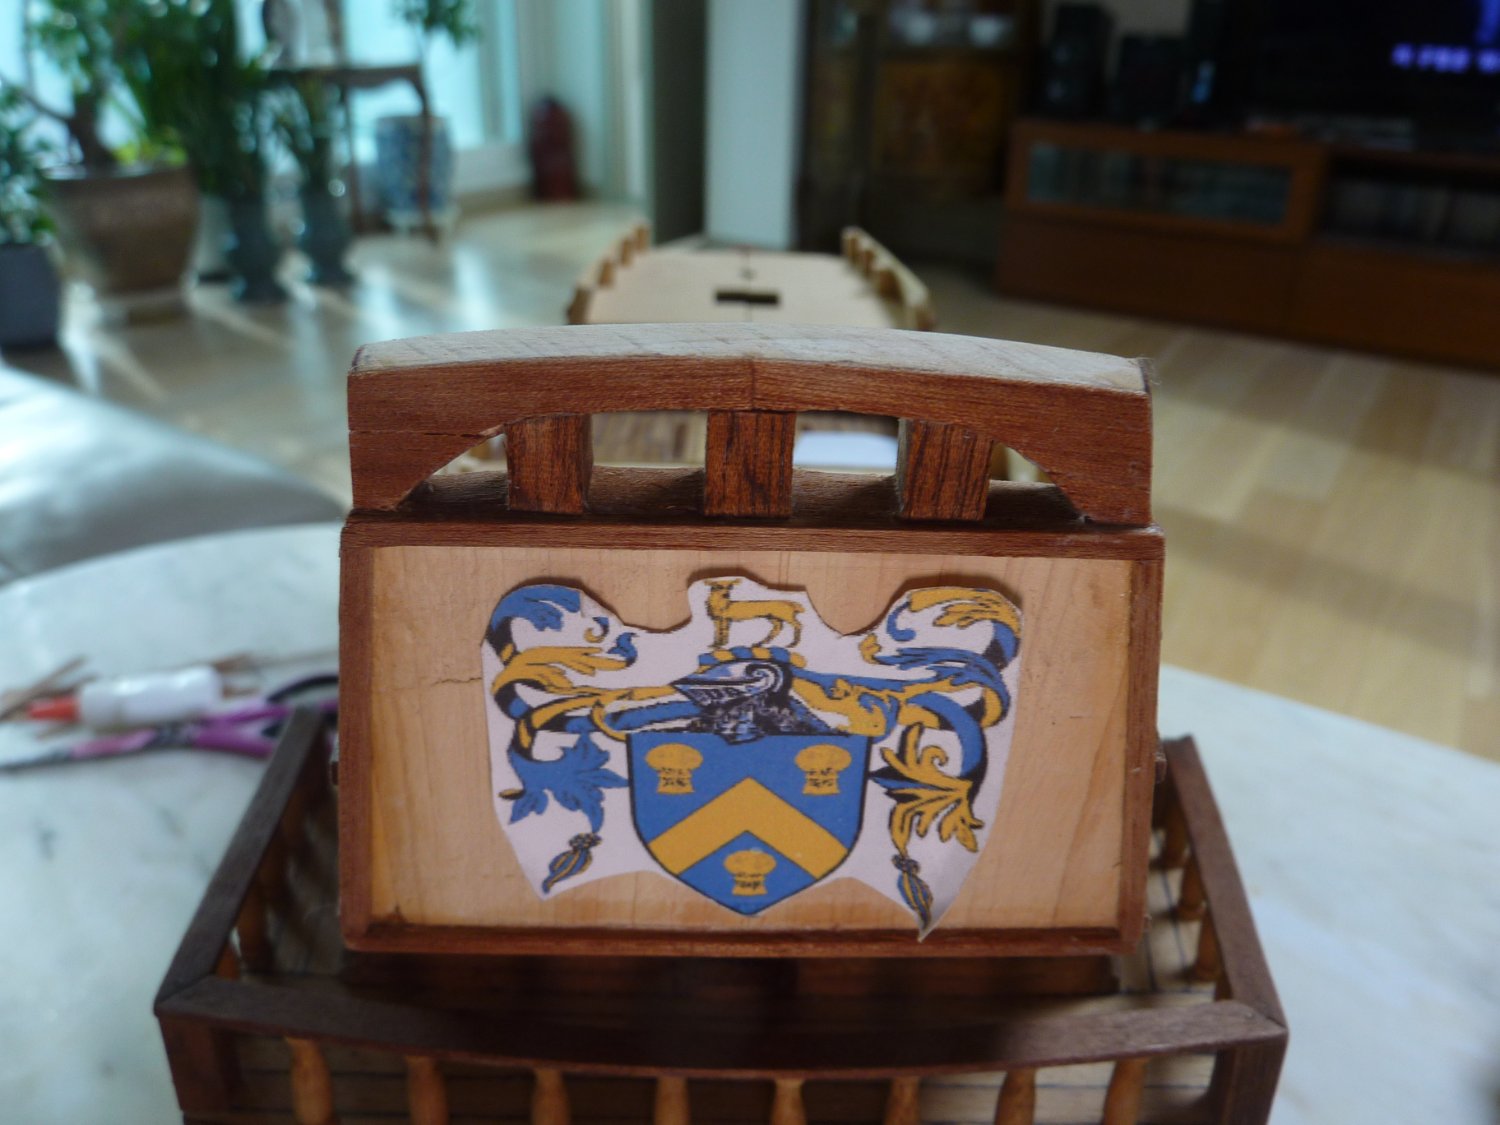
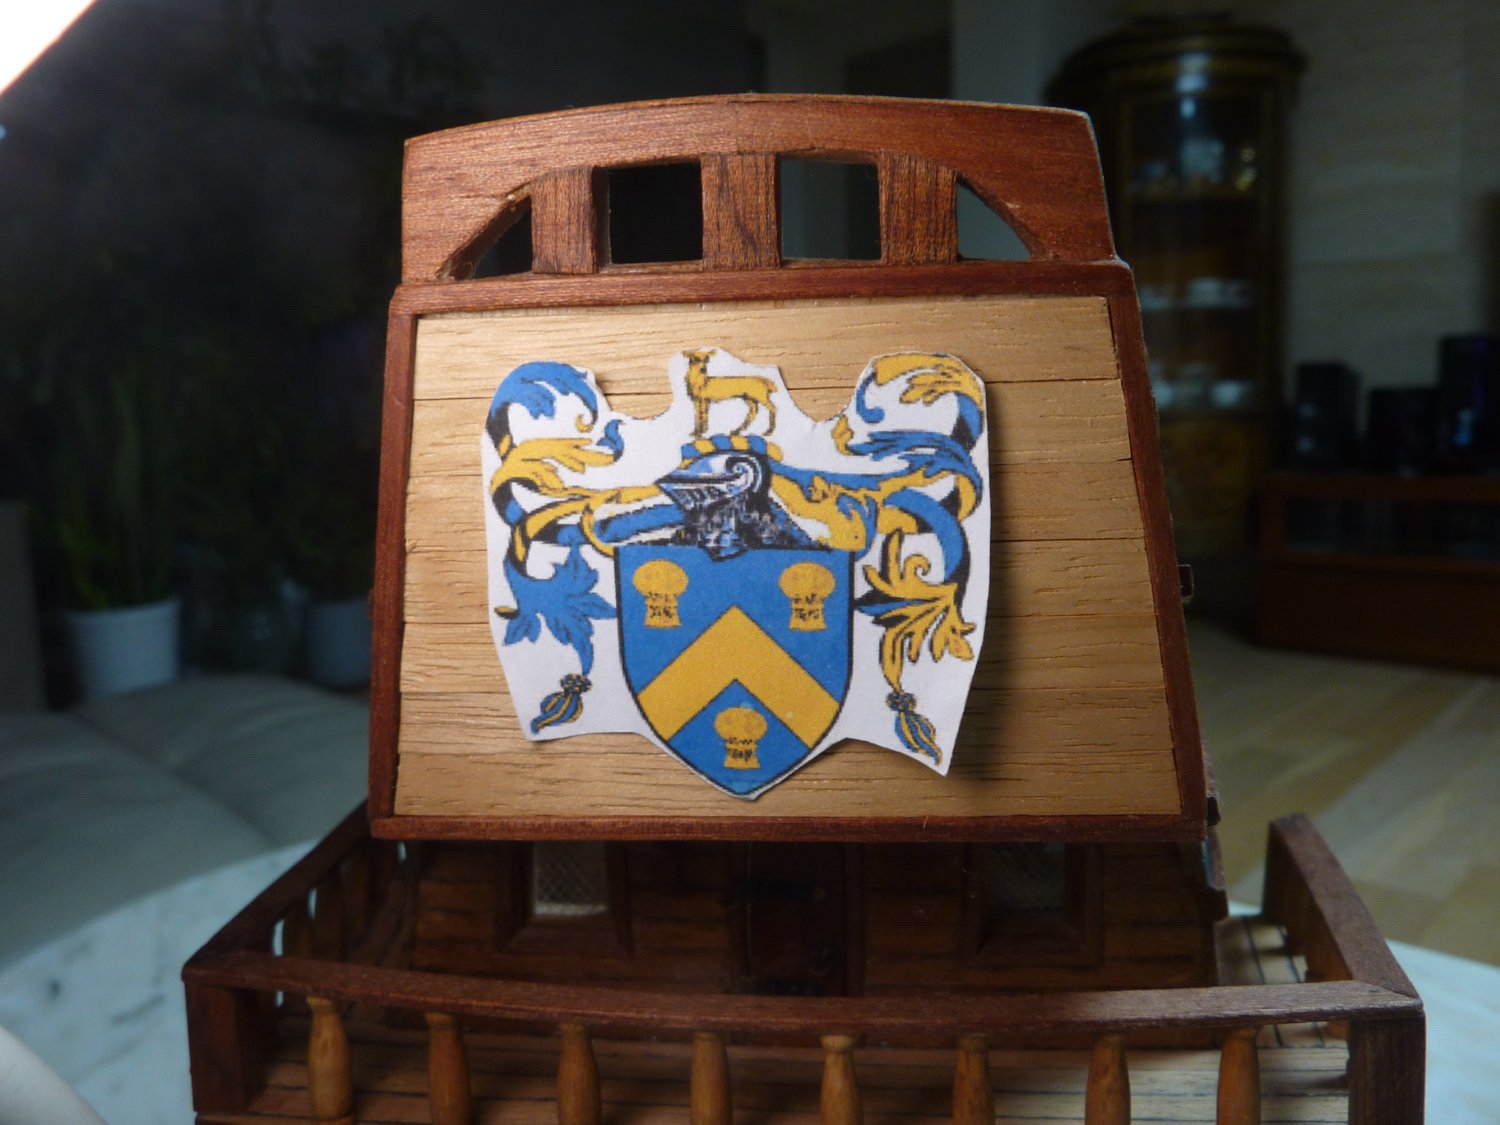
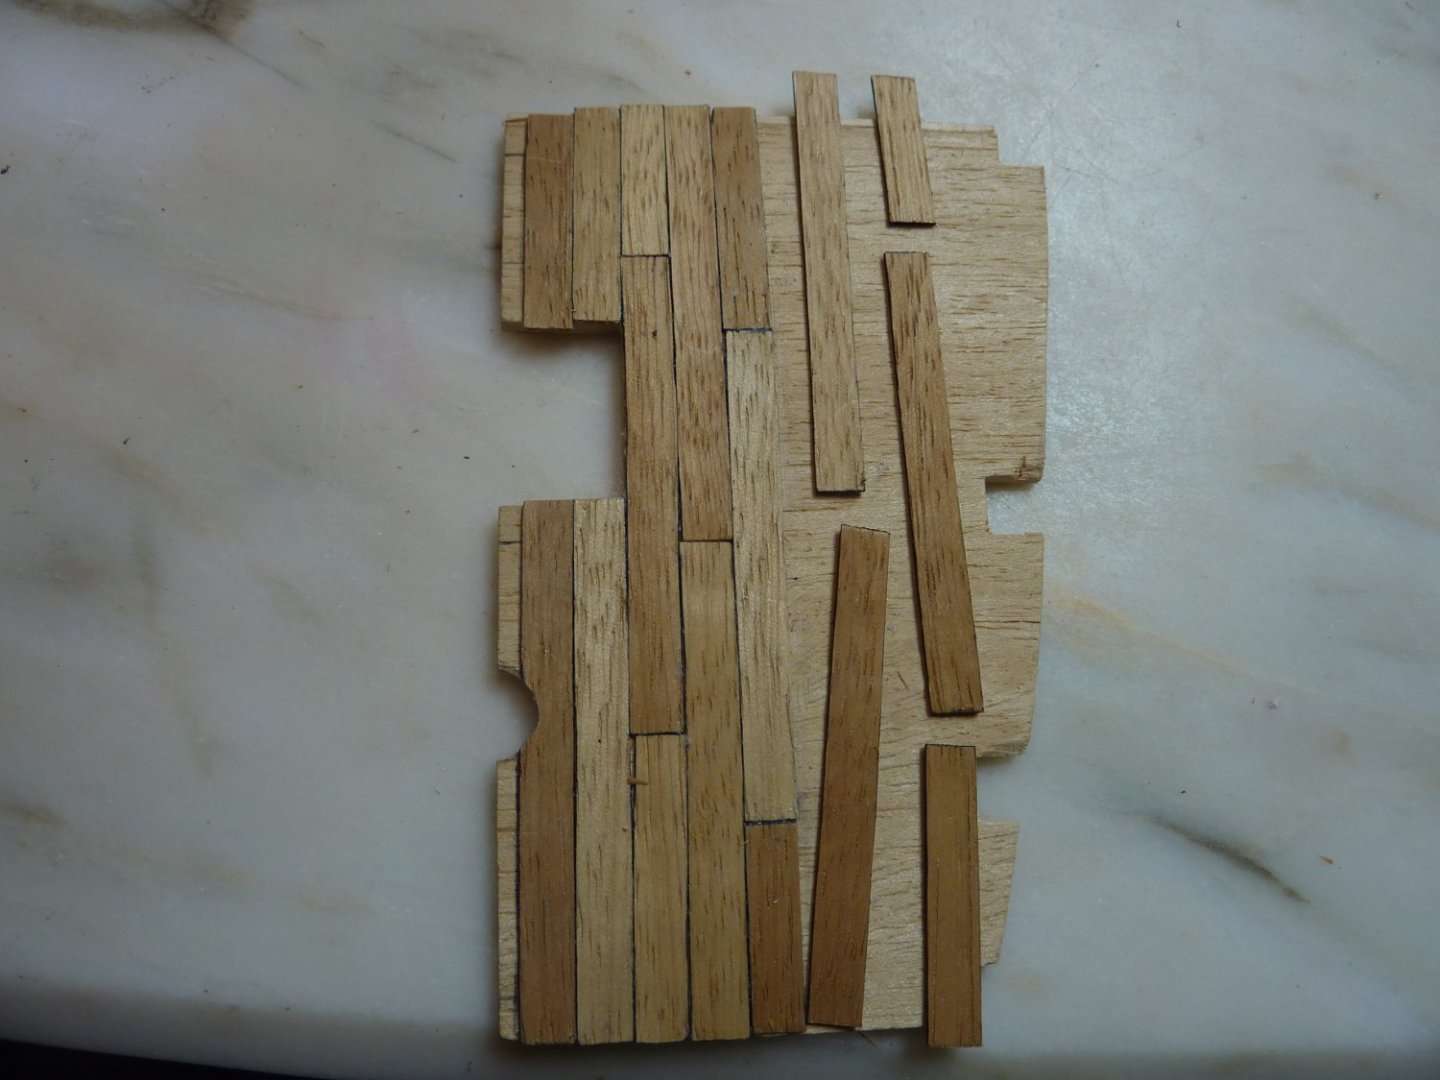
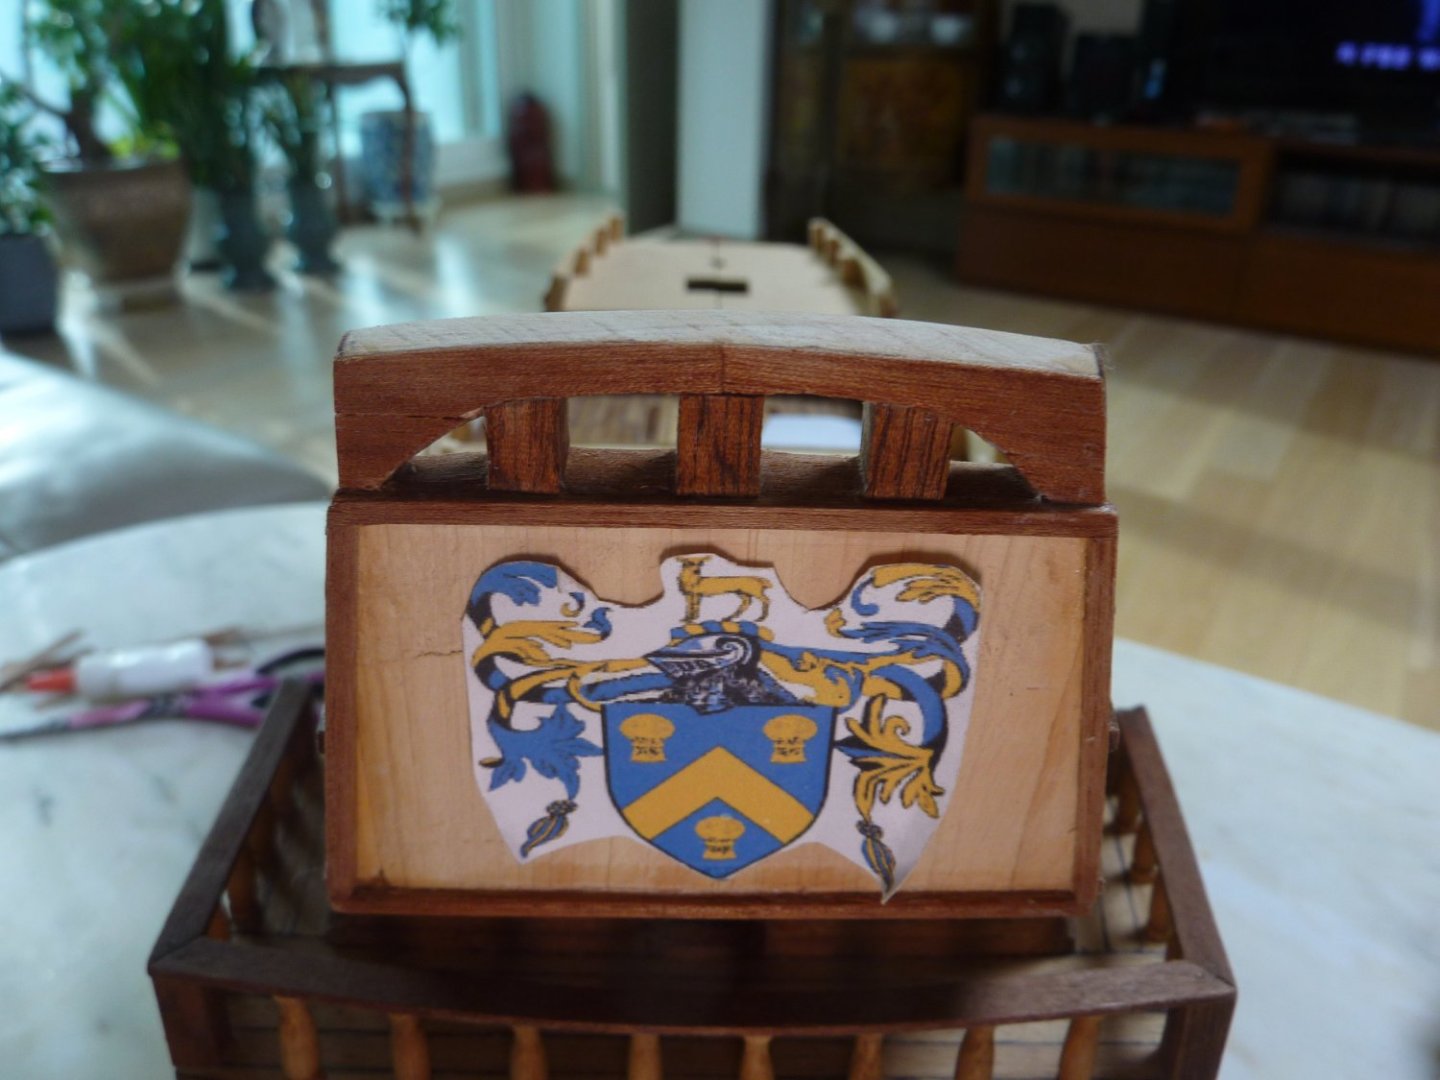
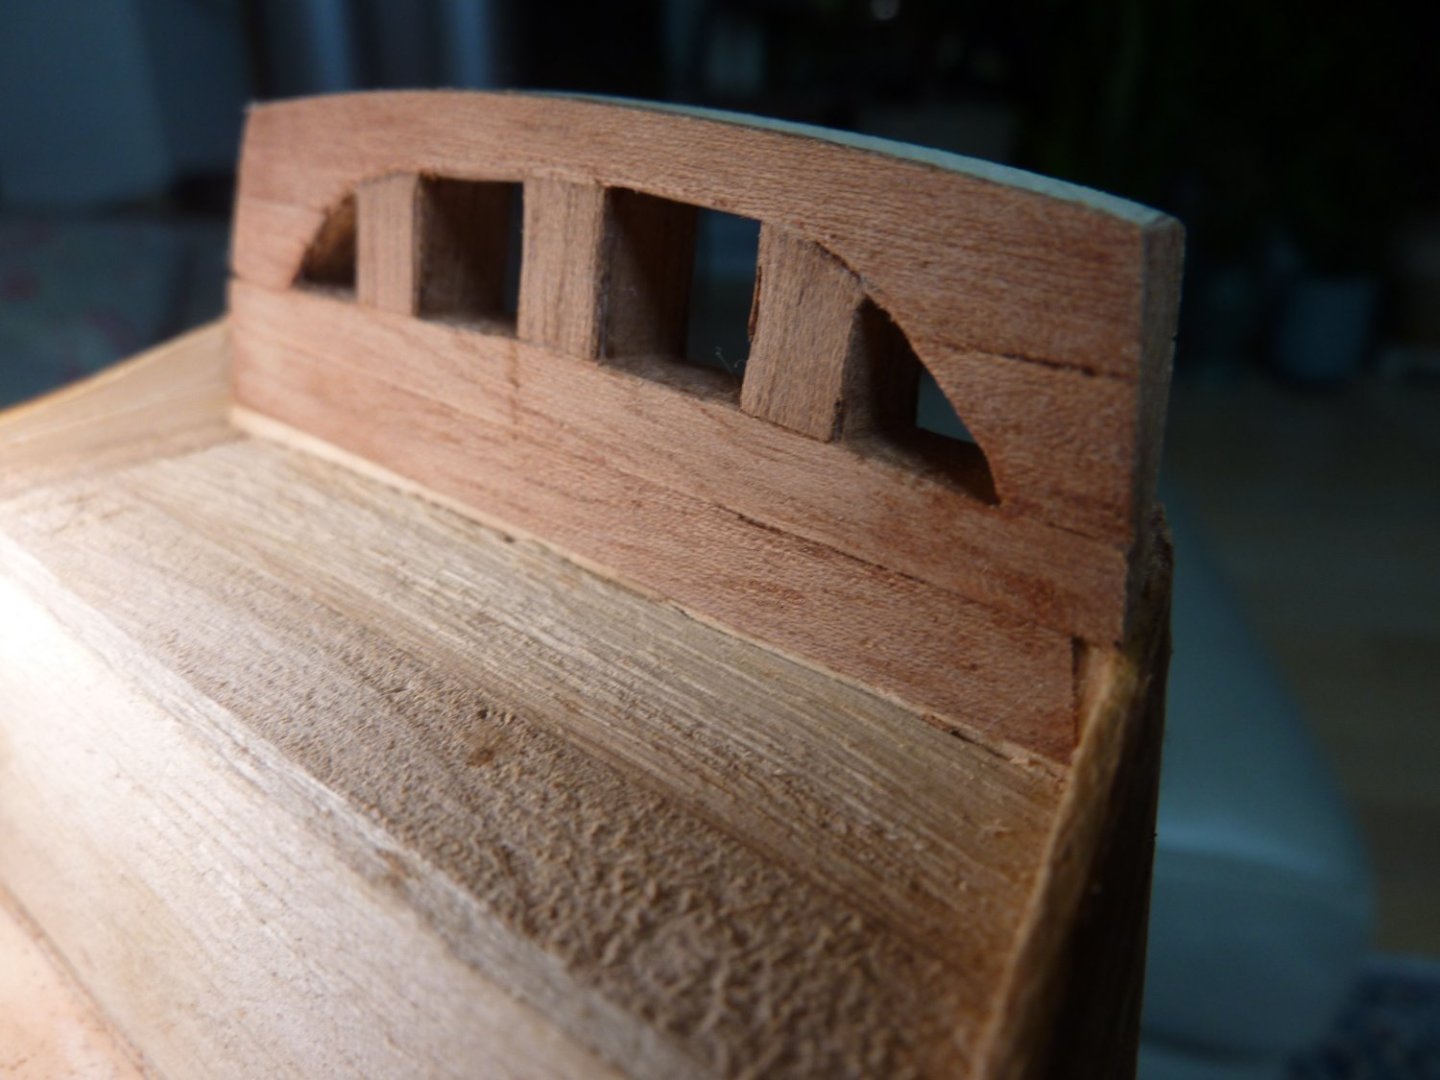
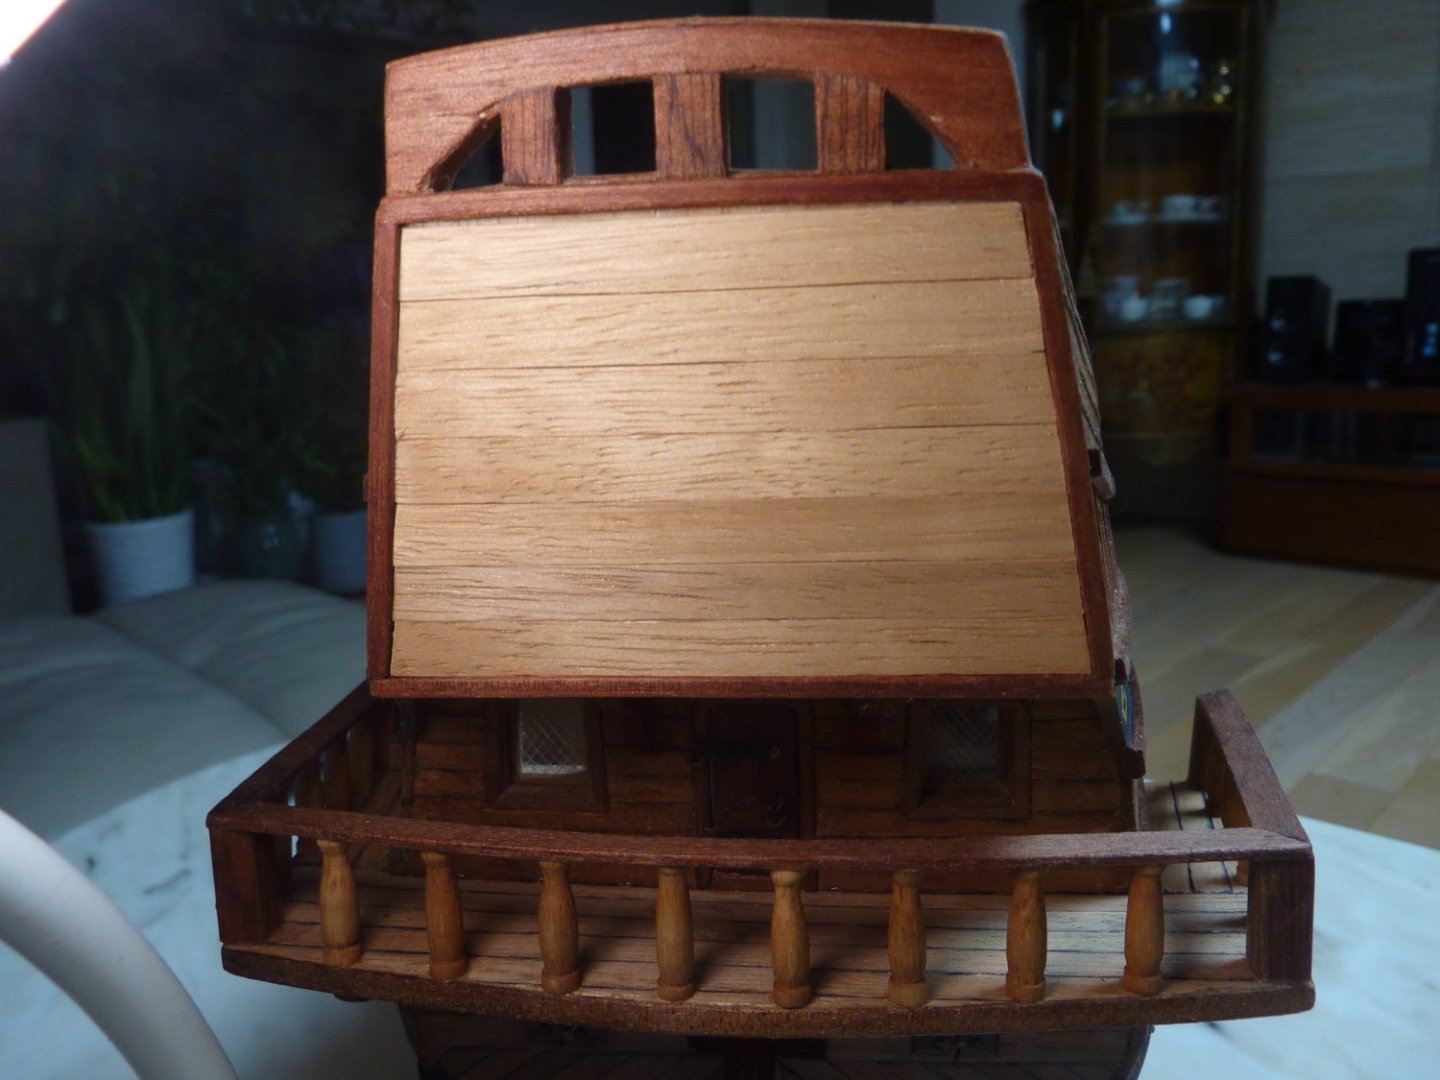
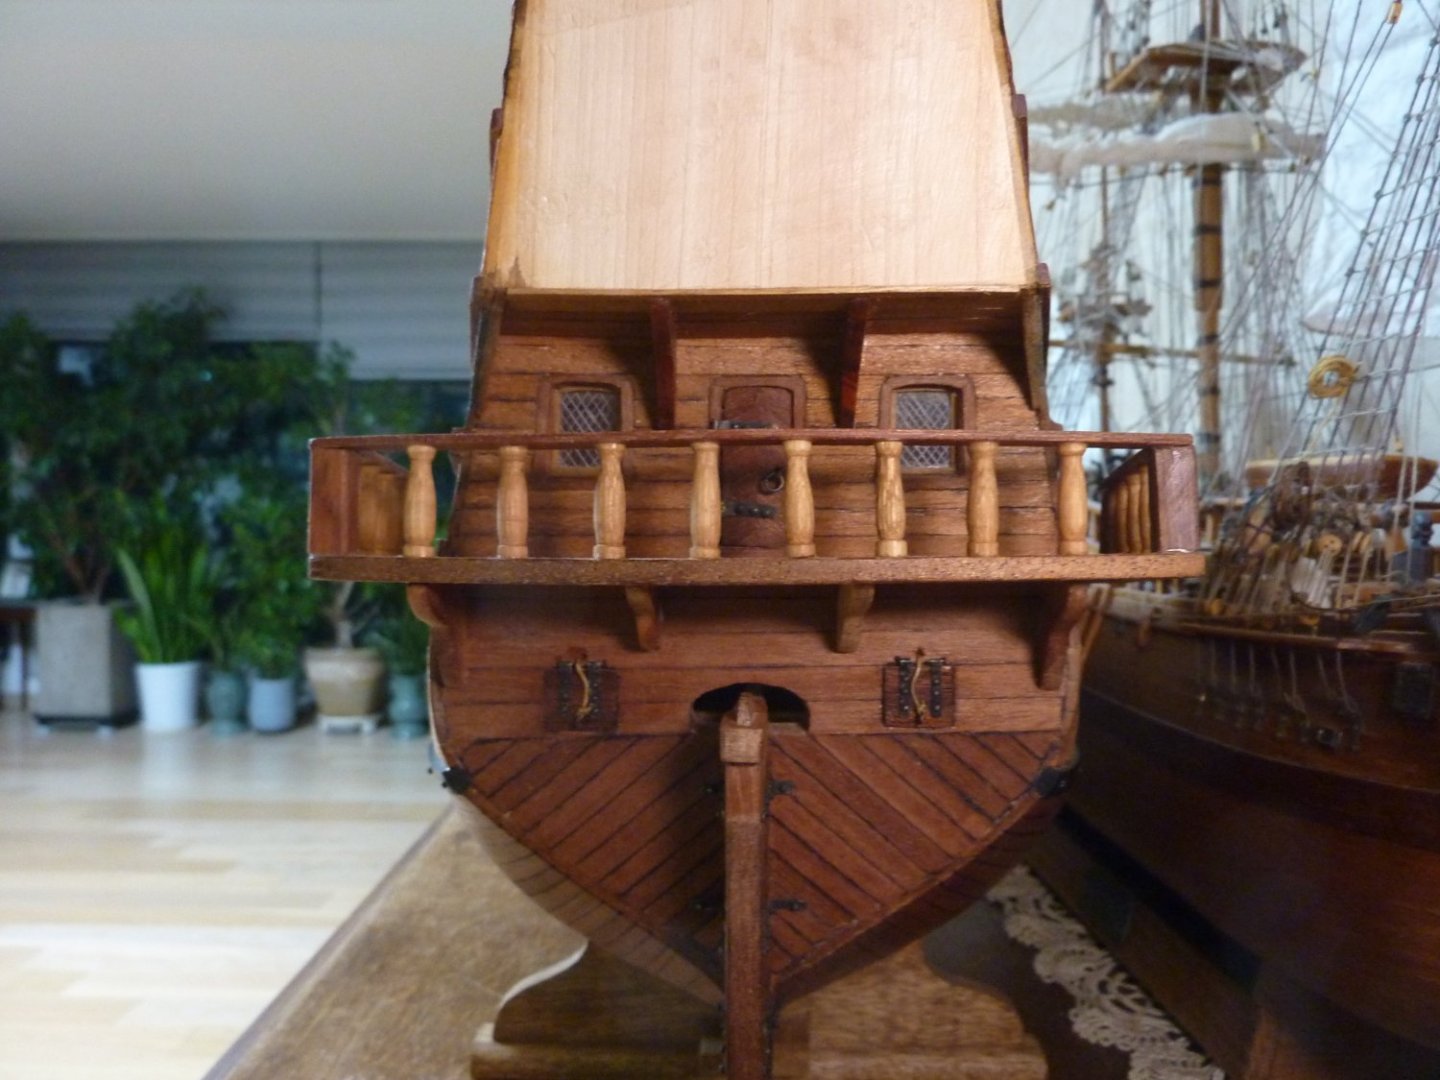
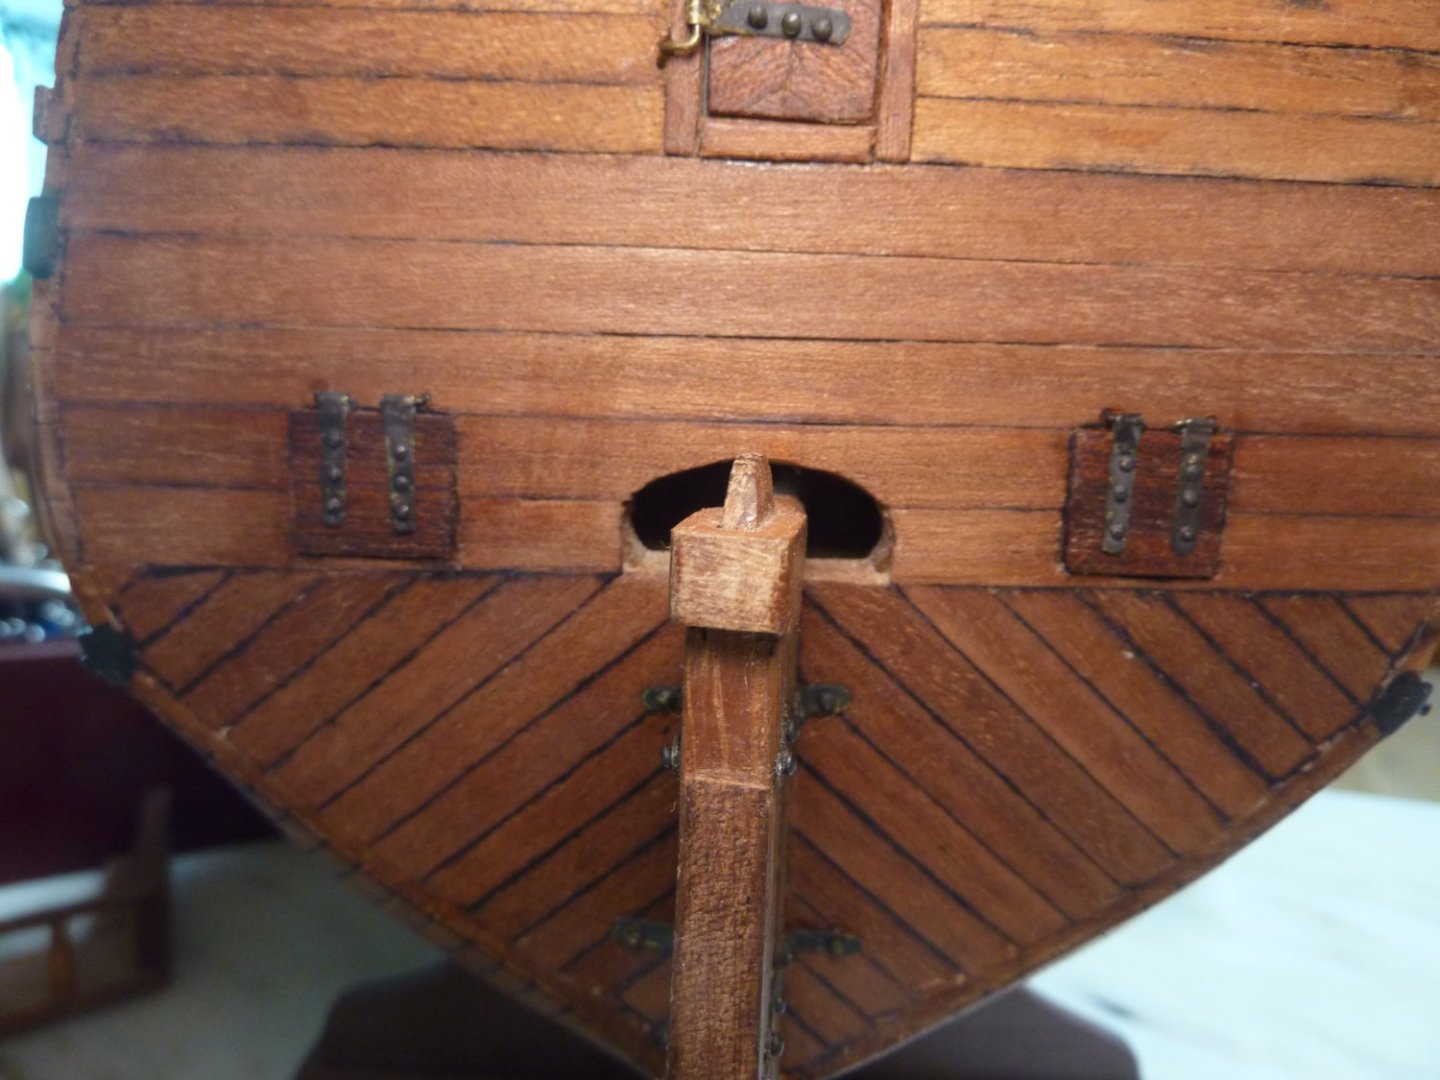
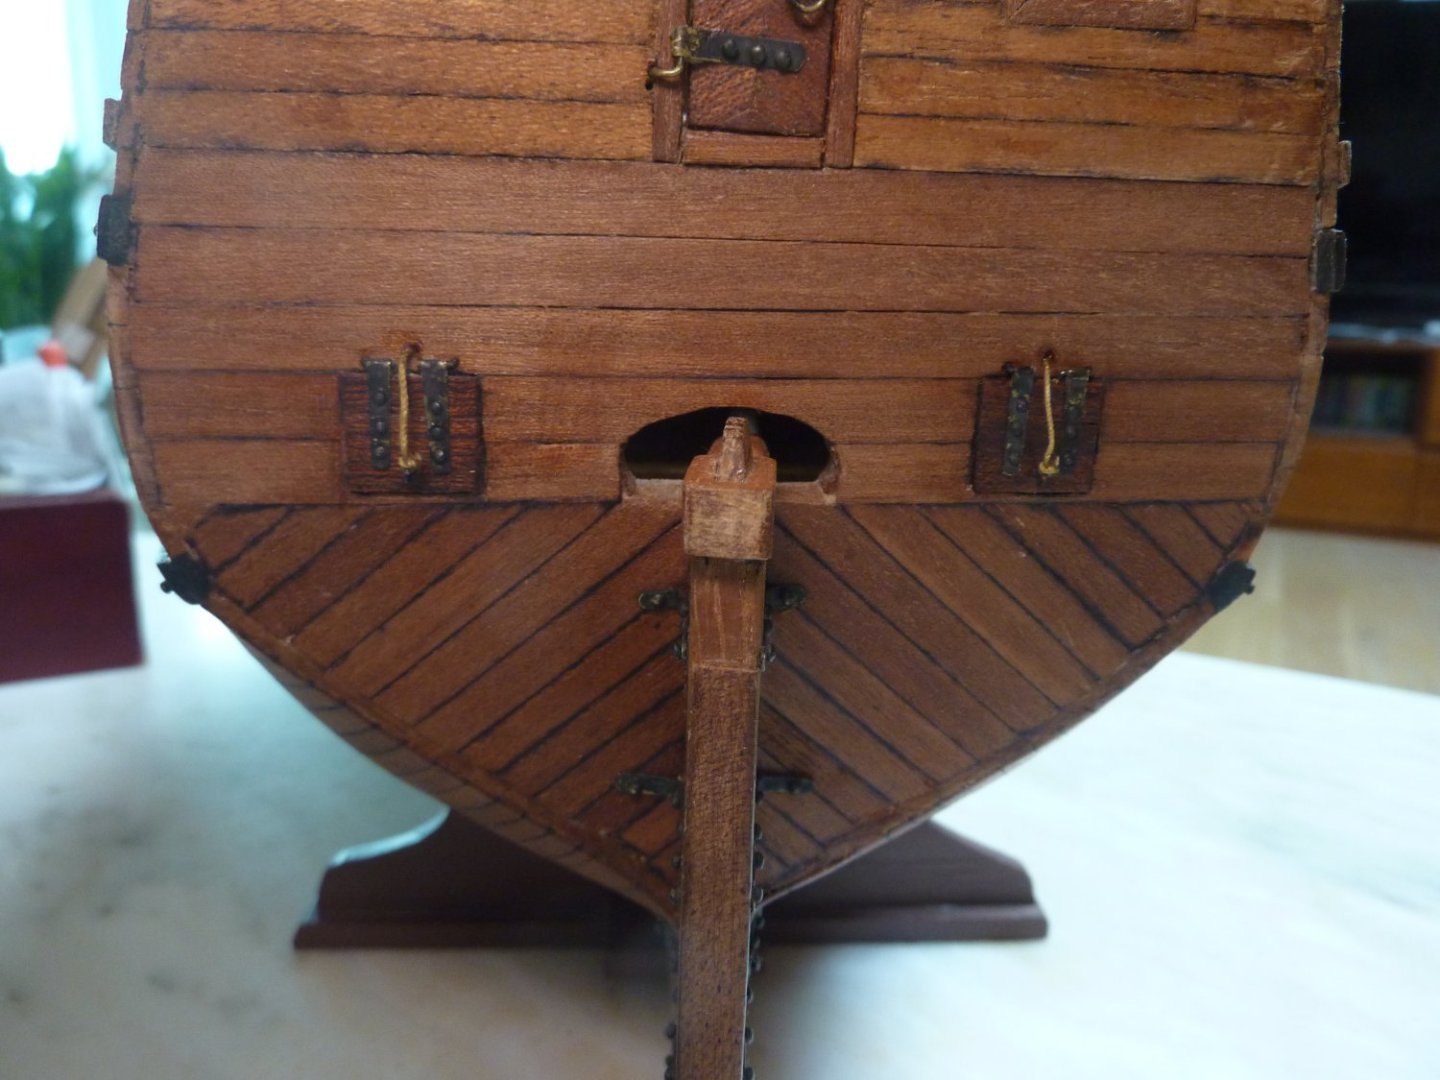
Work continues first on the overall touching up of the stern face with thin strips of hard wood. Also, the face where the paintings will be done have been prepared with the thin strips used for decking (soft wood).


-
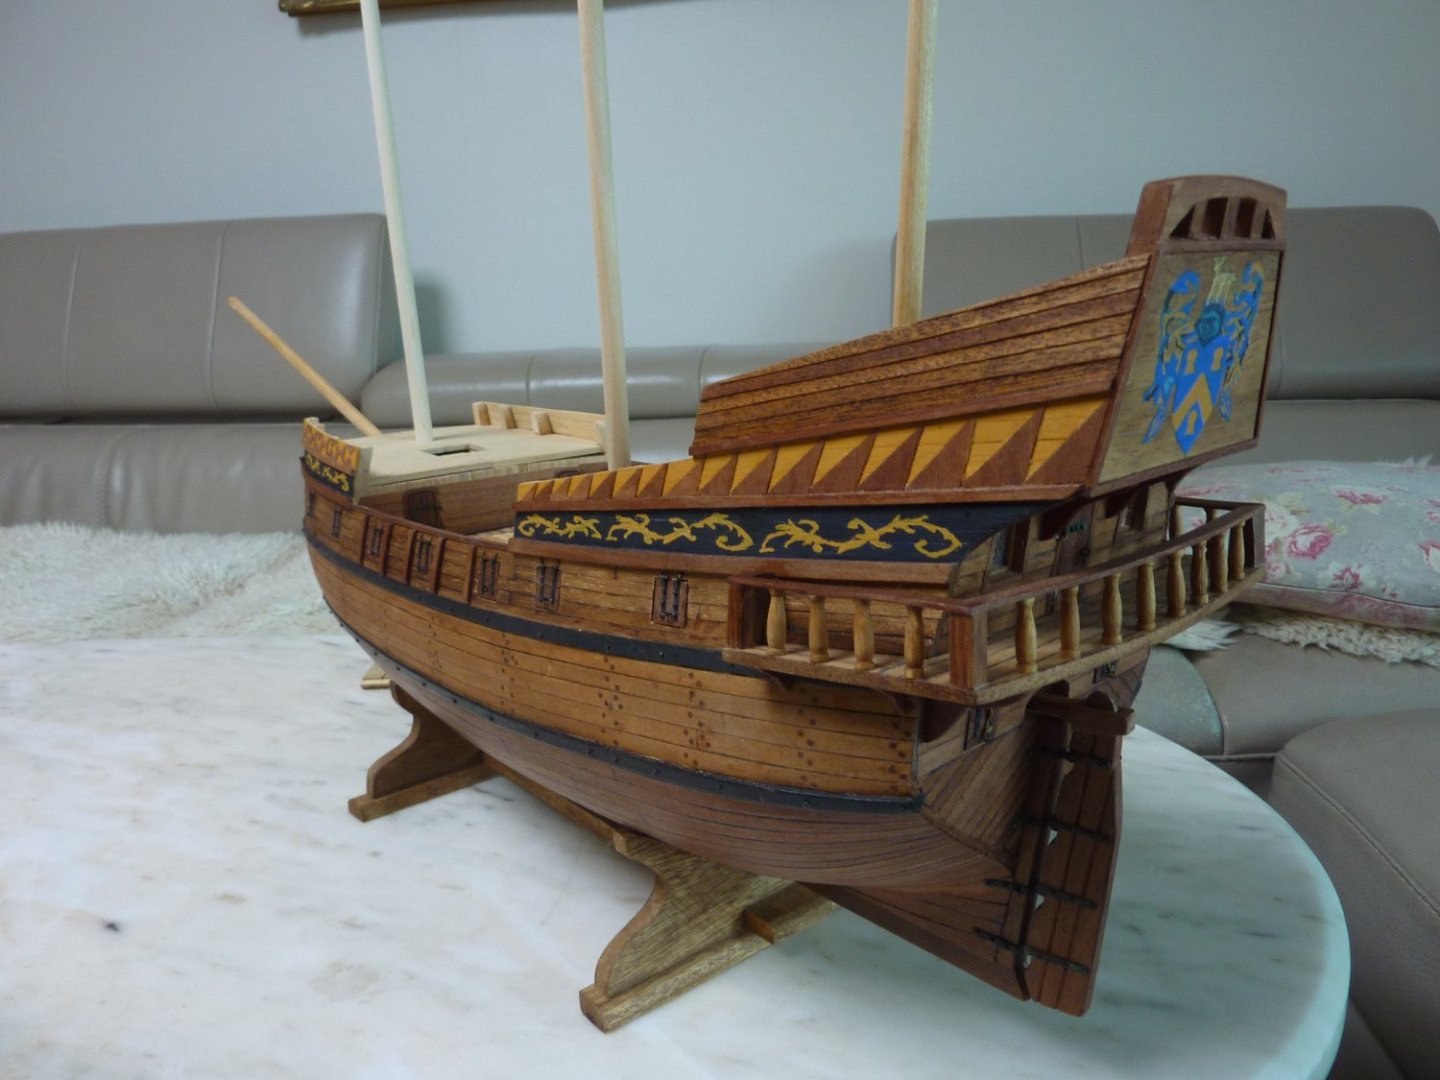
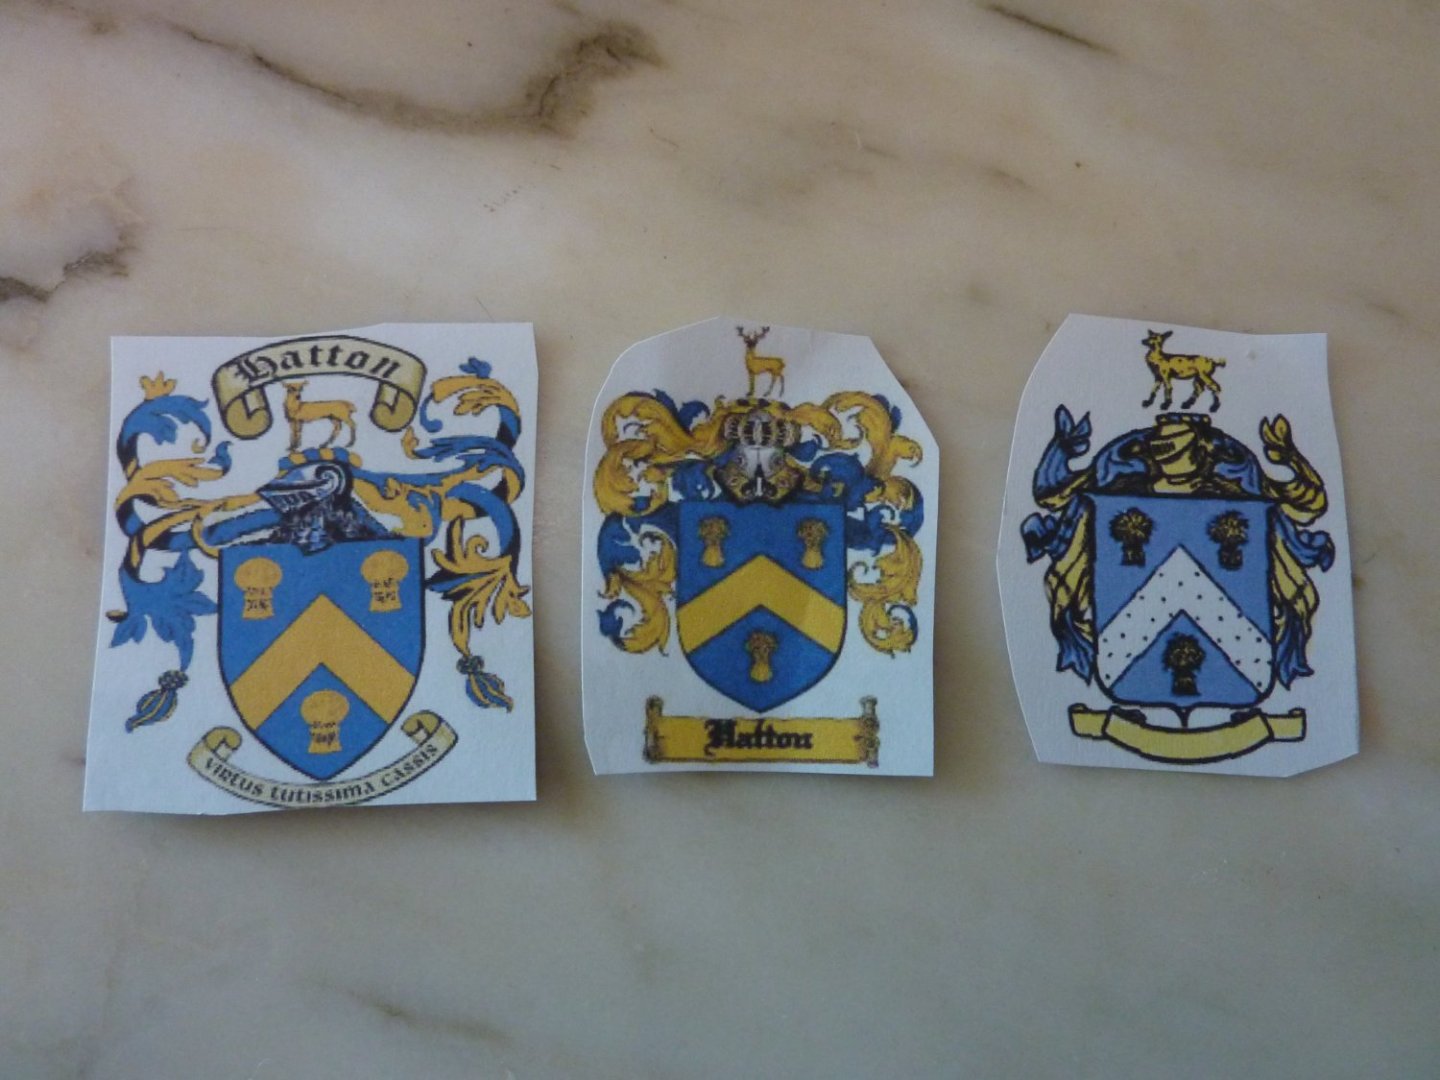
Hi All, Quick update on the GH prototype shipyard. I decided to finish the stern part before moving to next items. I contemplated on what kind of decoration/coat of arms to use for the stern decoration (?, once again, I am not sure about the right jargon for this part). Aeropiccola plans suggest the royal coat of arms, but I find this highly unlikely as Drake was a privateer who had a secret and unofficial backing of the crown (Elizabeth I). Although Elizabeth invested in Drake's endeavors and secretly condoned the attack on enemy ships and cargo, royal coat of arms on the GH seems too far fetched. So, I considered couple of alternatives - 1) no decoration, 2) a big golden hinde (as in the London replica), 3) Christopher Hatton coat of arms, 4) royal coat of arms. I concluded for number 3 as although a coat of arms of Sir Christopher Hatton may also be somewhat far-fetched, it is still more plausible than the royal one. Furthermore, the ship's name change was specifically to honour the endeavor's principal patron - Sir Christopher Hatton - and thus golden hinde in his coat of arms. Anyway, I sourced a number of coat of arms of Christopher Hatton and decided to go for one of them. The below picture show the final candidate and the works on frame..


-
Ah yes~! Knees! I just remembered. Although I did not know about different types of knees. Thanks~ Patrick!
-
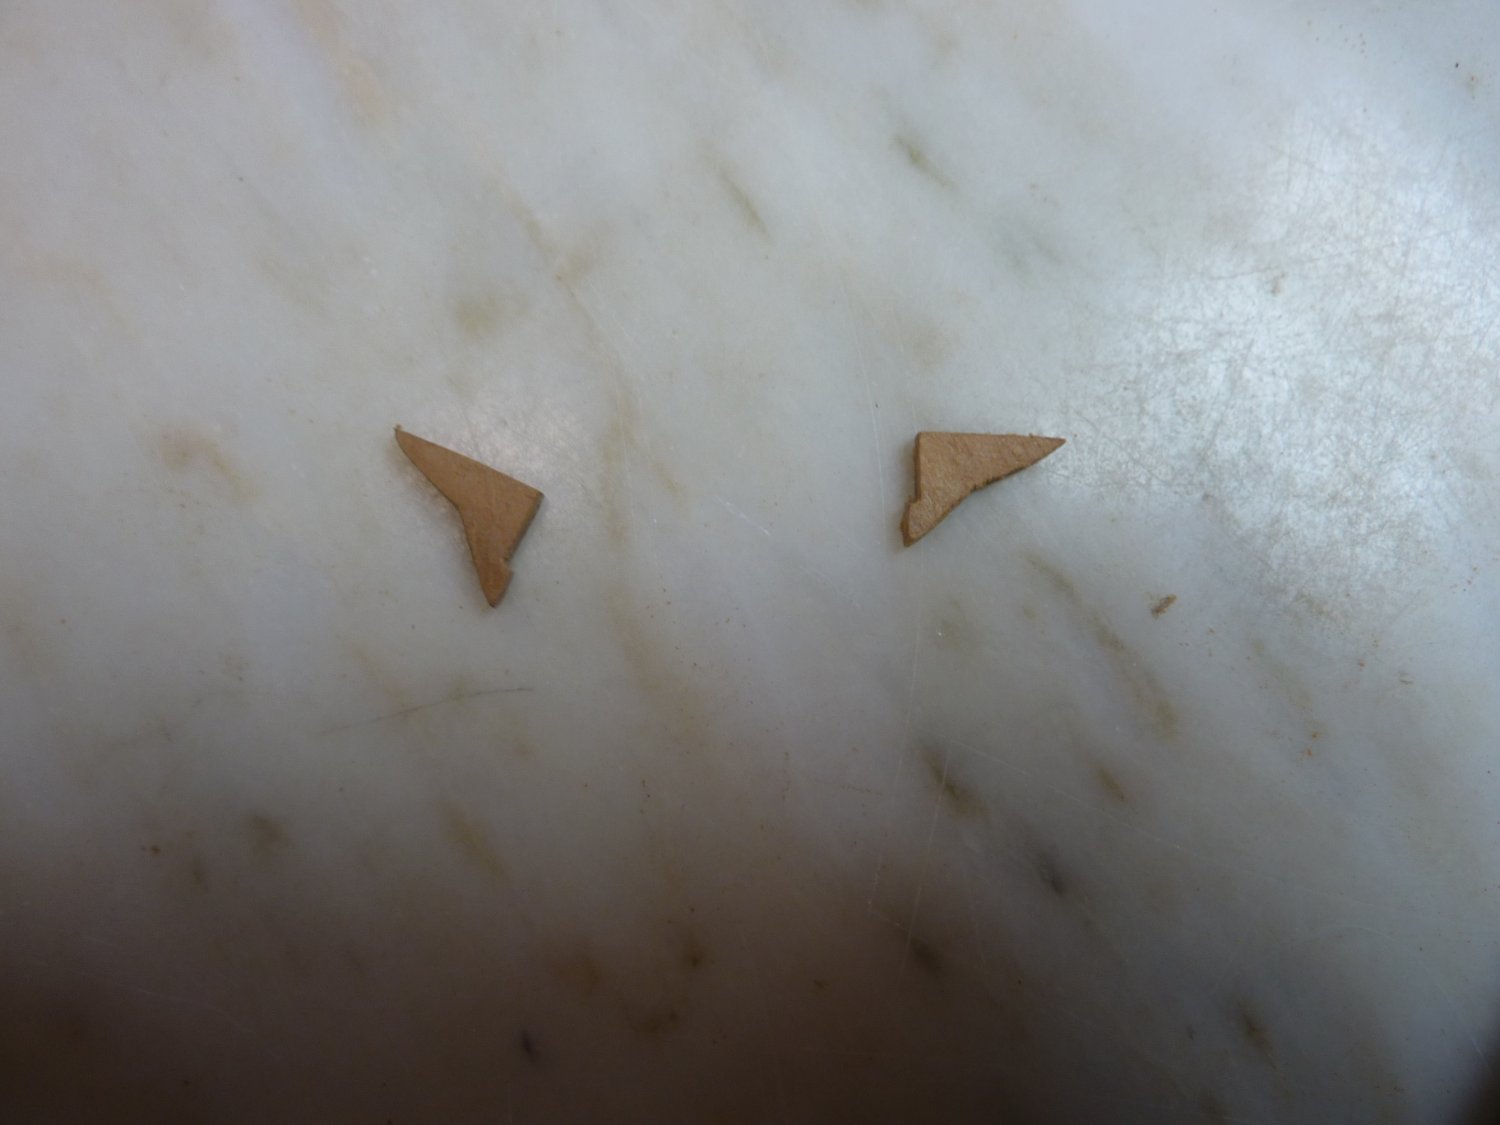
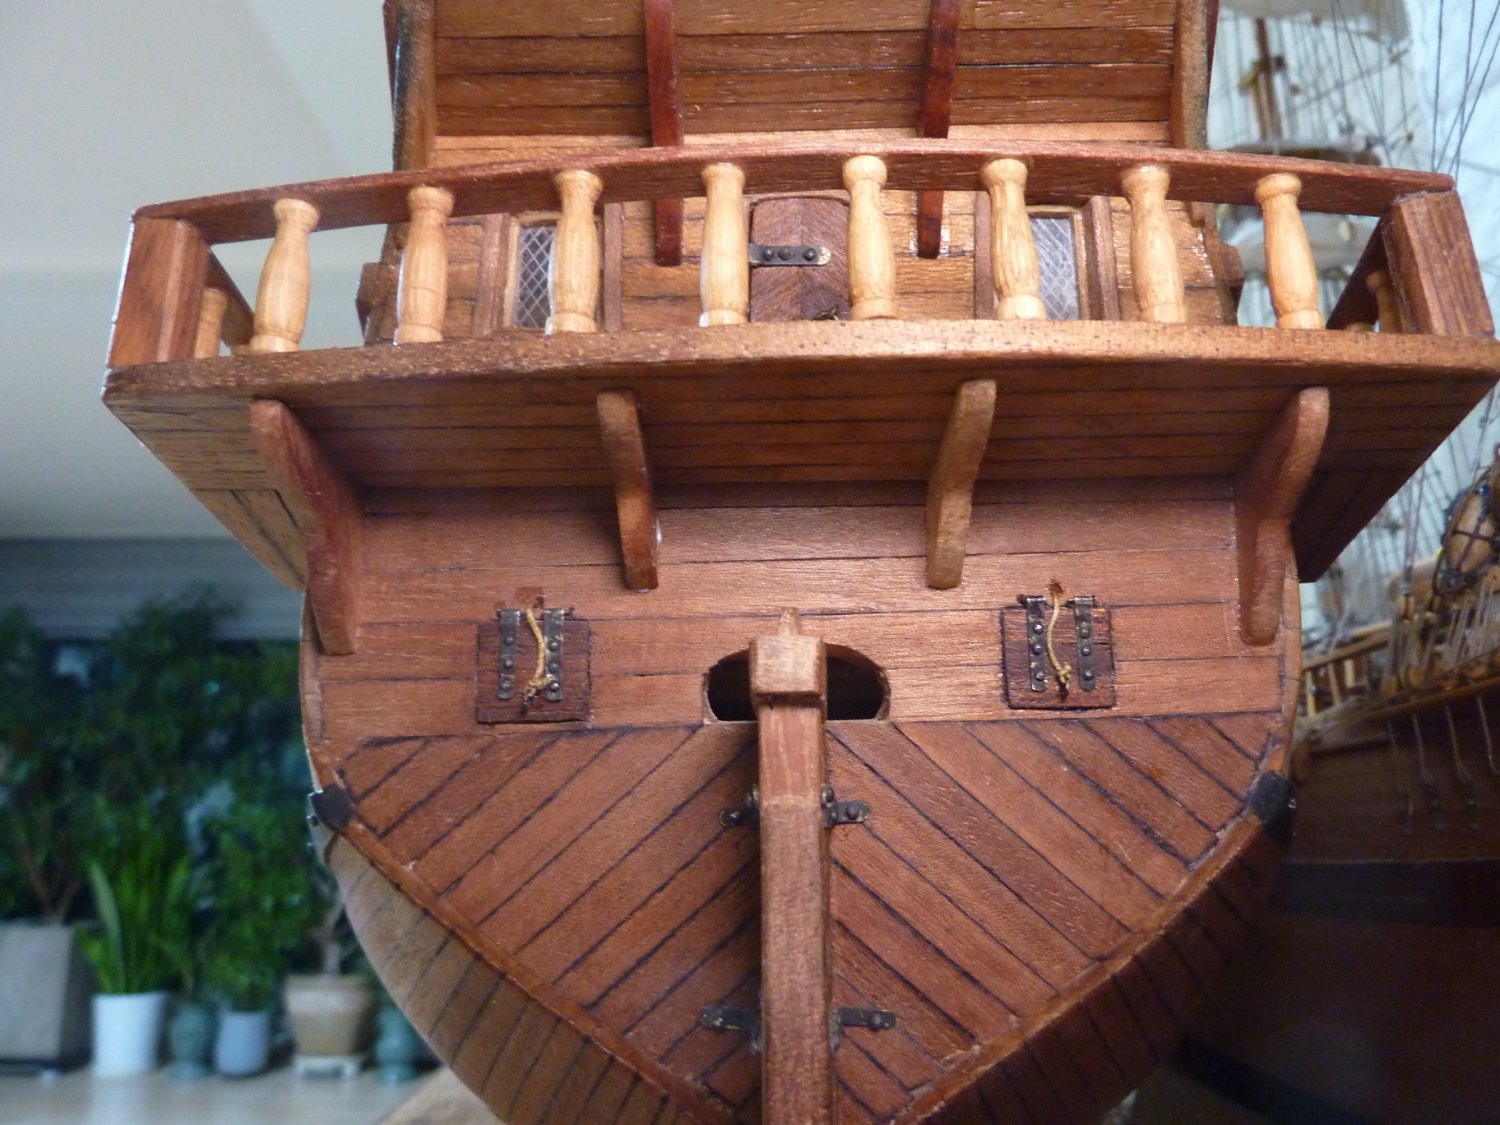
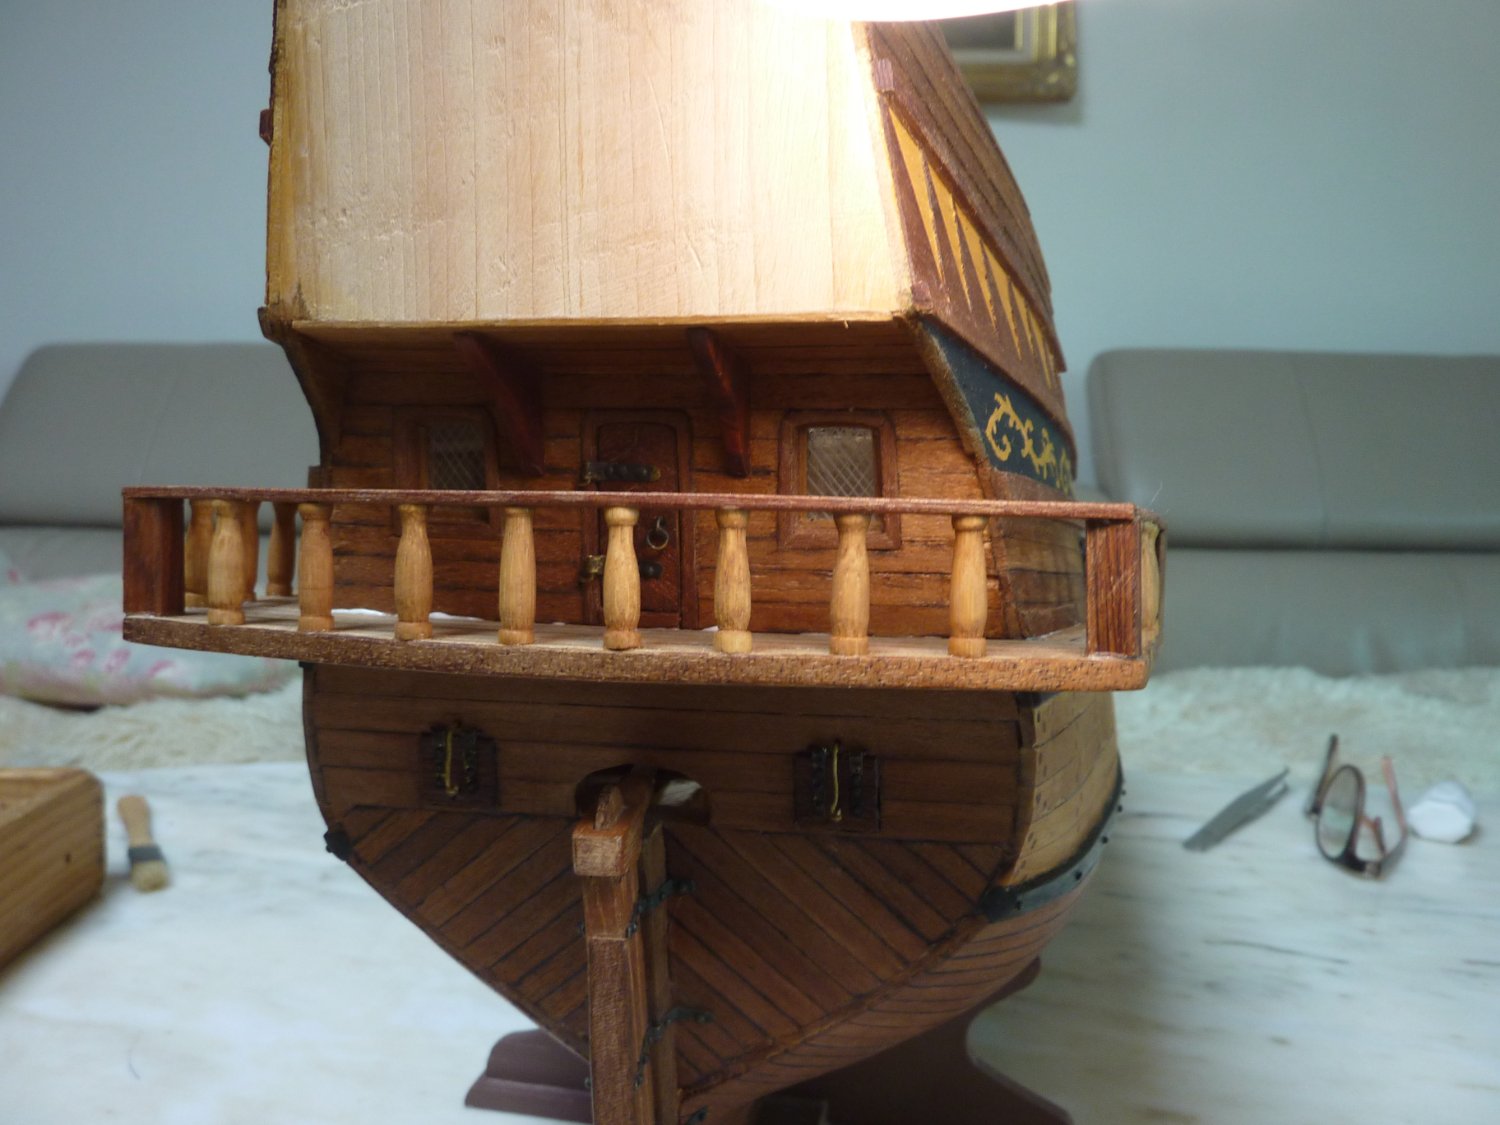
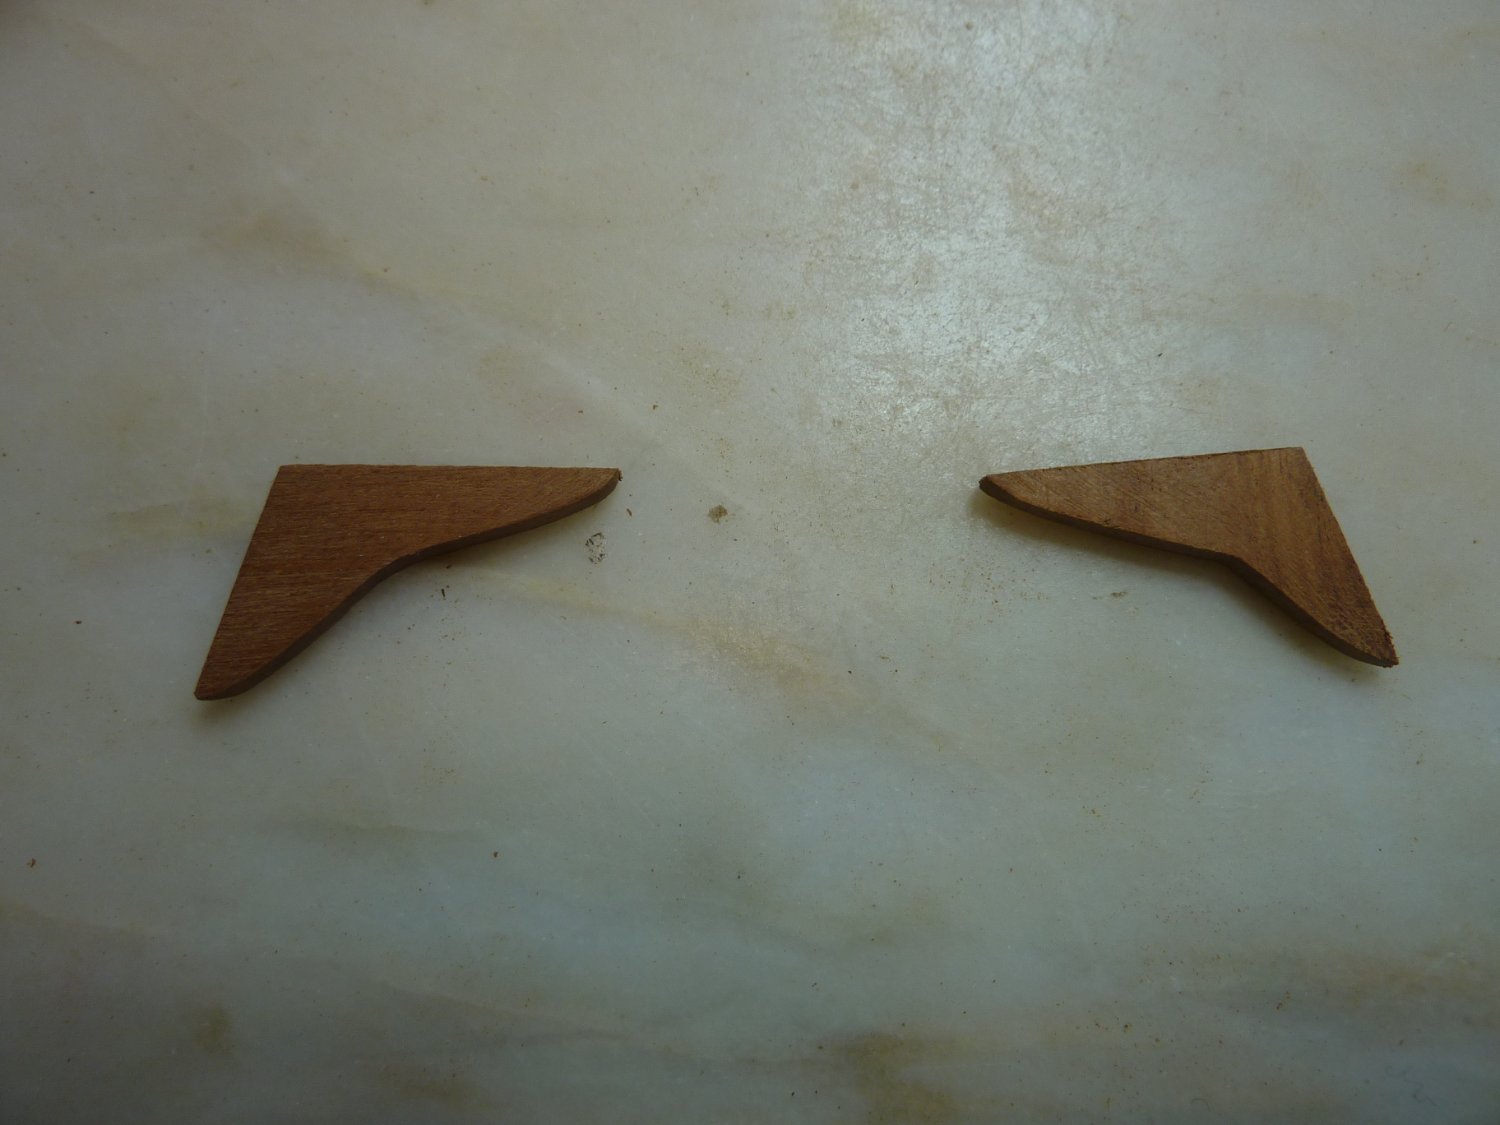
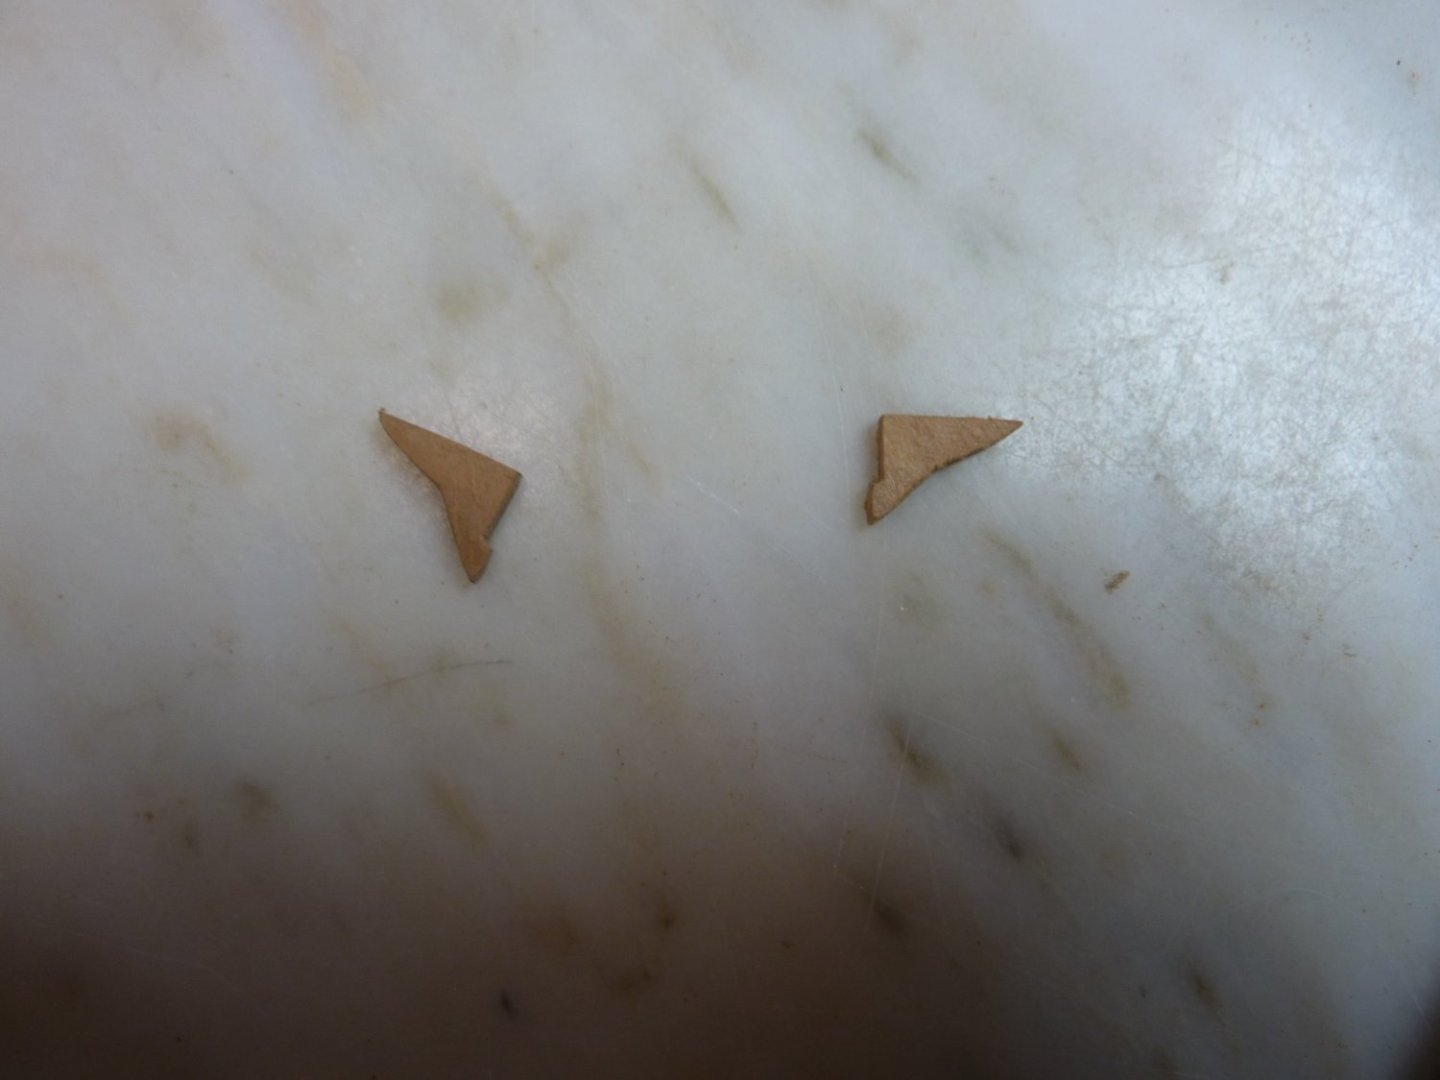
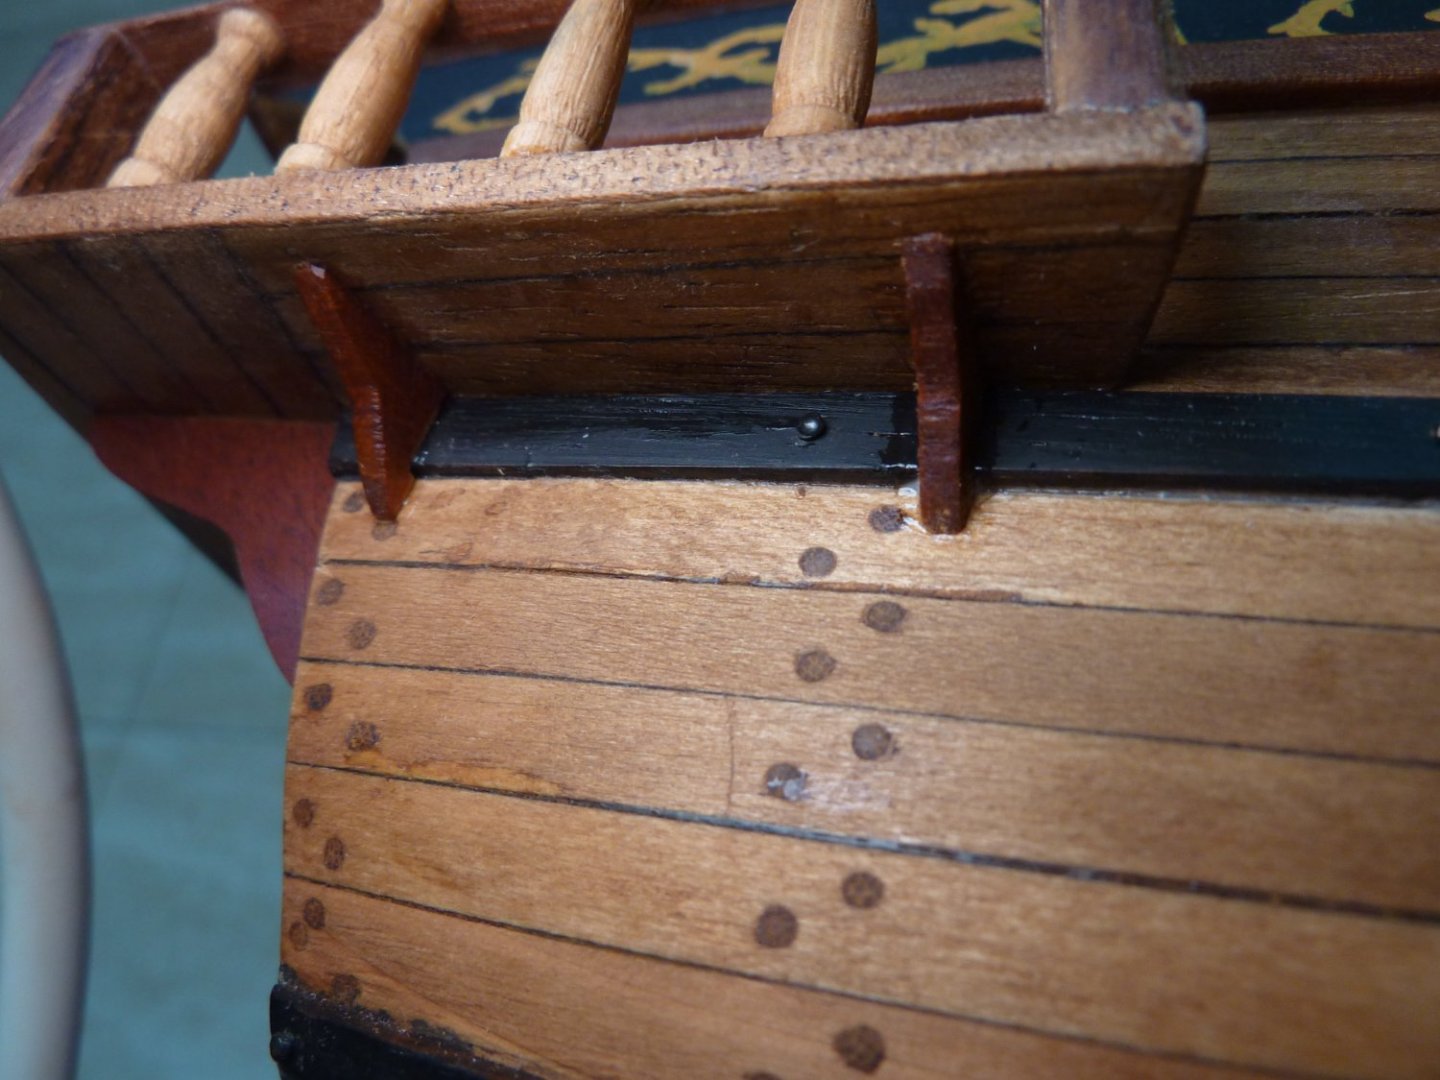
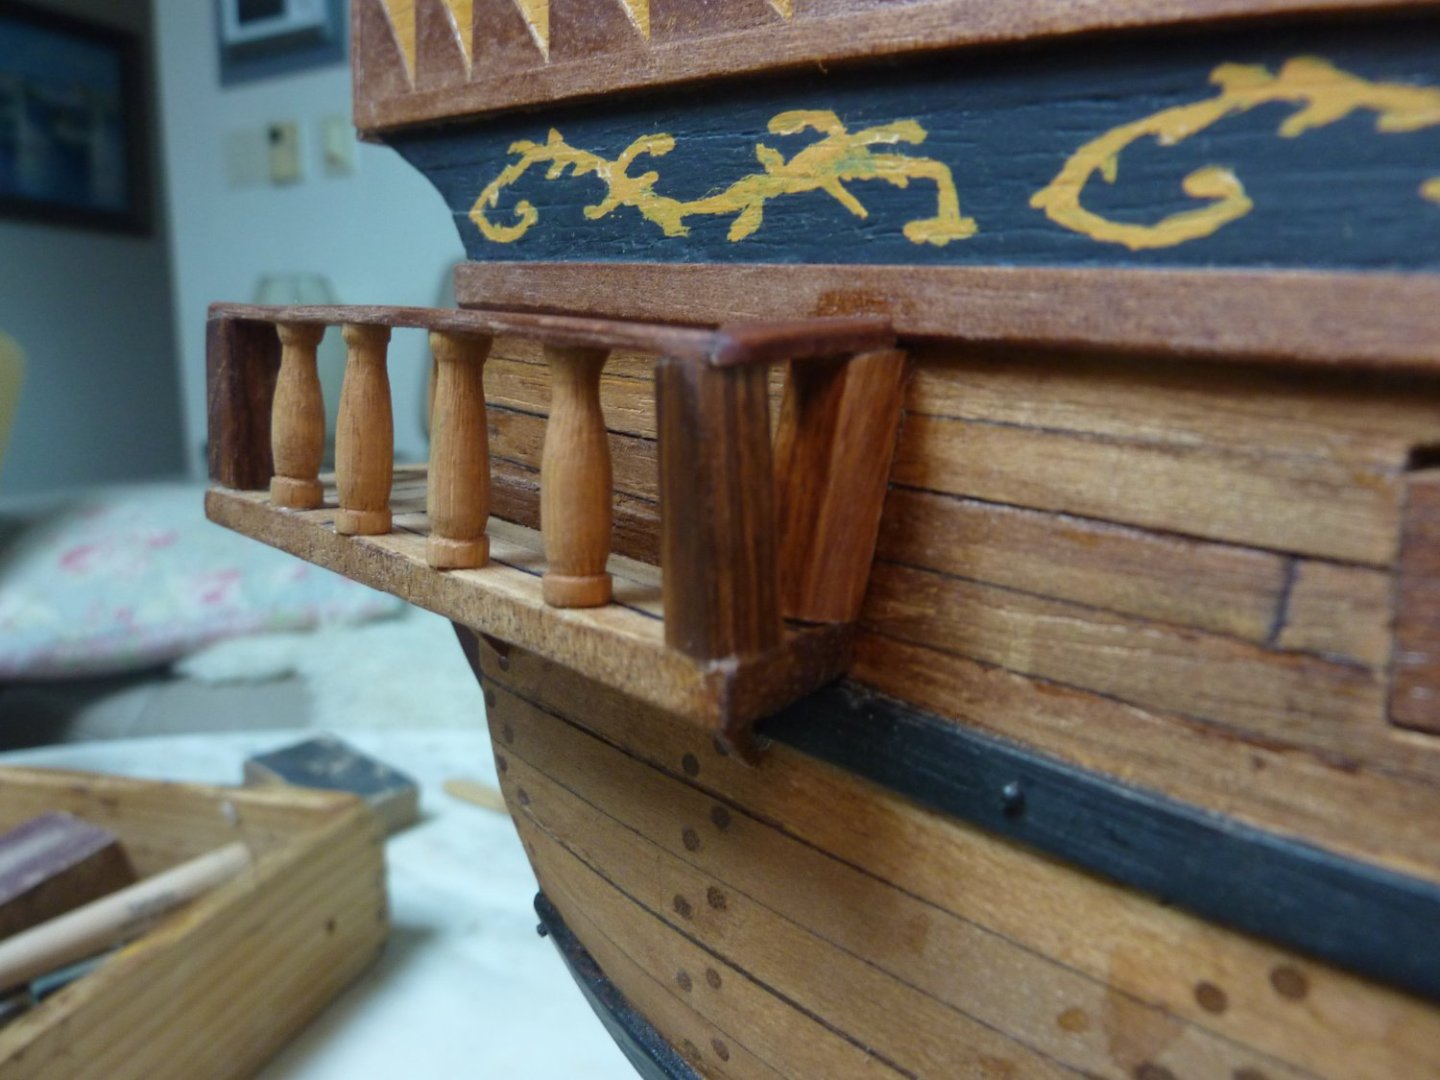
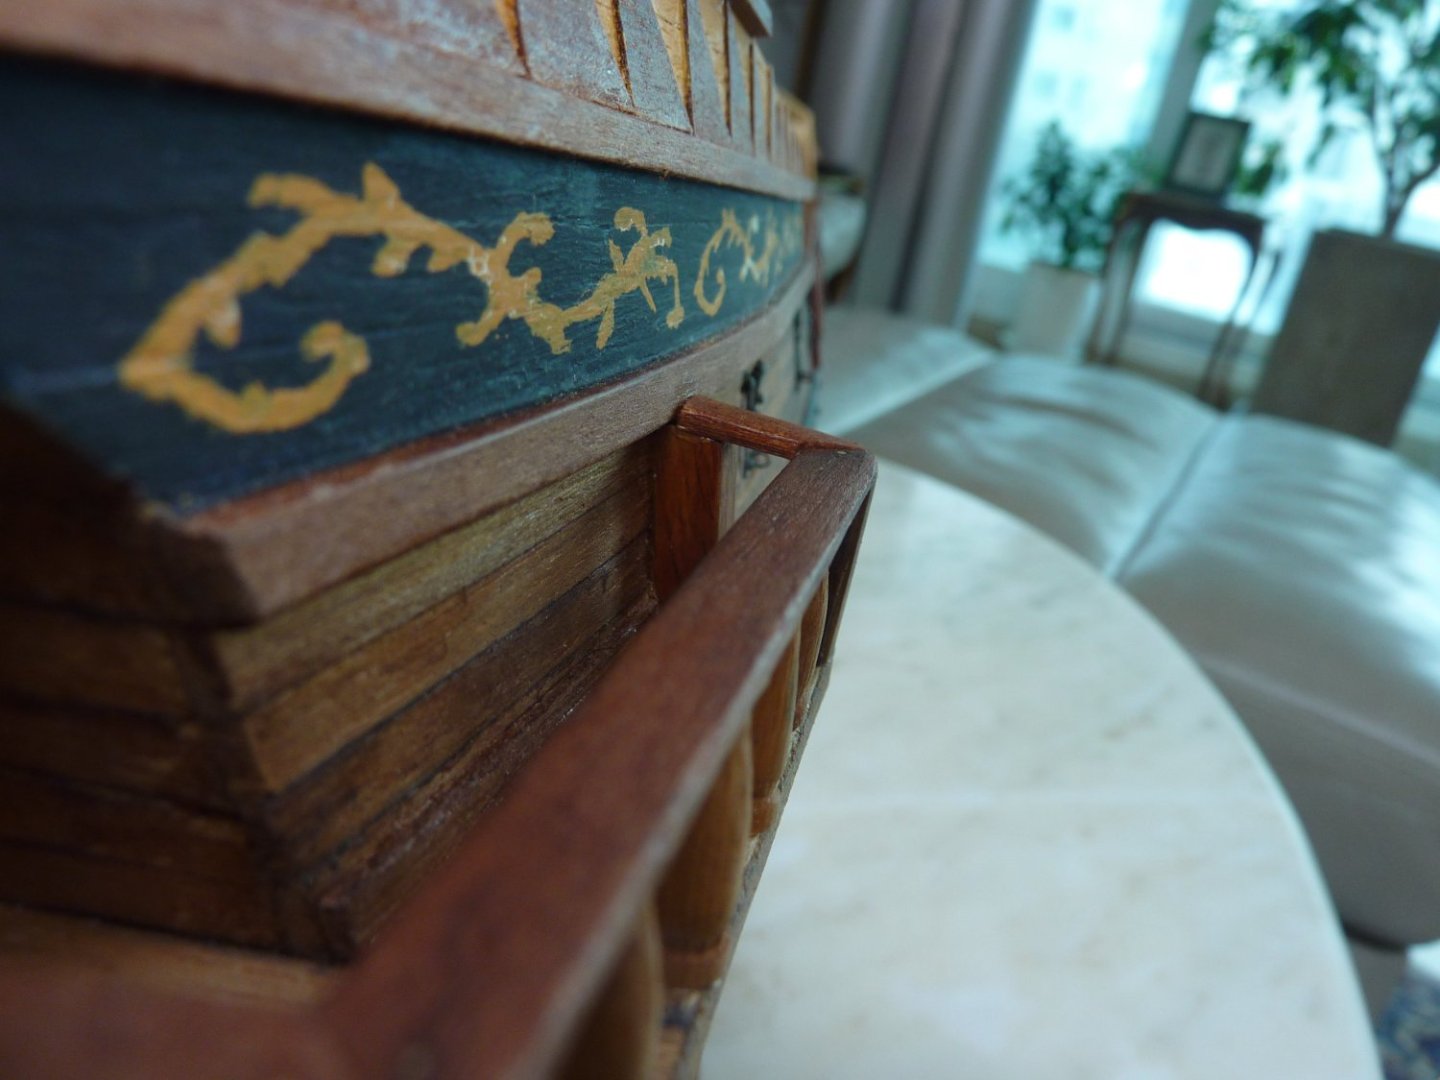
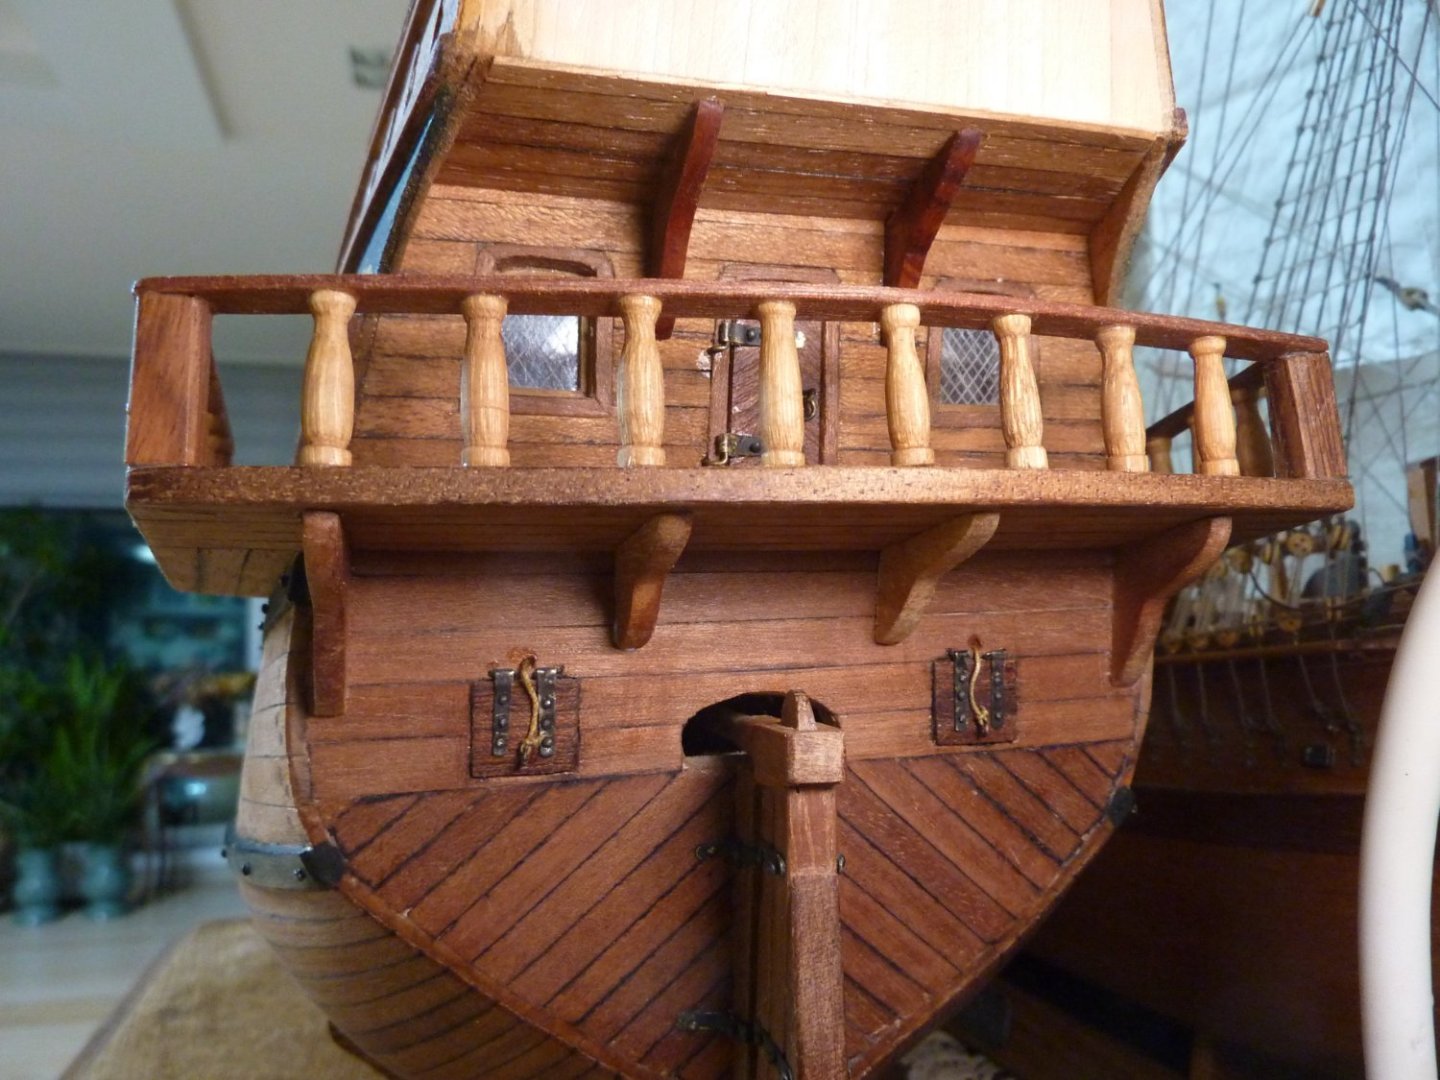
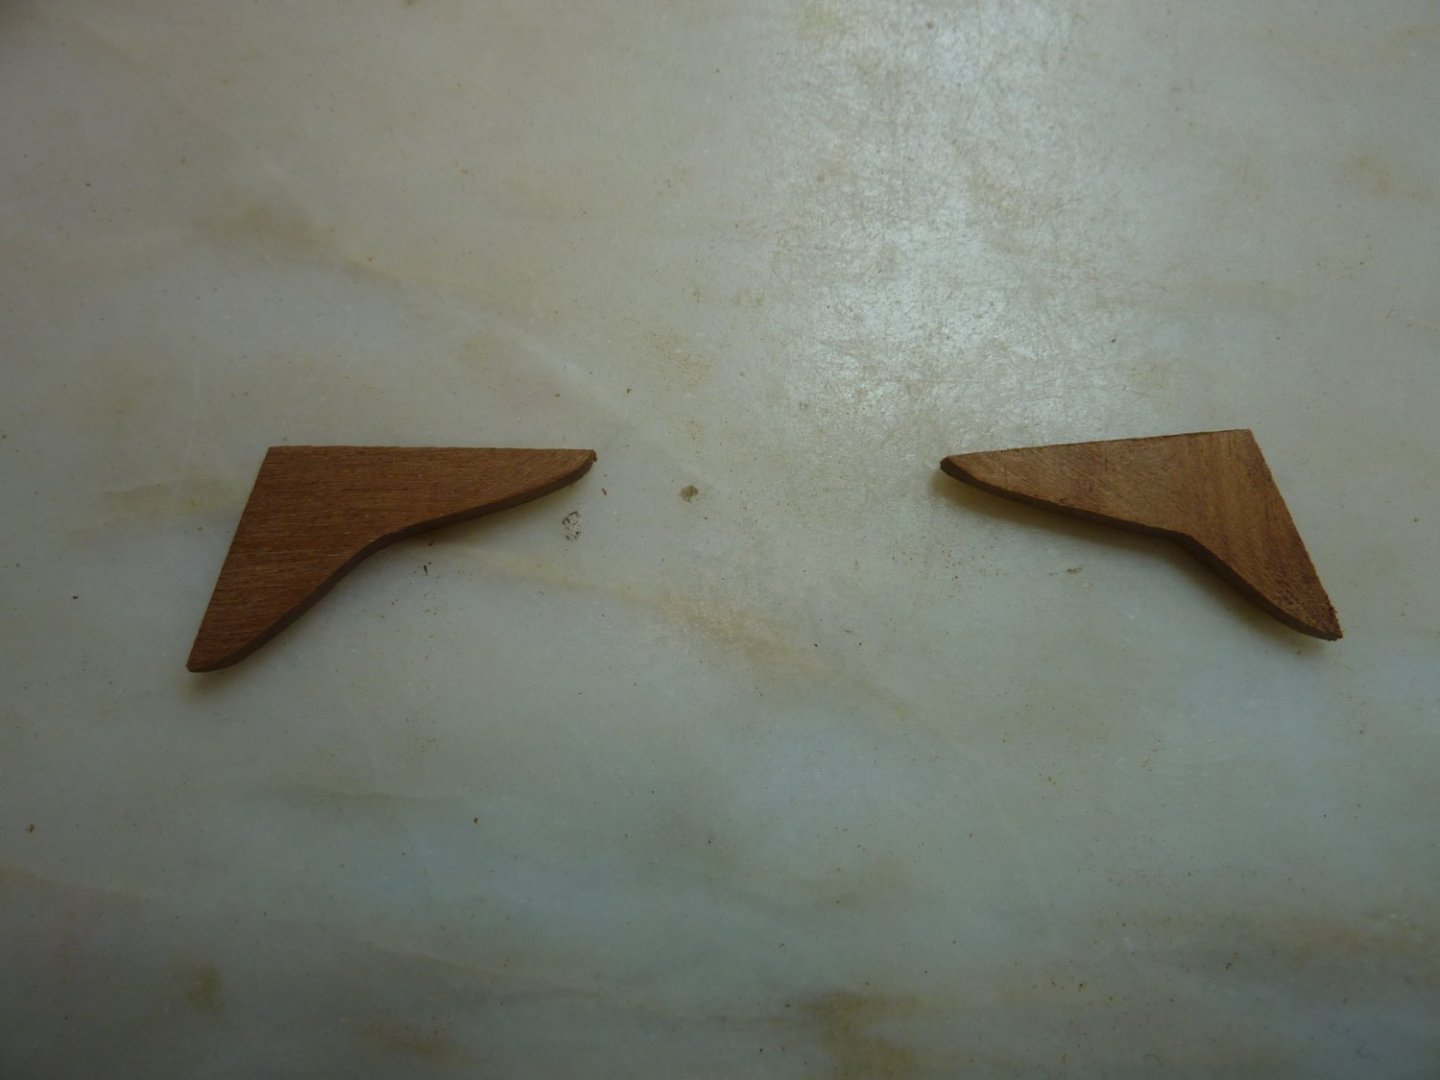
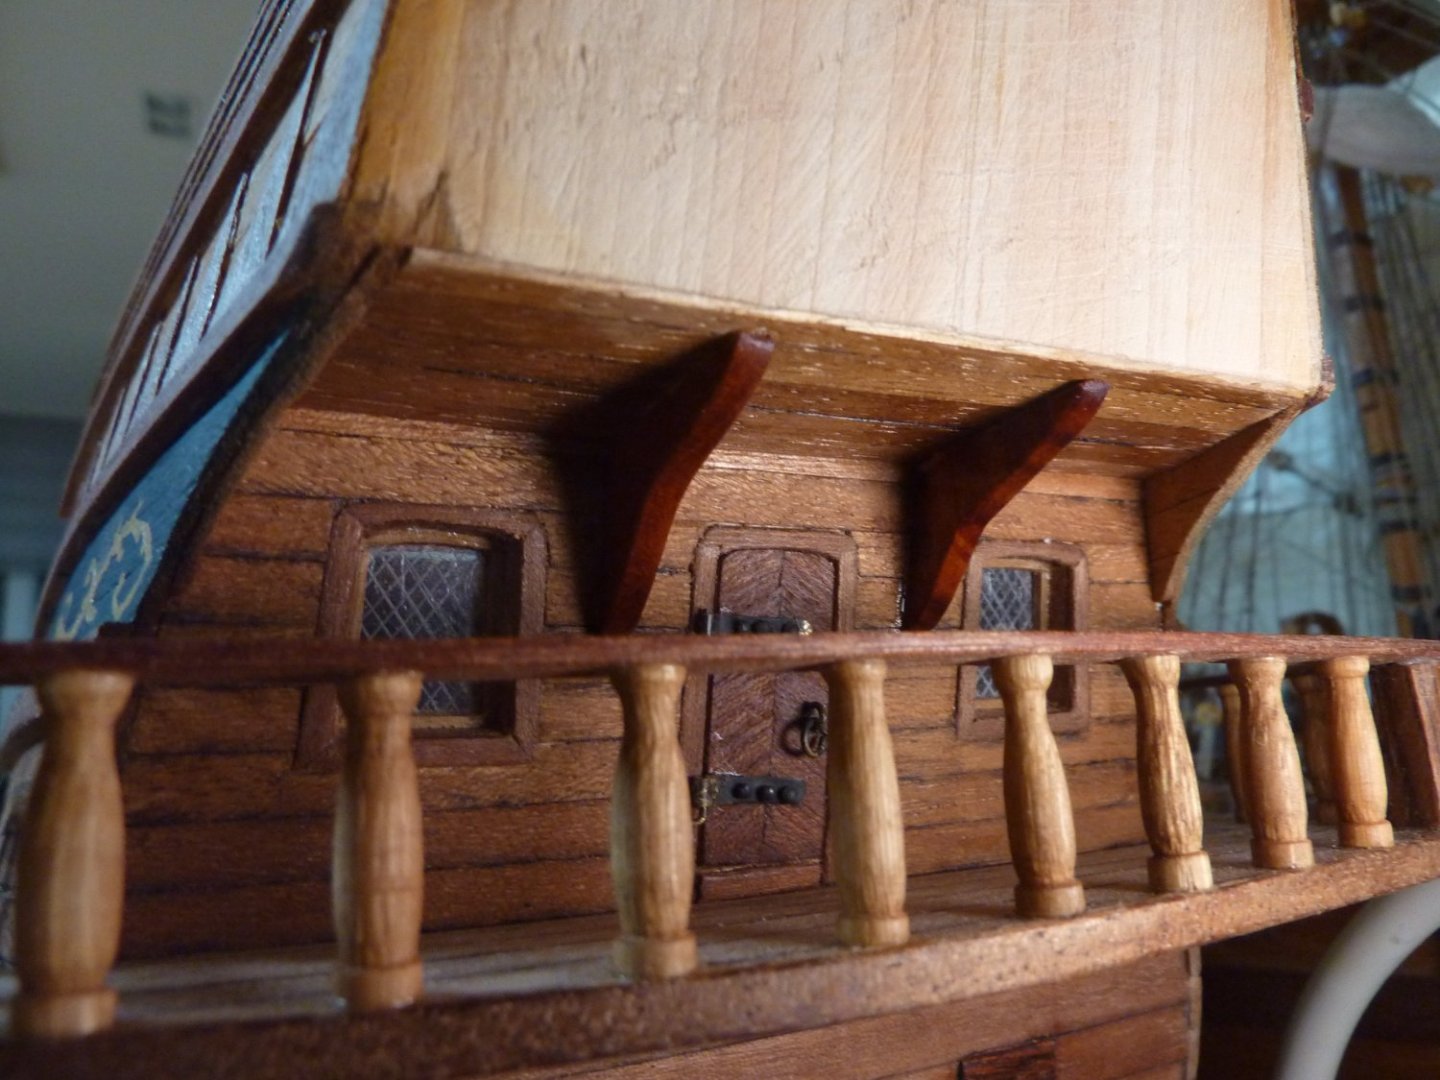
Supporting structures (cannot remember the name) for the balcony are cut into the shapes (2 different shapes applied) sanded and installed.


-
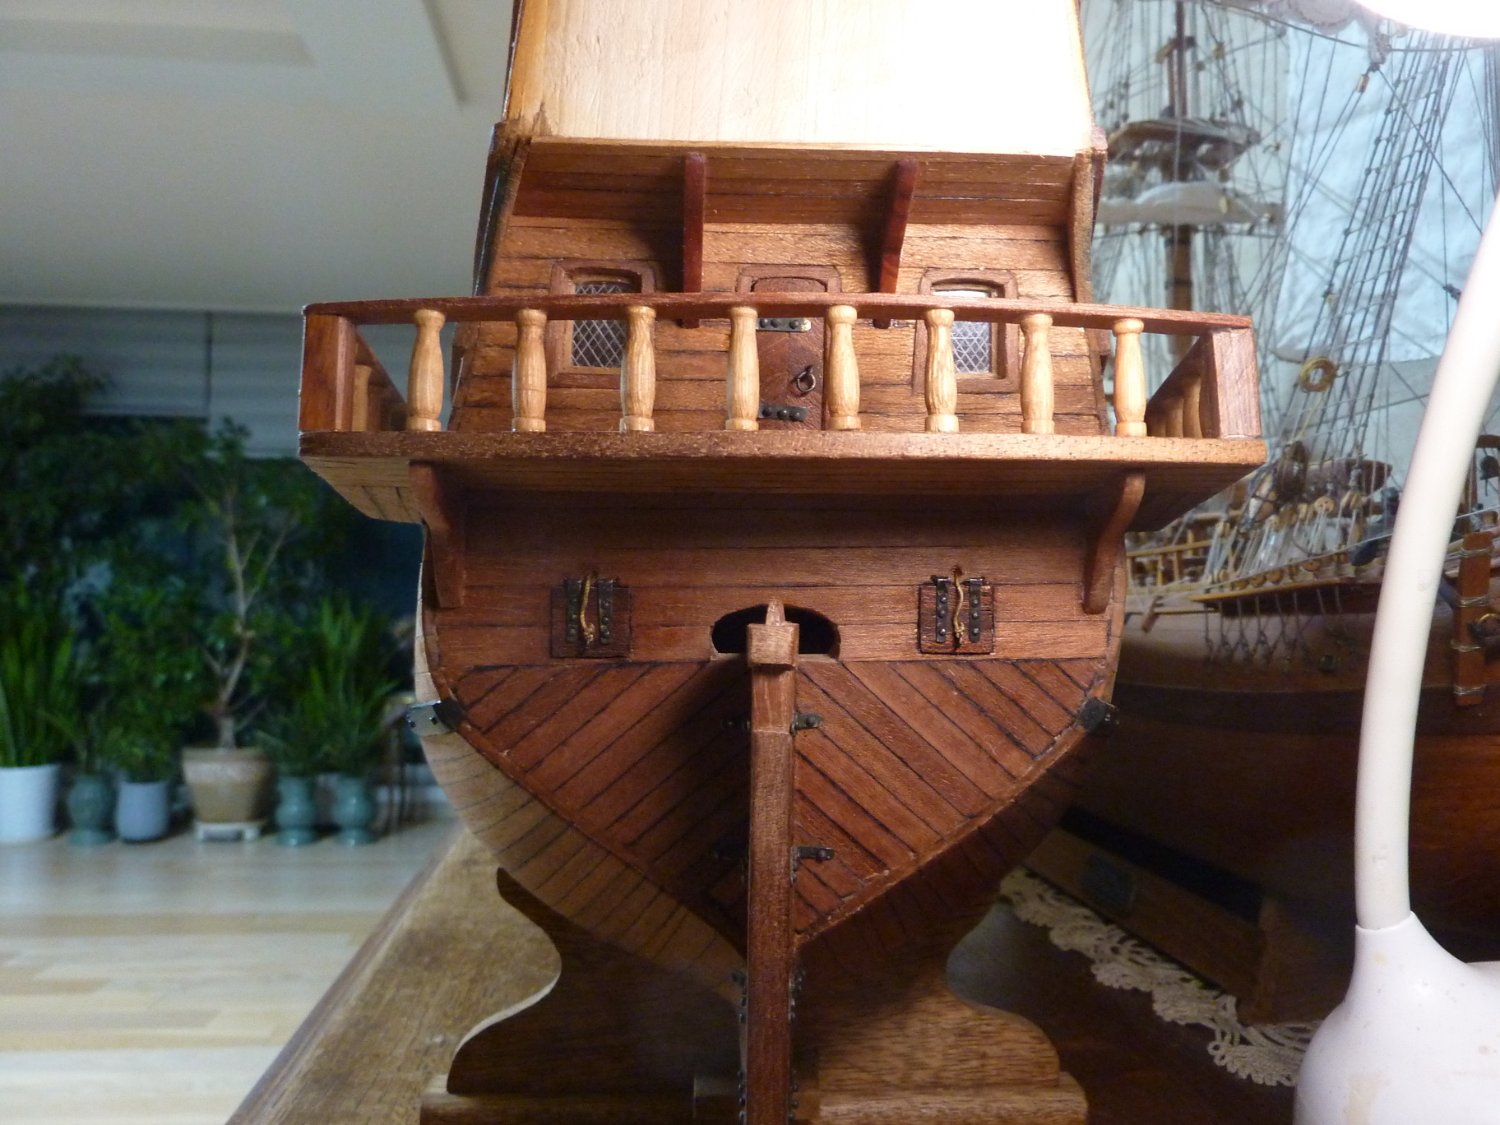
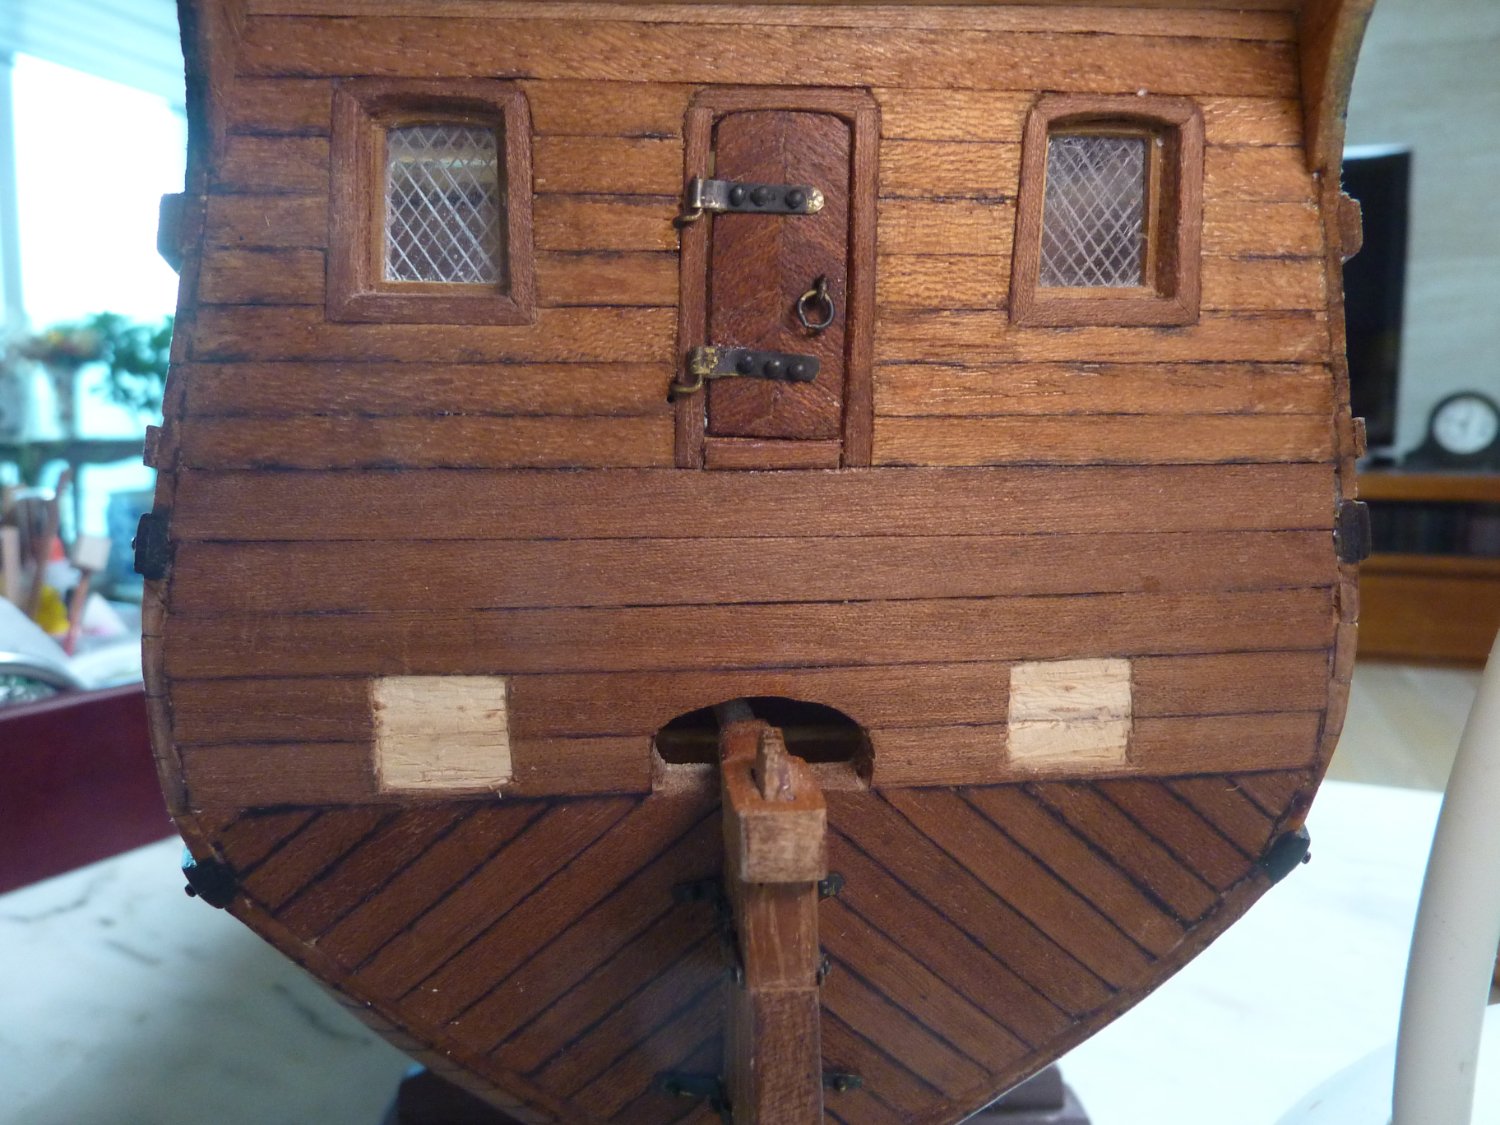
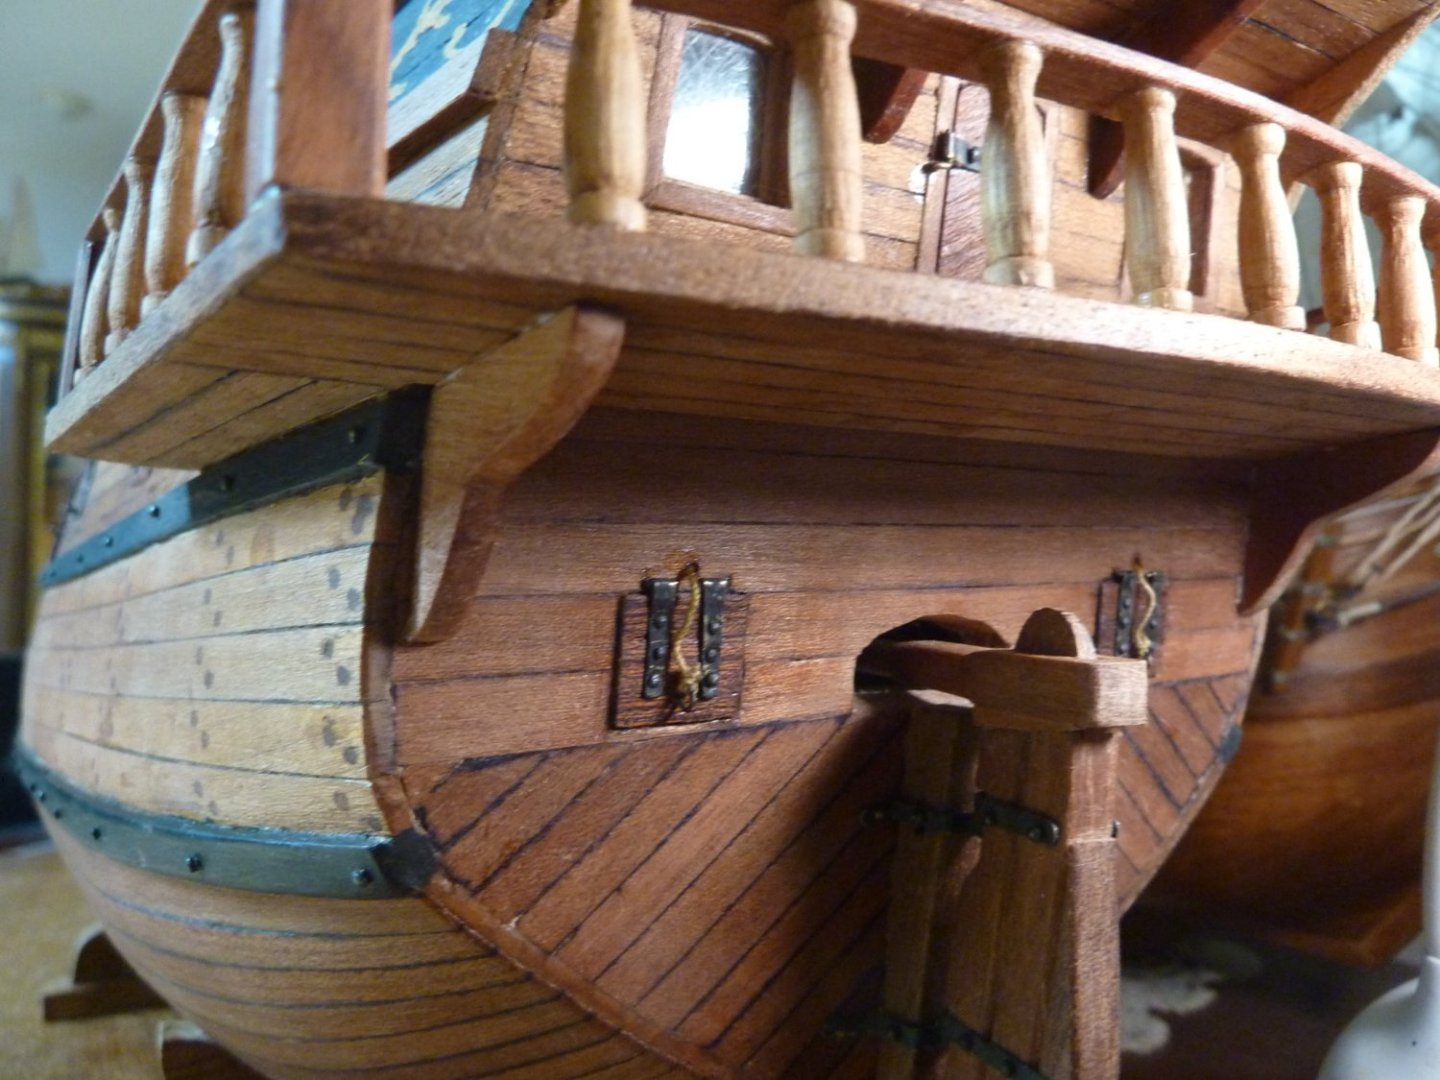
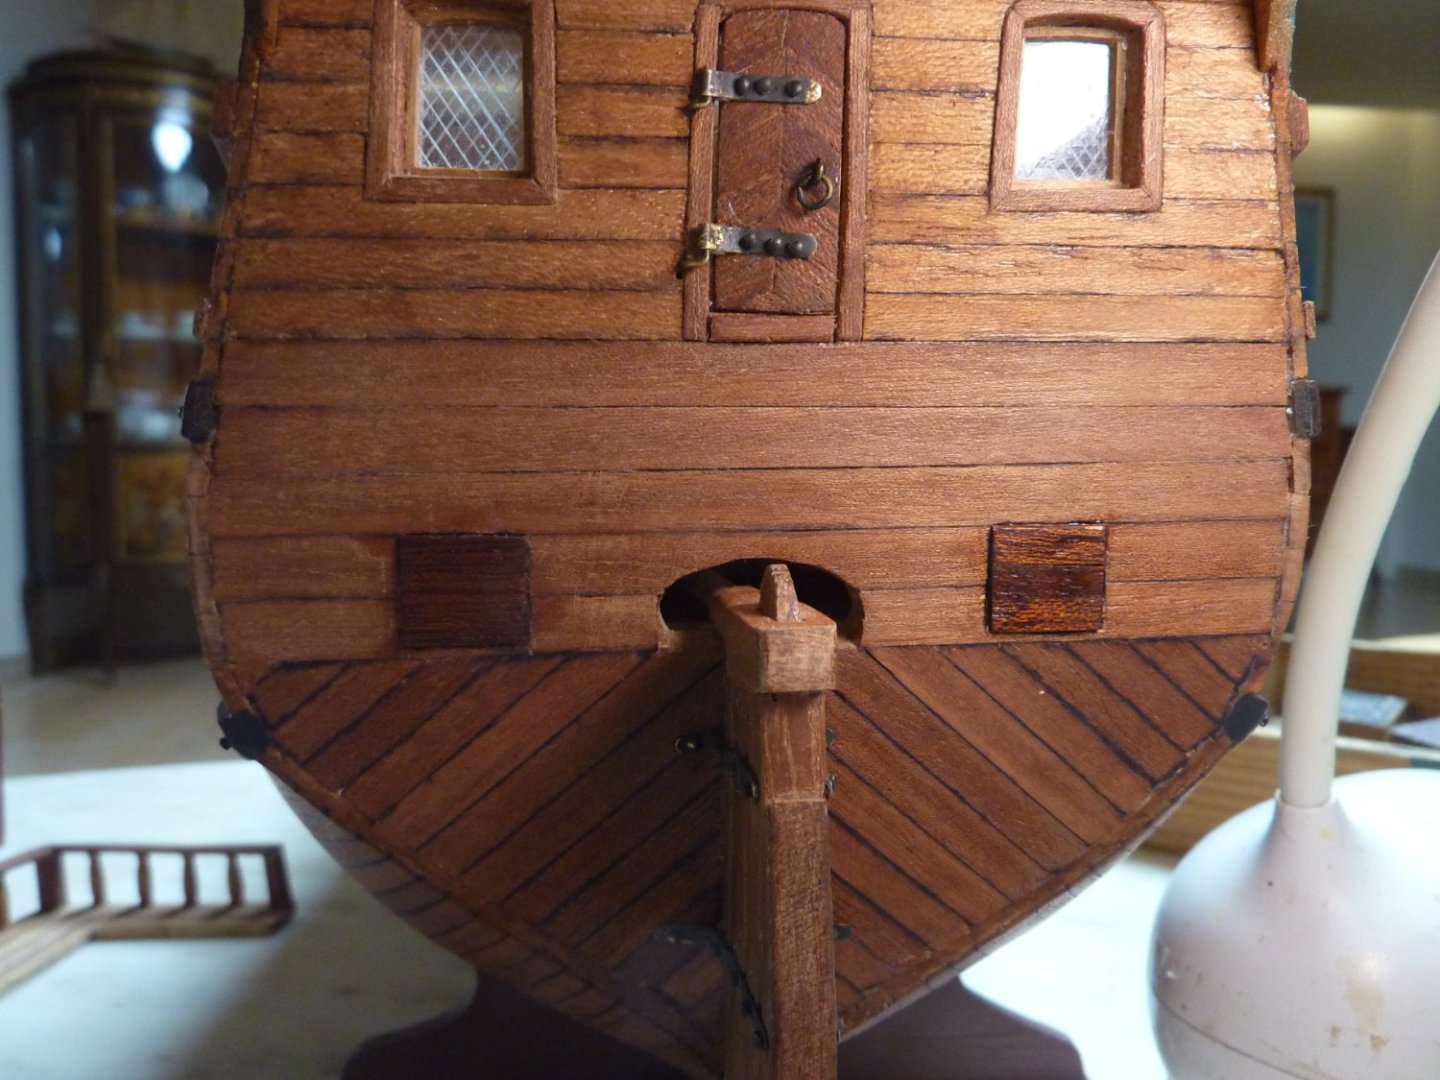
Finishing up on stern Cannon doors and finally fixing the balcony in place for good.


-
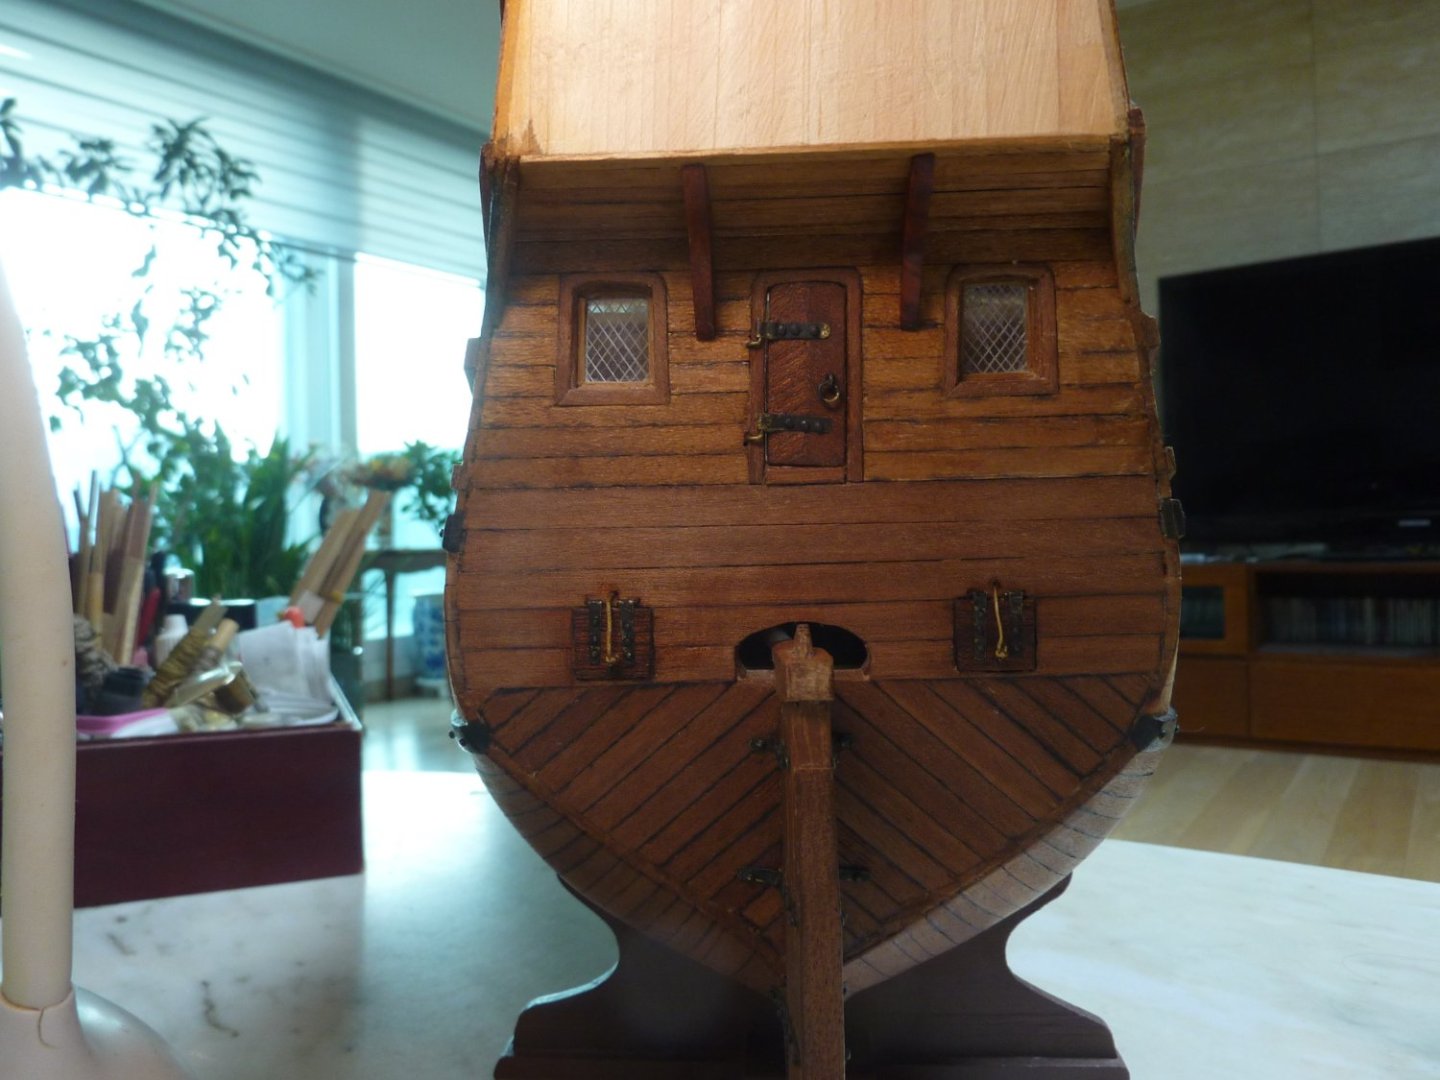
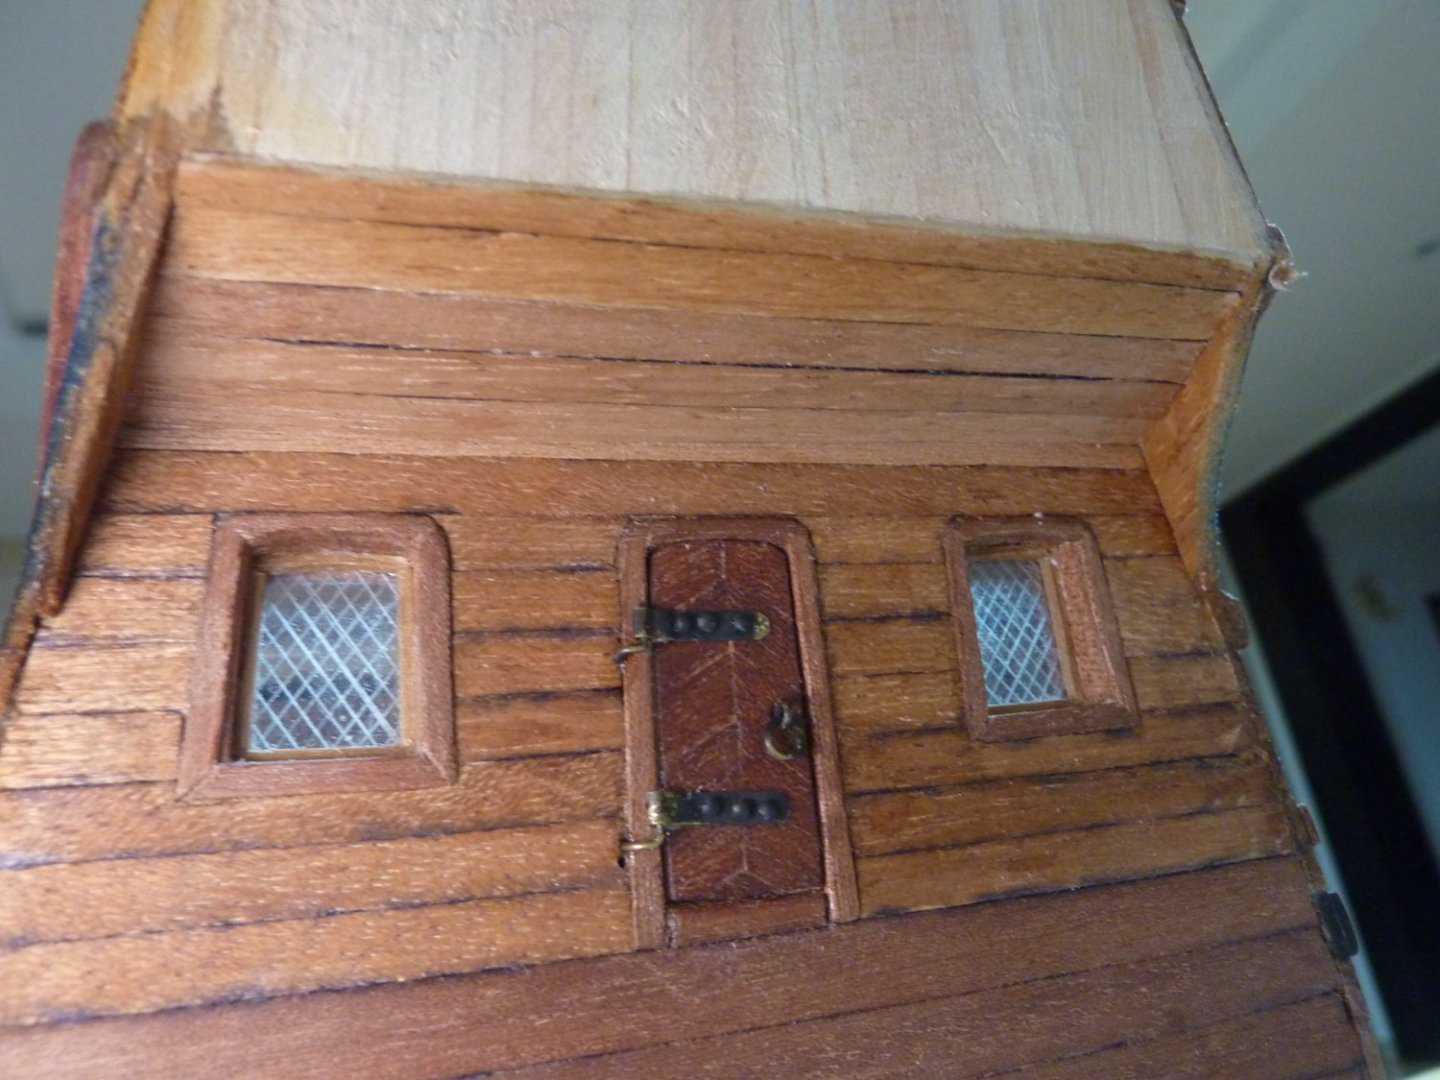
Hi All, I am finally doing prep work for the stern side balcony to be installed. Touching up the ceiling(?) above the balcony with strips of thin wood. Also, I decided to put in place 2 stern cannon doors (fake ones) just to be true to the contemporary historical depiction of Golden Hind - Aeropiccola plan does not include the stern cannon openings. Stern Cannon door work being done in tandem wirh the supporting structure to be installed above the balcony...ceiling(?)

-
Hi Patrick, Thanks very much for these! You definitely seem to have put a lot of research on Golden Hind. I did not realize that 'no painting' of the upper hull was that common. I will defintely take your research into consideration. Anyway, I decided to put these decisions (pretty much only these) to family vote. So far, the biggest supporter of the current state is my daughter who is an art student - so she has quite a big weight! Nonetheless, I am still not very satisfied on how this particular section turned out. Either way, thanks again for your valuable information! Best regards, Rock