HOLIDAY DONATION DRIVE - SUPPORT MSW - DO YOUR PART TO KEEP THIS GREAT FORUM GOING! (Only 75 donations so far out of 49,000 members - C'mon guys!)
×
Rock_From_Korea
-
Posts
315 -
Joined
-
Last visited
Content Type
Profiles
Forums
Gallery
Events
Everything posted by Rock_From_Korea
-
 Ah yes~! Knees! I just remembered. Although I did not know about different types of knees. Thanks~ Patrick!
 -
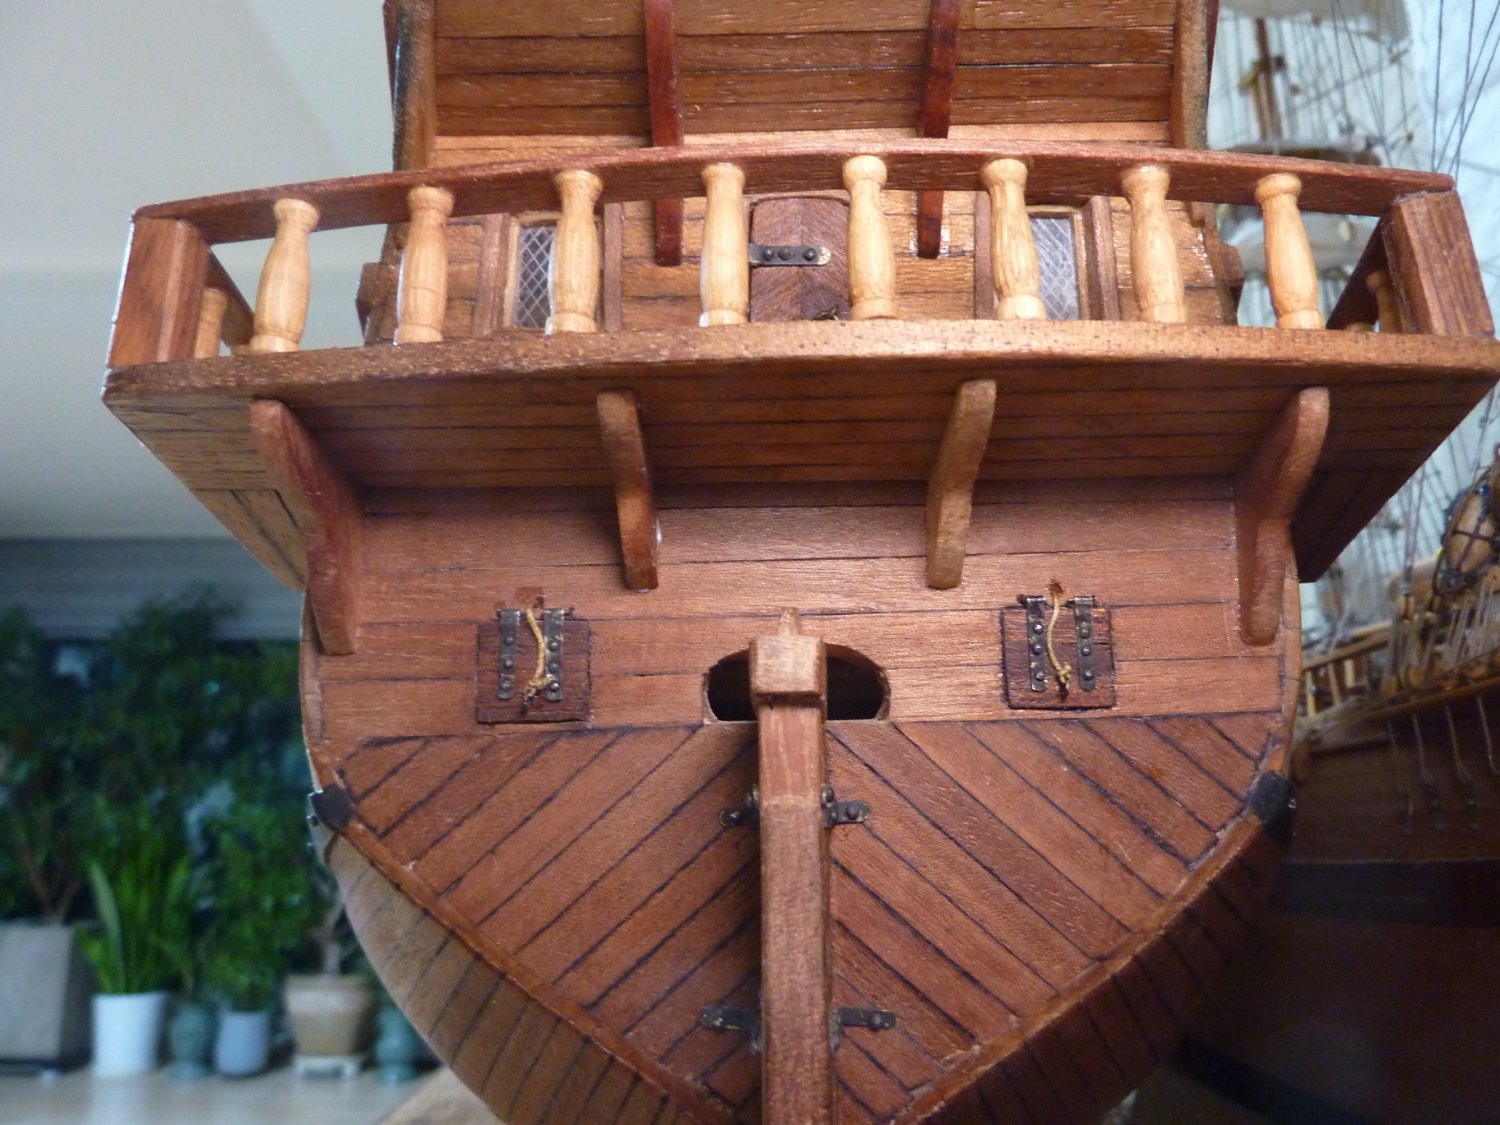
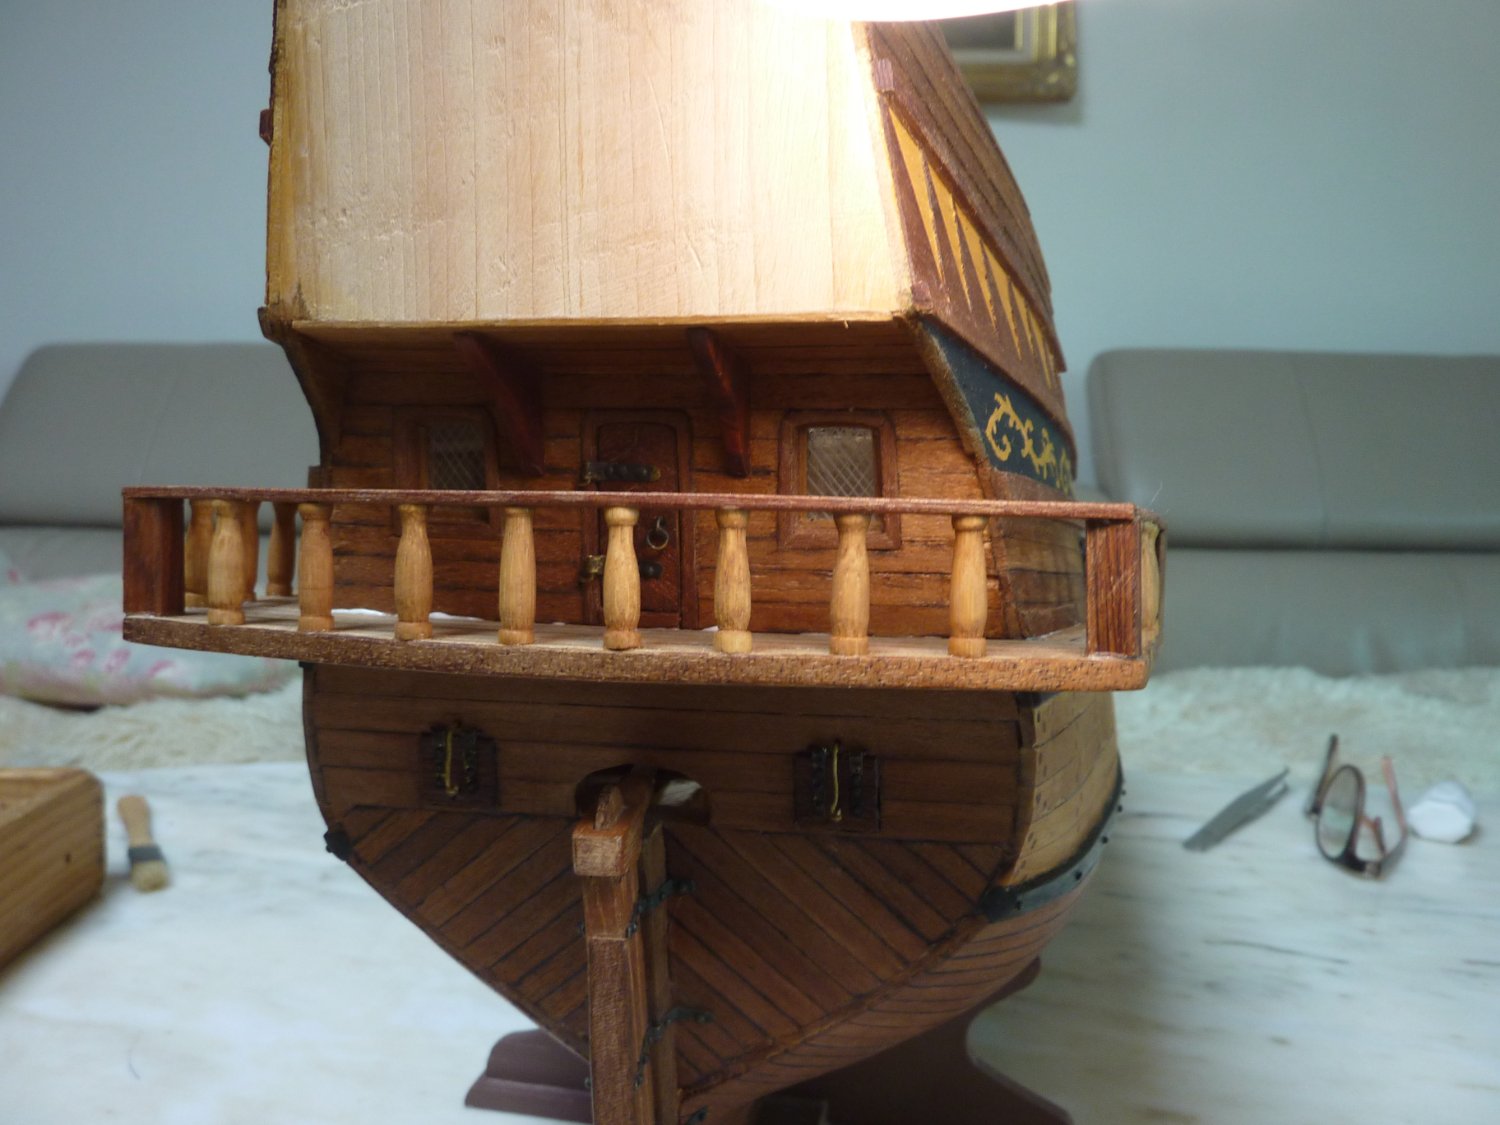
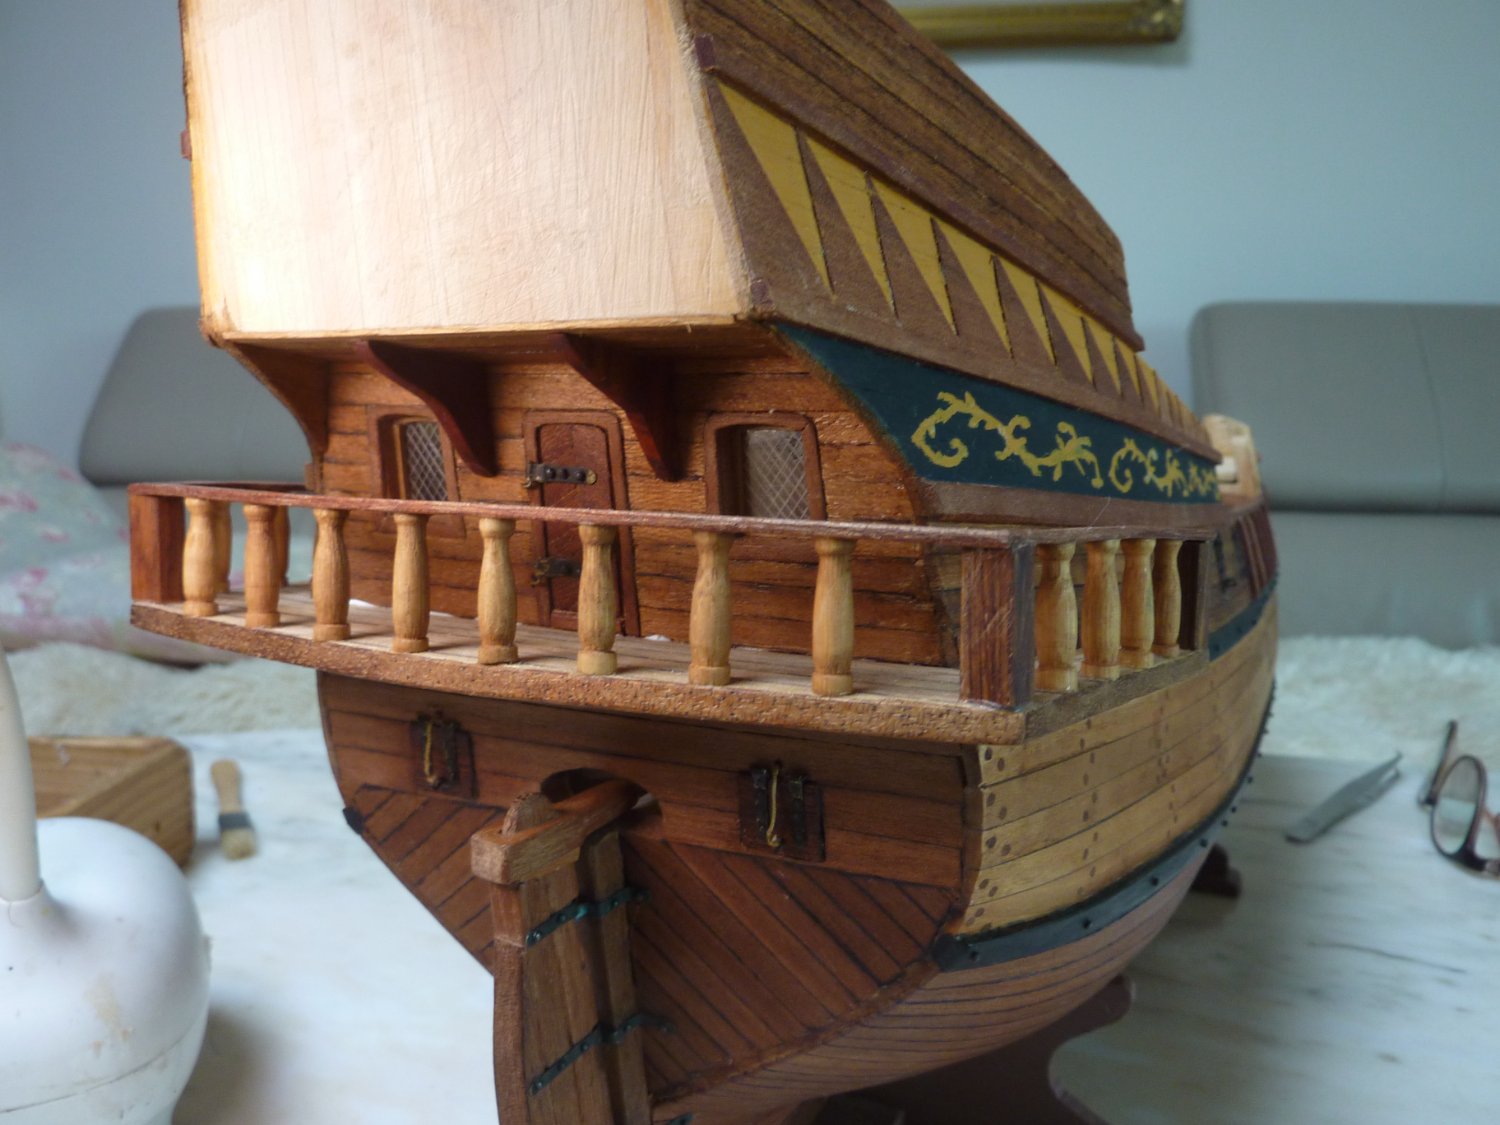
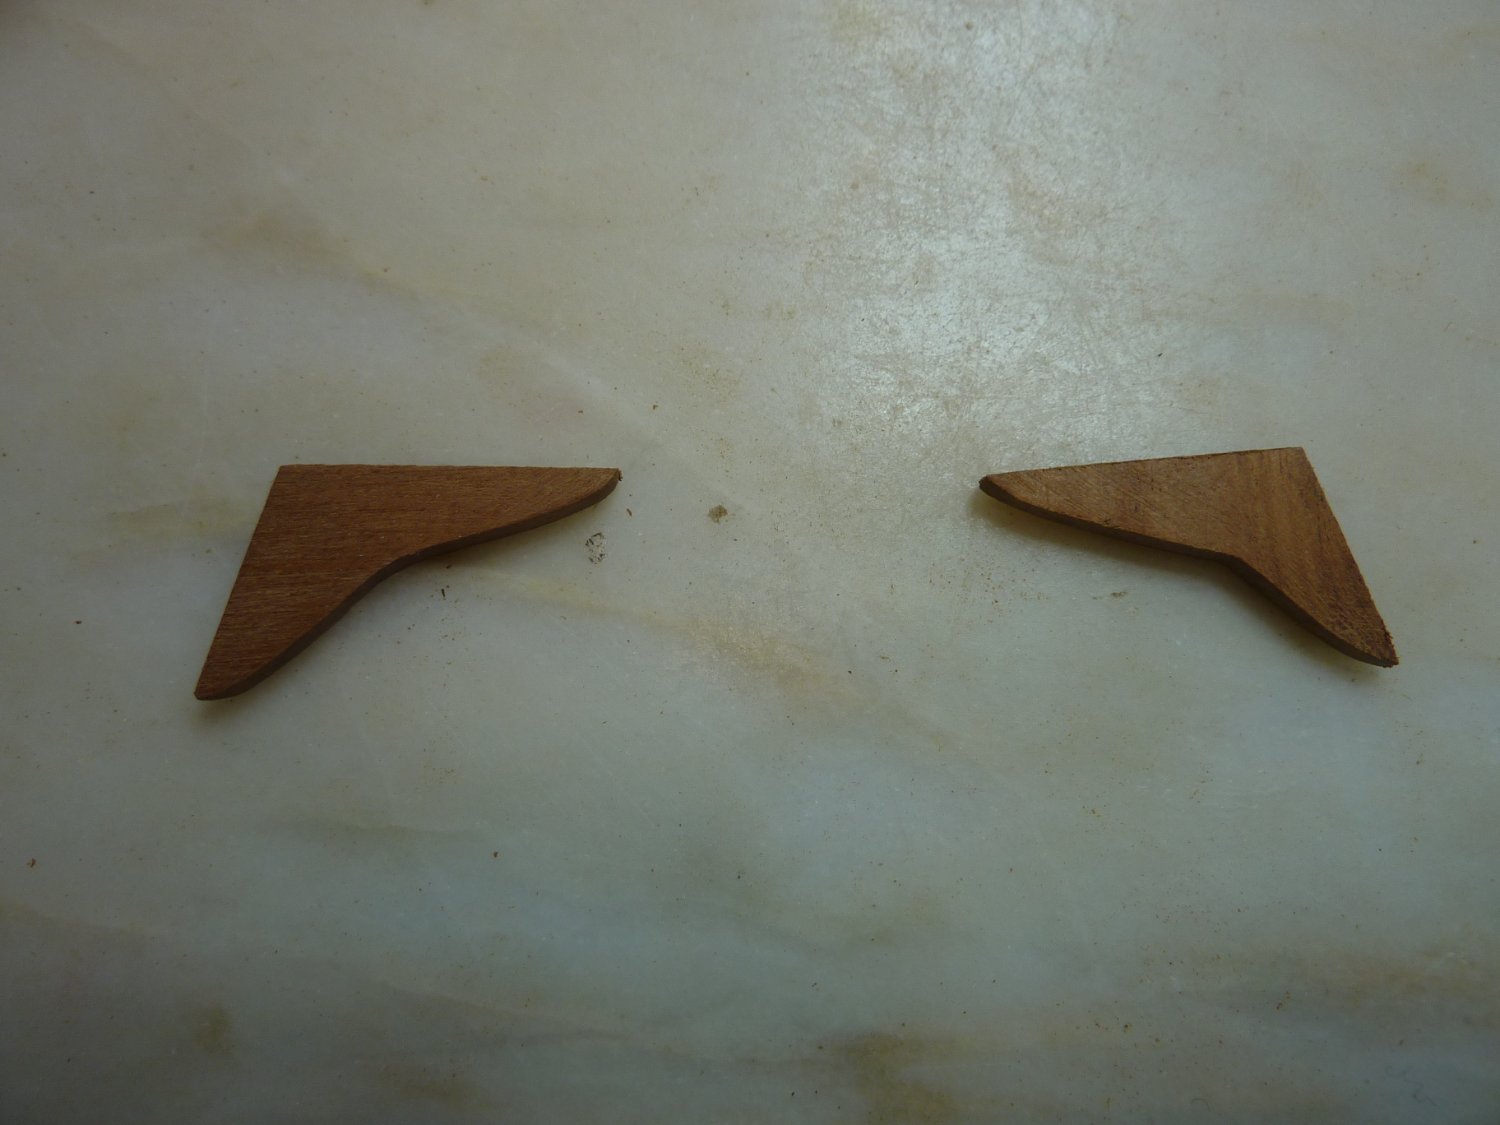
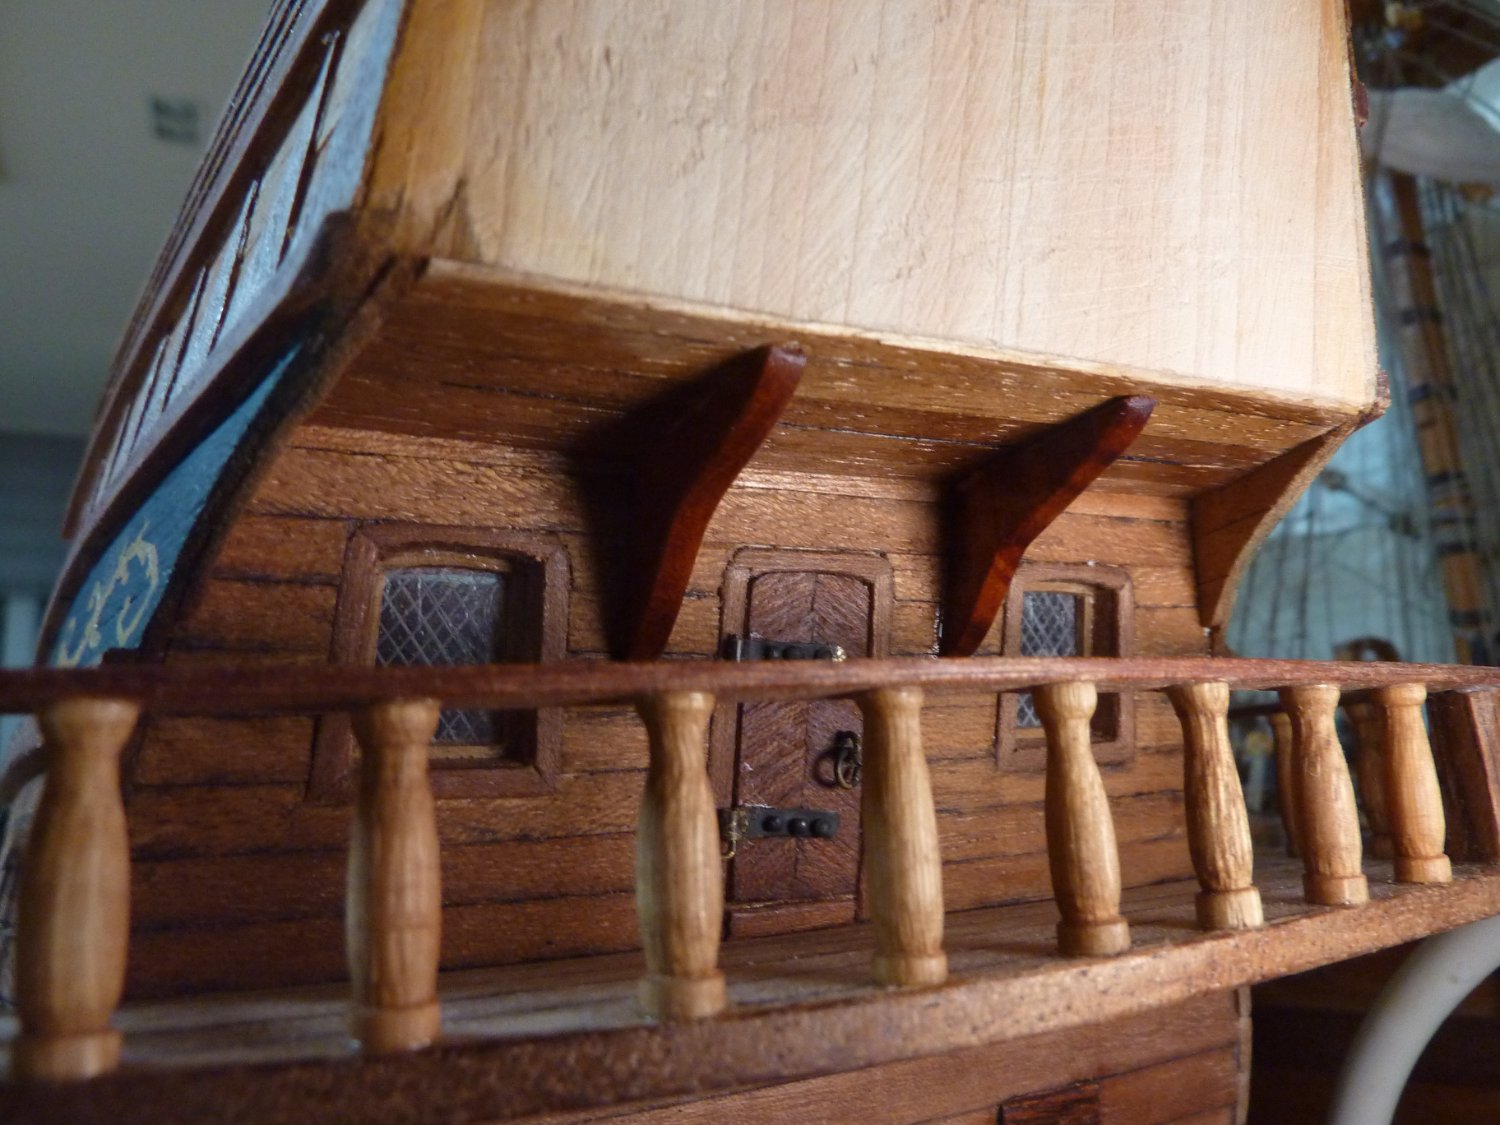
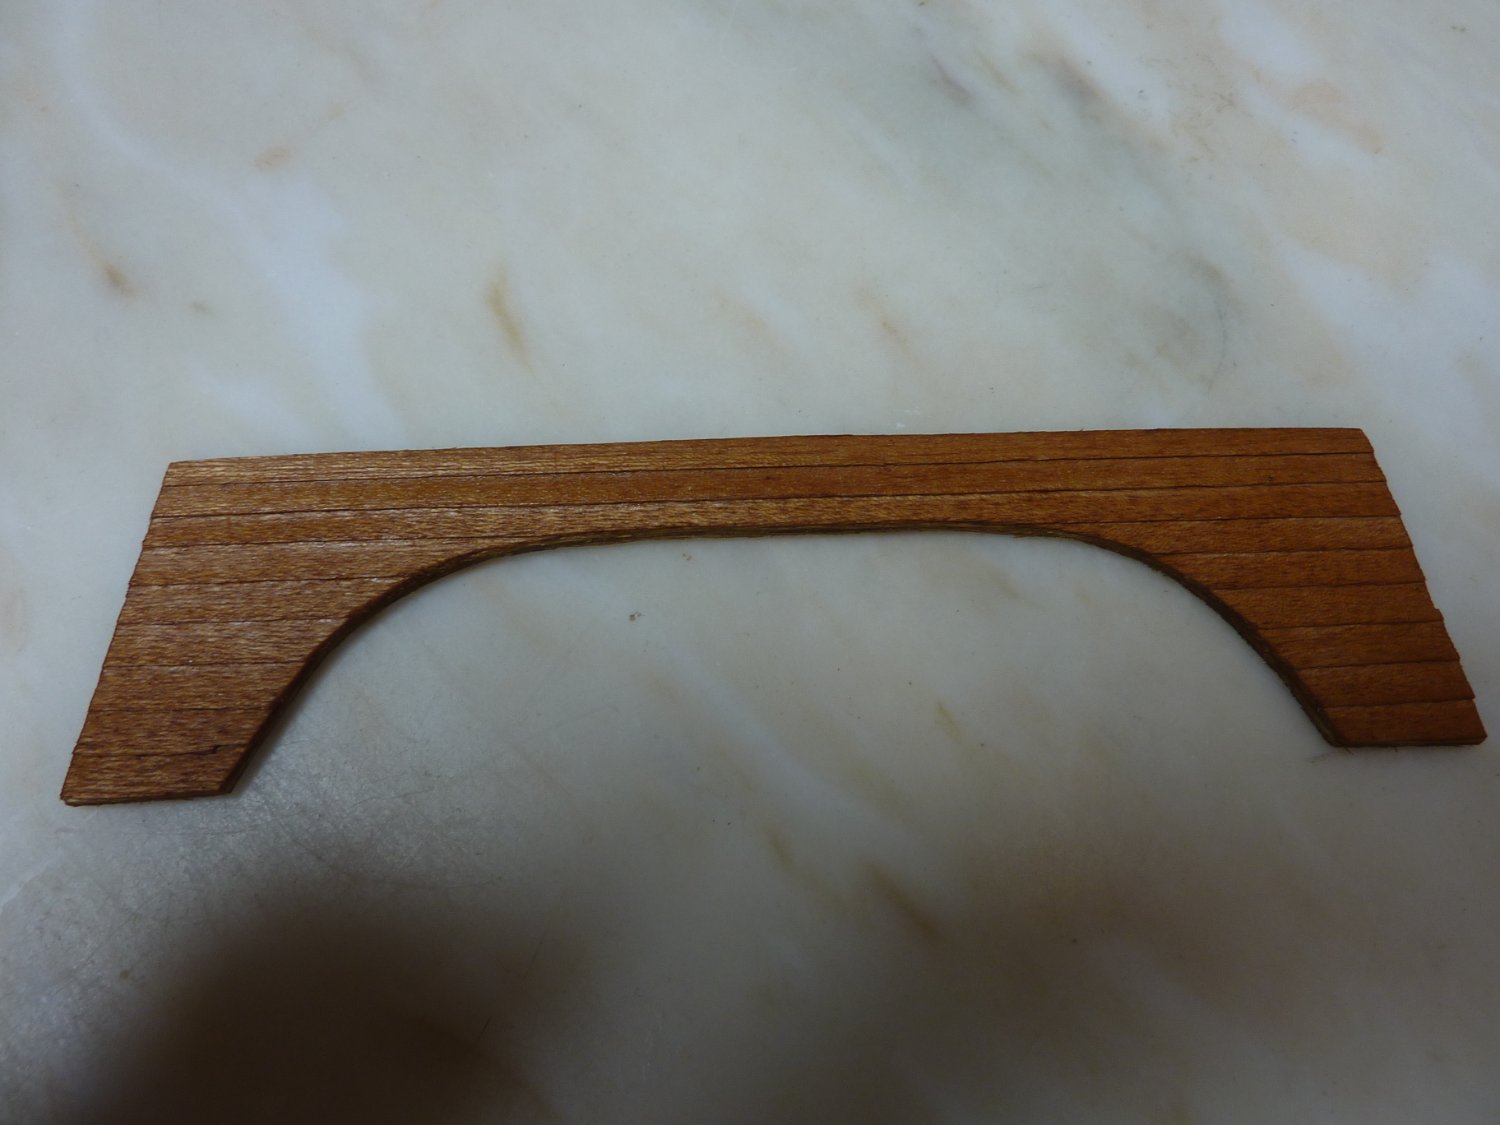
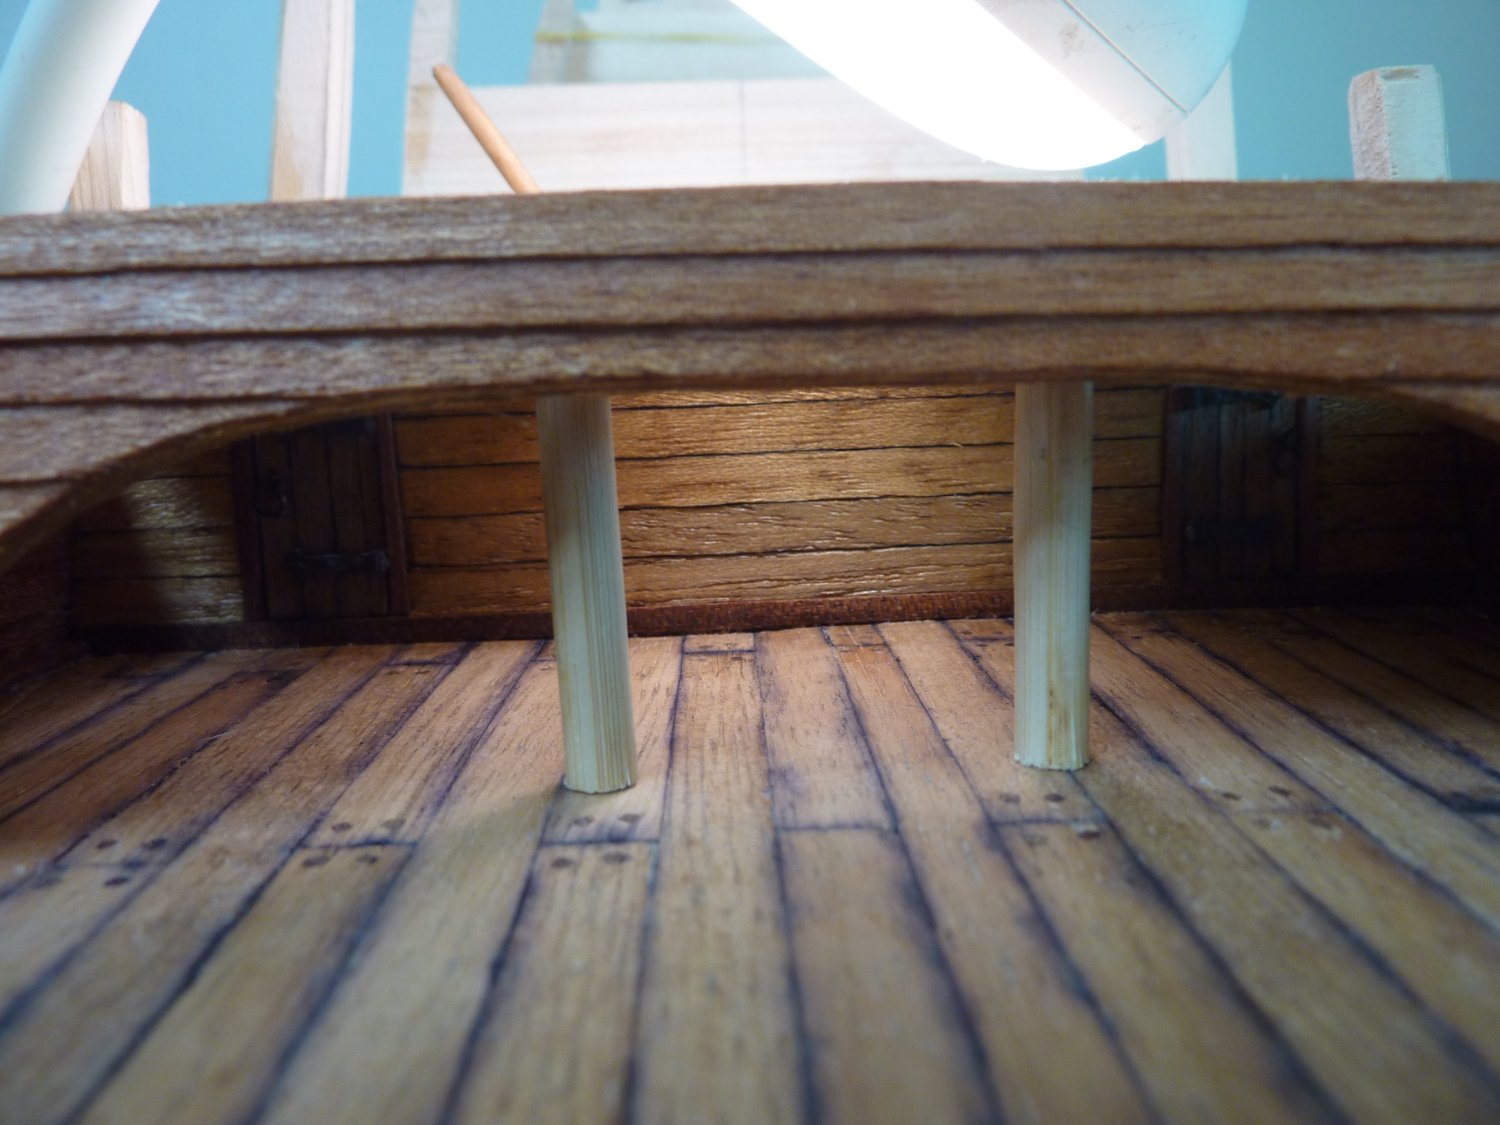
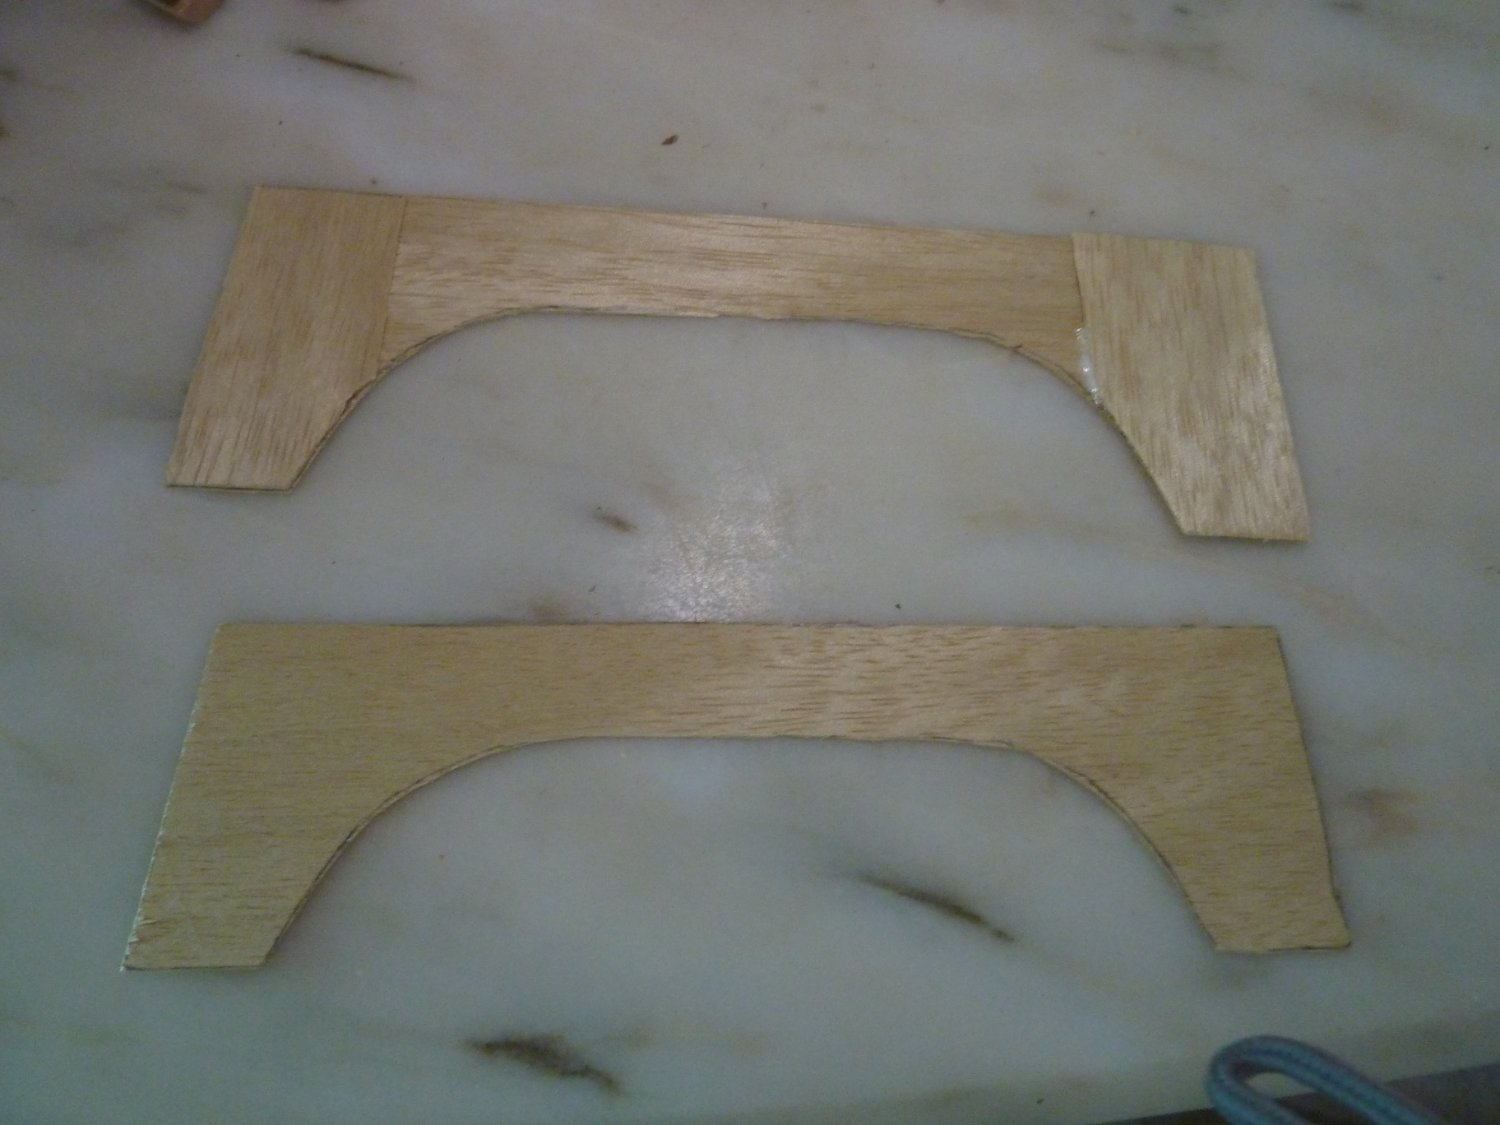
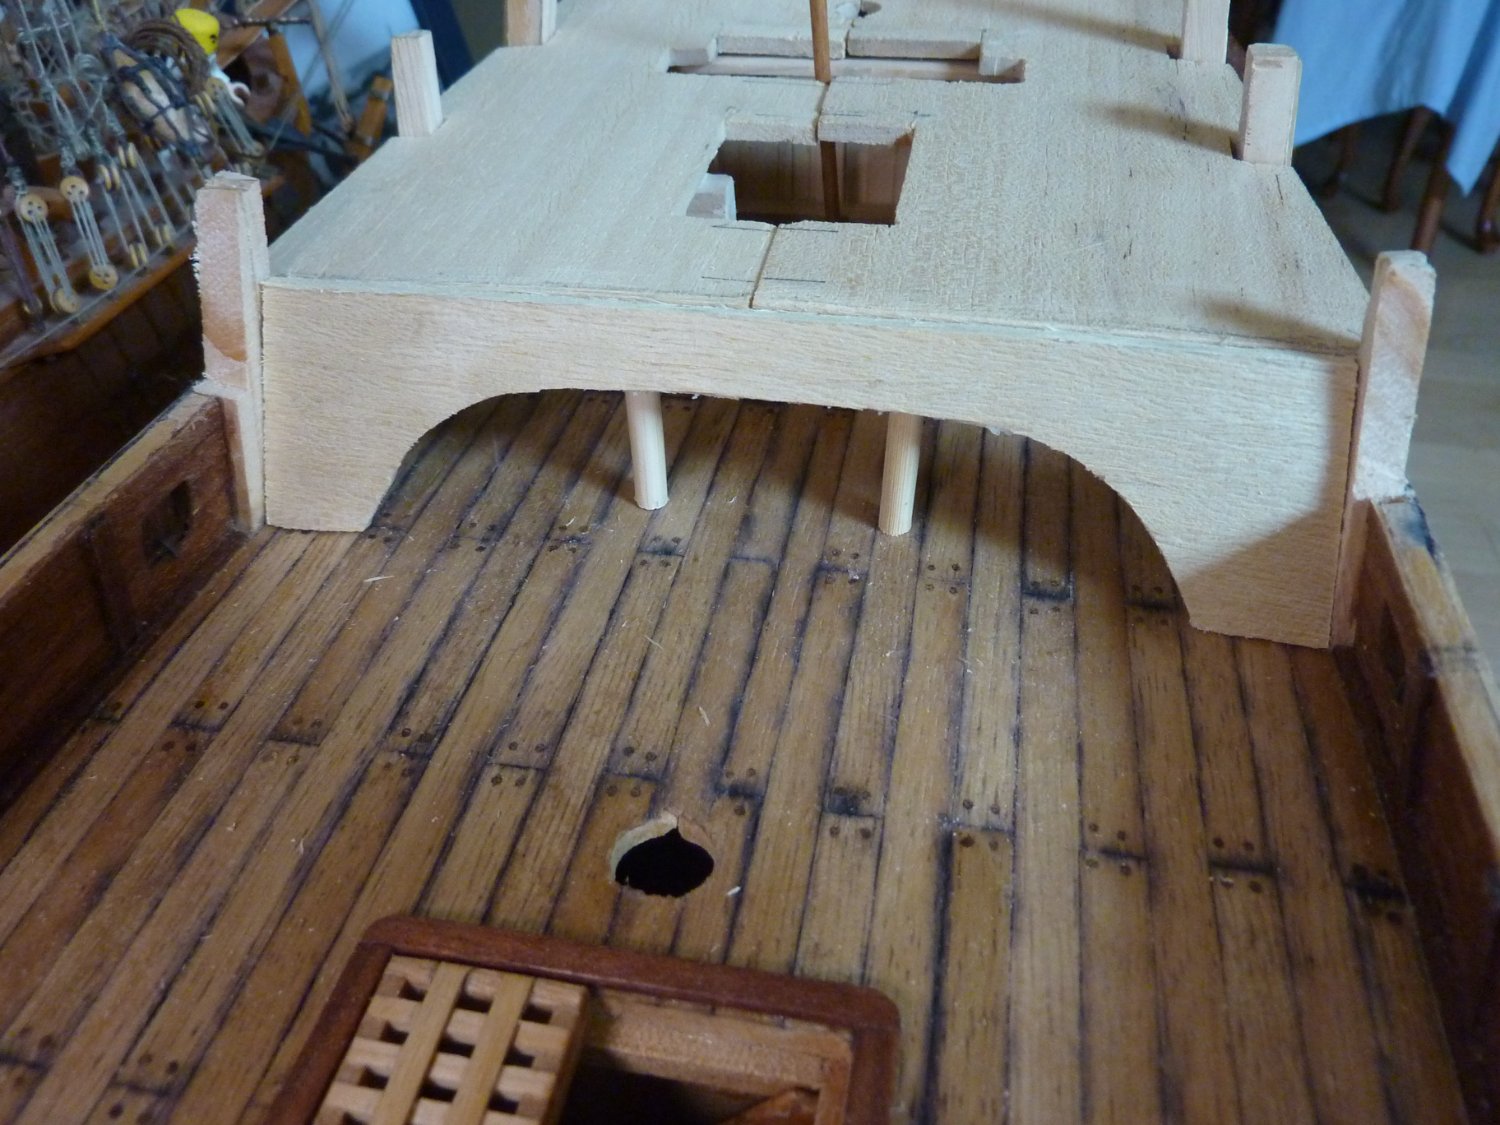
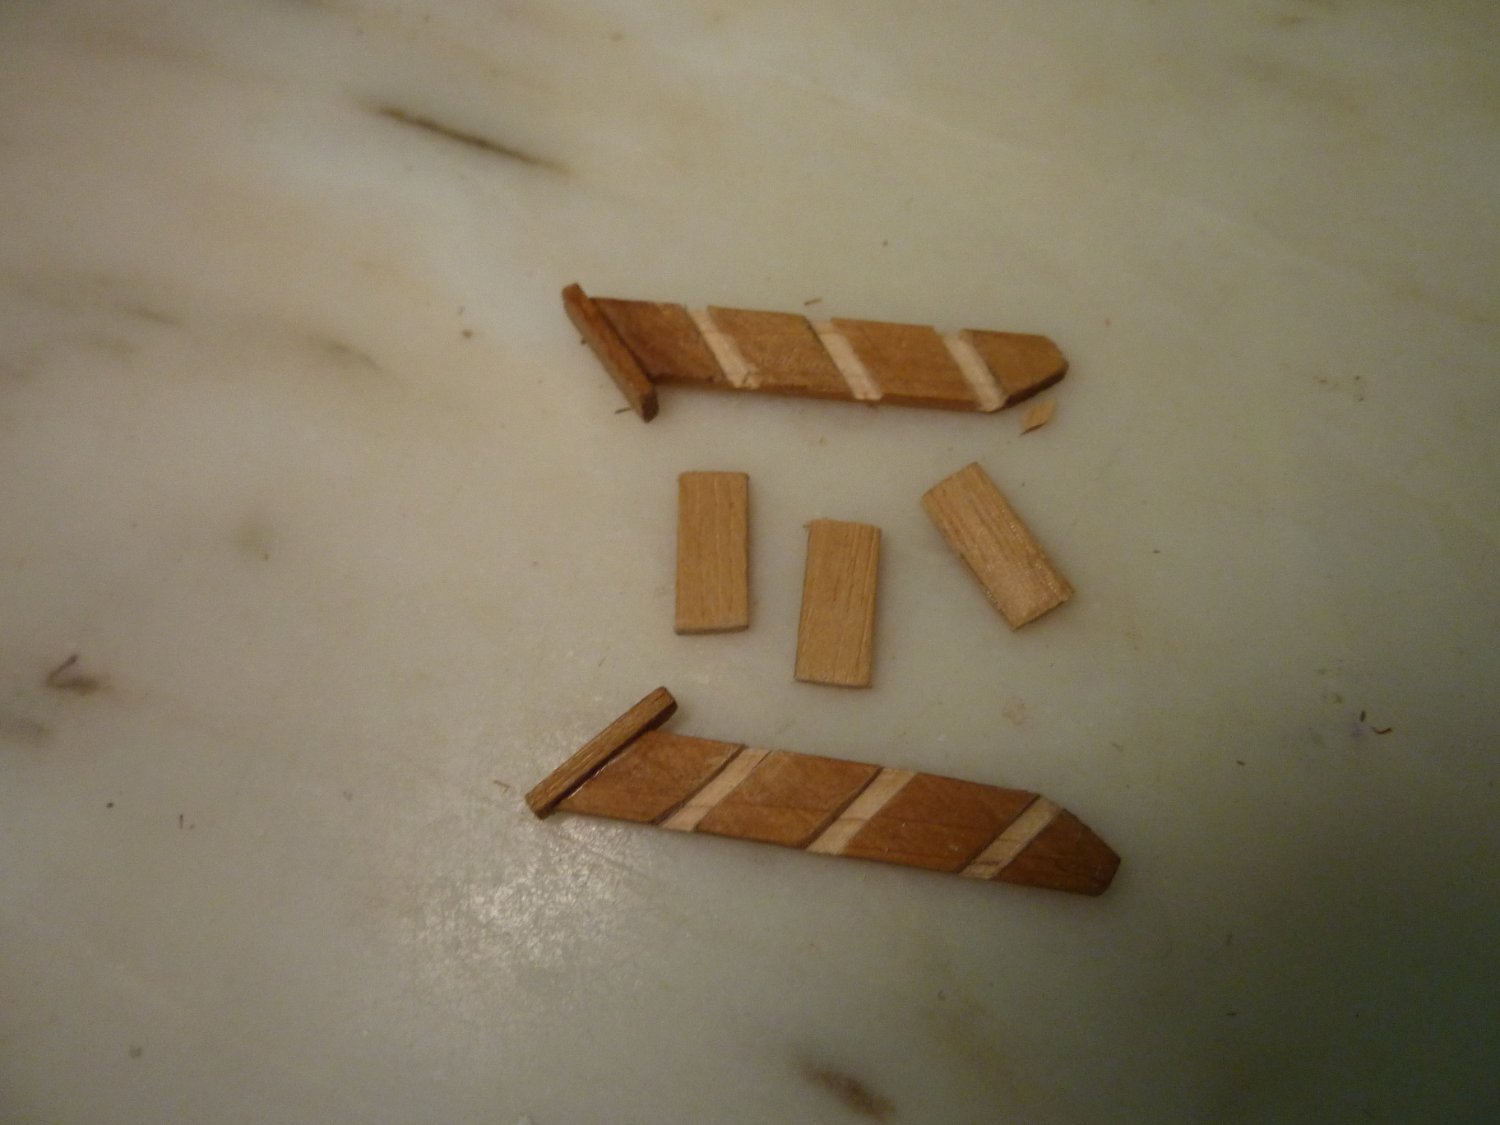
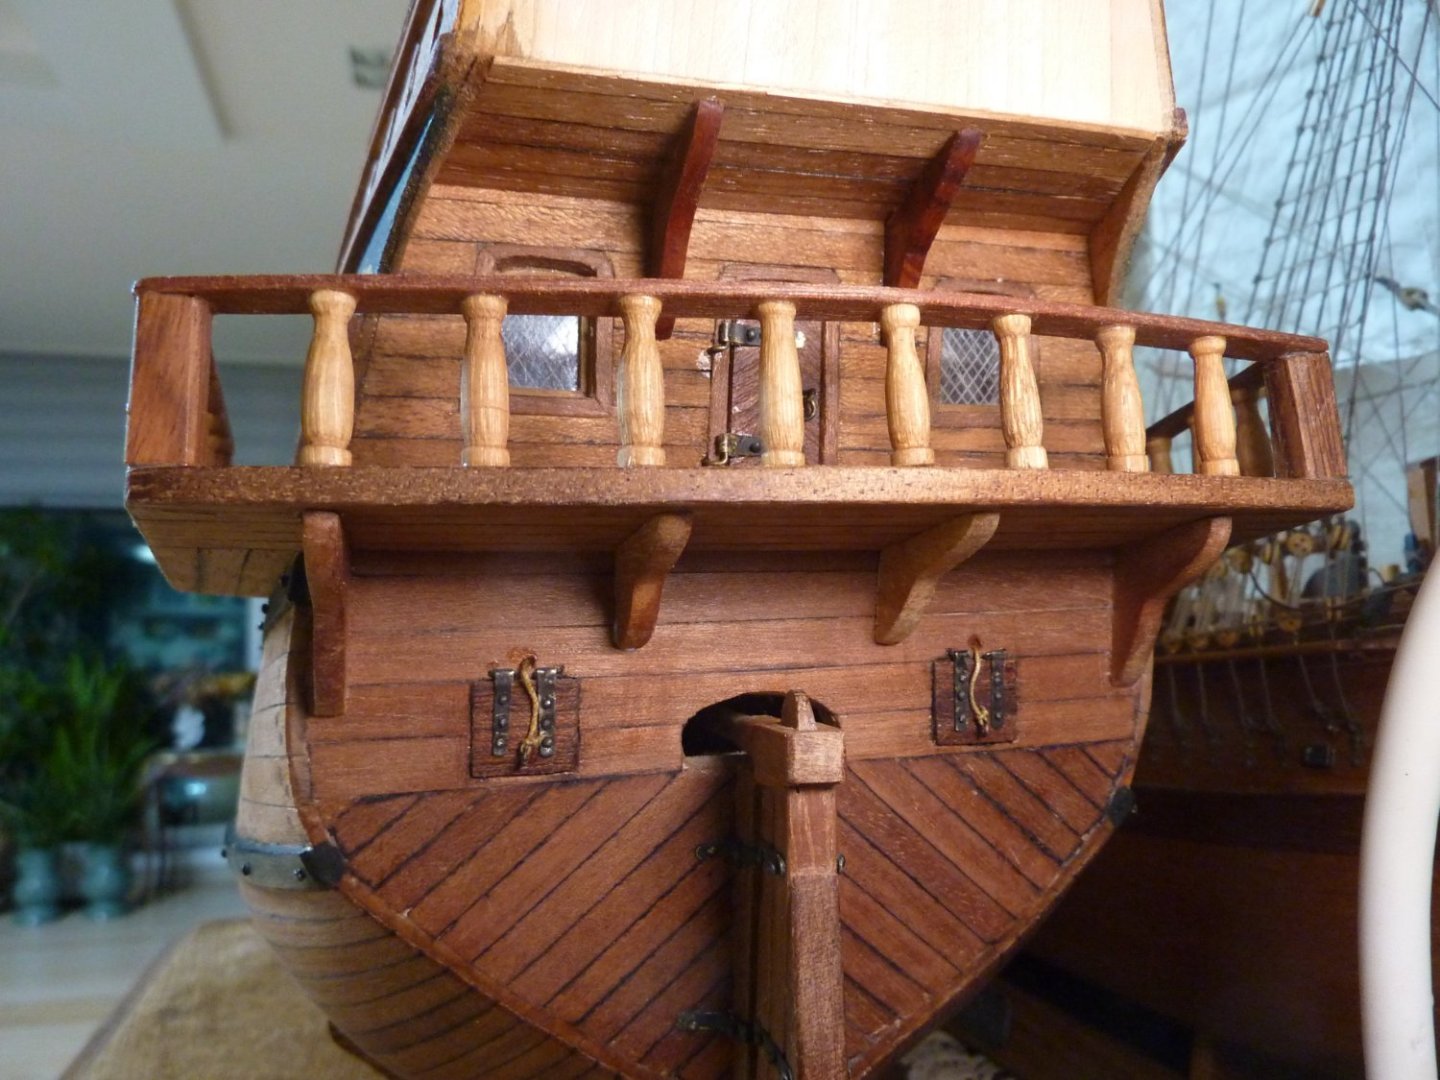
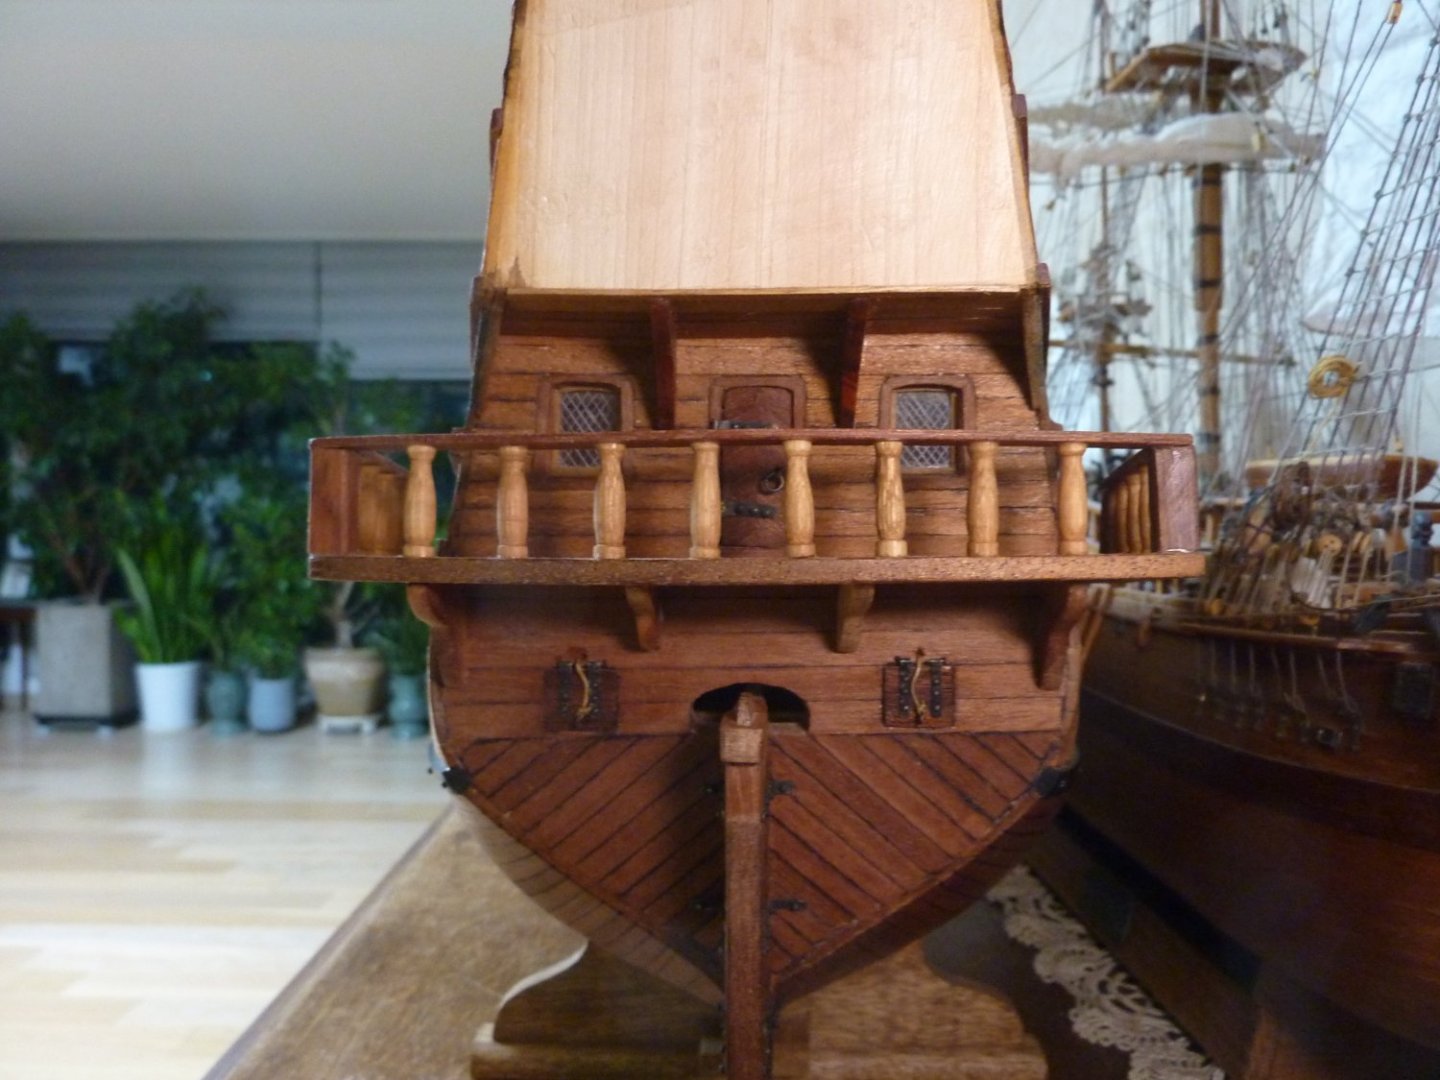
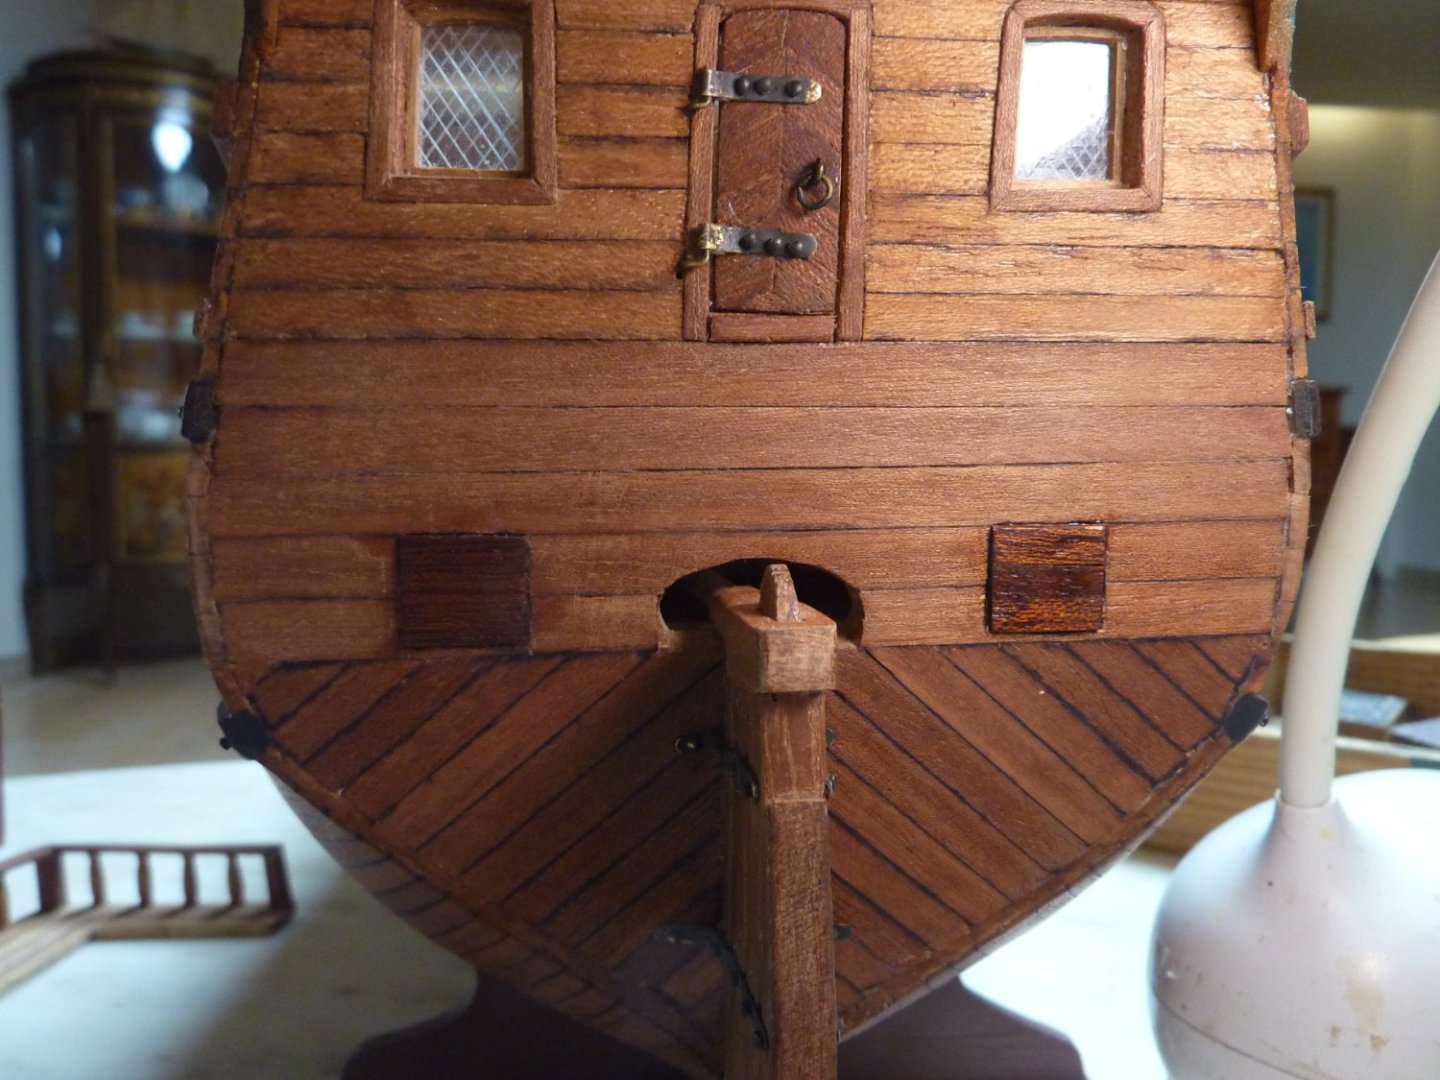
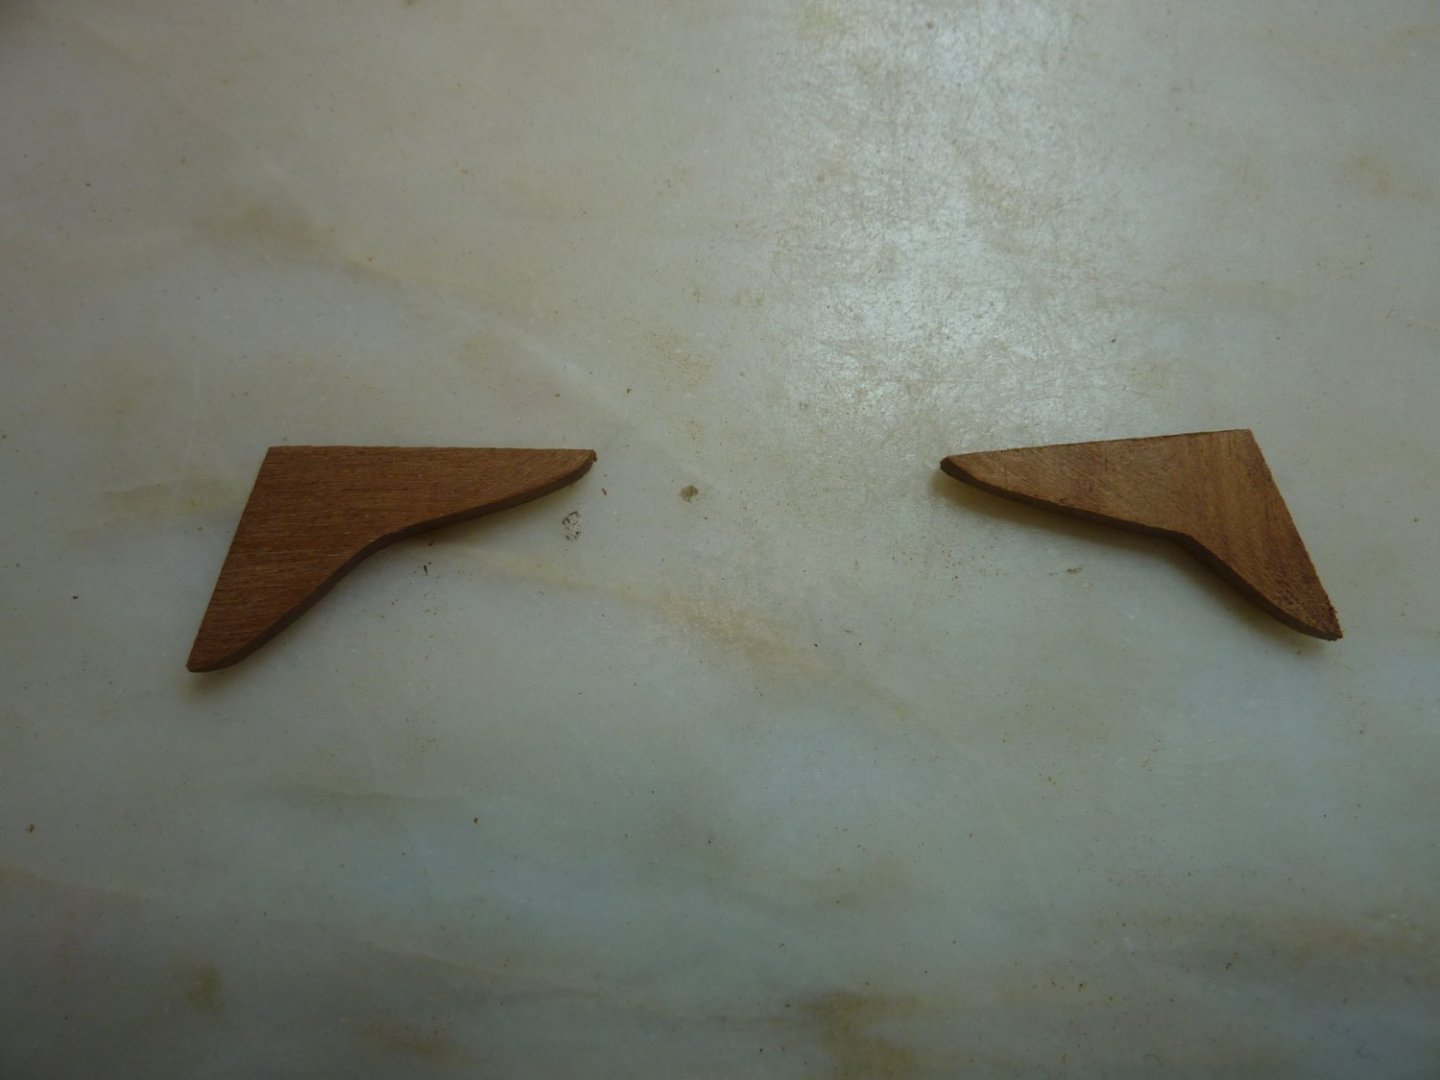
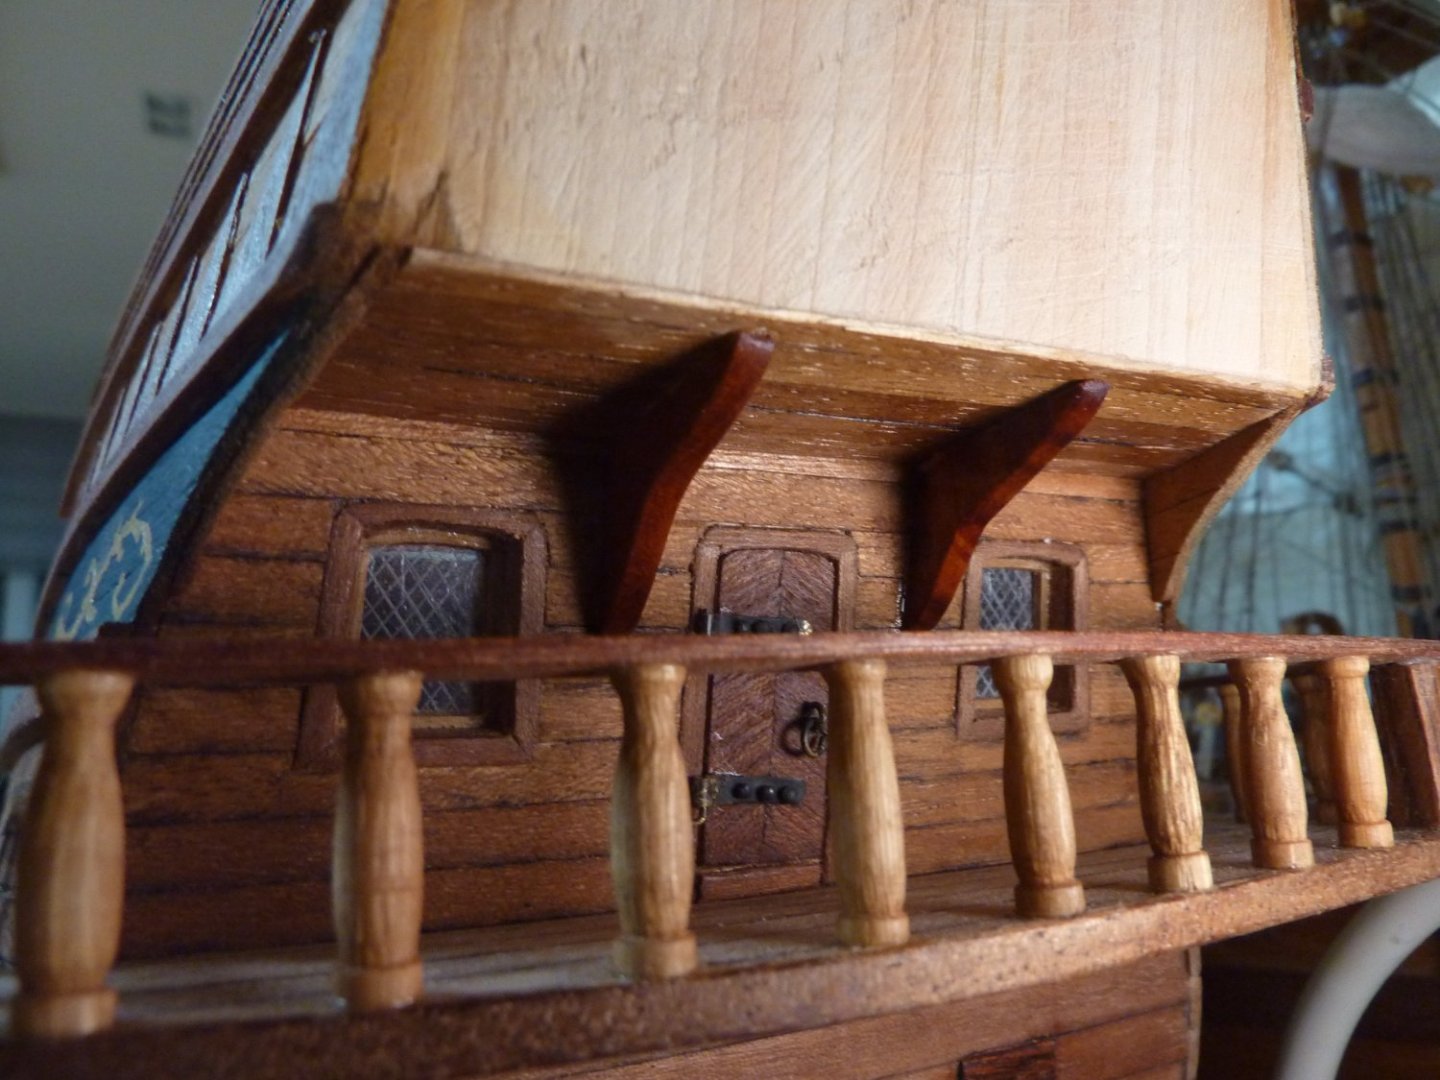
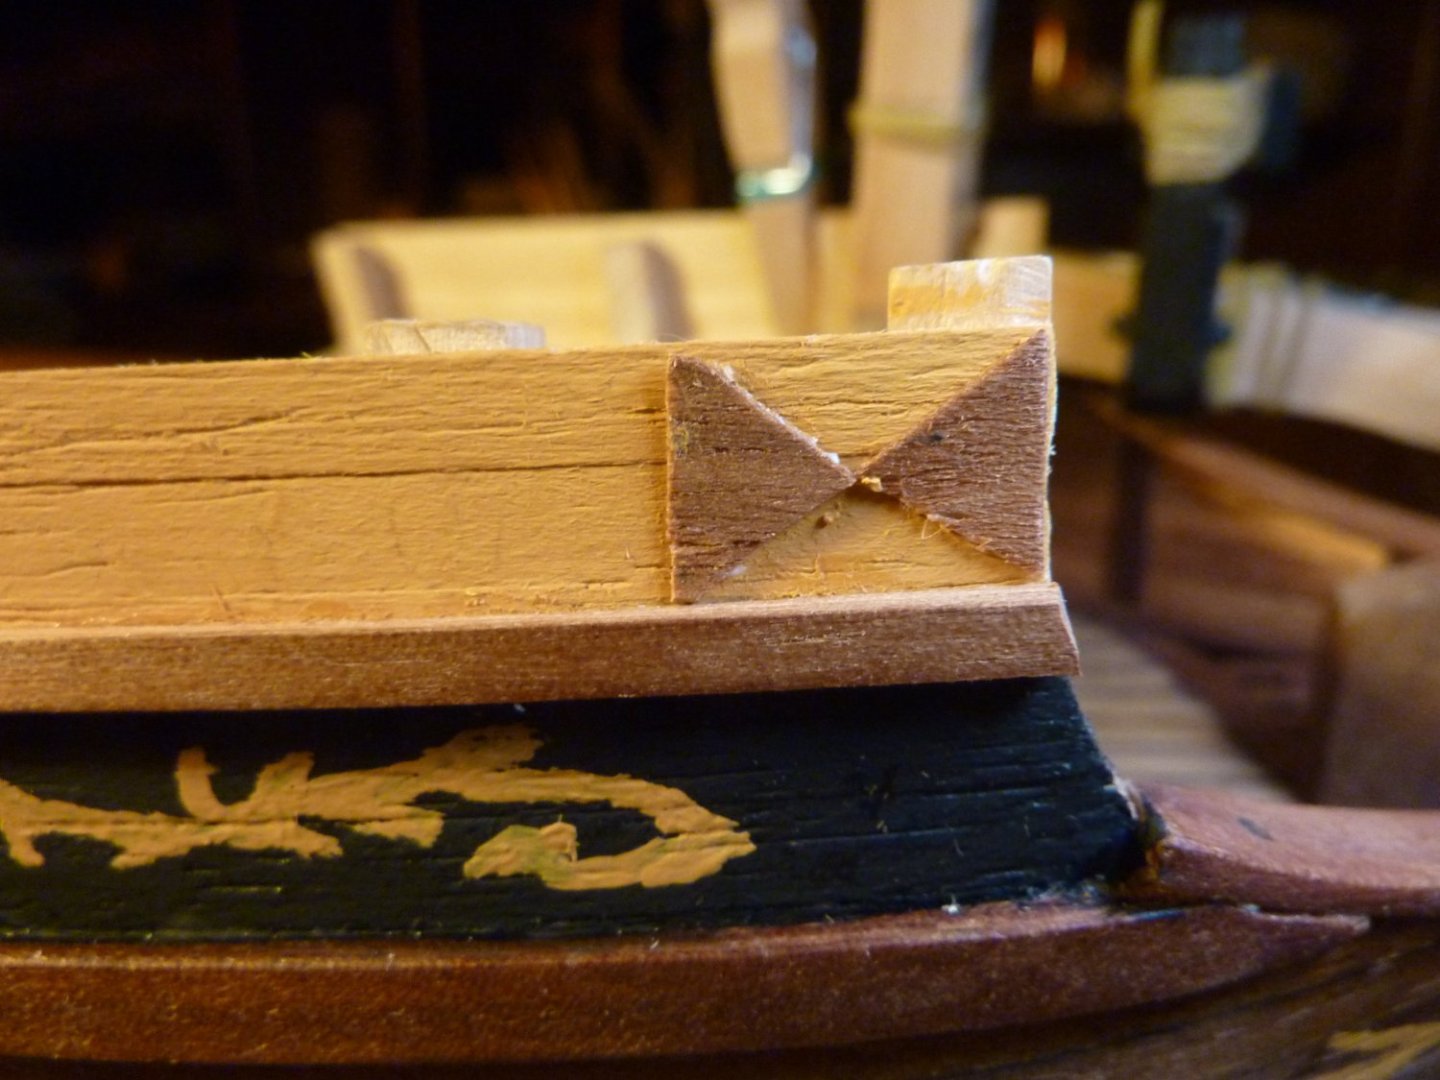
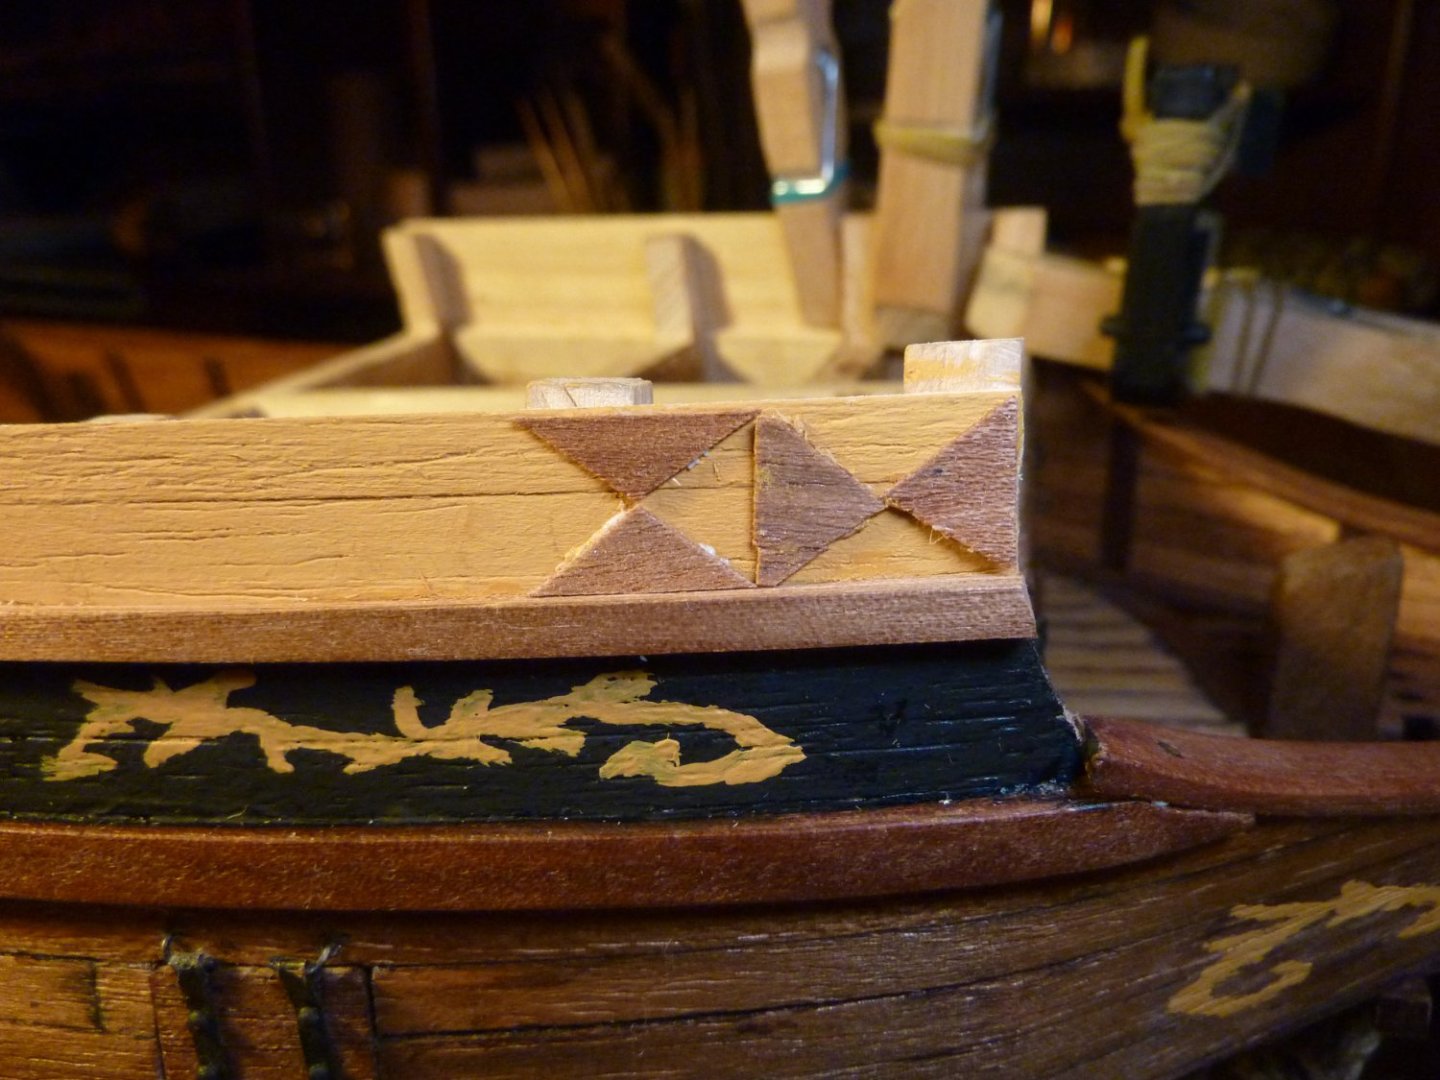
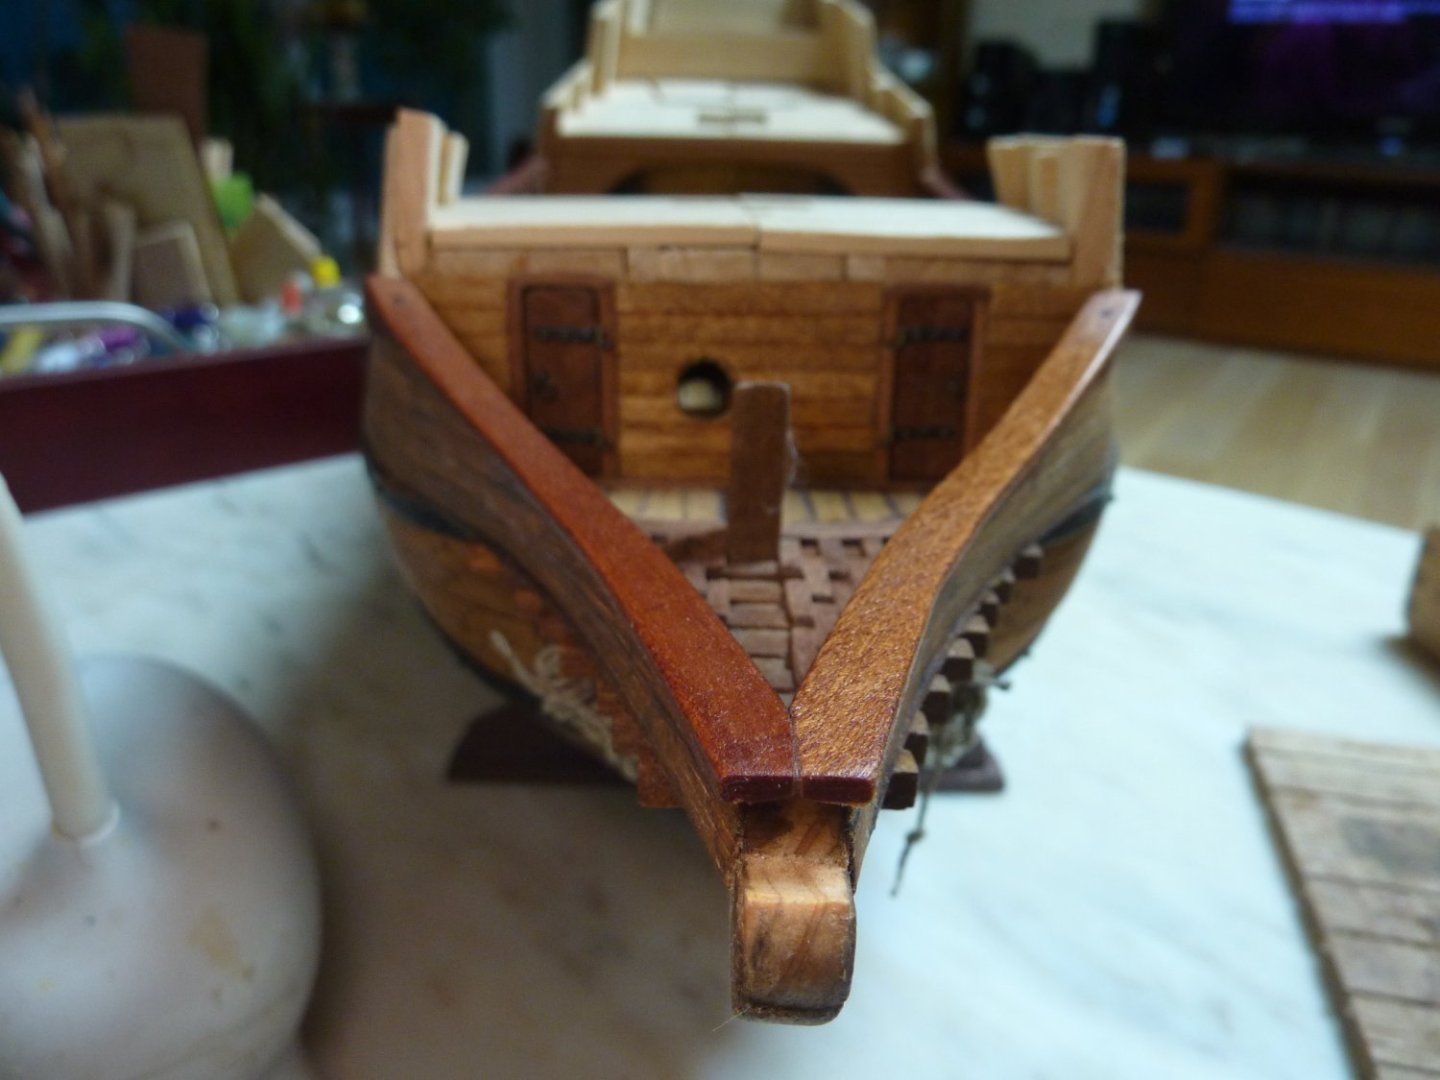
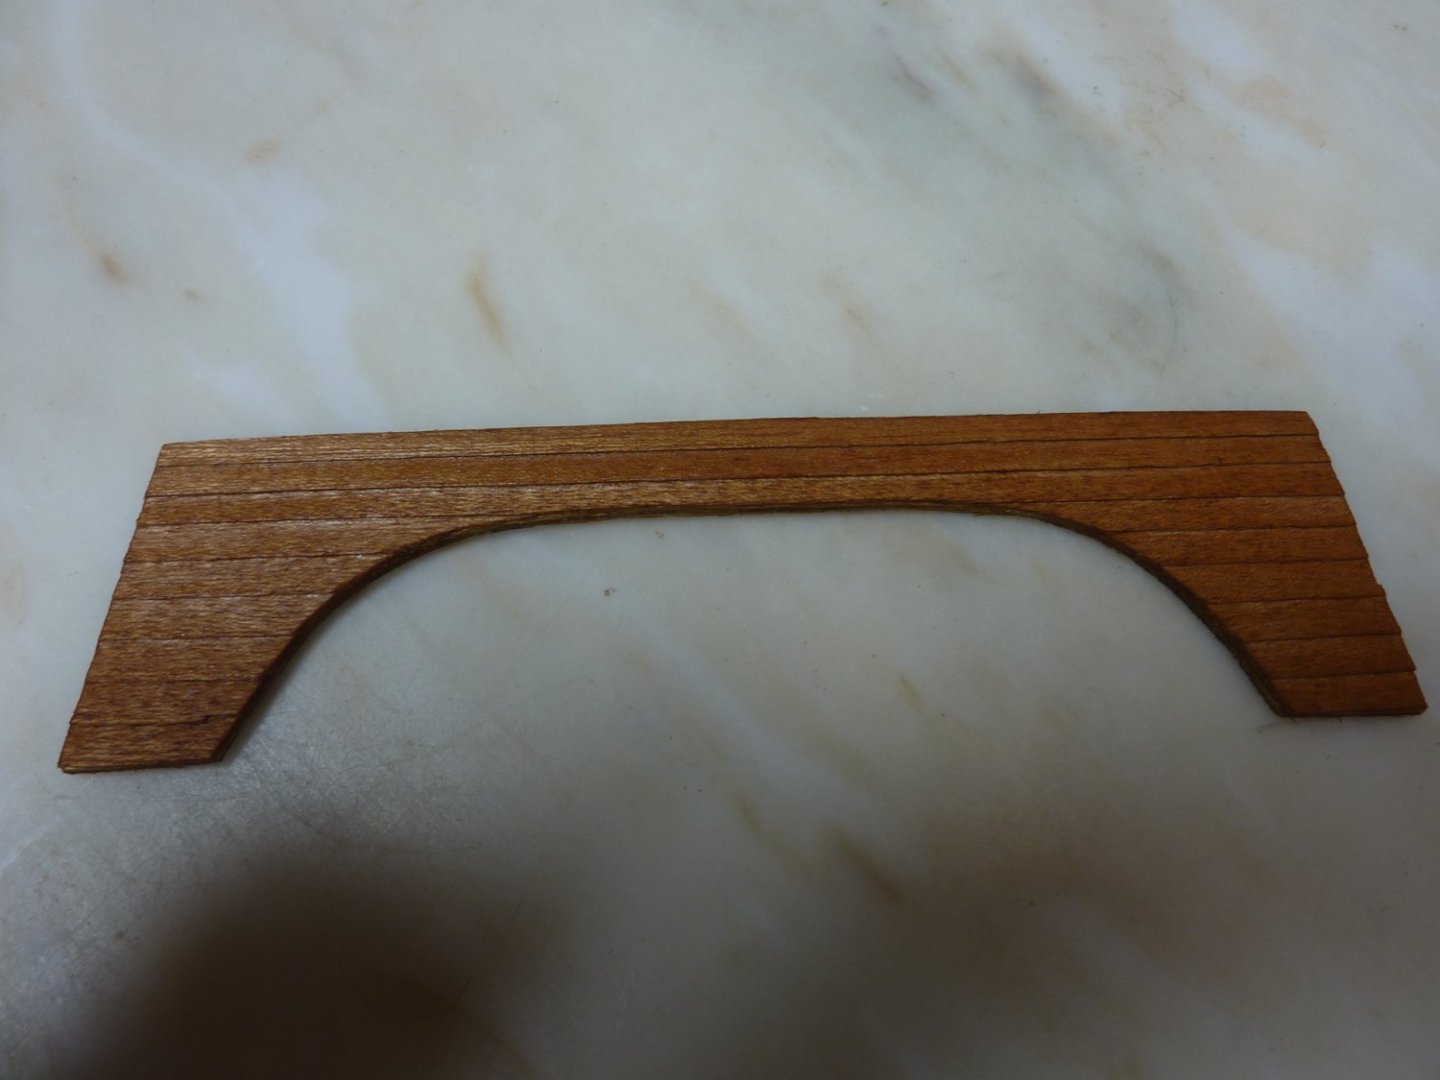
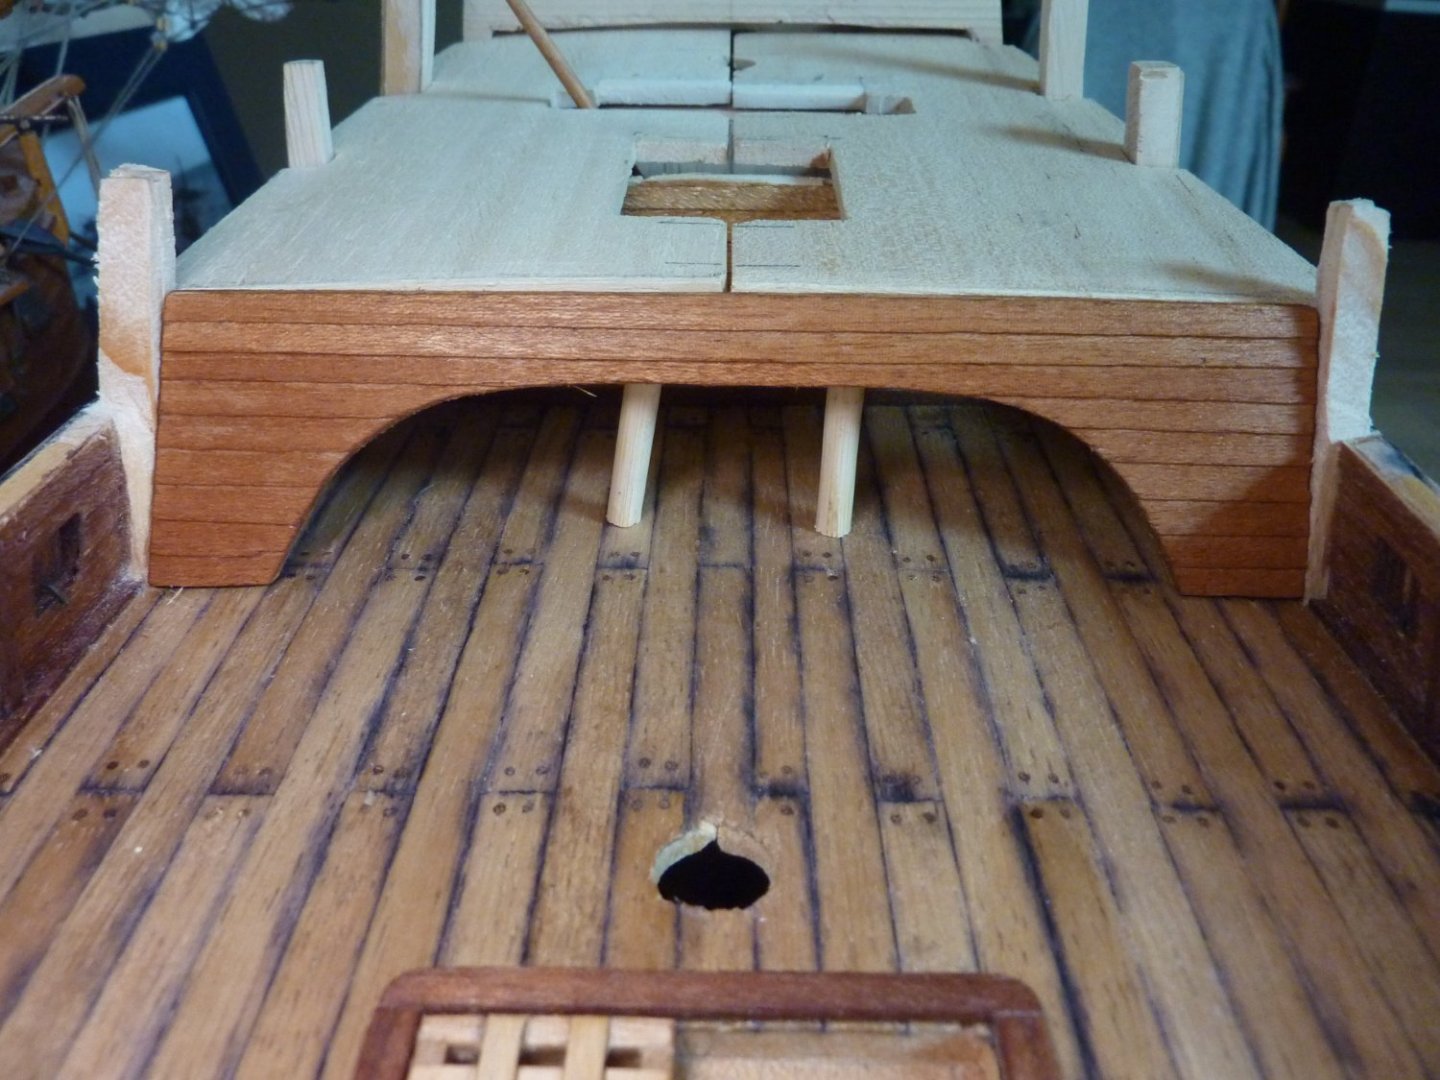
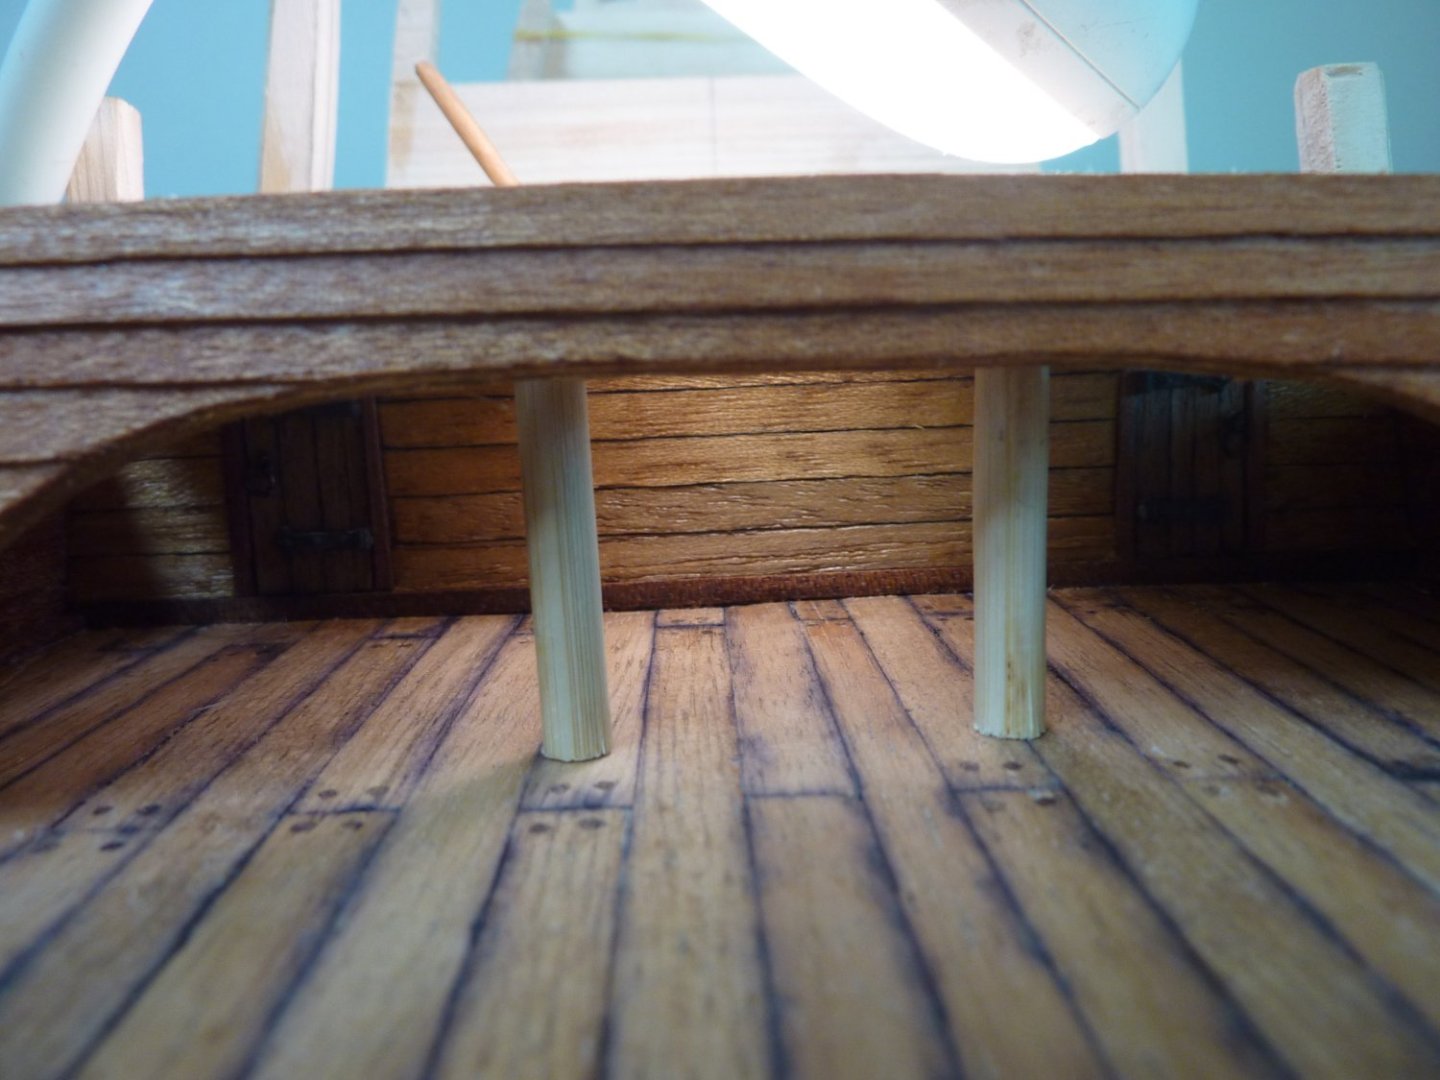
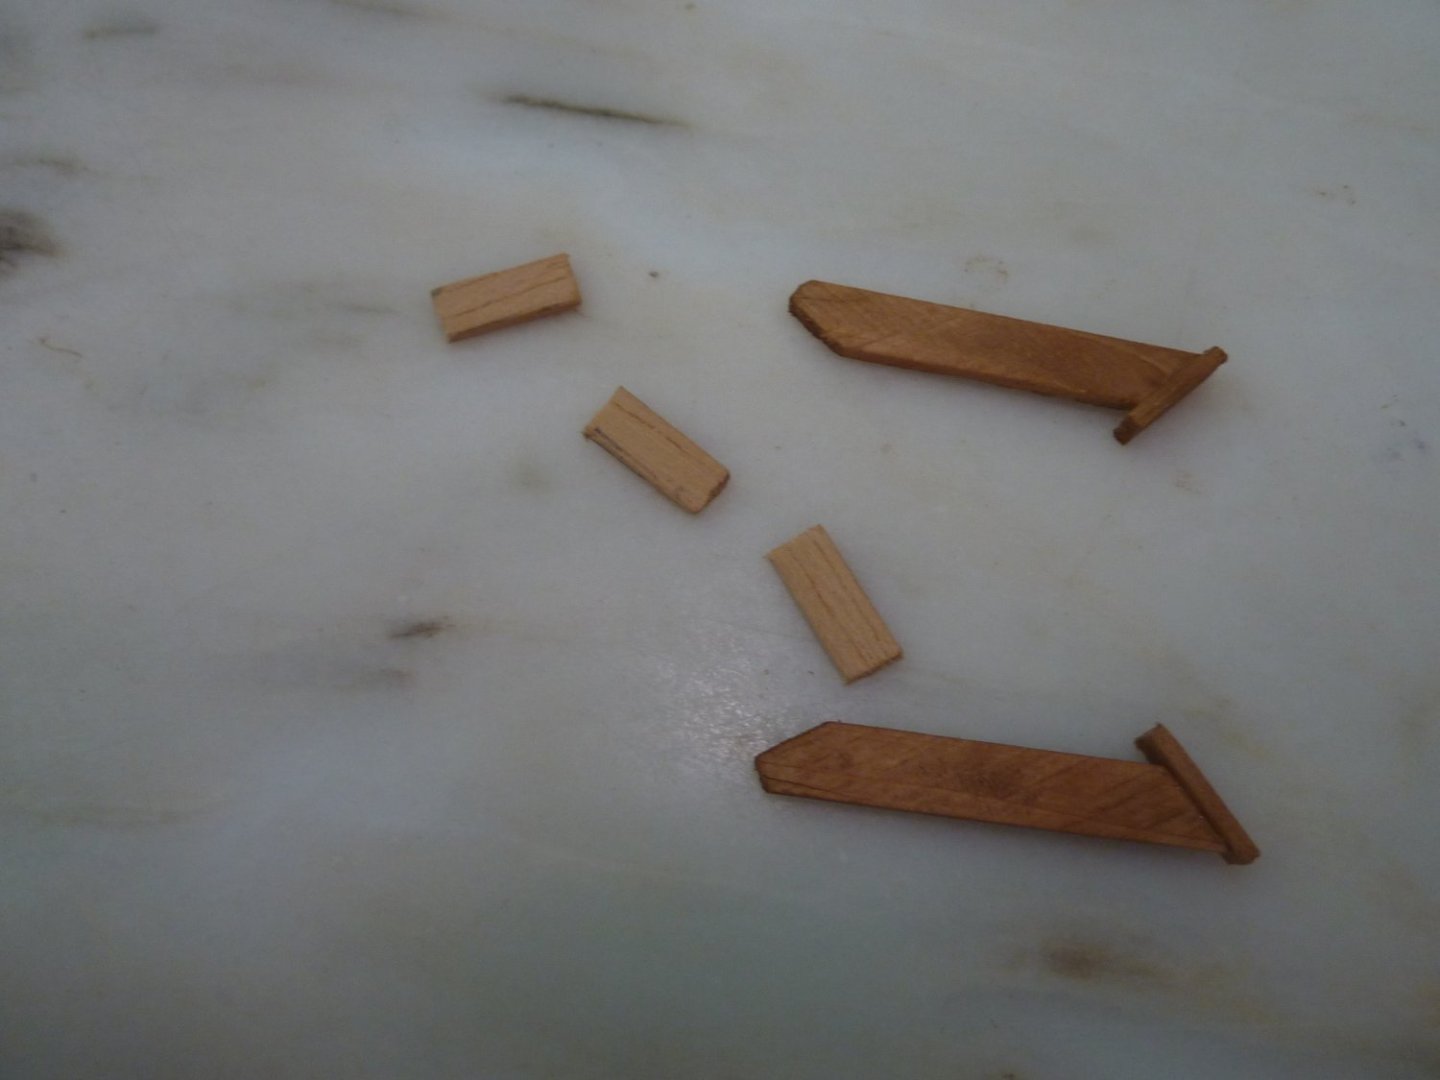
Supporting structures (cannot remember the name) for the balcony are cut into the shapes (2 different shapes applied) sanded and installed.


-
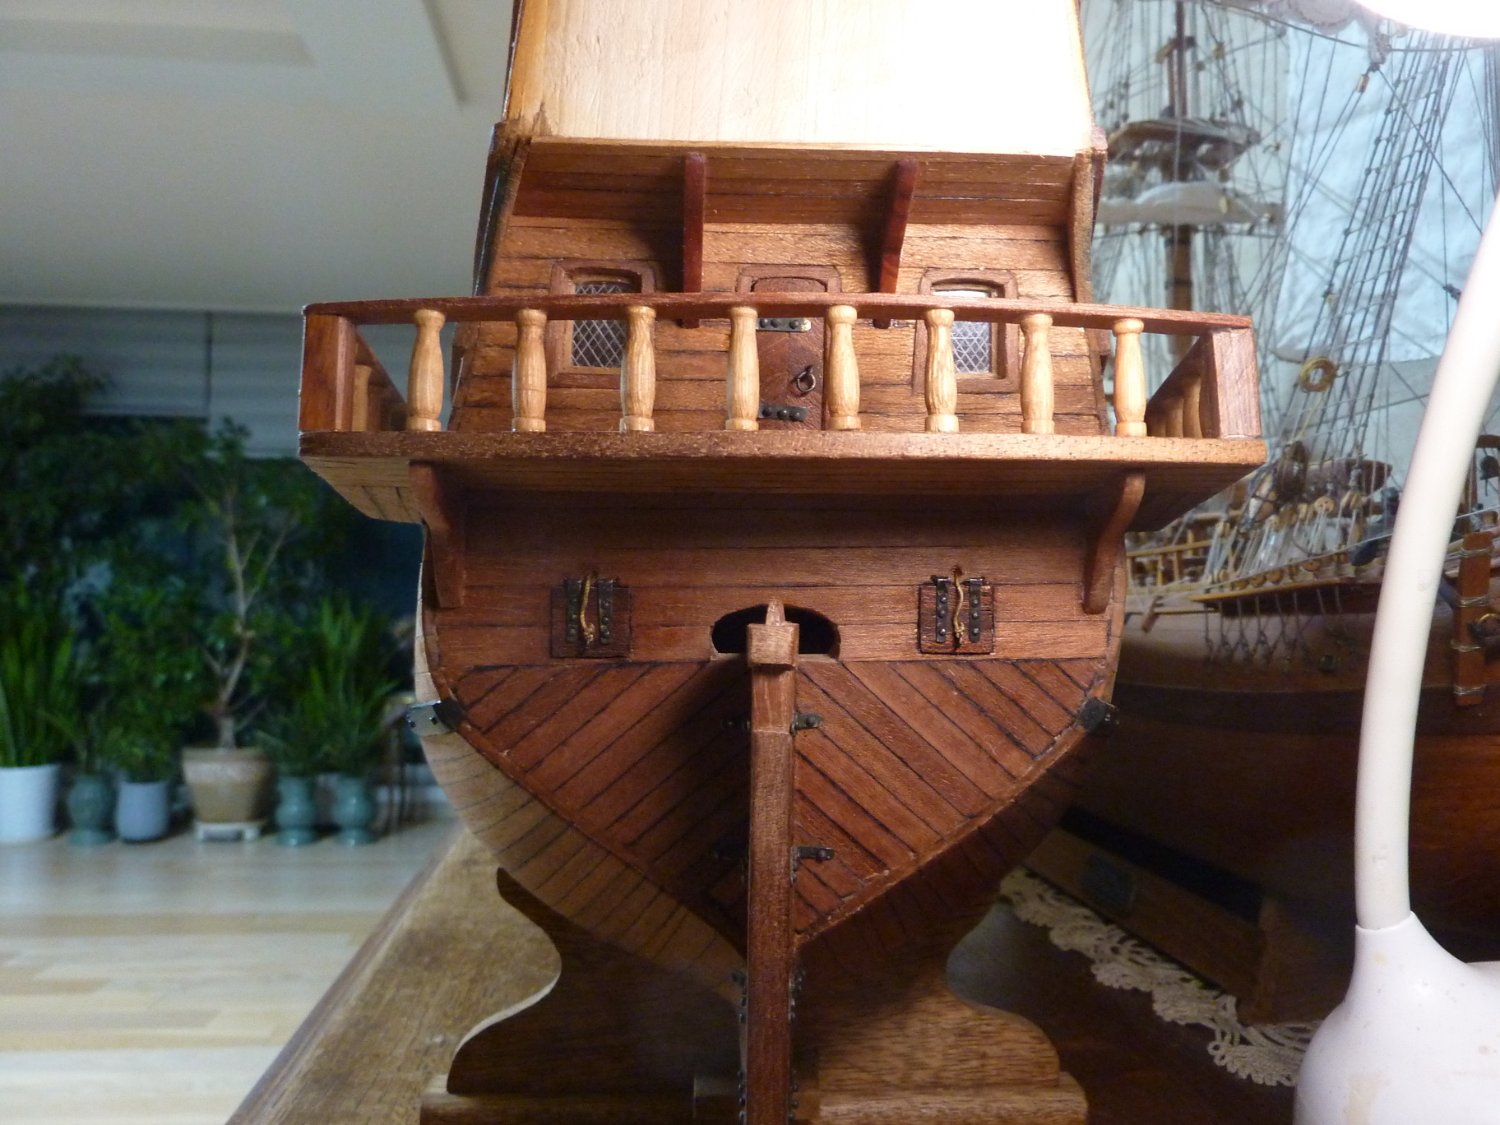
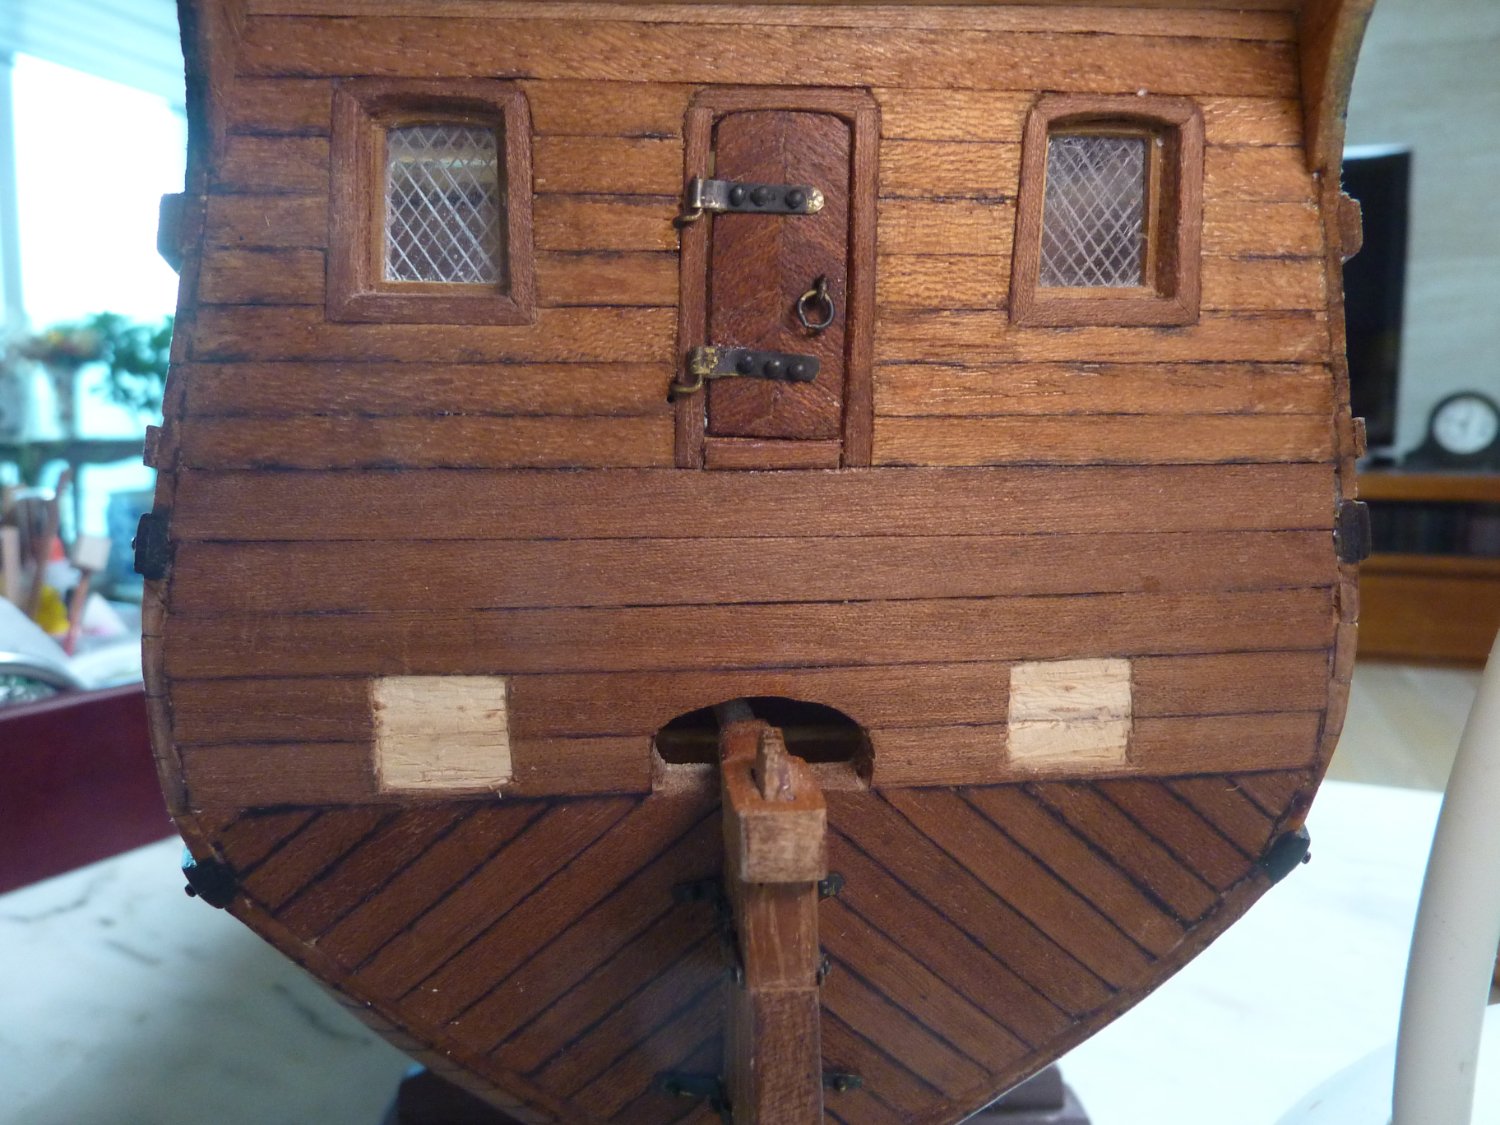
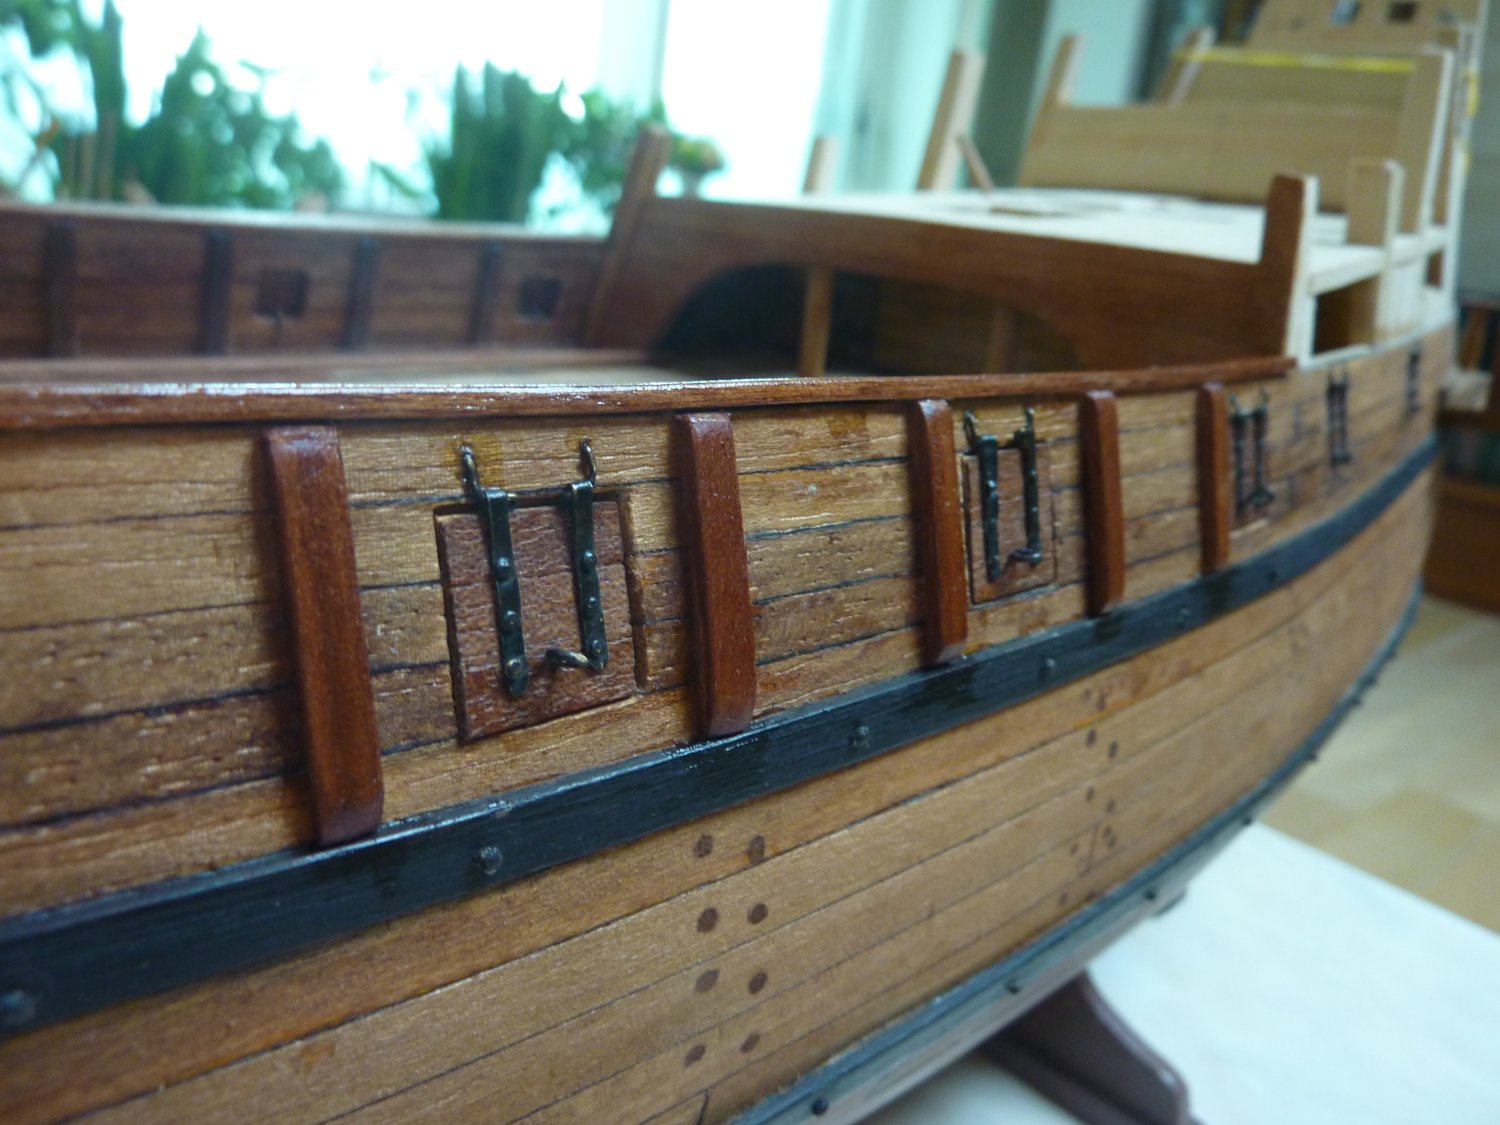
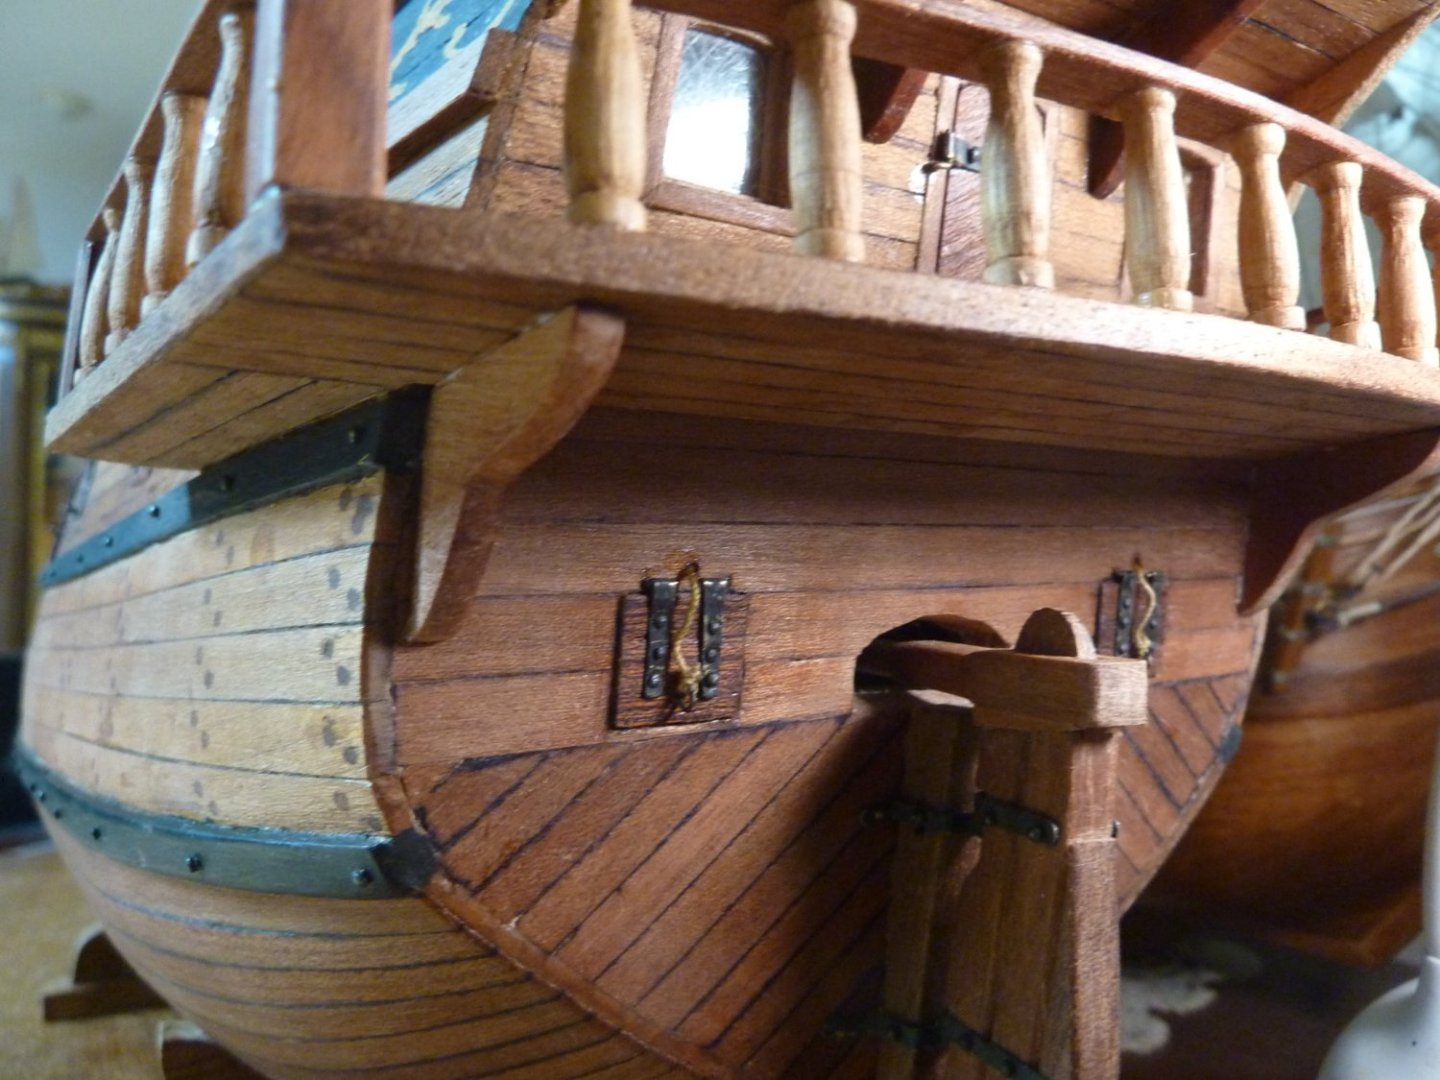
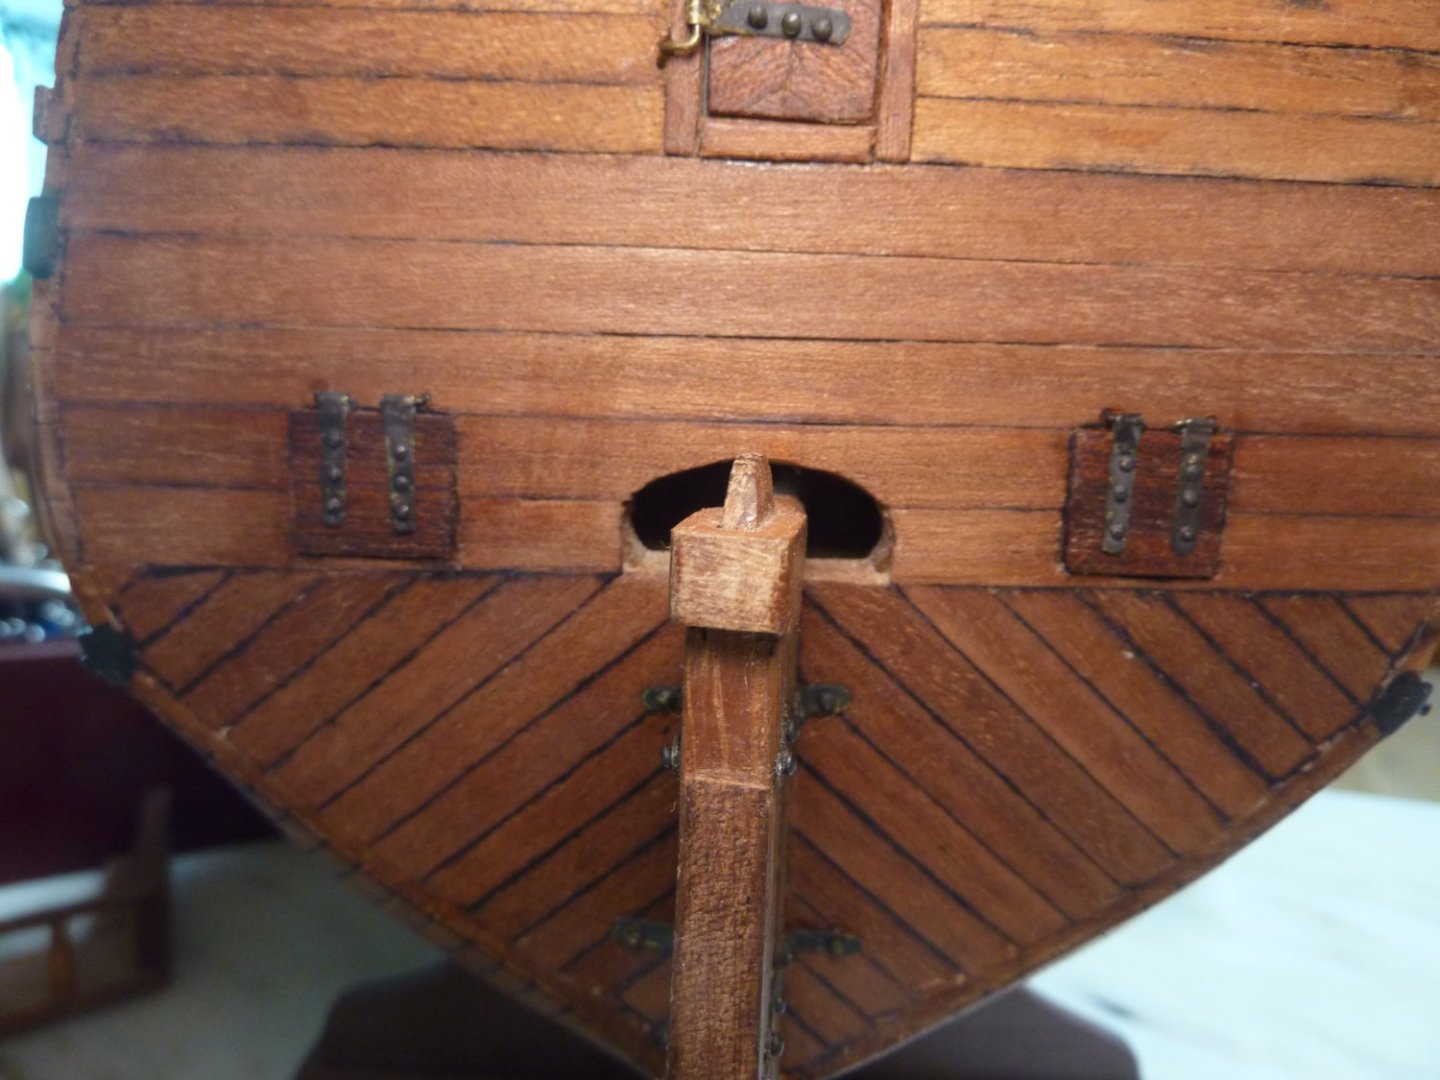
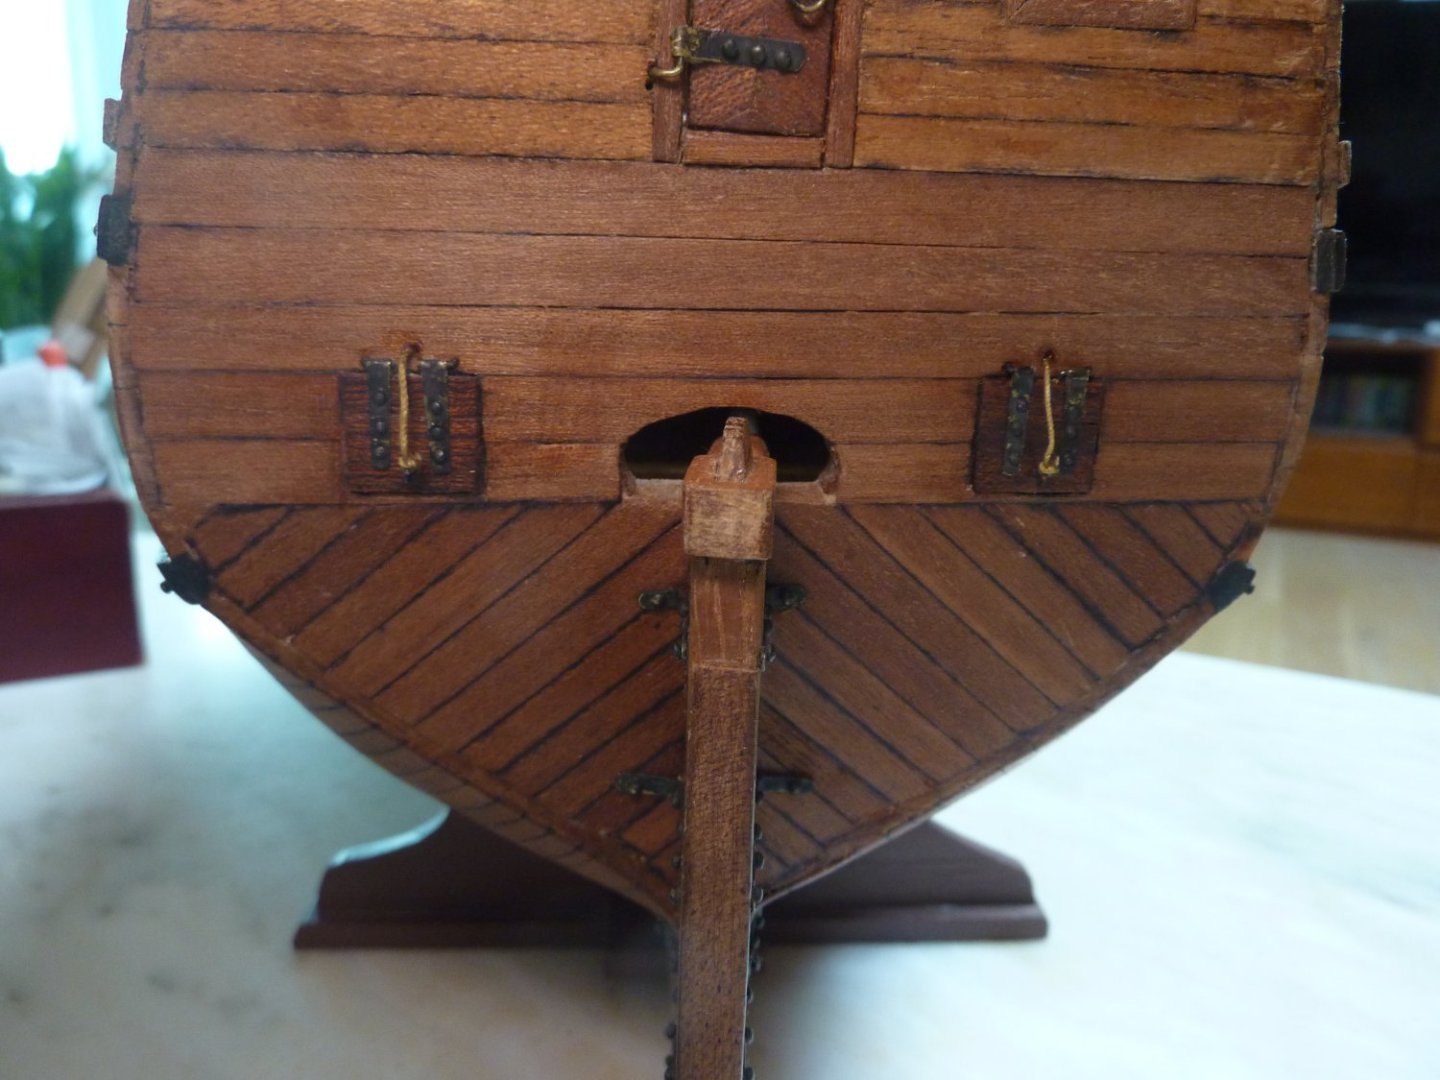
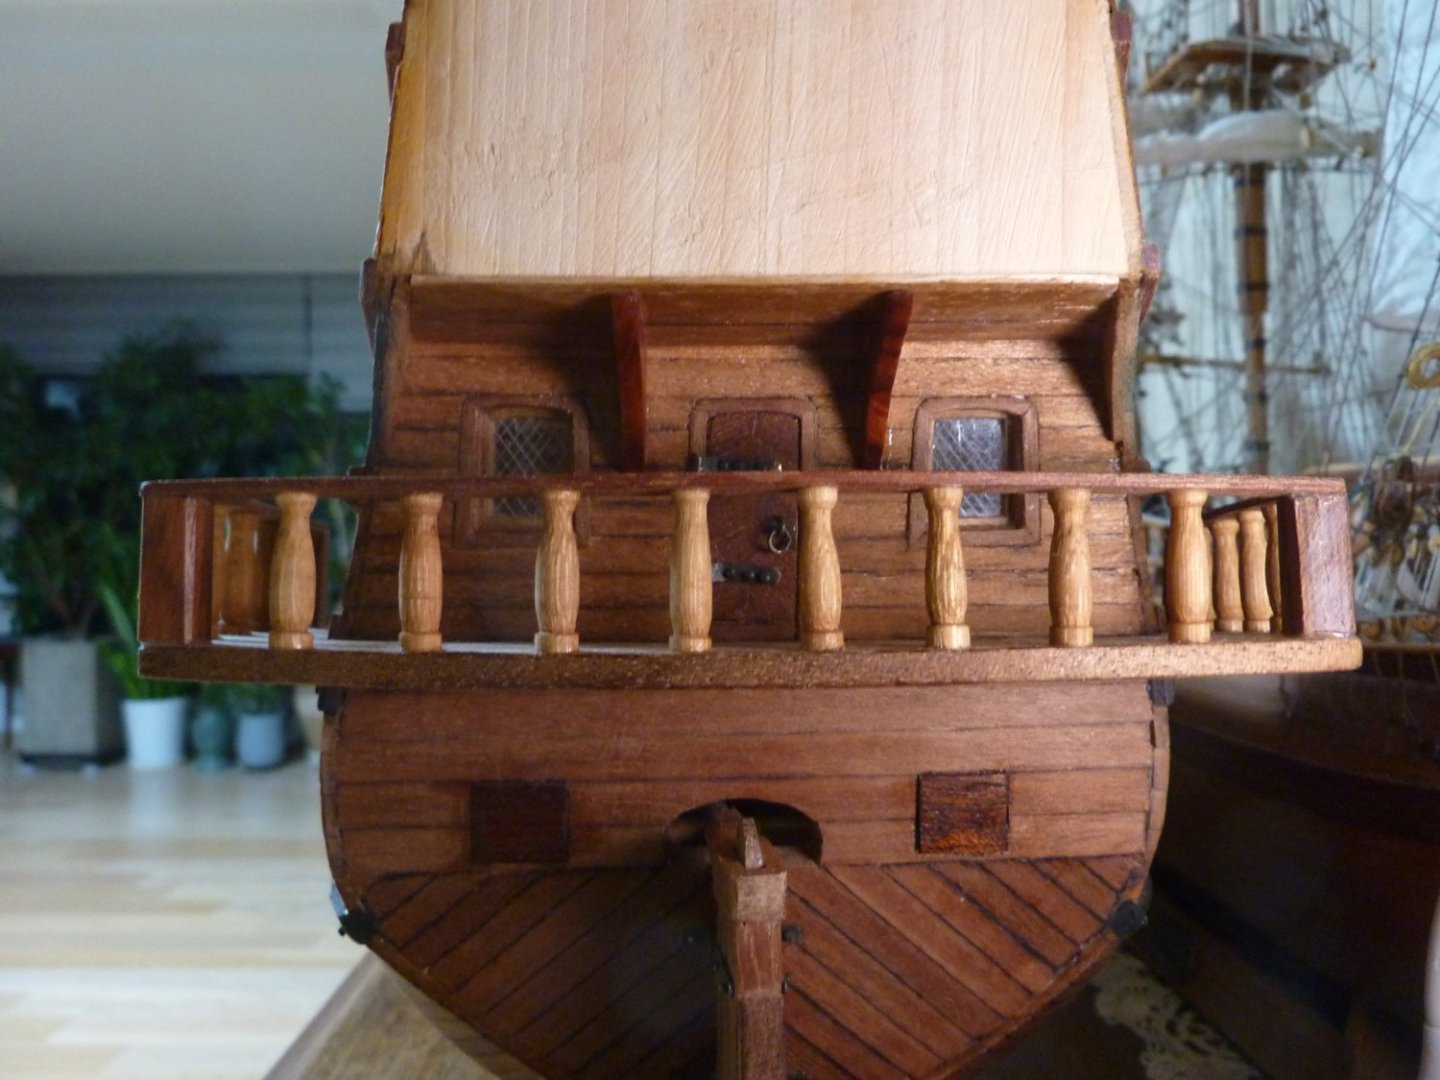
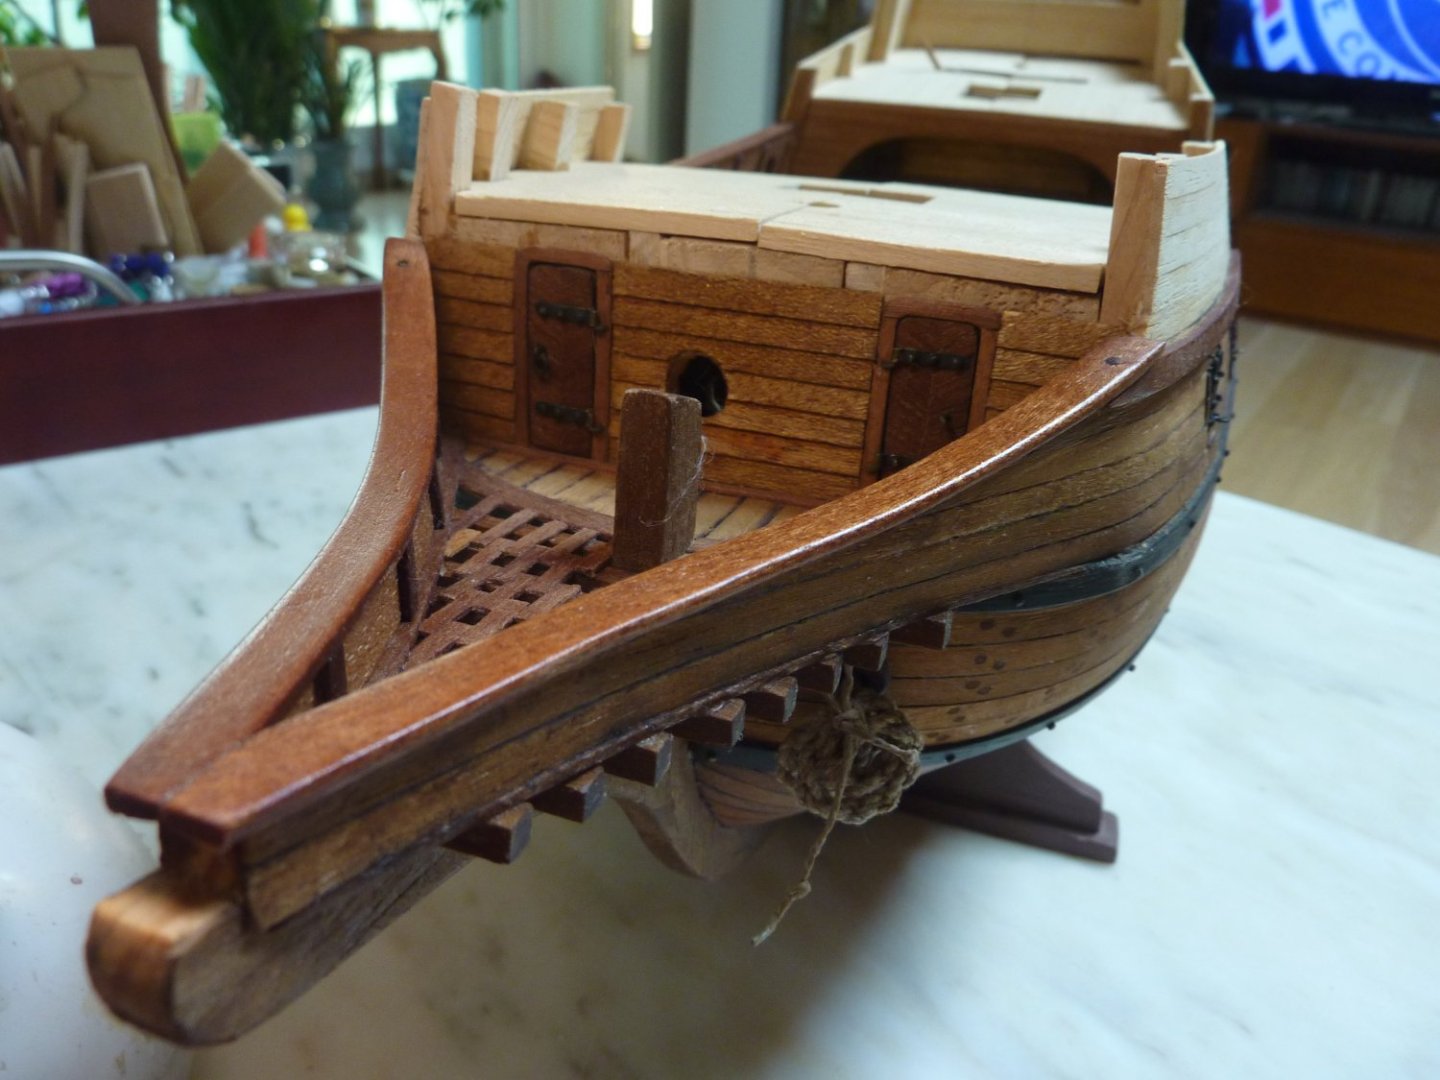
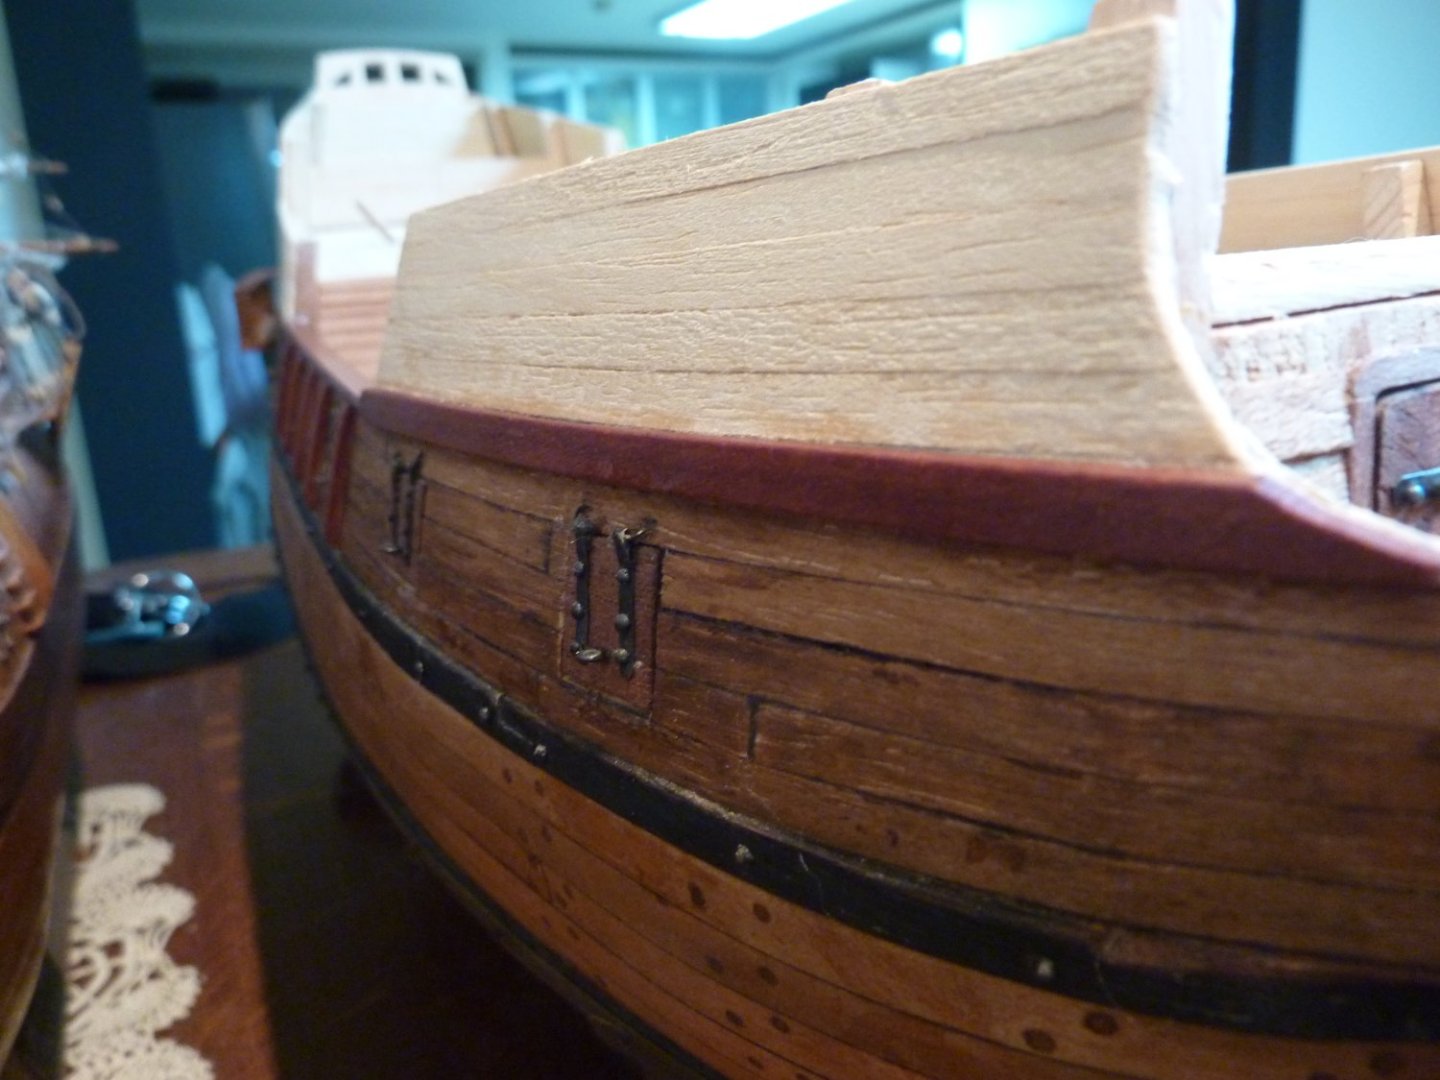
Finishing up on stern Cannon doors and finally fixing the balcony in place for good.


-
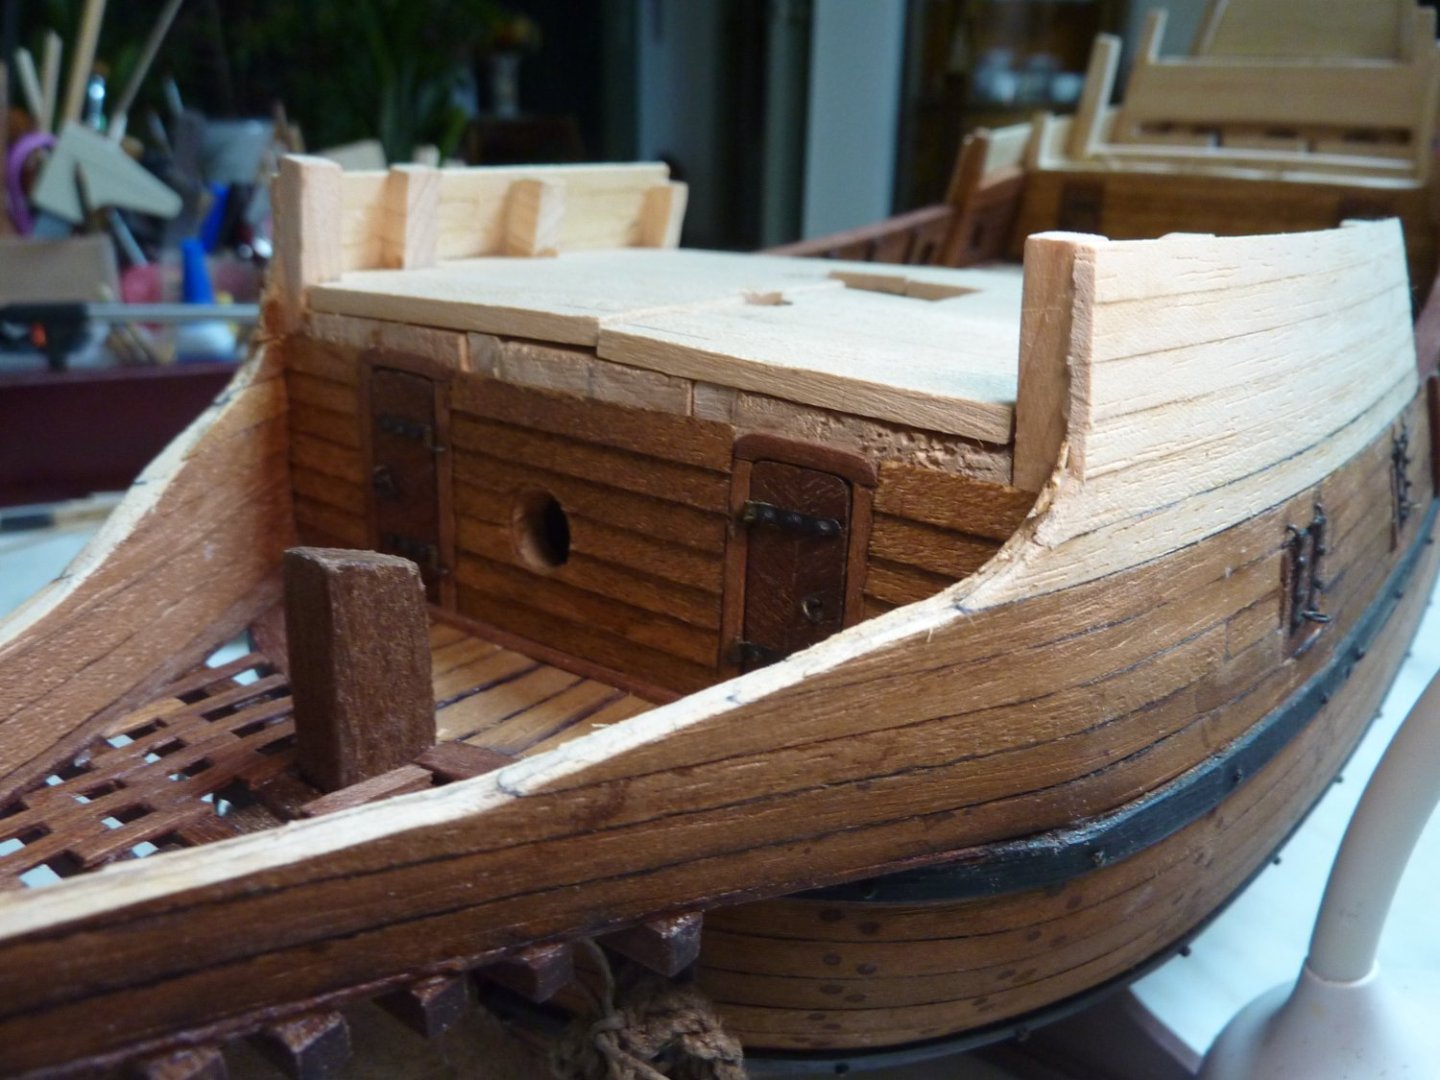
Hi All, I am finally doing prep work for the stern side balcony to be installed. Touching up the ceiling(?) above the balcony with strips of thin wood. Also, I decided to put in place 2 stern cannon doors (fake ones) just to be true to the contemporary historical depiction of Golden Hind - Aeropiccola plan does not include the stern cannon openings. Stern Cannon door work being done in tandem wirh the supporting structure to be installed above the balcony...ceiling(?)

-
Hi Patrick, Thanks very much for these! You definitely seem to have put a lot of research on Golden Hind. I did not realize that 'no painting' of the upper hull was that common. I will defintely take your research into consideration. Anyway, I decided to put these decisions (pretty much only these) to family vote. So far, the biggest supporter of the current state is my daughter who is an art student - so she has quite a big weight! Nonetheless, I am still not very satisfied on how this particular section turned out. Either way, thanks again for your valuable information! Best regards, Rock
-
Hi Ondras71, Thanks so much for your input! Will definitely put these on family vote! Best regards, Rock
-
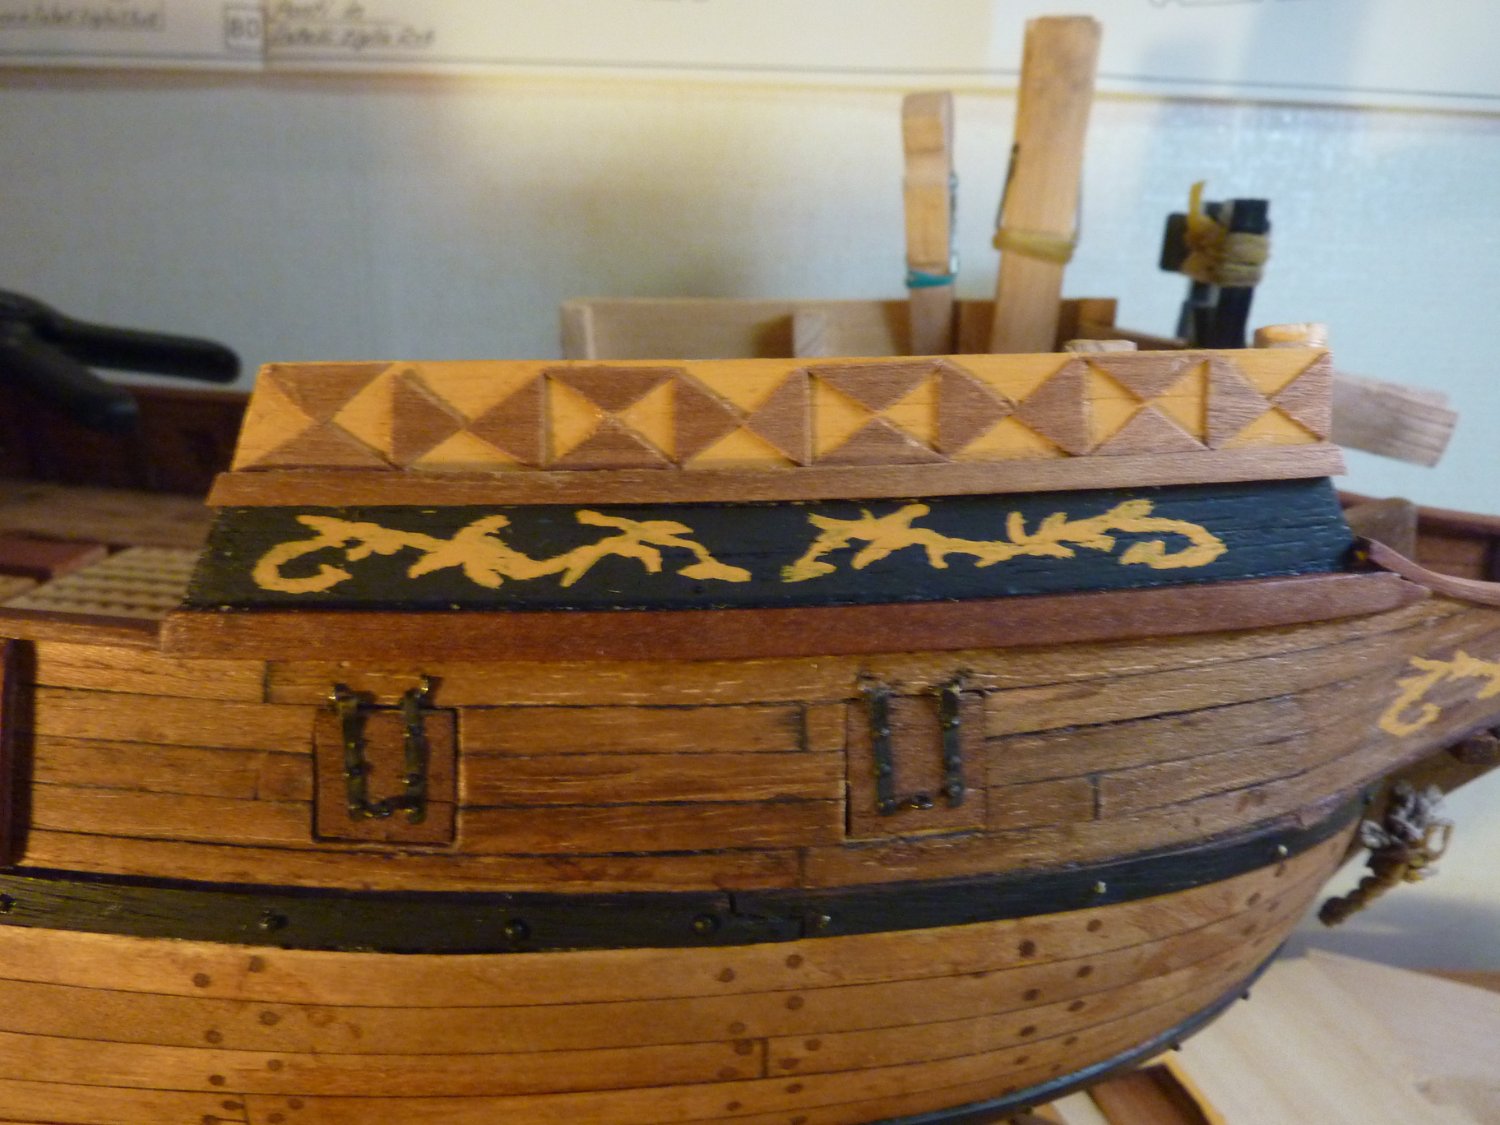
Hi Alan, Thanks very much for your kind comments and suggestion! I agree with you that at least on one side, the angles do vary (quite prominently) on the triangles - don't know how/why I missed that. I think I will retouch those areas later on - maybe to the extent of not damaging or polluting the overall area. On COVID, sorry to hear that Canada is experiencing more cases as well. I just don't understand how we all got COVID despite the vaccinations and constant wearing of masks. Guess even the masks have limitations - even the sturdy KP-94 masks! Thanks and regards, Rock
-
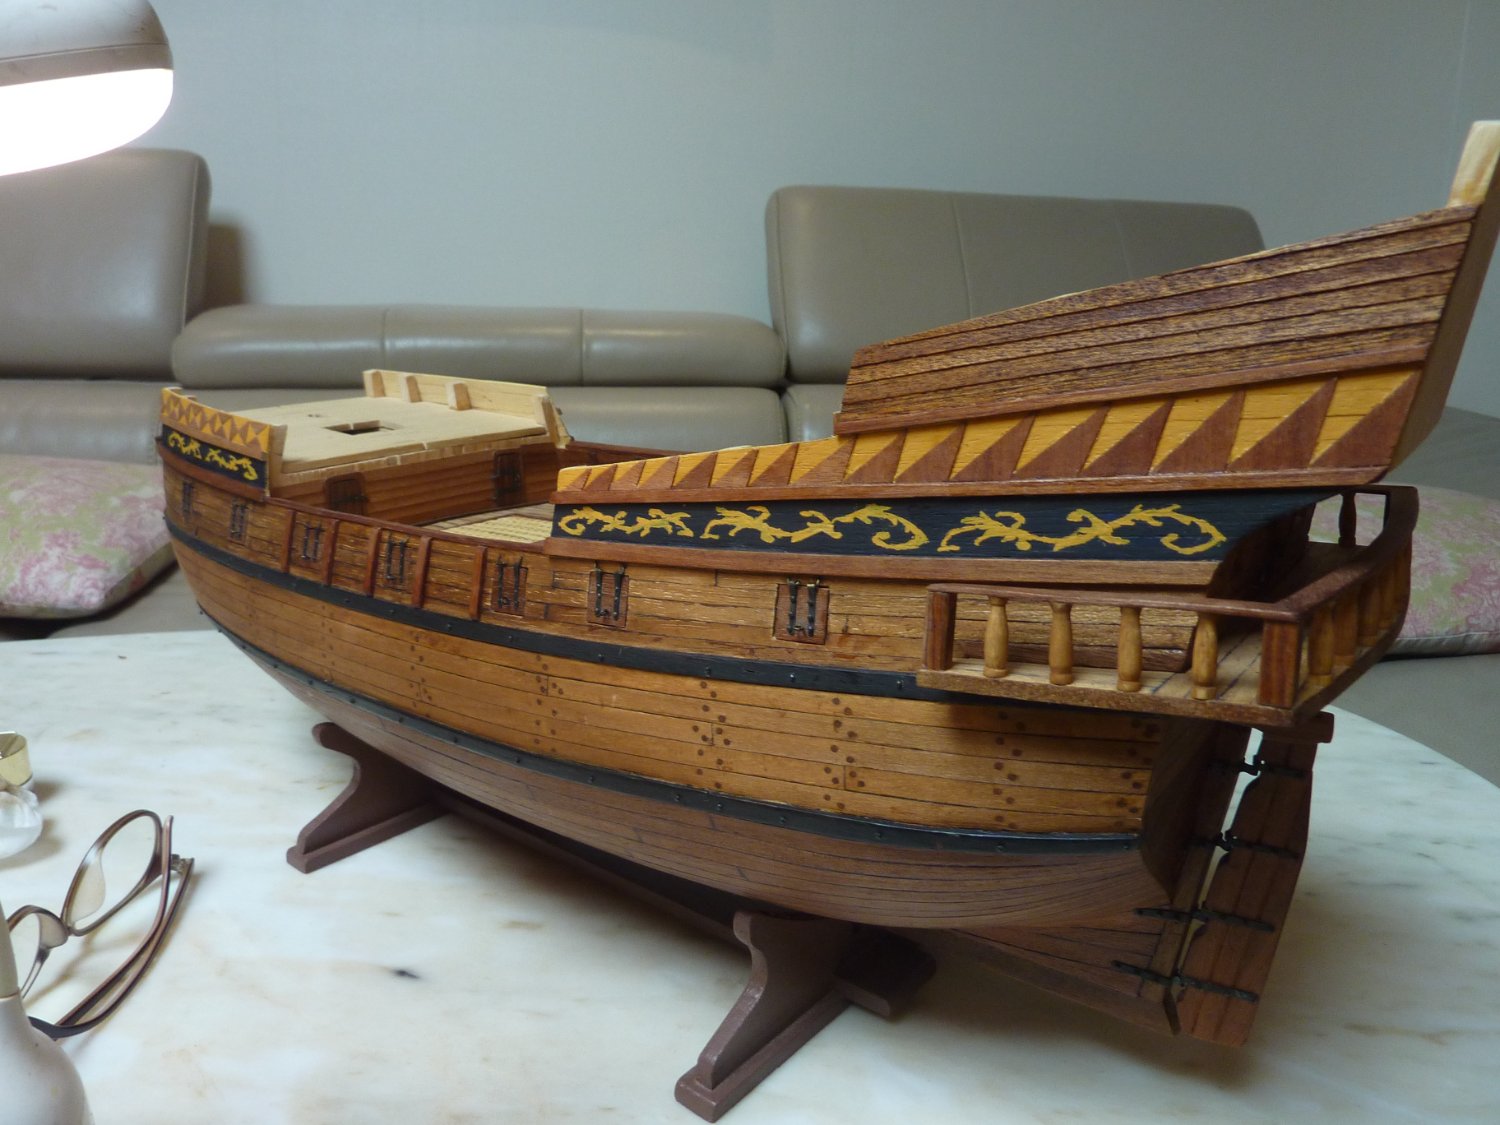
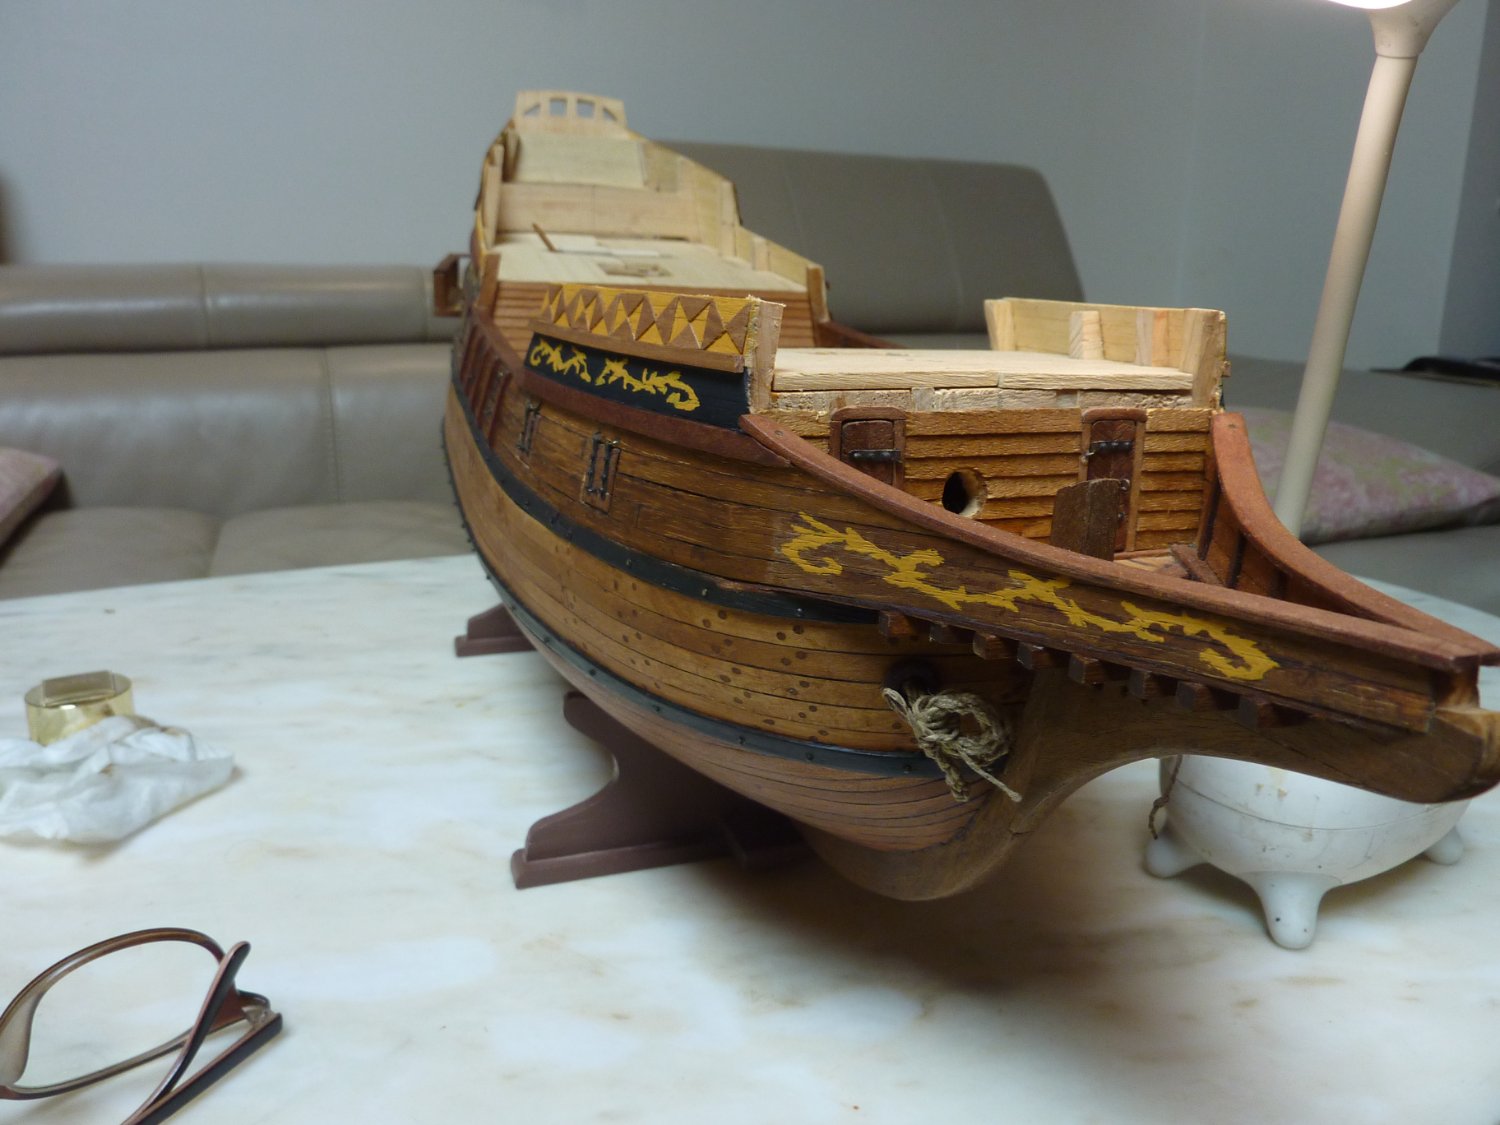
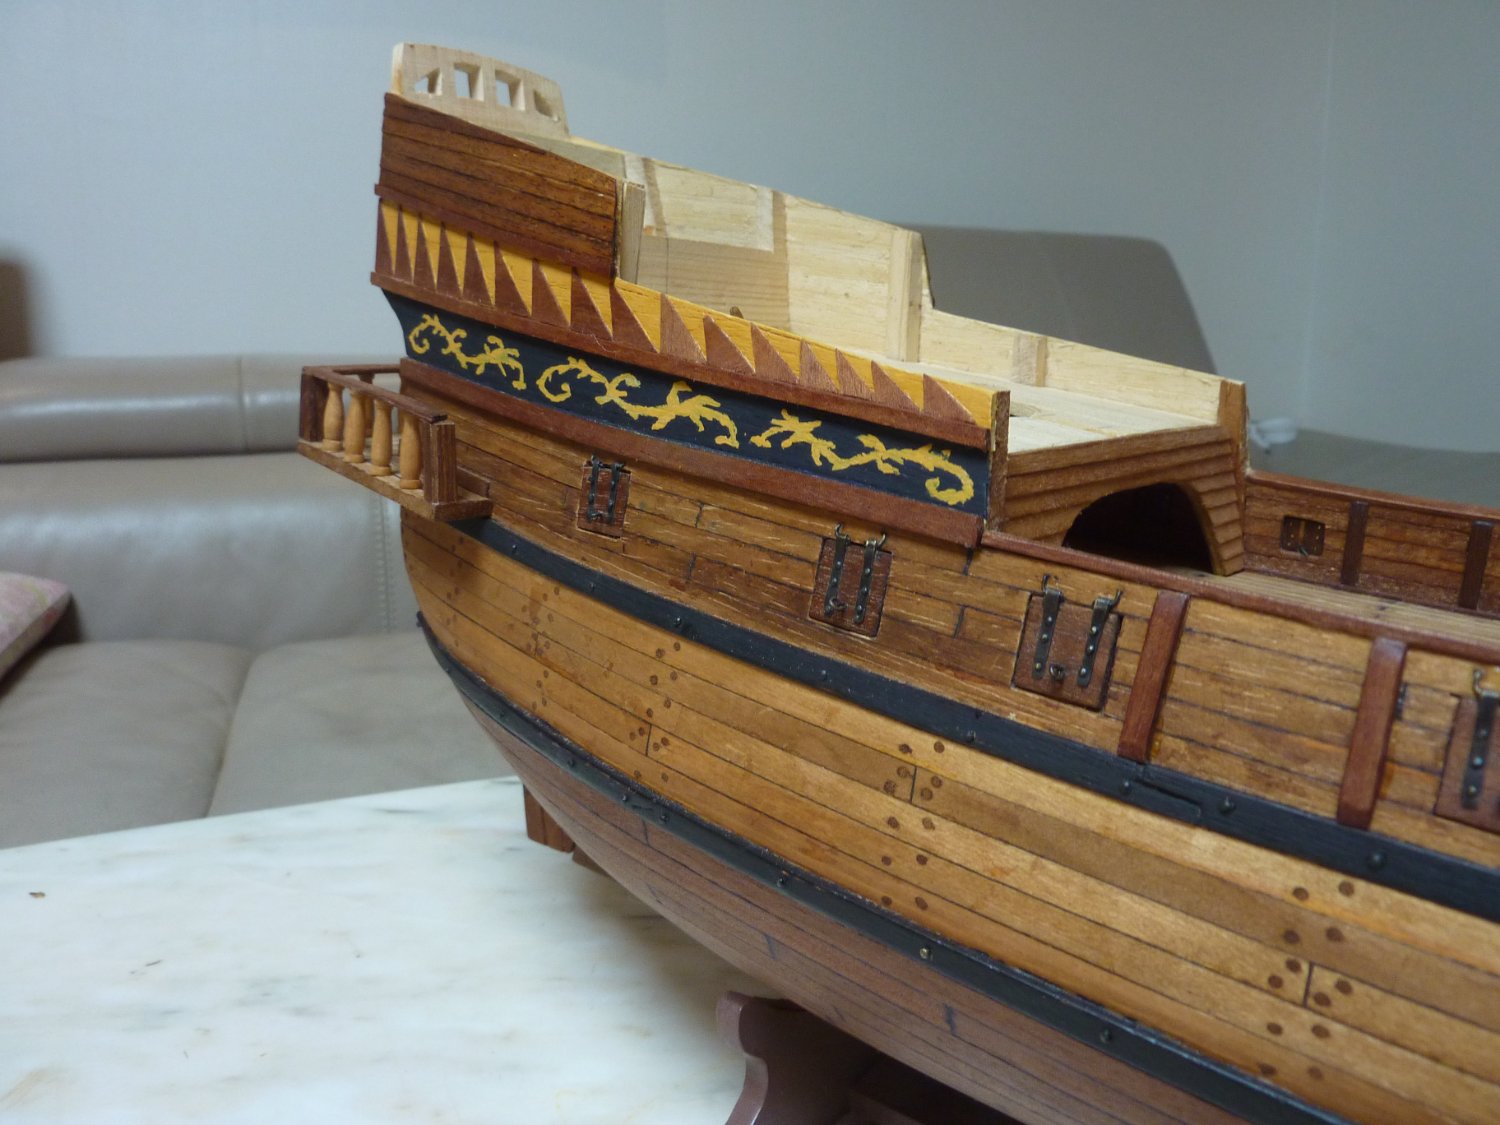
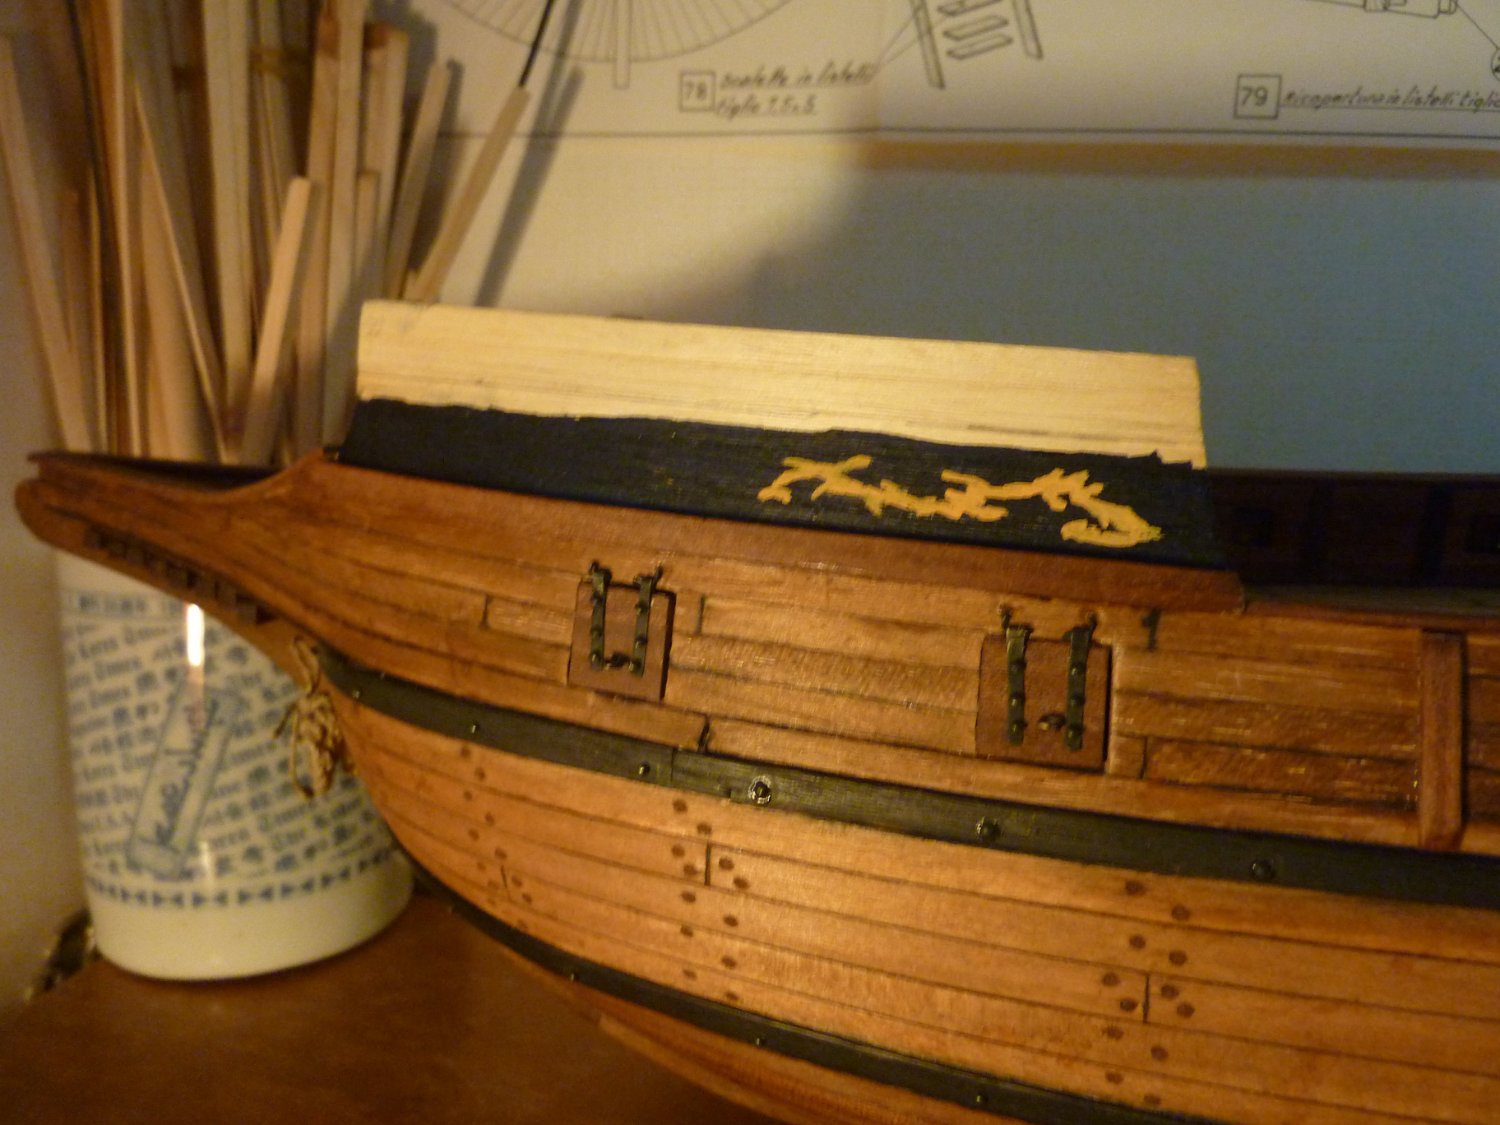
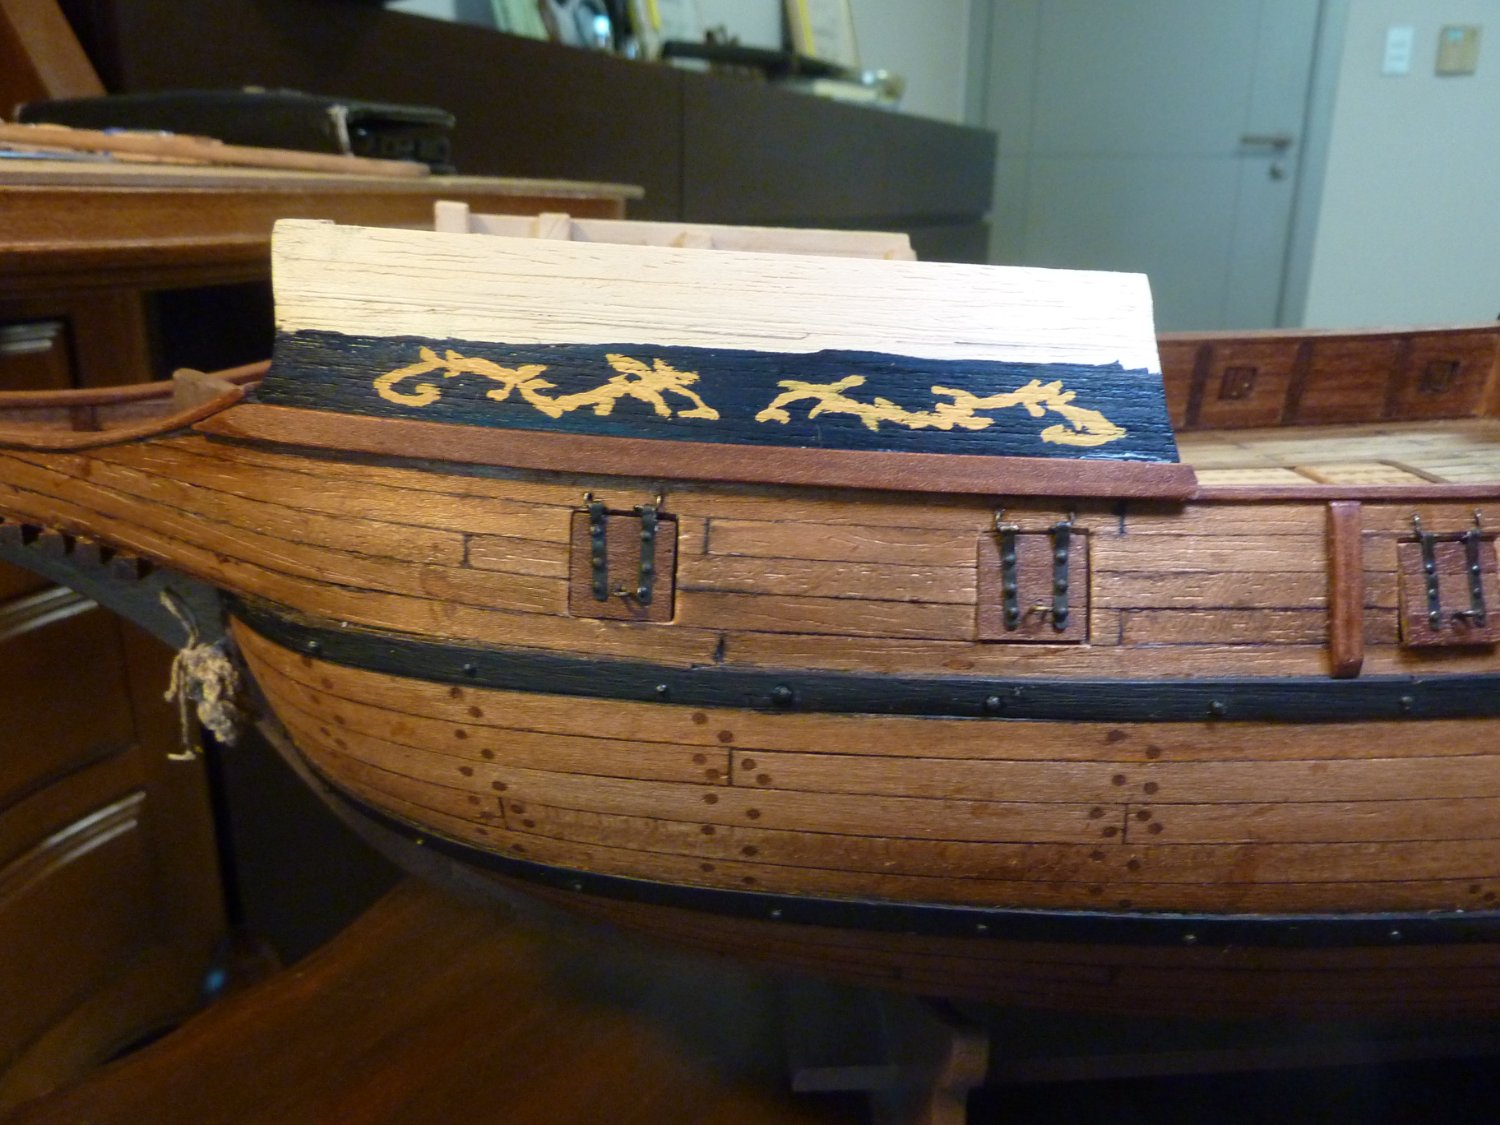
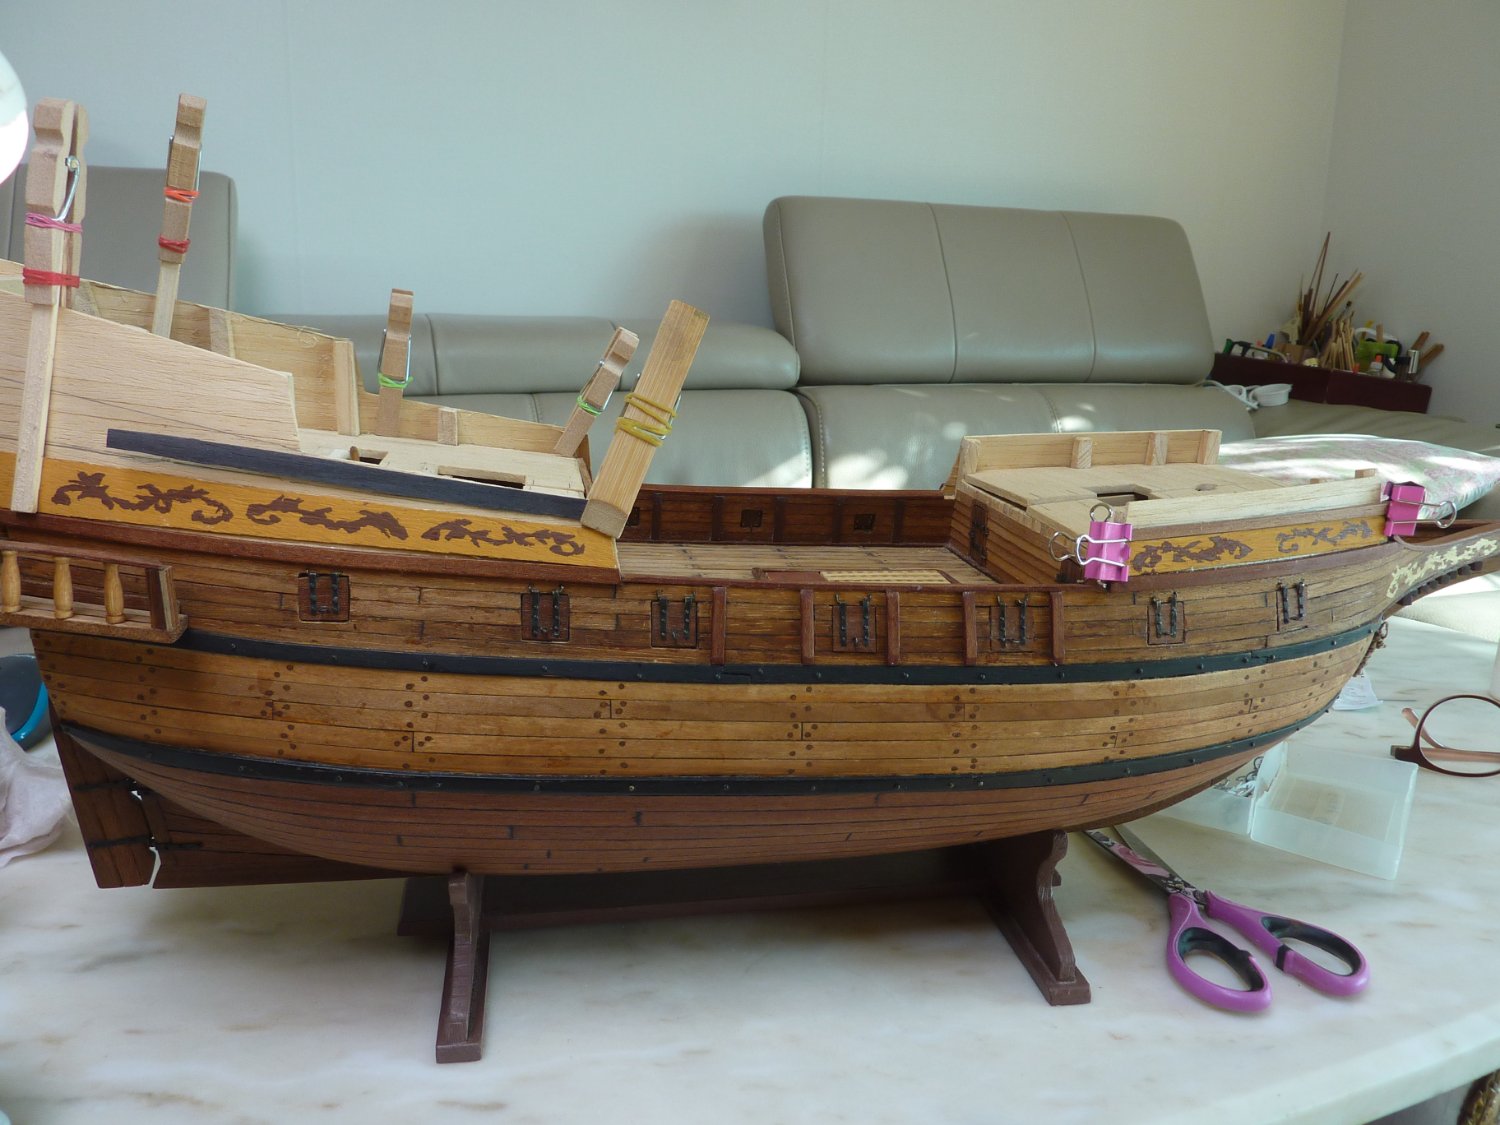
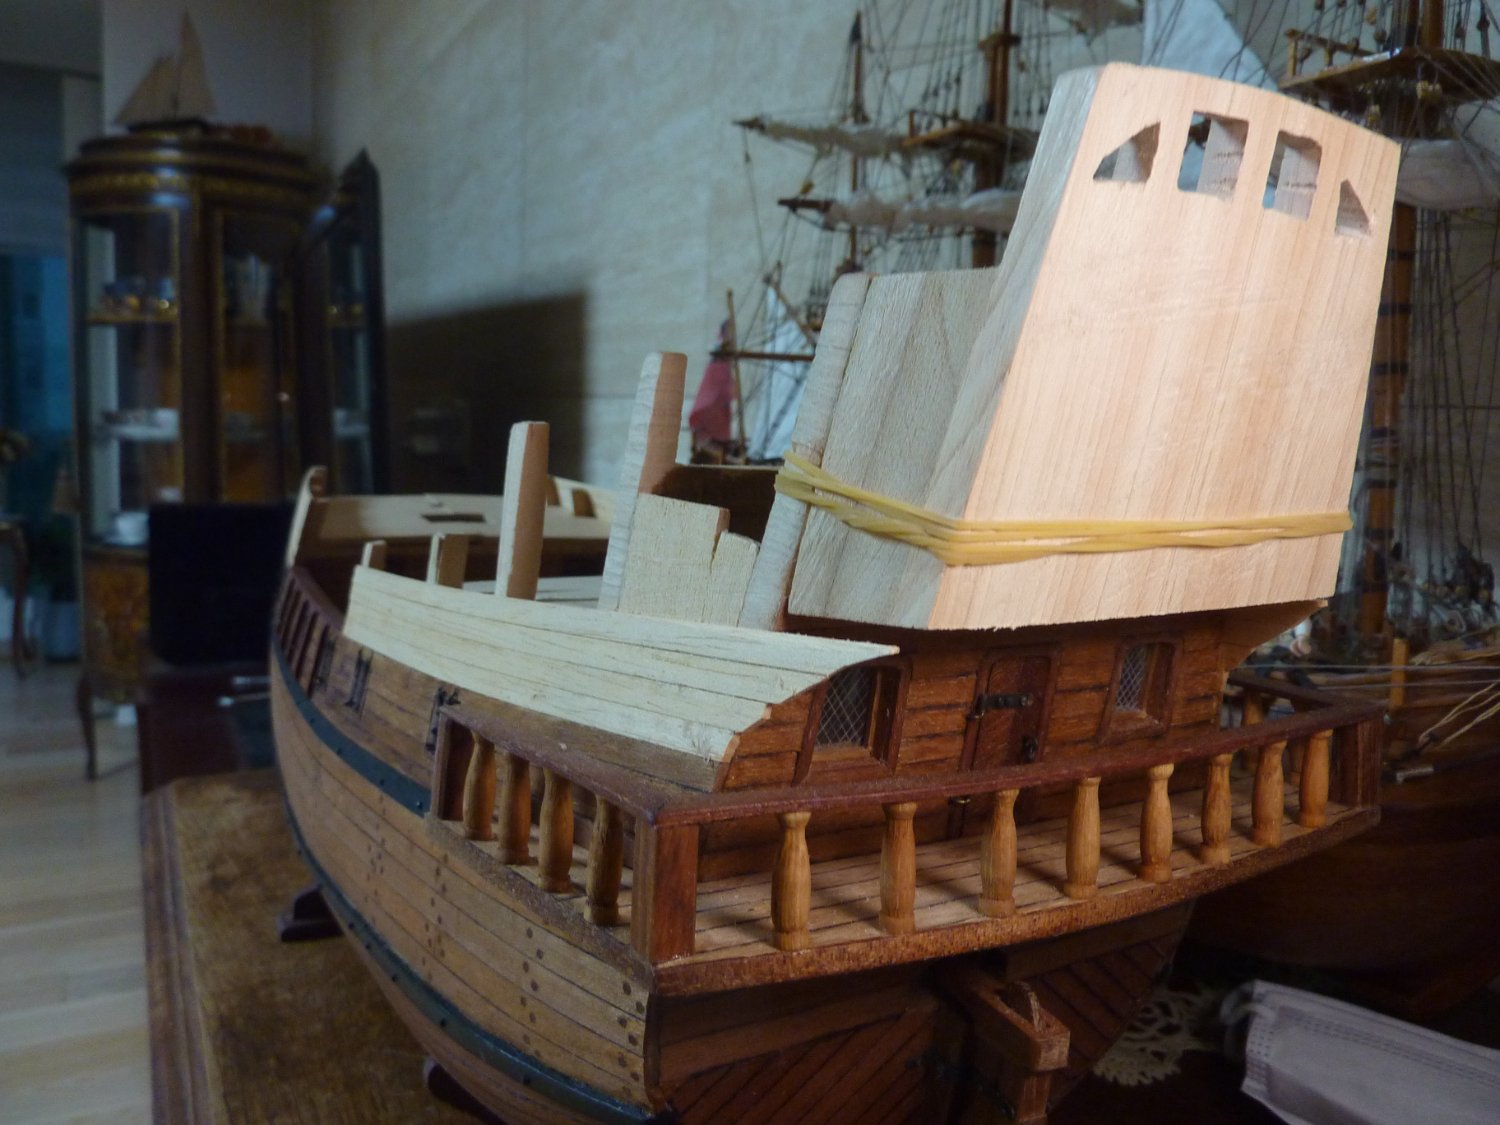
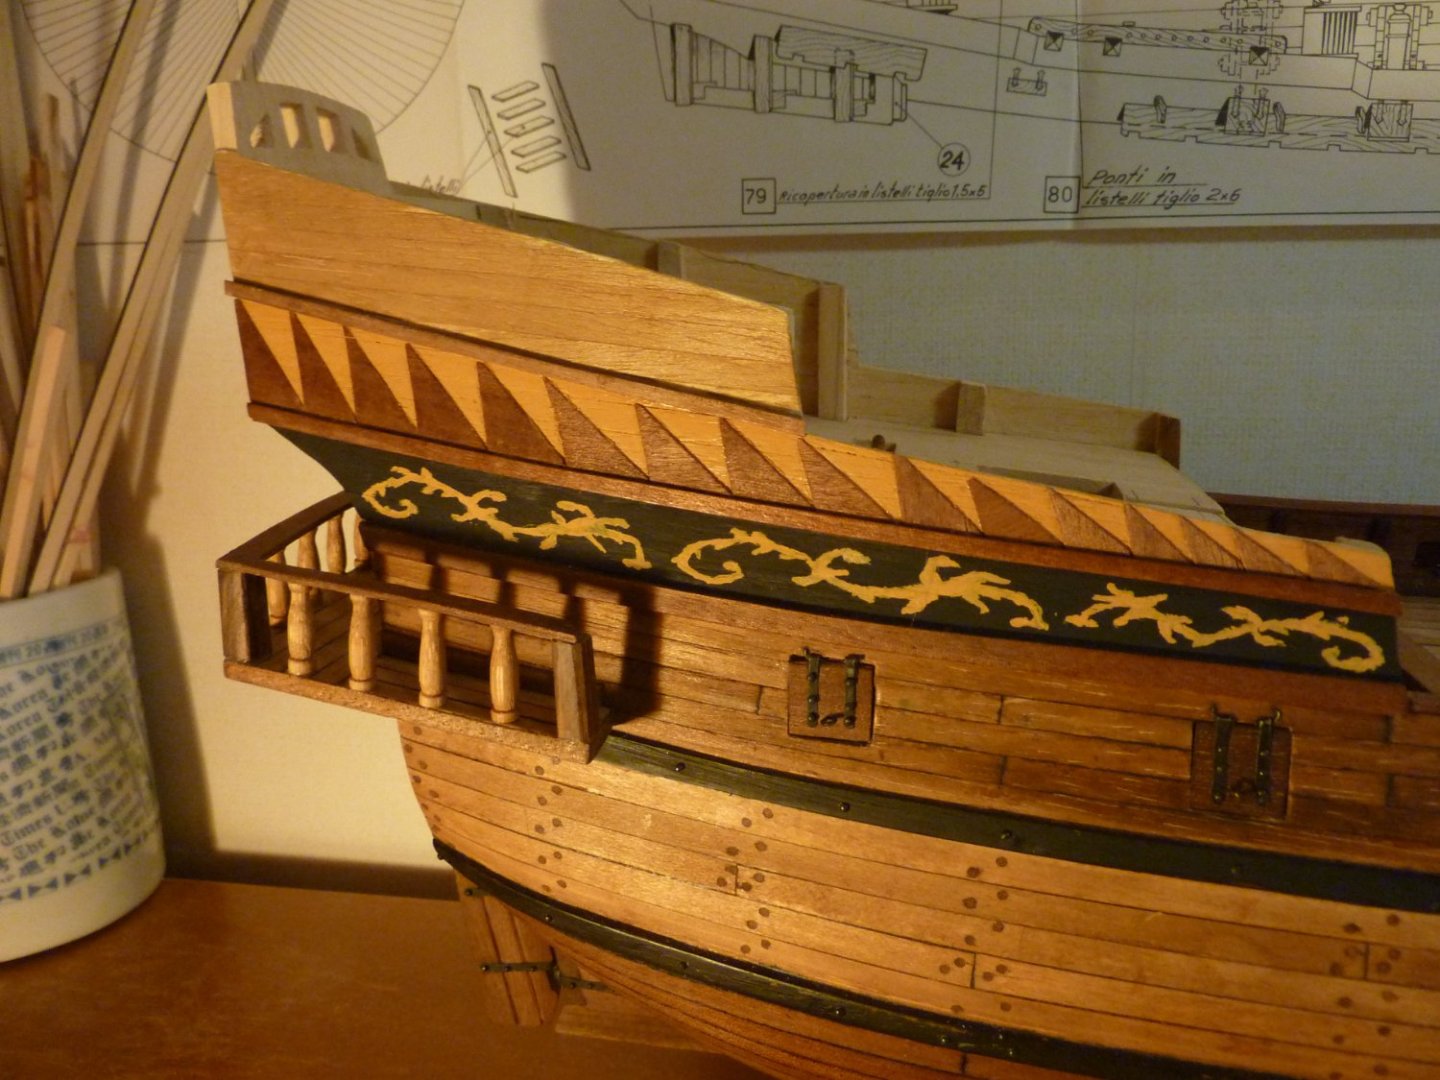
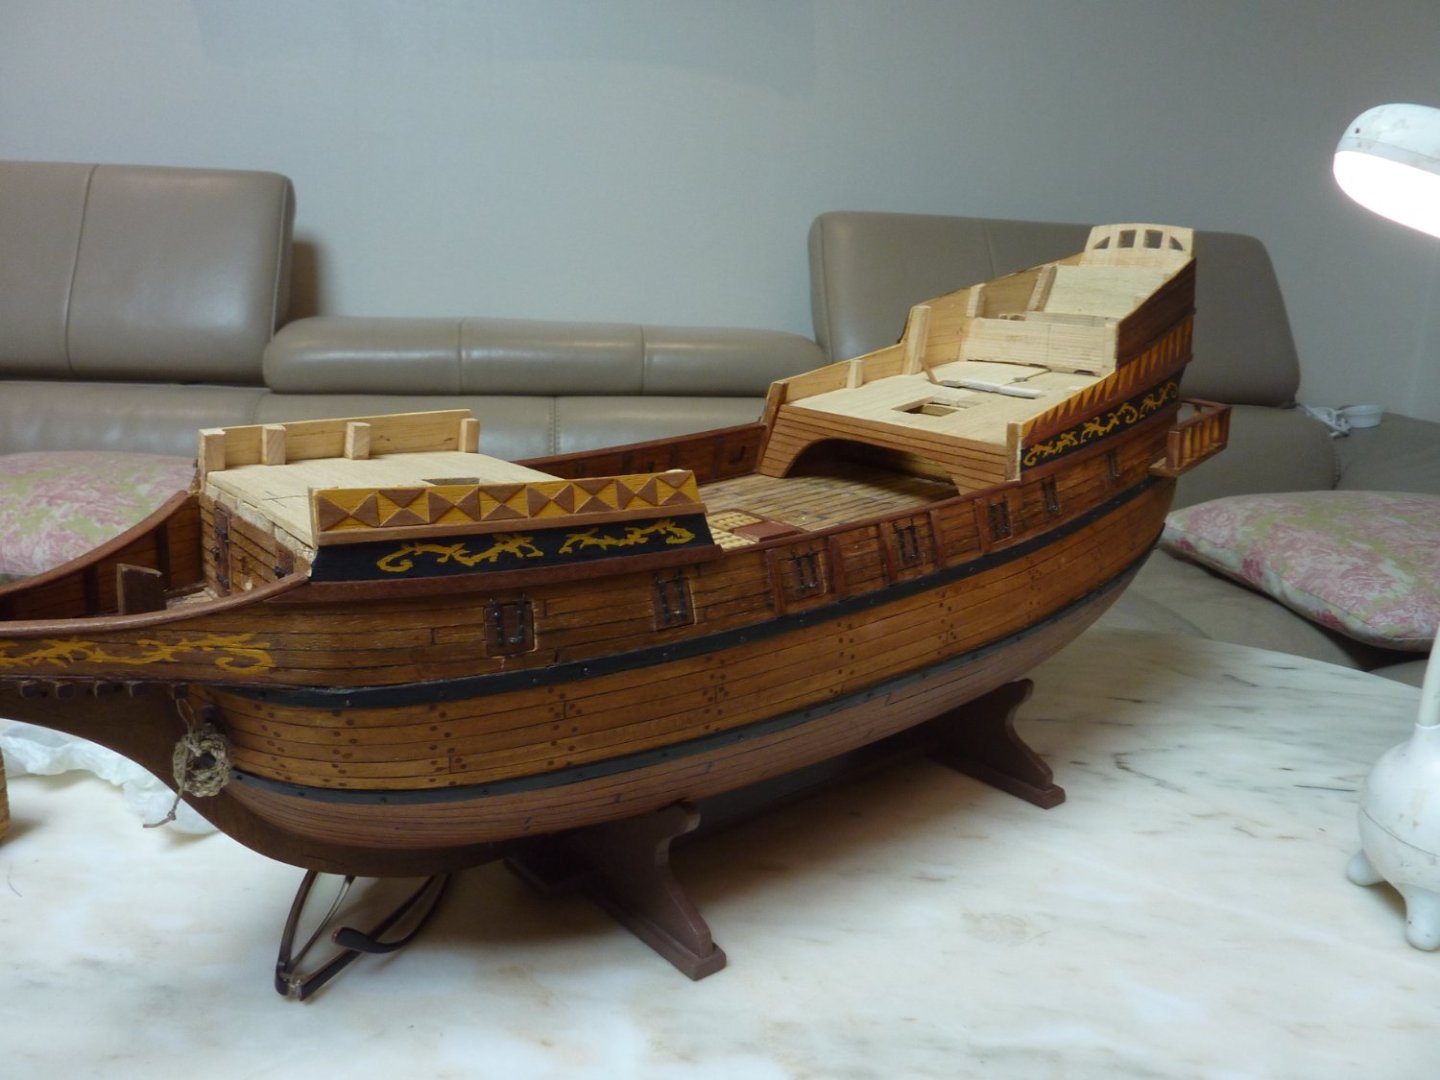
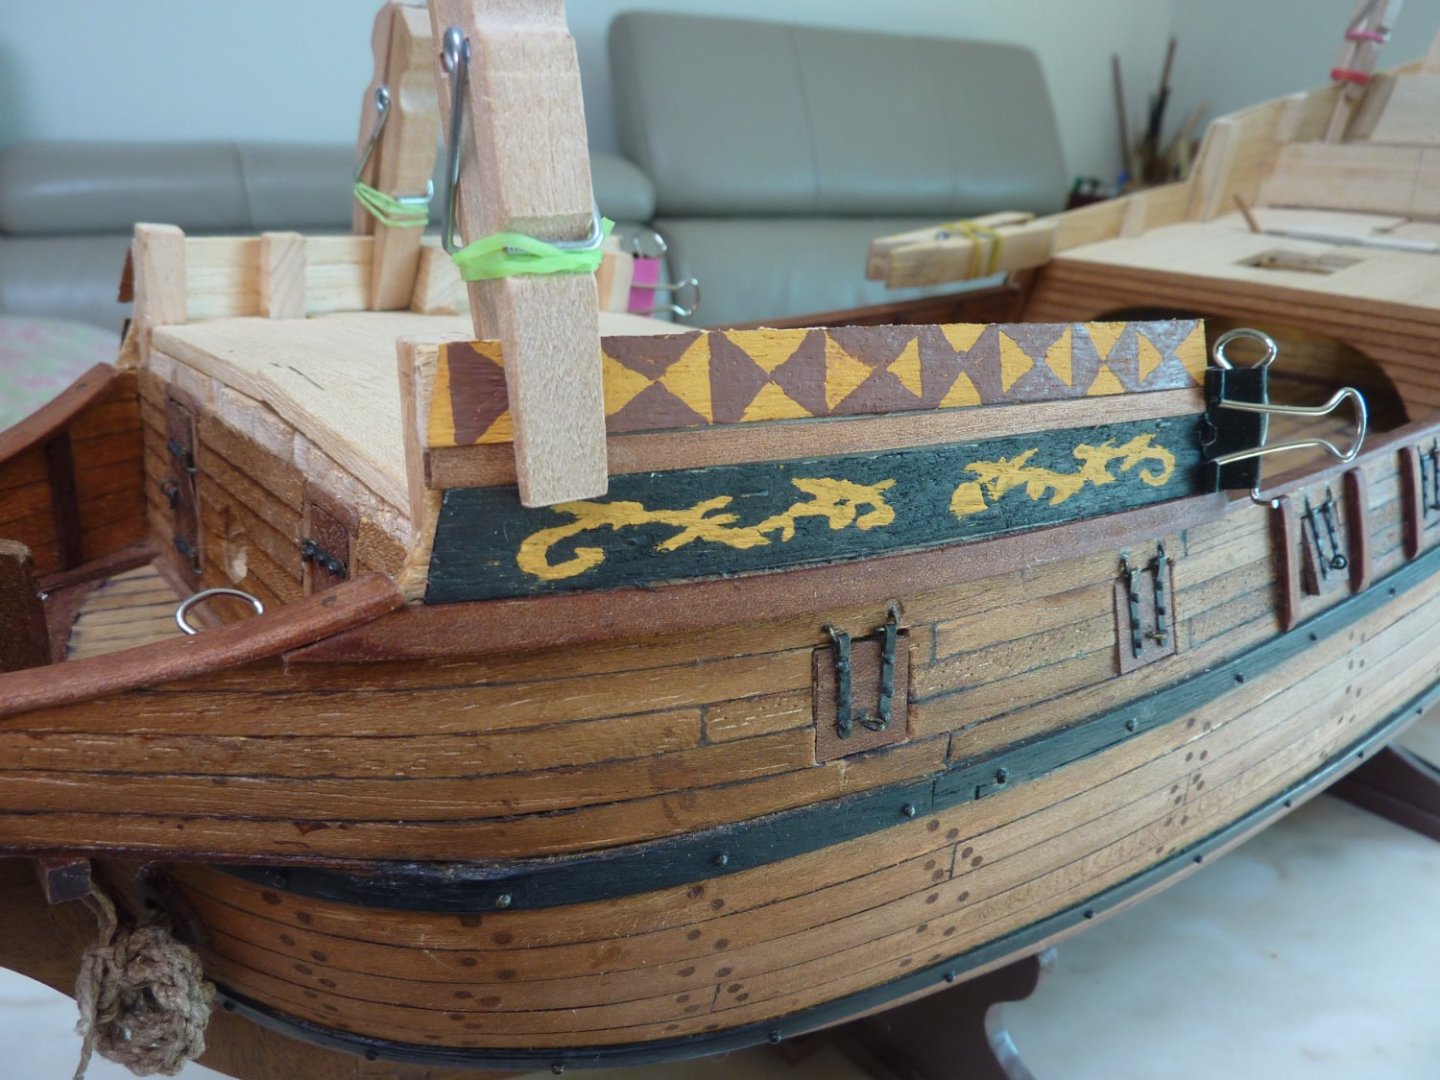
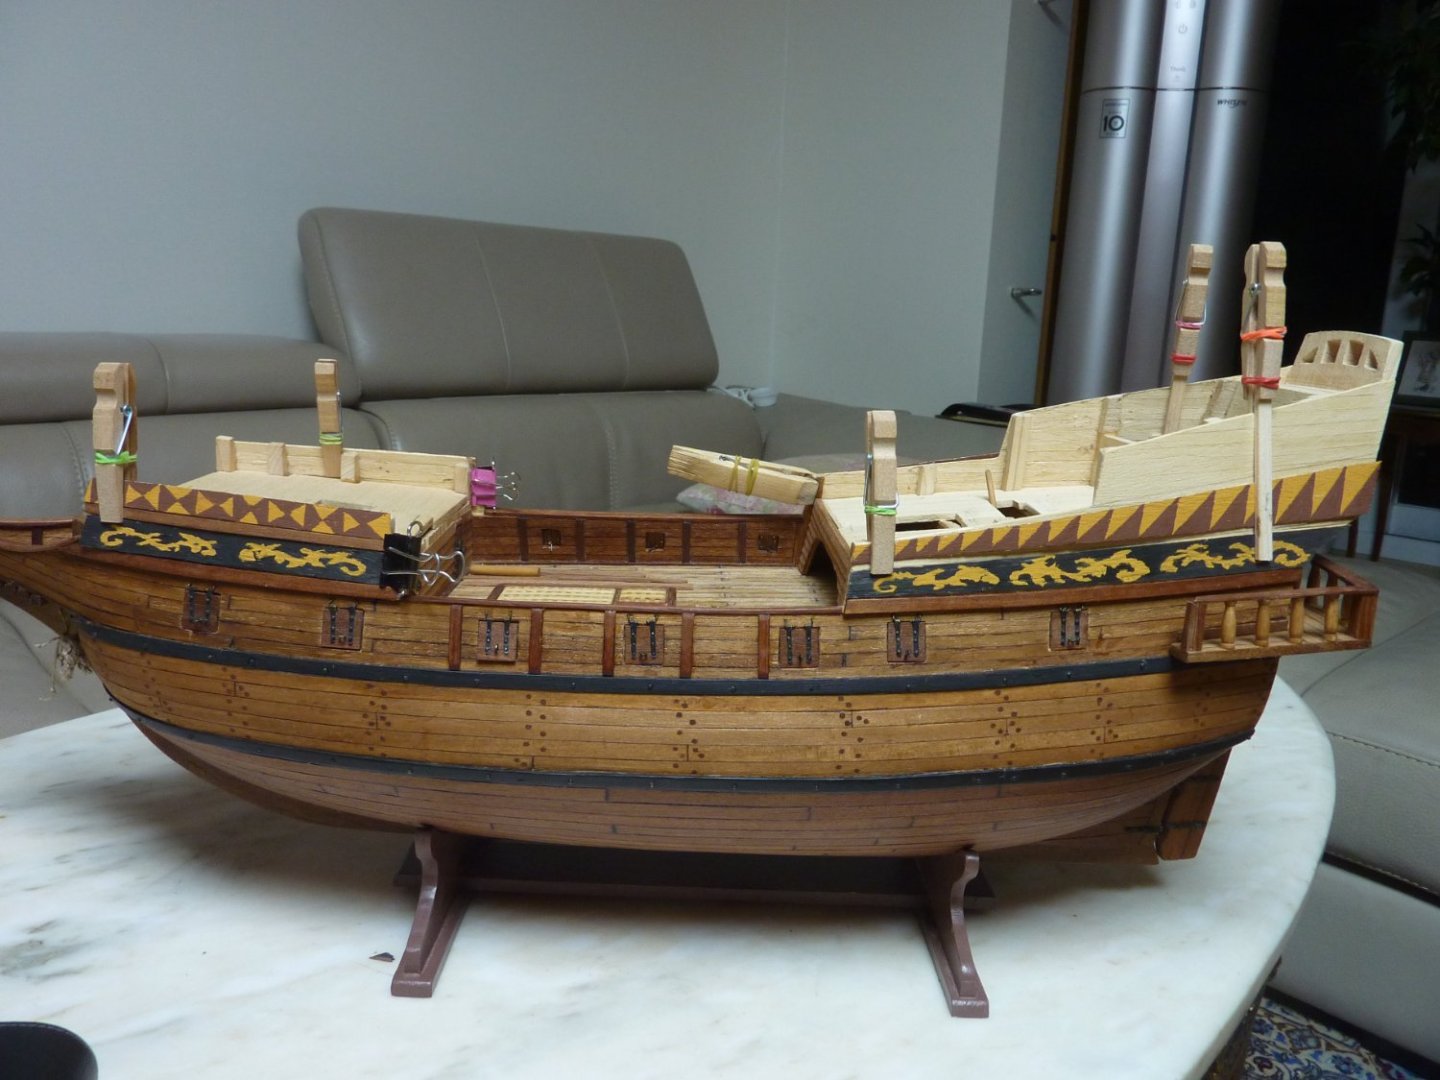
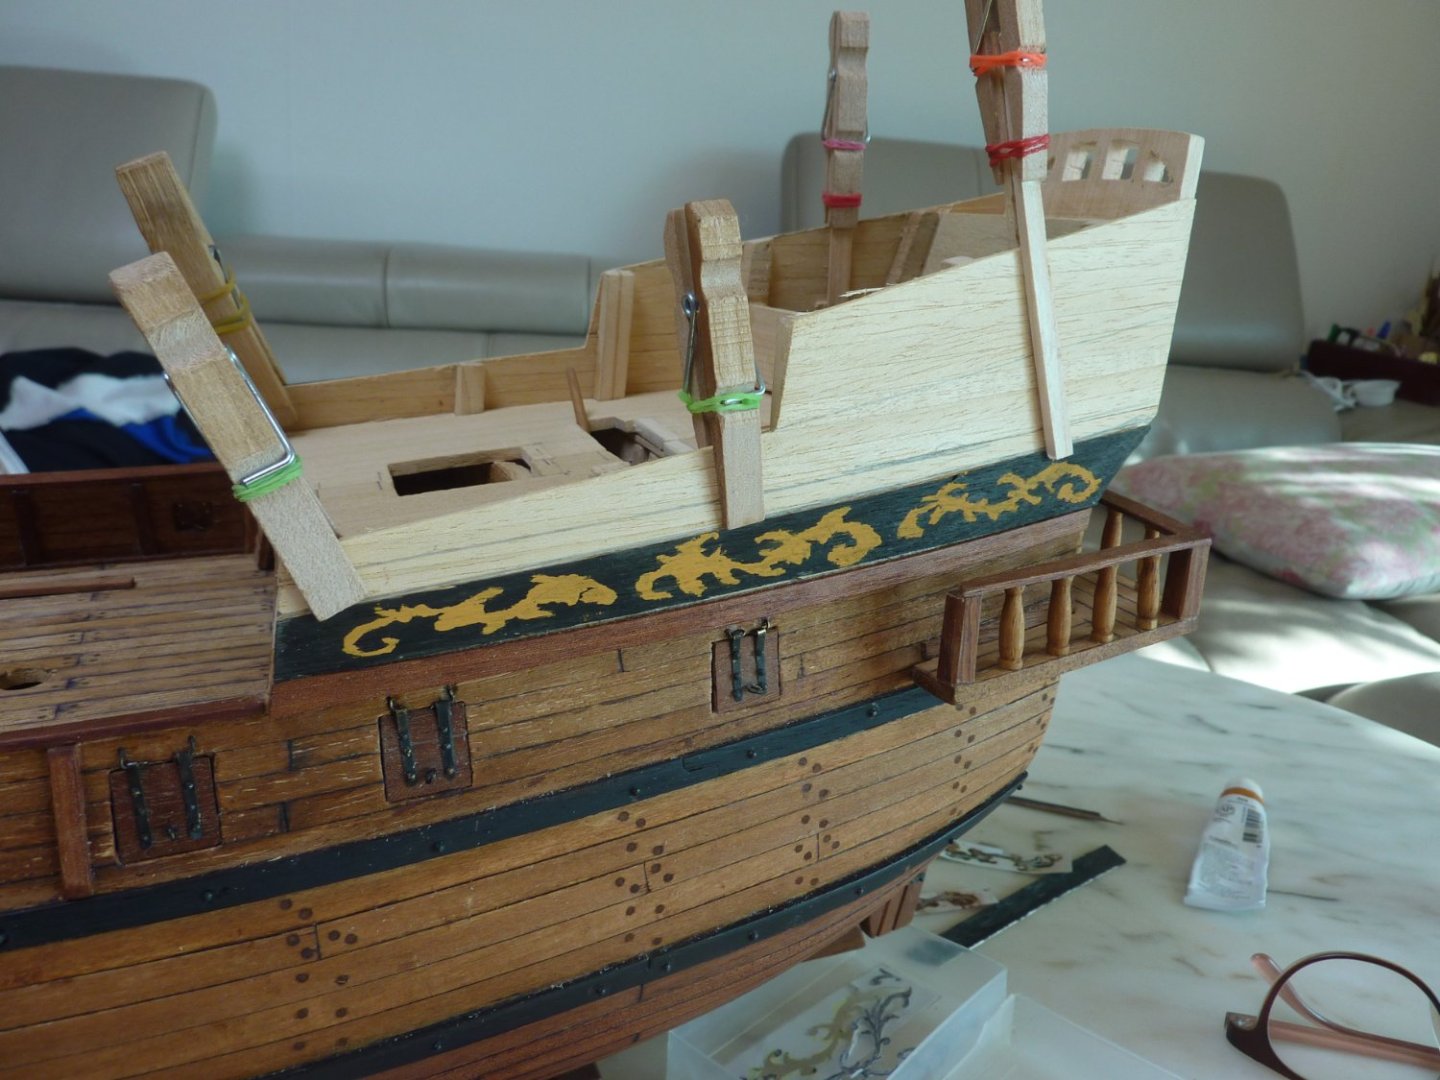
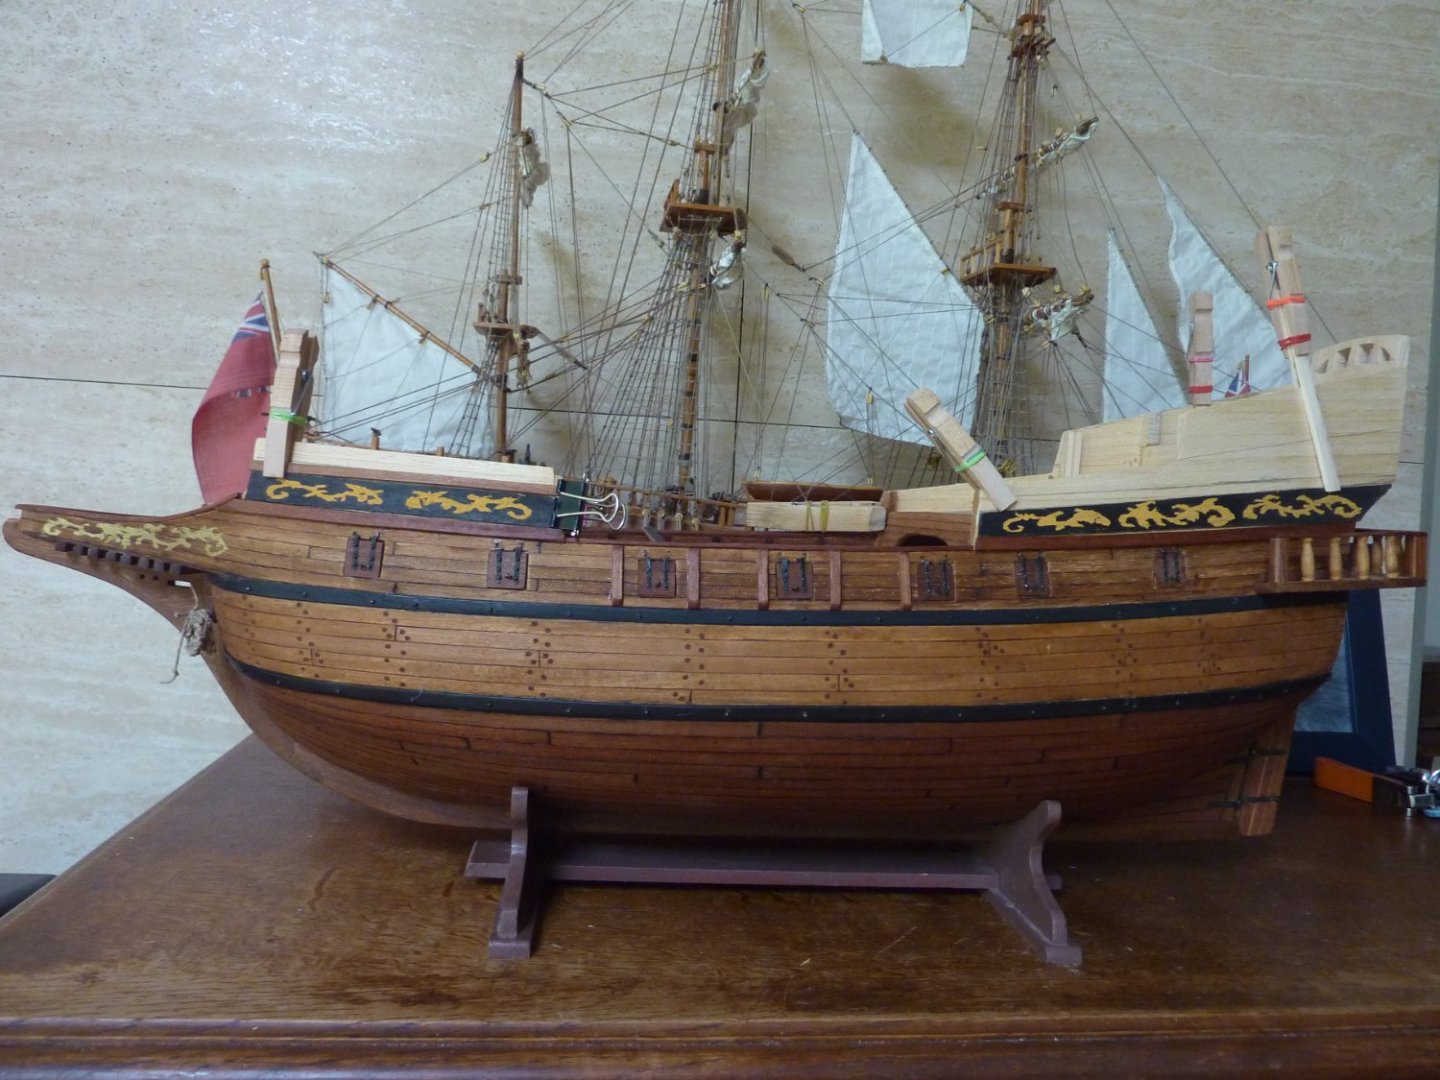
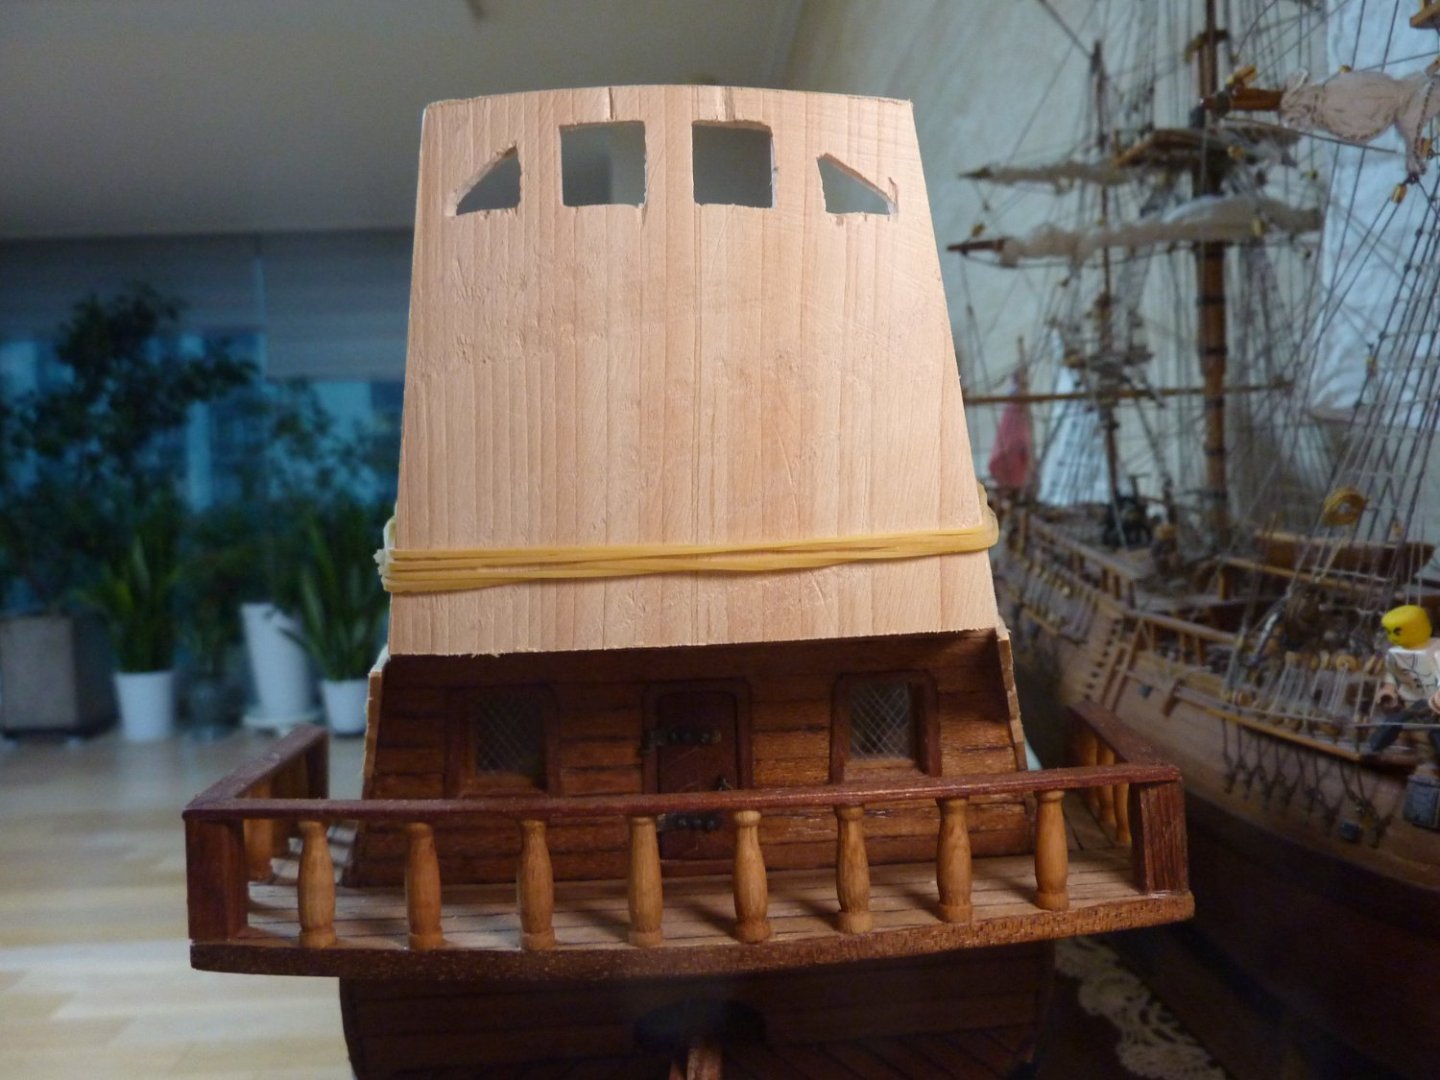
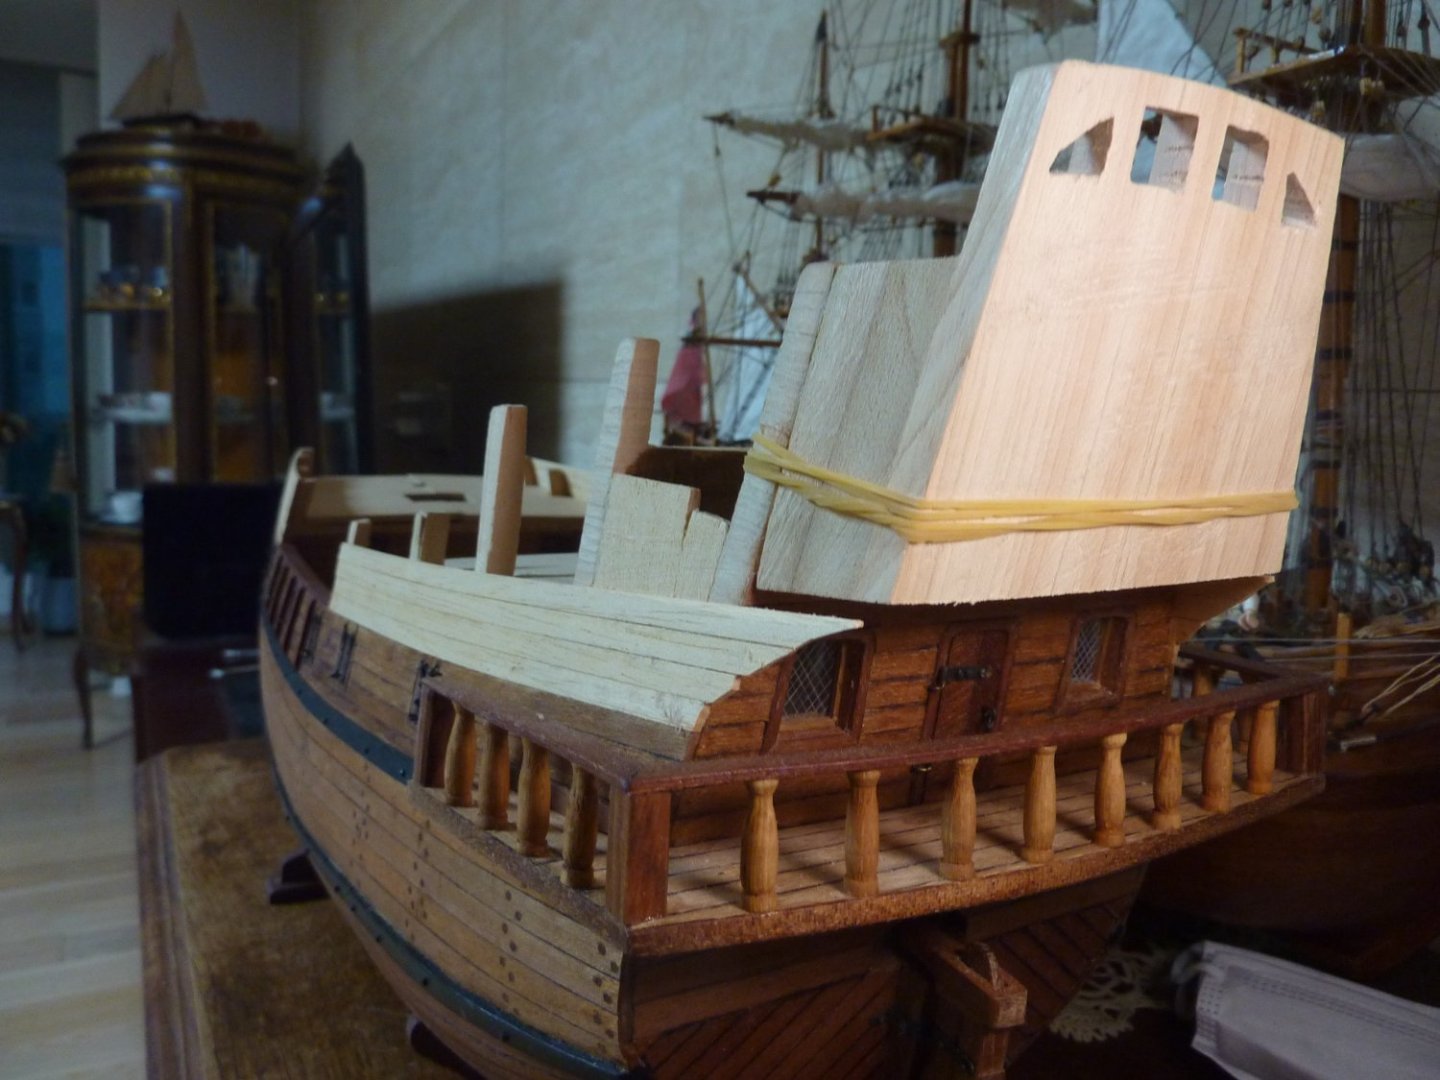
In the same fashion but applying different design, I finished the stern section of the upper part. Also, after much consideration, I tried a very different design for the highest part of the stern section. I am not completely satisfied with this particular part and considered painting this part in dark green or even dark blue - but still not sure. I would appreciate and welcome any/all recommendations/suggestions from experienced MSW members. I may even strip the whole wood panels and redo this particular section with other designs/patterns/paintigs. Until I get a clear idea, I may leave it as is for the time being.


-
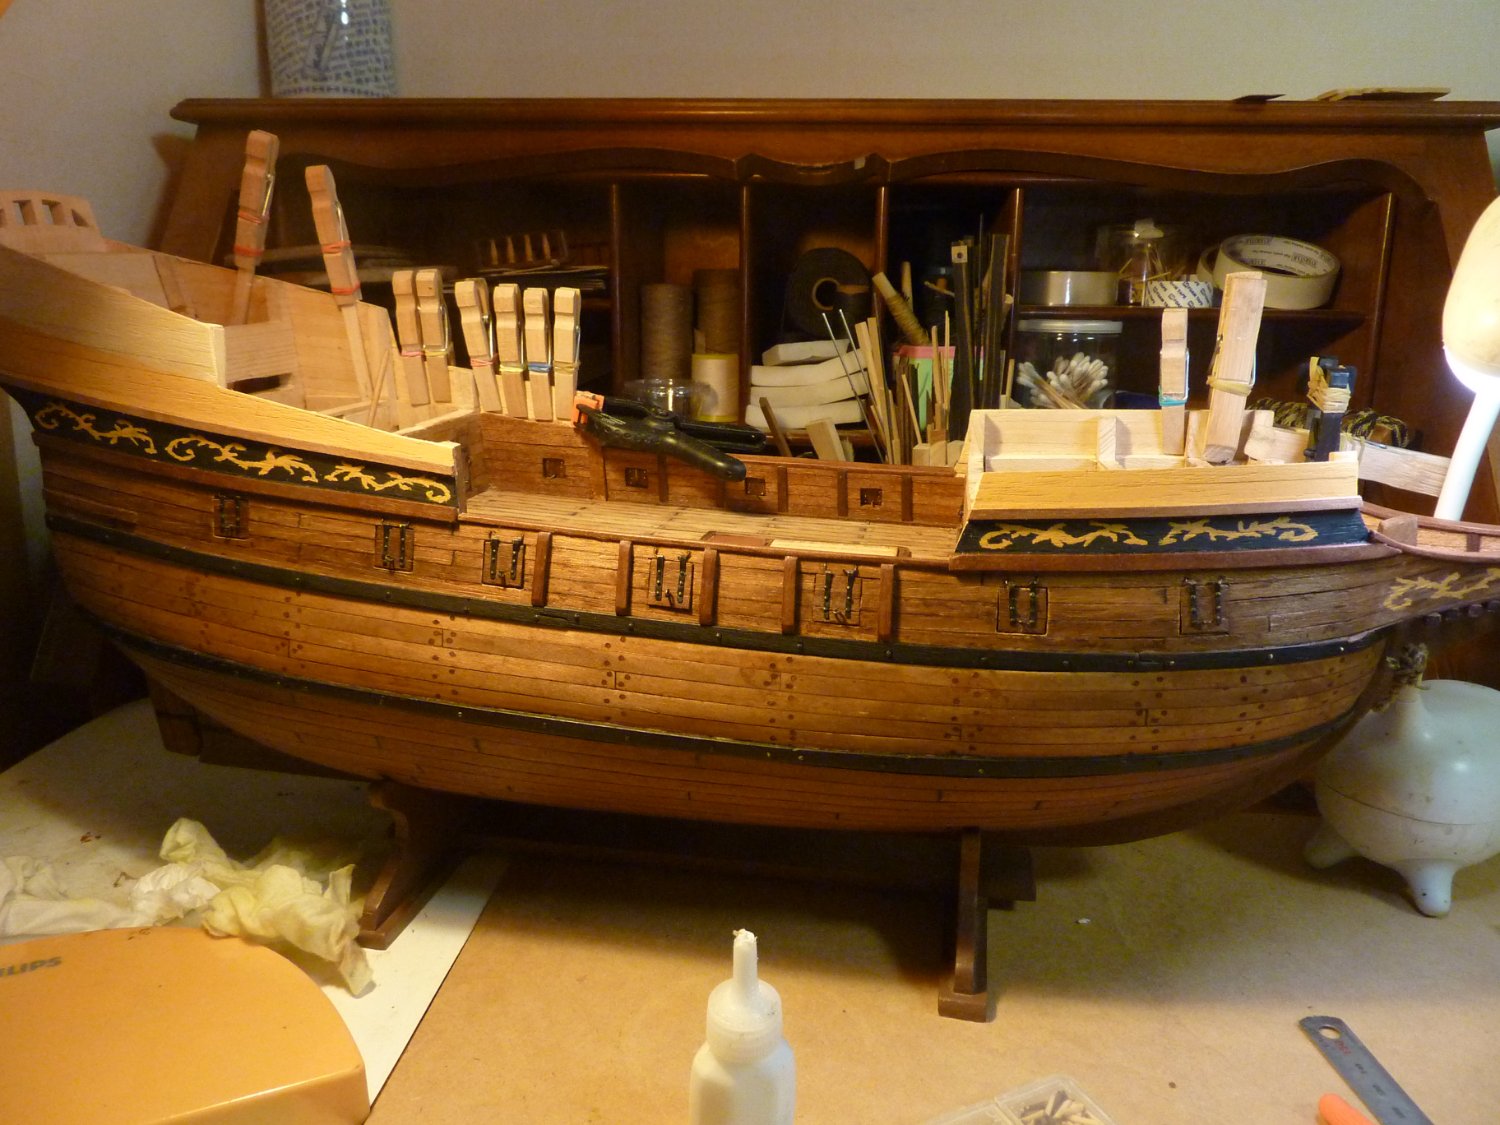
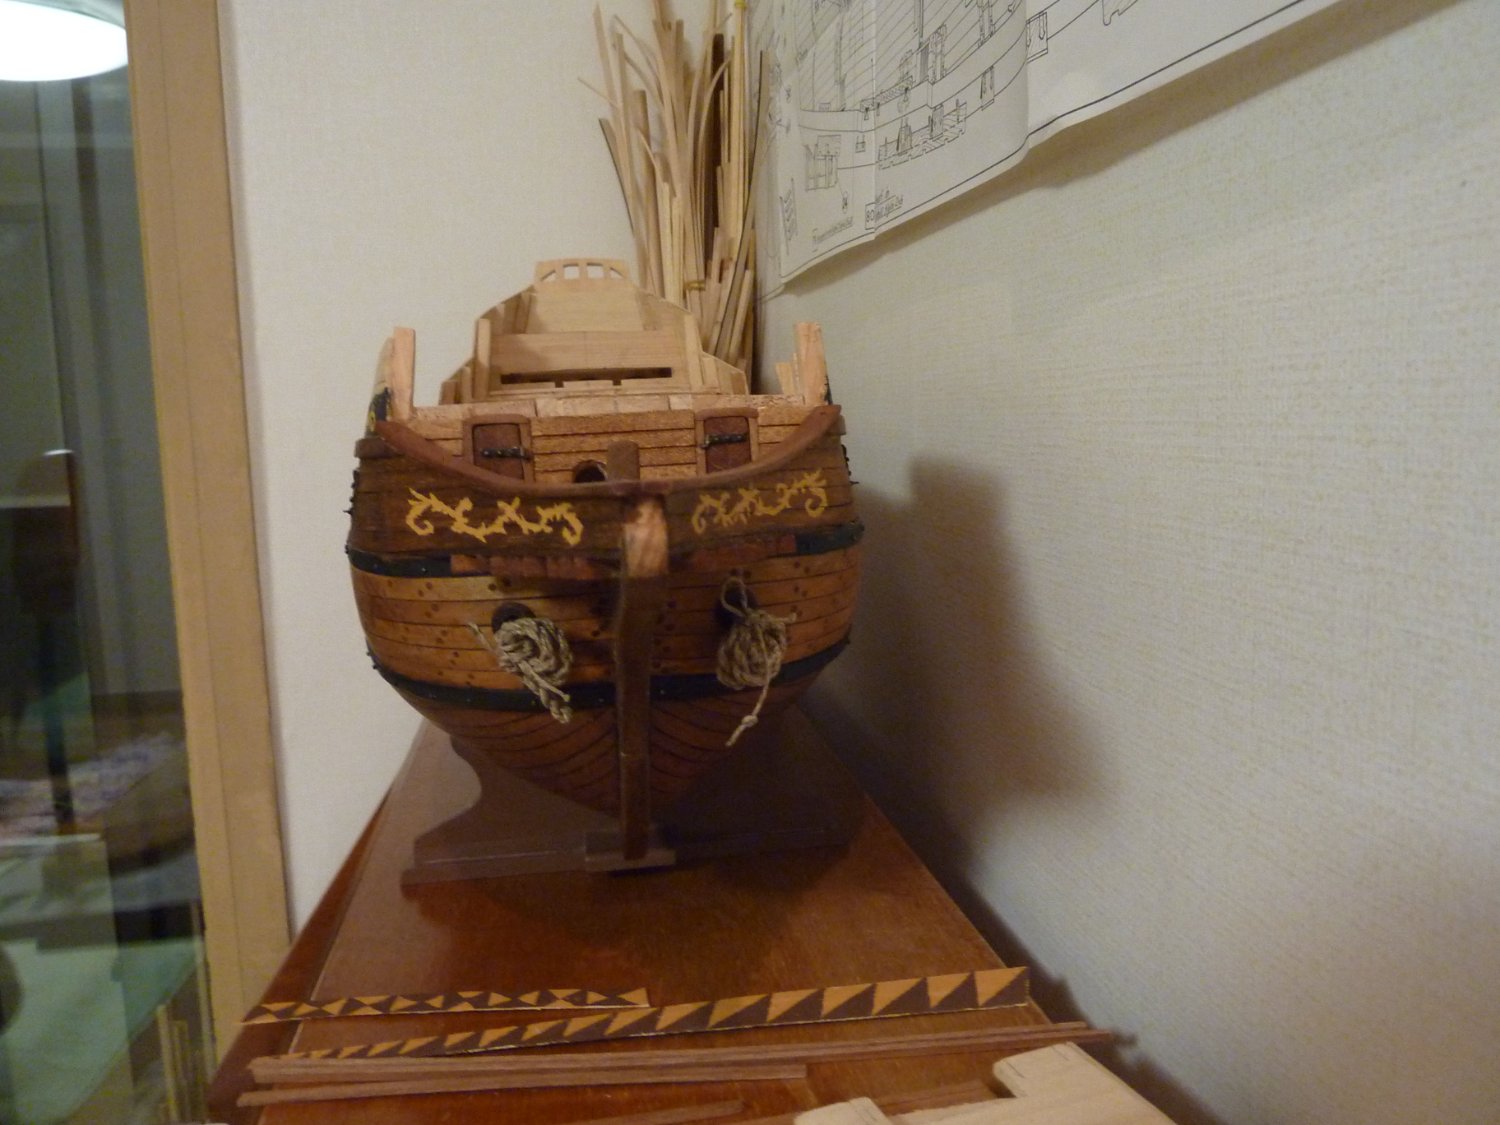
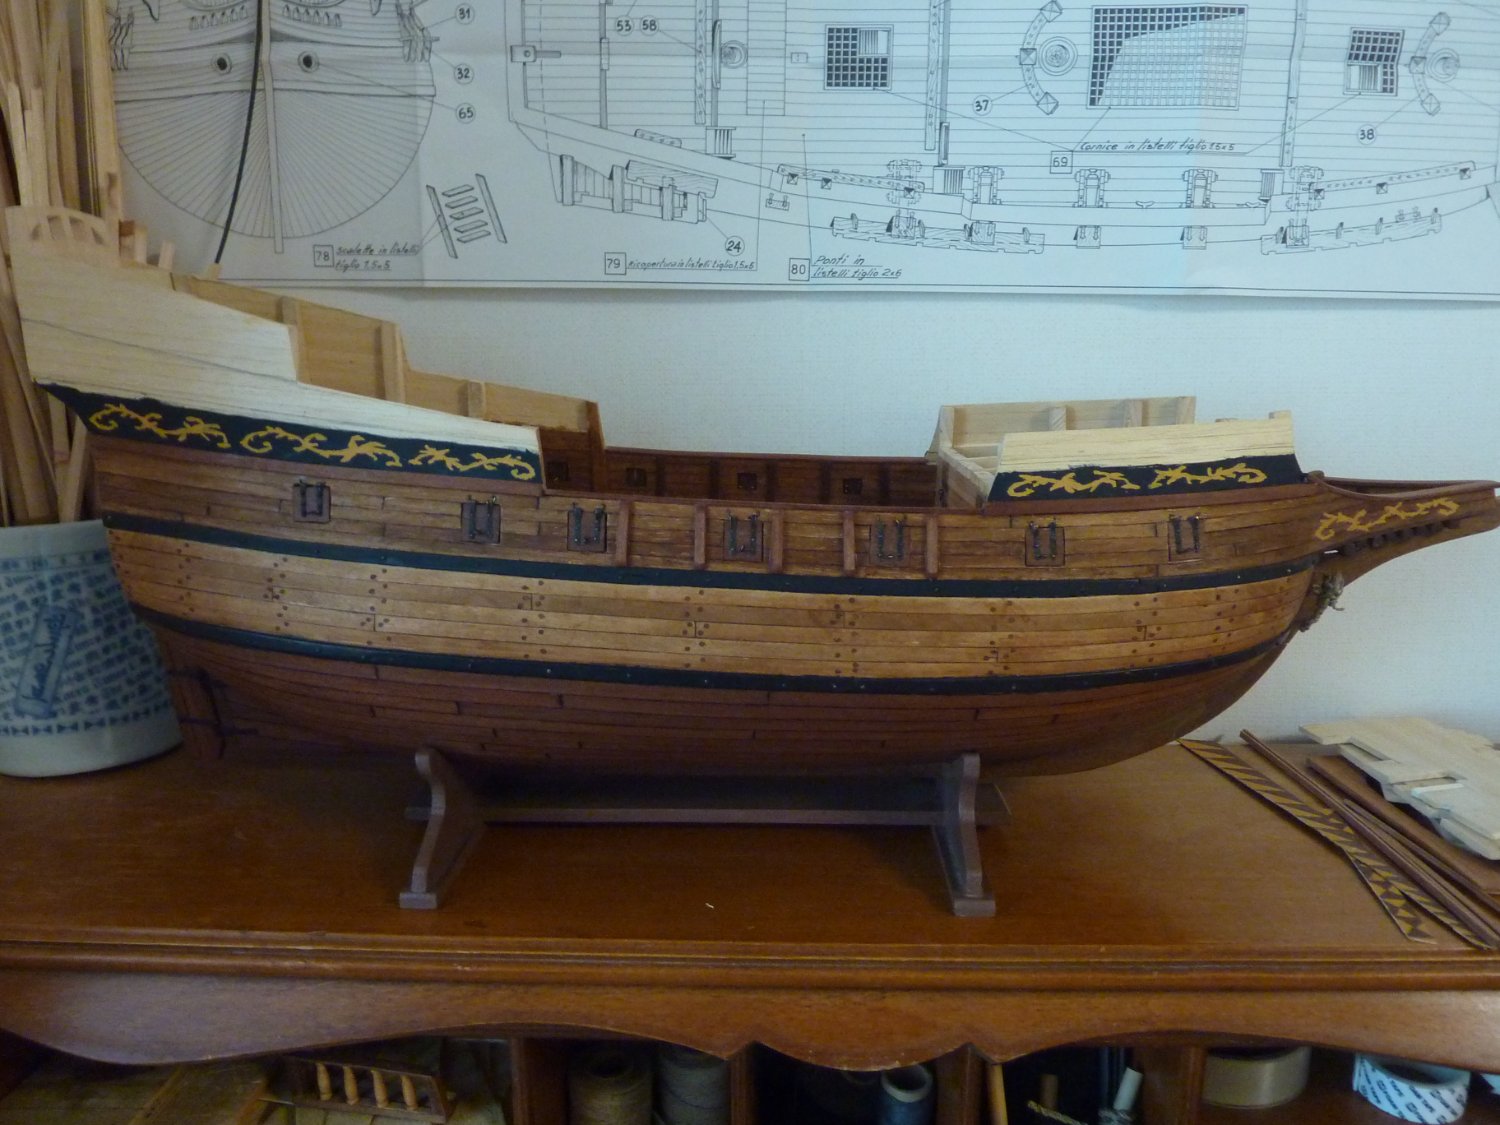
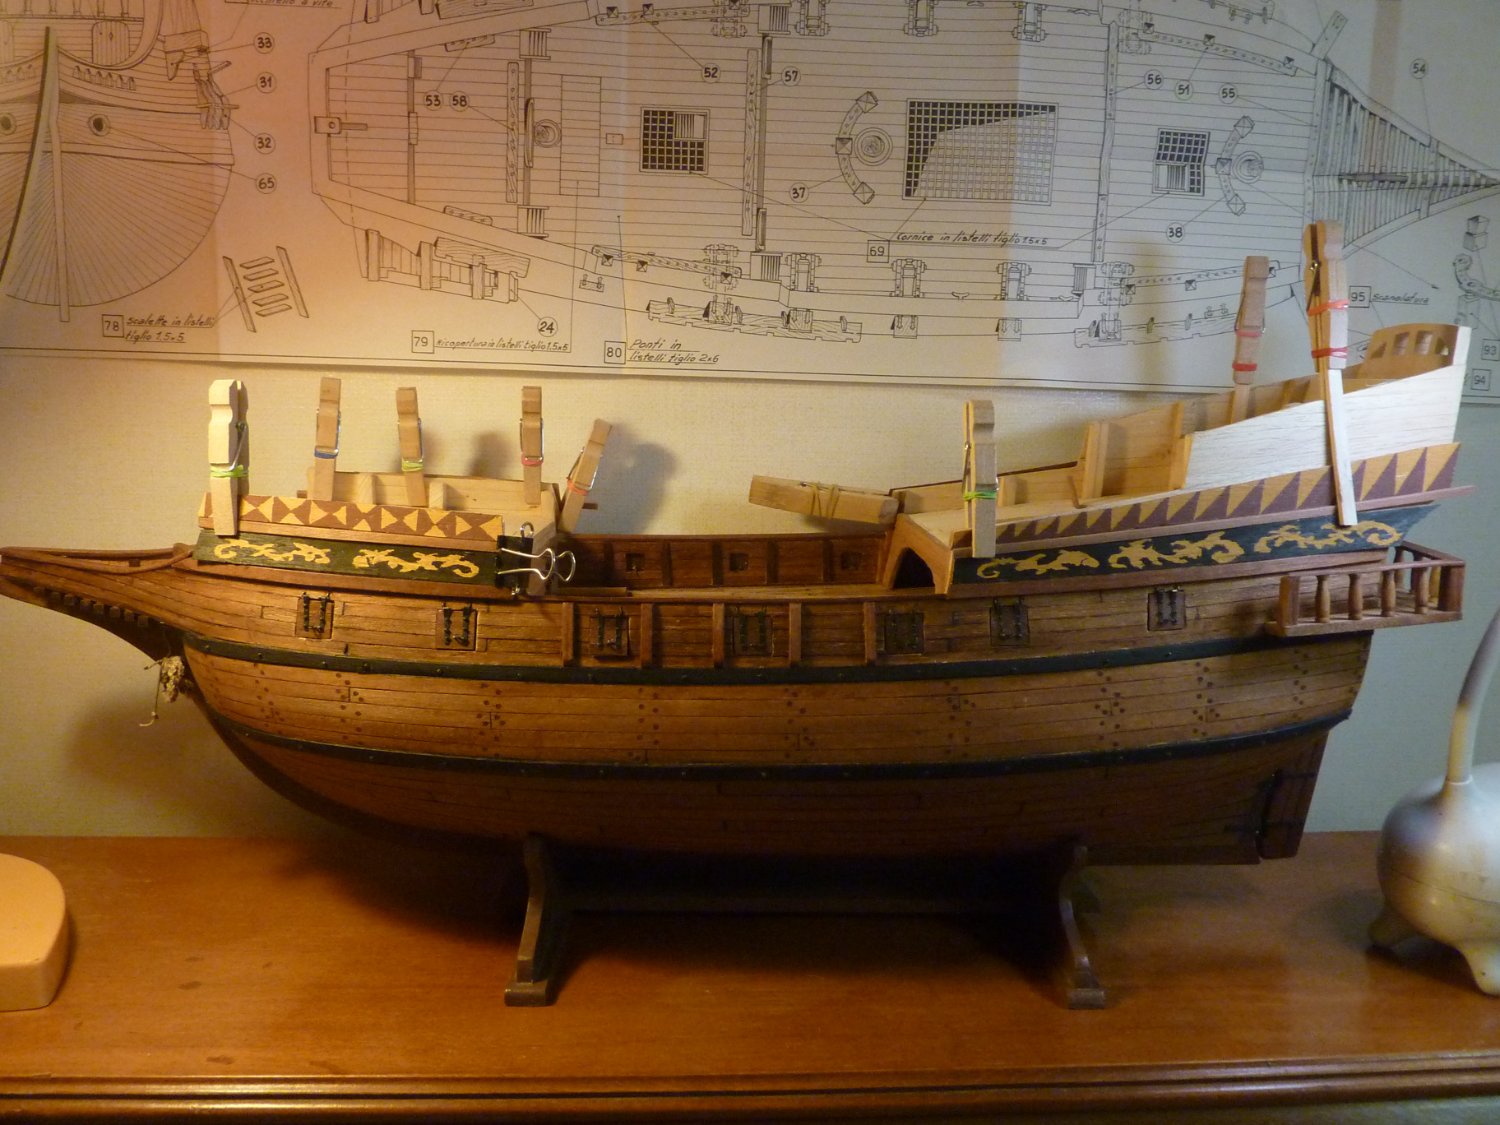
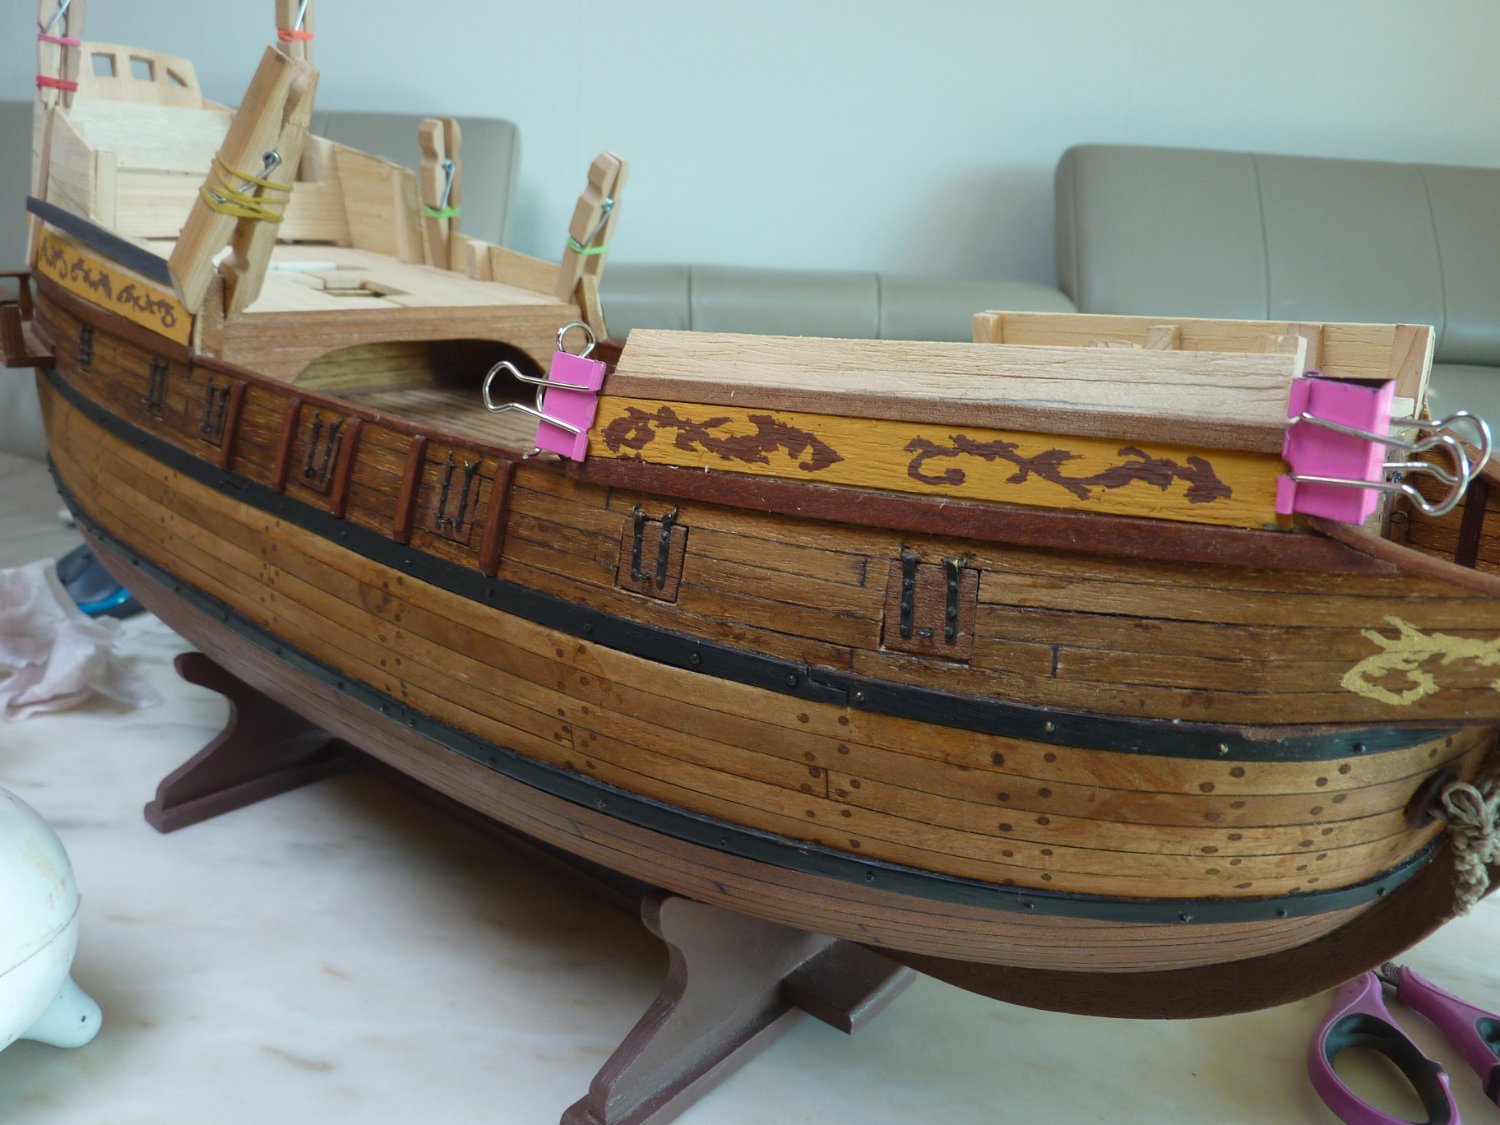
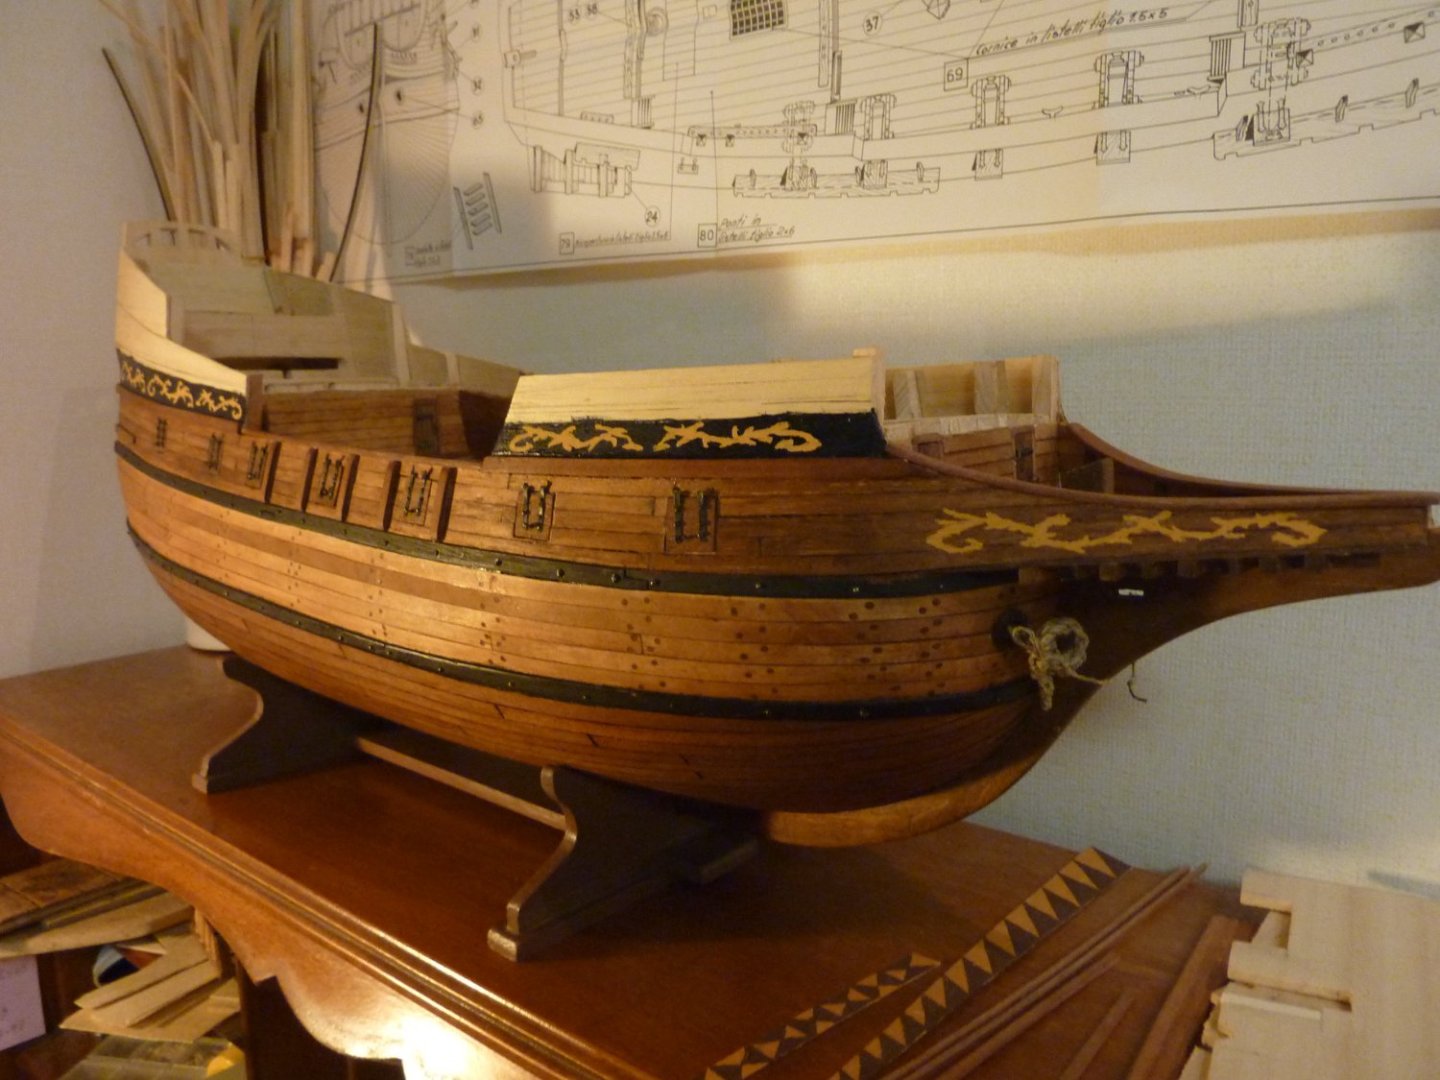
A narrow wale has been placed between the lower and upper part. For the upper part, I painted the background and glued thin sheets hardwood on top for the overall design. The bow section is finished as below.


-
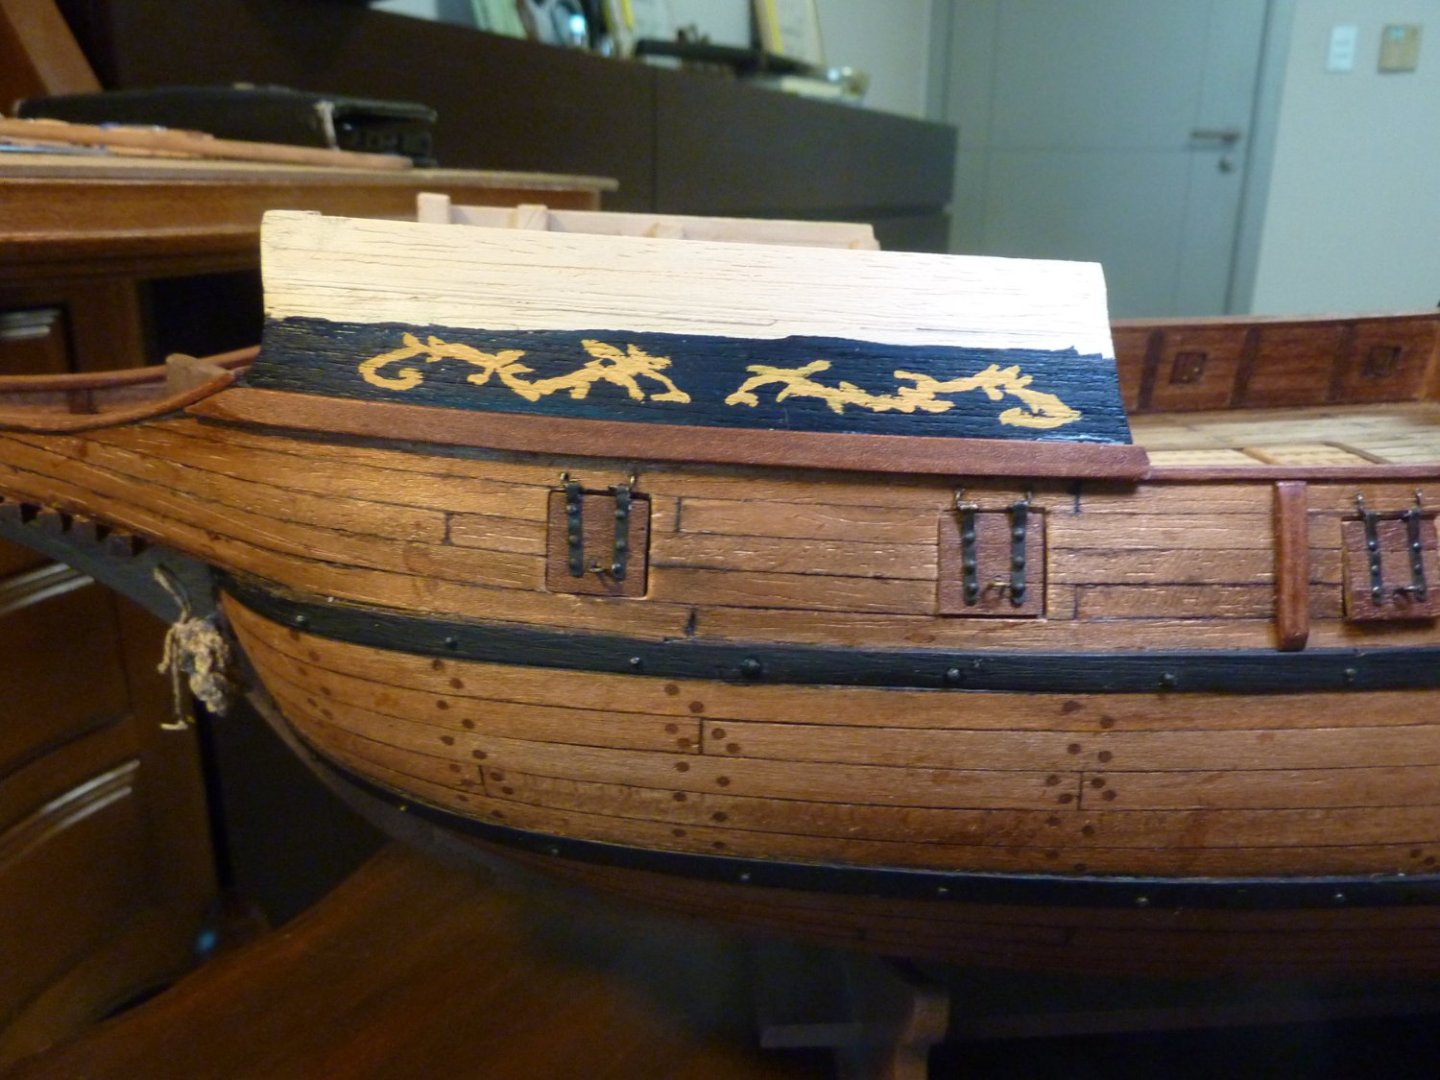
The actual application of the selected design on GH1 begins. I changed the background color of the lower part from matt black to matt dark blue. Lower part done and I applied similar frieze pattern for the beakhead area as well.


-
Hi All, It seems COVID is beginning to re-emerge in Korea. More new cases and our whole family had contracted COVID for the first time about 2 weeks ago. Anyway, I managed to work on the upper hull painting and rendition and tried on 2 major alternative designs as below. The last picture won the family vote on GH1. I also like the other design - which I think I will apply on GH2.


-
Thank you, Patrick!
-
Thanks, Alan!
-
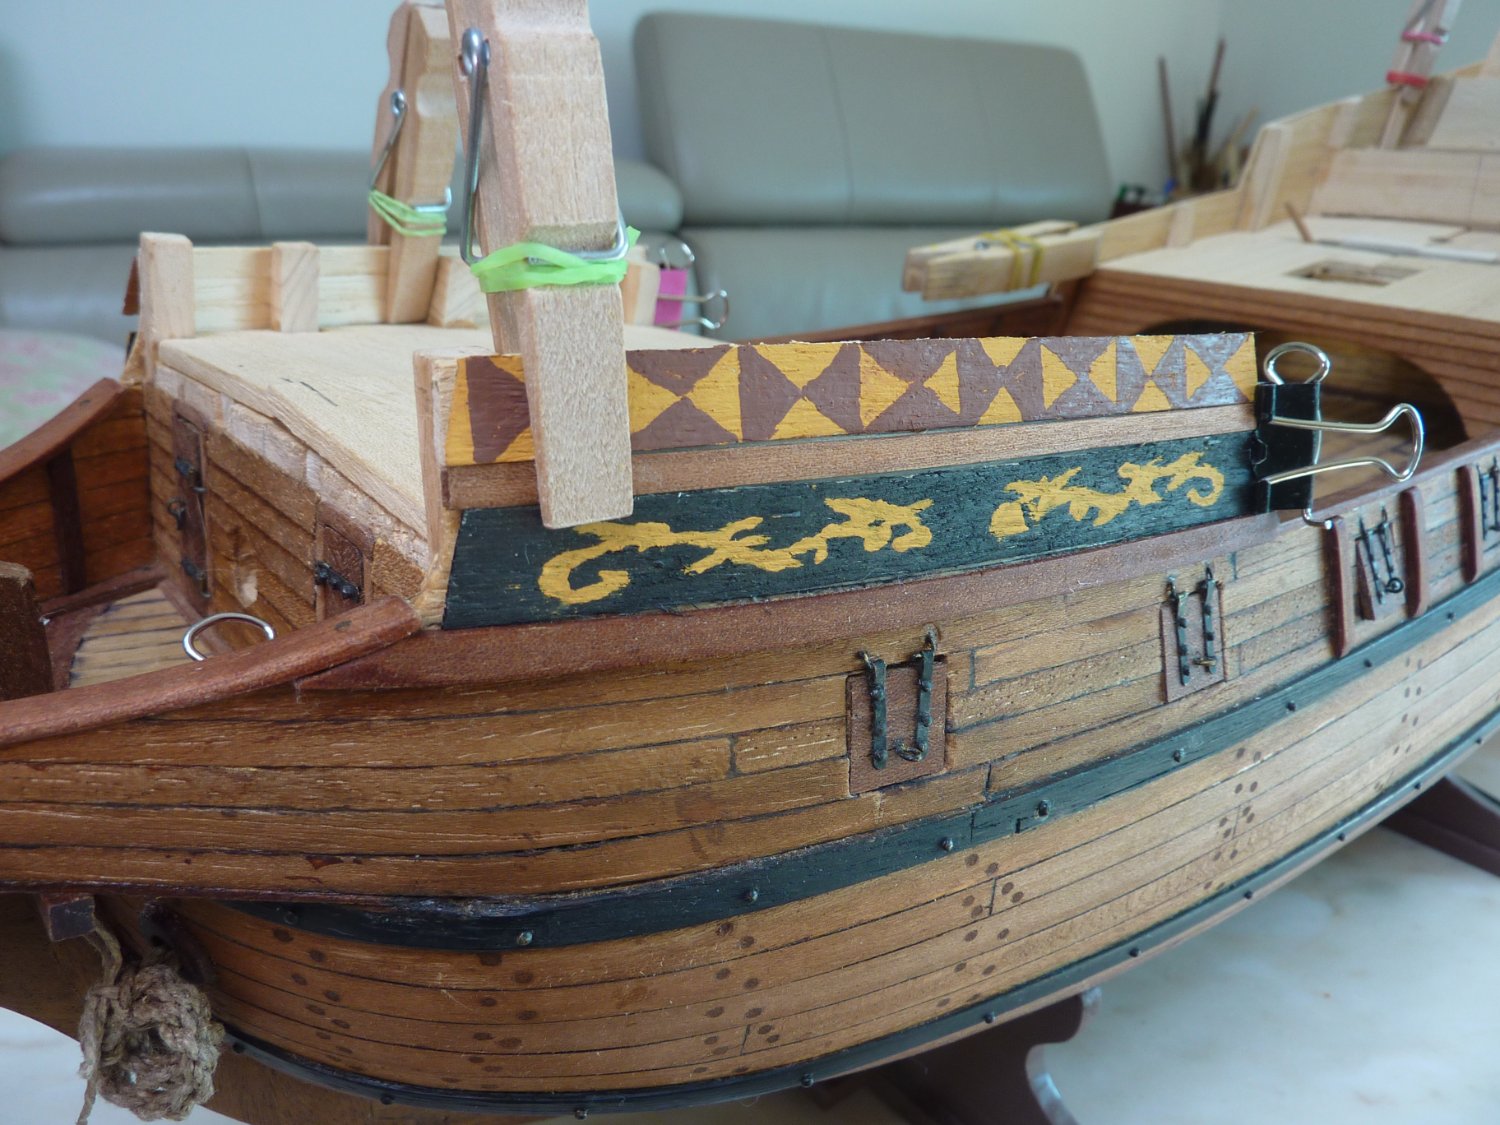
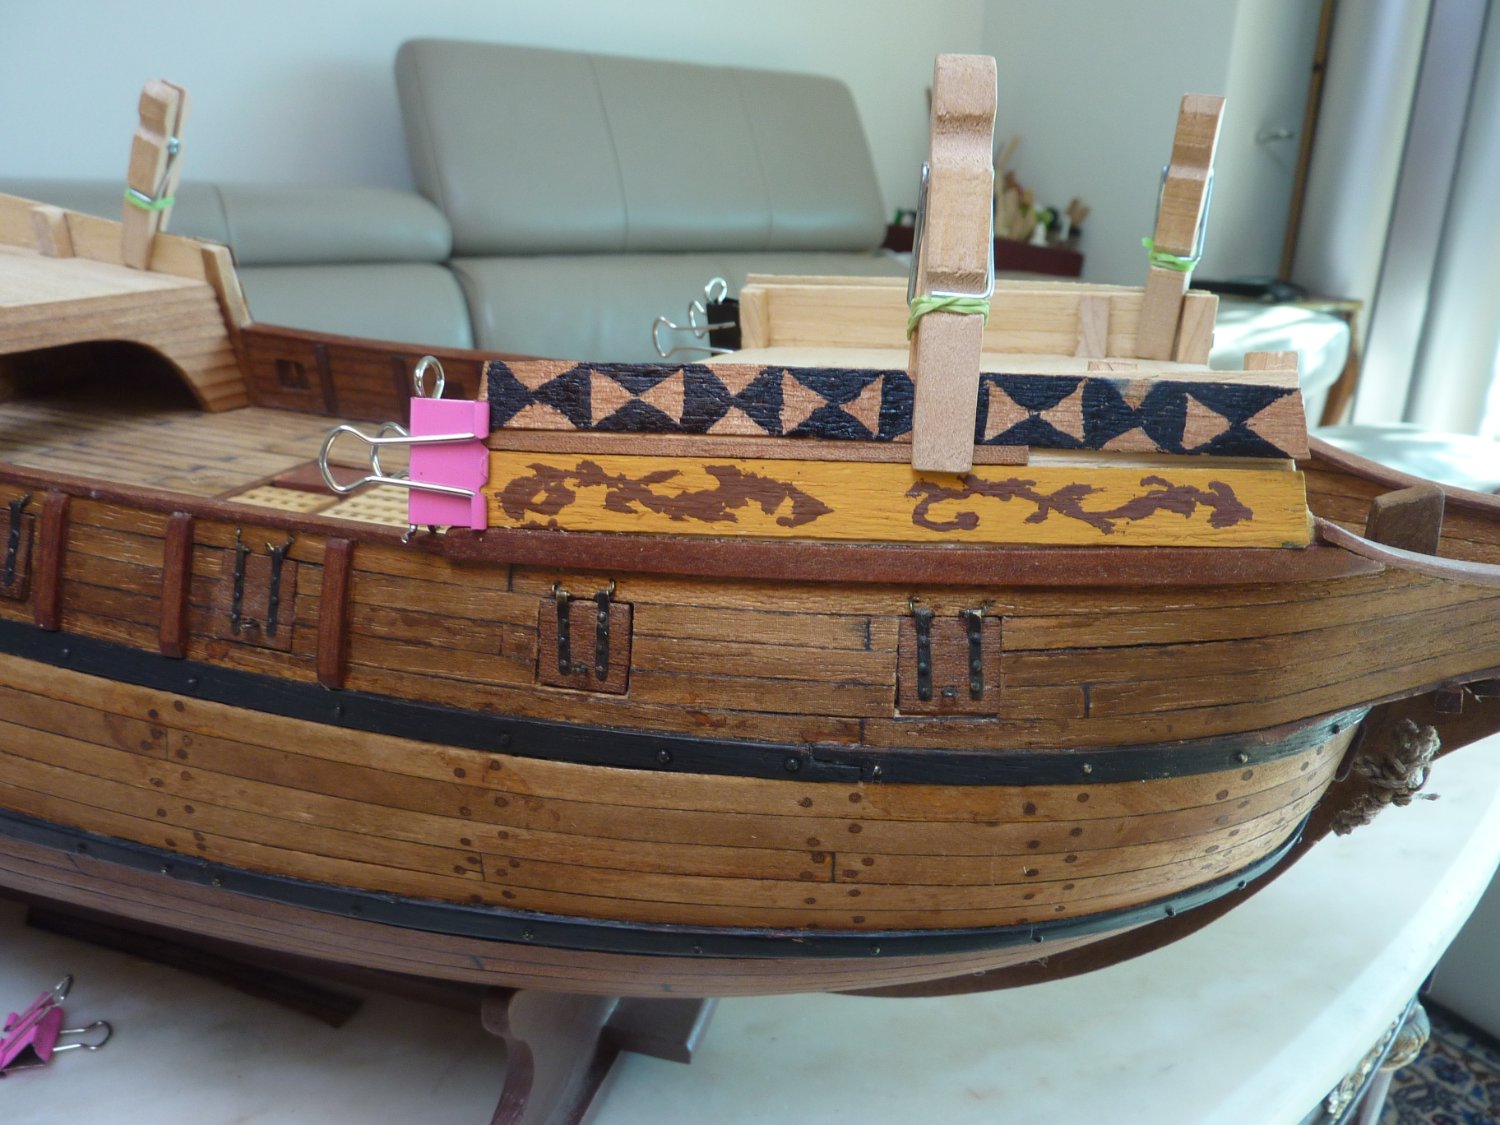
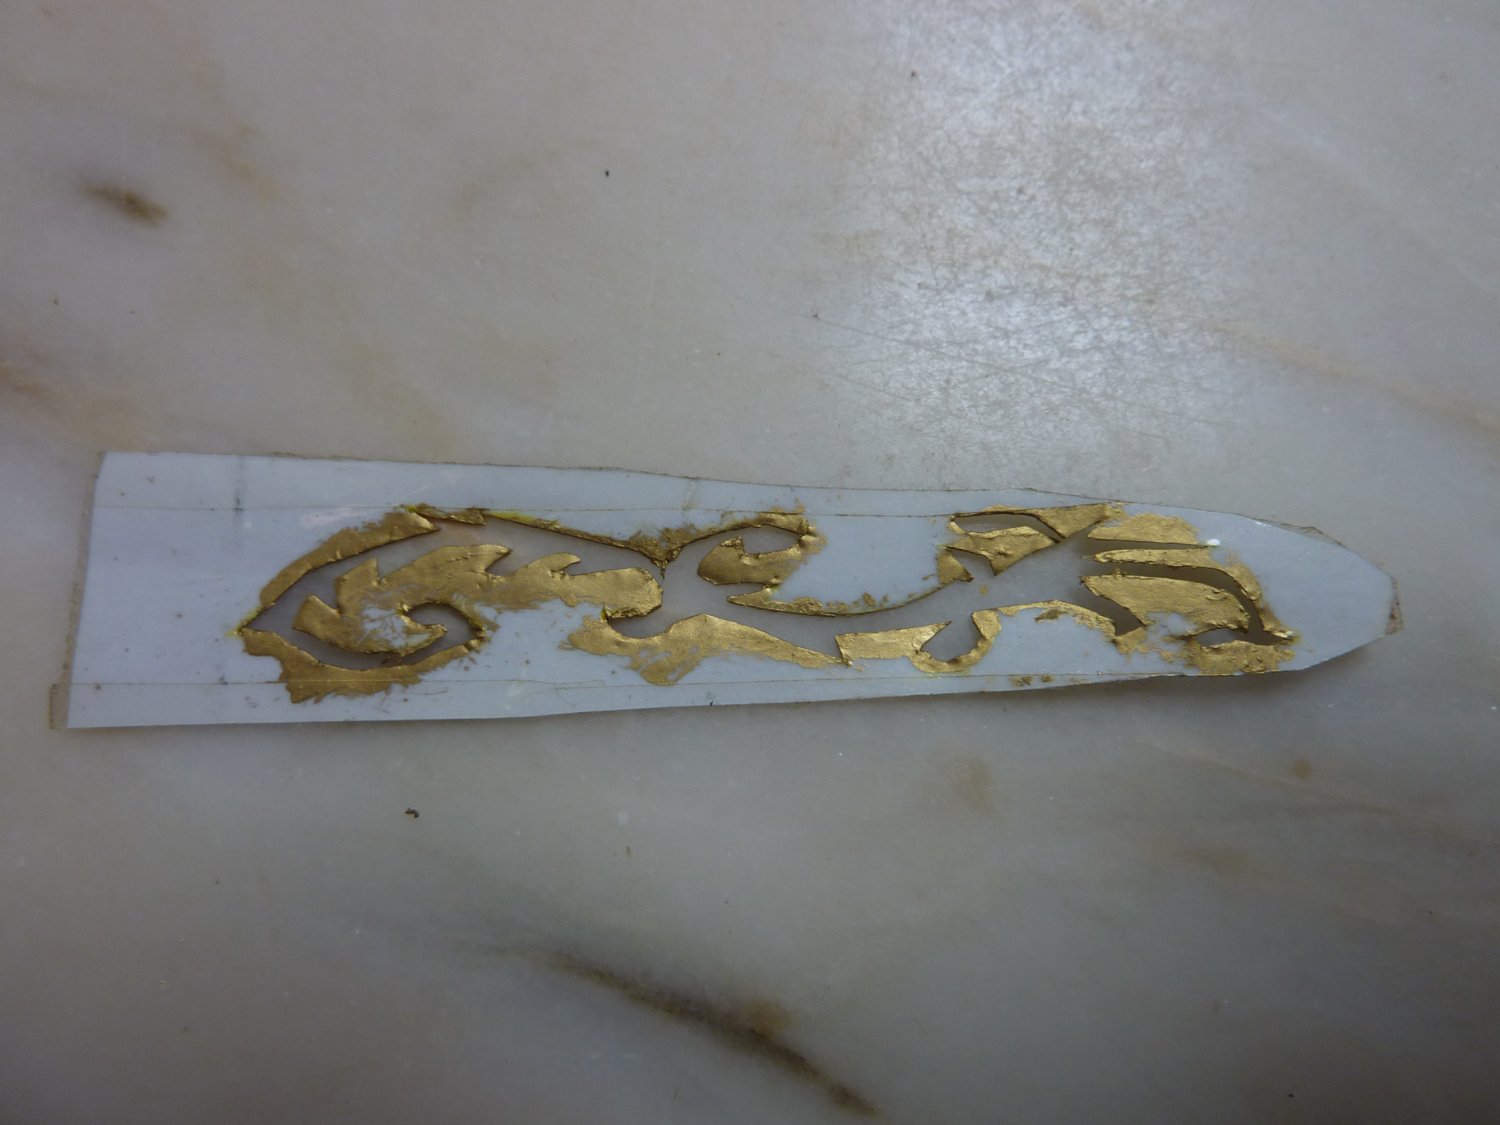
Now the much anticipated upper hull decoration and painting can start in earnest. I was still not sure which designs and colors to apply at different areas. Therefore, I decided to test different color and design combinations in a seperate thin sheet of soft woods. First, a frieze design (in a number of varying sizes) was obtained from internet, printed in paper and the shape carved out. I am testing different colors (with various back ground colors as well). Apart from this frieze pattern, I am planning to apply 2 major types of design. To be continued in the next update....


-
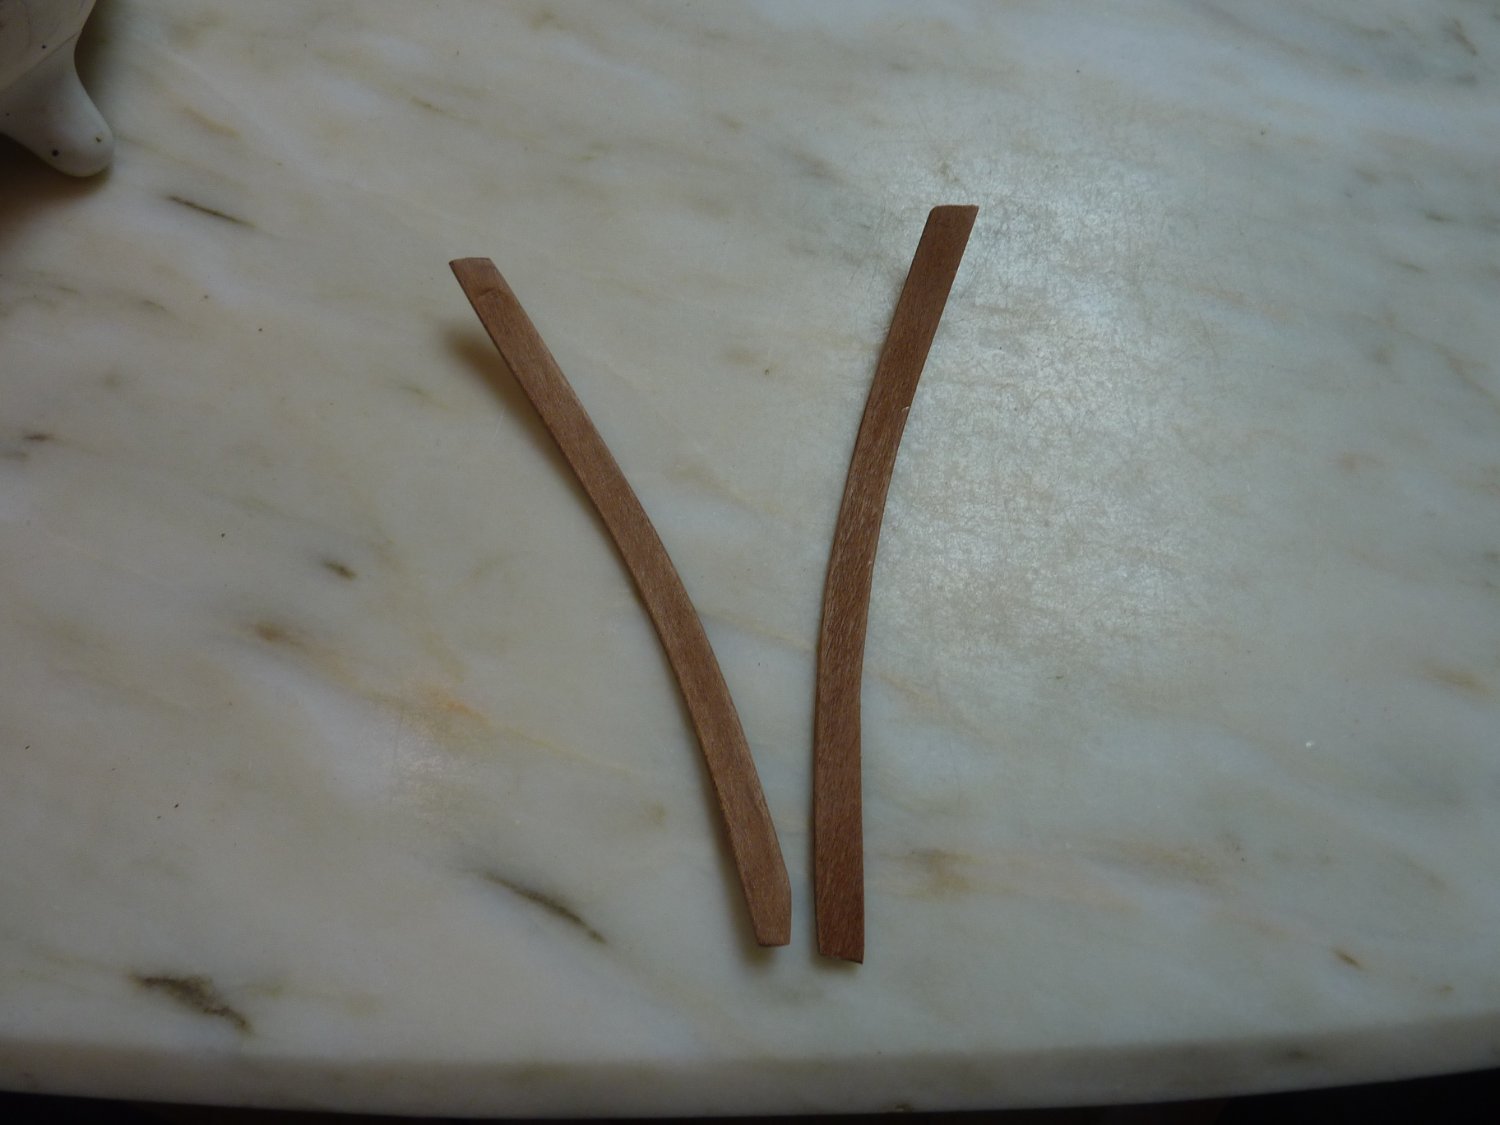
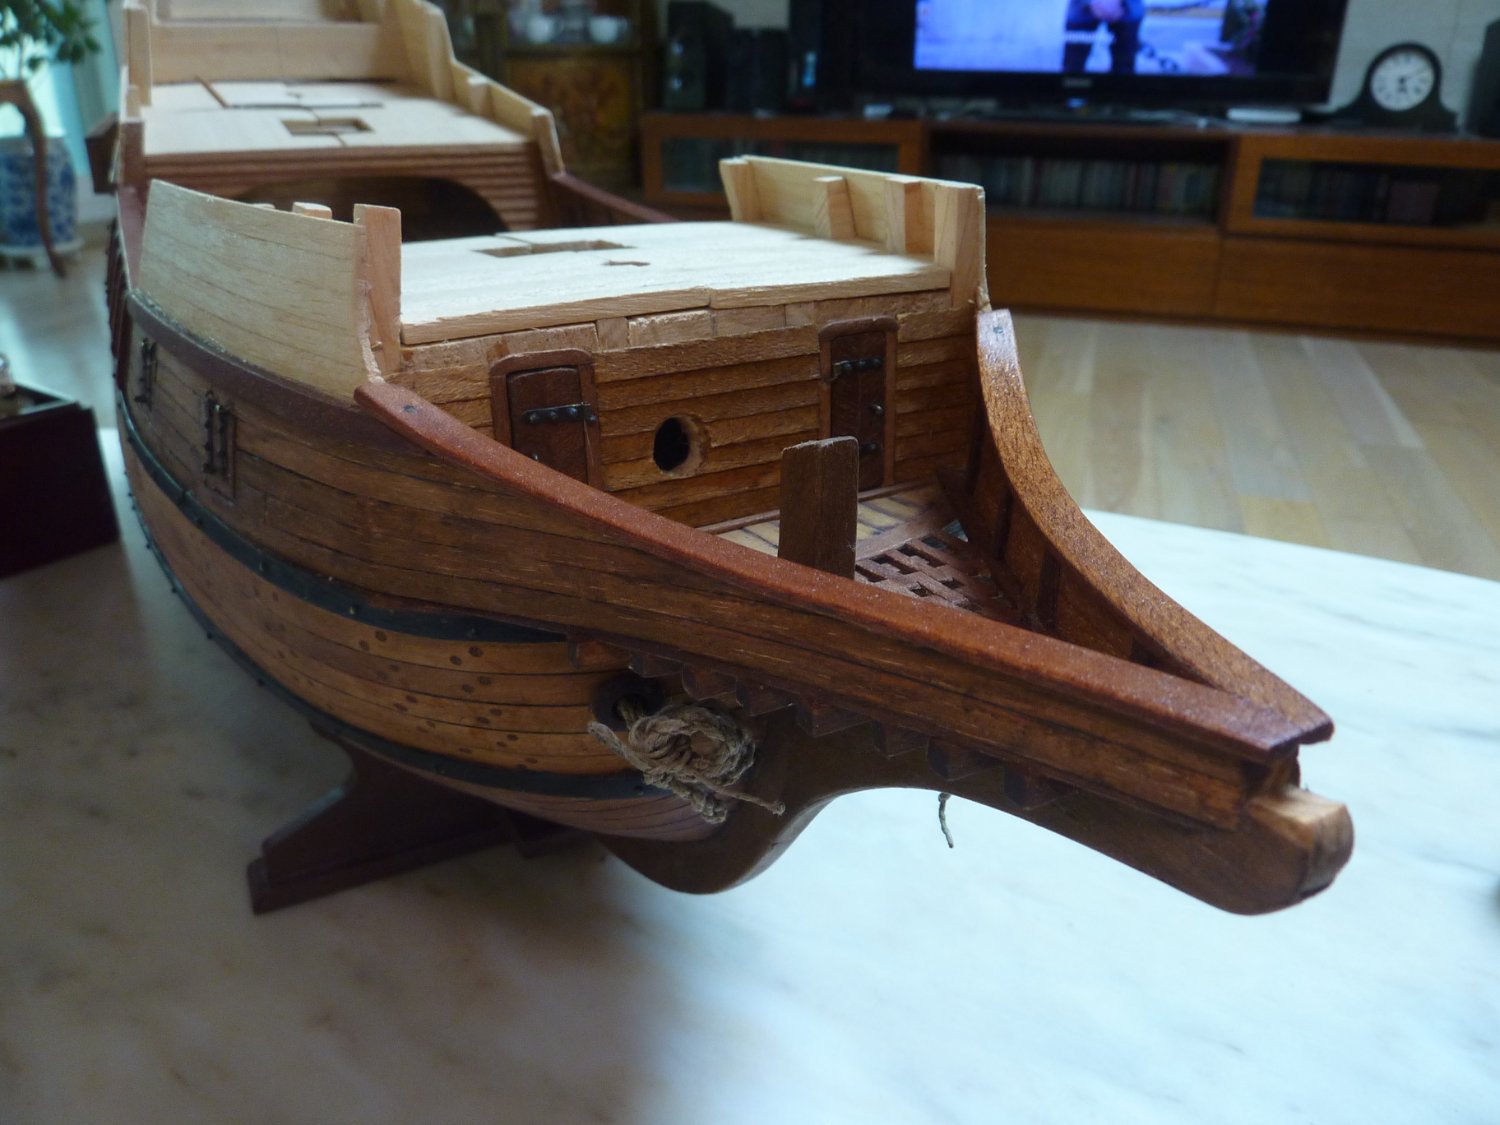
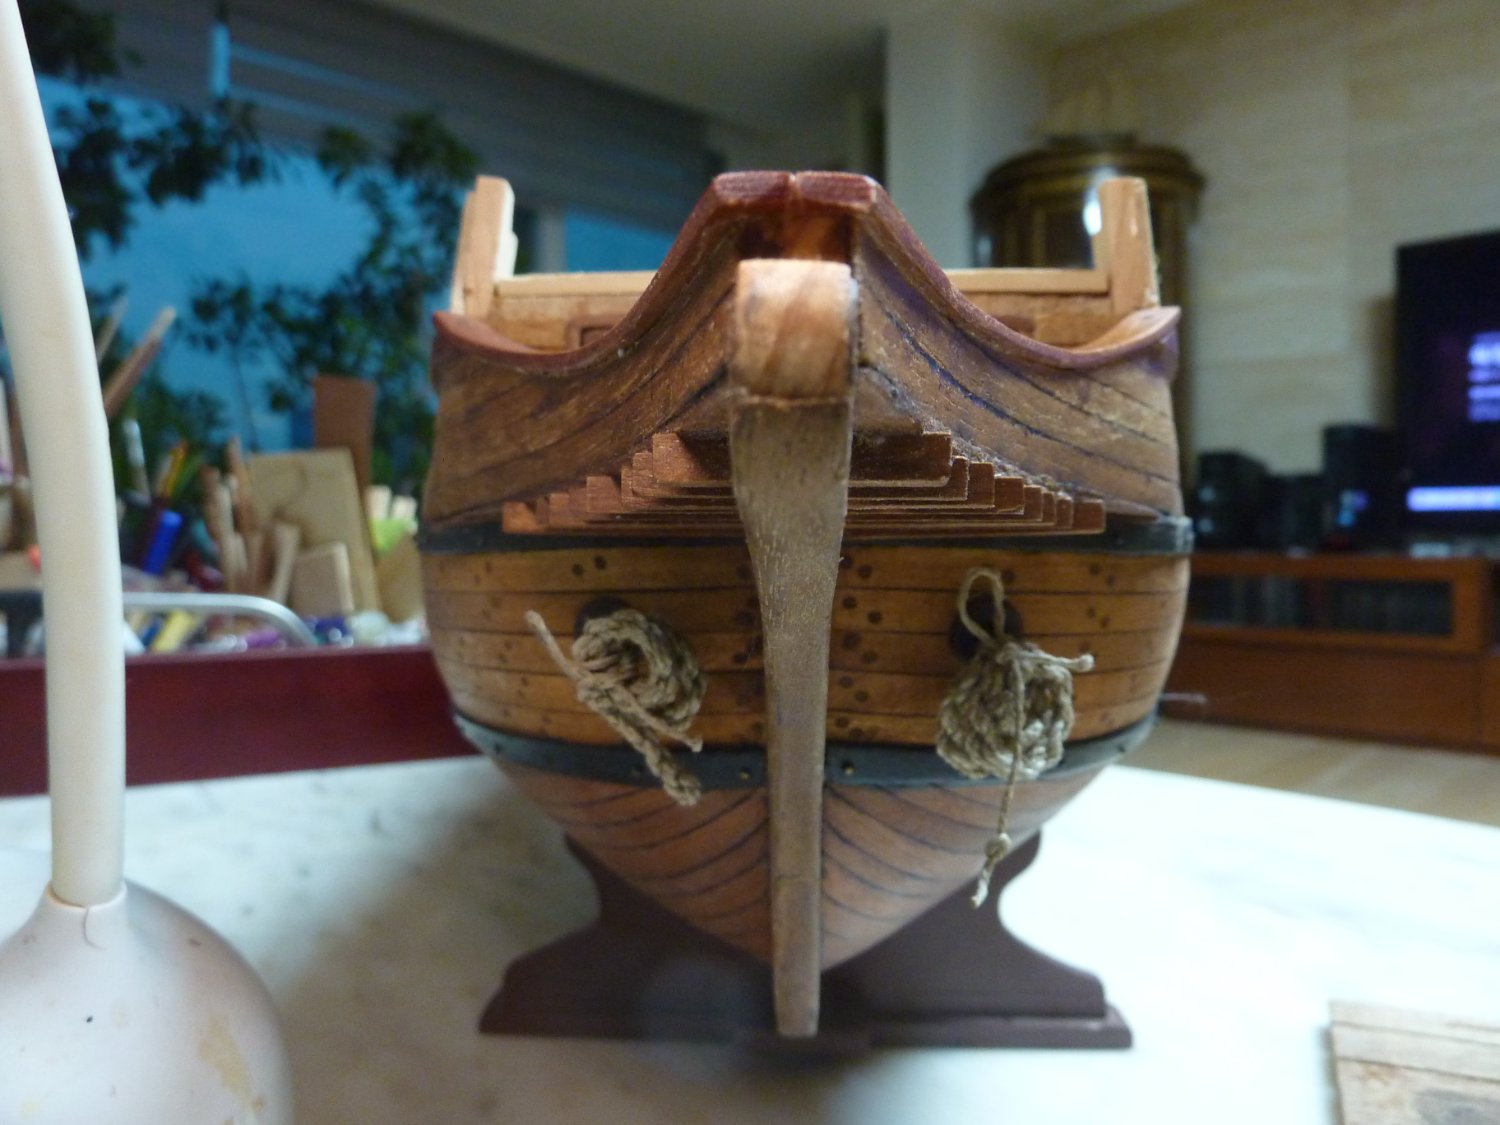
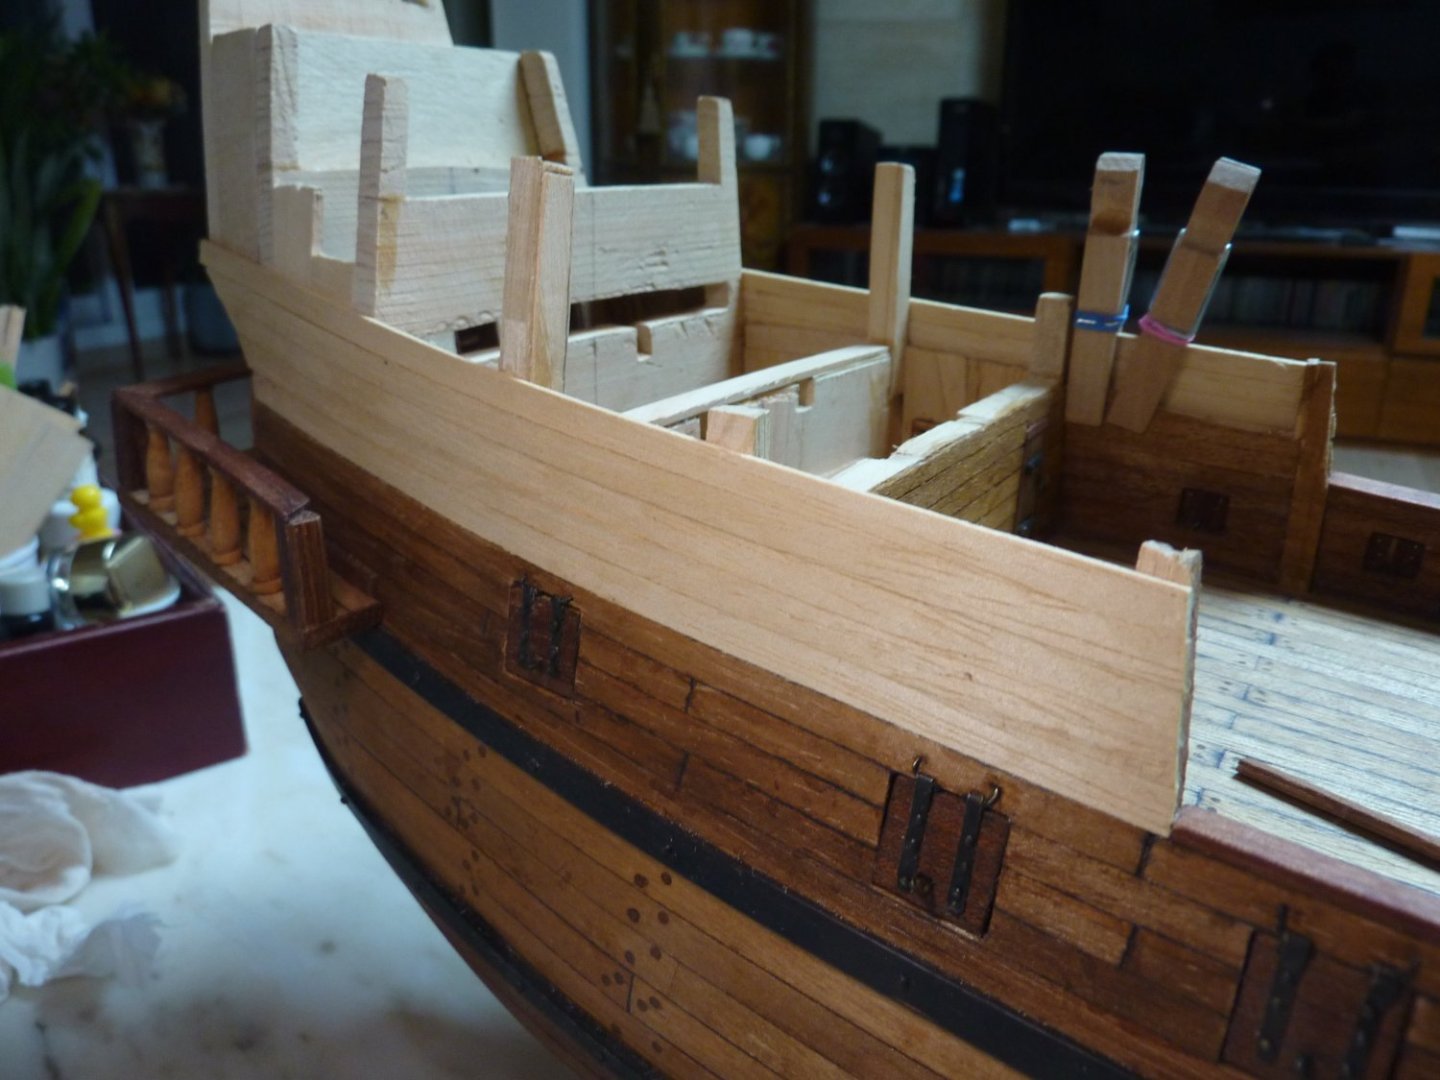
Beakhead railings are also done in the same manner, albeit applying more wider width. Also, the curves are not achieved through bending, but cut in the shape (following the contours of the beakhead itself) and laminated together. I would still prefer bending a proper hardwood strip - which I do not have at my disposal at the moment unfortunately.


-
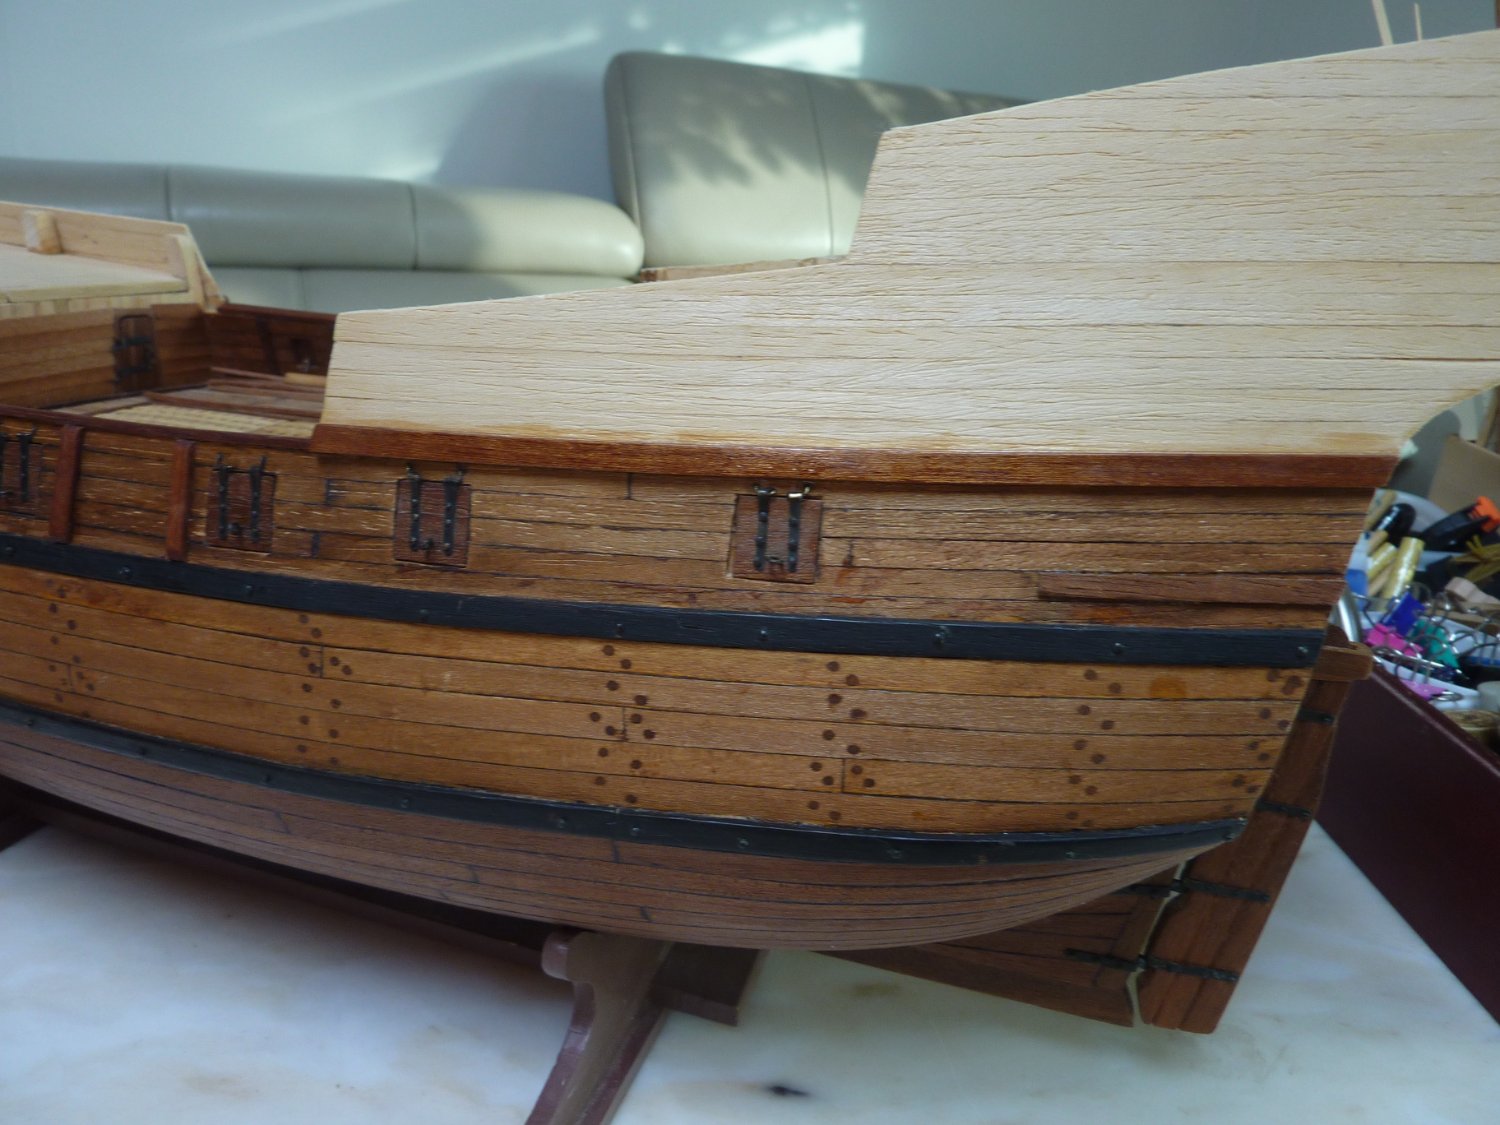
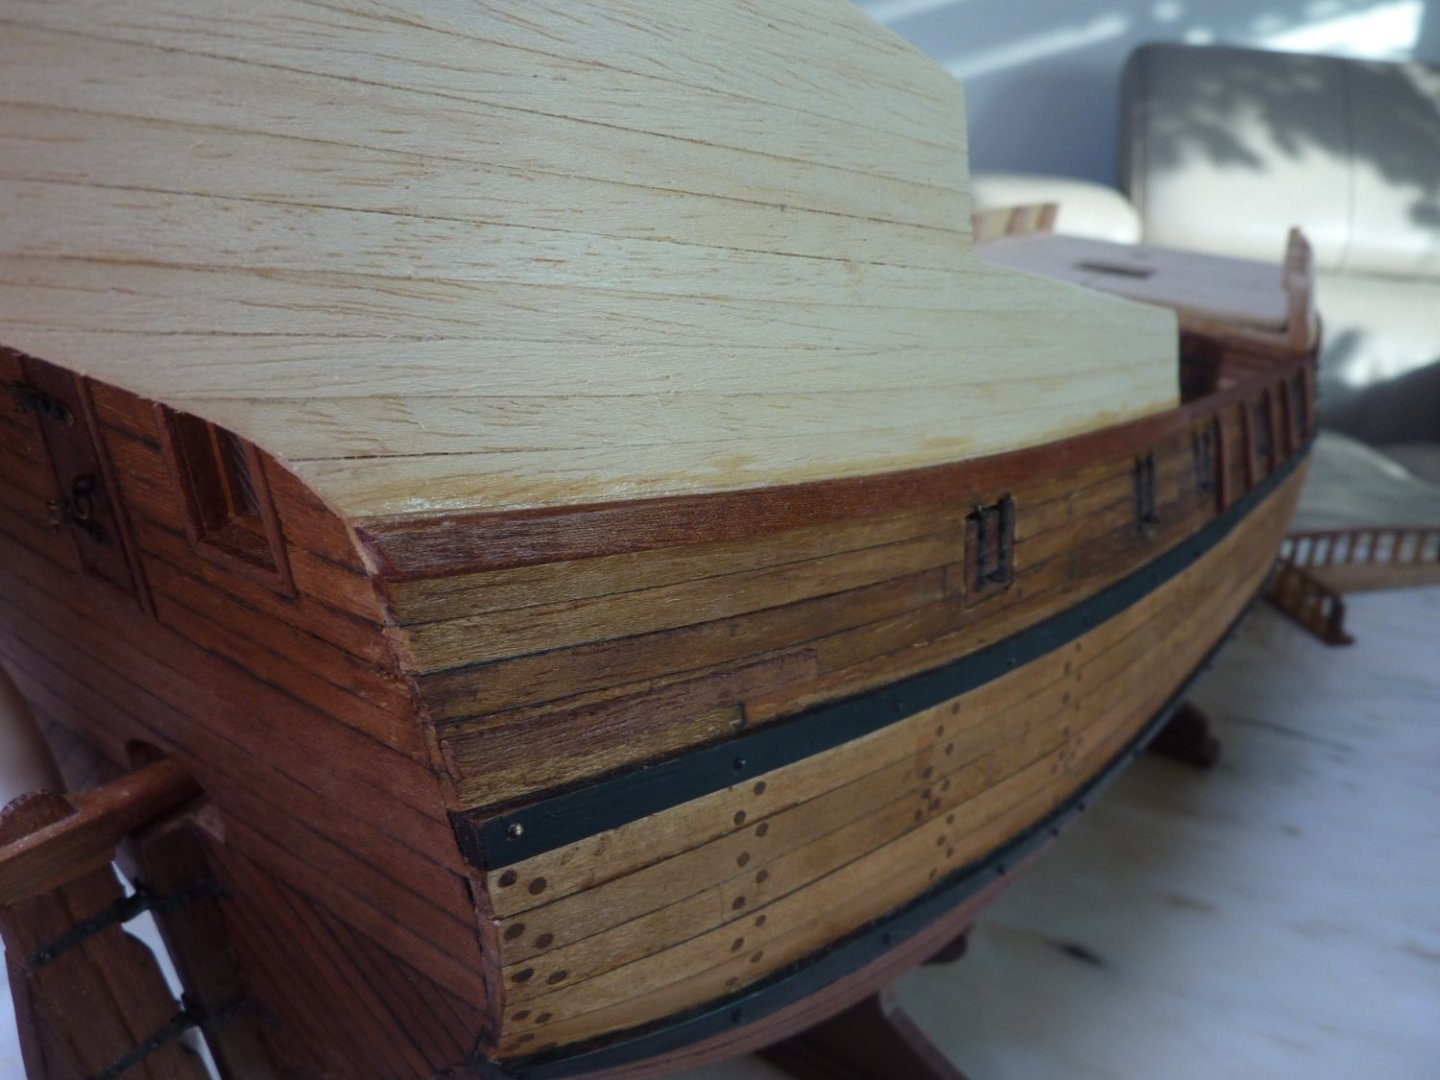
Hello shipmates~! Work continues on the upper hull planking. Again, laminated (4 layers) sheets of hard wood strips are used for the upper hull wales as below.


-
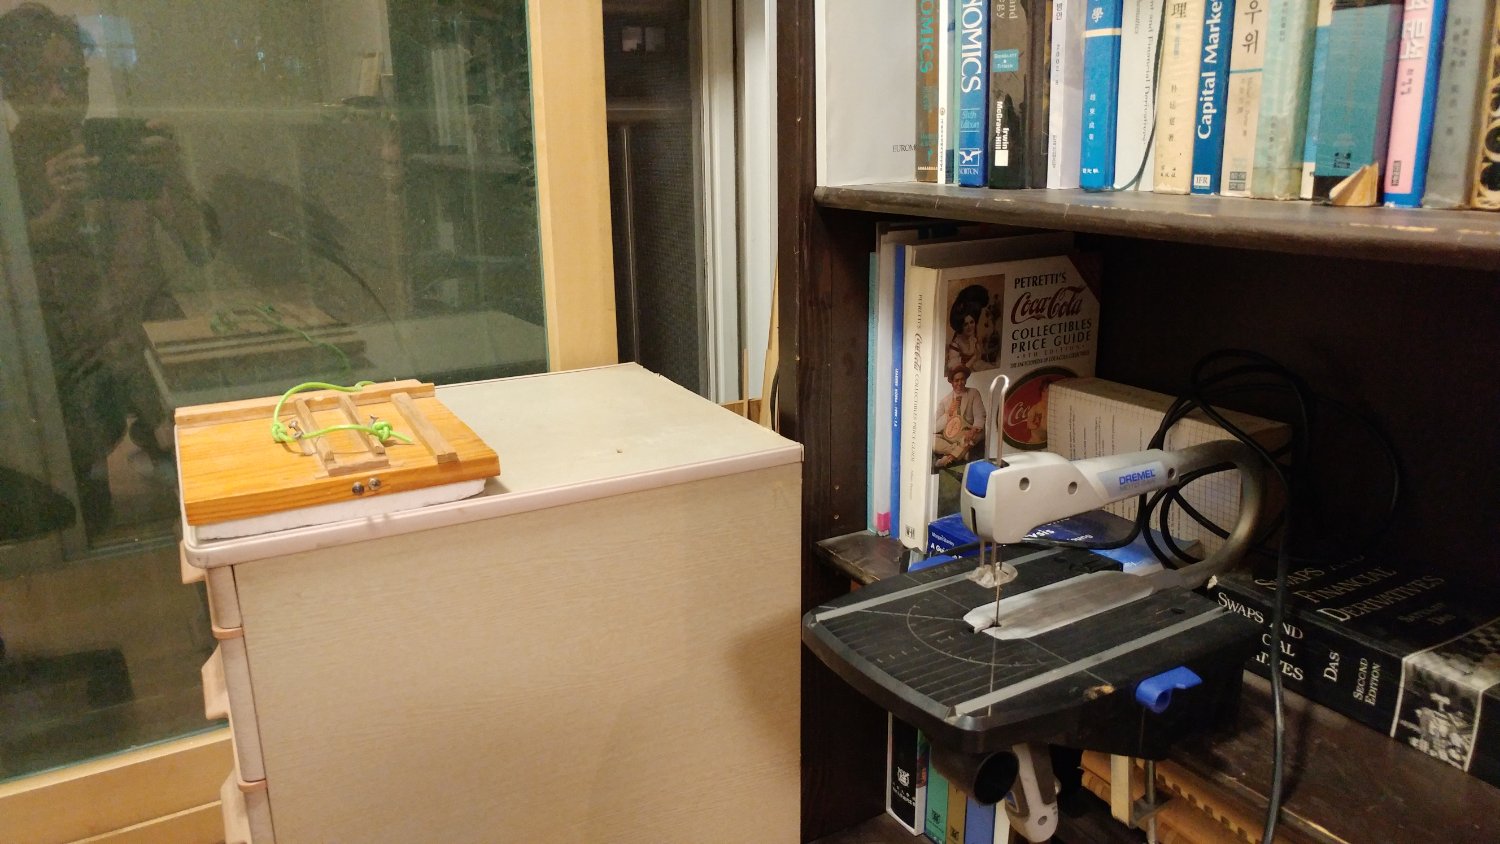
Hi Tony, Thanks very much for your encouragement! The thinnest planks that I am using are 1.5 mm, remnants of my previous builds (kits). The ones (cyprus) that I have worked manually with some small electric tools as well as processed en mass in an wood working shop couple of months ago are about 2mm thick (between 1.8 mm to 2.2 mm). The hard wood second planking materials are below 1mm (0.5 to 0.7 mm I think) in thickness - I managed to get these hardwood sheets in a wood work shop outside Seoul. At first, I could not find a wood work shop in Seoul and therefore I came up with a makeshift table saw with a bigger hand drill (not the one in the picture). But, at some point it broke down (probably too much load for a hand drill) and I had to make another one with a smaller drill (the one in the picture : correction - the drill platform is there, but the small drill itself seems to have been stowed away at thetime of this picture)- works fine for a thin strip of 1 to 2 mm (soft wood) and upto 1.5mm in hard woods. I managed somehow for a while, but located a wood work shop outside of Seoul that could provide me with couple of hours machine time. I think I processed about 70% of the cyprus logs that were idling at my home on one go. Also, couple of months ago, I purchased a small electric saw (Dremel Moto-saw) with low noise level that could be used in an apartment. Please see the attached picture - it is in the balcony of my study at the farthest point of my apartment. Relatively low noise, but I only choose to work on it briefly in day time only as the noise level is still quite high to be used in apartment in Korea. Anyway, it is fantastic! I am getting much help from this small but versatile machine. Hope the above clears some of your questions. Best regards, Rock

-
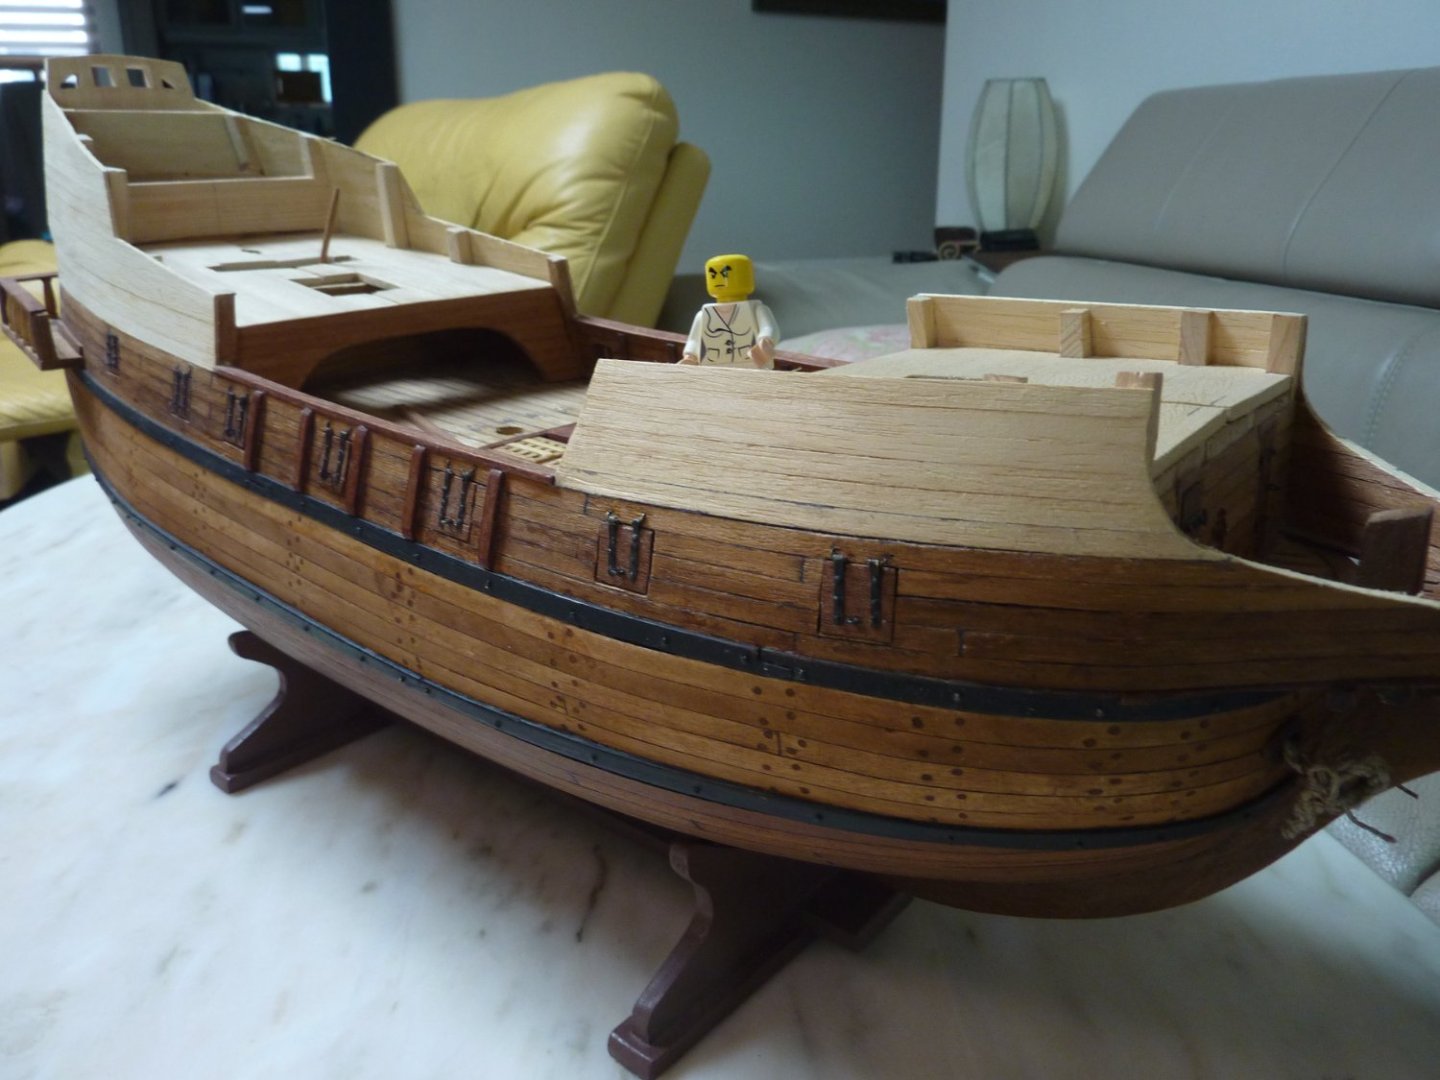
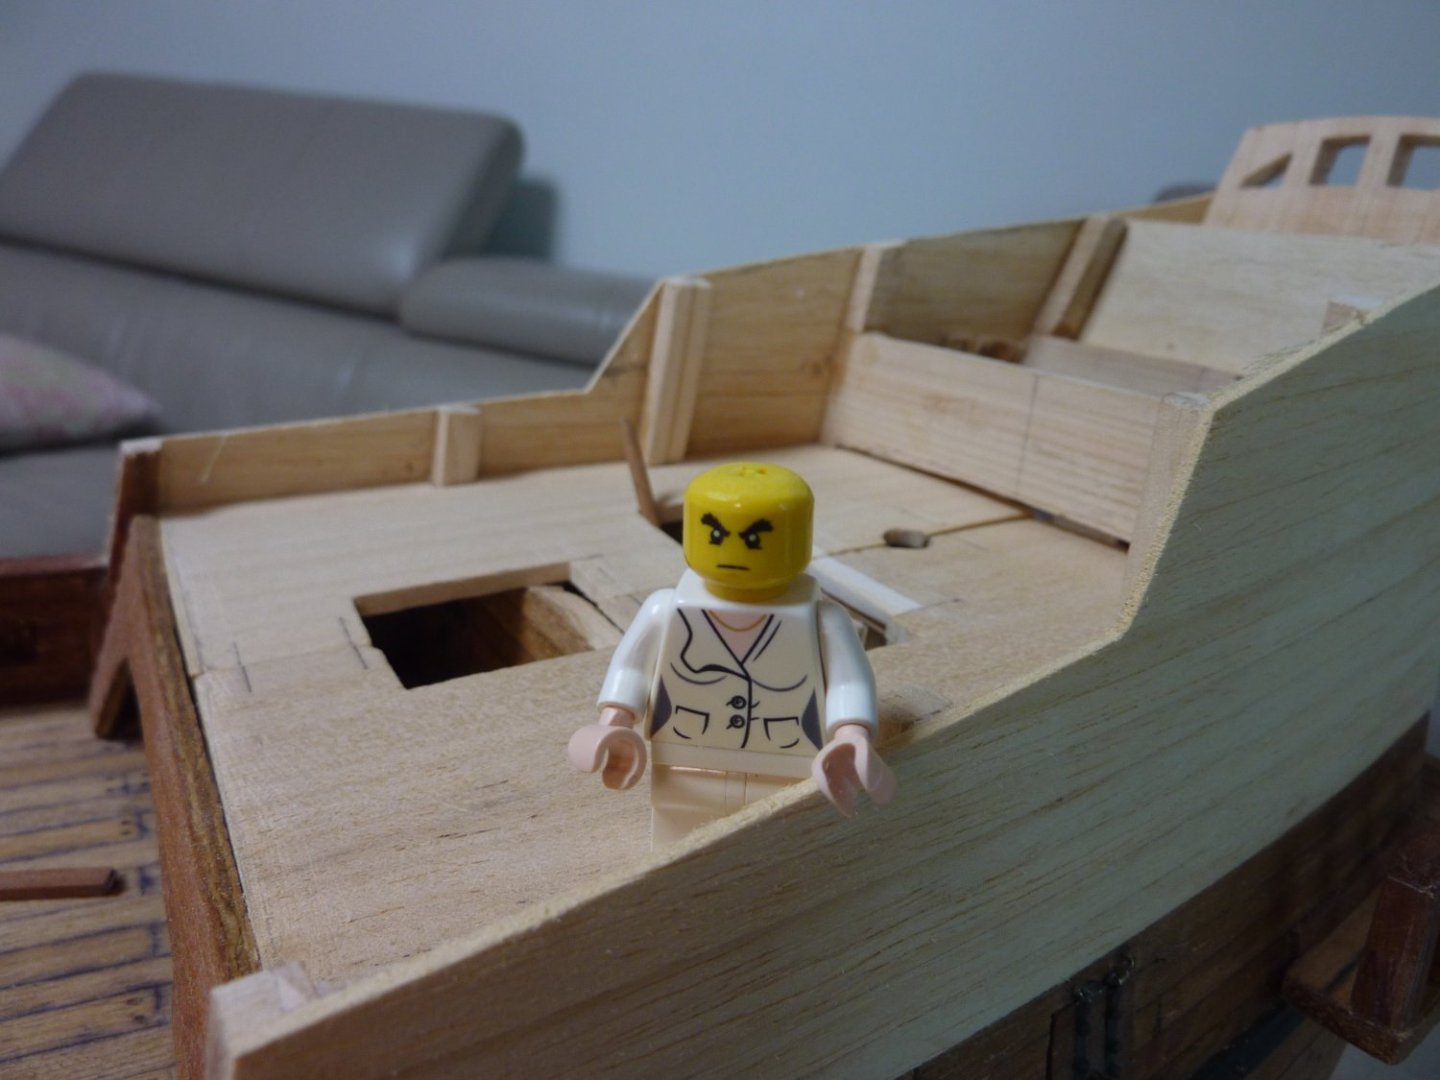
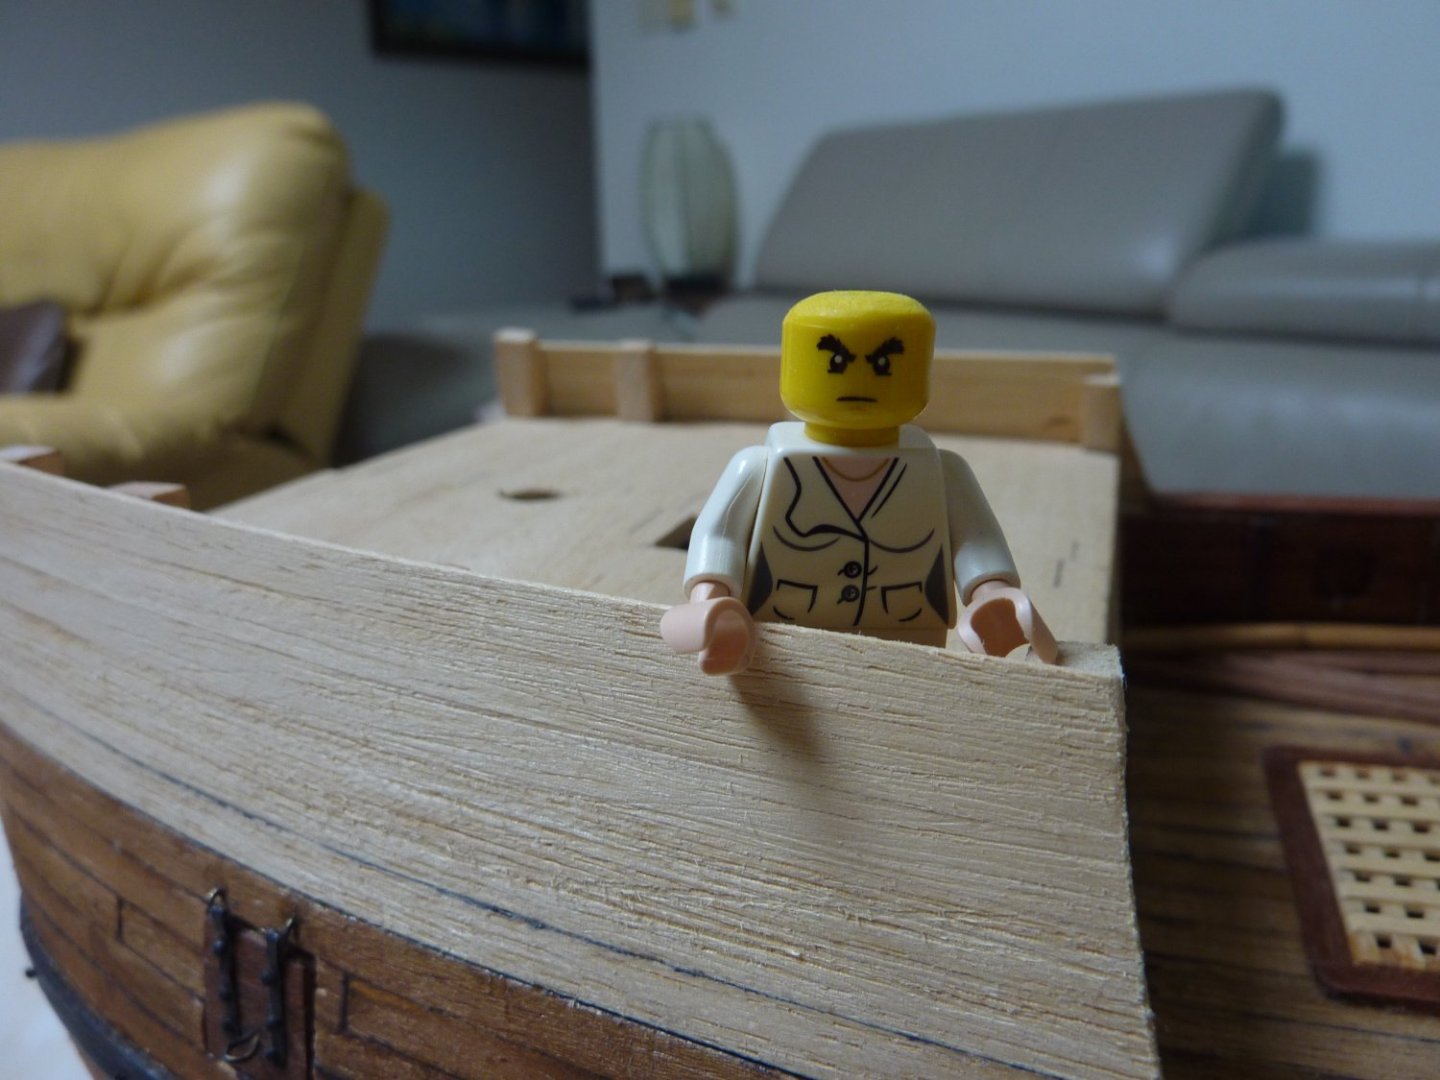
Finishing the basic planking. Rocky inspecting~
-
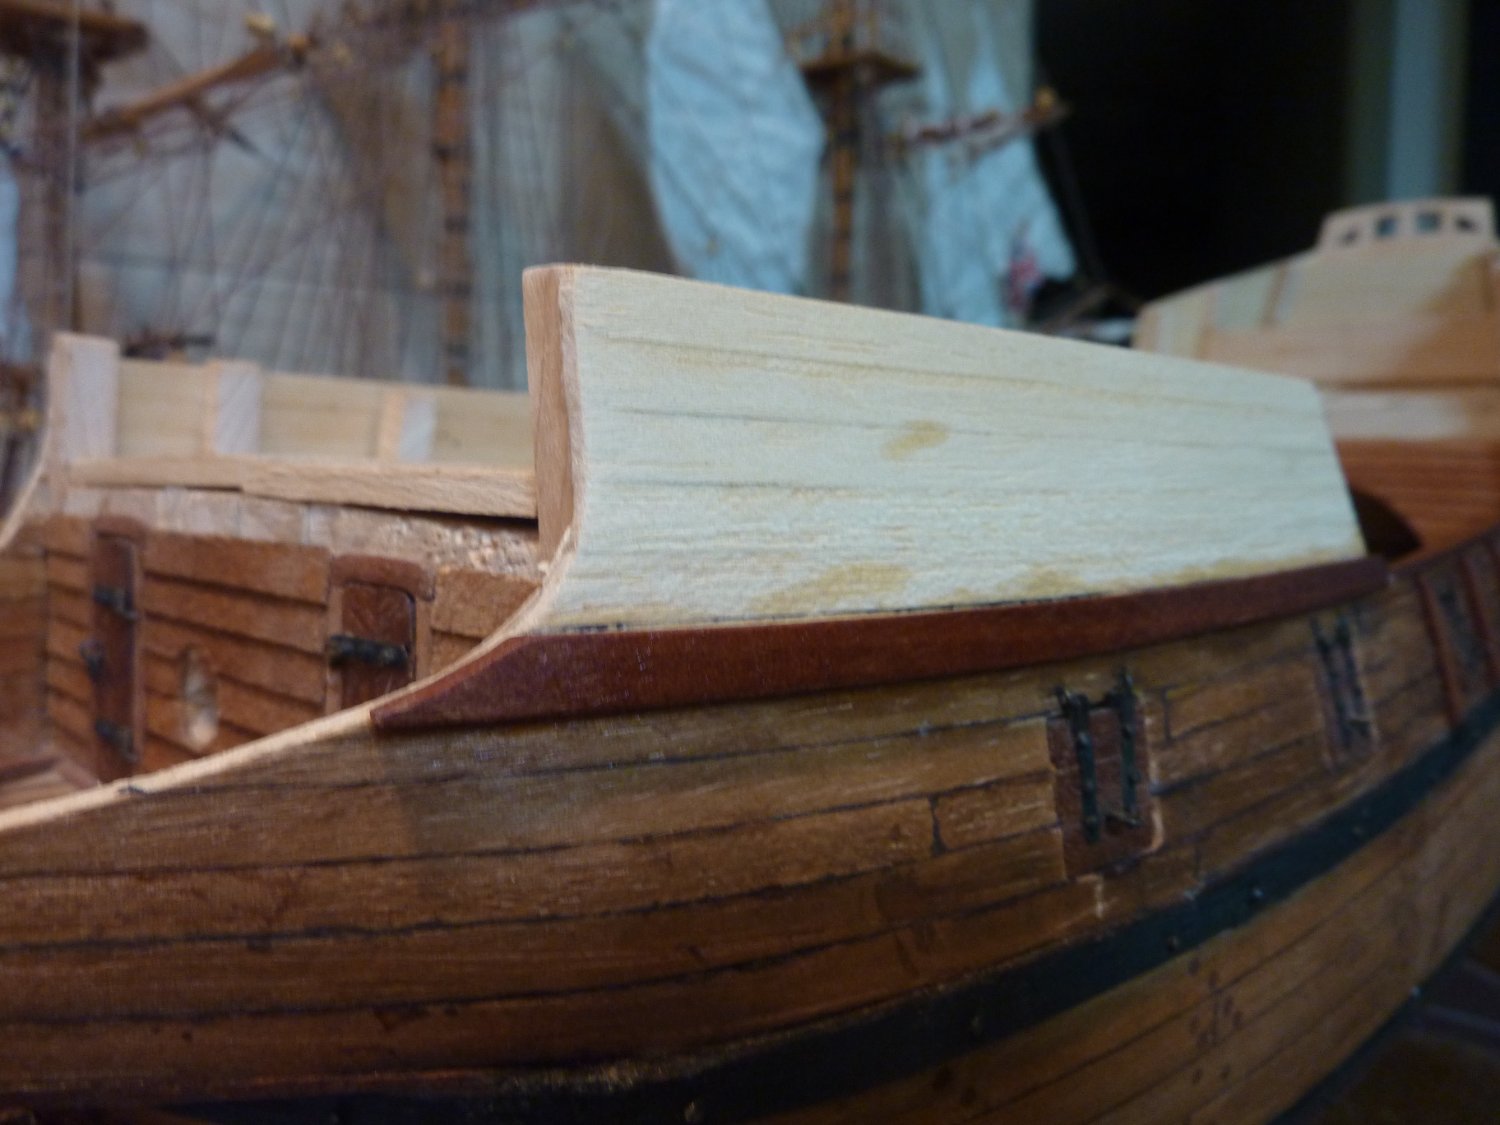
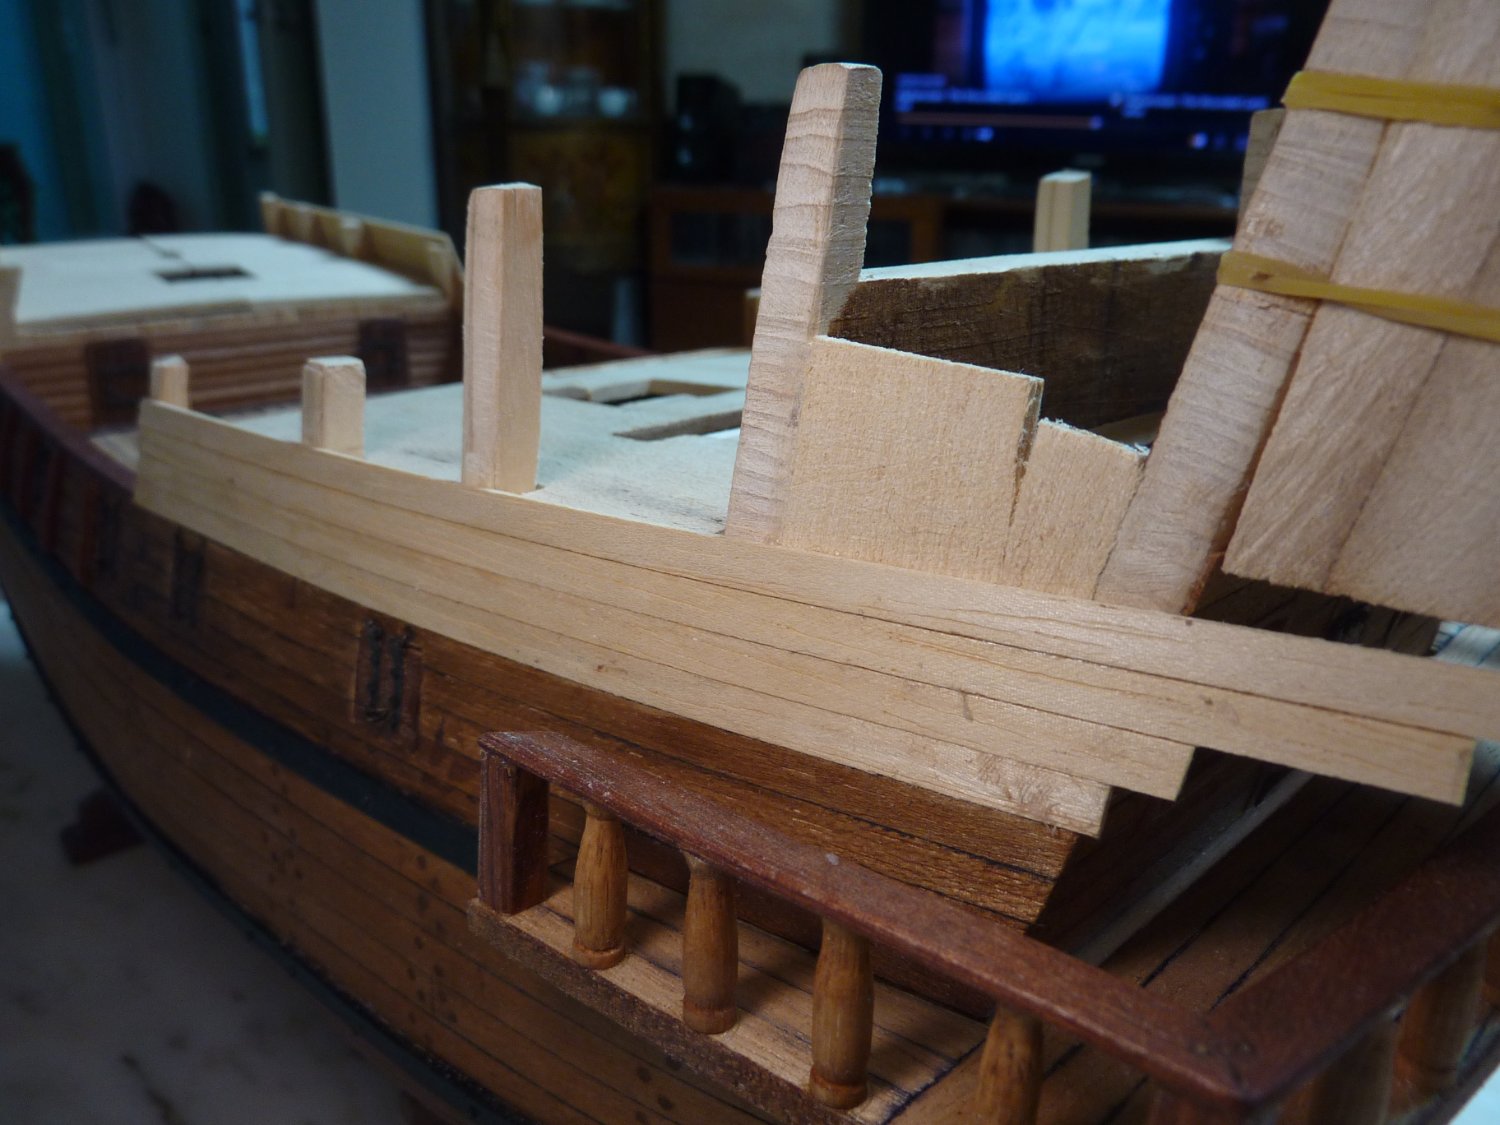
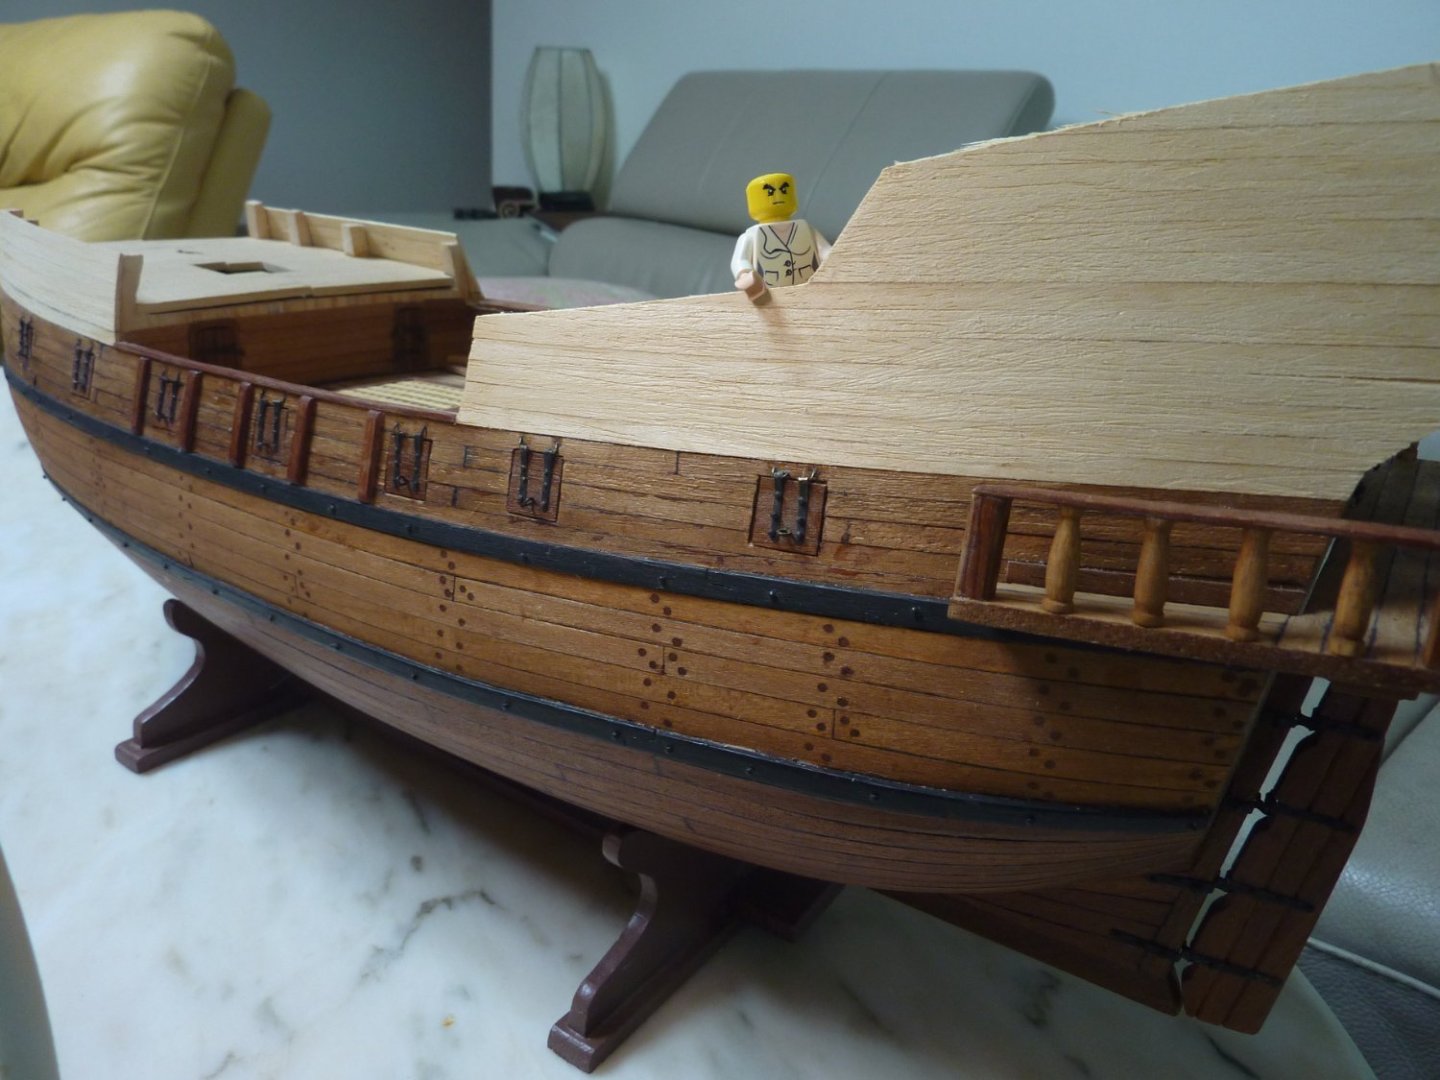
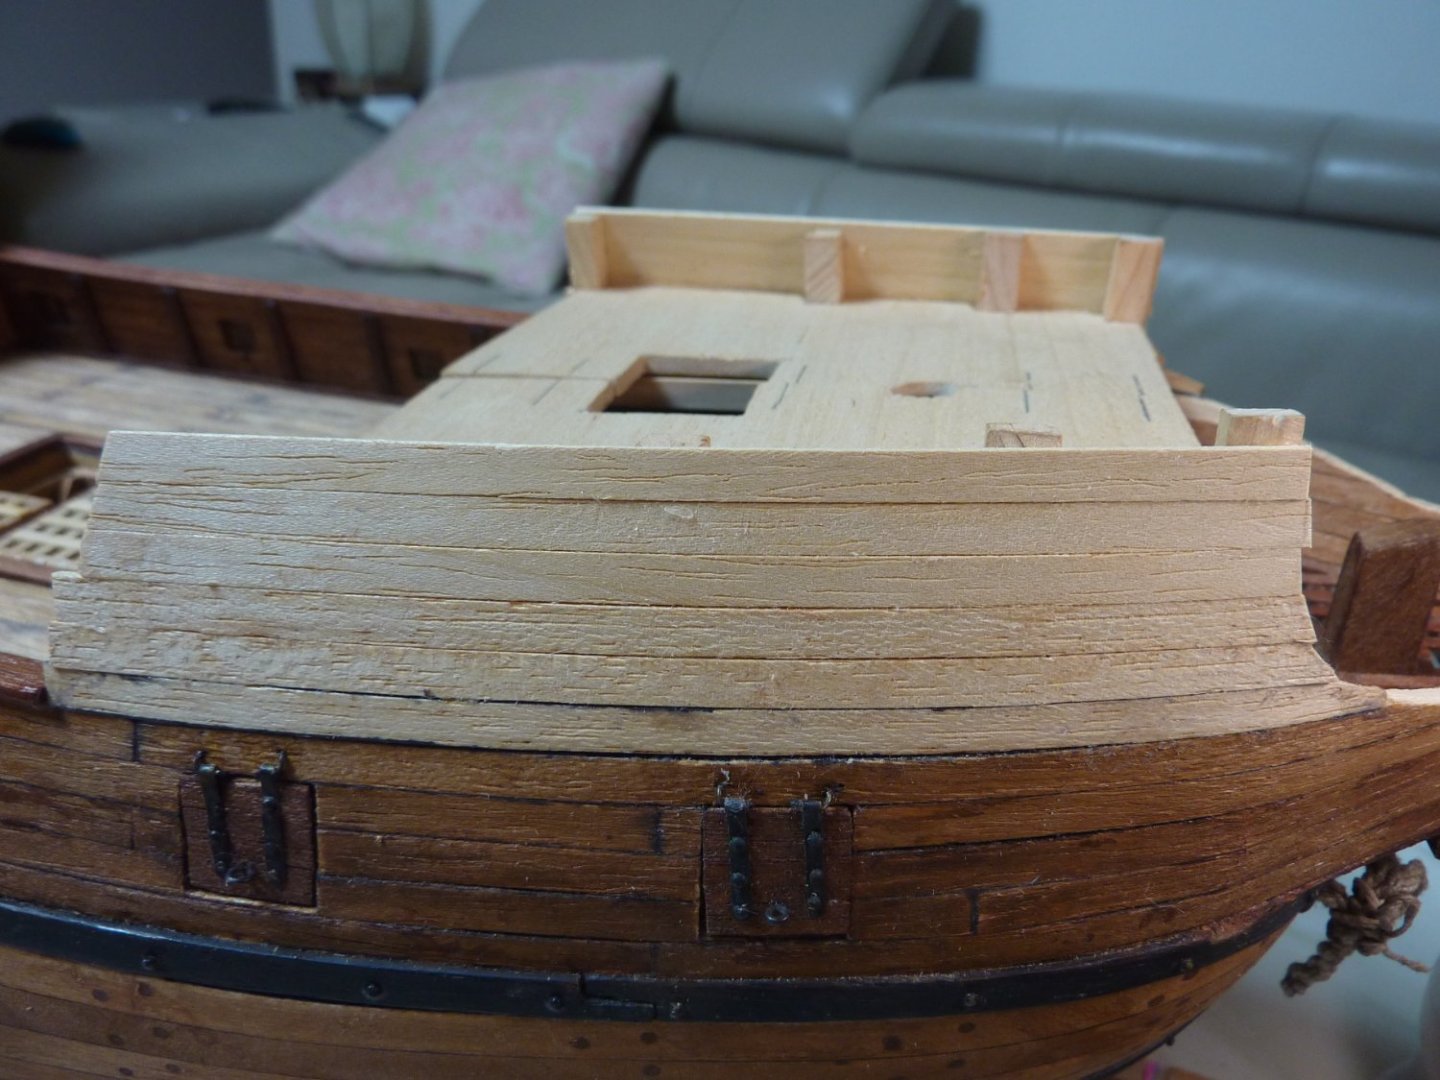
Finally fixing the aftcastle structure in place before proceeding the planking on the highest point of the aftcastle. Also, work on the inside of the upper hull carried out.


-
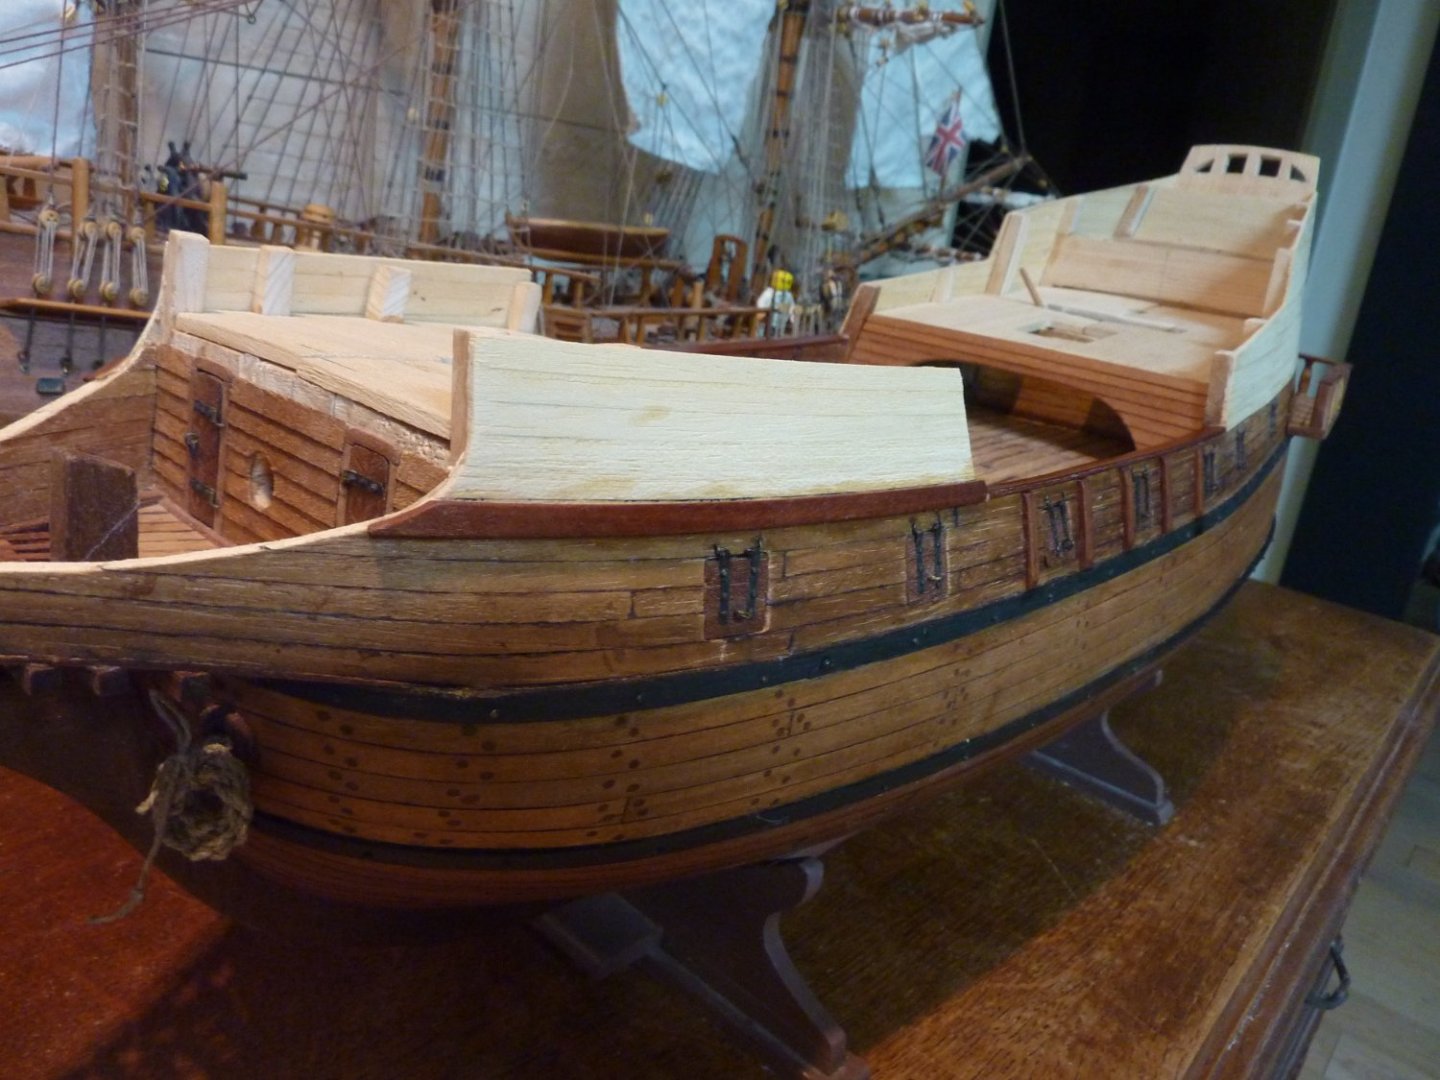
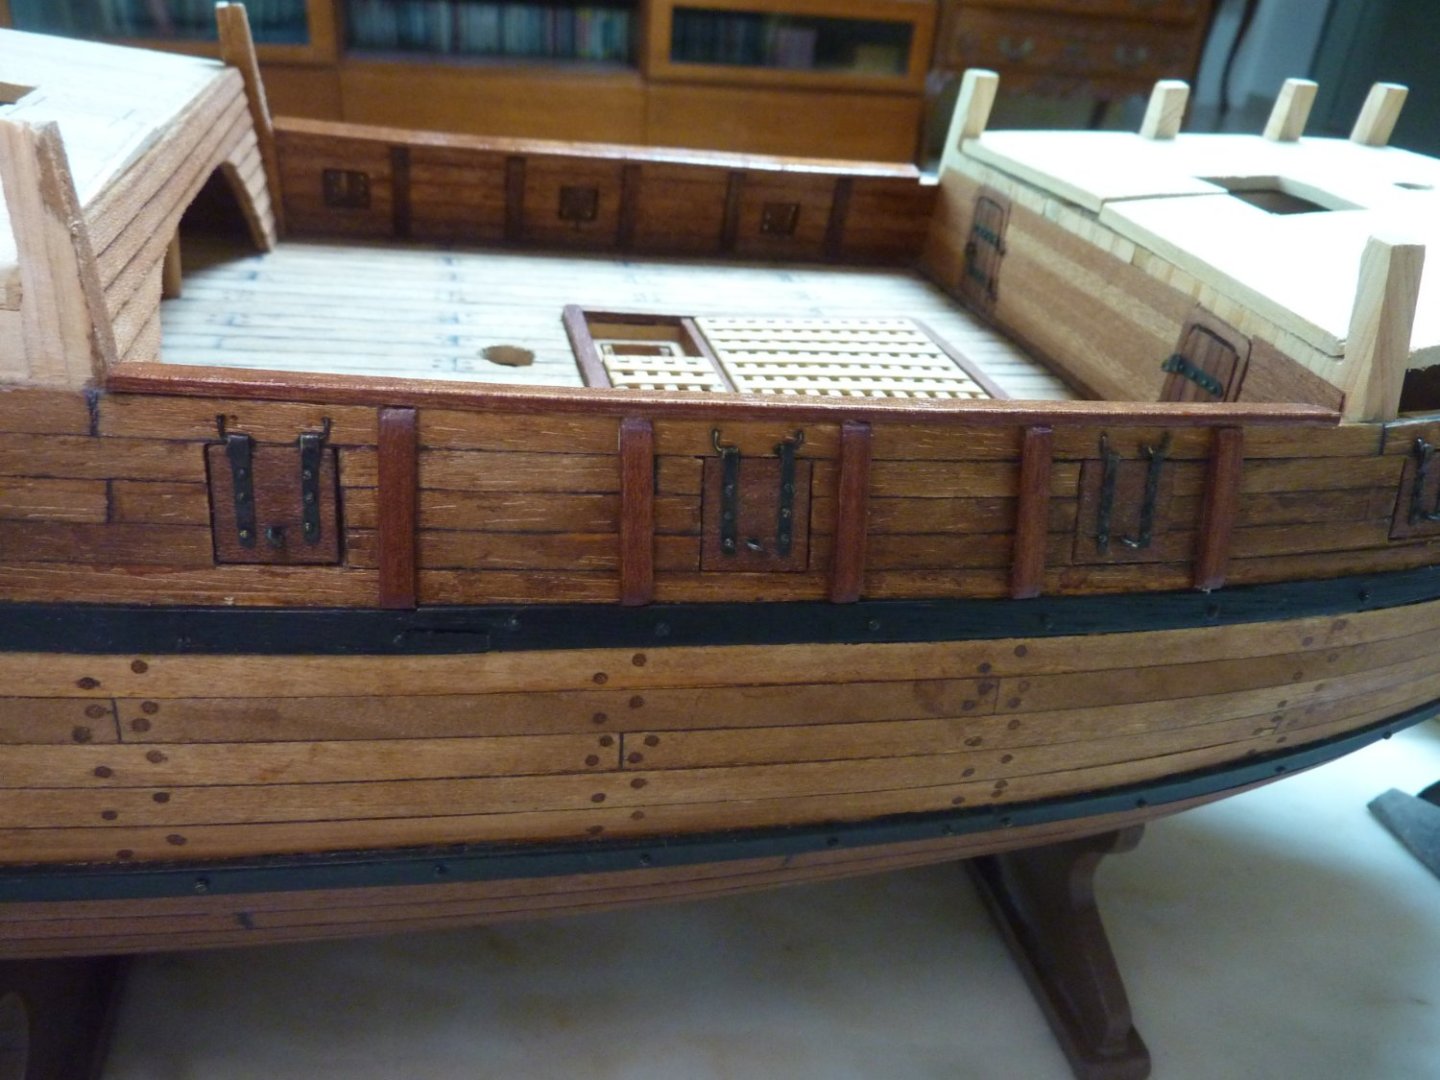
Hi All, I have begun to work on the upper hull planking in earnest. Once again, as I am quite short on hard wood strips, I am trying out the laminated hardwood sheets (4 layers) to see how they look overall as railings and upper hull wales. So far, they look fine but I will keep on looking for hard woods to make suitable strips and etc. Below are pictures on the main weather deck railing and some reinforcement structures on the lower hull as well as the initial upper deck hull work on both forecastle side and quarterdeck/aftcastle side.


-
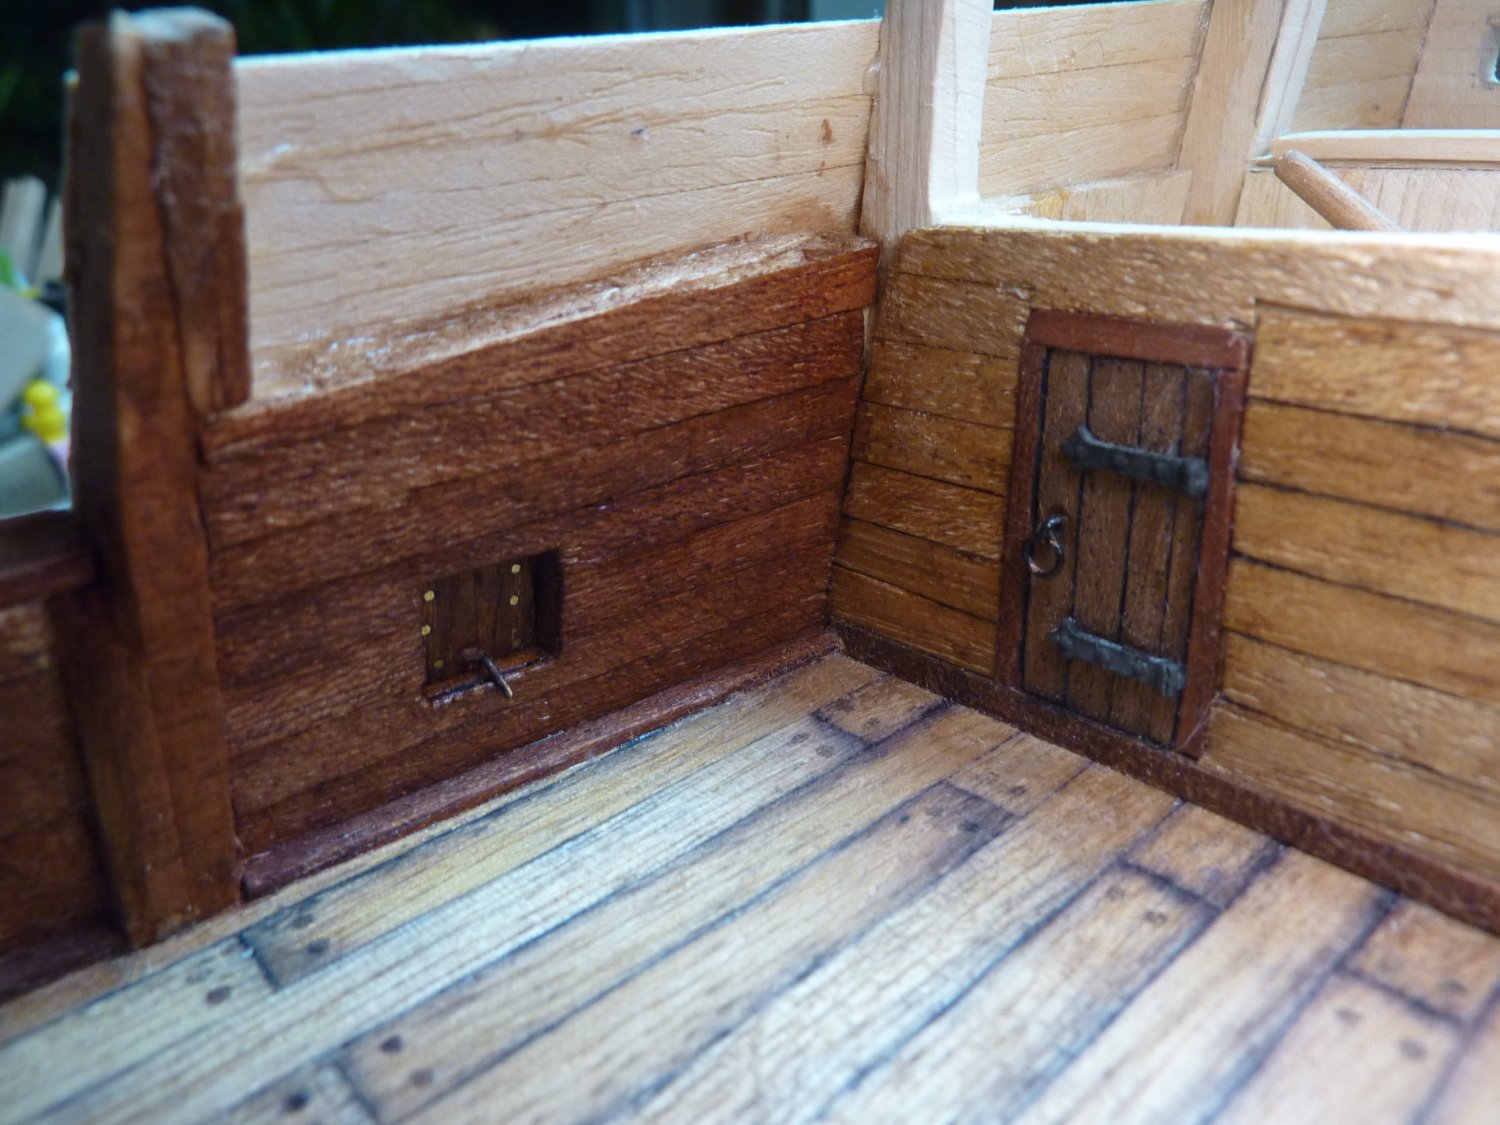
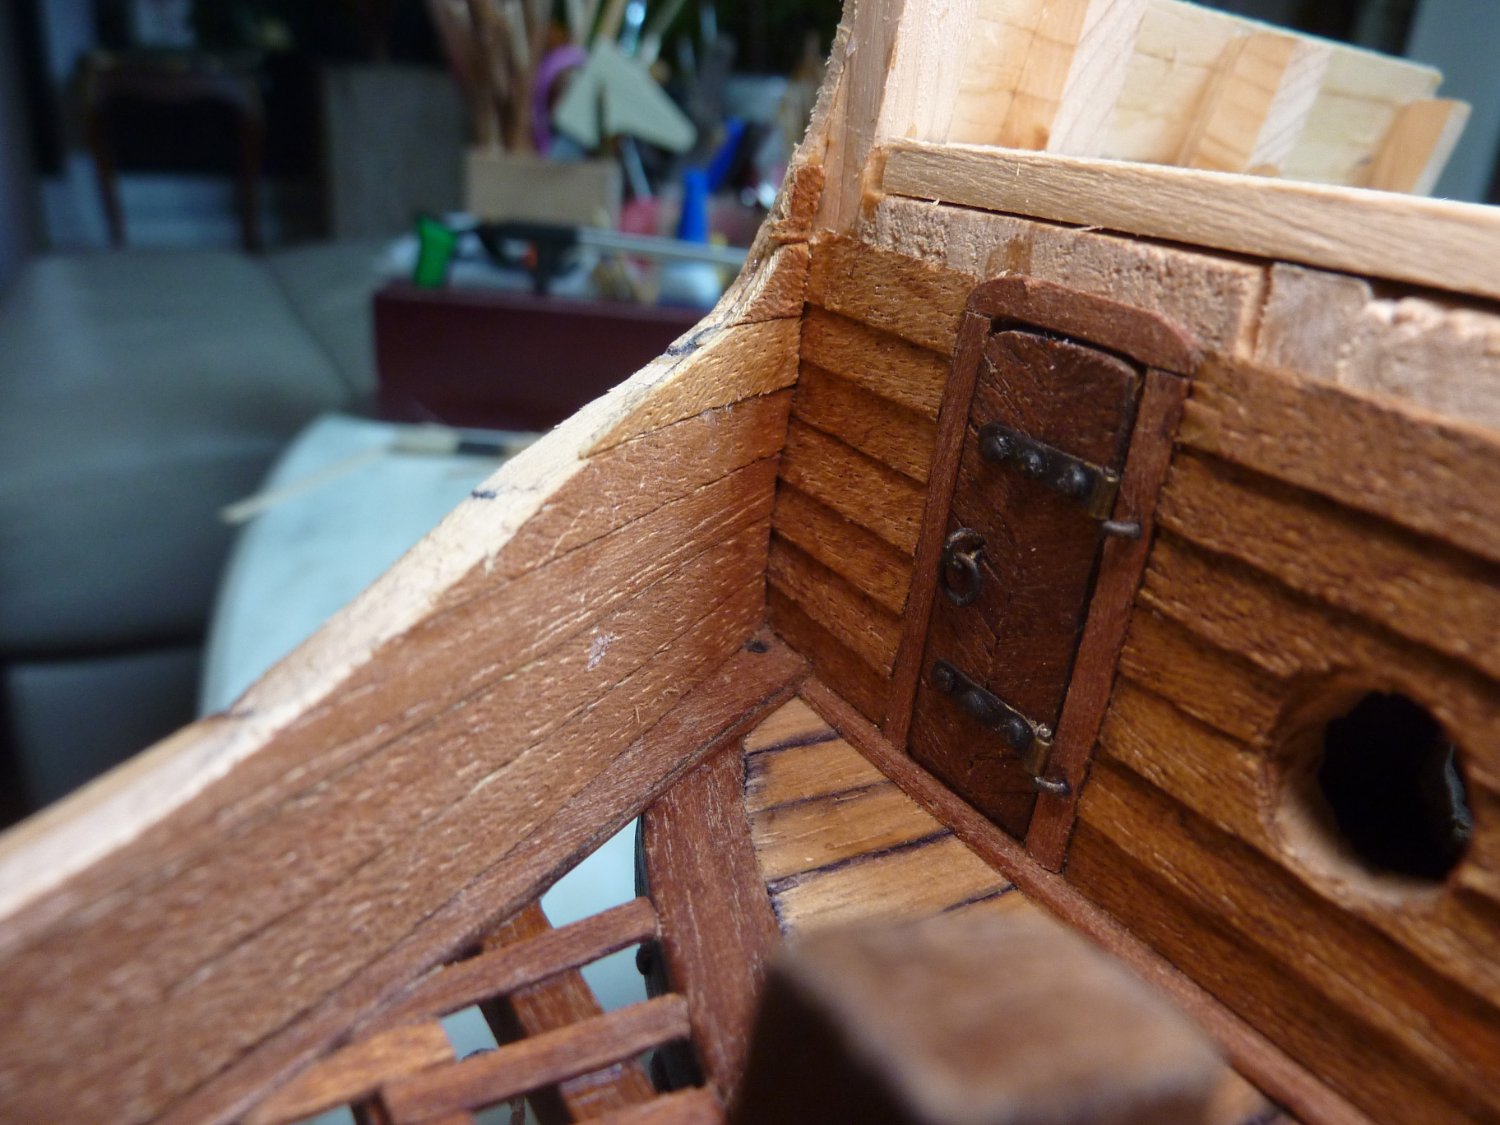
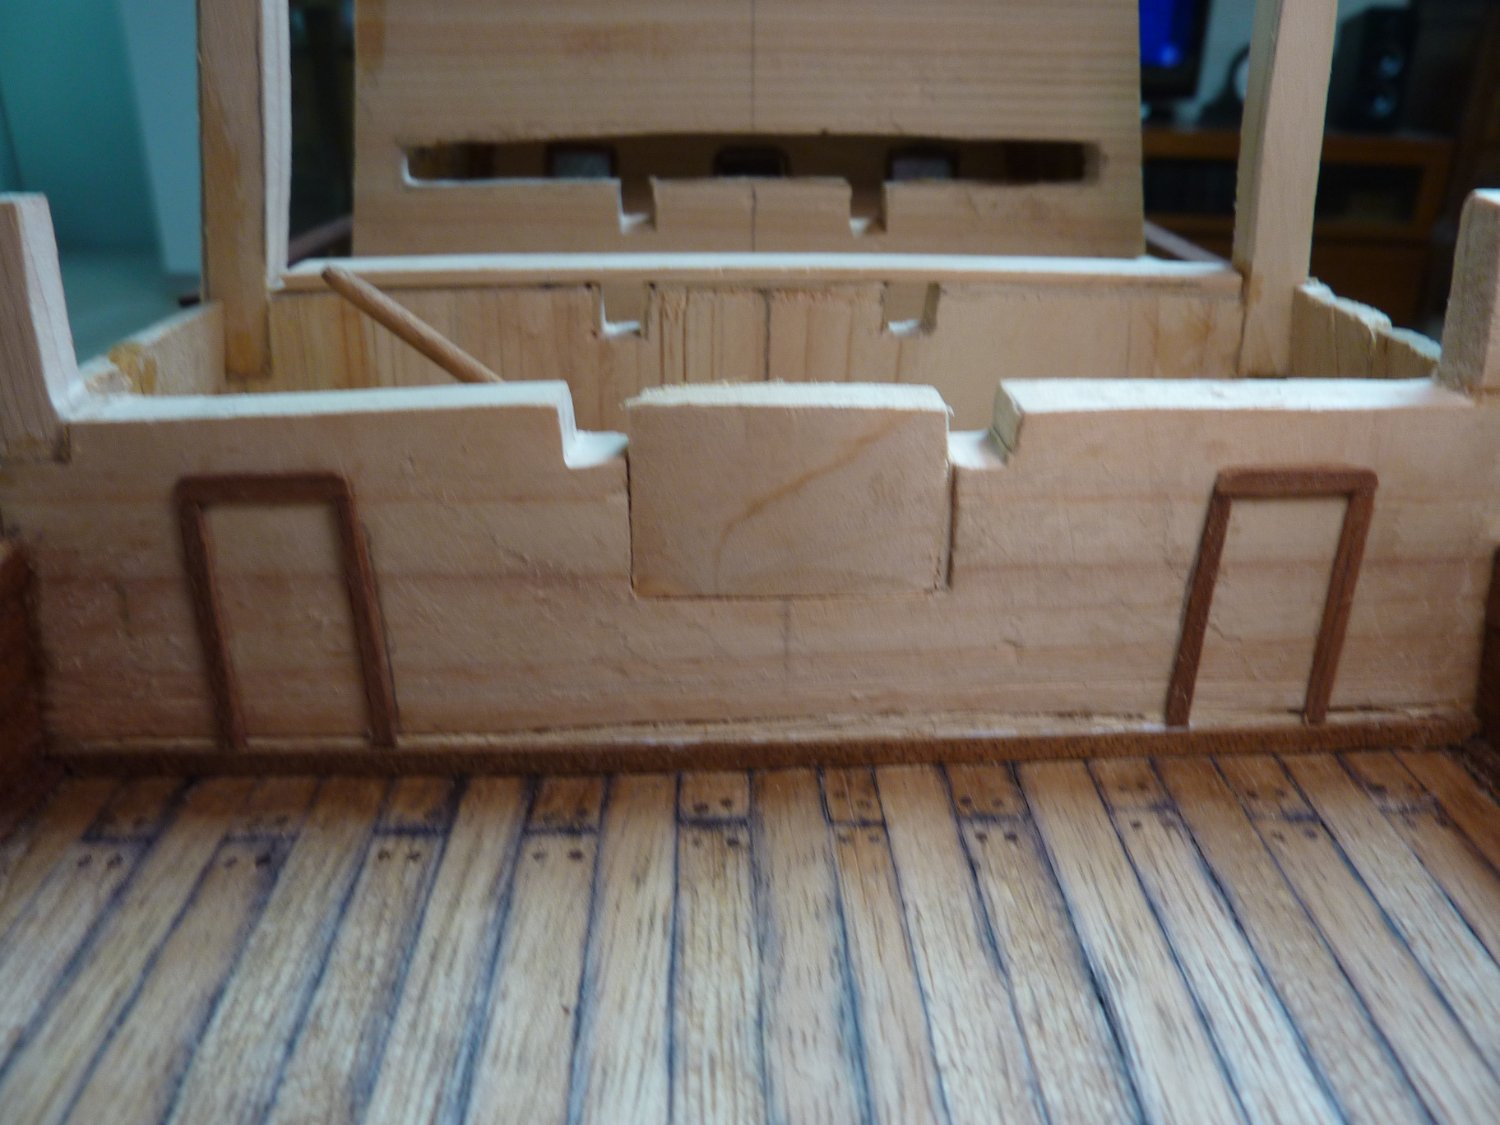
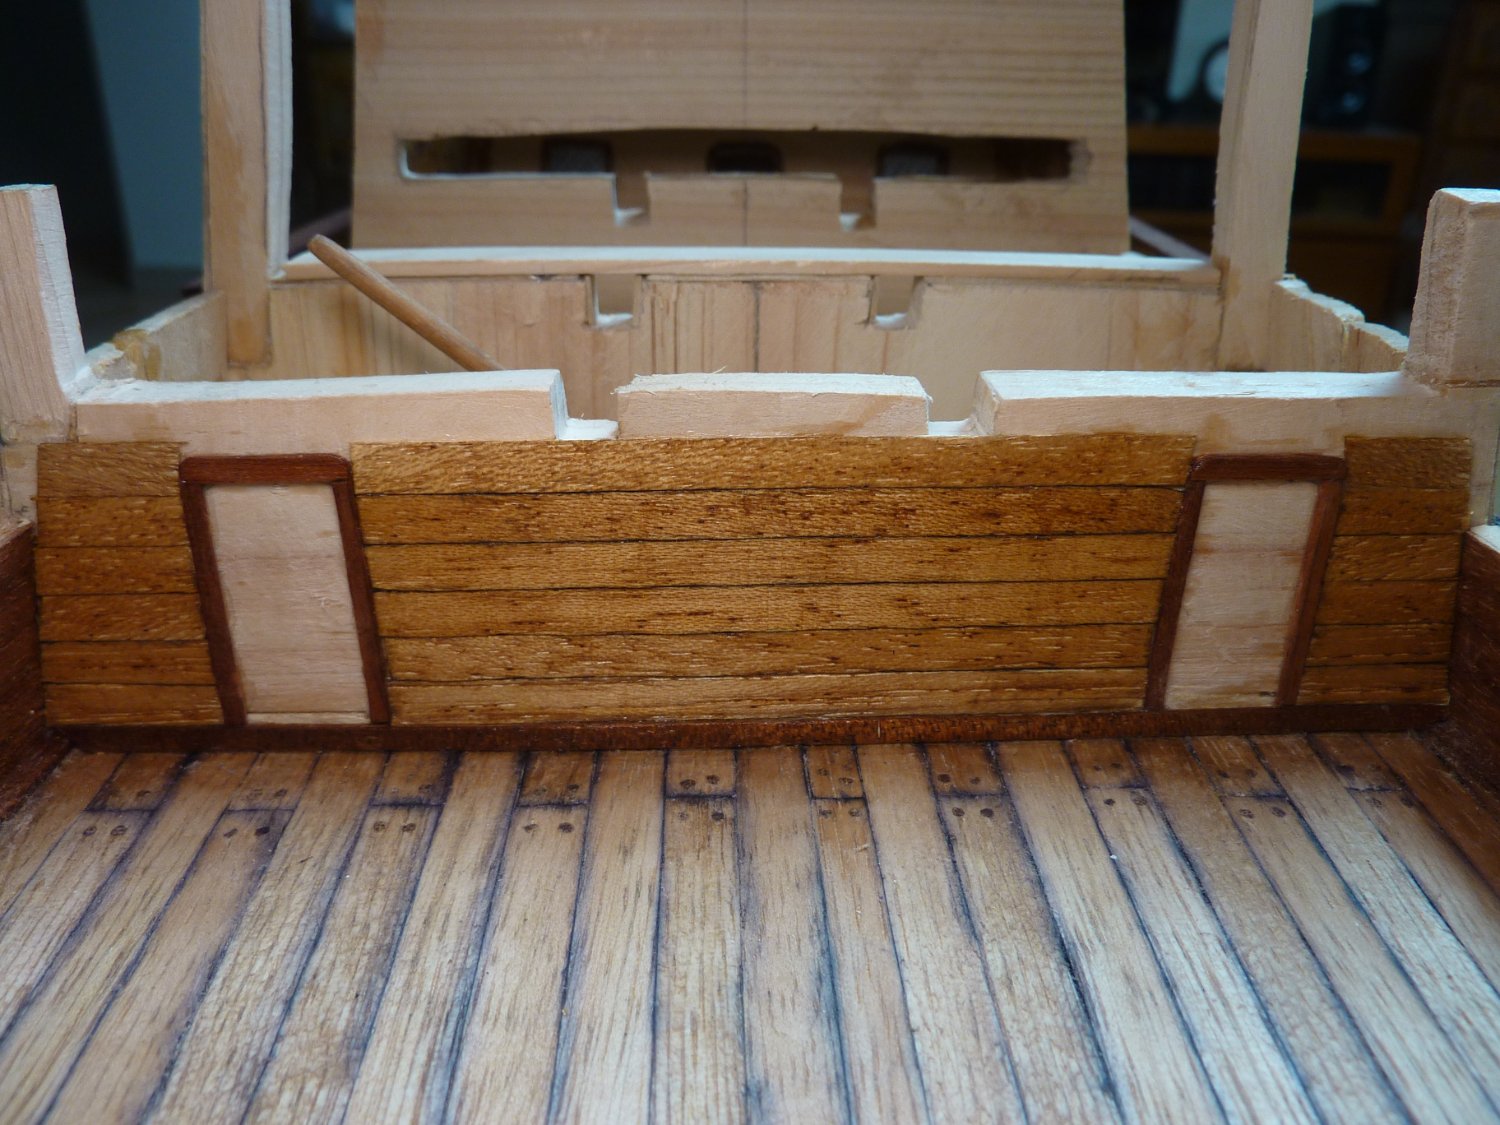
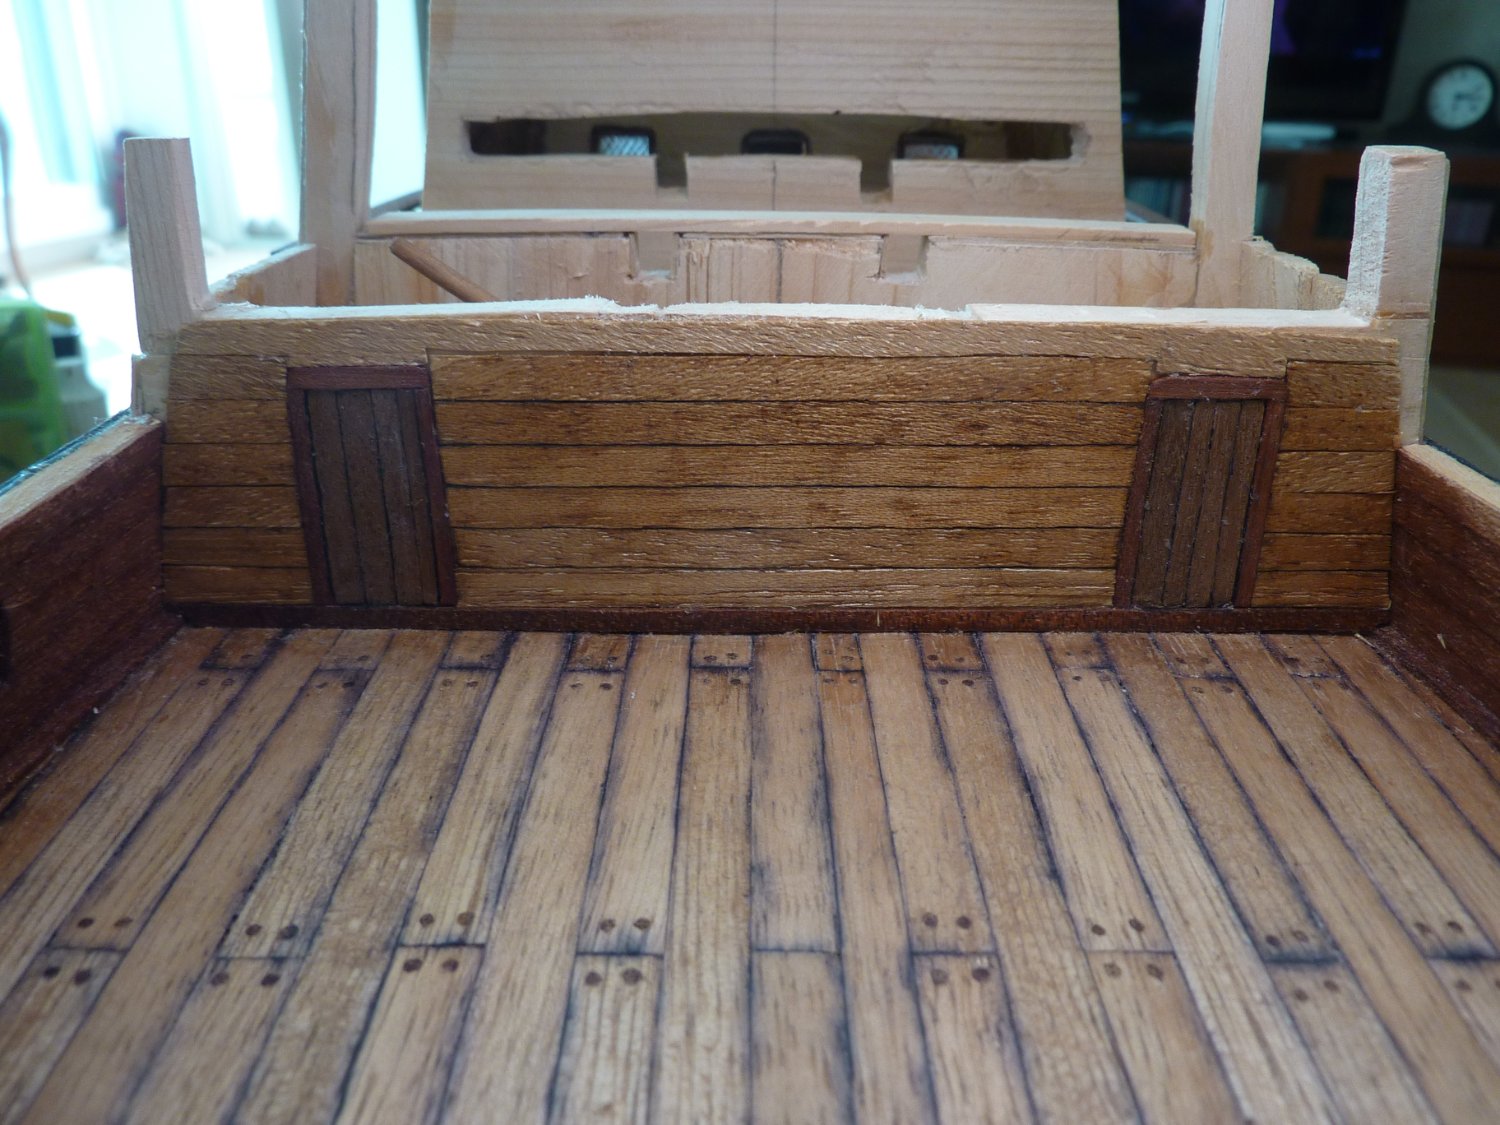
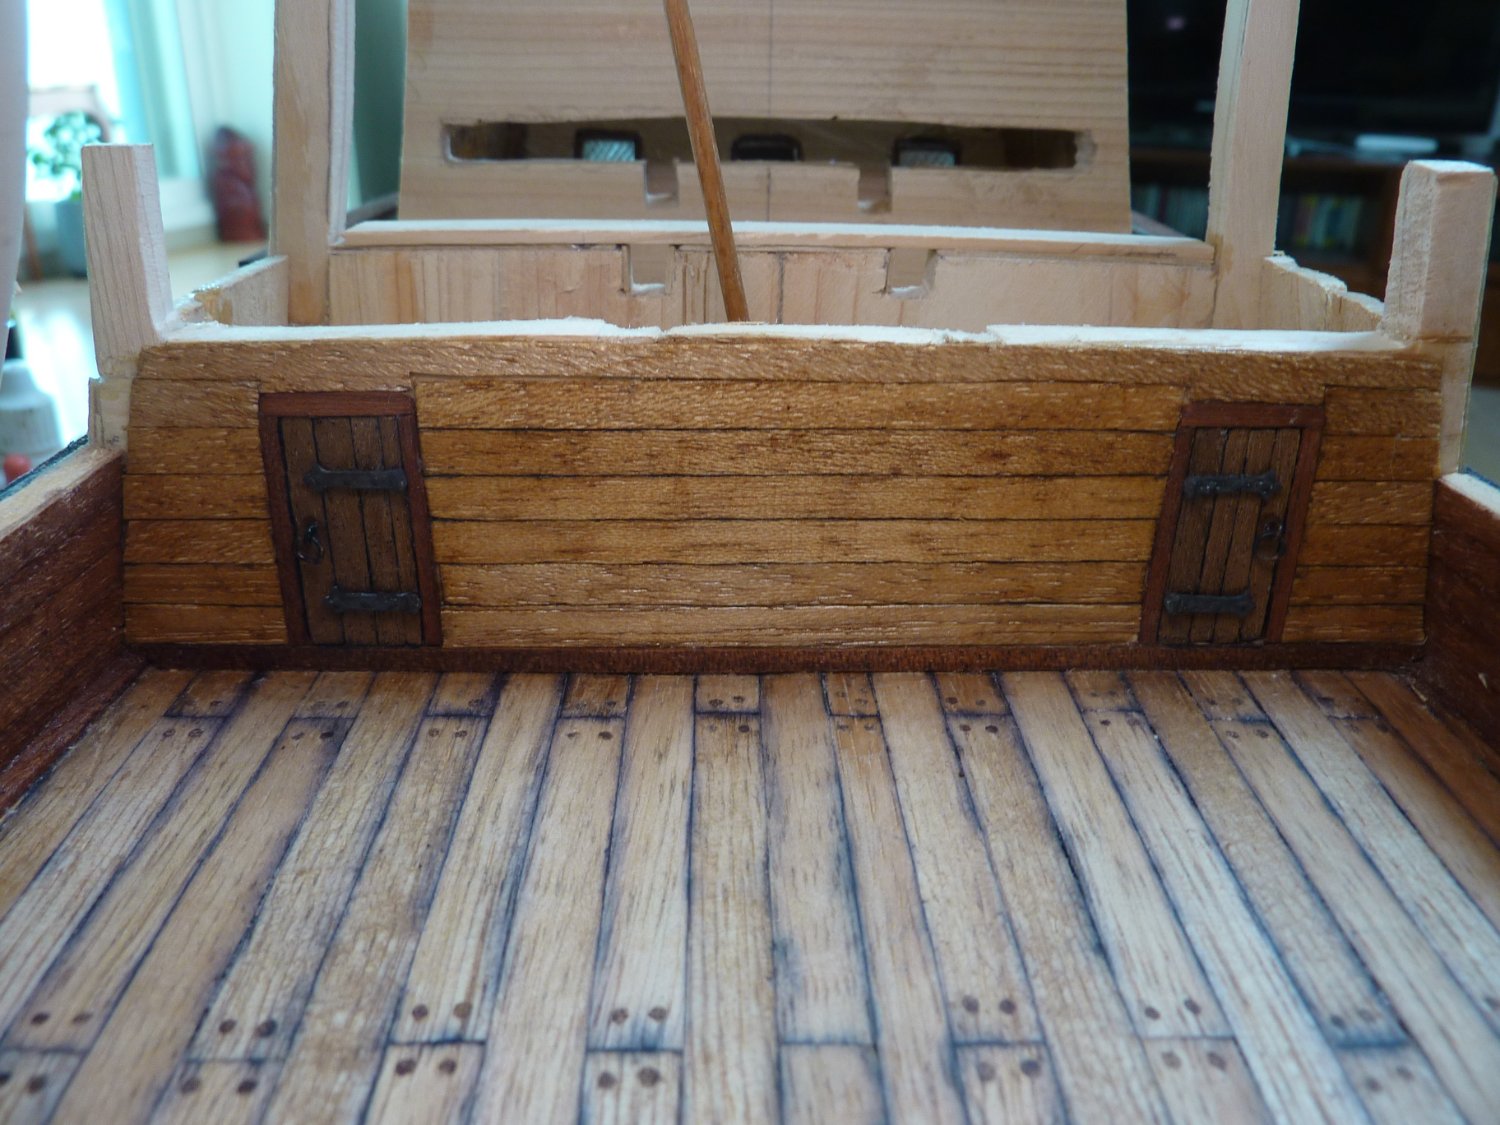
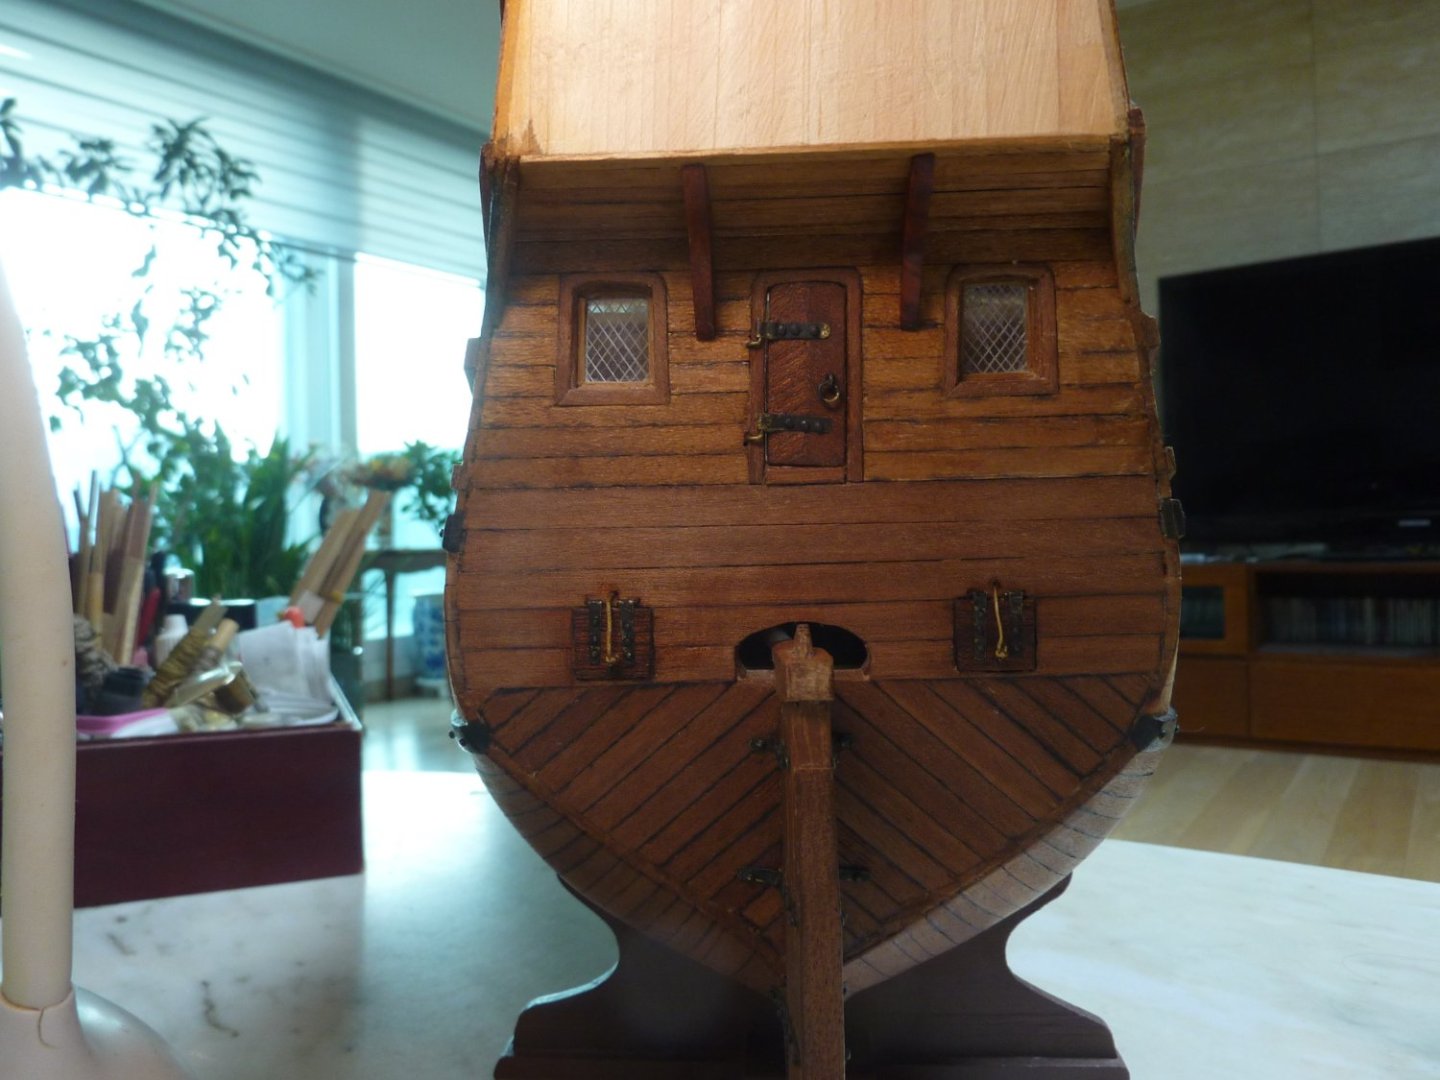
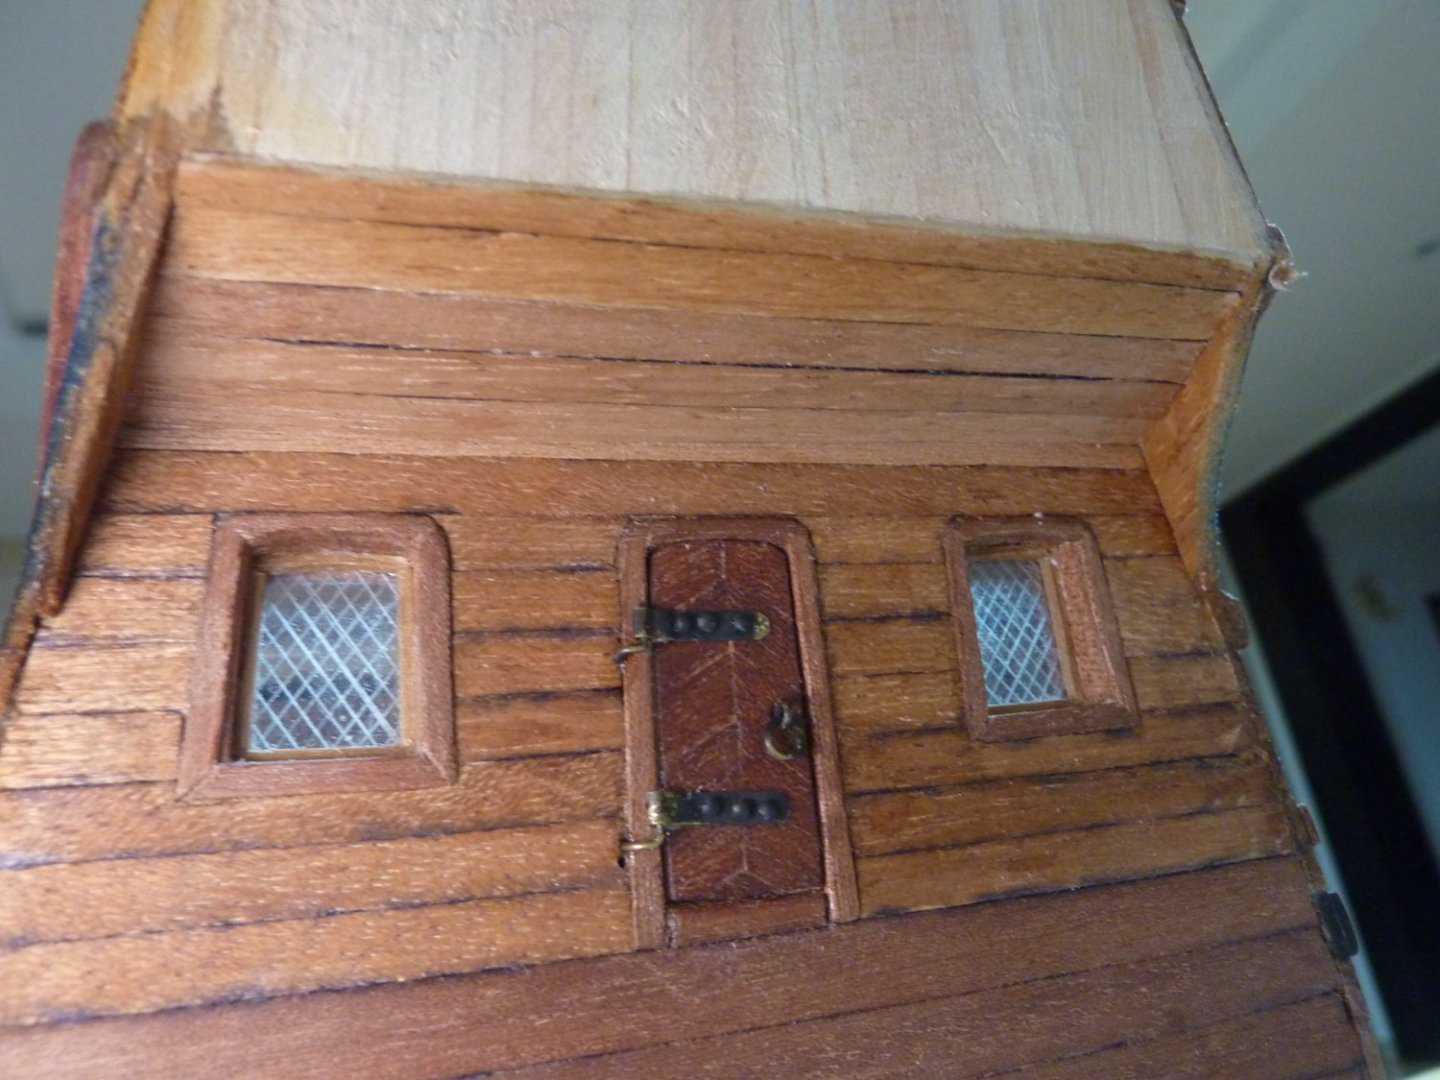
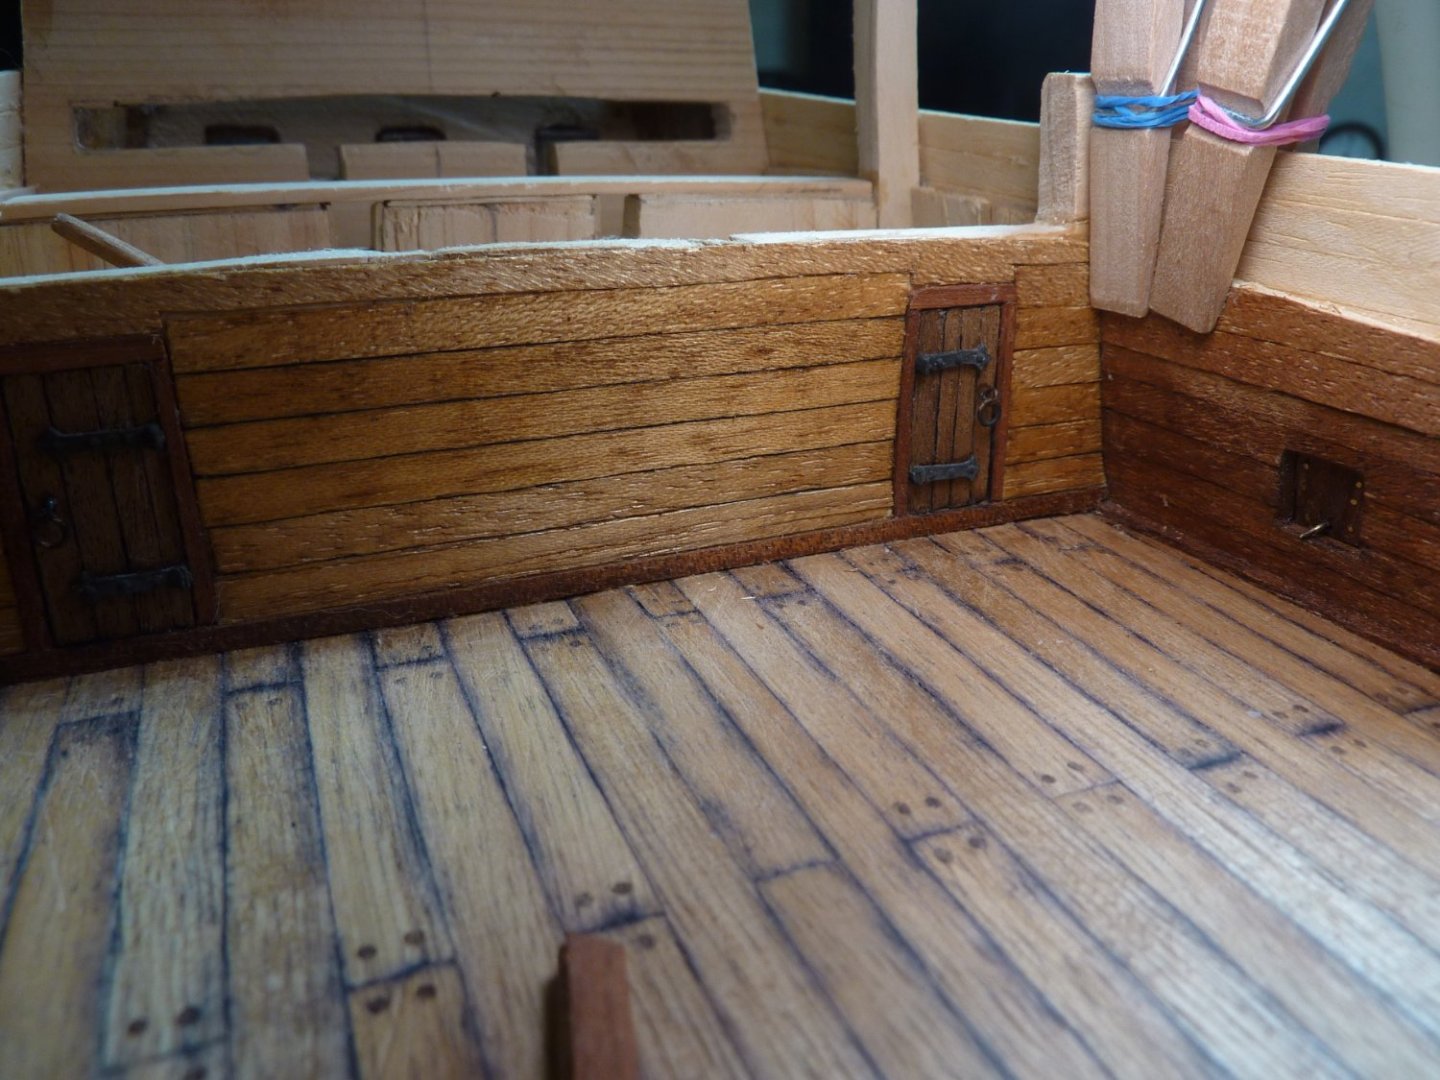
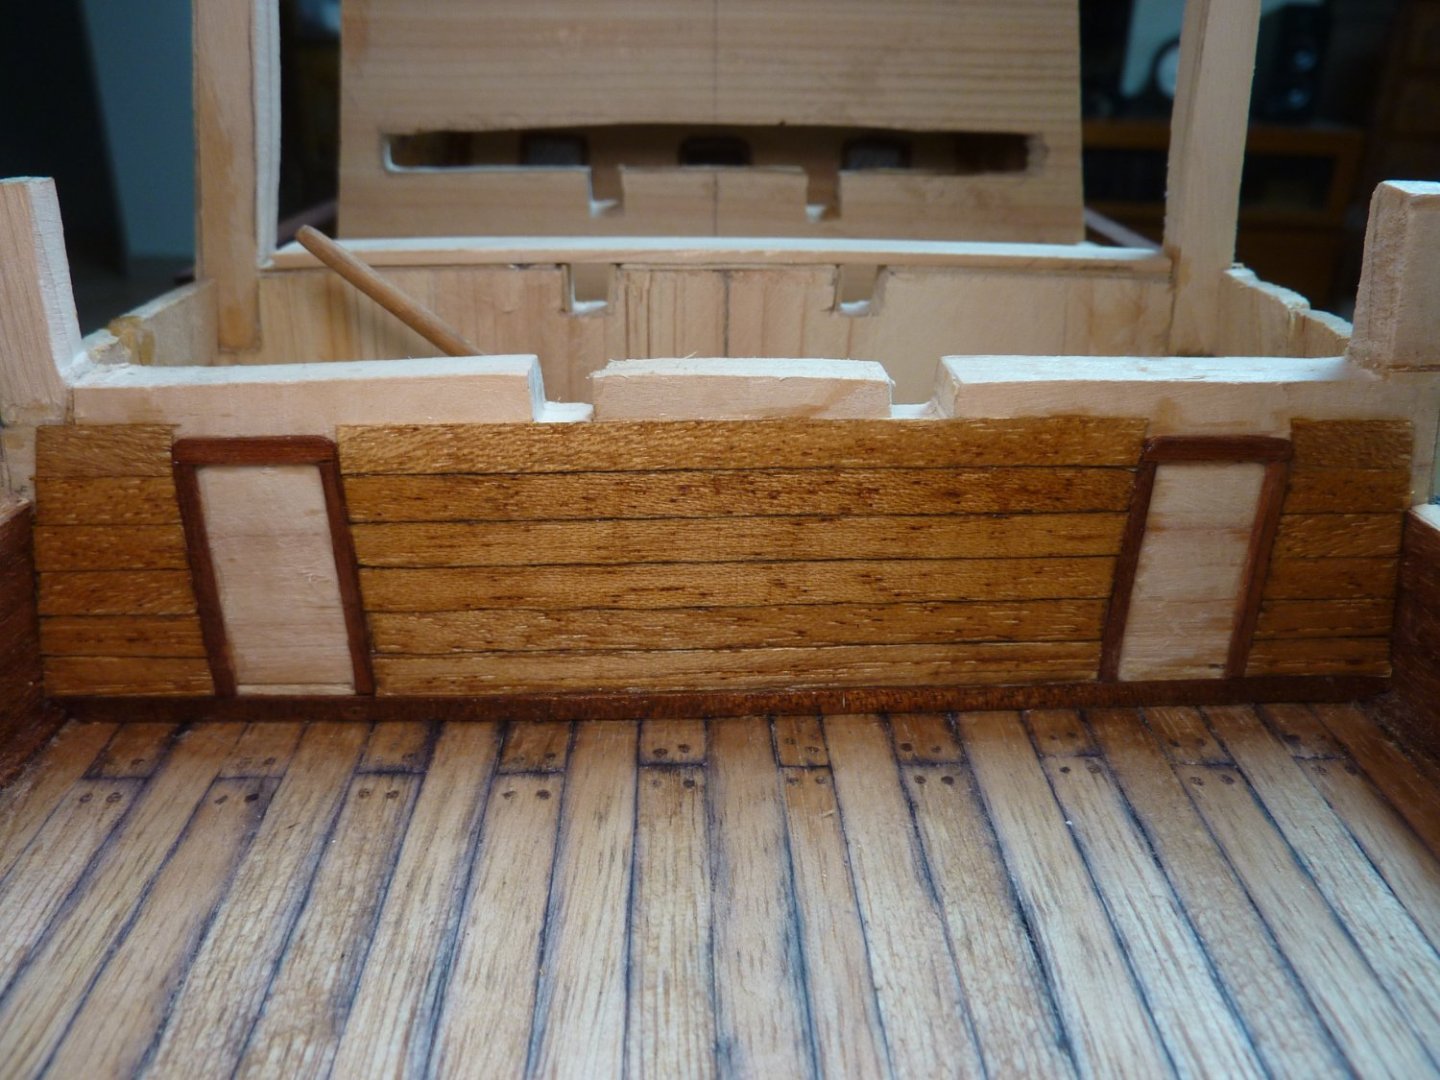
Working on the inside wall further aft- although most of this section cannot be seen, I decided to do some work anyway. The doors will be done as fake doors.


-
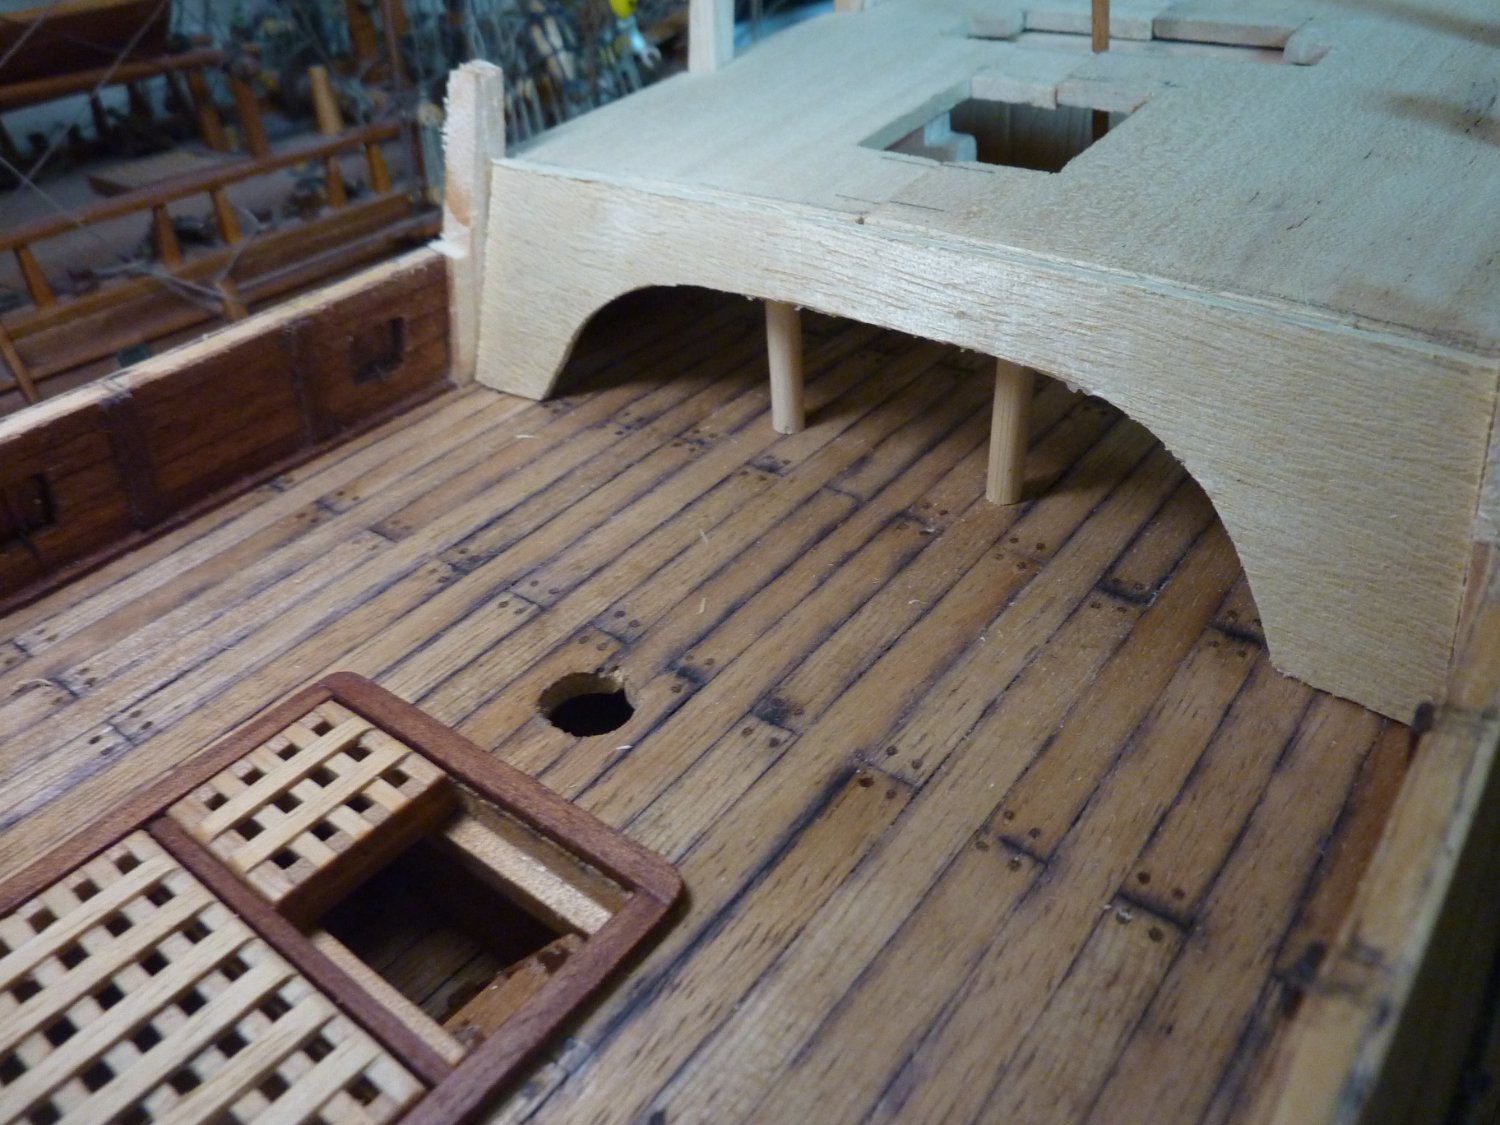
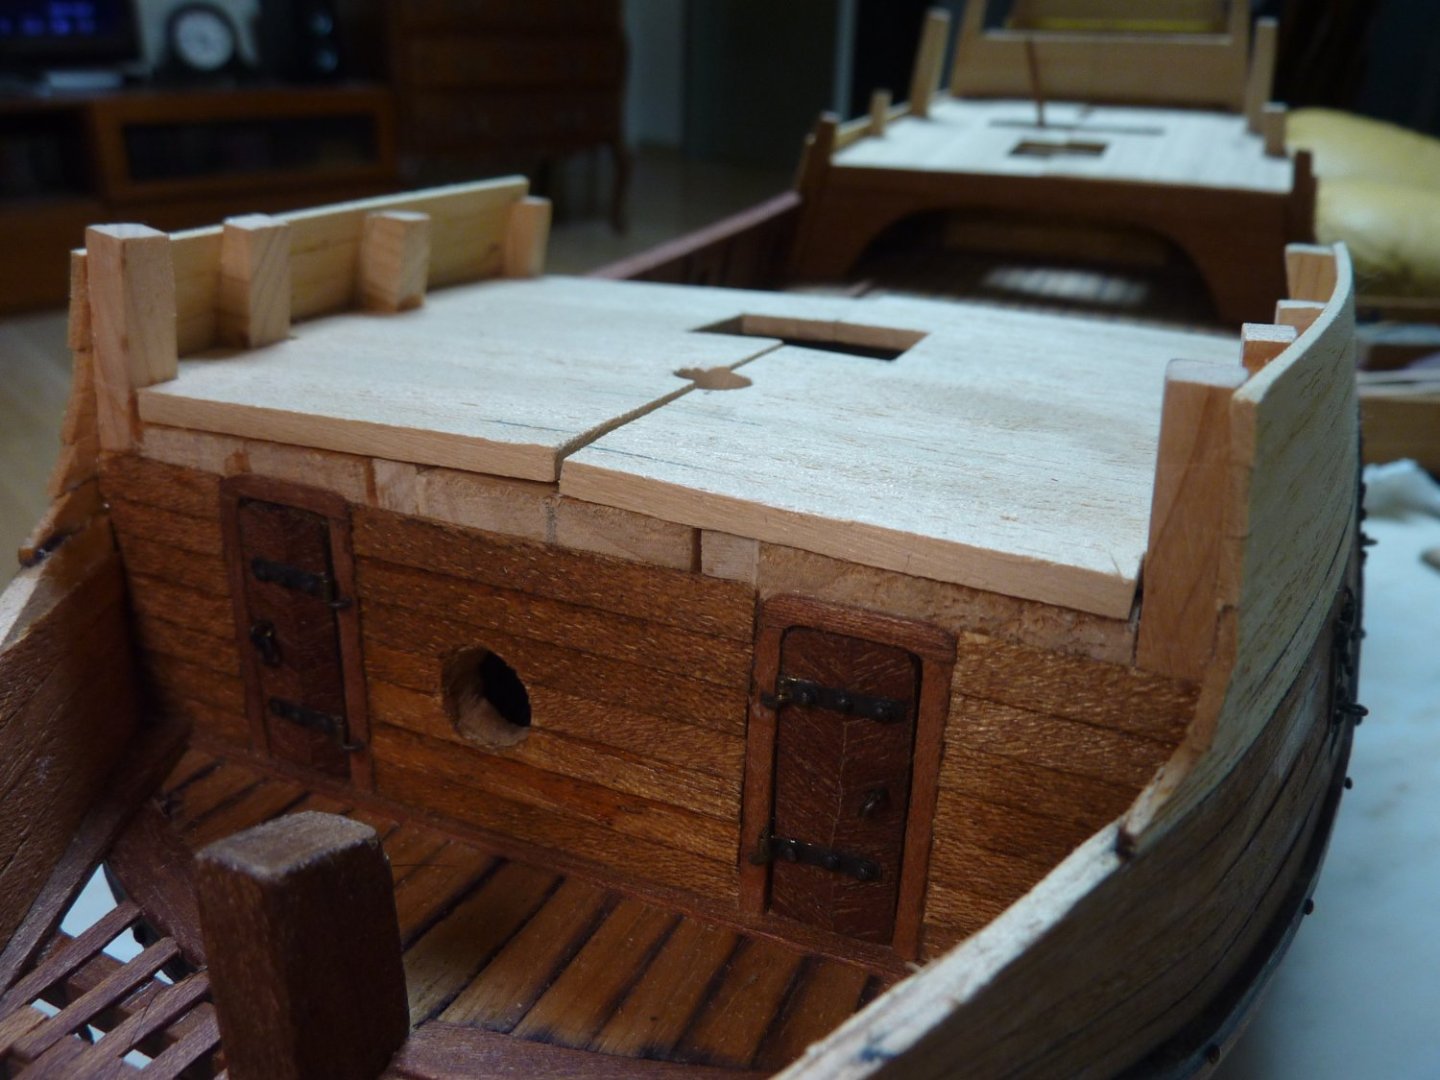
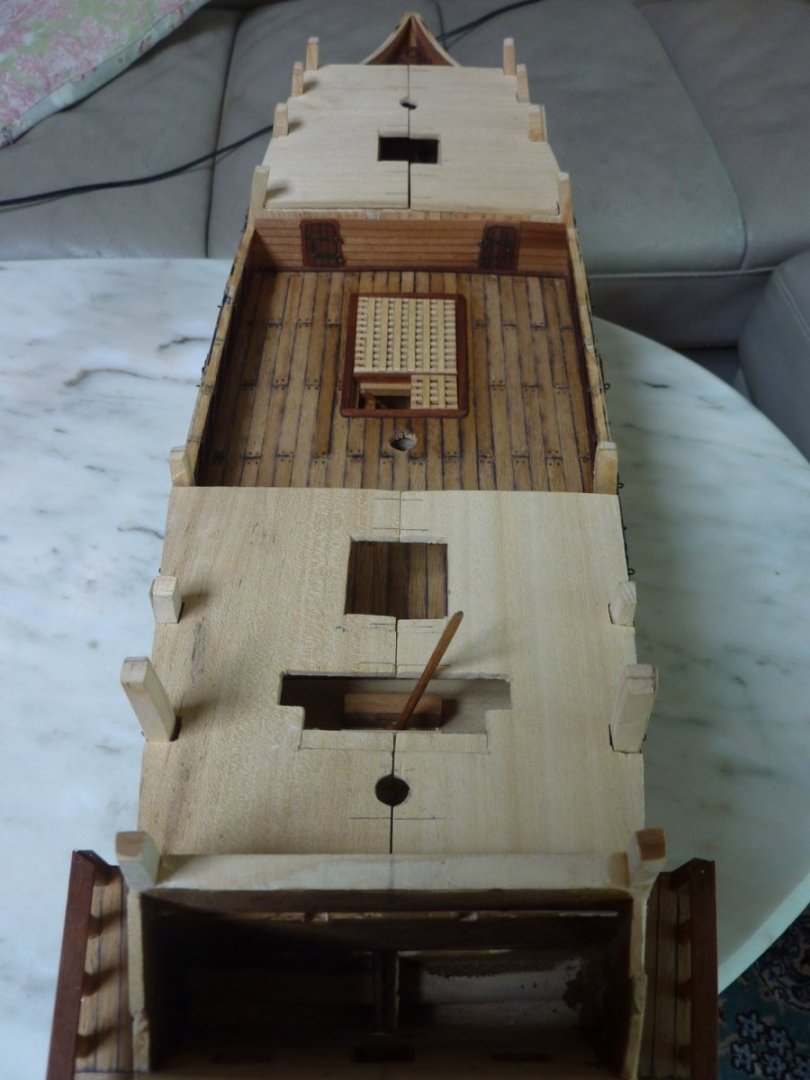
Hello shipmates~ Small updates....I can only manage to spend some limited time time during weekends these days. After consulting with fellow MSW members through another topic, I have decided to render the aft side of the weather-deck opening in a style that would be almost open. Below are some pictures of the initial work. Laminating thin sheets to form the basis of the entrance and gauging the overall look of the design.


-
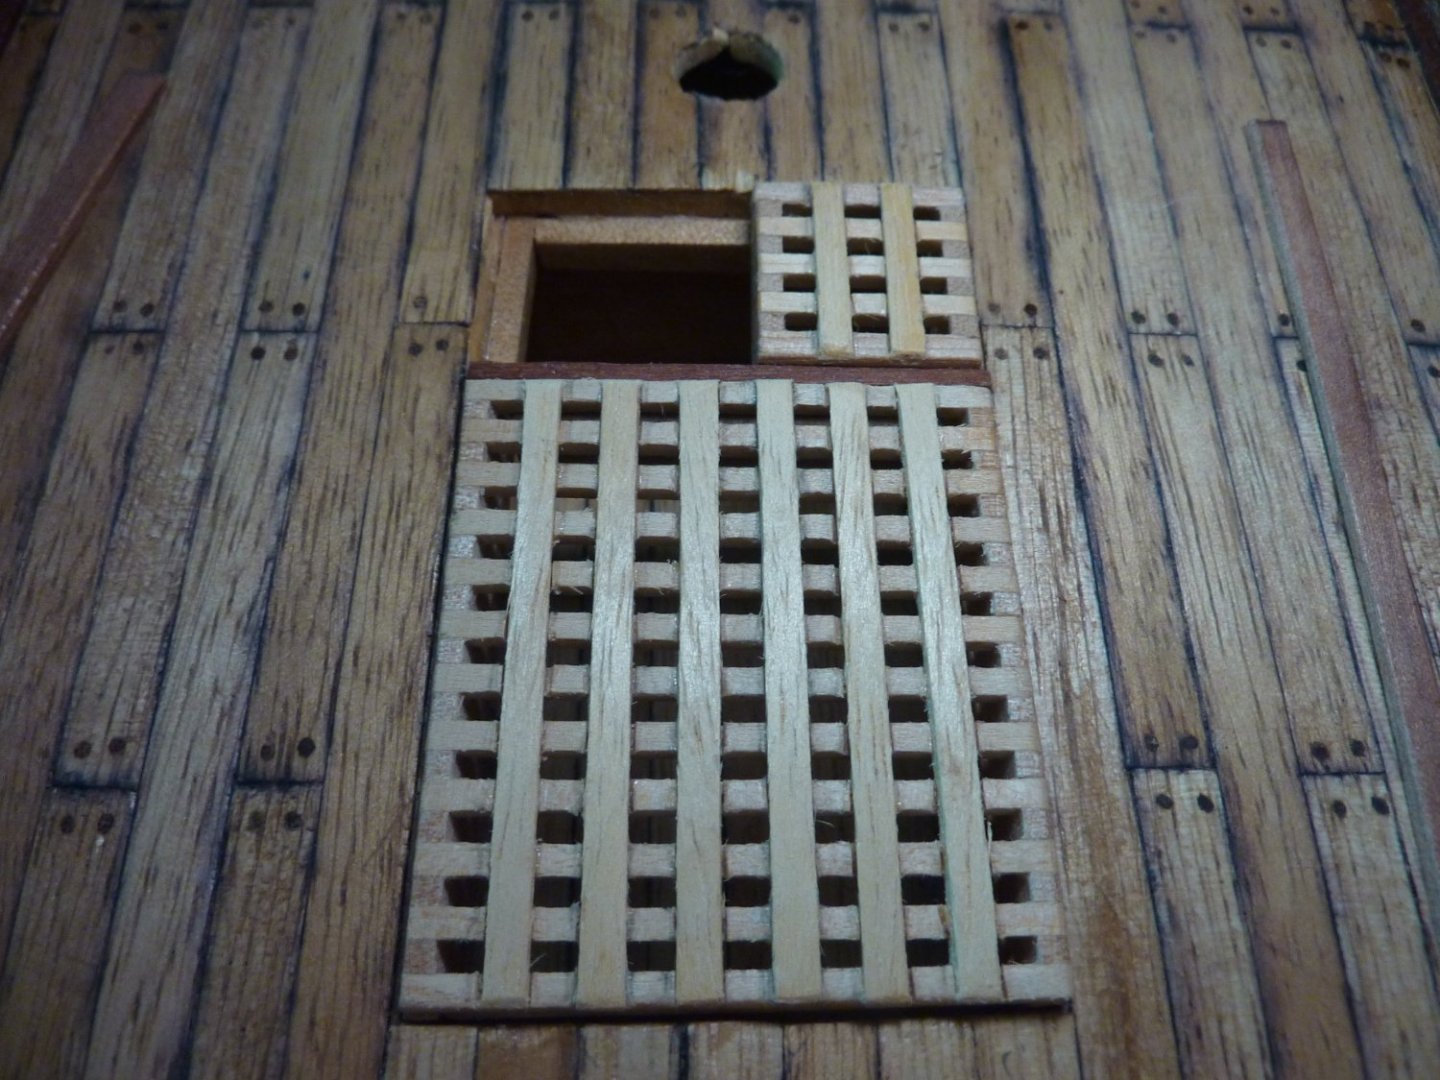
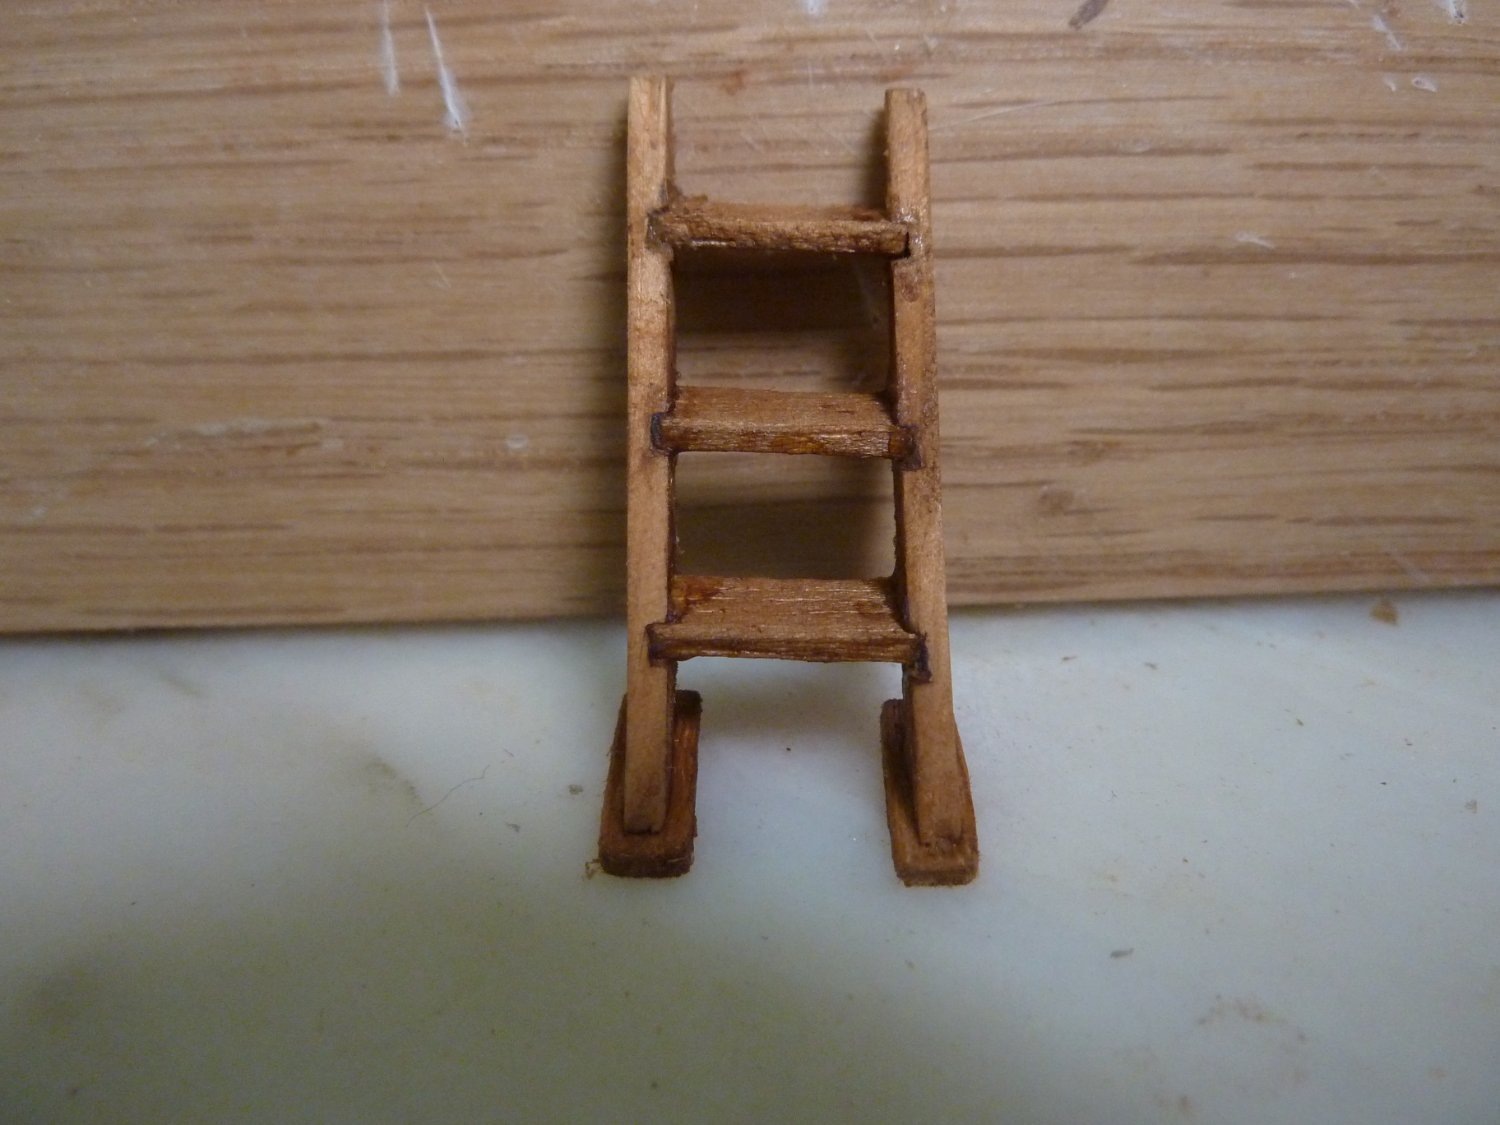
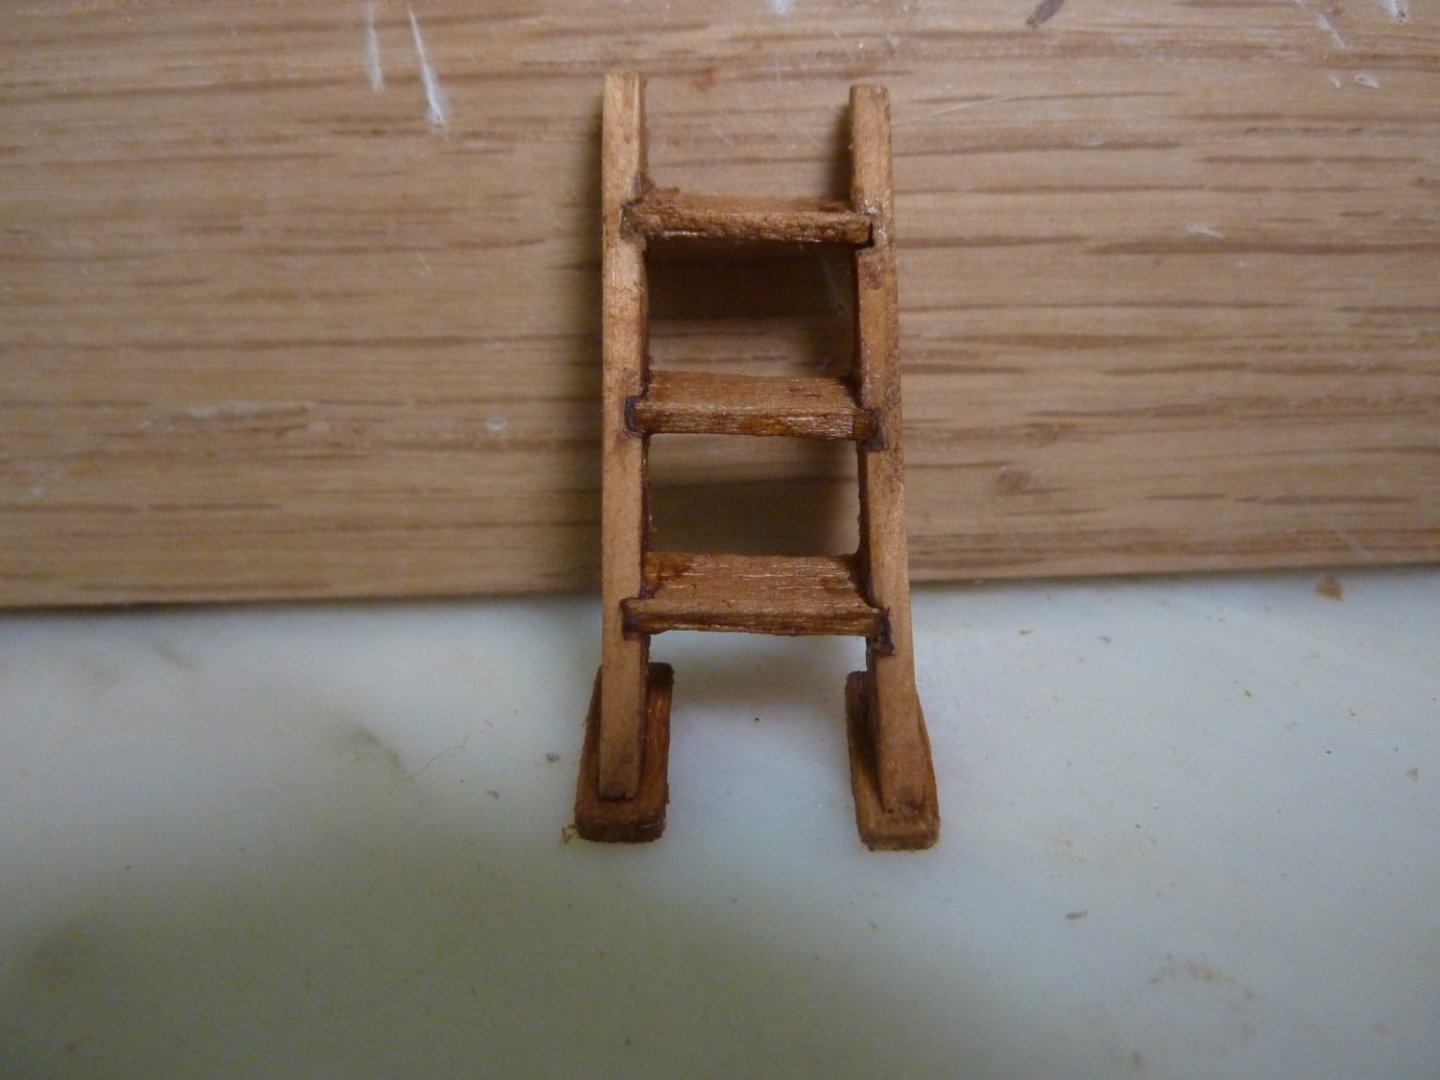
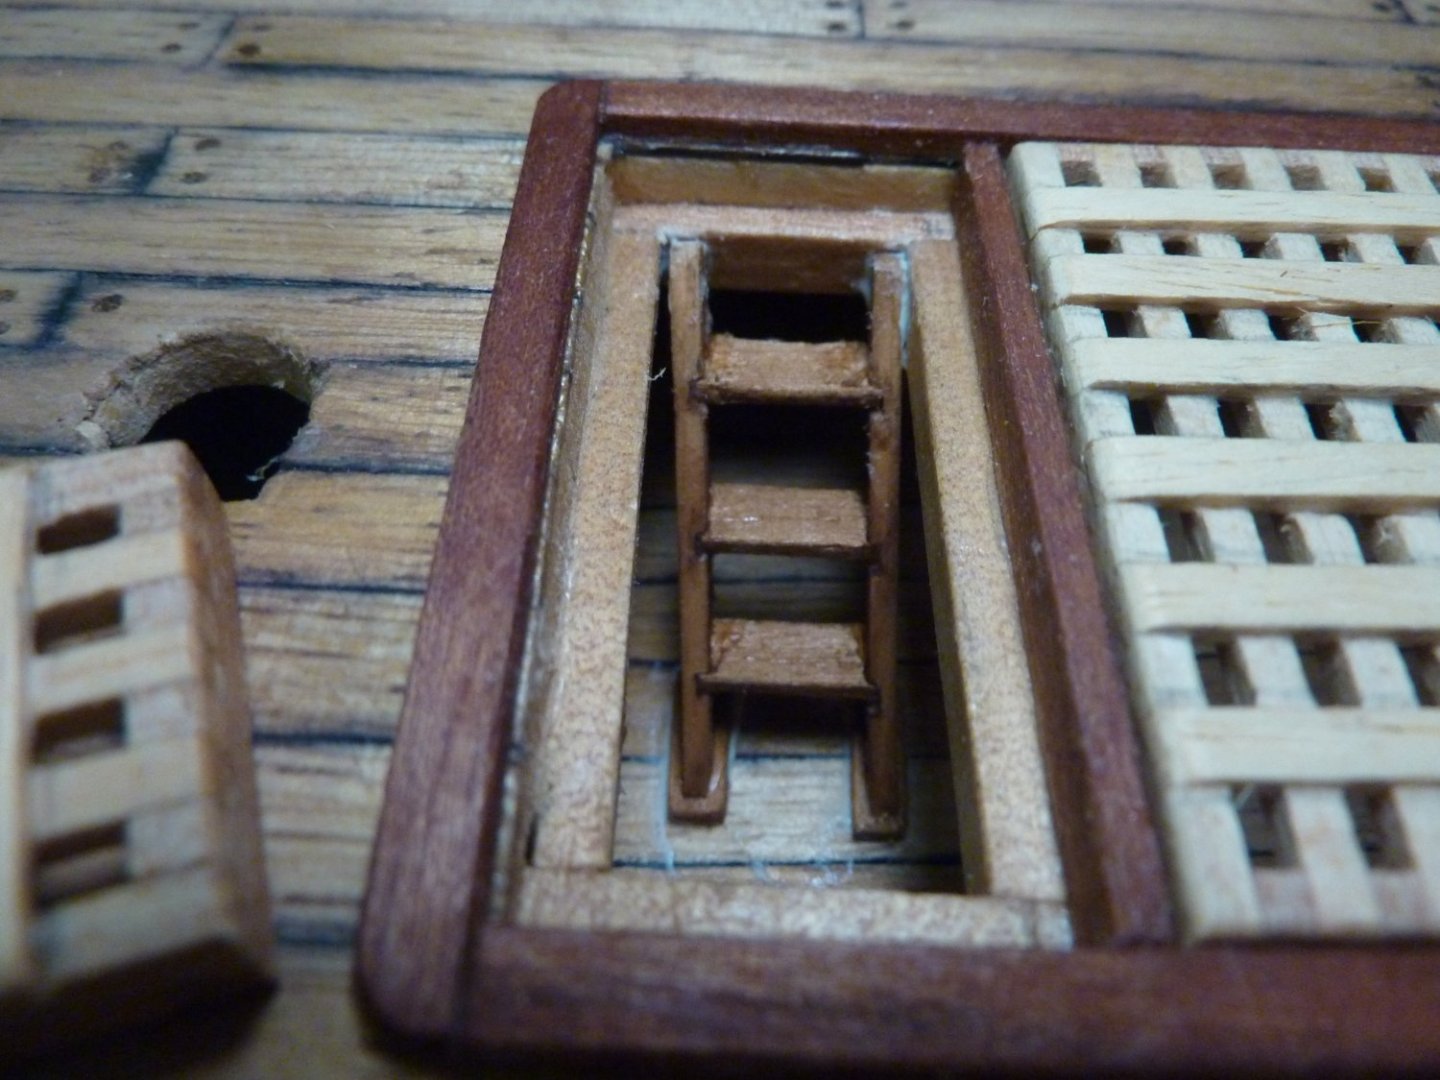
Lastly, the ladders are made and fixed at the entrance to the grating.


-
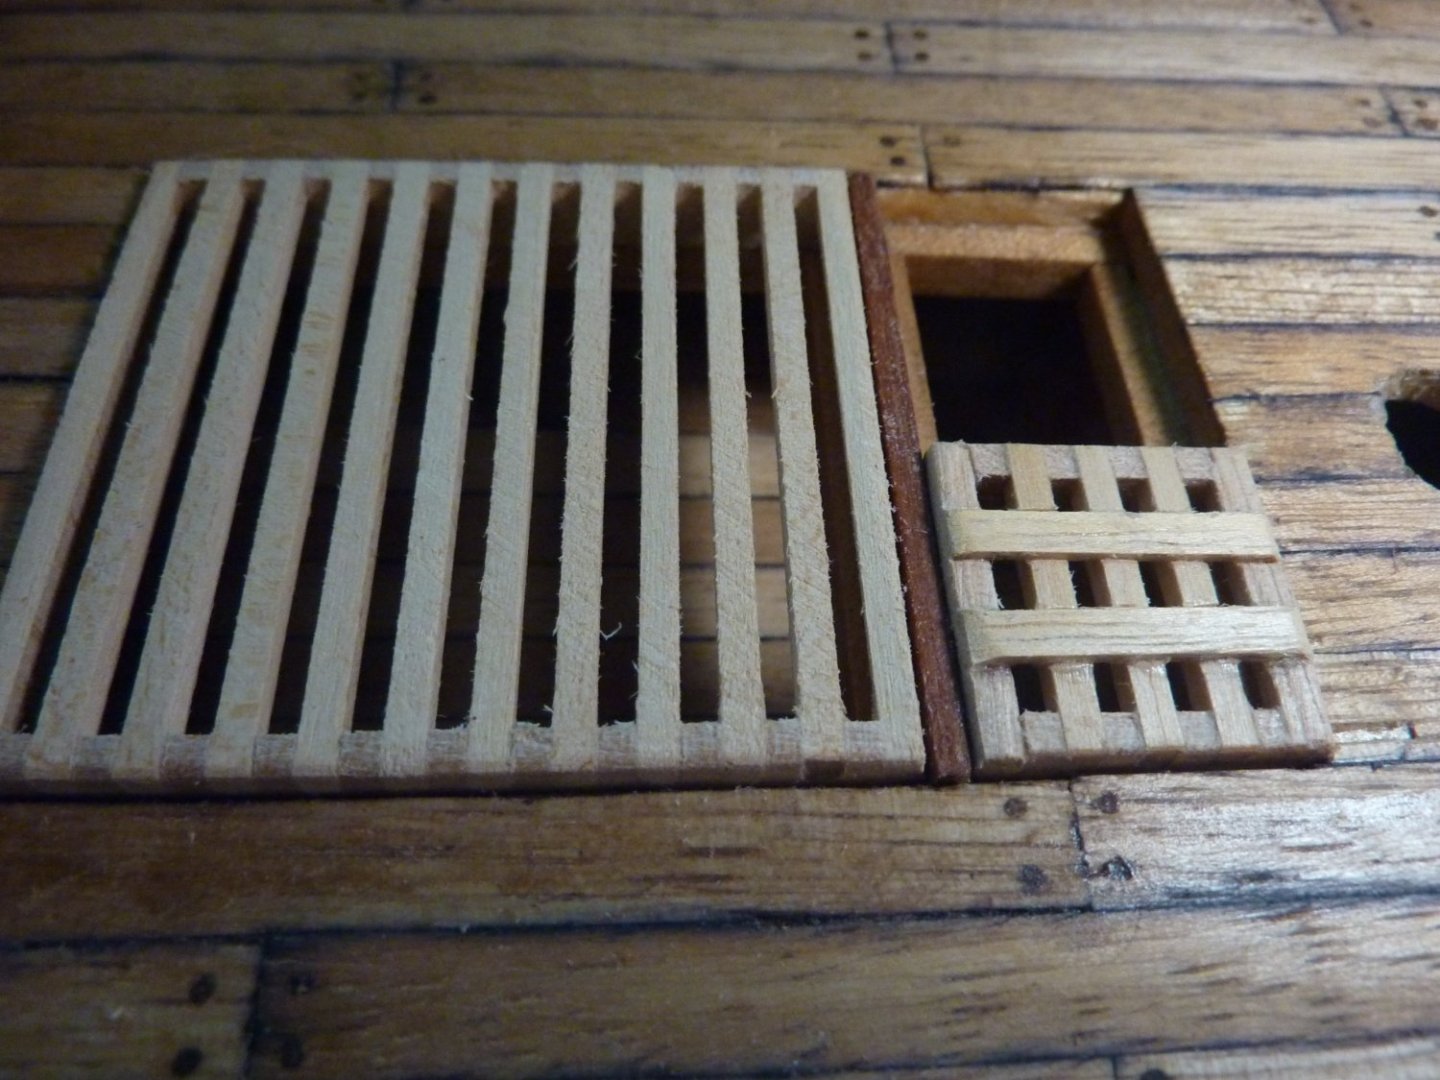
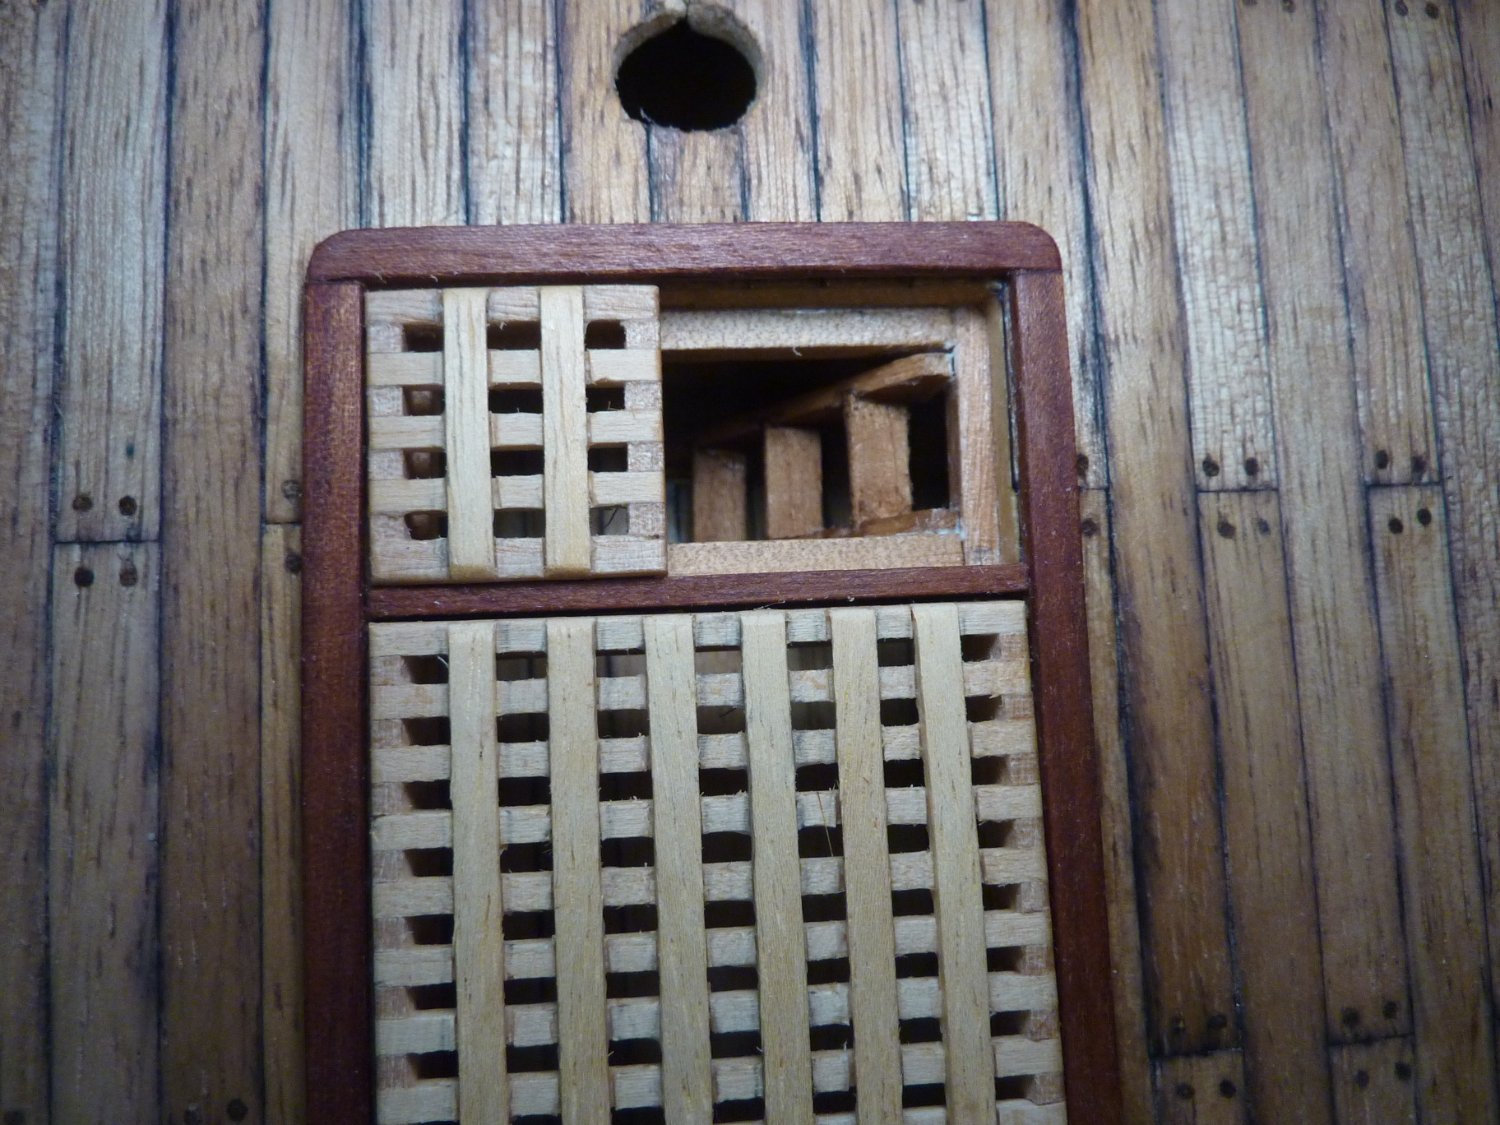
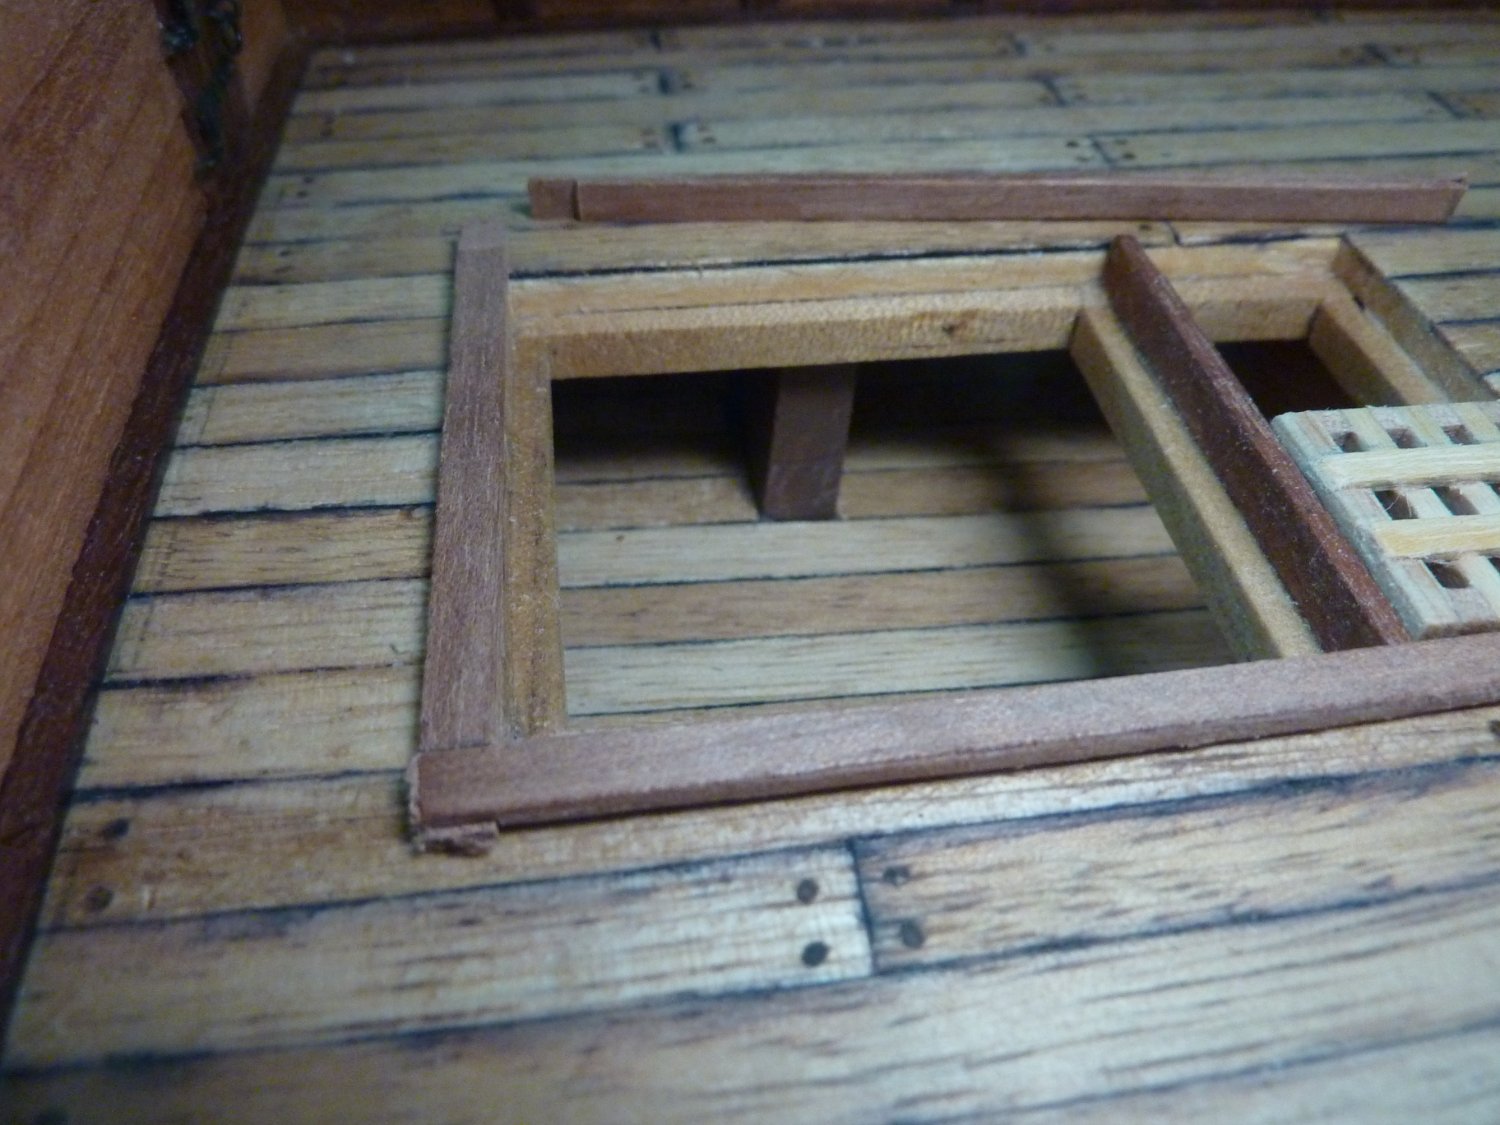
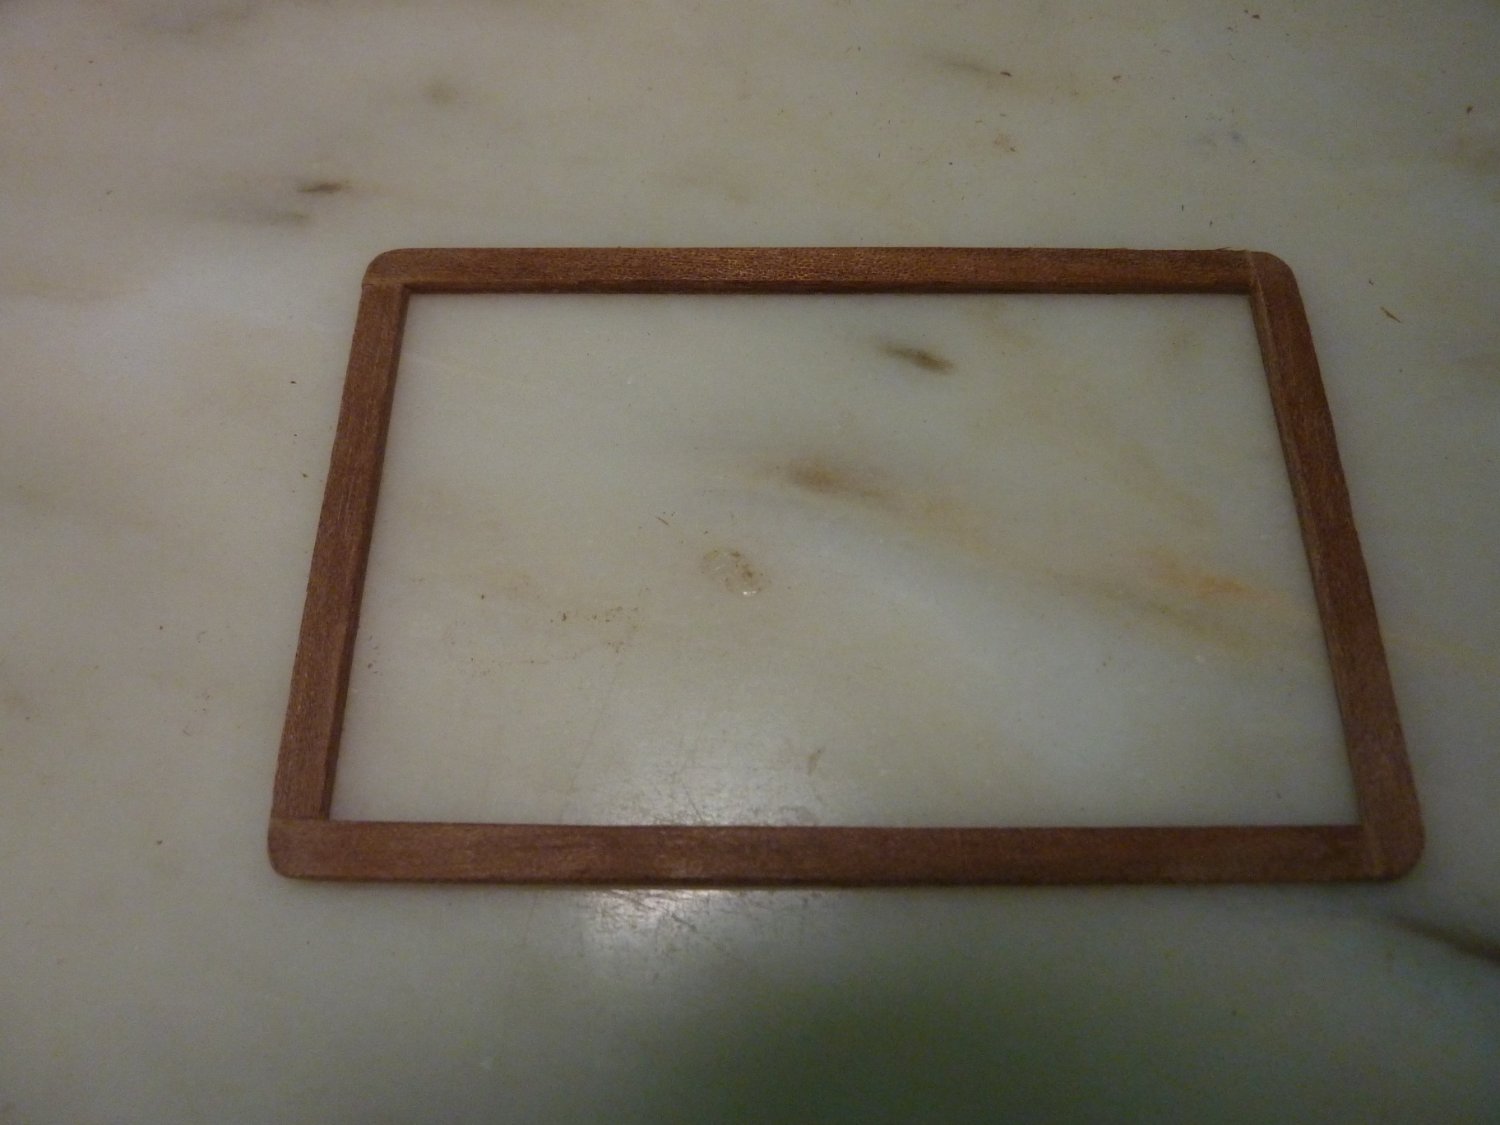
The head ledges and coaming are done using 4 laminated hardwood strips - these laminated hardwood strips look better than expected. However, once again, I made another mistake vis-a-vis the coaming and head ledge joint on two corners (the other two are done correctly). It was too late when I found out about this and I just proceeded with these faulty corners. I will be more careful on the next grating work.


-
Hi All~ Things are quite busy at work and I can barely make progress~ Anyway, I managed to finish the grating on the main deck and fitted it with a generic ladder. Below are some pictures of the finishing works on the grating.