Rock_From_Korea
-
Posts
316 -
Joined
-
Last visited
Content Type
Profiles
Forums
Gallery
Events
Everything posted by Rock_From_Korea
-
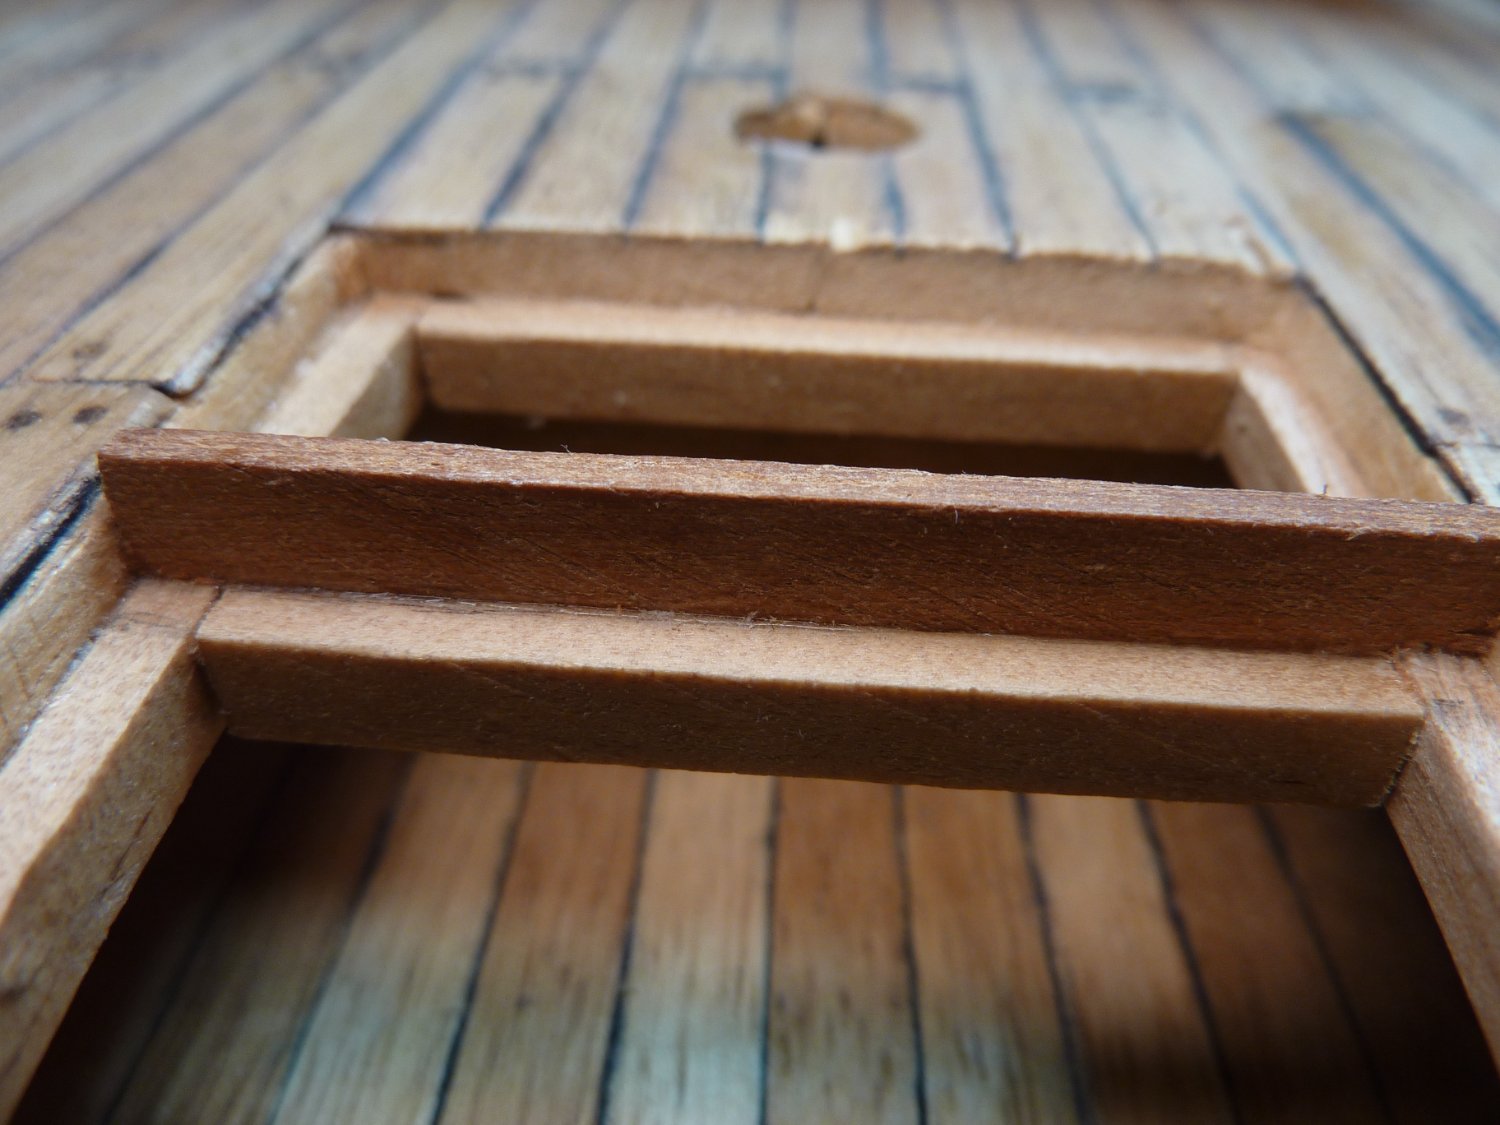
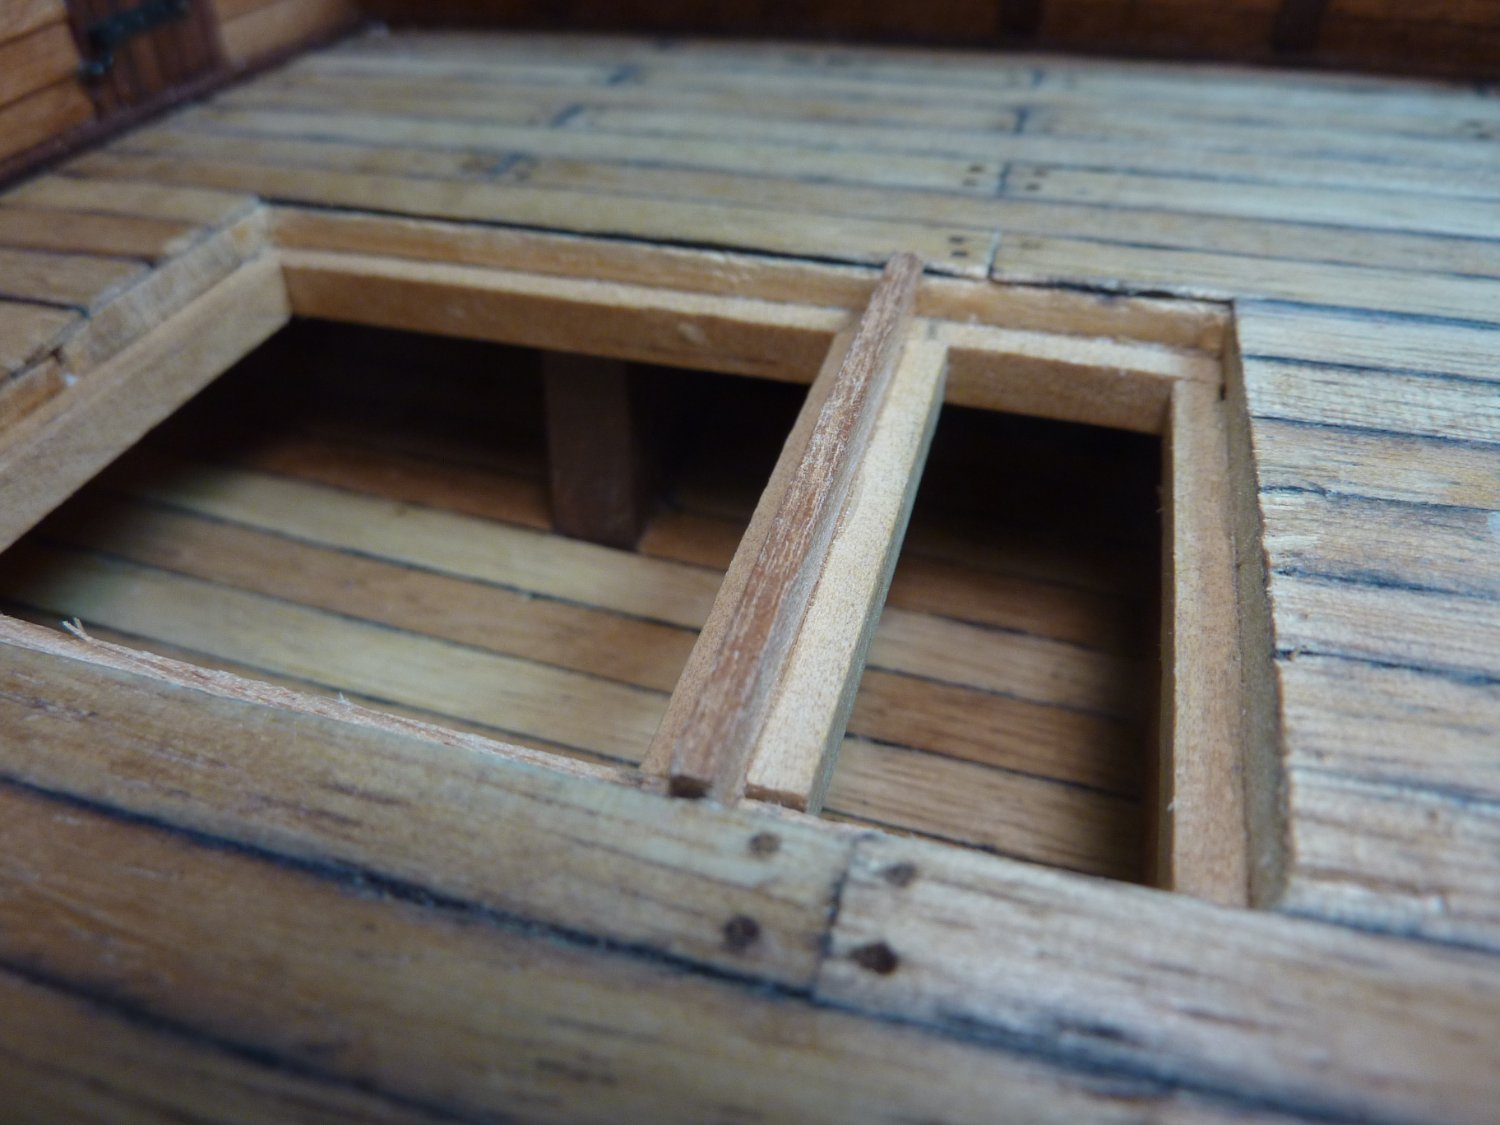
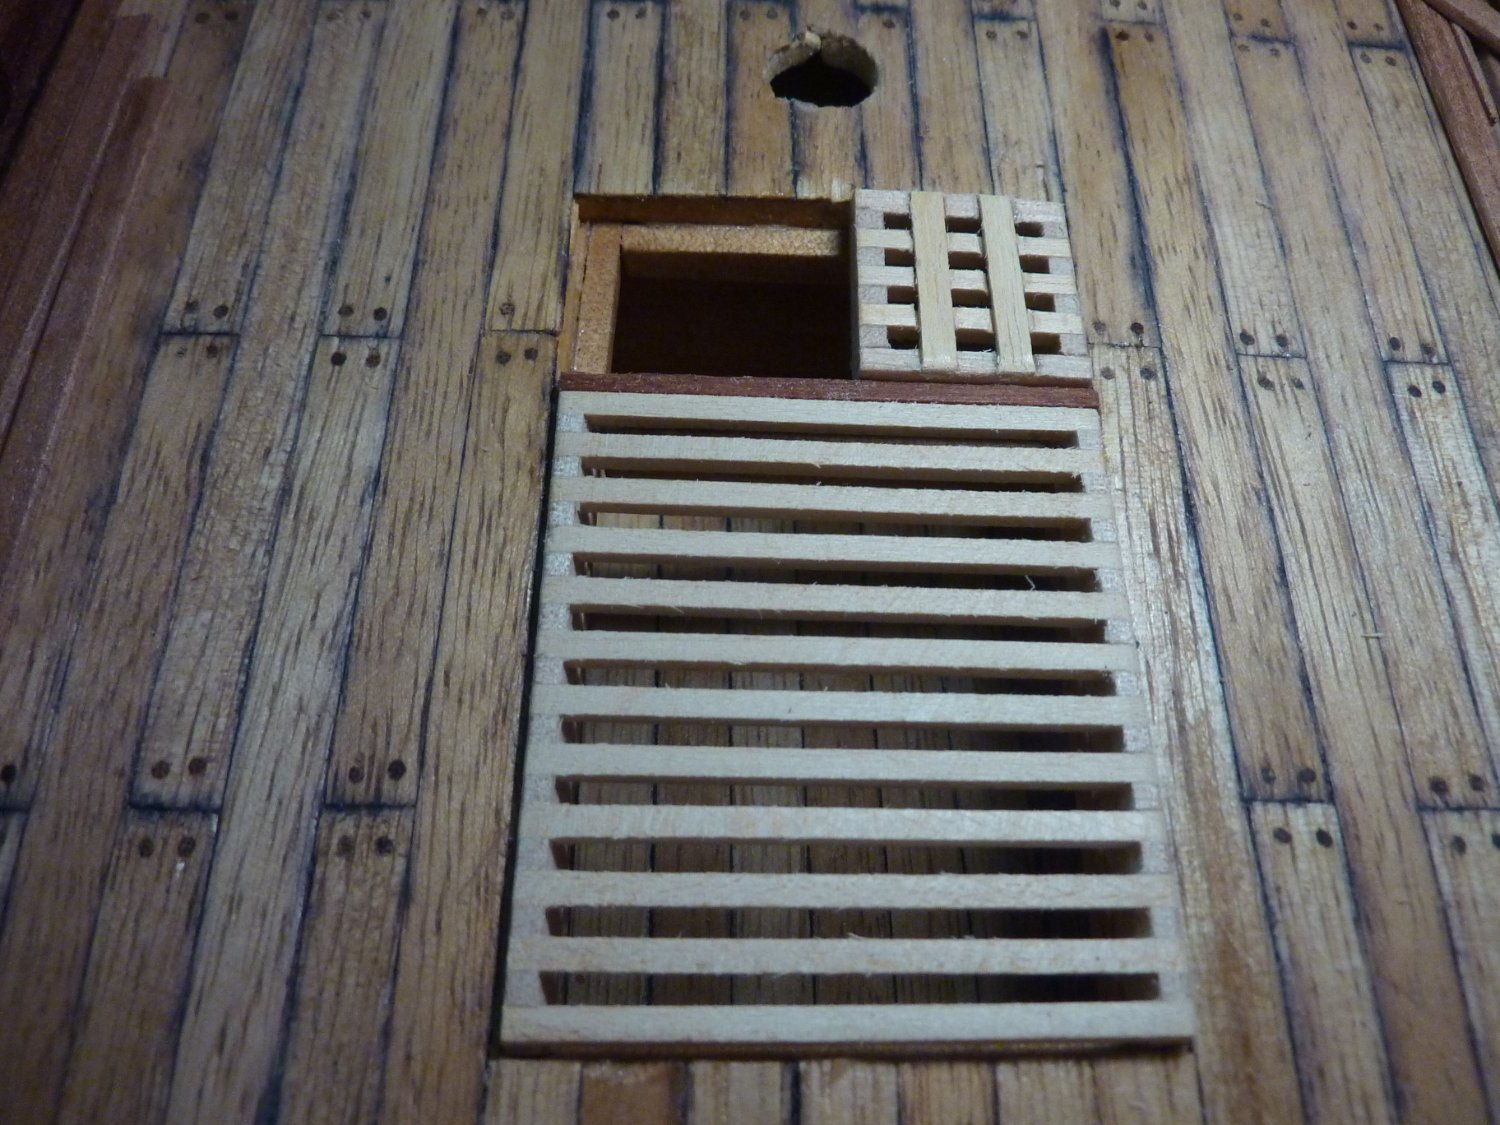
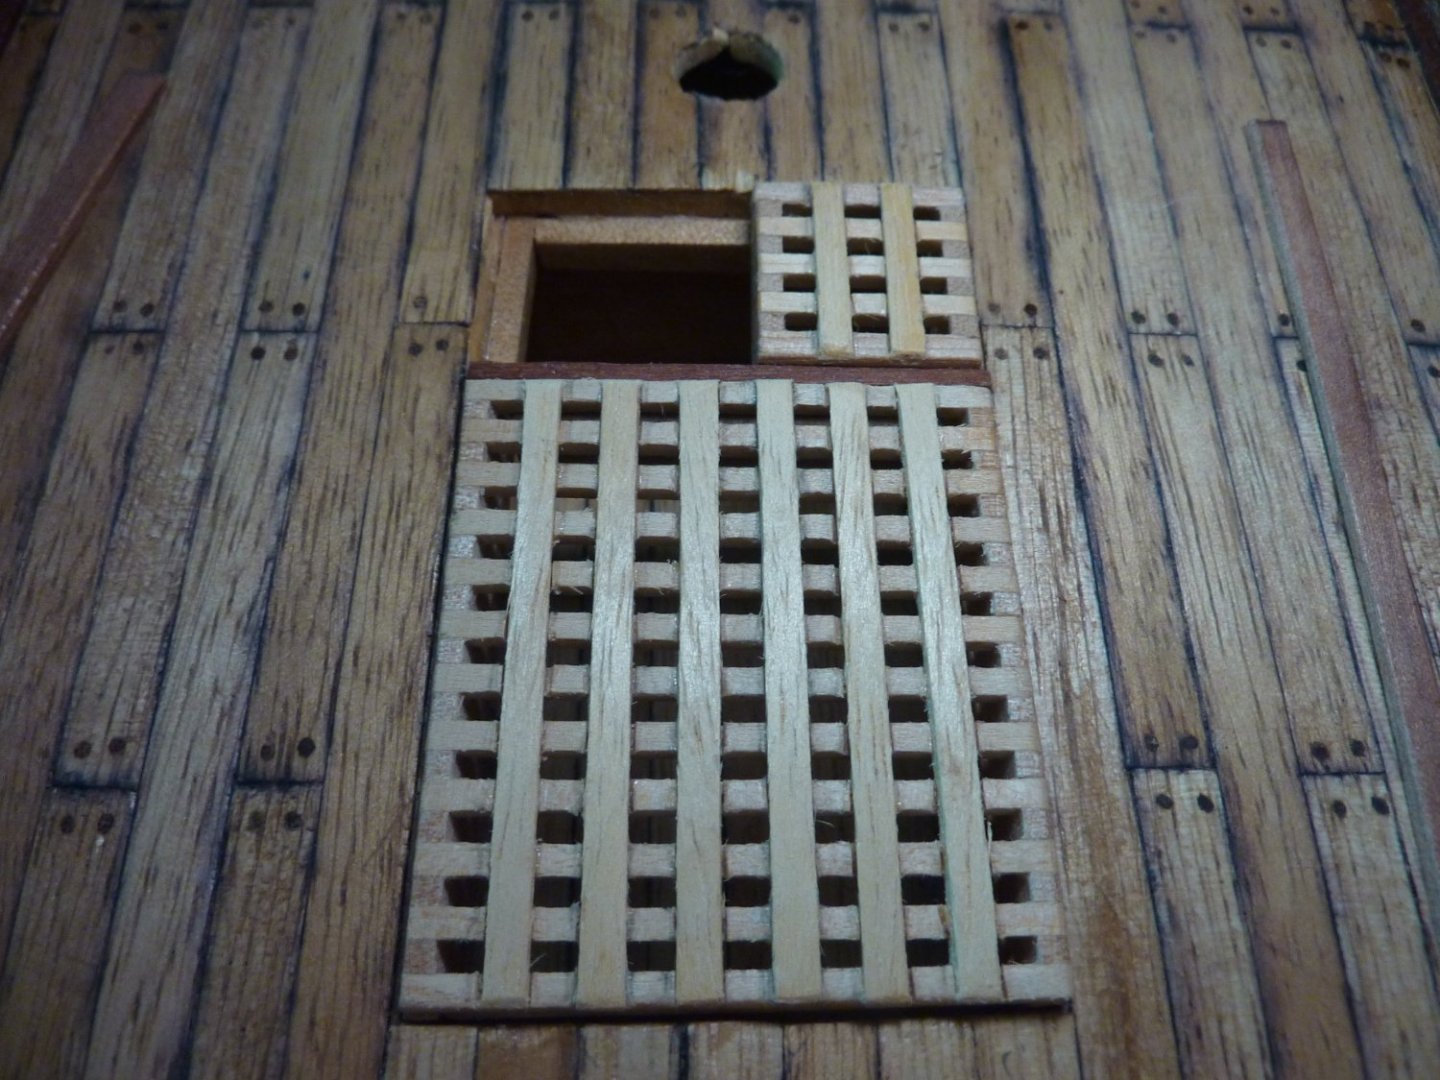
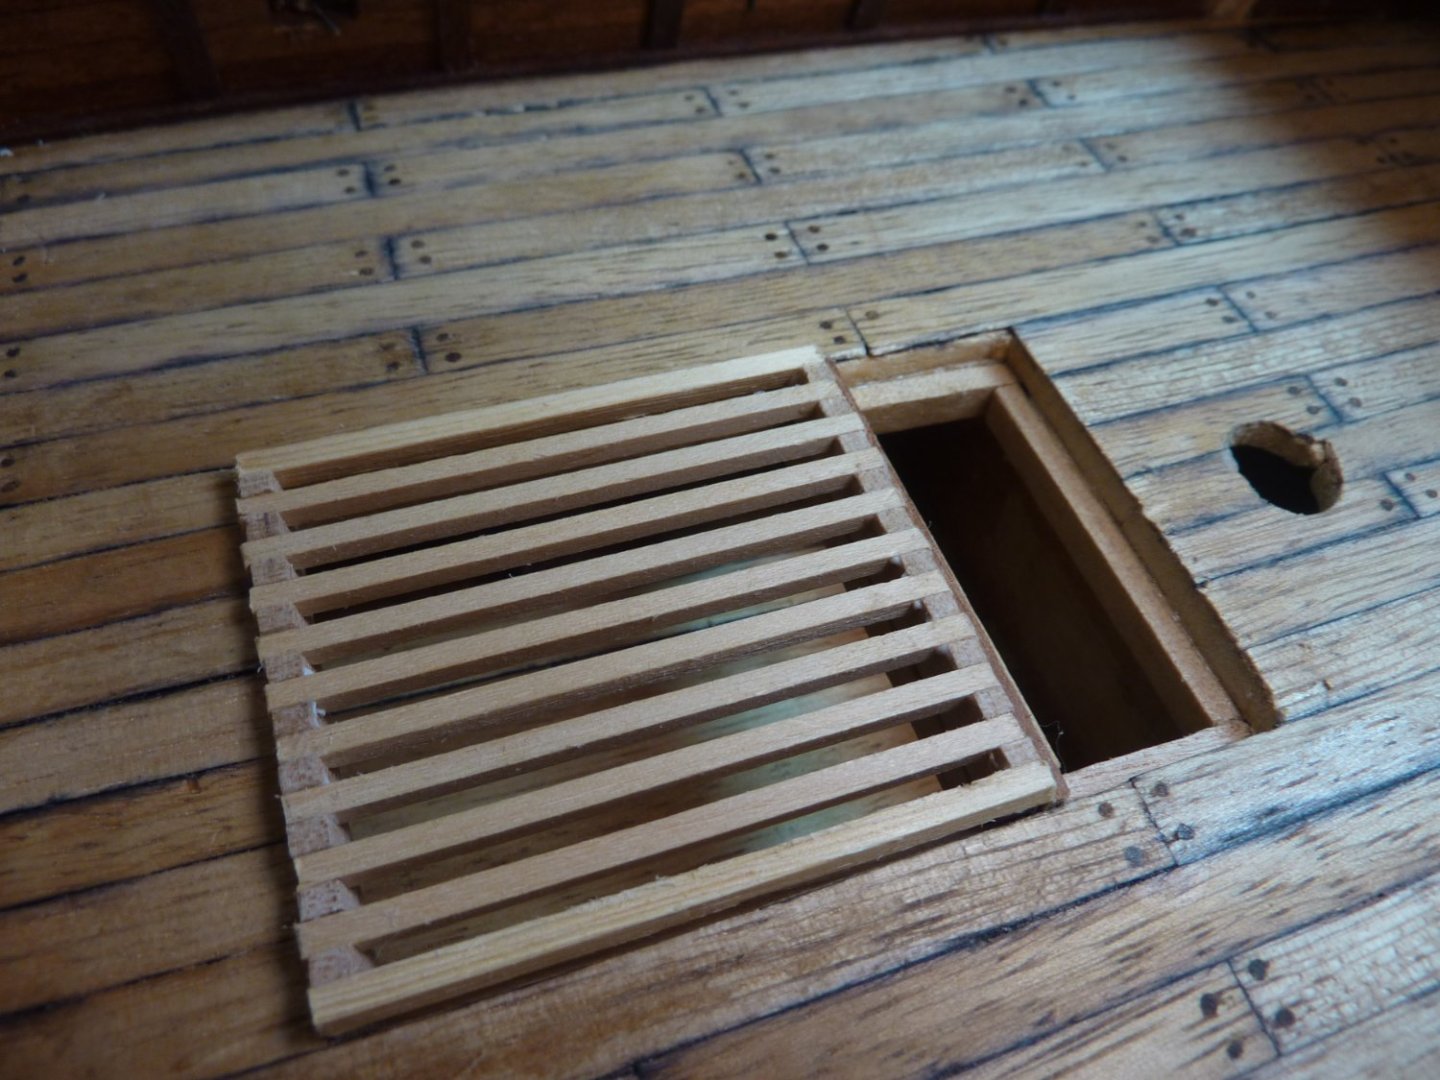
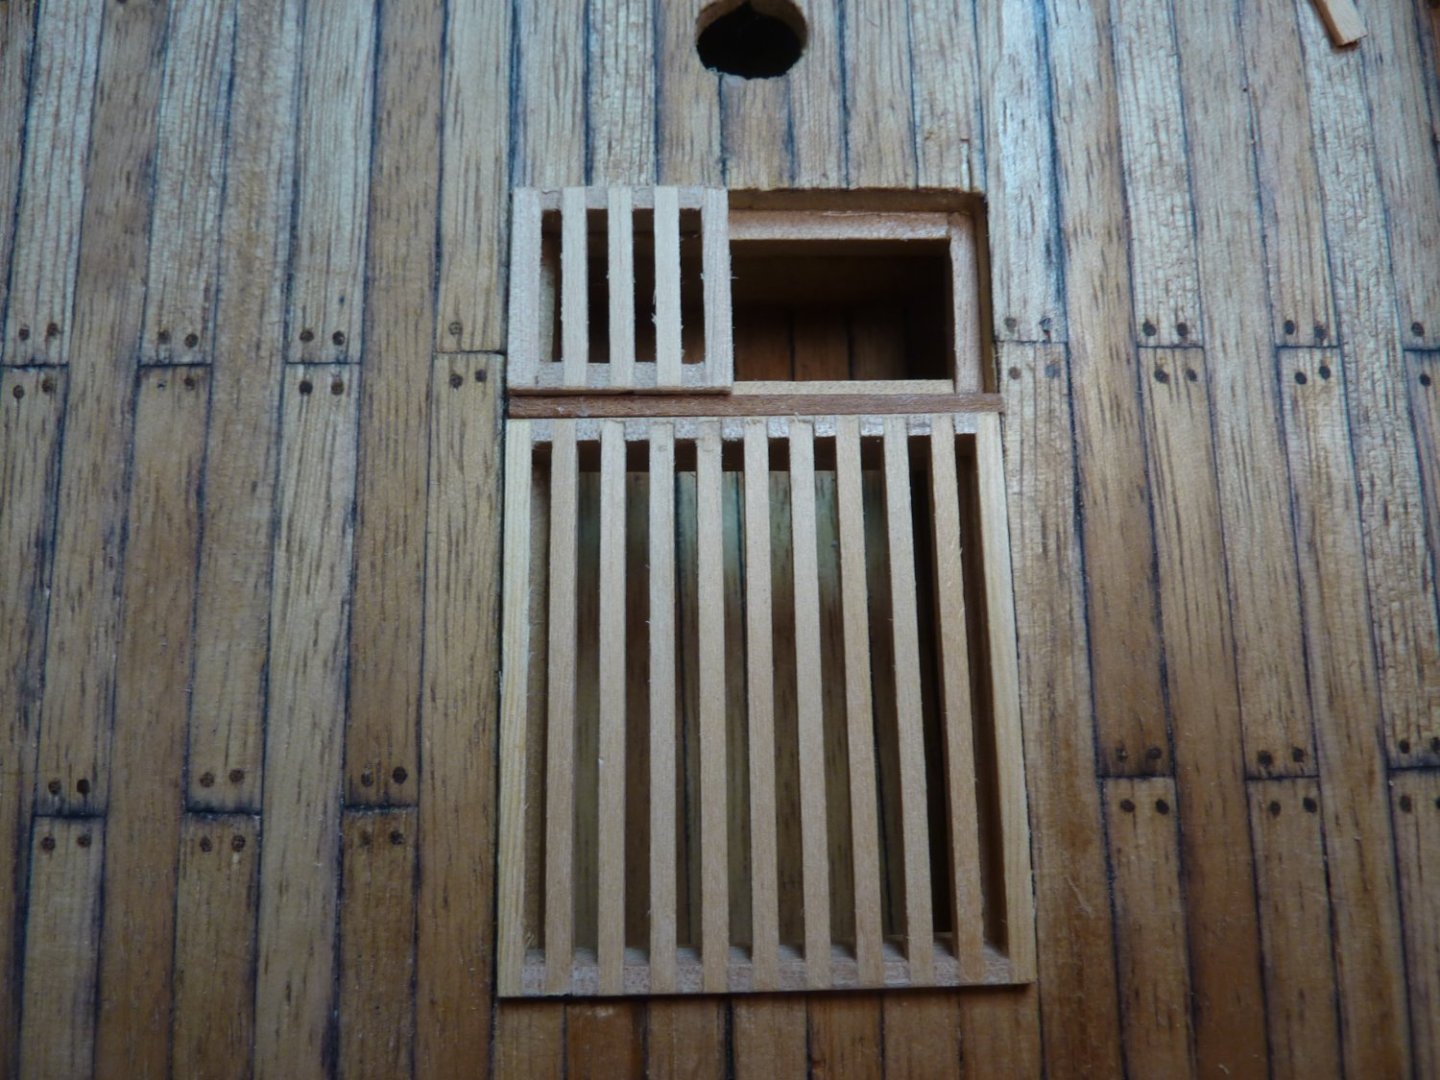
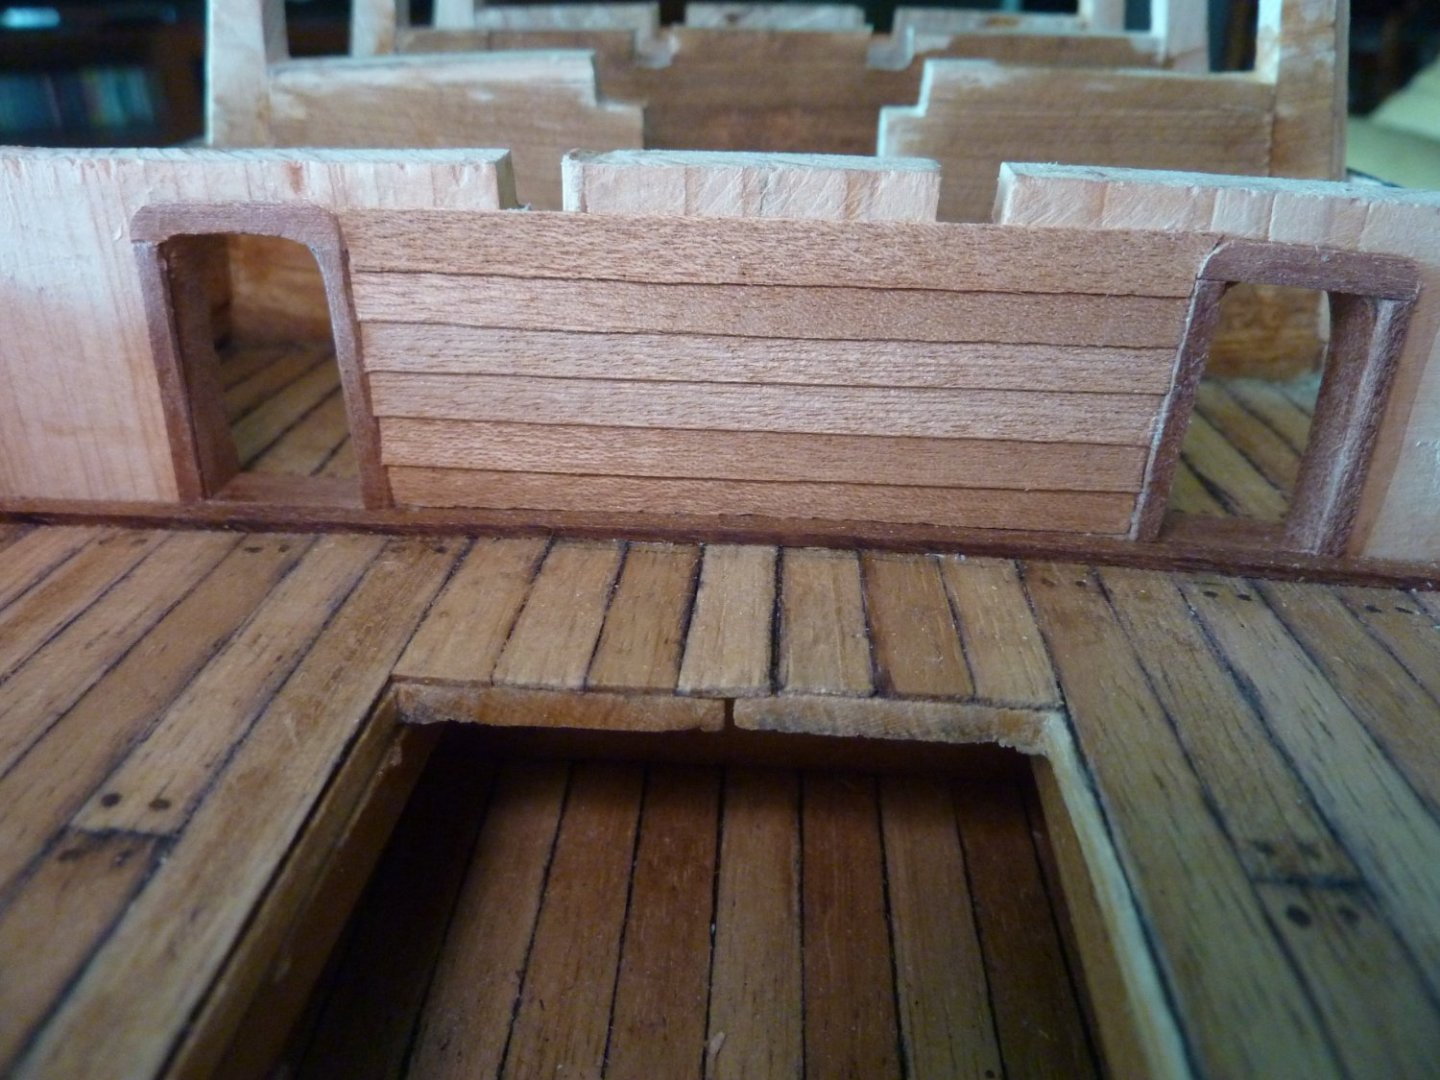
 Hi All~ Things are quite busy at work and I can barely make progress~ Anyway, I managed to finish the grating on the main deck and fitted it with a generic ladder. Below are some pictures of the finishing works on the grating.
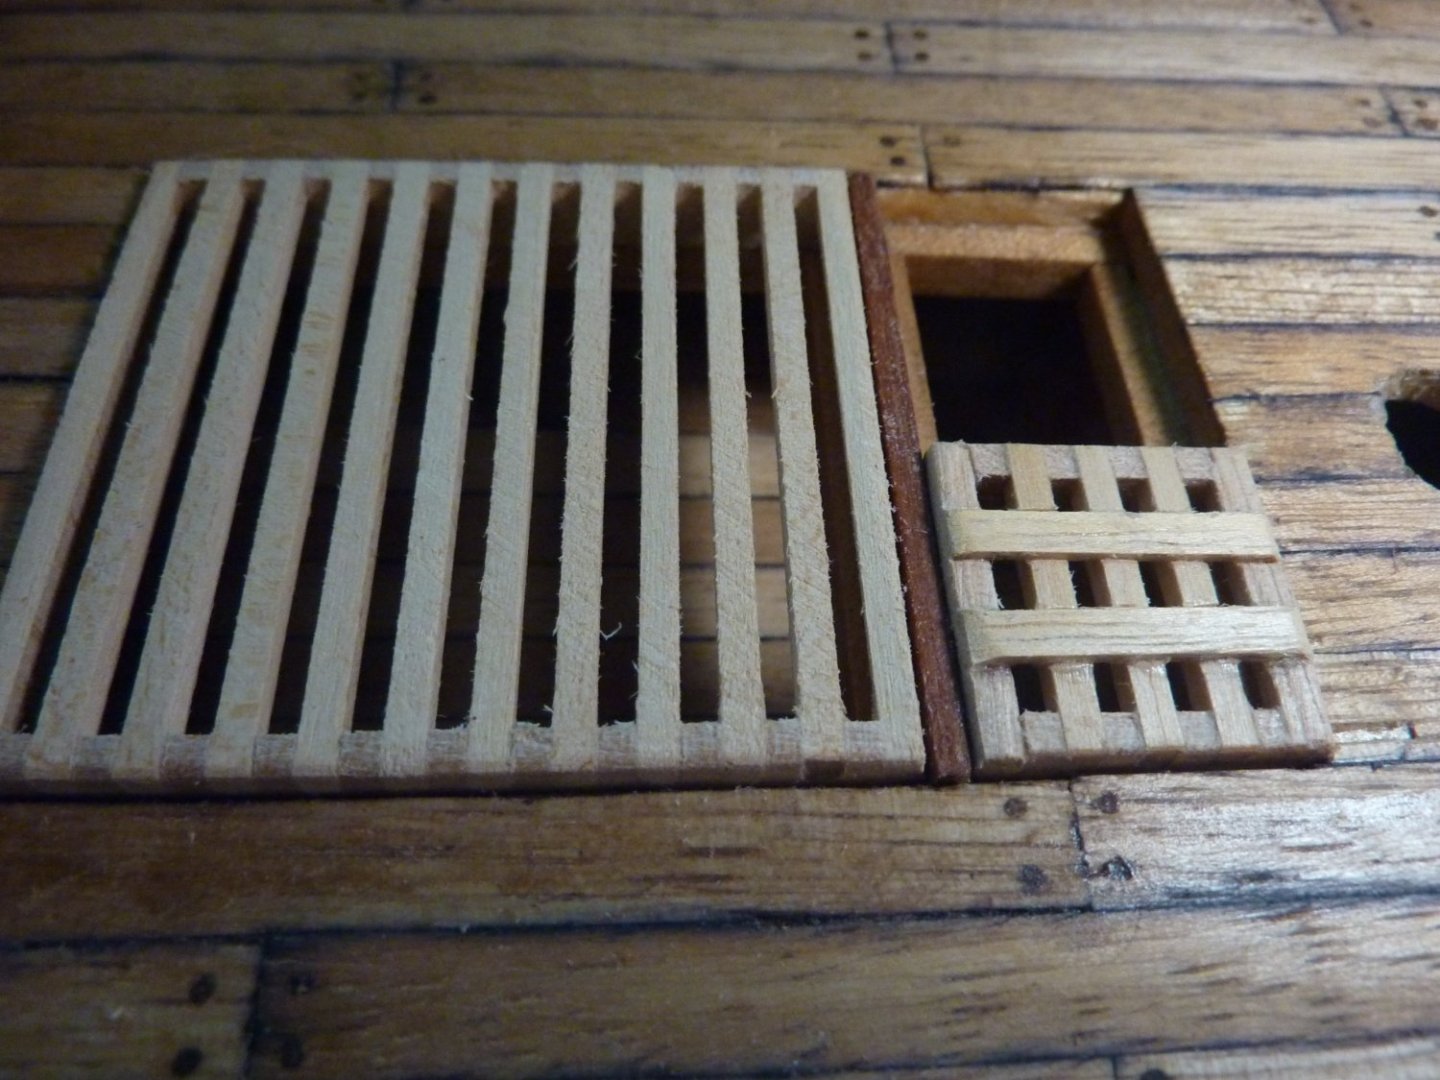

-
Thanks so much, Patrick! Always appreciate your encouragement and advise~
-
Thanks very much for your compliment, Alan!
-
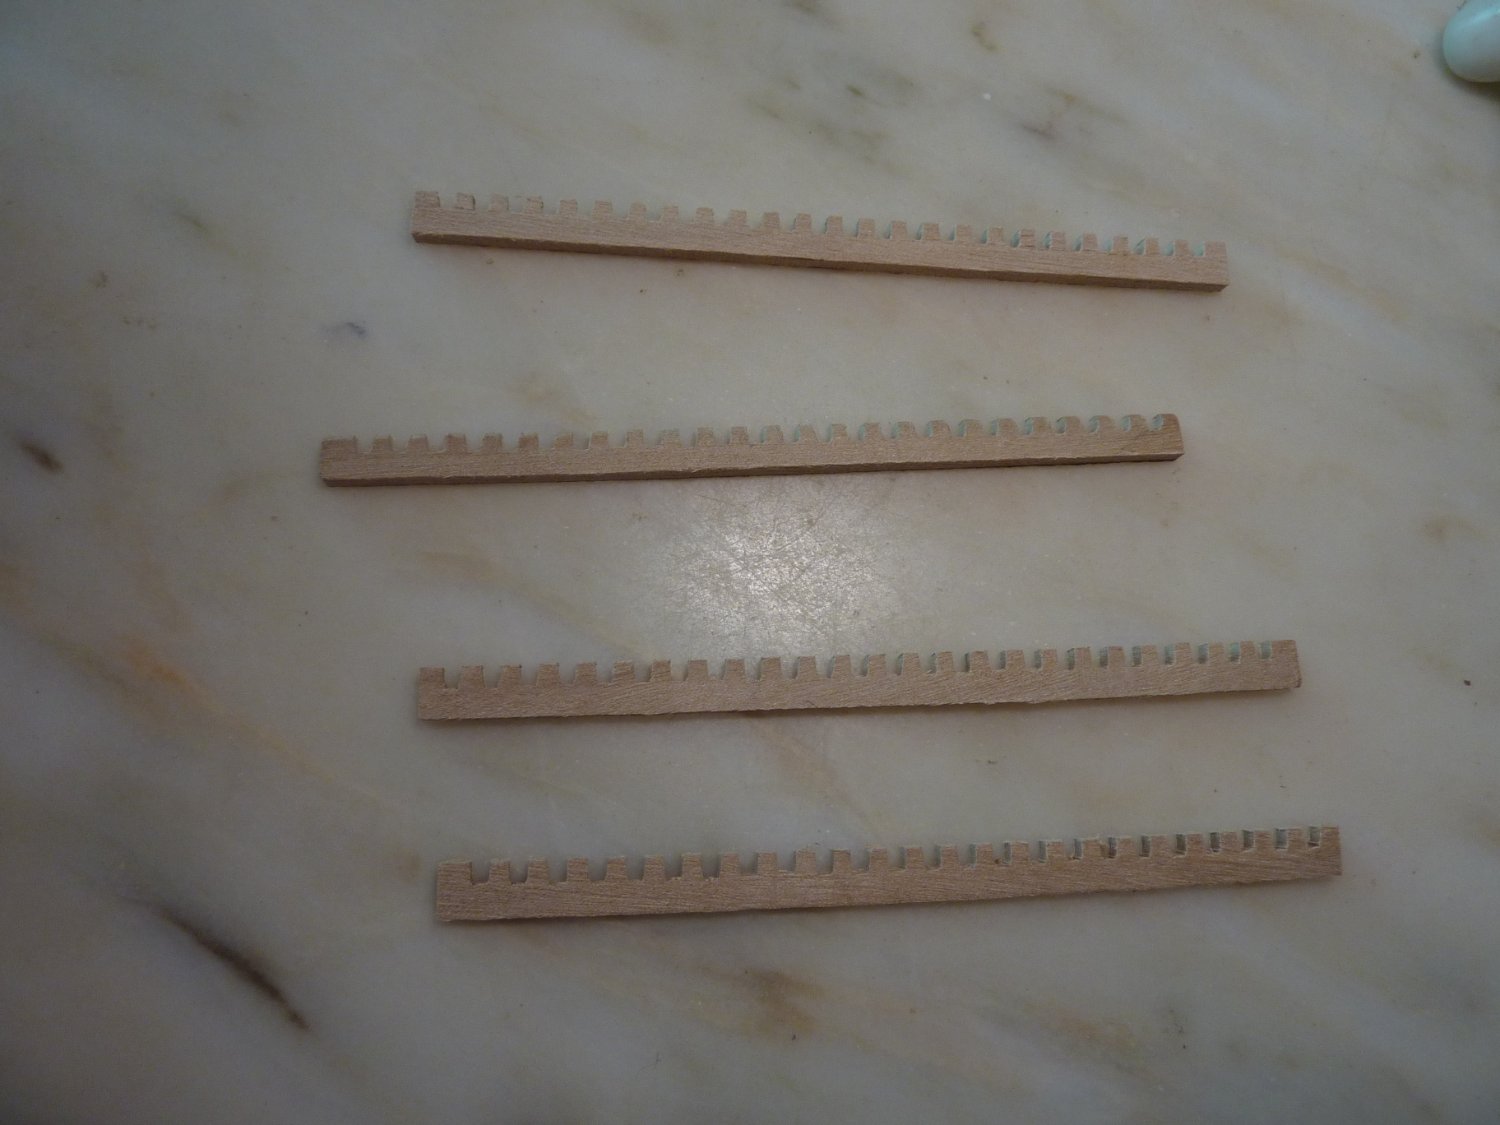
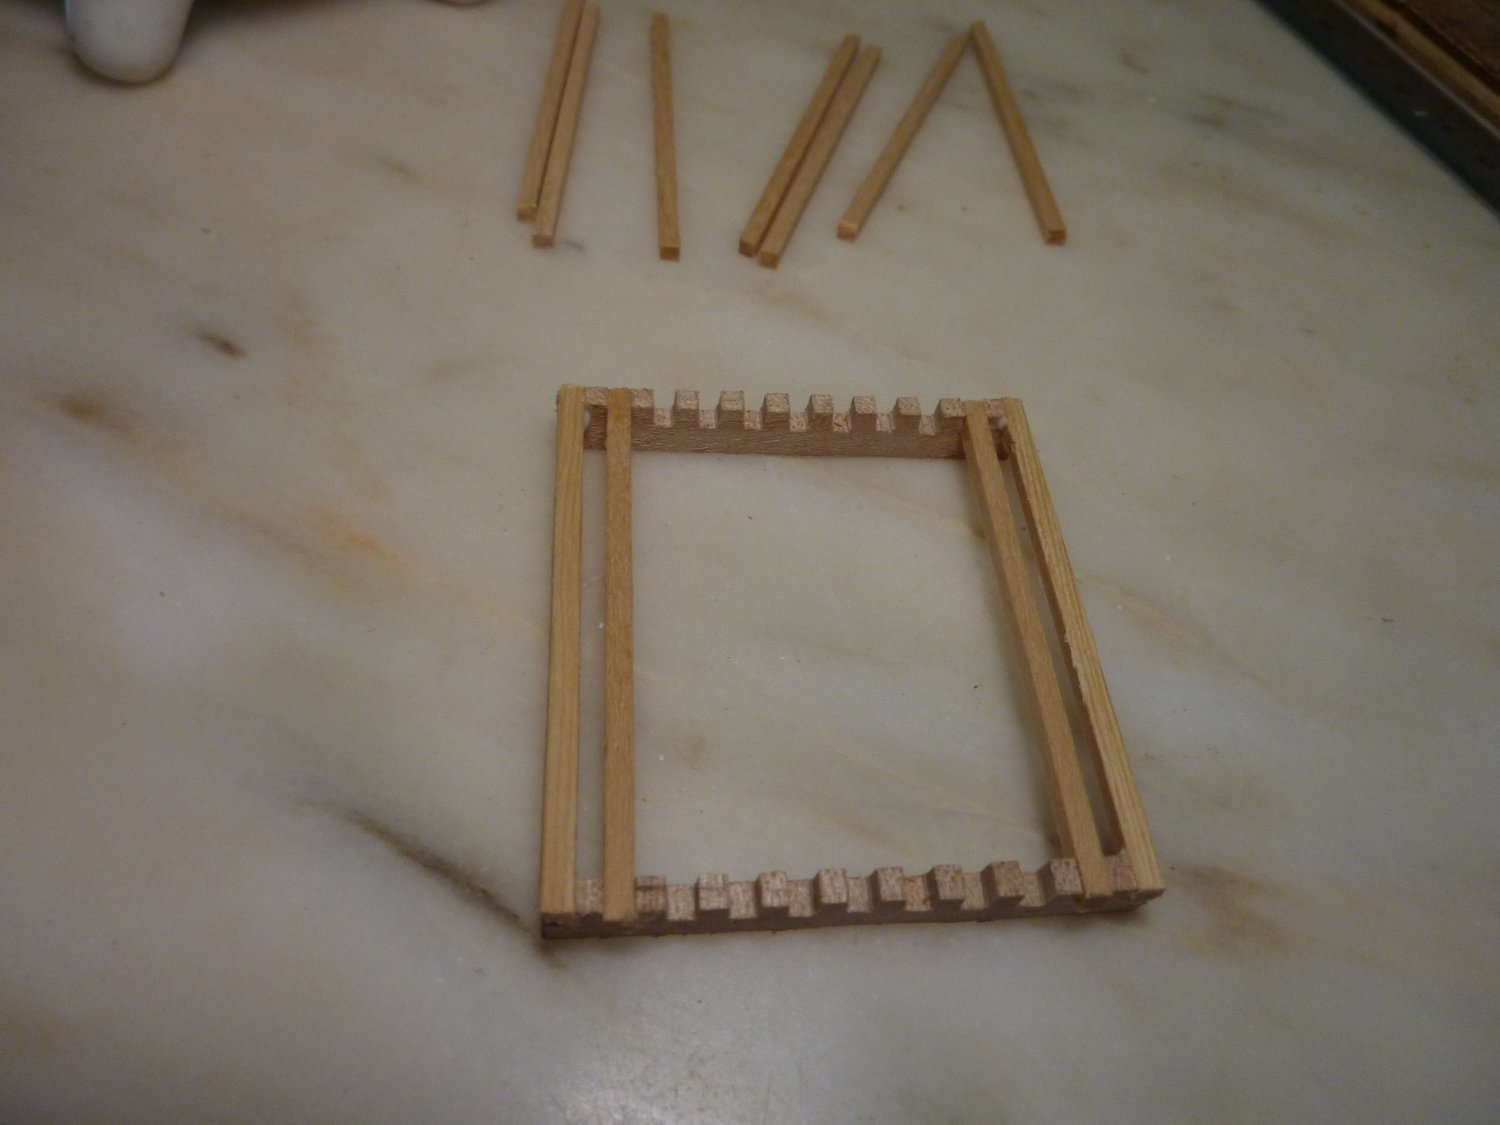
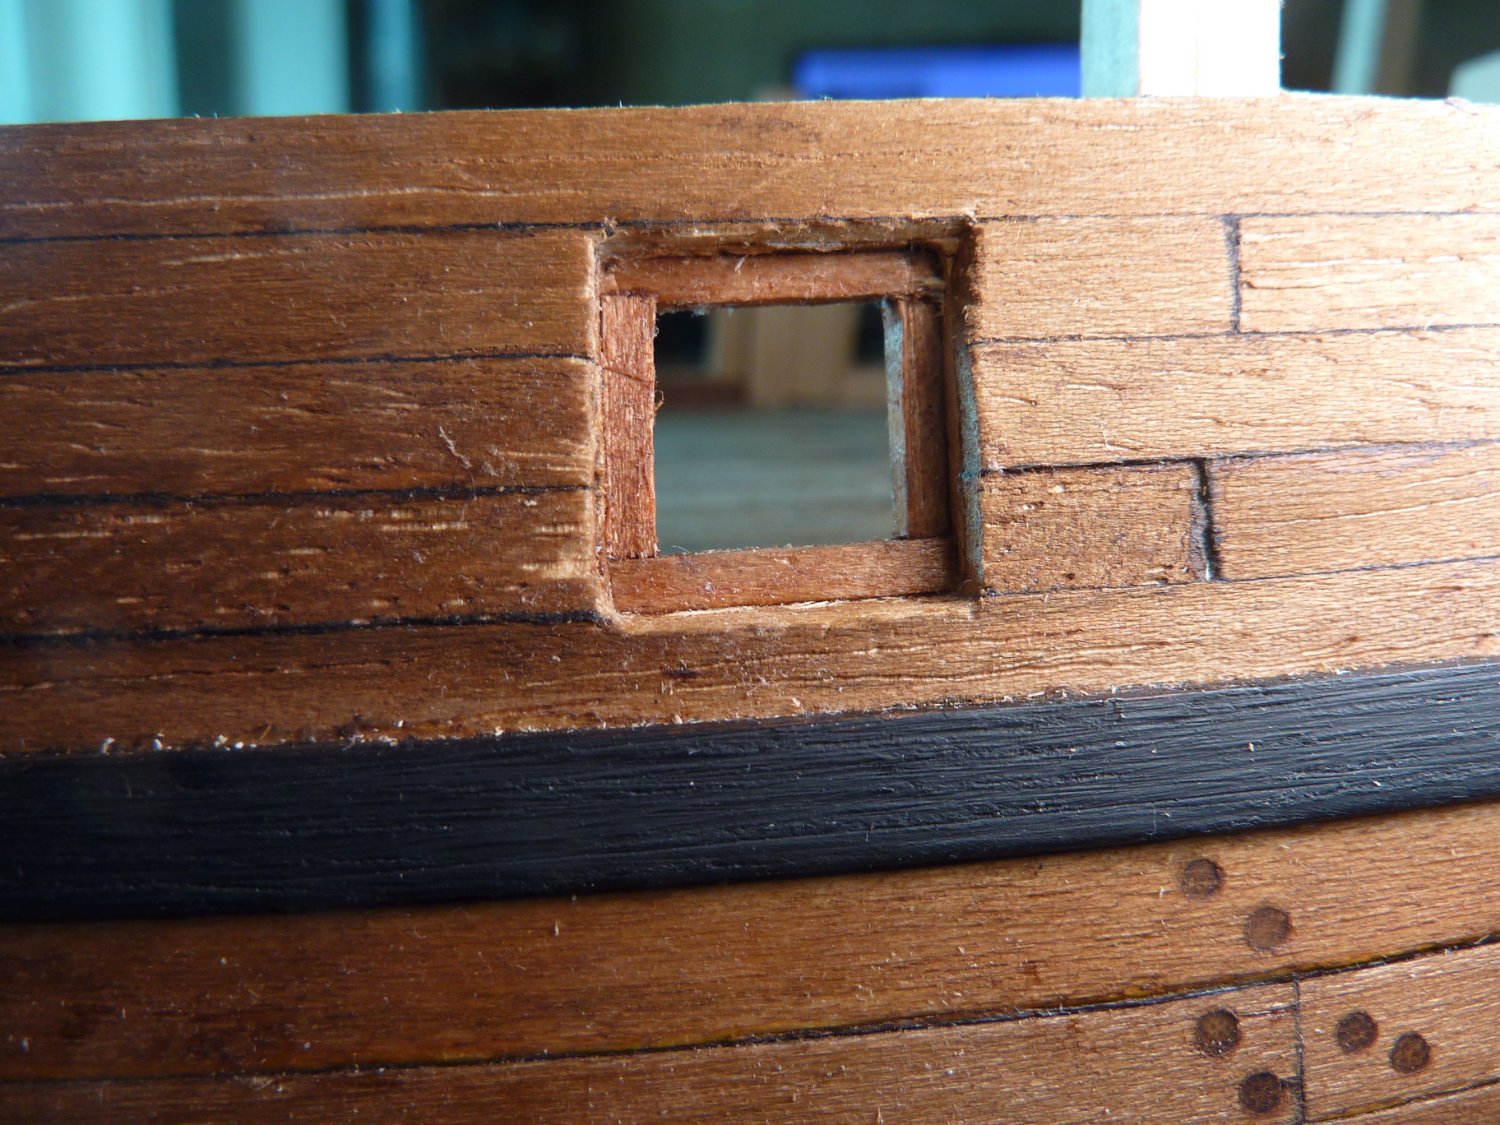
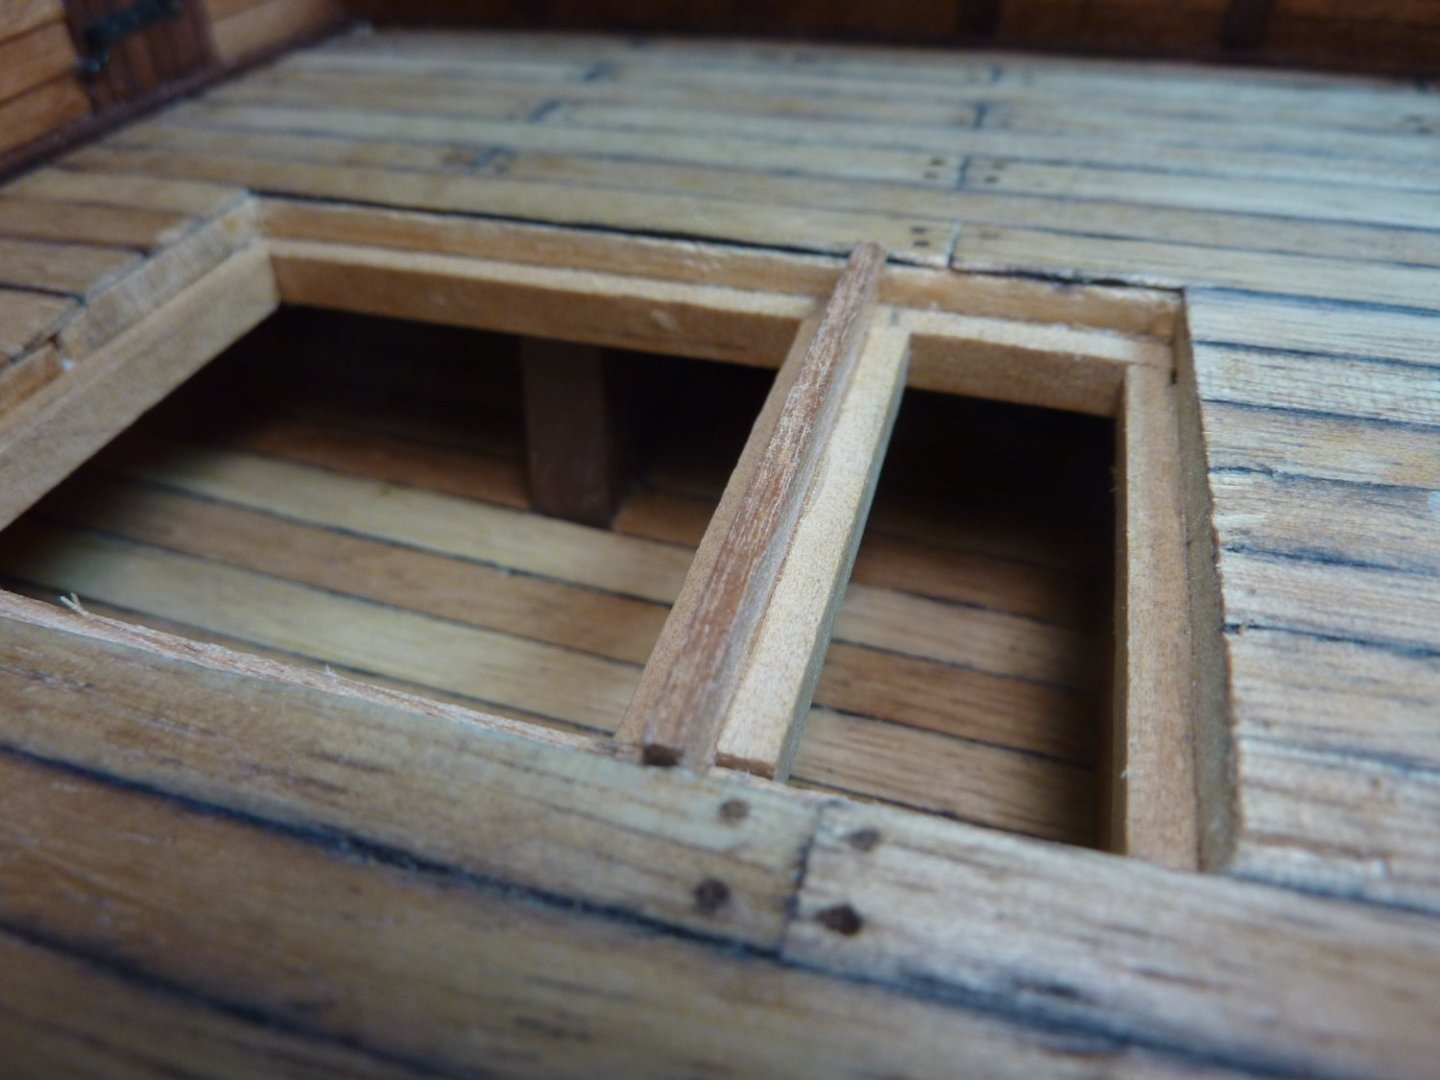
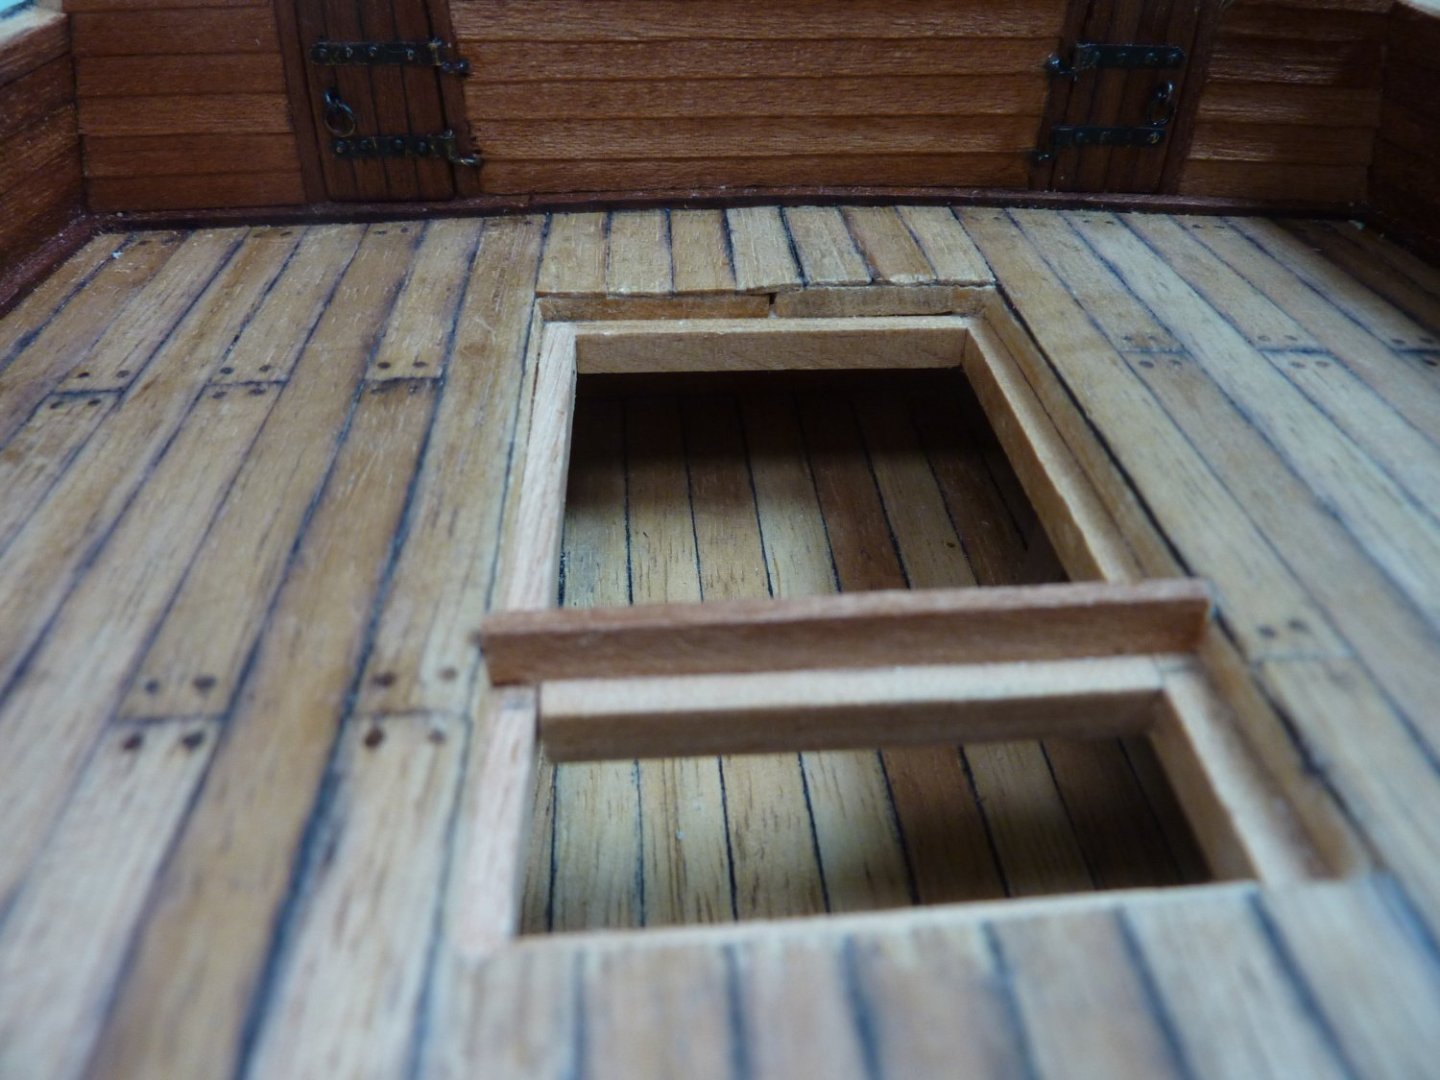
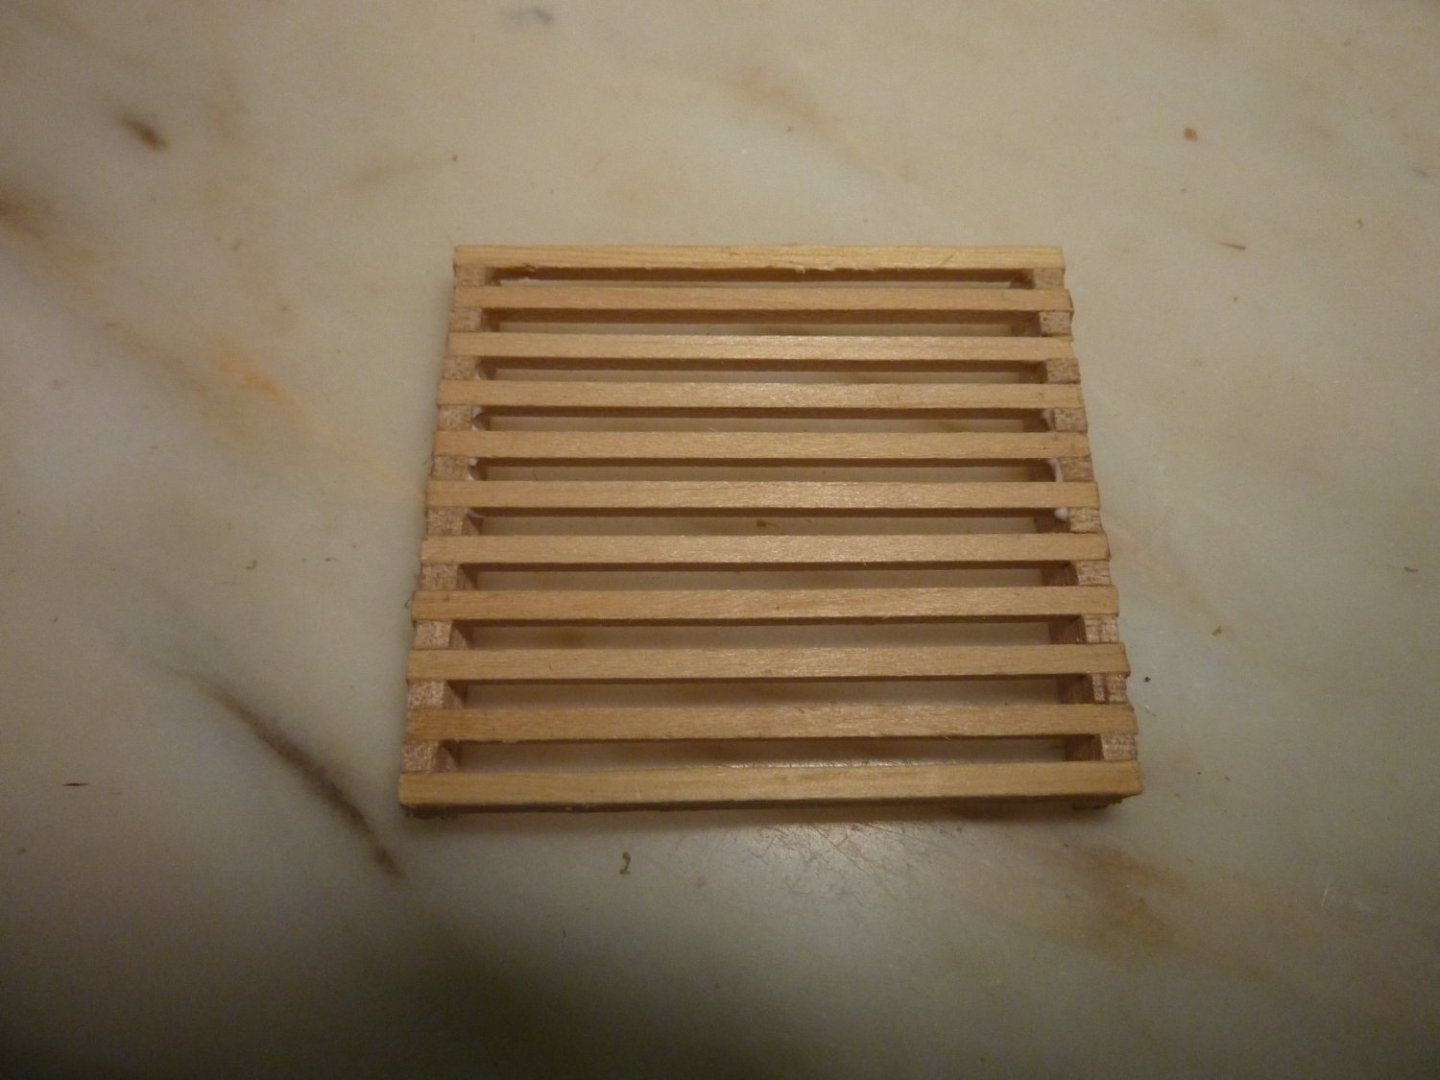
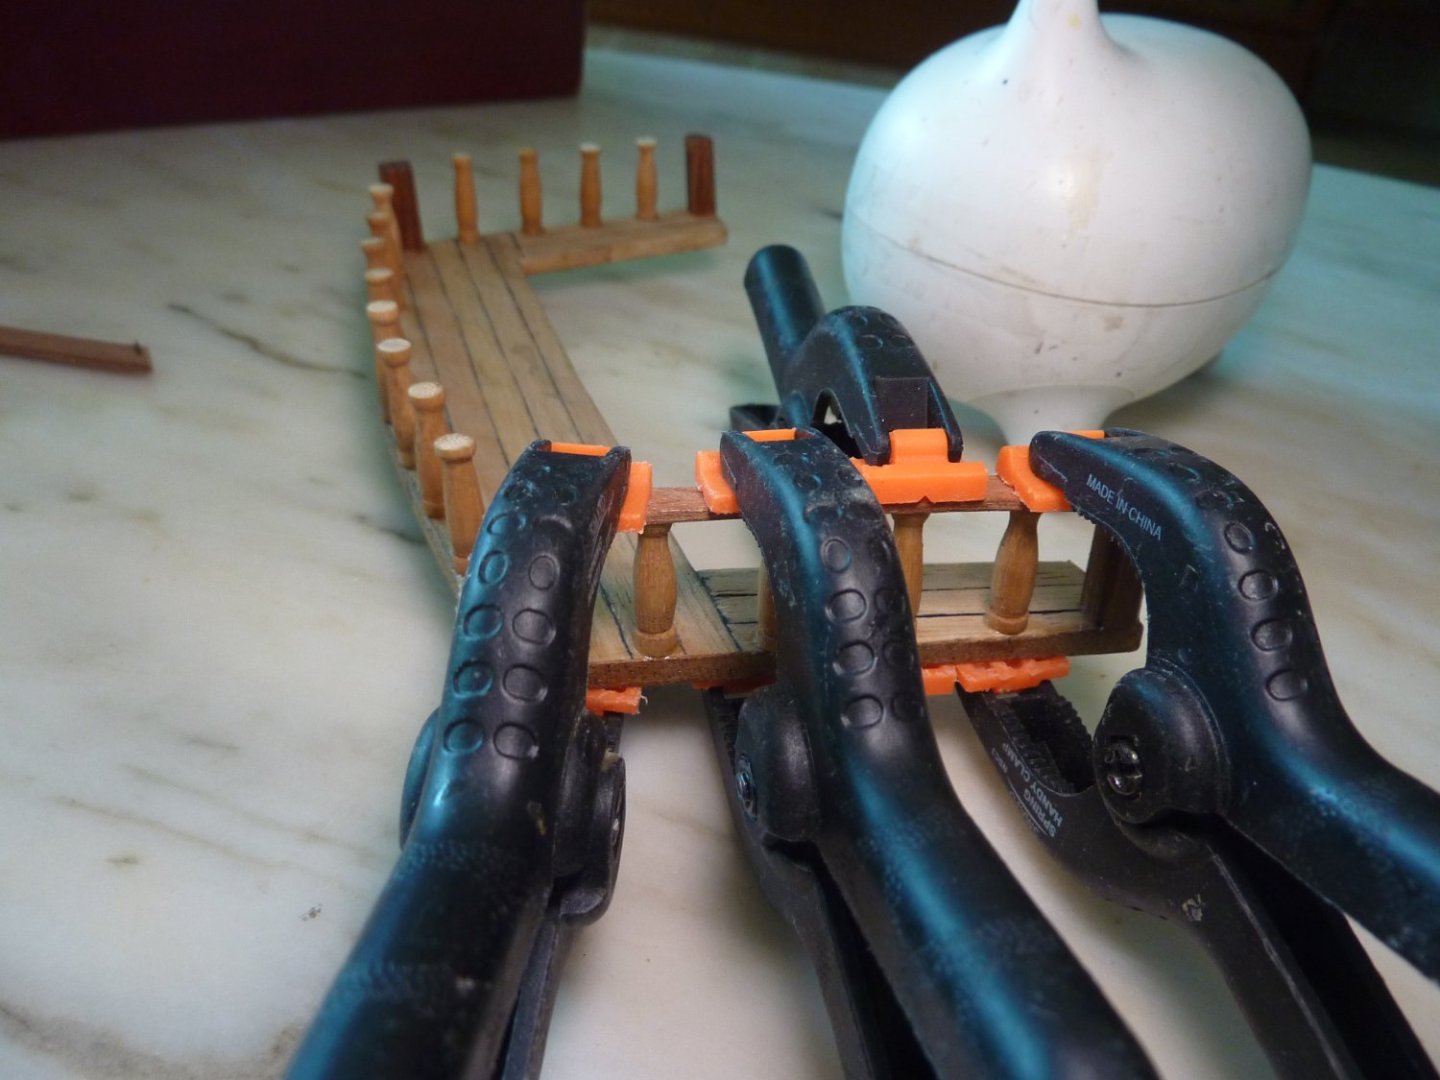
I had great advises from many MSW members on the grating of the 16th century galleon. I am planning to benchmark the style applied by Patrick (Baker) and also got detailed drawings for correct grating from Allan (allanyed). Thank you all for your inputs! First, I built the base structure (I just came up with this particular design - seems reasonable) where the grating would be positioned. And then I proceeded with the actual grating work. At this point, to my horror, I realized that I got the position (or direction) of ledges and battens wrong!! As the main grating was not a perfect square, I had to redo the main grating. Fortunately, the small grating just fit nicely when turned 90 degrees - no need to redo this one. Main grating redone with correct ledge position (or direction) and awaiting battens to be laid.


-
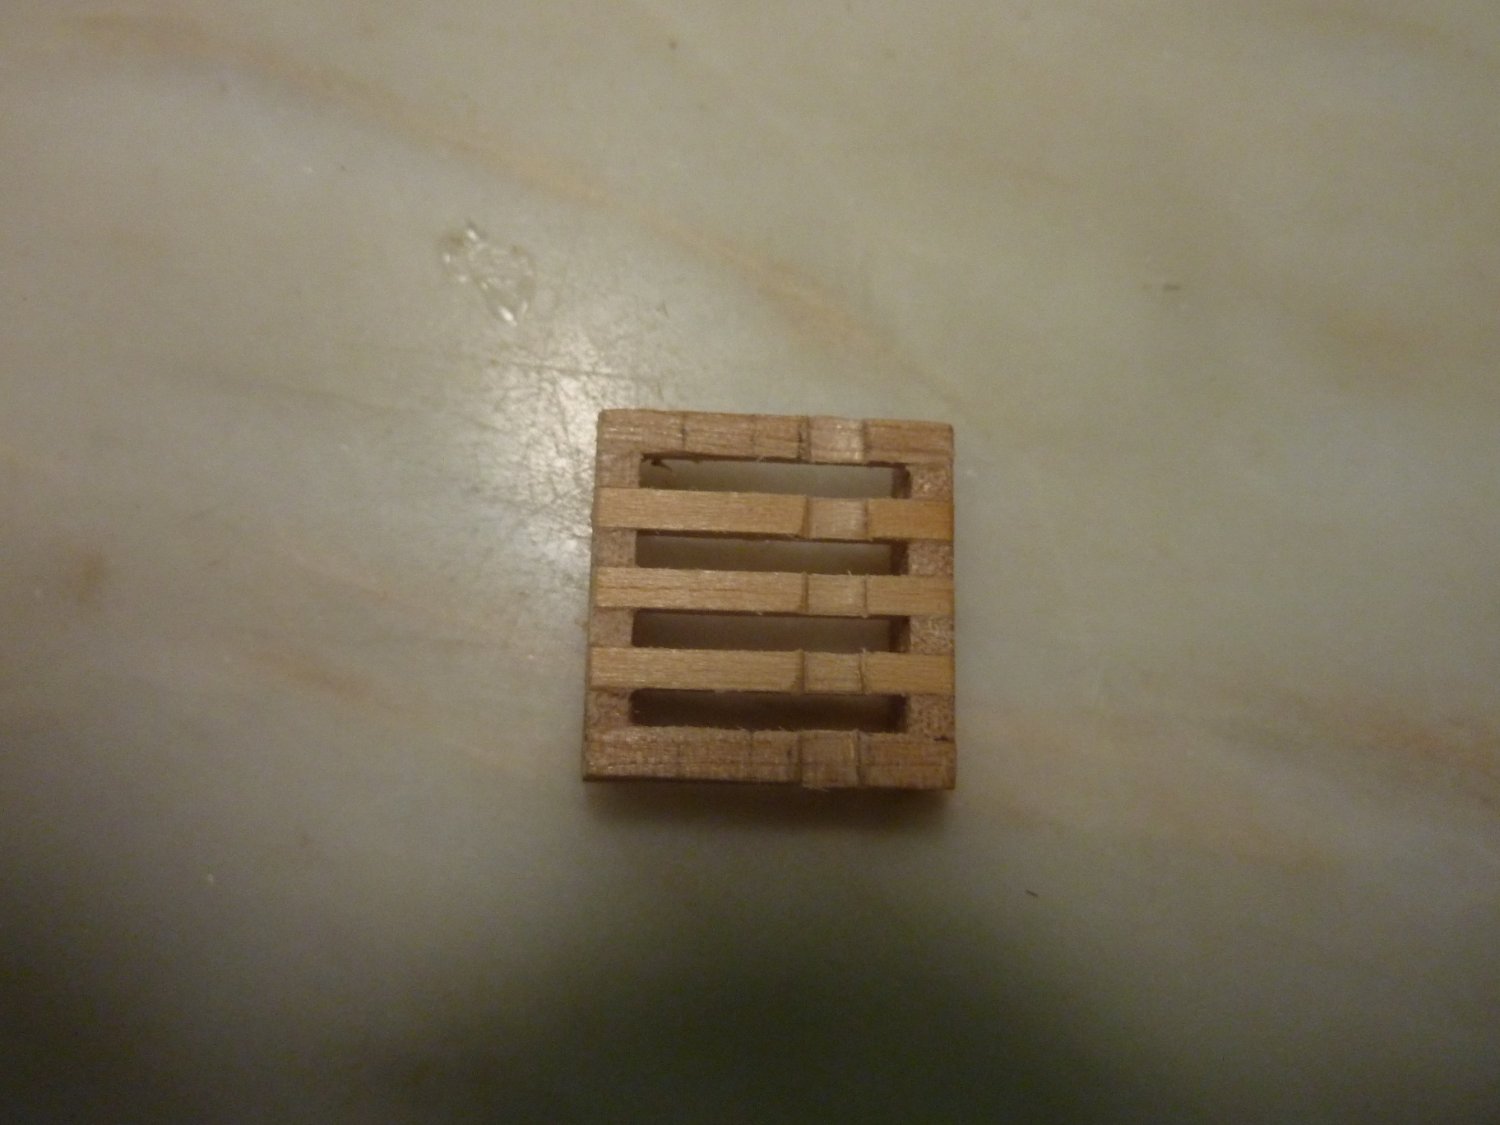
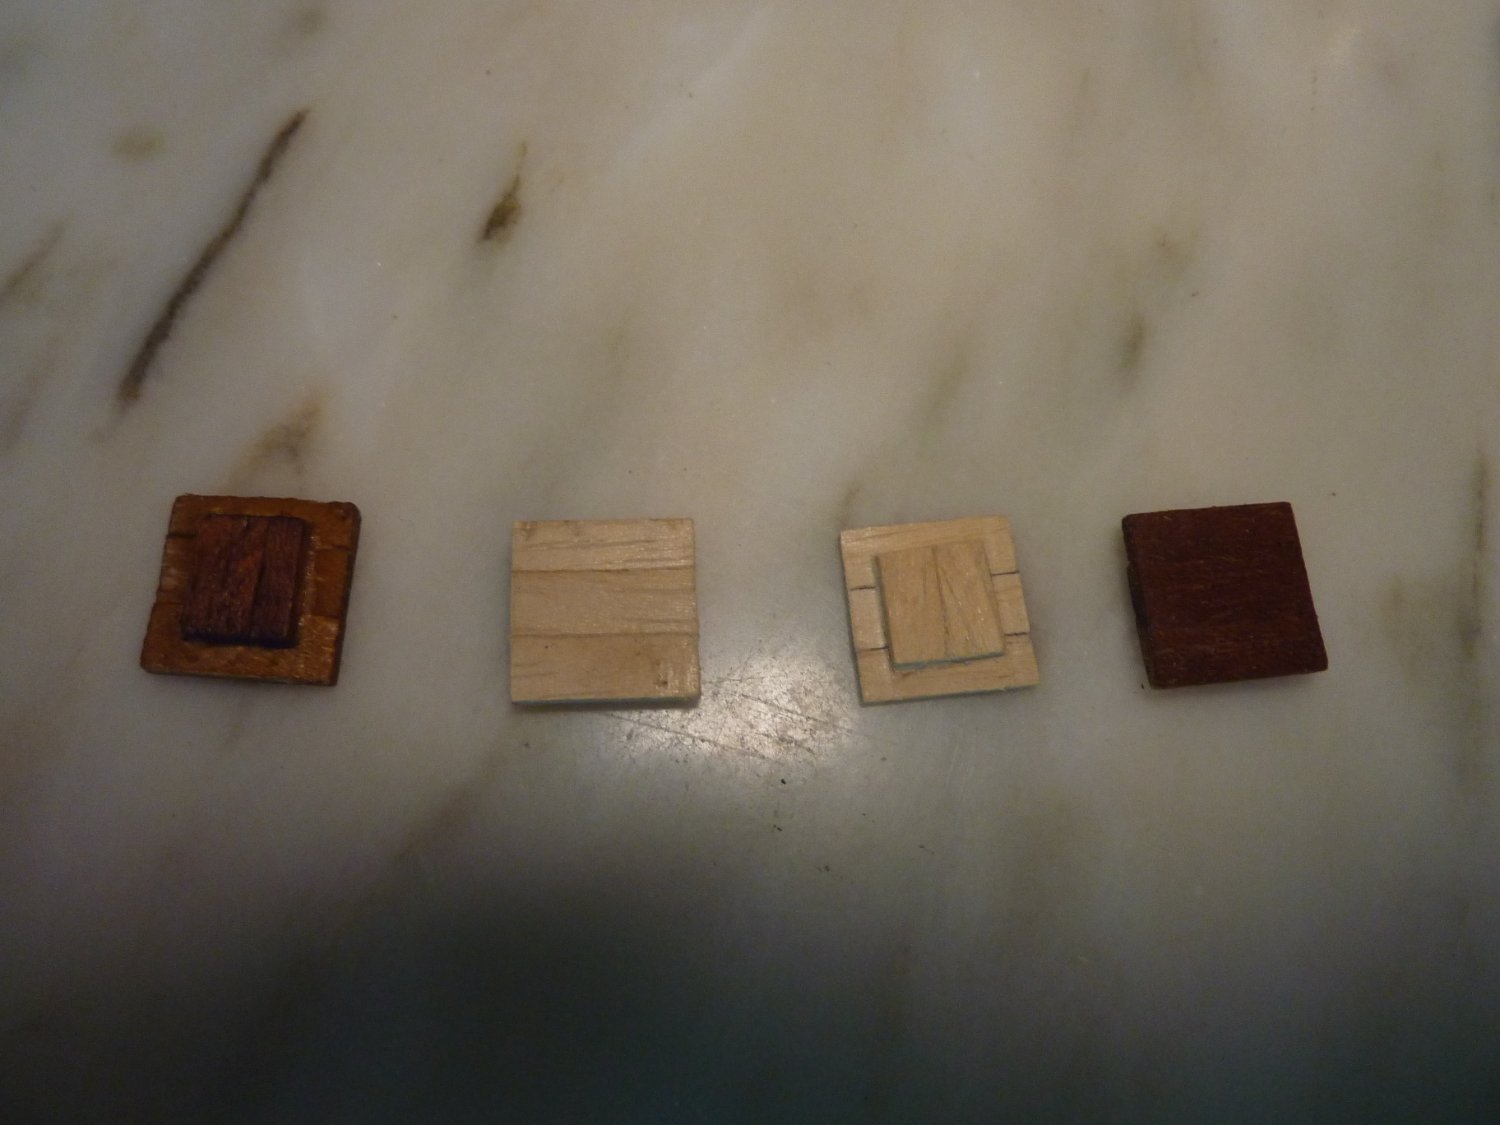
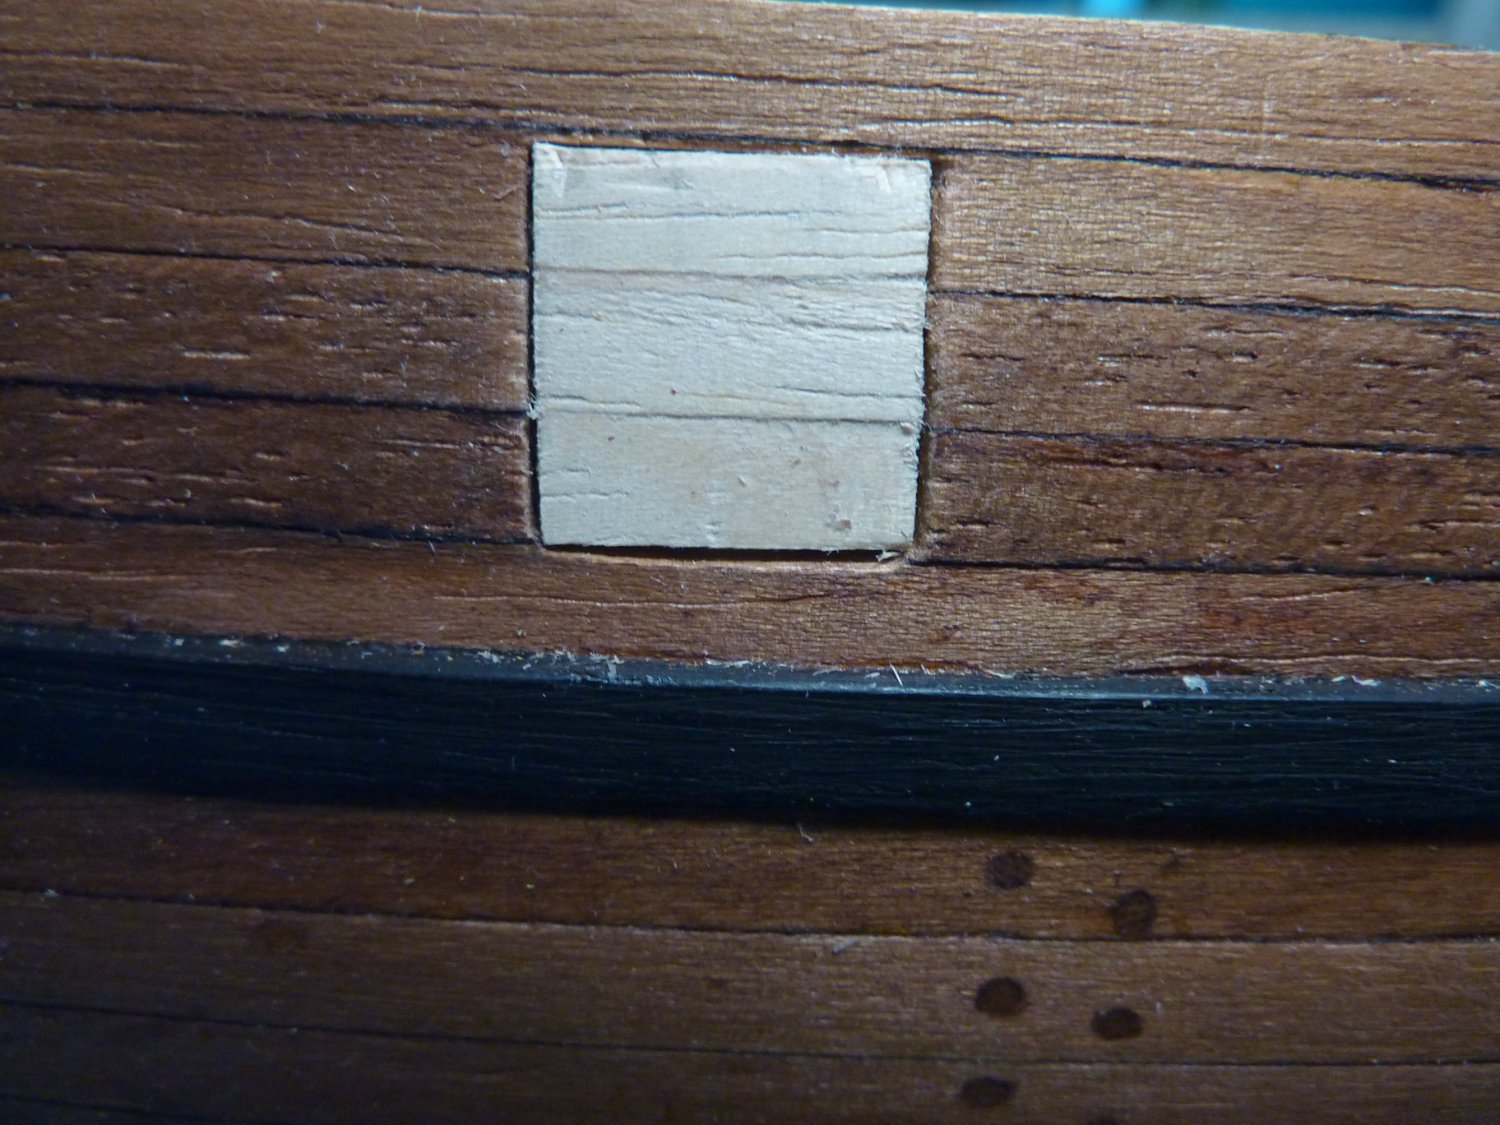
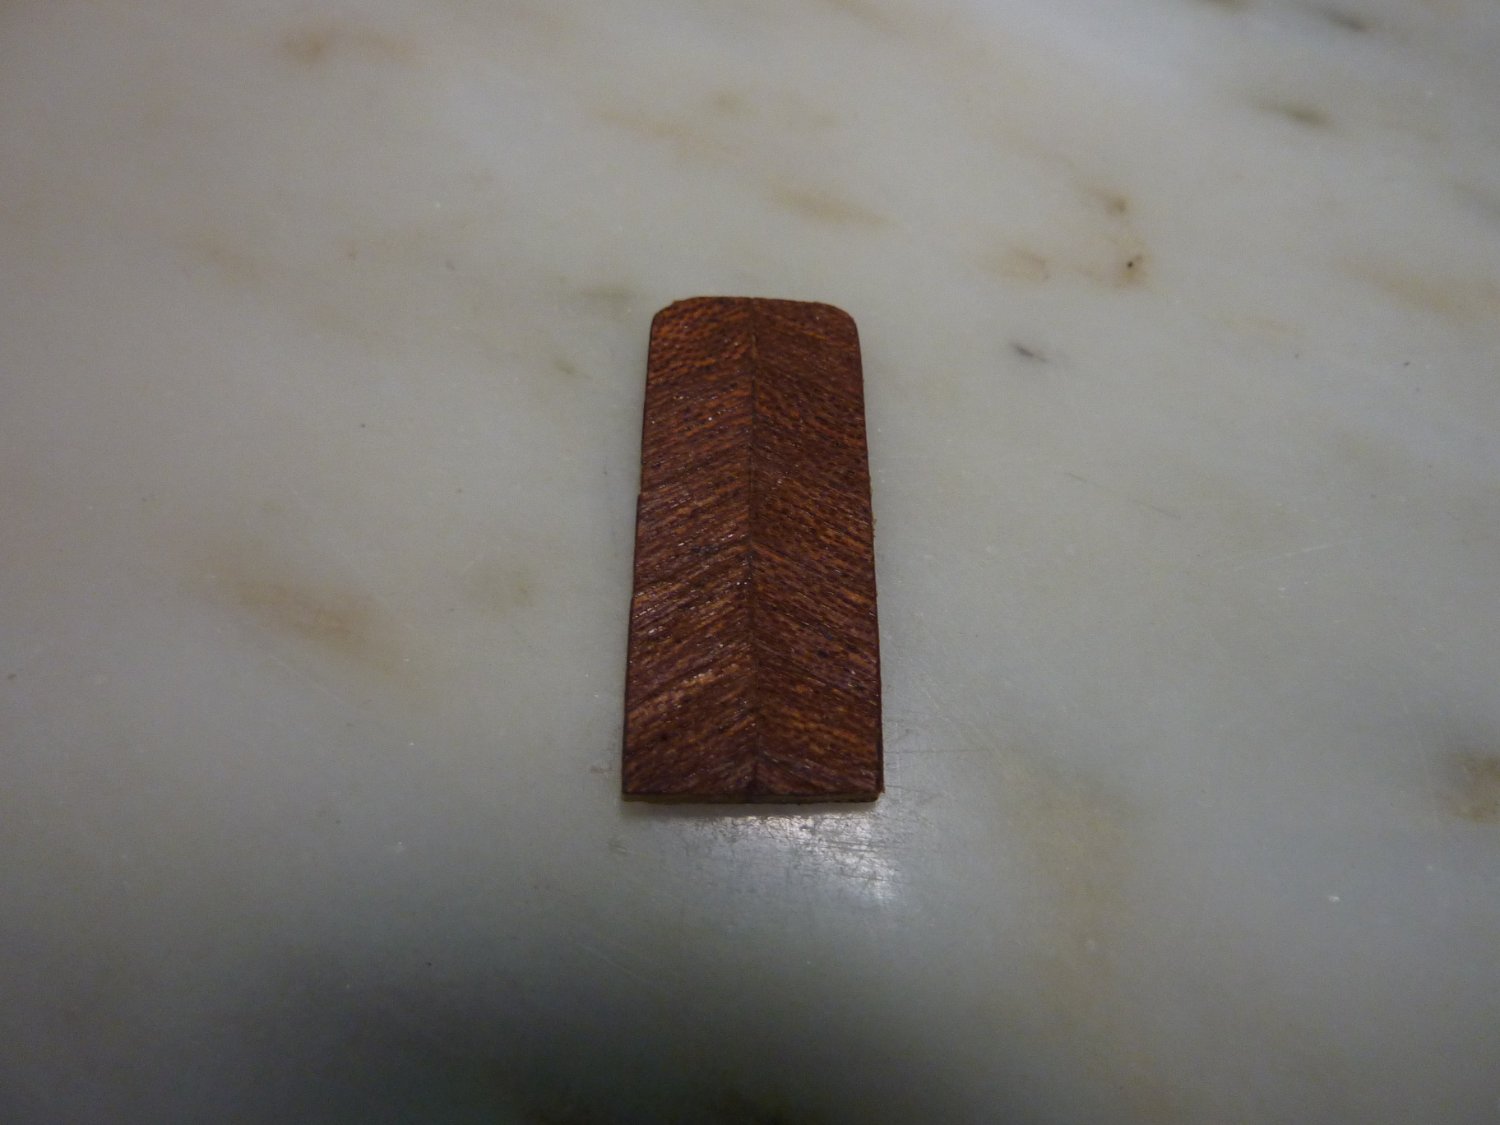
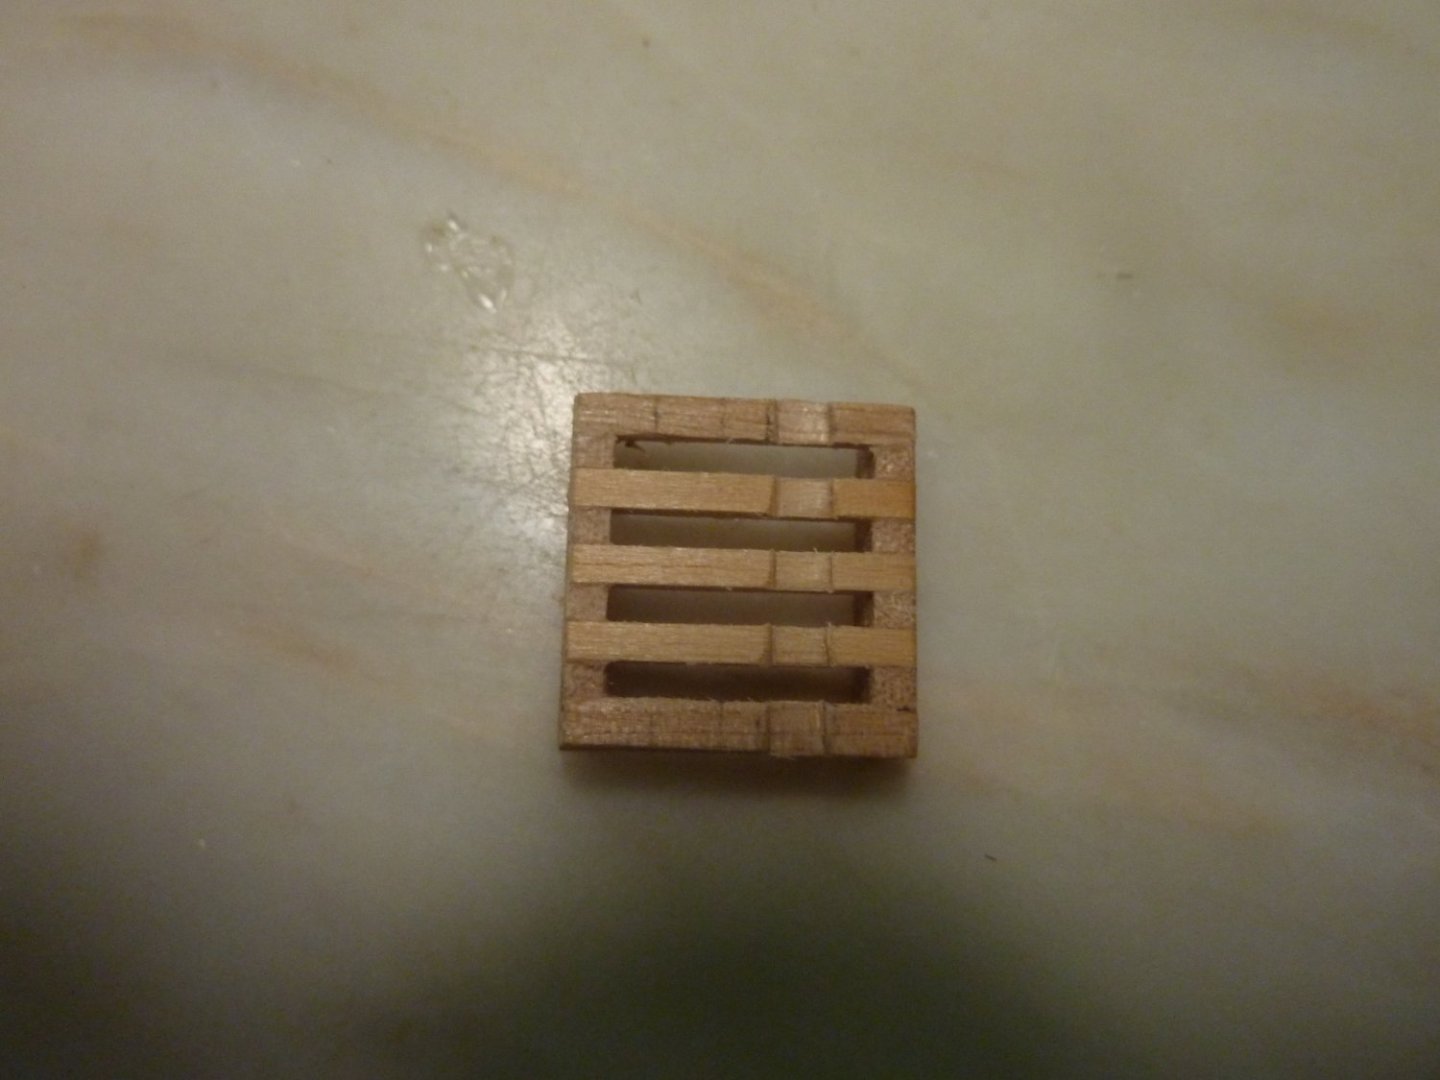
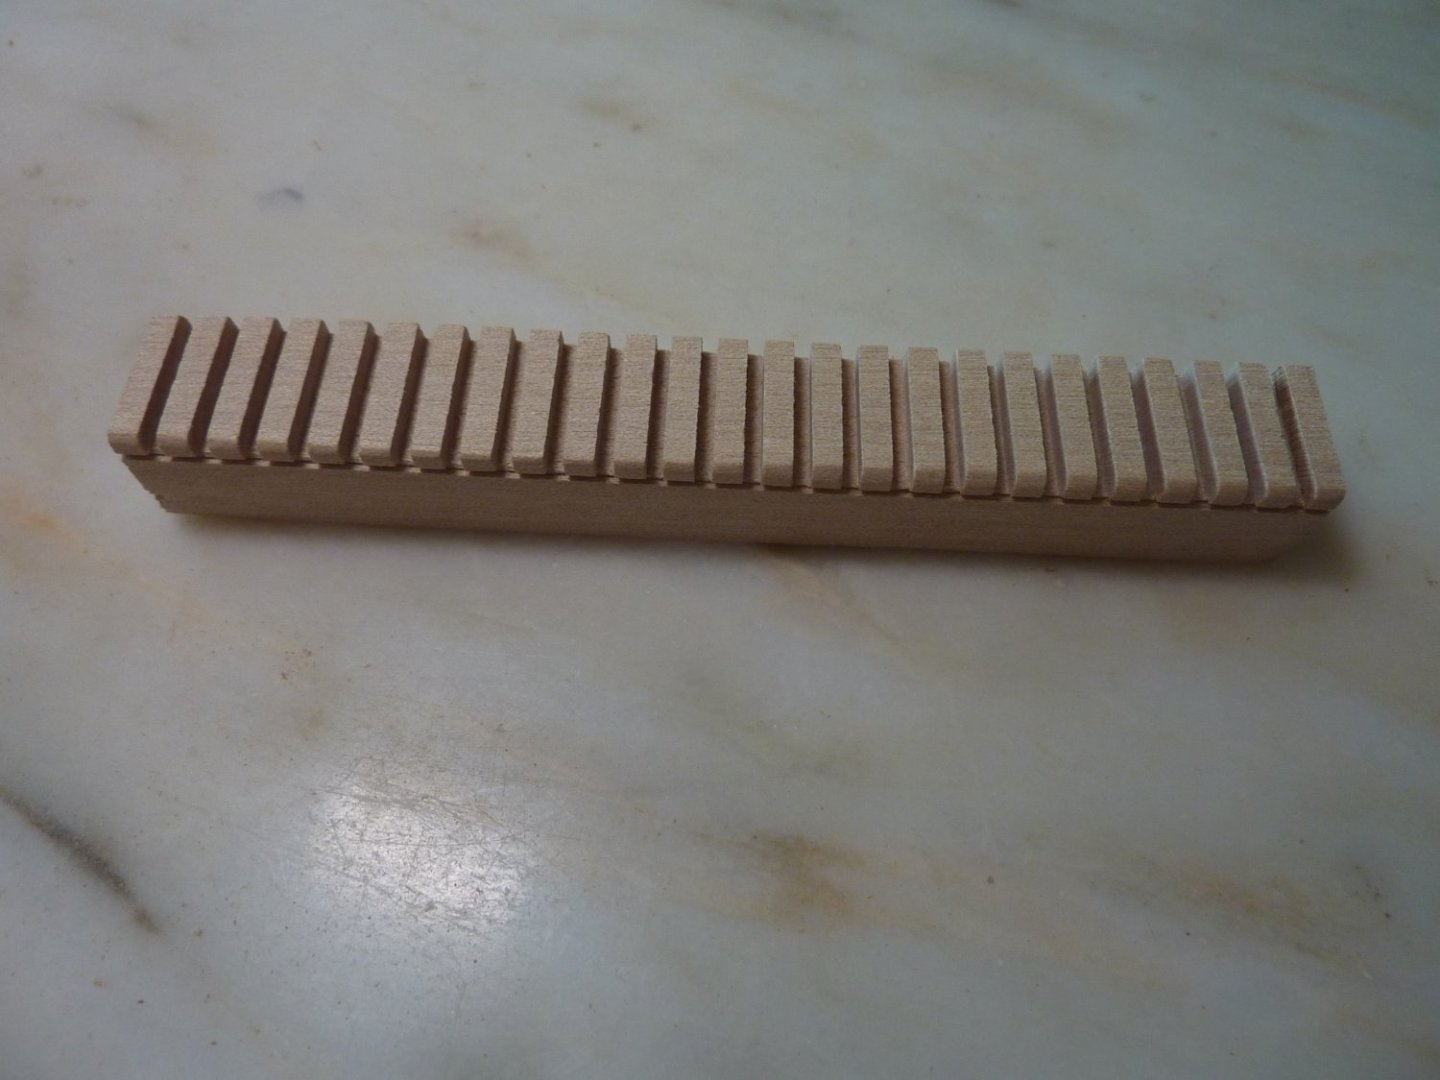
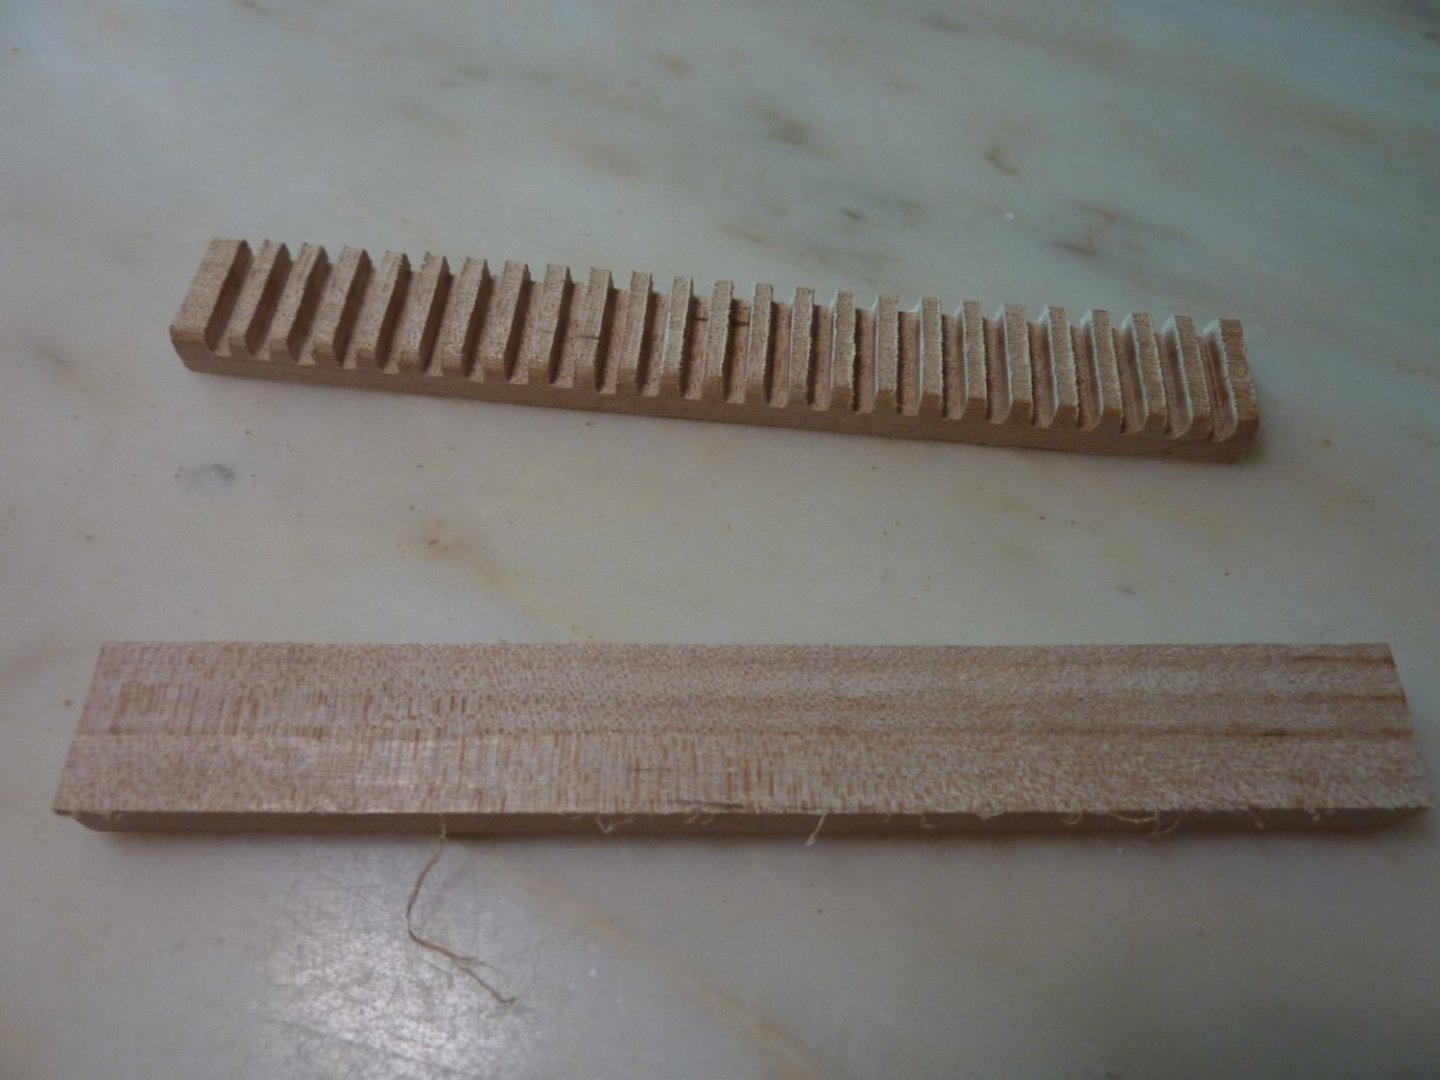
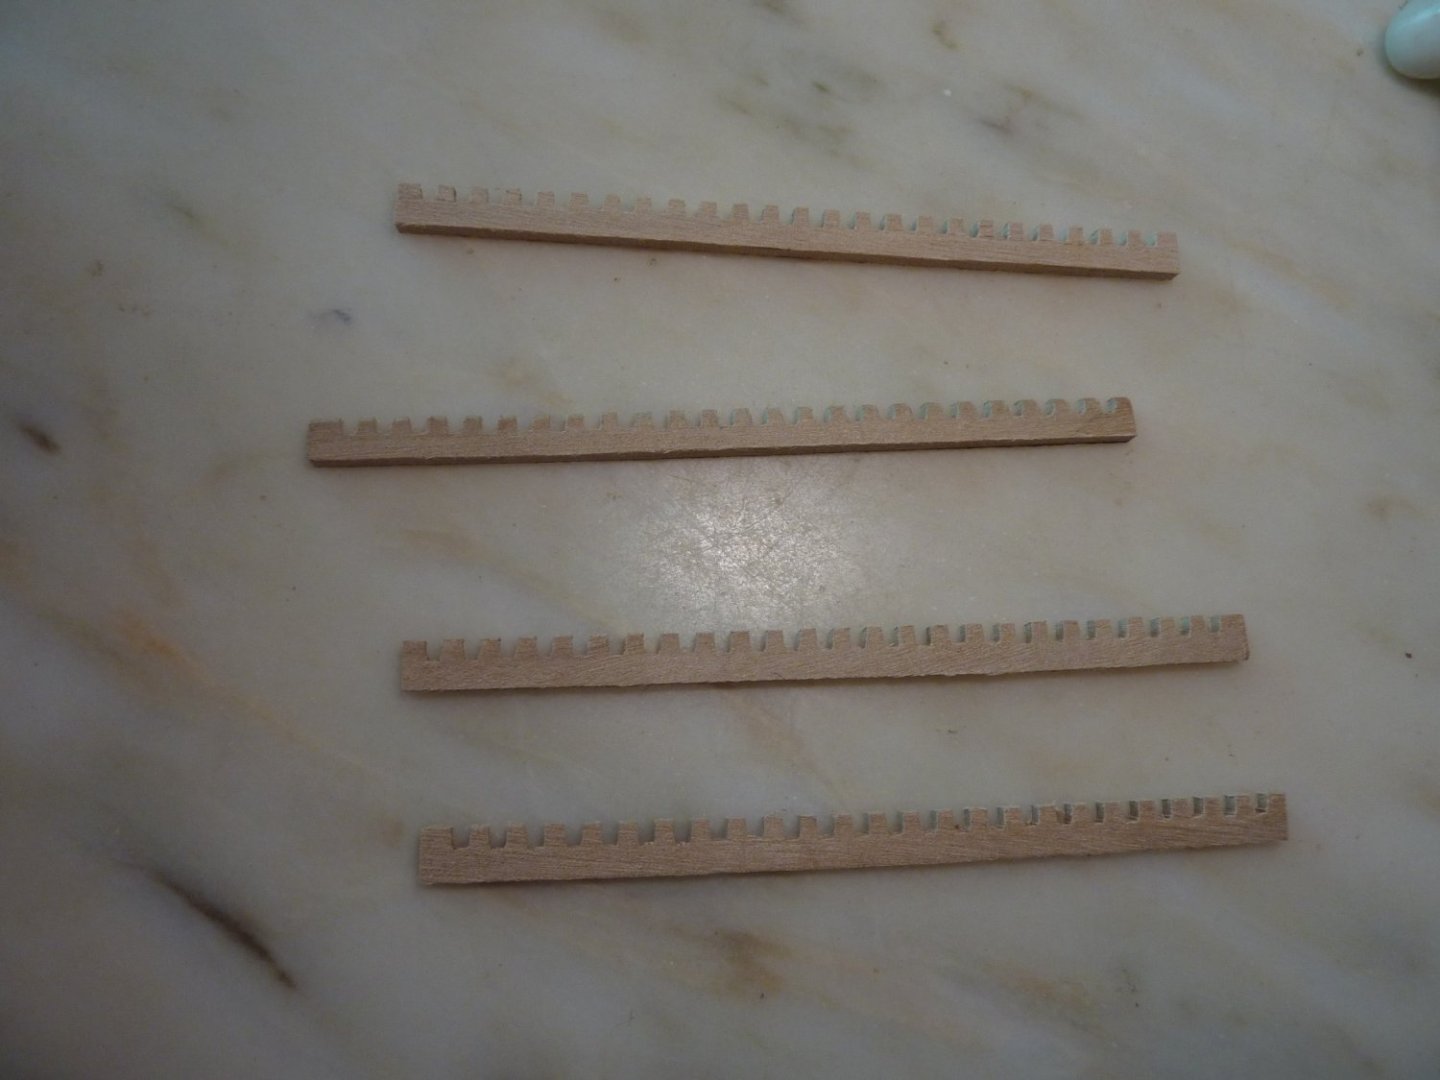
I searched for materials that could be used for grating - something that already has some grooves so that I can save some time. And one of decommissioned wooden toys of my son seemed to fit the profile. Below are the pictures of this particular raw material being processed into grating pieces.

-
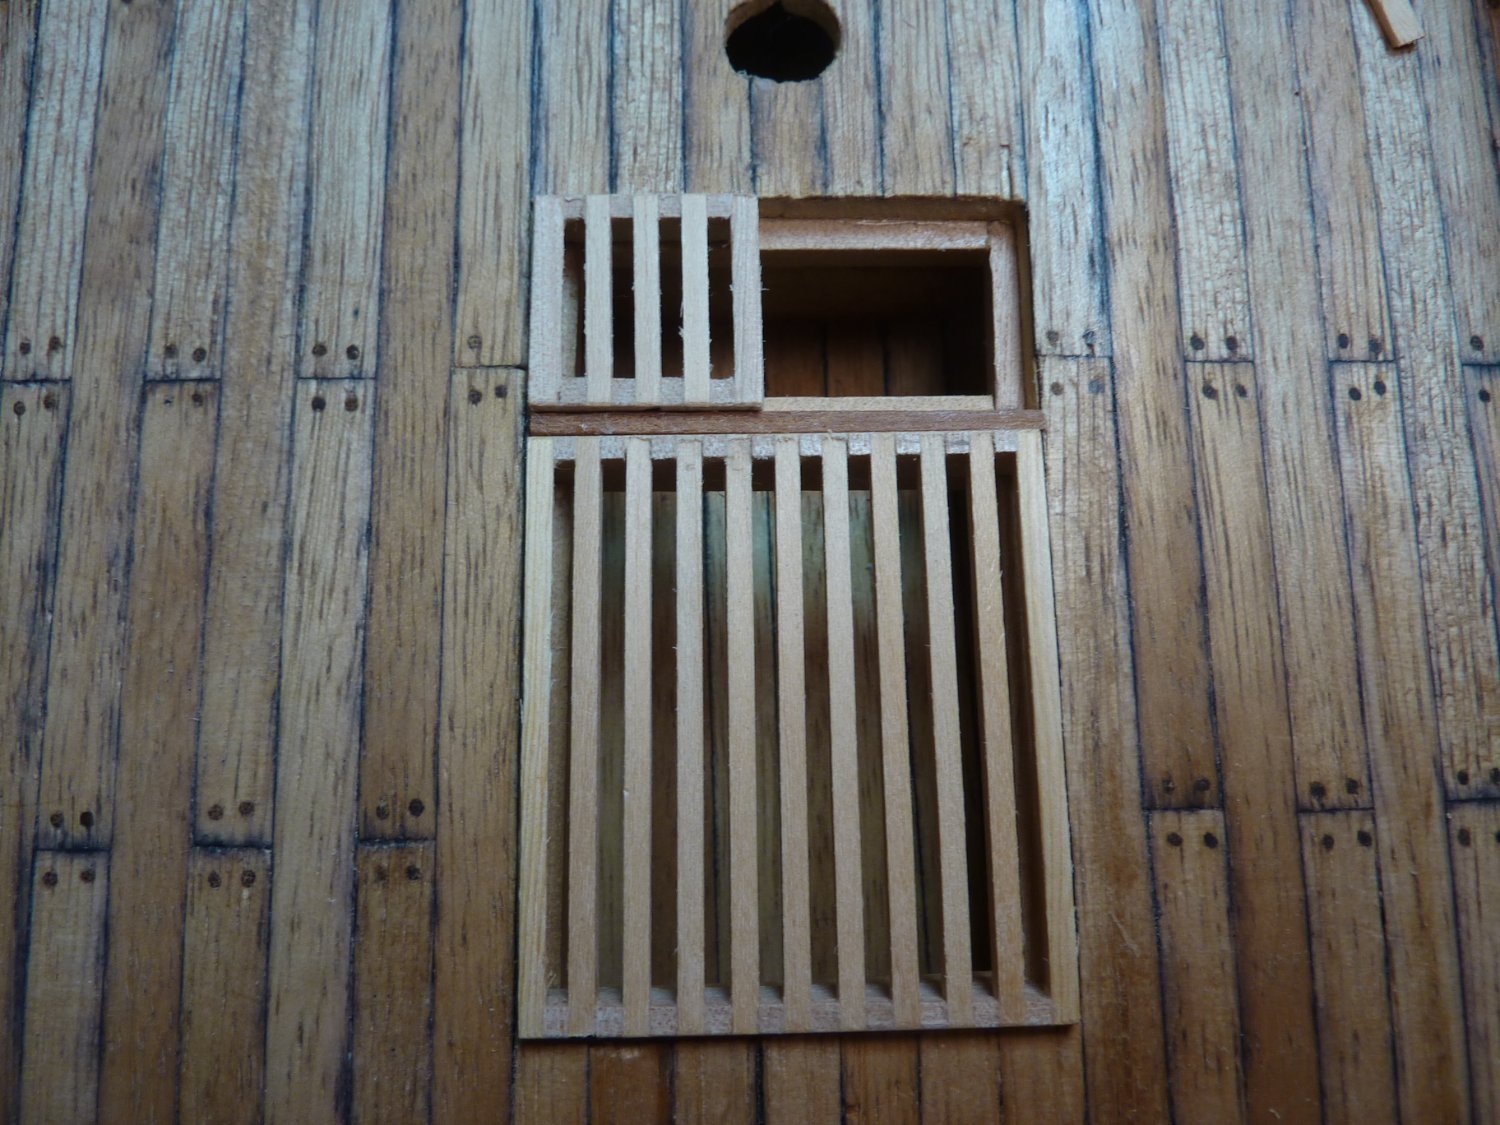
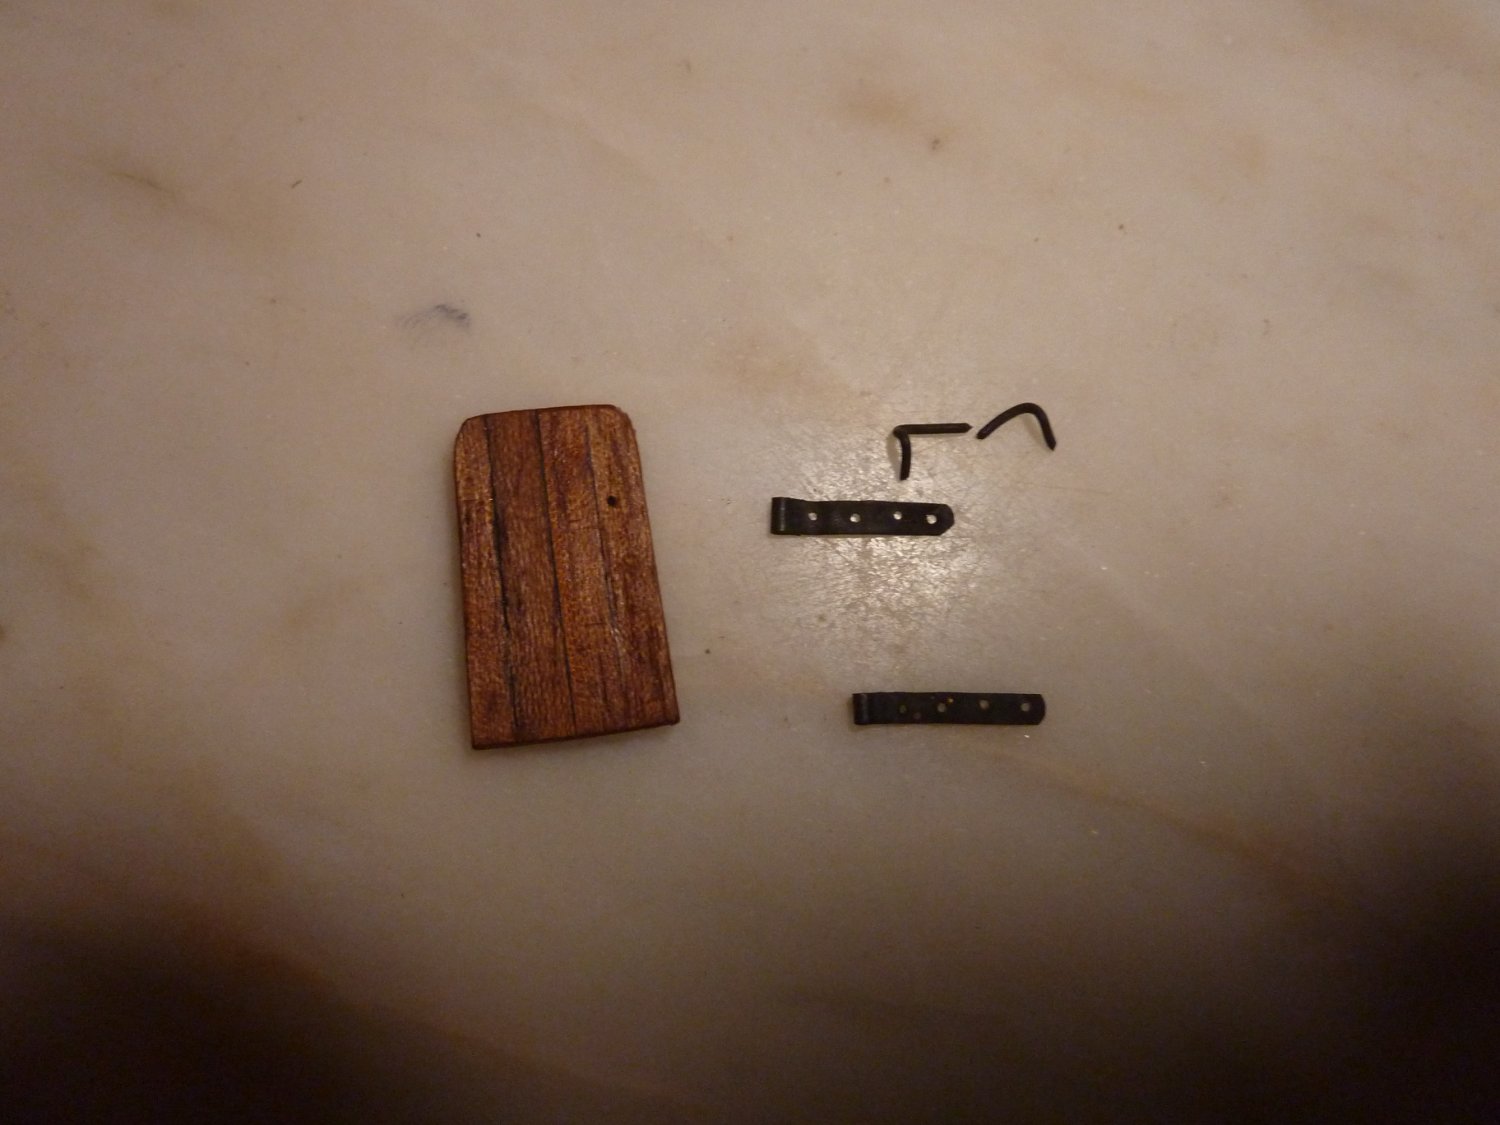
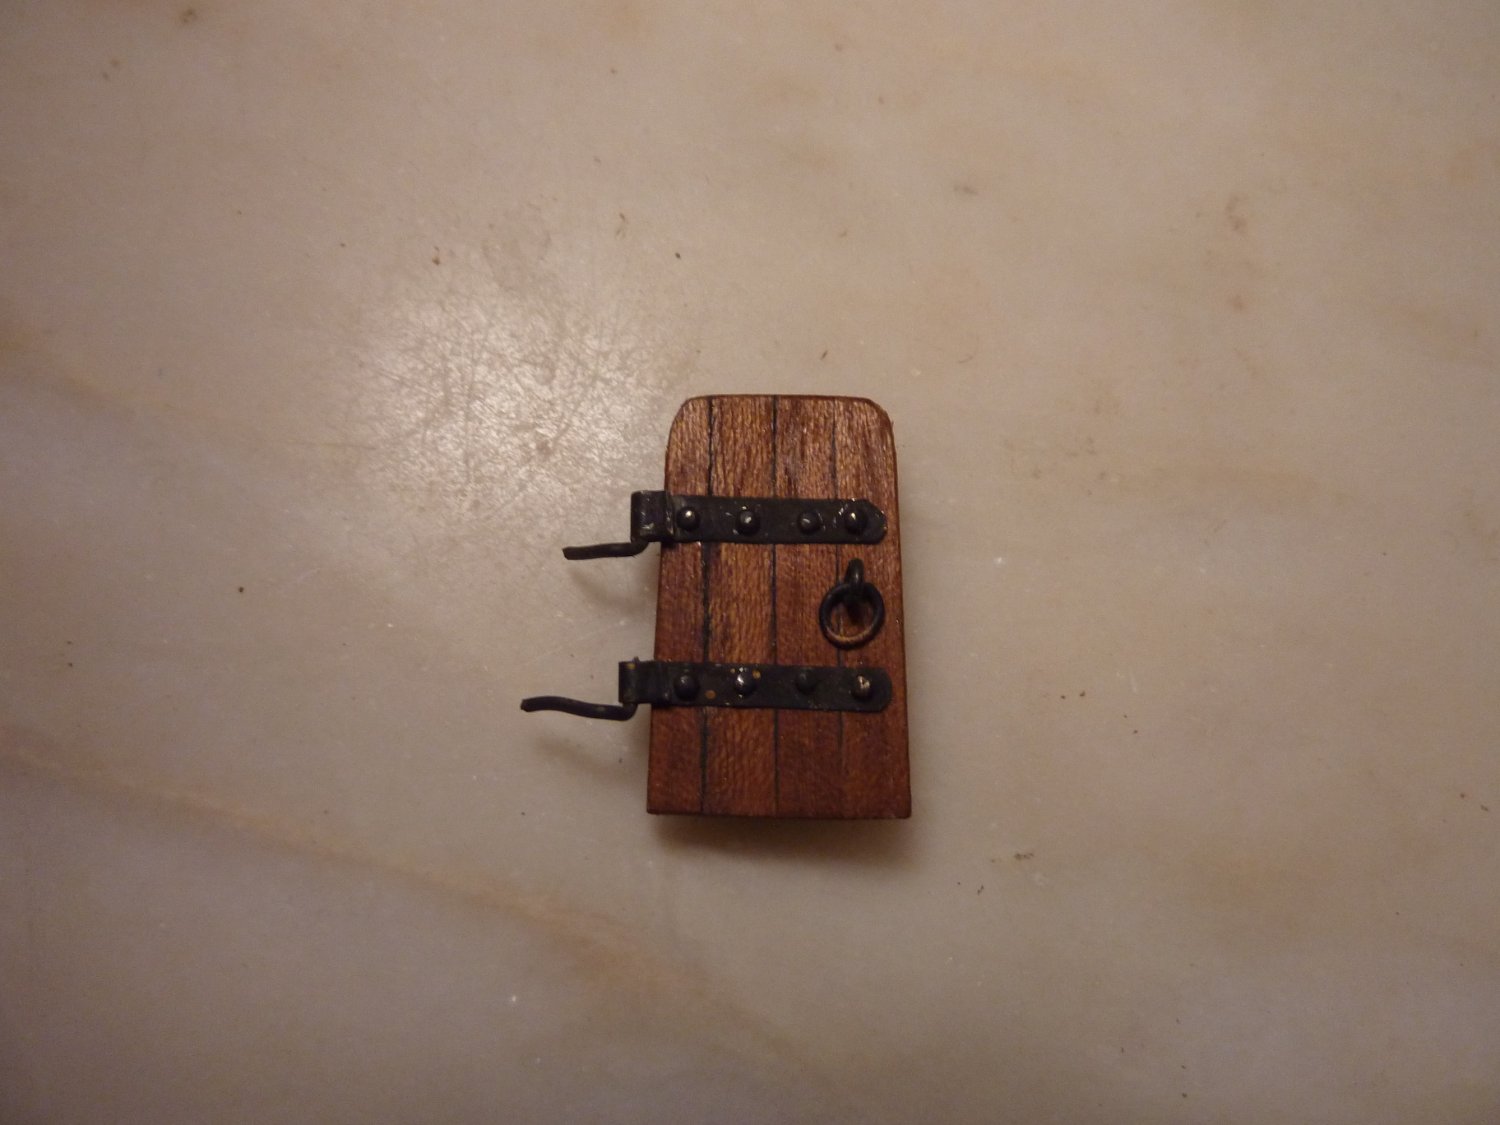
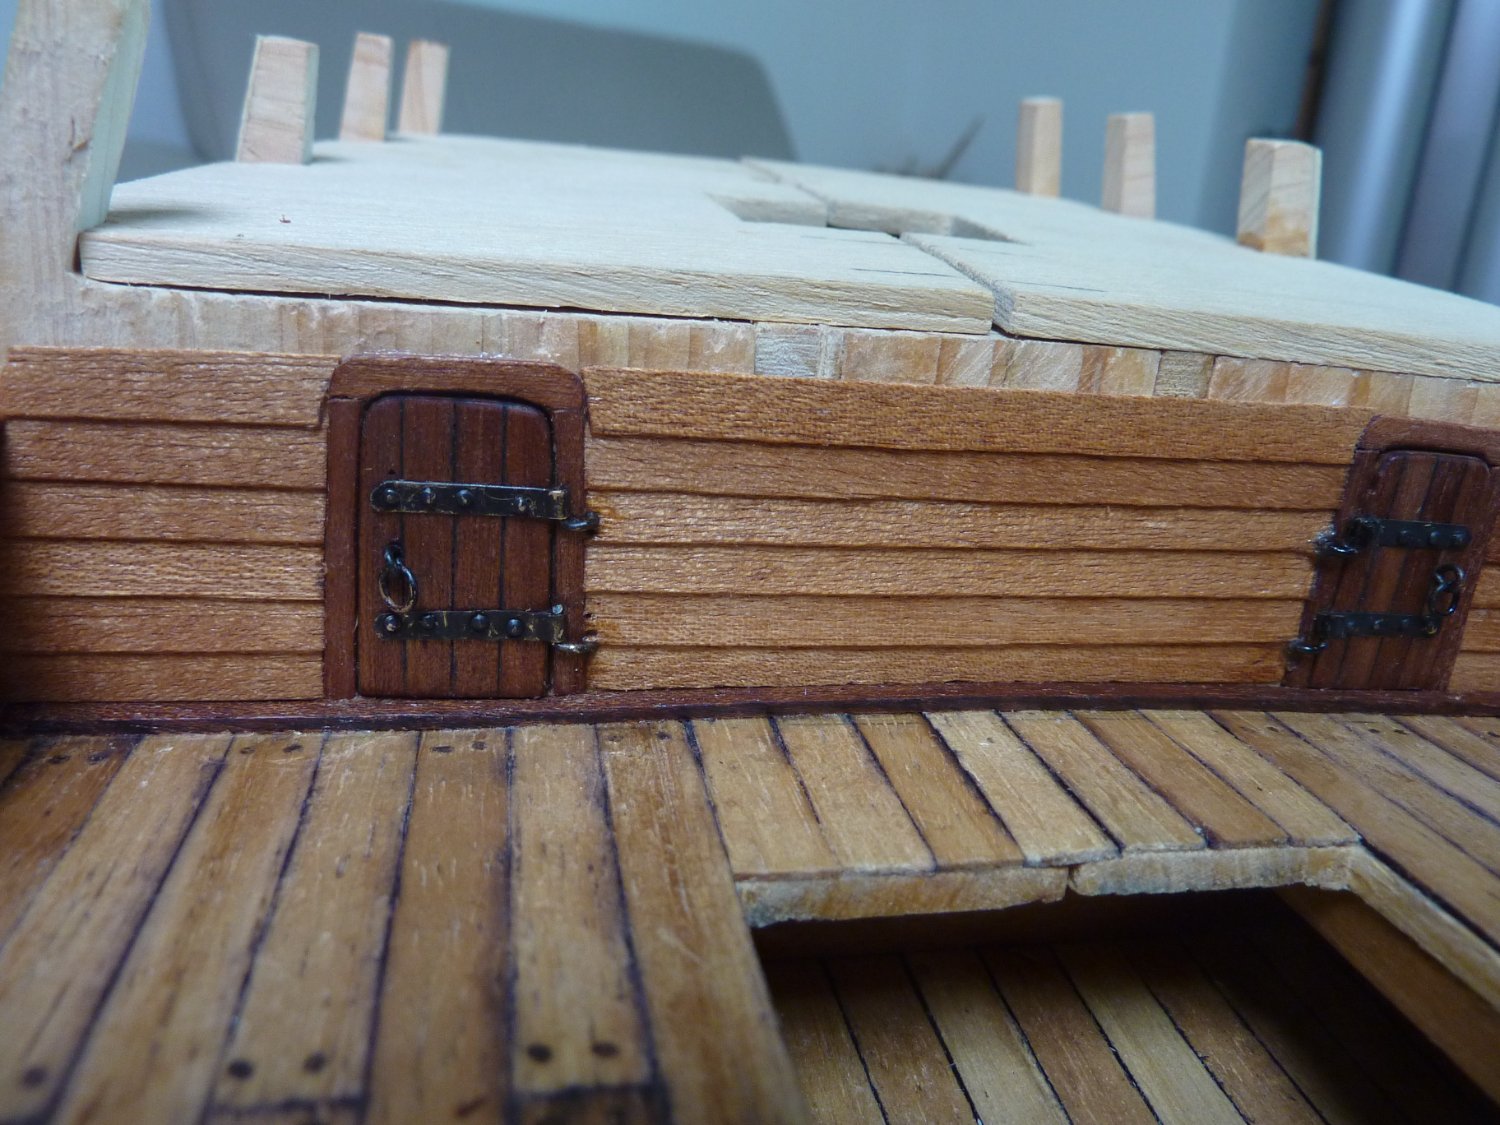
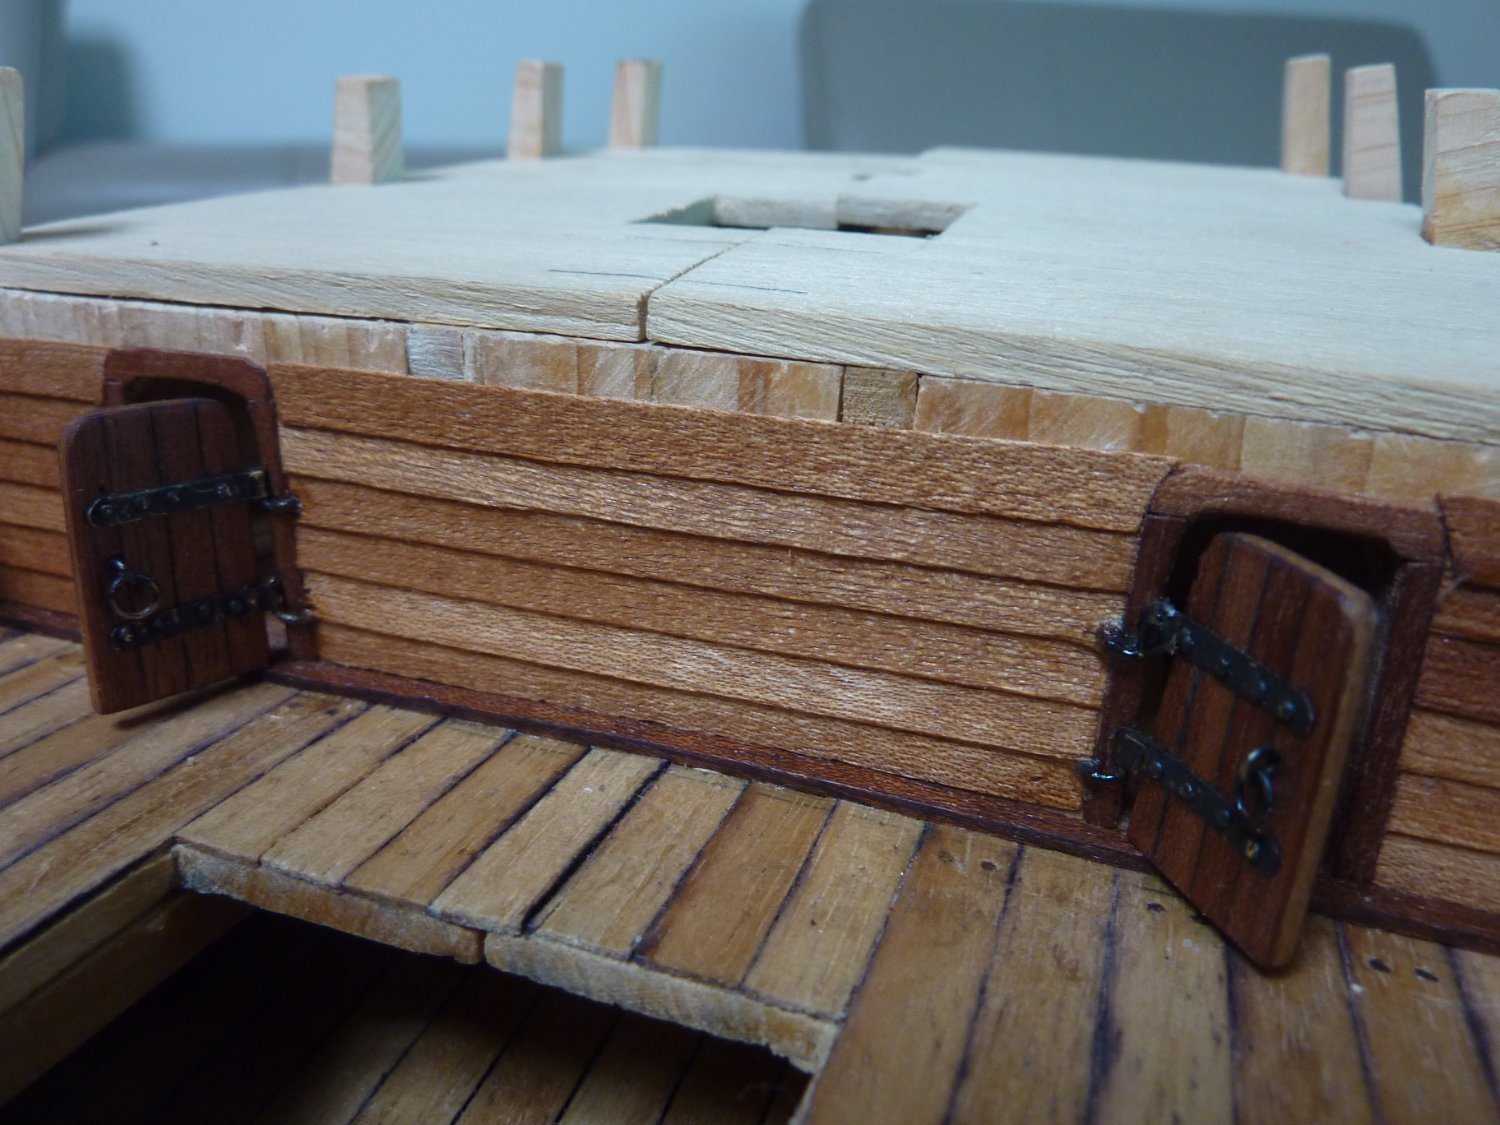
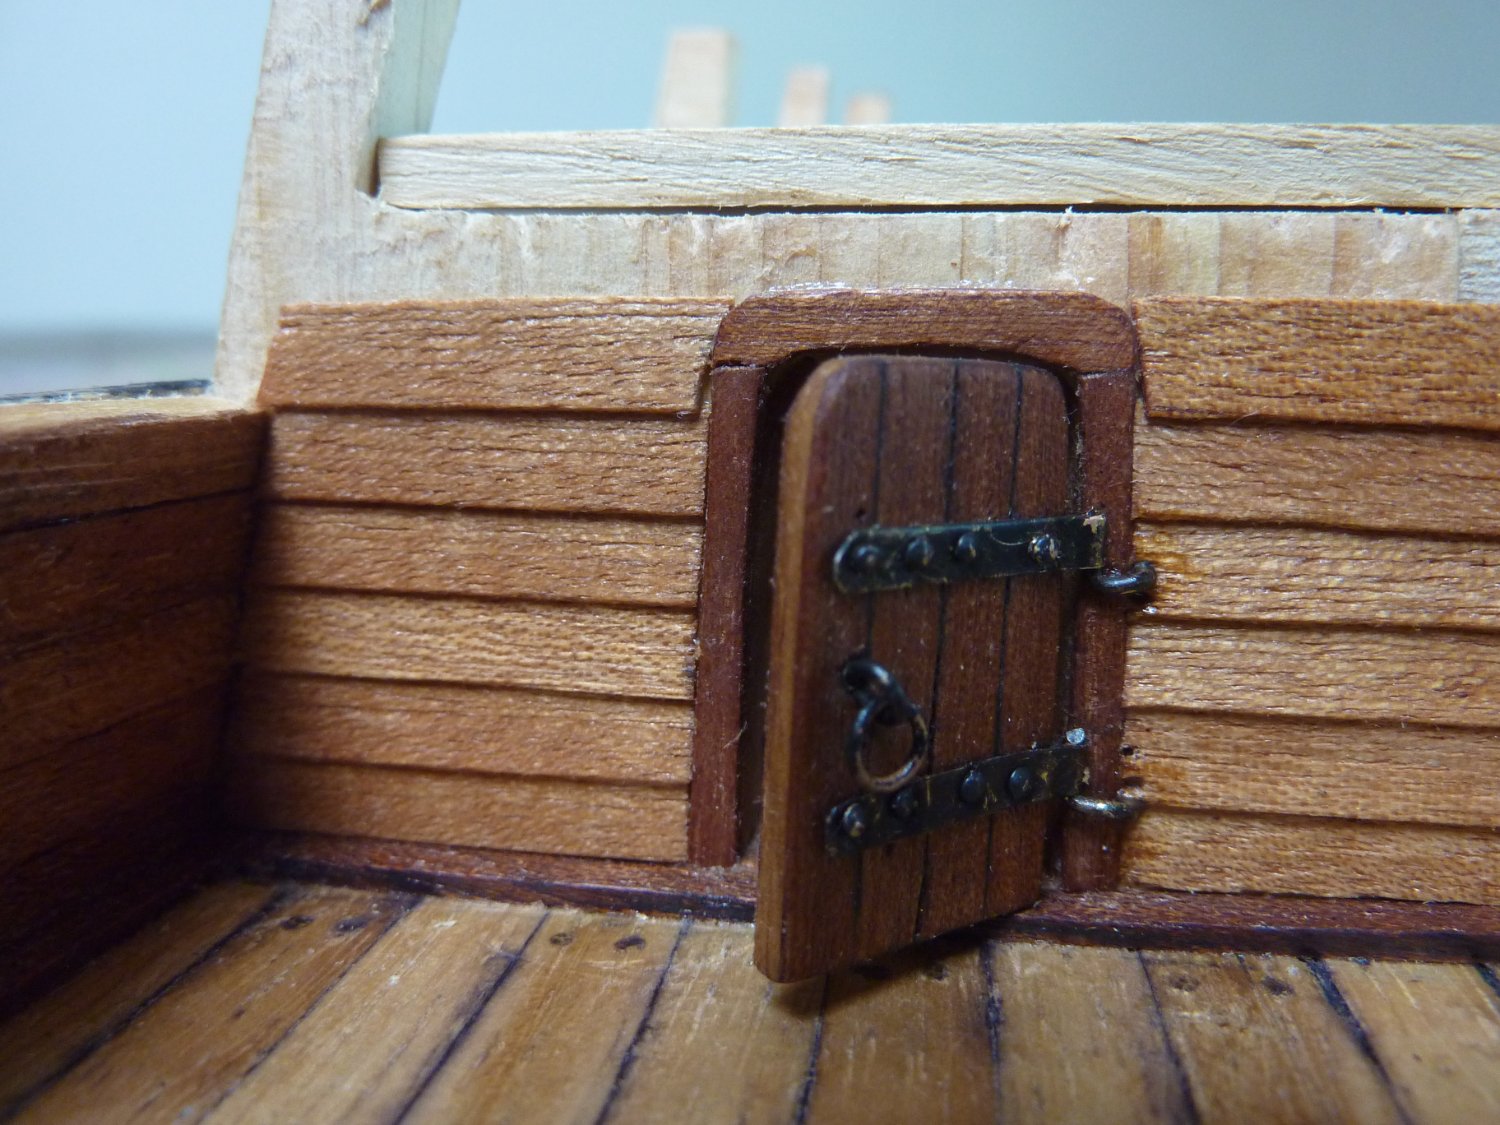
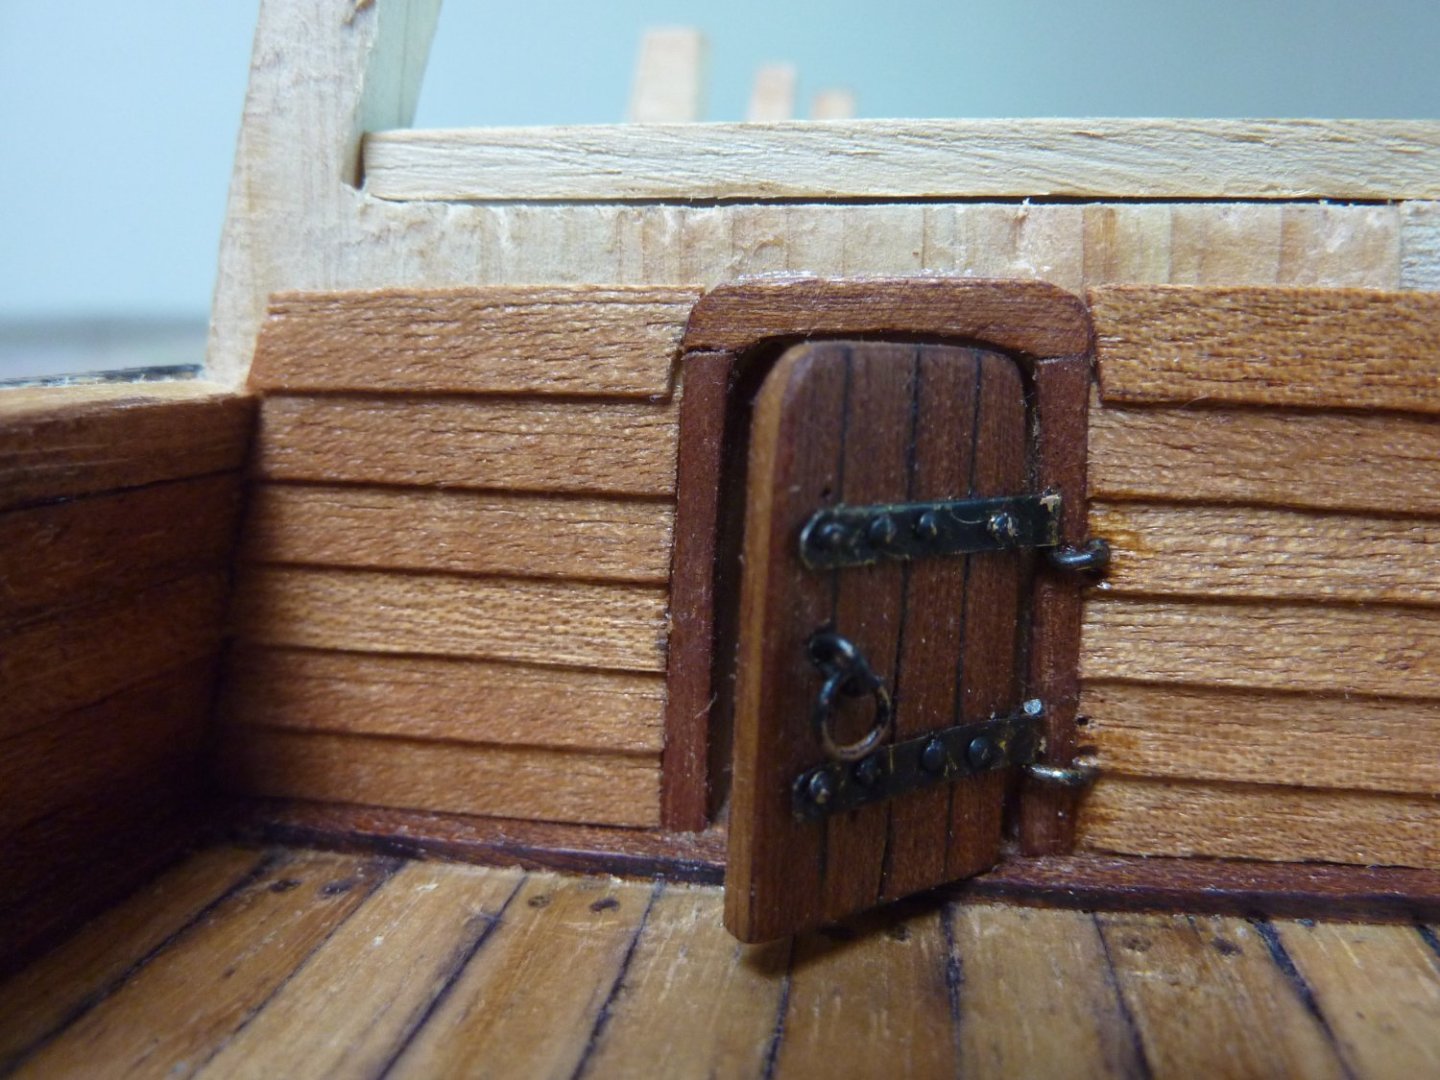
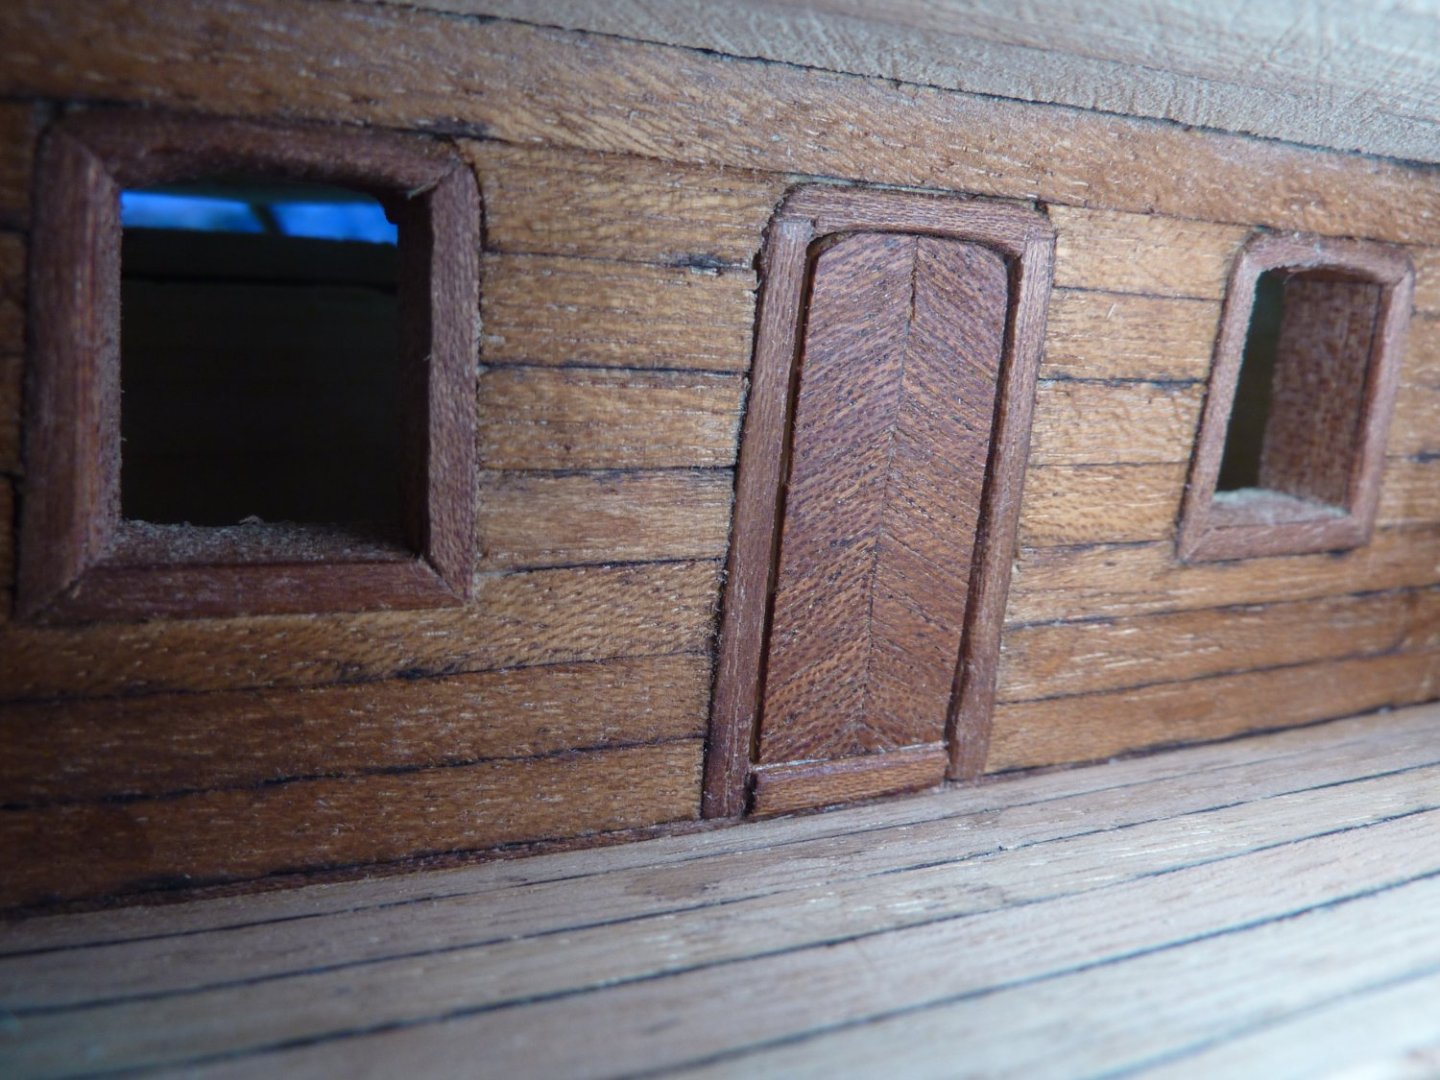
Hi All, Hope everyone had (or still having) good summer holidays! I managed to finish the forecastle doors and some portion of the main deck grating before I started work at my new company last Monday. I completely forgot about these pictures and just realized that I need to upload them. So, uploading now. For the doors, I am trying out different styles for all the doors and I decided to try the simplest style for these doors. I think I actually like this style better than the previous ones and may apply this particular style for all the remaining doors on GH1. Below are some pictures during the works on forecastle doors.


-
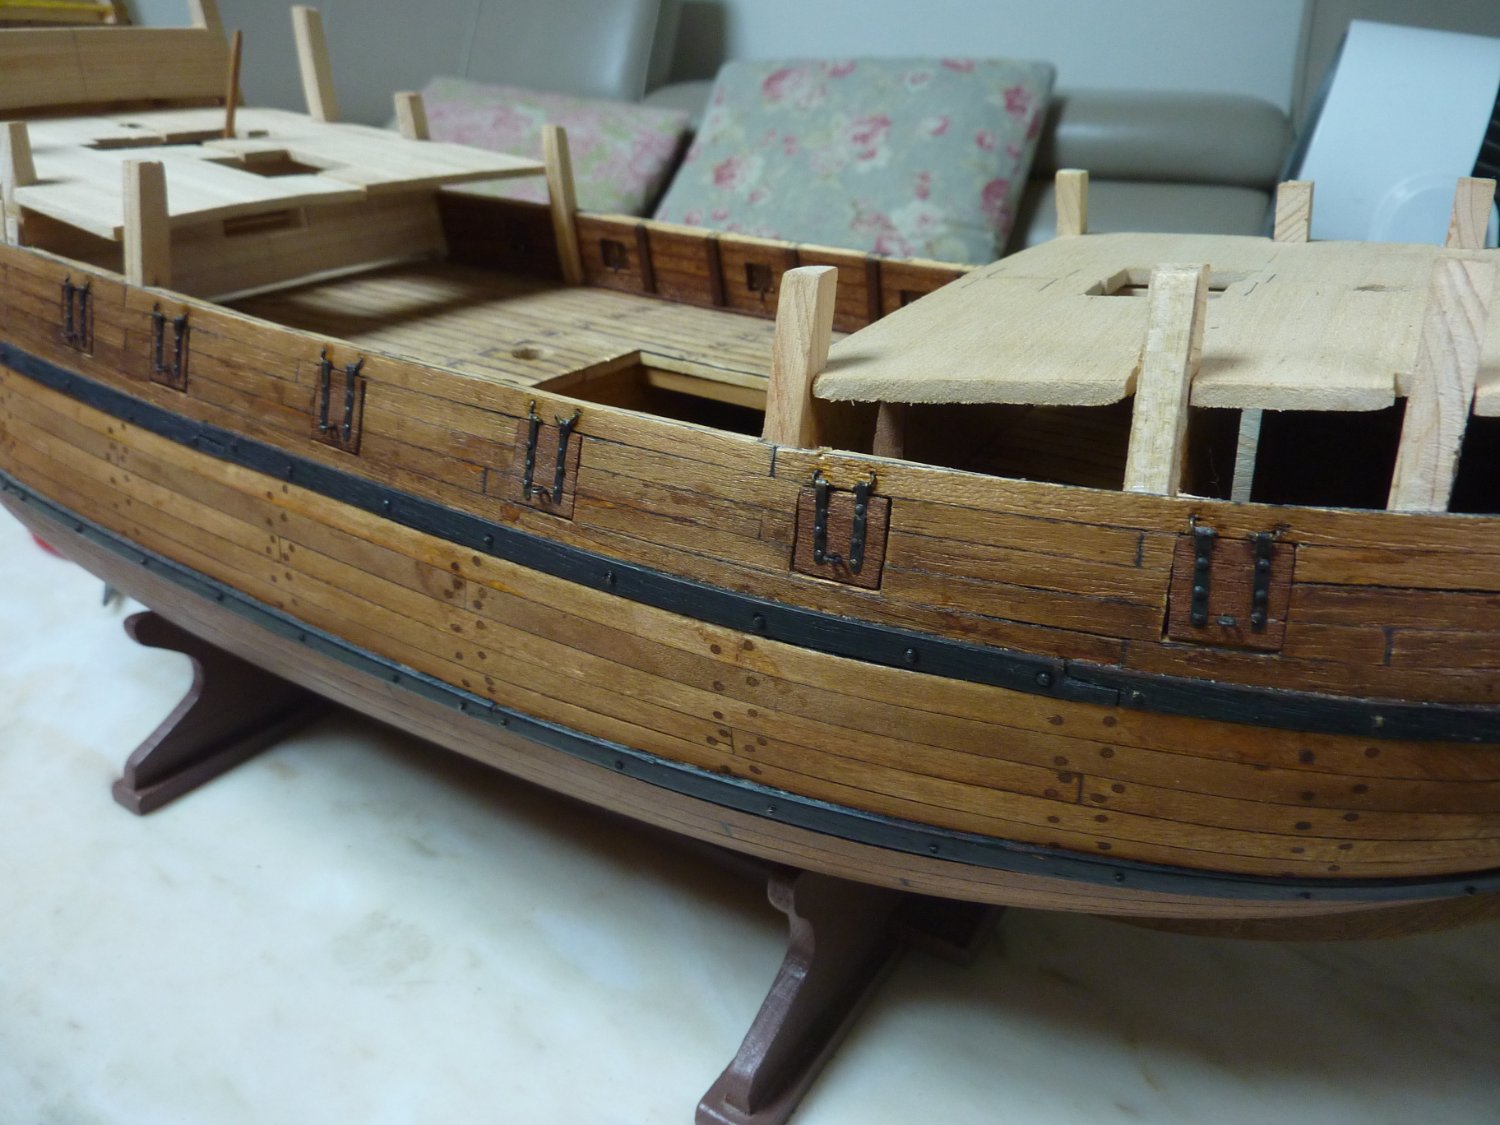
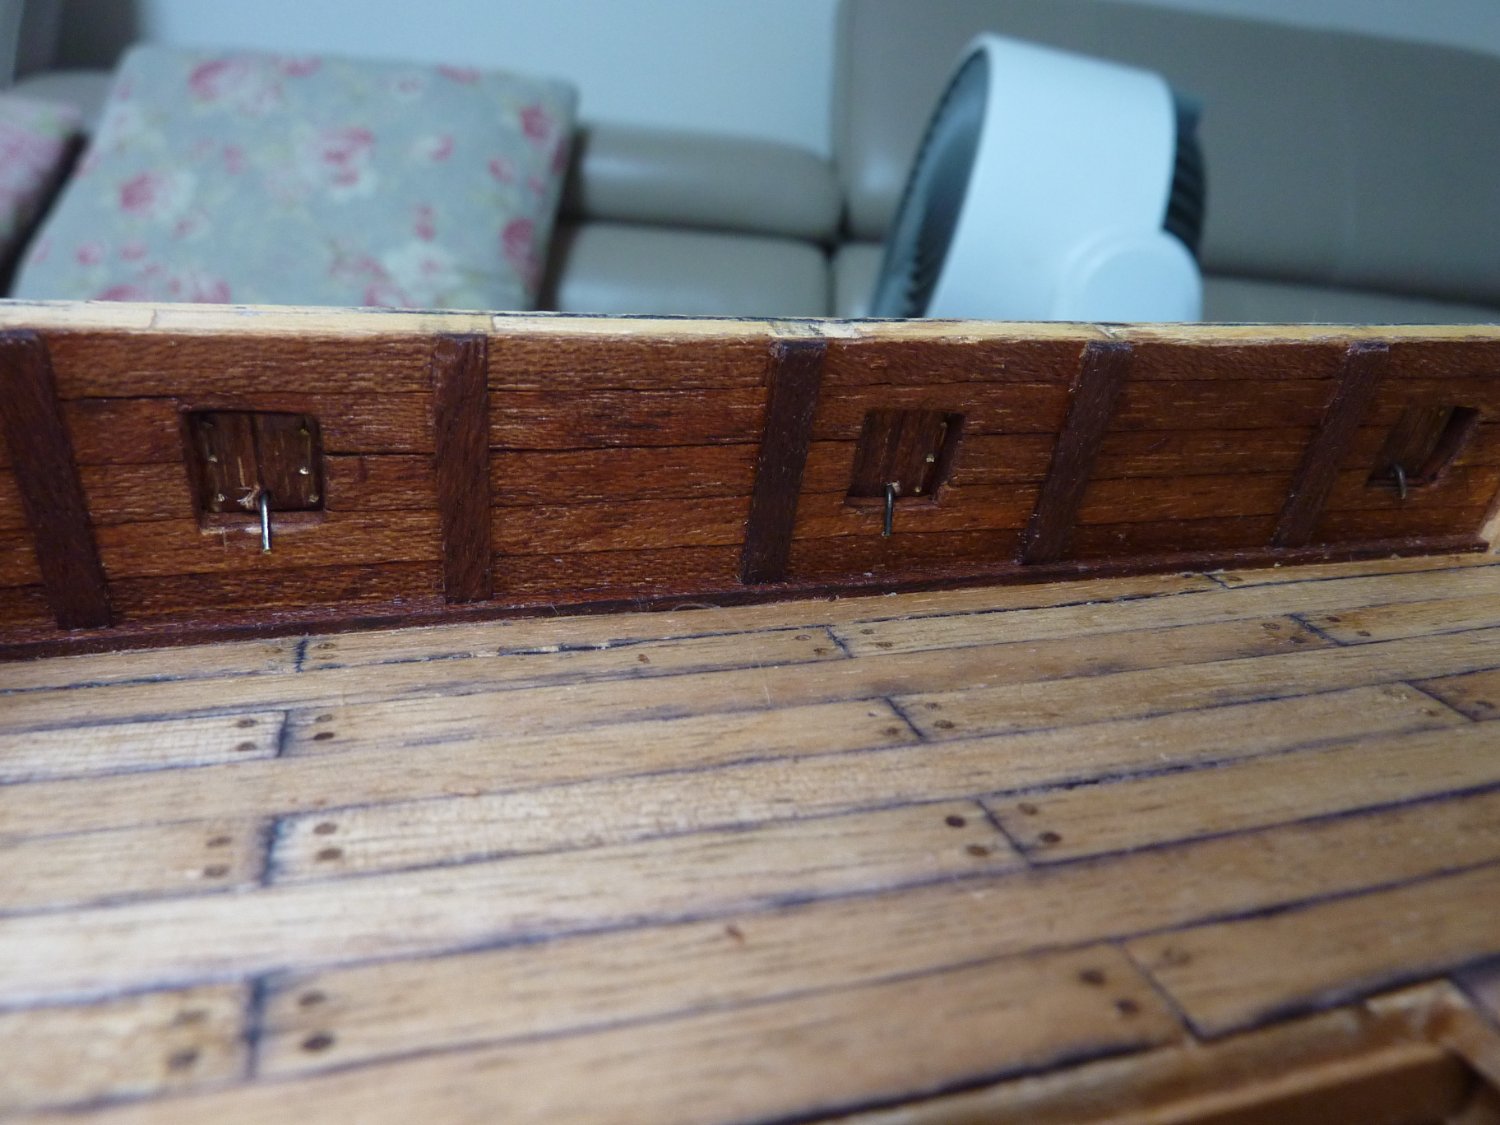
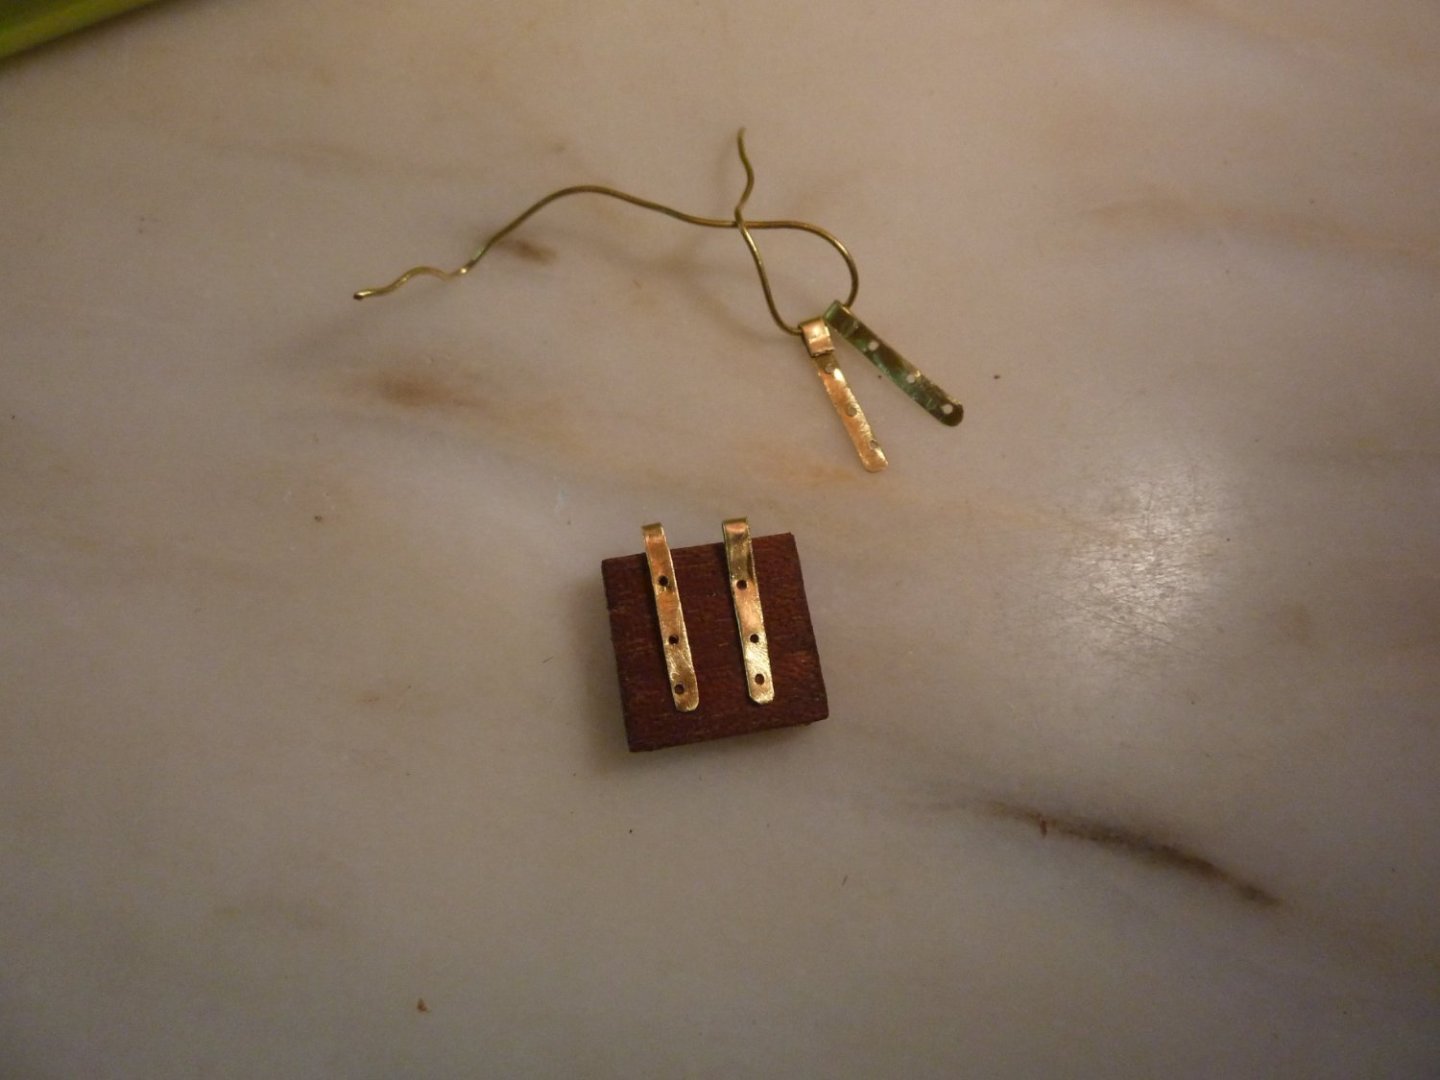
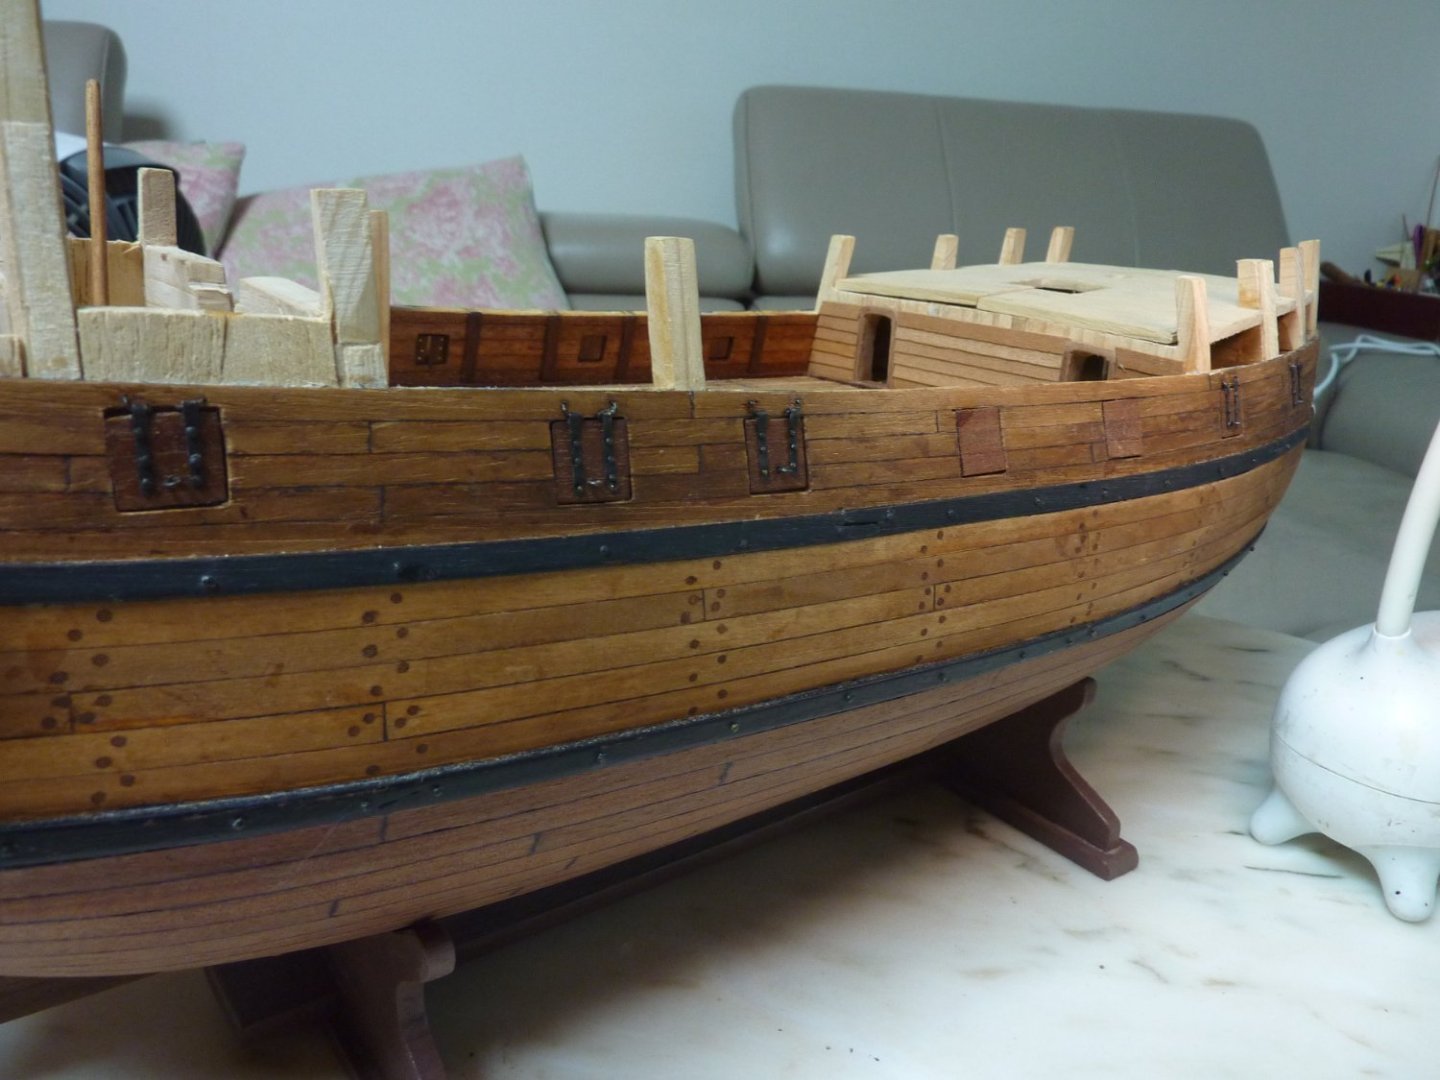
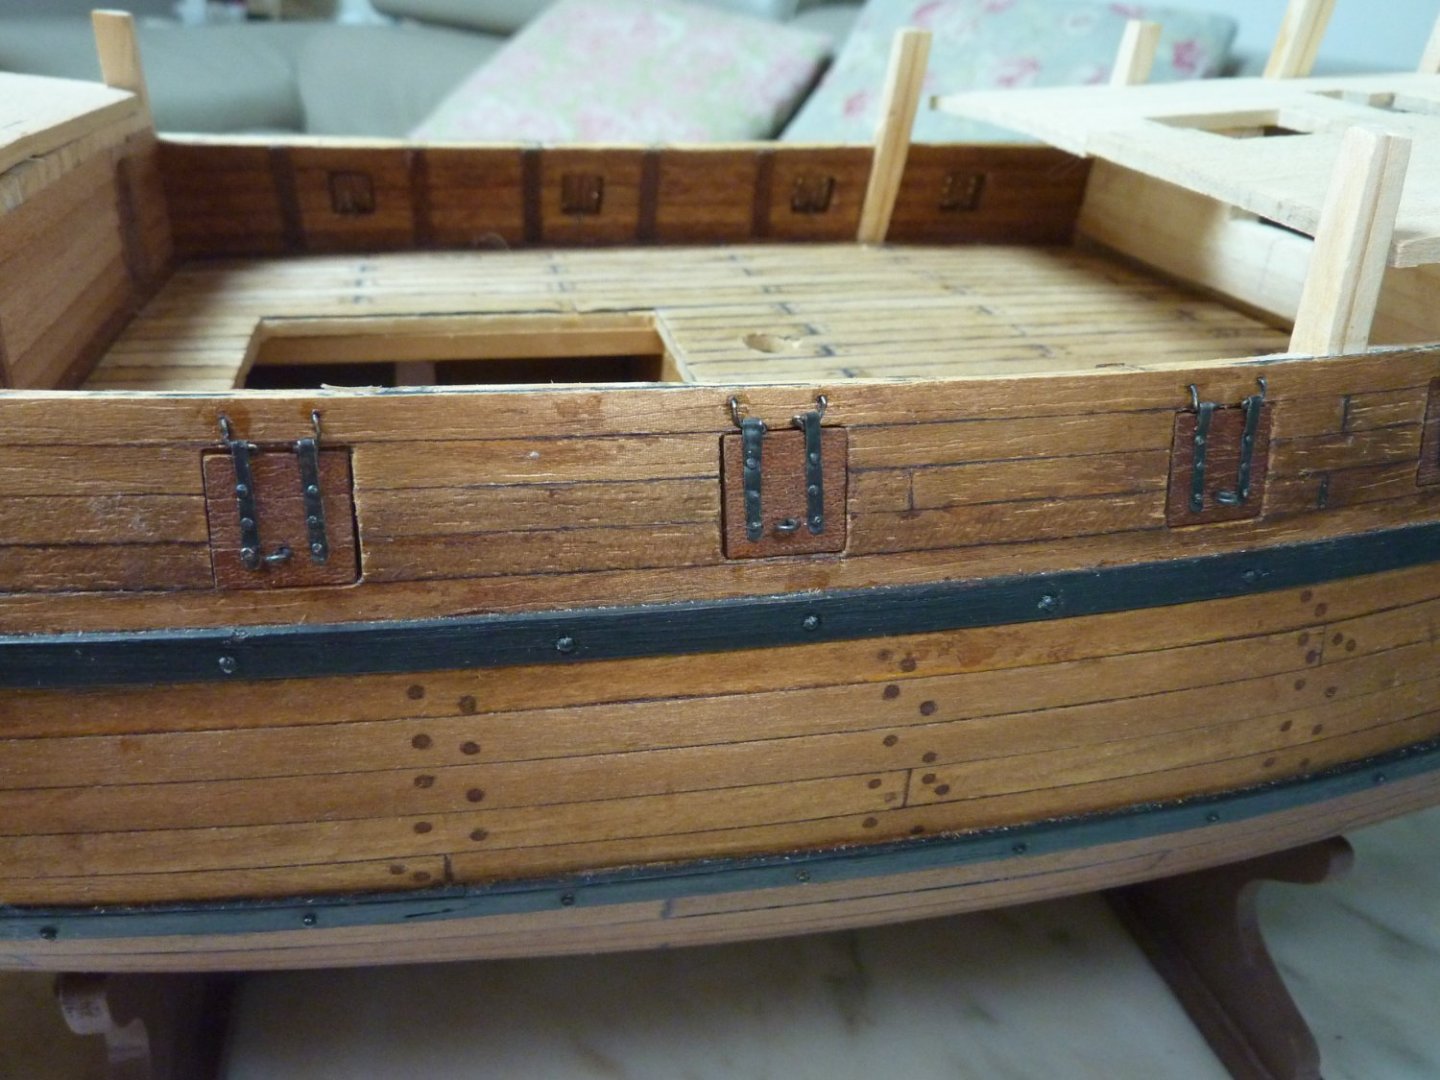
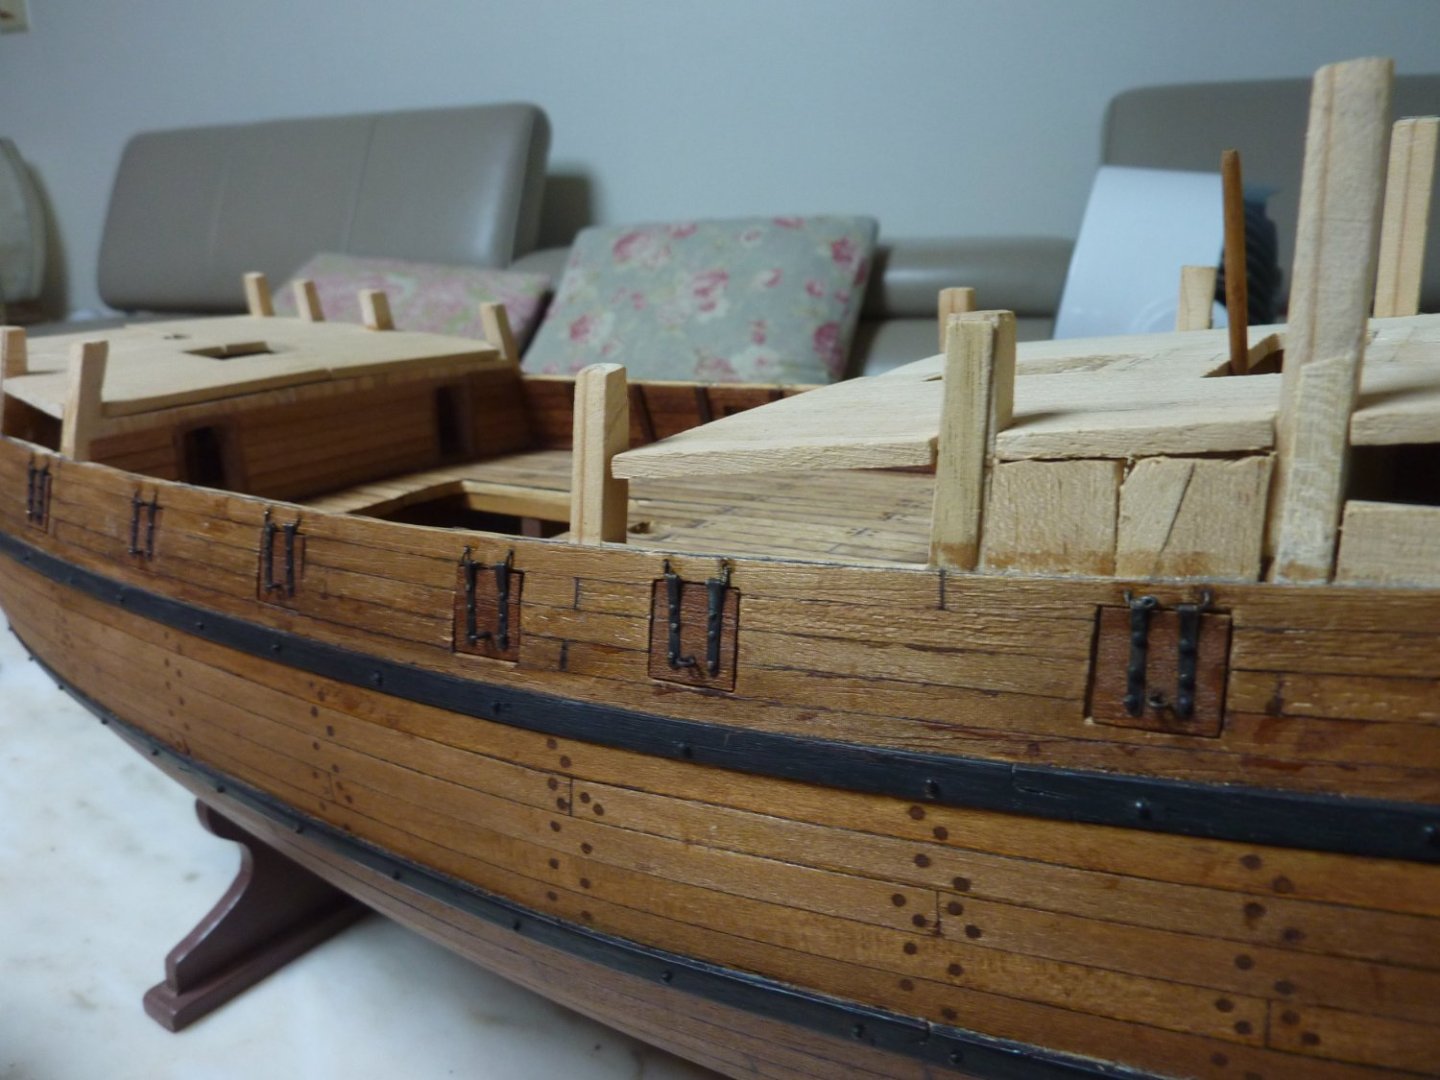
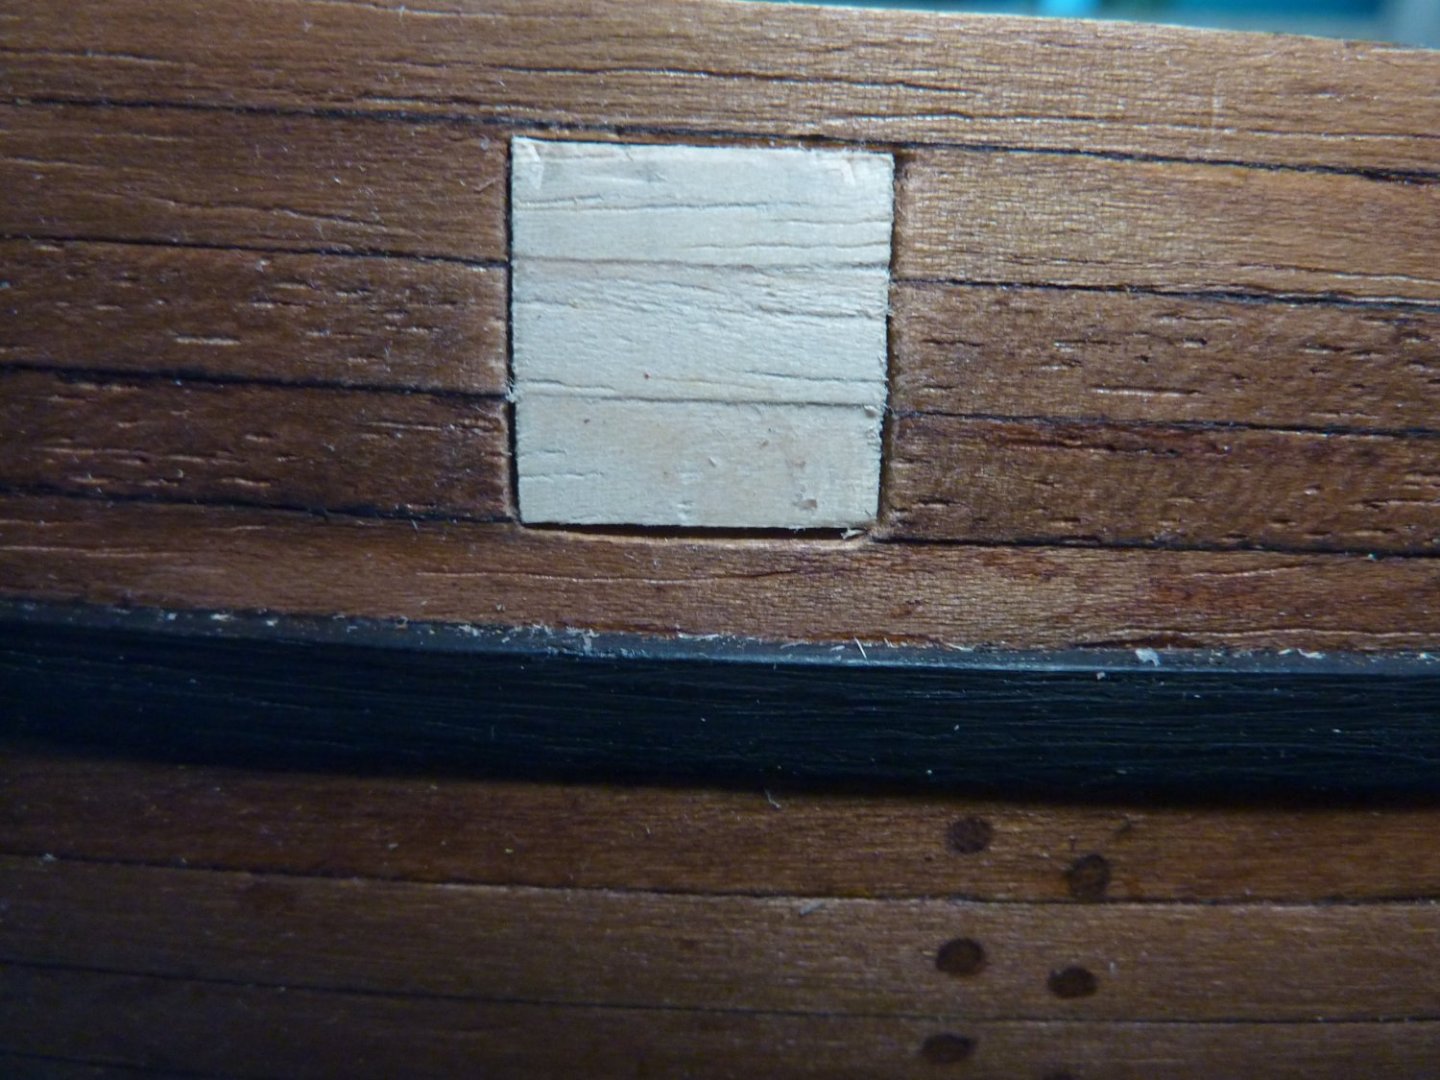
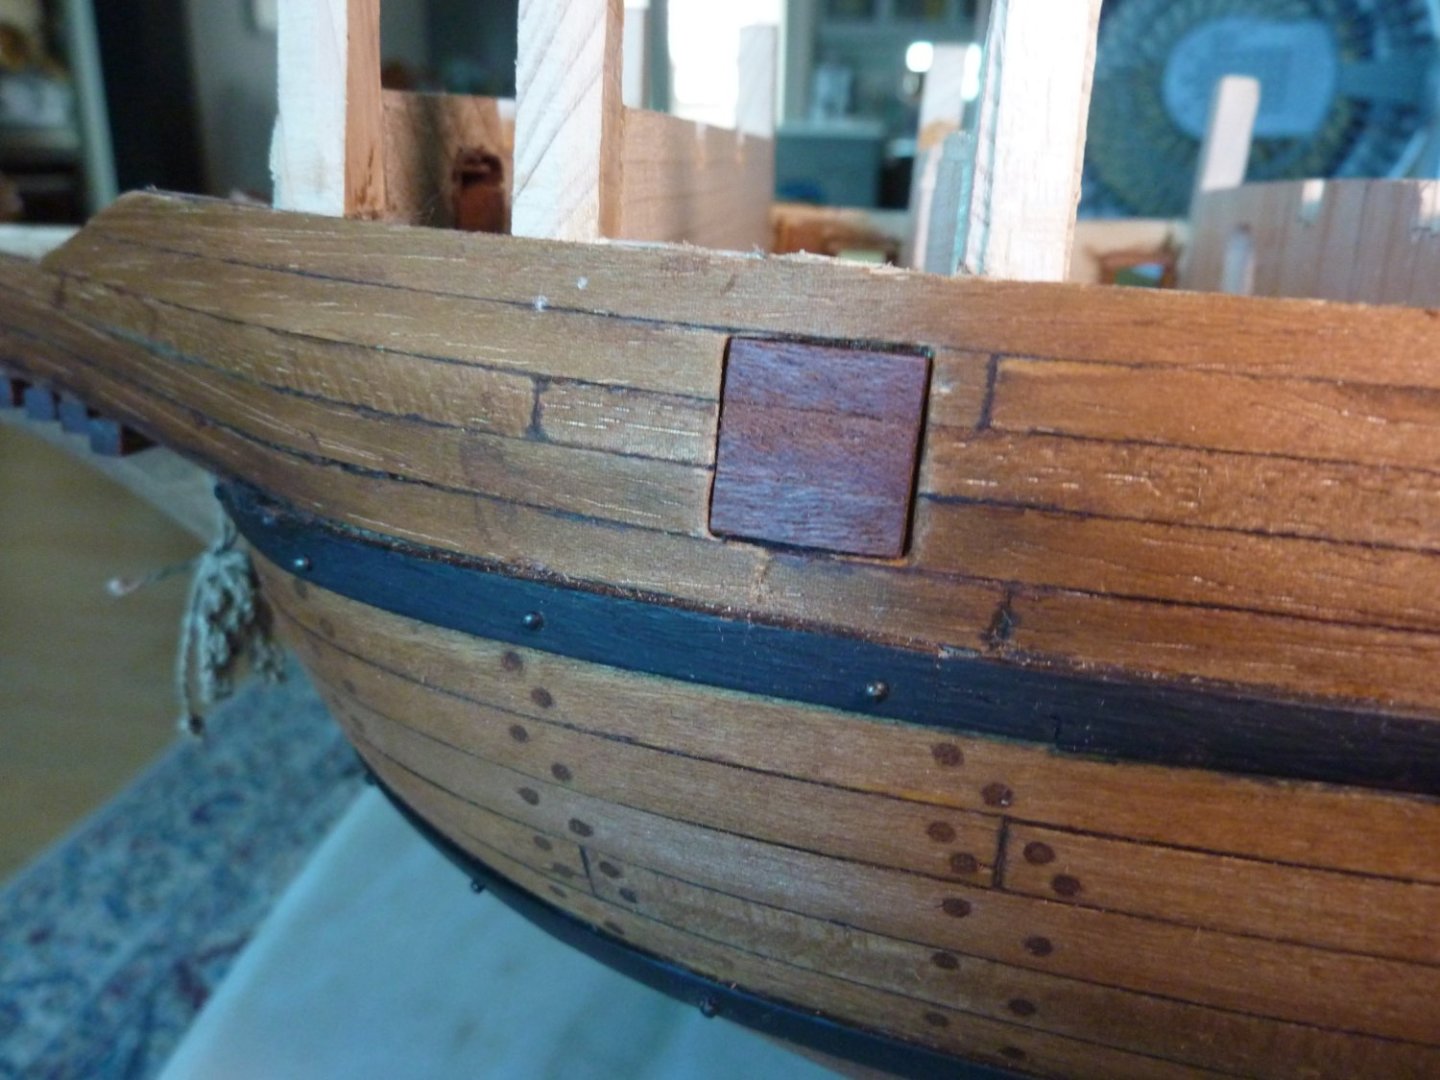
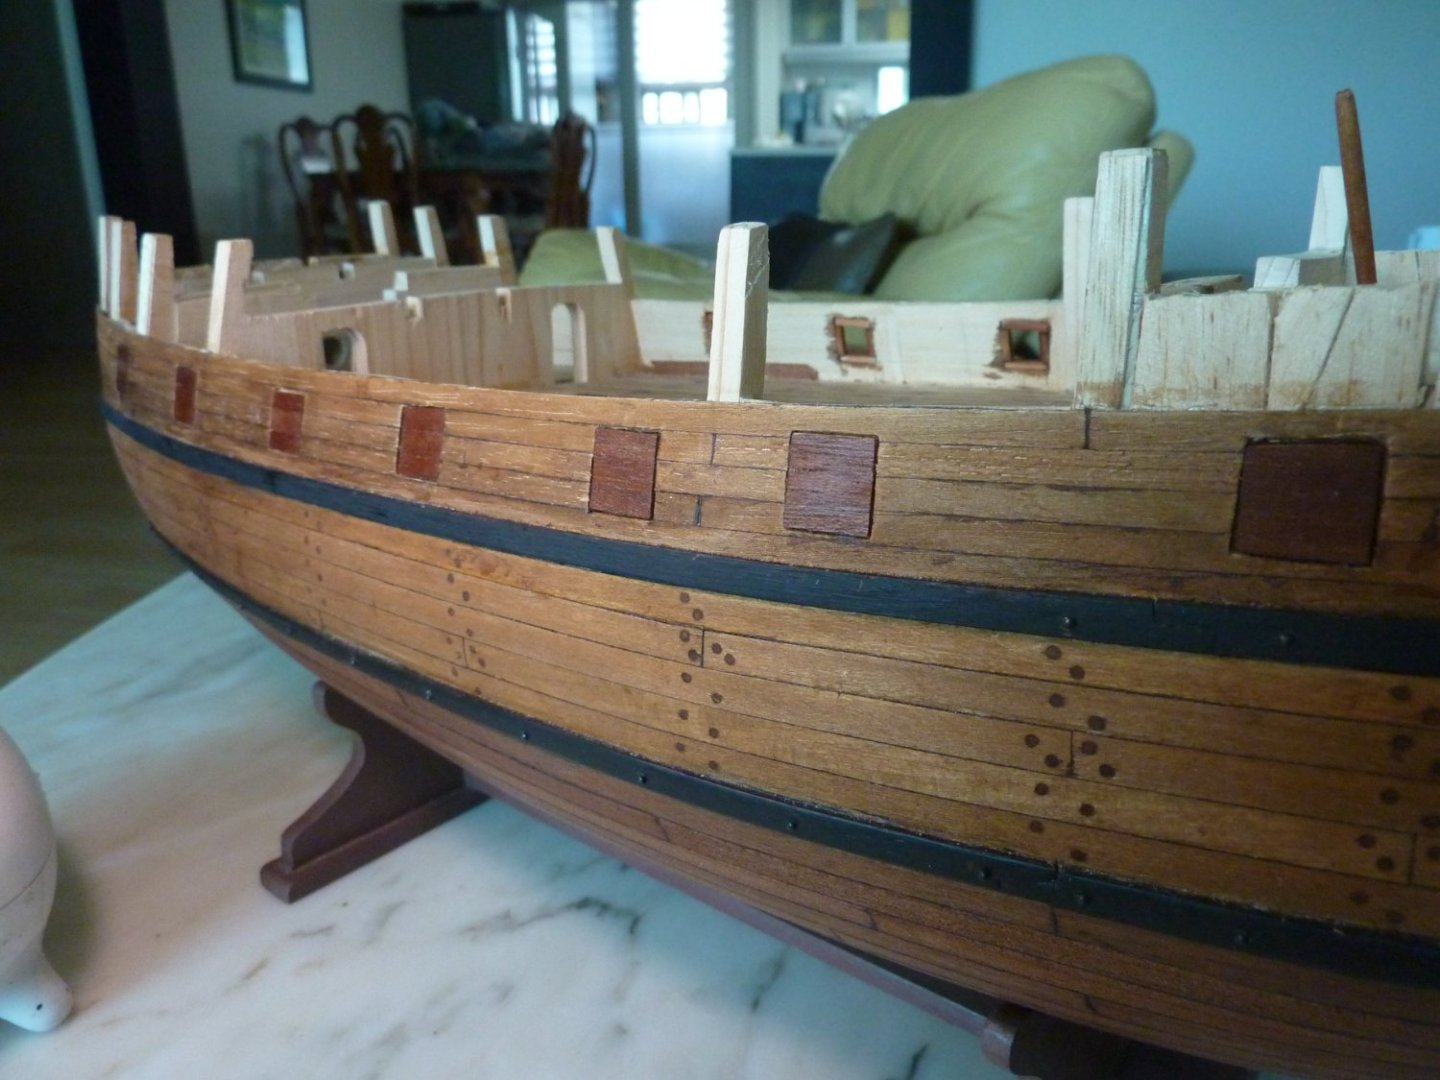
Finally, the door hinge sets are made, drilled and chemically blackend along with the nails, and installed in place. I am not sure how many cannons I will be actually positioning on this prototype. But, probably not on all cannon doors. I think some tidying work will be needed later on, but mostly done on the cannon doors.


-
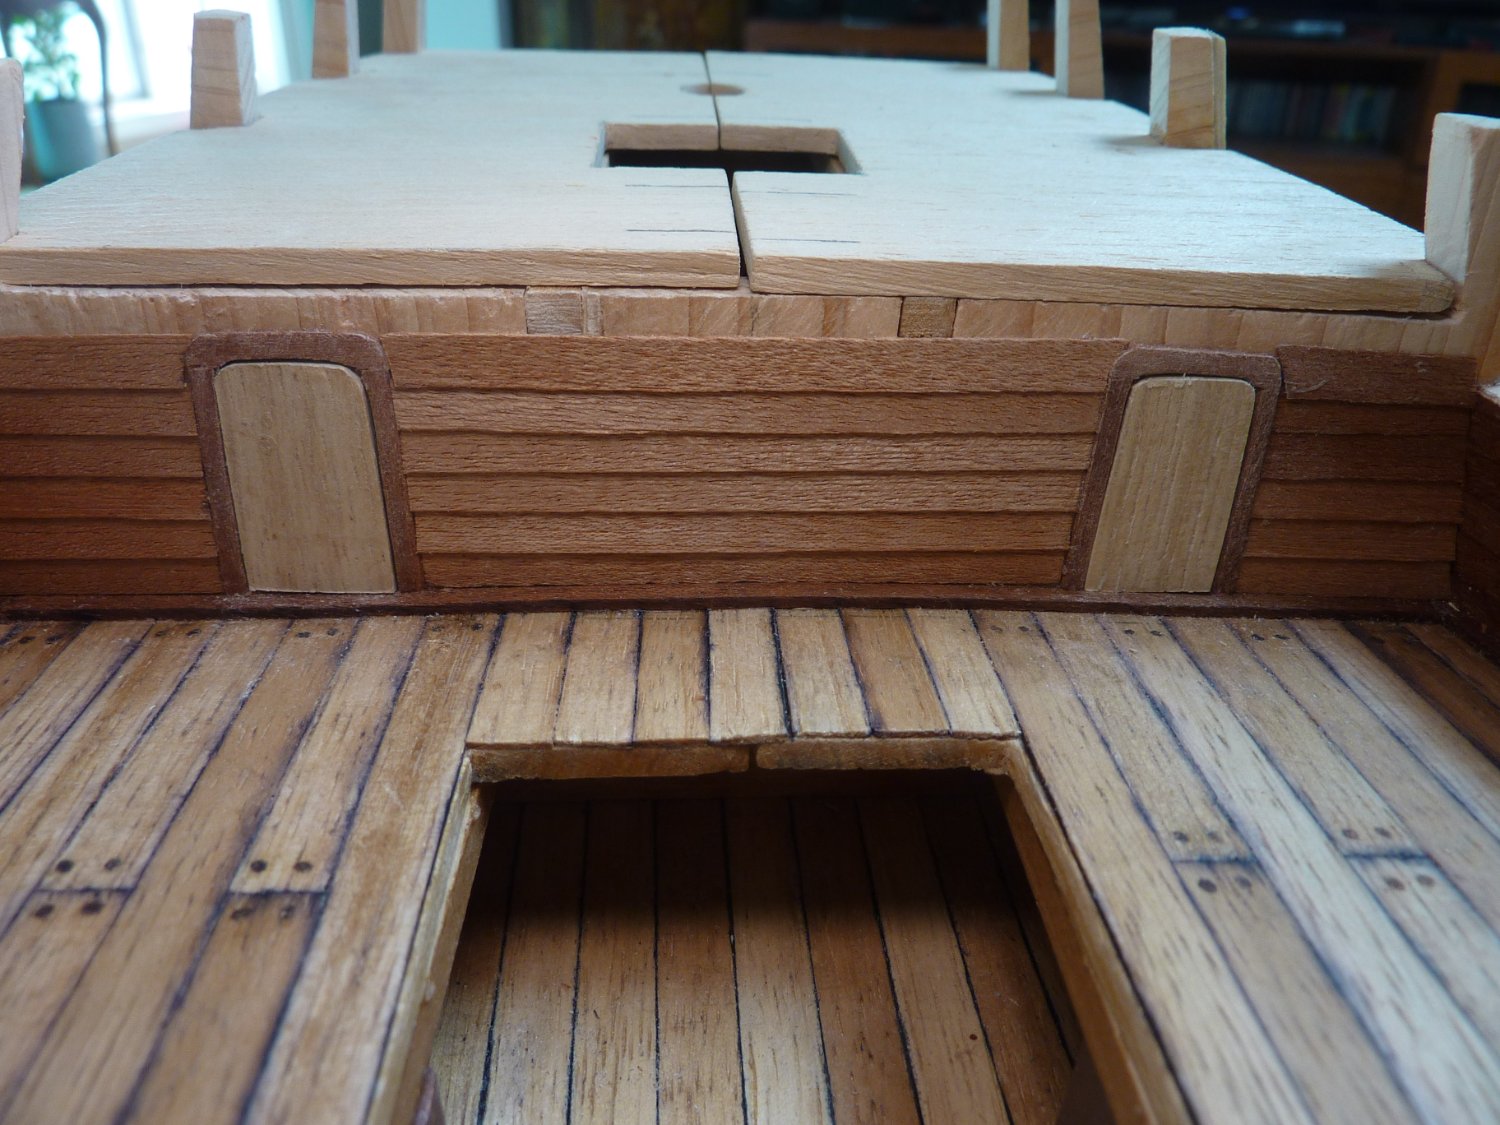
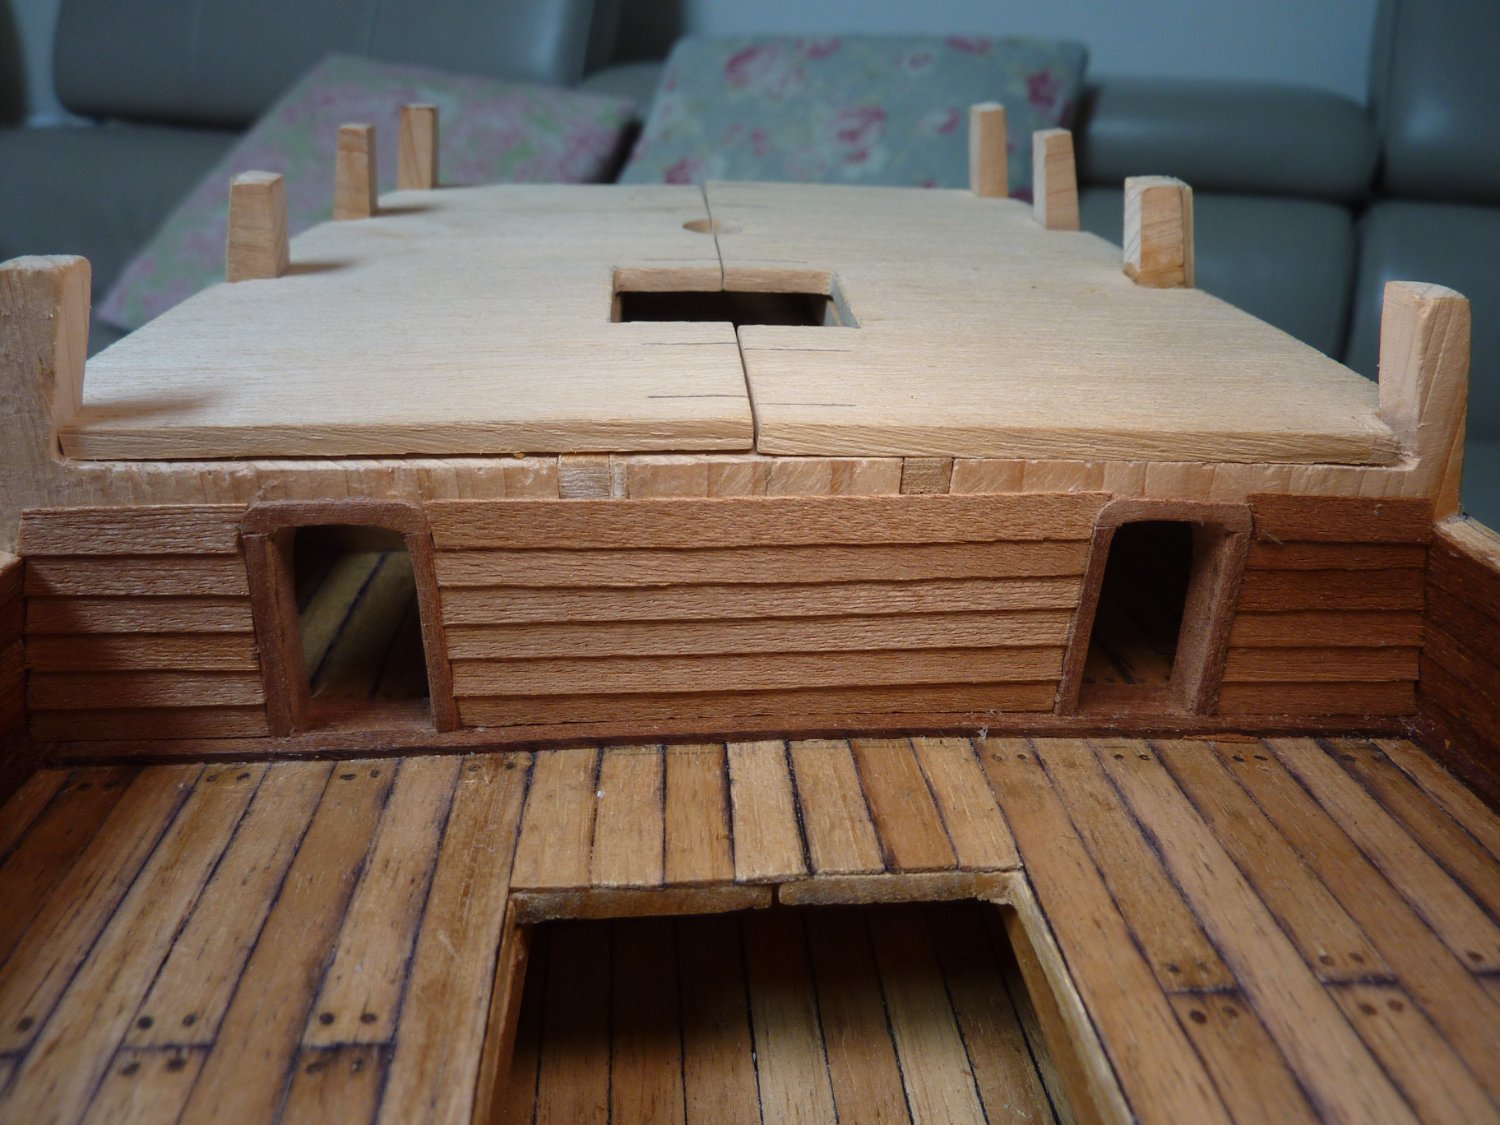
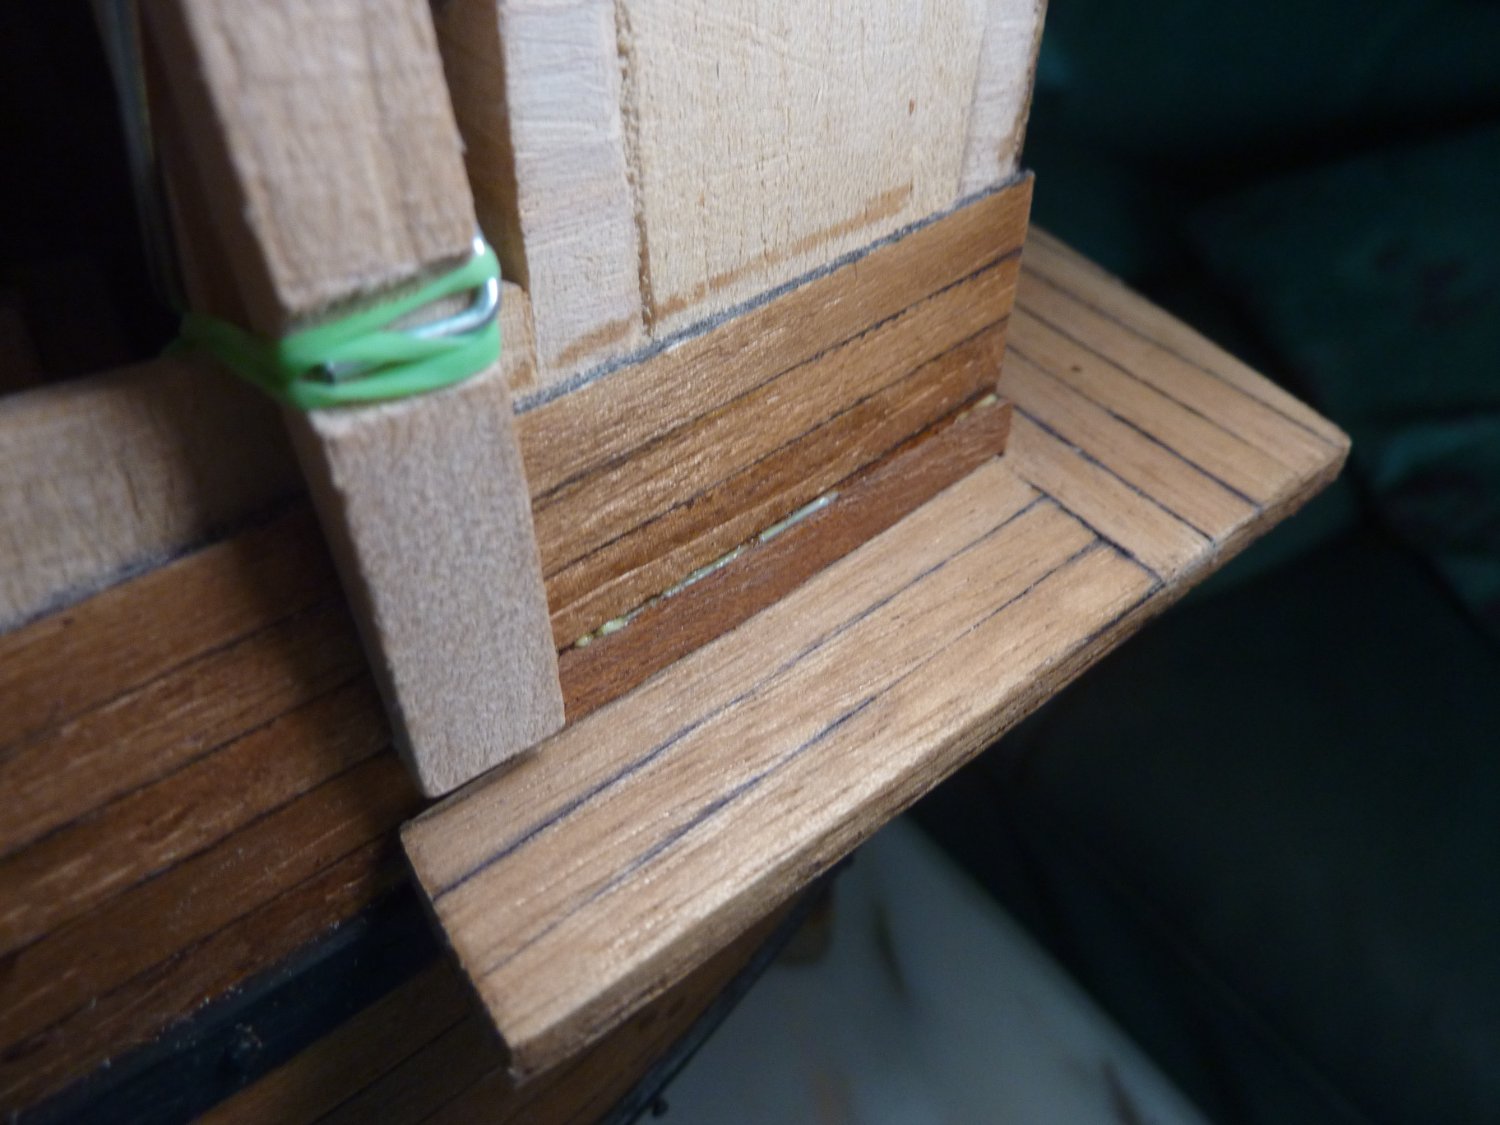
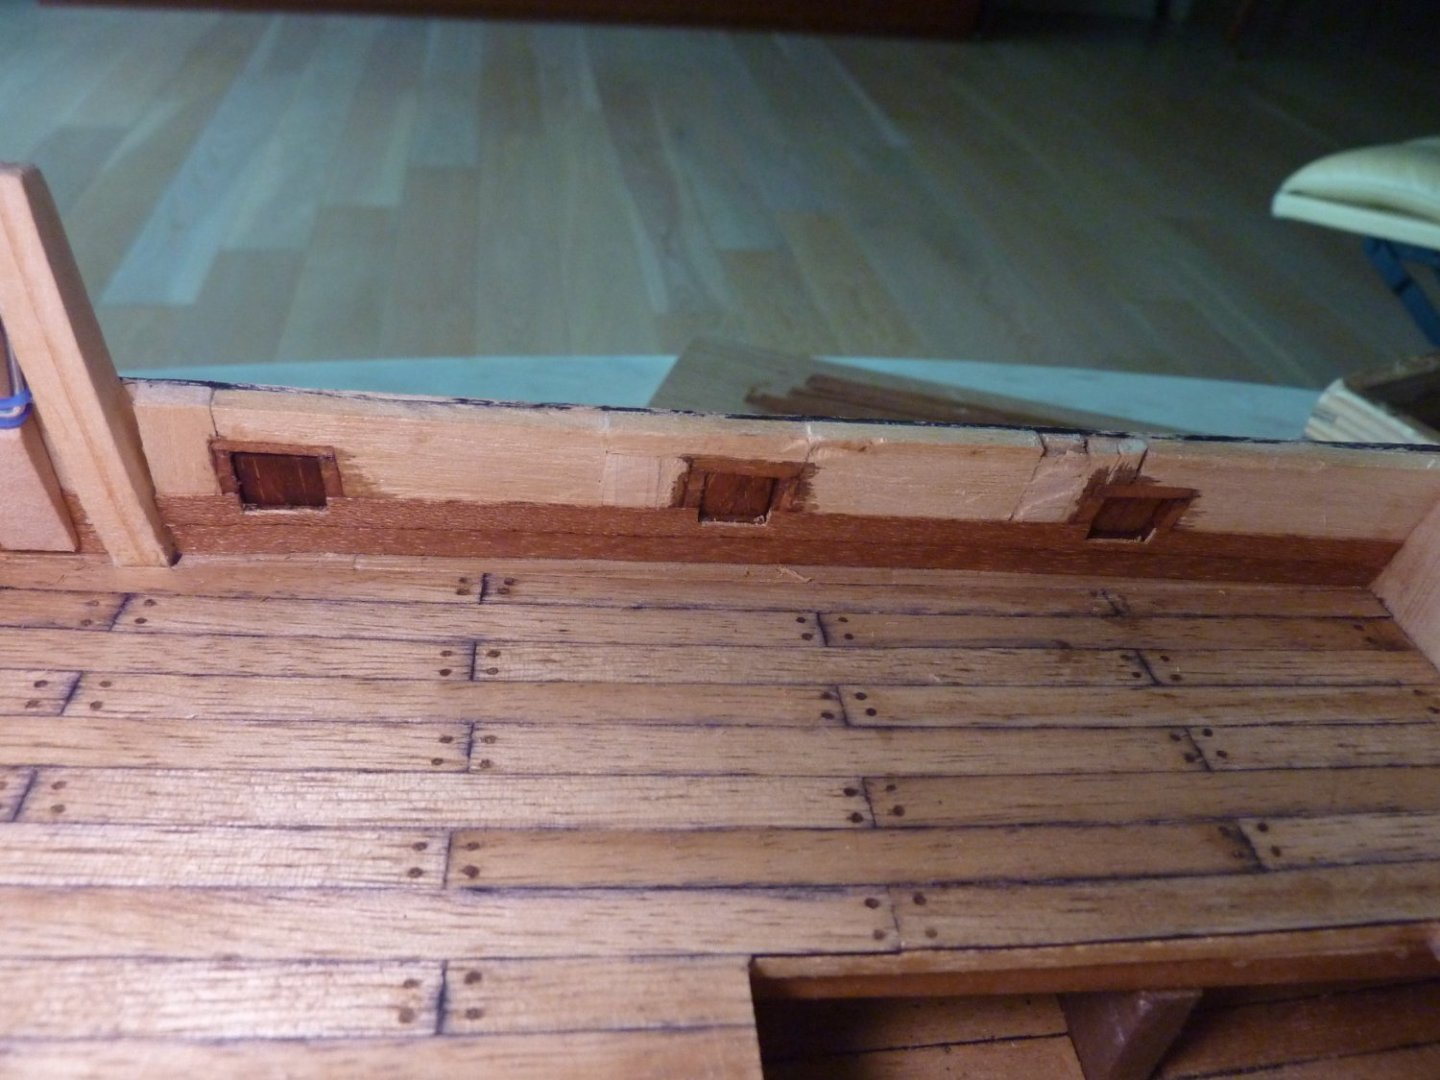
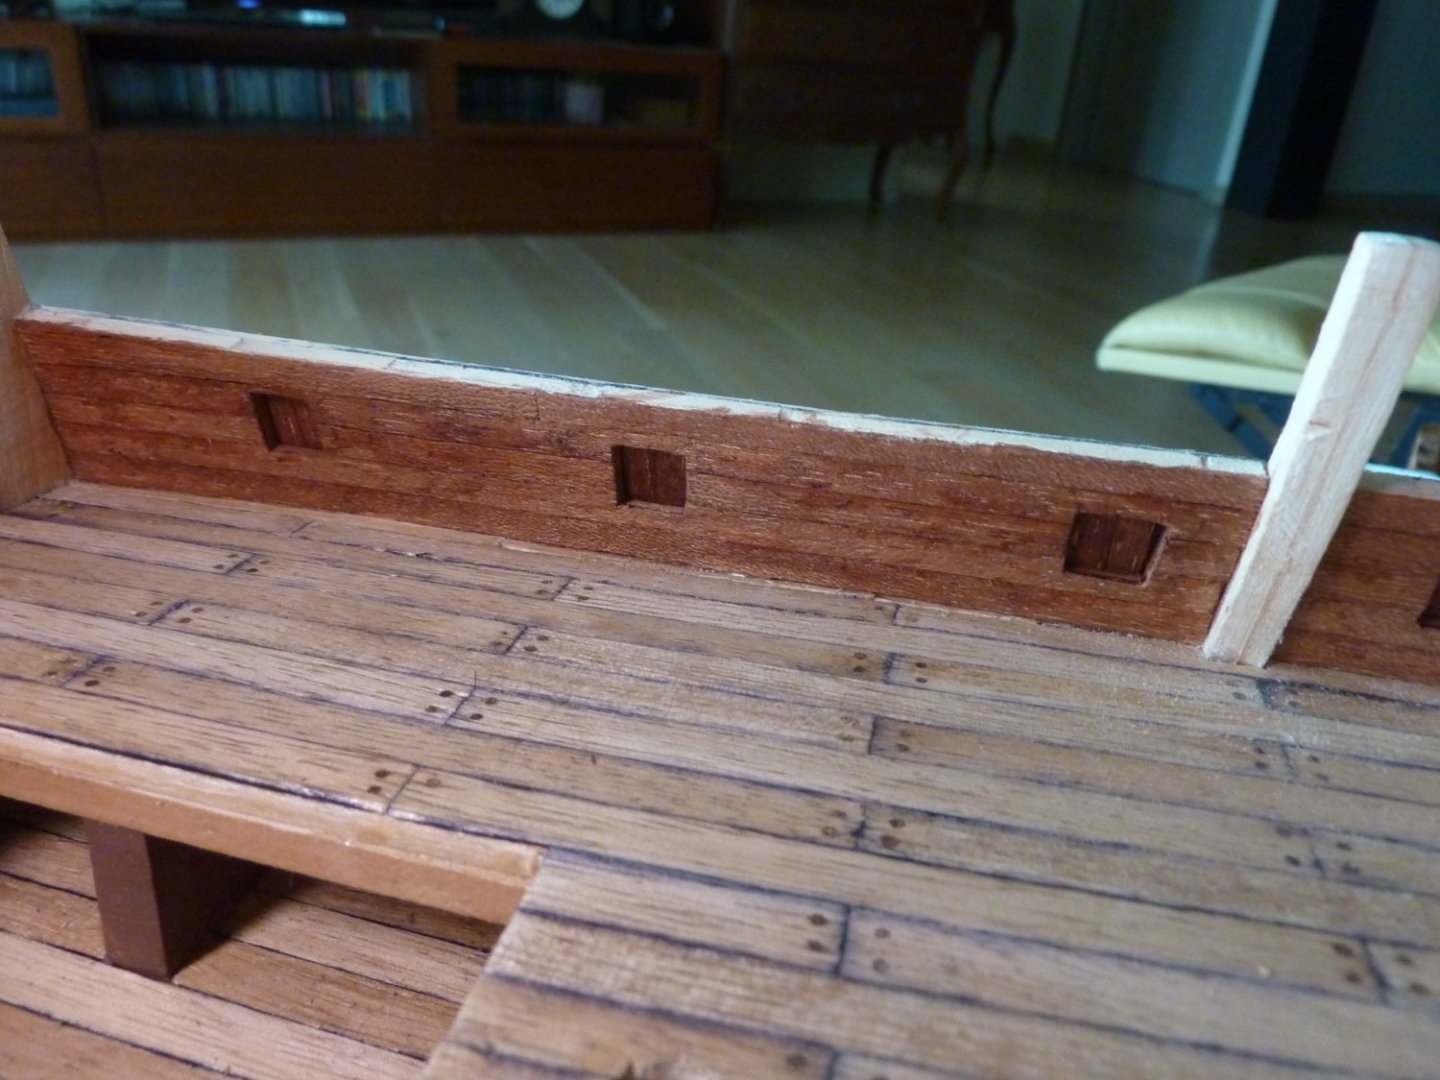
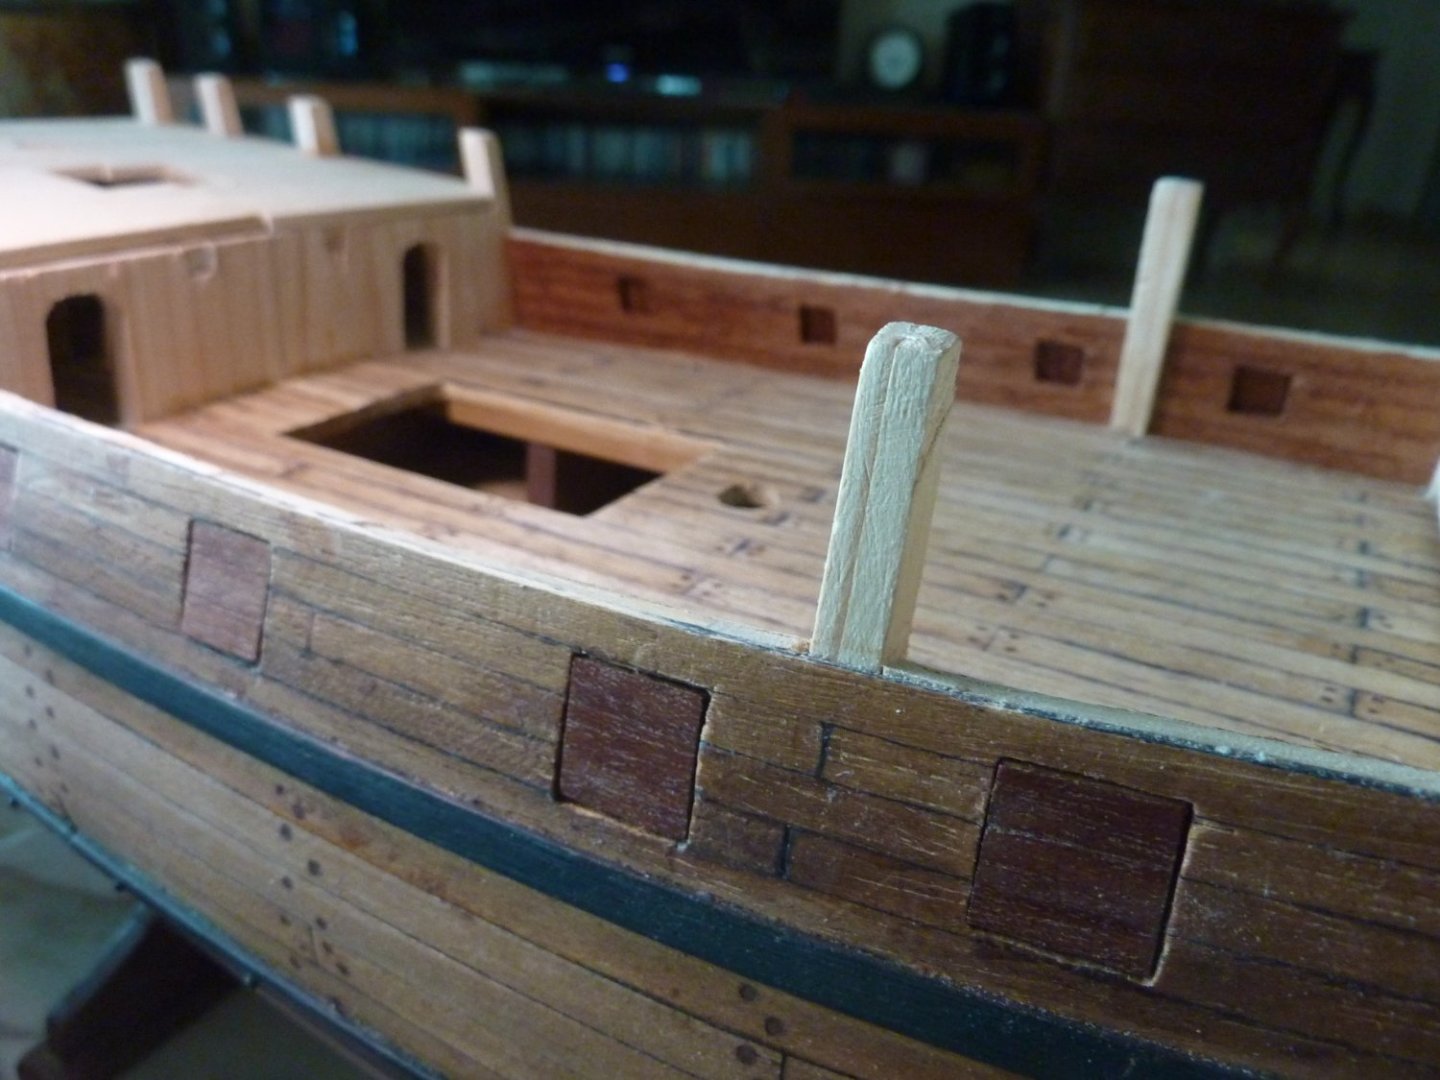
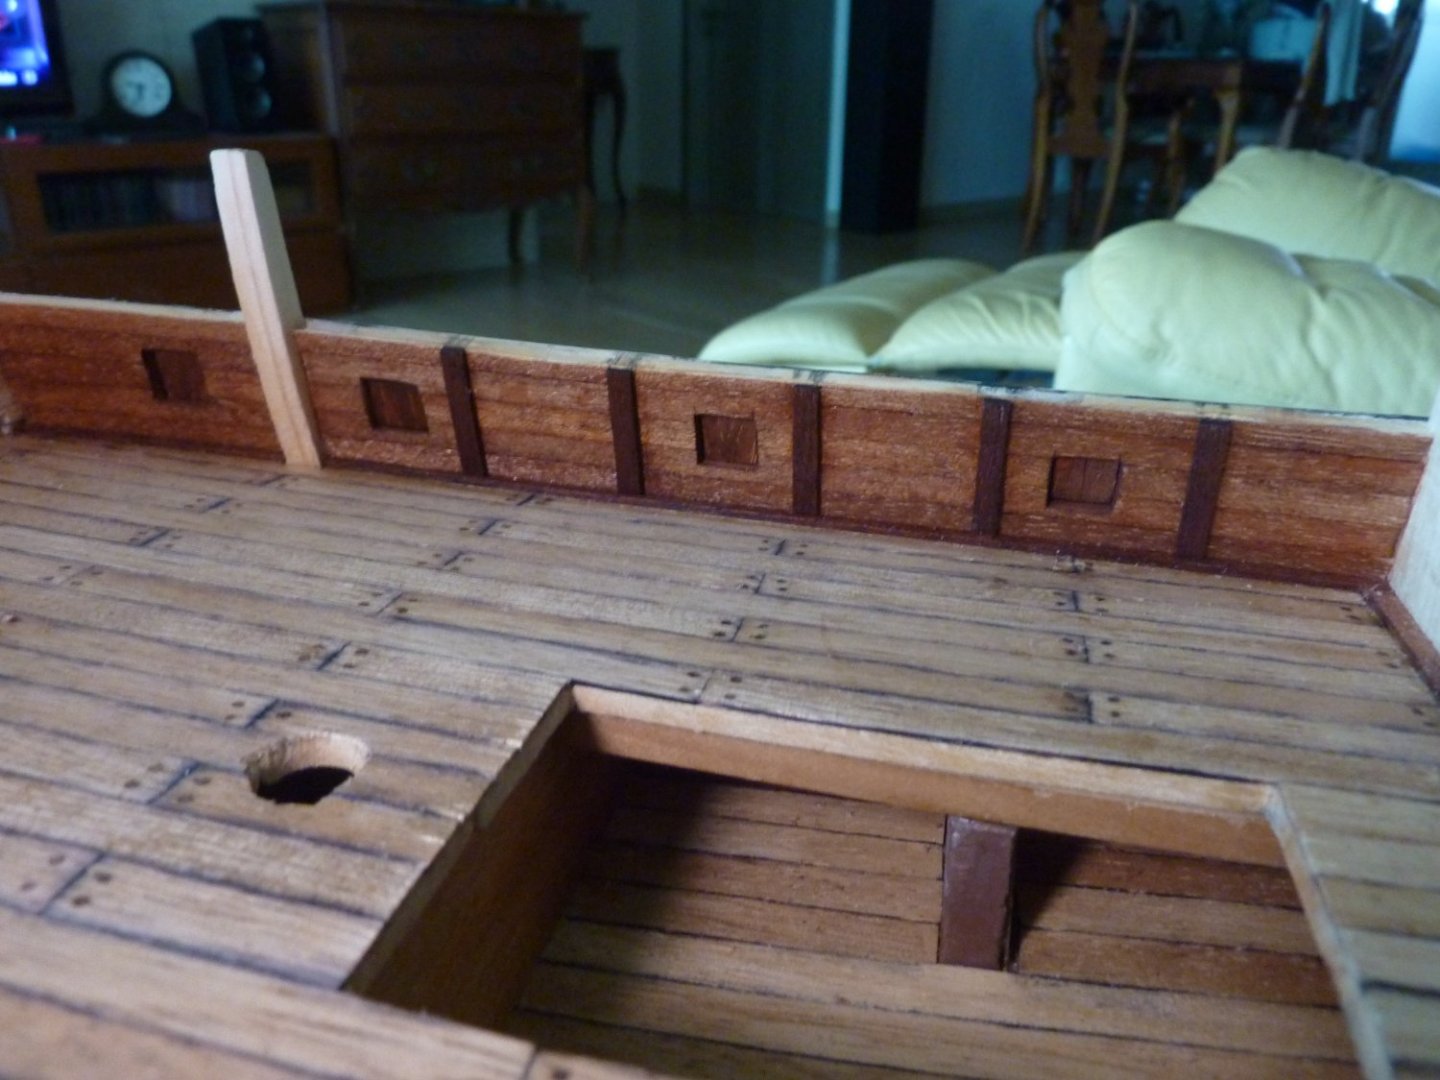
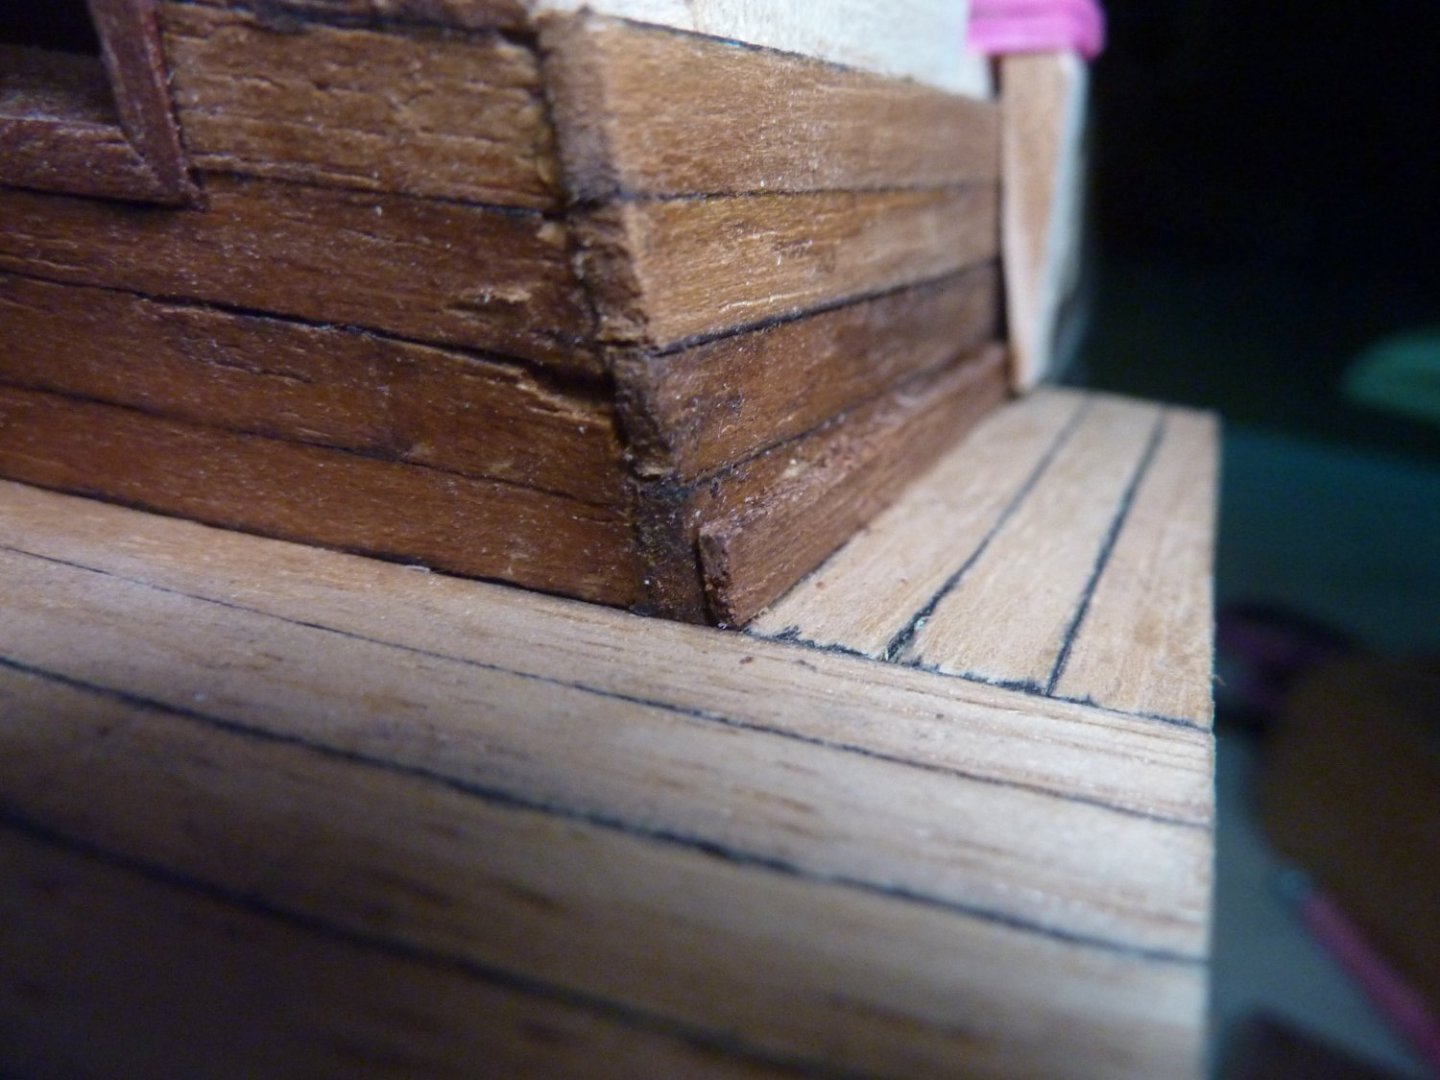
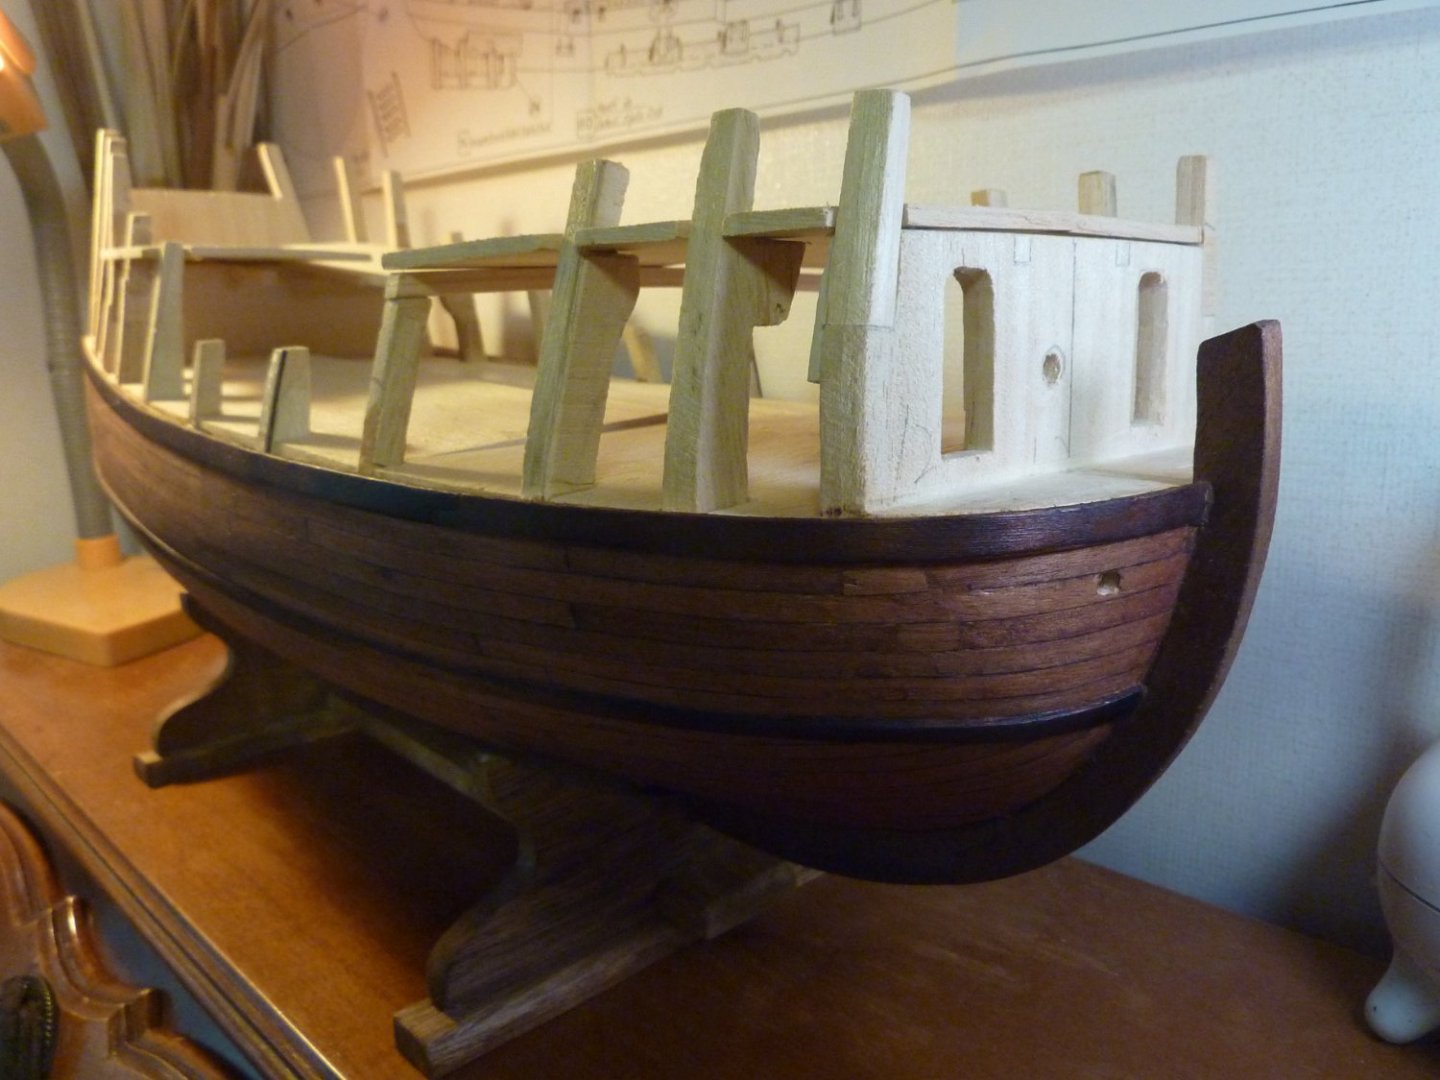
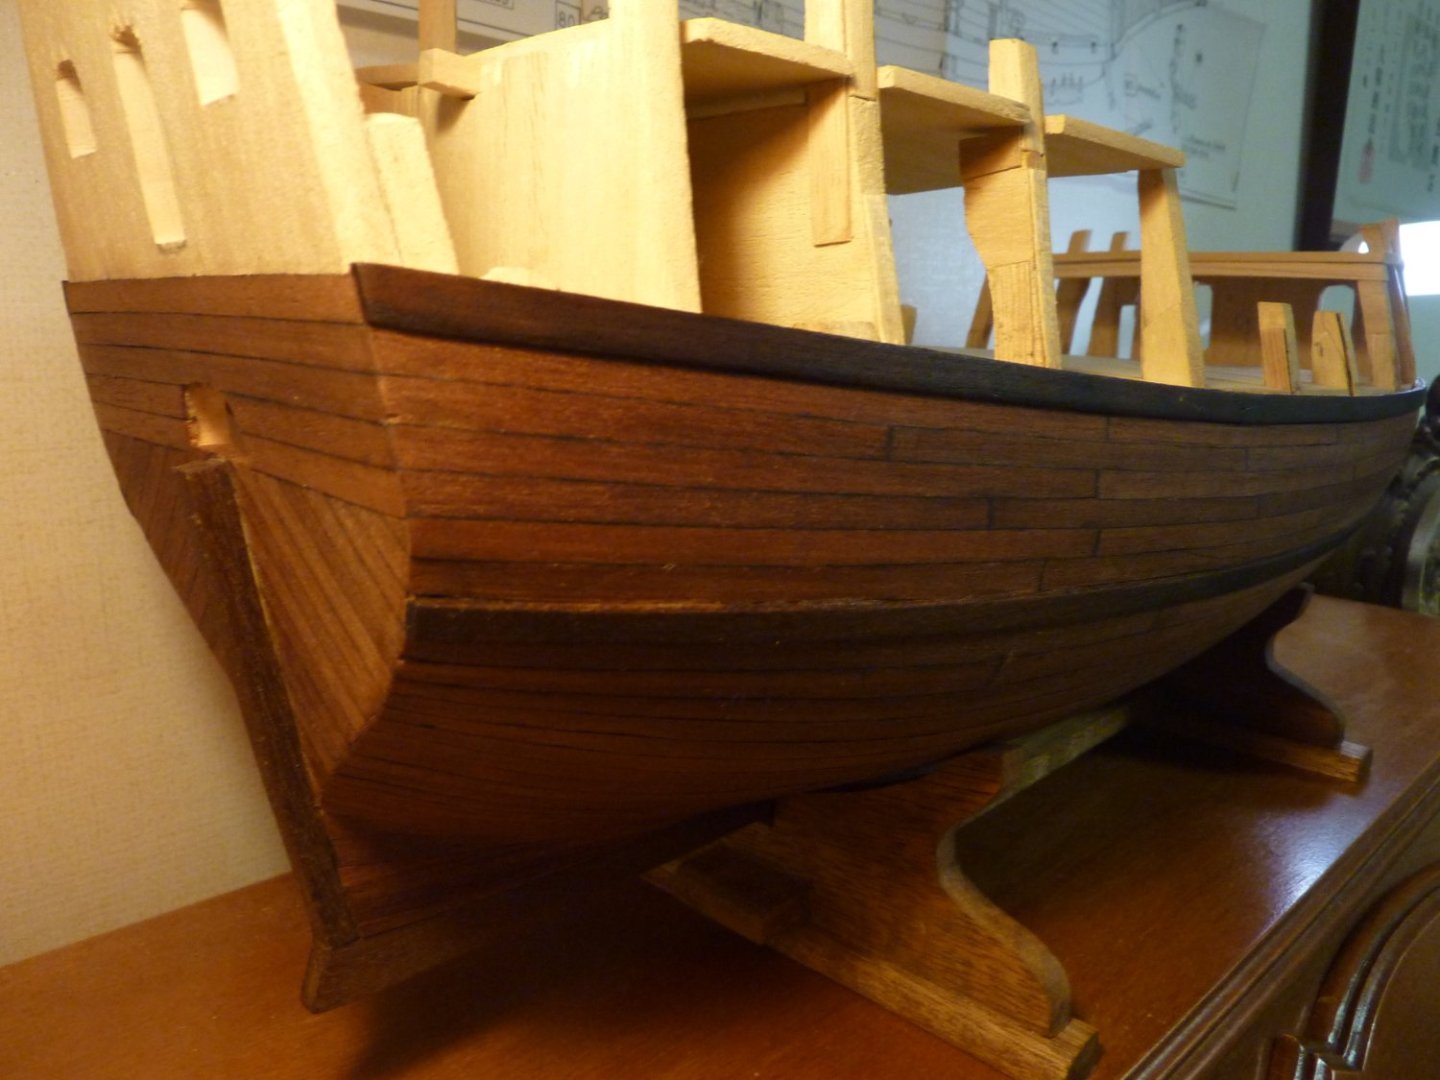
Next, the weather deck inner planking is done with couple of supporting structures attached. Also, the forecastle inner planking is finished along with door frames.

-
Hi All~ I suppose a lot of you are on holidays. I am on a one week holiday before joining a new position in a new company next week. It will be quite busy for at least couple of months after my arrival in the new company and therefore I may not be able to post new progress for some time. I have worked on cannon doors and hinges for the last 2 weeks. and they are finally finished and installed in place. The below are pictures of these works, beginning with the making of cannon door frames and lids.


-
Thanks very much for your compliment!
-
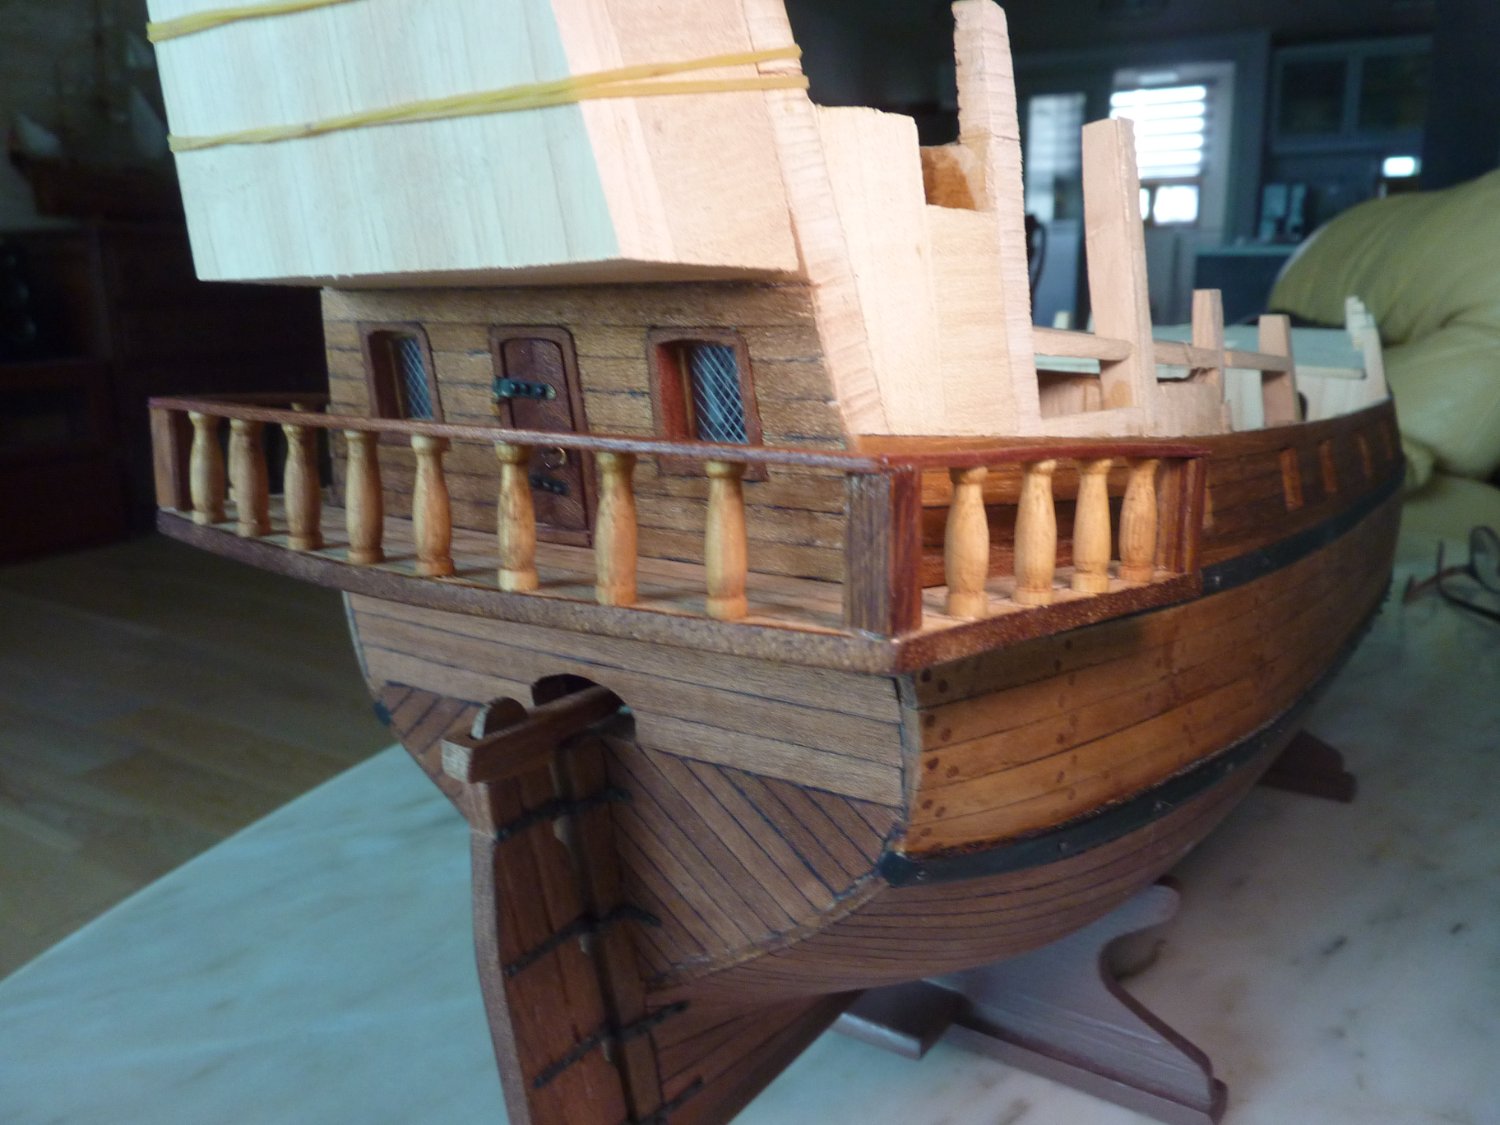
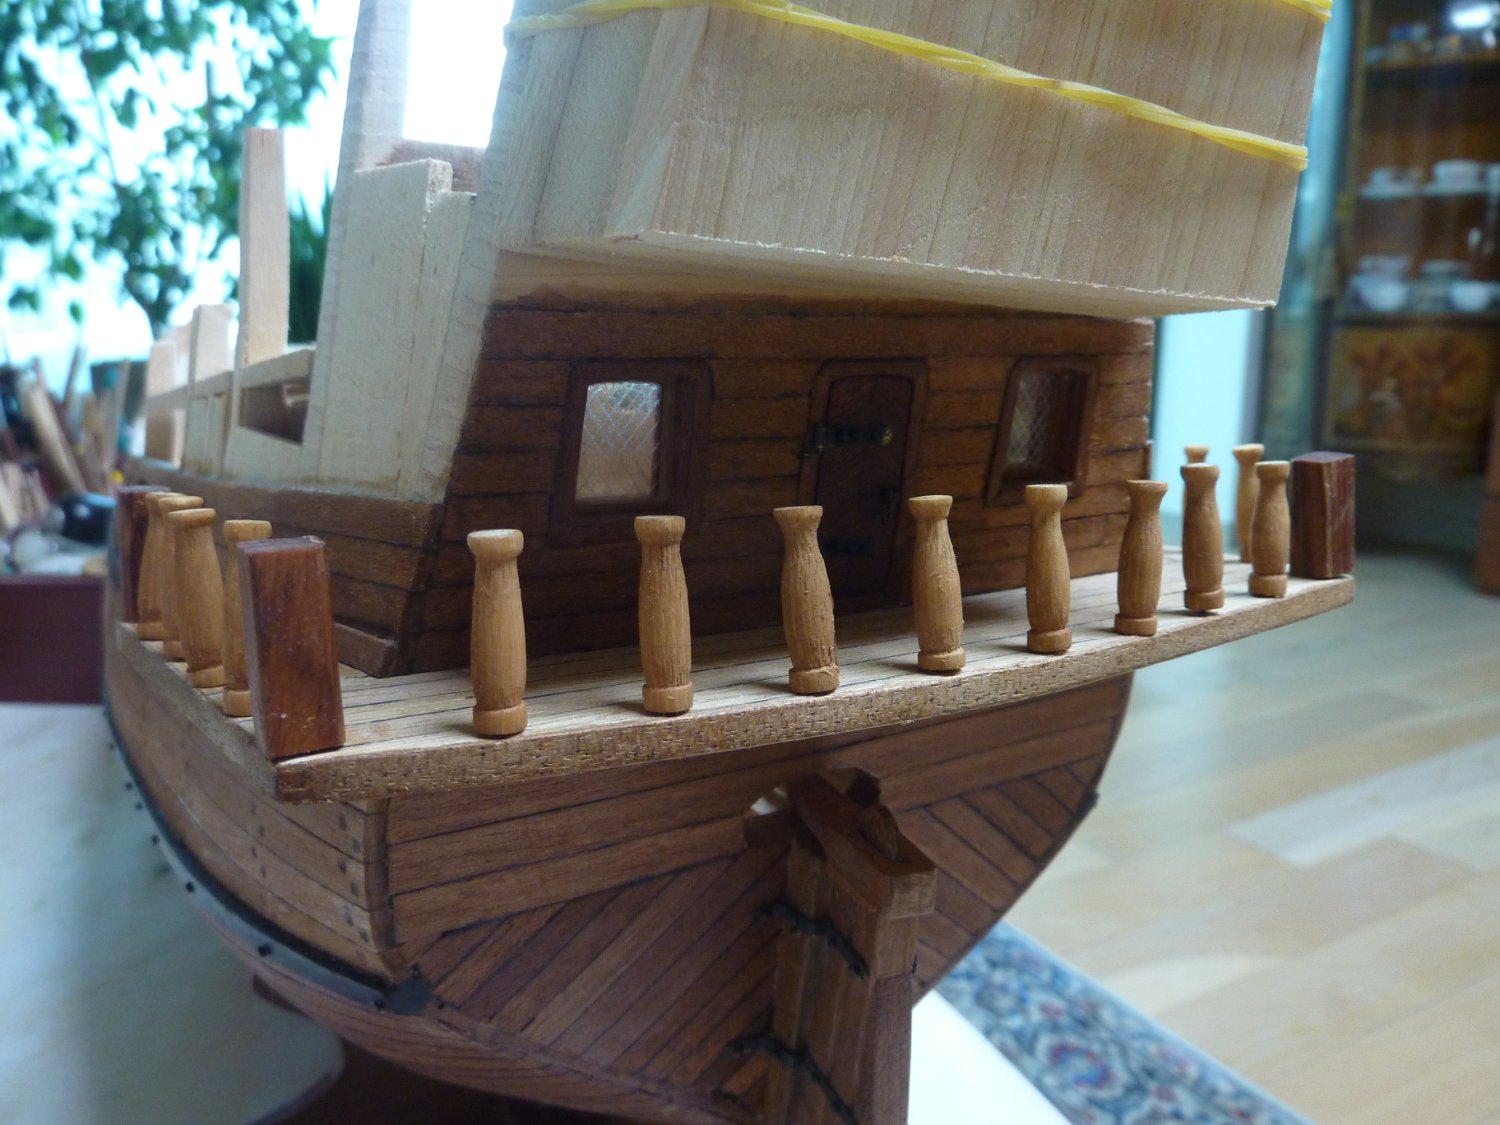
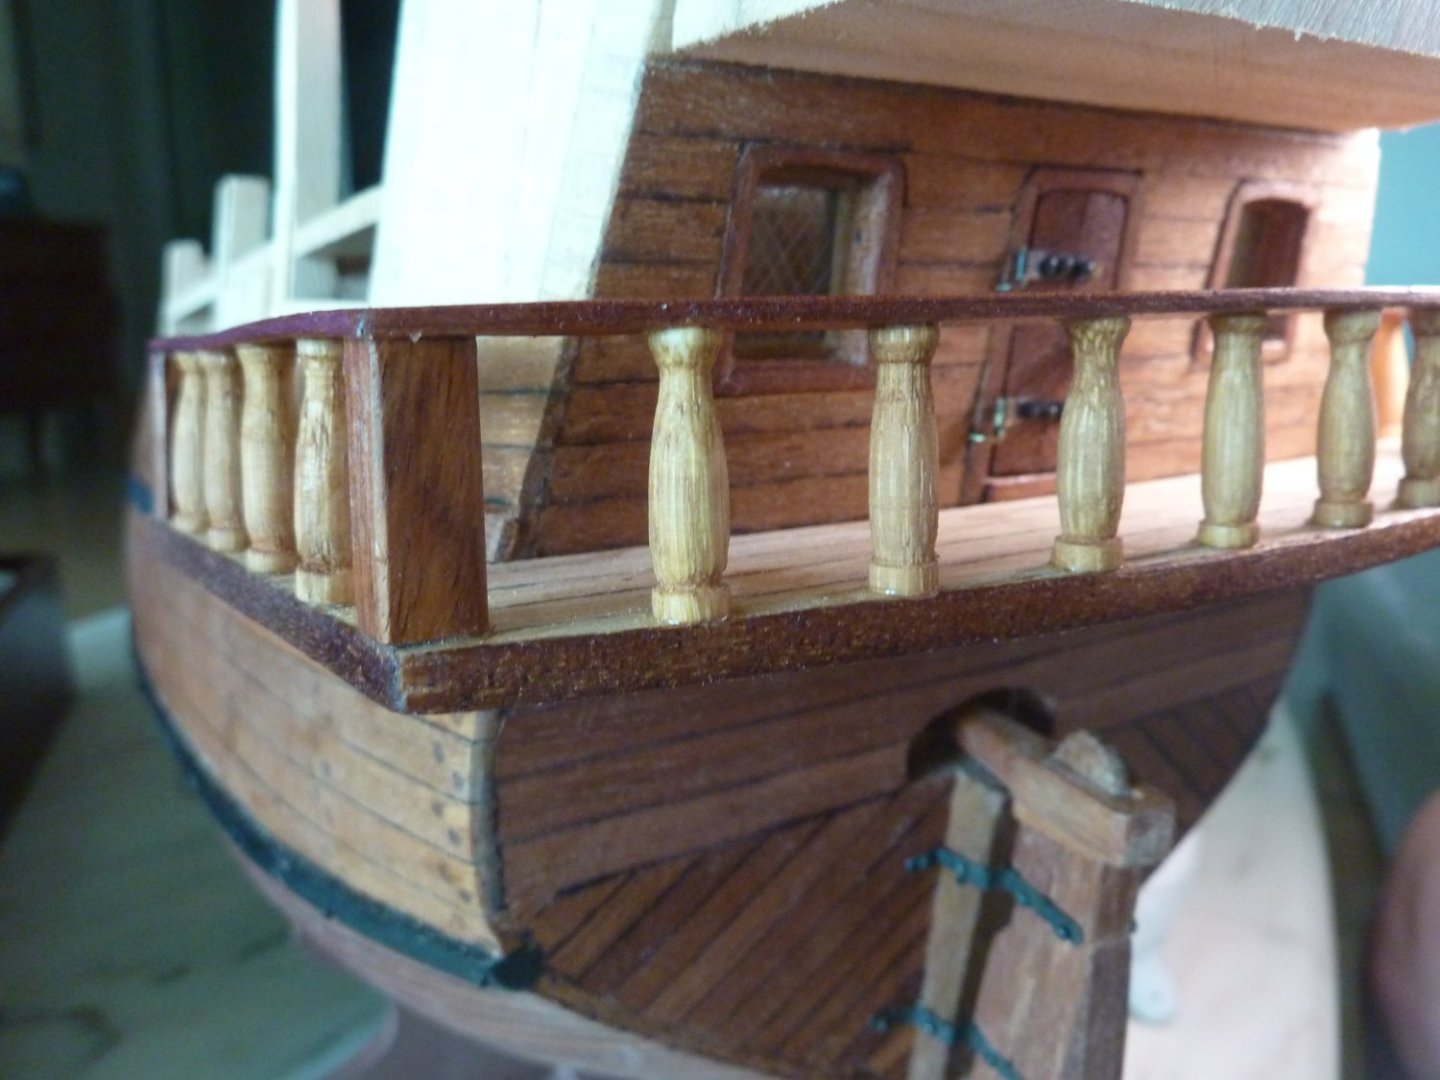
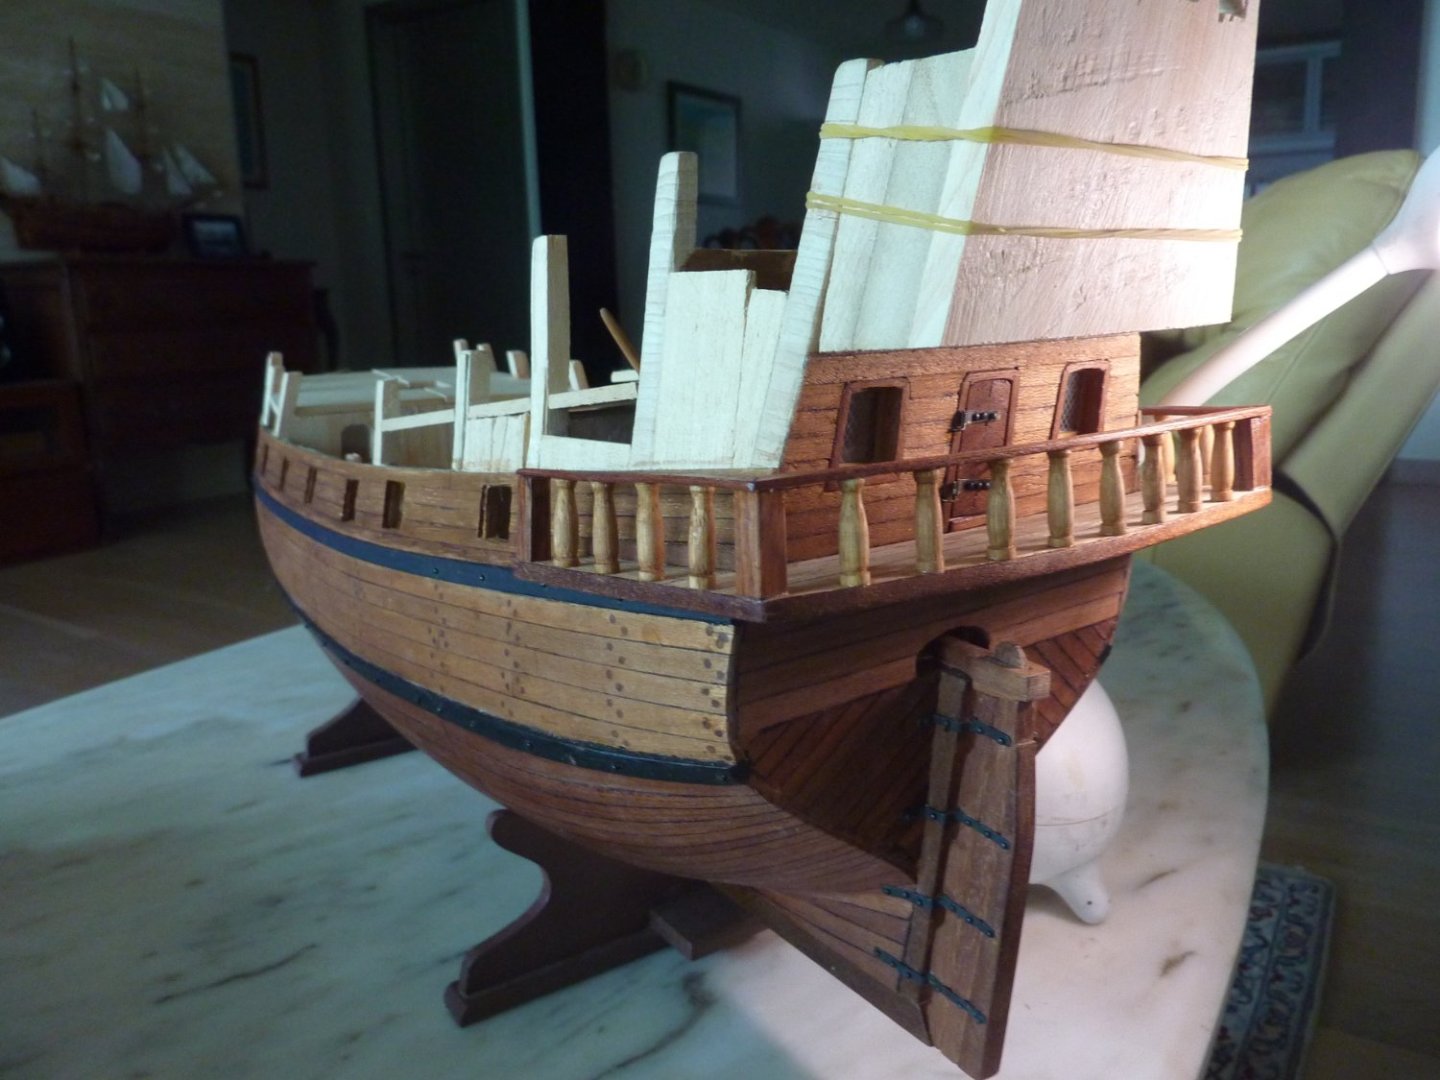
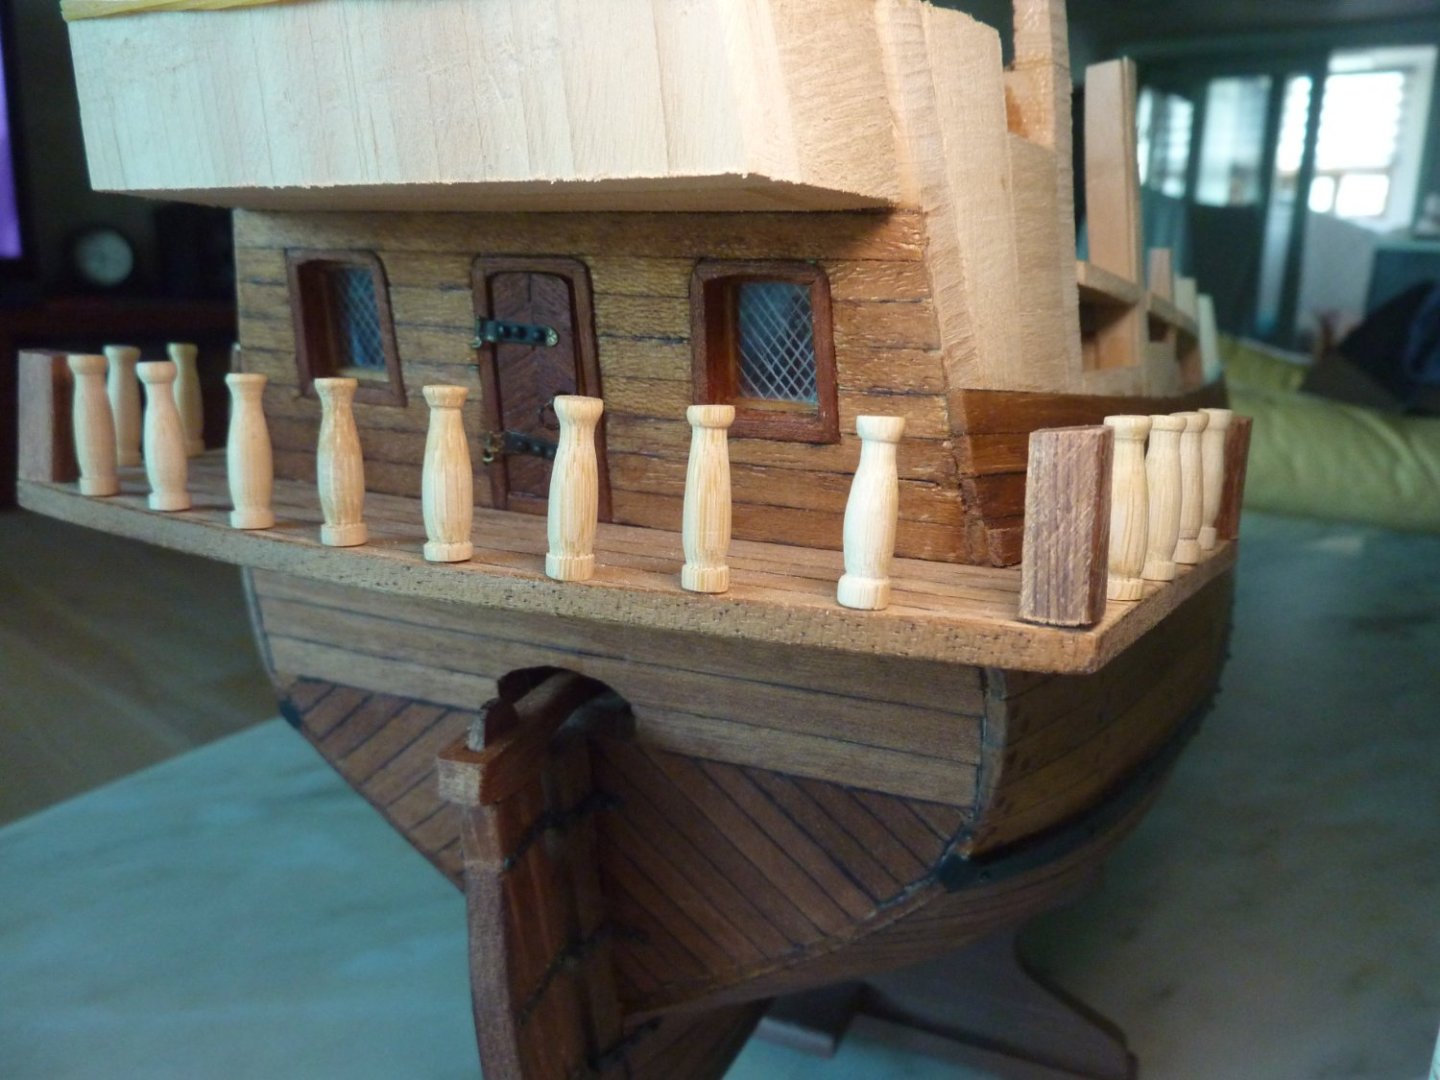
Not the final product yet, but the stern balcony is put in place for further work later on - after the planking work on the areas above wheatherdeck and etc.


-
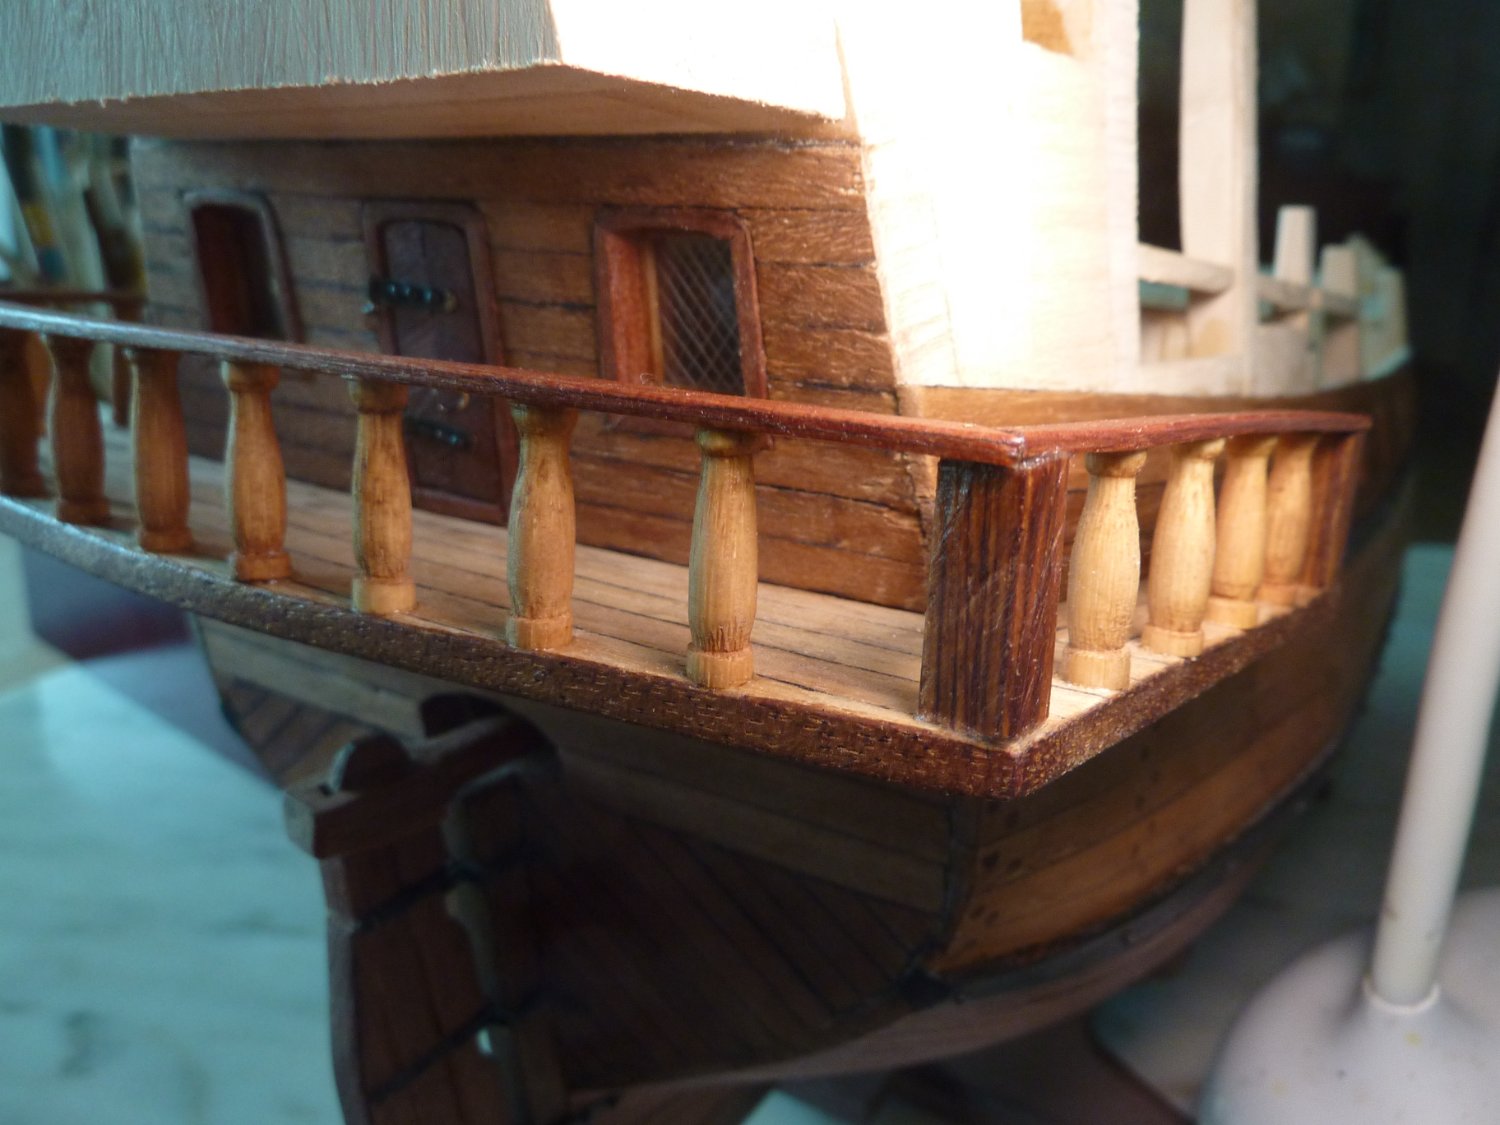
The pillars and handrails are glued into place.


-
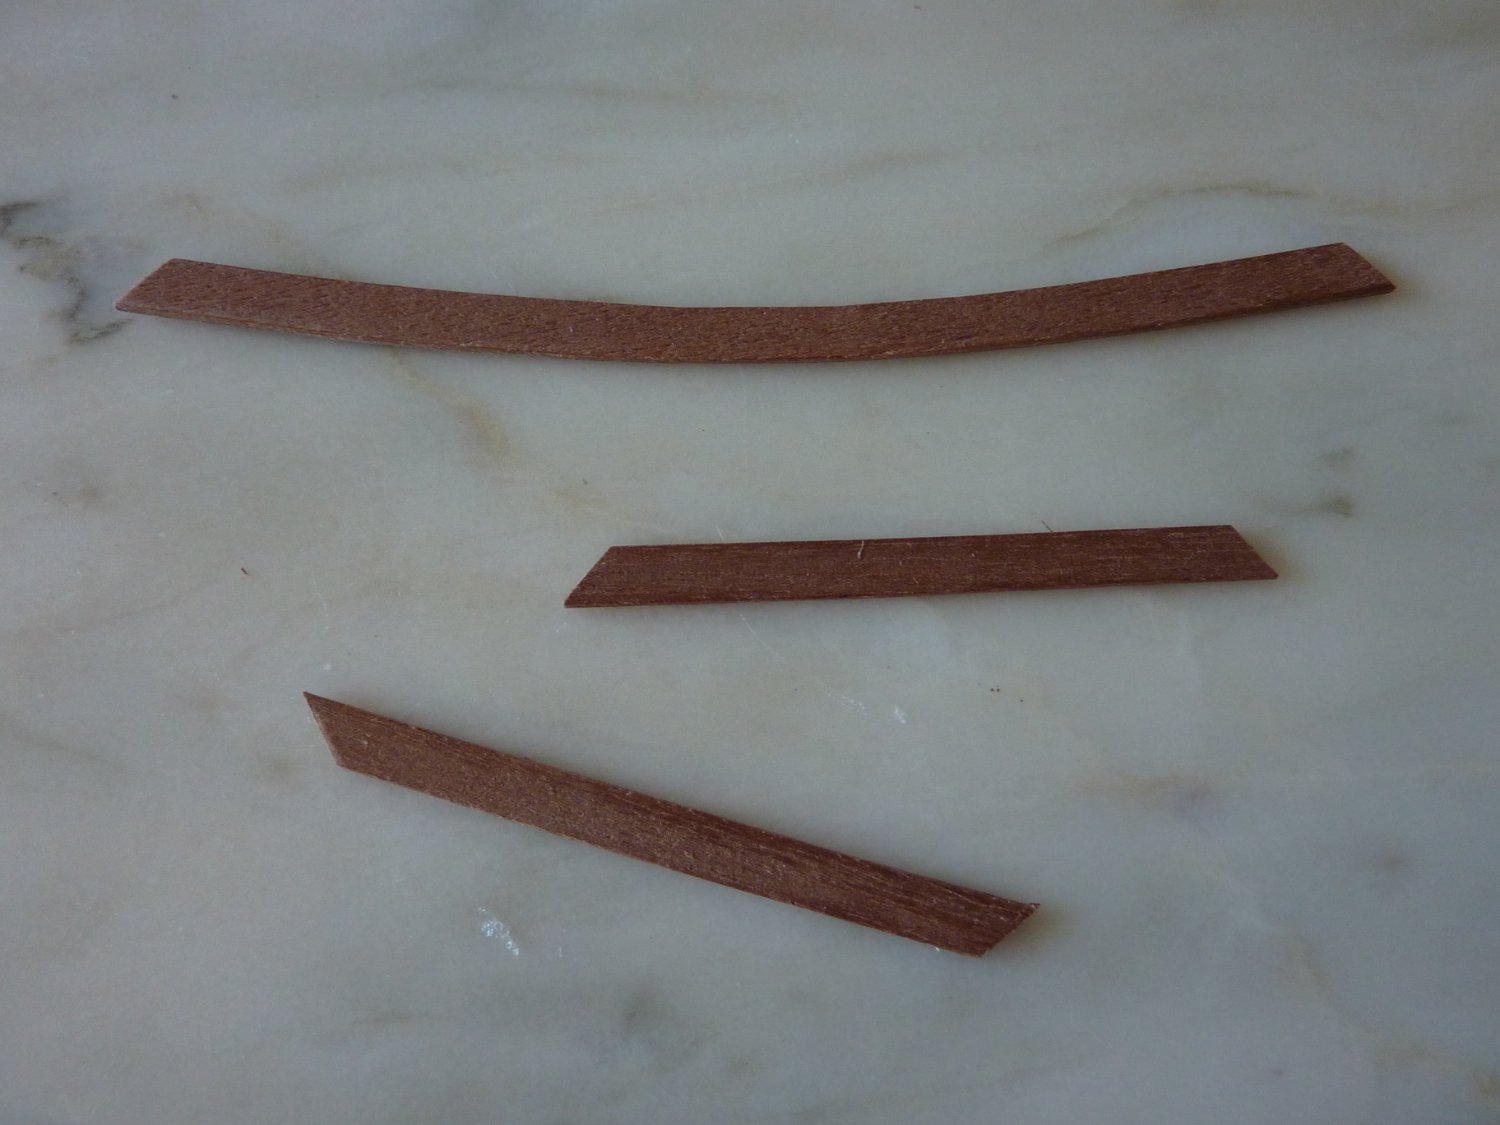
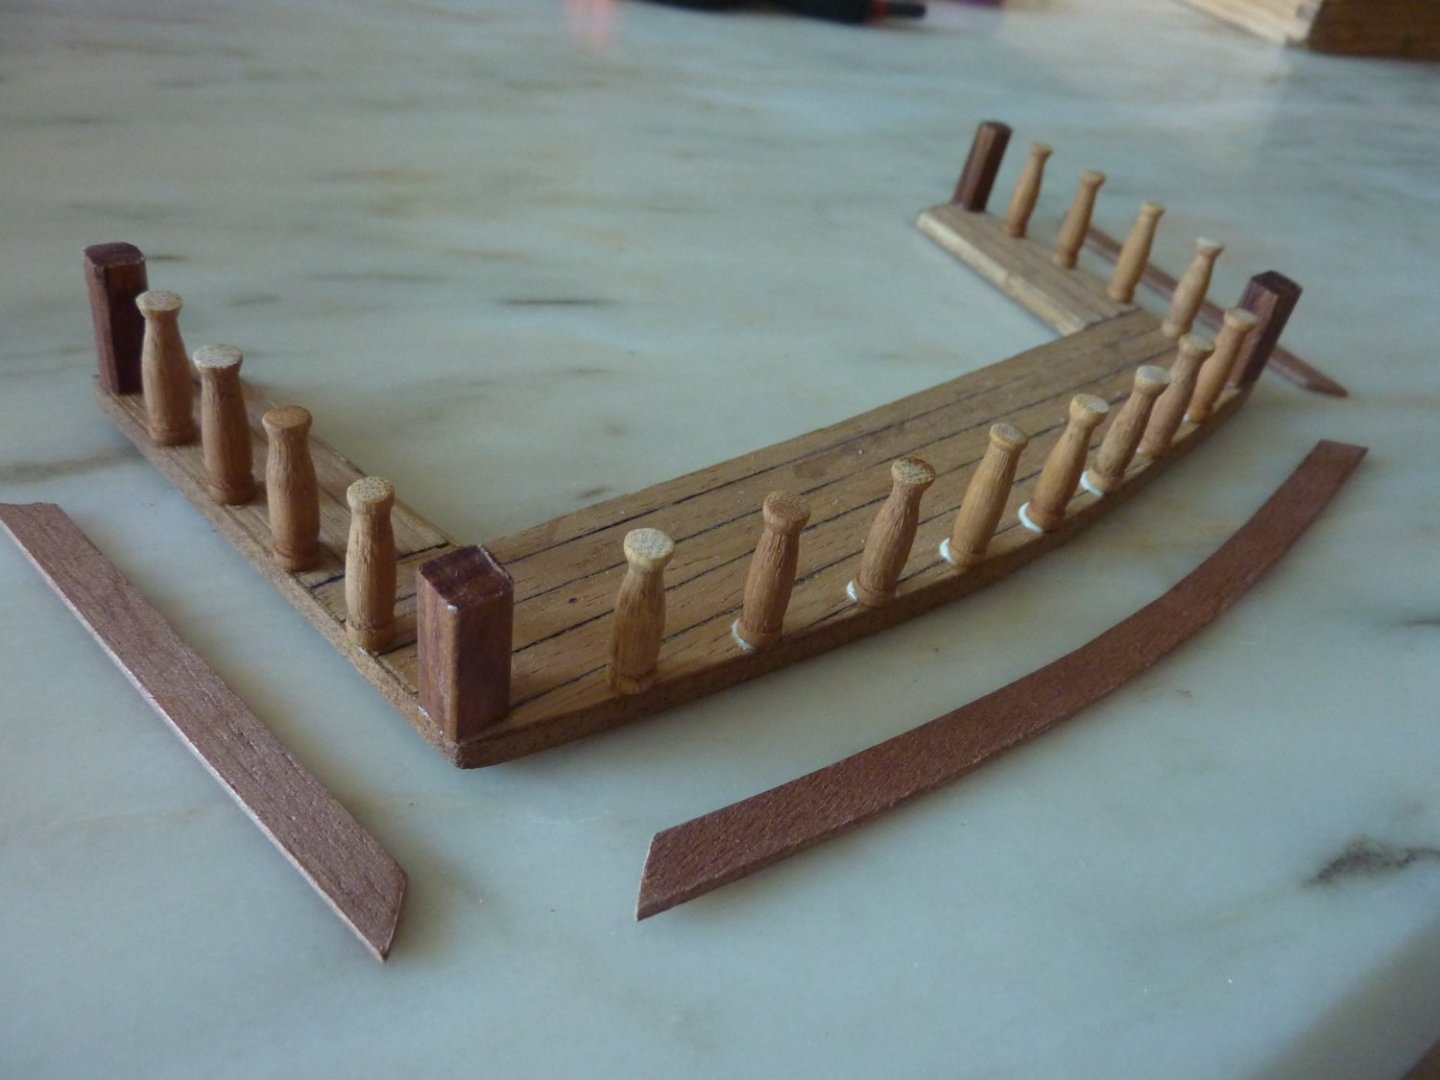
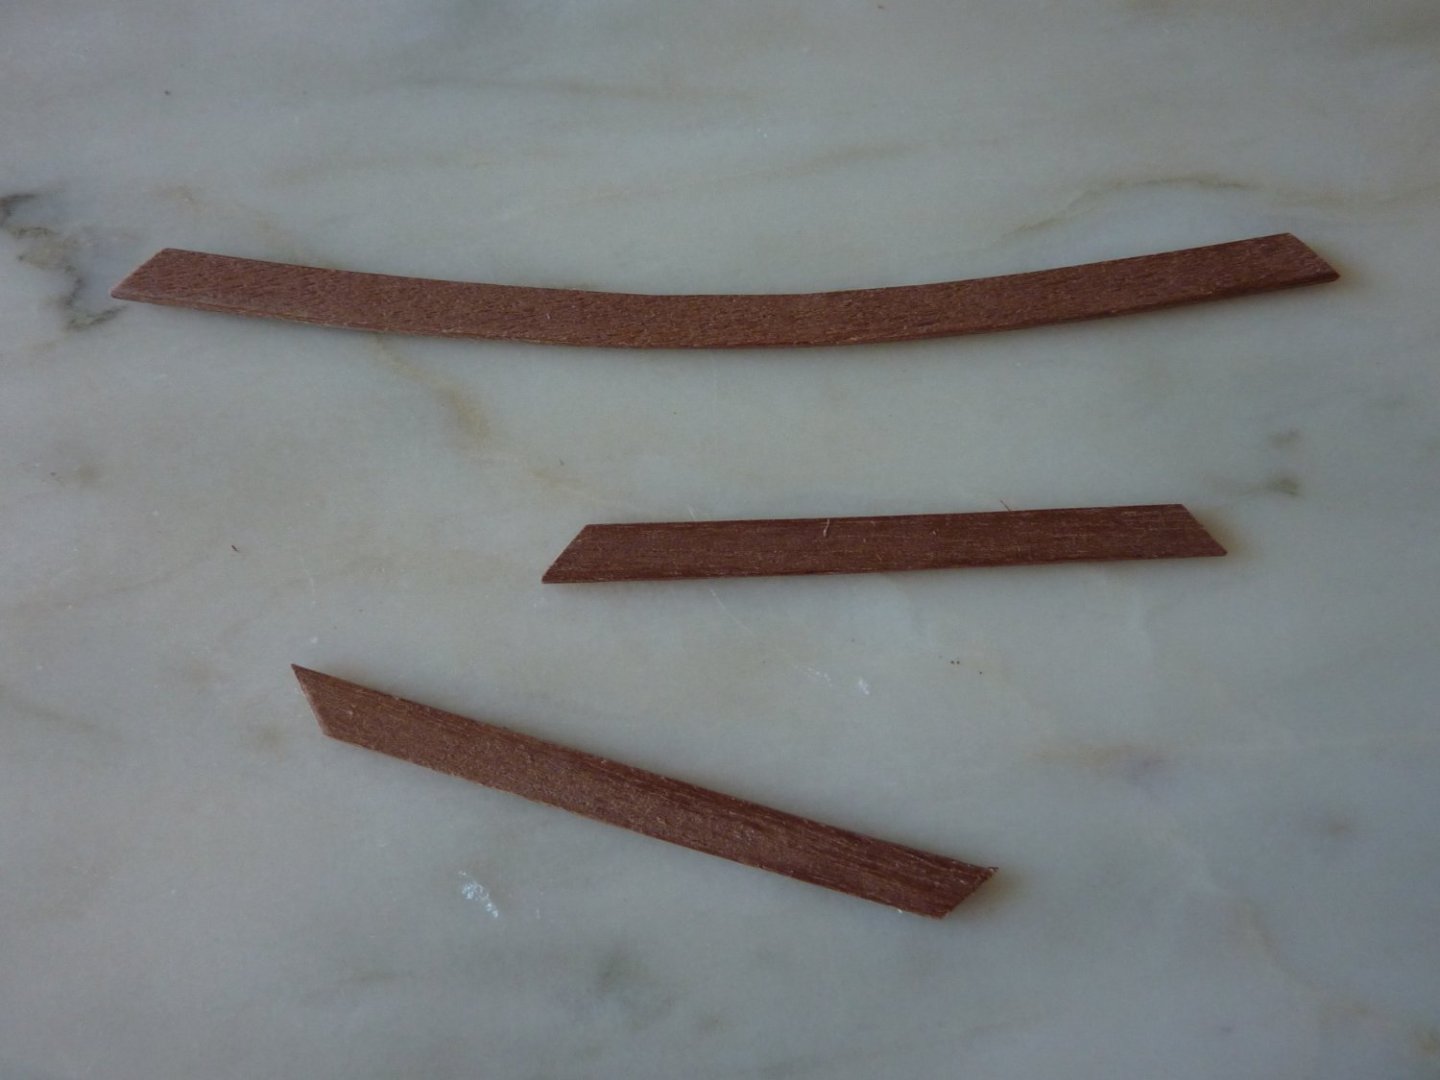
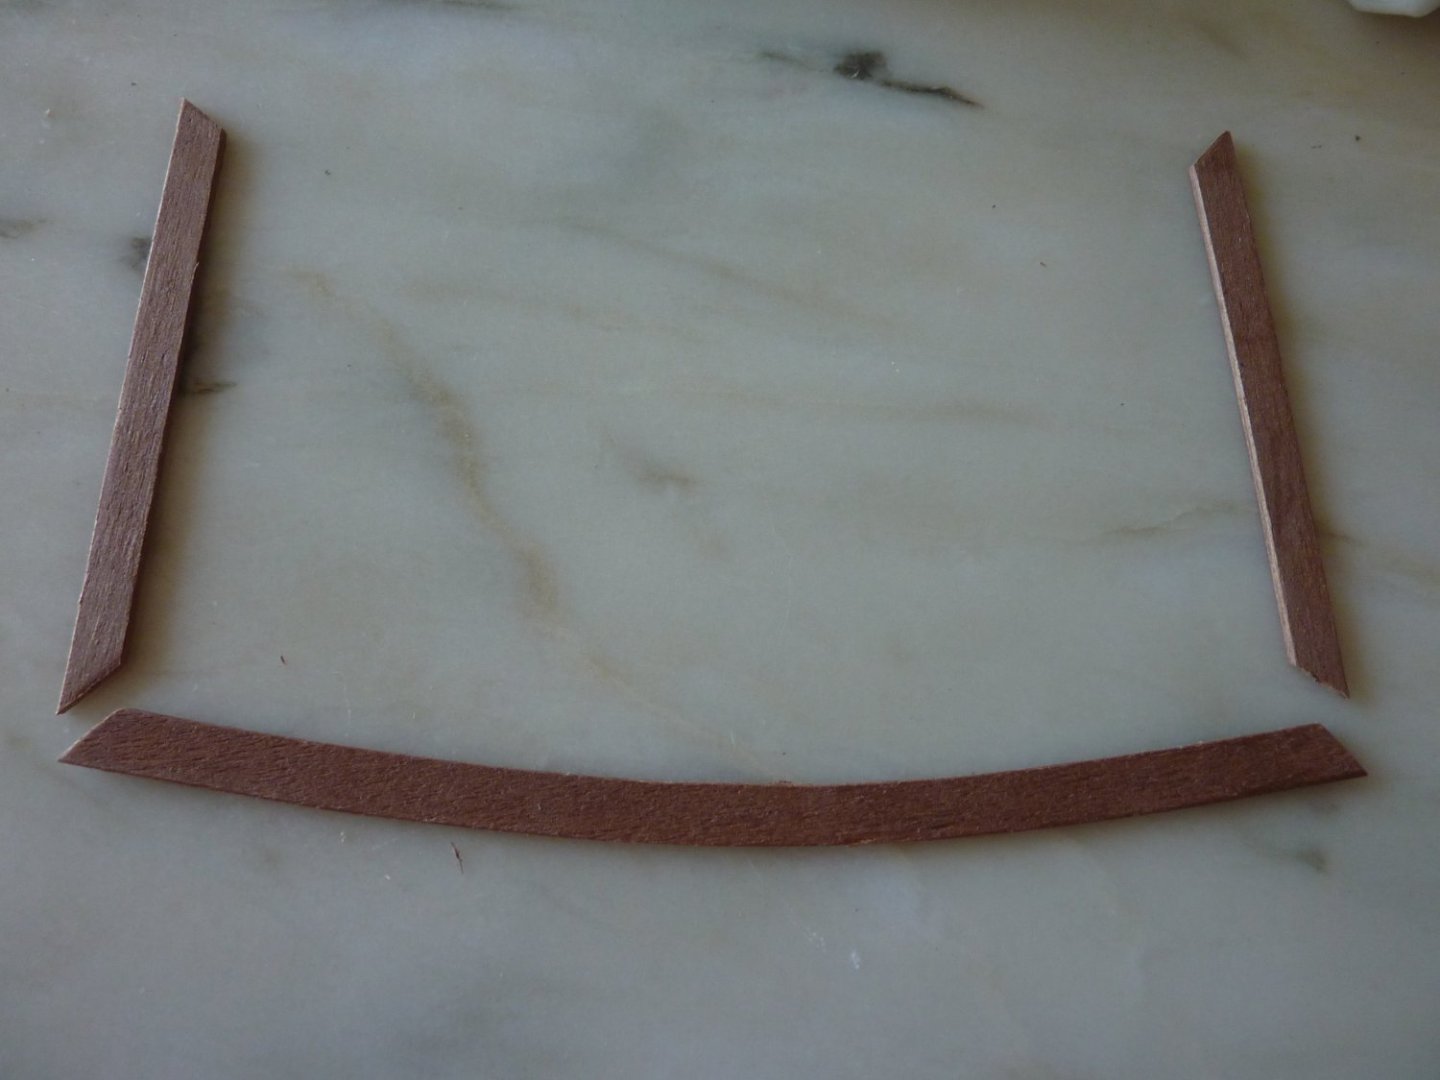
These rounded and rectangular pillars are positioned and calibrated for angle etc before glueing into position. The rounded pillars are dyed with light oak color. For the balcony taffrails, I laminated 3 thin hardwood sheets to come up with naturally curving shape.

-
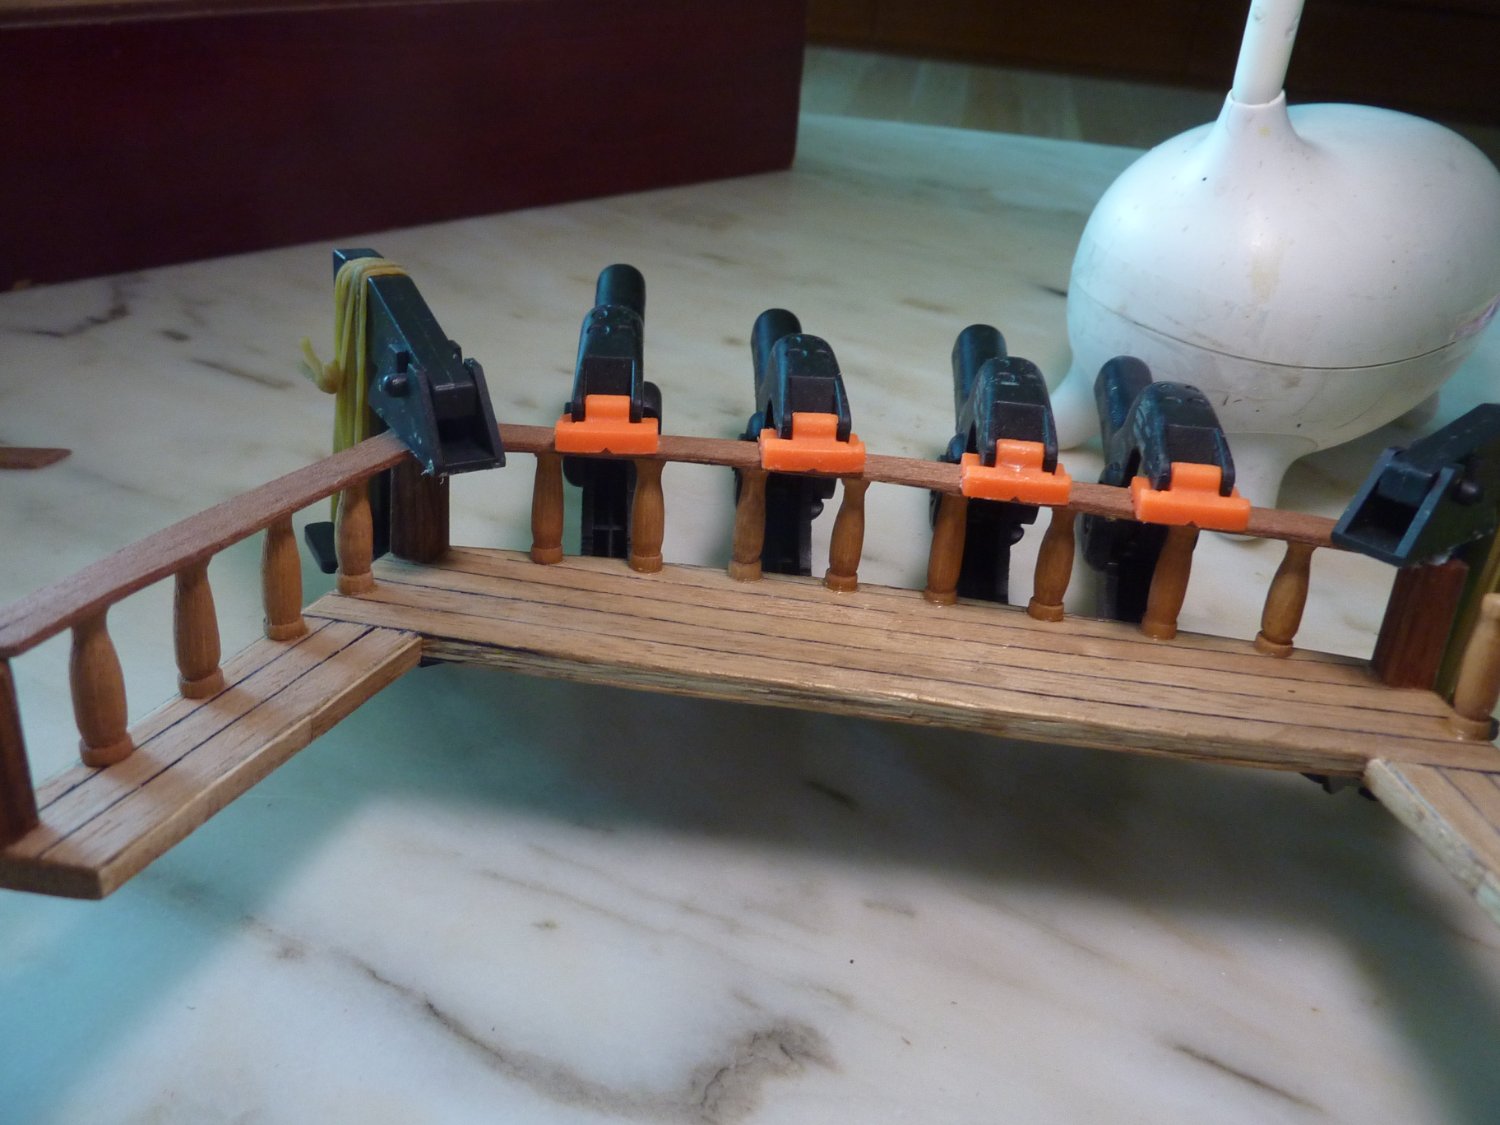
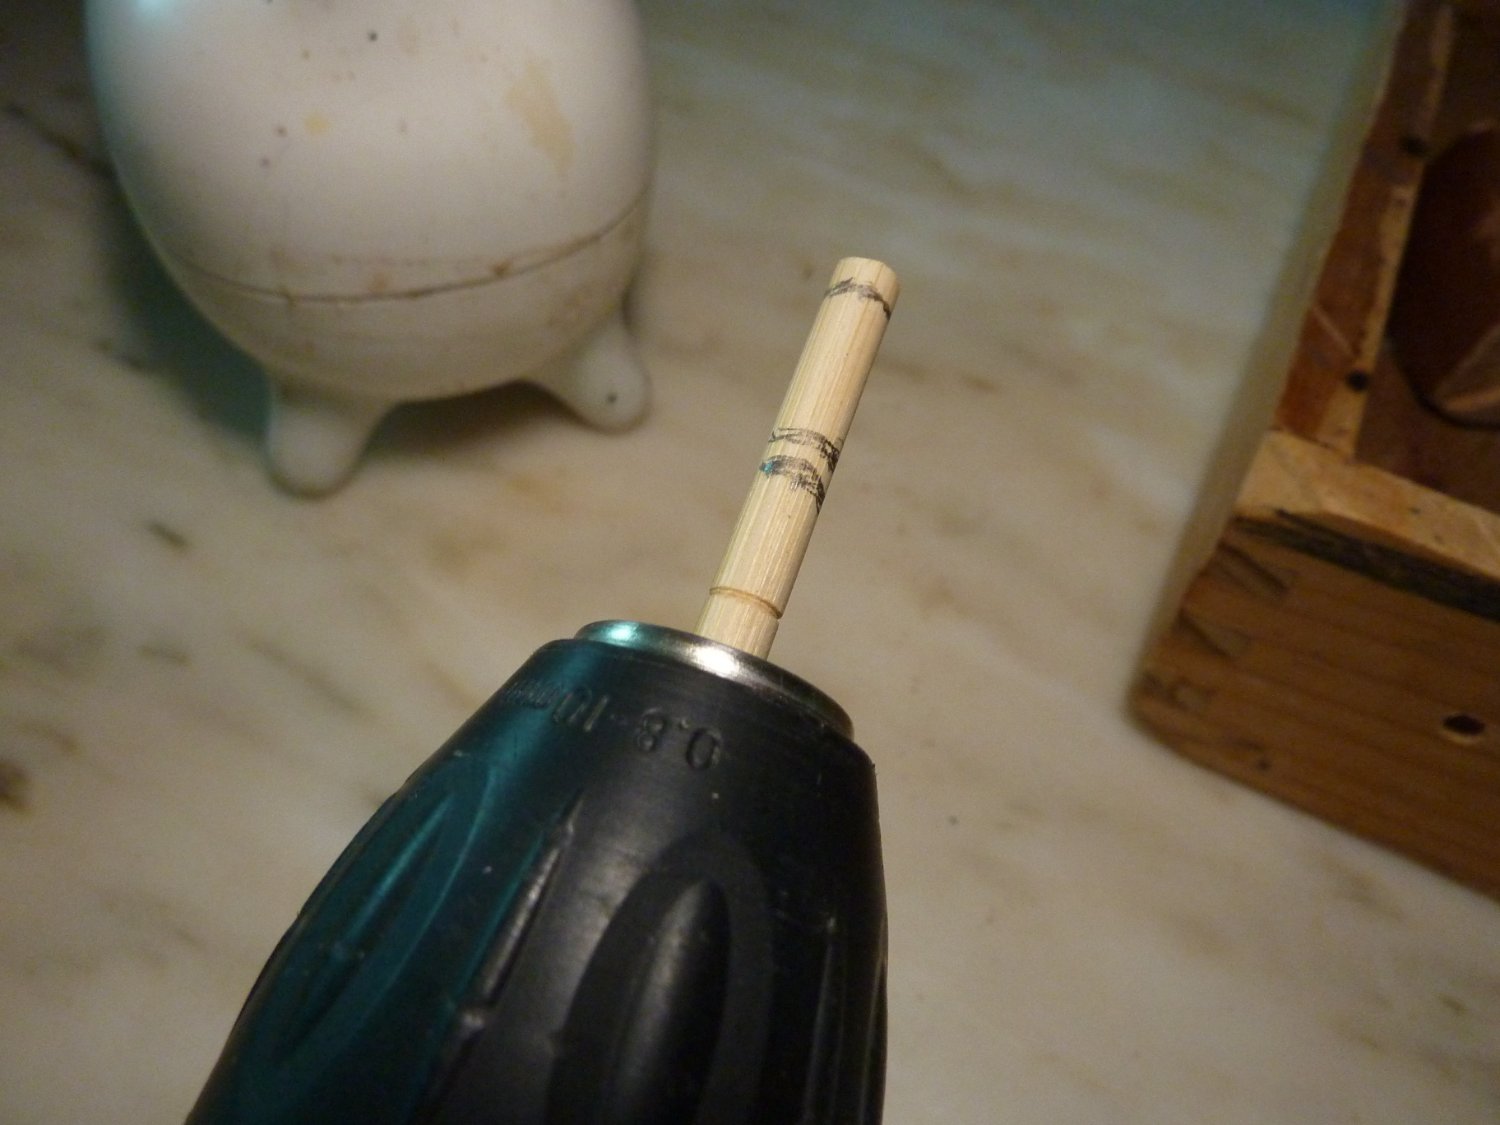
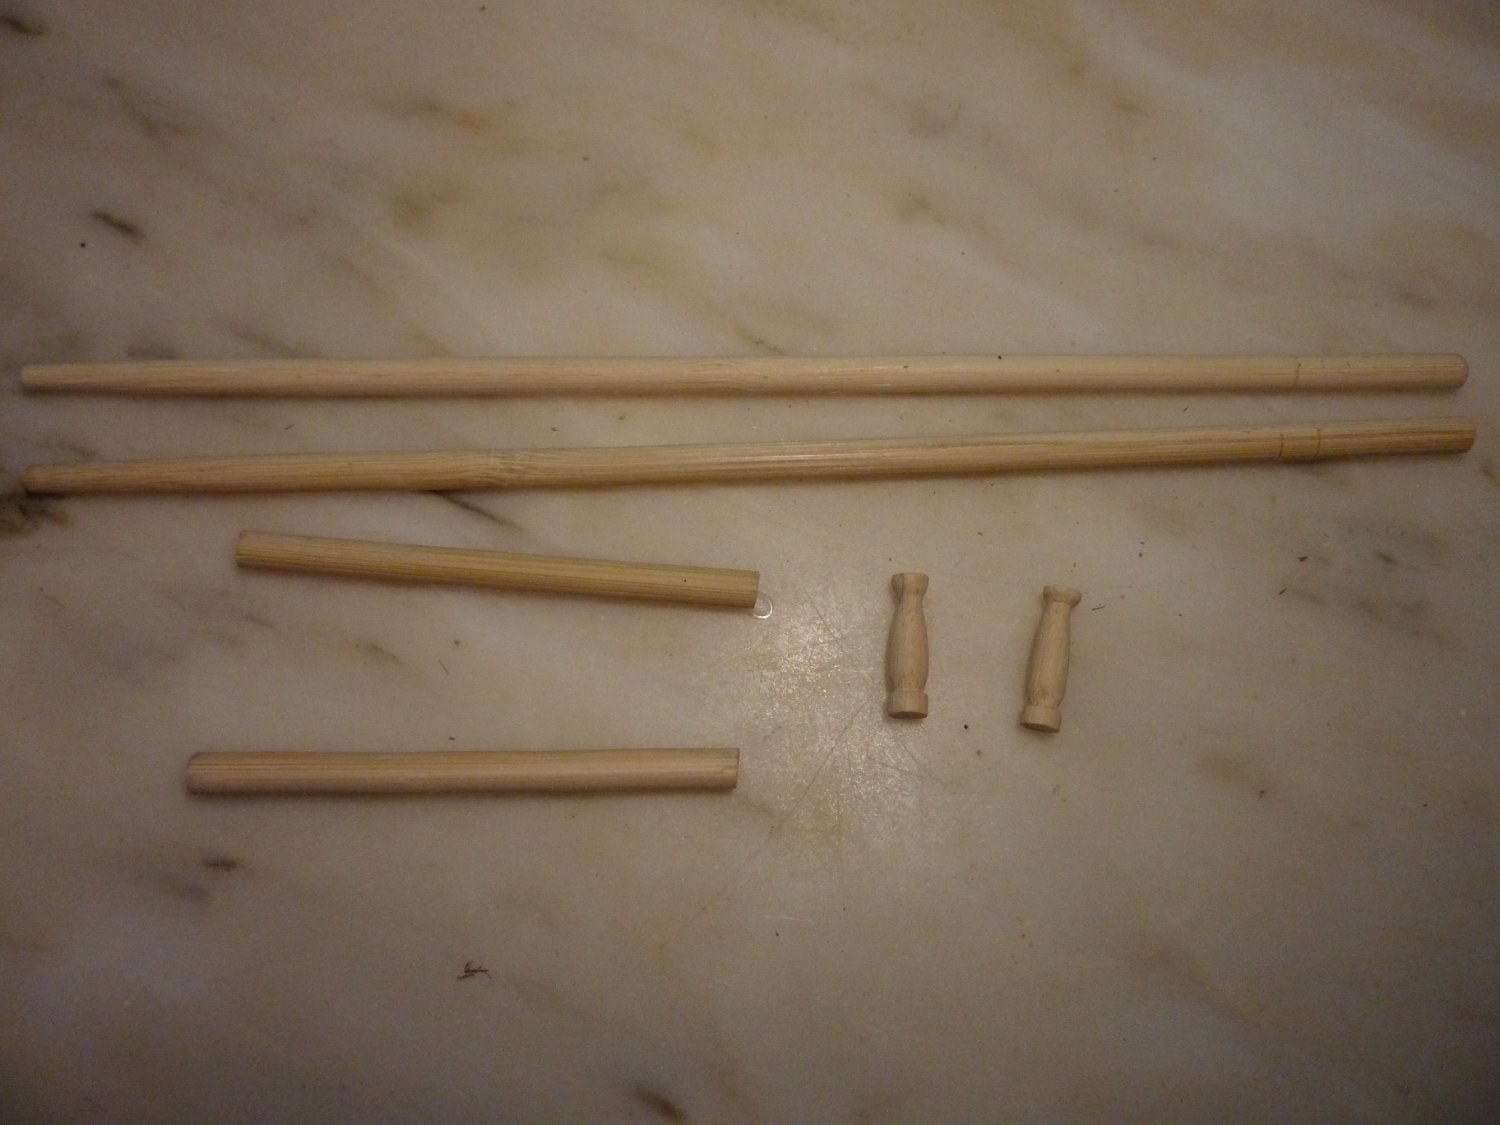
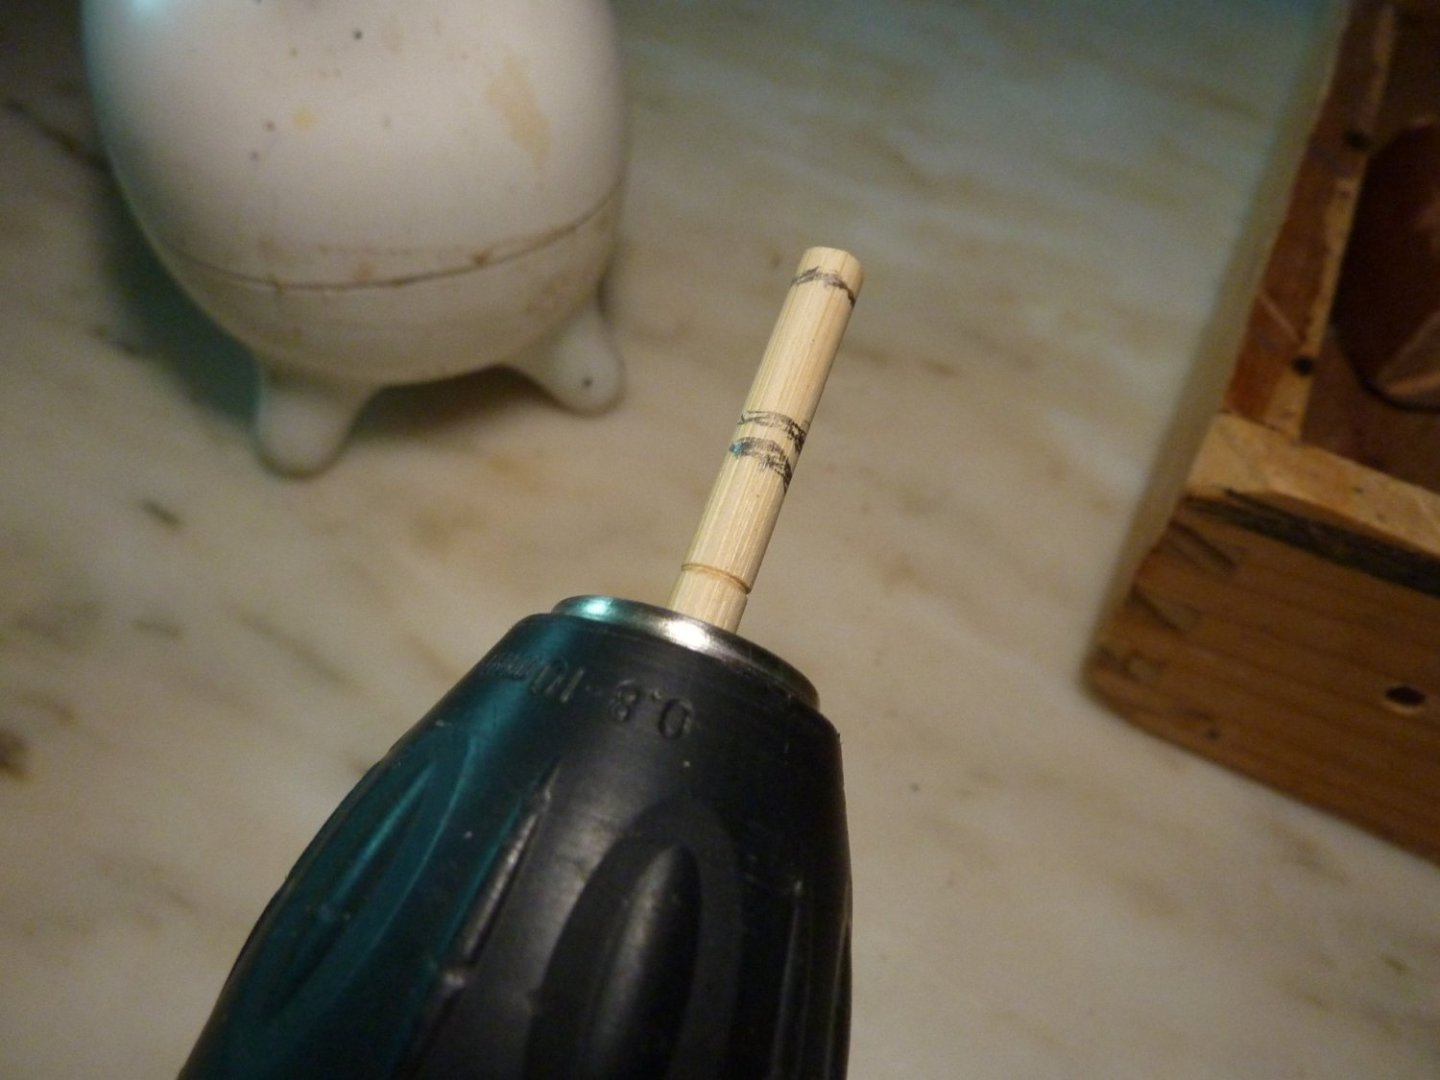
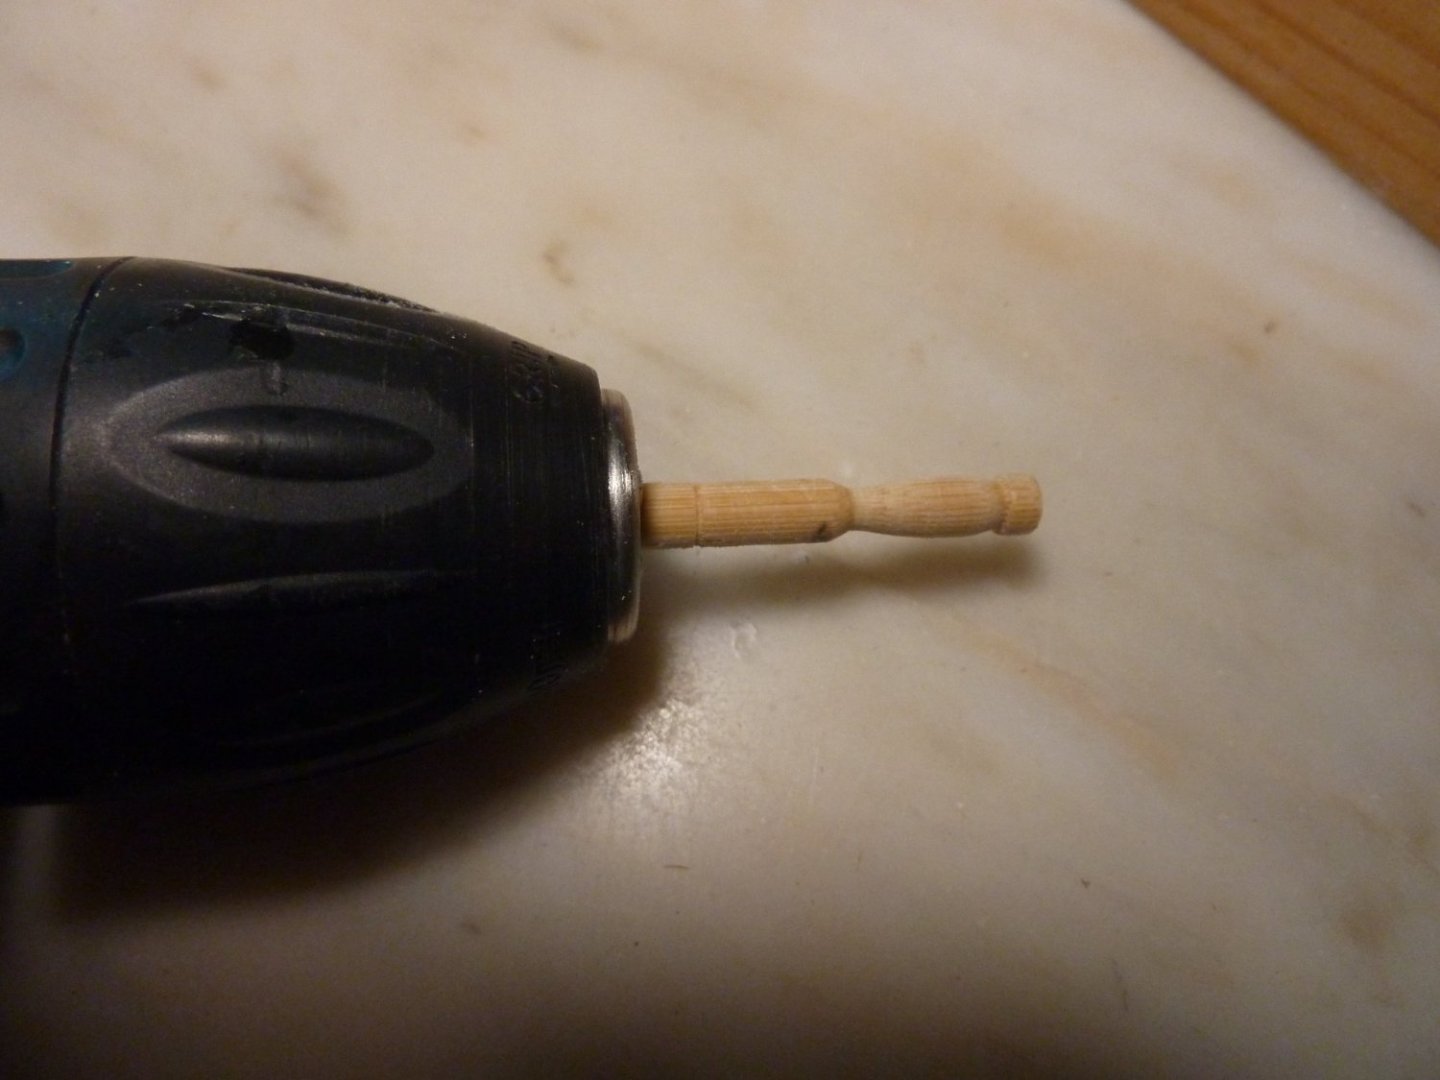
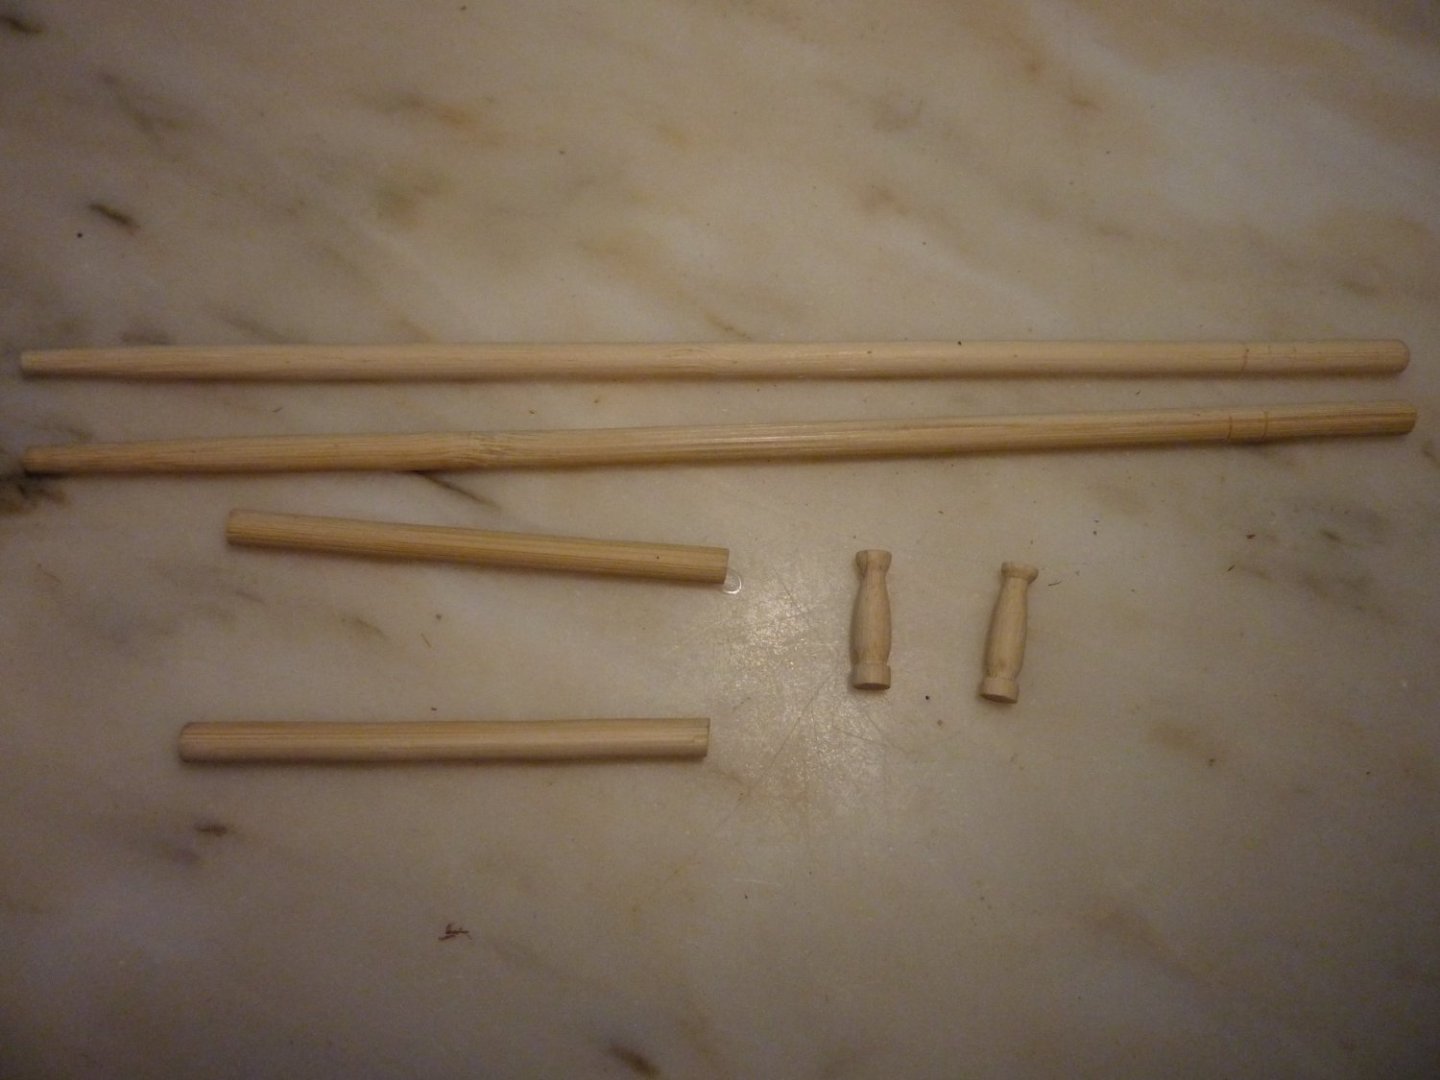
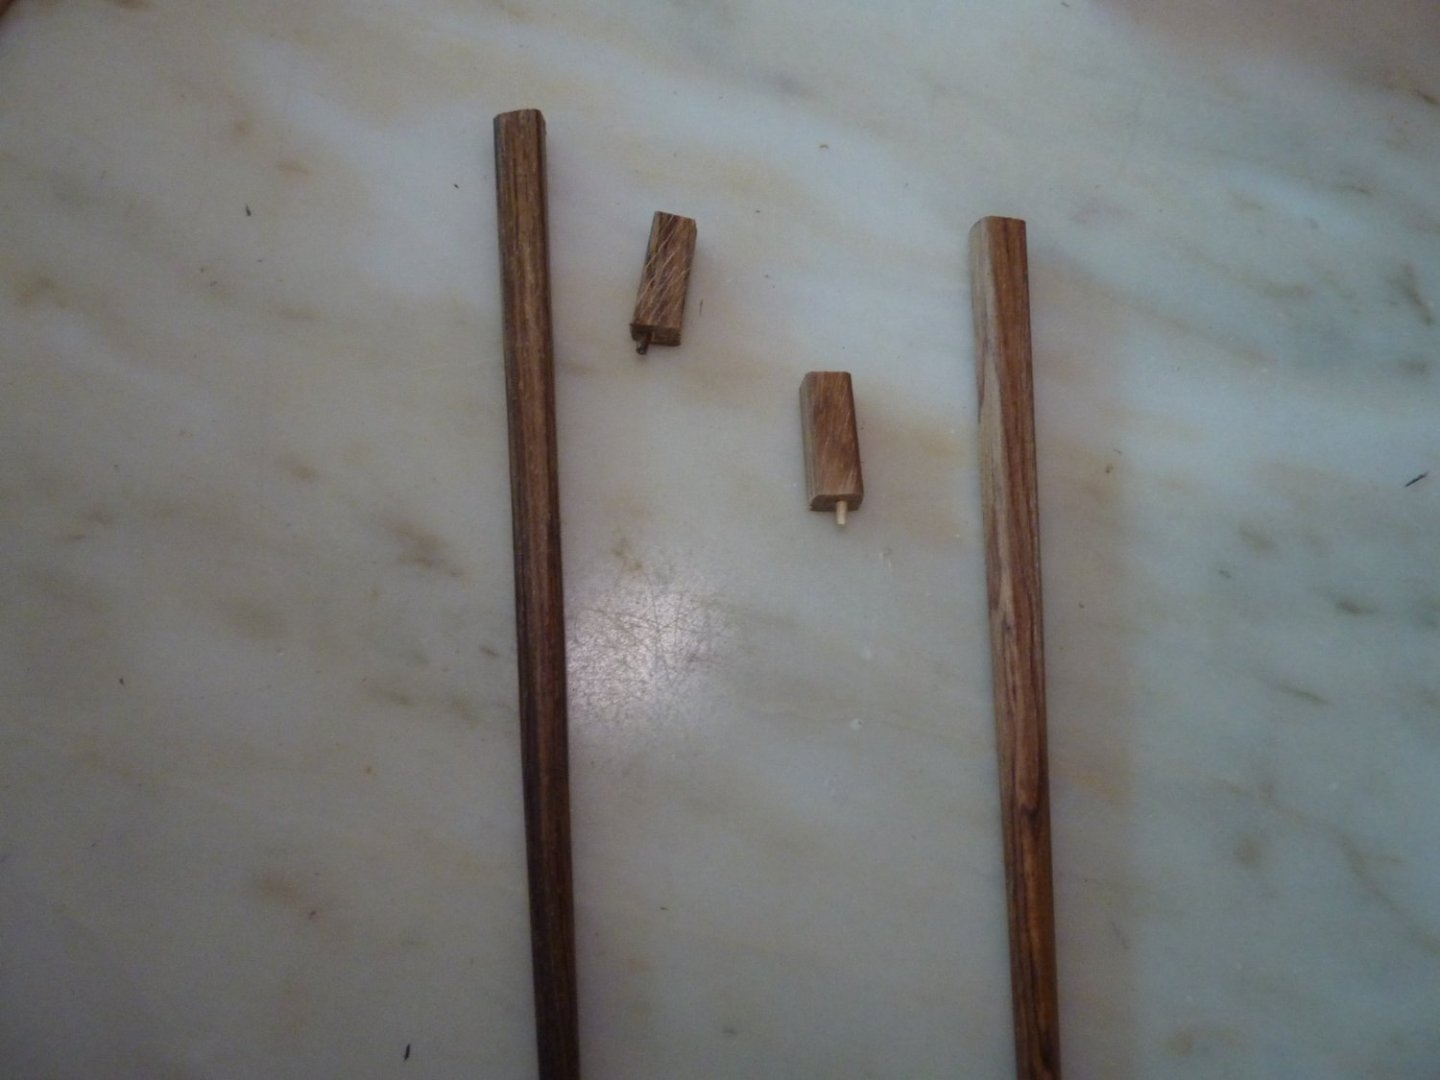
Hi All, Finally, the work on stern balcony started in ernest. I have used disposable bamboo chopsticks to get the rounded pillars into shape. These bamboo chopsticks are quite hard but still relatively easy to work on. Once again, I used the IKEA drill for shaping these pillars. Below are some pictures during this process. The picture in the middle shows the original unprocessed bamboo chopstick along with the half processed bits and final product. These rounded pillars will be positioned in an evenly spaced interval throughout the outer edges of the balcony except for the corners - which will need to have wider pillars to fasten both sideway and horizontal stern balcony taffrails. Once again I used a decommissioned hard wood choptstick to get these rectangular pillars.
-
You are right, AON. I just scratched the lattice design with a thin file~
-
Hi~ nothing fancy was done here. I just scratched the lattice forms with the thinnest file I have on to the back of the plastic panel.
-
Thanks AON~!
-
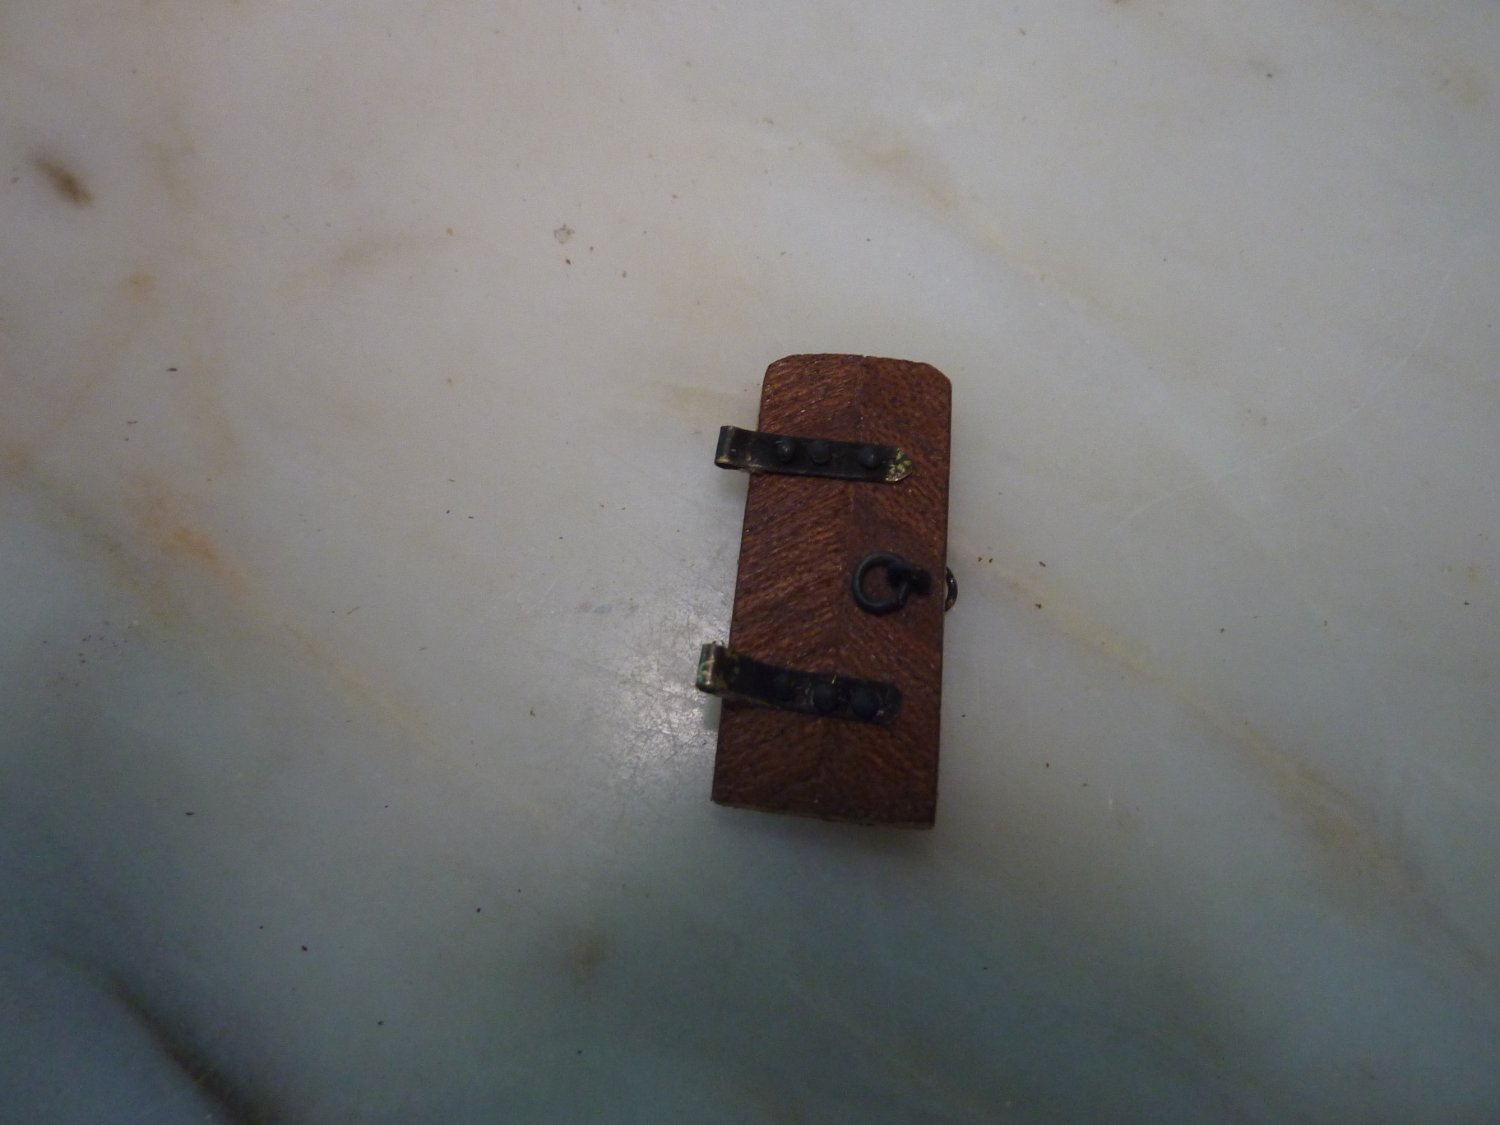
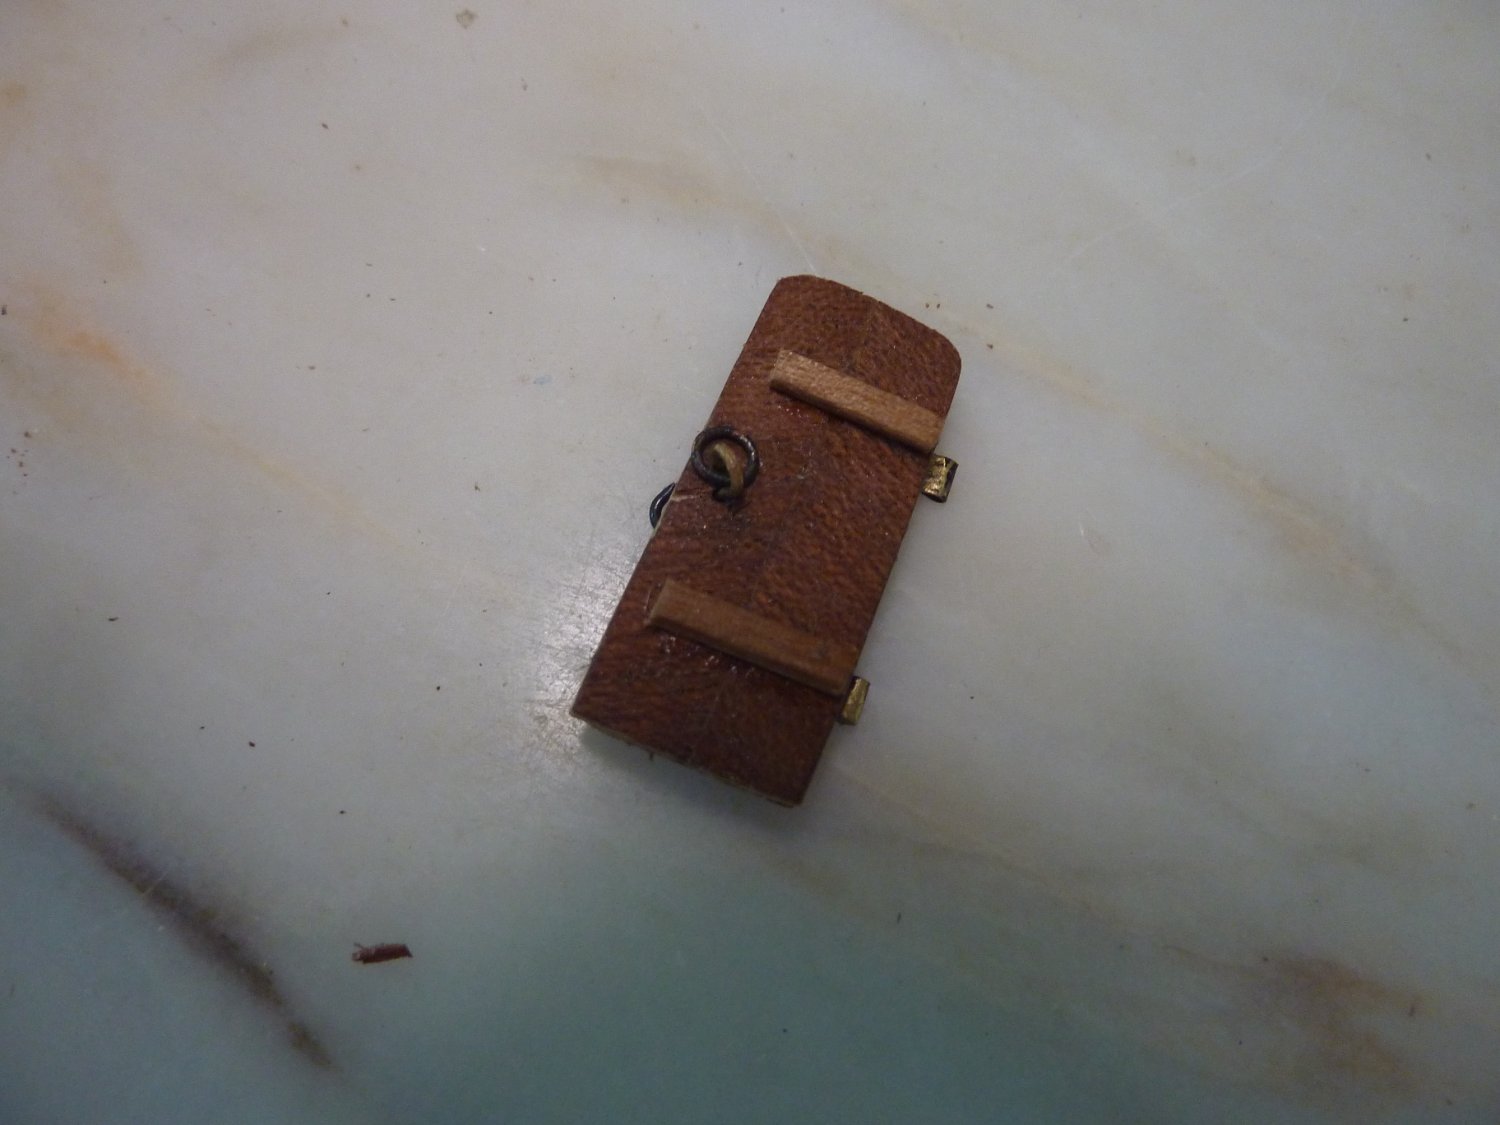
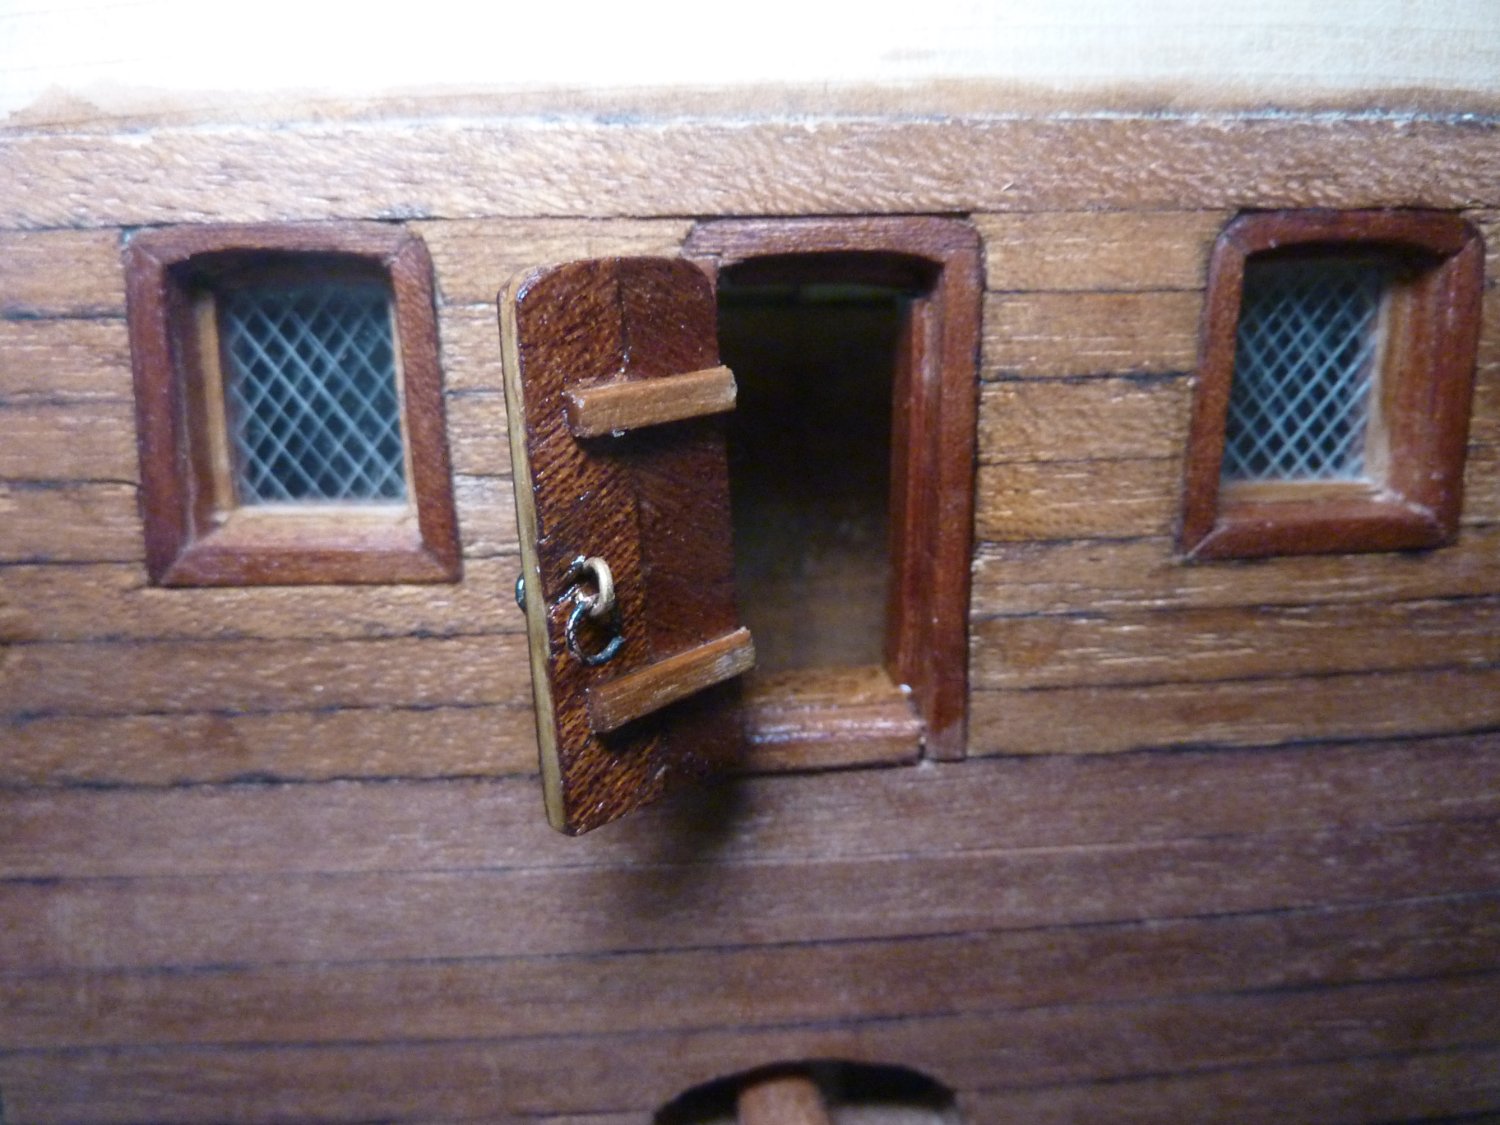
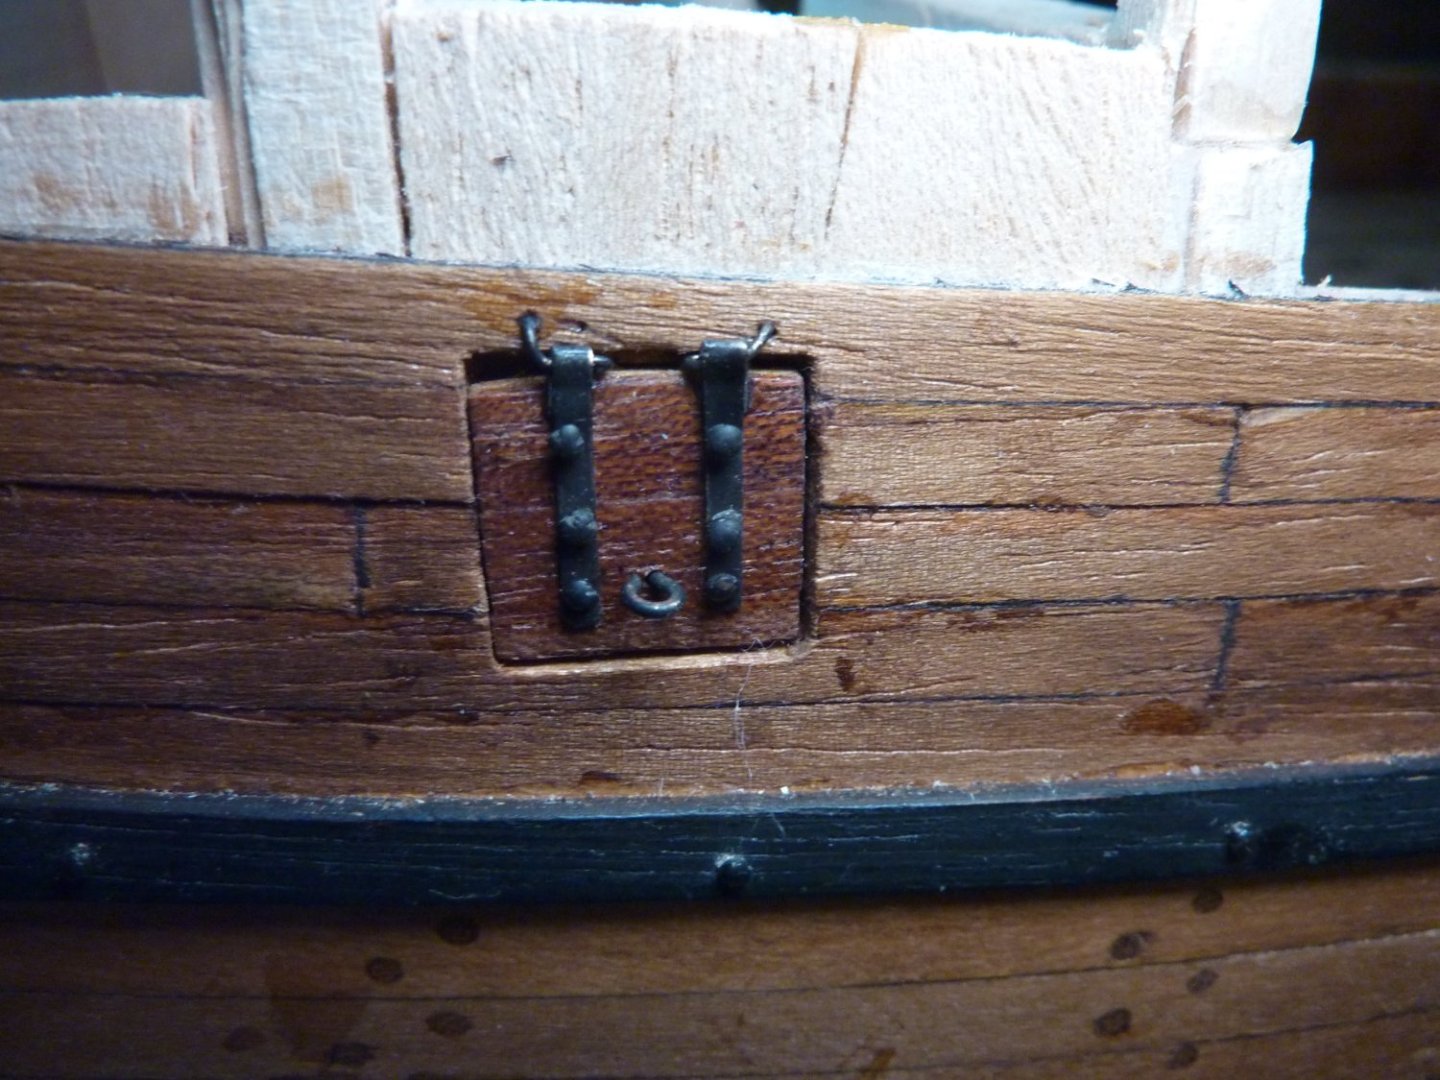
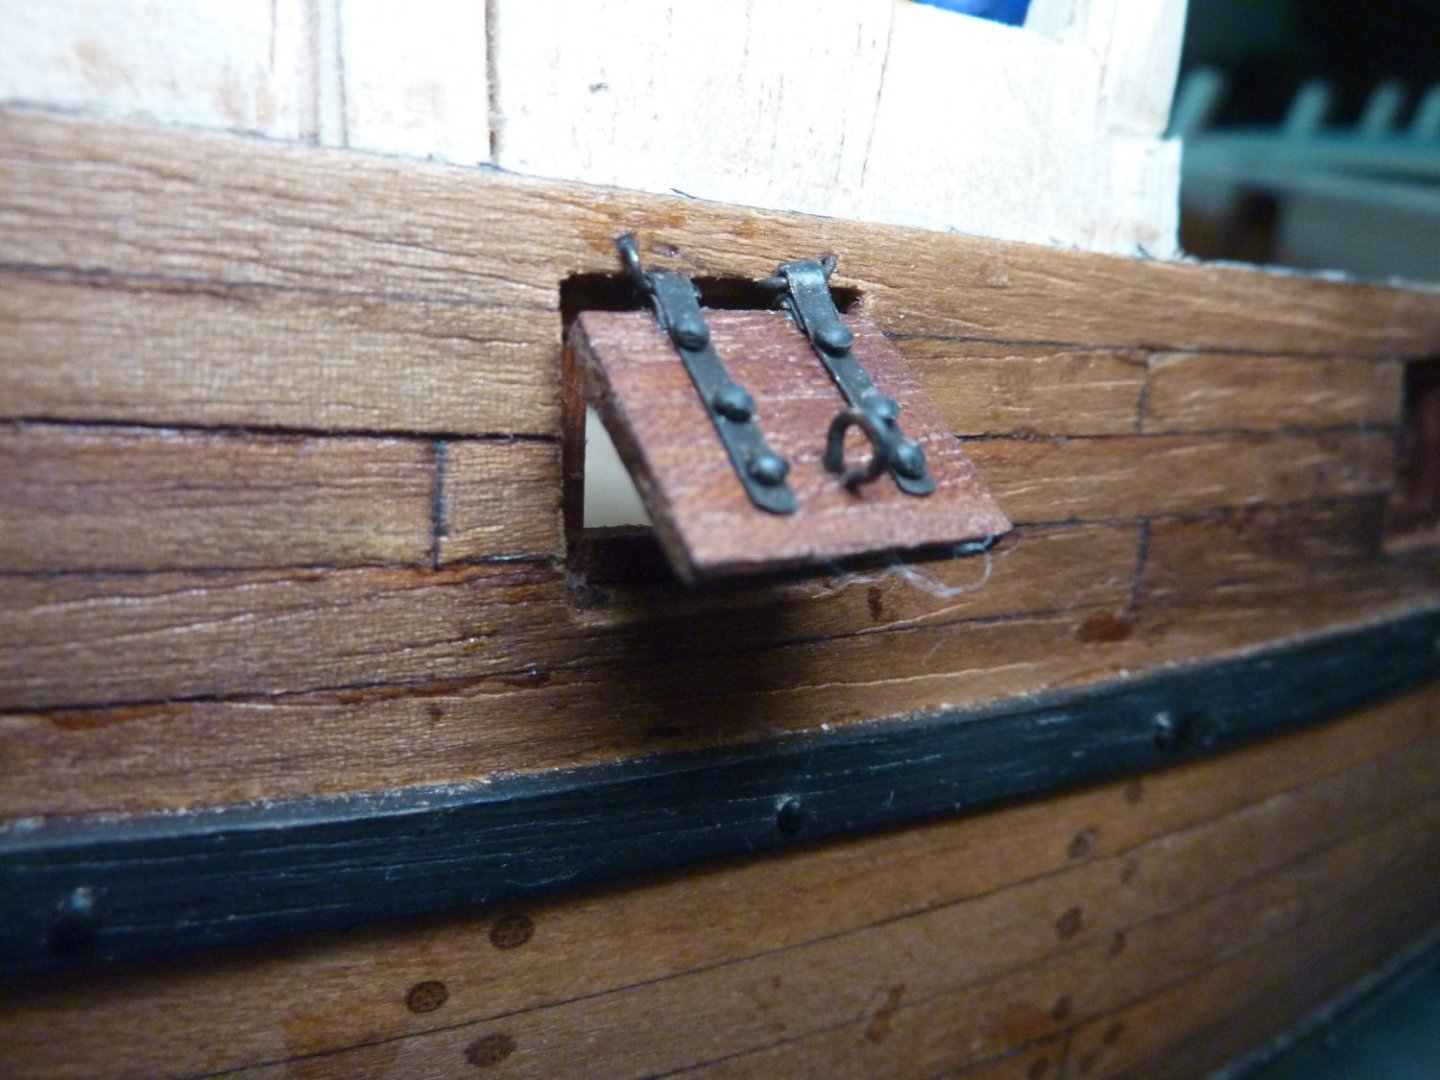
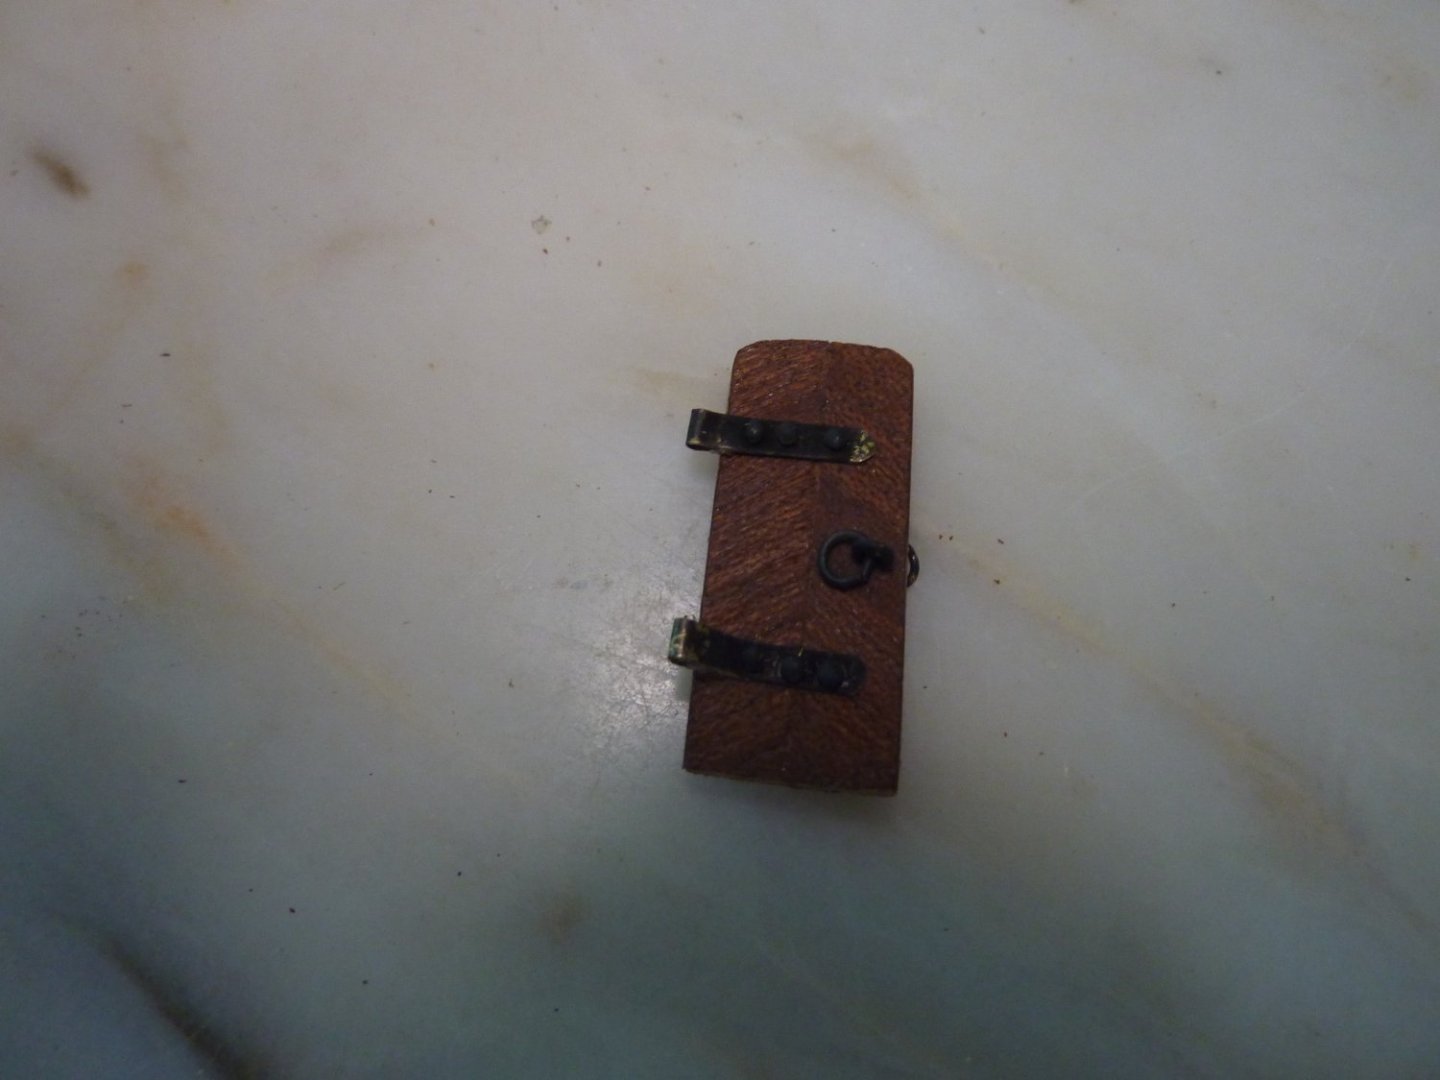
Stern door finishing works on hinges and stopper.


-
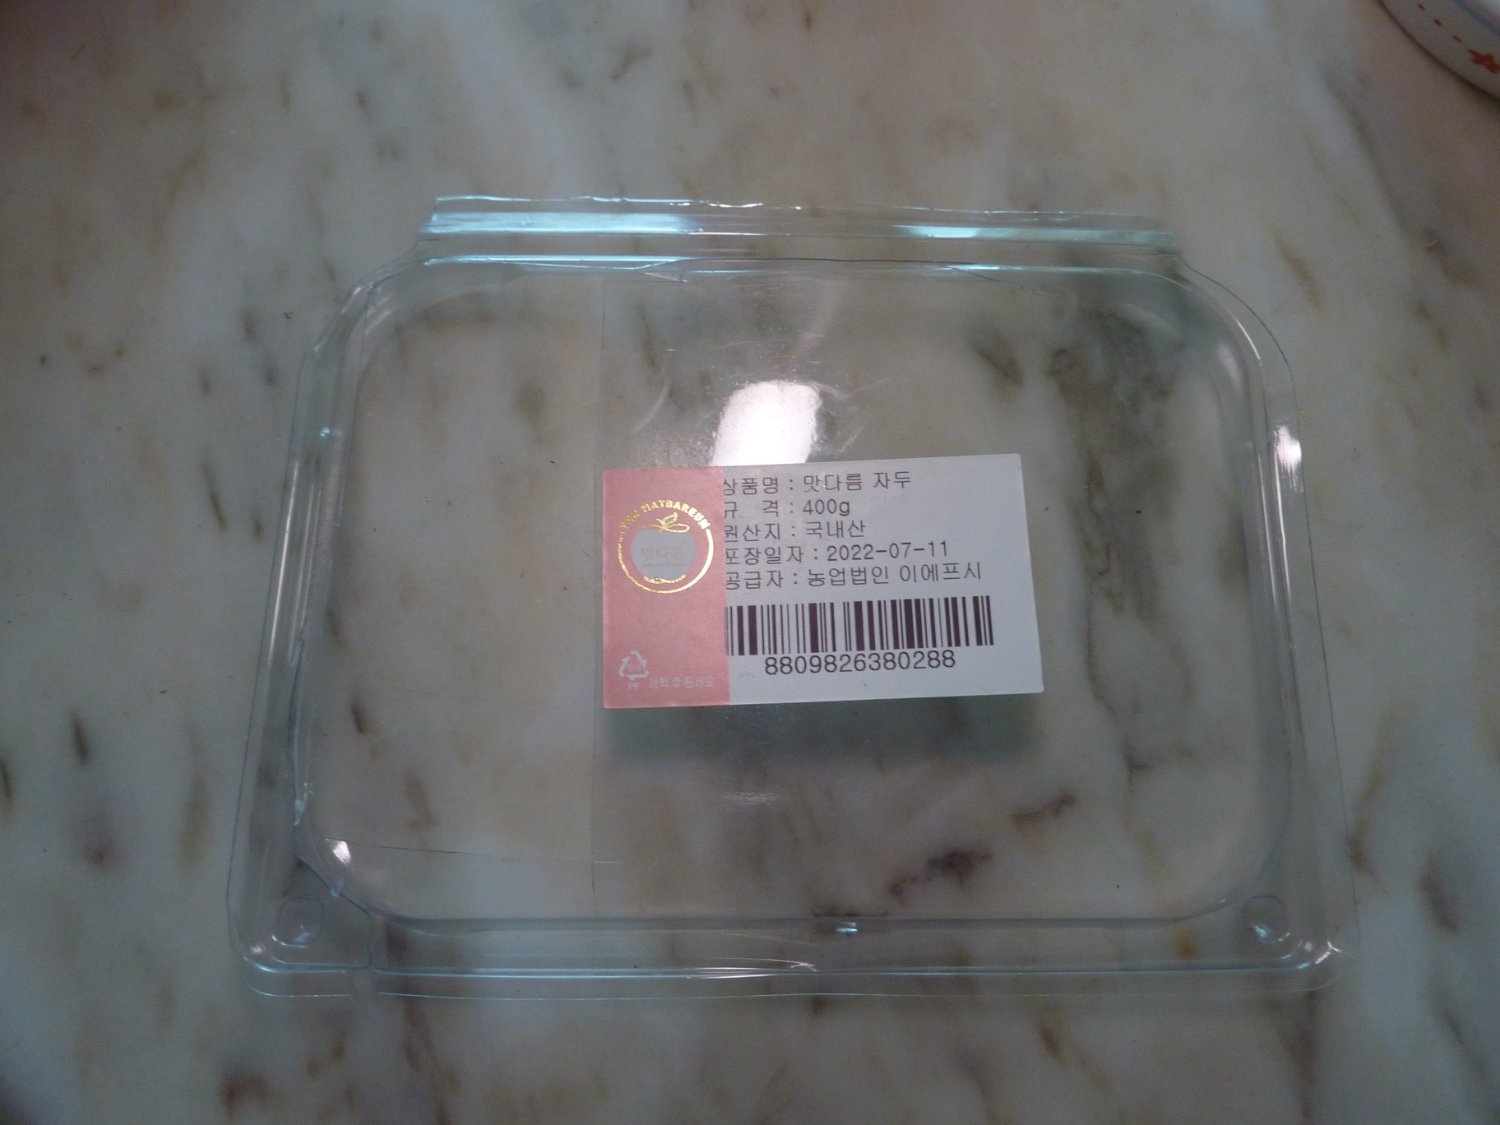
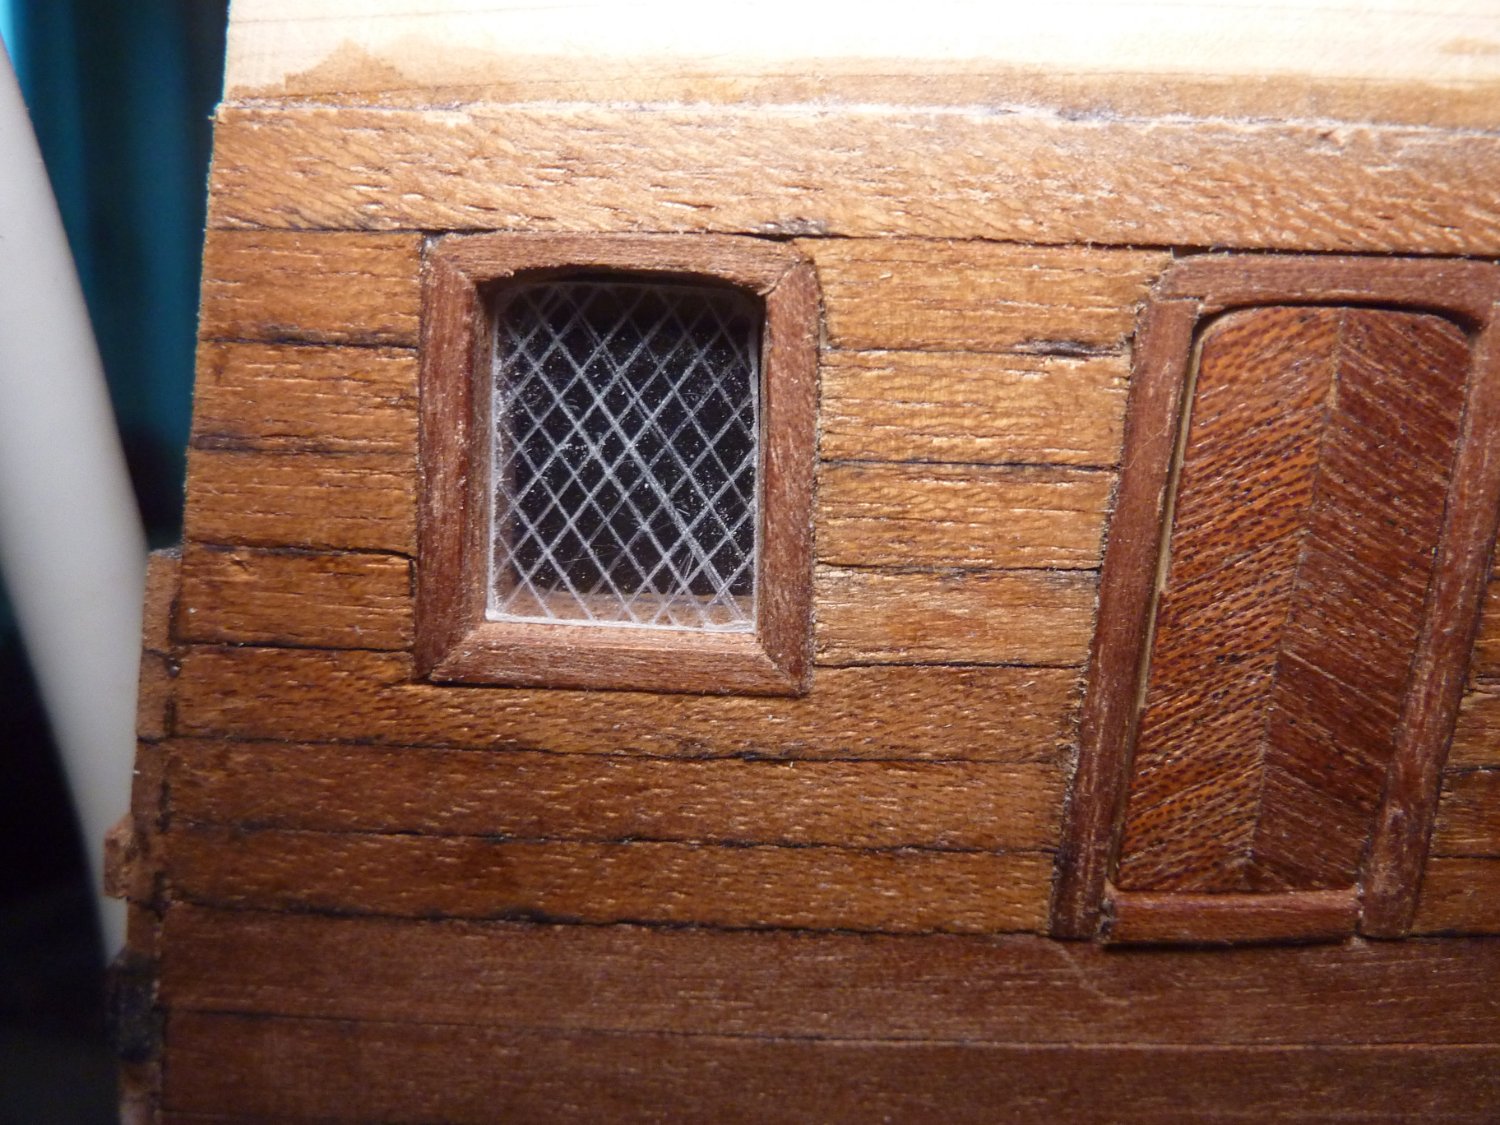
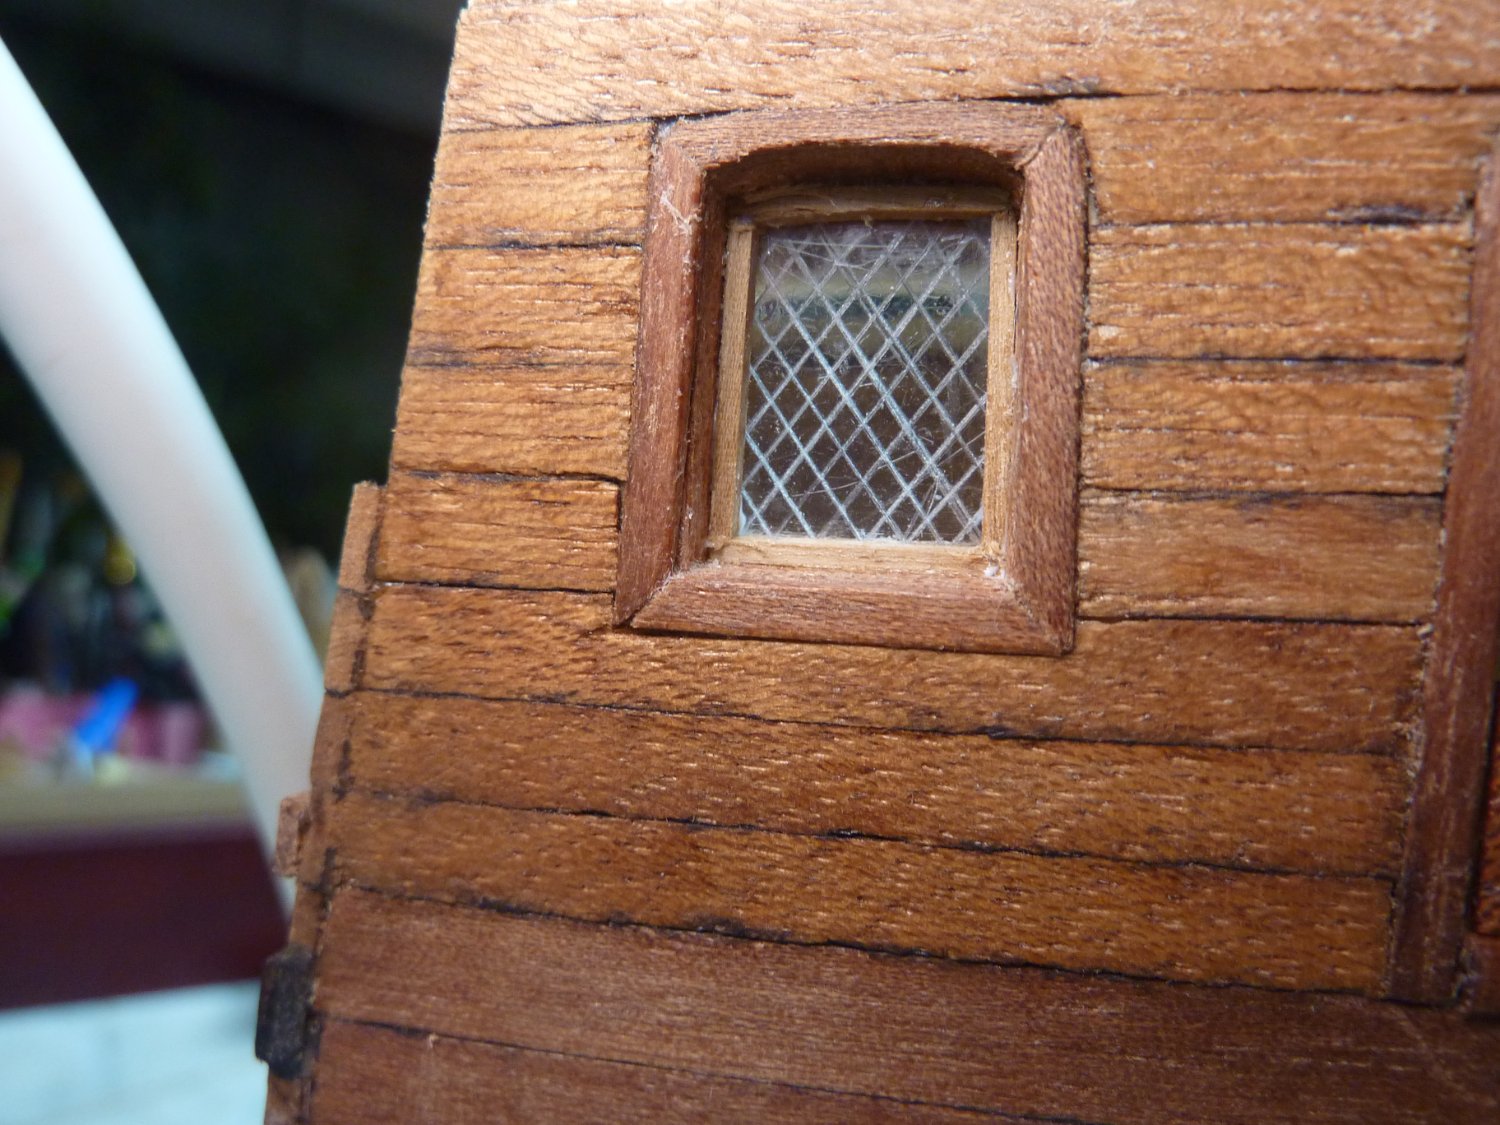
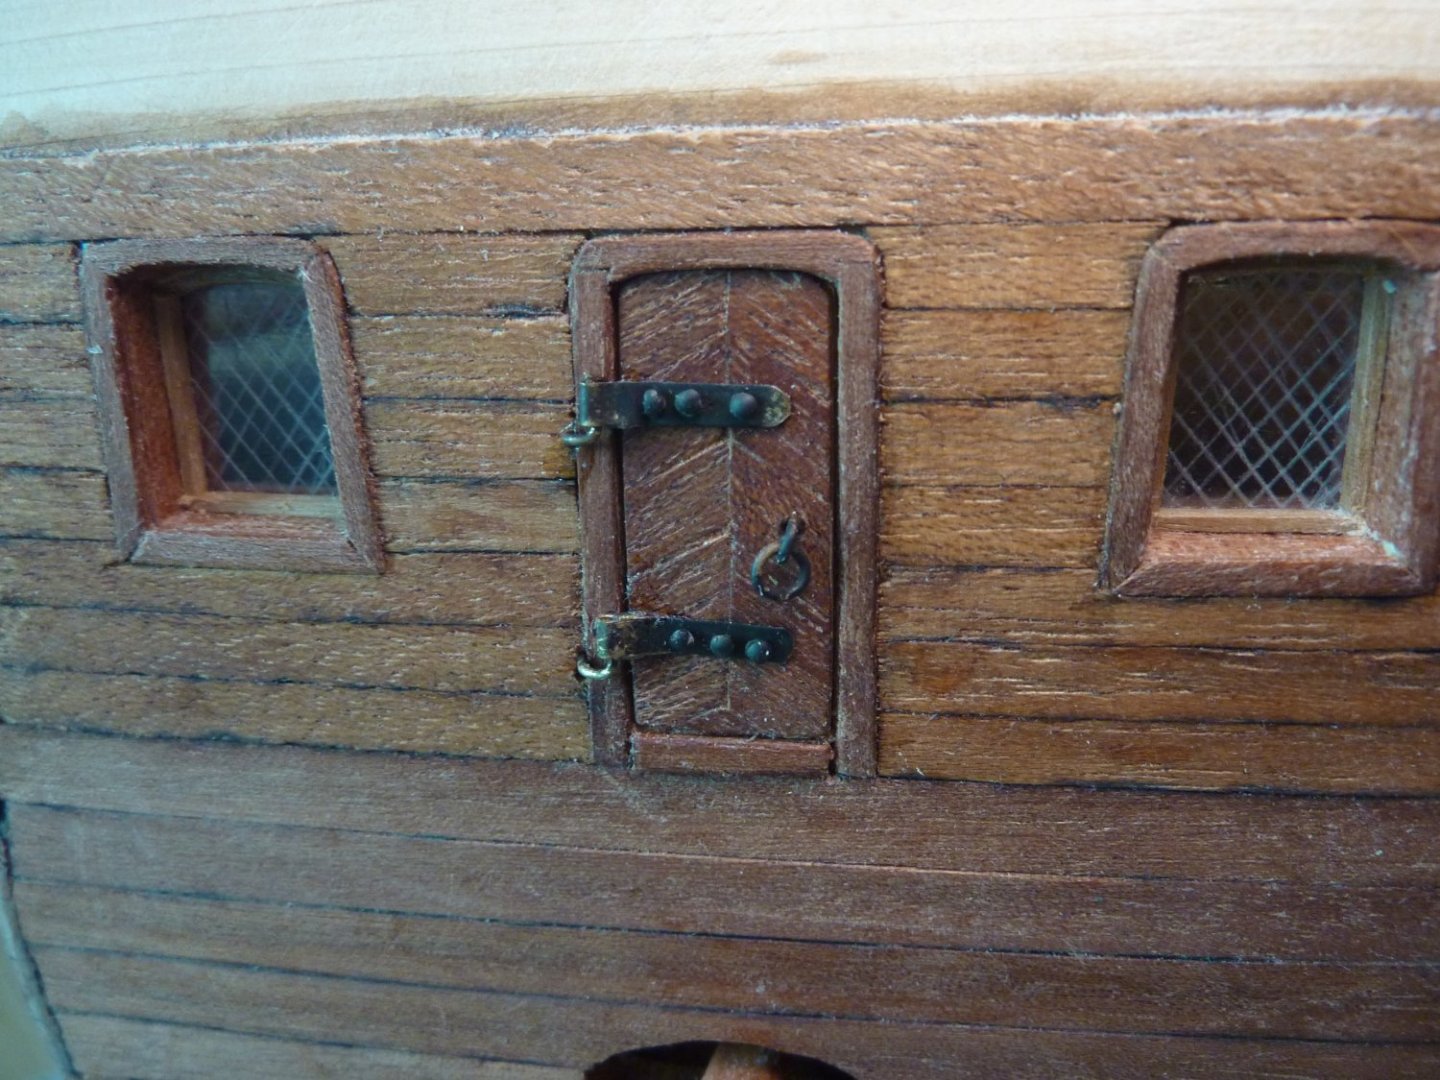
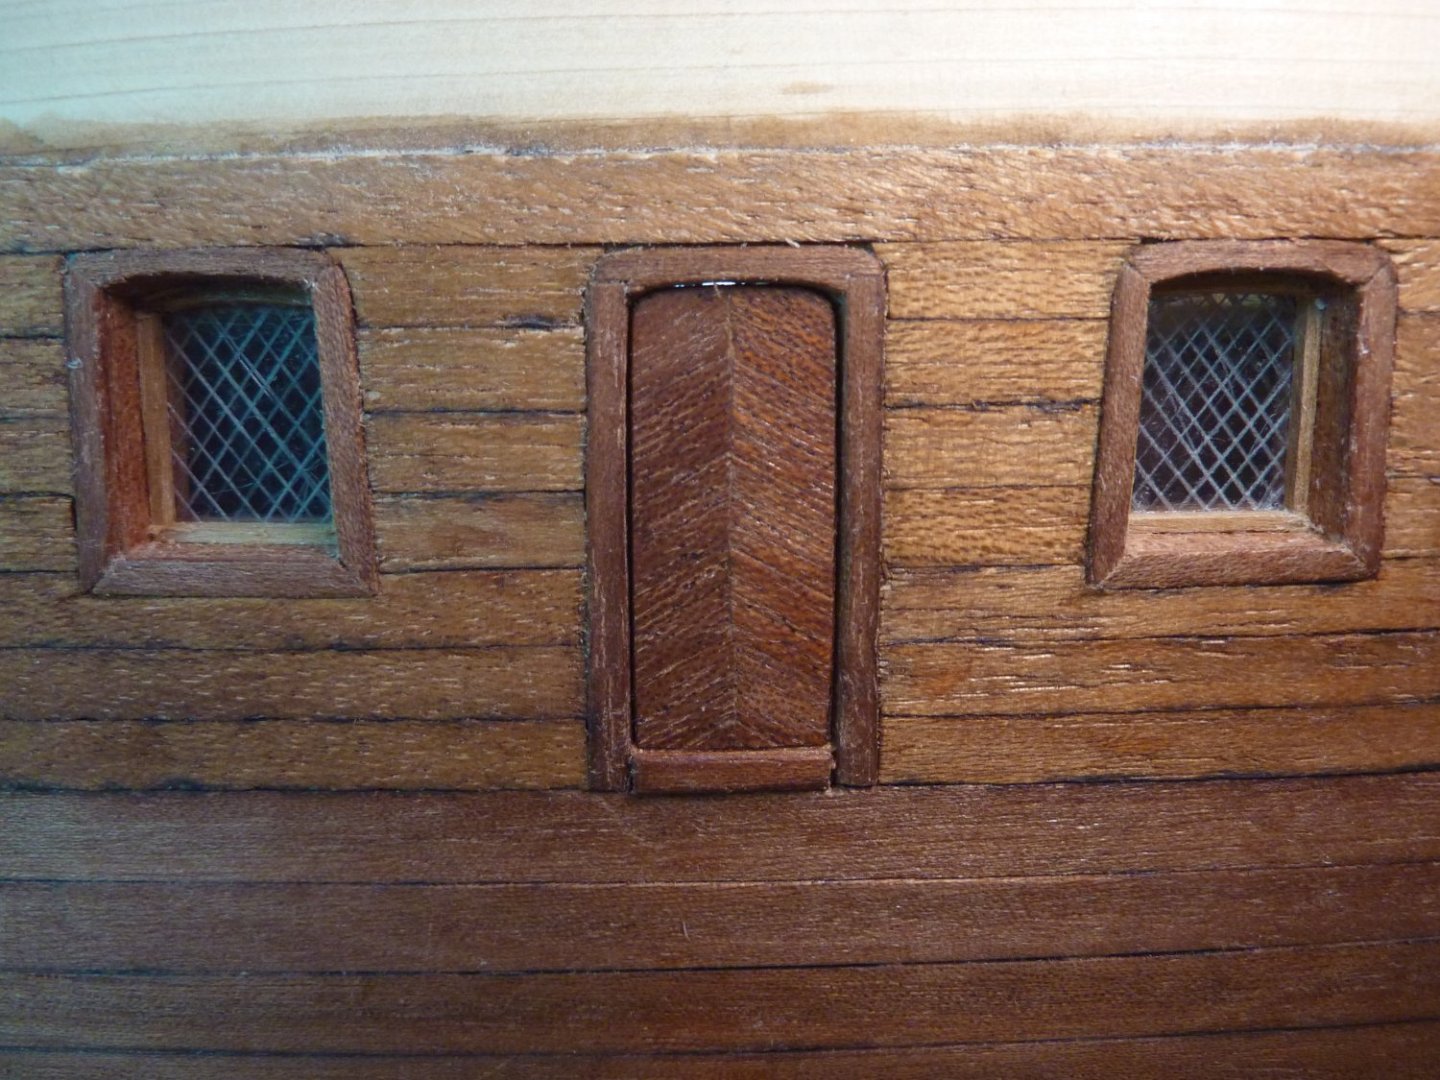
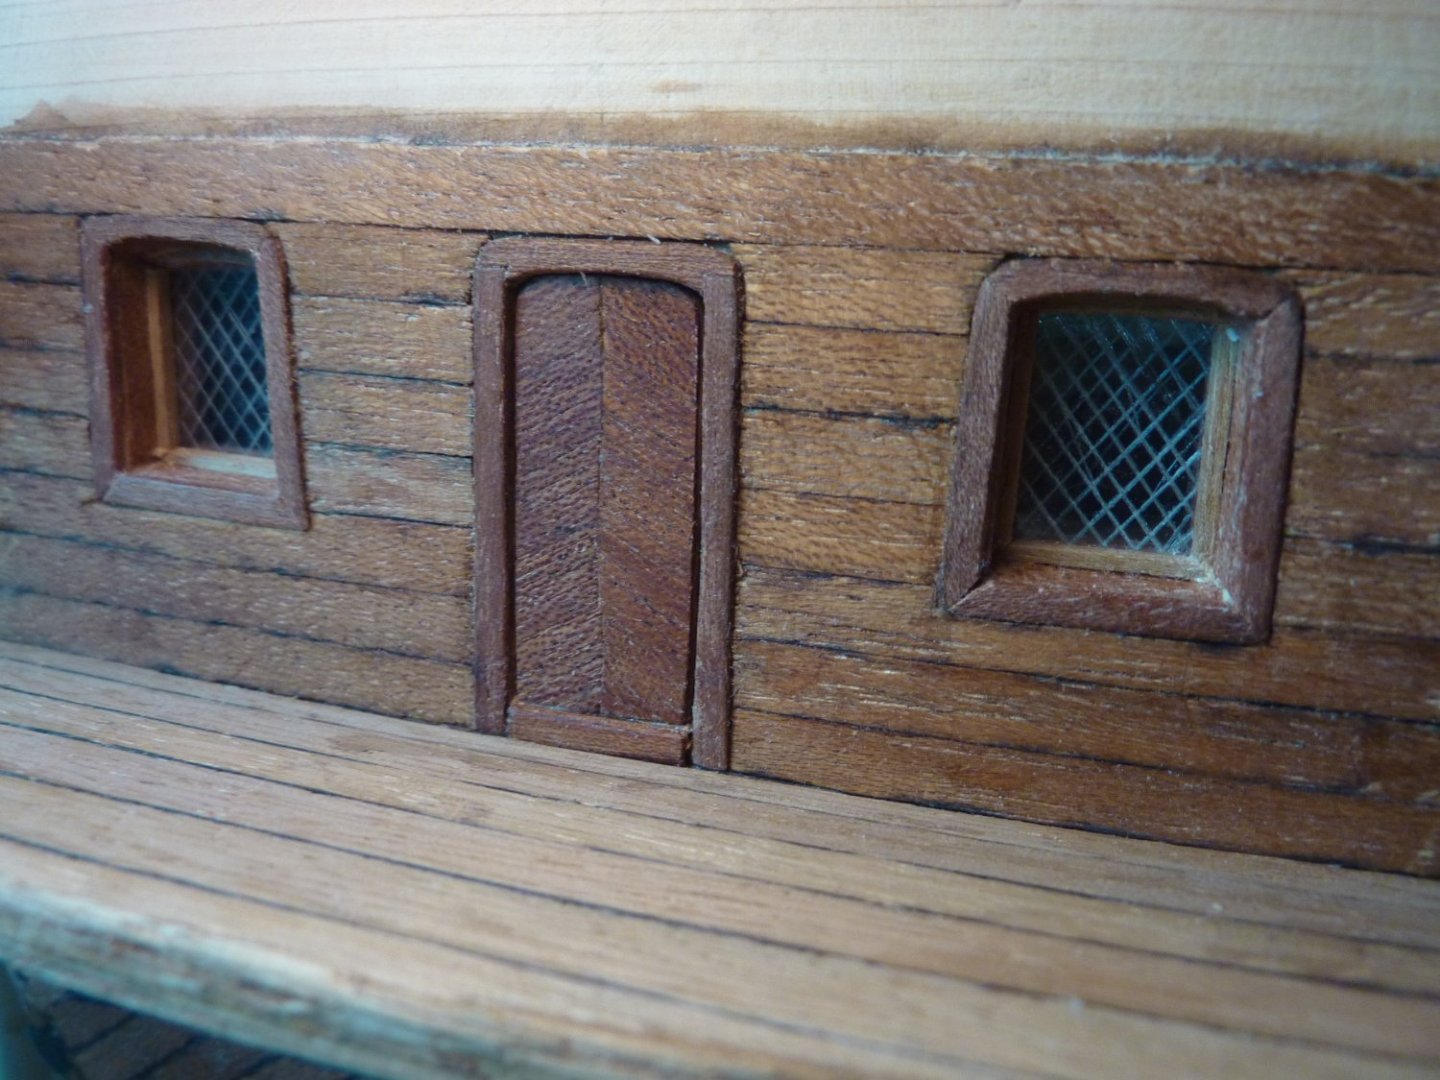
For windows, I used simple clear plastic container (contained fruits I think) as the window panel on which I just scratched with a thin file to get the lead latticed window effect of 16th century galleon. Below are some photos of these works.


-
Back to GH1! On top of the second planking of GH2, I managed to finish the windows and door of the stern area. The stern door was made using similar method as the beakhead area doors - with just minor difference. I also made some modification in the stern area to secure the balcony for future work on it.


-
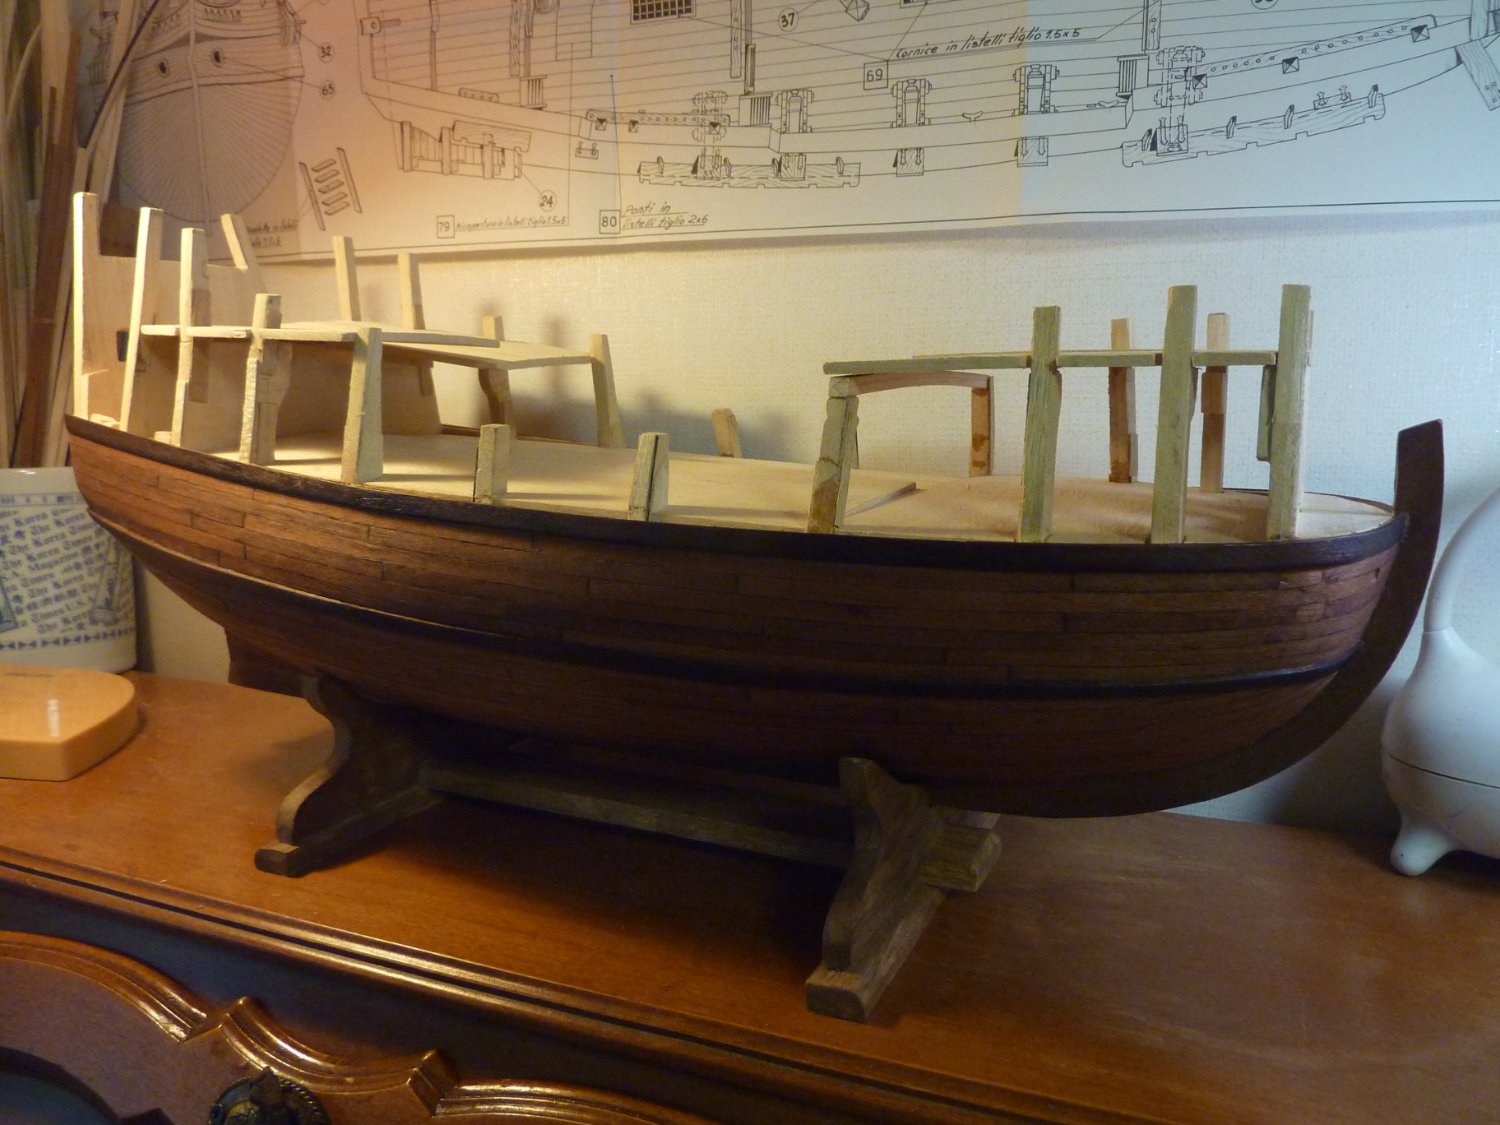
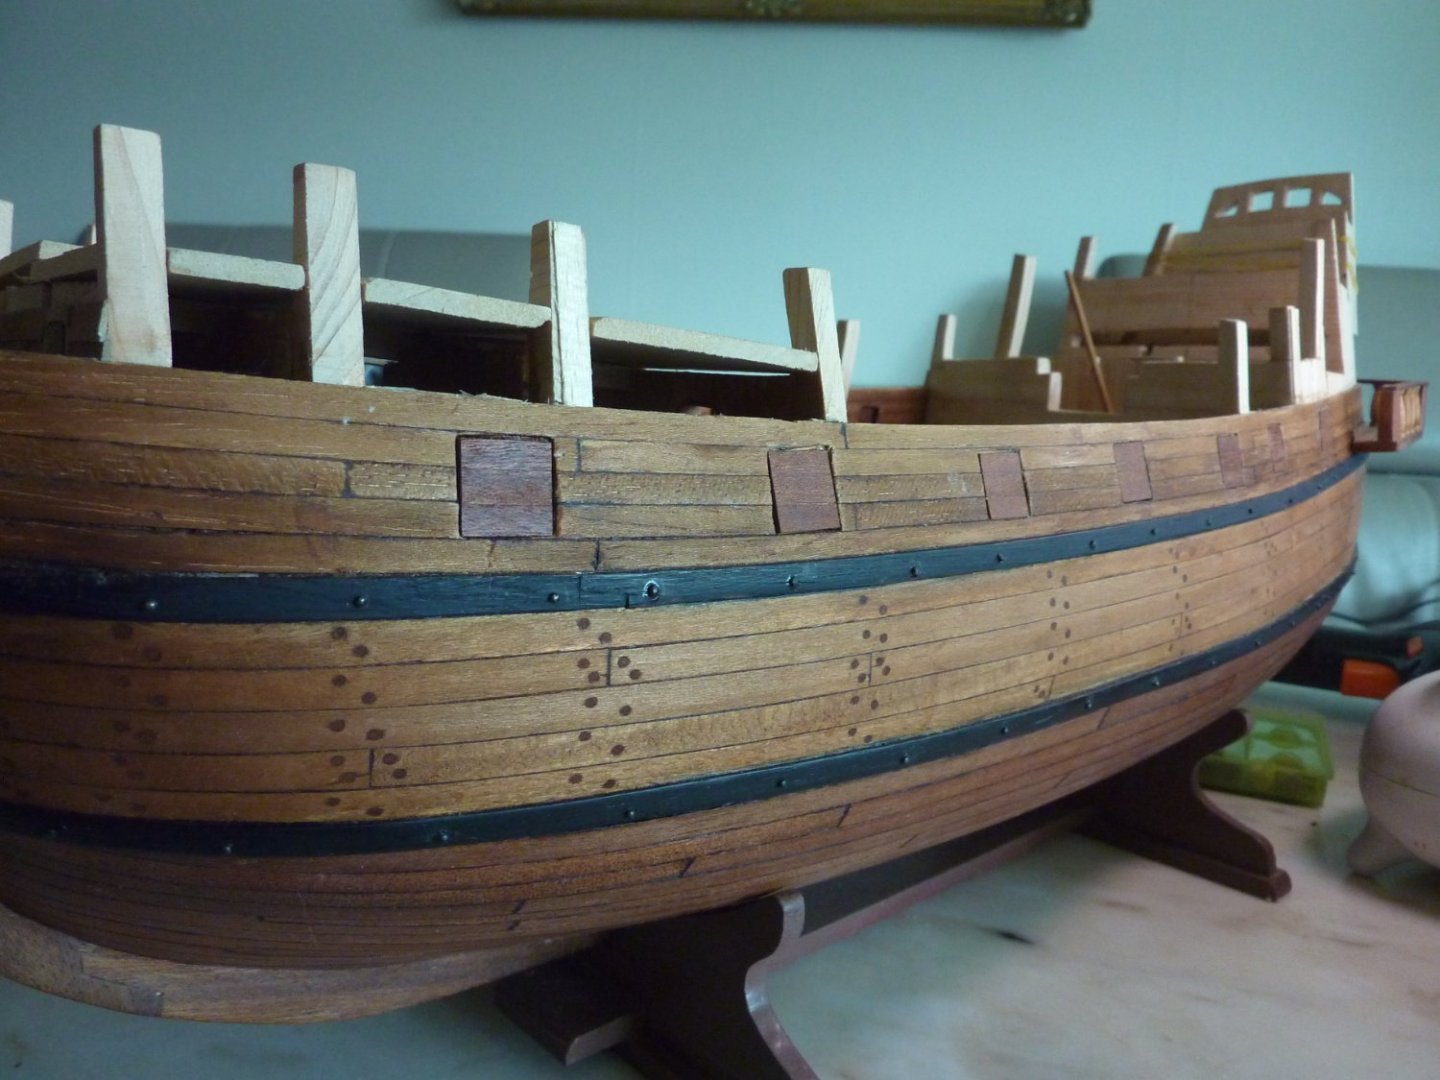
Hi All, It's been quite a while since my last update. I was finishing the second layer planking of GH2. I tried to test how the overall ship would look like if I applied second planking all the way to the weather deck level. Frankly, I think I like the GH1 look better. The wales of GH2 were dyed with a different color from GH1 and this I think looks better than the simple black wales. Below are couple of pictures of the current state of GH2. Also, I am testing slightly more sturdier wood for the display rack, with different wood dye applied.

-
Thanks very much, Tomasz B!!
-
Hi Steven, Thanks very much for your input on this subject! I dug deeper on your picture above and I found the following description of the above picture in a book 'Sir Francis Drake: The Queen's Pirate' and actually the Caca Fogo is depicted as Drake's ship firing on Caca Plata. A bit confusing as in the same book 2 explanations are given : 1) in one account Caca Fogo seems to be a ship captured by Drake, 2) in another, Caca Plata is the Spanish ship and Caca Fogo is Drake's ship (new nick name obtained through Drake's Spanish captives). Anyway, the flags seem to suggest that Caca Fogo is under English command, and Caca Plata under Spanish. I was planning to apply similar design (to Caca Fogo) for balcony and entrance to quarterdeck on my Golden Hind. This picture gives me some support for the direction I am heading at.
-
Hi Patrick, Thanks so much for your input! I wonder why I did not notice the different method you applied to your grating although I am following your build log quite closely. I think unless I find new historical evidence of 16th century grating, I may follow your footsteps. I hope you don't mind me benchmarking your grating method!
-
Hi Allan, Thanks so much for the detailed pictures of how correct grating should be! Much appreciated and will be definitely quite helpful for my grating on Golden Hind. Best regards,