Rock_From_Korea
-
Posts
315 -
Joined
-
Last visited
Content Type
Profiles
Forums
Gallery
Events
Everything posted by Rock_From_Korea
-
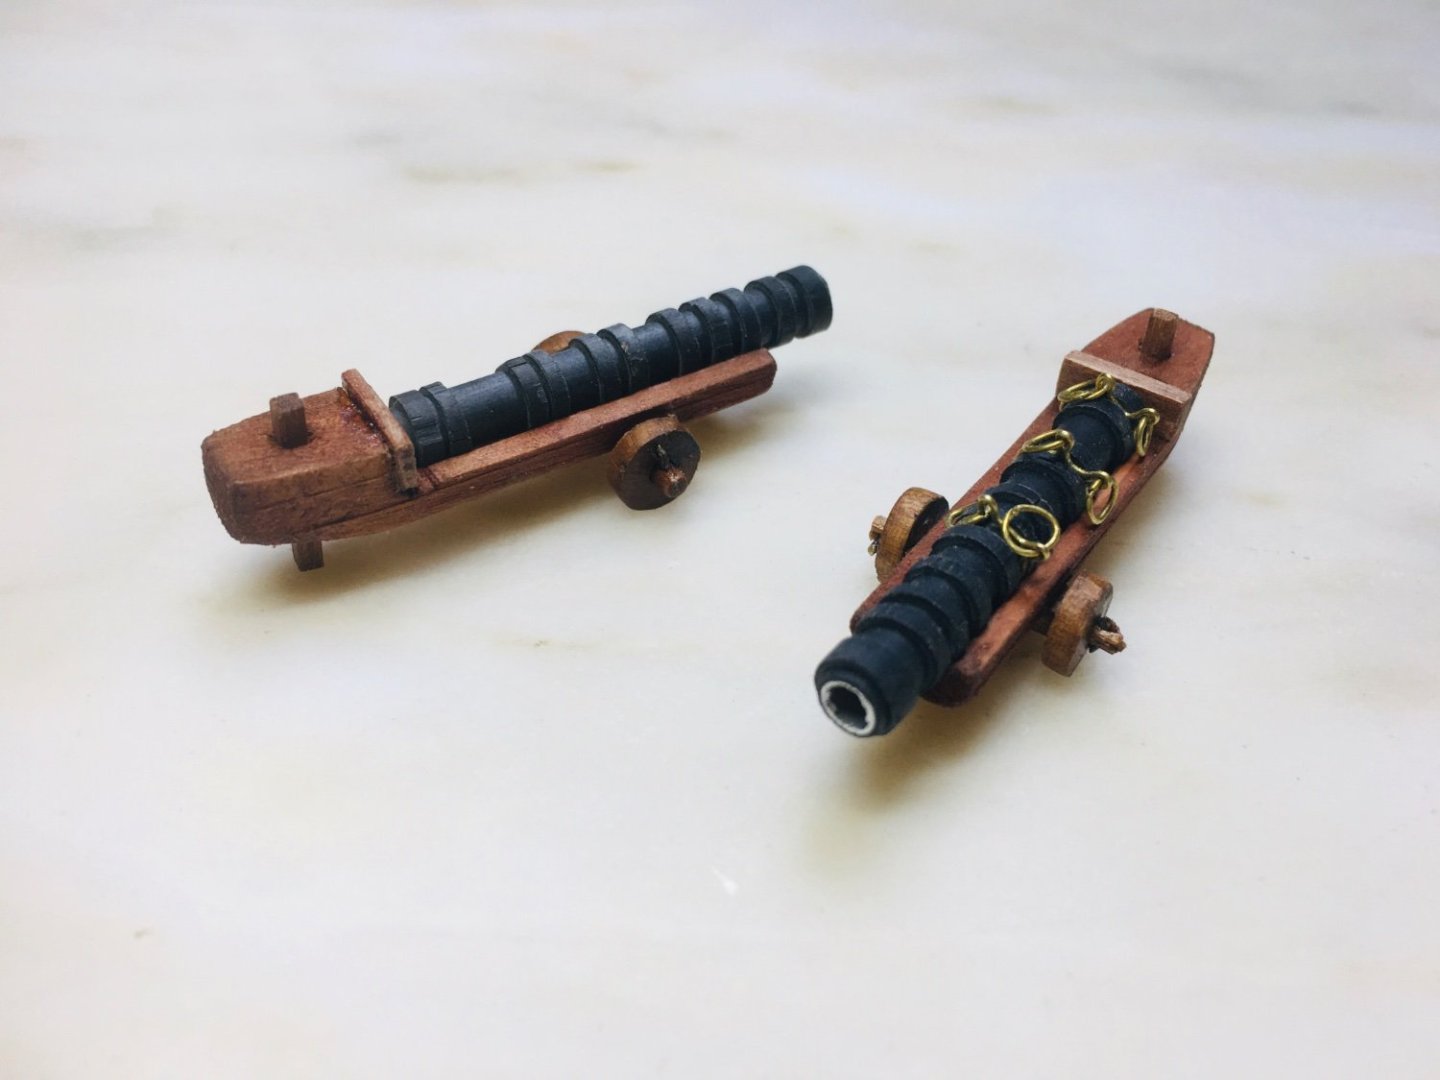
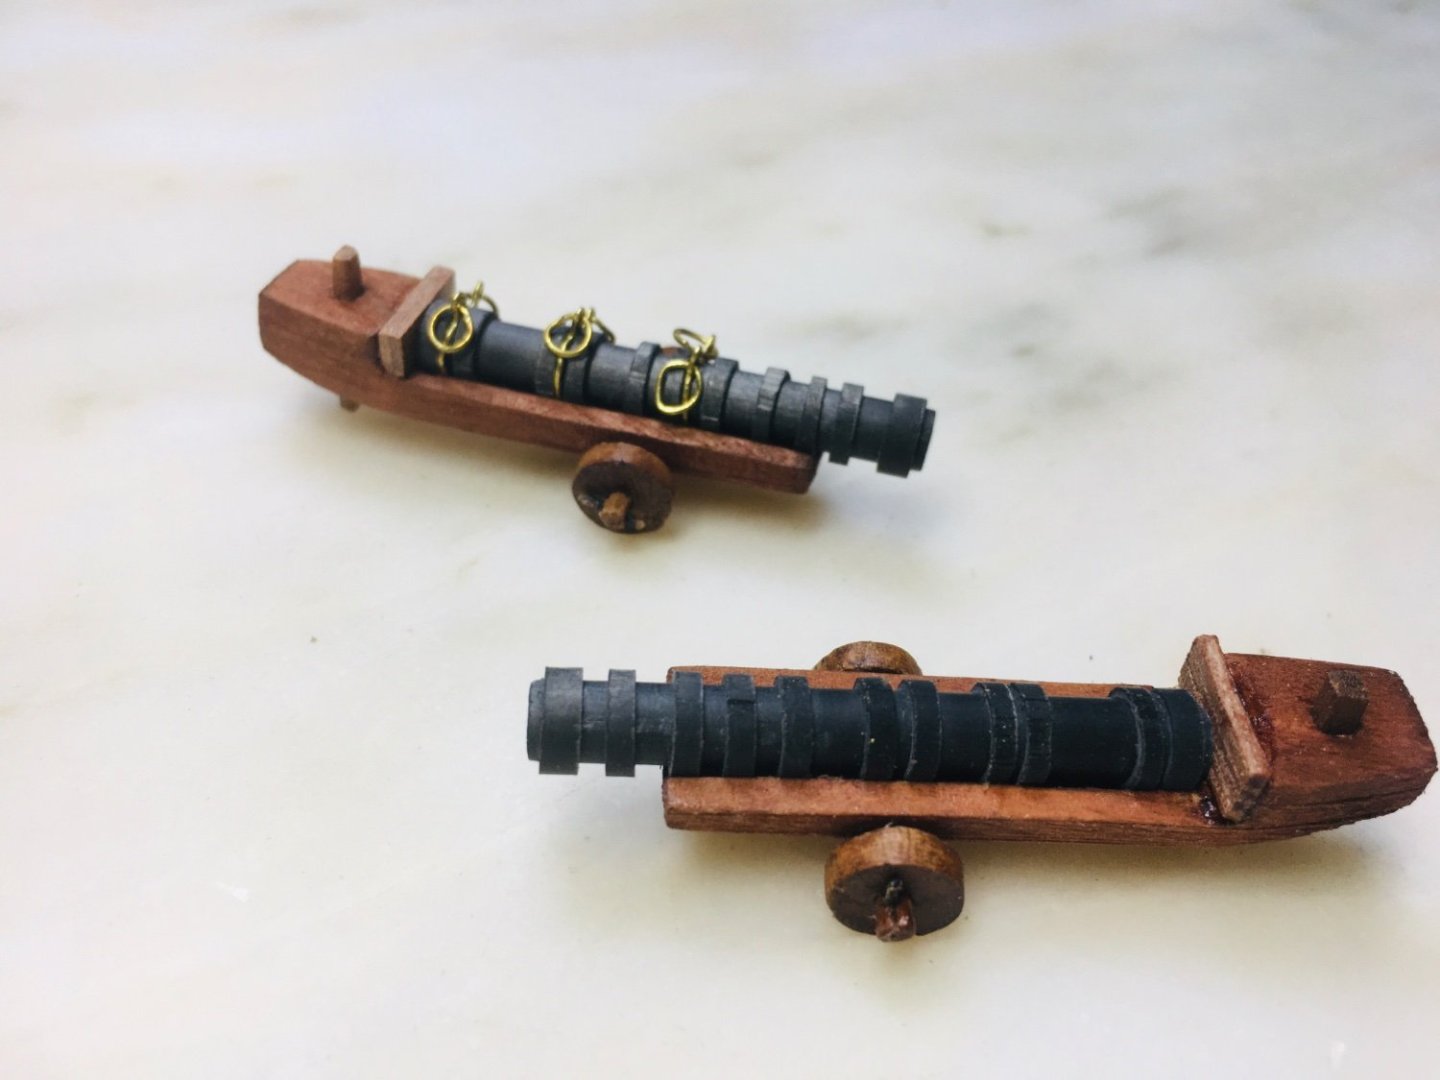
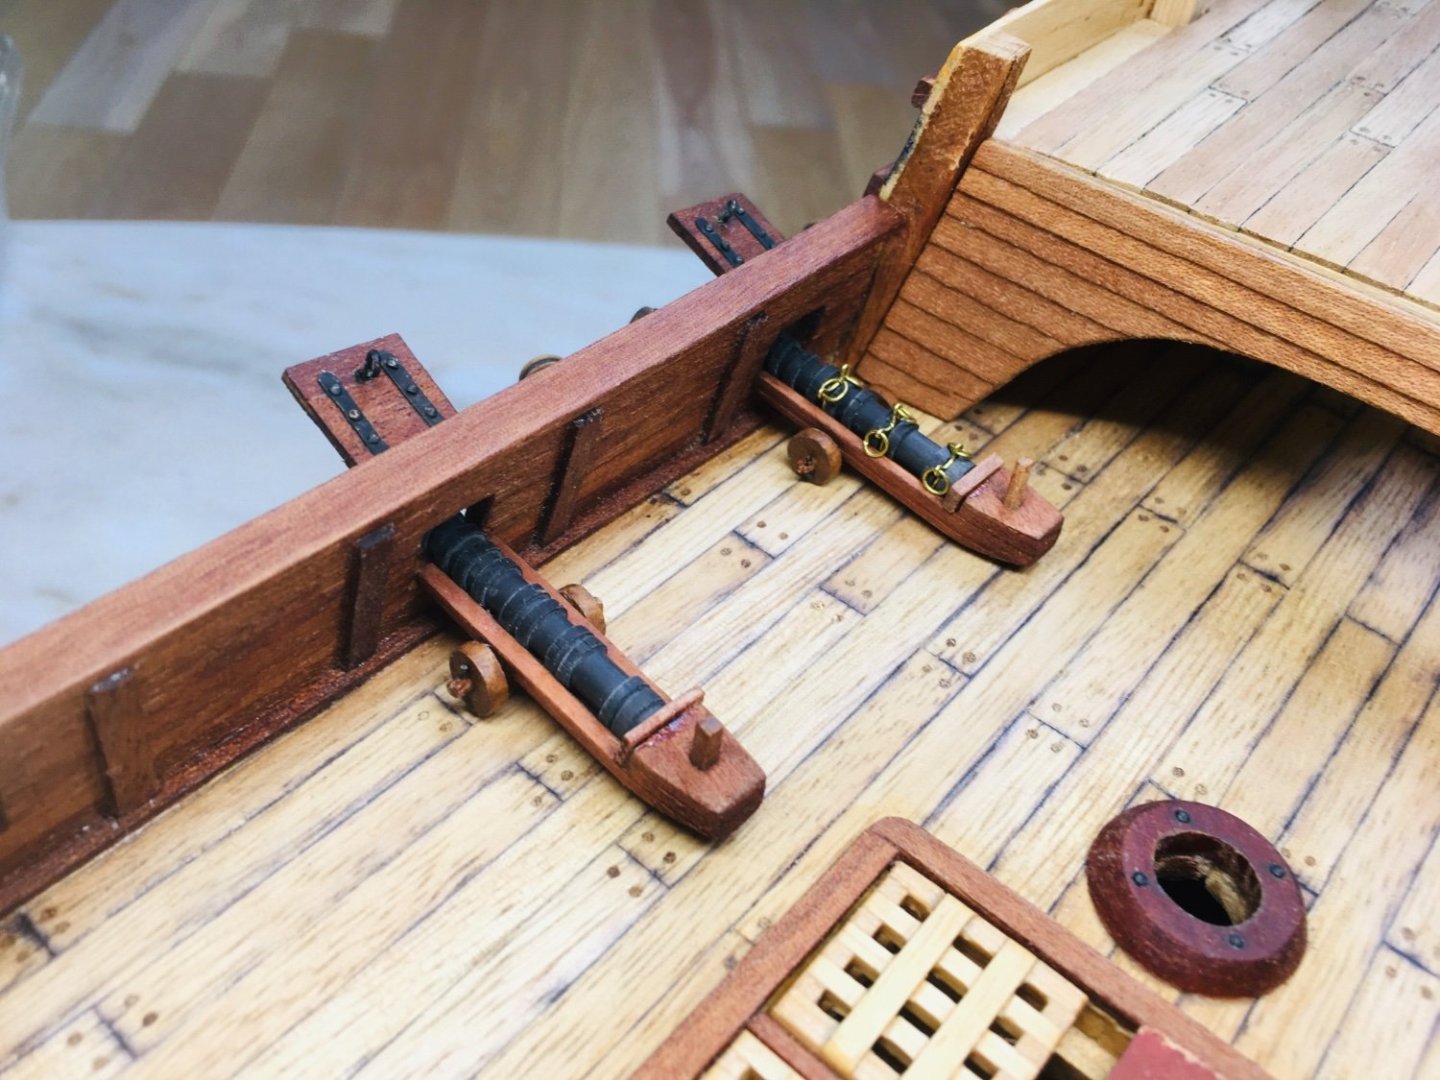
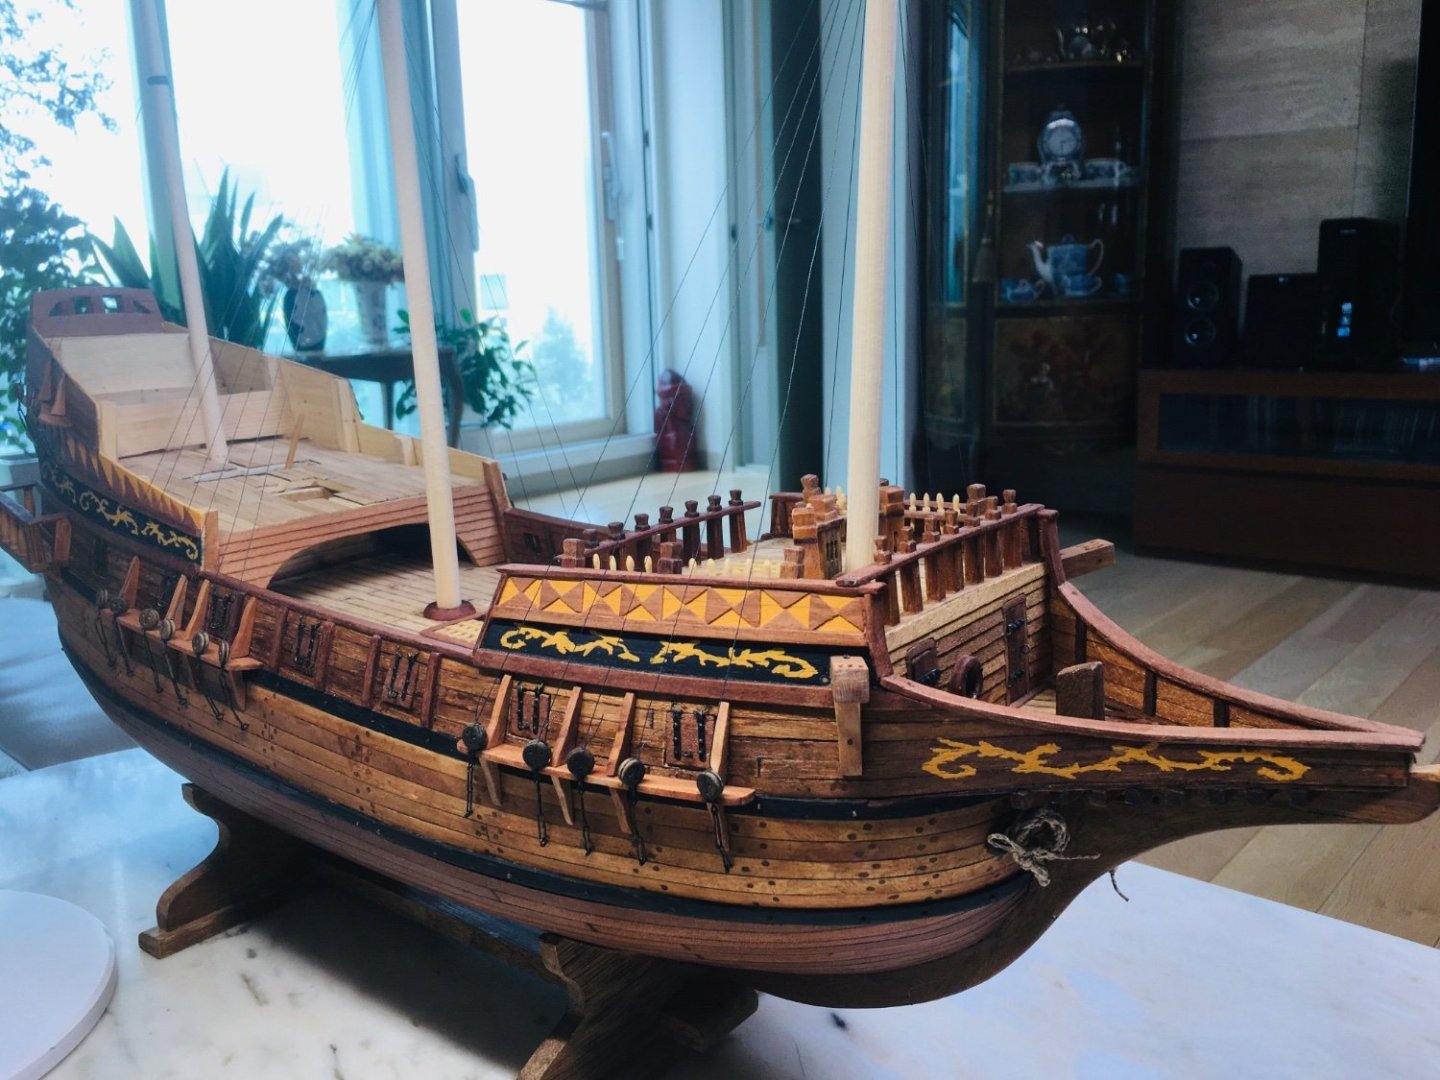
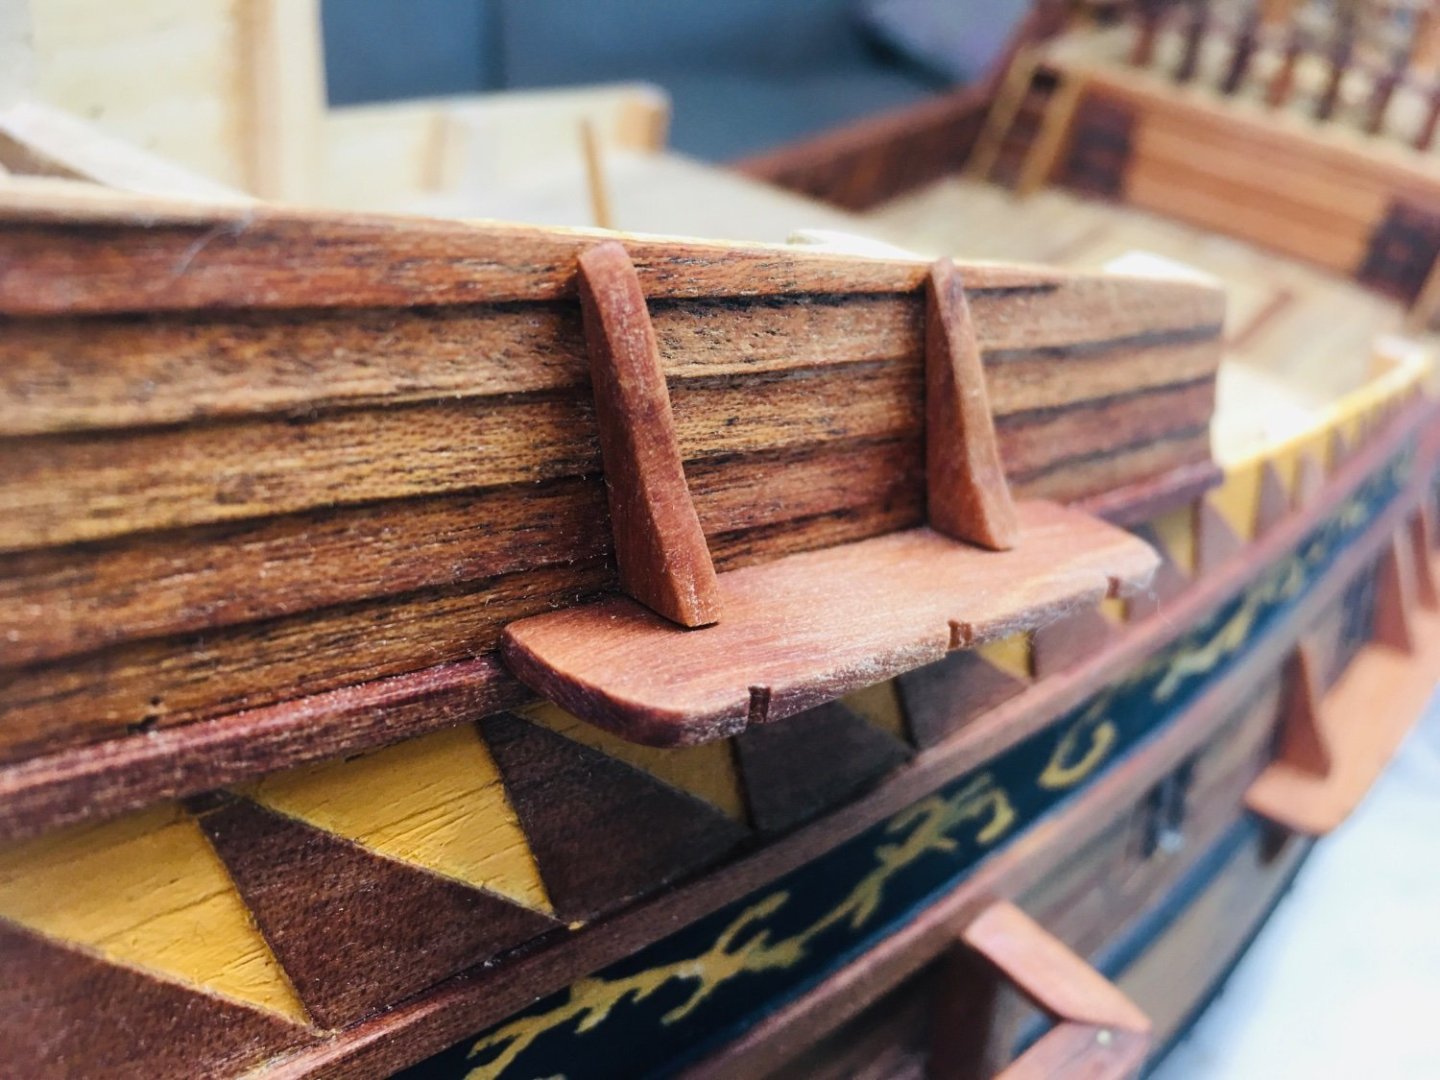
 Fairly close now on more or less finishing 2 prototype (39mm long) wrought iron cannons for comparison and testing out on deck. The brass ring handles will be chemically blackened later on. The cannon wagon(?) has been dyed and the angle adjuster has been added at the rear. Satisfied on general look. But, I cannot shake the impression that the overall cannon length is somewhat long. I will need to test the shorter 35mm long barrels in the next work stream.
-
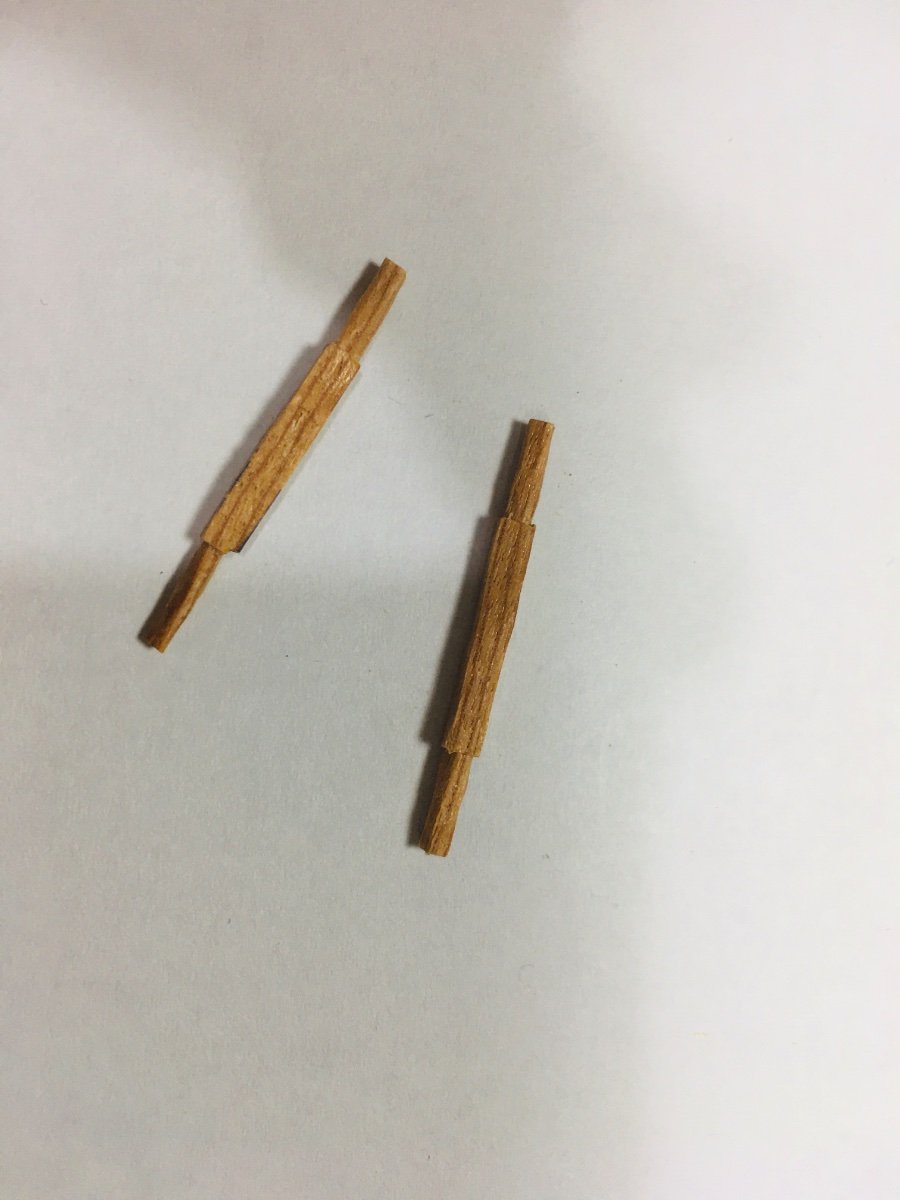
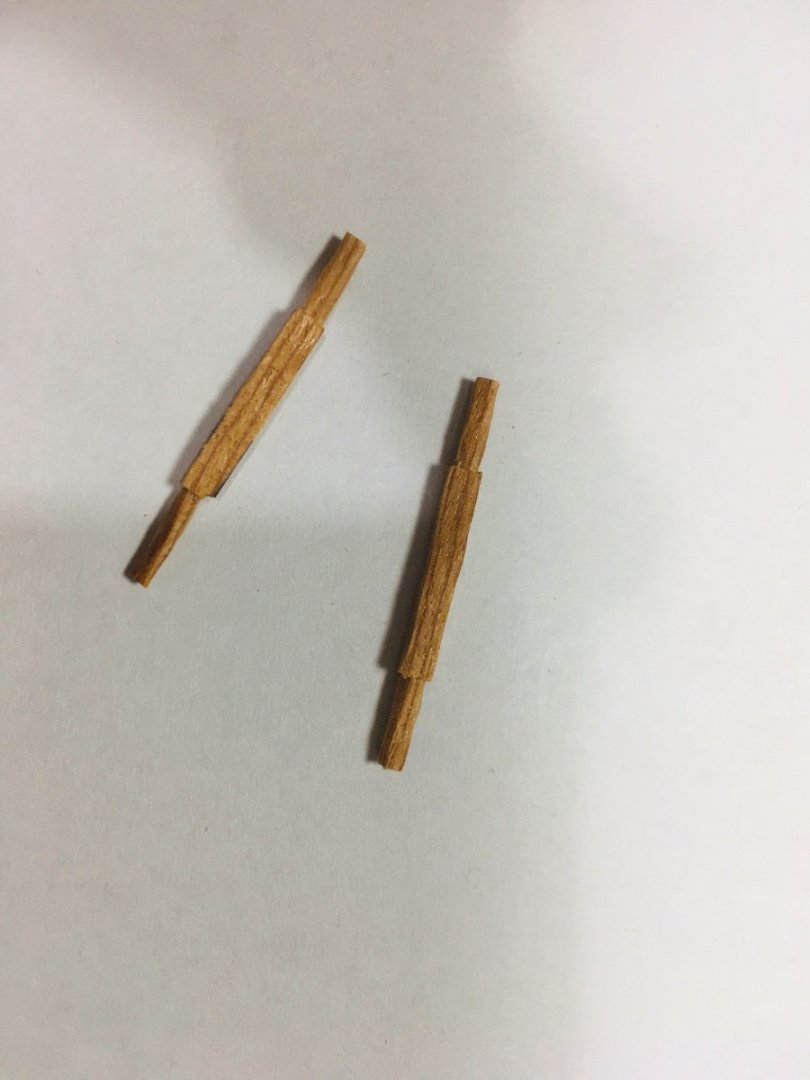
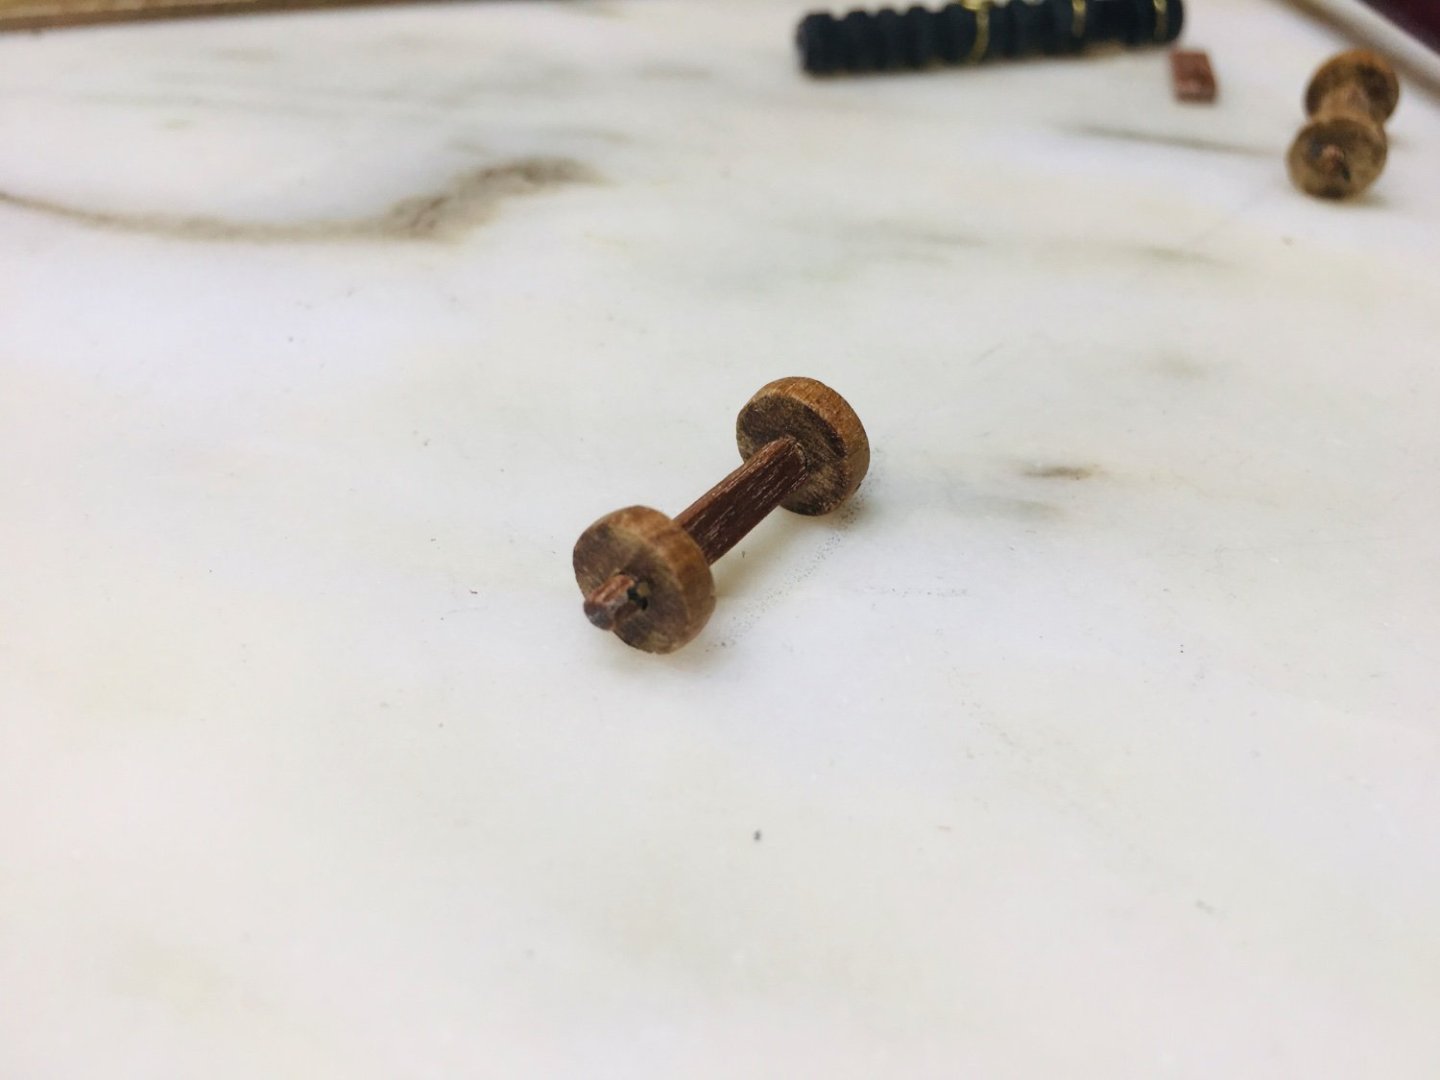
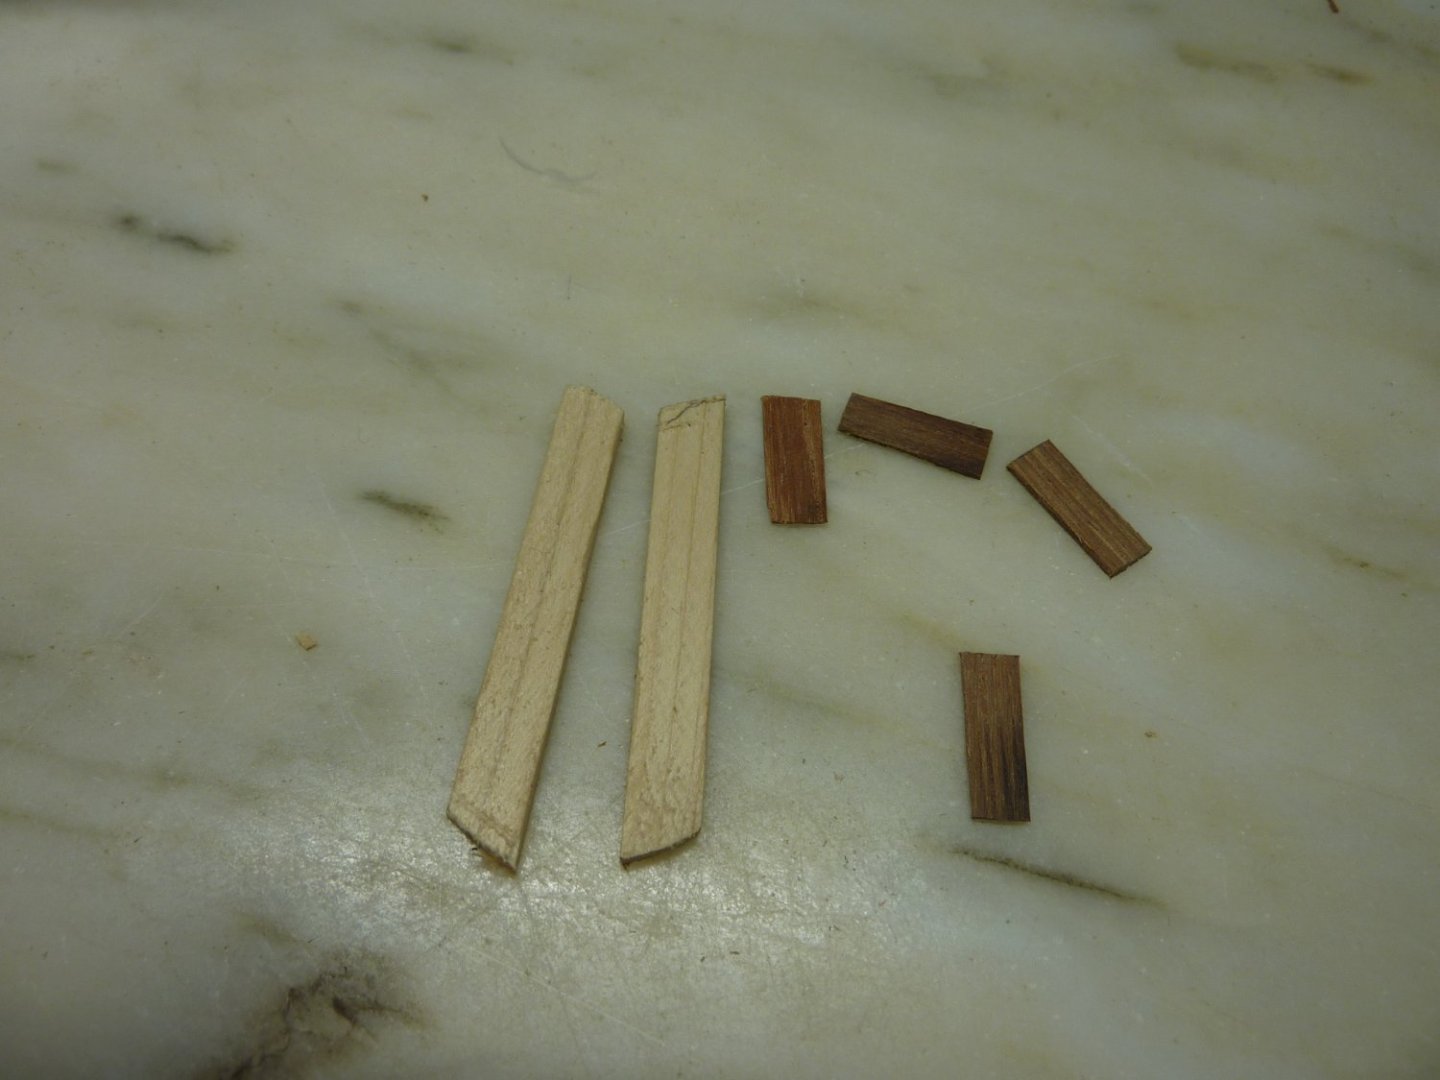
Now moving on to making the wheels. I did not throw away the short (narrower) tips of the decommissioned chopsticks after using them for the forecastle area work. These scrap wood part are coming in handy for the axis of the wheels.


-
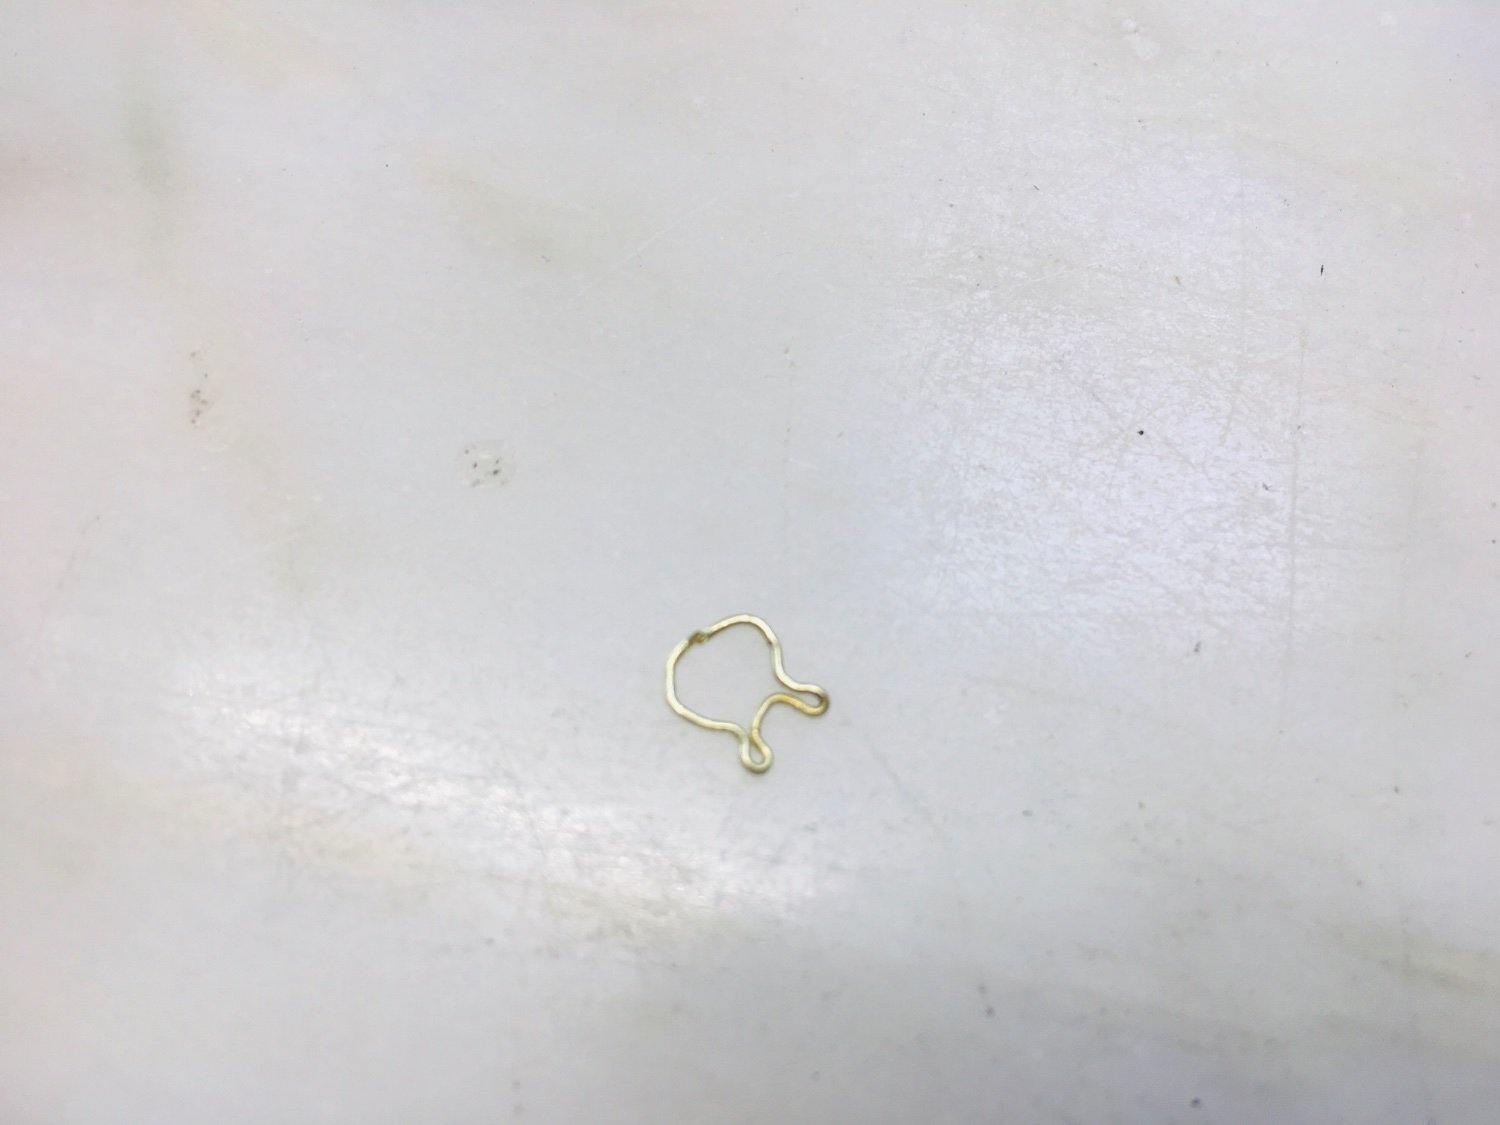
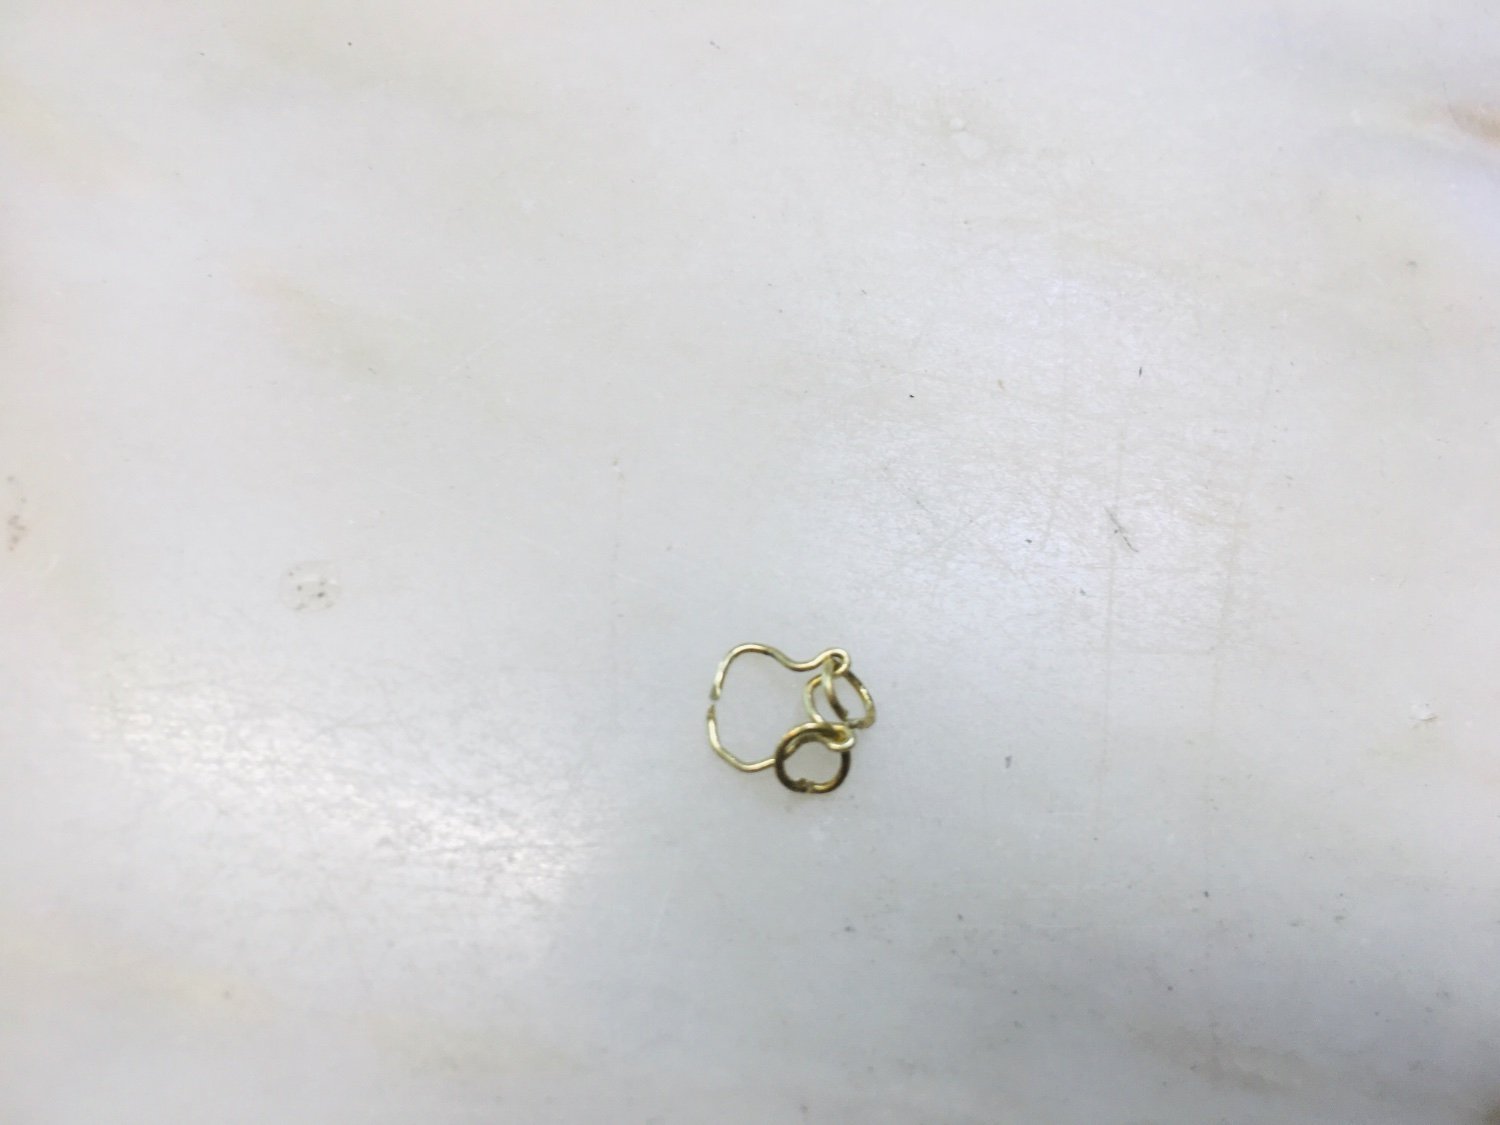
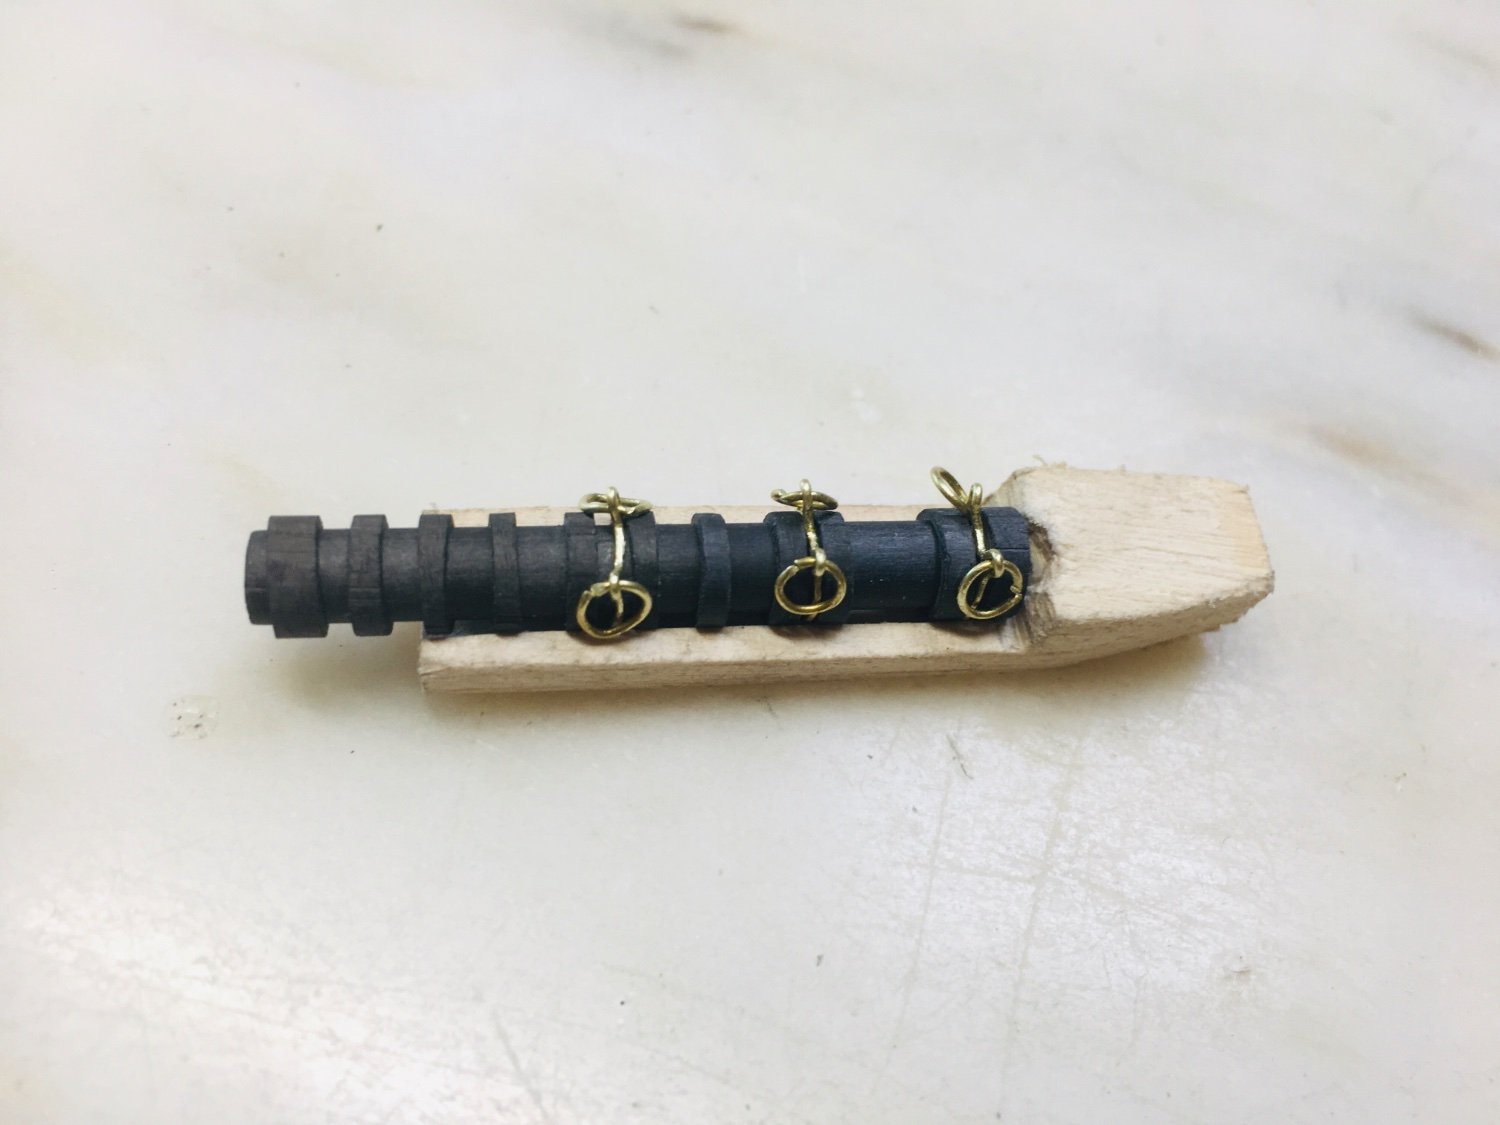
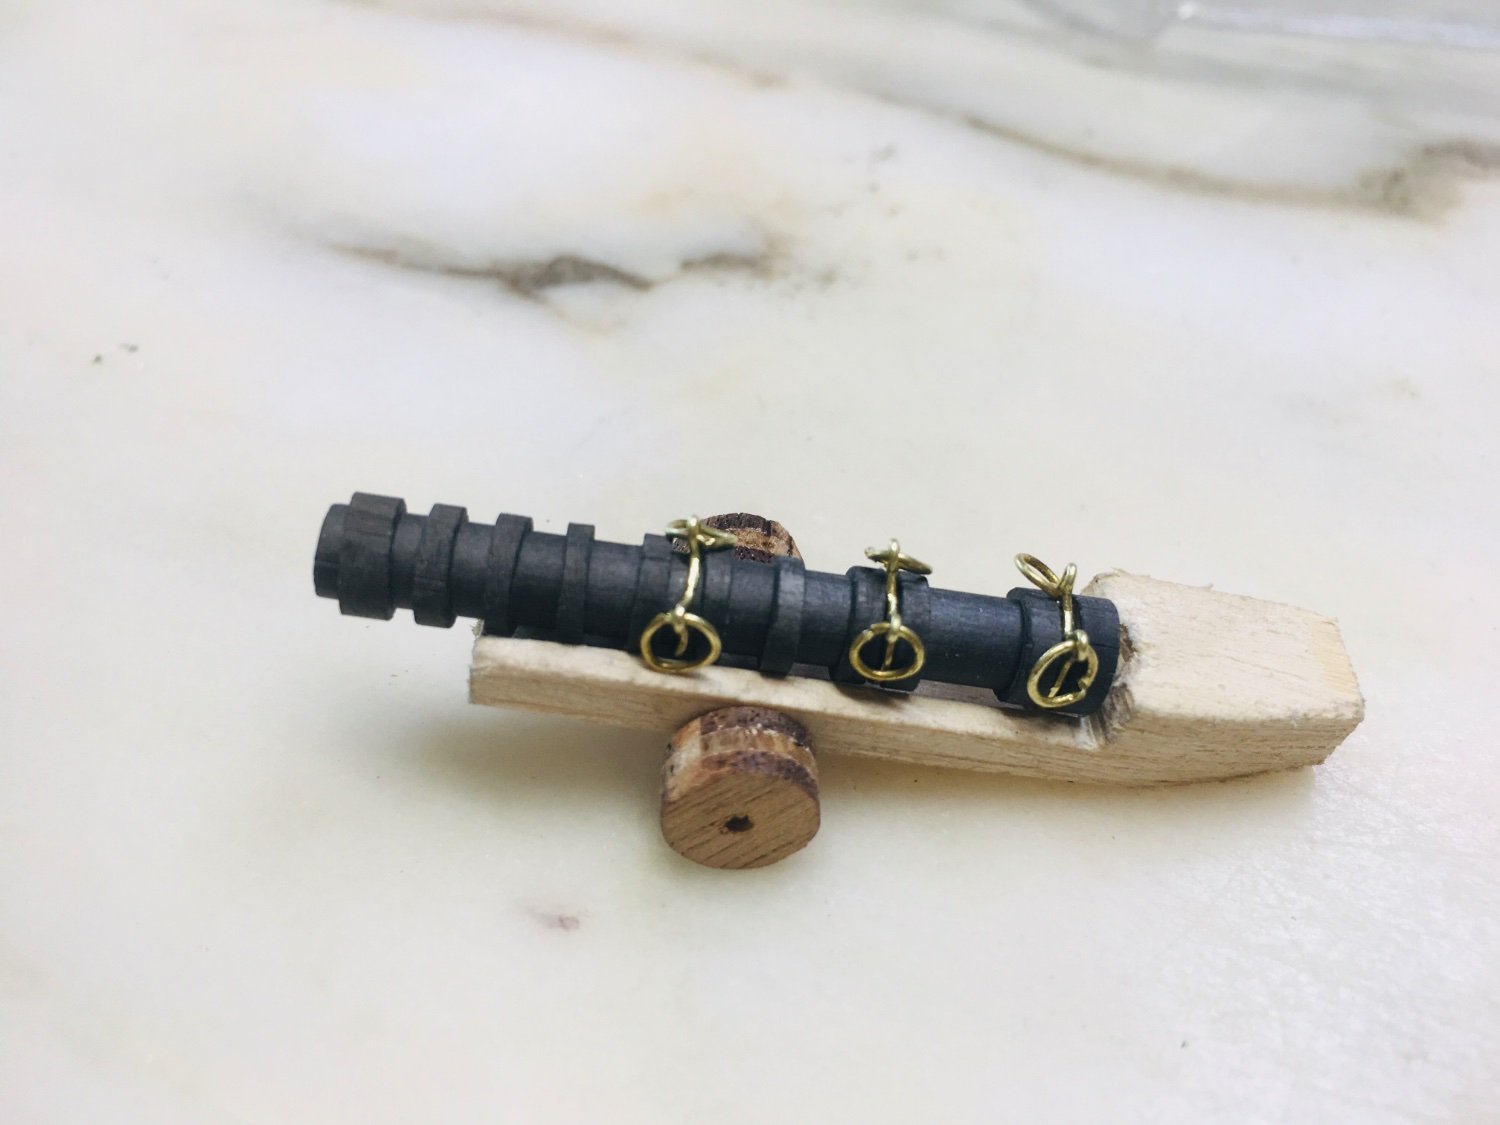
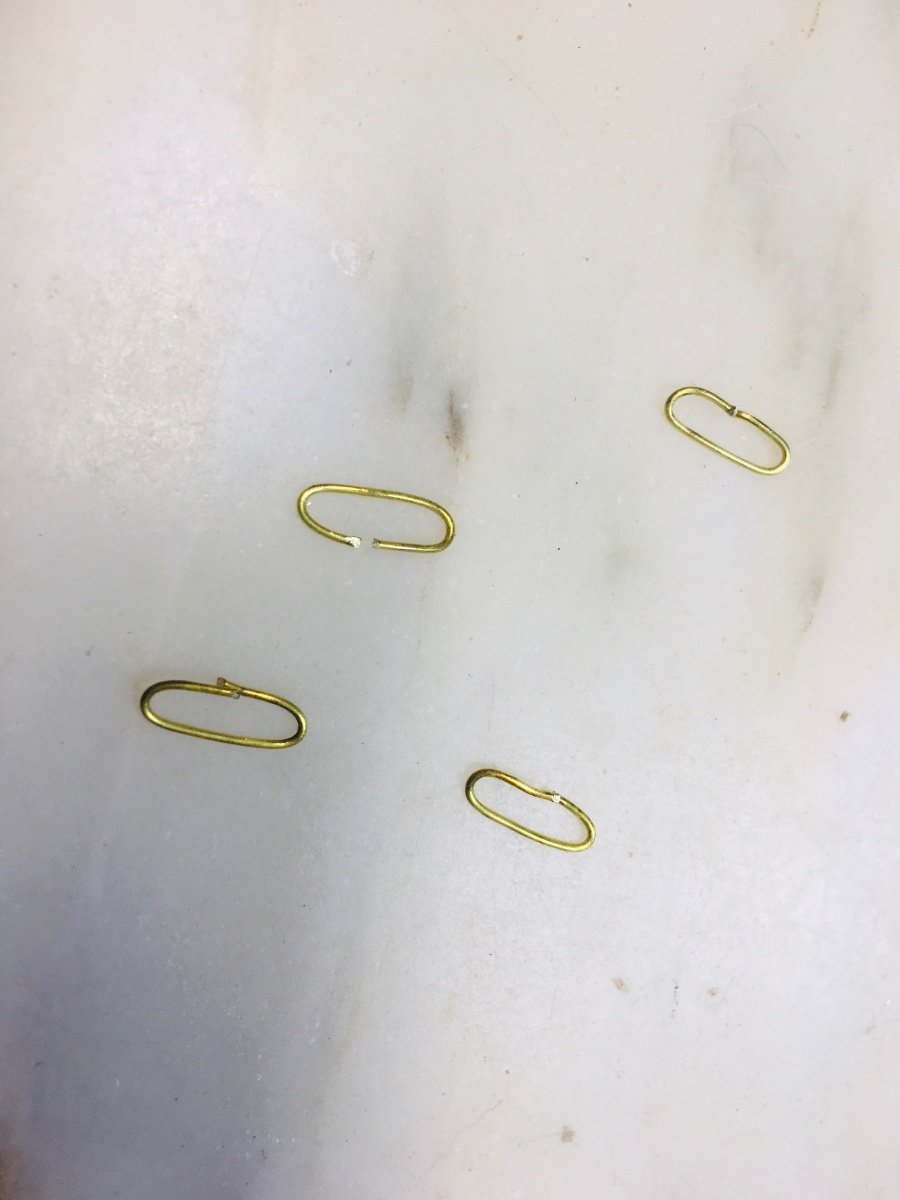
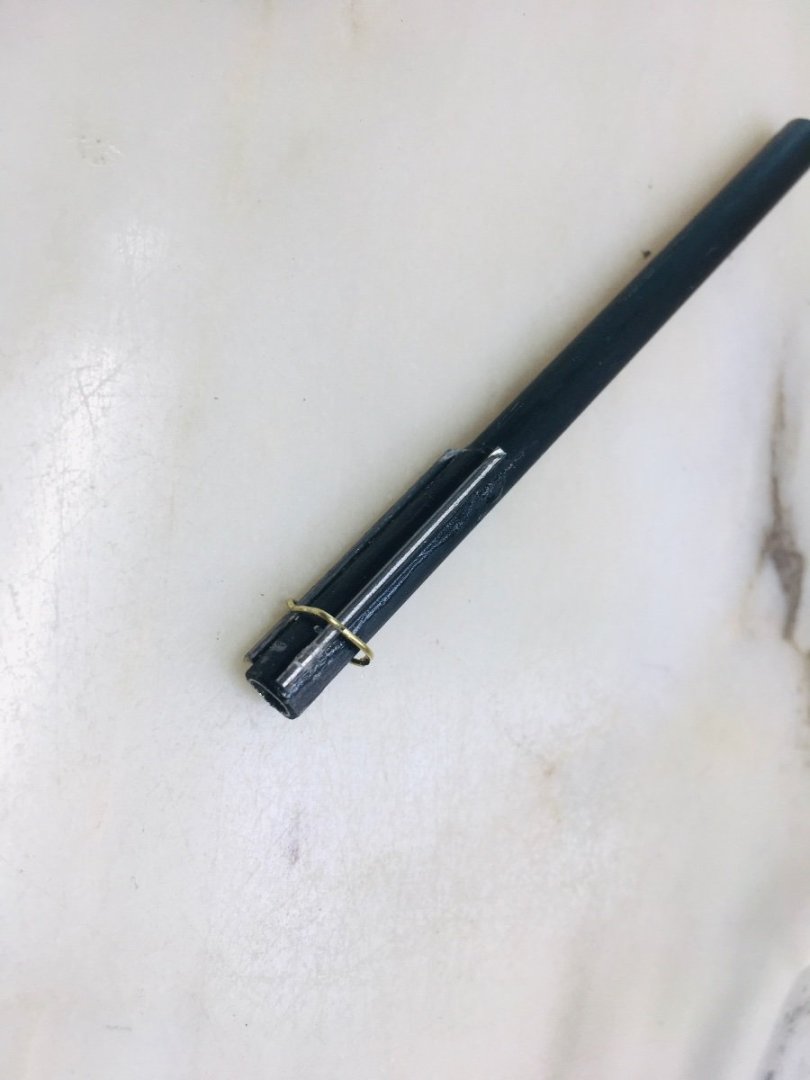
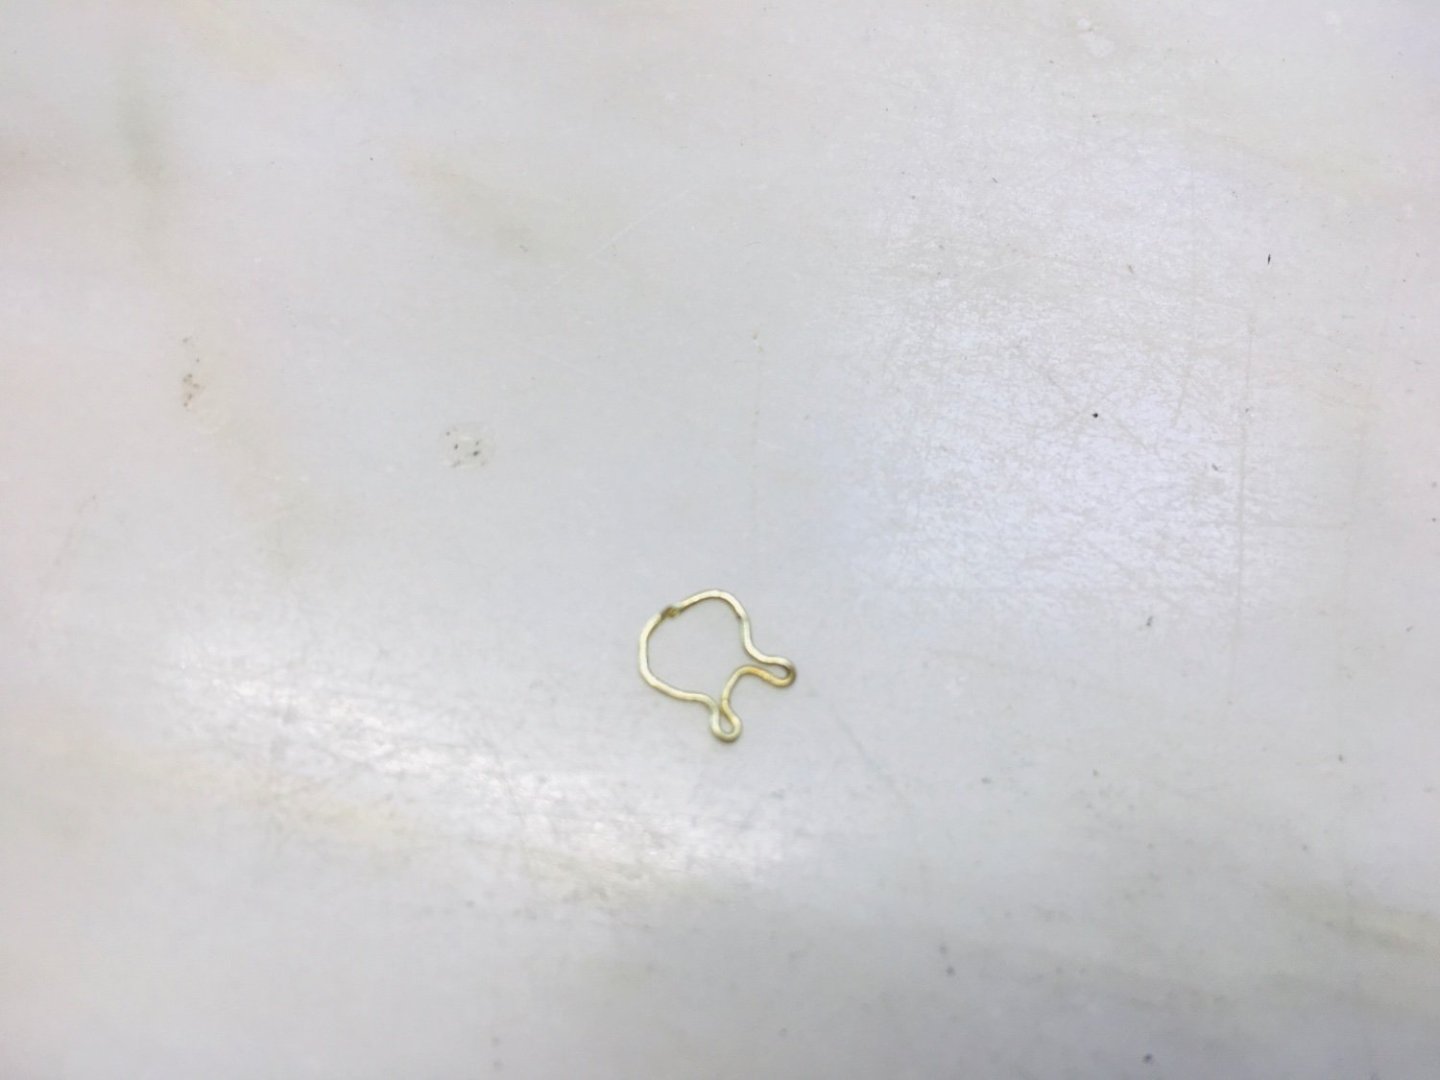
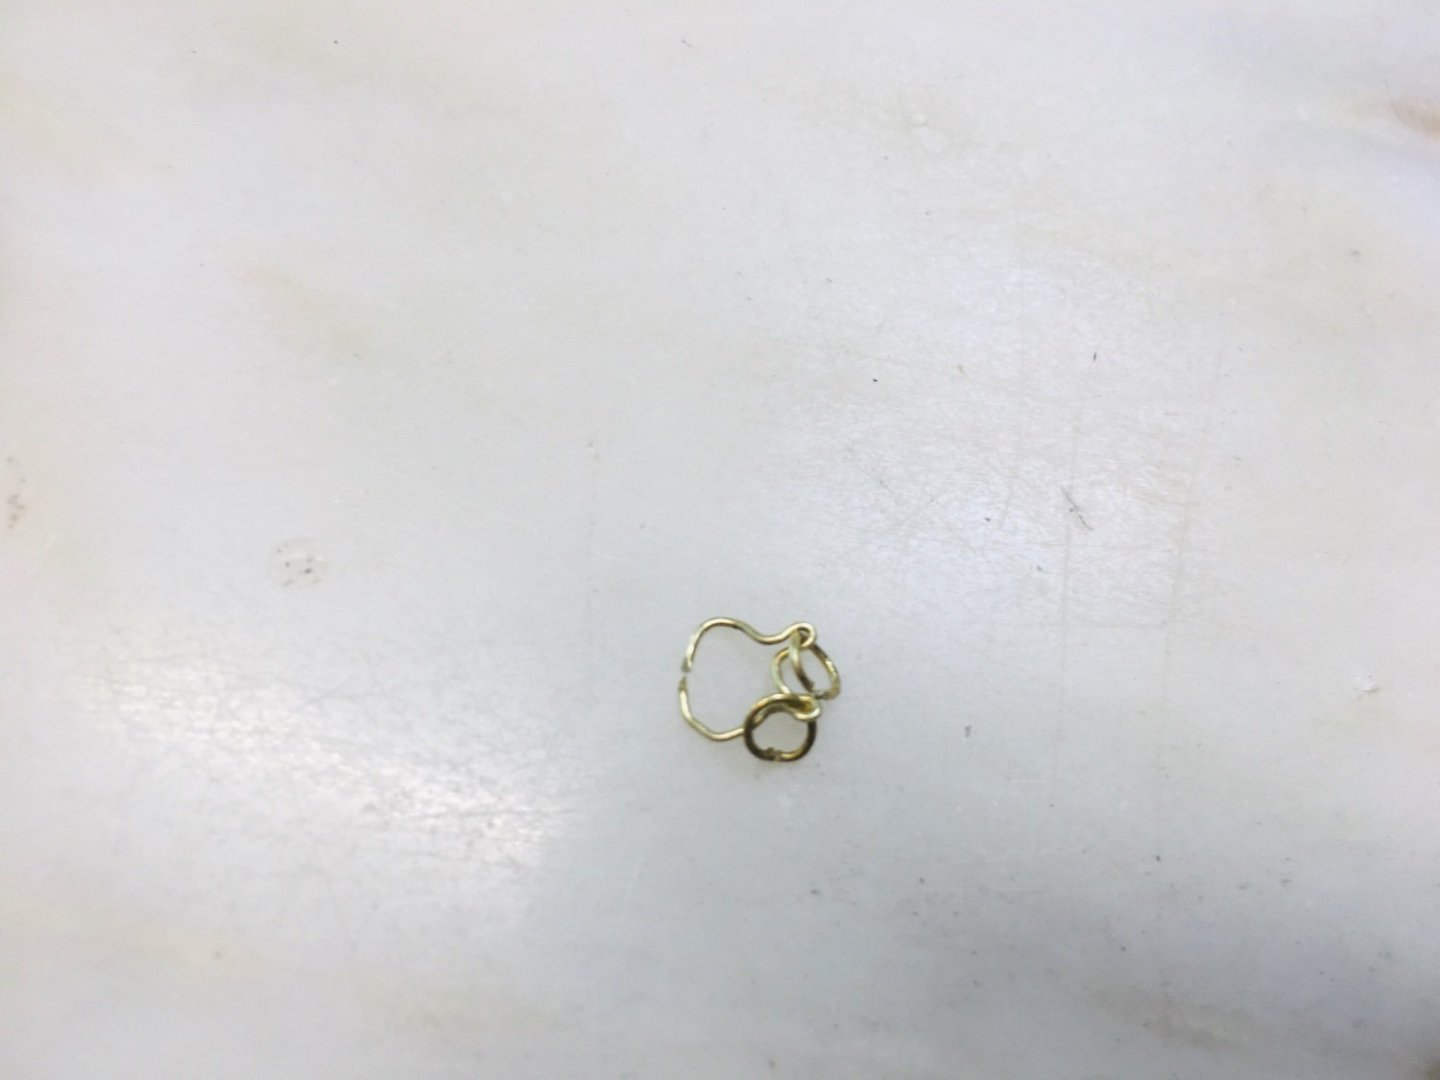
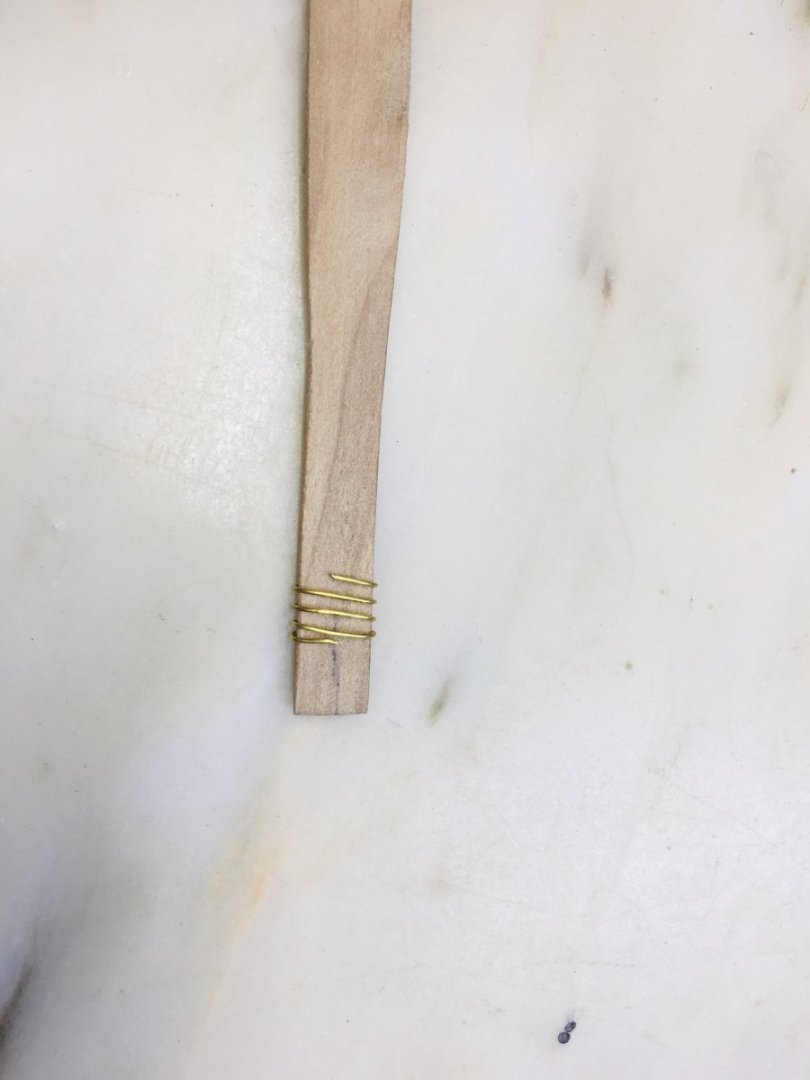
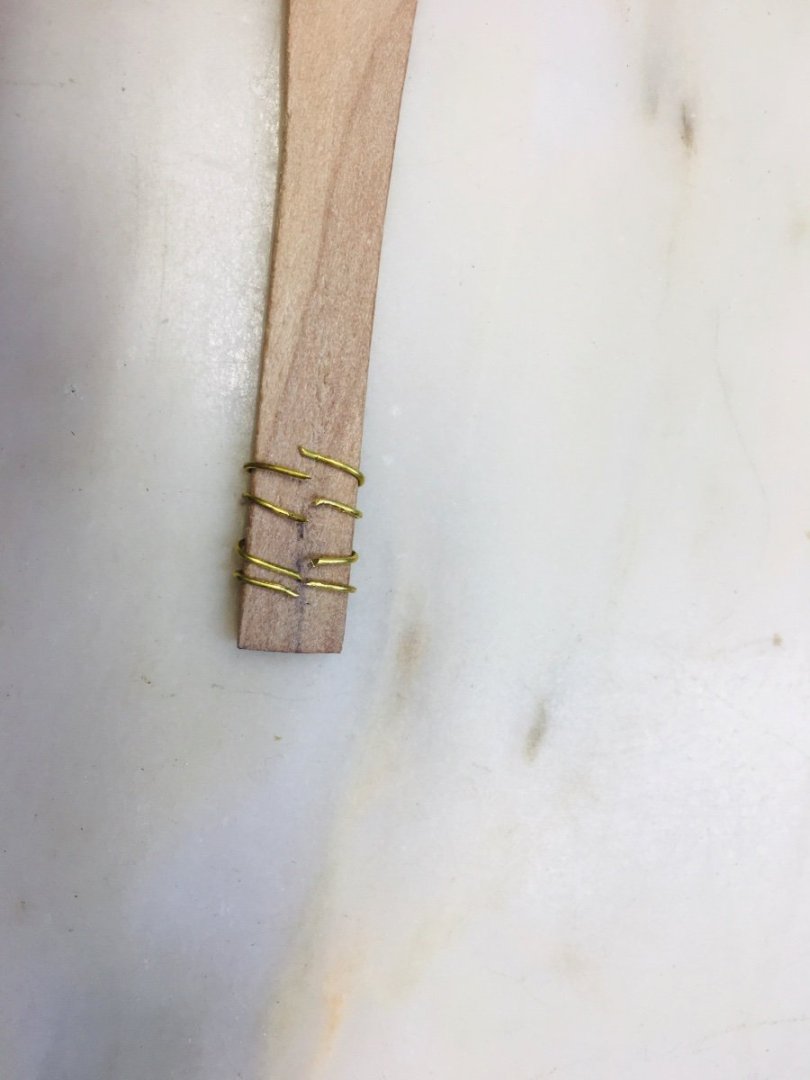
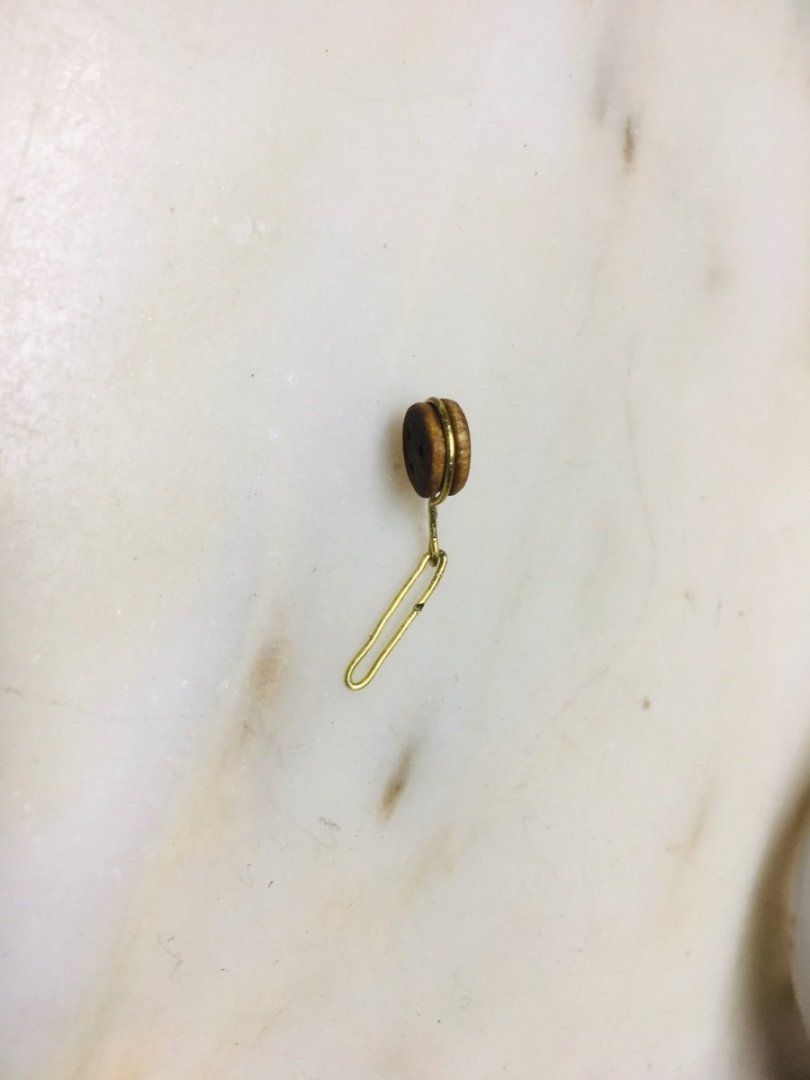
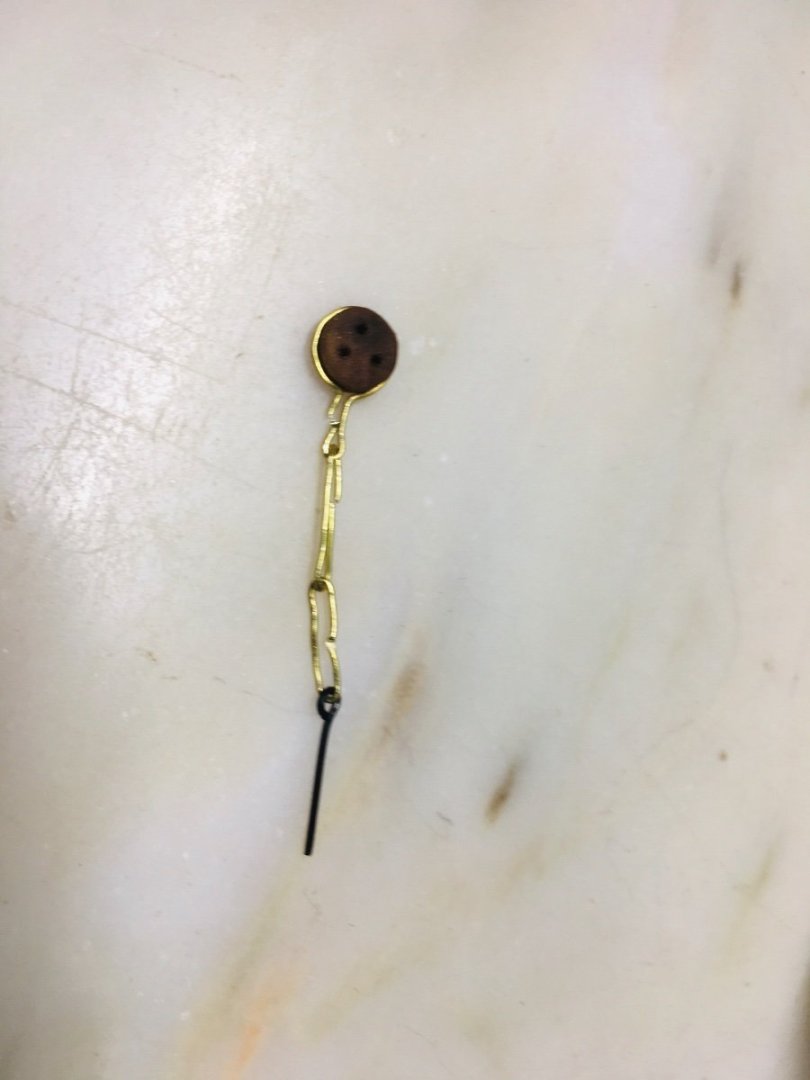
Work progressing on wrought iron cannons…the rings (and the attachment band to the barrel) used as handle (for transporting the lower removable part and the main cannon barrel) was devised with thin brass wire, formed around the thinner carbon/aluminum composite bow shaft (slightly modified to hold 2 small rings on each side). For some reason, this particular work is progressing quite slowly with limited results (also quite painful on finger). I am not sure if I want to apply 3 sets per barrel for all wrought iron cannons. I will see how the cannons look with and without them and decide later. In the meantime, I would appreciate and be grateful for any suggestions for alternative approach on this particular work stream (limitation : I just have hand tools and a few small electric tools at my disposal). The overall look with a test wheel looks OK~


-
Hi GrandpaPhil~ Thanks very much for your compliment! Your method of using tooth picks and paper bands also look nice and original.
-
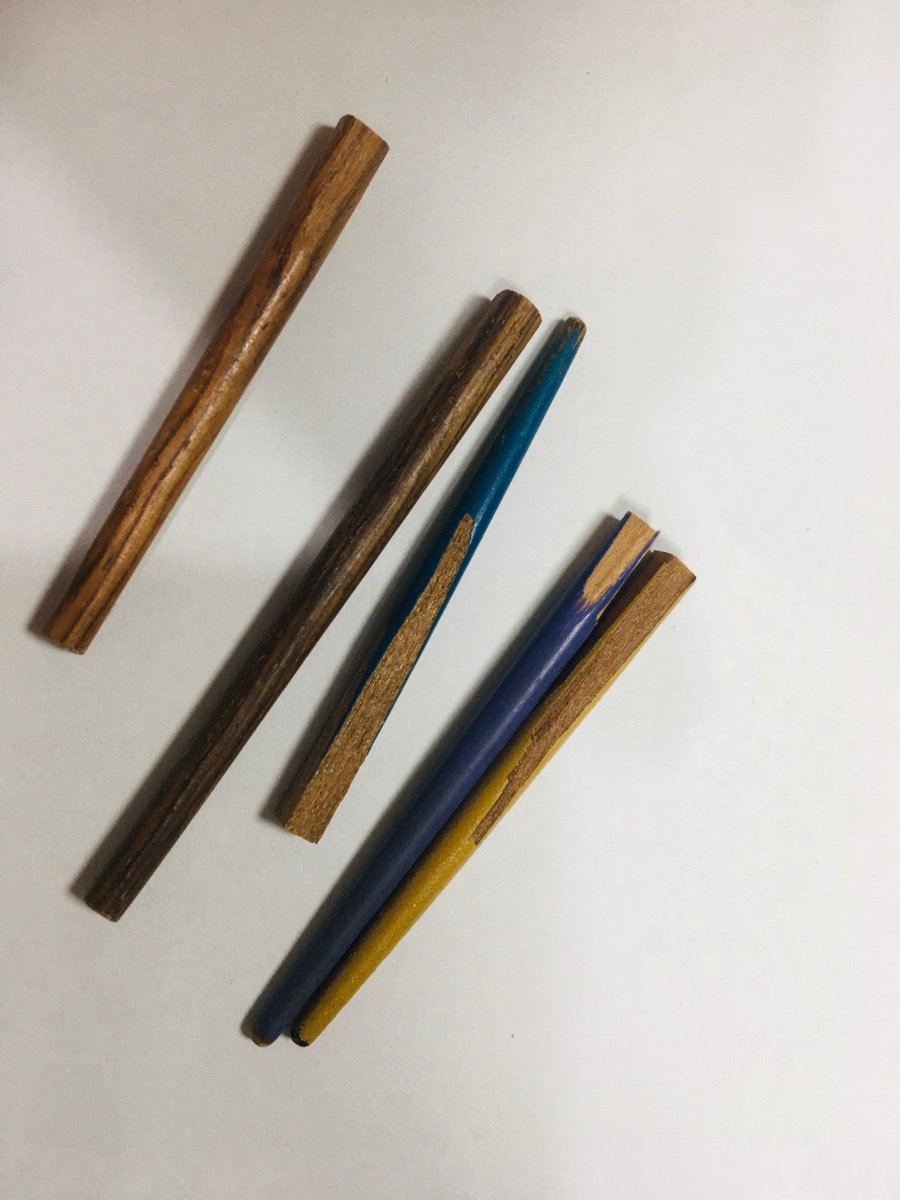
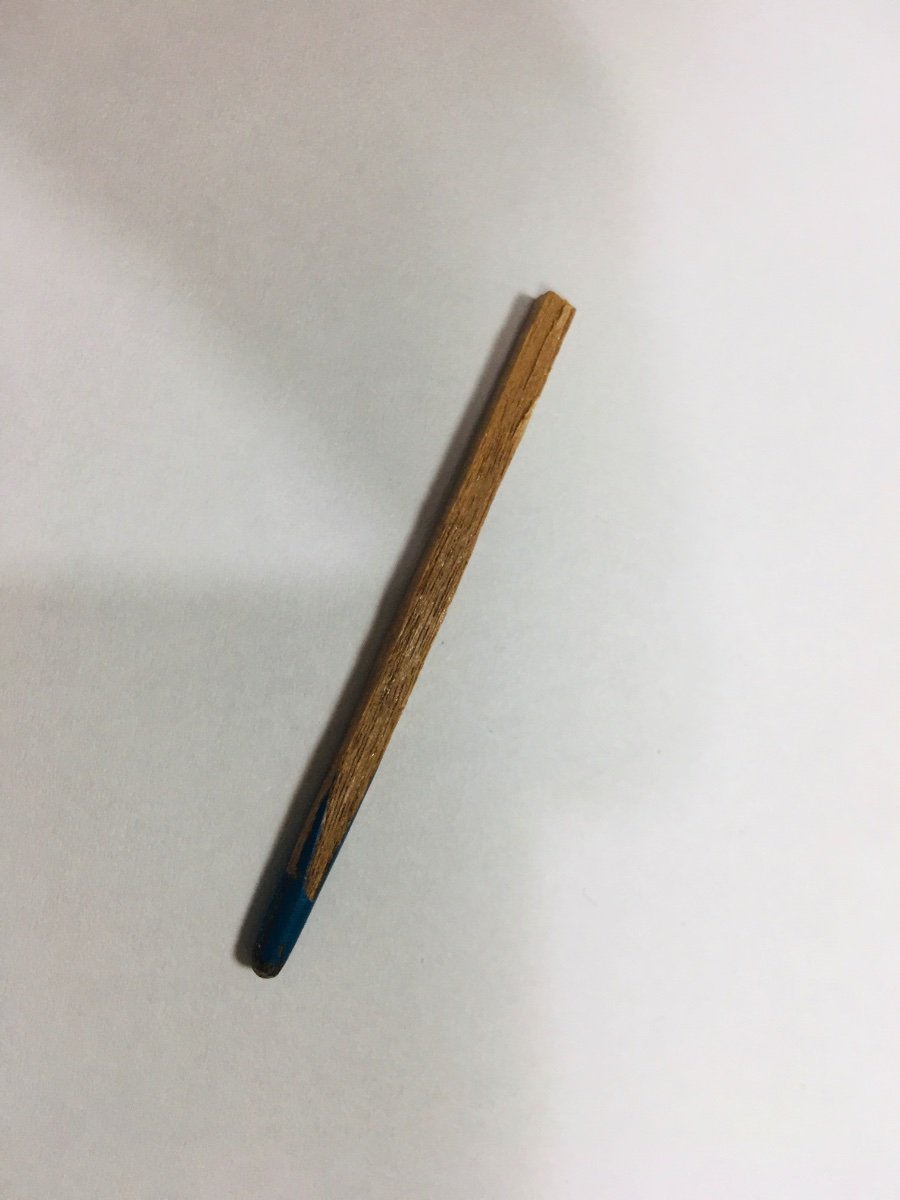
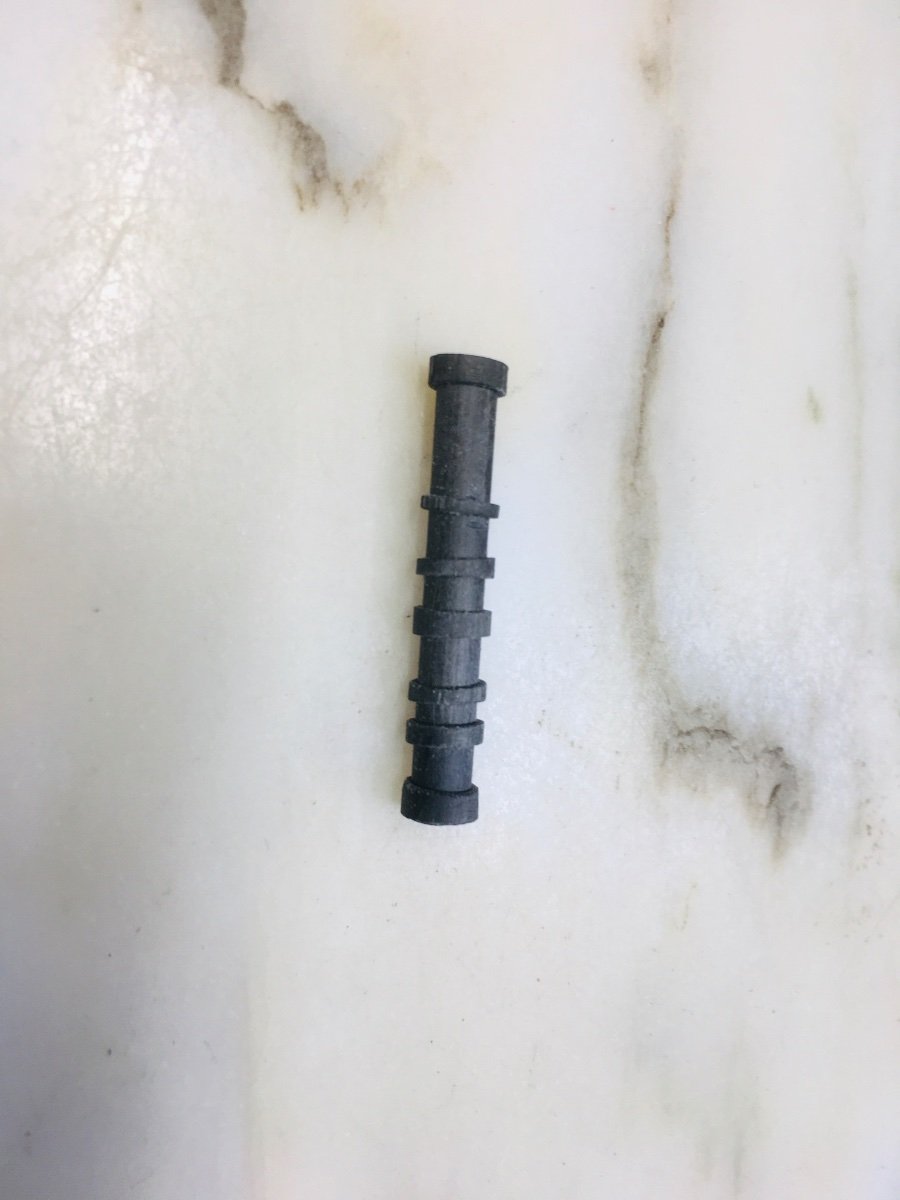
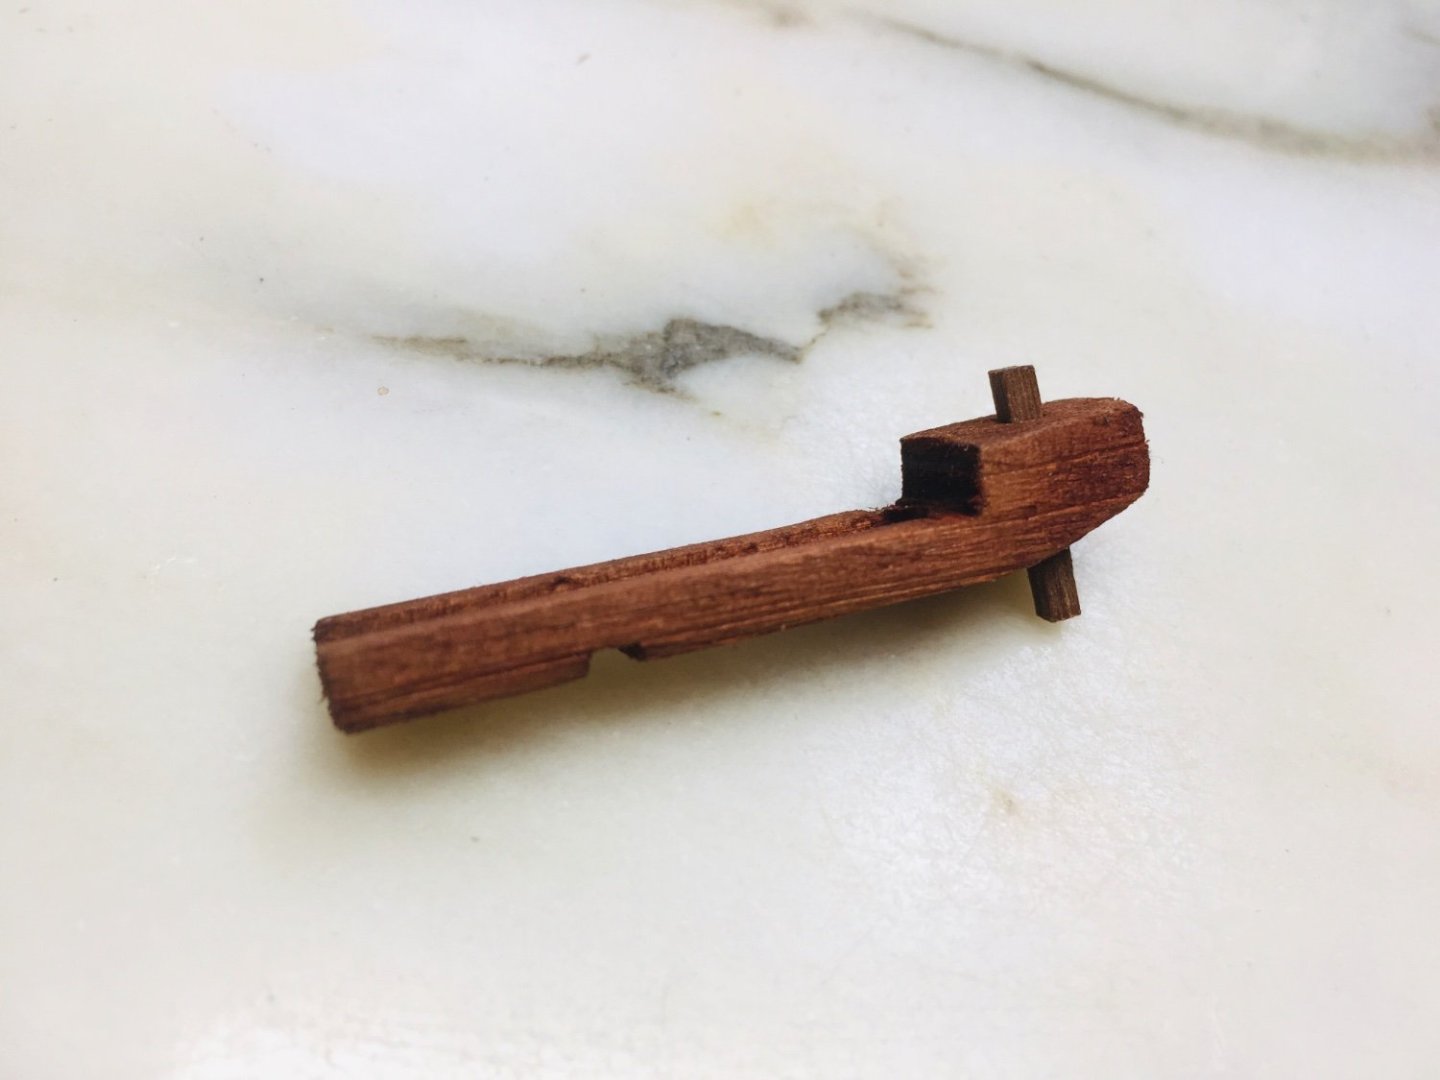
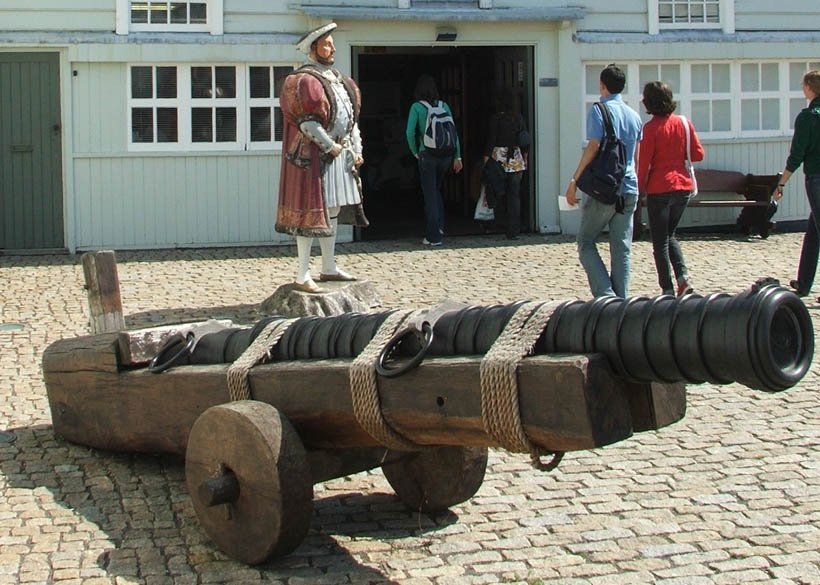
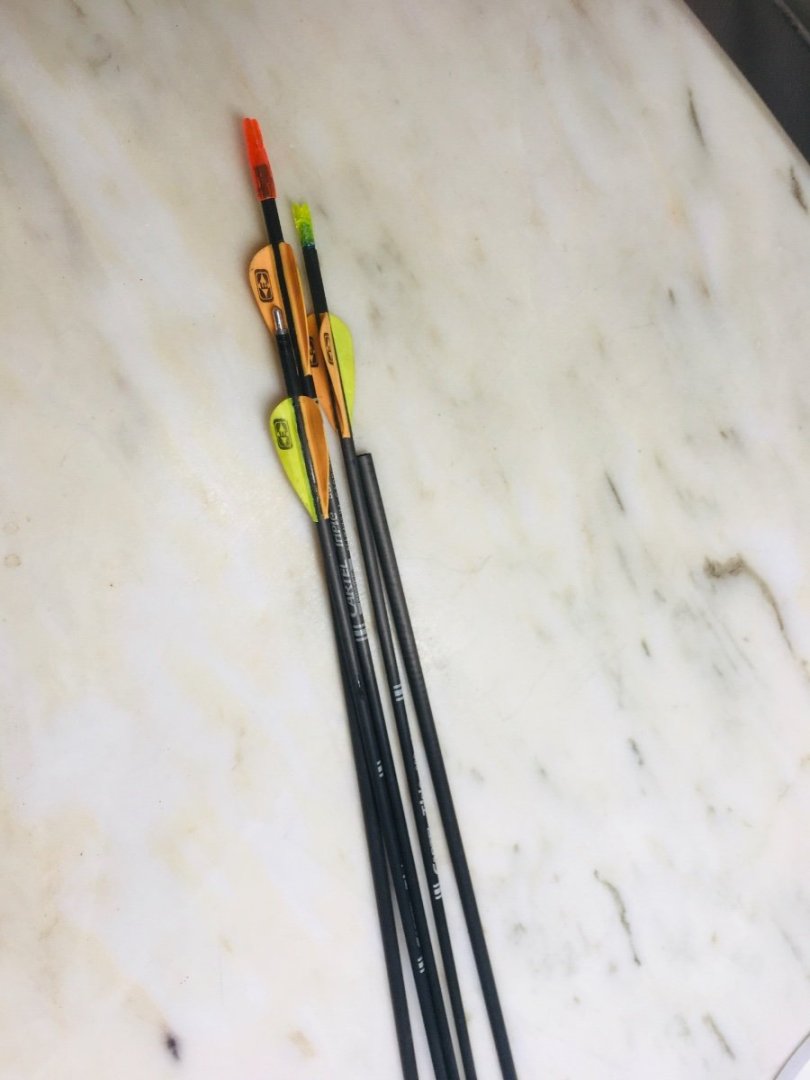
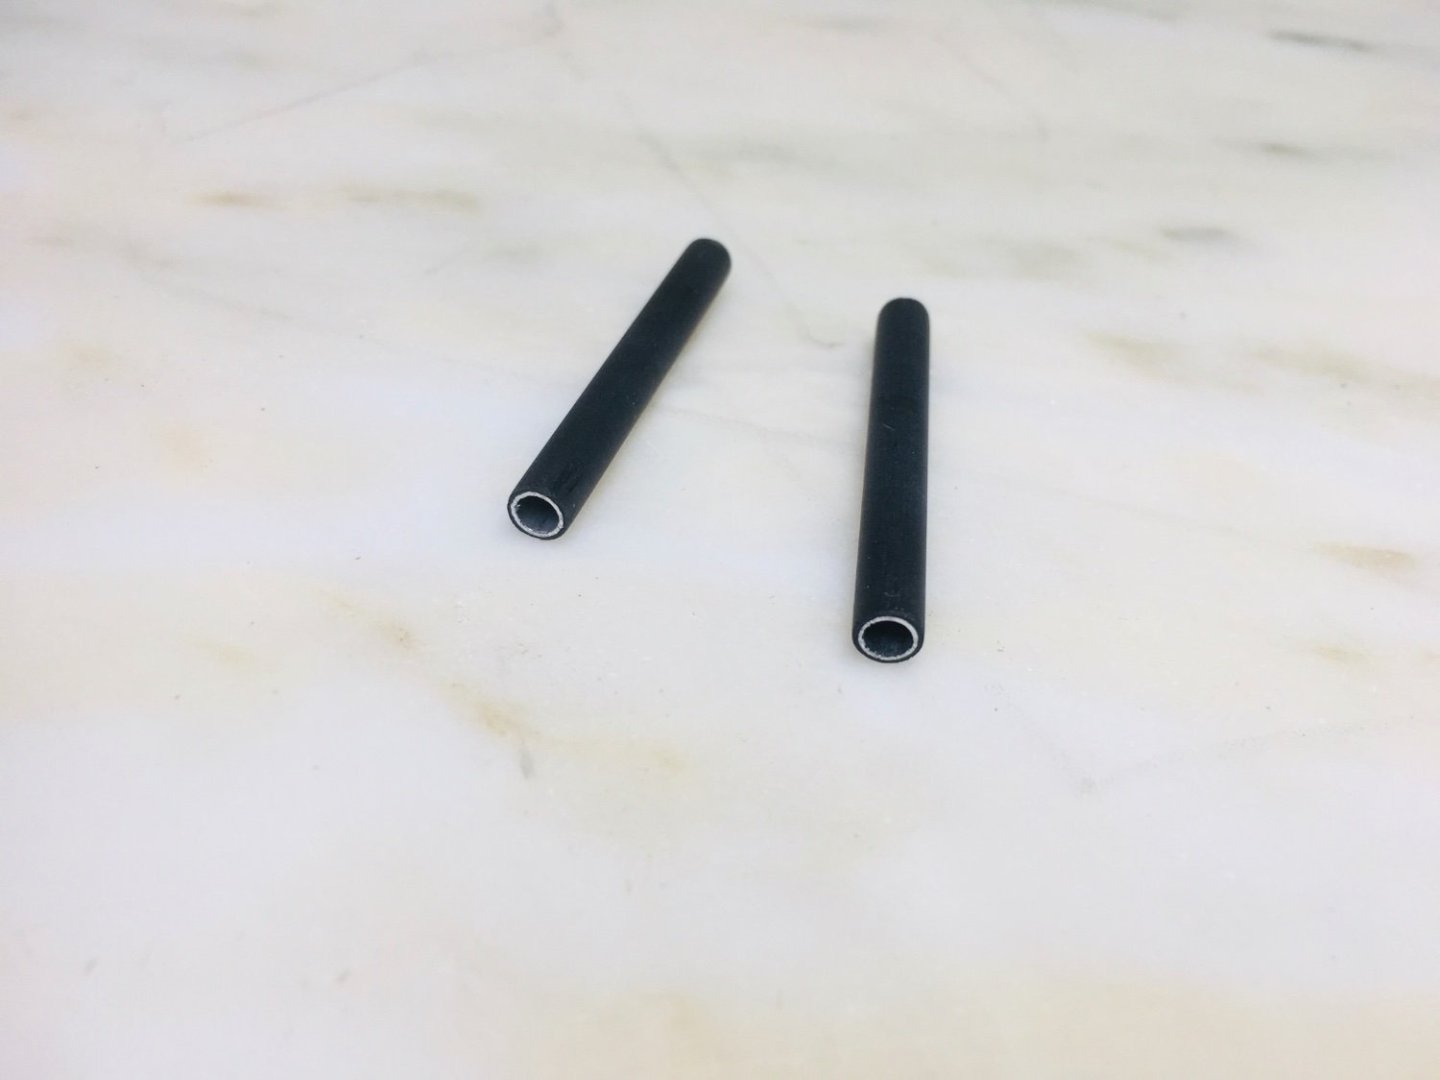
Now on to building cannons~! I have given much thought on what type of cannon to apply on my GH. After much consideration, I decided that wrought iron cannons (the likes of which were found on Mary Rose) should be the main guns to be placed on the weather deck. I have referenced various sources and decided to benchmark the below design. I have contemplated about various materials and methods of making the gun barrel. And finally, I decided to use decommissioned carbon/aluminum arrow shaft and carbon arrow shaft ( yes, I know it sounds weird… but olympic archery and Kendo are some of my other hobbies~). The above arrow shafts are hand picked for this task as they fall into the exact diameter specifications that I need for the right scale. First the smaller diameter (about 4mm) carbon/aluminum composite shaft are cut to 35mm and 39mm ( wanted to see which version would look better) Next step- the bigger diameter carbon arrow shaft is cut into about 1.5mm length and then put over the smaller diameter carbon/aluminum shaft as below. The above first prototype is based on 35mm length barrel. I think I may need to go for 39mm length. On the cannon carriage, I decided to try a soft wood first. Initial design looks OK overall, but I will definitely go for longer barrel. Also, more refinements are needed.


-
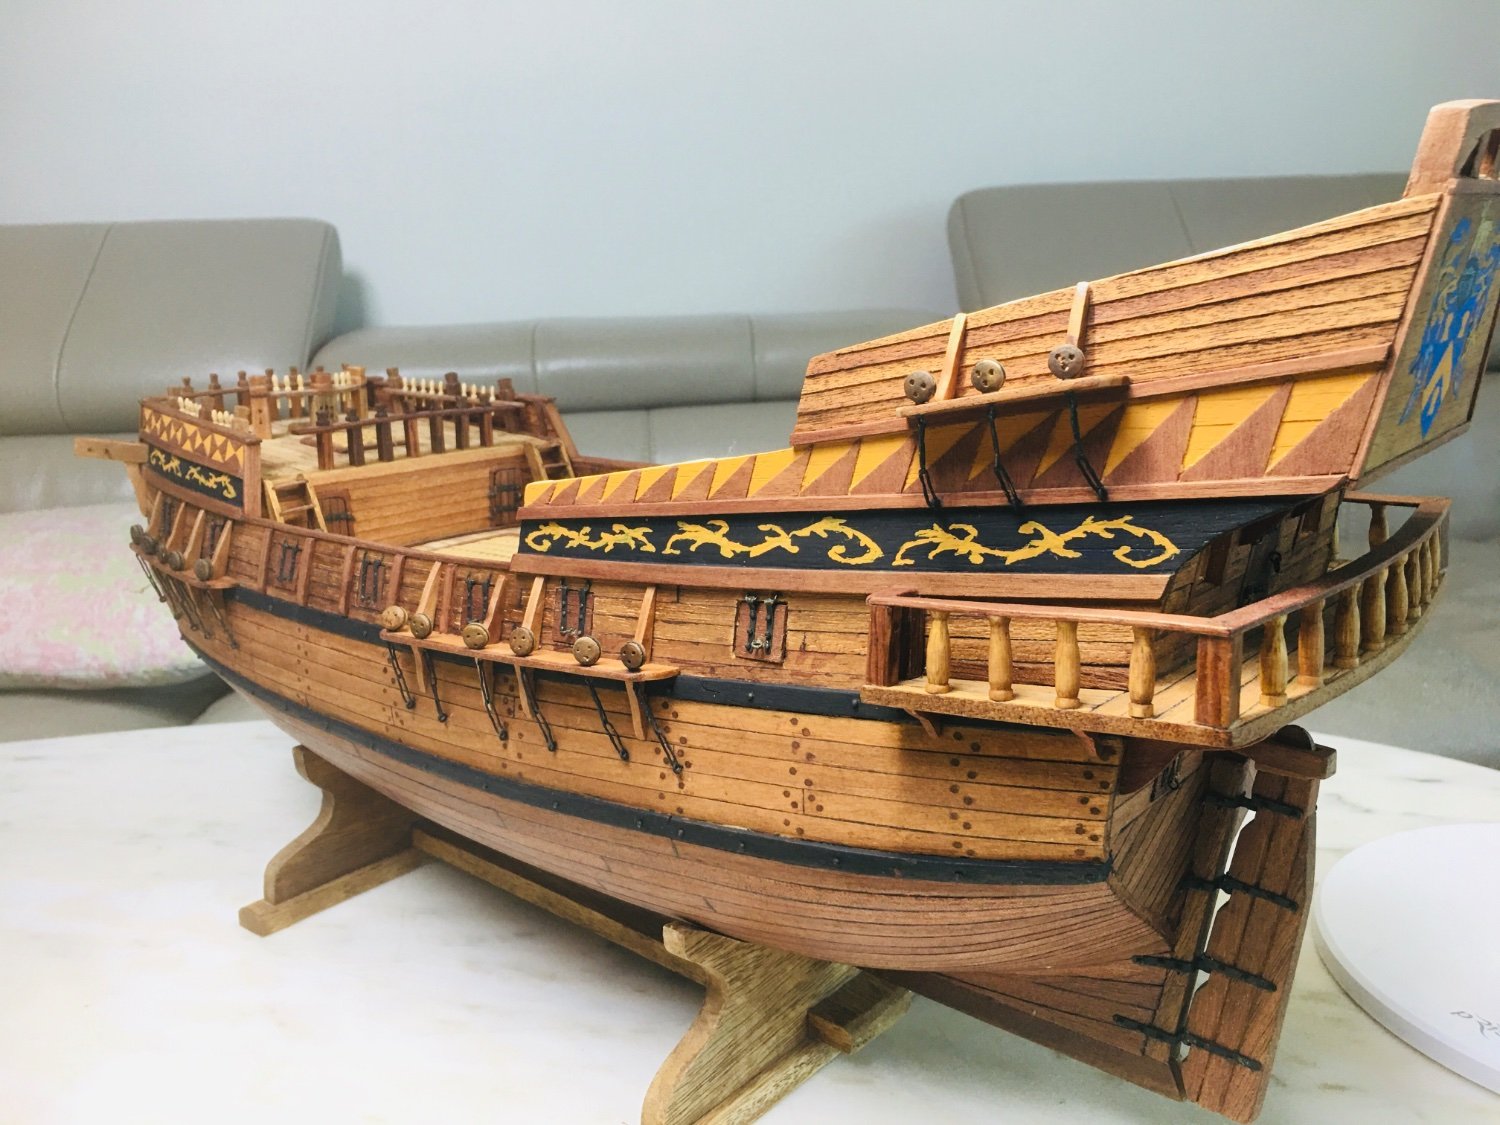
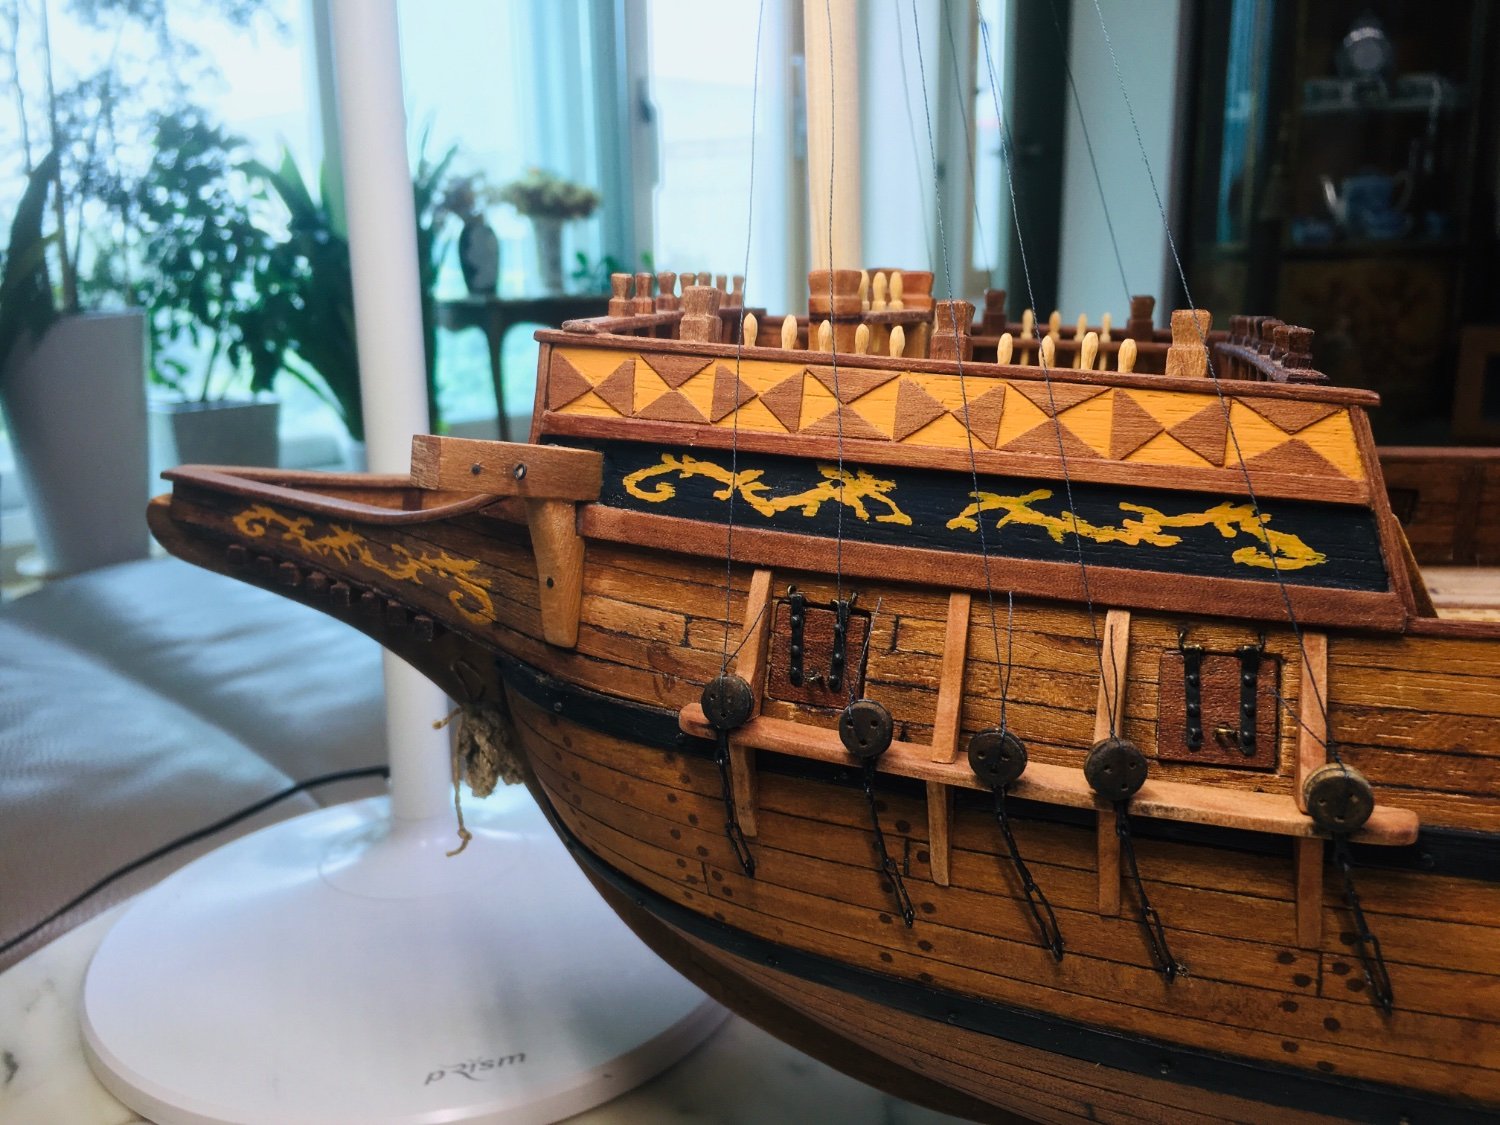
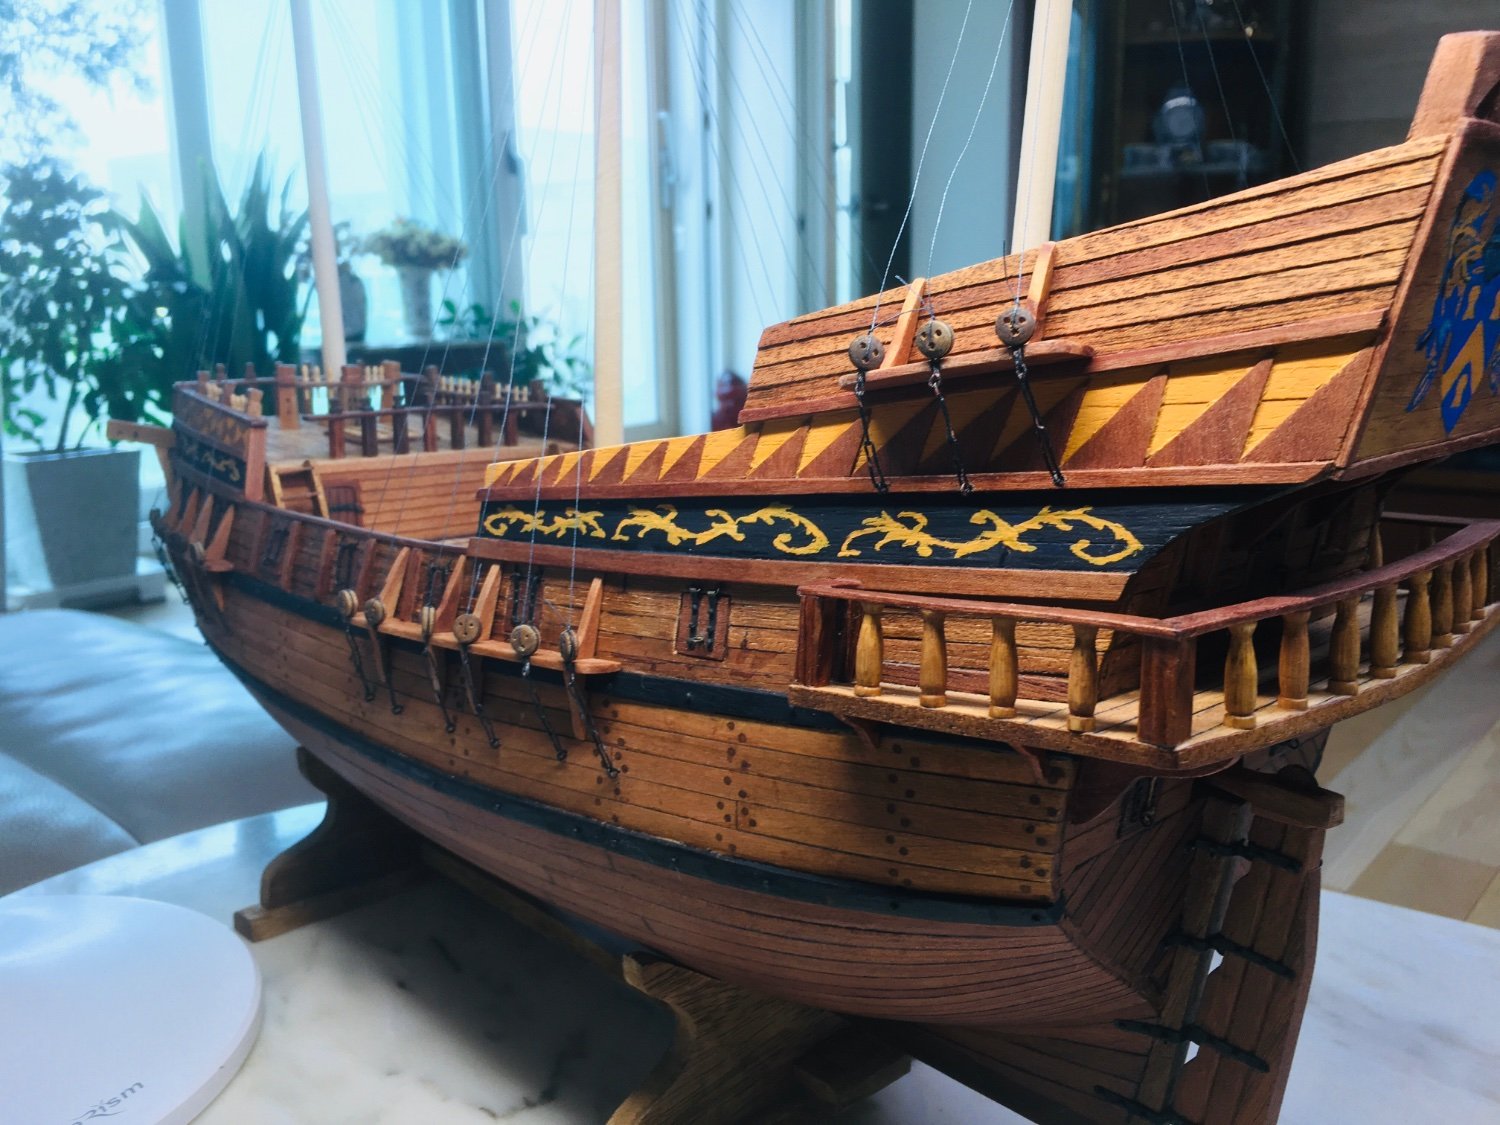
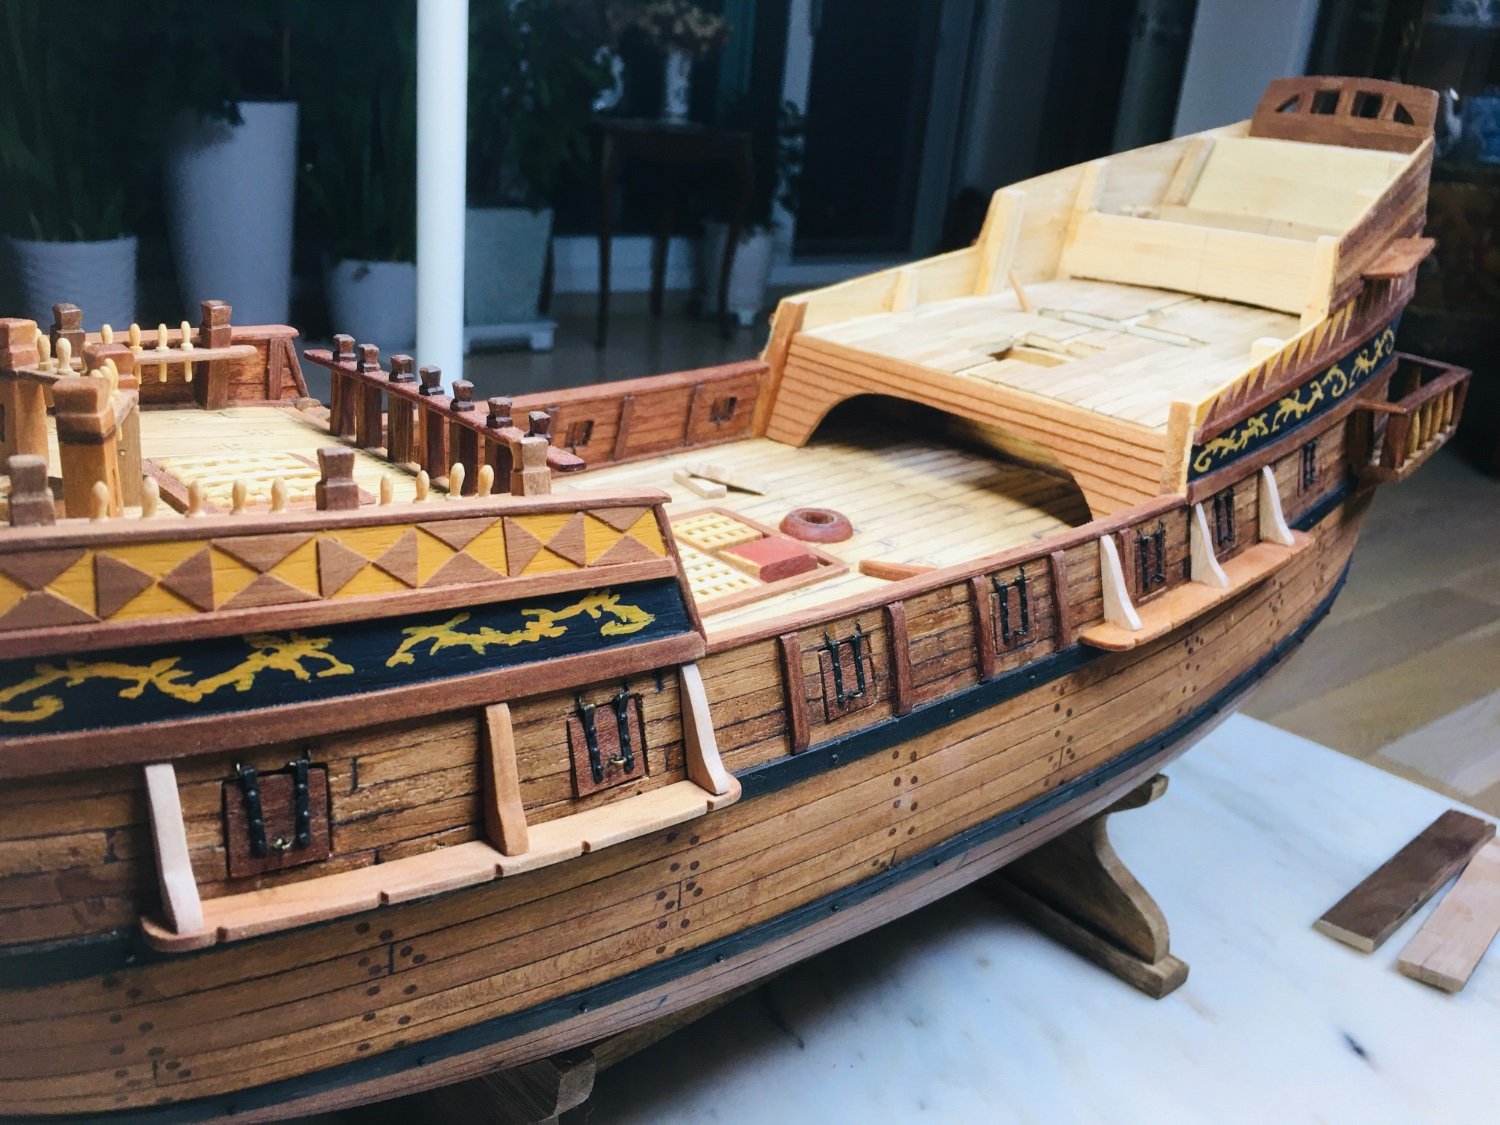
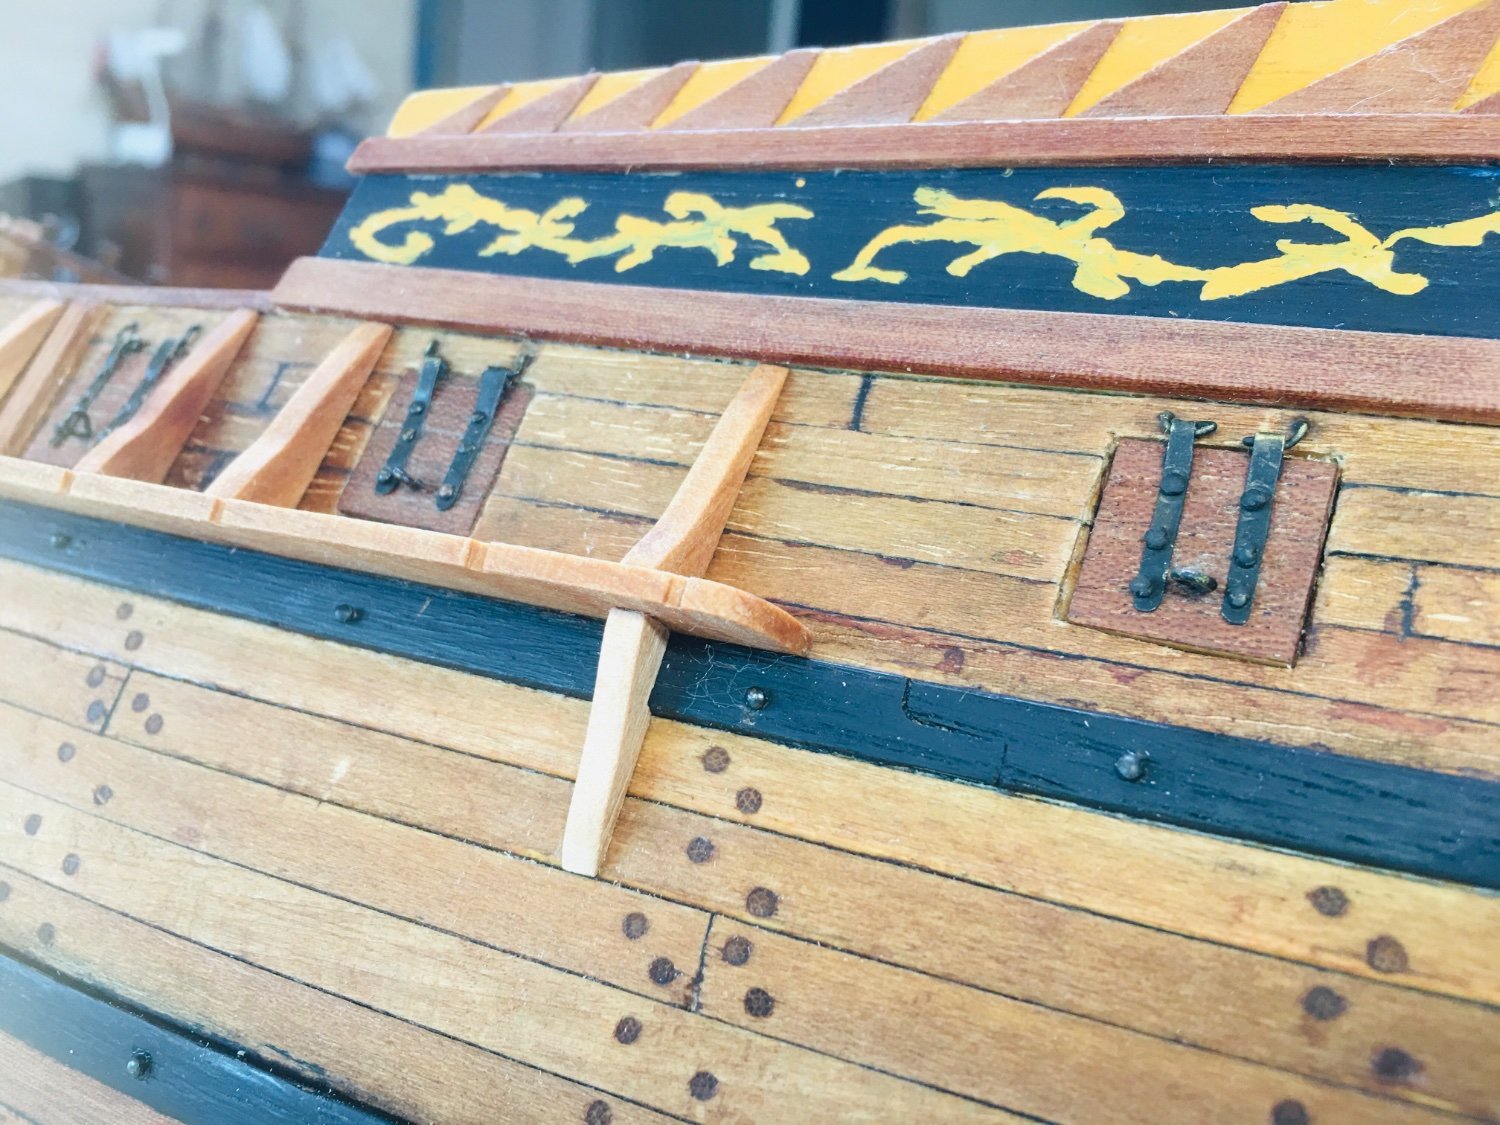
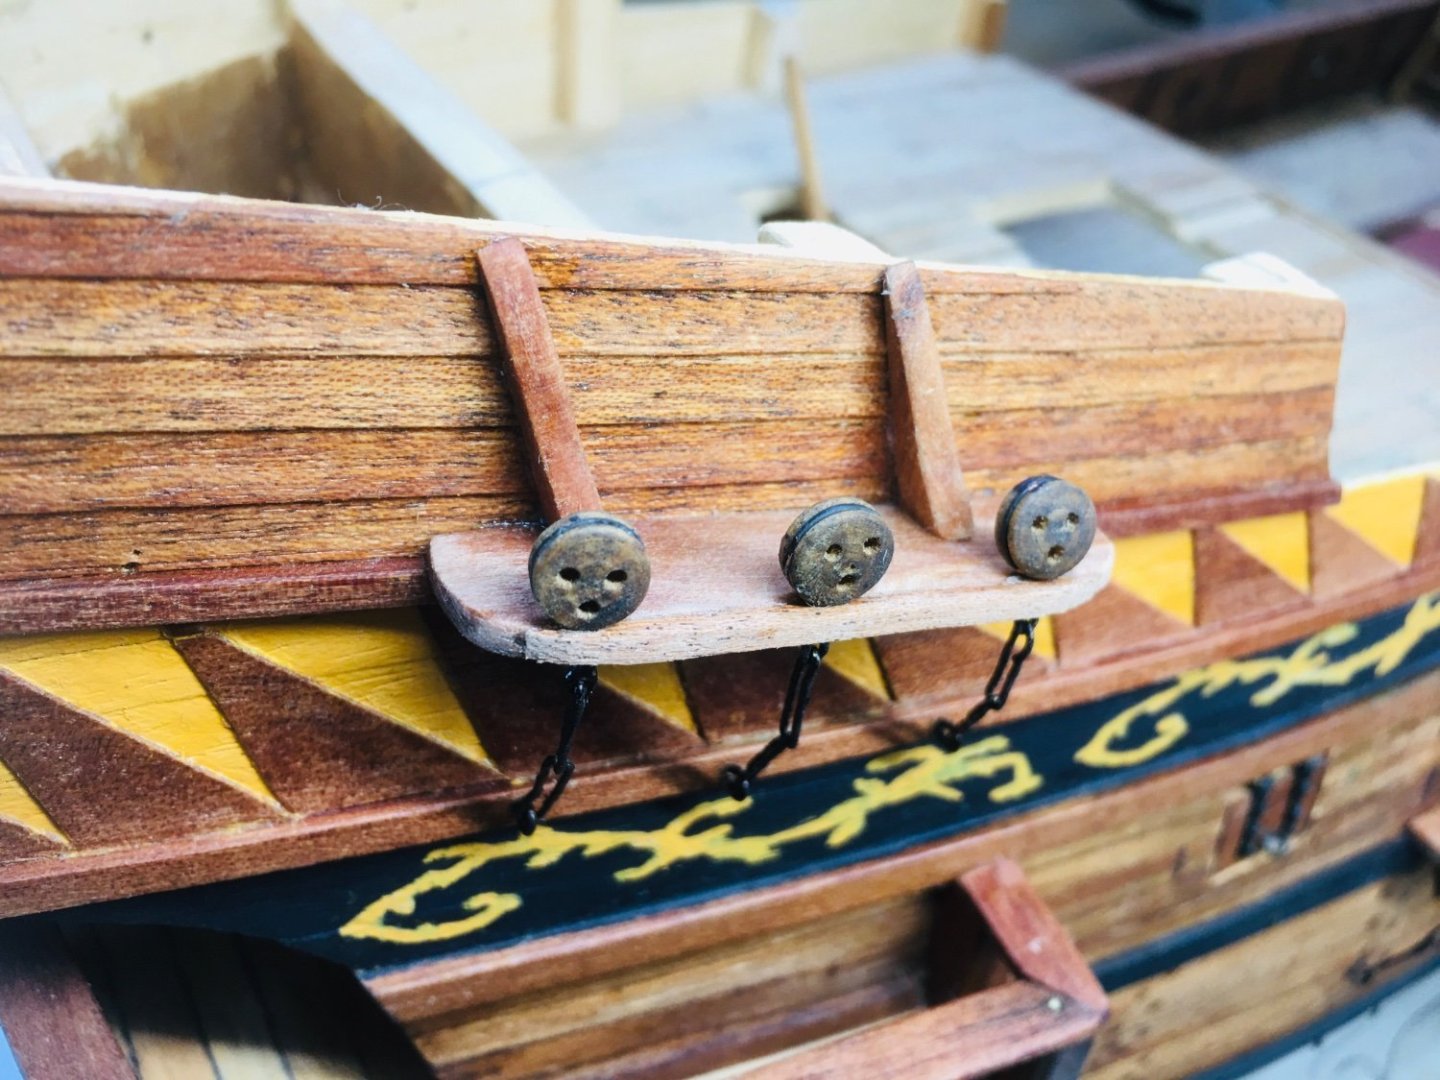
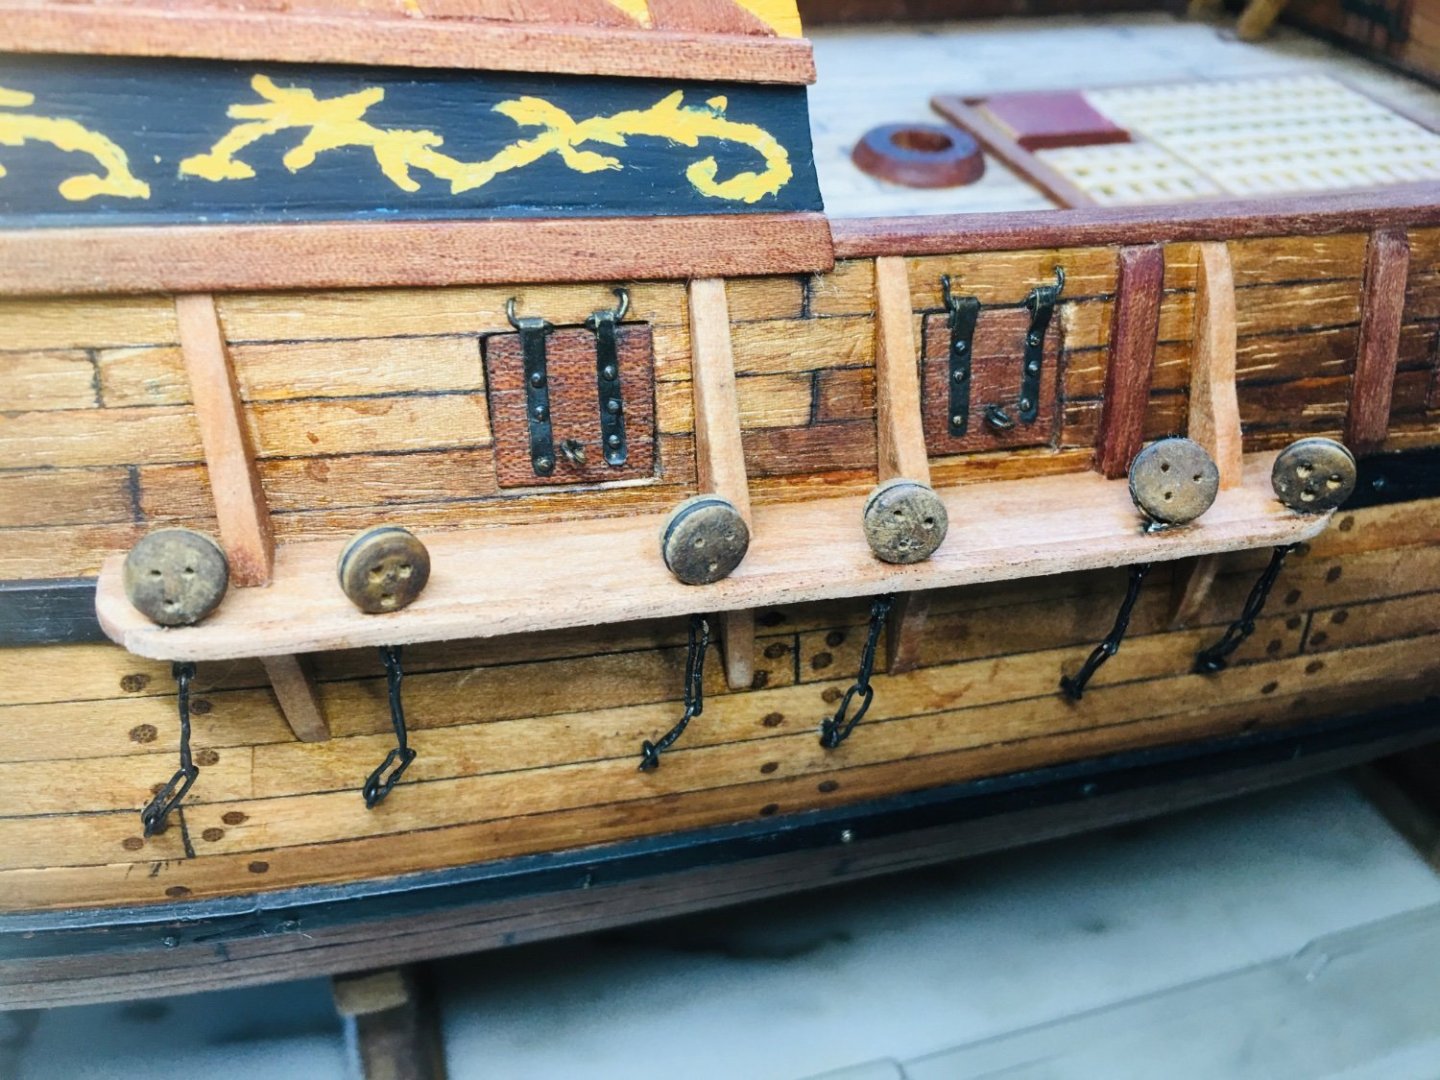
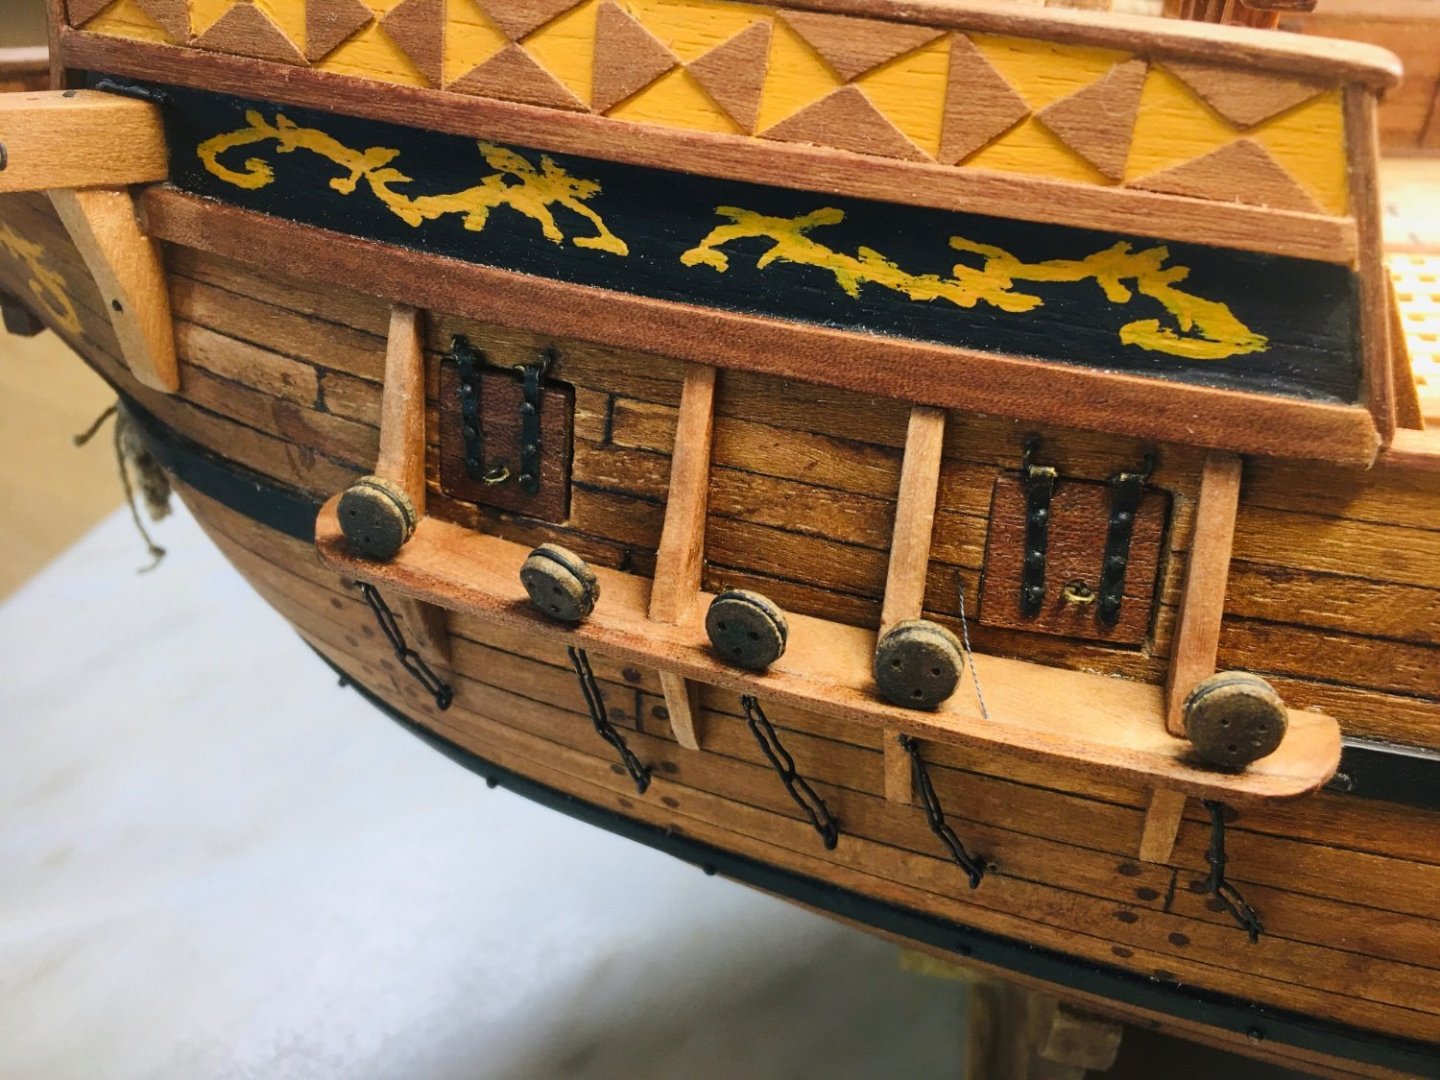
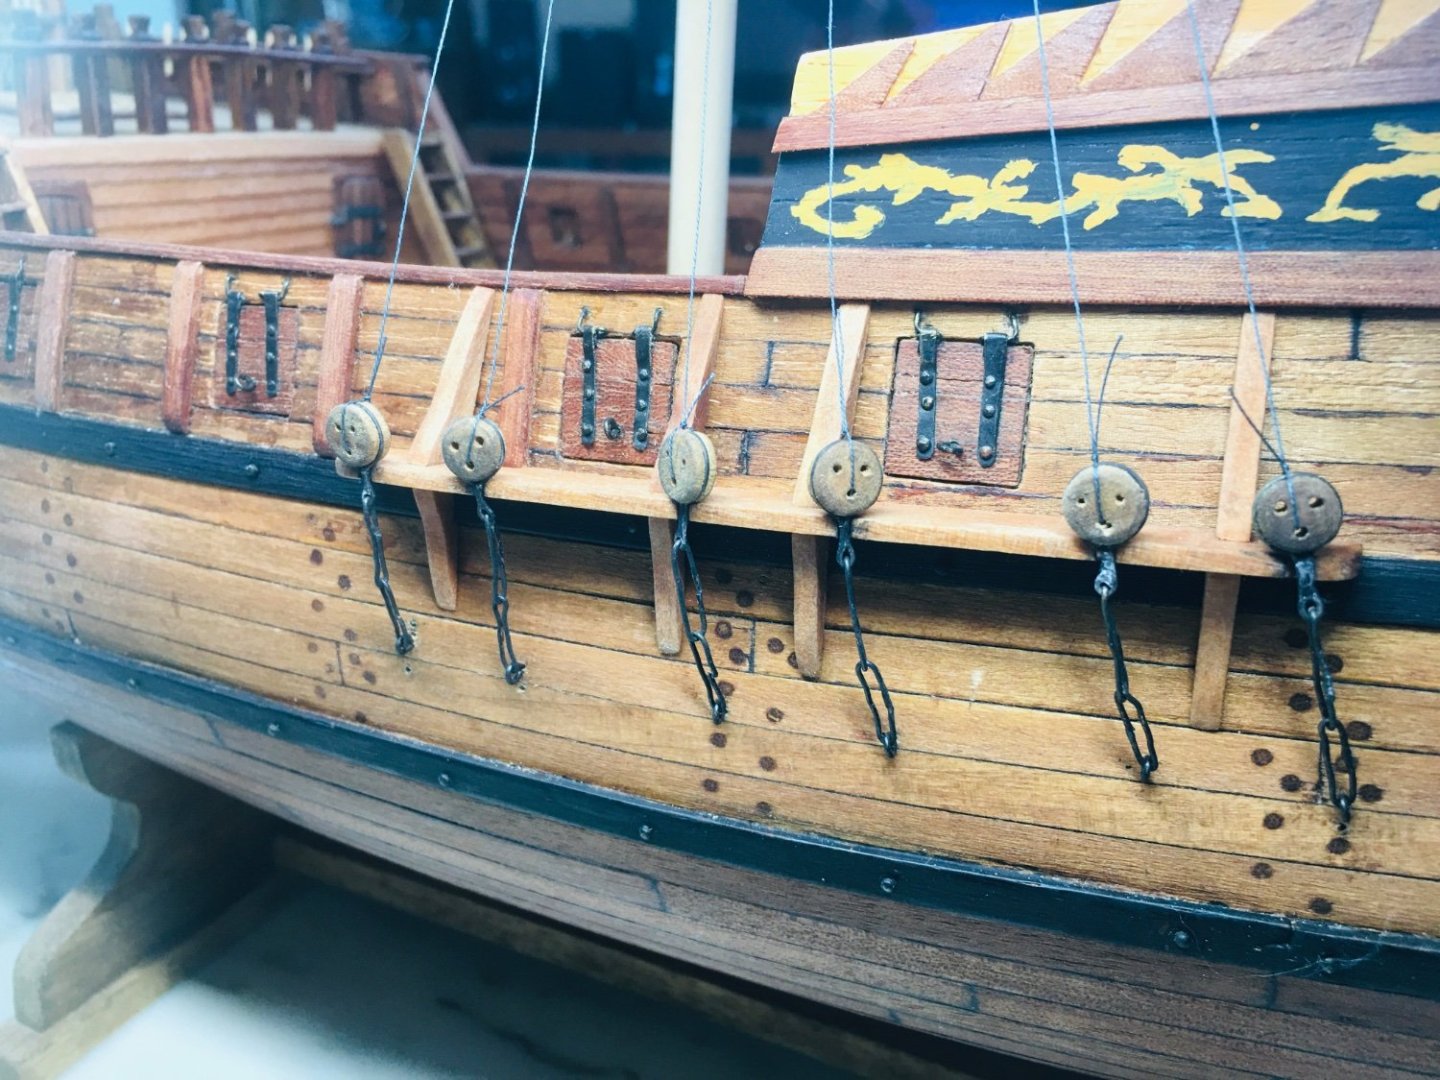
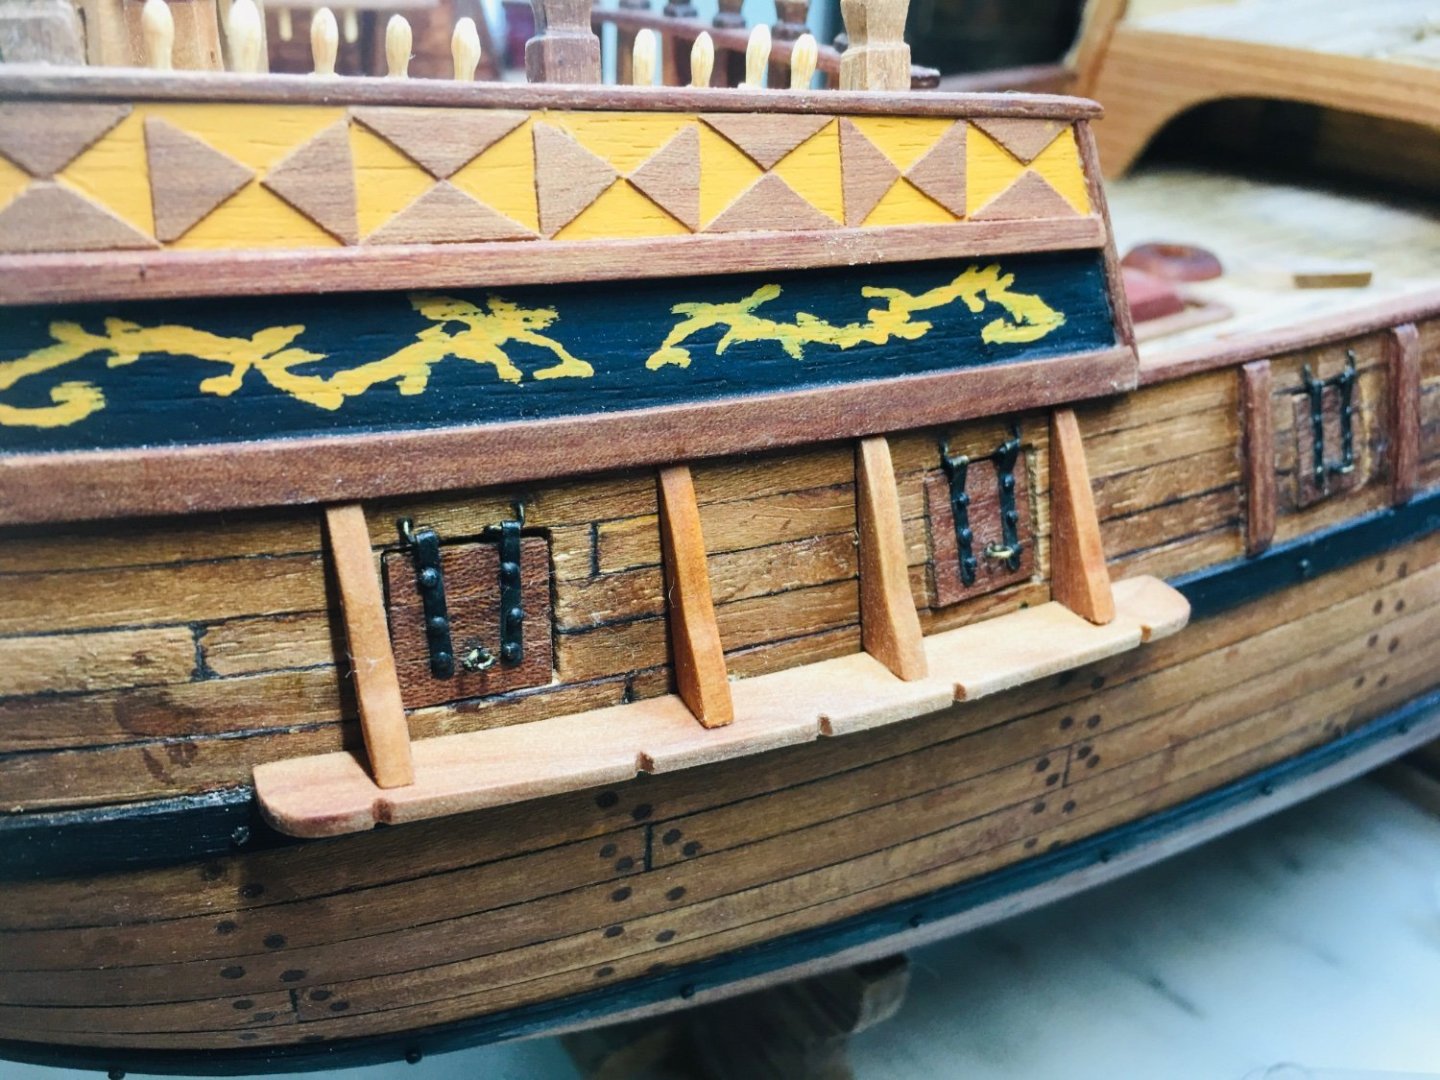
Hello all~ The work on channels are finished with the dead eyes secured in place through additional thin strip applied on the outer edge of the channel. All fixtures glued and fixed in place.


-
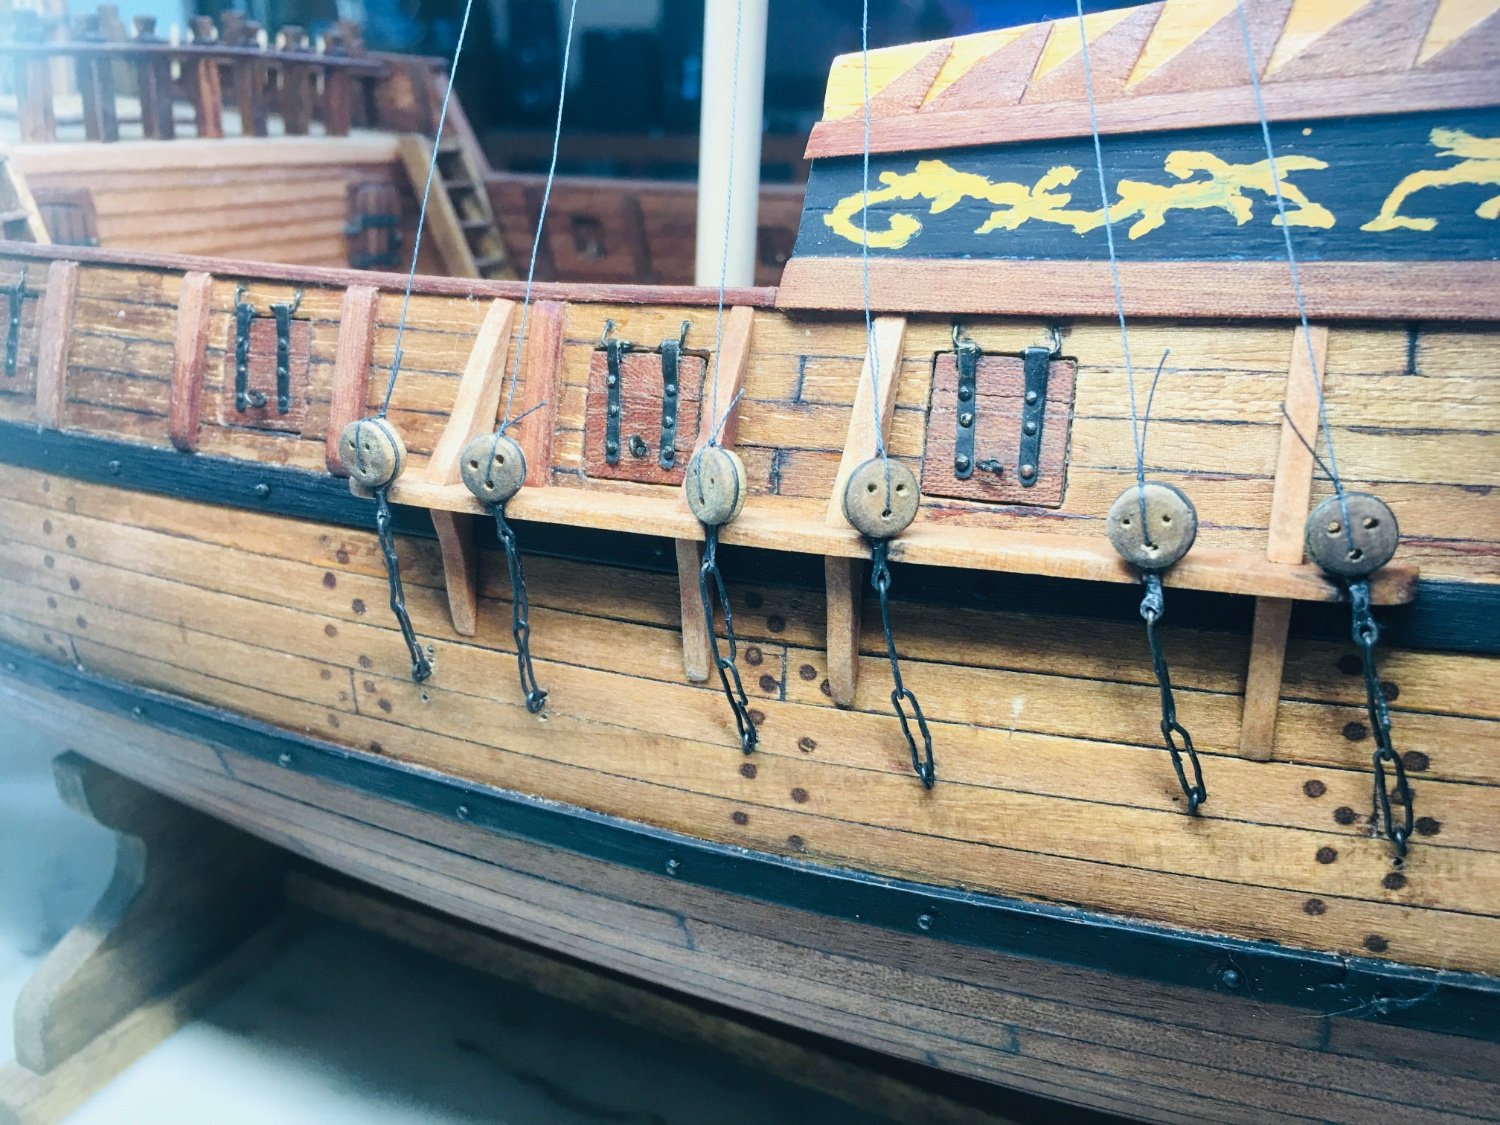
Hi Patrick~ Thanks very much for your kind words! As a matter of fact, I am (and my GH1 & GH2) big beneficiary of your Pelican build log and the extensive research you have carried out during your build. You probably noticed that the chains I applied to my GH1 is based (and benchmarking) on one of your research materials. Once again, many thanks for your contribution to MSW and fellow modelers!! Rock
-
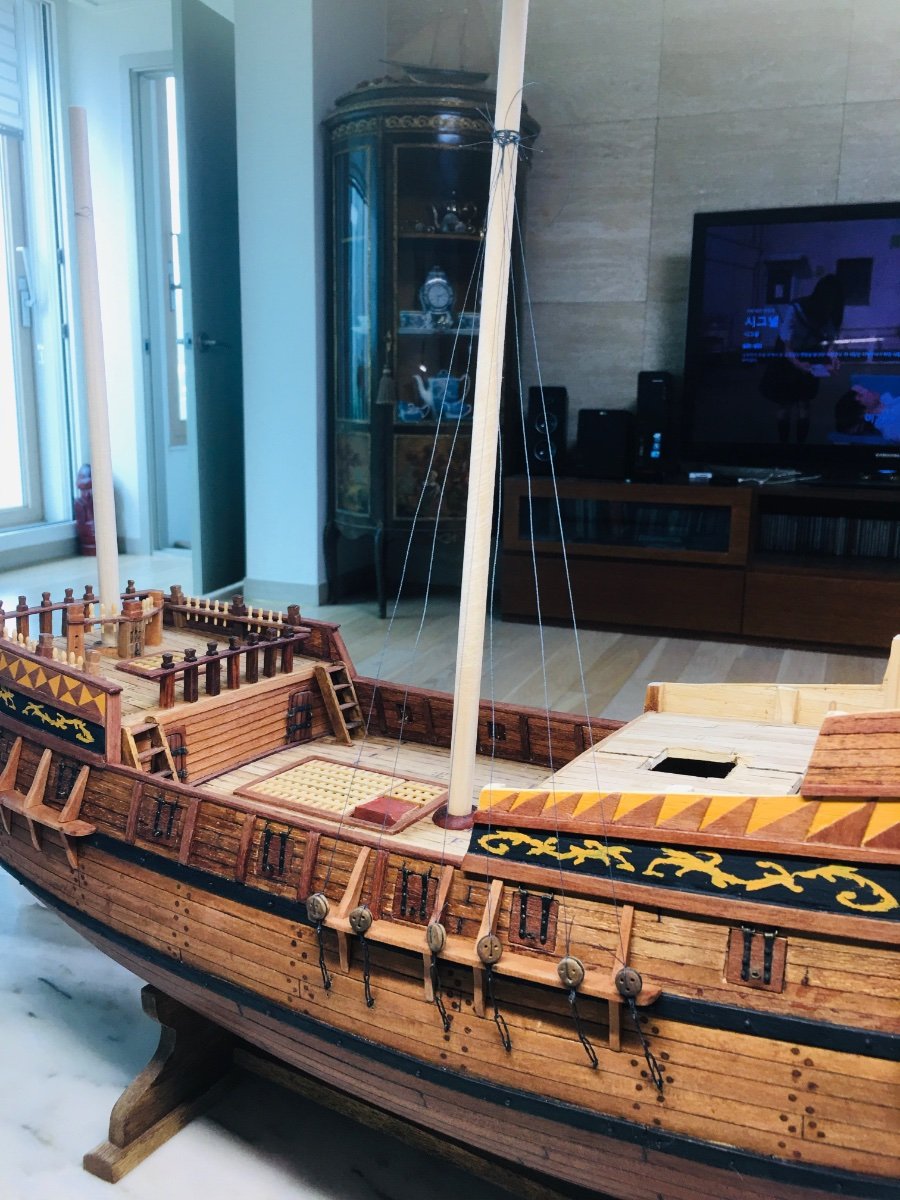
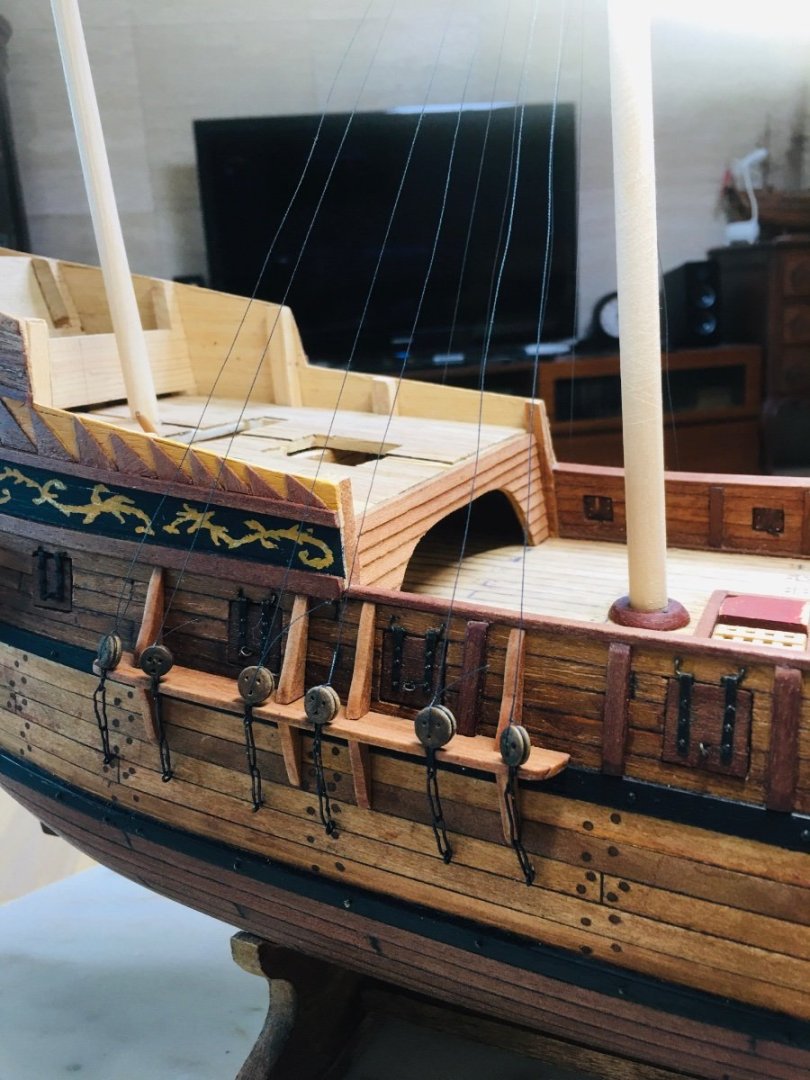
Positioning the deadeye chain plates required ad hoc rigging to each masts as the angles of the chain plate fixing point on the hull need to be aligned with the rigging itself.


-
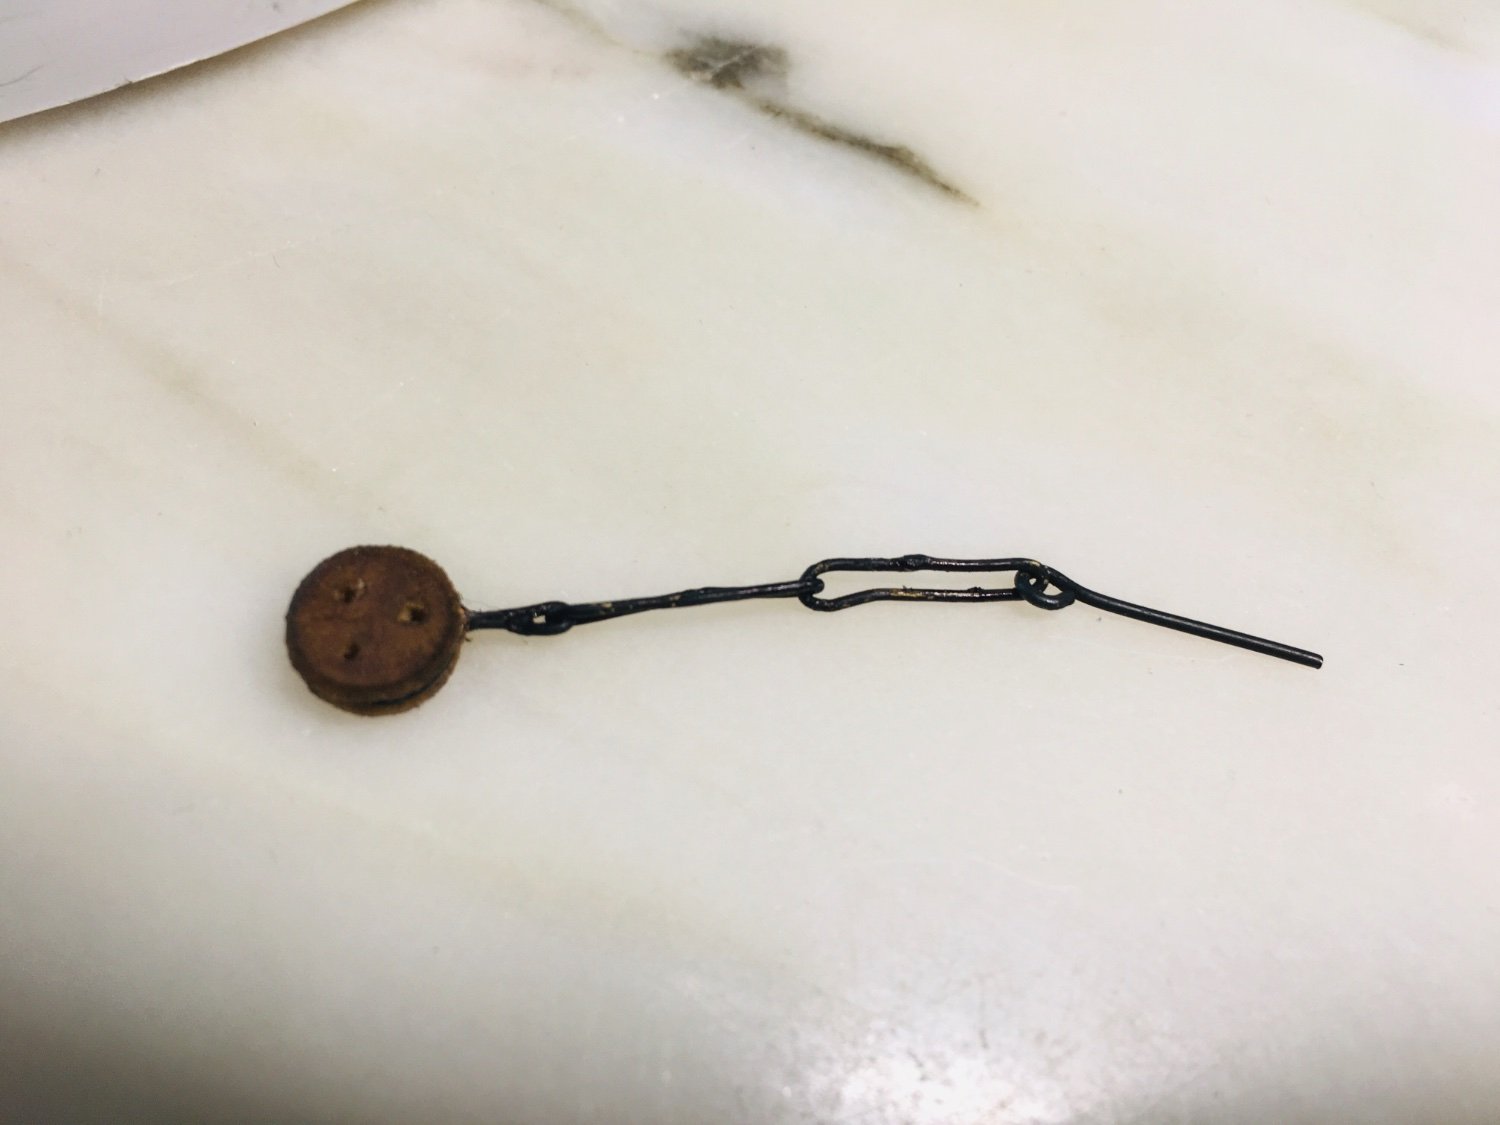
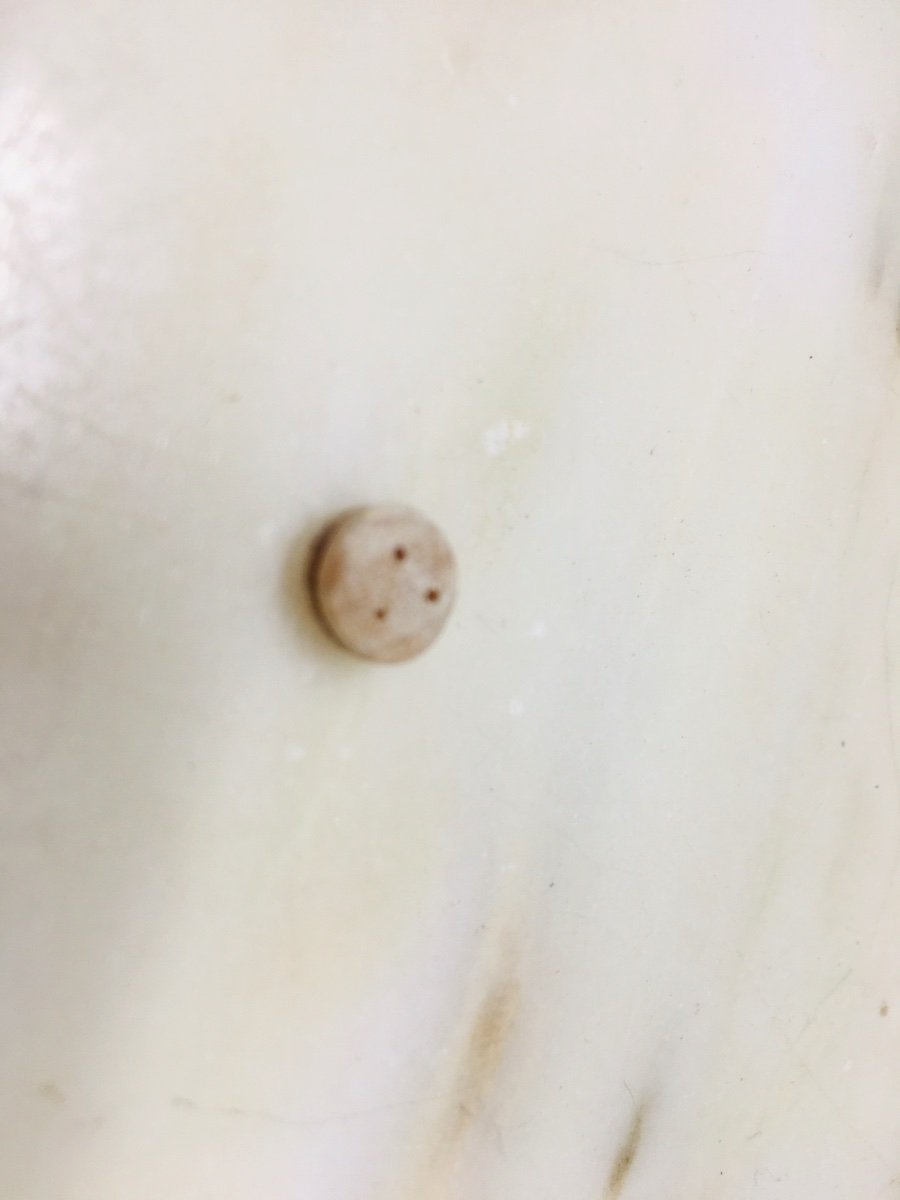
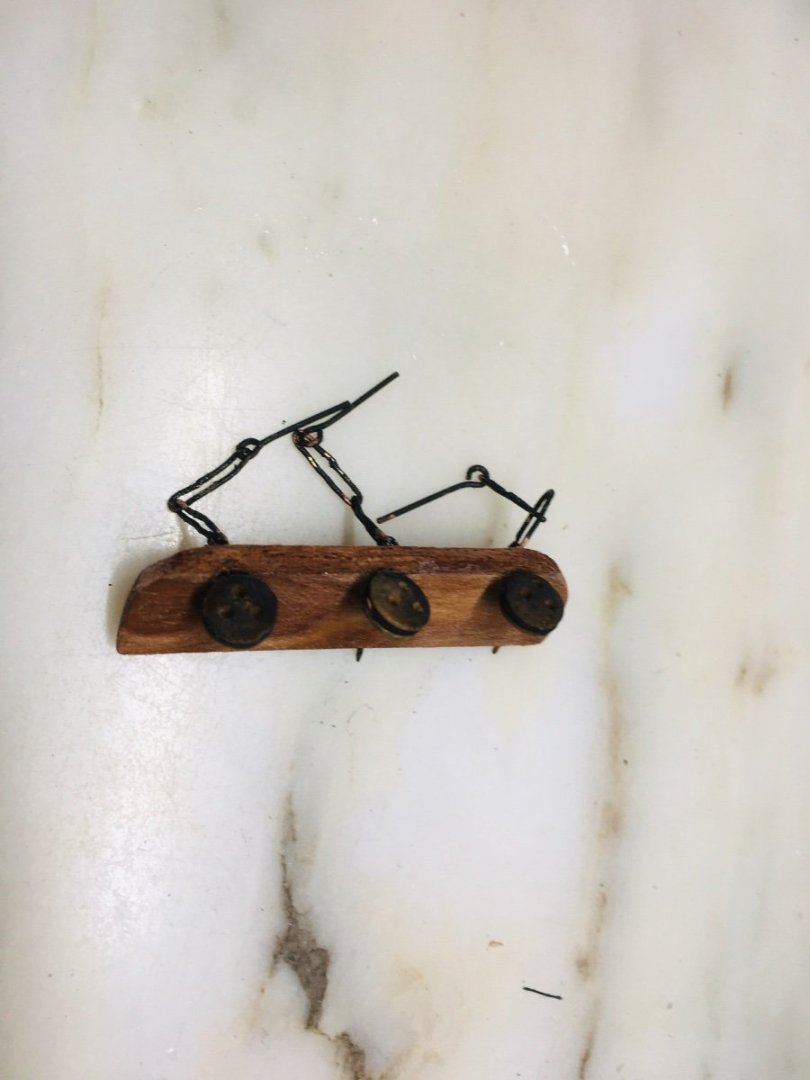
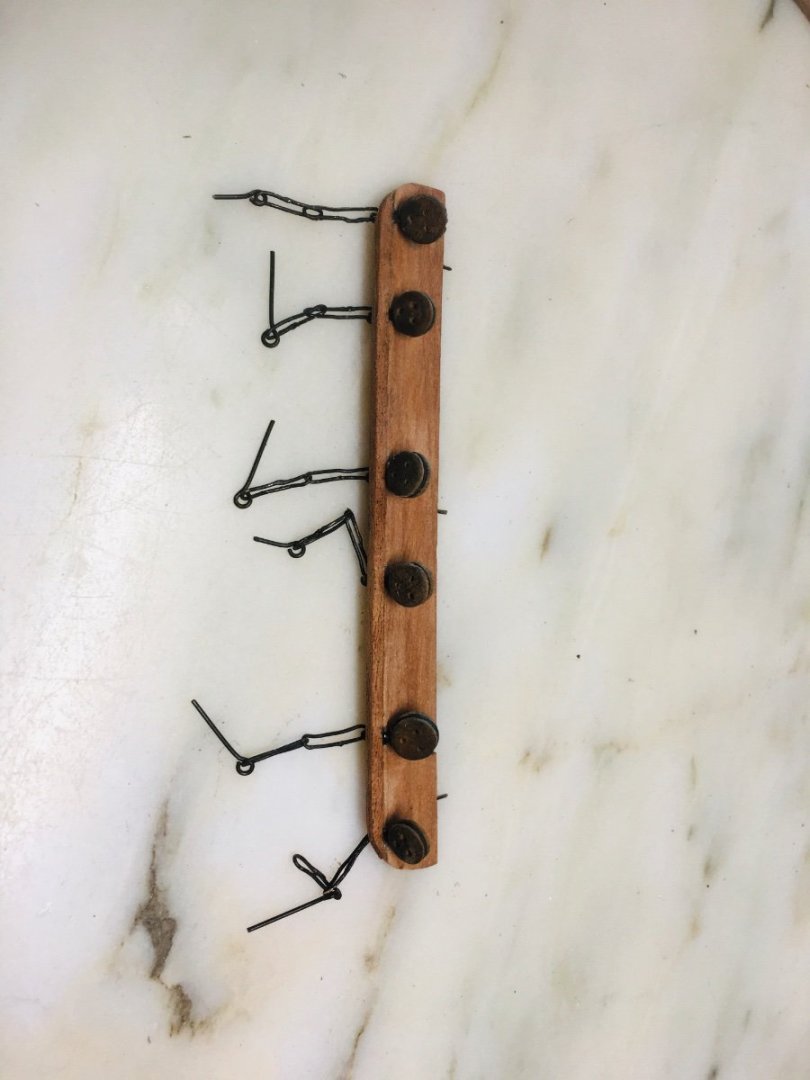
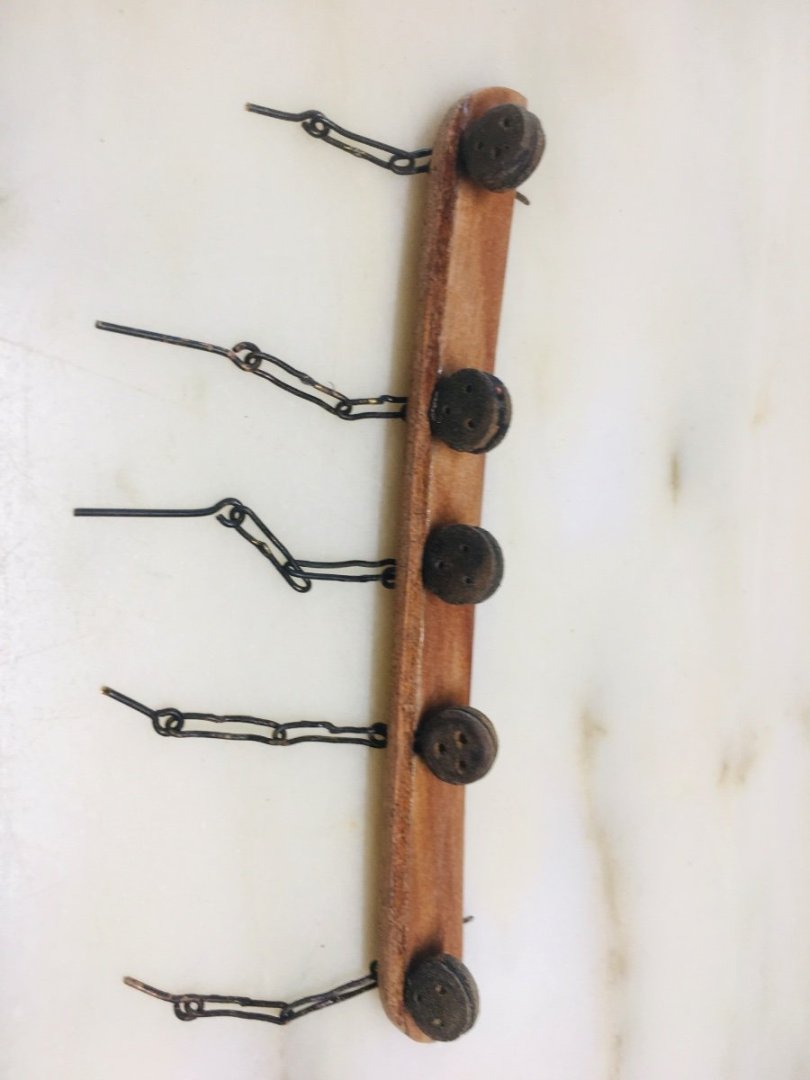
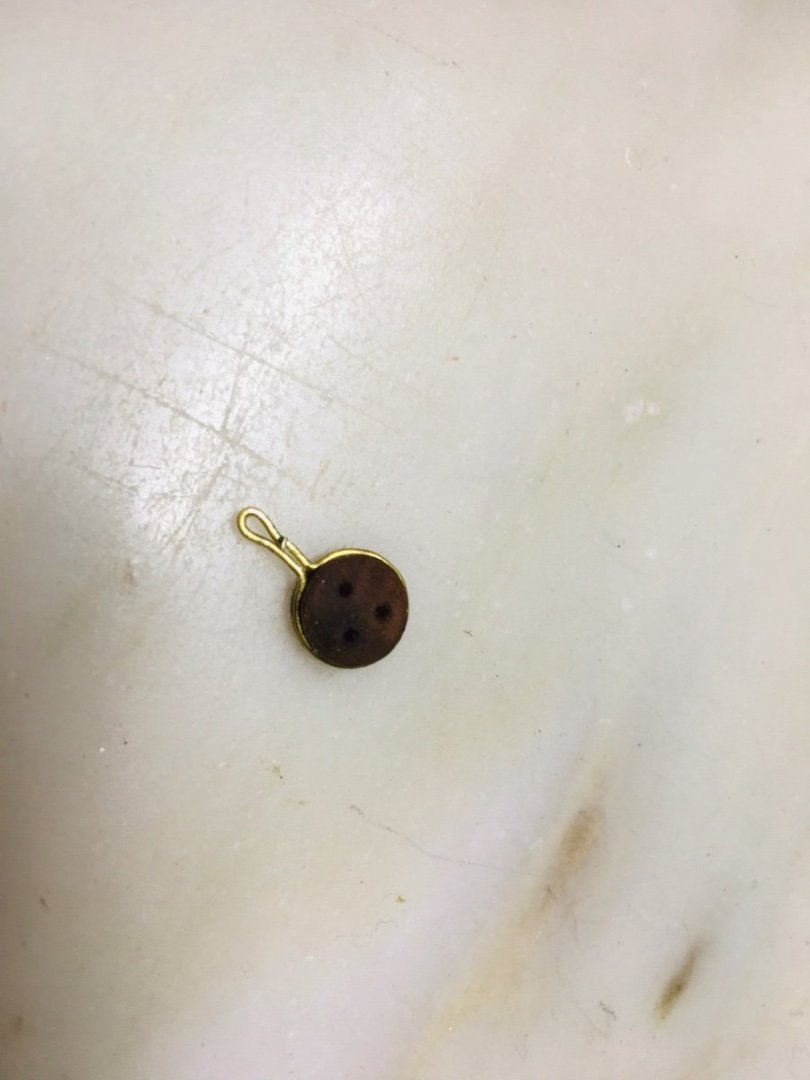
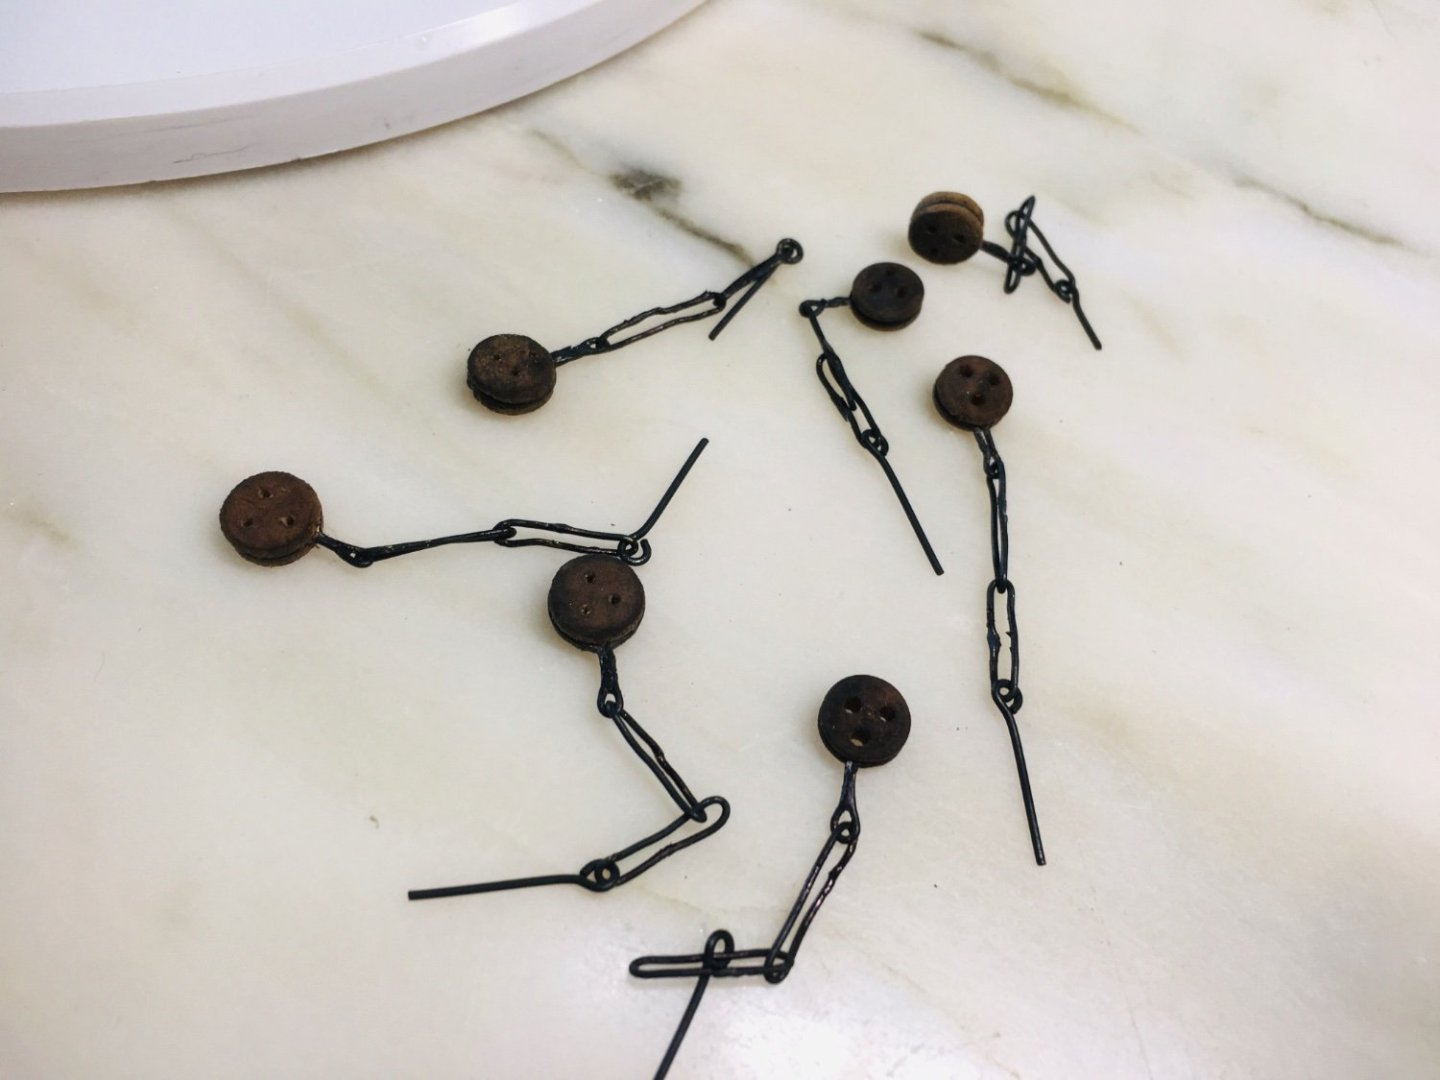
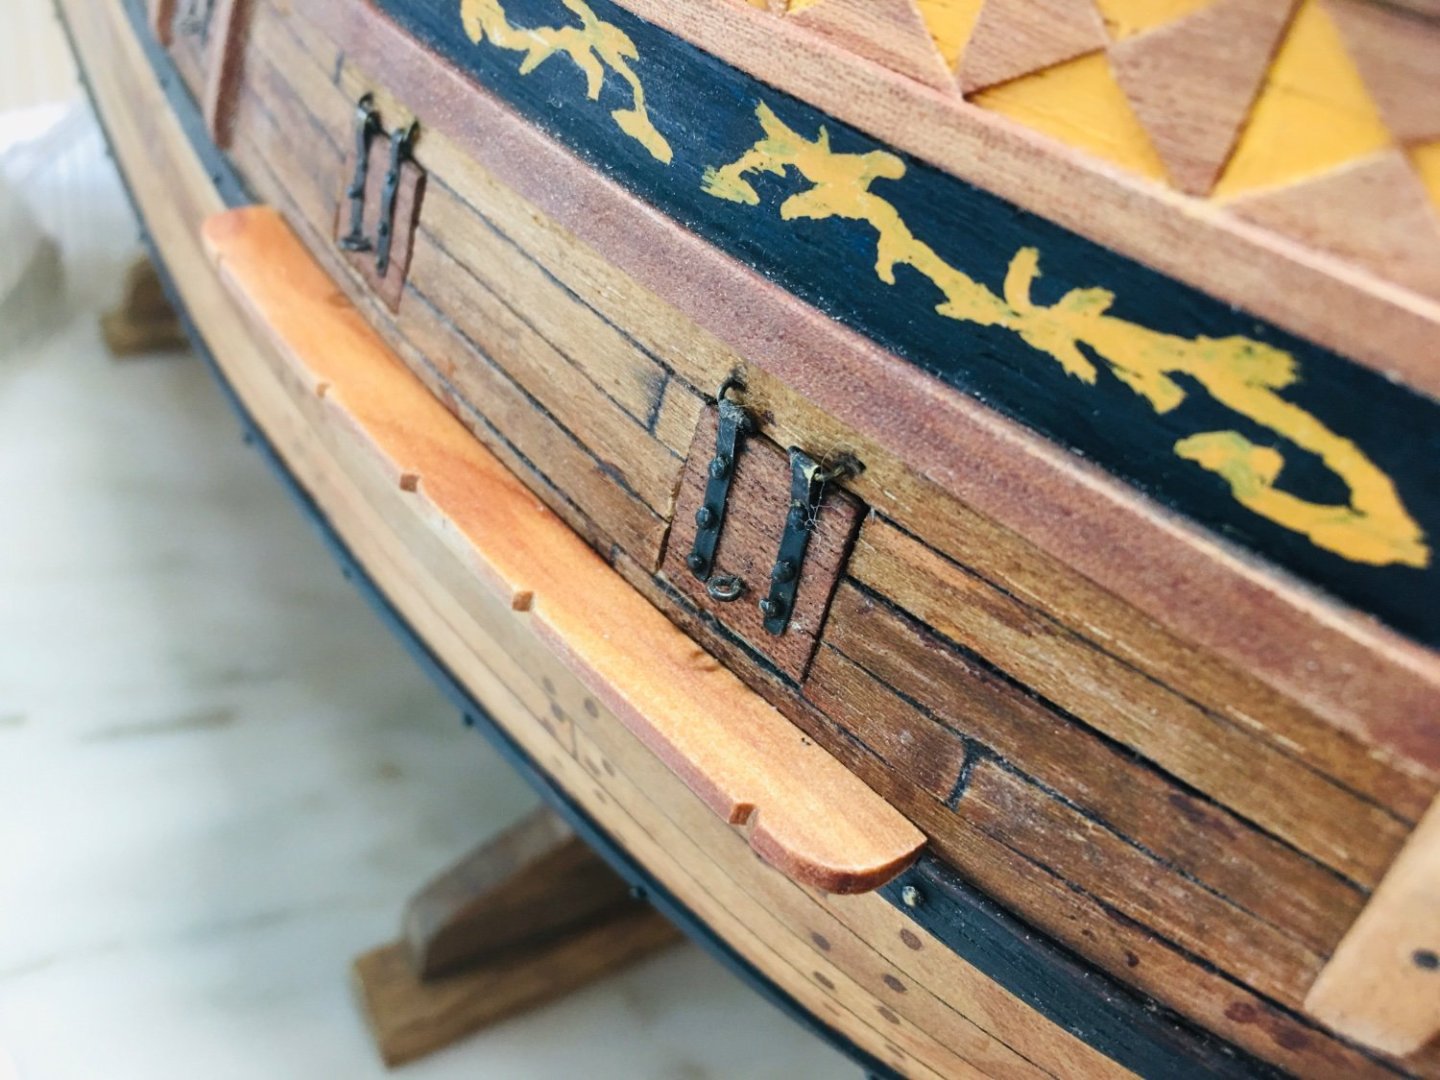
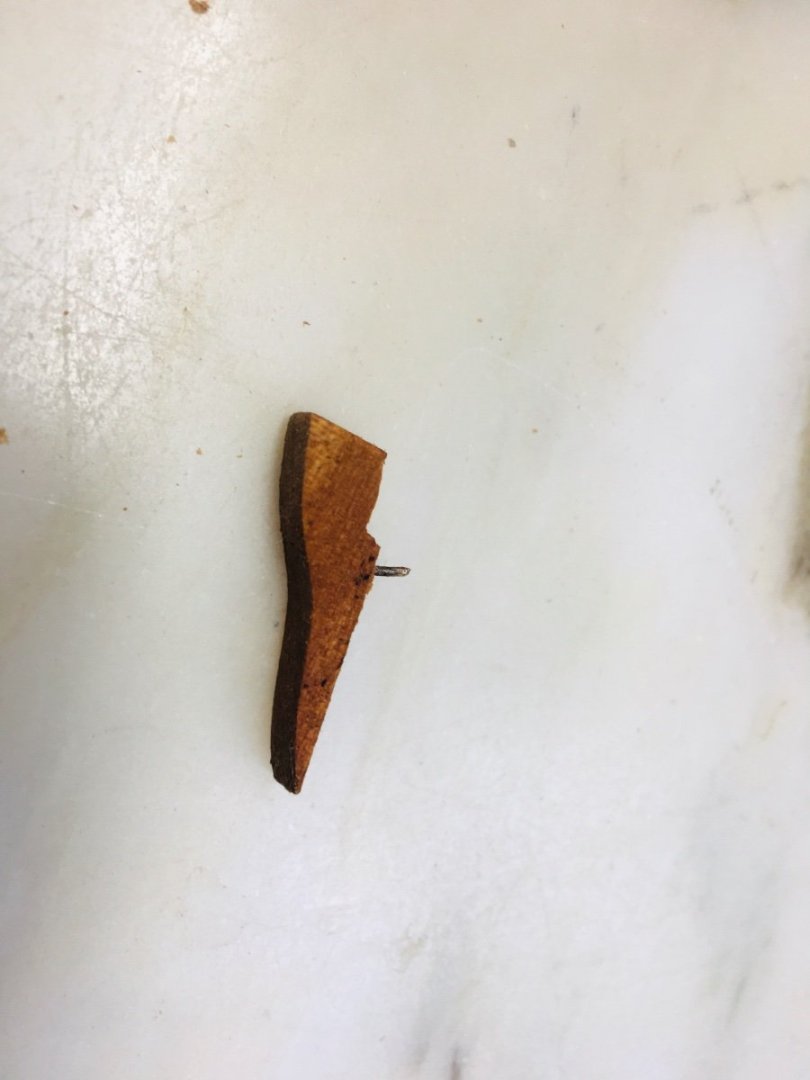
For the chainplate, I used more accurate contemporary design (hopefully!) that applies multiple elongated chains (in my case 2) hooked up with deadeye part and a long nail like feature to fasten through the hull. Finished piece soldered and chemically blackened.


-
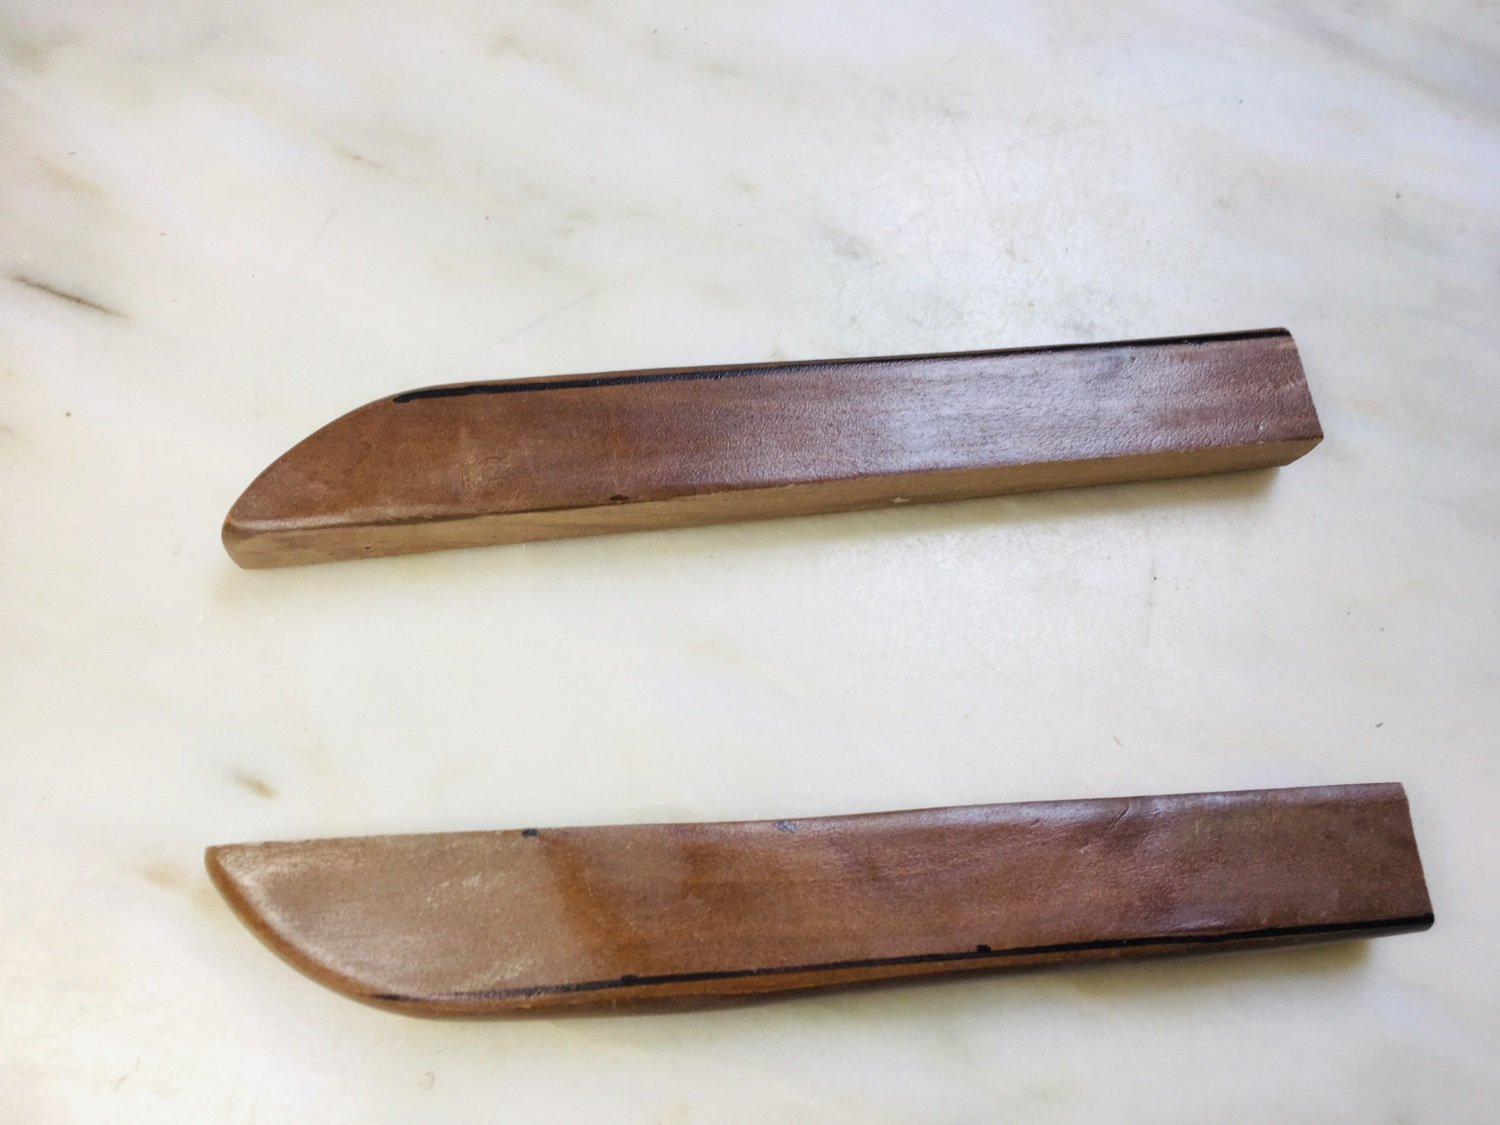
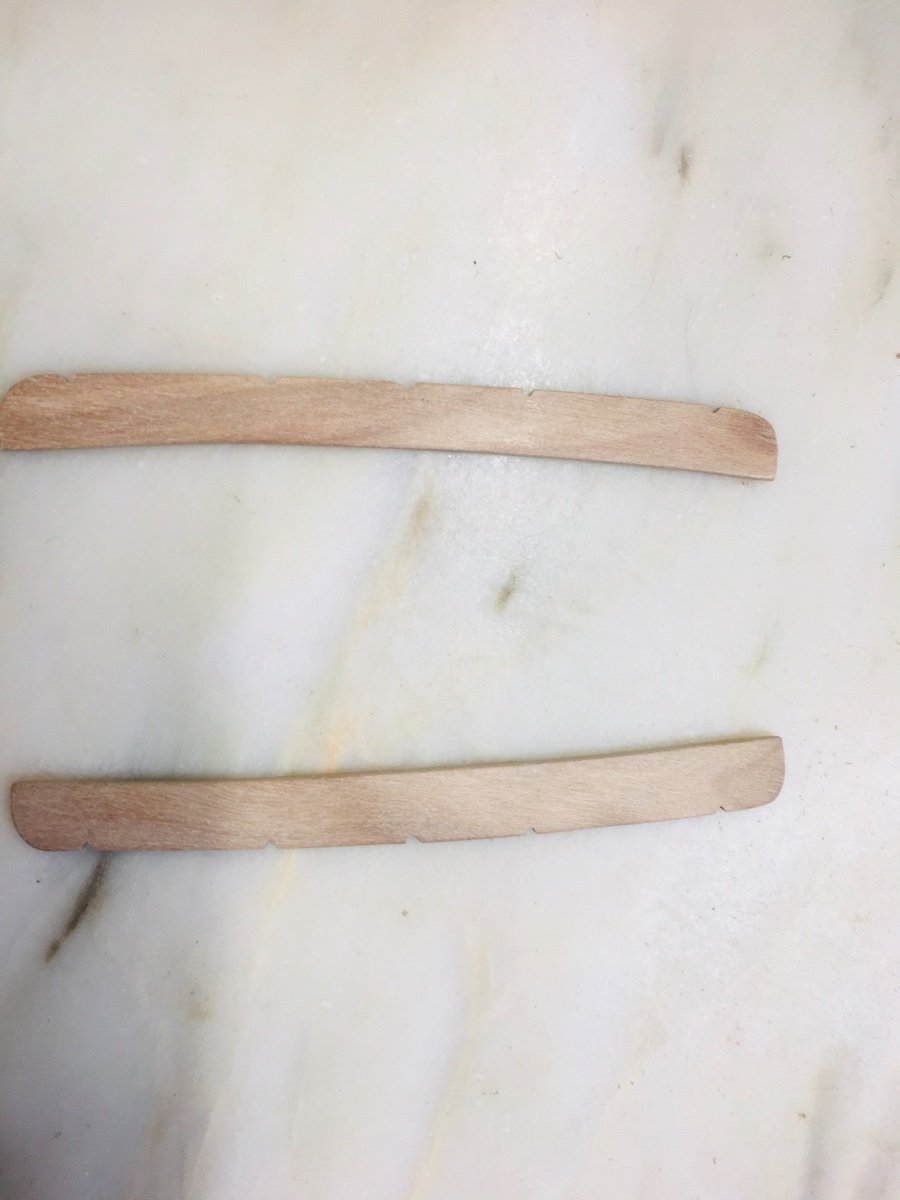
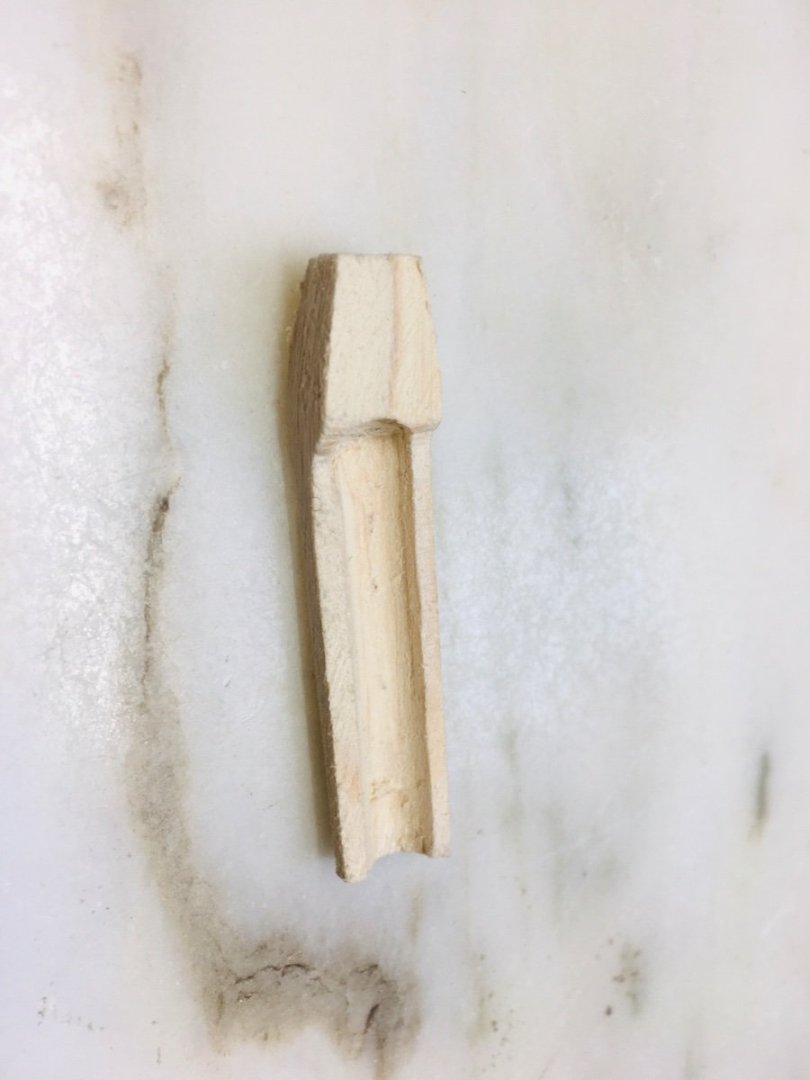
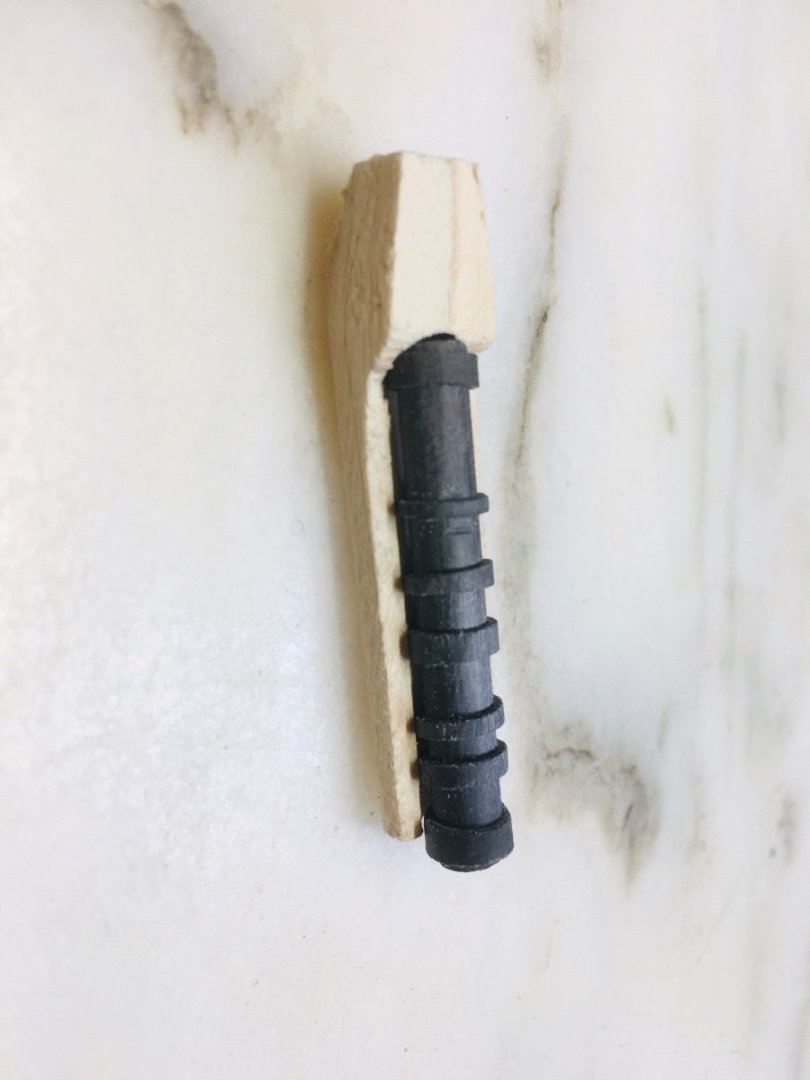
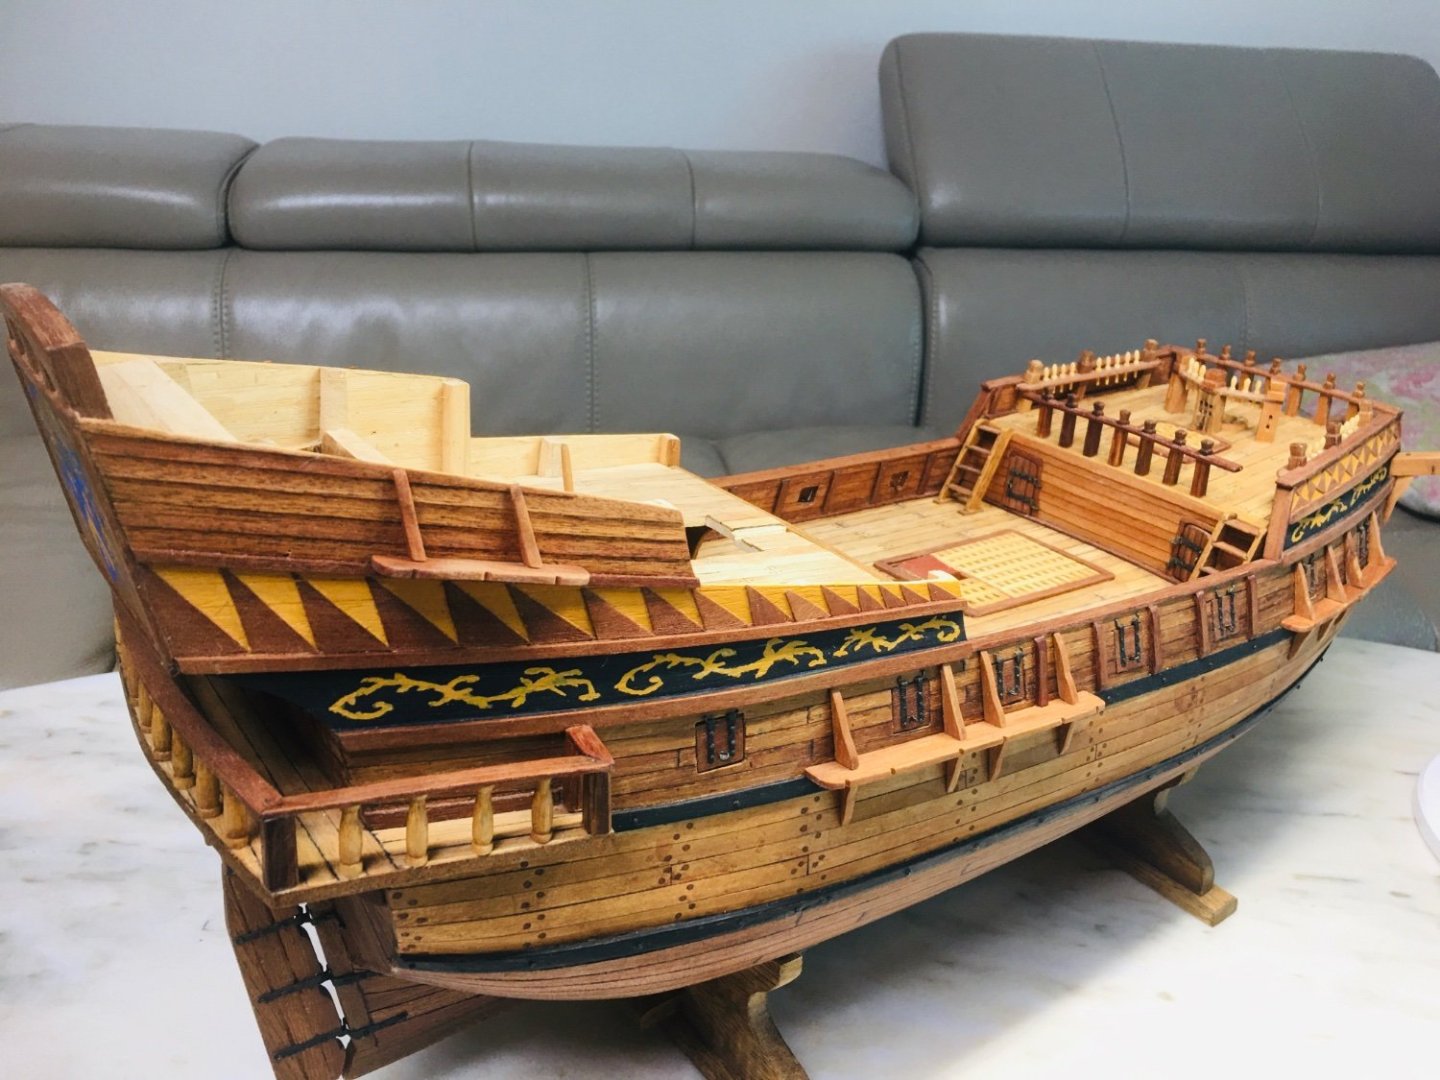
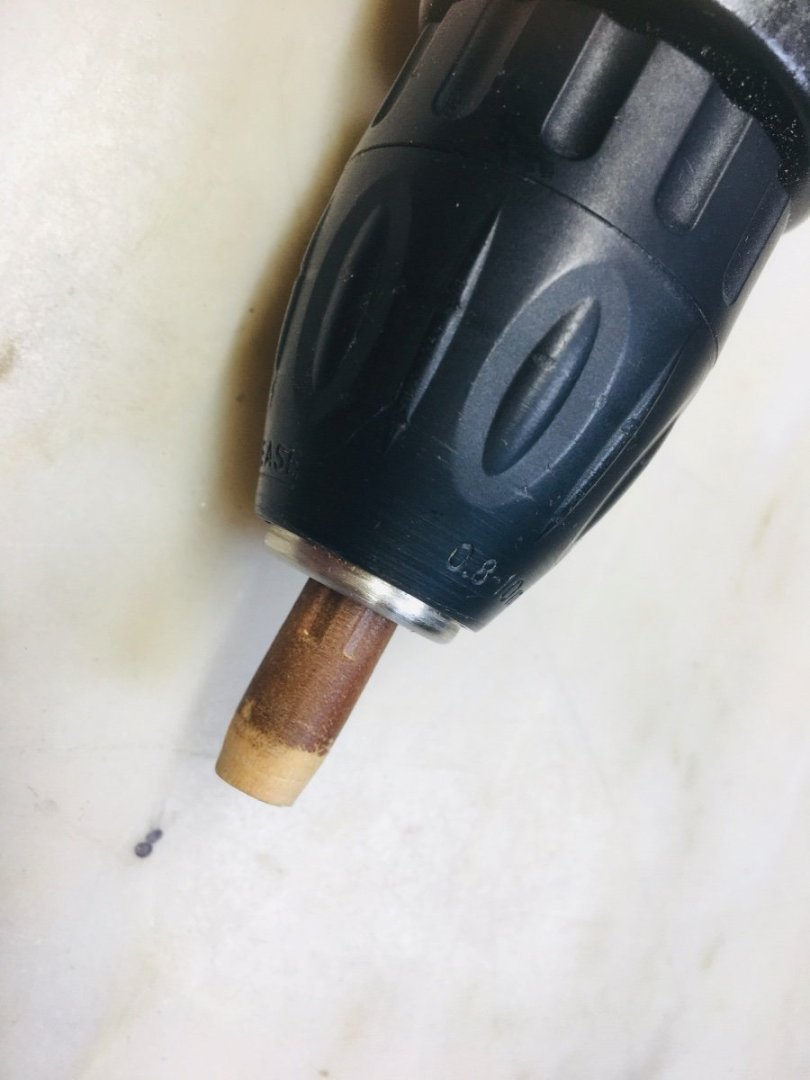
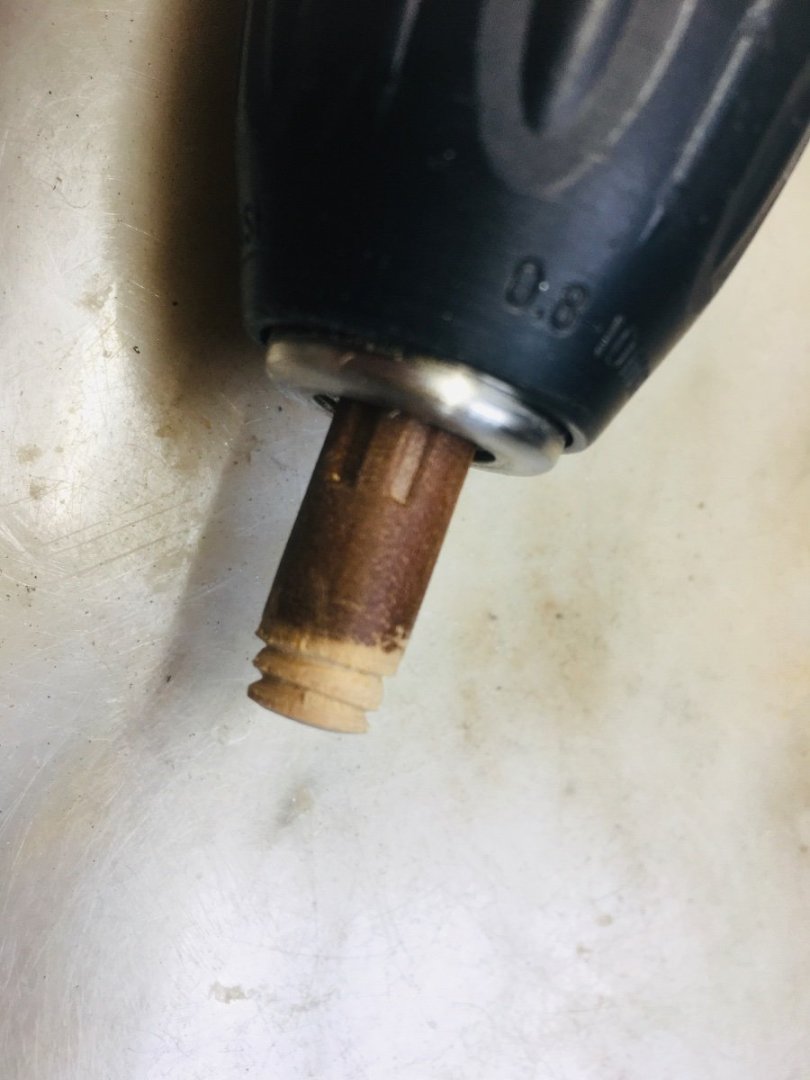
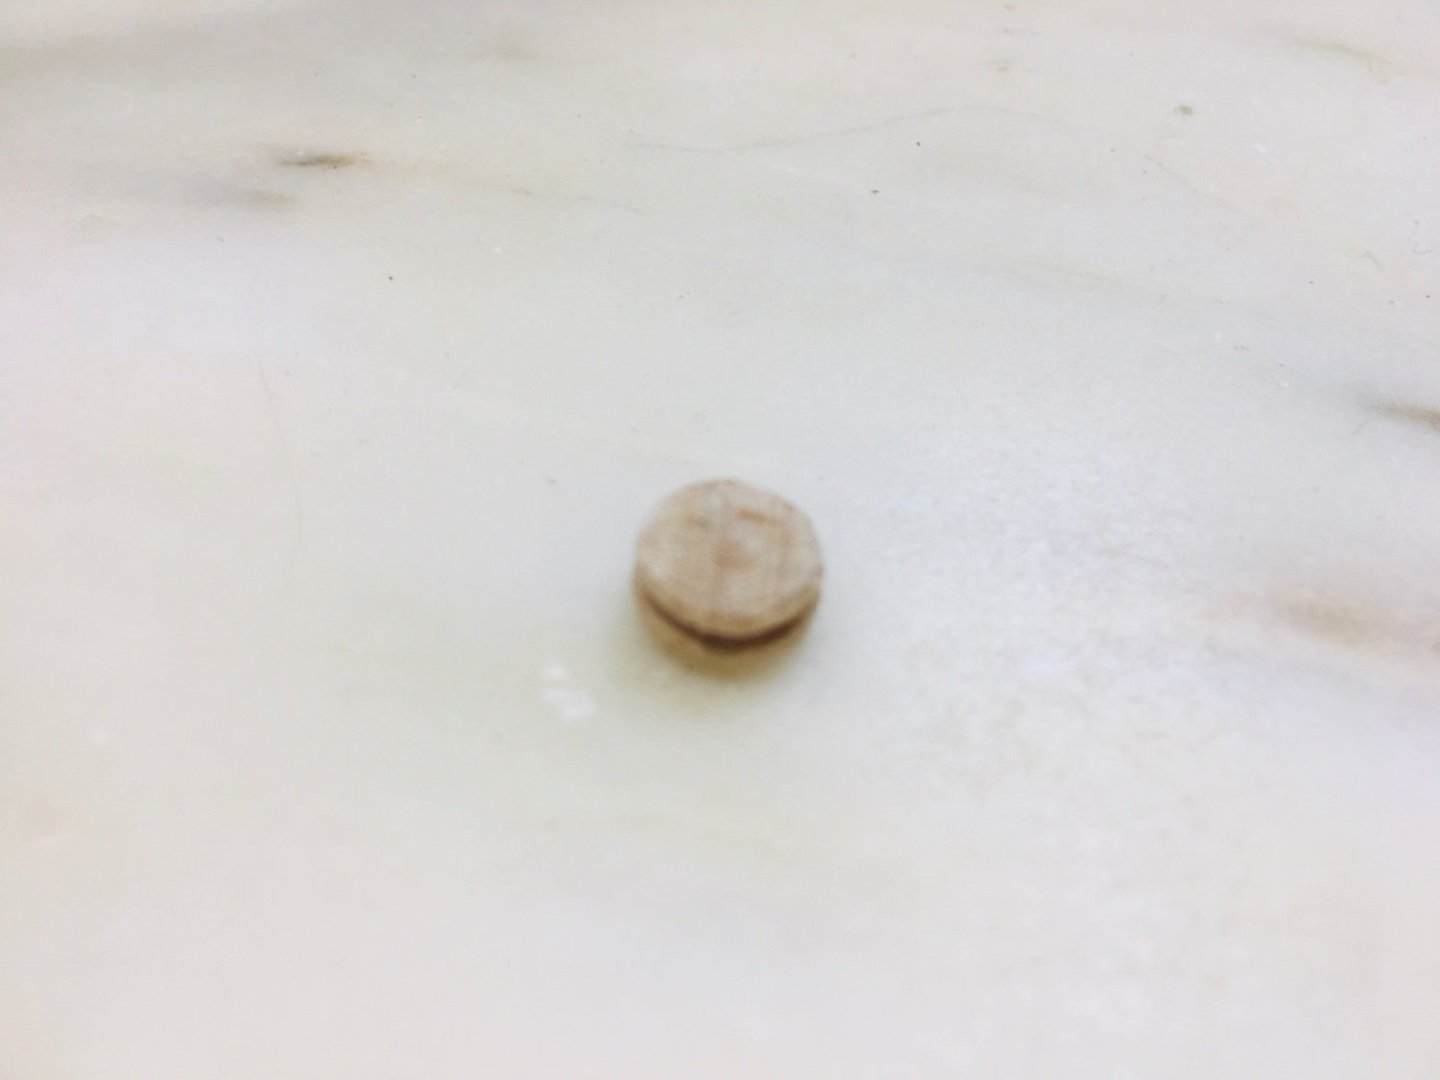
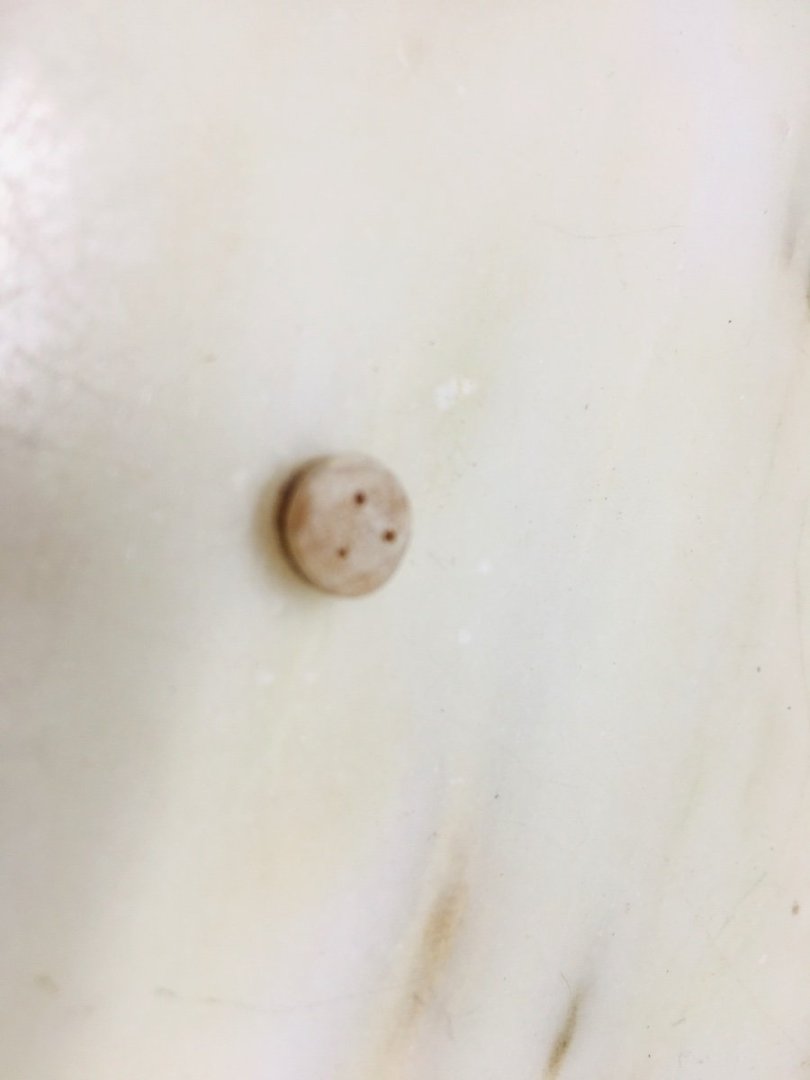
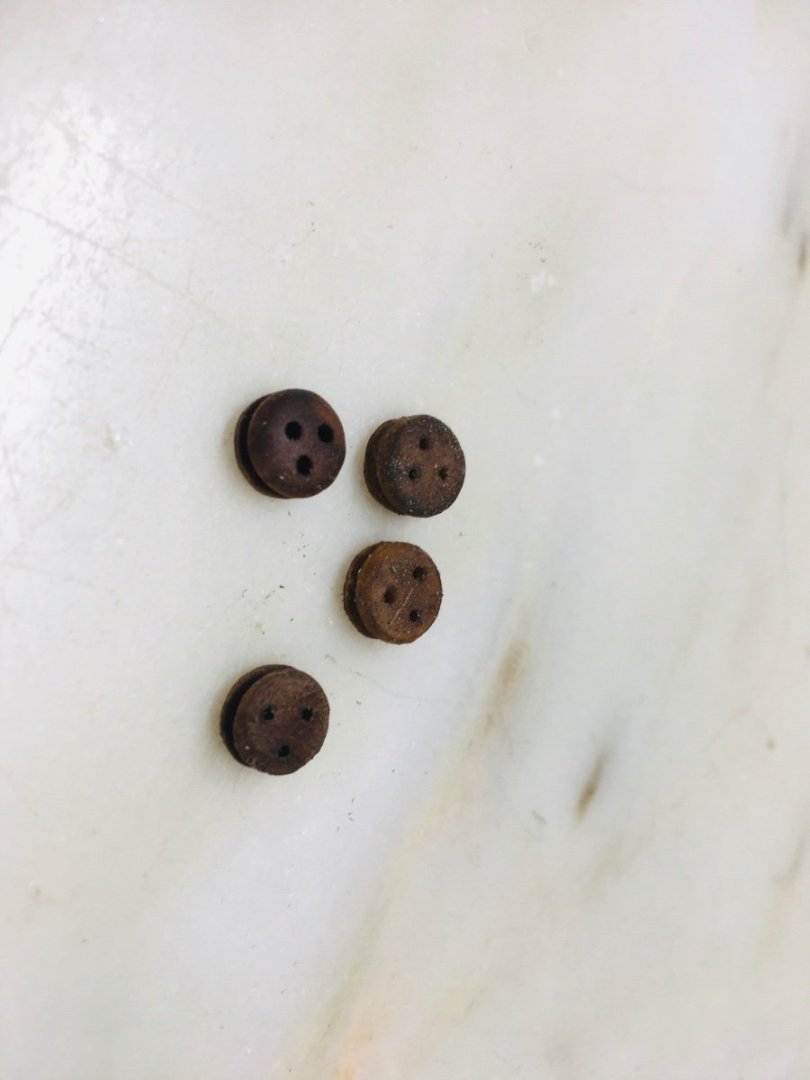
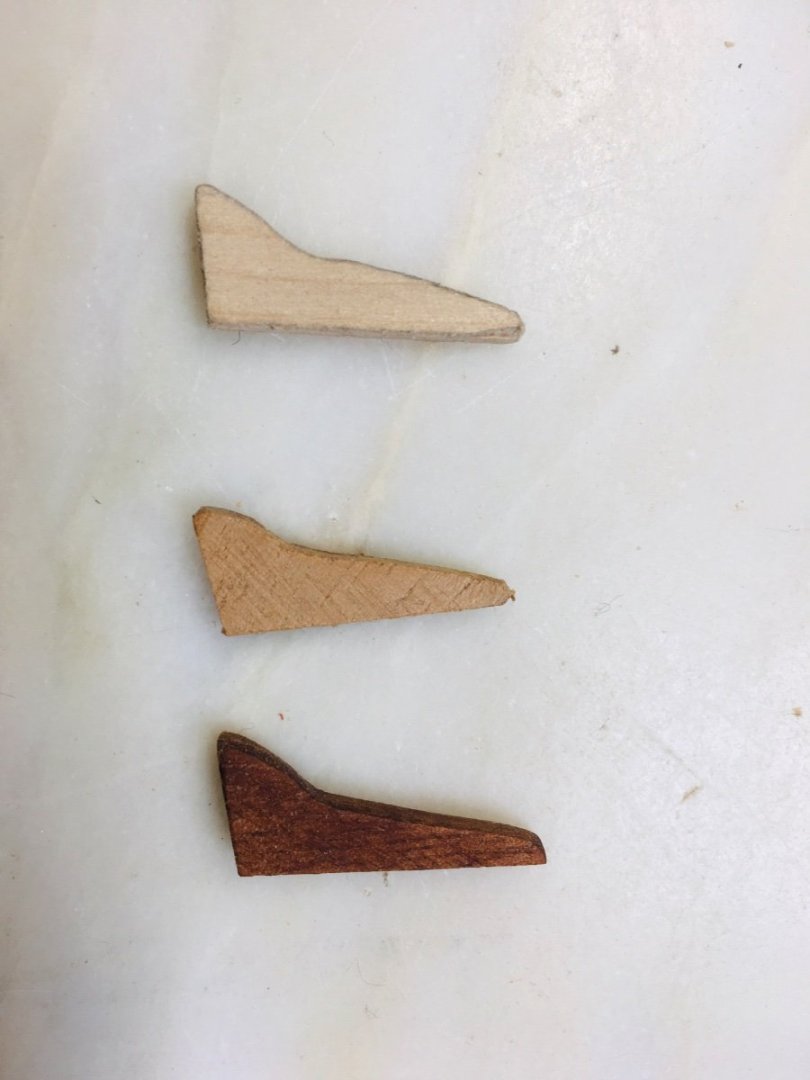
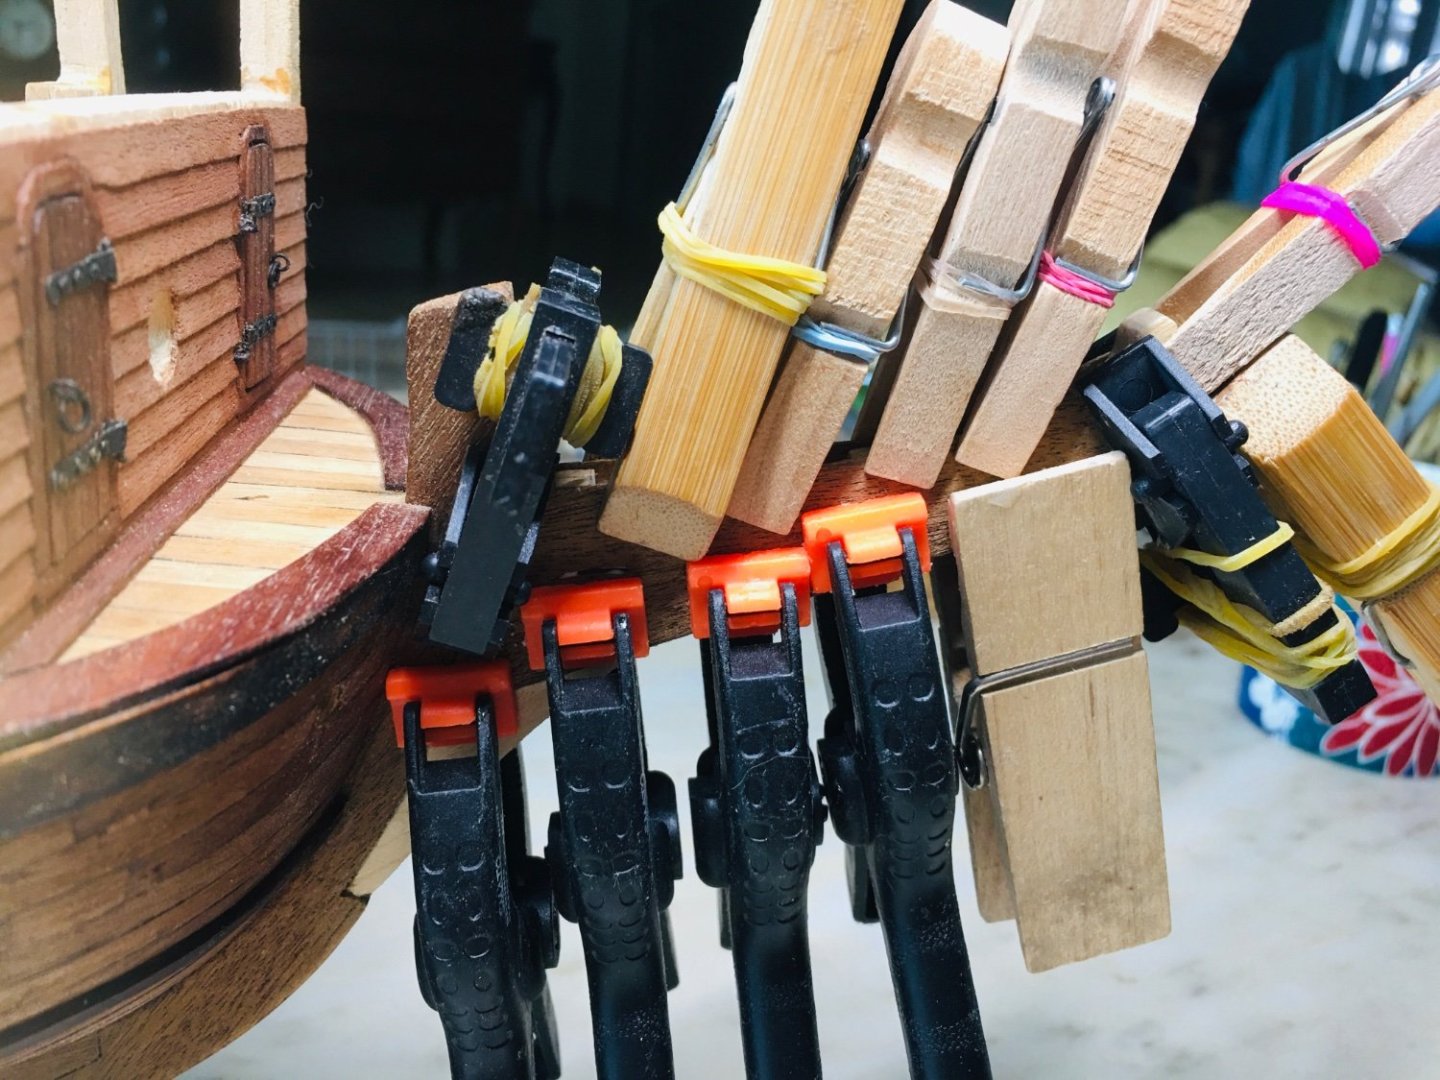
Hello shipmates! Work continued on channels through long holiday weekends here in Korea - thus had more time to spend on GH1. I decided to finish upto the deadeyes installment on the channels for this particular work phase. As for the deadeyes, although the historically accurate form would be a triangular shaped deadeye, I could not figure out a way to mass produce triangular shaped deadeyes given the limited tools available to me. Therefore, I made a painful decision to go for a round shaped deadeyes instead. Once again, I used part of the dowel shaped material from the broken wooden hanger as well as other hard wood dowels available to me for the deadeyes. I tried using soft wood first, but these broke quite easily. Below are pictures of the above works. Channel installments finshed. Moving on to deadeye production. Using IKEA drill for shaping the initial outlines of a round deadeye - about 7mm in diameter. Once sanded with fine grained sandpapers, the deadeyes are dyied with dark wood dye.
-
Mizzen mast channels done and moved on to the knees. I had compared different type of woods and variable thickness for the knees. In the end, I chose to stick with the broken wooden hanger and also reduced the thickness of knees to 3 mm. Nothing glued yet, everything put in place using small brass nails.


-
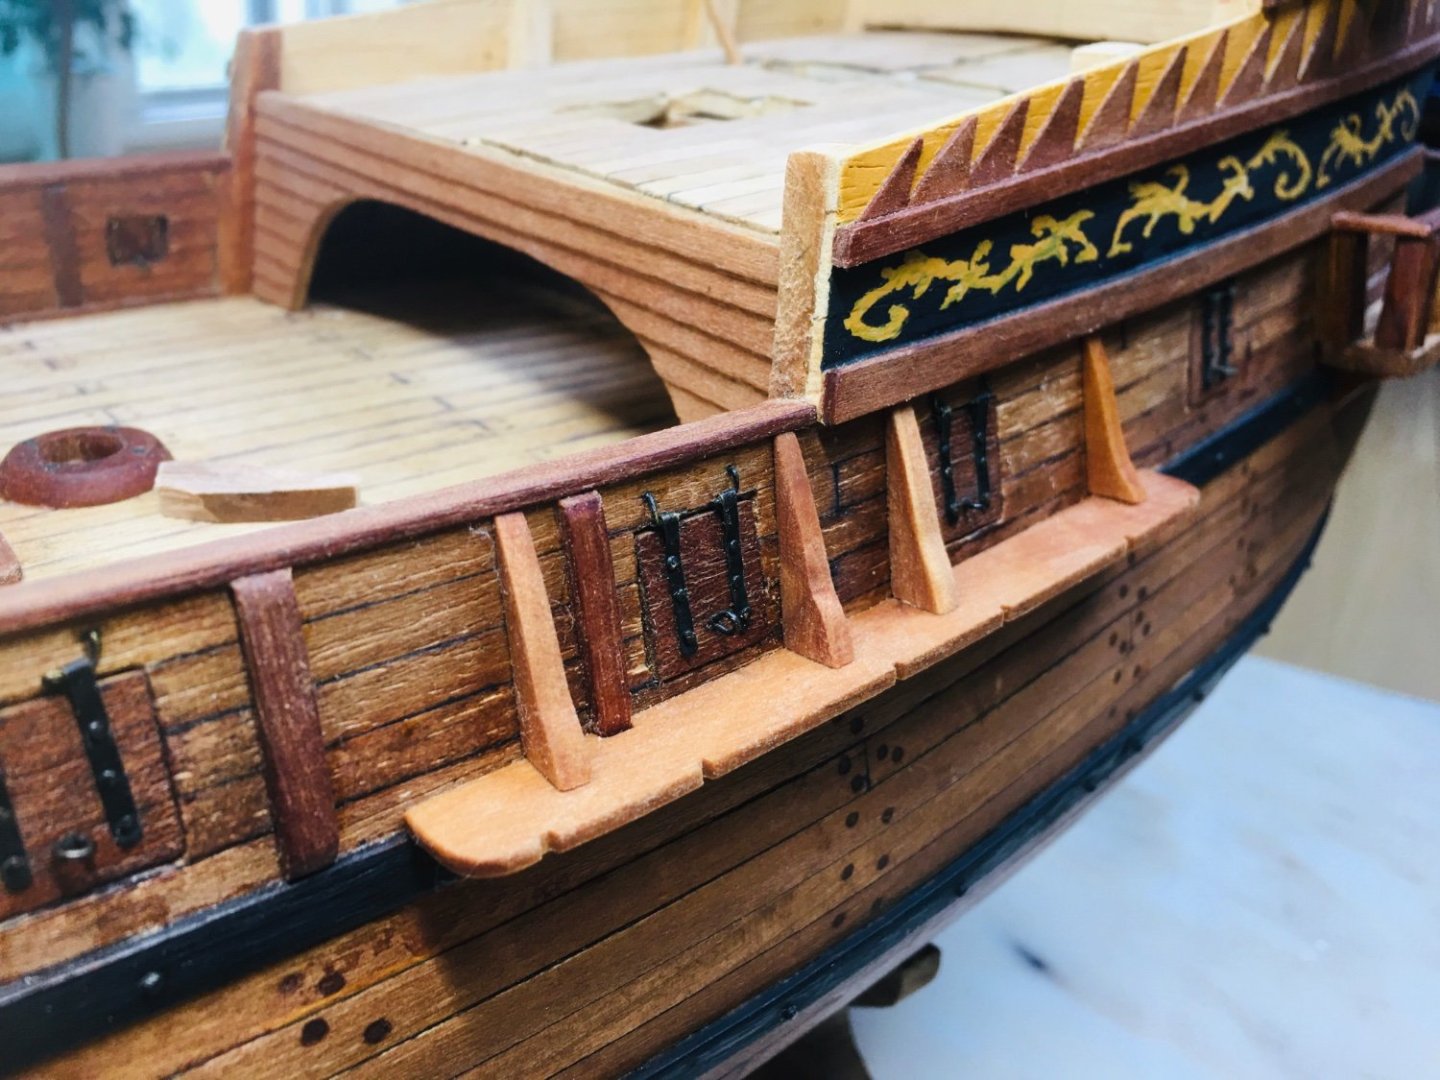
More pictures on channel works as below. I am quite satisfied with the quality of the wood salvaged from a broken wood hanger. I mean even the slight difference in texture and color (from the rest of the ship) makes this recycled material so suitable~ Foremast channels done and moving on to main mast channels.


-
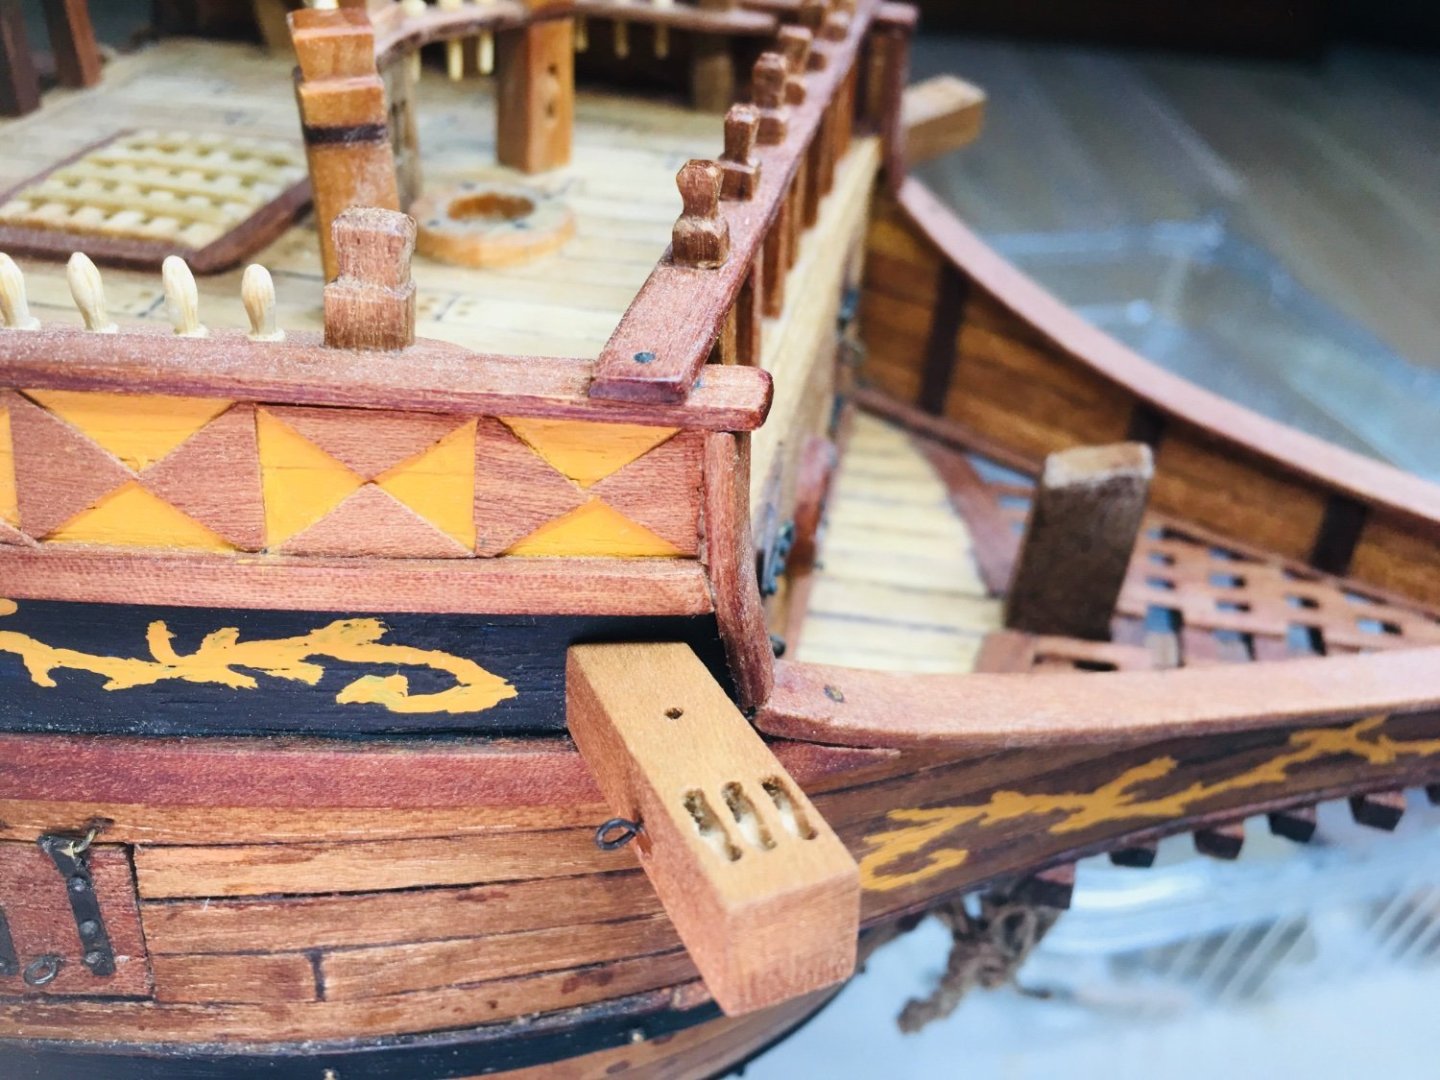
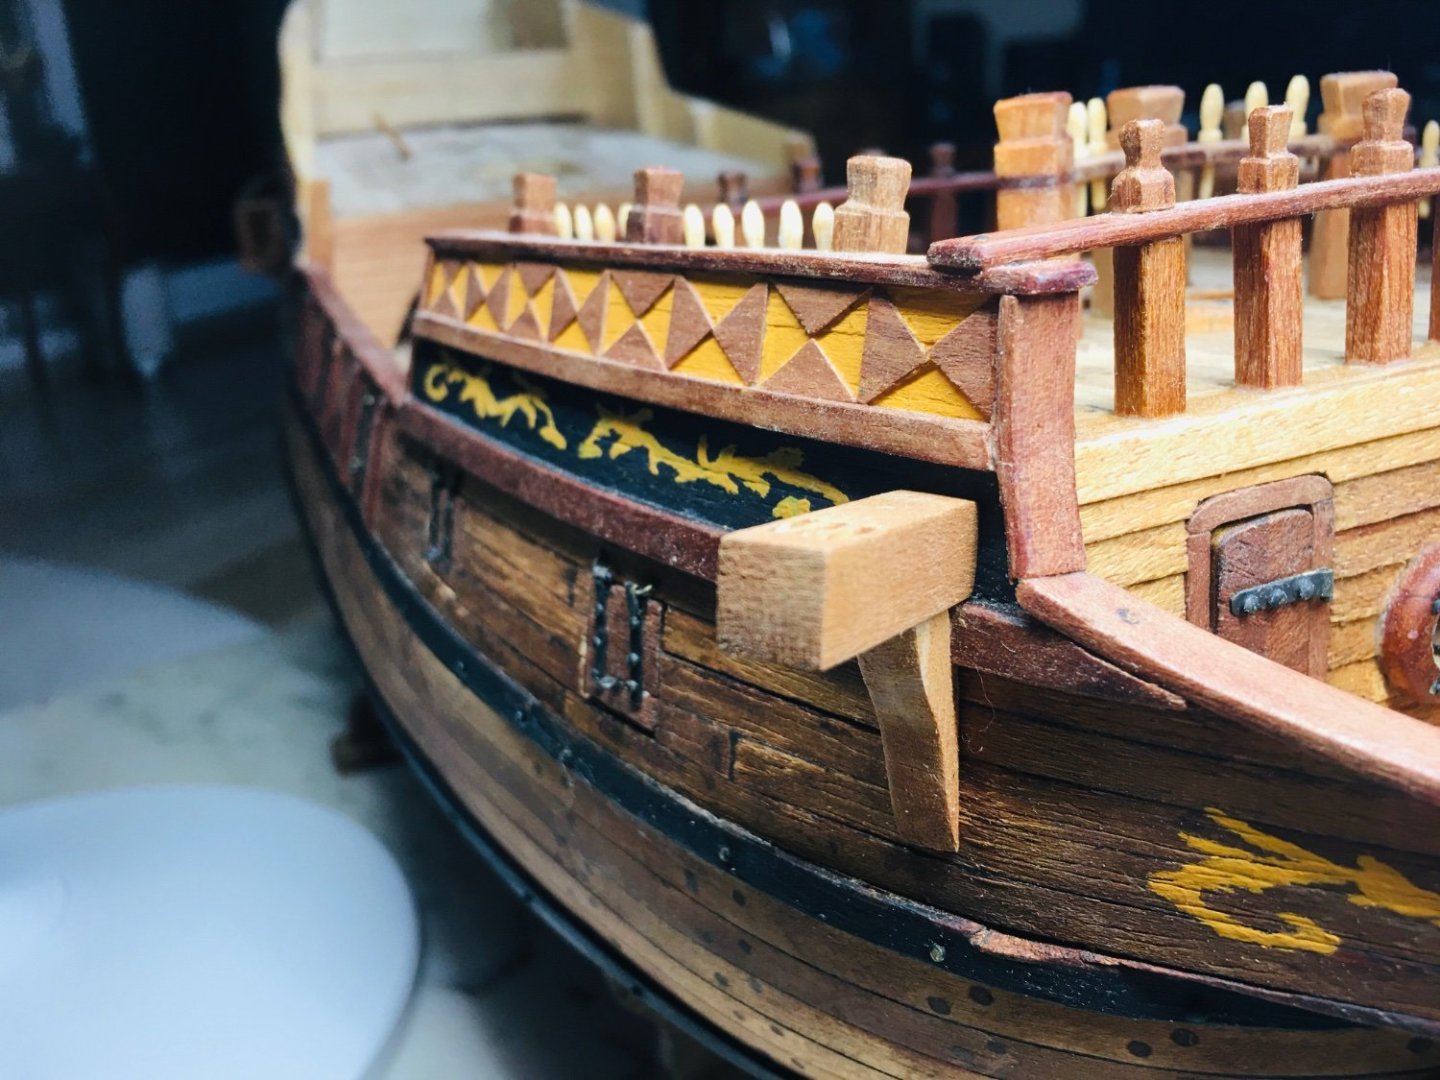
Hello all~ Finished securing the cathead in place - still contemplating if I should add a bit more decorative items to the cathead, e.g. small decorative sculpture etc. I will come back later on these additional works should I decide to do a bit more. In the meantime, work continued with the channels. Once again, the broken wooden hanger is becoming quite useful - I definitely have not envisaged this much utility from a broken wooden hanger. I am regretting now on just throwing away couple of these wooden hangers before! Below are some pictures of the above work and preparations.

-
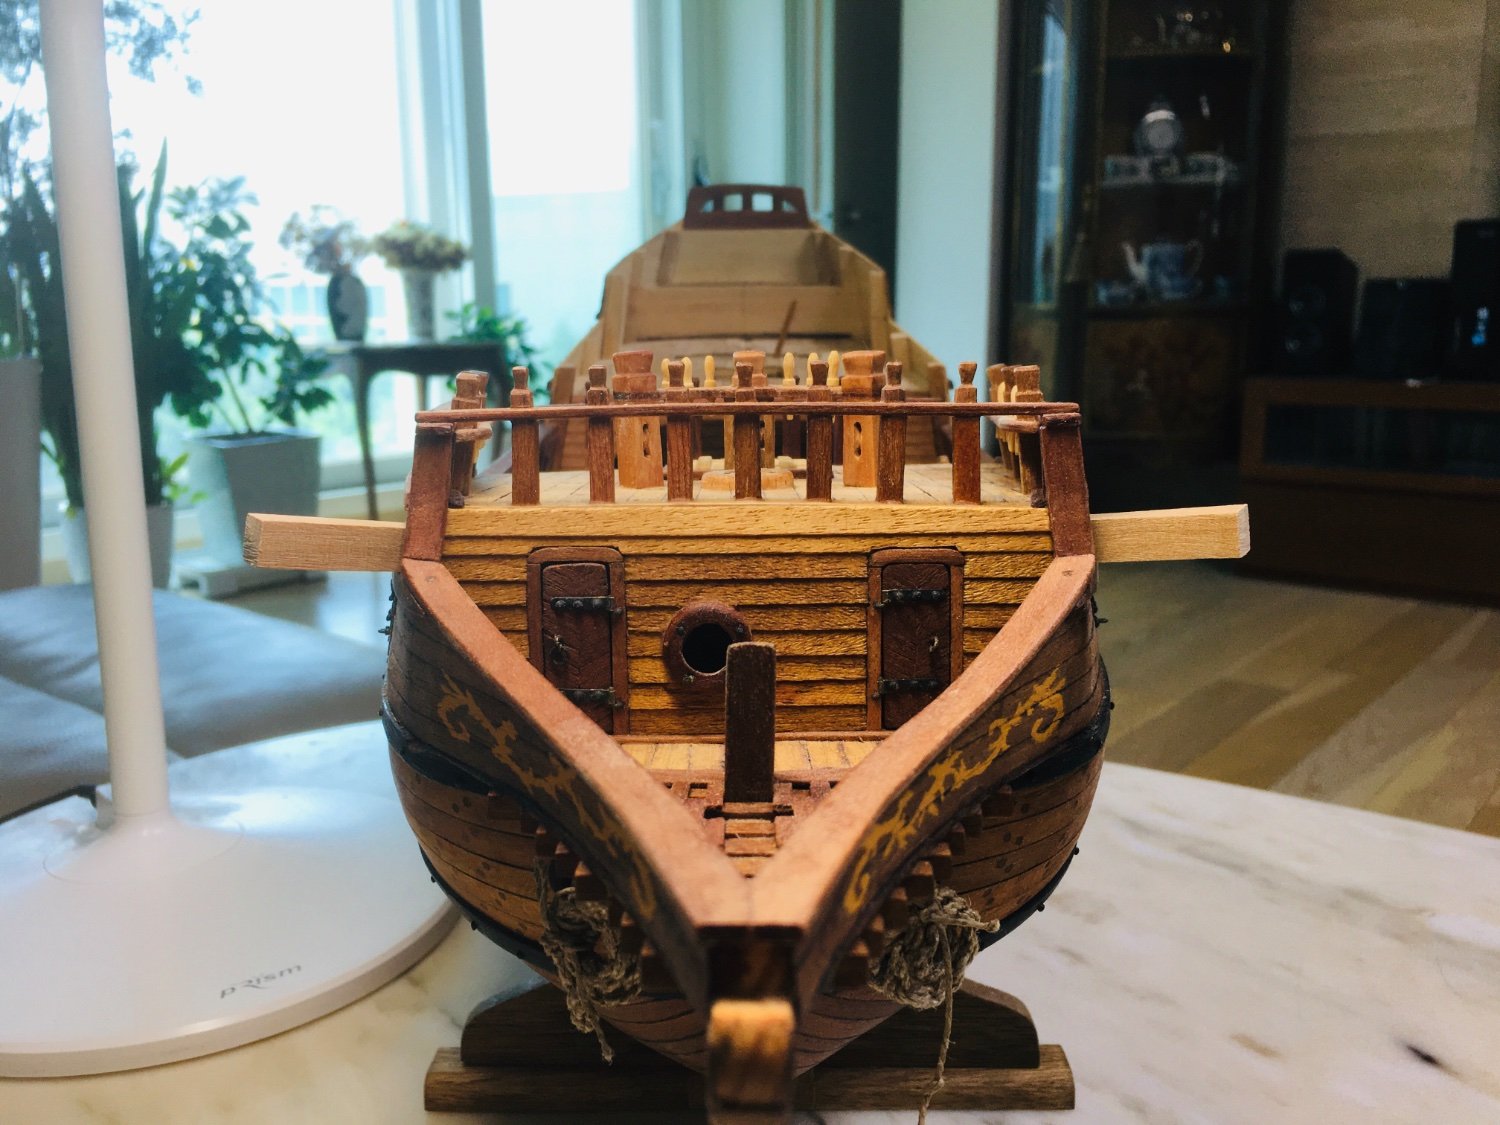
Additional work on the cathead and work in the knee for the cathead are included below. Positioning of the knee and cathead tried out and secured - nothing glued yet as there are additional works remaining.


-
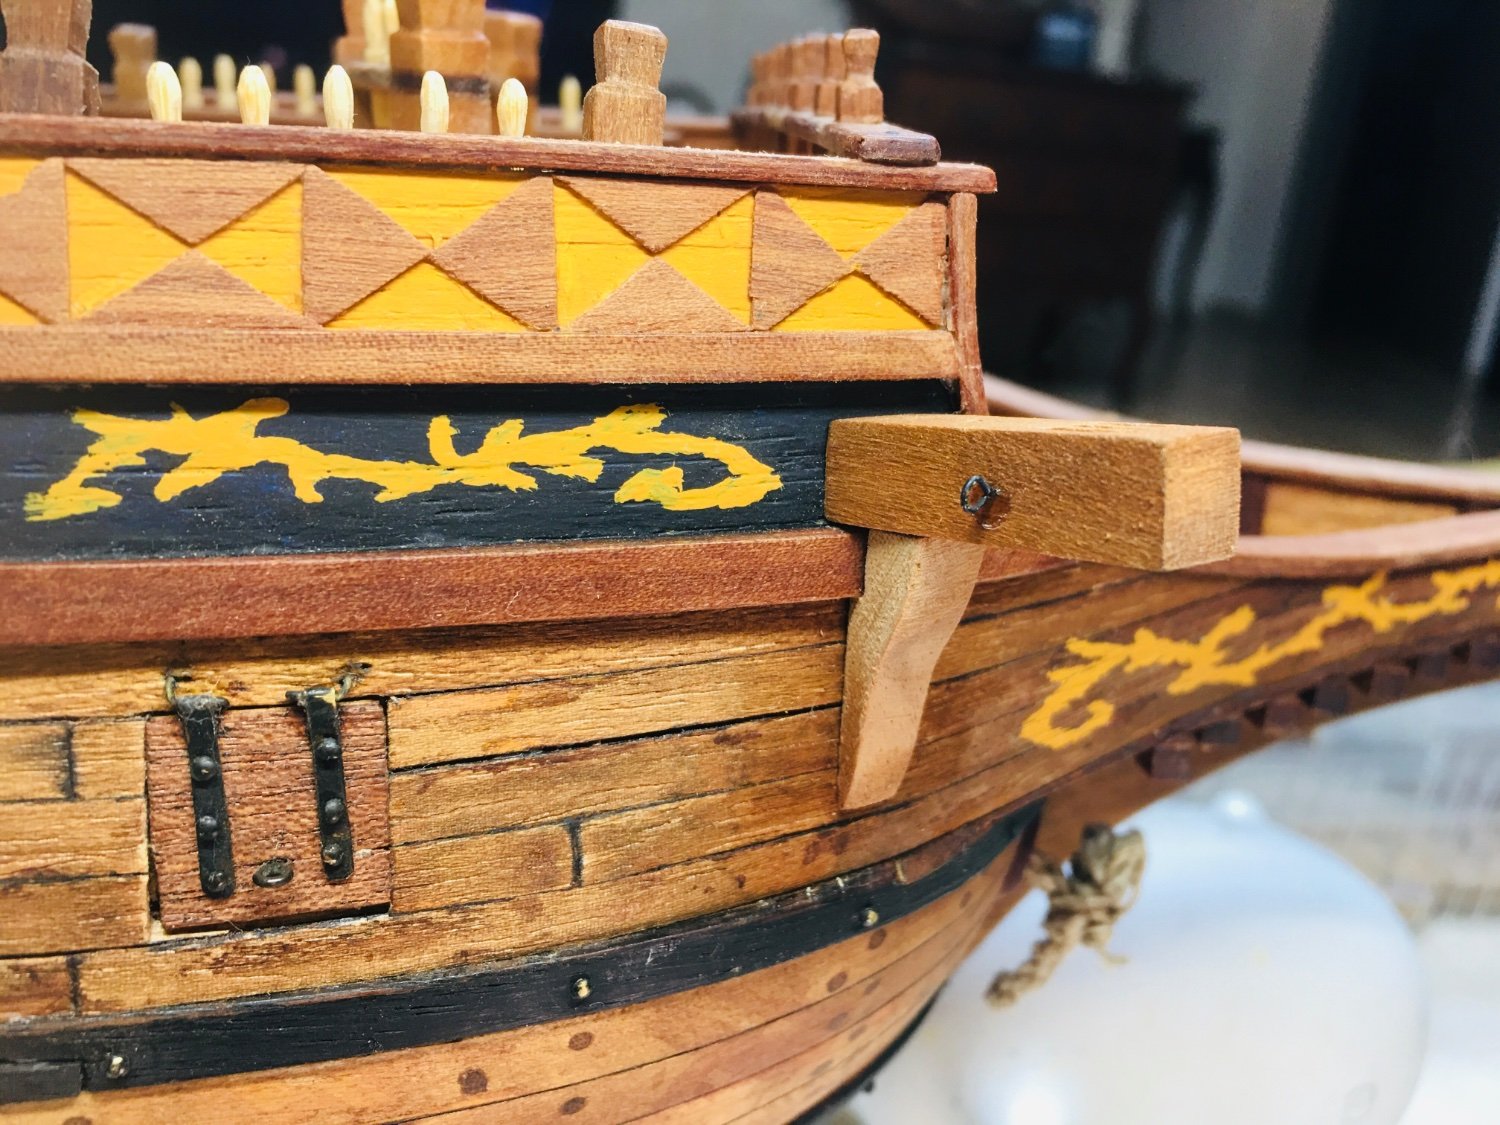
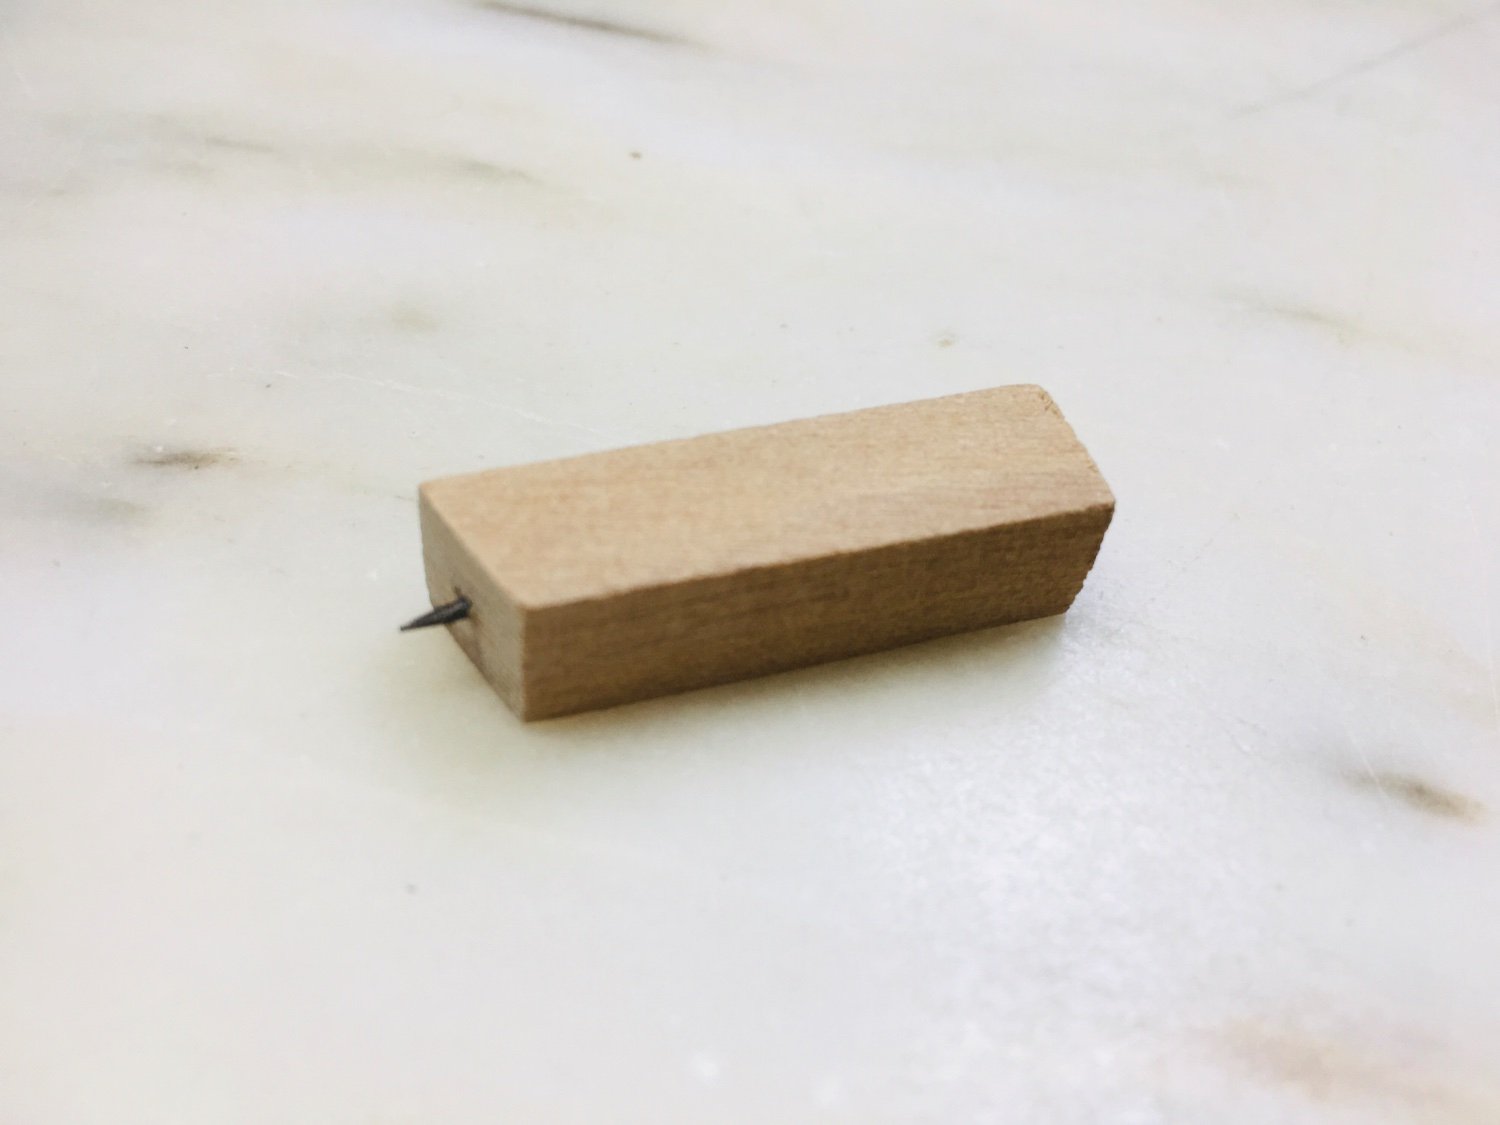
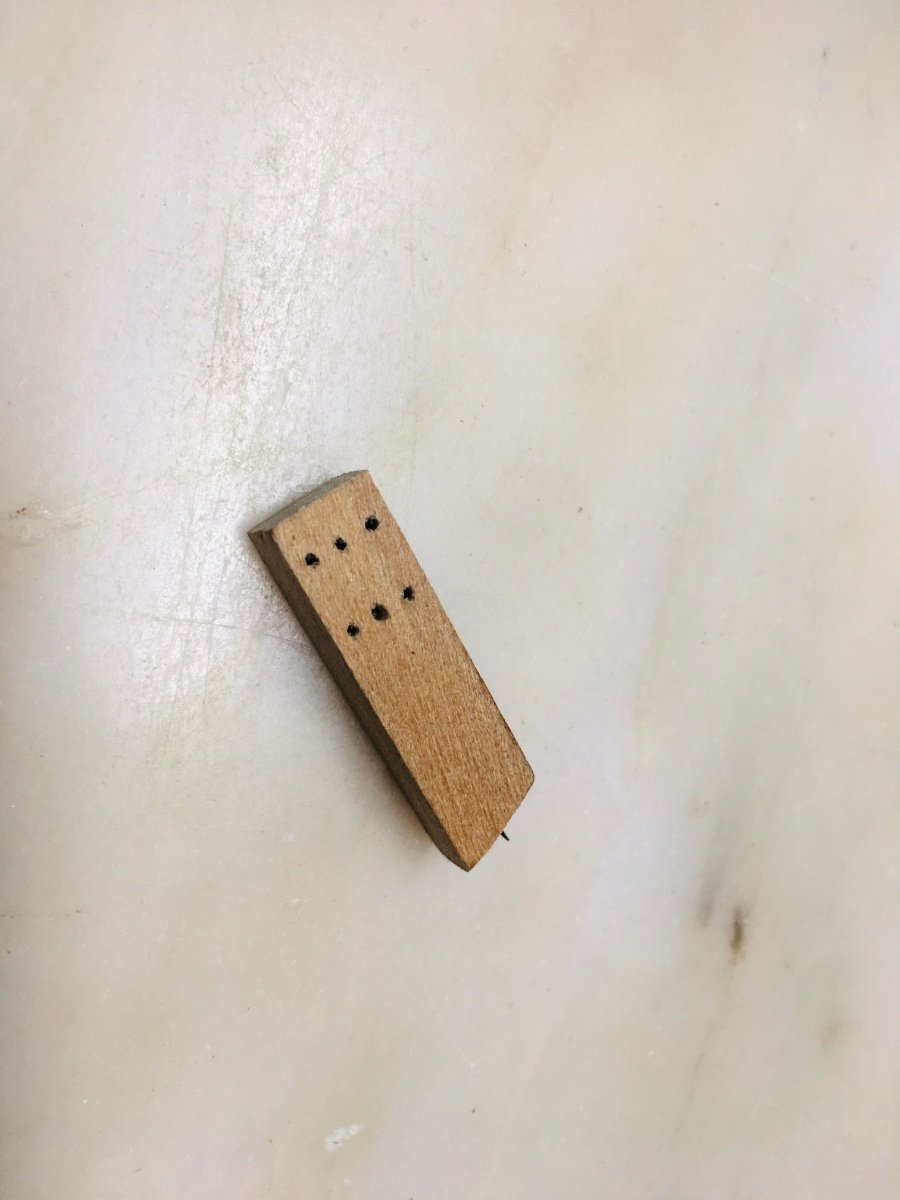
Hello shipmates~ Now back to GH1 prototype… I started working on the cathead. After some consideration, I decided to go for the simplest design - after all this is a 16th century galleon which probably did not employ a lot of delicate designs anyway. The wood for cathead is procured from a broken wooden hanger. Below are pictures of initial works on the cathead. Assessing and trying out position of the catheads. I needed to make 3 pulley points - 2 for anchor lift and 1 for anchor securing line. Given the small width of the cathead, I decided to mimic the pulley area as below.


-
Thanks very much, Patrick!
-
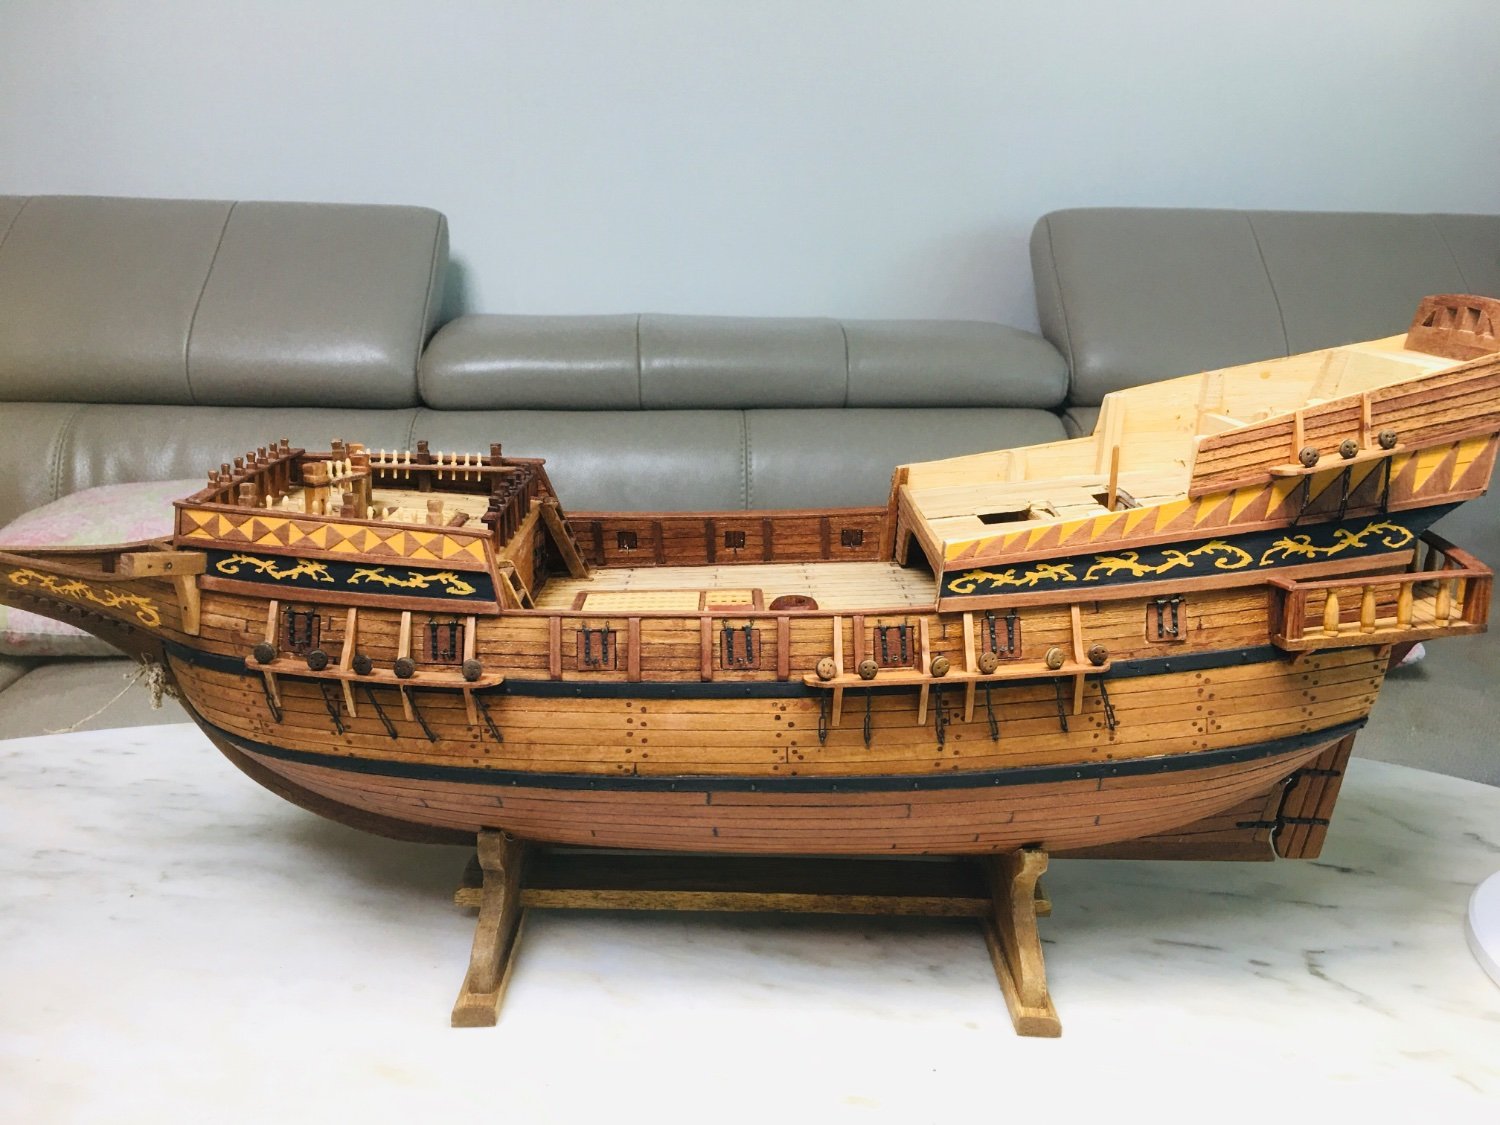
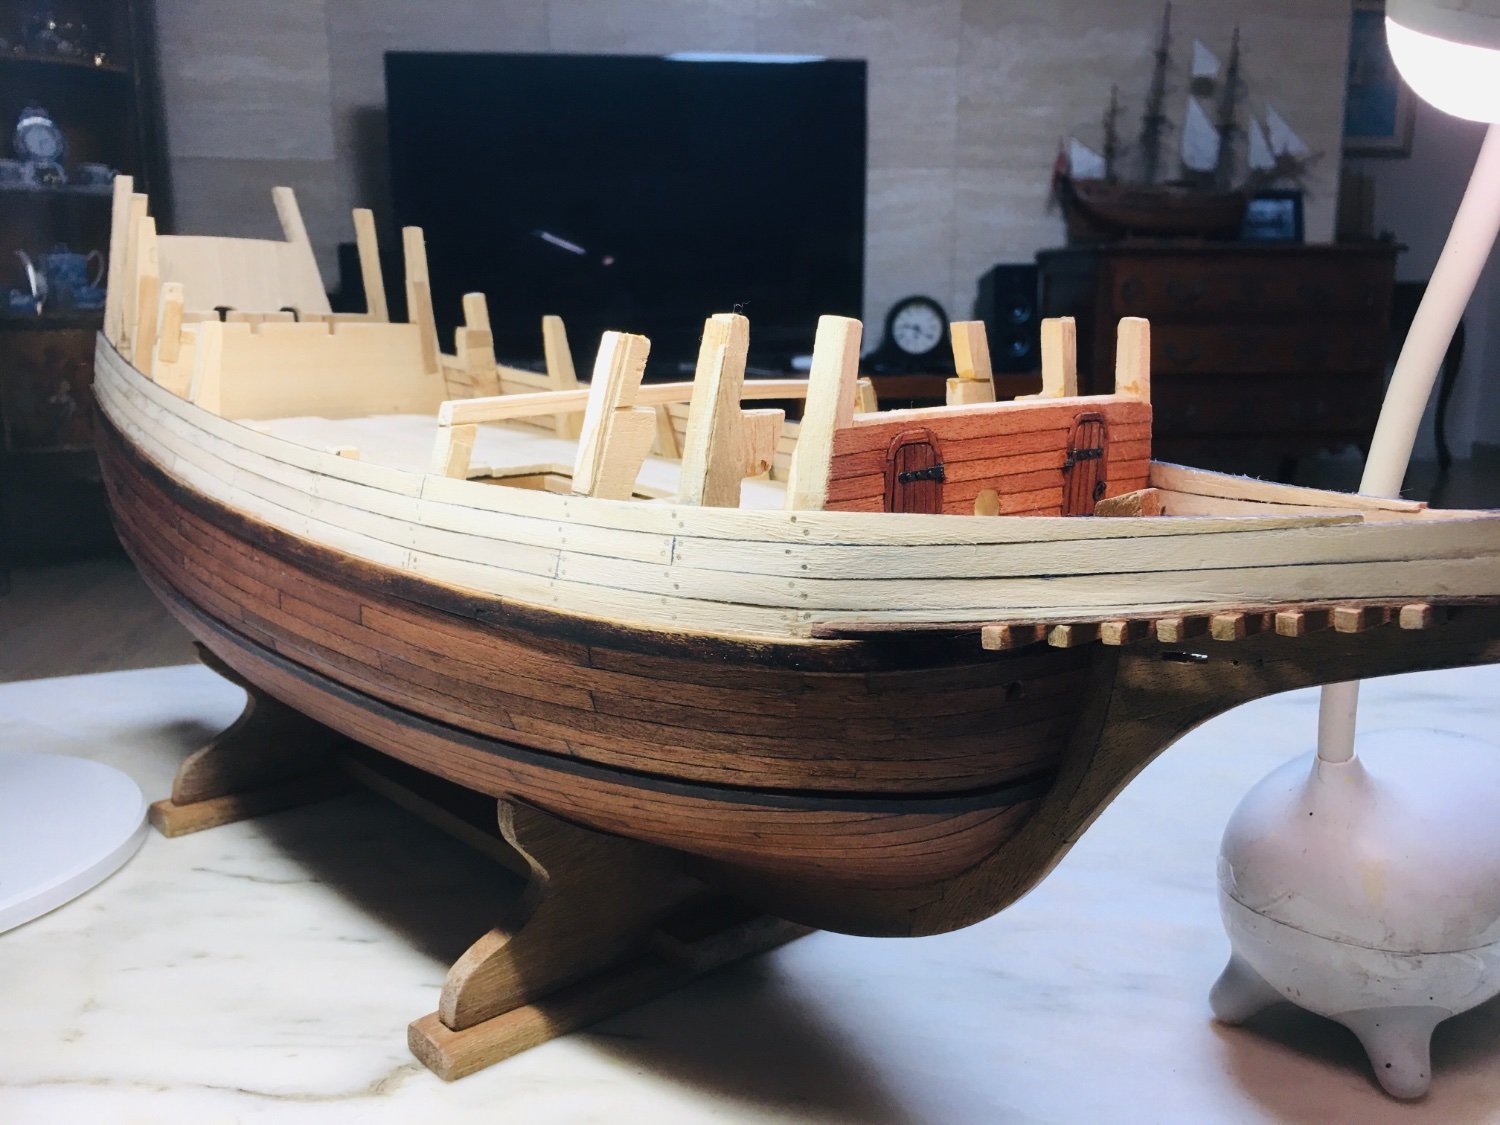
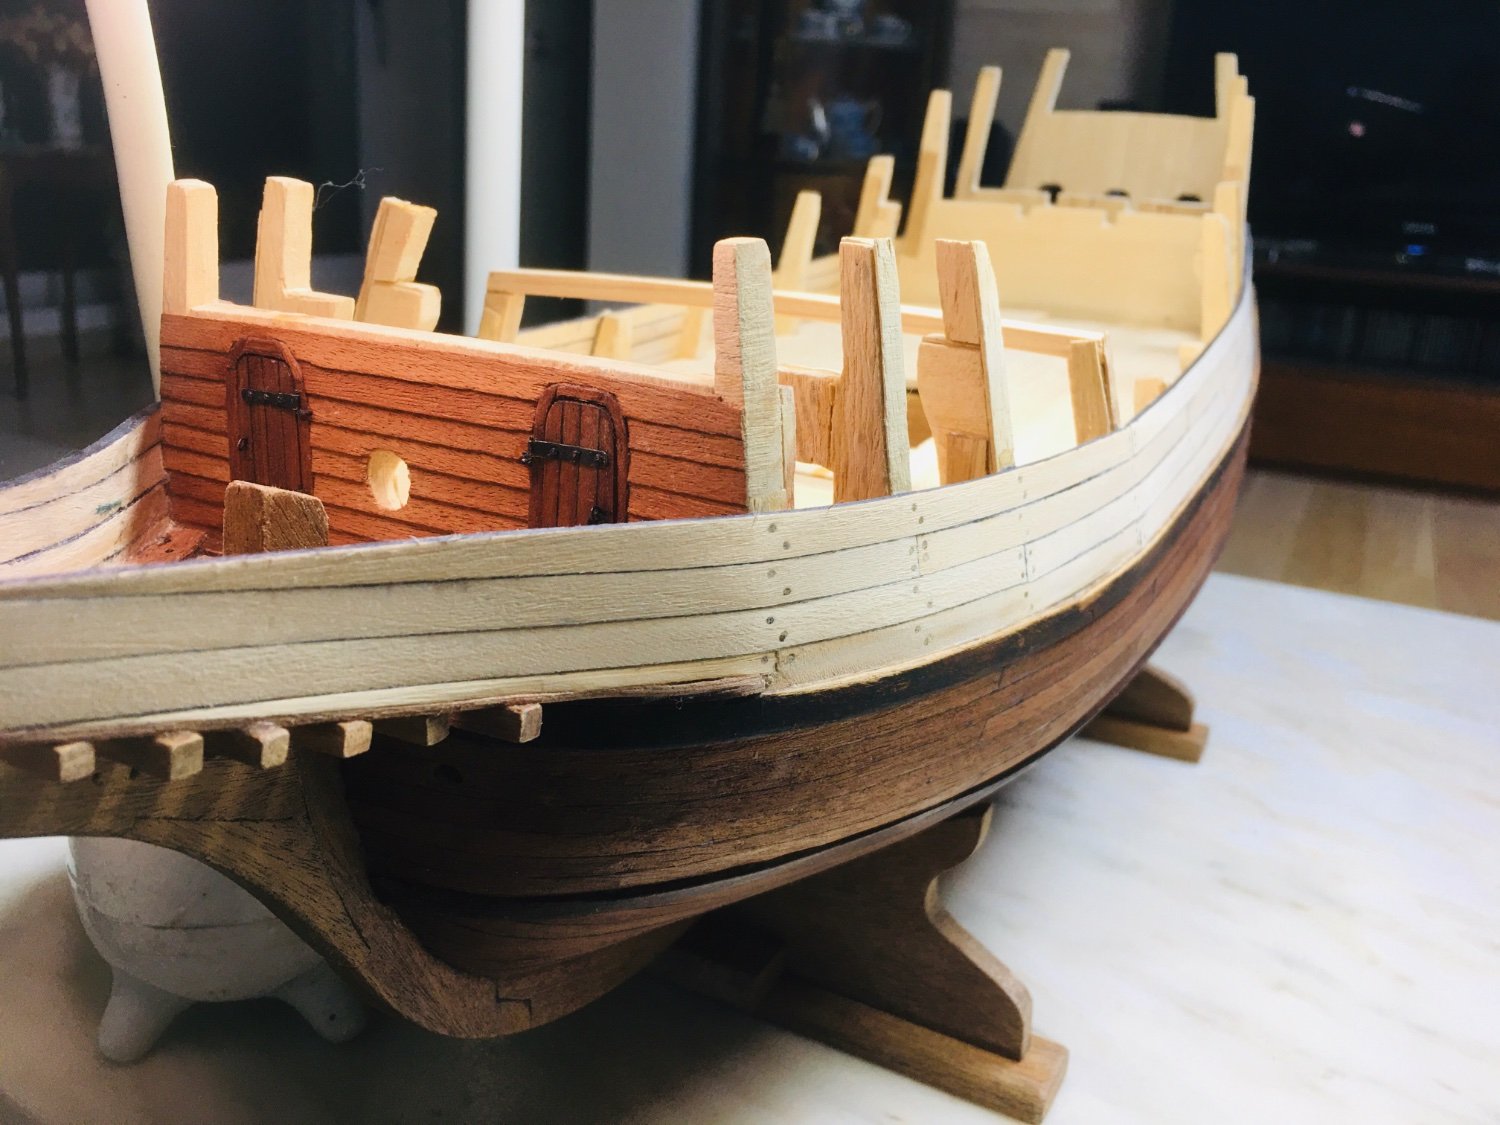
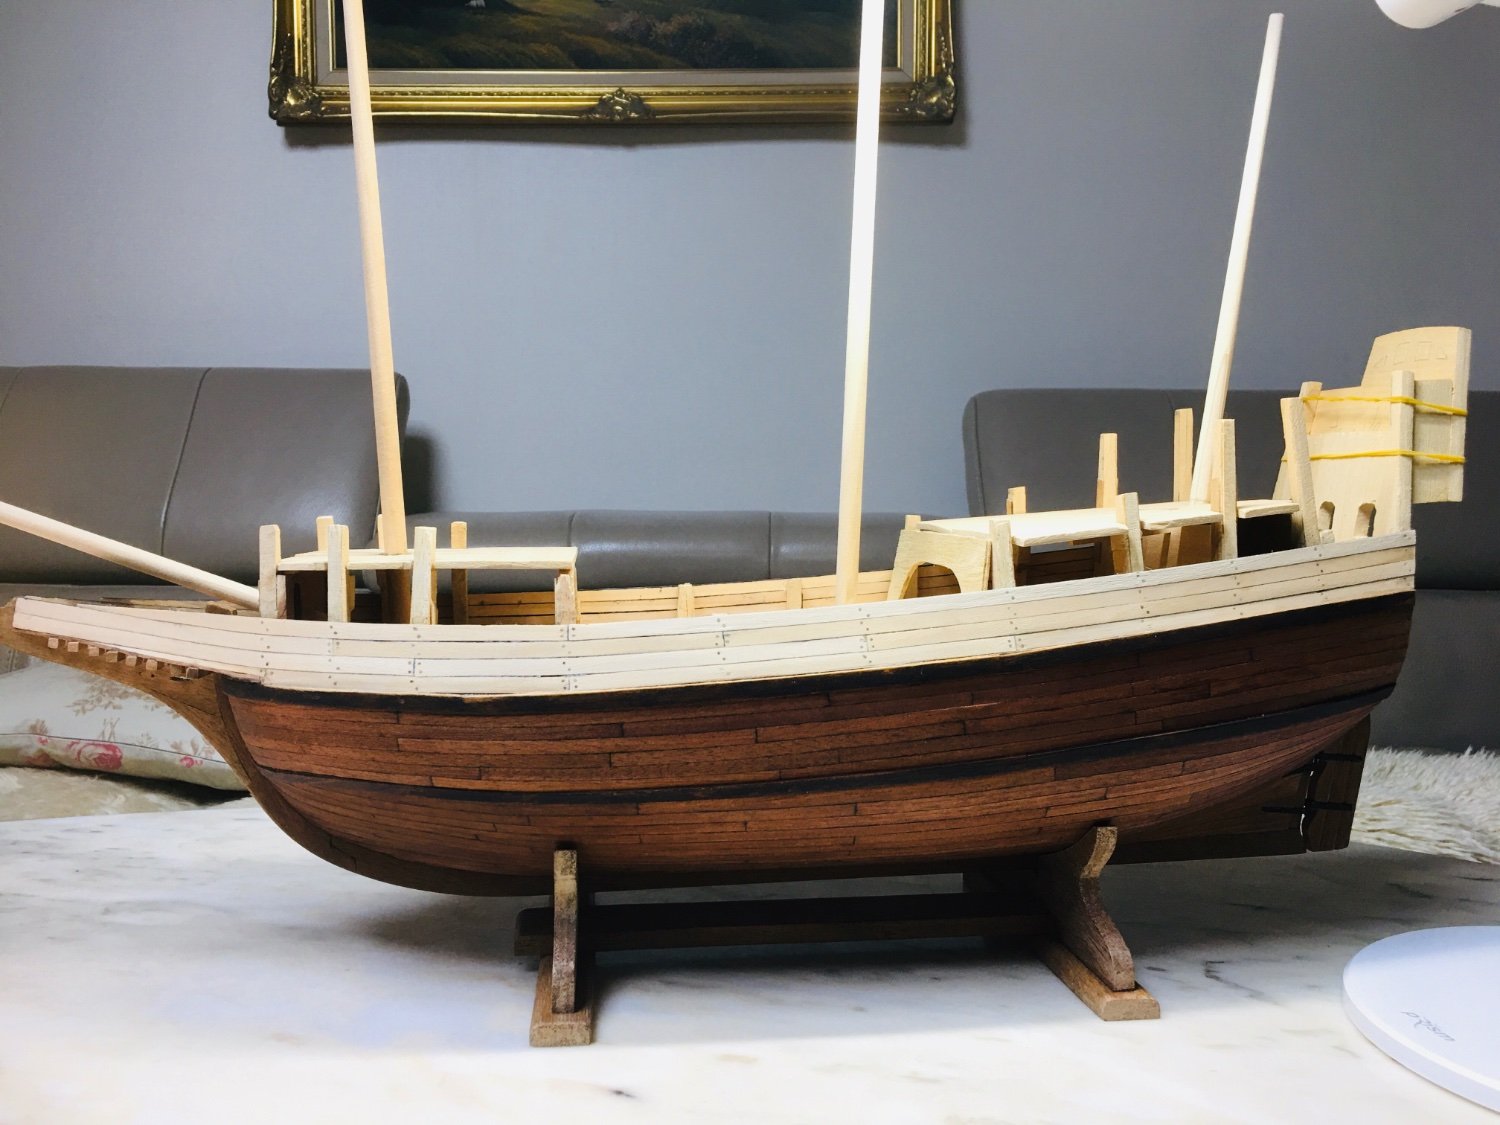
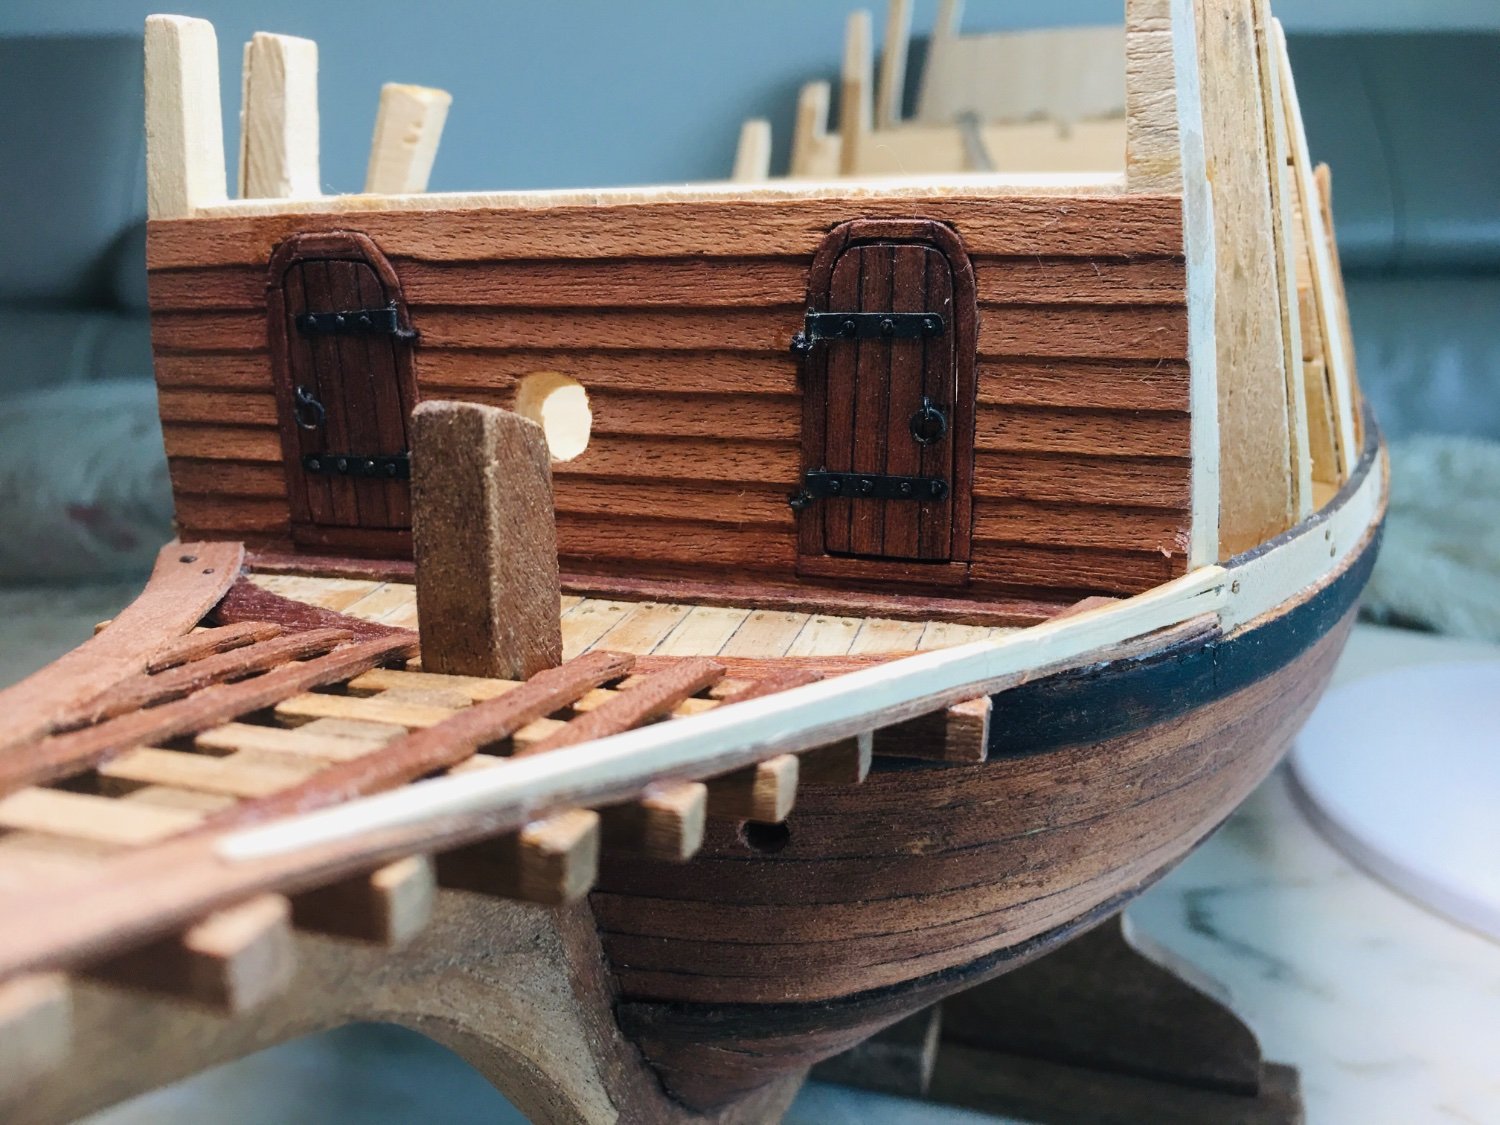
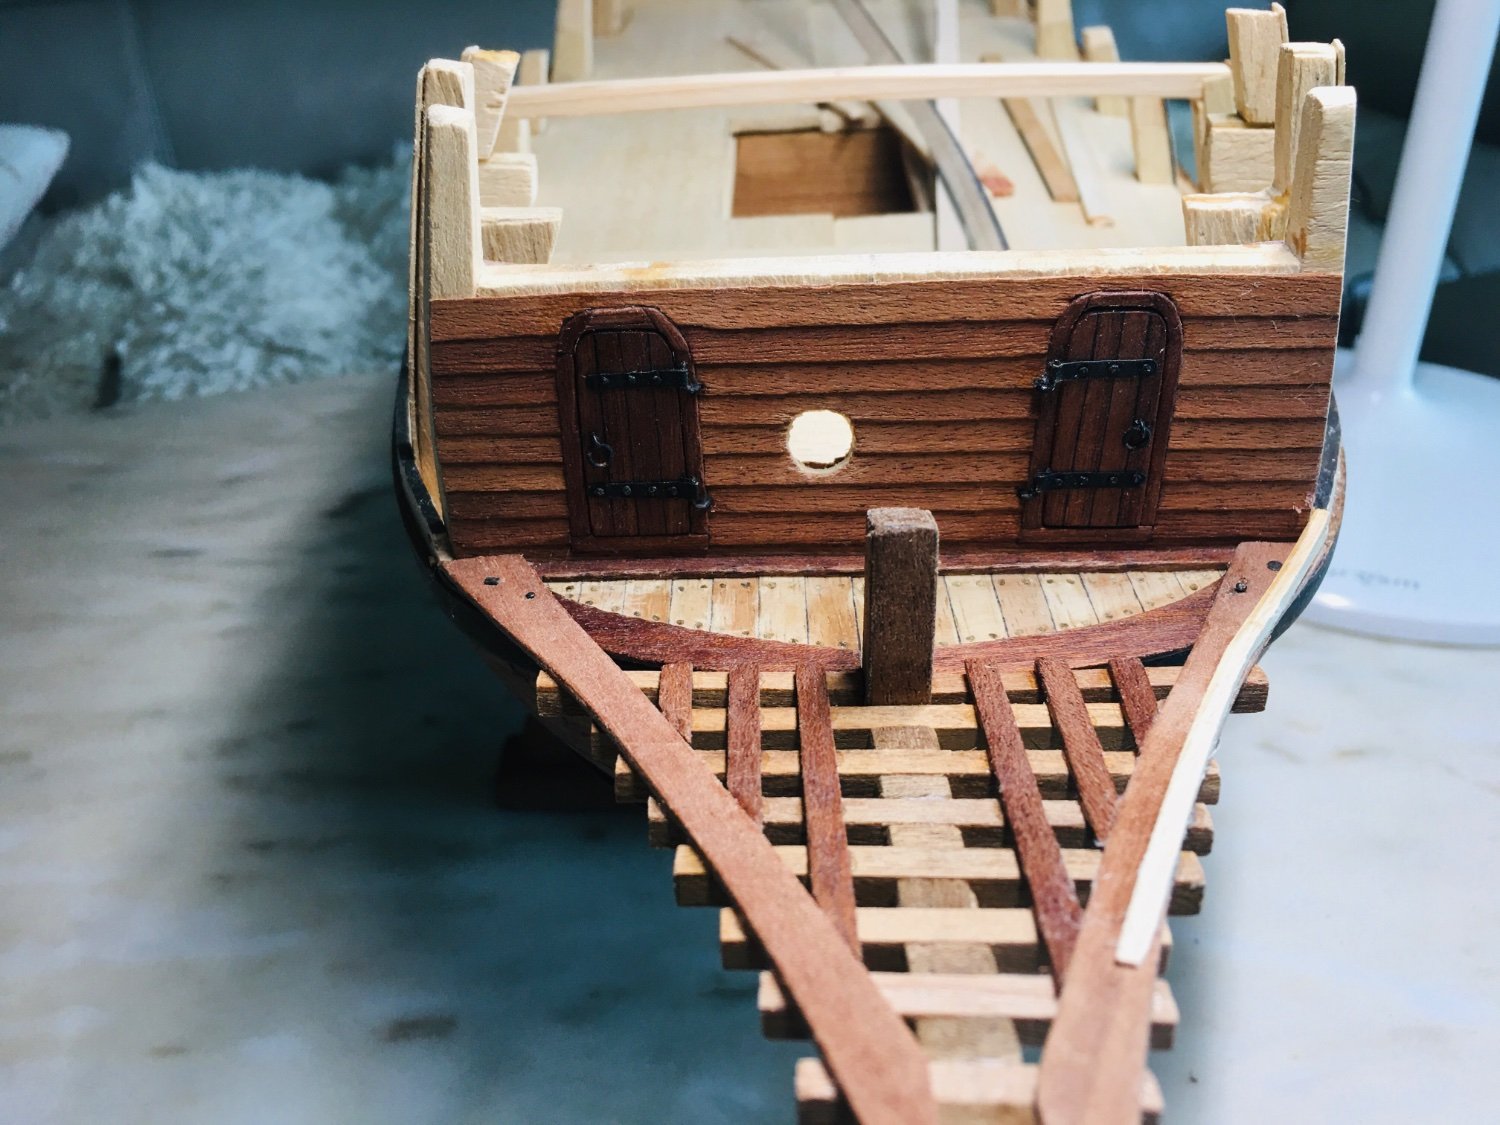
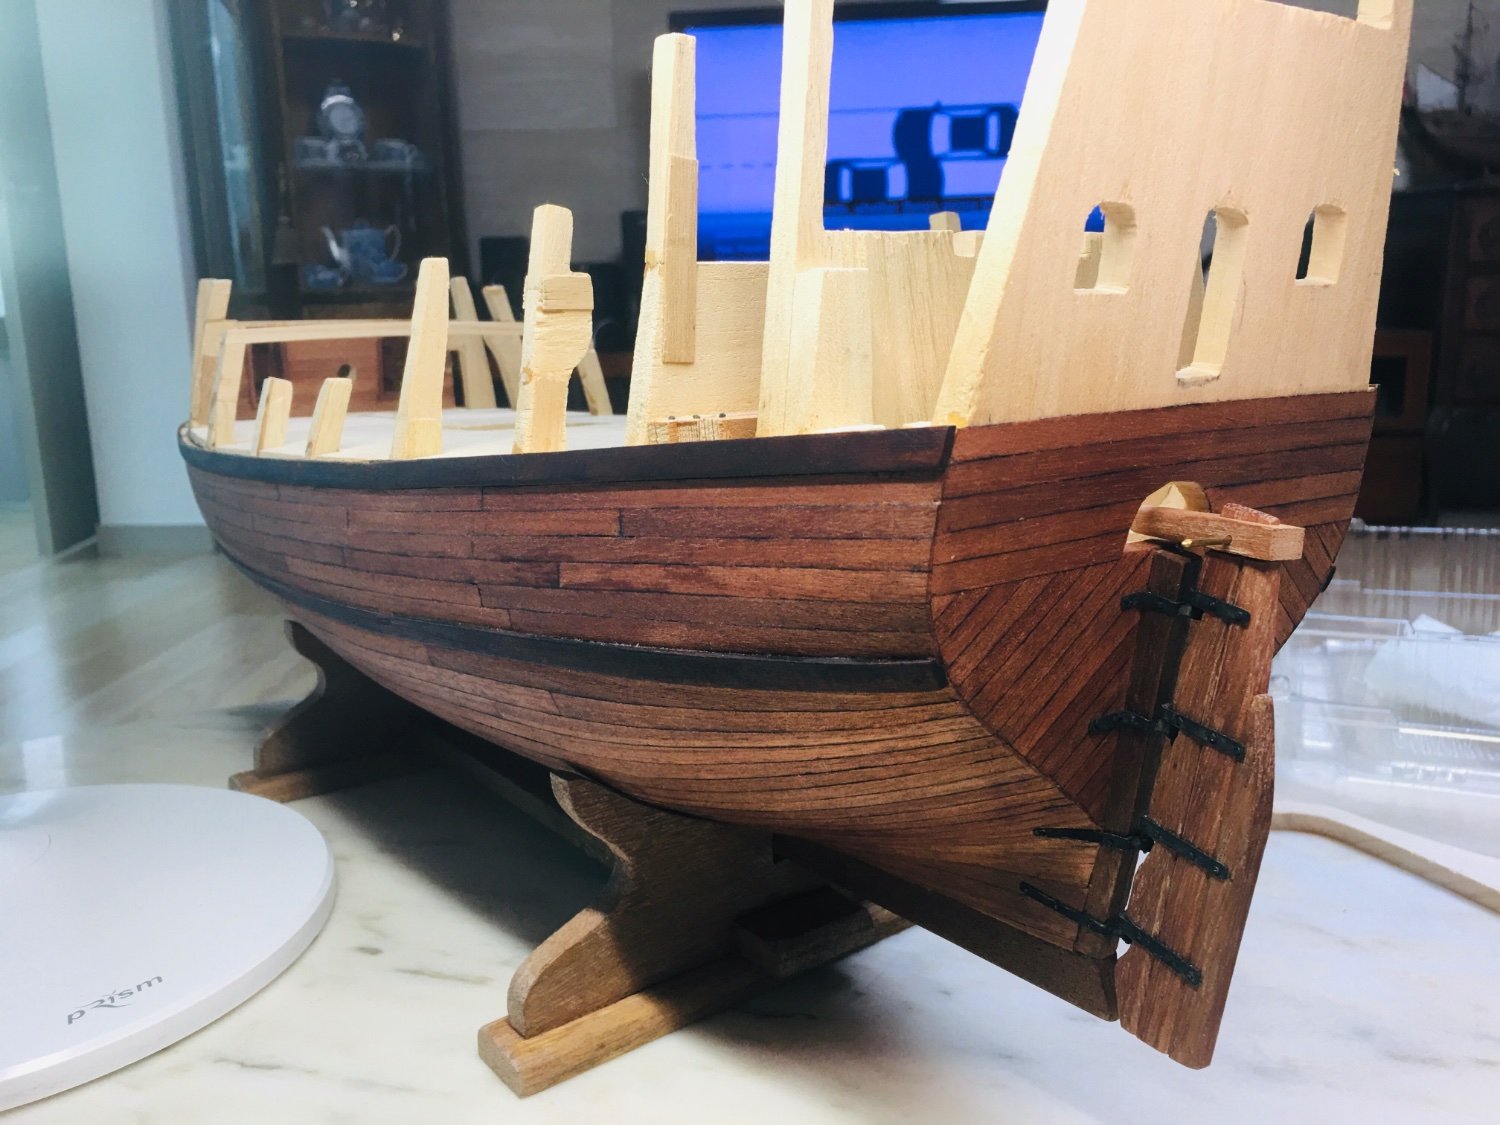
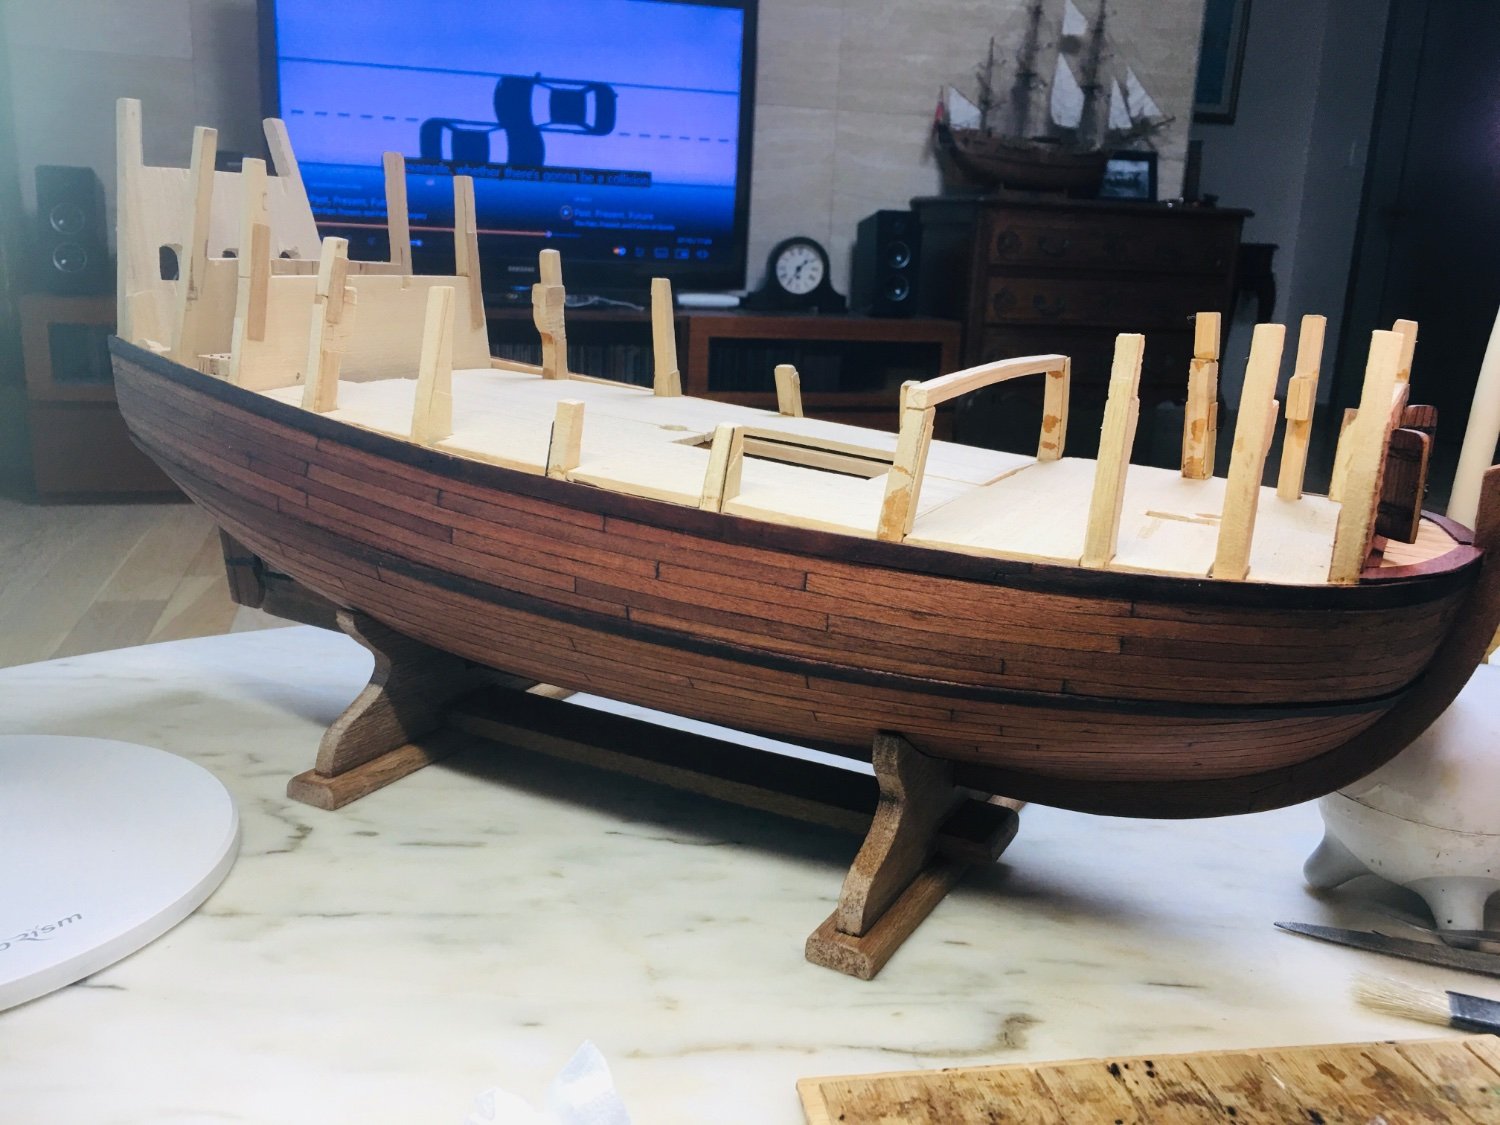
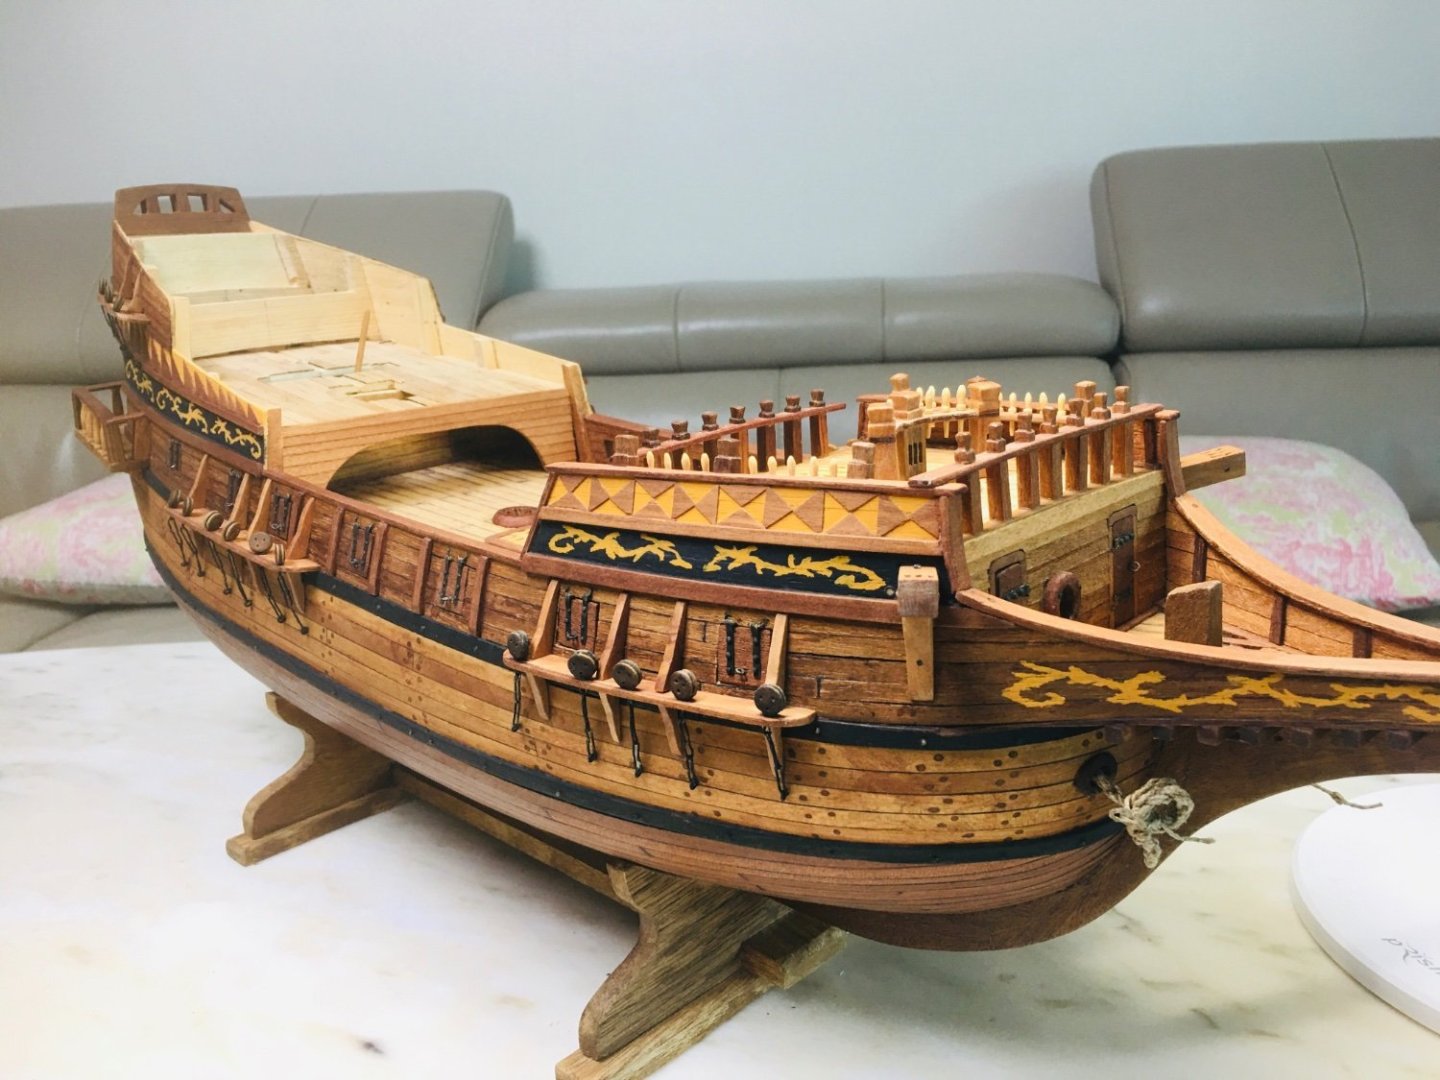
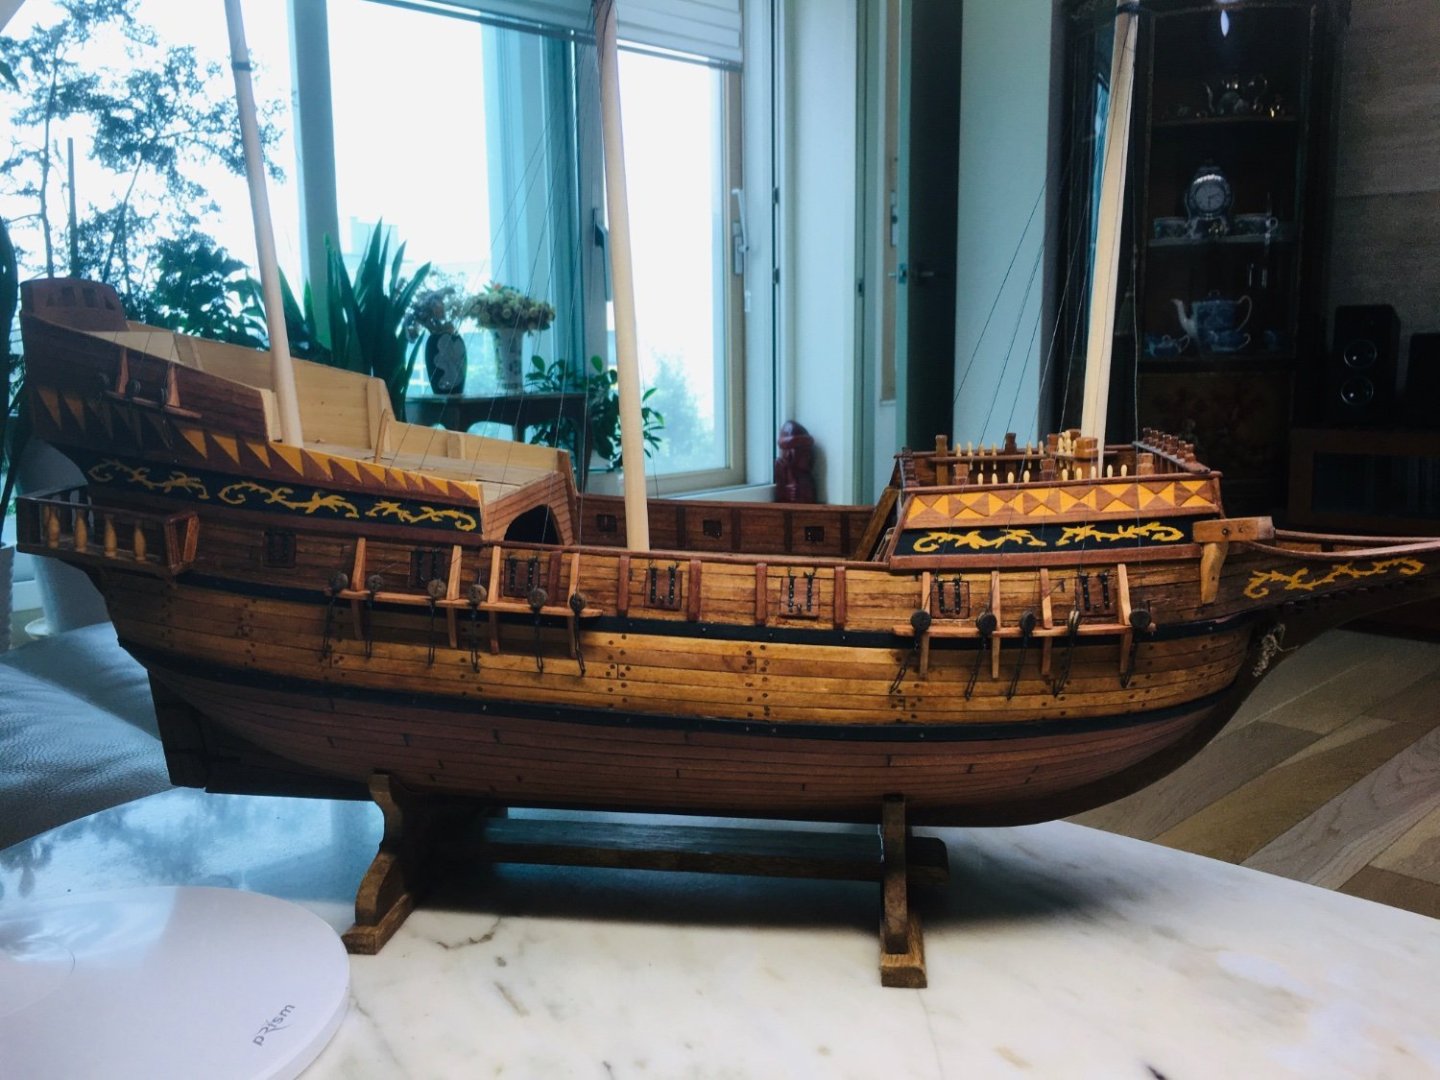
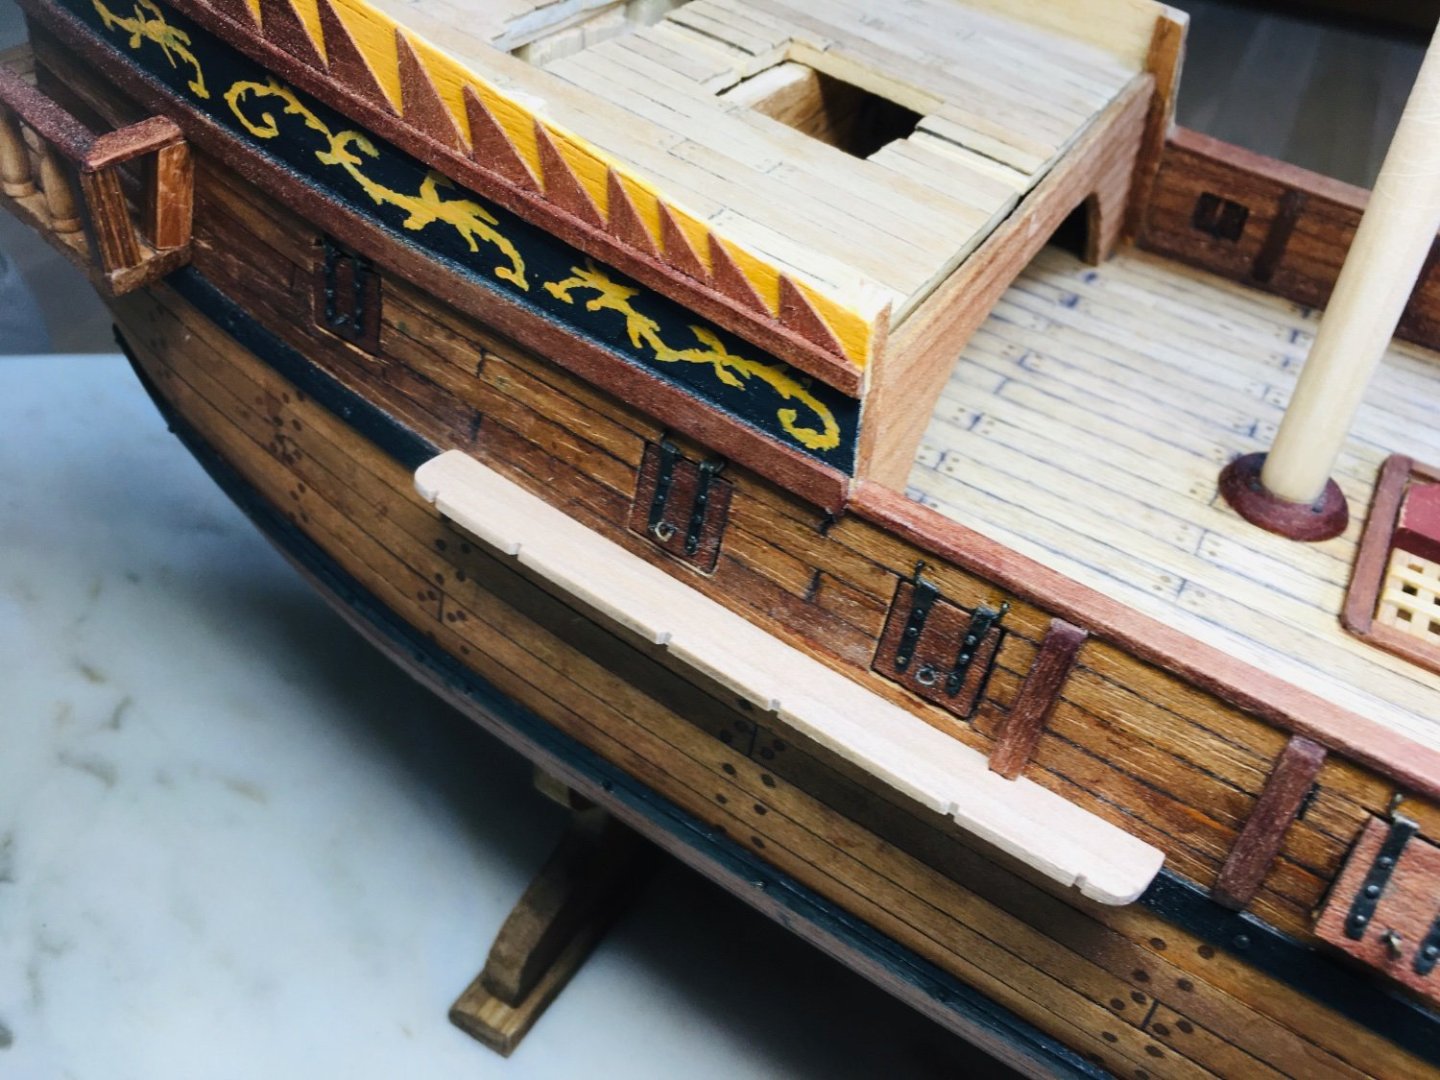
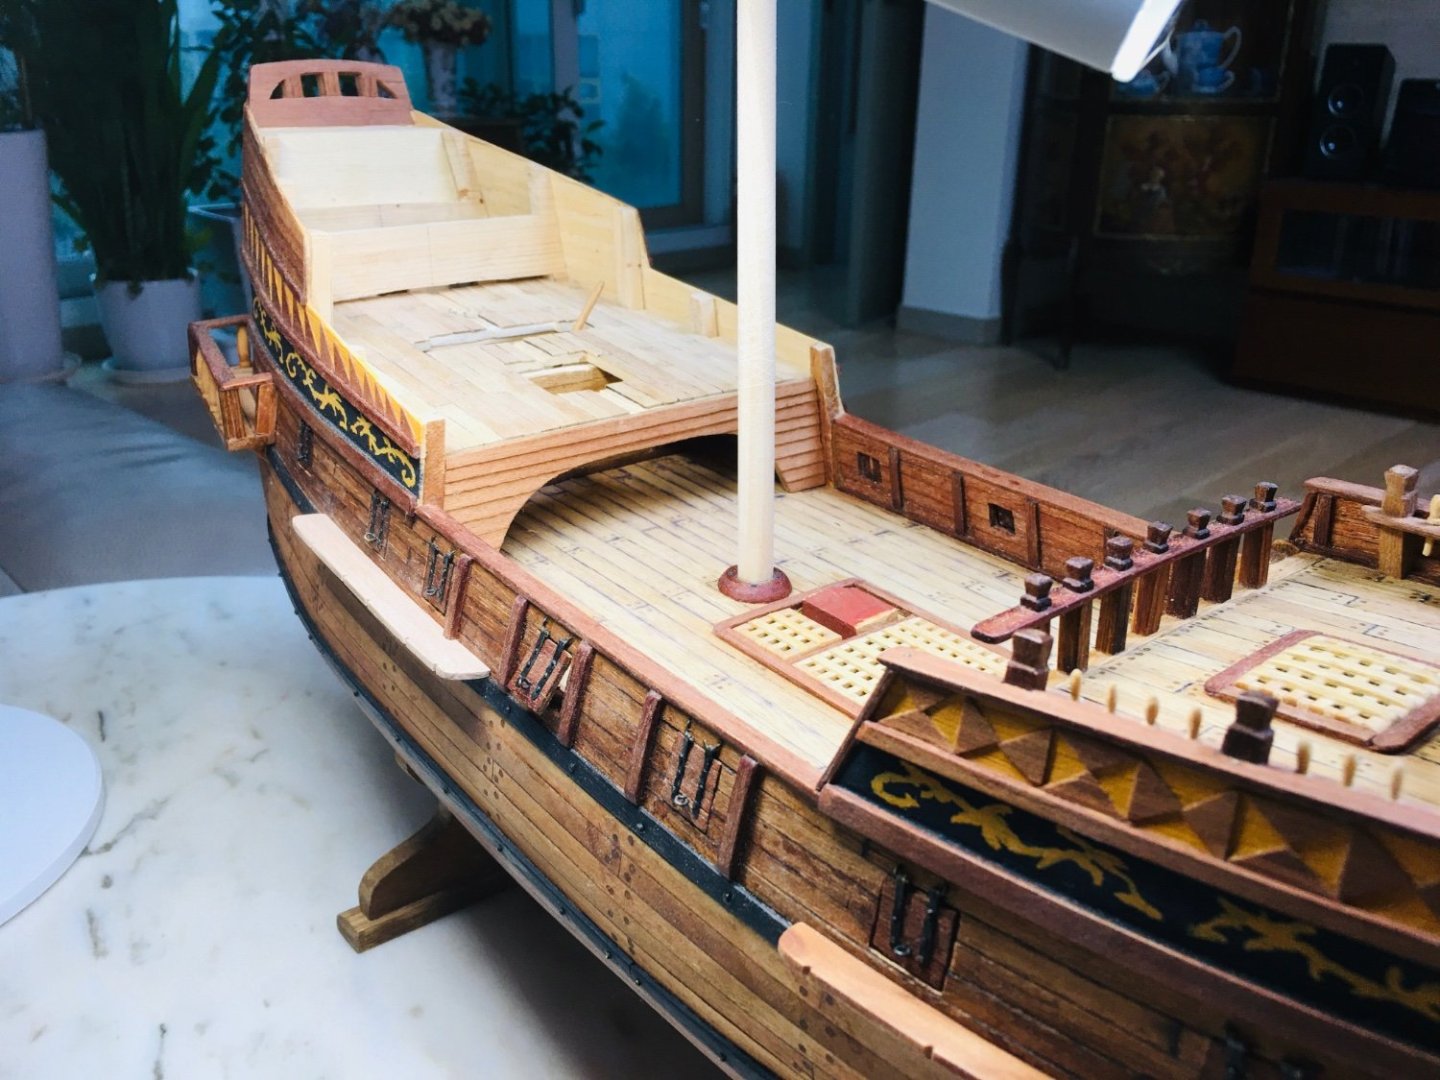
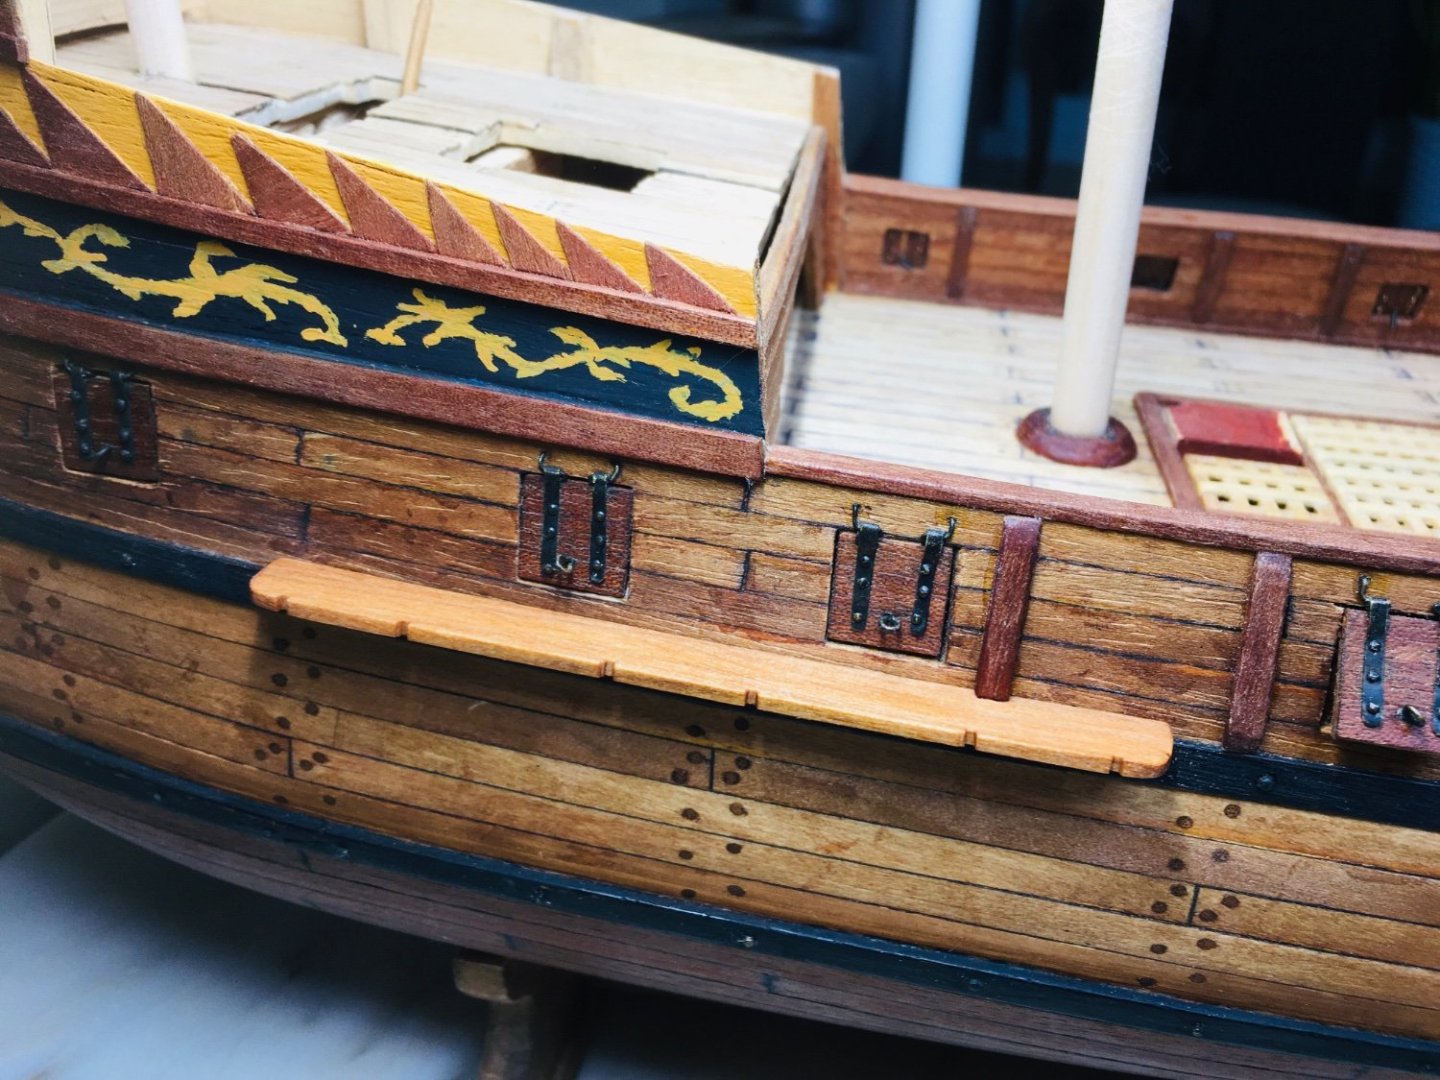
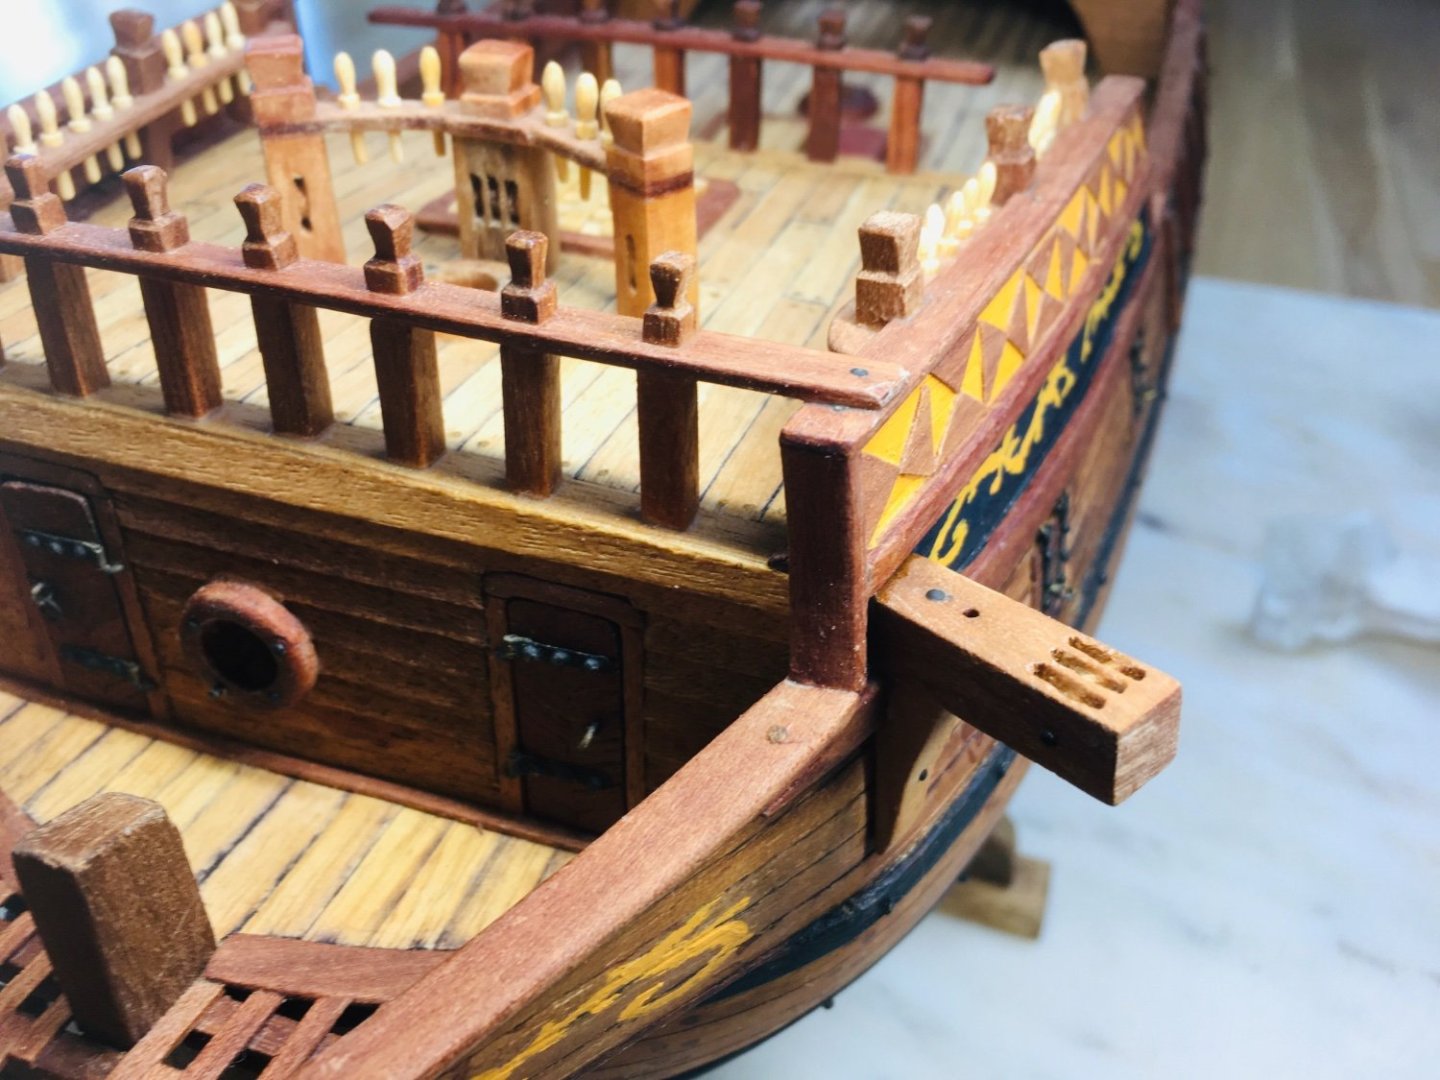
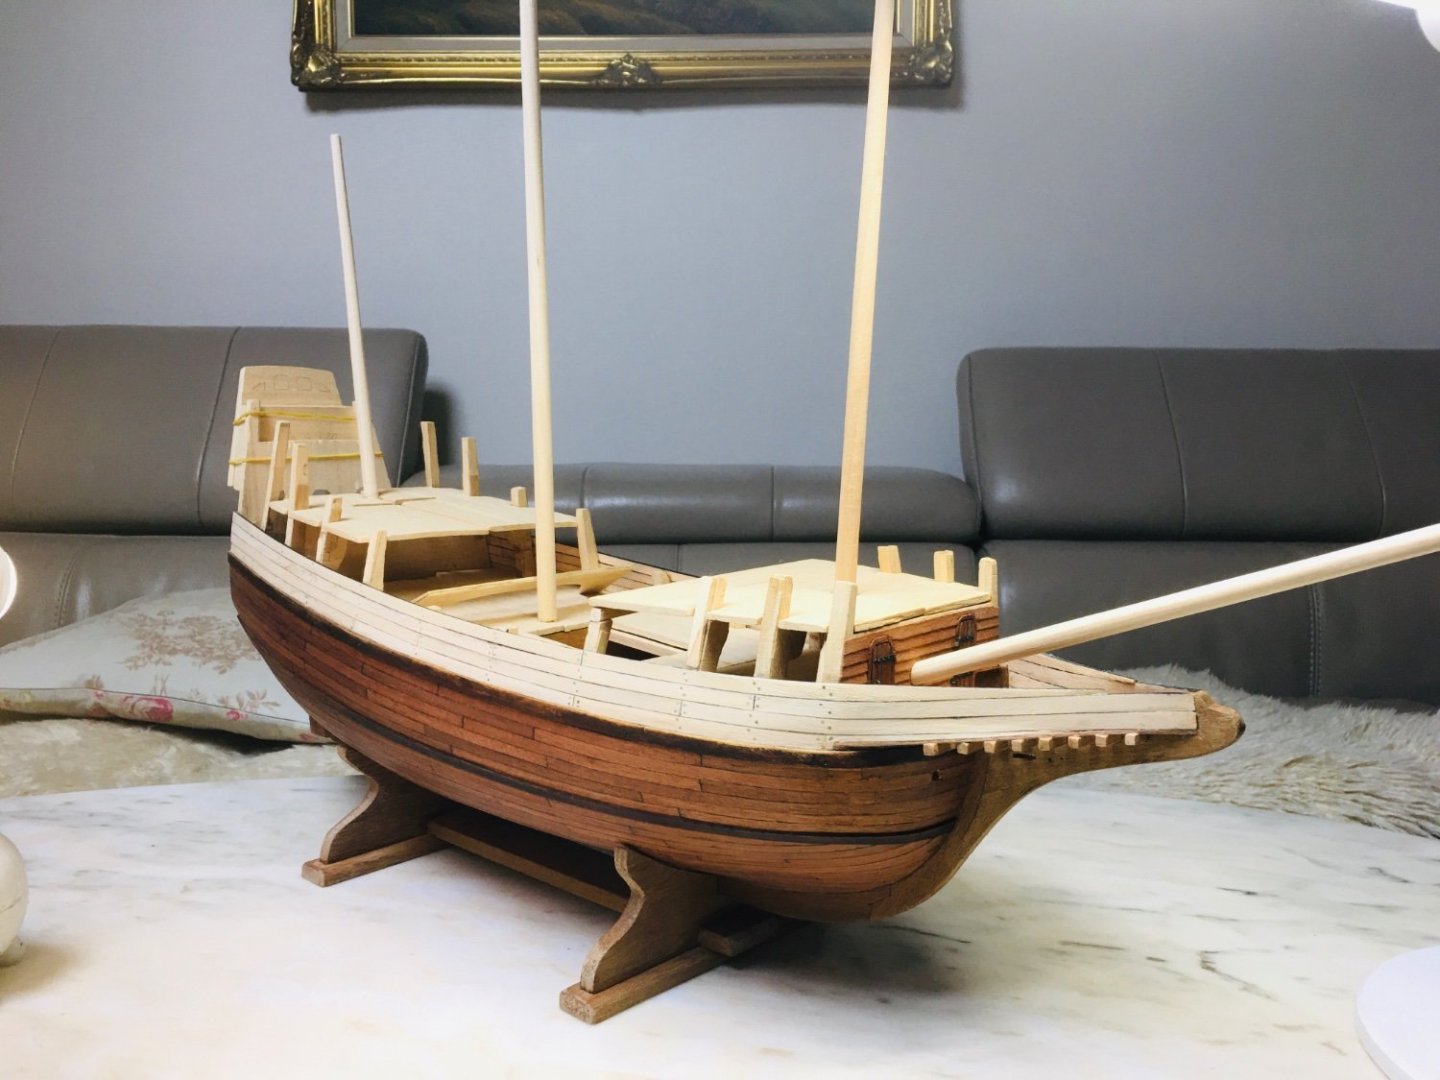
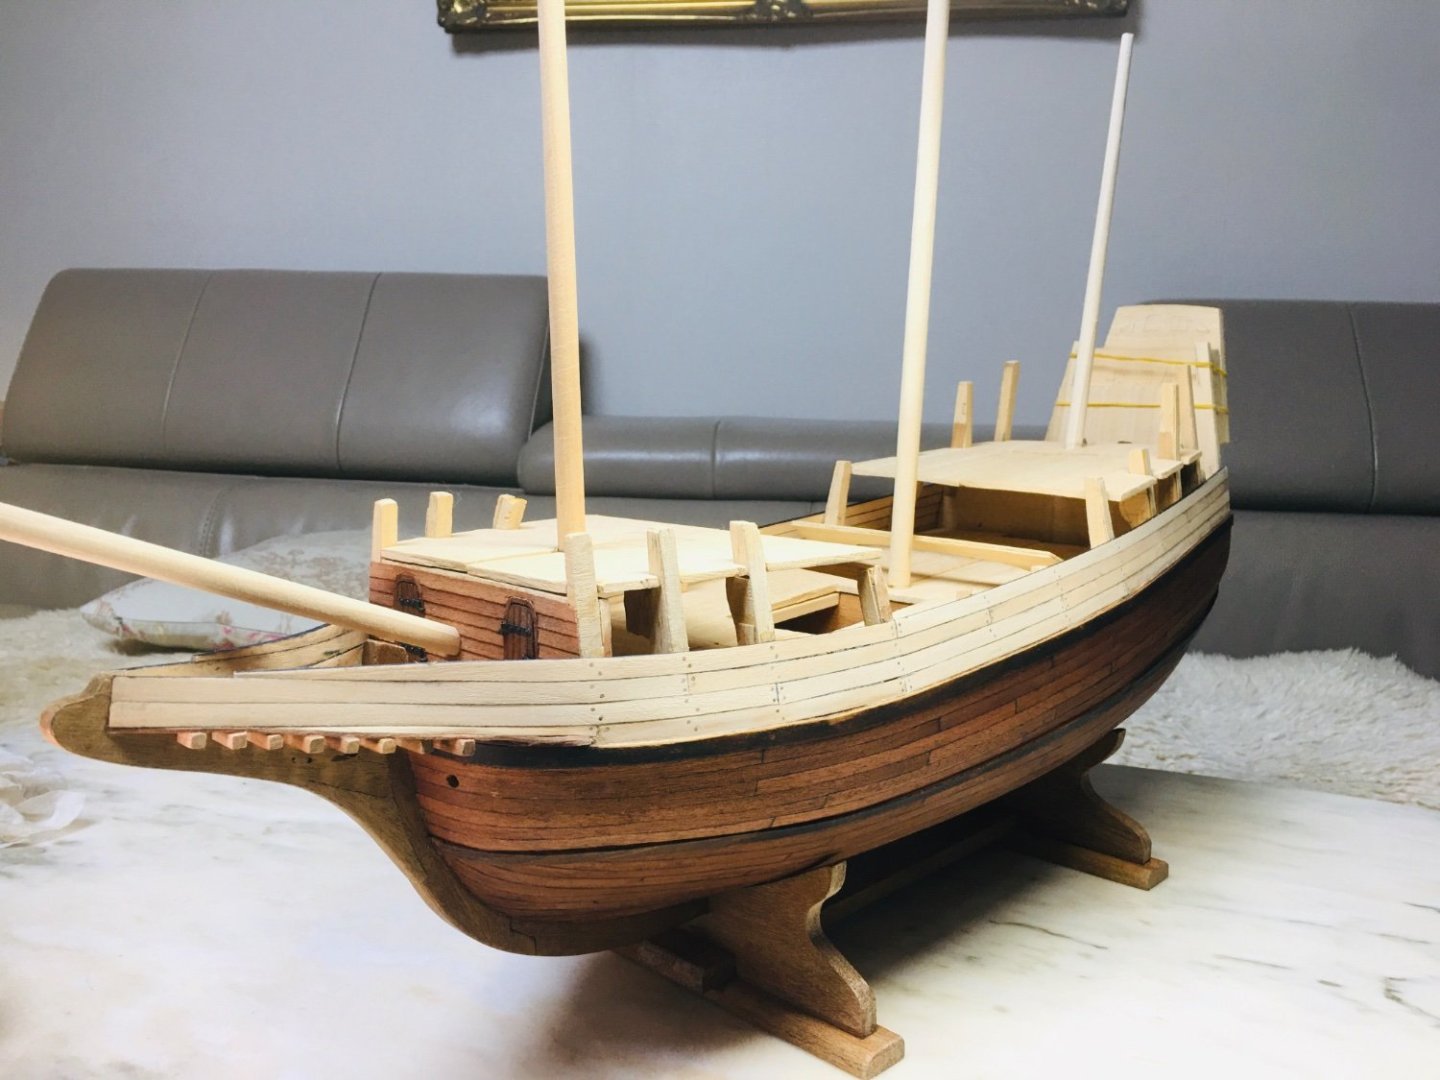
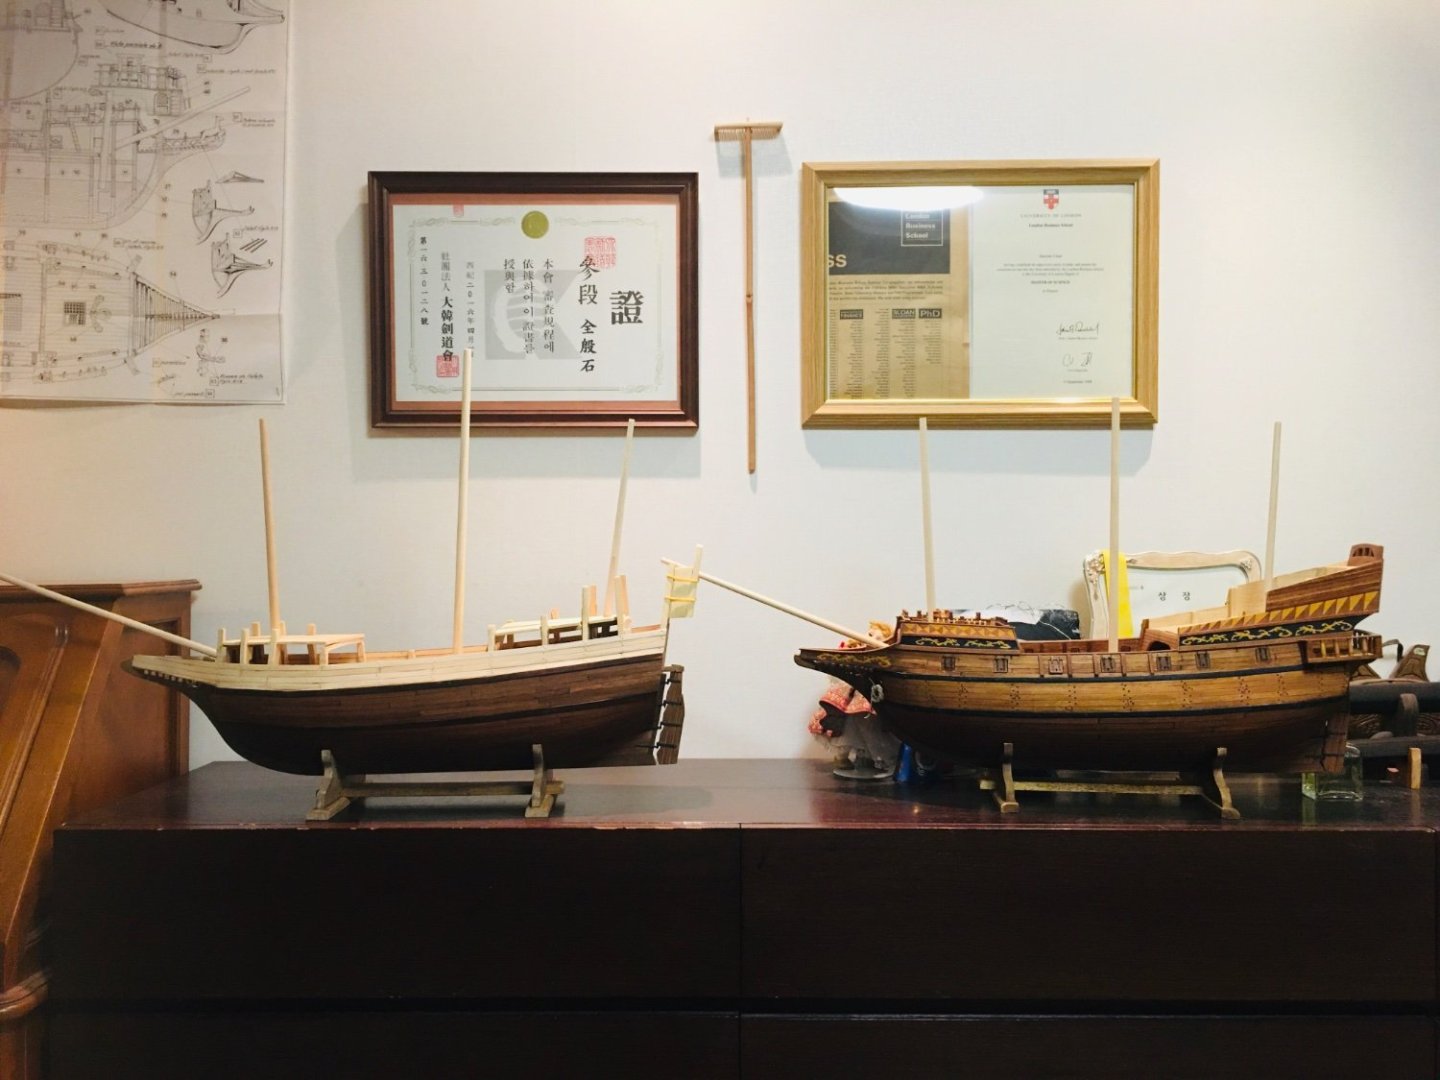
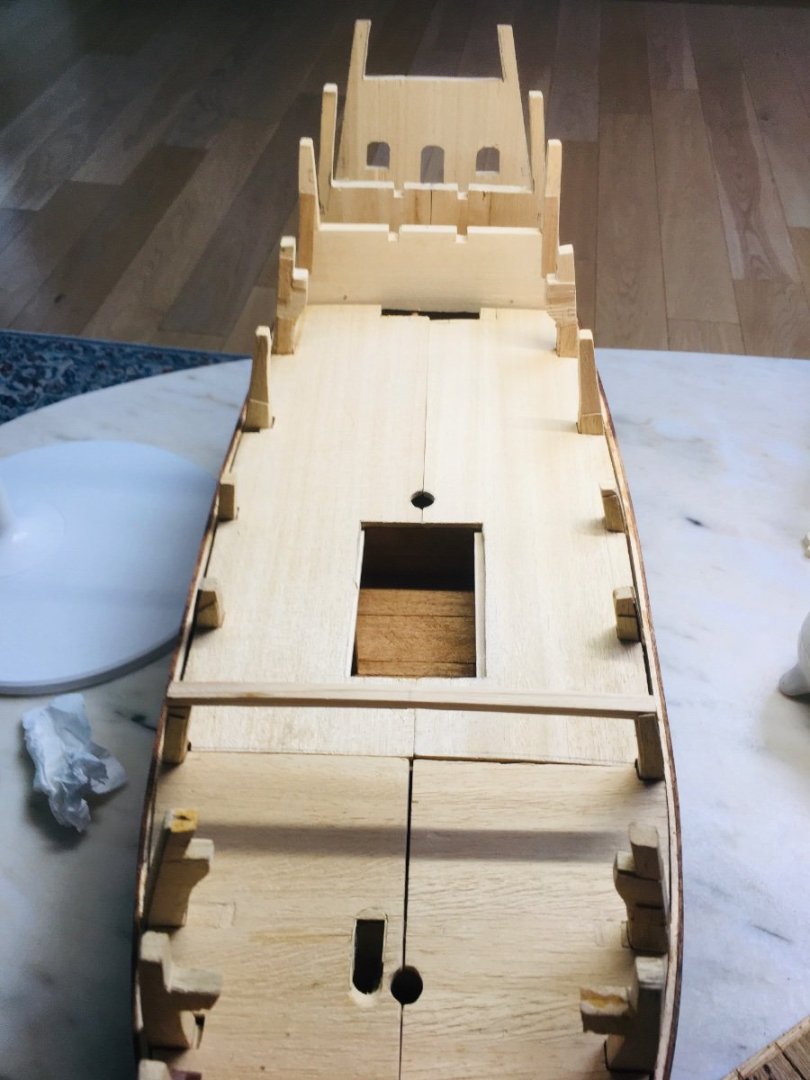
Hello All, We had a long weekend here in Korea and I was able to finish basic planking work of the weatherdeck level in GH2. I have more or less implemented new methods that I wanted to try out on GH2 and thus, after this posting, I will go back to GH1 and carry on from where I left off. Below are some pictures at the end of this round of works on GH2 and a comparison picture of GH1 & GH2 at the last section.


-
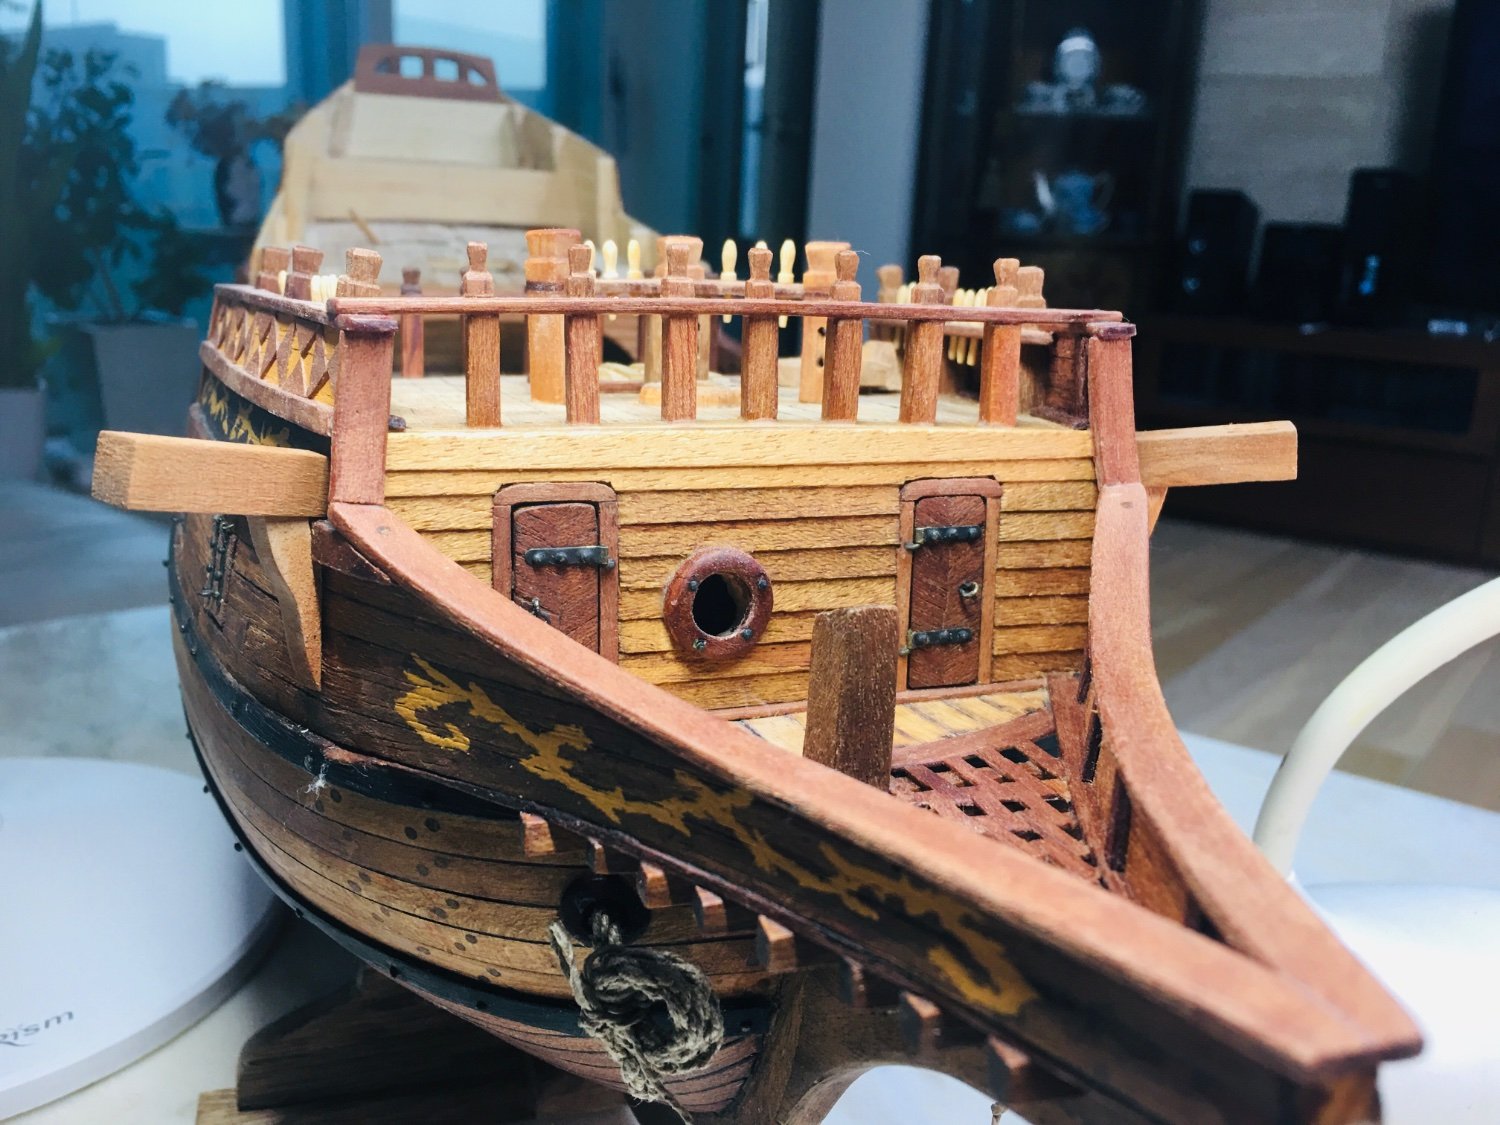
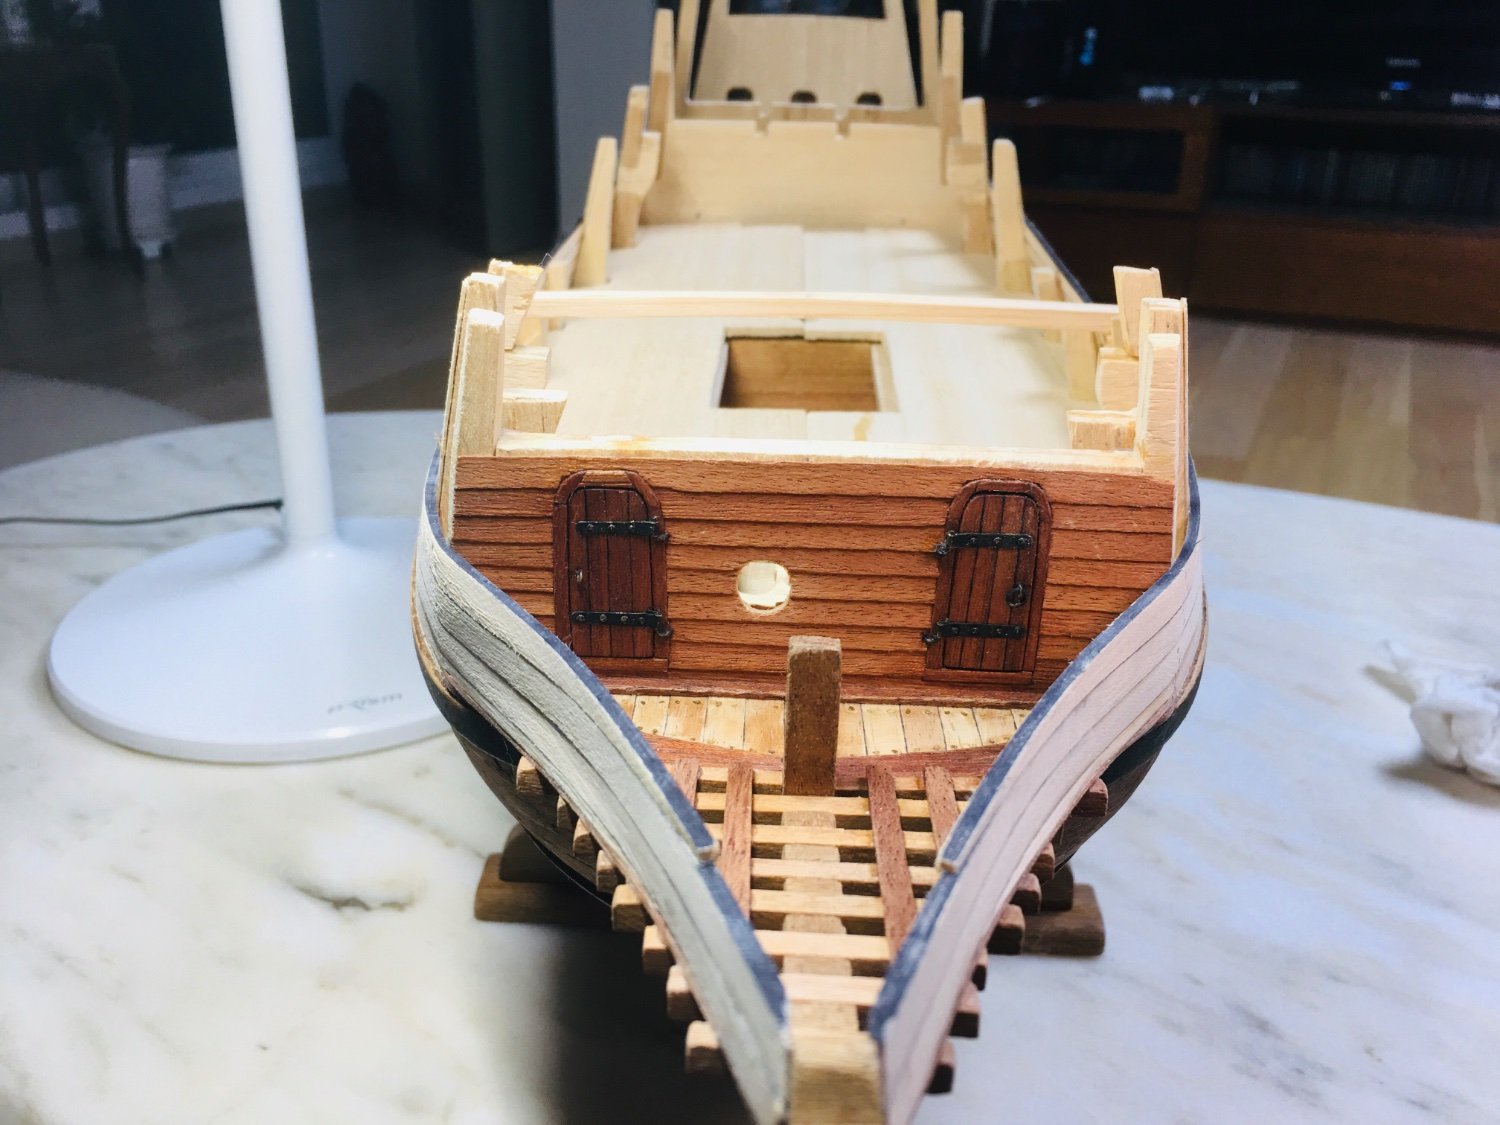
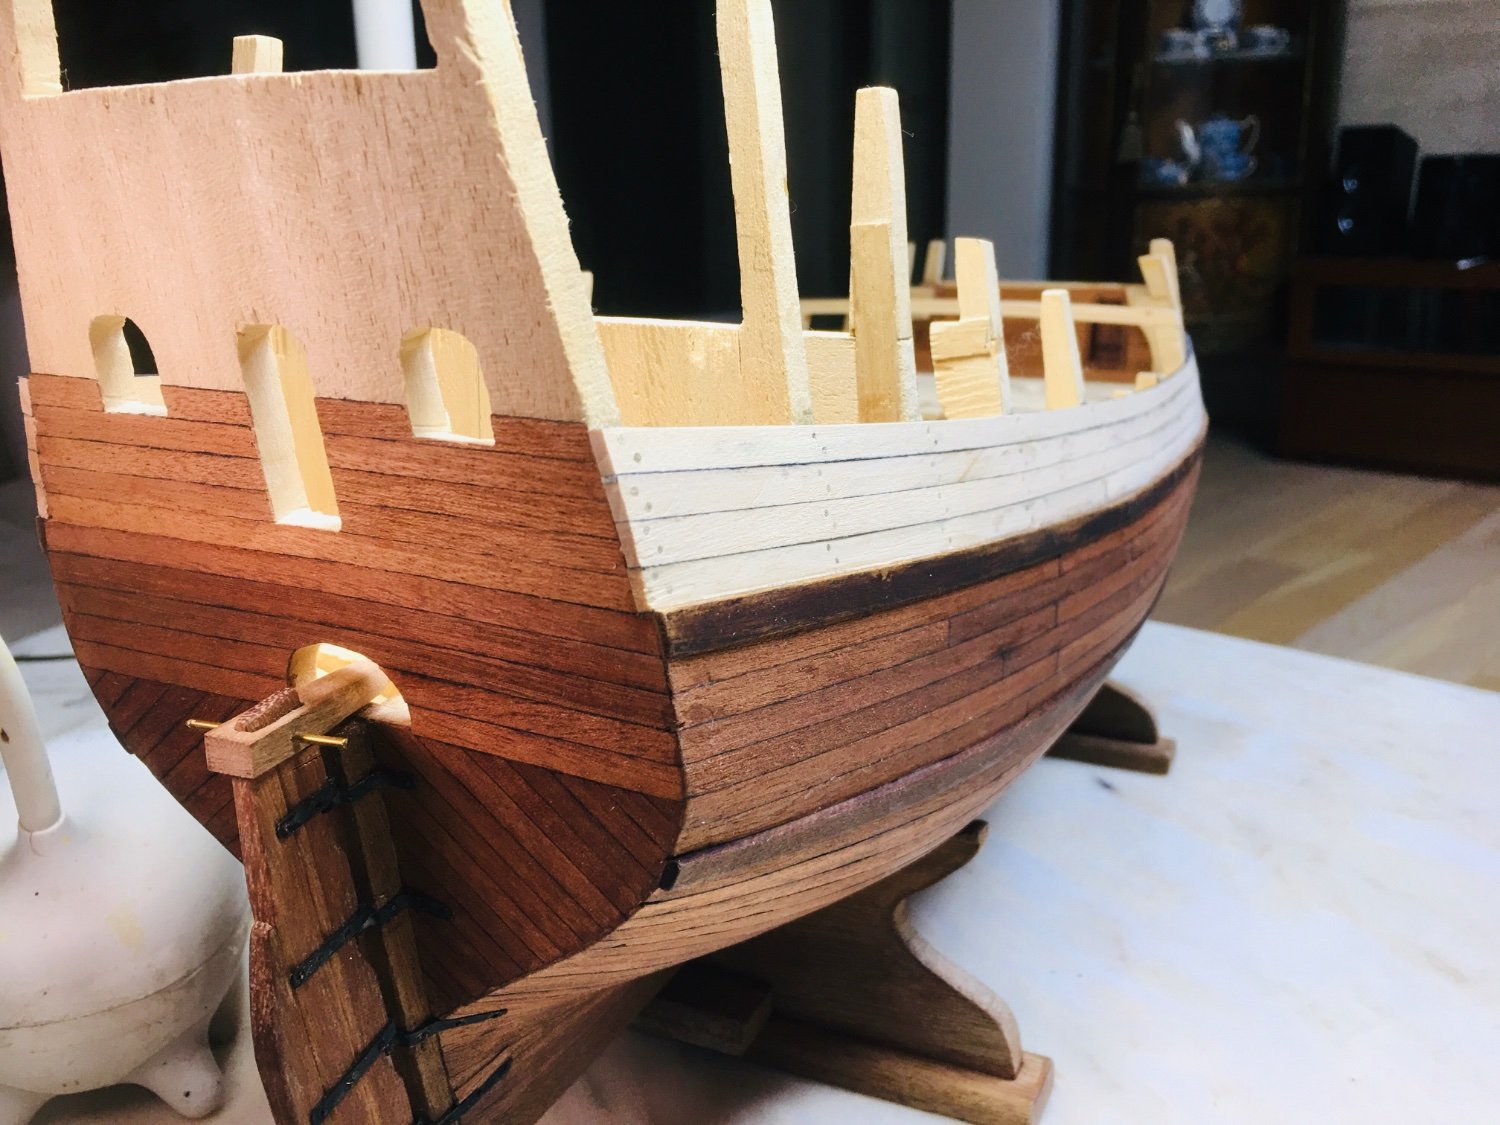
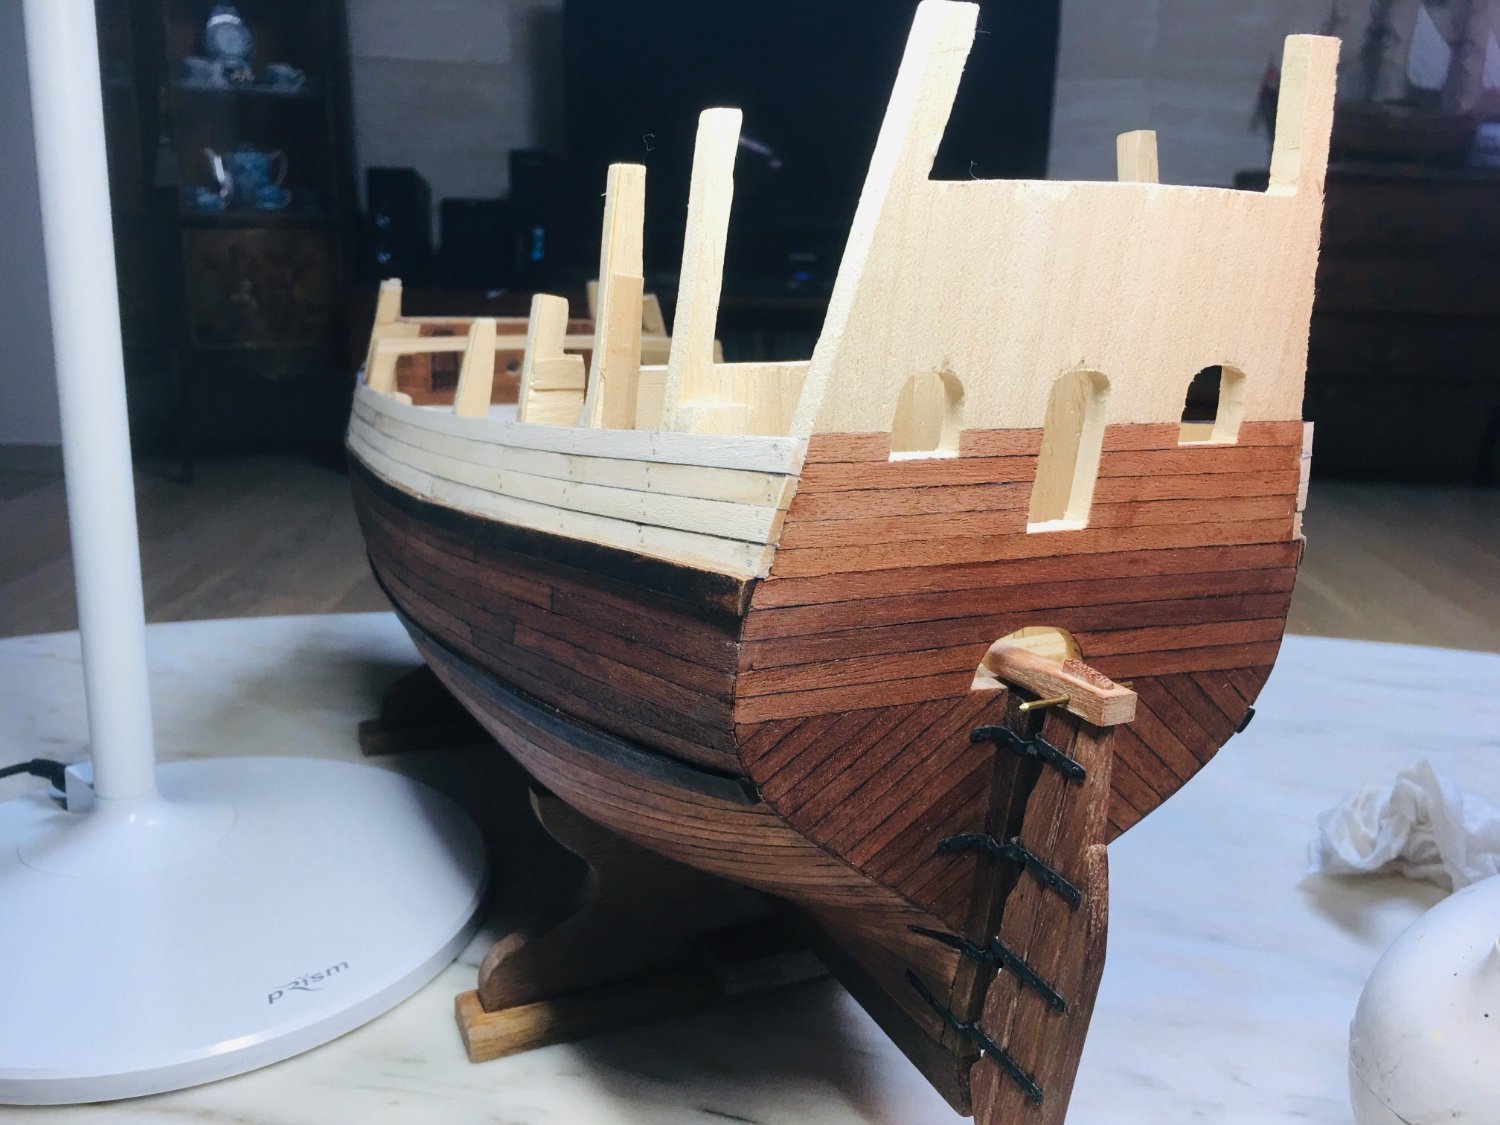
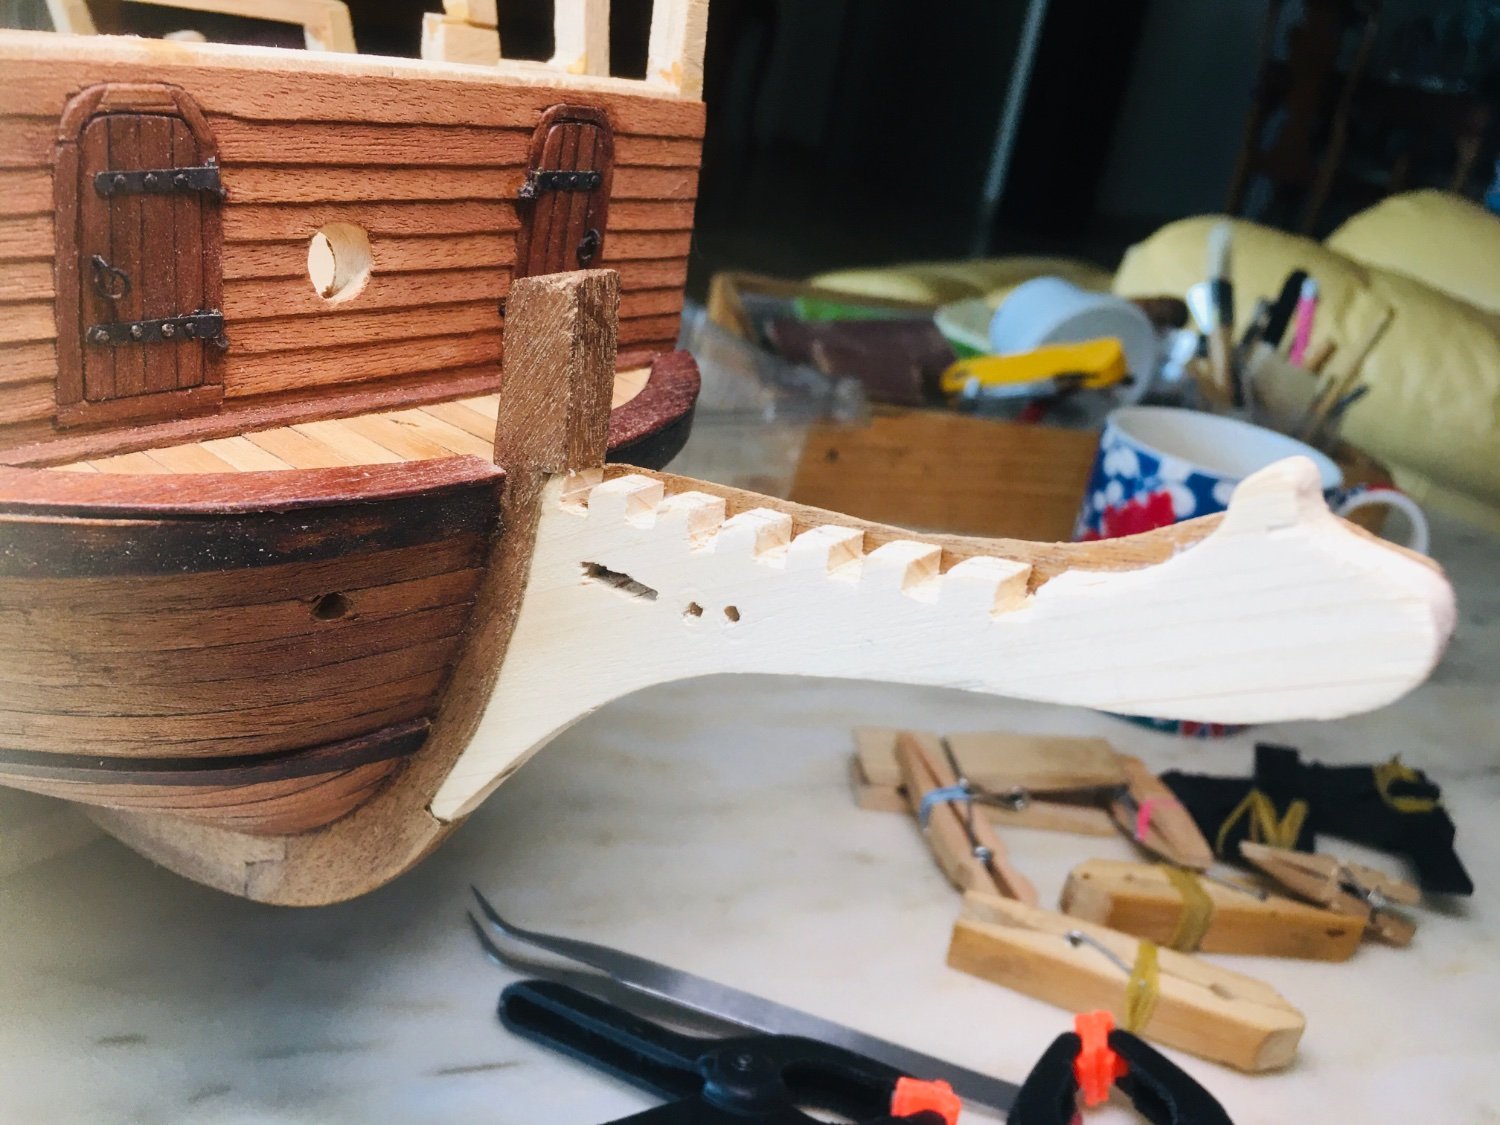
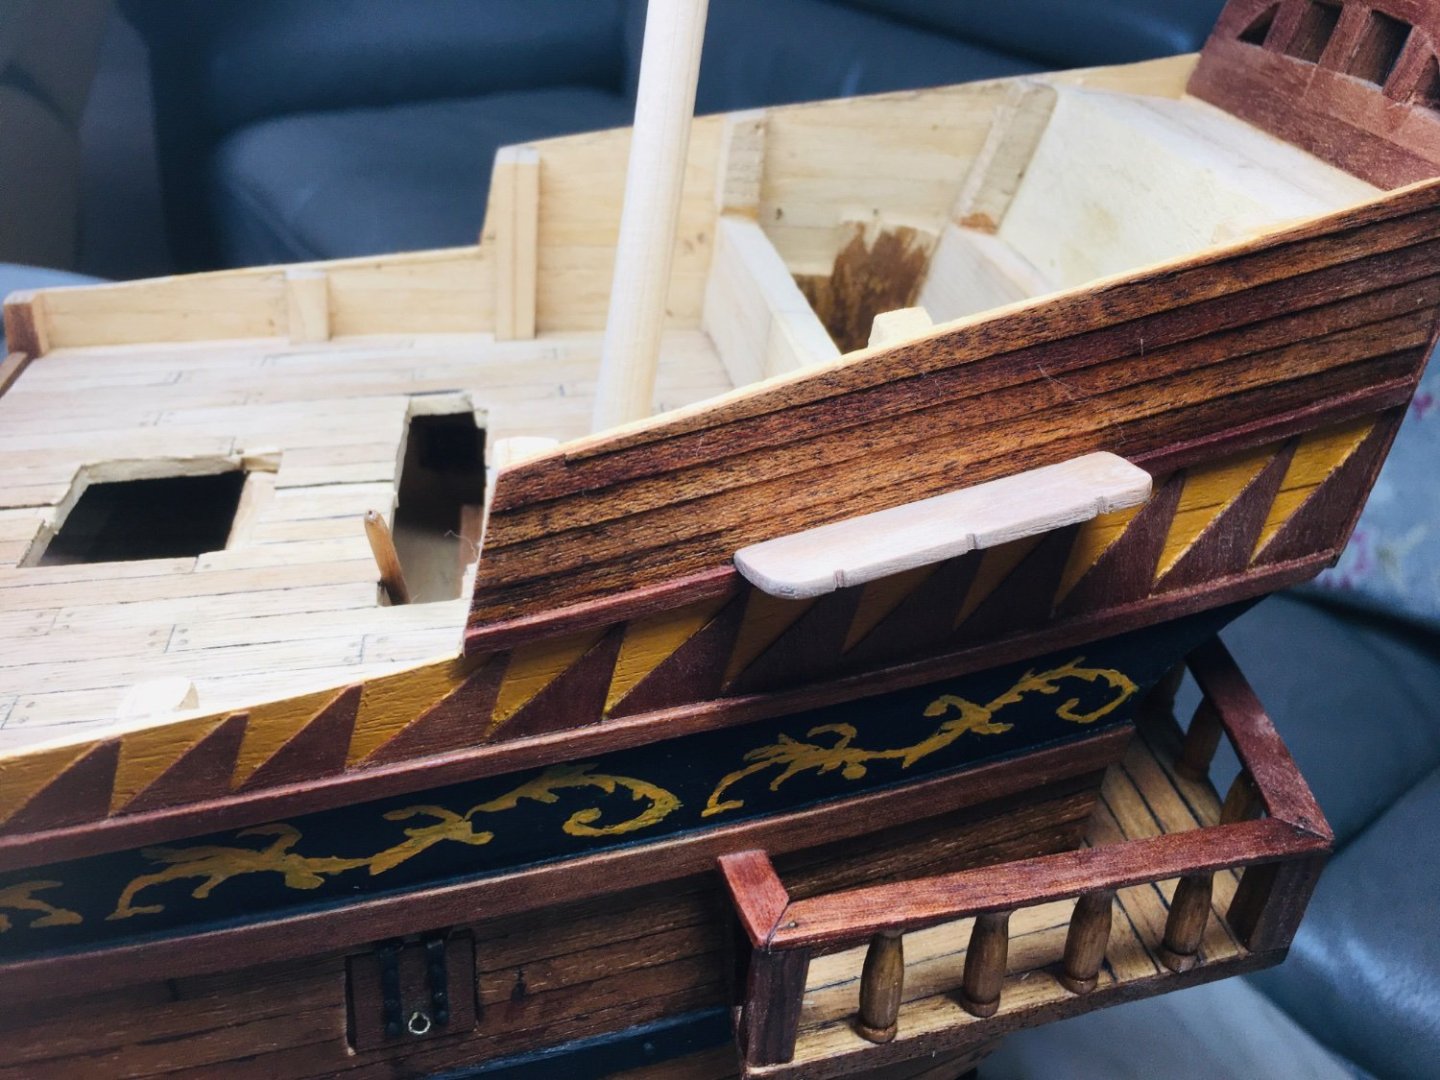
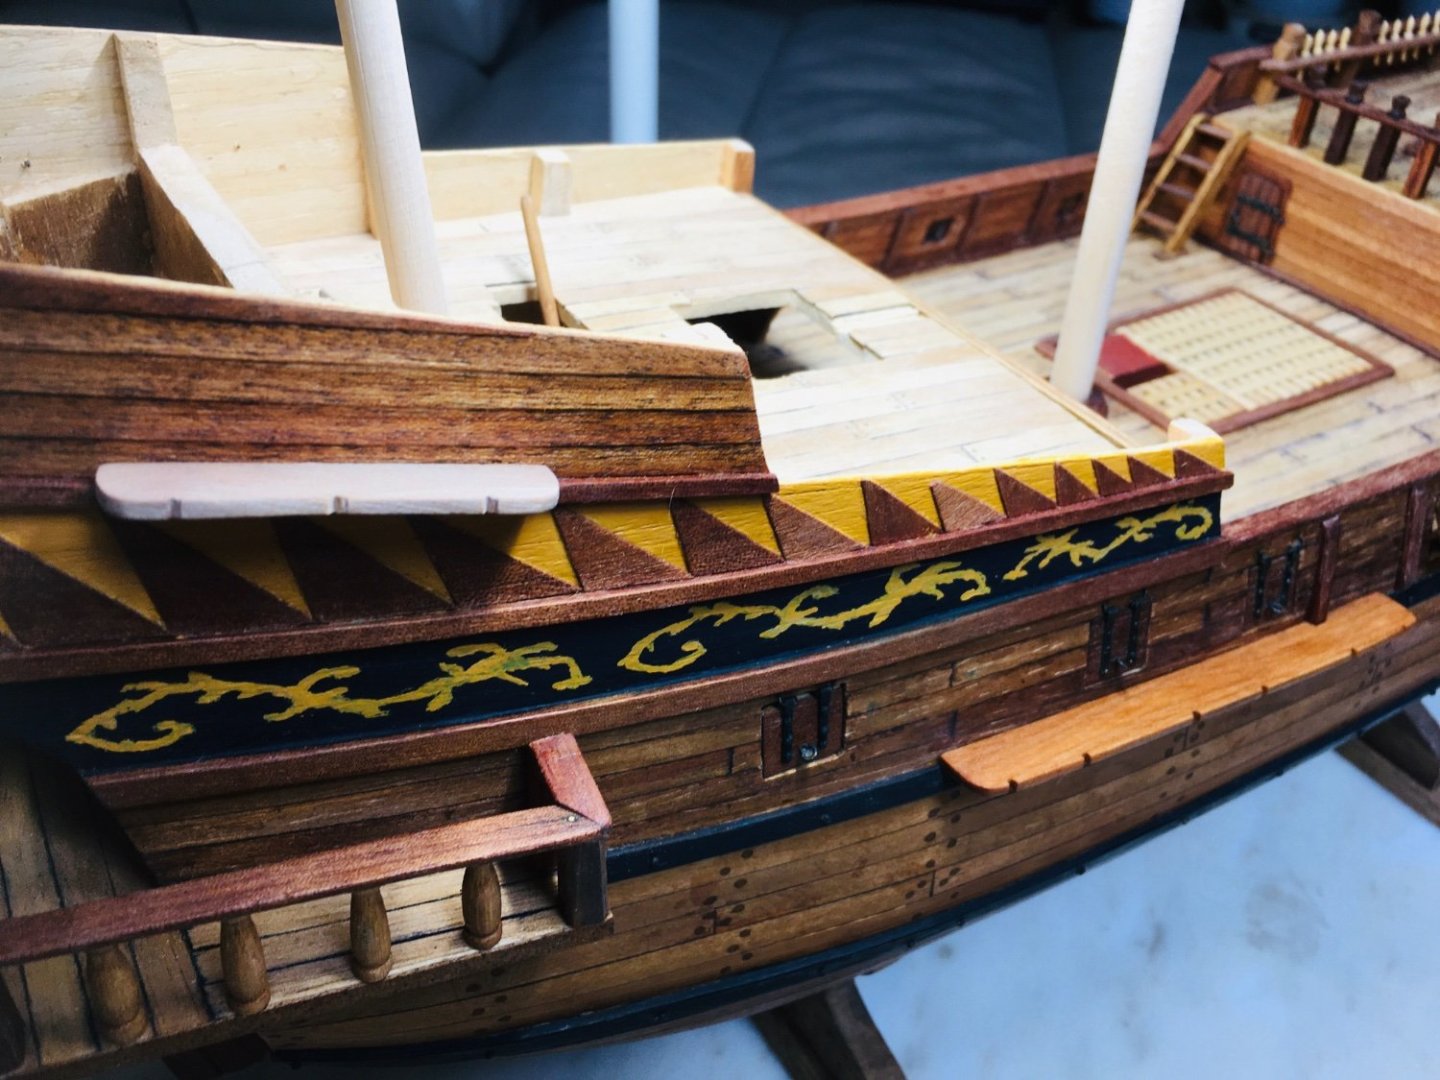
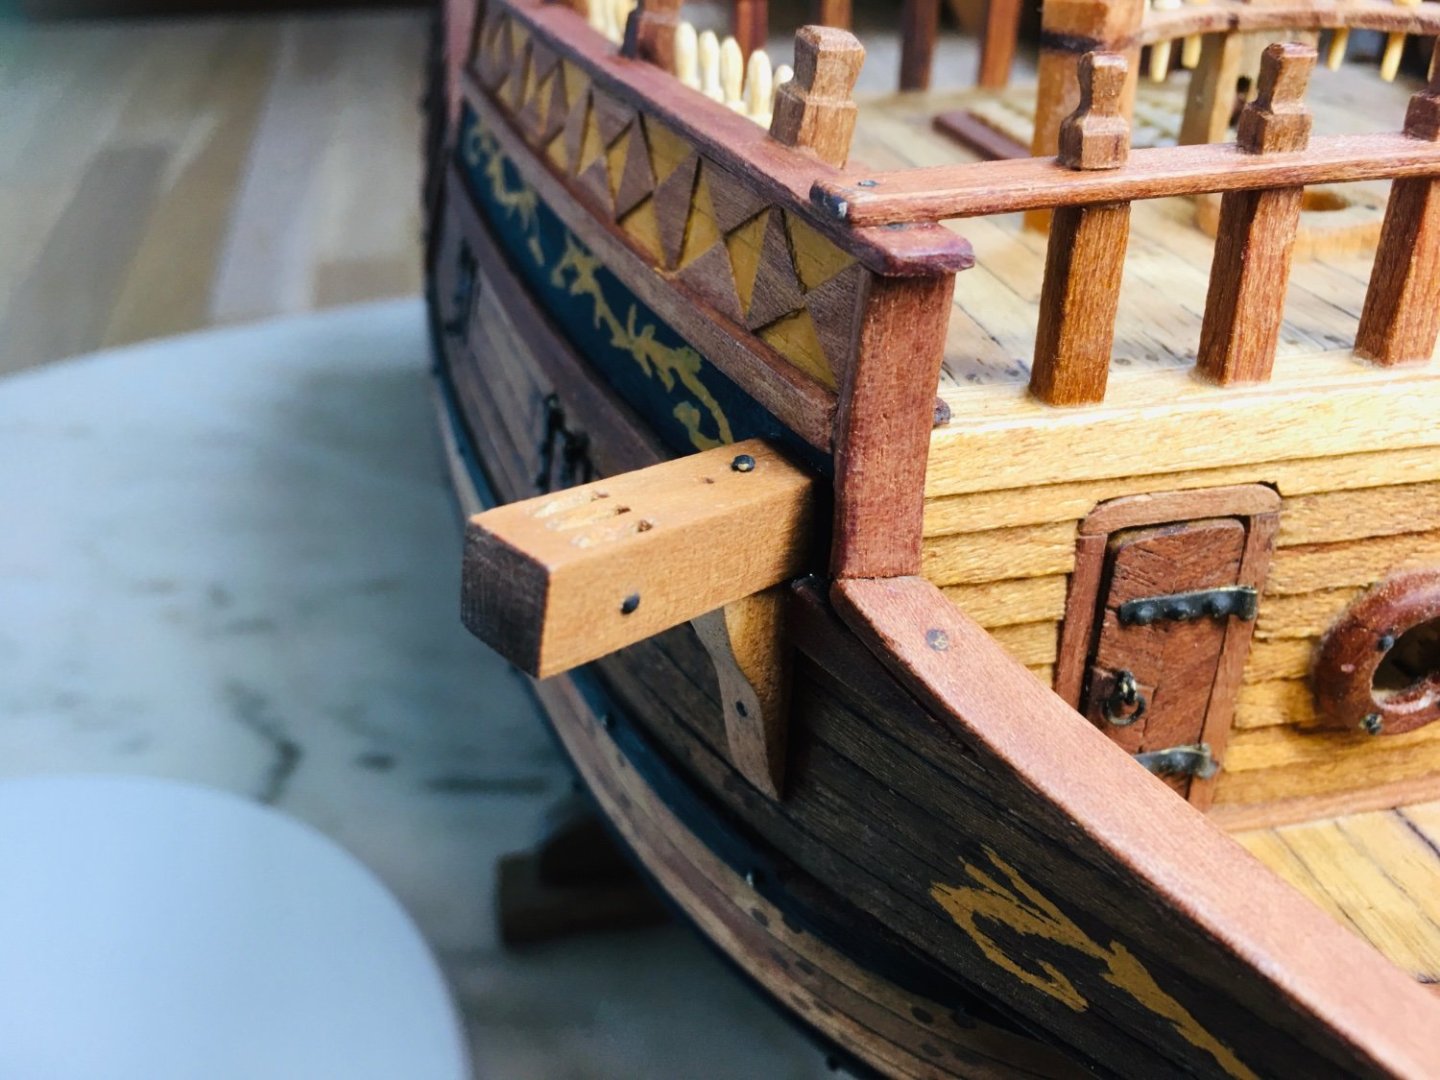
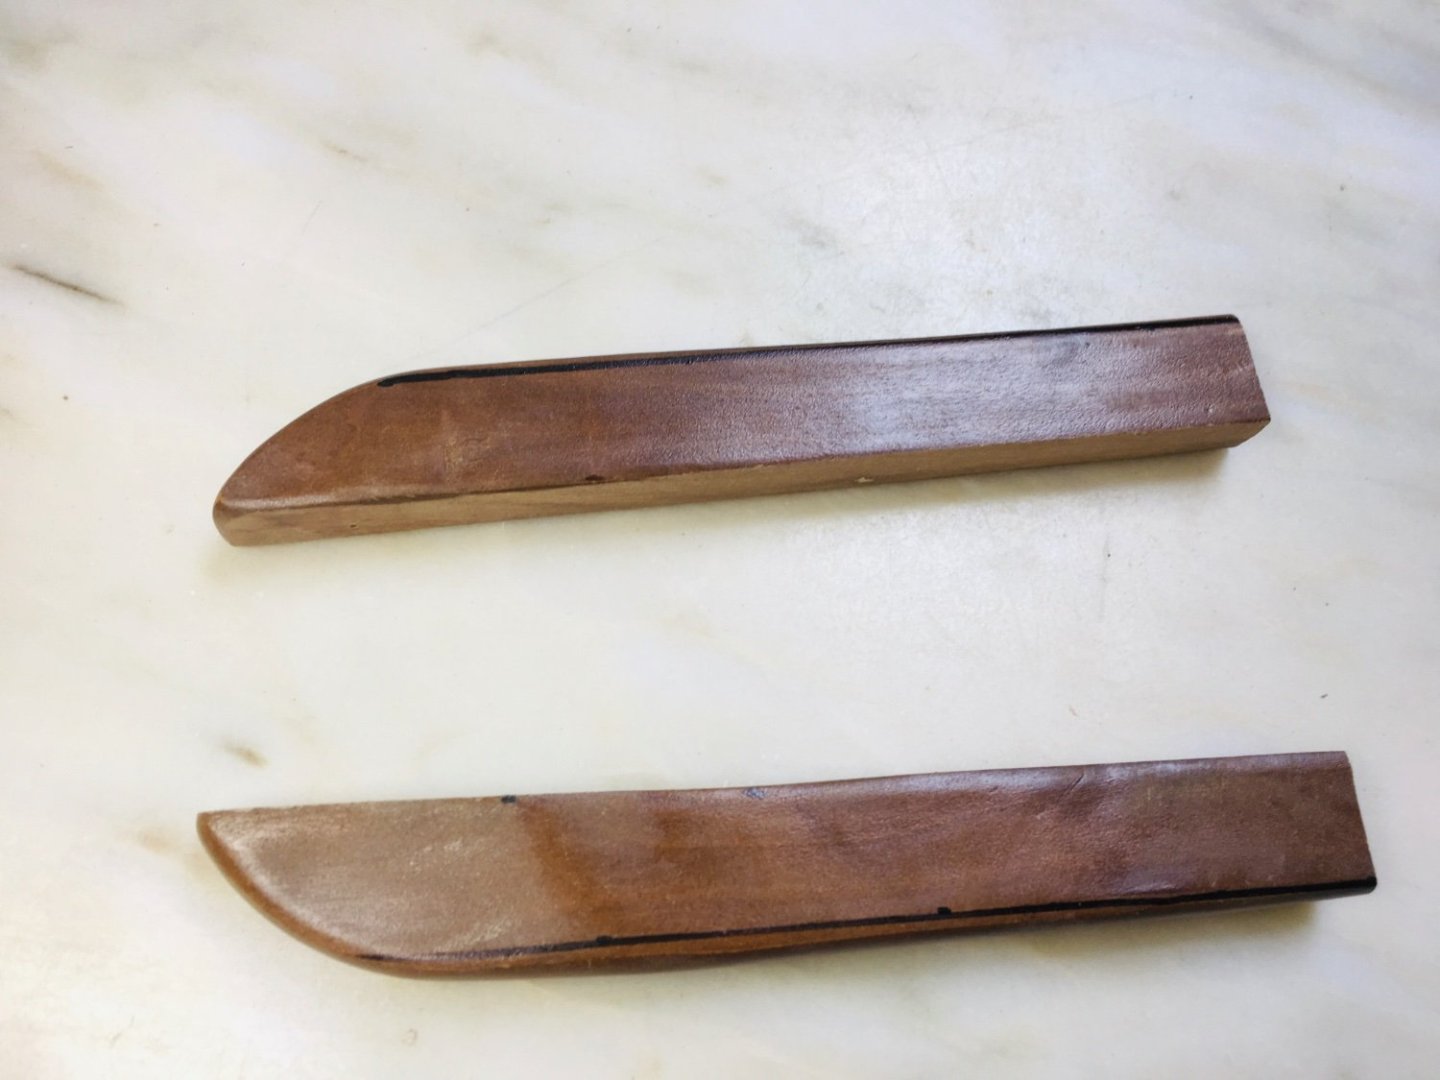
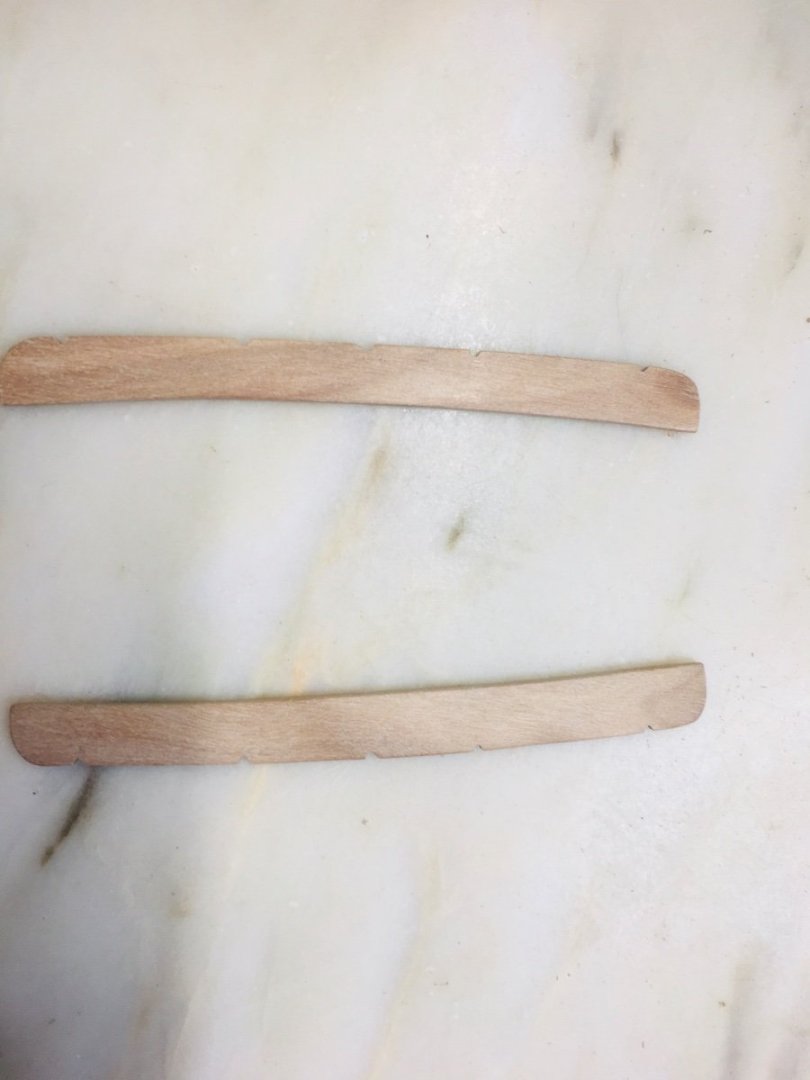
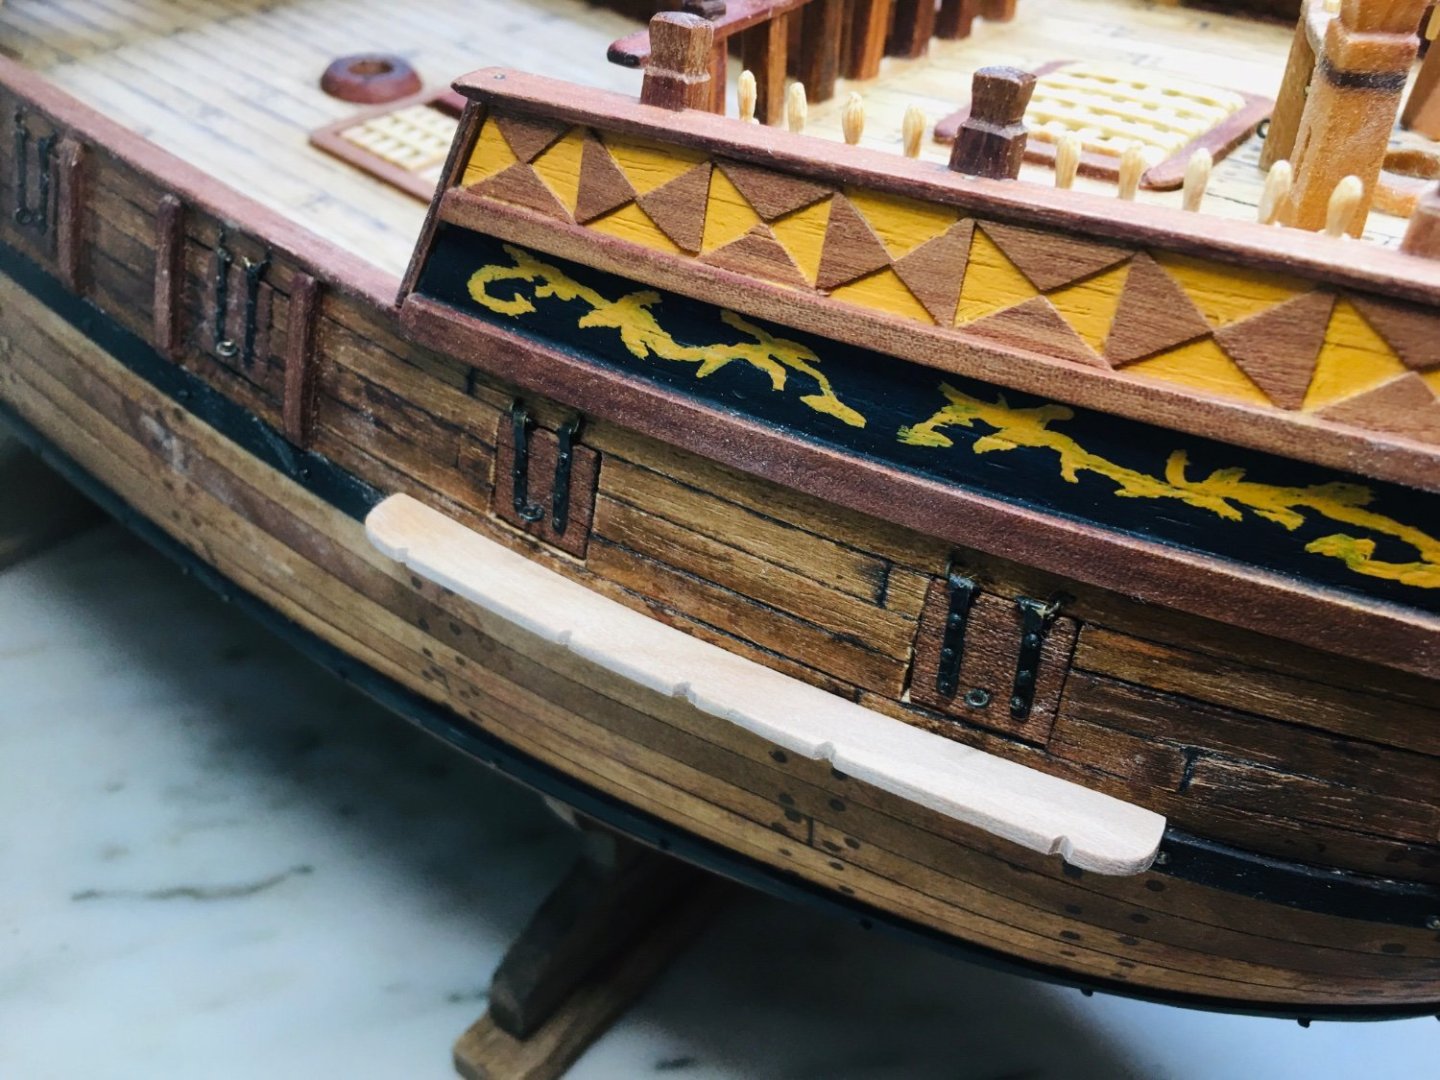
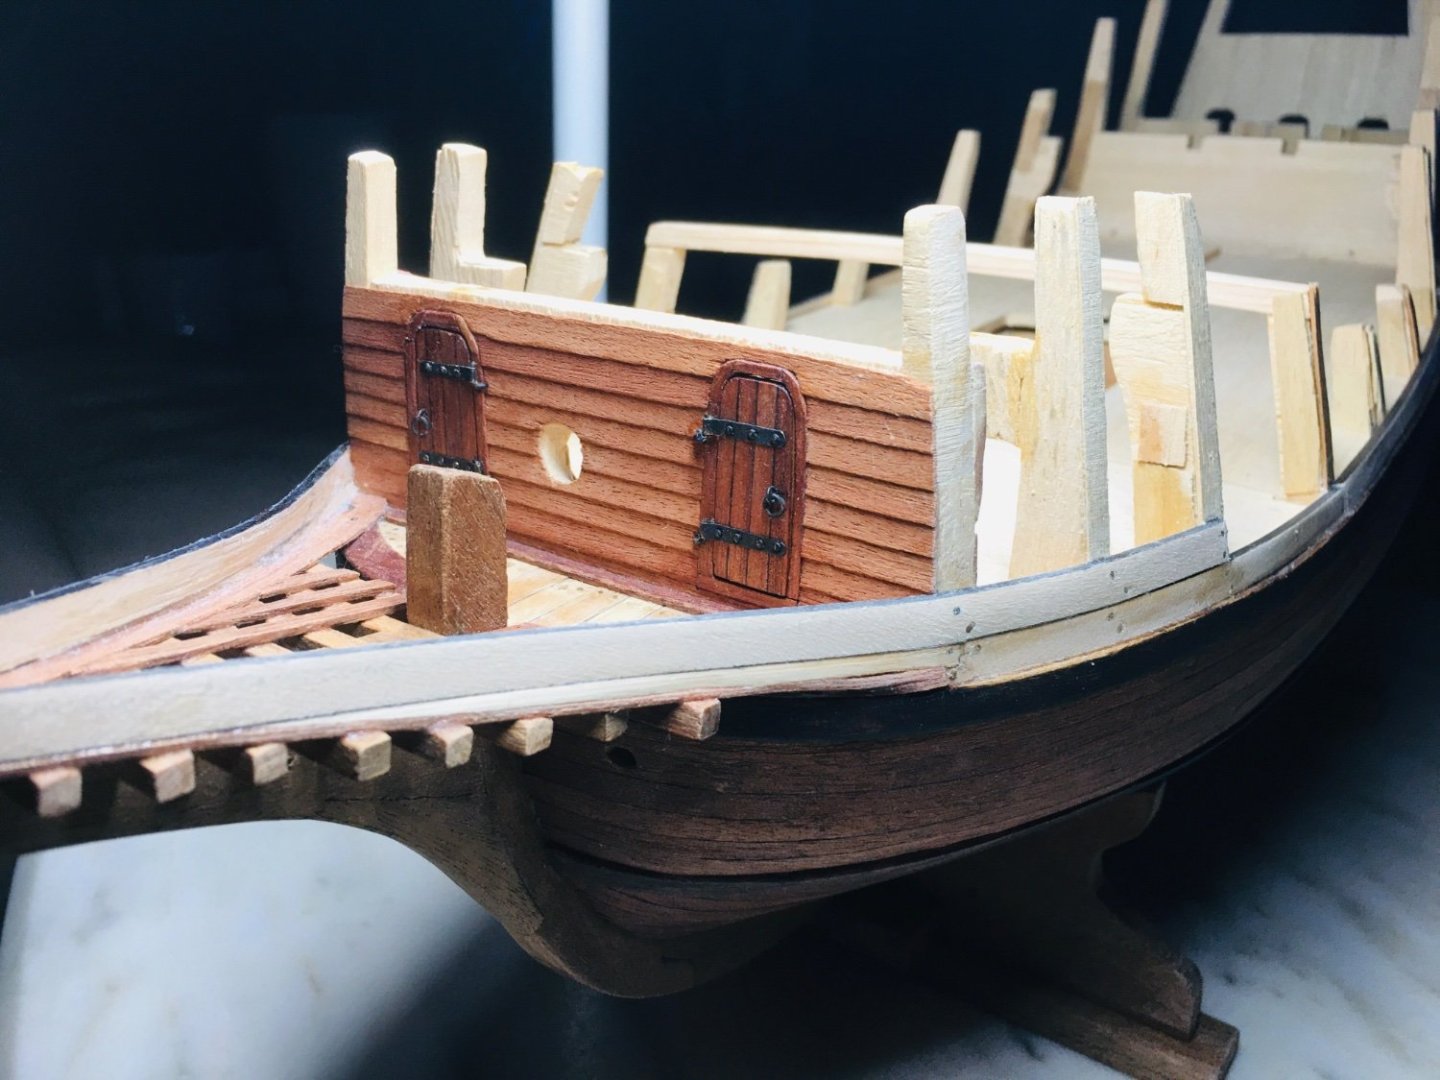
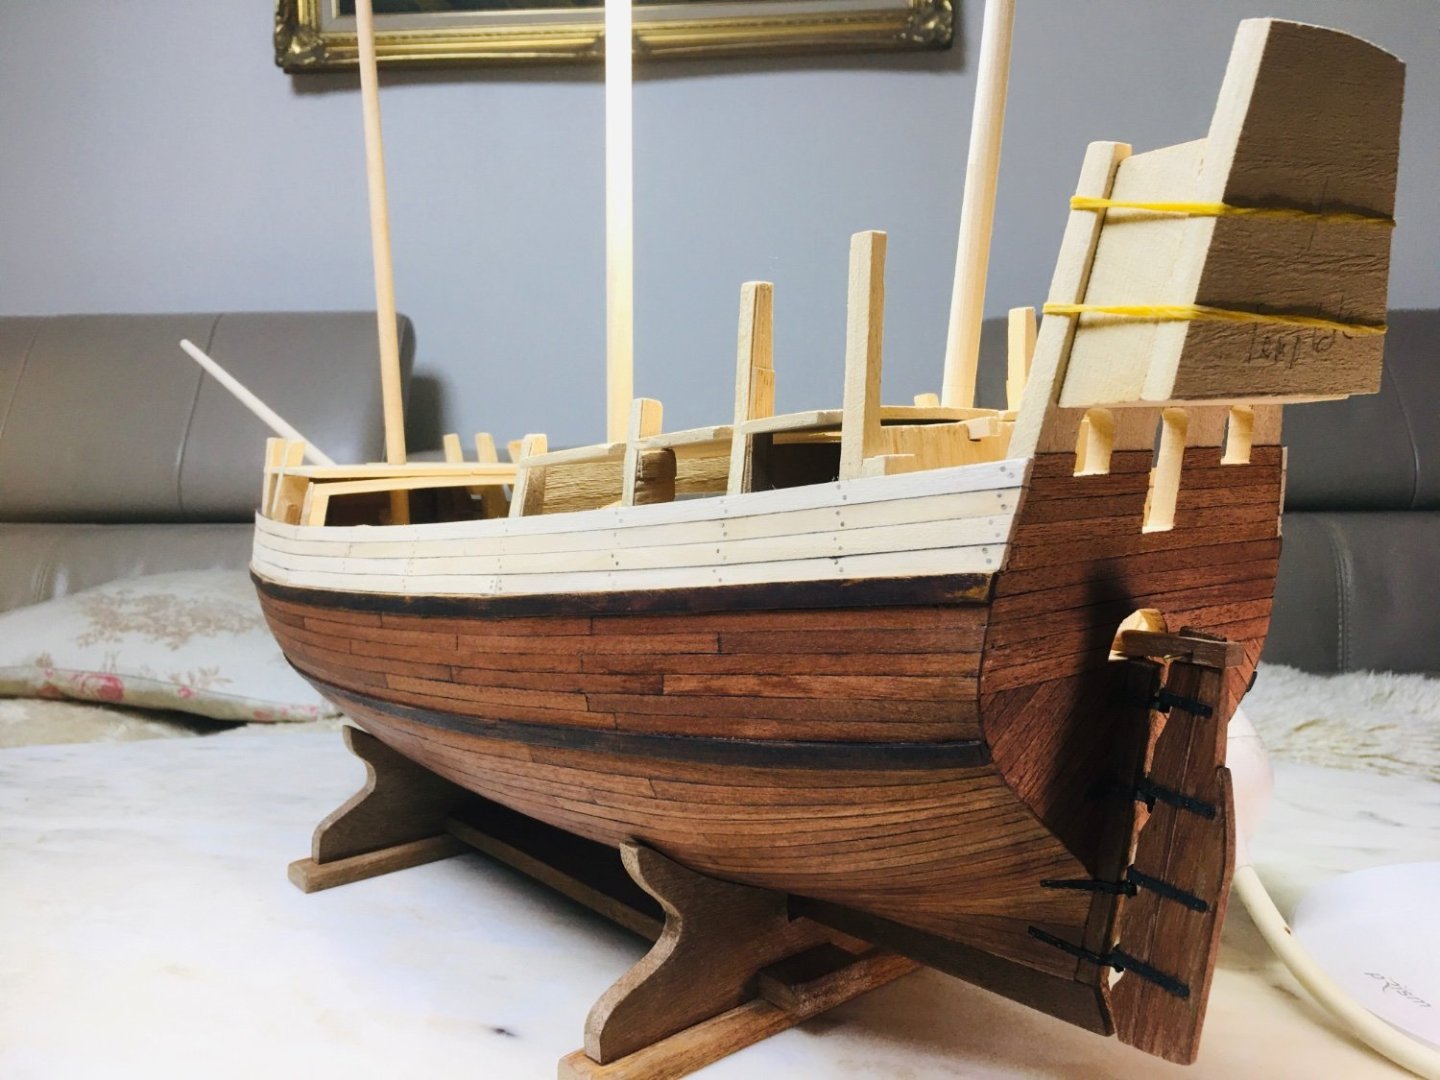
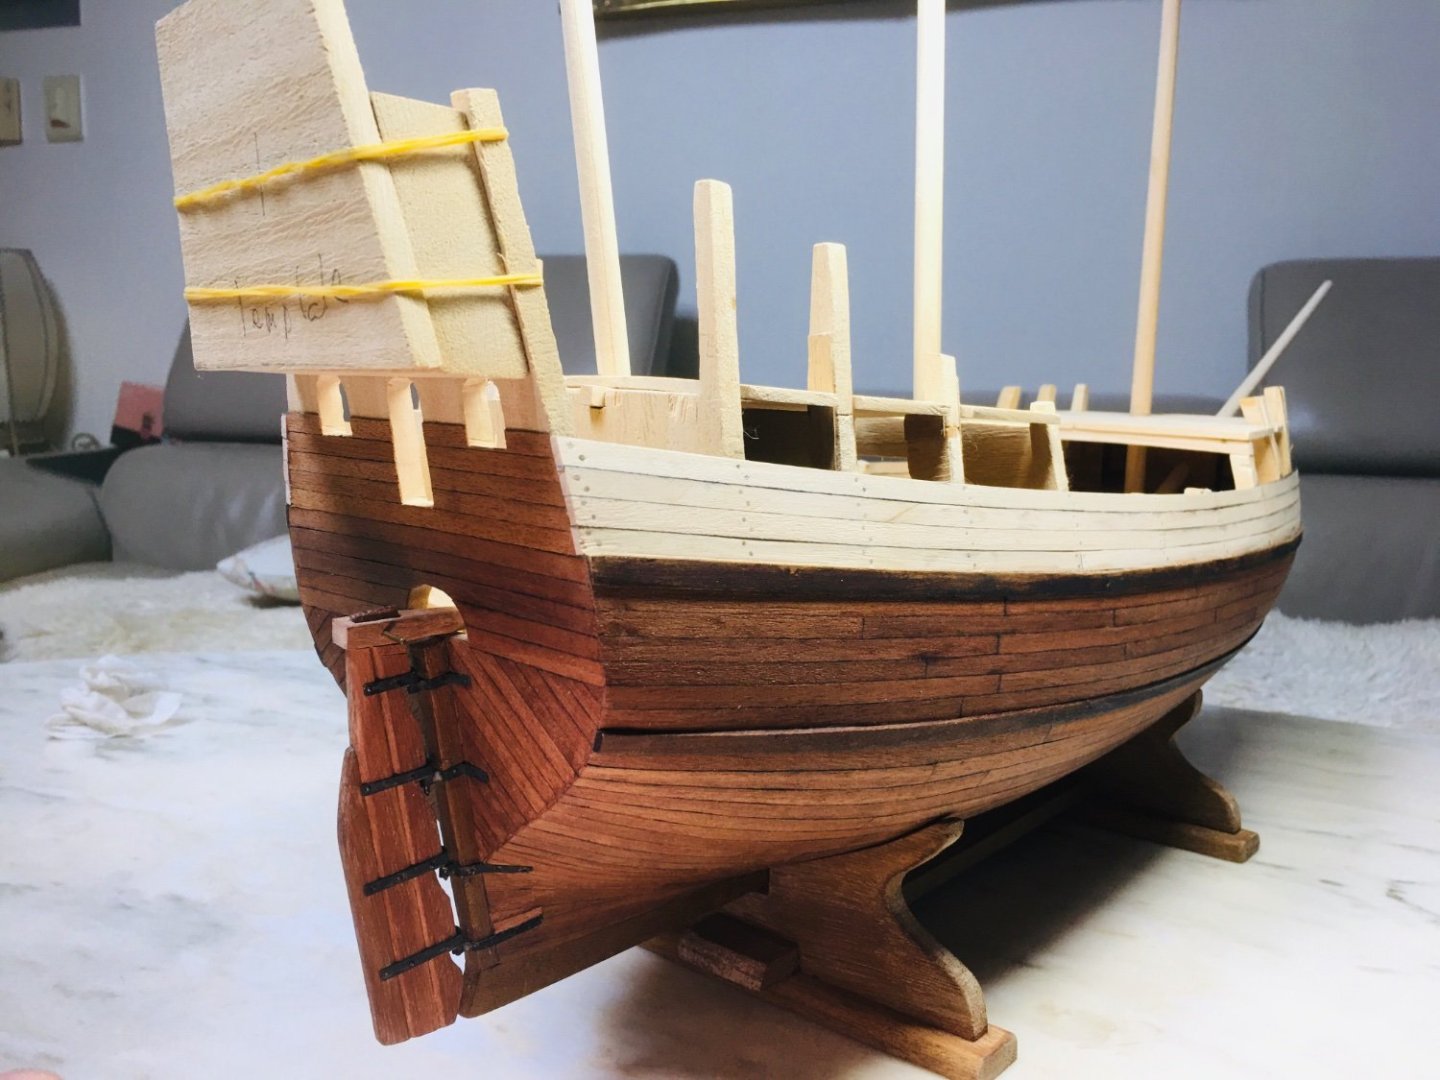
Hi All, I have decided to post some additional updates on GH2 after Robert’s suggestion and encouragement. Also, as both GH1 and GH2 will be given away as presents to my dear friends after completion, it would make sense to have as much build log record as possible. The below are pictures of the progress I achieved during the weekend using my iPhone 6 - yes, yes… I am not upto date on the newest technology development… but it still works fine! Regards, Rock Beakhead work in progress - I have increased the upward slope of the beakhead by 3-4 degrees compared to the original Aeropiccola plans. I am not sure if this slight upward adjustment would be enough, but if not I may readjust for GH3. This time on GH2, I managed to put in tree nails on the beakhead deck planks. Also experienting on the planking method of the beakhead area.


-
Hi Robert, Thanks very much for your advice and kind words. Unfortunately, I did not take many pictures of GH2 during its construction, just couple of photos after reaching certain stages of the construction. As I am building GH1 and GH2 pretty much in tandem, it would be somewhat confusing (even for myself) to manage pictures of both and post them seperately. Nevertheless, I shall definitely take your advice into consideration and may take a bit more picture of GH2 - maybe using seperate cameras (GH2 with my iPhone just as posted in the above posting, and GH1 using my digital camera as it has been the case so far). Best regards, Rock
-
Hello shipmate! I have been tinkering with GH2 for the last 2 weeks - wanted to try out some different methods and approaches on it. I am posting just couple of pictures of end results as I am trying to refrain from posting too much of GH2 pictures on this post - want to focus in GH1 building log.


-
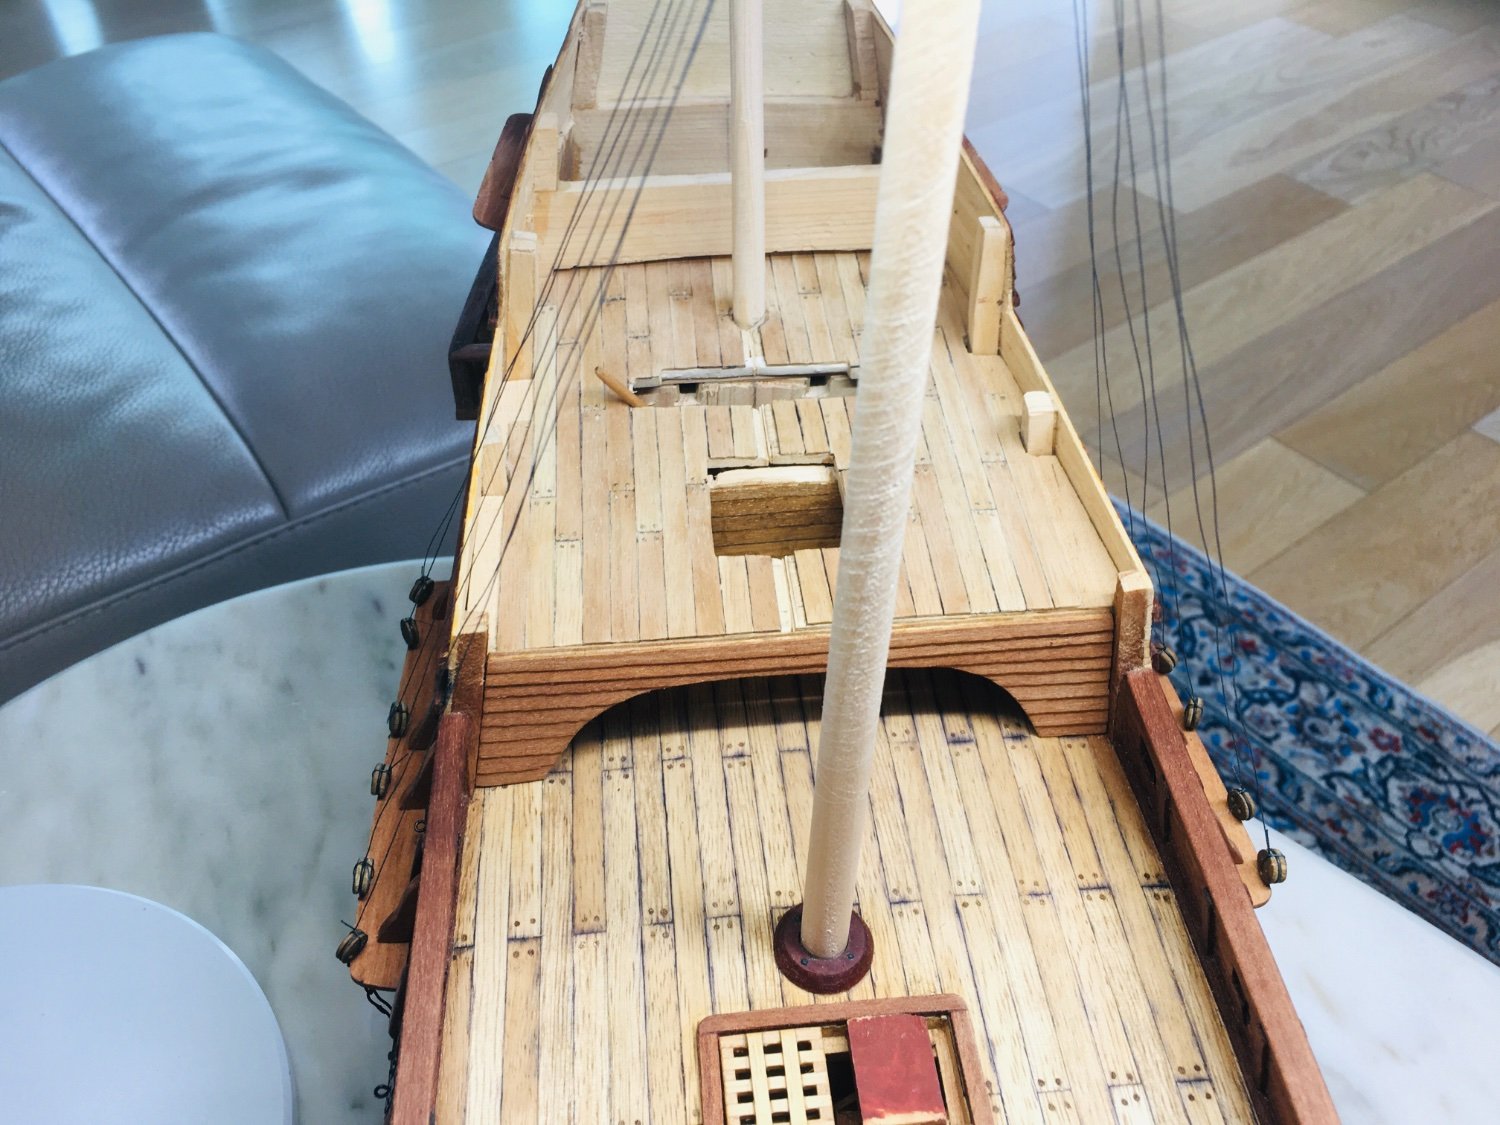
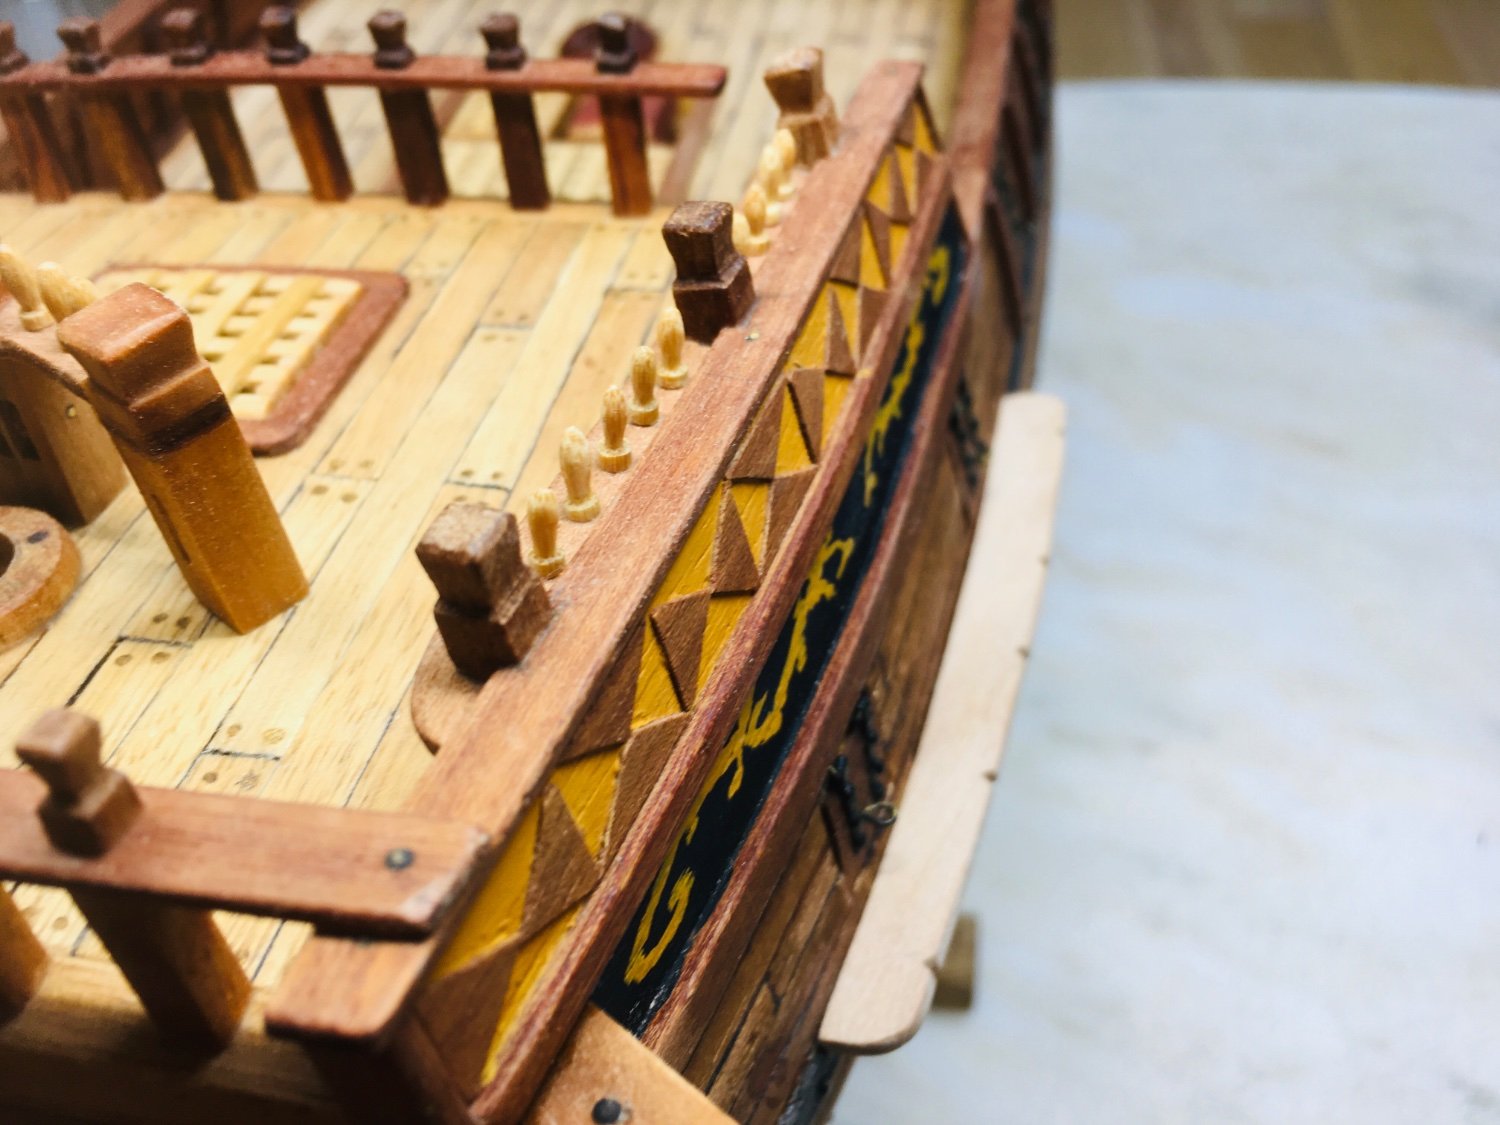
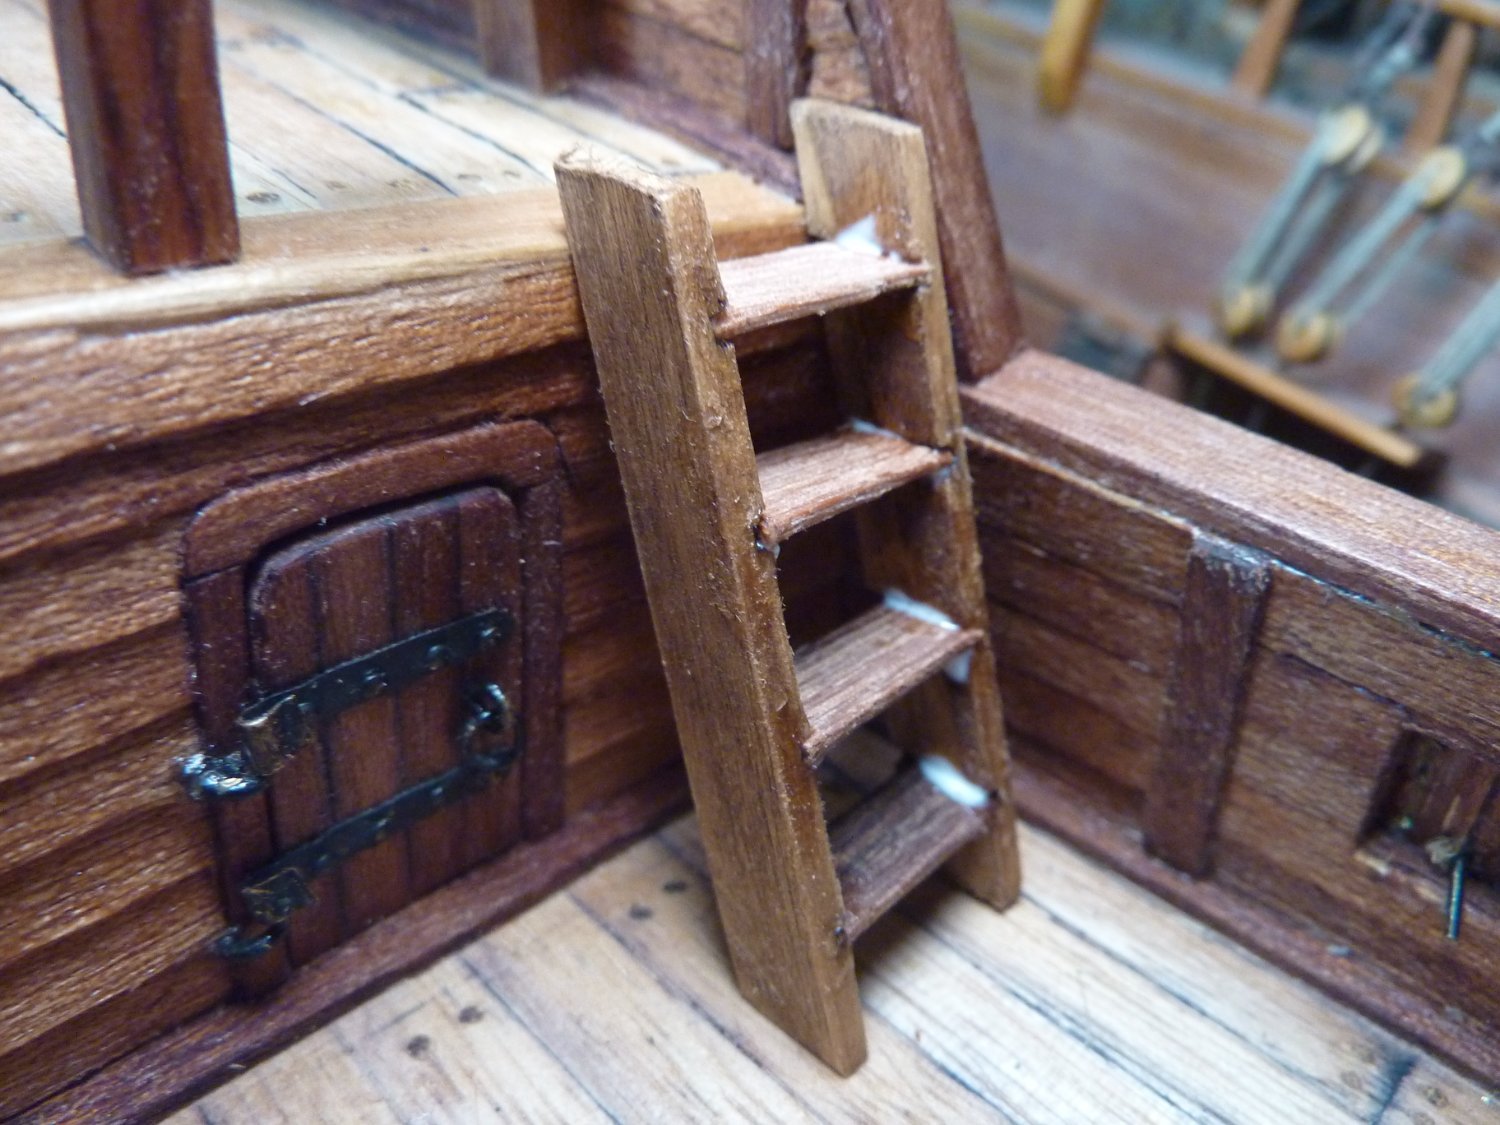
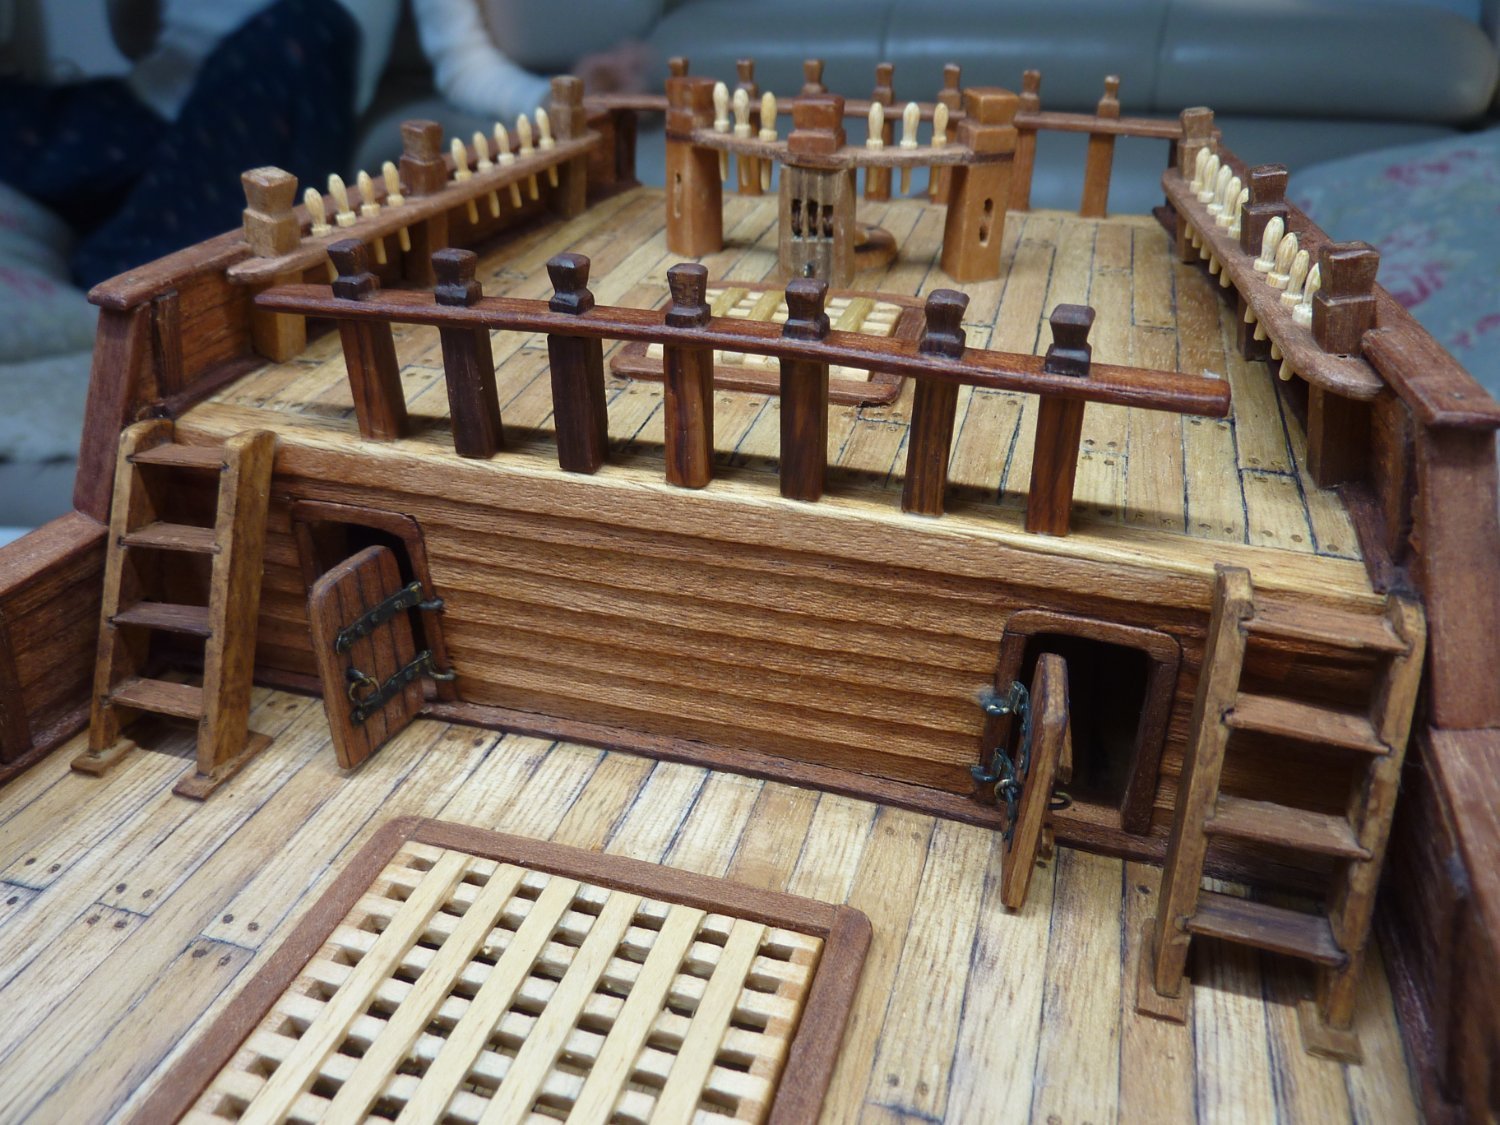
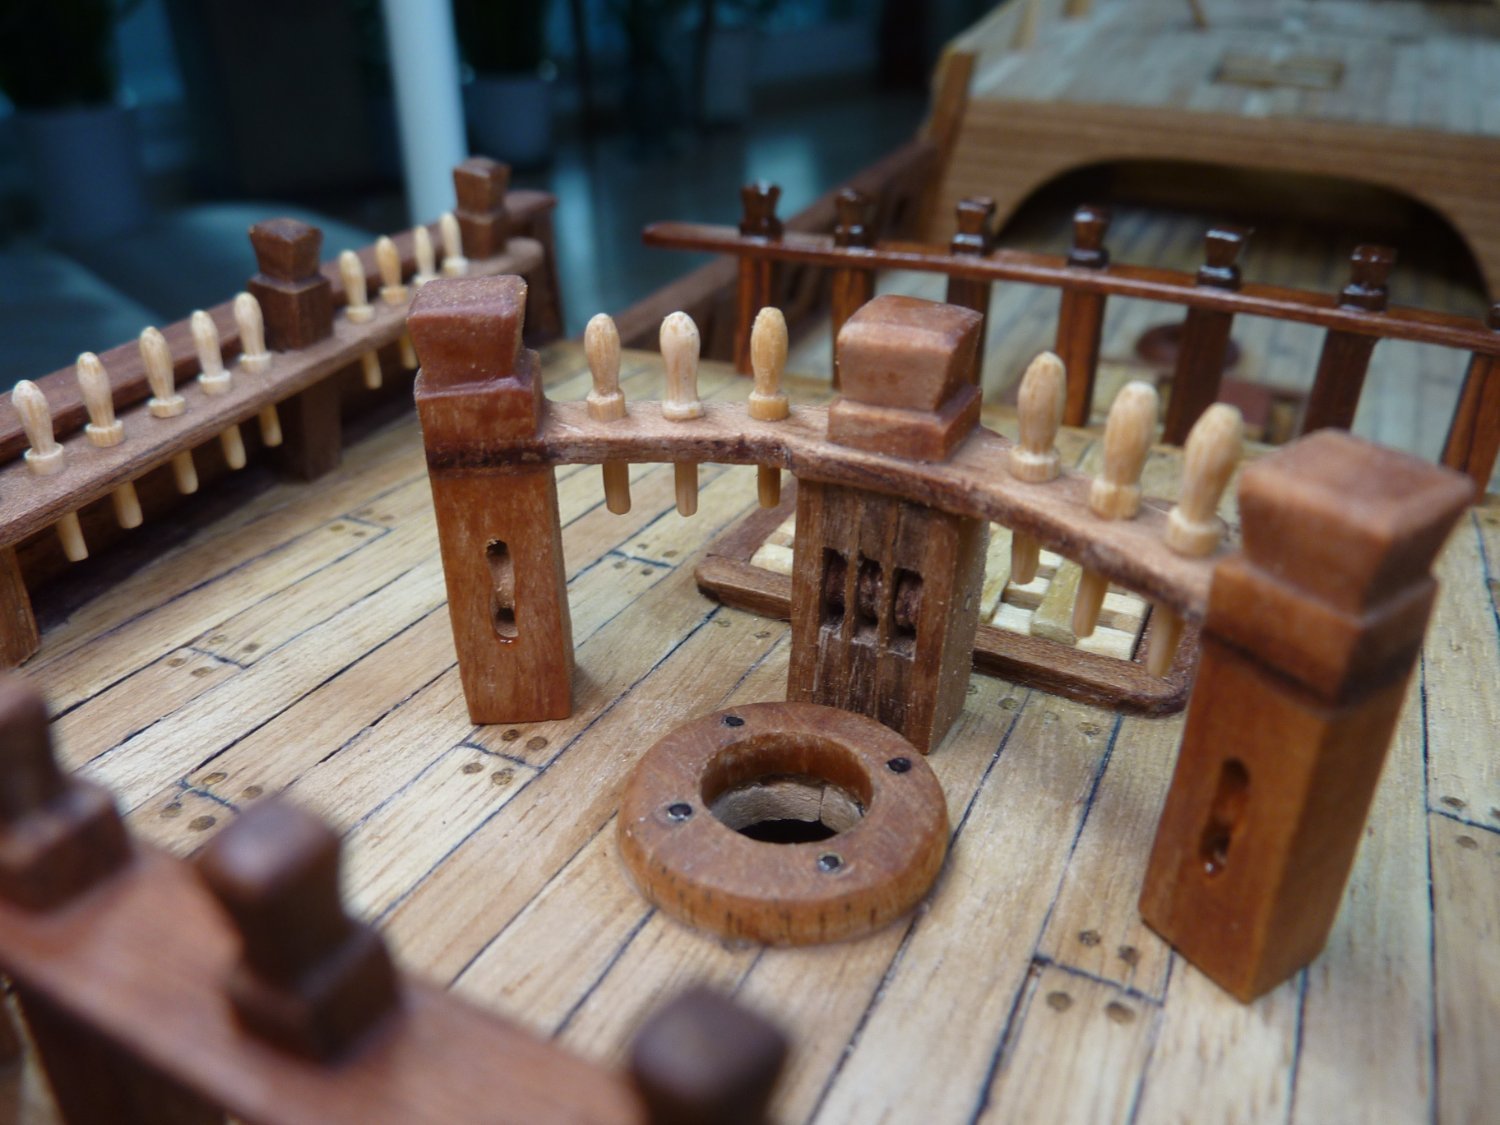
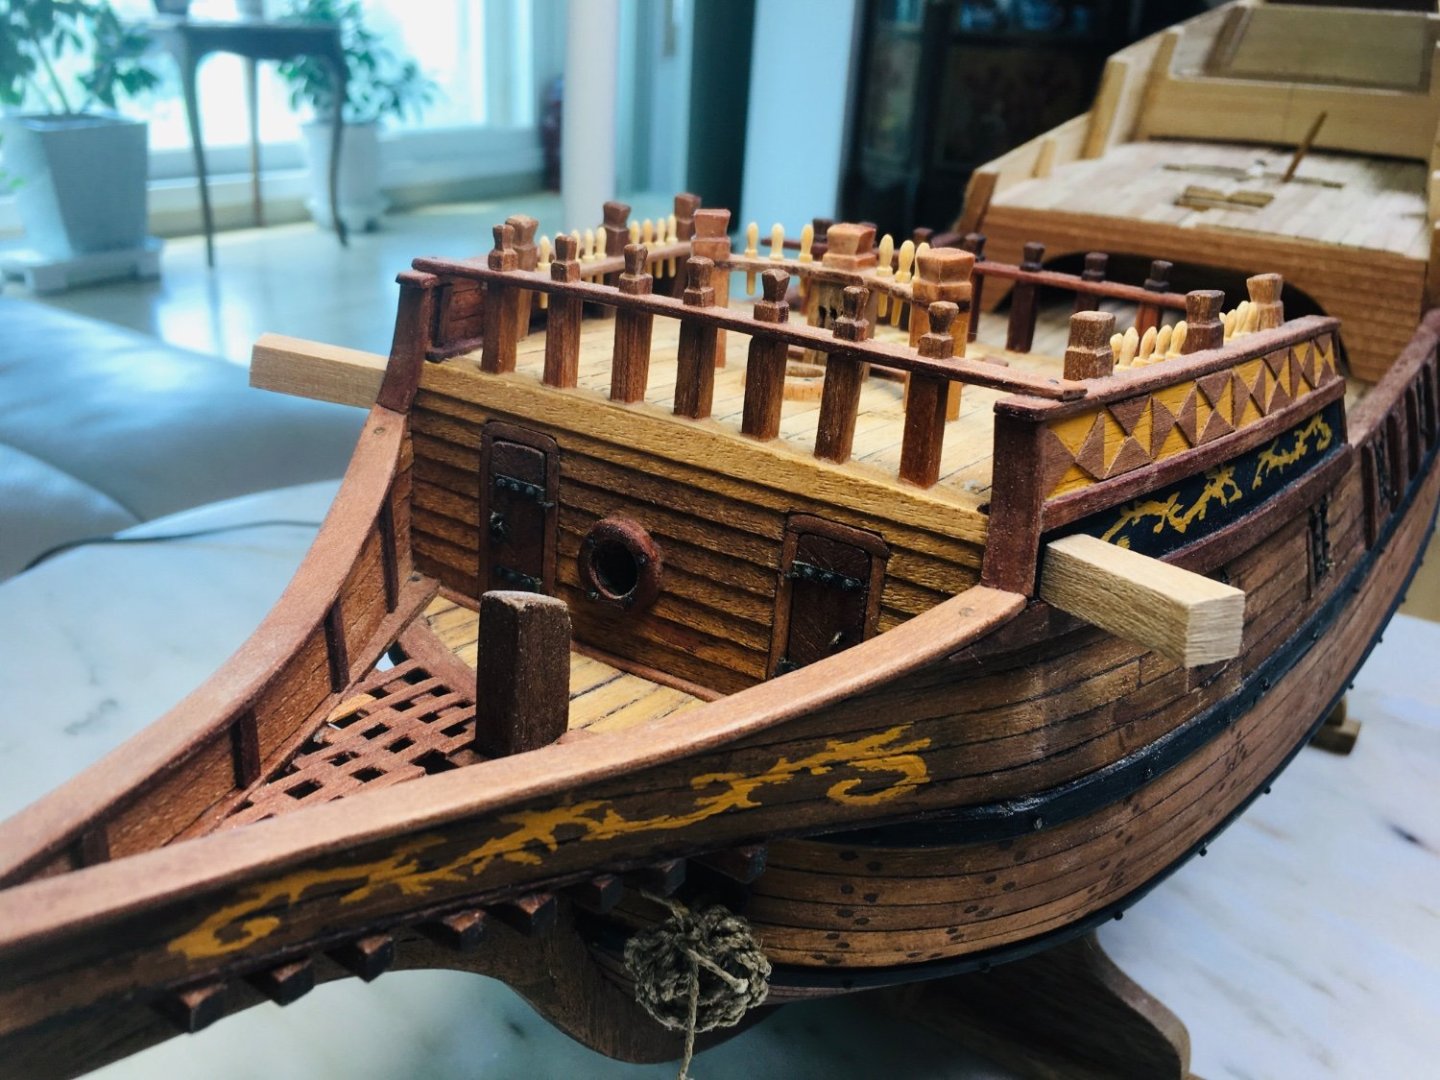
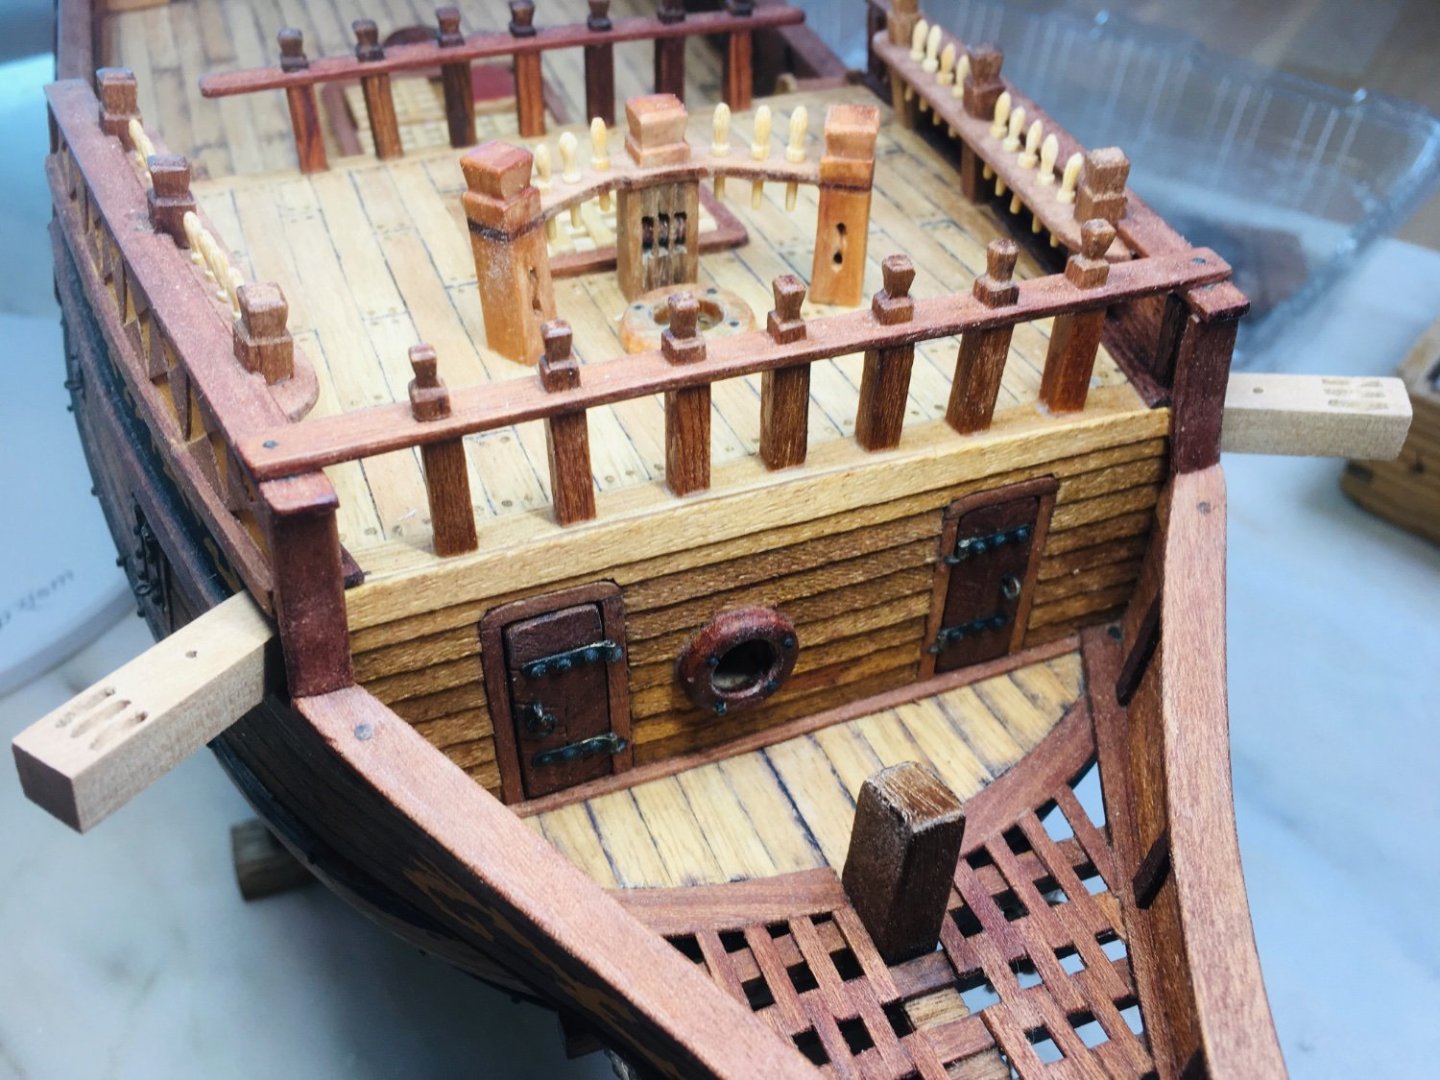
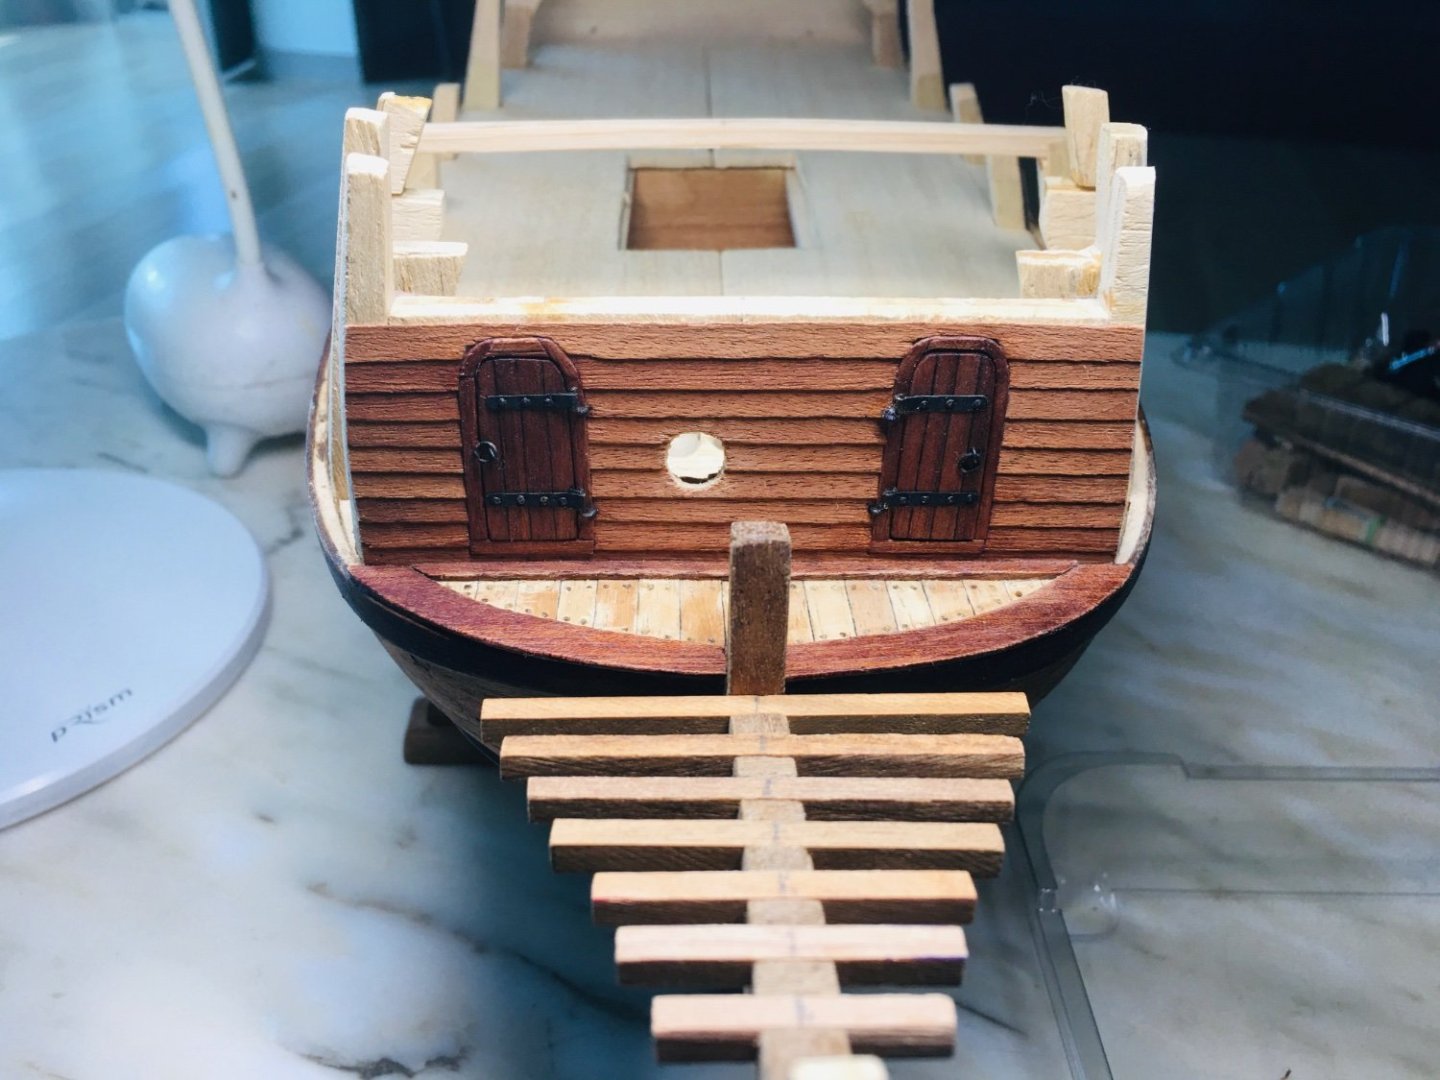
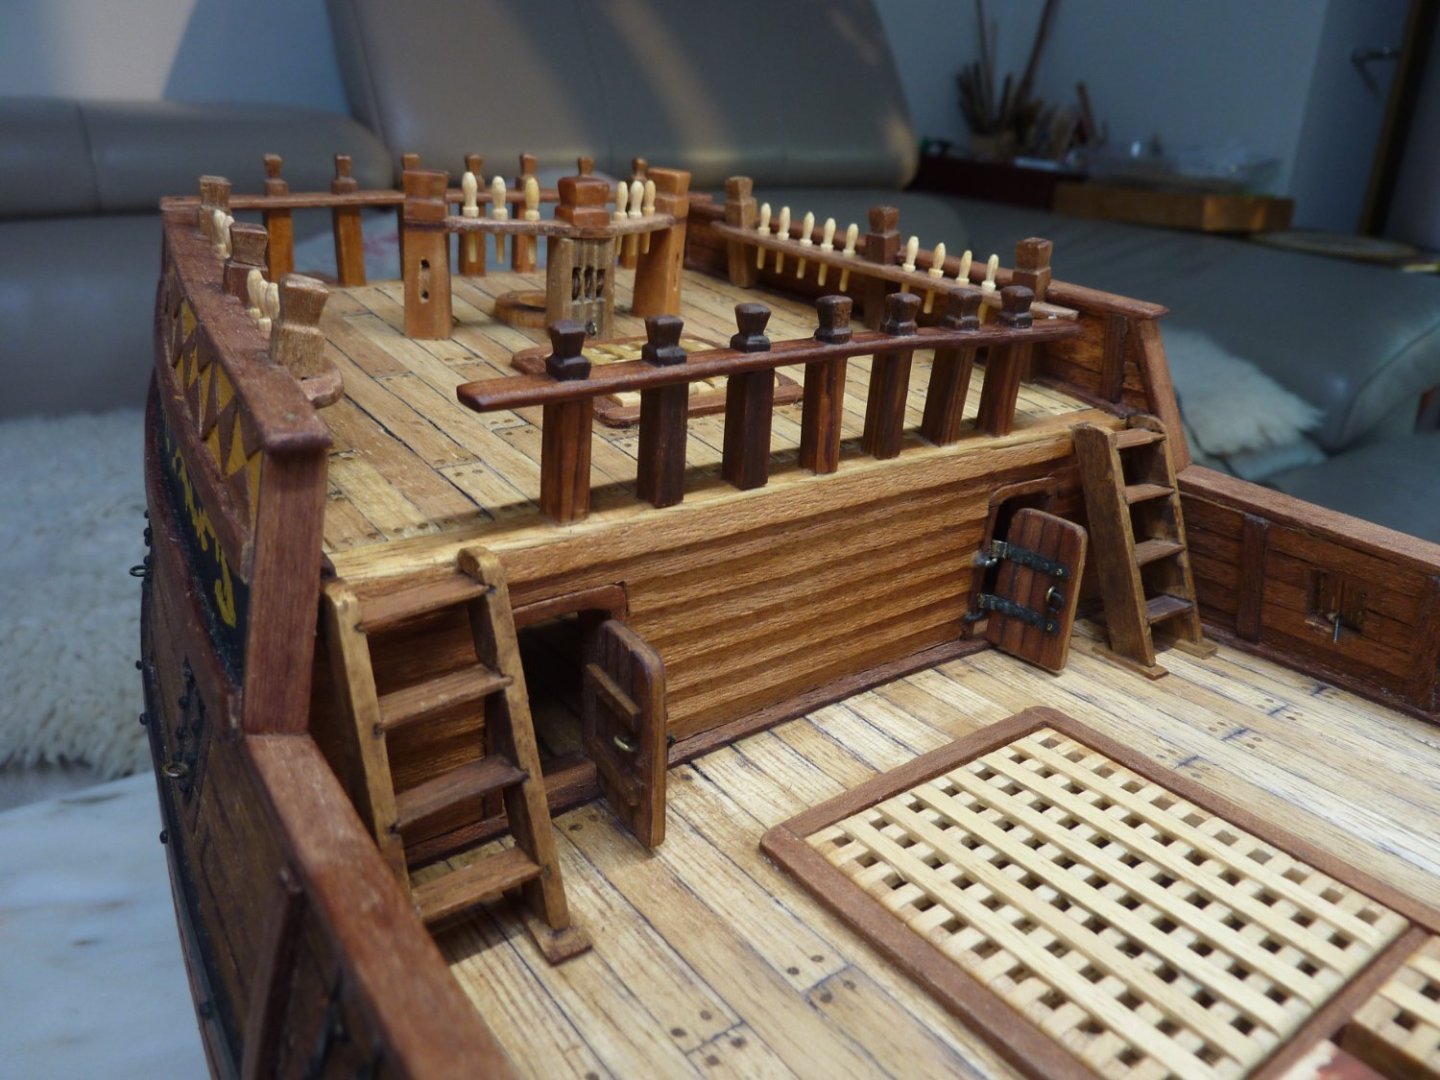
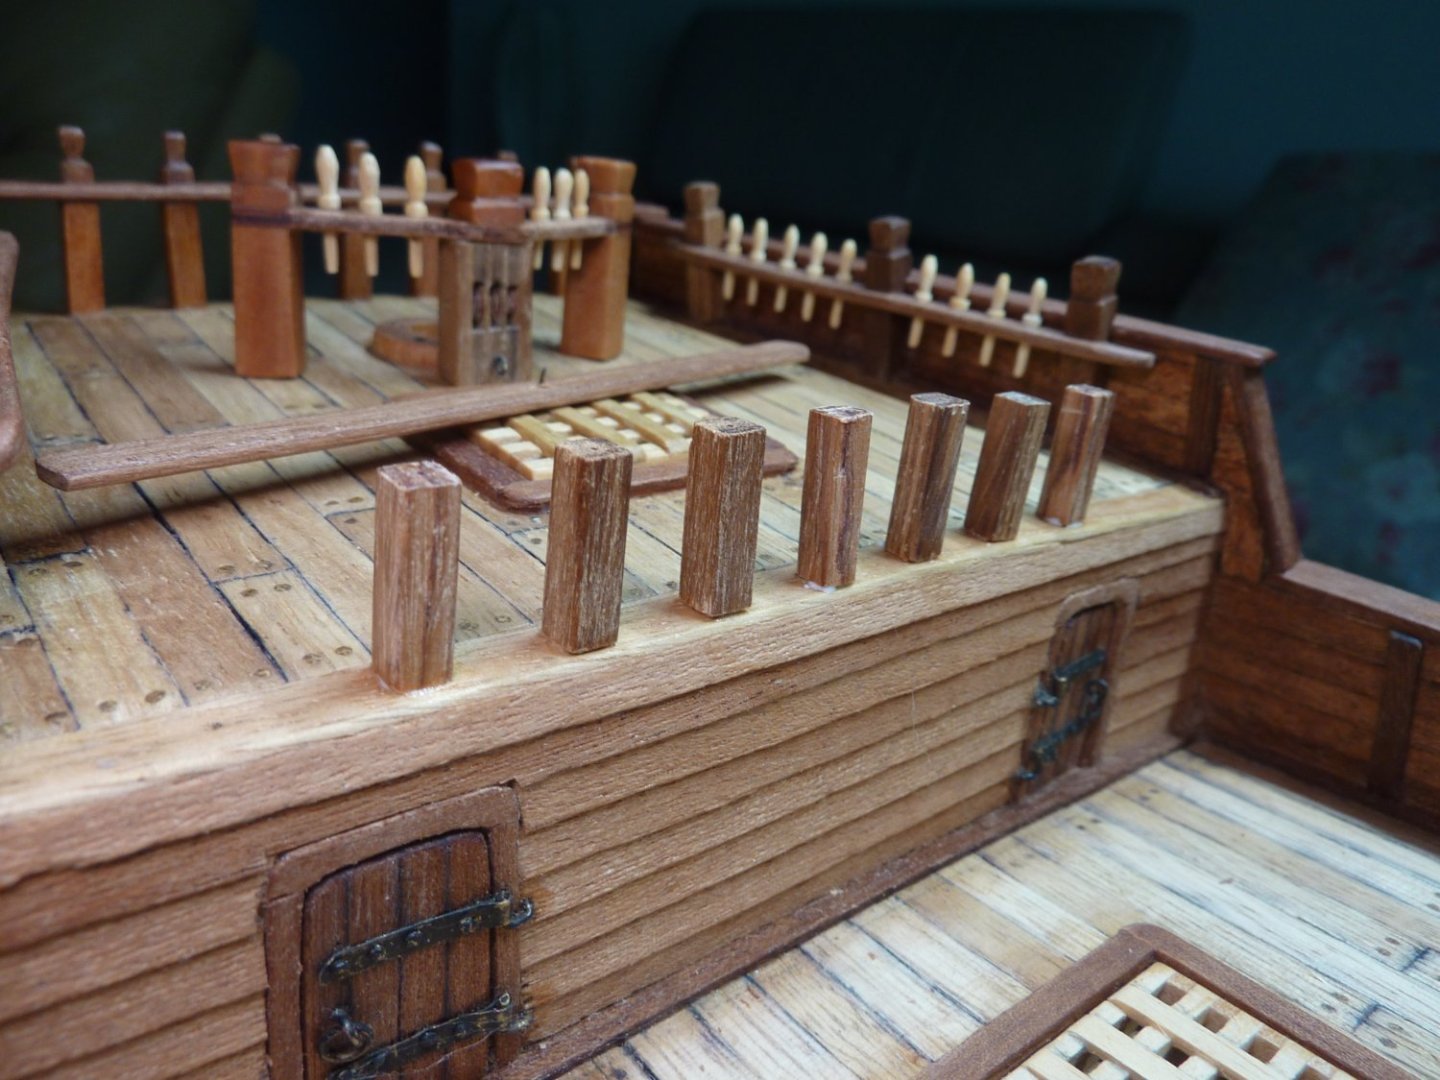
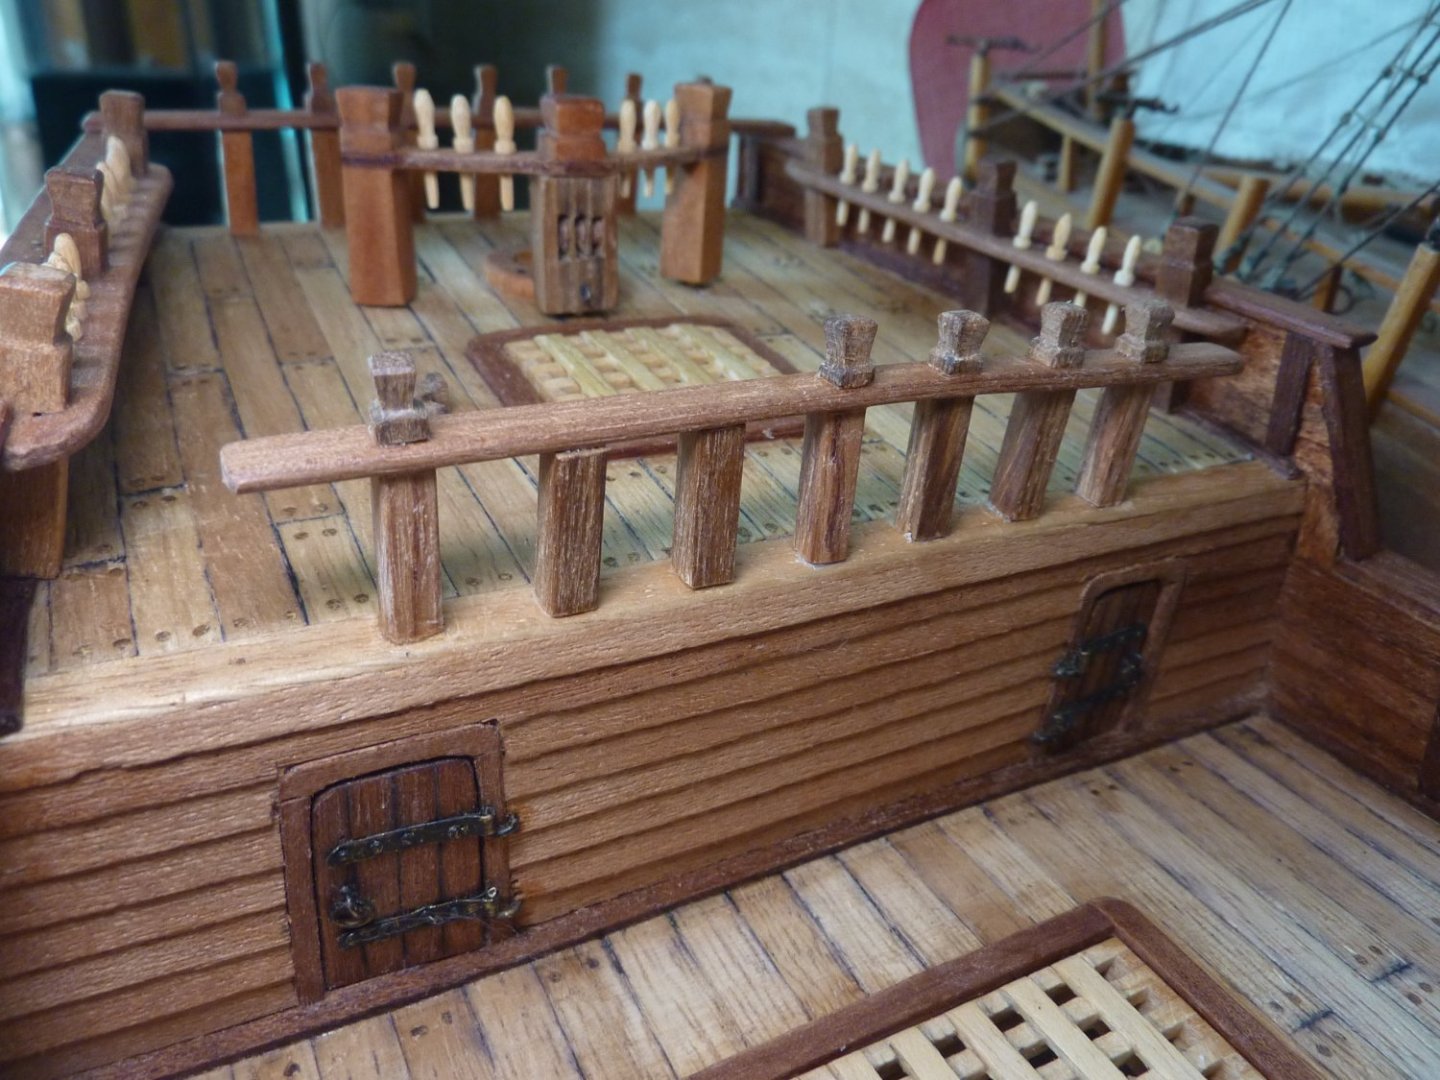
The ladders for the forecastle are made and fixed in place. I think the basic deck work for the forecastle area are more or less done now.


-
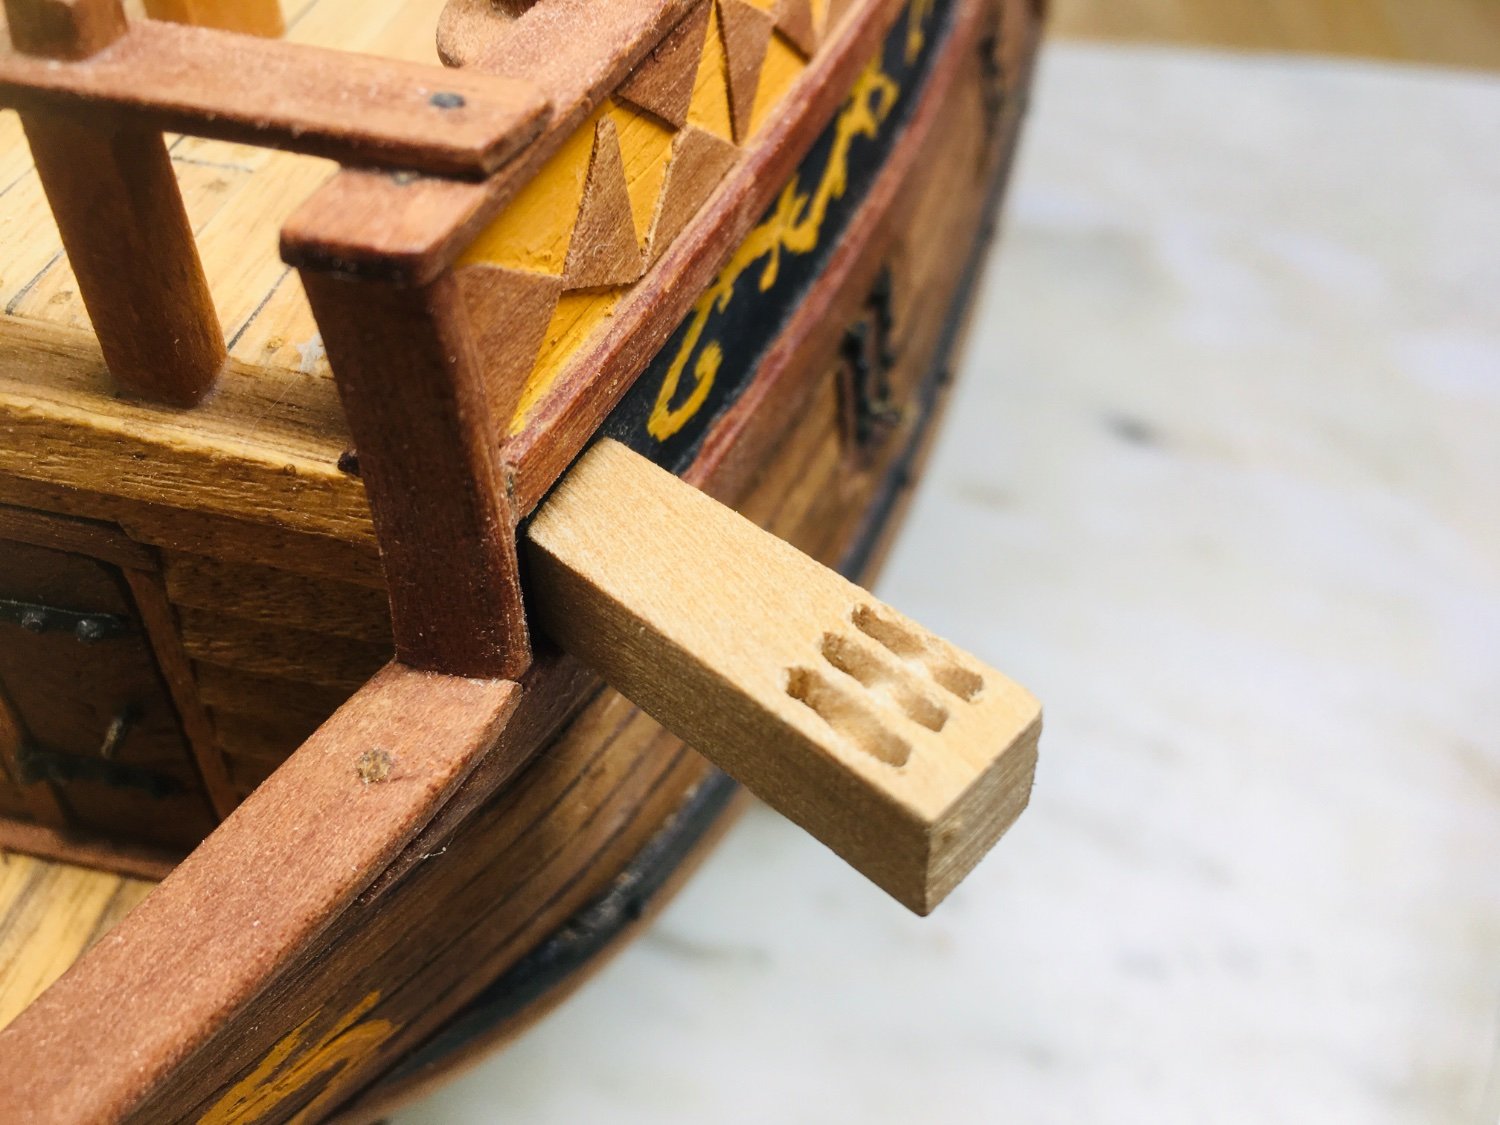
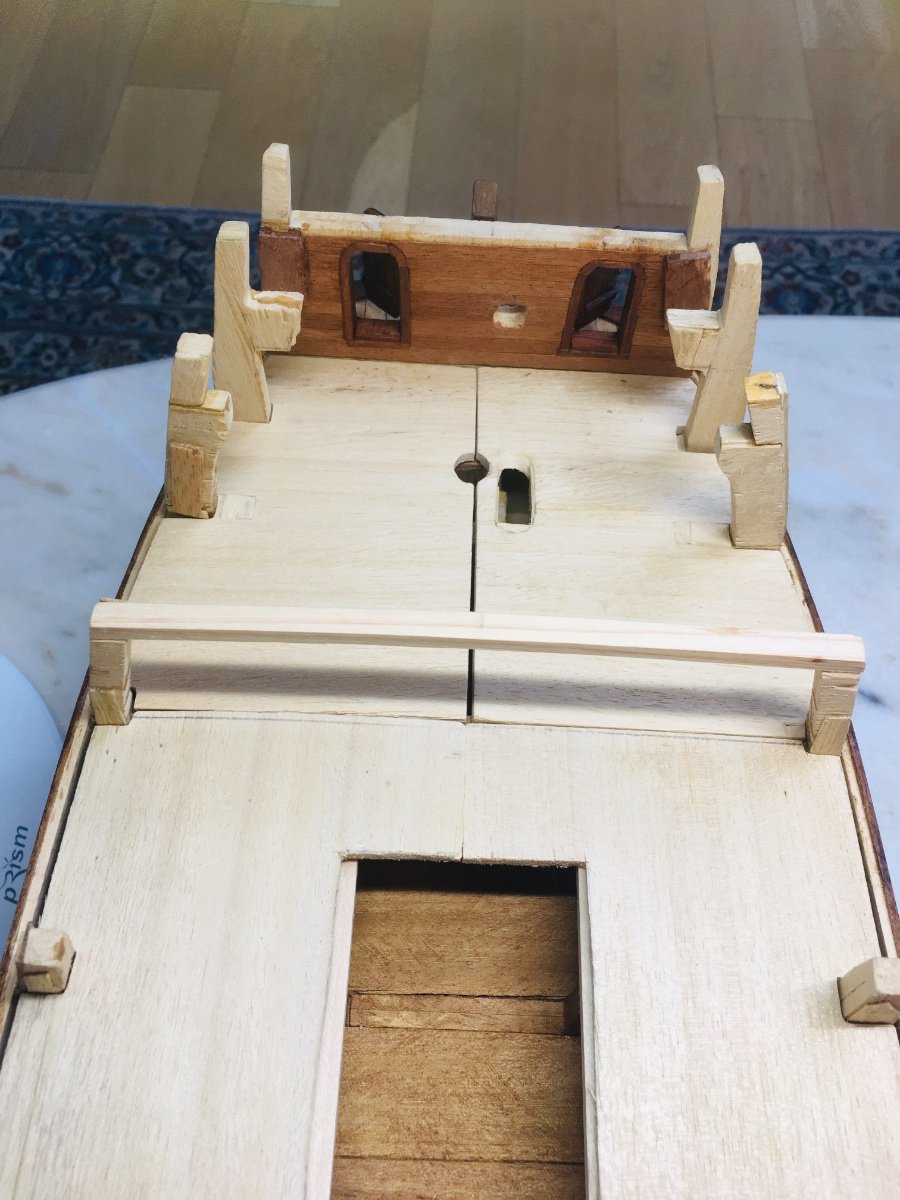
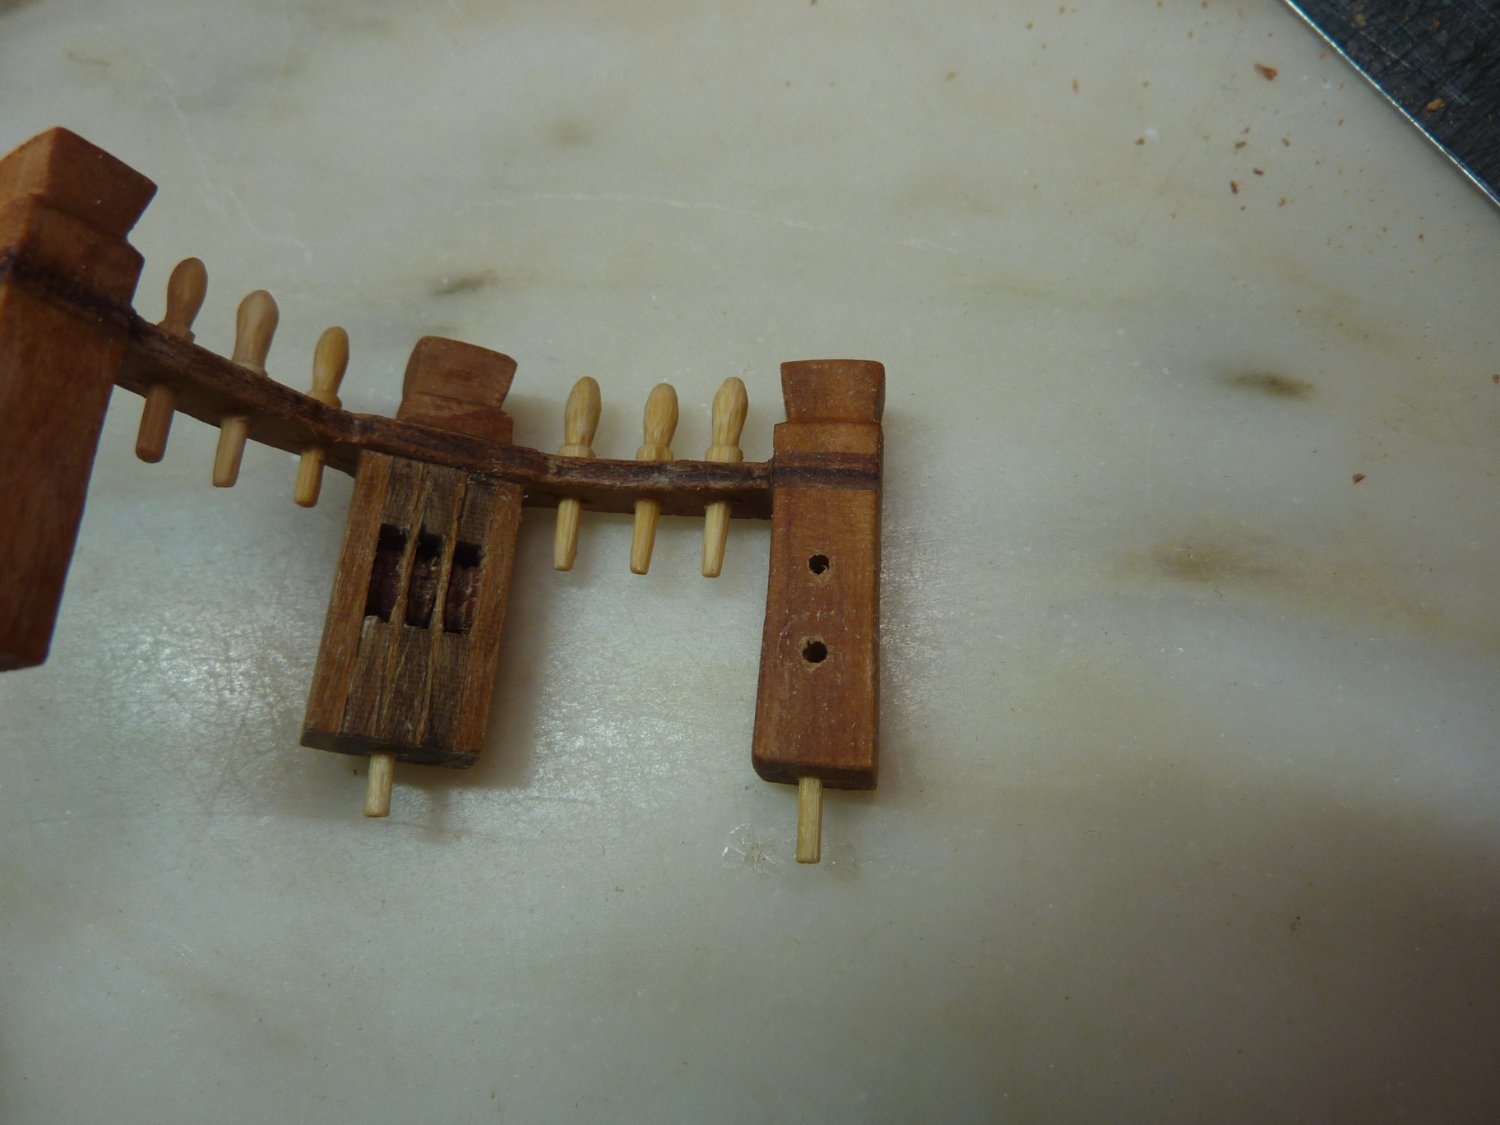
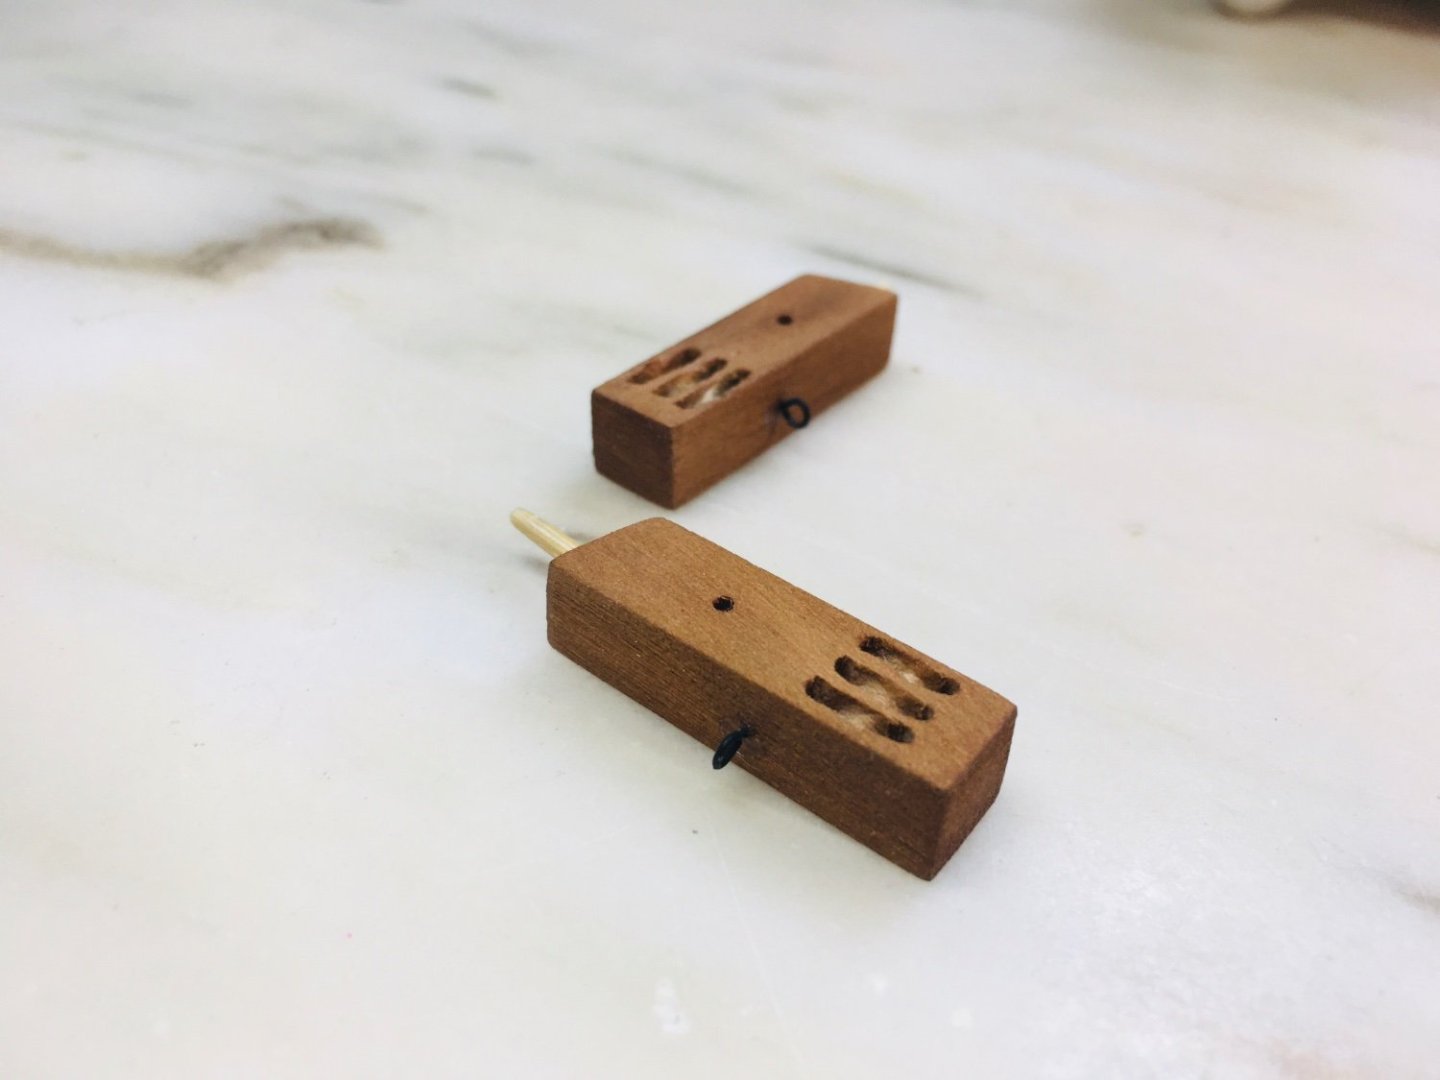
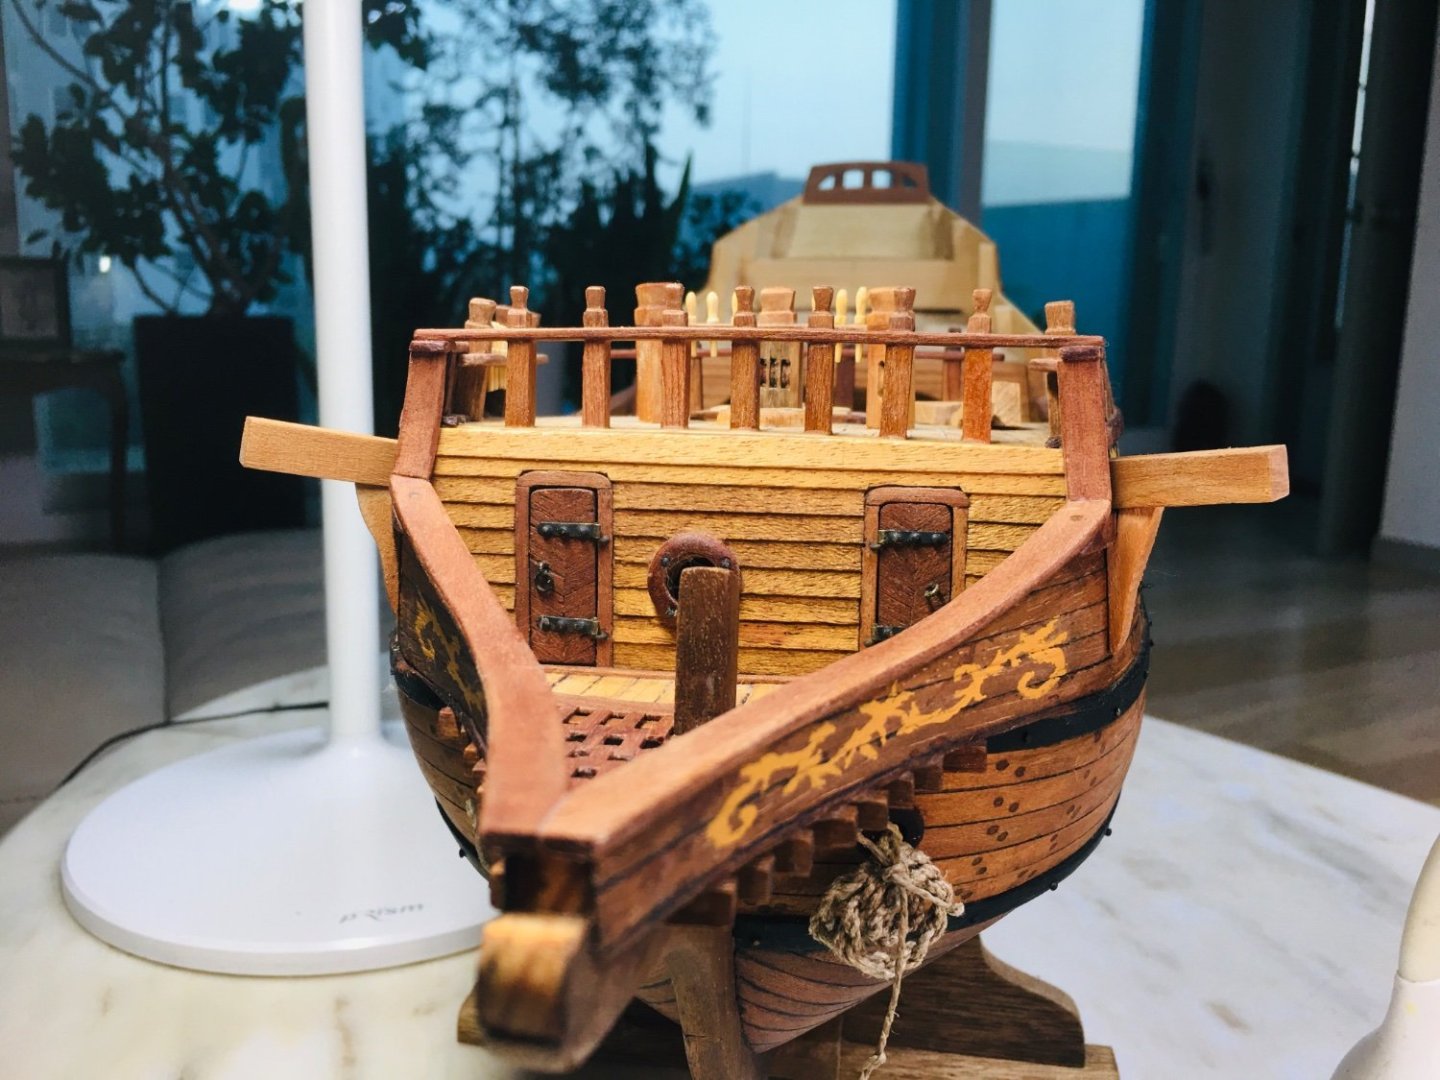
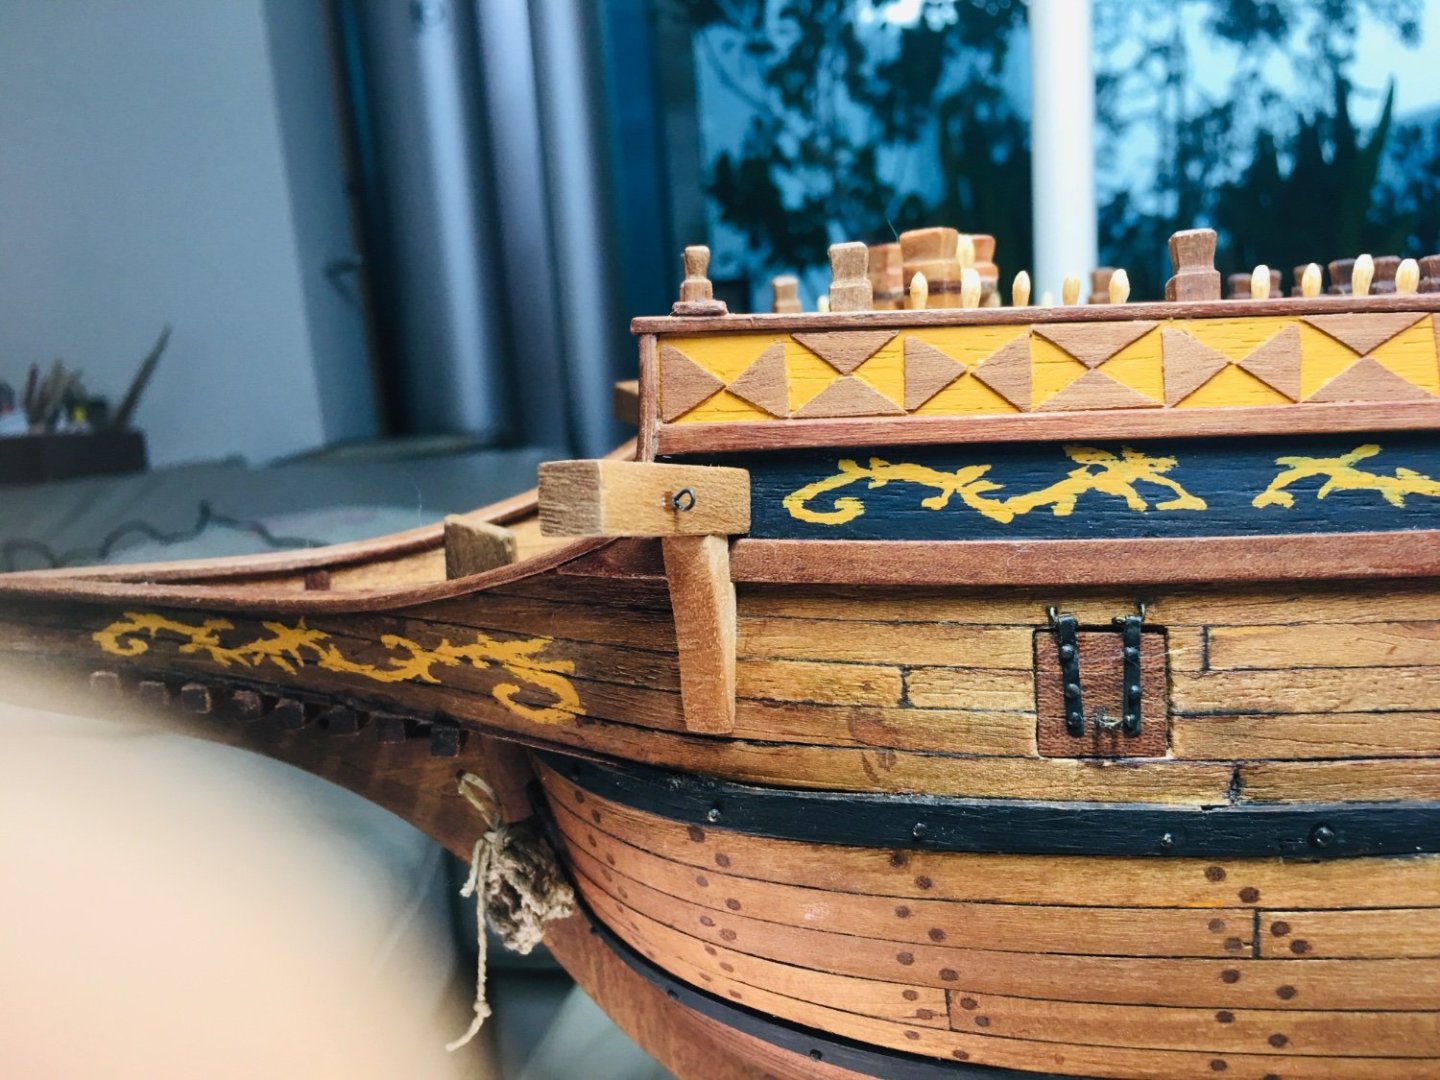
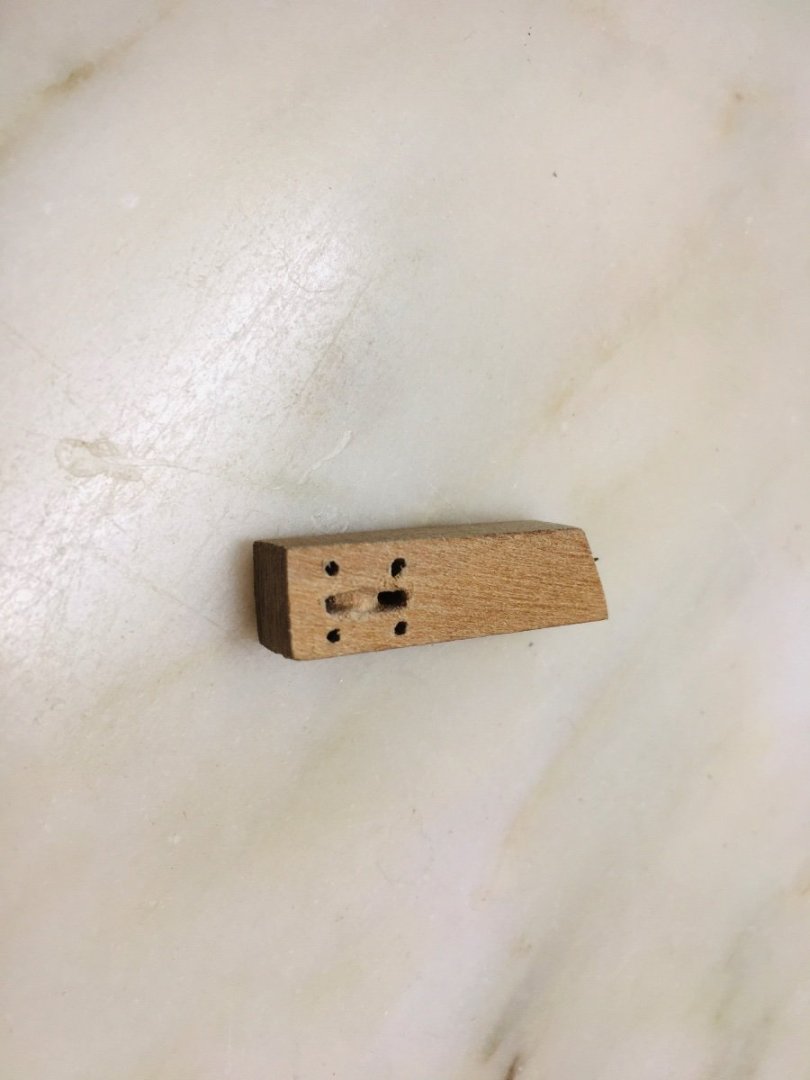
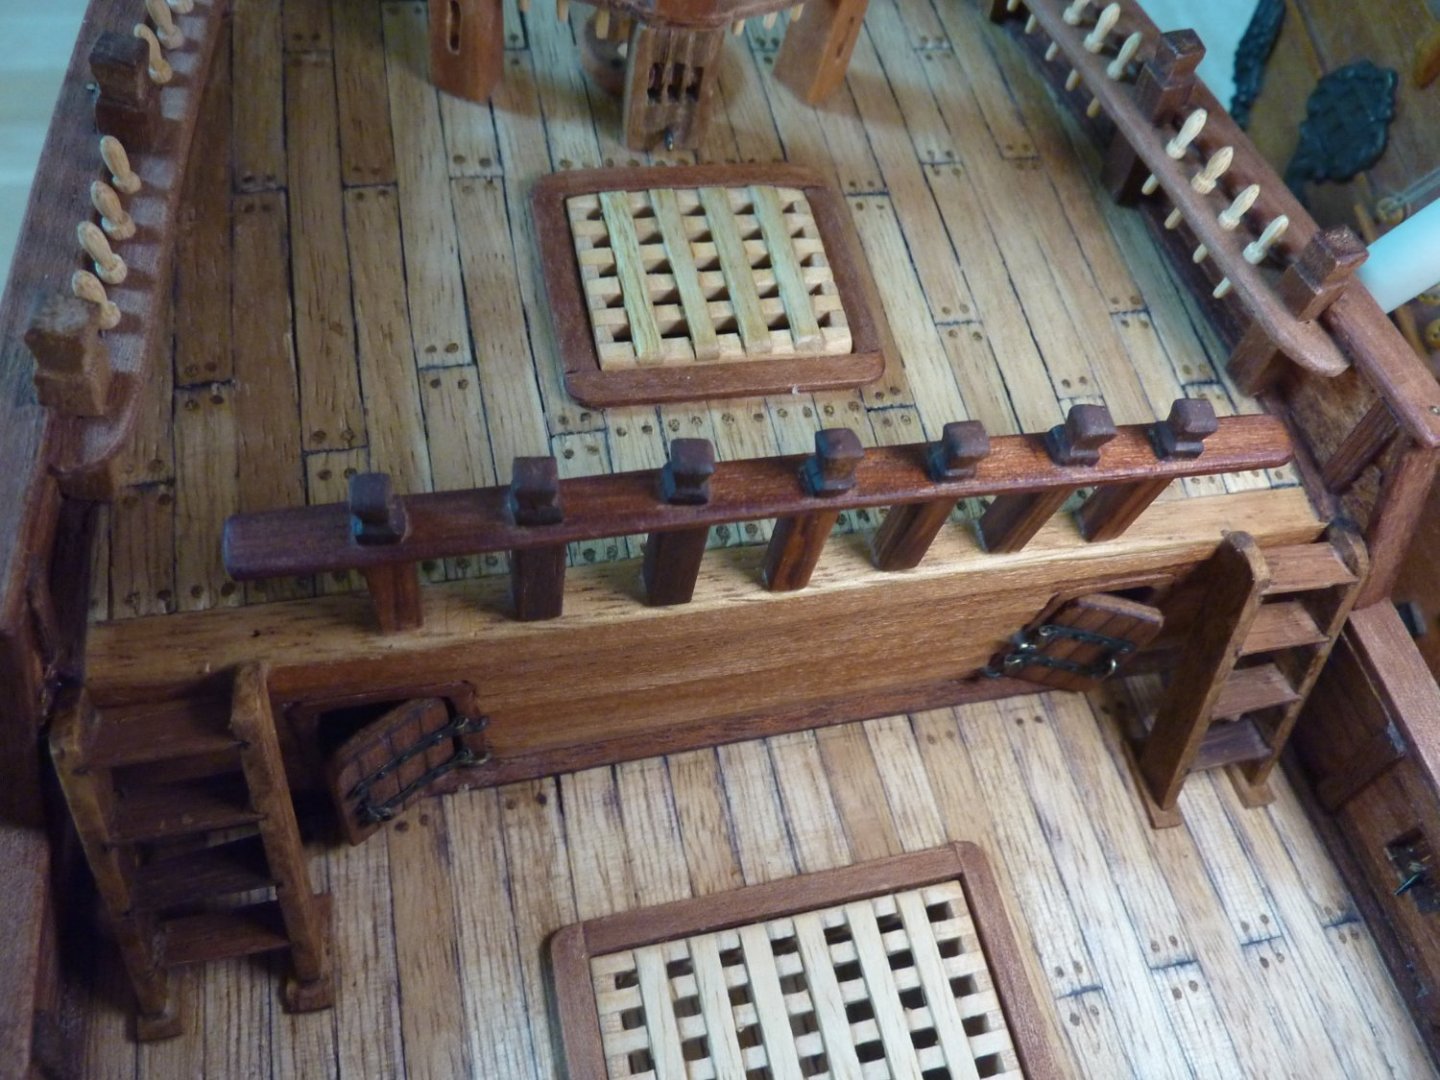
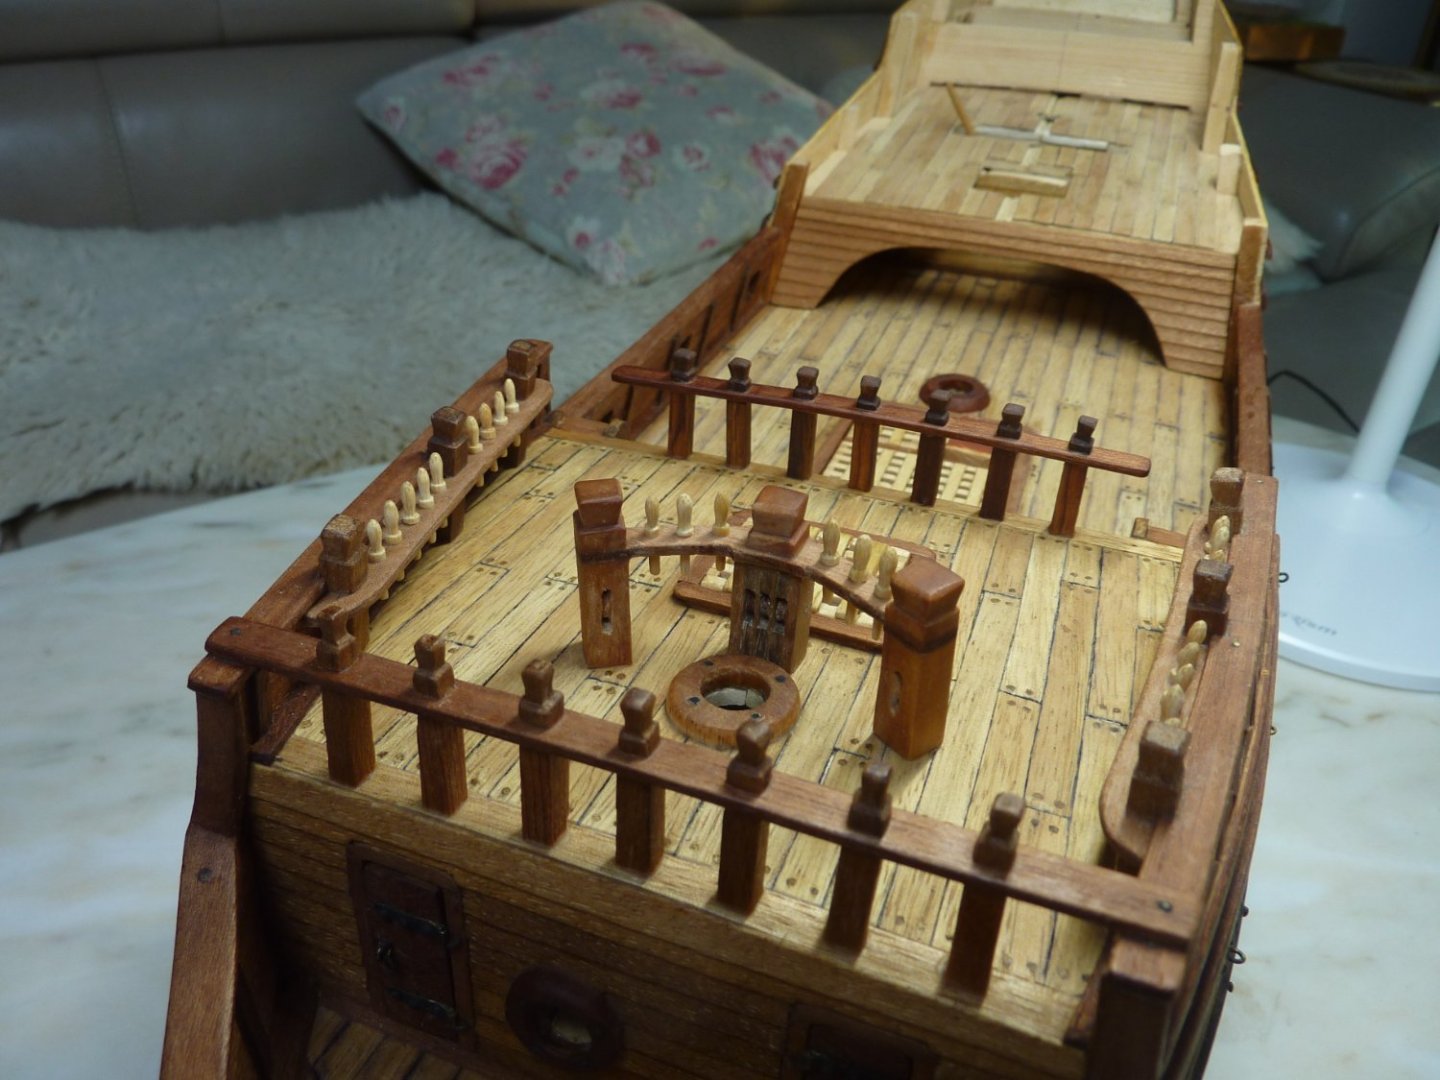
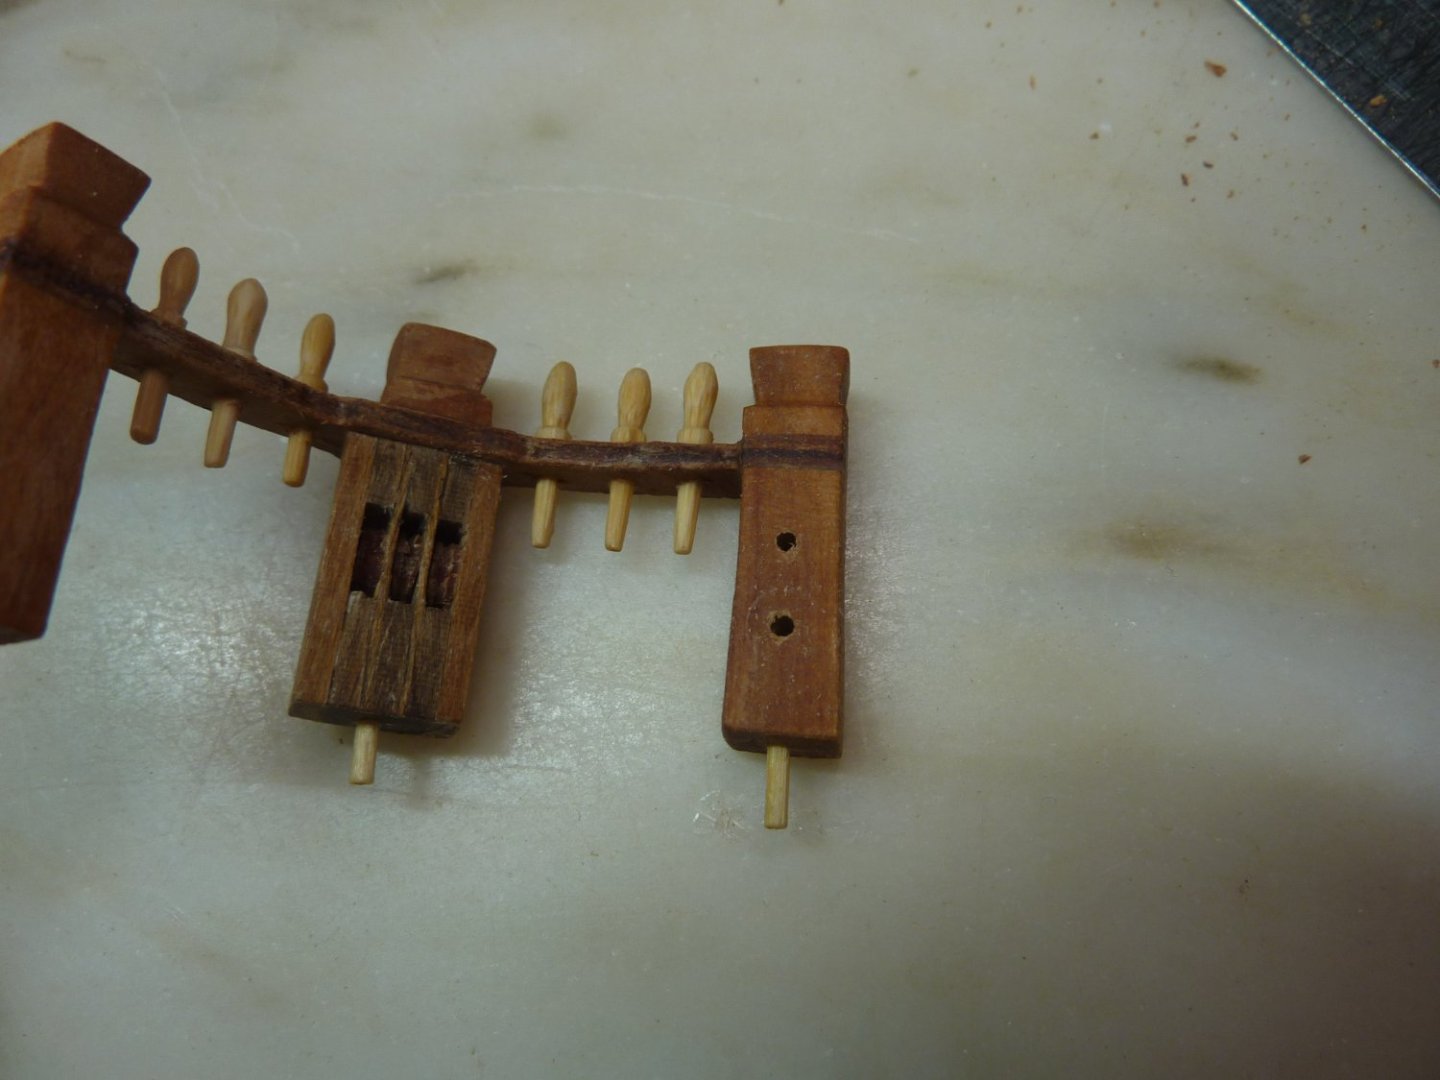
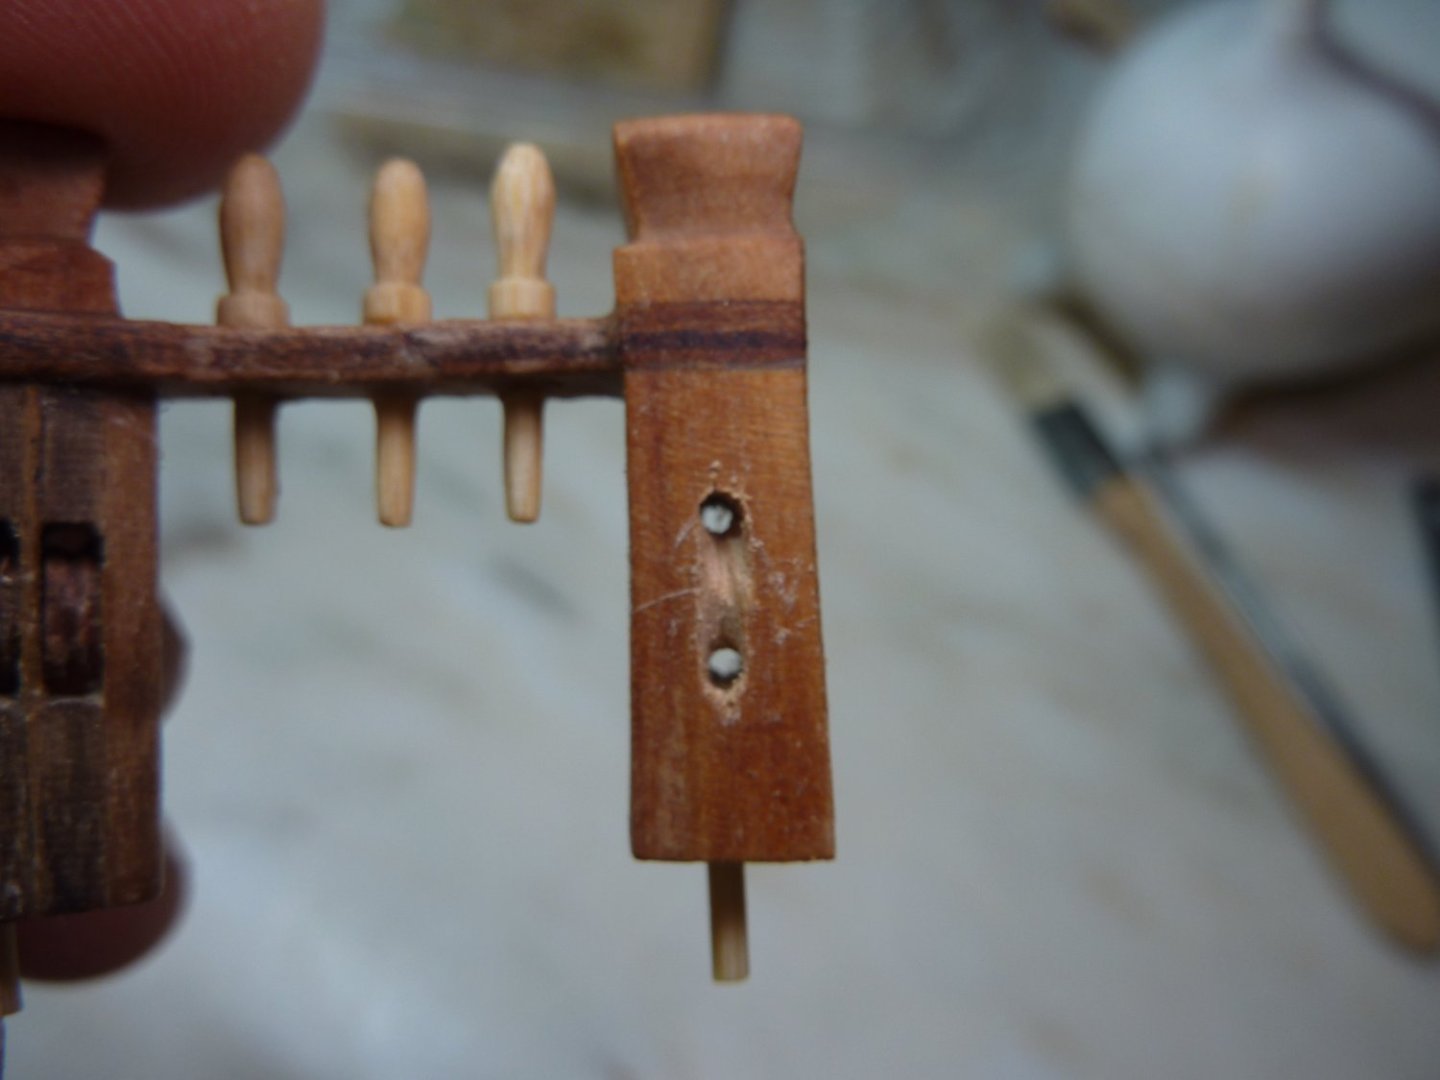
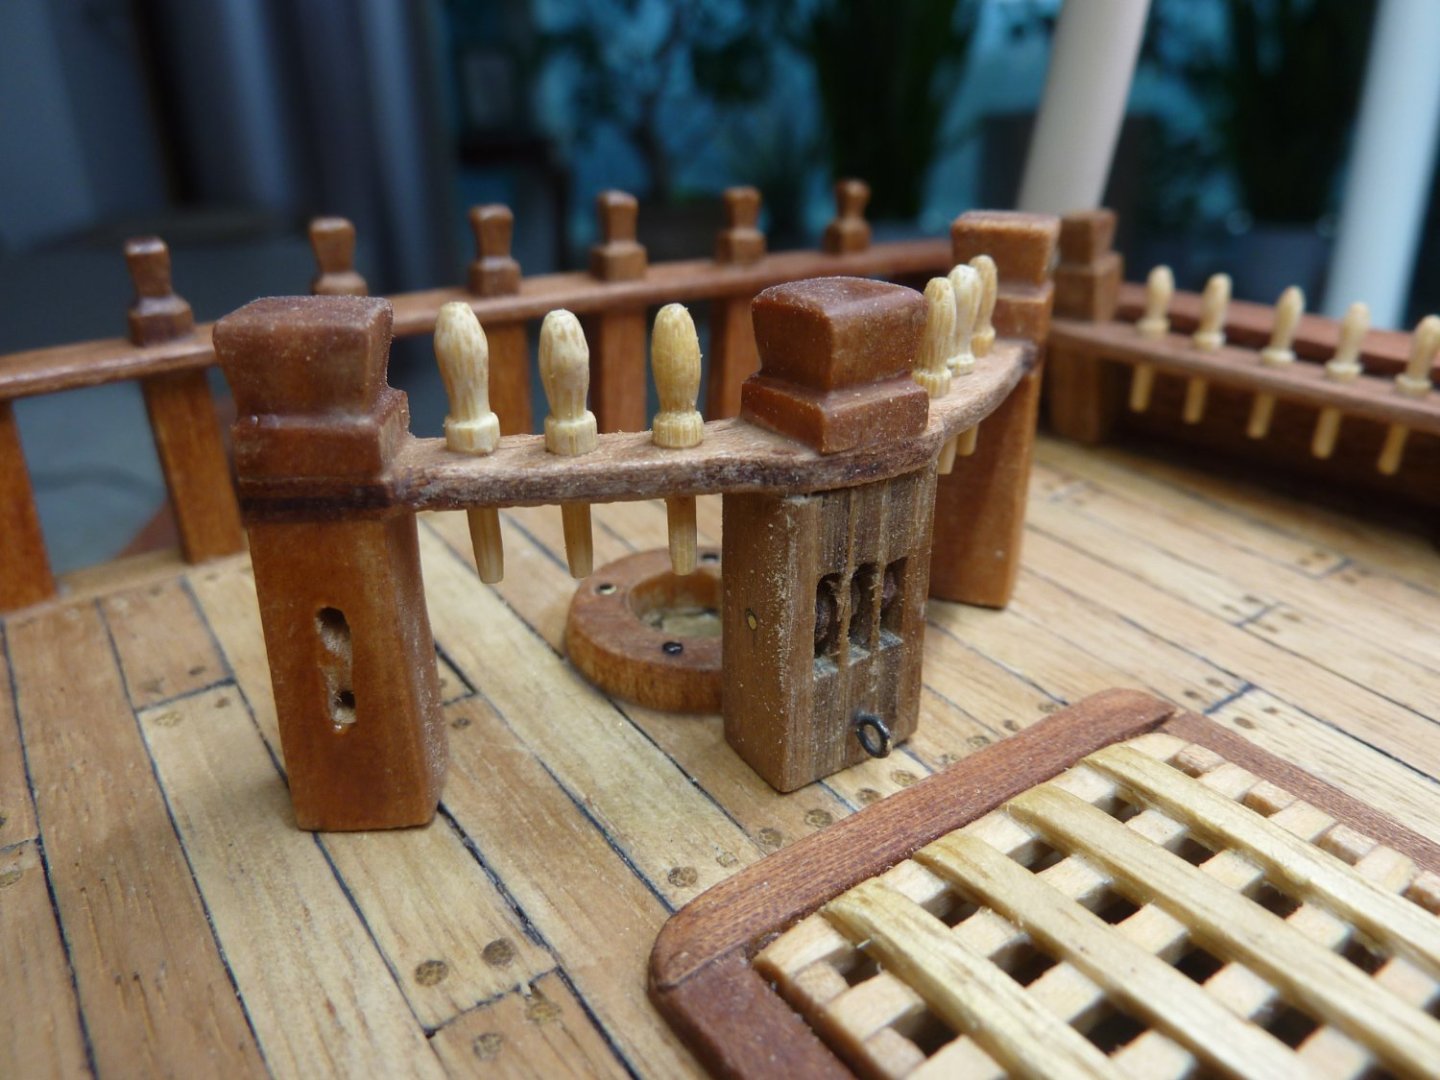
Hello everyone~ It is quite warm now in Korea - full-fledged spring now! I have done the finishing works on the forecastle area. During the process I realized that I may need some additional features (pulley features) in the halyard knighthead (the two smaller ones right and left of the main knighthead). I decided to experiment with a method that would mimick the pulley features in these. I think the end results are not bad. I may refine this 'mimicking' and apply later in other areas.

-
Many thanks for your kind compliment, Ondras! Such compliment from a master modeler like yourself means a lot to me~
-
Thank you very much for your encouragement, Pavel!
-
Hi Patrick~ Thanks very much for your kind comments!