Jared
-
Posts
311 -
Joined
-
Last visited
Content Type
Profiles
Forums
Gallery
Events
Everything posted by Jared
-
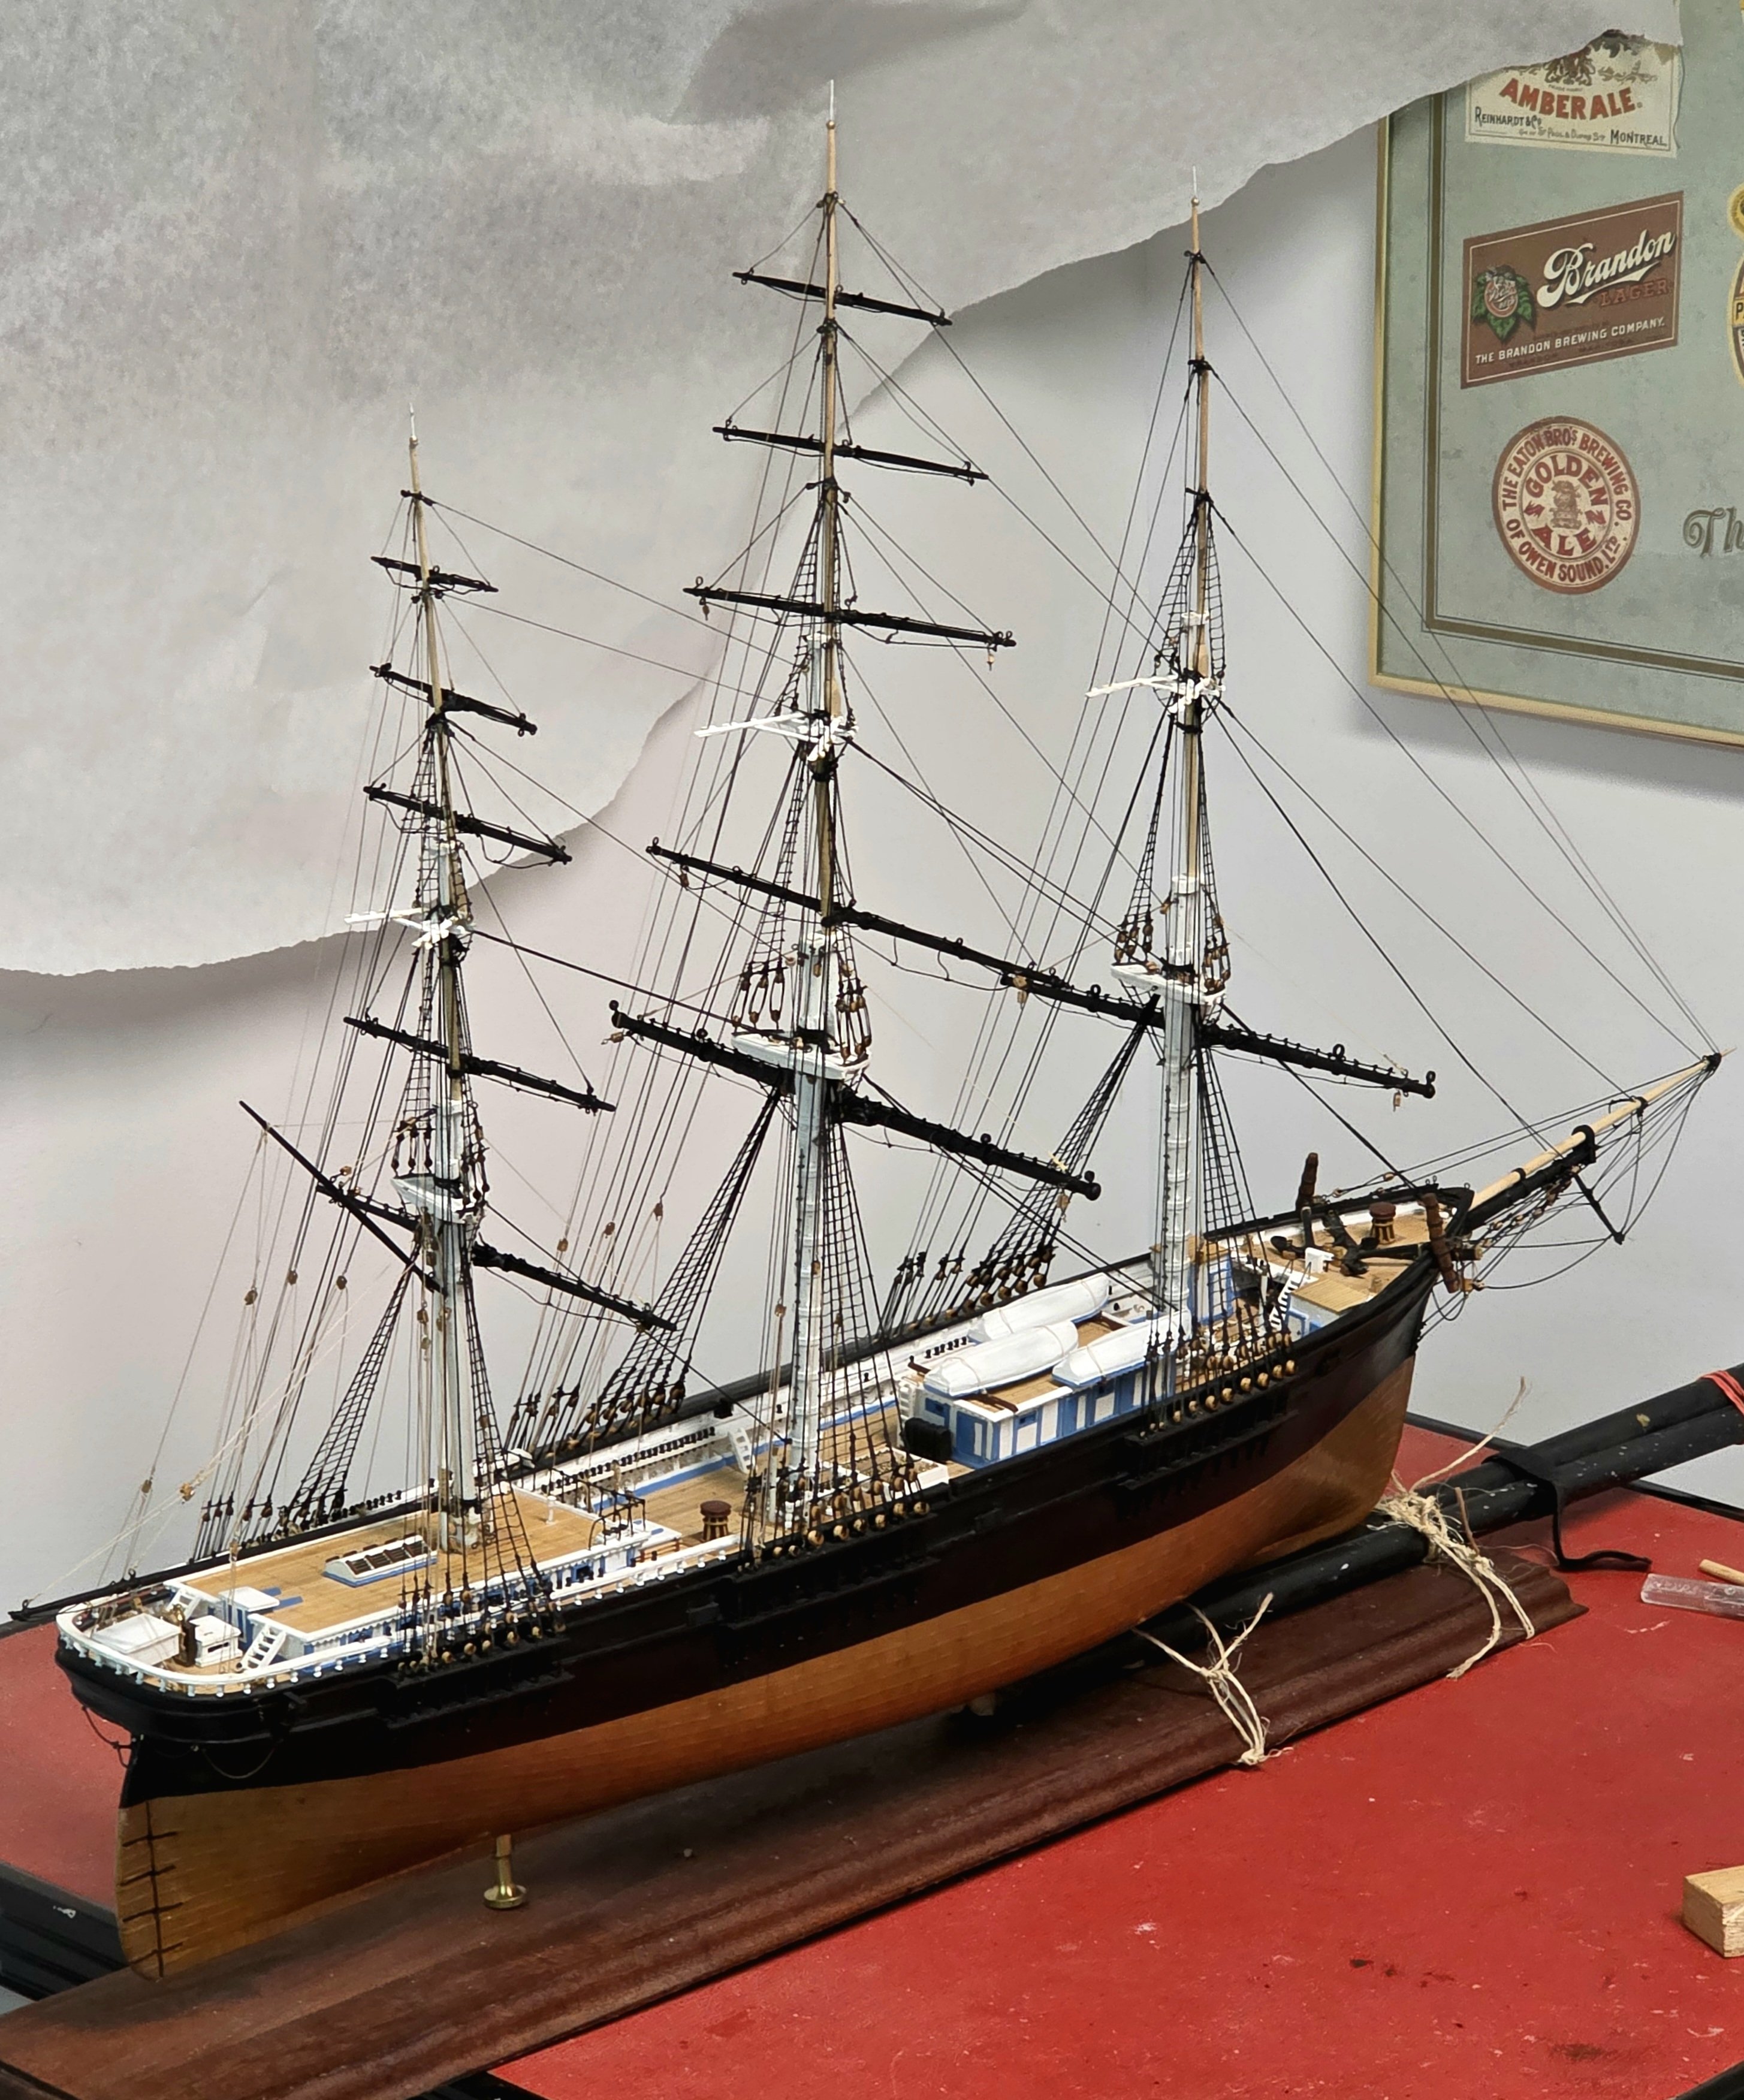
One thing I noticed when I installed the stuns'ls on my model is that it gave the model a huge step upwards in the visual appeal and perceived complexity of the model. The "bright" natural colour of the wood provided a nice balance against the black yards, making the latter stad out more. I was quite pleasantly shocked. On tip I forgot to mention was that I used narrow diameter wood dowels from incence sticks to make the smallest diameter stuns'ls, which worked out rather nicely and saved me hours of sanding down wood dowels.
- 431 replies
-
- 1
-

-
- Flying Fish
- Model Shipways
- (and 2 more)
-
Thanks Rob. It would be nice to see the actual much higher resolution photo.
-
Thanks Rich. Thanks for improving the photos. My model will be in dry dock for a long time so this works 😀 but I do agree this would not have been the way it would have been most times
- 431 replies
-
- 1
-
-
- Flying Fish
- Model Shipways
- (and 2 more)
-
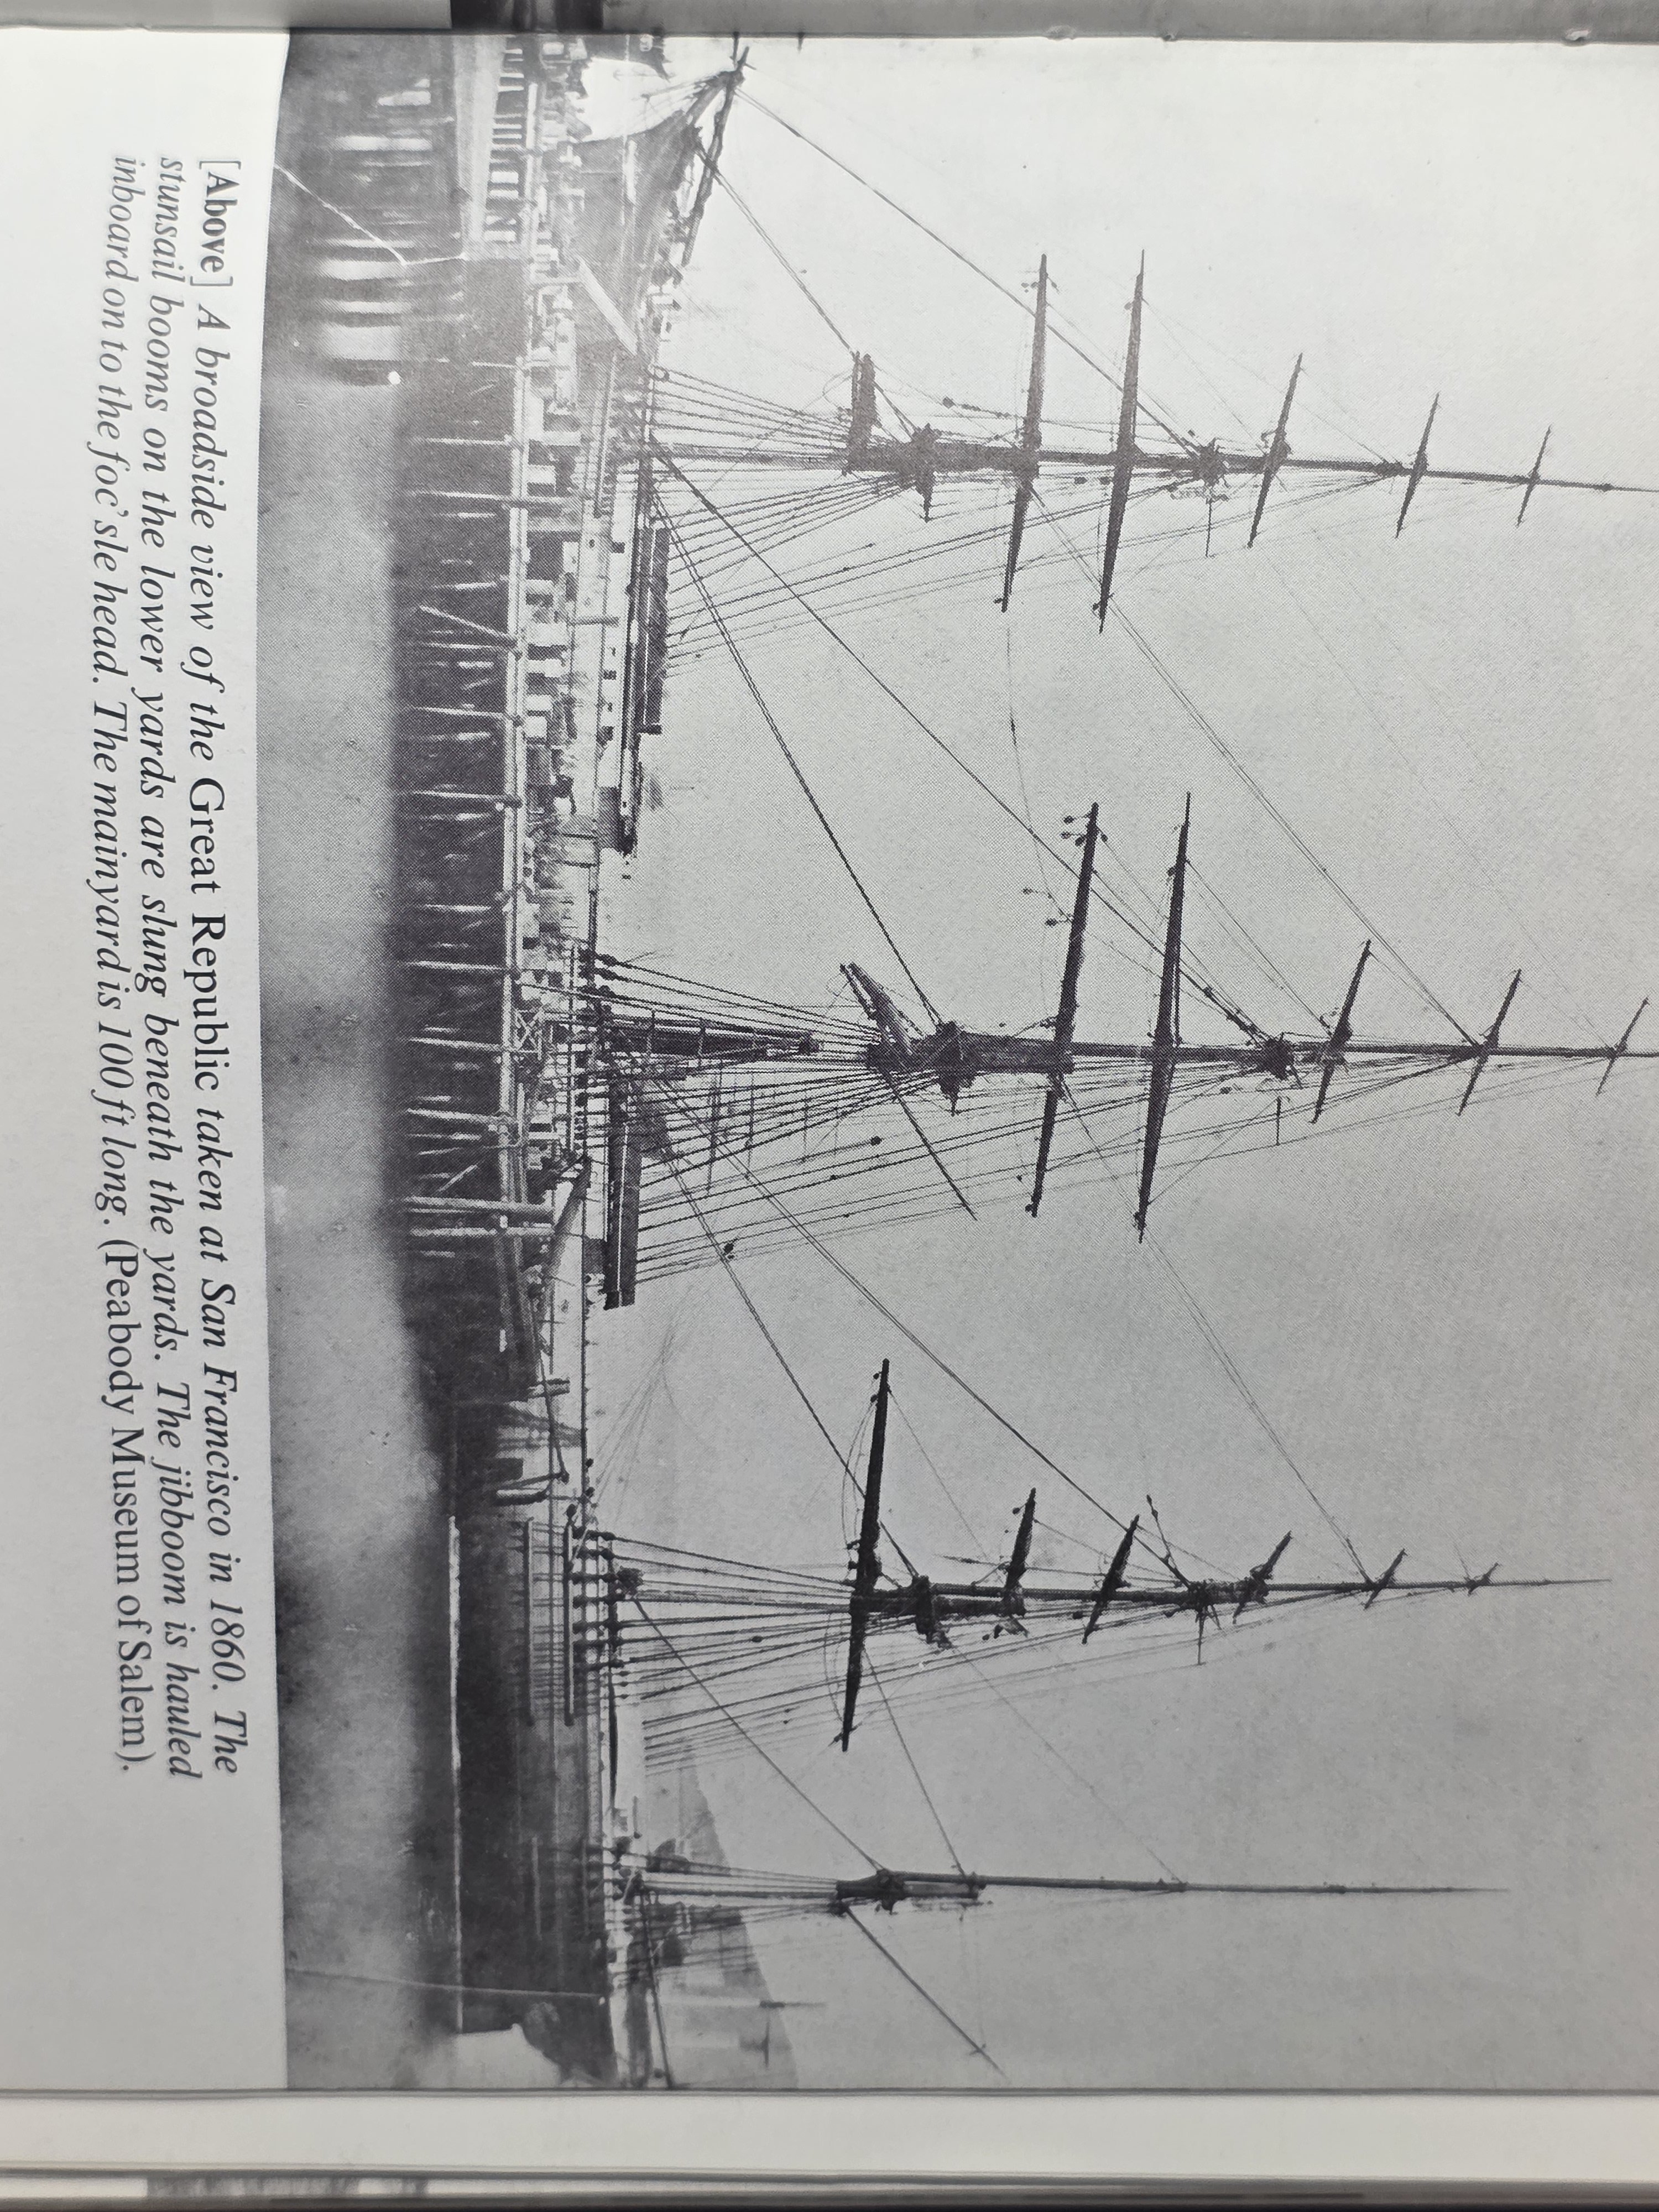
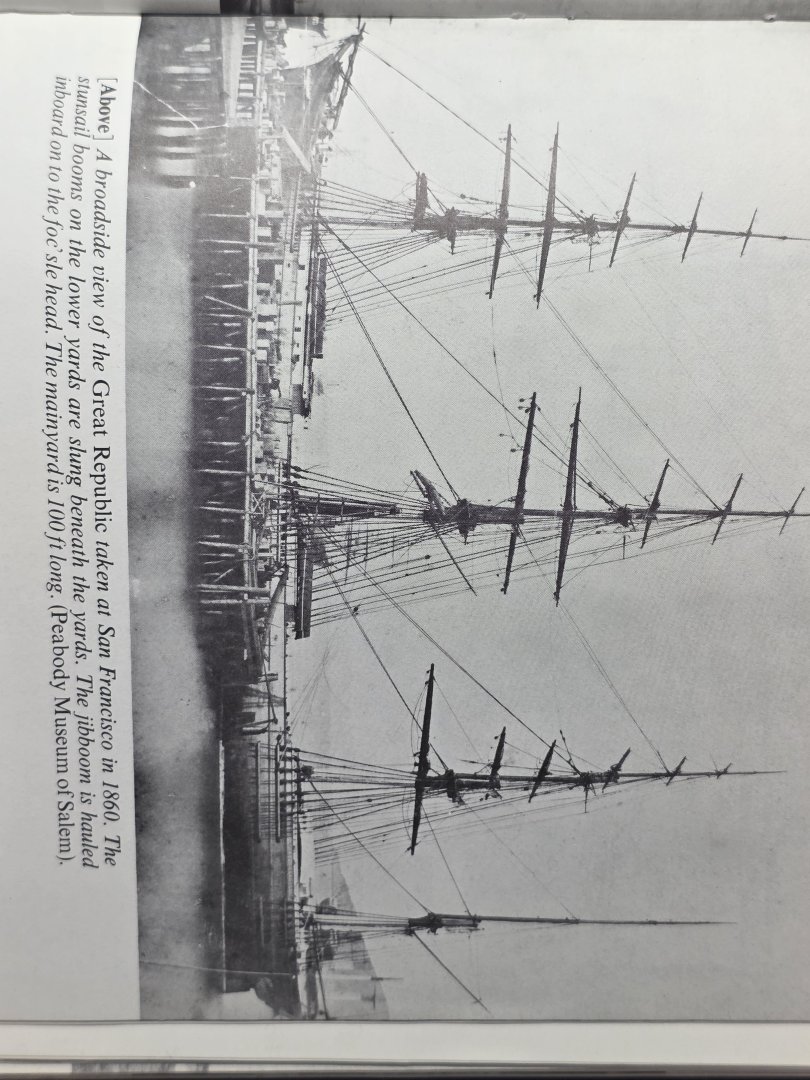
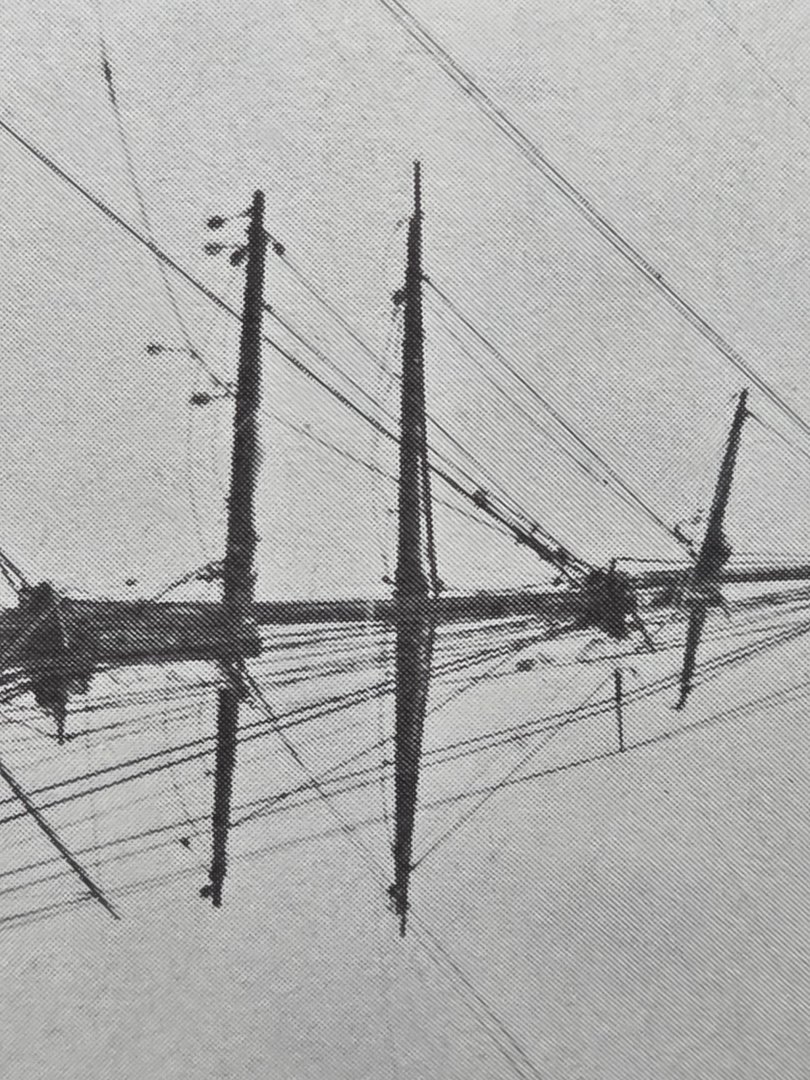
You bring up a good point that I do not know the answer too. I have gone through several clipper books I have and can only find 2 examples of the stuns'ls stored in the angular position. One is a drawing on page 7 of the China Tea Clippers by George F. CAMPBELL and the other is a photo of the Great Republic in 1860 (page 71 in Clipper Ships by David R. MacGregor. In most photos I have seen where stuns'ls are present they were lashed to the spar and/or slung beneath the yard. The photo of the Great Republic shows the lower yard stuns'ls slung below the yard while those on the higher yards look like they were lashed the way the Flying Fish plans show.
-
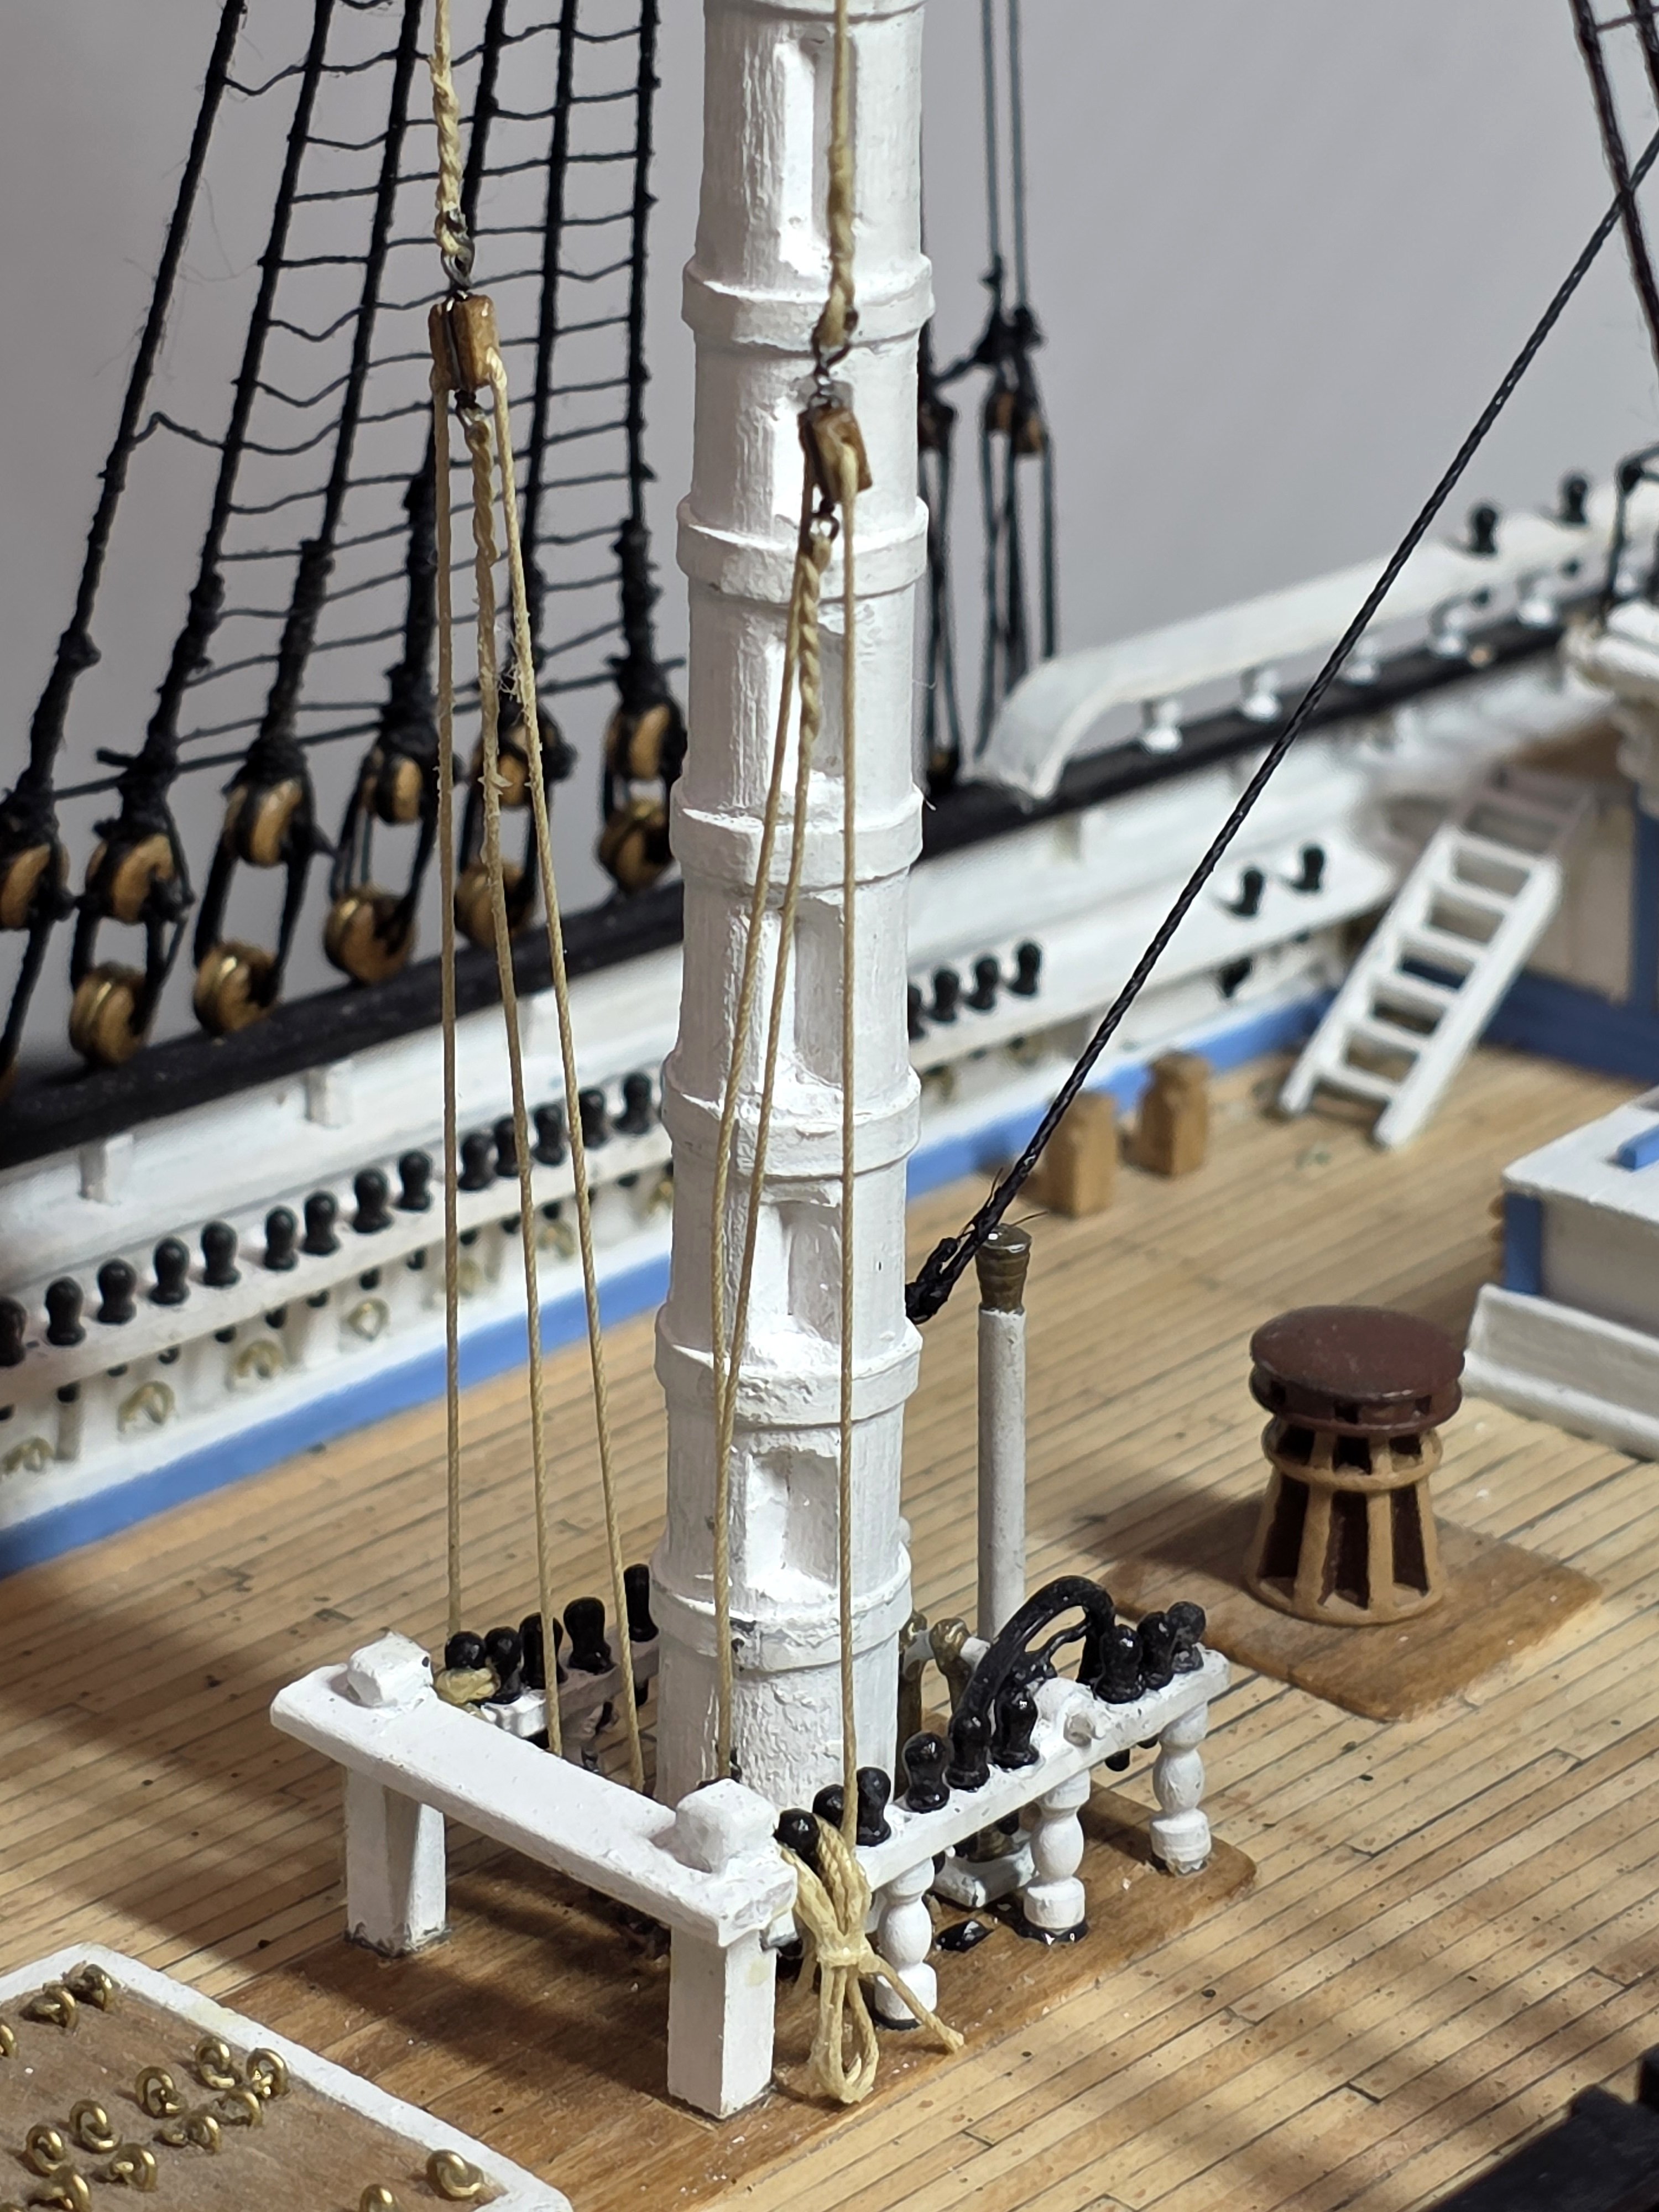
Today went very well. I made the 6 stunsl yards and glued into place on the fore and main masts. Tomorrow I will add the securing ropes to tie them to the slings.
- 431 replies
-
- 5
-
-
- Flying Fish
- Model Shipways
- (and 2 more)
-
Thanks Rich. I think I can fix it. Will have to replace 2 of the lines. Easy to remove with water as used carpenters glue on rigging.
-
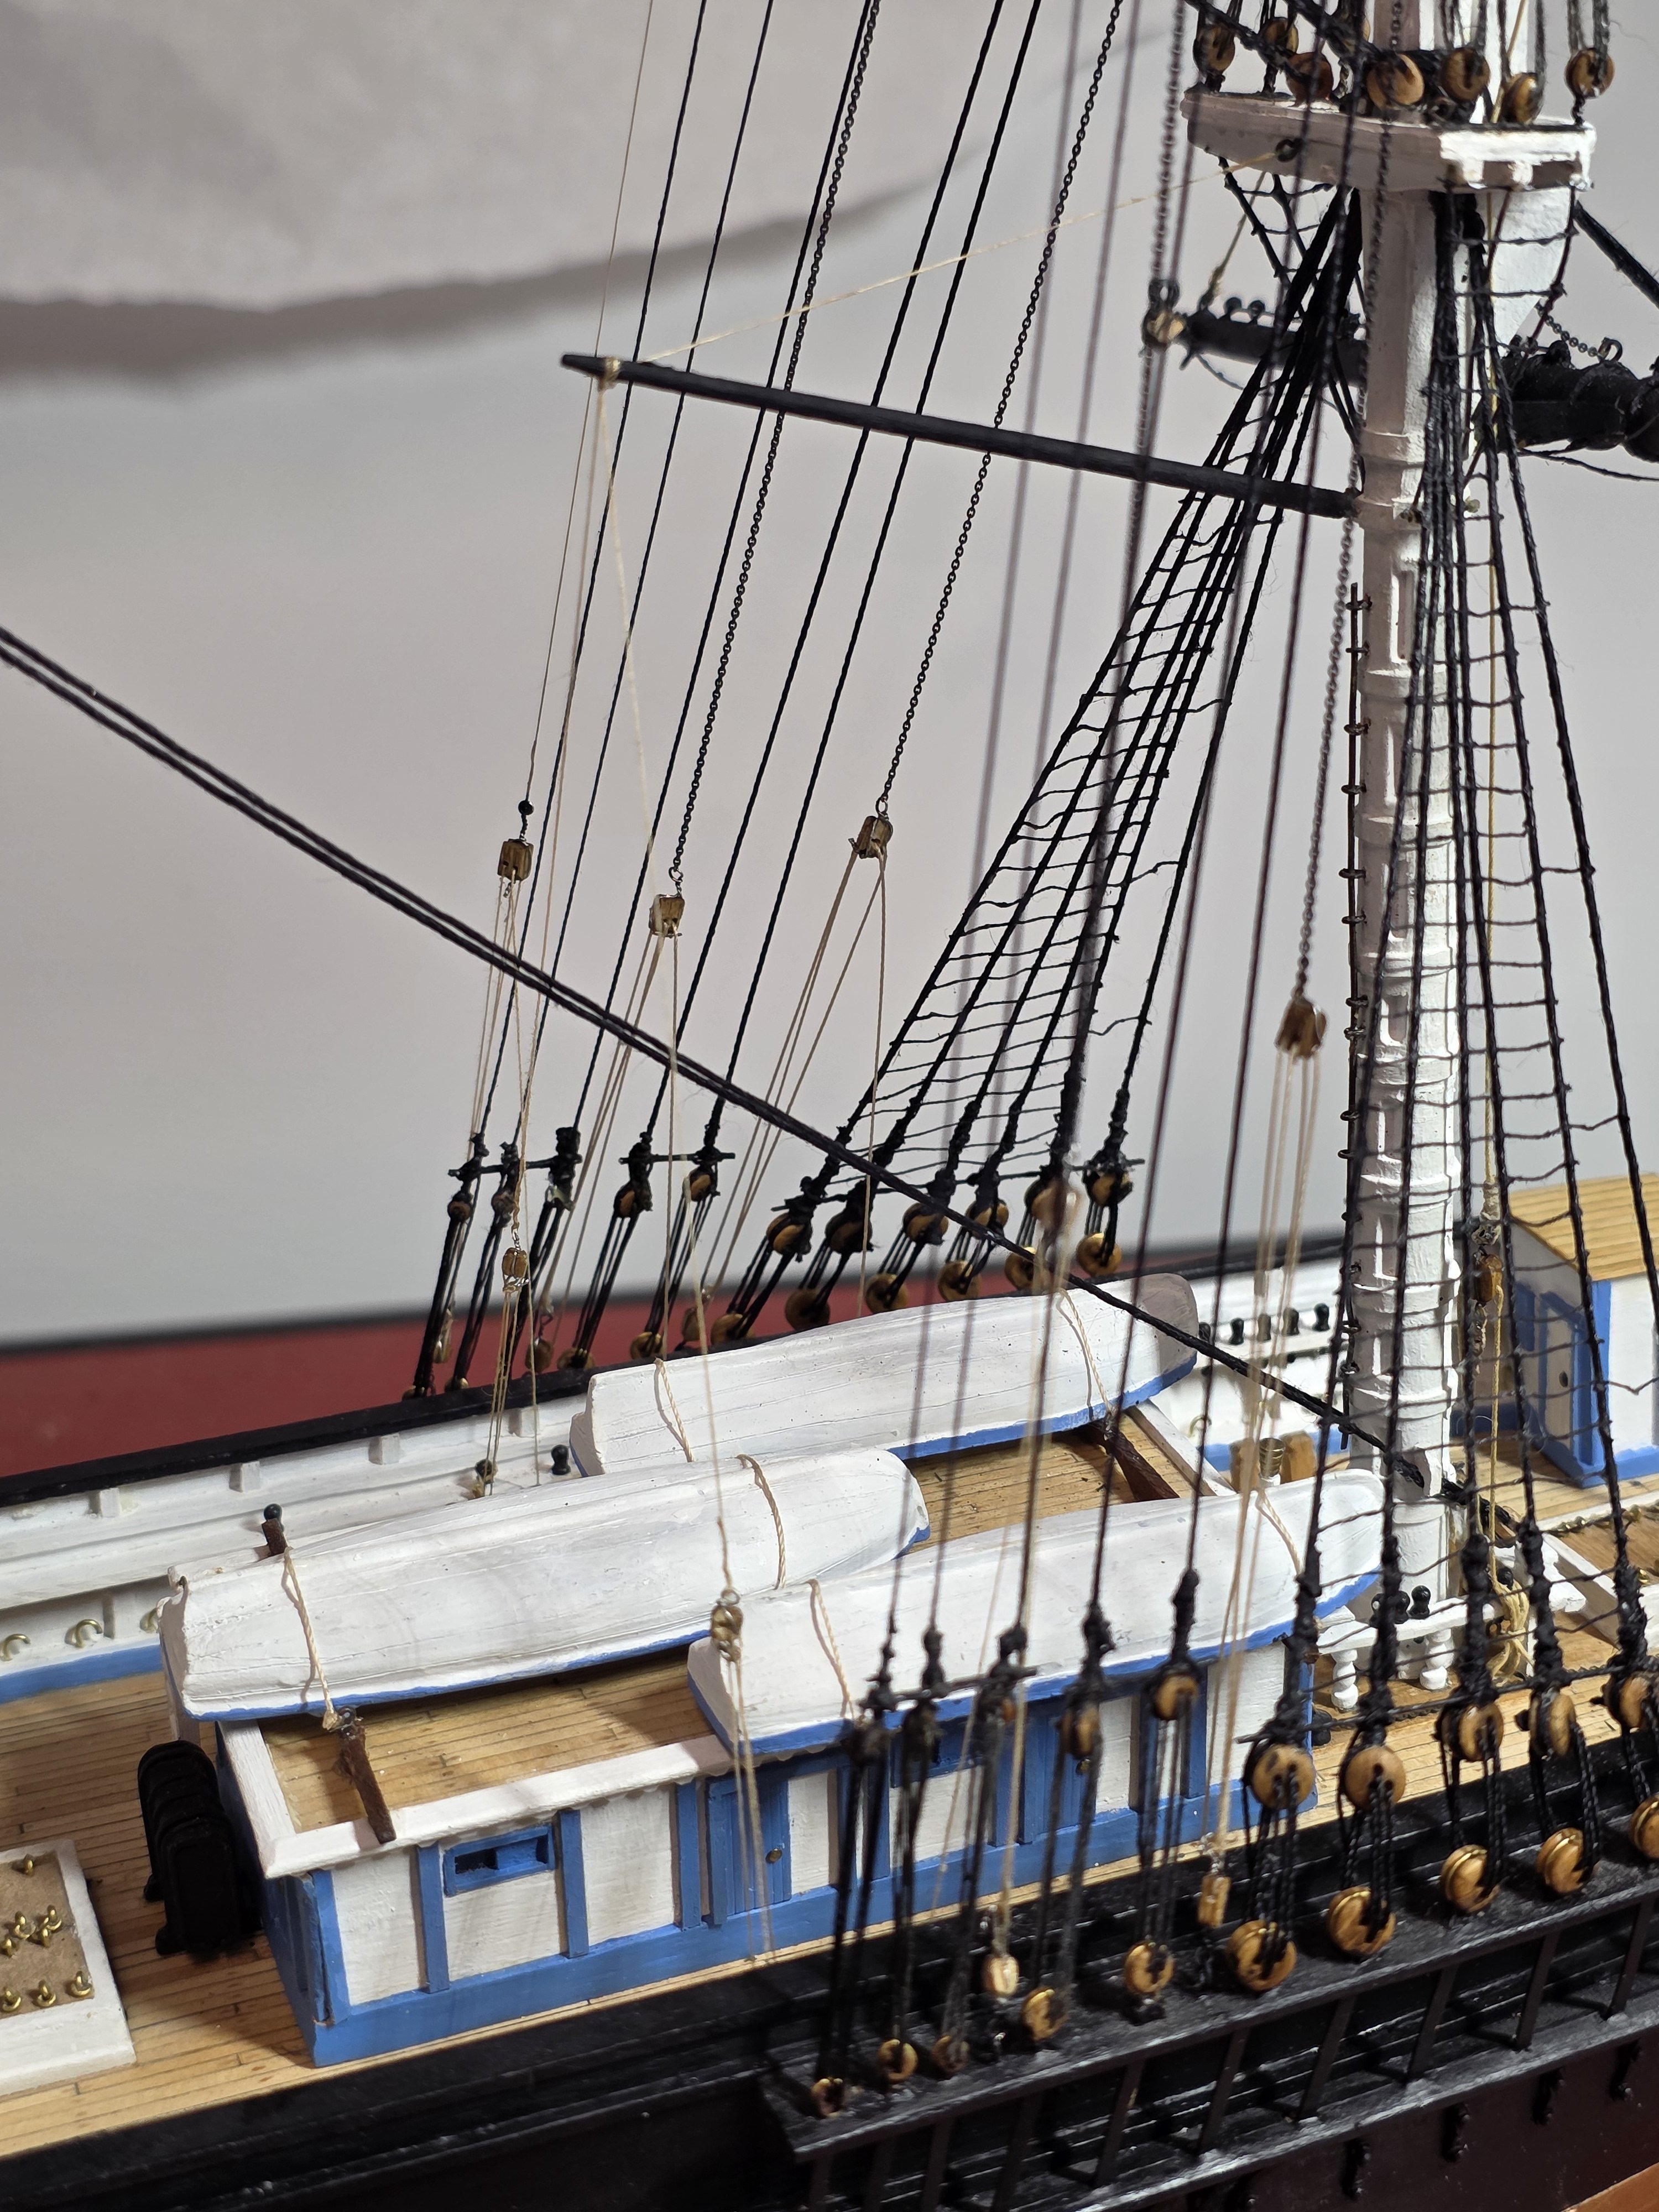
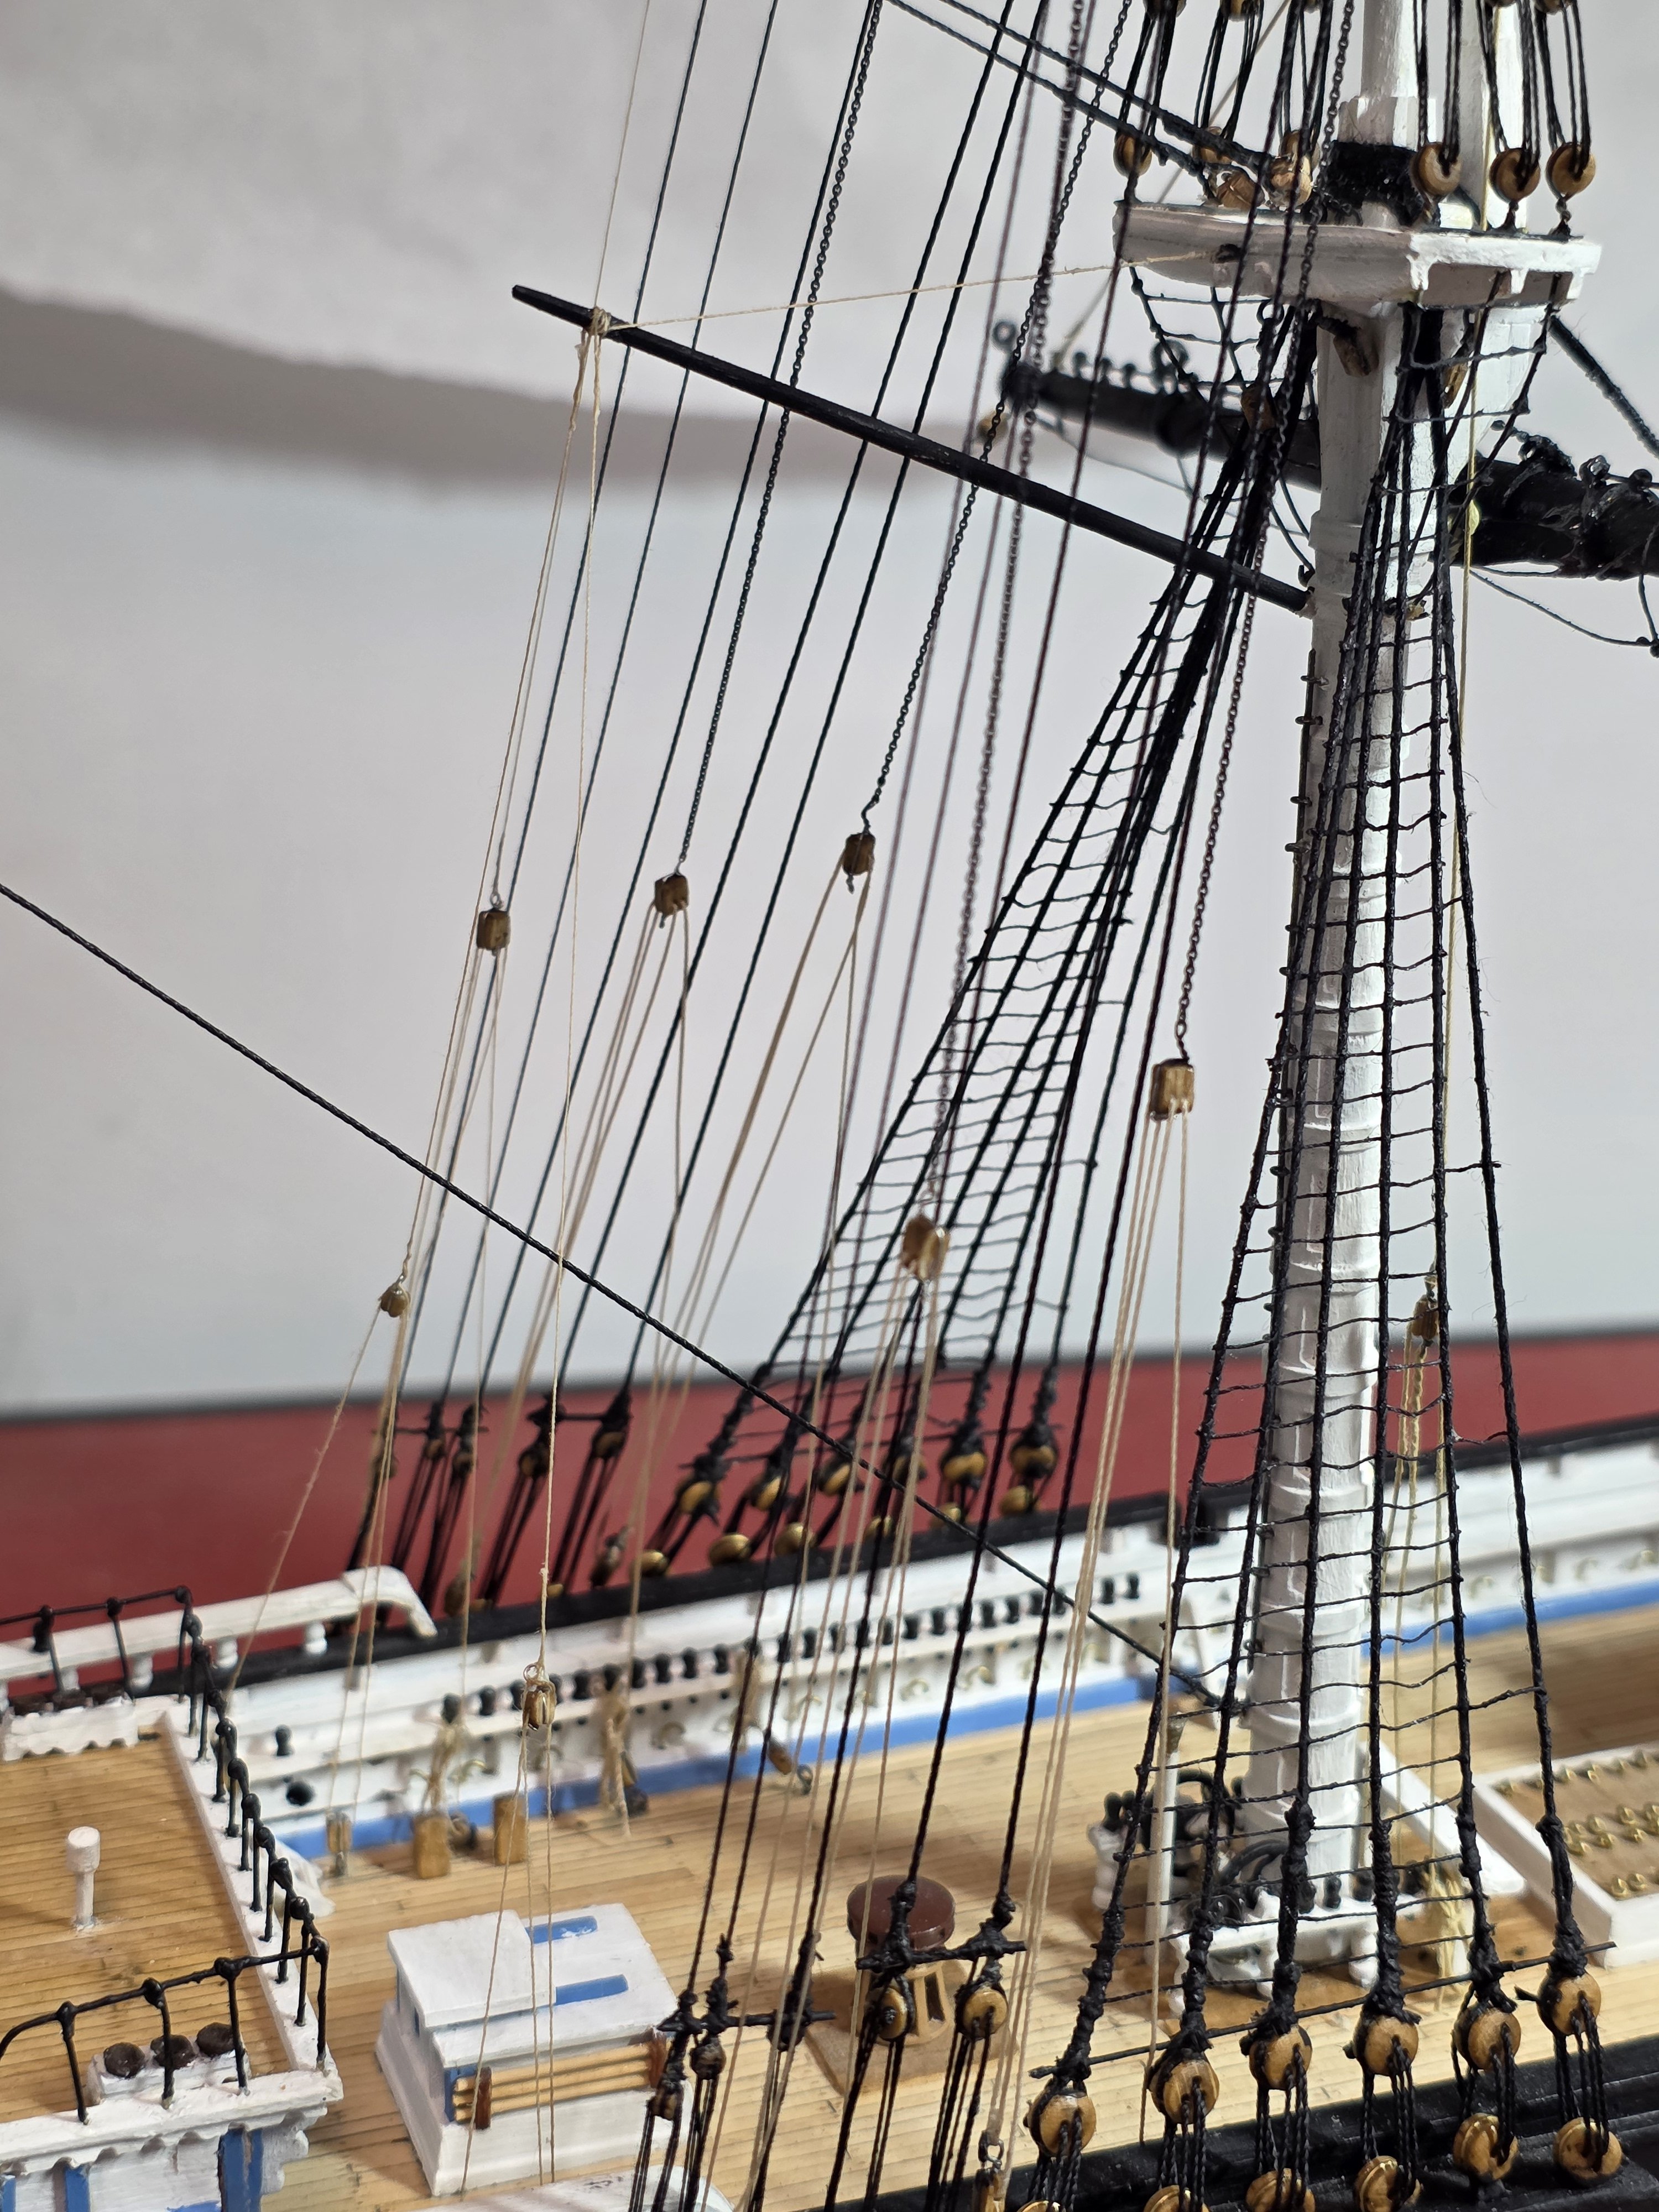
After a lot of fiddling and tight work, I managed to make, mount and rig the gaffs on the main and fore masts. My only potential concern is that the angle of the fore gaff may be a bit low. Any thoughts? Unless this is a gross error, i am inclined to leave it as is.


- 431 replies
-
- 3
-
-
- Flying Fish
- Model Shipways
- (and 2 more)
-
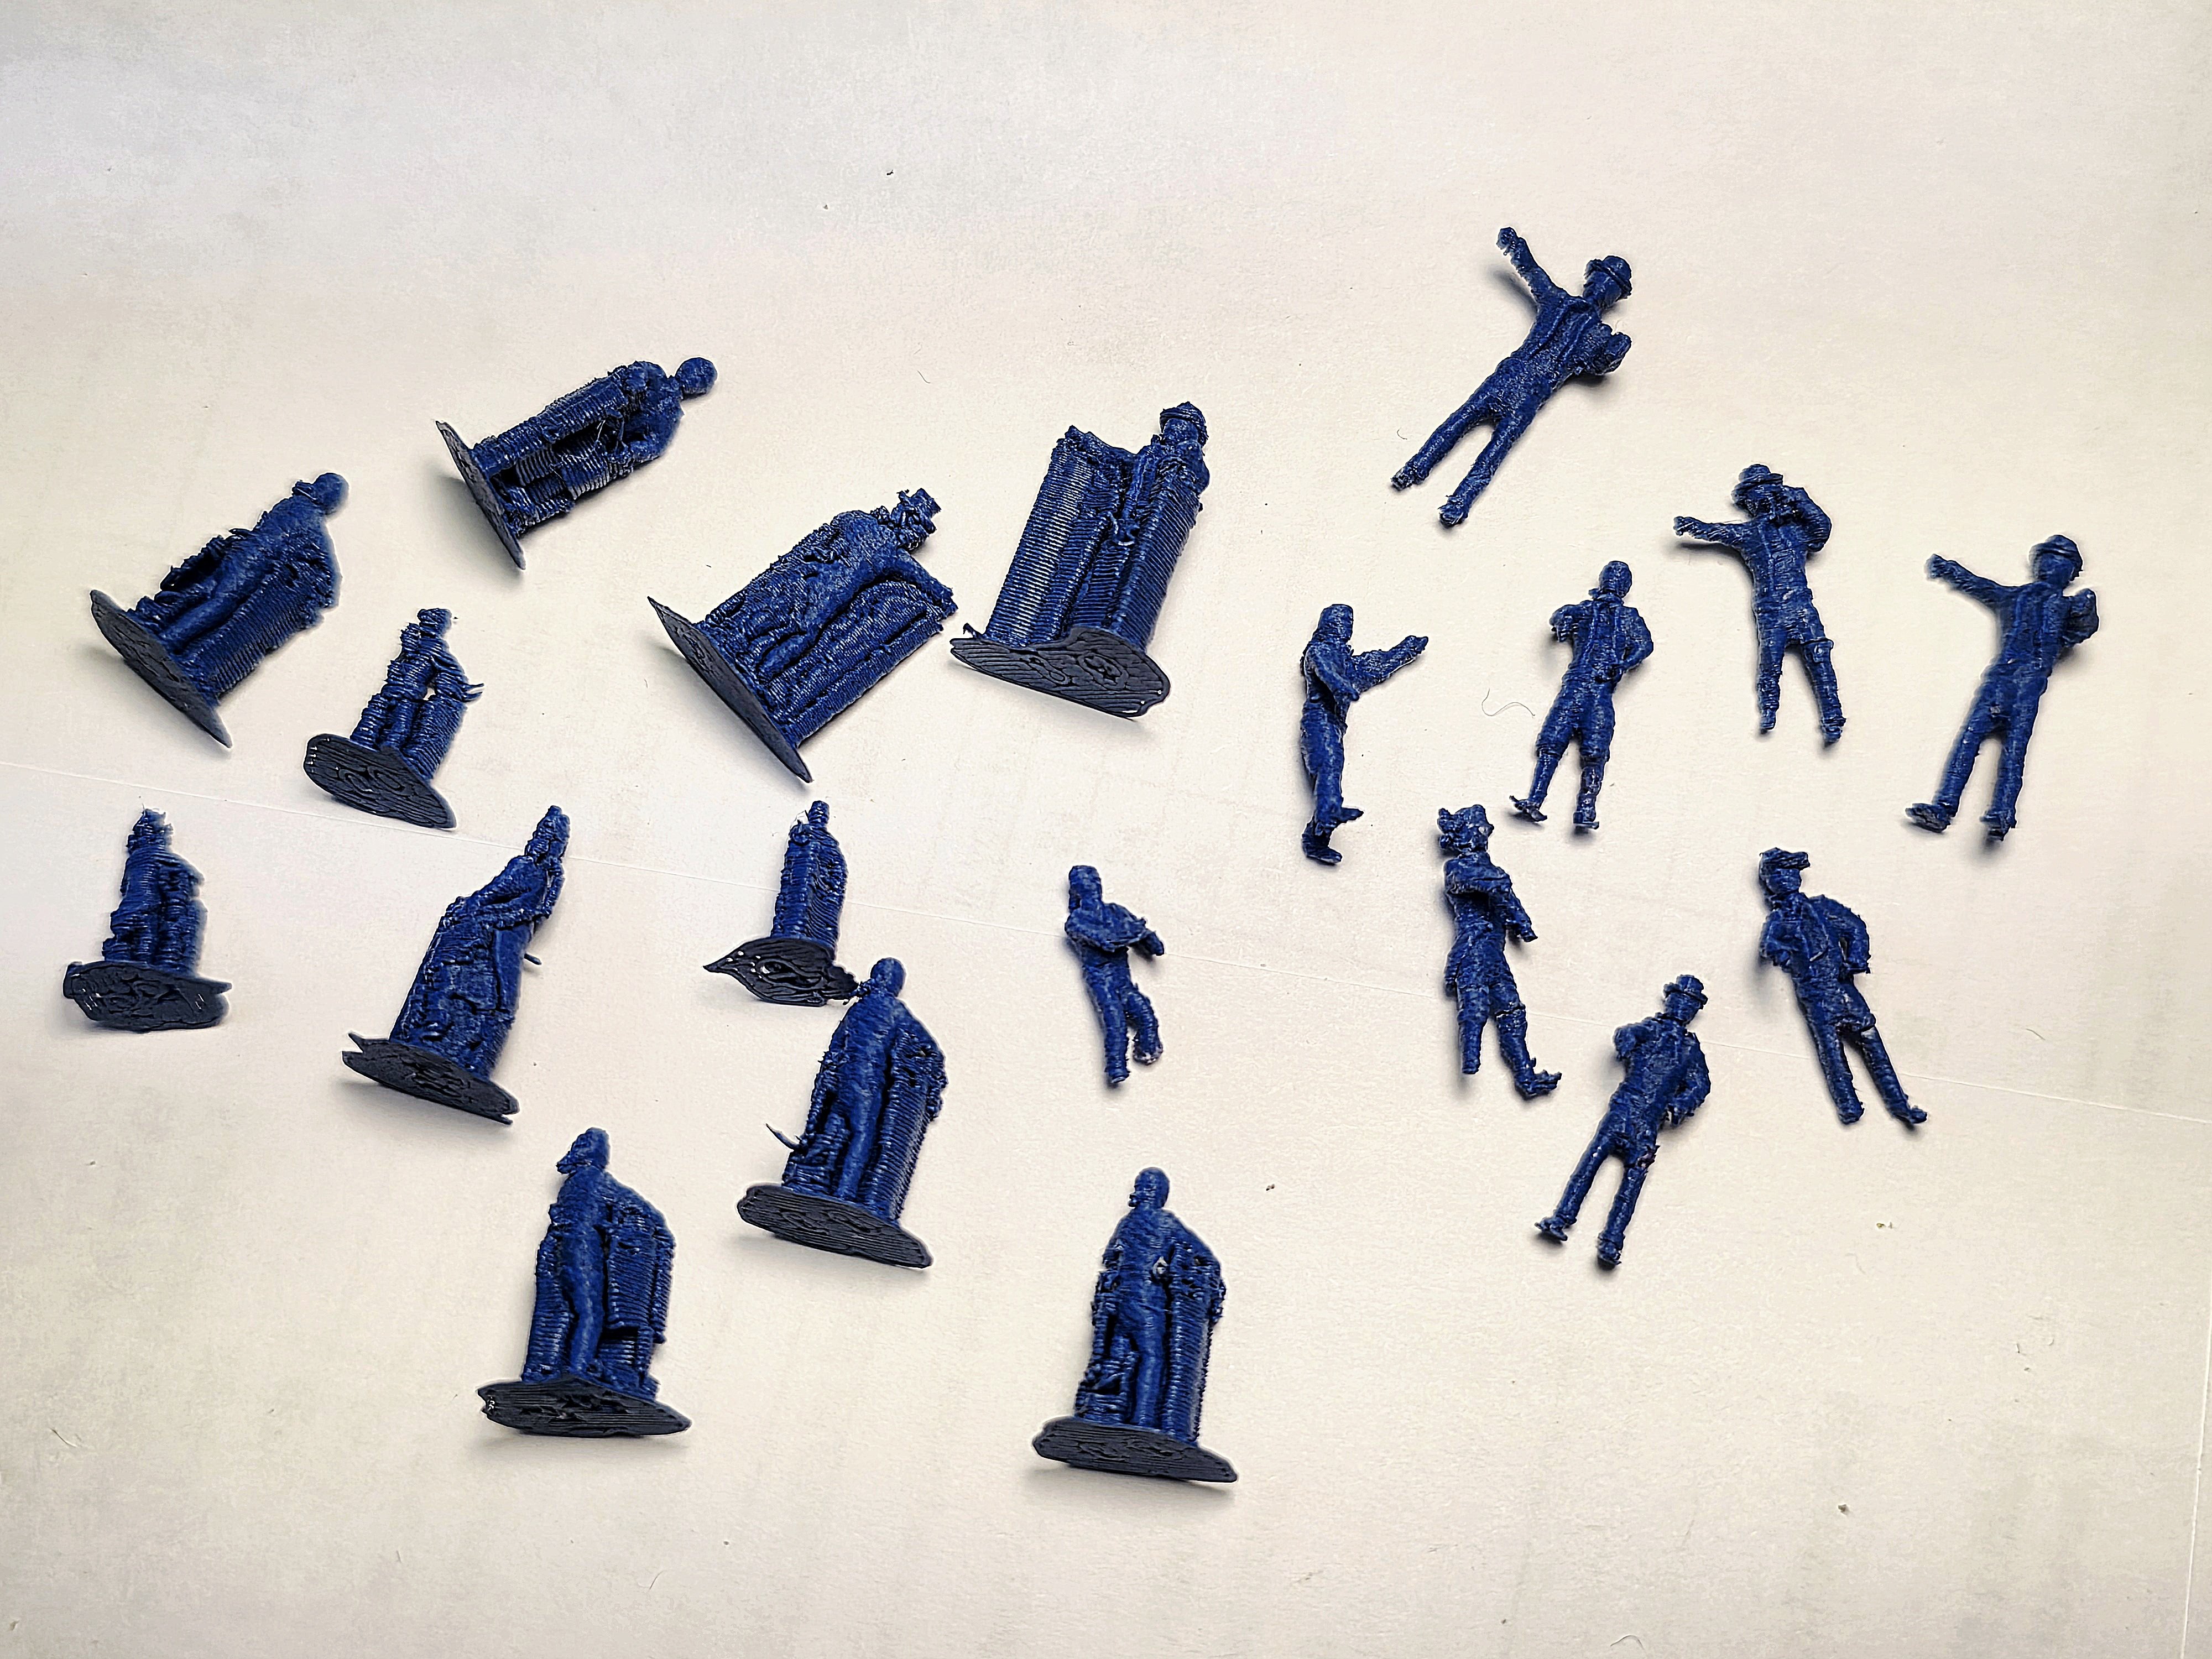
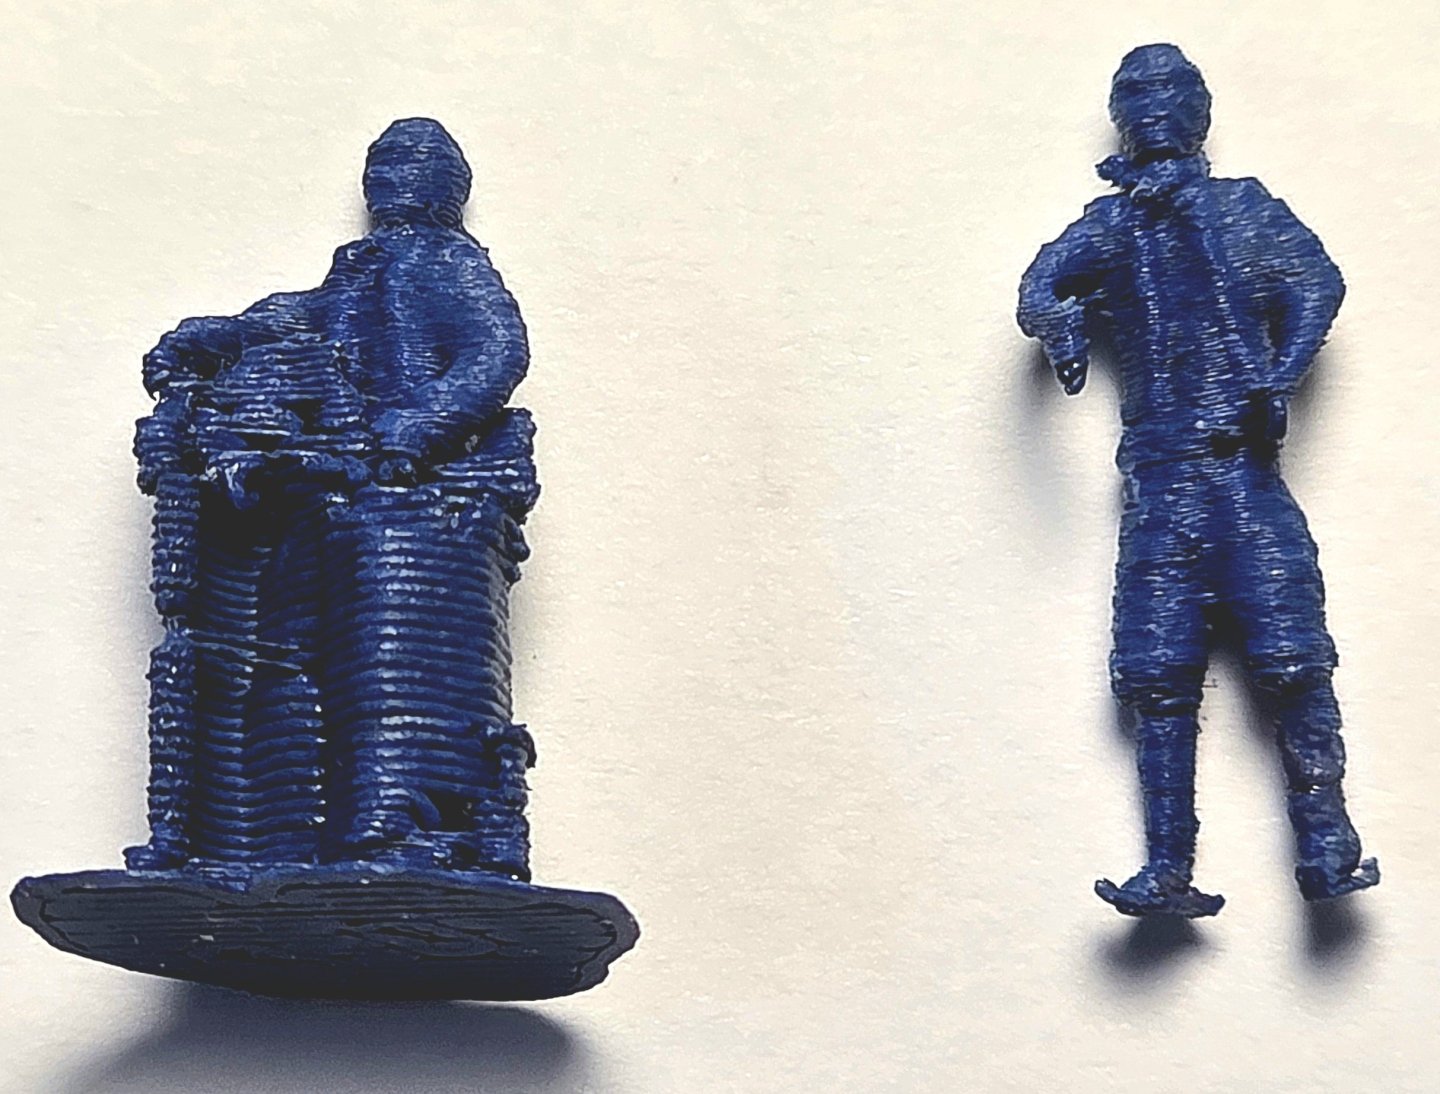
As a diversion to the seemingly endless yard building and rigging, I have been experimenting with making 3D printed figures for adding to the final model to give the model a better sense of scale and interest. With the help of my son-in-law who has a 3D filament printer and a free 3D file I found on the internet, we were easily able to produce a number of figures. The biggest challenge is separating the figures from the surrounding support plastic. This has been rather difficult as the plastic is so brittle. I broke off many of the tiny arms and legs in the process which fortunately I was able to reattach with super glue. The printer is not a high resolution resin printer so really fine detail is not possible. However at 1/96 scale I don't think this will be a concern. The printer had problems printing out hands and feet so I expect I will be adding these to the figures later using autobody filler material (a trick I learned from scratch-building model RR figures). The images below show some of the printed figures with the surrounding support plastic and other figures I separated from the supports.

- 431 replies
-
- 1
-
-
- Flying Fish
- Model Shipways
- (and 2 more)
-
Thanks Rich. I have been following the NRG competition requirements. I don't think my model will be completed in time for this year's competition. I will likely aim for next year. I plan to do a lot of photography of the finished model before it goes onto the case. In addition to the competition photos I intend to do a lot of focus stacking, which I am well setup to do in terms of gear and software.
-
Punch List of Outstanding Tasks for Completion of my Flying Fish (Updated 17-Jul-25). Repair a few damaged ratlines under the futtock shrouds (completed) Replace a small broken chain near stern stbd. side (completed) Tighten any loose sagging rigging (completed) Install a few missing black iron bands behind some of the yards (work in progress, WIP). Fabricate, install & rig gaffs on the Main and Fore masts. Rig the following 6 halliards: Flying jib halliard, Outer jib halliard, Jib halliard, Fore topmast Stsl halliard, Mizen Staysail Halliard, Mn Topgal Staysl Halliard. Fabricate, install & rig the stuns'l booms Rig all yard braces Rig the 6" fish tackle pendant Rig the flag halliards and install the flags. Add the Bowsprit manropes (horses) p/s Complete the insides of 2 ships boats & mount on the supplied davits. Add a few rope coils to the deck Look into making some 3D printed scale figures (crew & officers) (WIP) Final touch up painting and cleaning of the model. Fabricate a case and plaque Celebrate the model's completion with a few well deserved shots of a good single malt scotch!
- 431 replies
-
- 2
-
-
- Flying Fish
- Model Shipways
- (and 2 more)
-
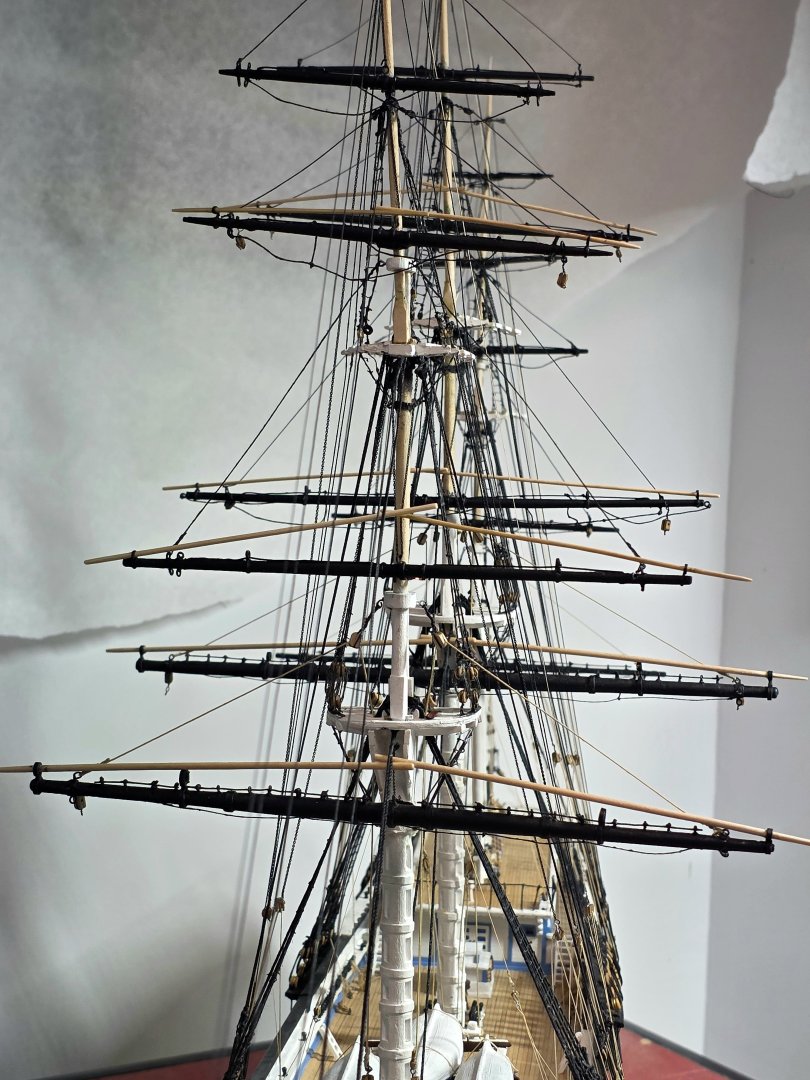
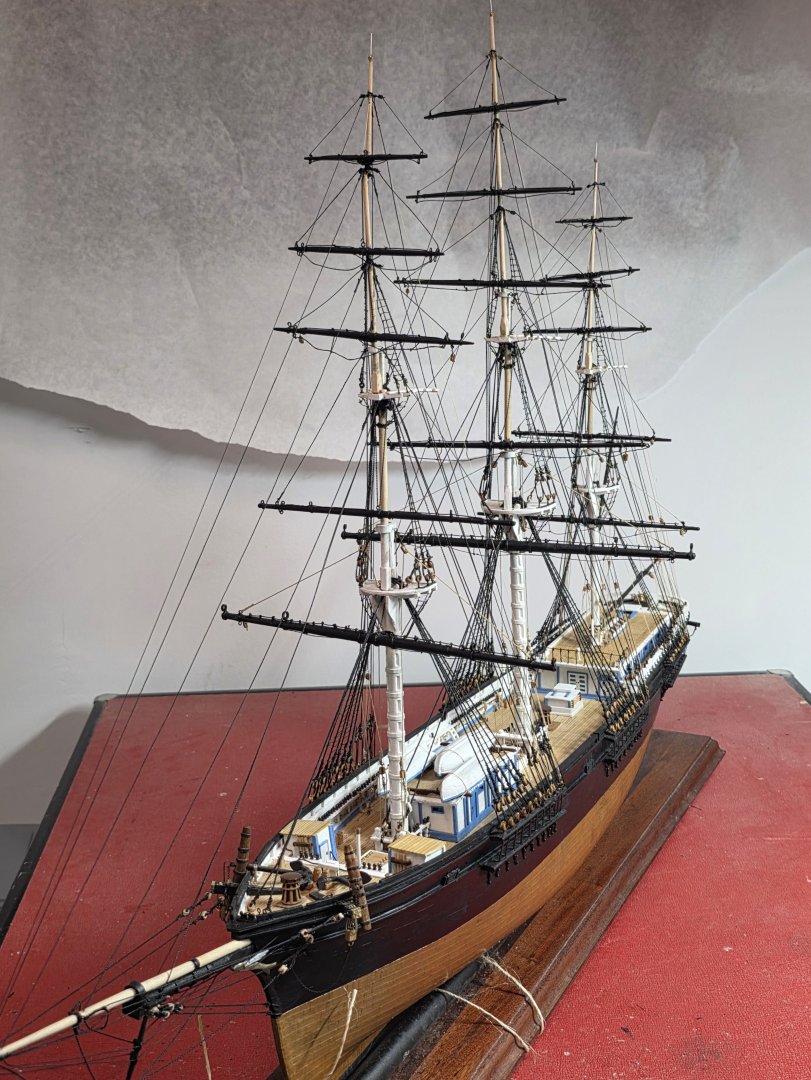
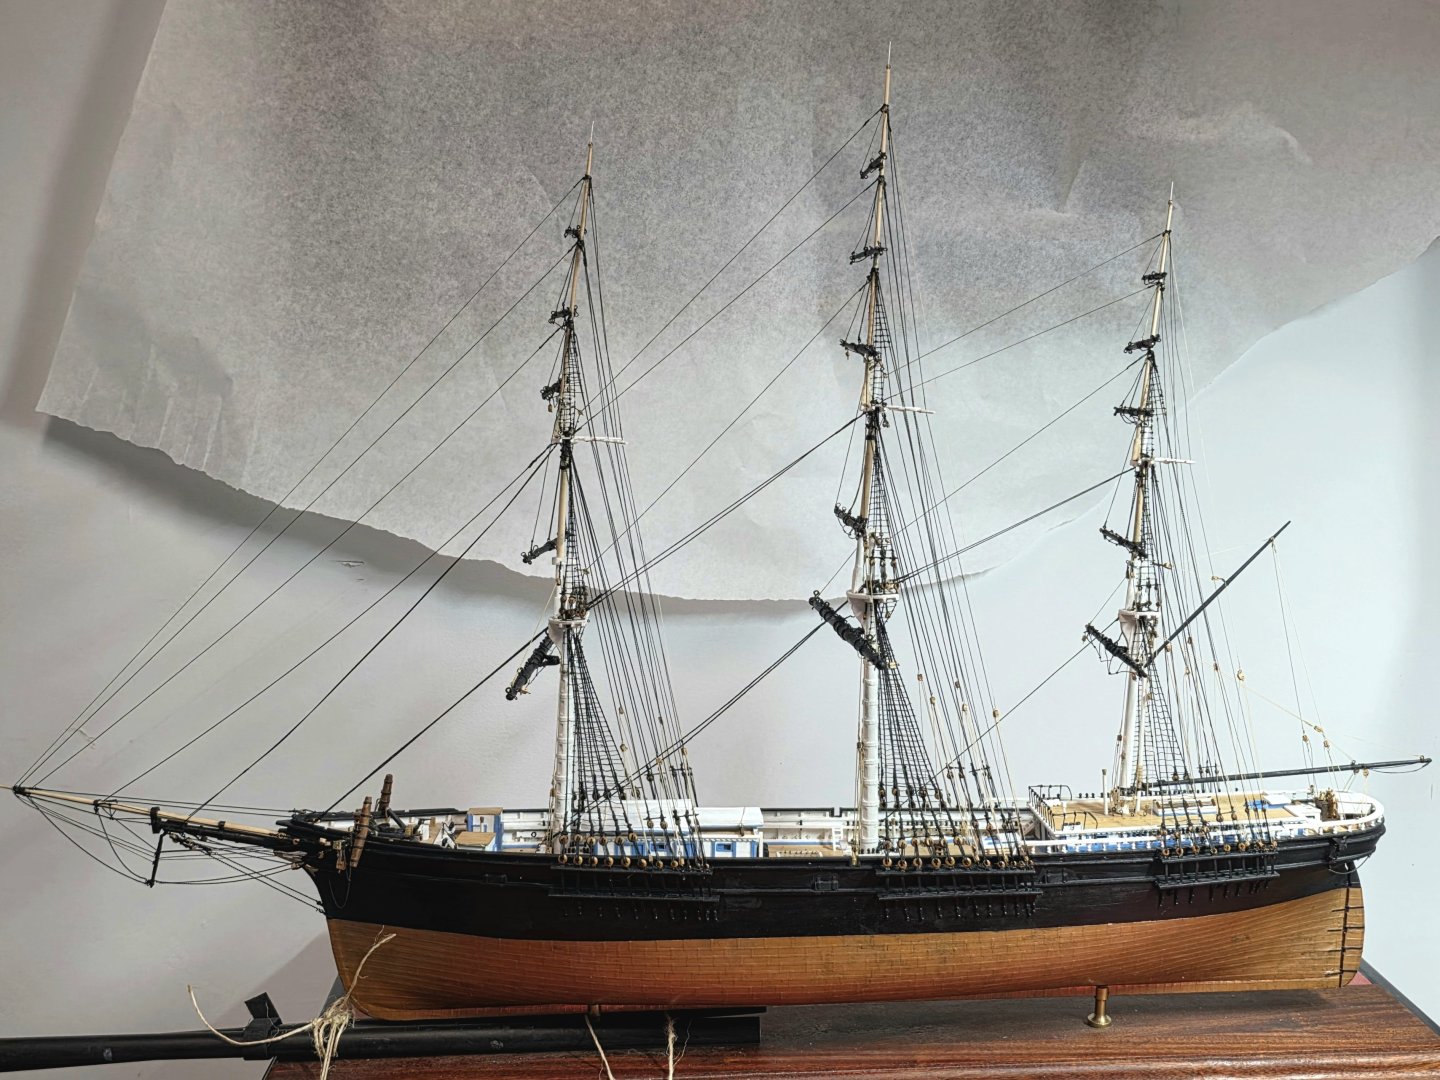
Well today I completed the construction and installation of the remaining yards on the foremast, together with their lifts and hoists. I feel that this is an important milestone for me as the end completion of my model is now within sight. I will put together later a list of the remaining tasks to completion of the model, and will post it on my build log. Installing and rigging the yards has been a lot of very difficult fine work and I am so happy that this is now over. LOL

- 431 replies
-
- 4
-
-
- Flying Fish
- Model Shipways
- (and 2 more)
-
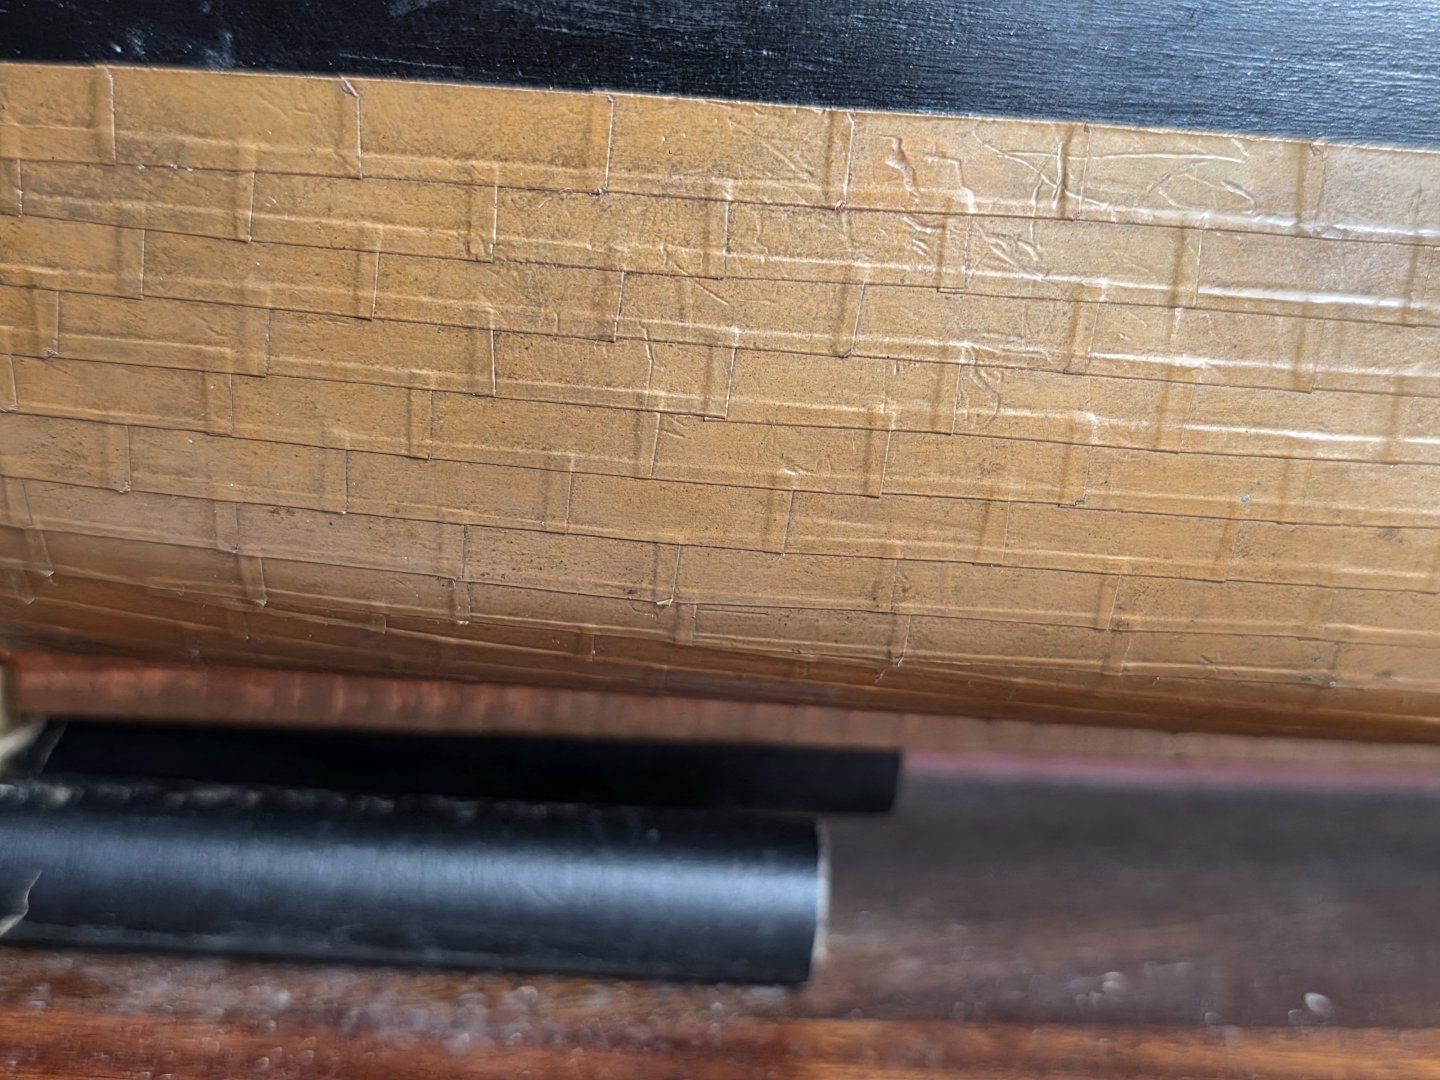
This was all my own view Rob. I think because of the thin copper layer on the copper tape I used, it creates a bump at the overlap, which I do not think looks right. I think the way you are doing it, at this scale, looks more realistic. I can't get over how fast your build is going. Looks great.
-
I agree. I did the overlapping of single plates method and aside from the many hours of work it leaves a unnatural-looking textured surface.
-
Your method is a real time saver! Thanks for sharing.
-
Best wishes for a speedy recovery!
-
Thanks. I never intended to put sails on her. It would be an enormous challenge at this small scale.
- 431 replies
-
- 1
-
-
- Flying Fish
- Model Shipways
- (and 2 more)
-
A quick progress report. As of today all main mast yards together with their lifts and hoists have been fabricated and mounted on my model. This required a lot of time and patience. Rigging the main topsail yard hoist was probably the most difficult part of the build so far, especially the weaving of the fine chain through the gin blocks and getting the parts to stick properly to the model. Next week I will take on the foremast yards!


- 431 replies
-
- 5
-
-
- Flying Fish
- Model Shipways
- (and 2 more)
-
Thanks Rick. I think some of my lines loosened after probably over tightening other lines. It really does not take much to do this. When the rest of the rigging is done I will see what I can do and if necessary, if I can't fix things, I will replace the stays.
-
It is mostly with the forestays George. There is a tiny bit of looseness in the bowsprit which I am having difficulty troubleshooting. The give is not much - but just enough to make the sagging worse. I have tried glue at the base of the bowsprit with a weight attached to the tip but it did not work. Will try again. Thanks
-
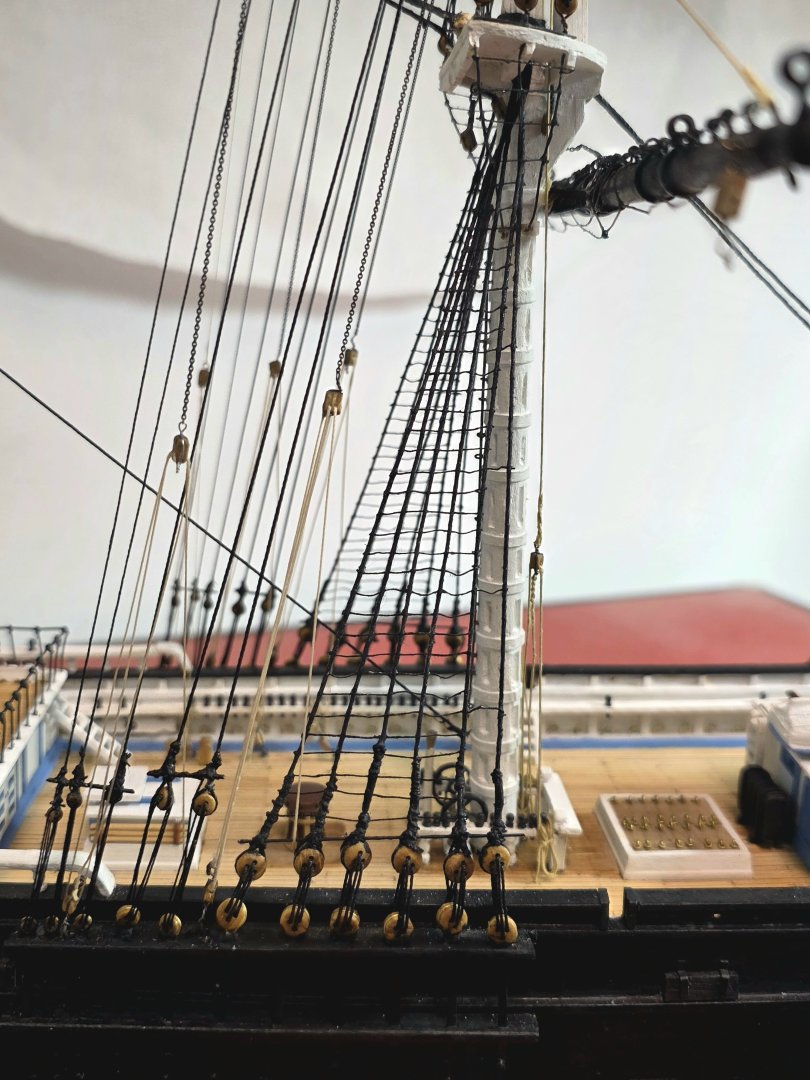
While rigging the lower main yard lift I noticed that I had made an error in rigging the lift on the lower yard of the mizzen mast. The upper portion of the rope should have passed through the lubber hole and not outside the top see #310 & 313 above). This has now been corrected.
-
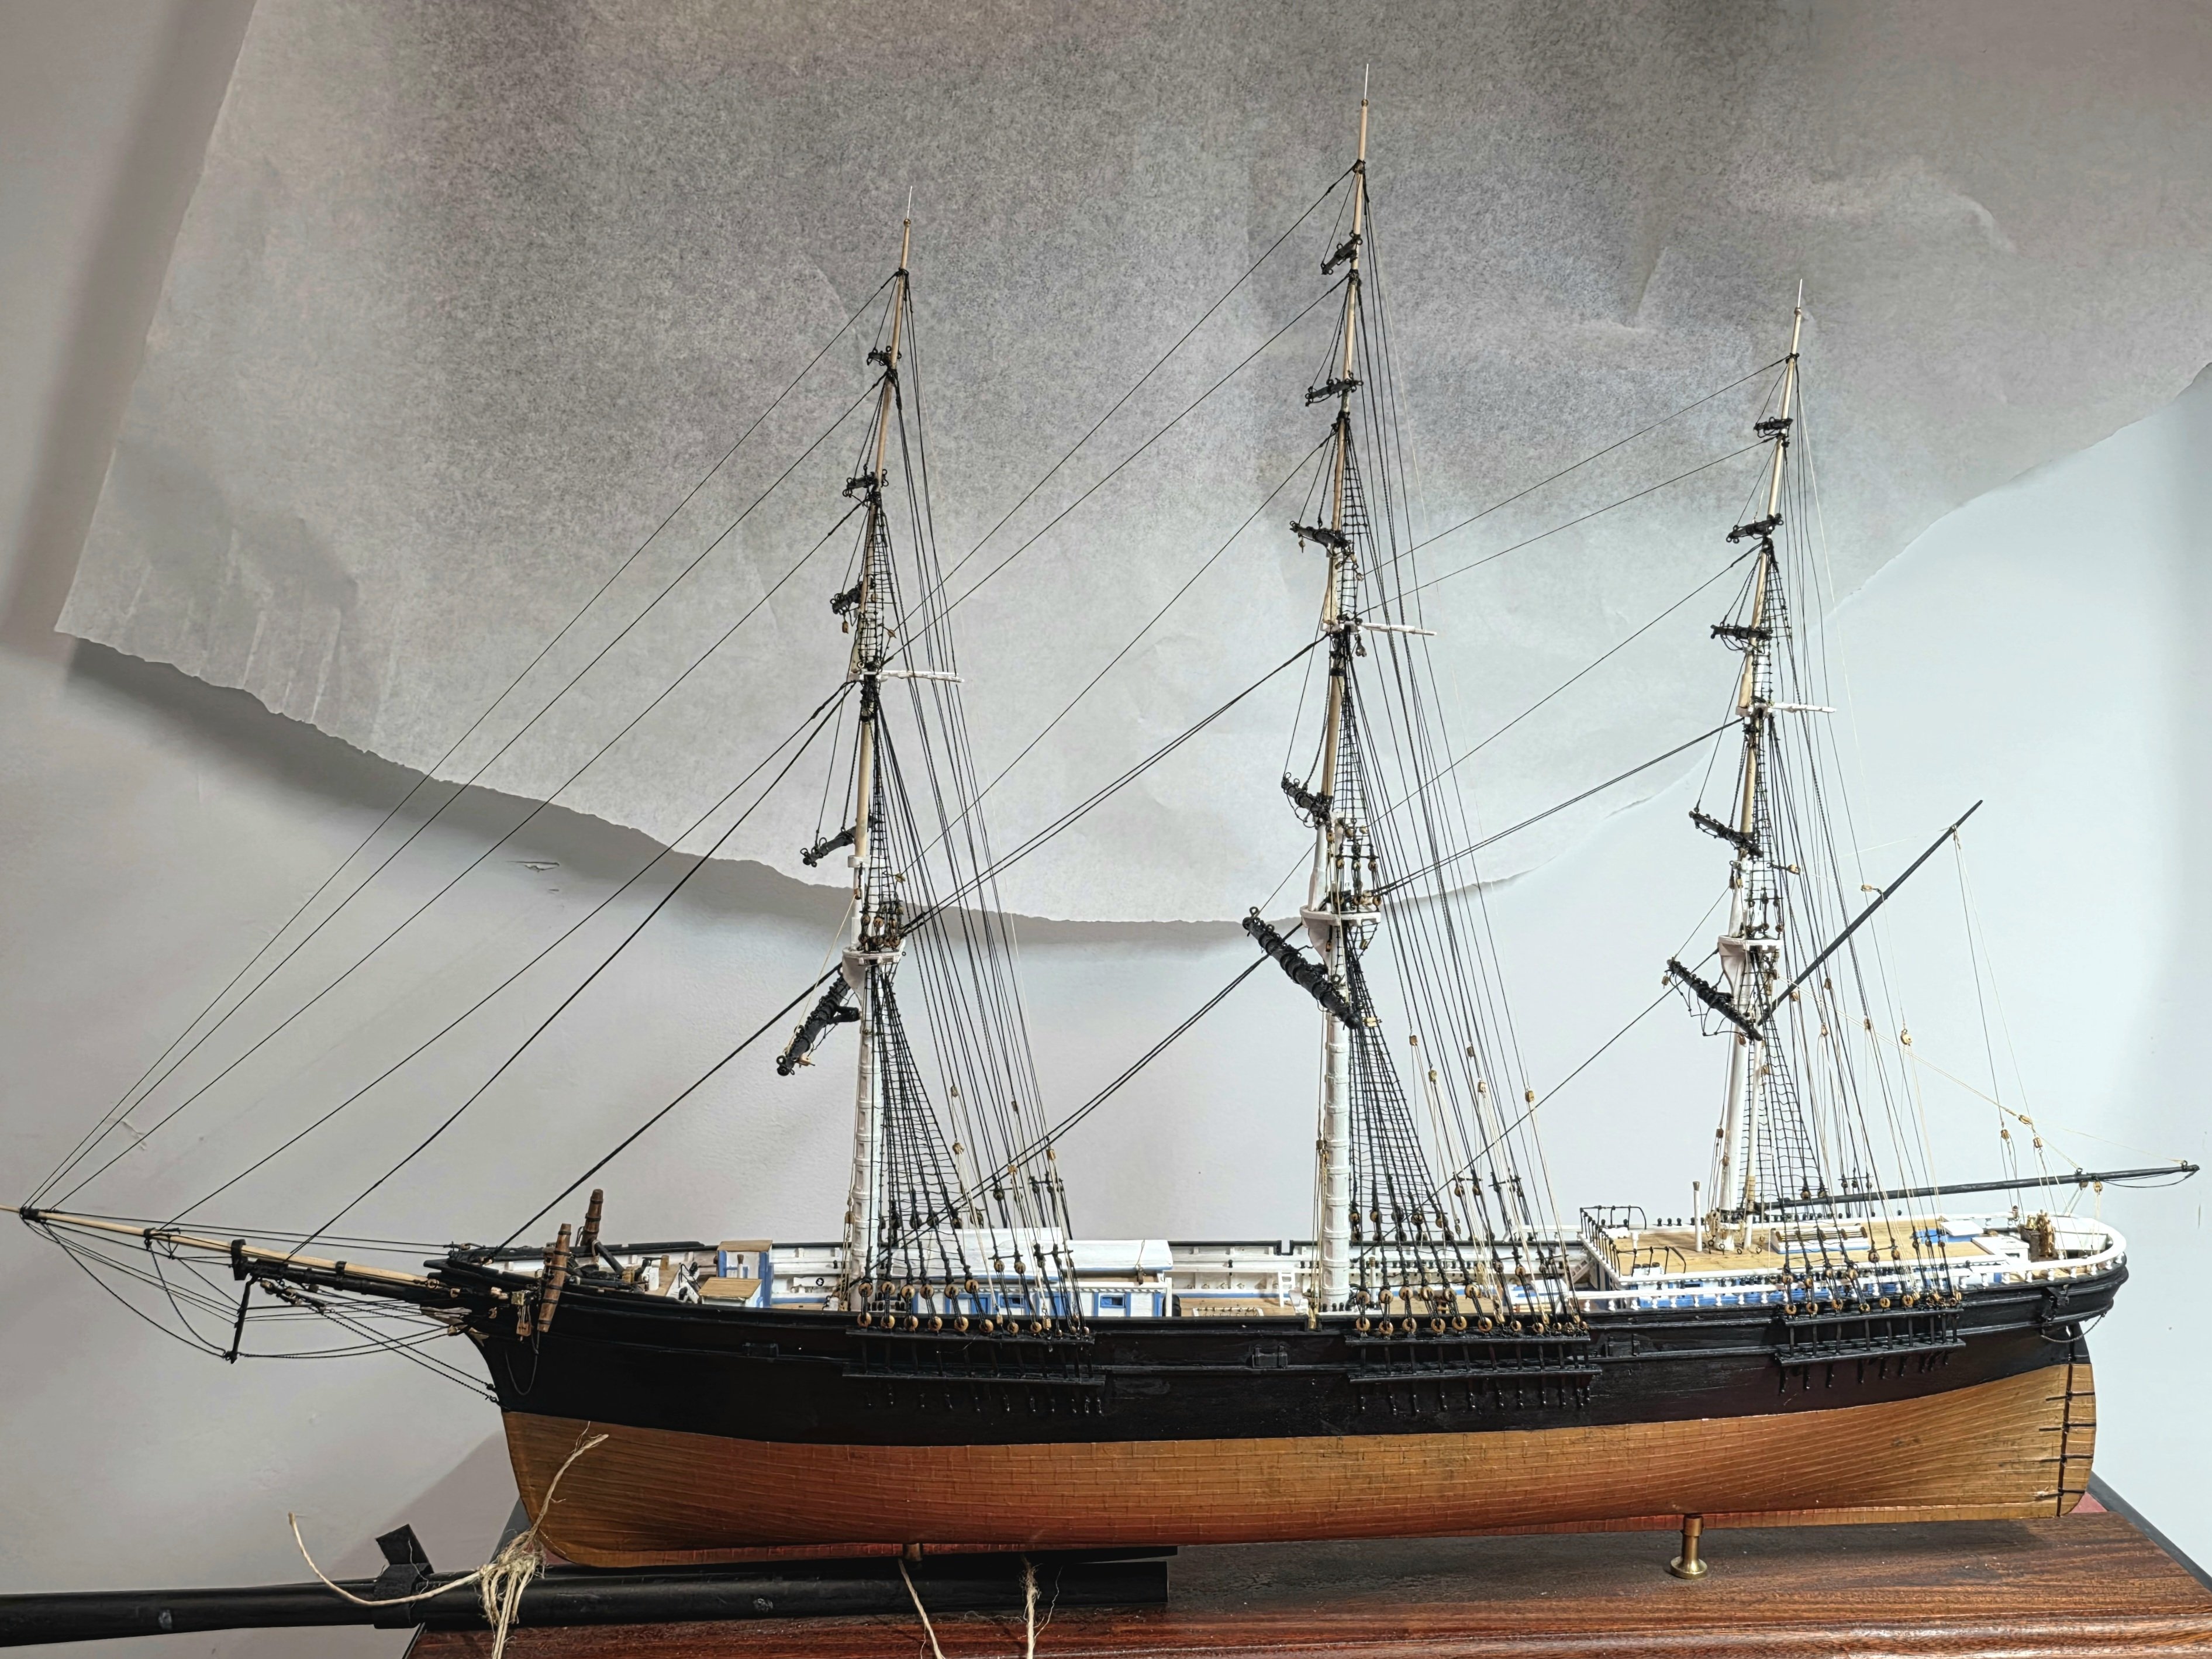
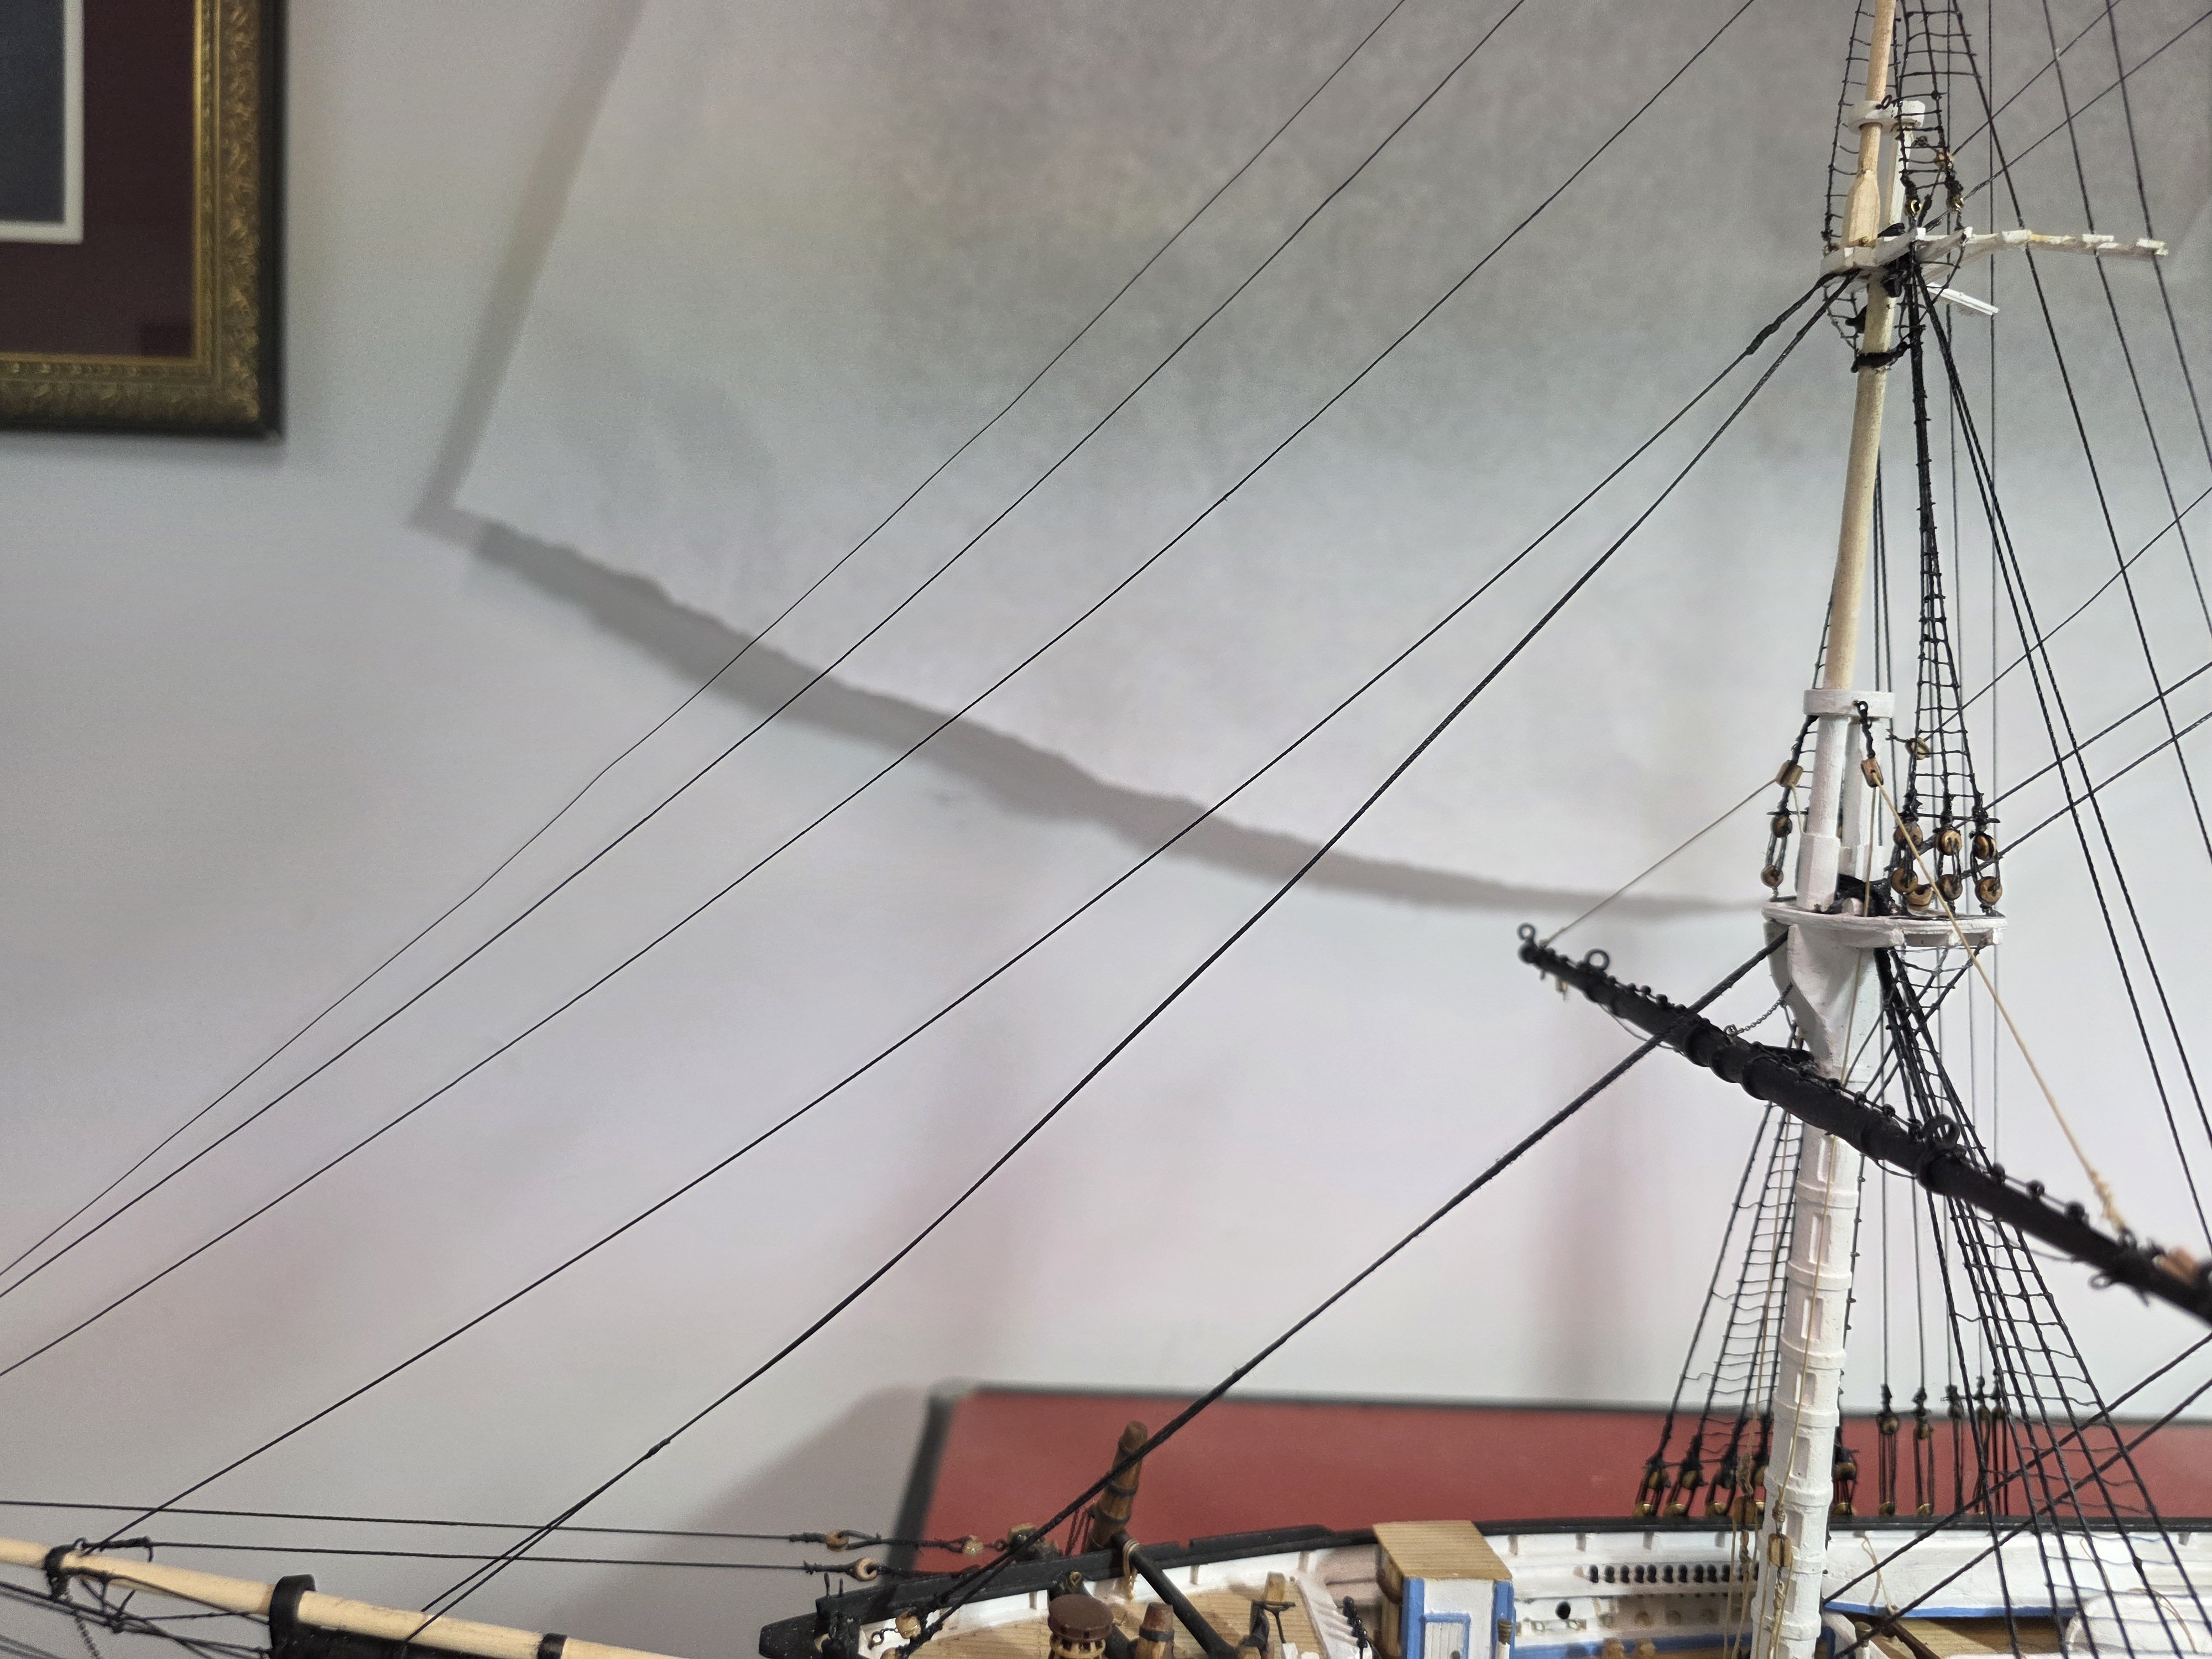
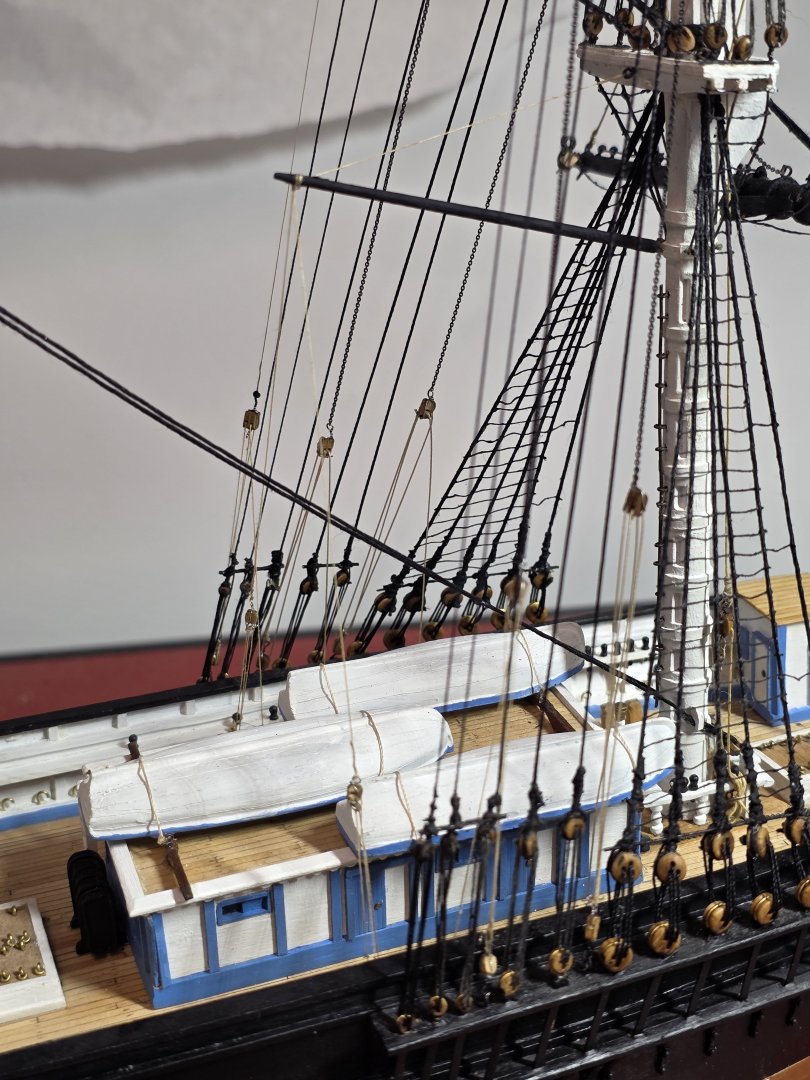
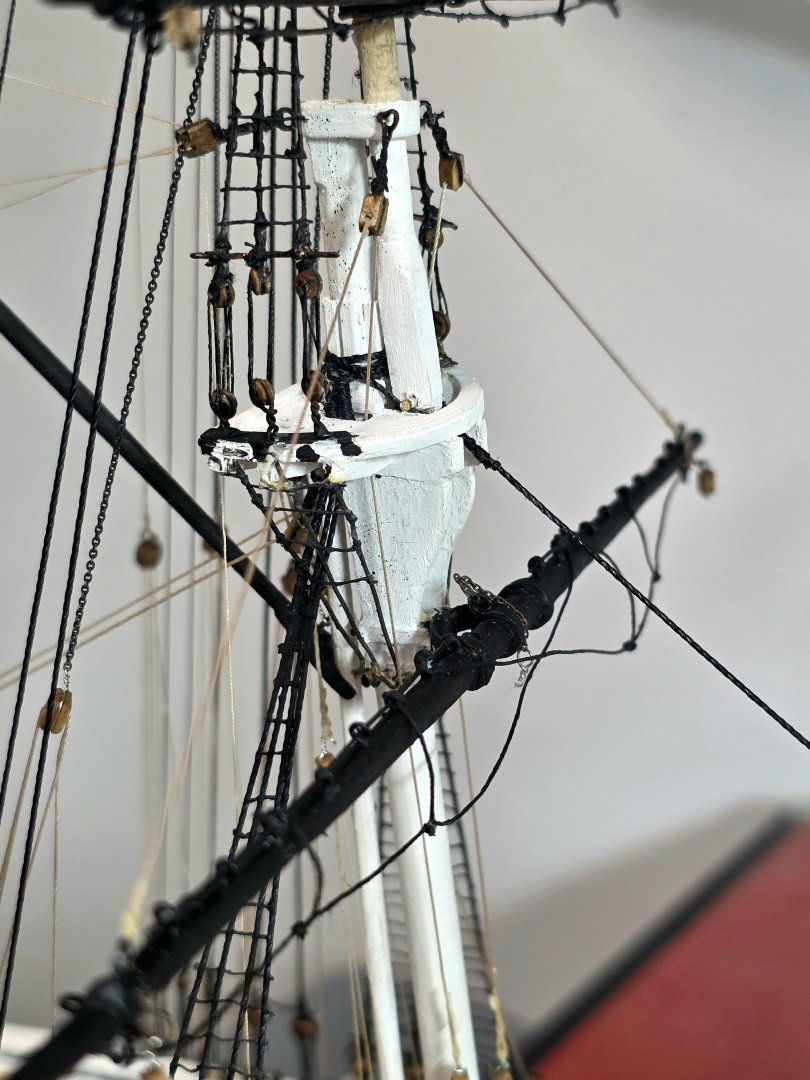
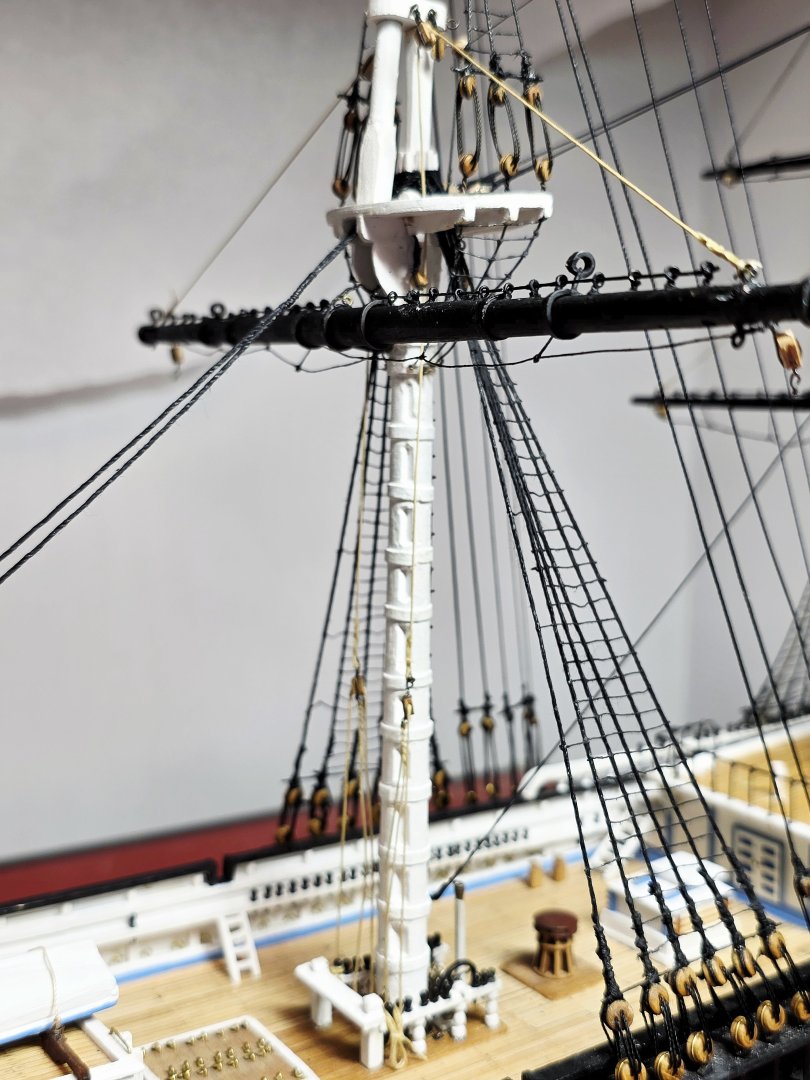
Thanks for the suggestions. The lines that I am concerned about are some of the stays, which are starting to sag as you can see in the attached photo. I have tried coating the lines with dilute white glue but so far it has not fixed the problem. I am going to try more concentrated white glue near the rope attachment points once the ship has been completely rigged. Cheers

-
Nice work George. I like the idea of the frame reveal in the hull, sonething I would like to incorporate into my next model, if I can figure out how to scratch build it.
-
After a great eco-photography break to the rain forests of Costa Rica, I am back to my build. Over the last 2 days I have rigged the lifts for the lower yard on the main mast, which required a lot of patience. One question I have for the group. As I proceed through the rigging I am finding that some of the lines have begin to sag. I am looking for suggestions what I can do about this. Having to tear out lines and re-rig would be a real nightmare. Thanks

- 431 replies
-
- 1
-
-
- Flying Fish
- Model Shipways
- (and 2 more)