Jared
-
Posts
313 -
Joined
-
Last visited
Content Type
Profiles
Forums
Gallery
Events
Everything posted by Jared
-
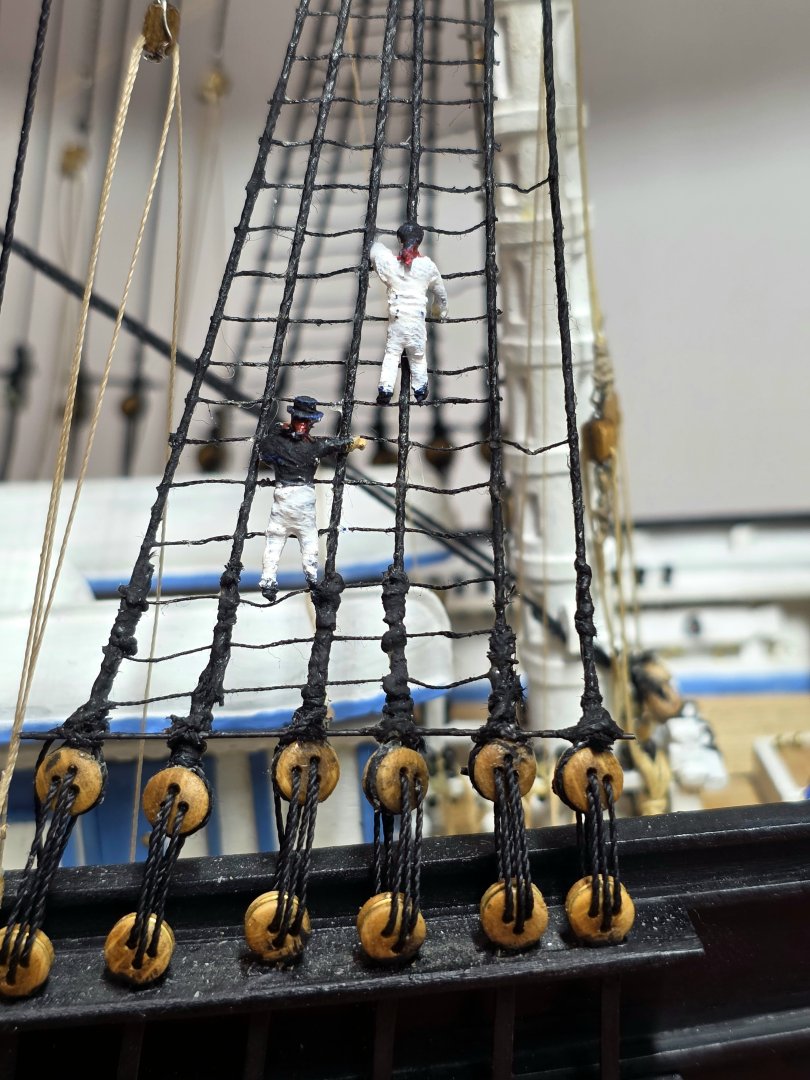
At this scale, the tiny figures taxes the capabilities of the 3d printer. It had a lot of difficulty making the thin arms. Also the arms and legs were exceptionally fragile and easily were broken when removing the figures from the support plastic. I am not going to do any more on the figures. When you look at them by eye the arms look alright, and certainly won't be noticible once the model is in its case. Under a closeup camera lens, things will look worse than they are.
-
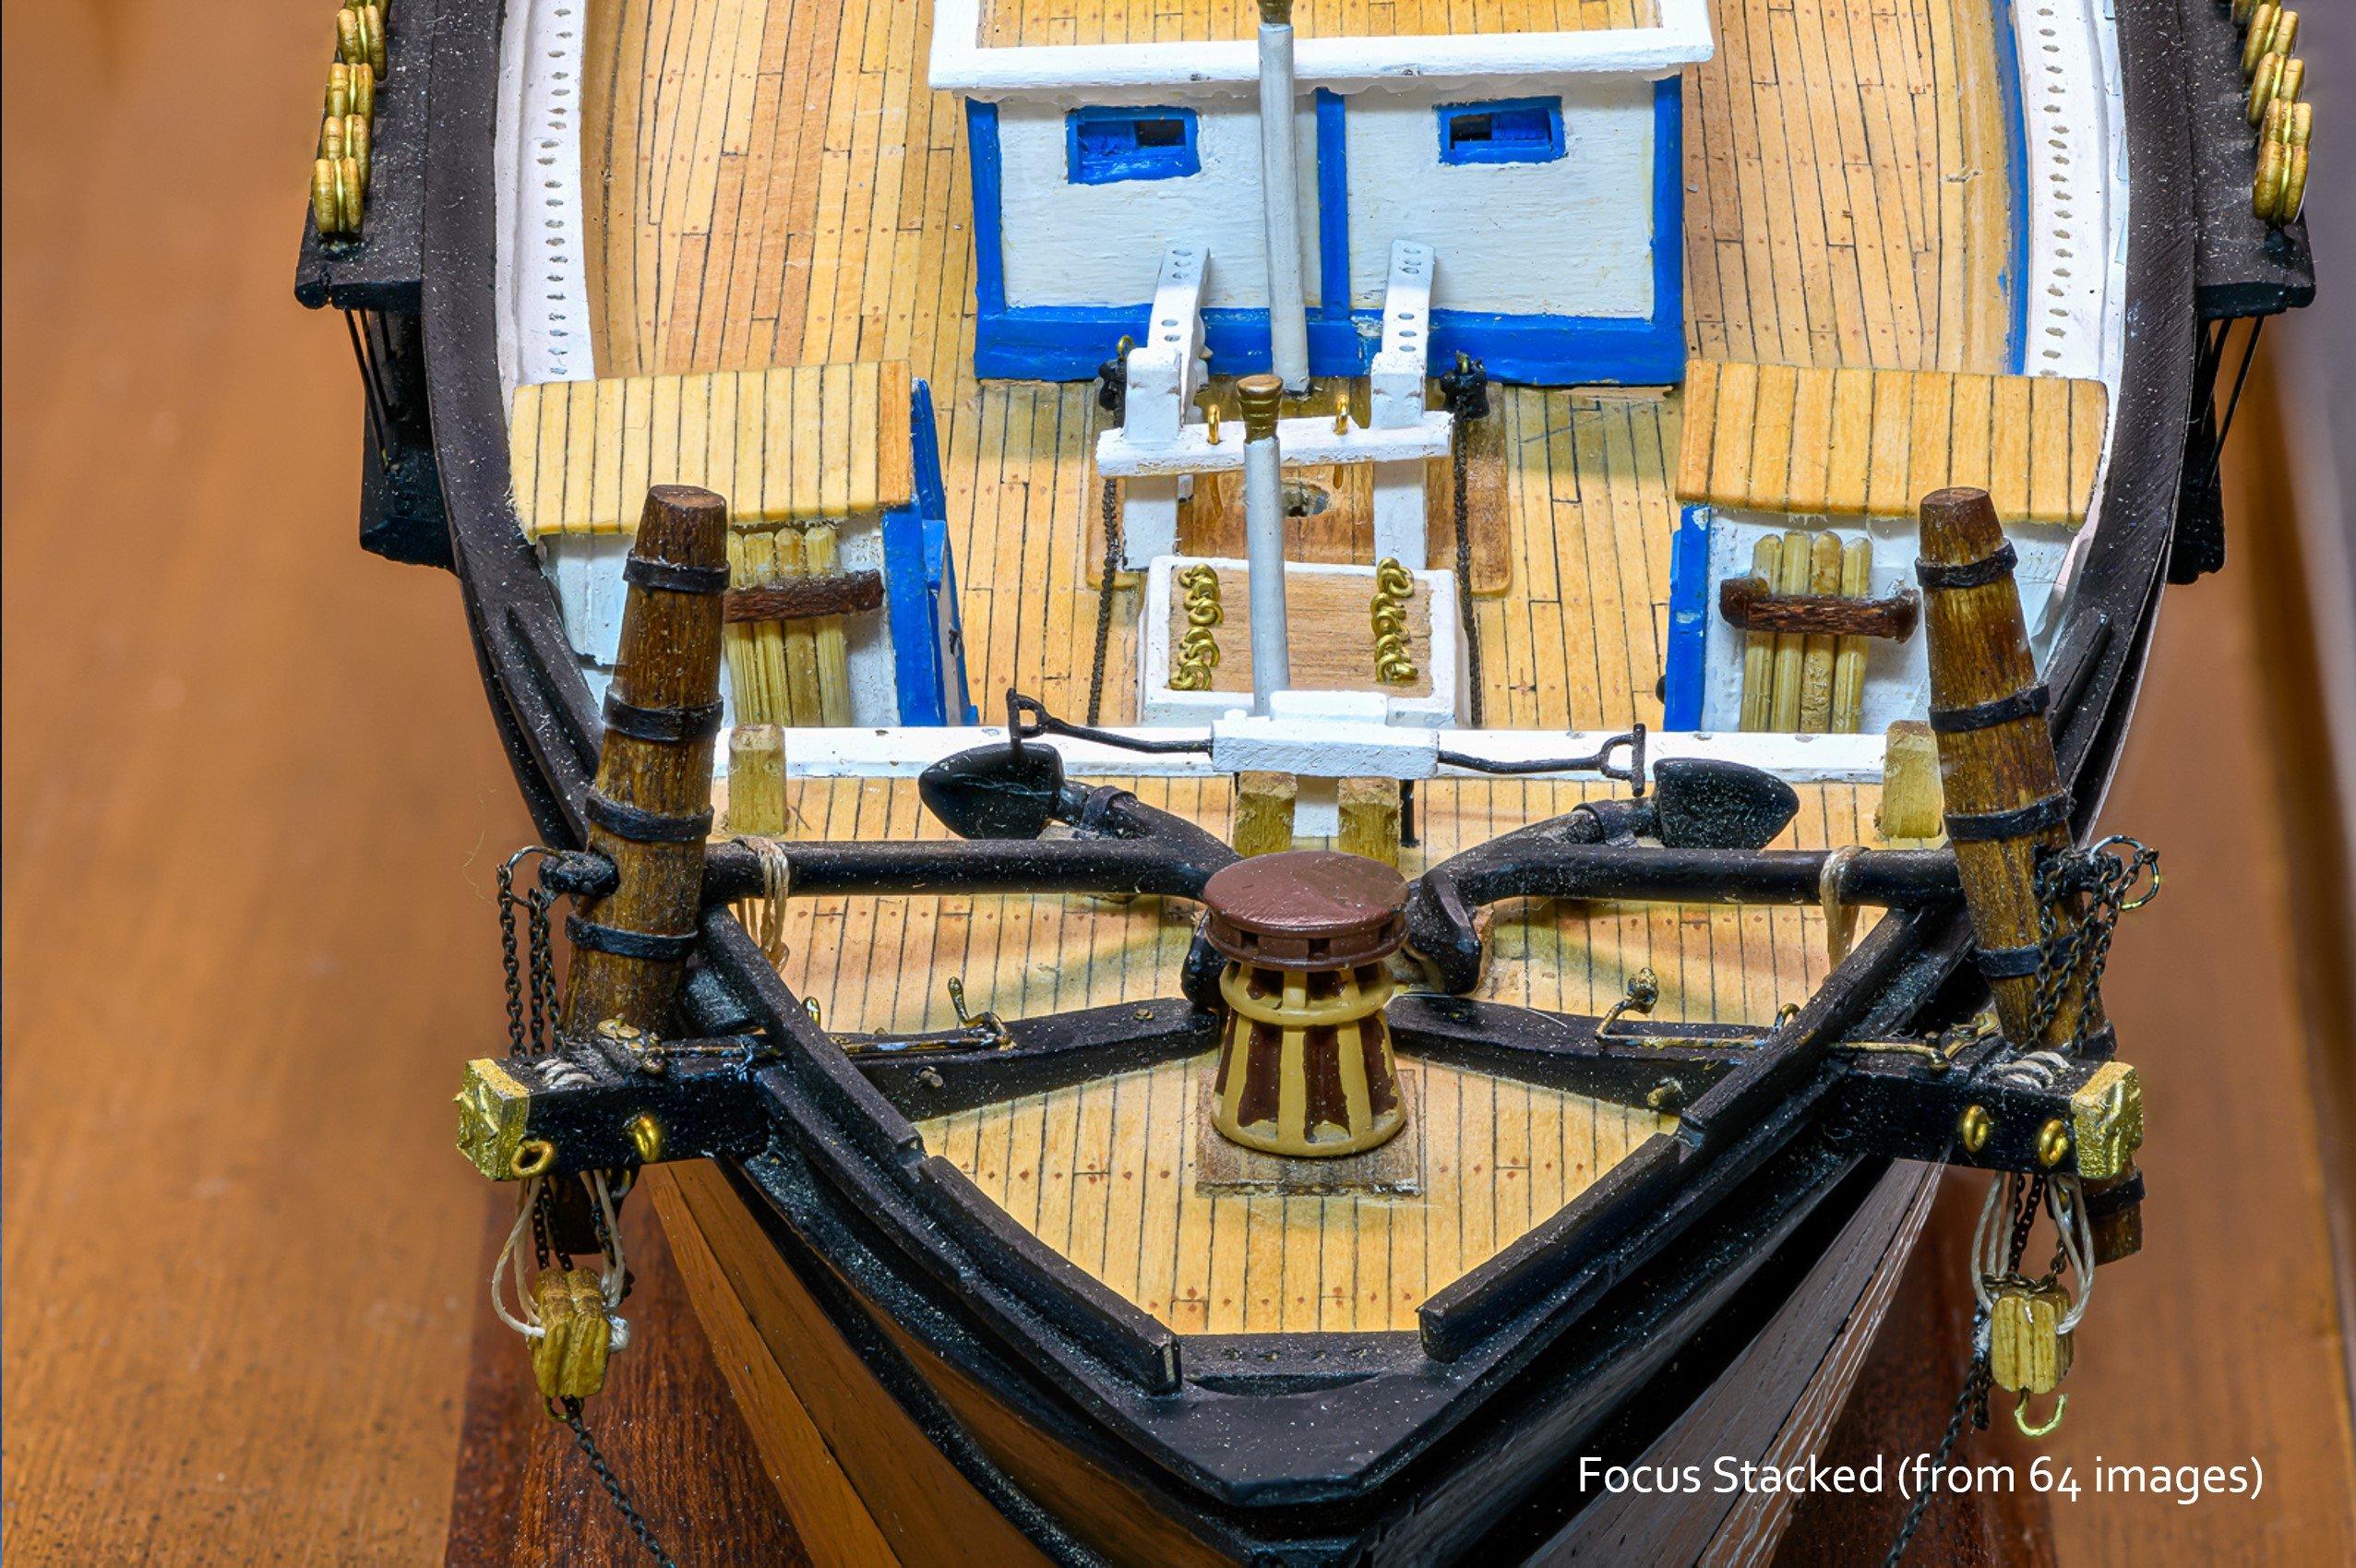
Focus stacking is a specialized technique that allows you to photograph subjects such that everything in the photo appears tact sharp. When you take a single close up shot of a model, you will notice that only part of the model (a thin slice) is in sharp focus. The term Depth of Field refers to the part of the photo front to back that is in focus. The closer your camera lens is to your model, the narrower will be the depth of field. Choosing a higher aperture number will result in a wider DOF, but the entire image will never be tact sharp. In focus stacking, you take many images of your model, each focused slightly back from that of the previous shot. You then take your 50 or so images and go into a specialized software program (I used Helicon Focus). It loads the 50 or so images and and scans them all to find the sharpest part of each, then it takes these parts and blends them to create a single composite image. If this is done correctly, you will have an image of you subject (model) where everything is tact sharp. The technique is particularly well suited for photographing models and other macro subjects like flowers and bugs. Its best to do this with an advanced camera with built in Focus stacking settings. A tripod and powerful computer is also recommended. I made the image of my Flying Fish model posted below several years ago using focus stacking, as an example of what can be achieved using this technique. It was made from 64 images.

- 433 replies
-
- 2
-

-
- Flying Fish
- Model Shipways
- (and 2 more)
-
Rich, my second hobby is photography. In October, after a vacation, I plan to make a set of highly detailed, focus stacked images of the finished model, which I will post here to conclude this build log. I will then put her in a case, and drink my celebratory scotch, before moving in to my next build, the USF Essex 1799.
-
How true. When I first saw how small the 3d printed figures were in relation to the size of the clipper ship I thought I must have miscalculated their size. But I did not. The scale size was correct. The clipper was indeed enormous. What a truly magnificent ship she must have been for her day. A marvel of engineering and craftsmanship by McKay's shipyard.
-
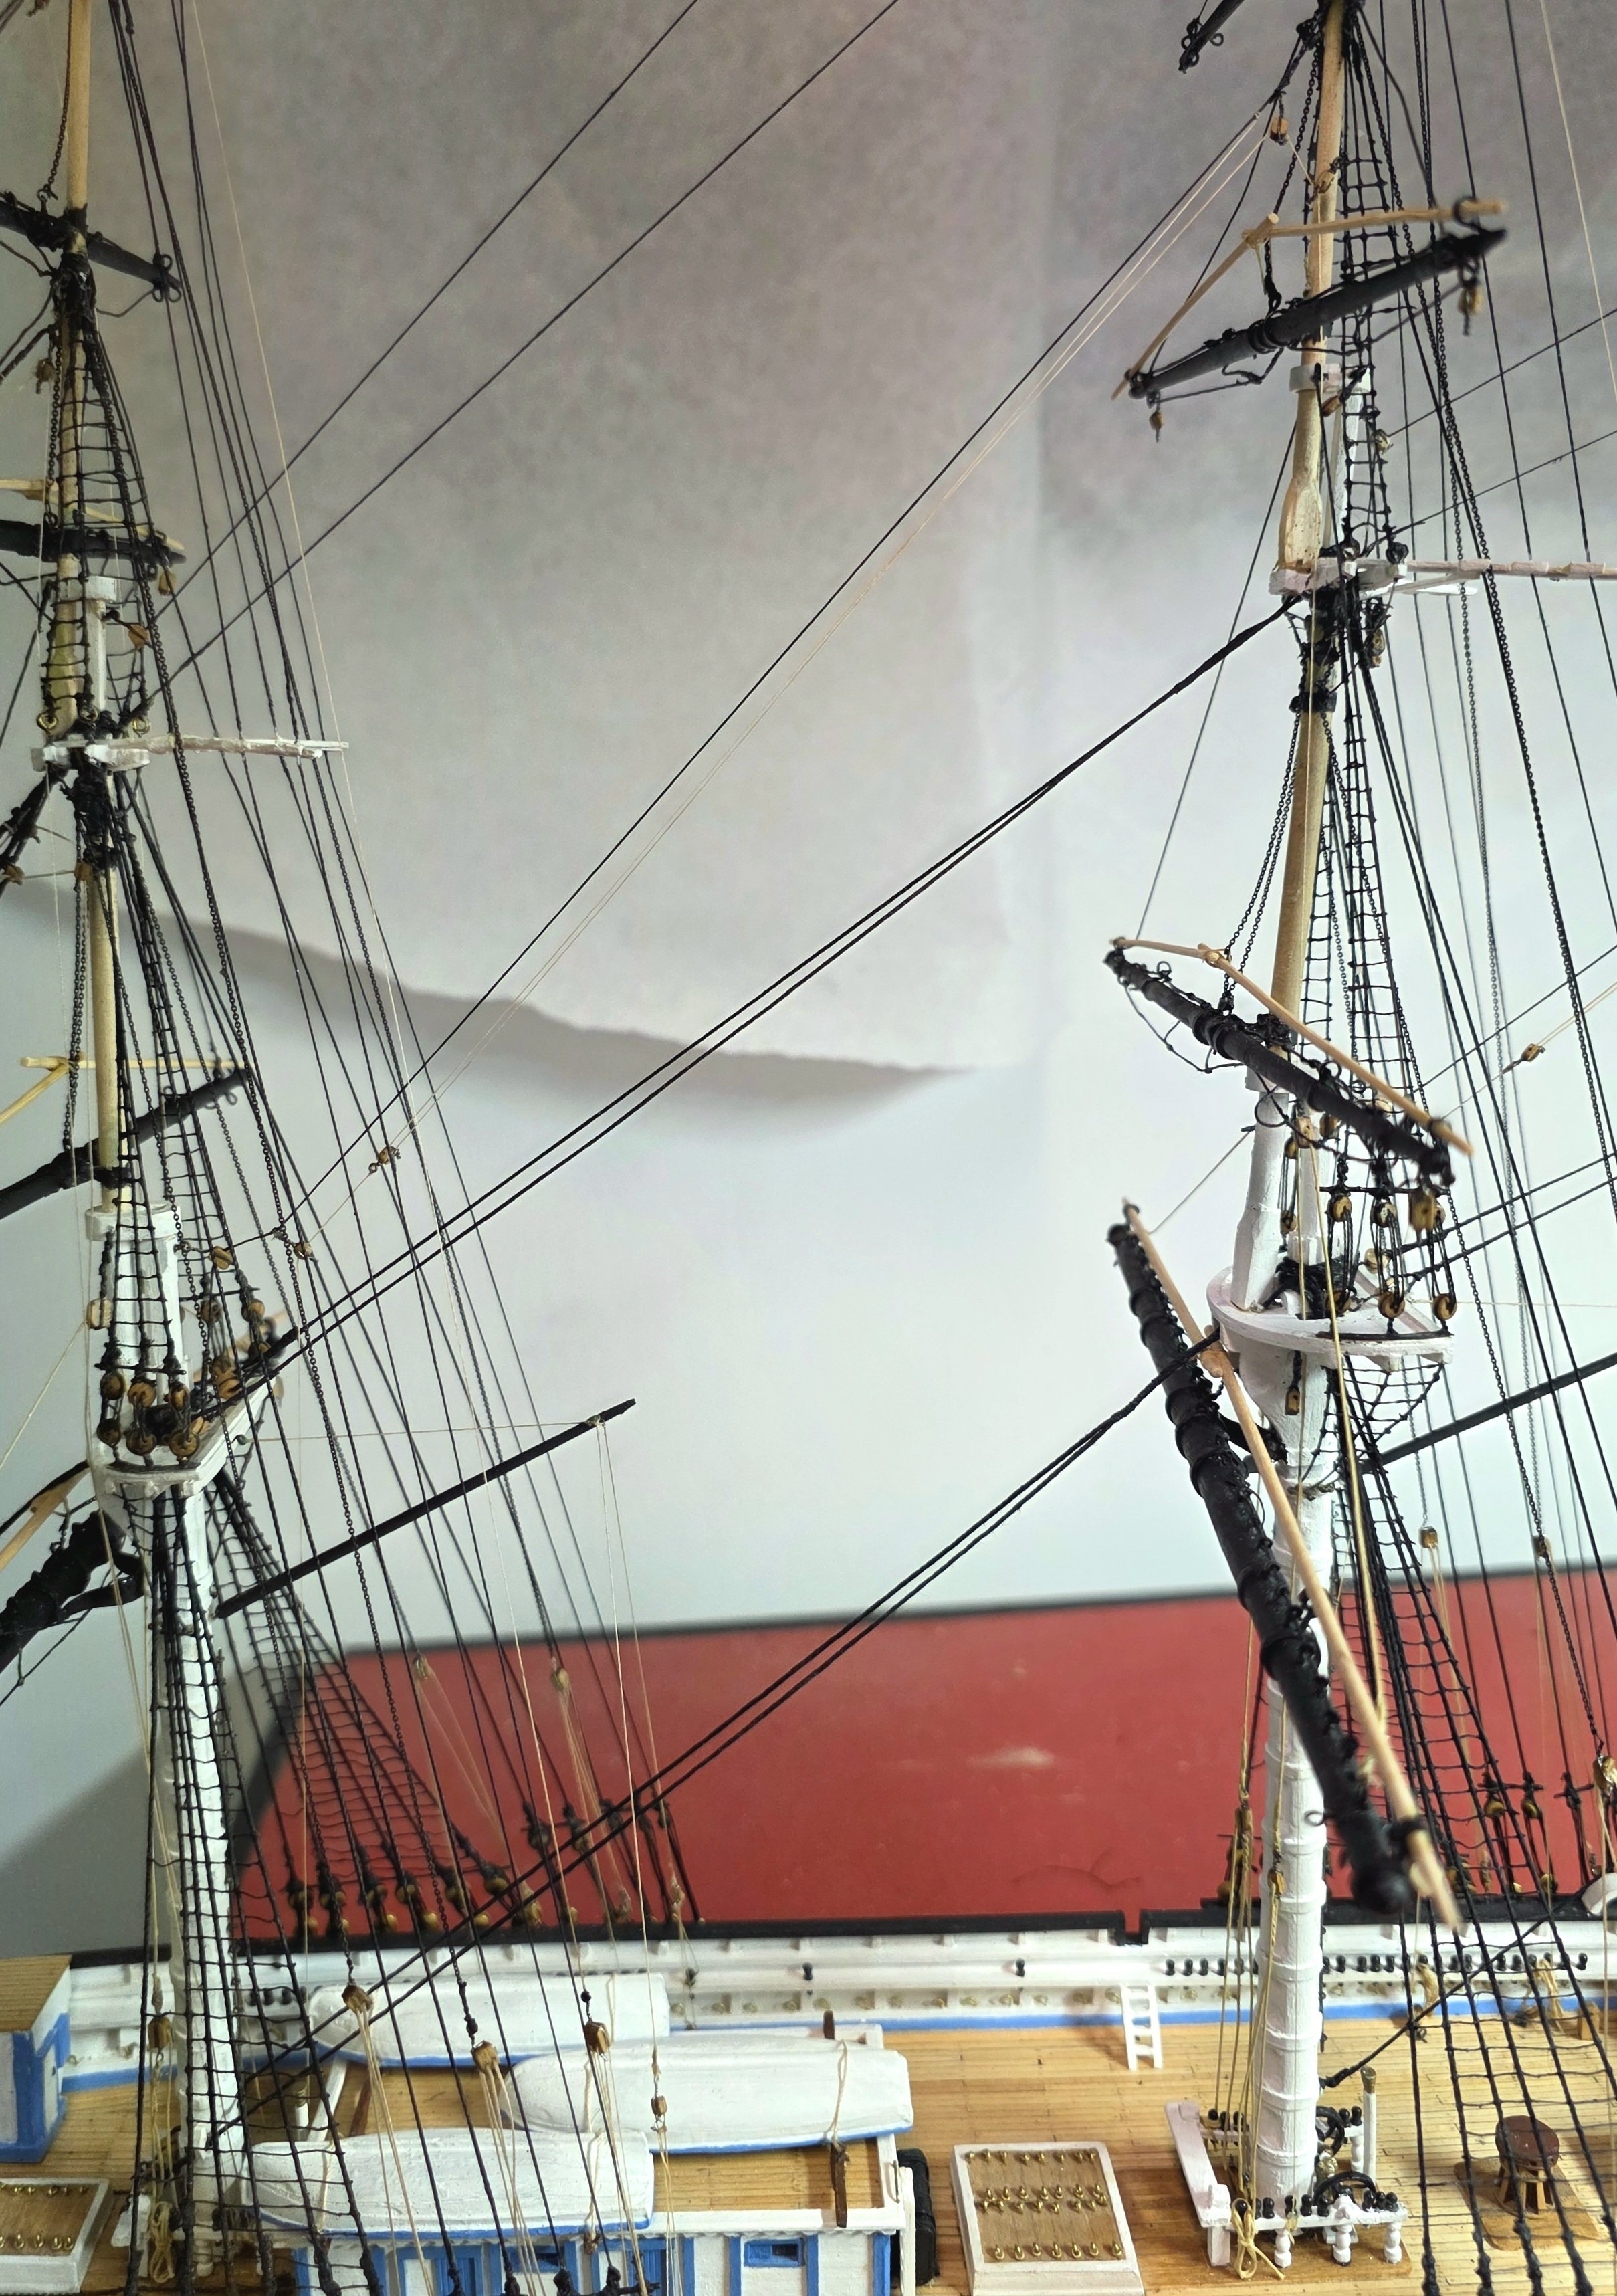
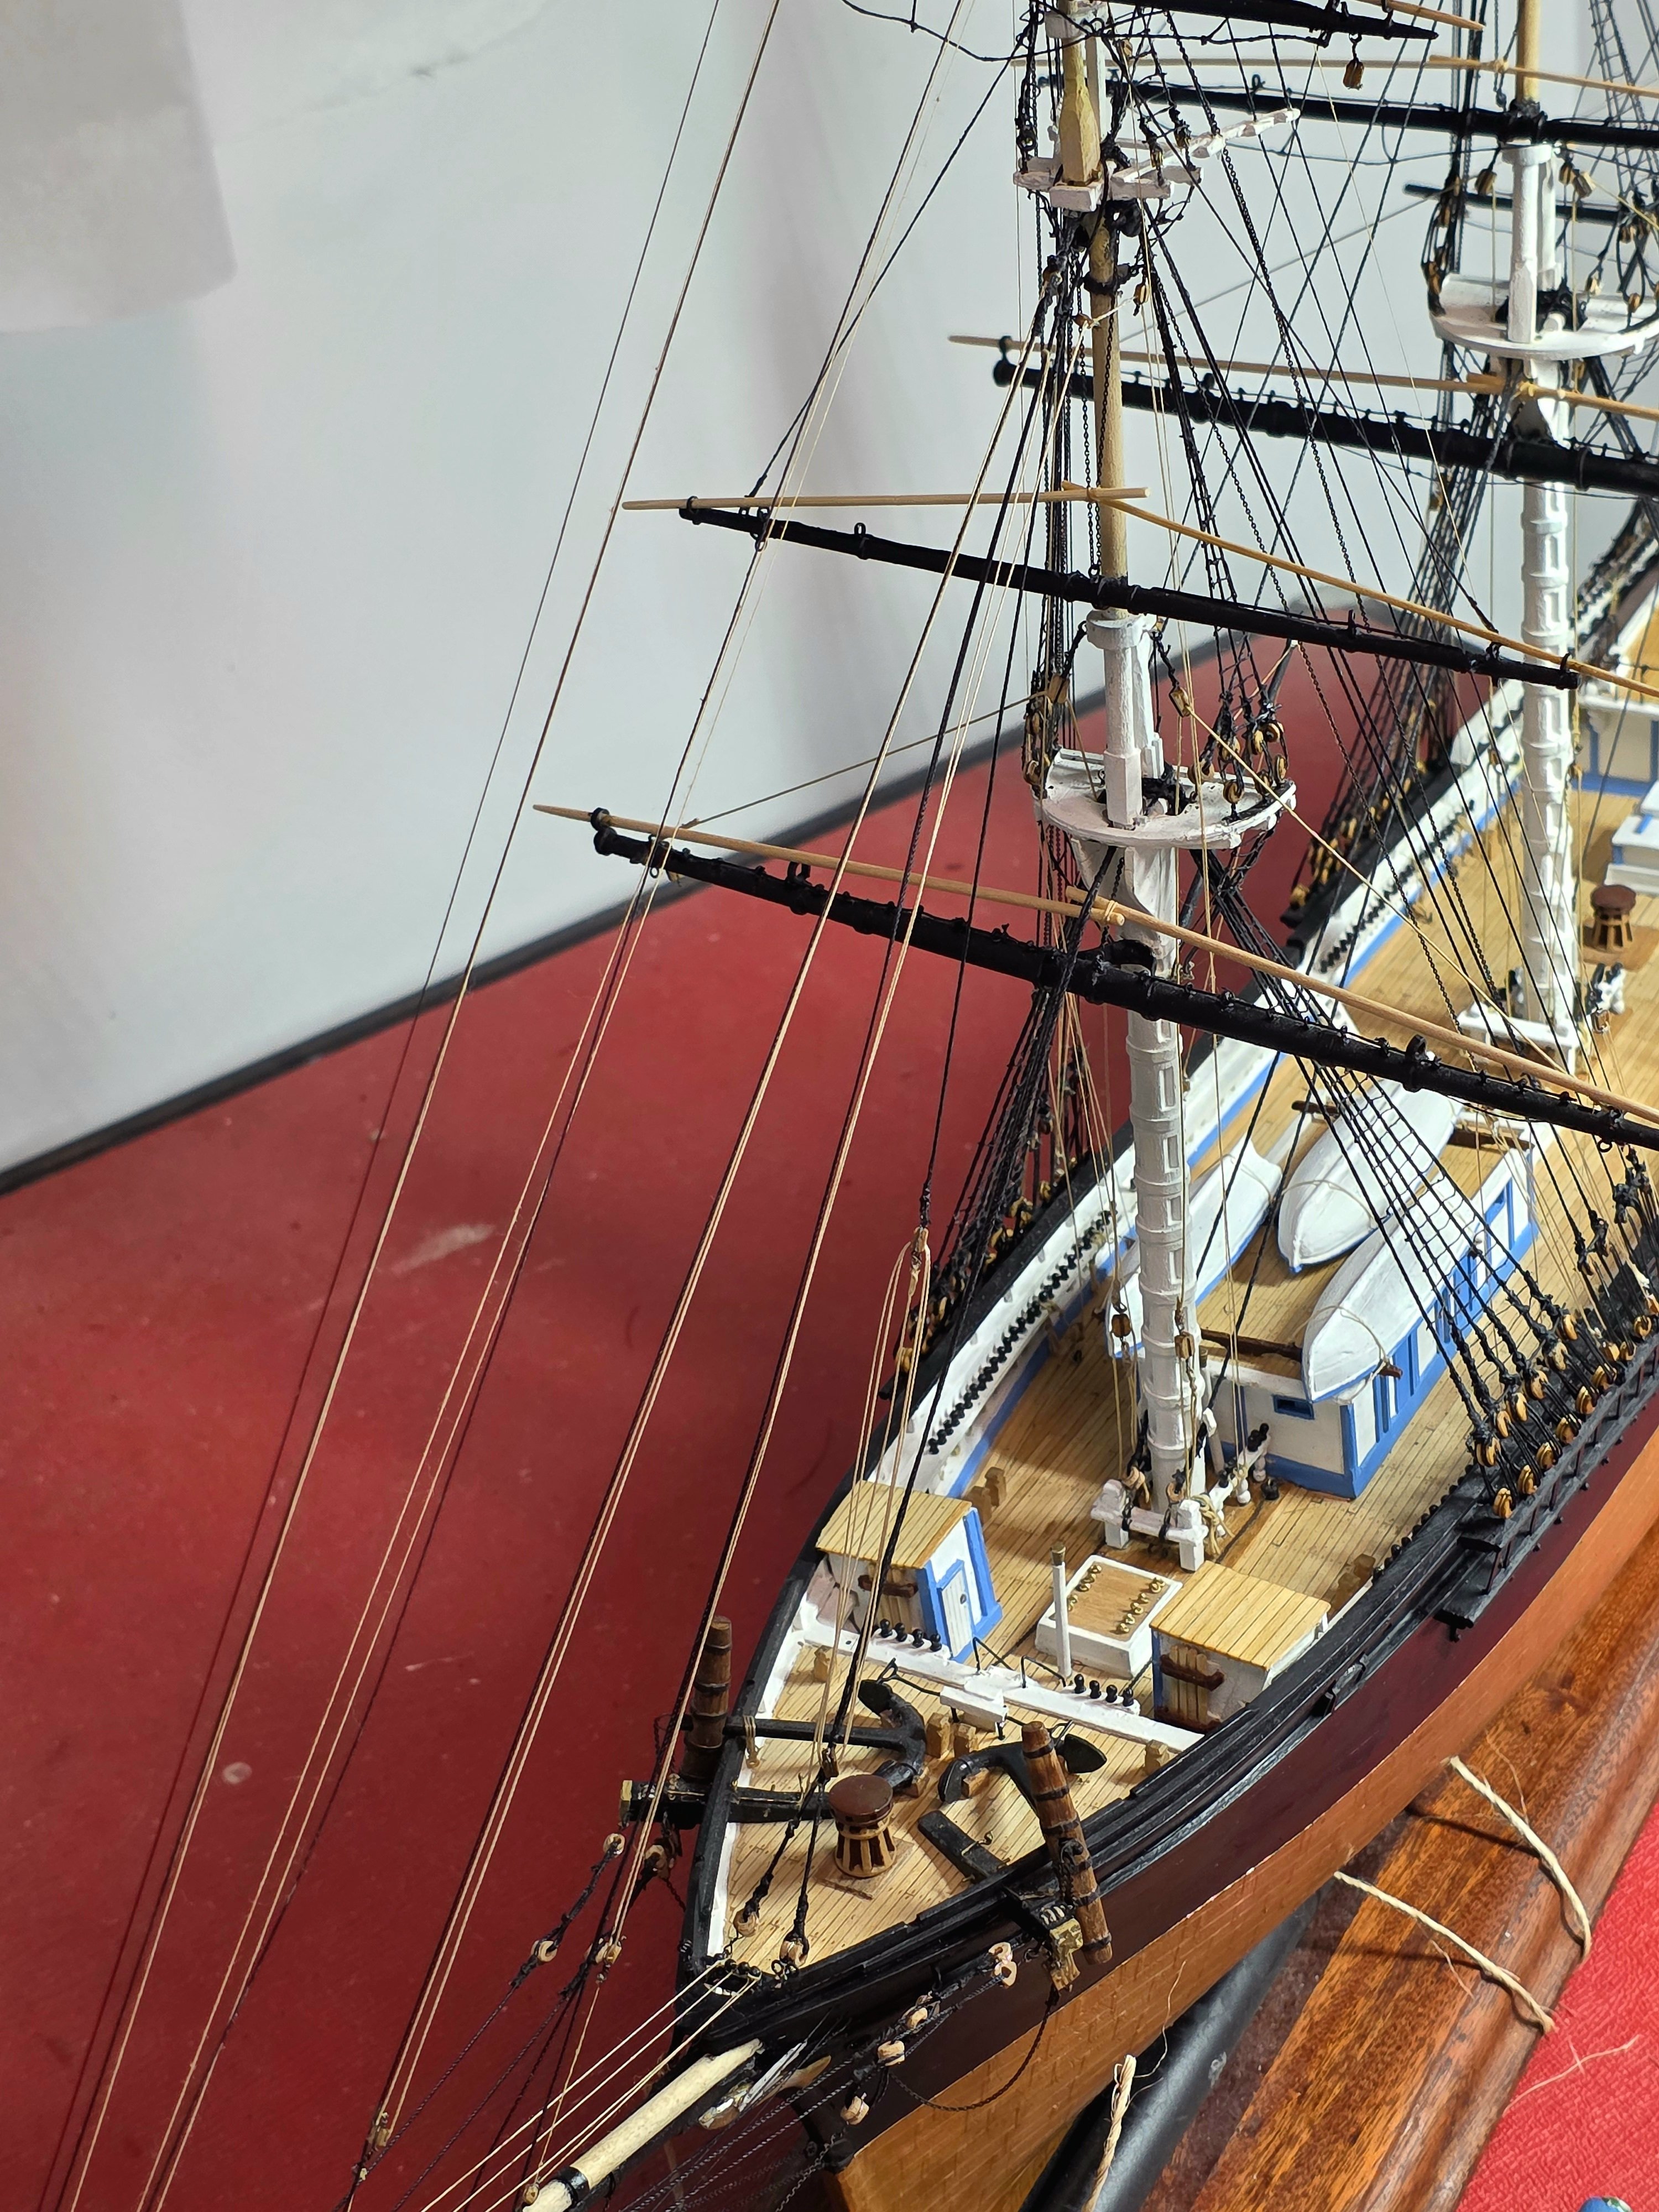
Finally finished putting the rope coils on the belay pins and added 8 crew members to the boat. Only 1 more task left: securing the 2 ships boats to their davits.

- 433 replies
-
- 4
-
-
- Flying Fish
- Model Shipways
- (and 2 more)
-
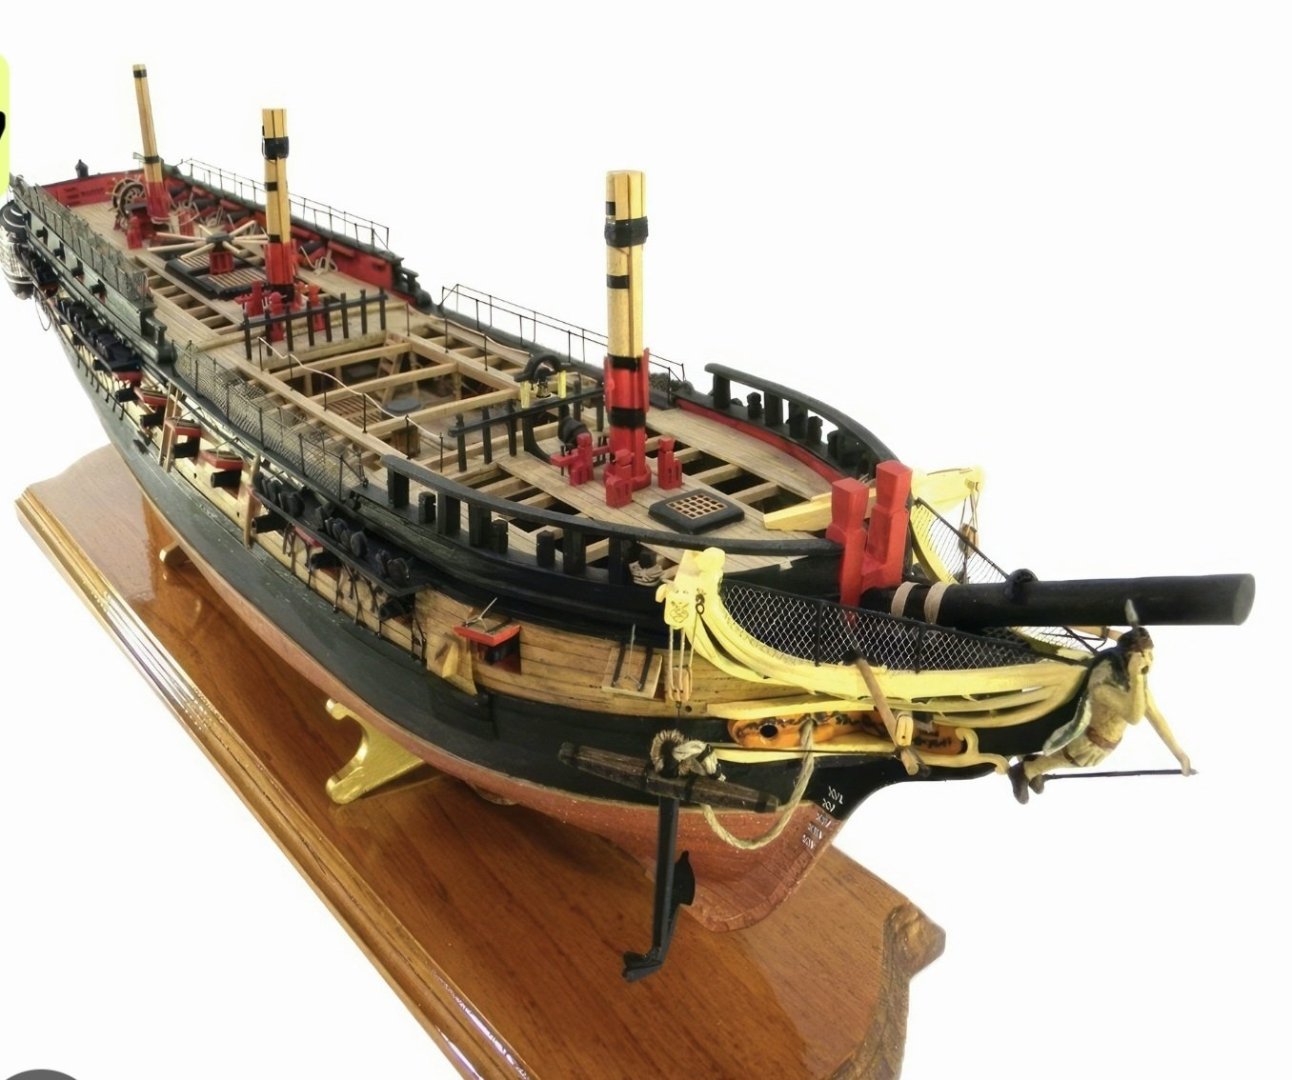
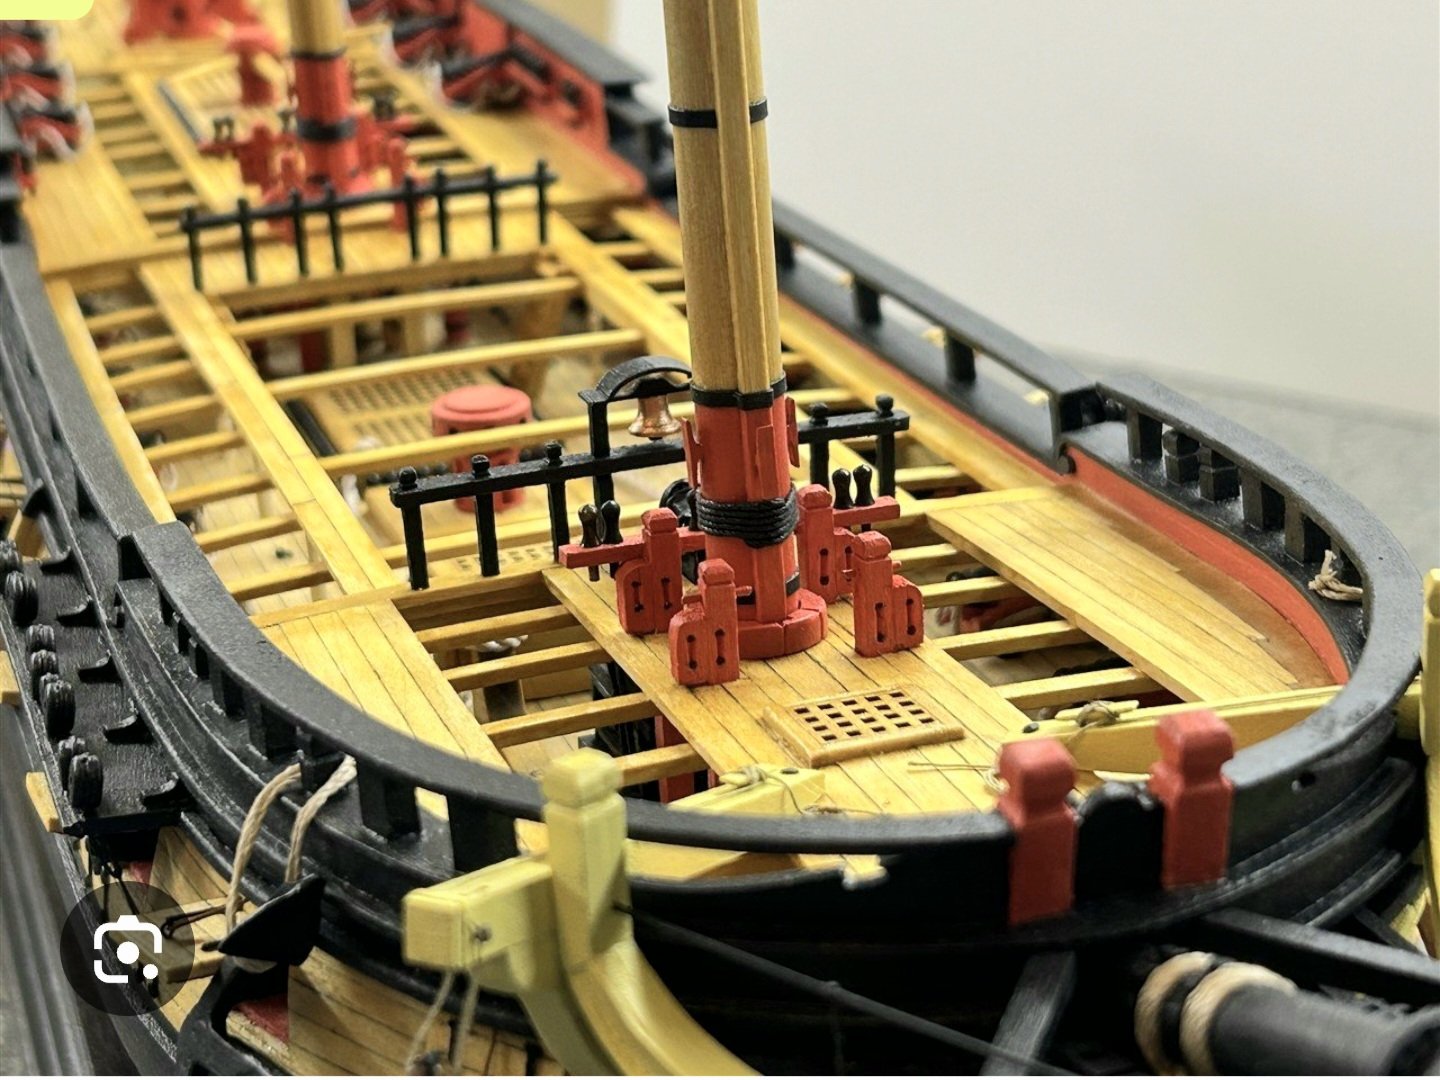
I started this model in 2006 and worked on it slowly over the next 6 years, finishing off the hull, deck and much of the deck structures. In 2012 my late wife was diagnosed with ALS, which resulted in work stoppage on the model. About a year after she passed away, I woke one morning with significantvvision loss in one eye. With the loss of 3D vision, I did not think I would ever be able to complete the model. However, one finds ways to adapt to handicaps and I picked up the model again around 2019 with no real expectations I would be able to finish it. Two drivers that kept me going were this MSW log which I joined at the time and my joining a local model ship club. The rest is history, all well documented in this build log. As for my next model, I realize that with my vision issue building another highly rigged ship would not be the best choice. When working with thin threads it is very difficult to tie knots and thread blocks without 3d vision. I do enjoy the working with wood part which is not as demanding for 3d, and I have always been fascinated with Admiralty models since first seeing them at the Science museum in London in the late 60's, and at Greenwich UK. So earlier this year, I purchased an admiralty-style kit of the USF Essex 1799 from Model Shipways and am eagerly waiting to start it. I am thinking about modifing the Essex kit to expose a small section of its inner timber construction. Two photos of the model Essex as below, from the manufacturer.
-
Thanks everyone for your kind words. As I complete the few items I have a question. I had planned to install flag pennant and flags but having now looked at them, I am having second thoughts. They seem to be a bit tacky looking. What do you all think? I noticed George left them off in his beautiful model. Also, what is the likelihood that such ships wold have had their flags flying when in port? Thanks for your suggestions.
-
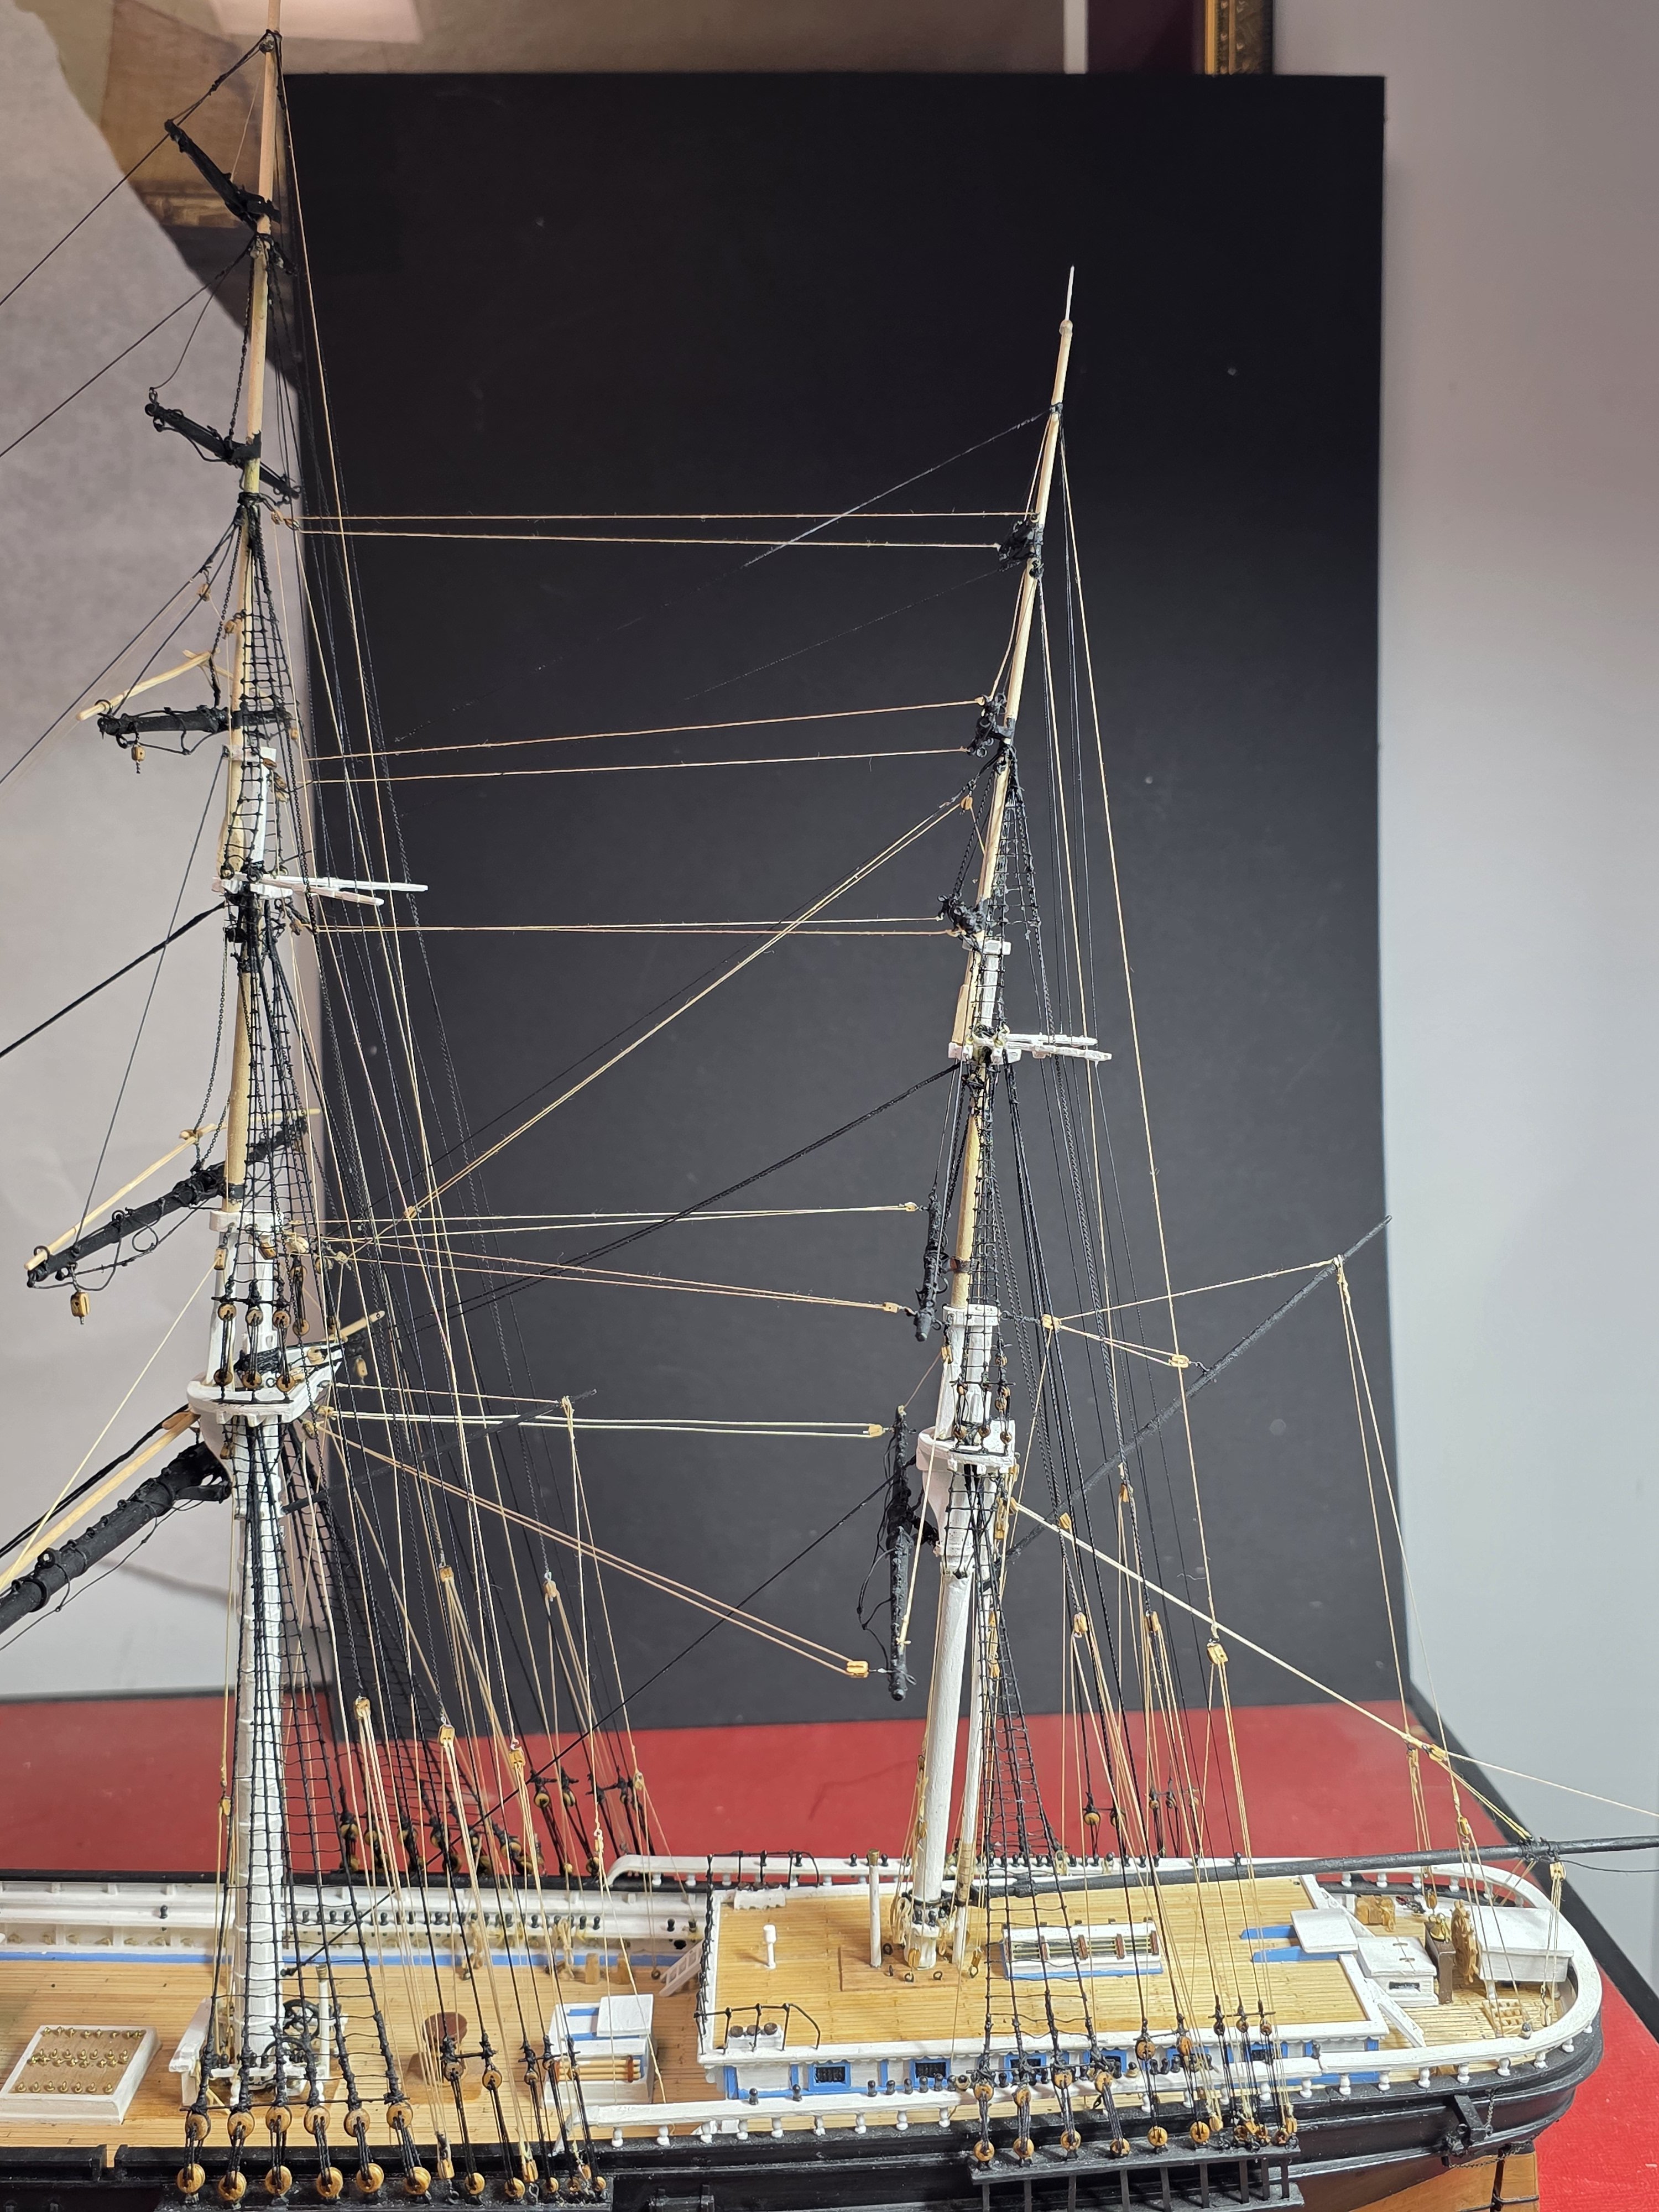
Today I finished rigging all of the braces on the fore mast yards. I have also tightened up the other rigging on the model where it was needed. I have also touched up any needed spots on the model requiring this. So little remains to be done before final launch.
- 433 replies
-
- 6
-
-
- Flying Fish
- Model Shipways
- (and 2 more)
-
I am going to have a 5 sided acrylic case made at a local shop. I will make a wooden base for it myself. There are several acrylic laces in the greater Toronto area that can do this. A fellow modeller has recommended two. He thinks the cost for the size I need will be under $250 Cdn. (Update: It came to about $333 with tax). For my last ship (Charles Morgan Whaler) I built my own case out of glass and oak. It weighs a ton. I won't make that mistake again.
-
Your Cutty Sark is looking great. You will enjoy rigging the braces! I have had the pleasure of touring and photographing the Cutty Sark in Greenwich and am planning to do so again next month.
- 207 replies
-
- 2
-
-
- billing boats
- cutty sark
- (and 1 more)
-
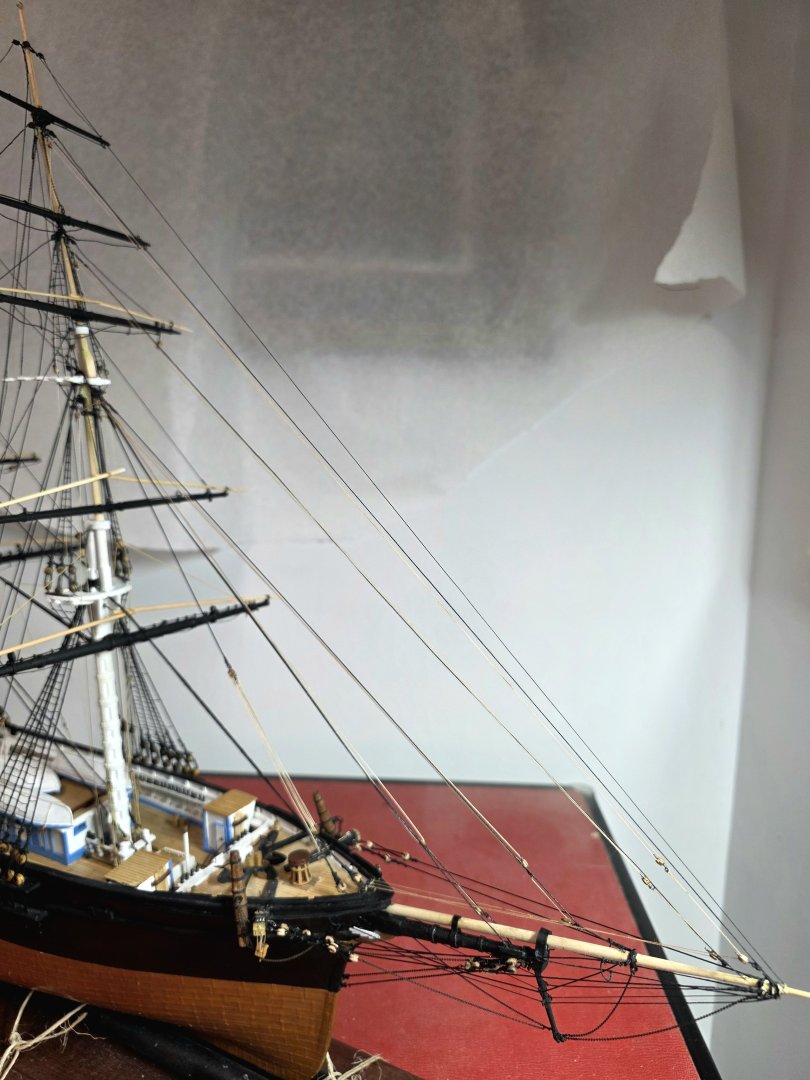
No bunt line, no clew lines. Enough. Installed the brace today on the lower yard on Foremast. Only 4 braces to go. Then the only rigging left will be the flag halliards and ropes on the davits for the ships boats. I also have to mount coils on many of the belay pins. I will be having an acrylic case made for it very soon.
-
With the repairs behind me its full speed ahead. All braces on the main and mizzen masts are complete. These add a whole new layer of complexity and beauty to the model. After working with all the tight and very challenging on the inner rigging, the far more easily accessibke braces were a real joy. I will now work on the foremast yard braces, and leave the mounting of the ship's boats to the end of the build.

- 433 replies
-
- 3
-
-
- Flying Fish
- Model Shipways
- (and 2 more)
-
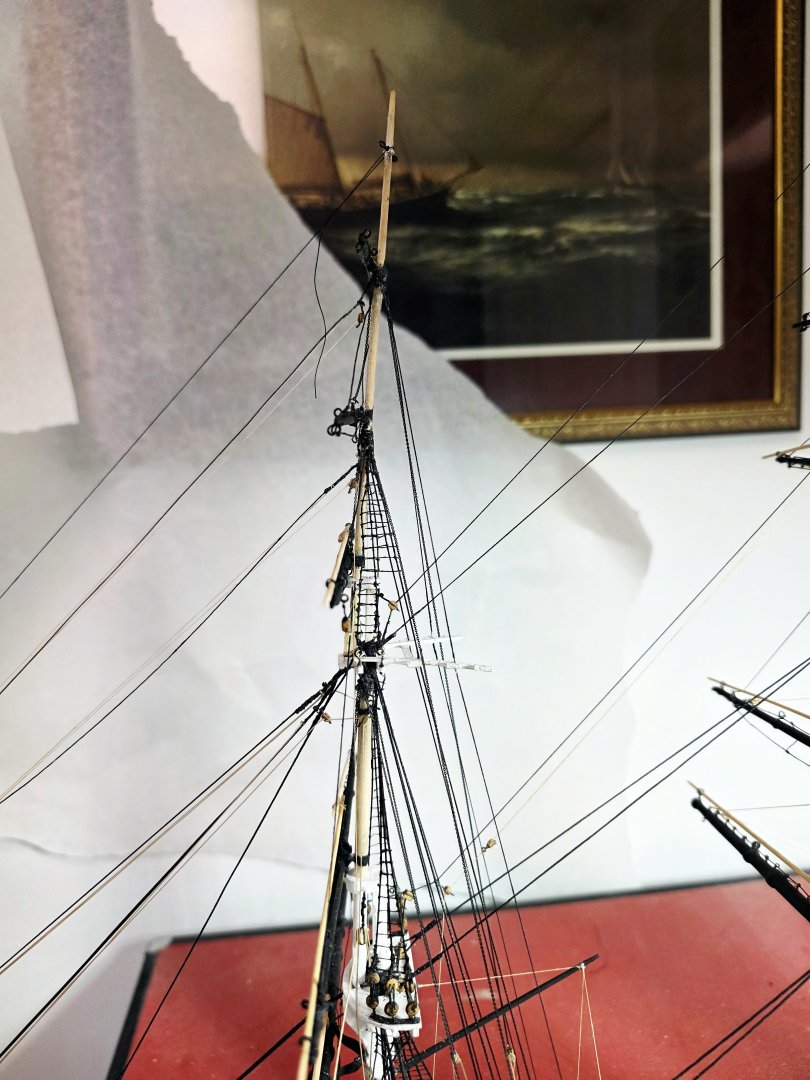
The removed rigging on the repaired top foremast has now all been replaced.
- 433 replies
-
- 2
-
-
- Flying Fish
- Model Shipways
- (and 2 more)
-
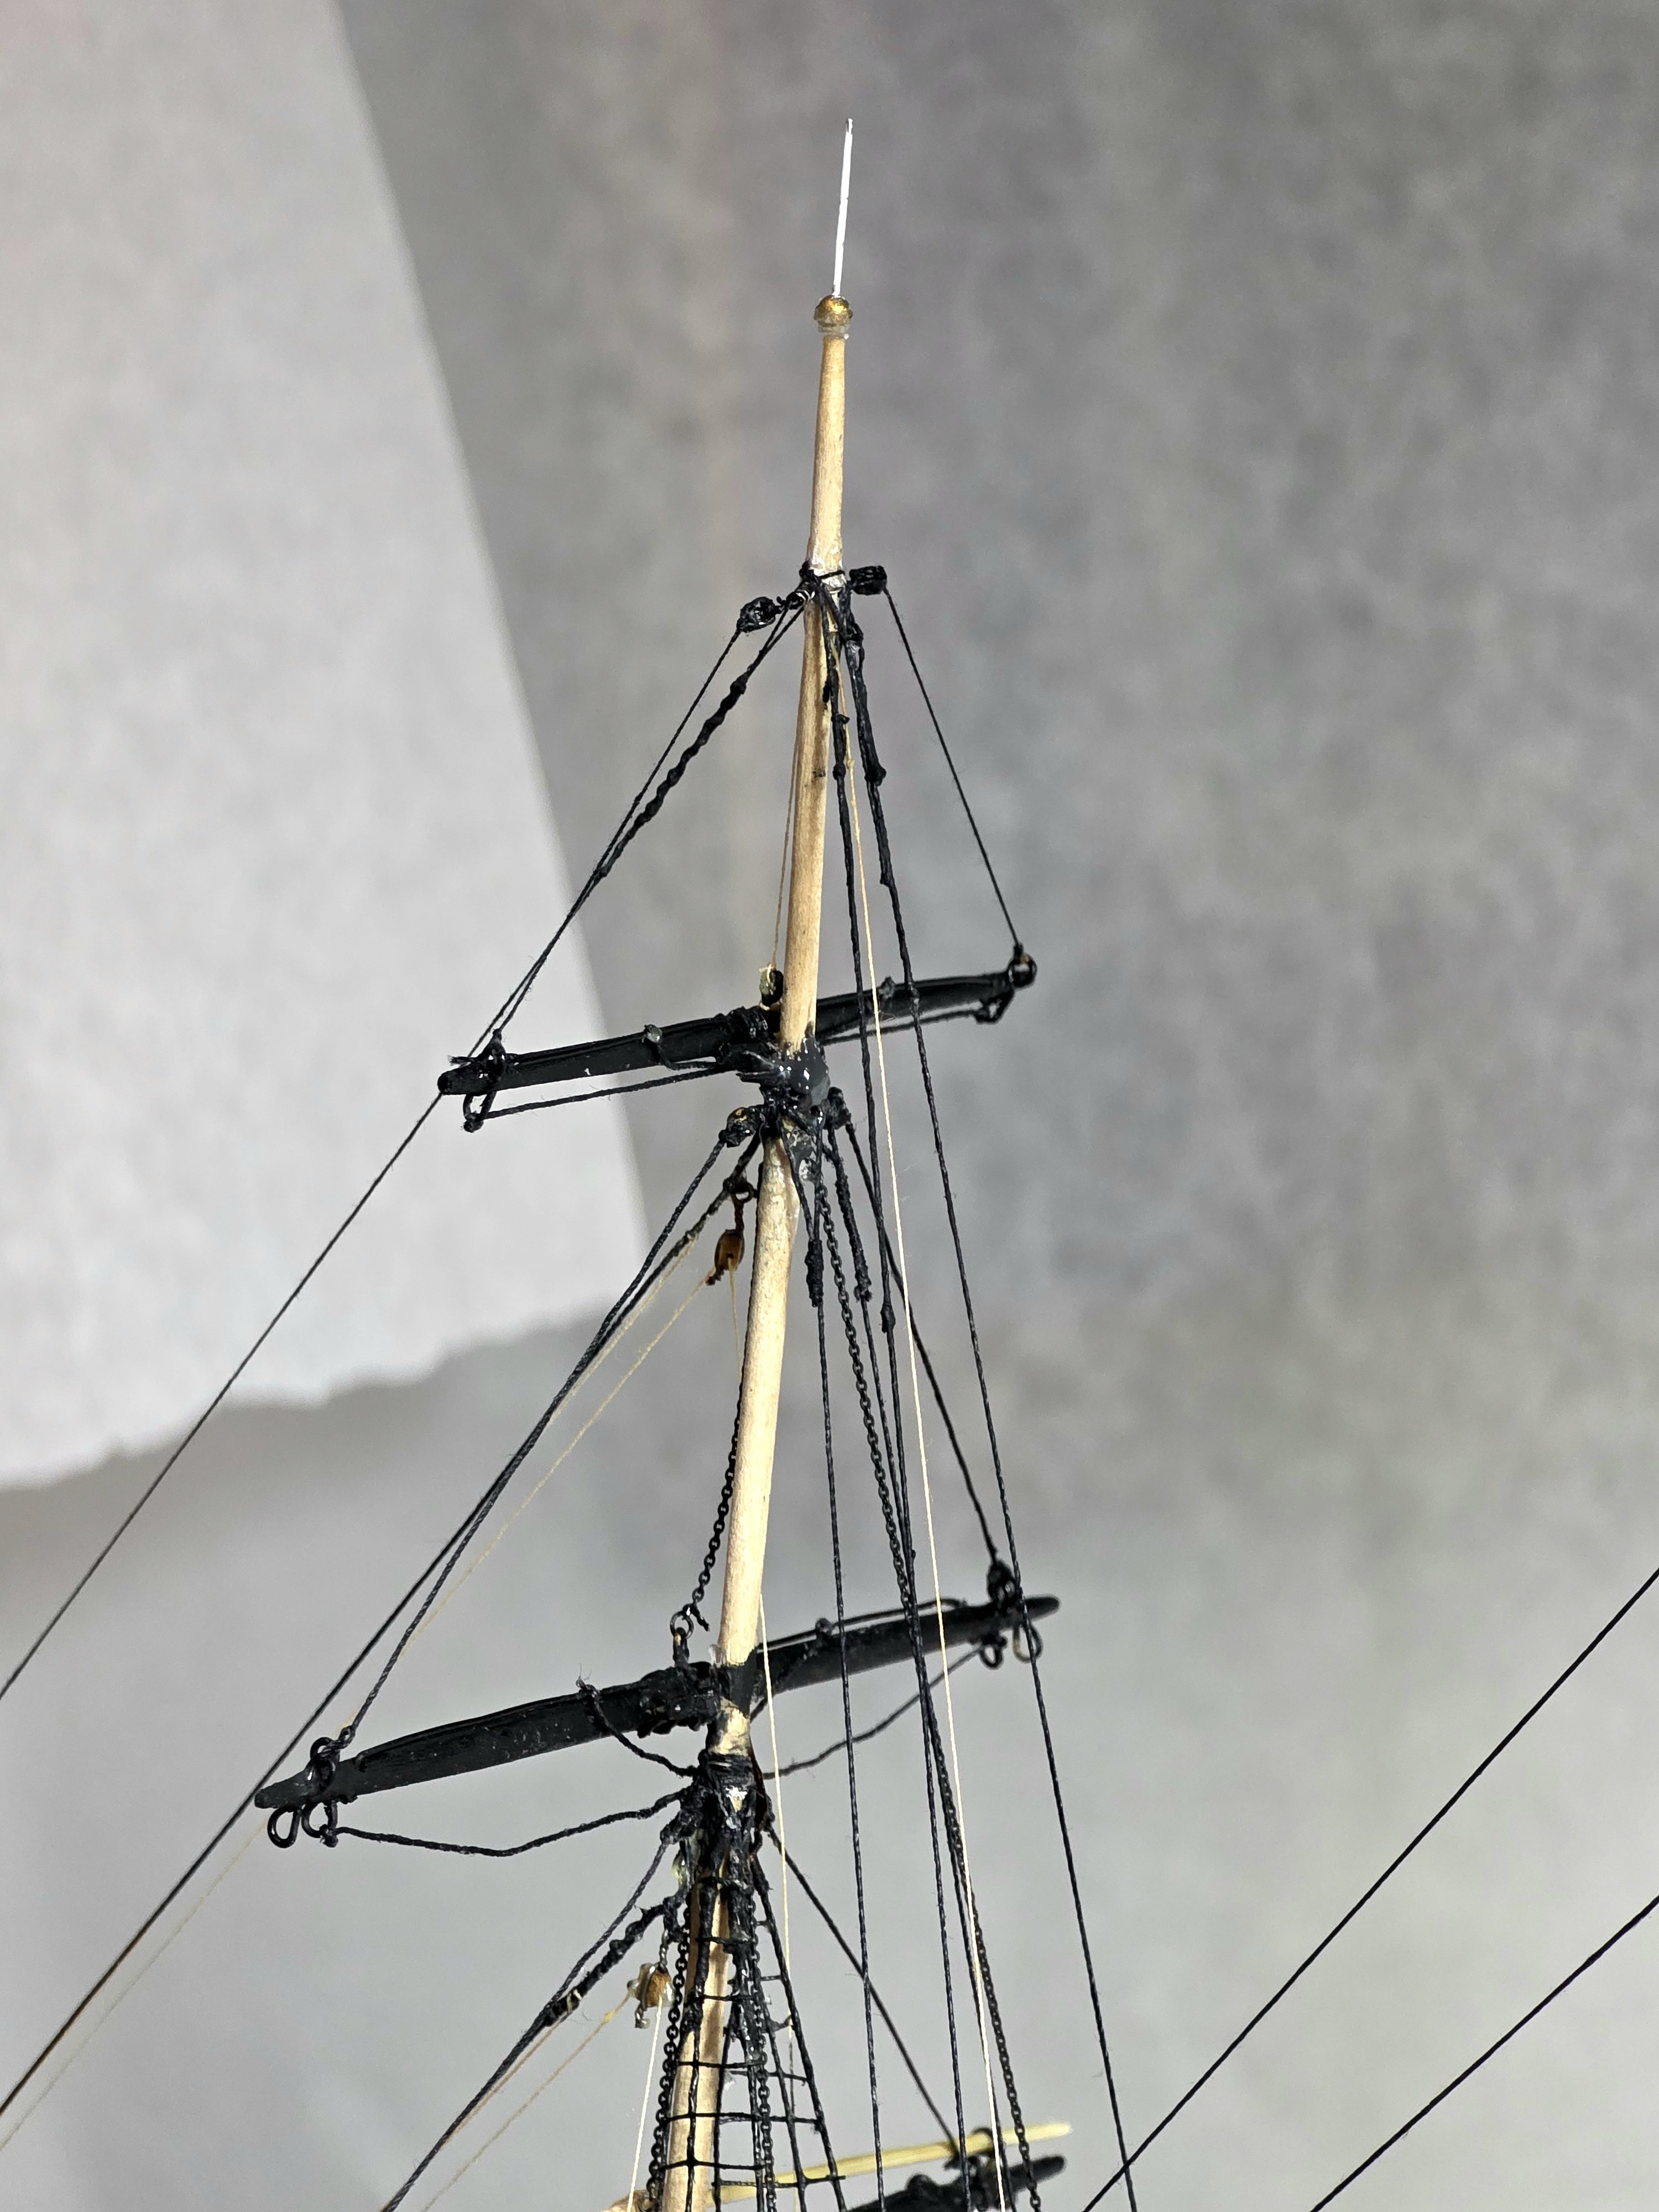
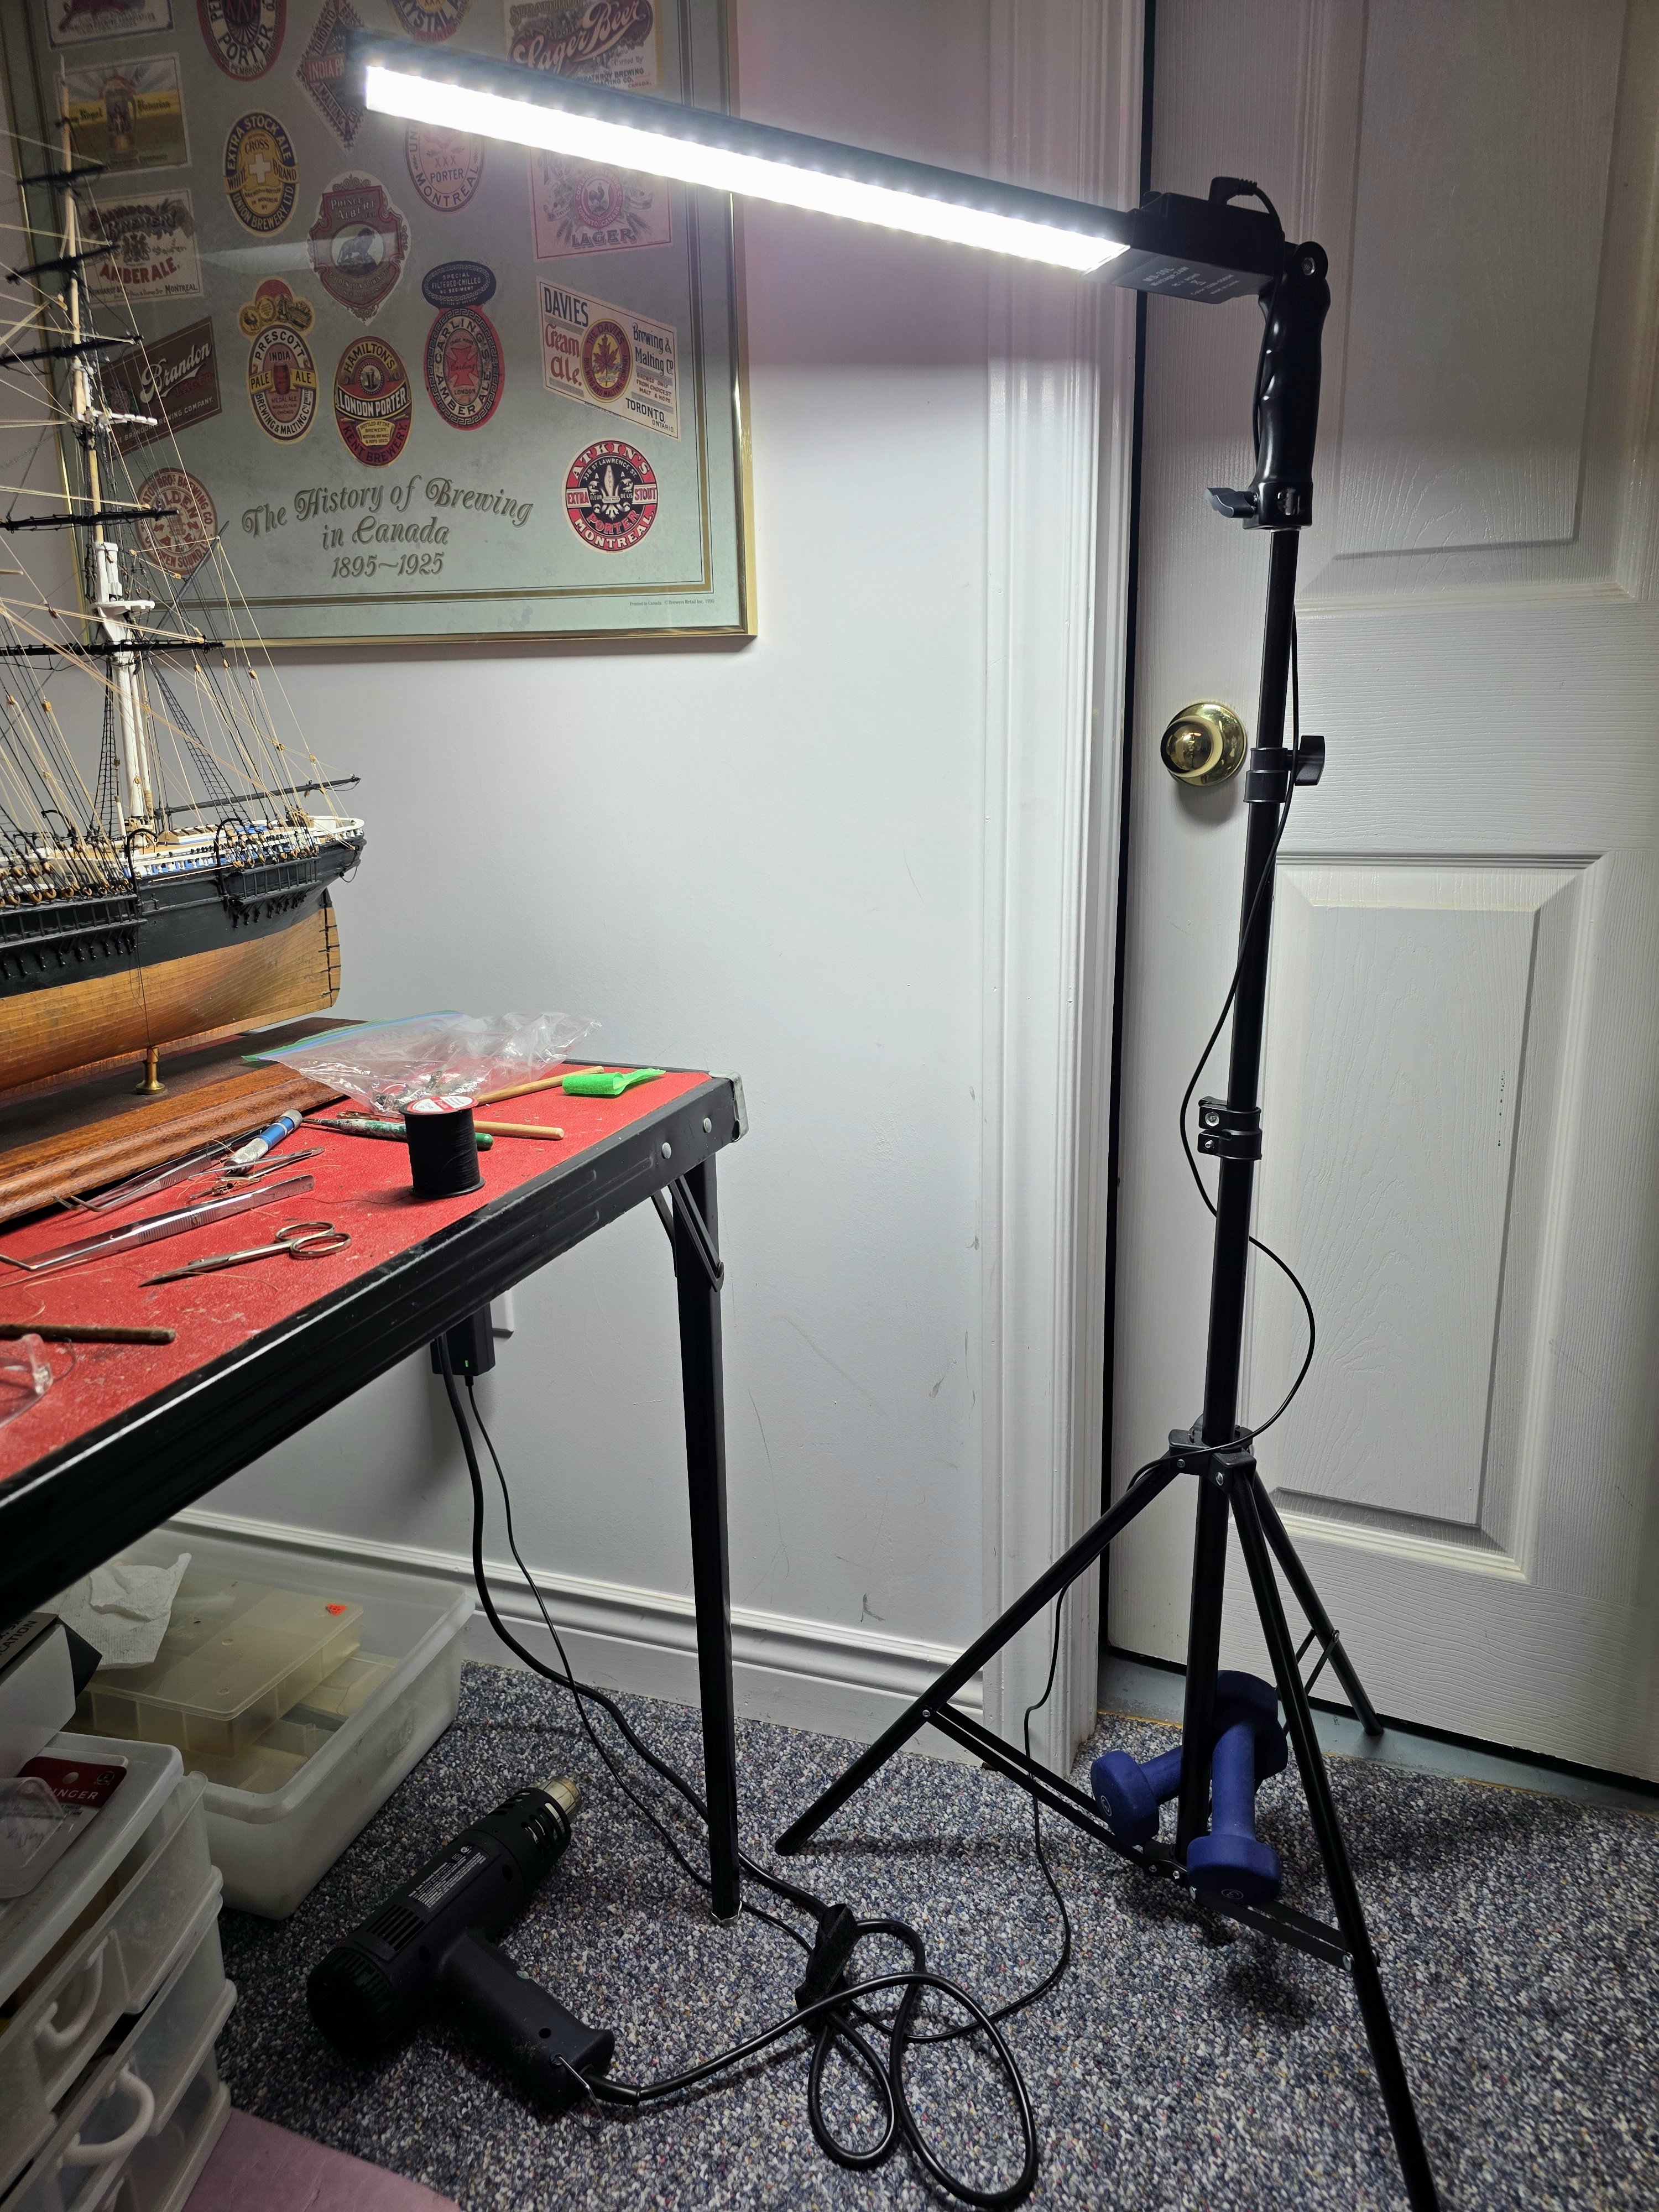
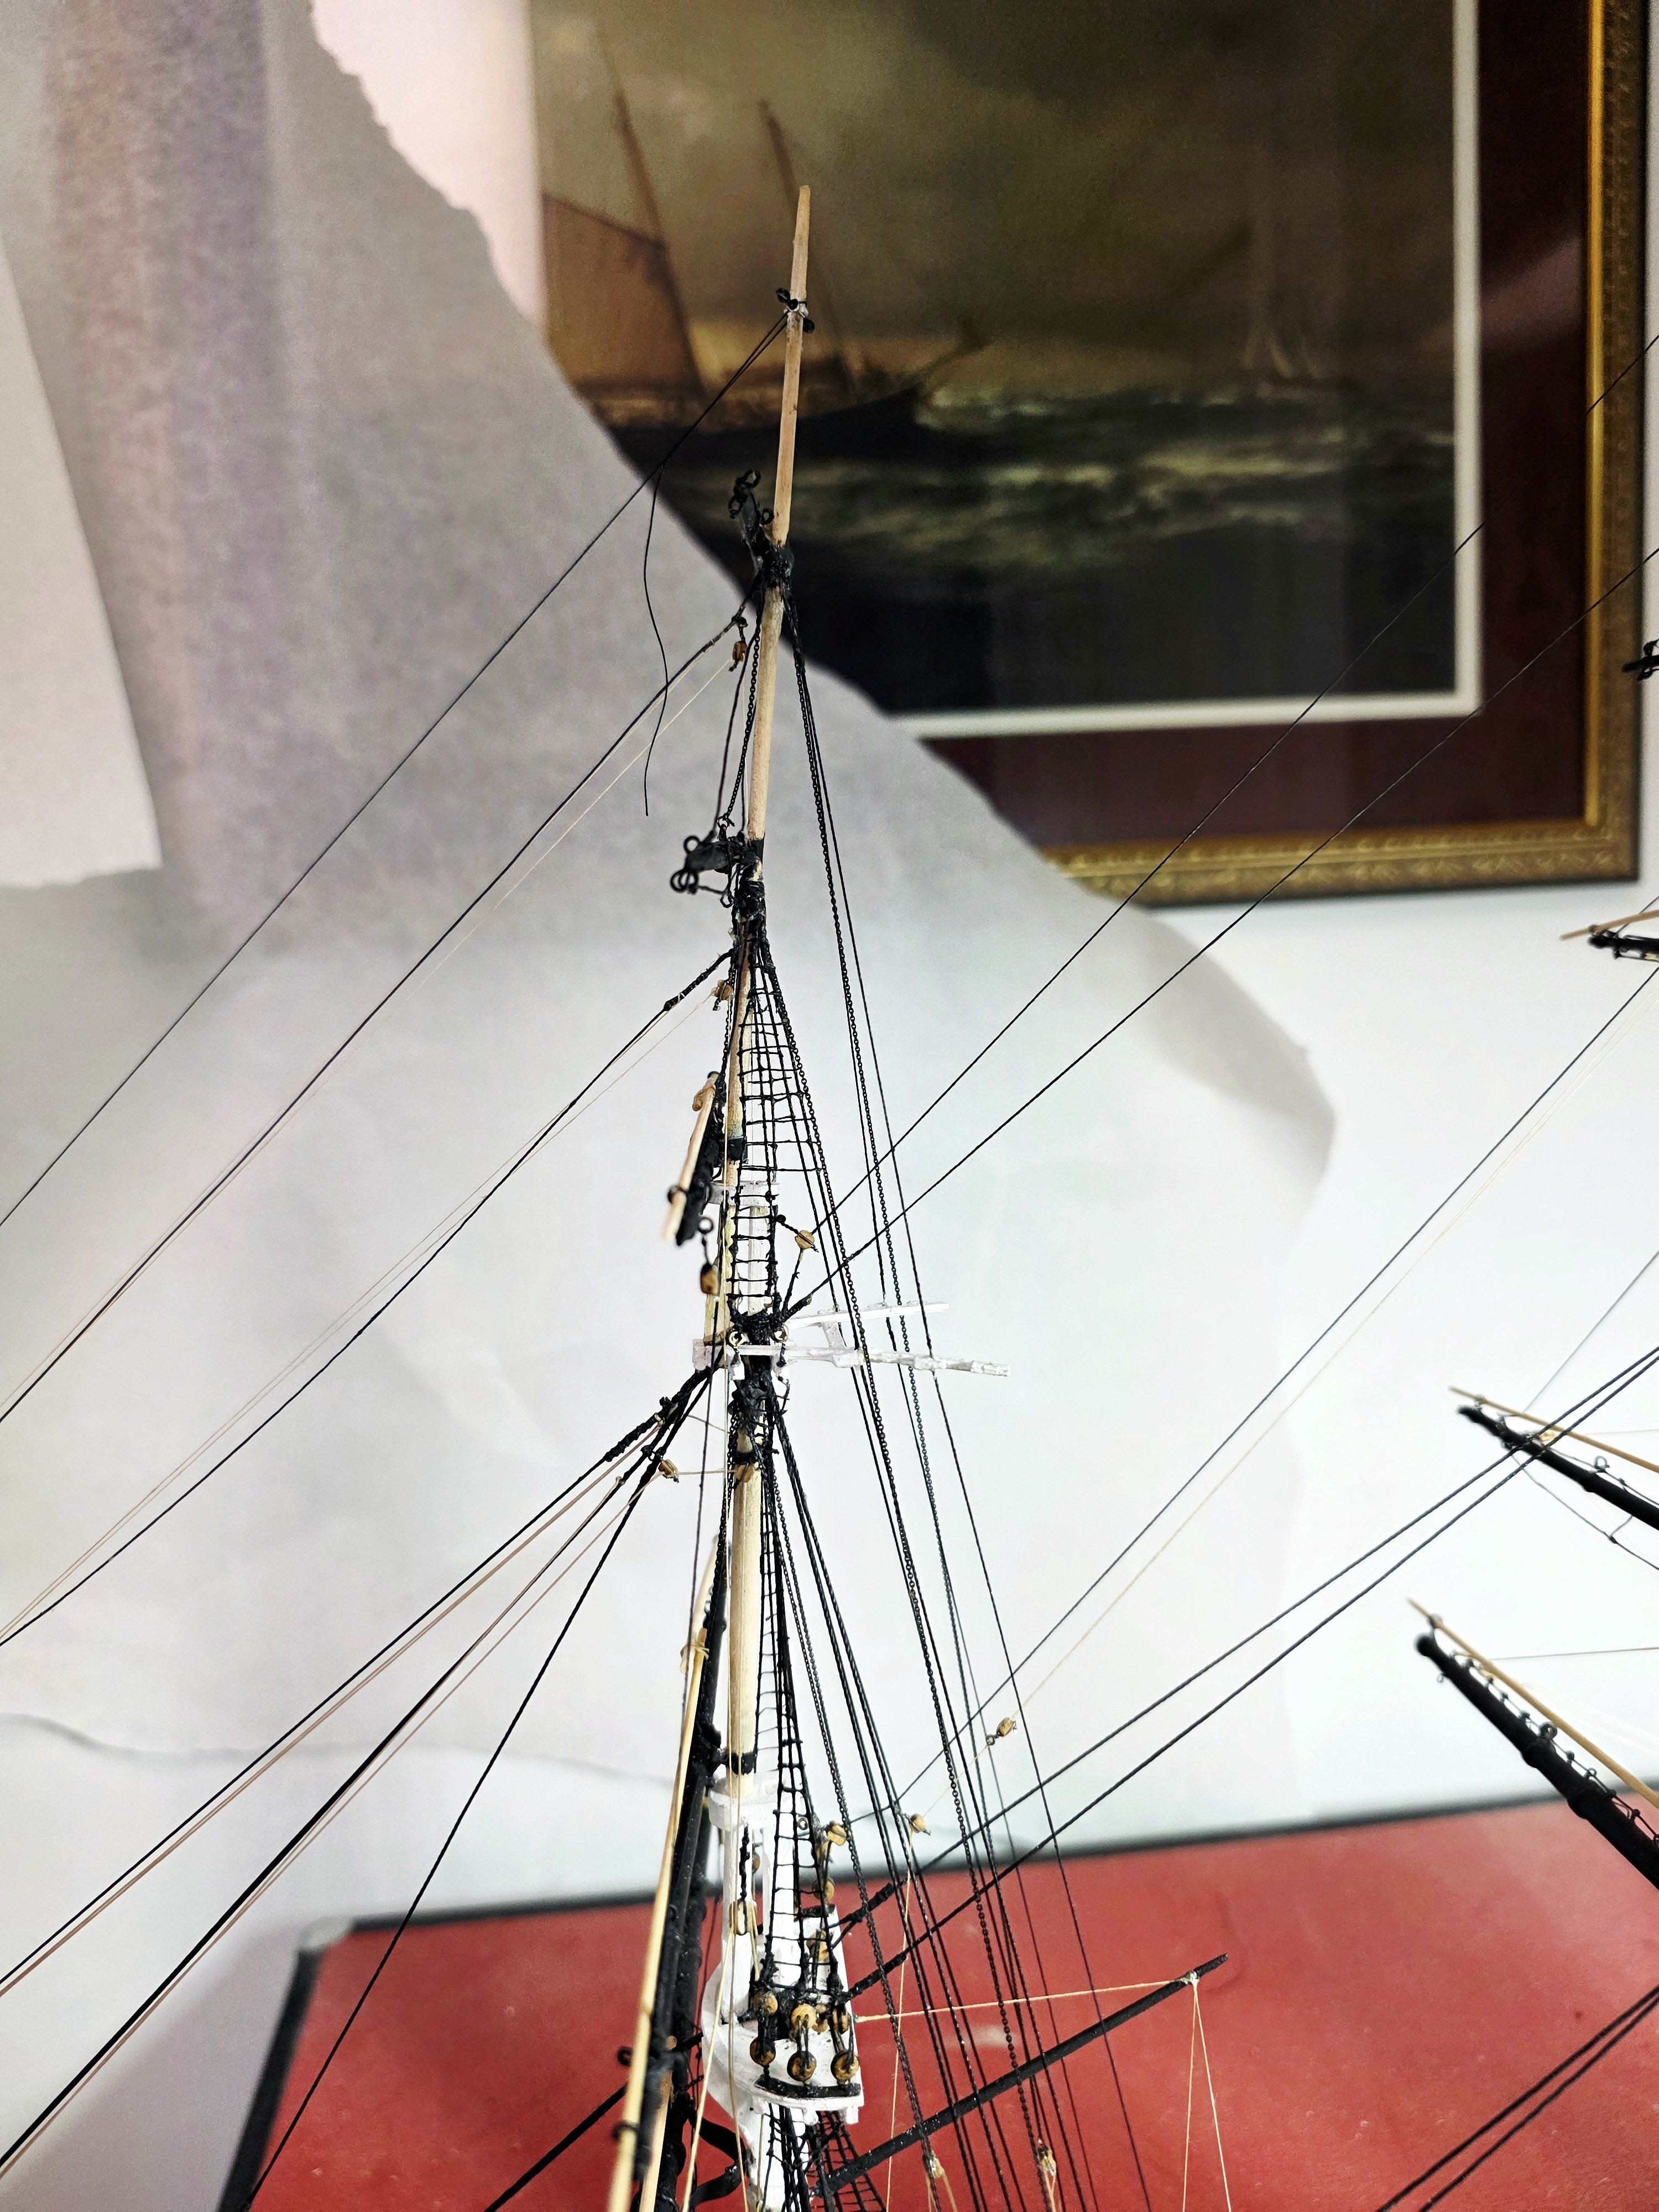
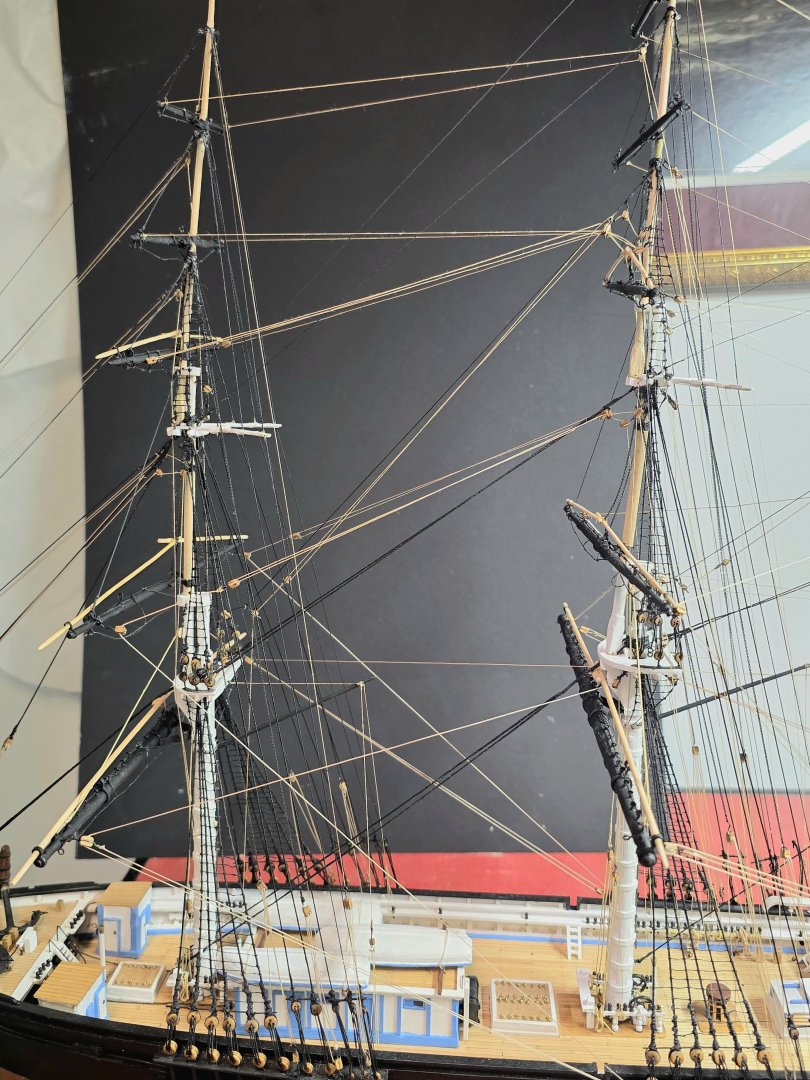
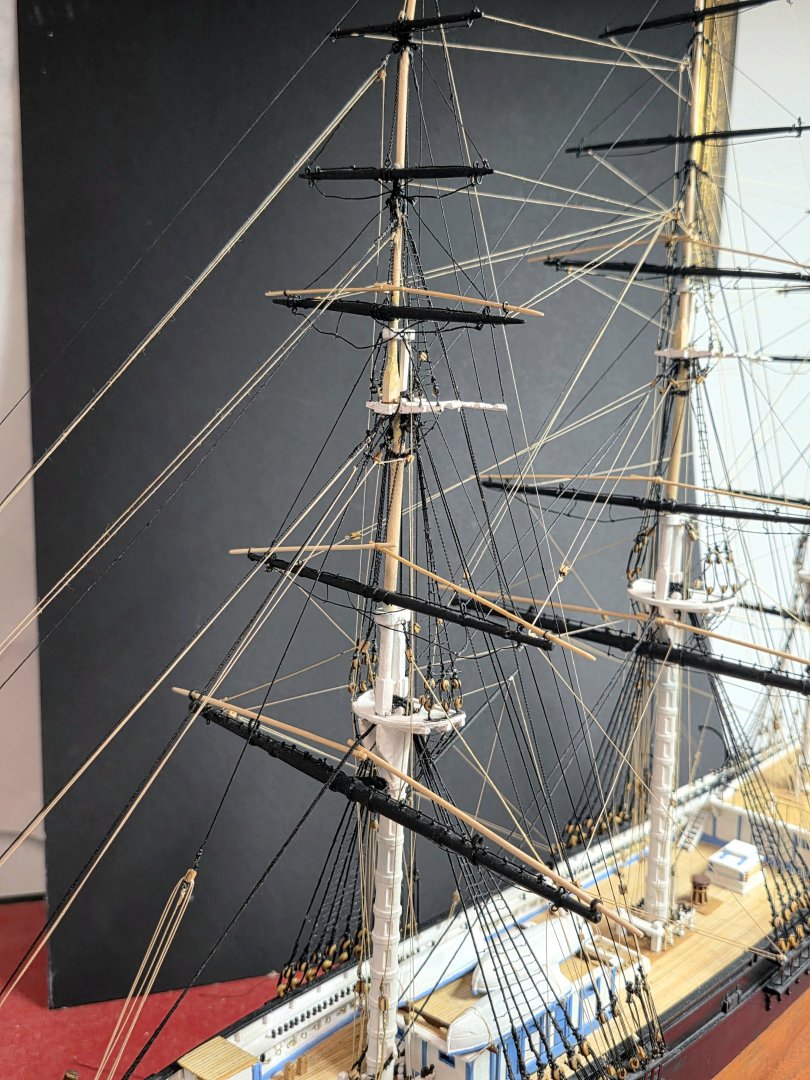
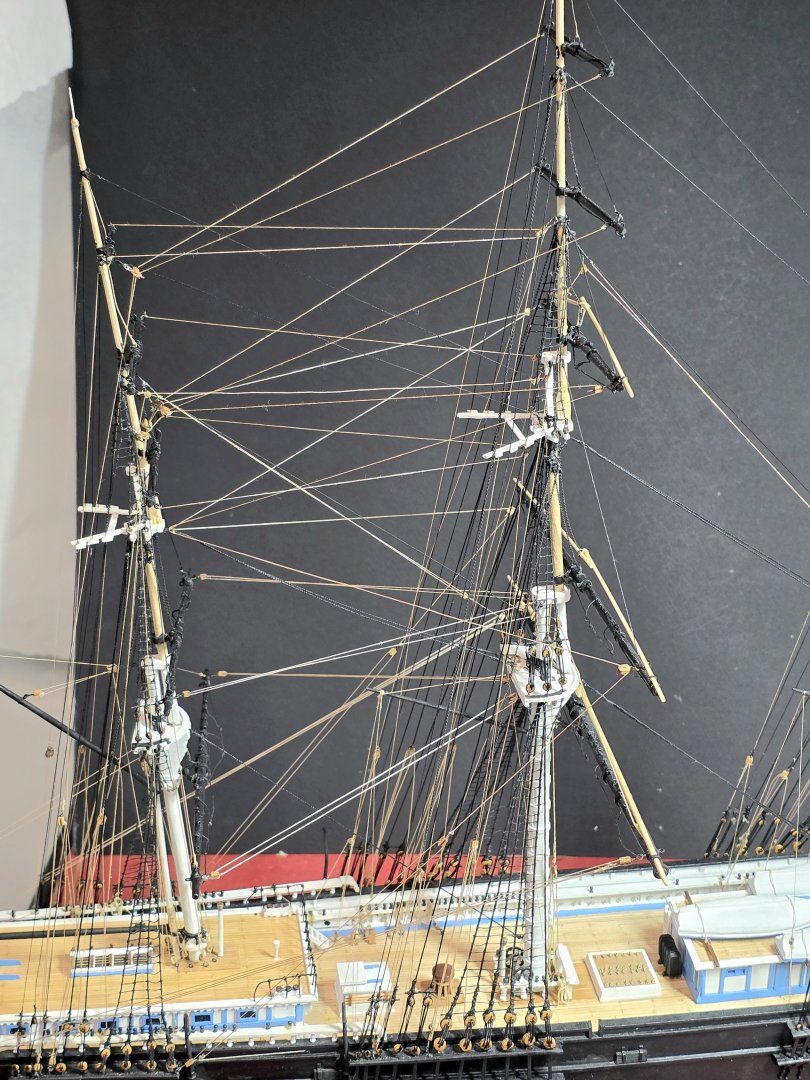
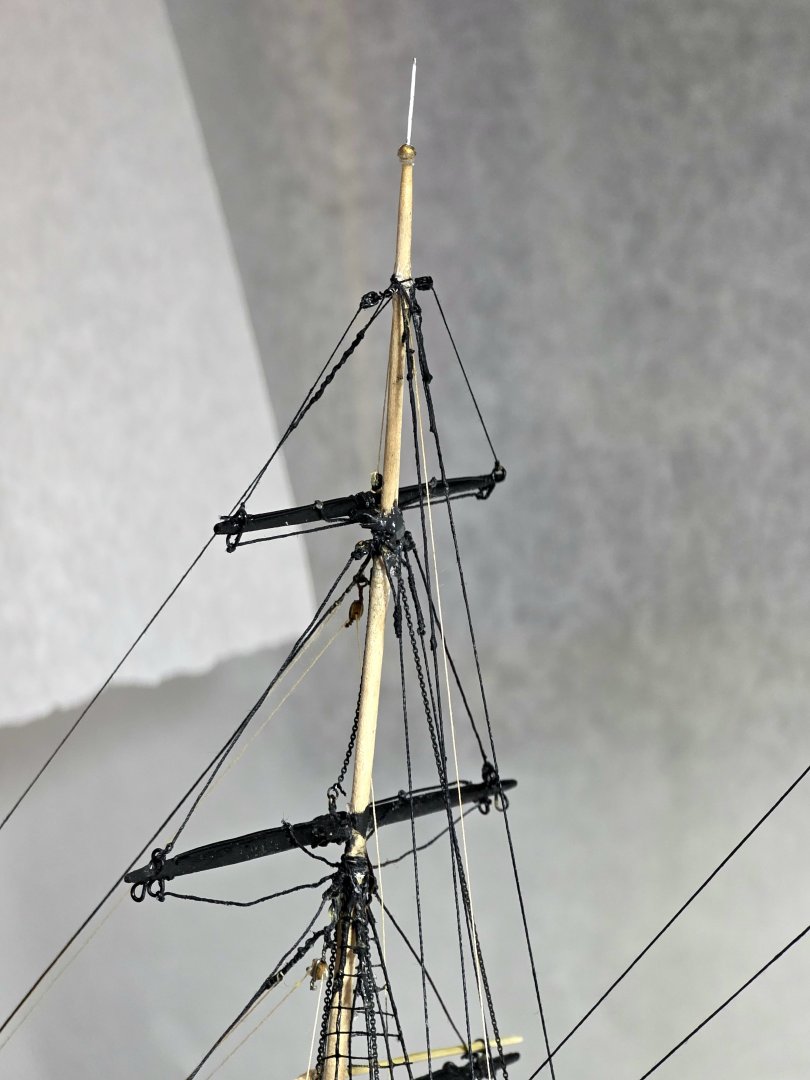
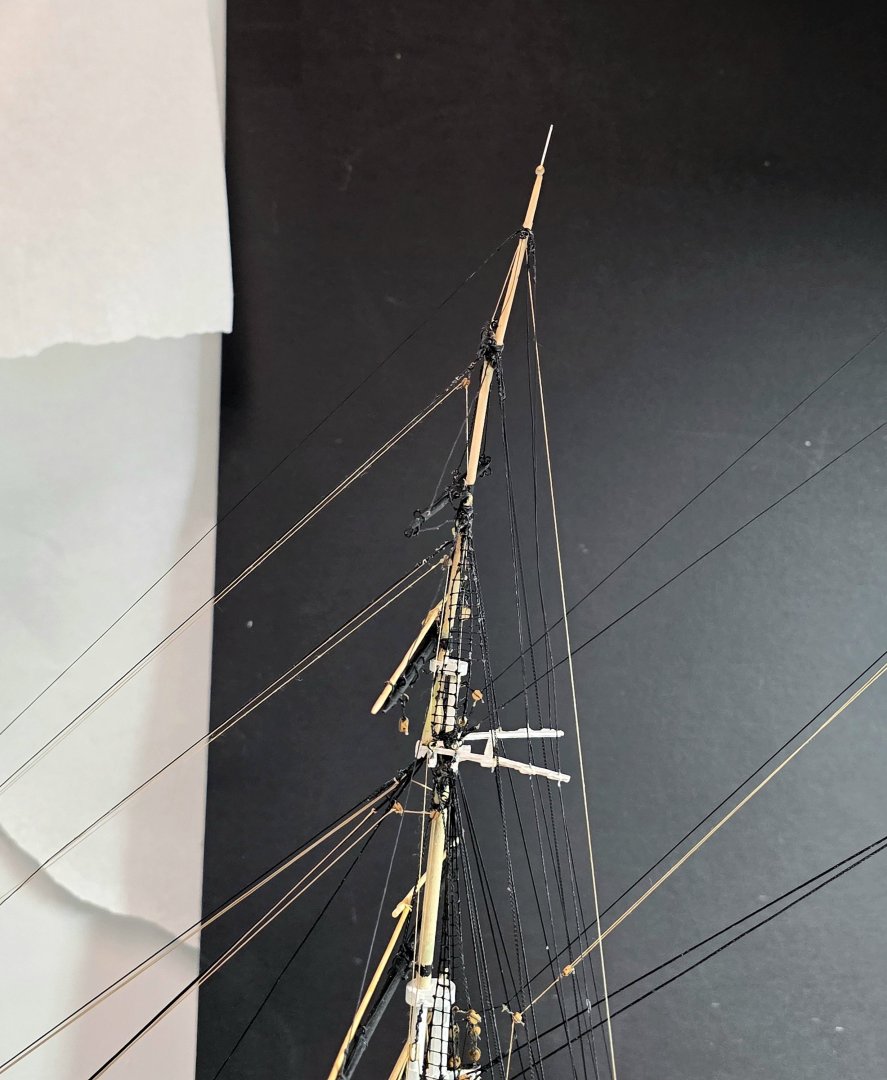
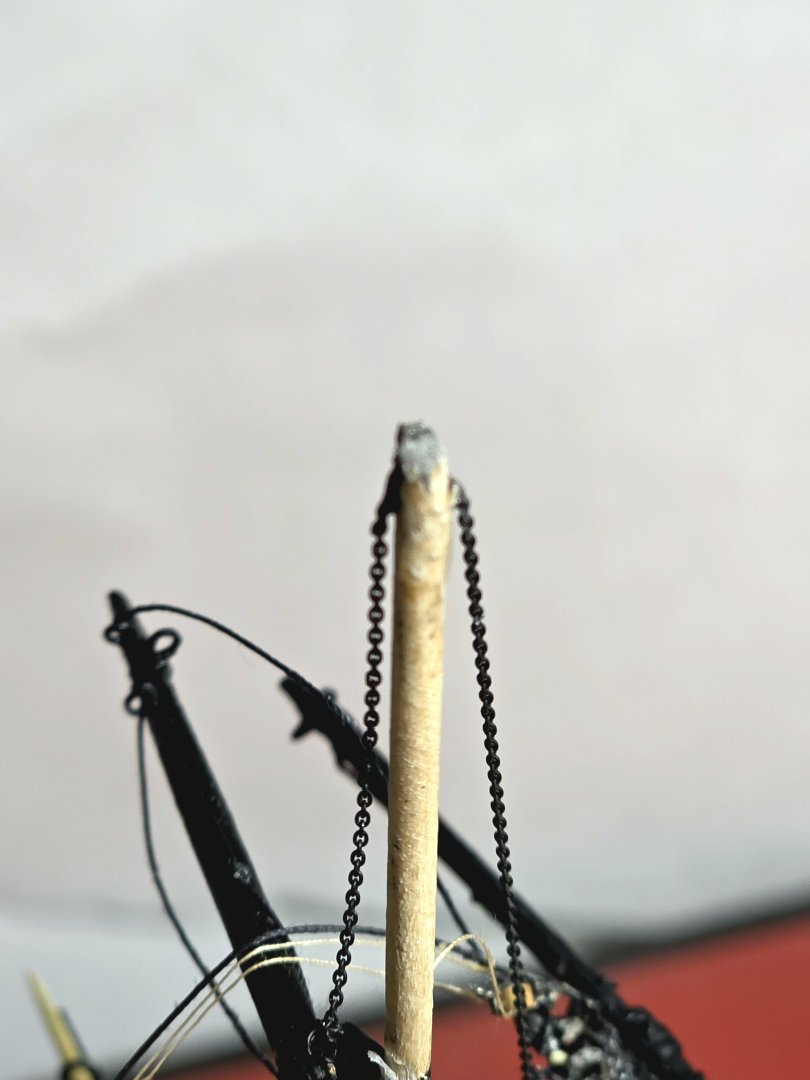
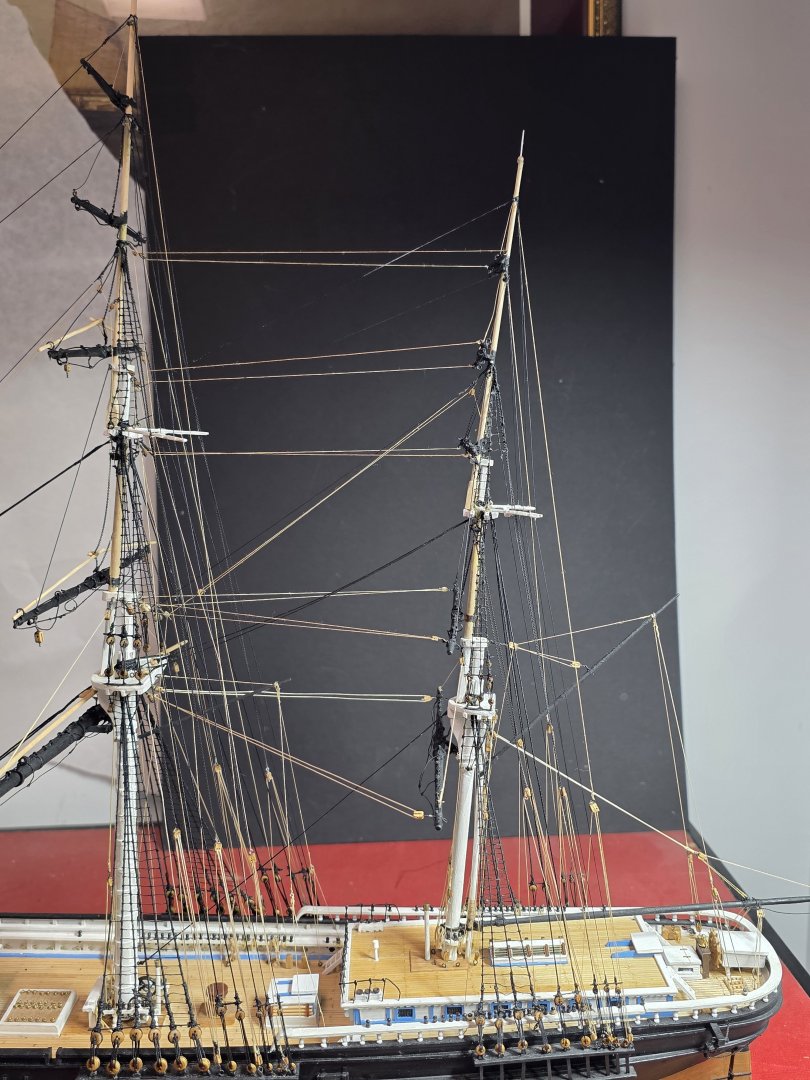
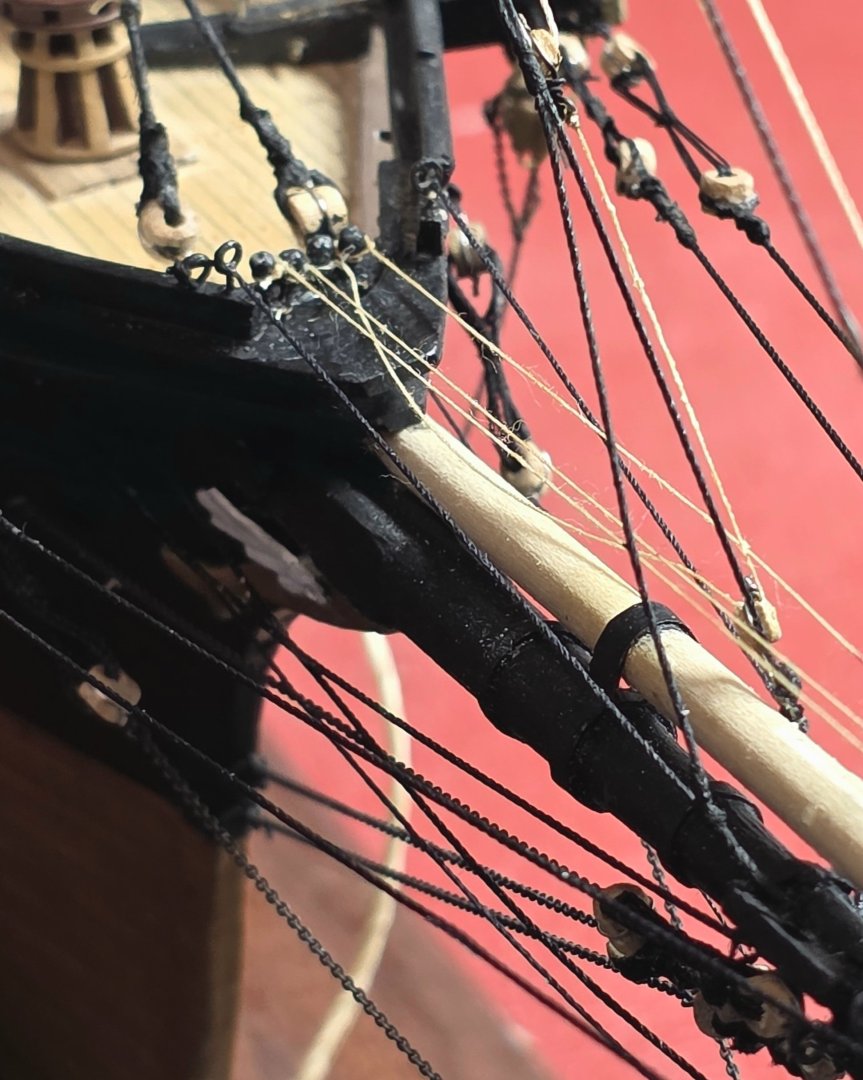
A build log would be of limited value if it only showed the forward achievements and none of the worts that occurred during the build. About a month ago I had a bit of an accidental disaster that I did not mention. Photo 1 shows a floor lamp I use to light my work area. Its a great lamp except for the fact it is top heavy and poorly balanced. Well the inevidable happened last month. It toppled over and grazed some of the foremast and bowsprit rigging on the model, pulling out a few of the securing eye bolts holding lines. As these were easy enough to repair, I chose not to comment about it. I fixed the lamp problem by adding two 3-pound weight to the based. And so I thought thatvwas the end of it. BUT NOT SO 😪. Early last week I noticed that the thin diameter top section of my foremast was leaning, and on further inspection realized that in fact the cause break was a complete. I was at wits end what to do about it. Fortunately a fellow member of model boat club I belong to (Model Shipwright's of Niagara, MSON) is a master builder and restorer of model ships (Ray Peacock). He was able to save the mast by drilling holes in the adjacent broken ends and epoxy gluingvthem back together with a brass pin inserted in the drilled holes like a dowel (see last photo). Thanks Rayvfor saving the day! I have to reinstall 3 stays then the repair will be completely done. The moral of this story is that sh!# happens in models build's but things are often repairable. Thanks for reading.


- 433 replies
-
- 3
-

-
-
- Flying Fish
- Model Shipways
- (and 2 more)
-
I wish you the best with your new job and adventures ahead Geirge.
-
Sorry to hear about your painful problem. Best wishes.
-
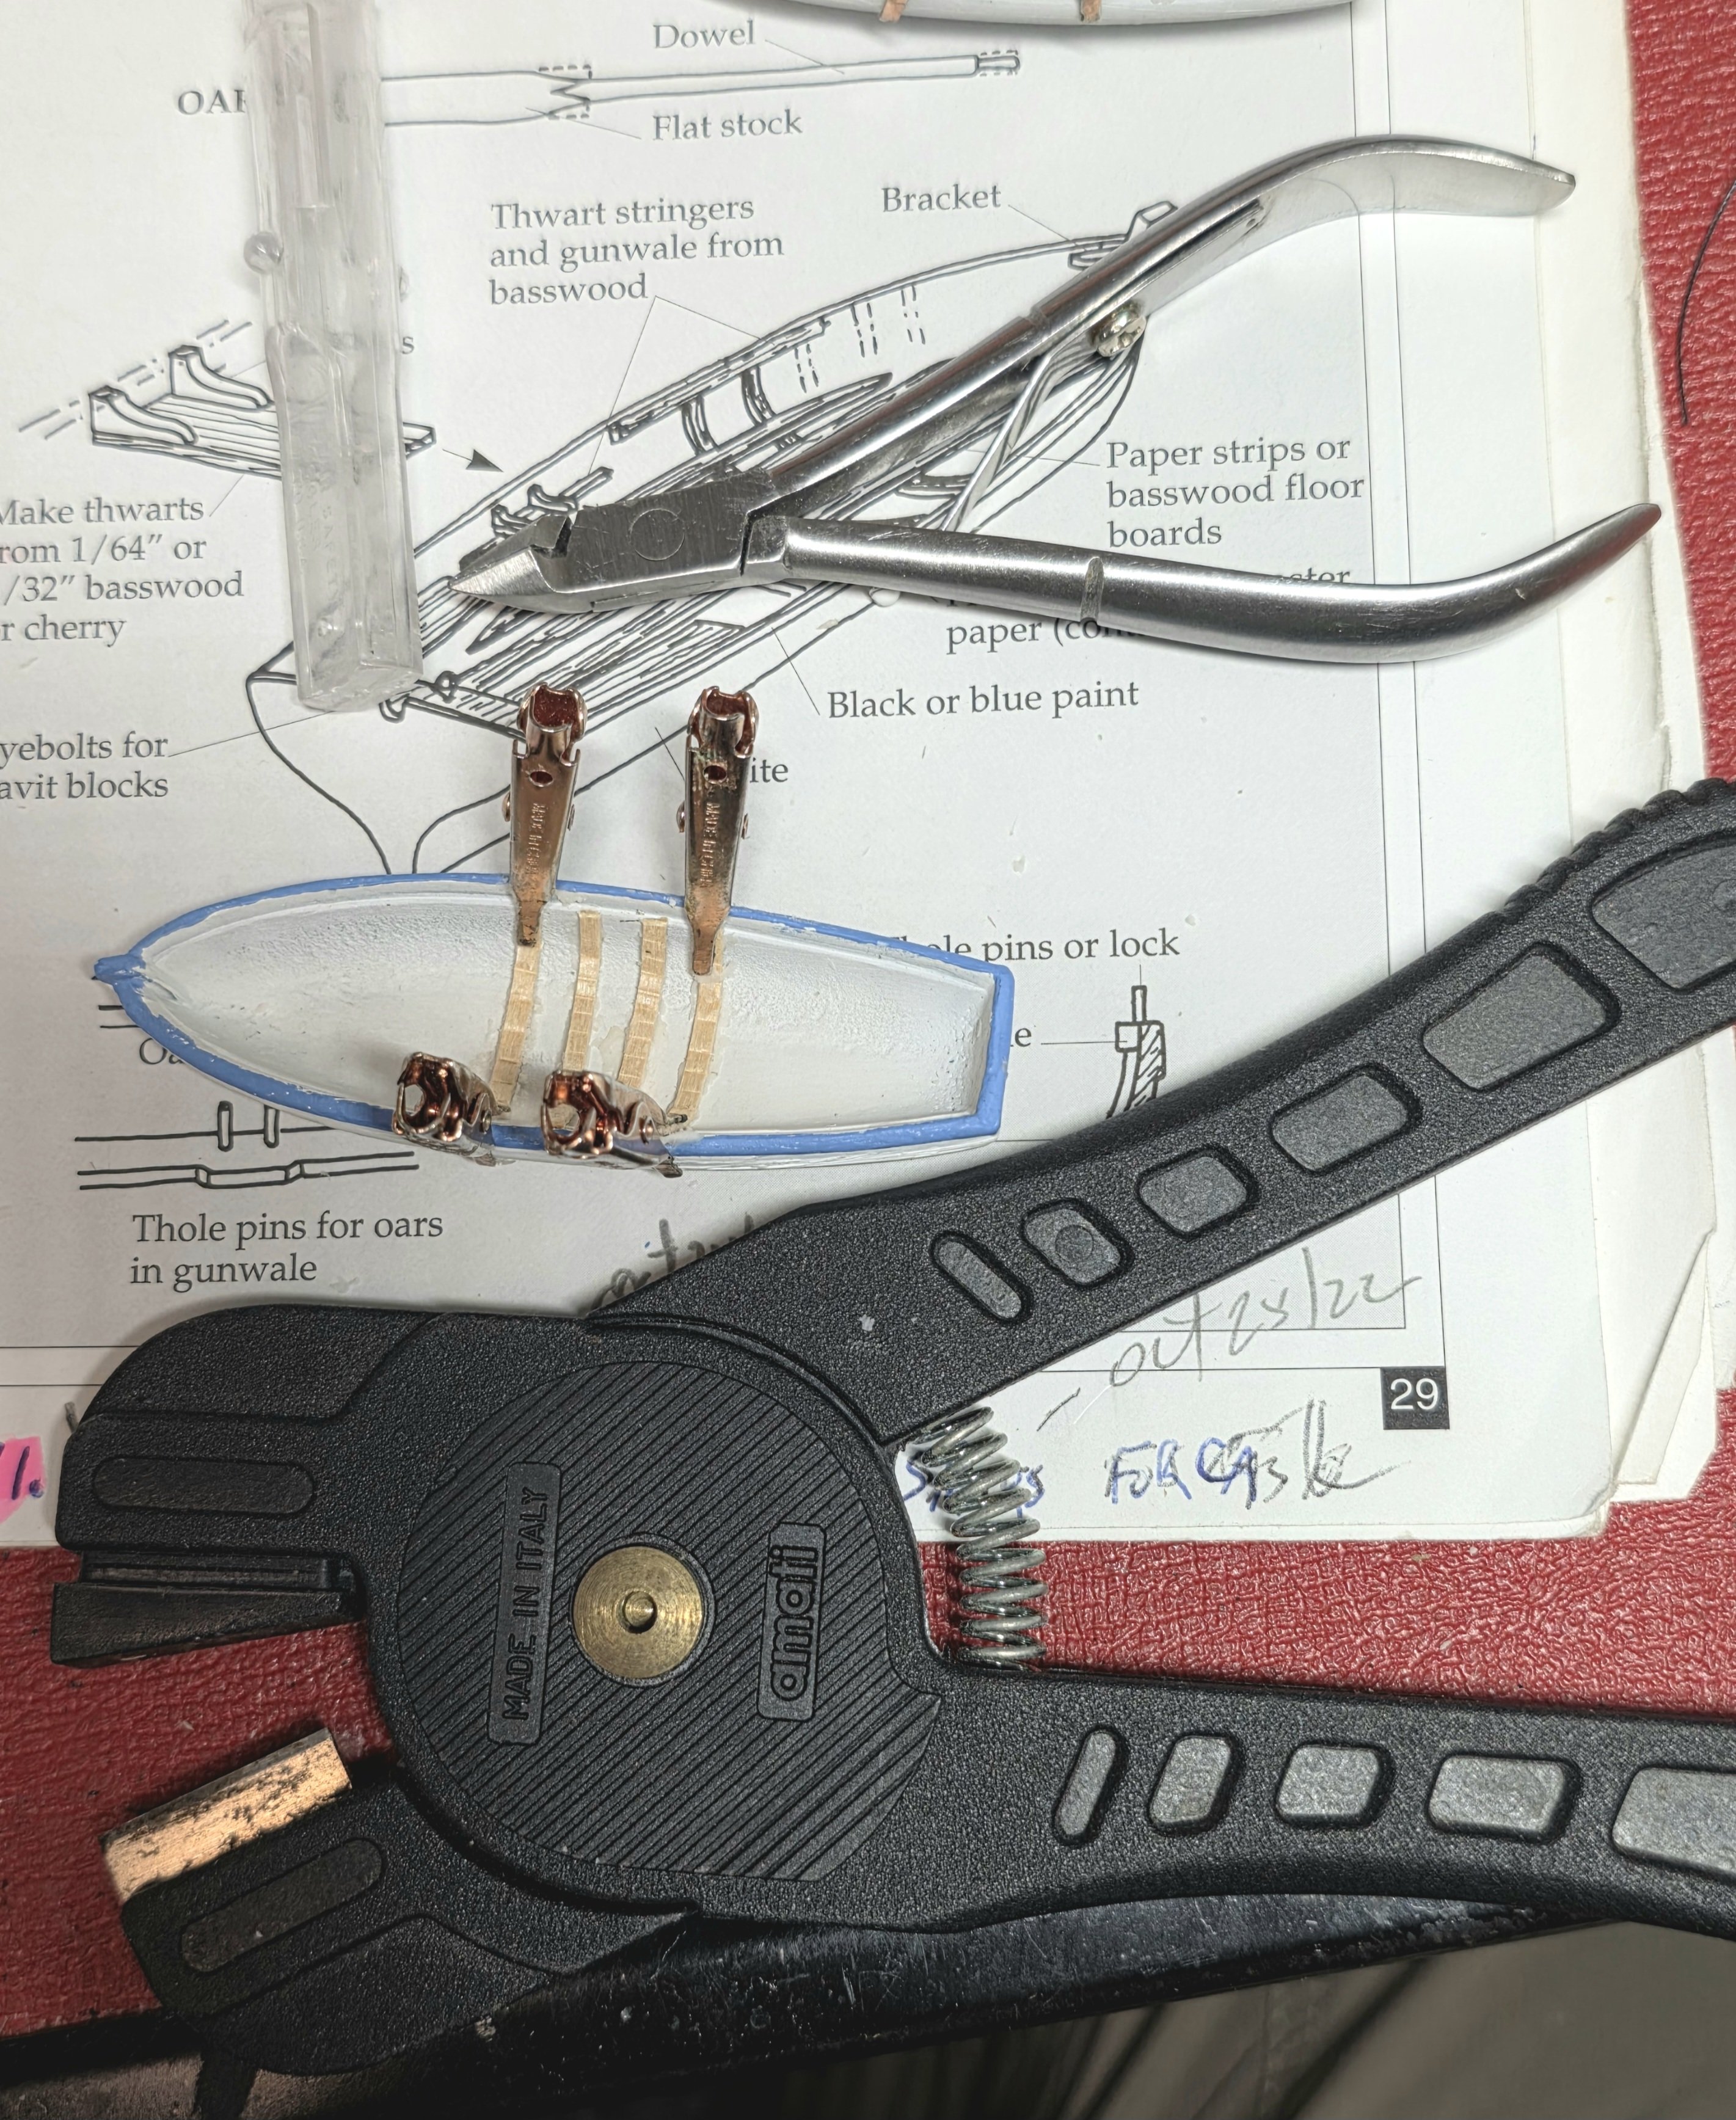
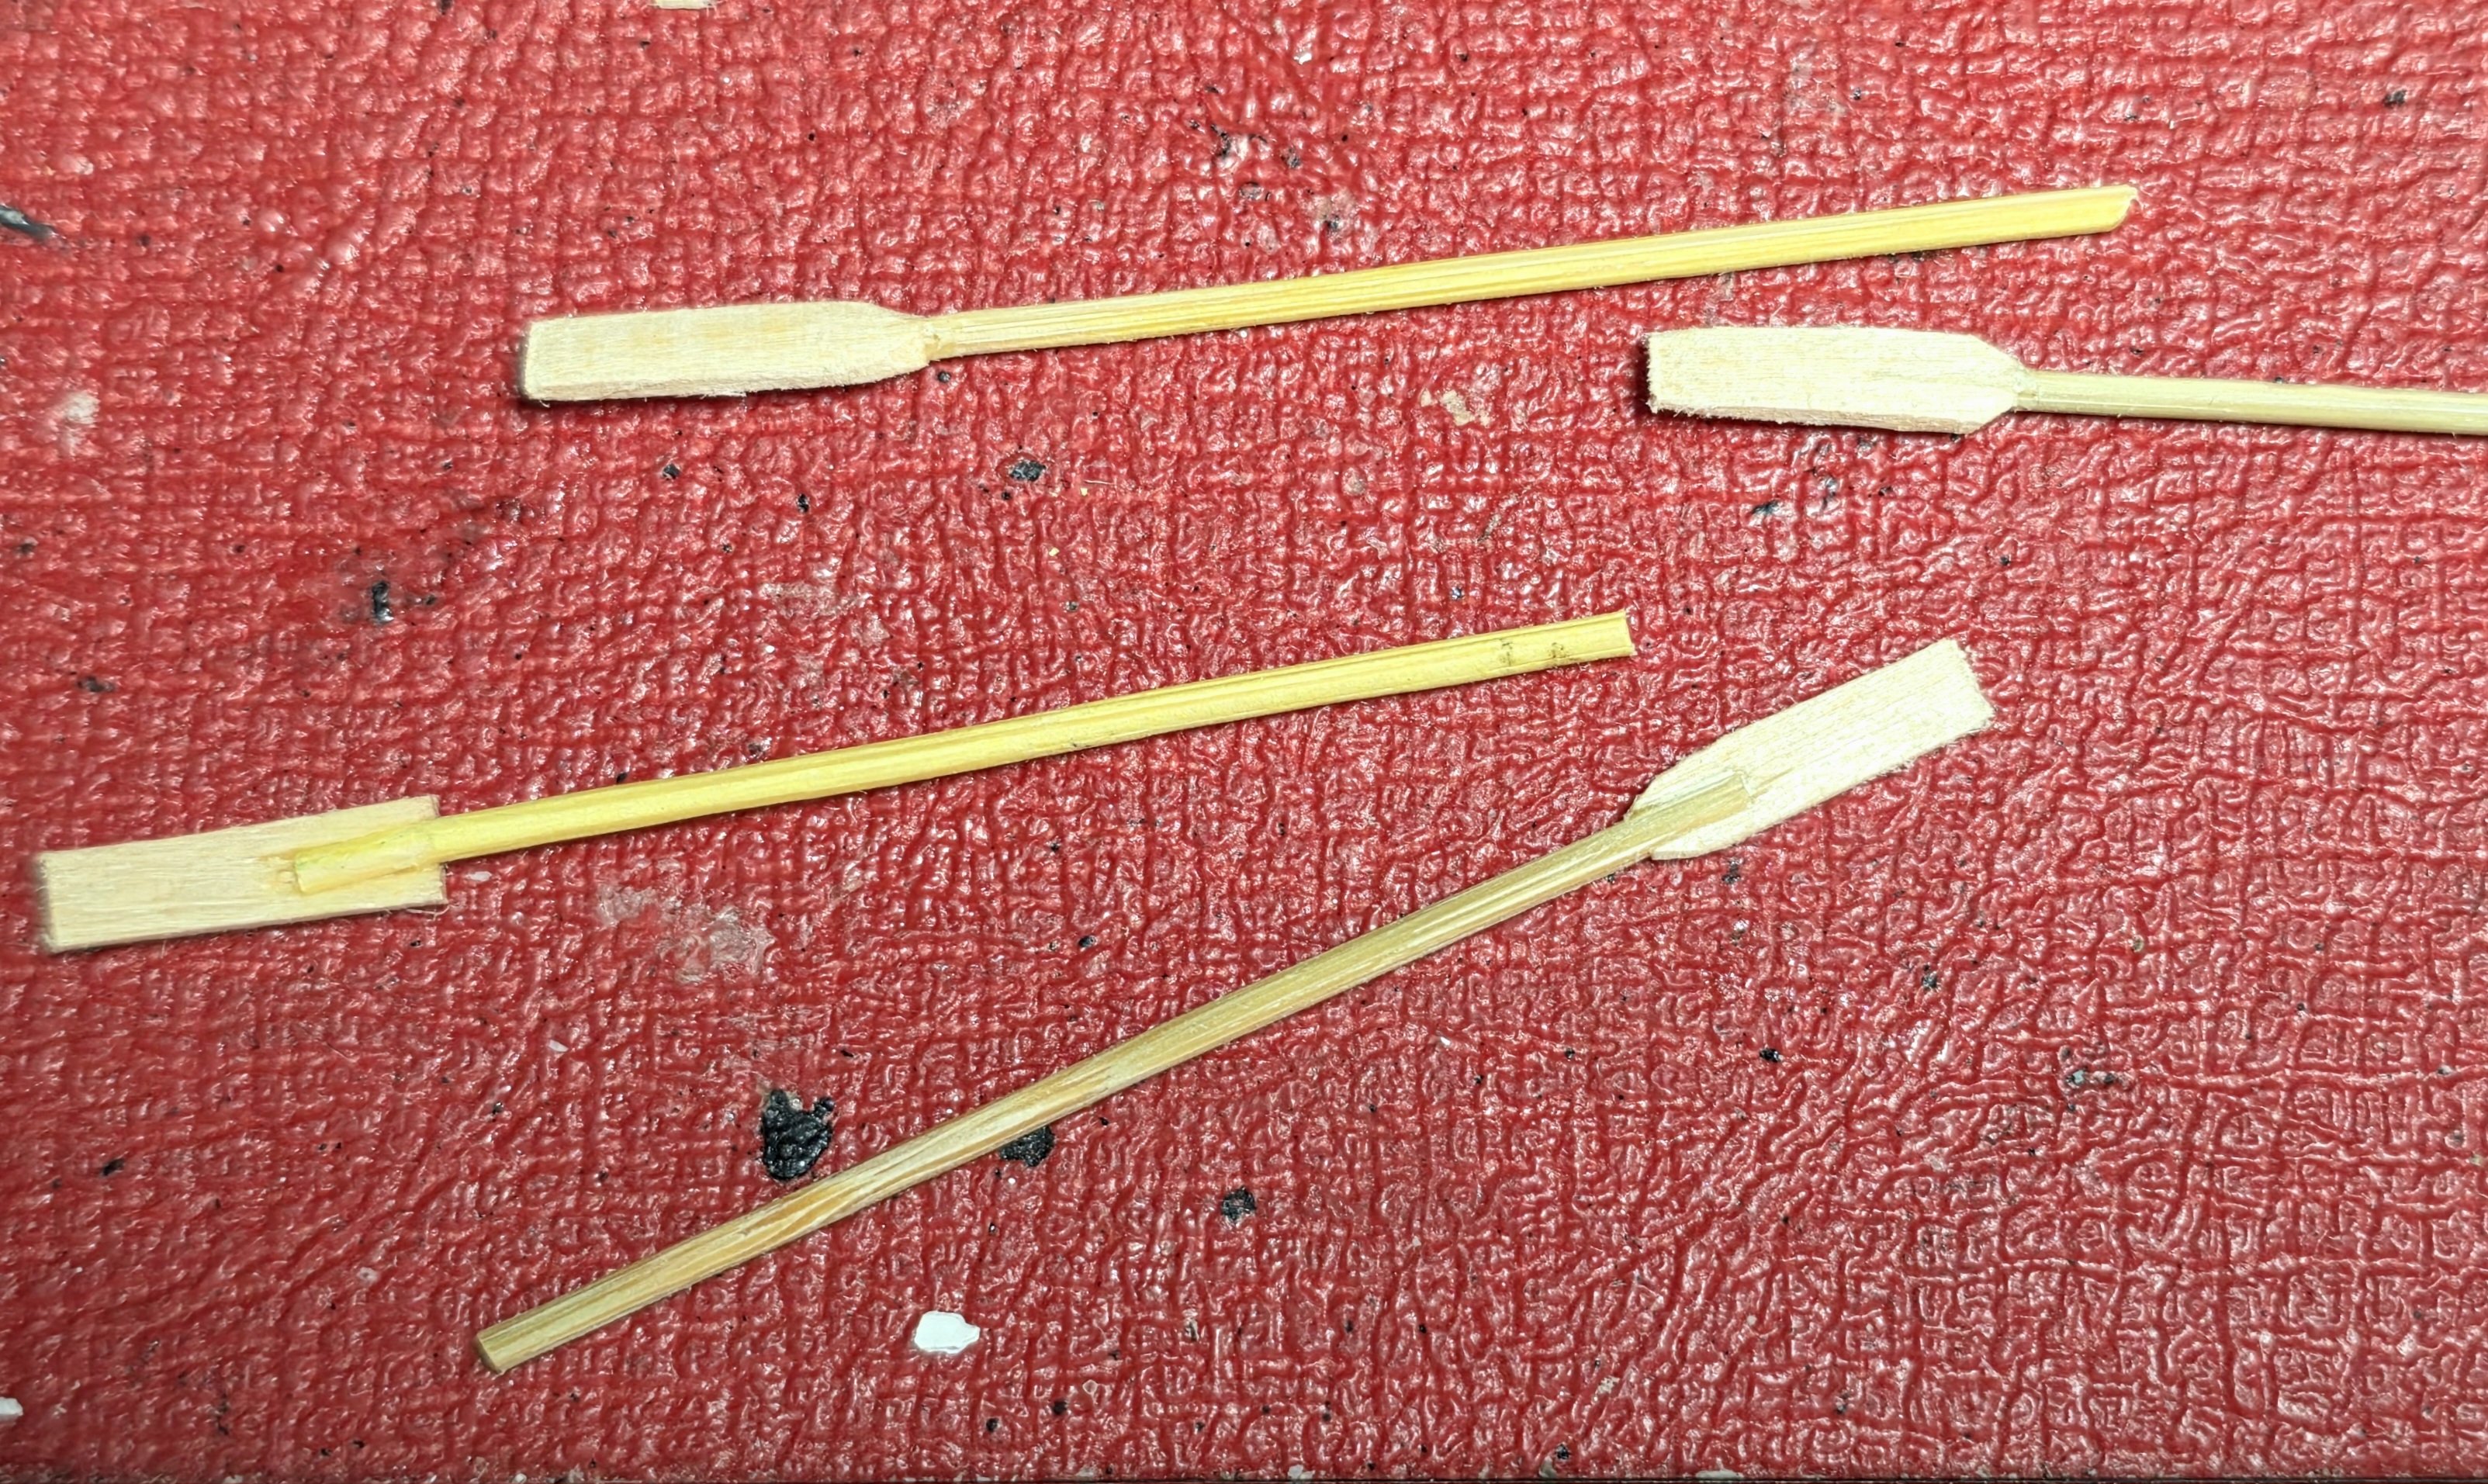
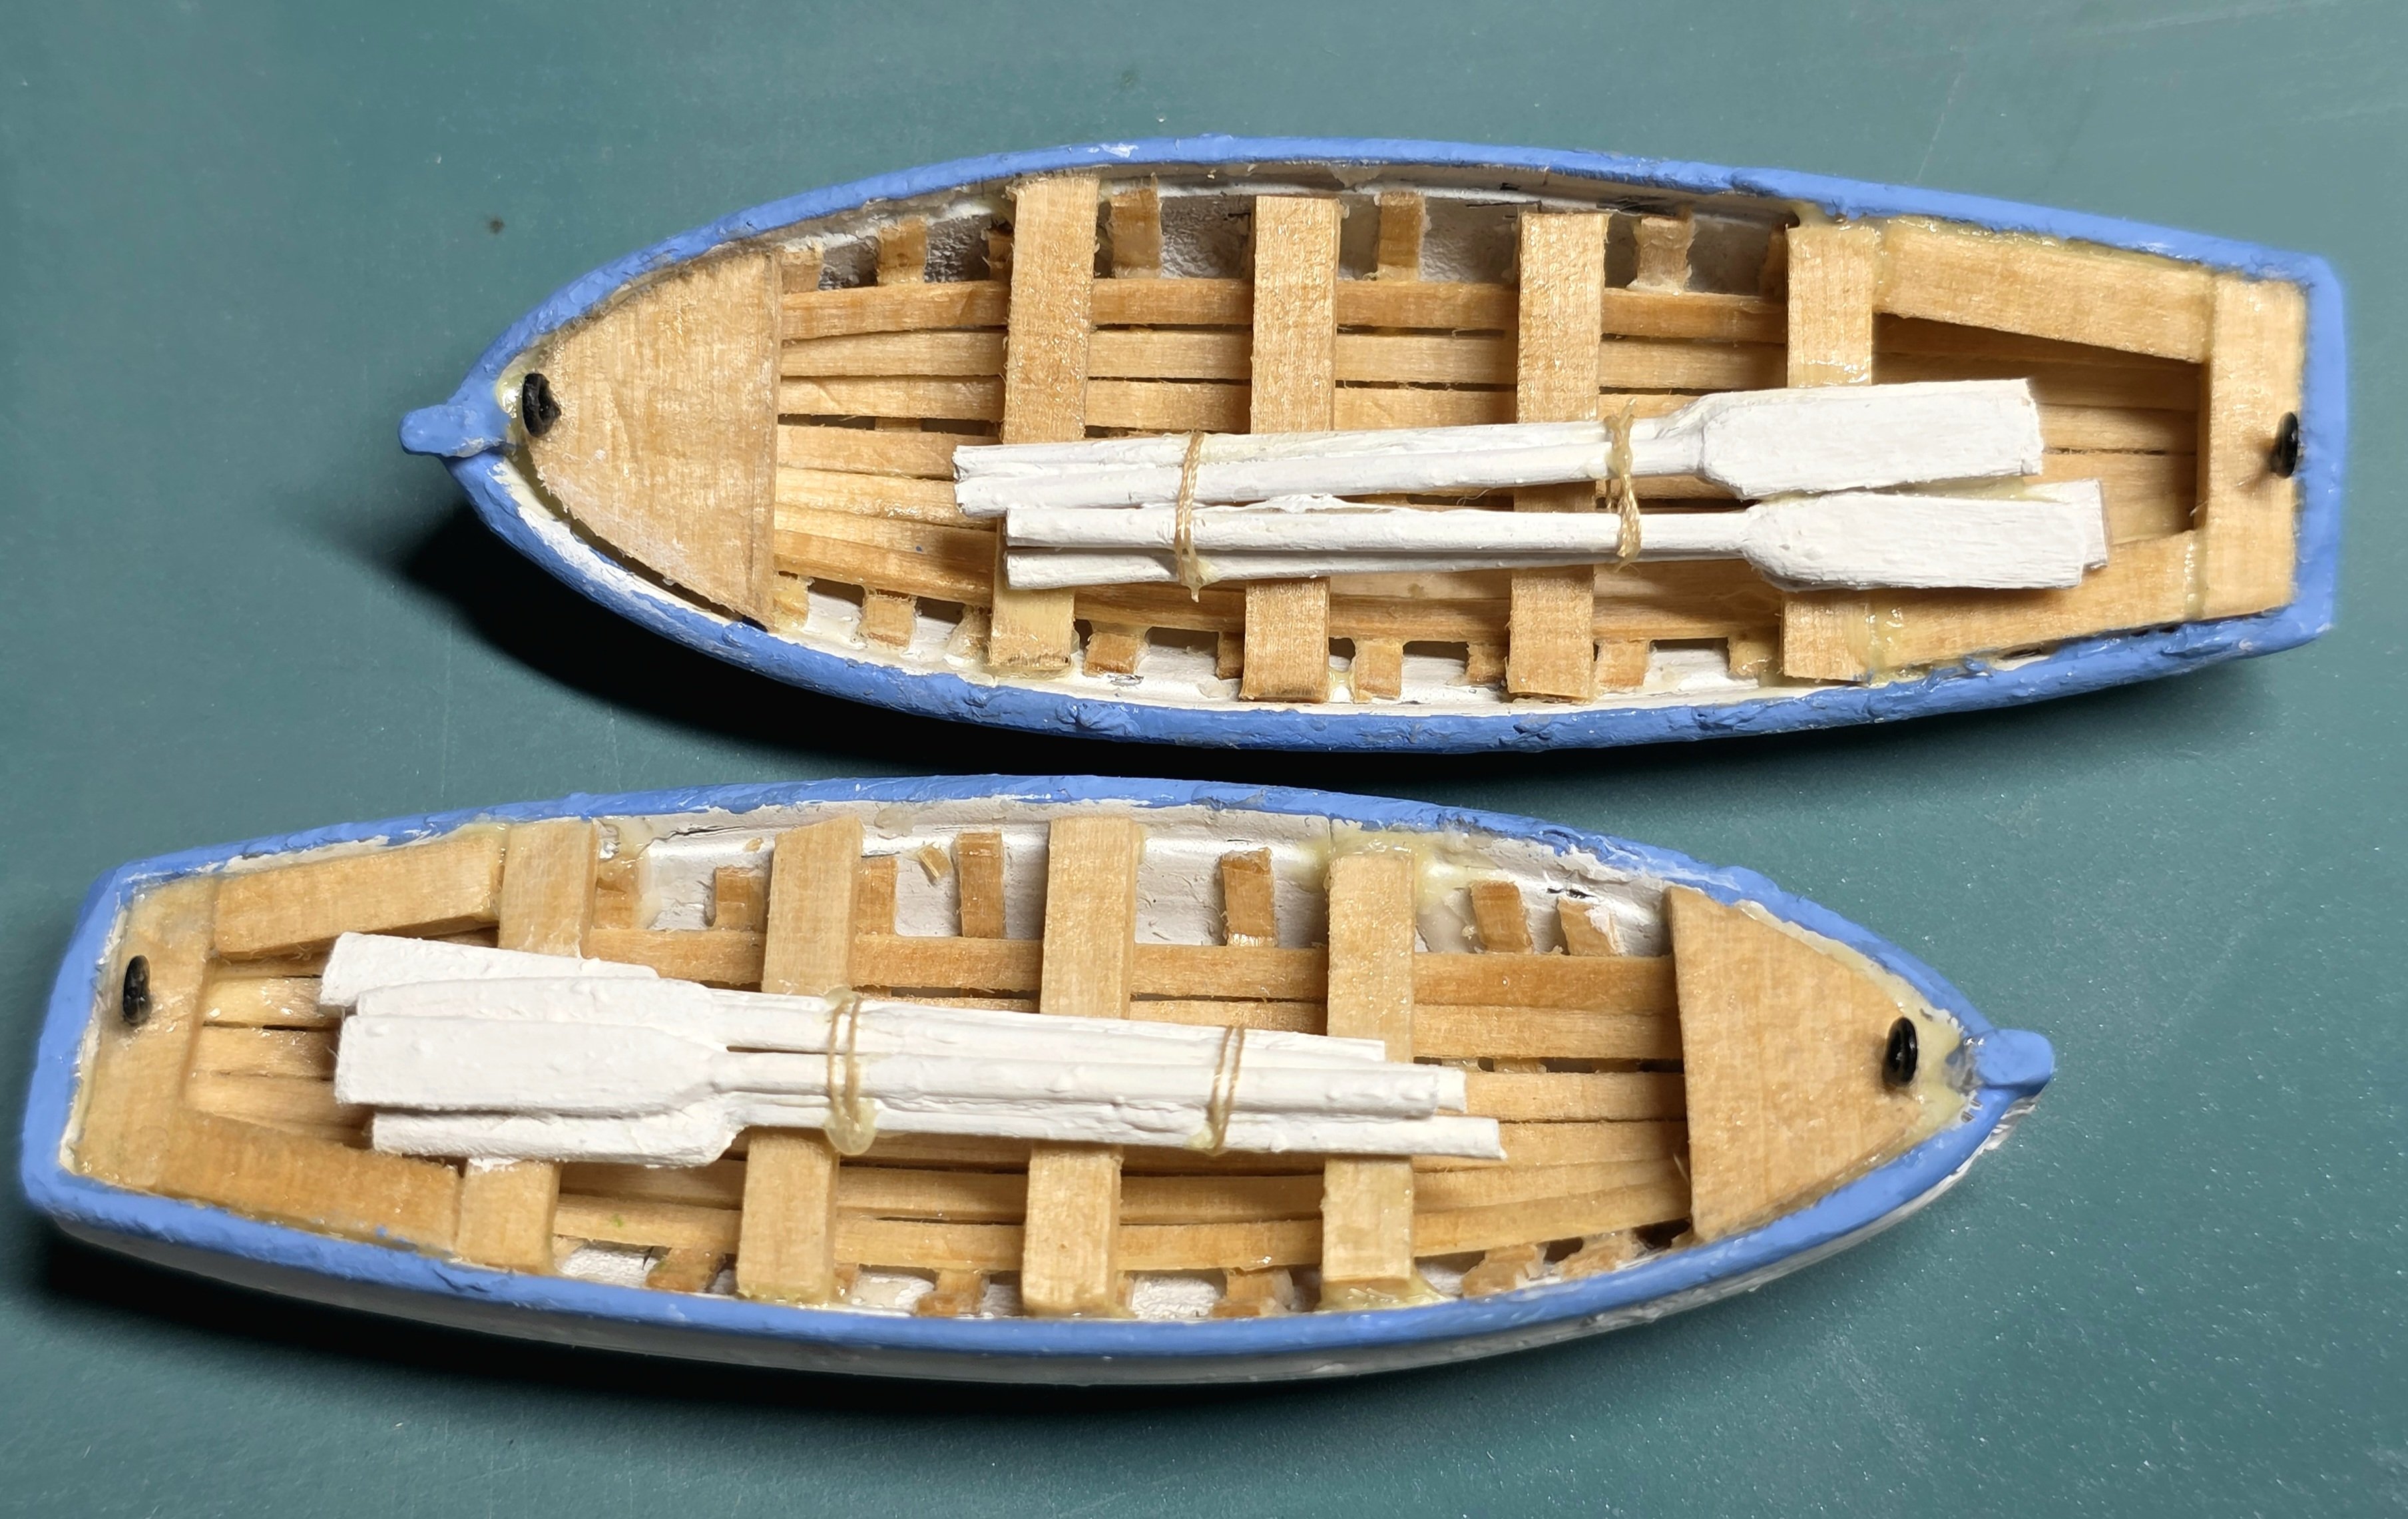
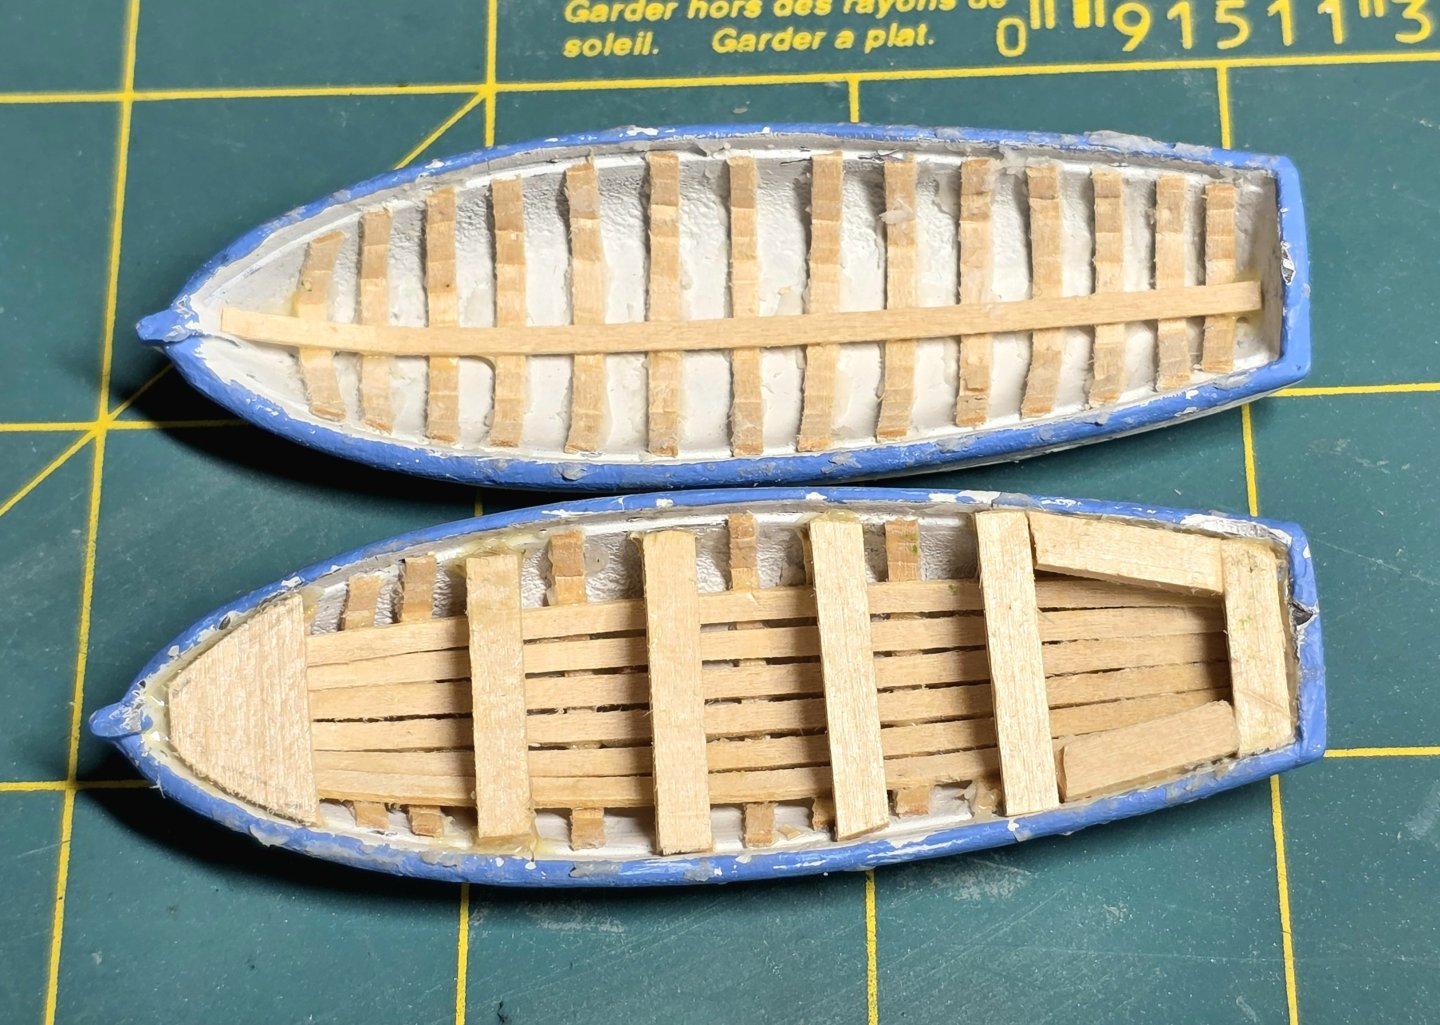
As a diversion from the endless rigging I decided to install the boat davits and complete the insides of the 2 ship's boats which will hand from them. I used the kit's Brittania cast boats which I had previously painted. I then used a crimping tool to curve the wood strip boat ribs, gluing them in place. The wooded floor boards were then glued in place, and then the sests. For the oars I carve a small notch into some small length wood strips then glued the oar handles (narrow diameter incence sticjs) into the notches. The paddels were sanded to shape, painted, then glued and tied into the 2 boats. The unpainted wood parts were coated with tung oil as finish.


- 433 replies
-
- 4
-

-
-
- Flying Fish
- Model Shipways
- (and 2 more)
-
Beautiful well made model. Congrats
-
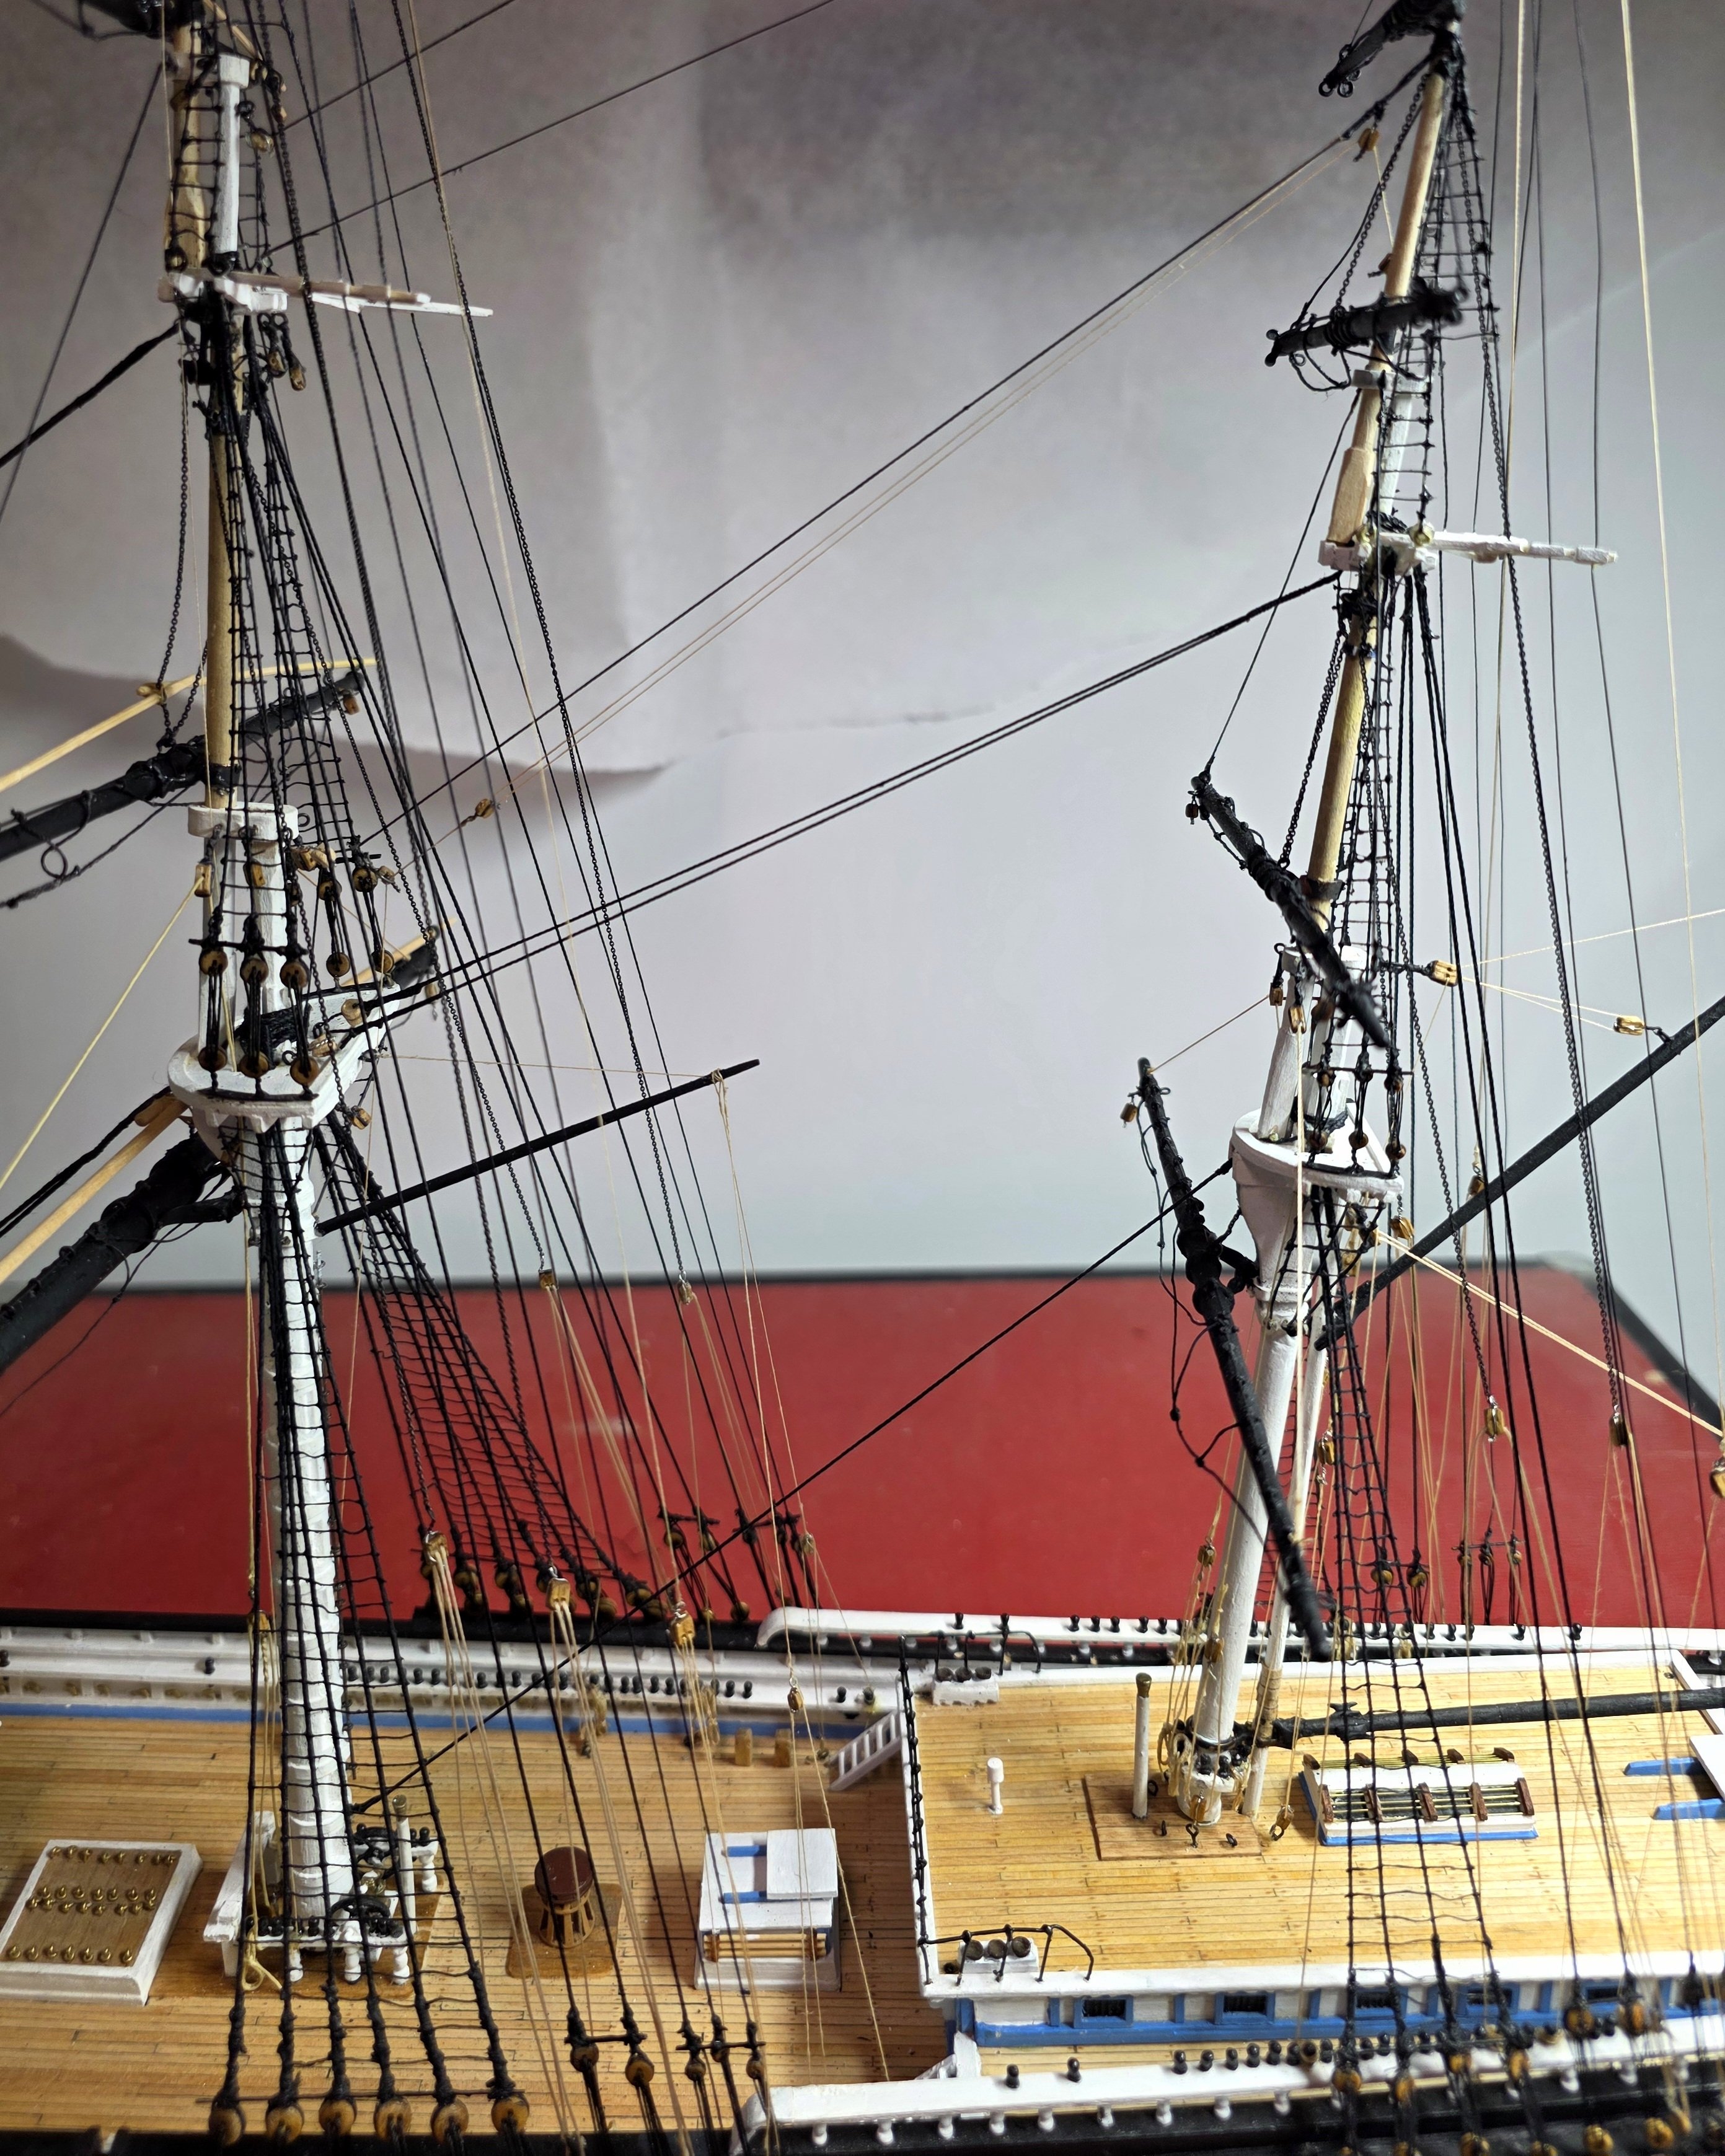
Over the last week I have been rigging the braces for the yards on the mizzen mask. They went pretty well and are now completed.
- 433 replies
-
- 4
-
-
- Flying Fish
- Model Shipways
- (and 2 more)
-
Welcome back Rob. Lovely work for sure.
-
Thanks Rich. It is quite magical how it all slowly comes together. These ships, which are a marvel of engineering and human ingenuity, are certainly one of man's most beautifully made creations. To stand on a deck of any tall ship like the Cutty Sark is an incredibly inspiring and humbling experience.
- 433 replies
-
- 1
-
-
- Flying Fish
- Model Shipways
- (and 2 more)
-
Completed rigging of the mizzen and main topgalant staysail halliards and the handropes above the bowsprit. Items 1 & 4 off the list. I will rig the yard braces next.


- 433 replies
-
- 4
-
-
- Flying Fish
- Model Shipways
- (and 2 more)
-
Thanks Rich.
-
The rigging of the flying jib halliard, outer jib halliard, jib halliard and fore topmast stunsl halliard have now been completed. I can see light at the end of the tunnel! I also tightened up the associated standing rigging, replacing one of the lines. Updated Punch List of Outstanding Tasks for Completion of my Flying Fish. Rig the following 2 halliards: Mizen Staysail Halliard, Mn Topgal Staysl Halliard. Rig all yard braces Rig the flag halliards and install the flags. Add the Bowsprit manropes (horses) p/s Complete the insides of 2 ships boats & mount on the supplied davits. Add a few rope coils to the deck Make 3D printed scale figures (crew & officers) (WIP) Final touch up painting and cleaning of the model. Fabricate a case and plaque Celebrate the model's completion with a few well deserved shots of a good single malt scotch!
- 433 replies
-
- 2
-
-
- Flying Fish
- Model Shipways
- (and 2 more)