Jared
-
Posts
313 -
Joined
-
Last visited
Content Type
Profiles
Forums
Gallery
Events
Everything posted by Jared
-
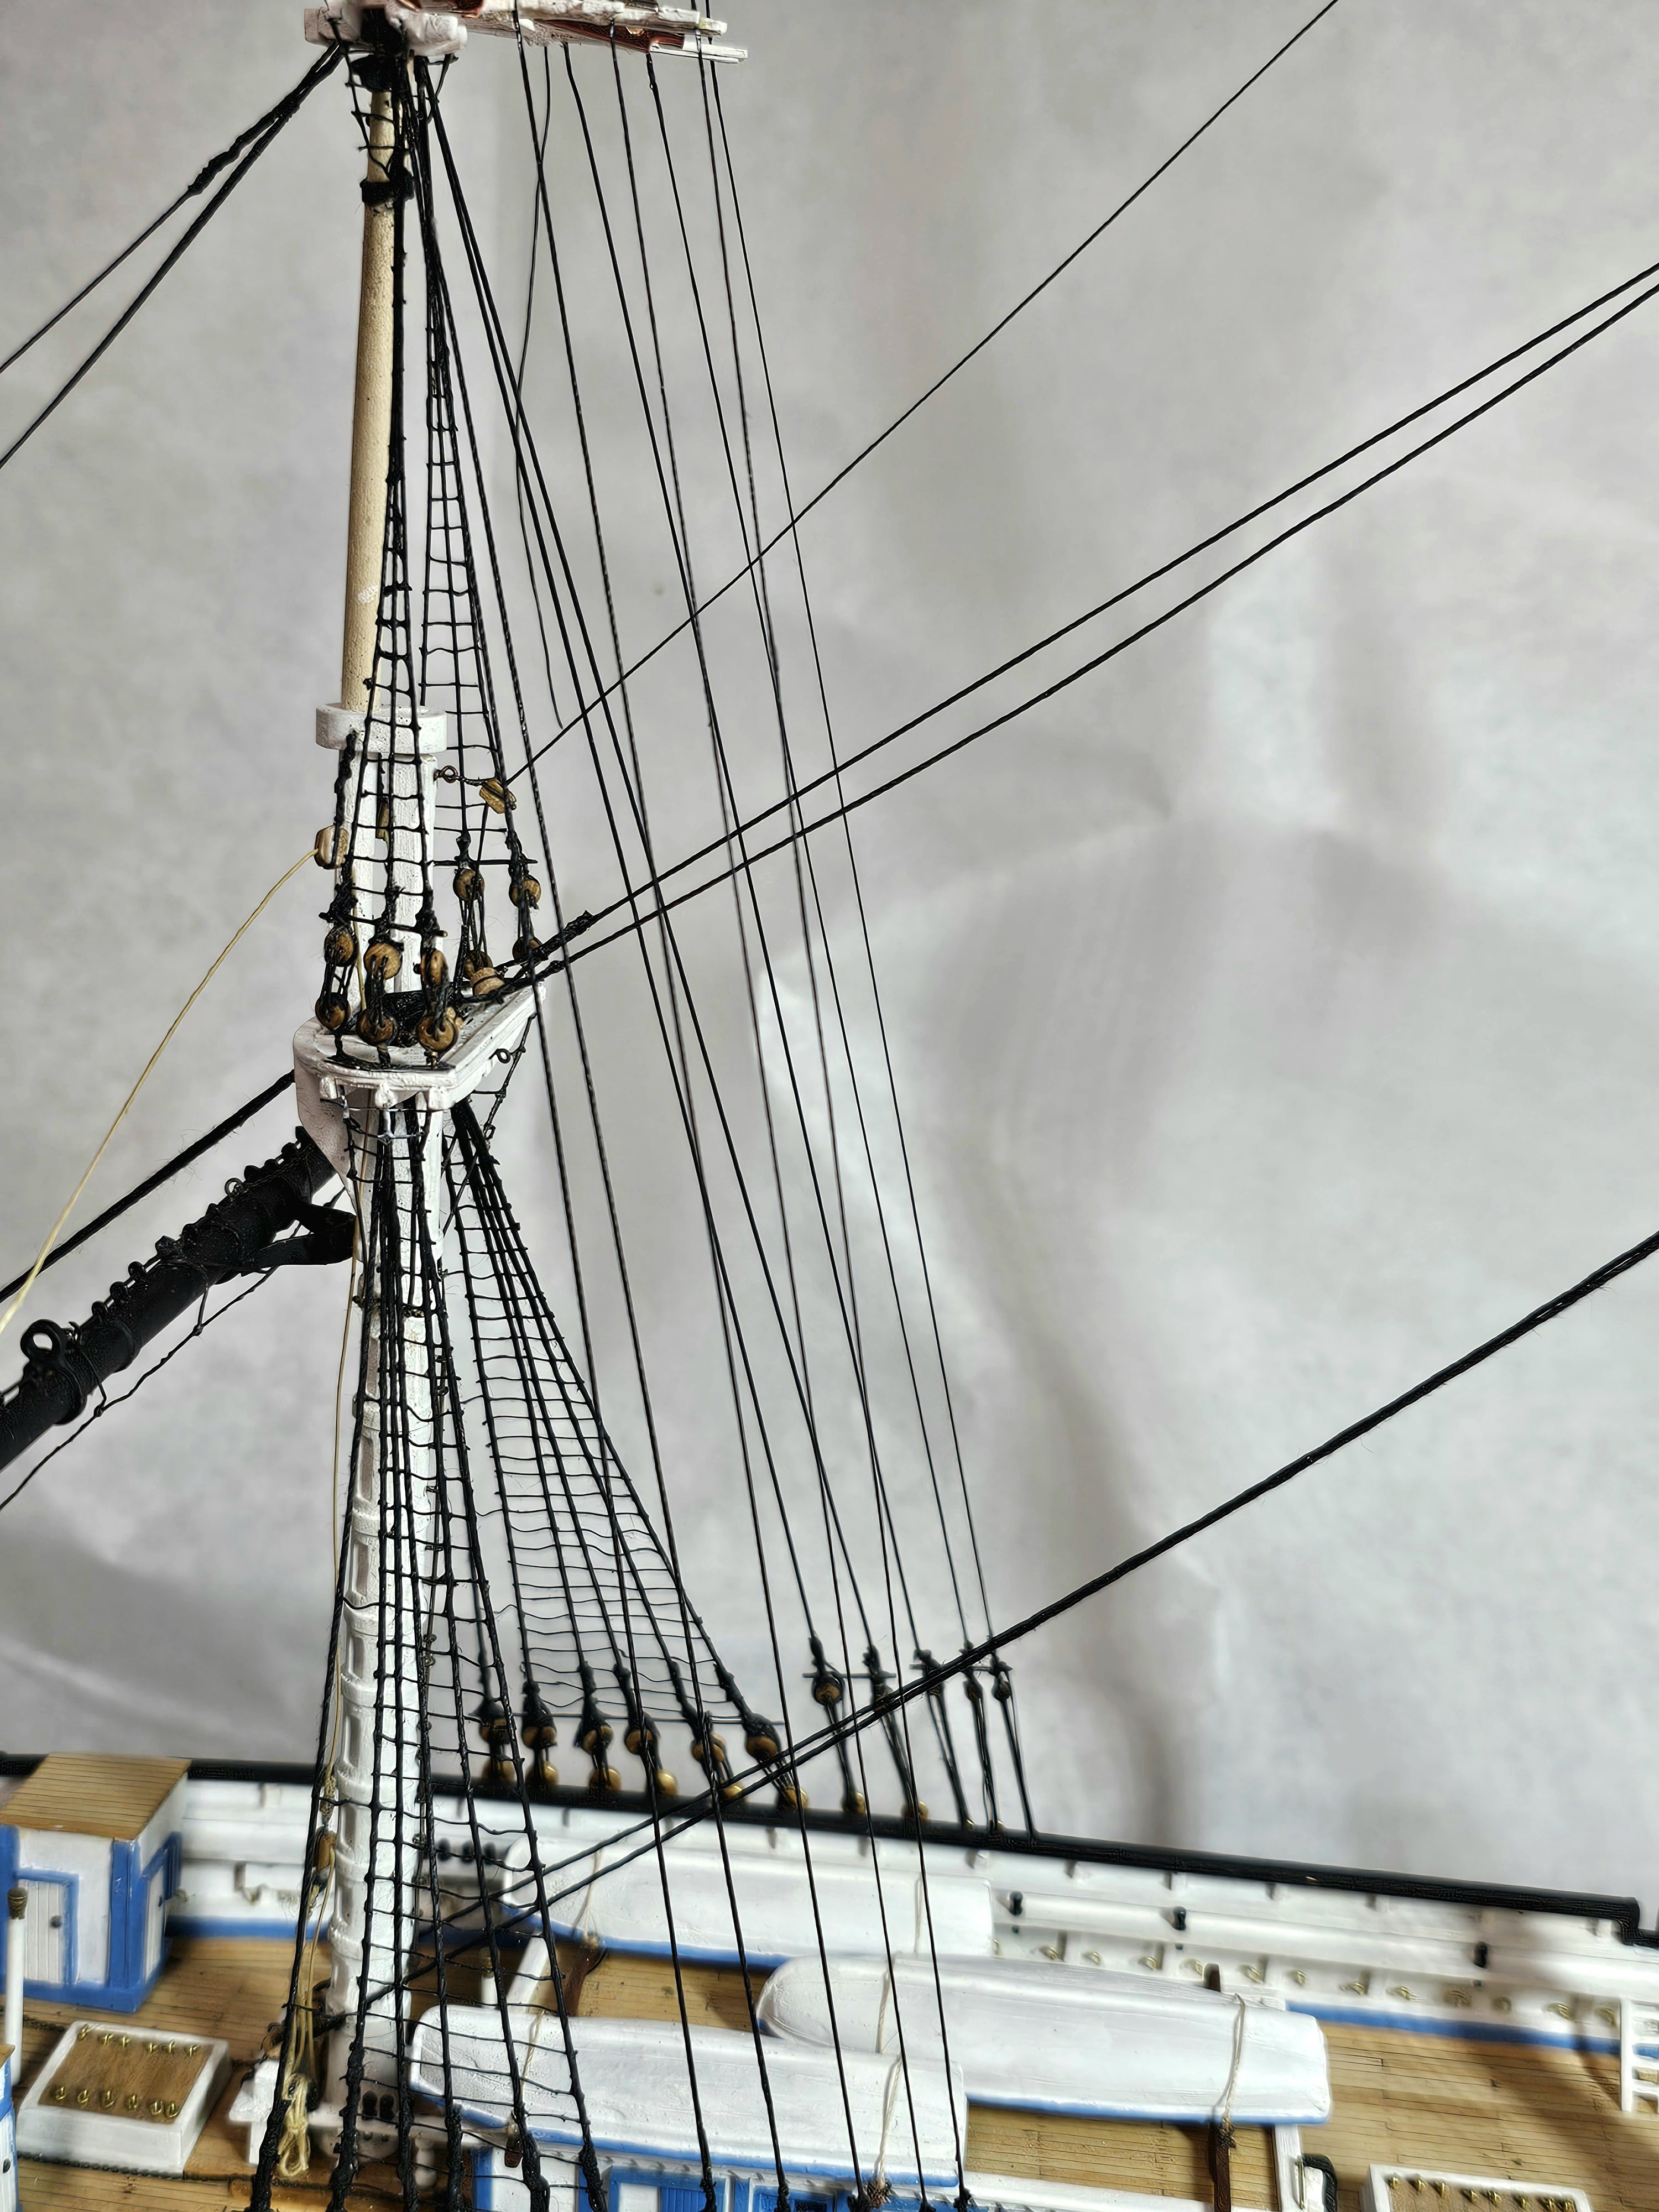
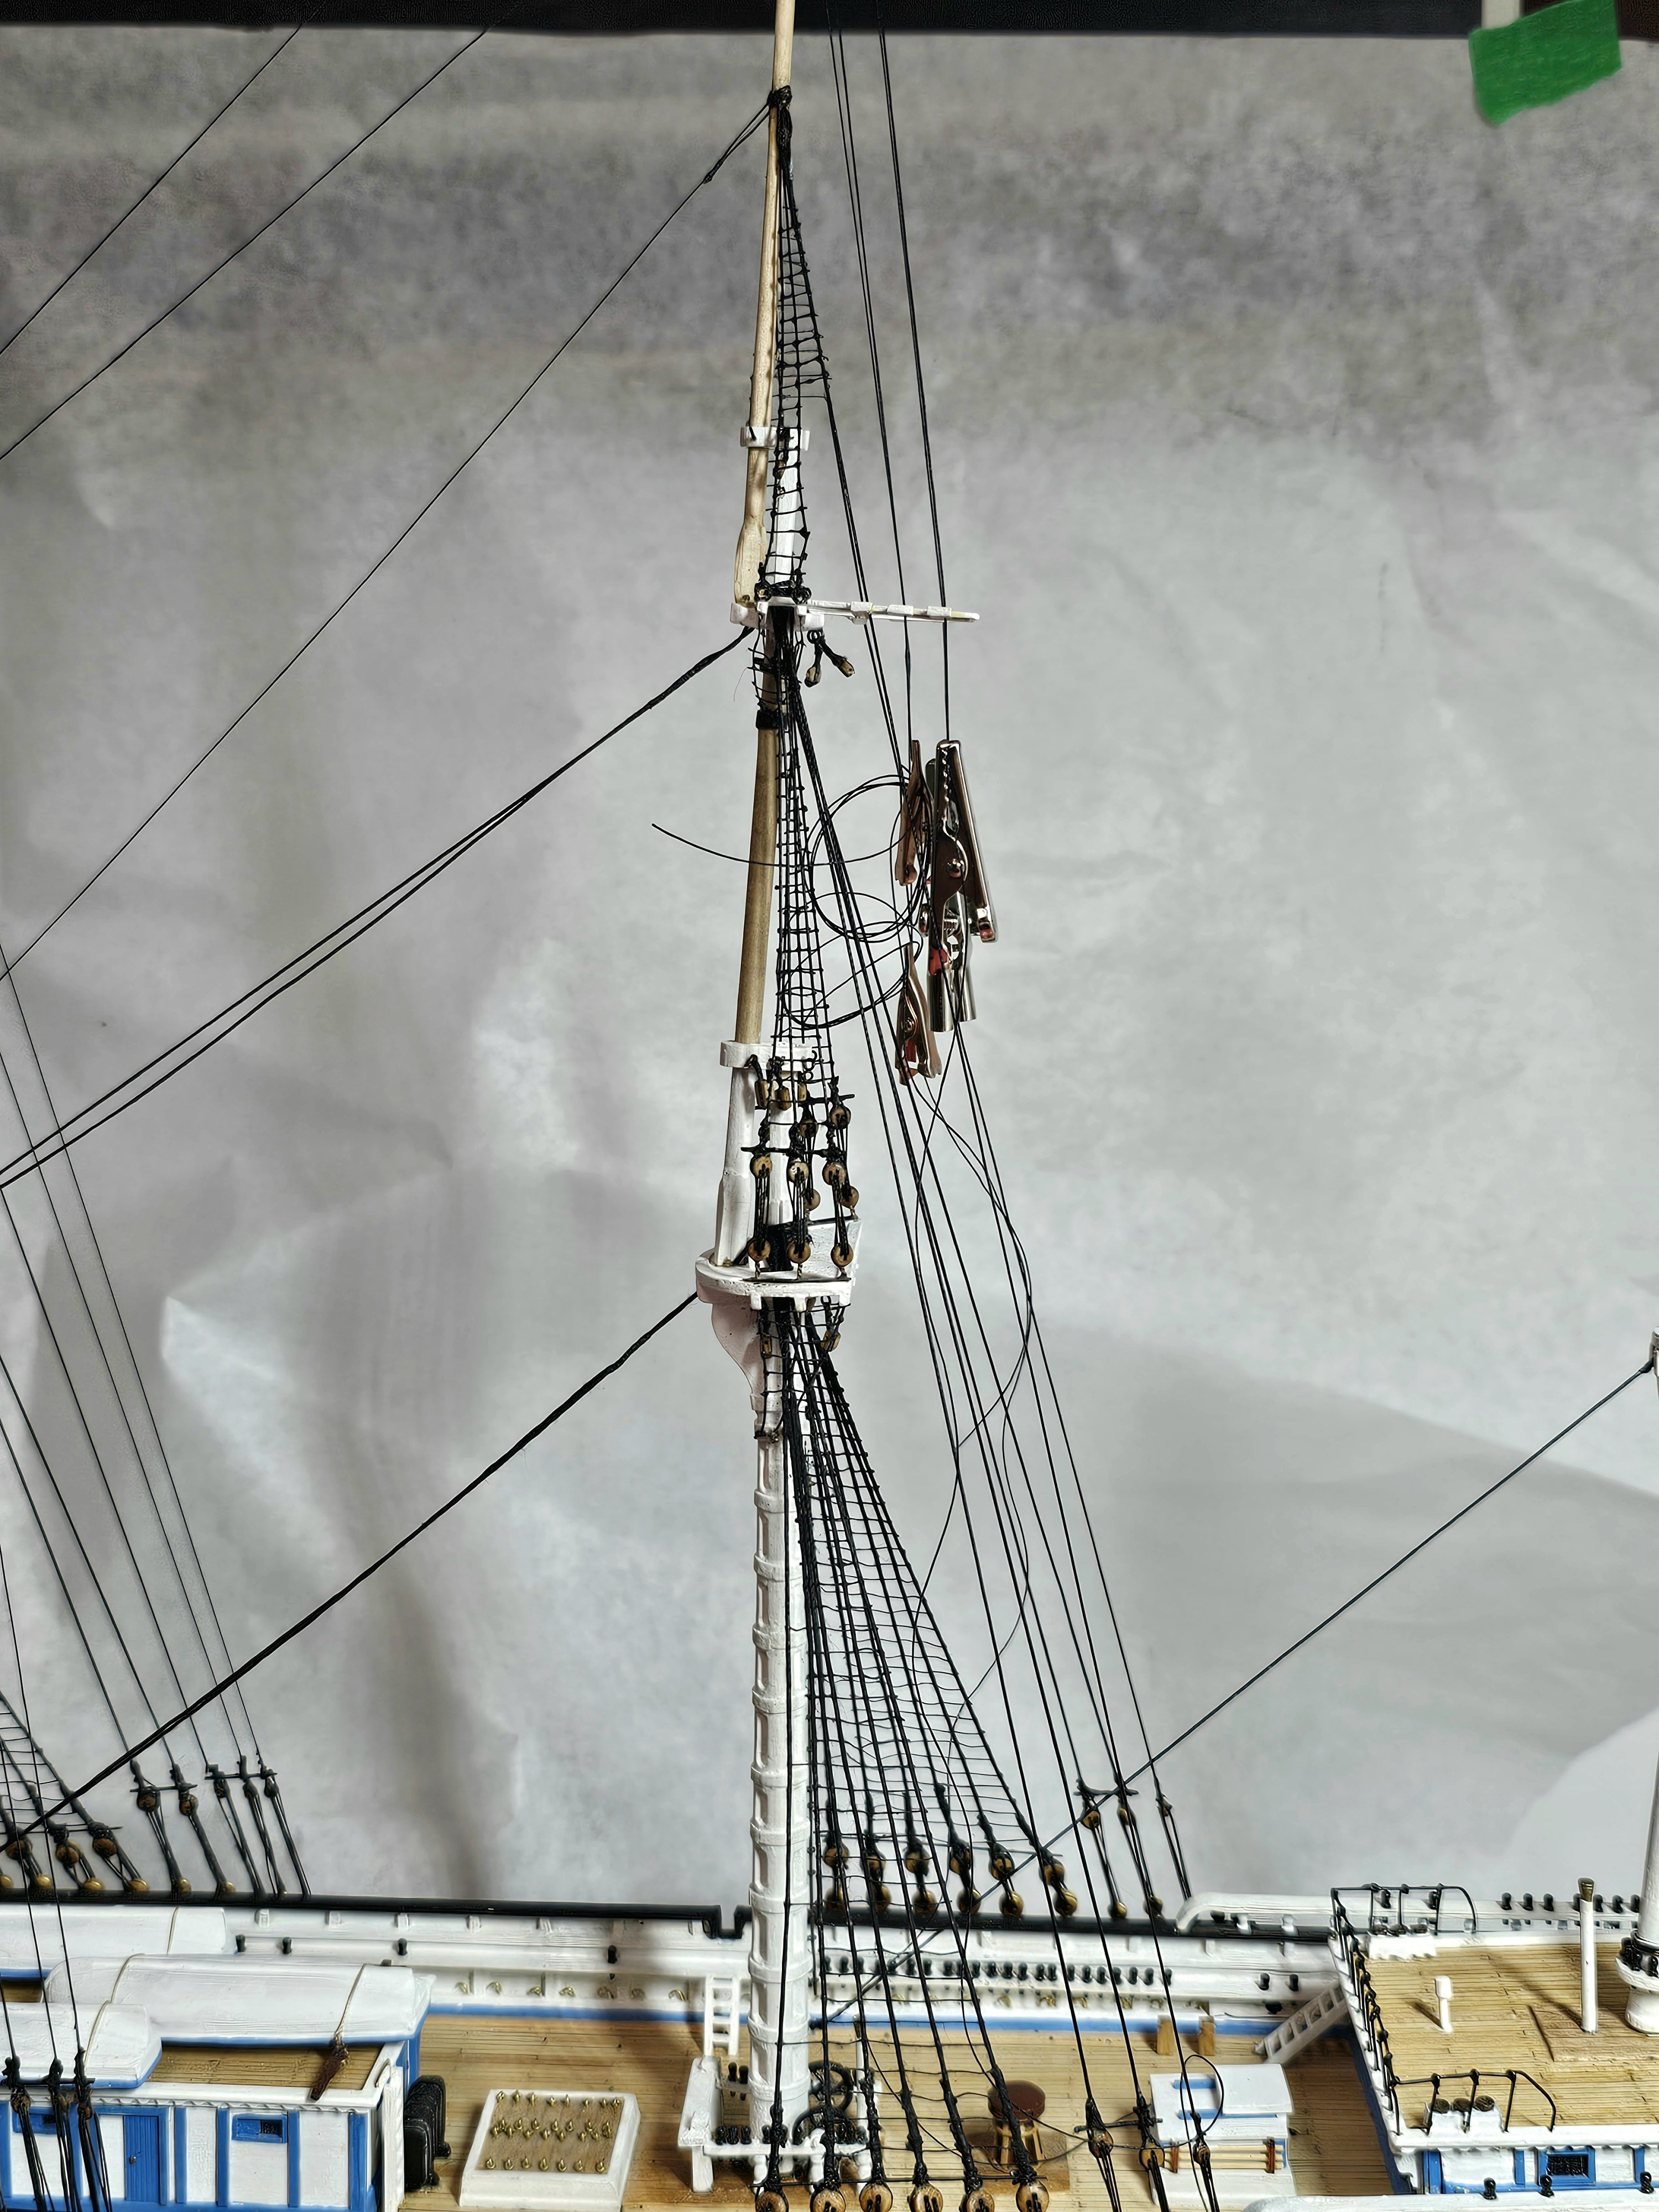
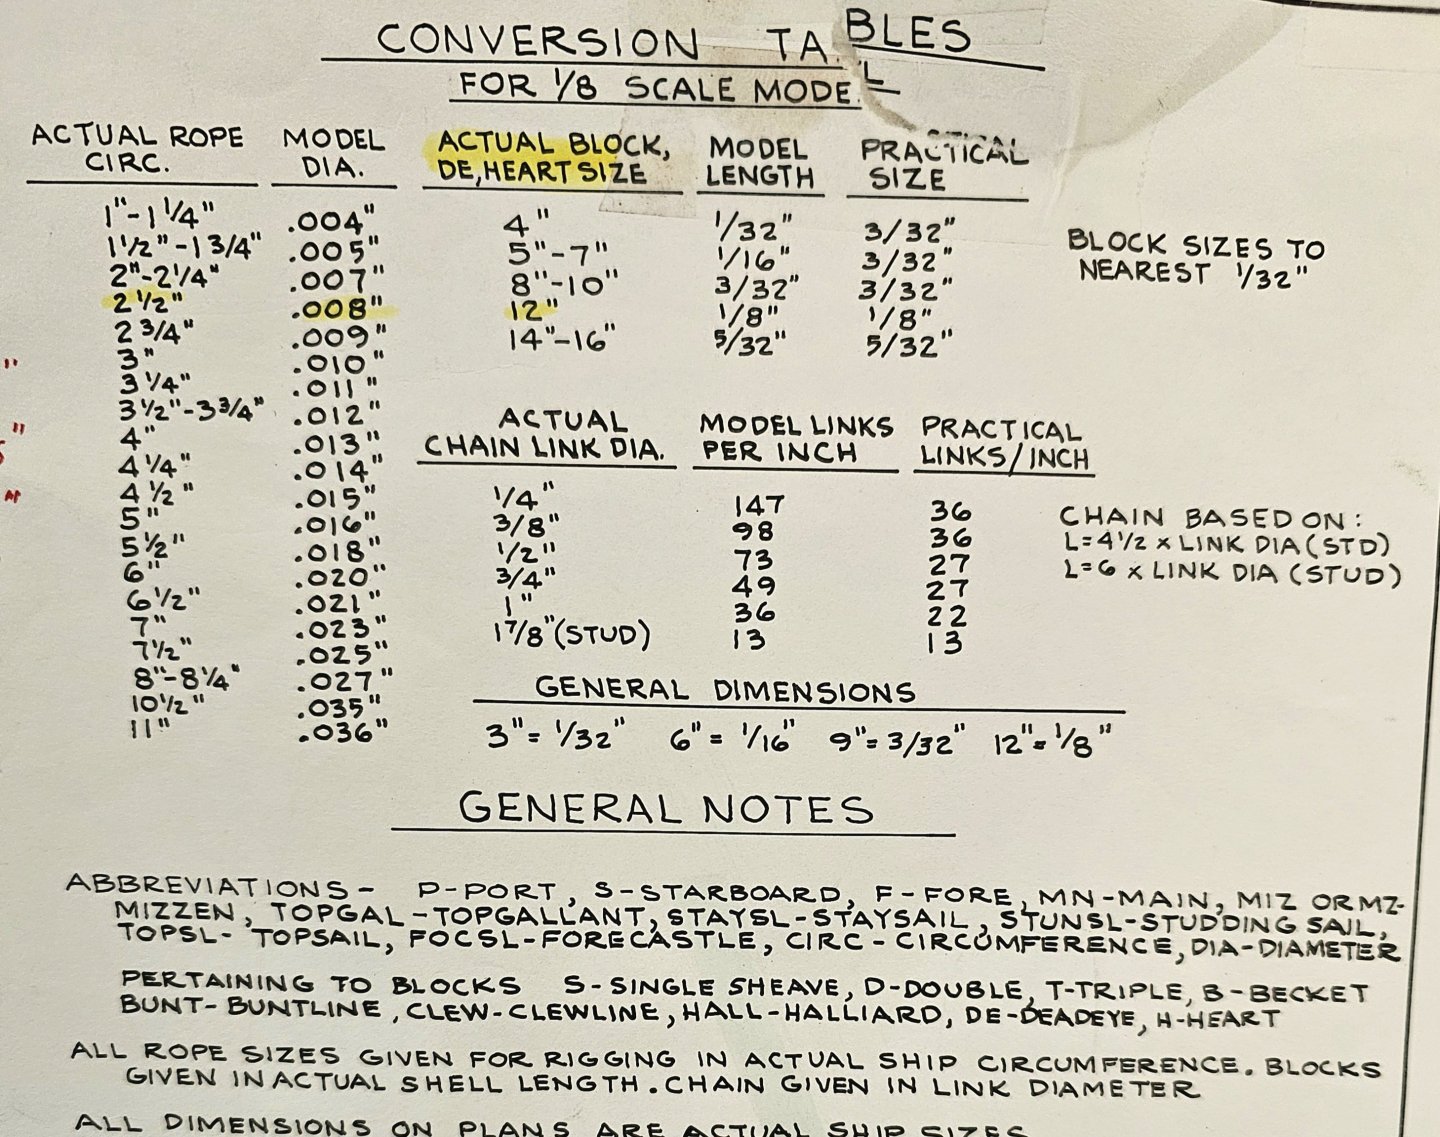
I followed sheet 3. It states the line sizes in the plans are the curcumference measurement. The table then converts it to scale dia. size. The kit did not provide black thread for the 10.5" shrouds (scale dia. 0.035) so I bought some. I measured the diameters of all of my rigging lines with a micrometer scale under a microscope.
-
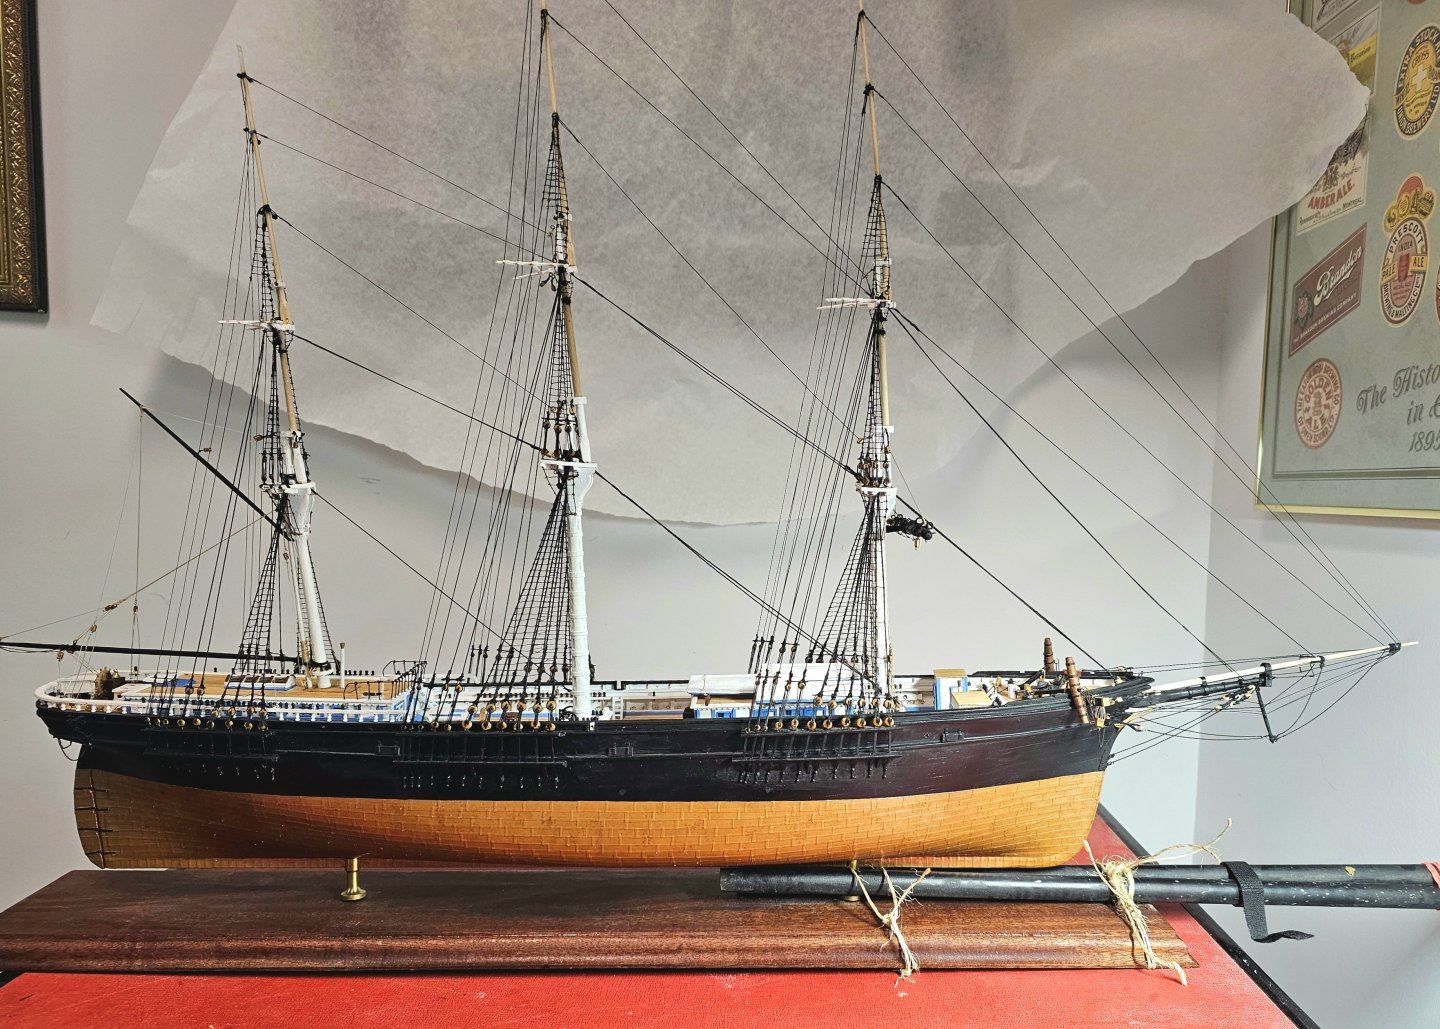
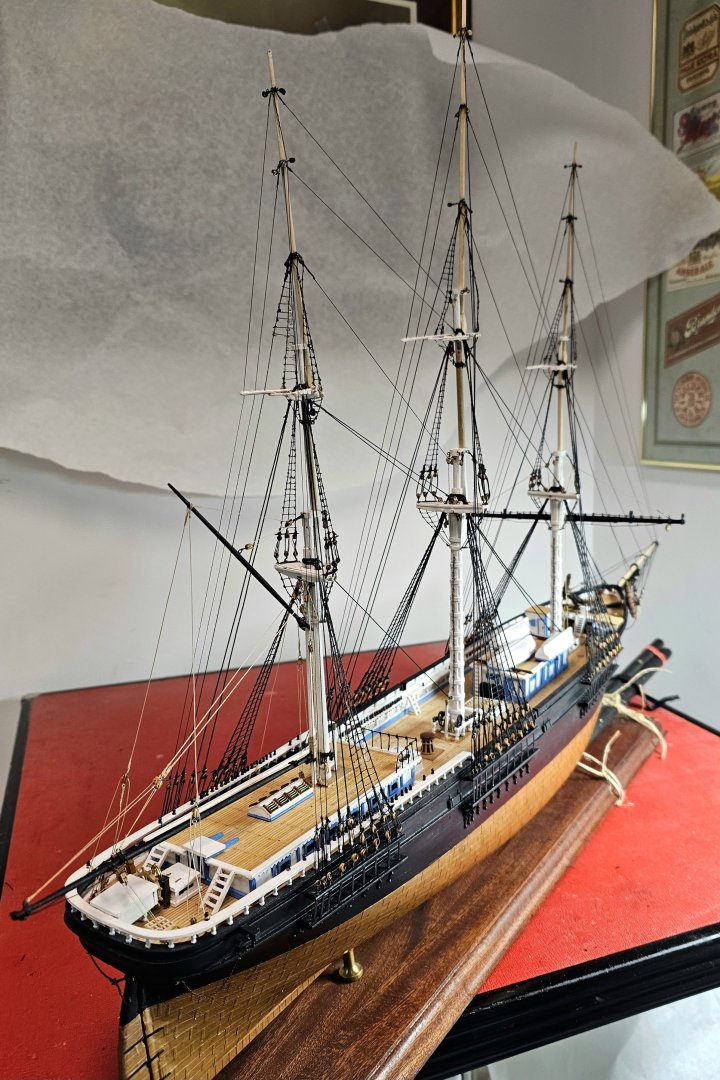
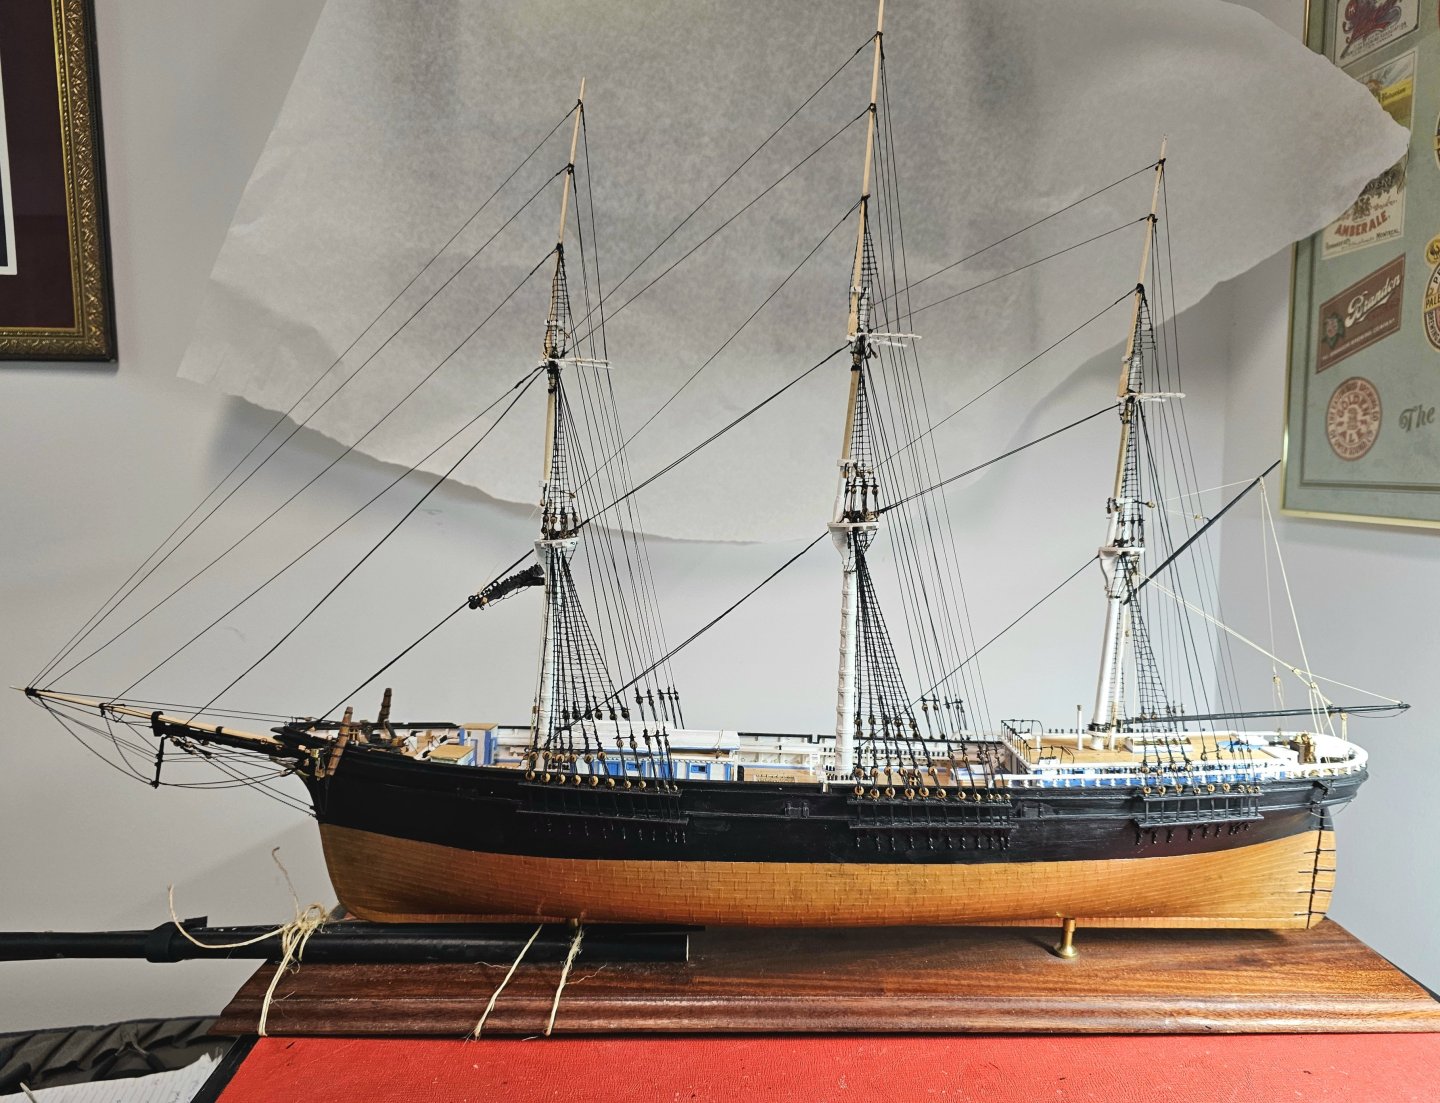
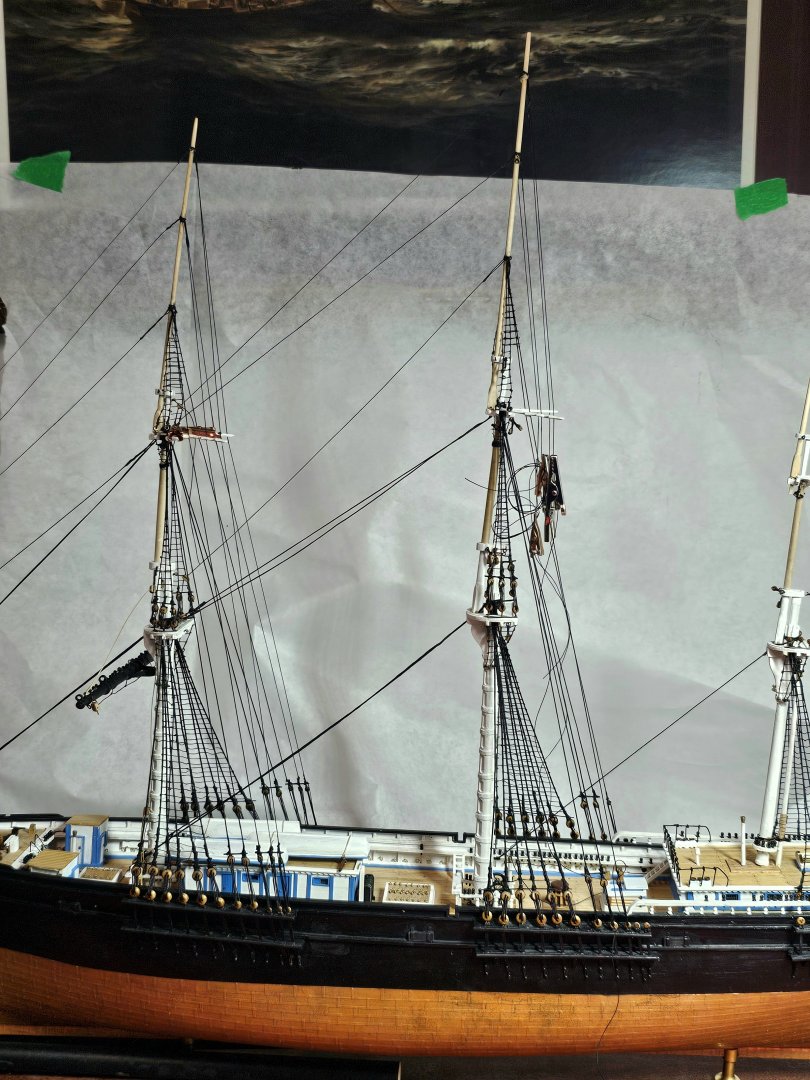
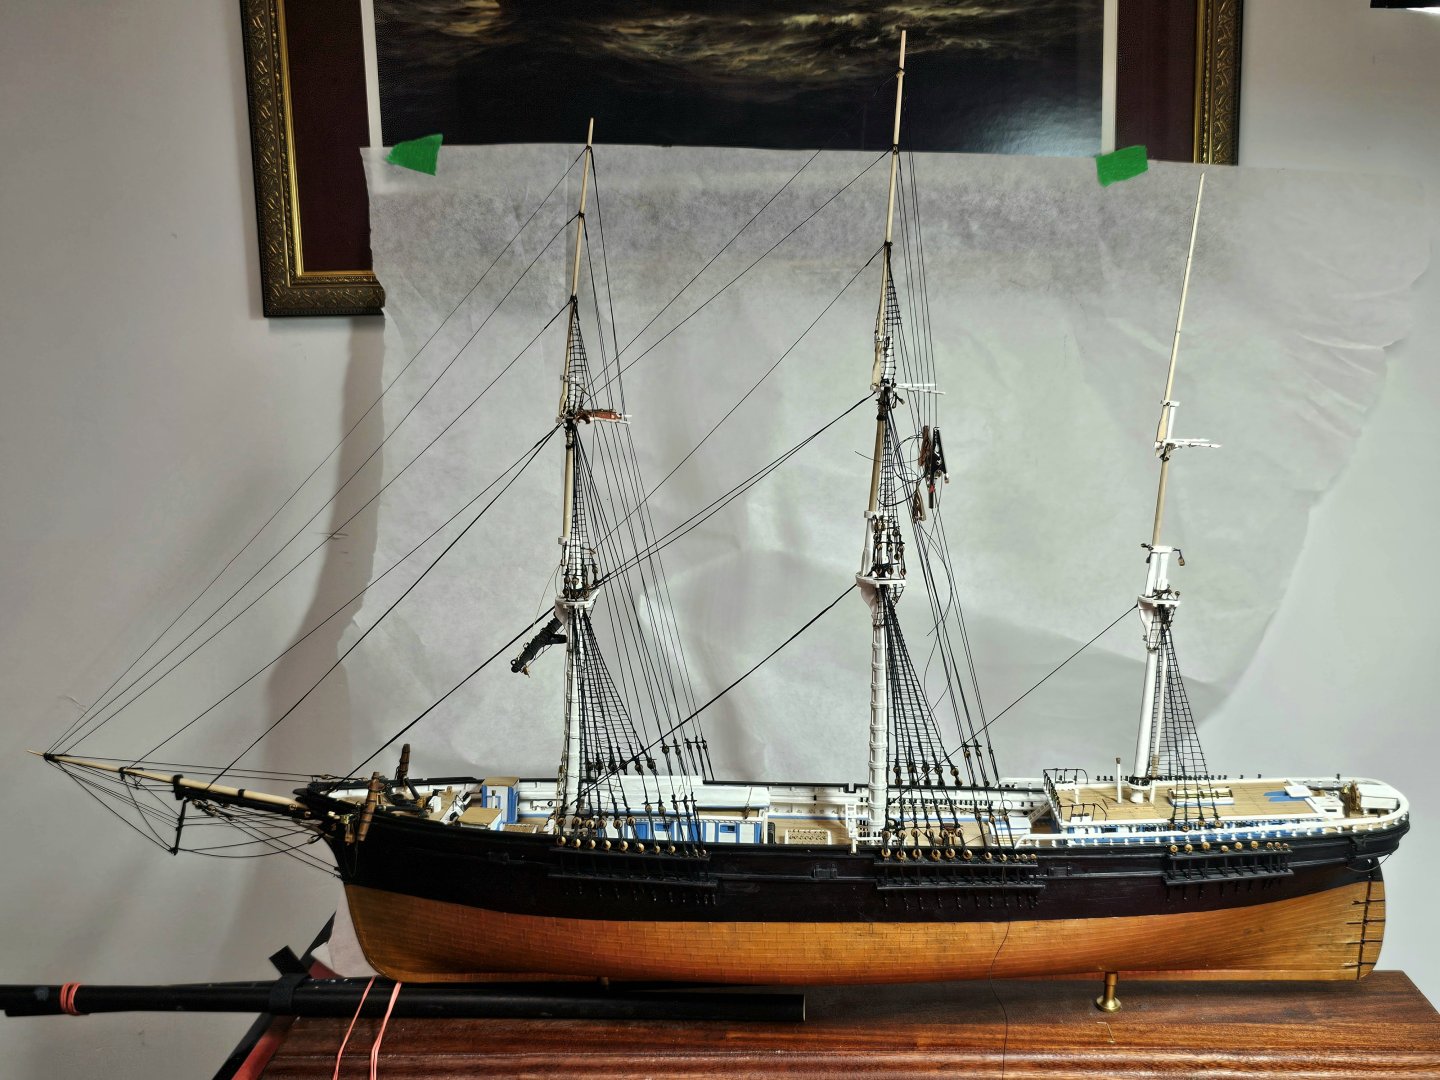
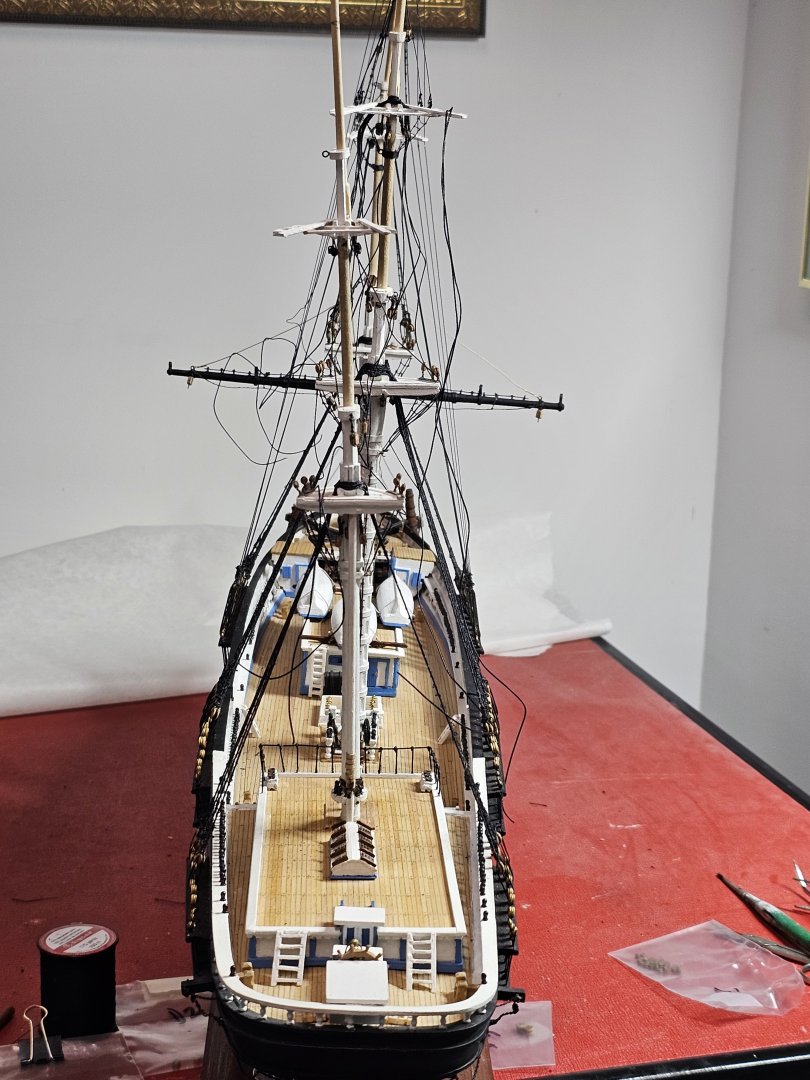
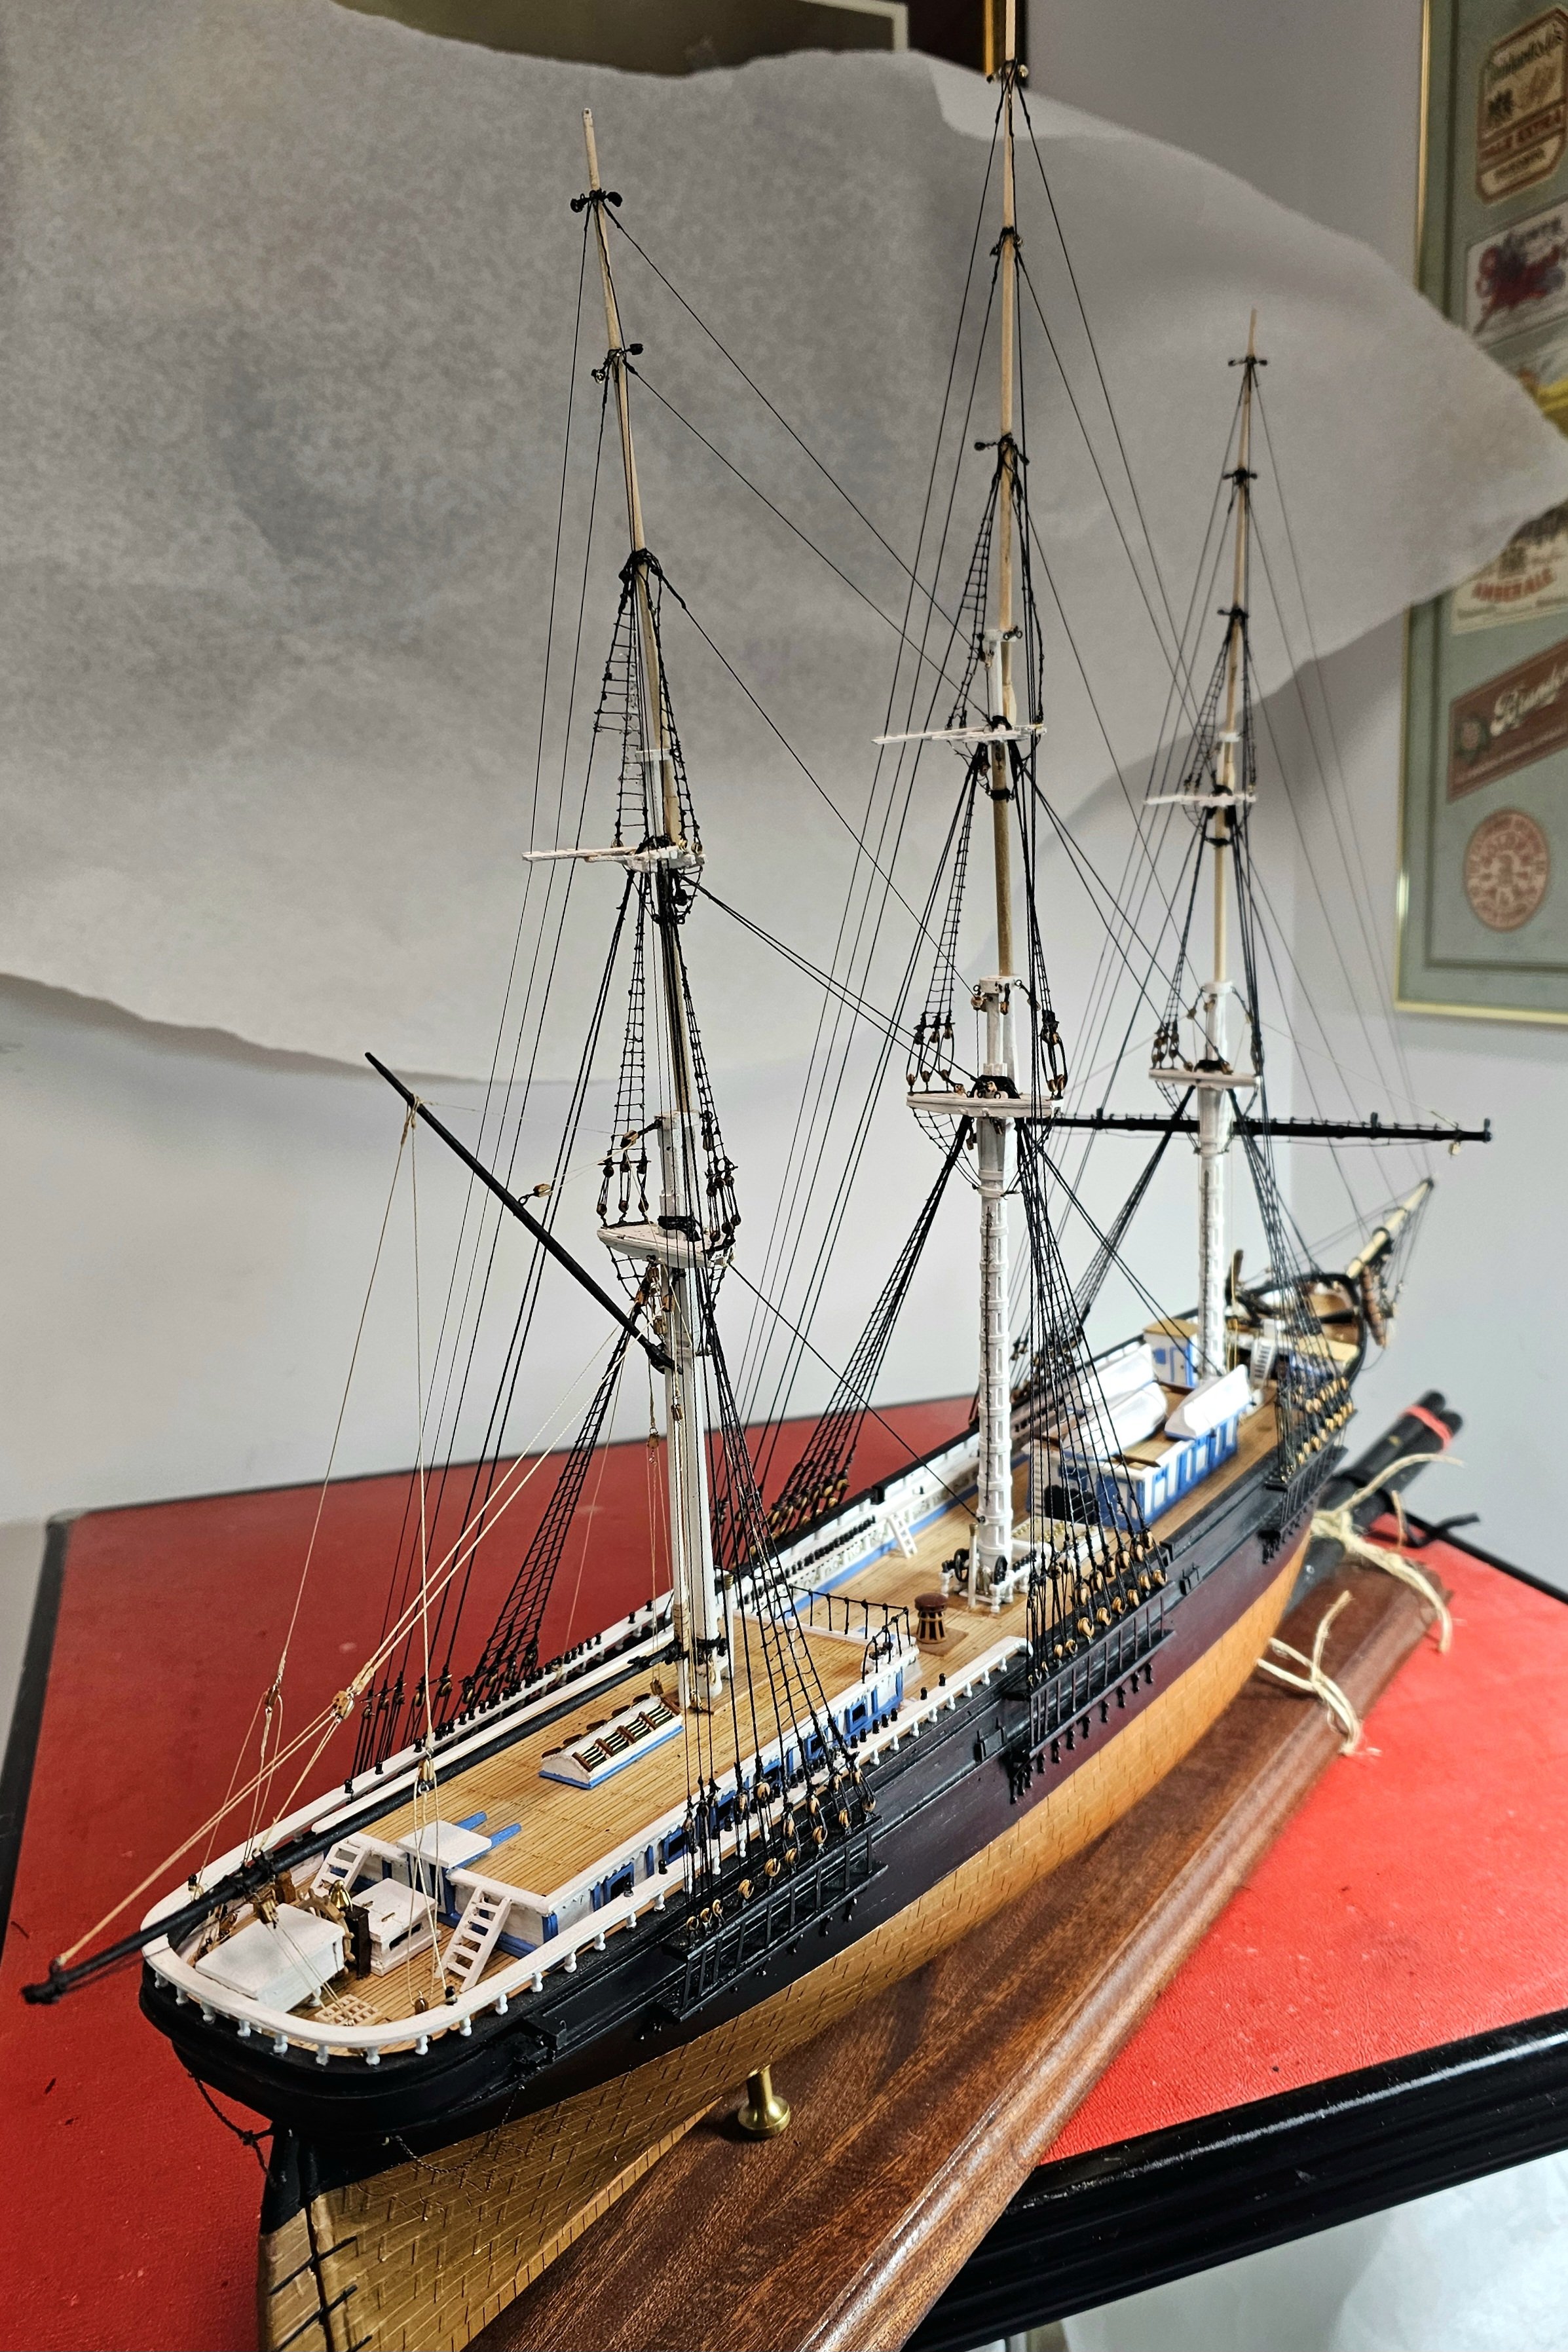
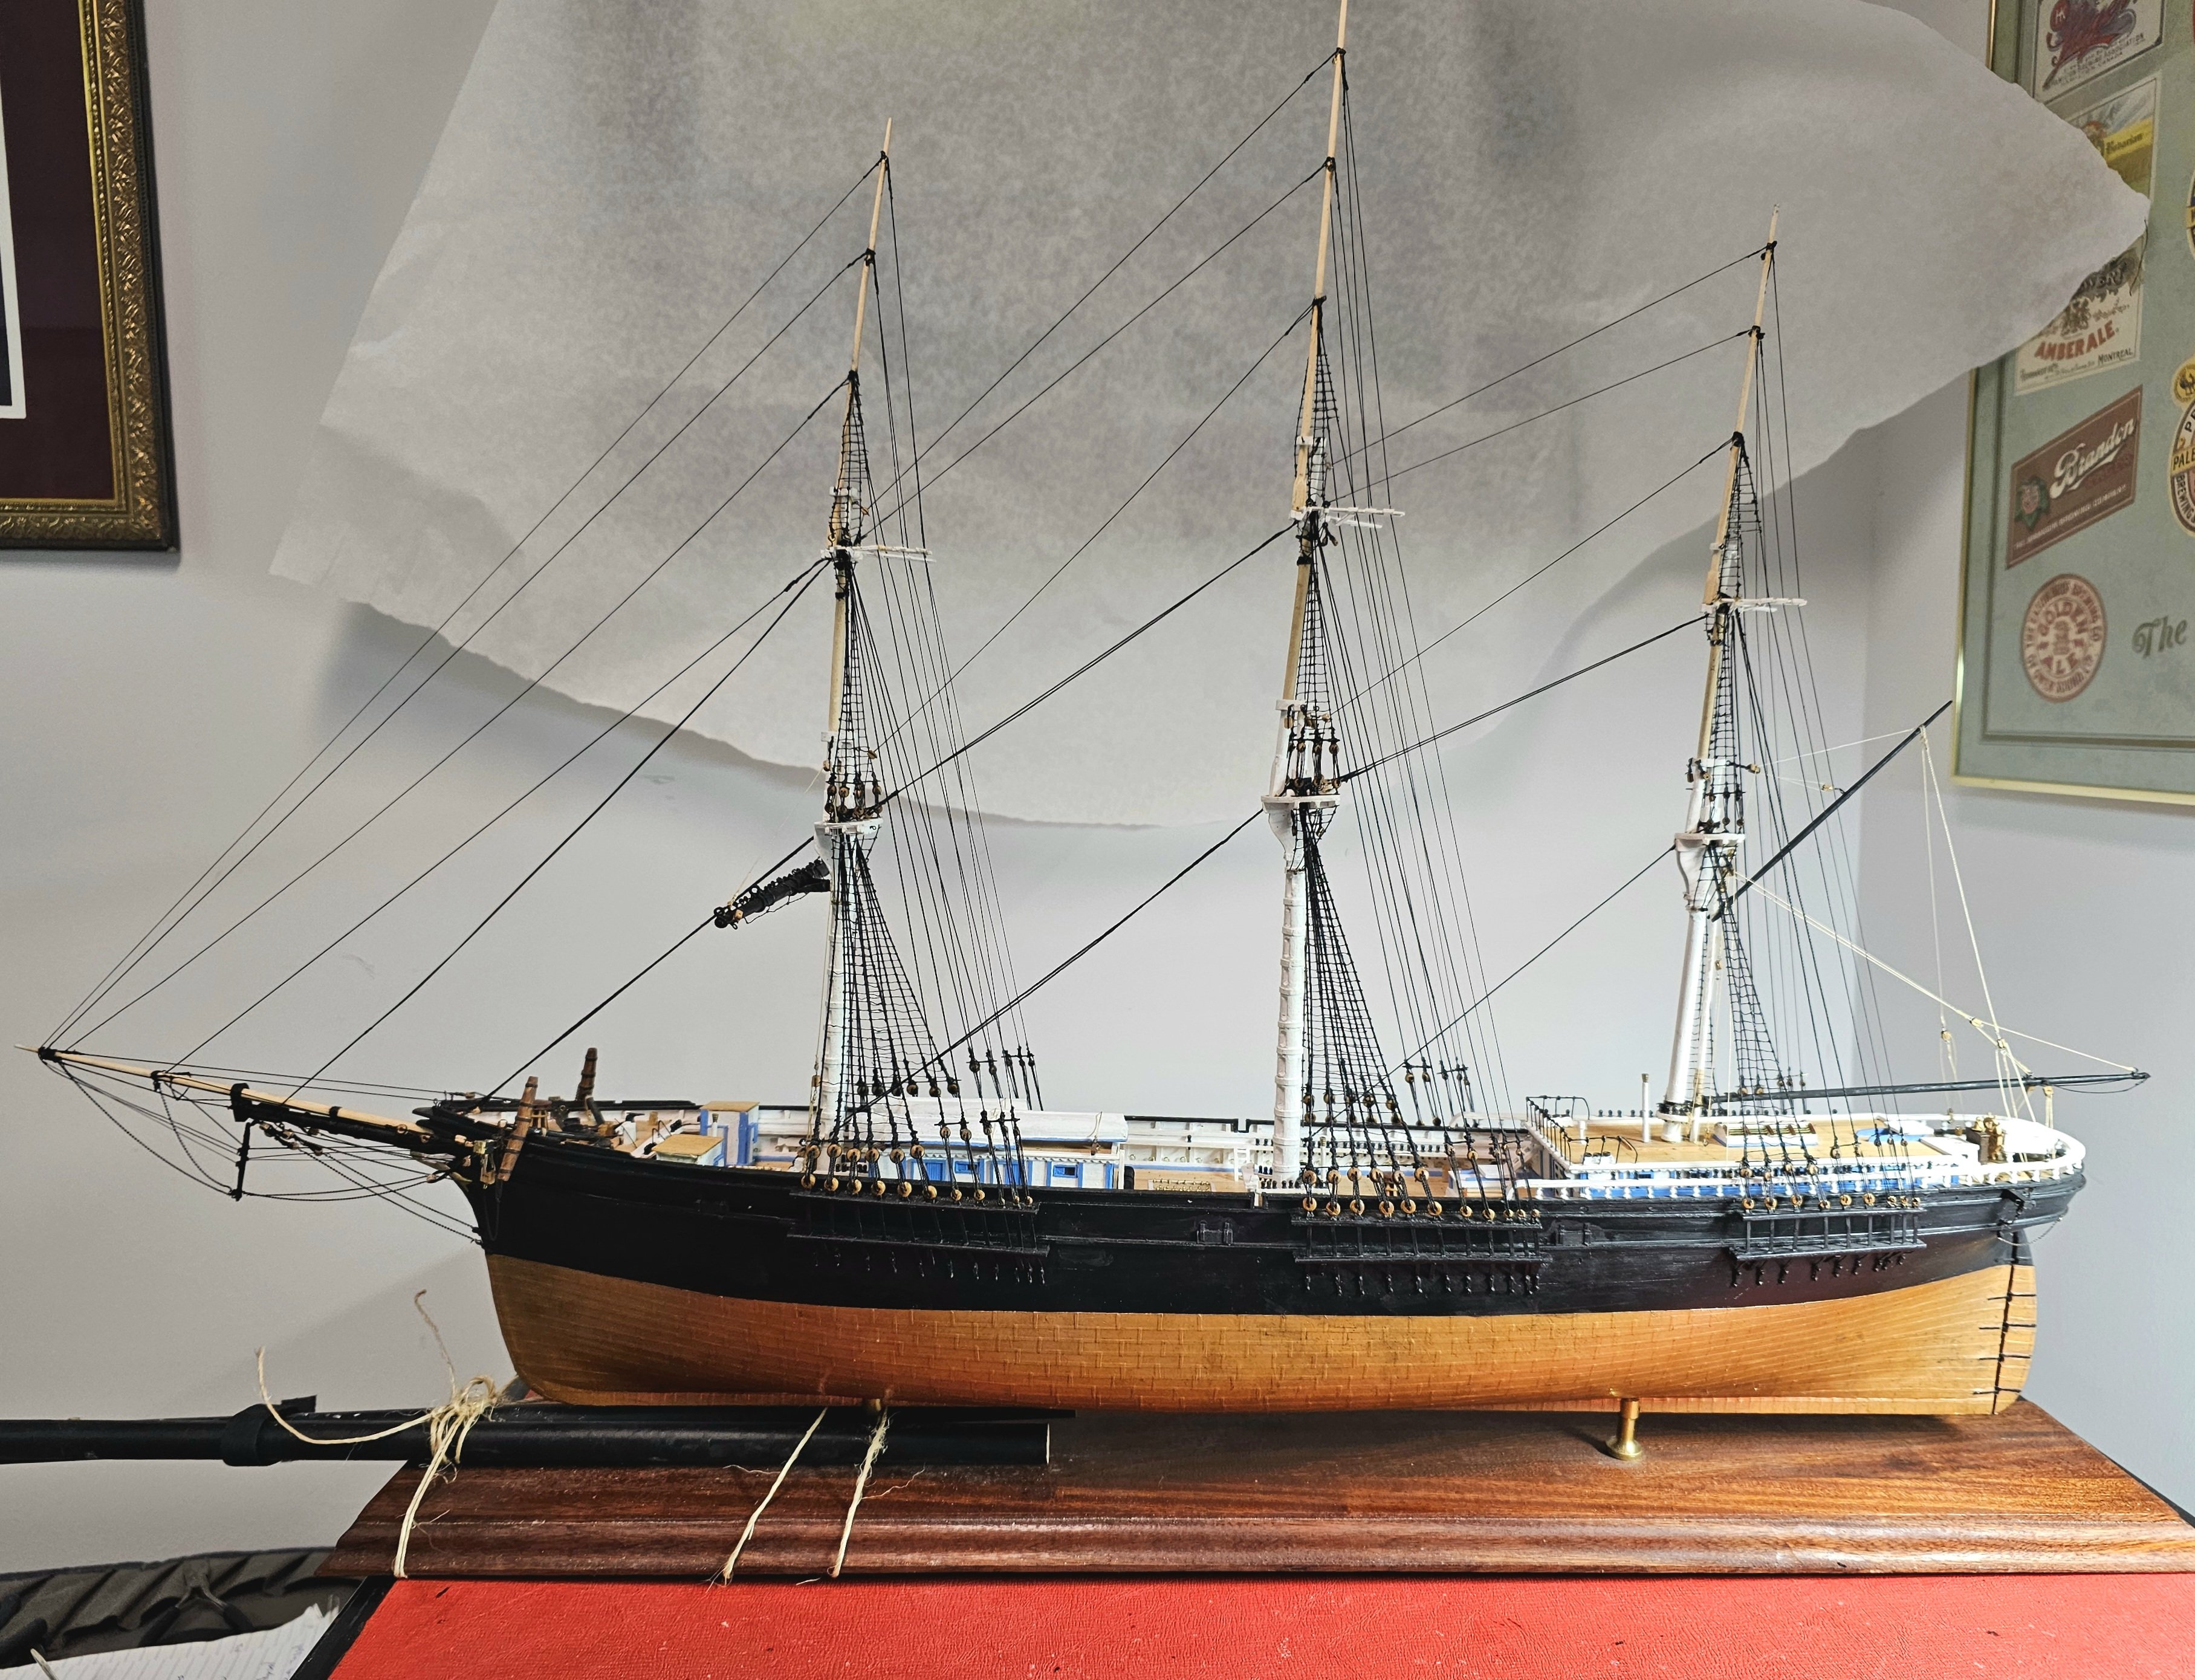
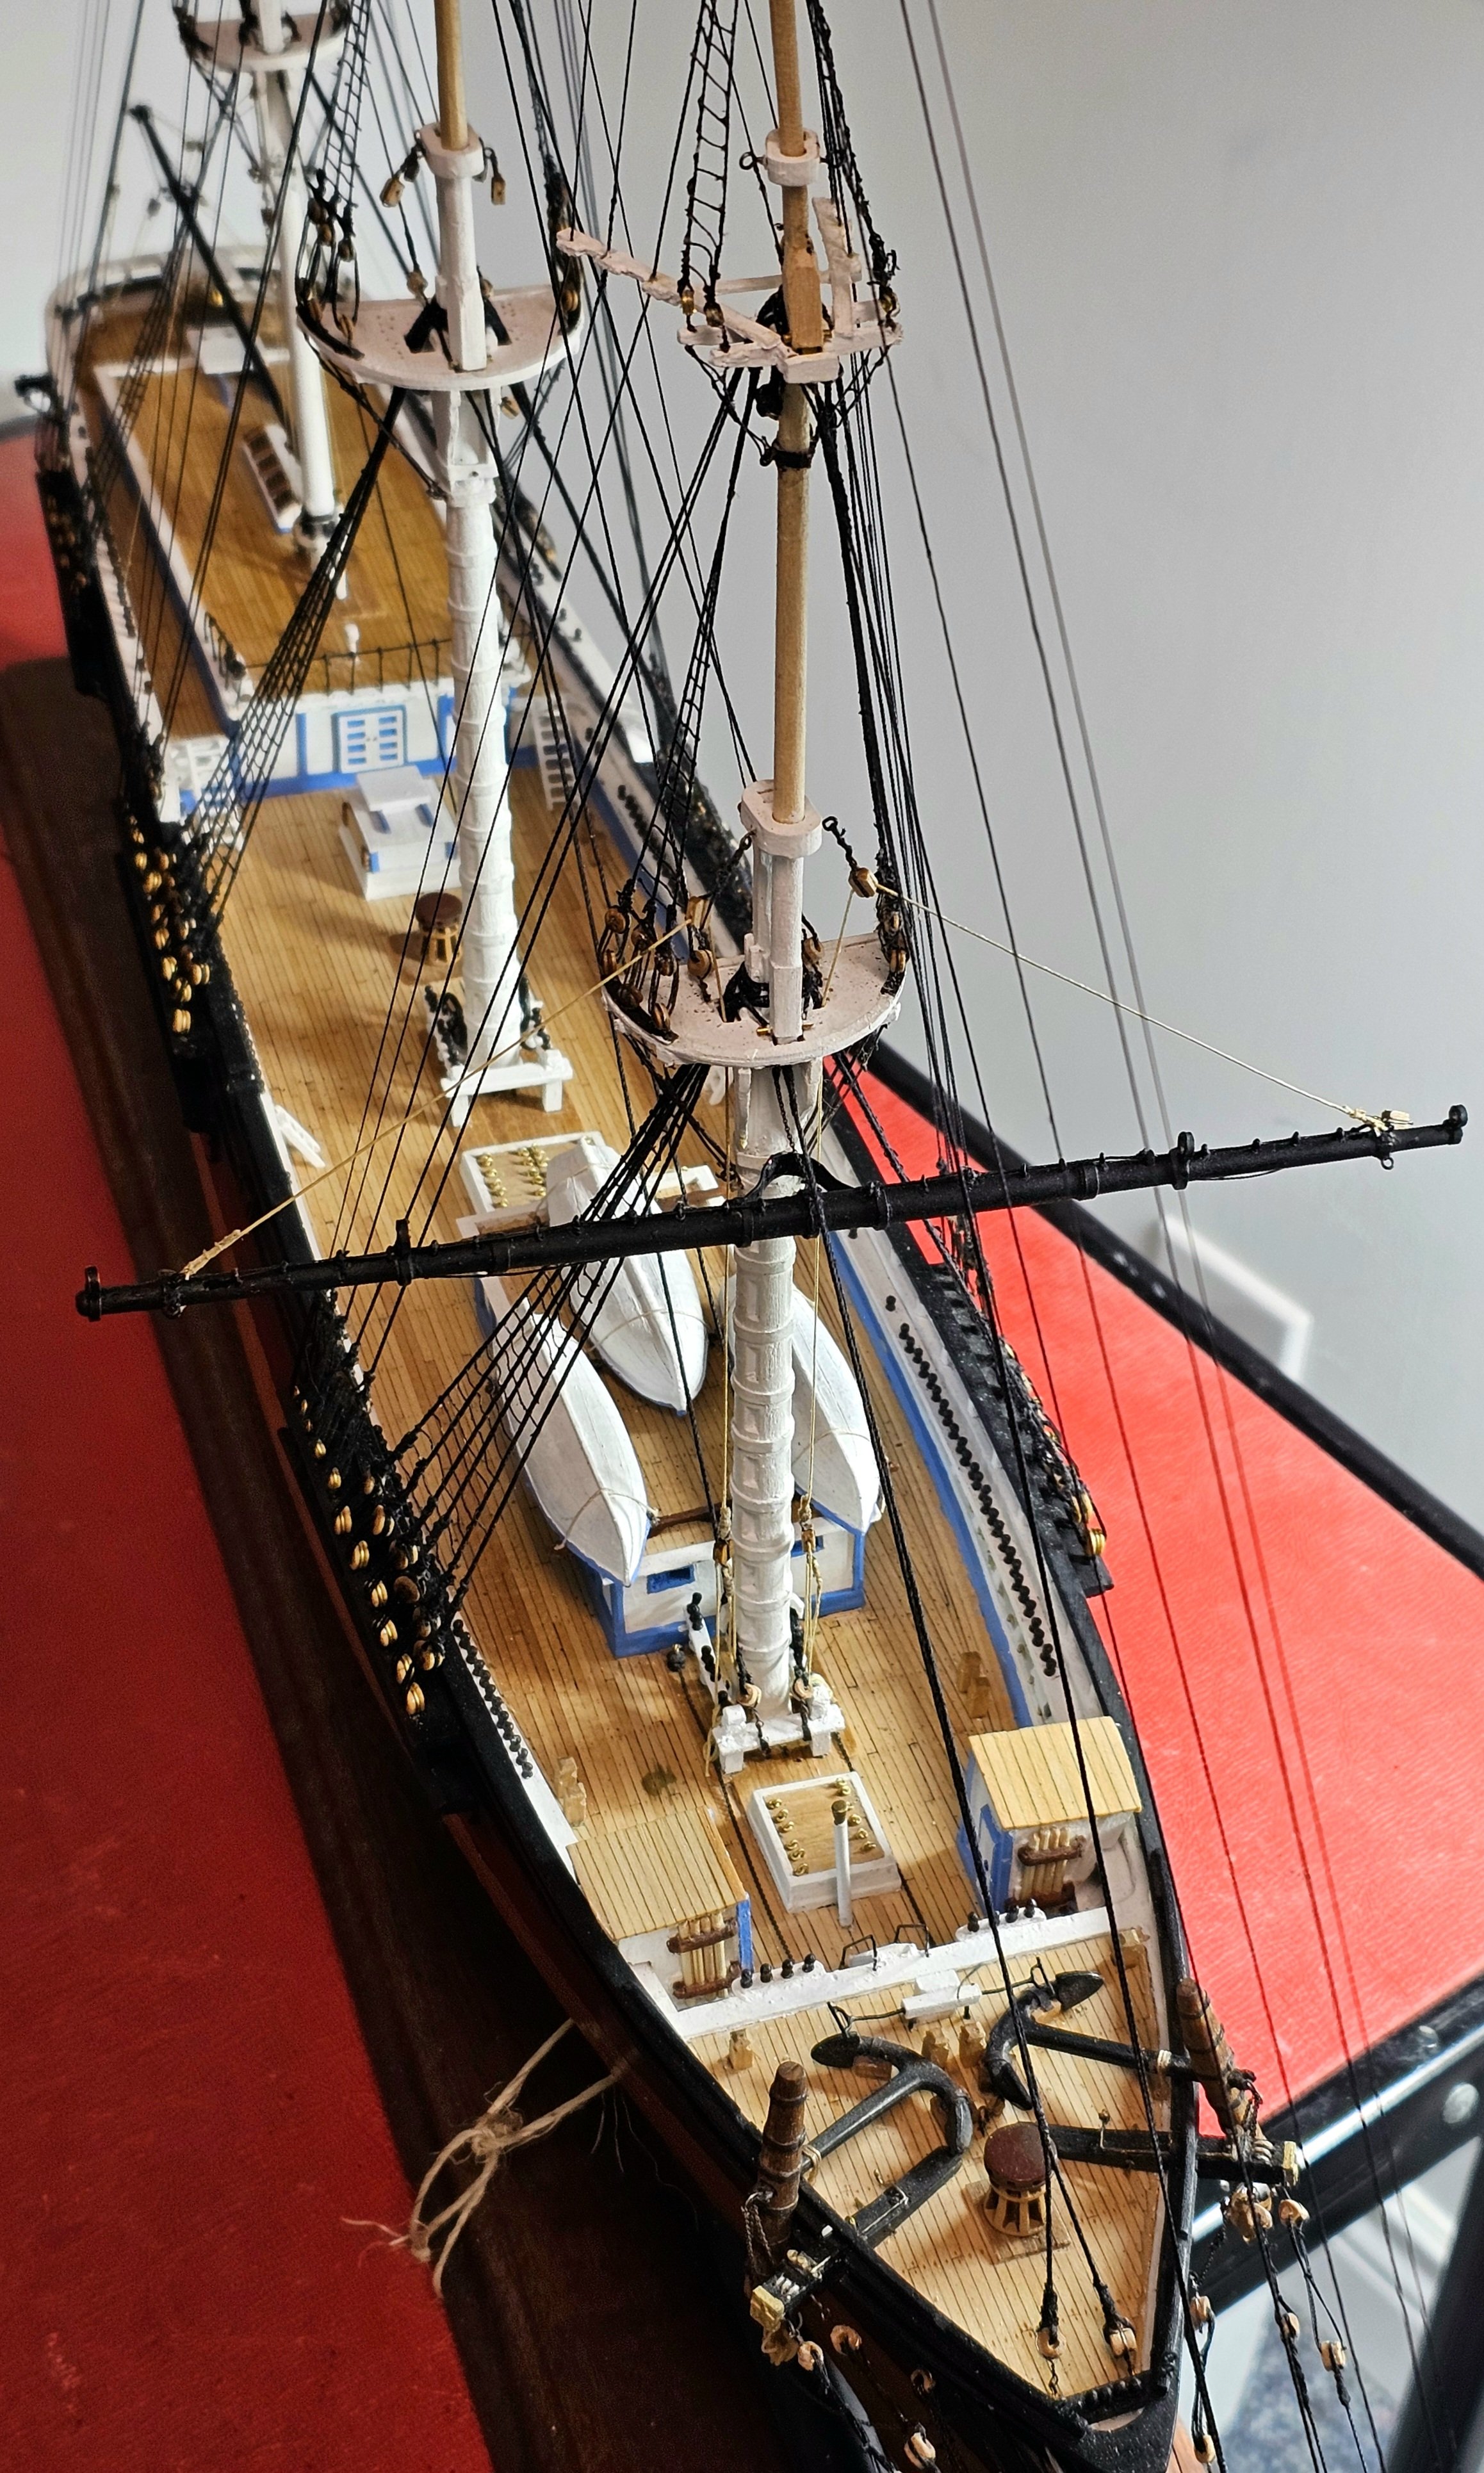
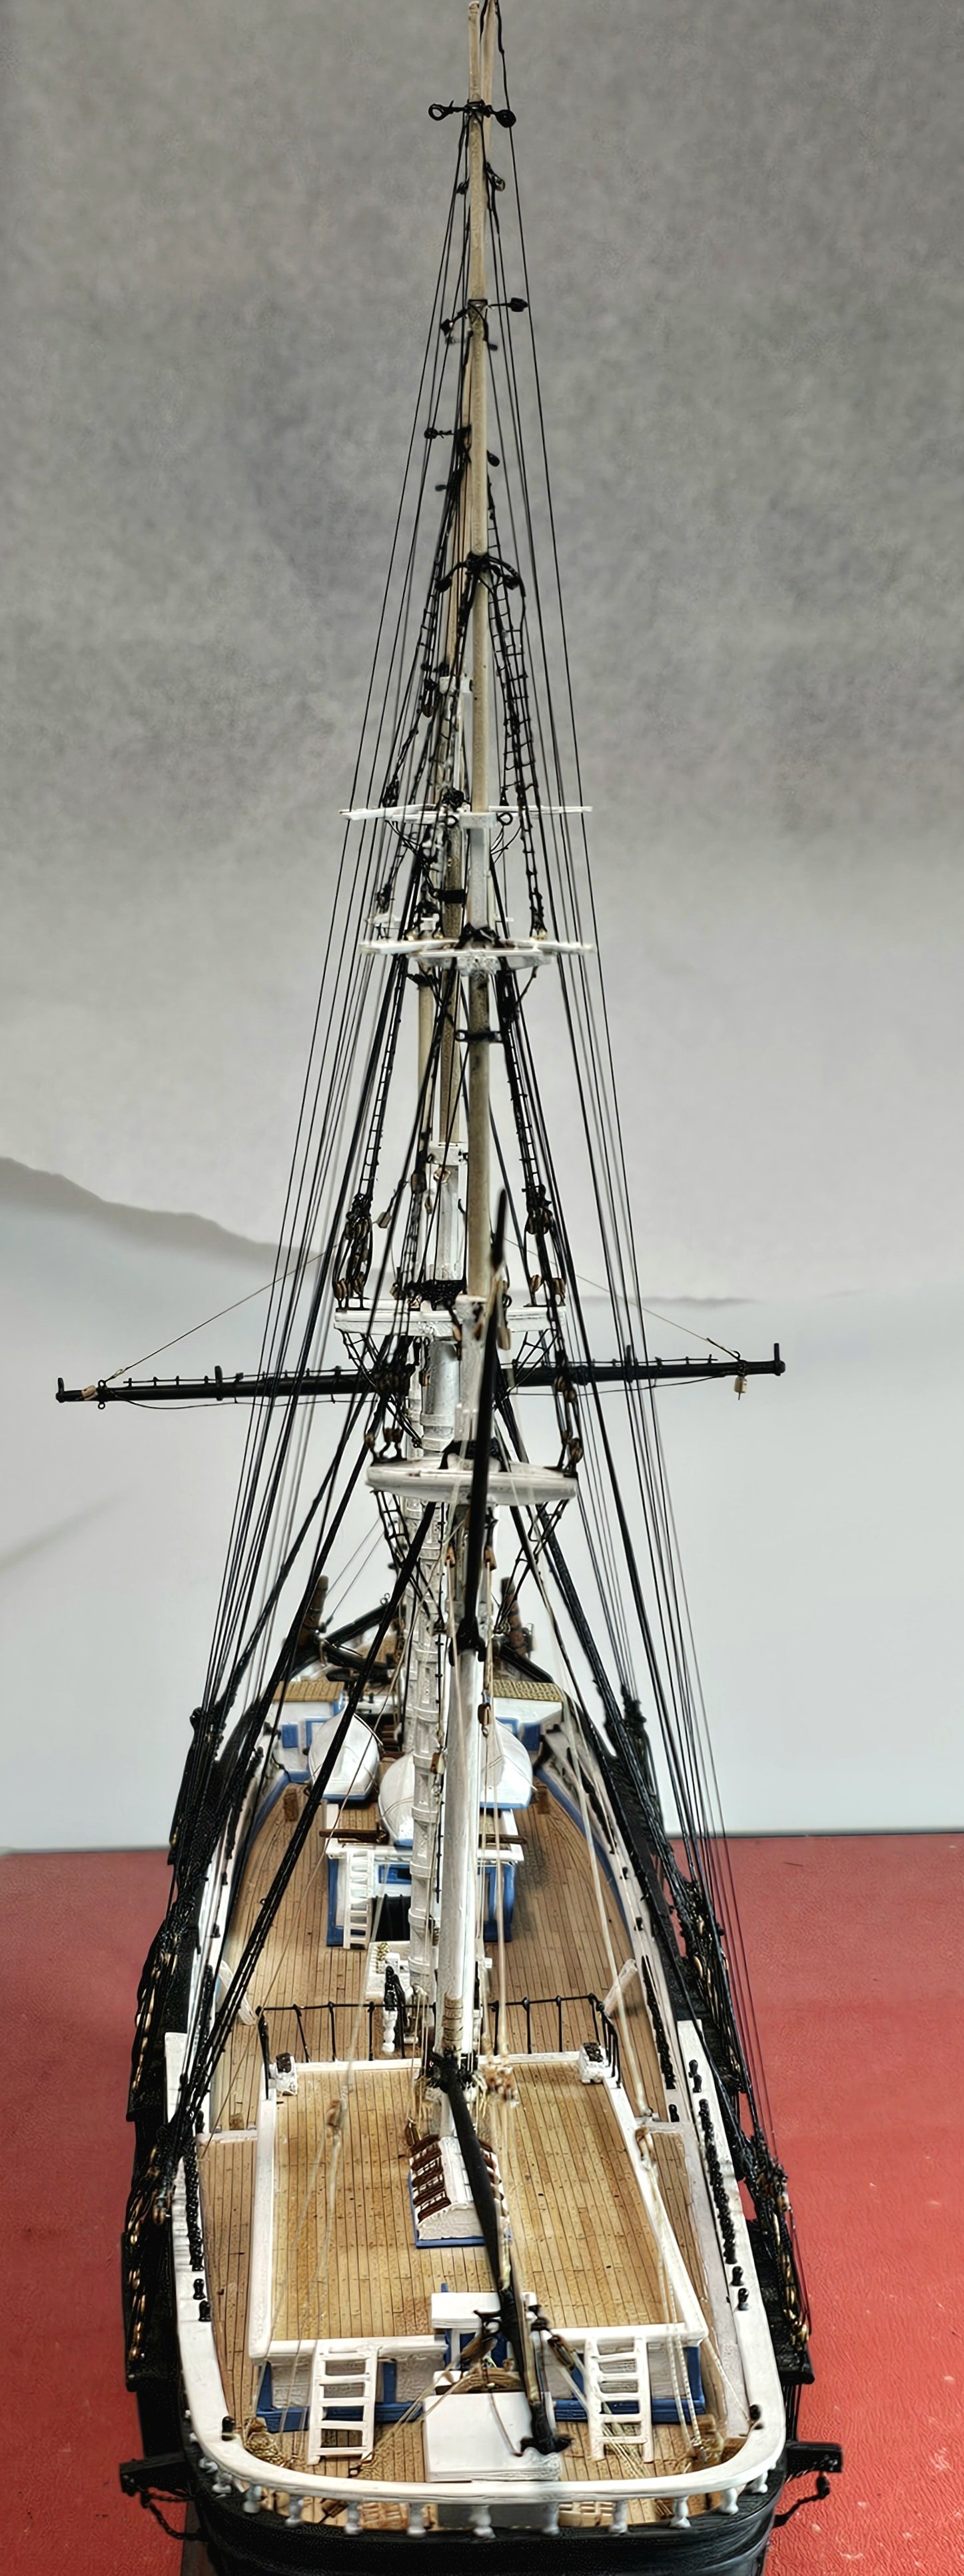
I will begin by wishing you all a very happy New Year. My celebration begins today as I rejoice the completion of the standing rigging on my Flying Fish. A number of photos are attached. Now the real fun begins! I am not expecting any of the remaining modelling. work to be easy 😬. Best wishes to you all for 2025. Thanks for looking in.

- 433 replies
-
- 9
-

-

-
- Flying Fish
- Model Shipways
- (and 2 more)
-
Nice modellIng. Congrats on your retirement!
-
Gaff & Spanker boom mounted and rigged. Quite delicate work. It was made much easier by not having the mizzen backstays and shrouds in the way.

- 433 replies
-
- 3
-
-
- Flying Fish
- Model Shipways
- (and 2 more)
-
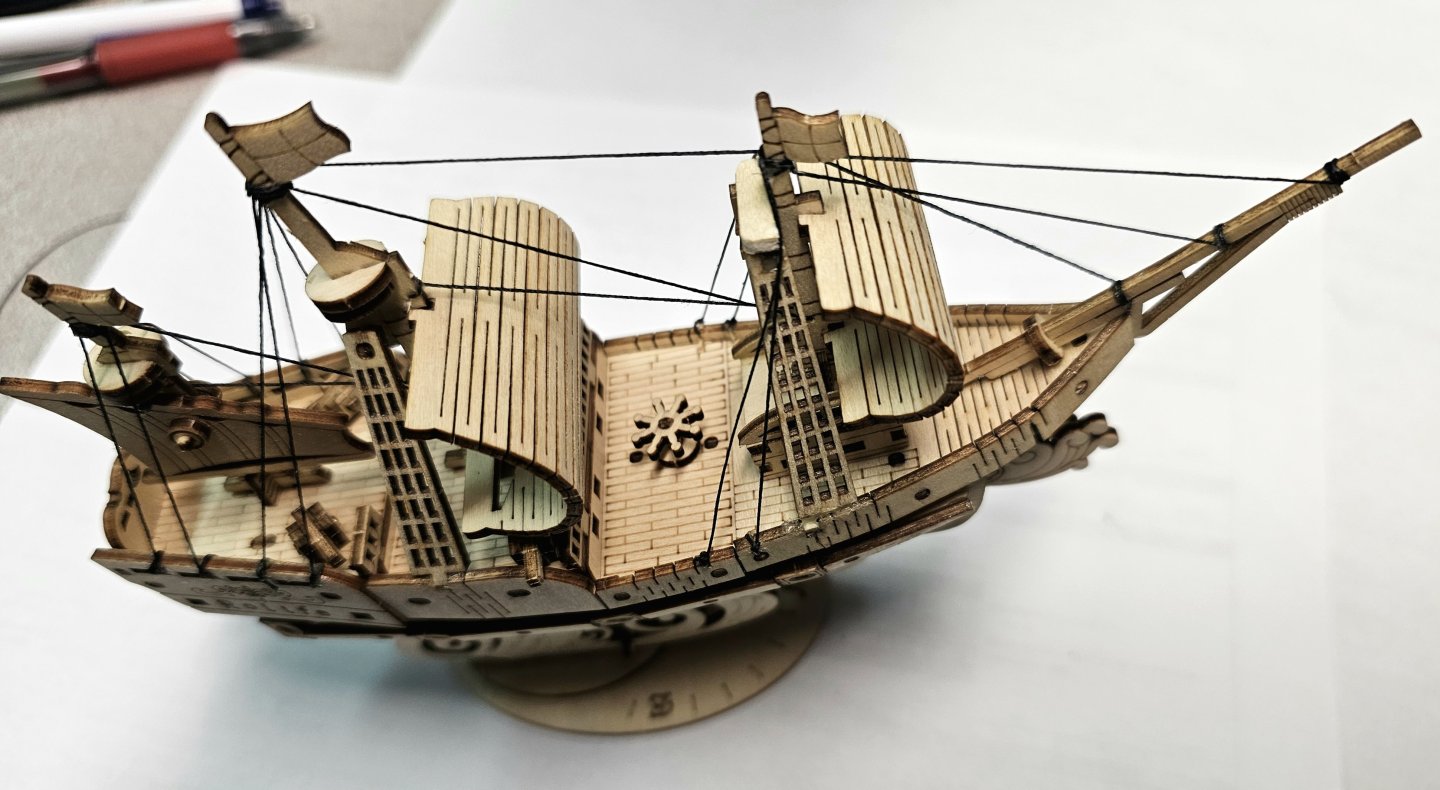
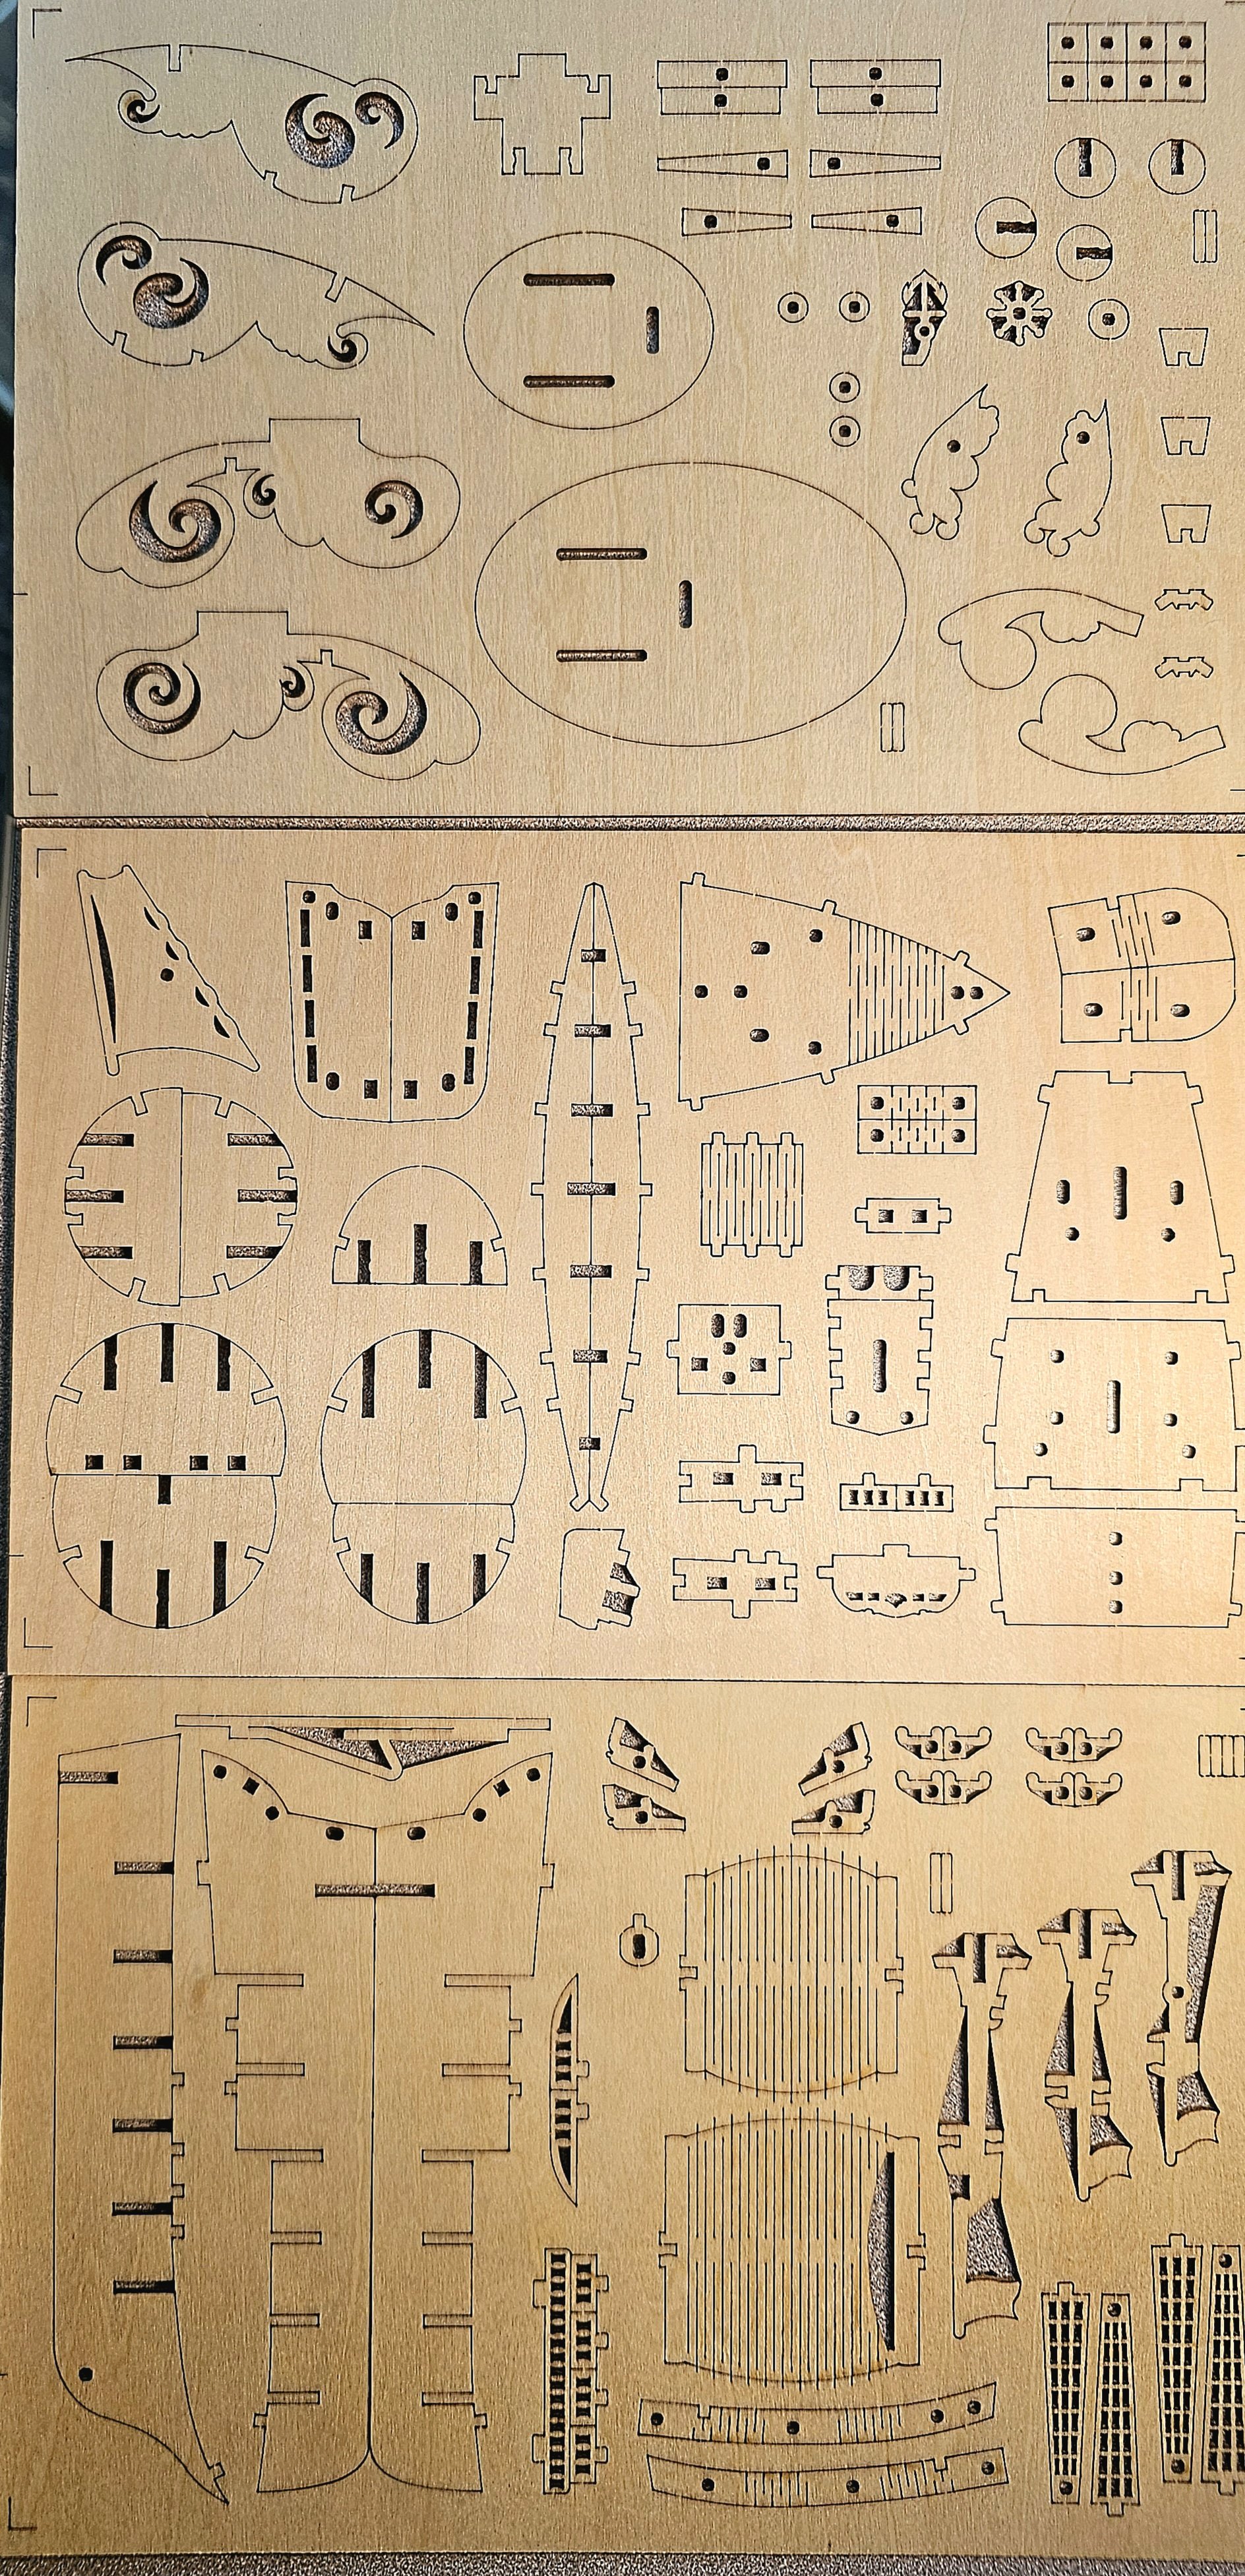
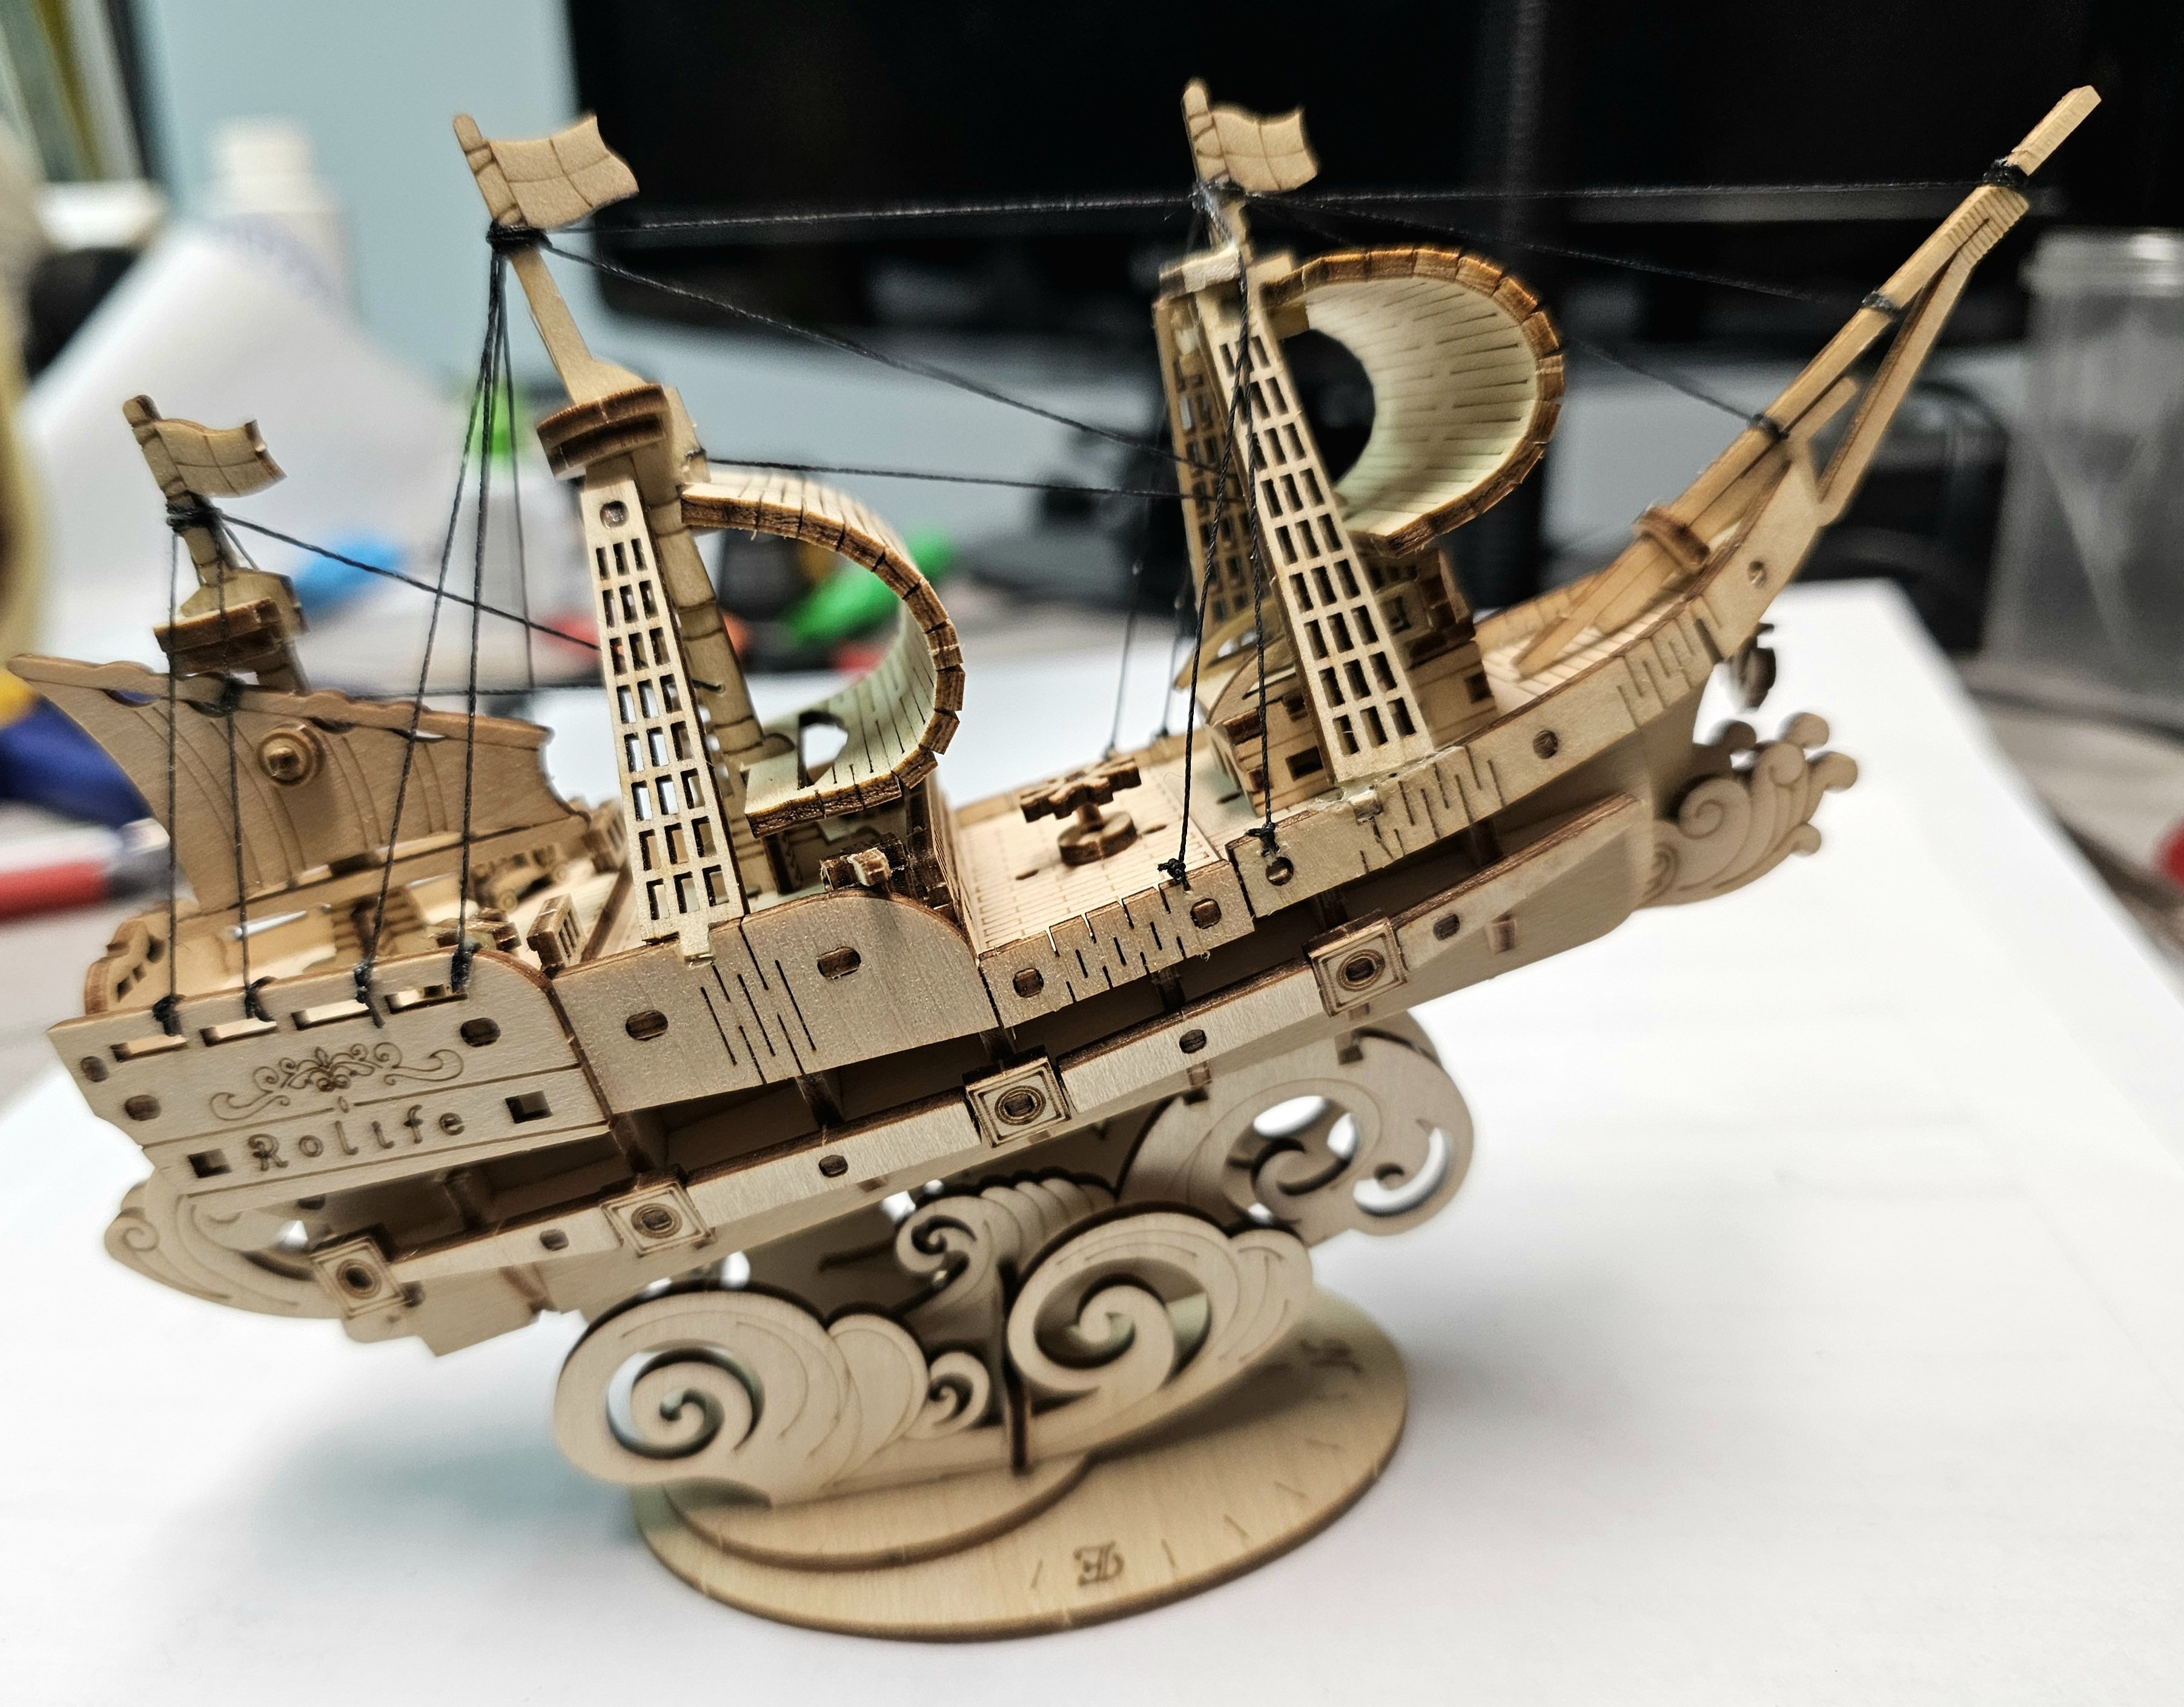
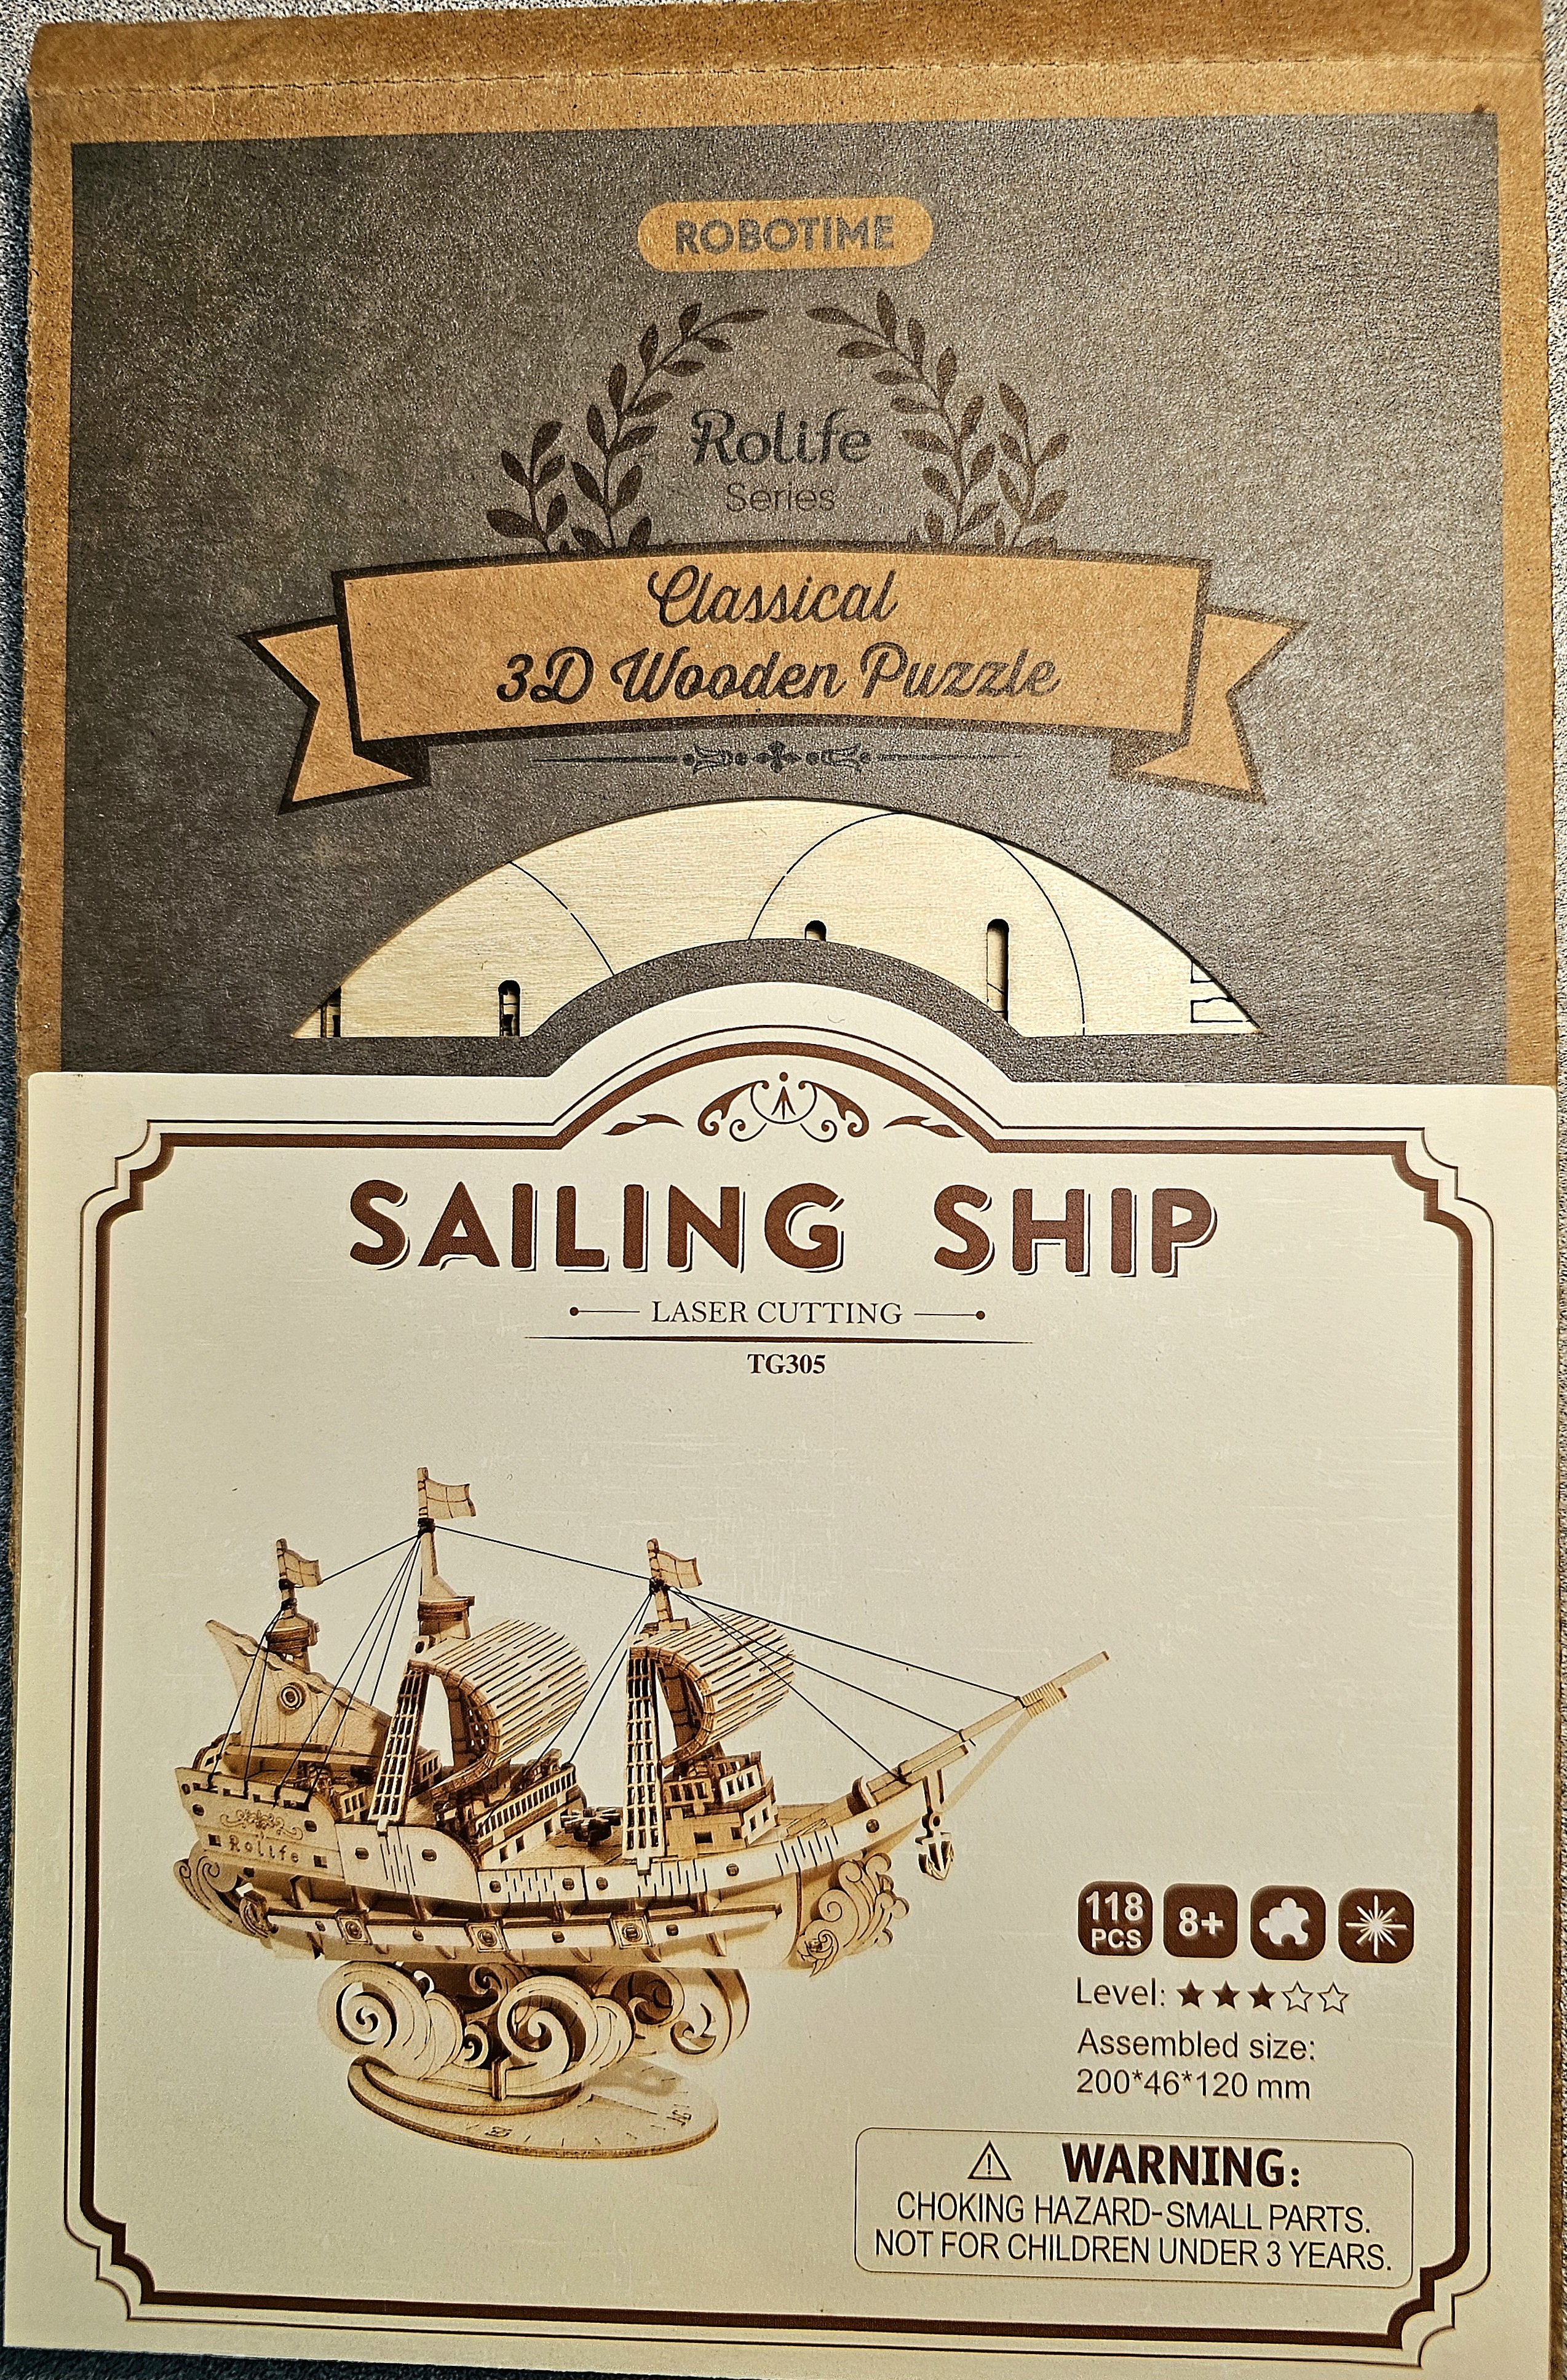
Time for some holiday season fun. My nephew who lives in Singapore gifted me a laser cut wood "sailing ship puzzle" when he visited last year. Needing a break from rigging my FF, I had a go at it this week. I was quite amazed by the very high quality and precision of the laser cut pieces (photo 1). It was actually quite a fun build! While it bears only minor resemblance to a real tall ship, I would highly recommend it to anyone who wants to interest a child in getting into our hobby. Seasons Greetings!


- 433 replies
-
- 6
-
-
- Flying Fish
- Model Shipways
- (and 2 more)
-
Nice progress George. Bon voyage!
-
A day of celebration! Finally finished rigging the last of the shrouds and ratlines. Phew!!

- 433 replies
-
- 10
-
-
- Flying Fish
- Model Shipways
- (and 2 more)
-
Over the last 3 days I complete construction of the spanker boom including mounting it on the ship and rigging it. As you can see from the photos below, the rigging was fairly complex, consisting of topping lifts, lift falls, spanker boom sheets and footropes. Each of these were rigged on the port and stbd. sides.

.thumb.jpg.87204c9b6d3da1c6439e92b9190179ae.jpg)


- 433 replies
-
- 1
-
-
- Flying Fish
- Model Shipways
- (and 2 more)
-
It is a weak spot. It is where the tip on my Flying Fish jibboom also broke. While there are other sheave holes on the FF spars, on the advice of another modeller I now apply a coat of superglue around all drill sites before drilling. I am also using a stronger wood (maple/birch) as my spar material. I also intend to house the completed FF in a case to protect it and keep it clean.
-
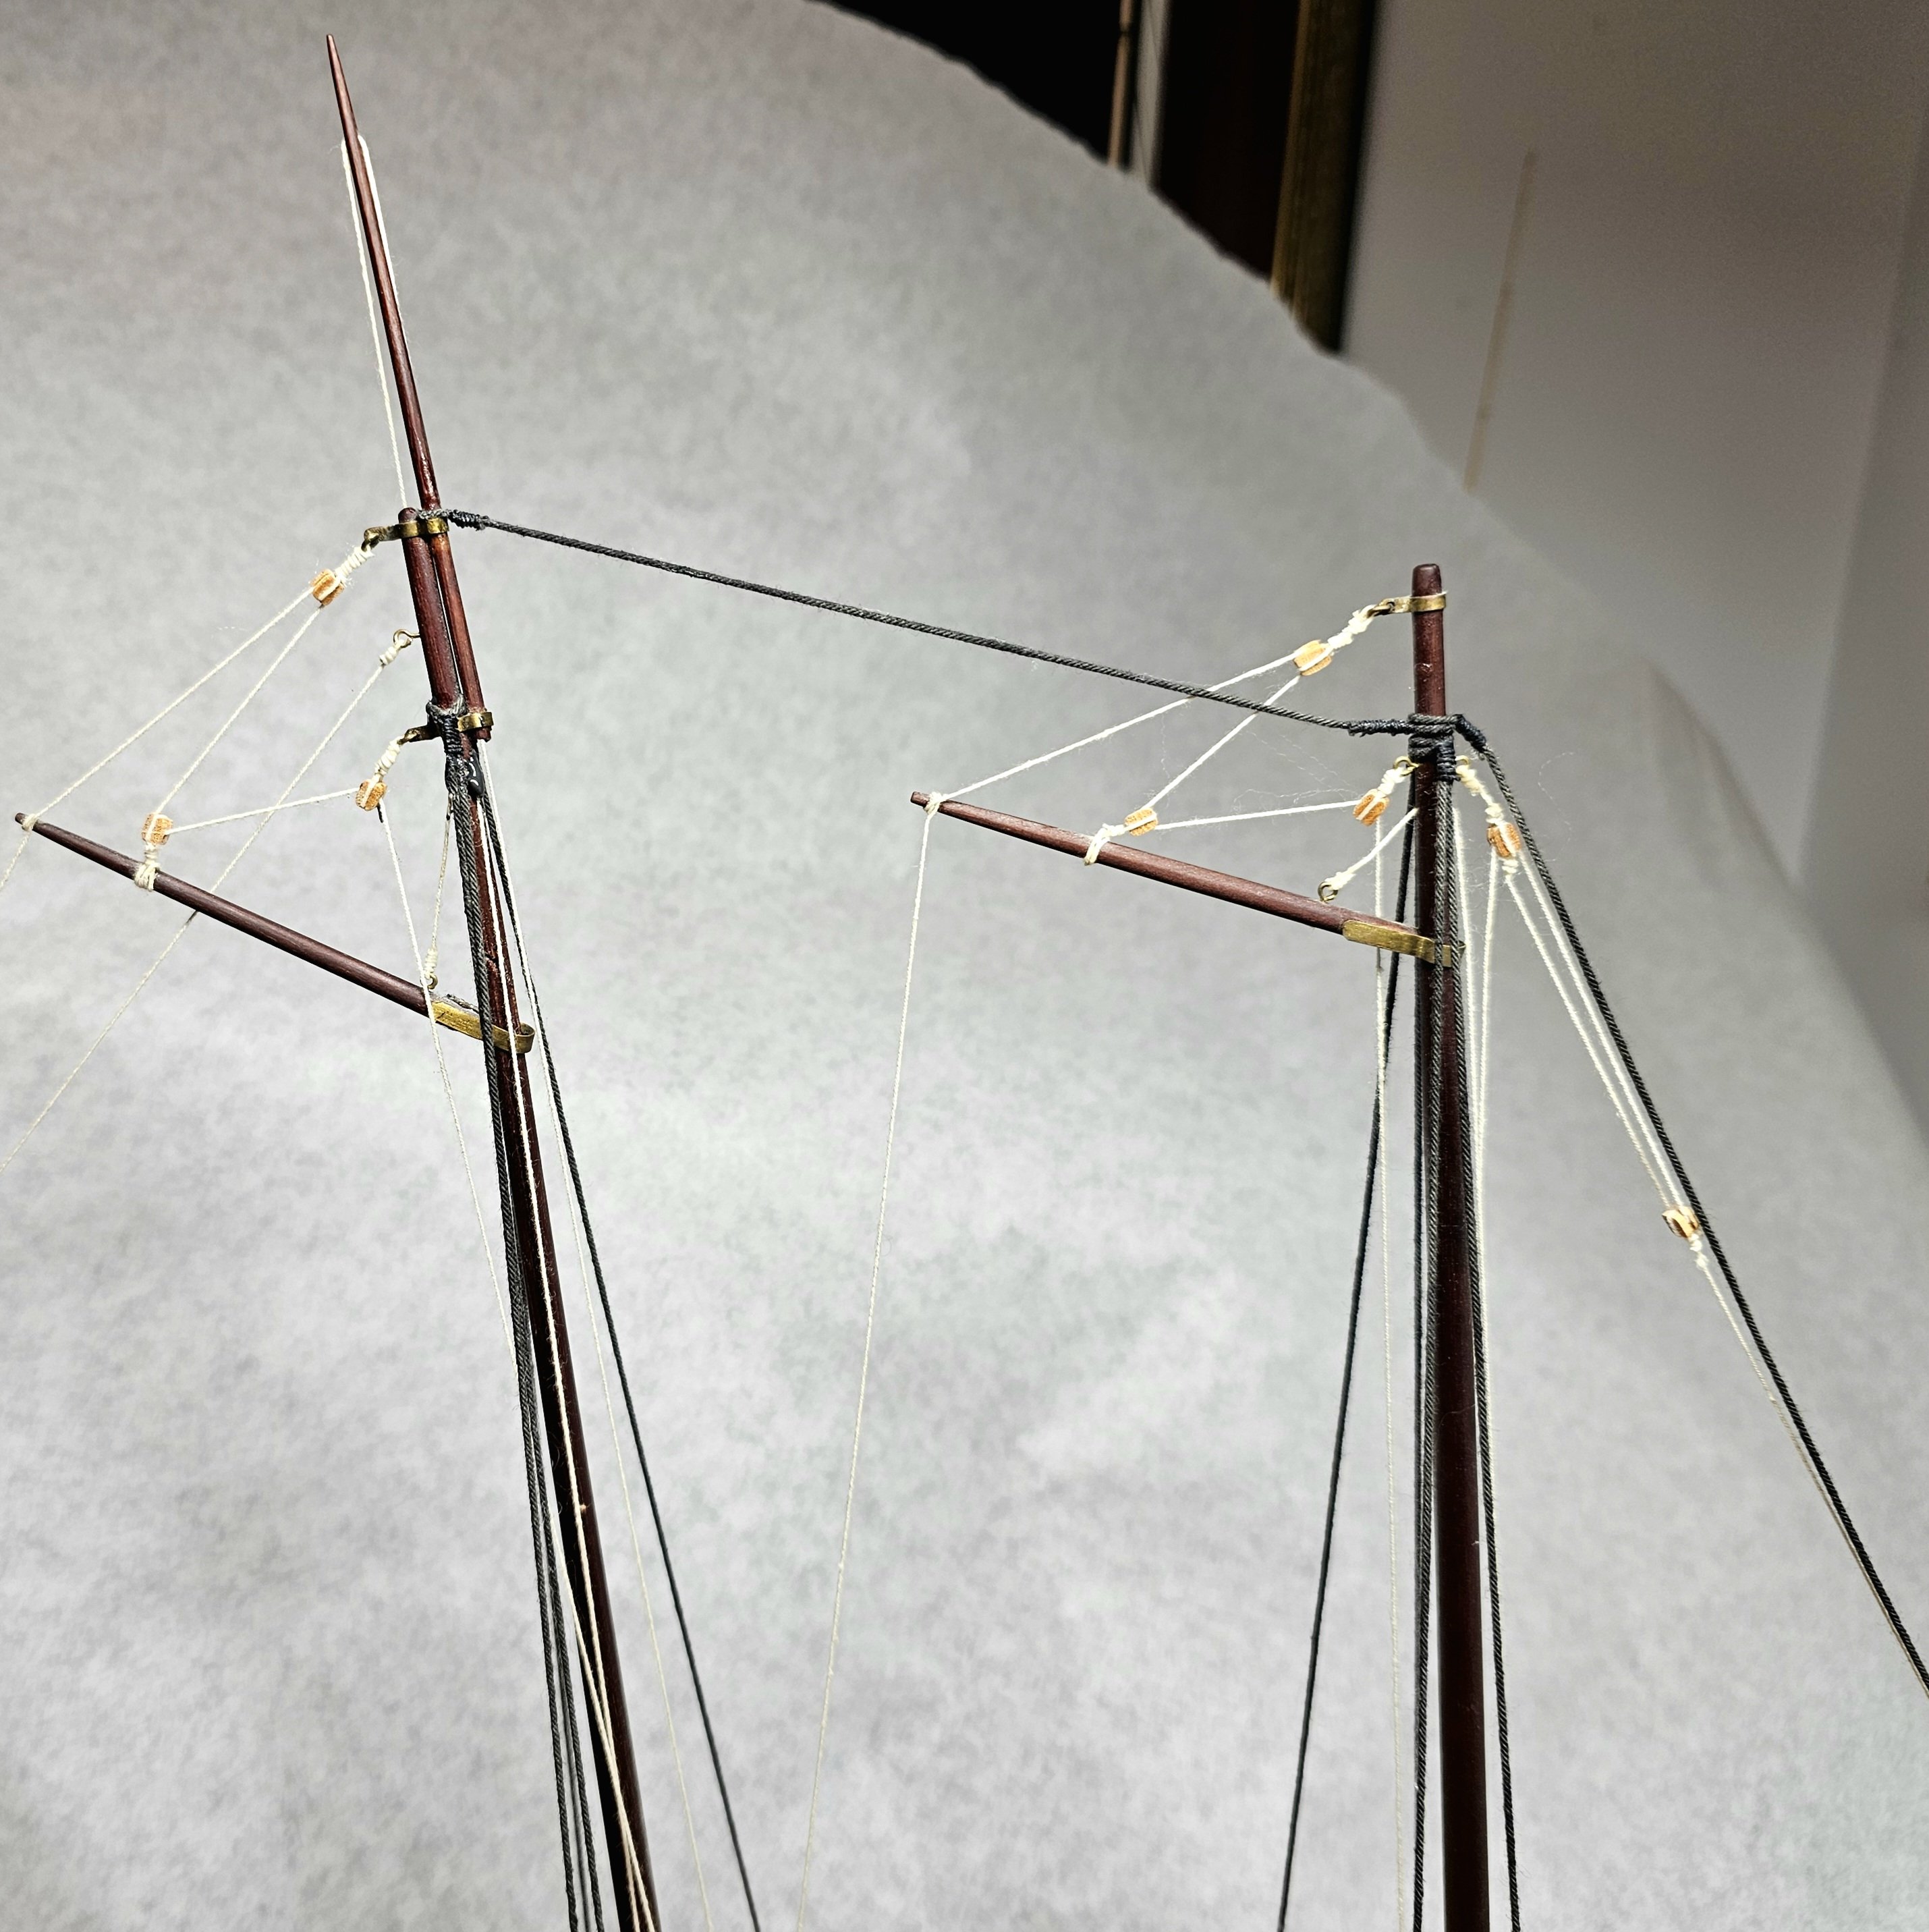
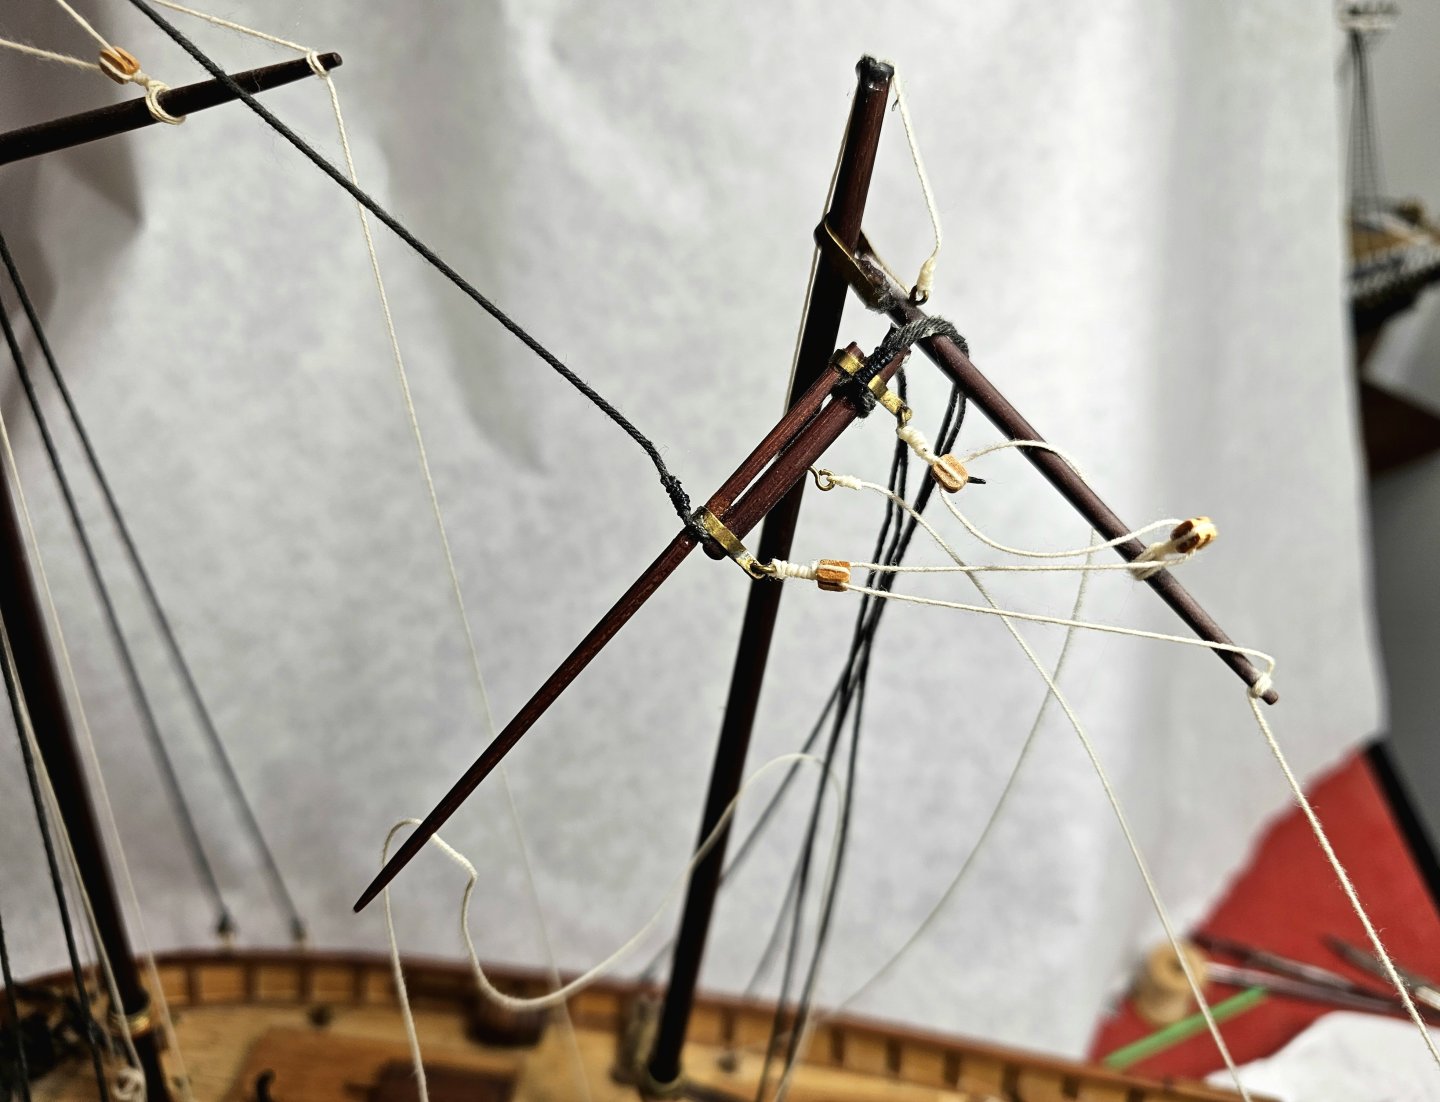
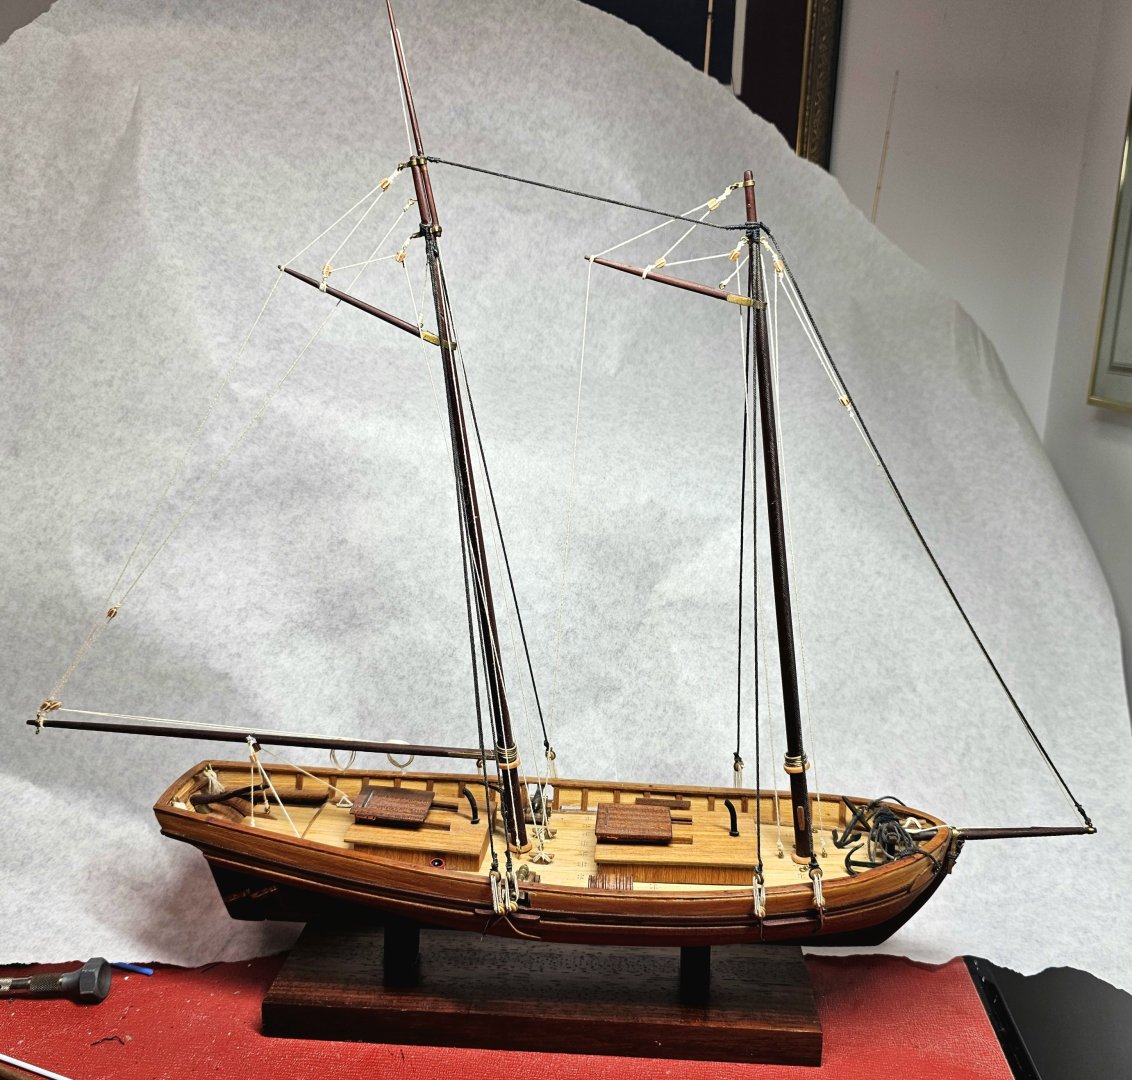
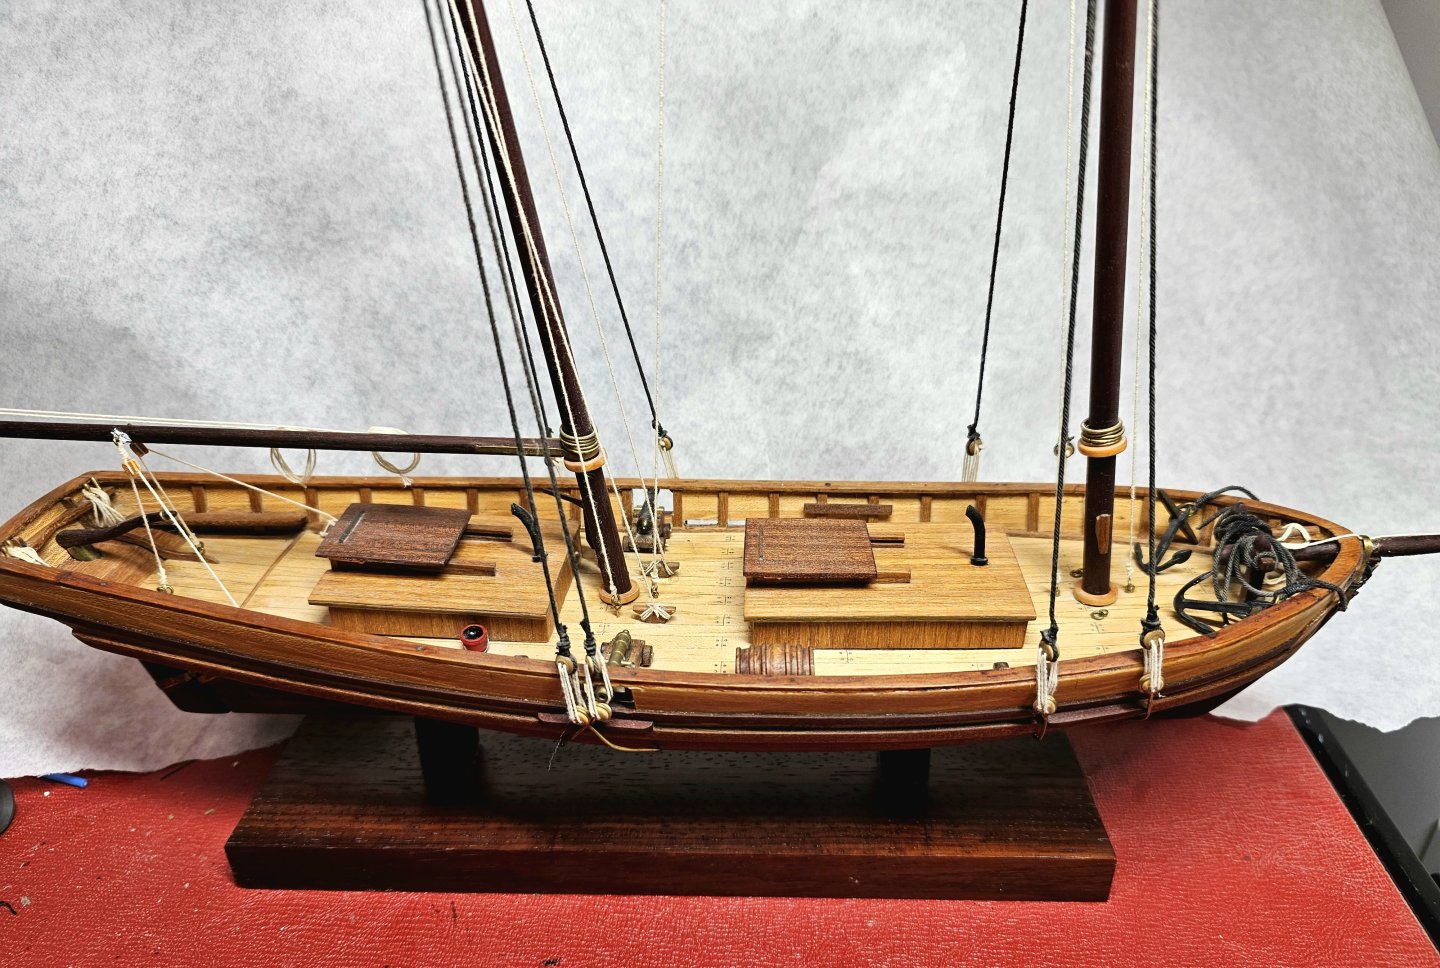
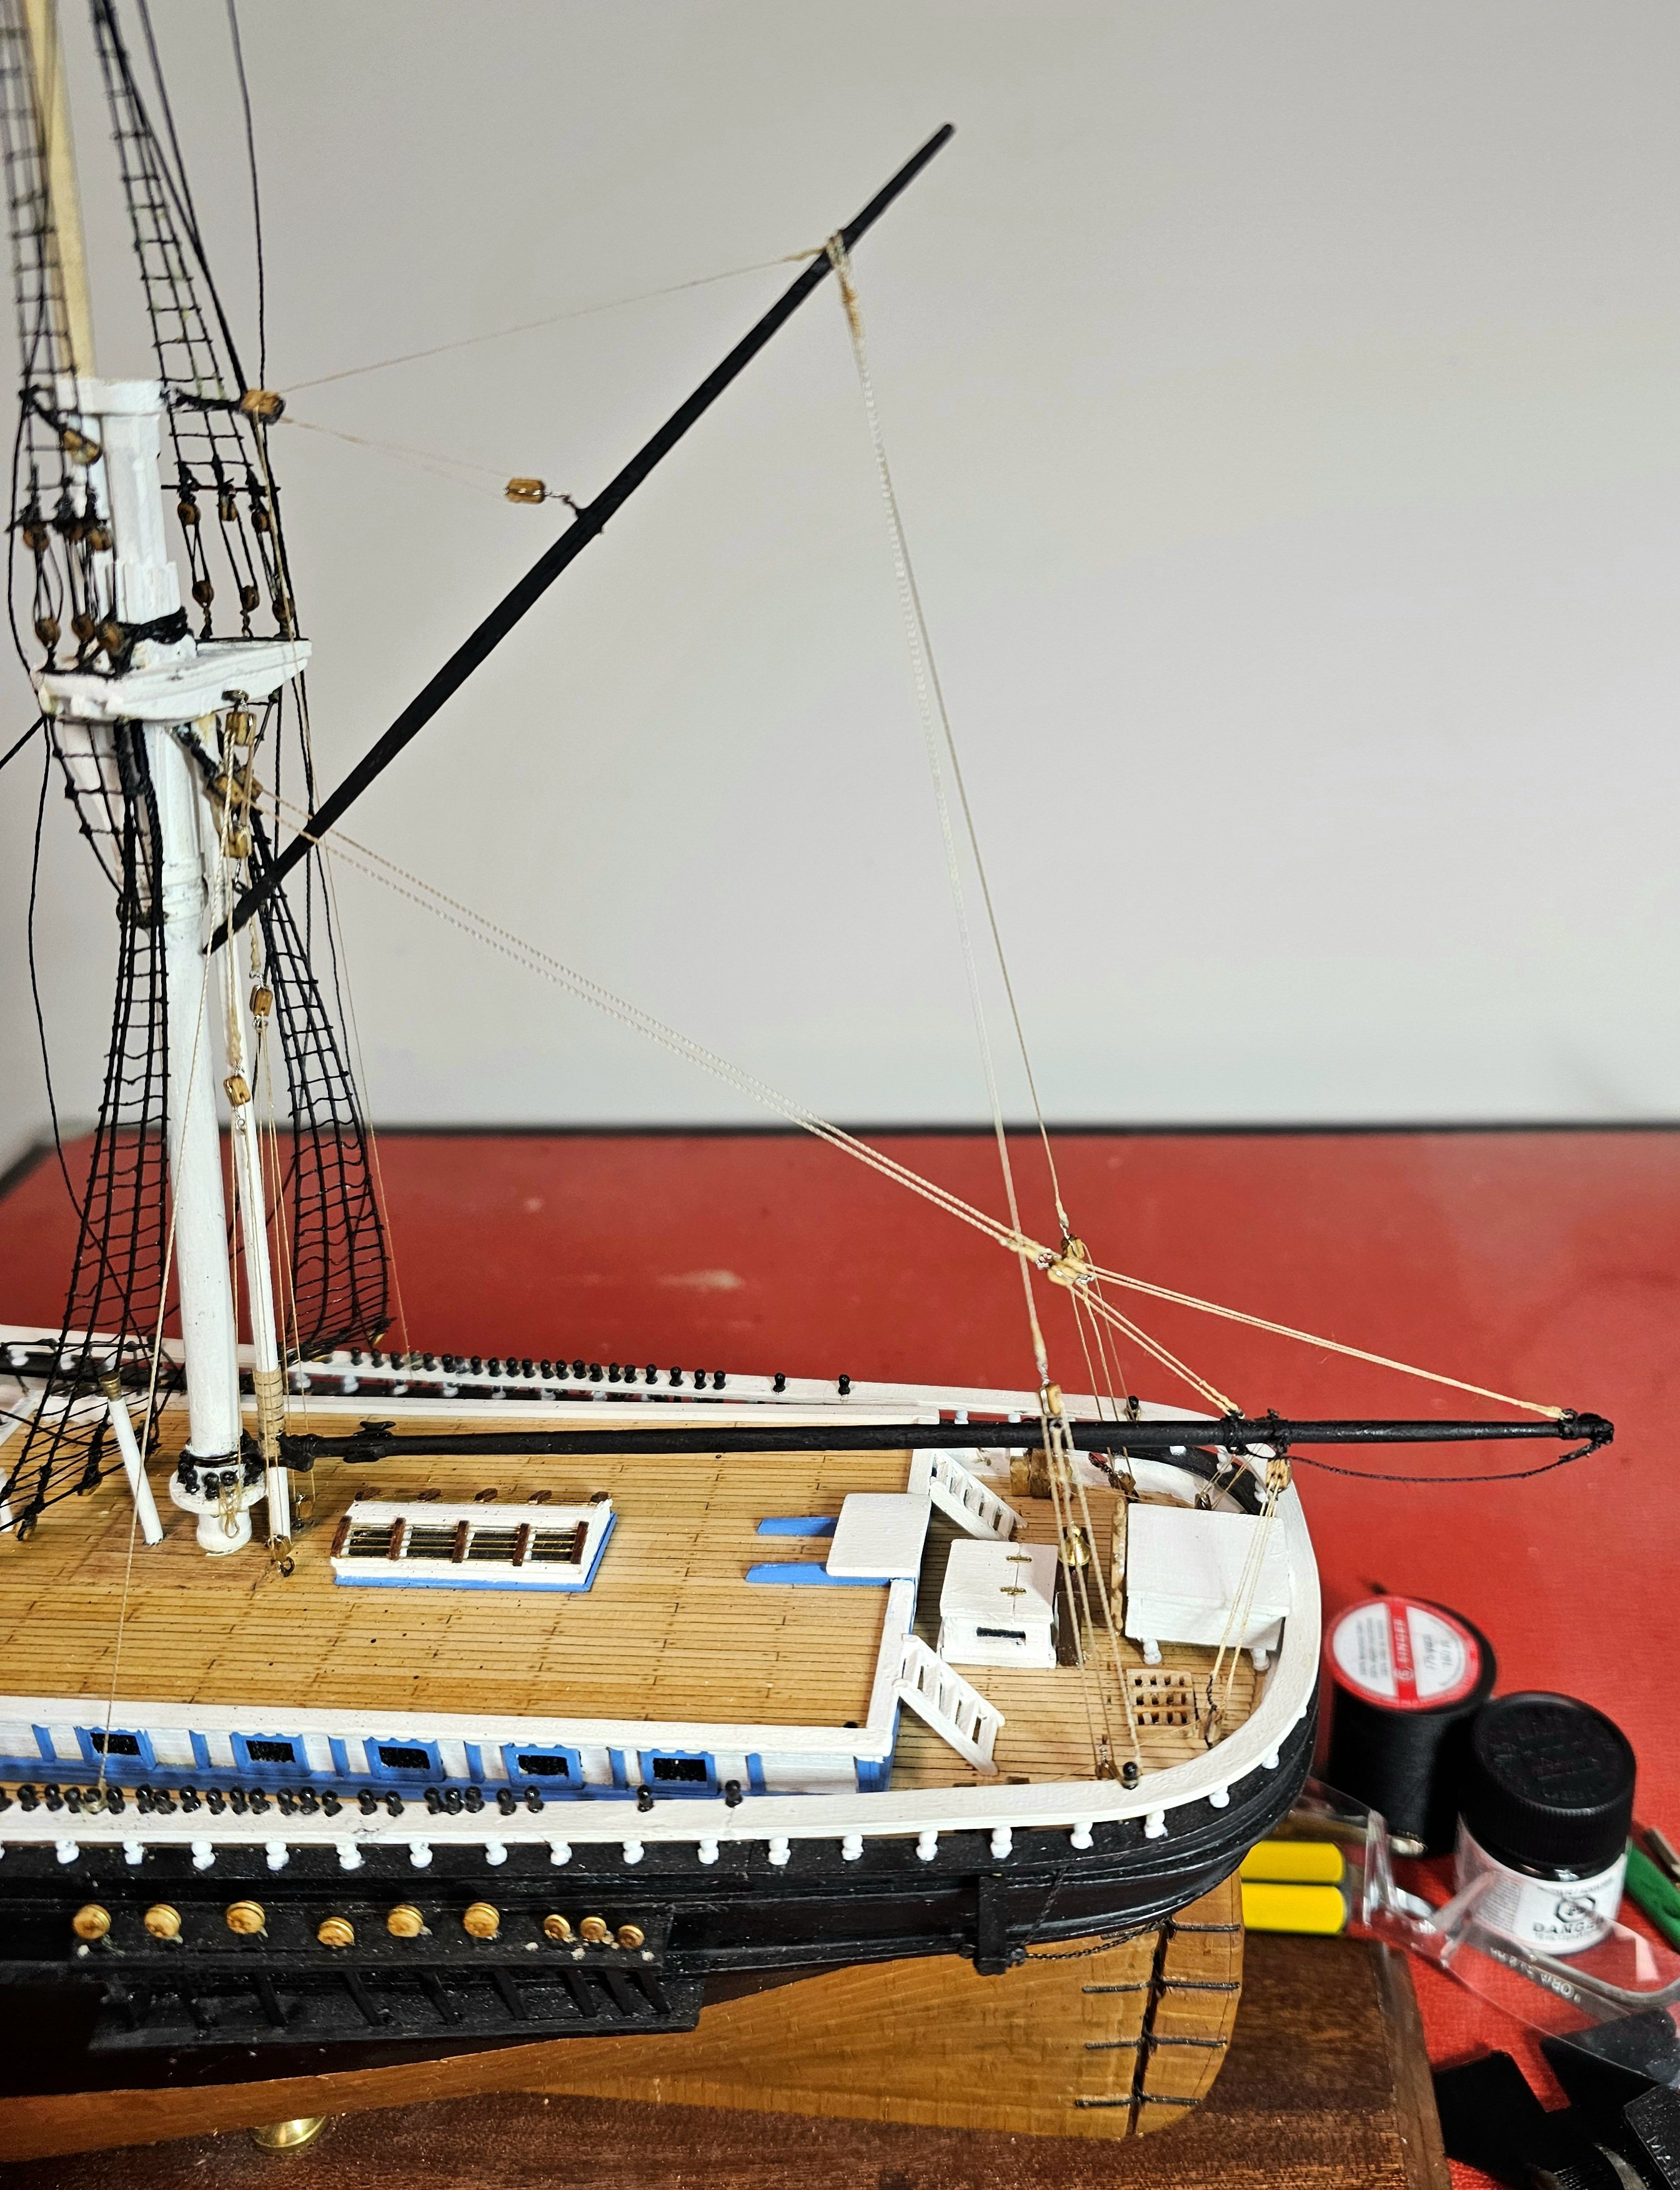
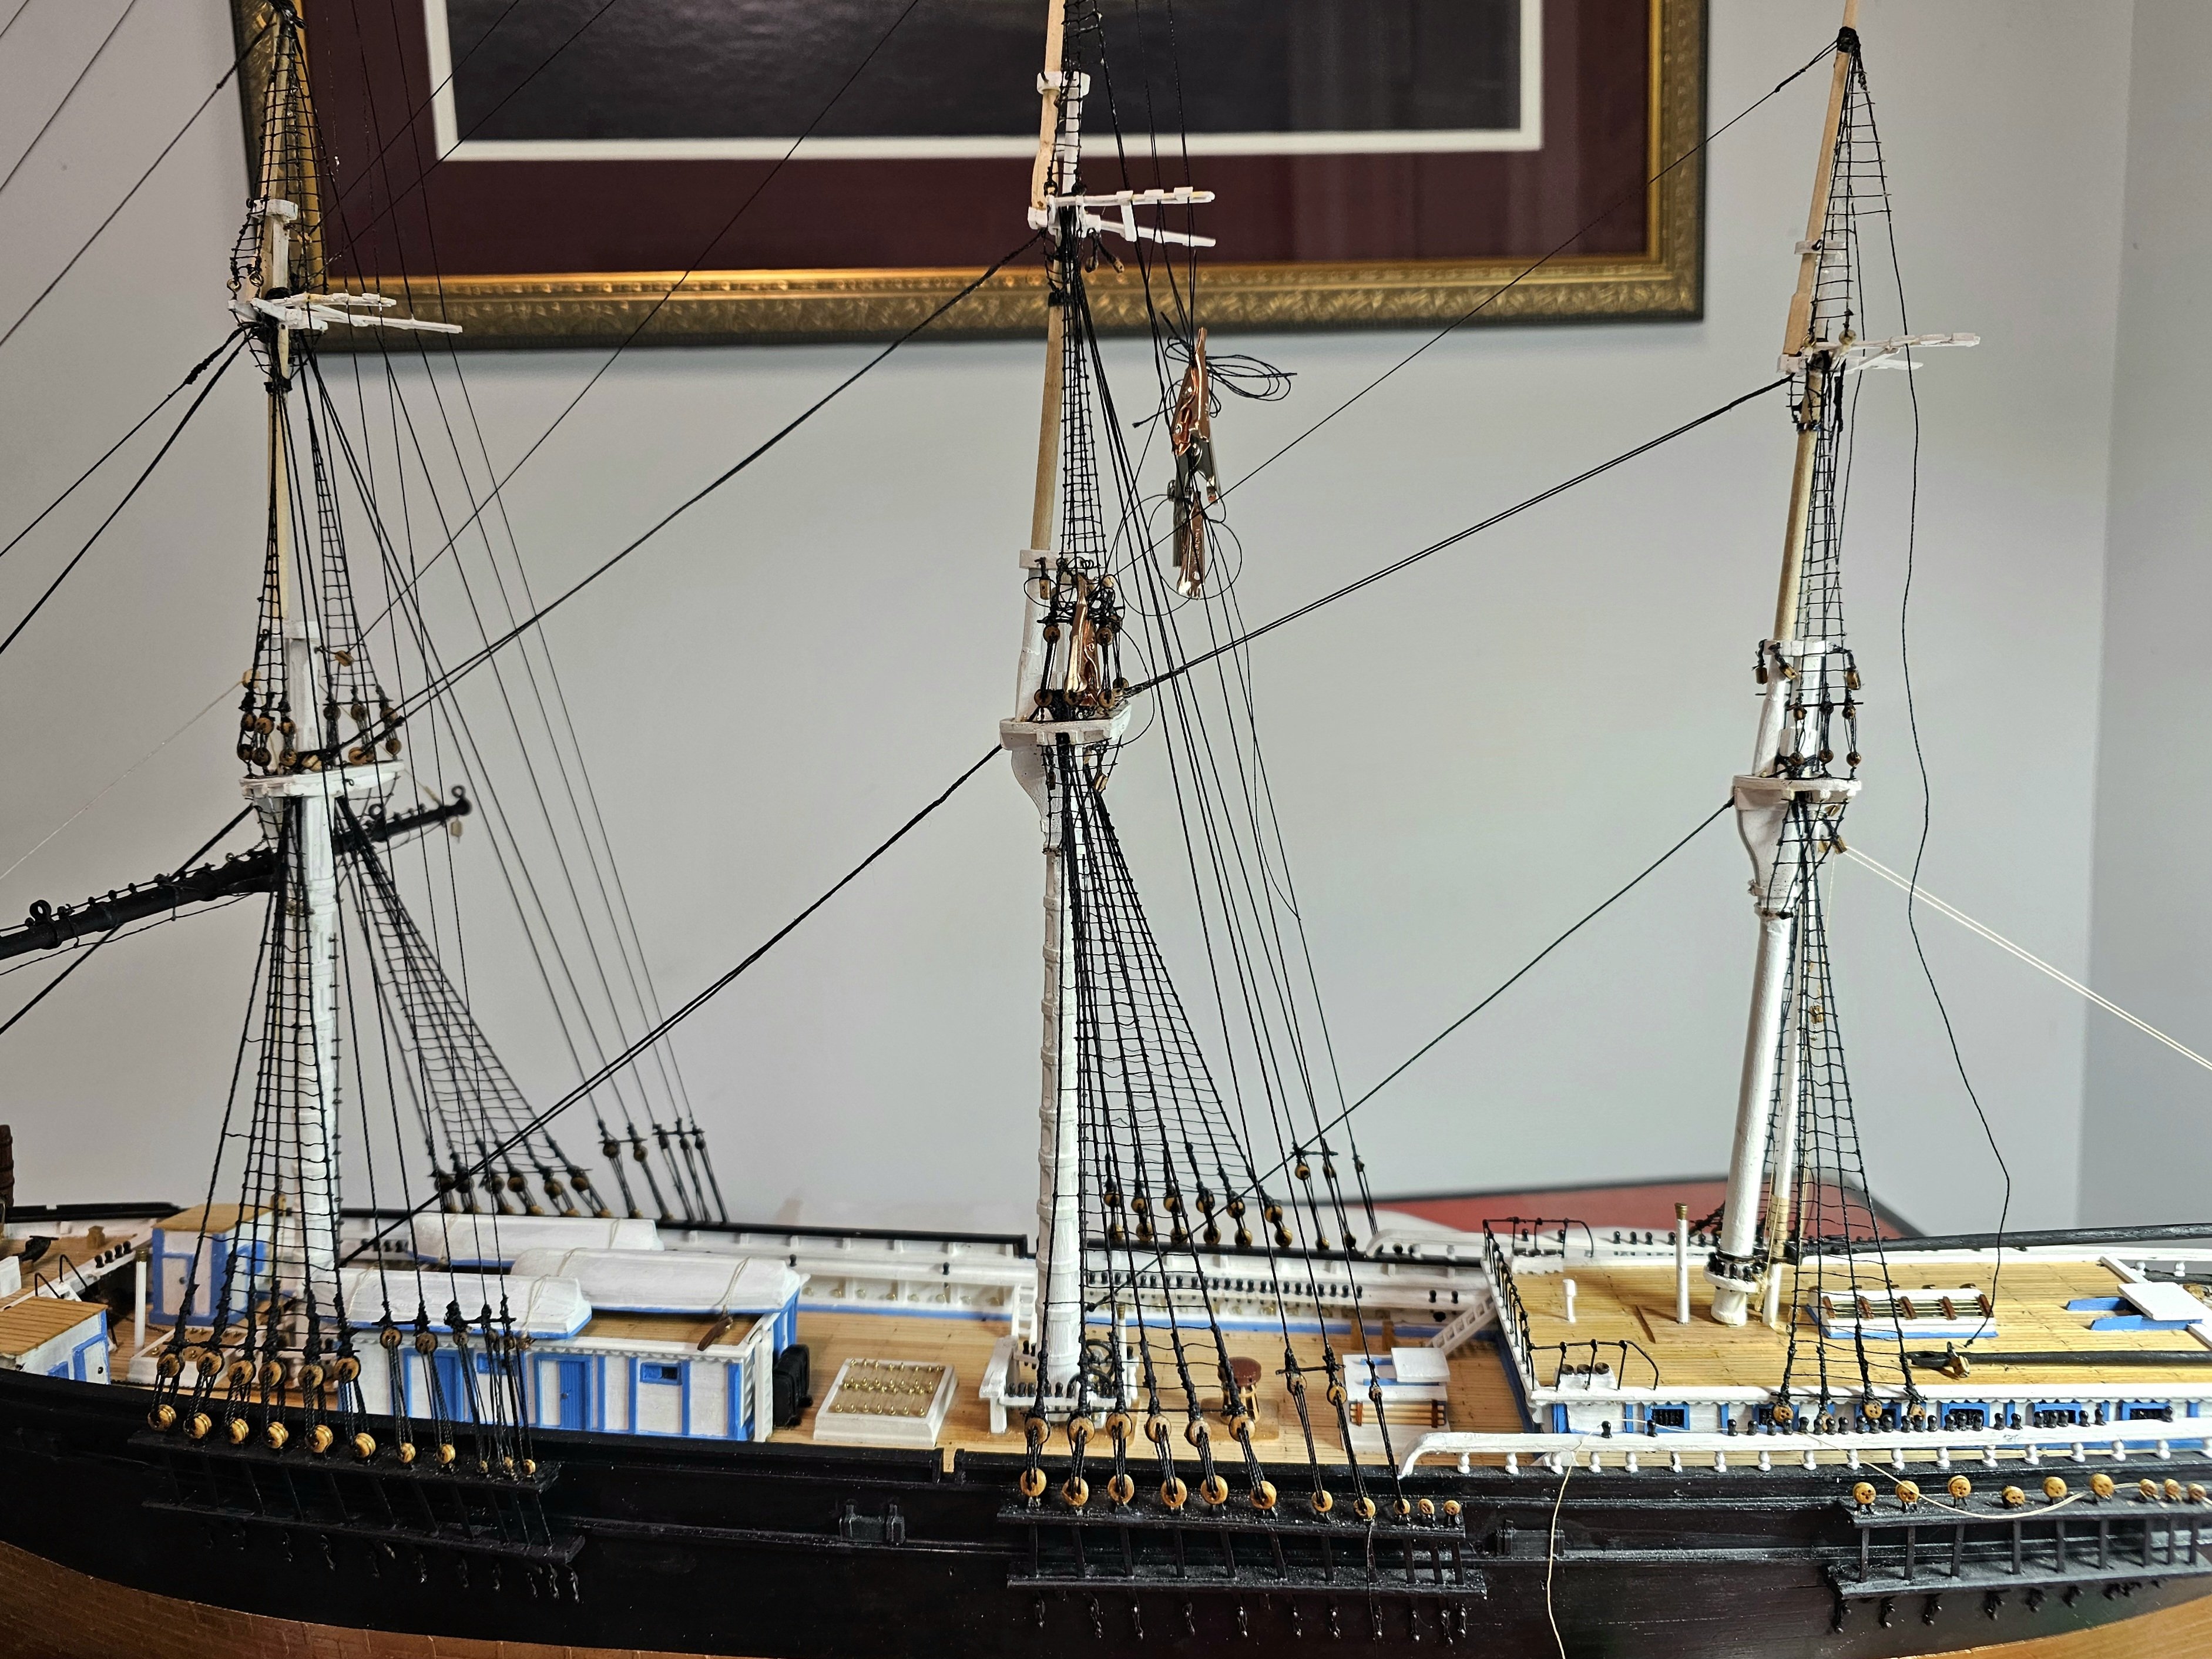
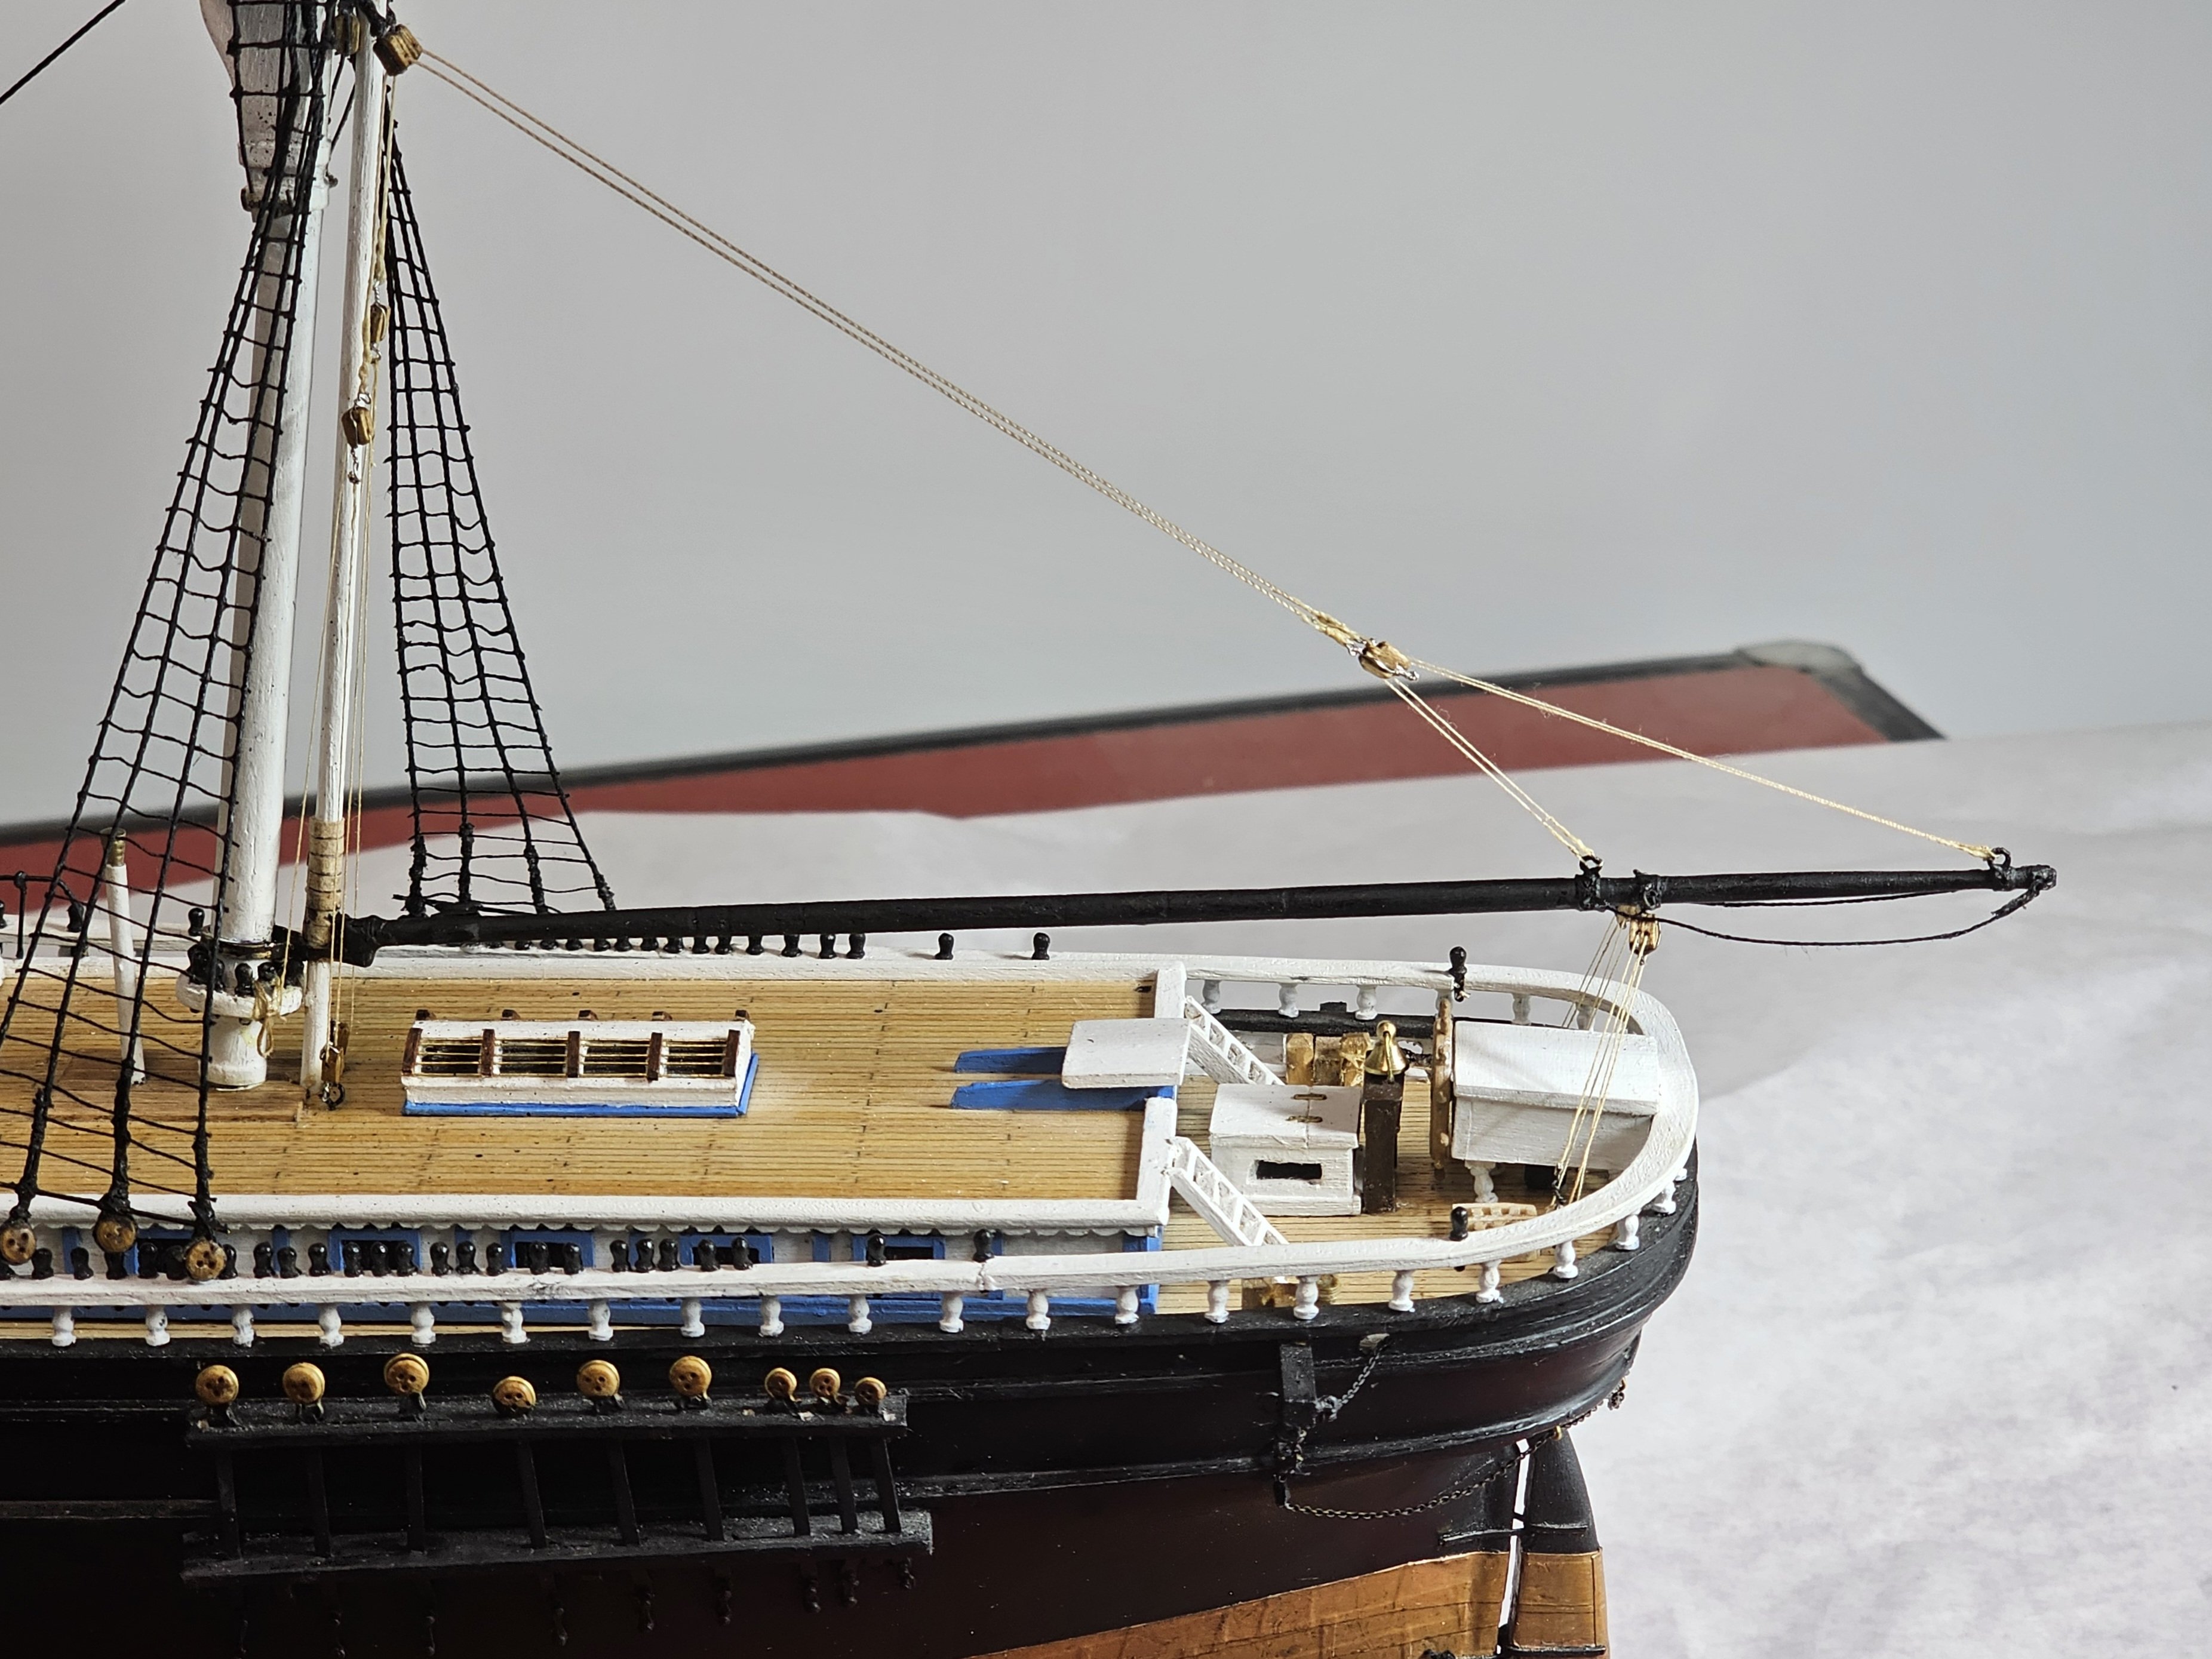
I decided to see if I could apply my newly discovered skills to repair my first plank on frame build, the Artesania Latina 1805 Virginia Pilot boat Swift. The top mast was accidently snapped of several years ago and seemed to defy glue repairs (photo 1). I determined that the problem was the running rigging at the top of the mainmast was too tight. I decided today to see if I could try to undo one end of the line and try the repairs again. I had to use a combination of hot water, acetone and laquer thinner treatments to eventually loosen and release the line attached to a deck cleat. I then repaired the upper mast with epoxy glue and retied the running rigging line after the epoxy on the mast cured. I secured the new knot with white glue. The repaired model is shown in photos 2-4). Now I am back at my Flying Fish.

- 433 replies
-
- 2
-
-
- Flying Fish
- Model Shipways
- (and 2 more)
-
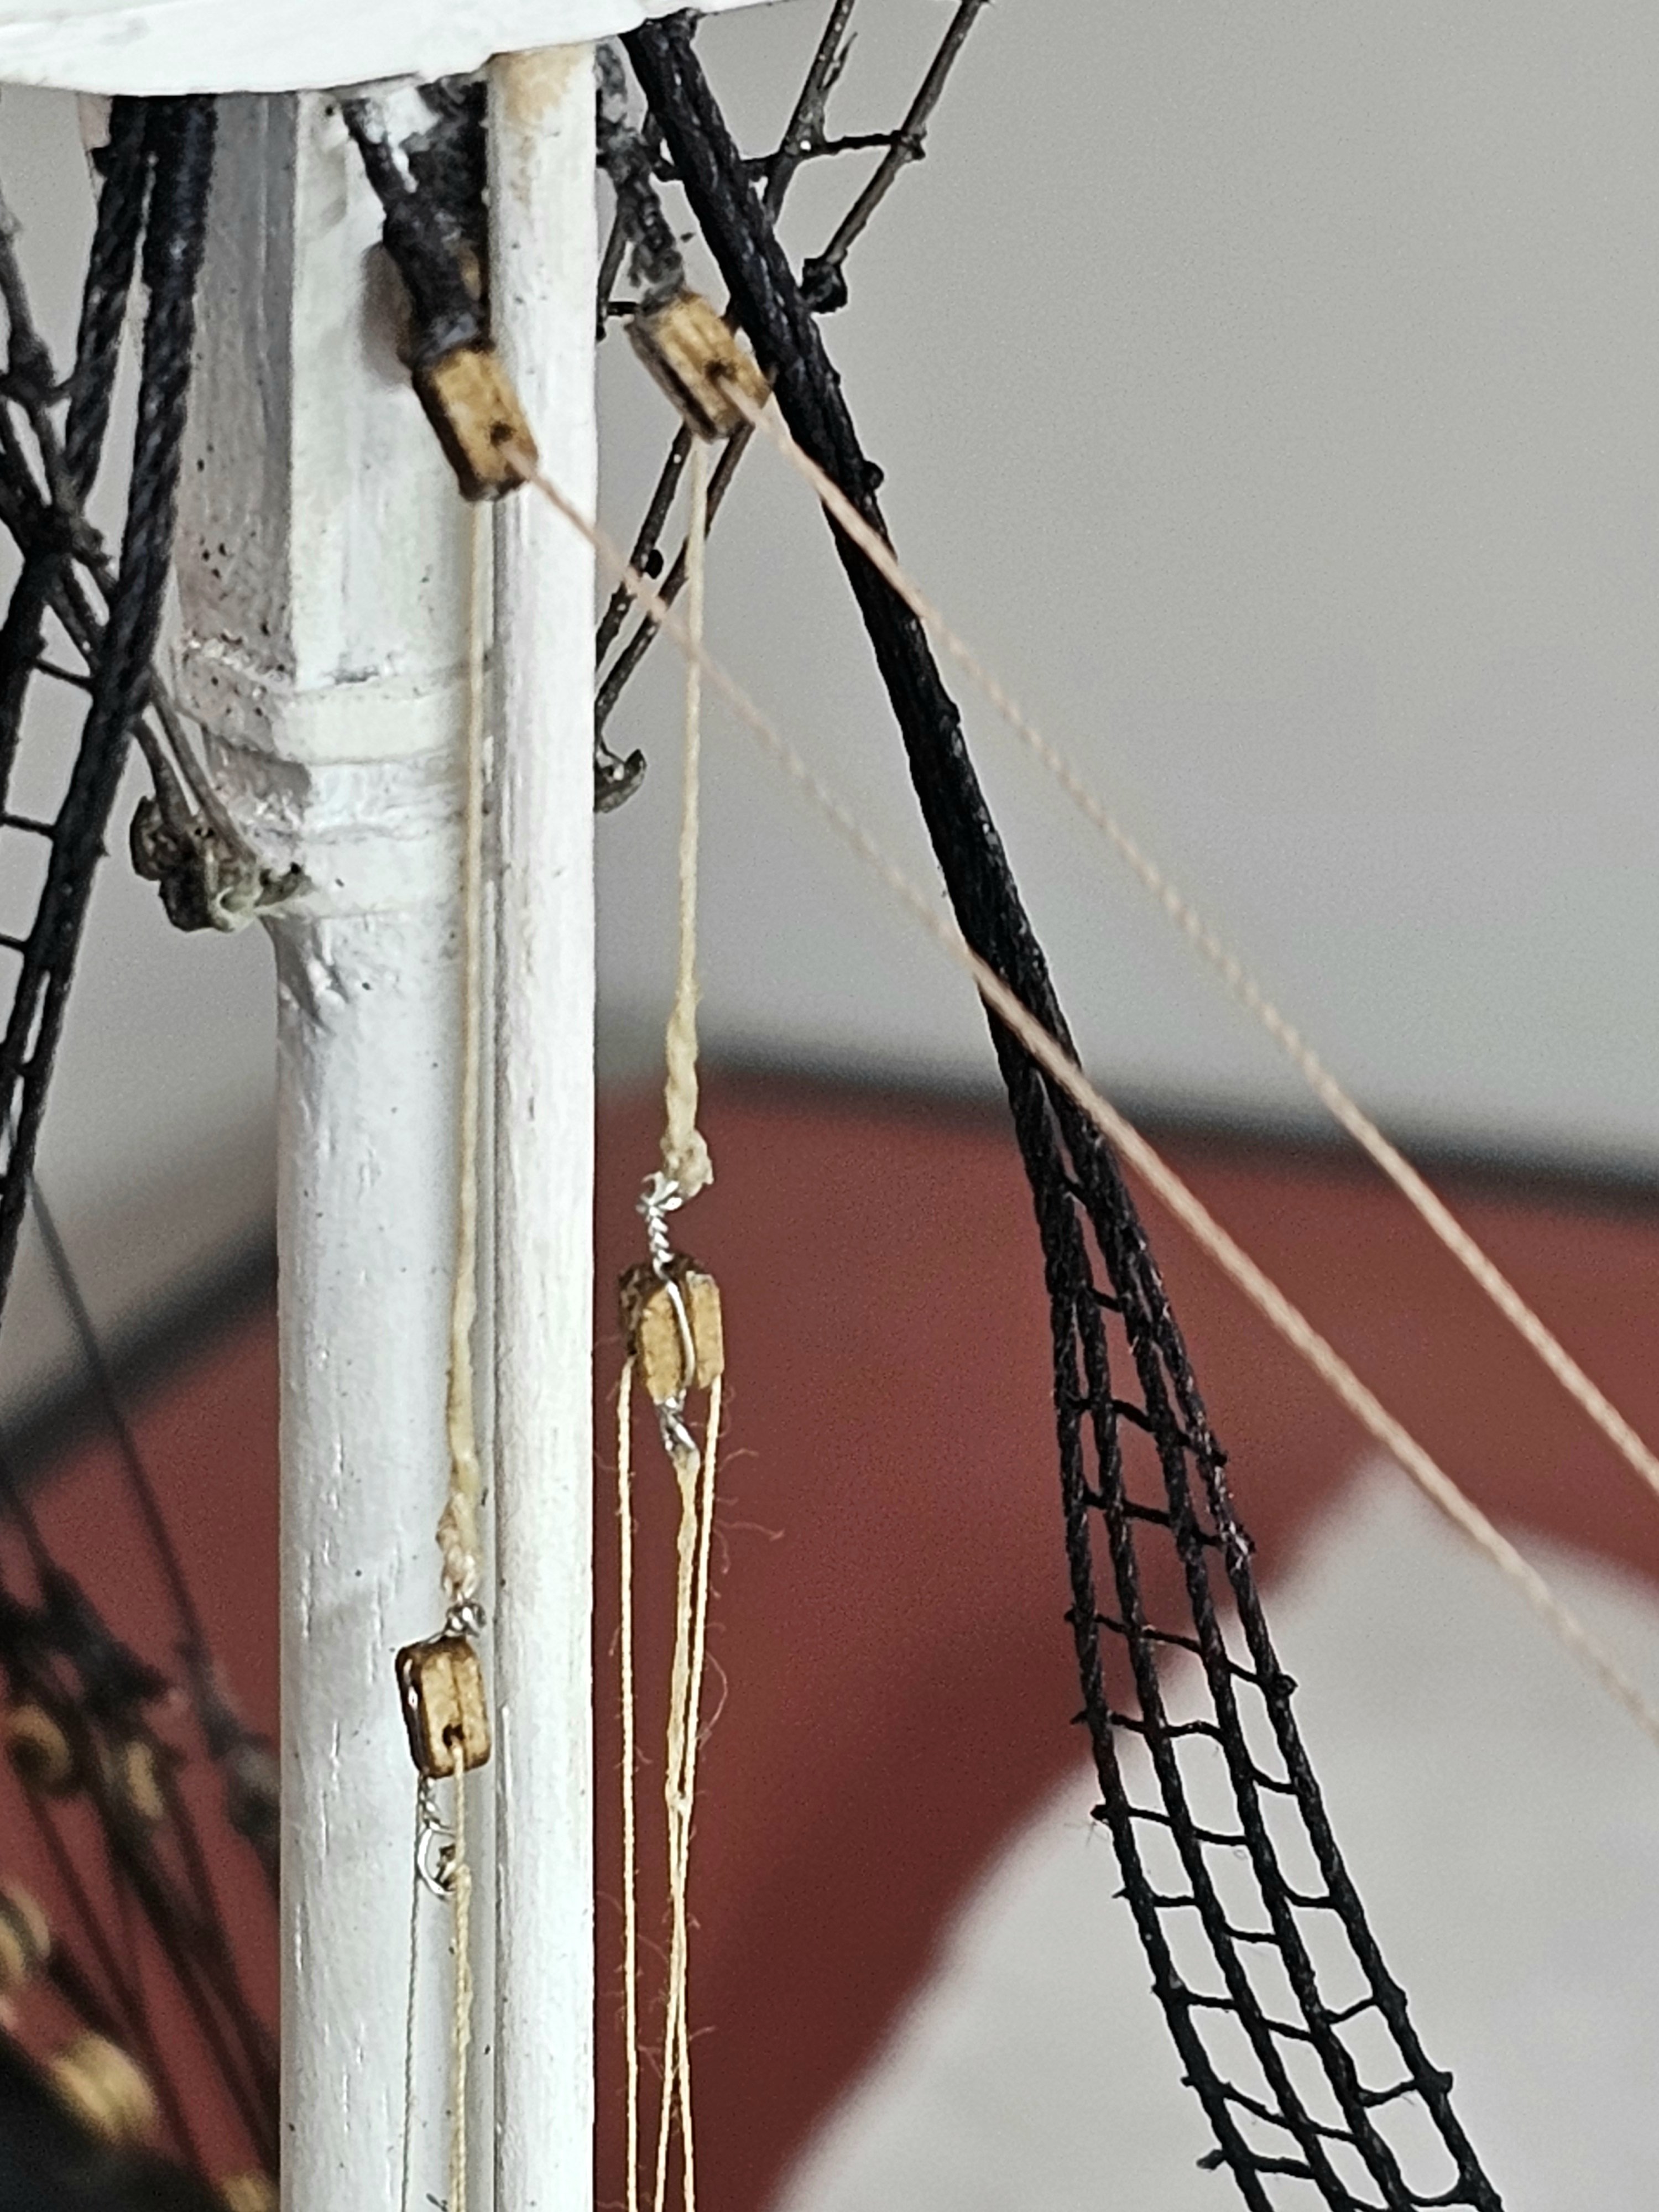
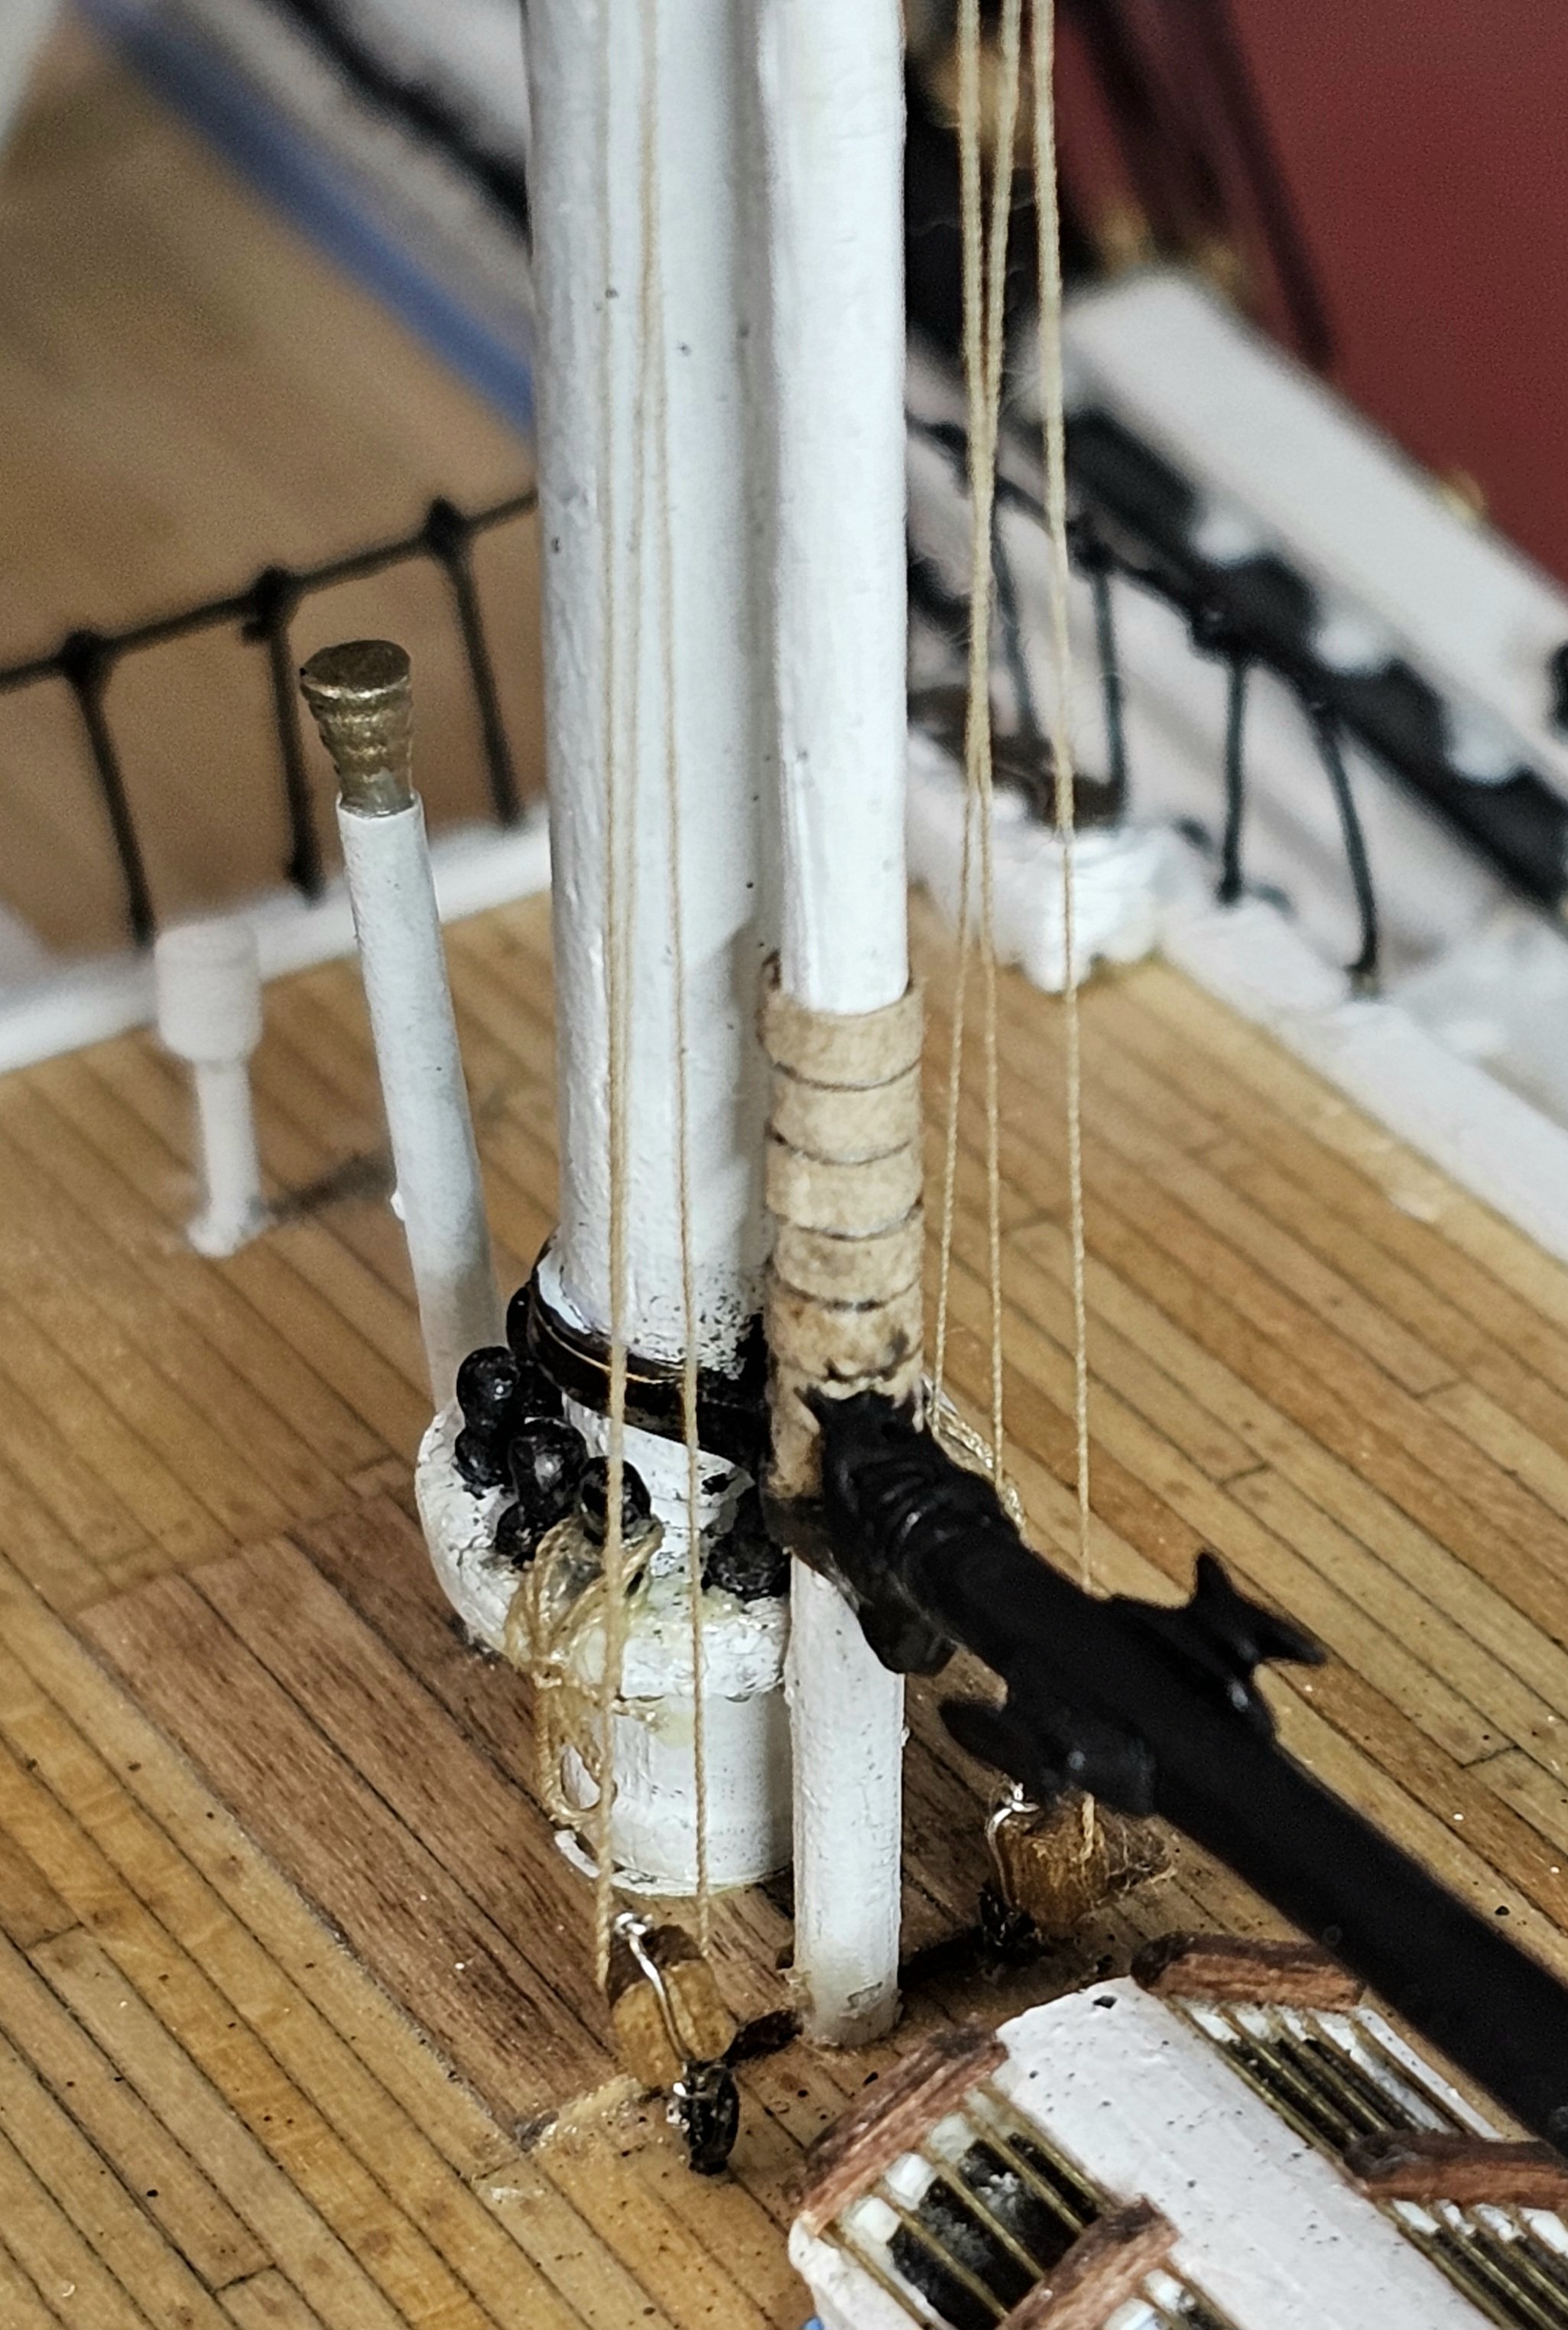
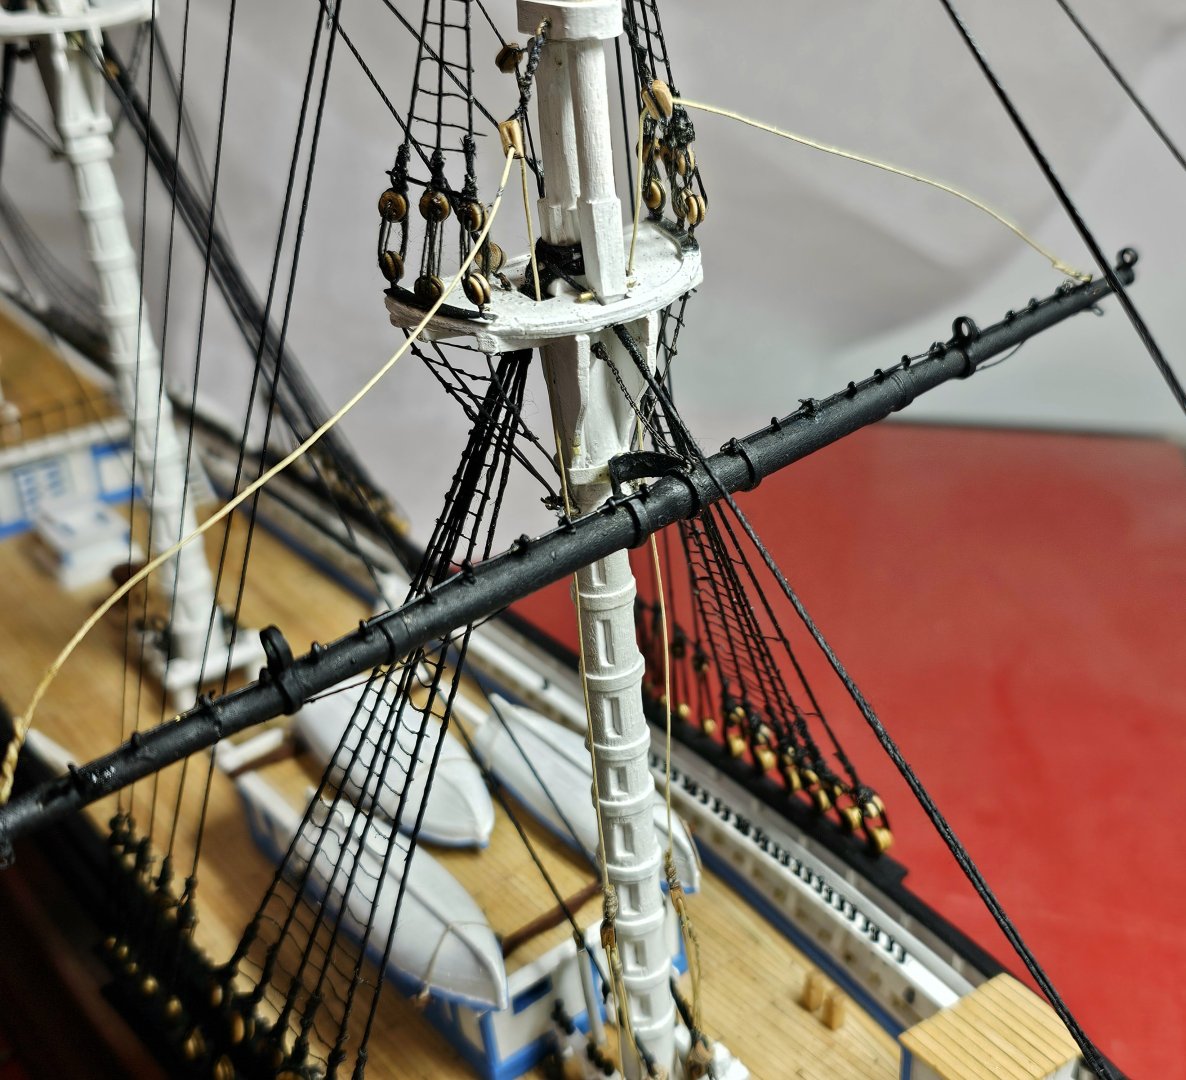
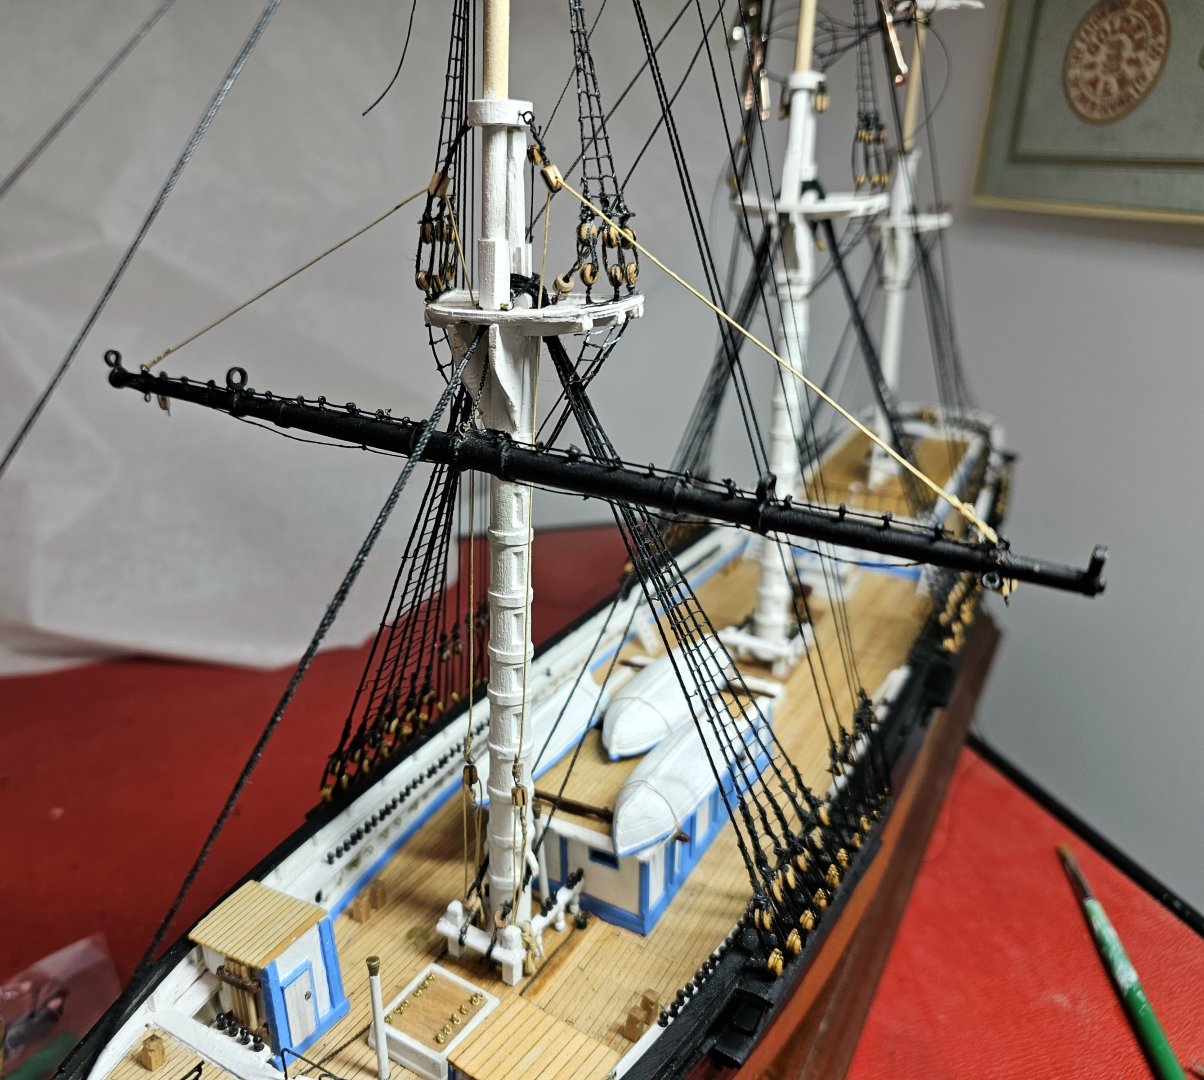
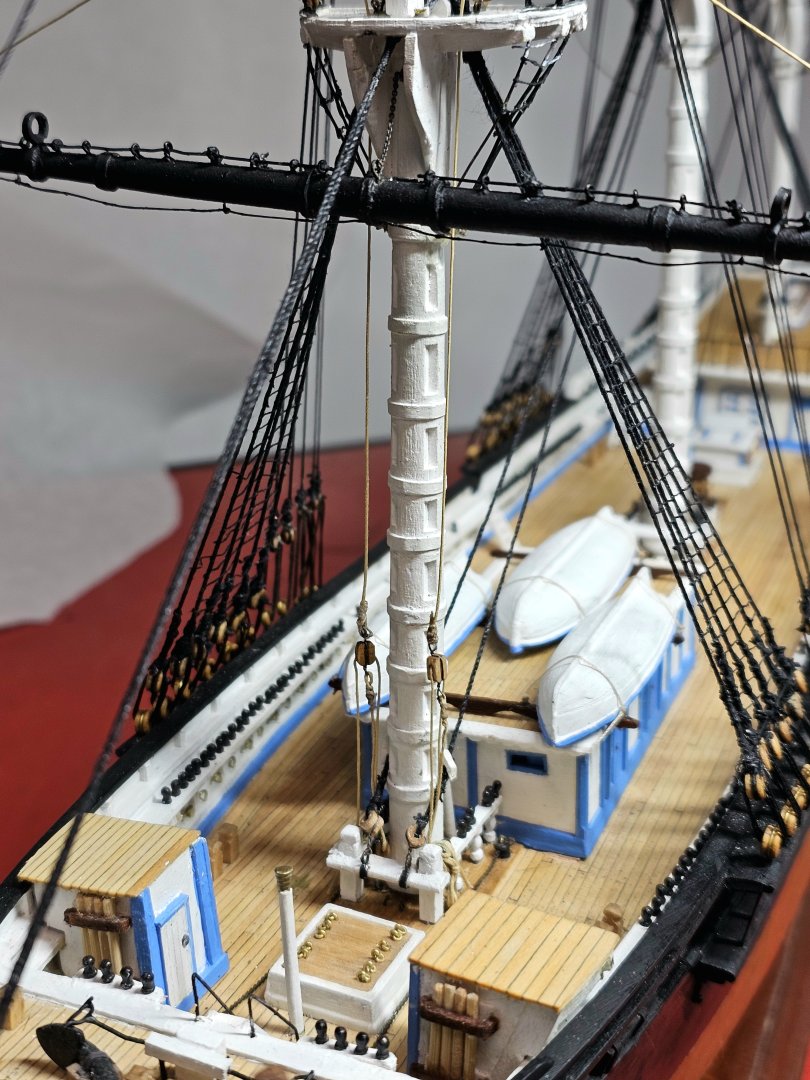
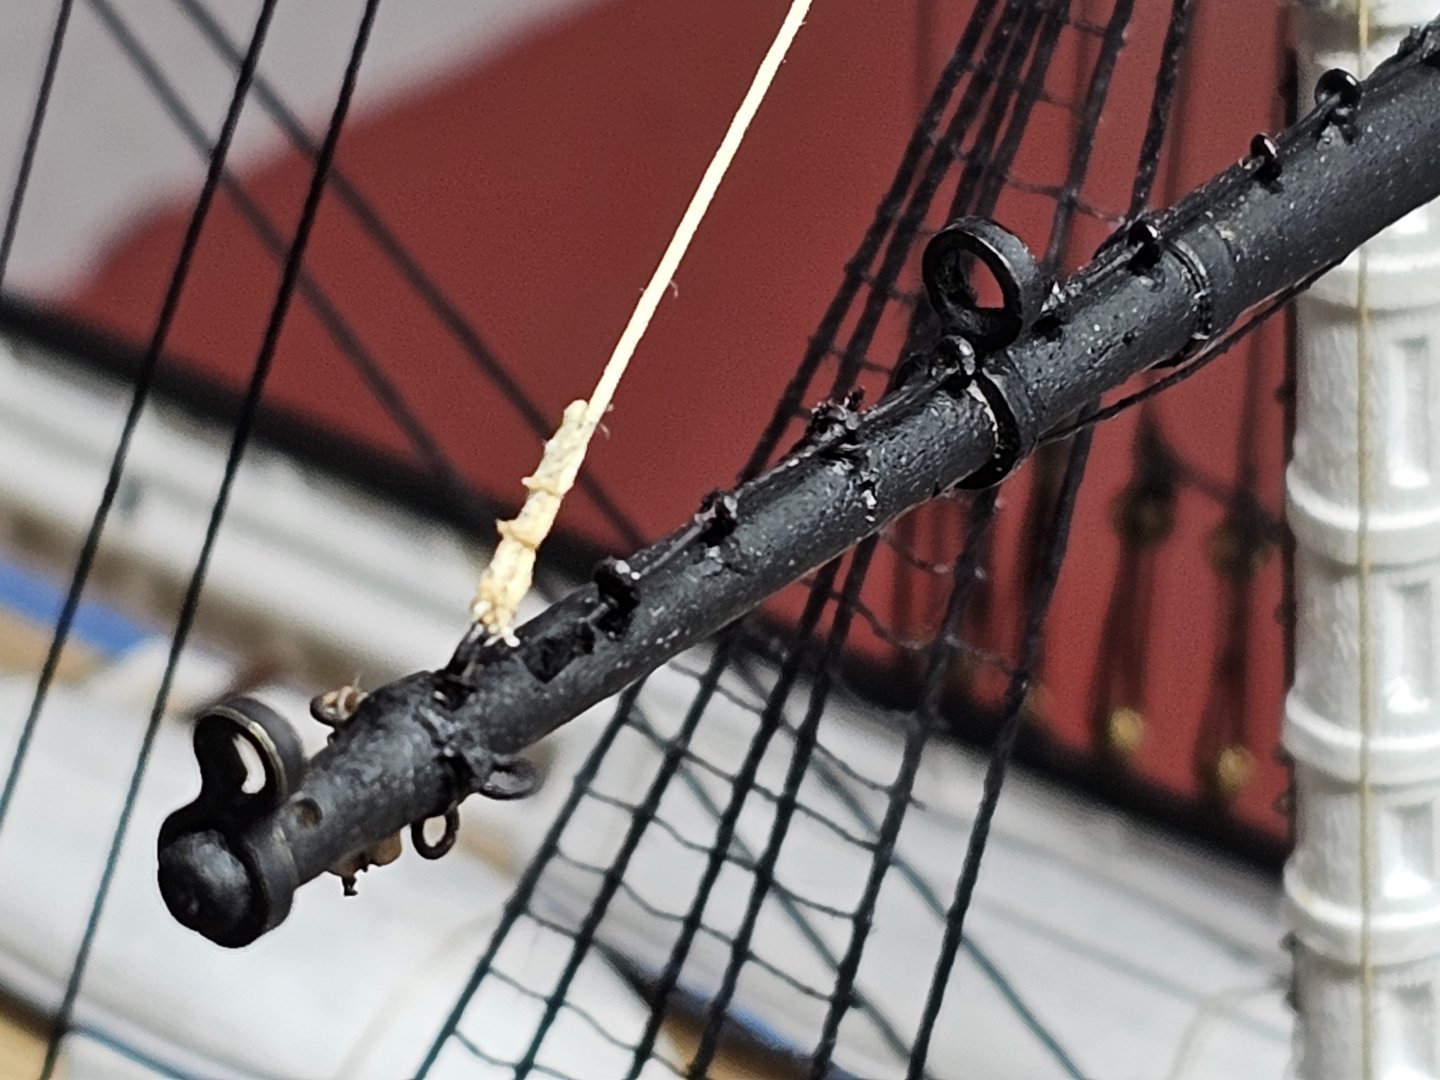
The one thing troubling me the most about my model has been the loose lift lines on the main lower mast (see items 293 & 208 of this build). With my frequent accidental encounters with the mast as I continued with the rigging, the problem got much worse with the upper lines of the lift sagging terribly (photo 1). Through some luck and thought I have been able to fix this. As to the luck, yesterday the cap of my superglue was so plugged up with solidified glue and would no longer fit, causing the nozzle to plug. It defied removal by physical means so I turned to the internet and discovered acetone would dissolve hardened superglue. Sure enough this did the trick and my glue is good again. So what has this to do with my sagging main lower yard lifts? The rigging lines at the end of my lower mast were glued with a superglue. Carefully applying small amounts of acetone to the rope allowed me to open the knots and then retighten the rigging (photos 2 &-4).
- 433 replies
-
- 3
-
-
- Flying Fish
- Model Shipways
- (and 2 more)
-
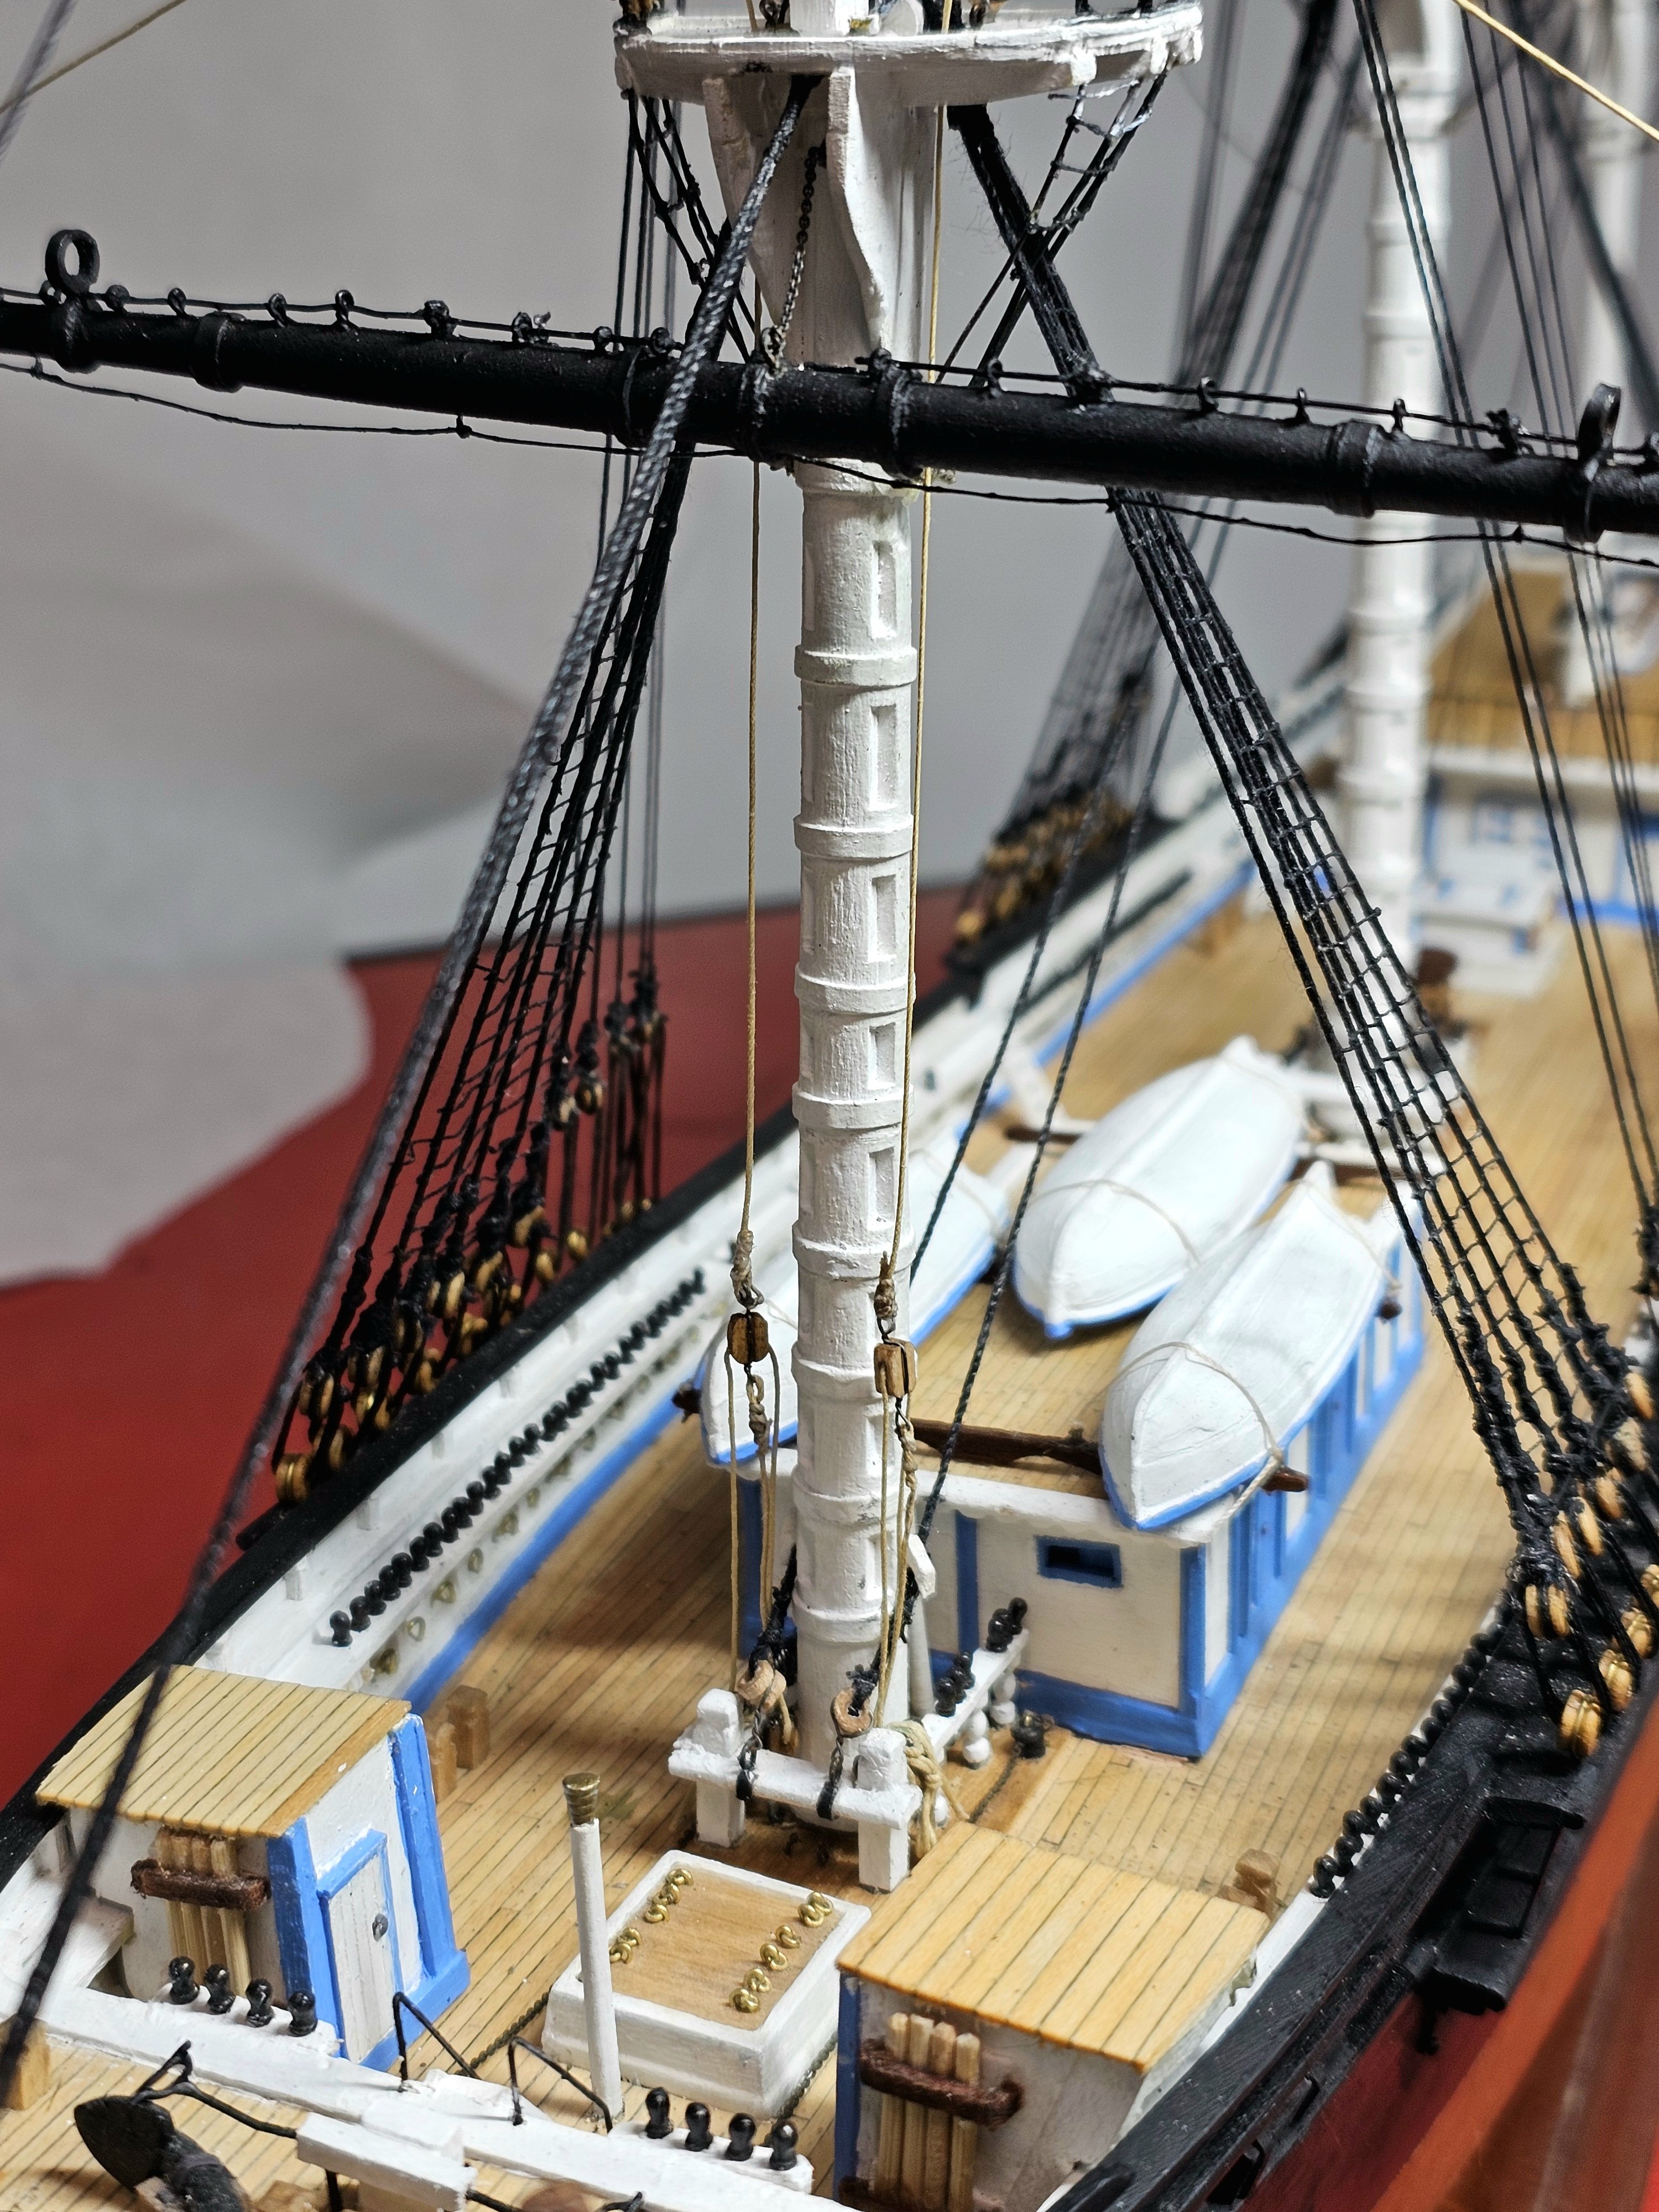
The standing rigging on the mainmast has now been completed. A lot of slow careful and sometimes very difficult work. I am holding off securing the Mn Royal and Mn Sky backstays for now, to leave more room under and behind the main mast to make later rigging of the mizzen stays easier. Thanks for looking.


- 433 replies
-
- 2
-
-
- Flying Fish
- Model Shipways
- (and 2 more)
-
It's looking really nice George. You are making a lot of progress.
-
I was led astray by the rigging sequence and approach I read in several books including the kit's plans. I did not learn of Rob's superior approach until it was too late, but now am a convert trying to implement his methods as best as I can. Lesson learned the harder way: work smarter not harder. The standing rigging on the main mast is coming along fine. I will update the log with photos when I am further along .
- 433 replies
-
- 1
-
-
- Flying Fish
- Model Shipways
- (and 2 more)
-
With the lanyards on the shrouds of the lower mizzen mast off now I have a lot easier access to the deck area under and on the aft side of the mast, which will make rigging in these areas much easier. Rigging the lanyards back on will be a later step.
- 433 replies
-
- 1
-
-
- Flying Fish
- Model Shipways
- (and 2 more)
-
The mizzen topmast is only loosely fit at the moment.
-
Thanks George. They were snug. However after slicing the lanyards on 1 side I was able to pull it out. I then used a dremel tool to slant the hole. I also had to cut the lanyards on the other side. I have reglued the mast and am going to leave it overnight before securing the ratlines with new lanyards. Surprisingly the fix has so far been rather painless.
- 433 replies
-
- 2
-
-
- Flying Fish
- Model Shipways
- (and 2 more)
-
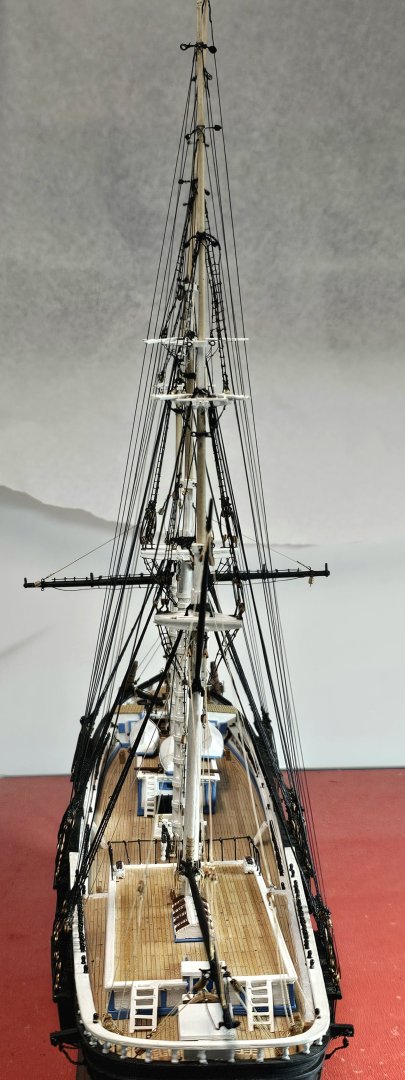
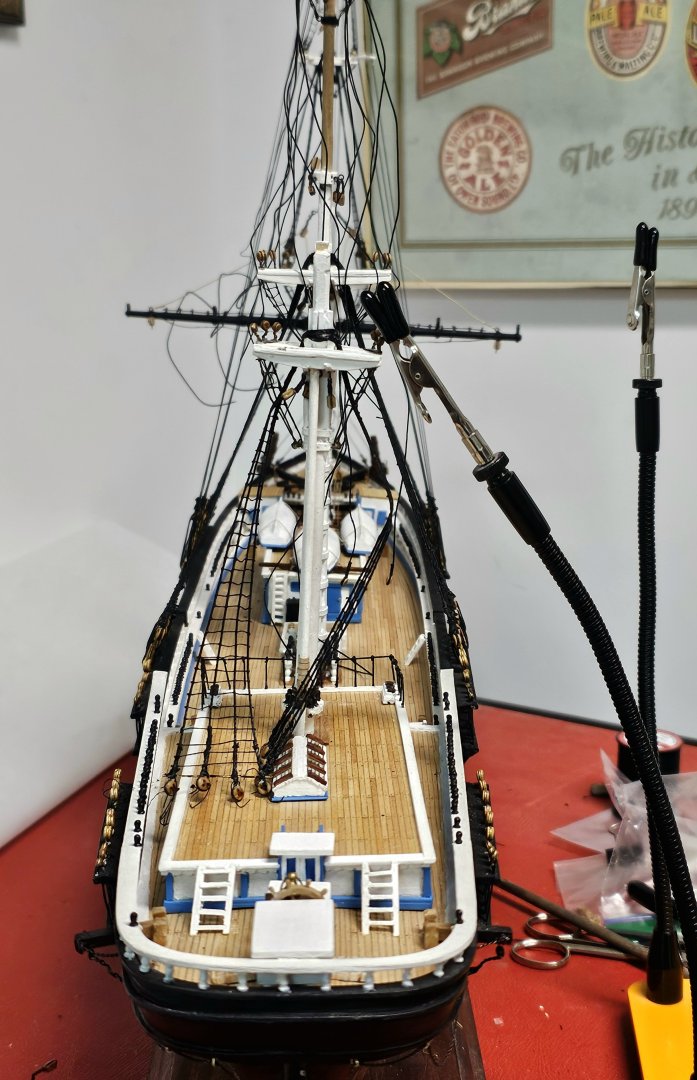
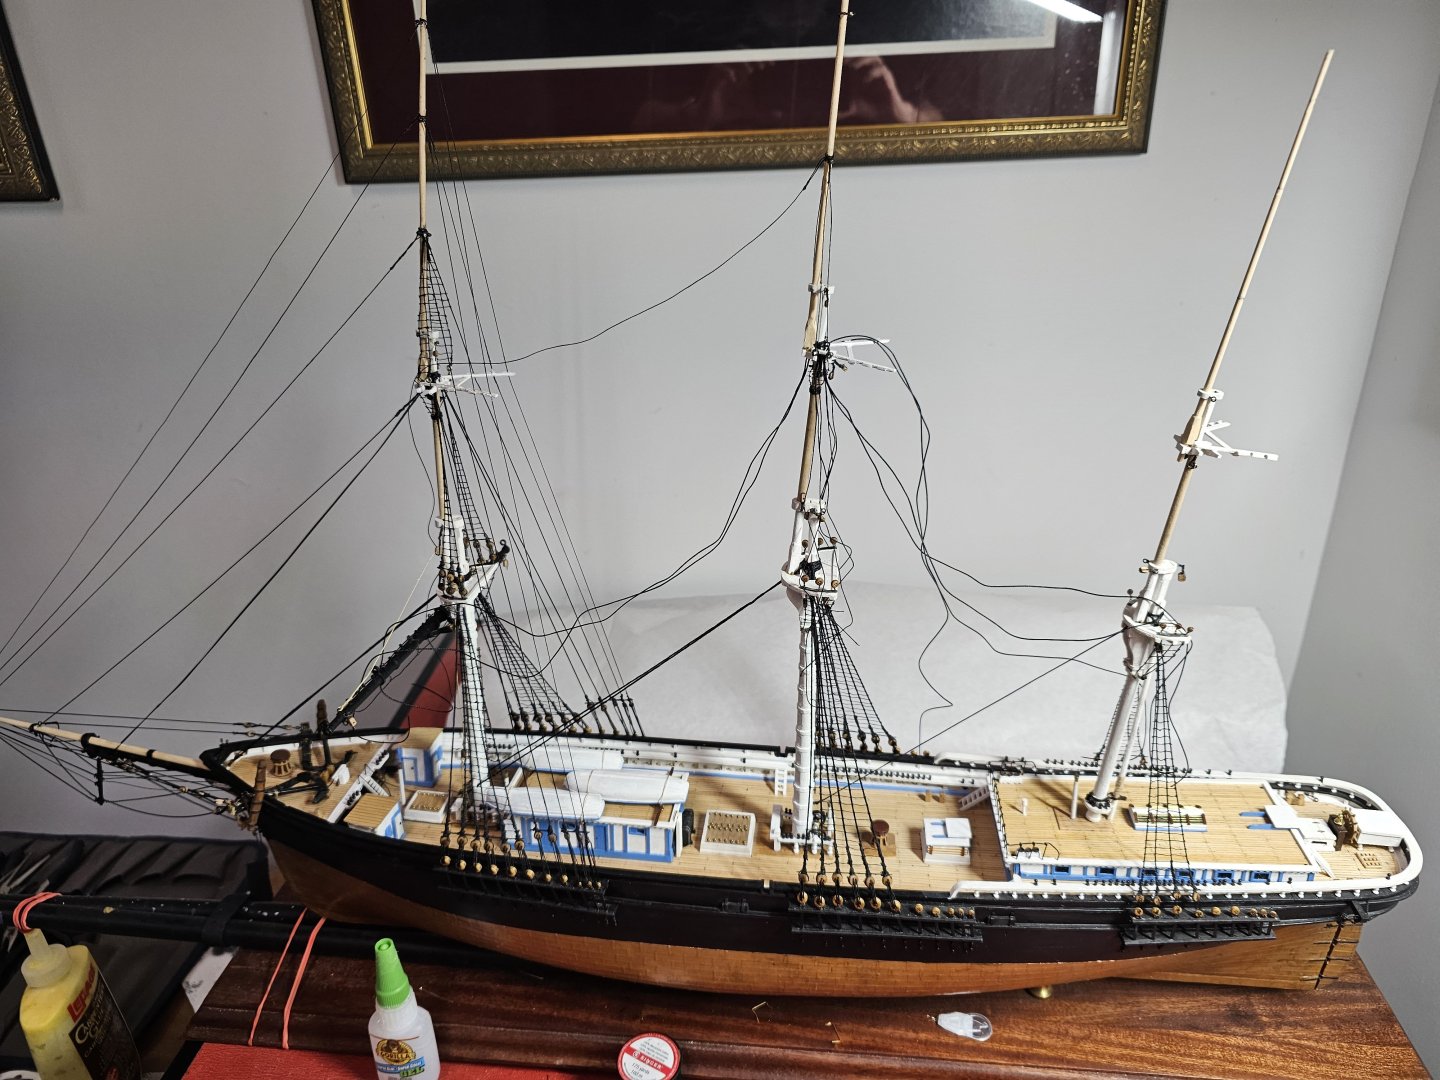
Have been pursuing Rob's advice and have prerigged a lot of the standing rigging and futtock's shrouds onto the main topsail and topgallant masts while these were off the model. It was sooooo much easier doung it this way! Yesterday I glued this assembly onto the main mast so I can finish up the rigging. Along the way I discovered a major FUBAR setback that I now need to address. While all of the masts align well in the profile direction, I discovered when viewing the model from the bow or stern ends, that the lower mizzen mast was badly misaligned (see attached photo). How I missed this I have no idea. A really bad seniors moment for sure! I gave a lot of thought about what to do about how to repair it. While the mizzen shrouds and ratlines are completed the mast itself was not glued in place. I think the simplest way to fix the problem without destroying everything I have rigged on the mizzen mast would be to cut and remove the lower lanyards then pull out the mast and fix the drill angle through the aft cabin roof. I certainly would welcome any better ideas. 🙄
-
That was my understanding. I have not read the NRG article. Thanks.
-
Thanks @ClipperFan for all this detailed information and your evaluation of it all. Interestingly, the Model Shipways drawings you attached are not the same as the ones that came with my newer Model Shipways Flying Fish kit. Offhand I cannot say how close the two sets are measurements wise. Its hard for me to compare from the small size and resolution of the drawings you attached and the need to see a scale bar on the earlier plans. I do note one obvious difference in the locations of the ships boats.
- 433 replies
-
- 1
-
-
- Flying Fish
- Model Shipways
- (and 2 more)
-
Given how many design errors you have all discovered in the fore section of the plan, I am apprehensive to find out the accuracy of the rest of the model's build plans 😳. Hopefully they are not going to be an issue. On the positive side this kit has been an excellent educational tool, both for honing fine boat building scratch-building skills and making me really appreciate how the art of tall ship building evolved.
-
I think you are all doing an important service to the hobby so I was I was happy to join NRG this week to support what you are all doing. When one thinks about the many hours us modellers spend perfecting our models, it goes without saying that we want them to be as accurate as possible. The state of my build is too advanced for me to redo the revealed bow corrections. They would require a major effort and skills beyond where I think I am. However I don't think anyone starting to build the model would have any real difficulty incorporating the plan changes through scratch building.
-
Unfortunately that is not so easy. Many (perhaps most) craftsman kit builders come from very different non-nautical backgrounds and believe when spending a fair bit on money on our kits that they are historically correct. When I bought my Flying Fish kit in 2006, I had just completed the CW Morgan whaler by Artesinia Latina. Half way through that build I learned the model was very inaccurate and I used scratch building to fix as much as I could. For my next build I wanted a kit with quality historically correct plans and was attracted to the Model Shipways Flying Fish based on positive comments at the time about the accuracy of the Langford plans that were part of the kit.
- 433 replies
-
- 1
-
-
- Flying Fish
- Model Shipways
- (and 2 more)
-
This month has been a real eye opener for me on the many inaccuracies in the plans of the entire bow section of the Flying Fish that have recently and not so recently come to light. For the benefit of future readers, some of this is discussed here, some in the FF build log of @Rick310 and some in the completed FF build log of @gak1965. Thanks @ClipperFan, @rwiederrich and @Vladimir_Wairoa for sharing your discoveries.
- 433 replies
-
- 2
-

-
-
- Flying Fish
- Model Shipways
- (and 2 more)


.jpg.a8eec57284240407d5c3359413cb87af.jpg)