Ferrus Manus
-
Posts
1,407 -
Joined
-
Last visited
Content Type
Profiles
Forums
Gallery
Events
Everything posted by Ferrus Manus
-
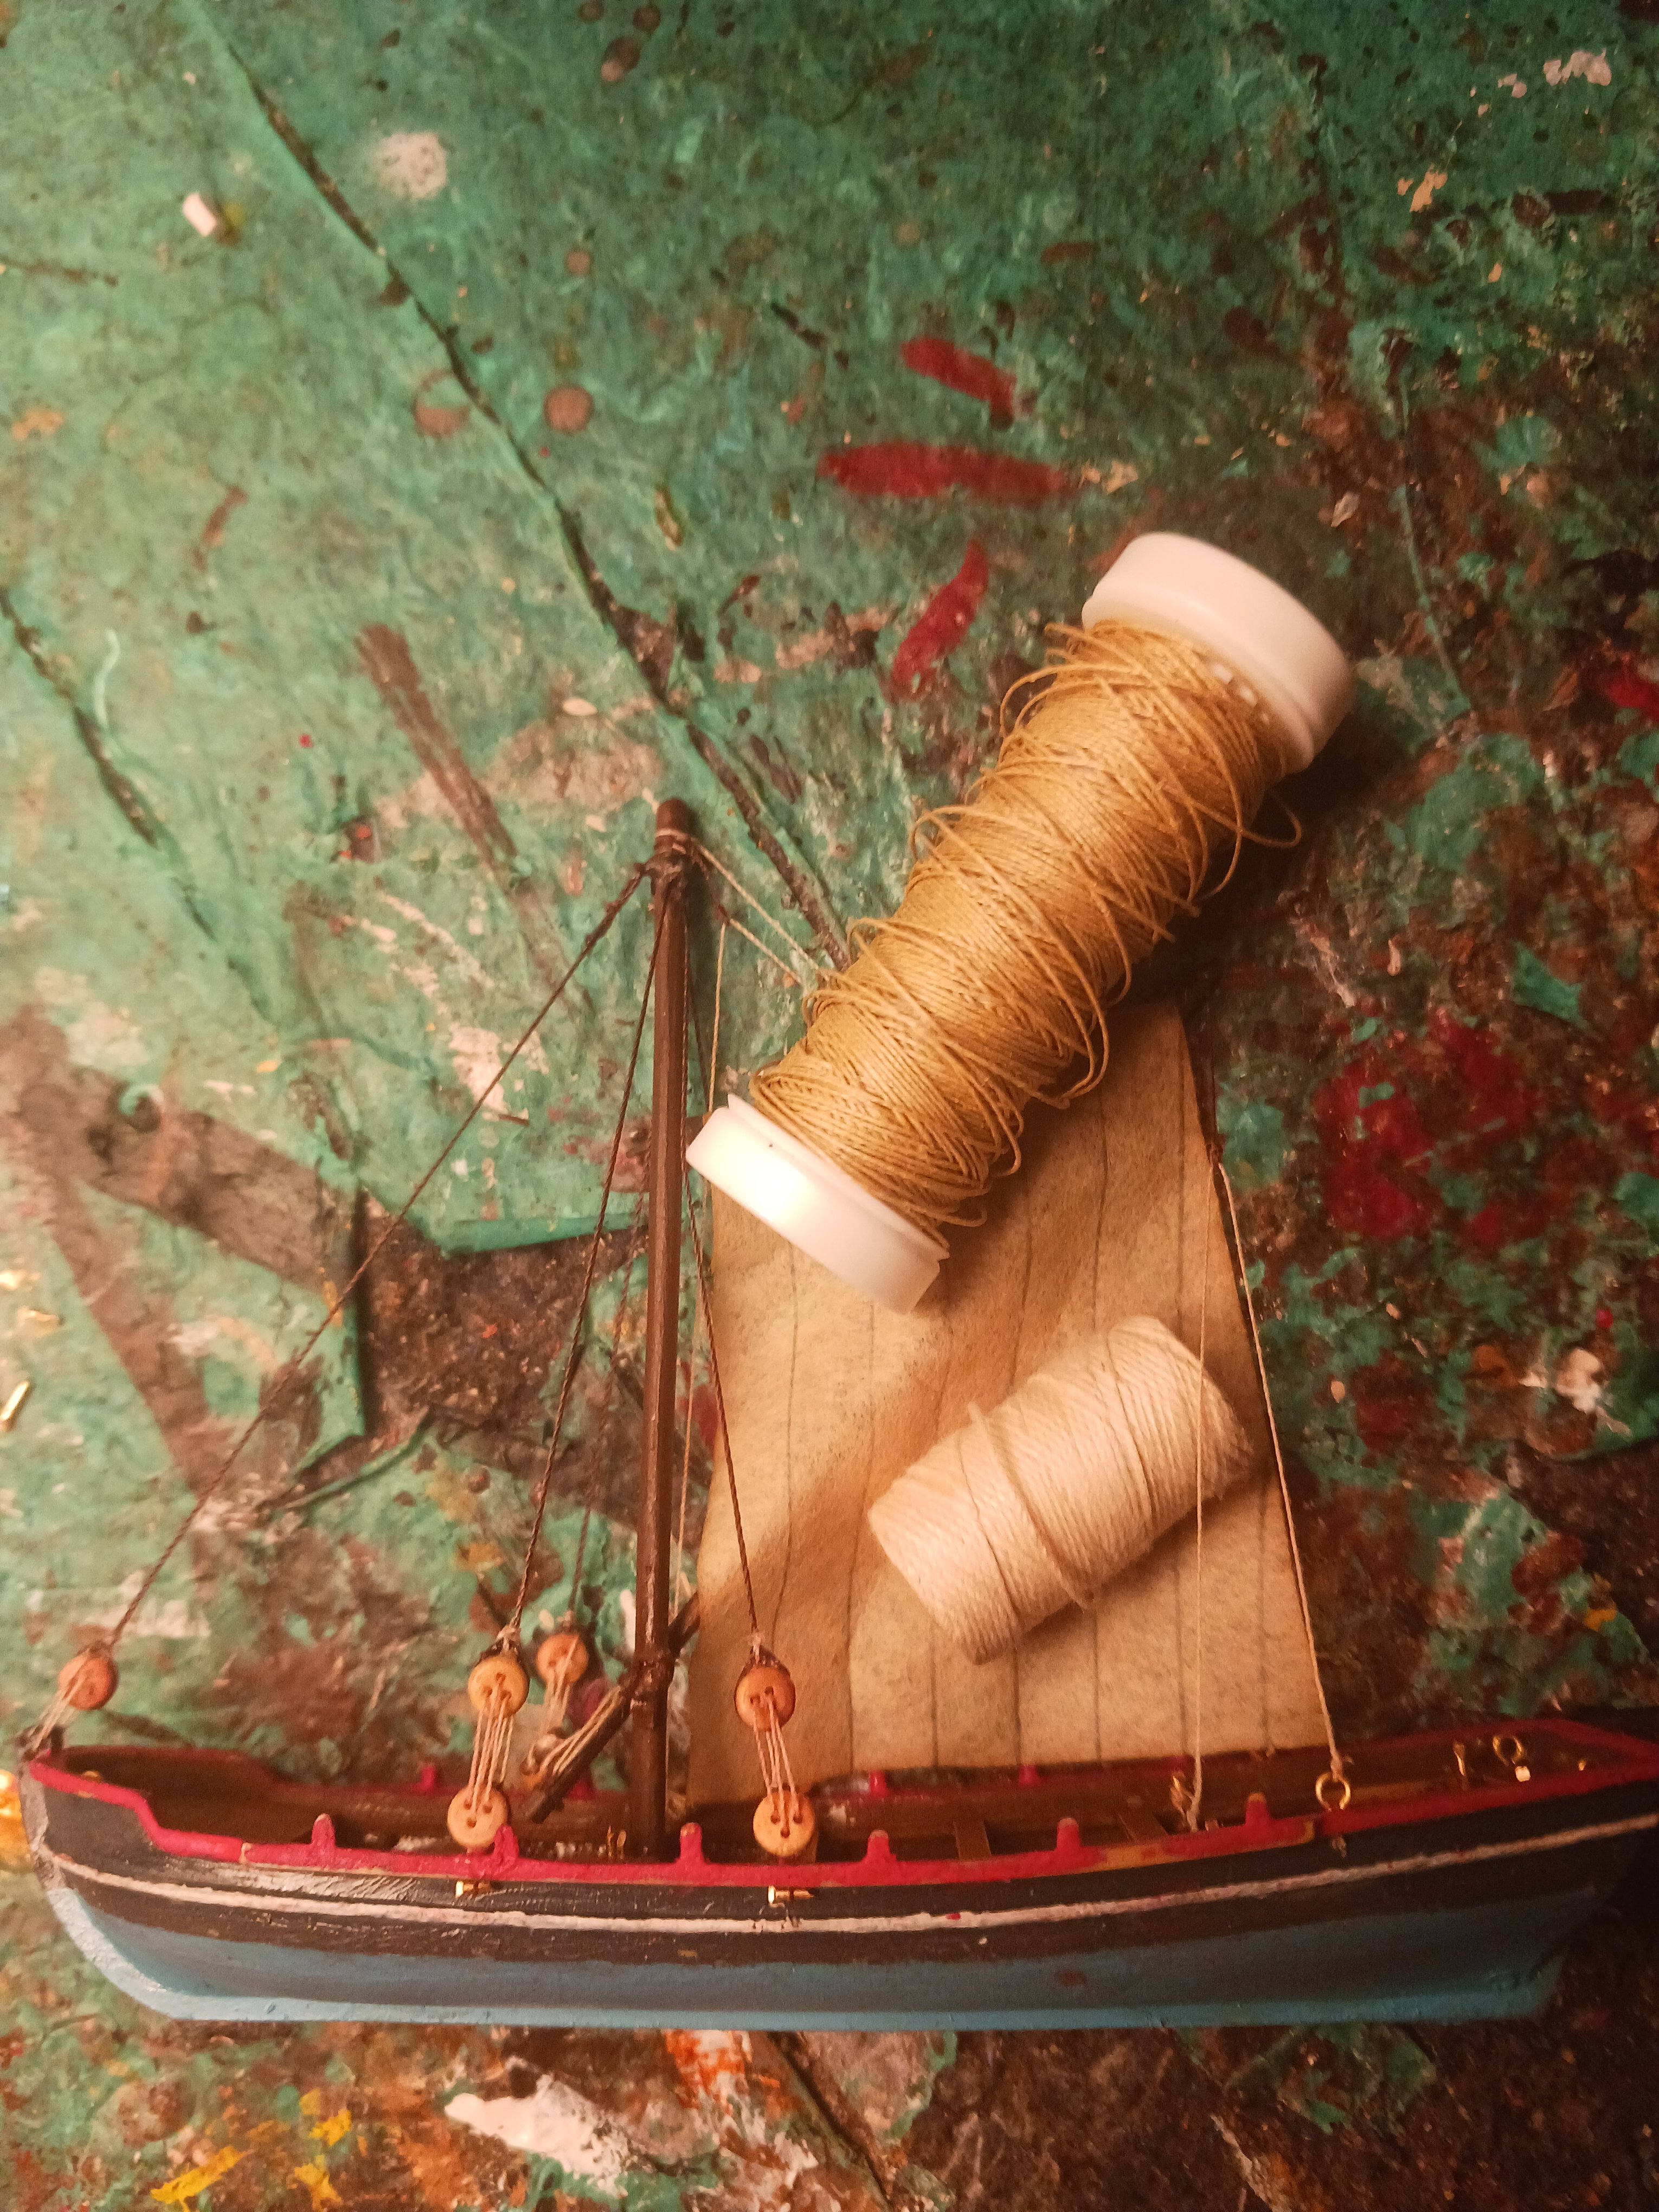
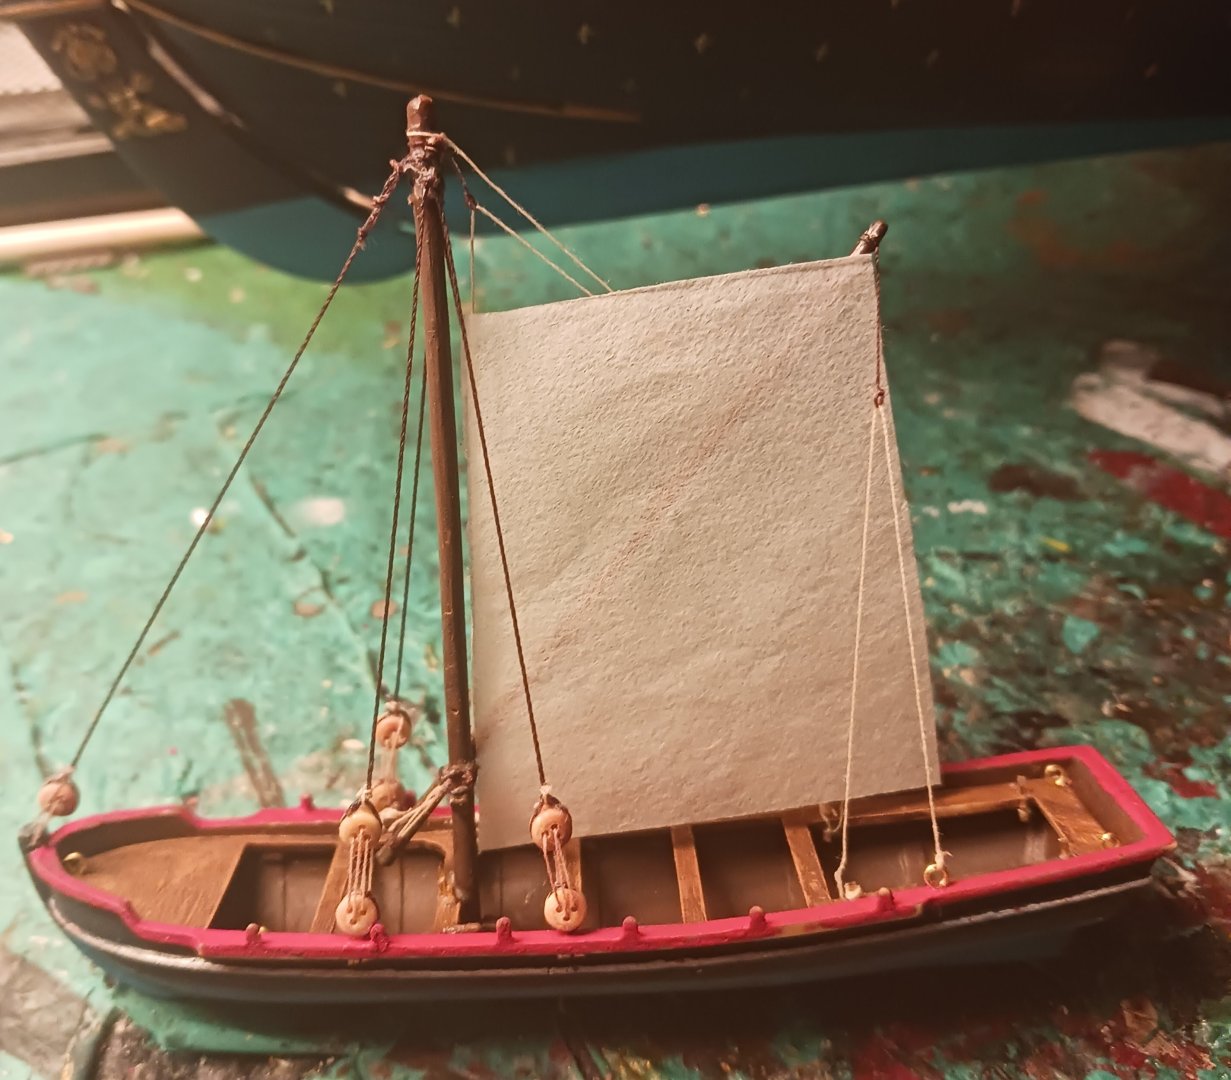
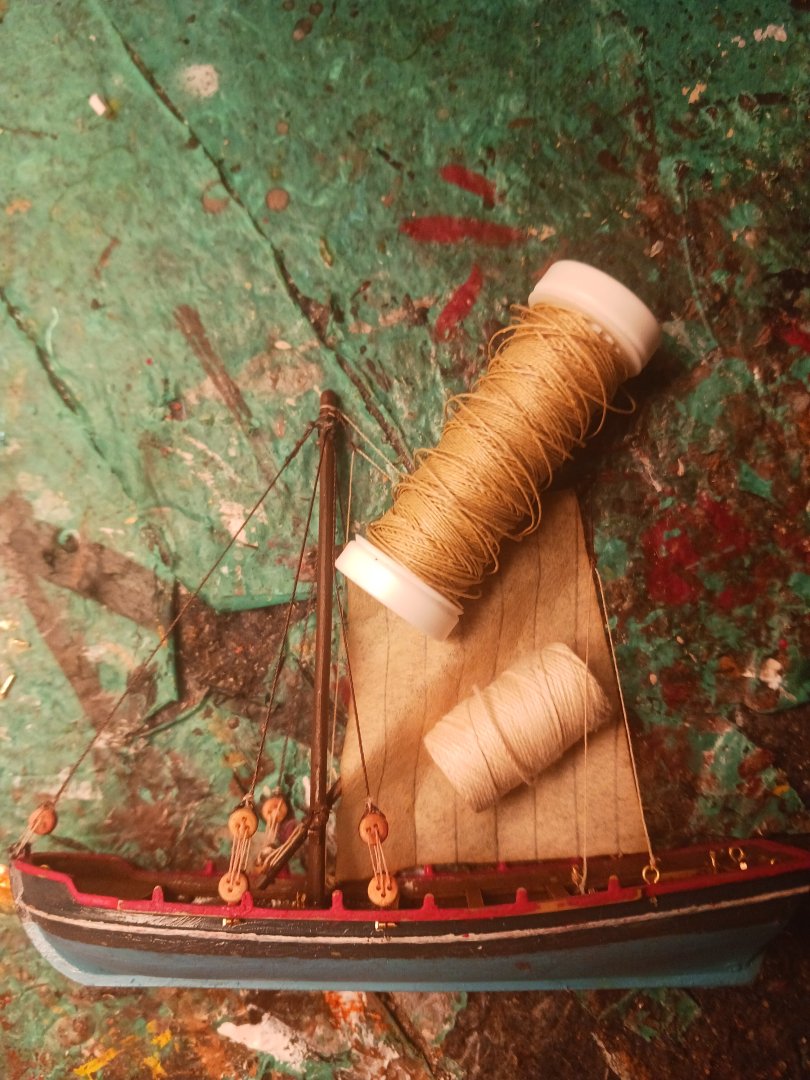
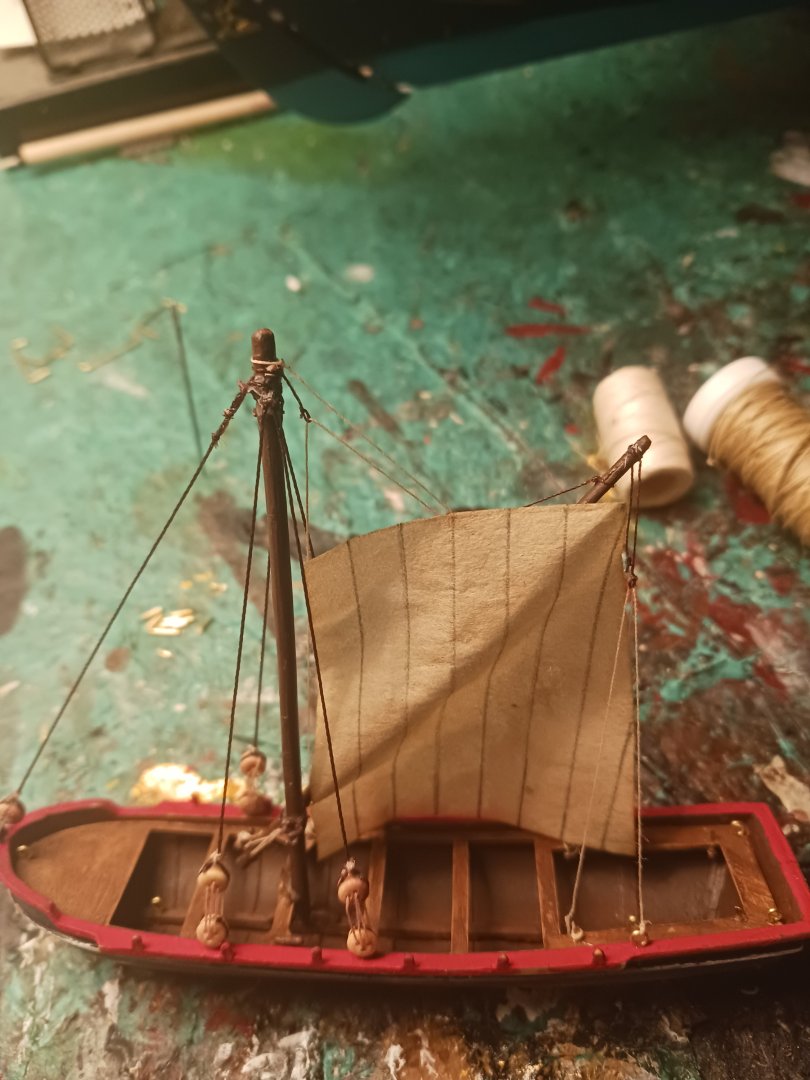
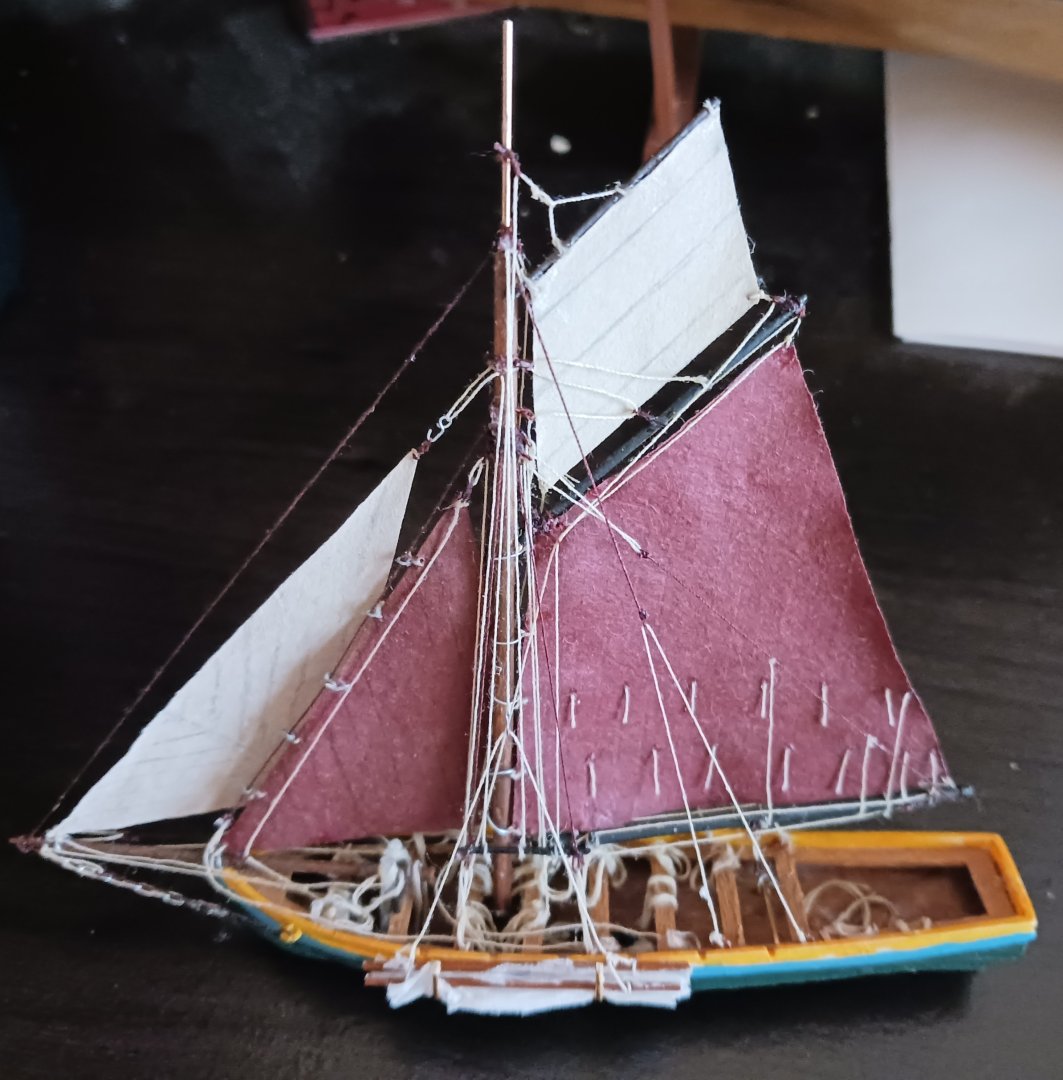
 This is what the finished rigging of the spritsail yard looks like, without rope coils: I cut the sail out of silkspan, and placed it onto the yard/mast to get a general idea of what it will look like. Like a gaff sail, you can rig a spritsail in any number of ways. As this is a ship's boat, I will likely only attach it at each of the four corners of the sail. This is owing to the fact that a ship's boat would have to set and take down rigging quickly to be stowed aboard the ship. Shallops at least sometimes went on voyages longer than the jobs a ship's boat would perform would require (John Smith's expedition, Mayflower's shallop, etc) and in those cases, it would make sense to have the sail attached to the mast at the head of the sail. Modern reconstructions use mast hoops and an otherwise flying rig. The head and peak of the sail will have both uphauls and downhauls, and the two lower corners of the sail will belay to the thwarts. I drew in the sections of the sail with pencil, then stained the sail in black coffee until it was the correct color. I took advantage of how damp the sail was by forming it to the yard (this boat is on a port tack) with rigging spools as weights. This is the finished billow: Mind you, nothing is attached to anything as of right now. The lines on the sail will be set to keep the billow as intact as possible. I am thinking I might use wood glue to attach the sail to the two ends of the spritsail yard, before belaying any rigging.
- 176 replies
-
- 2
-

-
- la reale de france
- heller
- (and 2 more)
-
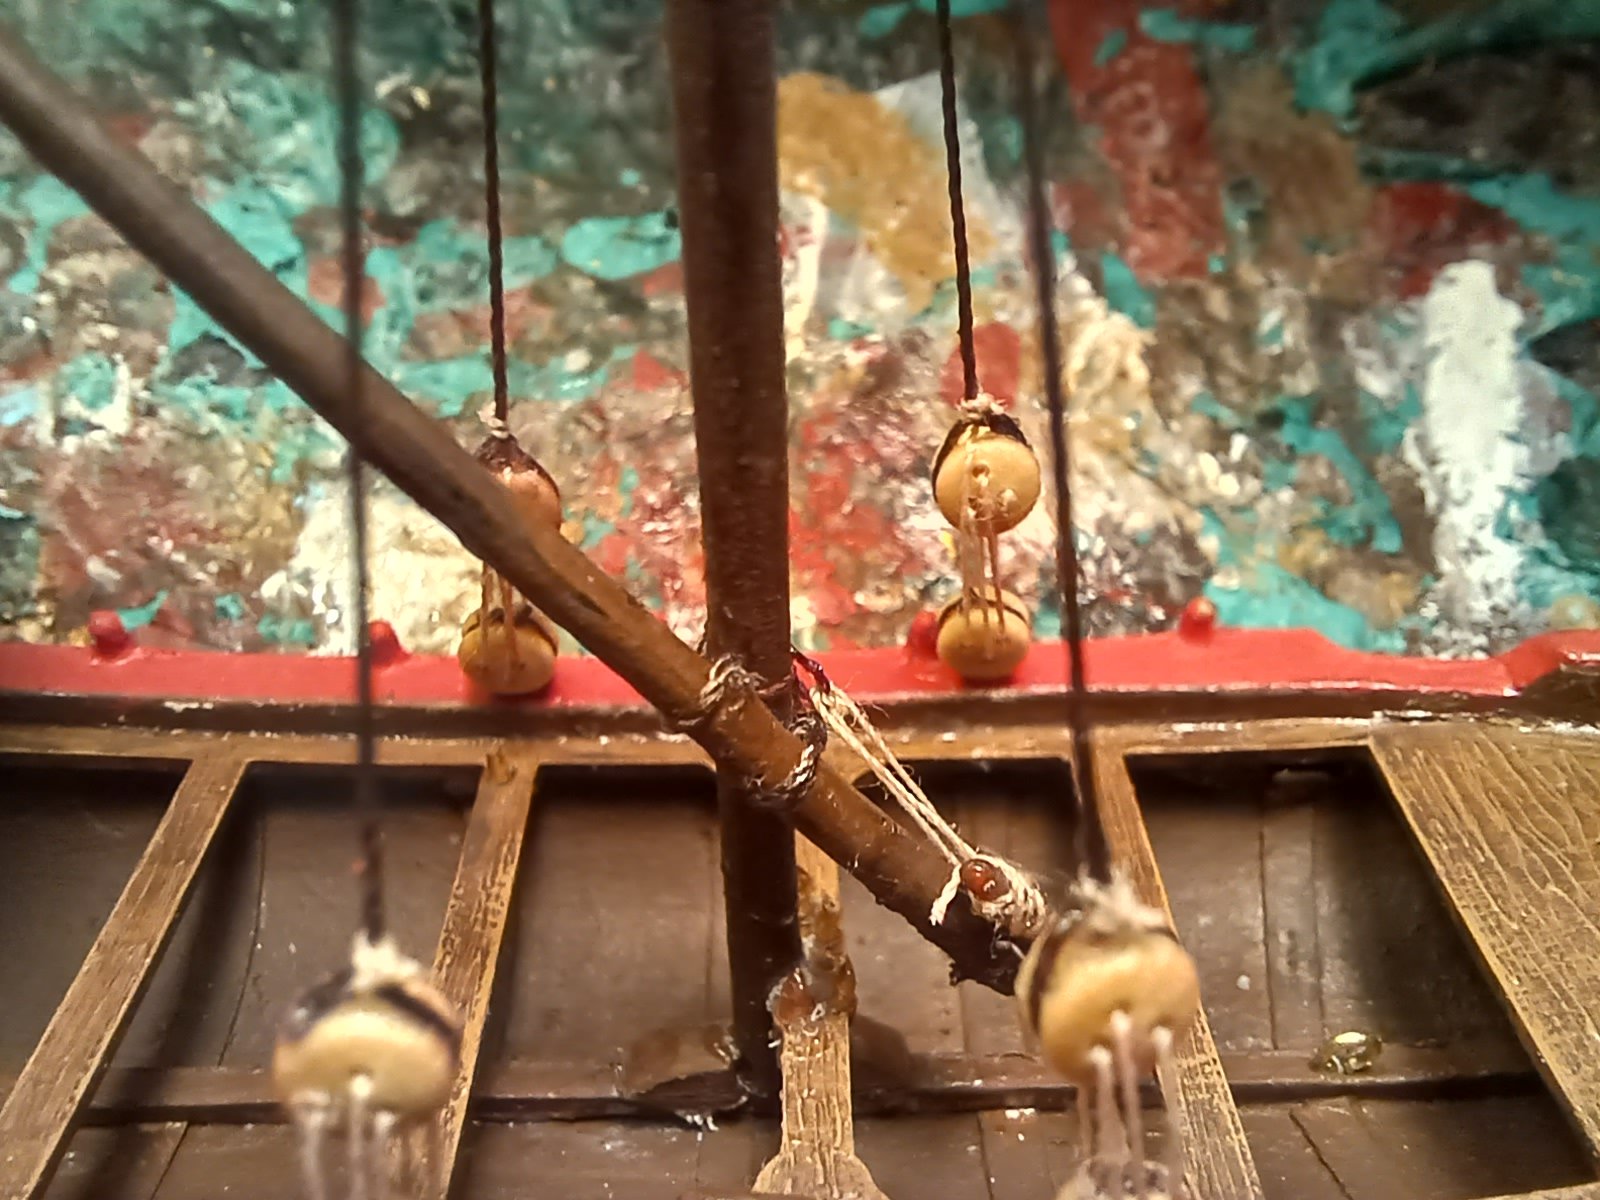
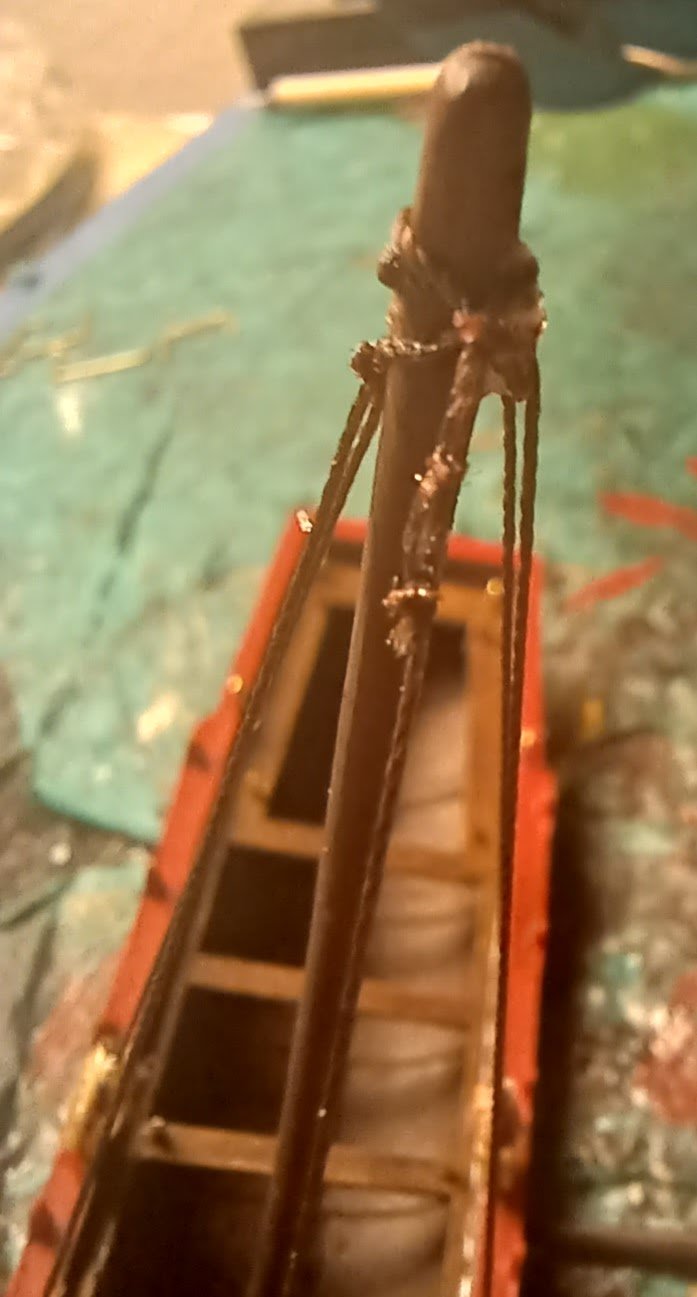
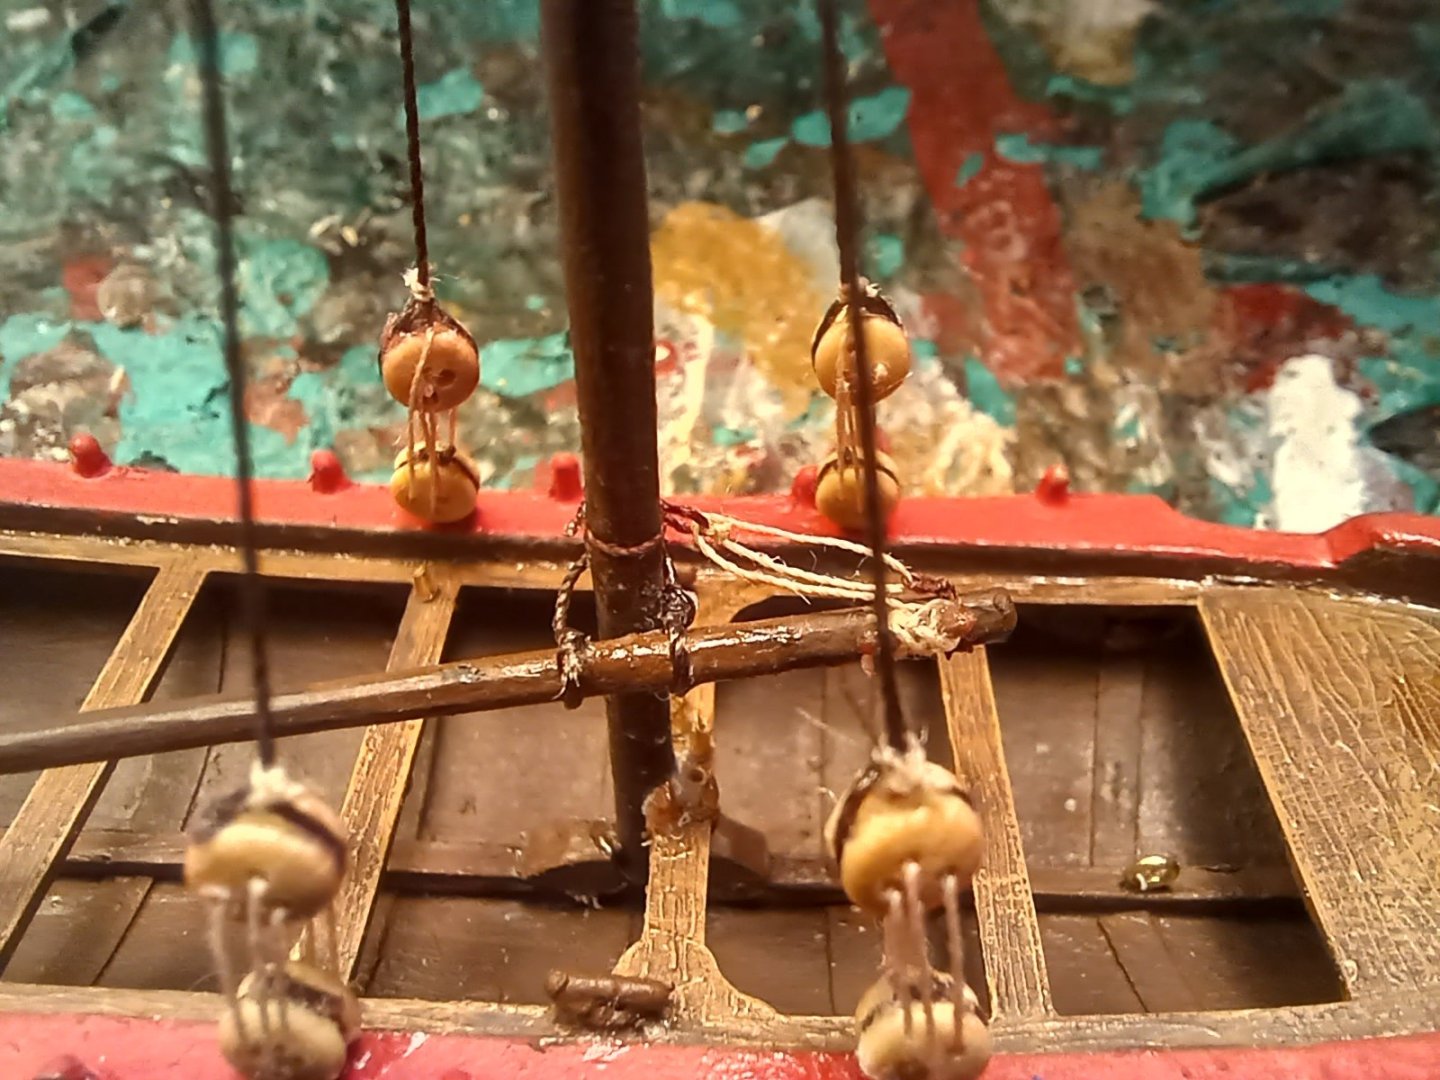
I have completed the initial mounting of the spritsail yard onto the mast using a standing truss, and rigged the forward tackle. My problems with unwanted rotation around the yard's longitudinal axis will be solved with the tension applied by the peak halyard. The raising of the yard tensions the forward tackle, which straightens out the yard.


- 176 replies
-
- 3
-
-
- la reale de france
- heller
- (and 2 more)
-
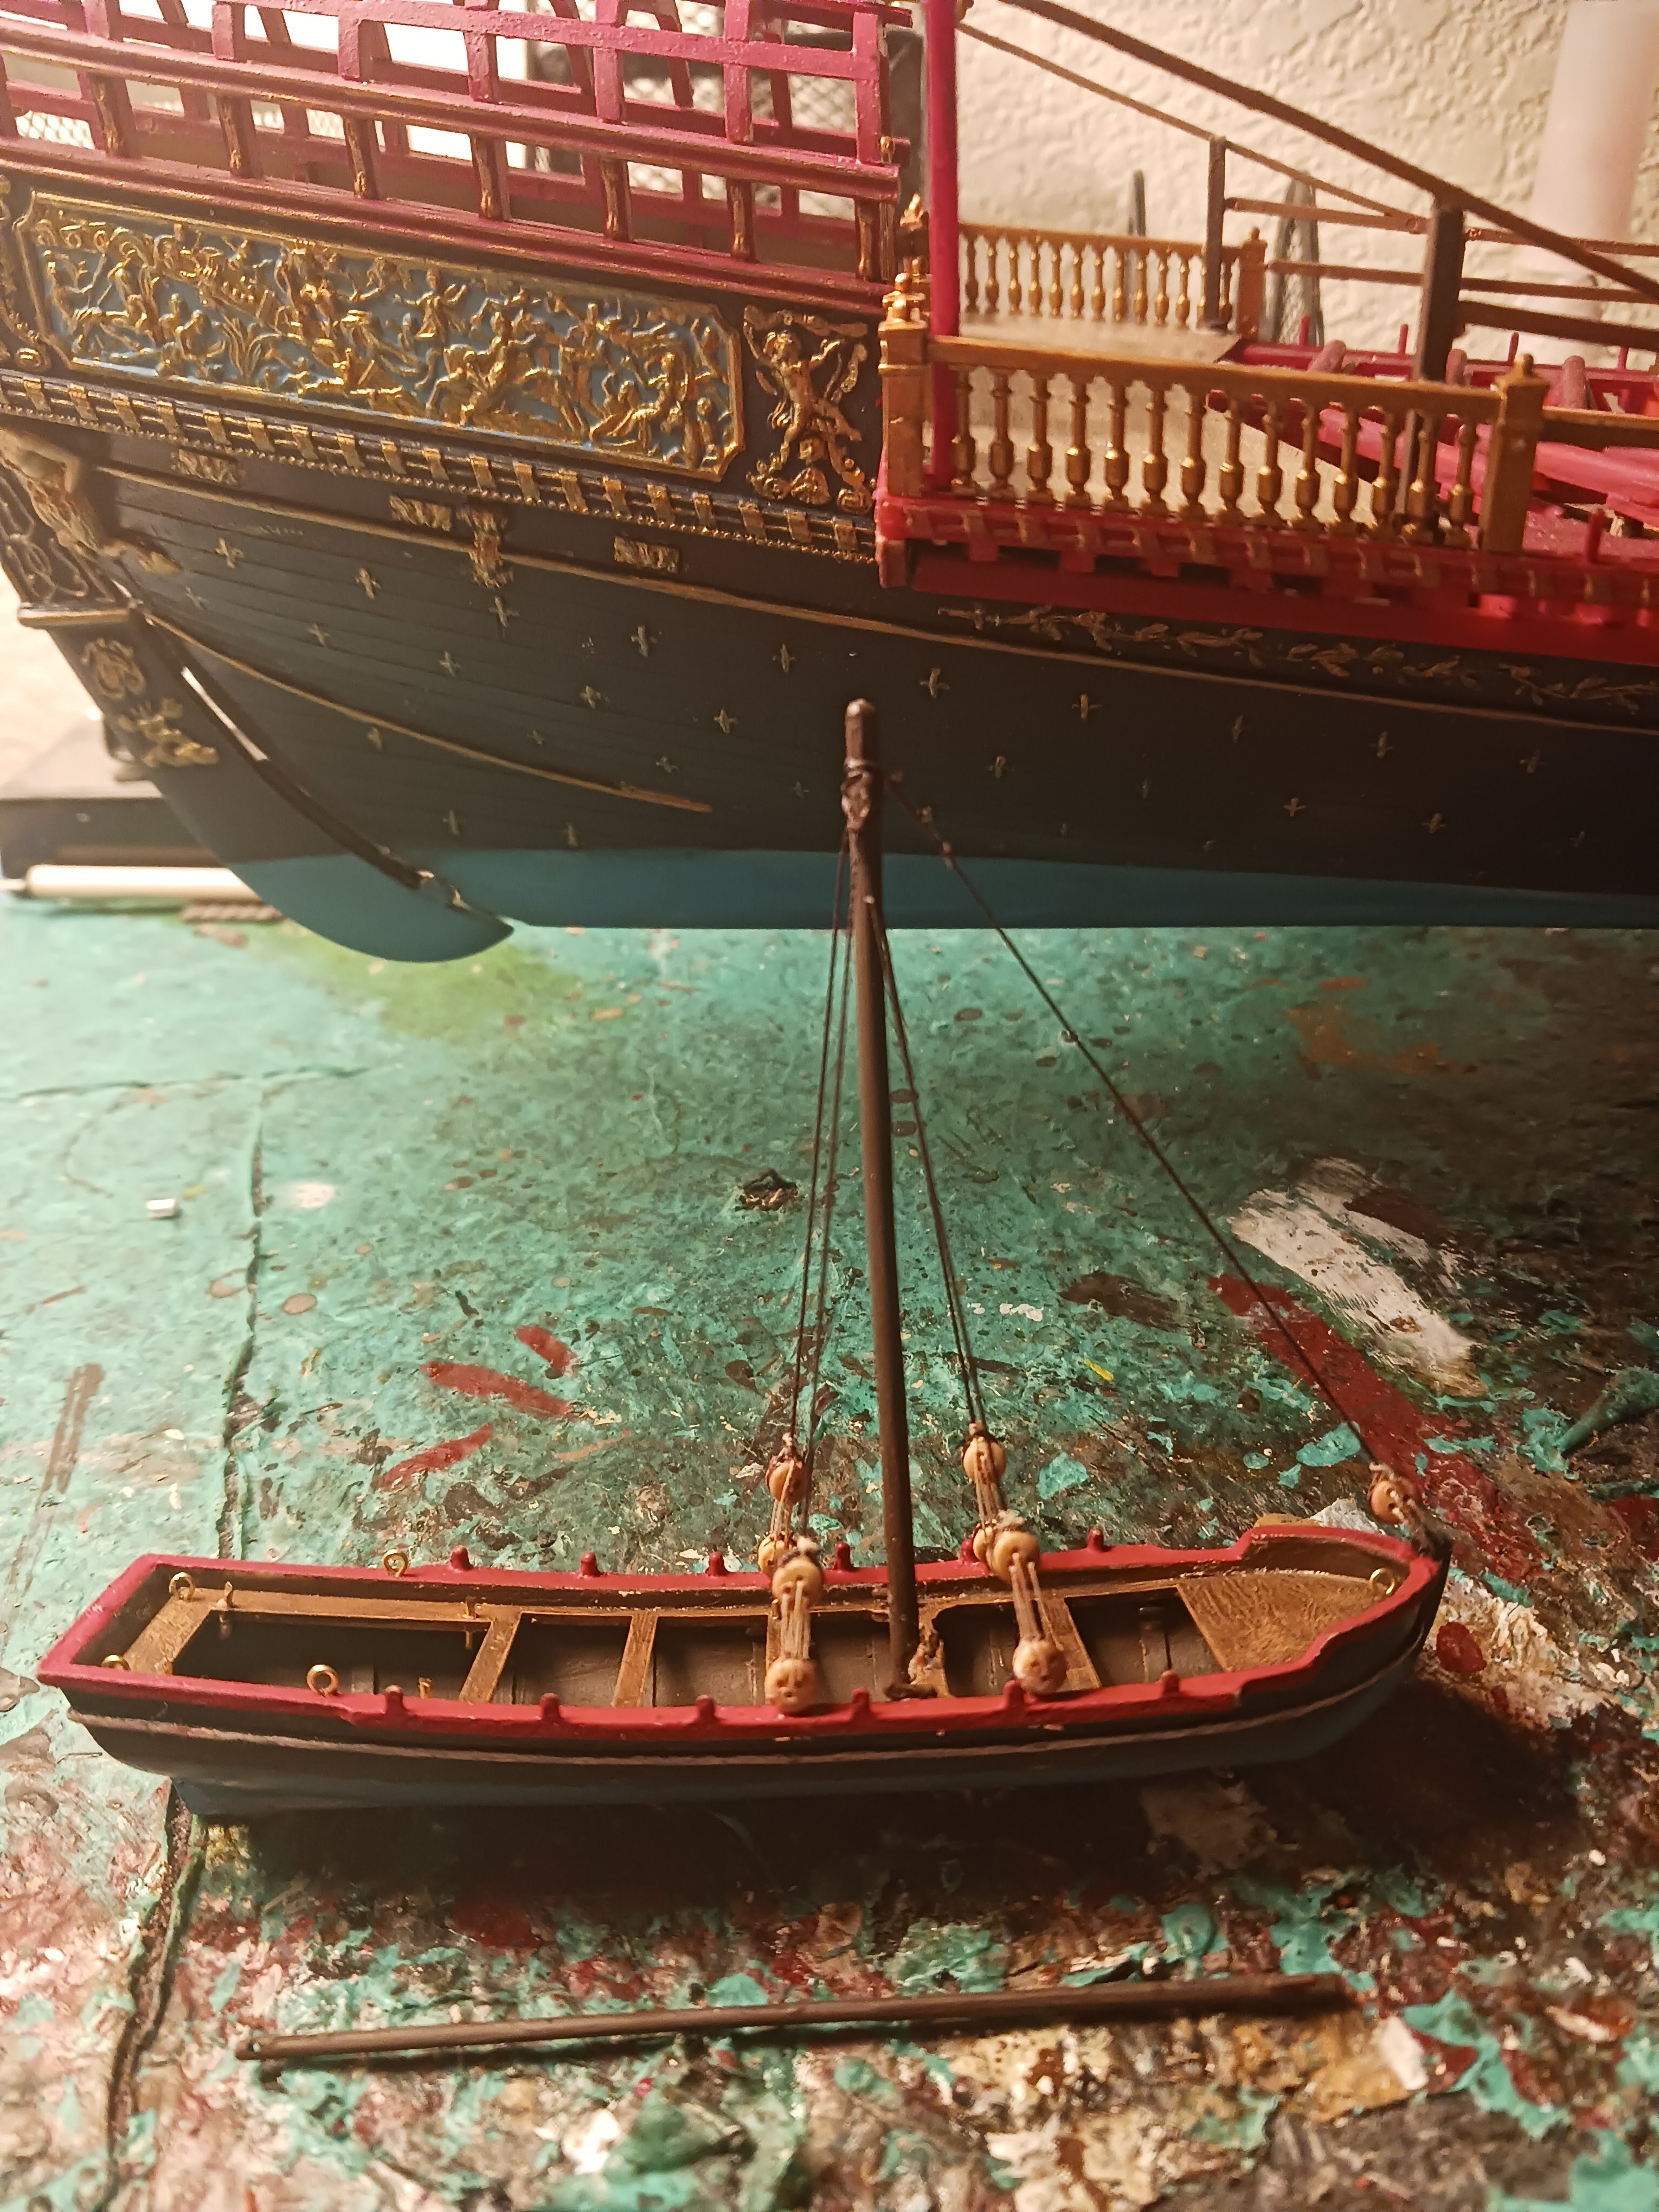
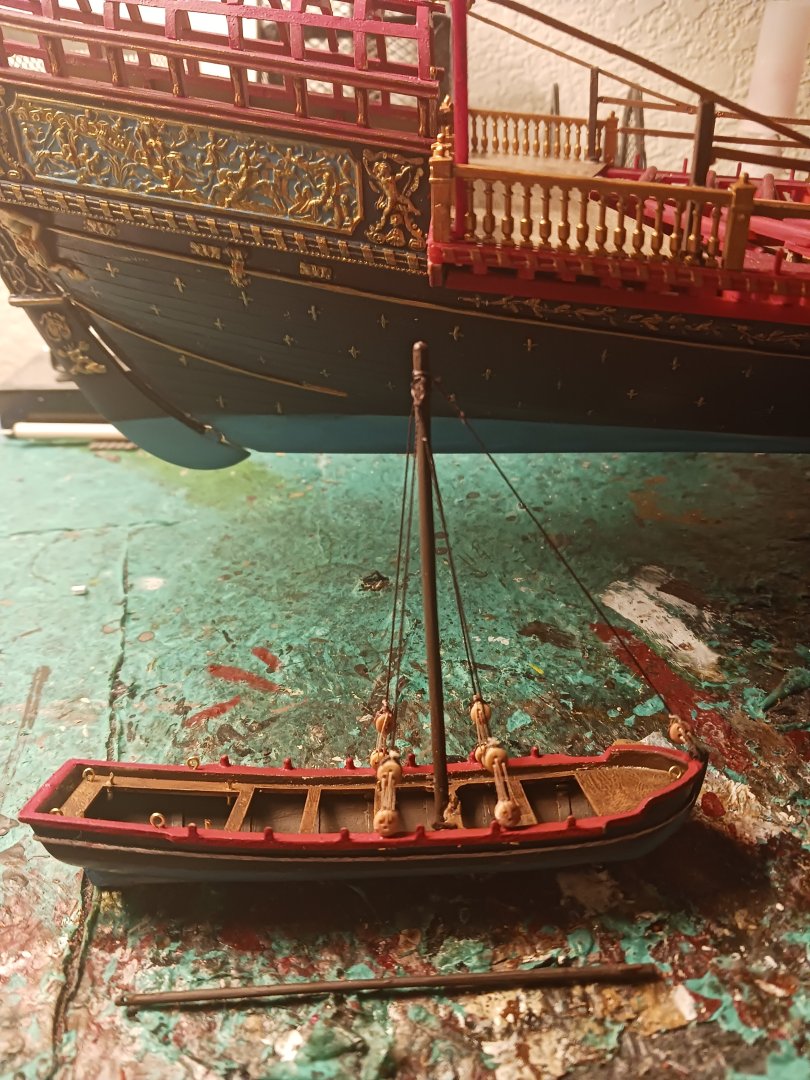
The rest of the standing rigging: I now have a name for the caique: Elise Royale. Reale, as in a flagship commanded directly by a nation's monarch, seems to have no direct translation to English, at least not that I'm aware of. I have a few ideas for what the name of the canot will be. I am unaware as to whether or not ship's boats ever had names of their own in this era, but we can only hope. I am sure that if names existed for ship's boats in this era, they would have fallen completely out of use by the time of the classical age of sail.


- 176 replies
-
- 4
-
-
- la reale de france
- heller
- (and 2 more)
-
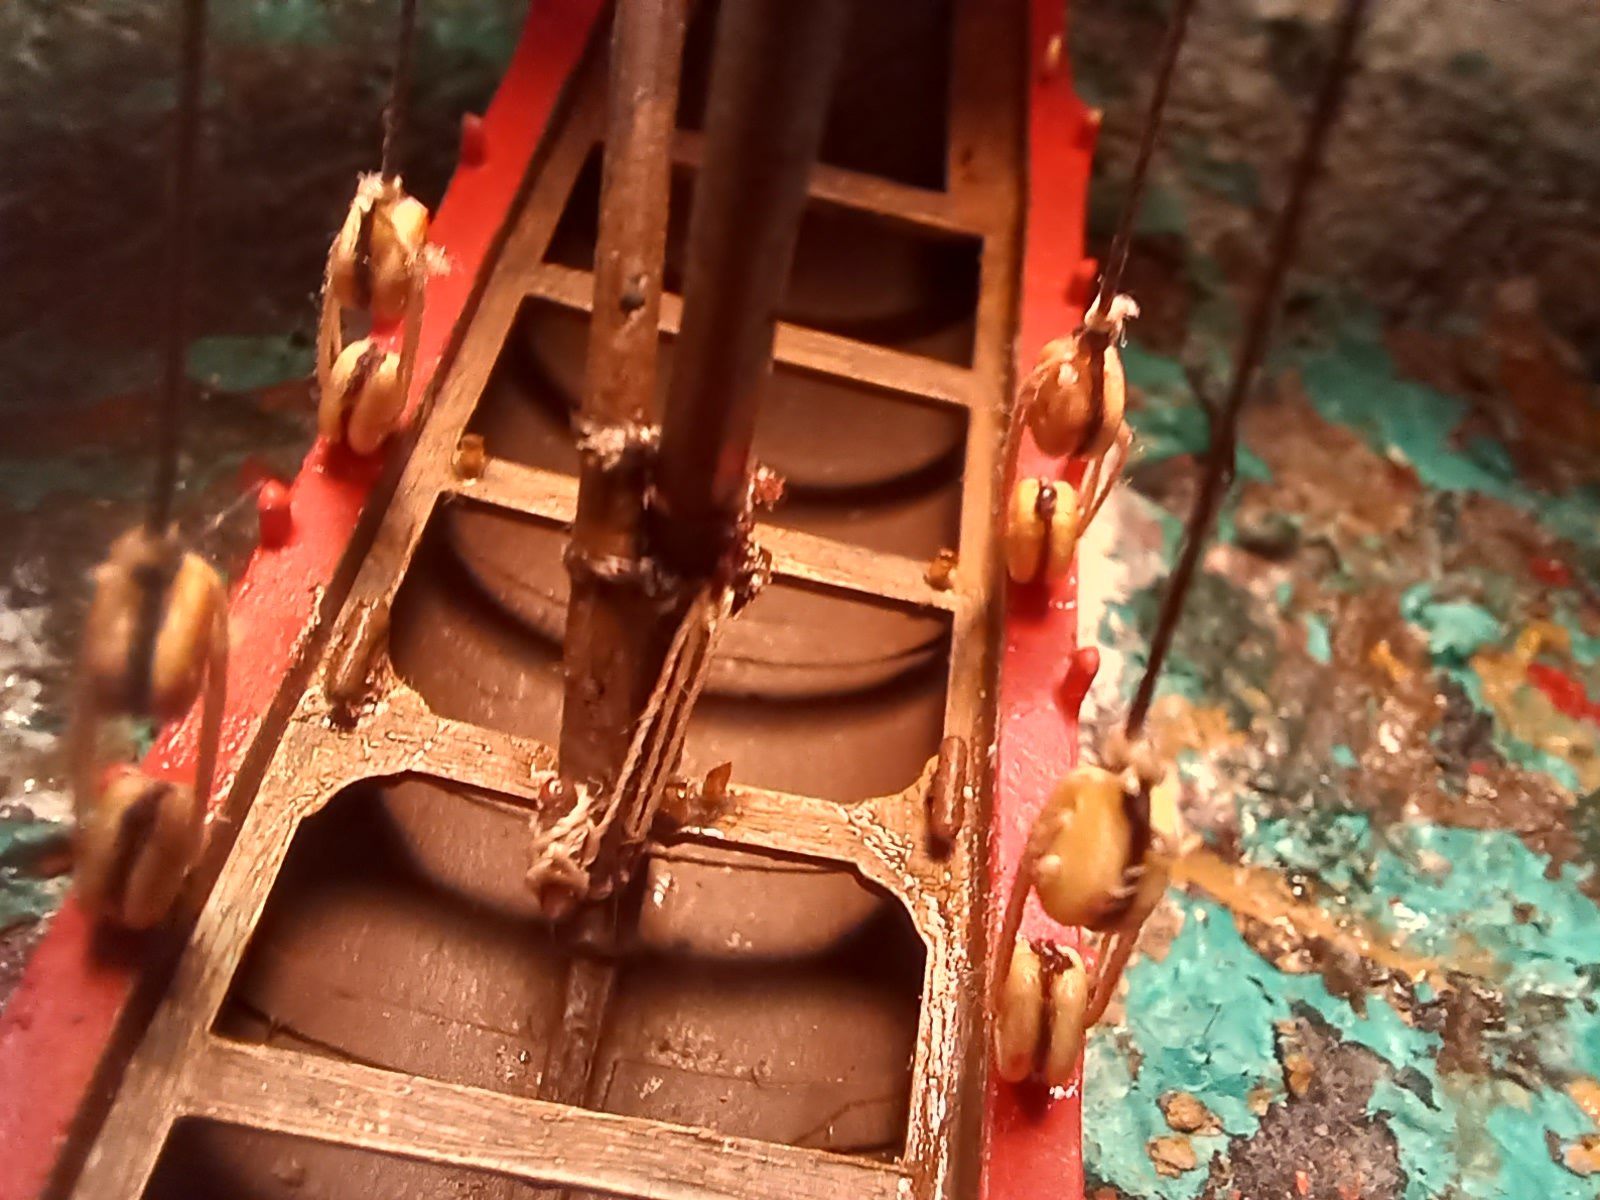
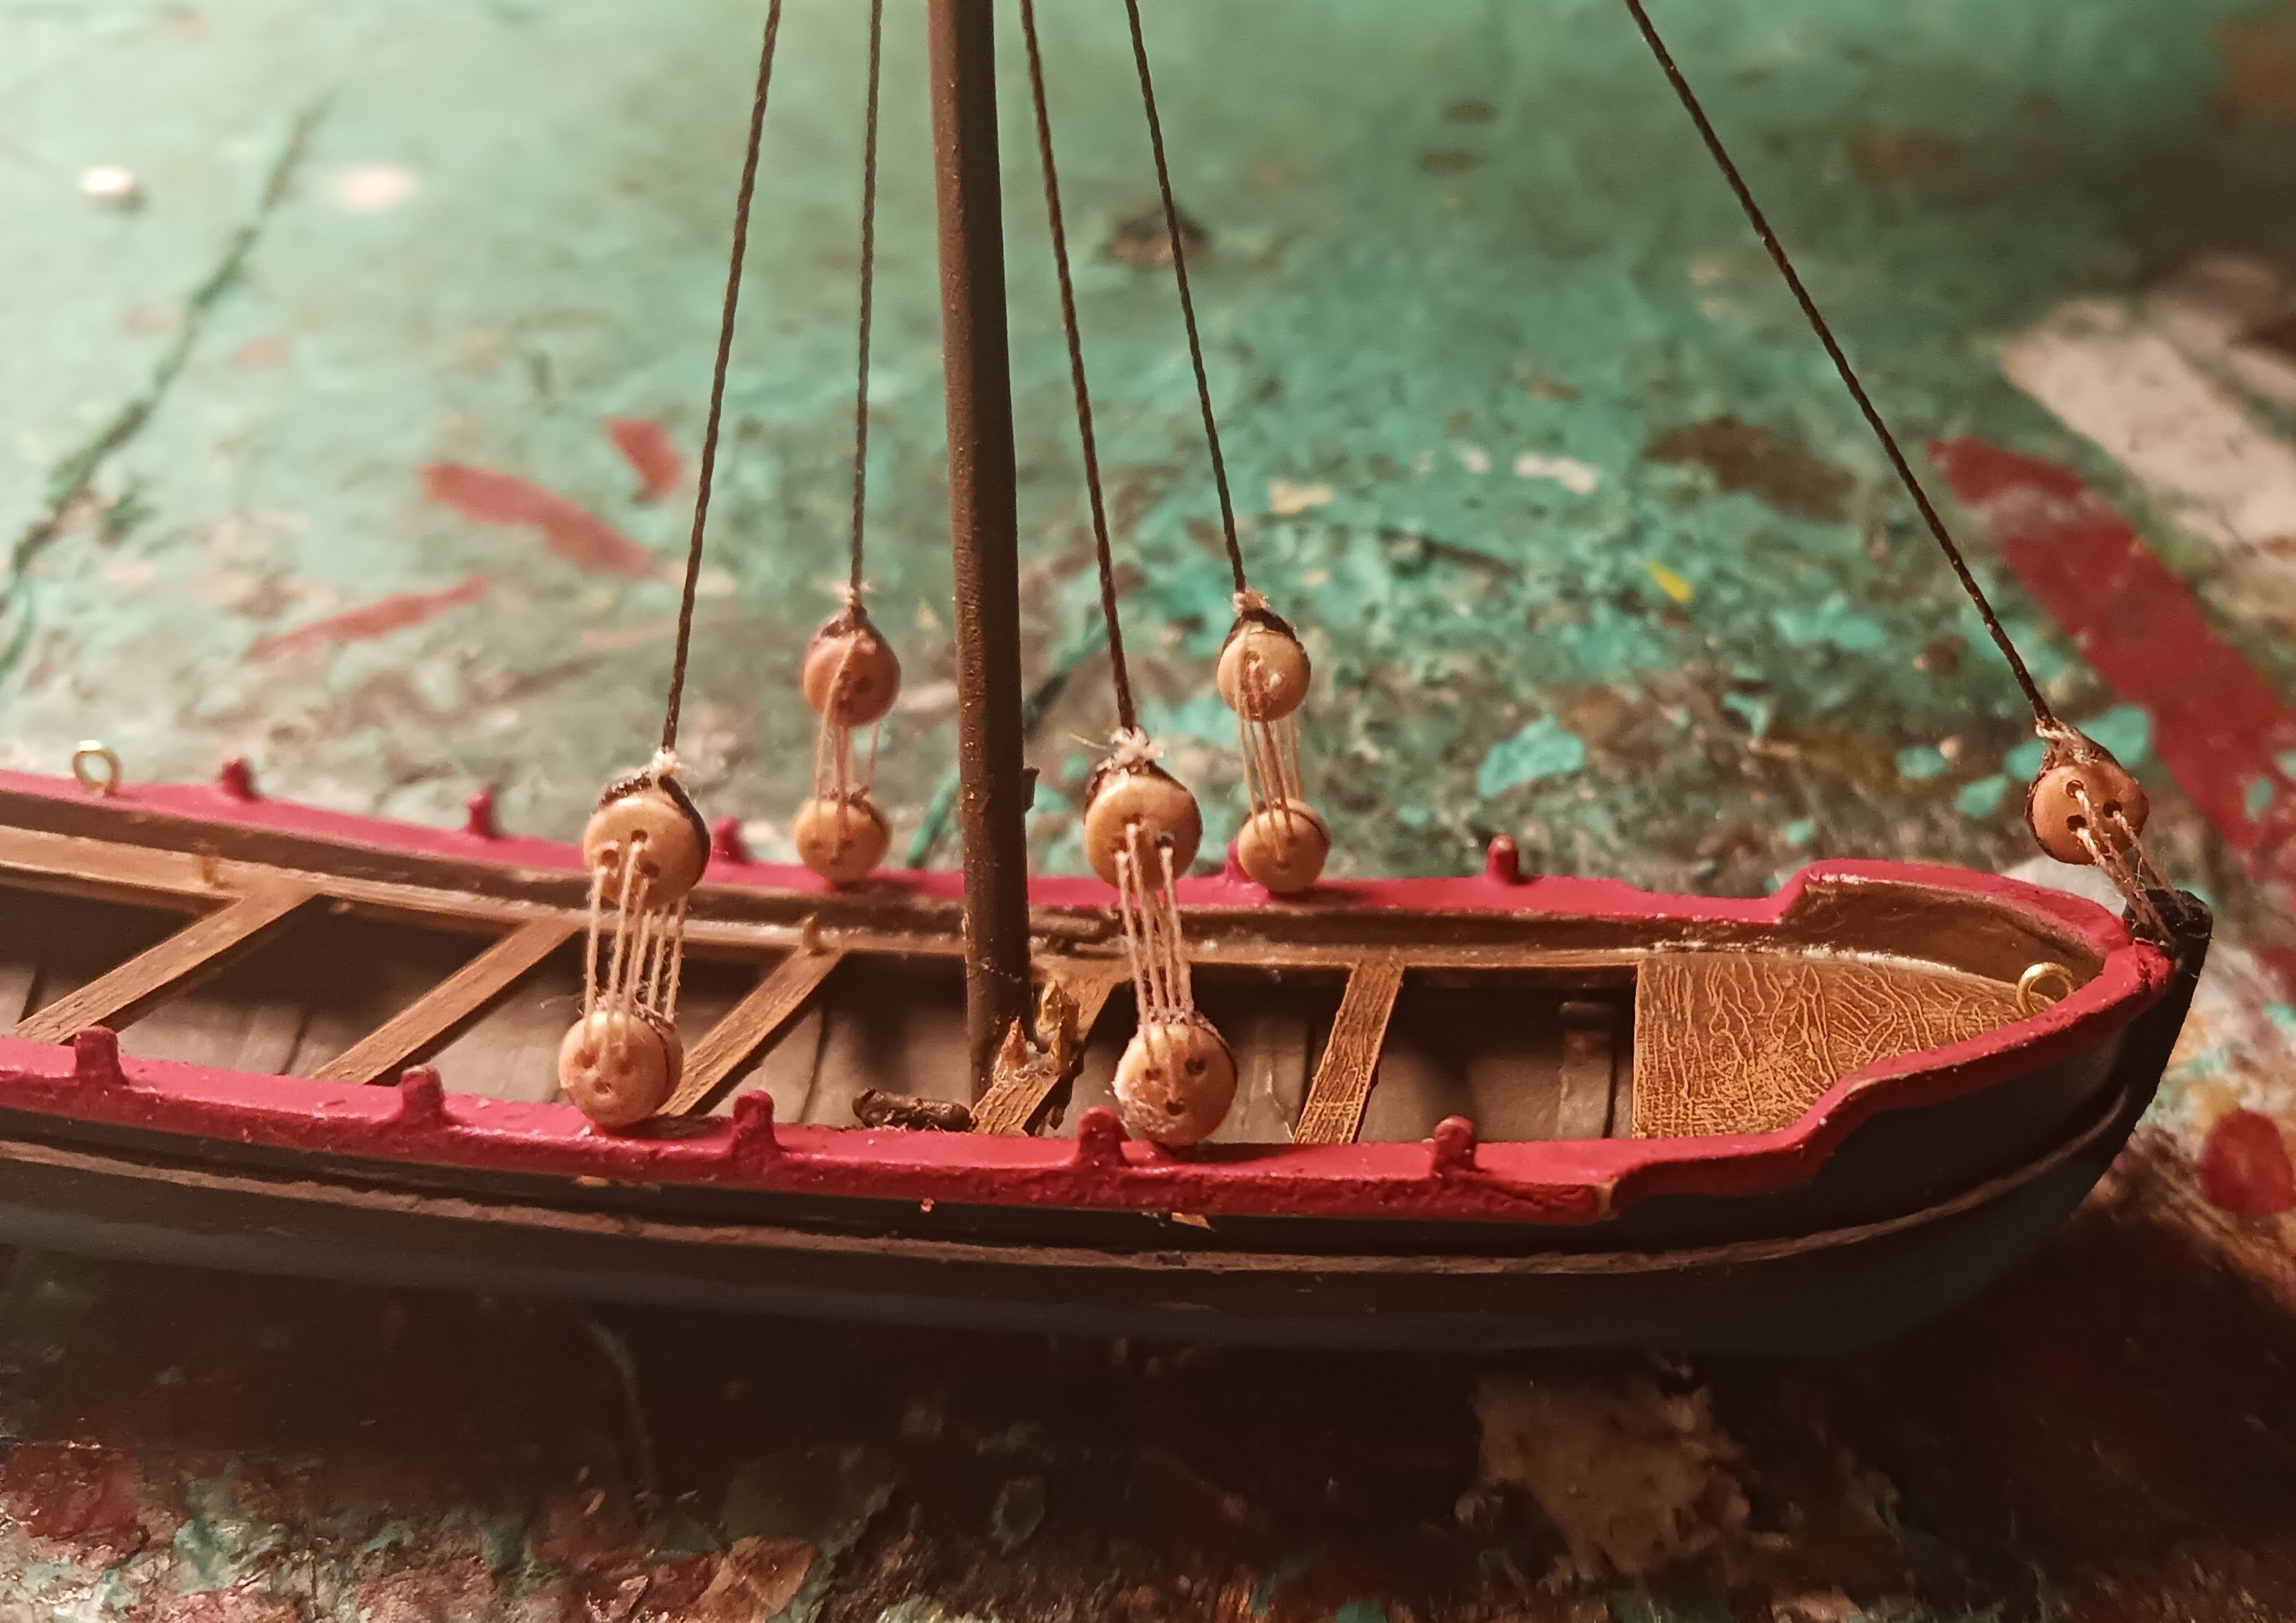
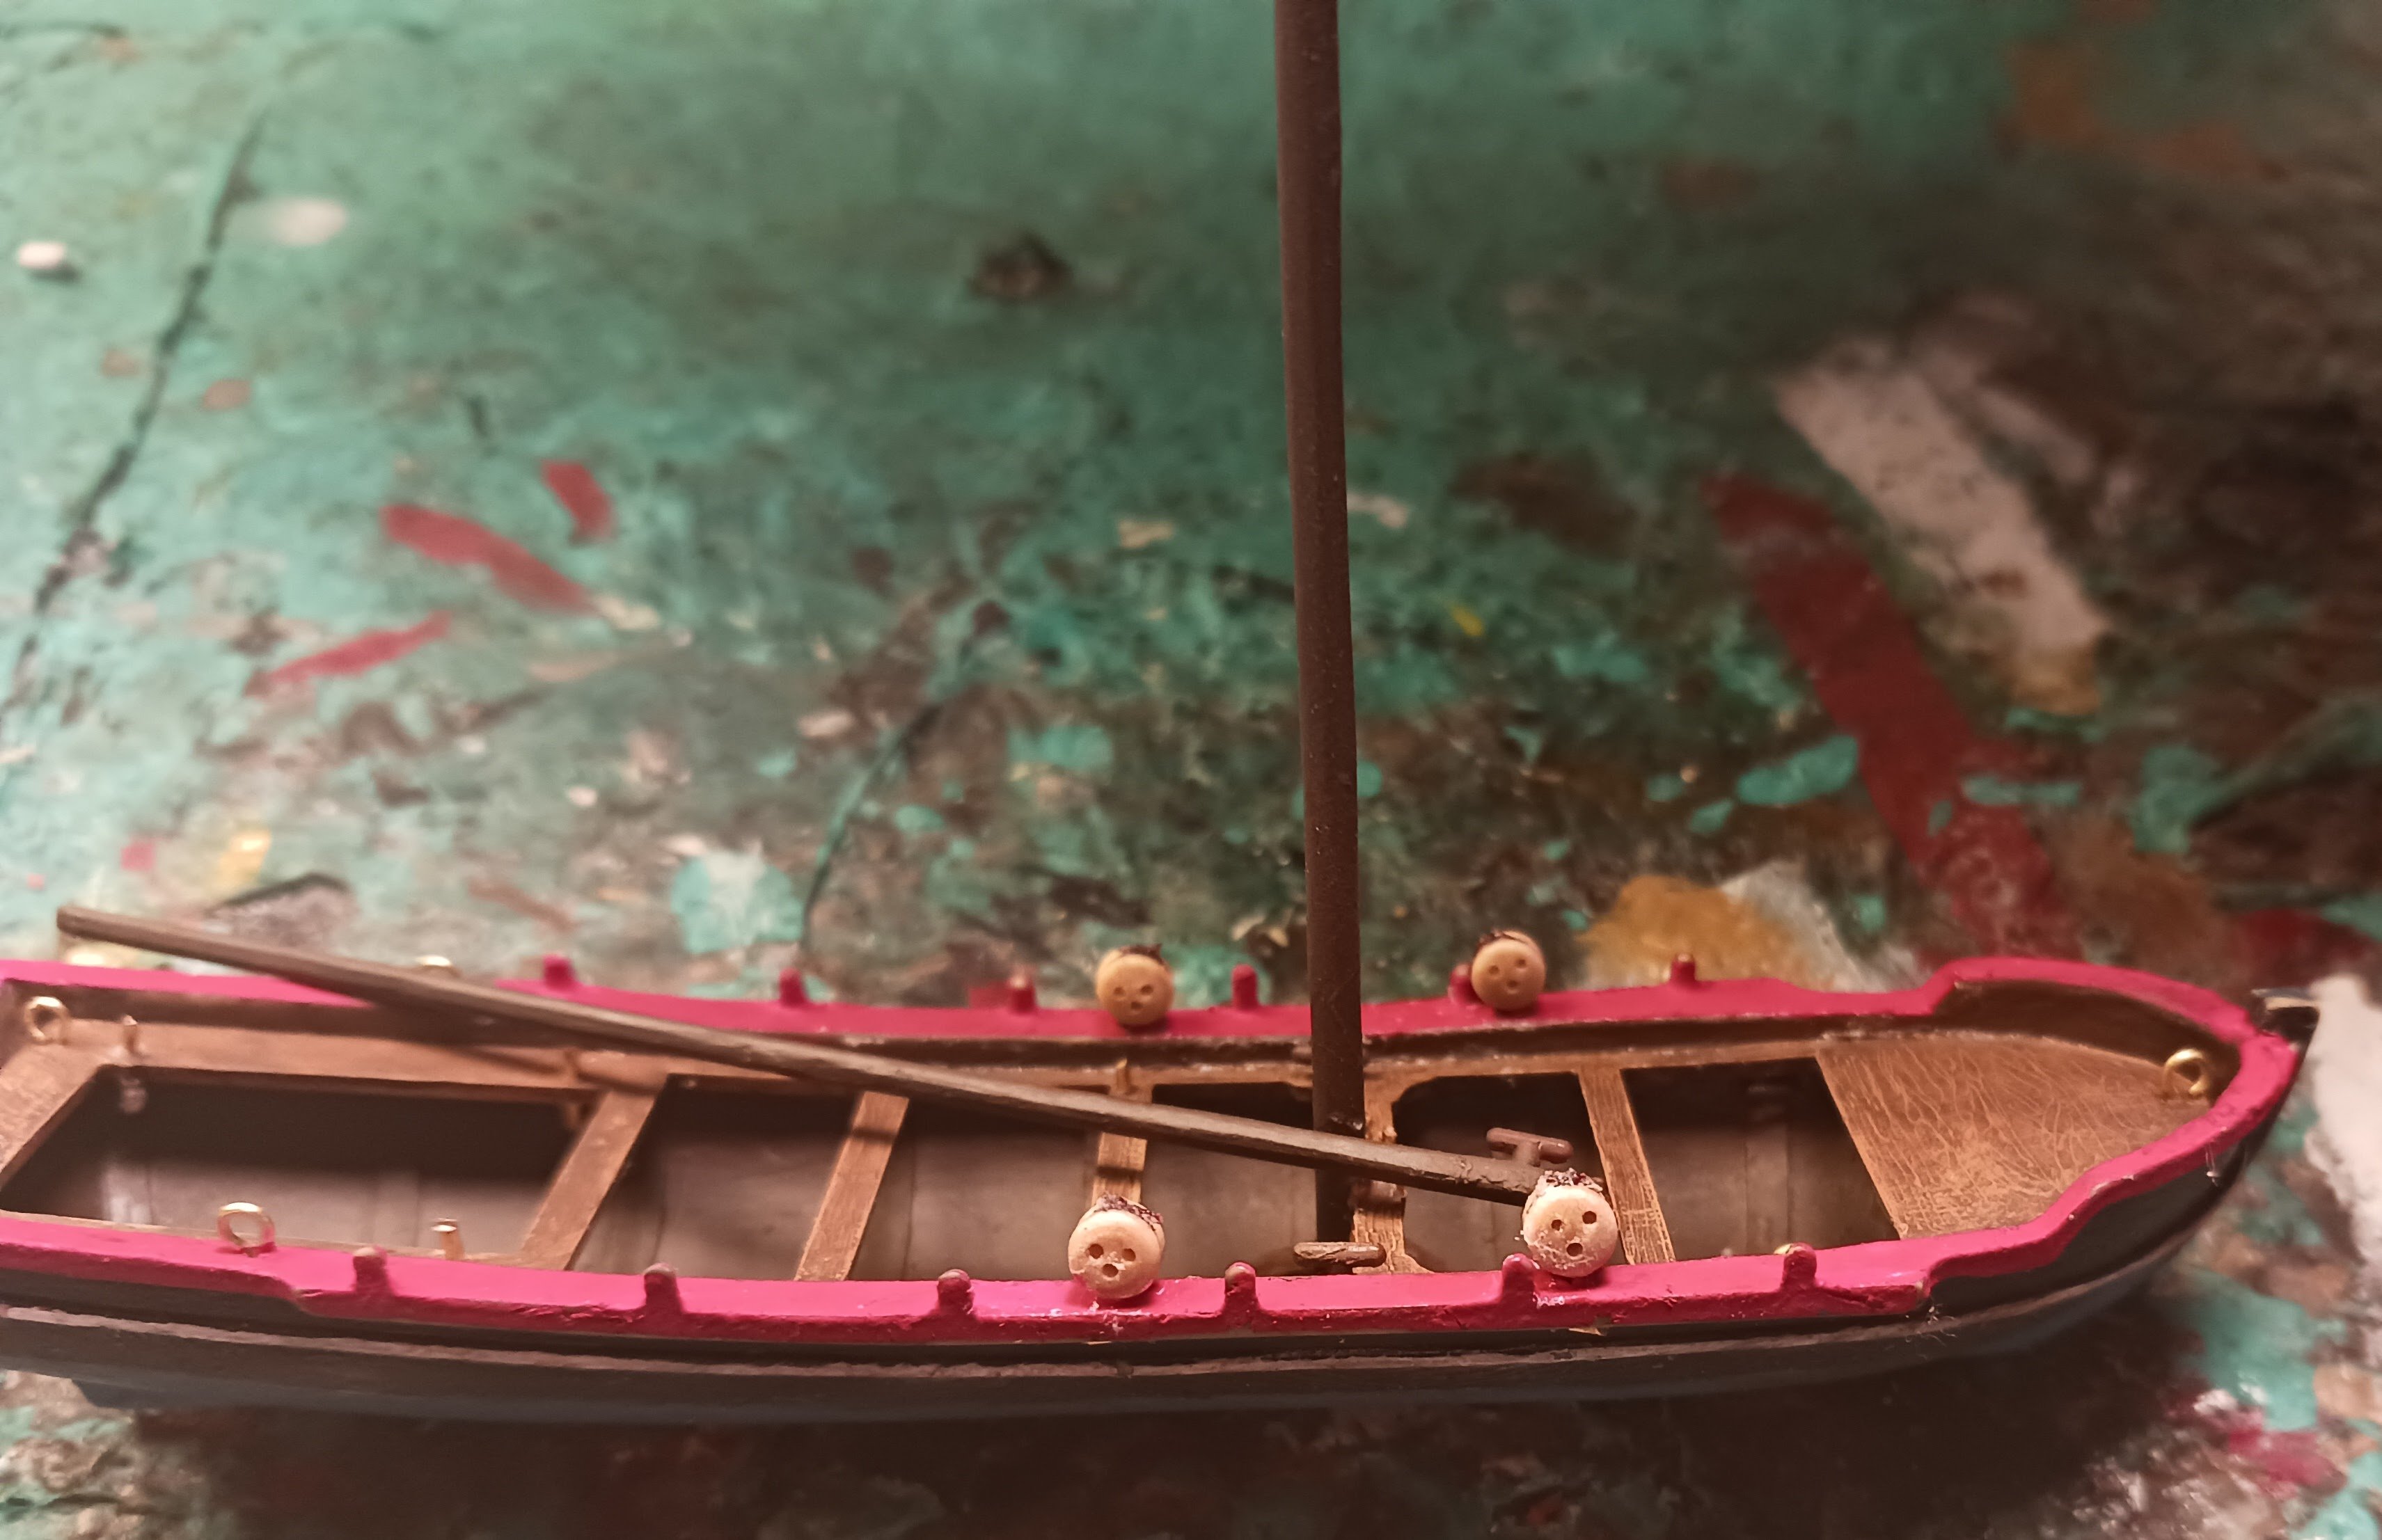
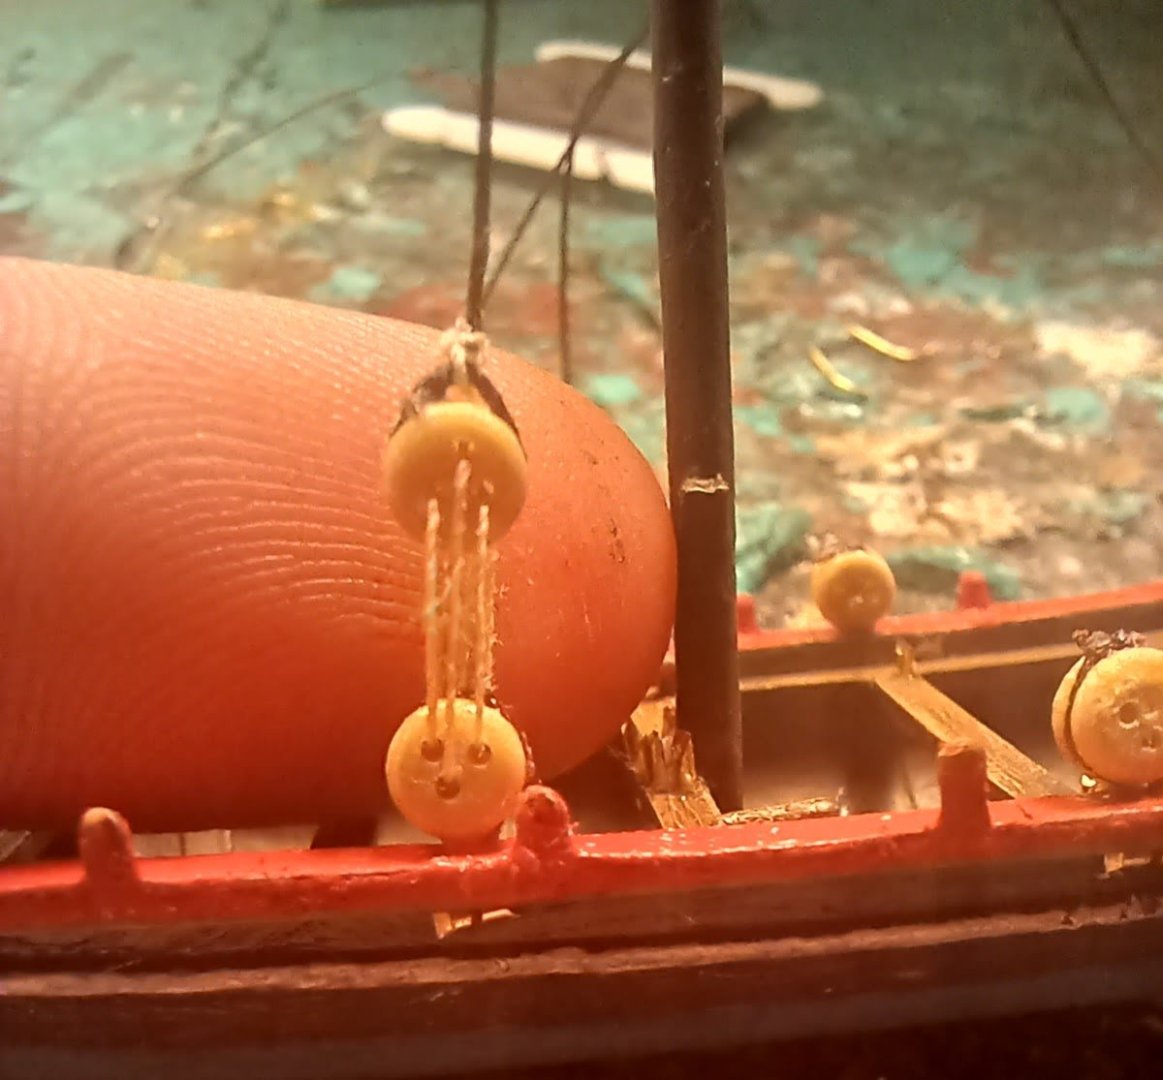
These are the smallest deadeyes I have ever rigged, and so far, I am happy with the first one. the entire deadeye/lanyard system is smaller than the width of my index finger. Deadeyes are very simple and easy to rig, and they scale down very well.
- 176 replies
-
- 2
-
-
- la reale de france
- heller
- (and 2 more)
-
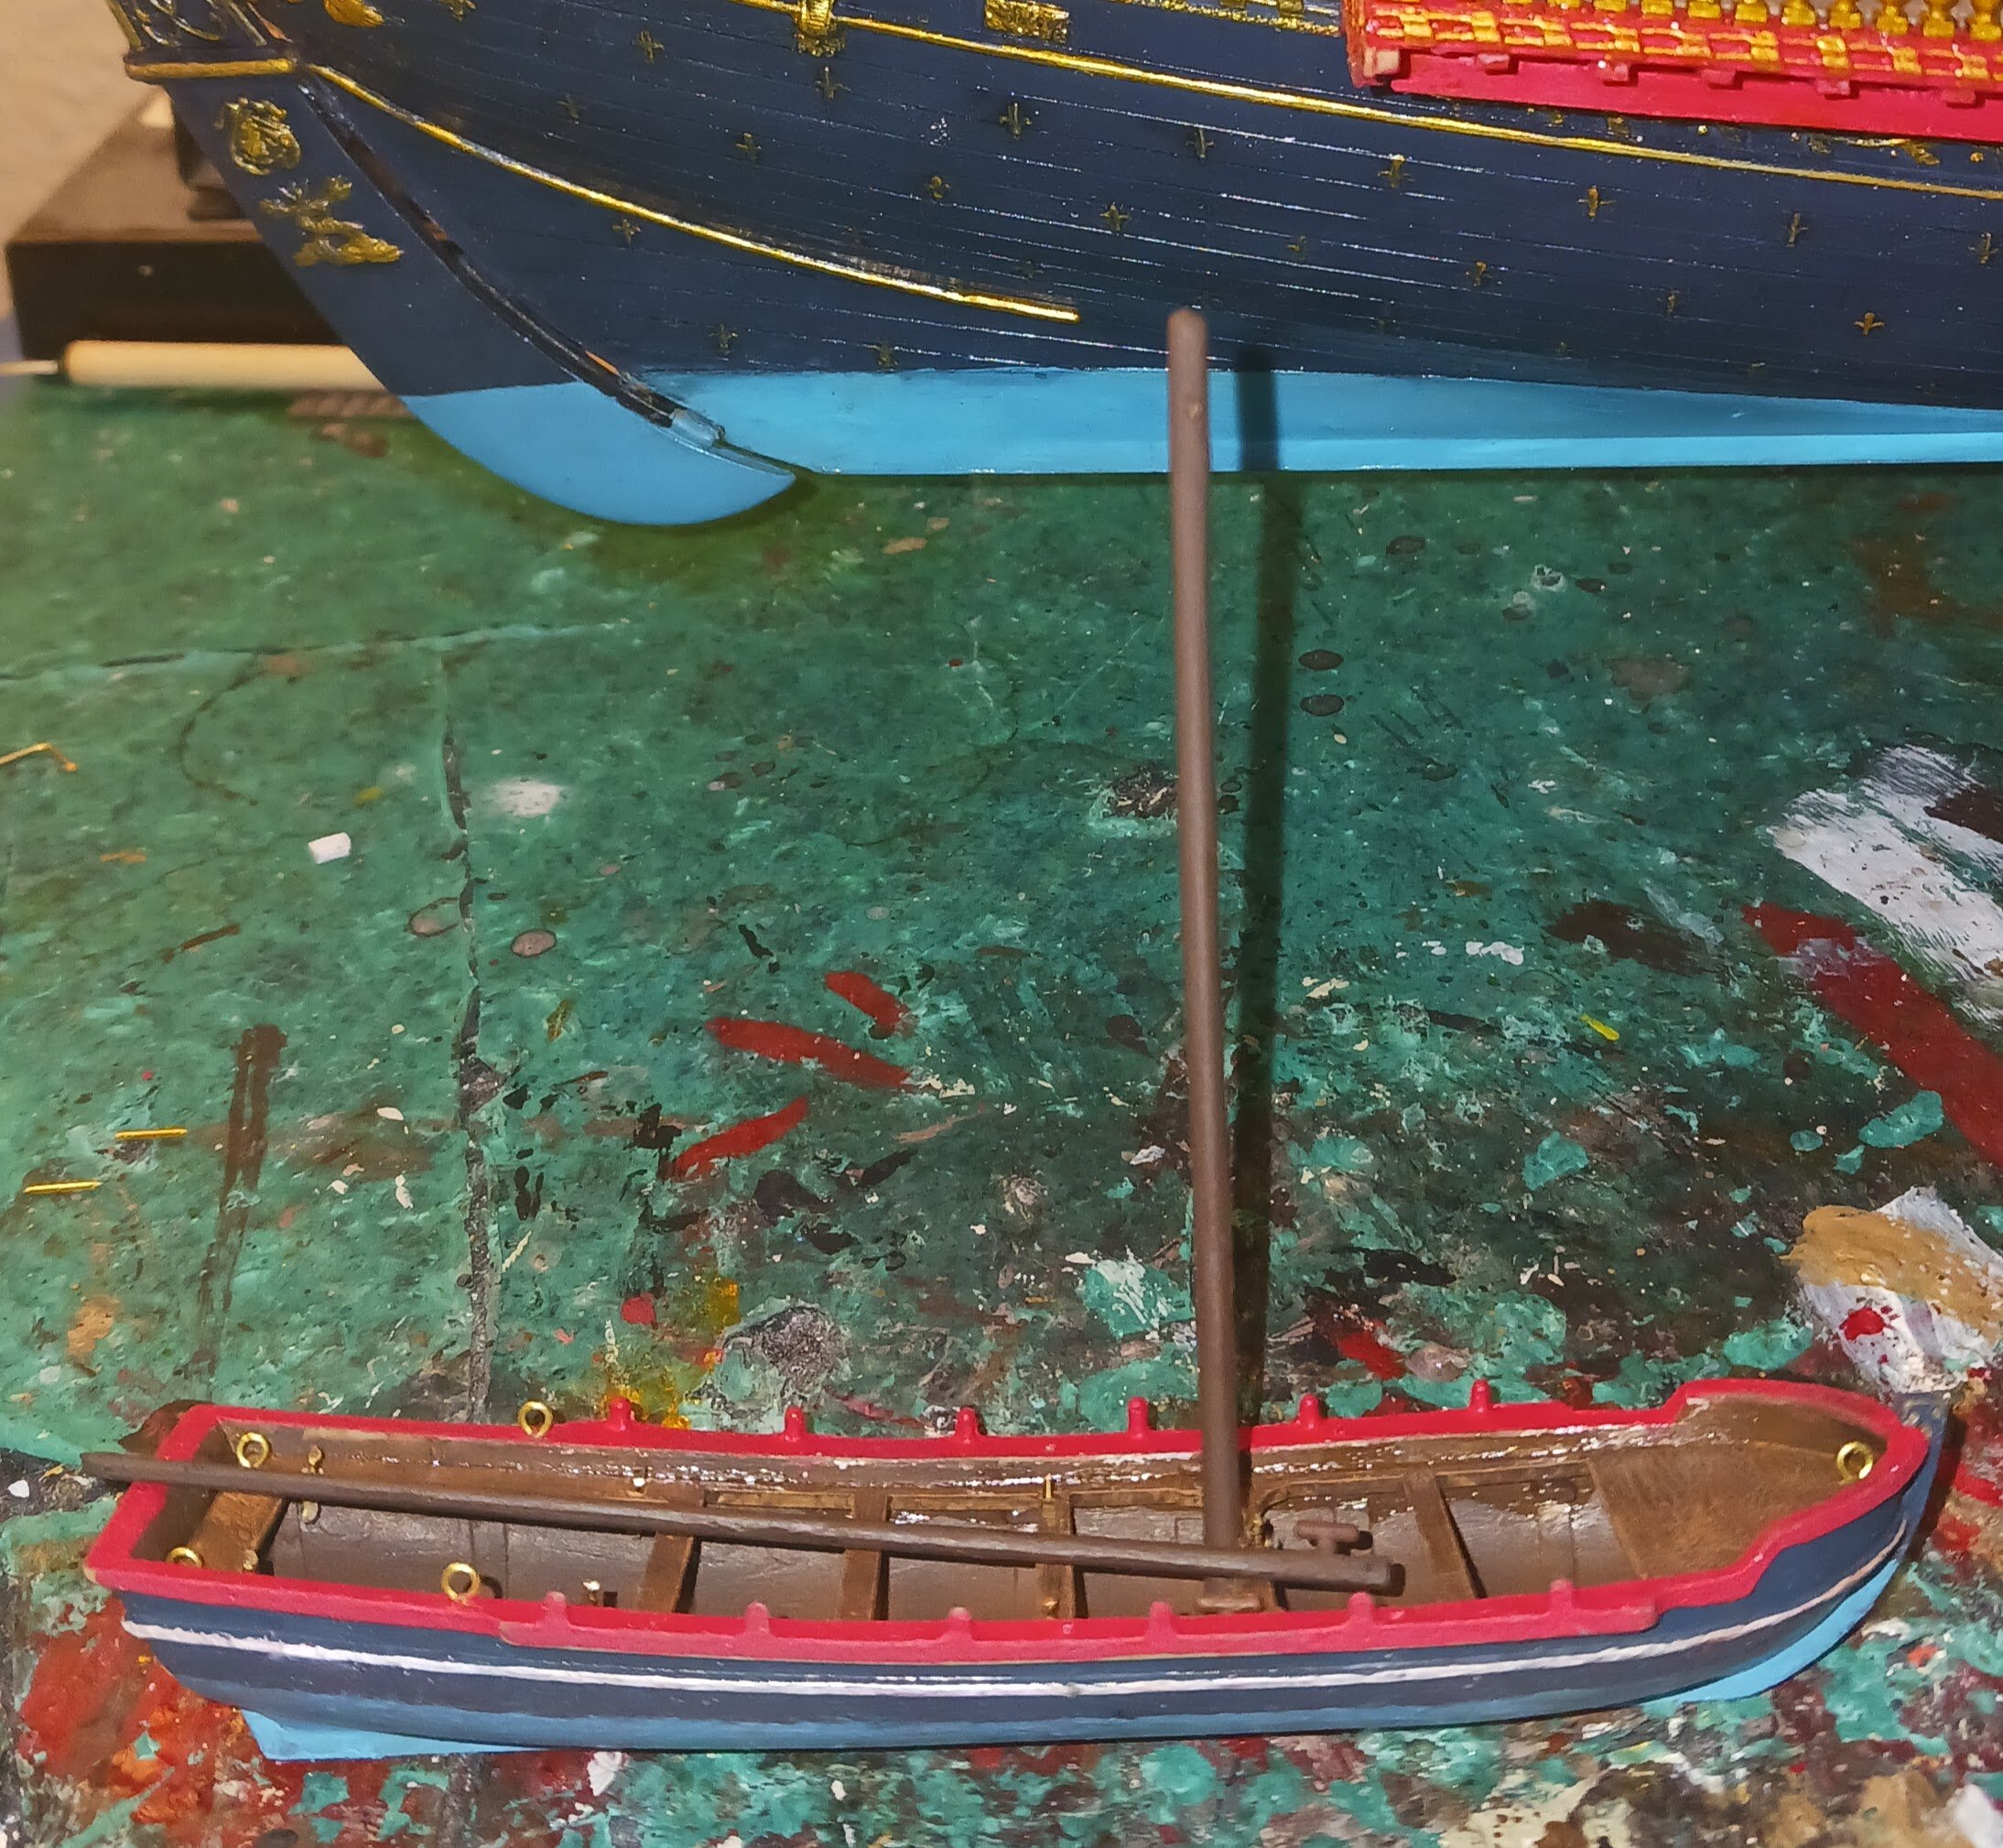
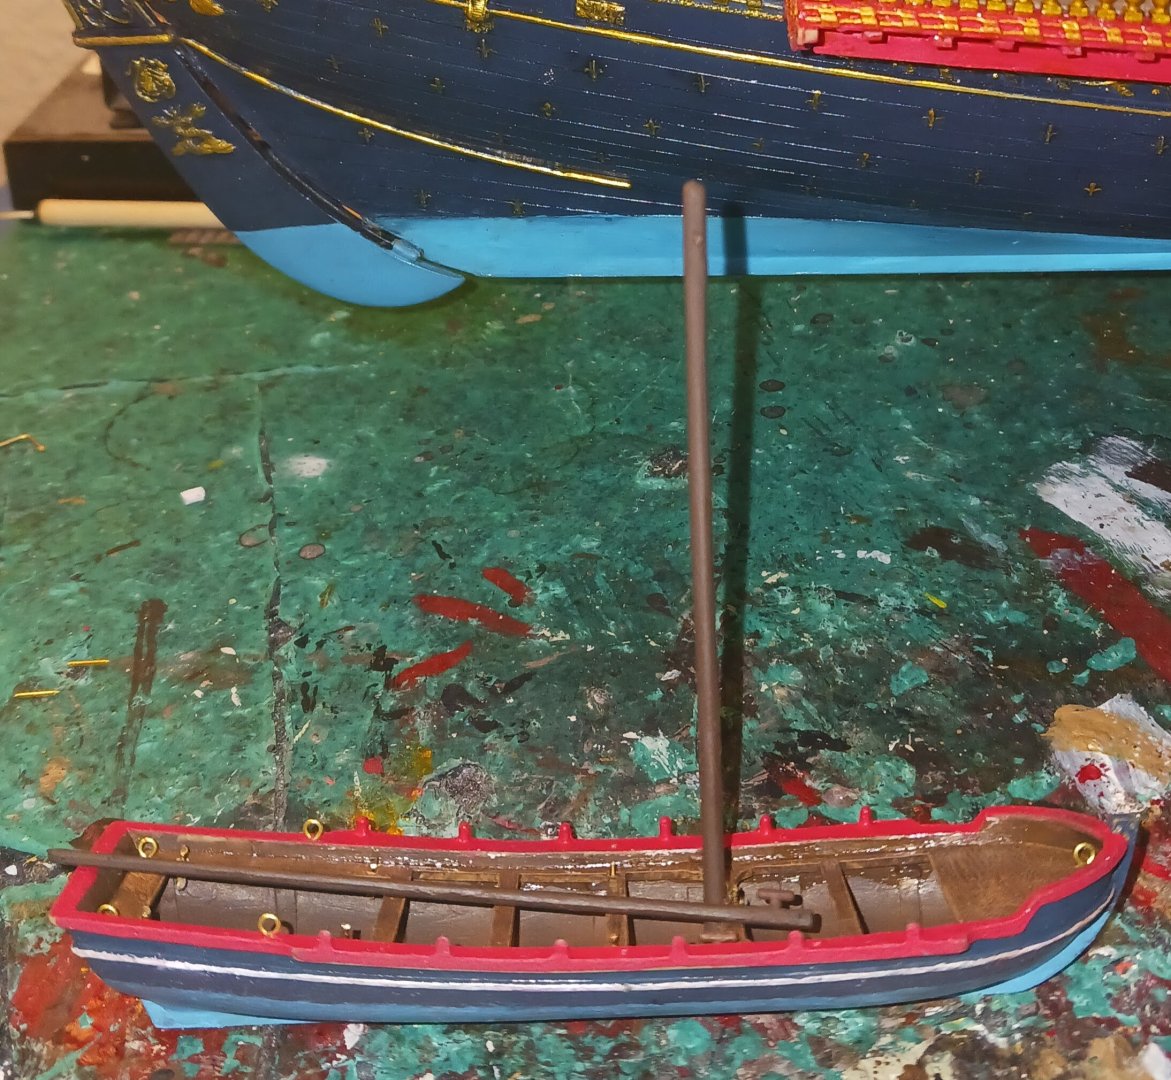
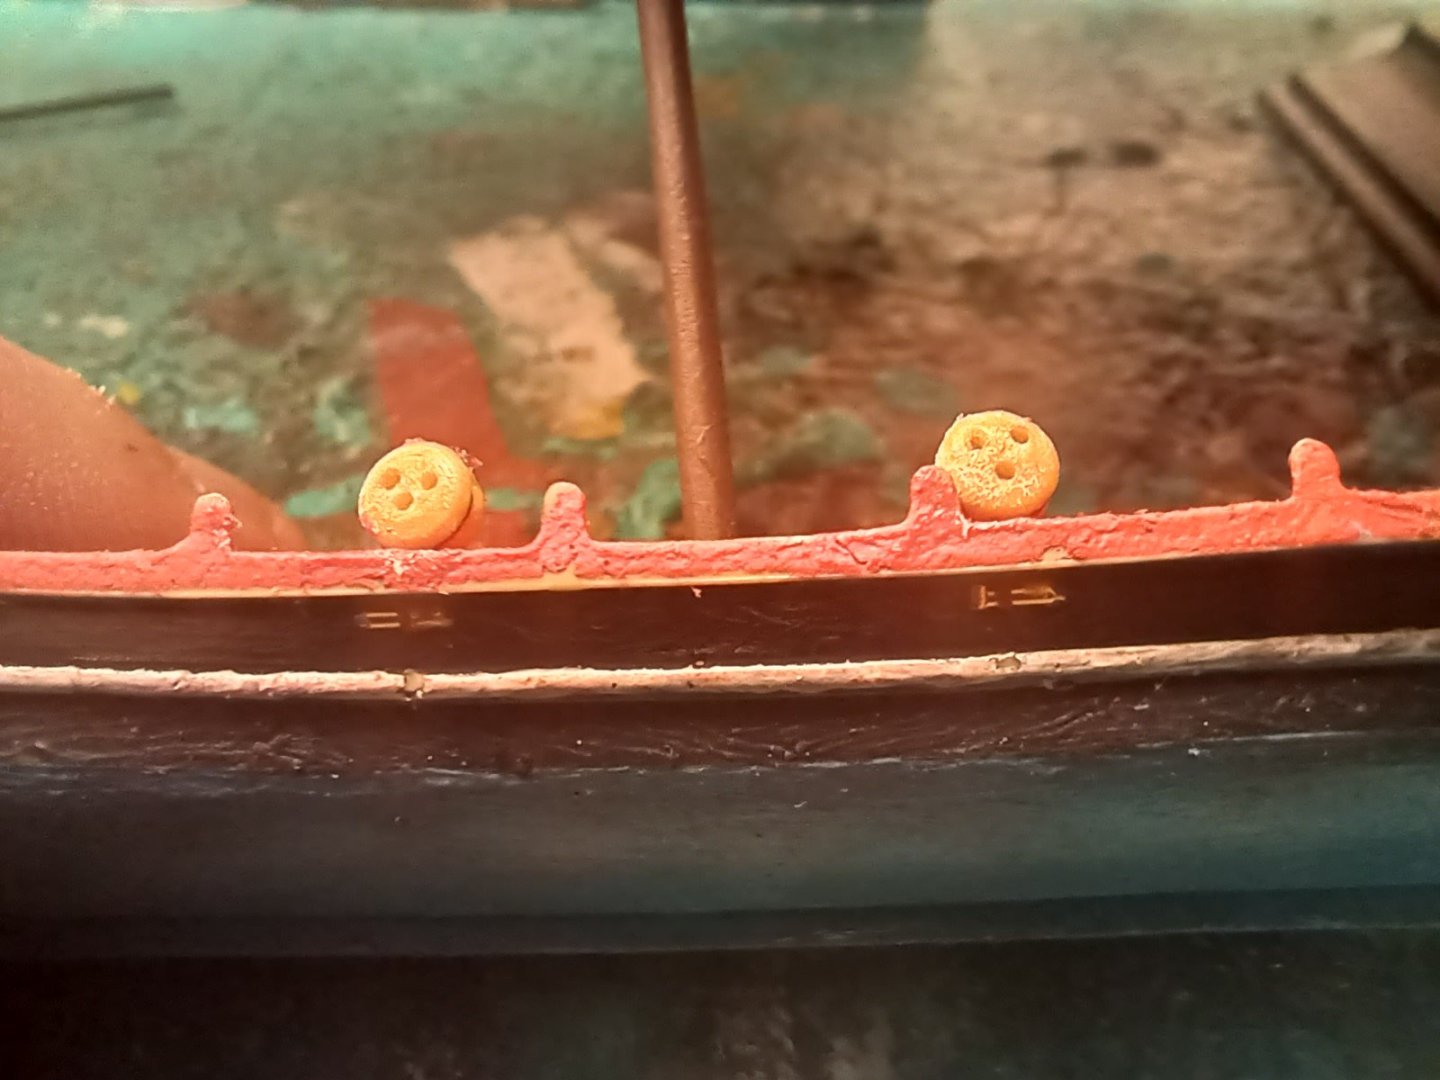
I have now stepped the mast and put in the lower deadeyes using the aforementioned method:

- 176 replies
-
- 1
-
-
- la reale de france
- heller
- (and 2 more)
-
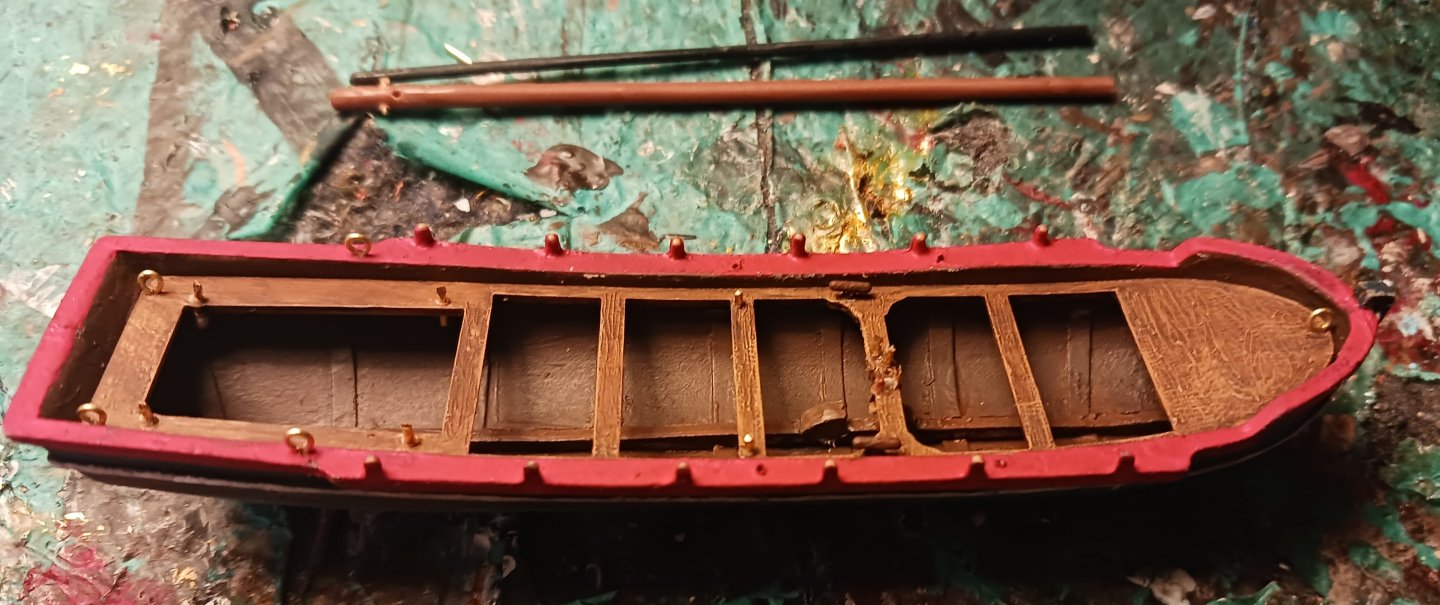
I put in the mast step, glued in the pins and eyebolts (most of them) and chose a yard for the mast. I also did some prep work on the mast.
- 176 replies
-
- 1
-
-
- la reale de france
- heller
- (and 2 more)
-
Trust me, I understand. I just believe there are ways to make the model something you're more happy with as the build progresses.
- 55 replies
-
- 2
-
-
- miniature
- Brandenburg State Yacht
- (and 1 more)
-
The errors I see are very minor in comparison to some of those I have made on much larger scale ships. At 1/200 scale, I would give myself a break if I were you. Your model is shaping up as a magnificent reconstruction, and unless you're Kirill or 72nova, you're going to make errors at 1/200. I would sand down the plank that juts upwards on the model, the cap rail should hide the rest. Filler and sanding should fix any gaps or ugly spots in planking.
- 55 replies
-
- 2
-
-
- miniature
- Brandenburg State Yacht
- (and 1 more)
-
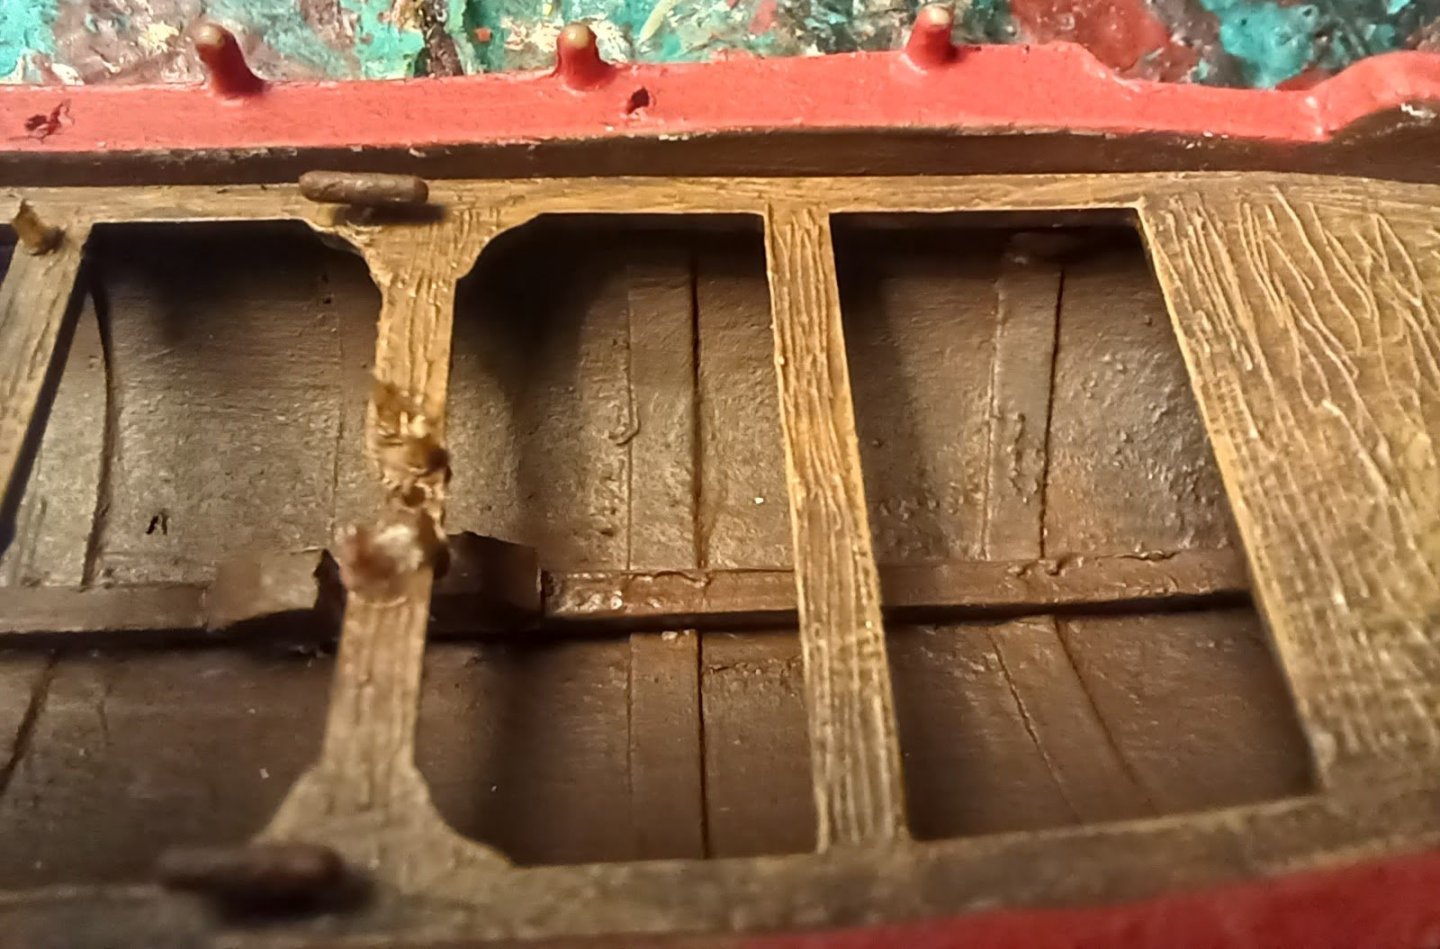
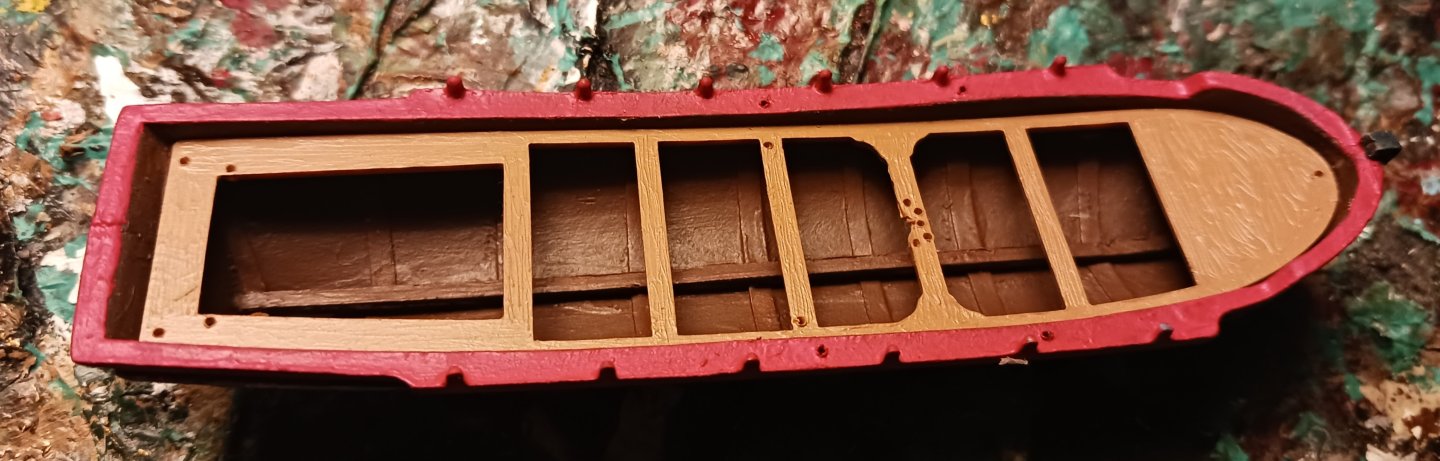
I added the frames inside the hull using some very light cardboard. The frames should be more visible after everything is weathered. After that, the only thing to do before beginning the rigging is put in the mast step, put in the eyebolts/pins, and prep the mast.
- 176 replies
-
- 4
-
-
- la reale de france
- heller
- (and 2 more)
-
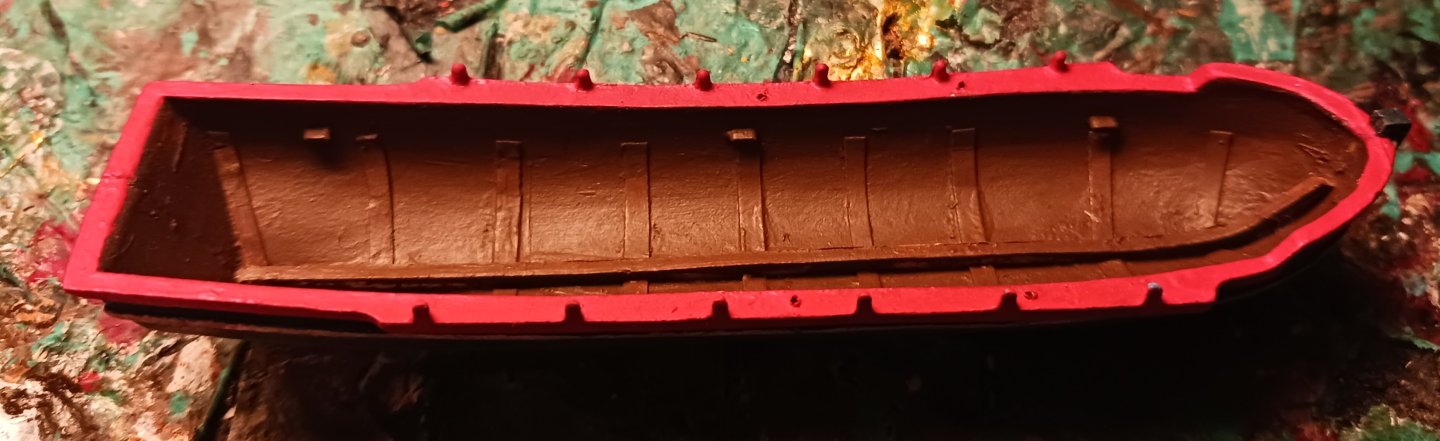
I put in a keelson/stemson, and painted the entire thing:

- 176 replies
-
- 4
-
-
- la reale de france
- heller
- (and 2 more)
-
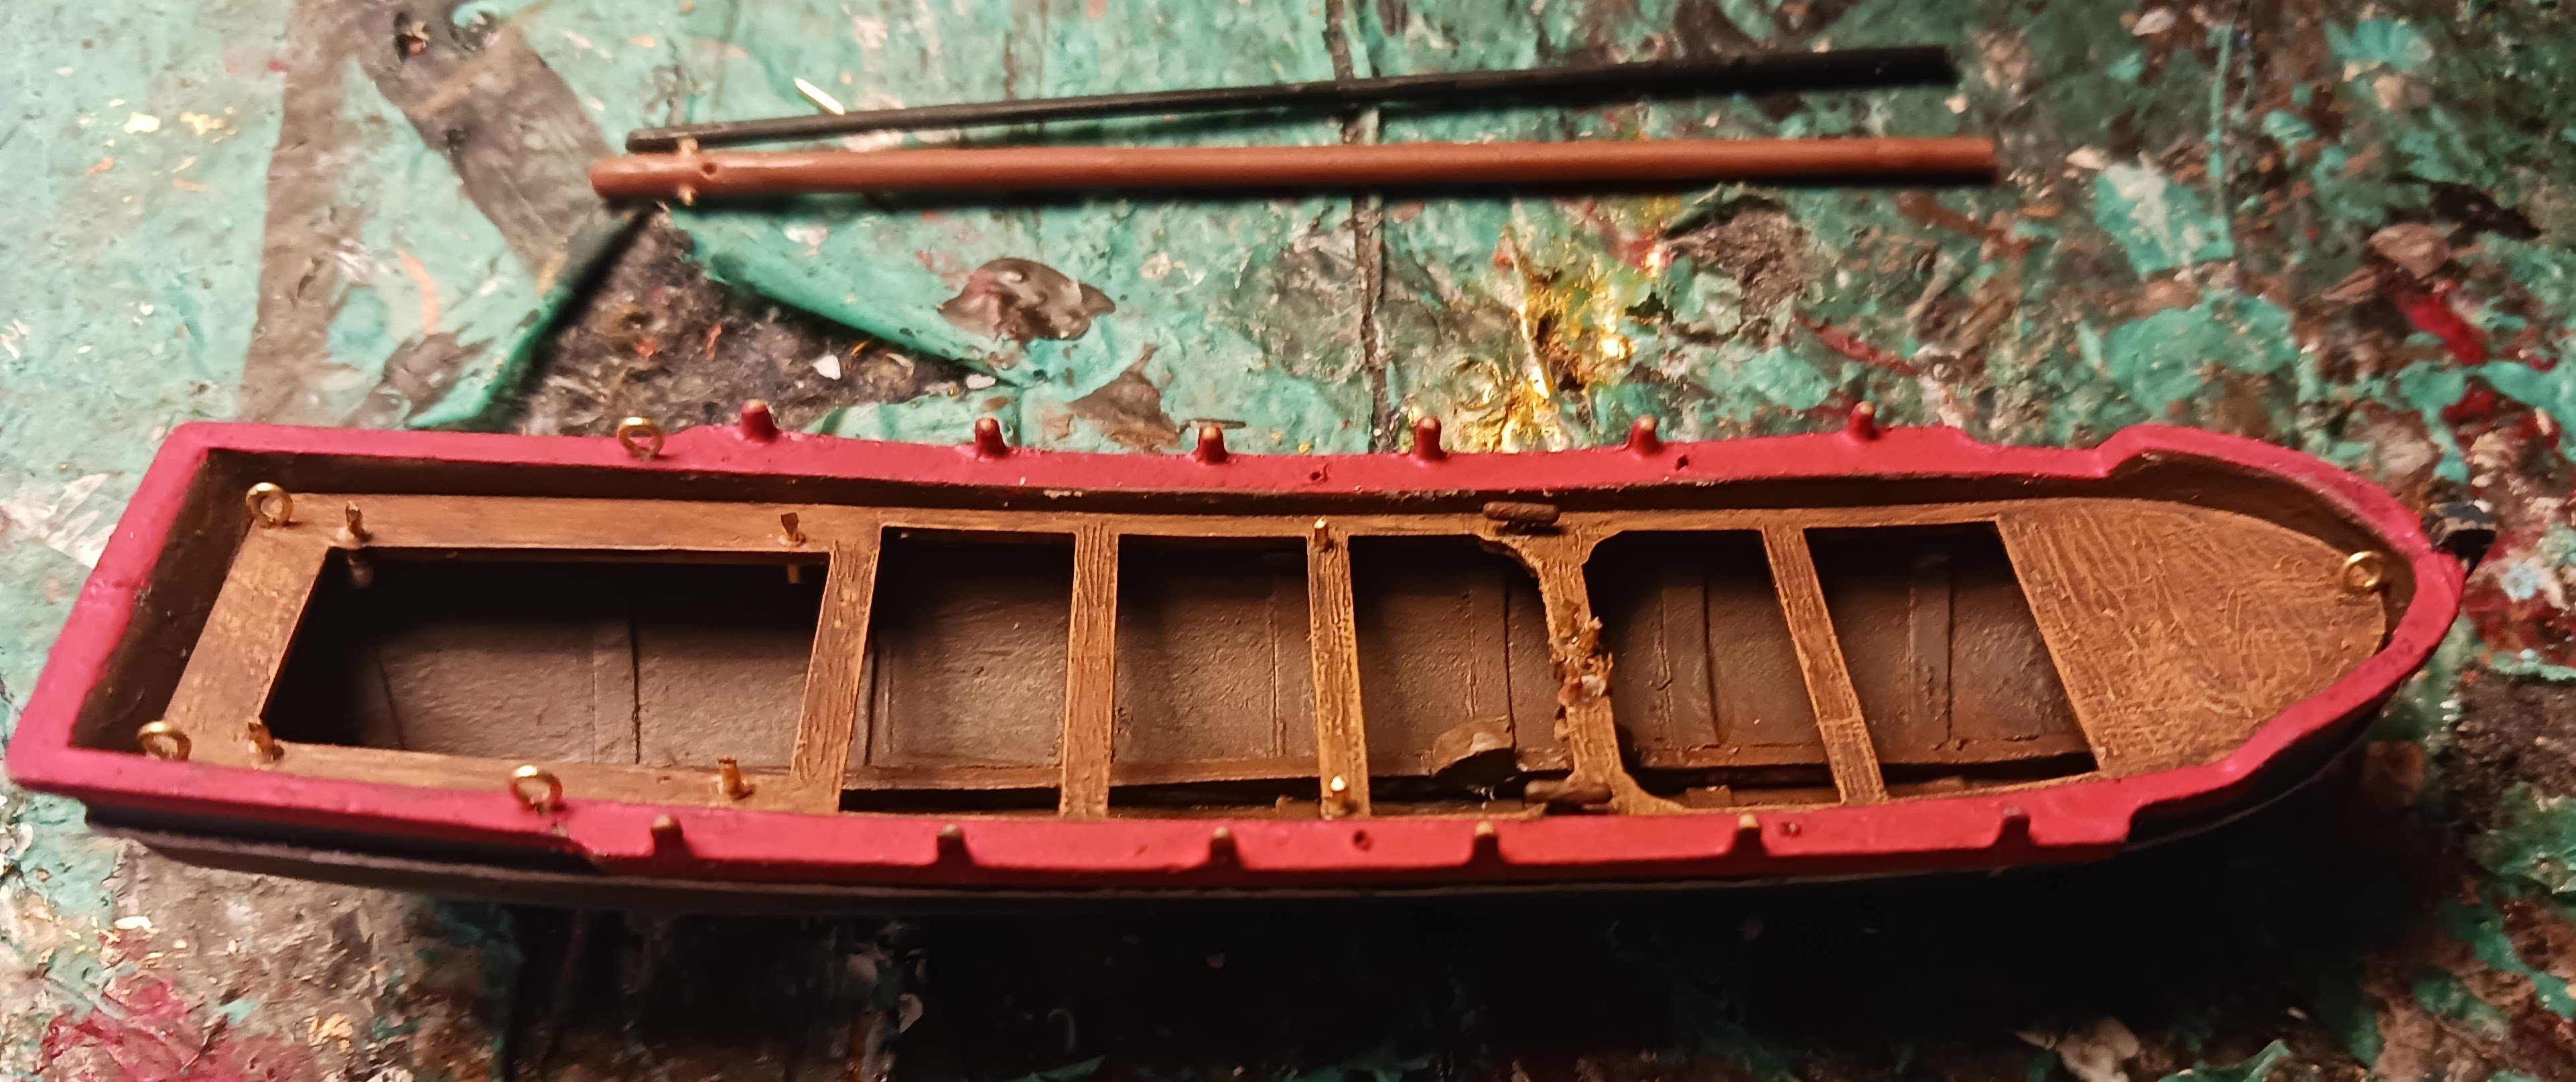
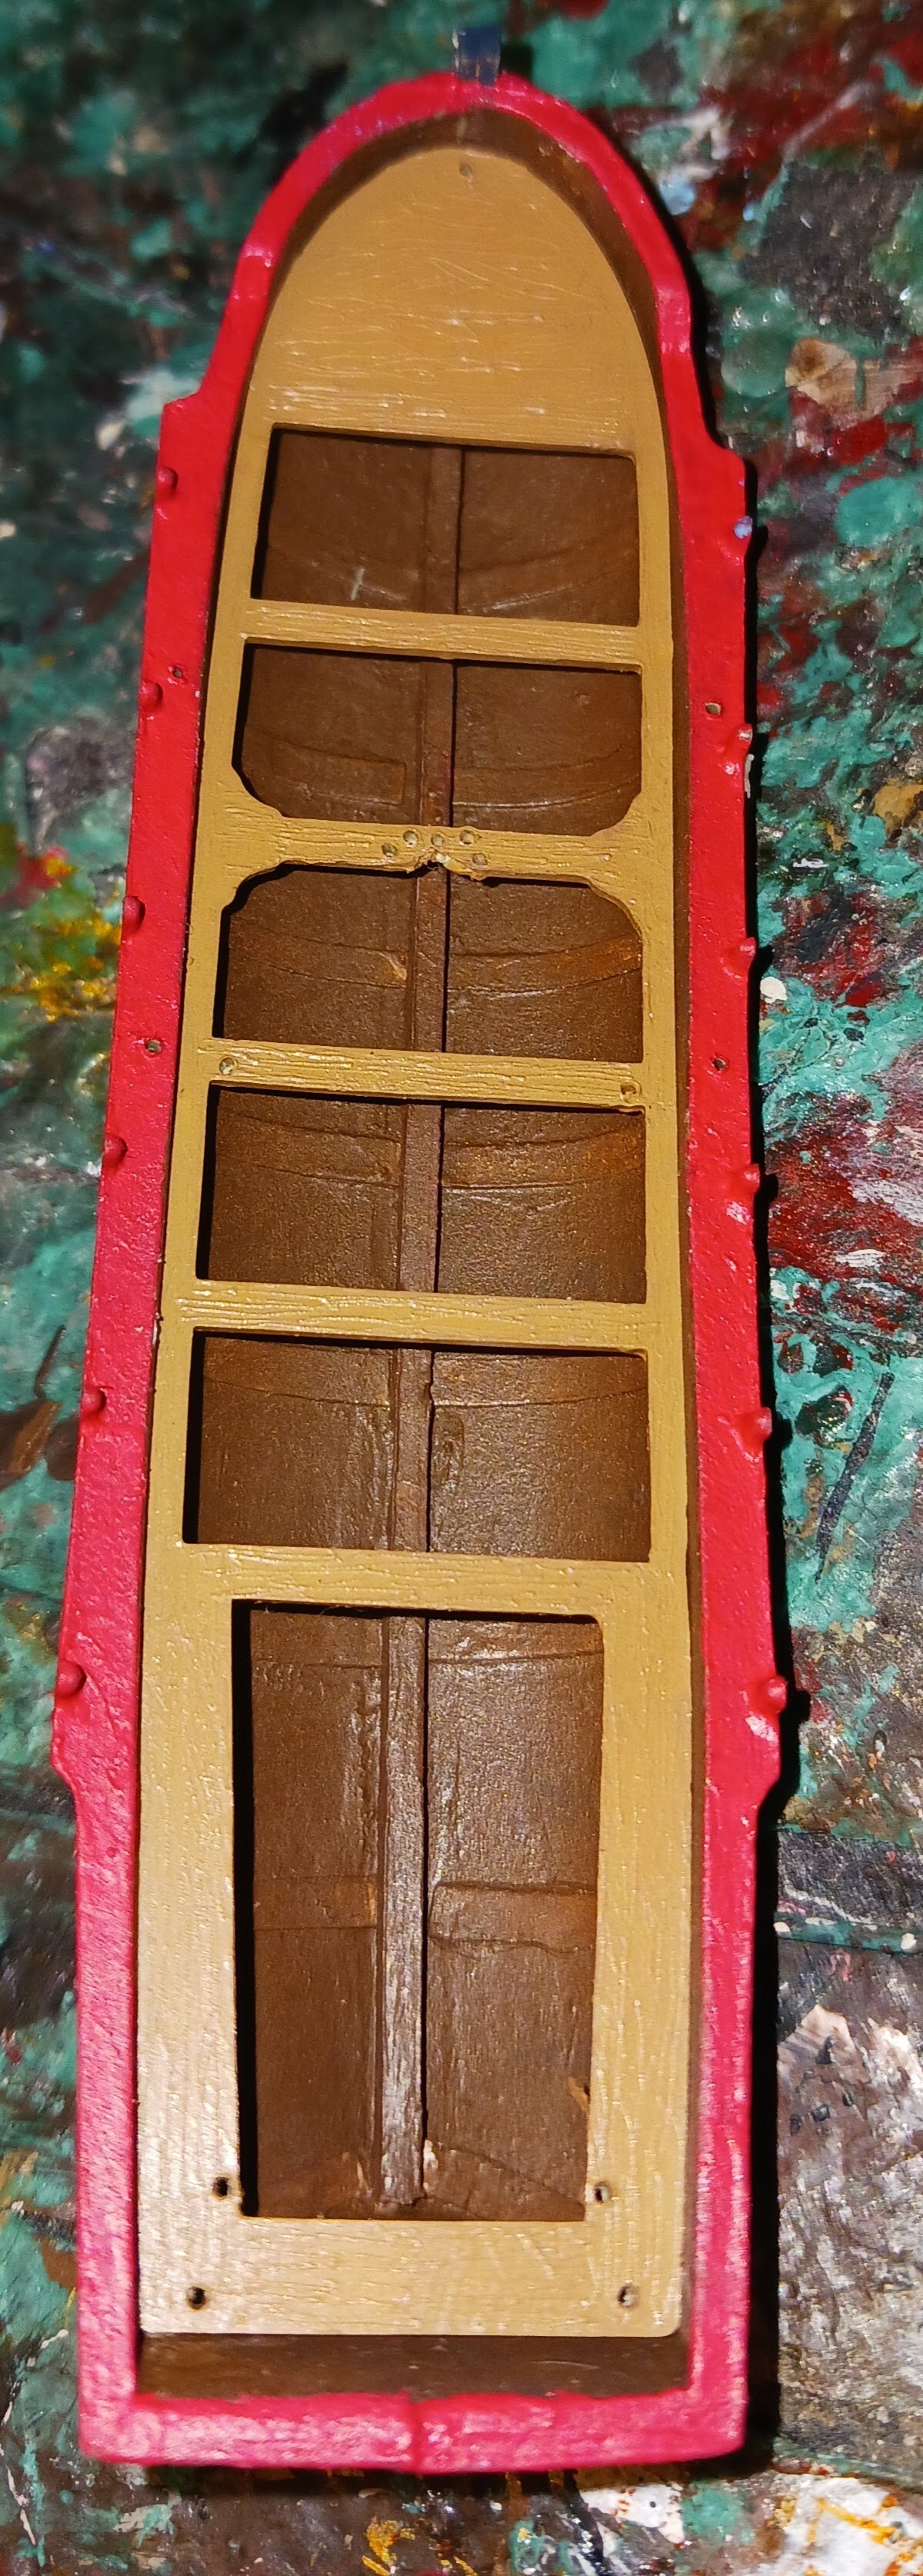
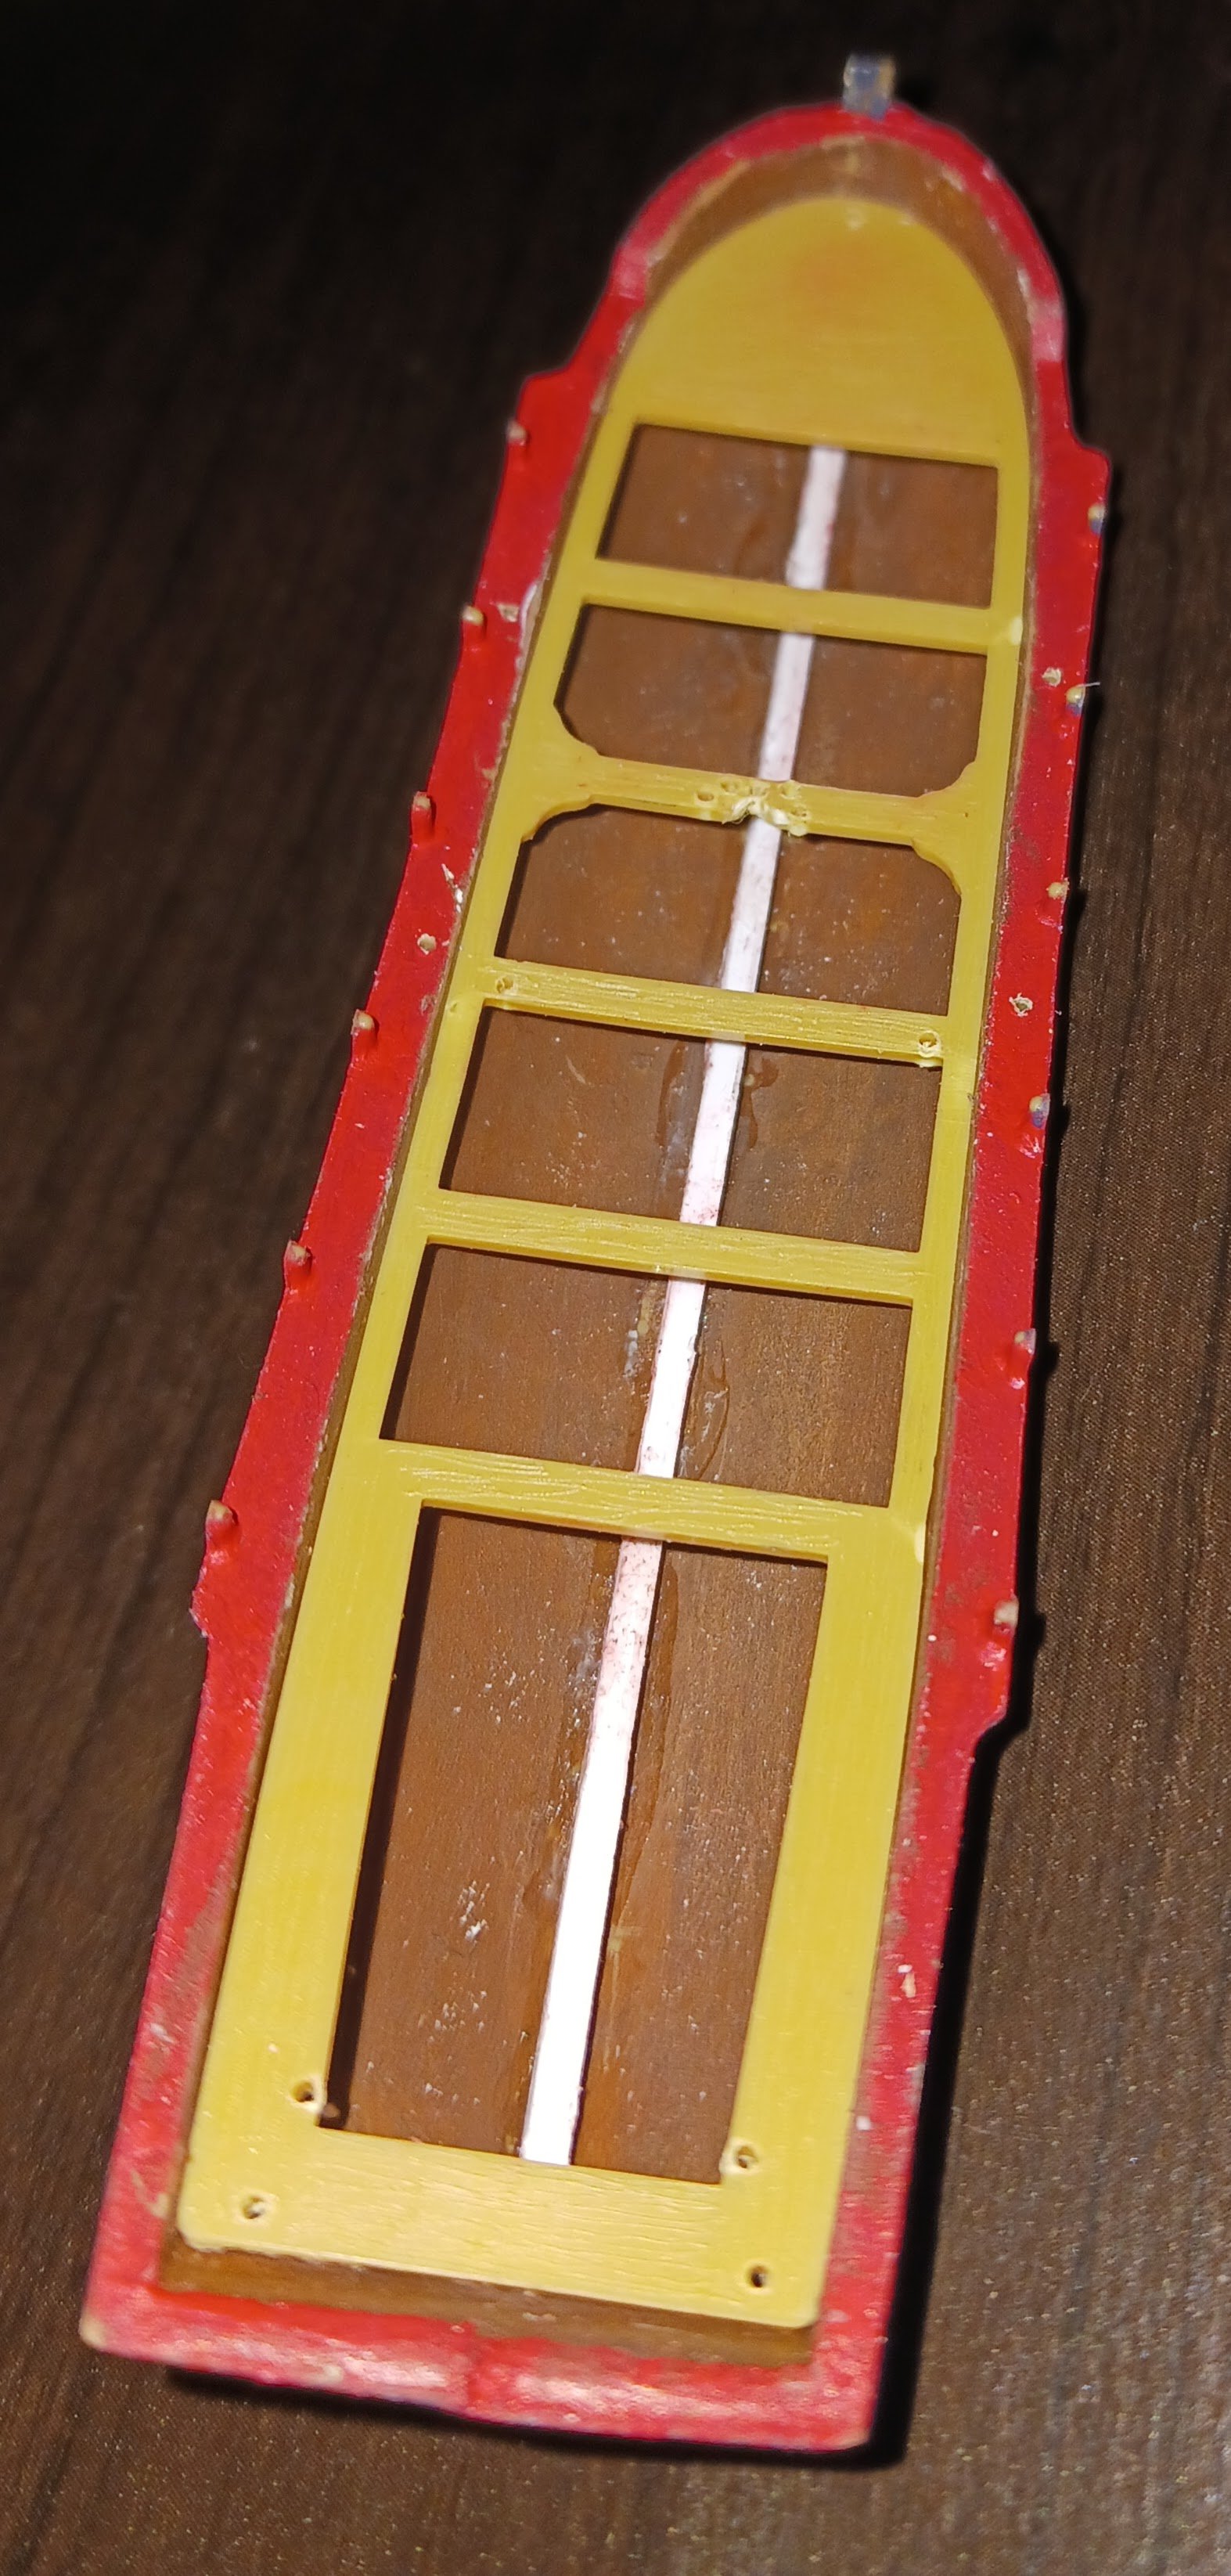
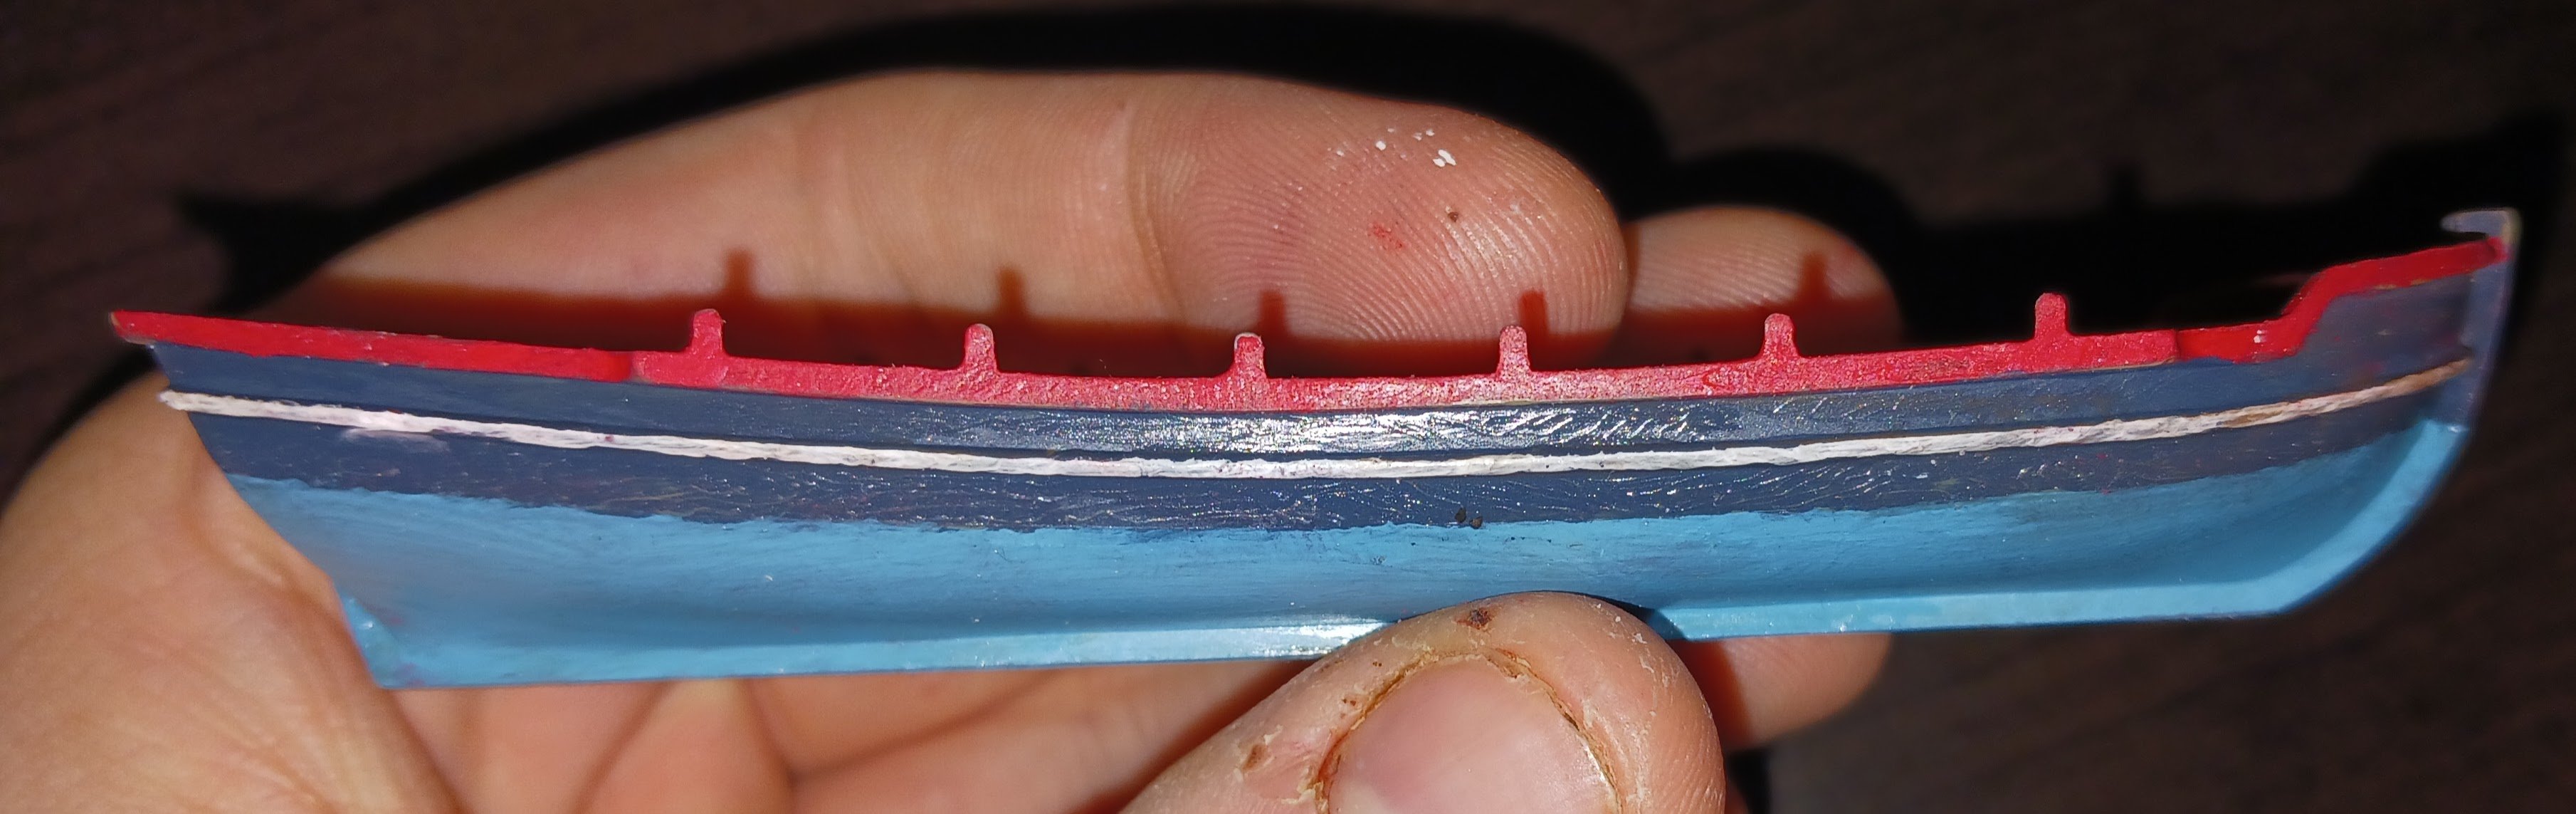
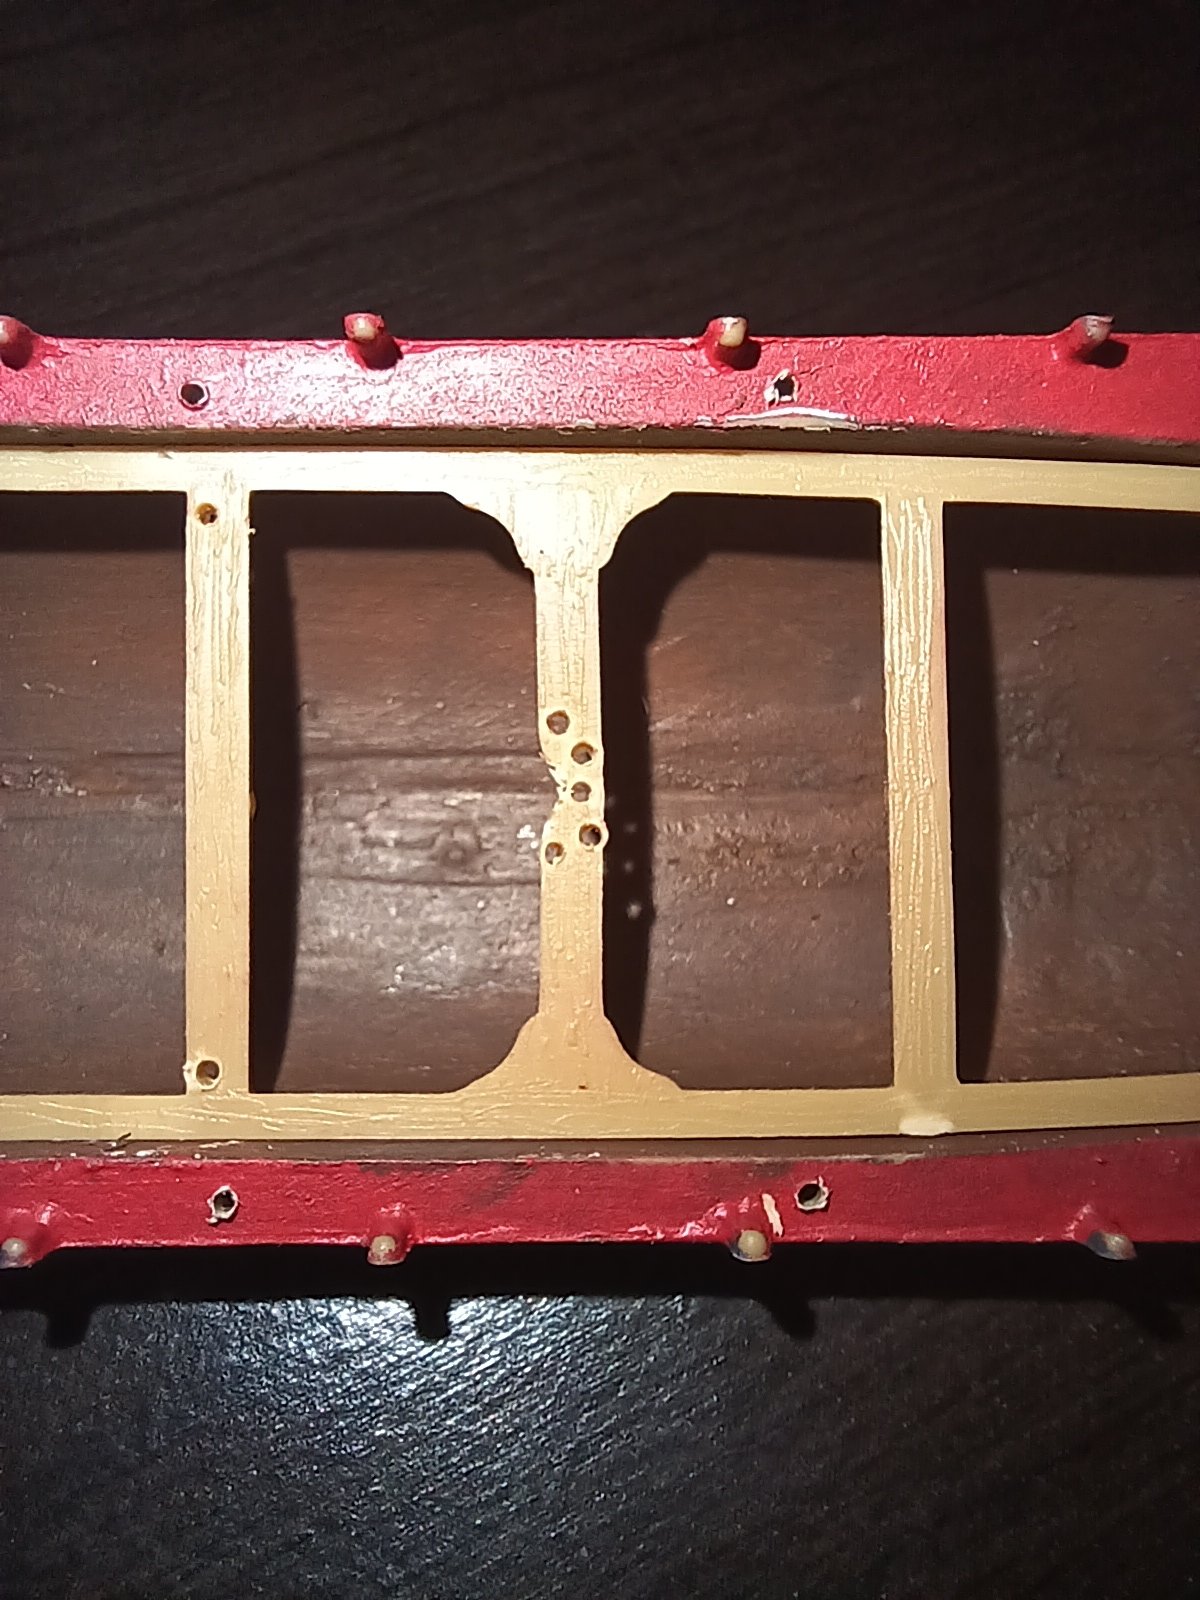
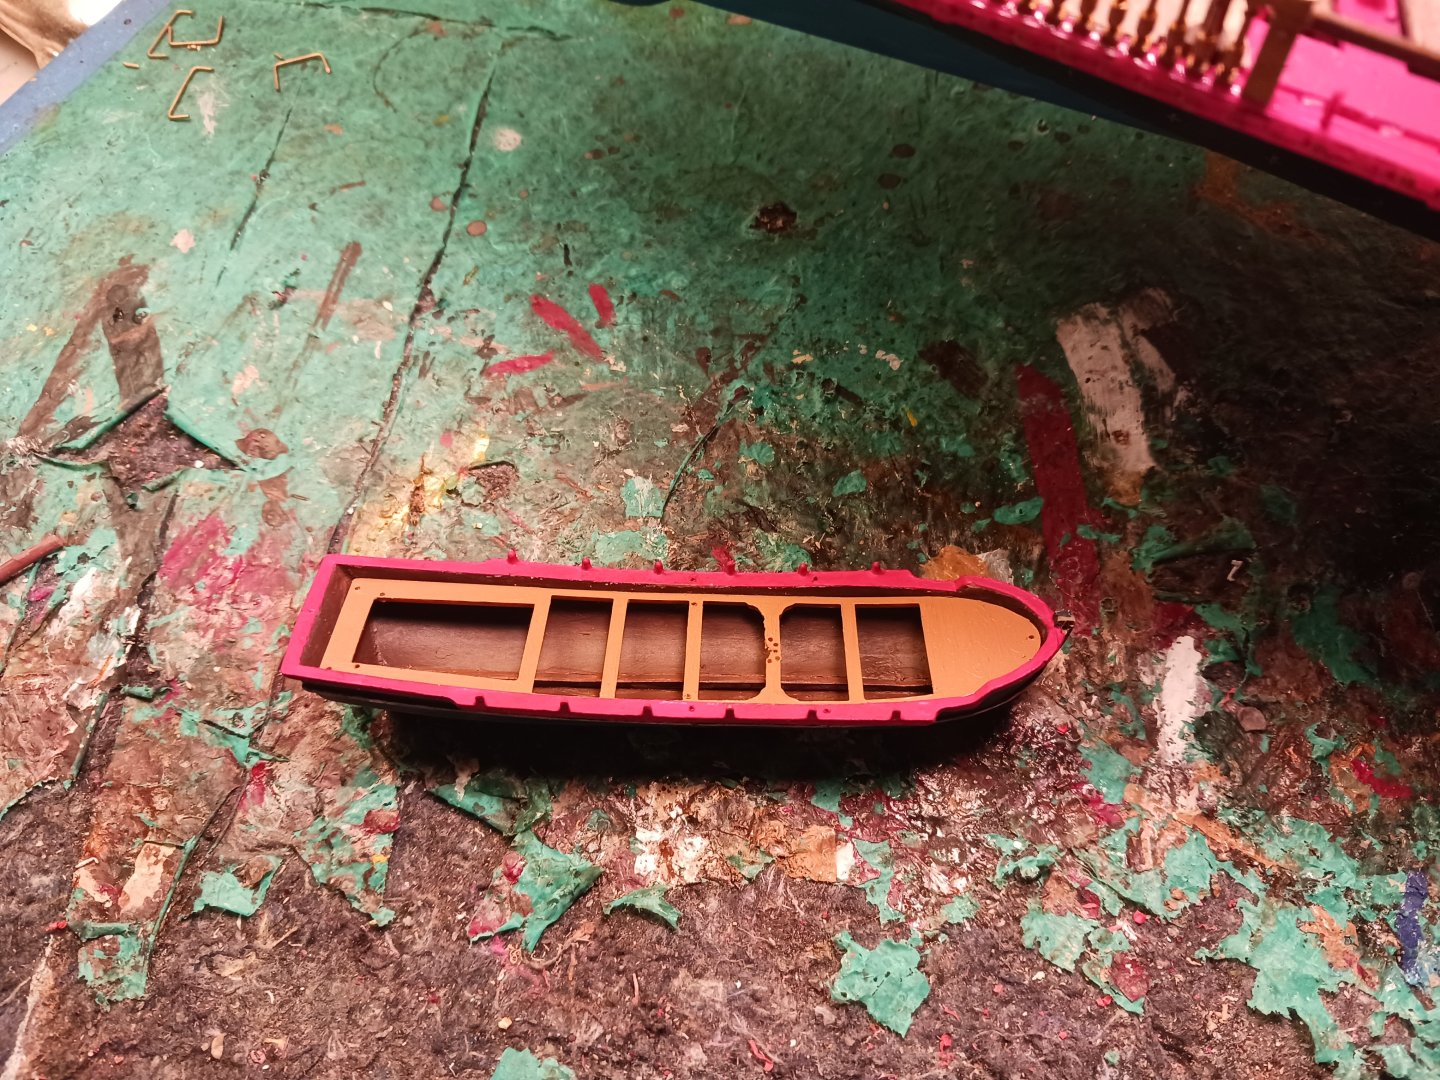
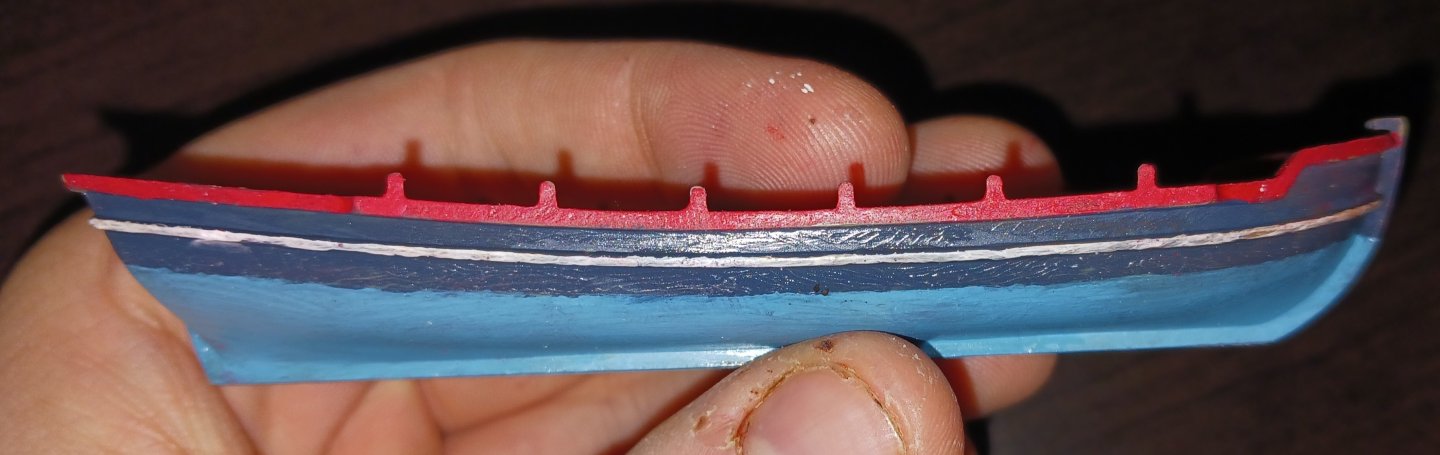
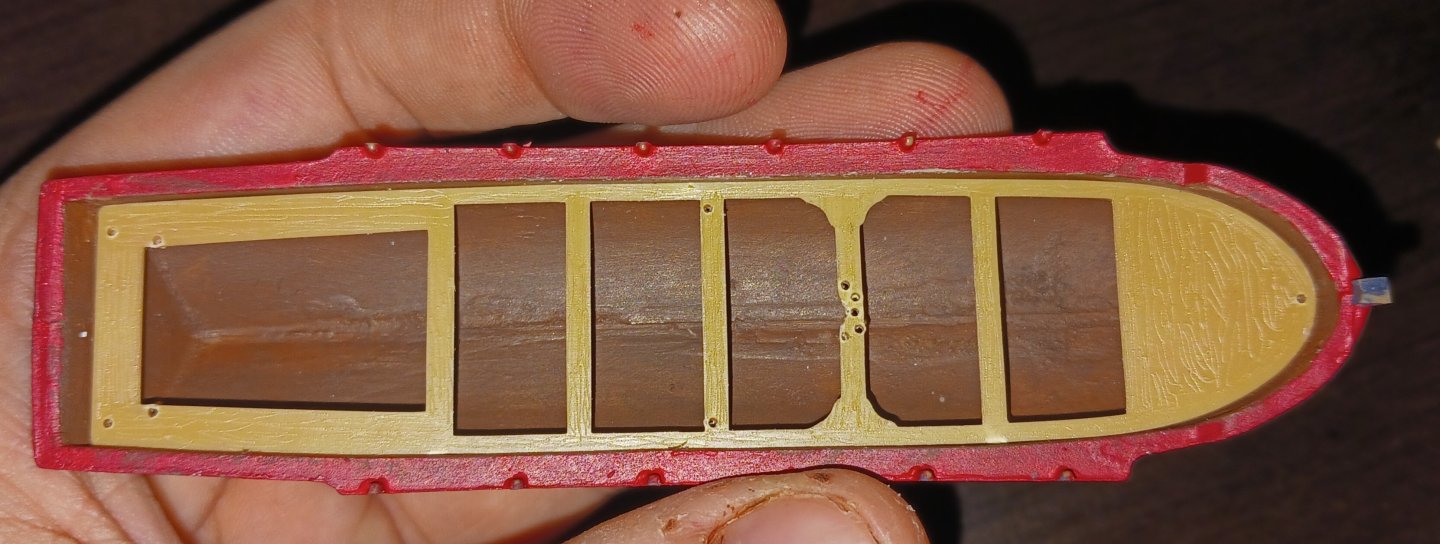
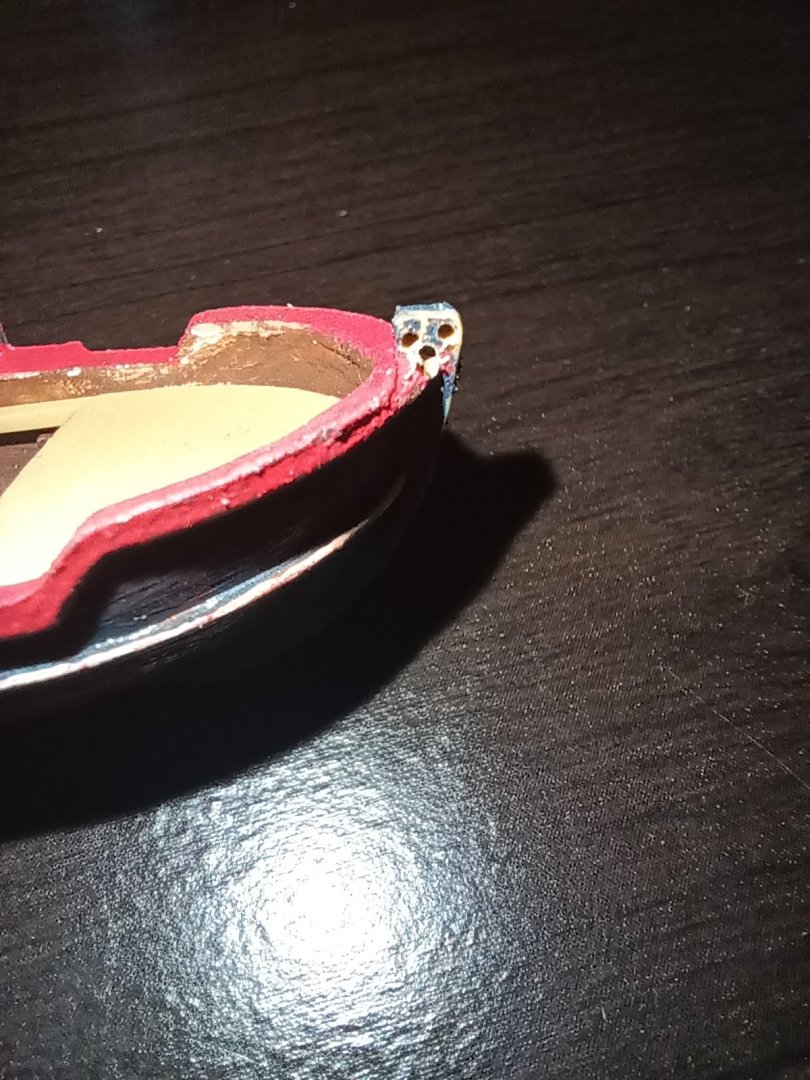
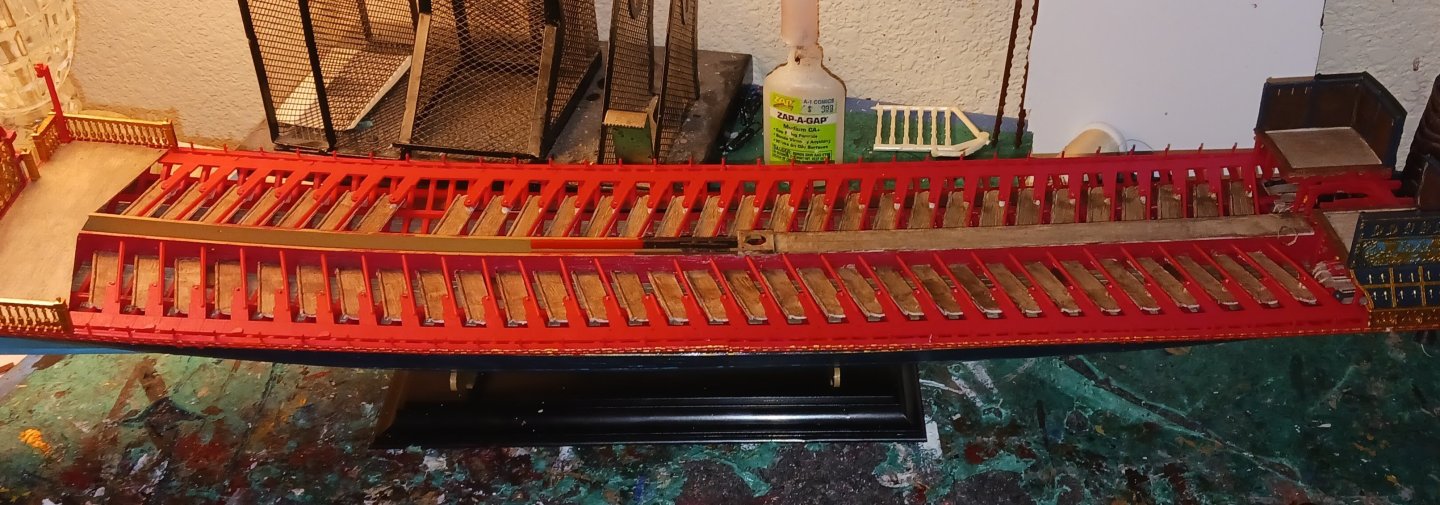
This is the finalized paint scheme for the caique: The locations of pins and eyebolts on the thwarts: I might make some more strakes to put in the hull, just to make it look a little better. The holes in the hull are for the shrouds and stay. The holes in the midships section are for toggles, which will hold the lower deadeyes of the shrouds in place. The three holes in the bow are the sheaves for the stay lanyard.

- 176 replies
-
- 3
-
-
- la reale de france
- heller
- (and 2 more)
-
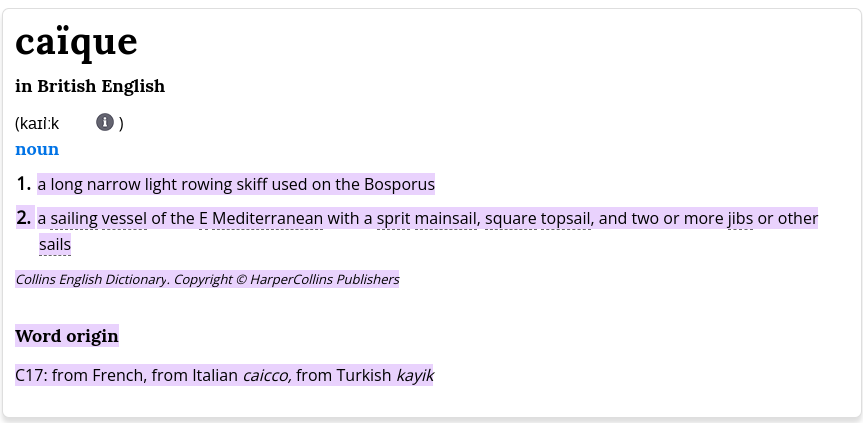
The context of this is that I am no stranger to doing complex rigs on tiny boats. This is a 1/96 scale model of a fishing smack I made a few months back: Now a 17th century ship's boat would never have a rig anywhere near this complex, but it is at least worth mentioning that I have been waiting for an excuse to spruce up at least one of the ship's boats. A caique, as per Collins Dictionary, possesses a spritsail rig:
- 176 replies
-
- 5
-
-
- la reale de france
- heller
- (and 2 more)
-
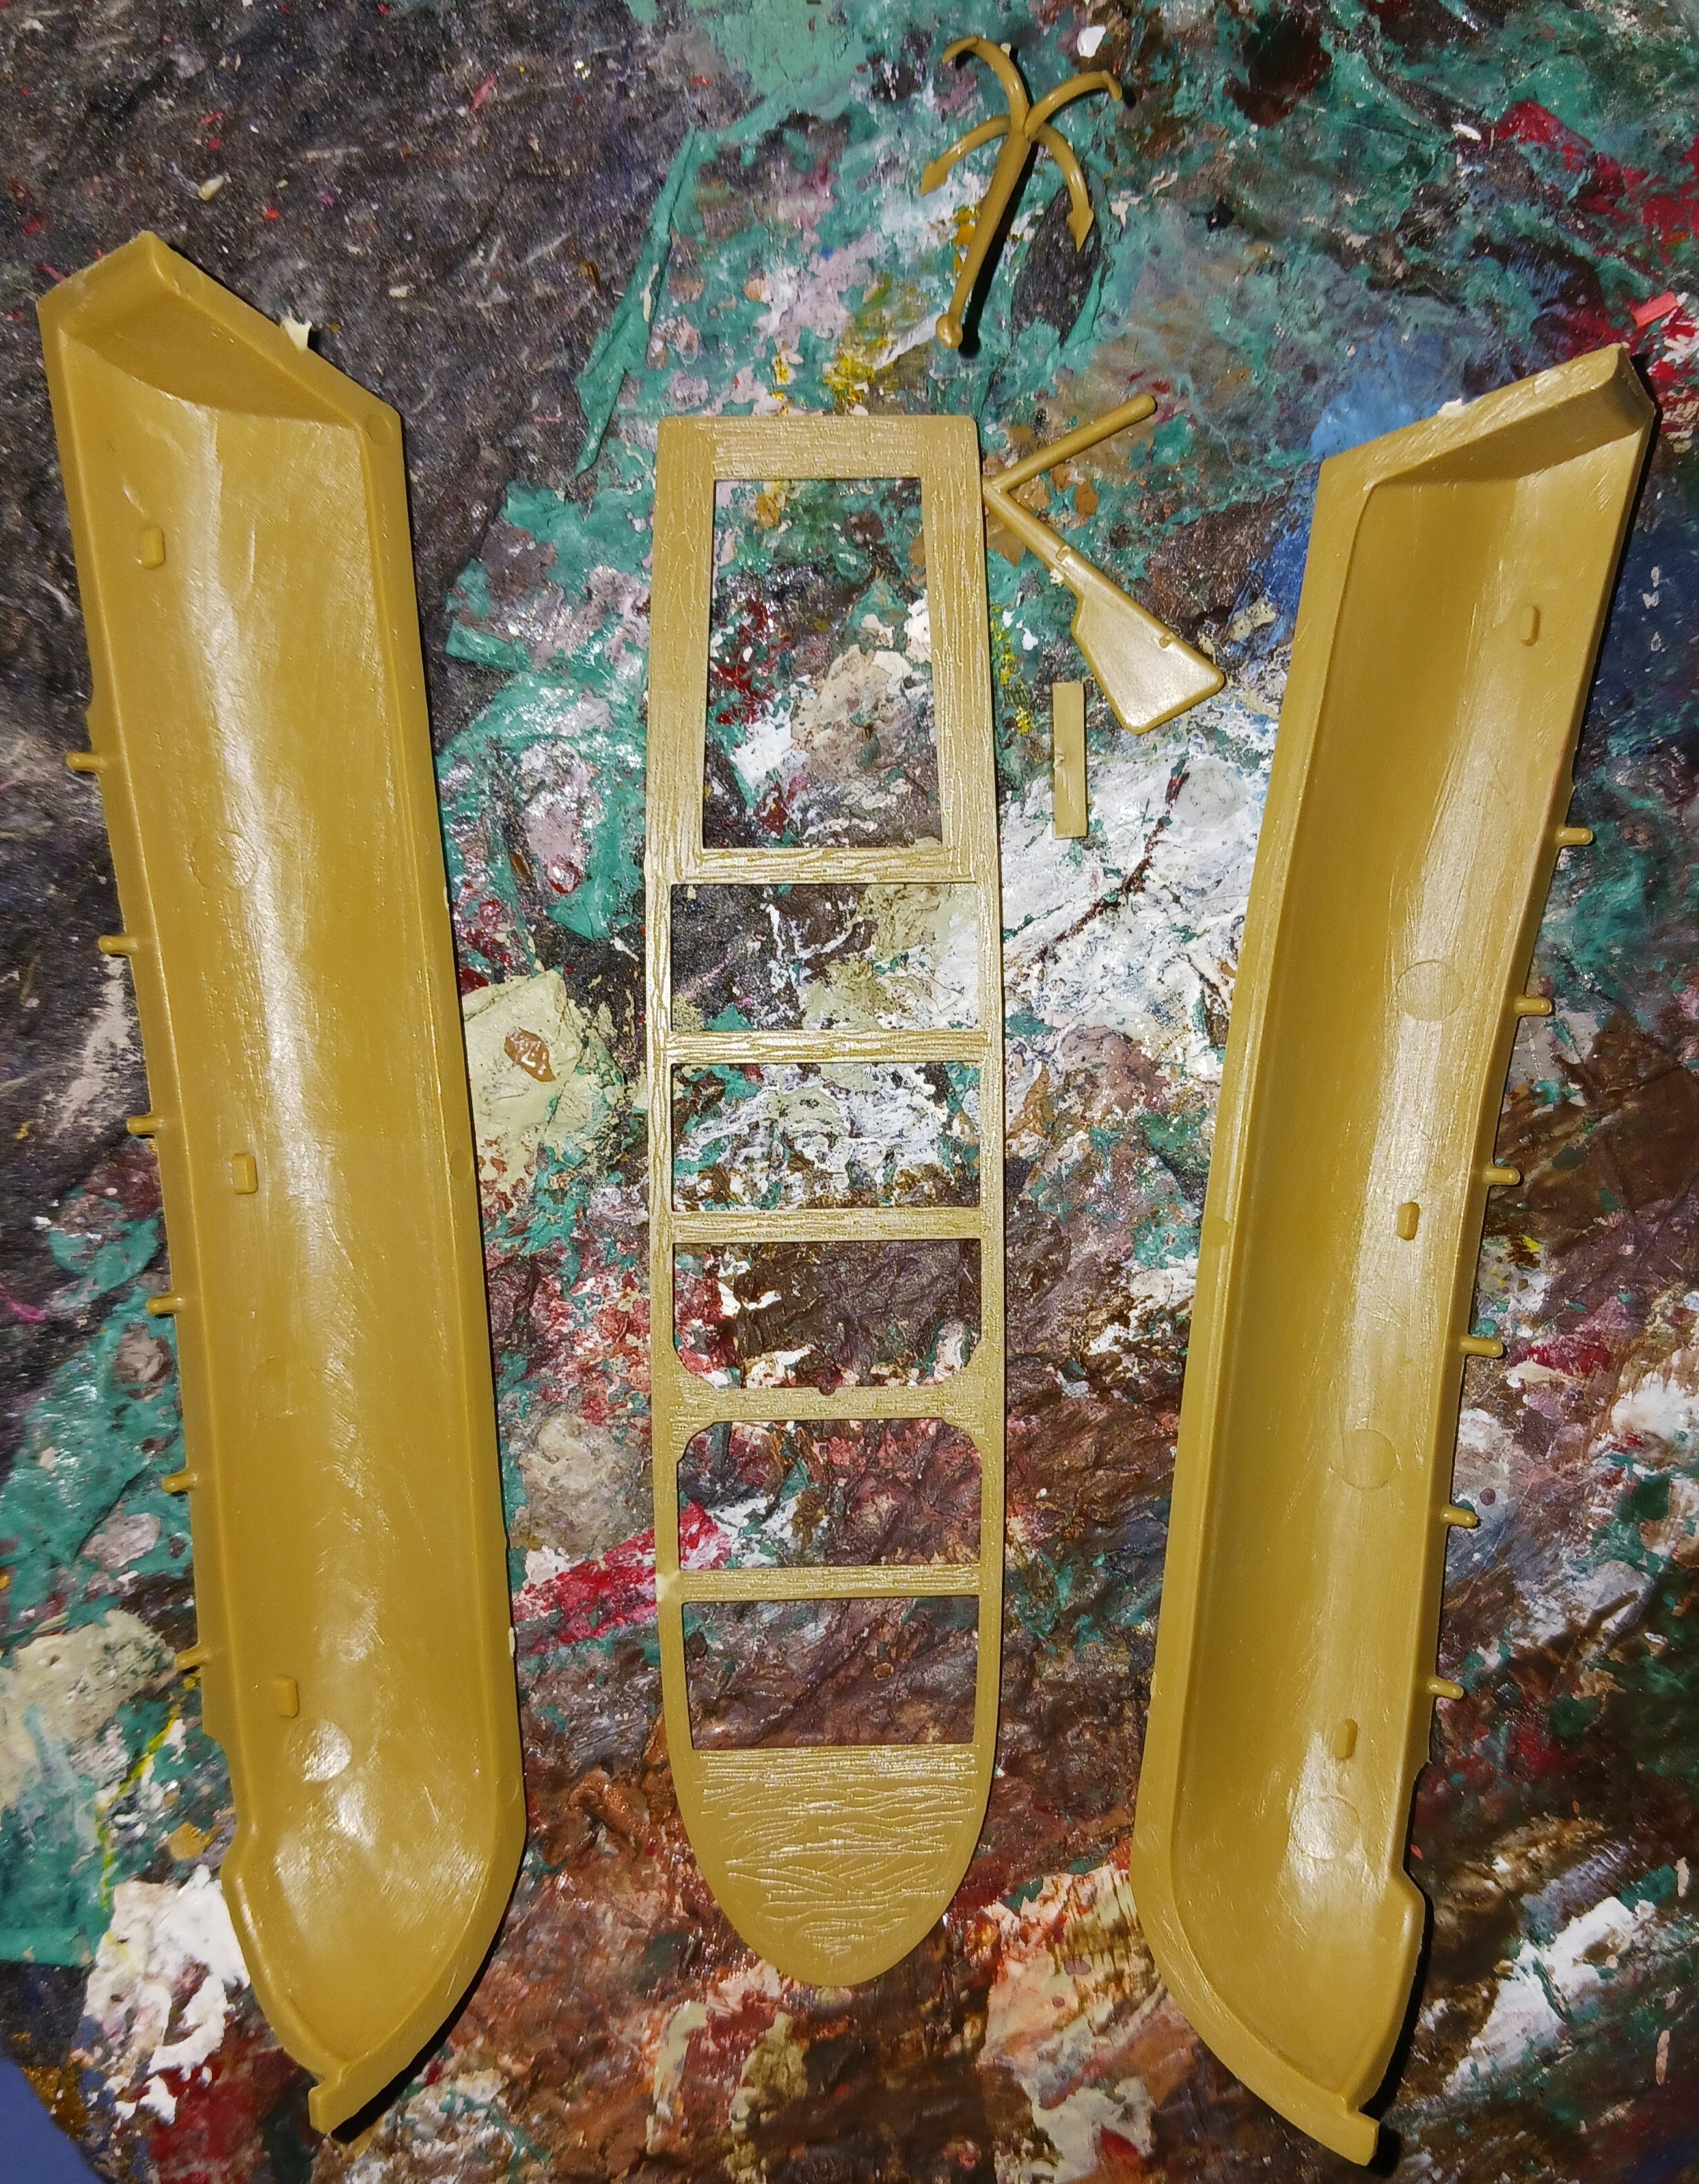
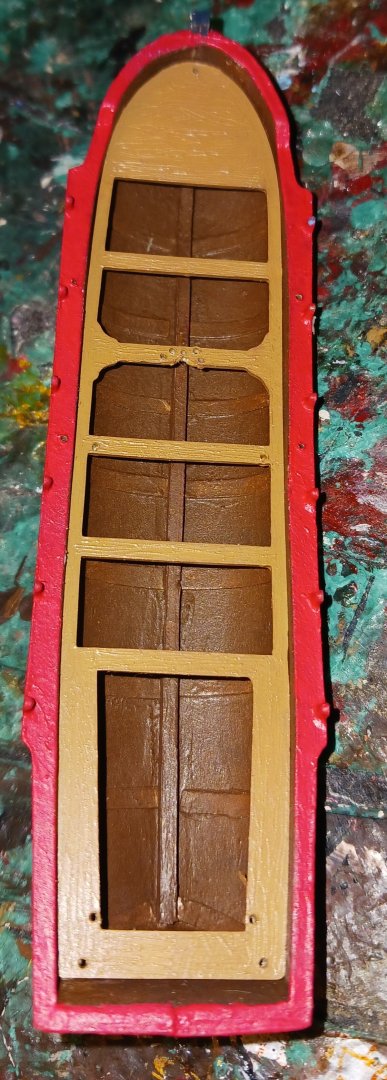
On to the ship's boats. The ship has two boats, a caique and a canot. The caique is the larger one, and I have just taken all the parts for it off of the sprues. You know what that looks like to me, on the second thwart? mast partners. You know what that means? Masting and rigging. I was originally going to display the caique on the boat gallows and the canot on a separate stand. Now, I think I will rig the caique with whatever sail plan it might have had, and display the canot on the gallows.

- 176 replies
-
- 2
-
-
- la reale de france
- heller
- (and 2 more)
-
The upper railings: They aren't horrible, but they aren't as good as Michael D. managed to get his. I think the main culprit was me pressing too hard on each stanchion when gluing them into place, and the ugly glue-jobs I had to do on several rails, that then got covered with three layers of paint. The re-painting I had to do in areas where the paint was ripped off during gluing didn't help matters. They aren't as offensive in real life as they are in the pictures.

- 176 replies
-
- 5
-
-
- la reale de france
- heller
- (and 2 more)
-
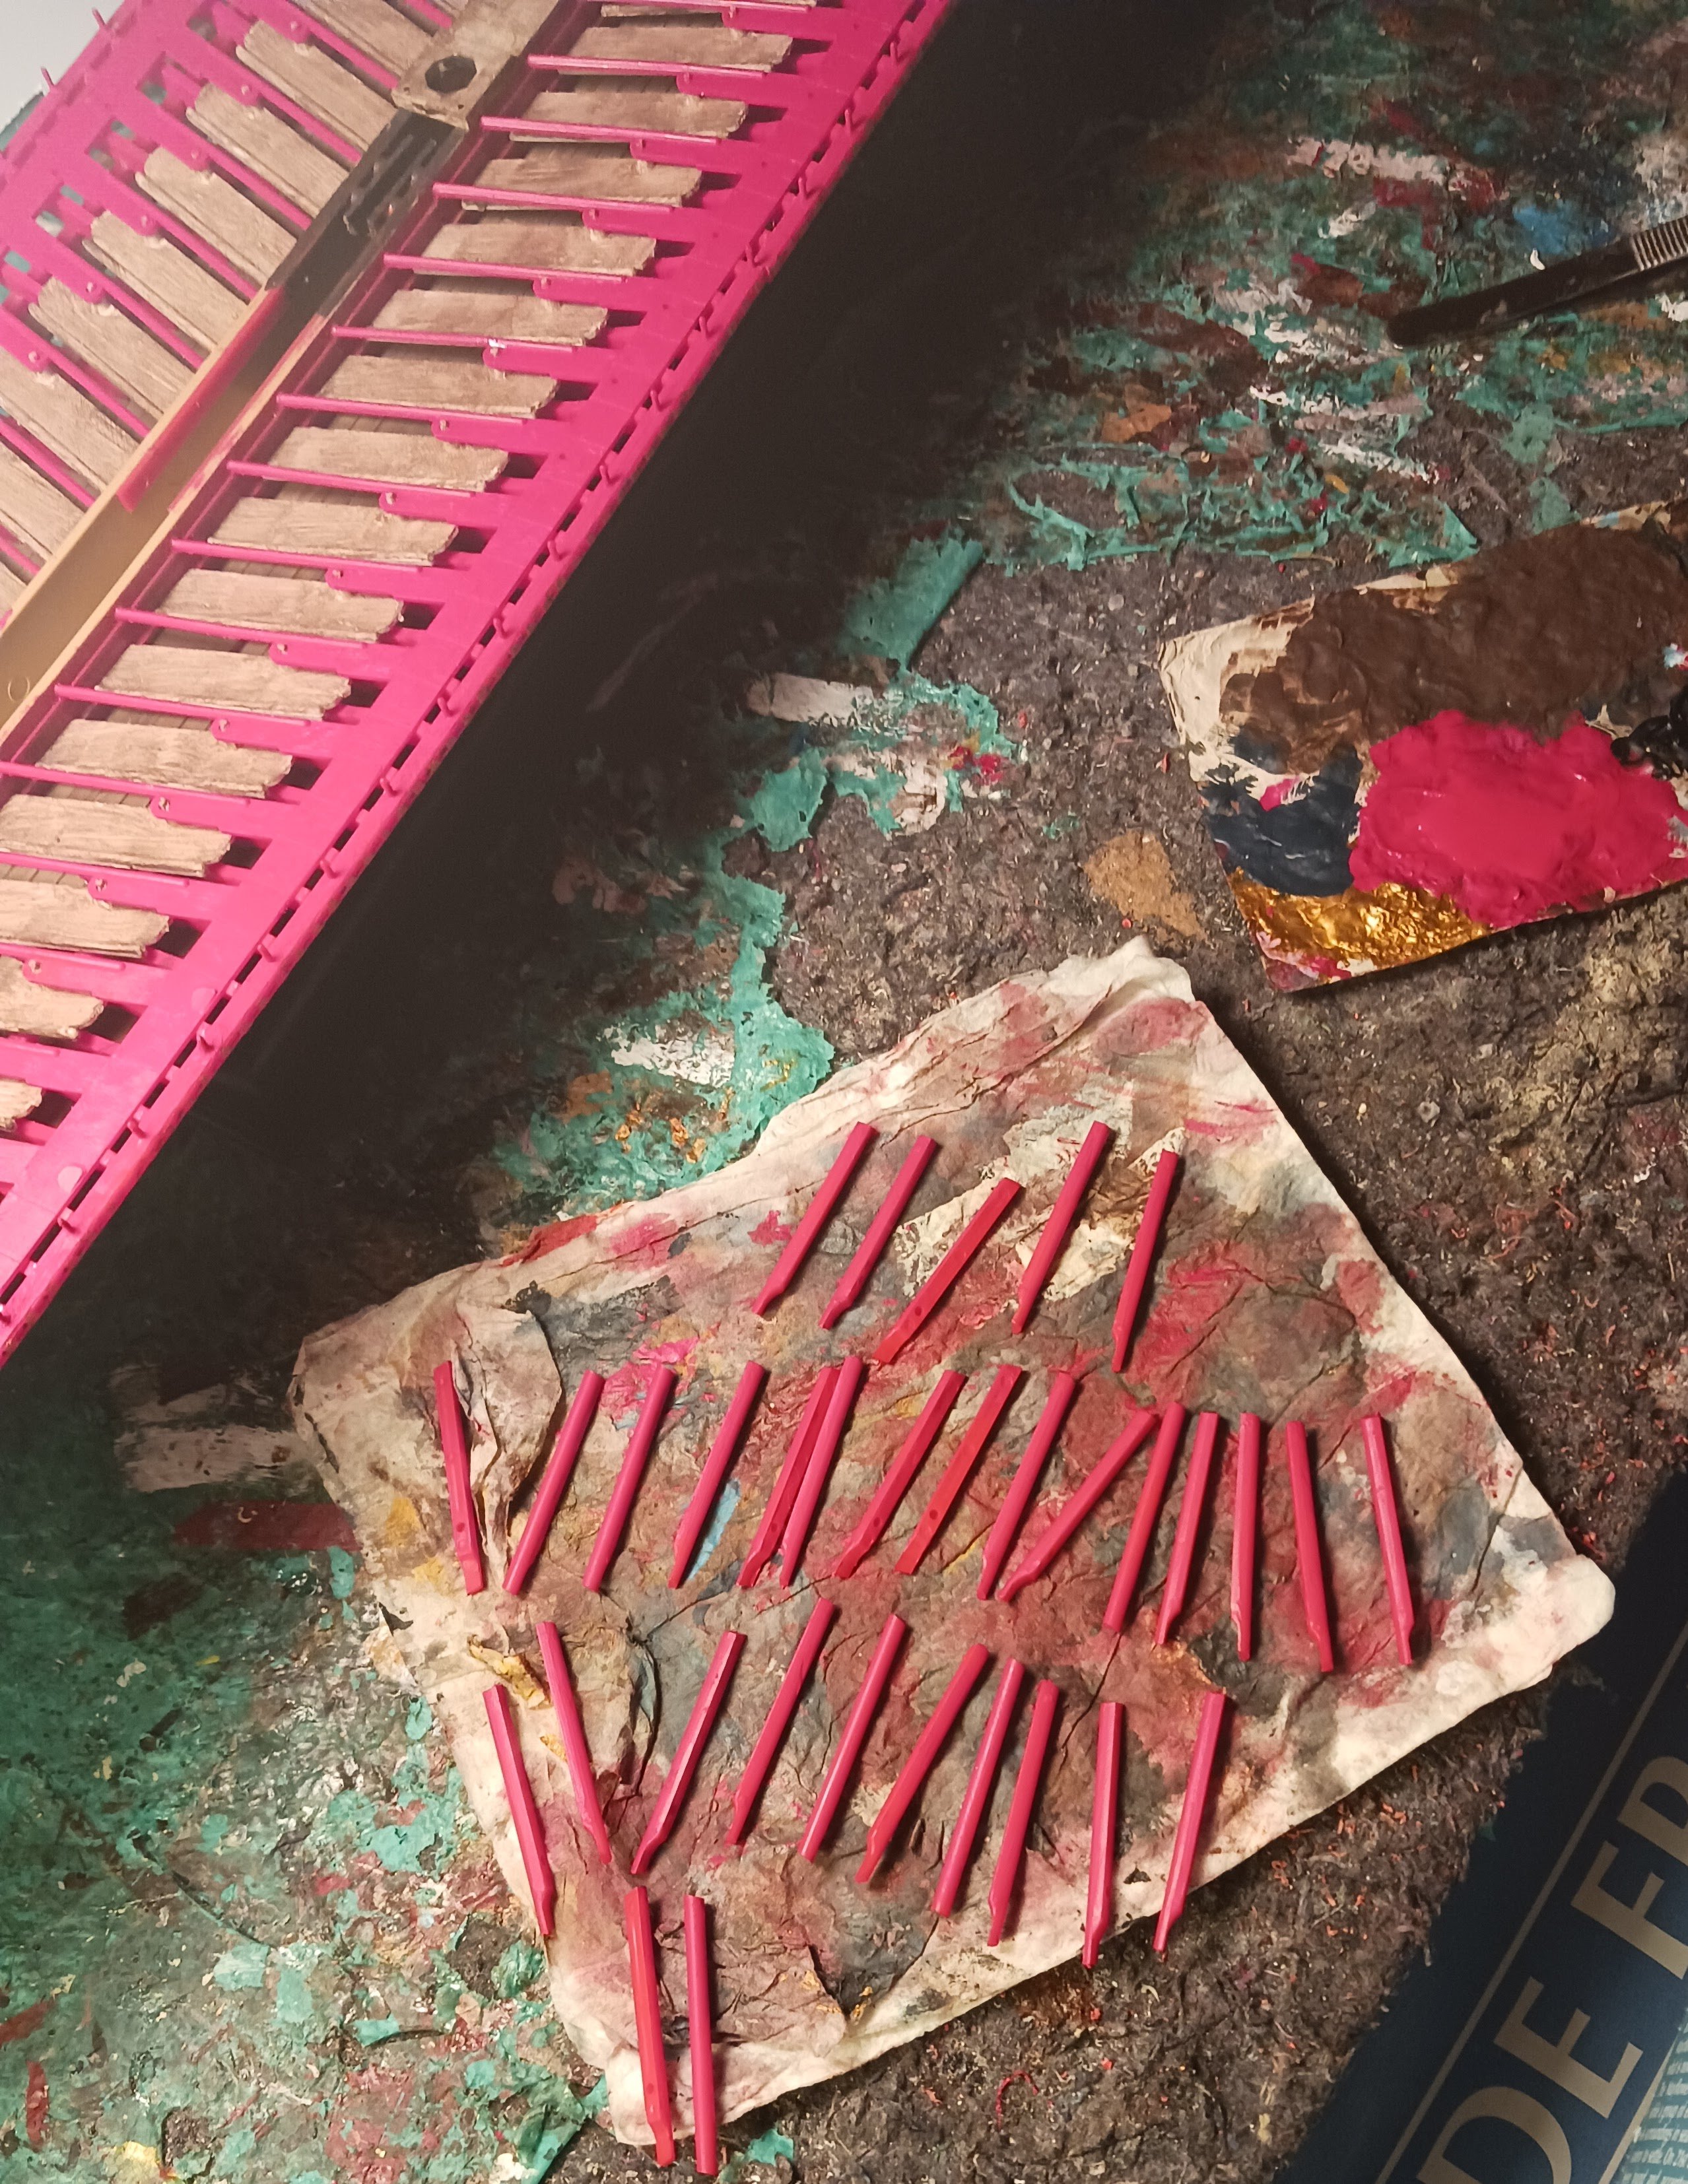
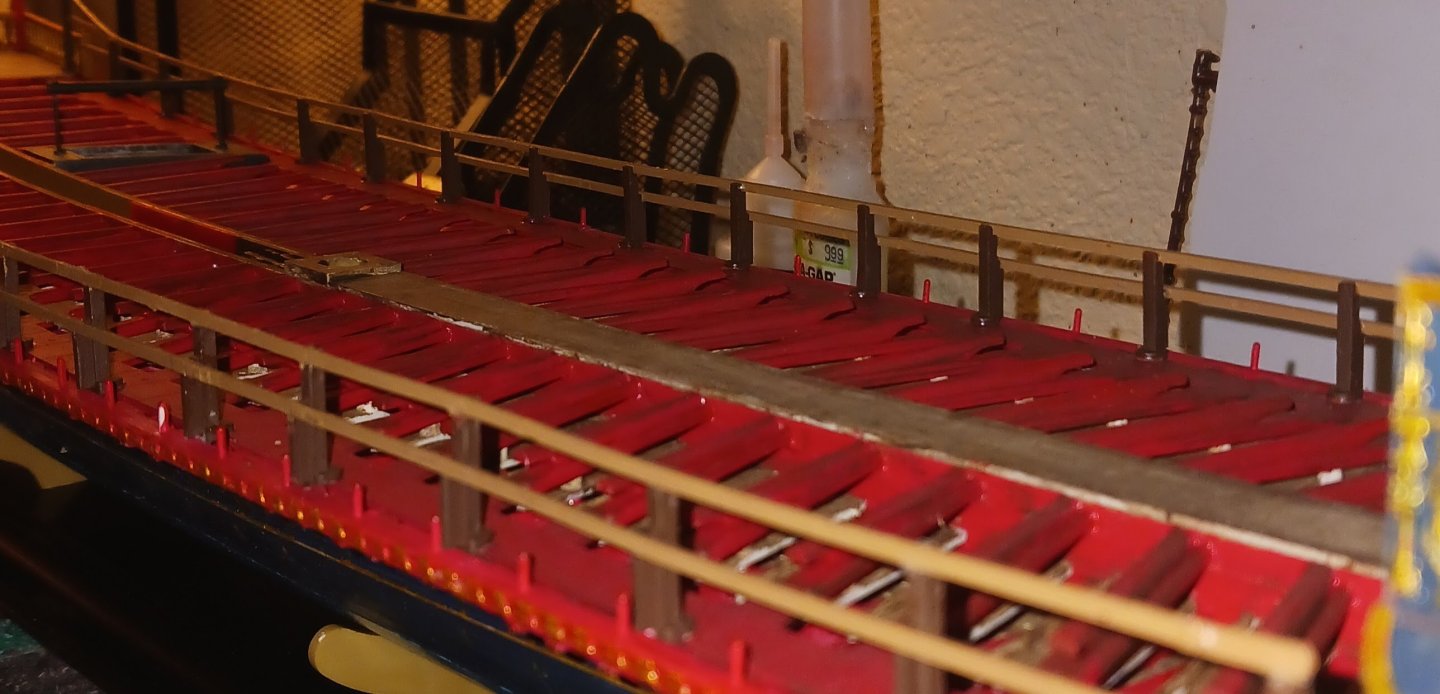
I put on the stanchions for the railings after painting them. I would almost rather have painted everything red because I had to absolutely cake paint onto the pieces to get the red plastic to stop showing through. I aligned them decently enough, I think, and had to cut off parts of some of them to get them to fit around the oar supports and thole pins. None of these are directly aft of a thole pin, meaning there will be no issue fitting oars at the end. Then, I painted and installed the bottom four railing pieces. I still think I would have been better off using wood pieces, as they did not turn out completely straight. I doubt the top ones will be this bad, because they weren't as warped on the sprue. Some of the bottom ones looked like snakes when I took a good look at them.


- 176 replies
-
- 2
-
-
- la reale de france
- heller
- (and 2 more)
-
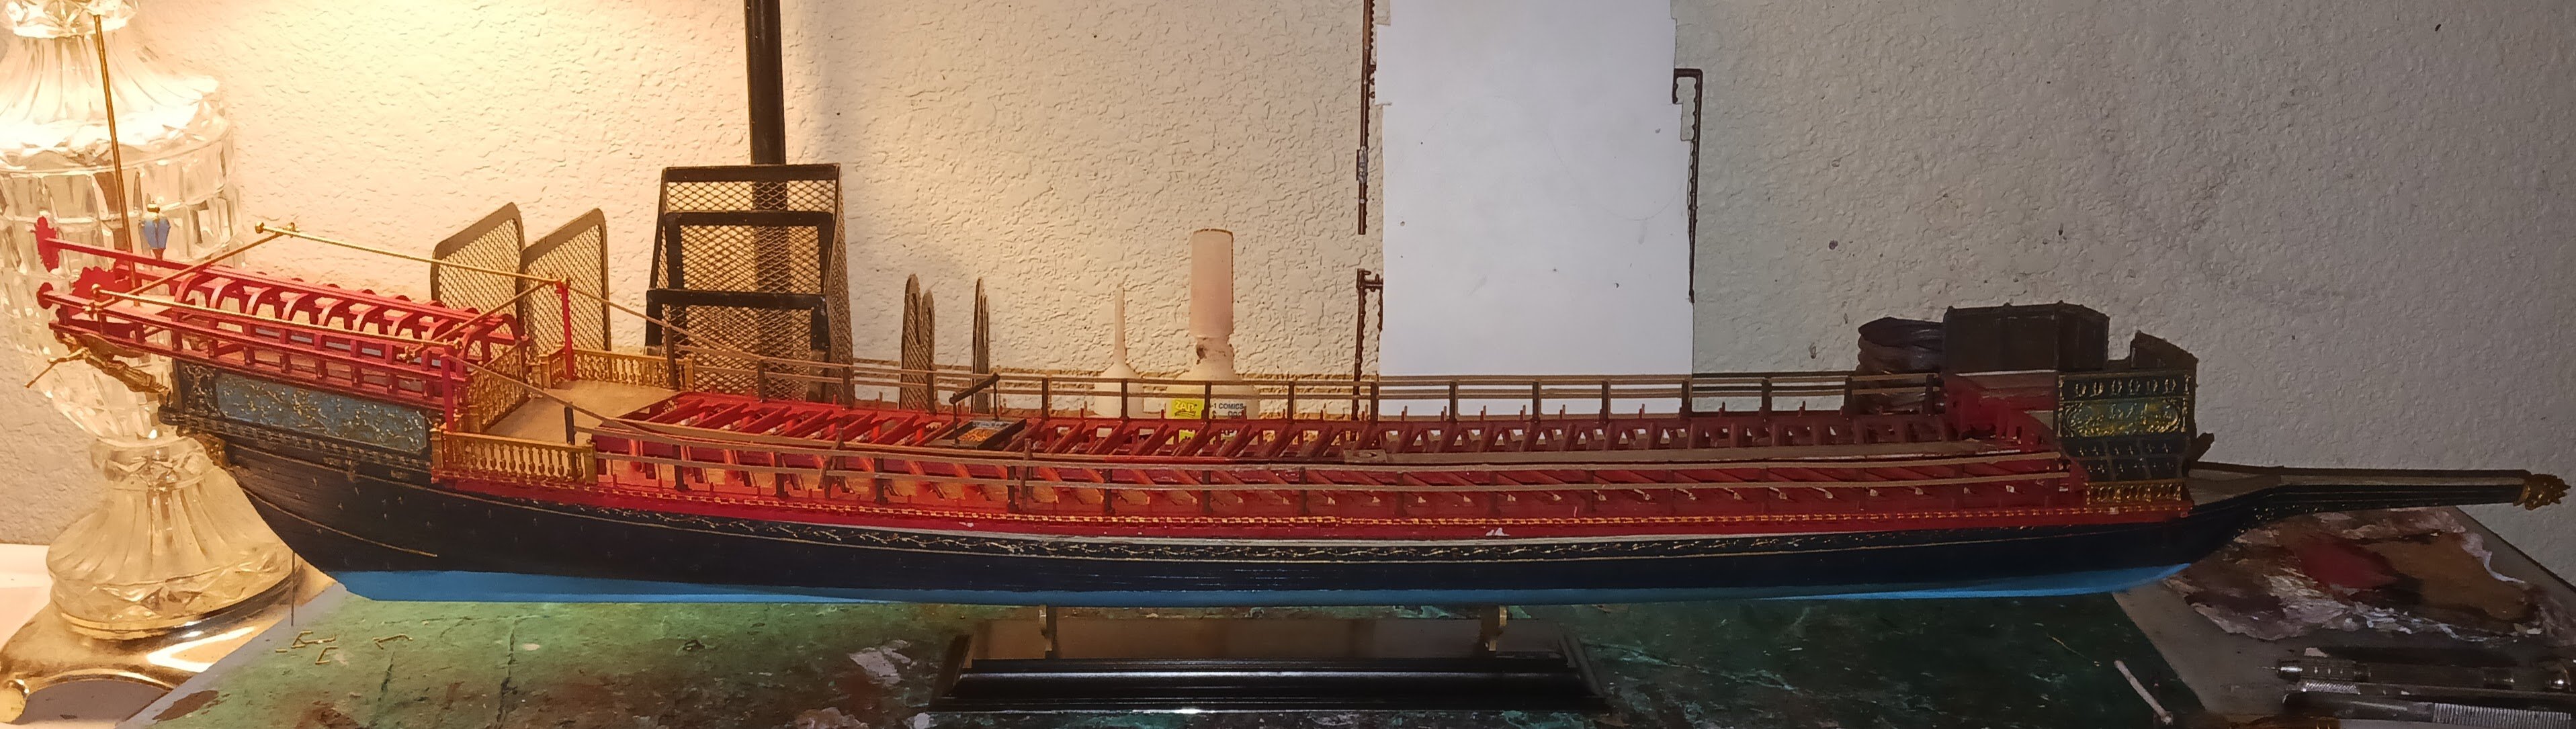
Now that I have finished the stern and all the decorative elements (mostly), I now need to decide where the line between extravagance and utilitarianism will be. I am thinking the line will be close to where it is in the painting. I am thinking the railings will be painted a light brown color, with the stanchions a darker brown. I will be excluding the railing flags. I have a sneaking suspicion that Heller designed the flag layout as would be displayed in a galley festival. Some of the flags, I suspect, would cause serious unwanted windage in normal use, when sailing or rowing. The painting shows very few flags, and seems to depict the Reale in normal operation. Heller sees the railings as being painted the same red color they came molded in, but I disagree.
-
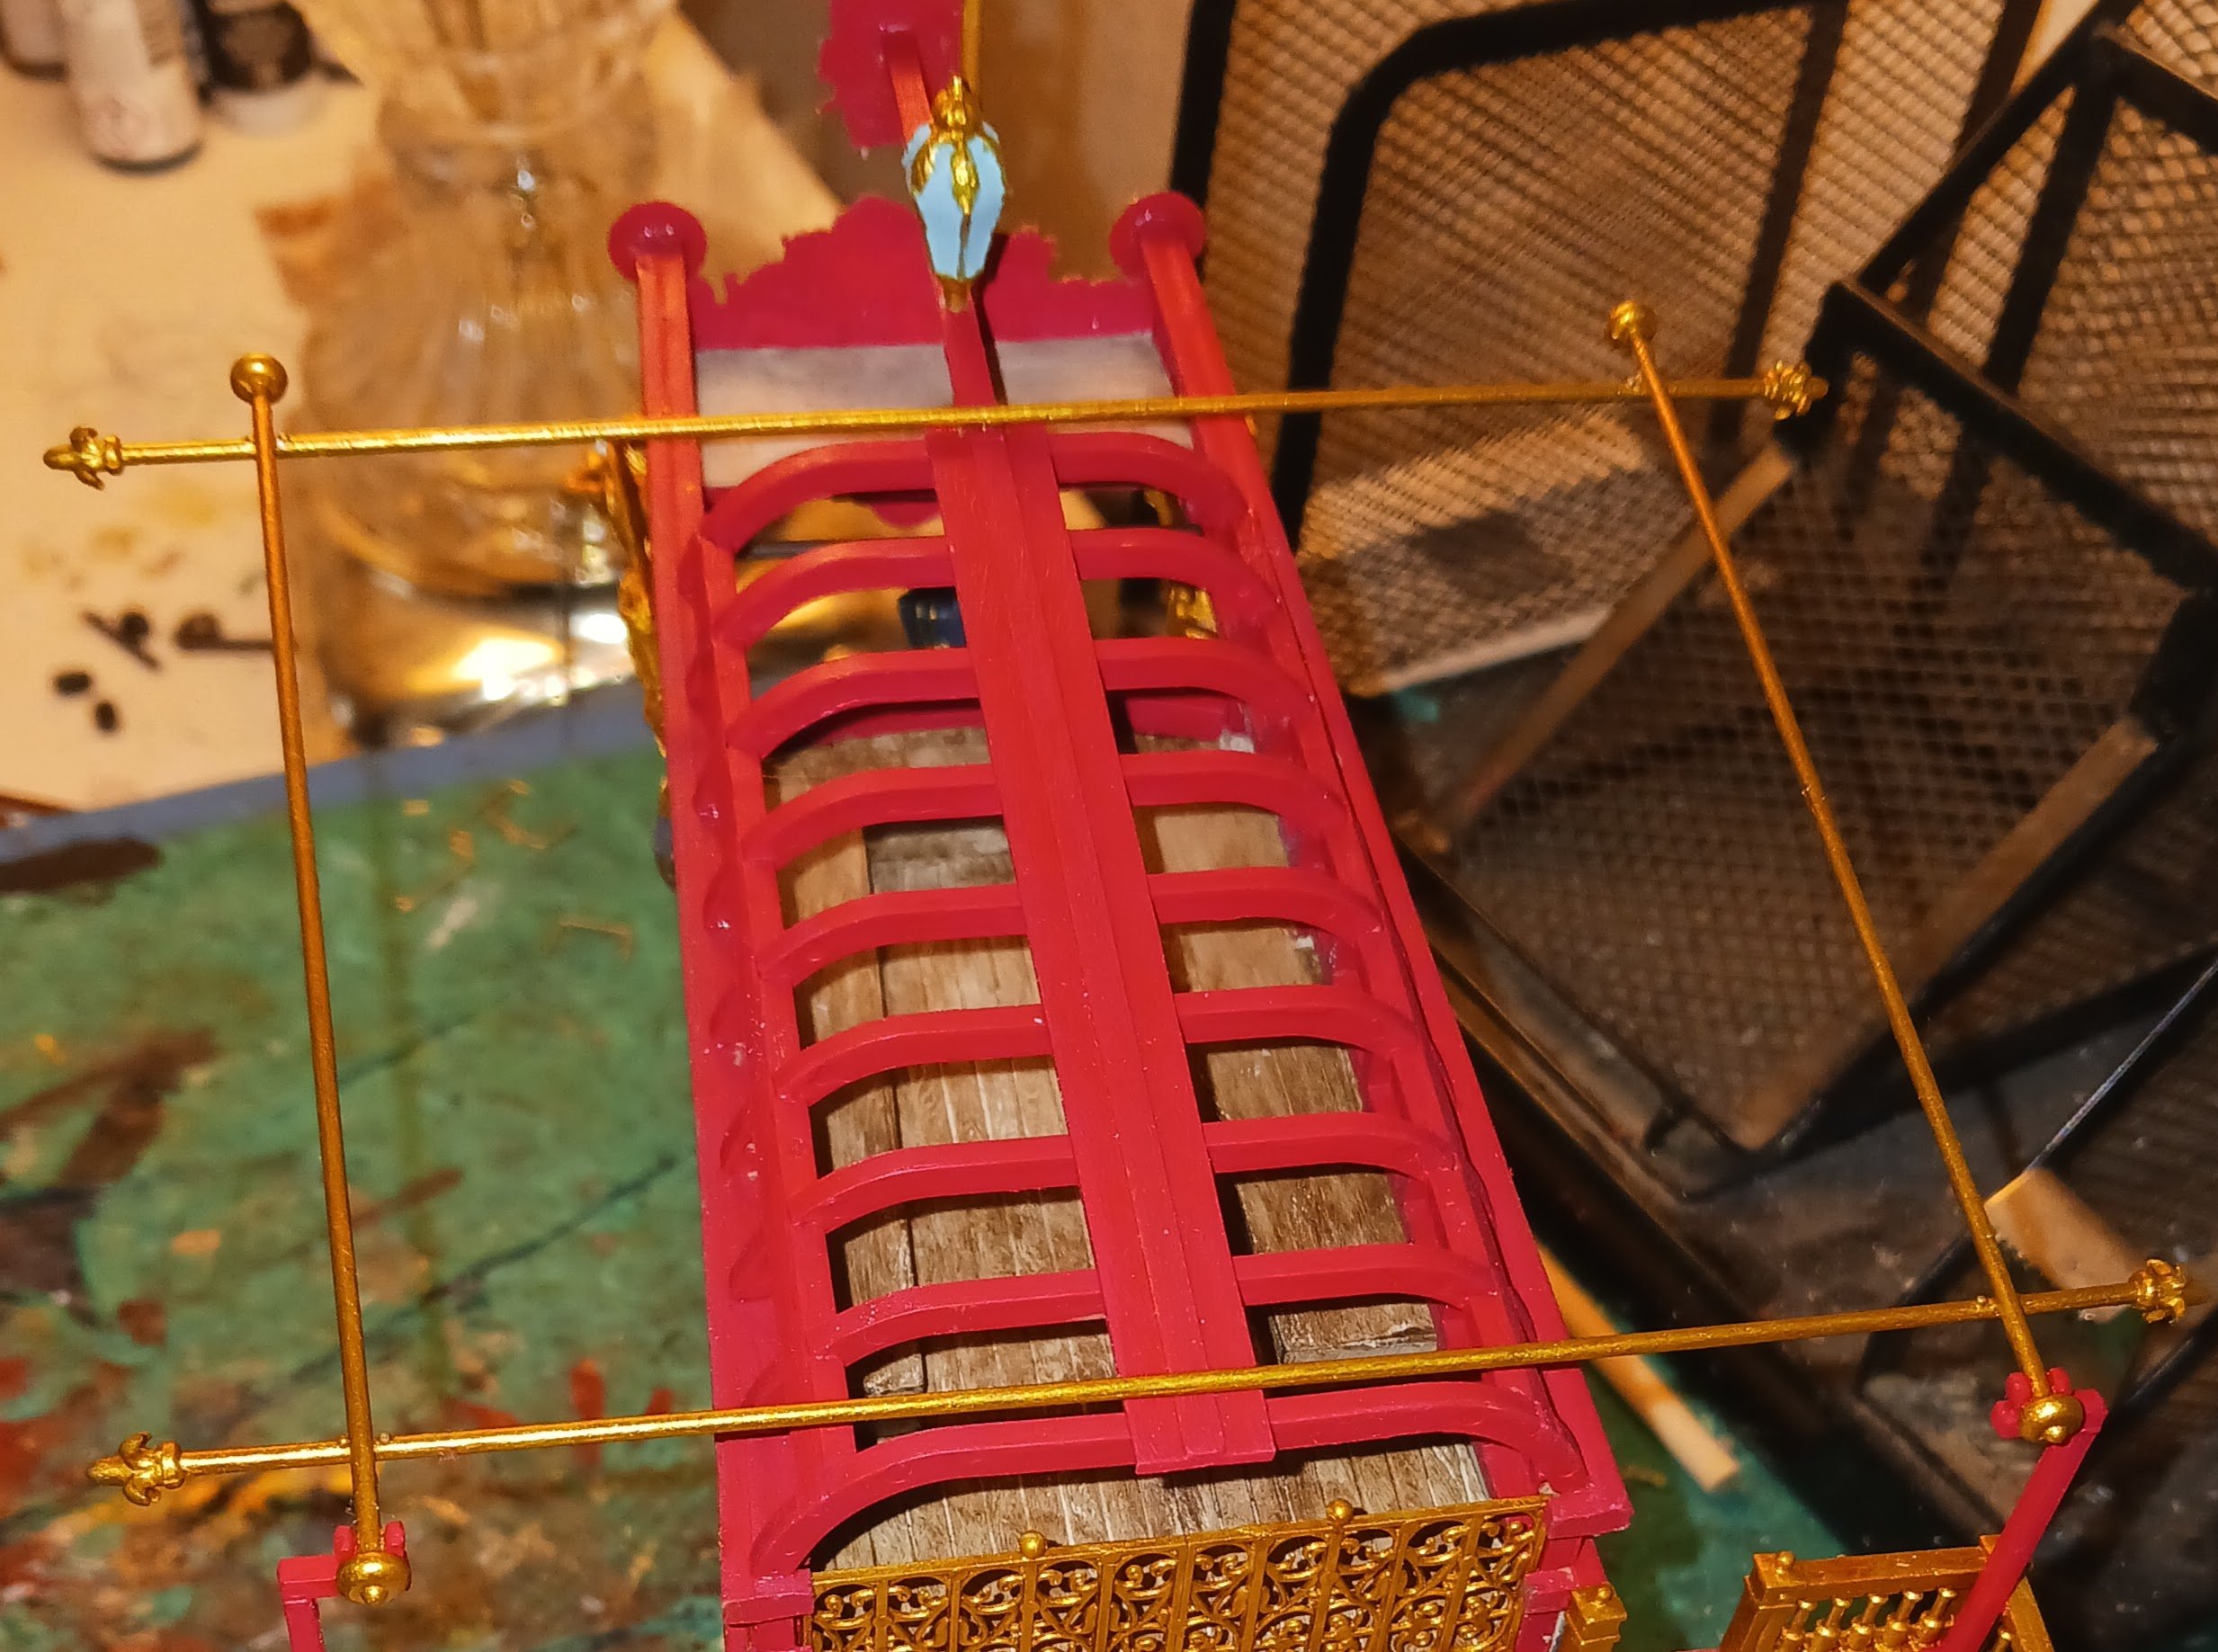
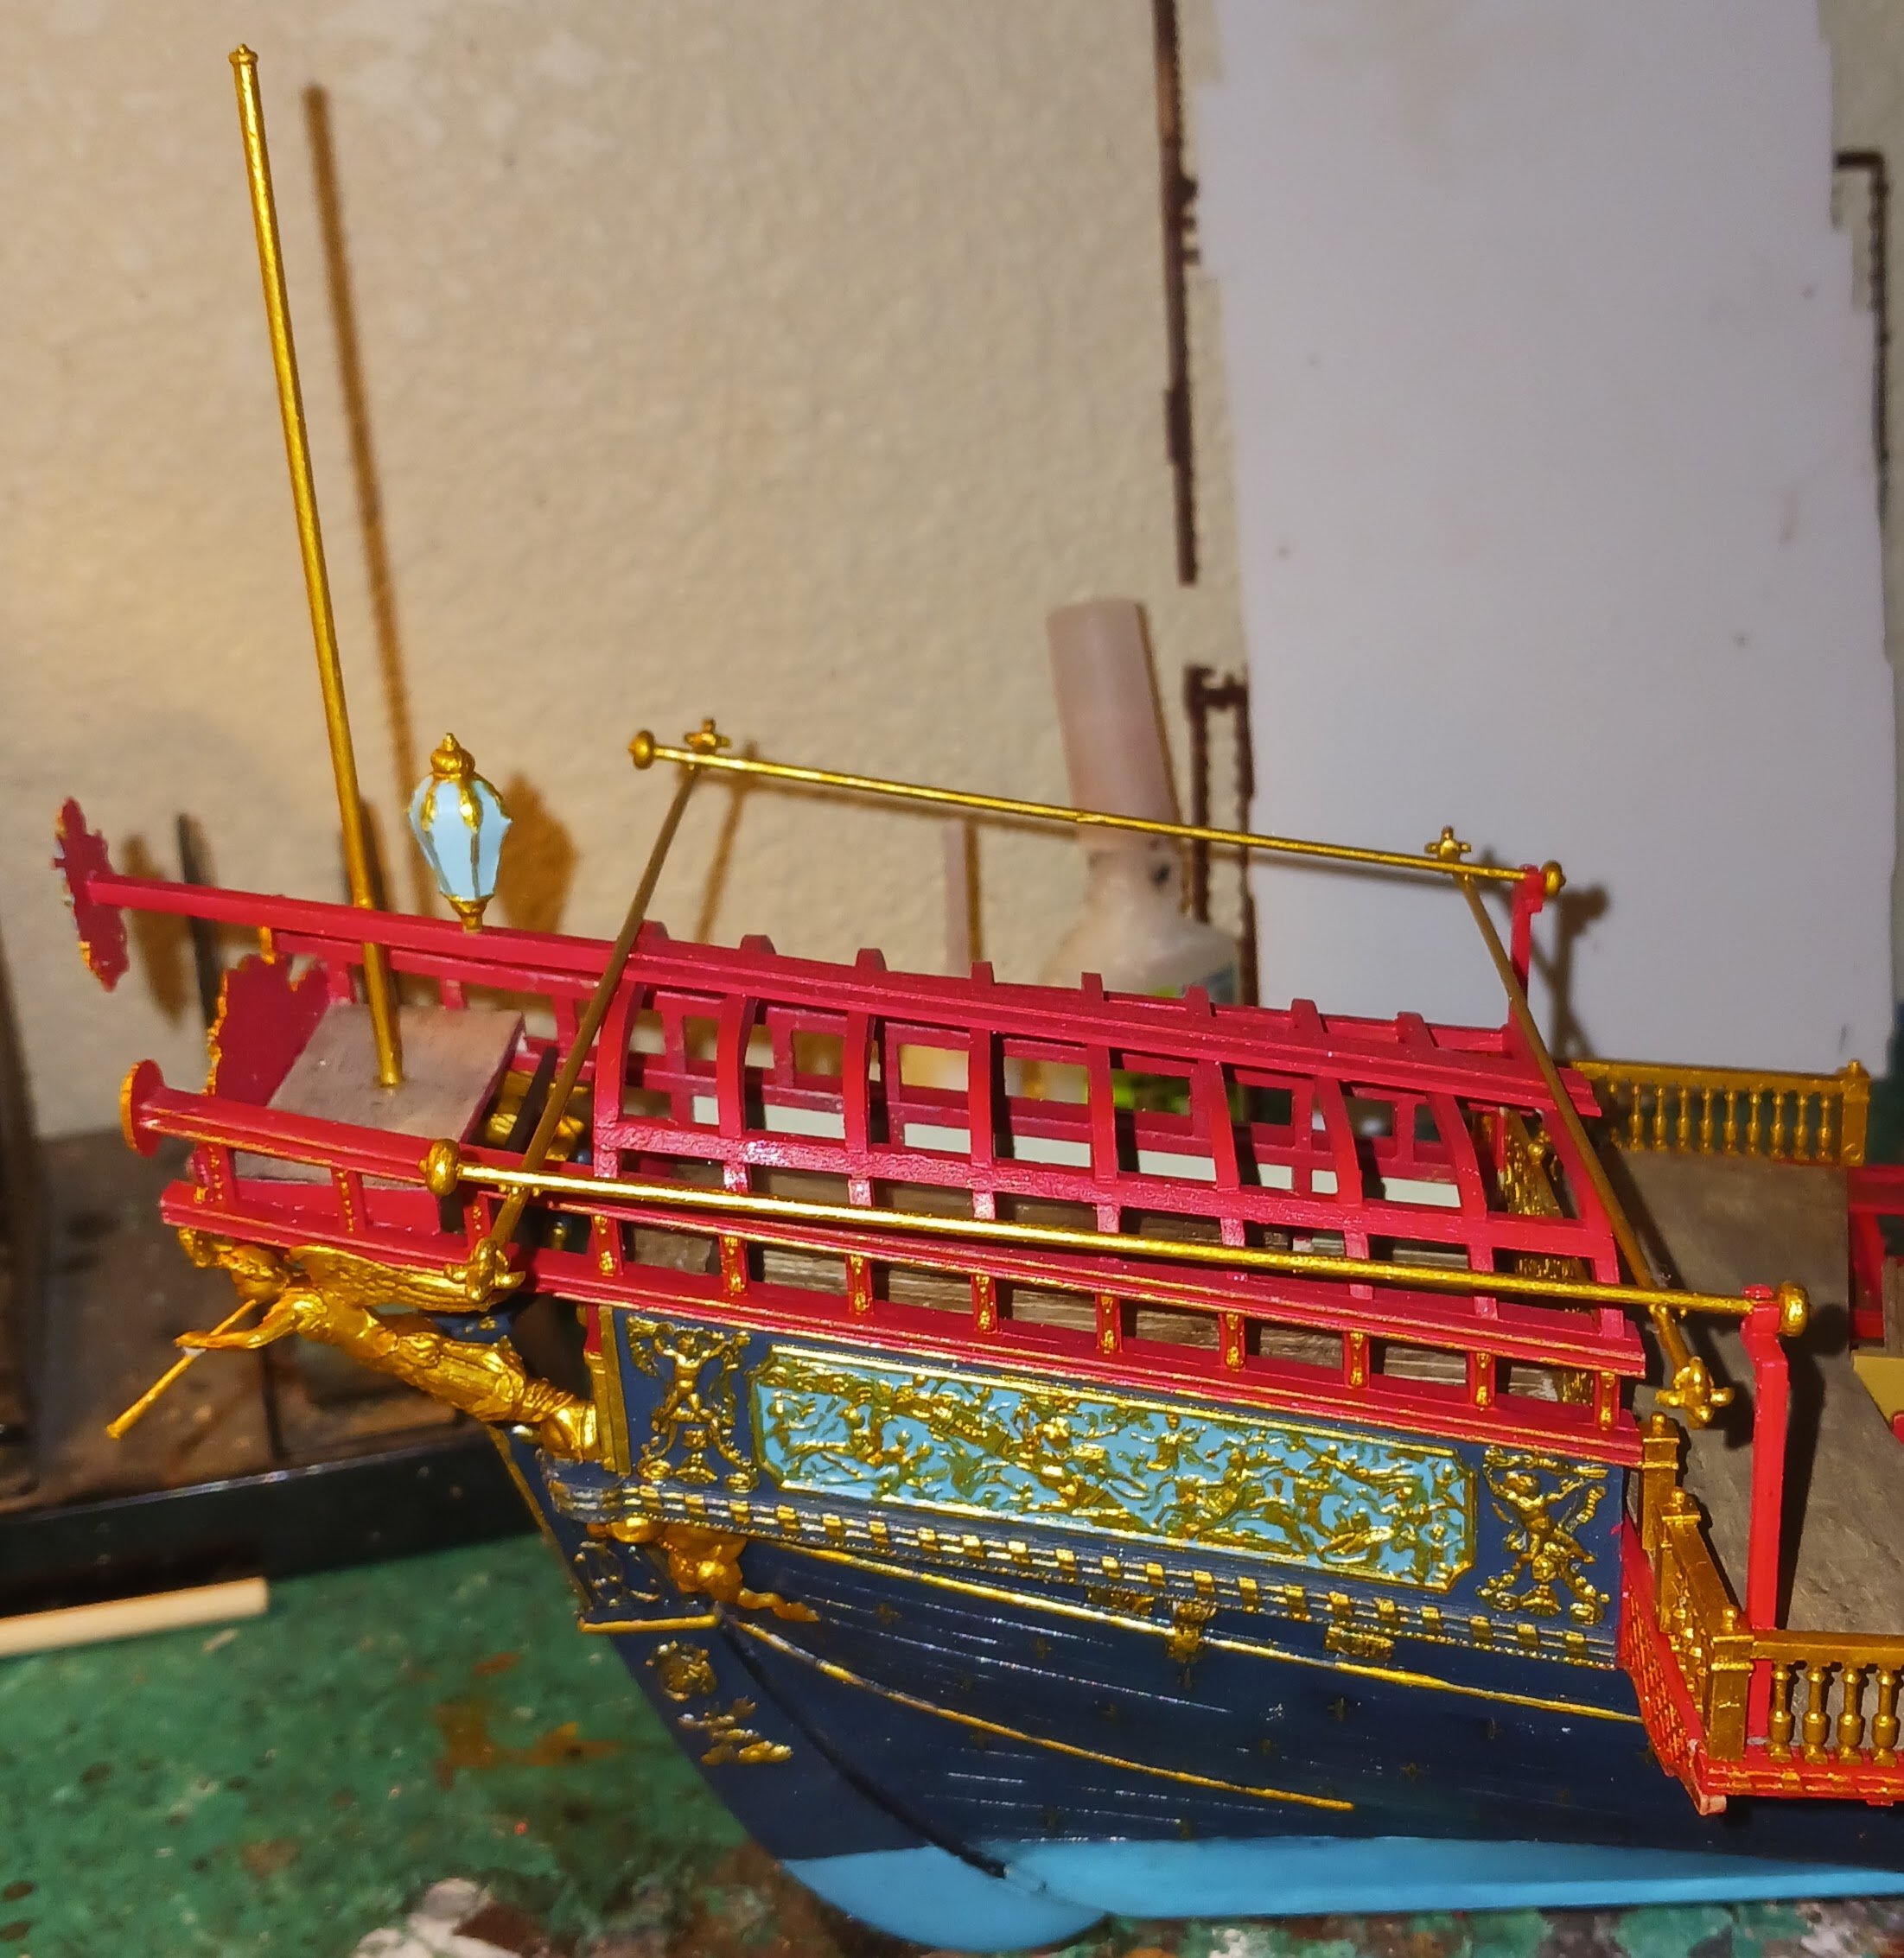
I proceeded to paint them gold (two coats) and glue them onto the ship. After around 10 minutes of fiddling, this is as well-aligned as I got them:


- 176 replies
-
- 8
-
-
- la reale de france
- heller
- (and 2 more)
-
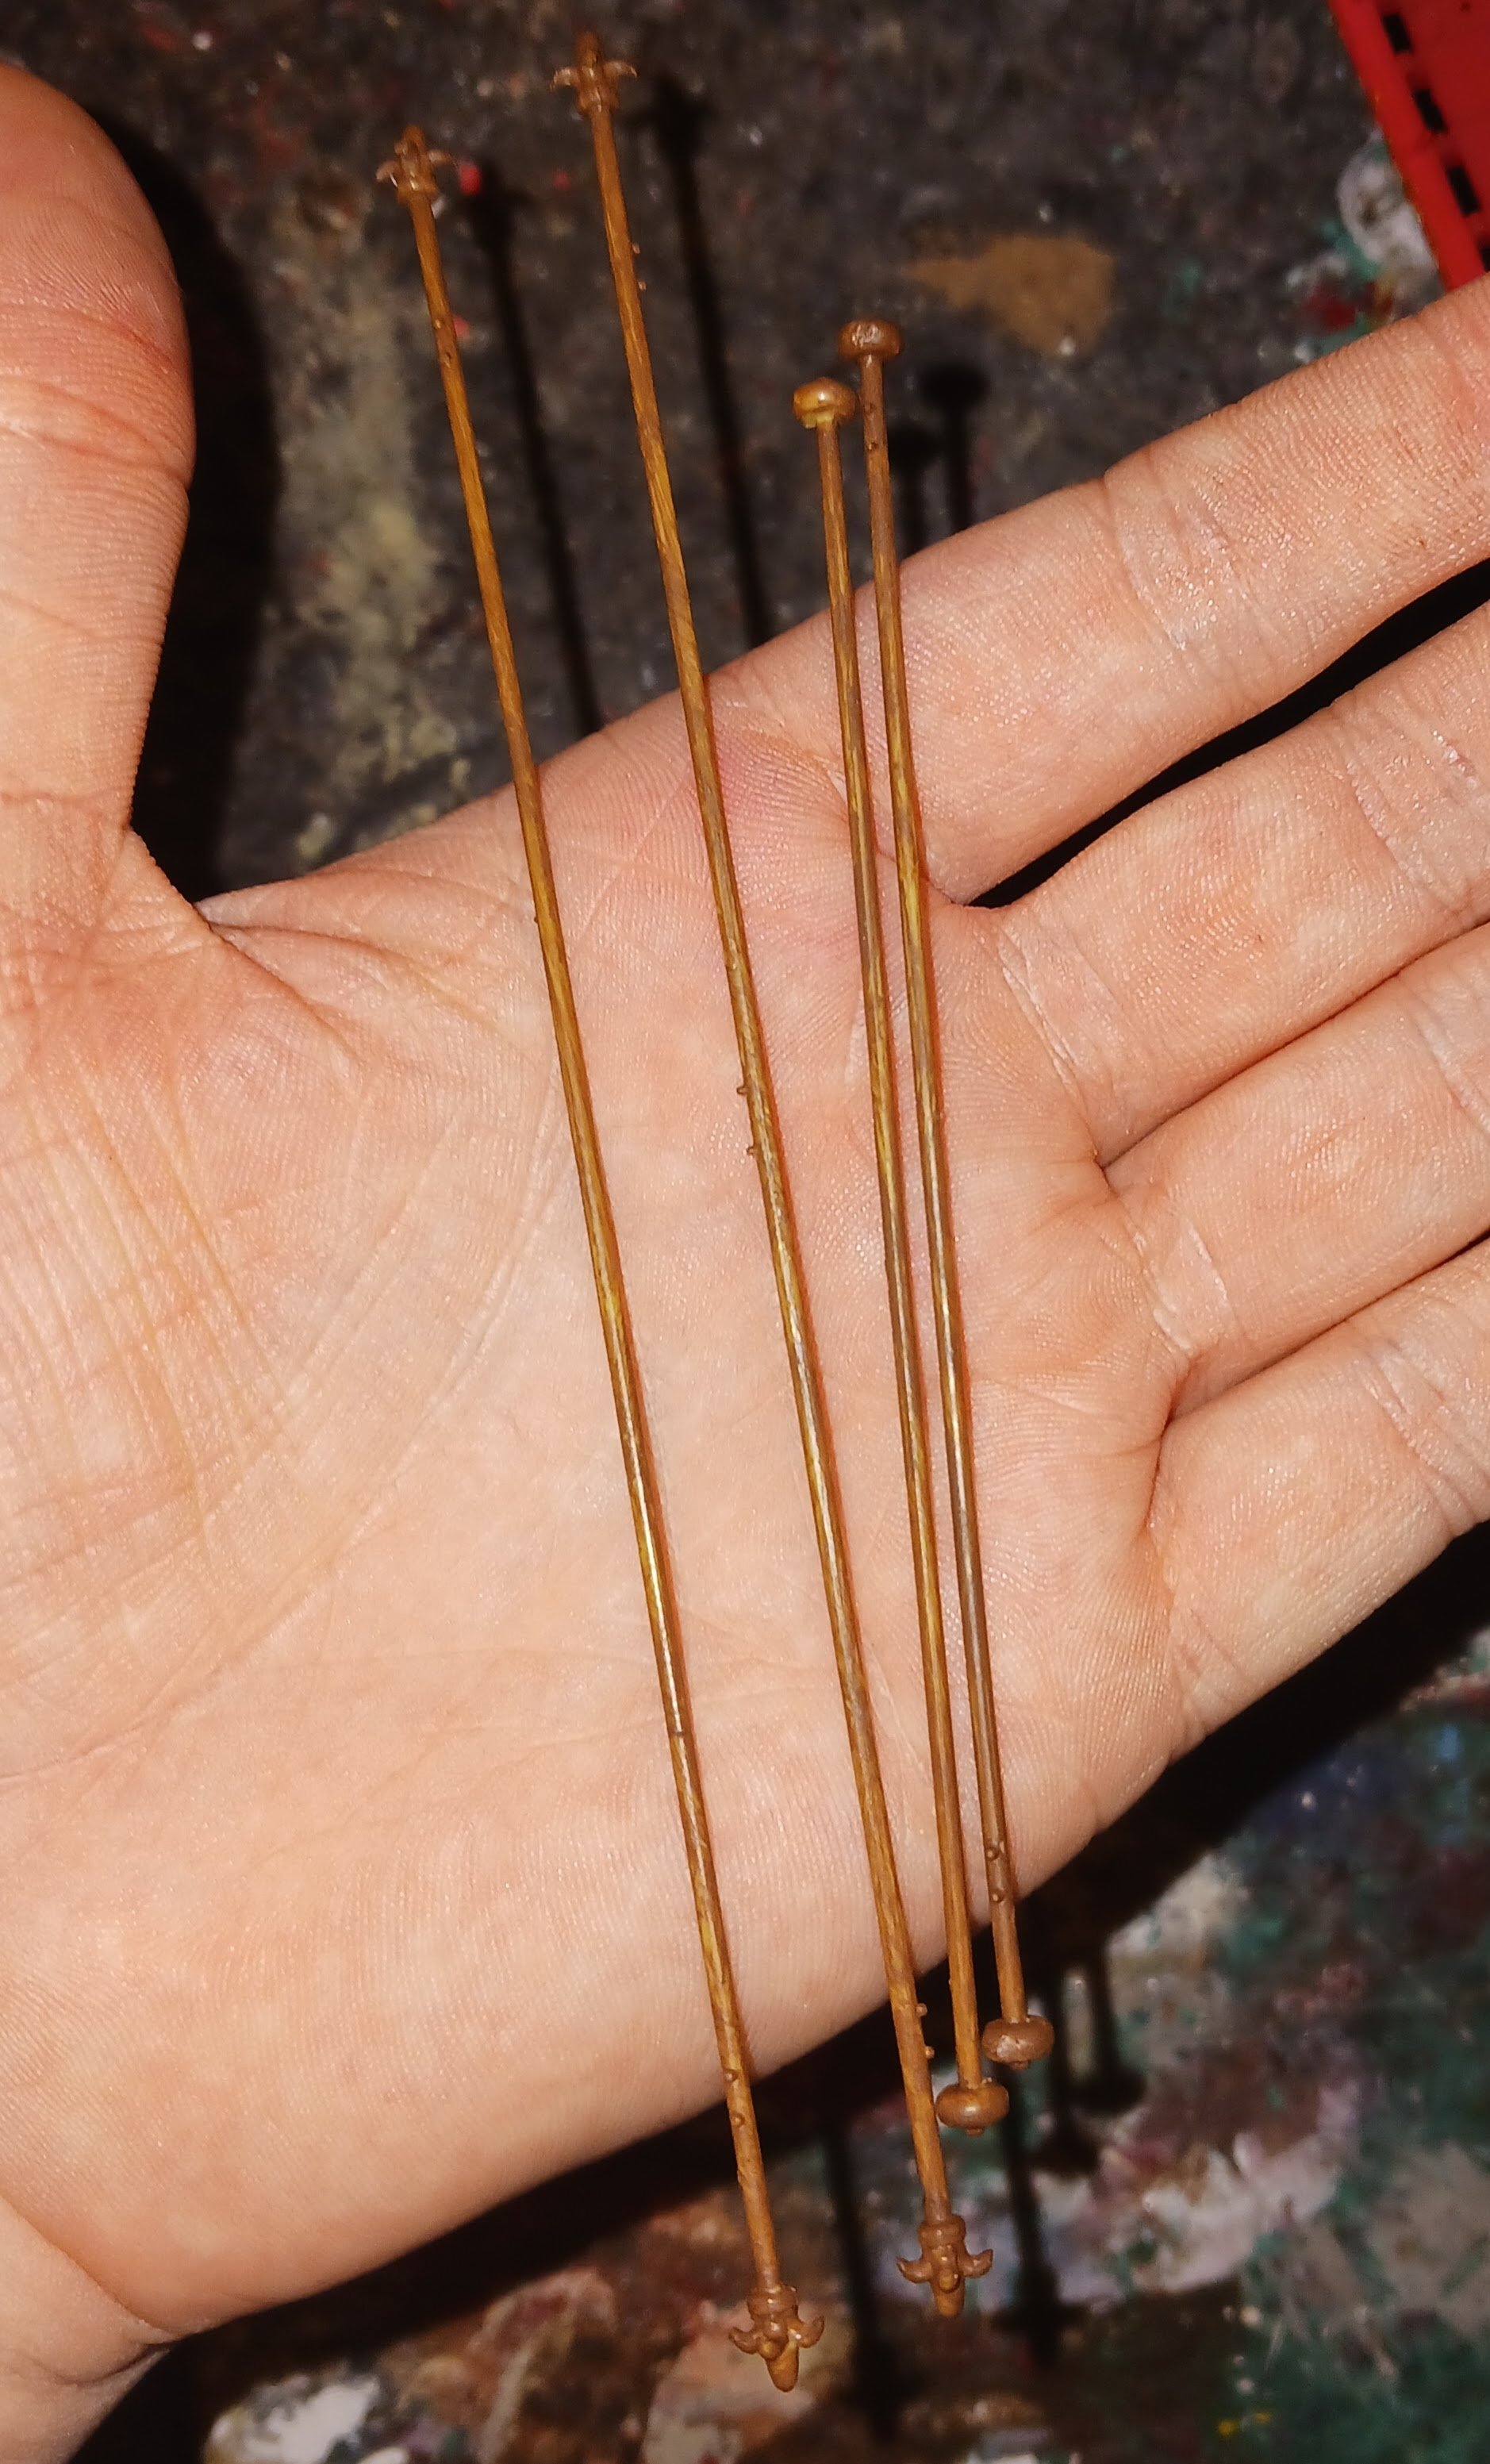
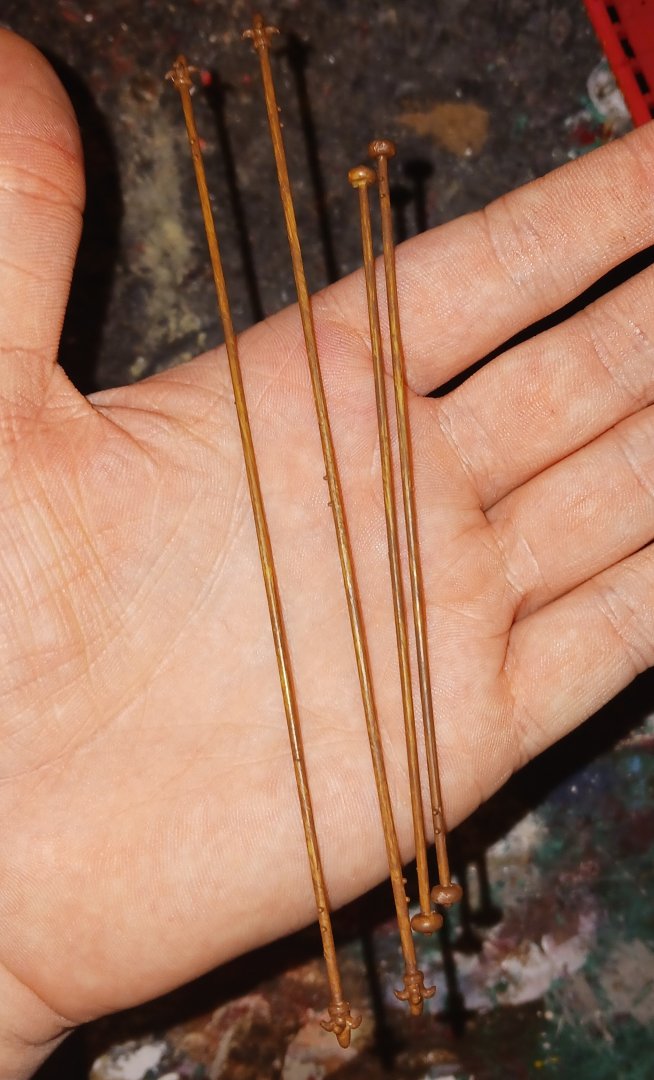
I prepped the awning supports last night. My modus operandi at this point is to remove all visible mold lines and fill any visible injector marks, where possible. Today, I painted the supports a brown wood color. The reason I did this is because I have found that painting gold straight over unpainted plastic requires about 3-4 coats, and still doesn't look quite right. So, this time I'm trying a new method. I intend to put a layer of gold directly over this throughout, and see what happens.
- 176 replies
-
- 6
-
-
- la reale de france
- heller
- (and 2 more)
-
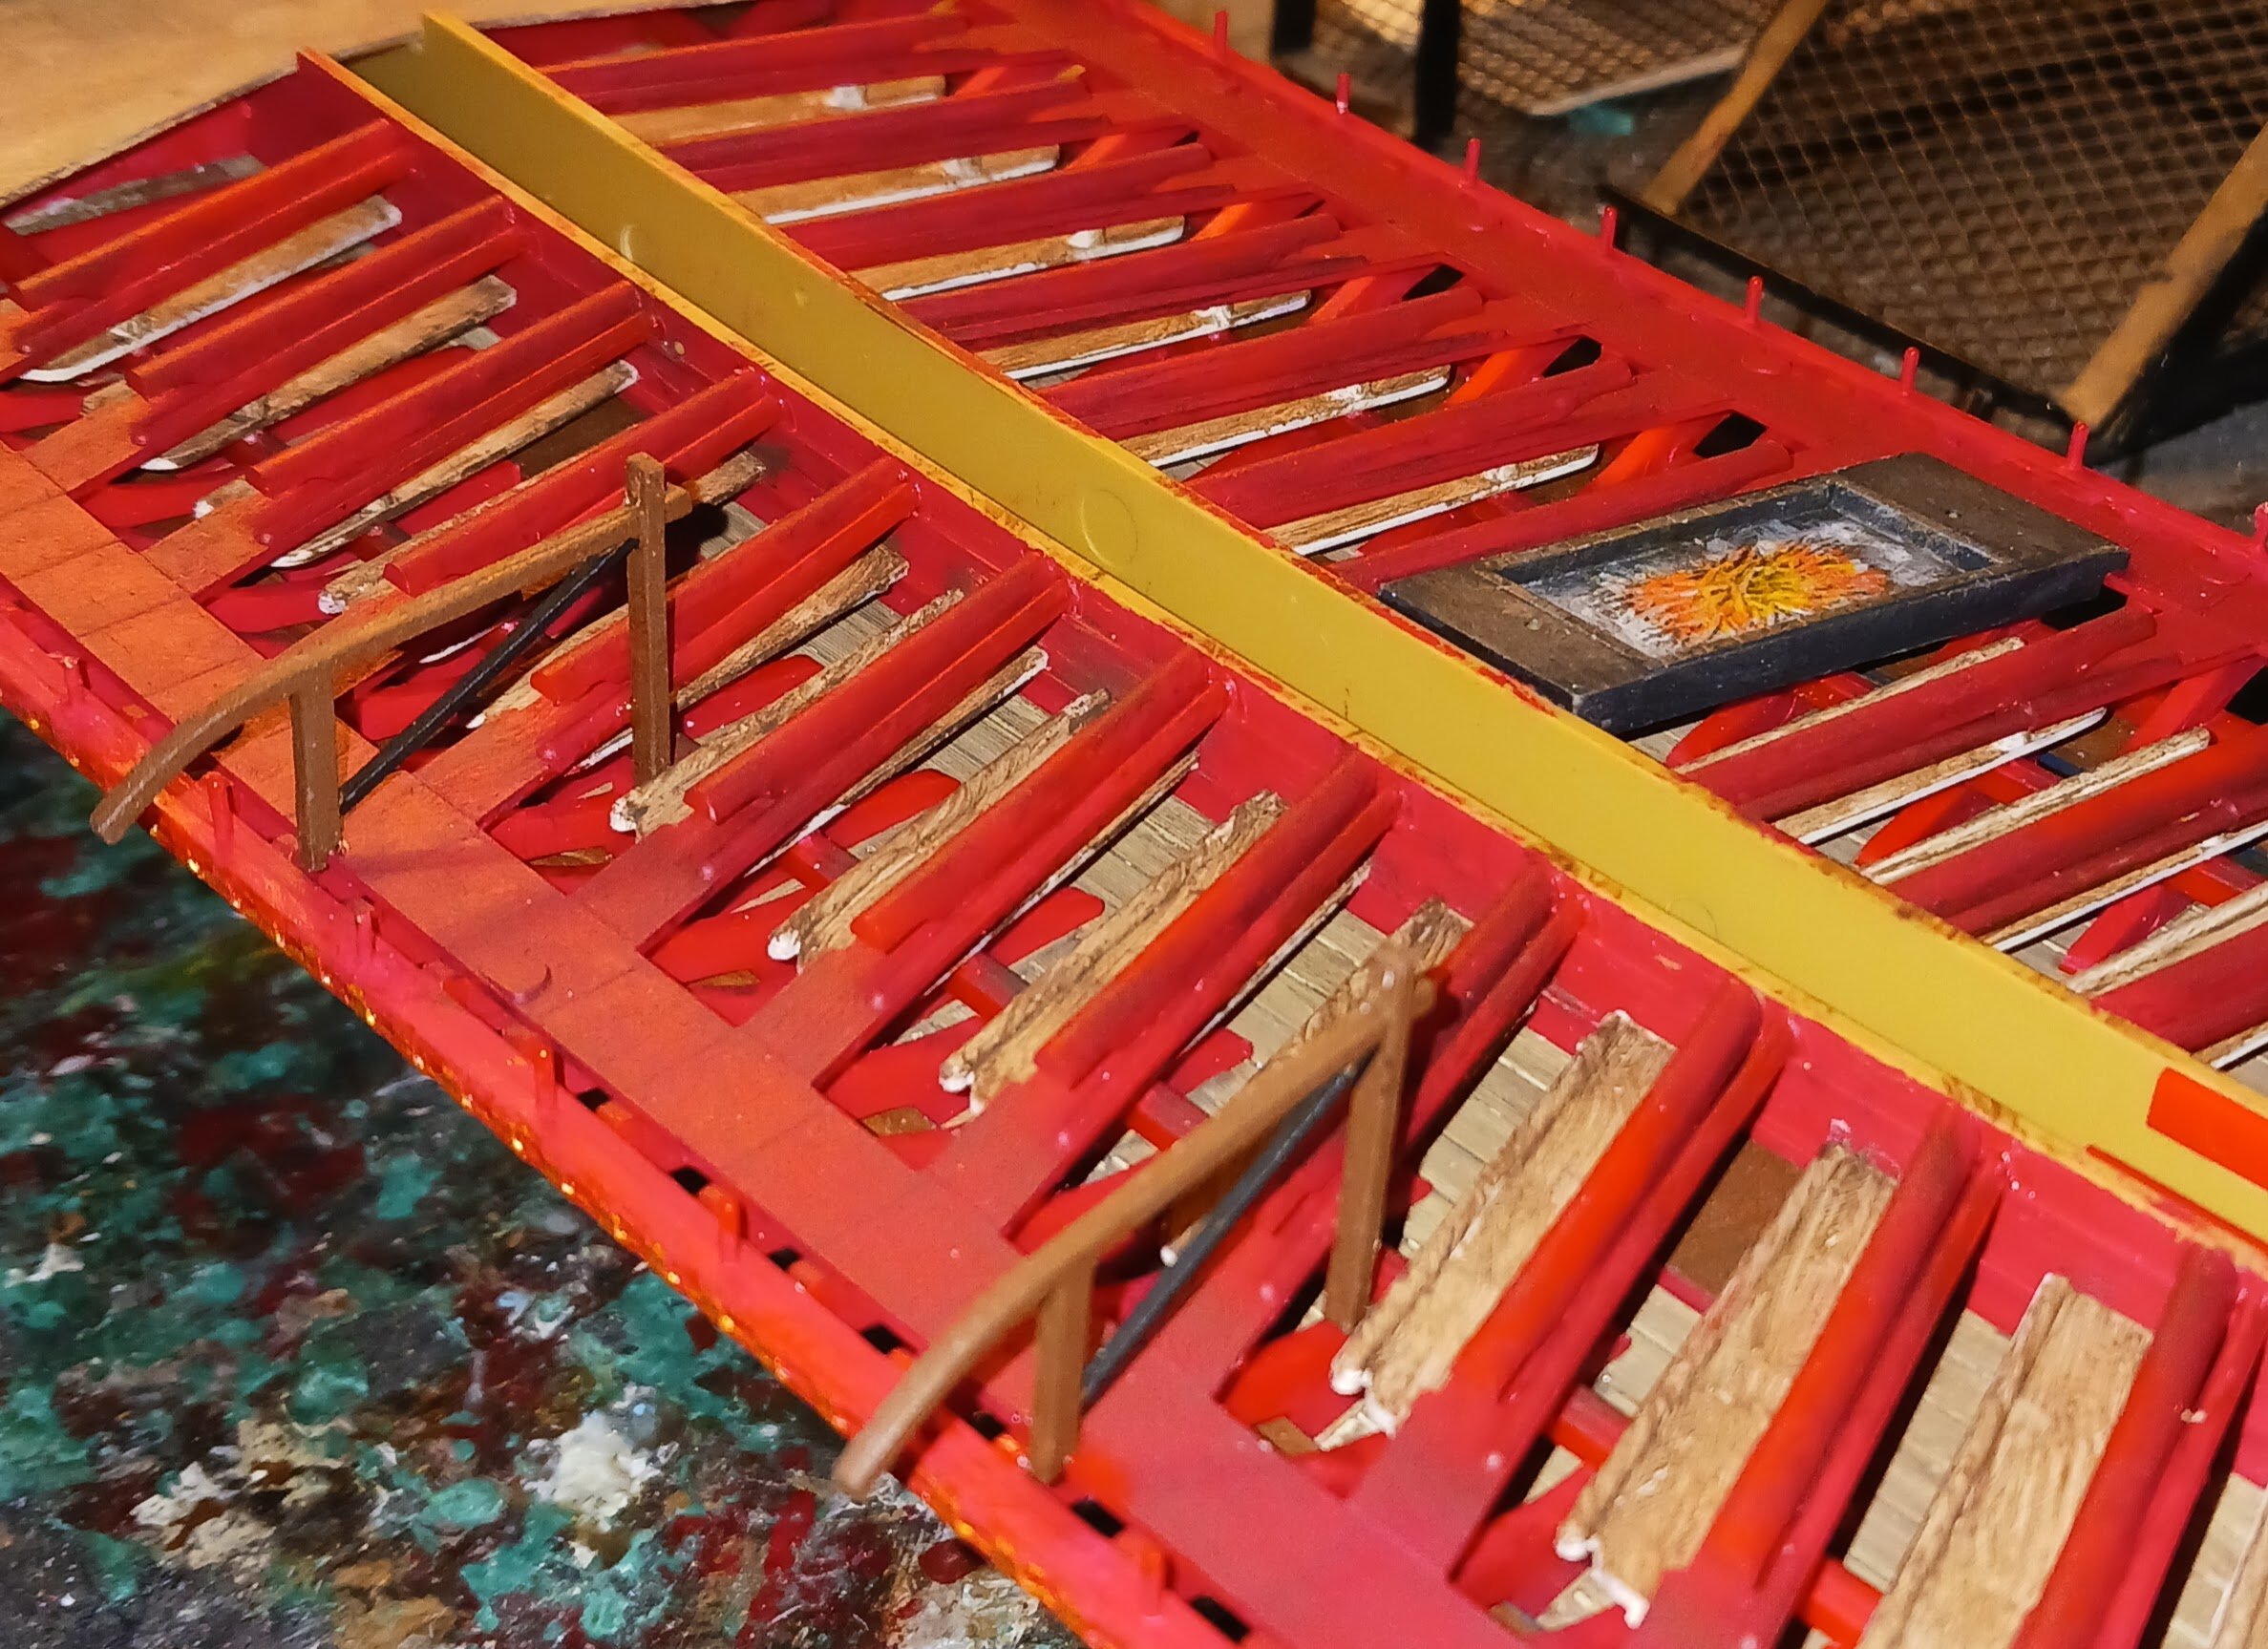
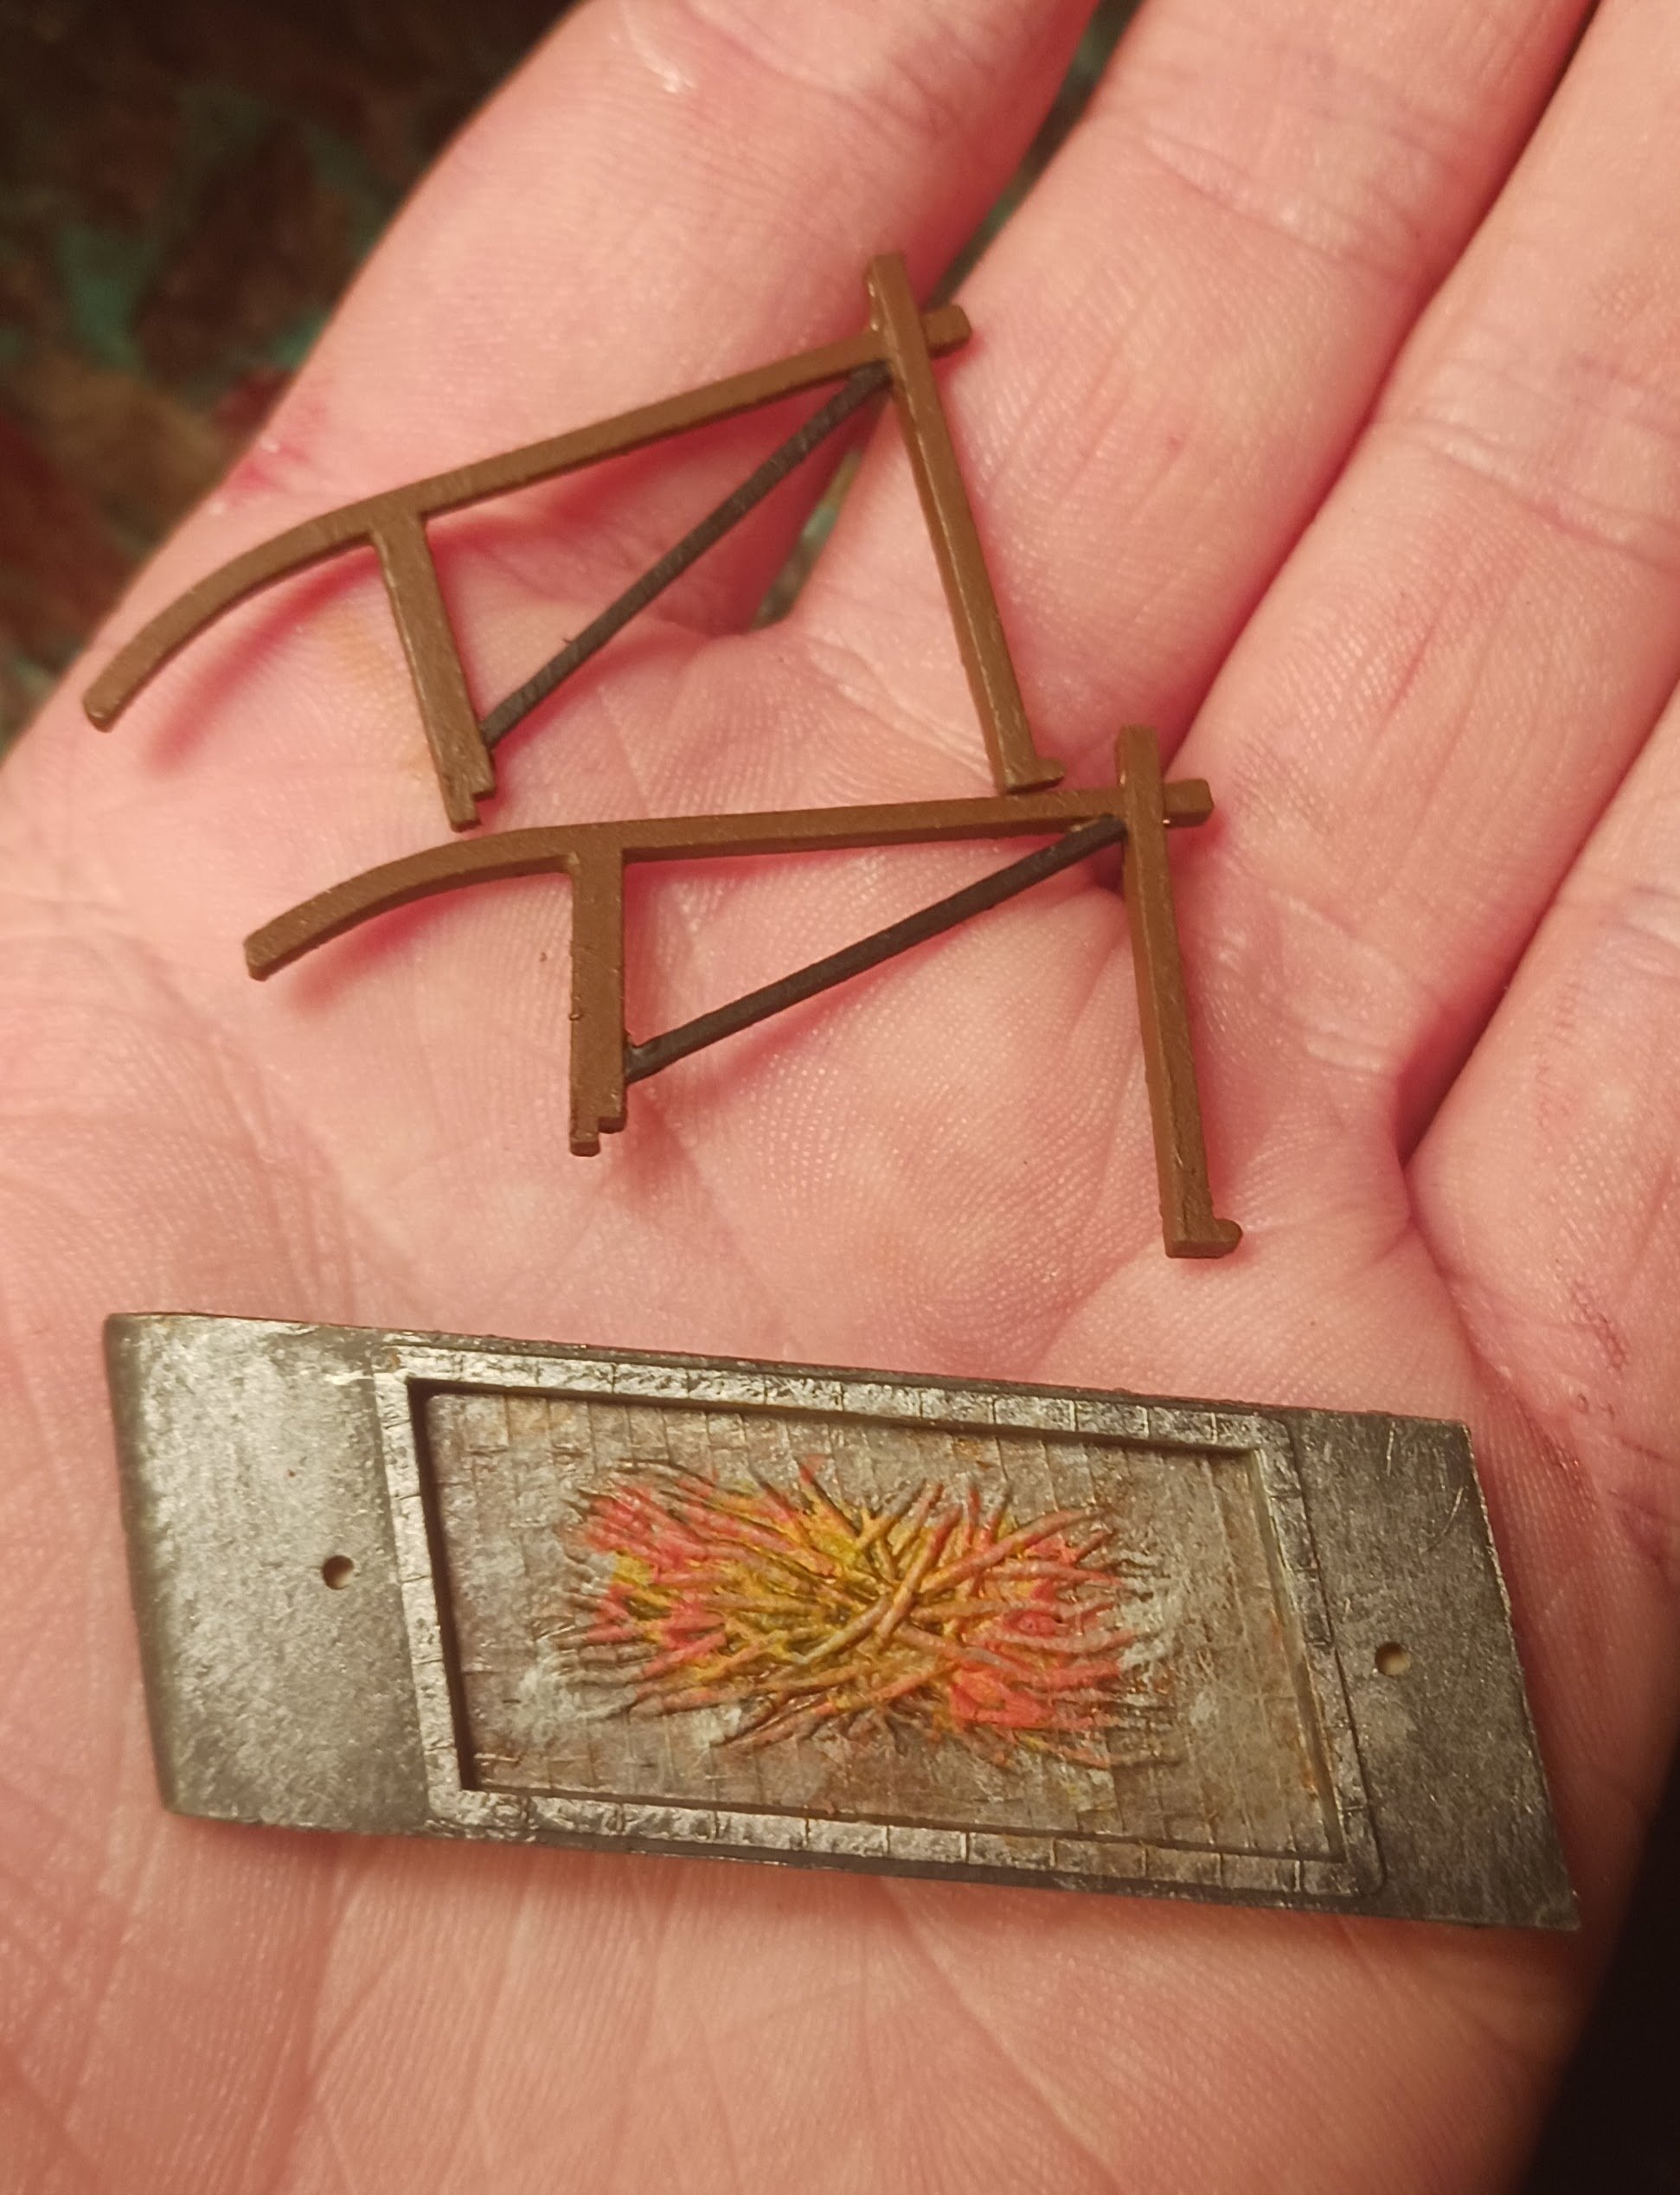
I thought they were metal plates. You are probably right. The cooking area and boat gallows are in place: I shaded the "bricks" with a bronze color, then covered them completely in different shades of wood ash. This image better shows the ashes.

- 176 replies
-
- 6
-
-
- la reale de france
- heller
- (and 2 more)
-
I repeated the same process on the port side, then weathered the entire thing.

- 176 replies
-
- 4
-
-
- la reale de france
- heller
- (and 2 more)
-
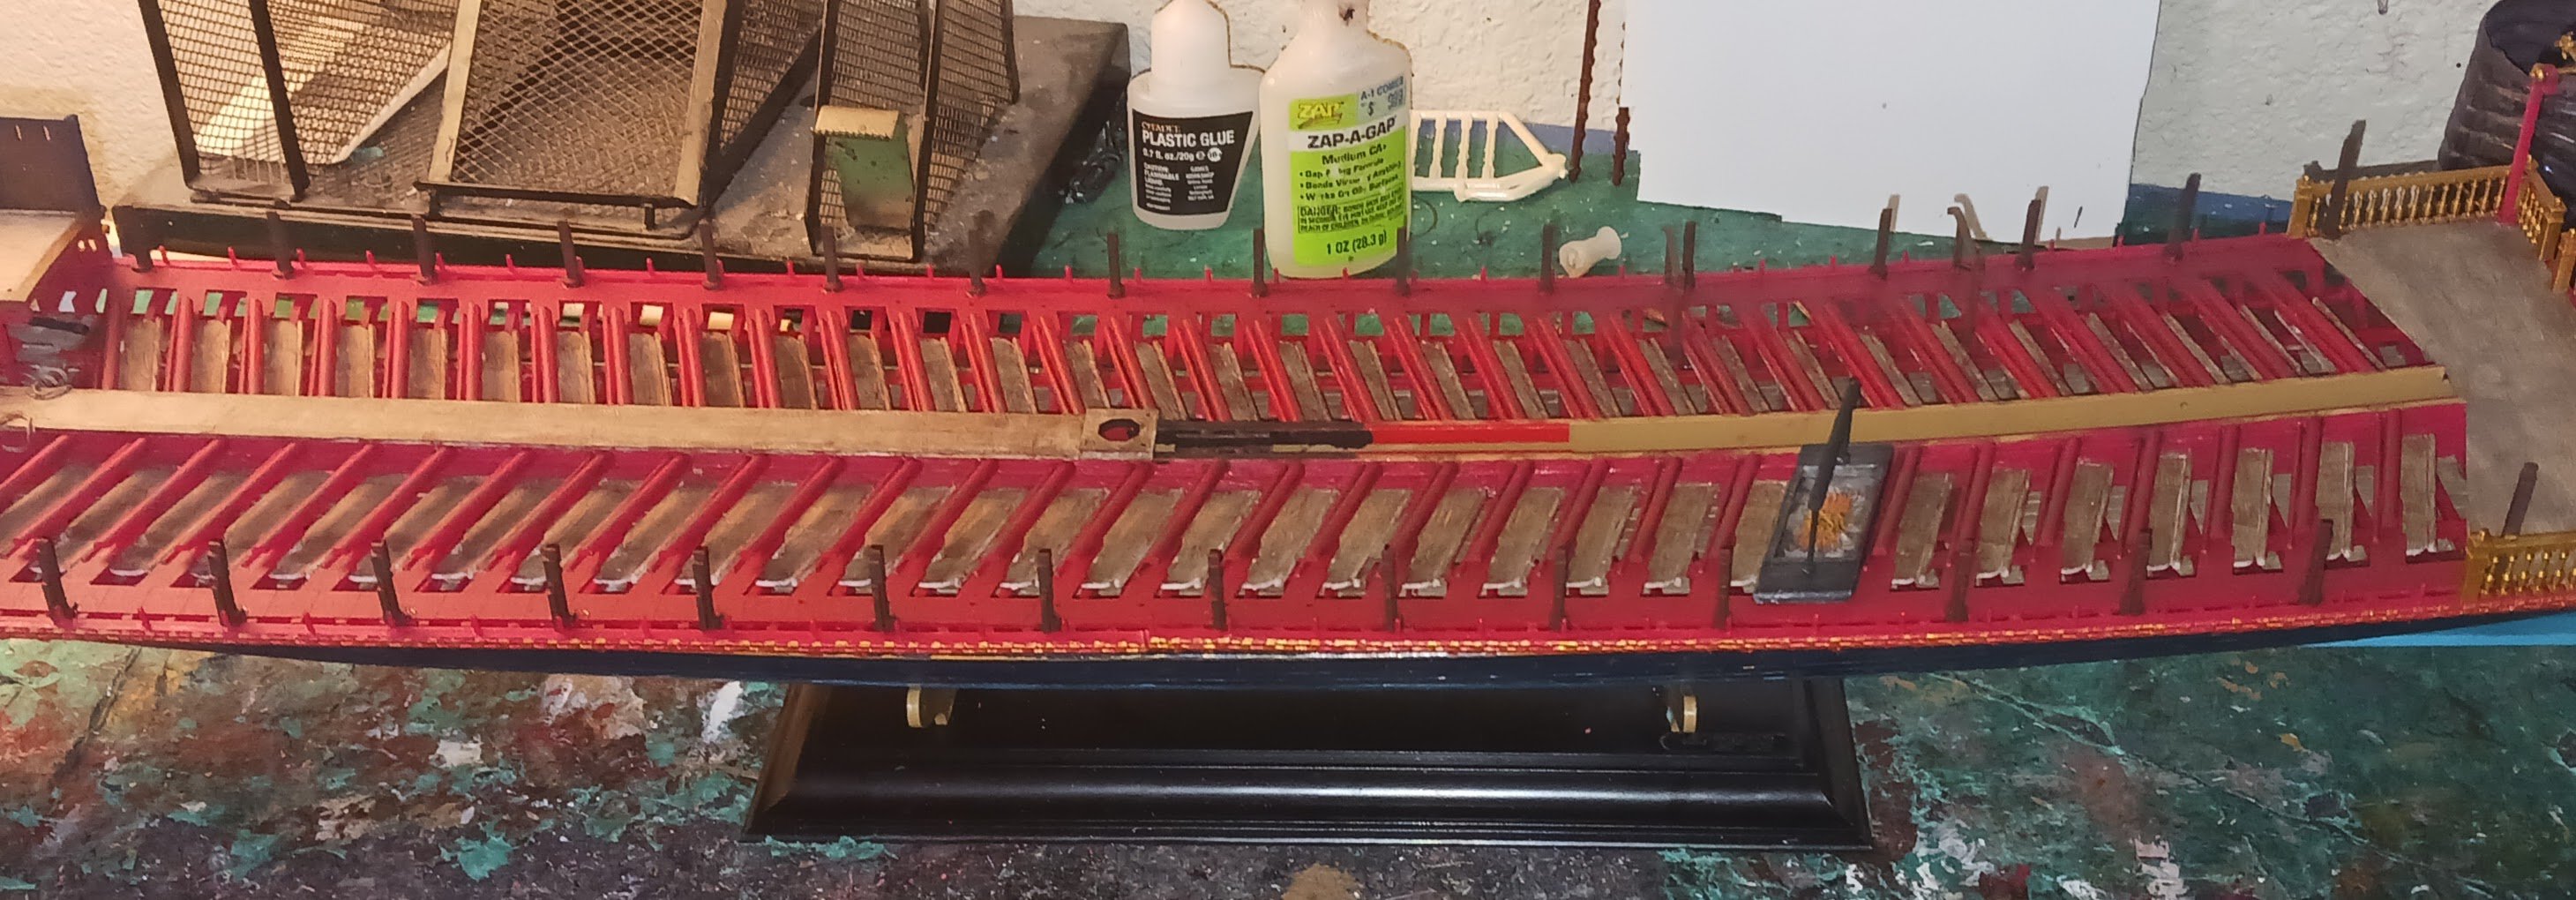
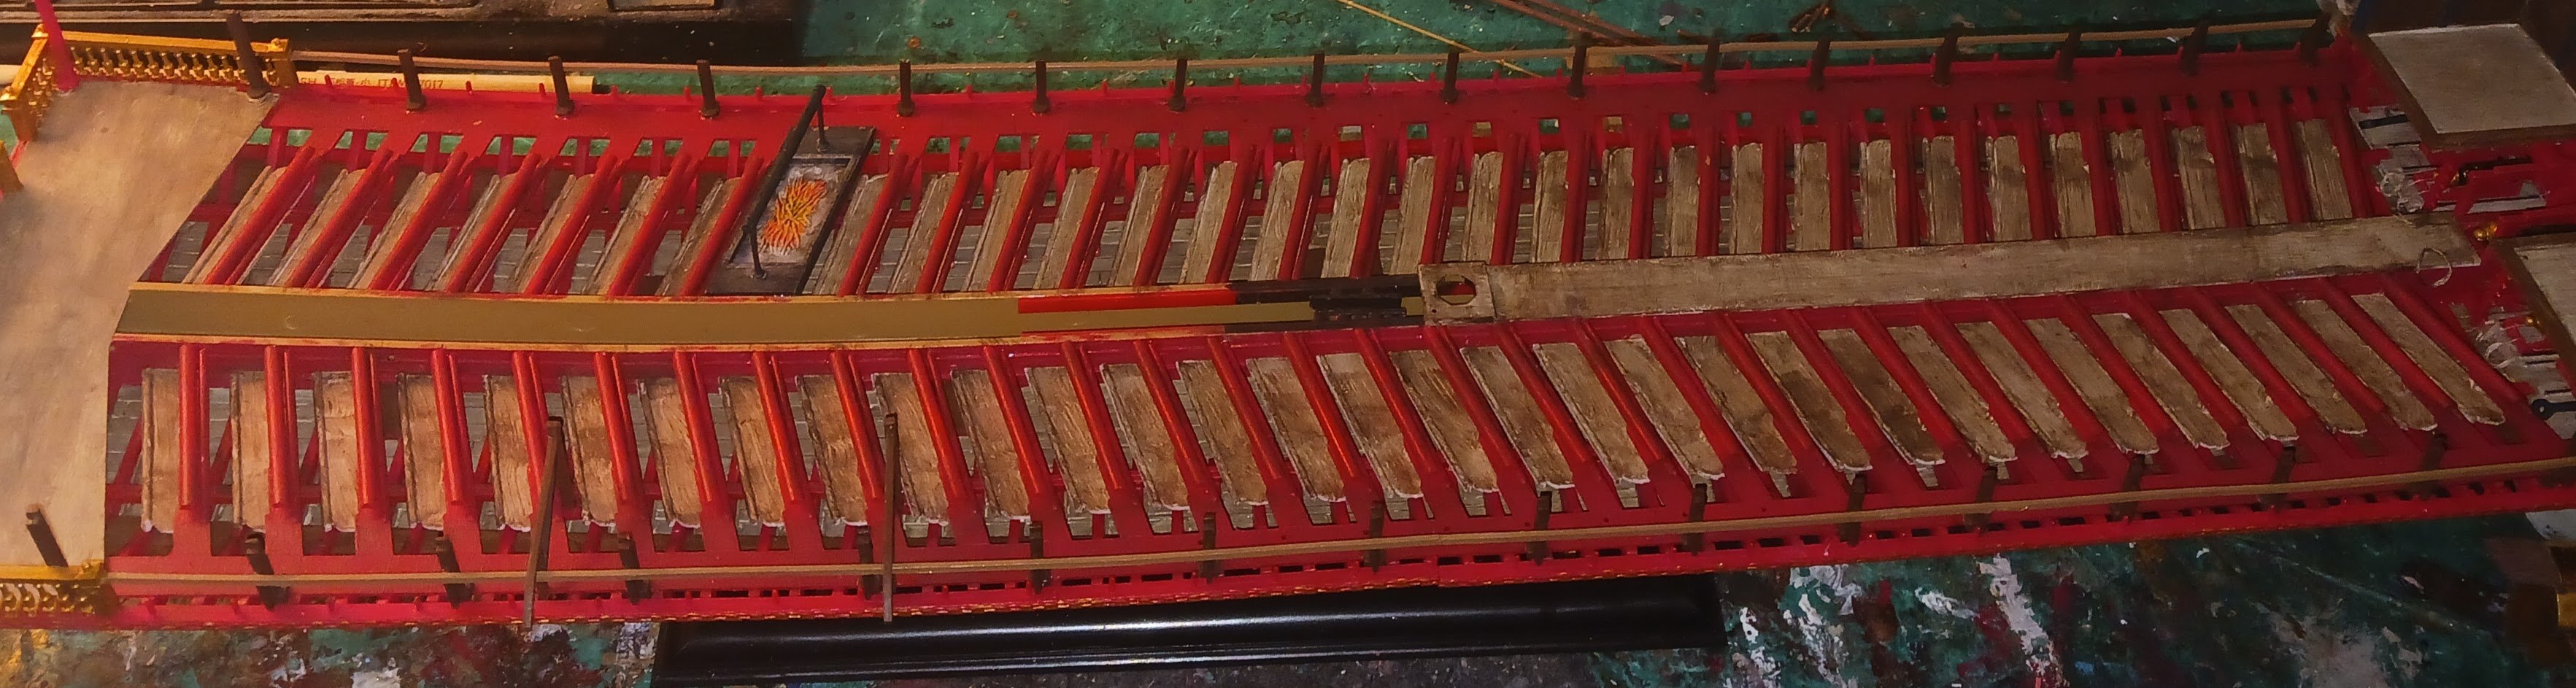
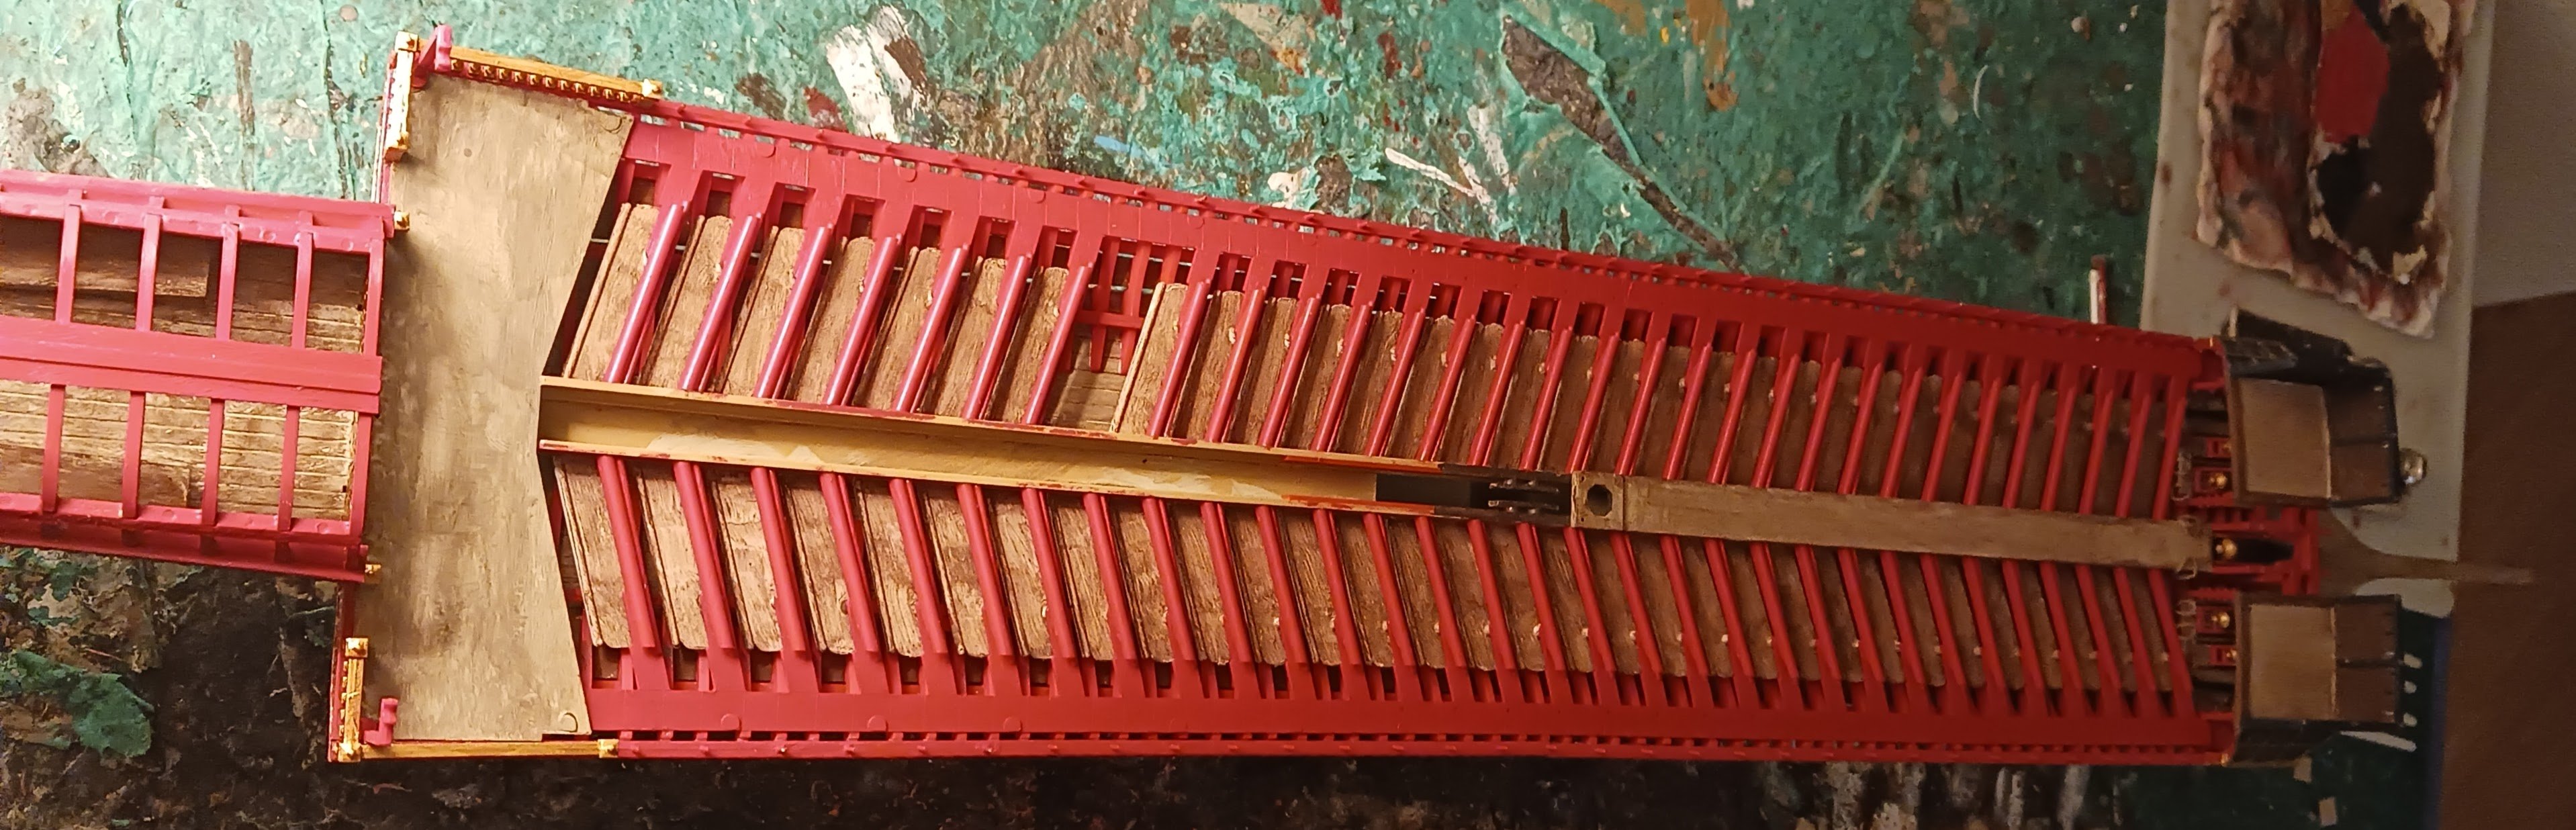
Yesterday, I hacked up the two spare awning support pieces and turned them into passable footboards. Today, I decided to start working on the oar benches. These are the starboard side oar benches, having had their mold lines scraped and having been painted: And installed on the ship: I will forego any and all weathering of this whole setup until the port side benches are in, so I can get it all done in one sitting. For weathering (depending on purpose and extent) I use either Citadel Agrax Earthshade, or (preferably) diluted Folk Arts Antiquing Medium, with the level of dilution varying based on color and extent of weathering.


- 176 replies
-
- 3
-
-
- la reale de france
- heller
- (and 2 more)
-
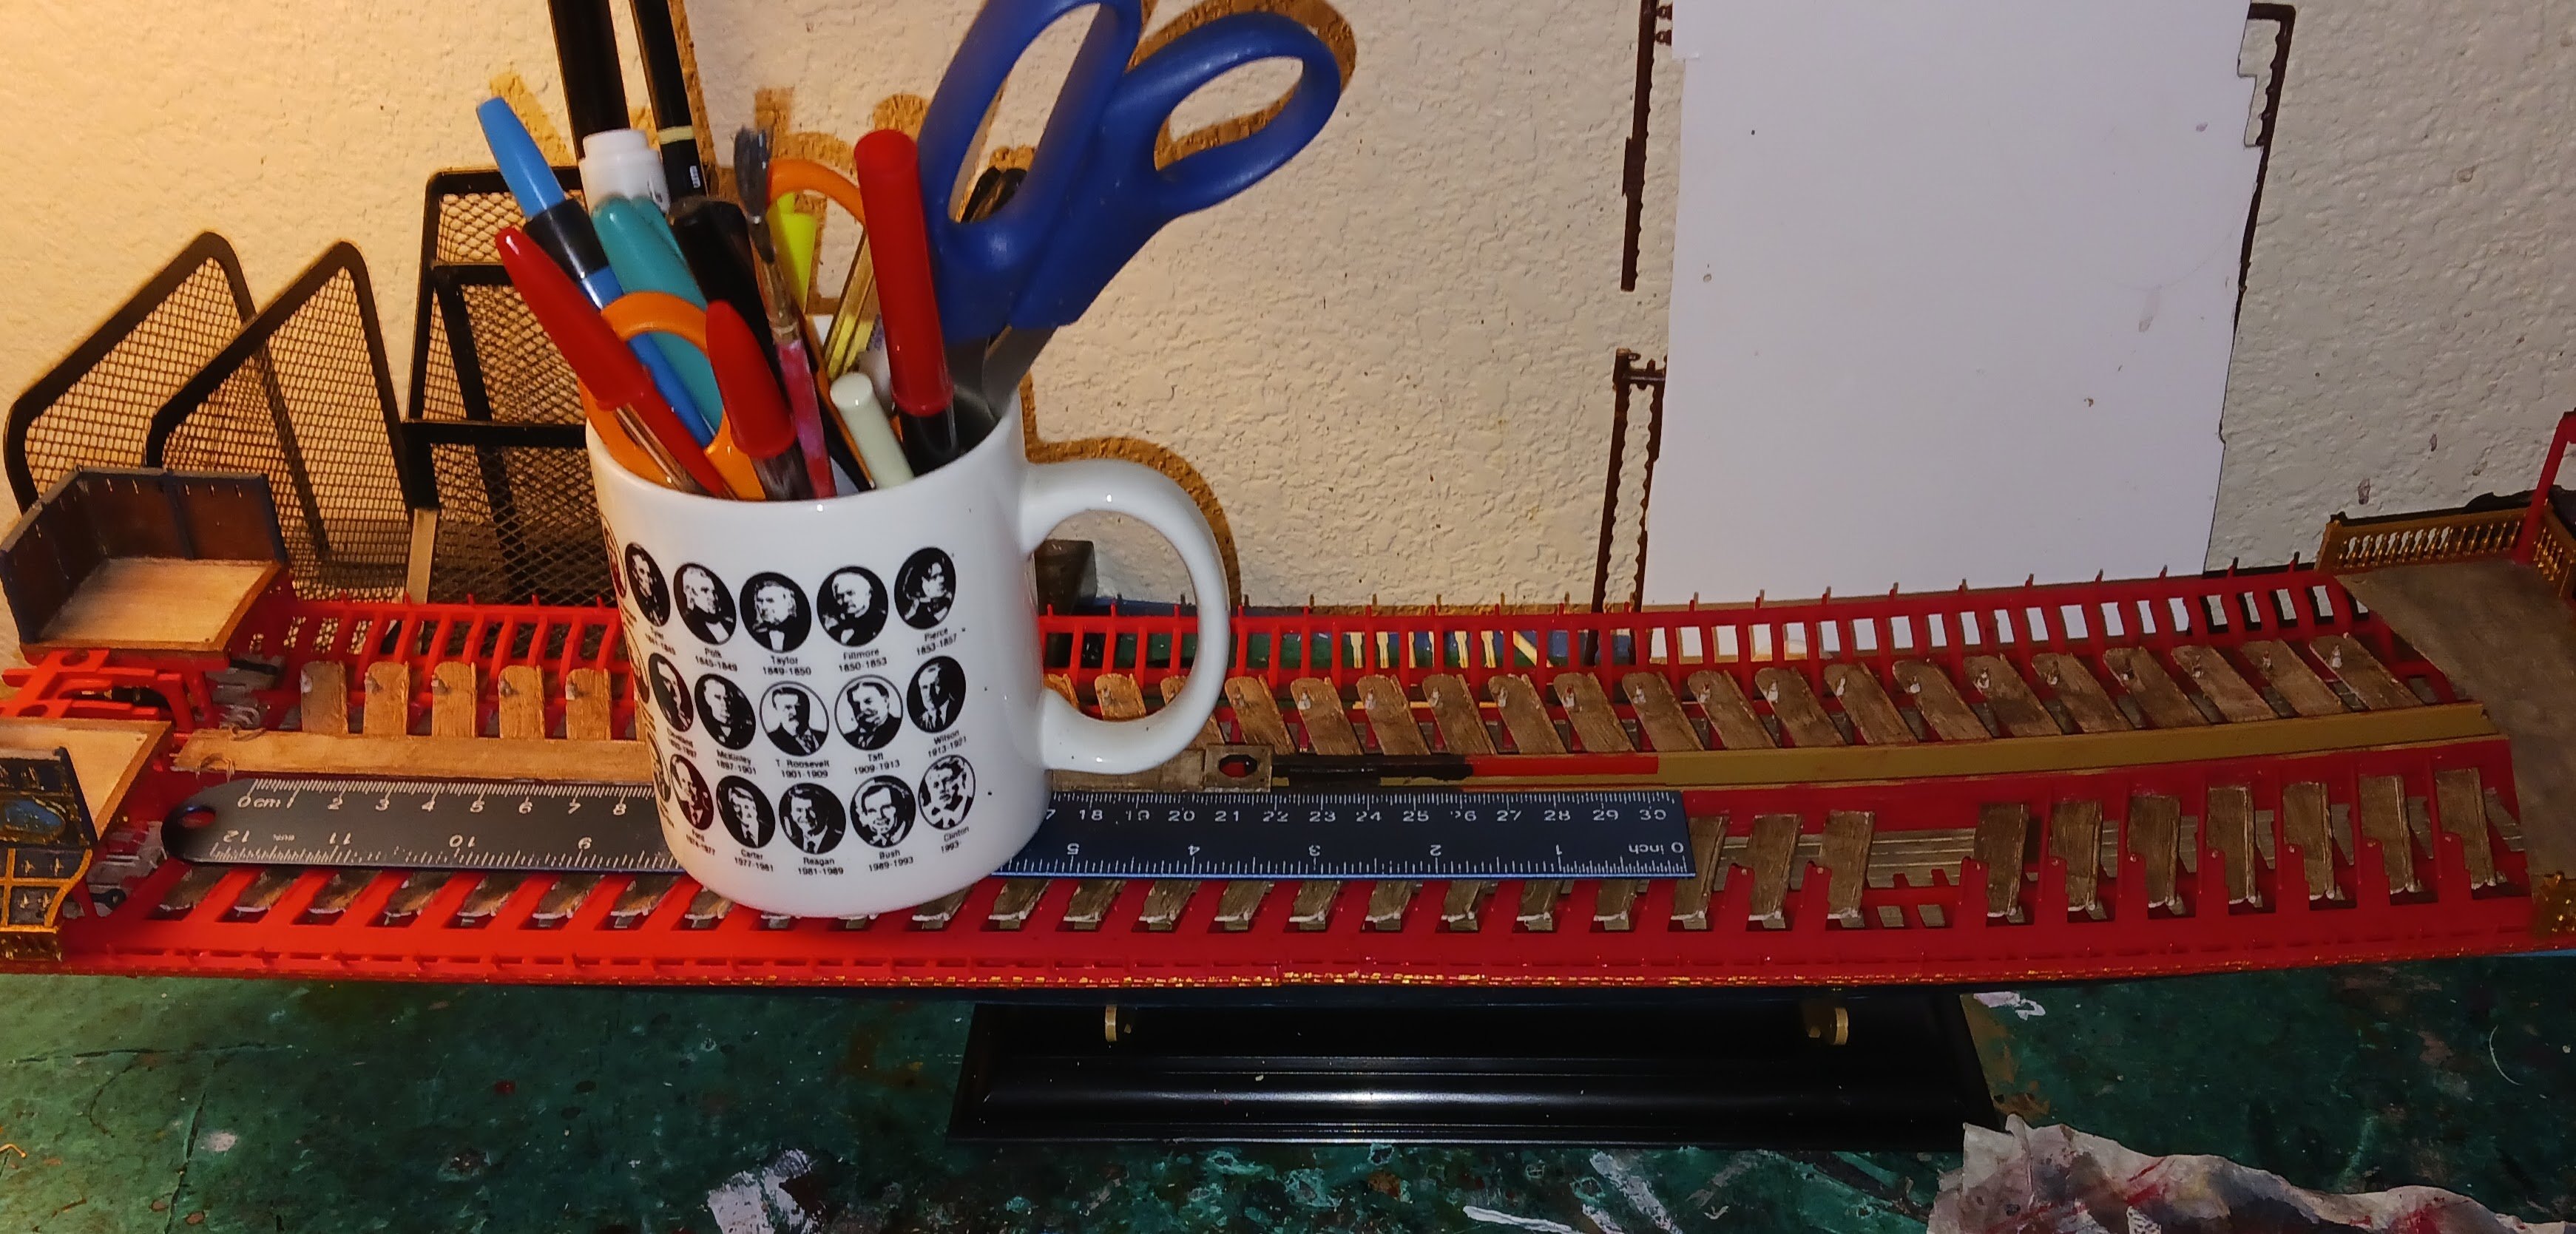
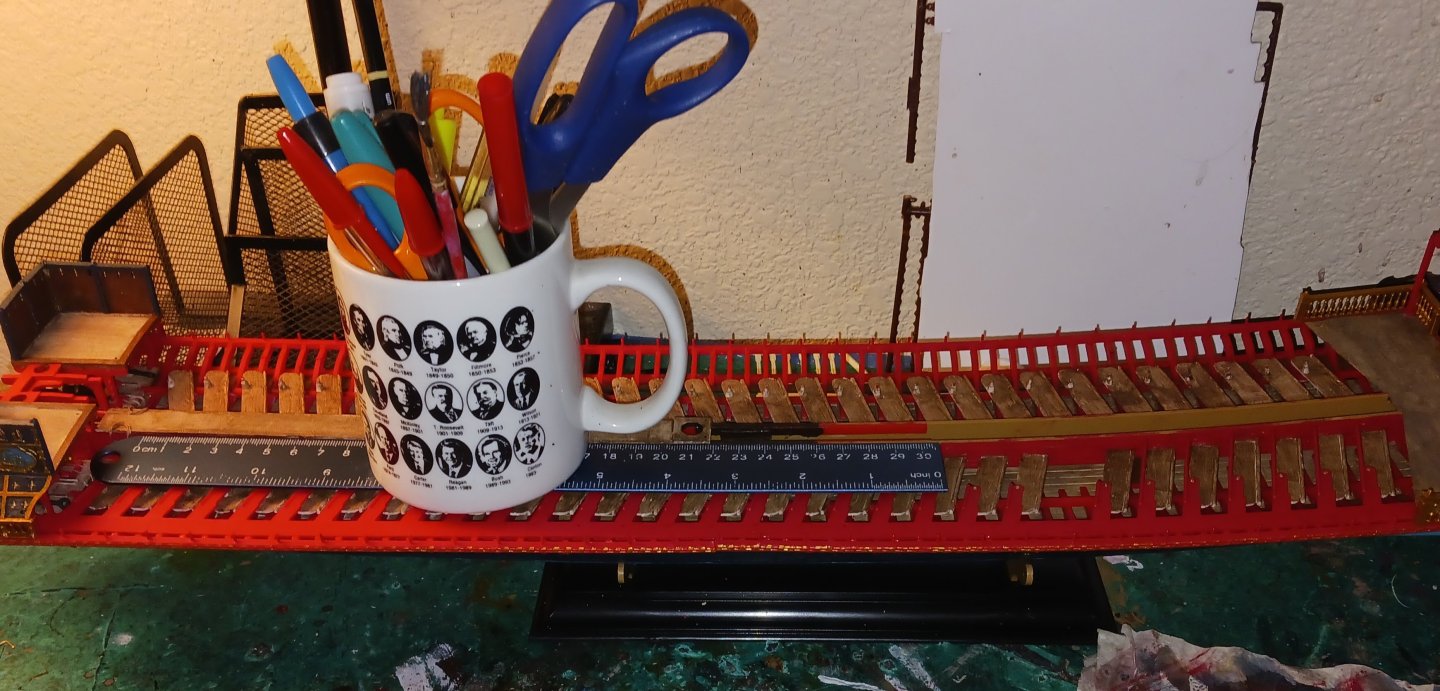
Fun fact: My "everything-cup" is actually older than me, and features the names, portraits and terms of all U.S. presidents up to Clinton.
- 176 replies
-
- 1
-

-
- la reale de france
- heller
- (and 2 more)
-
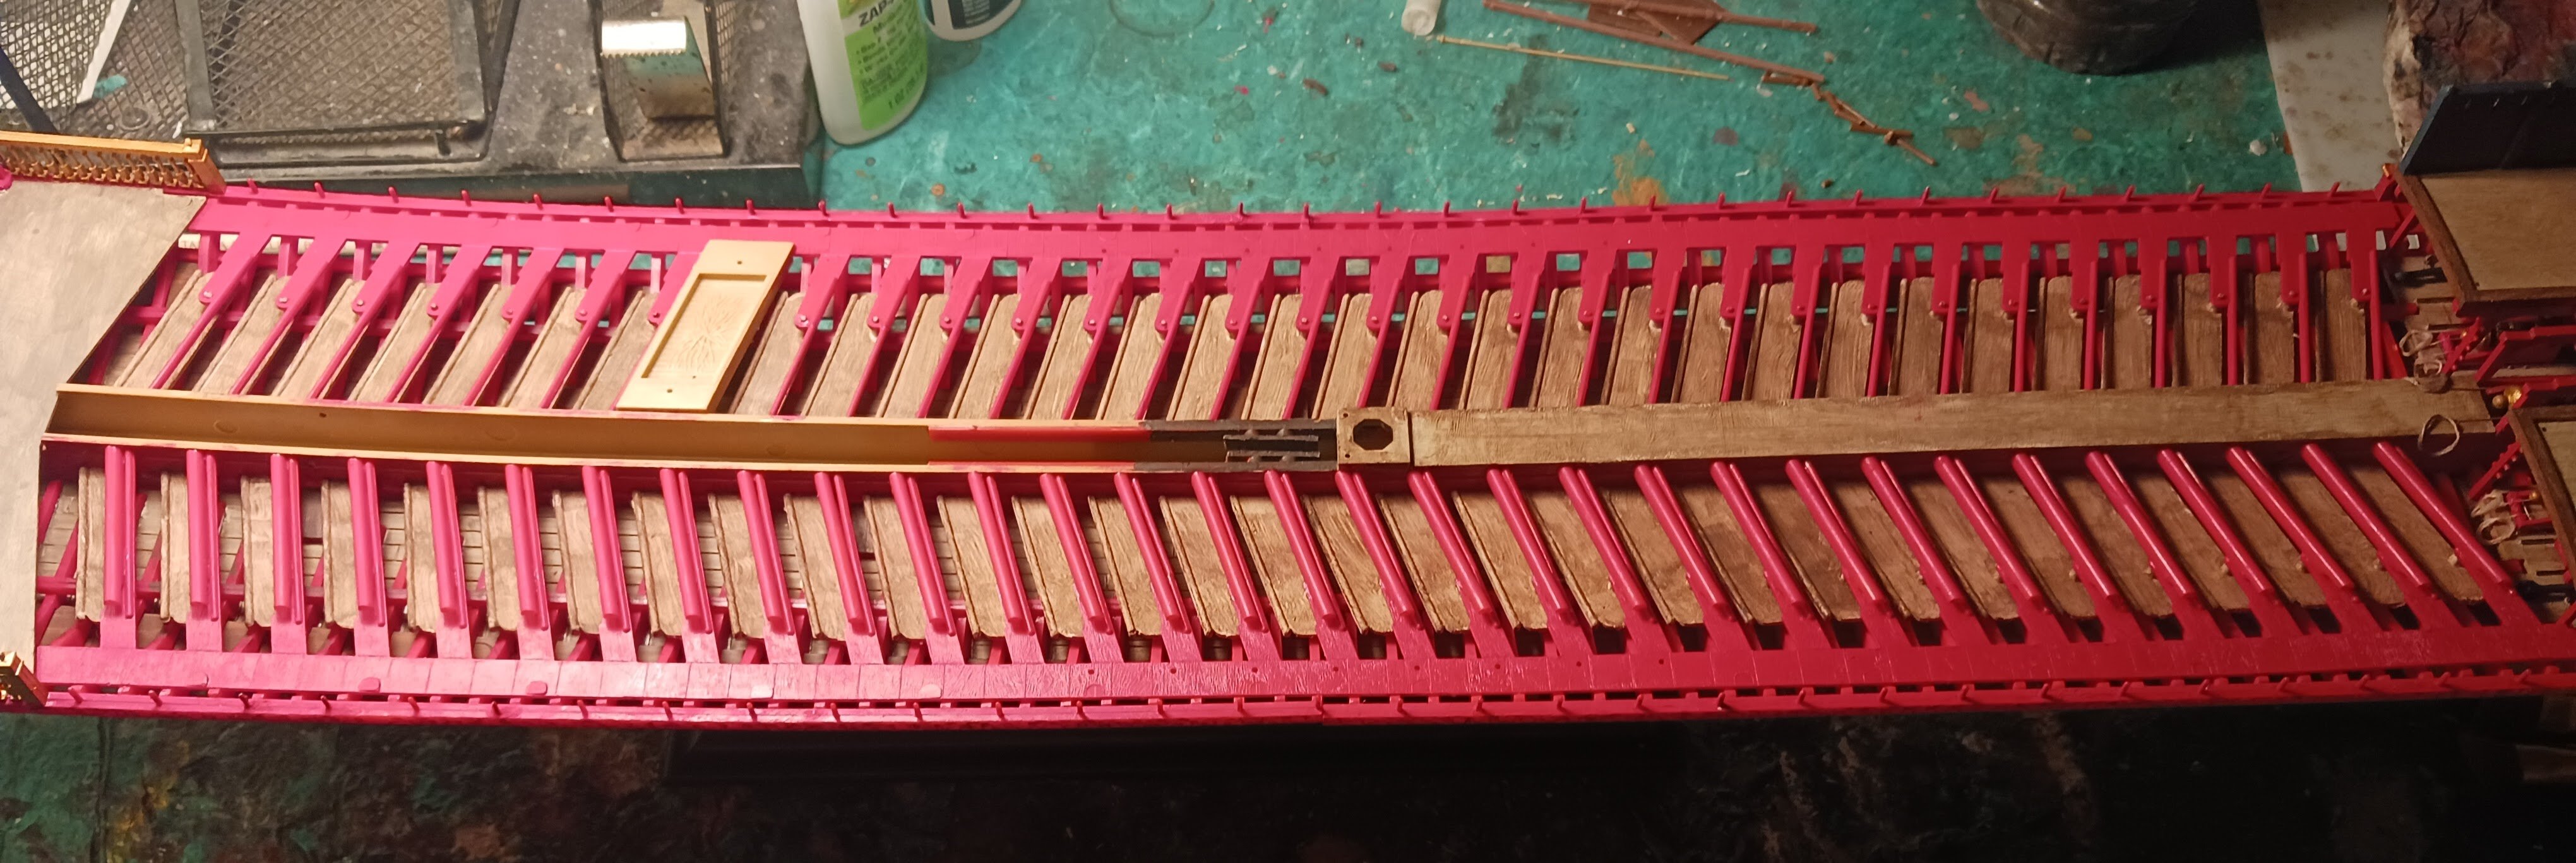
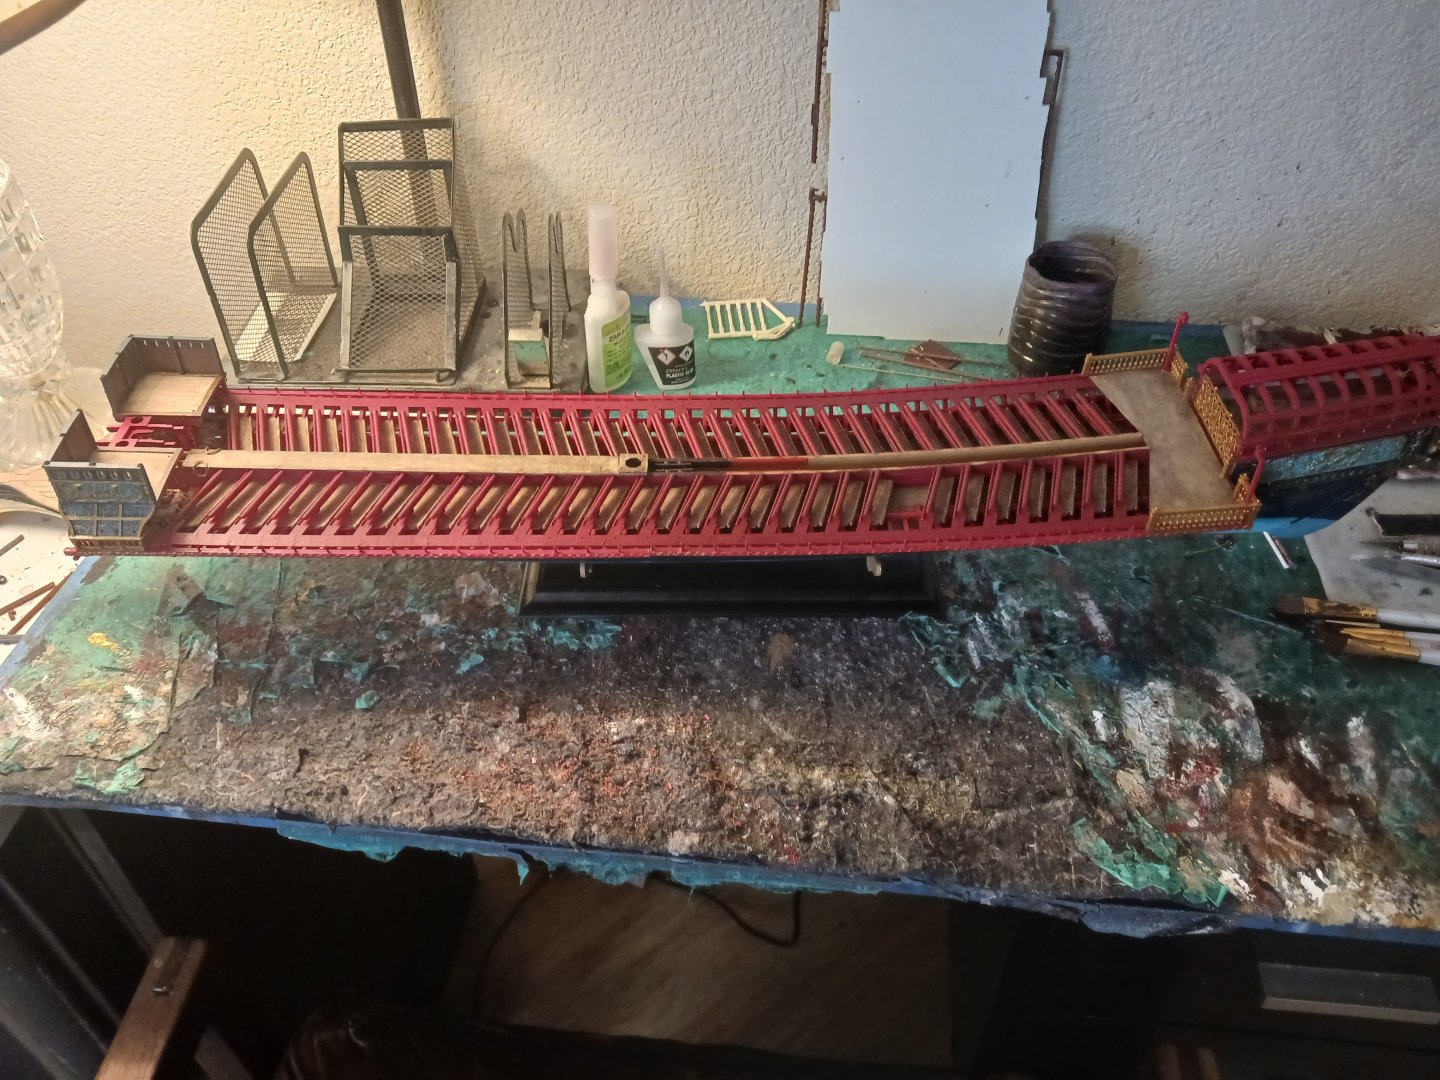
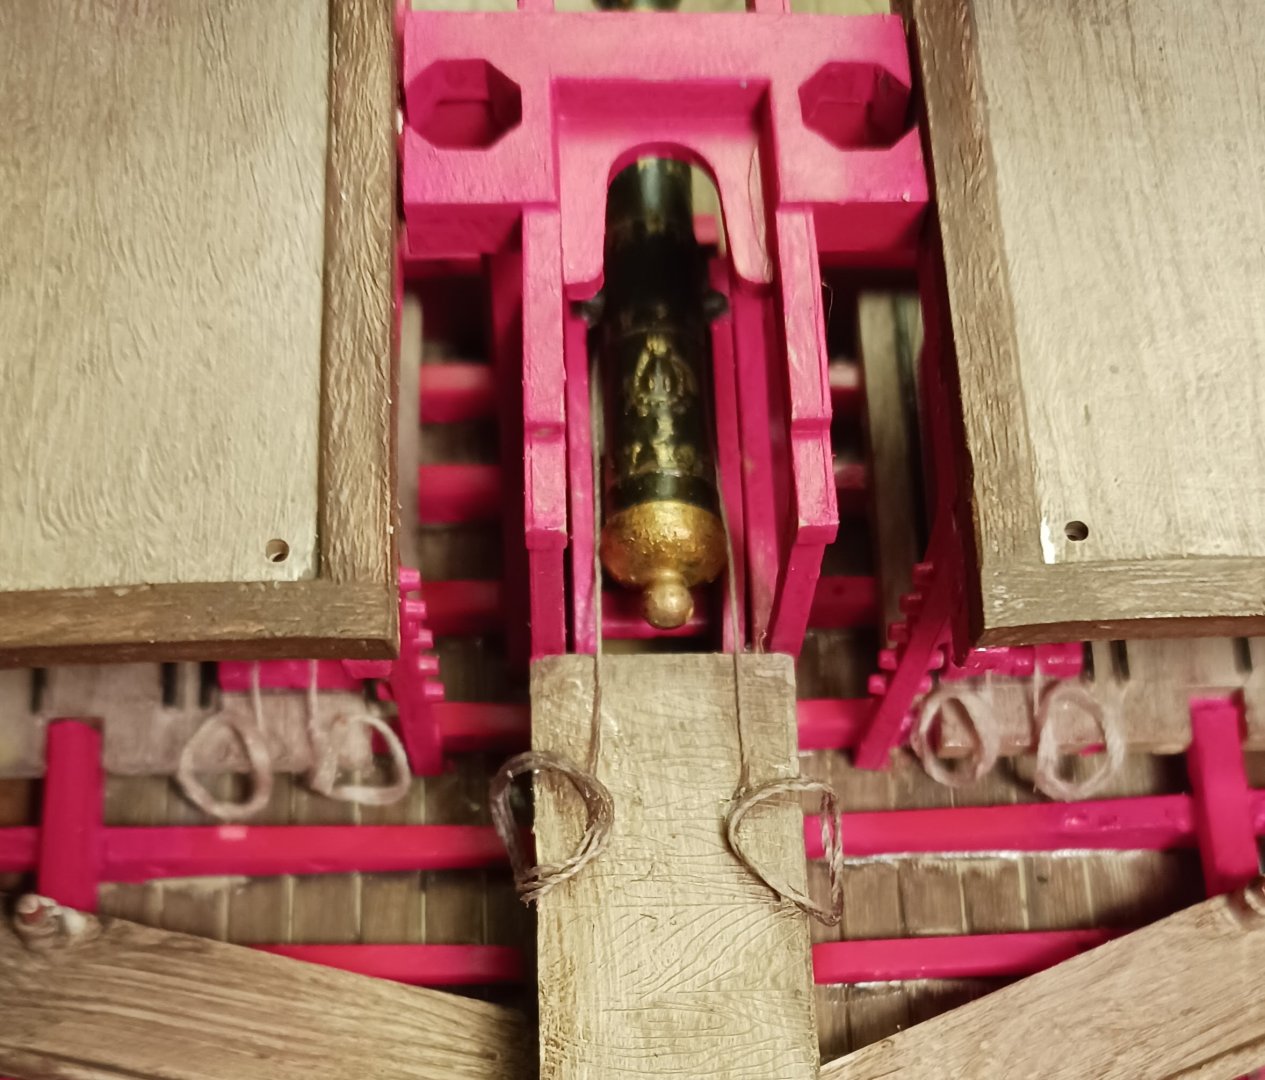
I glued the forecastle pieces in and finished the 36 pdr's rigging today. Then, I dry-fitted the port side catwalk/footboard assembly: Painting the piece was not that hard, but installing it was a different story. I put glue on the pins on which the footboards rest, as well as the outer part of the supports for the catwalk. Then, I fought the piece into place. I proceeded to think quickly, putting my metal ruler over top of the footboards and resting my "everything-cup" on top of that, ensuring they sat level on the ledge upon which they sit. The starboard side was not much easier. Both pieces had a slight horizontal warp, but the starboard side was worse than the port. I have yet to glue the aft footboards on the port side assembly, or any on the starboard. I have yet to fix the missing footboards, but I have a plan. I discovered shortly after starting the model that I had been erroneously given two copies of sprue #7 in the kit. Sprue #7 contains the main mast, the center catwalk pieces (which will come in handy when we eventually put in the section surrounding the main sheaves) and most crucially, the two fore-and-aft sections of the awning support. These pieces are almost the exact same diameter as the footboards, and the fact that I have extras means I can hack two of them up into four new footboards to replace the missing sections.
- 176 replies
-
- 5
-
-
- la reale de france
- heller
- (and 2 more)
-
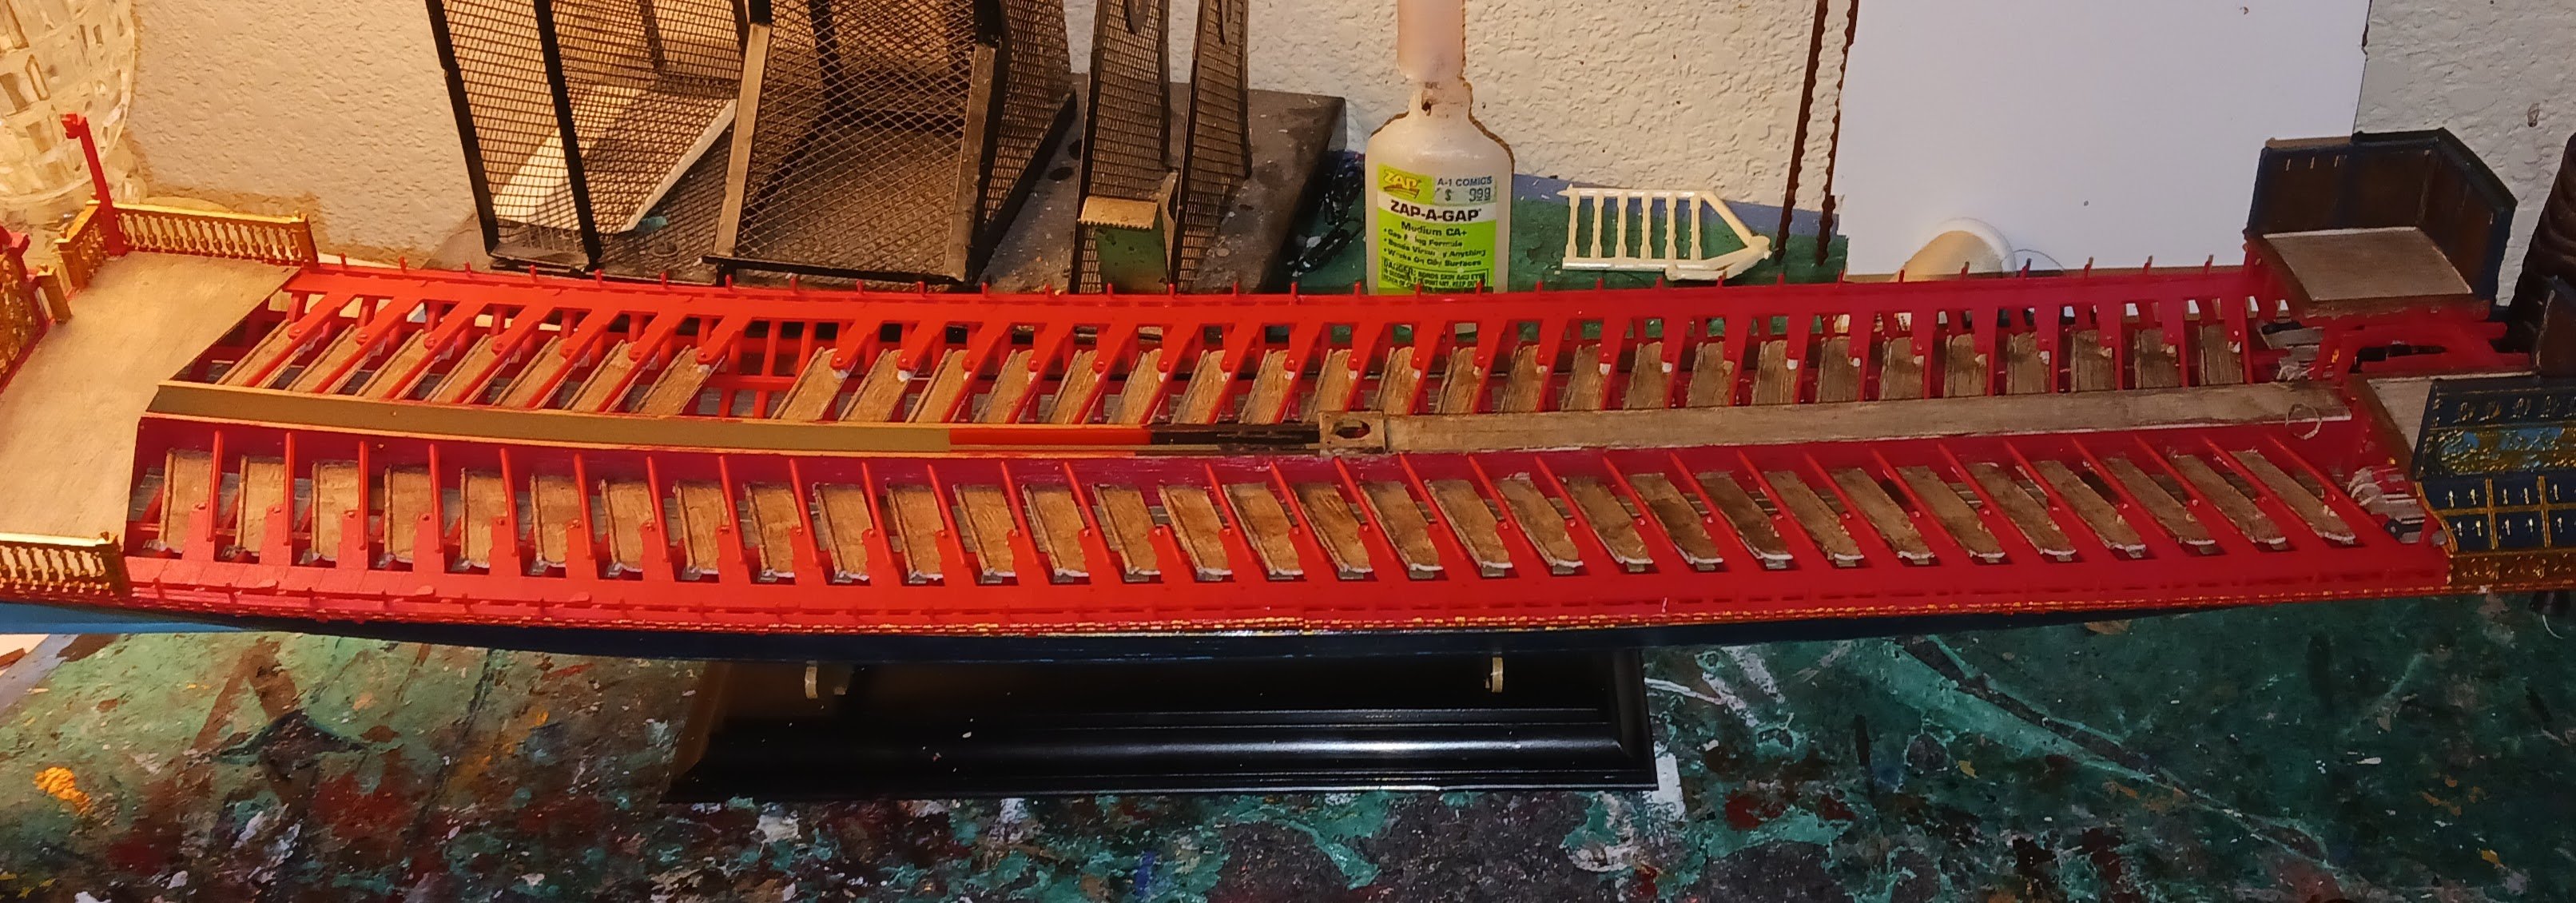
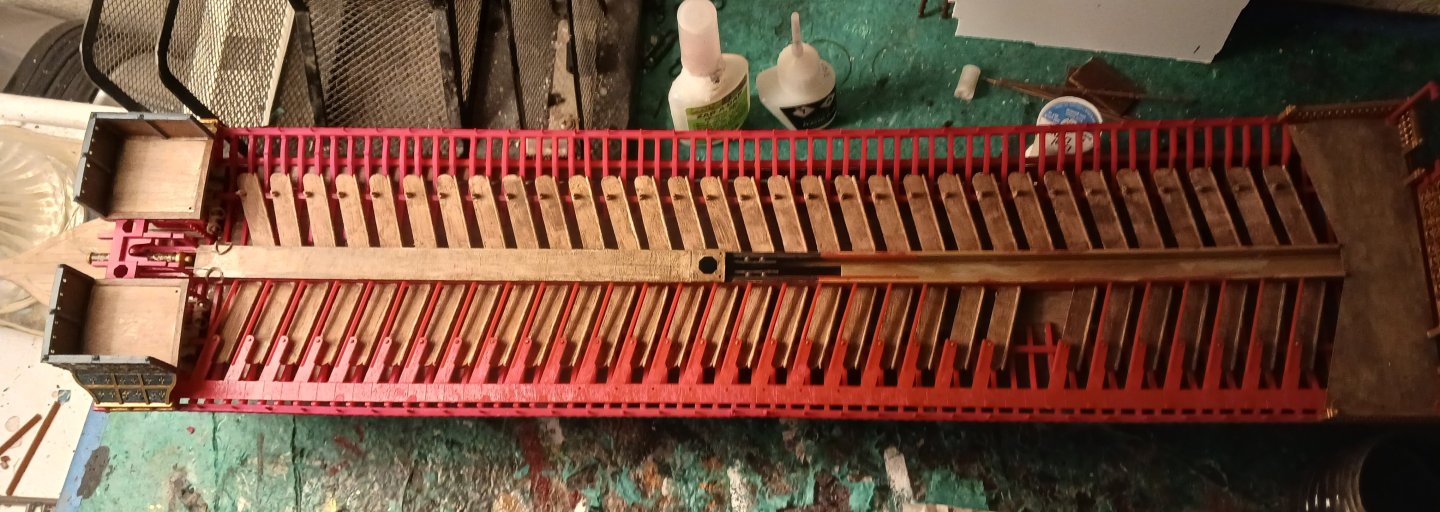
The forecastle walls are positioned on the deck in their final arrangement, in which they will be glued.

- 176 replies
-
- 3
-
-
- la reale de france
- heller
- (and 2 more)