Ferrus Manus
-
Posts
1,407 -
Joined
-
Last visited
Content Type
Profiles
Forums
Gallery
Events
Everything posted by Ferrus Manus
-
 Here is the finished stern timber assembly: There are four figures that go on the stern of the ship: two angels blowing trumpets, and two figures of Triton blowing into seashells. I can either... A. paint them gold, or... B. paint them realistic colors. Which would be better? They would have been gold on the real ship, but then again, I have deviated from the historical paint scheme in several ways on just the stern.
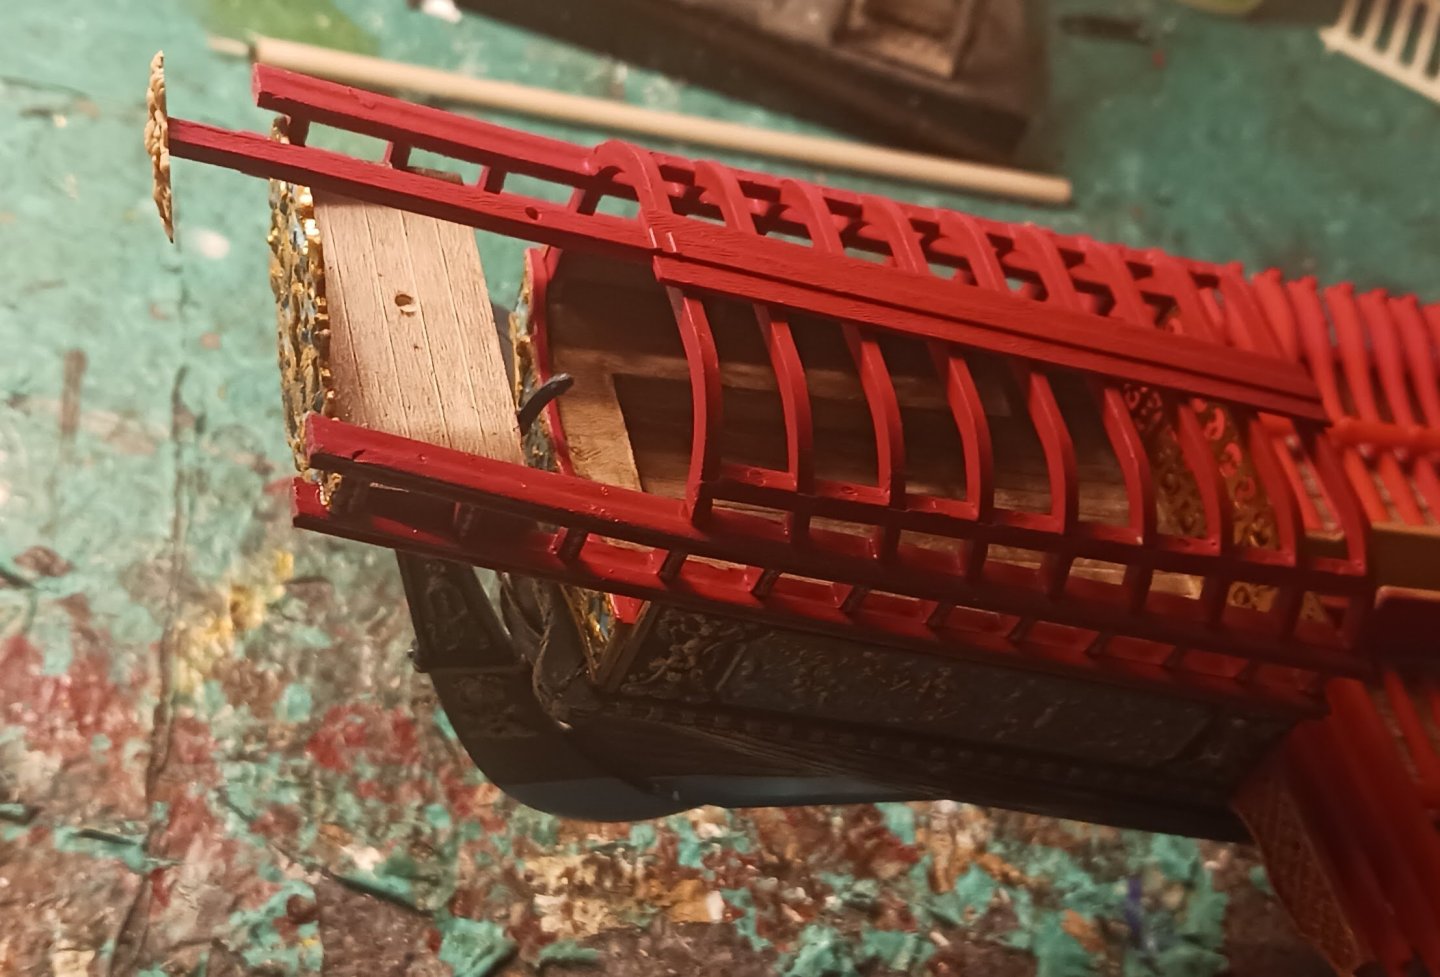
- 176 replies
-
- 2
-

-
- la reale de france
- heller
- (and 2 more)
-
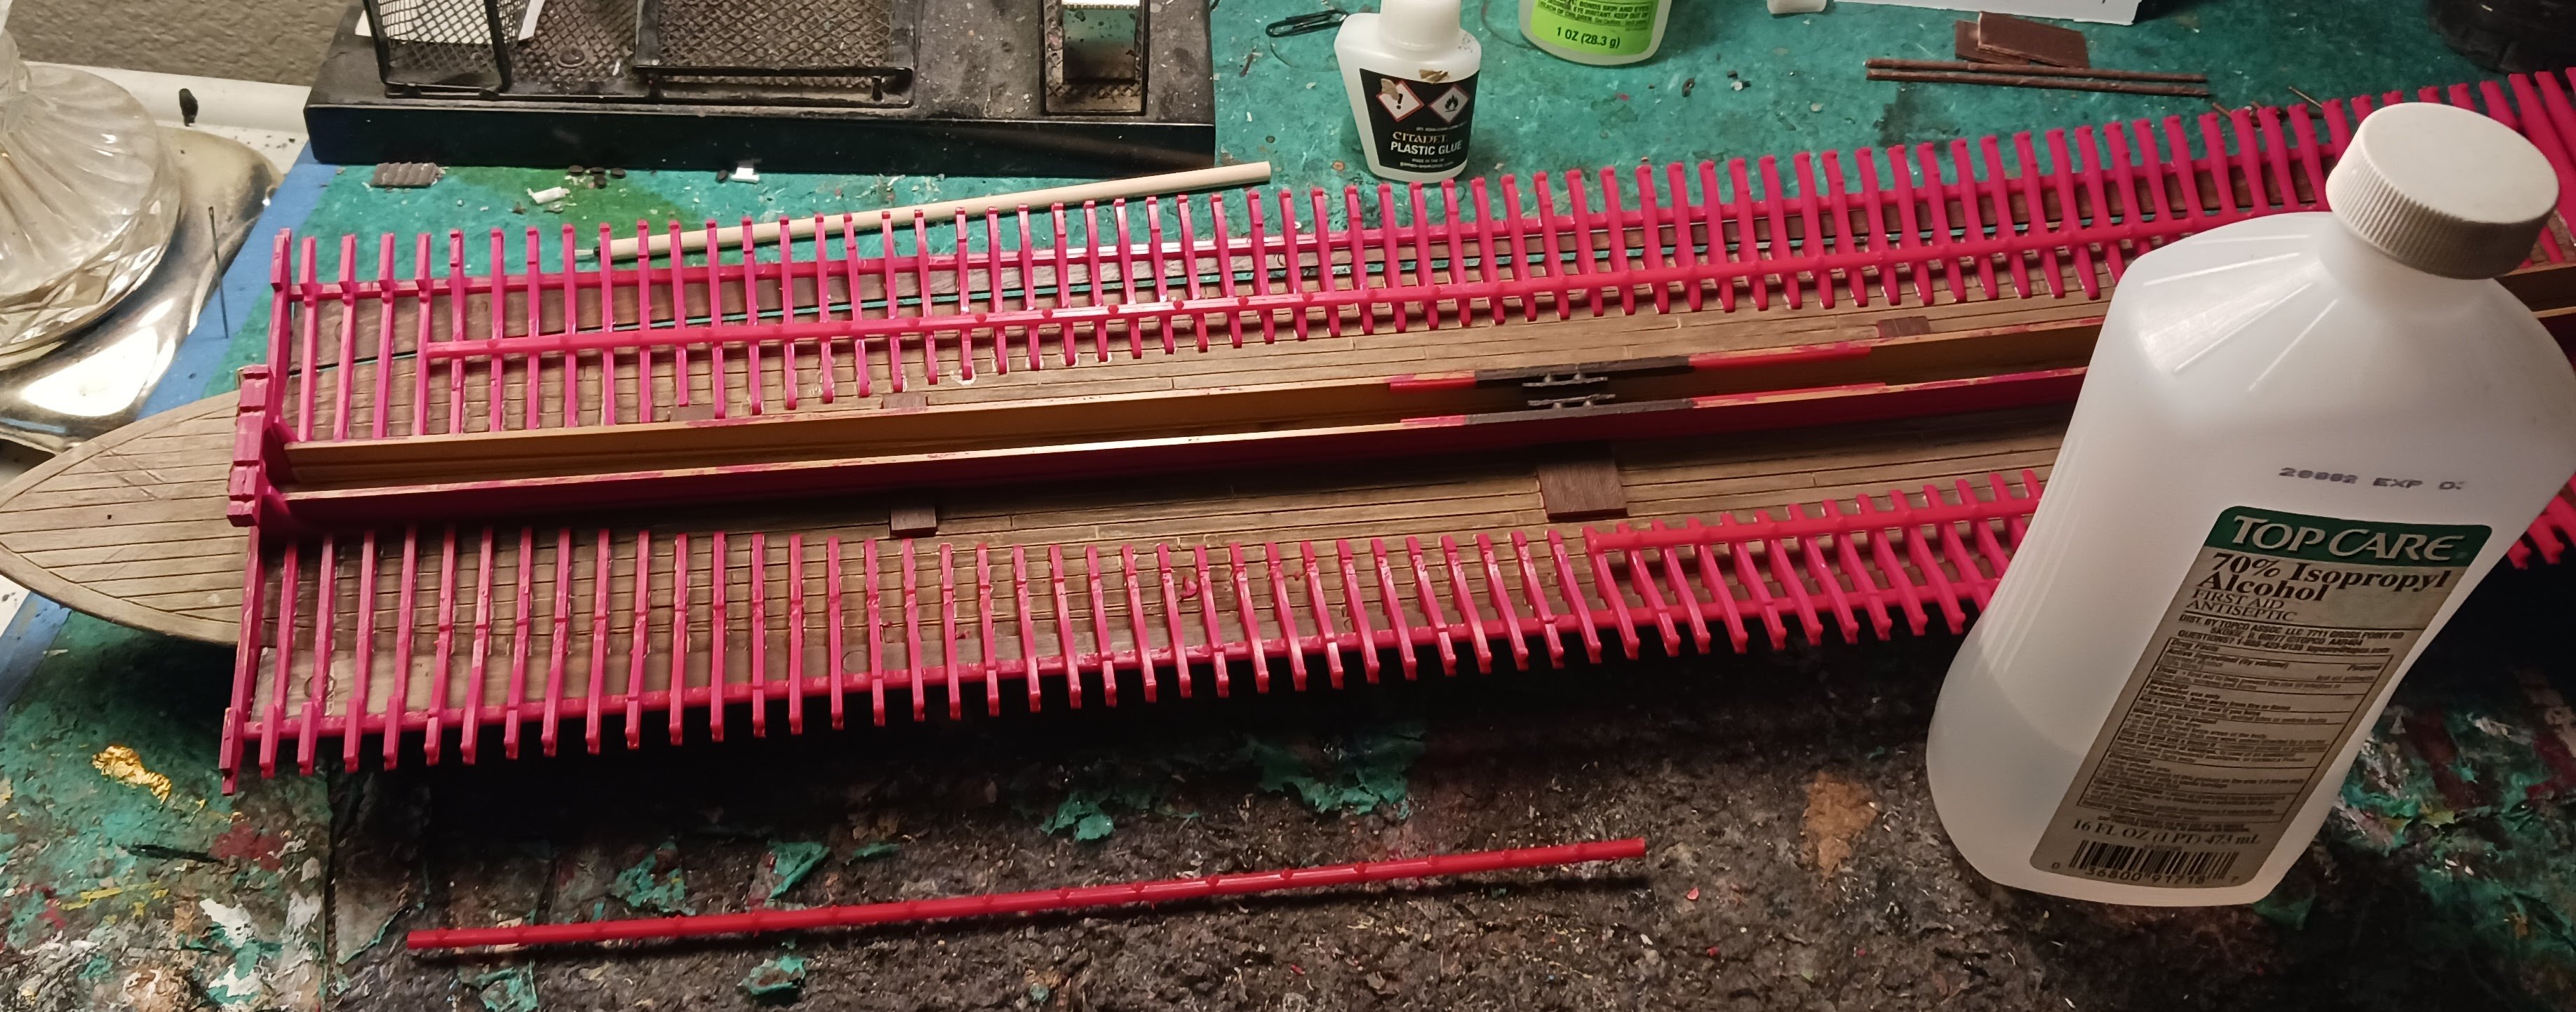
For this next fiasco, I had to remove the port and starboard forward footrest supports, as I had installed them incorrectly. I had to tear them up from the frames, turn them around, and re-glue them in. Thankfully, I had used CA glue for the quick cure time, or this would have been legitimately impossible. Internet literature is conflicting as to whether or not 70% isopropyl alcohol is effective at melting CA glue. Tearing up the starboard section was extremely difficult, but achievable without significant damage, even after application of the alcohol. But then I had an idea: what if the rubbing alcohol was the reason why this stunt was even possible in the first place? To test the difference, I added far more rubbing alcohol to the port side piece. It ended up coming up with ease in about a third of the time of the first one. I guess that's one way to prove a theory.

- 176 replies
-
- 3
-

-
-
- la reale de france
- heller
- (and 2 more)
-
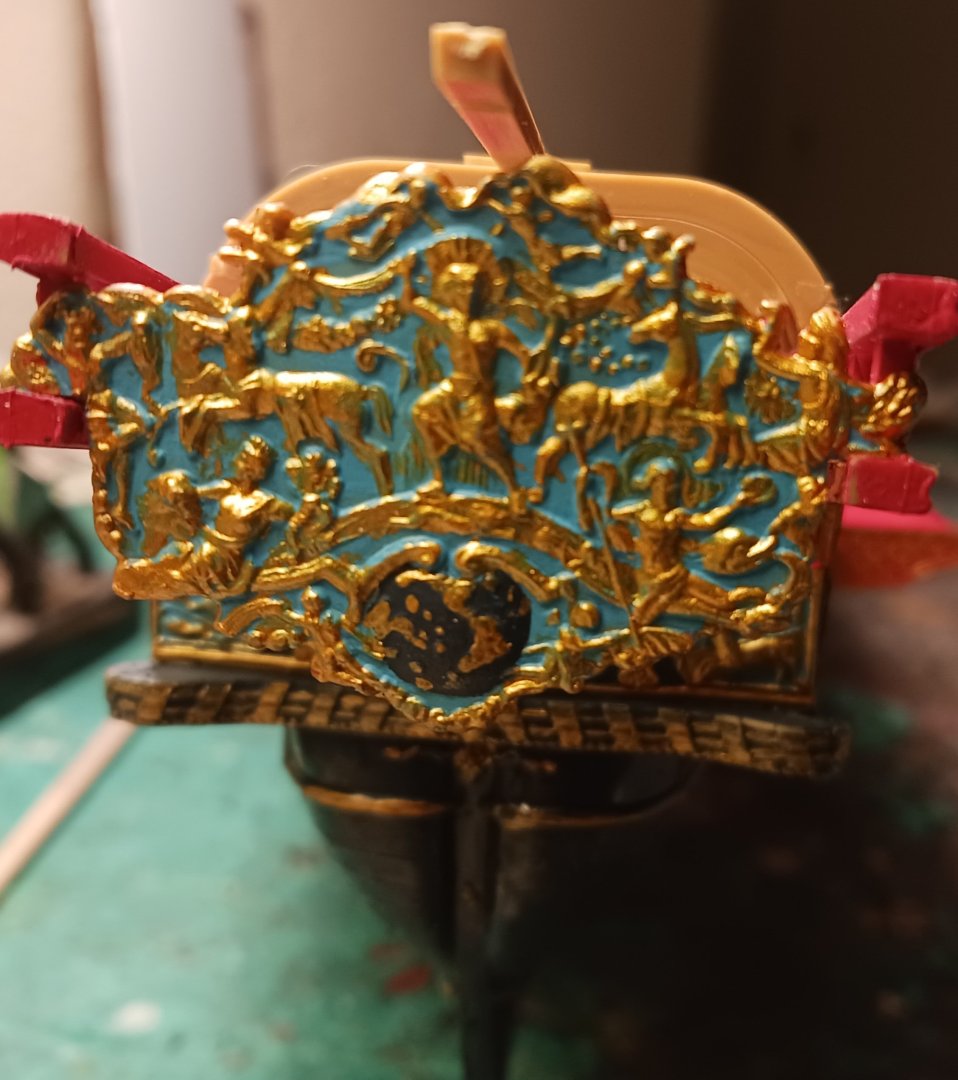
The filigree piece at the very back is fully painted and resting on the aft timbers. The arch assembly is glued together and is resting on the timbers as well. All that's left to do on the stern is that, the figures on the back, the other, smaller decorative piece on the extreme aft, the golden screen at the break of the deck, and the supports for the awning. I will not include the awning, as I would like the detail to all be clearly visible. Immediately forward of the aft section is another deck with railings and the ship's ladders. The piece has a globe on the bottom, interestingly enough showing the Americas instead of Eurasia. James Cook made the first European discovery of Hawaii in 1788. That means the islands shown in the Pacific would have to be islands that were theorized to exist. This is the real piece: It depicts California as an island, as well as several supposed islands in the Pacific. It's clear they didn't know how far northwest North America extended, or what really any of Southeast/East Asia looks like. This is to be expected from 1694, and is obviously a product of an age before French colonies in East Asia existed. Overall, Heller has done a great job taking data from what's left of the real ship to inform their design of the aft detail pieces.
- 176 replies
-
- 6
-
-

-
- la reale de france
- heller
- (and 2 more)
-
Looking at the pictures, I see a section of both quarter pieces that need to be painted.
-
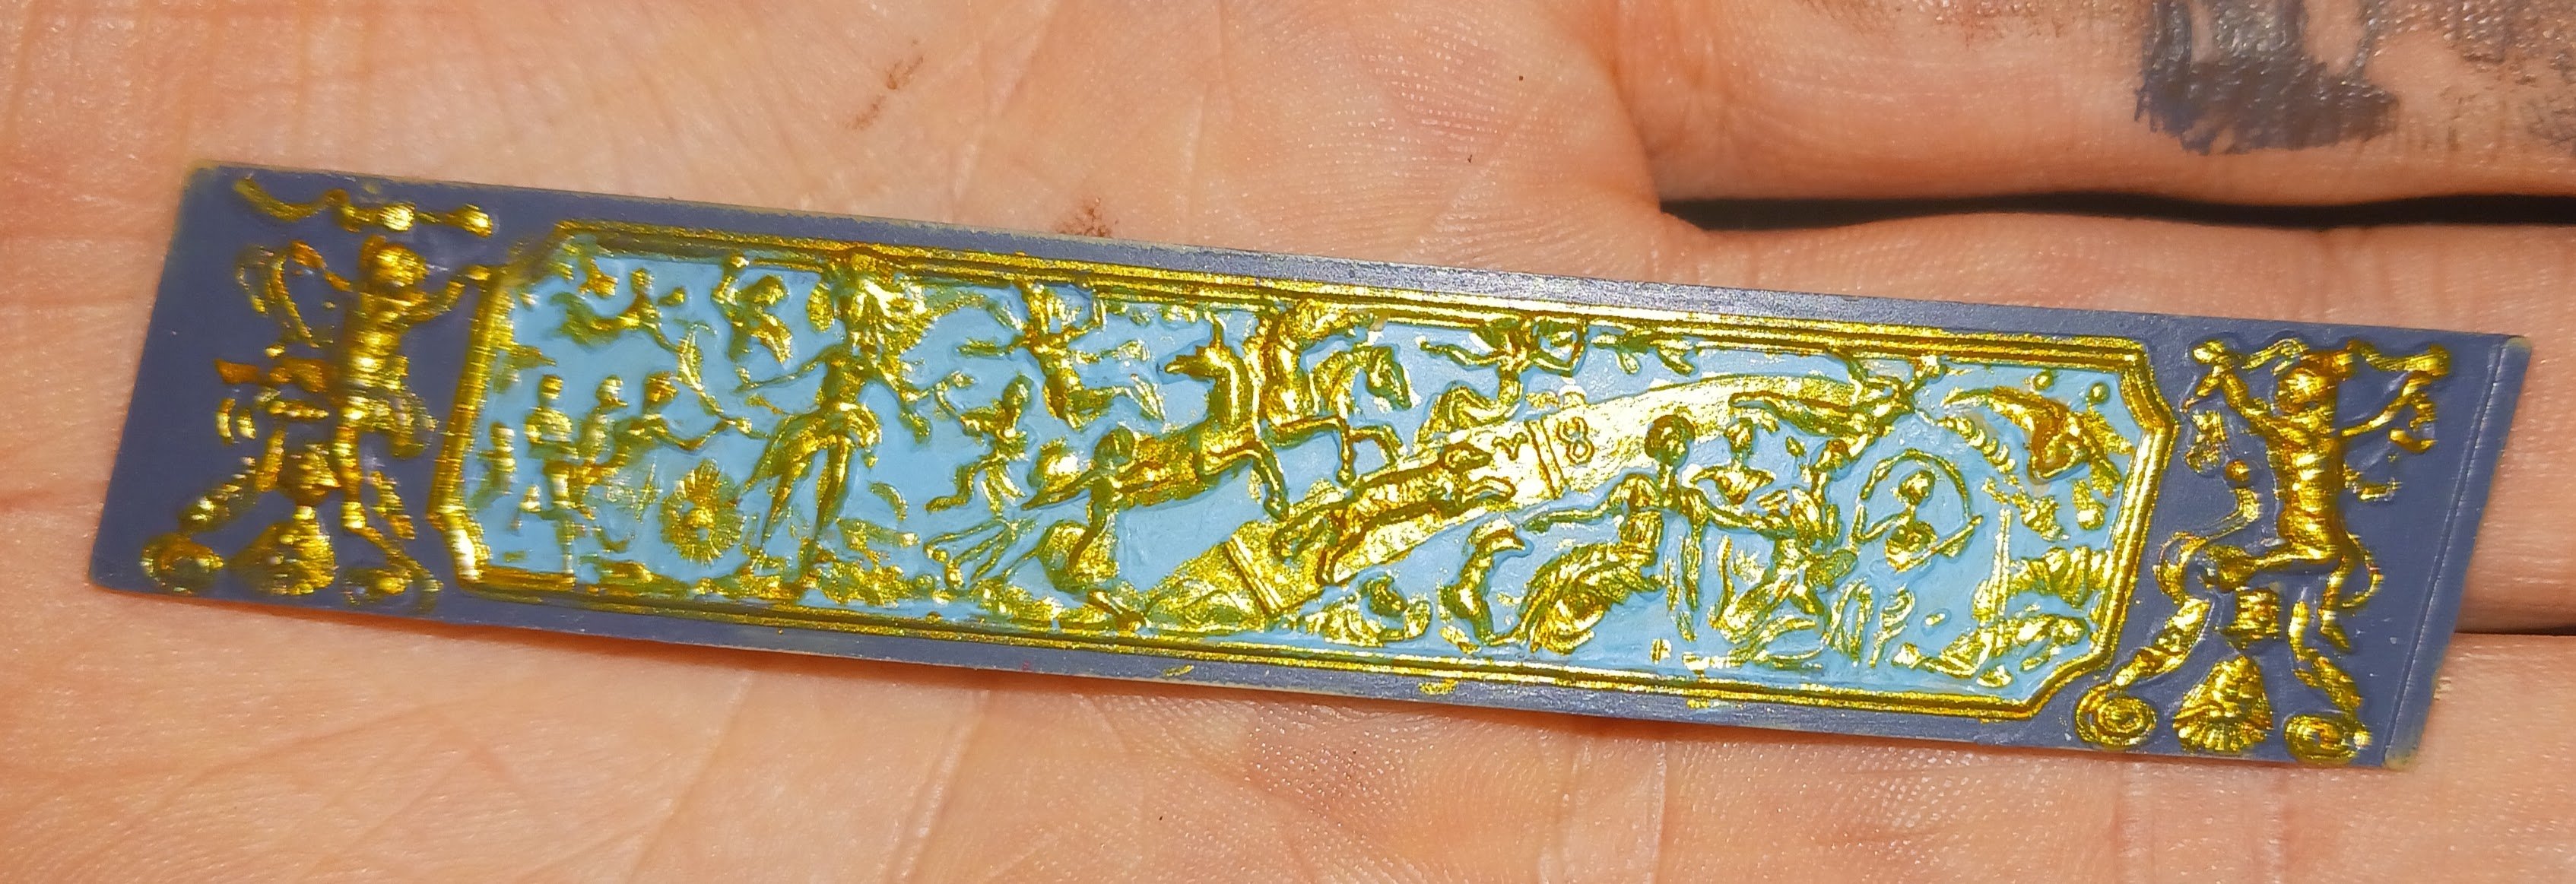
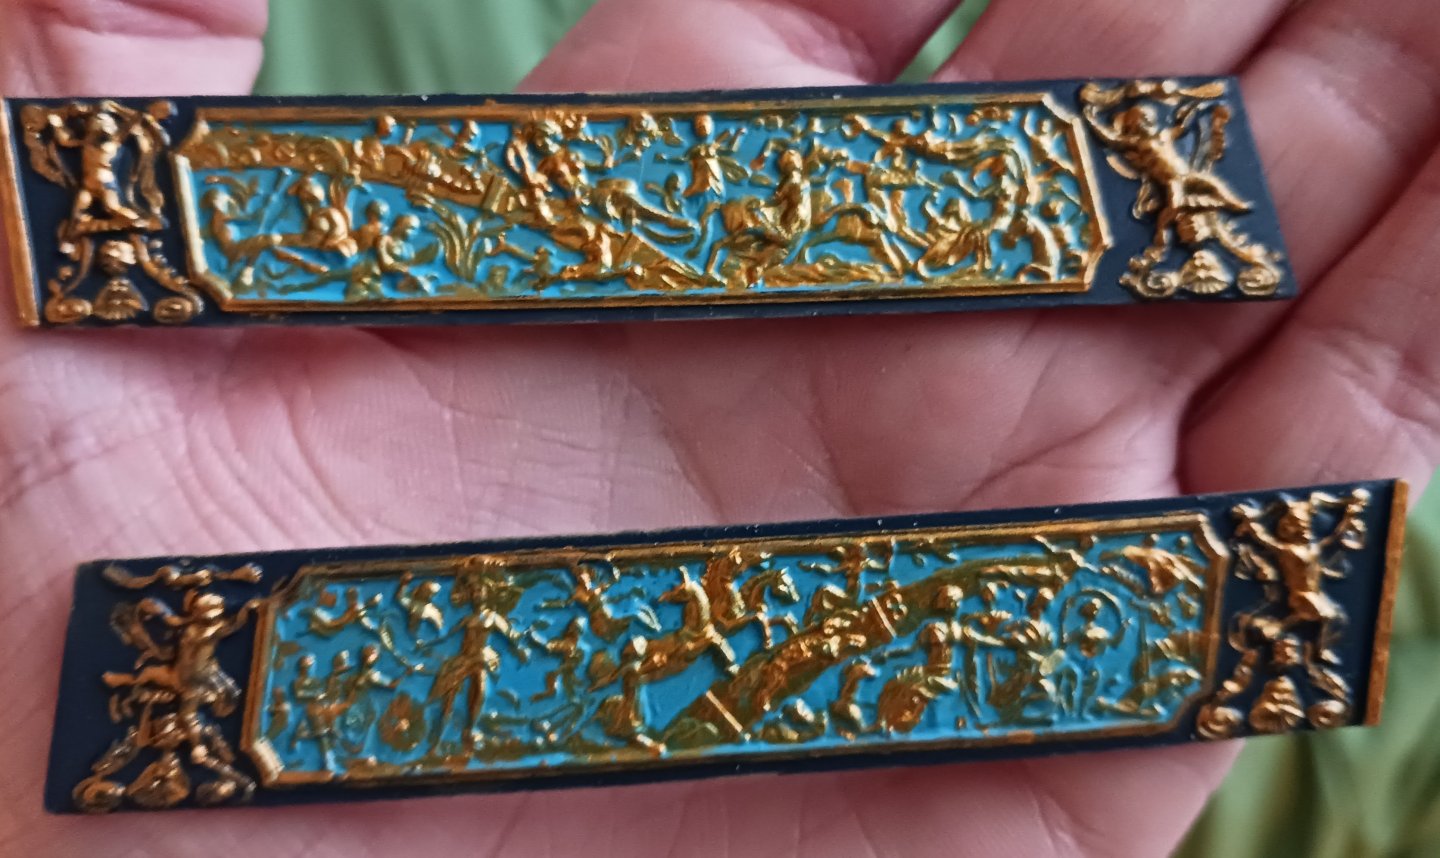
The second panel took me a significantly smaller amount of time to paint. By the end of the 17th century, galleys had transformed from fighting vessels to splendidly decorated royal yachts. By this time, the galley had become a completely ineffective warship owing to its flimsy construction and small number of guns. Even a moderately sized man o' war could rip a dozen or more galleys to shreds, and they did on numerous occasions. It seems like everyone knew this in some regard- that is, everyone except for Louis himself. The last major galley battle had taken place over a hundred years prior, and since the widespread development of broadside gun batteries, sail versus galley duels almost always went in the sailing ship's favor.
- 176 replies
-
- 3
-
-
- la reale de france
- heller
- (and 2 more)
-
This panel took me almost an hour to paint, but I completed it in one sitting.

- 176 replies
-
- 3
-
-
-
- la reale de france
- heller
- (and 2 more)
-
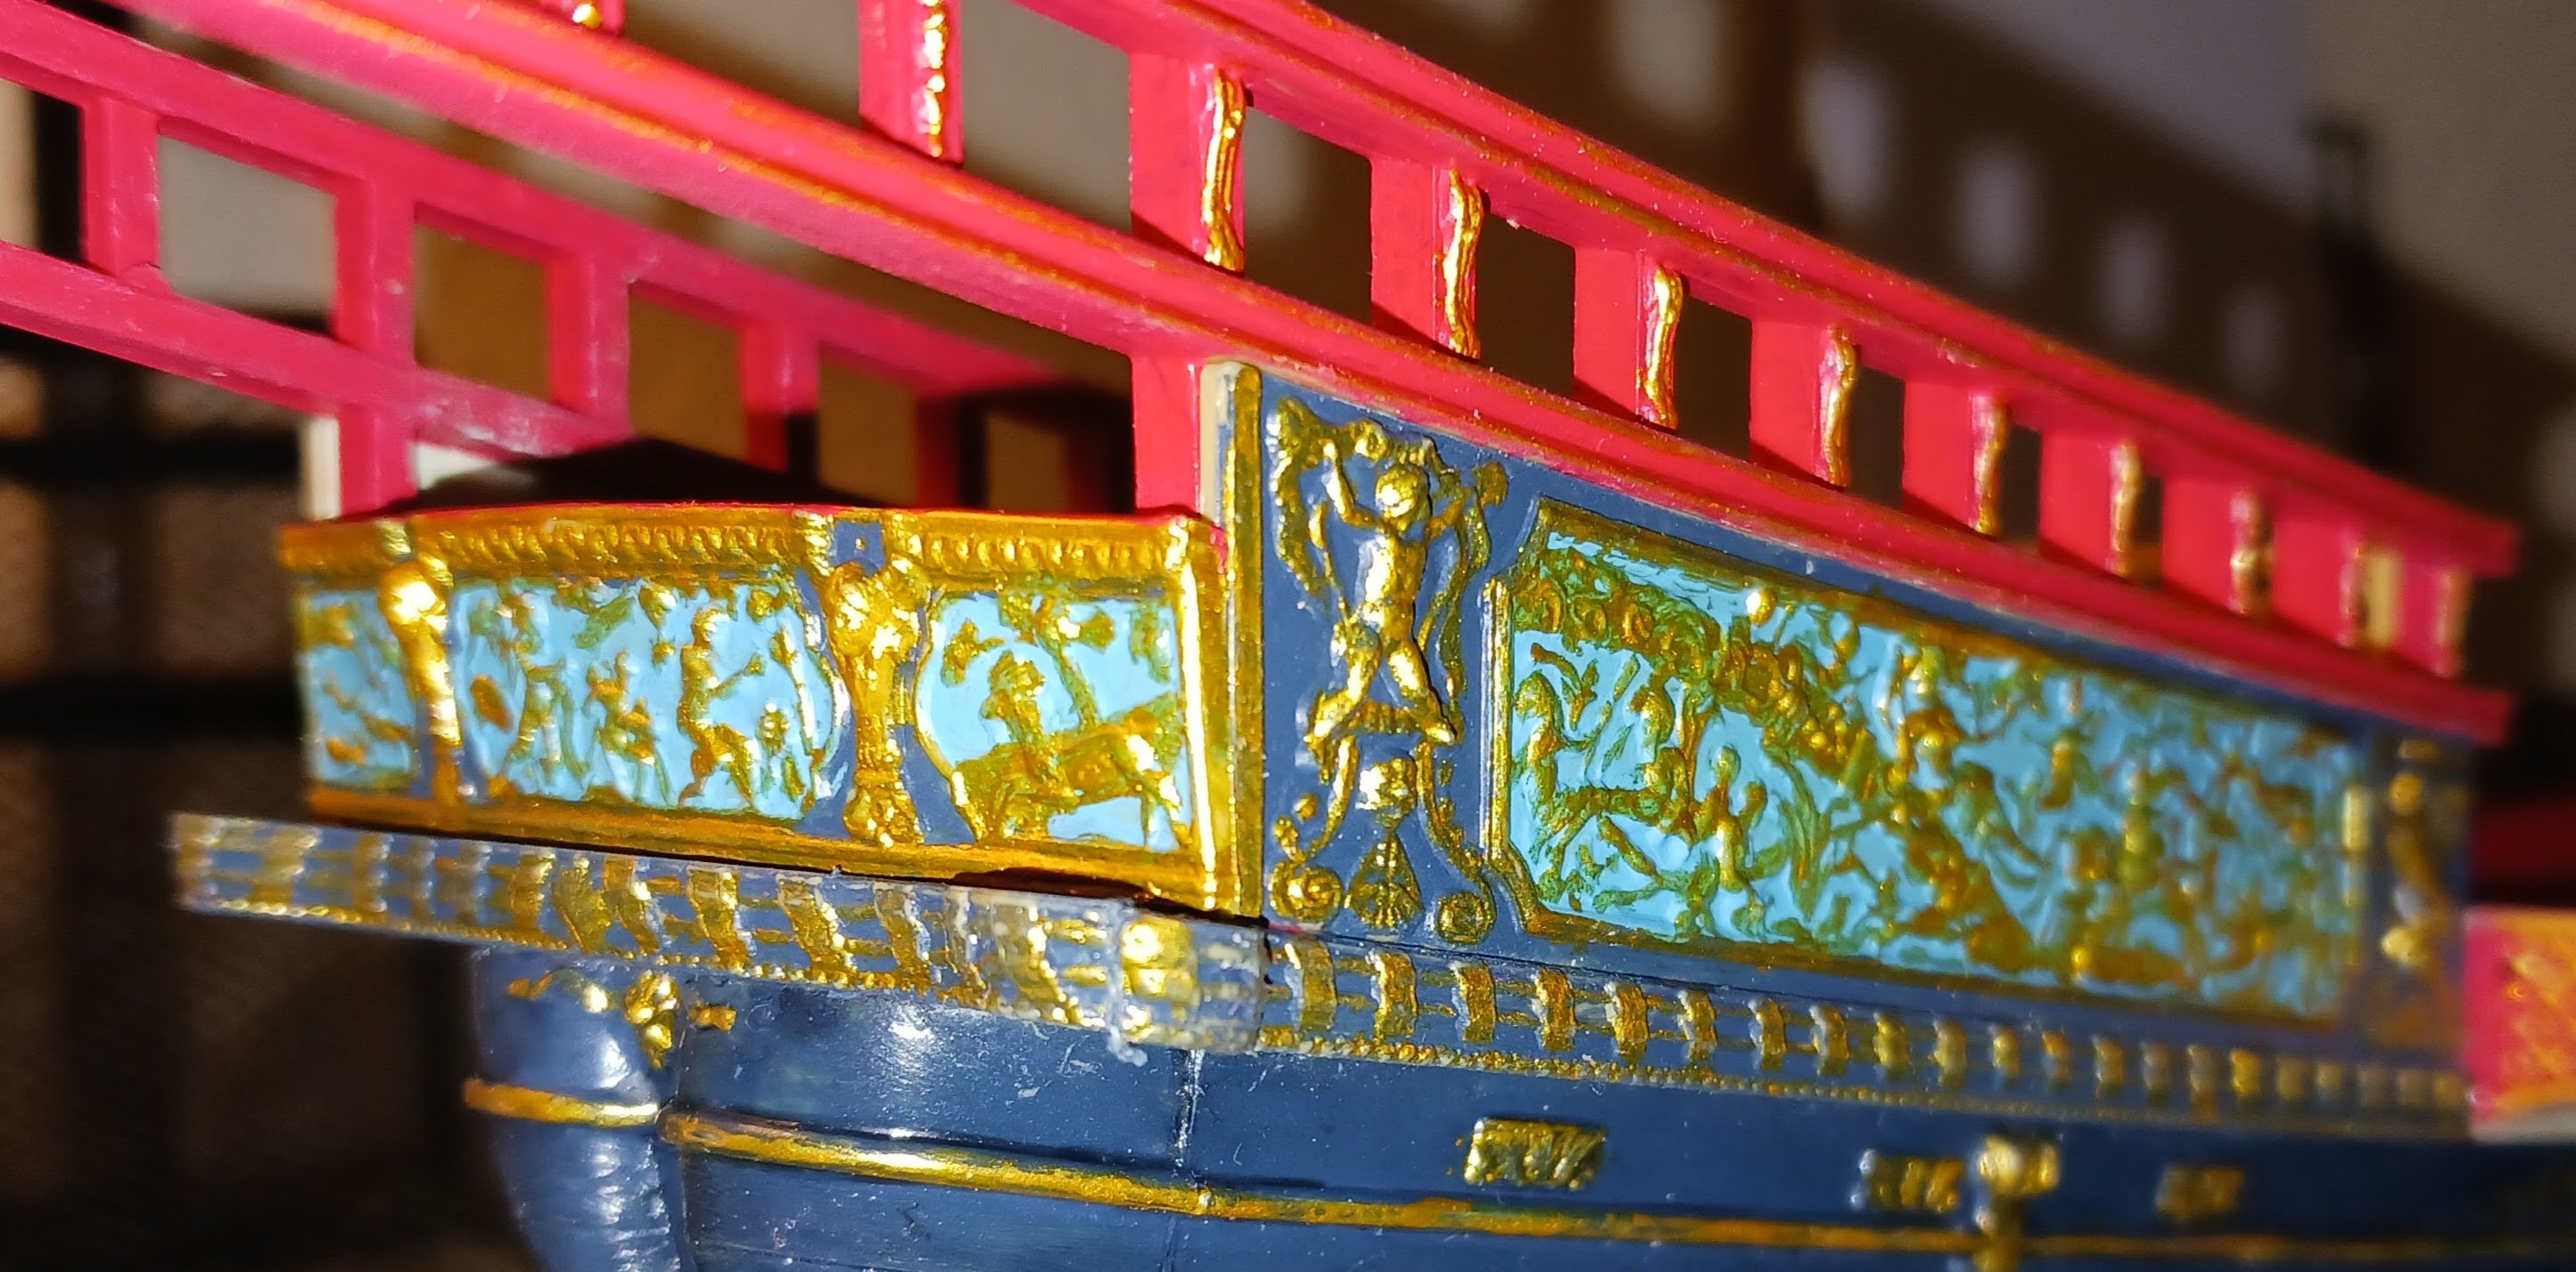
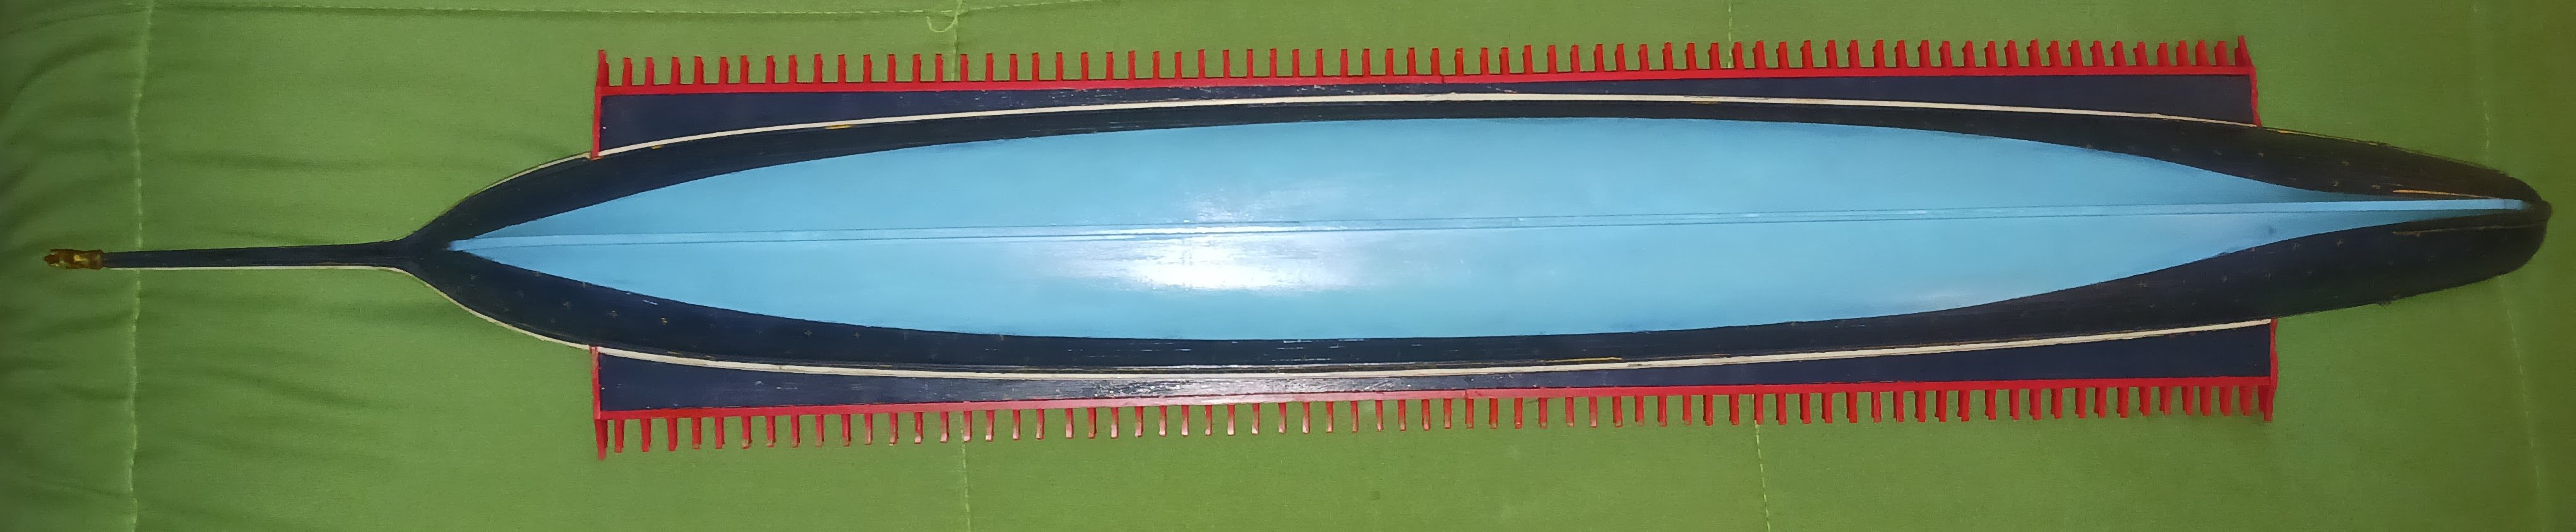
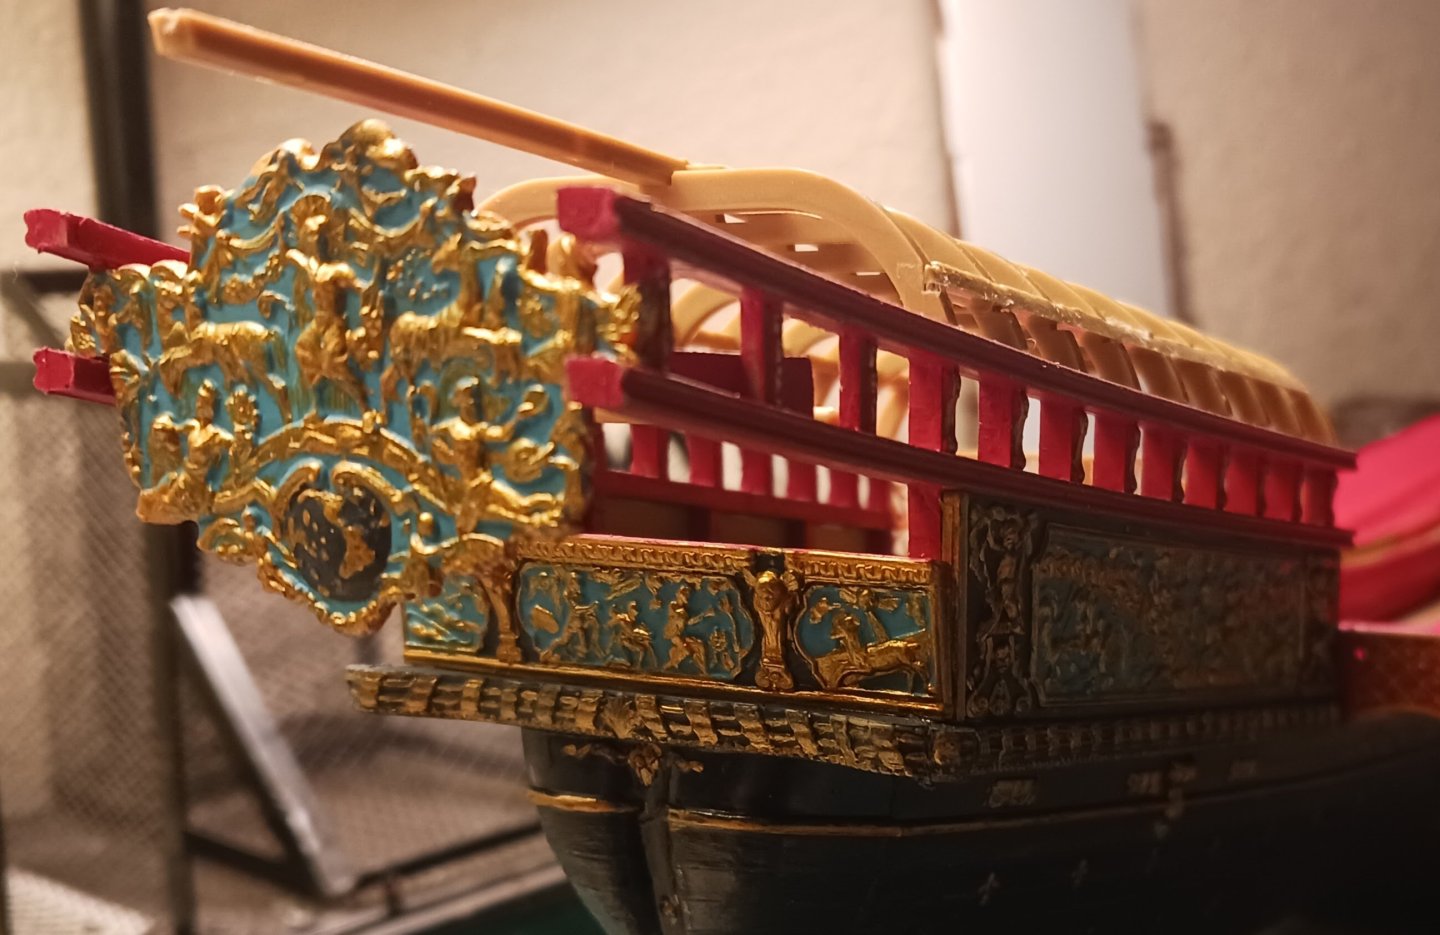
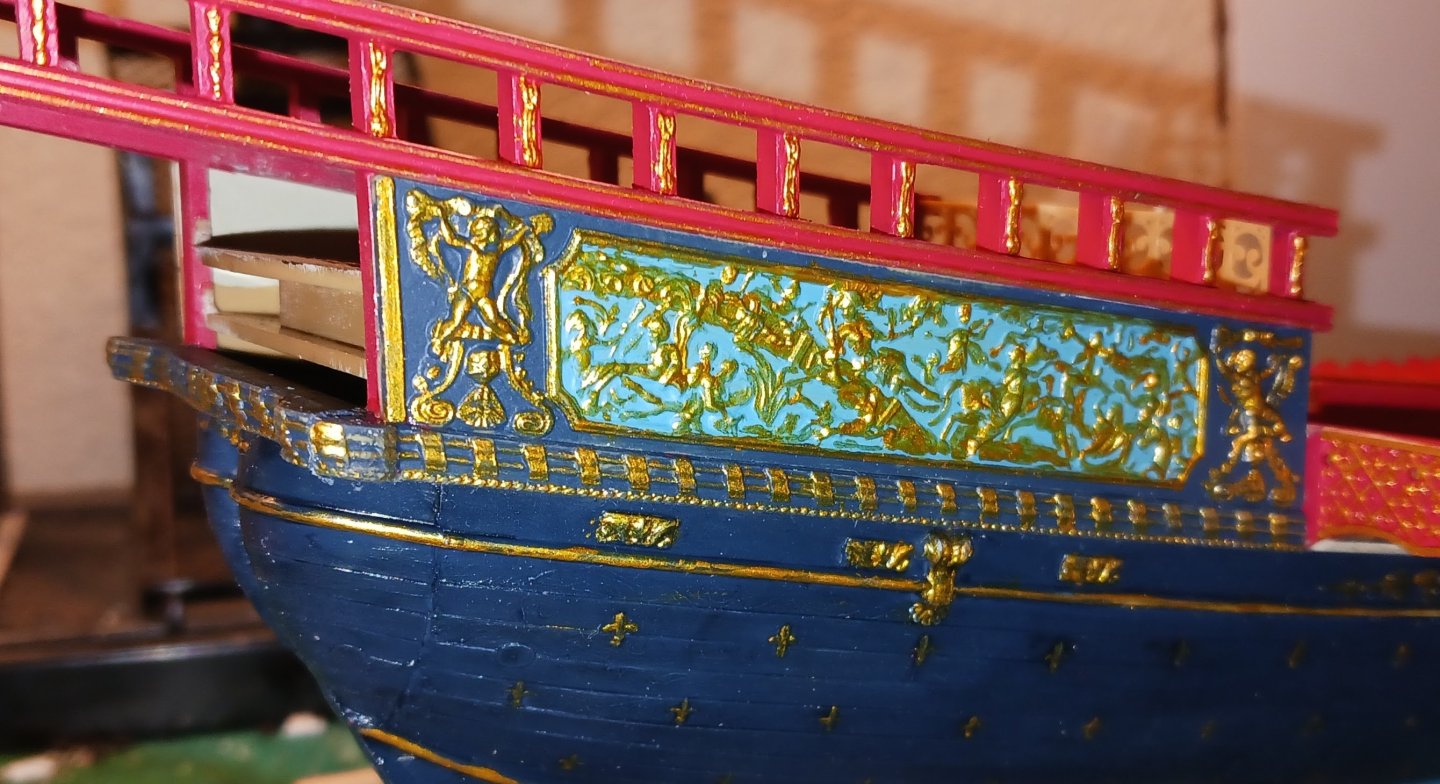
Now, this is where the build starts to get intense. I built the entirety of the upper works subassembly off-ship, and it's currently resting on the stern. It will be glued on before progress continues. The massive timbers at the stern are intended to offset the weight of the humongous bronze cannons at the fore. Anyone who has built a Reale knows what comes next. Most modelers paint the filigree pieces at the stern solid gold, as was likely on the real ship. However, I plan on doing something different. I will paint the interior of the piece light blue, and paint the raised detail gold. This will be done solely to show off.

- 176 replies
-
- 1
-
-
- la reale de france
- heller
- (and 2 more)
-
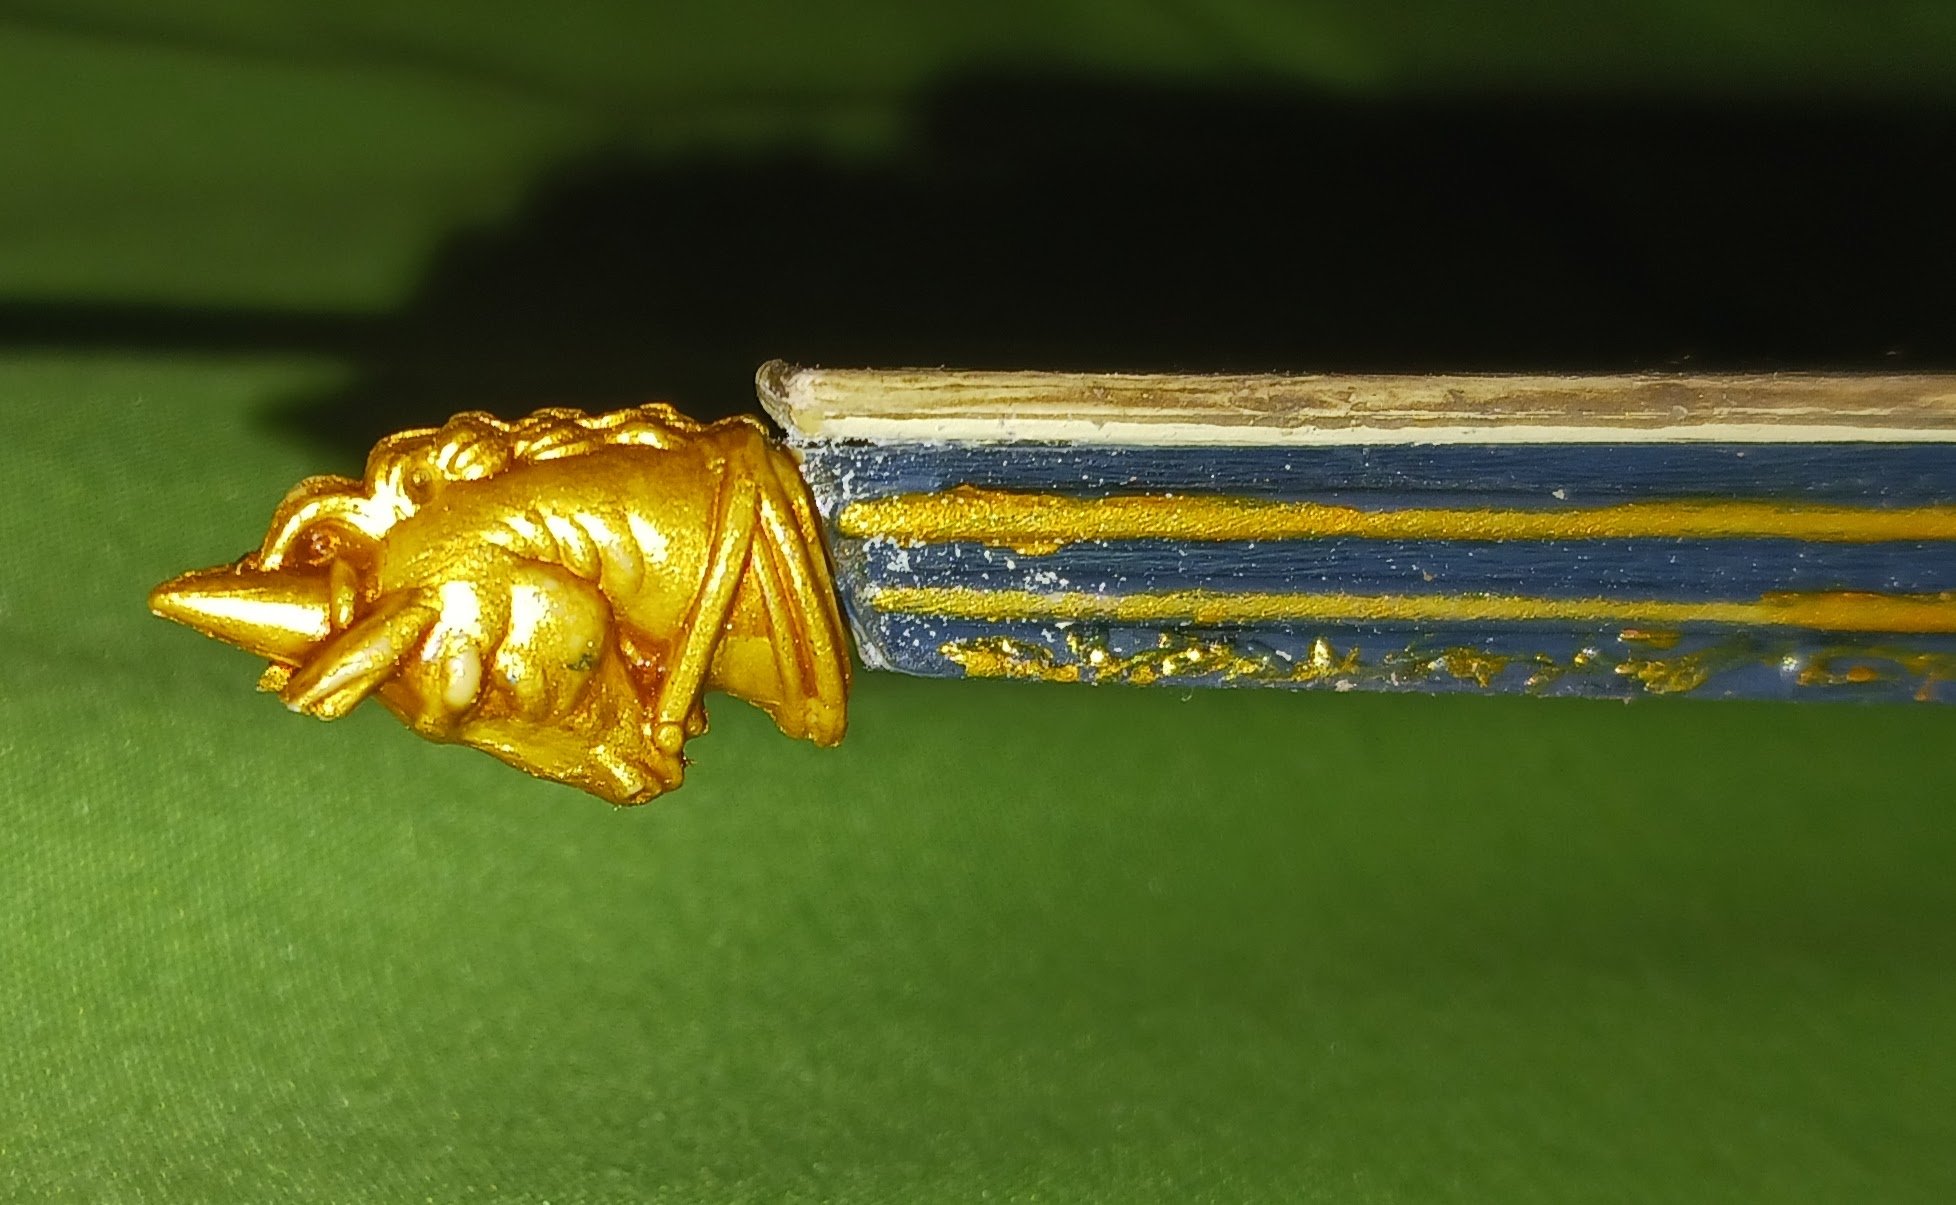
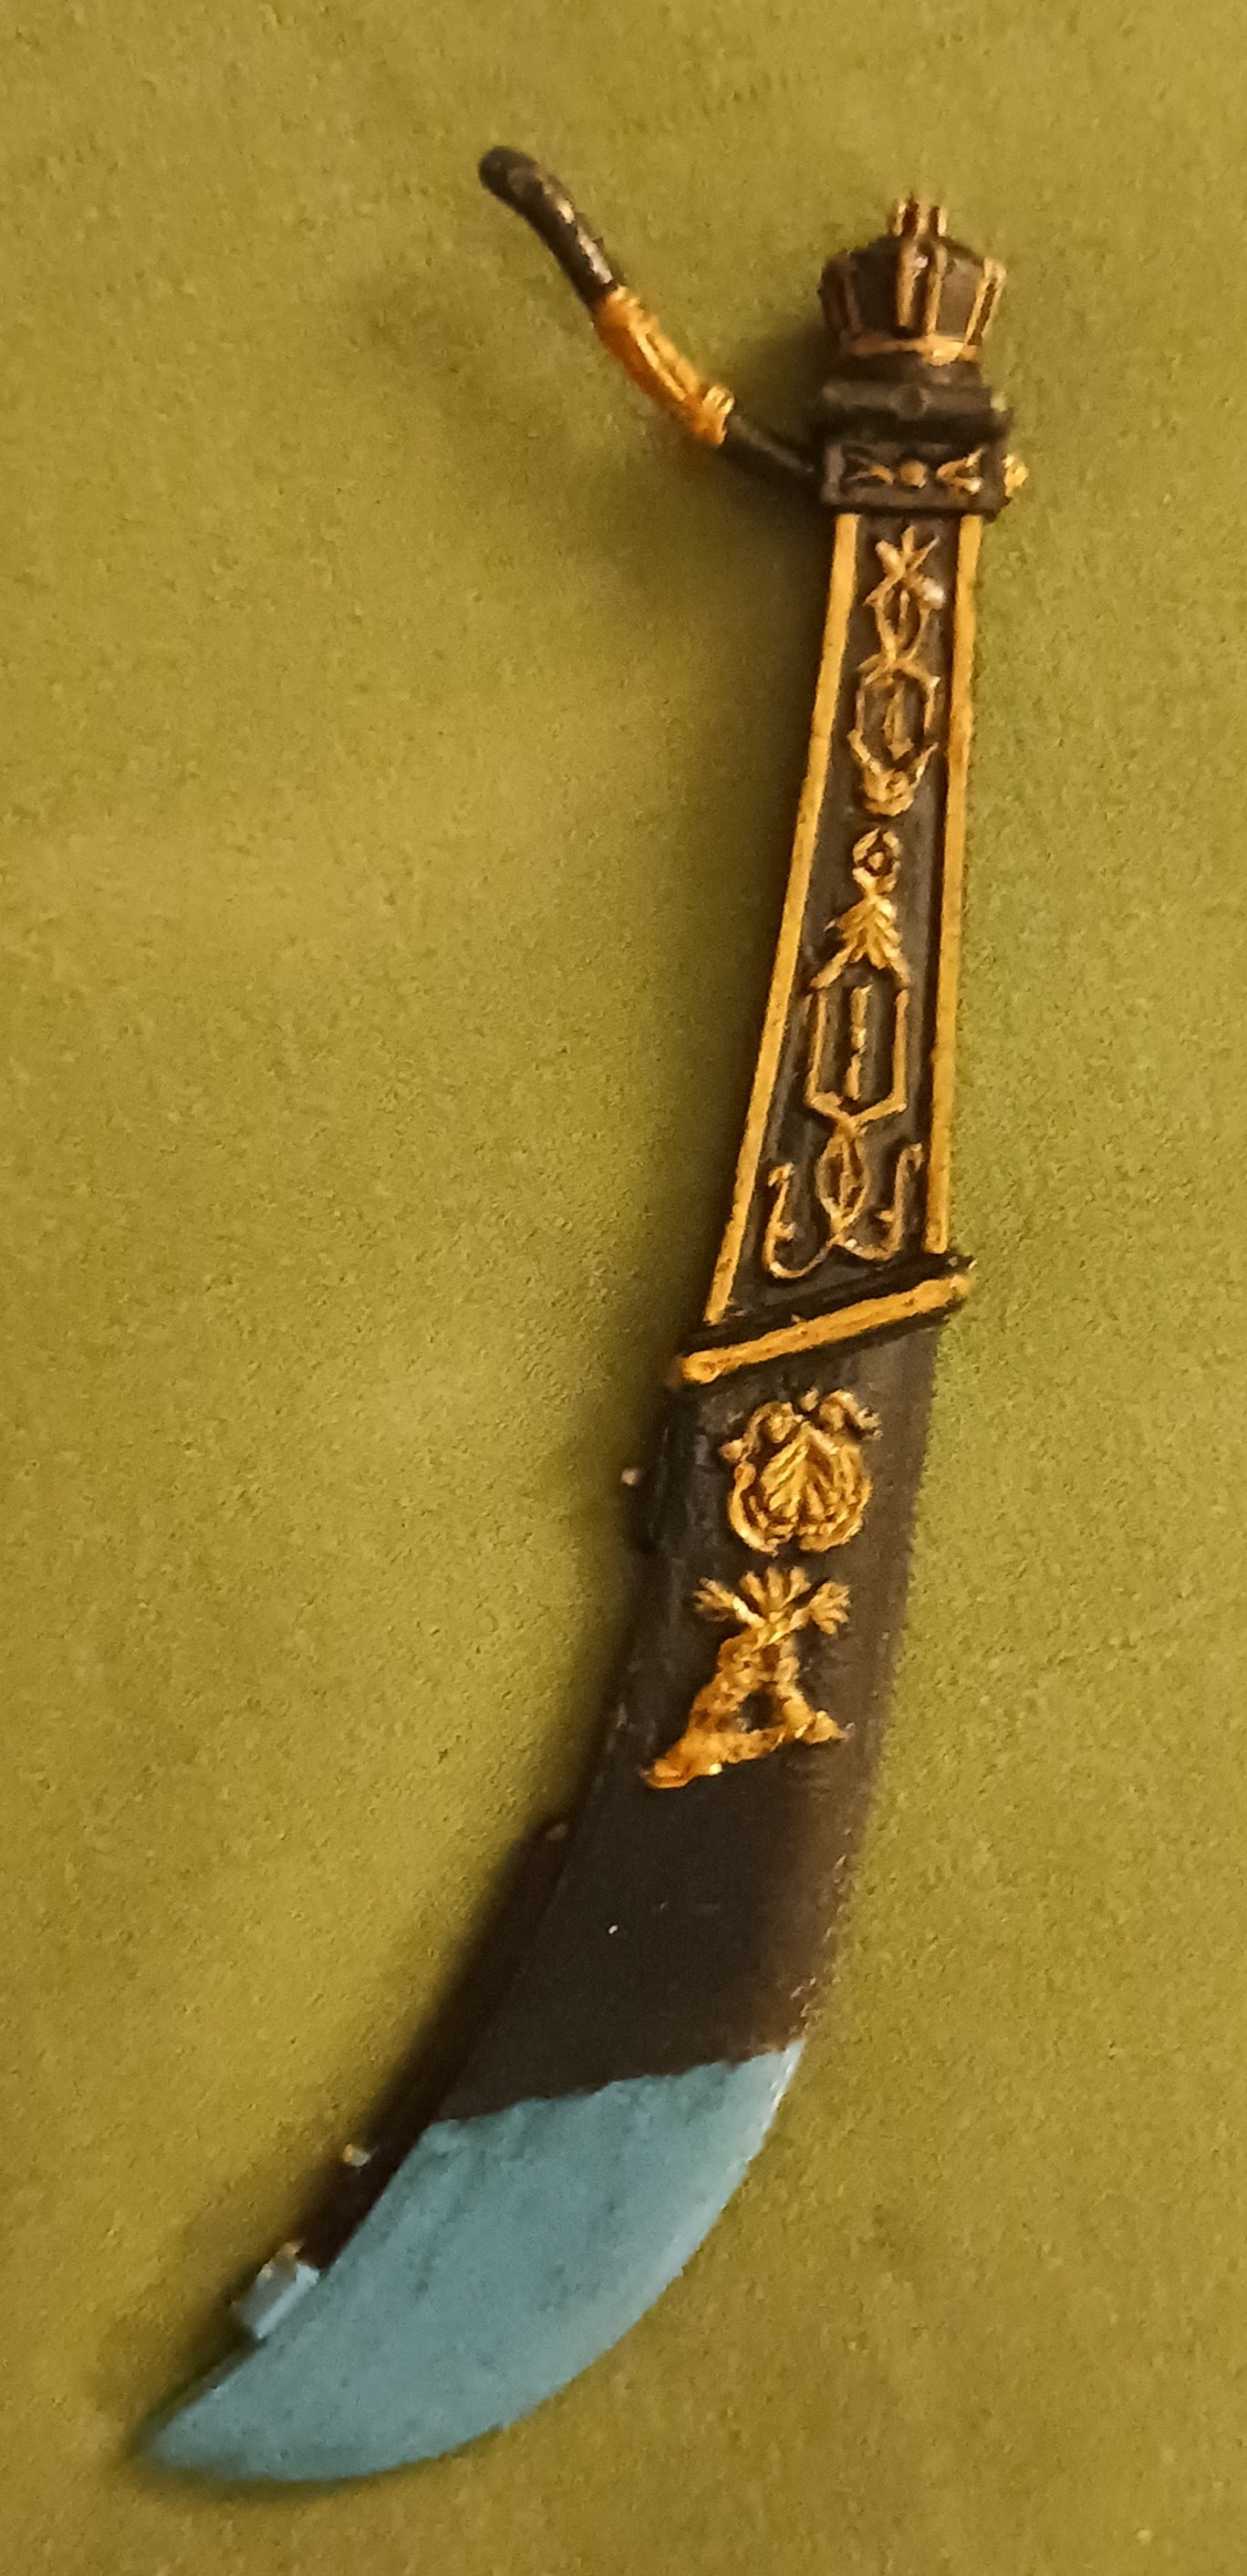
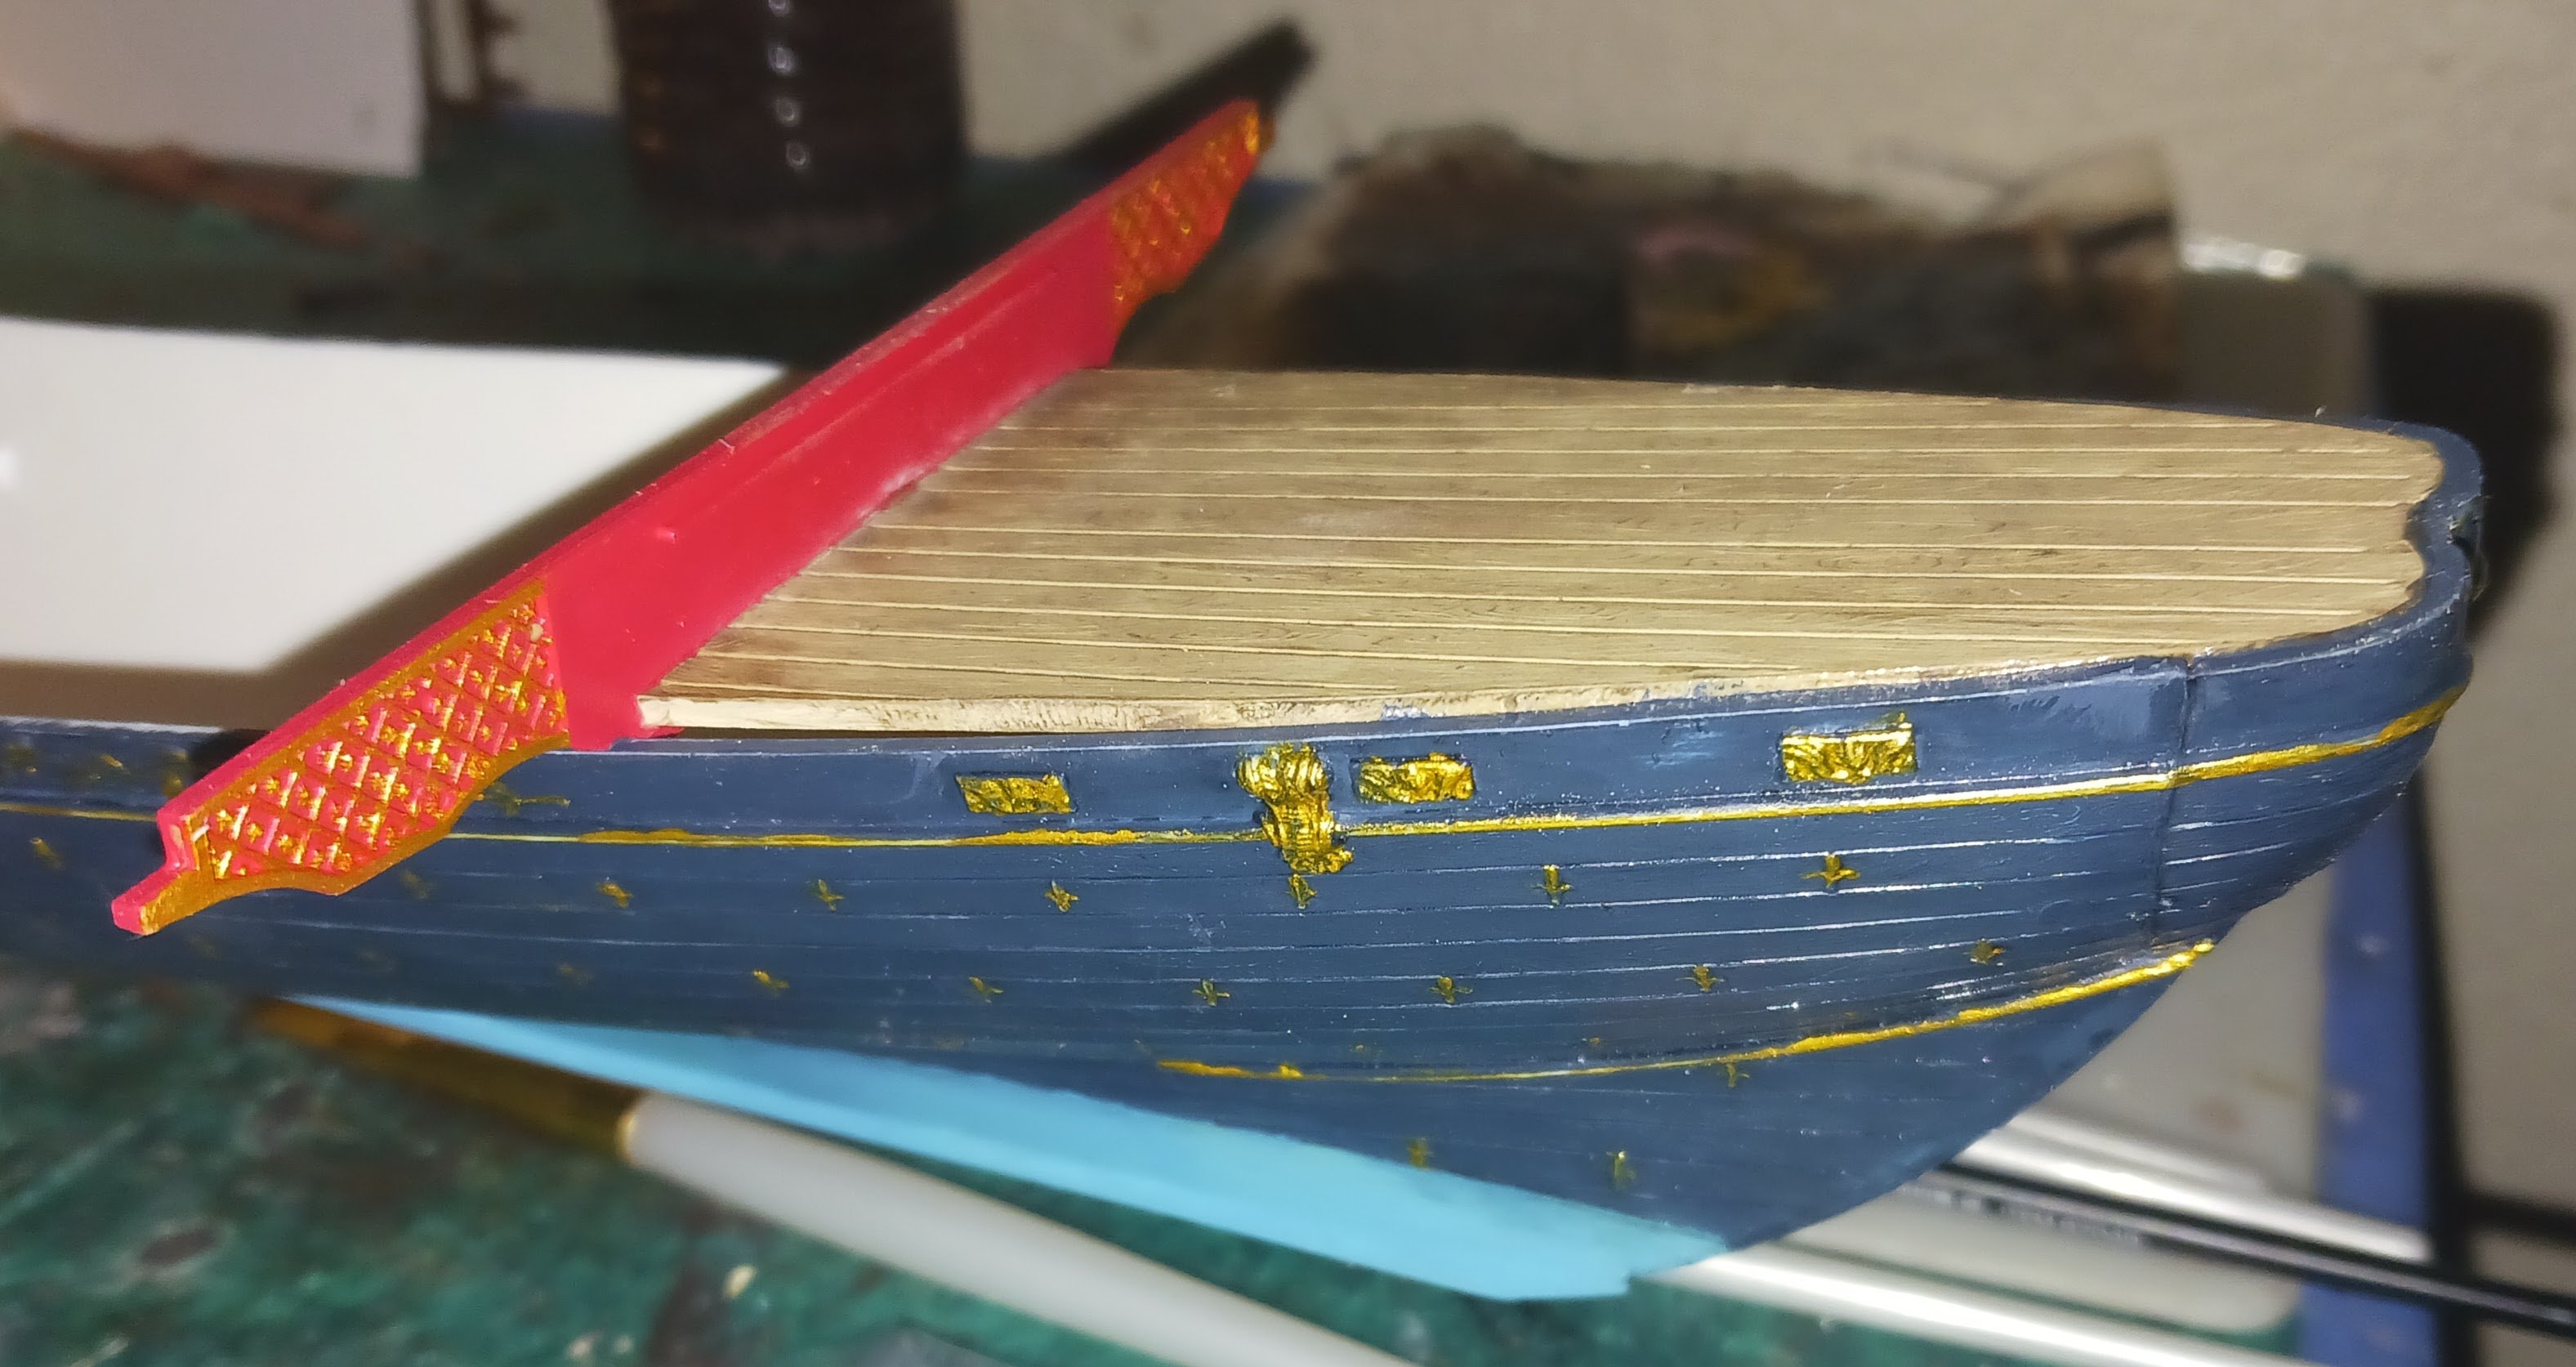
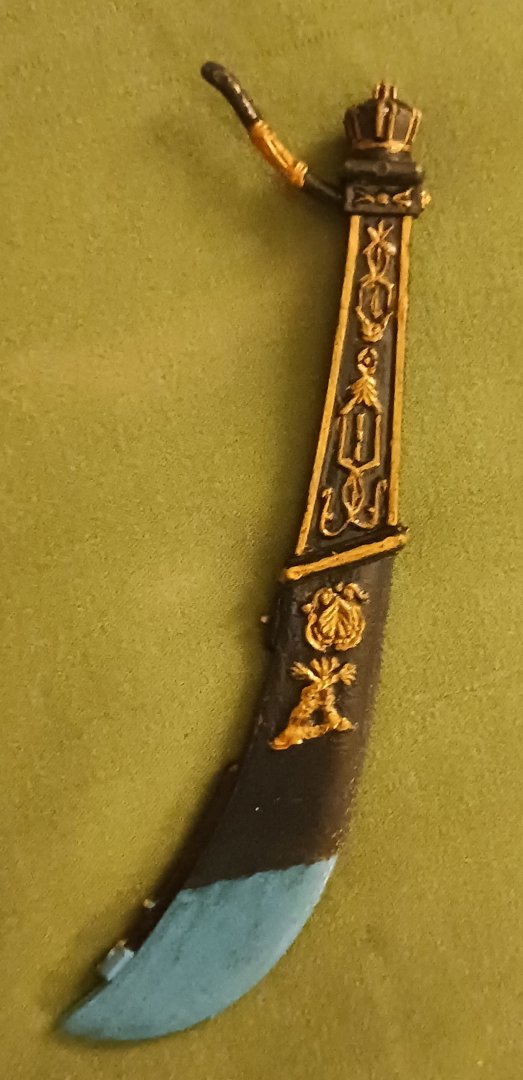
Marc, you are absolutely correct in your assessment on the bulkheads. However, they are glued into place as they are, and I am not aware of a way I could orient/flip/rotate the model (nearly 3 feet) to accommodate repainting. I genuinely appreciate your comment and will repaint if I can figure out a way to do so. Perhaps laying under it like Michelangelo painting the ceiling of the Sistine Chapel? Hiring a mini-me at 1/75 scale? To repaint, I will probably go over the entire thing again in red and go for round 2. Either way, the supports are done. The figurehead is the head of a charging golden unicorn. The rudder is my favorite piece so far in terms of the ornamentation. I learned to come at the raised detail at a more perpendicular angle.


- 176 replies
-
- 5
-
-
- la reale de france
- heller
- (and 2 more)
-
True, but when I built my Cutty Sark model (1959) I had none of these issues. That being said, the quality of the molding is exquisite, and the wood grain approaches that of Imai standards. The golden parts are detailed very well, and overall, there has not been very much flash to worry about. If you can get around the Hellerisms of this model, you can make something that looks magnificent. What I do appreciate about Heller is that they have designed large-scale kits of subjects that other model companies like Revell have not attempted.
- 176 replies
-
- 1
-
-
- la reale de france
- heller
- (and 2 more)
-
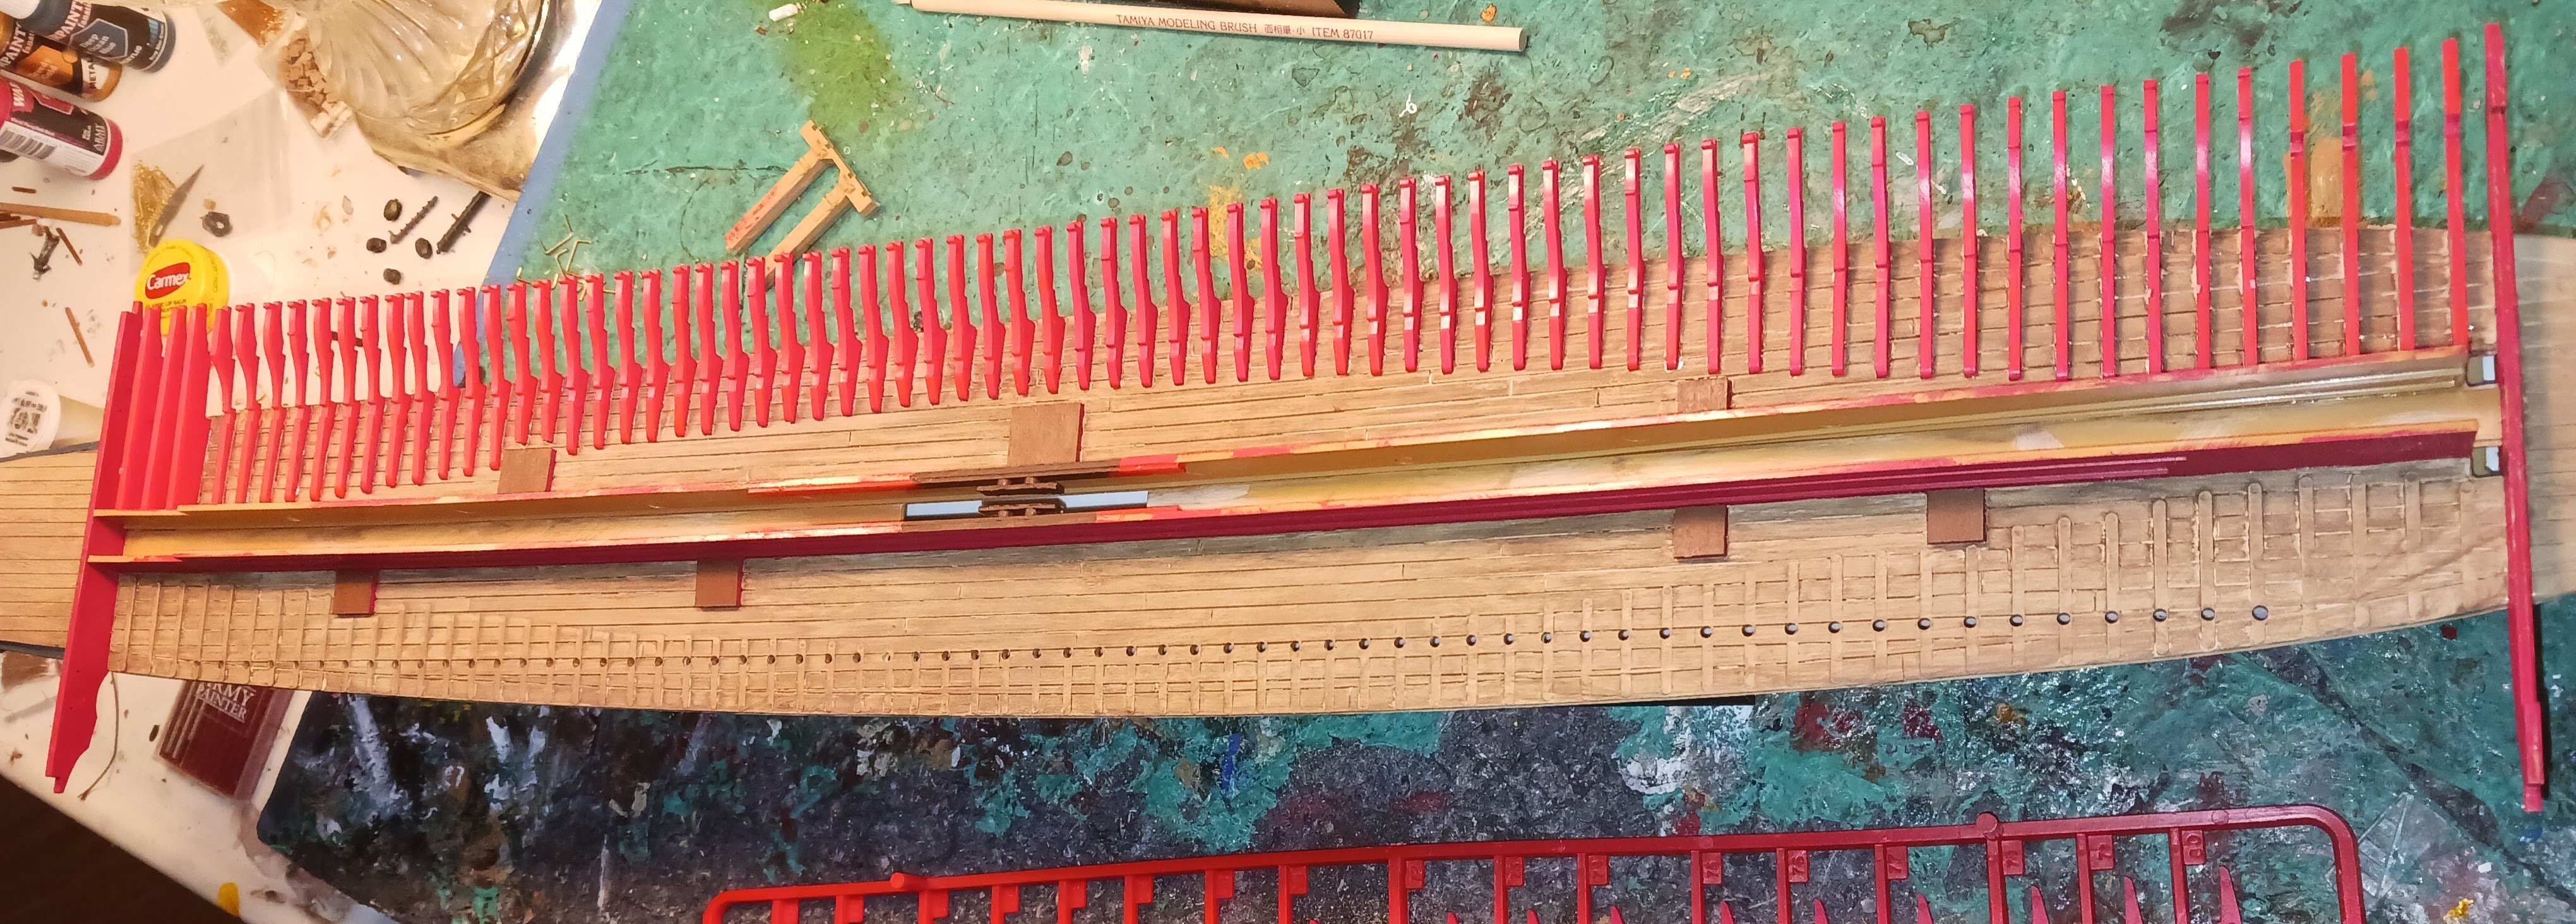
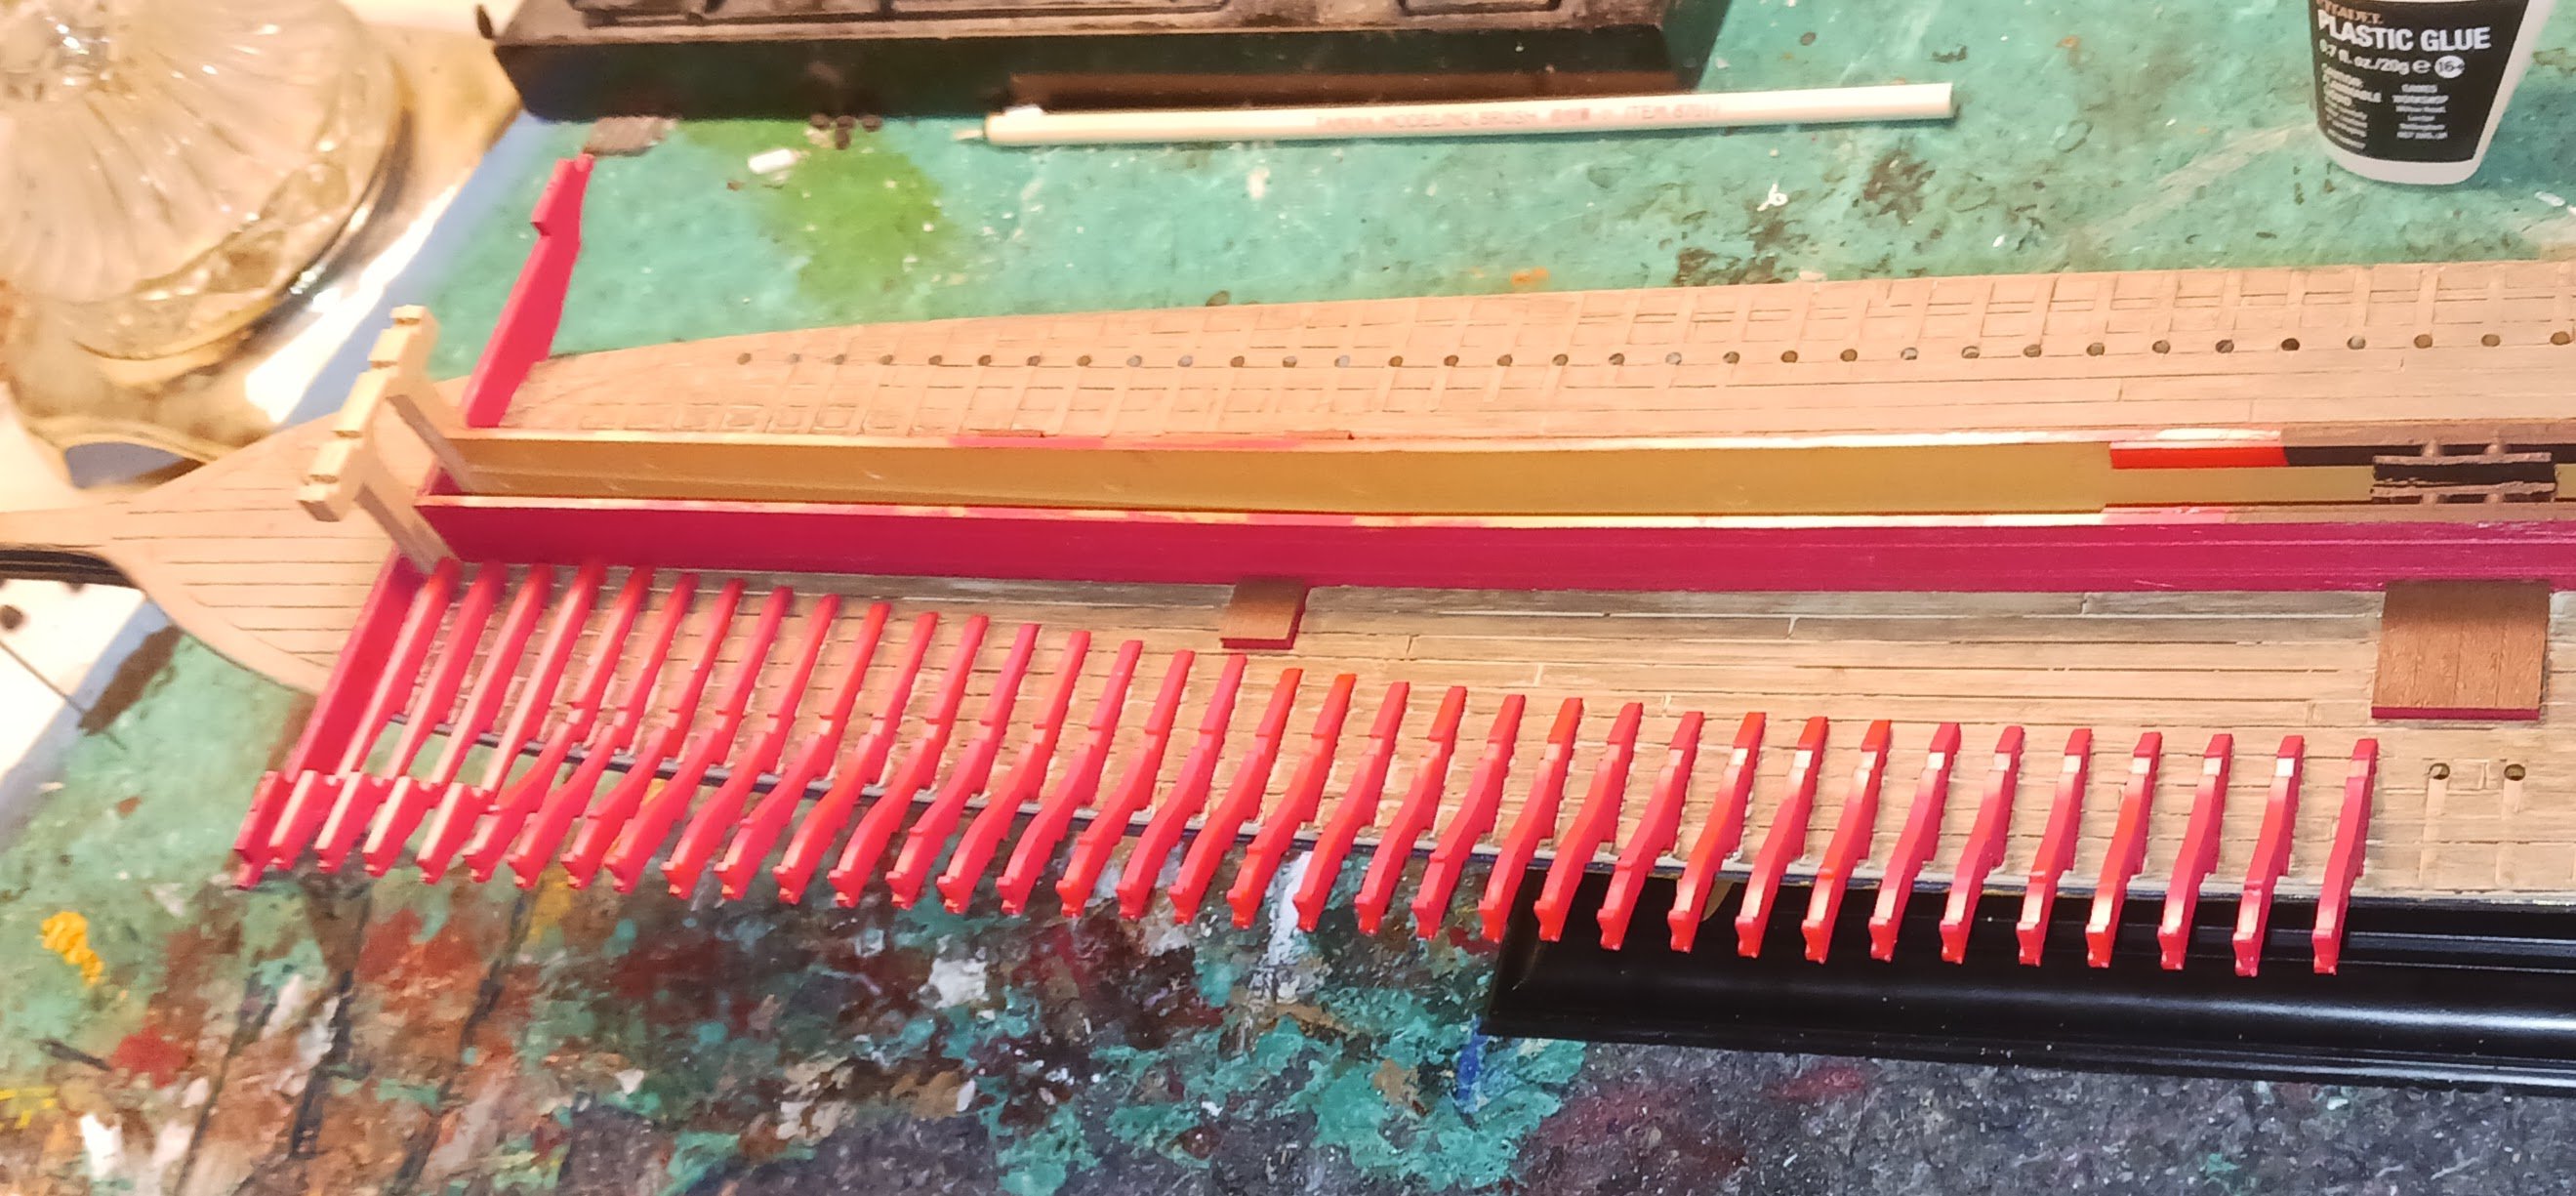
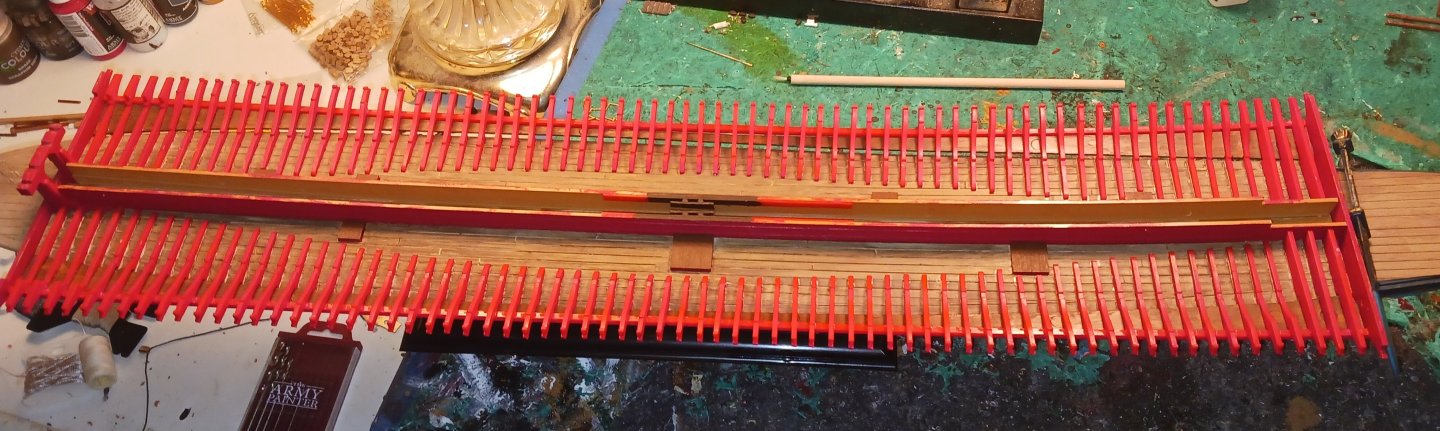
The painting shows one support per oar, but the number of supports on this model suggest almost two supports to an oar. The overall lack of locator pins in such a complex model (where every single step massively affects all subsequent steps) has made me very disappointed in Heller. It wouldn't have taken them much more effort to mold everything in the stronger tan plastic, or design parts like the hundred outrigger supports with two locator pins instead of one. The supports each have a square pin that goes into the round hole in the deck. Their HMS Victory and Soleil Royal kits, both of whose constructions are far simpler than this, are better designed.
-
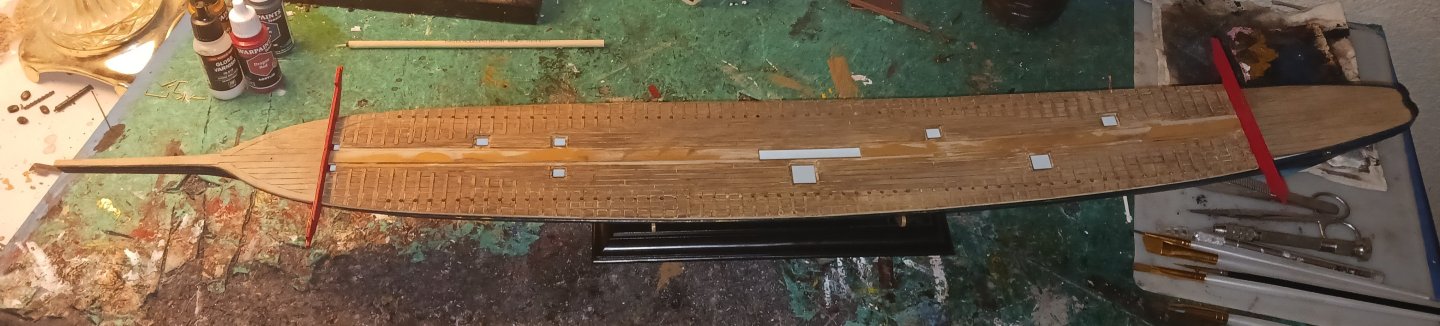
I put in the first quarter of the supports for the outriggers/oar benches. There are about 100 in total. They look to be straight, but some of them are not perfectly level with each other at the ends. I guarantee I'll have issues fitting the long strakes onto the supports.

- 176 replies
-
- 2
-
-
- la reale de france
- heller
- (and 2 more)
-
Don't let the deep blue and gold ornamentation fool you. You could almost always smell a galley before you saw it. If you ever caught the distinctive scent of human feces on the high seas, there was probably a galley nearby. This was because galley slaves and convict rowers were kept permanently chained to their benches- that includes to use the bathroom. Free crew members simply went over the side of the ship, as there were no heads on a galley. Even a large galley could only go four days without resupply, meaning long voyages were out of the question. A third of all galley rowers died within three years, mostly from disease. For that reason, I made the midships area of the Reale look especially disgusting. If King Louis was ever transported in a galley, which I'm sure he was, he would have been travelling in the disease-ridden maritime equivalent of an outdoor toilet.
- 176 replies
-
- 2
-
-
- la reale de france
- heller
- (and 2 more)
-
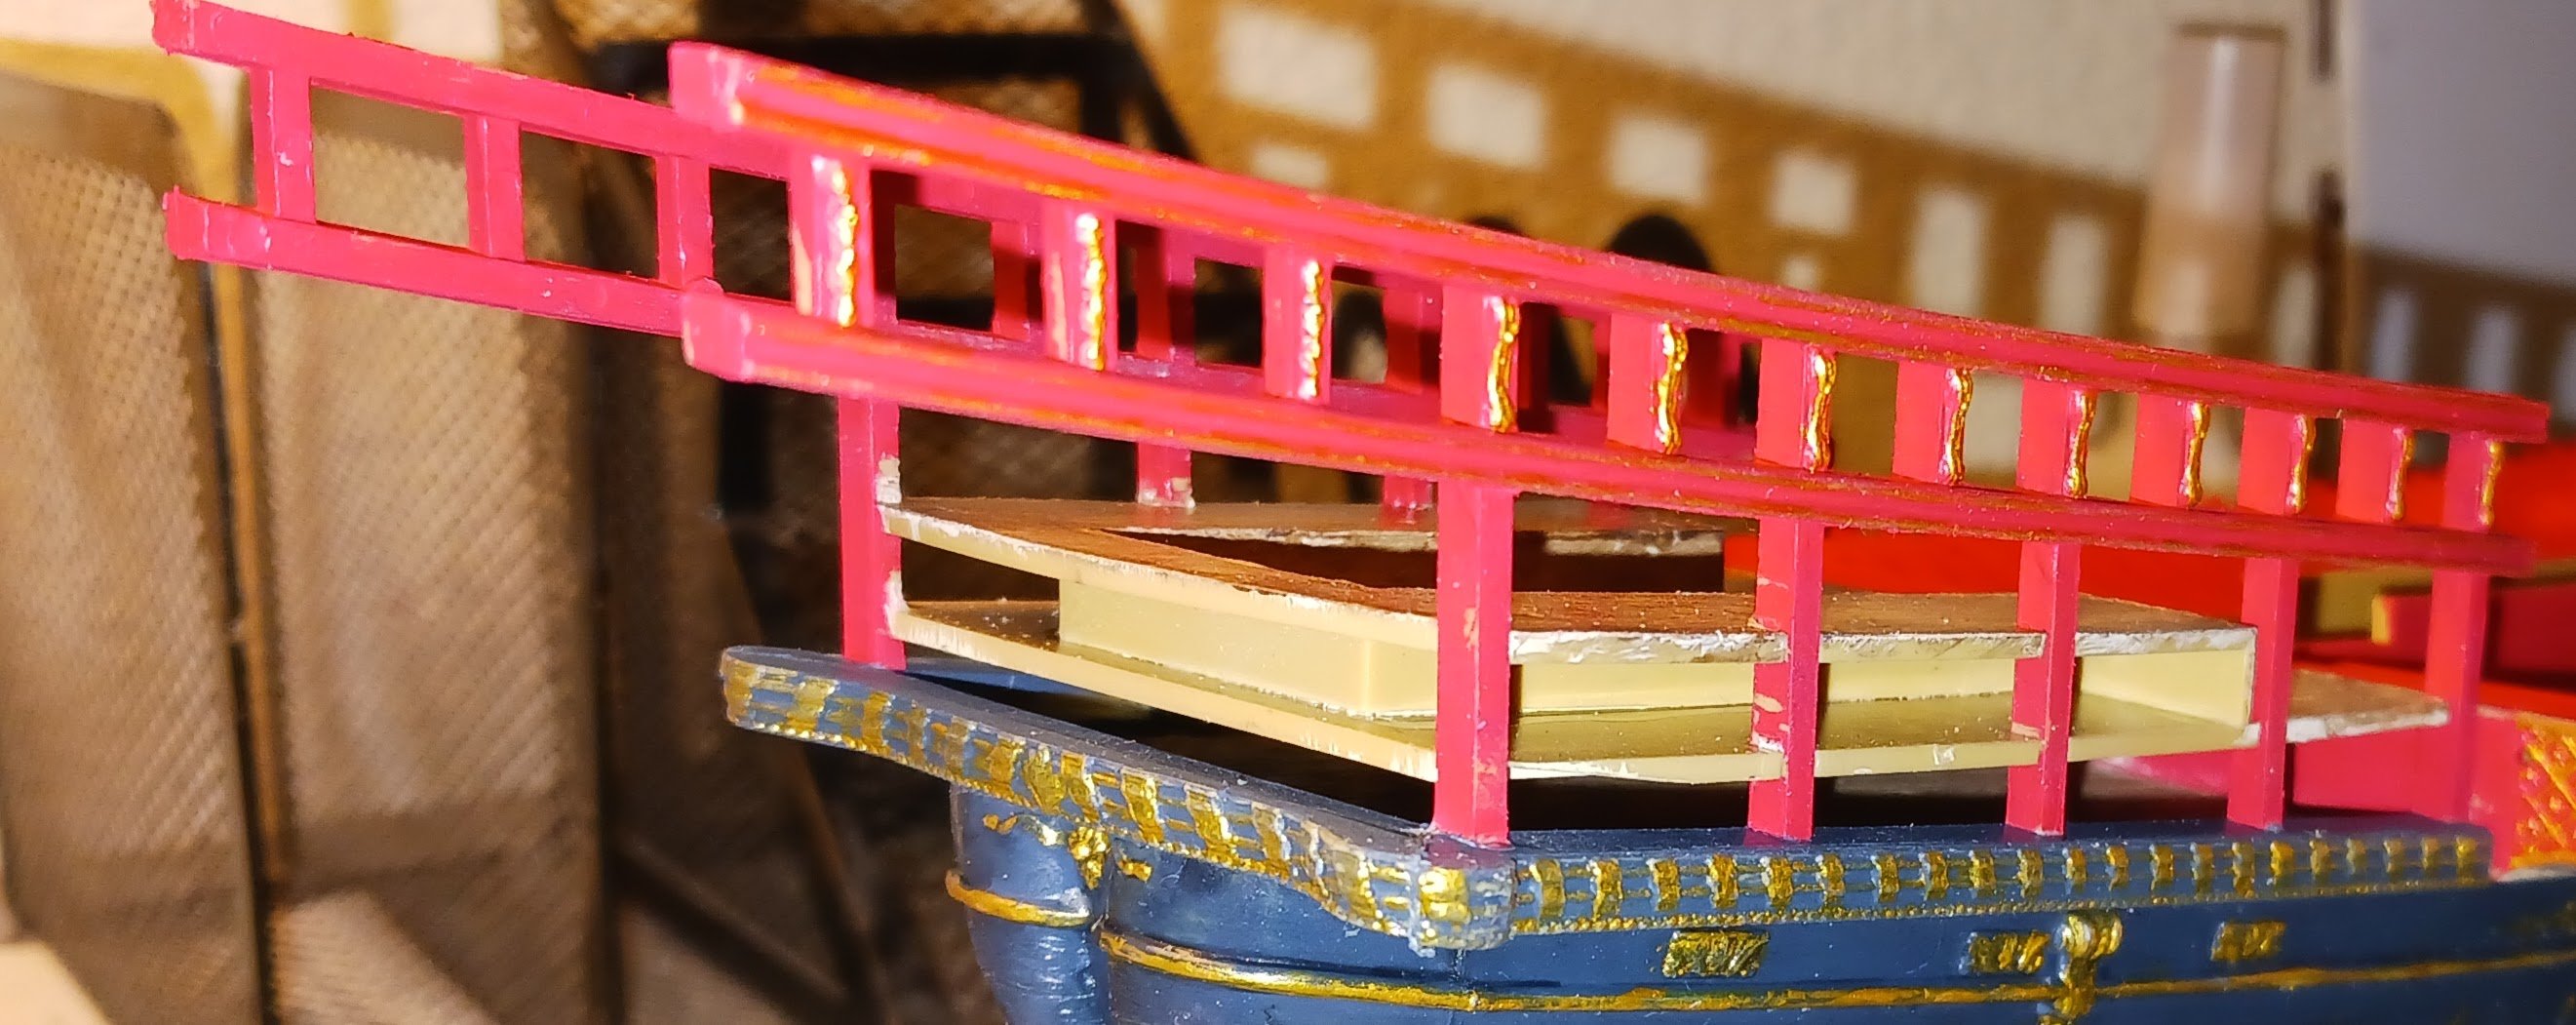
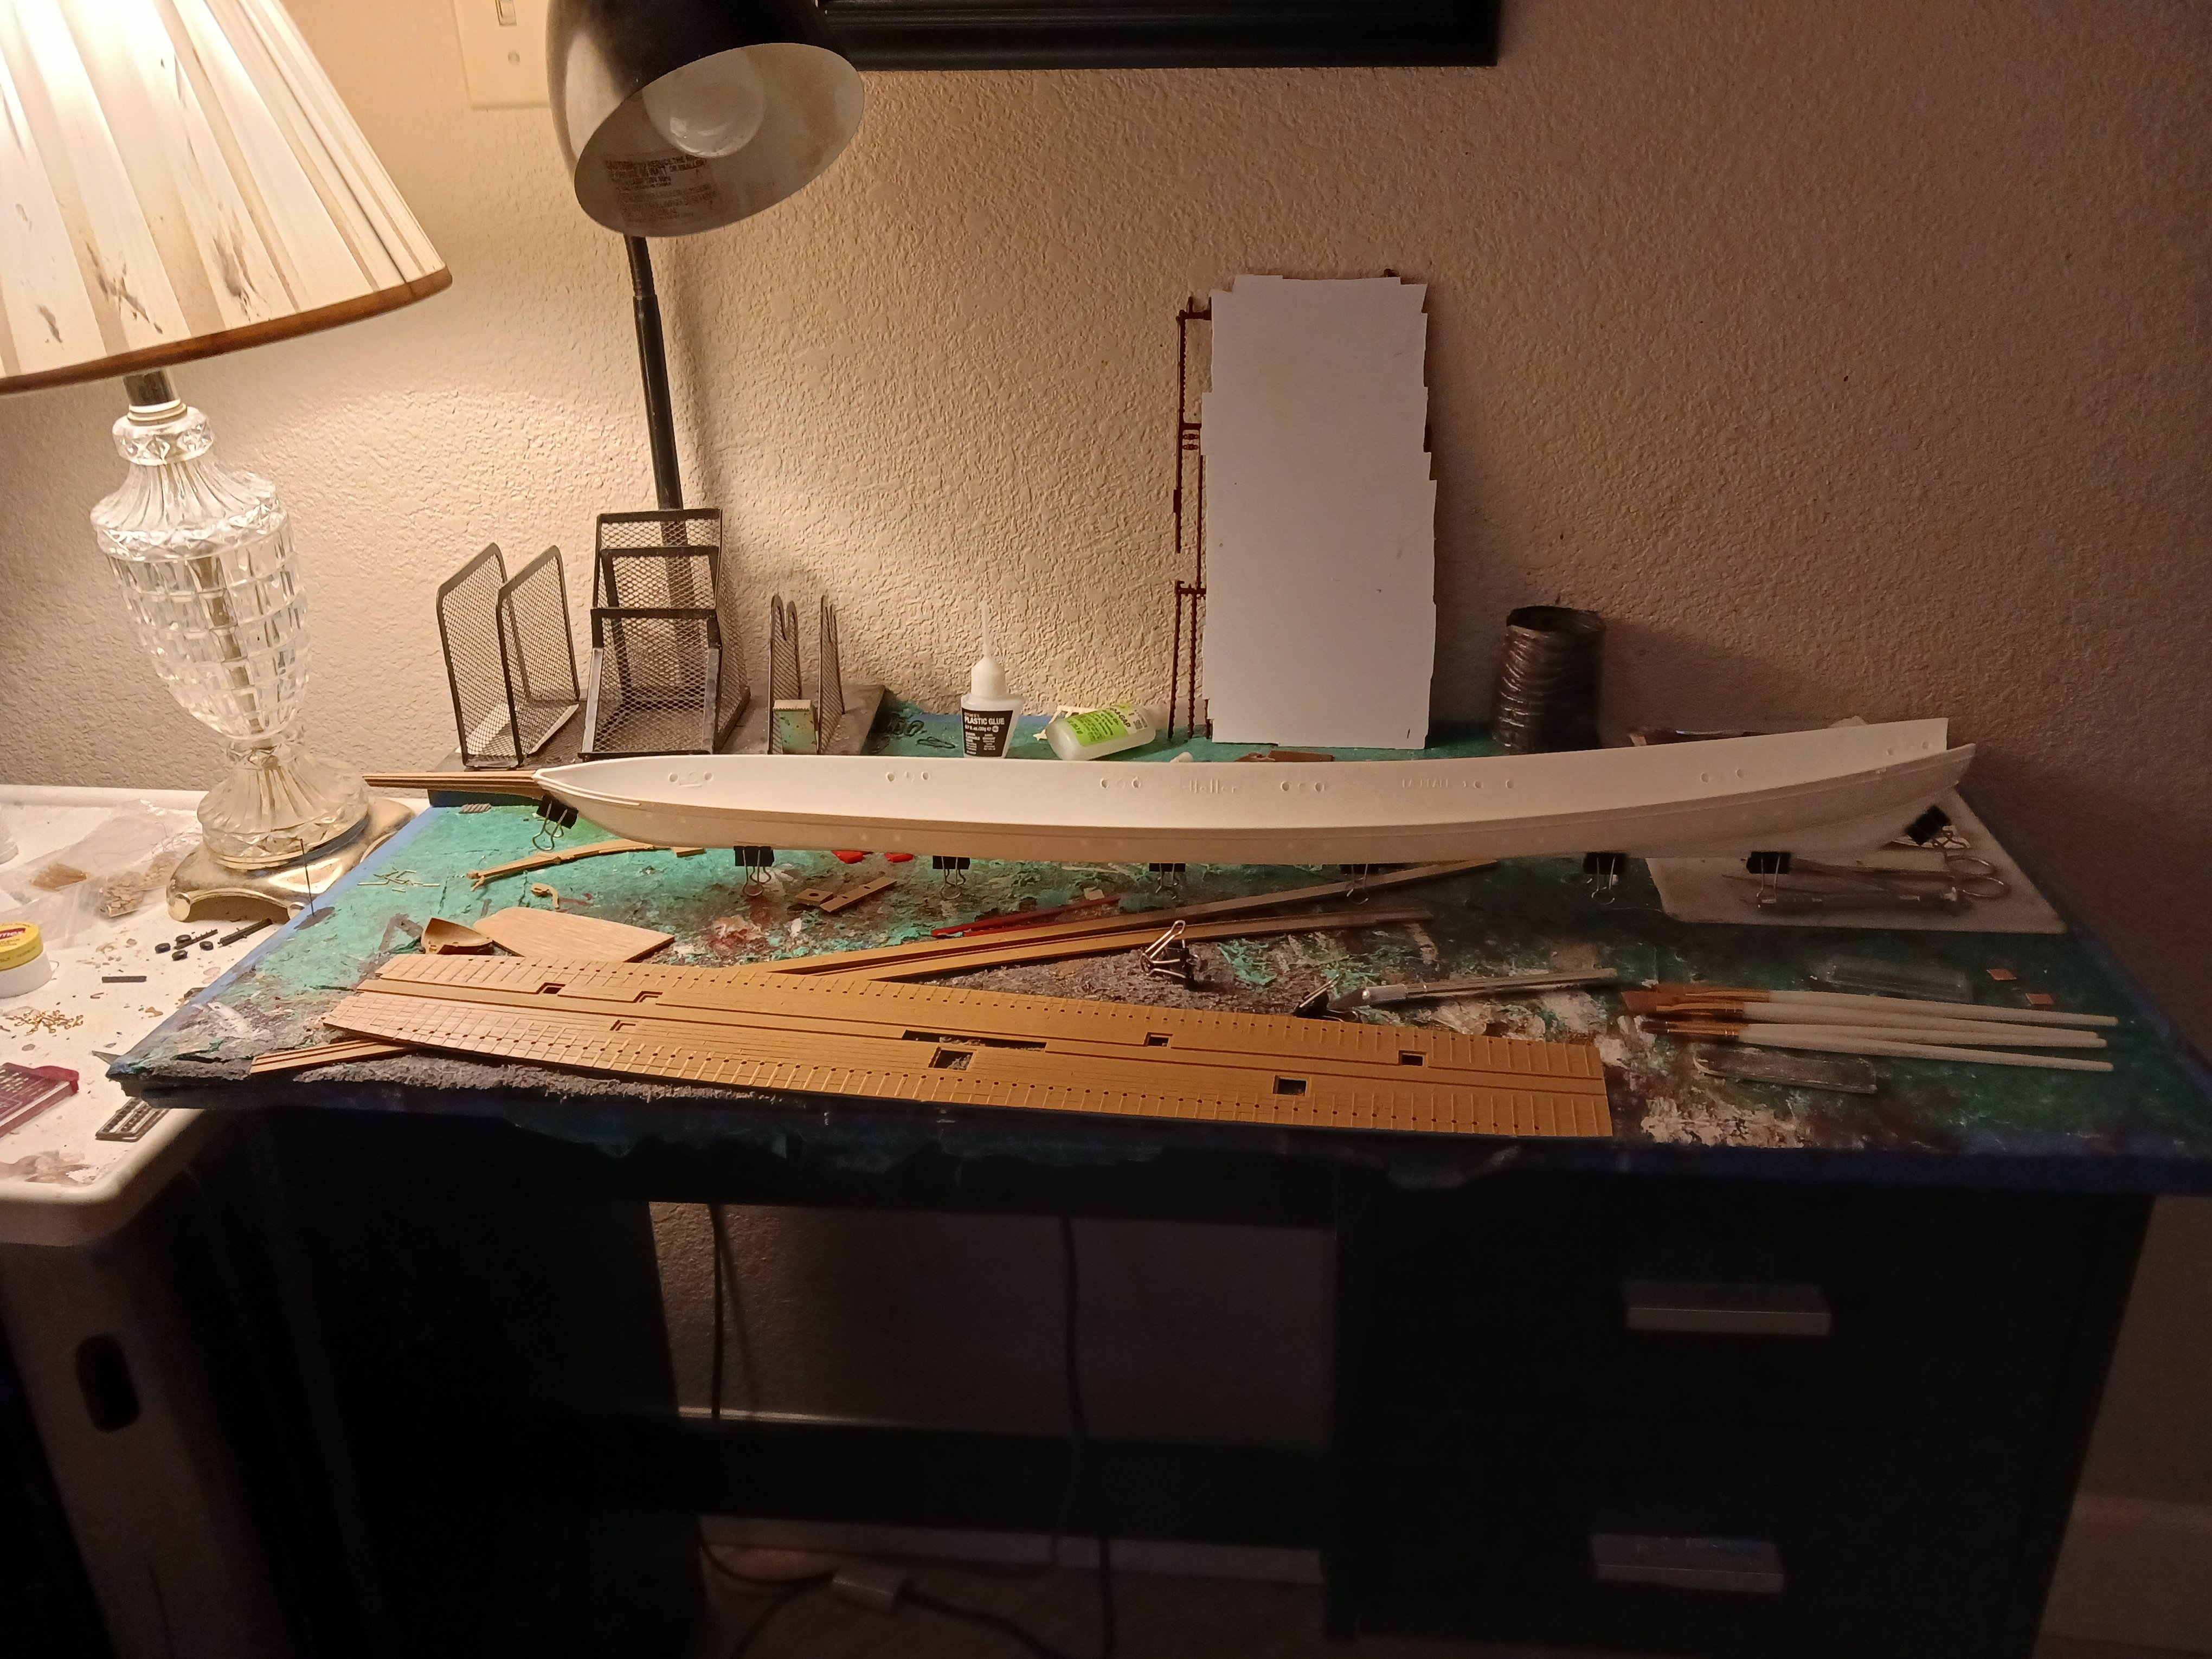
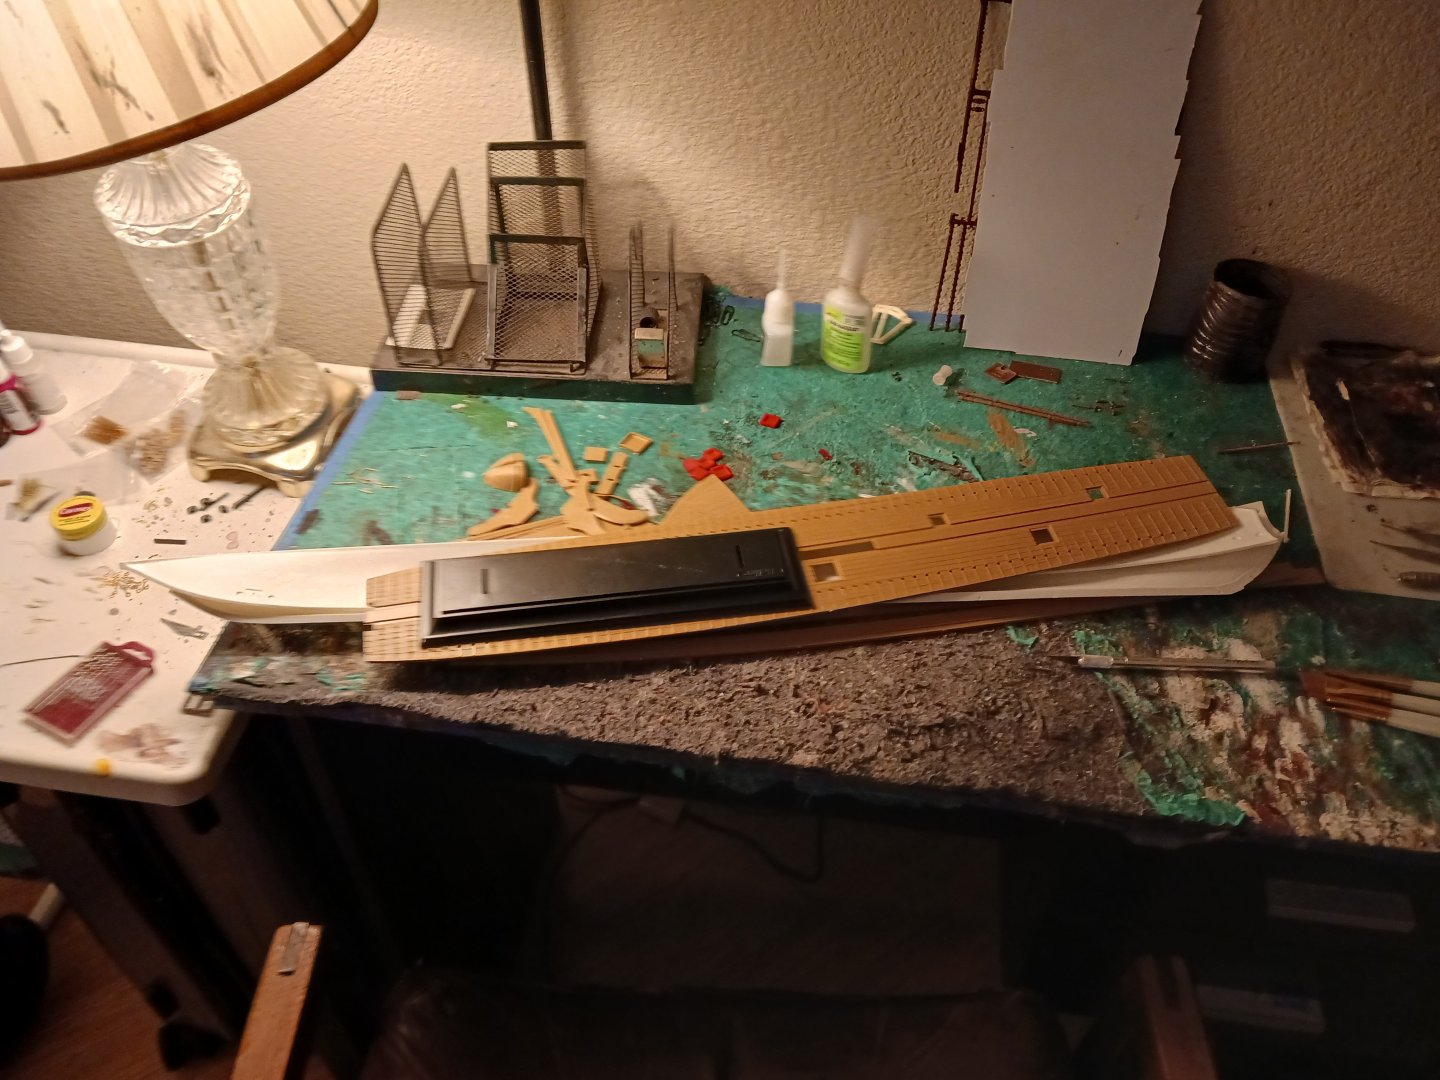
I went and looked at multiple other renditions of this model, and no one nailed down the paintwork on these two pieces. Anyway... This subassembly makes no sense to me. I am used to making galleons, caravels, and other sailing vessels. It seems to me as though this deck should be flush with the hull, but the instructions clearly show this assembly the way I have it. More than that, there seems to be another deck that goes directly on top of this one. If so, why is this deck textured, or even there in the first place?

- 176 replies
-
- 2
-
-
- la reale de france
- heller
- (and 2 more)
-
I'm not exactly happy with the paint job on these two bulkheads, but it will have to do. Someday, I'll become a better painter. Anyways, on to the next thing- decking.

- 176 replies
-
- 5
-
-
- la reale de france
- heller
- (and 2 more)
-
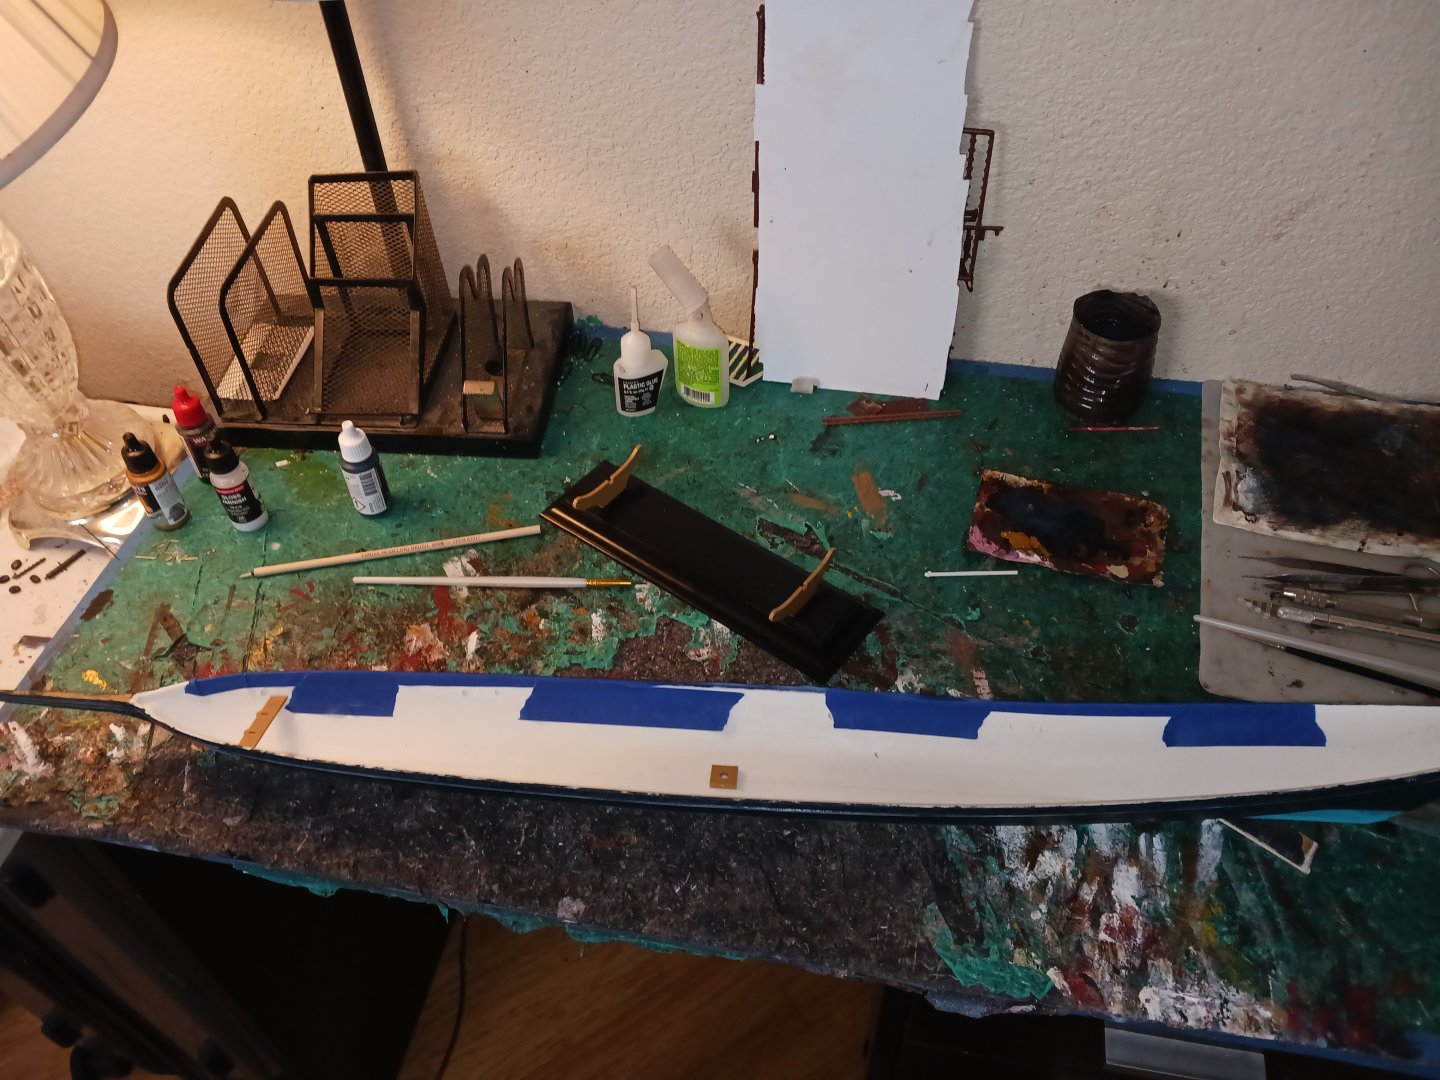
That means a lot to me, Michael. Thank you. When I had finished painting the gold work on the starboard side, I noticed something strange- the blue paint on the upper edge of the port side of the hull was being worn down, everywhere except at the bow and stern. I reasoned this was because that's where I was holding the hull when I was painting the stbd gold works. So, in preparation for the port side decorations, I decided to run a protective line of painter's tape along the stbd midships section:
- 176 replies
-
- 3
-
-
- la reale de france
- heller
- (and 2 more)
-
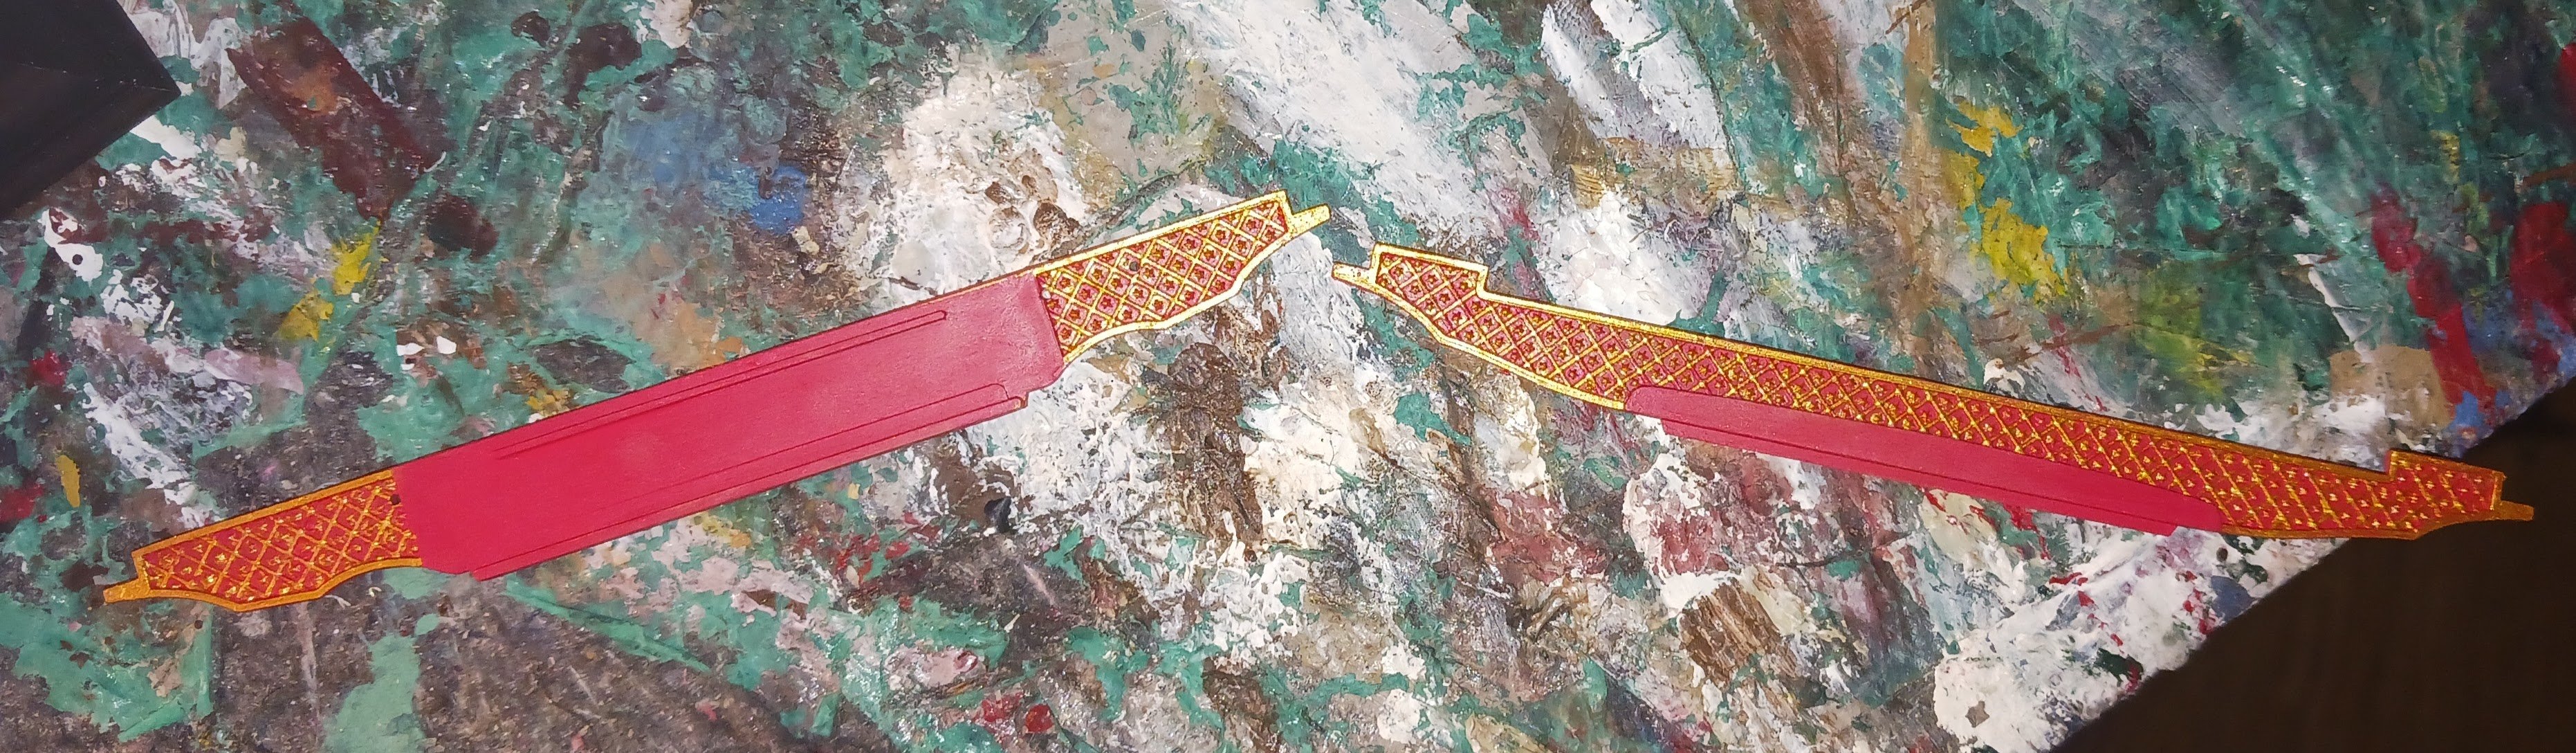
This is what I spent the last two and a half hours of my life doing: In contrast to Michael D's experience, the fleur-de-lys were bearable. The scrollwork, however, made me want to turn the Reale into an airplane.

- 176 replies
-
- 4
-

-
-
- la reale de france
- heller
- (and 2 more)
-
When the shade coats are done drying, I will coat the entirety of the hull in a gloss varnish to protect it. After the fleur-de-lys and scrollwork is done, I will apply another coat of varnish. When the ship was under sail, the slaves on the lee side of the ship would sometimes be swamped waist-deep in water. Thus, owing to the low freeboard of the hull, covering the entire thing in gloss would not be outside the realm of reason.
- 176 replies
-
- 1
-
-
- la reale de france
- heller
- (and 2 more)
-
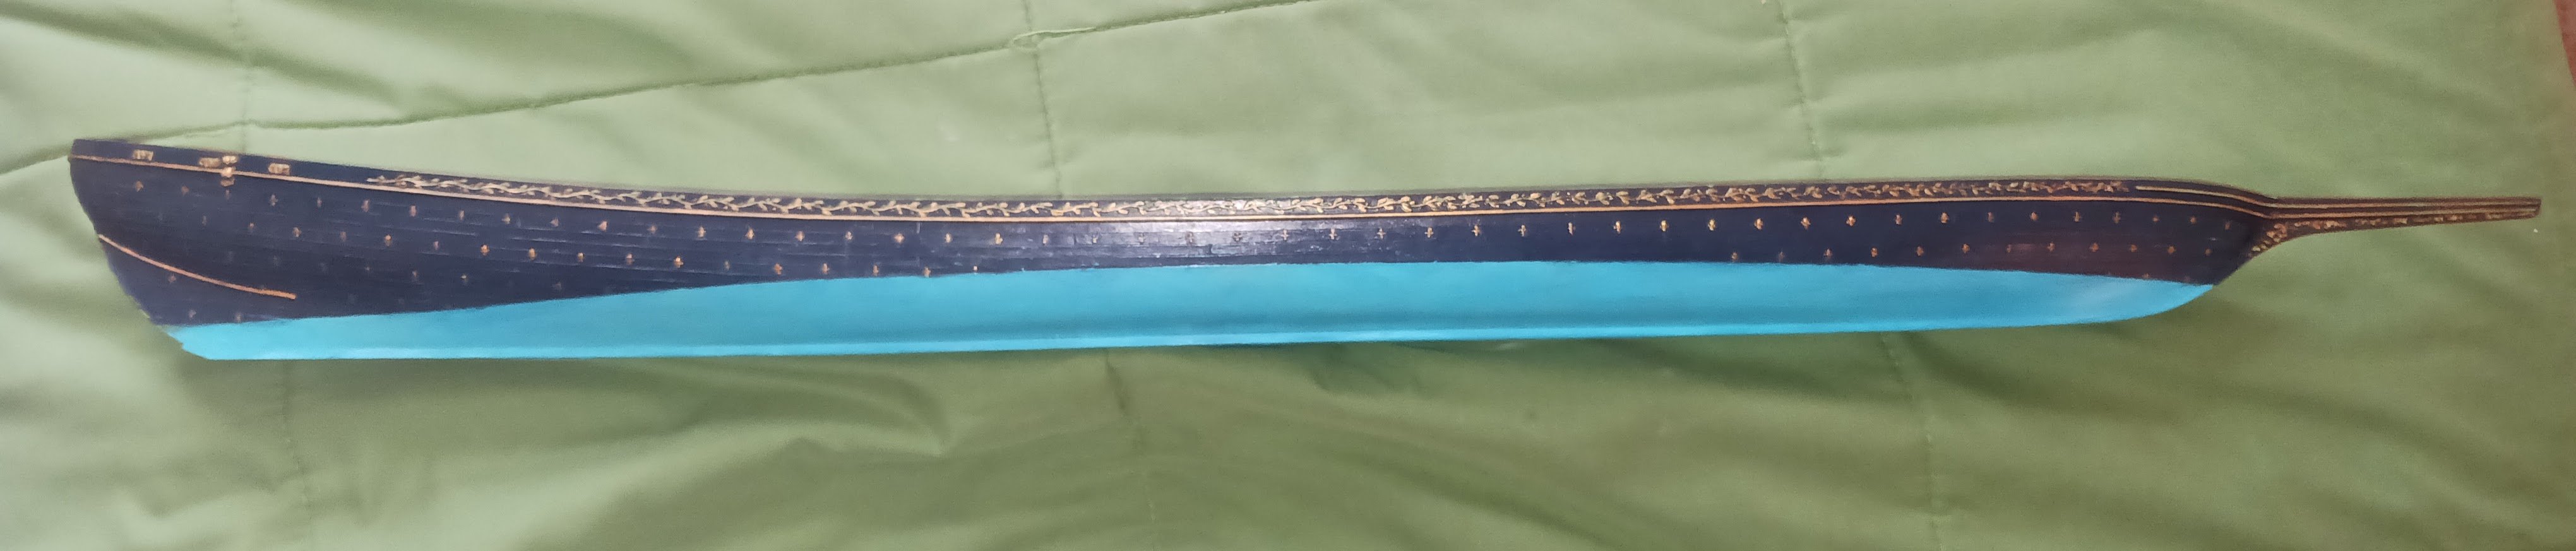
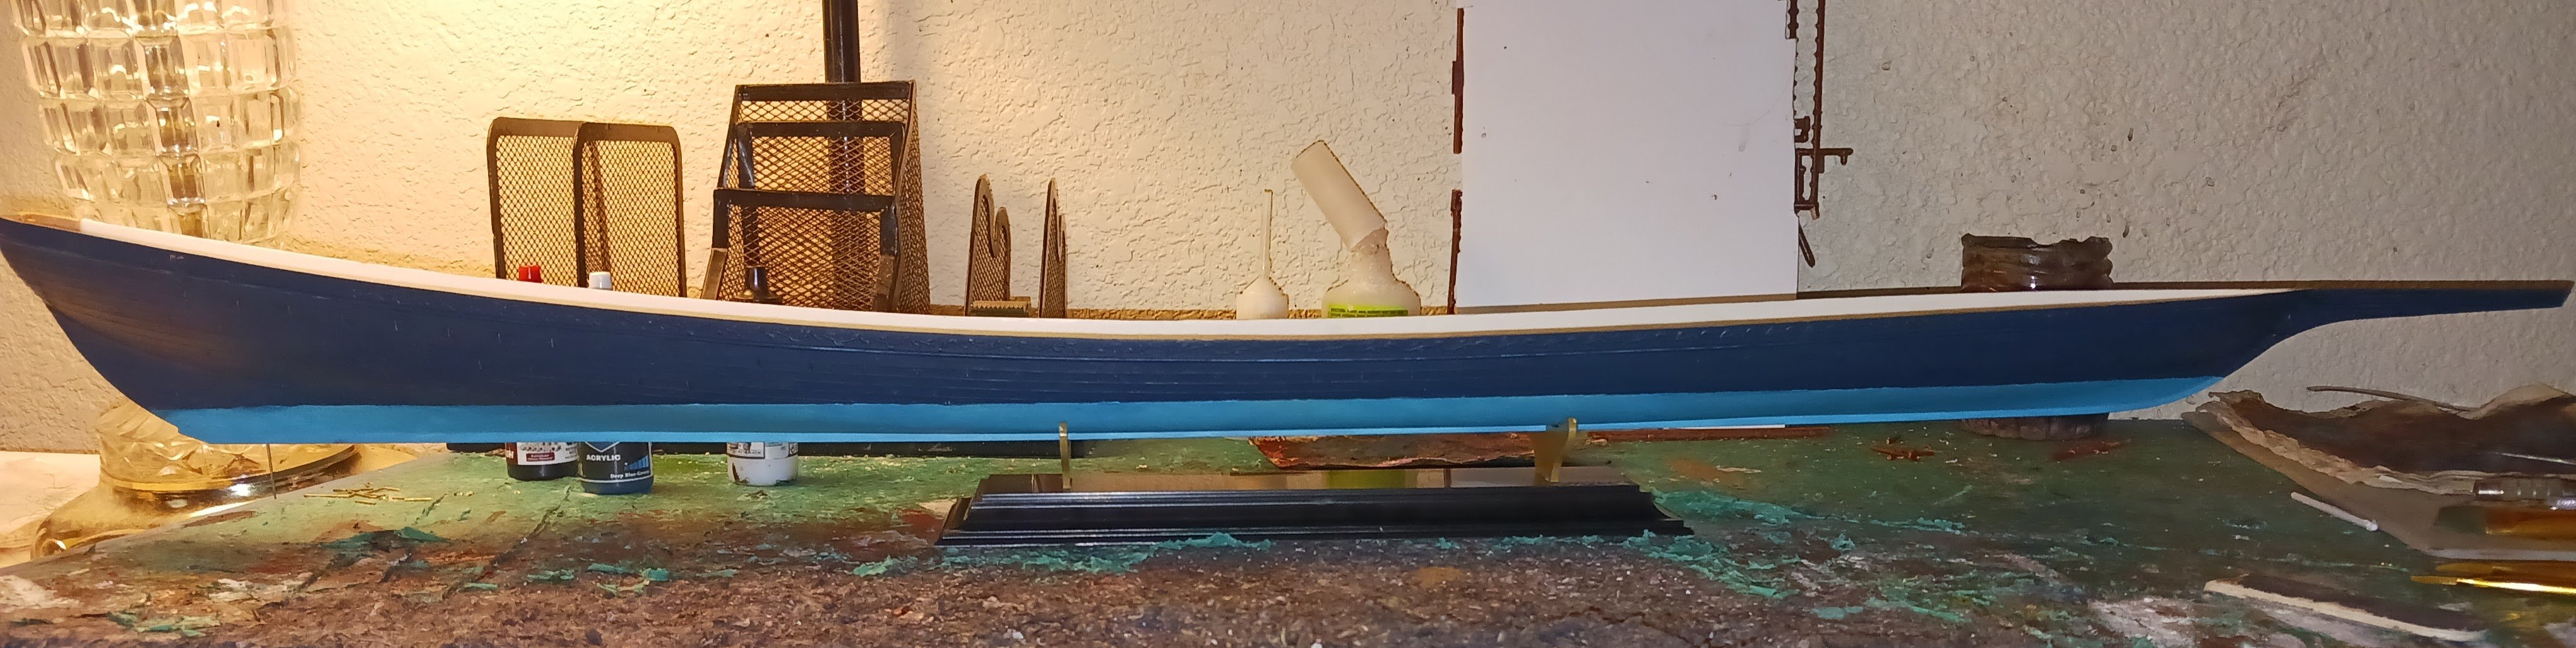
This is the hull so far: The water content in the dark blue shade I used took off some of the paint in the raised areas, which will be repainted gold anyway. I will likely add another coat or two of shade, as the hull is not dark enough. I fixed the waterline as much as reasonably achievable.

- 176 replies
-
- 1
-
-
- la reale de france
- heller
- (and 2 more)
-
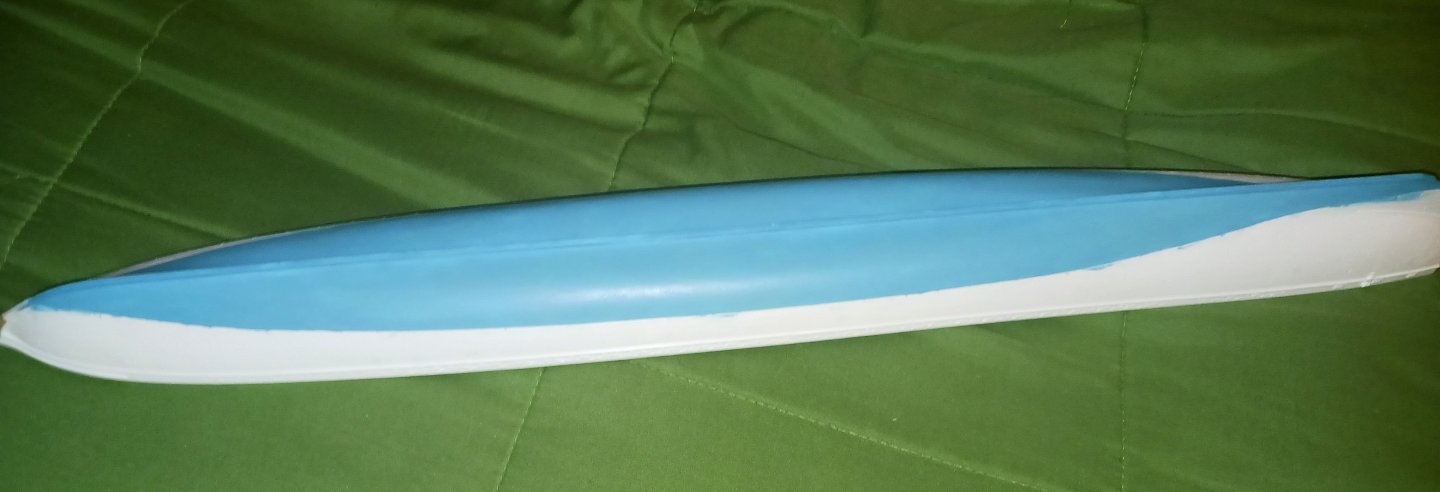
This is the hull below the waterline. I wanted it to look like the Landstrom painting.

- 176 replies
-
- 5
-
-
- la reale de france
- heller
- (and 2 more)
-
This is an image of another Reale. I doubt the broken off bits on mine will make that much difference to the whole. However, crappy reconstructions of them will. I can remake the railings with wooden strips.
-
Now it's time to start the real fun- painting.
-
Is it possible I could email Heller for a new sprue? I have heard horror stories about Heller's lack of answering emails. Will they do this for a model that was bought second-hand?
-
The only other damage is to one of the swivel guns in one of the bags. I assume the piece itself still exists. I will chop off all the thole pins, drill holes, and insert brass rod. That seems reasonable. The construction of the galley has been, so far, a galley. Neither the beakhead nor the stern have any kind of locator pins whatsoever, The decks have some sort of guide points on their underside, but no corresponding element on the hull. In French, comparing something to a galley is a hyperbolic figure of speech indicating the arduous, difficult, or a pain in the neck.

- 176 replies
-
- 2
-
-
- la reale de france
- heller
- (and 2 more)