HOLIDAY DONATION DRIVE - SUPPORT MSW - DO YOUR PART TO KEEP THIS GREAT FORUM GOING! (Only 68 donations so far out of 49,000 members - Can we at least get 100? C'mon guys!)
×


HIPEXEC
-
Posts
2,698 -
Joined
-
Last visited
Content Type
Profiles
Forums
Gallery
Events
Everything posted by HIPEXEC
-
 Thanks
 -
Thanks.
-
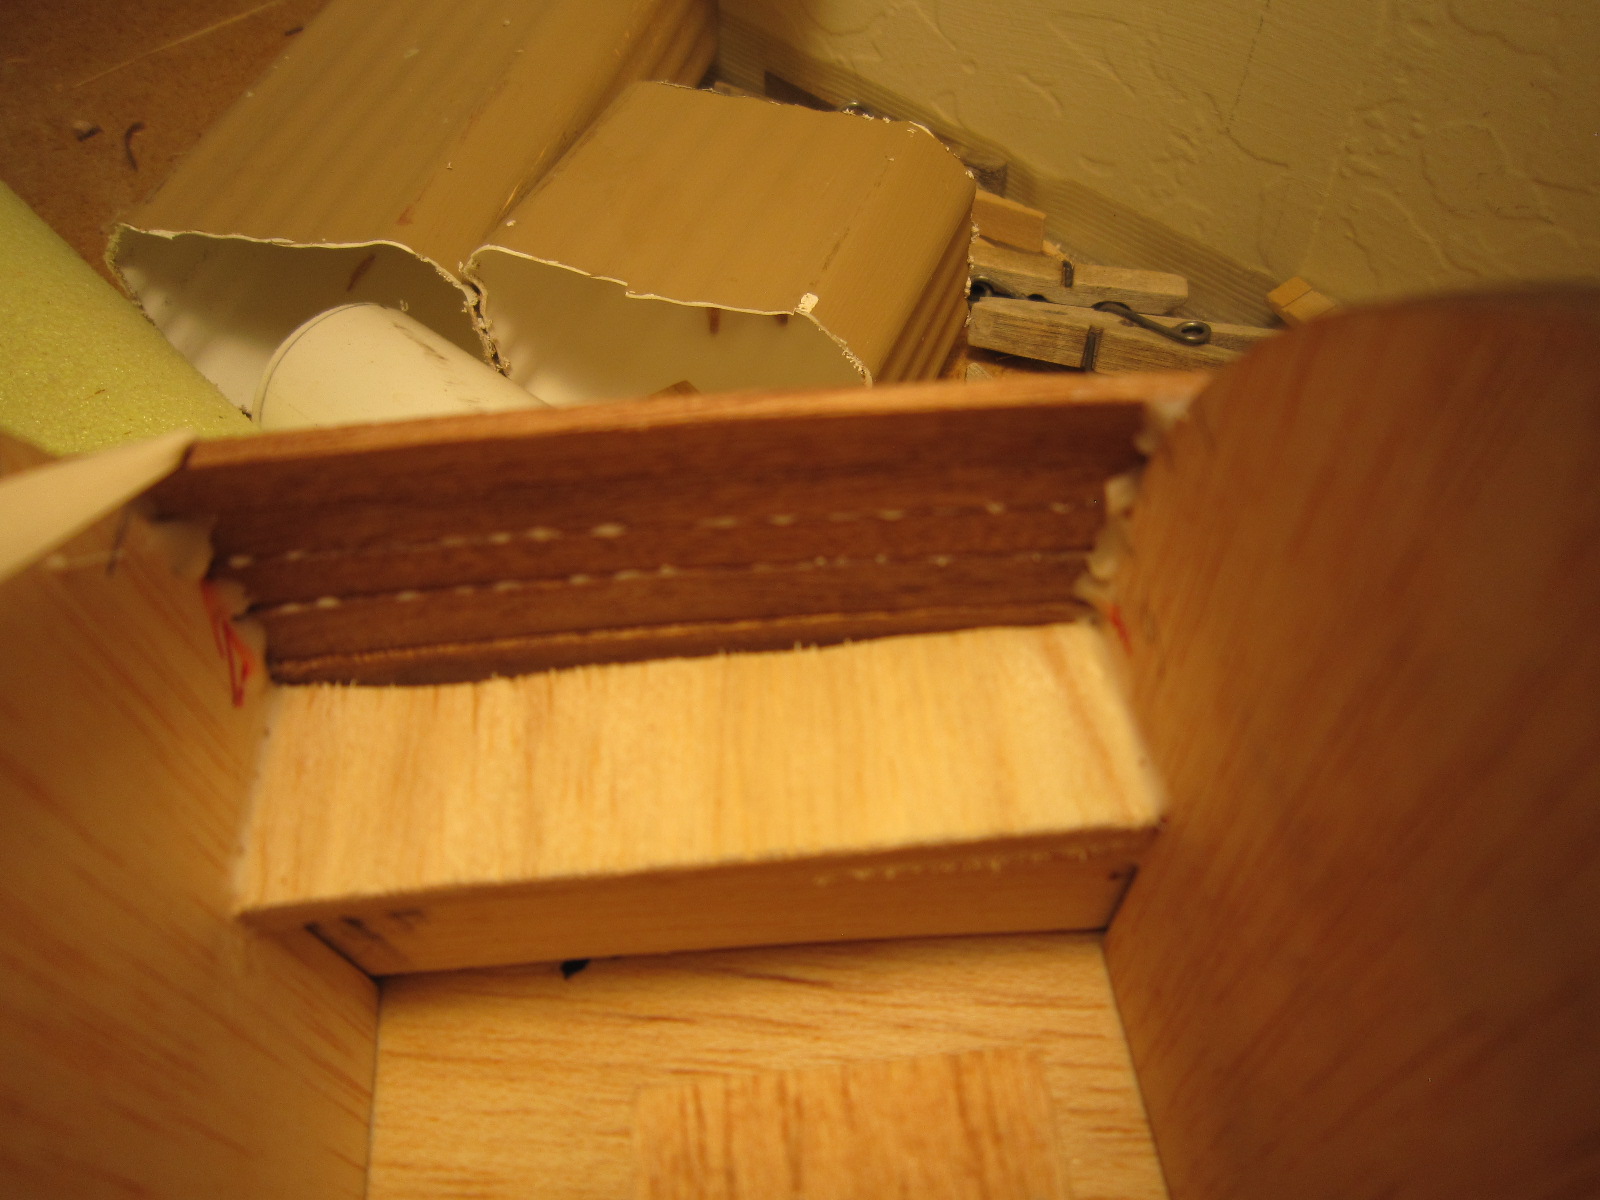
Does anybody glue, coat or reinforce the inside of their hull planks before finall closing in the entire hull?
-
Does anybody do anything to the inside of the hull planks before closing in the hull with the final planks? Maybe coat them all with glue or some other reinforcement?

-
Does anyone coat or glue the inside of the hull planks
-

I put glue on the edges of each plank and on inside where plank meets the rib. Semi related, I found an excellent source for non-toxic glue at Lowtox.com - Source for low tox products.
-
-
I took a paper clip and bent it to make a hook and added a plastic "cushion" so as not to mar the plank and I pull the plank as tight as possible to the upper plank while the glue dries. It works for me.
- 1,756 replies
-
- 4
-

-
- constitution
- constructo
- (and 1 more)
-
Sanding Block
HIPEXEC replied to Hexomega's topic in Building, Framing, Planking and plating a ships hull and deck
I mlike the look of that sanding block. Can you purchase it somewhere? -
Thanks to all of you who have made friends with me.
-
Wow! I'll take one of those. Paper thin plank would be a dream. My kit came with telephone pole thick planks that don't want to bend.Great work.
-
San Fransico planking
HIPEXEC replied to DavidP's topic in Building, Framing, Planking and plating a ships hull and deck
I doubt it. Are you planning on a veneer plank layer over the primary planks? Because on my first build I left all the brass nails in on the first layer of planks, then covered them with a veneer layer with no nails. See what others say, though. -
It's th only way I can make the planks conform to all the nasty bends and twists at both the bow and stern. The plank beveling is quite a challenge also.Thanks, Brian.
-
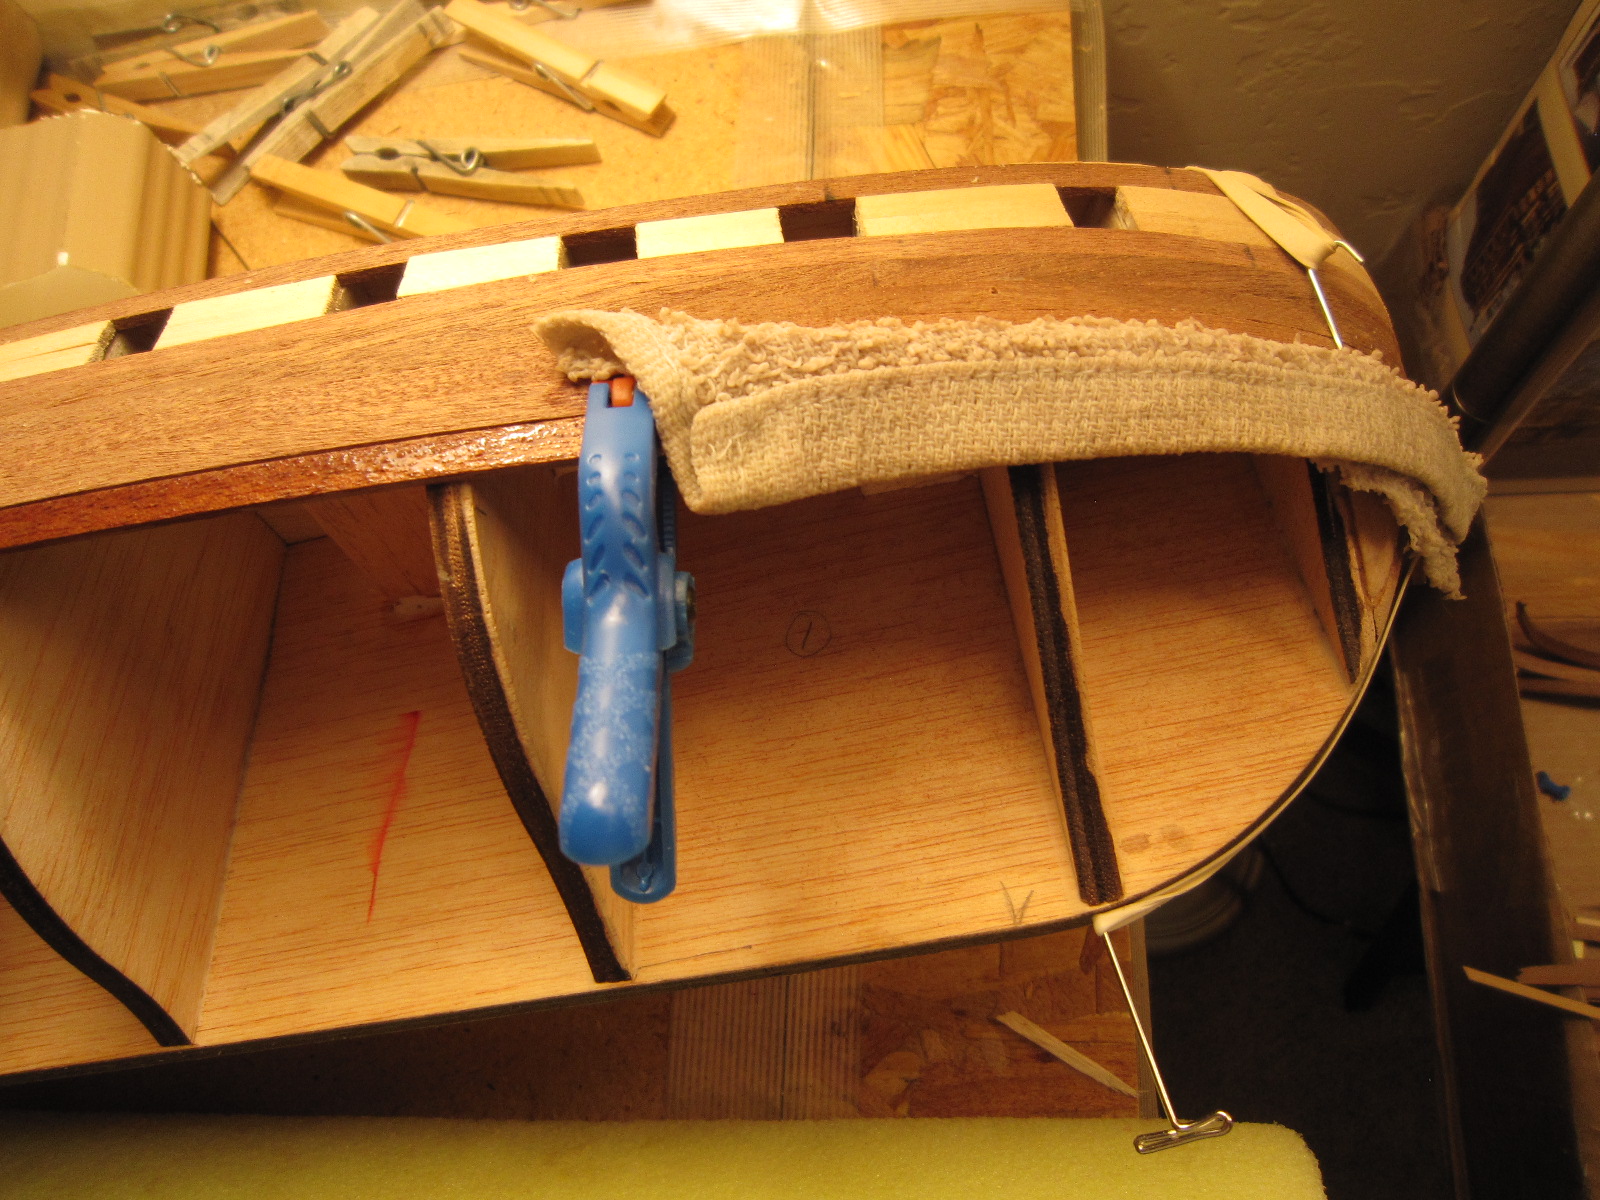
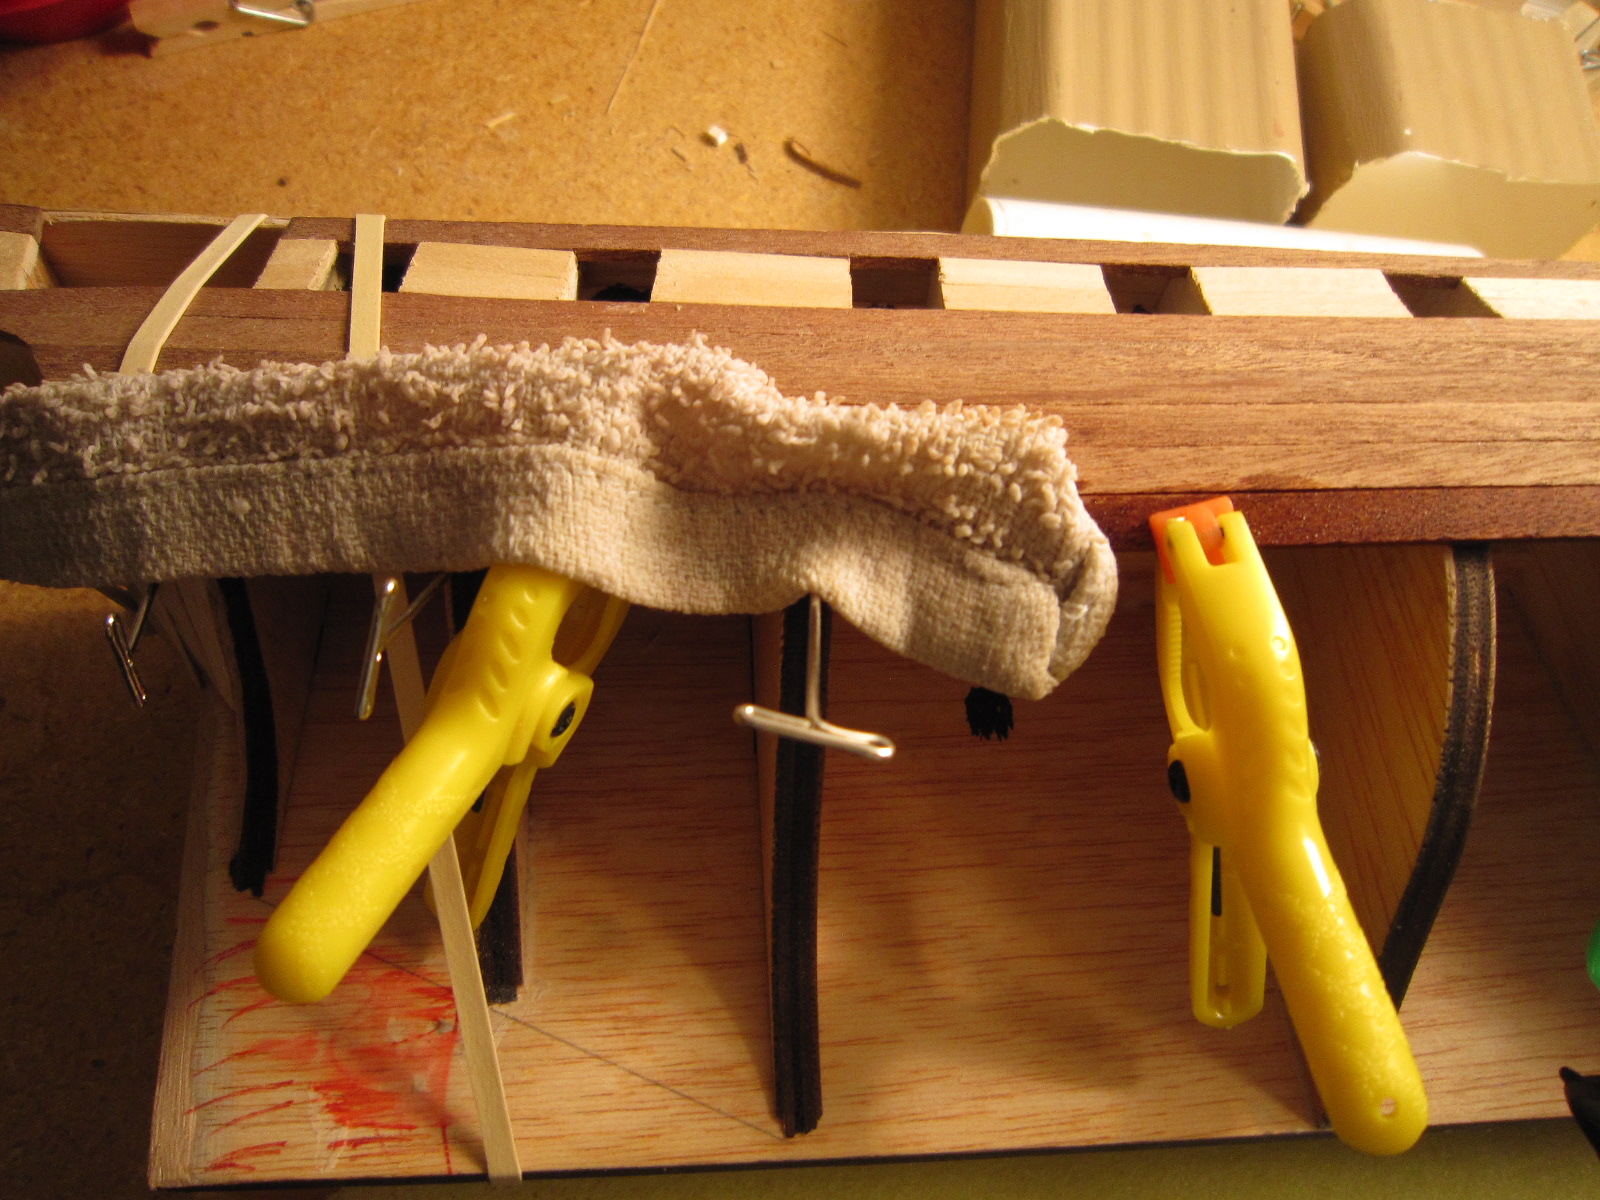
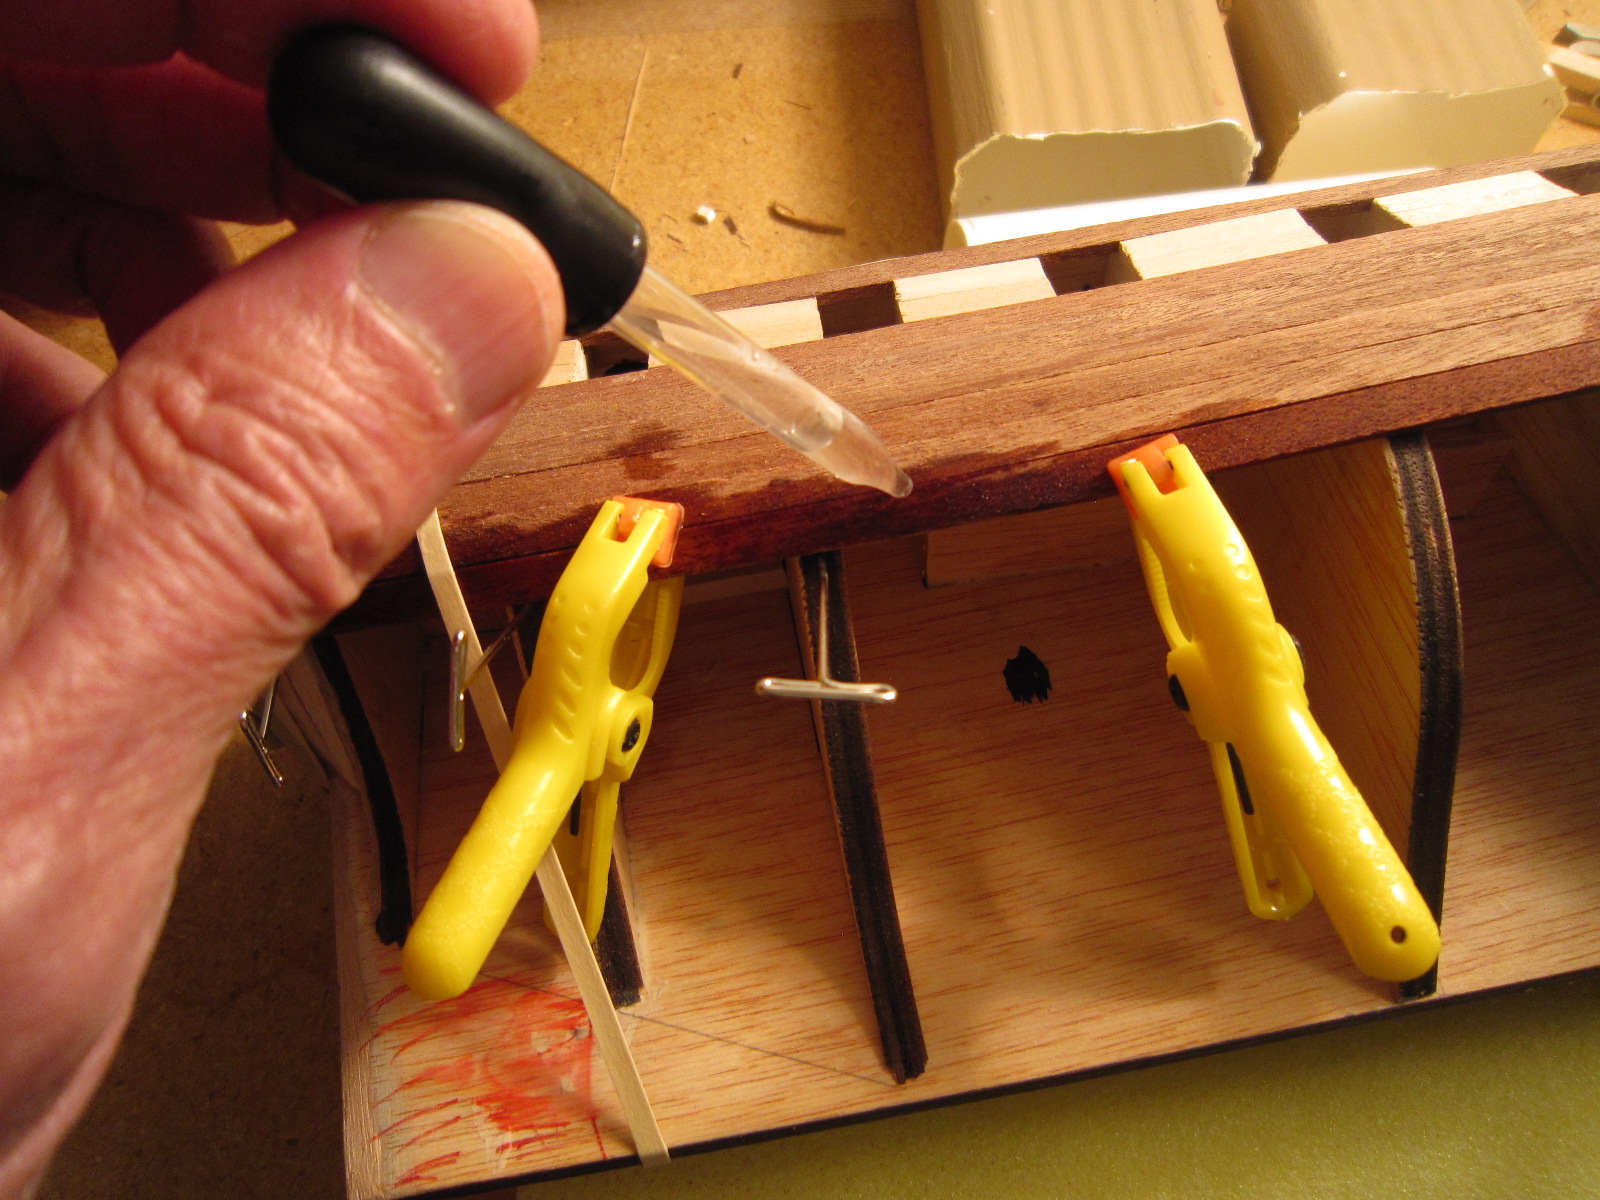
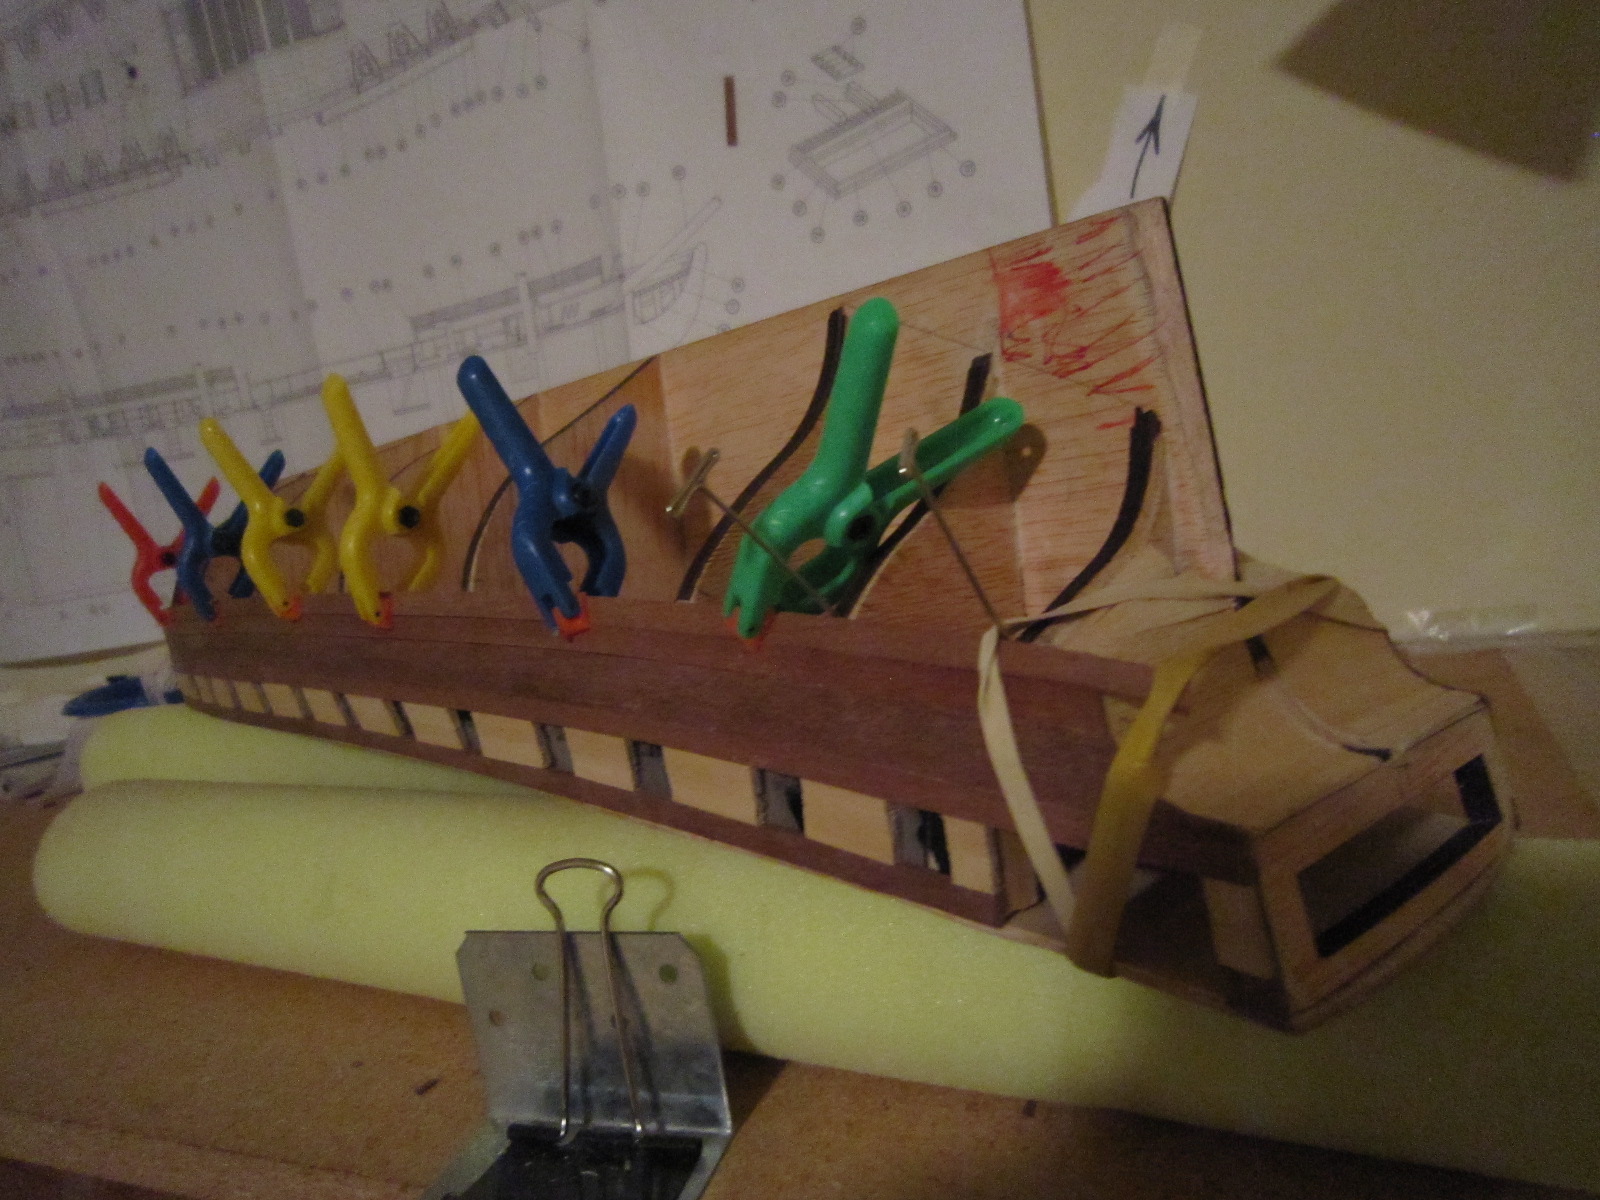
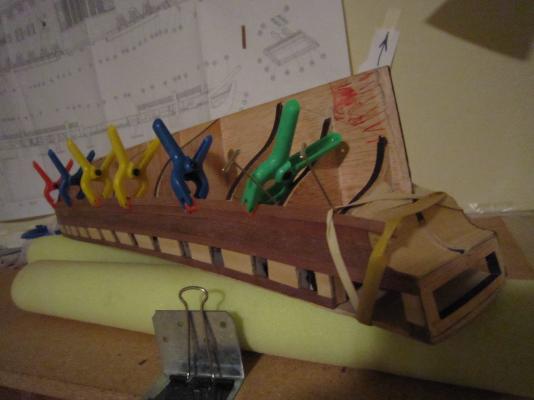
I've finally settled on this plank forming technique. After preliminary bending by soaking and using the jig I built, I re-soak the bent plank for 15 minutes and then form it on the hull where it will be eventually installed. I shape the wet plank with nails, pins, clamps and rubber bands into the final shape it is supposed to take, then every few hours I use an eye drooper to re-wet the plank. In the critical places I also lay a wet cloth on that section to keep it wet longer. I live in Arizona with no humidity, so things dry quickly here. Tommorrow, tis place will be net shape and ready for gluing. I will start the nextplank tonight and place that in the jig.


- 1,756 replies
-
- 3
-
-
- constitution
- constructo
- (and 1 more)
-
I use mine all the time and not just in building my model.
-
I "rounded" all those bend quite nicely. That's the result of several three dimensional twists, turns and bends.


- 1,756 replies
-
- 3
-
-
- constitution
- constructo
- (and 1 more)
-
After I get the plank near net shape, I pin it to the hull and wet it several times a day for it to be net shape to the hull. When I finish that for a day and let the plank dry, it glues in place very easily. I can't force this wood. It just breaks.
-
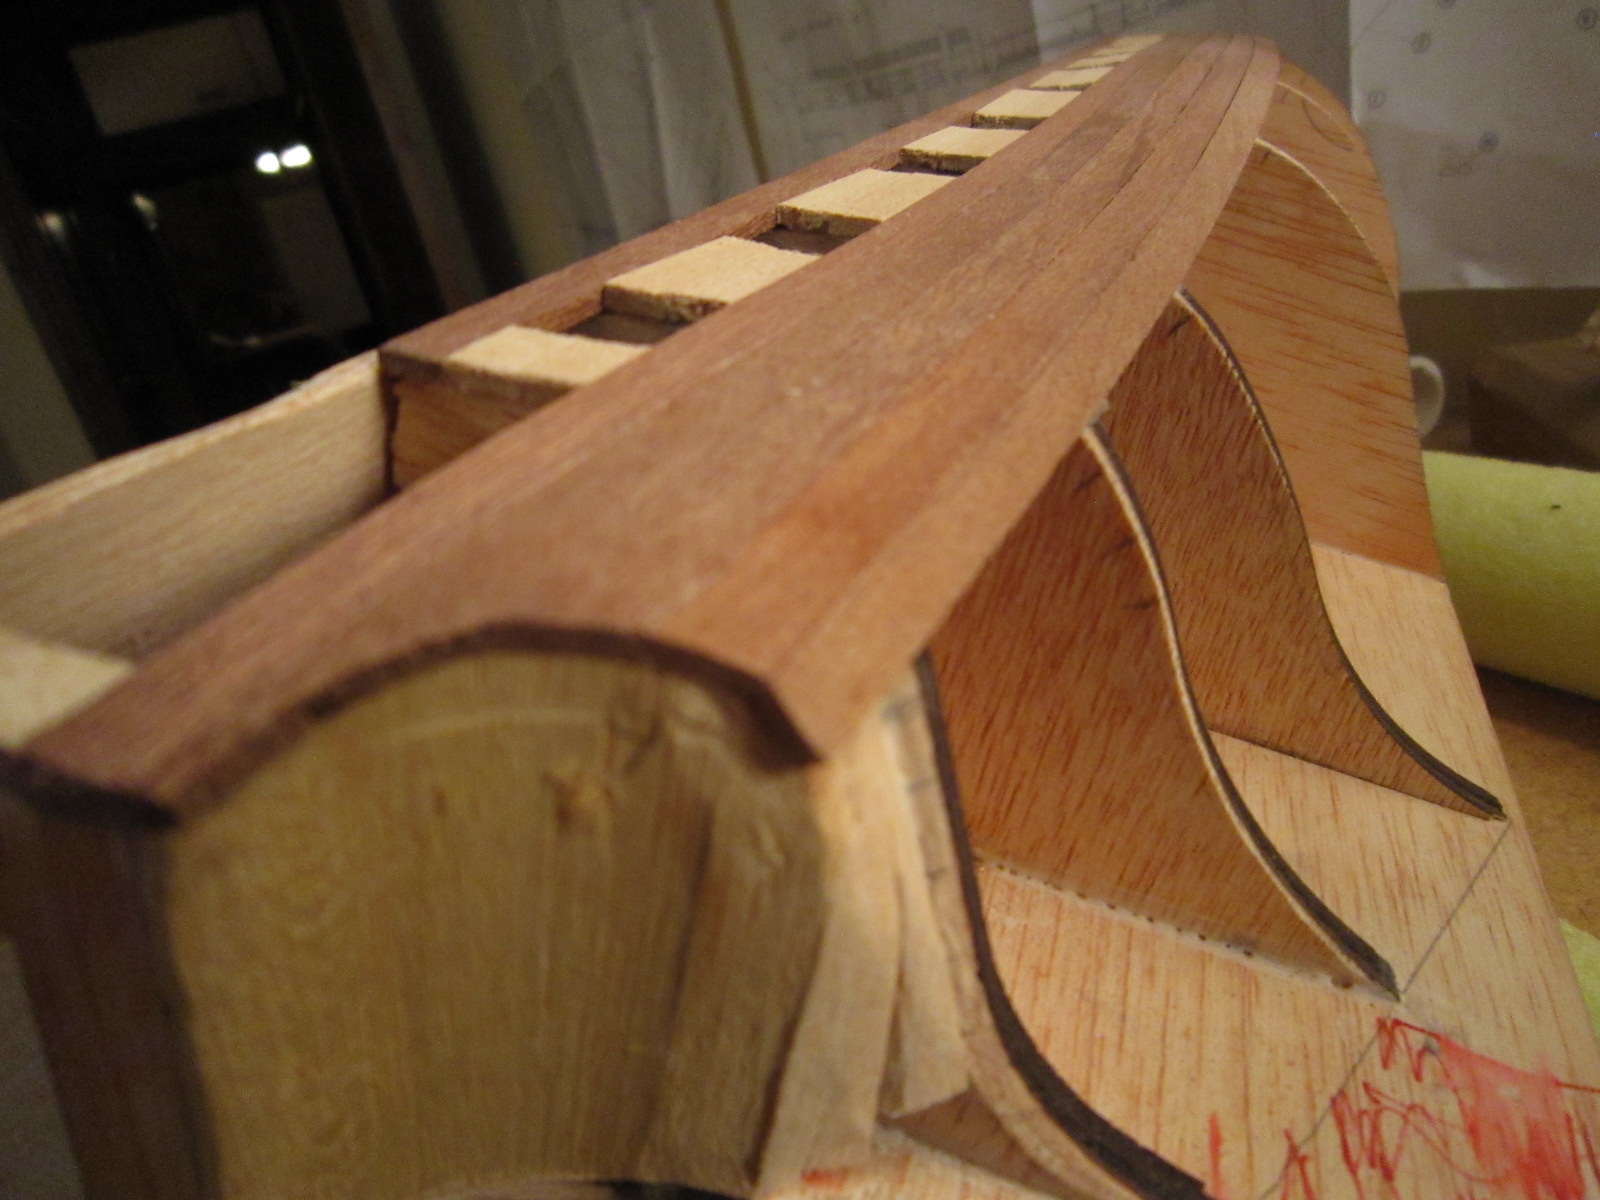
Well, forget a plank-a-day. It's now a plank every three days what with bending, twisting and now beveling them. Three quarters of the plank needs no back bevels to butt against the previous plank, but the aft 1/4 now needs twisting and back beveling. I experimented with sanding, filing and finally Dremeling the back bevel. The Dremel gave me the most even results. See you in three days.
- 1,756 replies
-
- 1
-
-
- constitution
- constructo
- (and 1 more)
-
With the cloth sails I put on my Virginia Pilot Boat 1805, I wet each sail and while using my wife's hair dryer on cool, I billowed each sail and smoothed them with a wet paint brush until they had the shape I wanted which was for the boat to be on a port tack. As the sails dried, I sprayed a light coat if my wife's hair spray on each sail. When they dried, they kept the shape. To add to the realism of the port tack, I shimmed the base to make the boat list slightly to starboard. It was so effective, a long time real sailor made a comment about it being on a port tack with correctly billowed sails. I use a picture of the Pilot Boat for my logo above left., Good luck!
-
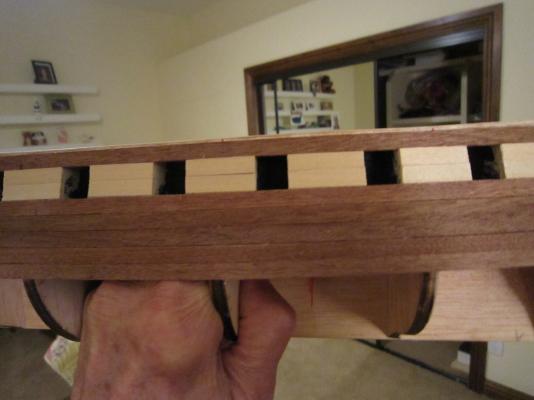
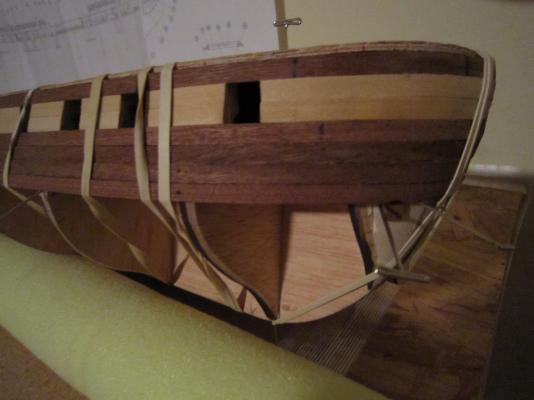
This is plank # 7 starboard side. I'm going to place a few more on the starboard side to correct a small error I made when bowing the # four plank. # 4 plank wound up with a little too much bow in it and I have to squeeze each lower plank a little bit closer to where it should be. One or two more planks and will match the port side. It's a small enough error that only I would know, but I'm striving to make this one nice. At this rate I can do a plank a day. If the hot water heater springs a leak like it did two days ago, I will miss a plank.
- 1,756 replies
-
- 4
-
-
- constitution
- constructo
- (and 1 more)
-
Your Connie looks great!
-
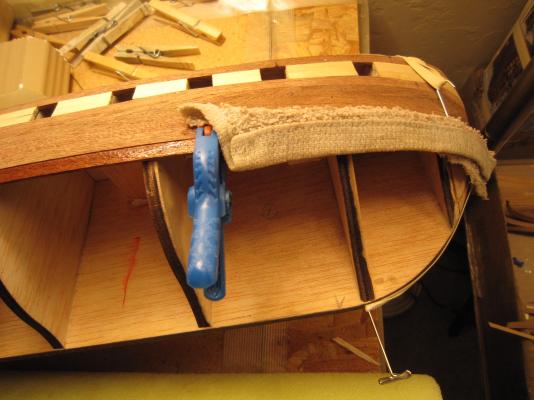
This is my attempt to put a twist on a plank to follow the flare of the bow. After I put the bow curve on the plank, I clamped it flat and added the twist I believe will match the flare. I then layed a very wet cloth on it and I am leaving it over night. This stuff if thick and it resists most attempts to deform it.

- 1,756 replies
-
- 1
-
-
- constitution
- constructo
- (and 1 more)
-
Just added a signature. Want to see if it works.
-
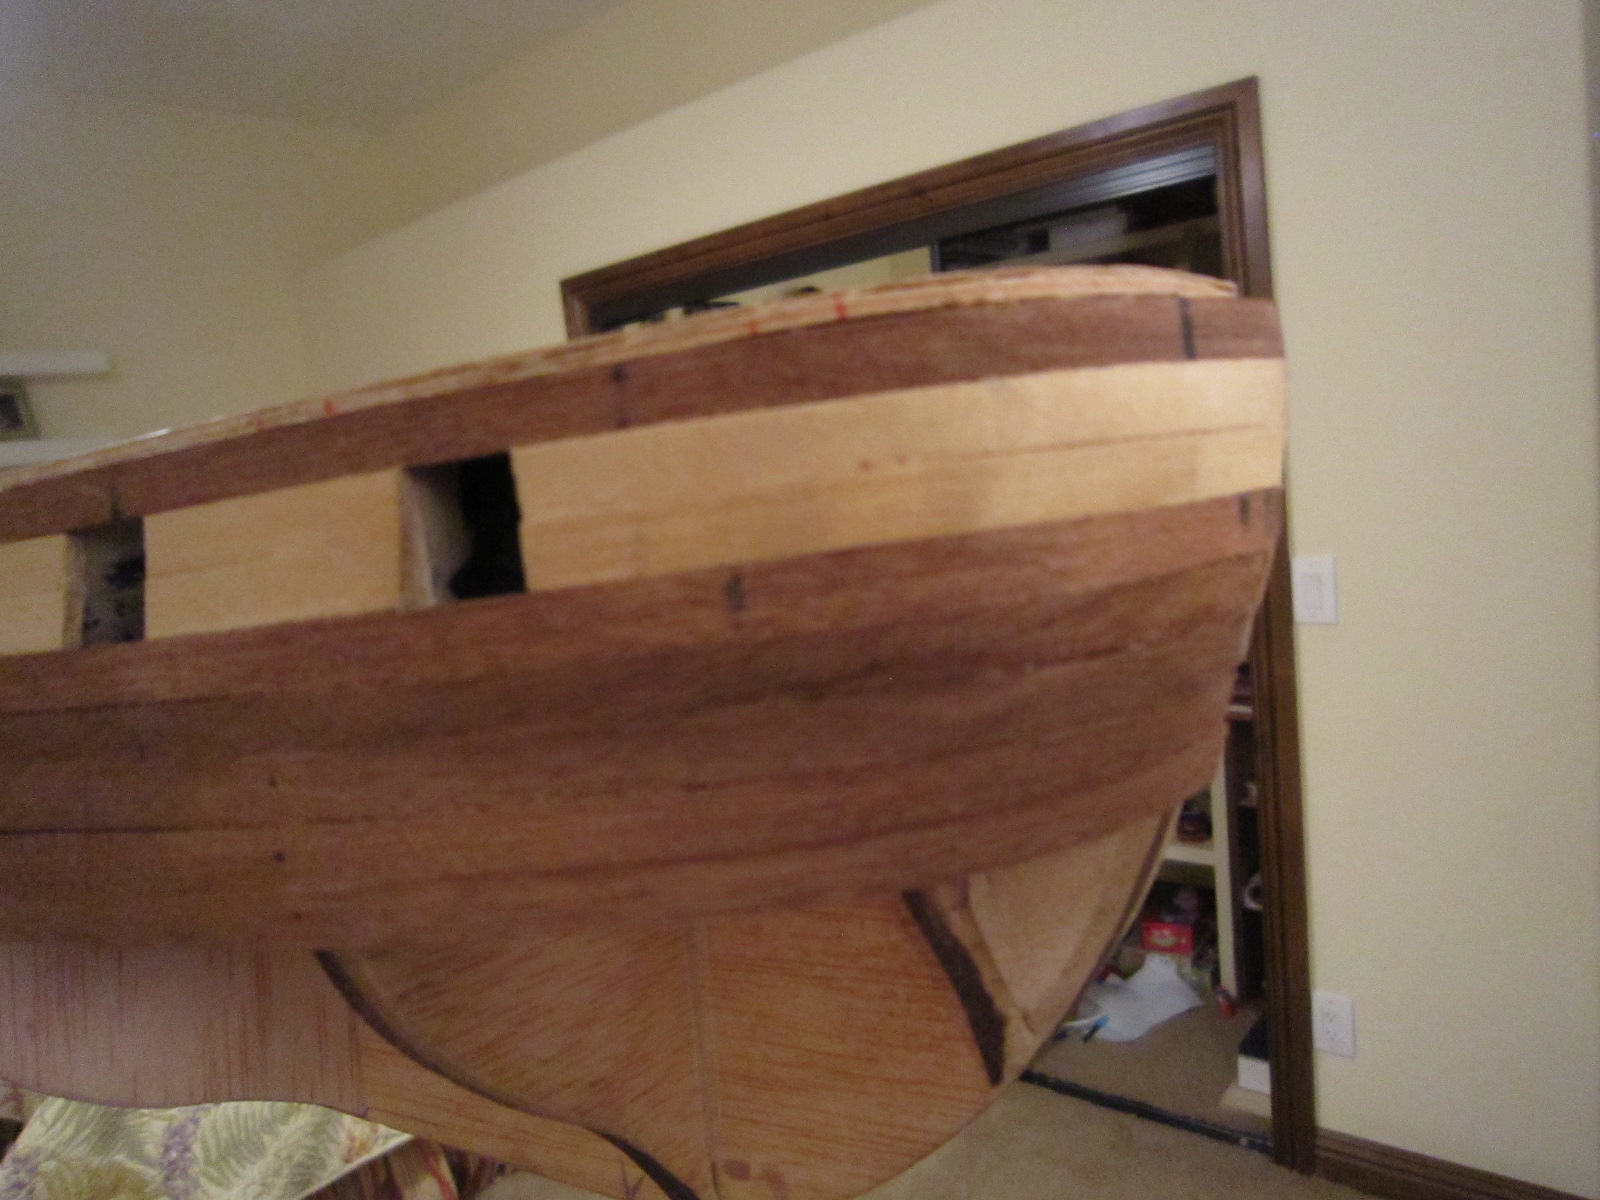
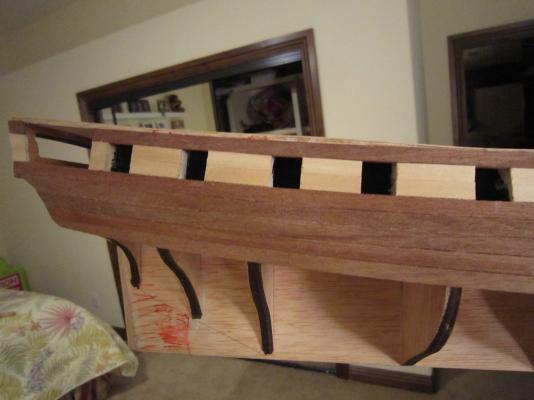
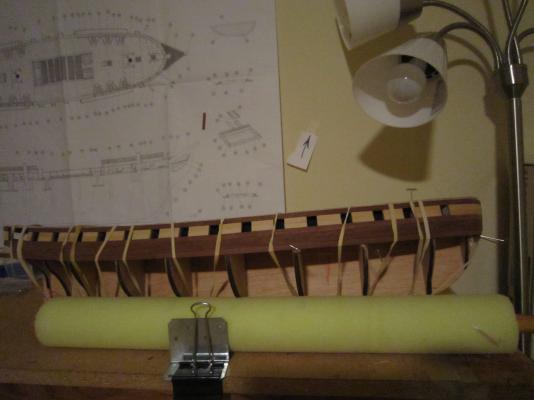
Ole speedy finished six planks on each side. First, the gun ports slowed me down, now I have to bevel the back edges of the planks so they can round the bend on the way to the keel. I also have to angle the vertical bulkheads to fit the fore and aft bend. It's a lot of measure, cut, file, sand....then measure again, and cut, file, sand until it just slips into place real nice. So far I'm happy with the results thanks to all your tips and suggestions. Thanks, Rich
- 1,756 replies
-
- 2
-
-
- constitution
- constructo
- (and 1 more)
-
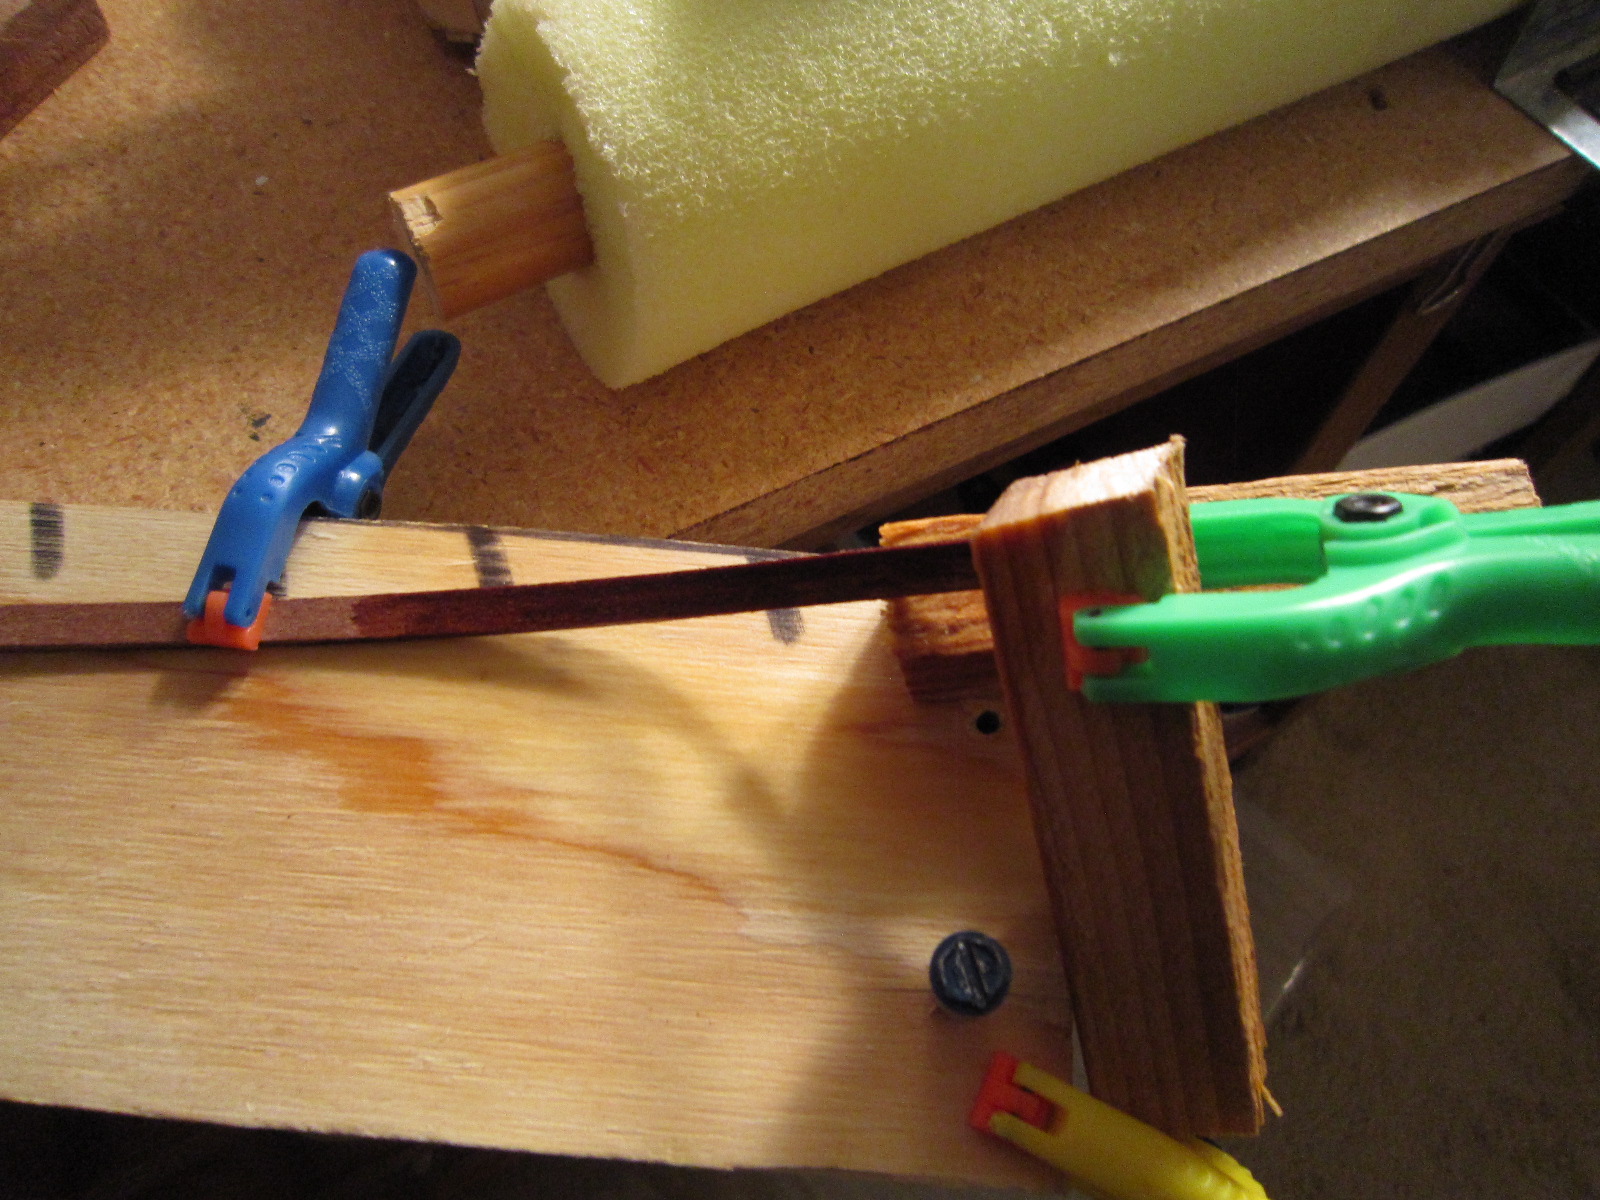
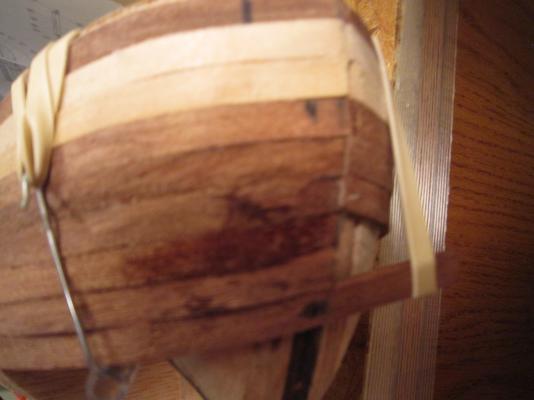
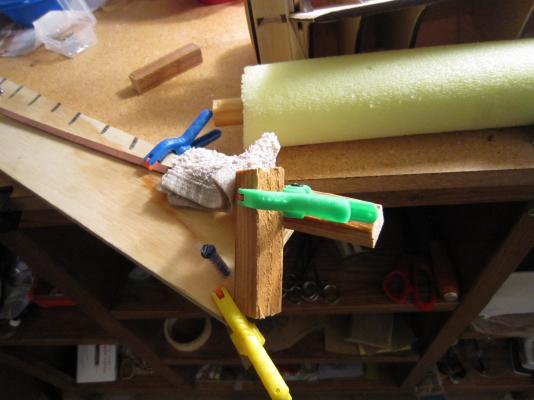
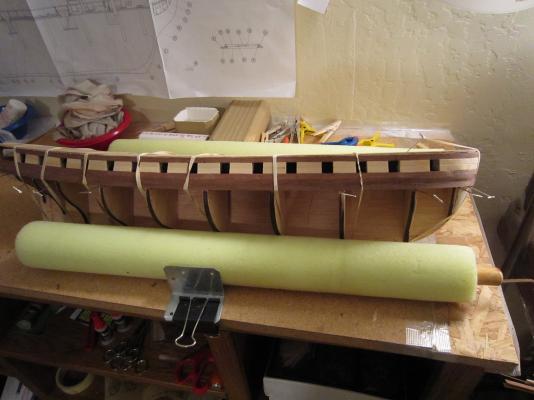
Brian, I only use nails occasionally to help shape the plank, but not after glueing. I use rubber bands (lots of them) and "T" pins. It seems to work so far. Wayne, that's not a wieght, it's a broom handle with a piece of swim noodle to help support the hull while working on it. Thanks for the comments. Rich
- 1,756 replies
-
- 1
-
-
- constitution
- constructo
- (and 1 more)
-
I use my new electric, digital caliper all the time to easily check the multitude of dimensions I have to keep track of. Saves a lot of time and guesswork. Rich USS Constitution hipexec
-
Even my wife commented today, "Gee, you're not making much progress, are you?" And I say, "Dam the torpedo of comments, I'm dancing as fast as I can." Actually, the kit maker says, try to make the first layer of planks your final layer, but they do give you a veneer layer just in case. I'm trying to make this first layer as neat as I can make it. By now, I have combined several of all your suggestions to bend these very difficult planks into net shape. It's still very frustrating when I find myself almost at the shape I want and the plank splinters...wet, and heat, and all? I've now figured out how to salvage these planks with small splits. I can't tell it's repaired, but it adds a day. Rich
- 1,756 replies
-
- 1
-
-
- constitution
- constructo
- (and 1 more)