HOLIDAY DONATION DRIVE - SUPPORT MSW - DO YOUR PART TO KEEP THIS GREAT FORUM GOING! (Only 51 donations so far out of 49,000 members - C'mon guys!)
×


HIPEXEC
-
Posts
2,698 -
Joined
-
Last visited
Content Type
Profiles
Forums
Gallery
Events
Everything posted by HIPEXEC
-
 Your gunwales look the same as my gunwales so I take it you snapped at least one. You're right, a little glue along the split, and it's as good as new. I'm still going to install the bottom and side frames for added support since I'm such a klutz handling the hull. Thank goodness I wasn't a surgeon....can you imagine me saying..."Whoops!" I just broke you? Rich
 -
Great job, so far.
-
I should have matched deck planks when I did the deck early on, but it's too late now. I'm going to have to get creative to make my decks look like yours. I'll figure something out. Nobody said this would be easy.
-
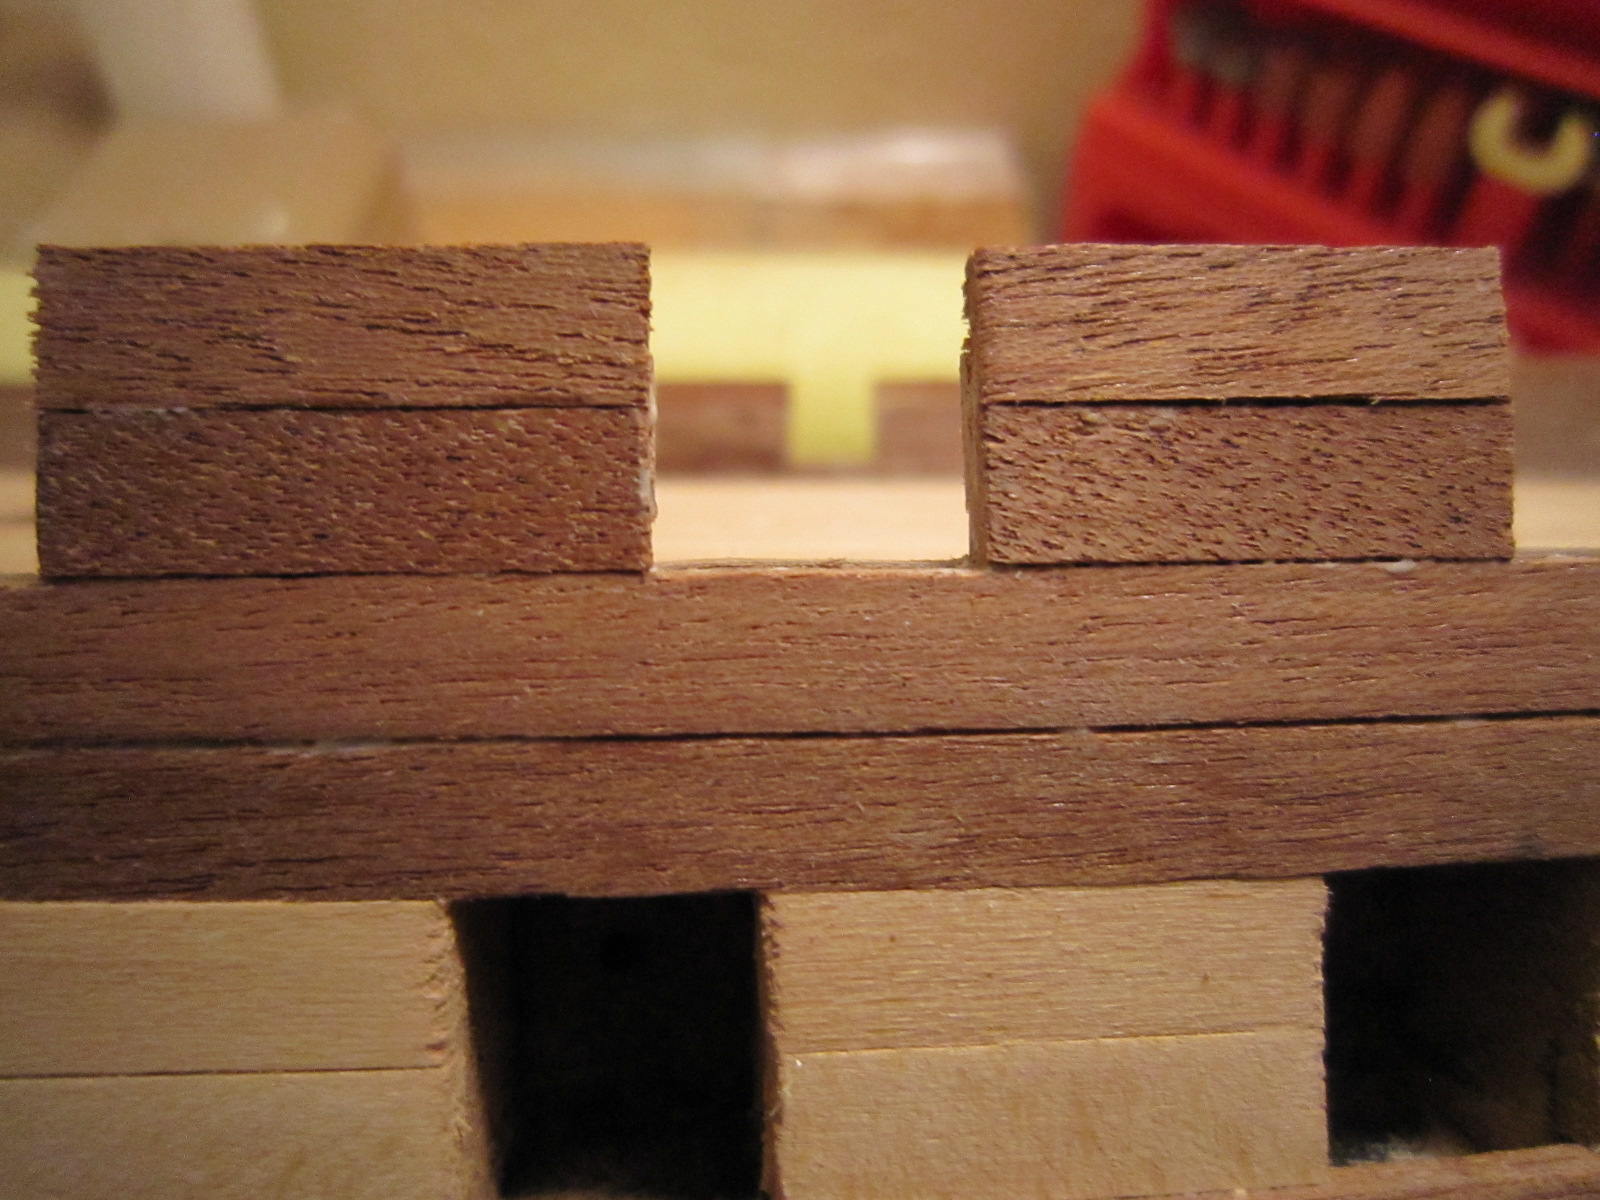
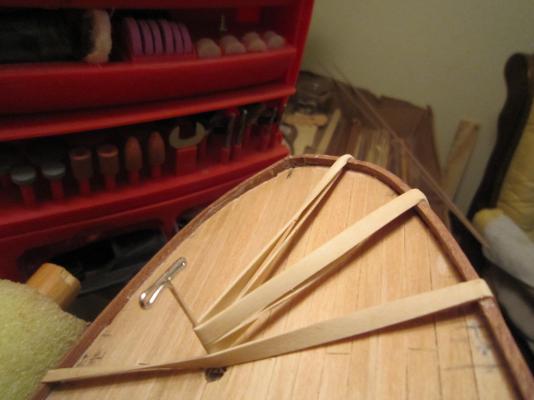
Now that I am at full height with the gunwales, I find that since the tops are open and castle turret-like, they are fragile and I have broken two of the narrow ones. I have one more inside narrow plank to thicken the gunwales. Then I am going to skip many pages ahead and add the lower and side frames to these upper gun ports for support. They are much too fragile for me to be handling the hull while I mount bow stems and rudder posts, etc. The frames should give me added support until I finally add the top rails and get great strength all around.

-
I bought a plank cutter which does a lot of the cuts required.
-
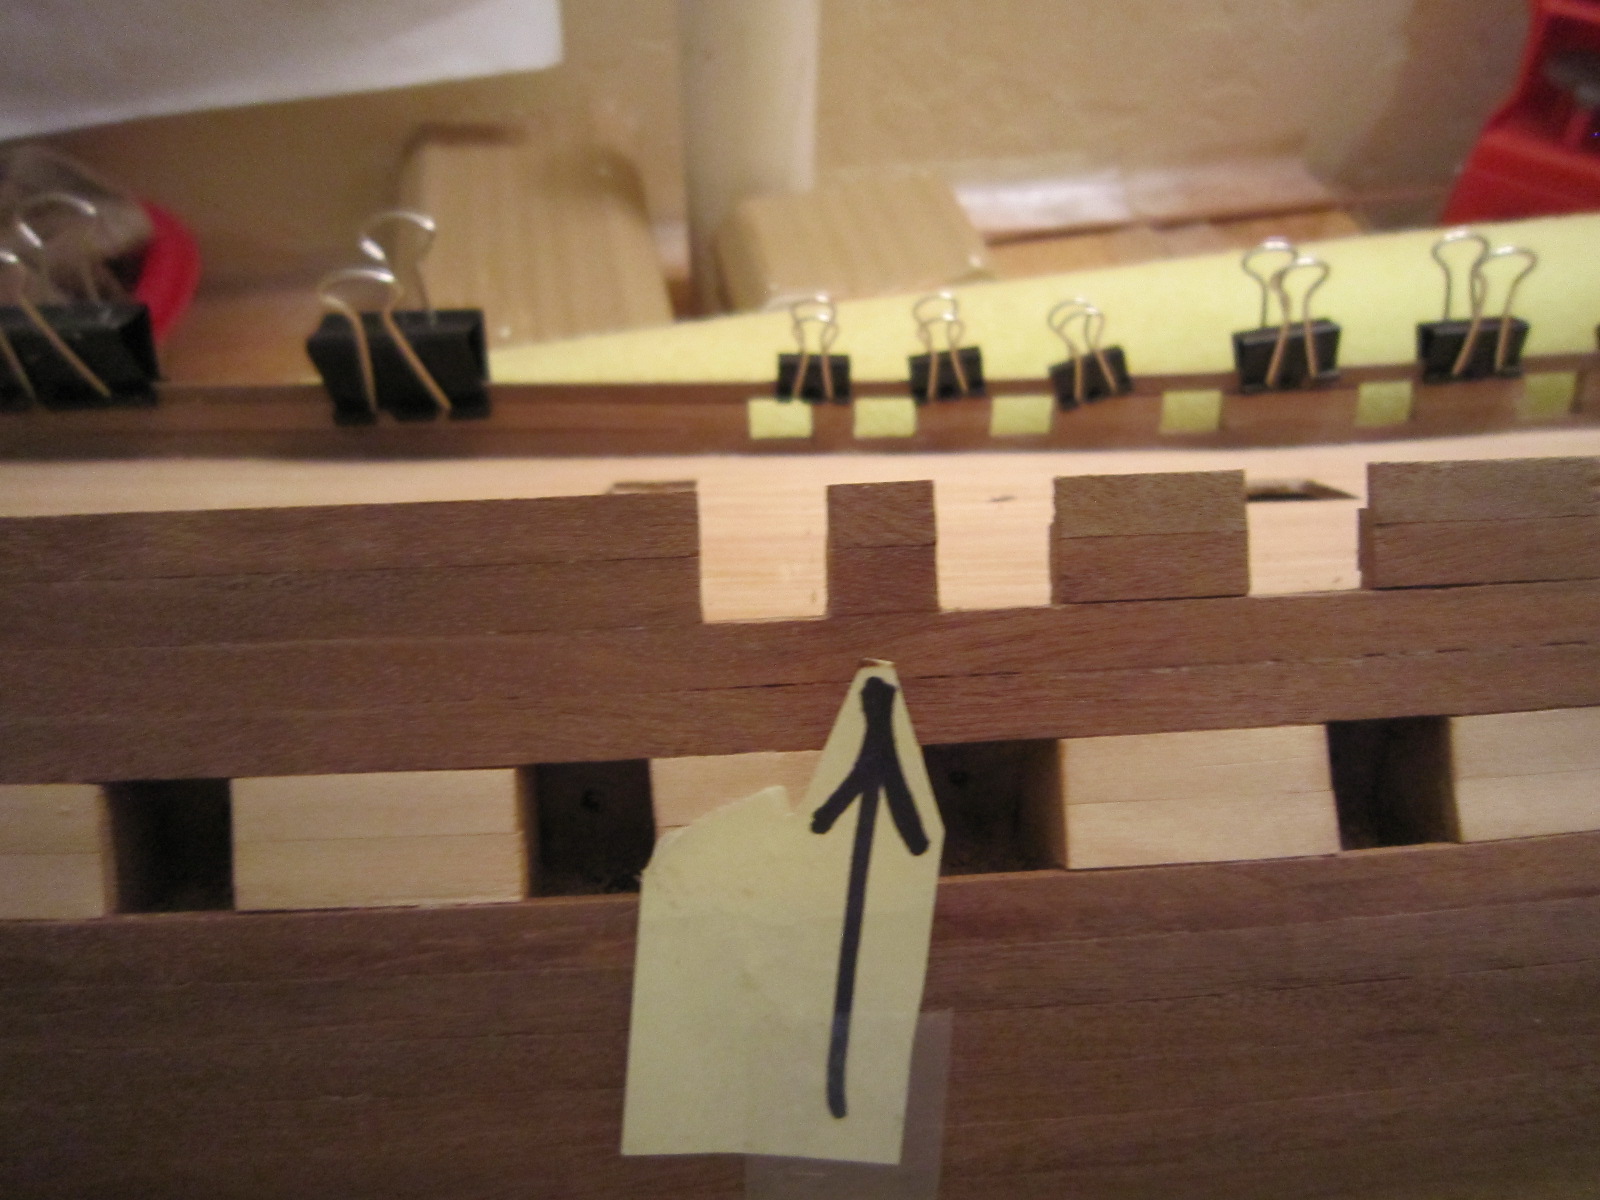
I discovered that after all the glue dried and planks dried out, one gun port warped, and is not aligned with the next gun port from a bird's eye view. This will cause a problem down the road when I will have to mount the final top rail to the gunwale. I am fabricating a fore & aft, top to bottom tapered plank to glue in place to make the alignment. I will make the tapers fine enough so that it will blend very nicely and only need a small amount of filler to make the fix invisible. Then I will shave the inside planks to make it conform with the whole gunwale.


-
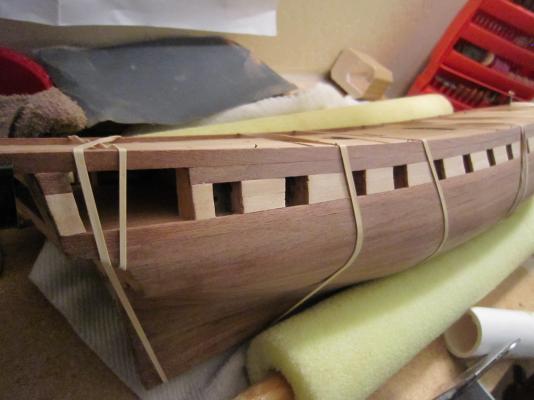
Here's a picture of both the lower and upper gun ports using my method of pre-cutting the planks. As you can see they are nice and square even before filing and sanding. If I had to drill holes in the corners and try to cut them all even and straight....what a mess you would see. I don't have the skill to make good cuts.

- 1,756 replies
-
- 1
-

-
- constitution
- constructo
- (and 1 more)
-
Sjors, Yes, I pre-cut the planks to make the gun ports because I don't like my skills at cutting into the hull and still have straight and perpendicular holes. Here's a picture of the port side with full planks. There's only a small support plank to fit on the inside until I add the rails much later. I'll have to be careful handling the hull until all rails and trim is in place since these upper ports have no top support yet.

- 1,756 replies
-
- 3
-
-
- constitution
- constructo
- (and 1 more)
-
First of all, you should know that planking is hard and tedious. Each plank must be treated like a separate model since each plank sits differently on the hull. Planks must be shaped, bent, twisted, tapered, beveled, cut, etc. However, when you finally plank your hull, you will feel like a million dollars. The tutorials on this website are very good. So is the advise you will get from members. Pretty soon you will be inventing your own methods that suit your talents. Good luck.
-
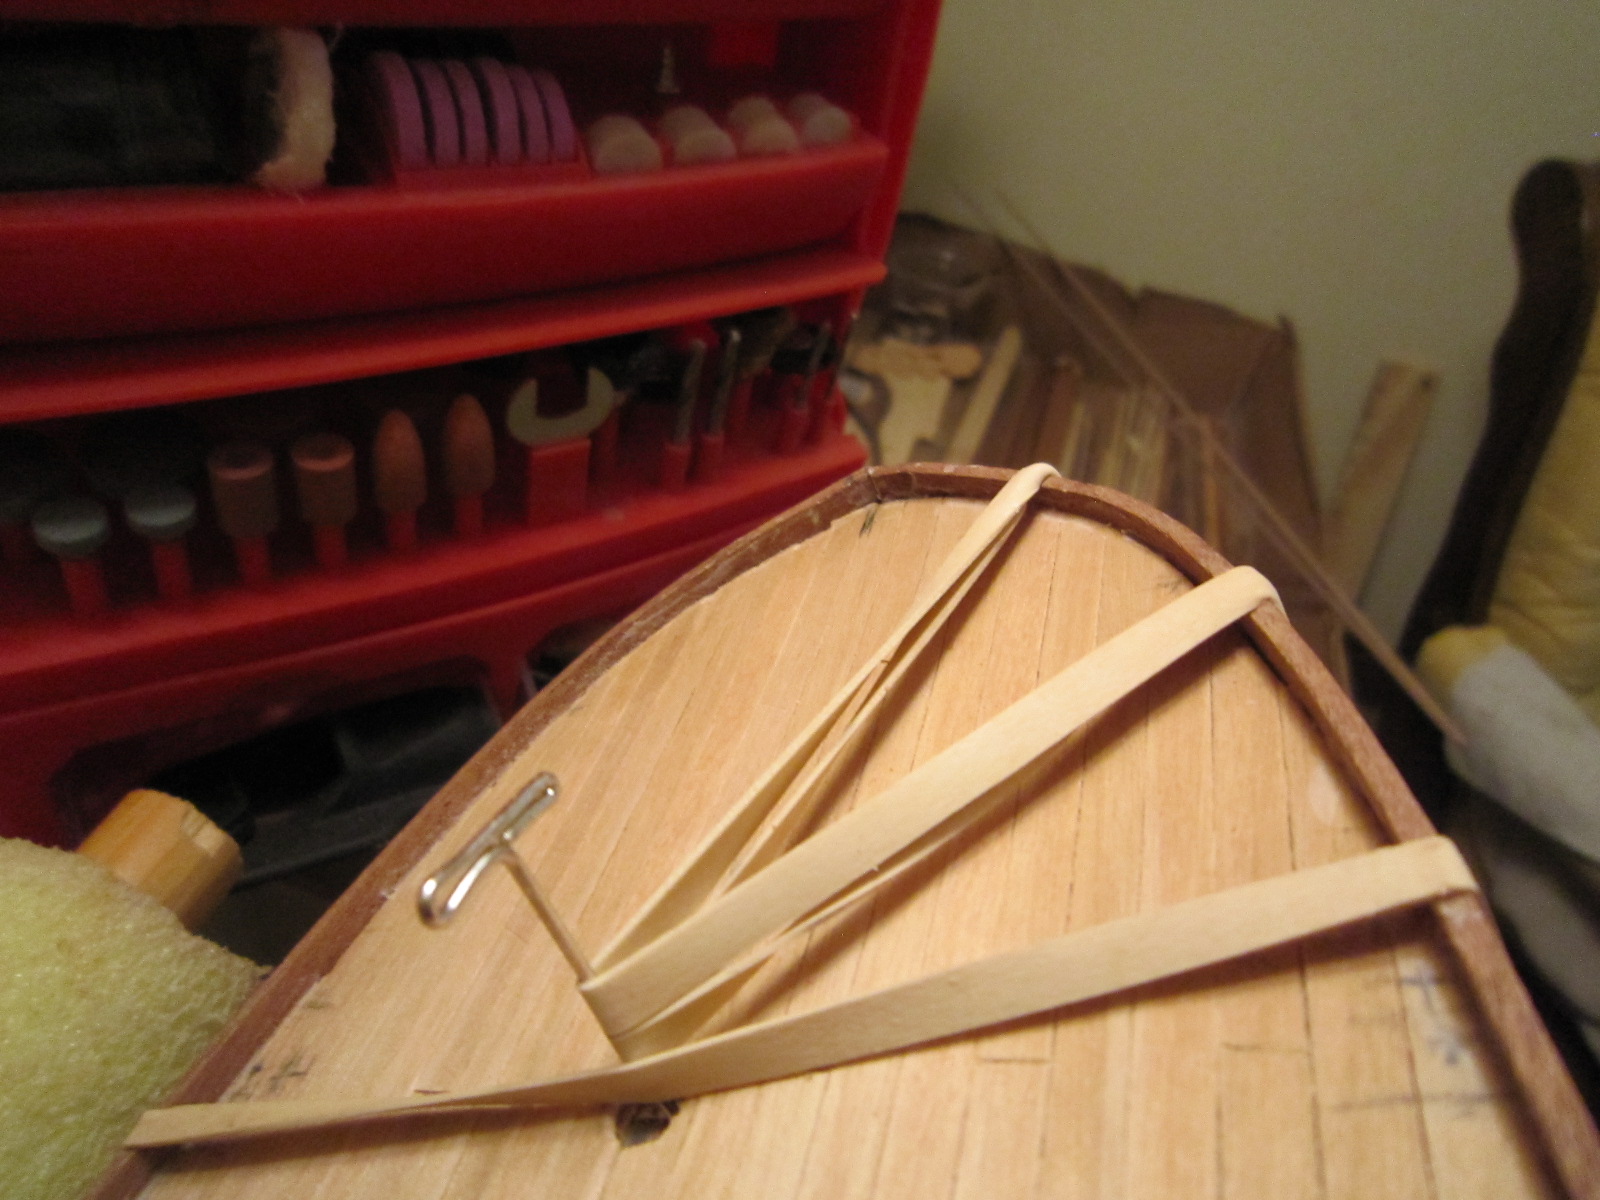
The things I have to do to shape one plank. I first start with the curvature at the bow looking down, then clamp in place to get all the curvatures and rakes.


-
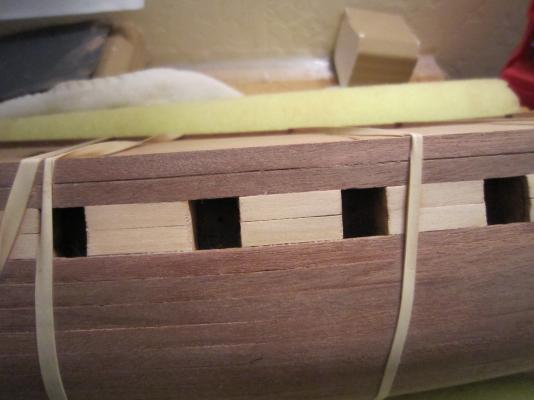
Getting there. Only two more planks up to give me full sized gunports. The good part is the ports are nice and square.


-
As far as plan errors go, My Constitution had a few. It's a Constructo kit. I looked at other kits and actual photos of the Constitution, as well as asking MSW members what to do. I took their advise which was to use my own head to figure out what to do. I just used common sense, but it is frustrating. I have probably deviated a dozen times from the their plans.
-
I'm going to enjoy watching your build log for your USS Constitution. Good luck.
-
I like your plank holders. What are they?
-
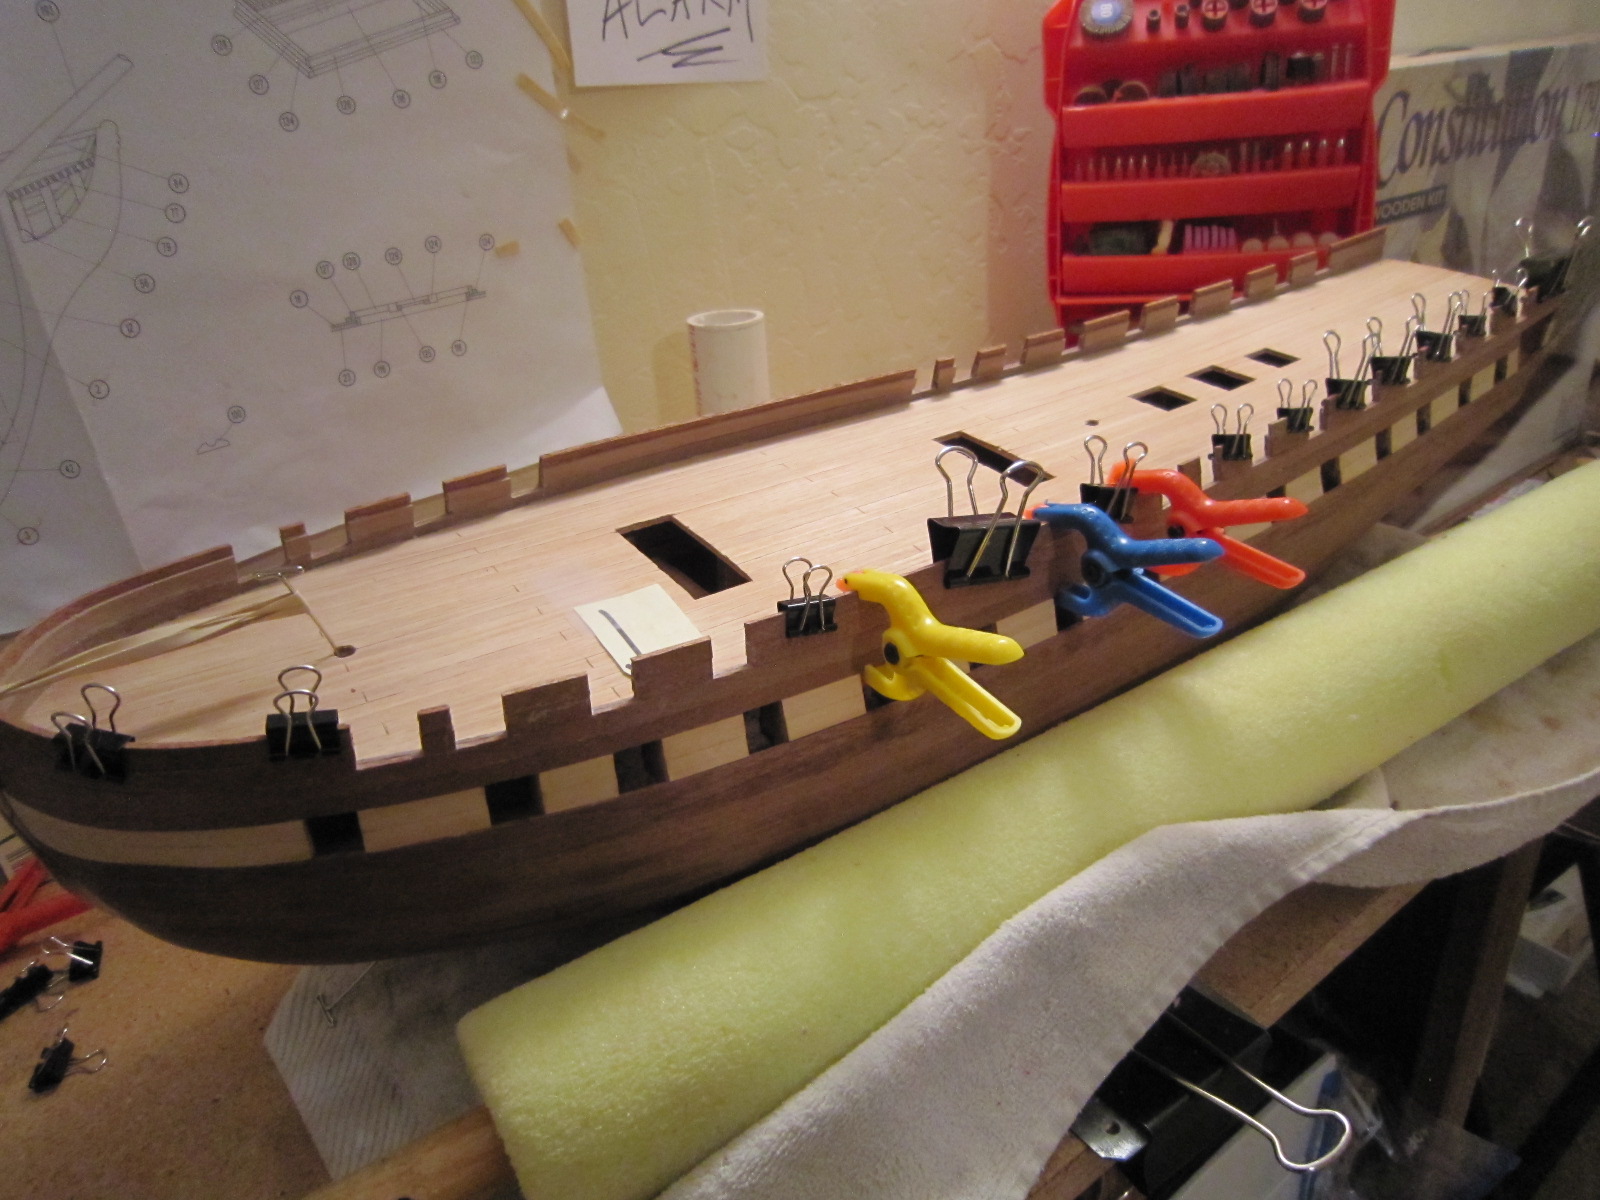
Port & starboard second course gunwalls complete. Pre-cutting going great with minimum need for filling. All ports seem very square. better than me cutting them out.

- 1,756 replies
-
- 2
-
-
- constitution
- constructo
- (and 1 more)
-
Geoff, What's the best way to drill the holes on the deck for the three masts? On my first build, I had a devil of a time to get the masts (only two, not three) to line up fore & aft, and have the same rake. In the Connie's case perpendicular.
-
Clamps, an old trick revisited
HIPEXEC replied to Modeler12's topic in Modeling tools and Workshop Equipment
Thanks for the memories! -
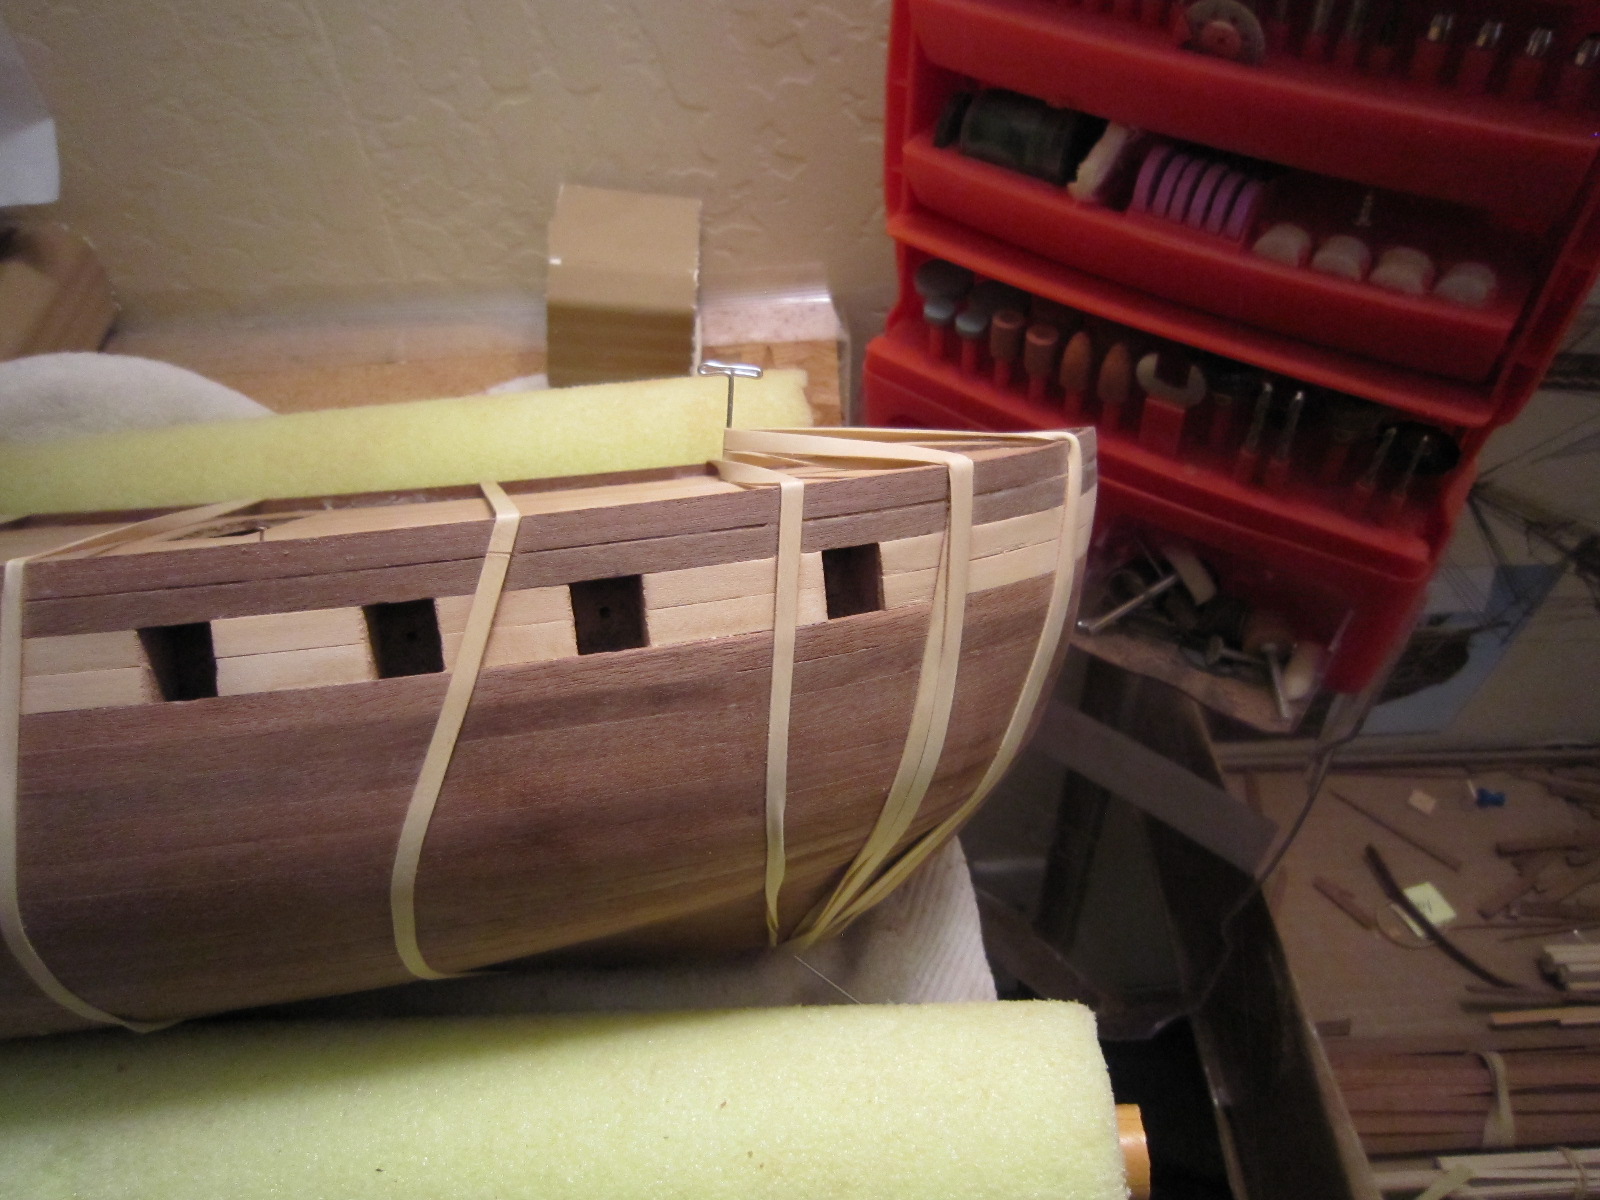
Starboard side, next course up is finished. The kit called for me to set all the planks for the gunwales in place, then cut or saw the gun ports. I experimented with my blades, mini saws, etc and it was a mess. I decide to go up by pre-cutting the planks with nice, clean, right angle cuts using my plank cutter, and put each piece in it's place that I pre-measured. So far so good. It will just take some minor filling and sanding/filing. to make the upper planks as smooth as the lower planks.


- 1,756 replies
-
- 1
-
-
- constitution
- constructo
- (and 1 more)
-
Looks great!
-
I like your workmanship. I shall strive to do as well with my Constitution.
-
Port & Starboard gunwalls and gunports have been started. I cleaned all the measurement markings off the deck. Now, I'll continue upward.


- 1,756 replies
-
- 1
-
-
- constitution
- constructo
- (and 1 more)
-
Port side gunwales, gun ports, anchor ports and stair port started.


- 1,756 replies
-
- 1
-
-
- constitution
- constructo
- (and 1 more)
-
I'm starting the second course upward. Once the both sides of the second course are done, I'll clean up the deck which is full of location marks.


- 1,756 replies
-
- 1
-
-
- constitution
- constructo
- (and 1 more)
-
I just glued the first starboard plank for the upper deck. Just as difficult as the port plank. It's progress...slow buy sure.

- 1,756 replies
-
- 1
-
-
- constitution
- constructo
- (and 1 more)