HOLIDAY DONATION DRIVE - SUPPORT MSW - DO YOUR PART TO KEEP THIS GREAT FORUM GOING! (Only 13 donations so far - C'mon guys!)
×


HIPEXEC
-
Posts
2,698 -
Joined
-
Last visited
Content Type
Profiles
Forums
Gallery
Events
Everything posted by HIPEXEC
-
 It's getting there. I will slow down when I have to start plank tapers. The height varies from 9 planks to 12 planks to close in the hull.
 -
Show us a picture of your waterboiler, please.
-
I'm working on the bottom up planks and I'm amazed that I can make them twist 90 degrees with just 15 minutes soaking and forming them in position until dry, then glueing them. This very hard wood doesn't want to bend on the flat, but twists like a pretzel longitudonely (sic).
- 1,756 replies
-
- 2
-

-
- constitution
- constructo
- (and 1 more)
-
Your wood working is amazing!
-
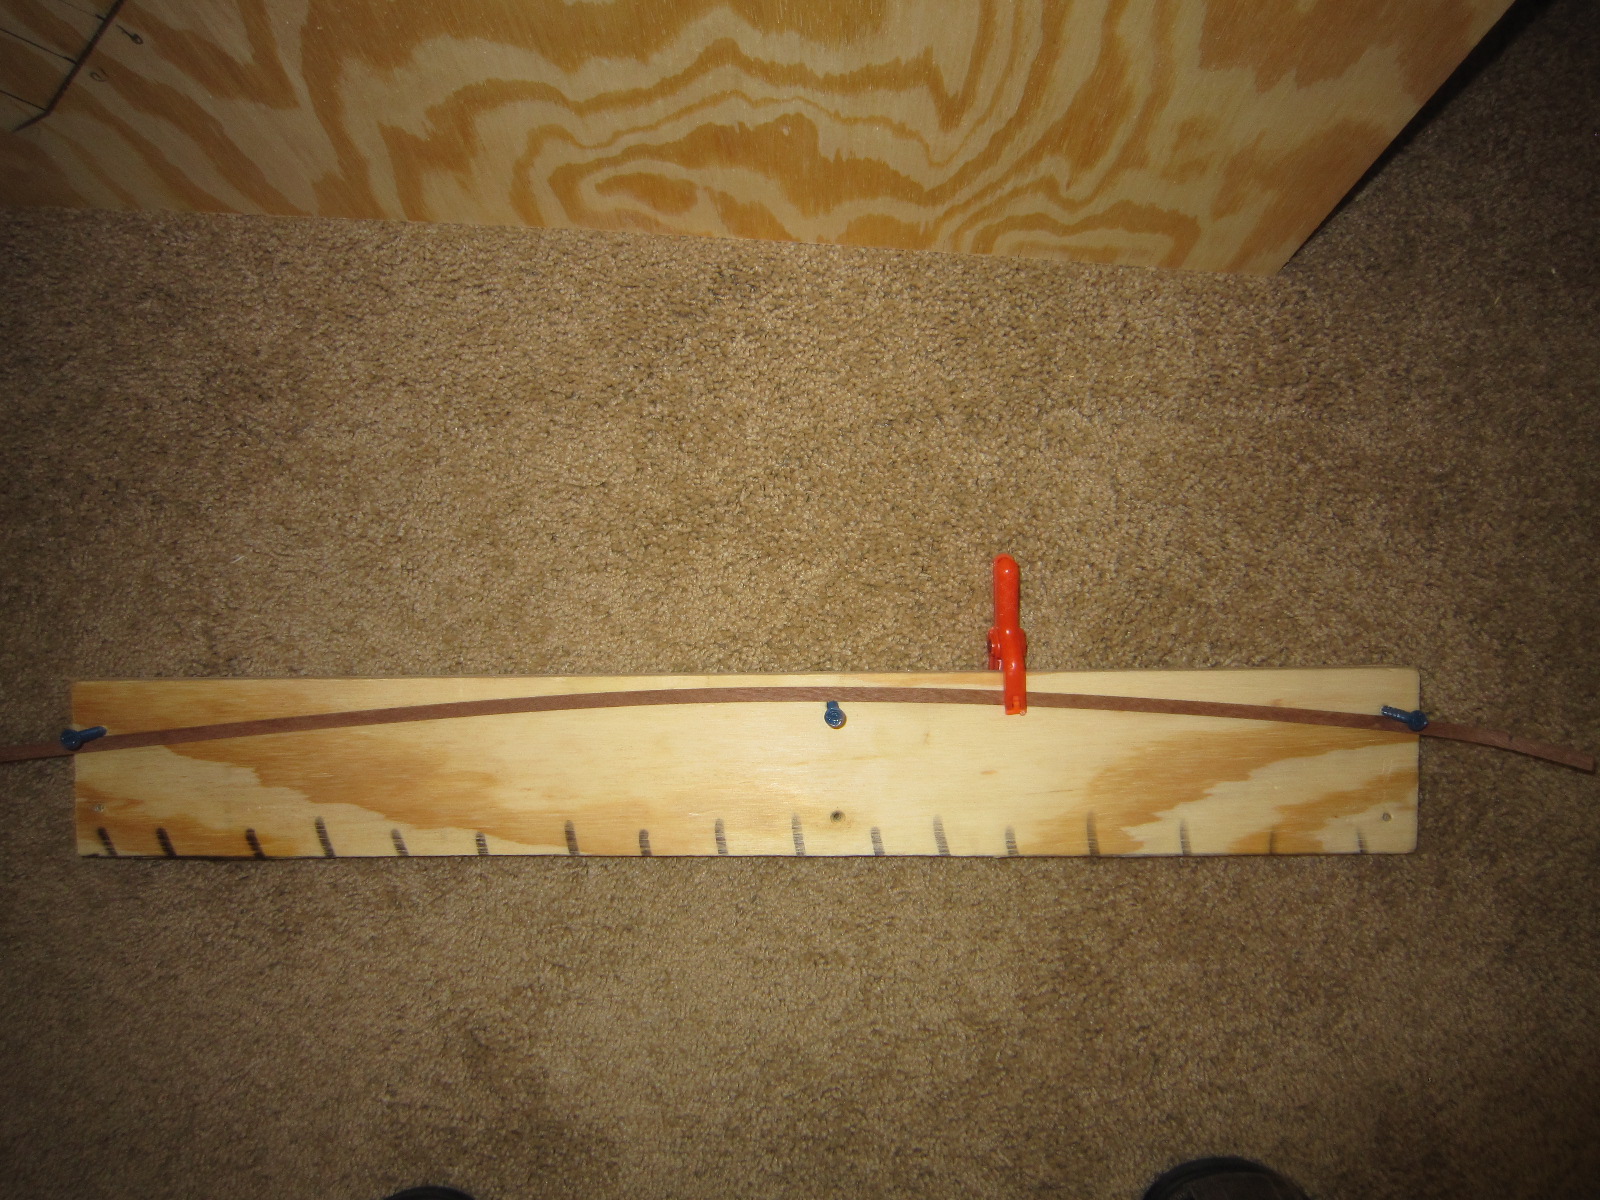
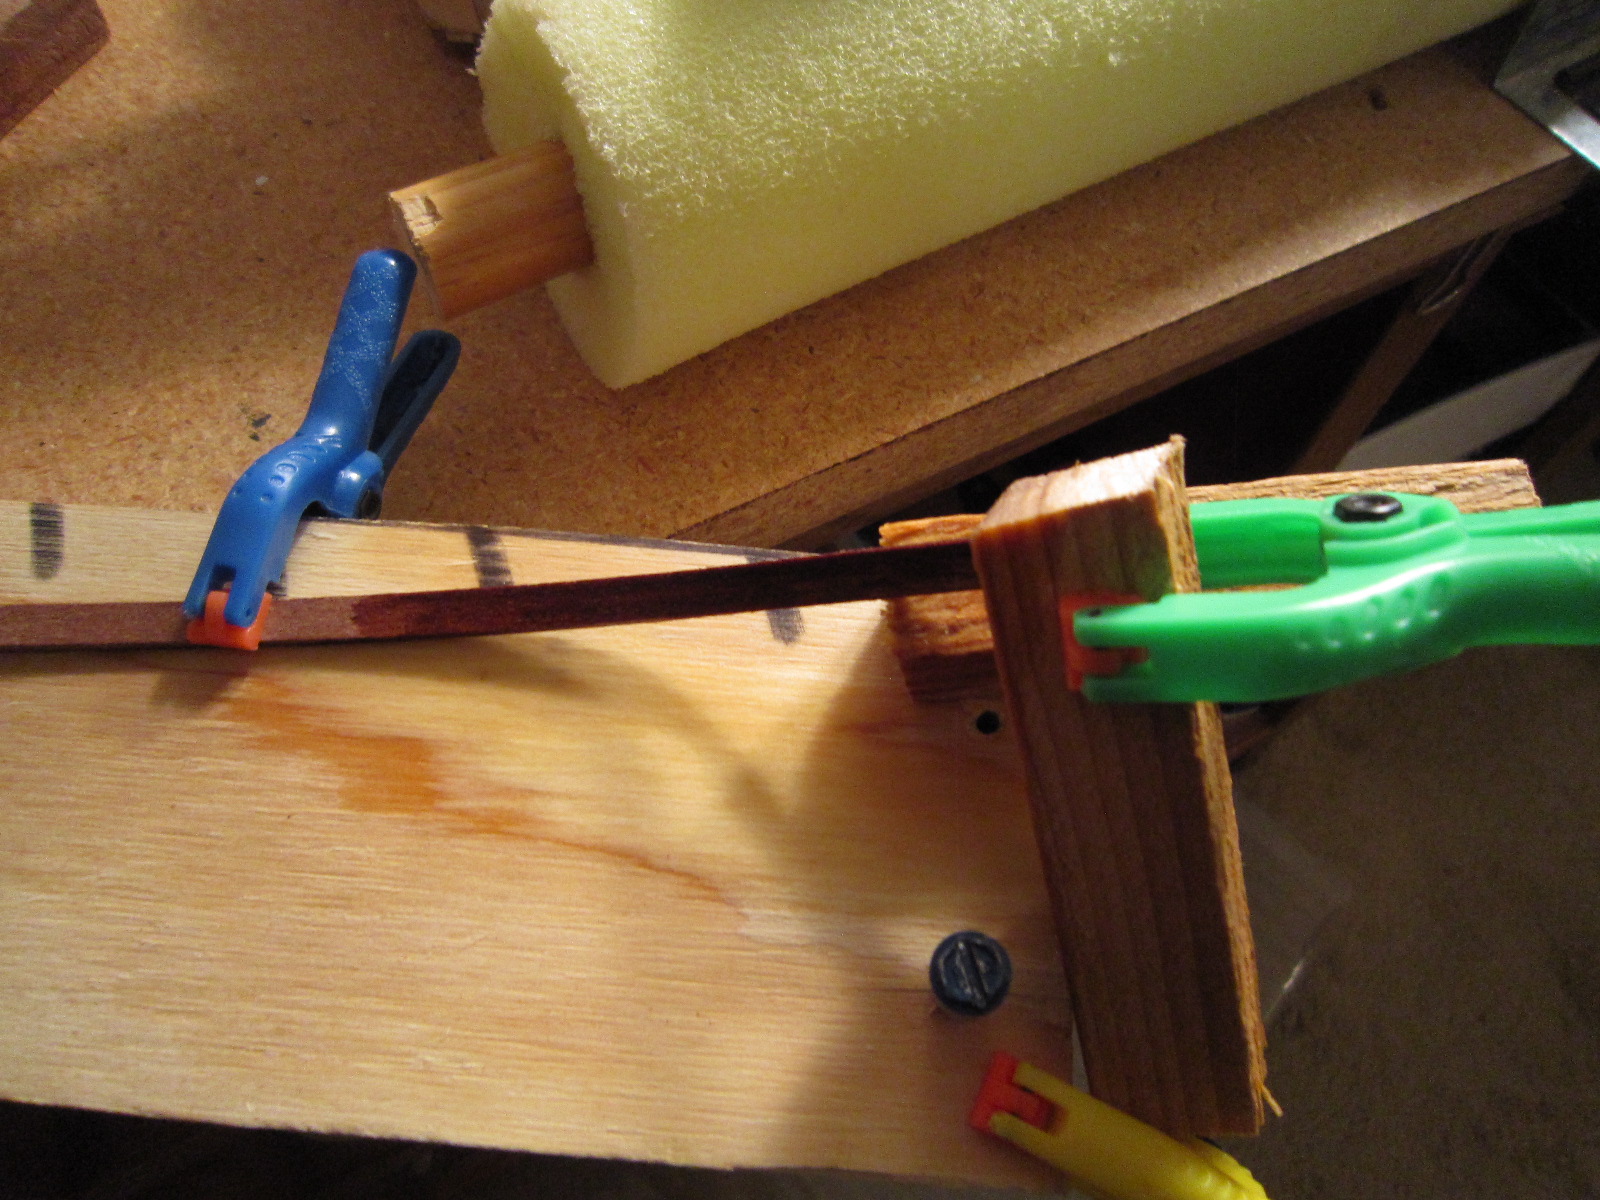
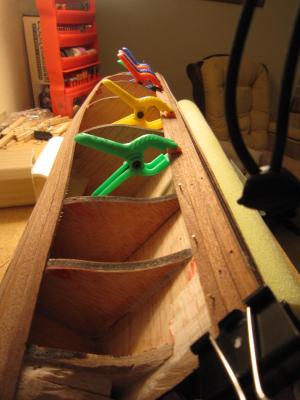
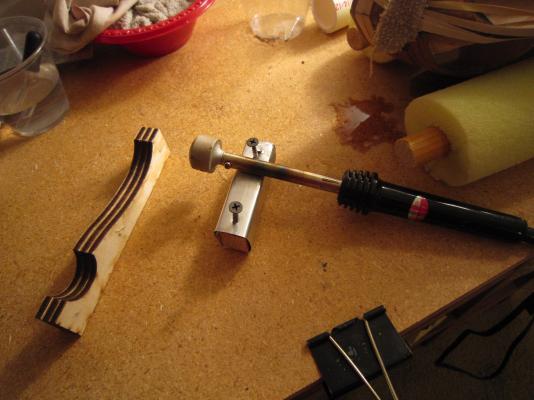
Here's some of the hull planking things I do. Jigs, heating tools, clamps, etc Rich


-
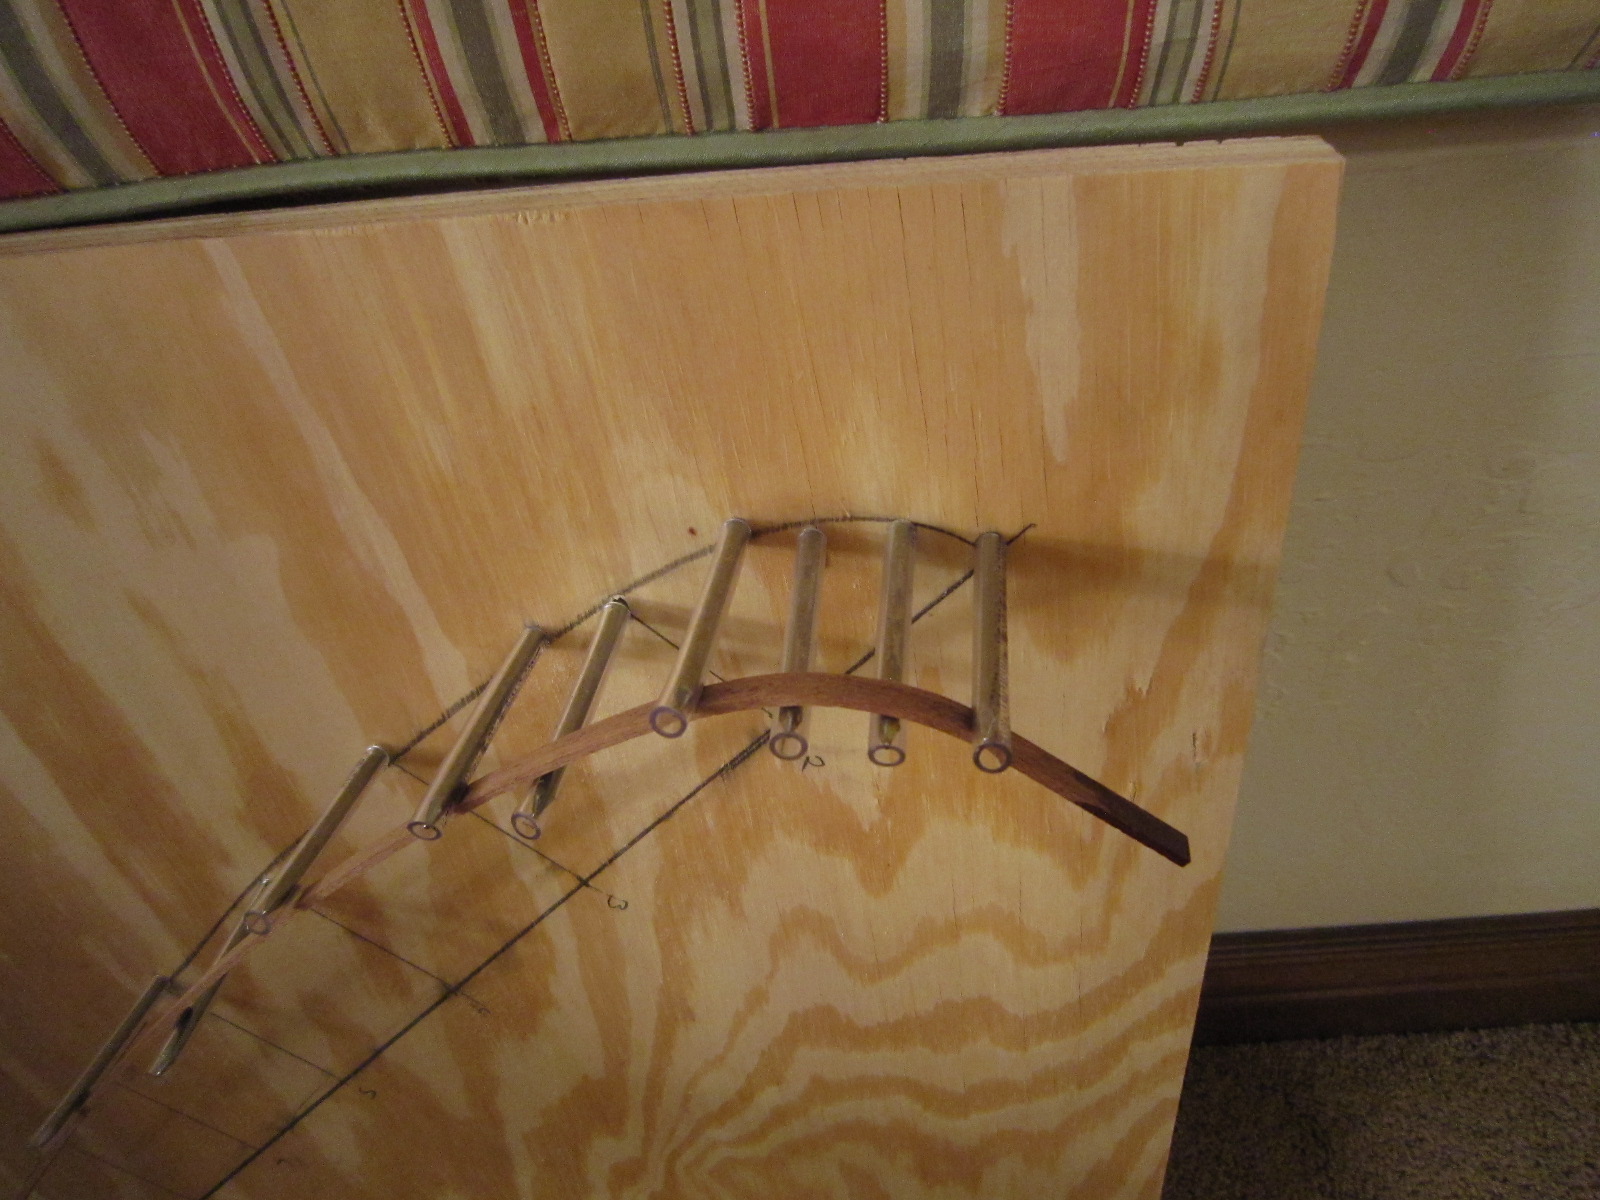
I'm only on my second model and am using several methods of bending planks. I've culled most of the ideas from this website, but have invented a few myself. I definitely soak all planks before trying to shape them. Fifteen to twenty minutes for the hardwood I'm using in a mixture of water and about 15% ammonia. Then I use a variety of methods. One is a jig I've built that matches the shape of the hull. That works for some planks. An other way is to pin the wet plank in place and let it dry. It takes on the shape to be used (almost). Another way is to use a heating iron with wet cloths to create the steam you mention. I use that with a curved form. I'd like to see you gadgets. How can I see them? Rich
-
My Constructo USS Constitution is designed not to be painted. They provided contrasting colored woods to provide the drama. I'm determined to finish it un-painted, but it is tempting to plan painting so I don't have to be so careful with all that planking. Wood filler makes up for sloppy planking. Good luck,
-
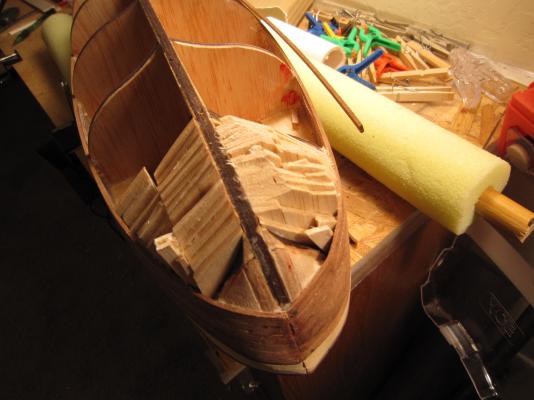
I've stopped top-down planking and started bottom-up planking. I've gone as far as I can with whole width planks (9 on each side) as I headed down. Now, I'm starting up with whole width planks as far as I can go (probably 3 to 4). Then the hard part of tapering planks to fit in the limited space left. I filled in the bow section so I can have more glueing surface for those tricky bends, twists and curves that are ahead of me.
- 1,756 replies
-
- 1
-
-
- constitution
- constructo
- (and 1 more)
-
My Process for Planking
HIPEXEC replied to glbarlow's topic in Building, Framing, Planking and plating a ships hull and deck
Hi Glenn, I'm on my second ship and stumbled onto the method you just described. I started at the top and went down nine planks. Now, I'm starting on the bottom. So far full width planks have worked very nicely. I'll probably get upward of three planks when I will have to start the tedious job of tapering. It's great to read your process. It builds my confidence that I will wind up with nice planking. Thanks, -
My model is the 1797 version acccording to the title on the box. I will review old photos and even oil paintings to see what I'm supposed to do. Thanks for your comments. Rich
-
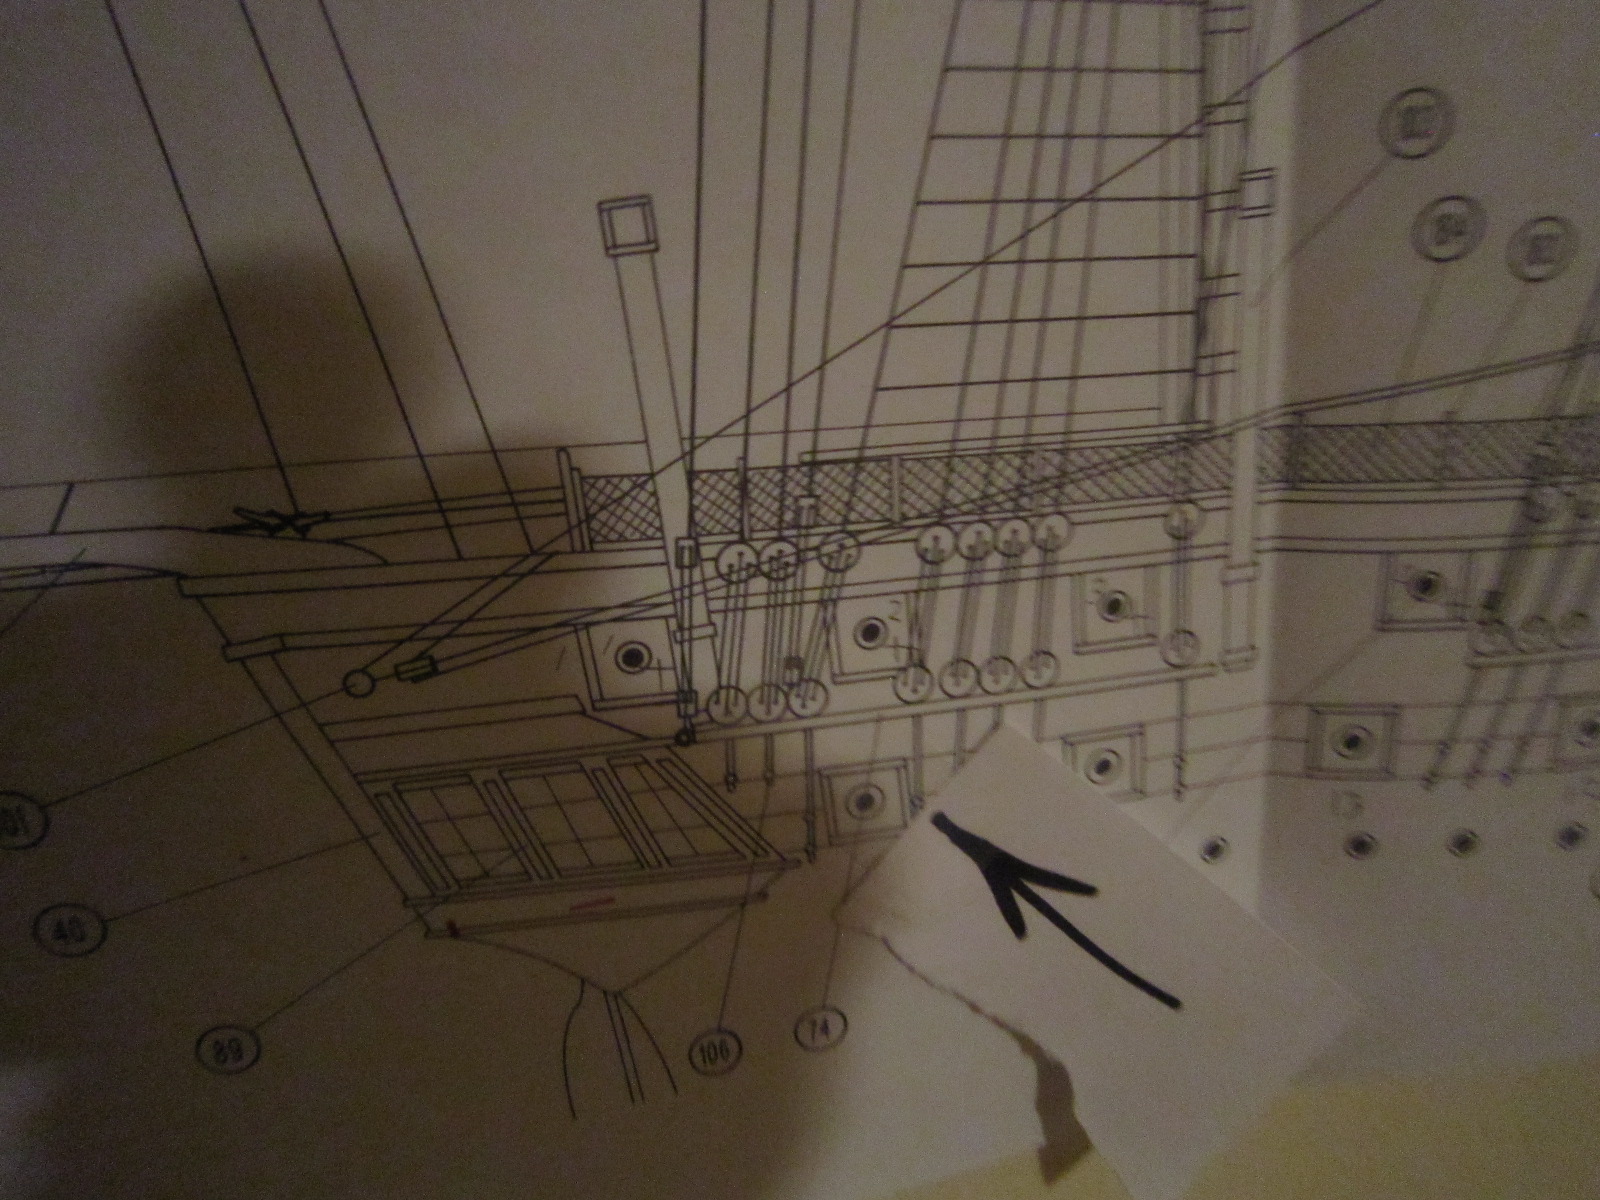
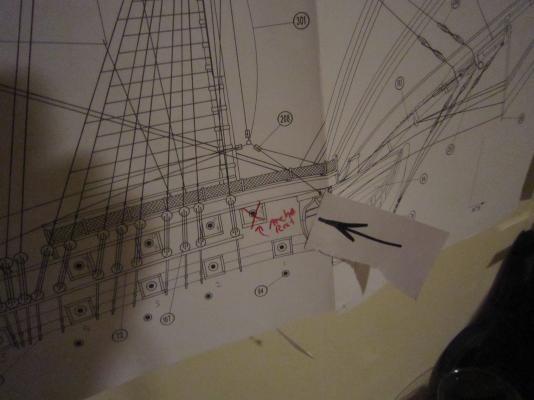
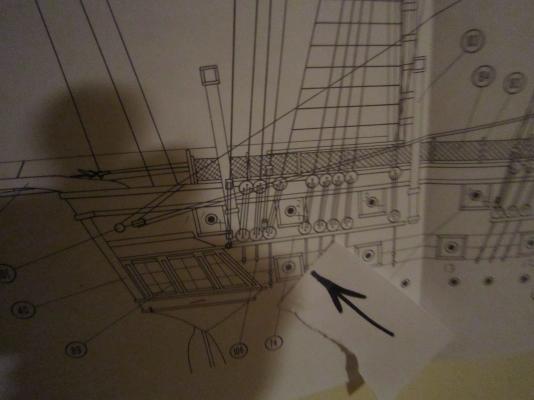
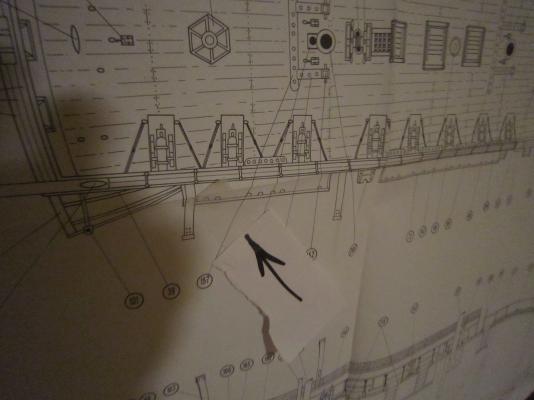
While I was waiting for the glue to dry on my last plank. I decided to layout the deck plan for gun ports, etc. I had to re-do it twice because of the kit's plan's discrepancies. They had labeled one port as a gun port when it's supposed to be an anchor port of a different dimension. Then they had different dimensions on the deck plan from the side plan where gun ports would go. If I would have stuck with my original layout, I would have had major conflicts with rigging, etc. I'm glad I caught it before I glued stuff togther.
- 1,756 replies
-
- 3
-
-
- constitution
- constructo
- (and 1 more)
-
I'm building a Constructo USS Constitution. Let me know if I can help. Rich
-
Household Ammonia
HIPEXEC replied to Q A's Revenge's topic in Building, Framing, Planking and plating a ships hull and deck
I use about 20% ammonia but my planks make bending steel look easy. I soak them 15 to 30 minutes and then use a heating plank bender with wet cloths to make steam. I then have to put the plank in a jig for the day, then re-soak it and bend it on the actual hull for a day until dry, then glue it. My planks are very thick sapele that came with the kit. Once on, they look great. Rich -
Wes, I'm going to copy what you did on the upper deck for my gunports. I already copied you for the below deck guns. Nice job and thanks for the good pics. Have you been finish sanding your planks as you go? They are very smooth. Rich
-
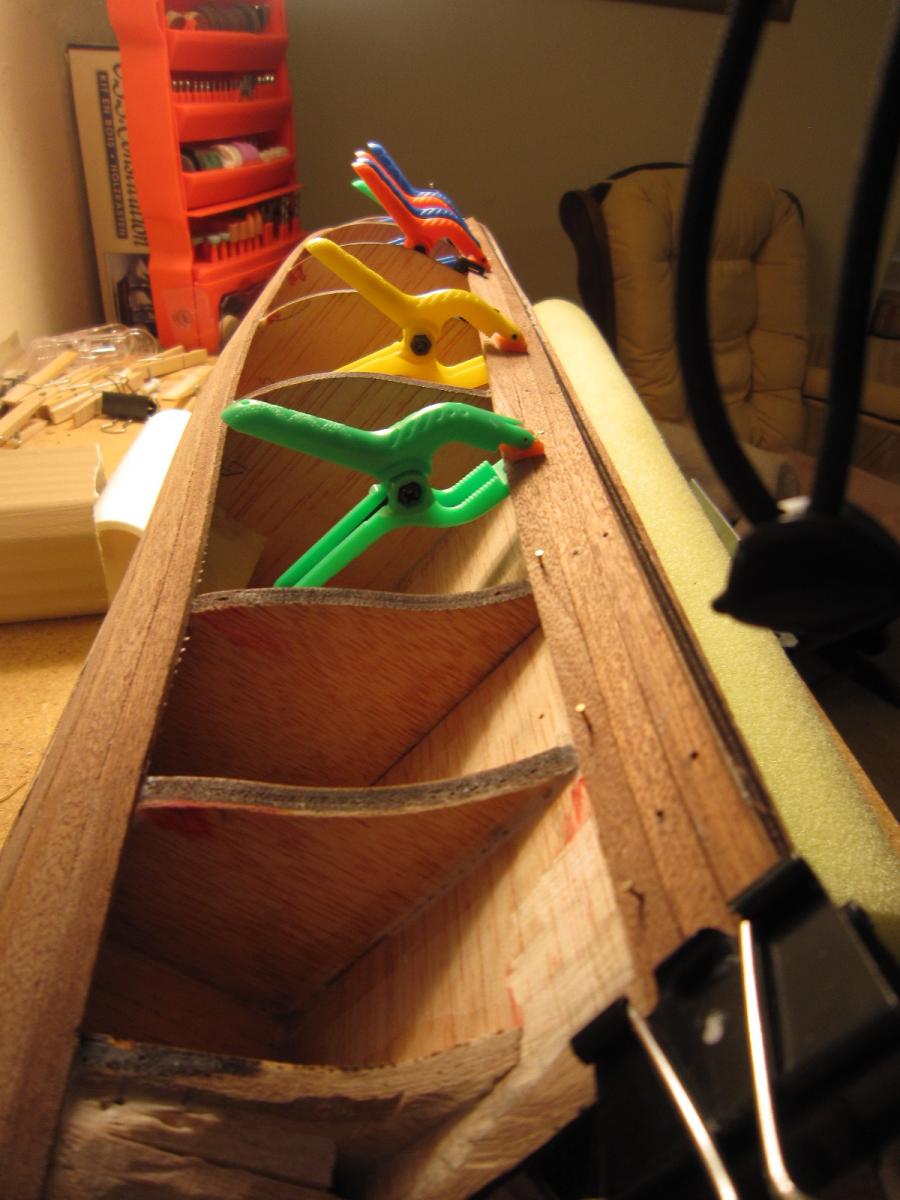
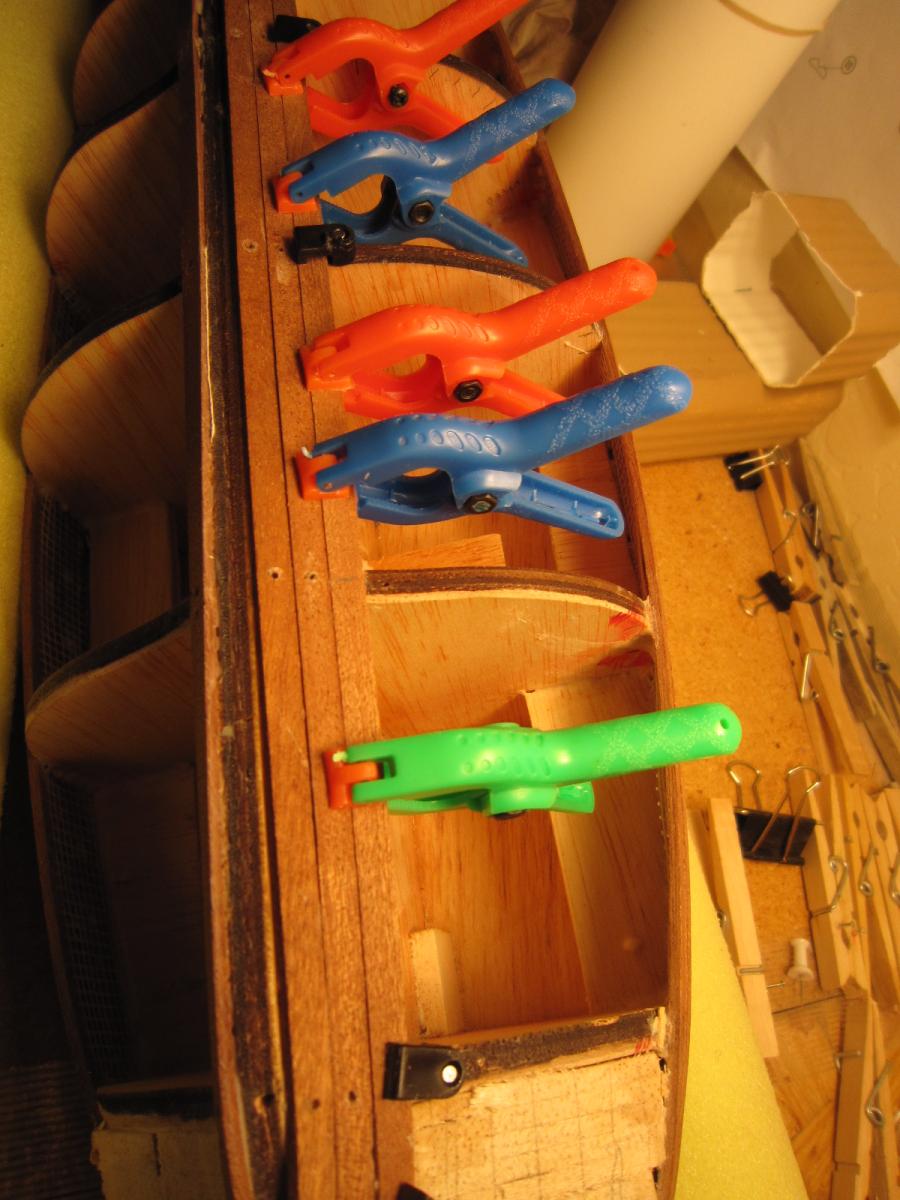
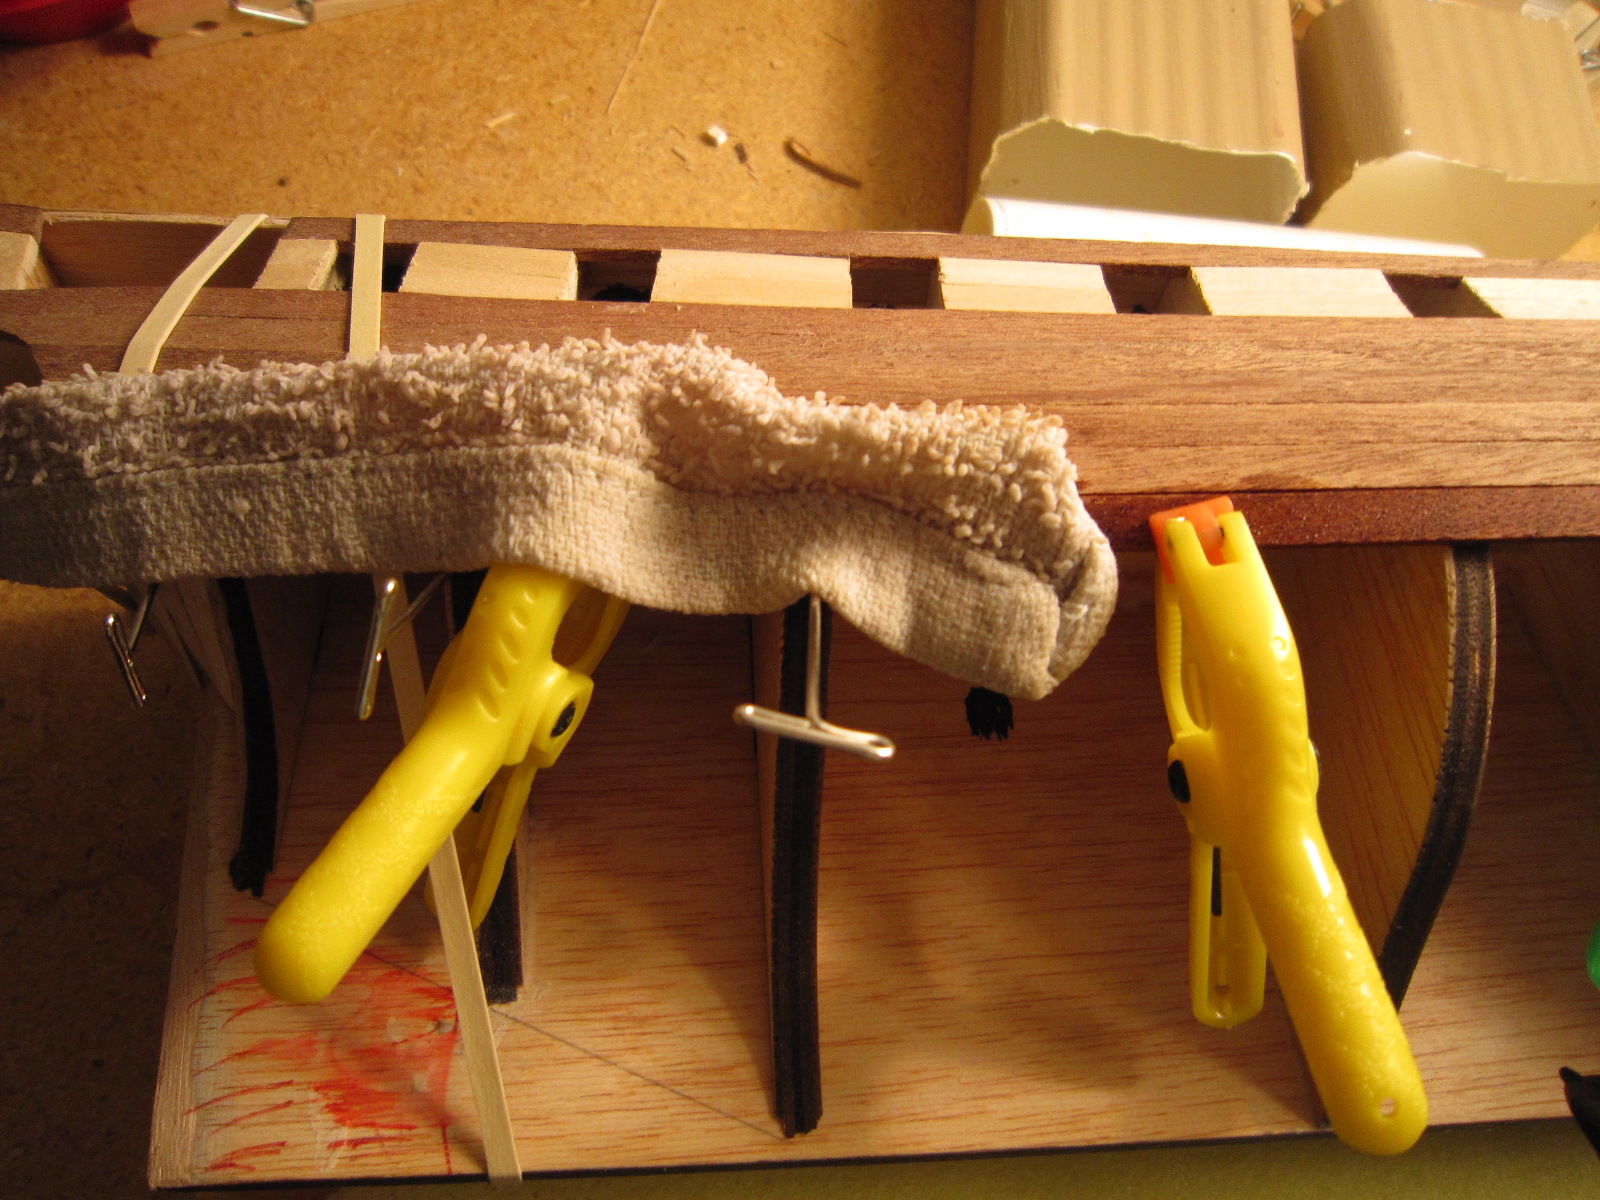
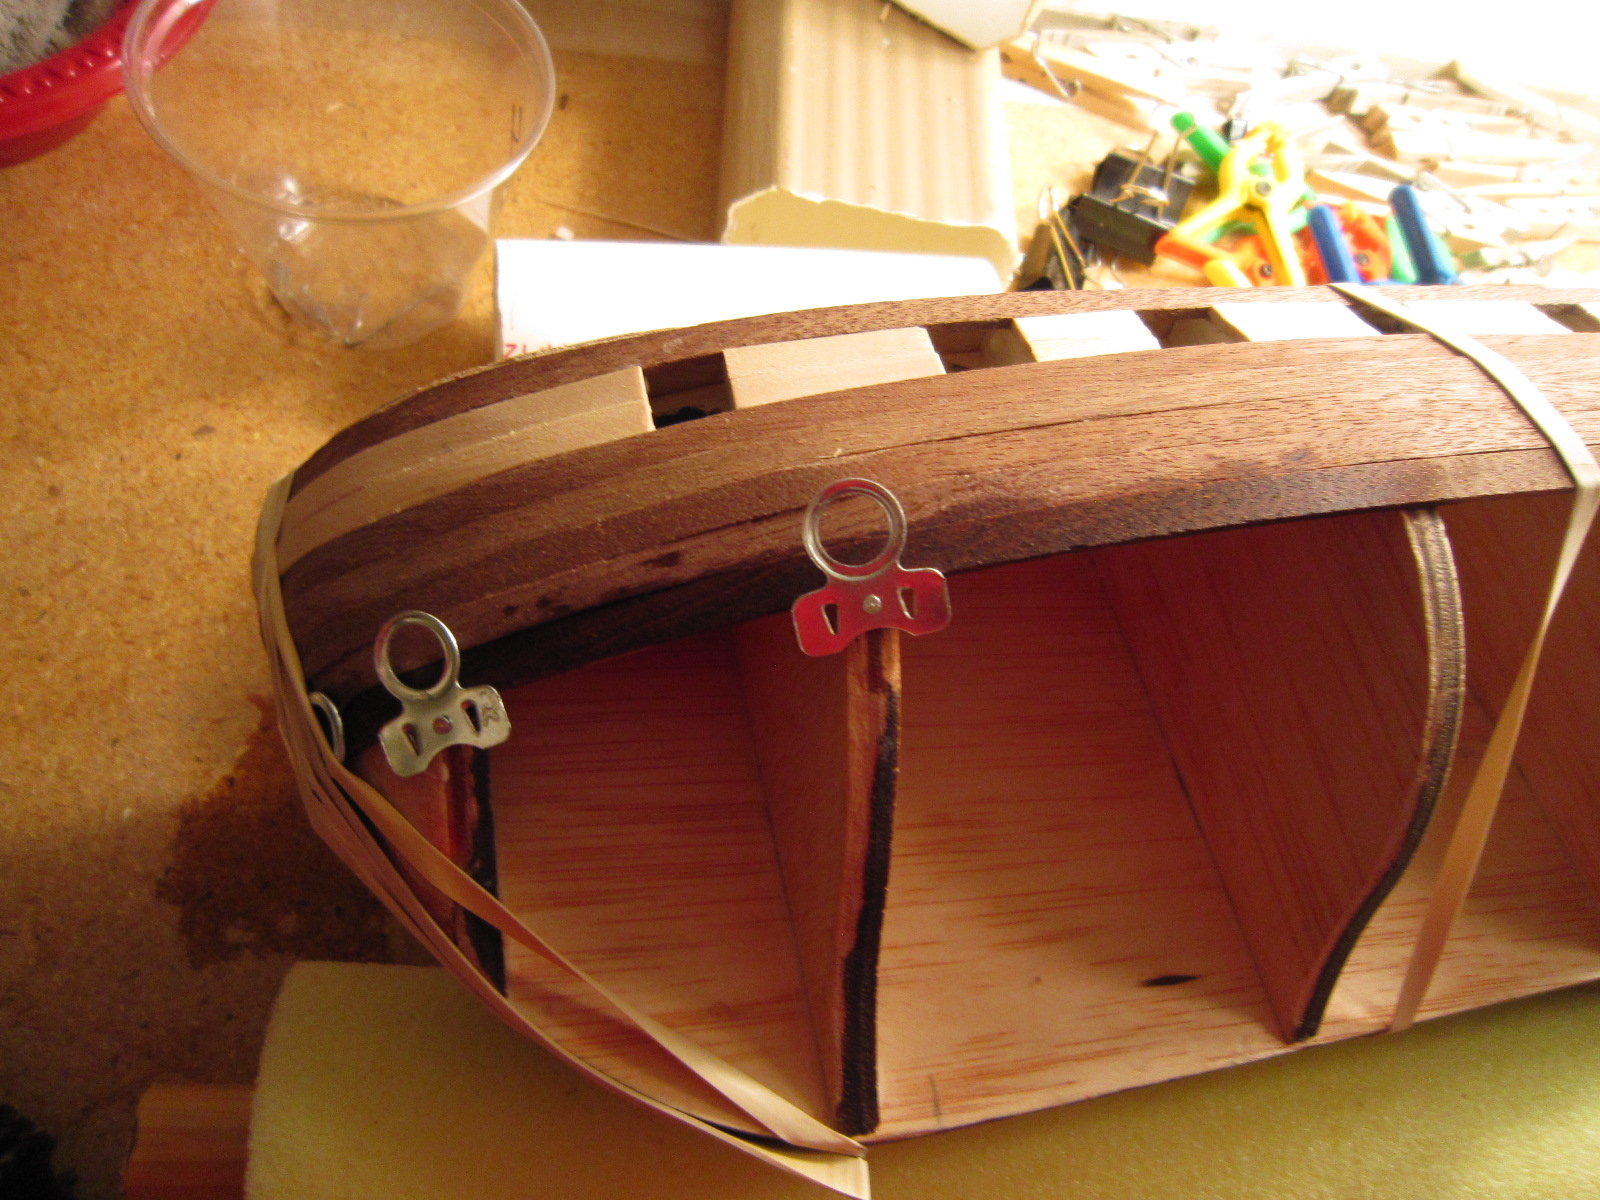
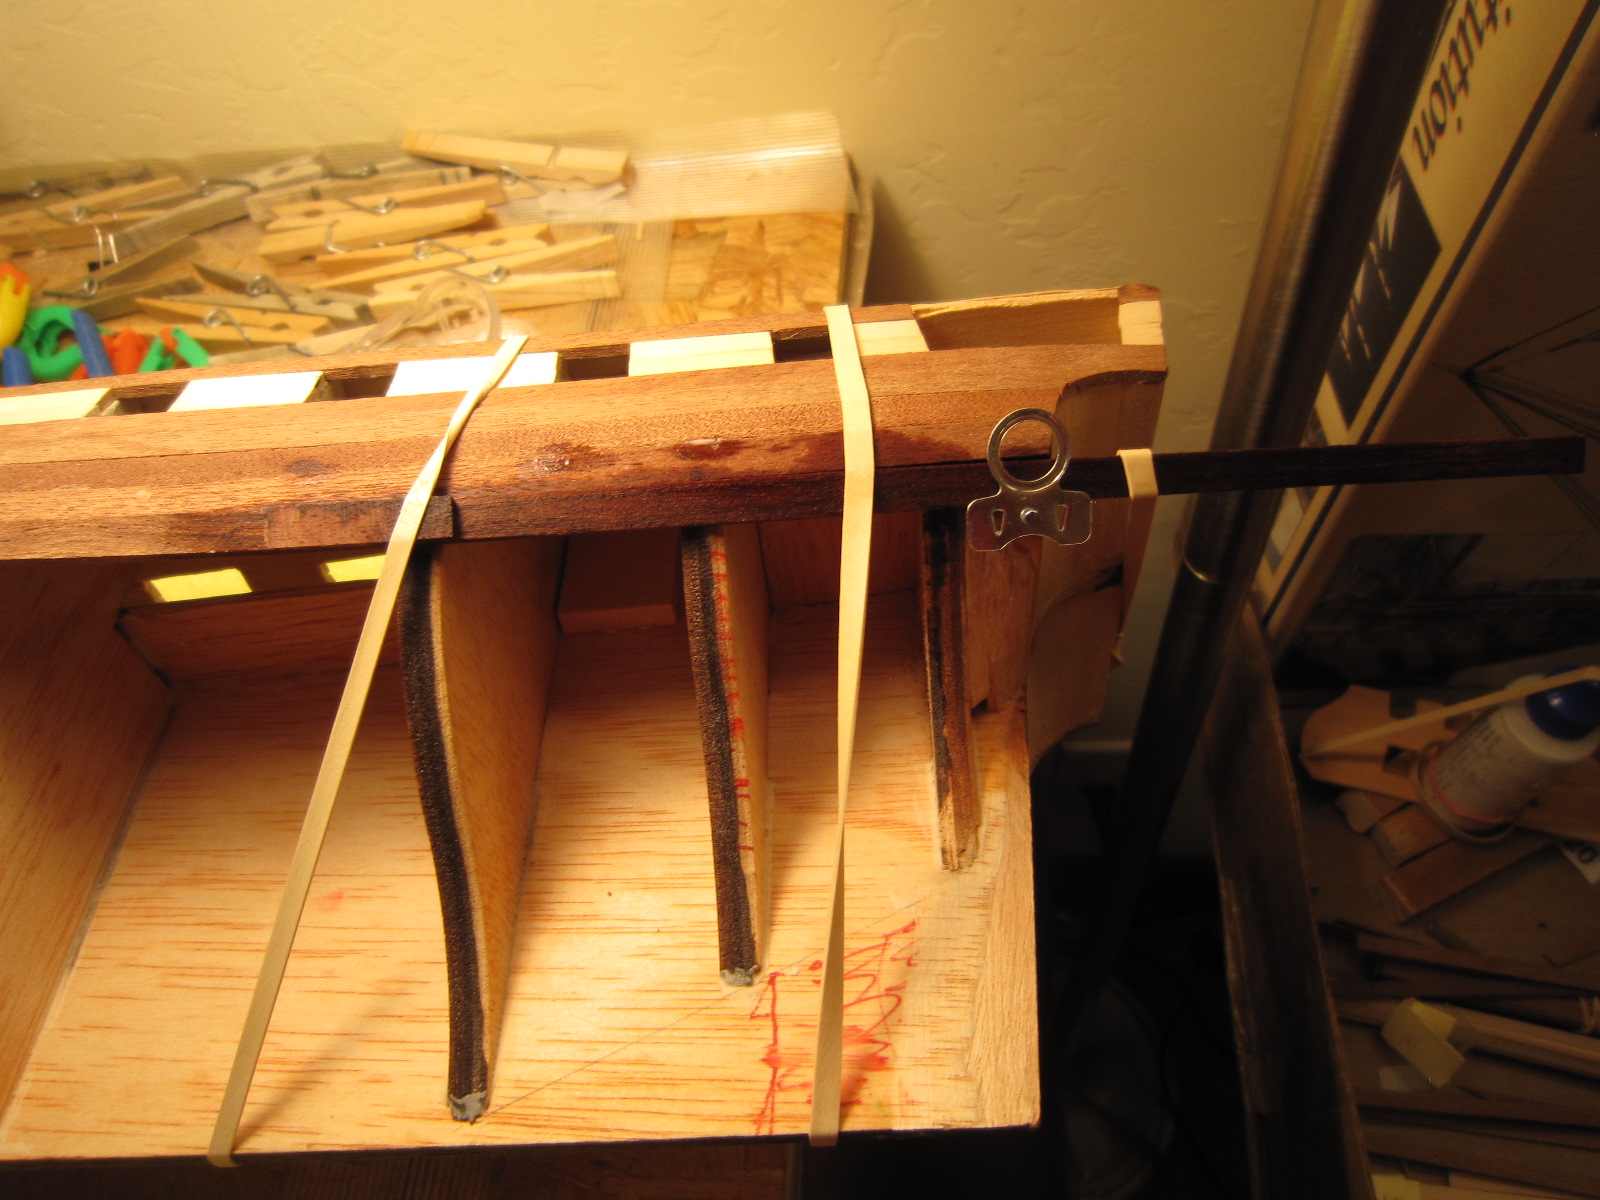
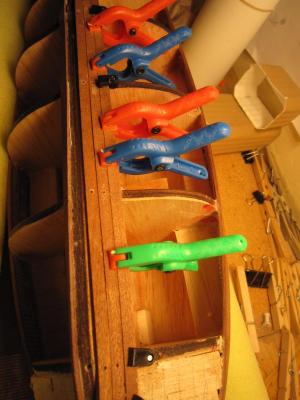
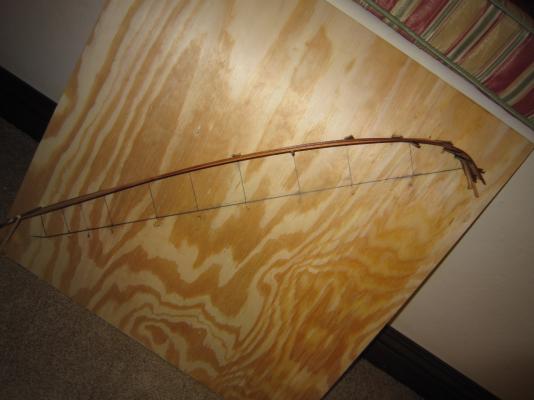
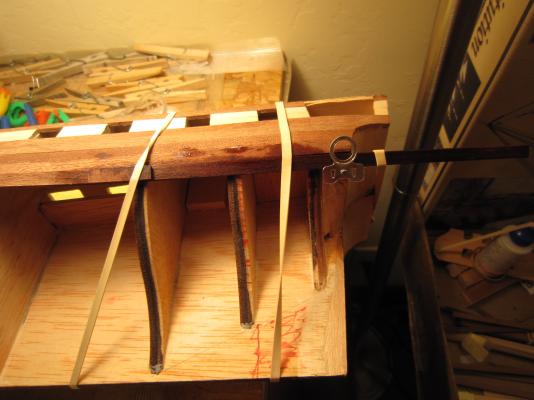
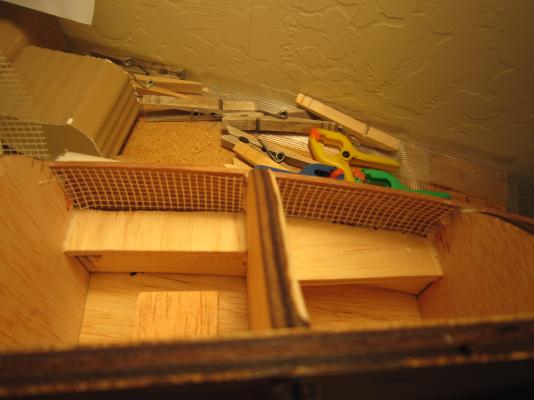
In case anyone looking thinks I'm on vacation....I'm not...I'm still planking away. Photos show primary bending in a jig after soaking and hot iron bending. Then I final bend actually on the hull with clips and rubber bands and nails and wetting with an eye dropper. Next step (tomorrow) final glueing of the plank. It's time consuming, but the planks look good even before sanding.


- 1,756 replies
-
- 1
-
-
- constitution
- constructo
- (and 1 more)
-
What kind of sandable and stainable filler should I use when the time comes?
-
I'm waiting on the PVA glue from UPS. Couldn't find it locally with PH neutral.
-
uss constitution which one - moved by moderator
HIPEXEC replied to stevetuck56's topic in Wood ship model kits
Constructo has 1/82 that if you shop can buy for under $400. -
Geoff, Beautiful build. I'm just starting mine (USS Constitution). I'll study yours for tips.
-
Looks good.
-
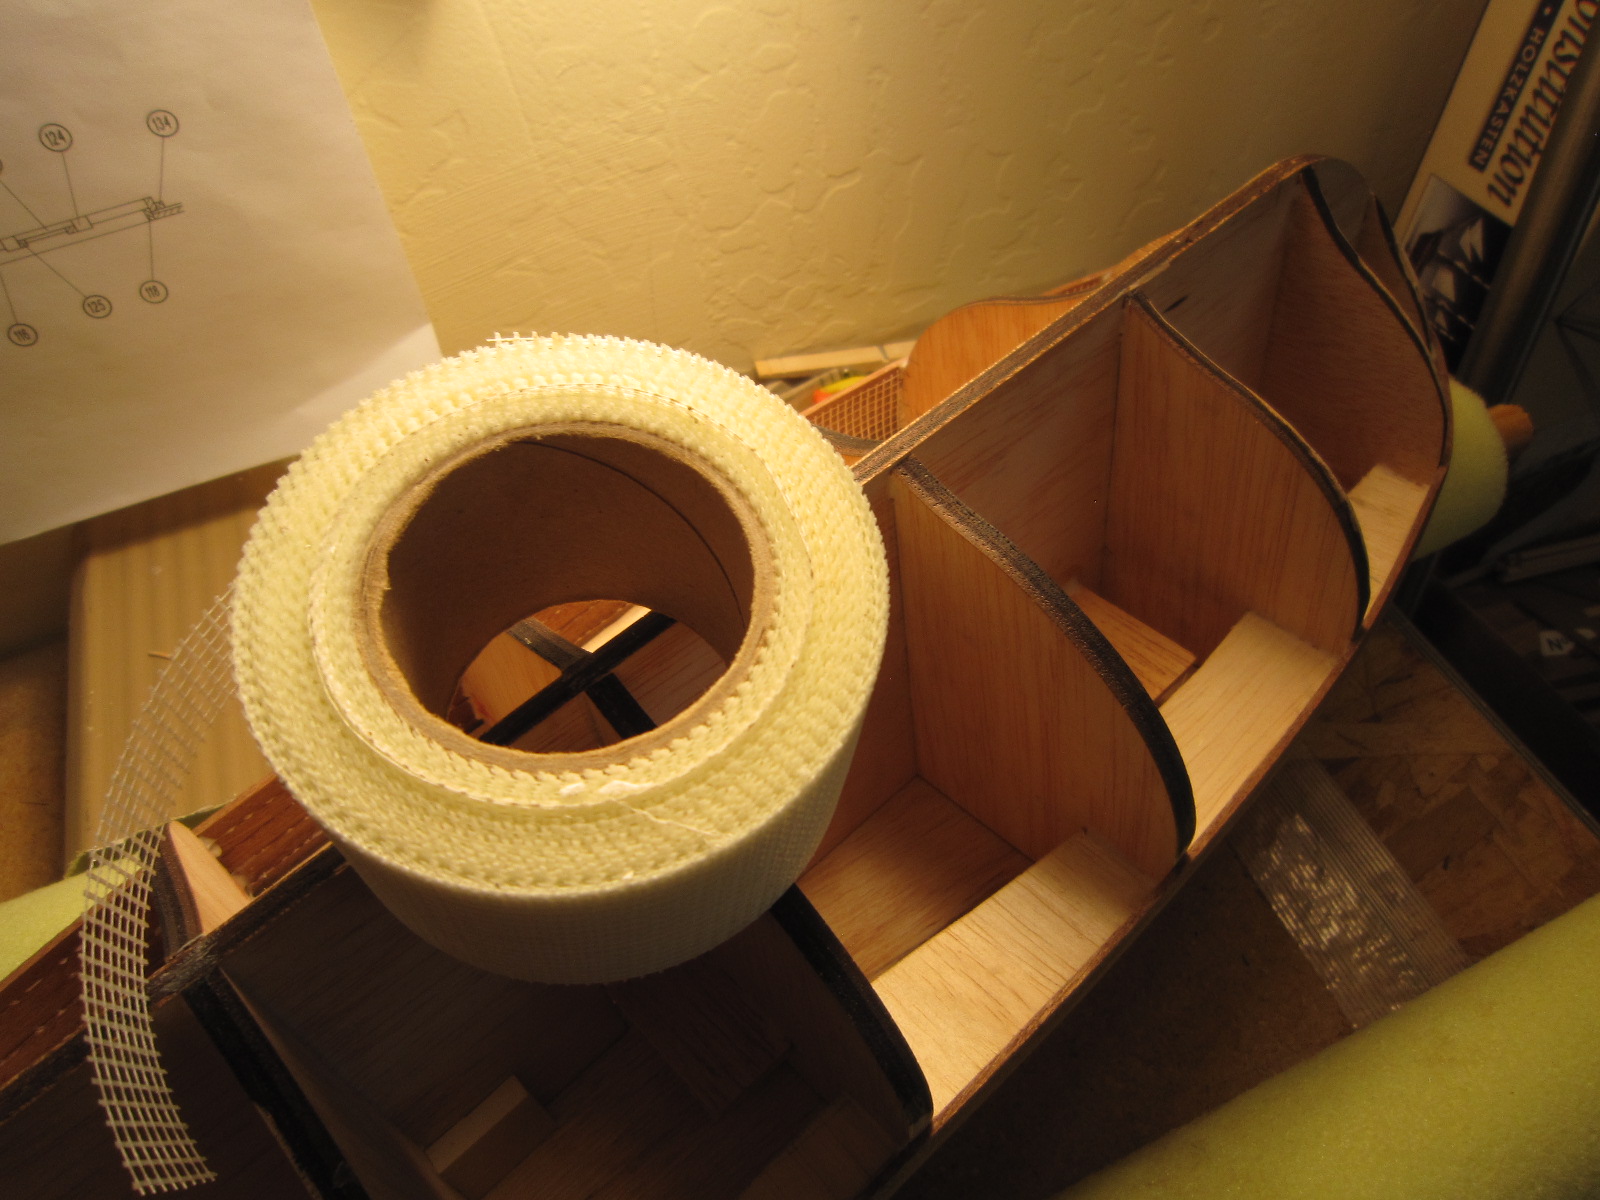
I just prepped the inside of the hull with spackleling tape before appying the glue.

-
You can visit Phil's website online philshobbyshop.com . I bought my Constructo Connie from Phil's from Ebay. Do you have a build log forum for your Pride of Baltimore? I'd like to see it. Good luck and be careful about my tips...I'm still learning and take a lot of advise from fellow members.
-
Thanks everyone.
-
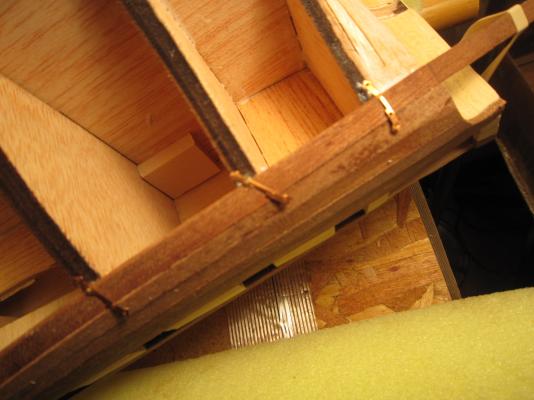
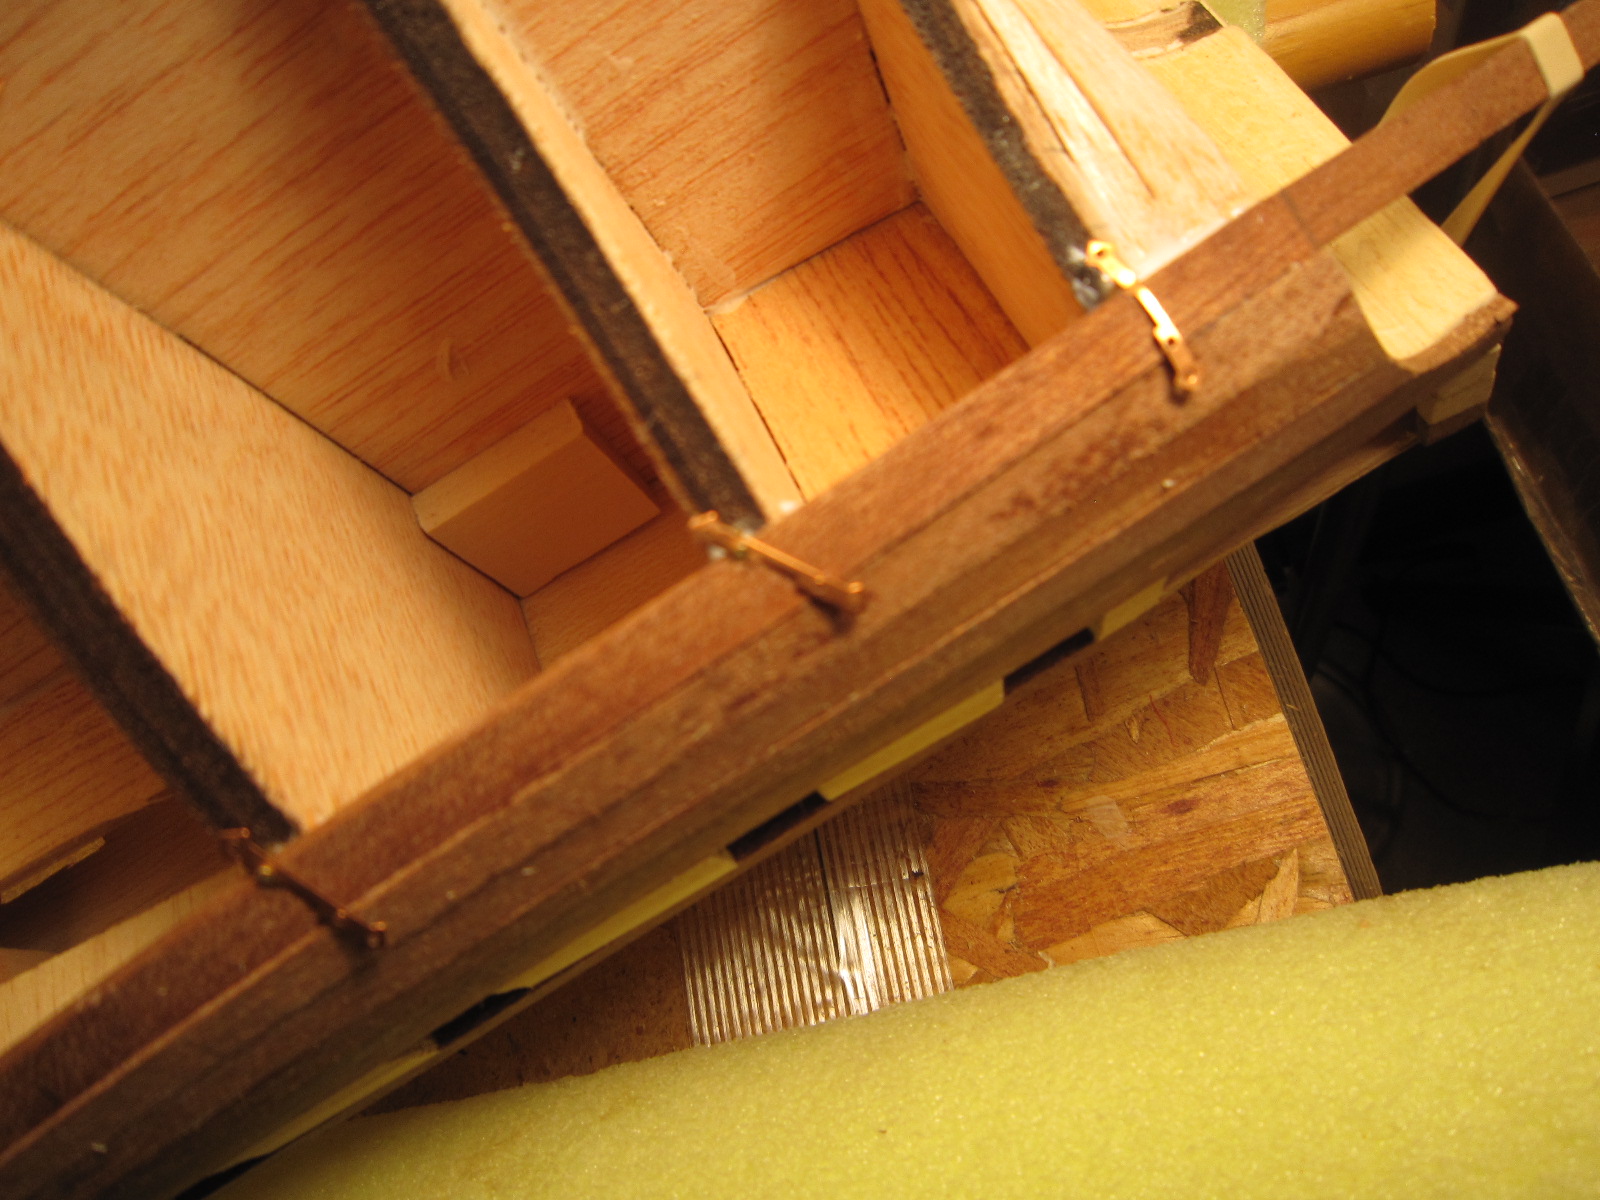
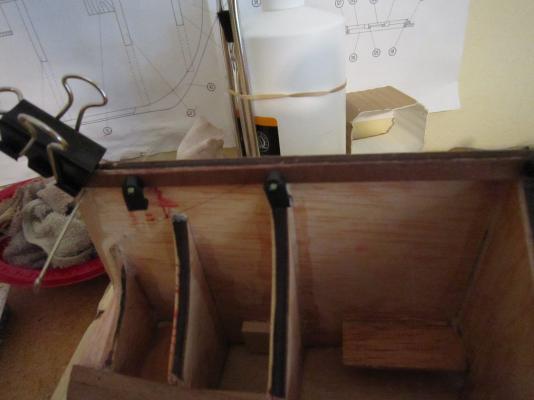
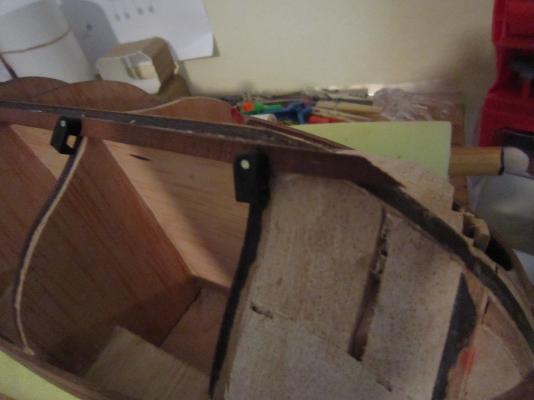
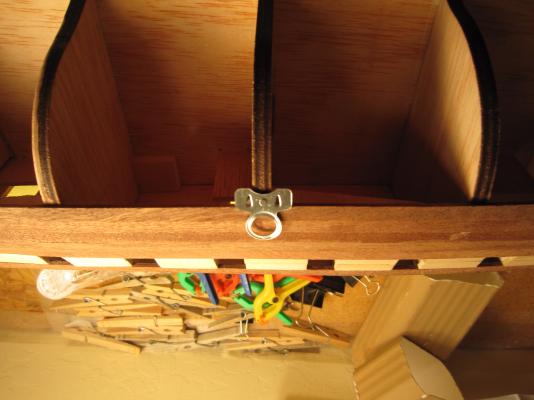
I just found a good use for the left over hinges from my first build. I nail them into the bulkhead and the hinges holds the plank exactly in place without me drilling a hole in the plank. With this wood making holes carries the risk of a split and I also don't have to fill in any holes.