HOLIDAY DONATION DRIVE - SUPPORT MSW - DO YOUR PART TO KEEP THIS GREAT FORUM GOING! (Only 13 donations so far - C'mon guys!)
×


HIPEXEC
-
Posts
2,698 -
Joined
-
Last visited
Content Type
Profiles
Forums
Gallery
Events
Everything posted by HIPEXEC
-
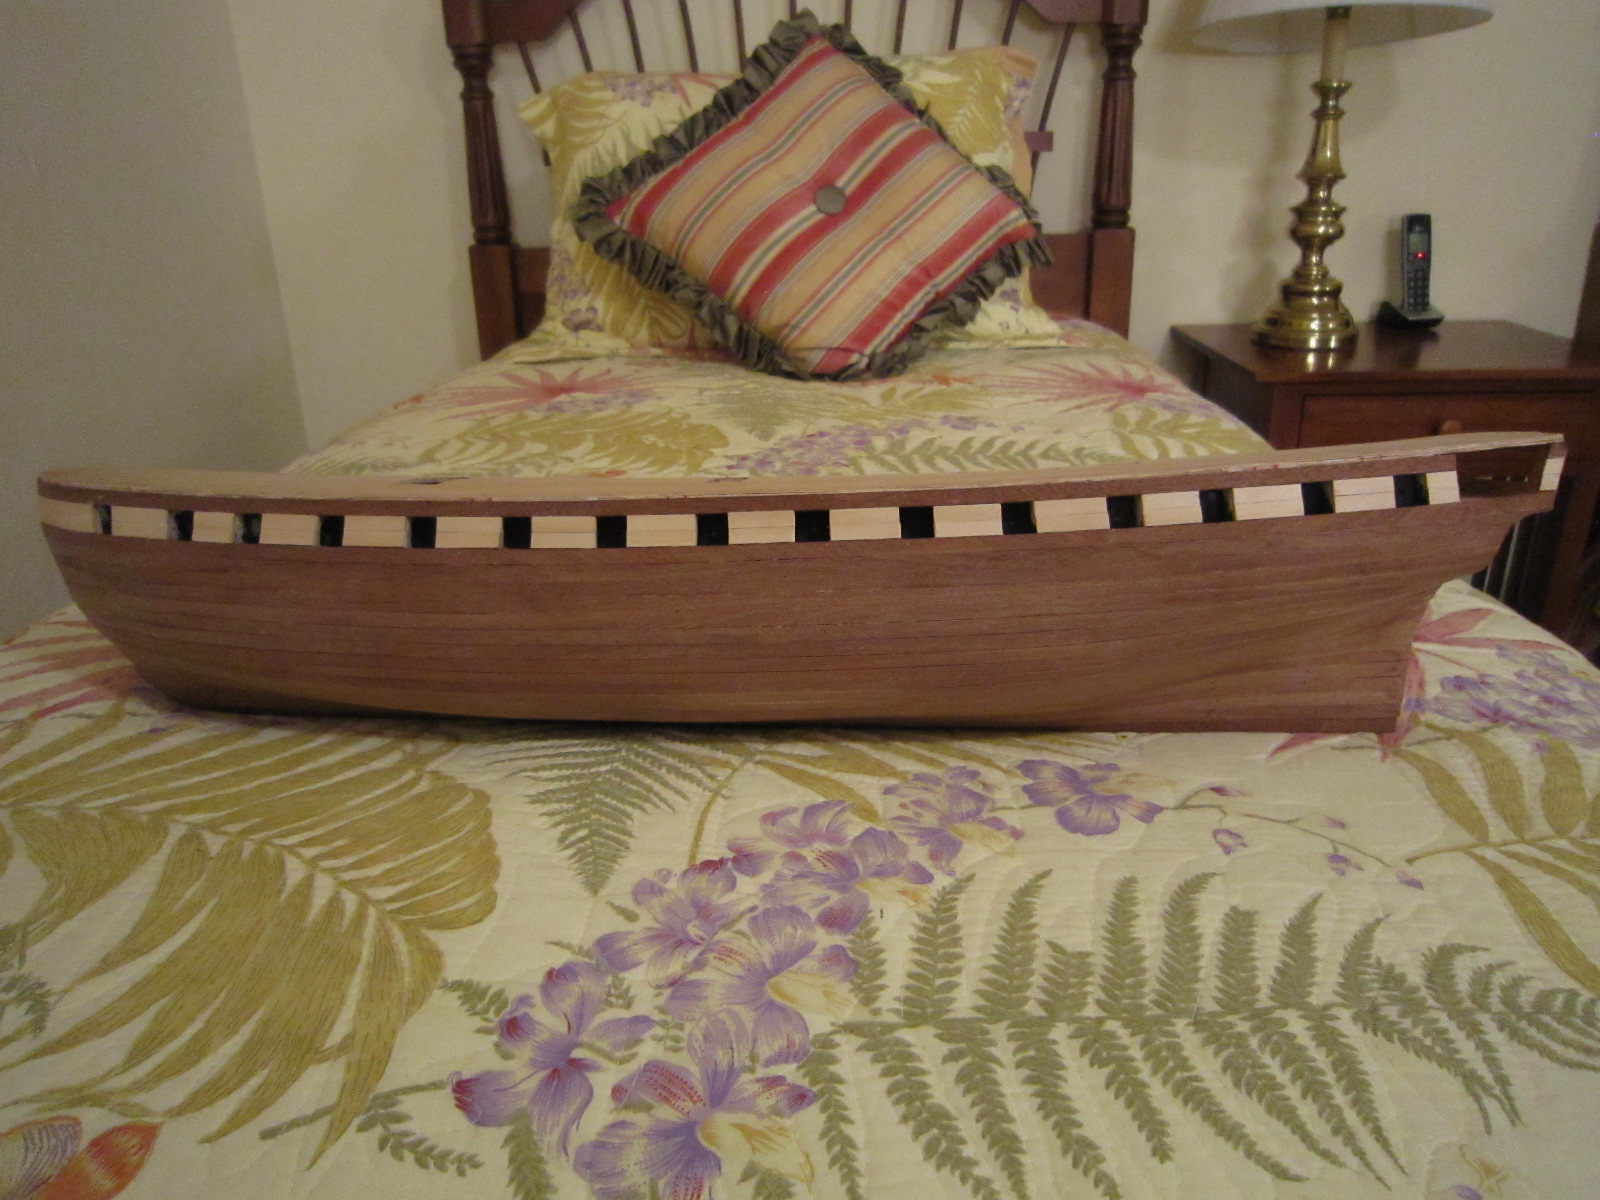
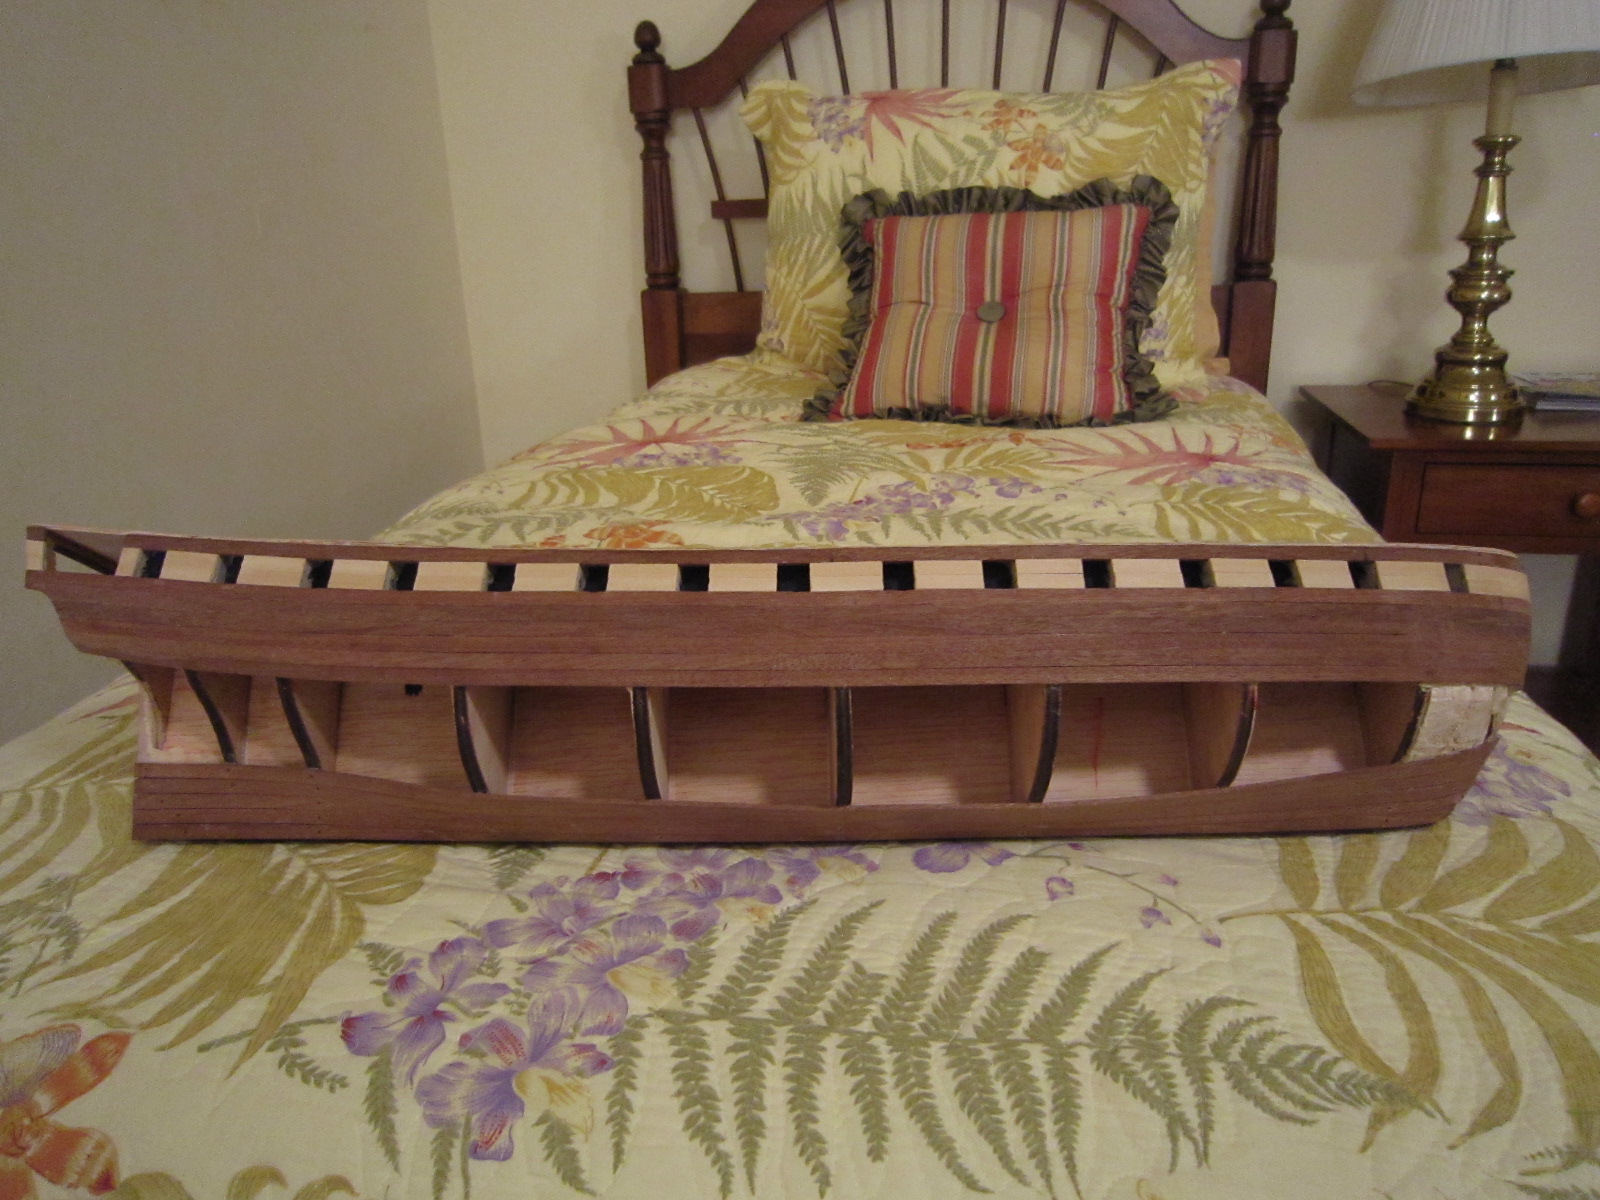
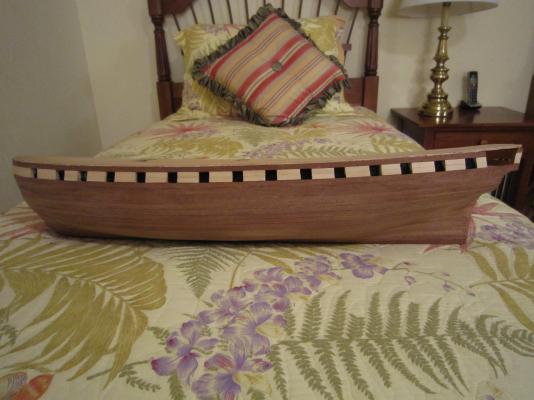
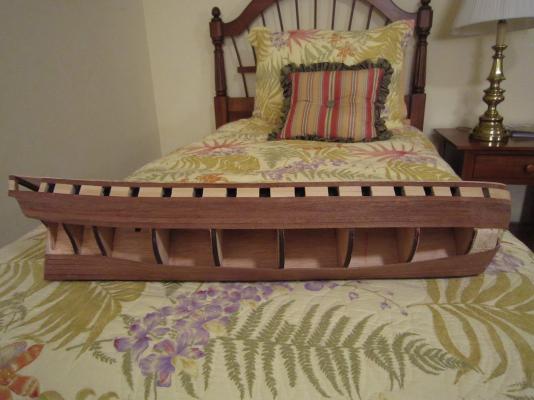
 What a joy it is to hold that completed hull. It's like I can't get enough of holding it. It looks like a boat now. Am I the only one who feels this way?
- 1,756 replies
-
- 7
-

-
- constitution
- constructo
- (and 1 more)
-
While I'm taking my victory lap, I'm planning my next moves. I've got to fit the bow and stern stems over the planks and sand and fill. Them I have to figure out how to start the gunwales with only a 2mm lip as a start that has lots of curves and bends? After building the stern cabin and veneer planking the stern, then I'll varnish her. Thanks,
-
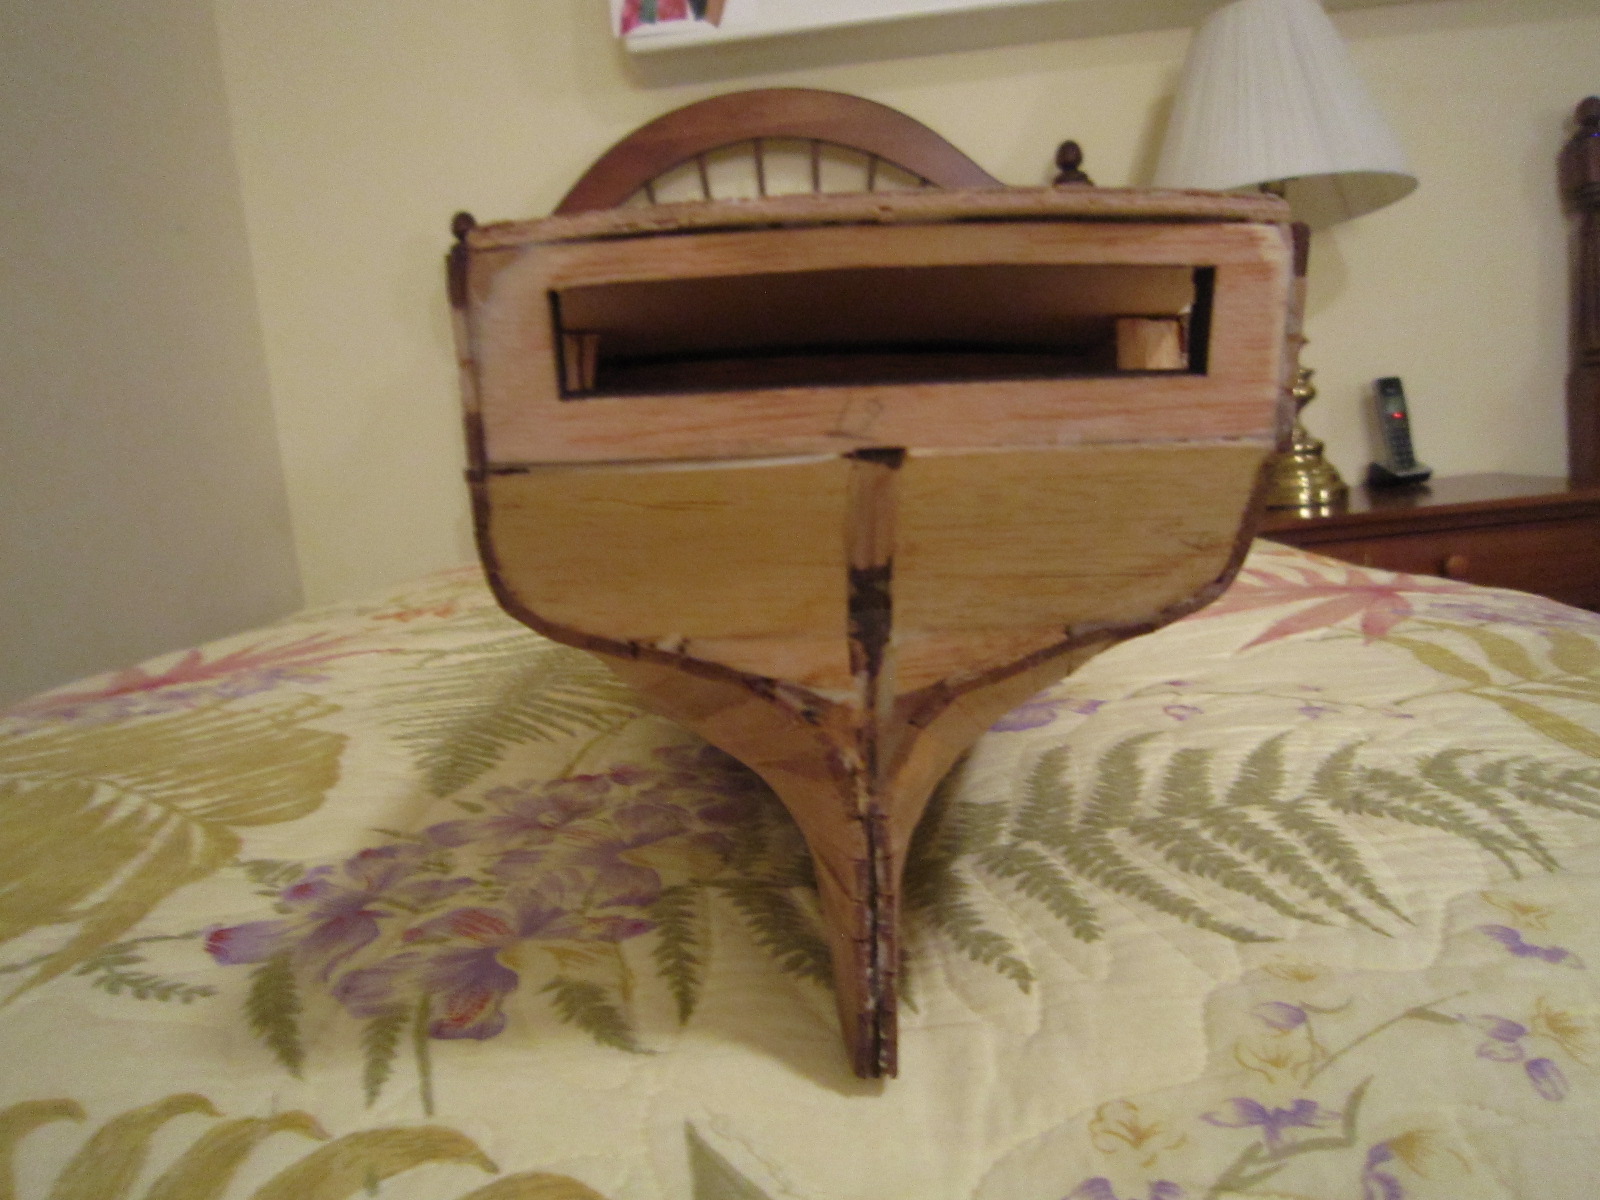
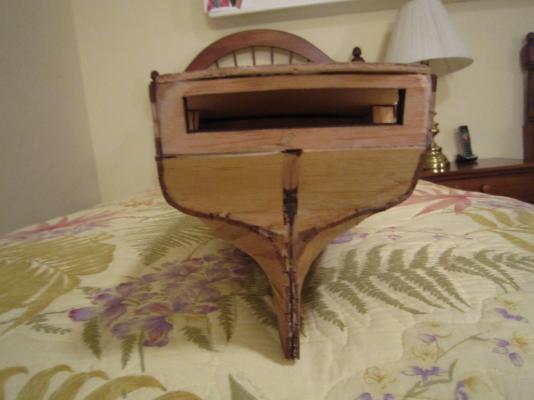
Hull planks finished! The stern came out very symetrical even though I carved it myself. A miracle! The stern gets a vereen plank job down the road. It feels good to finish planking. It's hard work. Now there will be a lot of sanding, filing and filling to make it presentable. At least the planks all butt very nicely, so filling will be a small job.
- 1,756 replies
-
- 6
-
-
- constitution
- constructo
- (and 1 more)
-
I just layed the last plank...if you can call it a plank. It was 4MM by 15CM tapered to sharp points at each end. Pics tomorrow when the glue dries.
-
Looking good! You're my goal.
-
I'd be real interested in hearing how it works. I've got a lot of sanding to do.
-
I still have about five tapered planks on the other side. Thanks,
-
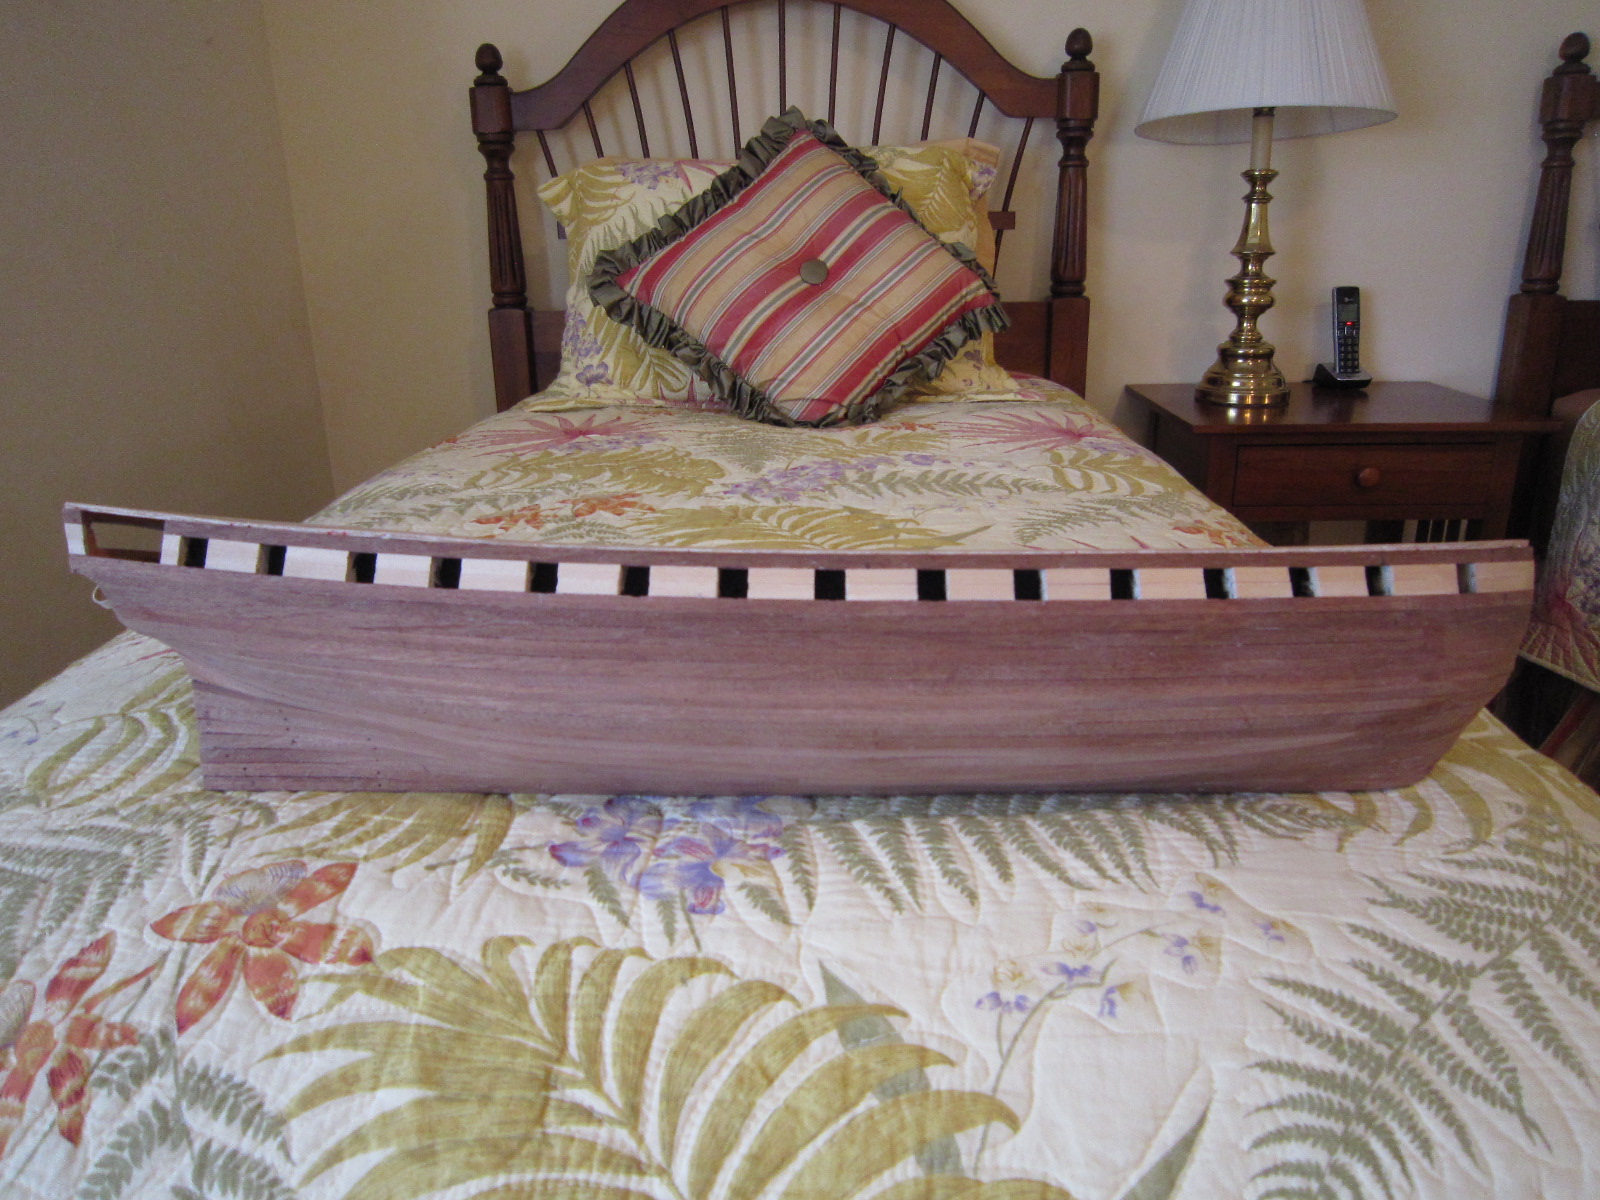
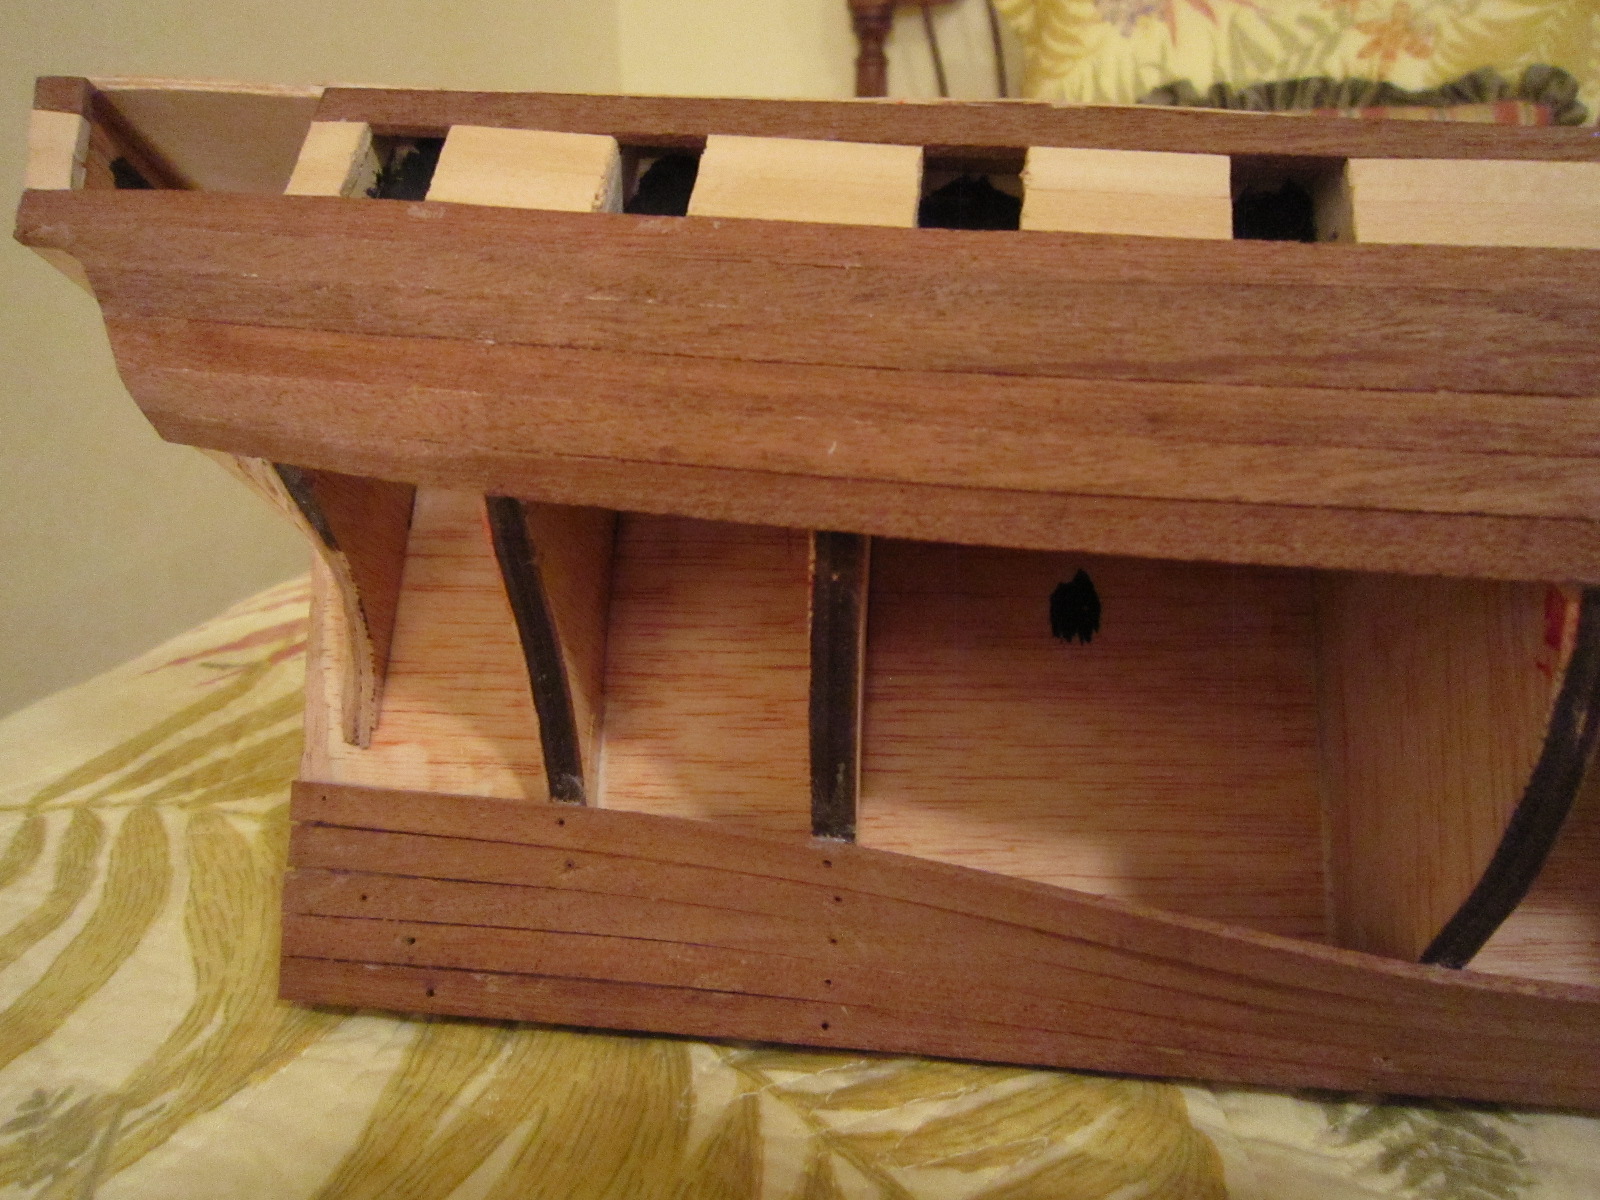
Starboard side planks done! Not as nice as Wes's Connie, but for a second ship beginner, I'm very proud that the planks fit so nicely even before sanding and filling..

- 1,756 replies
-
- 3
-
-
- constitution
- constructo
- (and 1 more)
-
Chamfer a plank
HIPEXEC replied to Thom's topic in Planking Techniques's Click Here for Topics dedicated to planking!!!!
I had good luck with shaving the plank to near net shape then holding it flat on a level surface and using a flat sanding block. That gave me decent bevels and tapers. It would be nice to have a miller, though. -
Ever since I started tapering my planks, I stopped using a jig to bend them to shape. Too many odd twists and turns. So, I started forming them in place. After a 15 minute soak I "no glue" install the plank and let it dry overnight. After it's dry, it stays just about in that shape for final gluing.

- 1,756 replies
-
- 1
-
-
- constitution
- constructo
- (and 1 more)
-
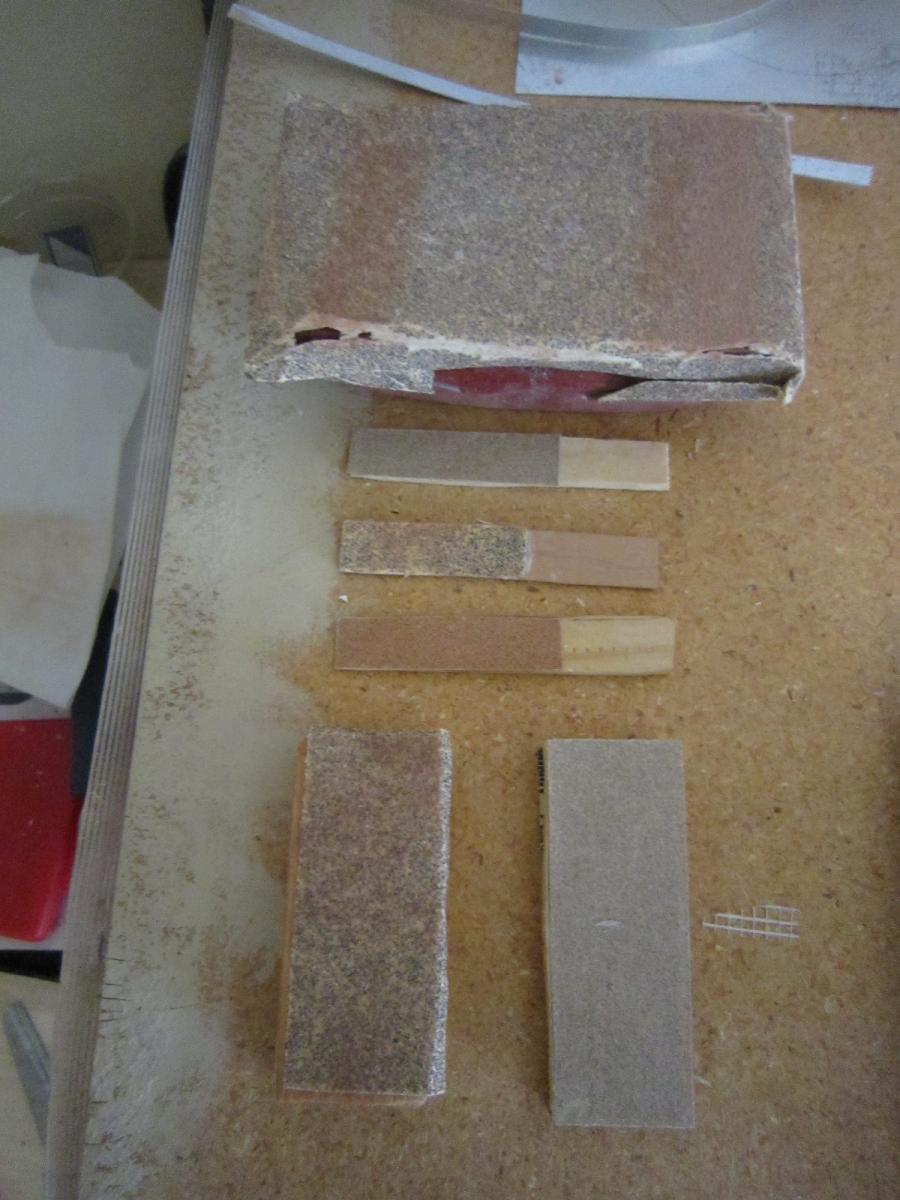
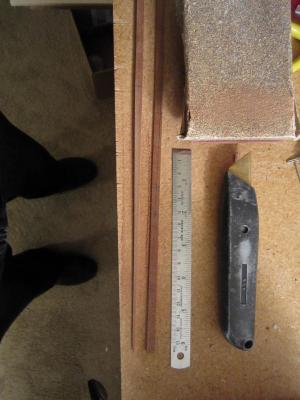
Now that I'm approaching the last plank, I've prepared some sanding blocks of different sizes. The big one is just a block you can get at Home Depot. I use that to taper planks, etc. The three sanding sticks are fine, med and course for smaller areas ,and the 3 inch by 1 inch block will be for the main part of the hull. It has medium on one side and fine on the other.

- 1,756 replies
-
- 3
-
-
- constitution
- constructo
- (and 1 more)
-
Wow! You are my goal when it comes to fine miniature wood working. Watching your work will drive me to be more careful with my work.
-
With only 10 planks left to cover the whole open hull ( 5 port and 5 starboard) I've managed to do it all using whole planks from stem to stern. It makes for a nice smooth looking hull even before any sanding. It even looks like I'll have to use a minimum of filler since most planks butt against each other very well. I've been saving sanding dust from my plank tapering to mix with white glue for any filler I might need.
-
It works real well except I have to keep glueing bulkheads when they get slight splits from all the nails. The glued bulkhead works okay for the next course of planks, though. Like they say...whatever works is good. I should have the main hull closed in by Christmas.
-
I don't know how others taper their planks, but here's what I'm doing. I calculate how many planks are needed to fill the midship (widest gap) and measue the space at the bow. In this case 5 planks are needed midships and only three at the bow. I do the math and strike a line on the plank representing the taper needed to make 5 fit into 3 neatly. I carefully carve close the my strike line with a sharp razor, then sand down to the line wth medium grade sanding block. I only taper or carve one edge and leave the un-carved/un-tapered edge to face away from the glued edge. This gives me a very straight edge to work my next plank. Constructo calls for me to taper the planks at the bow and use filler wedges at the stern since it has a six plank gap.
- 1,756 replies
-
- 1
-
-
- constitution
- constructo
- (and 1 more)
-
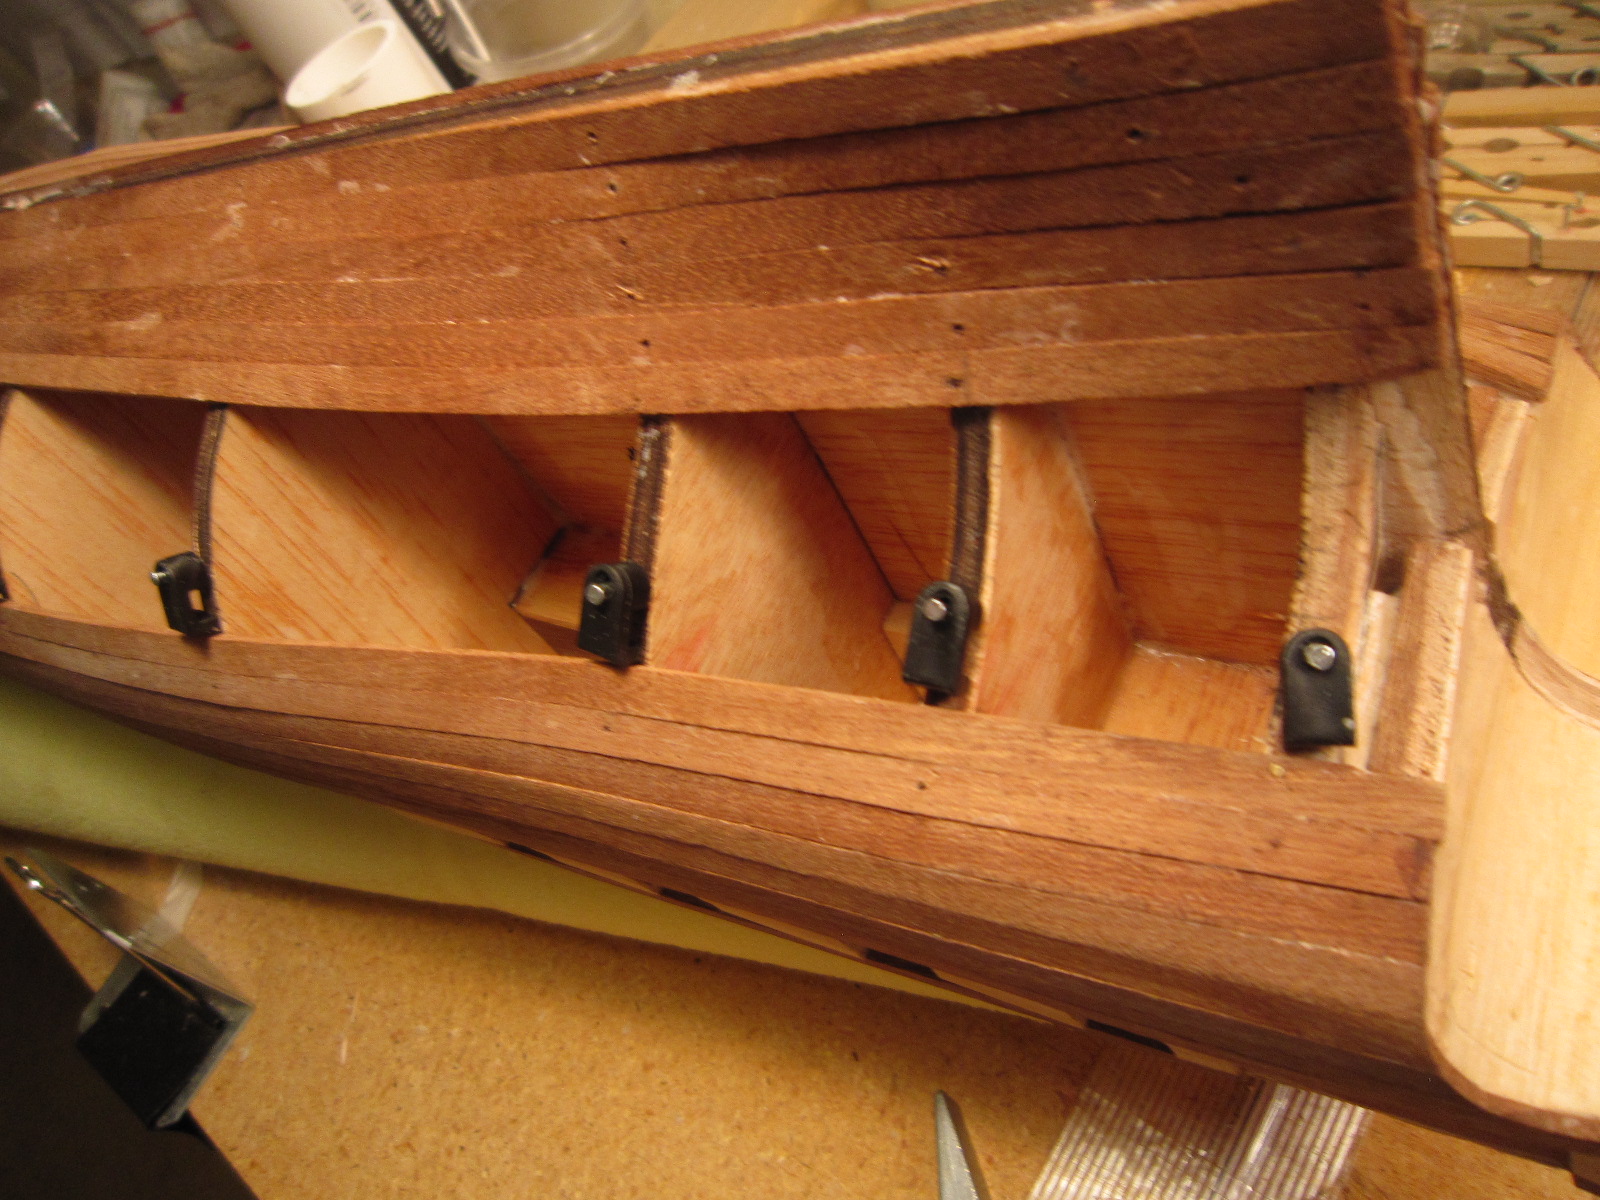
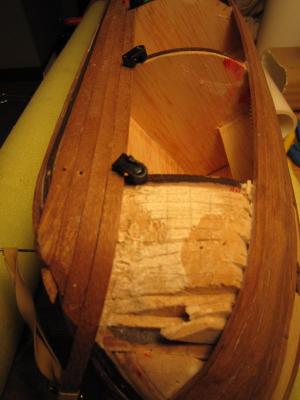
The picture framing gadgets I found in the local hardware store are working very well as clamps for my planking effort. I just nail them in place to hold the next plank while it's soaking, then flip them in place after I lay the wet pank. Them I nail them tight. The bow and stern planks need some small nails and/or rubber bands to hold them in place. After the plank dries (24 hours in Phoenix), I'll loosen the clamps and run my glue bead, them re-nail the clamps tight. The next day I remove the clamps and...another installed plank.


- 1,756 replies
-
- 1
-
-
- constitution
- constructo
- (and 1 more)
-
Welcome. I'm like you, I had to build the USS Constitution. Good Luck,
-
My Constructo USS Constitution calls for me to finish planking before adding the stem and keel. My first model was the opposite. I'm not sure what's going to happen except I'll figure out how to make it work.
-
I put extra fill at the bow of my Connie and it gives me more glue surface for the extreme bends I had to do. It's working for me,
-
CA glue and metal fittings
HIPEXEC replied to cdogg's topic in Metal Work, Soldering and Metal Fittings
I glued this brass cannon to its wood base with lots of plain Crazy Glue. The brass part is 3/4 inch long.
-
It's like eating an elephant....just start chewing on the toe. I started much like you, and you're right...it's difficult, but a great and rewarding challenge. good luck,
-
Wes, I'll give that a try. Thanks,
-
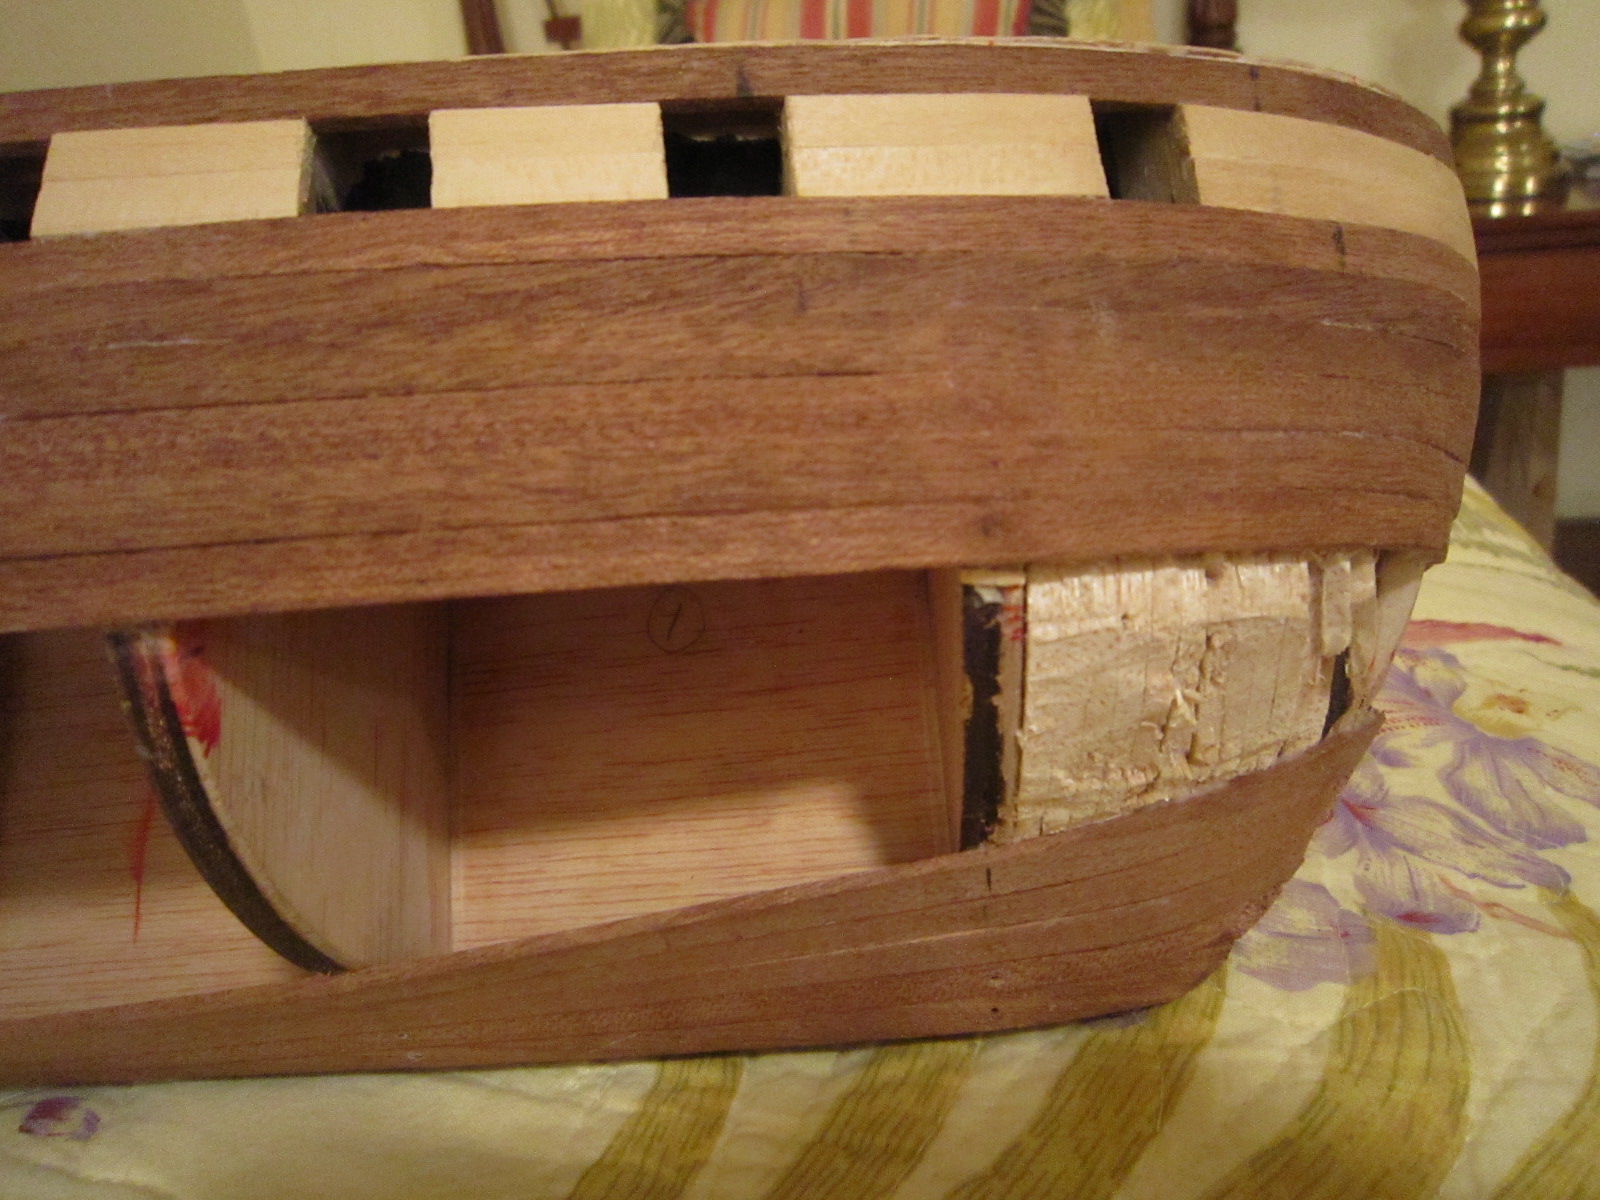
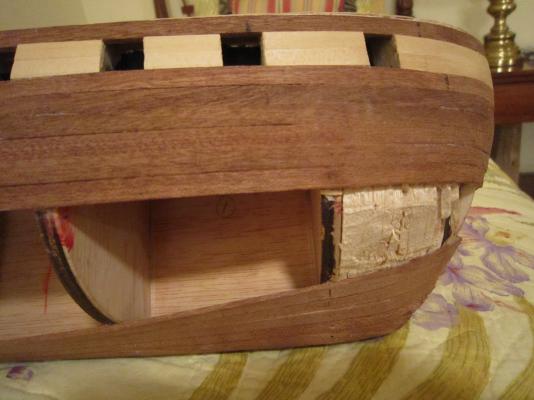
The planking process has proved suddenly very interesting. When I was planking down, these Sapele planks gave me a fit by cracking with the slightest miscalculation. Now, suddenly I'm able to twist these same Sapele planks almost 90 degrees at the stem and almost 90 degrees at the stern with no splitting? I'm not complaining, though, and I'm suddenly ahead of schedule. I know during the middle section I will be slowed again since I have to eliminate planks by some form of tapering.

- 1,756 replies
-
- 2
-
-
- constitution
- constructo
- (and 1 more)
-
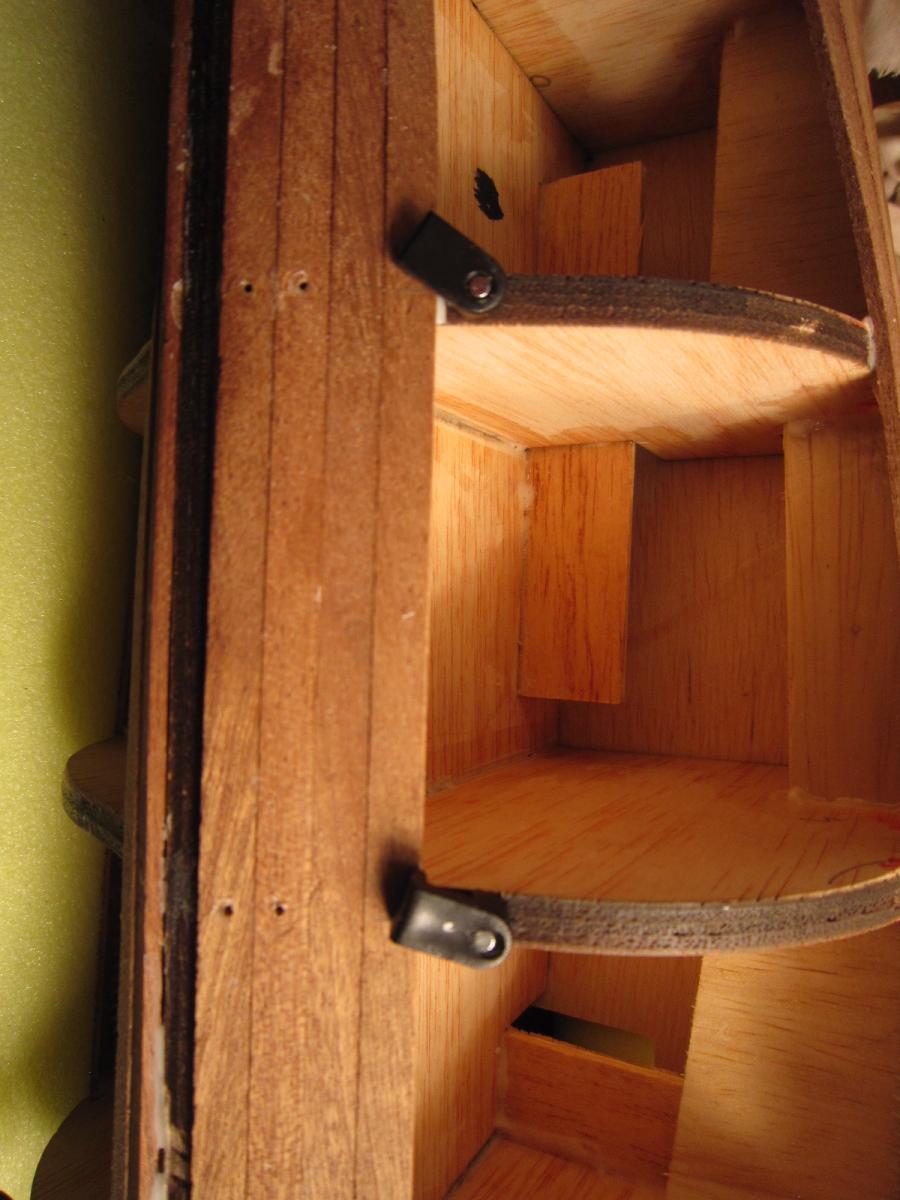
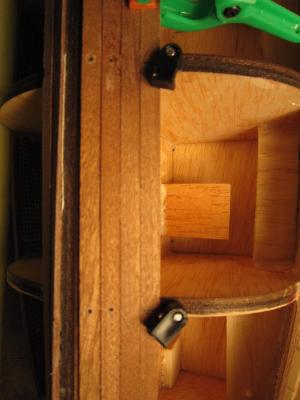
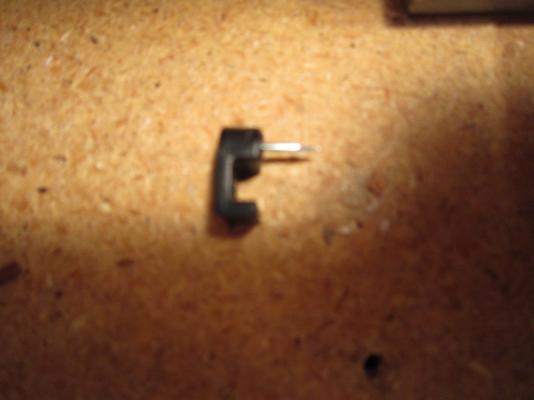
It seems with each new planking day, I have to invent a new method of clamping them. This is my latest find. From my hardware store's picture framing section. Small, plastic flip clamps. They work very well on this section of the hull. They hold them nice and tight and I don't have to nail as many planks as before.


- 1,756 replies
-
- 5
-
-
- constitution
- constructo
- (and 1 more)
-
Where Do You Keep Your Working Plans
HIPEXEC replied to BubbleHead's topic in Modeling tools and Workshop Equipment
I just tack them to the wall by my workbench.