


wglasford
-
Posts
10 -
Joined
-
Last visited
Content Type
Profiles
Forums
Gallery
Events
Posts posted by wglasford
-
-
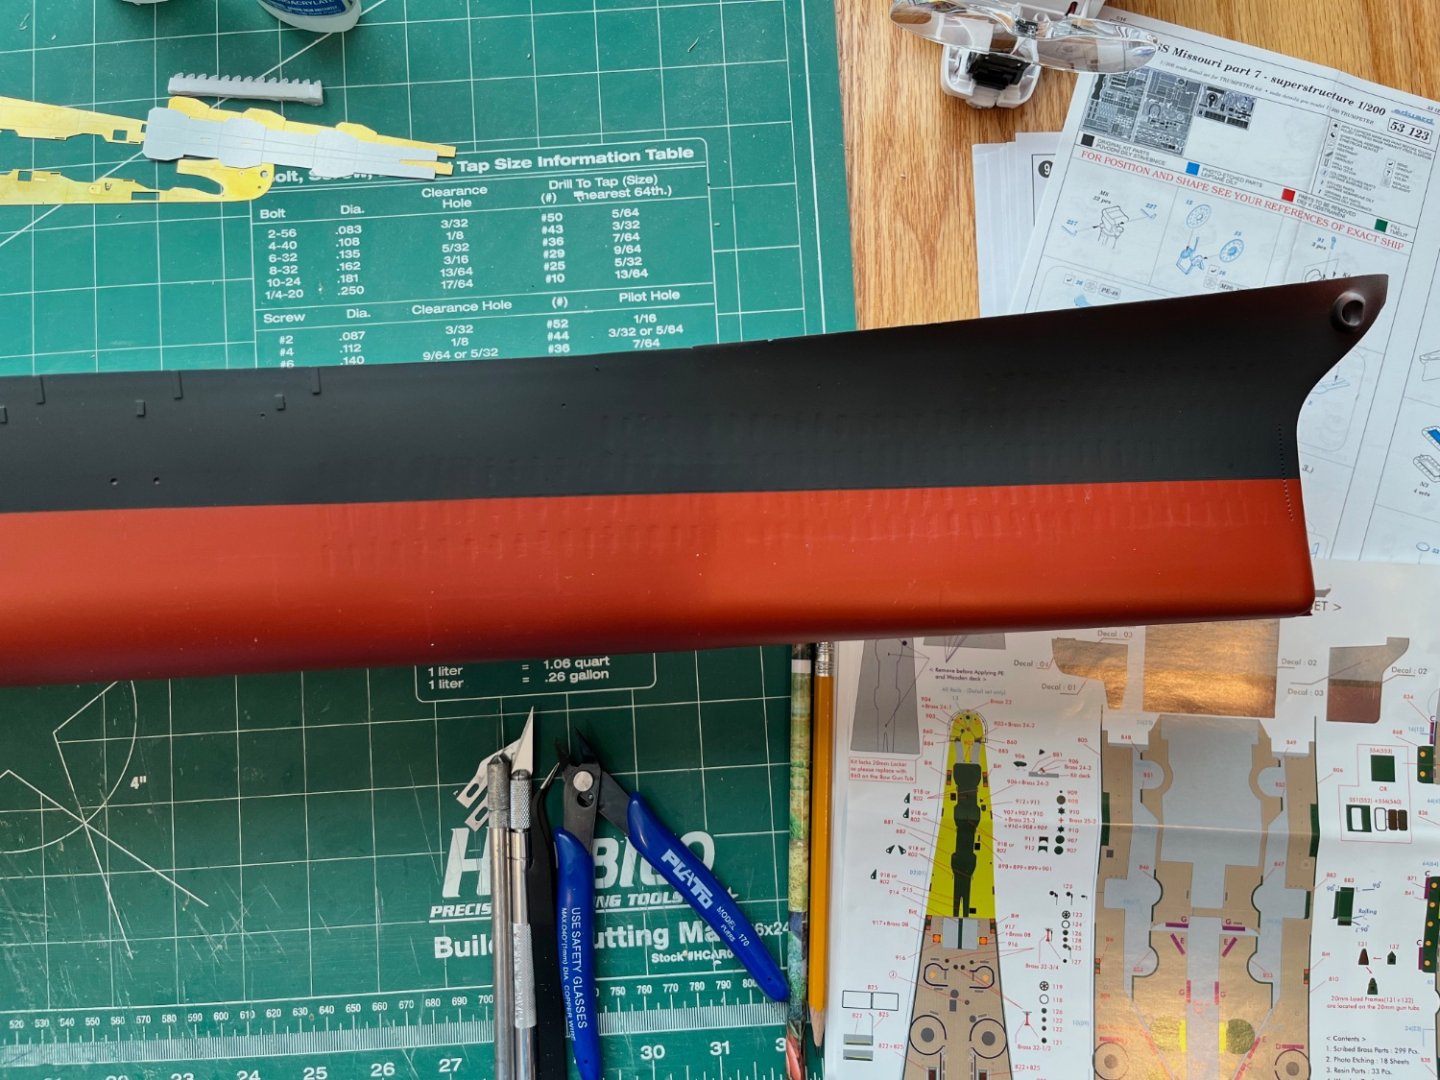
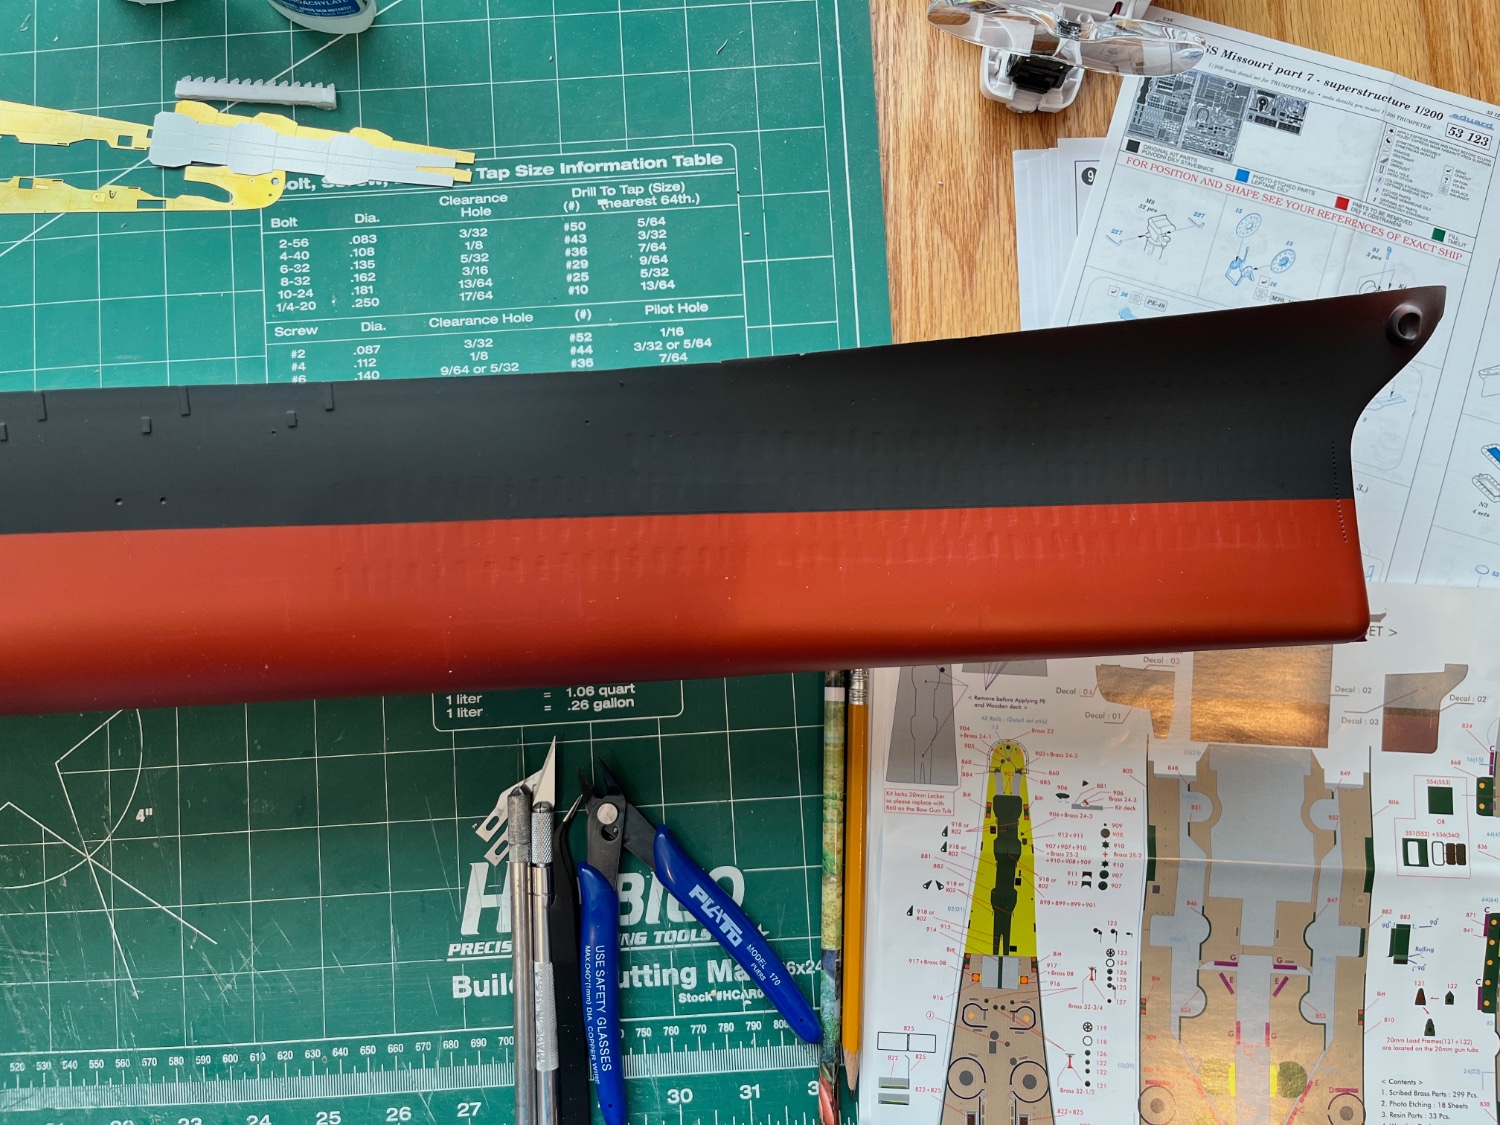
Got some blue paints today and mixed up a few possibilities. I ended up with XF-50:2 XF-8:2 XF-2:1 which gives a dark grey blue, but not so dark the black line is lost. I now need to paint the upper part of the bow a light grey and start some weathering.
-
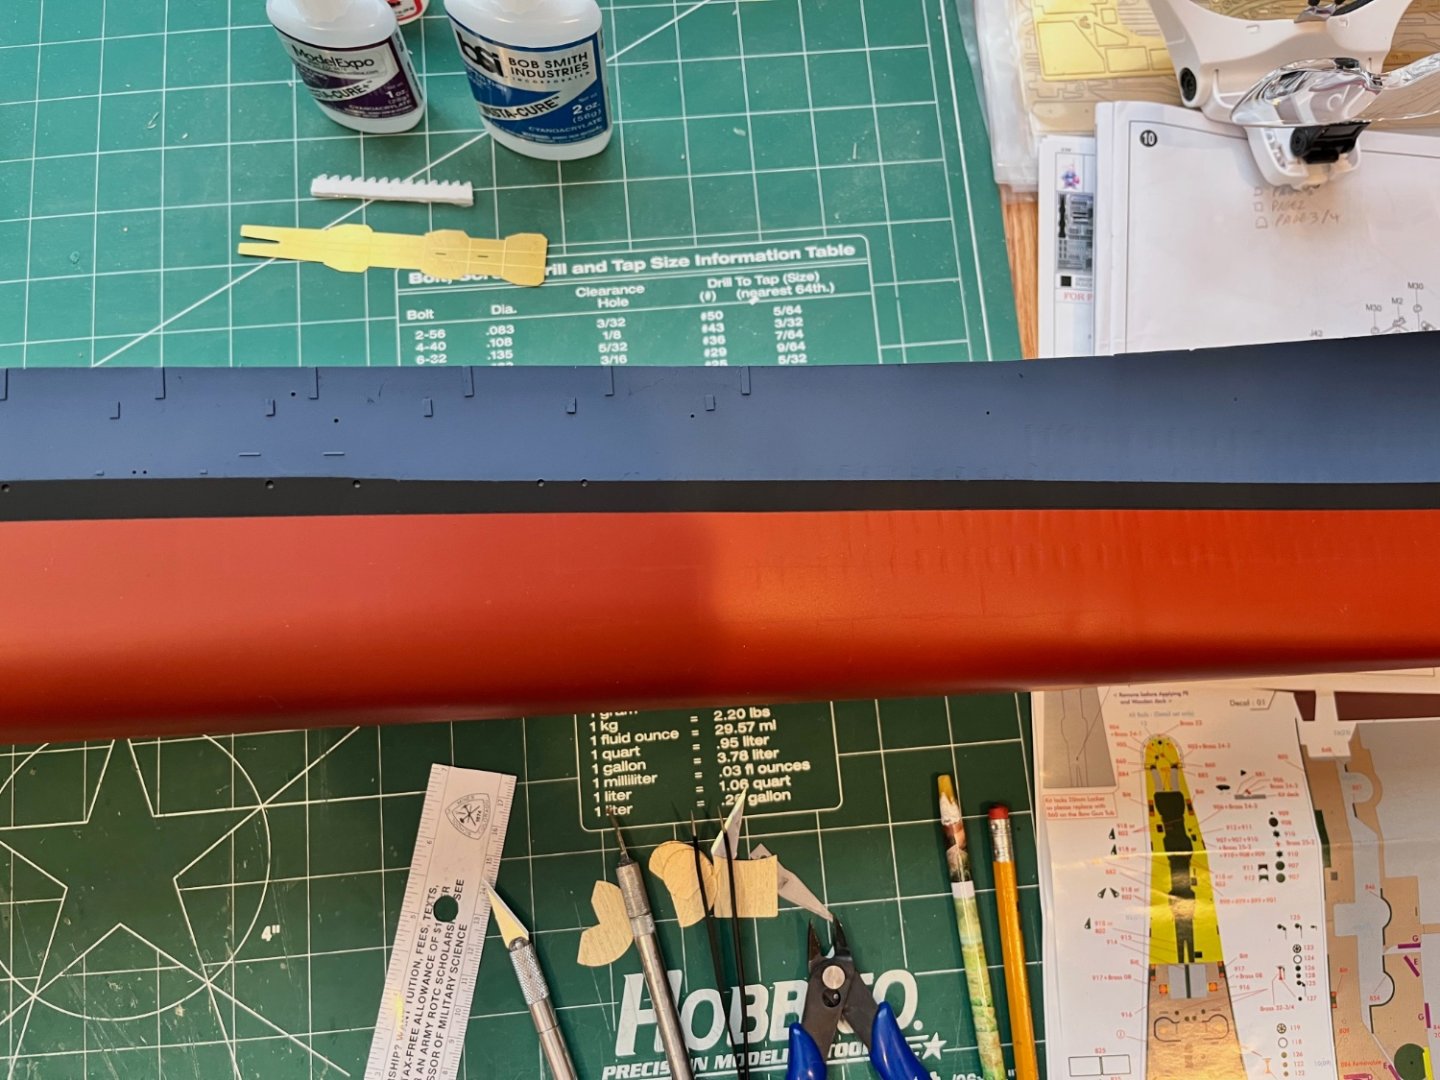
I have started painting the hull. The band above the waterline is supposed to be a dark navy blue for the WWII era version of this ship. The blue is so blue it gets lost with the black band. I have found 3 builds on-line that all came to the same conclusion. One guy painted this part a light grey, good for the modern version, but not the 1940s era ship. Another was medium grey and another was a darker blue, but much lighter than navy blue. Now waiting for 3 more blue paint jars to arrive... I was able to paint below the water line and added some subtle panel lines.
- Nunnehi (Don), yvesvidal, mikegr and 11 others
-
 14
14
-
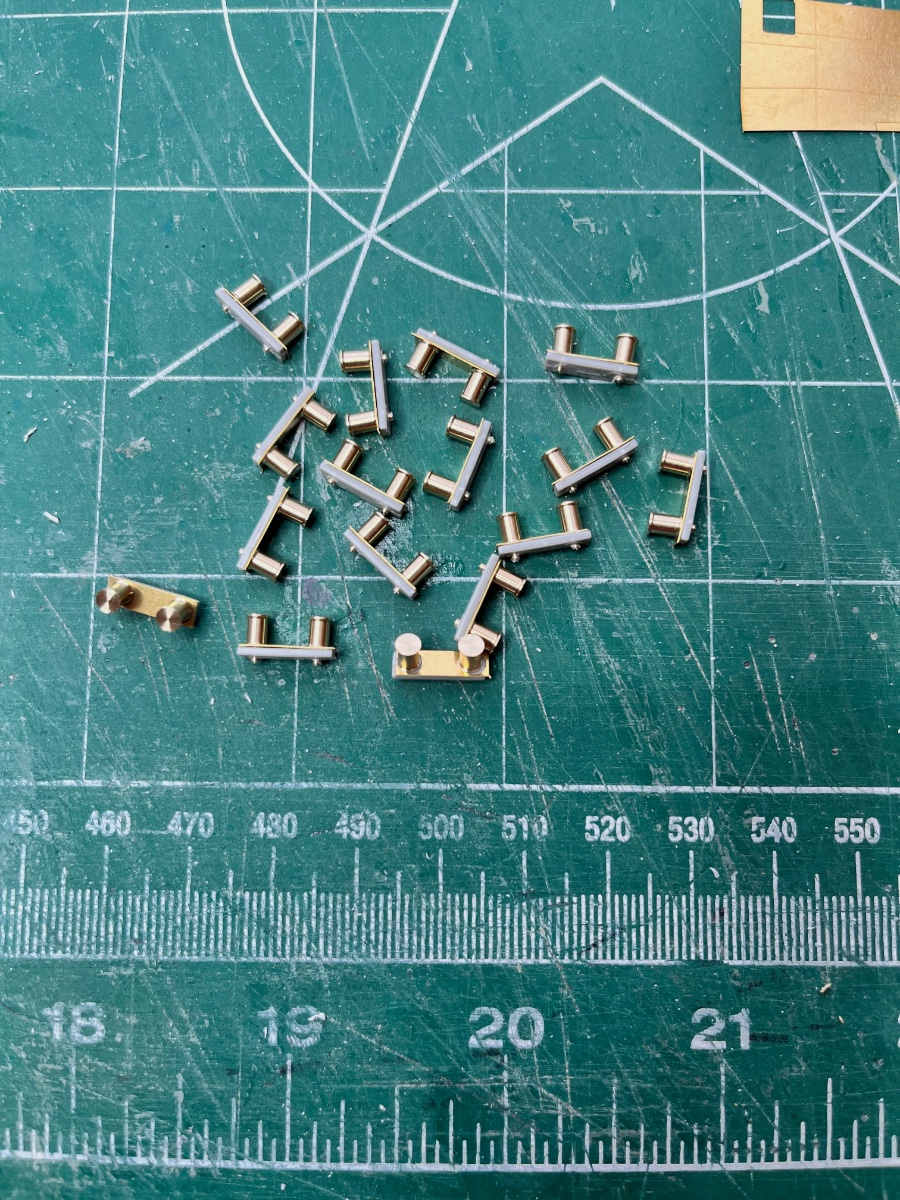
Just finished making the 16 bitts, not bollards, my mistake.

- mtaylor, yvesvidal, king derelict and 5 others
-
8
-
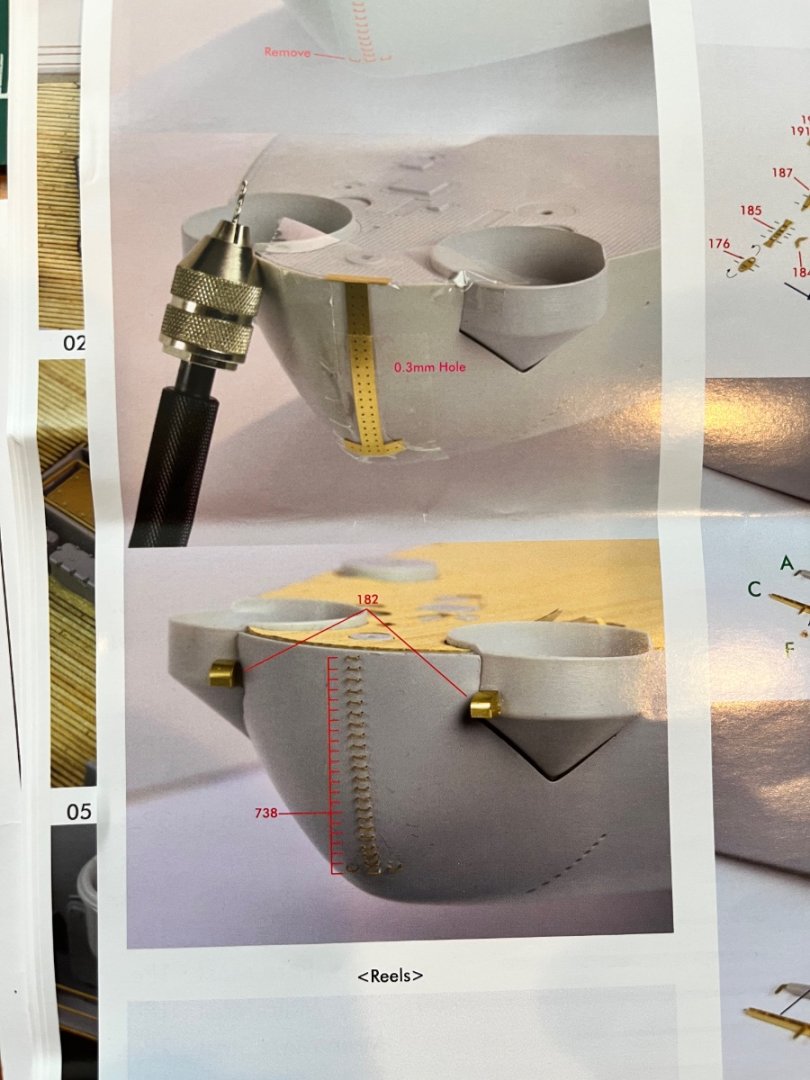
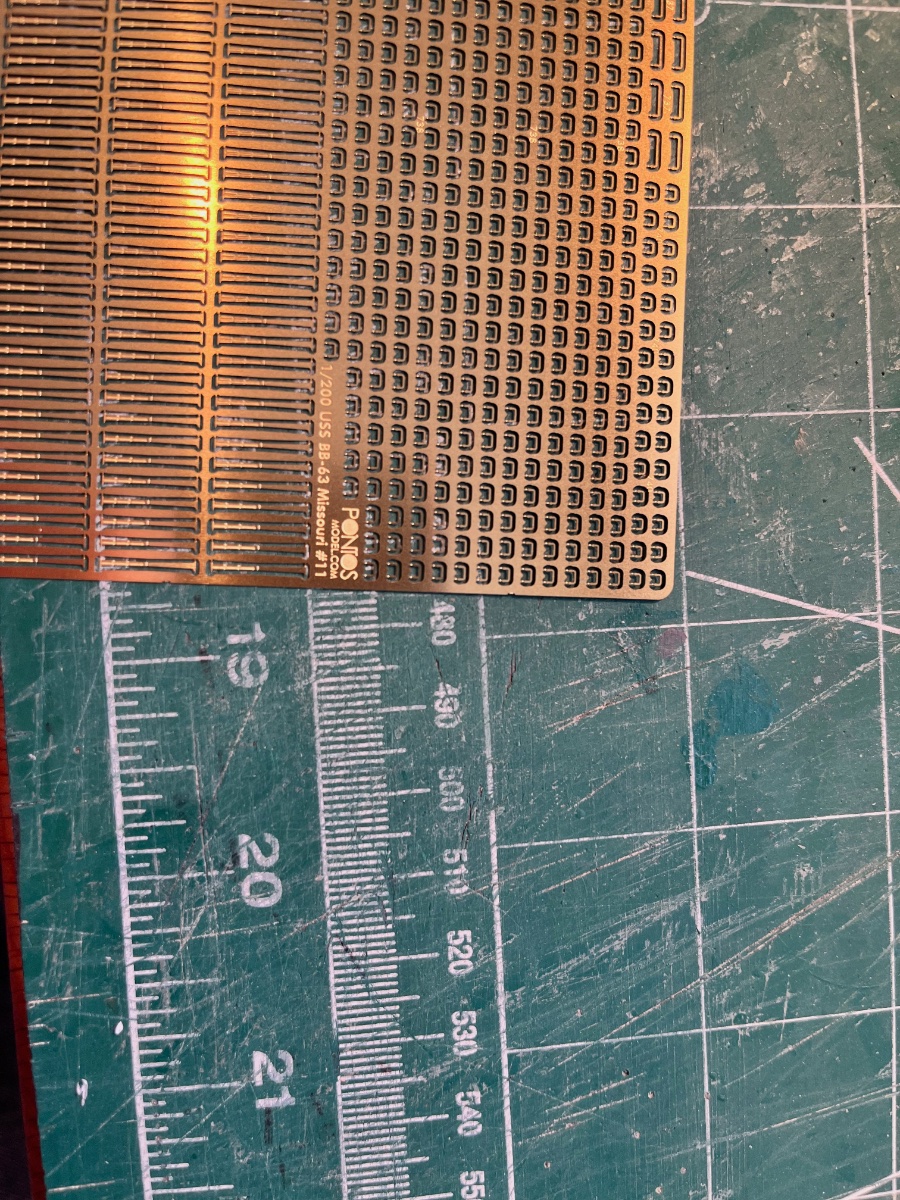
There are always those decisions as to what order you add parts to the model. I base my decisions on how delicate the part is and how accessible the area will be later on. In the case of the stern ladder it is a no brainer given the size of those little rungs and how accessible the stern will be later on. I will add this detail much later in the build.
- hof00, lmagna, king derelict and 4 others
-
7
-
-
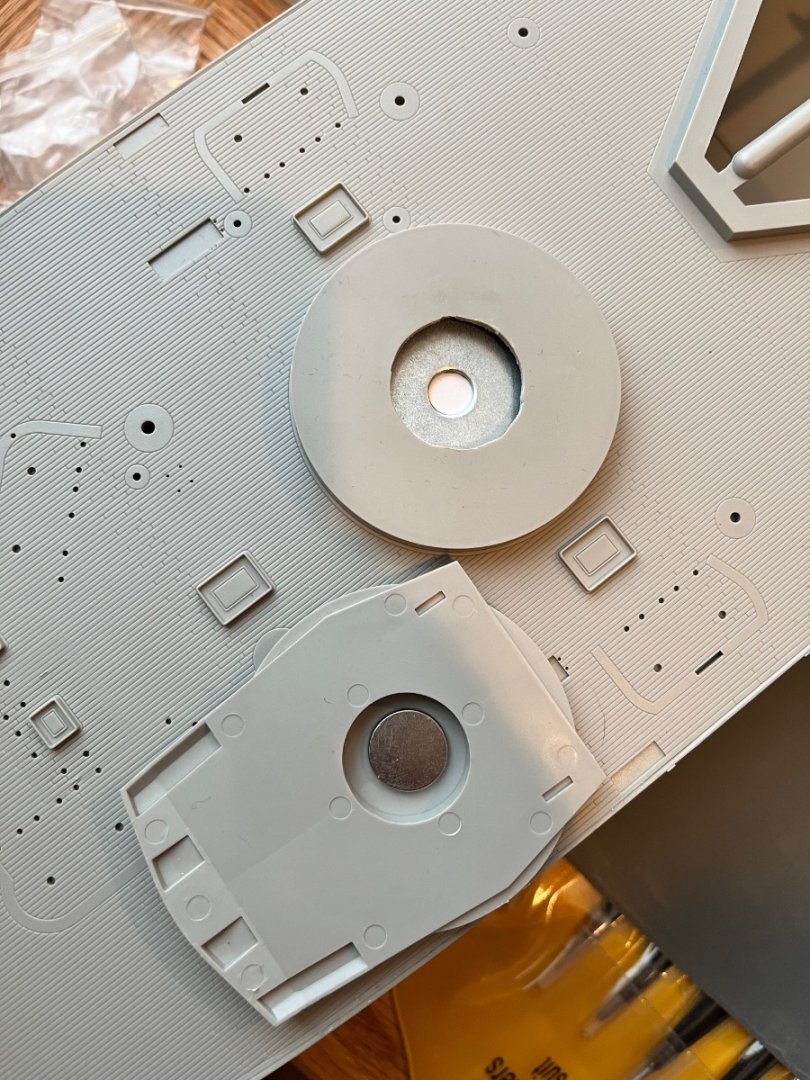
I found this idea on another site, you don't have to glue the main guns to the deck. You can get them to swivel by gluing a magnet to the bottom of the gun and glue a fender washer under the deck. I did this before the decks were glued on. BTW, the decks fit perfectly. No trimming or Bondo needed.
- king derelict, scrubbyj427, lmagna and 6 others
-
9
-
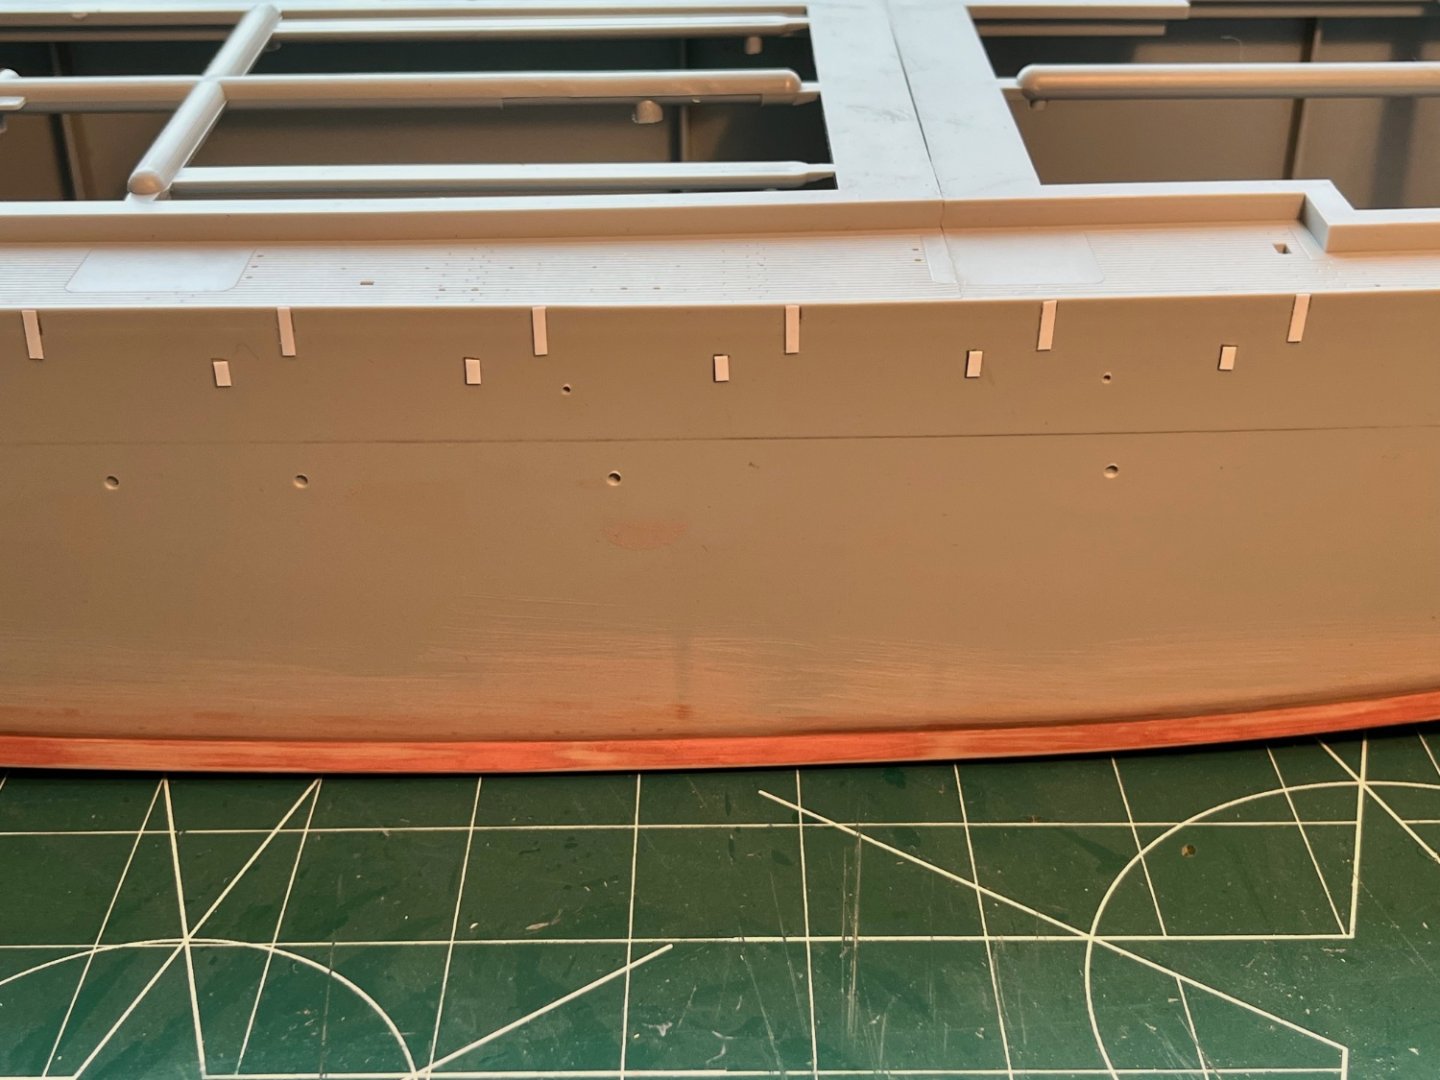
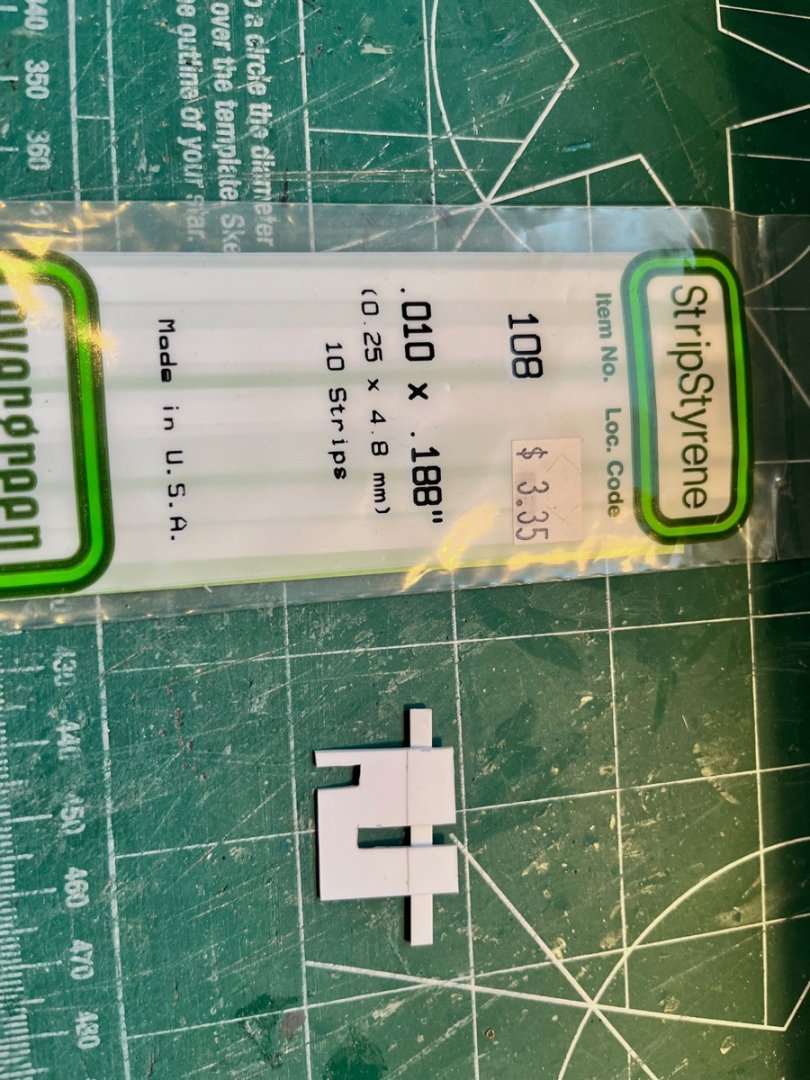
I added the hull plates using leftover styrene strips. You can see I used .010" x .188" strips cut down to about 2mm wide. The longer ones are 7mm long and the shorter ones are half that. First I drew pencil lines every 35mm along the hull, using those lines to position the long ones. I then made a jig to place on the long ones and the top deck edge to draw an angle positioning mark for the smaller ones. Each side took about an hour to complete.
-
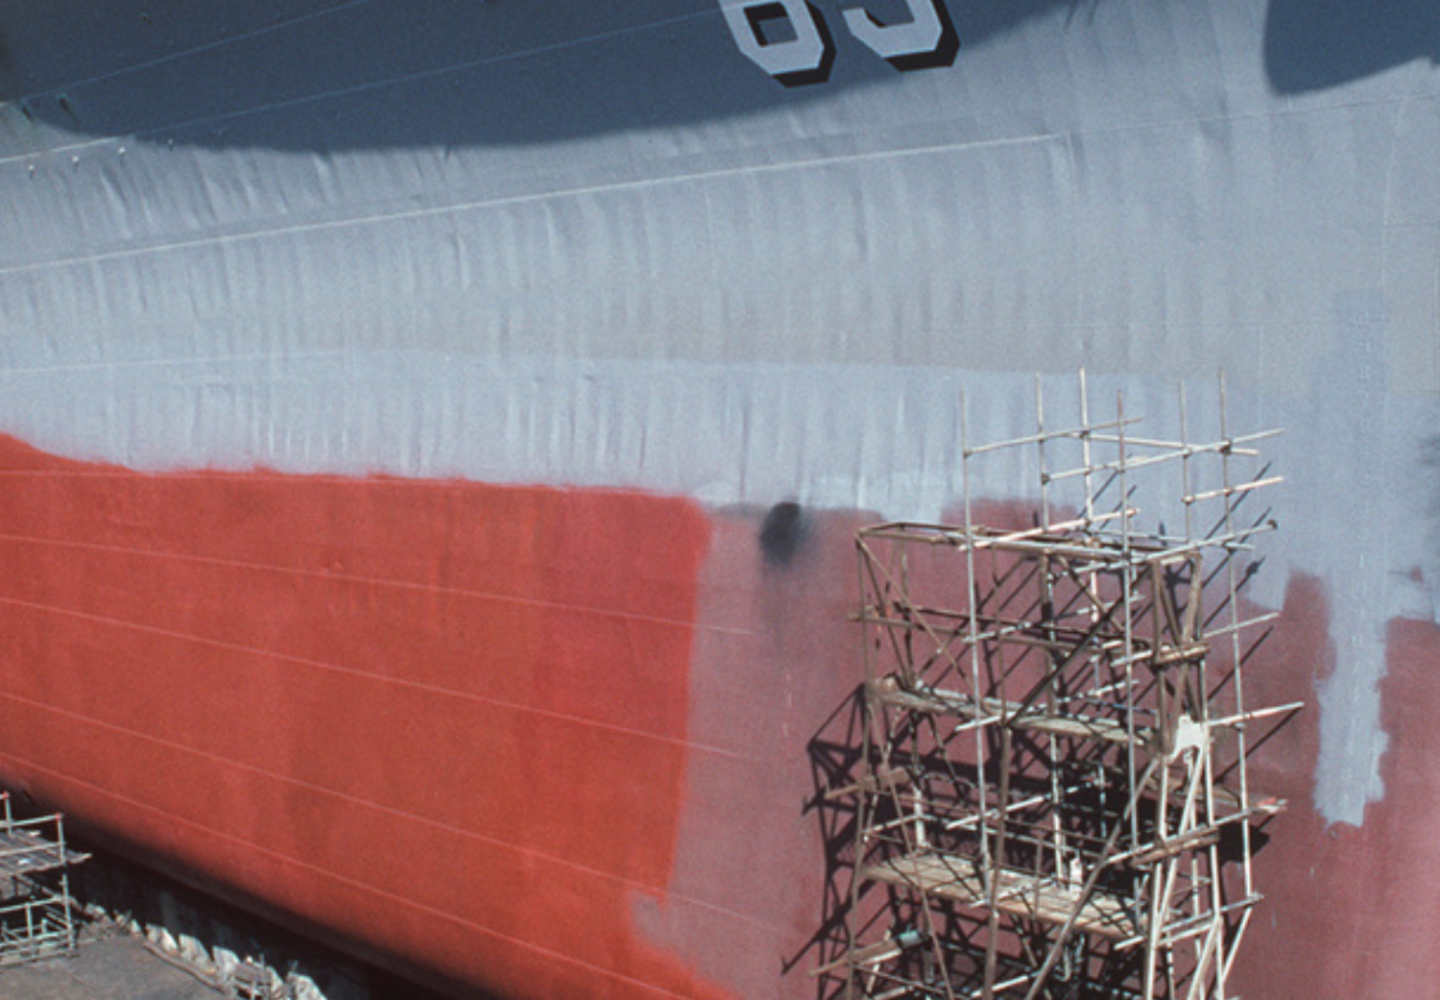
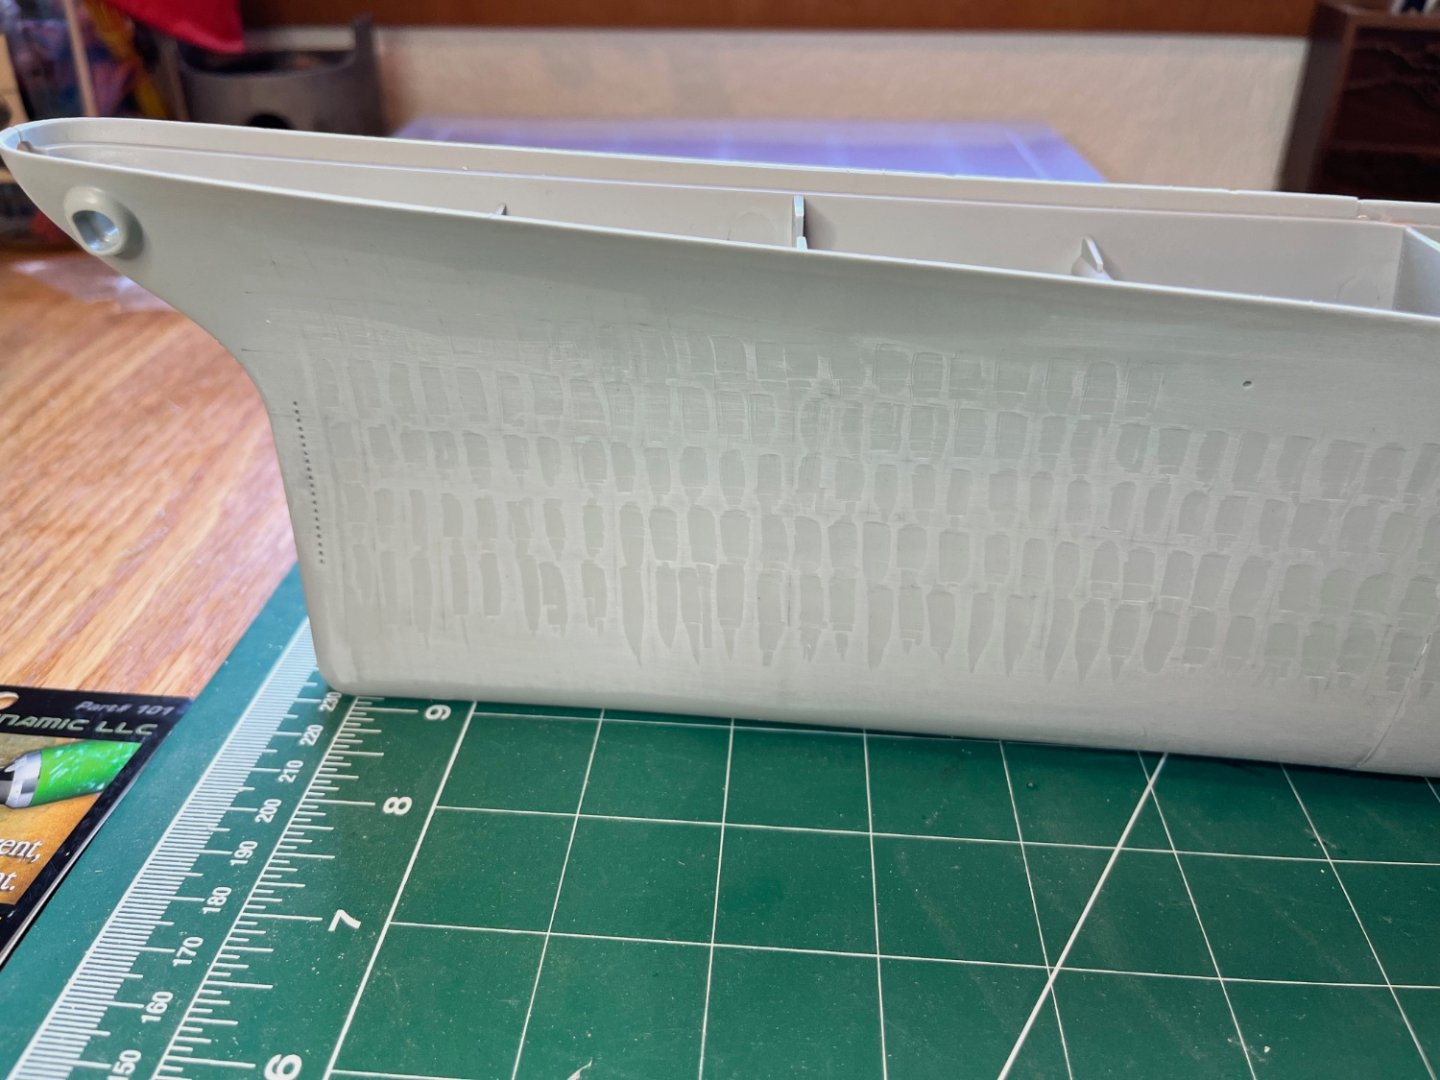
After gluing together the hull I oil canned the sides. With a model this large you want some realism and not large smooth sides. I included pictures of the original oil canning bow and stern. To accomplish this I drew grid lines on the model with a pencil and then used a large curved Exacto blade just like a cabinet scrapper, adding a burr to the blade. I like the effect with the lines sanded off. Once I start layering up the paint it will be a subtle detail.

- ccoyle, Old Collingwood, mtaylor and 6 others
-
9
-
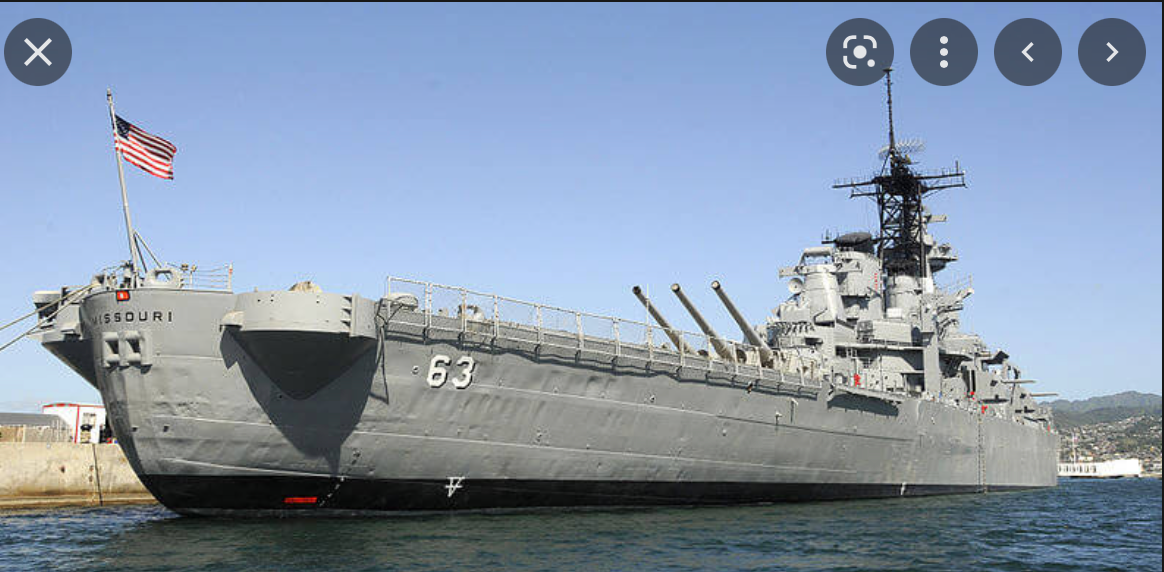
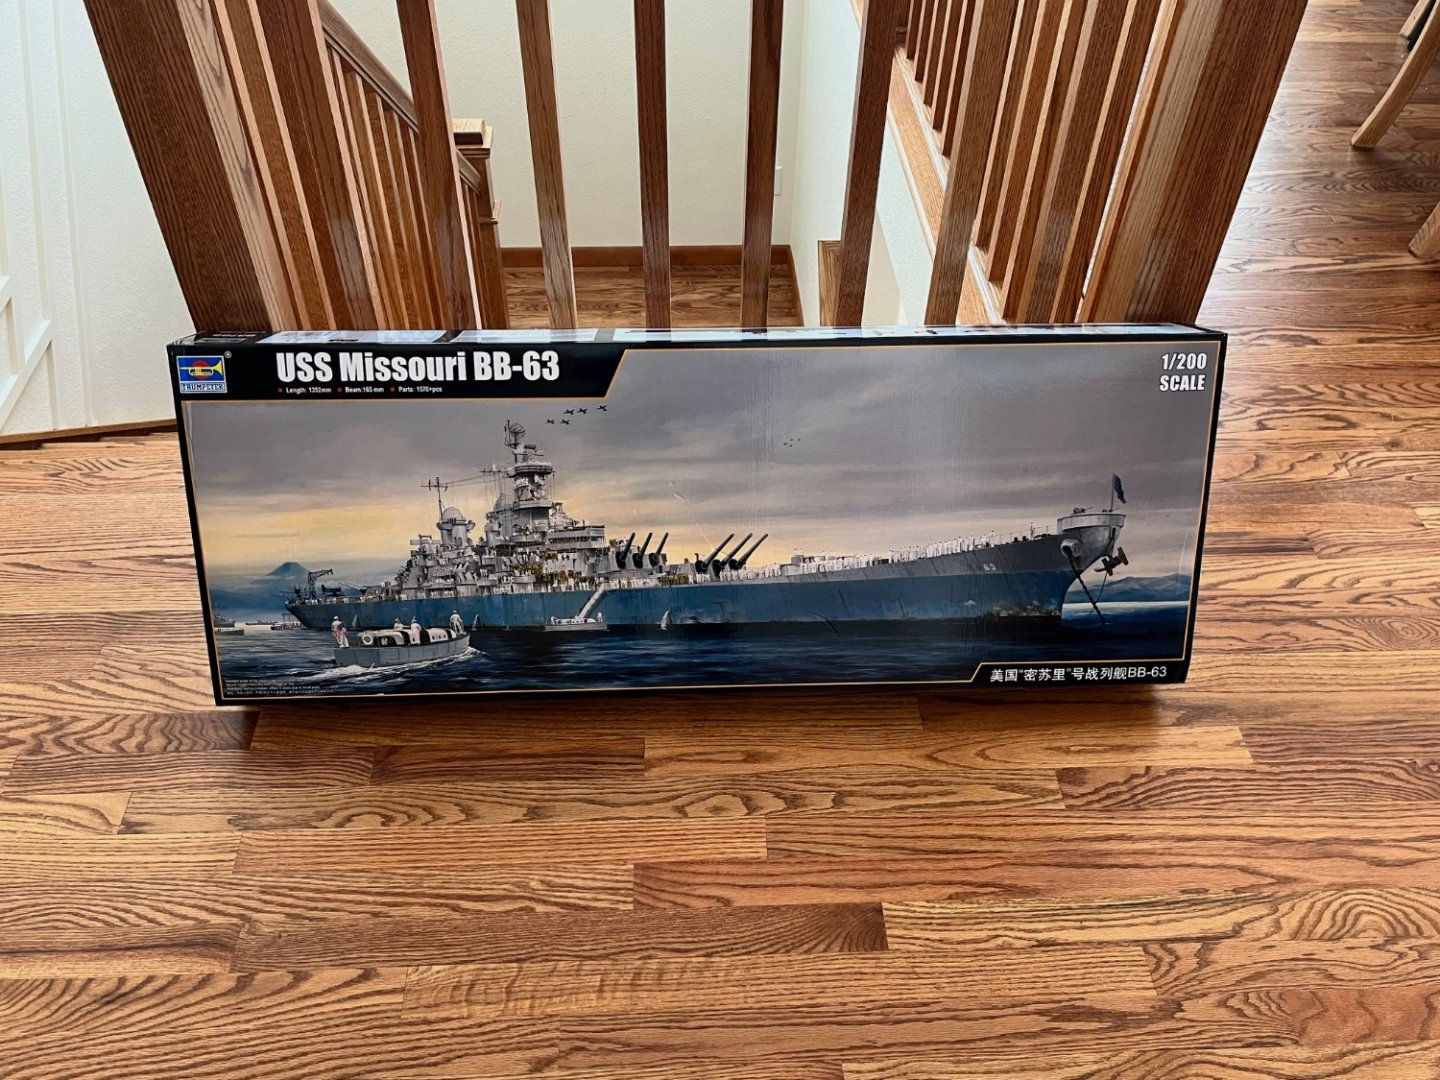
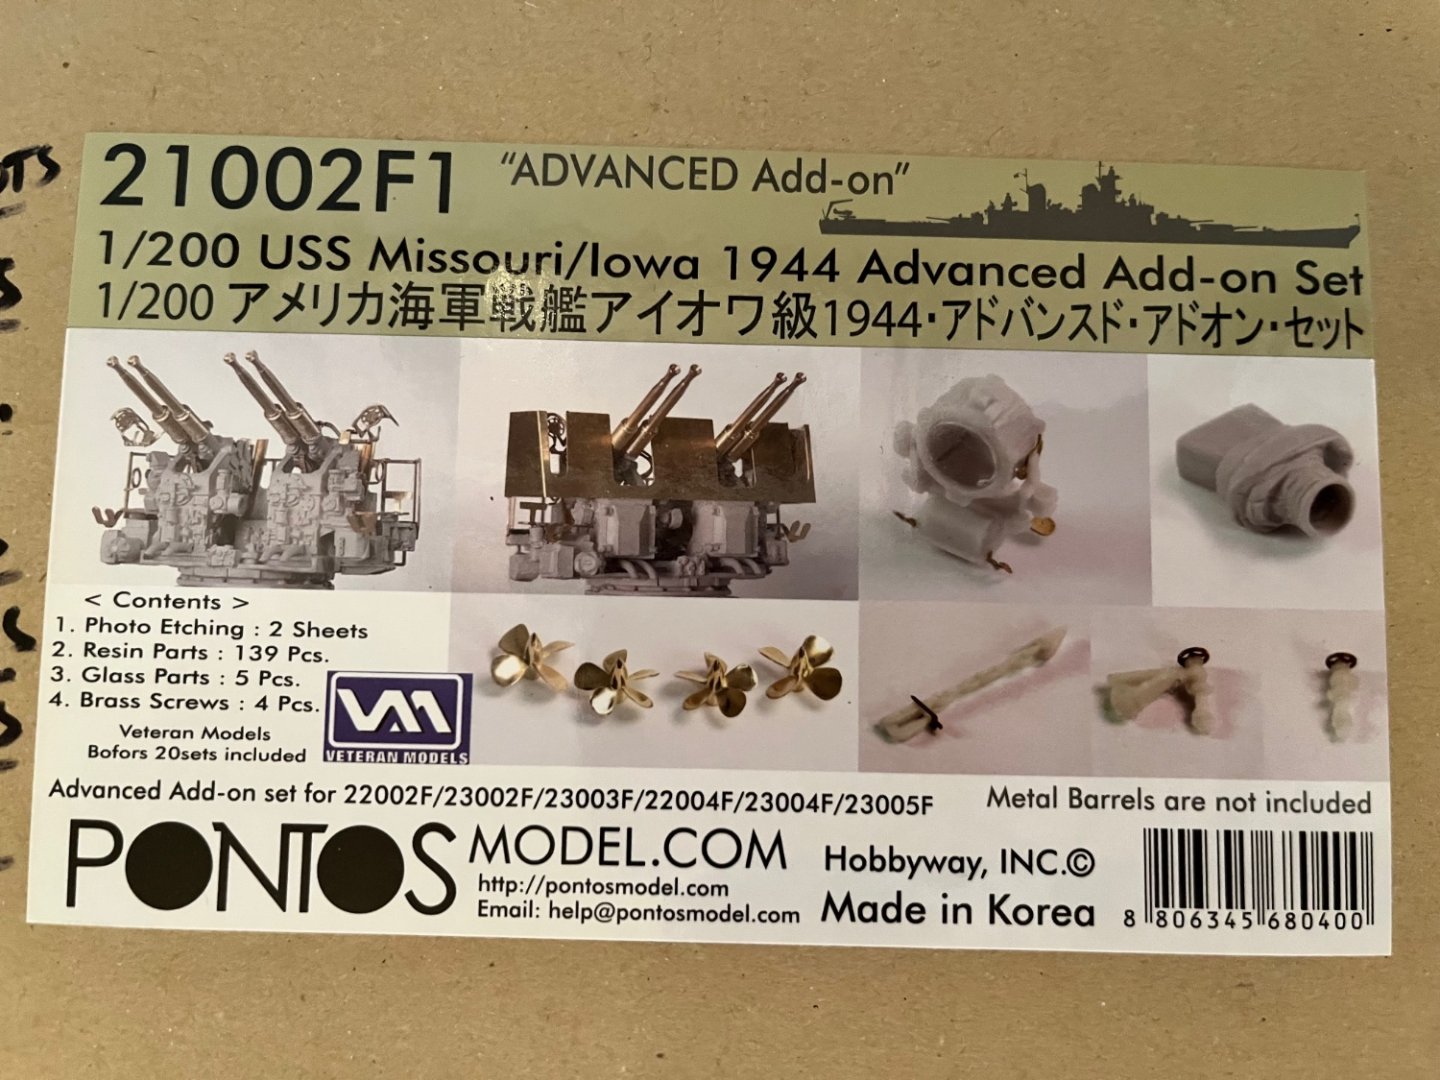
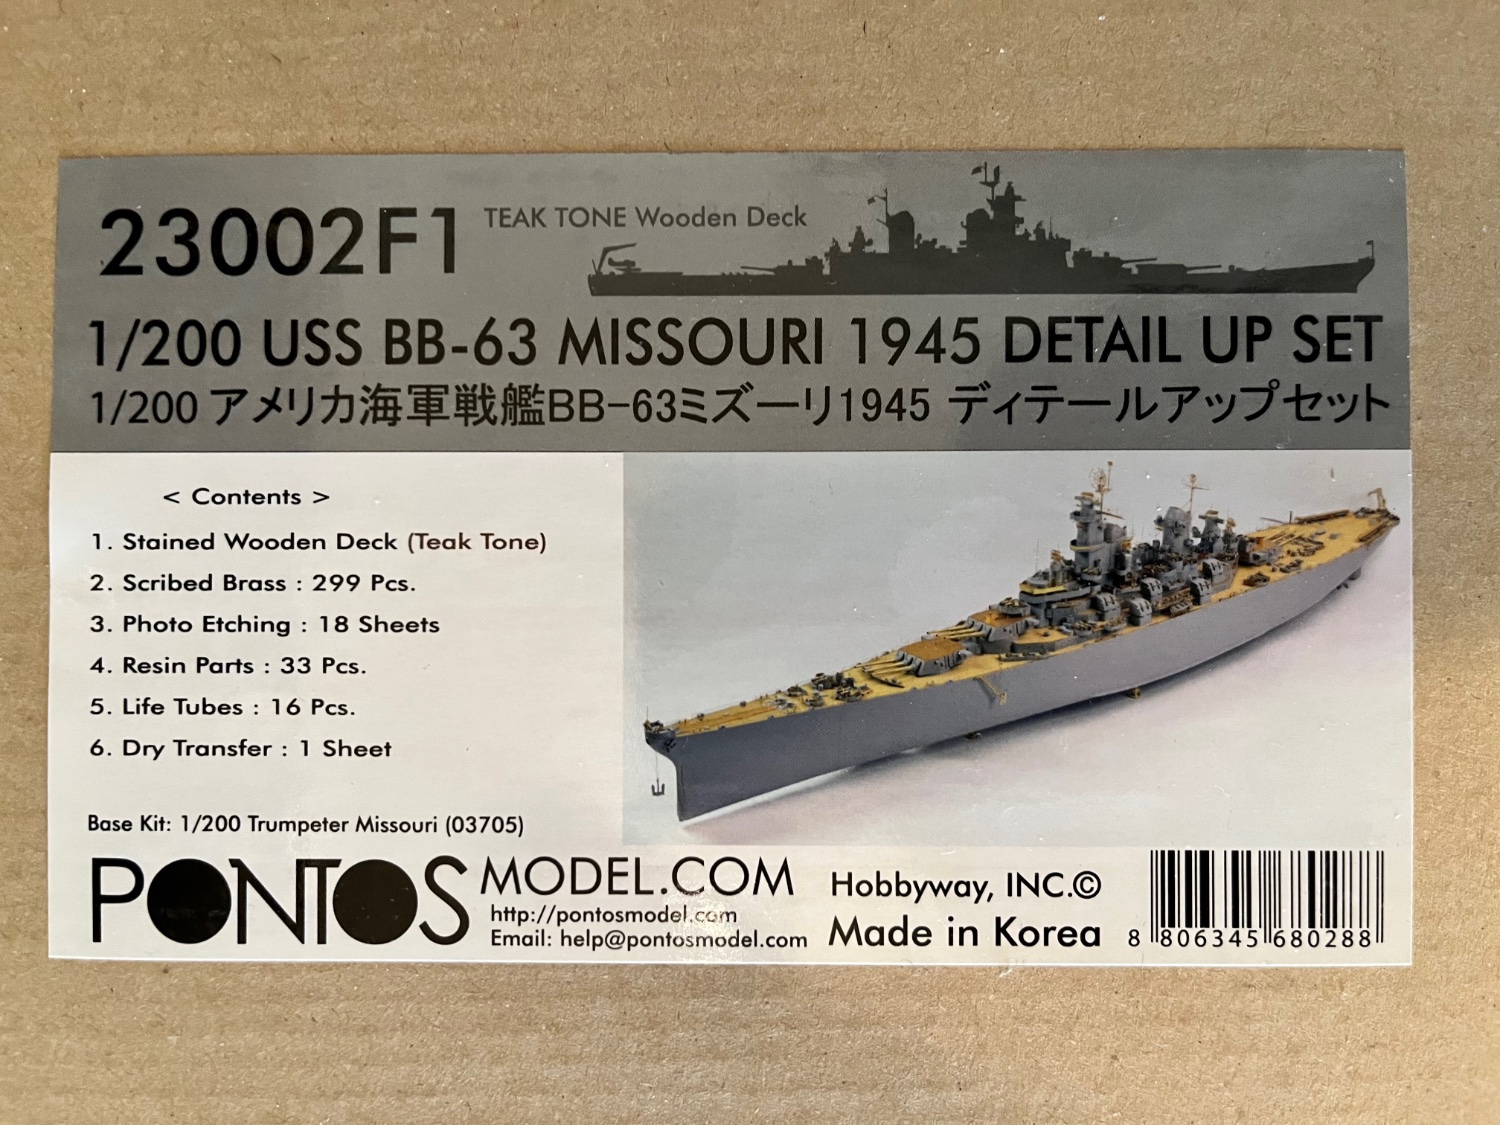
I chose this model because I built the USS Constitution, what I consider to be one of the first US battleships and this is the last US battleship. I strive for museum quality construction so I needed a model with plenty of add-on kits and large enough to show the fine detail of the ship. In addition to purchasing the kit itself I purchased the following:
1) Pontos 23002F1 - which includes the wooden deck.
2) Pontos 21002F1 - which includes the bofor detail.
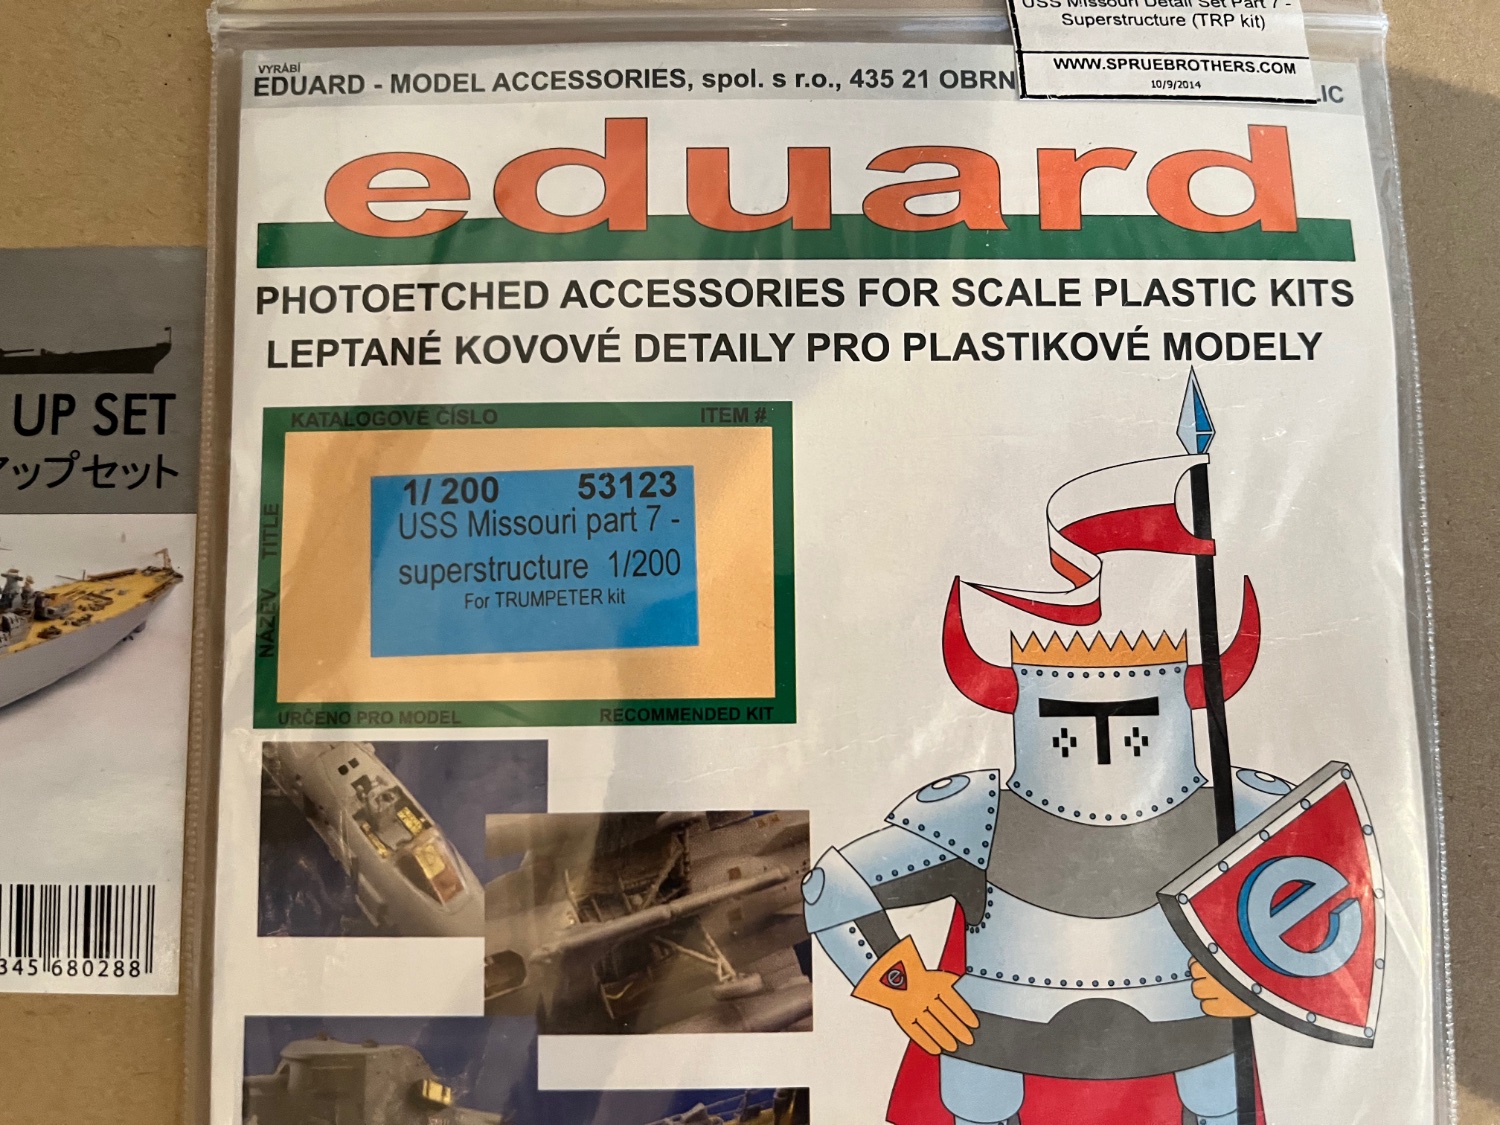
3) Eduards Part 7 - which I got specifically for the air intake grills.


- RGL, mtaylor, Old Collingwood and 4 others
-
7


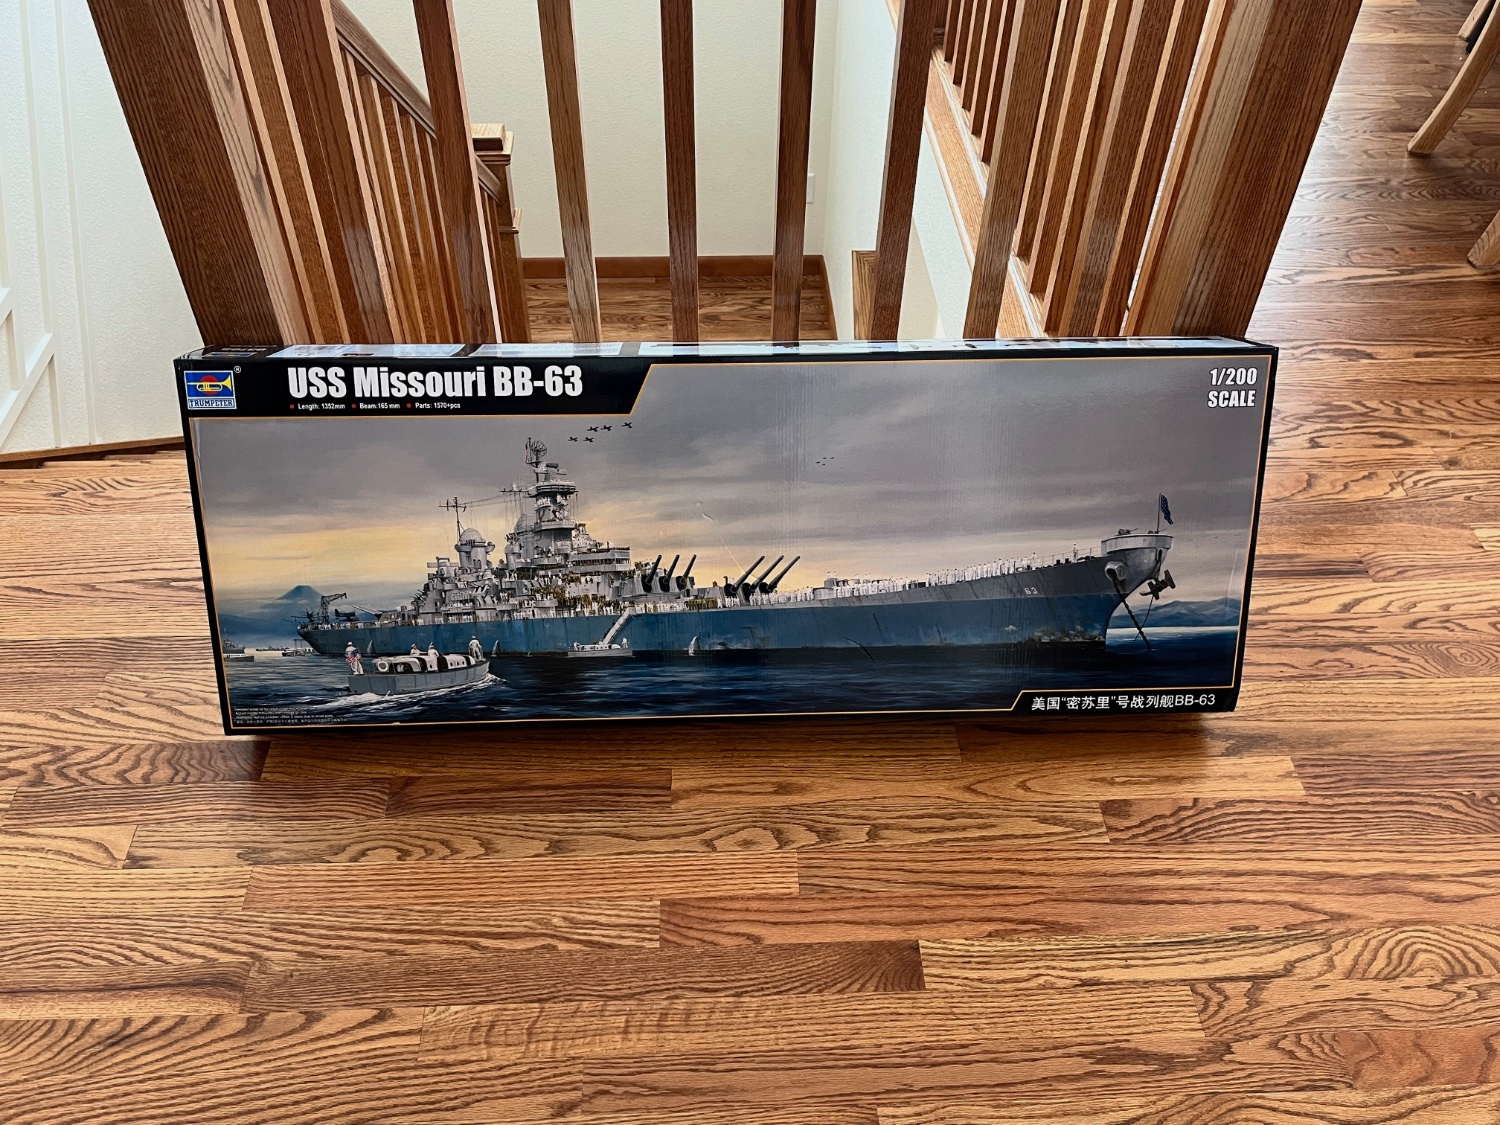

USS Missouri by wglasford - Trumpeter - 1/200 - PLASTIC
in - Kit build logs for subjects built from 1901 - Present Day
Posted
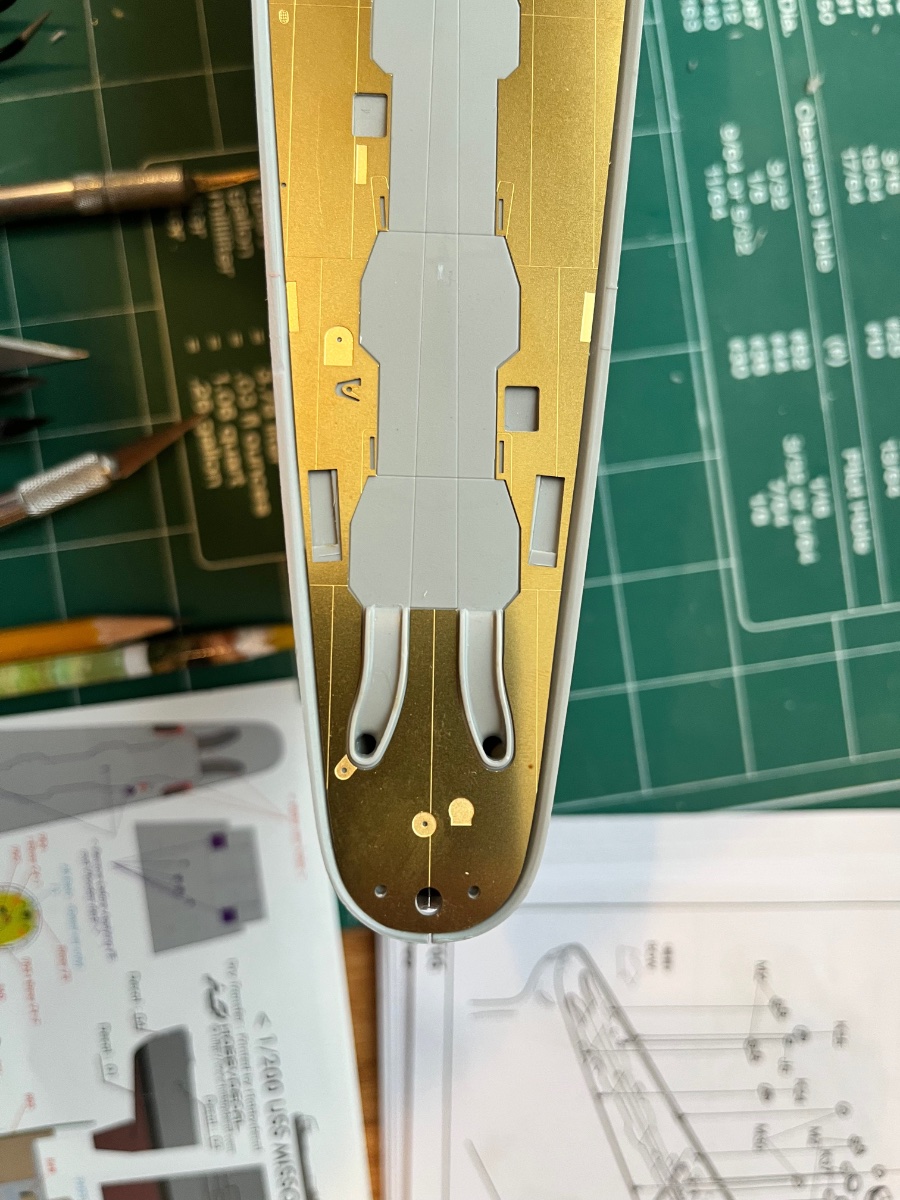
I ran up against the first parts of the model that don't fit correctly, the anchors. I had to open up the holes in the deck a bit with a drill and carve out the hole from below to get the the shaft to fit. The anchors were modified a bit to get more angle to them. Note that the one in front was the extent of the angle with the one in back has been modified.