wmherbert
Members-
Posts
292 -
Joined
-
Last visited
Recent Profile Visitors
The recent visitors block is disabled and is not being shown to other users.
-
wmherbert started following Nail pusher nightmare
-
 Ryland Craze reacted to a post in a topic:
Nail pusher nightmare
-
Nail pusher nightmare
wmherbert replied to Beginner's topic in Modeling tools and Workshop Equipment
Hi, if you are using that for hull planking please understand that it is not necessary to use the nails. I never have, I just use glue and clamps. I wouldn't be surprised if most modelers do not use them. I would be curious. Bill -
 Keith Black reacted to a post in a topic:
Finish of the Waterway
-
 RossR reacted to a post in a topic:
Finish of the Waterway
-
Finish of the Waterway
wmherbert replied to RossR's topic in Building, Framing, Planking and plating a ships hull and deck
I've always painted the waterways the color of the bulwarks rather than matching deck finish. I don't know if that is correct but it certainly is easier. Bill -
 Keith Black reacted to a post in a topic:
Hercules by vaddoc - 1:64 - Steam Tugboat
-
 Keith Black reacted to a post in a topic:
Hercules by vaddoc - 1:64 - Steam Tugboat
-
Looking for 3D printed cowl vents
wmherbert replied to wmherbert's topic in CAD and 3D Modelling/Drafting Plans with Software
Still looking but for my next build. Any help appreciated. Bill -
I did not double plank my hull. I did take a series of photos of the building process as well as kept track of the time each step took if you are interested. It's a nice model to build even with the typical Billings instructions or should I say, lack of instructions. Bill
- 10 replies
-
- hull
- color schemes
-
(and 4 more)
Tagged with:
-
- 10 replies
-
- hull
- color schemes
-
(and 4 more)
Tagged with:
-
Ship base display advice
wmherbert replied to mastic's topic in Painting, finishing and weathering products and techniques
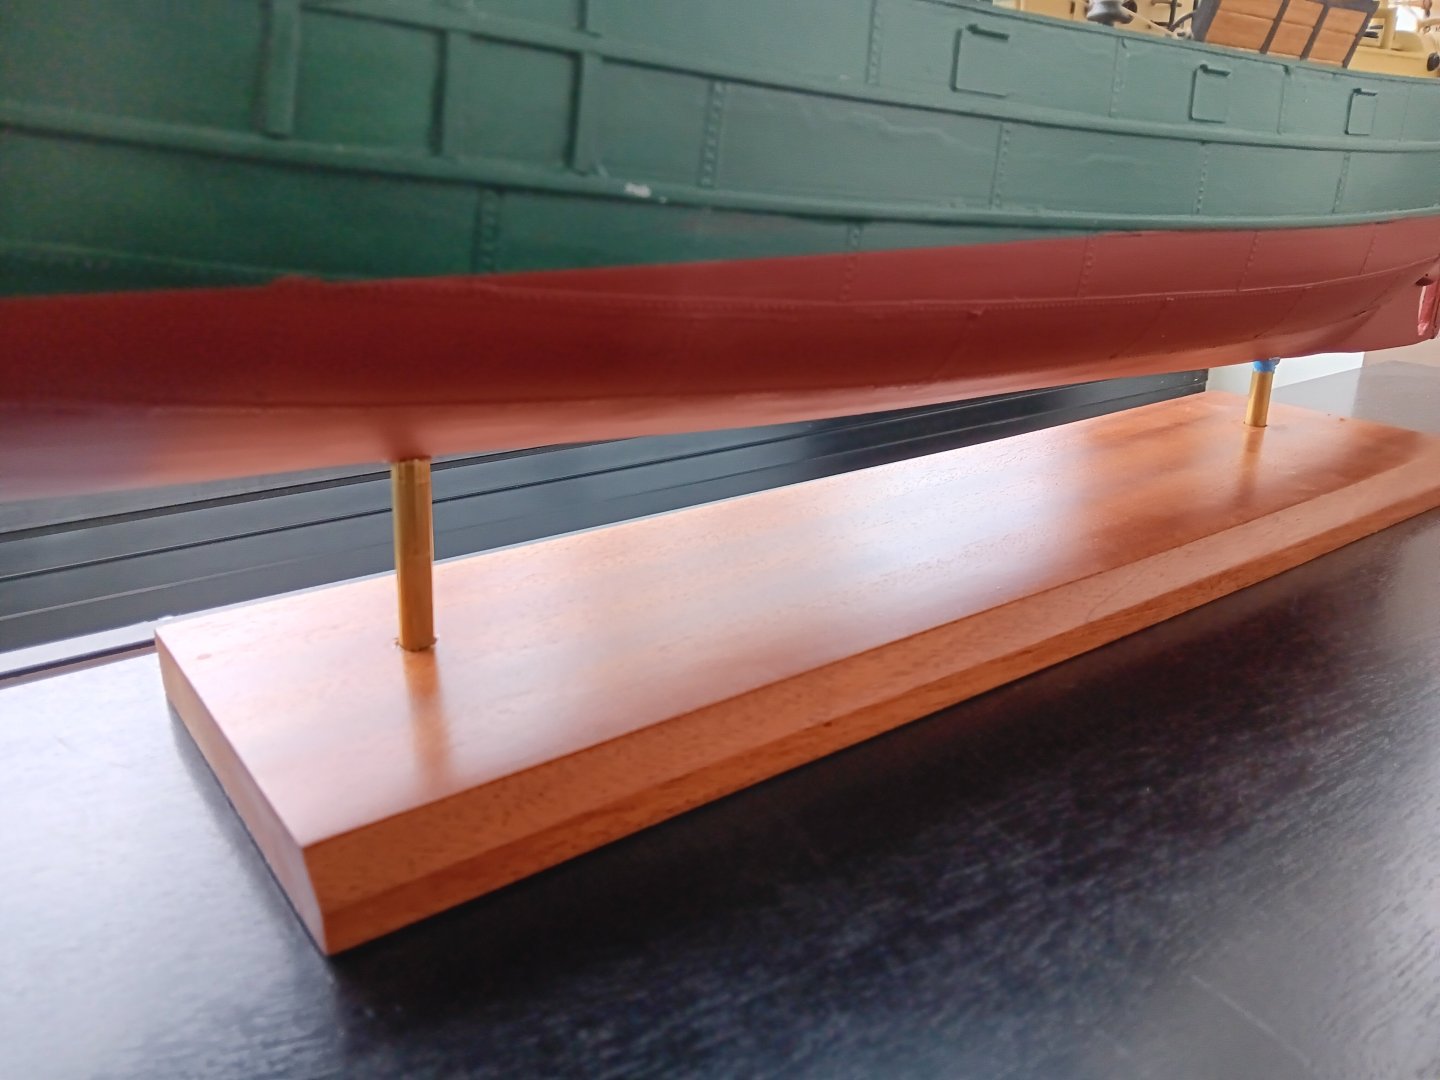
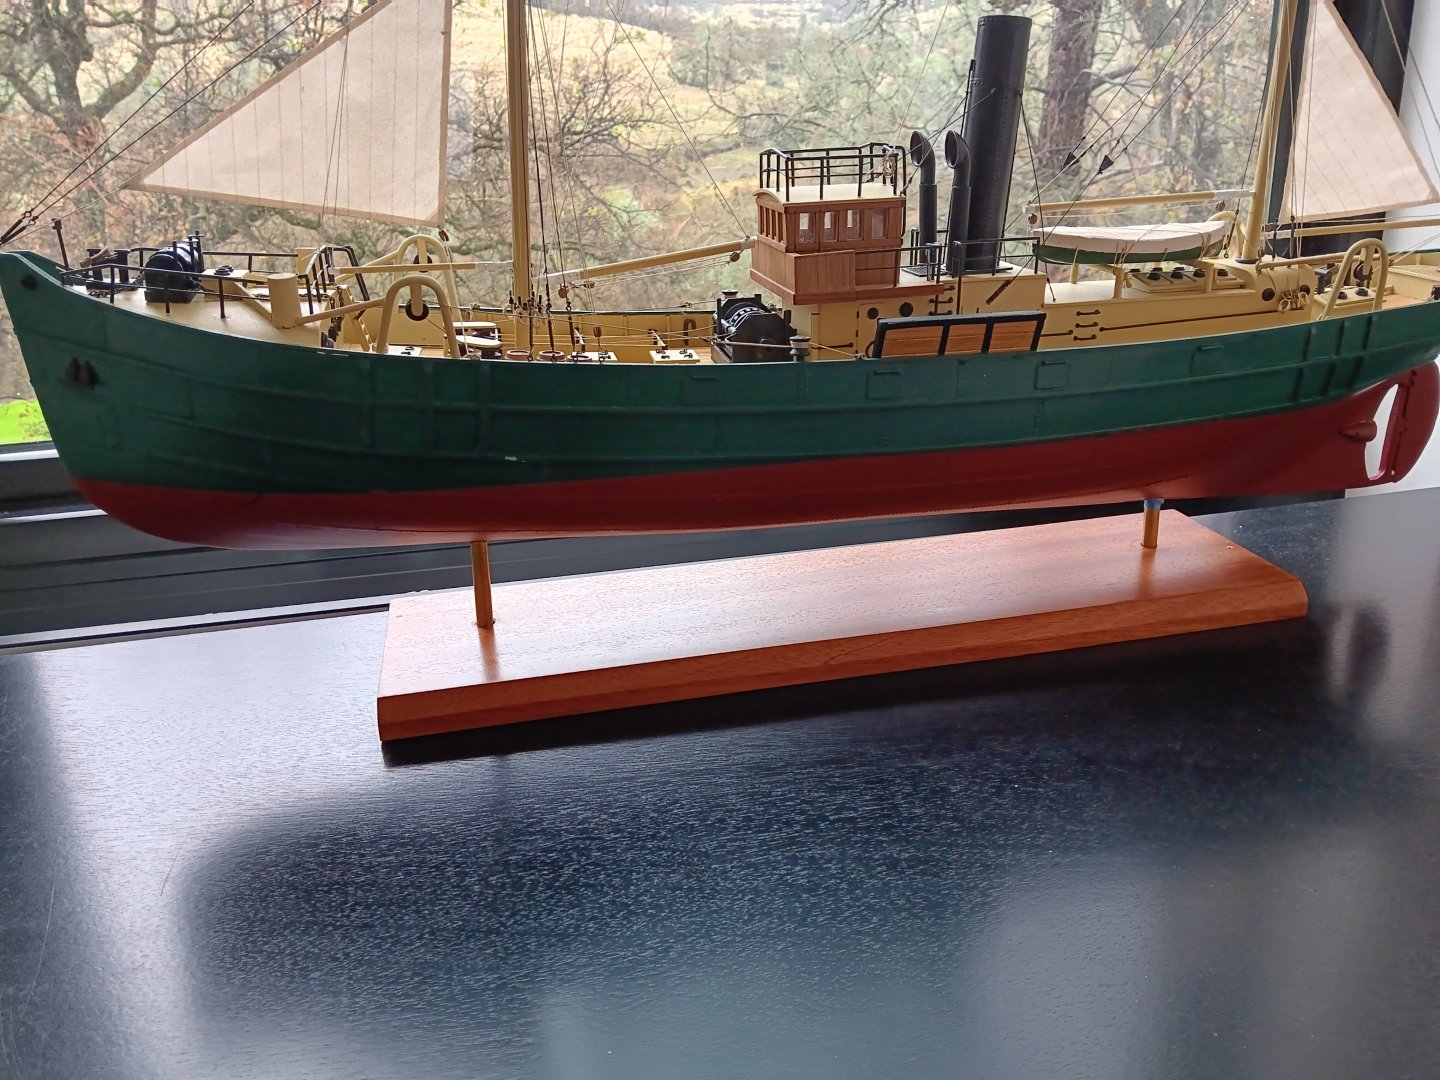
One question i have for people using pedestals is how do you adjust them so that the waterline is horizontal if the keel is not parallel to the waterline , for example I think most keels have some dead rise so if you used same size pedestals the ship would be tilted up or down when mounted. Using brass tubes like I do I can cut tubes to different lengths to get waterline level. I have always been curious about how modelers do that with pedestals. Bill -
 catopower reacted to a post in a topic:
Ship base display advice
-
Well , just did a little Google search which i should have done before and i see some life rings have a 13 inch inner diameter, and a larger size have 23 inch. So there you go. I guess the navy ones were for really small saliors (haha) Bill
- 492 replies
-
- minesweeper
- Cape
-
(and 1 more)
Tagged with:
-
This has been fun to follow along. One question. Life rings on my boat had a inner diameter big enough for a man to slip in to. I've never see actual measurements for life rings (if indeed they are some what standard) but I think mine were more like 18 inches inner diameter and about 30 inches outer diameter. Just curious, Bill
- 492 replies
-
- minesweeper
- Cape
-
(and 1 more)
Tagged with:
-
Ship base display advice
wmherbert replied to mastic's topic in Painting, finishing and weathering products and techniques
I drill a hole up thru the keel where I want the supports to be and insert and glue in a stiff wire. I use brass tube to mount it on. Those I drill a hole and glue into a wood base. Then I fill the tubes with Jen weld epoxy and before it sets I lower the hull and wires into the tubes. Oh and I usually file the tube end to fit the keel. Of course you need to sure to get tubes the right lengths so that waterline is level and to secure model with something while epoxy dries. I put some extra blocking when framing to strengthen the places where the wires will be But I think you could drill the holes for the wire after boat was complete if you had help and were careful. And keels are usually wide enough for the wire hole drilling. I hope this all makes sense. Bill -
This build keeps getting better and better. Do you have any tips on making bends in styrene rod? Due to lack of soldering skills i have been making hand rails etc from styrene. But getting bends is tricky. I gently heated spots to get a bend which can work but is hard to control. Many time I've had to make 45 degree cuts and then glue to get a 90. Any suggestions would be greatly appreciated. Bill
About us
Modelshipworld - Advancing Ship Modeling through Research
SSL Secured
Your security is important for us so this Website is SSL-Secured
NRG Mailing Address
Nautical Research Guild
237 South Lincoln Street
Westmont IL, 60559-1917
Model Ship World ® and the MSW logo are Registered Trademarks, and belong to the Nautical Research Guild (United States Patent and Trademark Office: No. 6,929,264 & No. 6,929,274, registered Dec. 20, 2022)
Helpful Links
About the NRG
If you enjoy building ship models that are historically accurate as well as beautiful, then The Nautical Research Guild (NRG) is just right for you.
The Guild is a non-profit educational organization whose mission is to “Advance Ship Modeling Through Research”. We provide support to our members in their efforts to raise the quality of their model ships.
The Nautical Research Guild has published our world-renowned quarterly magazine, The Nautical Research Journal, since 1955. The pages of the Journal are full of articles by accomplished ship modelers who show you how they create those exquisite details on their models, and by maritime historians who show you the correct details to build. The Journal is available in both print and digital editions. Go to the NRG web site (www.thenrg.org) to download a complimentary digital copy of the Journal. The NRG also publishes plan sets, books and compilations of back issues of the Journal and the former Ships in Scale and Model Ship Builder magazines.


