HOLIDAY DONATION DRIVE - SUPPORT MSW - DO YOUR PART TO KEEP THIS GREAT FORUM GOING! (Only 20 donations so far - C'mon guys!)
×


oakheart
-
Posts
518 -
Joined
-
Last visited
Content Type
Profiles
Forums
Gallery
Events
Everything posted by oakheart
-
 Thanks for that Håkan. I do need to remember that this is going to be my 'dirty' boat so any errors will be hidden, the next version in cedar wood is the one that I want to look good. I will read you build log. Tim
 -
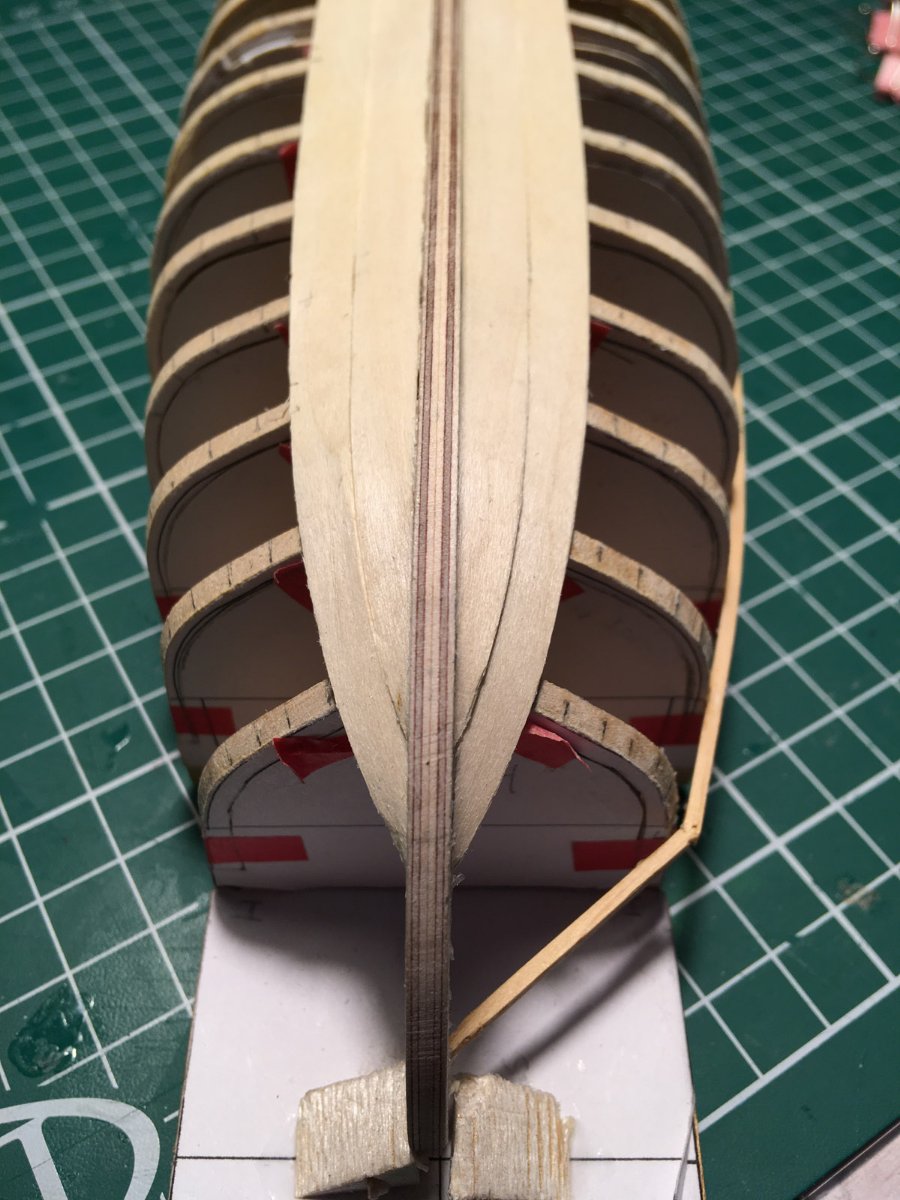
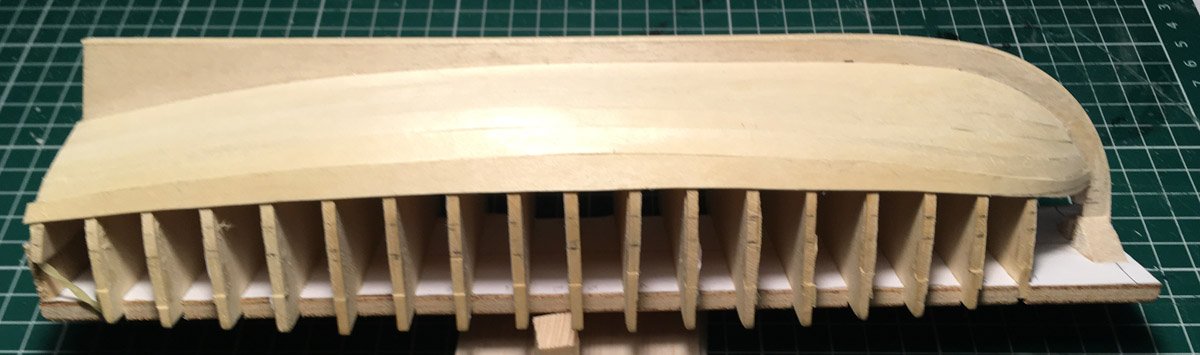
The planking has been ongoing. I am really not sure about it being correct. I need some advice. The way the planks are tapered from the frame towards the stem looks odd, but I cant figure out what it is I've got wrong? should it be more like the penciled in line ? With the photo above , I can also see that I missed the tick mark on the stem one plank up, that can't be helping. Tim
-
Huzzah......! Tim
-
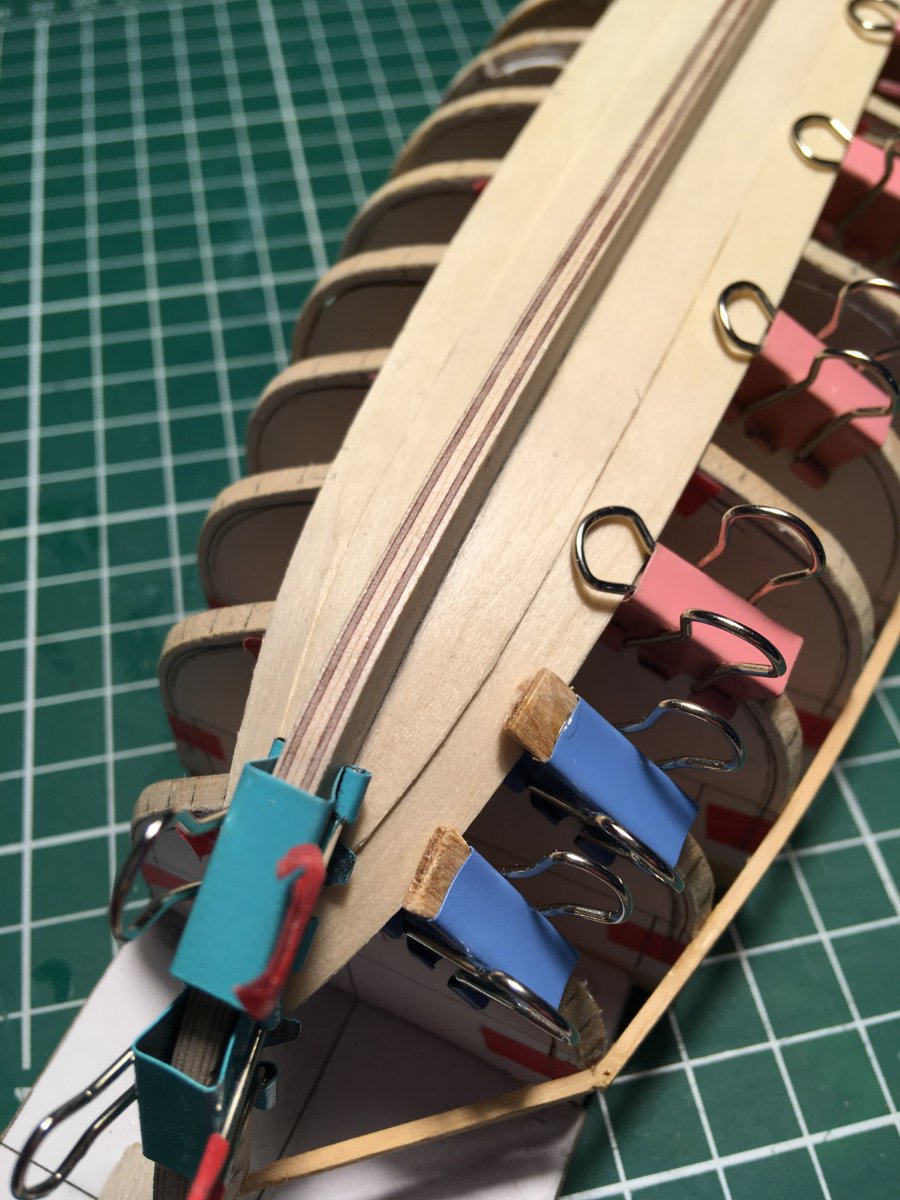
That's something I learned early in this game, you can't have too many clips, clamps or elastic bands to hand when gluing up. I sometimes wish I had an extra hand or finger too. Looking good so far. Tim
-
Waiting for the 5th plank to dry, trawling through the incredible amount of build logs there are here on MSW. I found this build log : https://modelshipworld.com/topic/3741-queen-annes-revenge-1710-by-shipmodel-finished-136-scale/ Thanks shipmodel ( Dan ) your work on the QAR boats gives me a goal to work towards. It has re-inspired me, my planking was beginning to get to me. I know this is only a tiny model but it is testing me. Reading the QAR log I'm being tempted towards a larger project, like a pirate ship or a Bounty. But I really do need to finish my launch first. I am too easily tempted into a new project, leaving a trail of part finished models in my wake Tim
-
Black Pearl by LFNokia - 1/48 - open hull
oakheart replied to LFNokia's topic in - Build logs for subjects built 1501 - 1750
Thank you for these plans, I may just have to give this a go................. when I finish my small boat of course Tim -
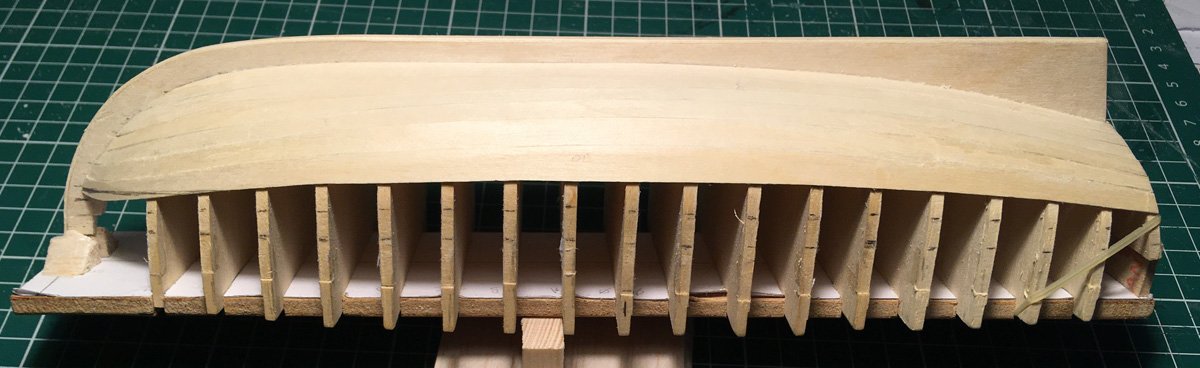
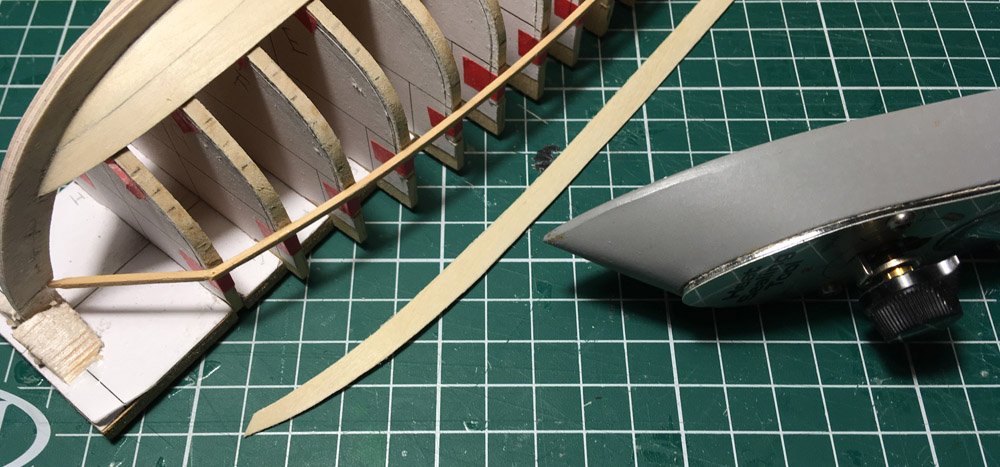
I have now glued up the matching plank pre-bent and faceted the frames. It looks good, so I think I will continue with this technique until I get round the bend, then up the straighter sides go back to normal. I saw some one on this forum ( website ) who had planked straight from the Garboard right up to the gunwale in one run, so on this build that is what I am trying out. As a programmer I was taught "only change one thing at a time" or you won't know what is causing the problem. Here I have just jumped in with all feet first. Tim
-
so my take on those options are : 1: Could I live with the faceted inside - Yes, if it's not to noticeable it could be alright 2 : looks like it would be really difficult to do. 3 : Planks are only 0.8 mm ( 1/32 ") going even thinner may work, worth testing, may break. 4 : This would help but may need a lot of clamping pressure and crush the model. 5 : with the clamps I am using that's the only way they work, will try elastic bands Thanks for all of those ideas, I will see how my faceted frame worked when I un-clamp it later Tim
-
Even native English speakers ( Me ) are having problems interpreting, understanding and remembering the nautical terms used here. It does sink in over time. Tim
-
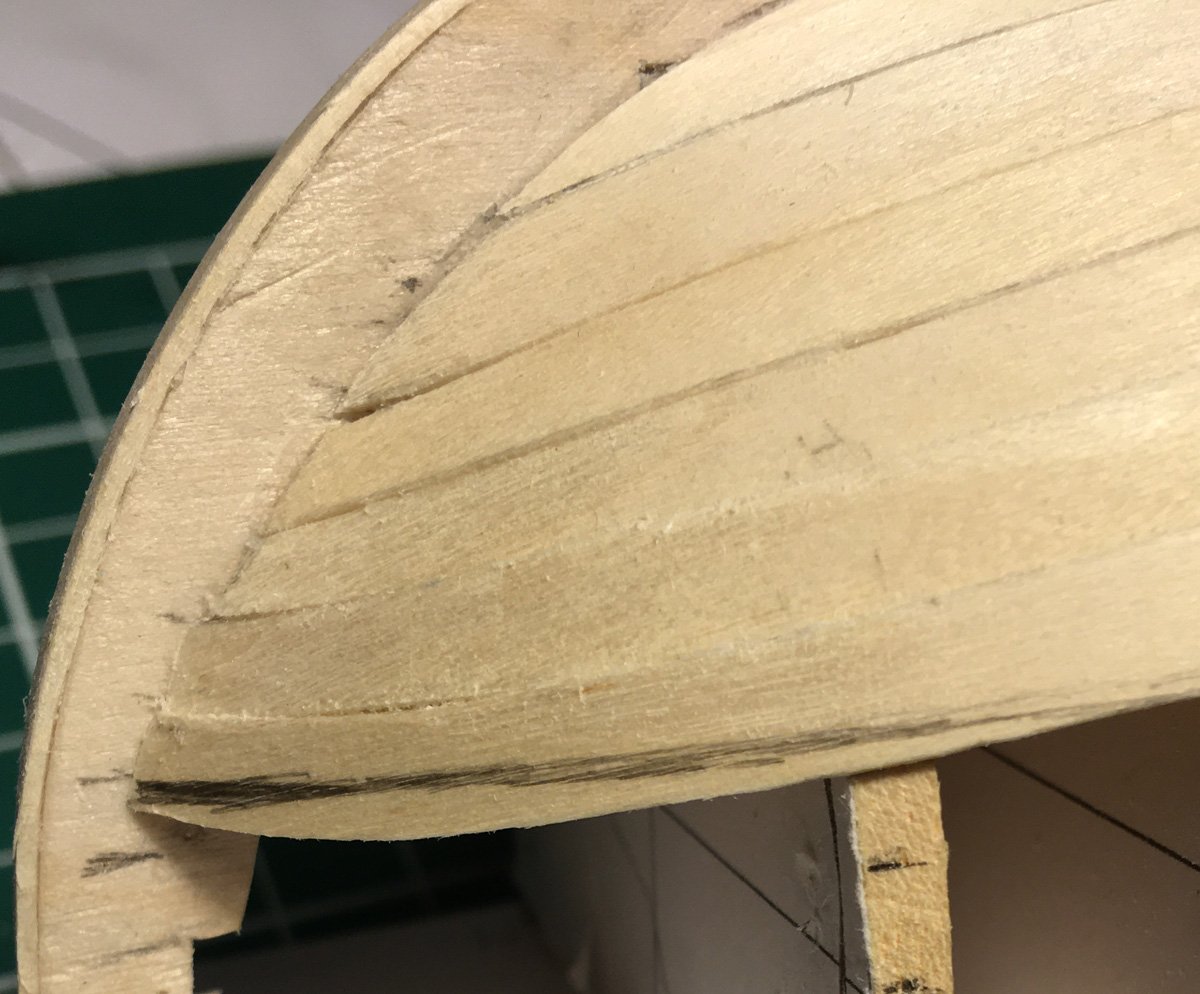
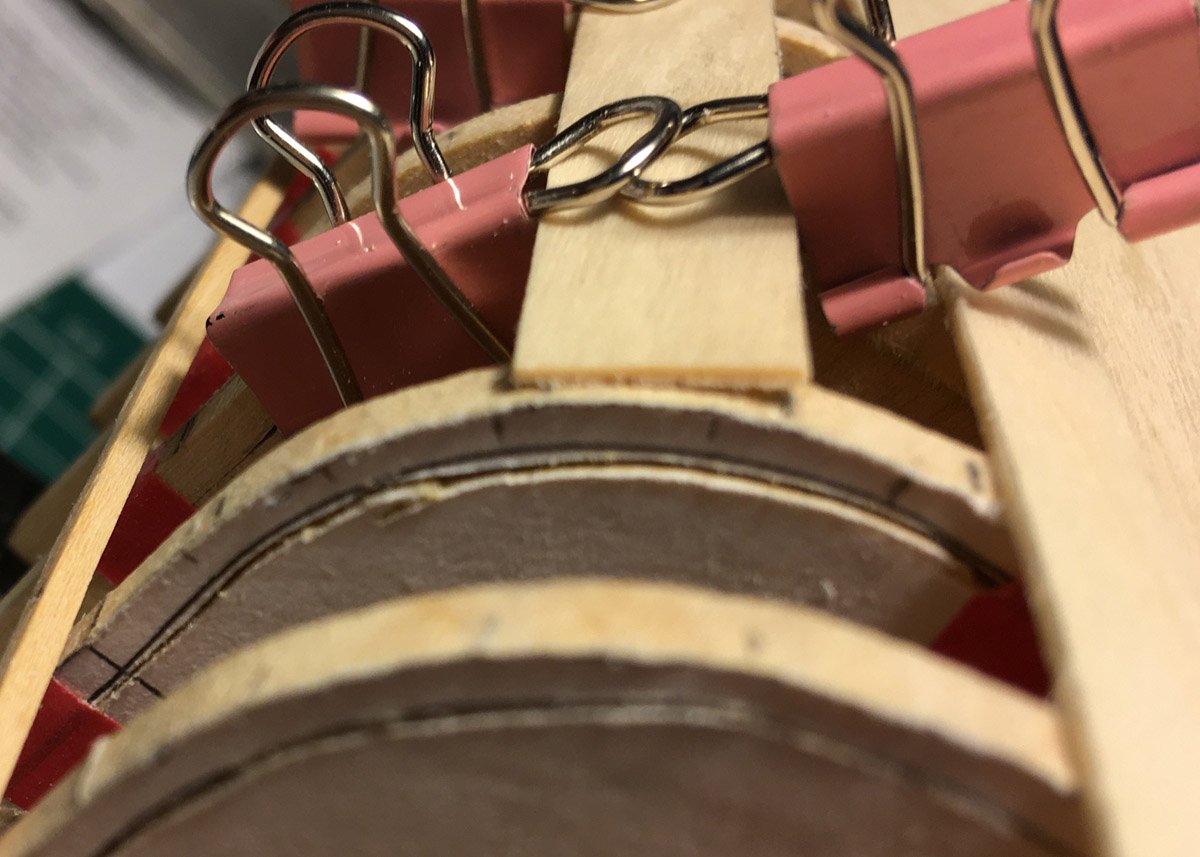
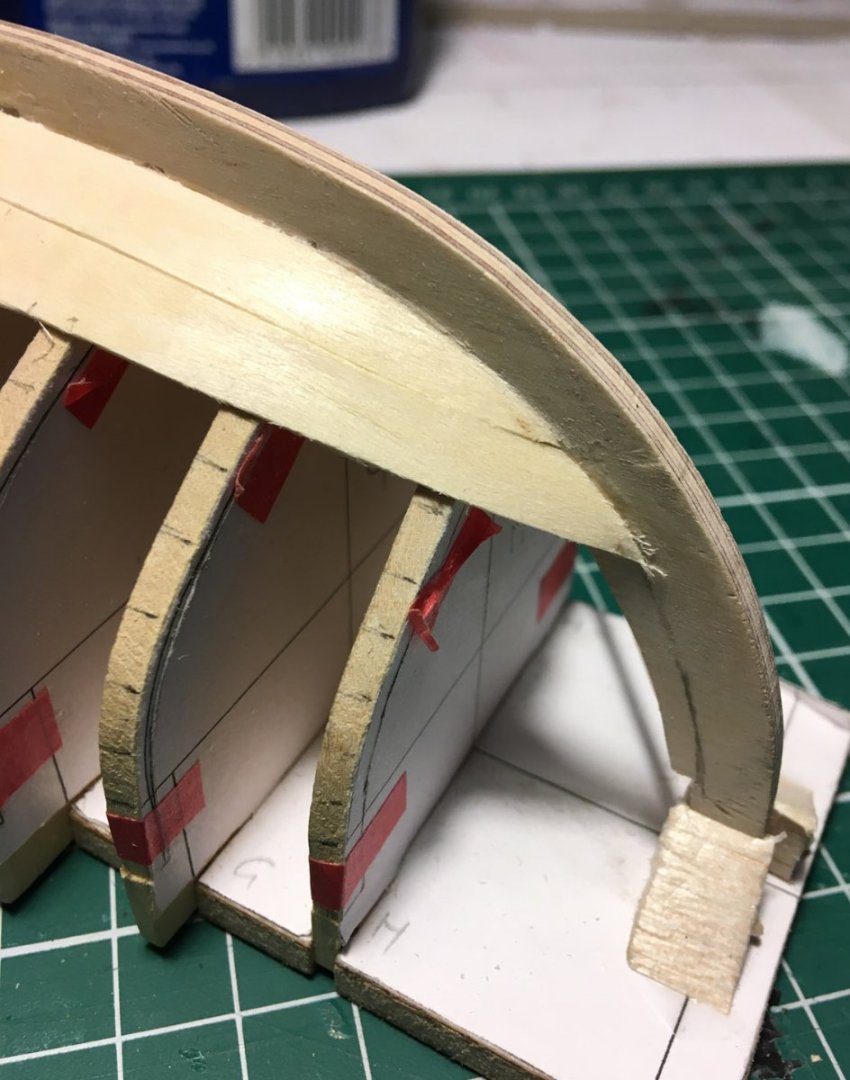
I have now got to, as Craig said - the interesting bit. Moving down the frame, now when I lay the plank on the frame, the plank is flat but the frame is curved ! In the photo, I have used a wider plank to exaggerate what happens, the problem is made worse when you can only clamp from one side of the plank. Sorry - I could not get the phone to focus on the end of the plank, but you can see what's going on. To overcome this I have just tried a test laying of a plank. Firstly between the tick marks on the frame, I sanded that area flat. It's glue up right now, we will see later if it worked. How do others overcome this? Is there a trick I am missing? Tim
-
No really 🙂 I just want to see how you do it, I am having some problems with mine, so looking for clues. Just like you said, it gets more interesting. Tim
-
Thanks for the compliments. Allan and Craig are the experts here, There is a load of information on the their other logs as well. I'm just here having a load of fun doing some research, trying new ideas and learning new skills. Question : Should all of the detailed information be collected together and put it in the "launch details" log. Who started that log ? was it Craig or Allan? my memory is not so good Tim
-
Don't you just hate it when that happens. It's looking really good. Are you ready to start on the planking? Tim
-
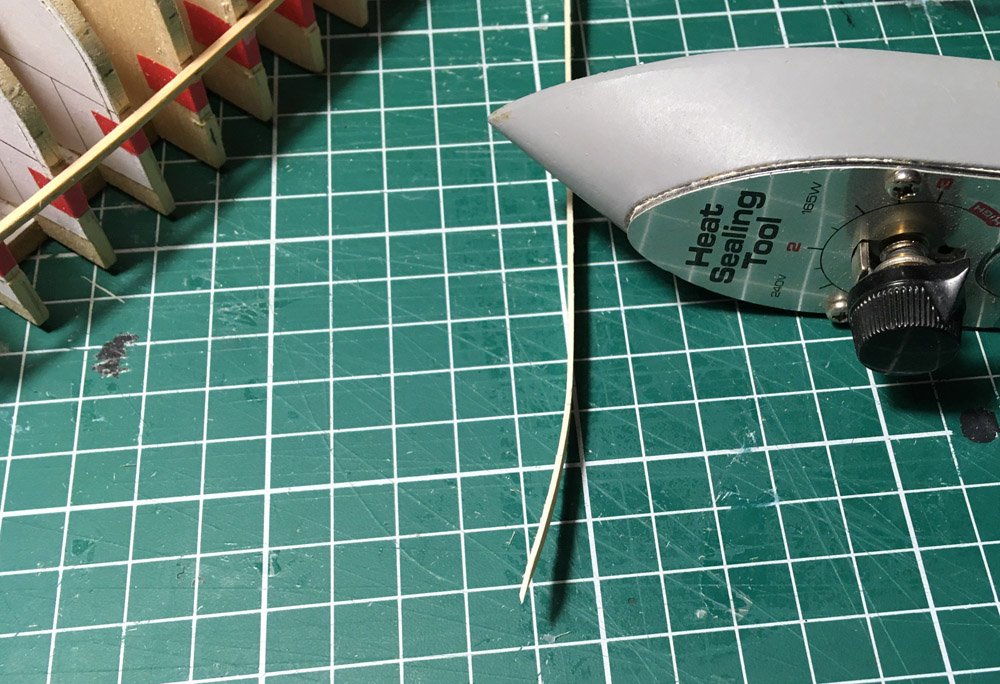
Based on what Druxey advised I borrowed a heating tool from a model aircraft mate. and bent the plank. It really makes it easier to fit. Tim
-
Thanks for the tip Druxey, I think when I do the next version in Cedar, I do some pre bending as you suggest it would mean less clamping needed Tim
-
Thanks for the compliment cisco After sanding down I'm sure my planks will be uneven thickness. Tim
-
Thanks for the encouragement, even more interesting 🙂 This is actually pretty good at getting me to slow down and not rush, rush to get onto the next thing. Tim
-
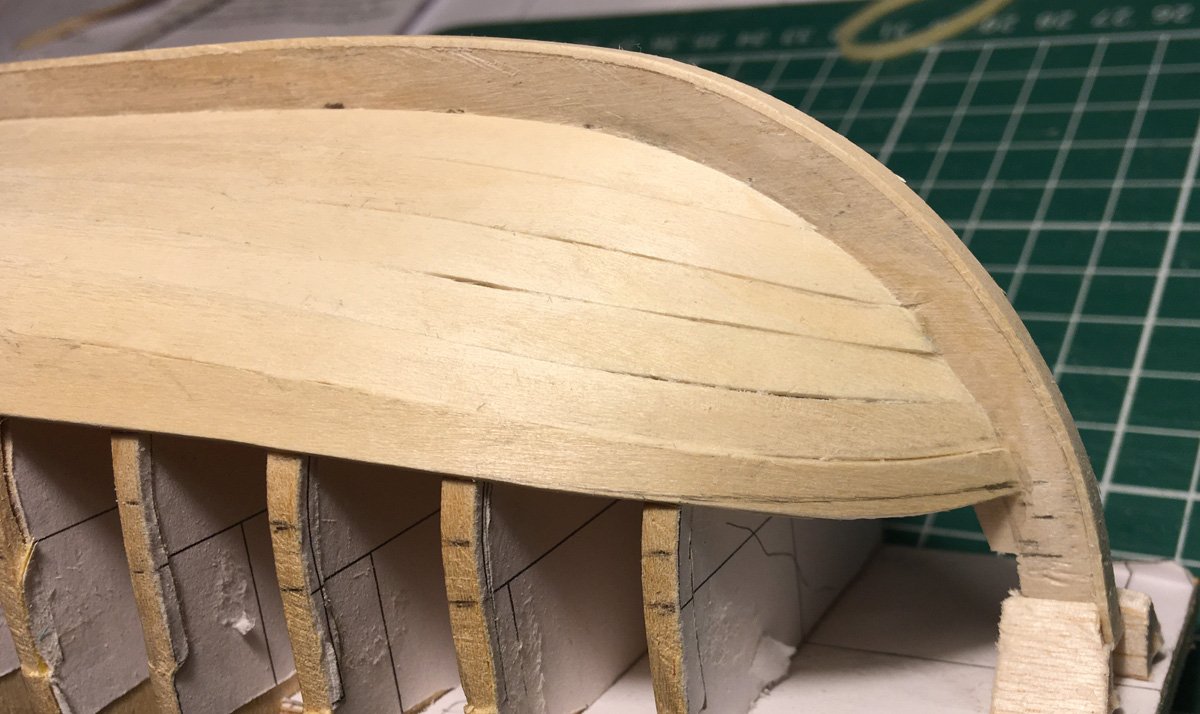
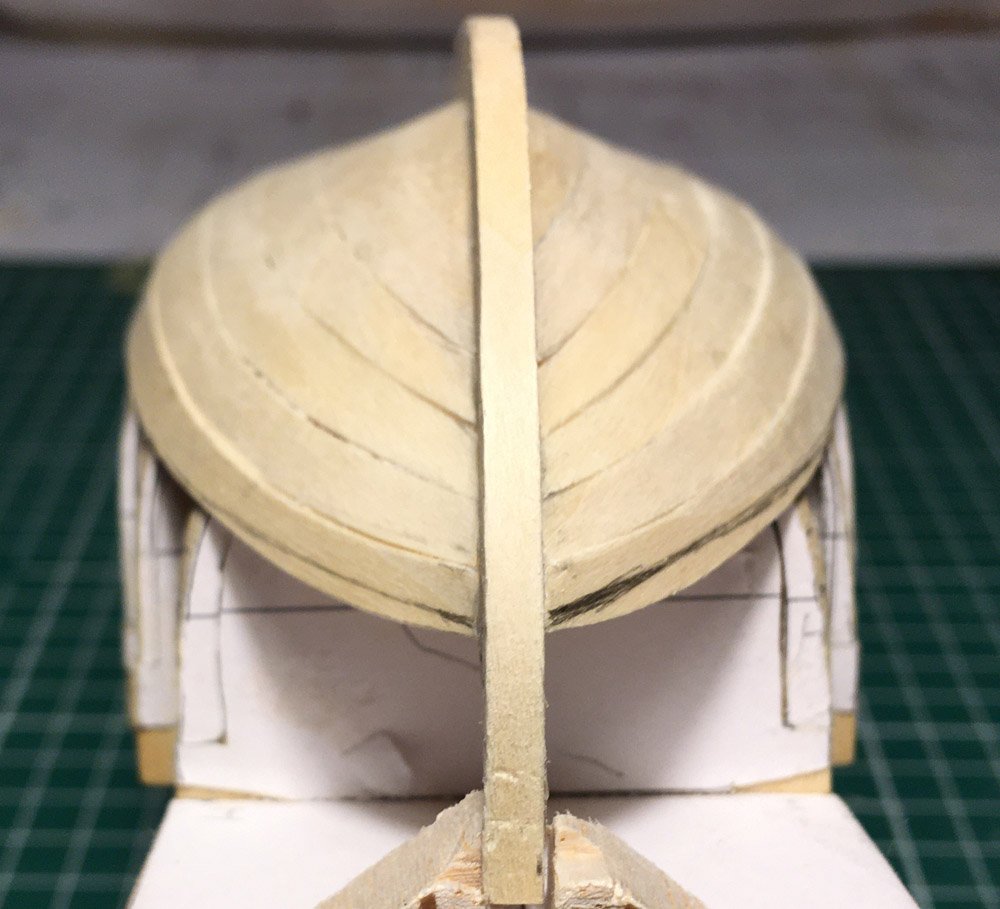
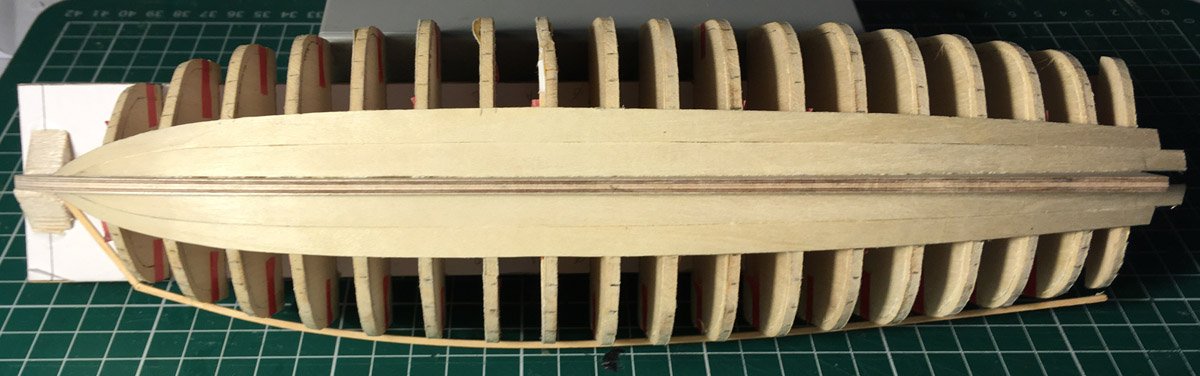
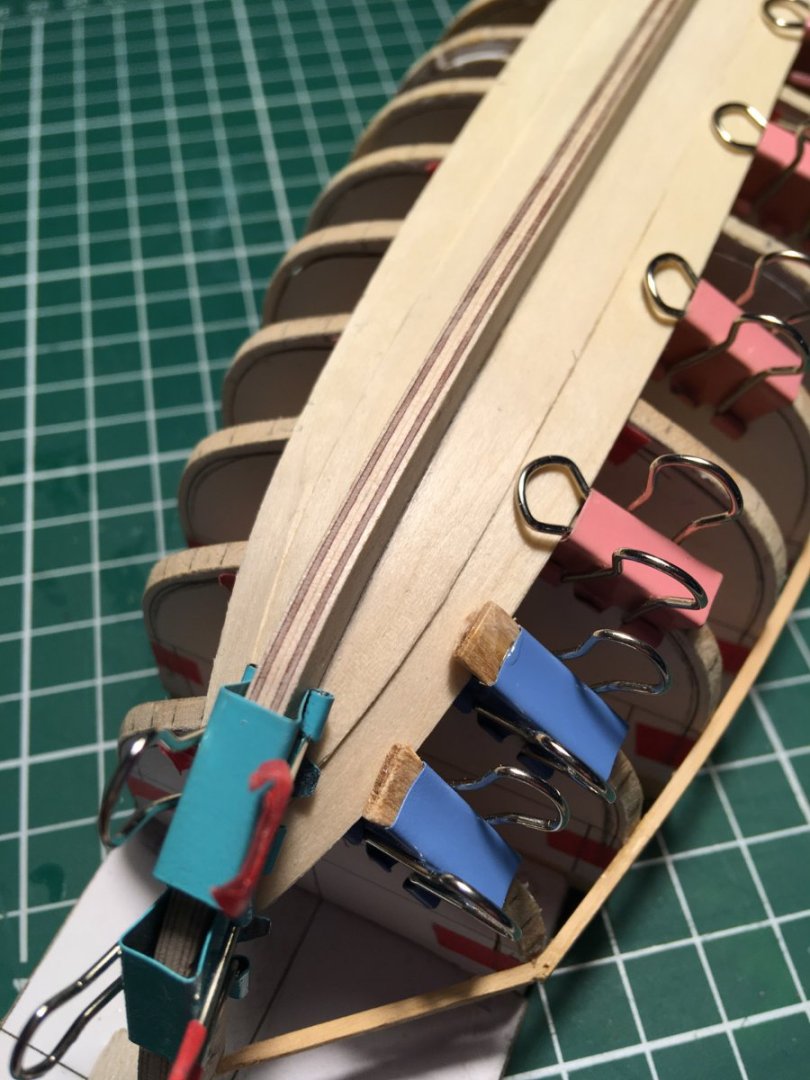
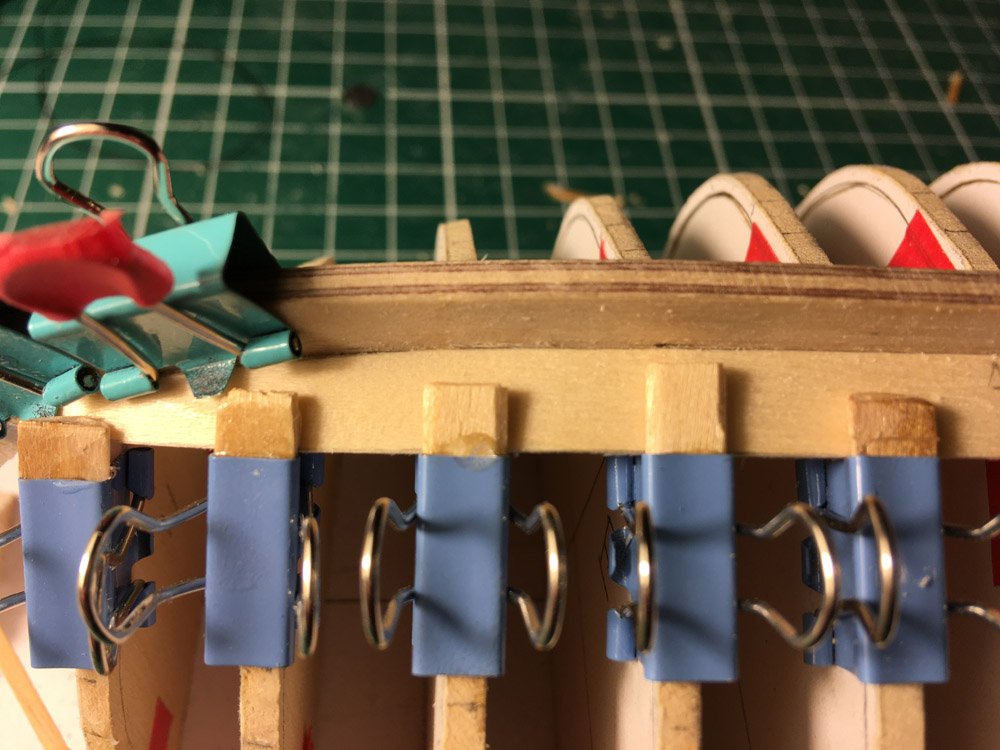
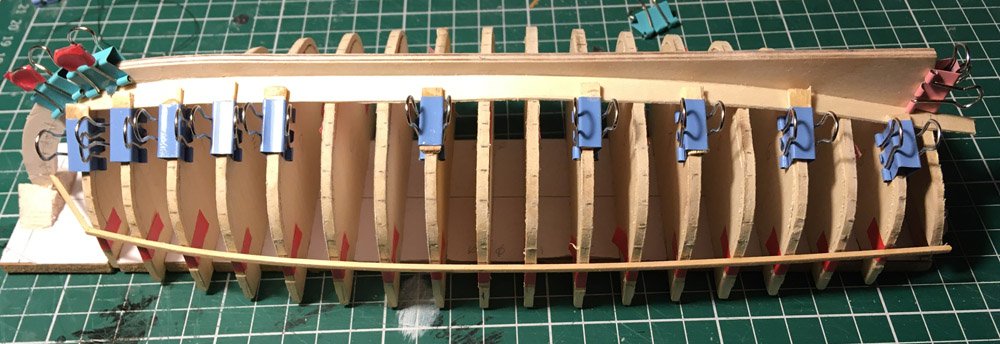
Okay here as promised the next installment. Got three planks in place over the last couple of days, taking it slow. Third plank clamped in place here is a close up after the clamps have been removed, a bit of clean up needed but pleased with it. onto the 4th plank There is a a bit of a step of levels here, I think it's because the first plank did not glue down tight to the frame, hope I can sand the new plank level without sanding right through it. here is a view of the whole thing, pretty pleased so far comments please Tim


-
Next Time - ha ha, nice to see someone has faith in my new found skills ... Tim ps I have not been napping, but did not want to show plank by plank, more coming later today.
-
That looks looks like it should do the job, nicely done. Tim
-
Thanks James, I will keep recording what I manage to get done, mistakes and all, as Håkan said it's a learning process. Tim
-
Thanks for the encouragement, it means a lot. Tim ps .I think my next model after I have finished this pair may well be a kit........
-
I think the bottle may be a tad large for this small boat, if I tried to smash it on the bow. ................ oops. Tim 🙂
-
So here we go. First plank in place, used PVA with long open time so I had time to get it in the right place. Let it glue up overnight. very pleased with the no rabbet, just beveled the plank and you can hardly see the join.............. 1 down 15 more to do......... Tim
-
Well we hope so ! Thanks for all of your support here Allan, and everyone else, I could not of got to this point without it. Tim