HOLIDAY DONATION DRIVE - SUPPORT MSW - DO YOUR PART TO KEEP THIS GREAT FORUM GOING! (Only 72 donations so far out of 49,000 members - Can we at least get 100? C'mon guys!)
×


Pitan
-
Posts
170 -
Joined
-
Last visited
Content Type
Profiles
Forums
Gallery
Events
Everything posted by Pitan
-
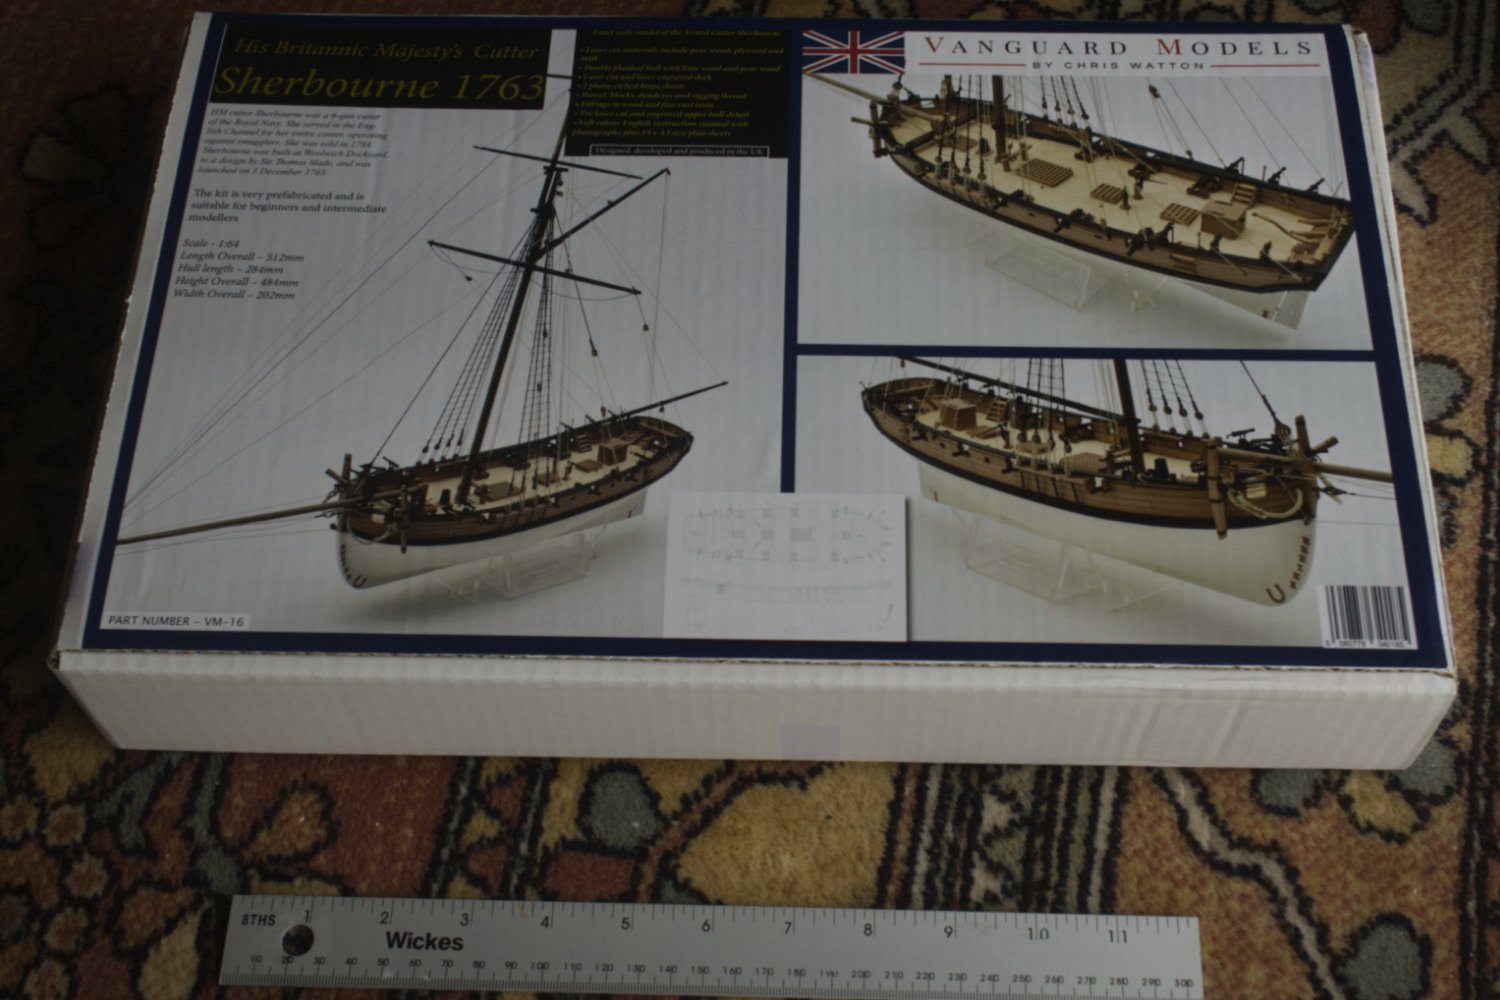
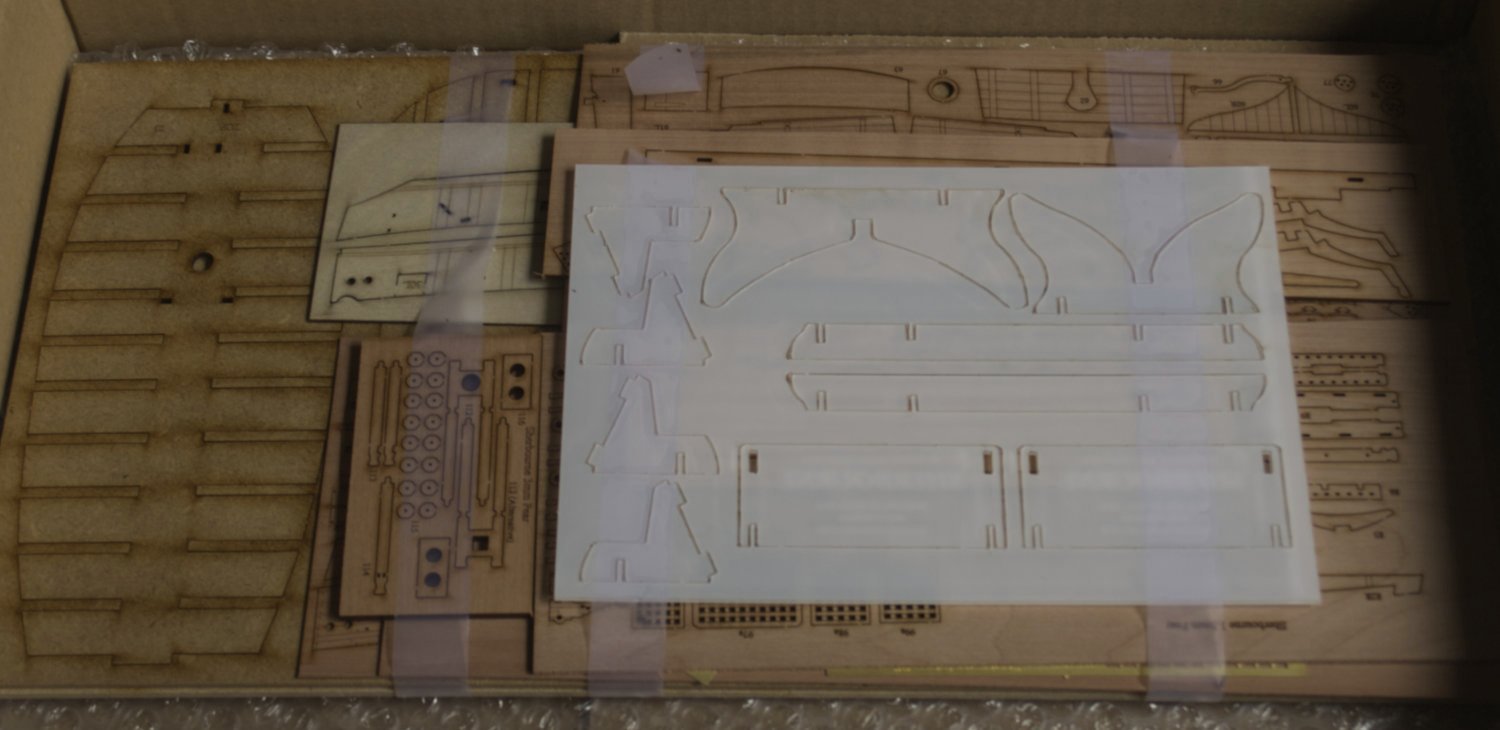
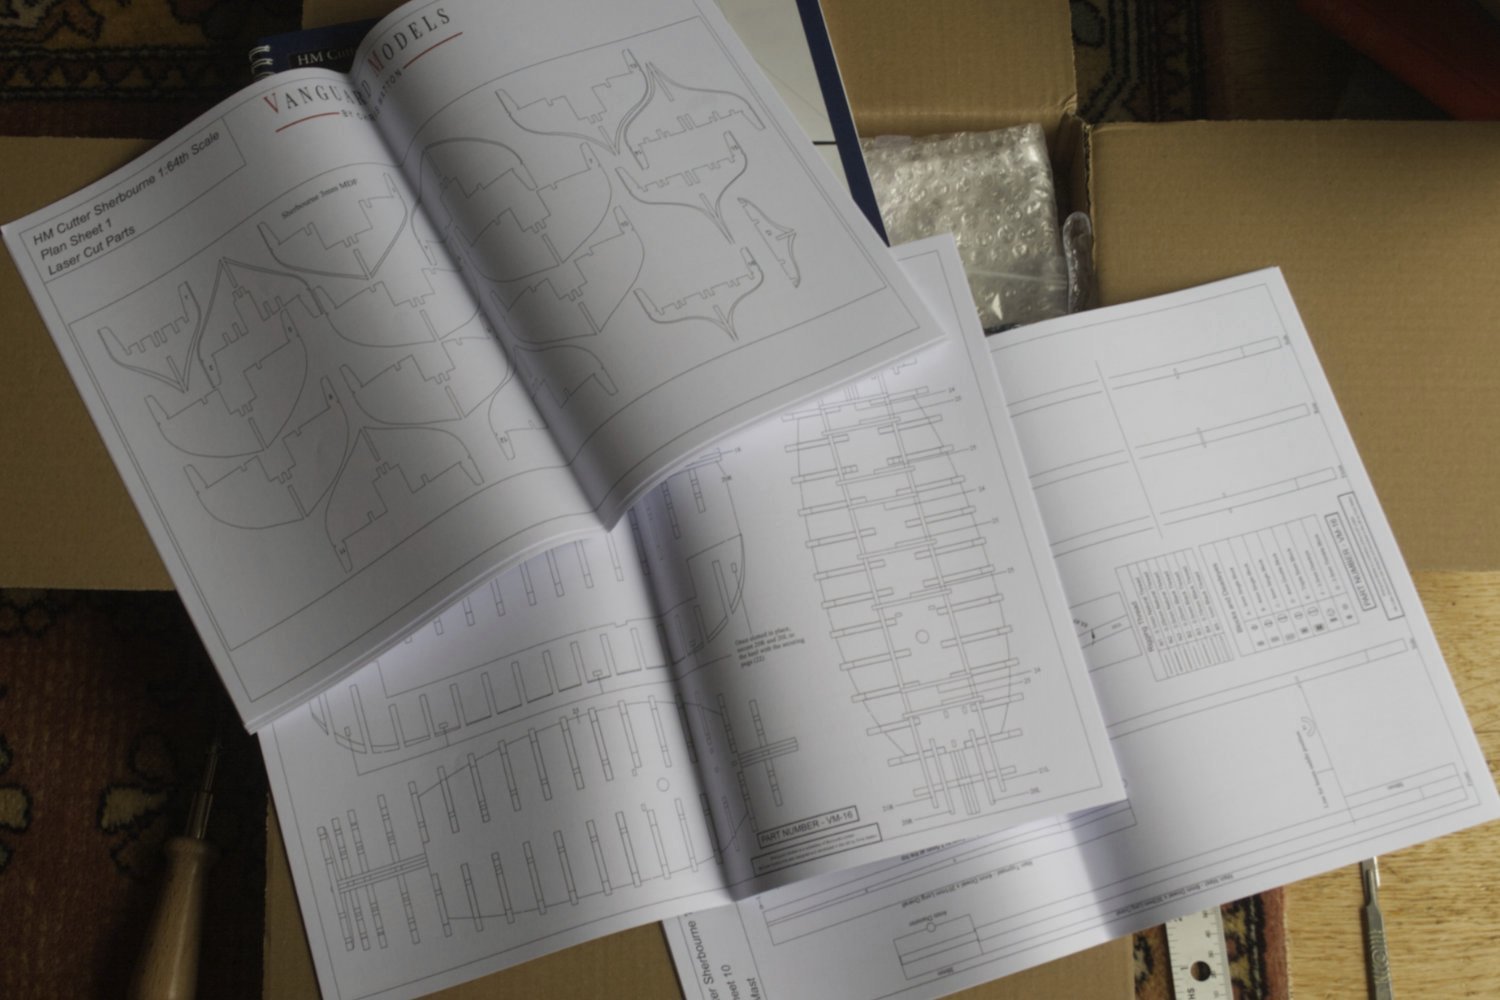
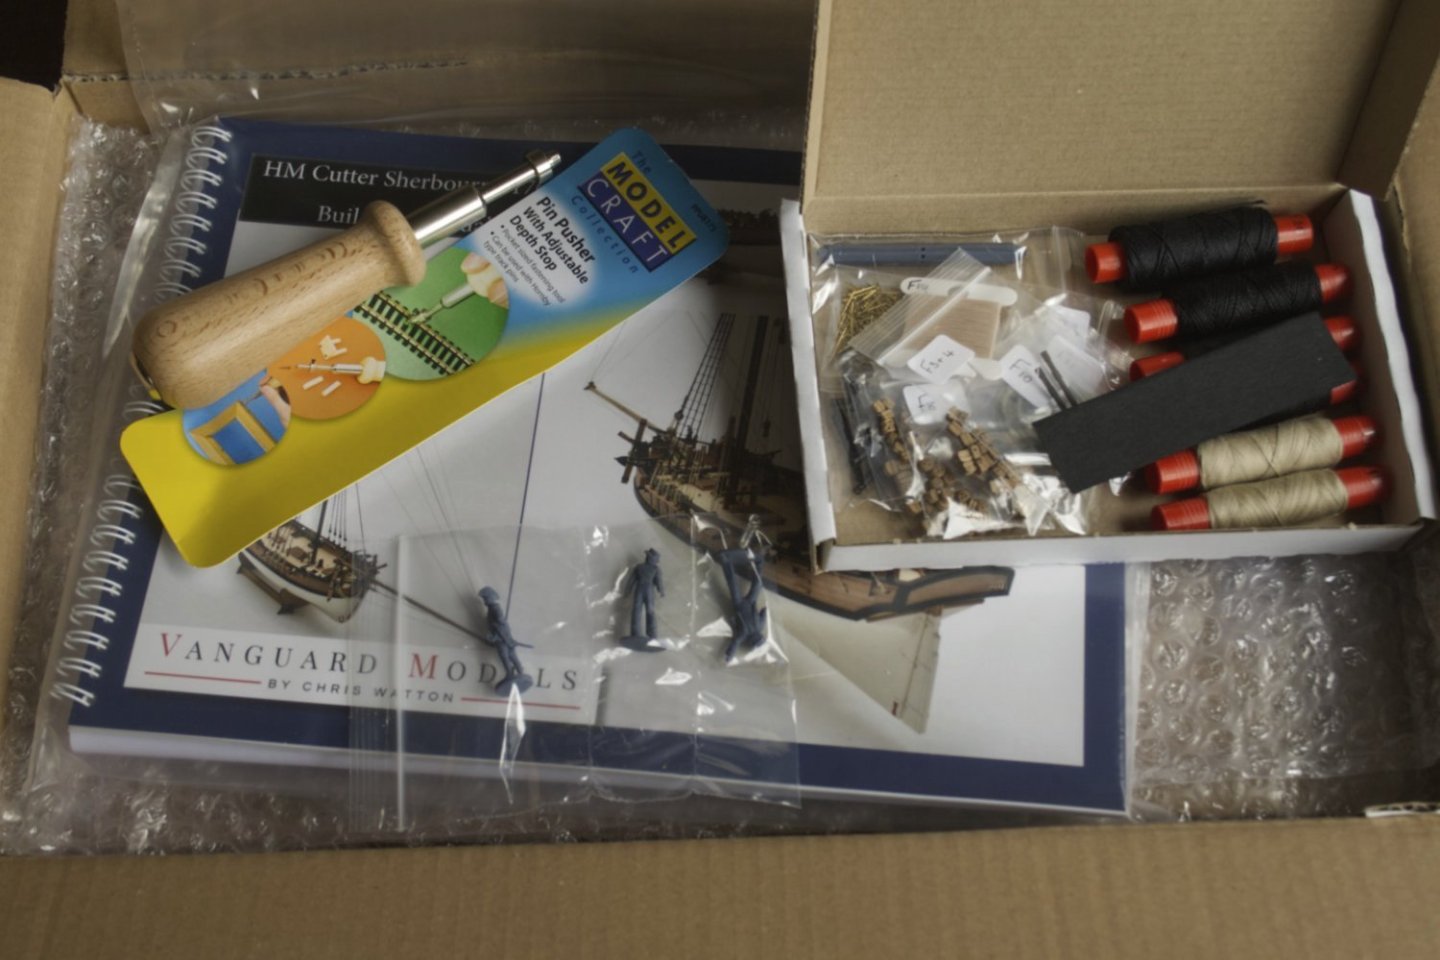
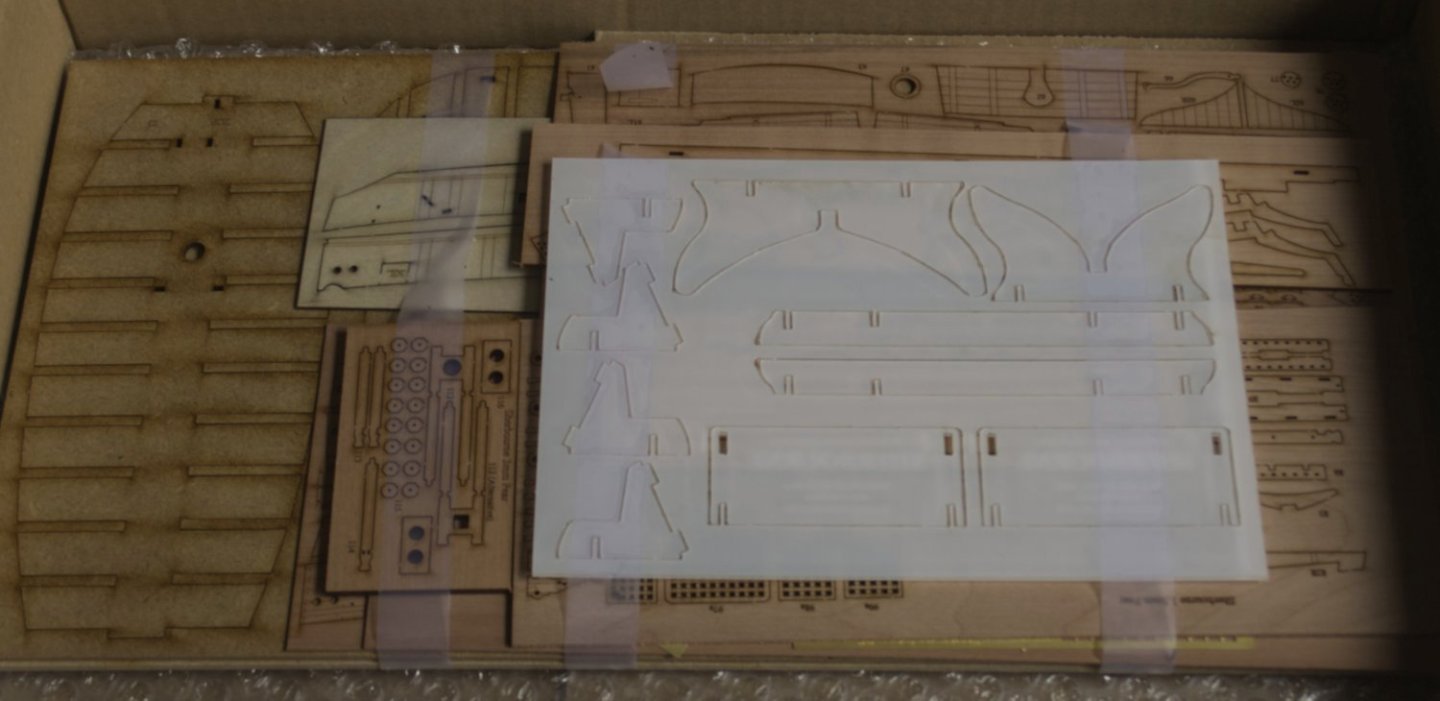
Moving forward 1 1/2 centuries from my (nearly finished) previous build, this is the new Vanguard Models Sherbourne. Included in the box were a few extras; being new to ship modelling, I'd ordered a pin pusher and some crew who will, I hope, lend scale to the build. Seen here with cordage, detail parts and the instructions. Below the instructions and bubble wrap was the wood (and acrylic base). In addition to the instruction booklet, there are 19 A3 sheets of plans and rigging guides.


-
p.s. The body plan from Greenwich shows no doors over the gun ports (https://prints.rmg.co.uk/products/body-plan-for-sherborne-1763-j7809?_pos=2&_sid=bedc6a7ff&_ss=r).
-
My next build will be HMS Sherbourne. For the build I have two questions (so far) arising from the plan available from the Greenwich site (https://prints.rmg.co.uk/products/plan-of-the-sherborne-1763-j8467) 1) The windlass on the plan occupies the full width of the bow. (Think it's a windlass, the roller used to raise the anchors?) How practical was that? If the crew wished to work forward of the windlass, either for sail handling, or to work the bow guns, they'd have to vault over the machinery. (Thinking as I'm typing ... given the vessel never had her full complement of guns, were these the spaces left vacant?) 2) The plan shows two doors (name?) covering only the second (of five) gun port from the bow. Is this a draughts-mans convention, leaving off the remaining four ports as unnecessary visual clutter, or would the only be one set of doors? If only the one, why the second port? (Could this be the unoccupied gun position?) FWIW, I'll be building the new Vanguard kit, which does have the full width windlass.
-
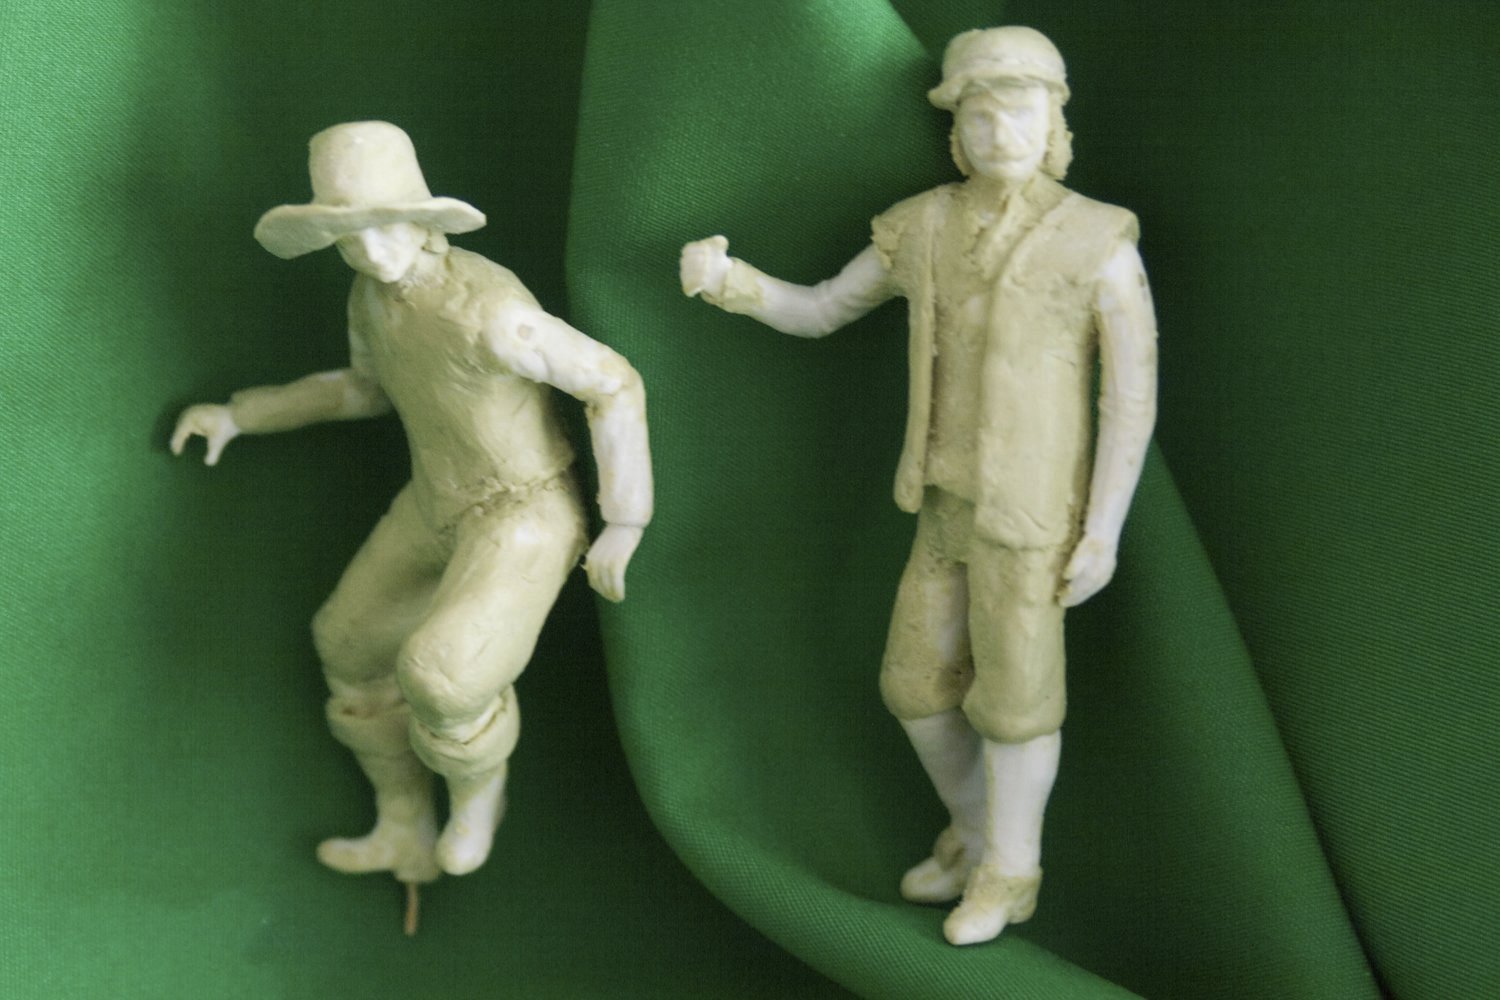
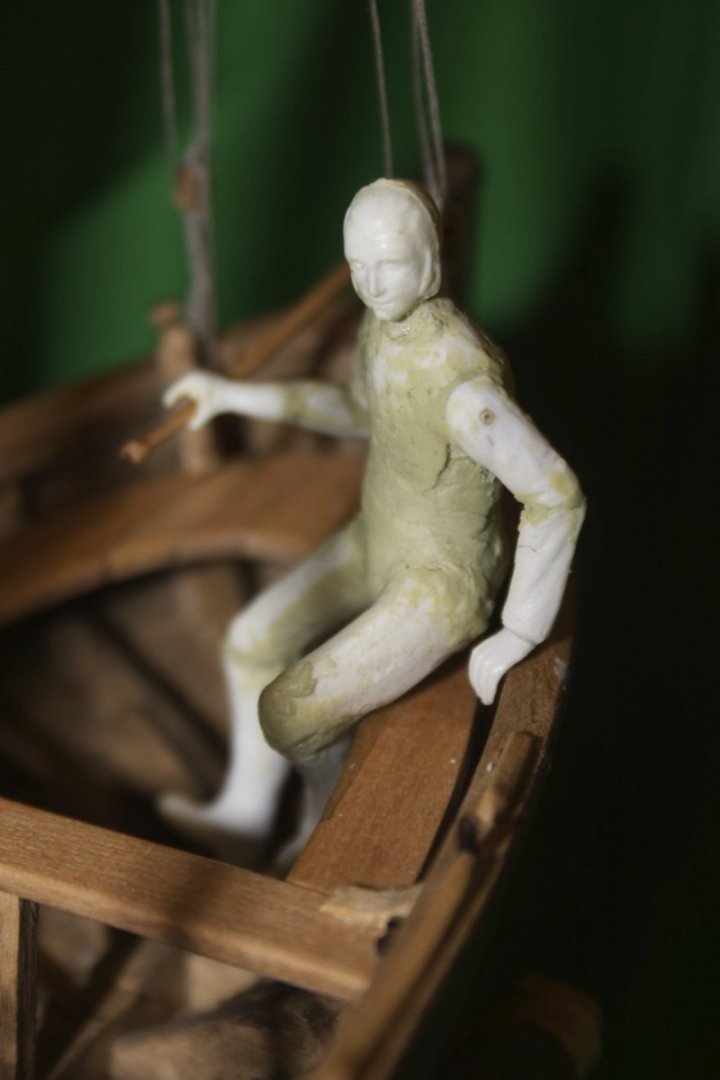
A bit of catch-up. I've done some more work on the figures - they now have clothes and hats made from Milliput. They have been painted, and can take their place on the boat:
-
Thanks, and I've just placed a pre-order for Sherbourne.
-
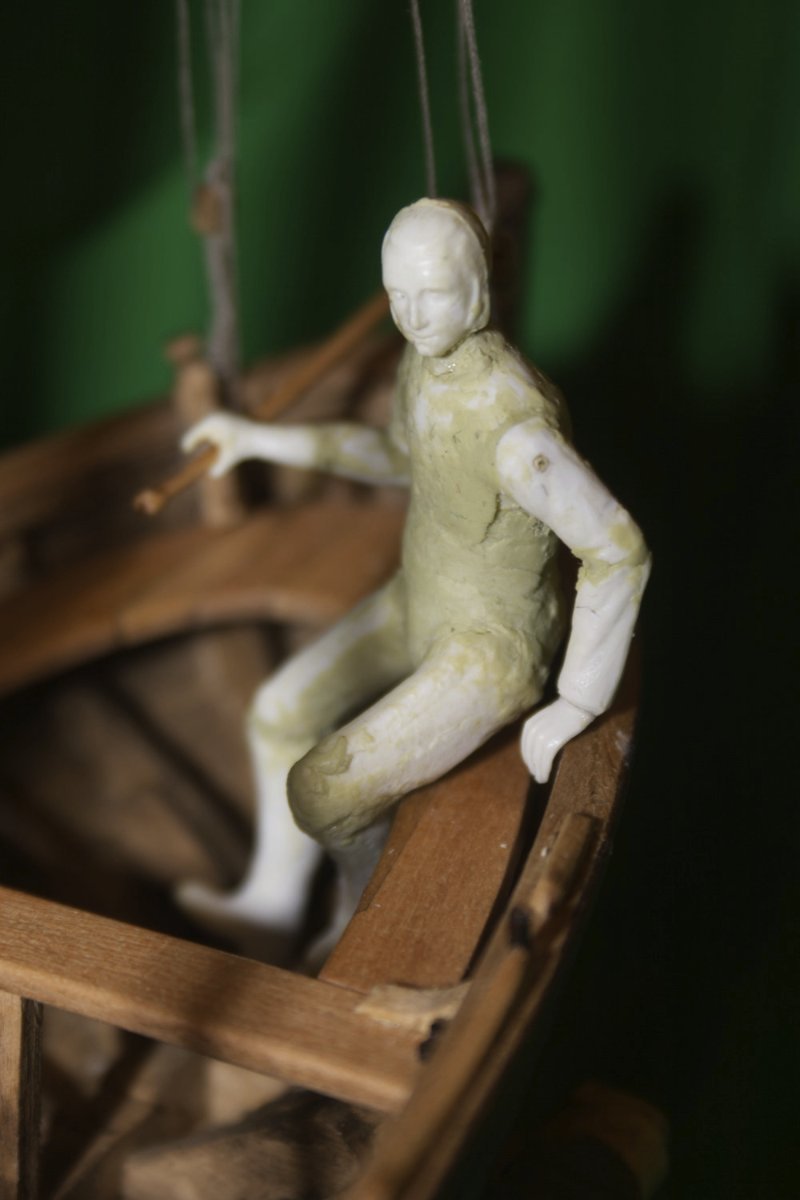
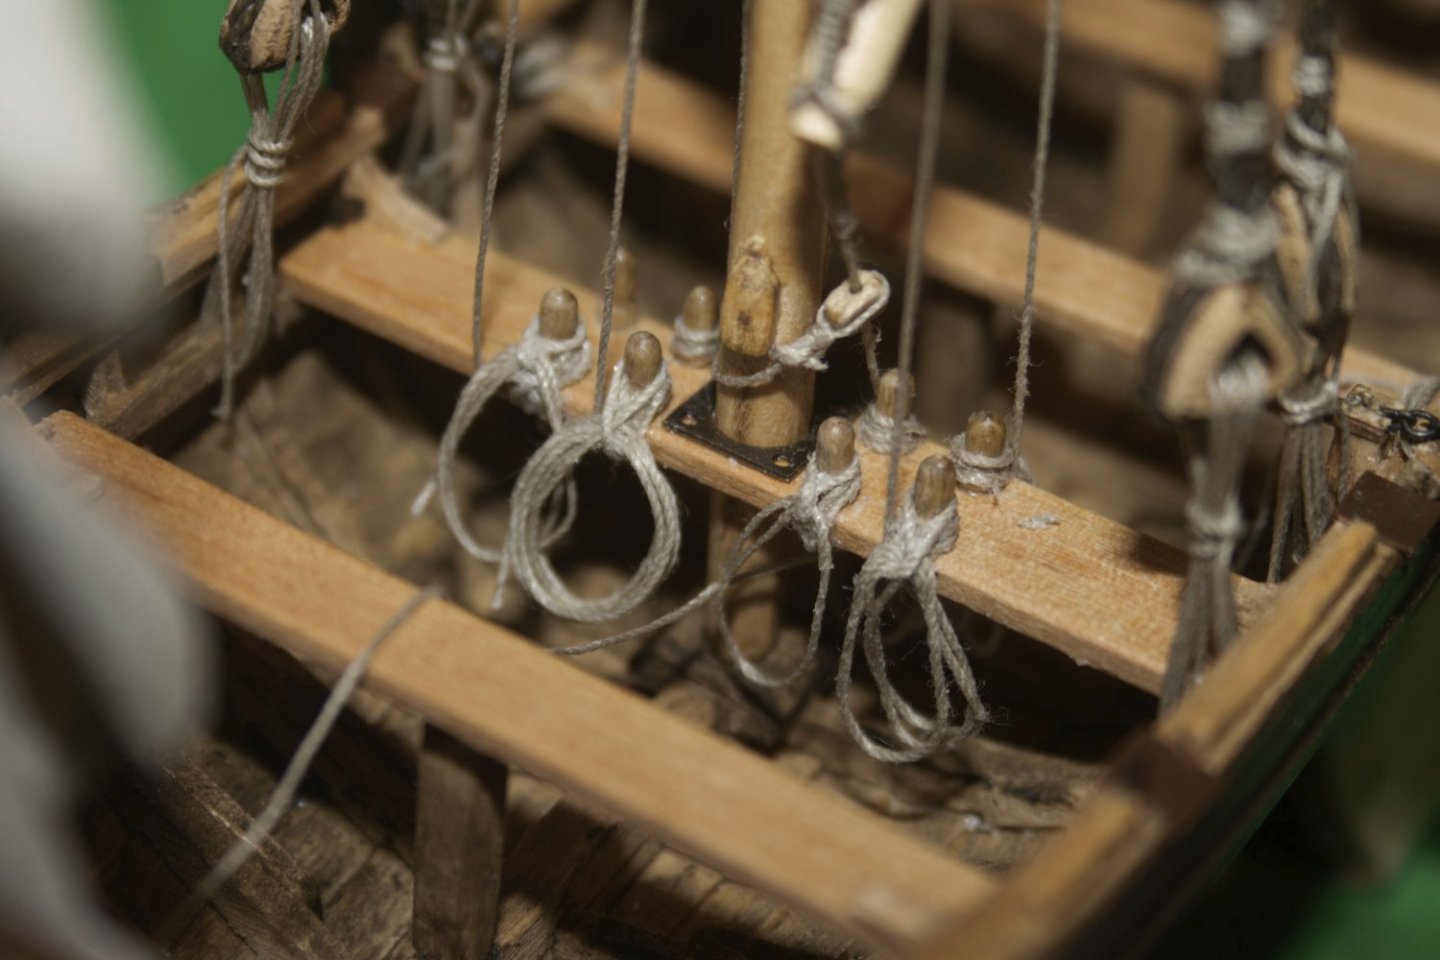
A couple of updates for the shallop. The rigging lines have been tidied up; the different number of loops reflect how much of the line is in use. Off-topic, I gather that belaying pins are unlikely at this stage (early 1600's); it is far too late to do anything about that now. And I've made progress with posing the crew; the guy at the back (stern) controls the tiller: He has developed a paunch, and wants for some period clothing.
-
Thanks @Richard44
-
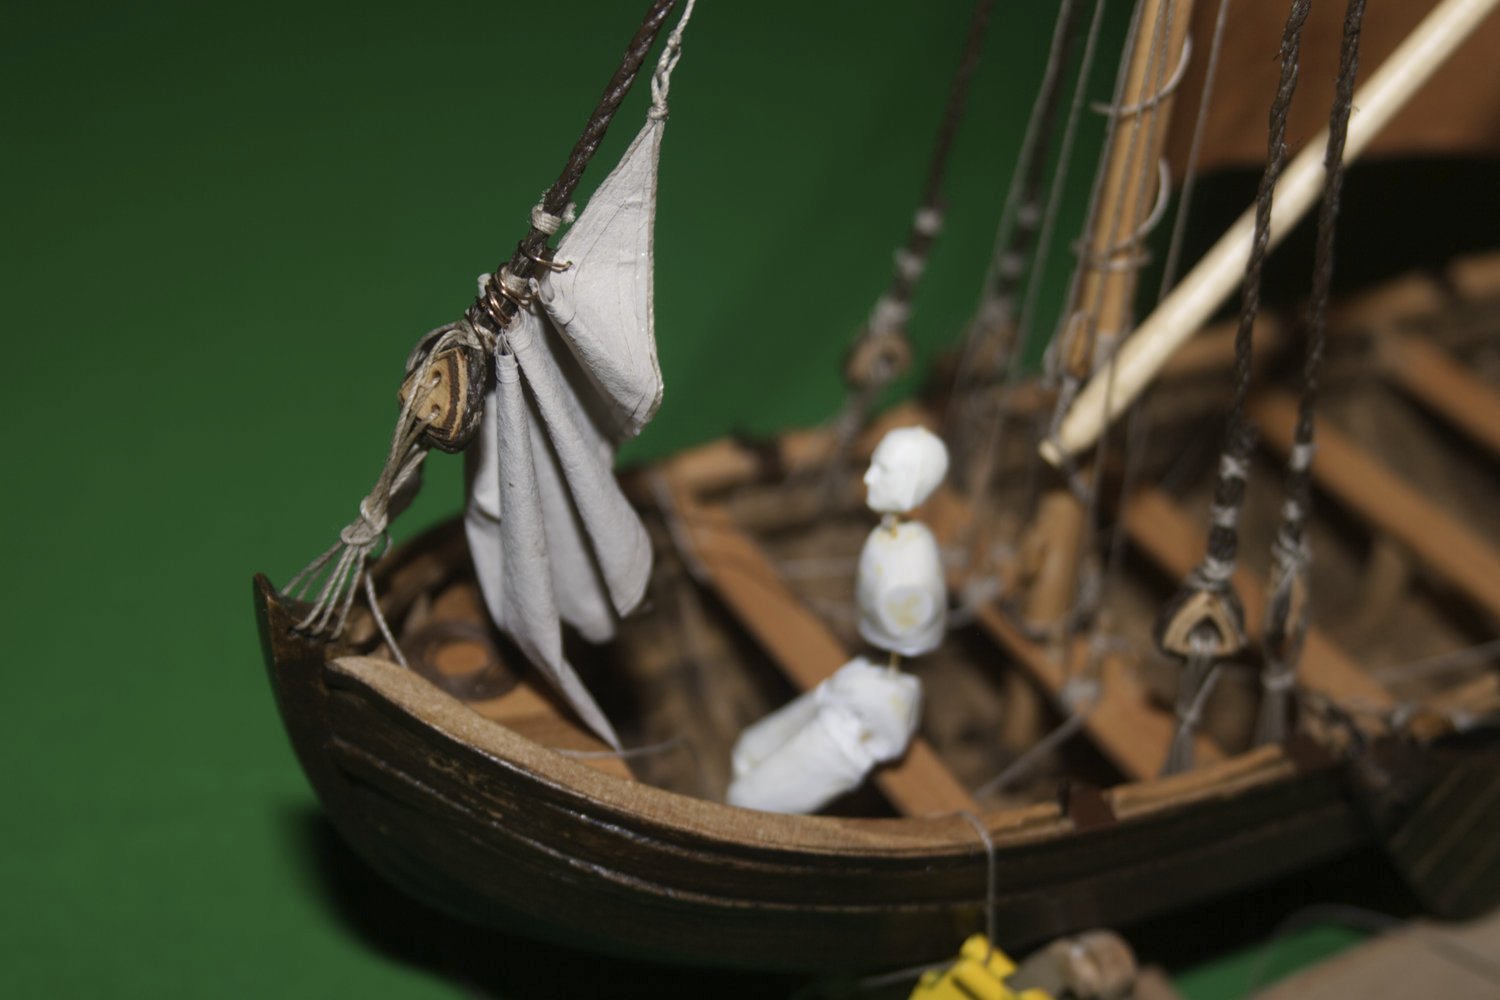
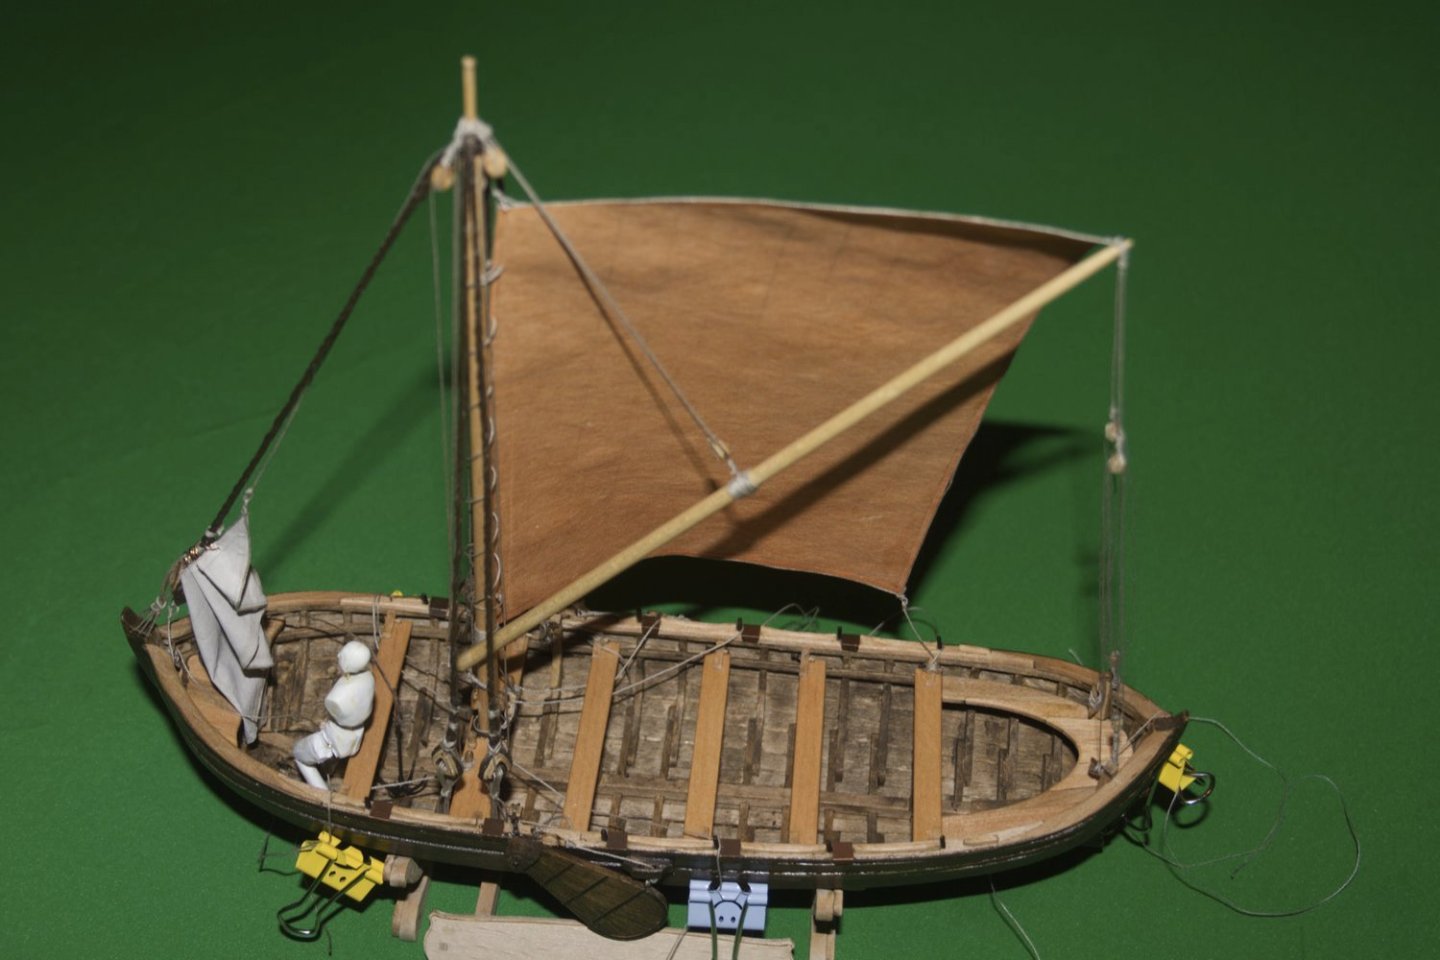
All, bar one, of the rigging lines are now in place, and the foresail has been lowered. I wanted the foresail lowered, so I gave it a brief soaking under the bathroom tap. This made the paper flexible and workable, but loosened the glue (generic white PVA) I'd used for the sail's seams and ropes. The one thread that wasn't affected was the string wound around the forestay. This made life difficult by not wanting to adapt to the folds I was adding to the sail. That was replaced with wire rings (bronze in this case, brass or copper would work as well), followed by another trip to the bathroom. This time I attached the edge ropes after folding the sail into place; a slow process. Most of the rigging lines are in place, the loose ends need tidying:

-
That's a clever thought, using some scrap wood to hold the bow in place while the glue sets. Might steal that idea.
- 125 replies
-
- 2
-

-
- Trial
- Vanguard Models
- (and 1 more)
-
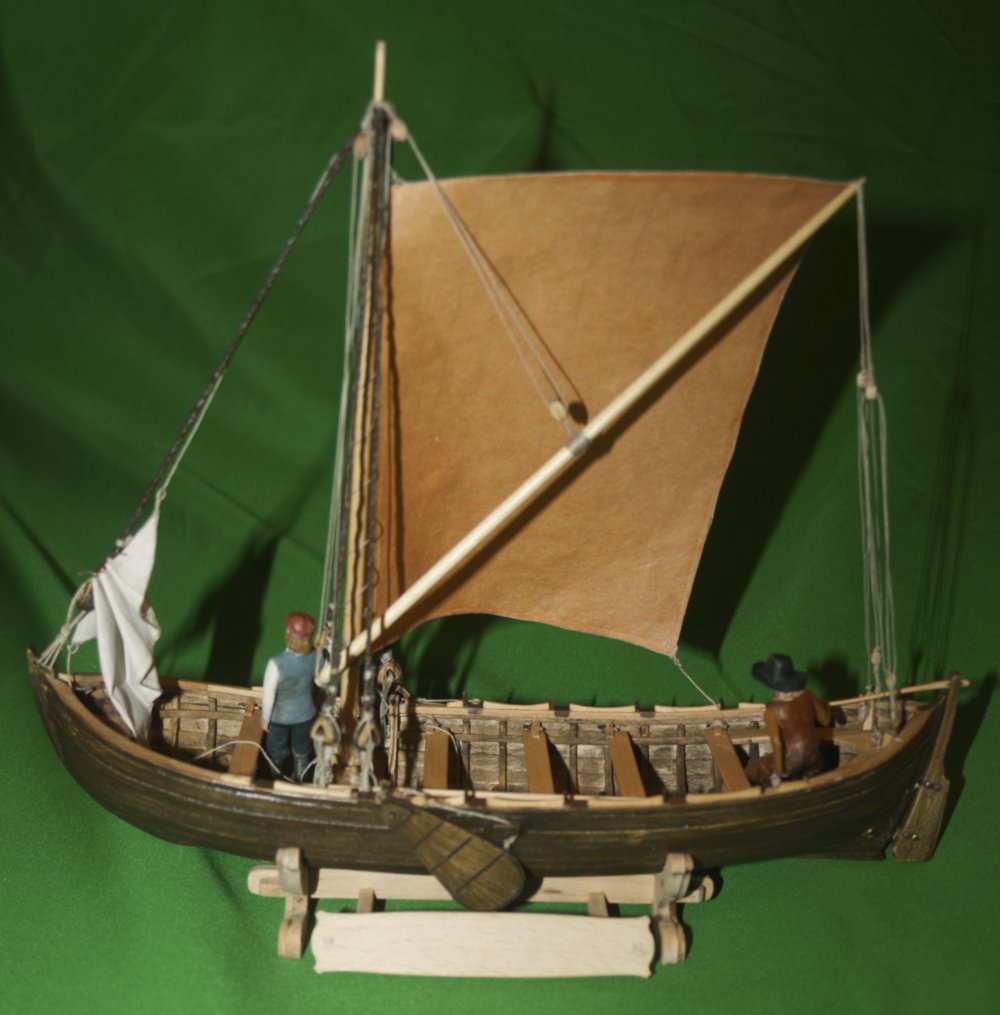
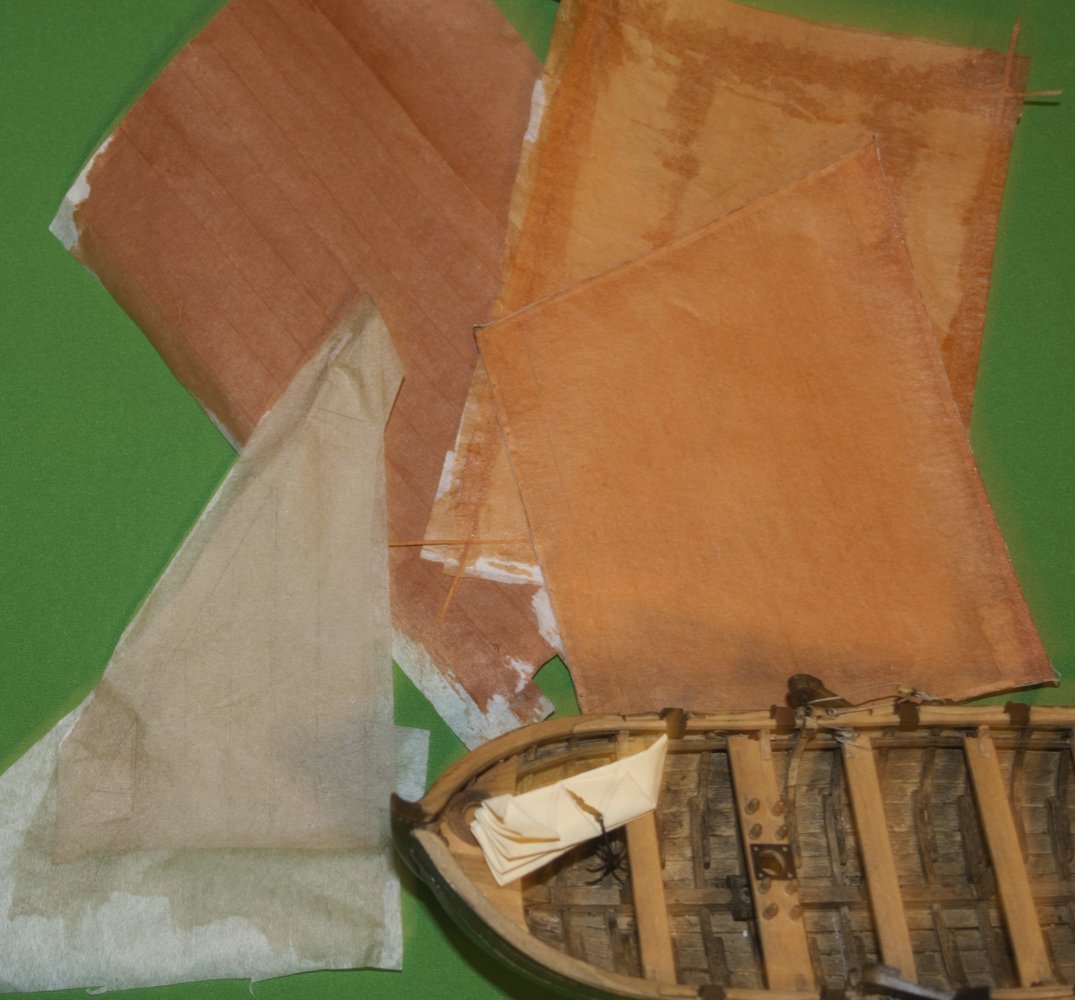
Sixteen days later ... Before I finalise the poses of the crew, I'll need some idea where the boat's lines and tiller will go. This means rigging the vessel. First I made some sails. Lots of sails. Some that wouldn't be used ... The sails could be wetted and folded, as seen in the bow here. And a couple that are now on the shallop. Seen here with major rigging lines. Each sail is two layers of teabag paper, 'glued' with airbrush acrylic paint (so very fluid paint). The paper has a rough side, and a smooth, almost polished side. In this case, I went rough side out; in smaller scales, I'd consider smooth side out. (I know I said there wouldn't be a foresail, but, maybe.) Standing rigging and sails are attached, together with some running lines.
-
Sherbourne looks lovely, I'm very tempted to build her as my first double planked kit.
-
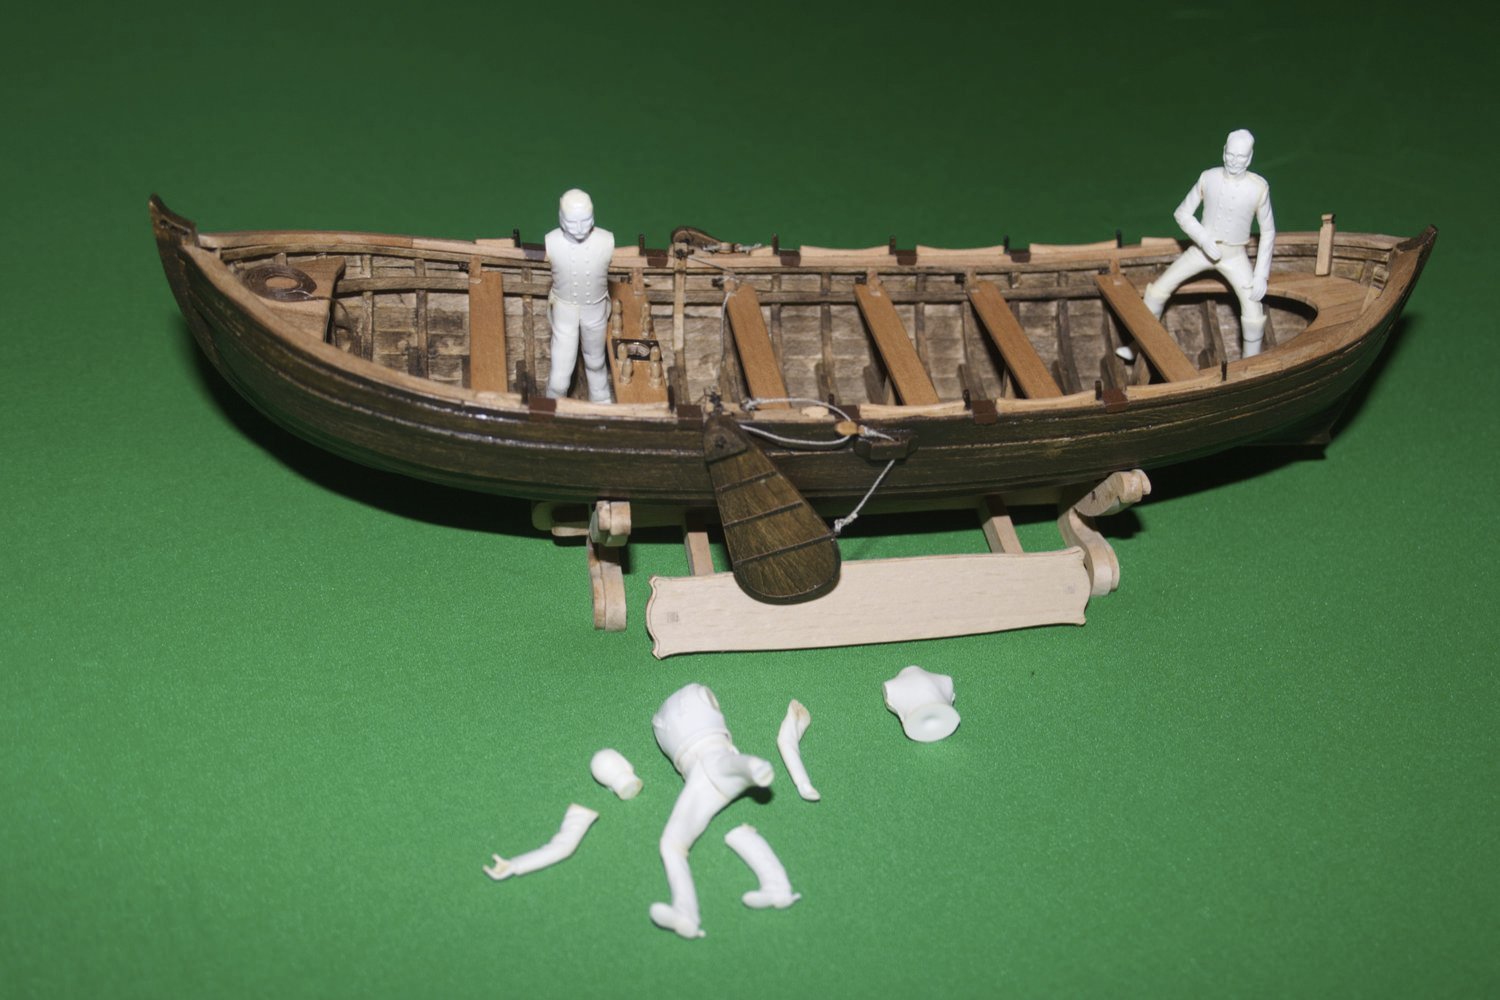
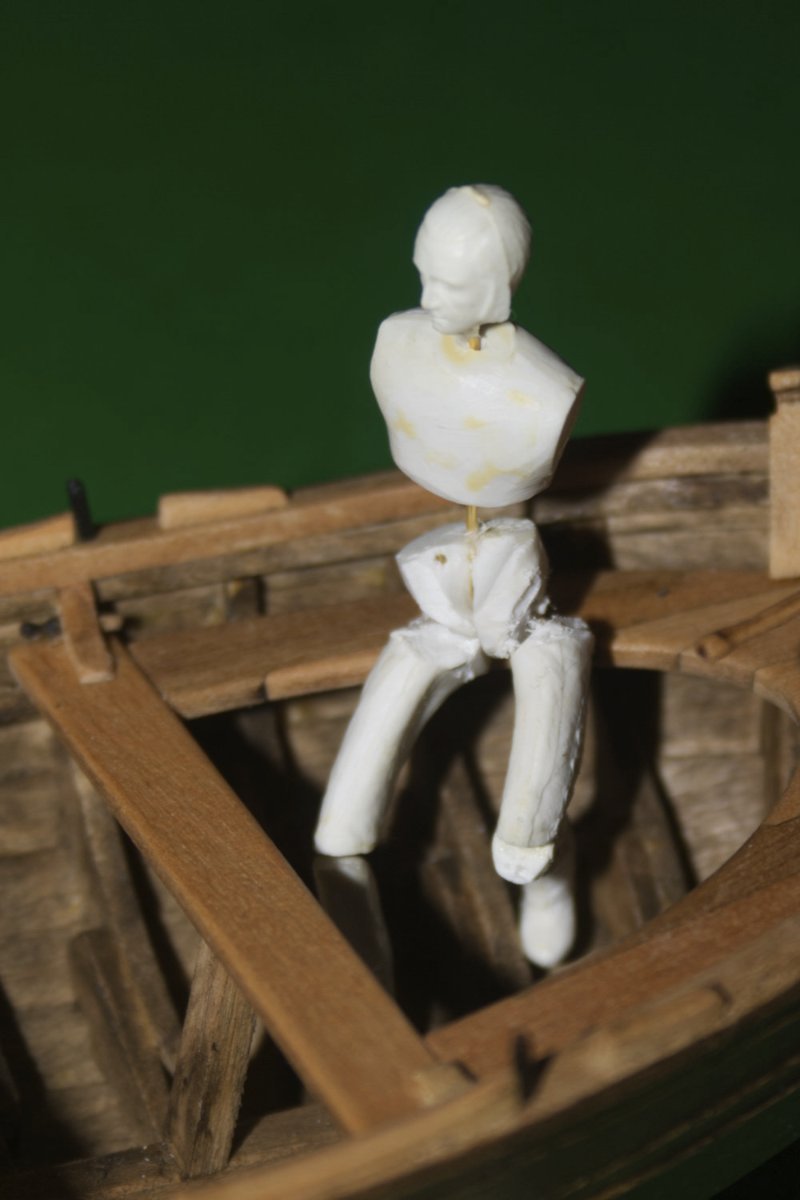
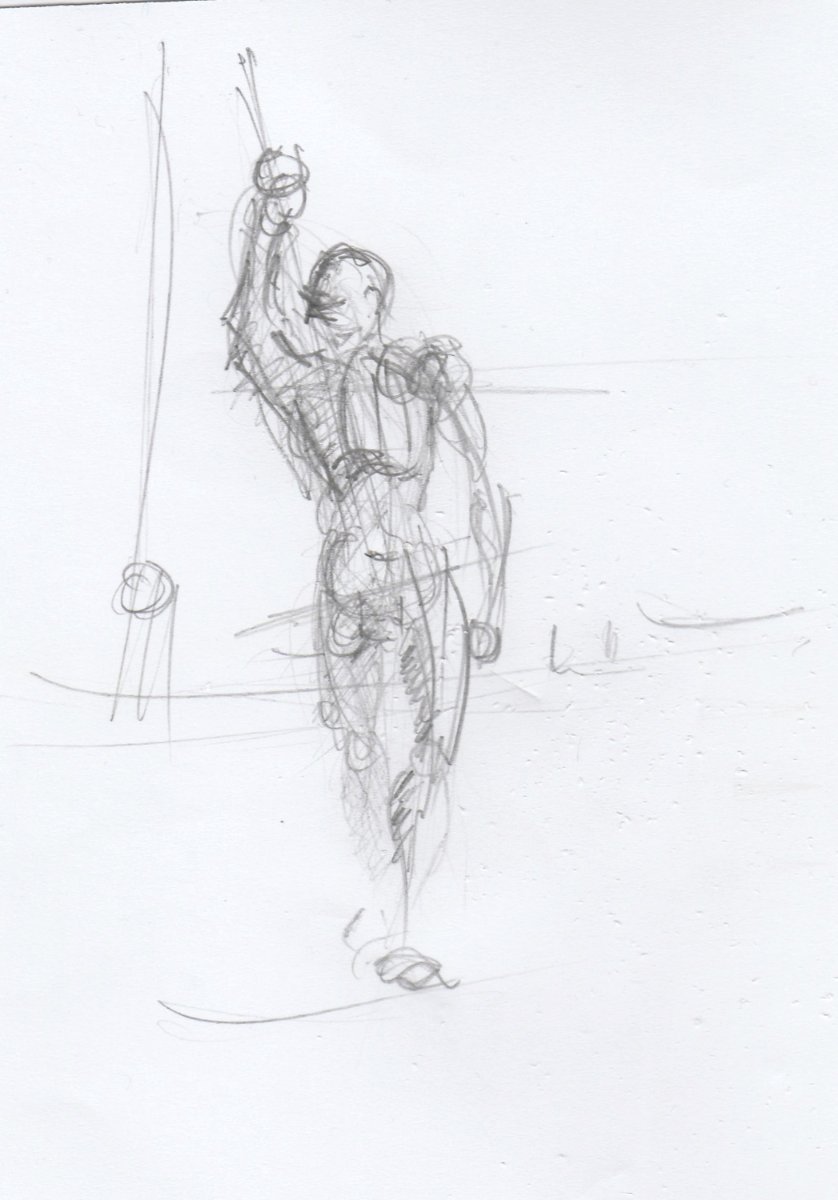
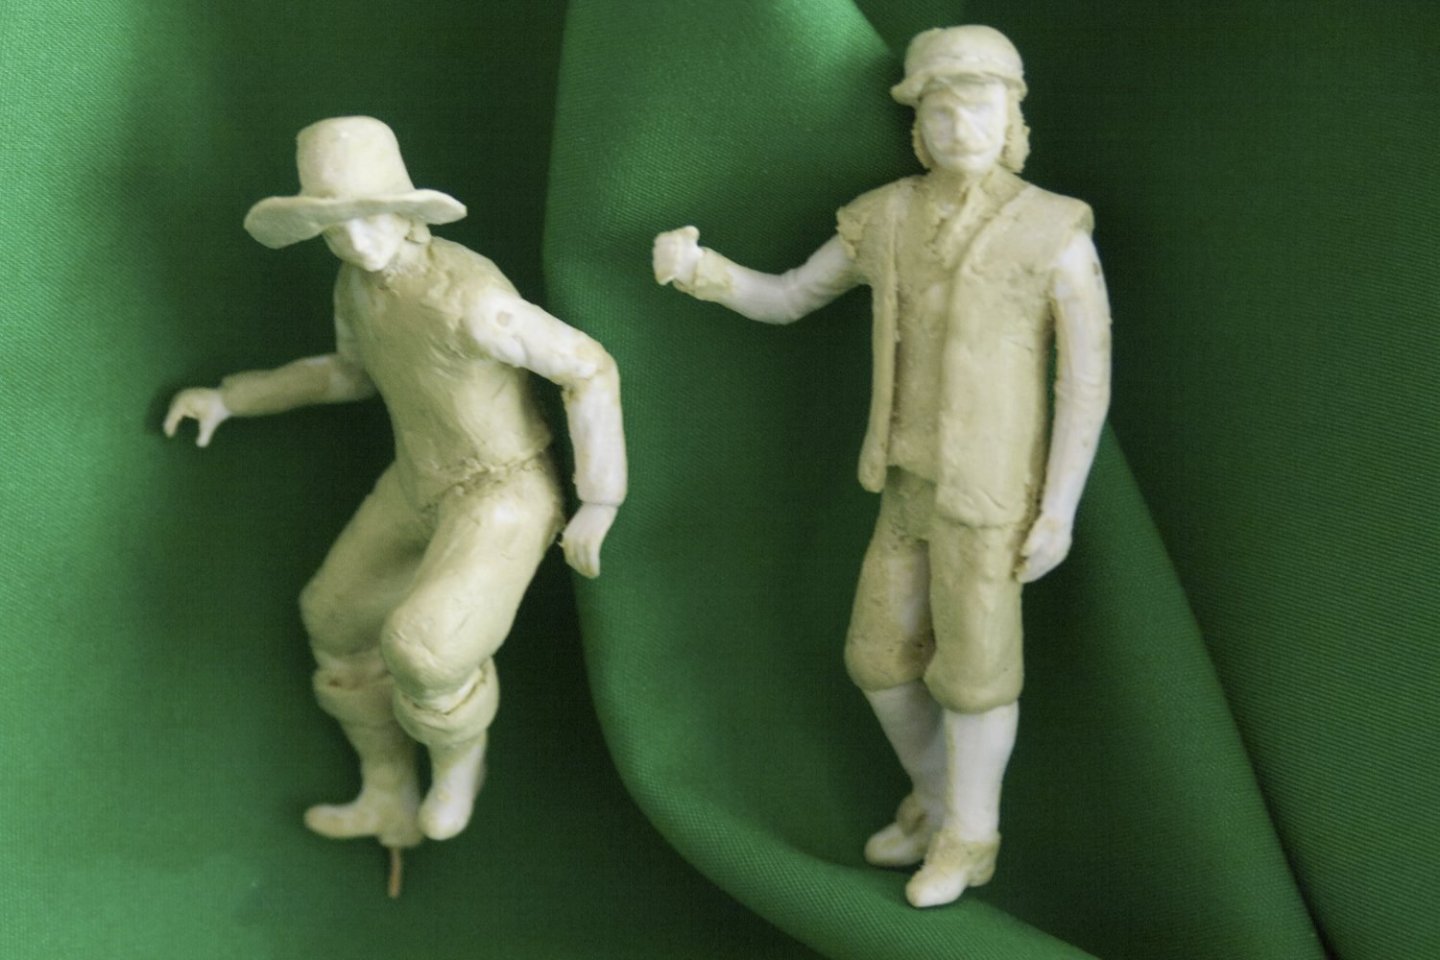
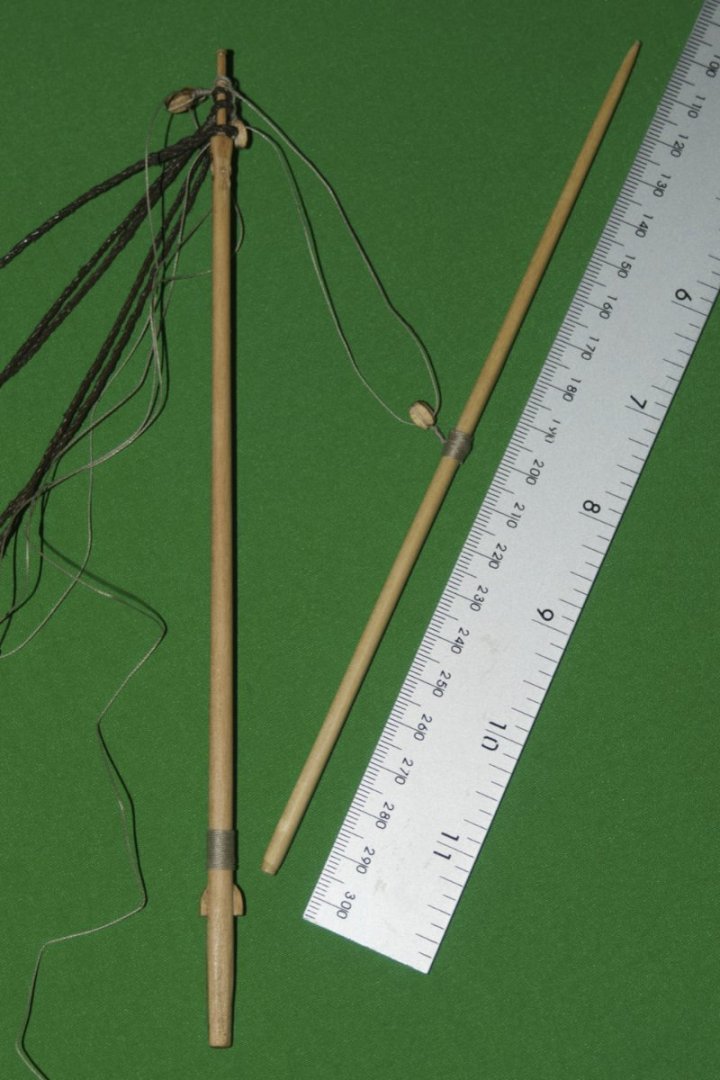
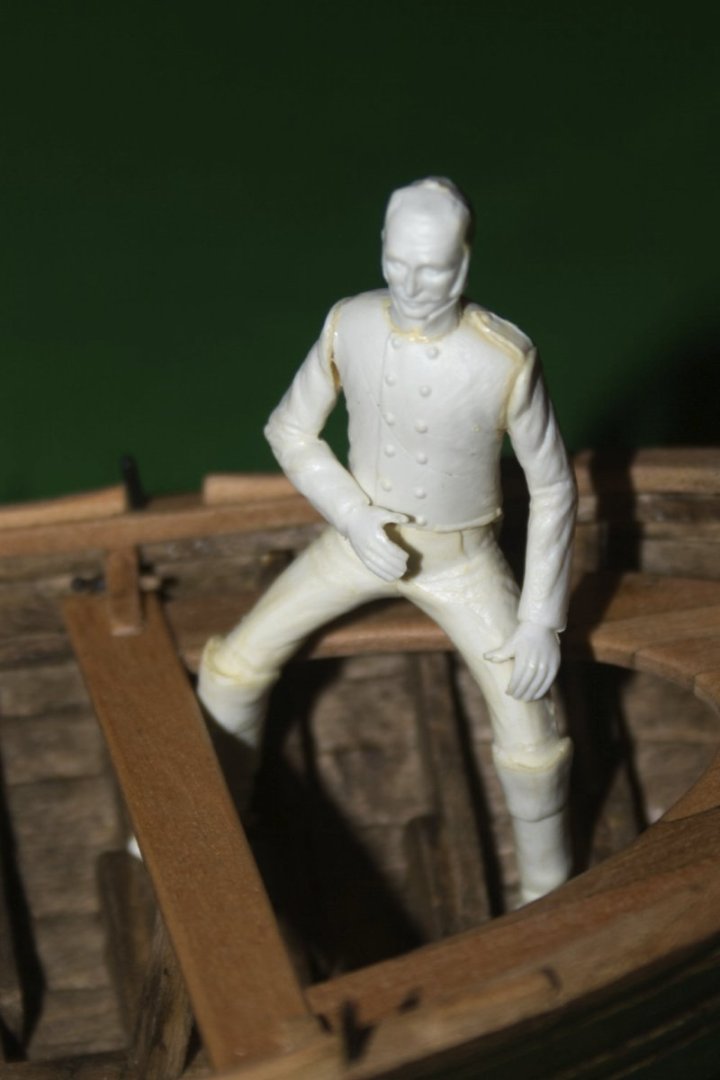
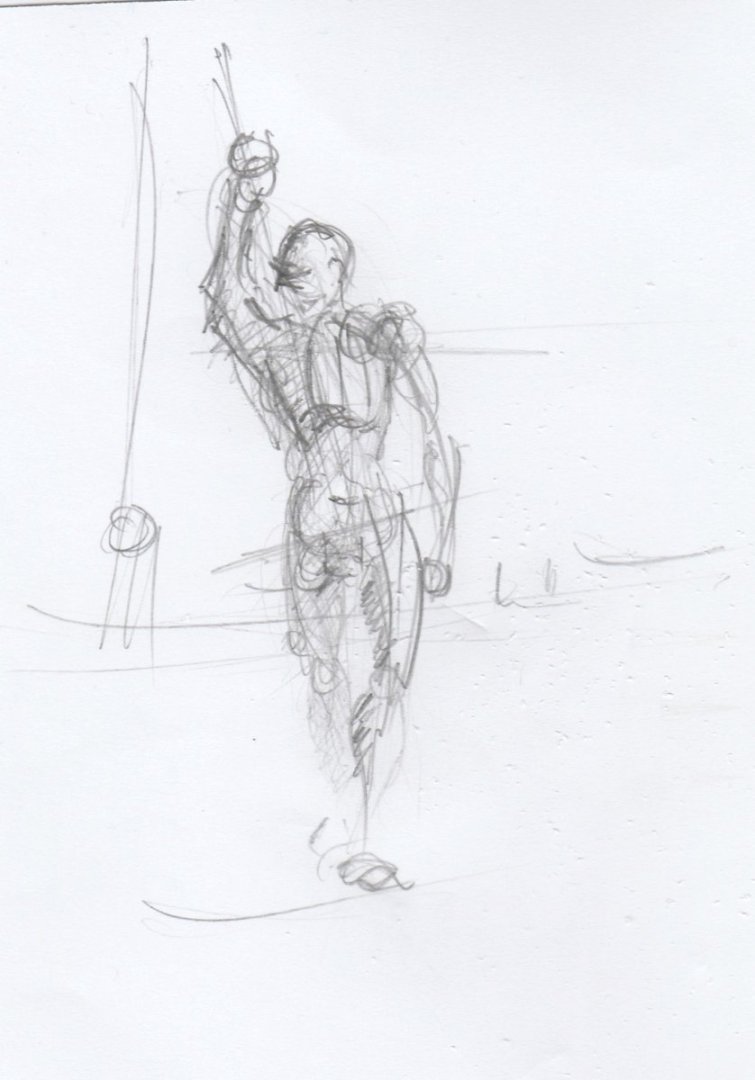
A new sprit has been made, and I've started thinking about a crew. The sprit (yard) has taken a bit of time and a new piece of kit - a mini bench-top disk sander & belt (this one). From a task that was failing after a week of effort, the sprit was made in a couple of days - including setting up and learning the new equipment. If, as I plan, I'll put a sail on this boat, it will need a crew. It took me a while, but I remembered that I have some Historex figures in my spares box. Historex figures are 54mm soldiers, mostly French Napoleonic. These fellows volunteered for the job: I feel that there is a better sense of scale with these two on board. The guy at the back (tiller) started like this: And now looks like this A little more animated, if 'armless. The man standing up will take a bit more thought - maybe something like this would work? For clothing and 'fashion' inspiration, I'll use David Teniers the elder's paintings. Another Dutch artist, Teniers was about 25 at the time of John Smith's expedition.


-
Is there some camera distortion in that last image? The water line looks bowed to my eye.
-
Thanks Richard, I'll try the PVA. Yeah, seeing the pinging PE in your build was my prompt to have some ready-made chain on hand.
-
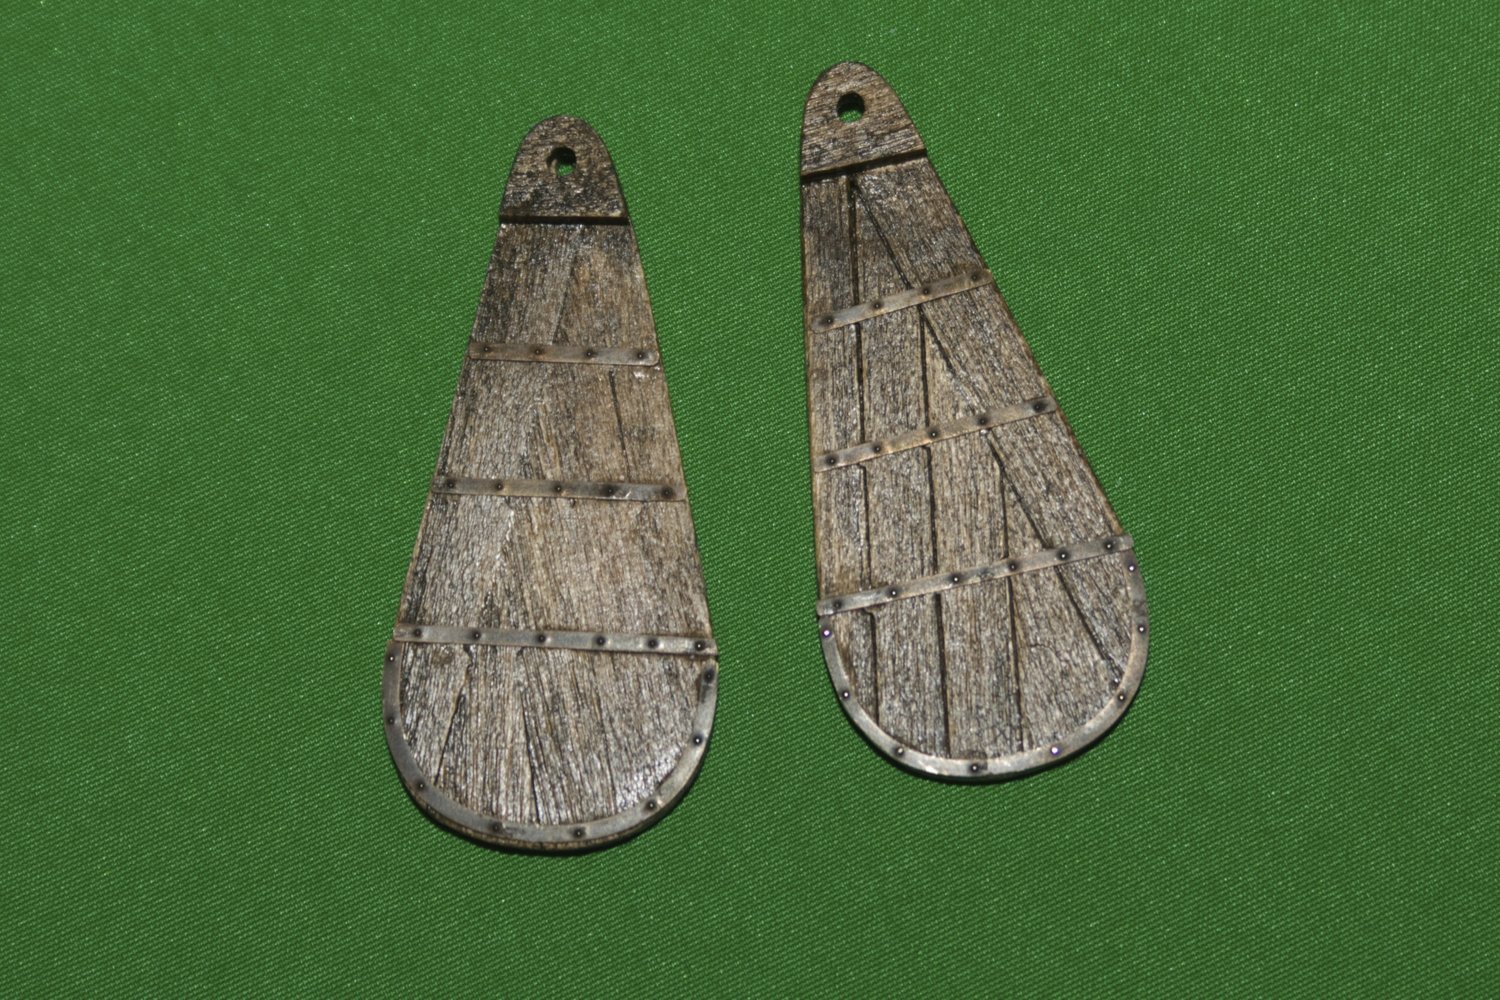
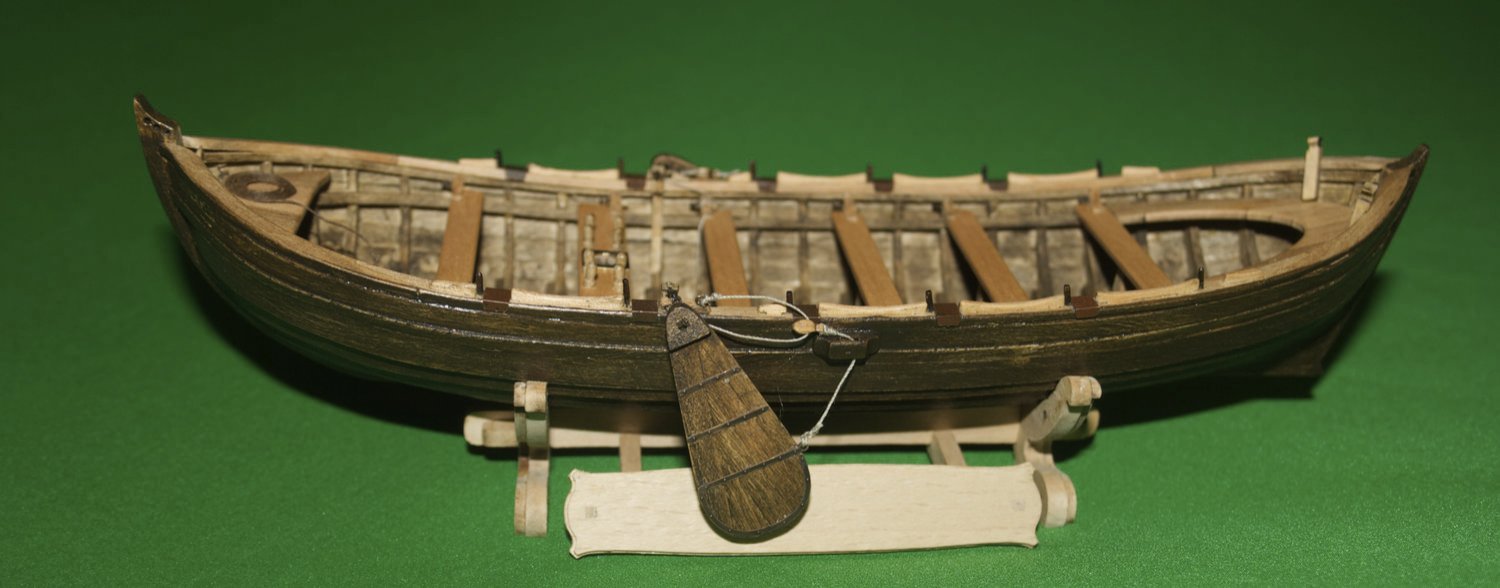
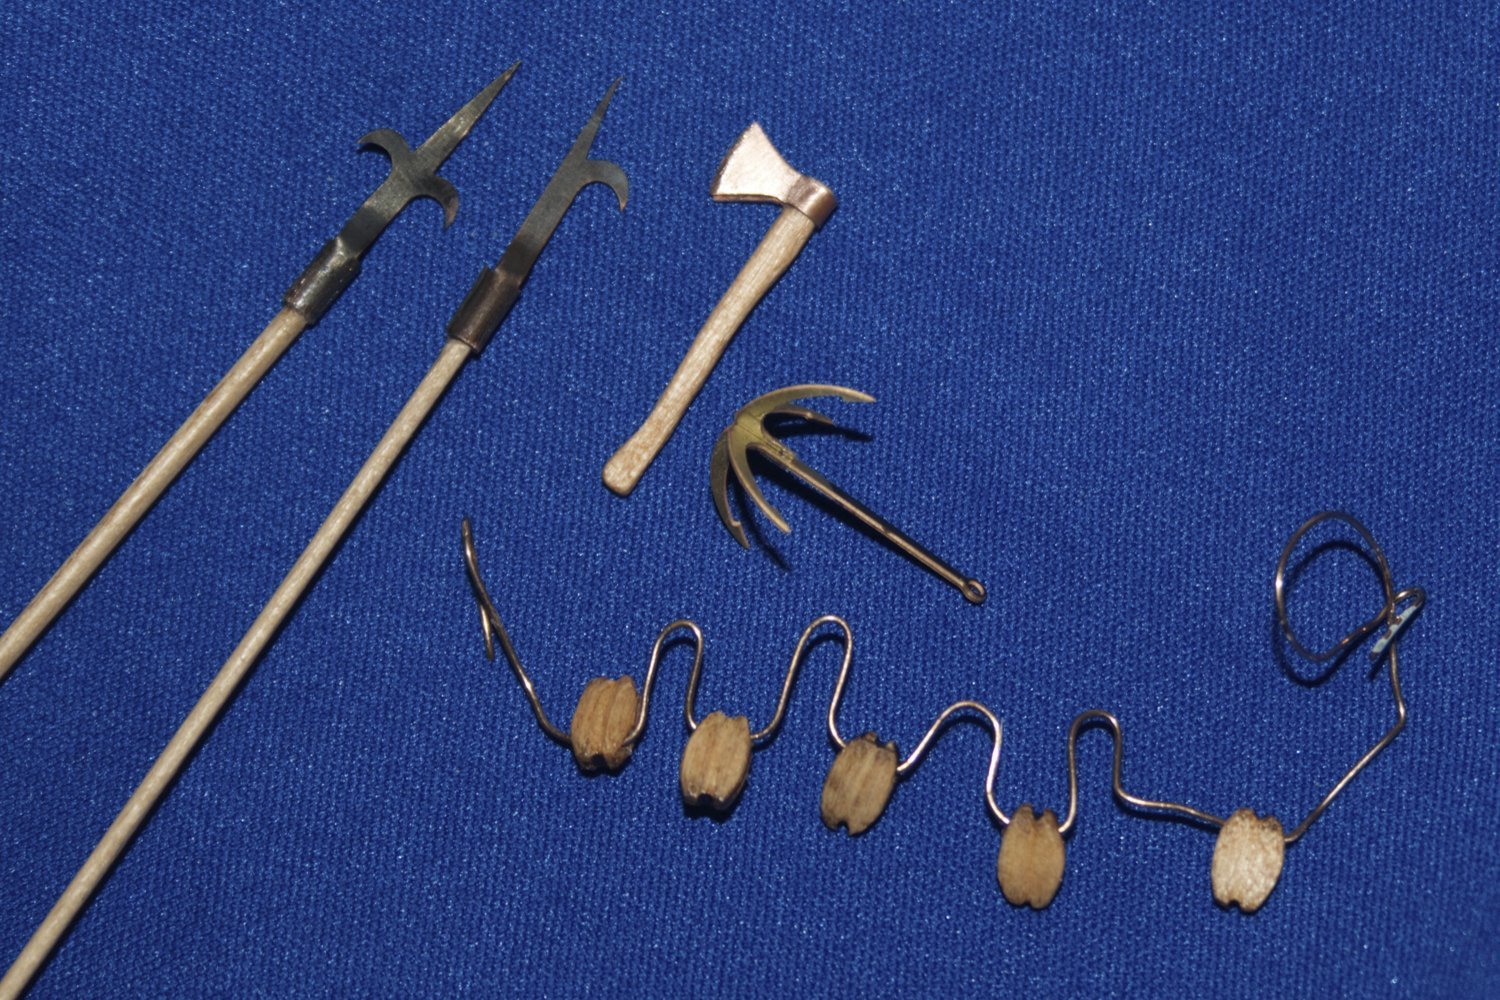
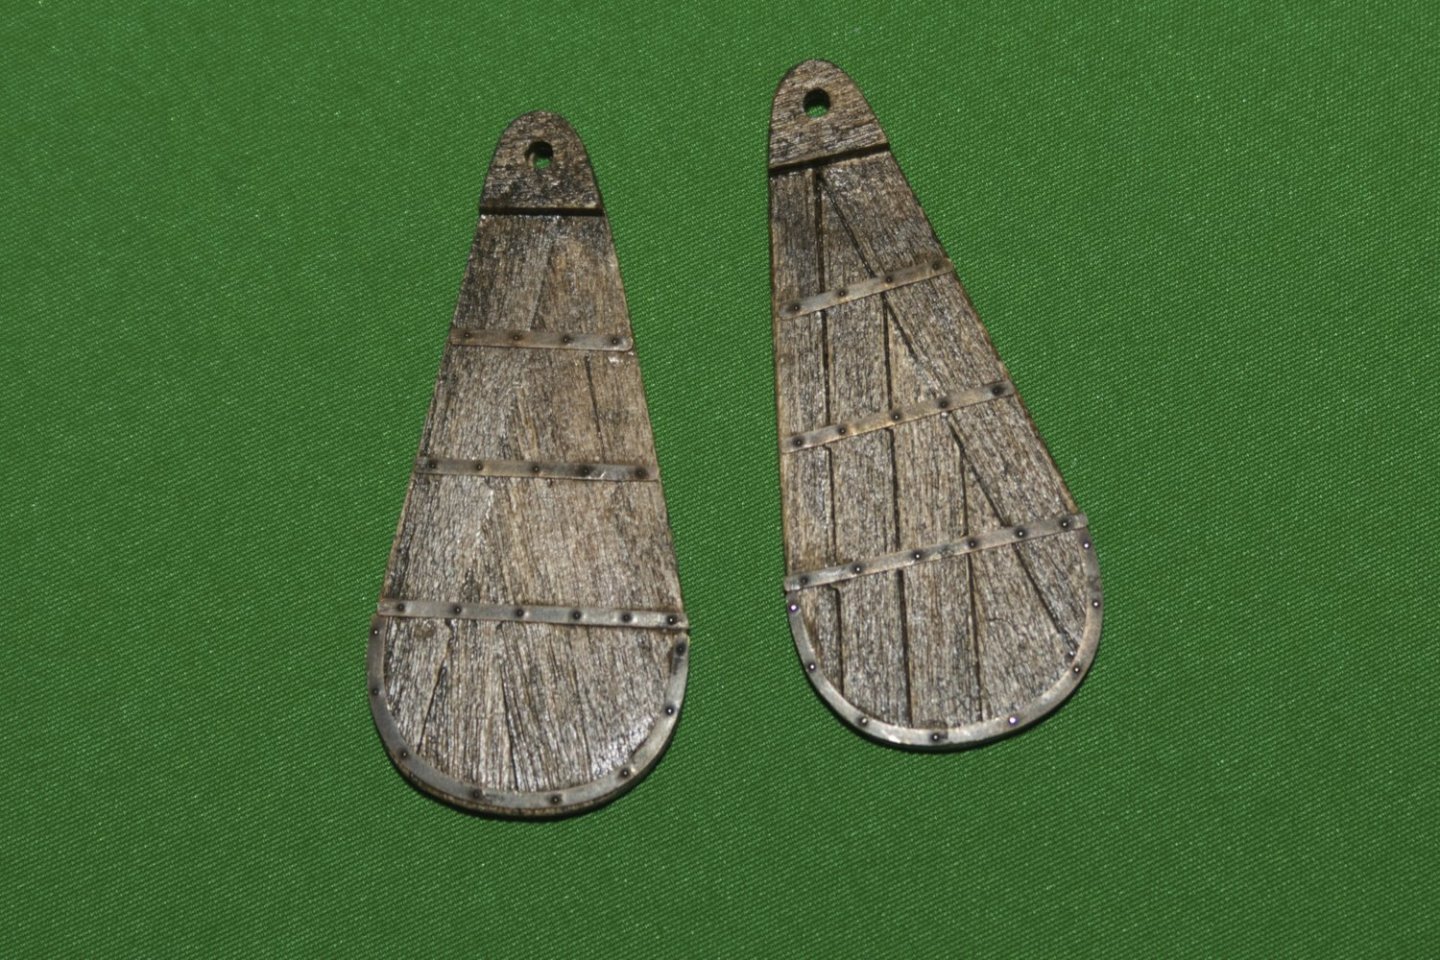
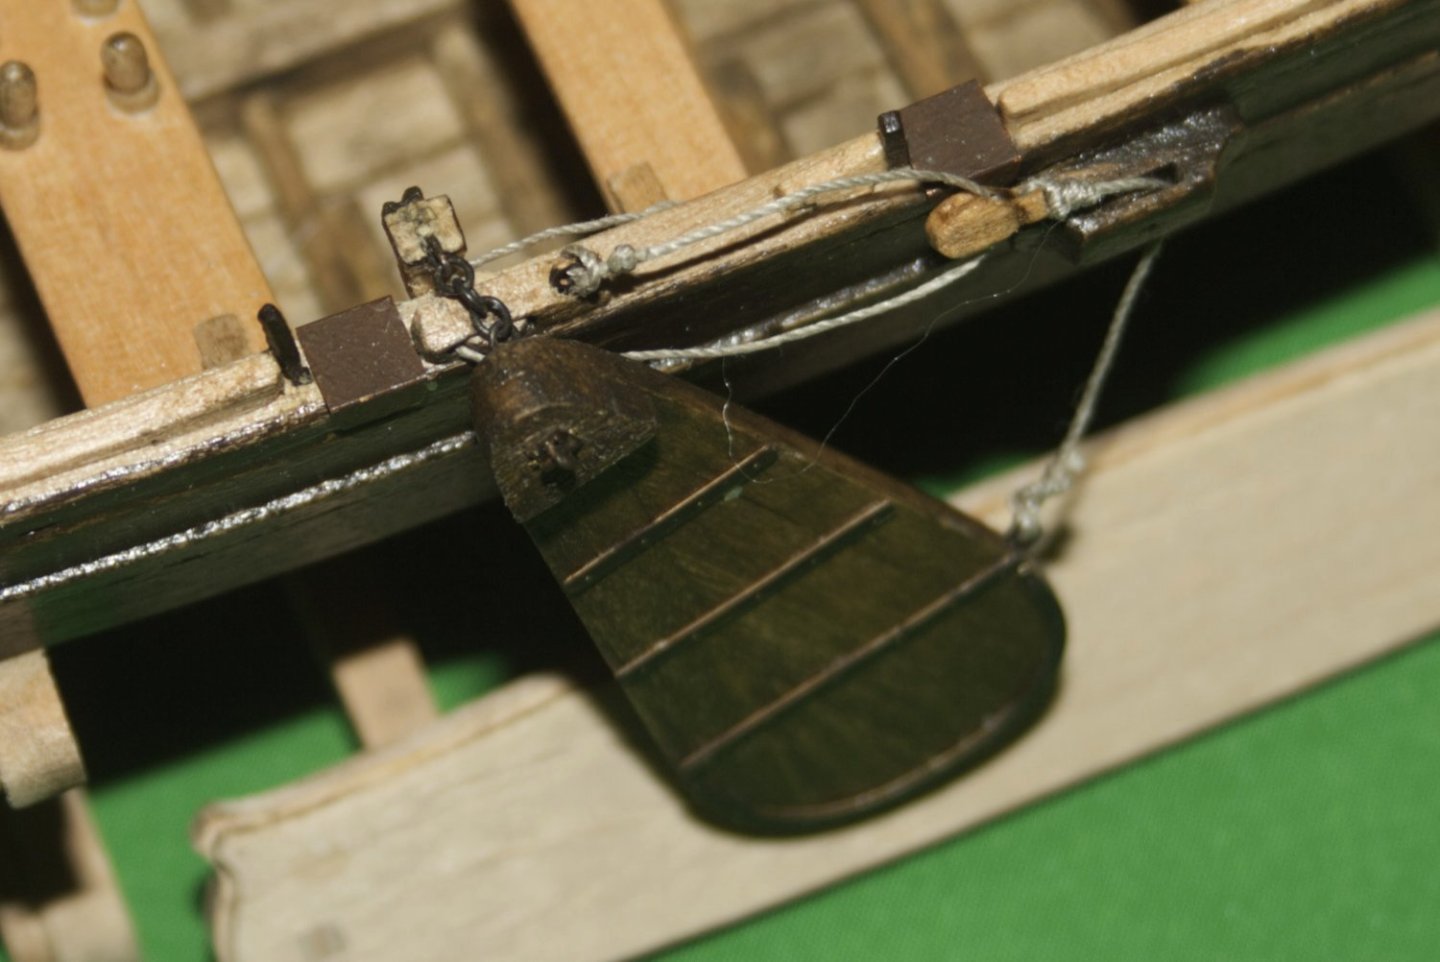
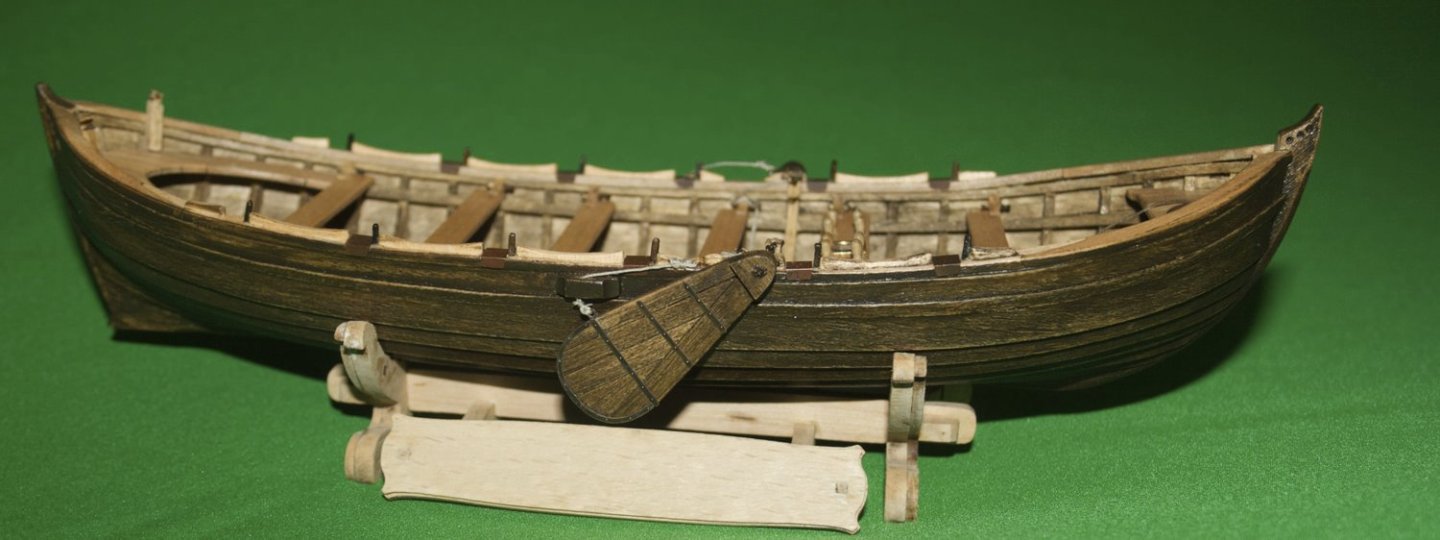
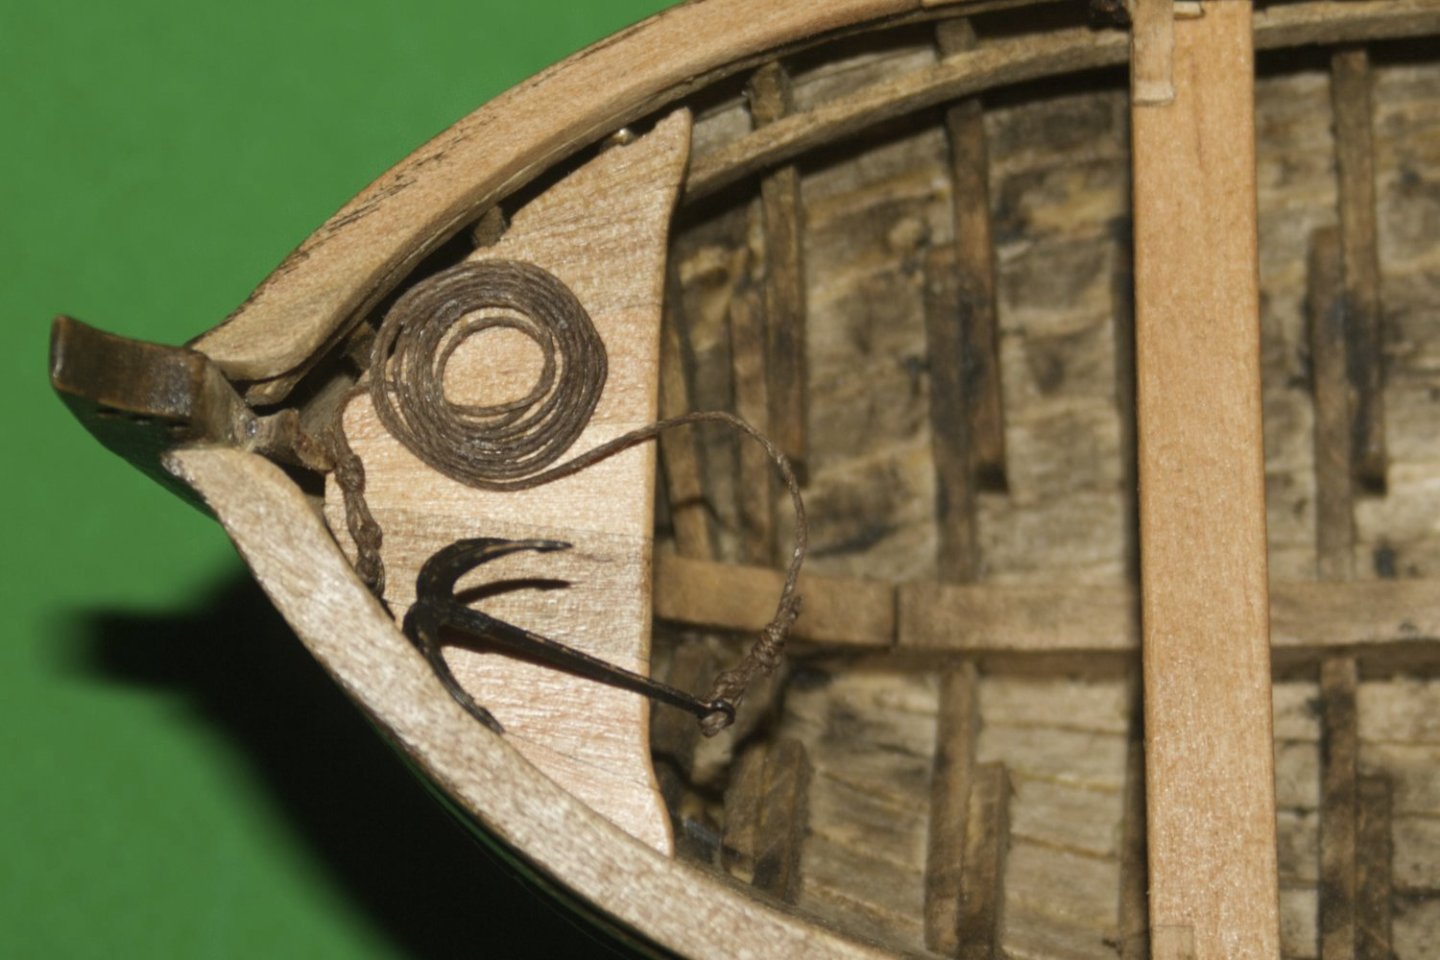
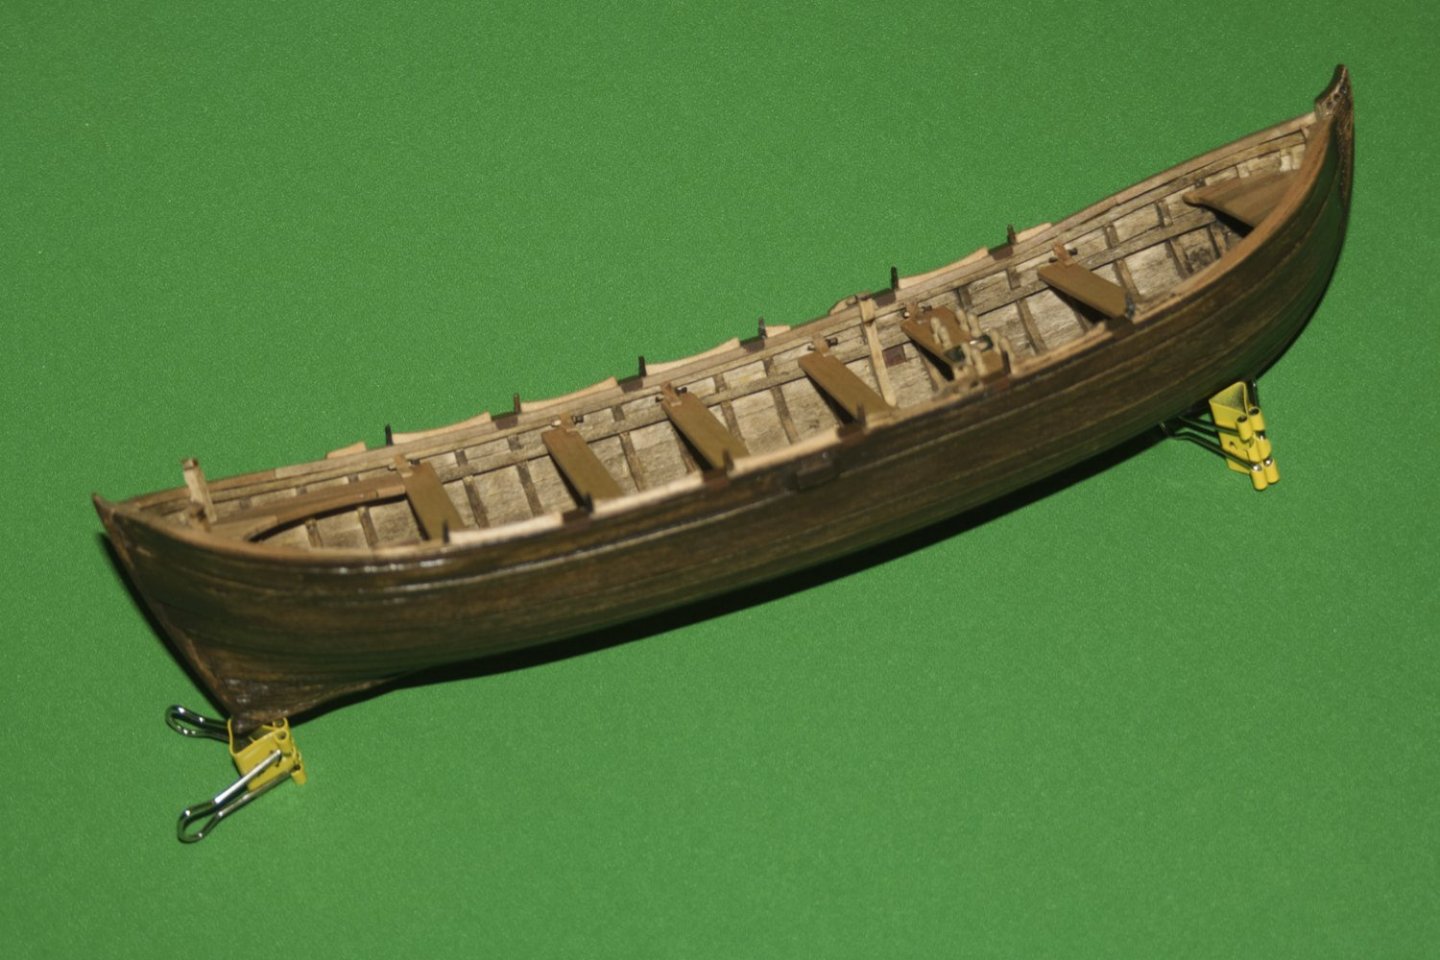
More progress to report, the anchor and ... lee boards have been added to the shallop. These are supposed to be attached by a short chain, built up from supplied PE. Each link is about 1 1/2 mm long, with no spares for modeller error. Well, inevitably, the first link I cut disappeared into the ether, never to be seen again. I decided to use ready-made chain instead (18 links per inch). This did involve a bit of fettling, but works in 'prototype' fashion: Starboard view, lee board retracted: Port view, lee board deployed: The concern here is the slack rope, where that board is supposed to be heavy. Has anybody any suggestions for showing that with suitable tension? (Or slack under gravity.)

-
If you follow the plans, yes. I will use the scheme in post #13 (6 Jan). Will I be mounting sails? A mainsail, maybe. I have some teabag paper for the purpose (can't get SilkSpan over here). No foresail though. They rarely appear in the Willem van de Velde paintings, there'd be more space for peering round the boat, and it'd add a talking point. Trouble is, I'd need to 'recruit' a crew in an uncommon scale (1/32).
-
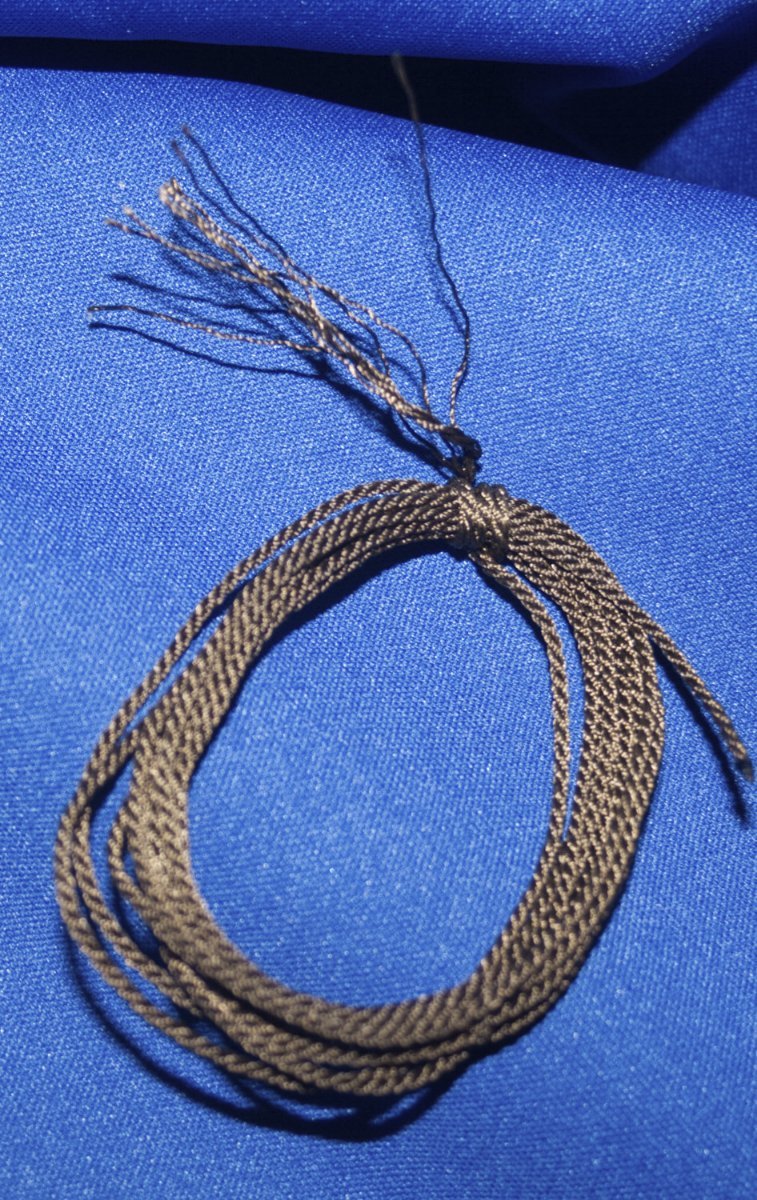
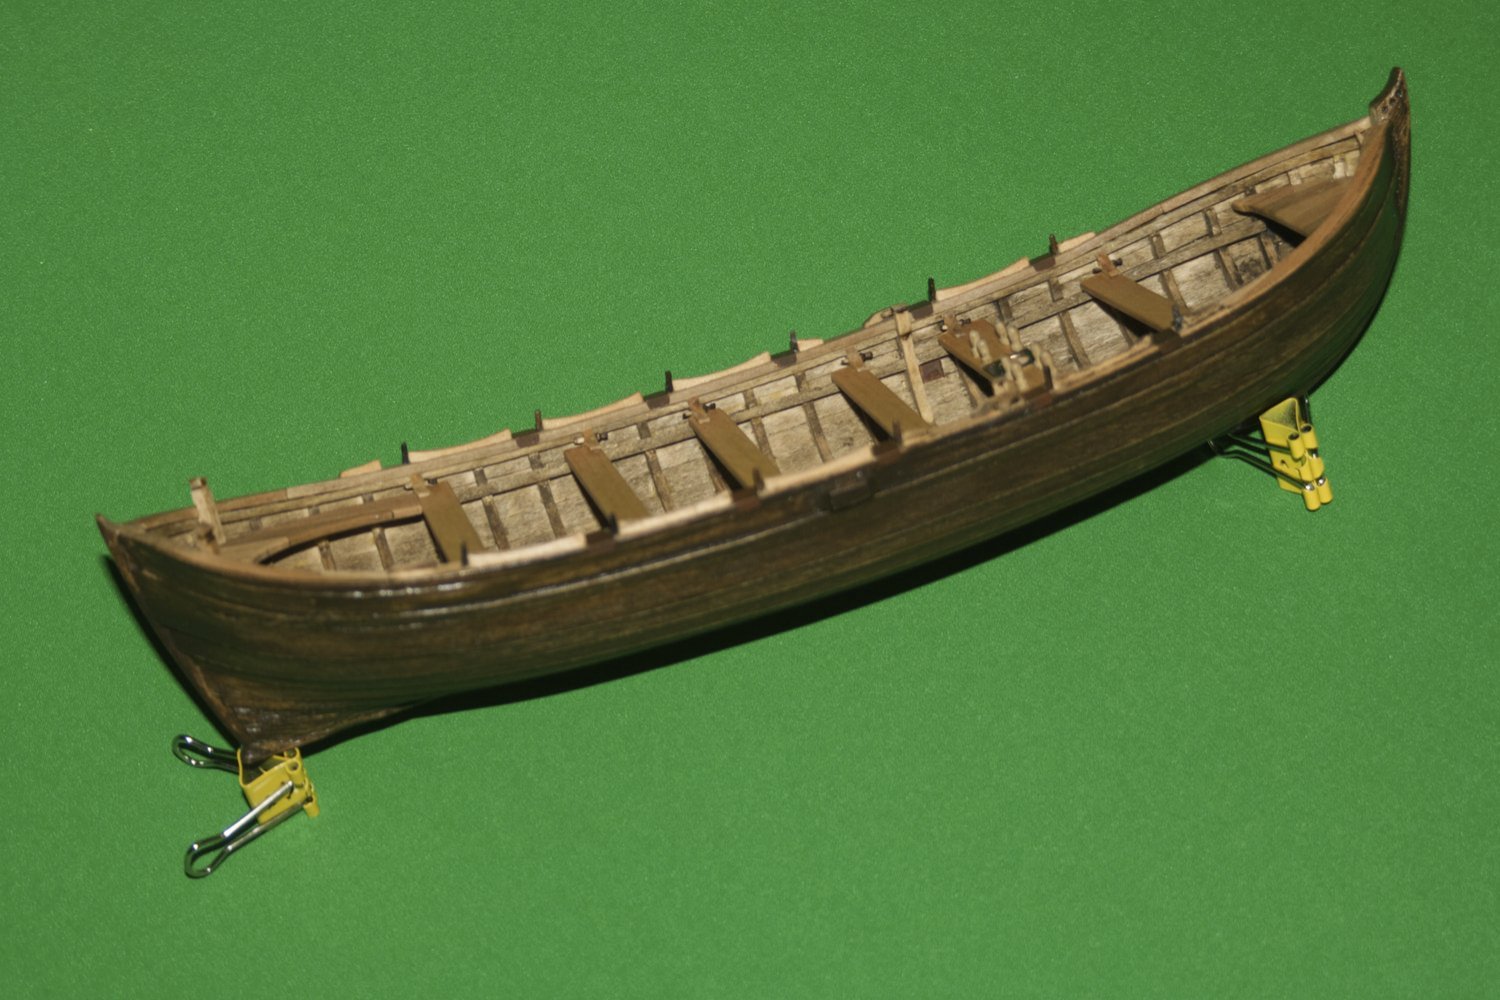
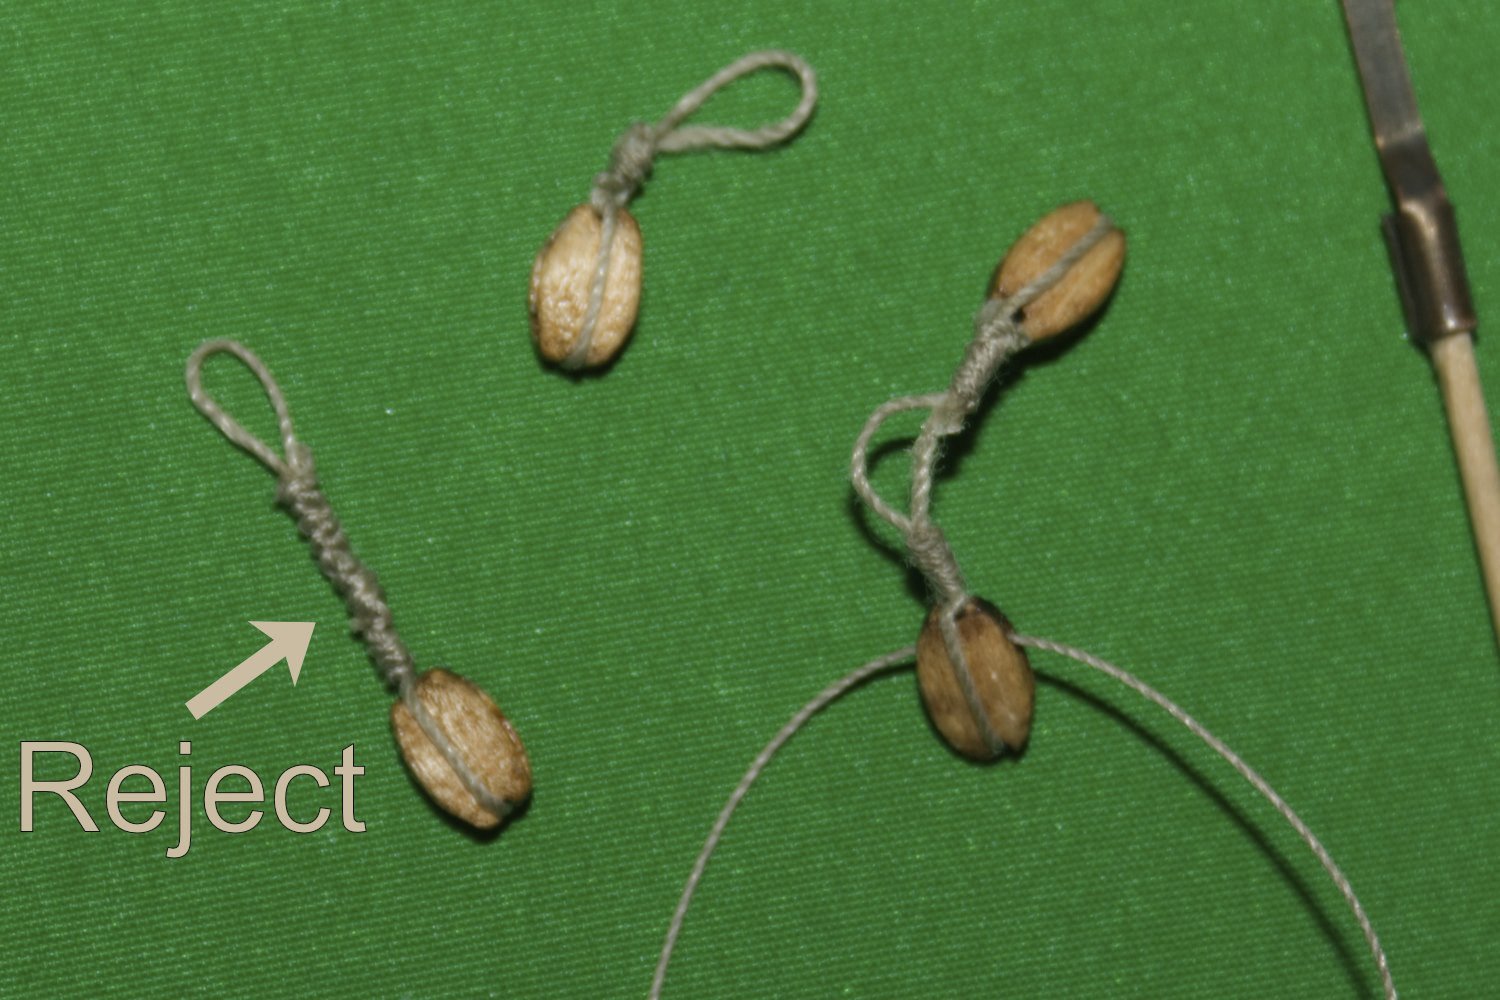
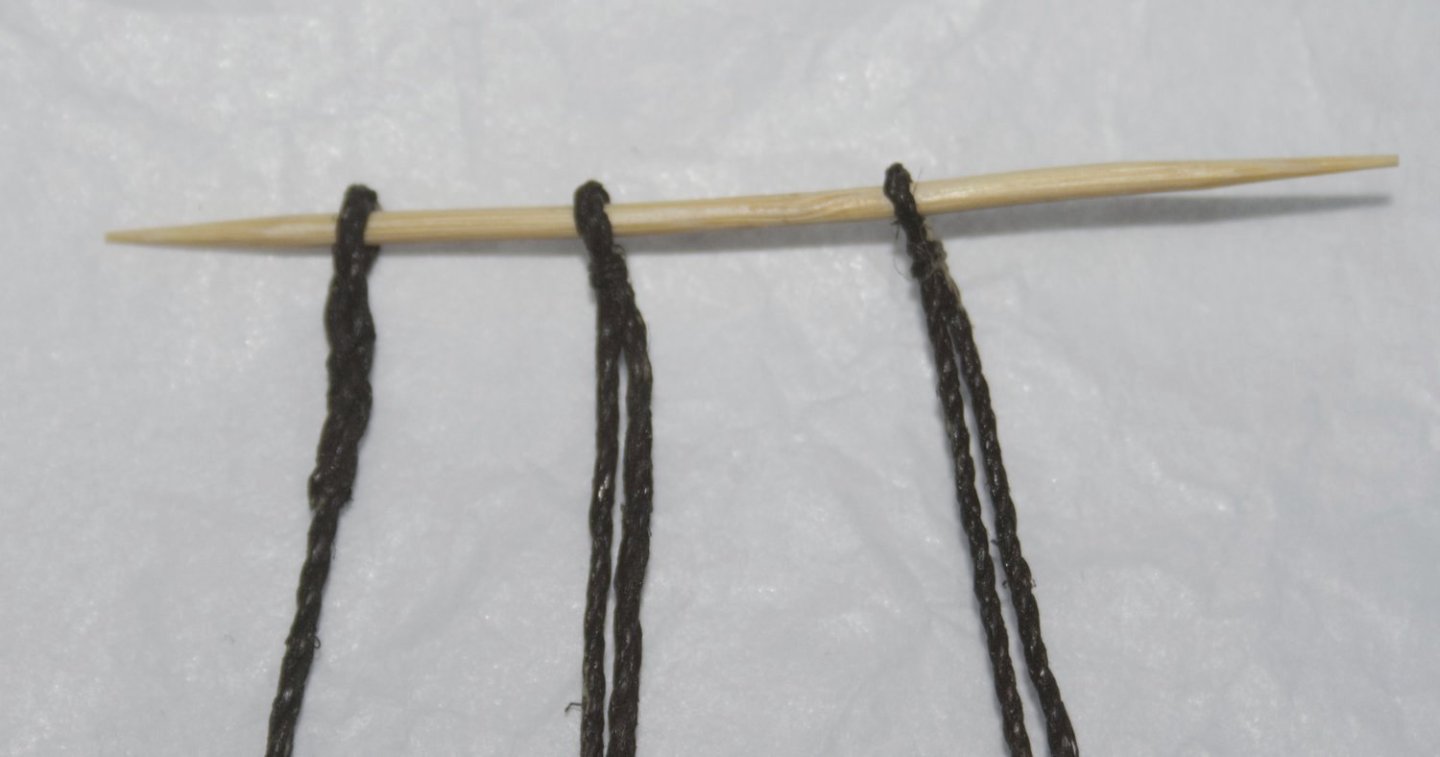
I've been quiet here, but not unproductive. The main mast has been rounded off. Since that photo was taken, a sheave (? pulley) has been inserted into the slot. The tip of the mast kept breaking. There are some holes up there that weakened the wood, but have no obvious purpose. These have been replaced by a small button. The rigging thread has been replaced. The line supplied in the kit is a polymer that unravels at the slightest provocation - this was from twisting the cord tighter, and releasing: I believe @Richard44 had a similar issue with his build. The supplied thread has been replaced with Mantua thread (the UK importers are my local model shop). The standing rigging, made from hemp thread painted brown with acrylic paint thinned with IPA. The fore stay on the left was spliced, while the two side stays were, more conventionally, seized. The hull has been painted and, thwarts were added, along with sheaves (? pulleys) for the lee boards. Other detail work included the anchor and some of the boat's equipment. The blocks now have straps (?) and are ready for the mast.


-
Tiny Spar on 17th Century English Yacht
Pitan replied to catopower's topic in Masting, rigging and sails
There are some vessels that appear to have short spars in this 1661 Dutch painting. Willem van de Velde, A Dutch Yacht saluting https://www.nationalgallery.org.uk/paintings/willem-van-de-velde-a-dutch-yacht-saluting The short spars may be a feature of perspective, see what you think. -
Spirit sail rigging - length of spirit (yard) ahead of the mast?
Pitan replied to Pitan's topic in Masting, rigging and sails
Thanks Jan I've seen metal chains on some late 19c - early 20c Thames barges that might be similar to your slings? The working was very different; the sprit sails on the barges usually have brailing lines to furl the sails. -
Spirit sail rigging - length of spirit (yard) ahead of the mast?
Pitan replied to Pitan's topic in Masting, rigging and sails
Thanks welfalk, that is extremely helpful. Based on our discussion, I think I have a possible rigging scheme shown in the build thread for the model. -
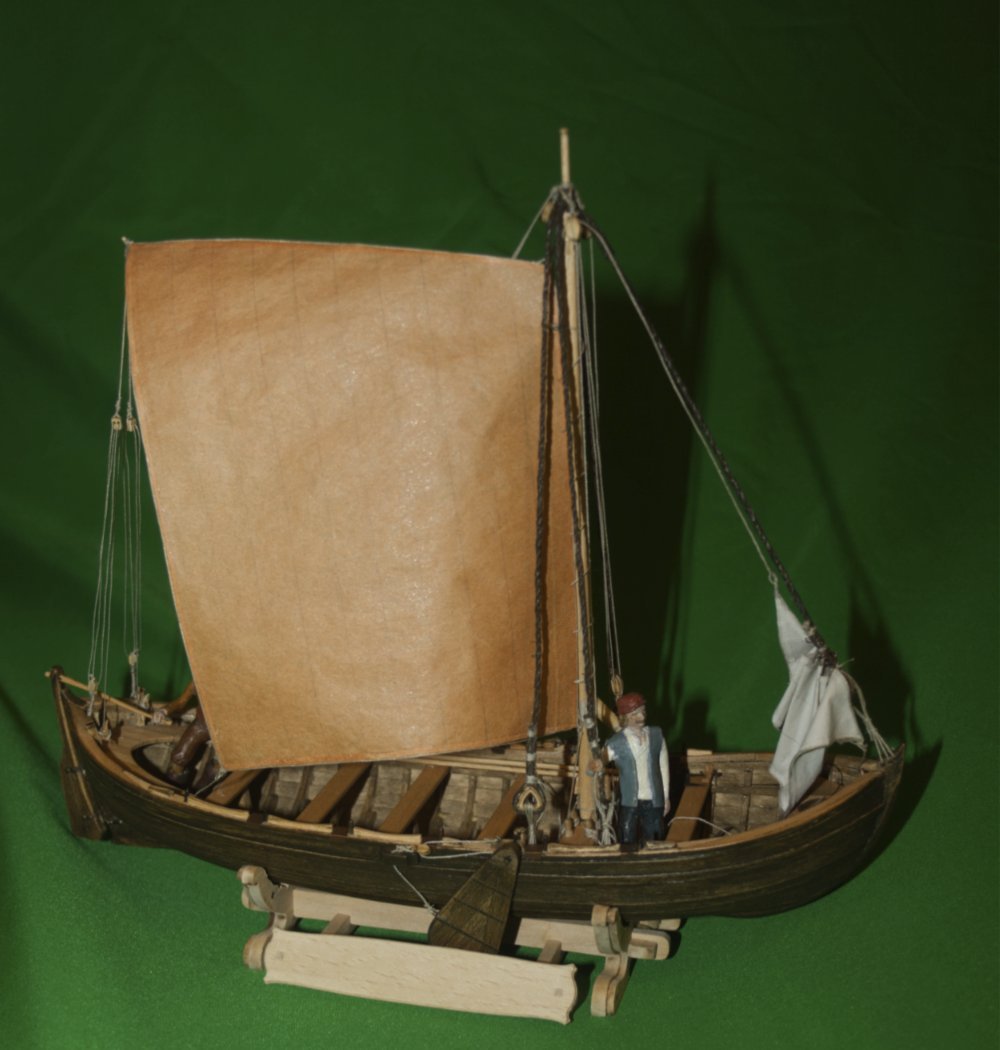
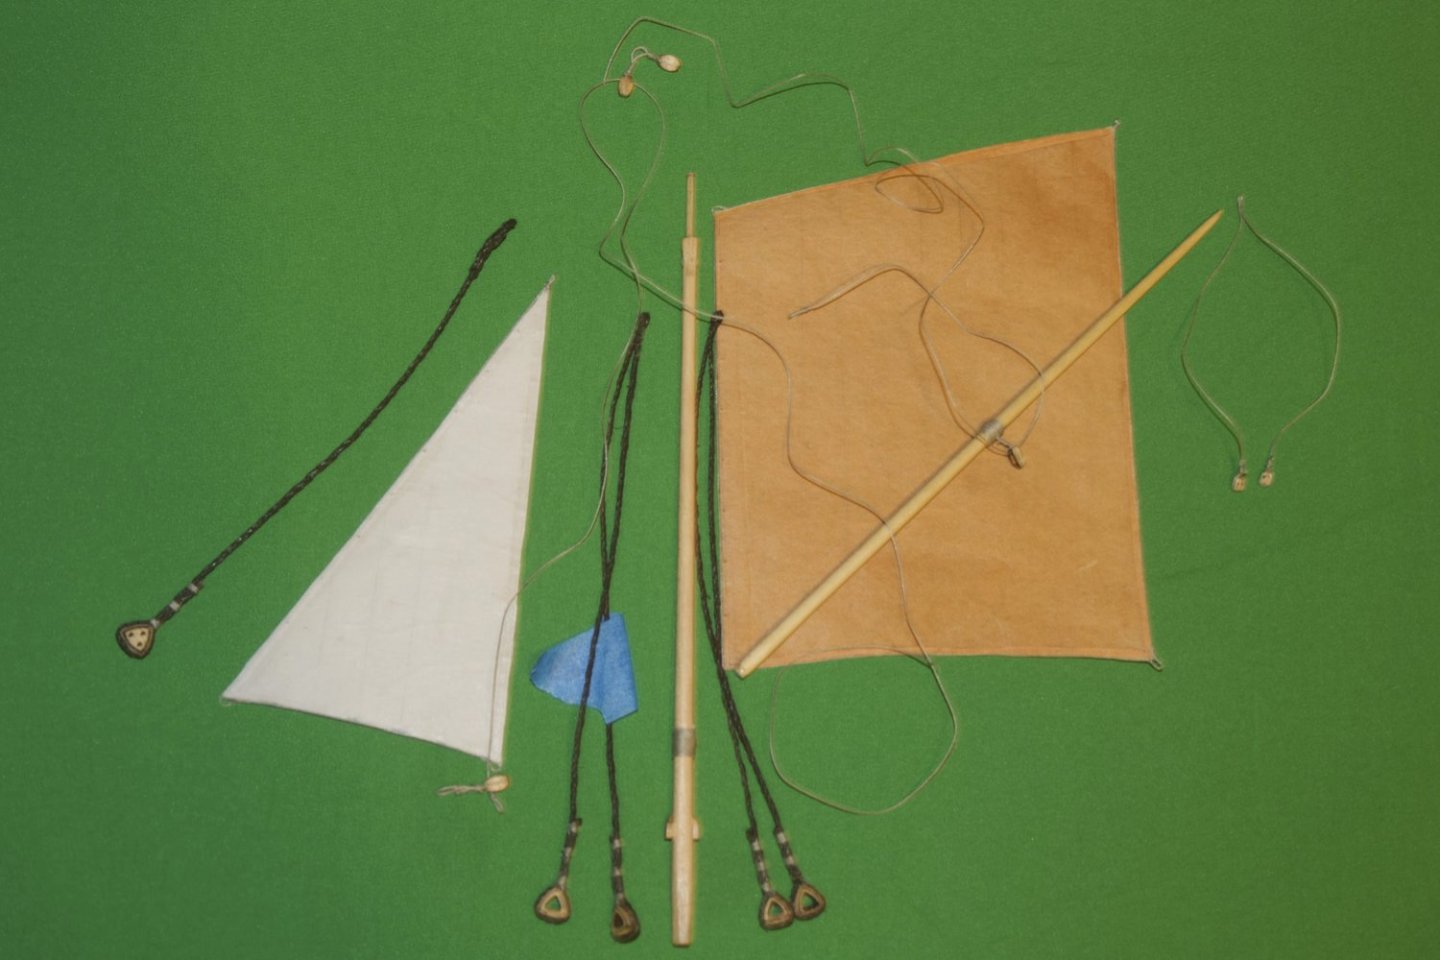
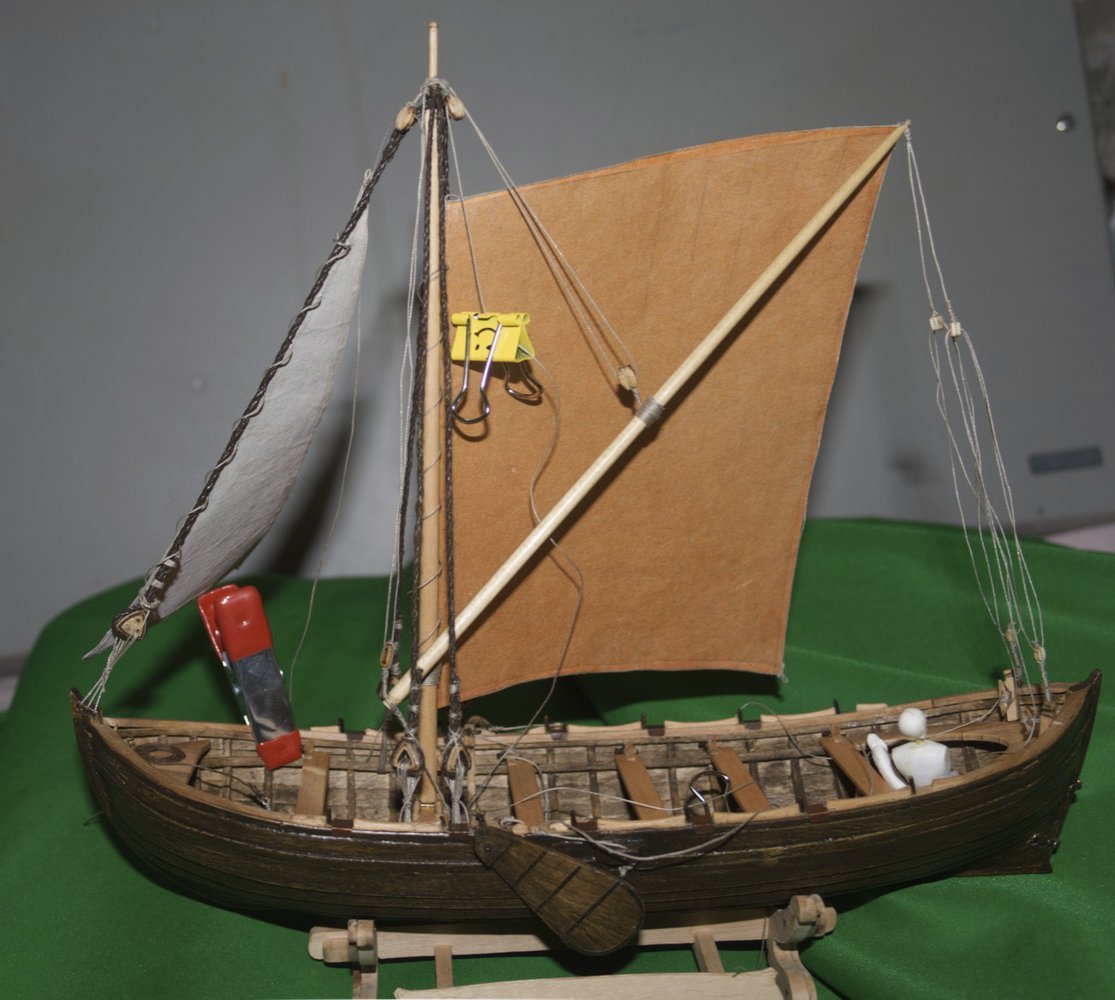
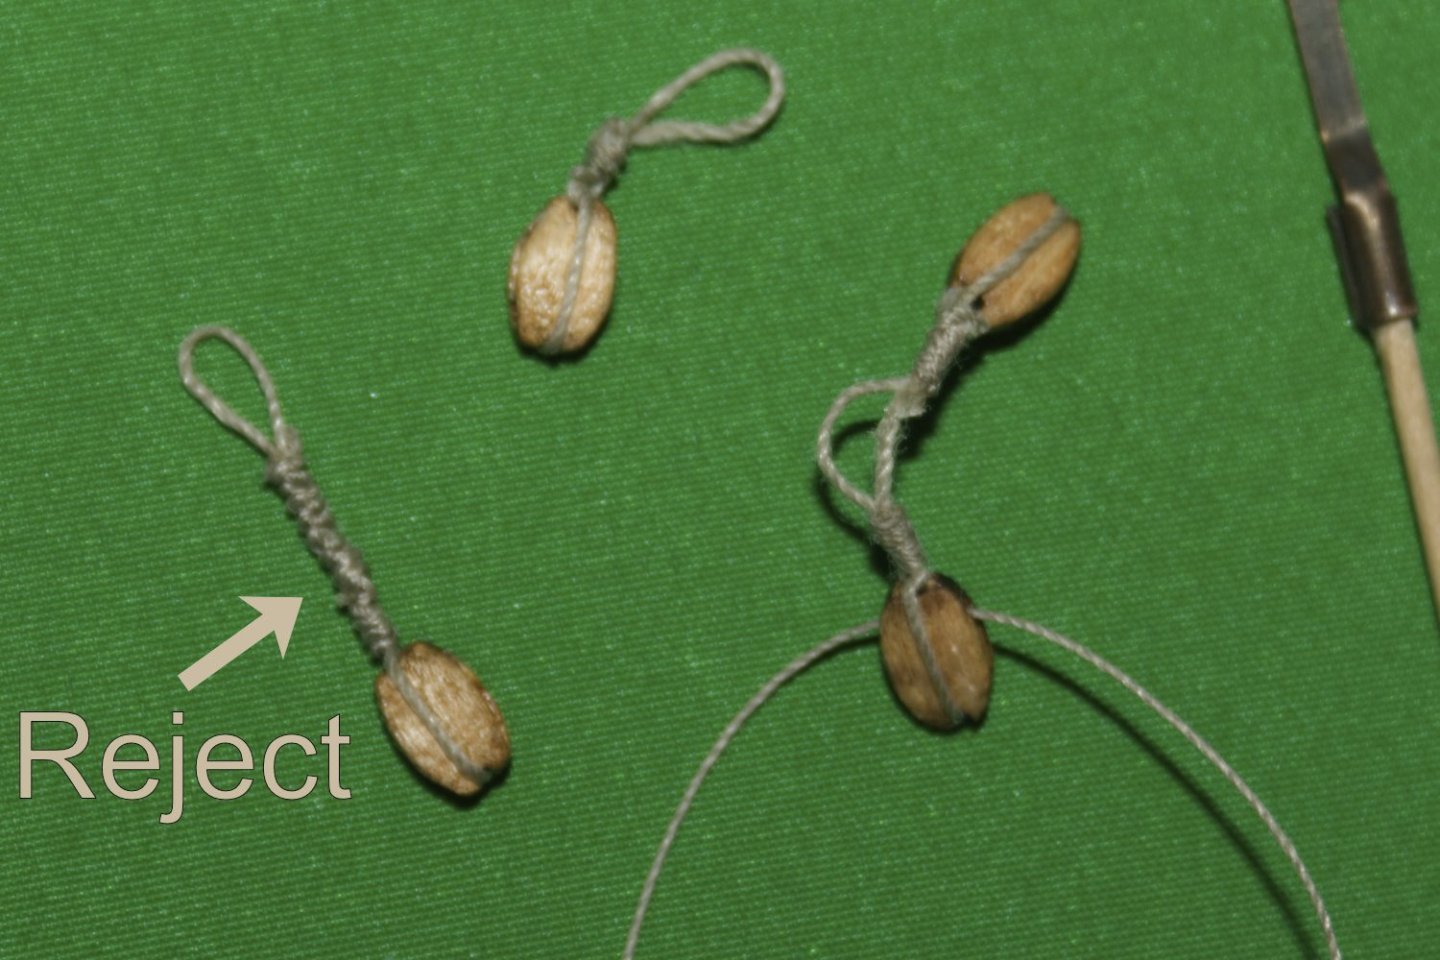
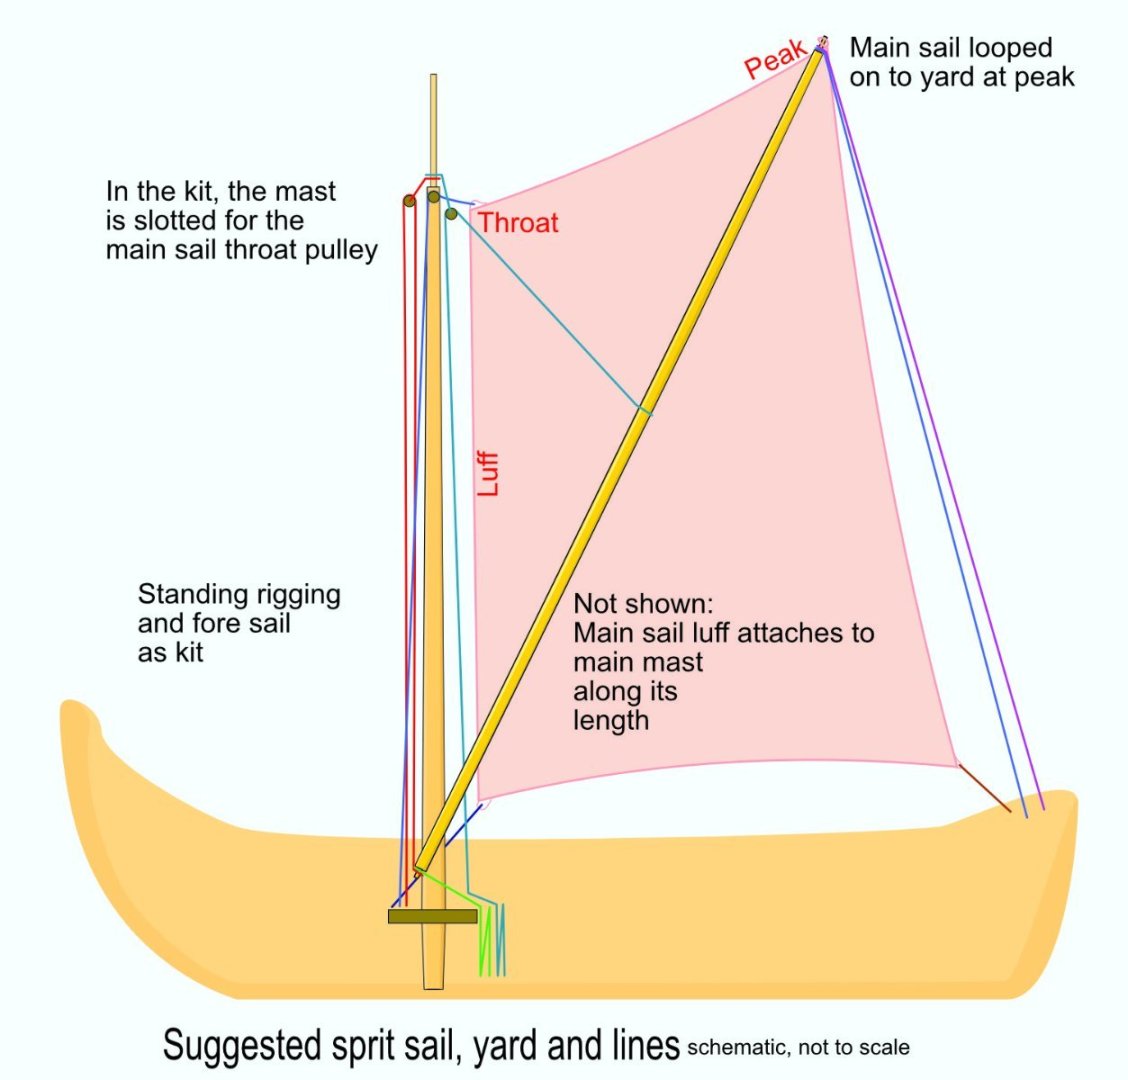
Following discussion in the Masting, rigging and sails section, we have an outline plan for the sprit sail on this build. This, kind of, follows Dutch practice later in the 17c, as depicted by various artists, notably Willem van de Velde (1633–1707). You can see his work on the National Gallery site, (e.g. Small Dutch Vessels in a Breeze https://www.nationalgallery.org.uk/paintings/studio-of-willem-van-de-velde-small-dutch-vessels-in-a-breeze, but scroll down to see other images). The green and green-blue lines have a lot of additional length. Either or both could be let out when working on the sprit. Thank you to @allanyed and @wefalck for their guidance; any errors here are my own. Talking of errors: The wooden retaining loop in the middle of the yard should go ... it is one of a pair that are included in the kit, but not shown in (near) contemporary paintings. {edit}The kit's mast slot is for the line to the main sail throat, not for the sprit.{/edit} Corrected image uploaded
-
Spirit sail rigging - length of spirit (yard) ahead of the mast?
Pitan replied to Pitan's topic in Masting, rigging and sails
Thanks @wefalck, that should be an interesting read, though not cheap. One more image from Willem van de Velde: Dutch Ships and Small Vessels Offshore in a Breeze https://www.nationalgallery.org.uk/paintings/willem-van-de-velde-dutch-ships-and-small-vessels-offshore-in-a-breeze Presuming this is a spritsail, this shows the sail's peak attached directly to the spirit without a block. It also gives better clues as to how the flag (?) worked. -
Spirit sail rigging - length of spirit (yard) ahead of the mast?
Pitan replied to Pitan's topic in Masting, rigging and sails
These Dutch paintings are proving interesting, if complex. Calm: Two Dutch Vessels https://www.nationalgallery.org.uk/paintings/studio-of-willem-van-de-velde-calm-two-dutch-vessels Studio of Willem van de Velde A Dutch Vessel in a Strong Breeze https://www.nationalgallery.org.uk/paintings/willem-van-de-velde-a-dutch-vessel-in-a-strong-breeze Willem van de Velde Interesting uses of the sprit to manage the main sail. Side note: Thames barges often use brailing lines. These have been unusual in the 17c paintings, so far, I've only seen them in work by Willem van de Velde: A Dutch Ship and Other Small Vessels in a Strong Breeze https://www.nationalgallery.org.uk/paintings/willem-van-de-velde-a-dutch-ship-and-other-small-vessels-in-a-strong-breeze -
Thanks Chuck, that is helpful to see; similar to, but a different arrangement from the kit - an extra block compared with the model.
- 36 replies
-
- 2
-
-
- Shallop
- Pavel Nitikin
- (and 1 more)
-
Thank-you, yes. He questions "What happens? How do you tack the [fore]sail over the sprit?"