bcochran
-
Posts
615 -
Joined
-
Last visited
Content Type
Profiles
Forums
Gallery
Events
Everything posted by bcochran
-
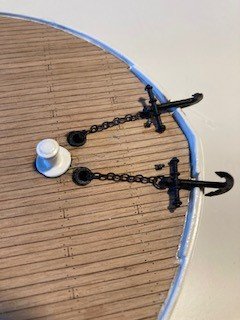
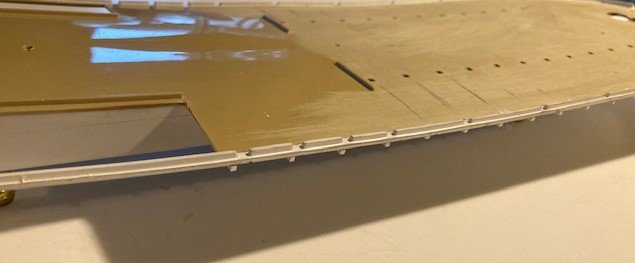
 The starboard side chains are in place. At this point I ran into a bit more warpage and fit issues, but taken as a whole the boat still looks ok.

- 117 replies
-
- 8
-

-
- Pyro
- Robert E Lee
- (and 2 more)
-
The hurricane deck, the roof of the texas and pilot house are blue. (Tamiya AS-19 intermediate blue spray) The roof of the pilot house was described by a reporter, during the race, as "beautiful sky blue" in Benton Rain Patterson's book. The hurricane deck was the roof of the boiler deck.

- 117 replies
-
- 5
-
-
- Pyro
- Robert E Lee
- (and 2 more)
-
Brass side chains shaped and chemically blackened. Turnbuckles coming today.

- 117 replies
-
- 4
-
-
- Pyro
- Robert E Lee
- (and 2 more)
-
Pyro's big pad eyes replace by filling holes and inserting smaller hand made ones.
- 117 replies
-
- 5
-
-
- Pyro
- Robert E Lee
- (and 2 more)
-
The remainder of the boiler deck, and its wood deck in place. I used a plastic deck from my Lindberg parts. The Pyro plastic deck was warped and more stiff than the Lindberg deck.

- 117 replies
-
- 5
-
-
- Pyro
- Robert E Lee
- (and 2 more)
-
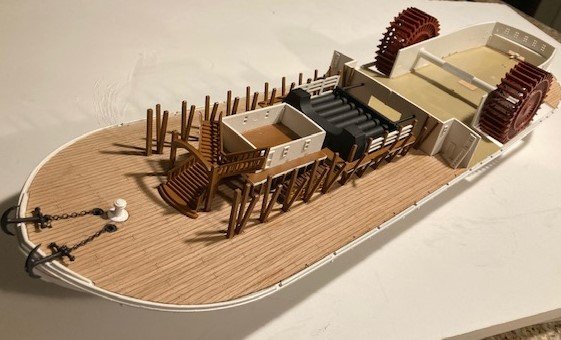
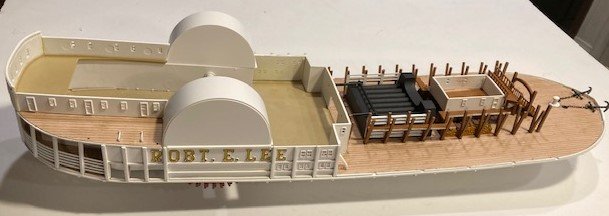
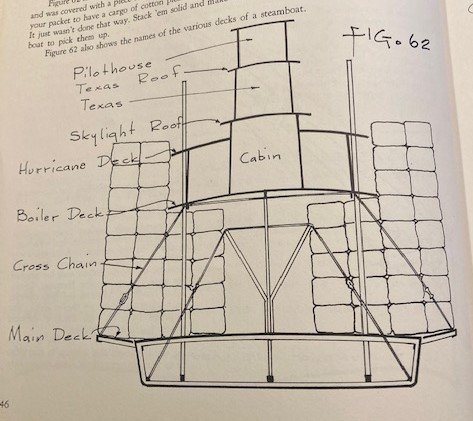
The rear of the boiler deck is in place with its wood deck. (The decks from the bottom up are the main deck, the boiler deck, the hurricane deck, the texas and the pilot house. The boilers are on the main deck, the cabins on the boiler deck. ) This model is a series of parts stacked on or leaning against each other. The fit is reasonably good, some places difficult, and there is warpage, sink holes, flash, and ejection pin marks to deal with. This kit is 61 years old. Since the fit of one piece depends on another's location, get the first out of place and the next is out of place. Taken as a whole it looks ok so far I think. Not perfect. Also, you need to paint a piece, let it cure then glue it in place. A bit time-consuming when you can build another type model as a unit, then paint it. This is coming along one step at a time.

- 117 replies
-
- 6
-
-
- Pyro
- Robert E Lee
- (and 2 more)
-
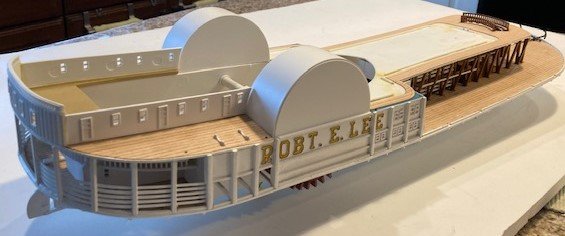
I used a tooth pic and some acrylic yellow paint to color the lettering on the side boards. I also used a small black felt tip to outline the lettering. I believe John Fryant mentioned that that Robert E Lee's lettering my have been yellow. I didn't want the garish red lettering on my boat, so I went with yellow.


- 117 replies
-
- 6
-
-
- Pyro
- Robert E Lee
- (and 2 more)
-
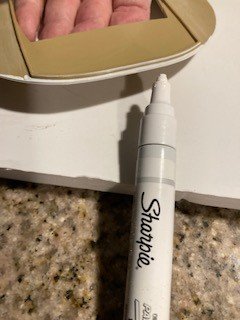
Using the white paint sharpie to paint the edges of part of the boiler deck, preparing to mount wood deck to plastic.
- 117 replies
-
- 4
-
-
- Pyro
- Robert E Lee
- (and 2 more)
-
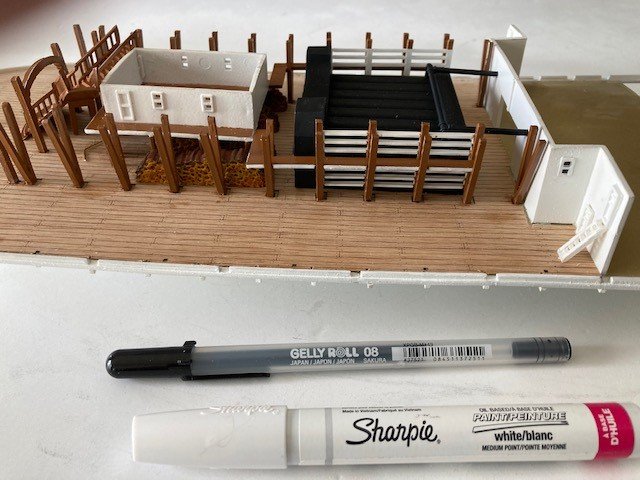
For the little windows that are not open, I use this black Gelly Roll pen to darken the blank opening, then go over the frame with the white sharpie paint pen. I did this to the little window I added so that resembles the windows in the little cabin.
- 117 replies
-
- 4
-
-
- Pyro
- Robert E Lee
- (and 2 more)
-
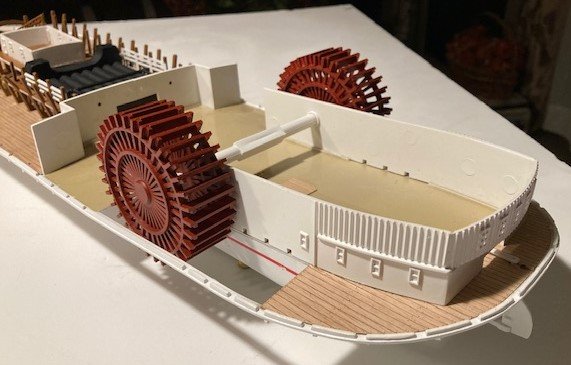
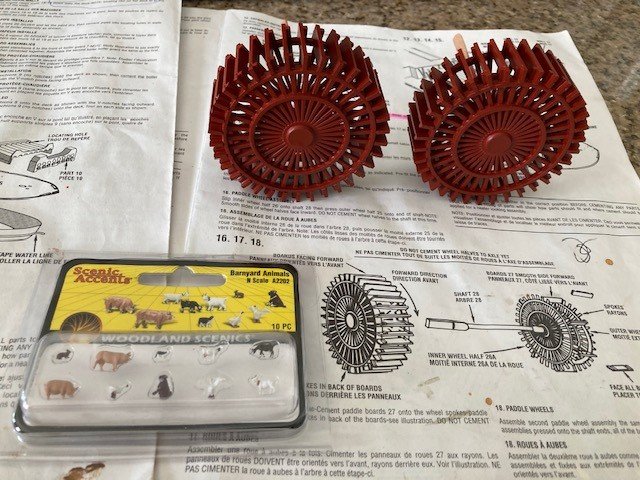
A pair of dark red (Tamiya Dark Red Spray) paddle wheels an some critters to be added later.
- 117 replies
-
- 4
-
-
- Pyro
- Robert E Lee
- (and 2 more)
-
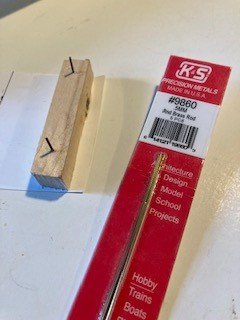
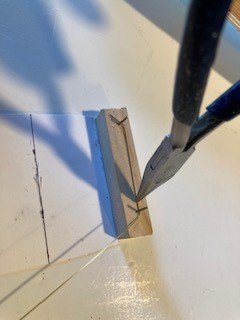
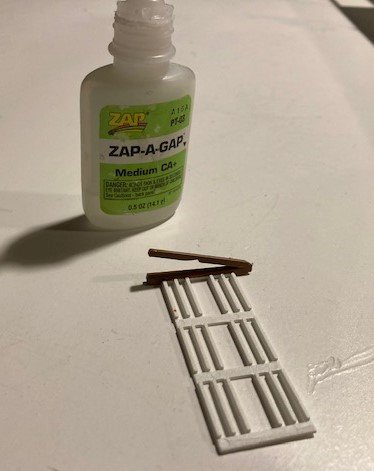
Making a jig to rough bend the side chains. I don't have the turnbuckles yet, they will be here this week some time.

- 117 replies
-
- 4
-
-
- Pyro
- Robert E Lee
- (and 2 more)
-
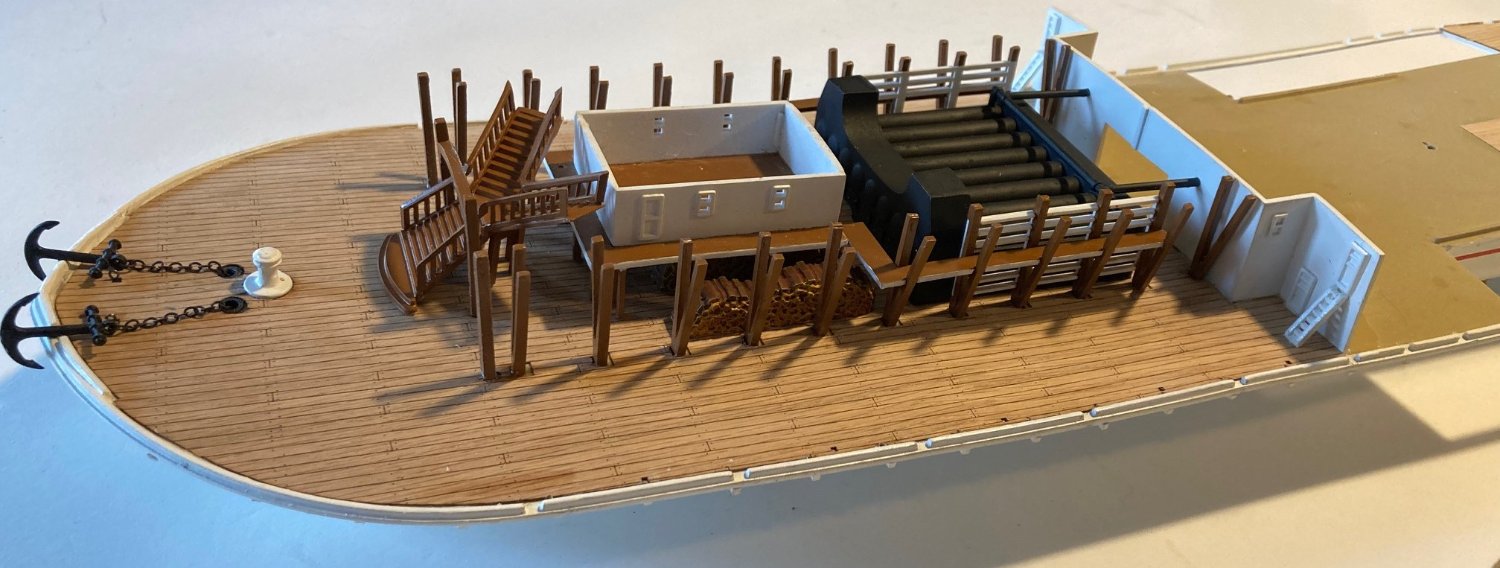
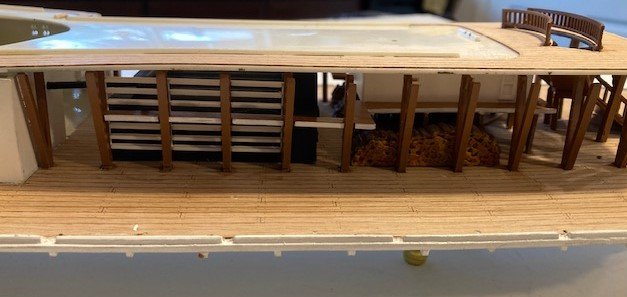
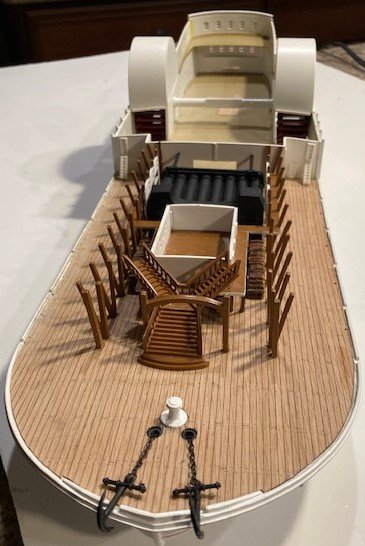
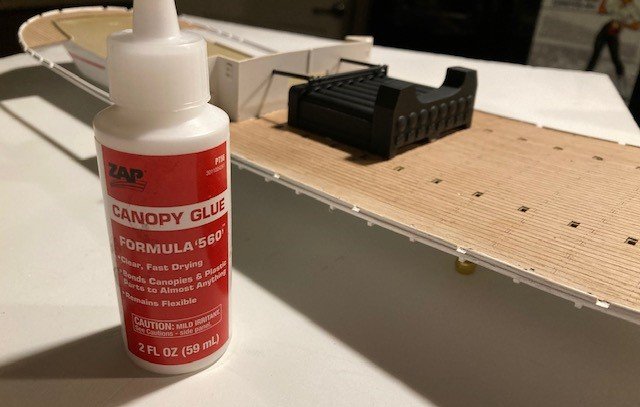
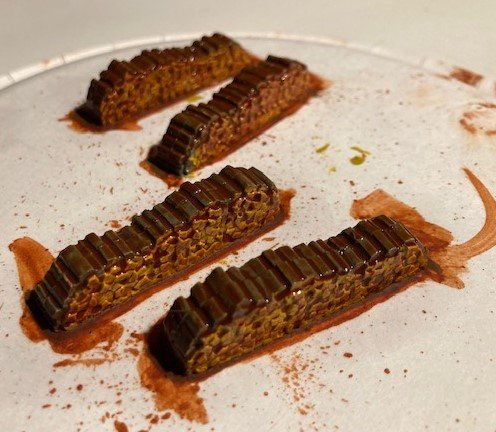
Canopy glue is used to glue parts to the wood deck. The wood piles were painted Testors dark gray tops and flat zinc chromate sides, and washed with burnt sienna artist oils. Edges painted with Sharpie paint pen. Painted parts held with zap super glue.

- 117 replies
-
- 6
-
-

-
- Pyro
- Robert E Lee
- (and 2 more)
-
Pyro did not put doors where they show on my plans. They look to be doors to the engine room. I added them by sanding off some doors and windows from spare parts I had.
- 117 replies
-
- 5
-
-
- Pyro
- Robert E Lee
- (and 2 more)
-
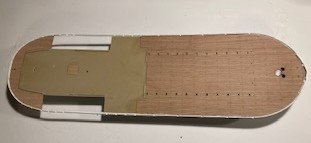
I glued the wood deck on. I did not get it lined up right before the glue grabbed. I am not too good with adding extra purchased detail like photo etch and decks. It's not too noticeable when more of the parts are on. But it is a disappointment. It could have been better. It's one of those errors you make and live with, move on or quit. Moving on.
- 117 replies
-
- 6
-
-
- Pyro
- Robert E Lee
- (and 2 more)
-
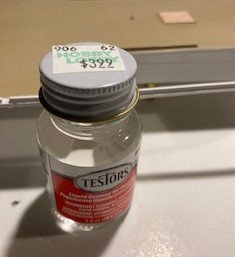
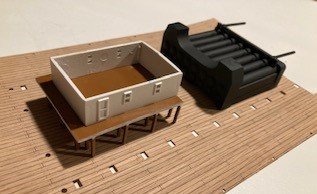
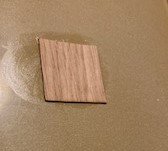
I tested out gluing the wood deck to the plastic deck using Testors liquid cement using a scrap of the wood. It works fine. as soon as the white paint cures, I'll glue the wood deck down. I started building the sub assemblies that go around the boilers. I don't know what the white cabin is yet. I read where someone called it a luggage room. The Lee had two guarded luggage rooms so that passengers would not have to keep luggage in their state rooms.
- 117 replies
-
- 3
-
-
- Pyro
- Robert E Lee
- (and 2 more)
-
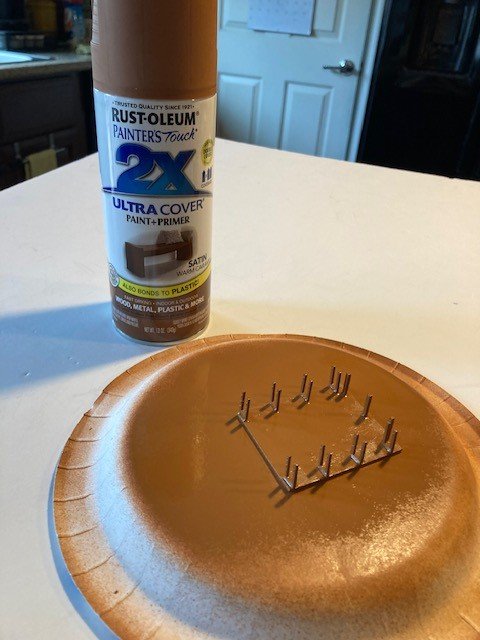
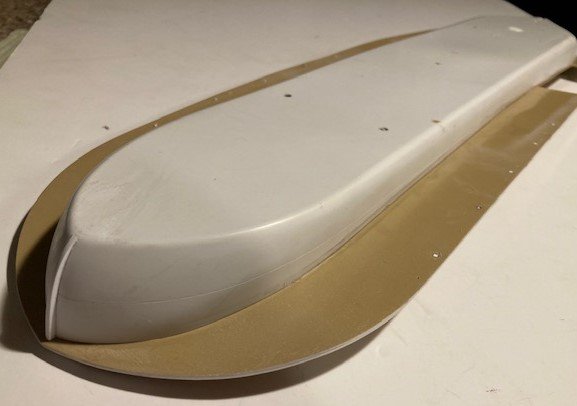
I am going with this rust-oleum satin warm caramel for the natural wood colors. Later the satin will be covered with dull lacquer. I don't intend to "weather" or create a wood grain effect. I do that for dioramas and my model railroad equipment, but not on models like this. Another thing I do is to use very few different colors. You can see this if you check out my Cutty Sark Log. The colors for this boat will be white, tan, black, light blue, and red, and they compliment each other. I can't see any reason for anything else. Maybe the people and animals will be more colorful if I add them.
- 117 replies
-
- 2
-
-
- Pyro
- Robert E Lee
- (and 2 more)
-
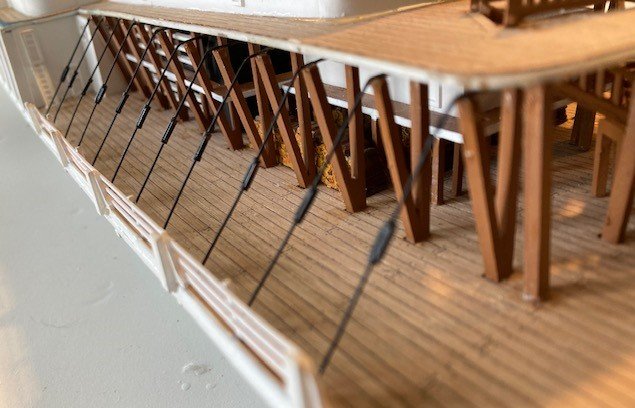
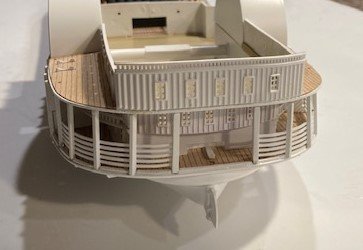
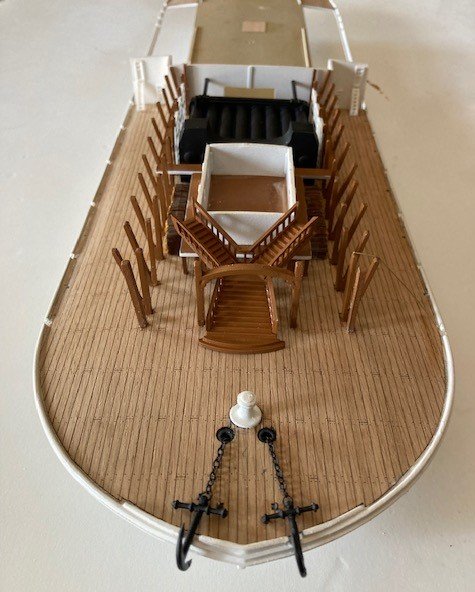
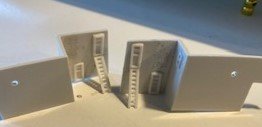
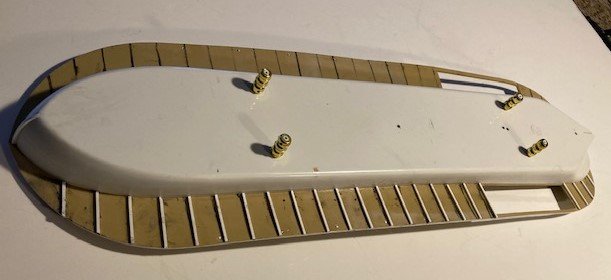
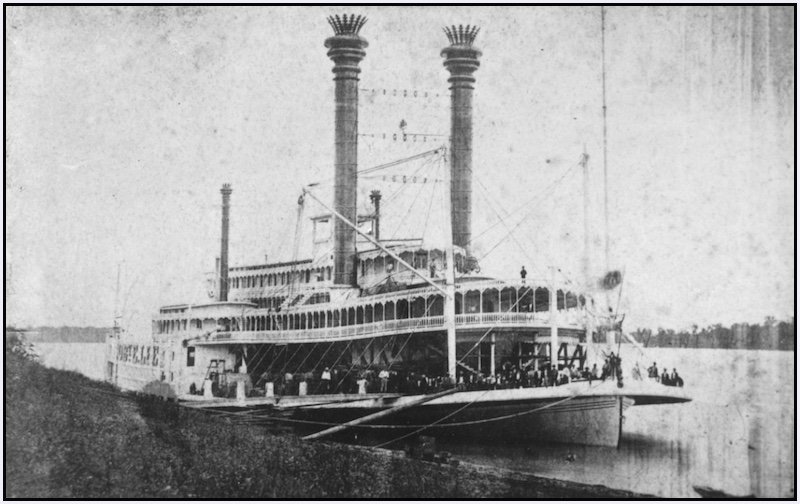
The boat has its braces. The edges of the braces can be seen, and I think it adds a bit more detail. Then again, it may be distraction. At this point, I'm not sure. Much of this can't be known. I get a better idea once the model is more complete, and it blends in with everything else. You know something has to be holding that deck side up. I read a discussion on another board, and it was said the Robt. E. Lee's hull was such and such color. Only period writings of the time or handed down knowledge could tell what color these boat's hulls were in my option. The photos are black and white, the Robt. E. Lee's hull depth was around 9 1/2 feet, and she drew 6 to 7 feet of water. Two to three feet of the top of the hull was out of water. You can't tell the color of the hull in the pictures, except that the part out of water looks white to me. In the picture here, she has a white hull. The day after the race the Lee entered drydock for repairs. "To overhaul its engines and boilers and restore its stripped upper works, and have its hull repainted as well." "The Great American Steamboat Race" by Benton Rain Patterson. Maybe repainted white. I am going with white because I like it and other modelers did so too.

- 117 replies
-
- 3
-
-
- Pyro
- Robert E Lee
- (and 2 more)
-
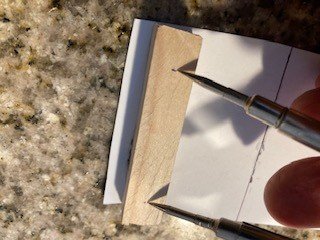
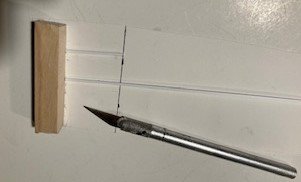
I always make some kind of jig to cut uniform parts. I need 32 of the plastic strip this size. Also using a piece of card for a spacer. For shorter lengths I used a sprew cutter.
- 117 replies
-
- 2
-
-
- Pyro
- Robert E Lee
- (and 2 more)
-
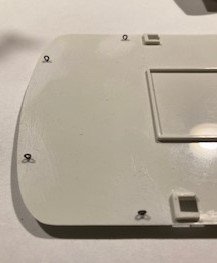
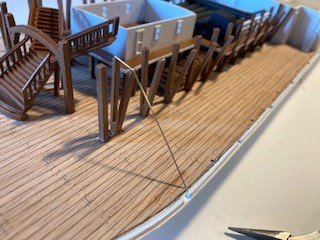
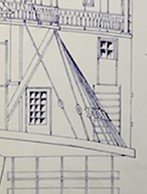
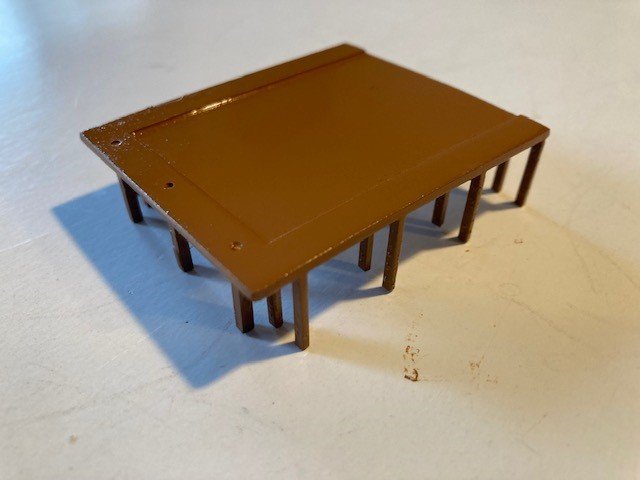
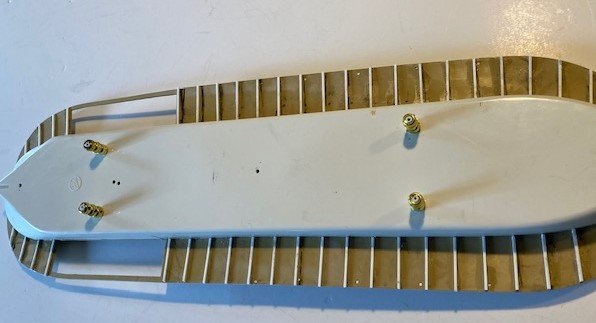
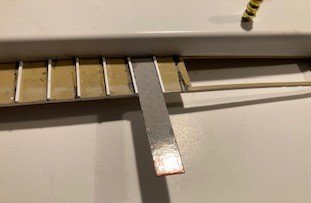
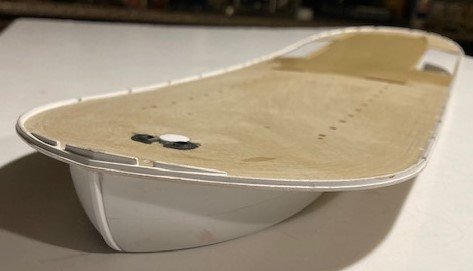
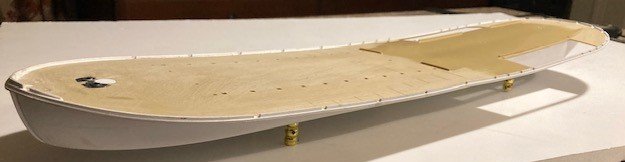
The superstructure of the boat had a main deck framing system. I want to add this though it won't be seen looking down on the model. I marked where the supports should go. I am lining them up with the stanchions that the side chains attach to. I'll have to drill holes for the side chains in the supports. The drawing from head on shows a boat loaded with cotton. Shipping cotton down the Mississippi to New Orleans was the reason the Robt. E. Lee was built. The deck and its support system carried a lot of weight.


- 117 replies
-
- 2
-
-
- Pyro
- Robert E Lee
- (and 2 more)
-
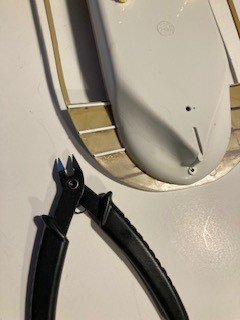
With the help of my new clamps, I have a pretty good bond between the hull and deck. Next I need to add any detail, paint, stripe and add the wood deck parts.
- 117 replies
-
- 3
-
-
- Pyro
- Robert E Lee
- (and 2 more)
.jpg.cef31d427e124f3d702054f7eb593d91.jpg)