


bcochran
-
Posts
615 -
Joined
-
Last visited
Content Type
Profiles
Forums
Gallery
Events
Posts posted by bcochran
-
-
-
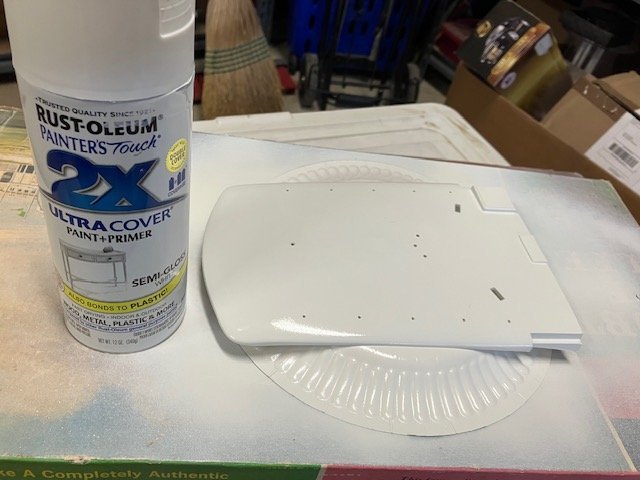
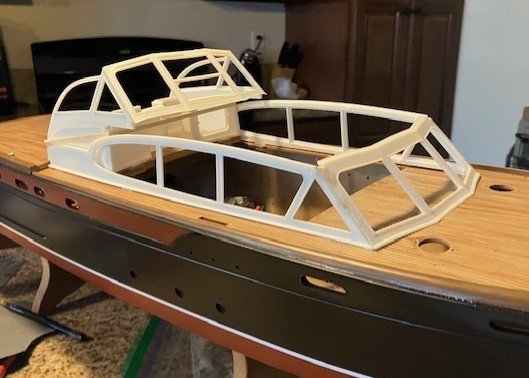
Well I sanded the cabin roof and repainted and it still looks like crap. There are animal hairs in the paint and some of the knockout marks are still visible. More sanding and repainting, needed. This is adding time I didn't want to take.
-
I wanted to mention that this boat kit is a lot more fun to build than my Cutty Sark and Robert E Lee were.
I didn’t finish the rigging on the Cutty Sark, maybe I’ll get back to it some day. There were two other Cutty Sark builds going when I did mine and both of those builders were an inspiration to me. Anyone who completes a full rigged ship has my admiration. I don’t have the stuff to deal with the fragility of a plastic sailing ship. Parts are constantly breaking do to my clumsiness and I had to find ways to recover.
The Robt E Lee was easier, less fragile and I put a lot of time in researching steamboats.
This model has big pieces that are easy to work with though some extra thought is needed to get it together correctly. The big pieces makes it less risky to work with. Any do overs I have with this is because of painting mistakes.
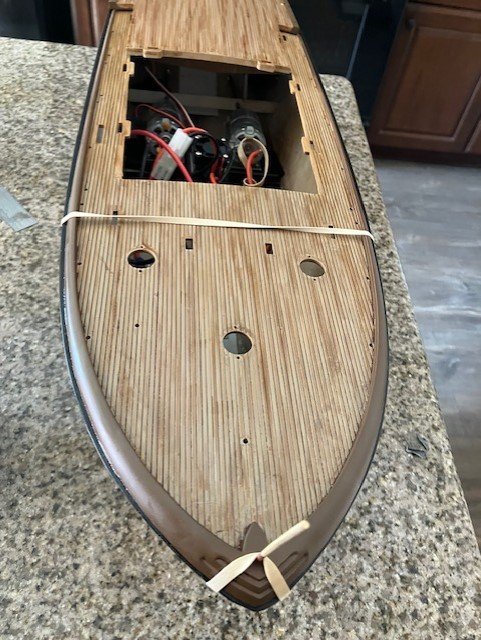
BUT! This boat requires I learn R/C boat skills which I didn’t bring to the build.
I am 77 years old and retired which frees me from needing to add new work skill sets to my tool kit in order to keep up with competing co-workers like I use to have to do. I can pick my battles now or leave them. I gave up on the electronics of this boat last December but now I am going to give it another try after the boat is built.
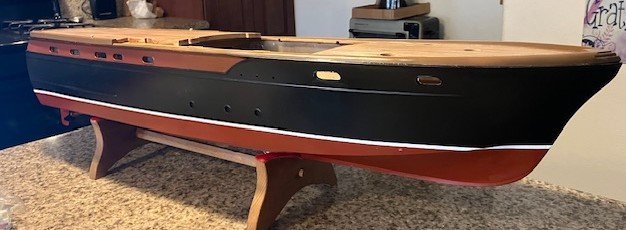
Another thought is that I can fantasize about really owning a boat like this. There are old used Chris Craft boats for sale on the internet. I could afford to buy one but I am not sure about the storage, restoration or upkeep. You’d have to make it a big part of your life. I do live near several good harbors, Santa Barbara, Morrow Bay and Port San Luis. I think it will remain a fantasy. Playing with the model on the pond will be fun.
-
-
-
-
-
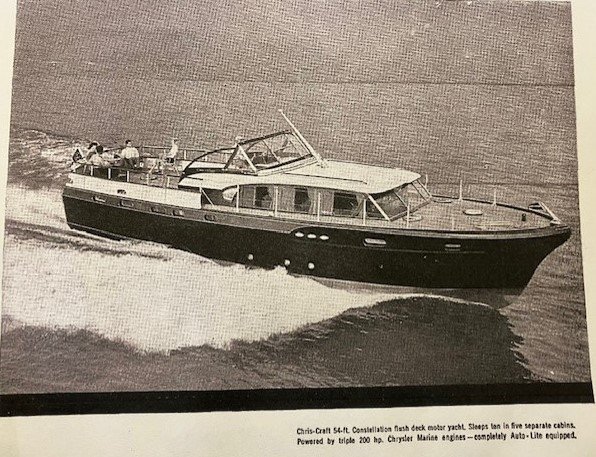
Here is a video of the real deal. It is of a 36ft 1956 Chris Craft Constellation. The model is of a 54 ft 1956 Chris Craft Constellation.
-
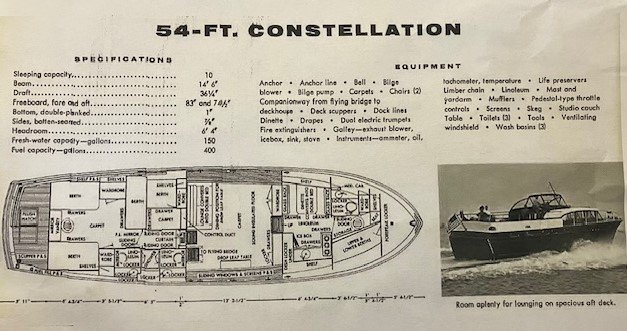
Again, this is my prototype. I like to keep it in front of my nose for inspiration, especially when things aren't going right.
-
-
-
Here are a couple of videos that someone made of their Lindberg Chris Craft Constellation
-
-
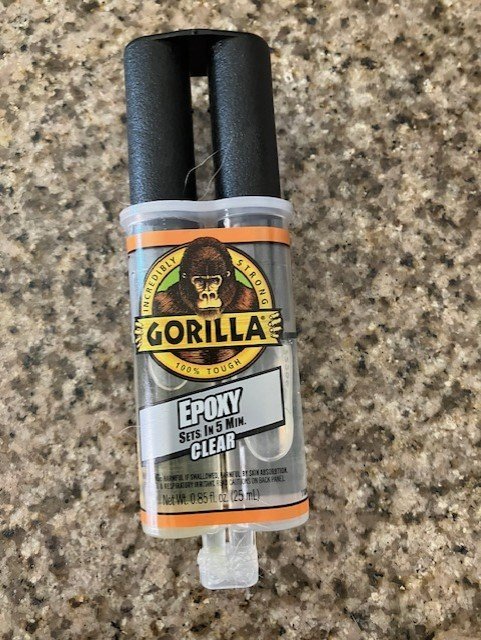
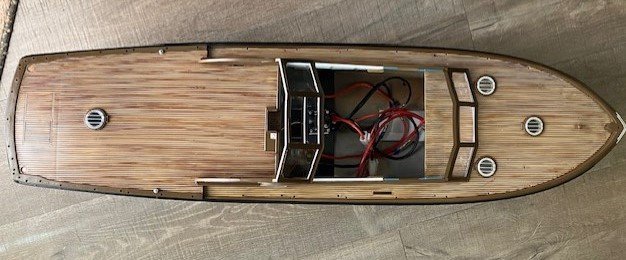
I used epoxy to fix the front deck in place.
-
-
4 hours ago, medic12 said:
Hi Bob,
Thank you so much for sending those instructions to me. I greatly appreciate it. If you are still needing some help on the electronics on your boat, let me know. I've been building stuff like this on and off since the 1970's when I started with my Dad. I got back into the hobby a few years ago and brushed up on the newer computer radios and power systems. I learned electronics as an Avionics Technician in the Air Force and have continued to advance my skills as time goes on. Keep up the good work!
Mark
Thanks Mark,
I was a radar repairman in the Army in Vietnam in 1967-68 but I don’t remember much about electronics today. I can sure use your help.
I am going to work on the superstructure while learning what to do with the electronics.
-
On 8/17/2023 at 7:19 PM, medic12 said:
Hi Bob,
I just acquired the same model still complete in the box...except for instructions. Would you be able to scan your instruction sheets and email them to me as a PDF file? Any help would be greatly appreciated.
Thanks!
Mark
combatmedic2012@gmail.com
I am emailing the instructions to you today
-
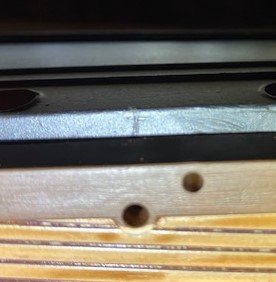
Something else I thought was weird. There are no raised borders at the places where the hull windows are to be glued in place. You just glue them to the inside surface of the hull, which at places does not have the same flat plane as the window. The windows are larger than the opening they cover, there is no "fit" to them. I used canopy glue, which dries clear and should hold the window and plug any gaps so that water cannot get in. If the window should fall out, it will fall inside the hull.

-
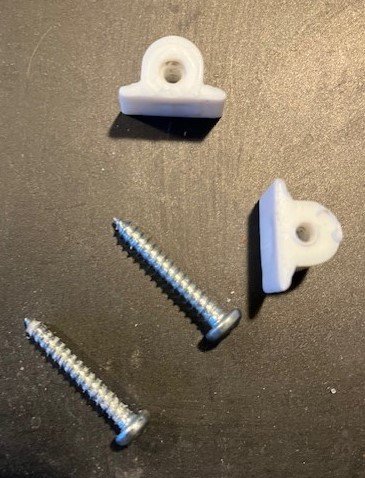
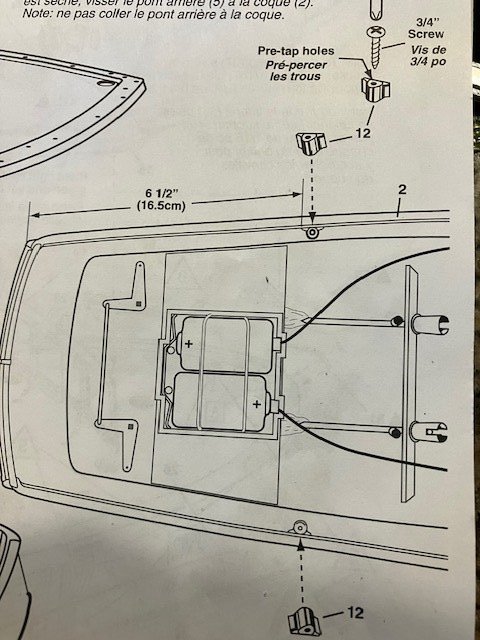
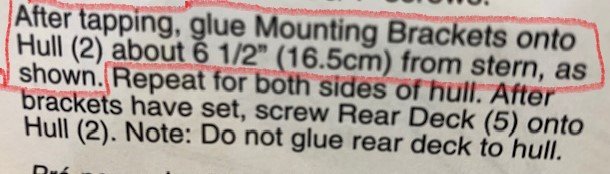
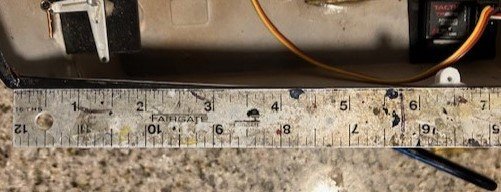
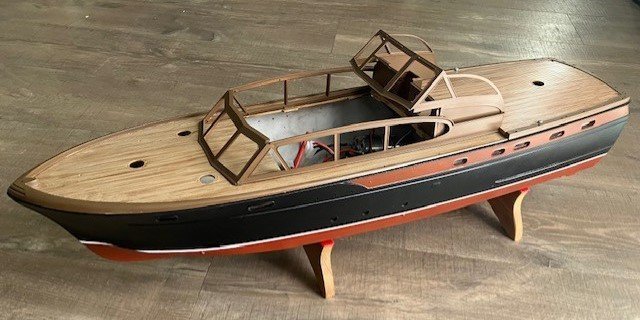
The instructions to this kit can be confusing at times. An example is the instruction on installing the mounting brackets that screws go in, to hold the rear deck piece in place. The instructions say to mount the brackets about 6 1/2 inches (16.5cm) from the stern. Since the holes in the brackets need to line up with the holes in the deck, so the screws go through both, there isn't any "about" about it. Also, there are no markings showing where the brackets should go.
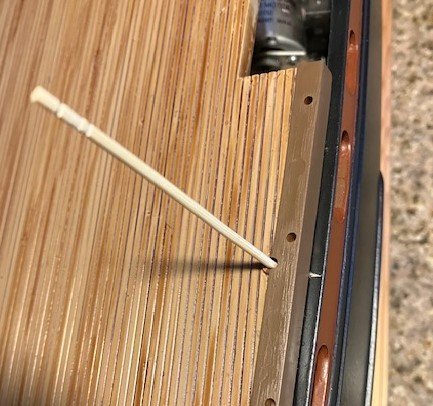
To get it correct, I marked the hull where the mounting bracket holes should line up without measuring the distance from the end of the deck. I didn't know where that spot was either. I glued the brackets in place and tested how they lined up with the deck using a long tooth pic. After the glue dries, I'll attempt to put the screws in. You must tap the brackets with the screws before mounting them.
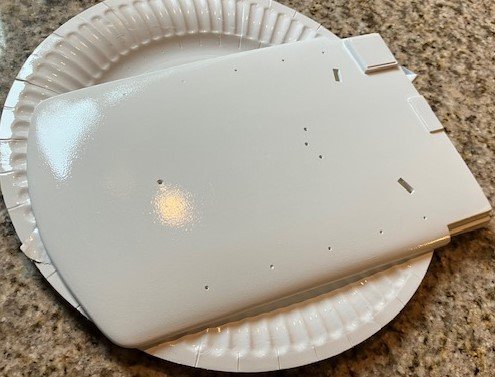
The instructions do not say to glue the front deck to the hull. I think you should because there is only the rear deck to hold it in place and that doesn't seem sufficient to me given all the superstructure that goes on the front deck. Also, the only access I need under it is to set the batteries in place, and I can do that with the deck glued down. Another issue is the slight warp in the front deck keeping the tip of the deck from sitting on the hull tightly.
-
-
On 1/27/2023 at 8:47 AM, ccoyle said:
It's only been a month -- you're gonna have to stay away for much, much longer if you want to join the ranks of the truly great procrastinators in our hobby! 😉
Ok, I have been gone for 8 months now. Do I qualify?
-
On 1/27/2023 at 10:00 AM, Ian_Grant said:
Bob, glad to hear you didn't die. 😀
No, not dead, just procrastinating.
-
On 1/28/2023 at 5:30 AM, schooner said:
Bob,
I just found your log. I too am a total RC newbie.
A couple of thoughts:
1) I have the same batteries and charger you do. Trying to understand the charger instructions drove me nuts - about 90% of them are devoted to keeping lithium batteries from exploding (which is irrelevant to the NiMh batteries we have). After multiple rereads of the charger instructions, multiple attempts to charge and a lot of bad language I finally got them to charge, although I never got the charging progress readout on the charger screen. I found that an early attempt to charge was defeated by a loose wire in one of the plastic connectors - your multimeter should help you with that if you have the same problem.
2) Figuring out that little receiver was another PITA (my receiver is different, it has 5 slots and my remote control box is way different). As Ian has told you, the brown or black wires go away from the printed area on the receiver. Another thing to think about when you get it working is do you want the rudder servo to return to the amidships (neutral) position when you release the remote control toggle? That is the logical way to have it but you may have to switch the servo lead on the receiver to the other empty slot to get that effect.
3) I can't help with binding issue - I got both the control box and receiver from M.A.C.K. (where your motors are from), the instructions said there as no need to pair (bind) them and they were right. If you got your receiver from MACK you might want to e-mail them - they have been pretty responsive for me.
4) There are a lot of RC online groups, some of them seem pretty responsive when people ask for help. I'd try to find one that allows you to post photos - that can save a lot of frustrating back and forth as they try to figure out what the issue is. Some sites that might be helpful:
- modelerscentral.com - has a list of California RC boat clubs, one might be near you along with someone who could fix your problem in about 30 seconds (always good for your ego and self-image)
- rcgroups.com - has lots of chat rooms and resources
- shipmodelers.com - go to the tab for "model boat electronics", at the bottom of that doc there is a good diagram about how laying out your wiring can prevent interference problems (keeping the receiver away from the motors is just a start)
Good luck, you've got a very nice looking build going there
Hi schooner,
Sorry for the long time between your post and my reply.
Thanks for all the advice. I just now reopened this build log. It has taken me over 1/2 year to get back to wanting to attempt it again.
-
On 8/17/2023 at 7:19 PM, medic12 said:
Hi Bob,
I just acquired the same model still complete in the box...except for instructions. Would you be able to scan your instruction sheets and email them to me as a PDF file? Any help would be greatly appreciated.
Thanks!
Mark
combatmedic2012@gmail.com
Hi Mark,
I just stumbled on to your post. I will send the instructions if you still want them.

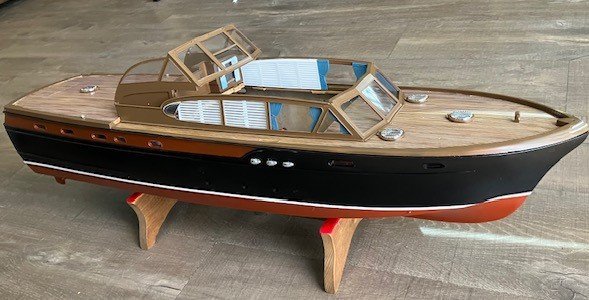
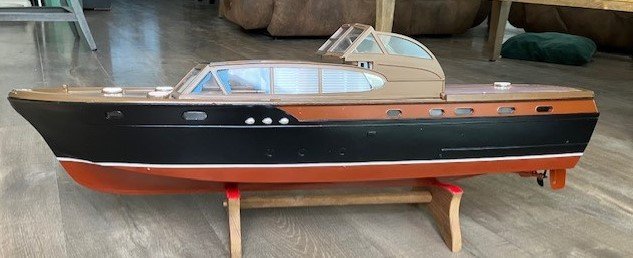


1956 Chris-Craft 54' Constellation by bcochran
in - Kit build logs for subjects built from 1901 - Present Day
Posted · Edited by bcochran
I am trying to add some chrome trim like I've seen on the real boats. The model leaves off a bit of detail, and it is a judgement call whether to try and add it or not. You can go overboard if you are not real skilled. Some folks on this board are geniuses with adding the bling. Depending on your ability, you can reach a point where the law of diminishing returns kicks in. I try to get to a point where the model as a whole has balance when it comes to detail.
I have gotten to the point where what I do detracts from the appearance. I hope to hell to not go there.