

stevenmh
-
Posts
161 -
Joined
-
Last visited
Recent Profile Visitors
2,014 profile views


-
 stevenmh reacted to a post in a topic:
Syren Ship Model Company News, Updates and Info.....(part 2)
stevenmh reacted to a post in a topic:
Syren Ship Model Company News, Updates and Info.....(part 2)
-
stevenmh reacted to a post in a topic:
Syren Ship Model Company News, Updates and Info.....(part 2)
-
KARAVOKIRIS reacted to a post in a topic:
18th-Century Merchantman Half-Hull Planking Project by stevenmh - NRG
-
JacquesCousteau reacted to a post in a topic:
18th-Century Merchantman Half-Hull Planking Project by stevenmh - NRG
-
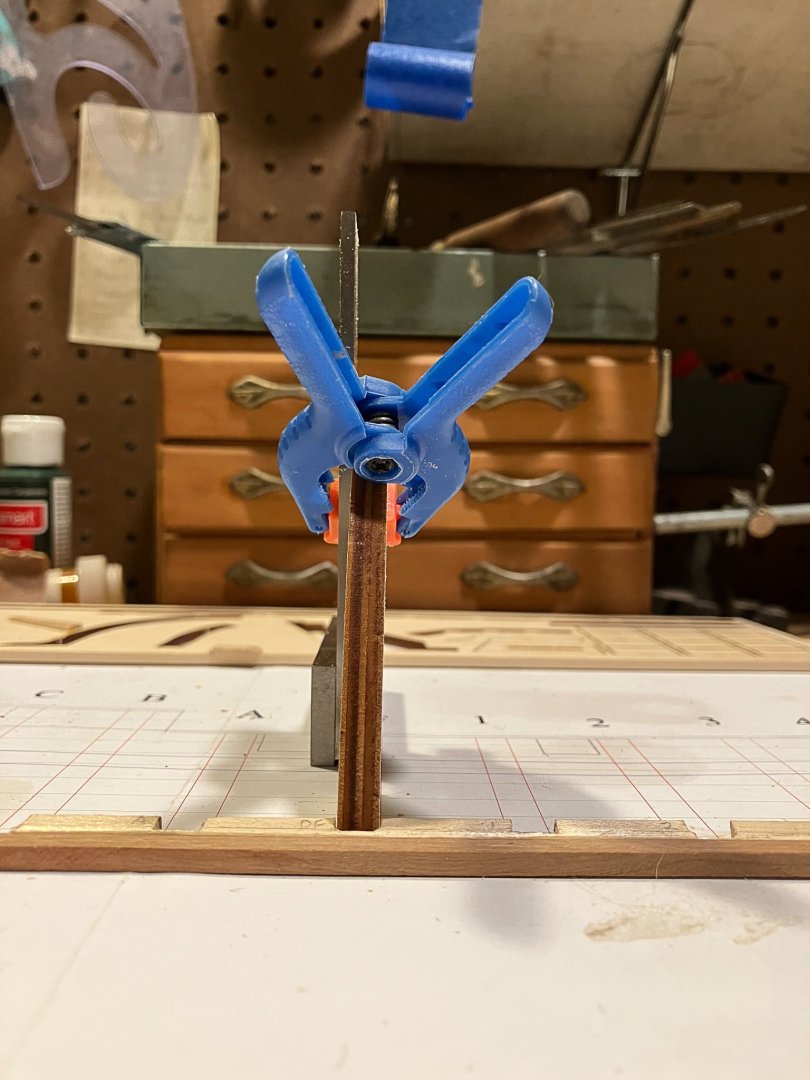
 Thanks for visiting and the likes Only a little bit of progress, spending time to read the instructions and other logs. Got the backbone glued into place on the build board and dry-fitting the ribs. Then glued in the dead flat rib for real. Should have time this weekend to glue the rest of the ribs, then on to the deadwood bearding line...

-
KARAVOKIRIS reacted to a post in a topic:
18th-Century Merchantman Half-Hull Planking Project by stevenmh - NRG
-
KARAVOKIRIS reacted to a post in a topic:
18th-Century Merchantman Half-Hull Planking Project by stevenmh - NRG
-
RossR reacted to a post in a topic:
18th-Century Merchantman Half-Hull Planking Project by stevenmh - NRG
-
eatcrow2 reacted to a post in a topic:
18th-Century Merchantman Half-Hull Planking Project by stevenmh - NRG
-
mtaylor reacted to a post in a topic:
18th-Century Merchantman Half-Hull Planking Project by stevenmh - NRG
-
mtaylor reacted to a post in a topic:
18th-Century Merchantman Half-Hull Planking Project by stevenmh - NRG
-
JacquesCousteau reacted to a post in a topic:
18th-Century Merchantman Half-Hull Planking Project by stevenmh - NRG
-
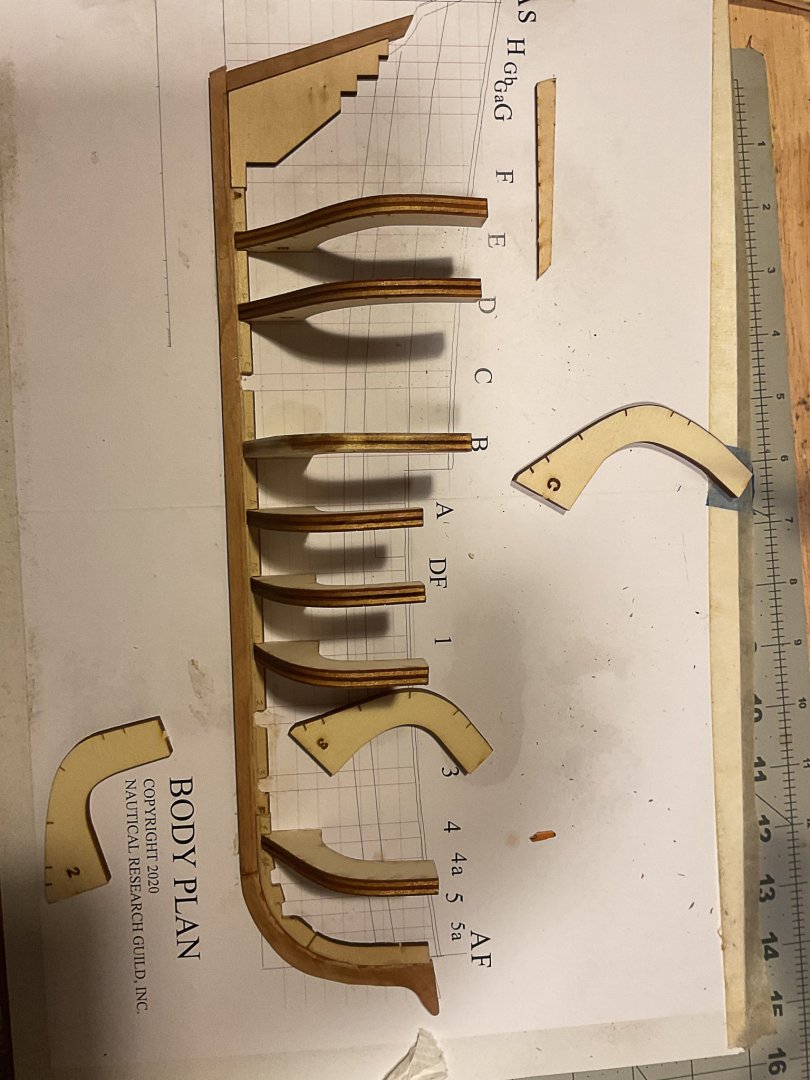
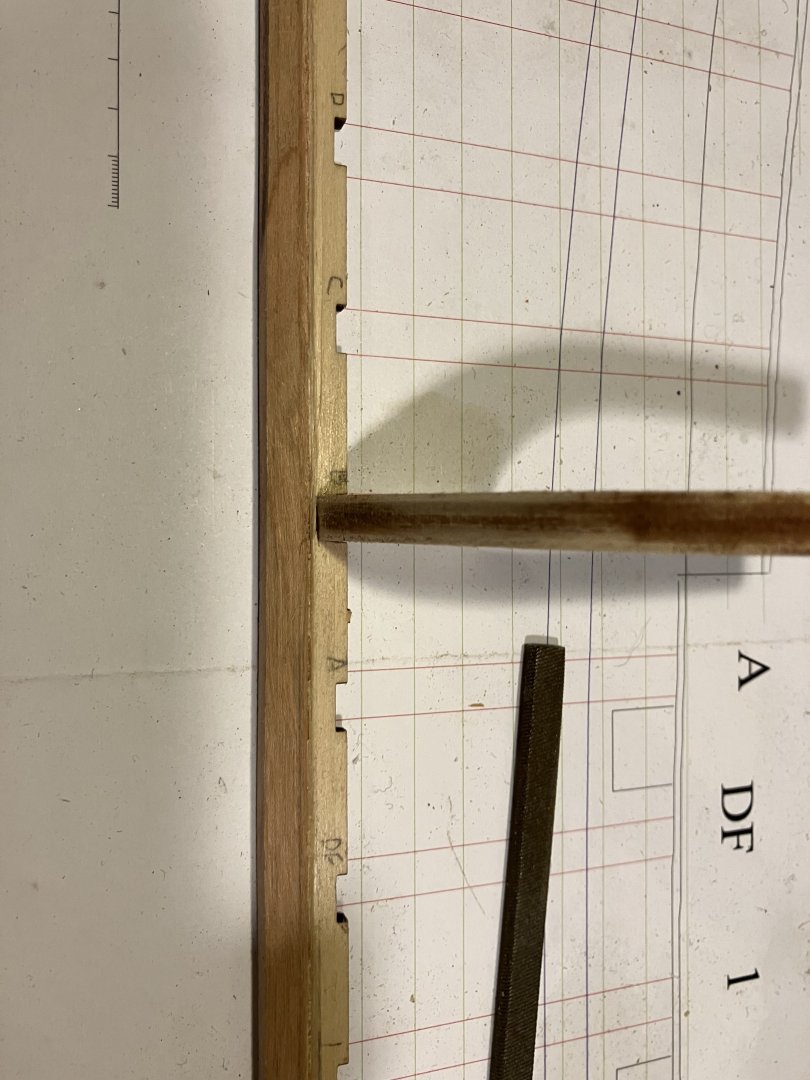
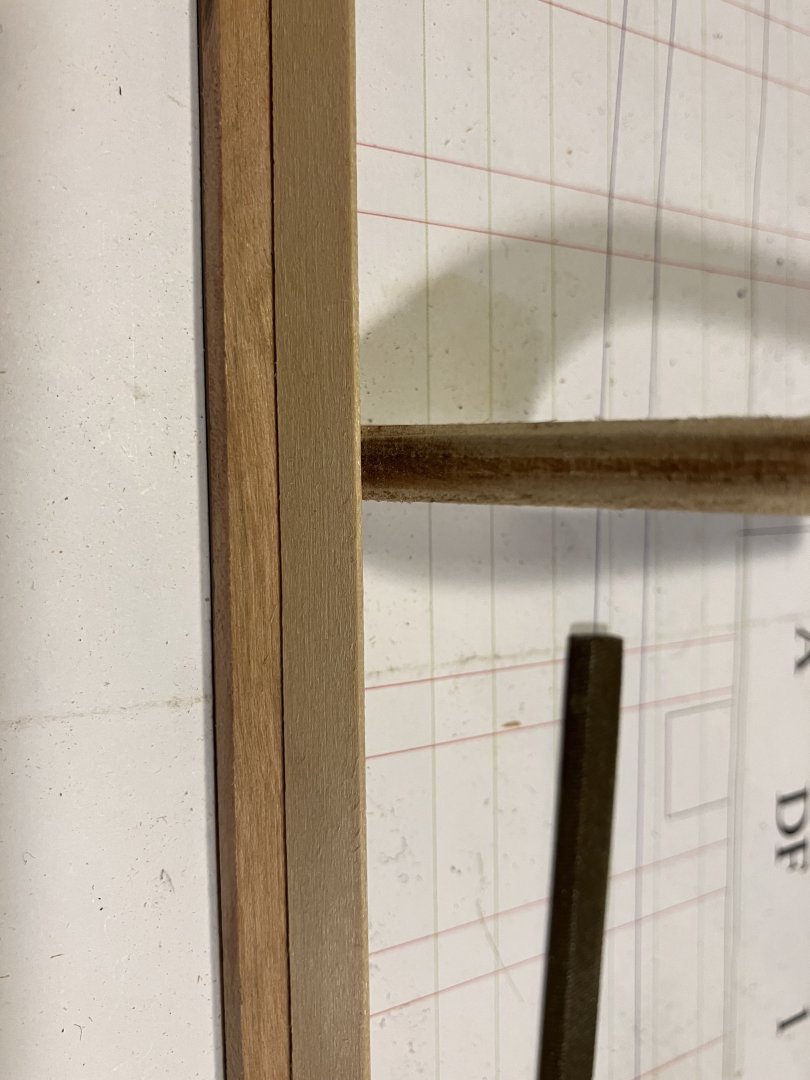
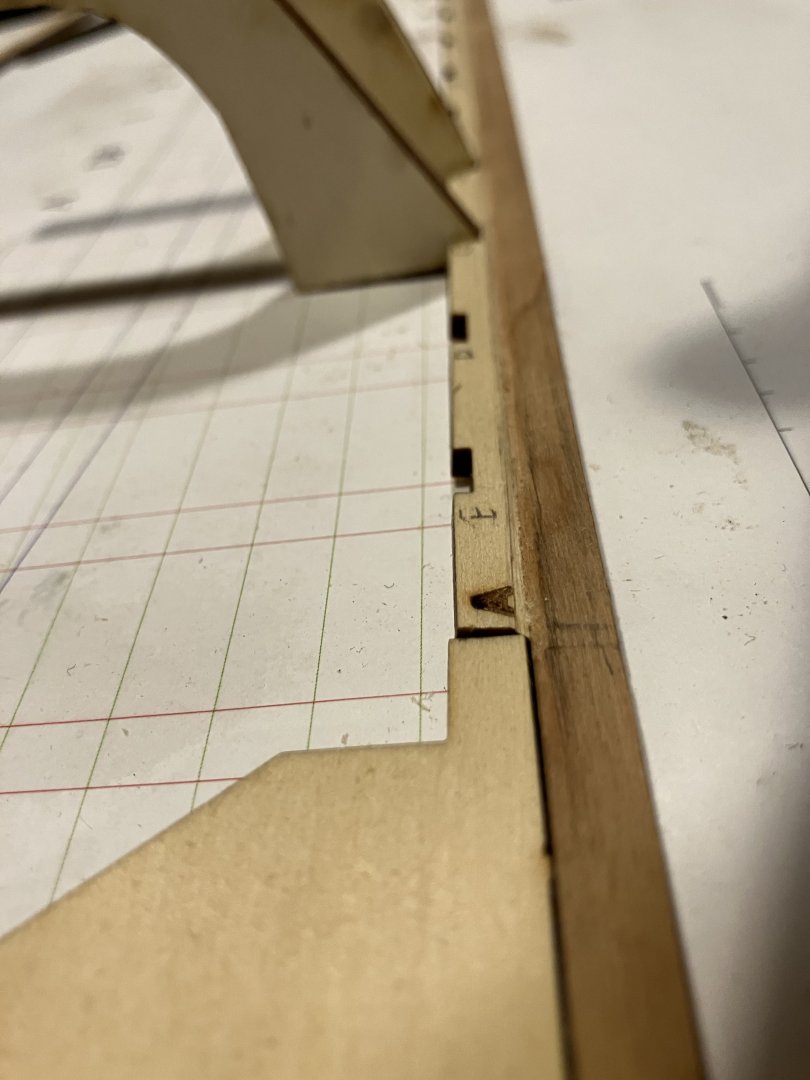
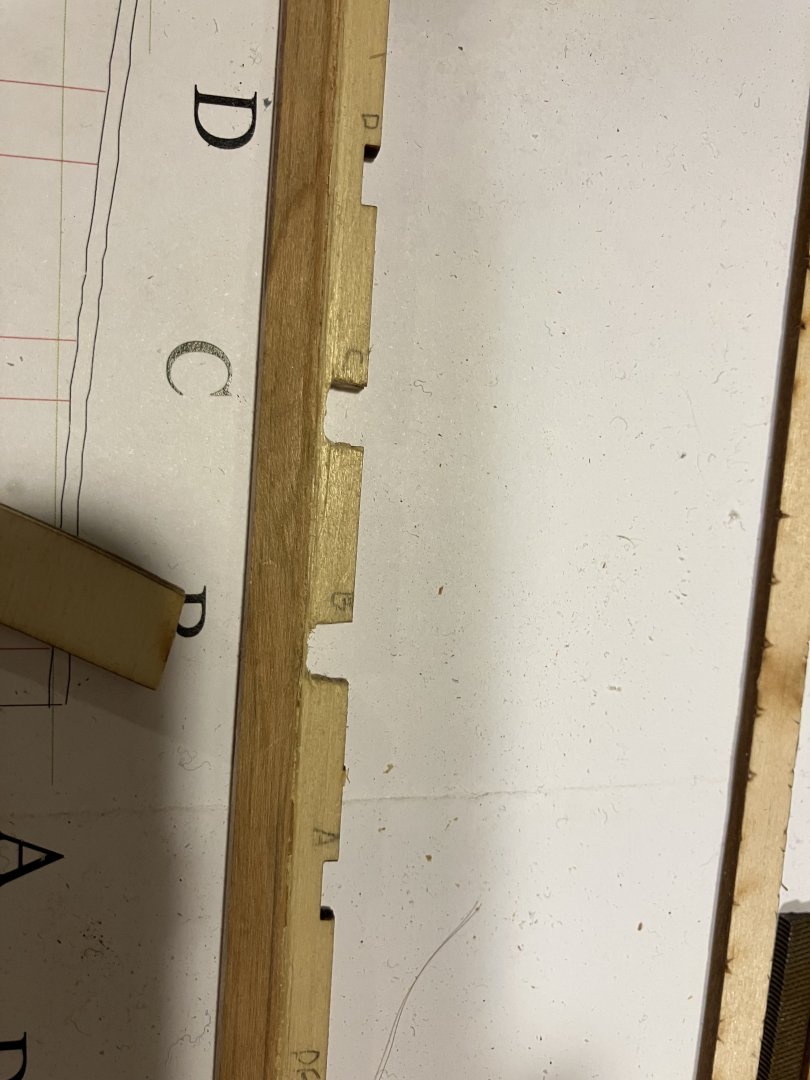
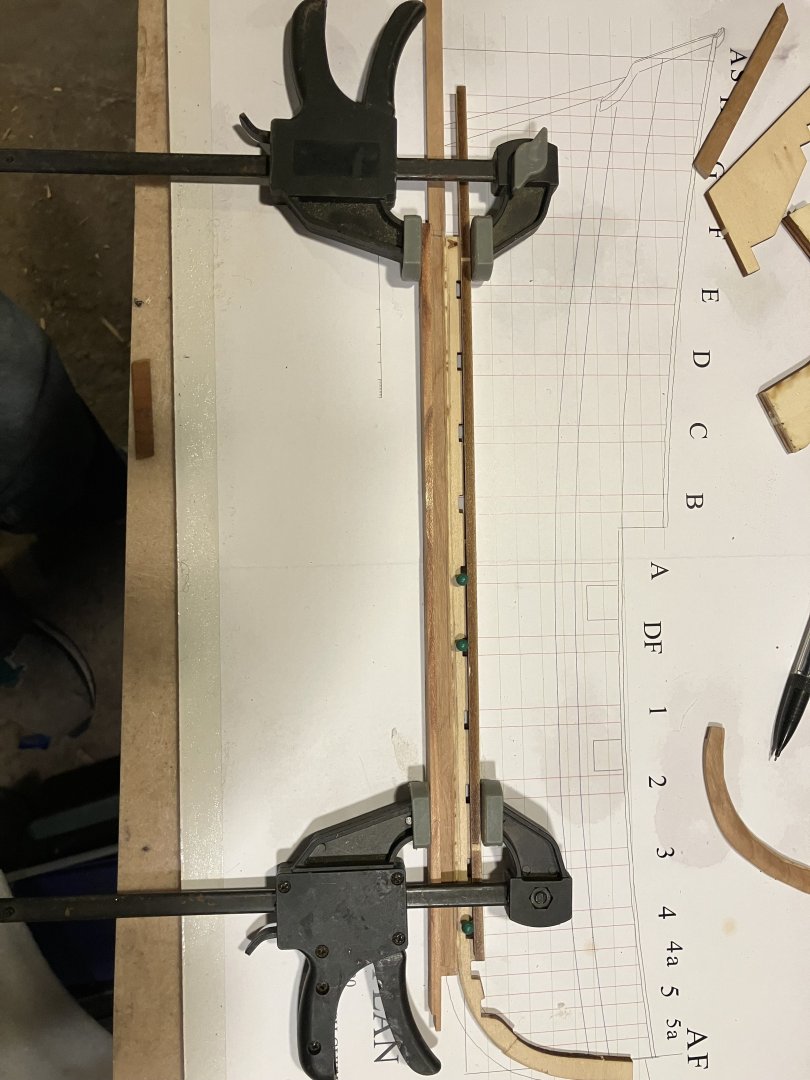
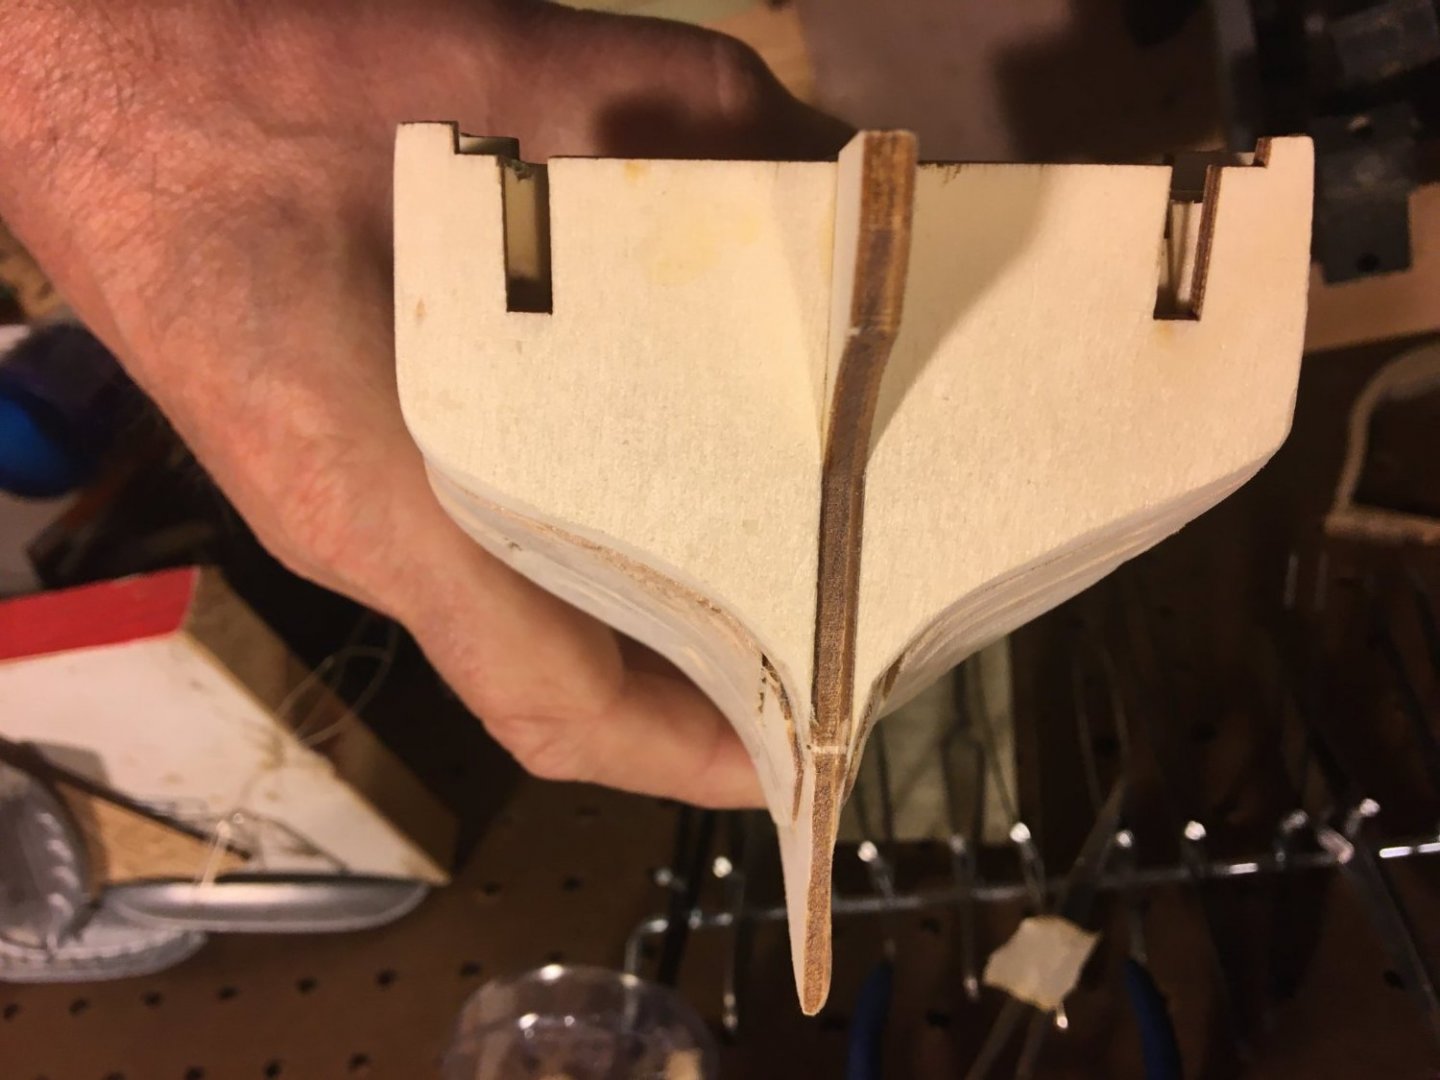
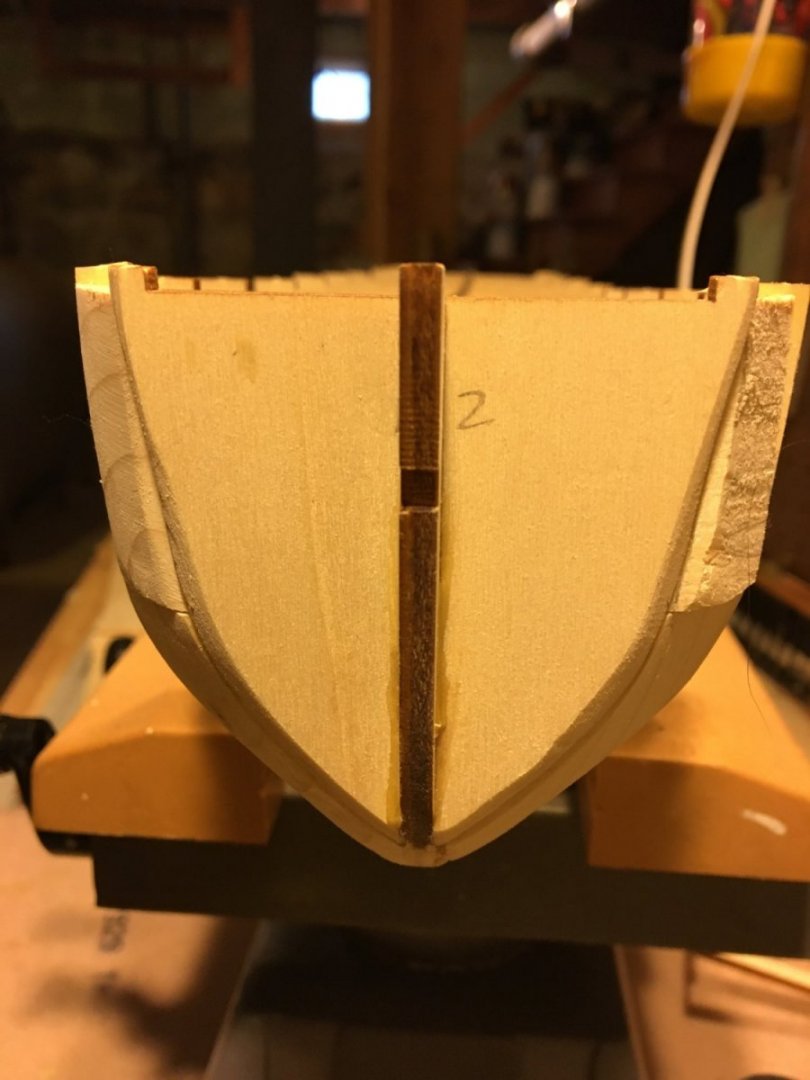
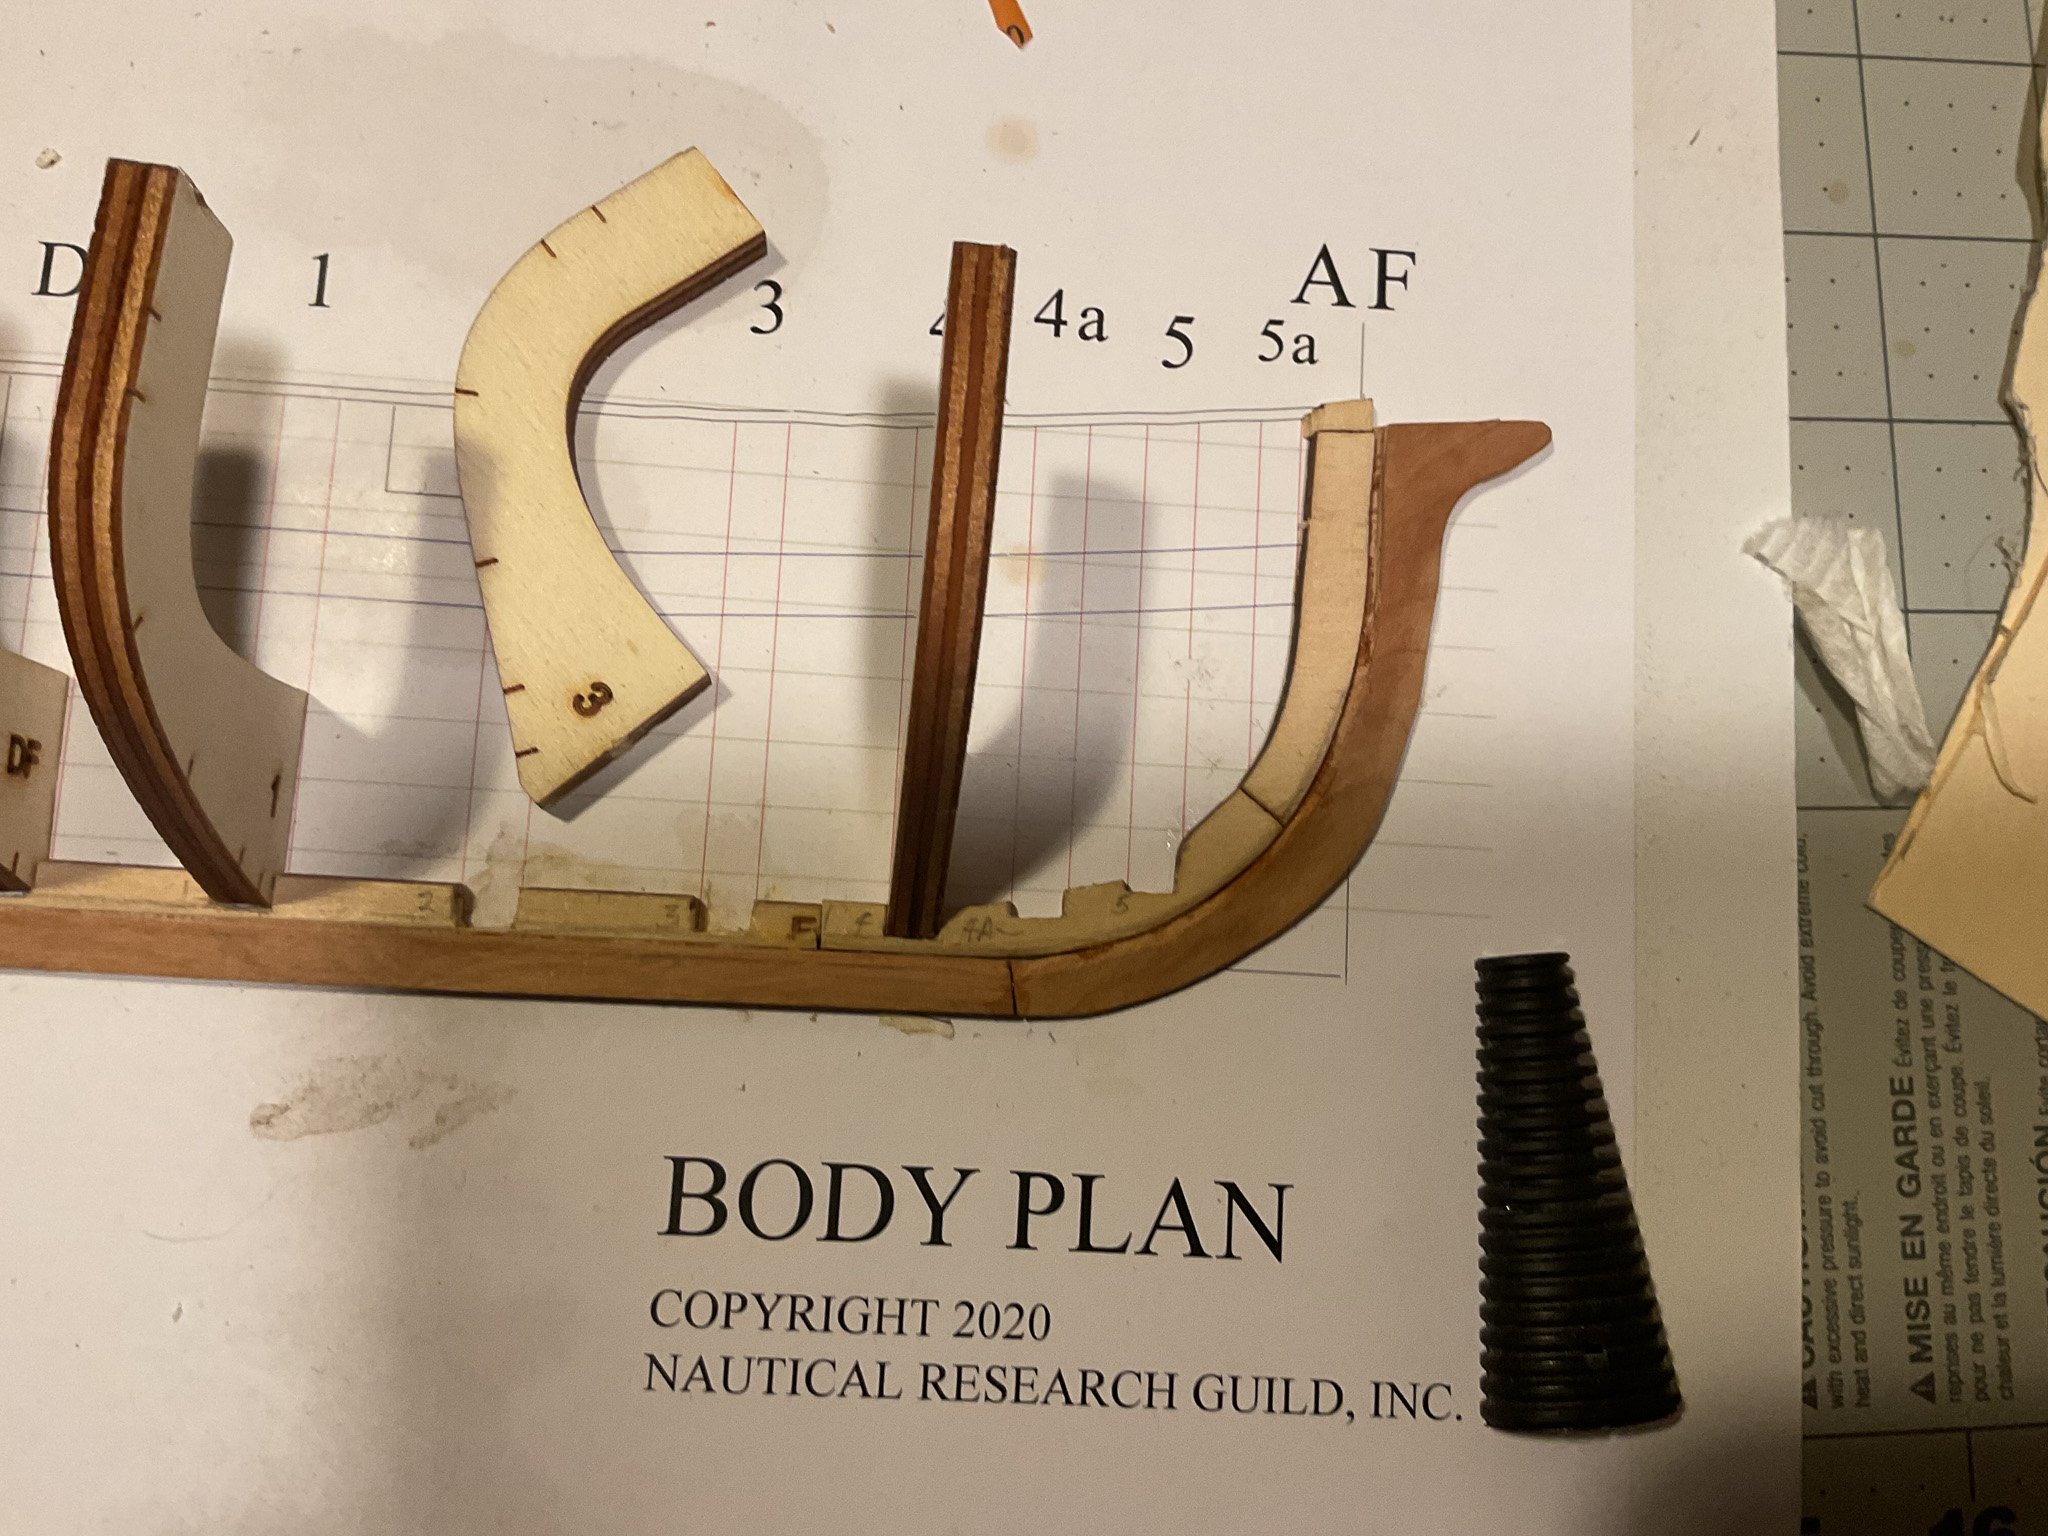
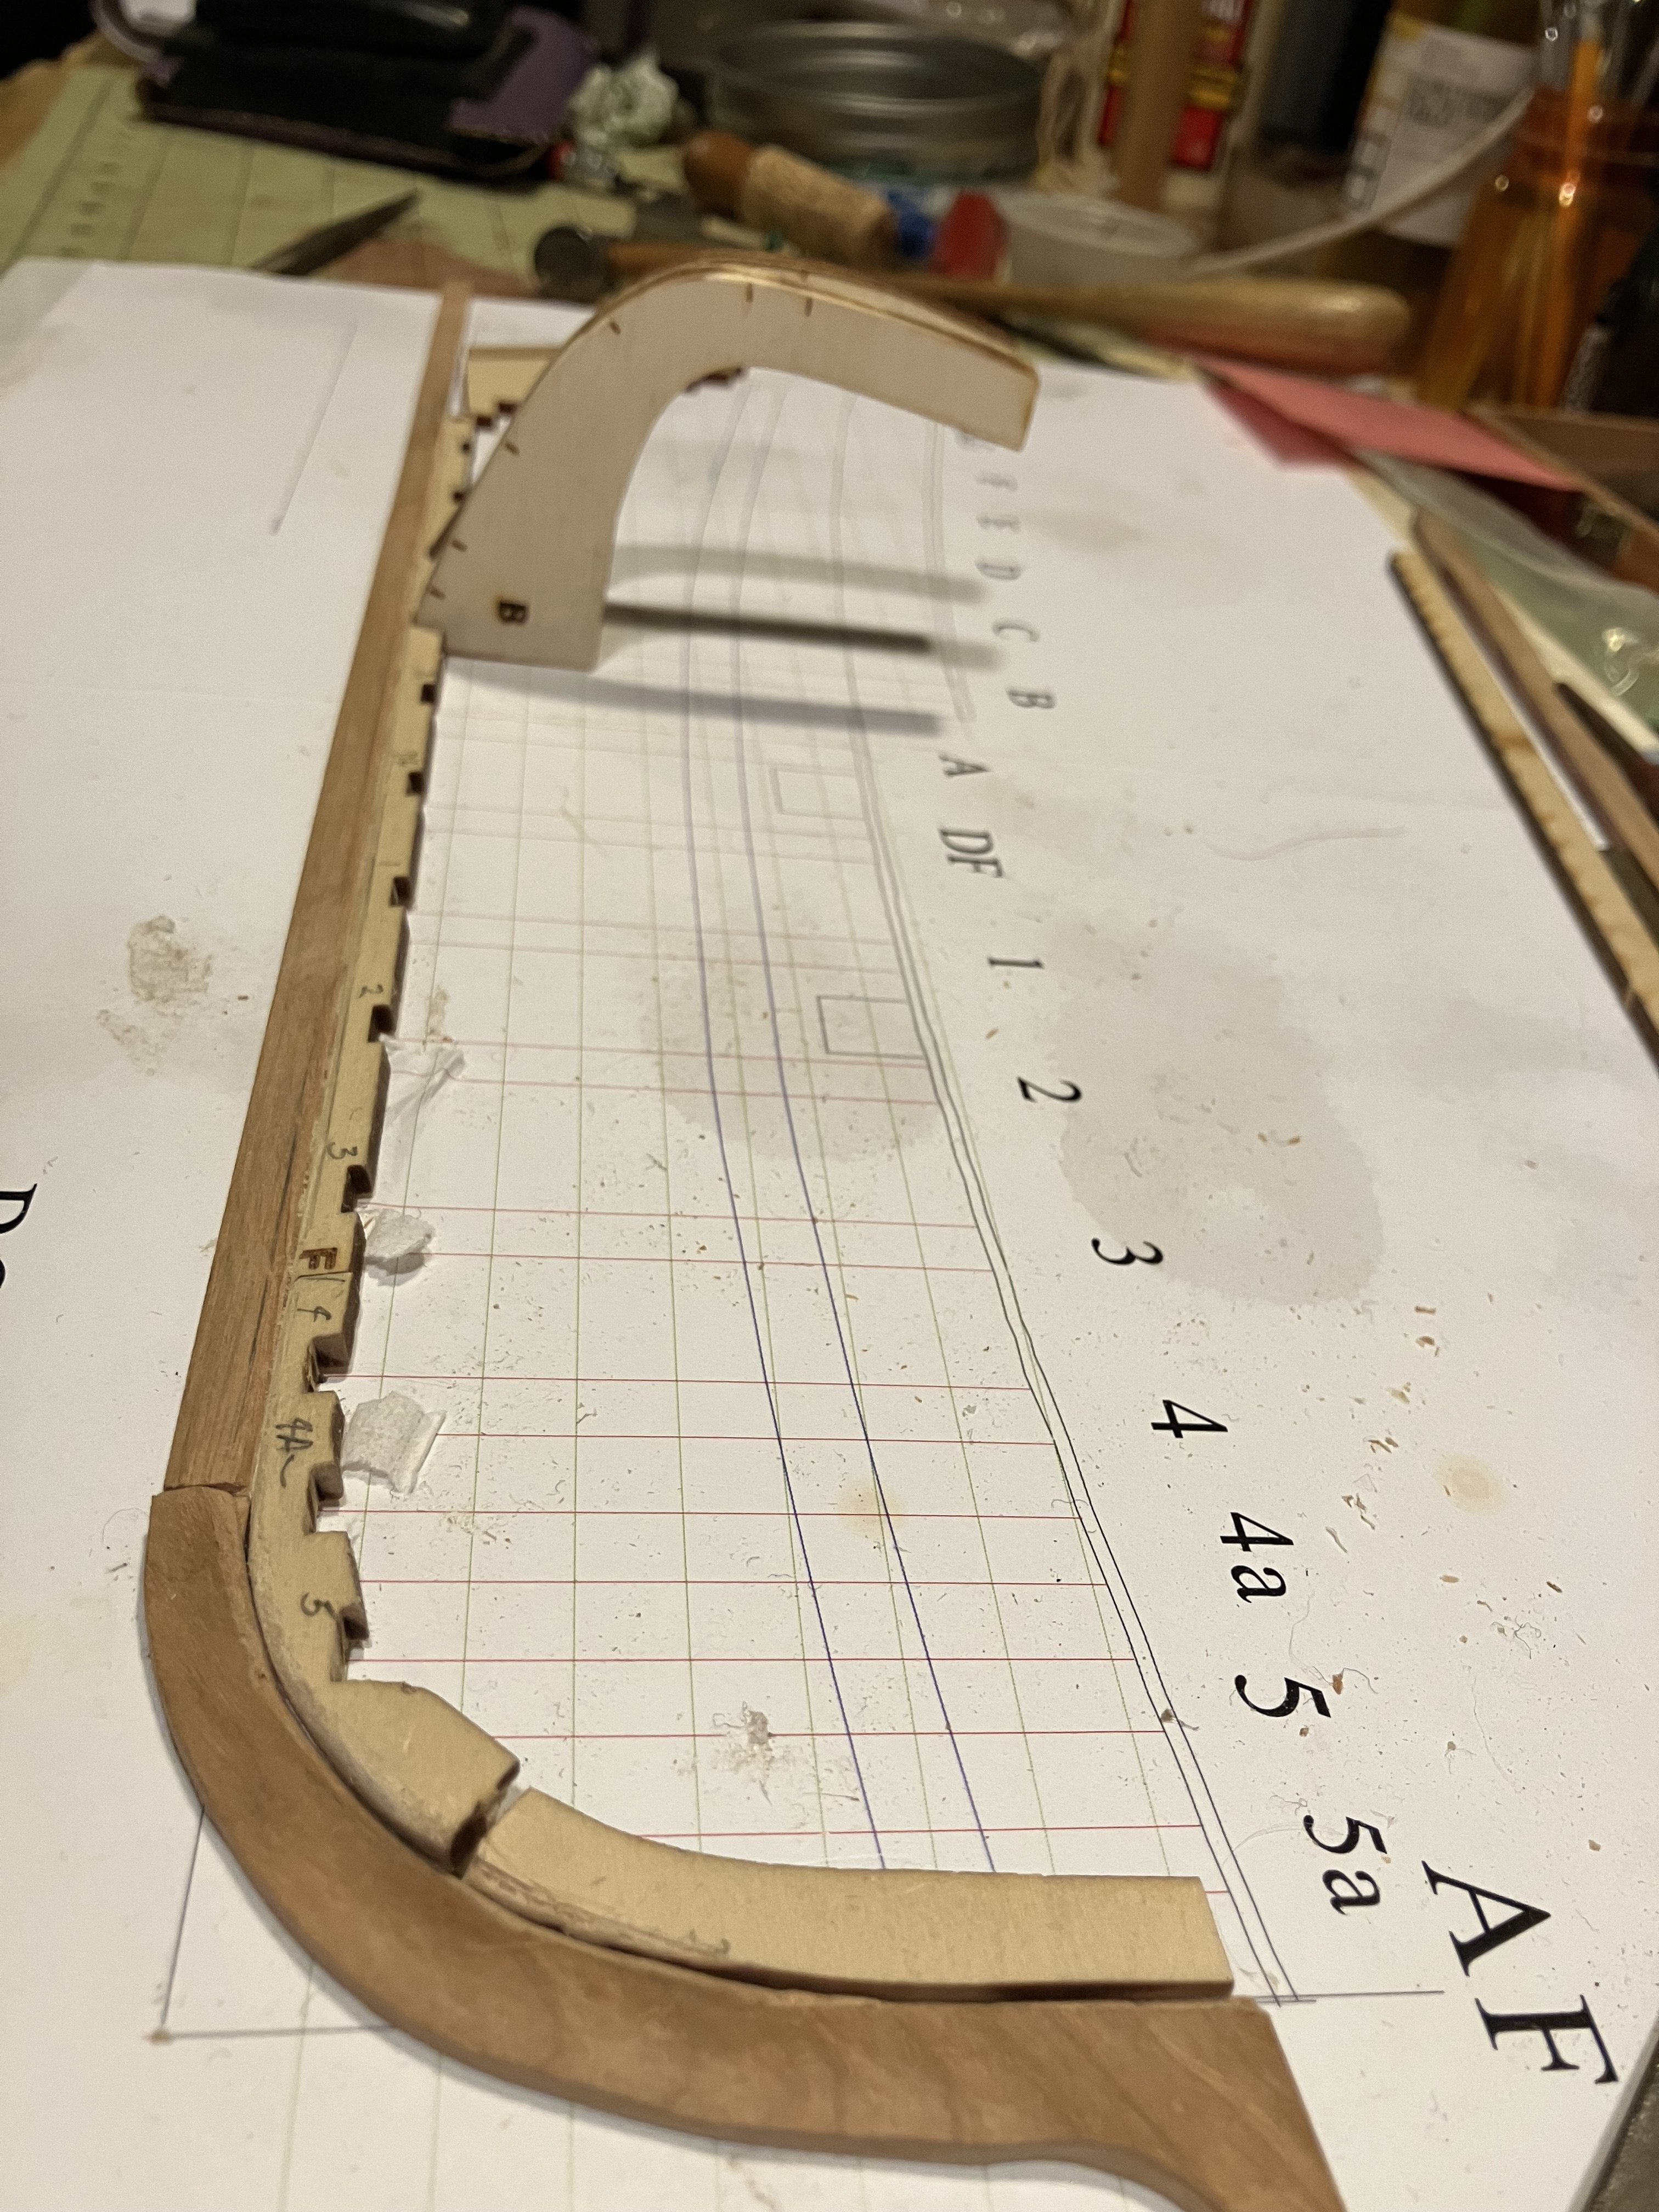
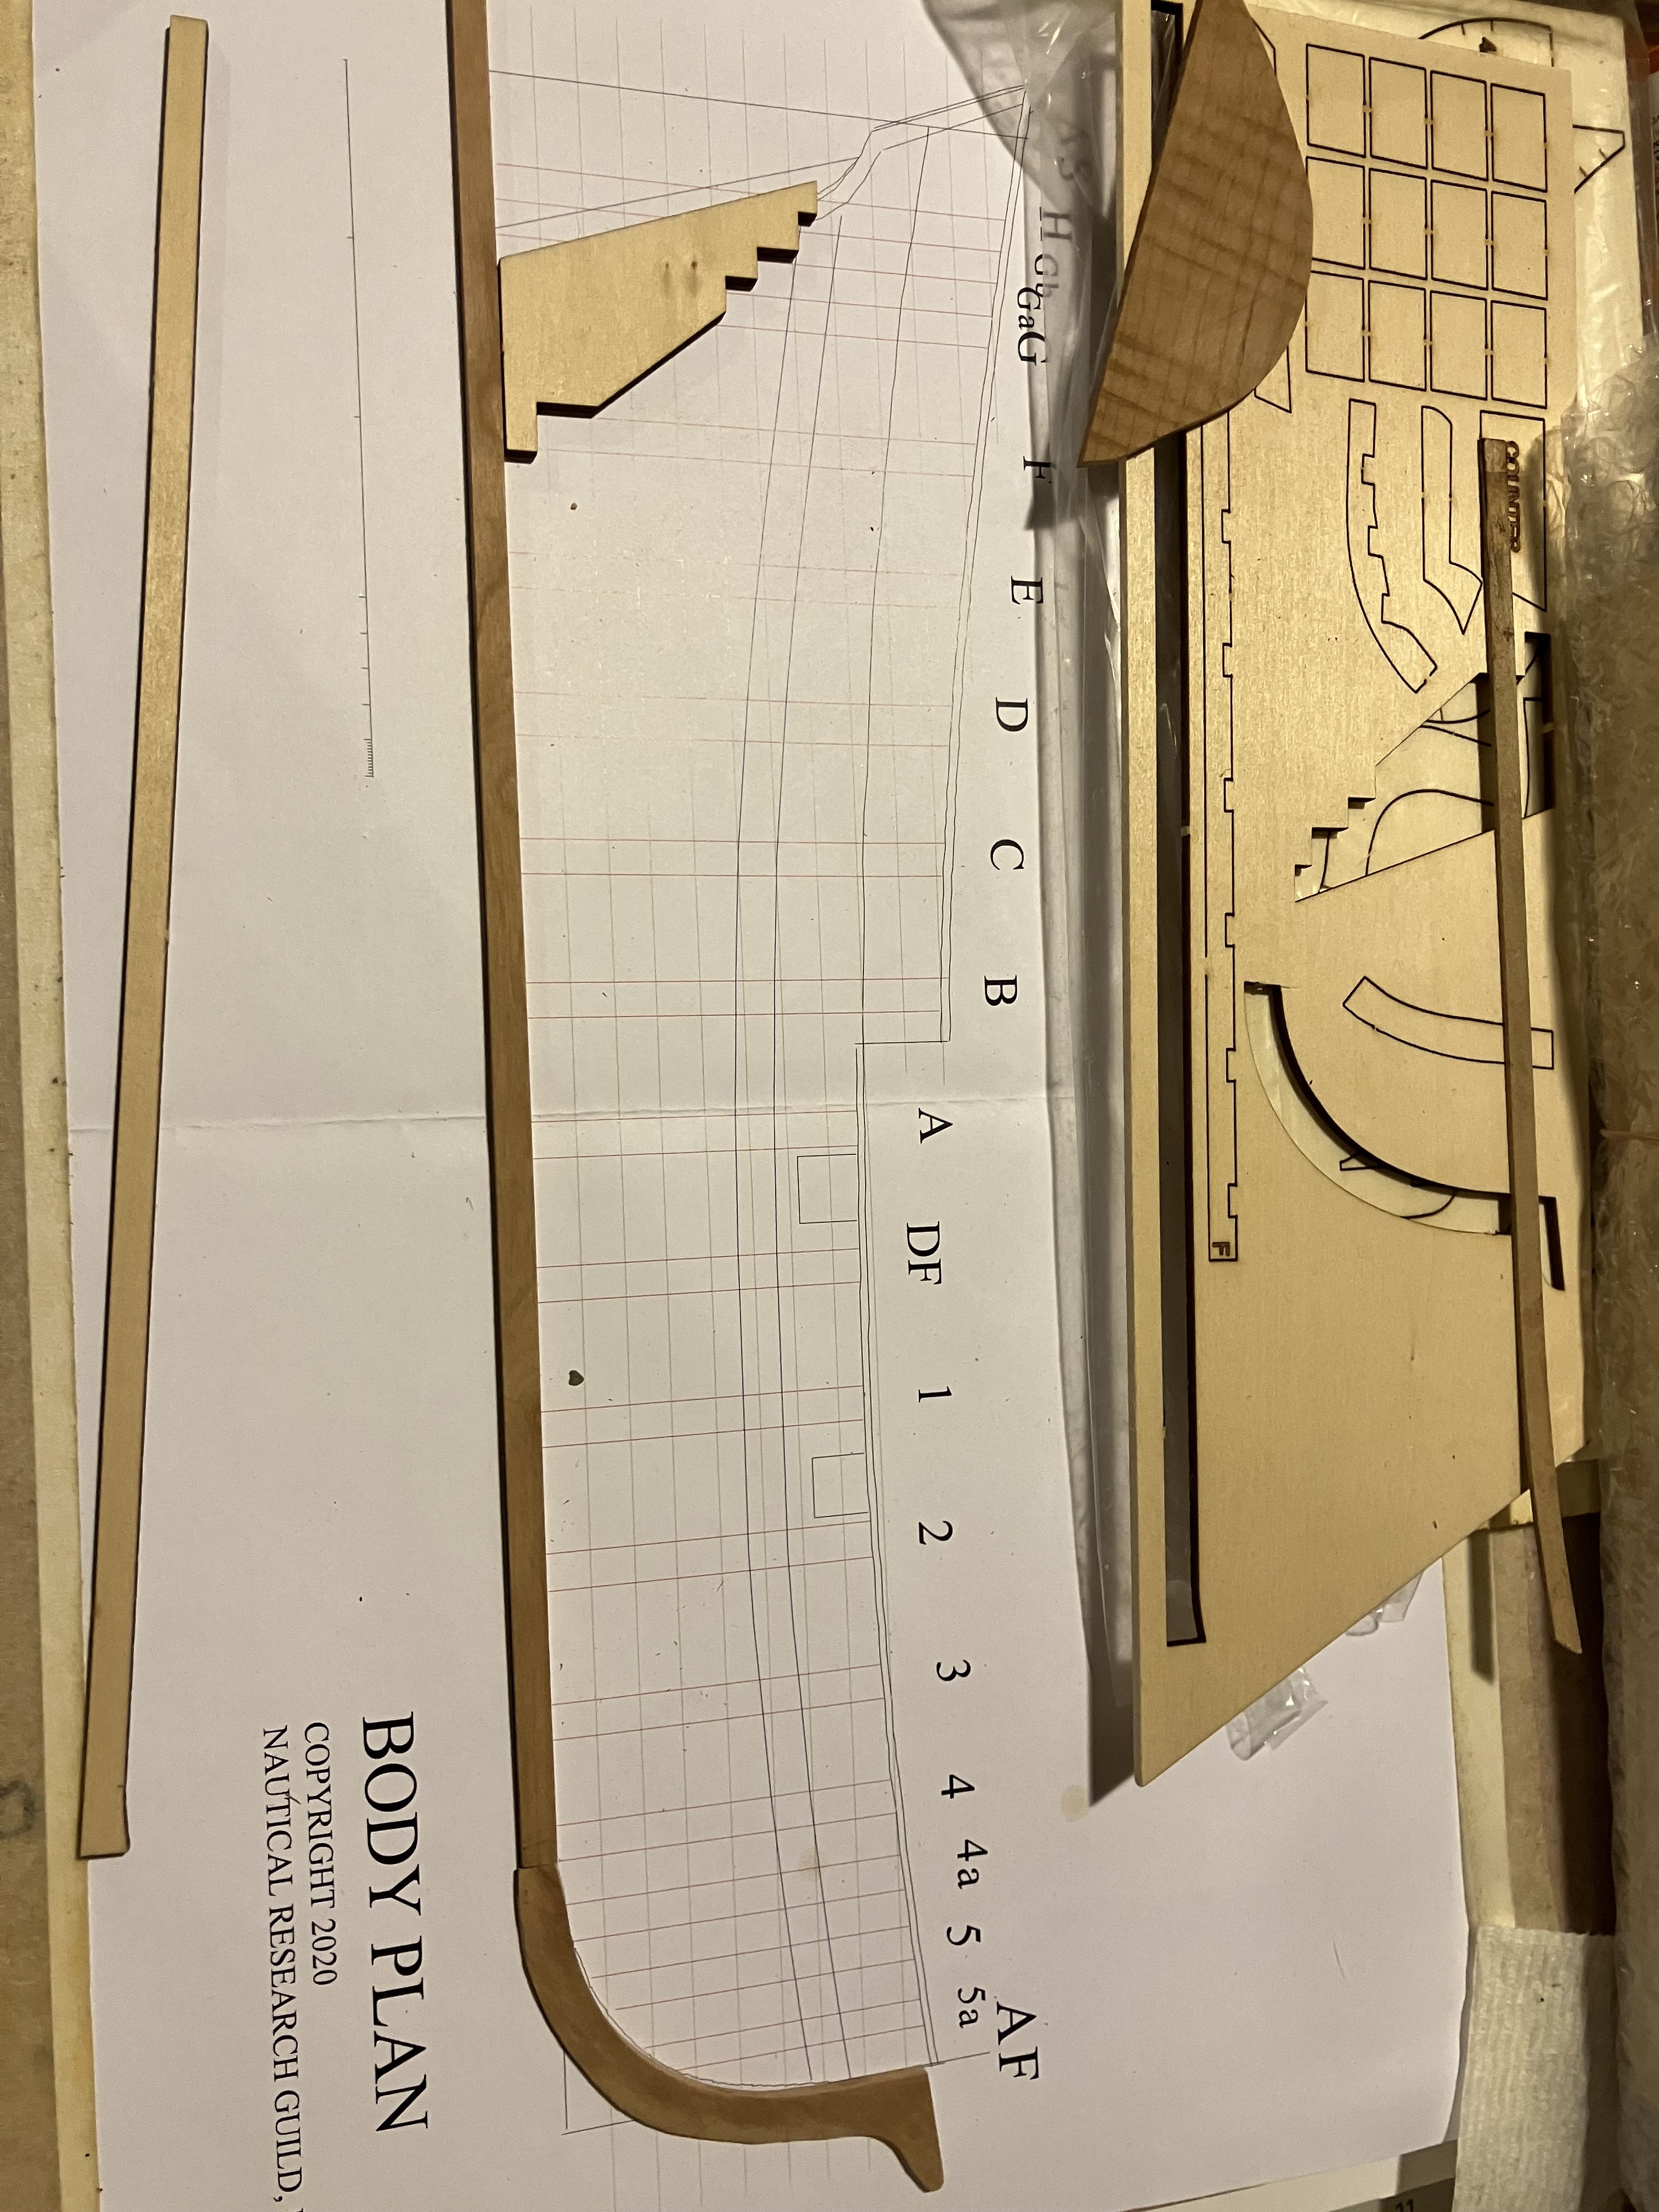
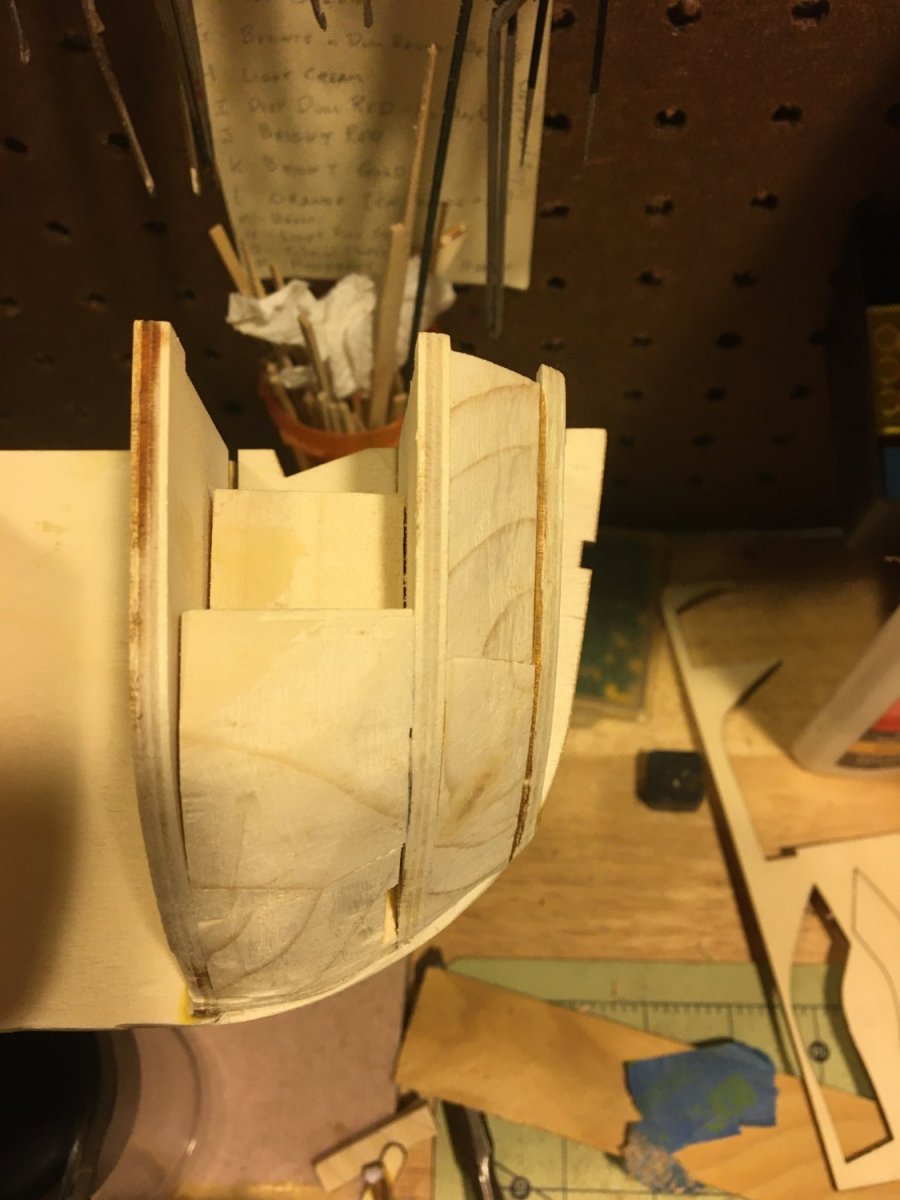
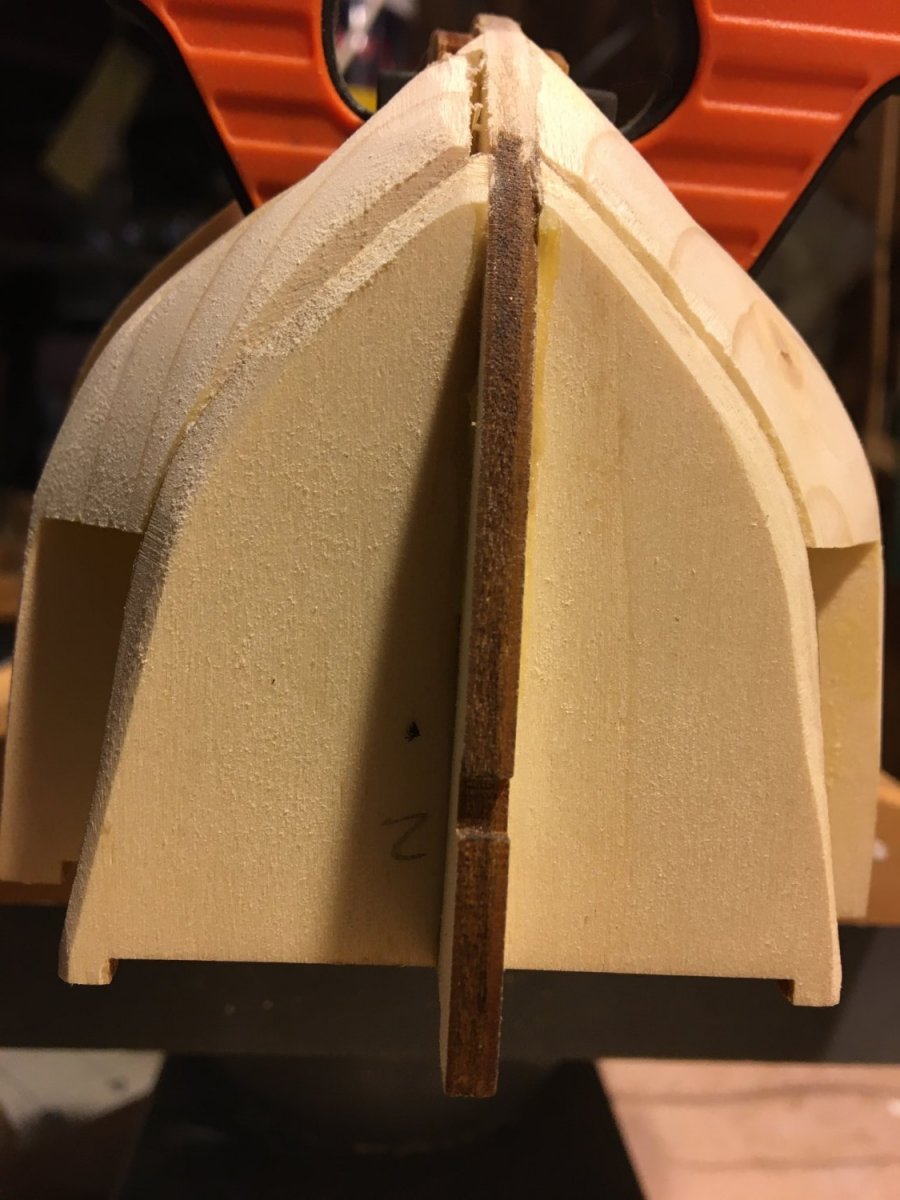
Thanks - I'm looking forward to seeing how the colors of these woods look together. One of the things that has not been clear to me is how deep the rabbet should be - is it just the hint of a slope into the keel and keelson, or does it extend well into the depth of the wood? I decided that it might be easier to deepen the notches in the keelson if I glued the keel and keelson to each other rather than onto the build board. This allowed me to use an x-acto knife, mini-chisel and files to extend the notches. They seem to need to go almost all the way through in order to get the bottom of the ribs to just above the rabbet, but now that the keelson is firmly glued to the keel it seems to work fine. I took a couple of frames out of the sheet and did some dry-fits into the keelson and the rabbet and they went together pretty well. I'll so this with all the frames before the glue comes out again.

-
ccoyle reacted to a post in a topic:
18th-Century Merchantman Half-Hull Planking Project by stevenmh - NRG
-
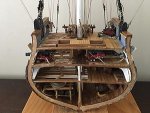
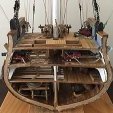
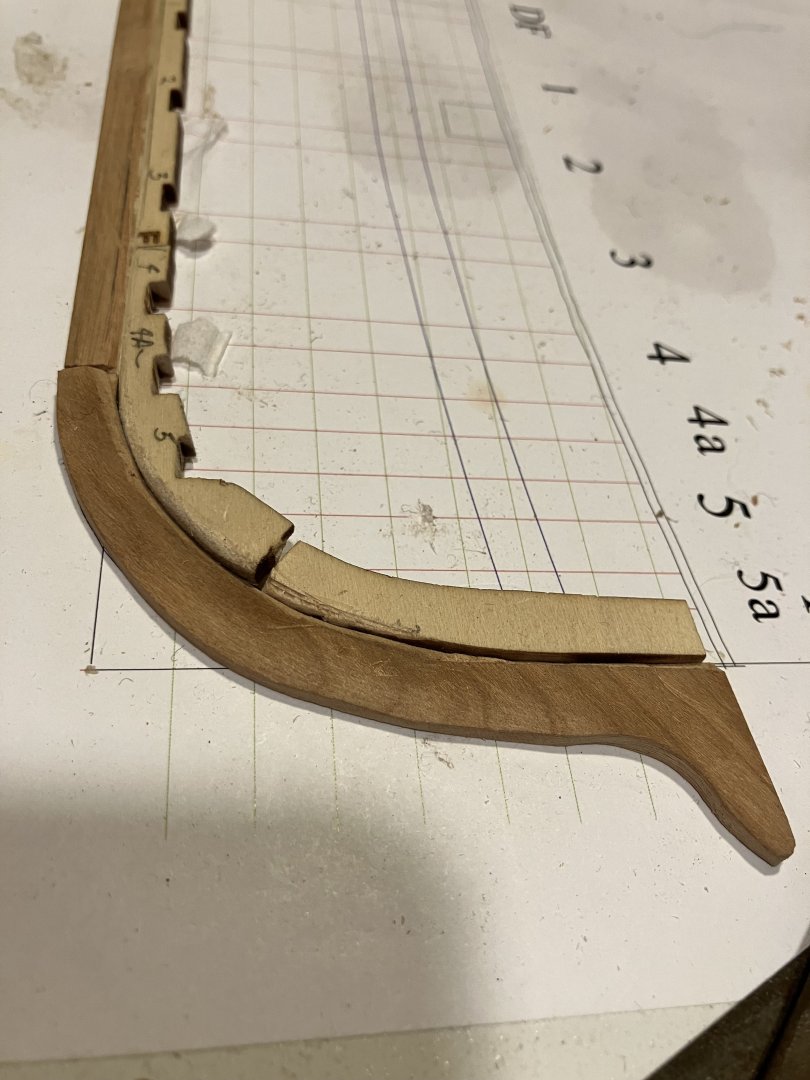
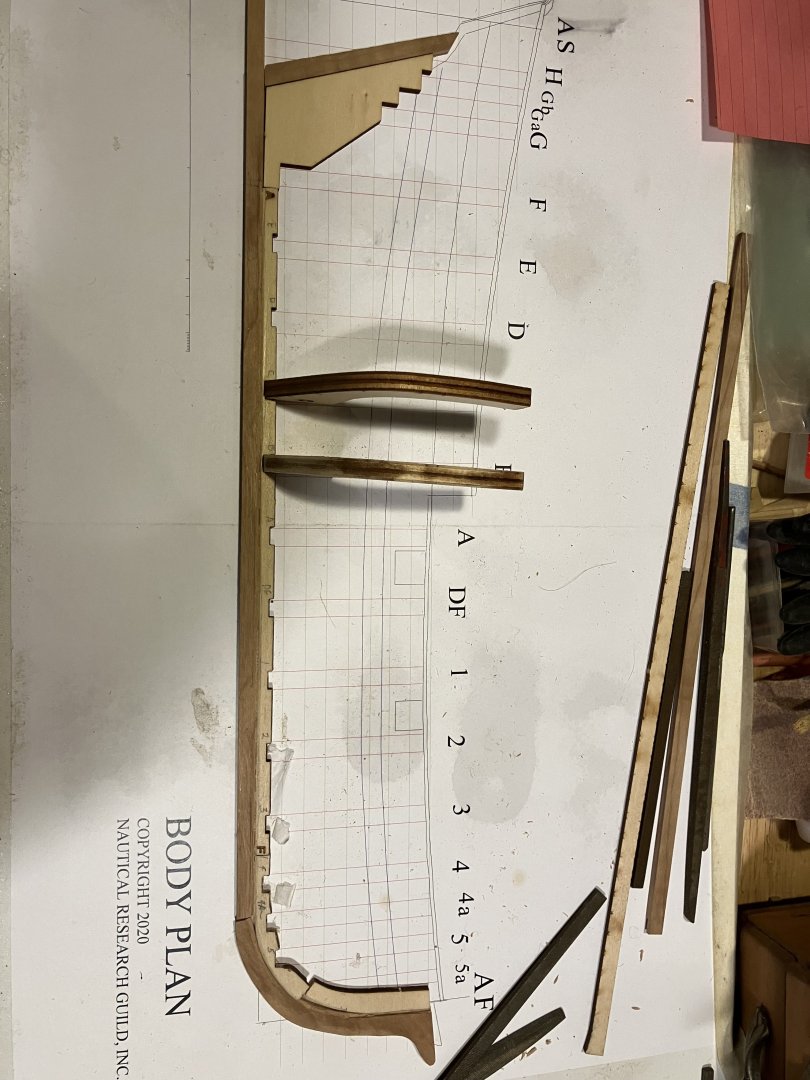
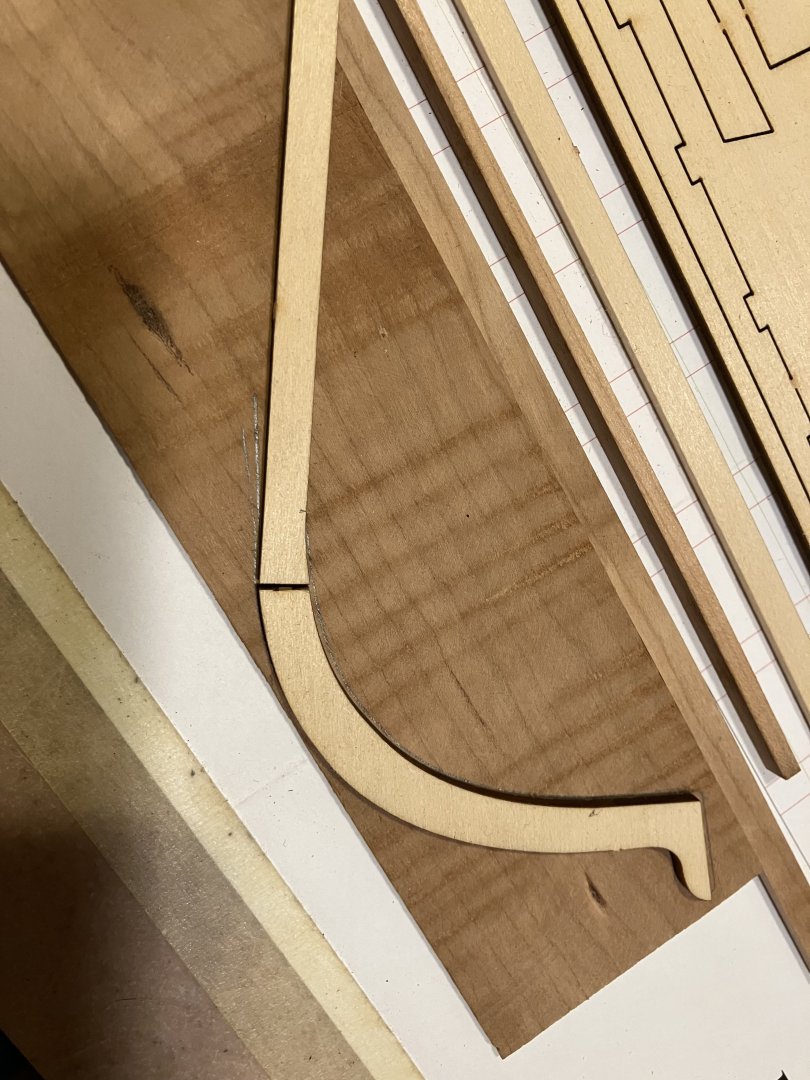
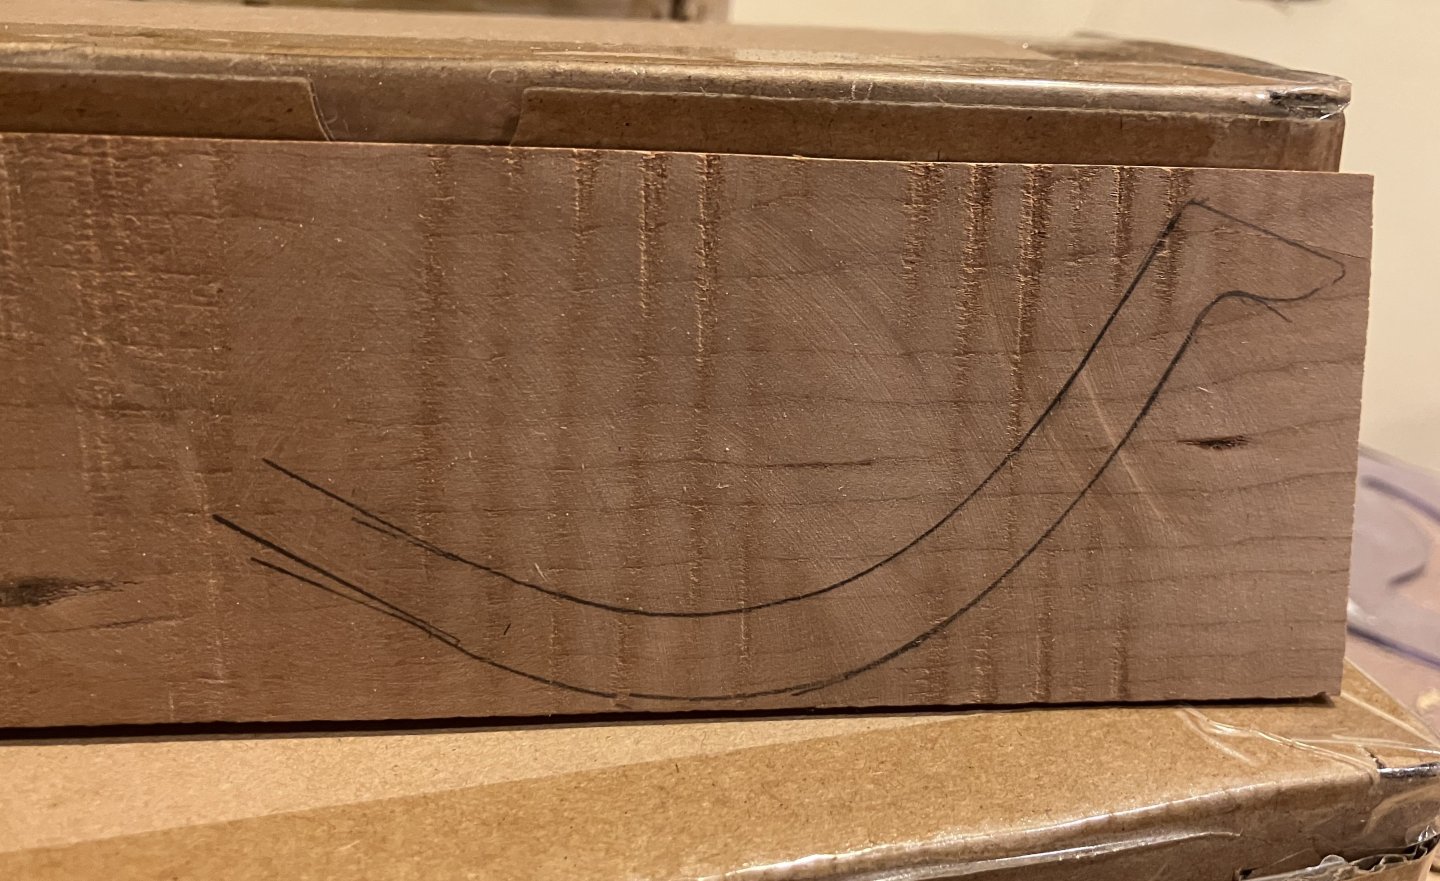
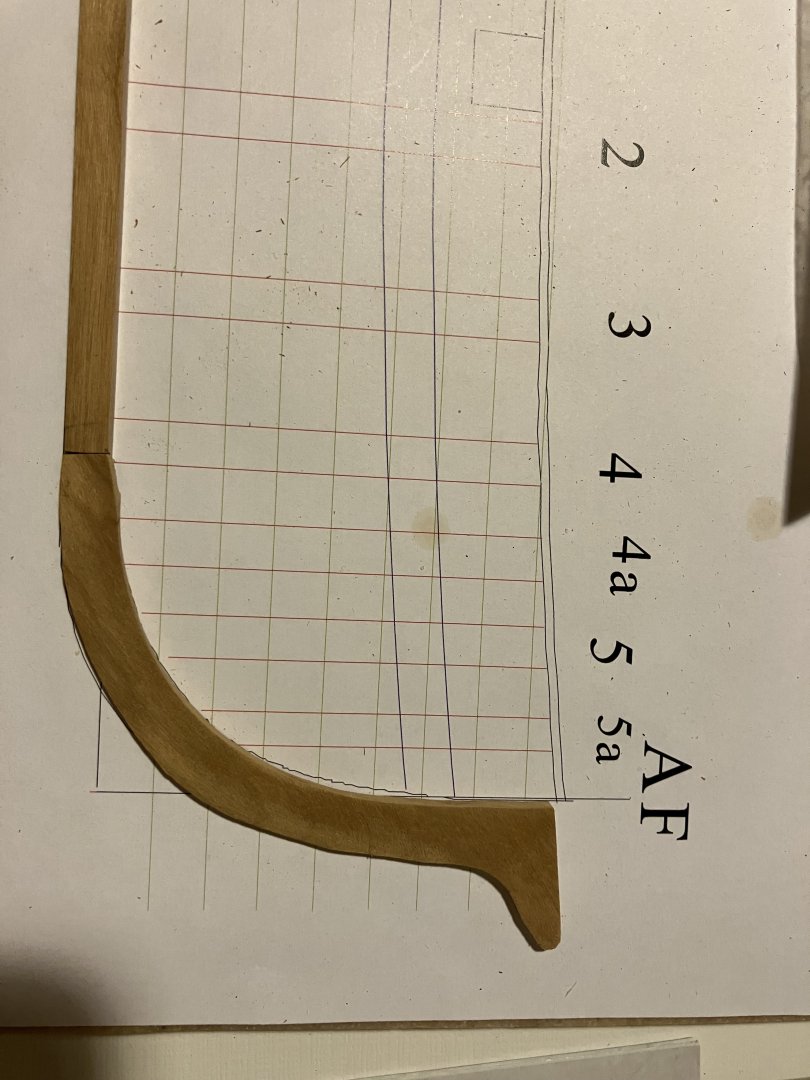
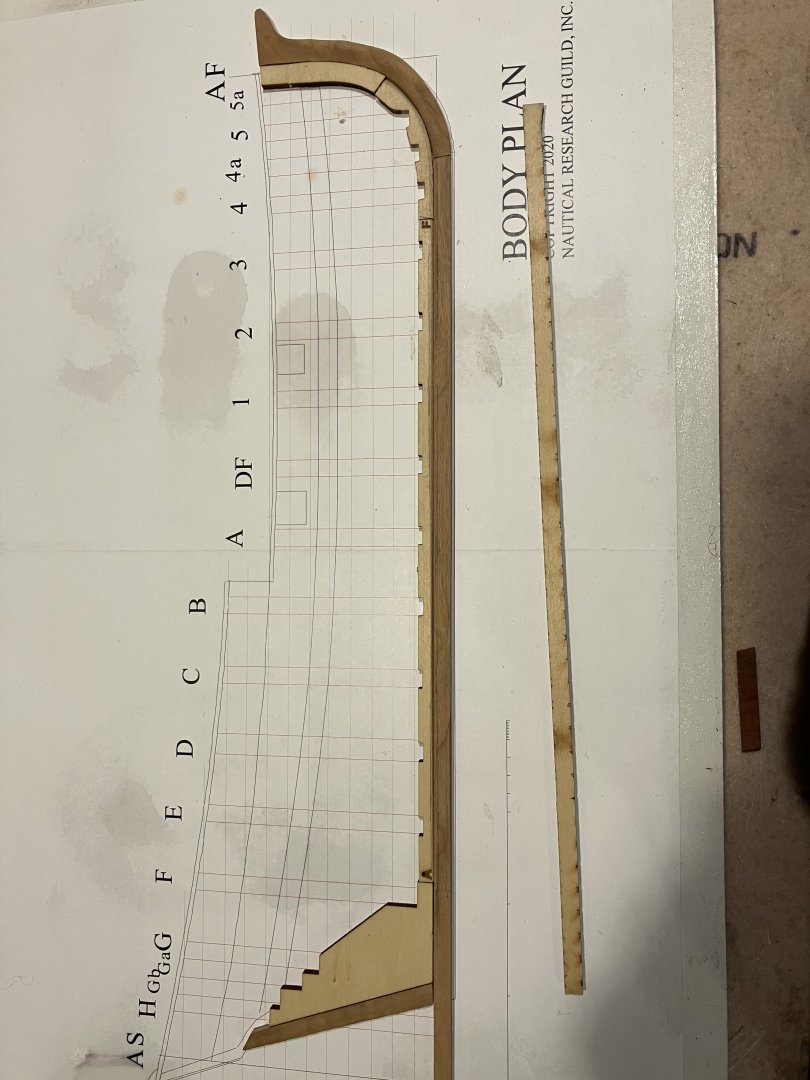
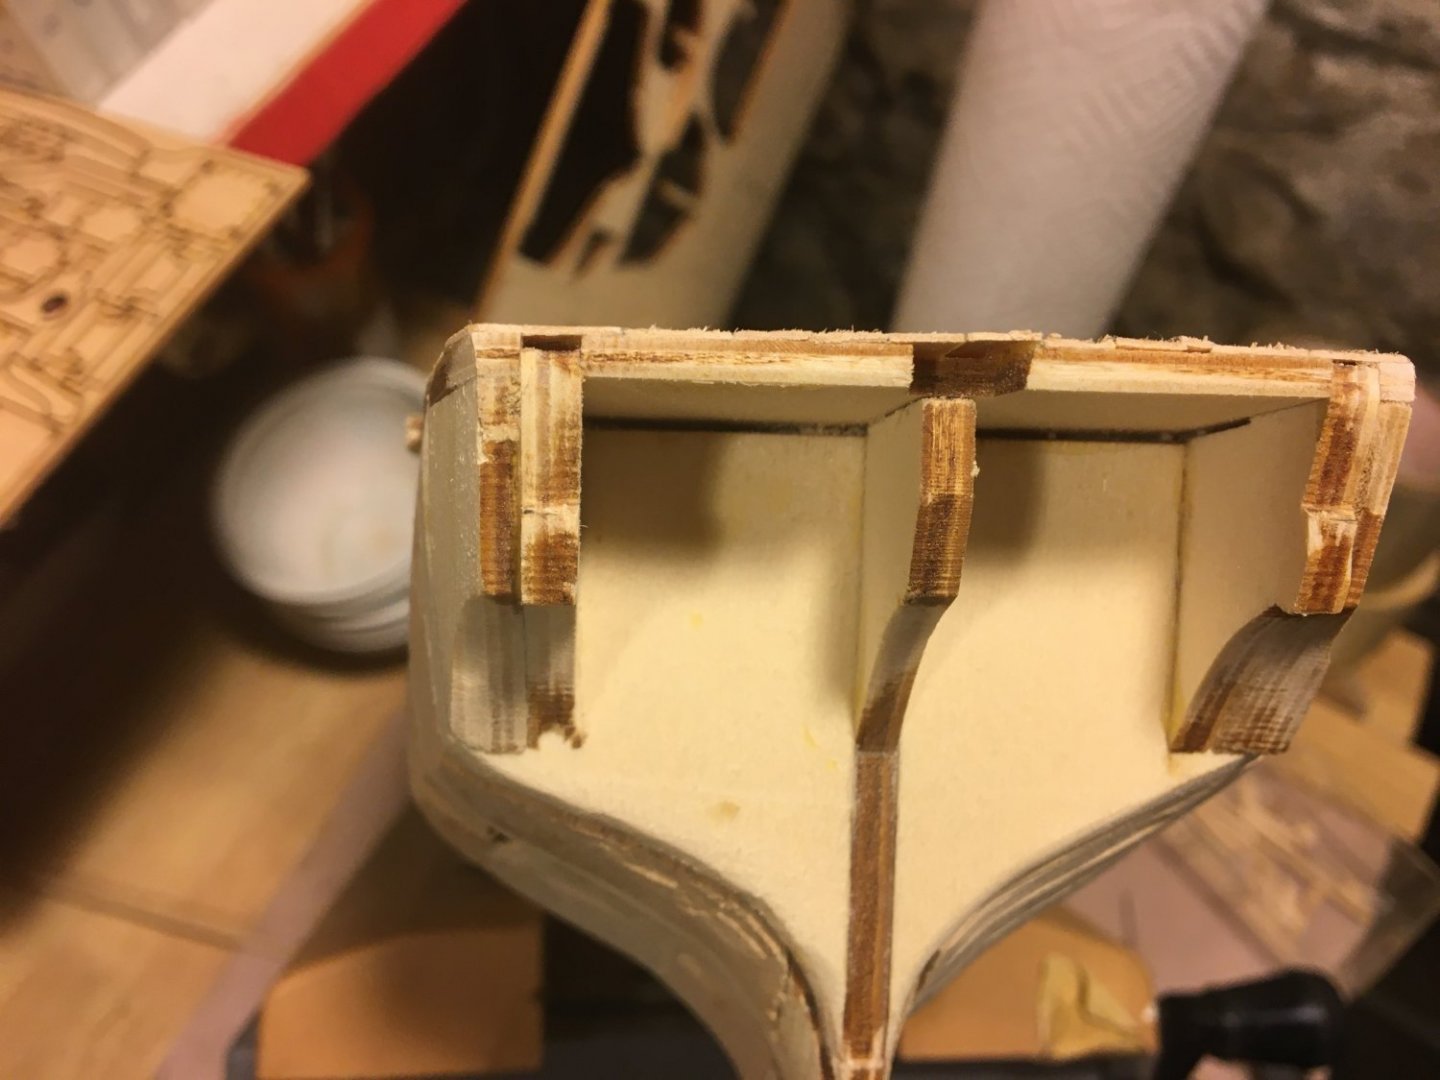
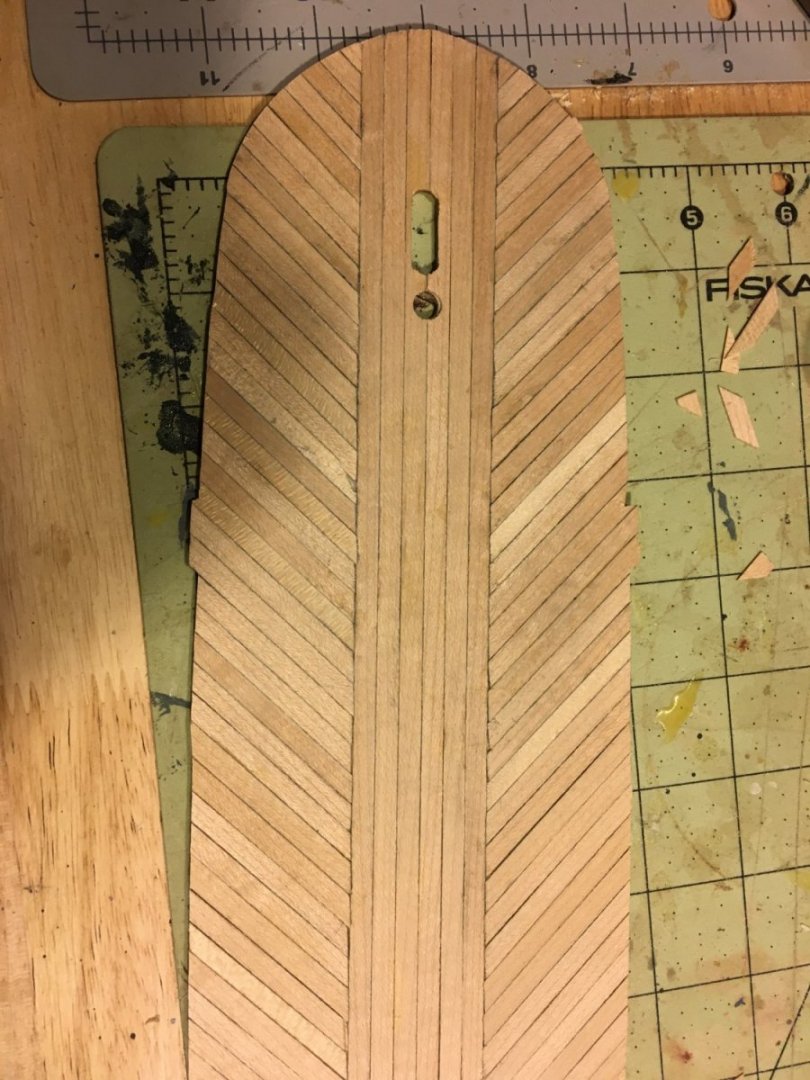
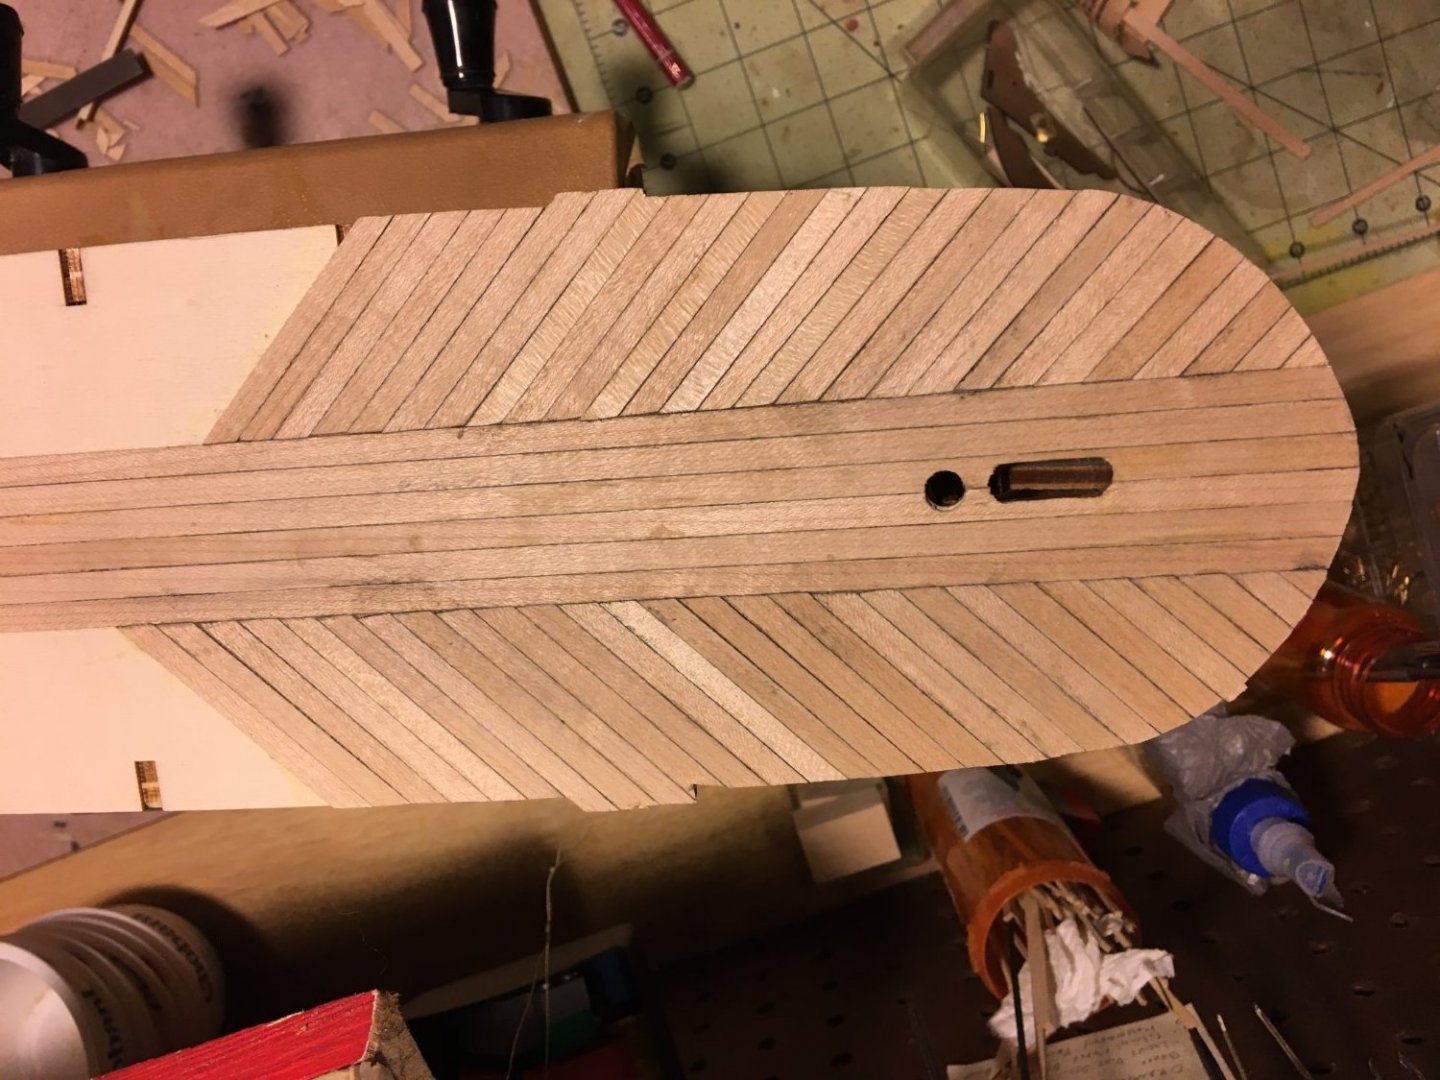
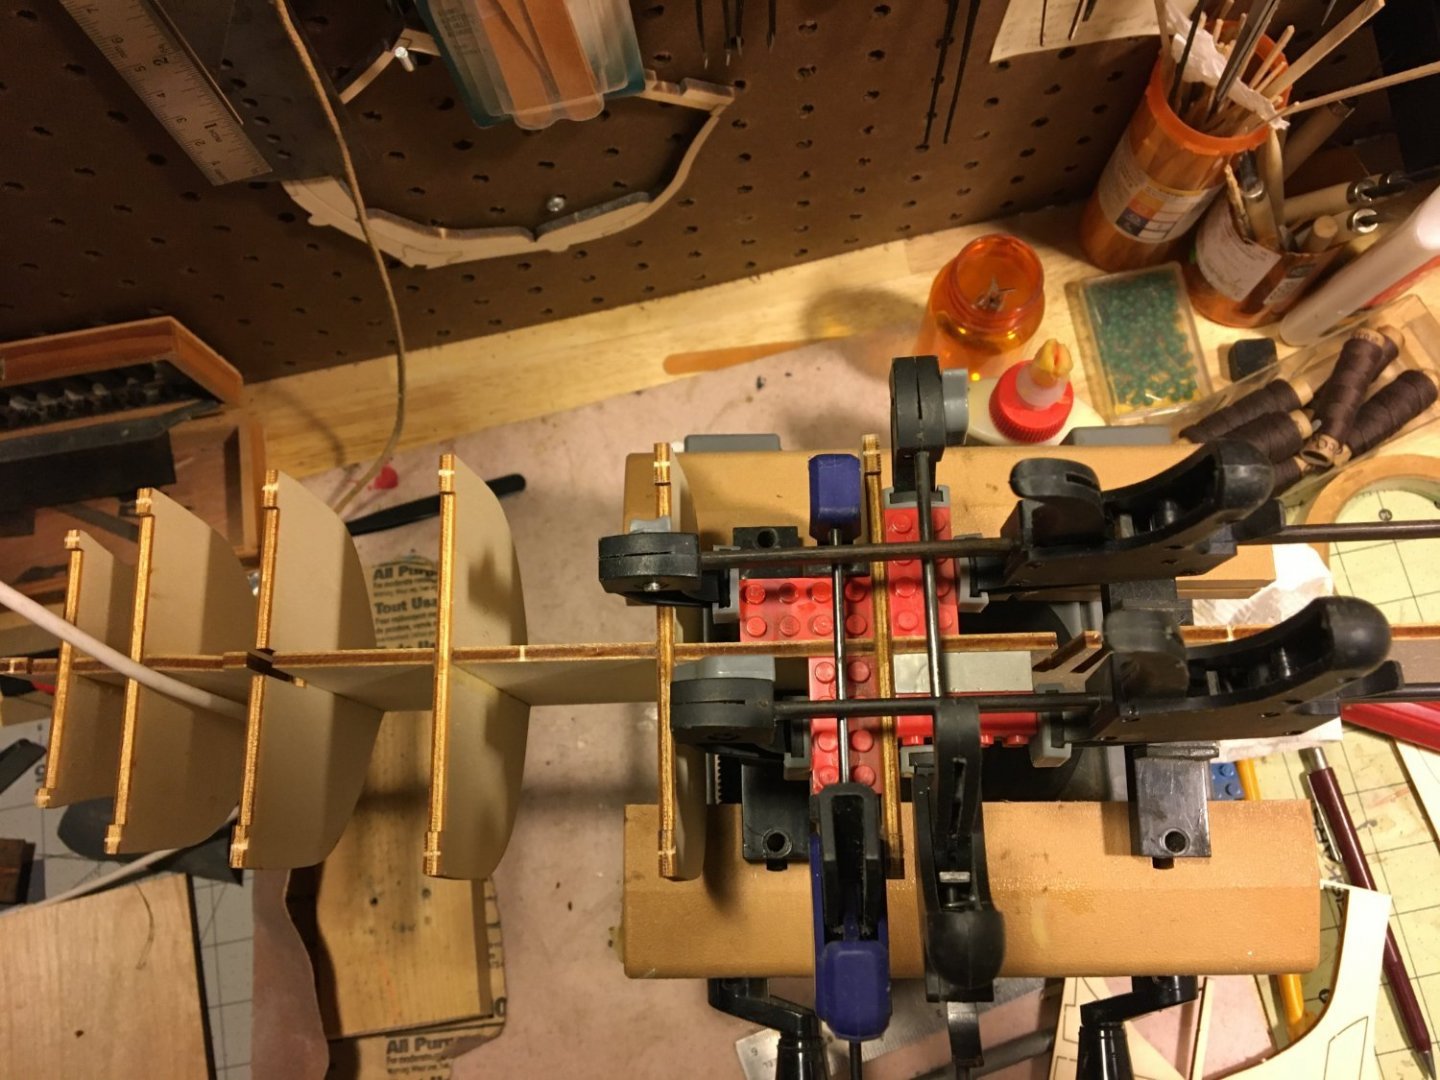
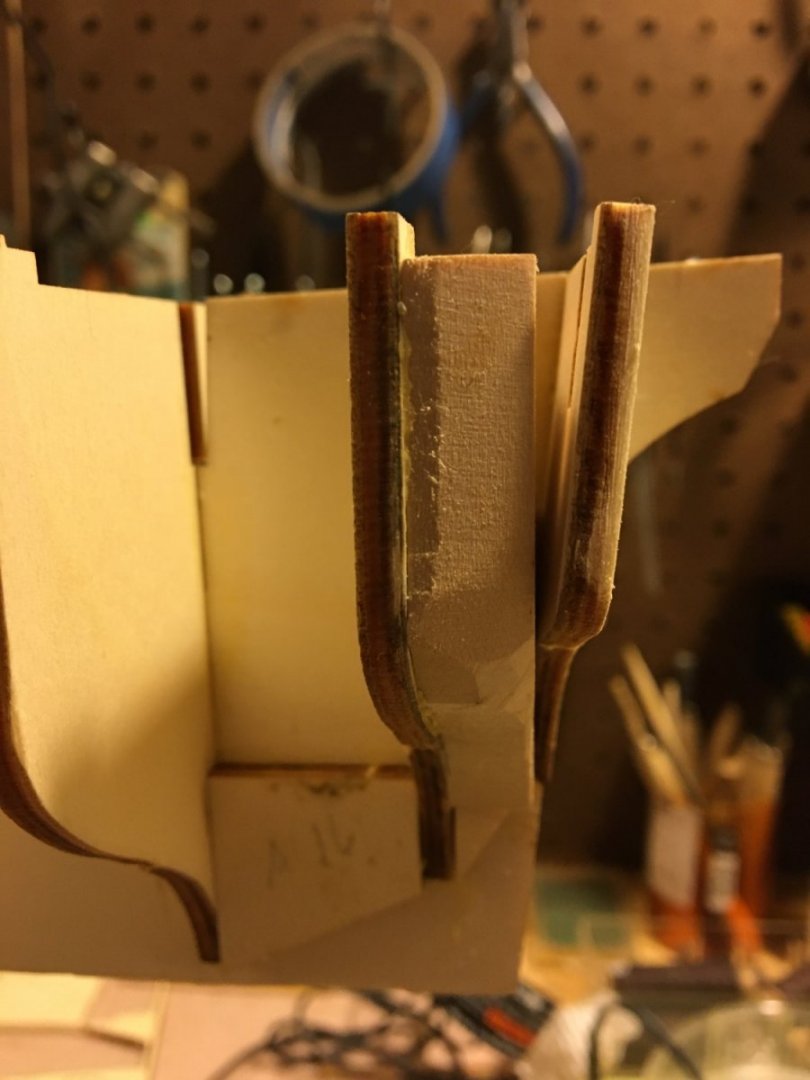
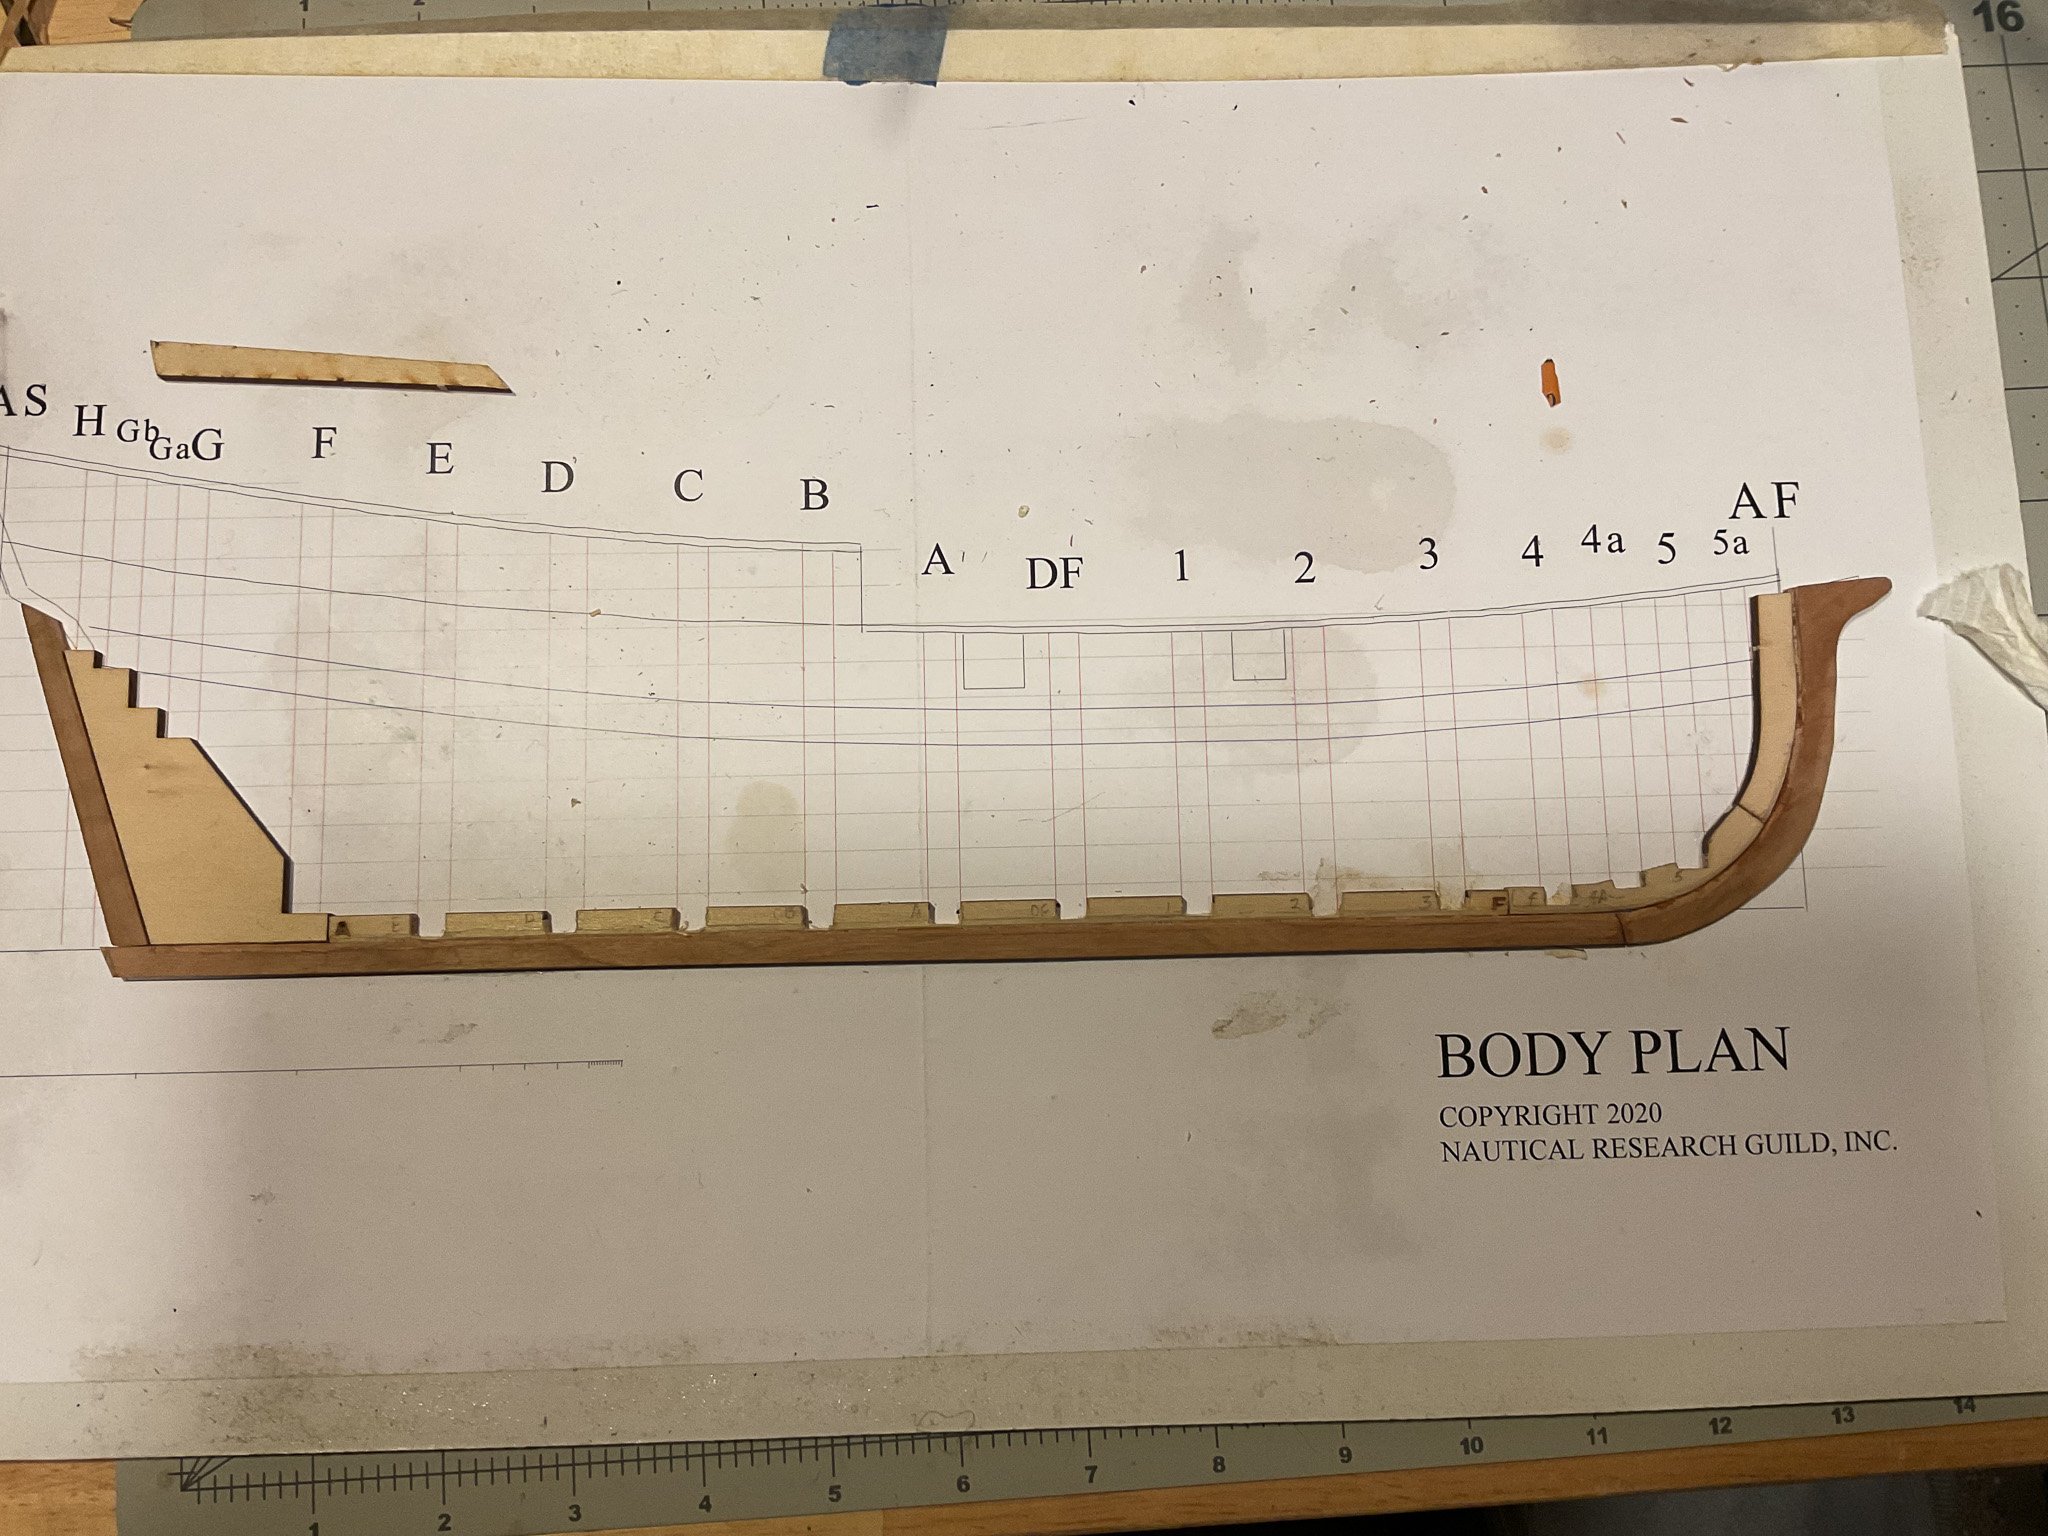
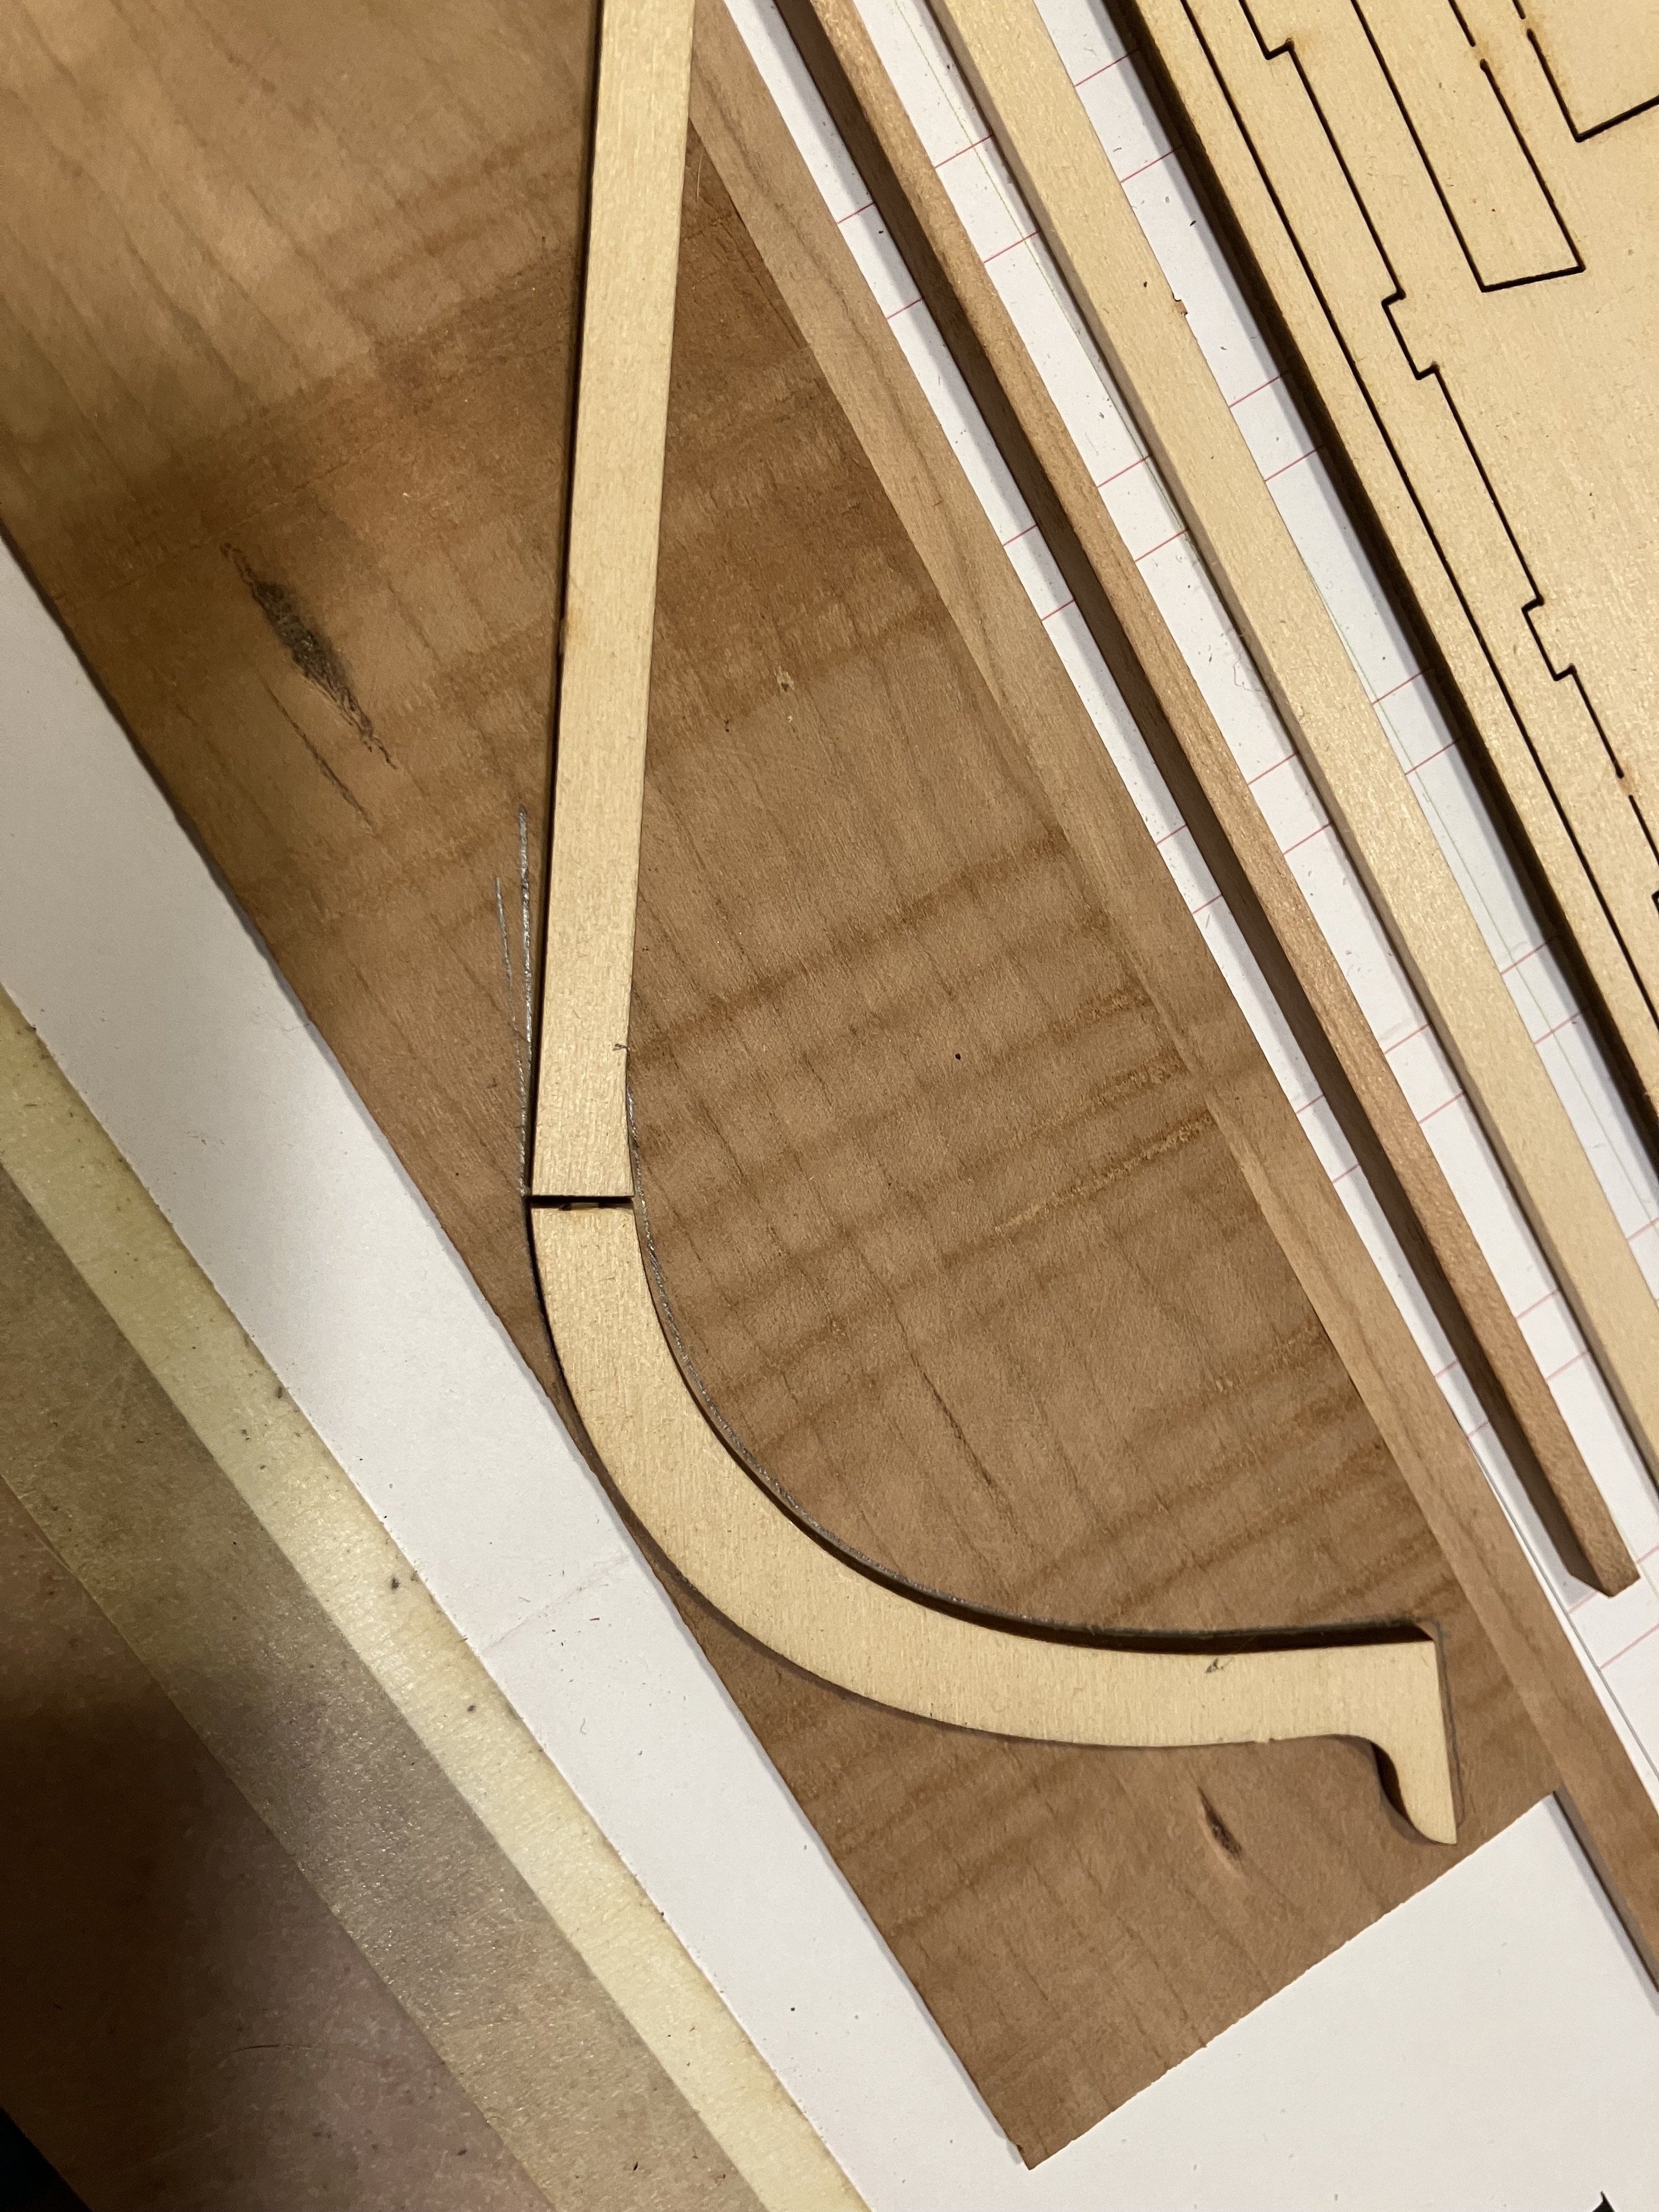
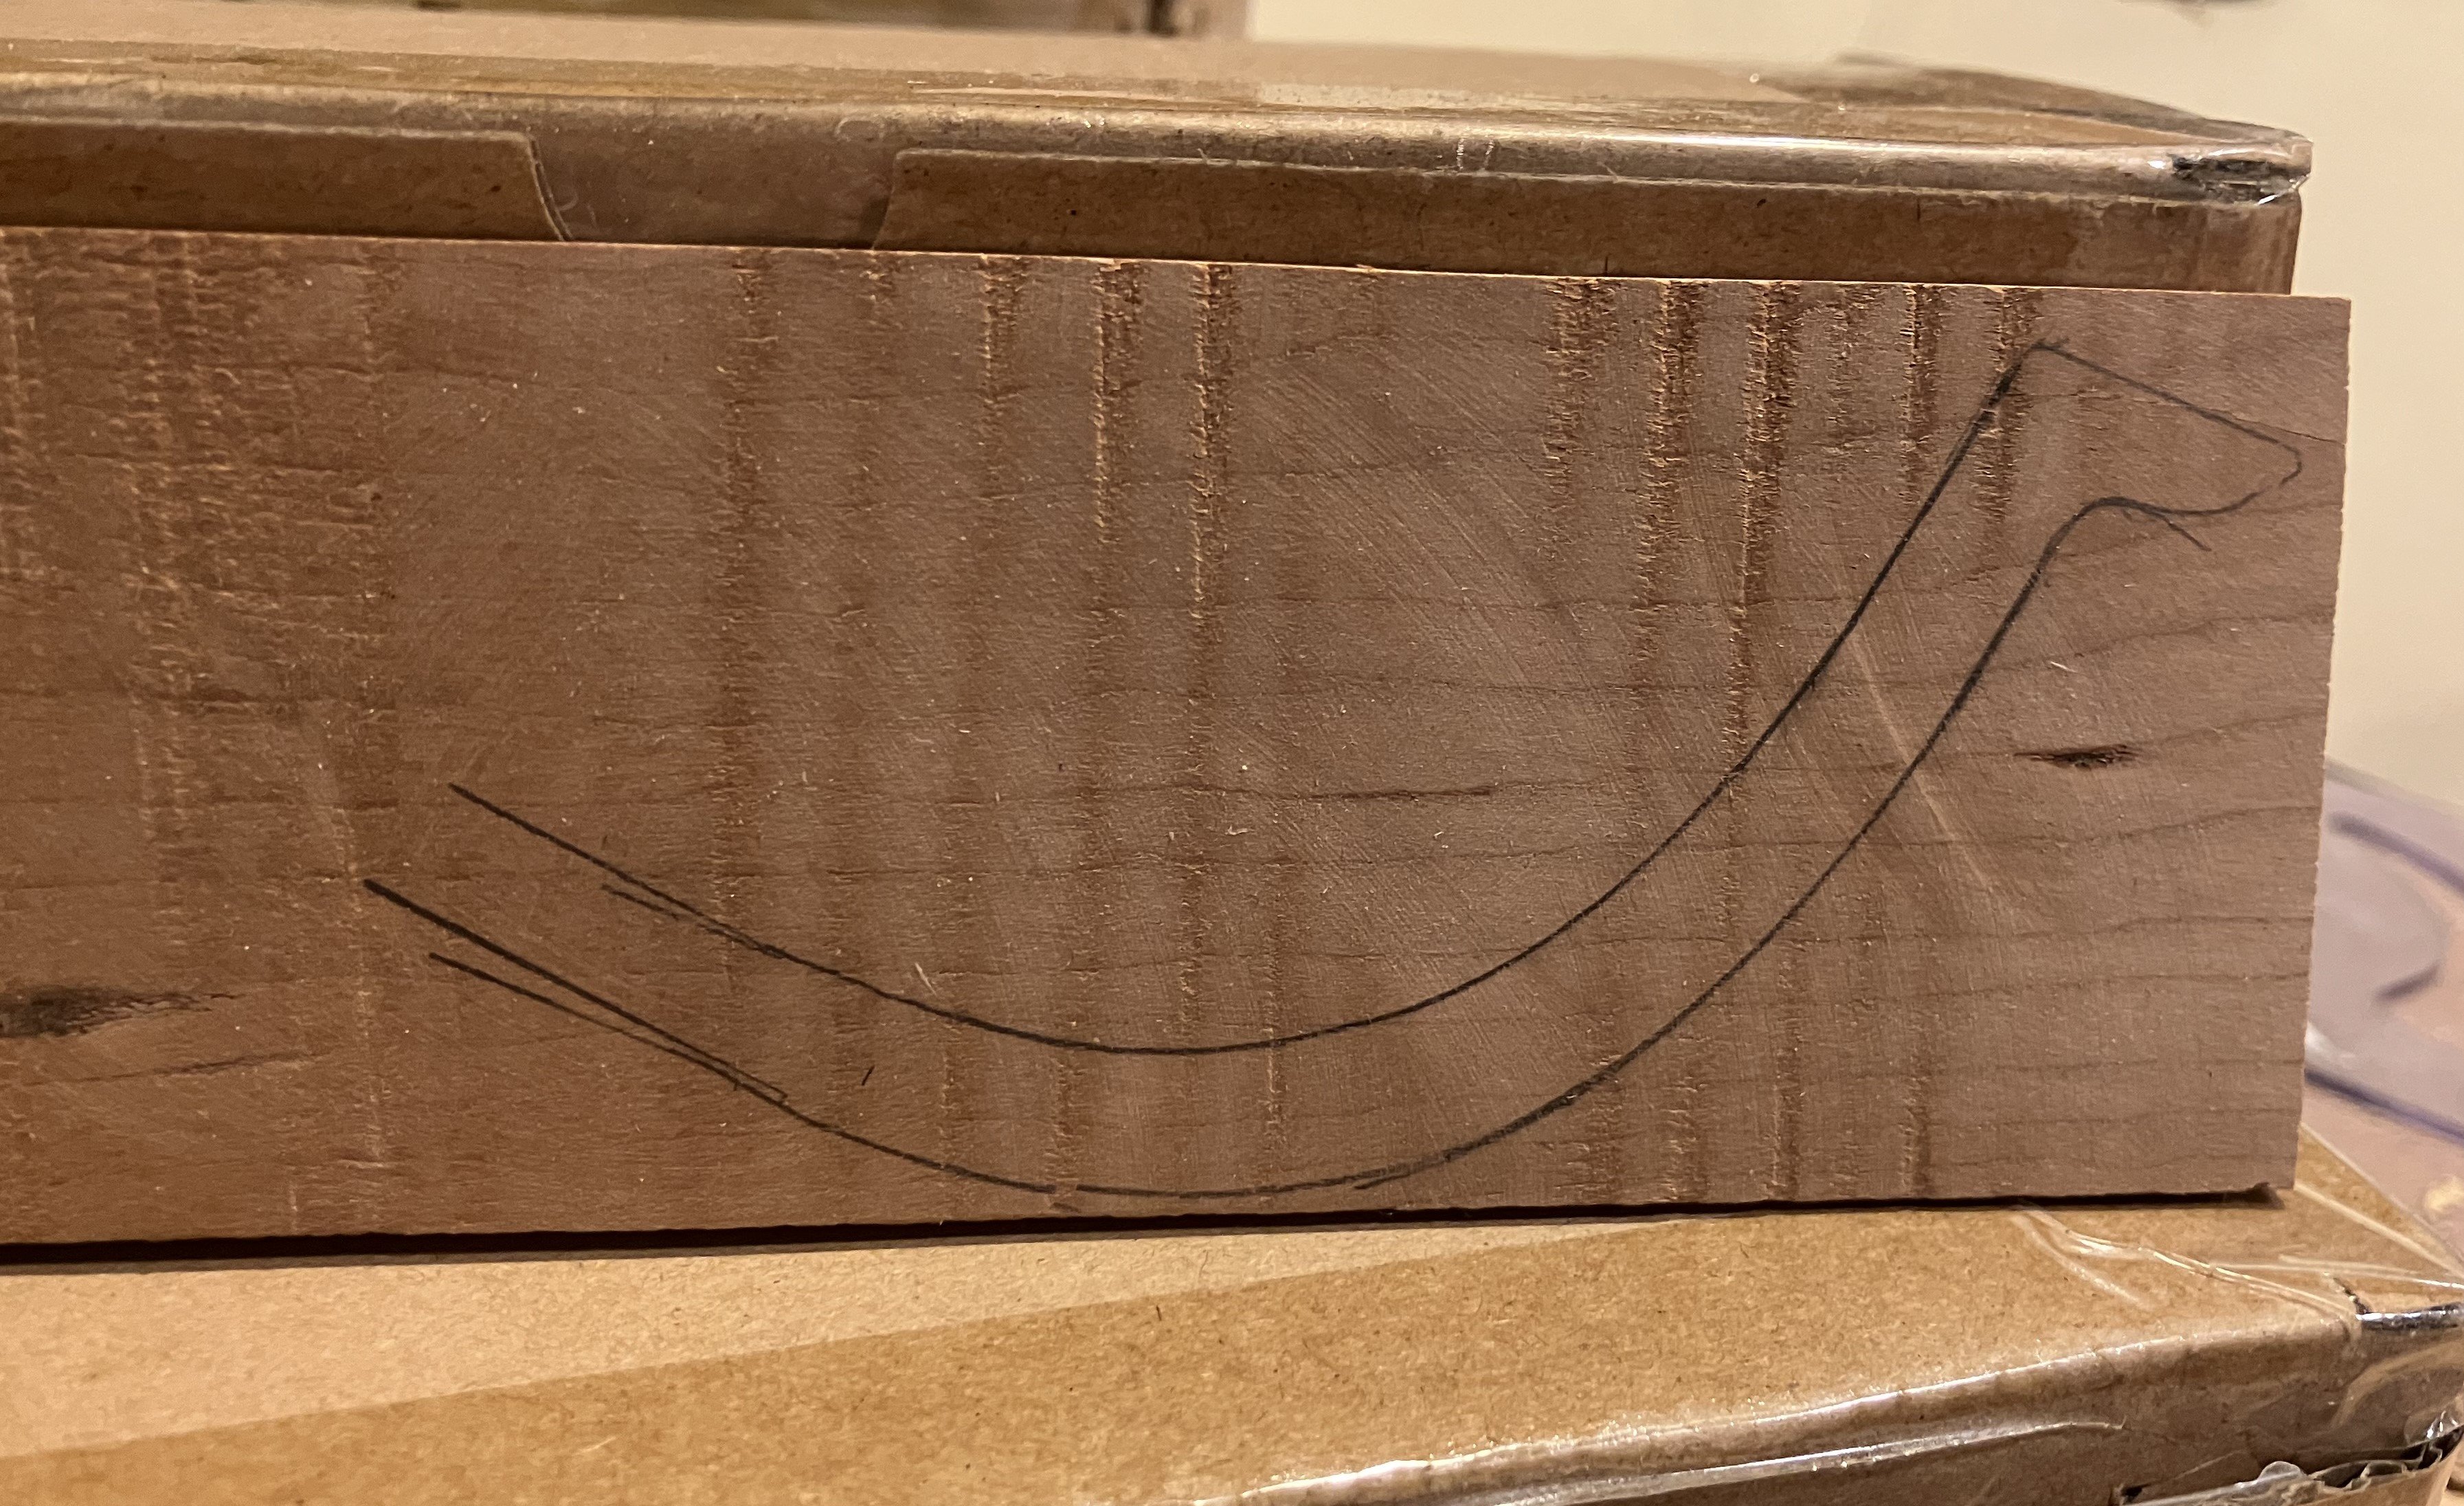
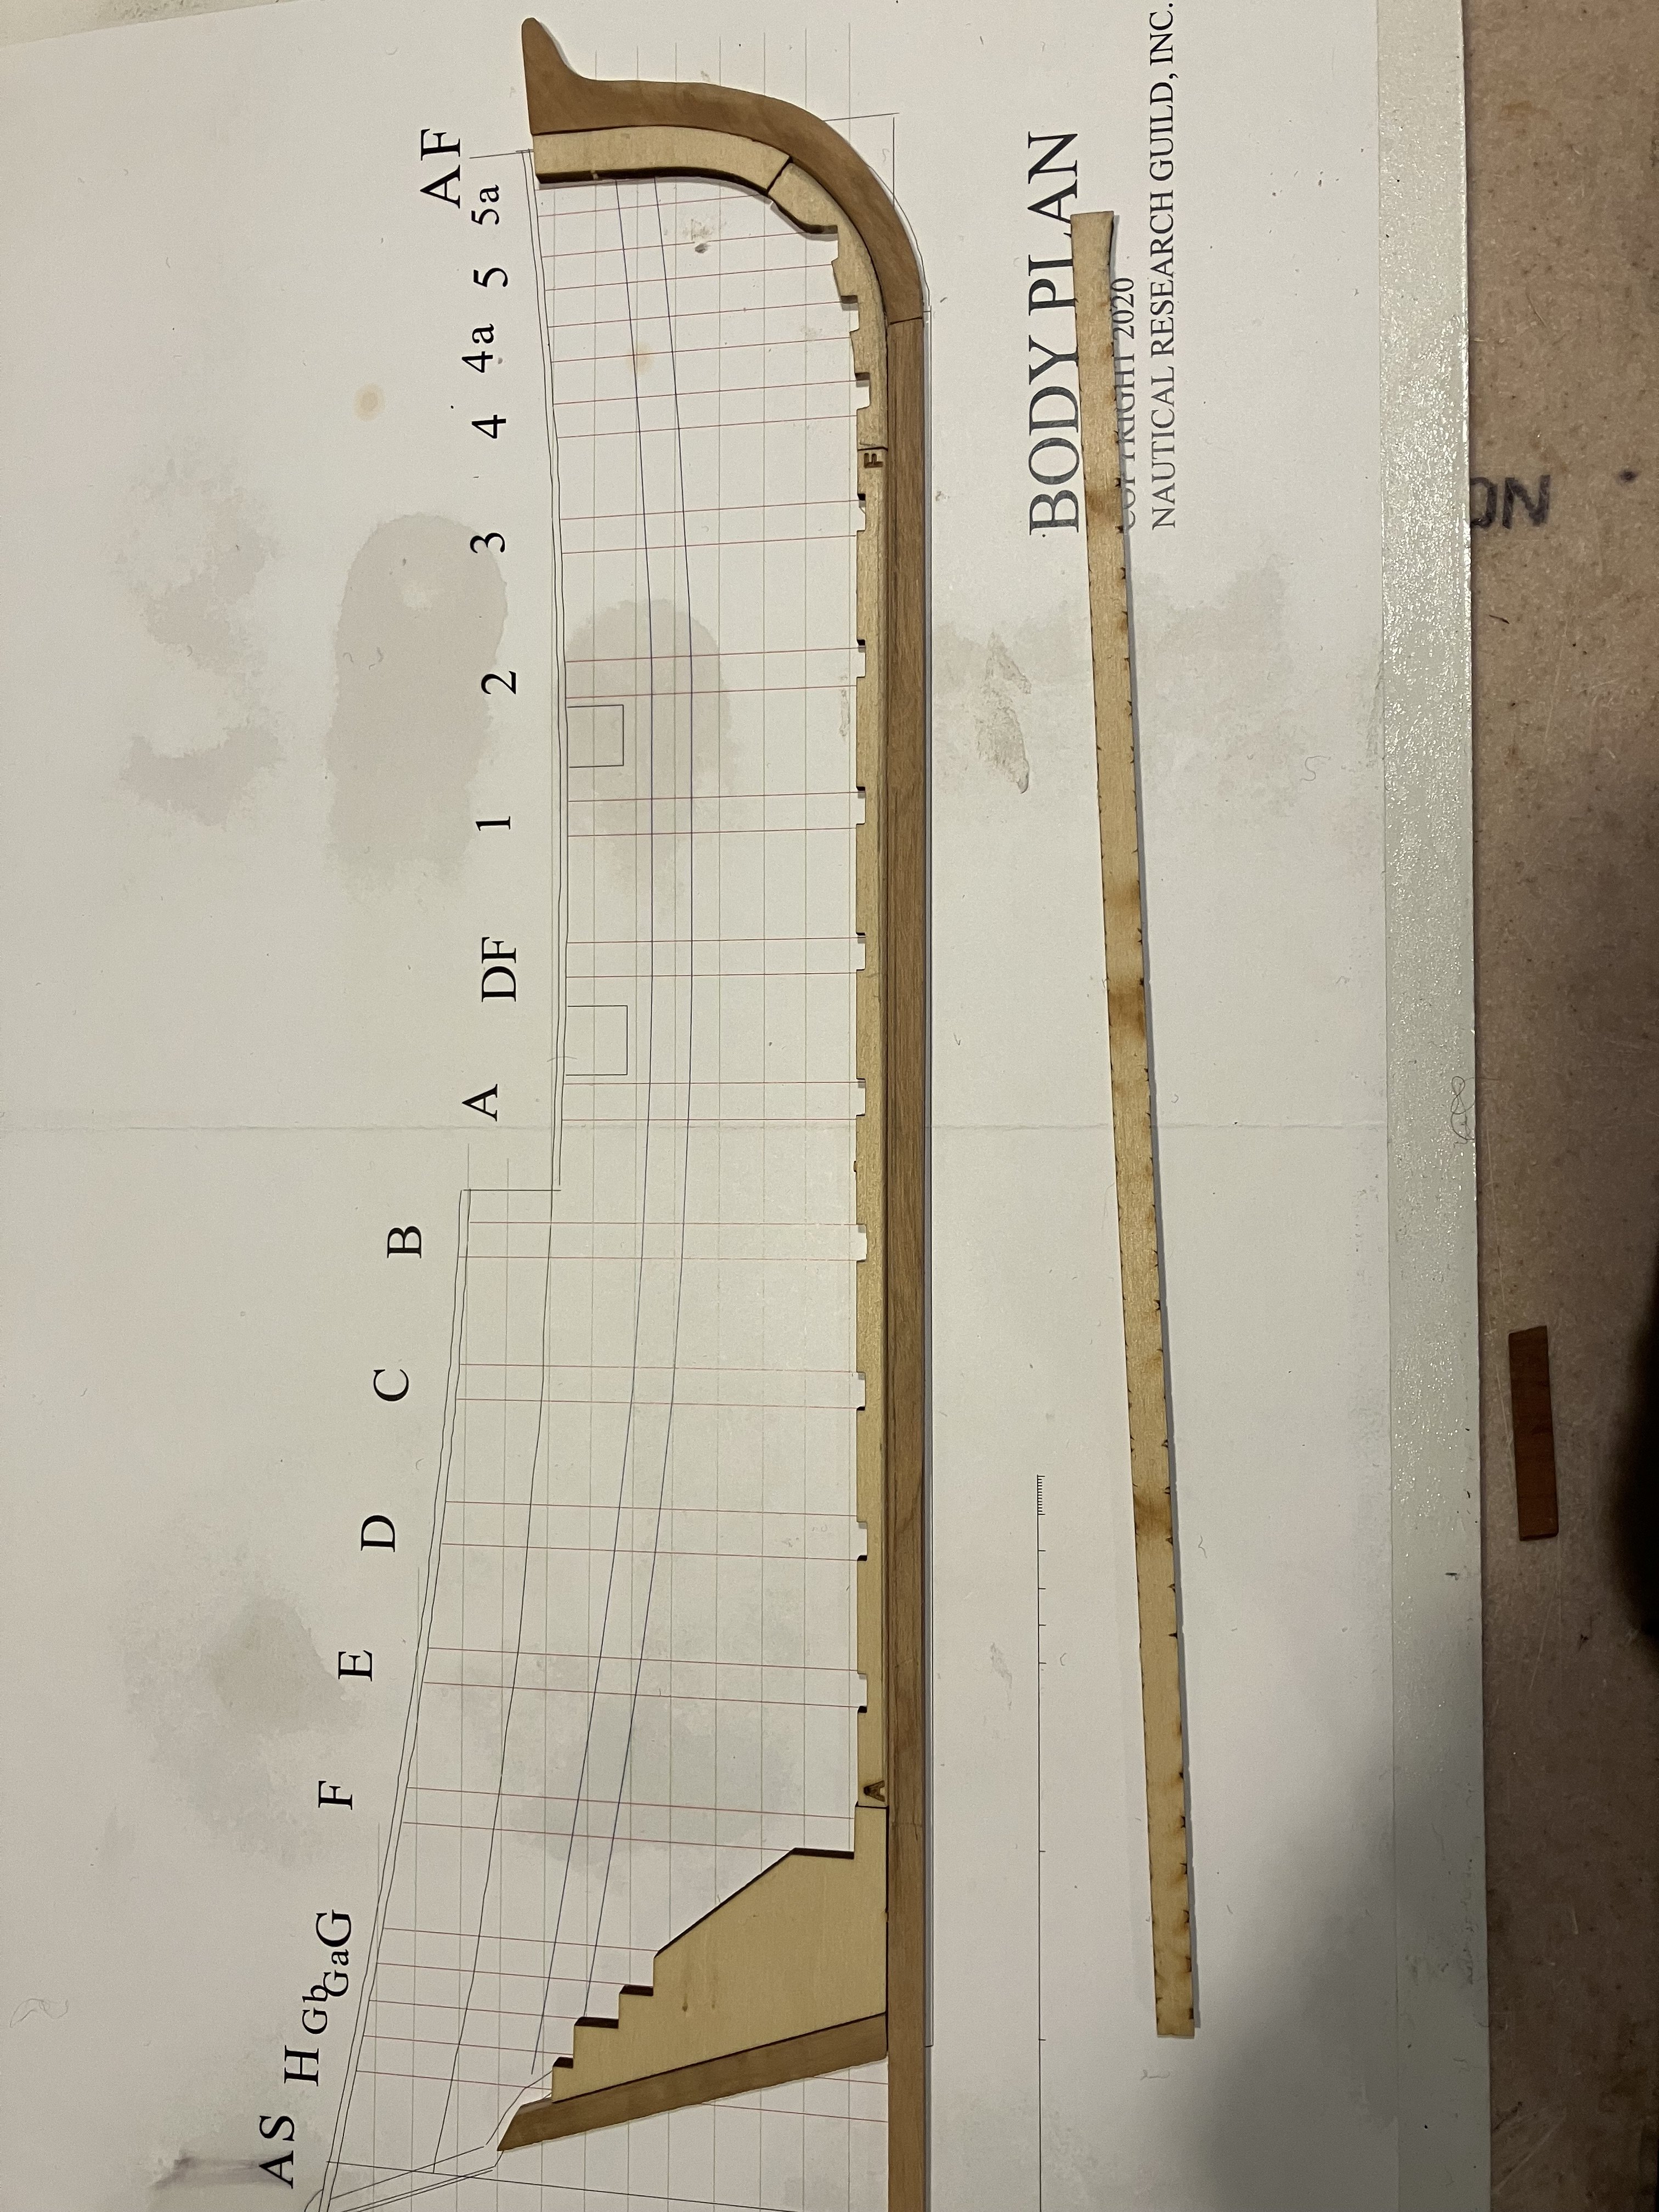
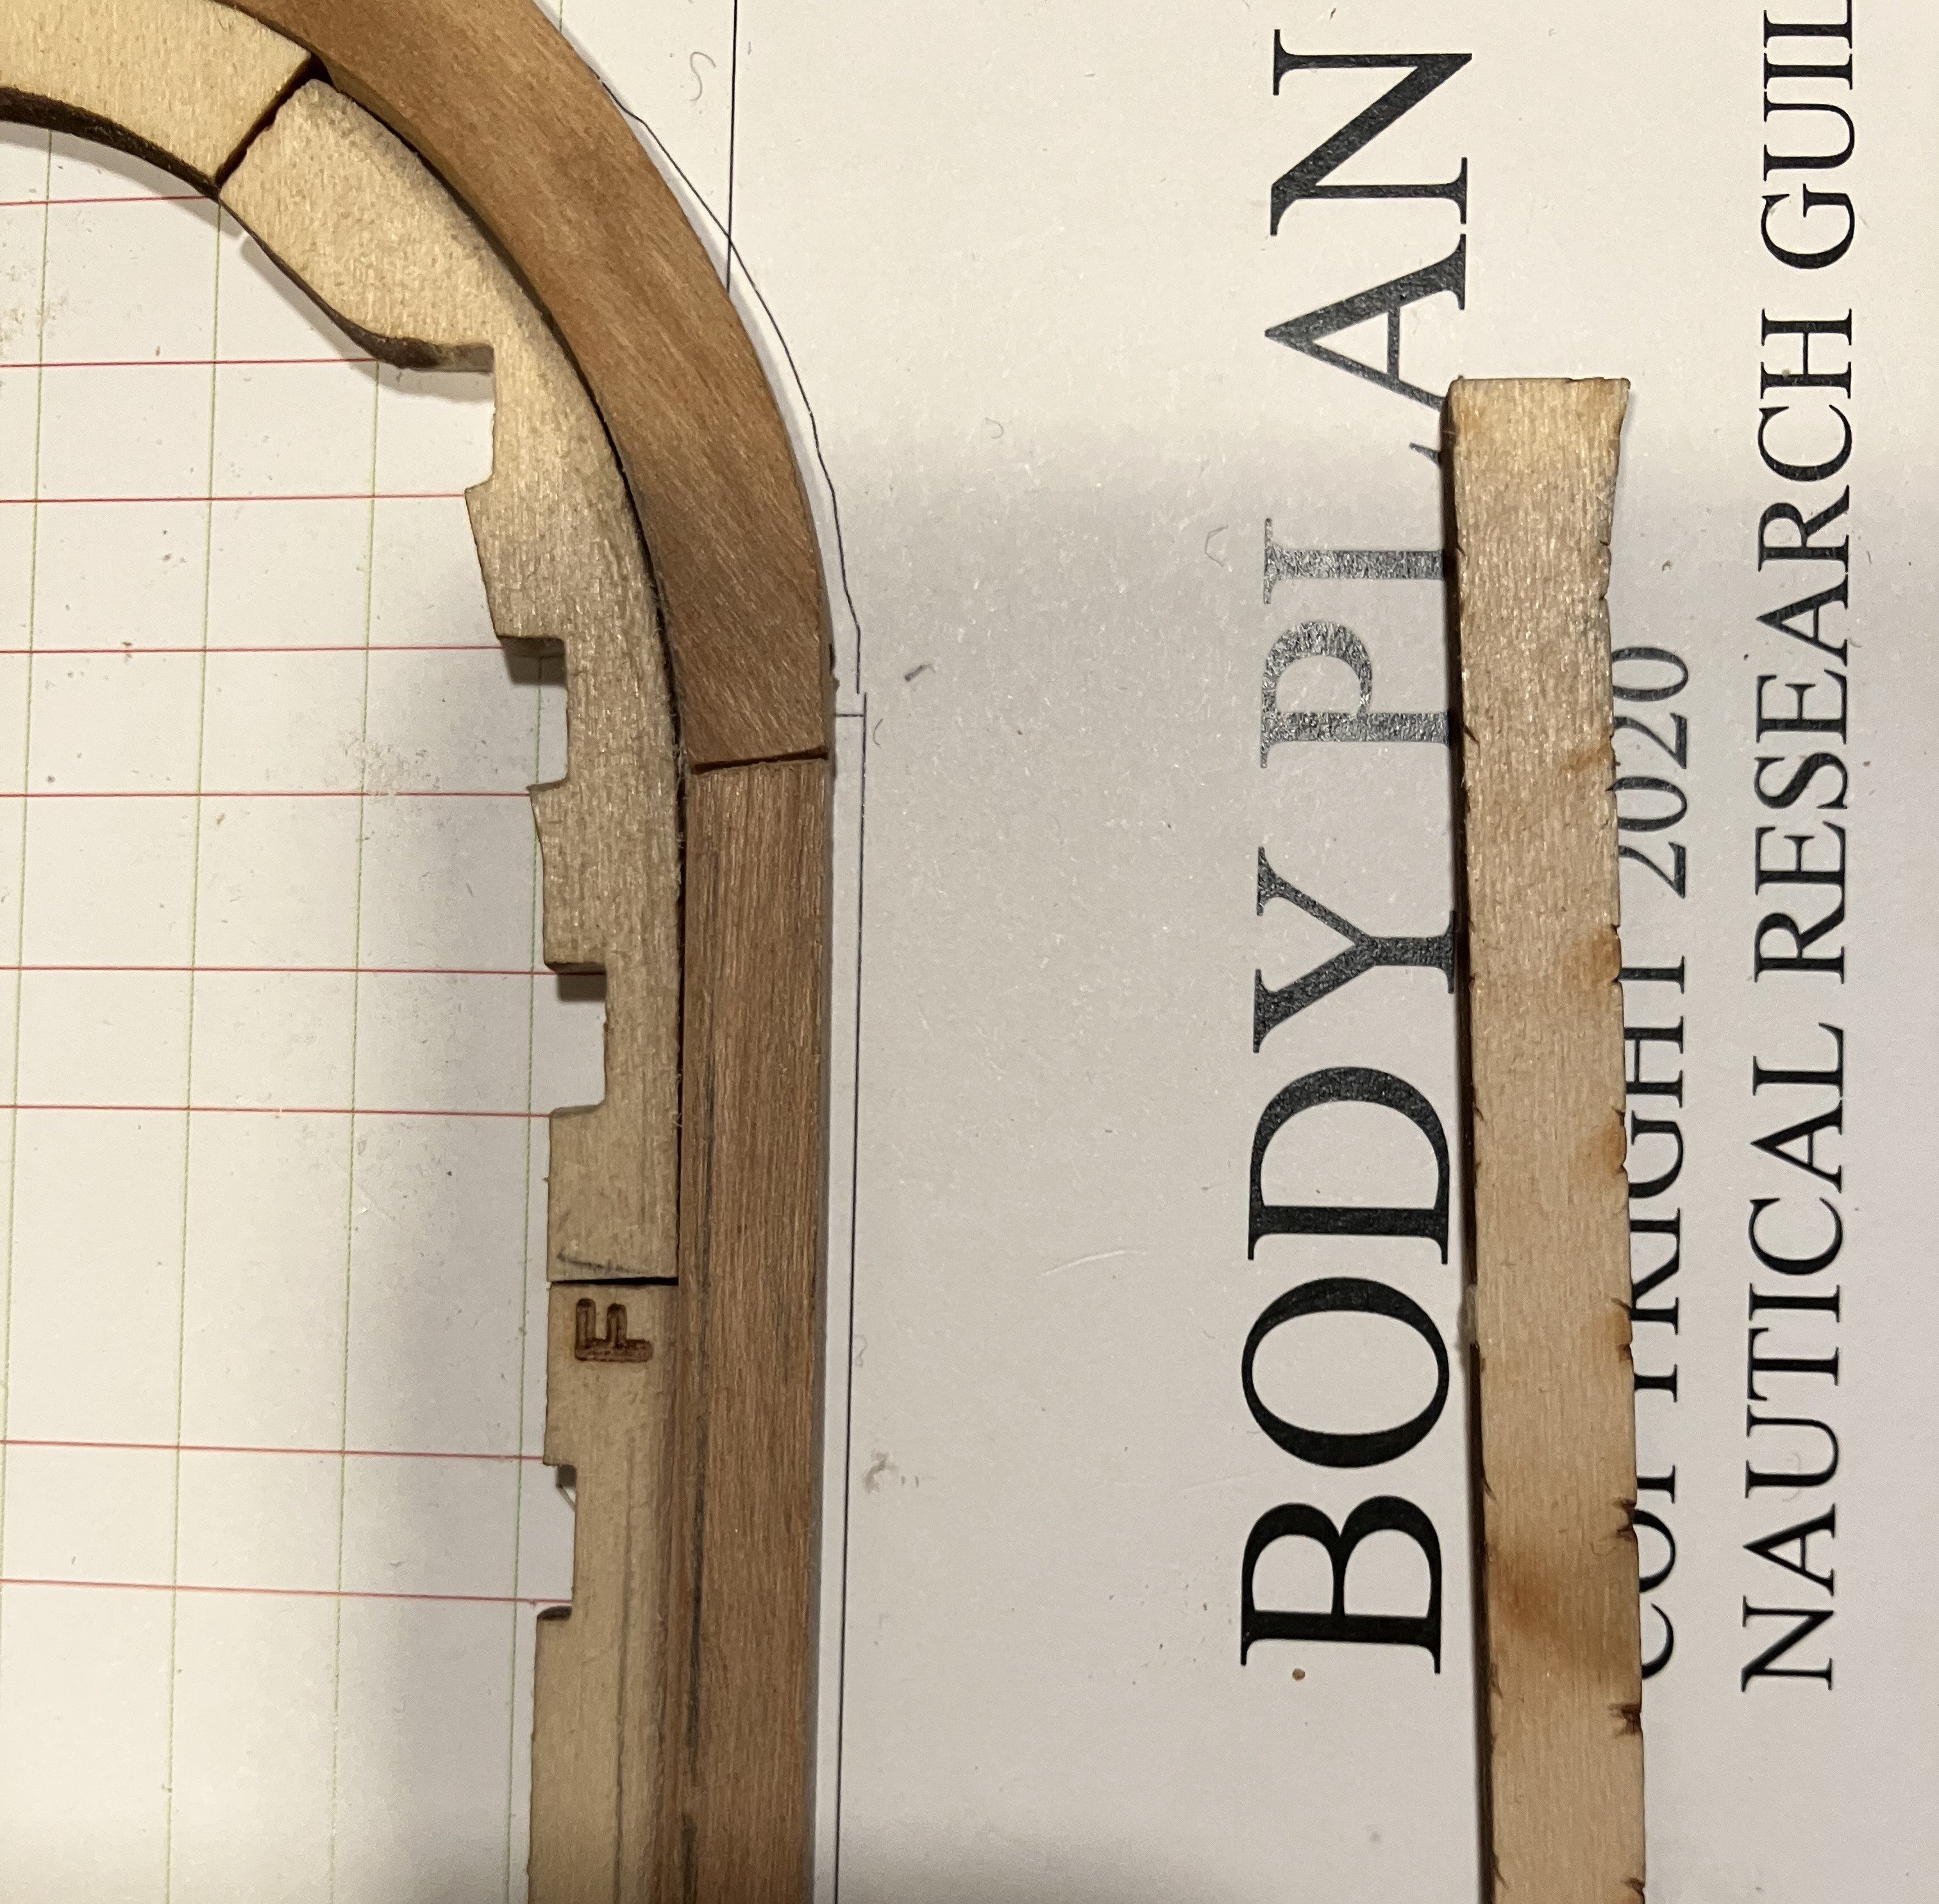
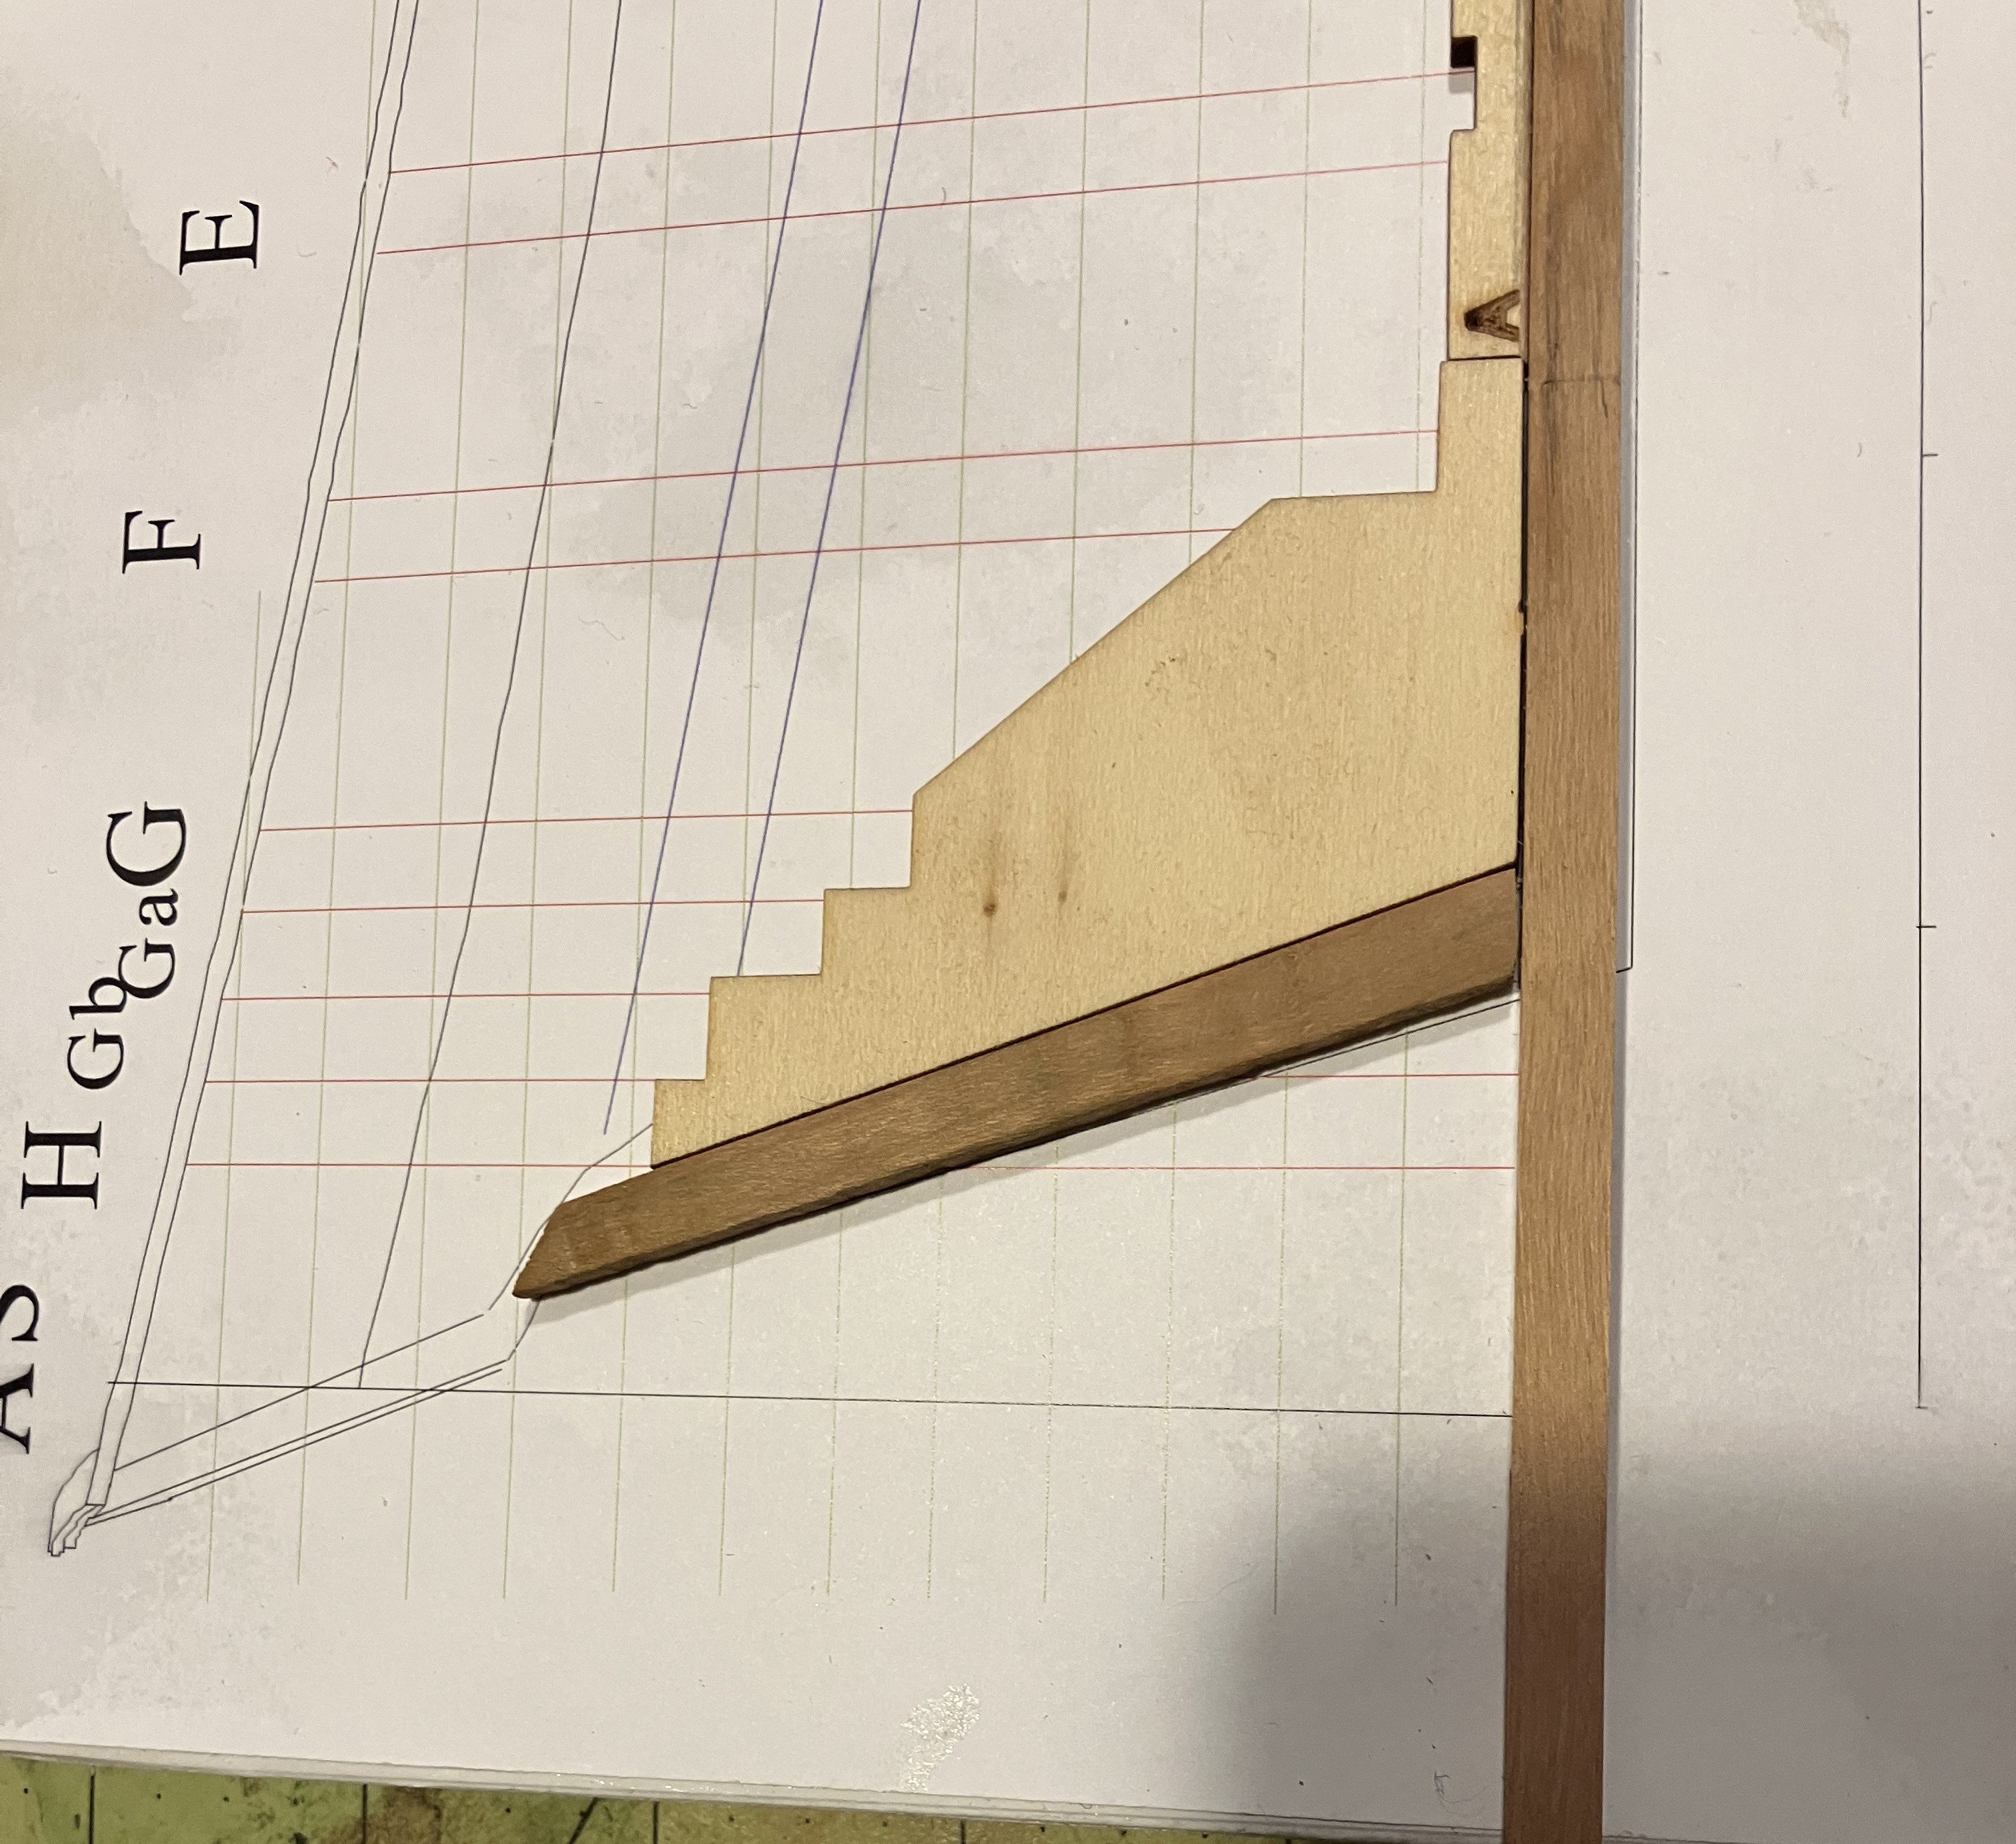
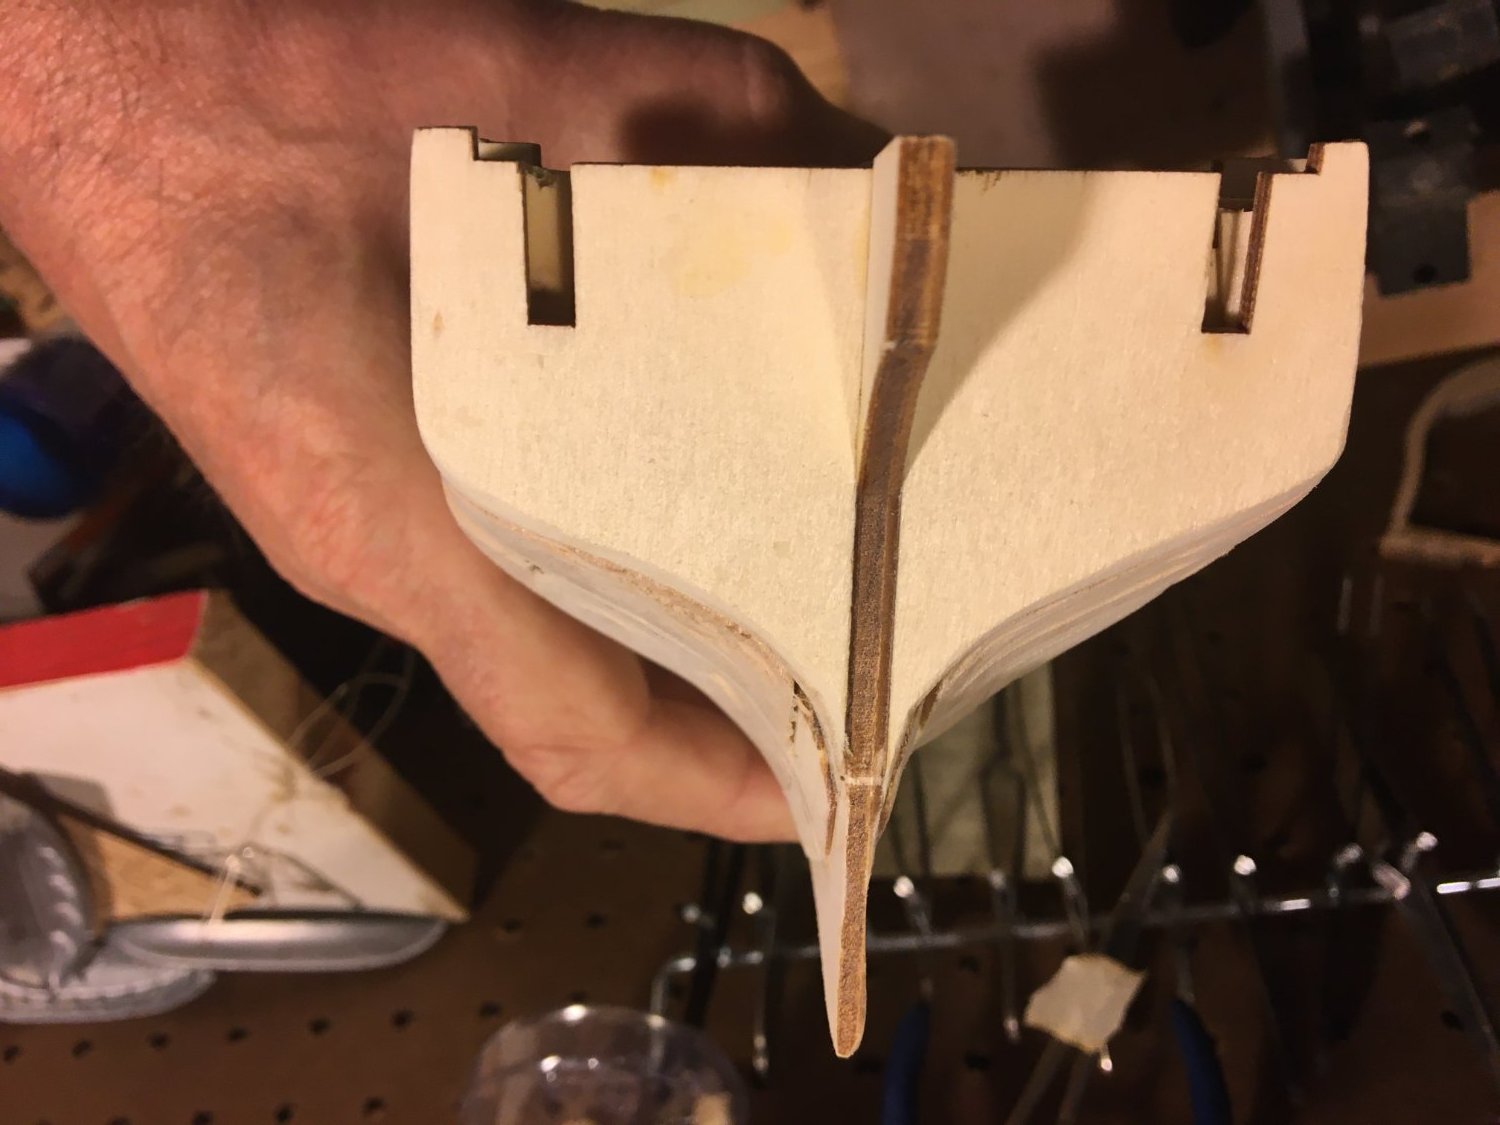
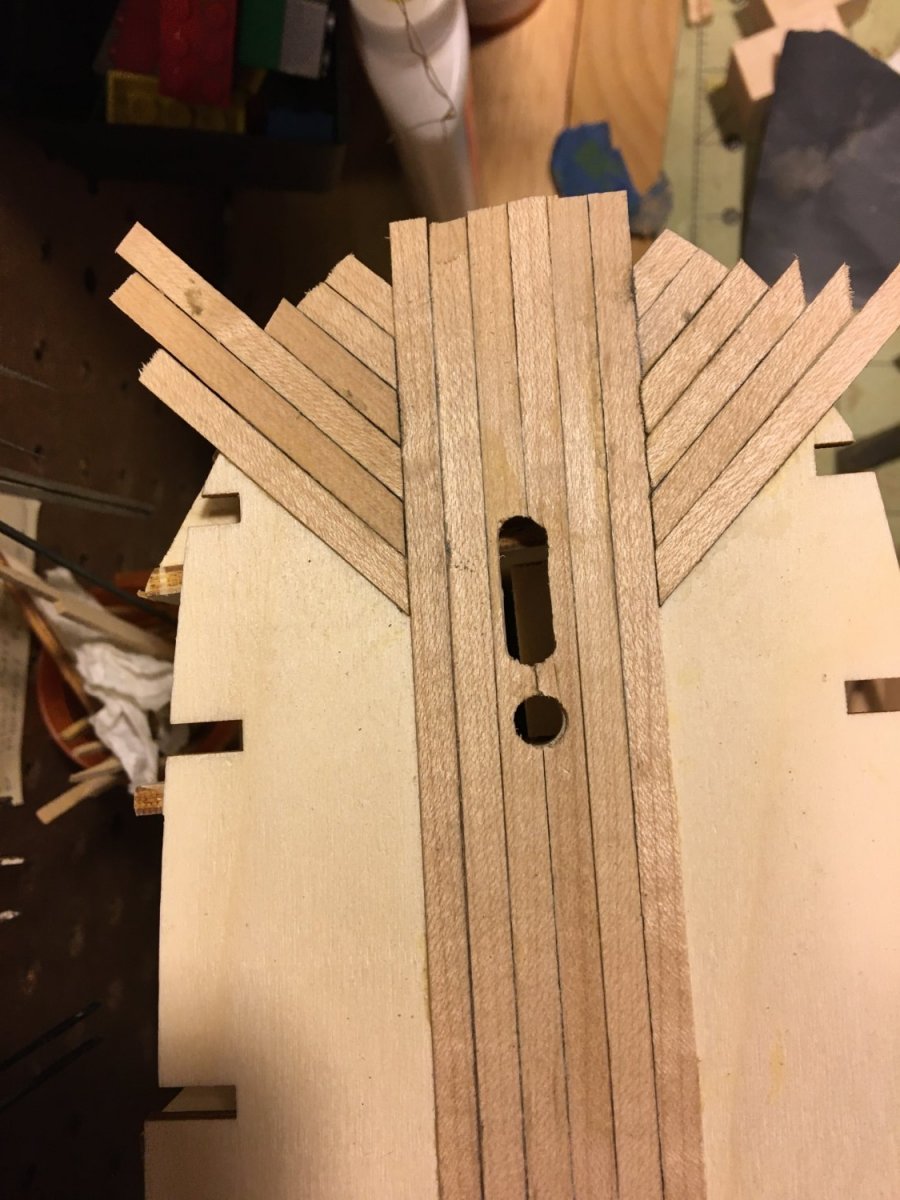
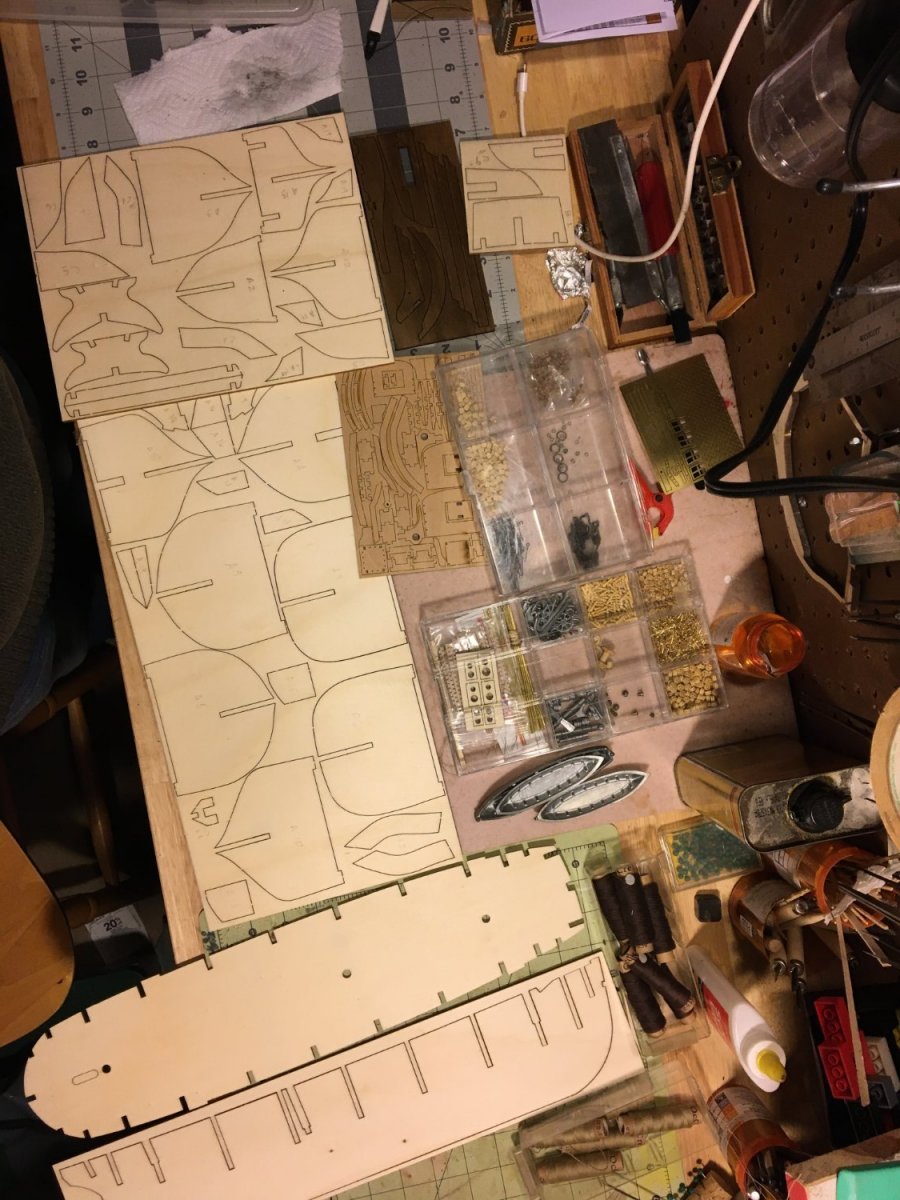
Several years ago, at a Northeast Ship Model Conference, I had the chance to ask Chuck Passaro how he learned to do such amazing, and neat, hull planking. He came over and looked at the model I had brought to the conference (the Pride of Baltimore), replied with a "hmmmm" and said it had taken him a while to get it right, until he'd had his Ah-Ha moment (encouraging) and that I should keep working at it and I was sure to have my own ah-ha moment when it would all make sense and click into place (very encouraging). In the intervening years I have had several ah-ha moments, but none of them, I think, quite what Chuck had in mind. So I decided maybe this project would lead me closer to that moment. I decided to make a change to the kit, because as a novice I of course know better... but also because I wanted to get some practice with the kinds of wood I think I will be using as I move on to other models (and maybe one day my own scratch-build. So for the stem, keel, stern post and wales I decided to try using some cherry I have and will use Alaskan Yellow Ceder for the hull planking. I traced the stem and the forward end of the keel onto a piece of cherry, and cut it out and formed it using a scroll saw and sanding drums of various sizes that attach to my drill press. And just to enhance the learning curve I made a lap joint to connect the stem to the keel. The keel was an easy straight cut on the table saw - the kit keel has a curved section at one end to mate with the wider stem, I just included that in the stem I was making so the joint on my model will be slightly further aft that on the plan. As you can tell from the photos my stem needed some work to get both the width and the thickness correct. I finally glued the plan to a piece of foam core - some adhesive did bleed through the plan but the lines are not distorted so I think it is good to go. Once I'm sure the curves on my stem and keel mate properly with the provide keelson and stemson and I have cut out the rabbet my plan is with the rabbet. I did shave off about 1/8" from the aft end of the fore stemson to get the slots to line up with the plan.


-
stevenmh reacted to a post in a topic:
Speedwell 1752 by Seventynet (Ian) - Syren Ship Model Company - 1:32 Scale - POF Sloop
-
stevenmh reacted to a post in a topic:
Sloop Speedwell 1752 by Chuck - Ketch Rigged Sloop - POF - prototype build
-
stevenmh reacted to a post in a topic:
Sloop Speedwell 1752 by Chuck - Ketch Rigged Sloop - POF - prototype build
-
stevenmh reacted to a post in a topic:
Sloop Speedwell 1752 by Chuck - Ketch Rigged Sloop - POF - prototype build
-
 stevenmh reacted to a post in a topic:
Sloop Speedwell 1752 by Chuck - Ketch Rigged Sloop - POF - prototype build
stevenmh reacted to a post in a topic:
Sloop Speedwell 1752 by Chuck - Ketch Rigged Sloop - POF - prototype build
-
I've been anxious to see this project ever since you mentioned you were going to do it at the last Northeast Ship Model Conf. Very glad to see it in the chocks. If you are looking for a relative newbie still looking for his planking "ah-ha moment" to beta-test your work, I humbly volunteer!
-
Wow. I know "Wow" doesn't quite do it justice, but WOW! Congratulations on a truly amazing project to watch and learn from. Wow.
- 1,784 replies
-
- 4
-
-
- winchelsea
- Syren Ship Model Company
- (and 1 more)
-
Thanks for the suggestions. I was hoping to save my hair-pulling til I got to the ratlines…
-
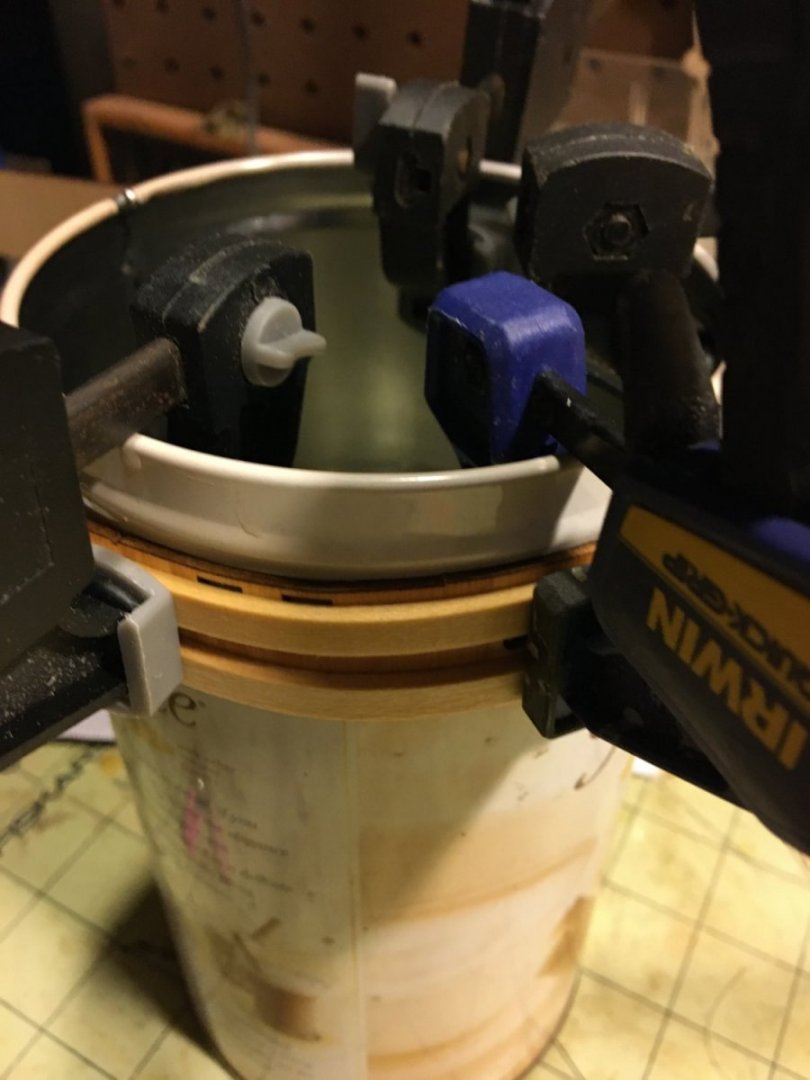
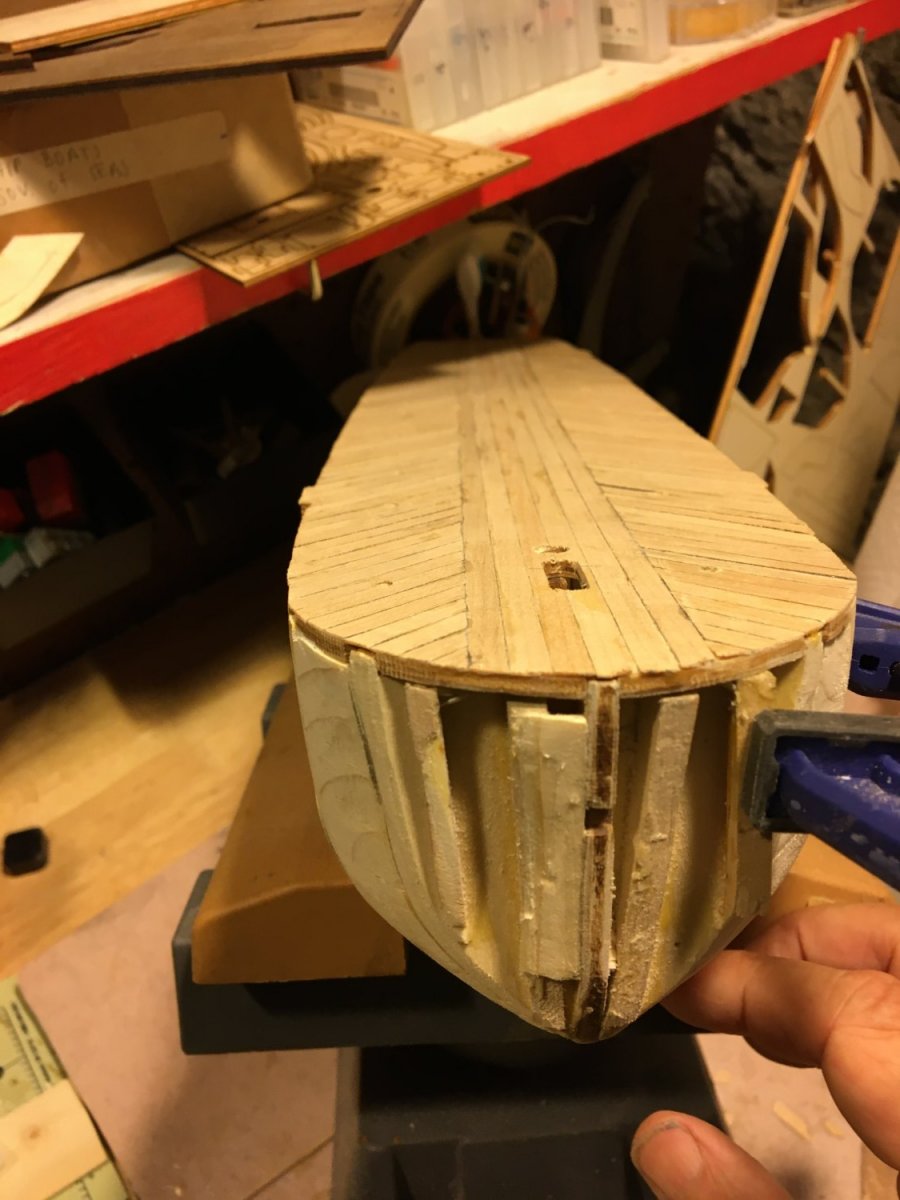
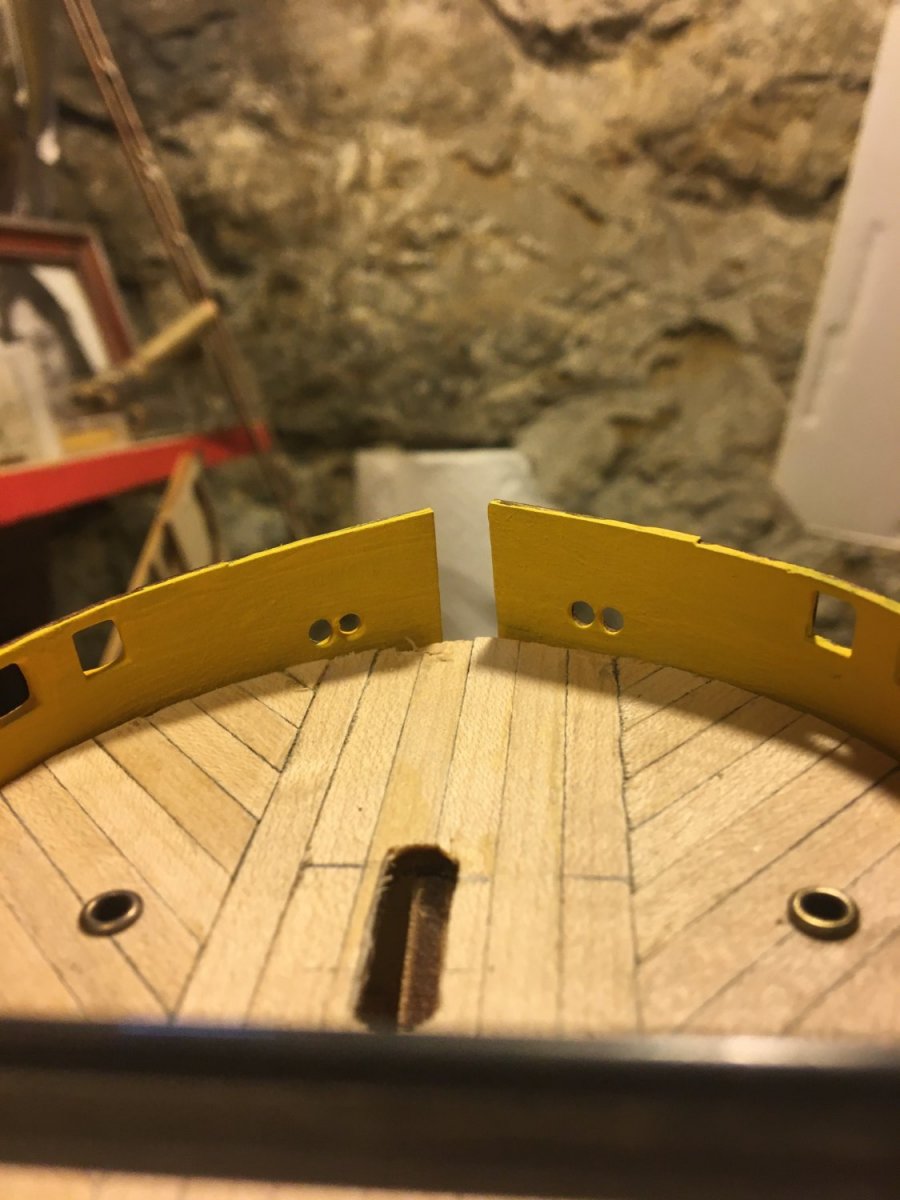
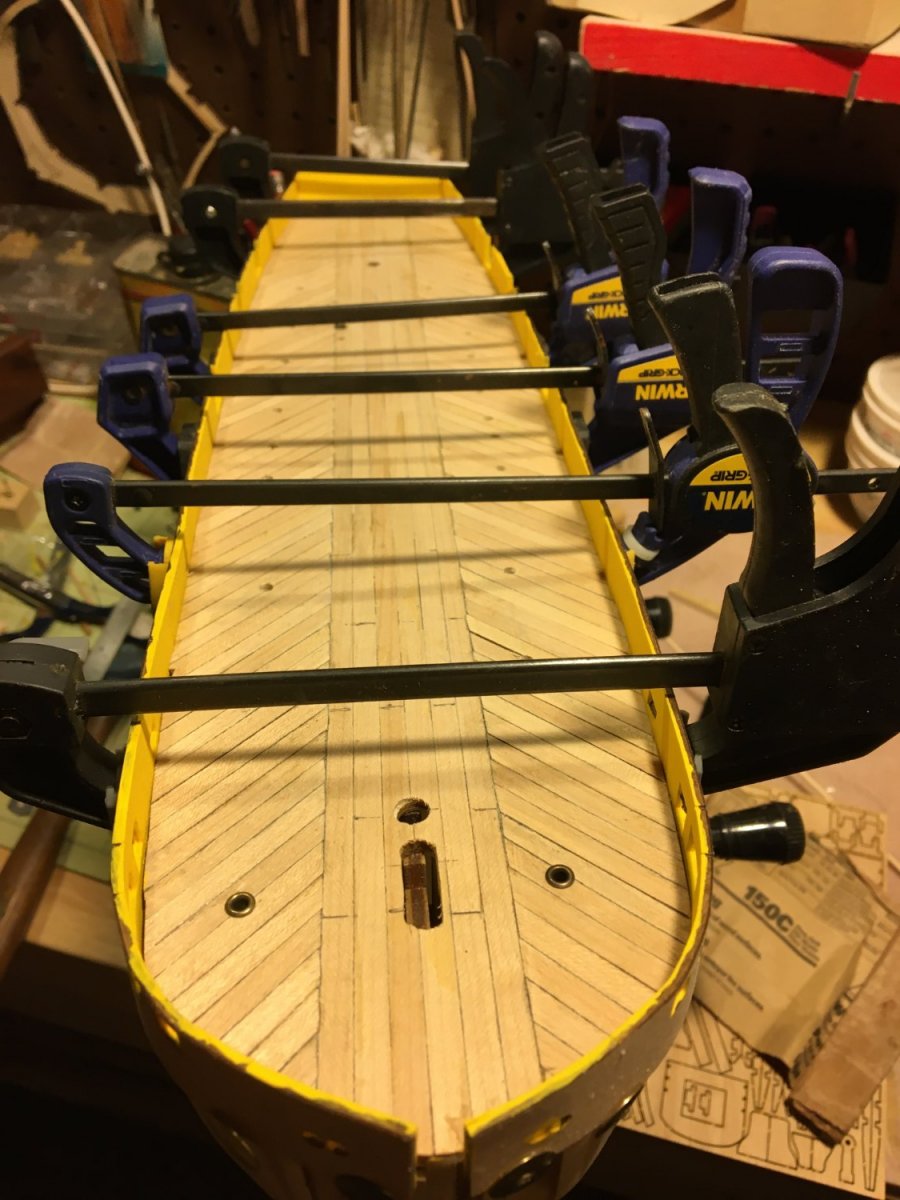
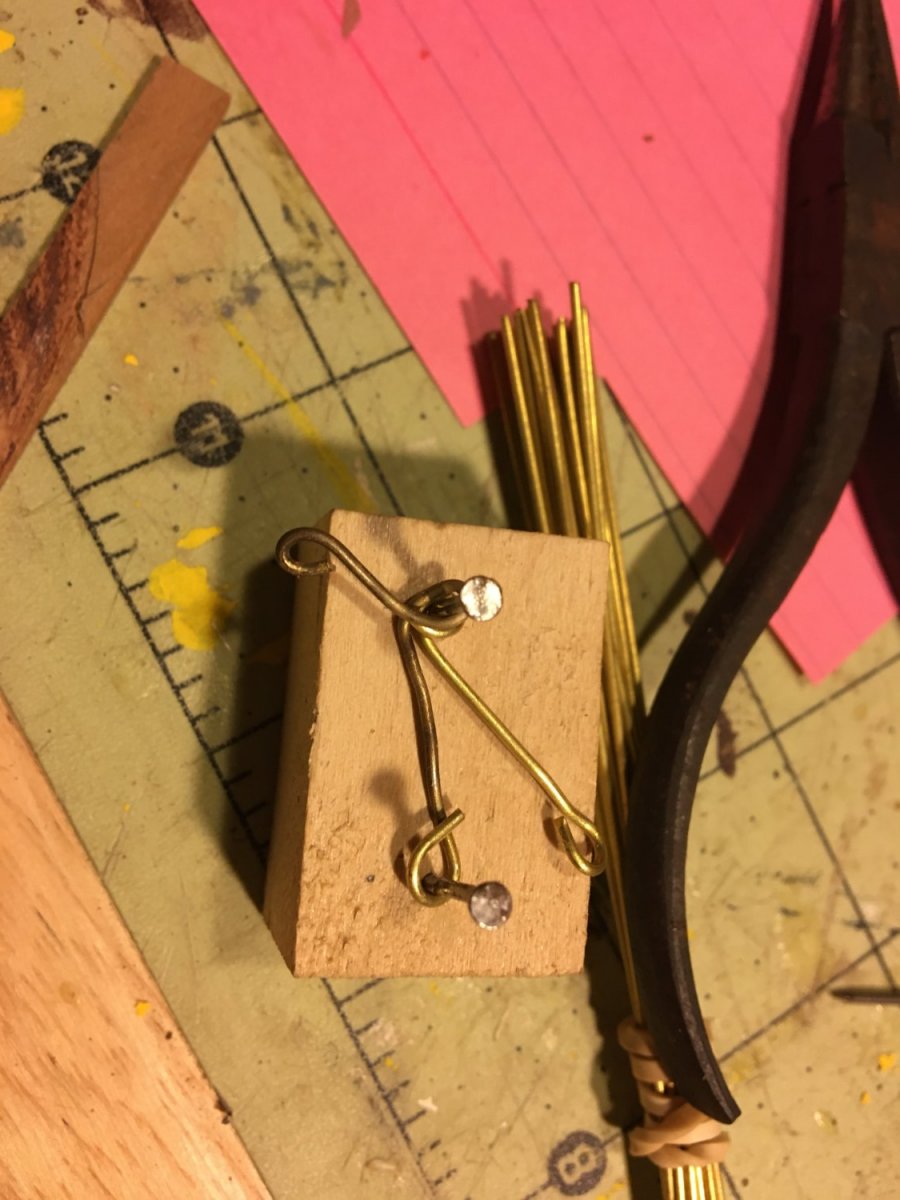
Progress has been slow but steady - accent on the slow. Deck planking is finished and the holes drilled for the prisms. I blackened them with brass black and test fitted a couple. I'm trying to figure out if I can spray them with Dull-coat or wipe on poly and not worry about the black rubbing off or streaking when wet. In any case I probably won't glue them in until I'm ready to attach all the deck fittings. The bow blocks have been attached and faired once the deck was attached so everything lines up (I hope). Once the filler blocks and bulkheads in the stern were faired I attached the transom pieces and faired those to follow the lines of the bulkheads. I decided planking would probably be easier if I attached the bulwarks so I soaked the forward ends of them and 4 of the first-planking strakes in hot water then clamped them all to a Pirouline cookie can to form the proper(ish) curve. Then I glued and clamped them to the hull. I guess I can't procrastinate any longer lining the hull. My count is it will take 23 strakes, so I will place the tick marks and test with battens doing 3 belts of 8-7-8, I was also looking ahead and say what the model uses for deadeye chains and made a jig with nails 20mm apart to twist the wire around to make the eyes for the chains - not sure this is the best way since I do not have a good history of making things like this exactly the same - especially as there are over 60 of them. How did you all deal with this???


-
Thanks for the tips. I’m thinking not to try doing the entire run with a single piece. I worked with scale-length planks for my Pride of Baltimore and that worked. I figure my planks should be between 6 and 8 inches (30-40 scale feet).
-
Thanks for the likes and the comments. I looked through many of the other Terror build logs and found clearway's and his full planking, so I know it is at least possible. I added some scrap wood to the bow as well. (It seems no matter what I do, this picture comes out upside down) The deck has been planked, but before I install it I am going to lay the full-sized deck plan over it and mark and drill the holes for the light prisms and mark the locations of the other deck features. When I dry-fit the deck I suddenly noticed it had a concave pitch running fore and aft, which resulted in one of the fore-aft deck planks popping up mid run - guess I know where one of the butt joints will be going! Once the deck is in place I can mark off the lower end of the bulwarks, plank the counter and start lining off the hull. And find a big pot to soak the planks in...

-
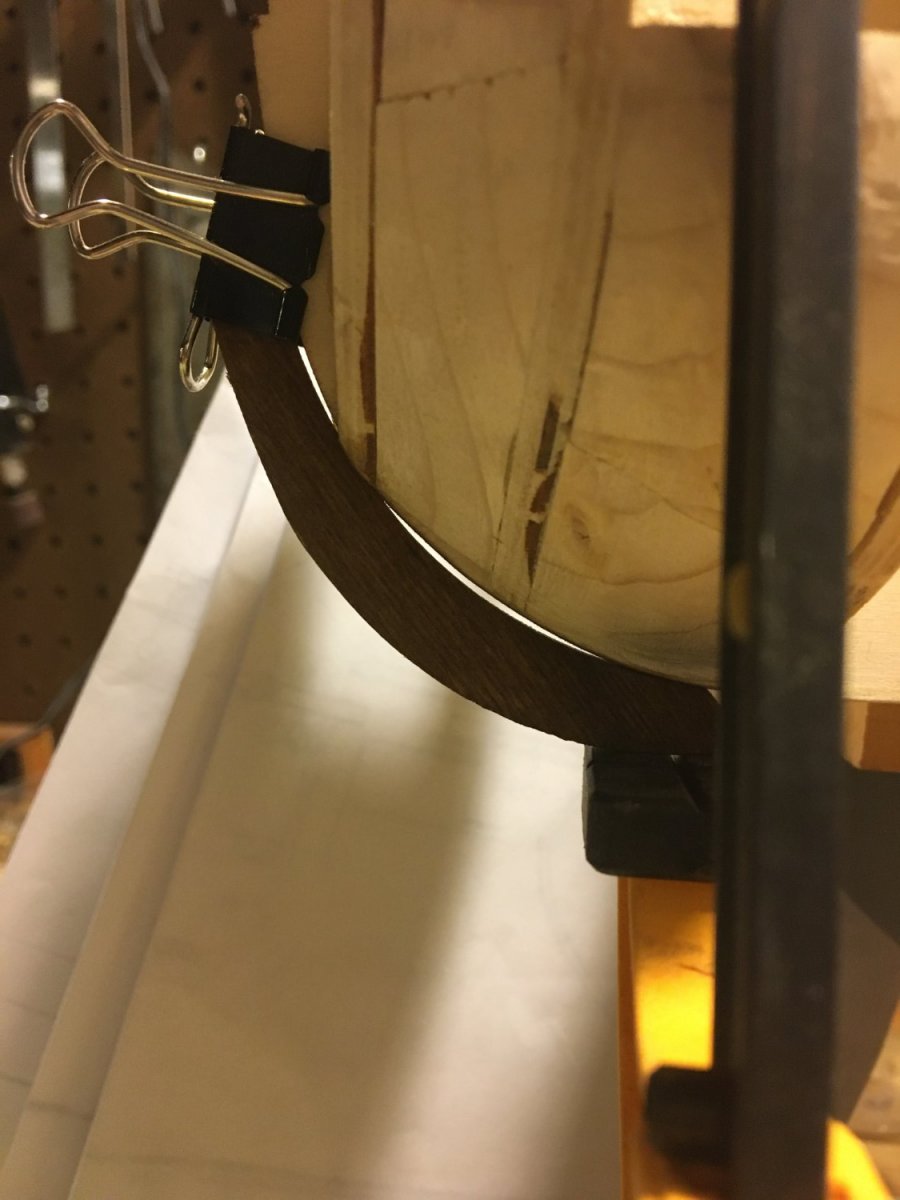
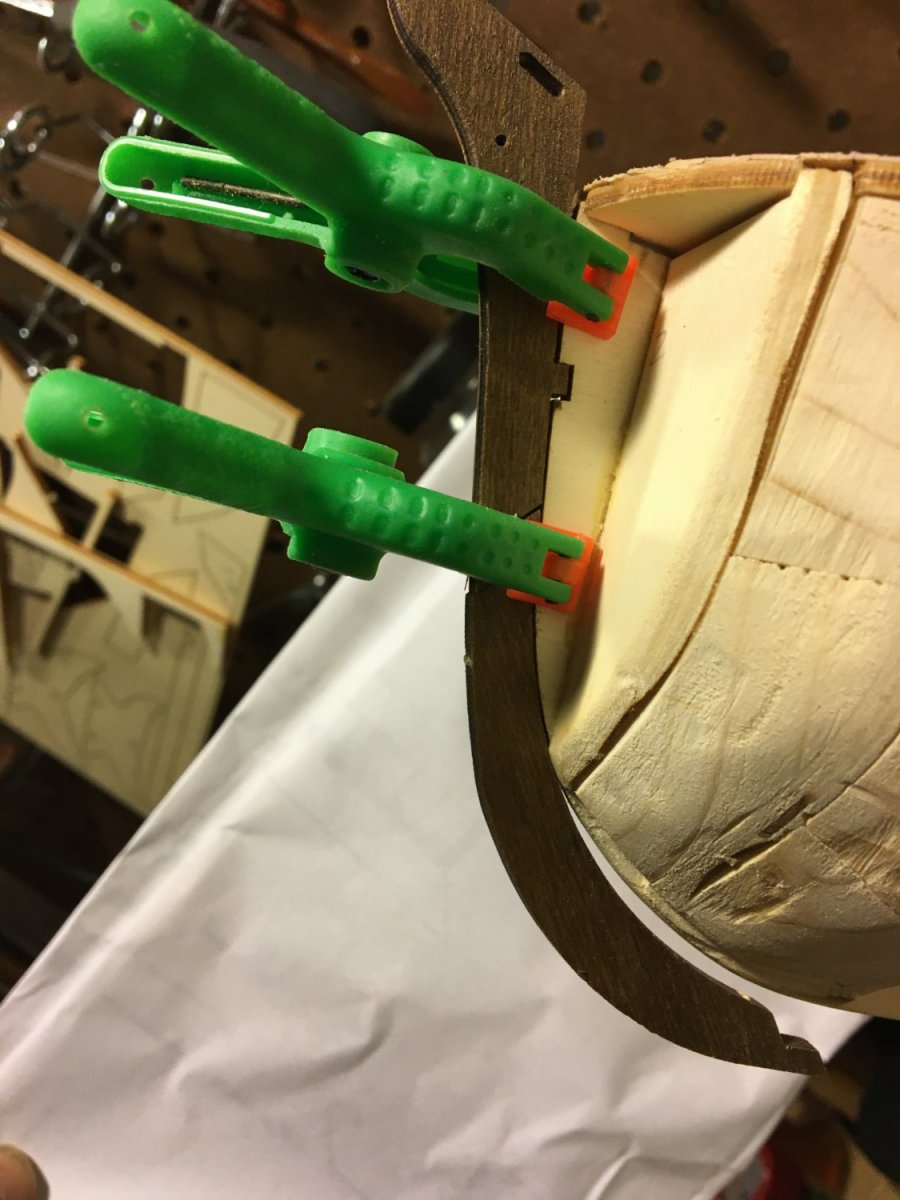
Thanks for the comments and likes. Planking of the deck continues, and as I get anxious to see it begin to look like a ship I decided to trim the excess lengths of planking at this point. Looks nice. The hull fairing is almost finished as well, and in my rush to see how things will look I decided to dry-fit the stem. Good thing I did as I seem to have gone overboard sanding here. I am attempting to literally bend this piece to my will by wetting and clamping, which I know will be of limited value with plywood, but after just one go seems to have improved the situation somewhat. We'll see how it looks once I free it from the clamps and sand down the high spot. I've been debating how to proceed with the hull planking. The kit is designed for 2 layers of planking, and includes filler blocks for the bow that are wider than the first bulkhead by the thickness of the first layer of planking so you don't have to do the first planking at the bow and will still have an even surface for the second planking. Seems like a wasted learning opportunity to me, since planking, especially a bluff bow like on Terror, is to me one of the hardest and most intimidating aspects of this hobby. But I've been know to bite off more than I can chew. So I'm leaning towards cutting/sanding the filler blocks down so they don't extend past the first bulkhead and trying my luck at tapering/bending/edge-bending the first planking, and if it comes out well skip the 2nd planking entirely. Of course it might be easier if I had some so-called plank-bending tools, but why pay big bucks for something an iron or blow-dryer or soldering iron can do, or even just an xacto knife?


-
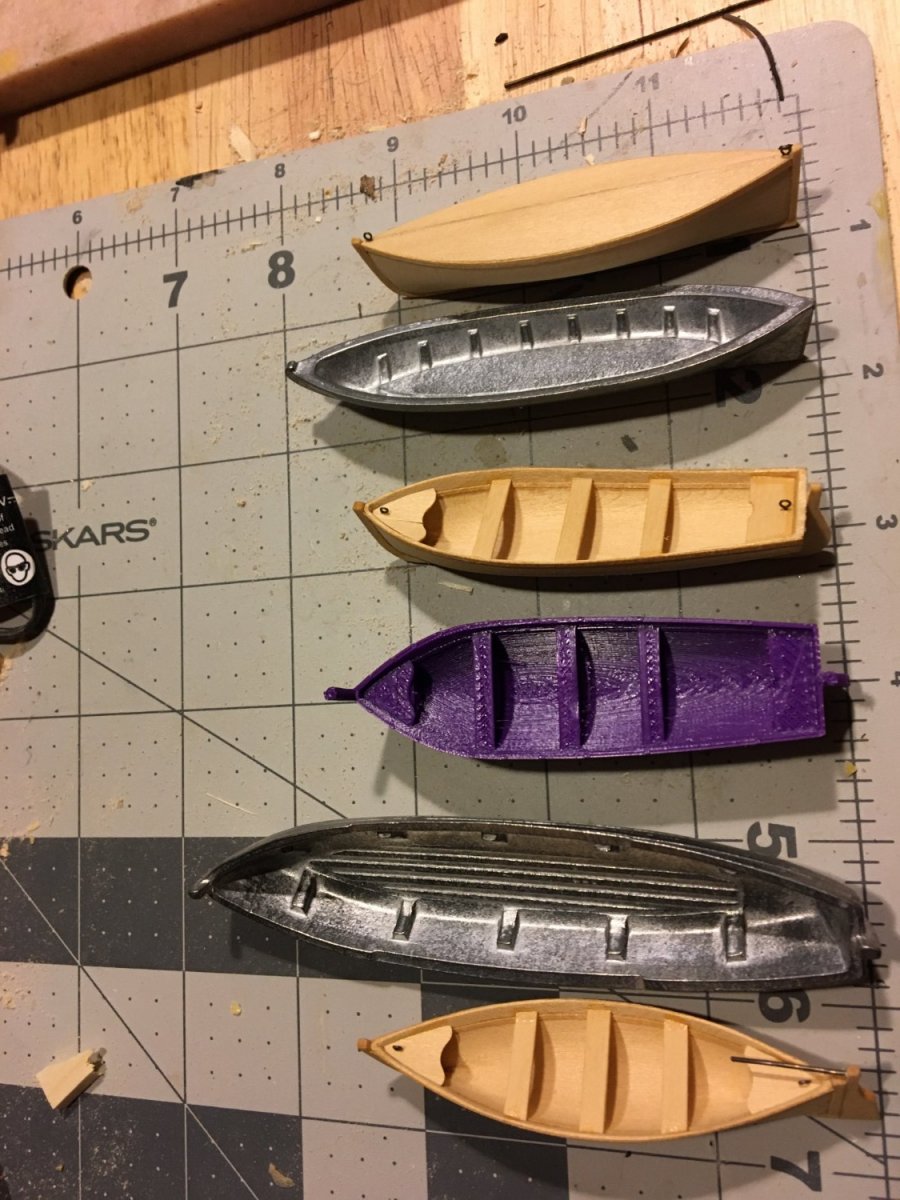
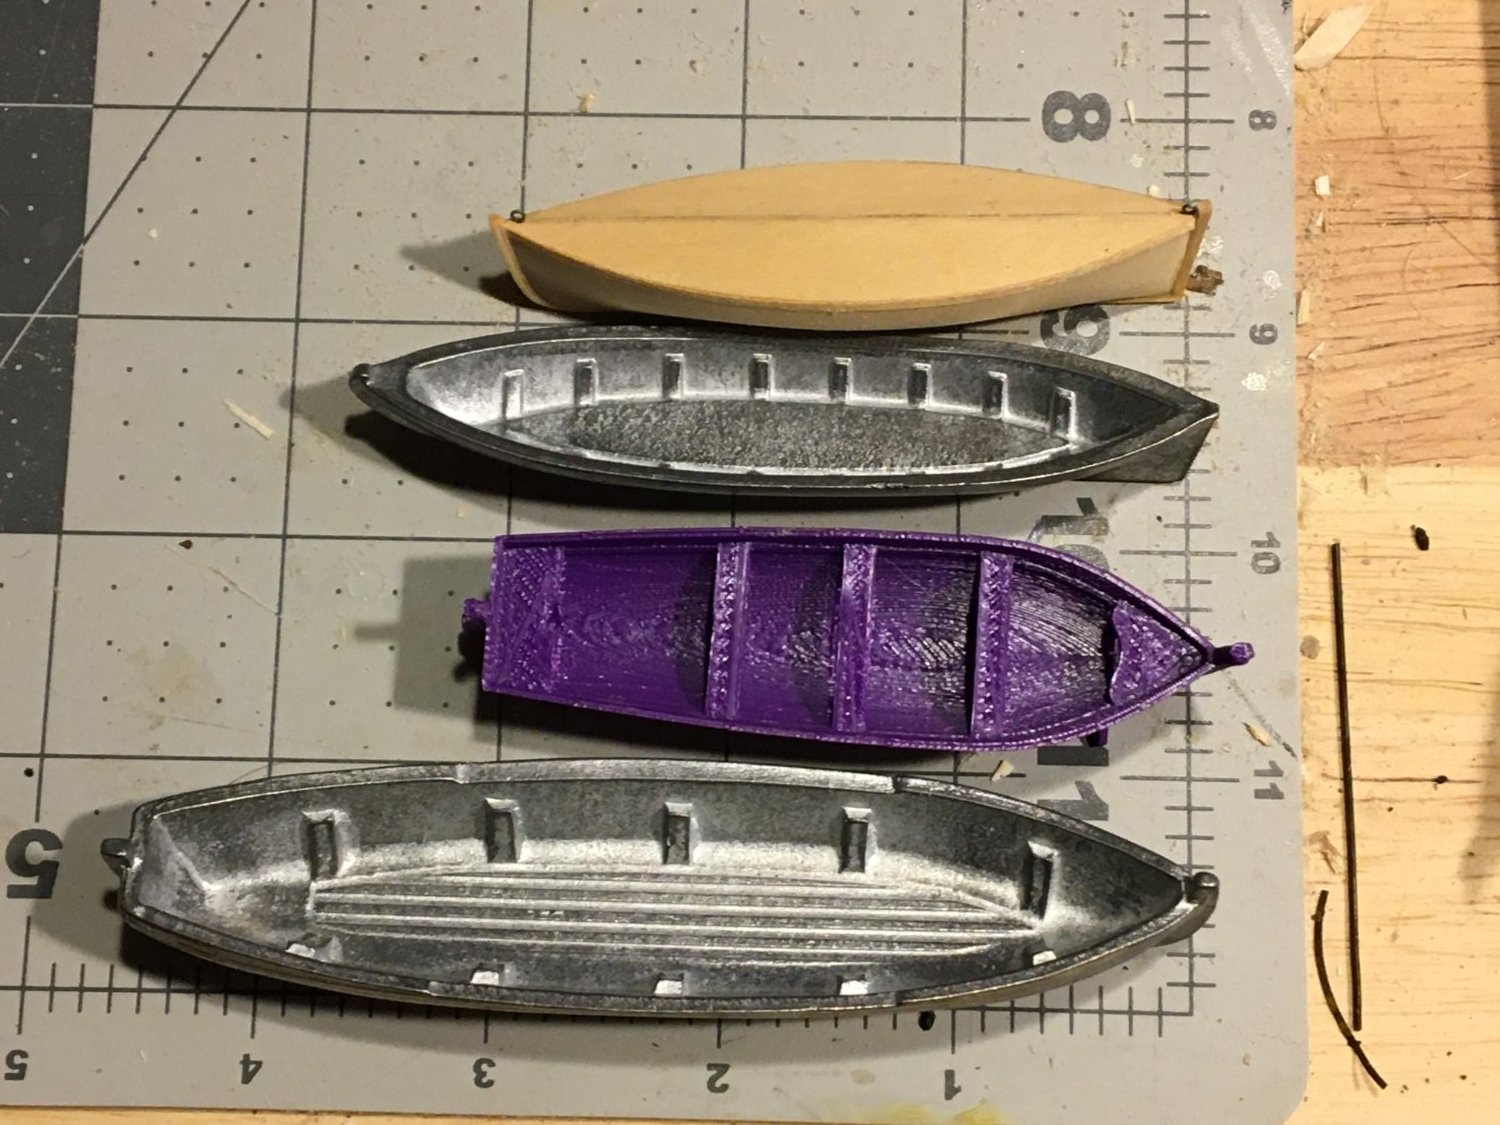
Went to the Northeast Ship Model Conference last weekend and bought 4 small ships boats that I prayed were the same size as the smaller boats needed for this kit - I wanted to replace the metal ones that came with it with wood. Close, but... This was part of a lot the New Jersey club had for sale - there were 4 of them (2 covered canoe shaped ones) in a shipping box labeled "ships boats/Sovereign of the Seas) postmarked in 1964! The purple one my son printed out from a quick design sketch - needs to be sanded and painted. We think he can scale it up to replicate the largest metal one.


-
Thanks for the suggestions. Not much progress (I blame the brand new 1st grandchild, but truth is I'm a pretty slow worker...), but some. The filler blocks in the bow and stern have been whittled and shaped and the deck planking slowly started. I started using the Byrnes saw to cut the 45 degree angles on the planking, but they are so thin the saw - even with a fine slitting blade - just chews them up, so I'm using a regular x-acto blade saw and miter box.


-
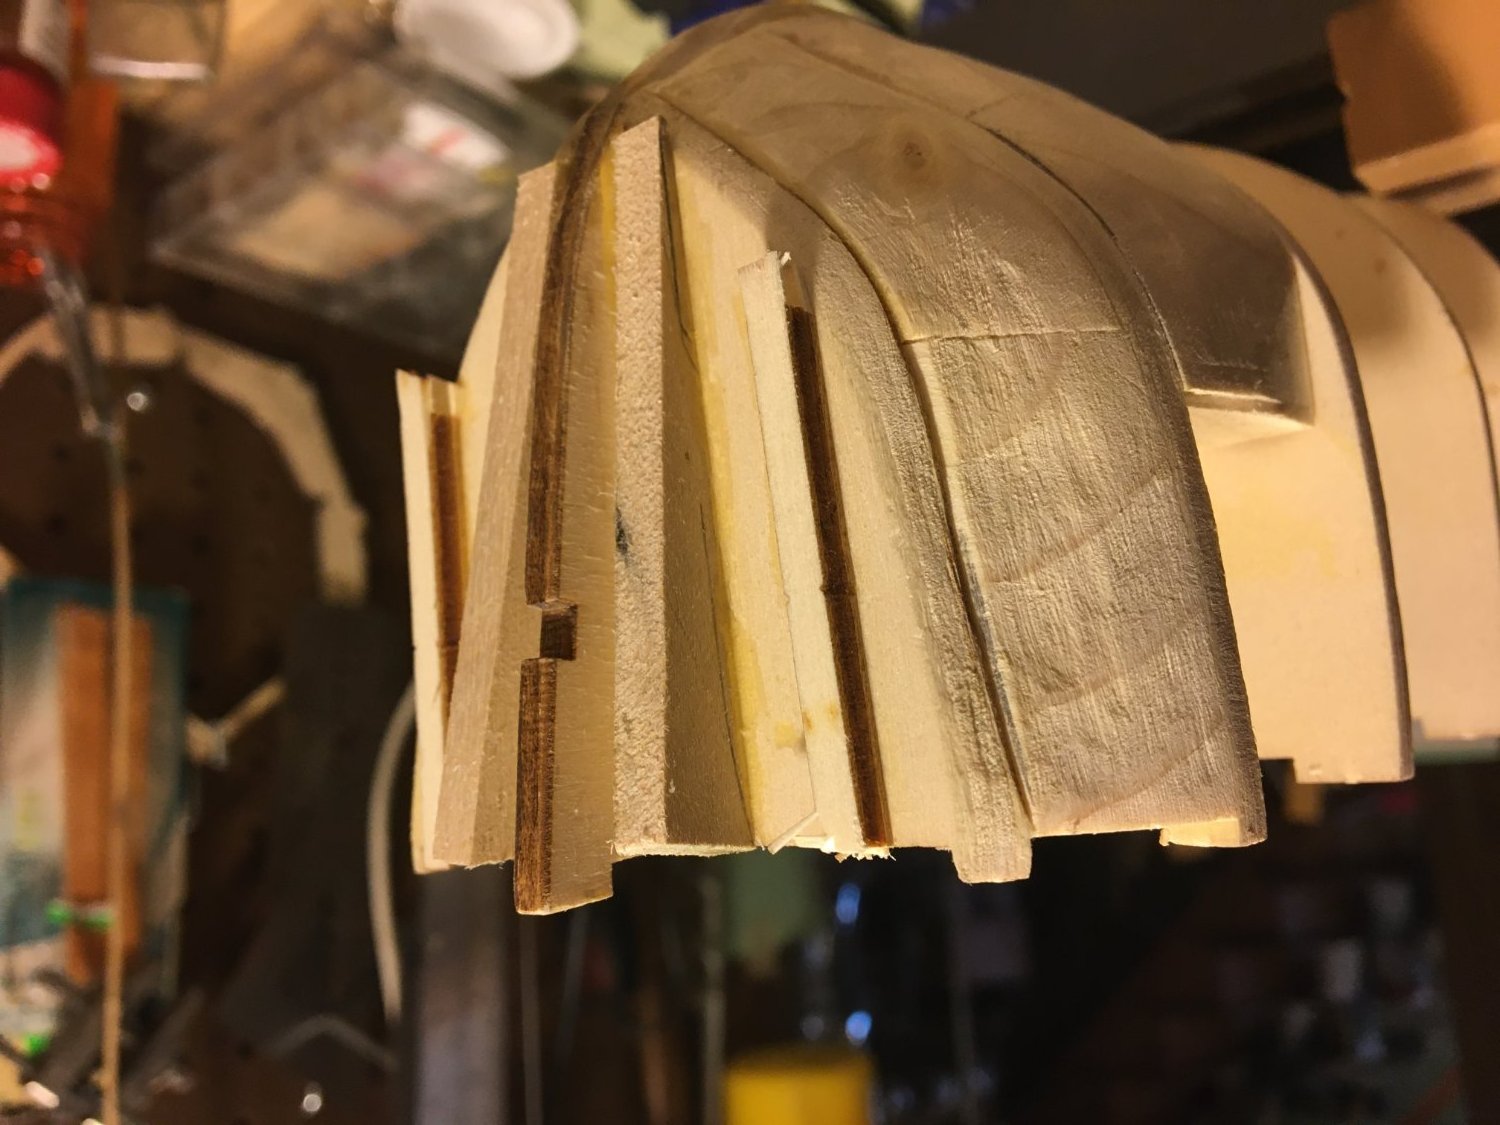
I bought this kit partly because it was on sale, partly cause it had sails, and mostly to get to practice planking a bluff-bow'd ship - I have done only one other ship that required planking - the Pride of Baltimore - and that has completely different lines and should have been a bit easier, but wasn't really. I also wanted to try kits from different companies (having built a Mamoli and Model Shipways and having Chuck's Medway Longboat in the yard) to see which I liked - my standards at this point are pretty basic - instructions I can understand and blocks I don't need to replace with, well, Chuck's. I knew a little something of the Franklin Expedition (partly from having listened incessantly to the song of that name by Pentangle, partly thanks to the fictionalize show with Jared Harris (what's not to like about Hari Seldon/Anderson Dawes?Capt Crozier??). But as I started doing my own researches the ship began to come to life with a very interesting history of refits and alterations/augmentations. I hope my (budding?) skill level is sufficient to do it justice. The beginning of this log has lagged behind the beginning of the build, and the log may lag a bit again as I finish going through Matthew Bett's blog and some of the other Terror logs on this site, so bare with... Terror out of the box Gluing and squaring the bulkheads - feels more like I'm replicating a medieval torture chamber than the framework of a ship, but it works Starting to fair the bow - the blocks are not called for in the instructions, but given the severe curve at the bows, I figured they couldn't hurt and hopefully would help significantly. I know I could have used some reinforcements on the Pride, especially at the stern. Since this is my first double-planked hull I'm not sure if the first layer of planking will make this superfluous, but I'd rather overbuild now than have a cracked or blistering hull later. Besides, Olha Barchvarov makes this look so easy and straightforward in her videos. At bit of progress with the sanding. Not as easy as Olha made it appear, especially since I'm using pine for the blocks, having failed to find any local balsa (too soft, maybe, for this purpose) or basswood. Did finally find some basswood for the stern. Some of the angle between the bulkheads was shaved off using a scroll saw prior to gluing in place, most of the rest will have to be sanded - I'm not sure even the basswood is soft enough for chisels - may need to invest in a rotary tool


.thumb.JPG.02189fc86fd6e6a13831d7653801cc61.JPG)
-
Brass Blackening questions
stevenmh replied to stevenmh's topic in Metal Work, Soldering and Metal Fittings
Good to know, thanks. Likely will stick to paint -
Brass Blackening questions
stevenmh replied to stevenmh's topic in Metal Work, Soldering and Metal Fittings
Thanks to you both - will let you know if I succeed. The Cairo model has photo-etched gun port lids that are glued to the photo-etched armor plates, so I can burnish the backside of the lids and that should not be visible.


.JPG.ad27746c9c4021b9a61d462b4790bc55.JPG)