MORE HANDBOOKS ARE ON THEIR WAY! We will let you know when they get here.
×


SpencerC
-
Posts
211 -
Joined
-
Last visited
Content Type
Profiles
Forums
Gallery
Events
Everything posted by SpencerC
-
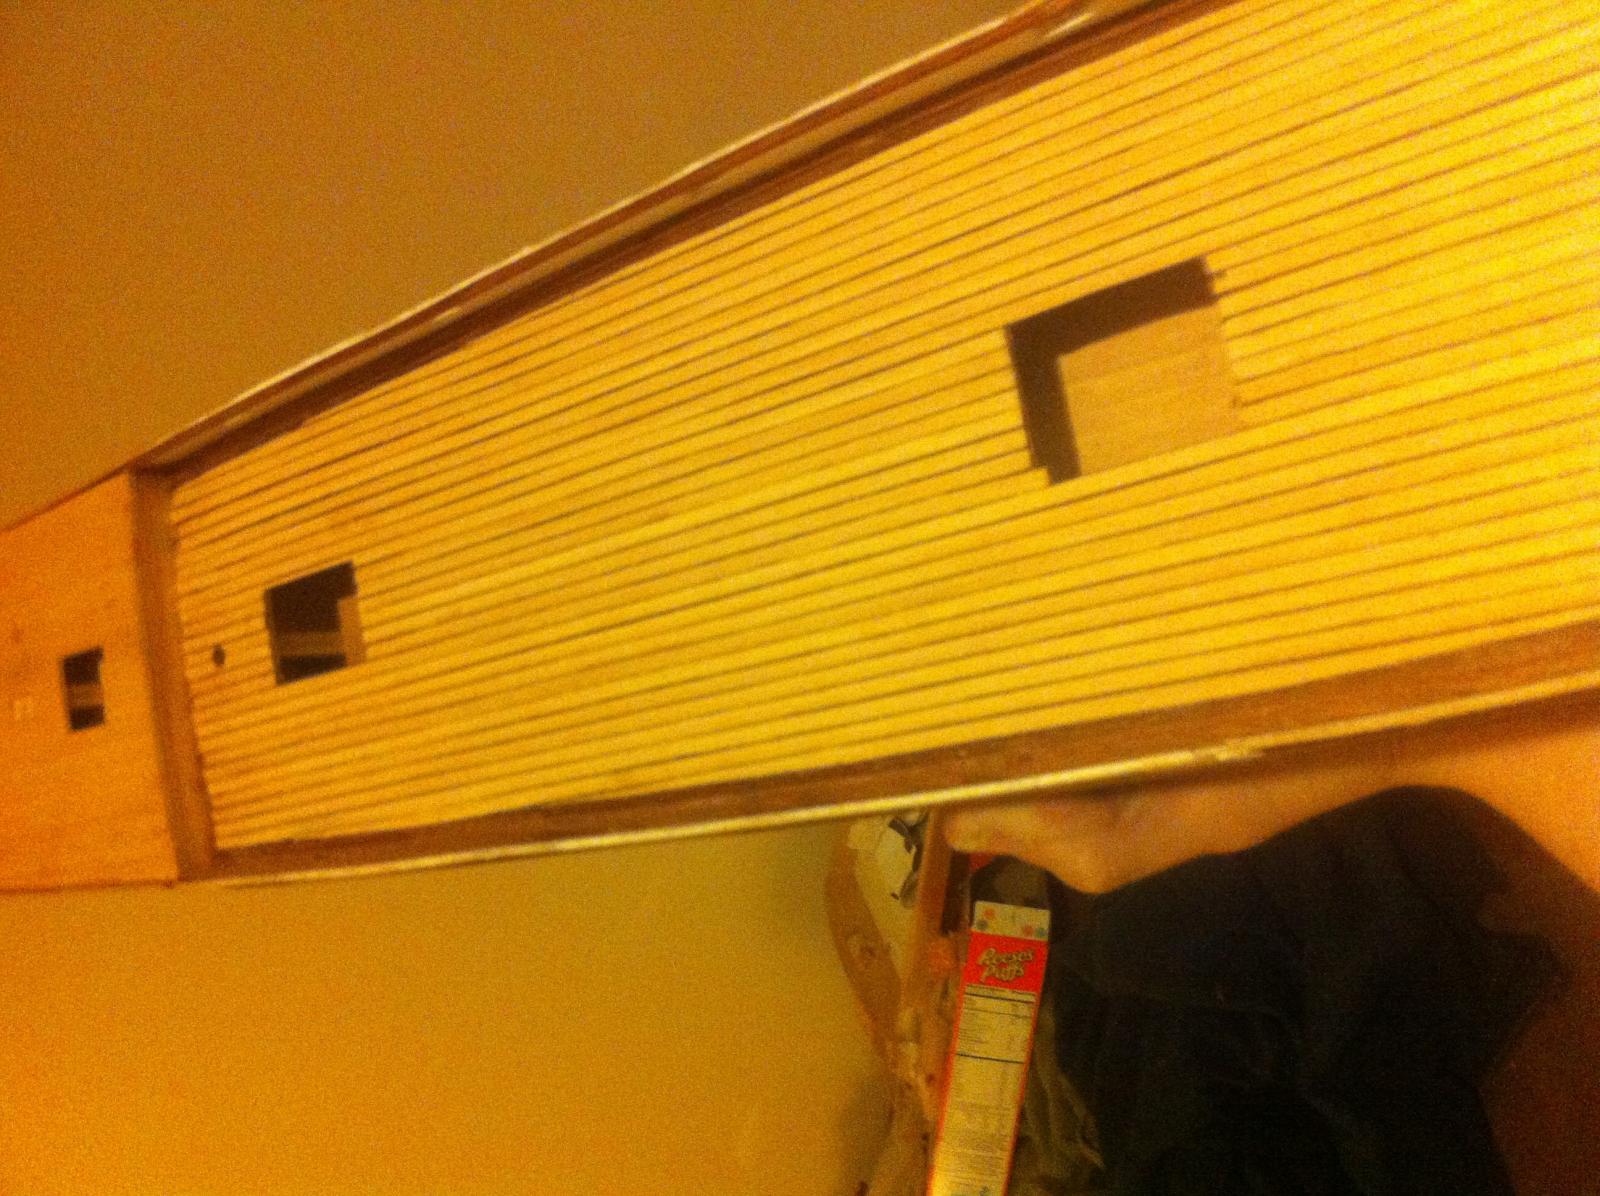
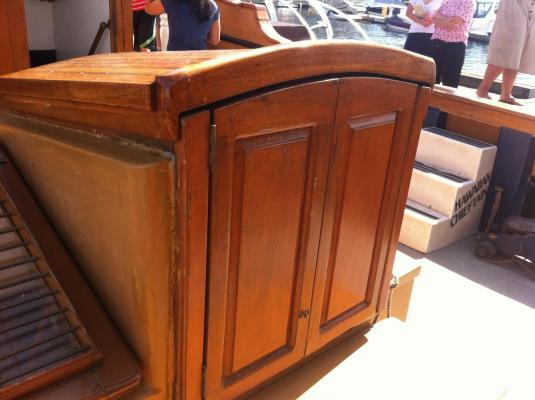
 Well there is absolutely no way to get the glue off, I've tried sanding, using uncure, nothing works. So is there something that will make it look more "hardwood" like? Without having the glue show up? Is there something that will make it slightly darker including the glue? For example paint would turn the glue the color of the paint as well as the deck plank. Is there some sort of clear coat that will turn the wood a darker shade and make it look more... Shiny? More like a hardwood floor like the sample picture I showed.
 -
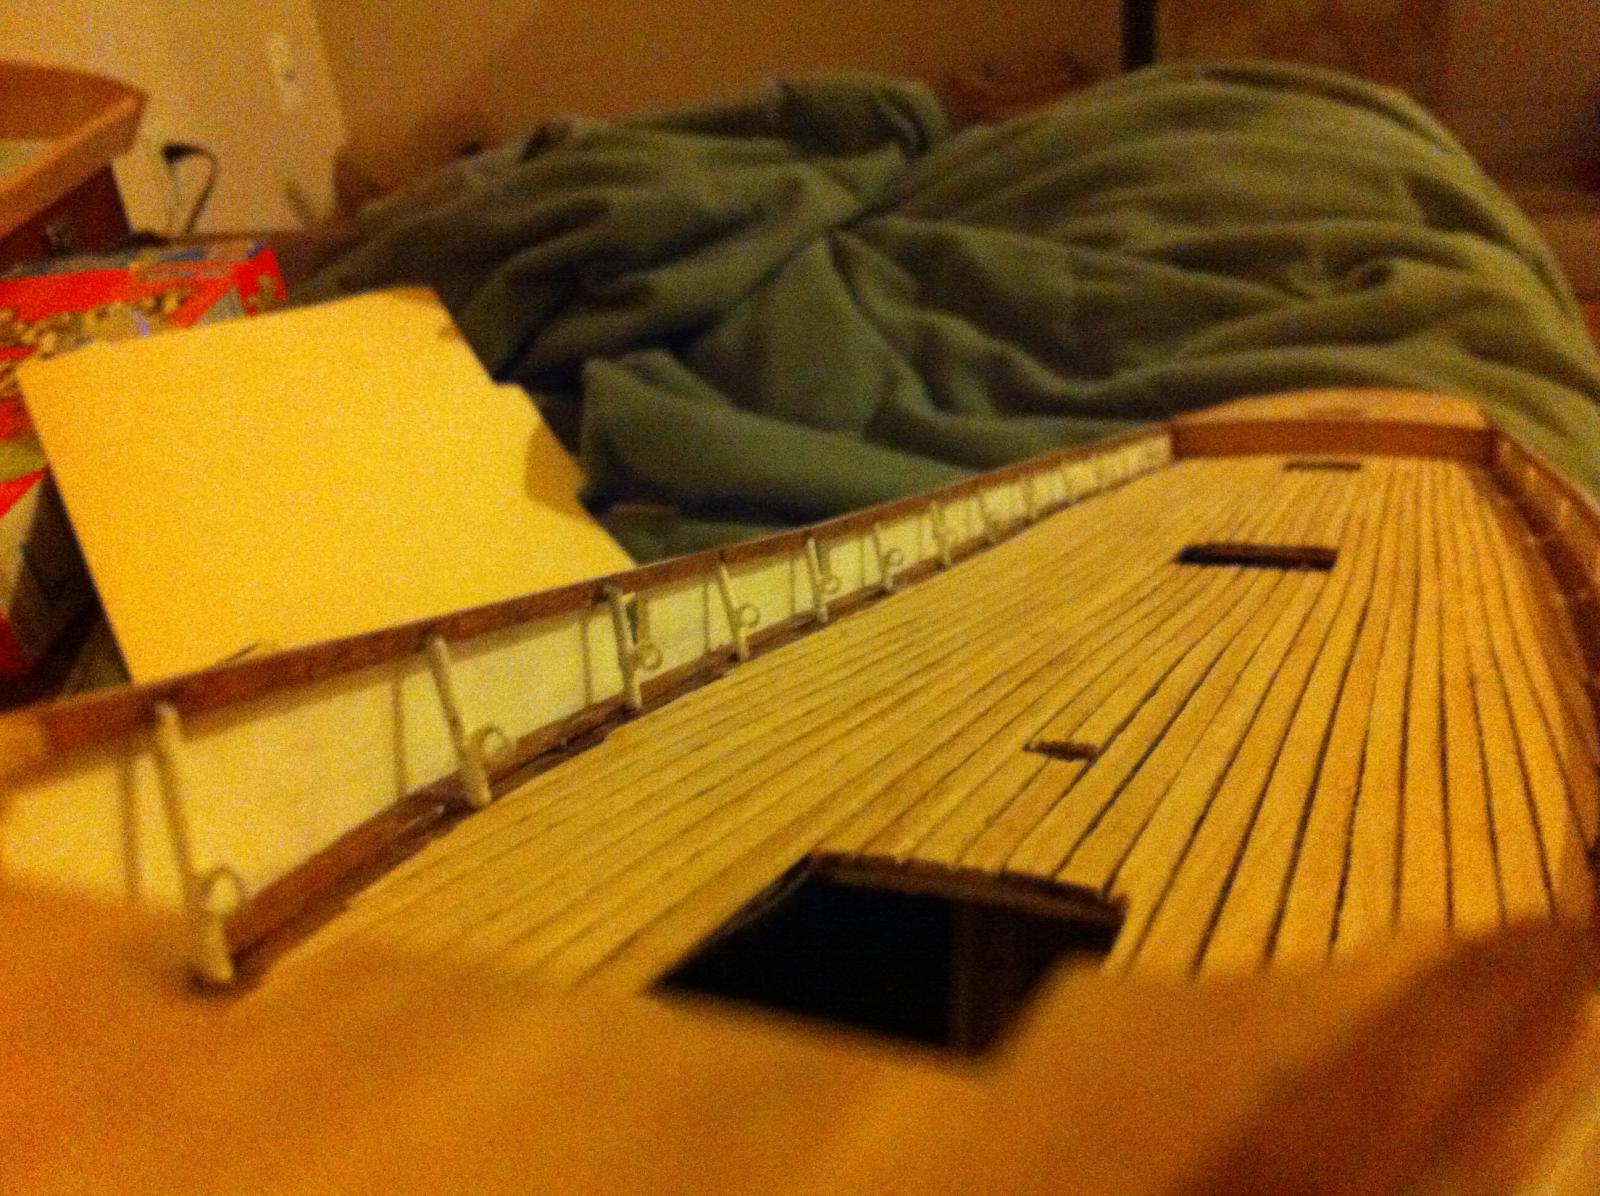
Here's some more of my deck

-
So I WOULD use a stain, but I have so many hidden glue spots on my deck that I fear the stain would highlight them considerably. Is there some sort of clear coat I could put on it to make the wood maybe one shade darker and bring out the lines and the grain of the wood. I also want it to look more flat, right now it looks like each plank is sort of rounded on the top, I tried sanding it but it doesn't help a whole lot, I think it's just the way basswood or whatever this is looks. I want it to look less like the first picture and more like the second. Thanks for any help!

-
Yeah that's the size I thought they were, trippwj
-
This is incredible. .. I cannot believe how beautiful your hull turned out... Wow. I am speechless.
-
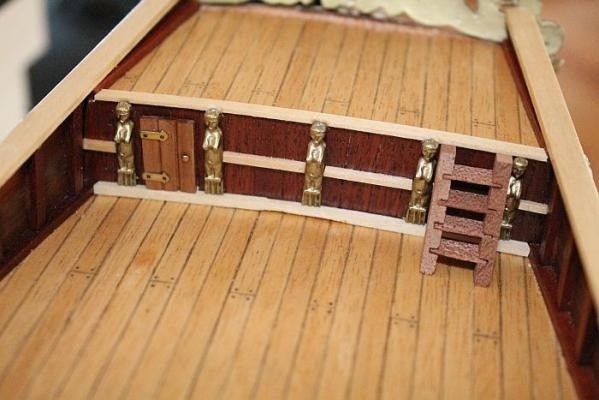
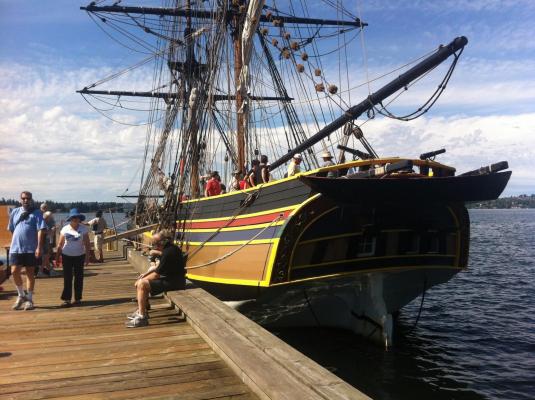
A better way to ask this would be how large is the average person next to a gunport? Should it only come up to thier knees? A couple ships that actually happened to have a small role in the pirates of the caribean movies were in my local harbor giving free tours to those who would like to come aboard the ship. However it seemed like these ships were almost scaled down or something.. Everything seemed MUCH smaller than the size I had thought them to be. Especially the cannons and the gunports. Incredibly small, like I said possibly lower than my knees and I'm about 5'7. I wish I had gotten an actual picture of them but in this image you can get a glimpse of how small the gun was, that's impossible right? They can't possibly be that small? It's on the far center right, right next to those white stairs. I've included an extra picture in case u wanted to see the whole ship. I will be opening another thread with all the pictures I took as well as pictures of the plans of the ships! I could build a model of these two small boats if I really wanted to, I have just about everything needed. Well let me know what you think of the cannons and if I should upload the remaining pictures. Cheers.
-
Cutty Sark by NenadM
SpencerC replied to NenadM's topic in - Build logs for subjects built 1851 - 1900
Could u do an overhead shot of the panels you cut out? Hard to see from the side. Thanks -
If you use pastels don't u have to put glue down first? I think the tamiya ones already have a glue/paste in the mixture. But yeah pastels are great for that too.
-
http://www.thewarstore.com/product33272.html They have all sorts of stuff like dirt and sand. Pretty much any type of weathering you can think of. Makes it look like real sand or whatever is stuck to your model. I watched a YouTube video where someone used this on thier gundam model and it looked so real.
-
Oh and I think I failed to mention I only did the right side so far haha
-
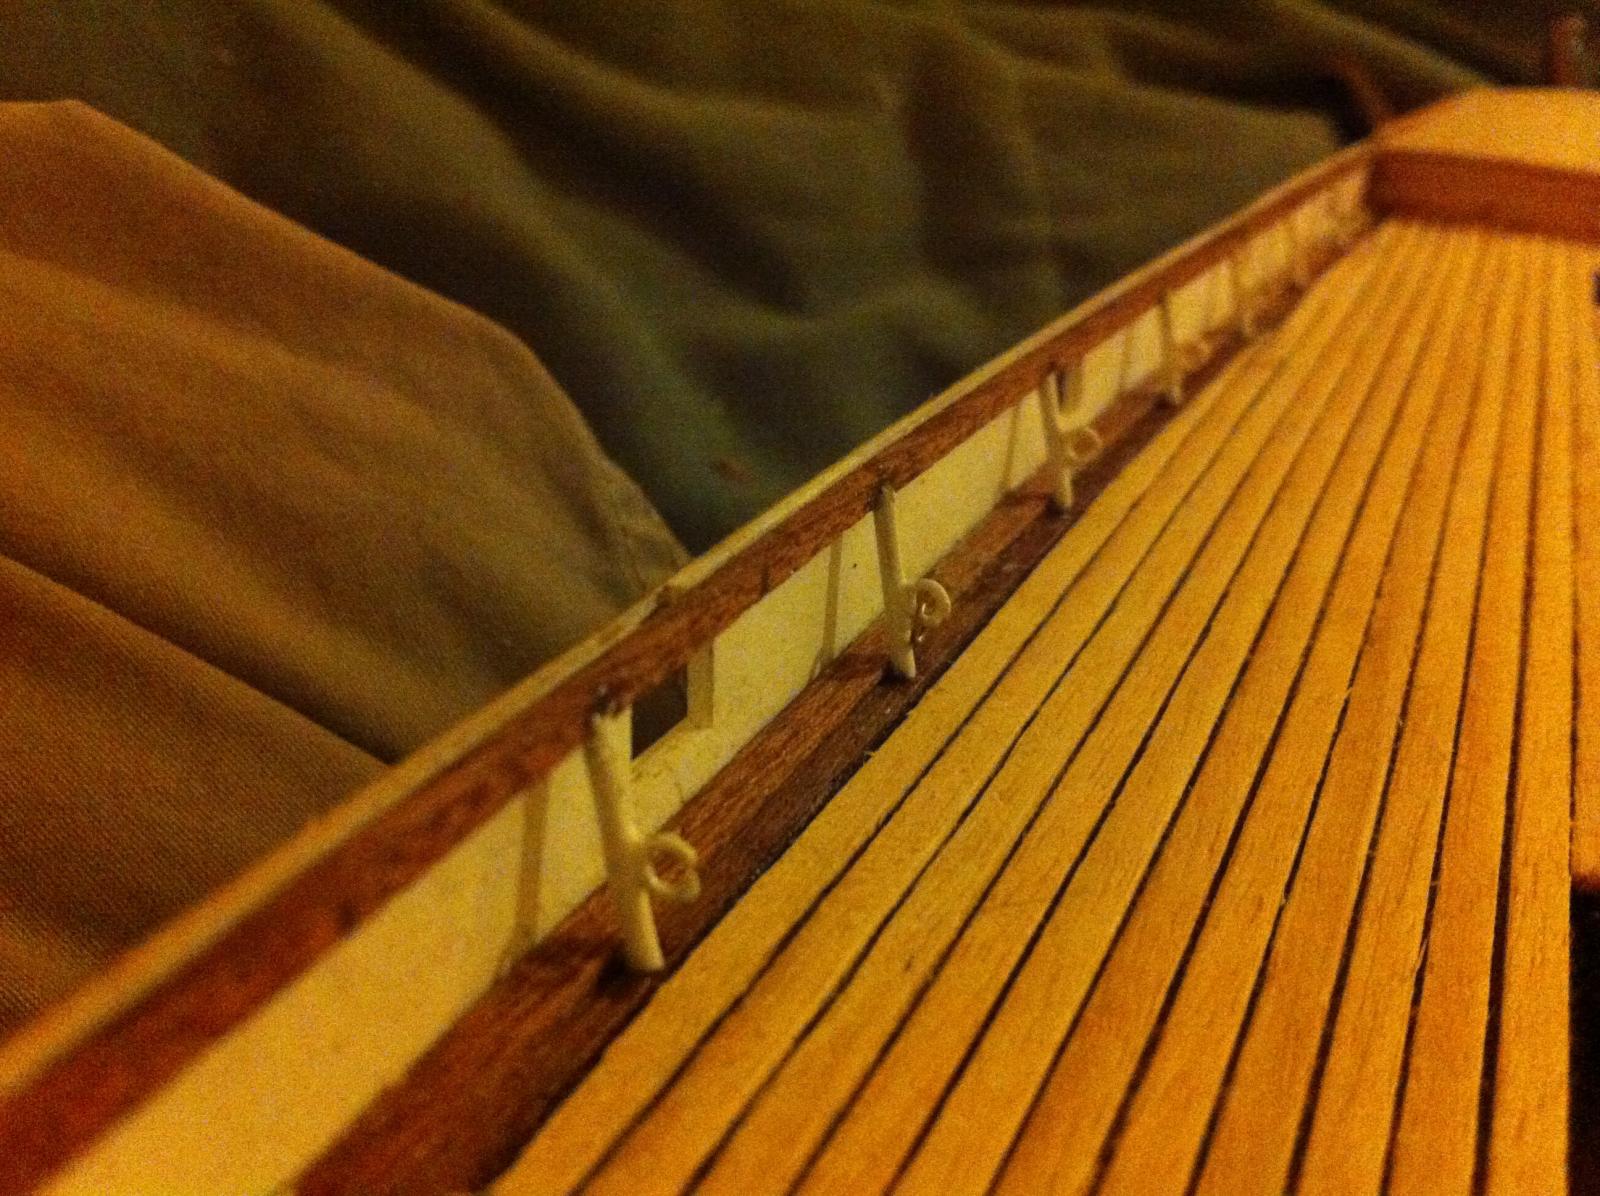
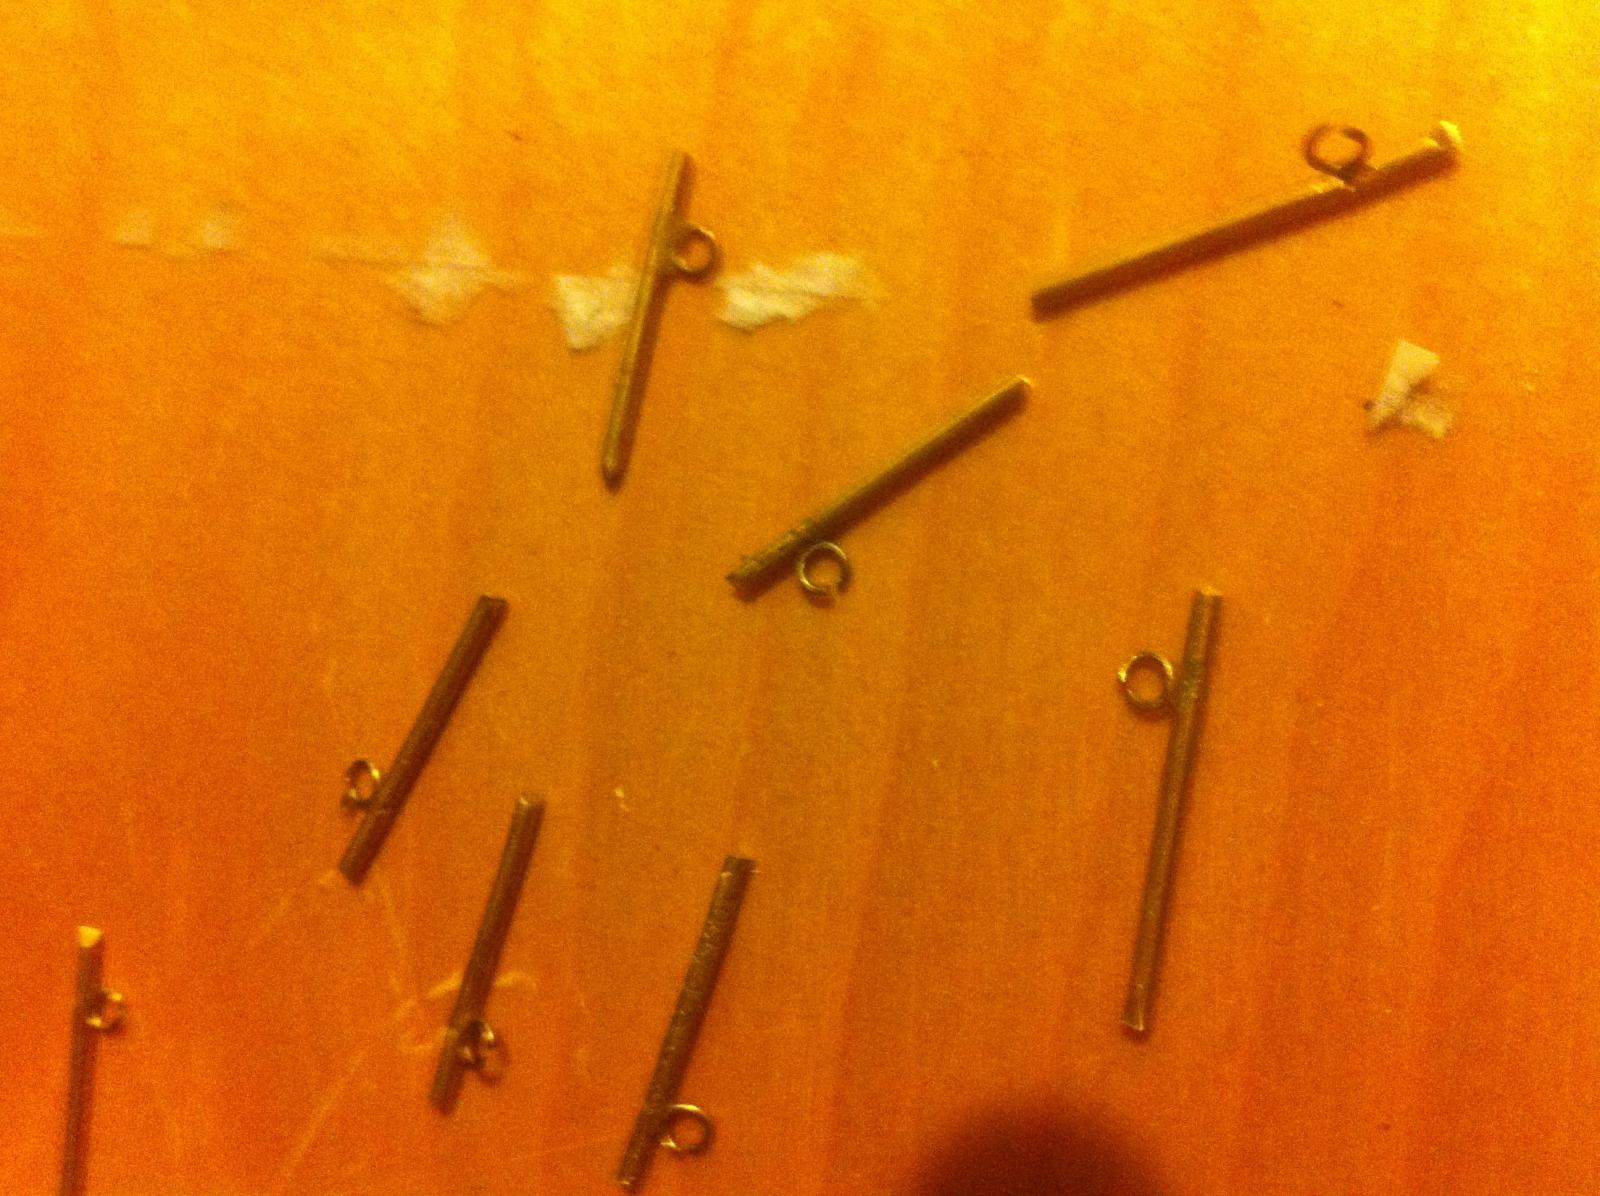
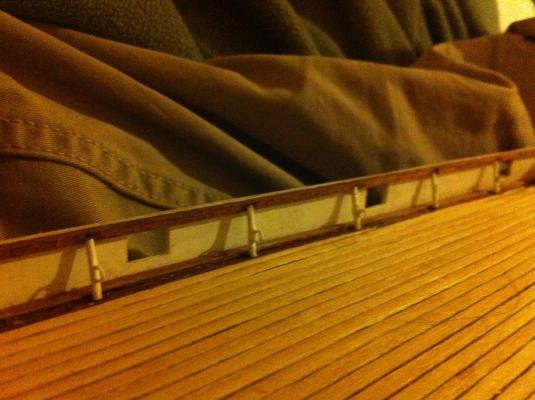
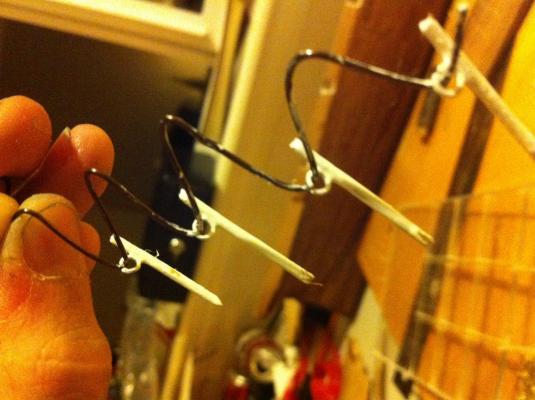
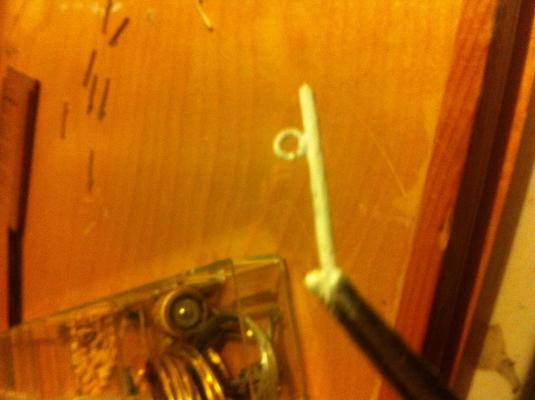
Got all the "ringed" stanchions in. I expected the rings to fall off once I started popping the stanchions into the holes I drilled but the CA. Held firmly as they popped into place. I used my Dremel to drill these little devets into the wood, I may post a pic of them later, and popped each tinge stanchion in. Every OTHER Stanchion has a ring on it, so now for the in betweeners. I think they turned out really good.


-
Wow this looks amazing! Keep it up ill tag along!
-
Hah okay for sure ill try to post more often. Ok so why doesn't the forecastle have nibbing? Don't they do that so they don't have sharp pointed planks that would possibly splinter off? And also I figured I would just be putting some glue on the end of the bowsprit and pushing it in til it hits the deck under the forecastle, hold it in the position I want and wait until it dries. Would that work or do I really need to remove the forecastle? And ya know that's a good Idea I think I will make the center pawl bit to see if its lined up correctly, right now it's just lightly glued on, I will later have what I call the "second bulwark" ontop of the forecastle so I should make sure before I lock it in when I put that on.
-
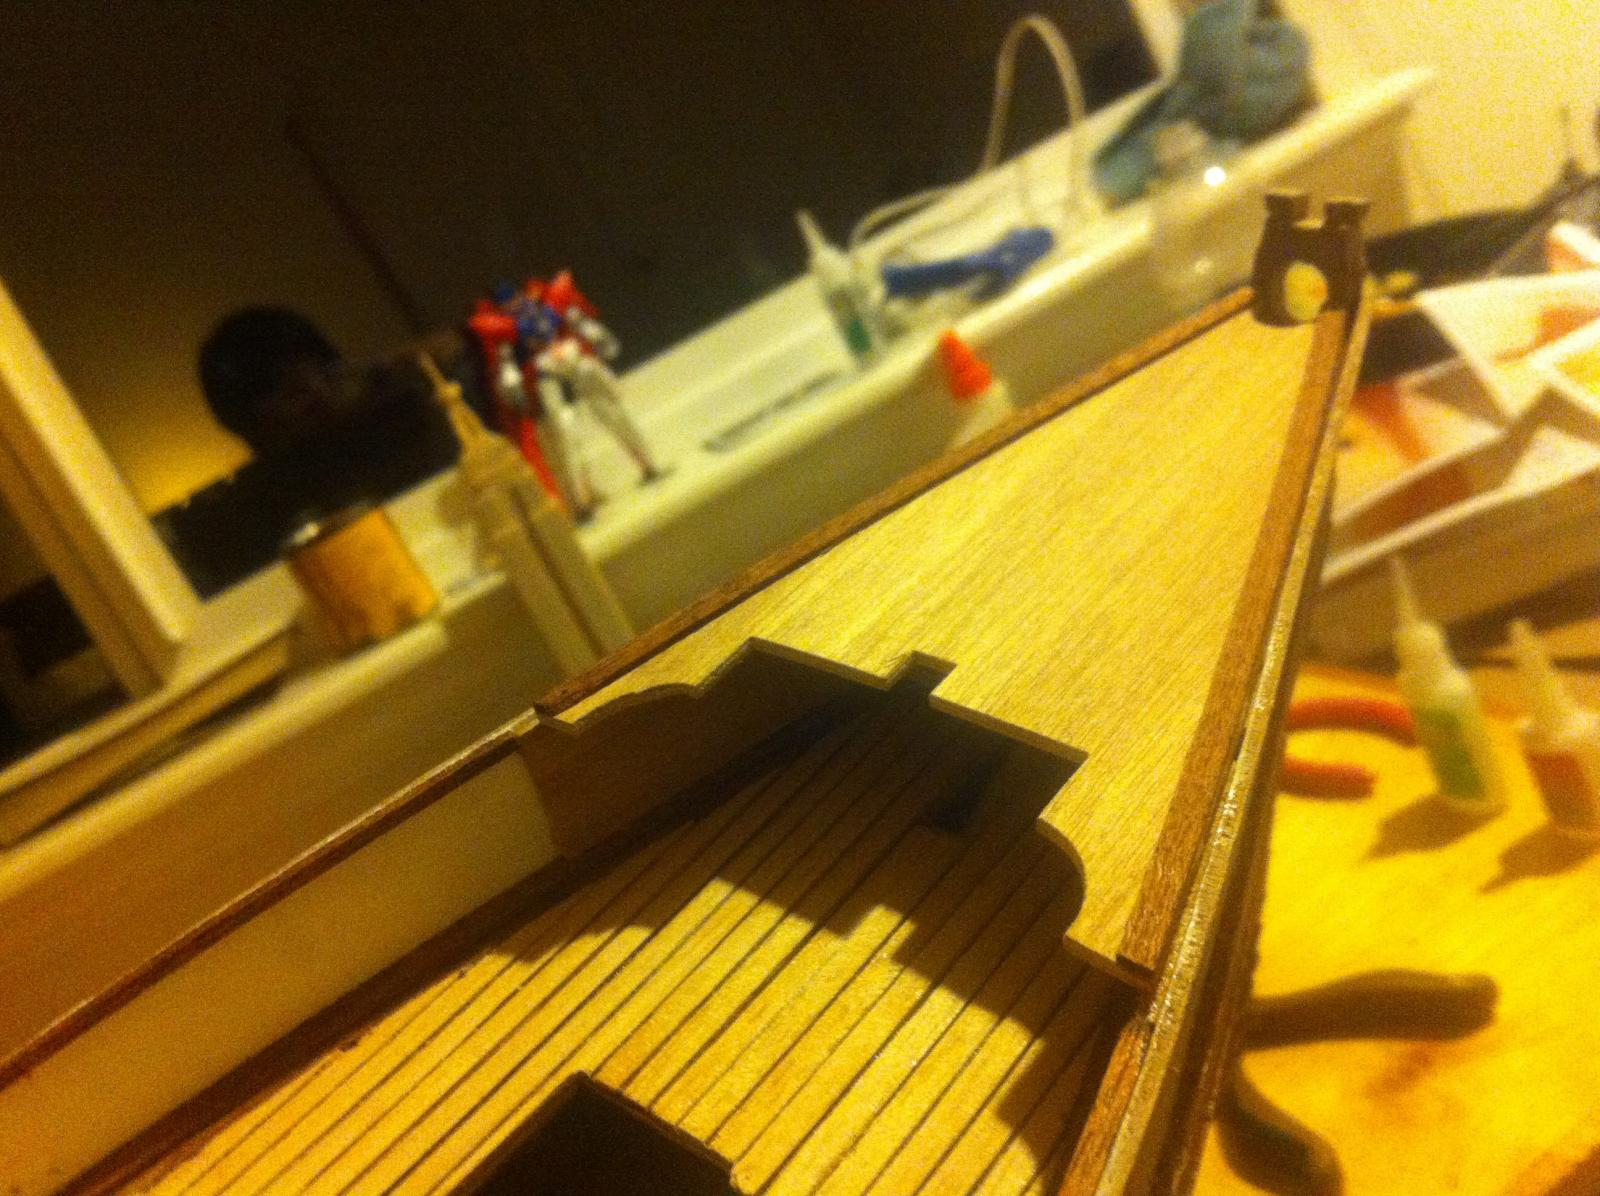
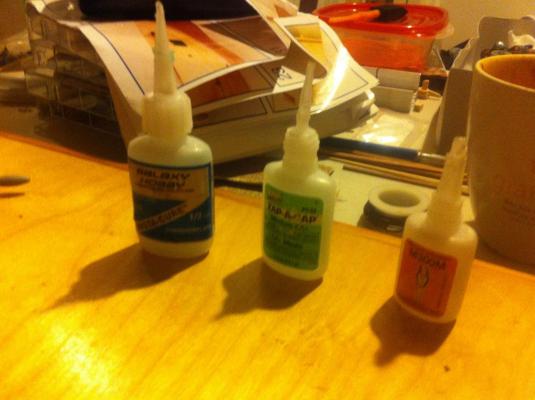
I also thought i should post a pic of my workspace, I recently cleaned it up a bit and added this really cool thing I found at a garage sale. It this rectangle lazy Susan type thing that is perfect for hobby and crafts. It's perfect for painting things that you don't want to touch with your fingers and end up smudging them and whatnot. I also thought it was funny how my glue bottles went from largest to smallest in the order of; insta-cure (large), medium cure (medium) and lengthy cure (small). Haha I got kind of a kick out of that anyways, back to work please let me know what ya think!

-
3.Lastly but surely not least I am now working on the stanchions. I didn't have a soldering iron so I just glued the little rings on the stanchions, but I really hate how it looked, even though you can't really see the glue, it looks like the ring is just stuck on there somehow, it didn't look like it was welded, but once I painted it white, the magic happened! The paint covered the glue which filled the gap for the side of the ring to the pole and it looks JUST like it was welded on there. I am extremely happy with how these turned out so far.

-
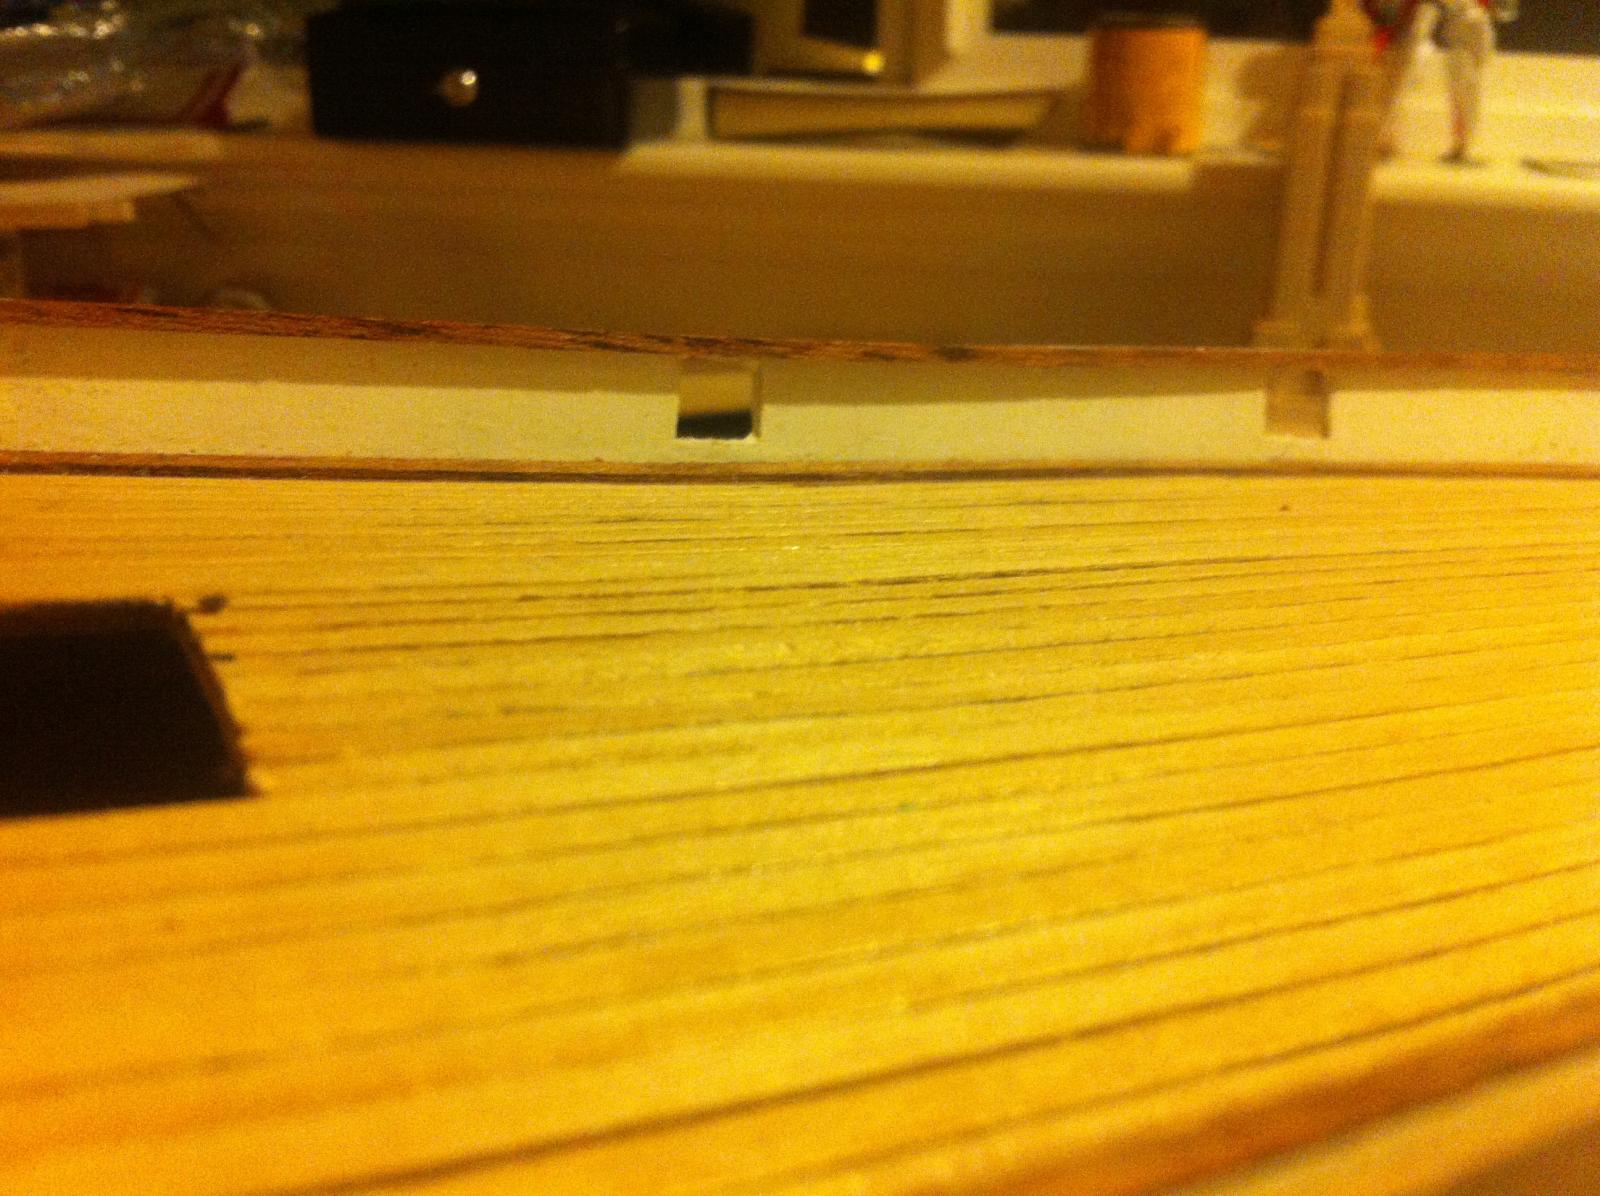
2. Added the bulwark stiffeners which will accept the stanchions. Not much to say about these. Now that I think about it this may be the same picture I used in the last post. Oh well you get the idea!

-
Ok guys a new big update, I prefer to do alot of work and then update as opposed to updating for every little step. Here my progress: 1. Planked the deck and put in the forecastle deck I really like the way the deck turned out with the string used as caulking I think that looks amazing. However for some reason the forecastle deck was waaaay too wide for to fit in the bulwarks, so I had to carefully cut some off each side, after being completely certain it was symmetrical I fitted it in there ontop of the counter bulwarks. I plan to do some joggling on the forecastle deck so I added to nibbing strake on either side.


- 46 replies
-
- 2
-

-
- cutty sark
- artesania latina
- (and 1 more)
-
Looks great, I really want to do this ship. Watching with interest
-
i know man my camera does the same thing. i try to get a close up but it turns out all blurry. makes it hard for taking pics of little stuff. it helps if instead of getting up close with the camera you stand back where it focuses and then zooming in. but yeah i grew up w a canon 35mm, i had an olympus at one point though.
- 46 replies
-
- 1
-
-
- cutty sark
- artesania latina
- (and 1 more)
-
I have an idea! Use wood putty to smooth the transition from the prou planks to the front of the stem.
-
Yes it was I just lost them
-
Hah and that's exactly how I see my builds as well, first place, second, third, even fourth..!
-
I don't understand what exactly is wrong with yours though, the planks. Are supposed to sit right on either side of the stem like you have them.
-
Does anyone know where I can find the artesania Latina cutty sark picture instructions online? I have my text instructions but I need to see the pictures, or does anyone have a similar set of picture instructions and could they post the pictures for steps 24 through 37? A whole page in one photo would be fine as long as they're clear. Thanks to anyone who's willing to help I really appreciate it!
-
How to do deck edging?
SpencerC replied to SpencerC's topic in Building, Framing, Planking and plating a ships hull and deck
Ohhhh ok that makes so much sense, so you just temporarily have the edge plank in place using mini nails or something? And how do you decide what the actual shape for the end of the planks will be? How do you know what degree to cut them at? Or do you just do what looks right?