HOLIDAY DONATION DRIVE - SUPPORT MSW - DO YOUR PART TO KEEP THIS GREAT FORUM GOING! (Only 20 donations so far - C'mon guys!)
×


Adrieke
-
Posts
1,625 -
Joined
-
Last visited
Content Type
Profiles
Forums
Gallery
Events
Everything posted by Adrieke
-
 that looks really really good it makes it look so much better when all these small things come togeterh i still have a long way to go before i am up to that
 -
Sjors the instructions say to glue the gunwales to the outer edge of the deck and then sand them following th einclinations of the bulkheads looking at the picture i can see that they are glued on top of the deck and not agaisnt it but they are 5 mm wide so they would cover the smal gap and the are planked on the outside also unless i can find something to suggest the deck is th ecorrect width i ll do it that way thanks for you rinput Sjors and Wim
-
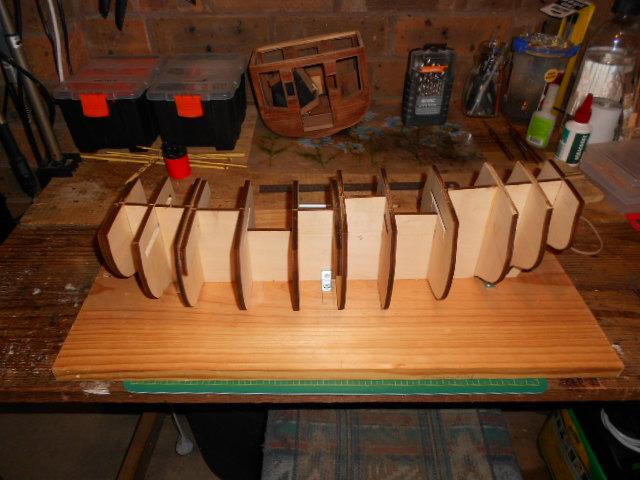
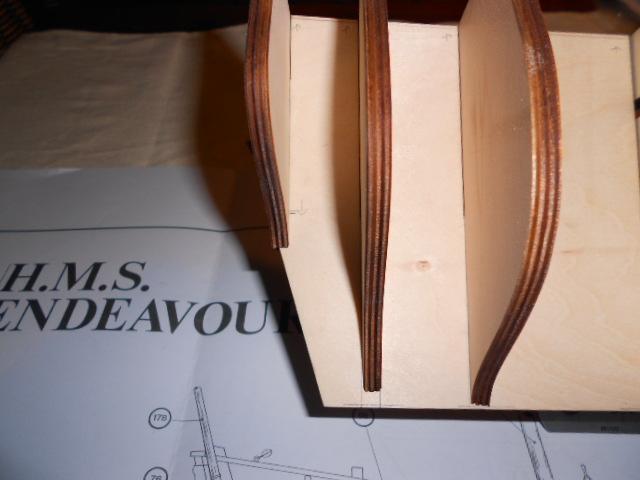
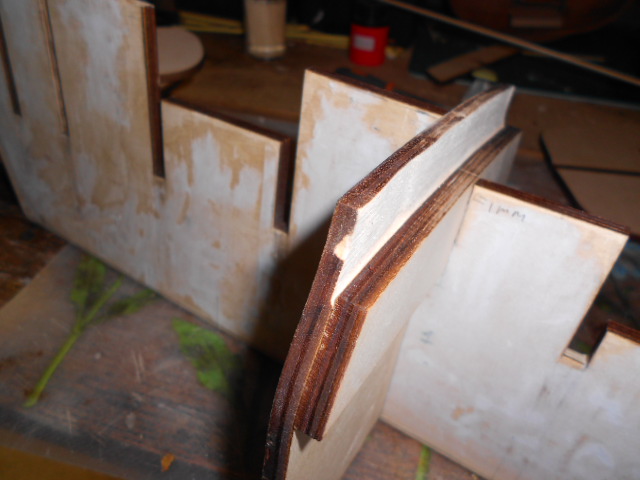
all bulkheads dry fitted to mkae sure they are all where they should be. doing this i noticed that i messed up the bearding line need to redo that one i can now rough sand the front 2 bulkheads i noticed that the aft deck width is a lot less then the bulkheads do i need to narrow the bulkheads or is the deck too small


-
haha Sjors sorry didnt put any pics on yet i have finished with getting the bulkheads to the proper depth also rough sanded the top of the bulkheads as it will be very deifficult once they are glued in to use my rotary tool to sand them and will save me some time manualy sanding will take some pictures of this later today for you Sjors i decided not to move any bulkheads as the 1 mm difference is so small and later on when fairing al lthe bulkheads wil be unnoticable anyway i did however took of 1 mm of the widht of one of the bulkheads . this is where the middle deck will fit in i wil have to add about 1 mm of thickness on another one but will do that when the bulkheads are glued in i decided to glue the 2 front bulkheads together and later on the rounded front bit. this way i can easily use the rotary tool to do a rough fairing of the front i drew the bearding line at the back of the false keel. its a bit wavy but it gives me an idea i have never done this but to me it seems about right any suggestions or comments would be appreciated

-
hello Wim yes i know i have already adjusted the holes in the deck and was just testing to see if they are straight and it looks good my next step is finishing the lights for the first deck then glue the second deck stateroom on and scratch build the windows
- 1,038 replies
-
- 1
-

-
- King of the Mississippi
- Artesania Latina
- (and 1 more)
-
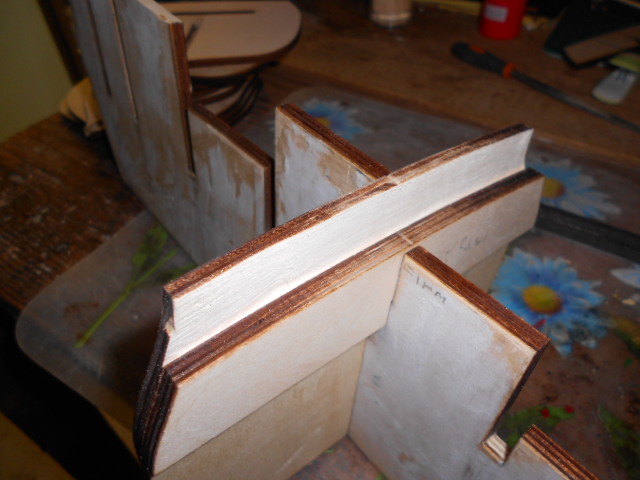
have made a bit of progress i sanded off the 2 mm from the false keel now makign sure all bulkheads slide in to the correct depth which means about 1.5 mm from the bottom of the false keel acording to the plan the exact thickness of the planking strips
-
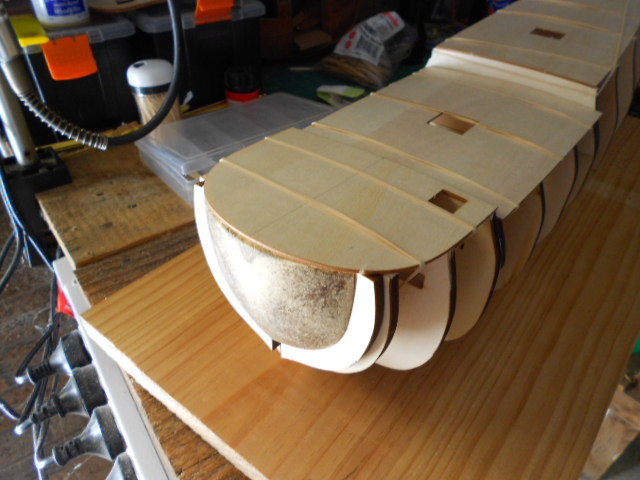
after a few days of playing with the endeavour i finaly got round to bying some extra clamps to glue the second deck on afterwards using a torch i checked for gaps and used some filler so that there is no leakage you may notice the hole in the deck thats where the led lights will go for the first deck. this way no wires wil be visible through the windows on the second deck. i will also make it that i can easily take out the assembly if i ever need to replace a led. i still need to figure how i wil hold the 3rd deck in place without glueing it on. the last picture i tried out to see if the smoke stacks fitted next i need to create a mold for the windows i need to scratch build the idea is to assemble all the windows in this mold so that they will all be the same size and shape


-
no worries Jared and sorry i forgot you al ready finished it just got caught up in following your nice build
-
yes very well done i would also put something soft hwere the ship touches the balsa wood just to make sure
-
hi John wow you make it seem so easy doing those stairs i was struggling with it as teh steps kep showing through the gaps in the sides but with your pics as reference i ll give it a go this weekend well done
-
hi sjors its no big deal just a bit more work and compared to the 100s of hours i l be putting into her jsut a small set back and my wife was the one that got me off the street so its her duty to keep me off anyway bed time for me
-
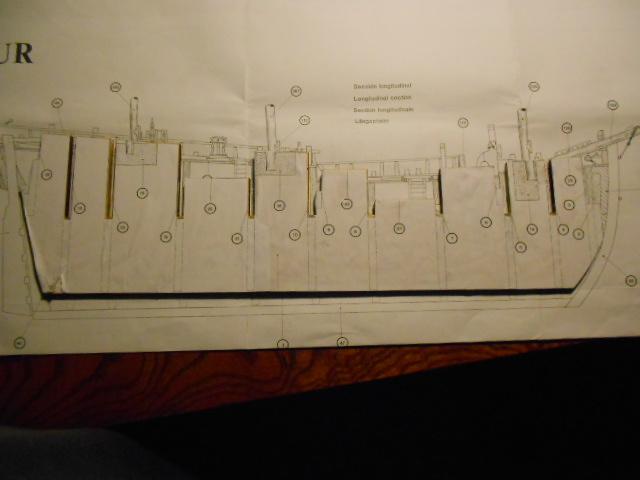
well that was a complete waste of time i had cut out the keel fofrm the copies and glued it to the keel then i noticed that instead of the paper being shorter it was longer i checked with the plans and then i find out the copies are actualy larger then the original and totaly useless sigh tomorrow i ll need to remove the paper and then i ll just manualy draw the areas that need to change on that will teach me tryiing to be lazy
-
alright got the copies so tonight when i am at home i can start on it
-
hi Sjors oh i am definately hooked on ship building just like and Anja this build wil be my test to see if i can put together a decent one so fixing the errors is a good start thanks for following this build as i am grateful for any help with this and i am following both yours and Anja's build logs
-
now i have to get a copy of the plan so i can glue it to the keel and start on her i know i am probably fussing too much over it but i feel like this is my first big build and i want it to come out the best i can do
-
hello Pat the difference is only 2 mm which in the real ship would be only 12cm so would probably be difficult to determine i think i have the follow my obsession with trying to follow plans instructions to the letter. so i will reduce the false keel a bit and reposition some of the bulkheads. while trying out the false decks i also noticed that the hole in the aft deck is about 6mm further backwards then on the drawing and the photo of the build model so i ll need to reposition that one too that reminds me of work when at the certain time we where ordered to make temporary holes in some wooden tables to allow for cabling of computers. would be great in the model ship buildign if we had a device to make temporary holes so we can unmake any mistakes we make
-
ok after another night of measuring and comparing with the plans i seem to have two options the flase keel is 2mm longer then the full sized plans. the dimensions in the part list seems to correspond with the plans so option 1 i make the false keel the same length as the plans which means a fair bit of sanding and maybe even repositioning some bulkheads option 2 i leave it like it is and make sure to measure every part and not go on the dimensions in the part list. this option is ofcourse the easy way
-
hello Pat wel after seeing all the issues in the other build logs i was determined to check everything very carefuly it seems al have issues with the hawse holes as the ones on the virginia are slightly below the deck also. so i was already warned about that and will check carefuly. the virginia was my first ship and i didnt pay too much attention to how she was planked except for makign sure there where no flat or bulky parts. the mississippi has not really got any difficult planking so the Endeavour wil be my first attempt to make it all perfect
-
thanks Mark yes i do hope we can go together soon.
-
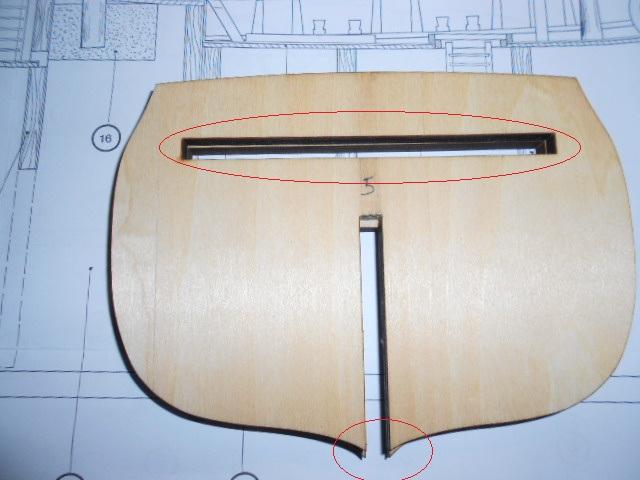
hello Pat first of all thanks for pointing out that i had the wrong scale there for bulkhead 5 if its fitted correctly the slot didnt line up with the one for the next bulkhead. sanded it out a bit more so that the lower deck is completly horizontal. is that what you had to do too ?
-
wow how do you do it makign things that small ? amazing
-
thank you Sjors i havent been able to skype yet with him but talk daily to him on the phone he is slowly recovering and in good spirits
-
thanks John and Sjors still needs another coat of black . no thank you Sjors . i dont think i could handle that much joy doing your painting as well as mine
-
i agree sjors it looks goot with the wire.
-
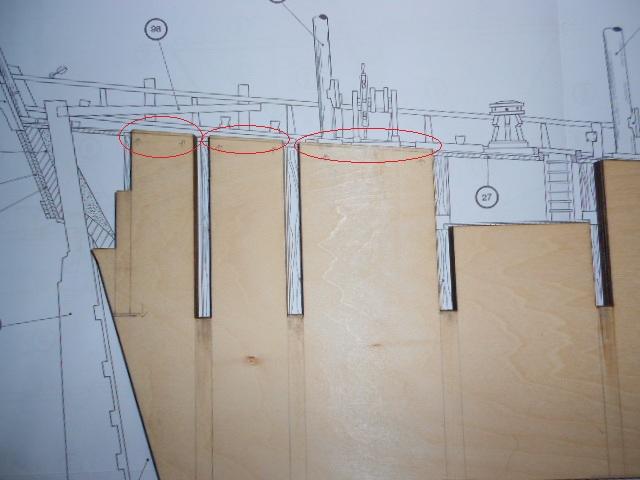
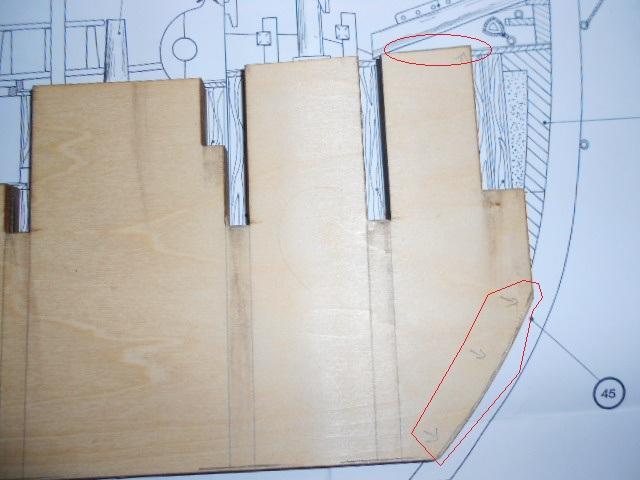
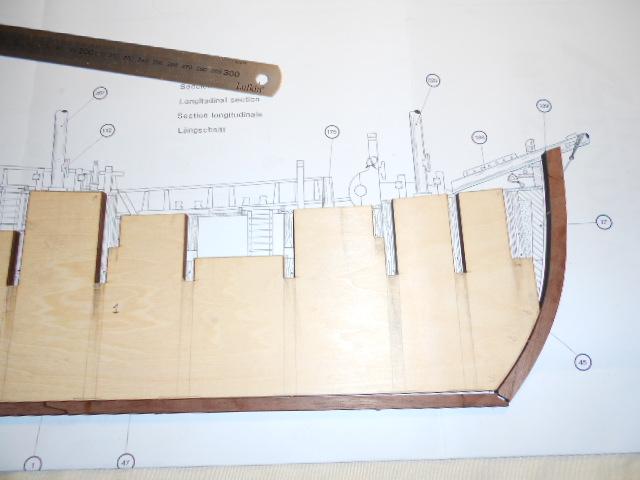
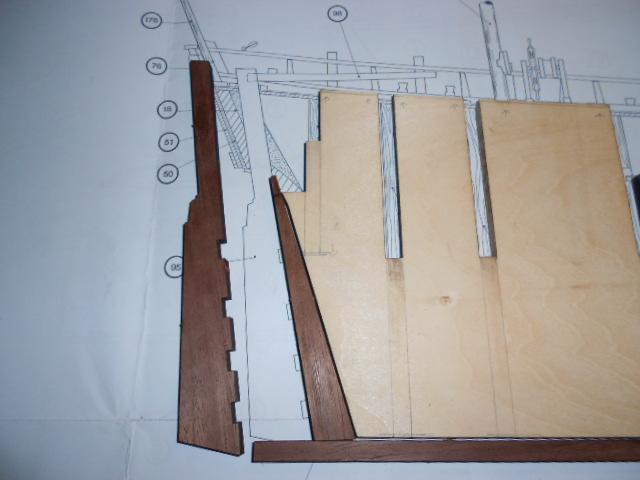
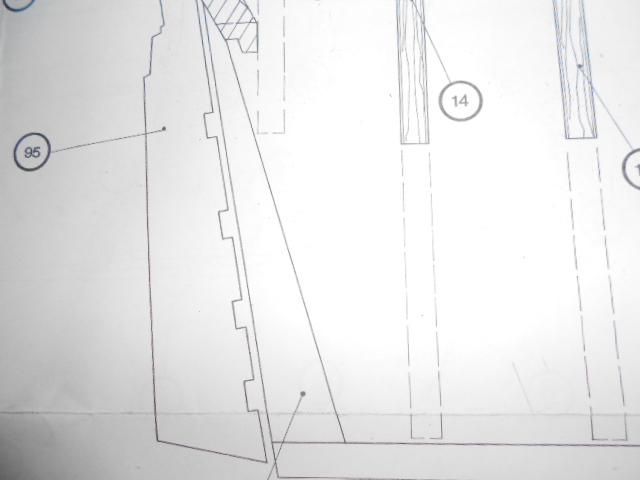
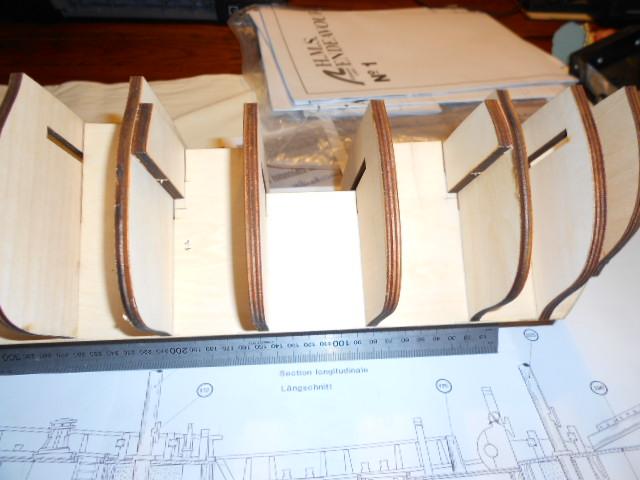
although i am still working mostly on the king of the mississippi i couldnt resist starting on her from reading the plans and also reading some of the other build logs (hoping they wil be restored) there is a fair bit of mistakes that need to be corrected. i have taken some pictures to show th errors