Adrieke
-
Posts
1,625 -
Joined
-
Last visited
Content Type
Profiles
Forums
Gallery
Events
Everything posted by Adrieke
-
yeah i like the look of her wil be awhile before i start on her. when th epacckage arives it wil be aq good check to see if everythigns is there and then she ll be stowed on the shelf
-
 very nice Sjors looks delicate so be carefull not to bump her into anythign
 -
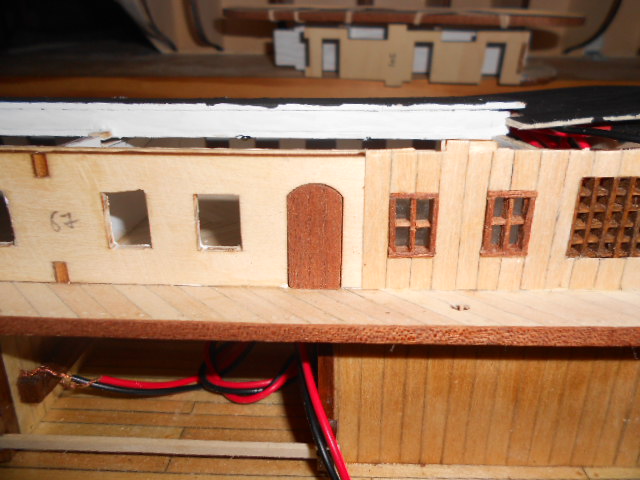
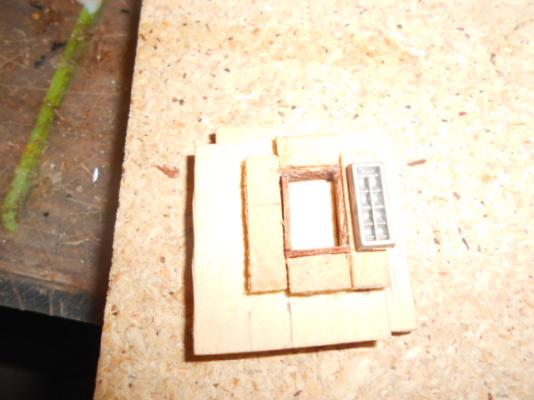
thanks John it definately needs something to make it look better but i also have been workign (in my mind) on a different door more like the ones supplied i ll try that out tomorrow stil going to have a few more evenings of finishing off the windows.
-
for the doors i have tried a few times to bend the 1x4 sapelly to get the curved top but its to sharp an angle and too small a piece i ll give it a go again with the electric plank bender (soldering iron) but i am not sure if i stil lhave enough of the wood left i tried with a solid door (2 strips of veneer glued to the metal door part) it needs a doorknob to finish it off doesnt look too bad
-
nice John its the smallest room but it has the most work and detail
-
Posting etiquette
Adrieke replied to dvm27's topic in Using the MSW forum - **NO MODELING CONTENT IN THIS SUB-FORUM**
i think as long as its relevant to the owner of the buildlog to help him or even others no one will complain we are all adults here i think we all know what we can and cant do -
i dont think i have come acros a build log of this model even on the old site i picked this up on ebay and am awaiting its delivery
-
thanks David and John David i was inspired by the lights on carlosys king of the mississippi . he has his buildlog on here too
-
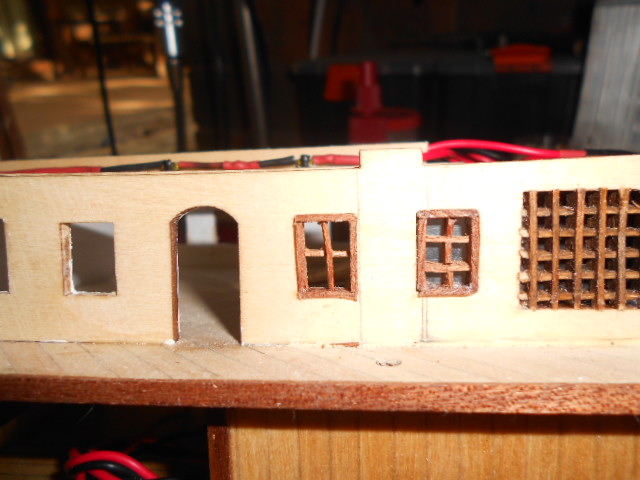
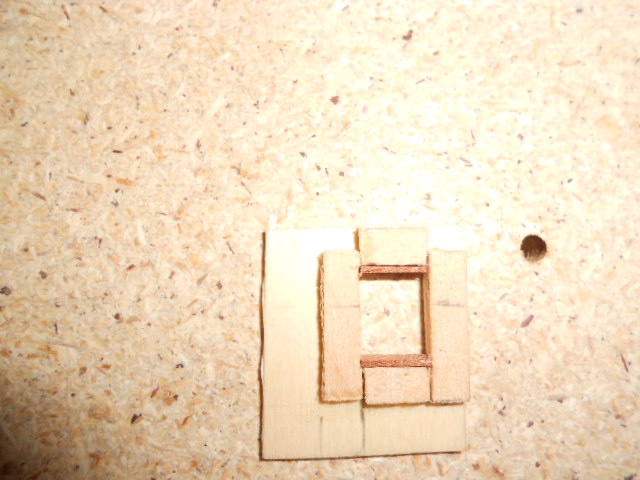
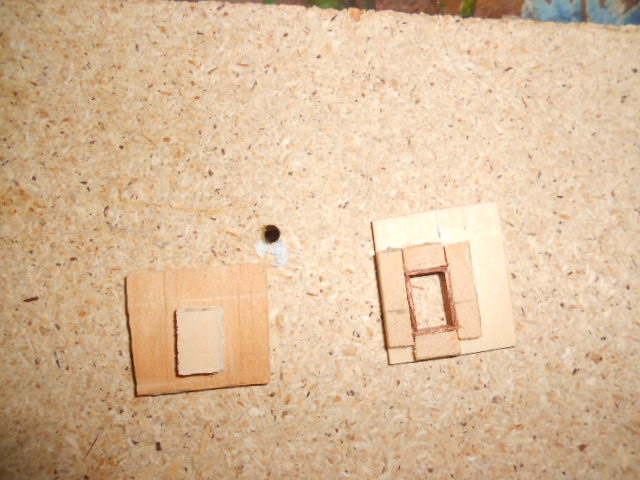
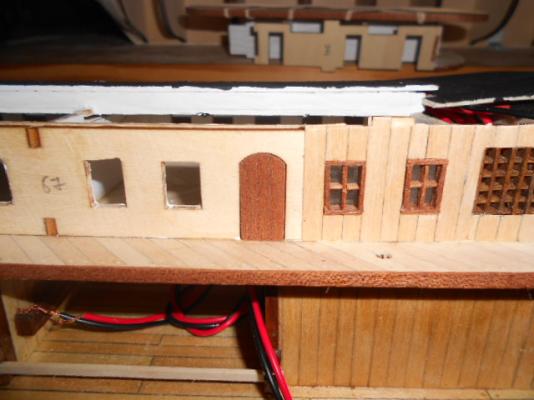
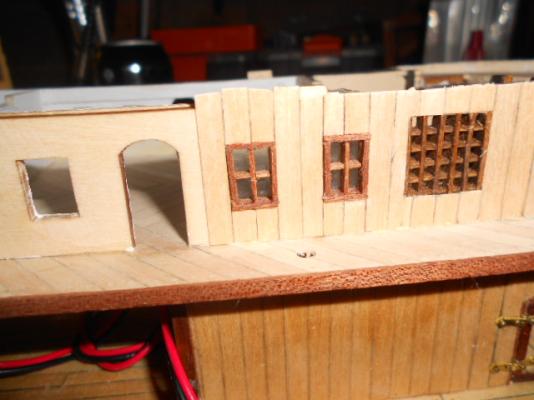
vrolijk pasen just drop by at my place whenever you are in Sydney well after checking i am happy that i did make the hole at the right place. but i have to think about if i am going to cut all the holes (about 20 on that deck ) as it nos easy anyway i finalised 2 of the windows and put them in a partialy planked part of the stateroom far from perfect but the best i can do at this moment making the inside cross the same as the gratings i gave up on as the sapely wood brakes and splinters too easy so i ll be making 2 pieces of 5 mm and one piece of 7 mm and line them up in a cross
-
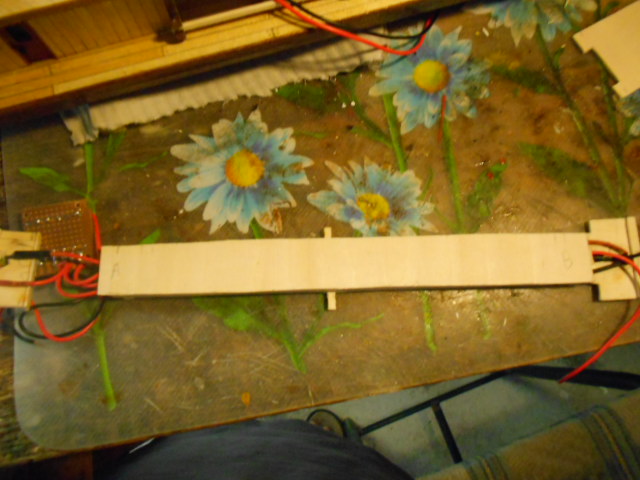
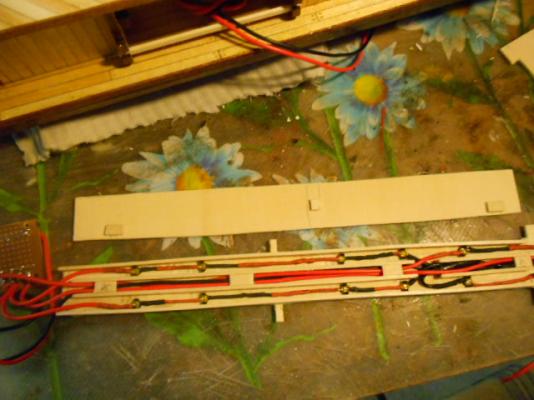
i ll be going with the 4 panes John . you just won a year trip on the kom washing windows John when you start on the outside railings be very careful. i made a copy of the plan to cut and use as guides to mark where the vertical 3x3 dowels need to go i tought to be clever and make holes thorugh the deck so that the the lower 2 decks is just one dowel. after cutting the hole i notices that there was somethign odd with the spaces between them on the plan. yup not all spaces are 35 mm wide. at the front the middle one is way longer and the 2 next to it or slightly longer. since the brass railings are only 35mm we will need to cut two halves and join them up. i hope i didnt cut the hole in the wrong place. i will find the round precut top of the railings to make sure
-
did a bit more finishing work on the 2 nd deck light construction the top bit holds to the bottom bit with 3 bits of wood that wedge into it the top wil be painted black so as it wone be too visible from the ventilation windows when studying the plans i noticed that the outside railing of the first 2 decks will be at an angle this because the decks get progressively smaller.
-
so far i have used ca to glue my windows. dab a sligth amount on the wood . wait a few secs then dab wiht a cloth. wait a bit more then position it carefuly not to slide it.
-
welcome aboard Barth i saw on Johns topic he has already listed the many errors in this build. nothing is really dificult too overcome certainly since you already have build some ships never read Mark Twain but i am sure its on my ebook somewhere as a free download both John and me wil look anxiously out for your build log
-
haha John i ll get the 'zeemlap' (chammy) for you ready
-
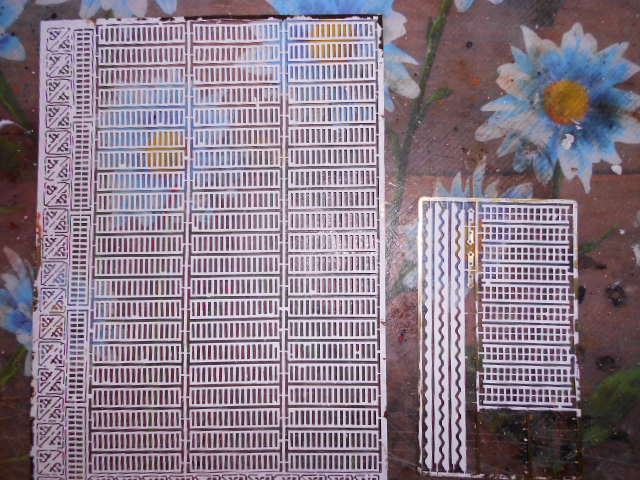
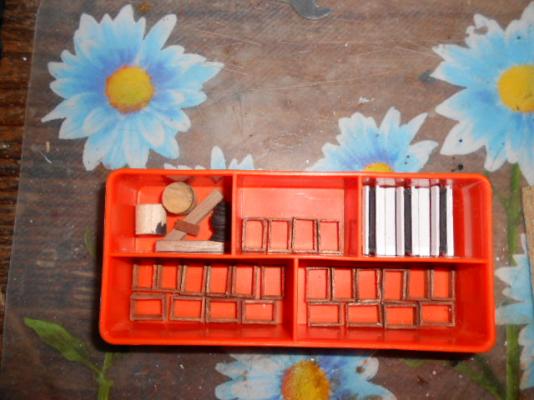
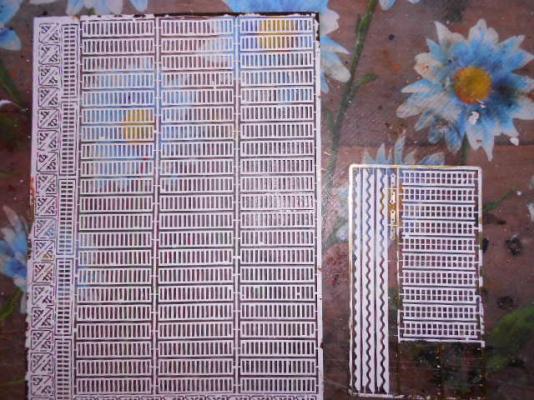
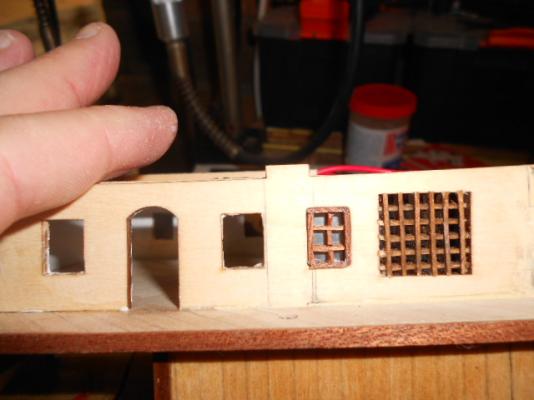
thanks John have finished them all today same railings as me then. i think 63 is just enough for all the outside railings and the stair railings the 6 for the smoke stacks i ll do with the other ones now i made 2 differnt inside frames for the windows. i have already adked the fmaily and all 3 went for the same one so its already decided but any comments on which window you like best: the ones wiht 4 or 6 little panes

-
very clean and tidy work John on to the weelhouse next ?
-
yup looking good
-
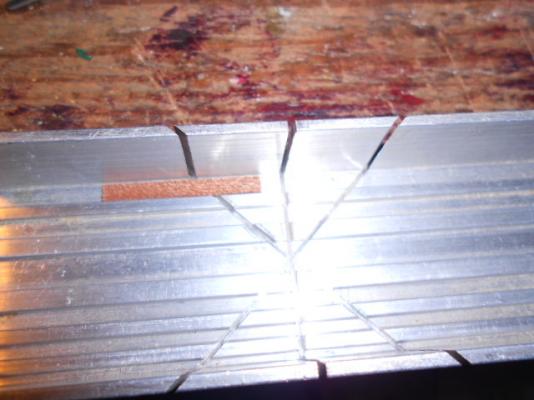
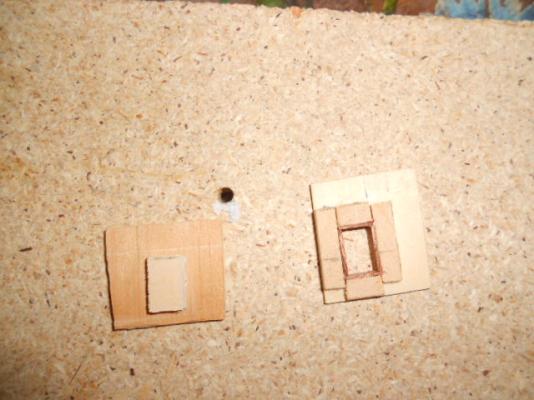
Robbyn nice progress are you able to drill some holes in the broken of part and use a dowel to keep it together ?
-
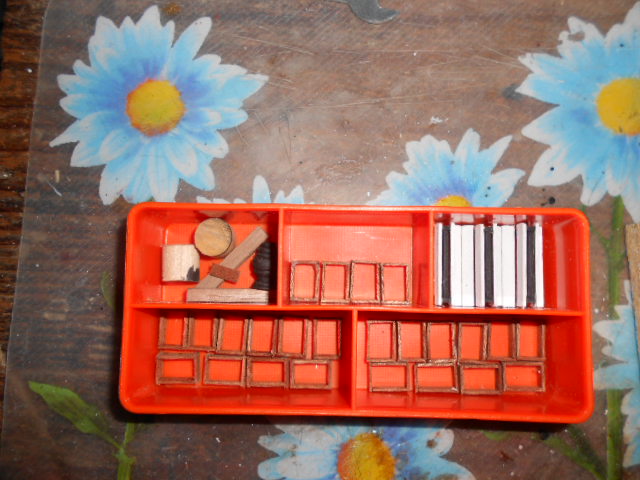
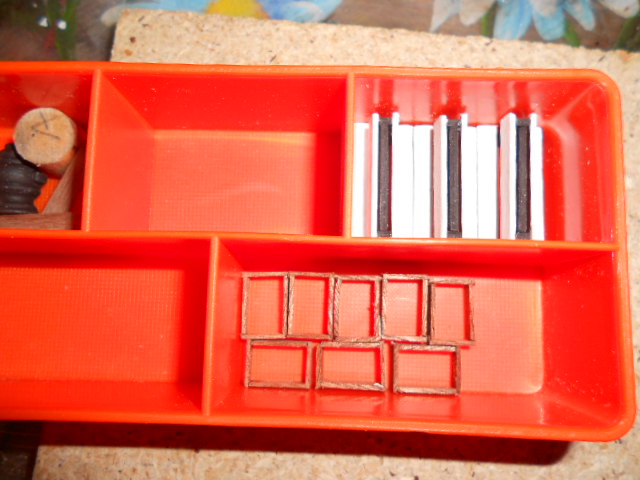
thanks Sjors yes i am gettign in a good routine now thanks John. yes i ll be using the shutters : yes i checked and i need 24 windows in total. but i appreciate mentioning it i paint manualy too and yes there are probably a few drops to clean up later on but this way its a lot quicker Hello Carl i ll sure to follow your advice next time OK so here is how i am making the outer frames of the windows first cutting them too size. i made some marks on the mitrebox so i dont need to keep penciling off the length i push the top and bottom in the mold. they fit tight enough to not fall out then i push the two vertical ones in after dabbign some glue on the edges wiht a toothpick after waiting a bit for the glue to set i use the other part to push the frame gently out of the mold stacking them in a small container to finish drying the procedure for the inner part in the next episode i am a bit concerned wiht the brass railings. i noticed that they are not all the same. there are 63 plain ones. about 5 that have an extra horizontal part and 10 that are the same as the 5 but without an outside vertical part calculating i need about 70 railings and if you look on the pictures they are all the same type. not sure how difficult it wil be to cut off the vertical bits


-
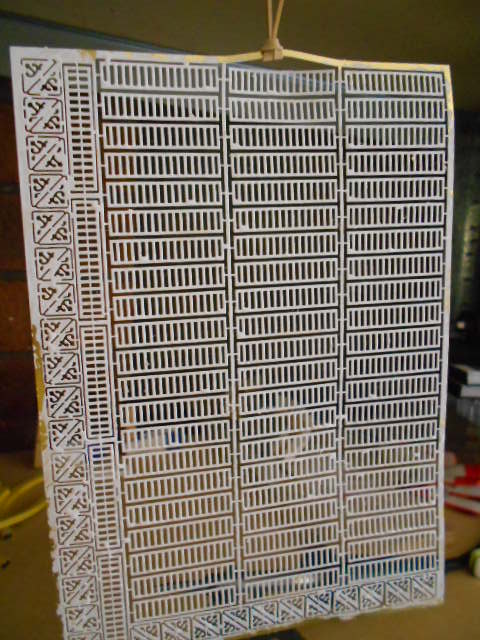
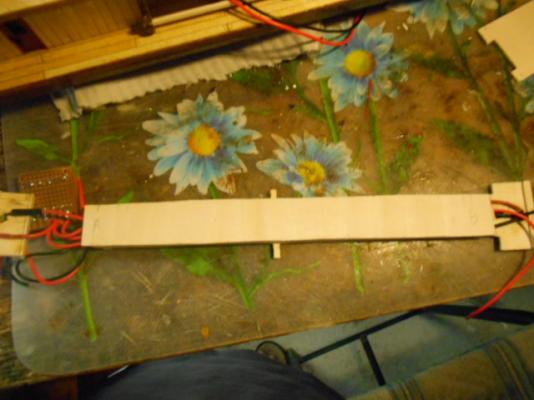
hi Carl the railing bars or only like 1.5 by 1.5 mm wide so no chance to put a dowel in. i am leaving it for now. thtas what i usualy do and then think about it and eventualy get back to it and finish it the same with the scratch build windows . the procedures i worked out wherent working so i left them now i am back at them.it took me about an hour to make the first window and its not perfect but i feel like its going to work i will take some pictures of the little jigs i made to make it easy to make them consistent i remembered i stil needed to put a coat of paint on the brass railings. i need a few of them soon i bought a test tube of ivory white and its been fine but today th epaint wouldnt come out until i pushed a bit more and all of a sudden half the tube splattered out . not to waste any of it i decided to paint both sides at the same time and hang it out to dry

-
hmm that choppper II or the copper III seems a good choice. lets see if its available in oz
-
i bought this tool to hold small pieces so you can sand shape them better. its basicaly handle with a vice and 4 ,etal pins that fit in the holes on top i have tried to use it a few times : either the piece drops or moves or you have clamp marks
-
"Follow the topic"
Adrieke replied to Nirvana's topic in Using the MSW forum - **NO MODELING CONTENT IN THIS SUB-FORUM**
or just click on your name in the top left and select my content. that will give yuo all topics you posted in
-
thanks for all the replies i know a lot of tools can be used for more as they are intended. most are just a motor that rotates a shaft with something at the end to attach certain tools. yes i dont want to waste money on unused tools a big part of building is cutting pieces to a certain length so a simple setup to do that would be a big help
-
thank you Wim i did soak them a bit but i couldnt get the bit to hold on to the stairs while drying dont worry i will fix them one way or another