HOLIDAY DONATION DRIVE - SUPPORT MSW - DO YOUR PART TO KEEP THIS GREAT FORUM GOING! (Only 27 donations so far out of 49,000 members - C'mon guys!)
×


moflea
-
Posts
78 -
Joined
-
Last visited
Content Type
Profiles
Forums
Gallery
Events
Everything posted by moflea
-
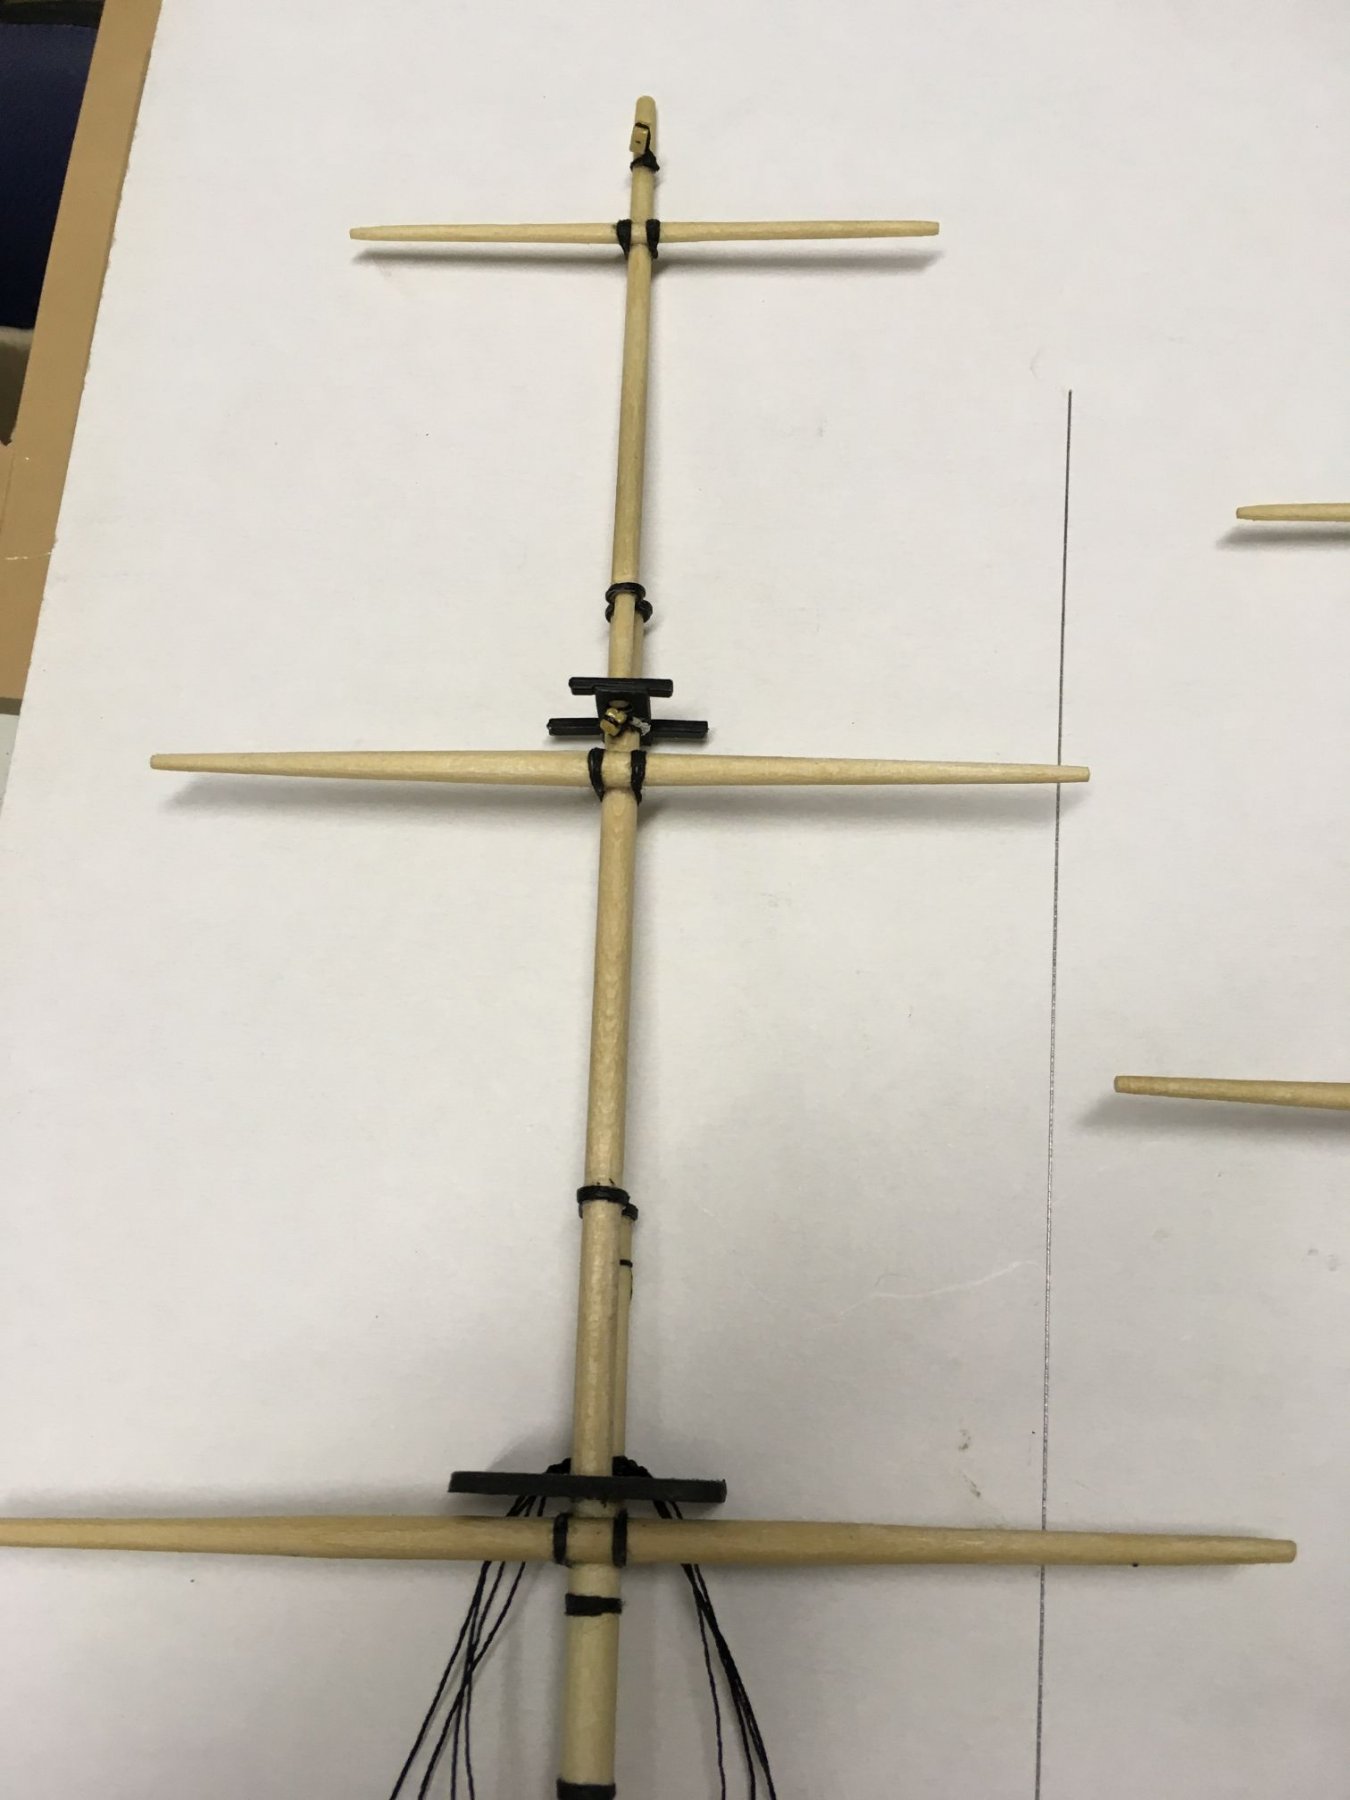
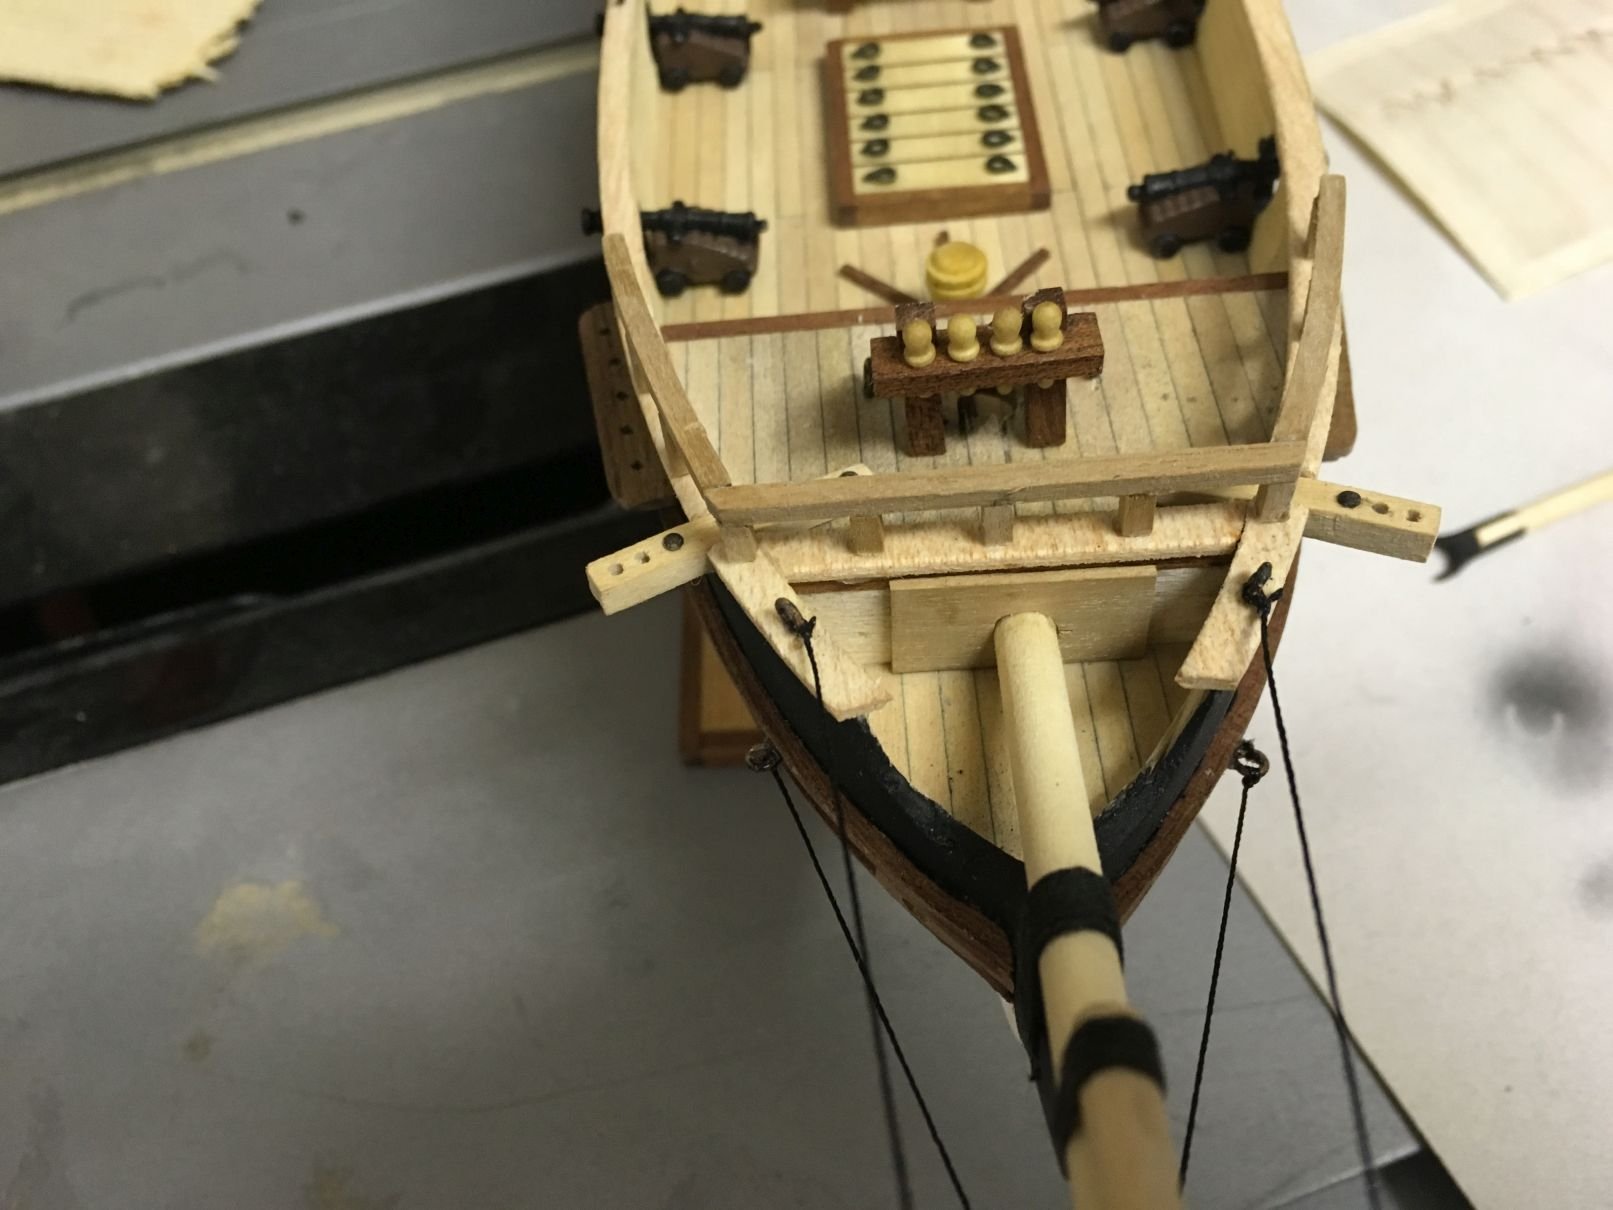
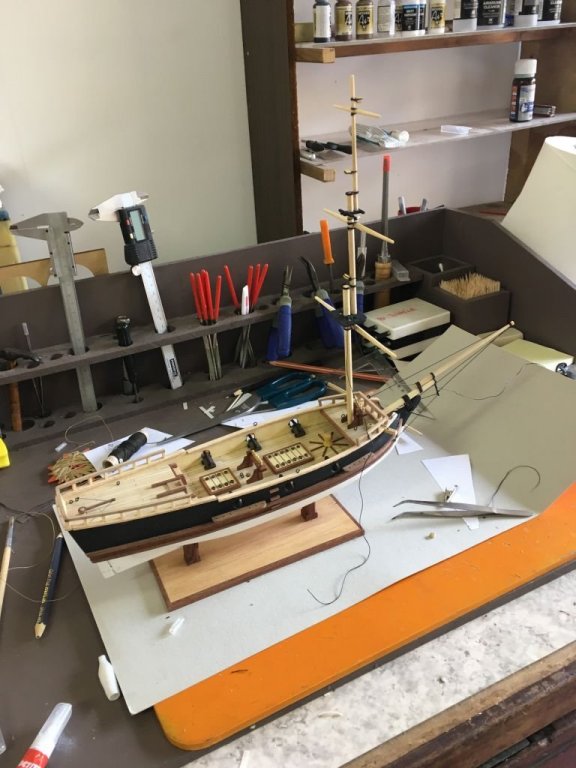
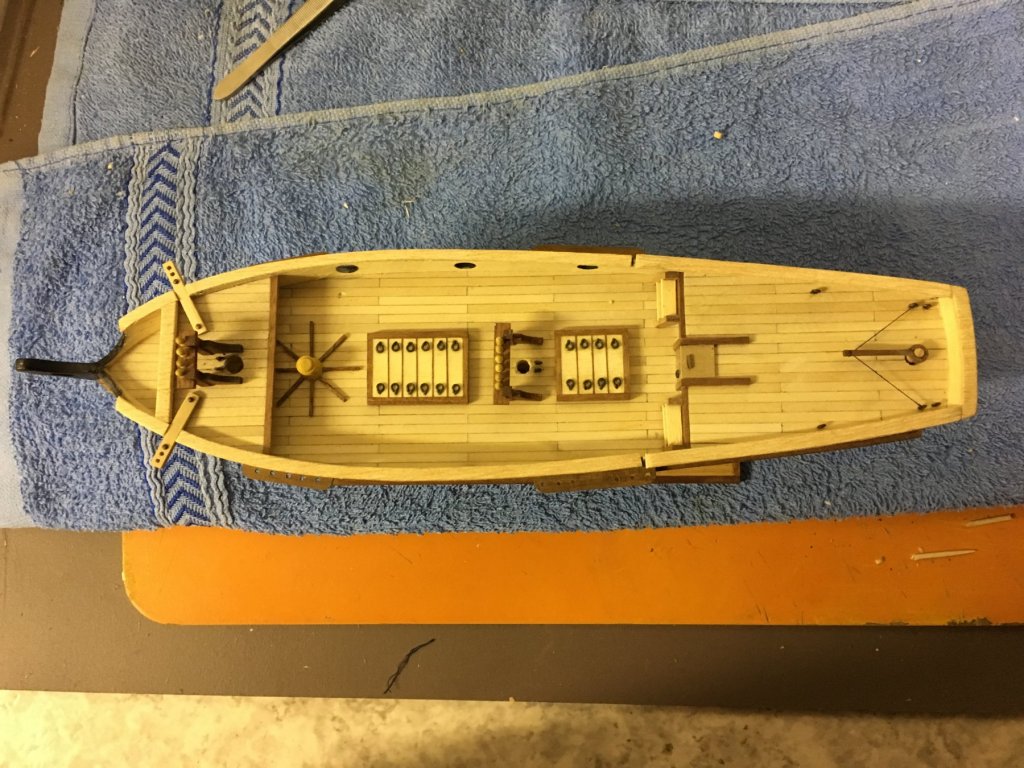
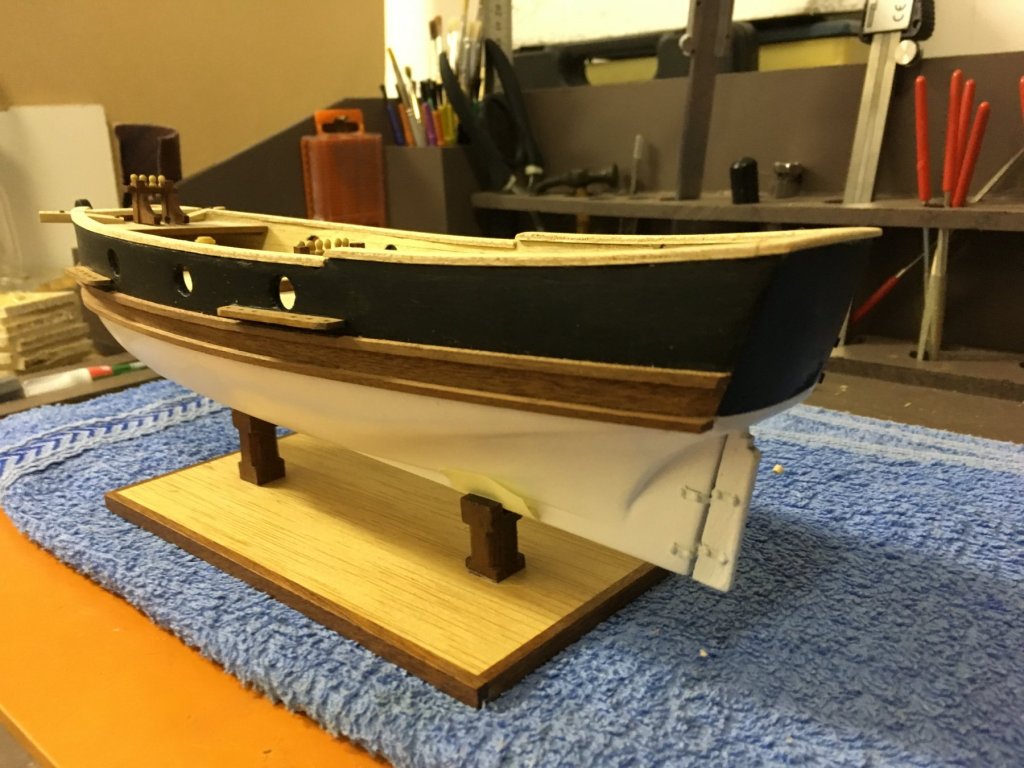
Some progress on the Union. Fitting the fore-mast. ' I also rigged the lower shrouds, both sides.
-
They are OK-ish considering the price. I wouldn't expect to receive pear in that price range, the only real problem was the cannons as it's very dificult, if not impossible, to replicate at that scale. Thank you for the likes.
-
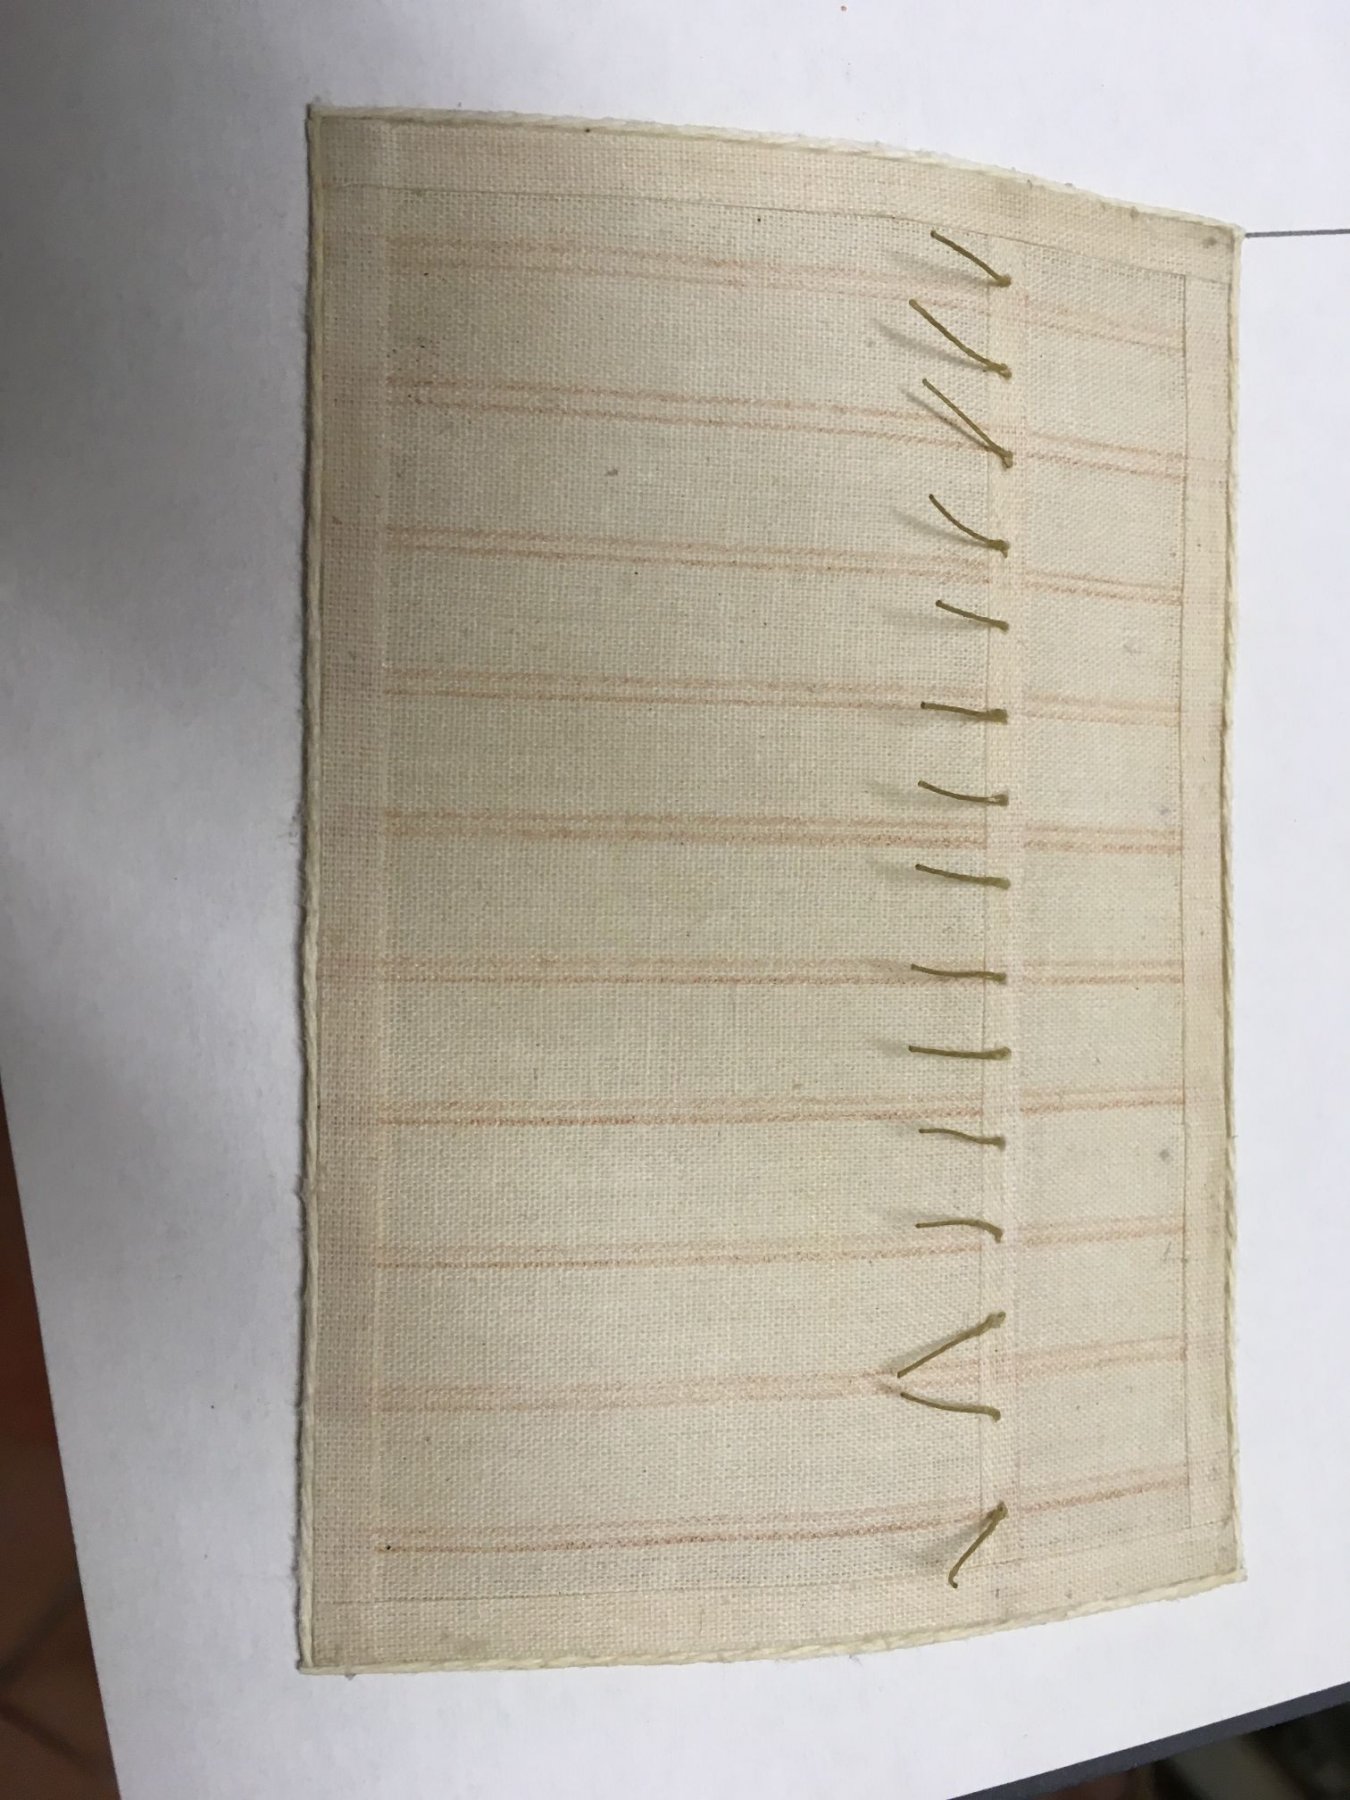
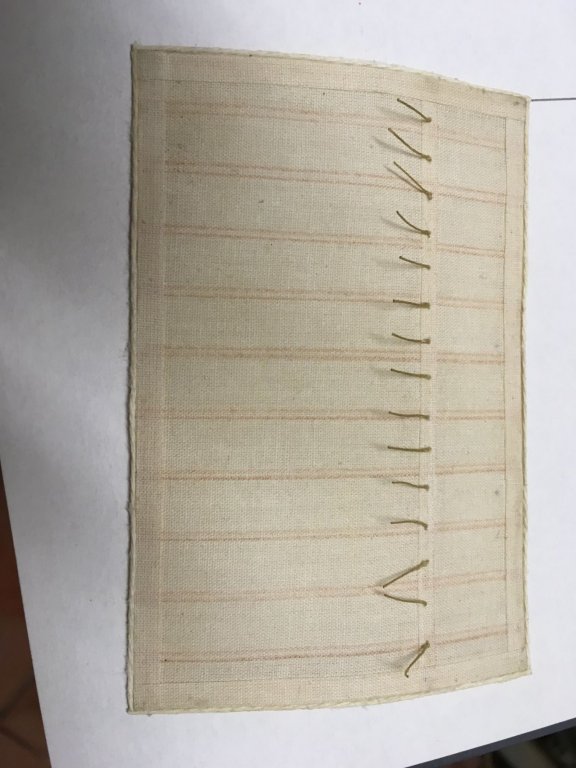
Sails: I bought some canvas from Amati. For the moment I made only one of them. I soaked it in black tea for around 6 minutes. After it dried, I brushed a diluted PVA solution (50/50) so I can cut it using an x-acto knife. I have tried using the sewing machine, but after some several attempts I realised it looks way too oversized for the scale, so I picked some brown coloring pencil from my daughter's room and simulated the seams. At least now I know how to sew on the sewing machine I did the same treatment to another piece of canvas (black tea + diluted PVA) from which I've cut some 4mm strips and glued them on the edge of the sail. I then glued a piece of rope on the edge of the sail. The "rope" is actualy a string used in the kitchen to tie meat when put in oven. It is white, quite thick (1mm) but I've colored it as well with the black tea. This is my attempt, I'm not sure yet if it's ok or not. I hope it is as I run out of canvas The reef points are made of linnen. For the moment they are just glued but not aligned. The color is strange in the picture, in reality they have the color of tan and do not contrast so much with the sail. I am rigging the shrouds for the moment, the scale is soooo small and I just realized I need glasses from now on. So this is where I am now. Quite surprising, this little ship gave me a lot of satisfaction working on it. I will post more pictures of it as I progress. Even if I like it a lot (in reality it looks better than in pictures, I don't know why in some pictures looks dirty), I decided to make it a gift for my sister in-law and her husband who gave it to me in the first place. After all, I can always make another, the kit is only 80 euros and I worked on it for about 3-4 months until now.
-
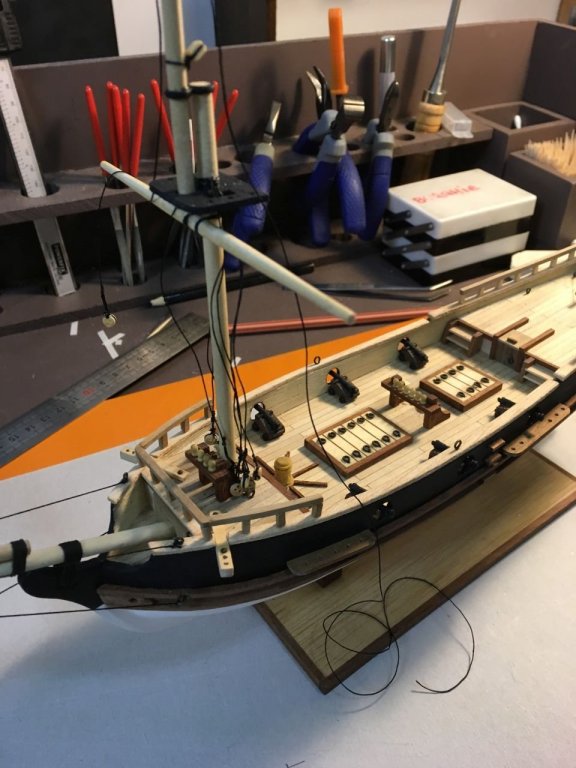
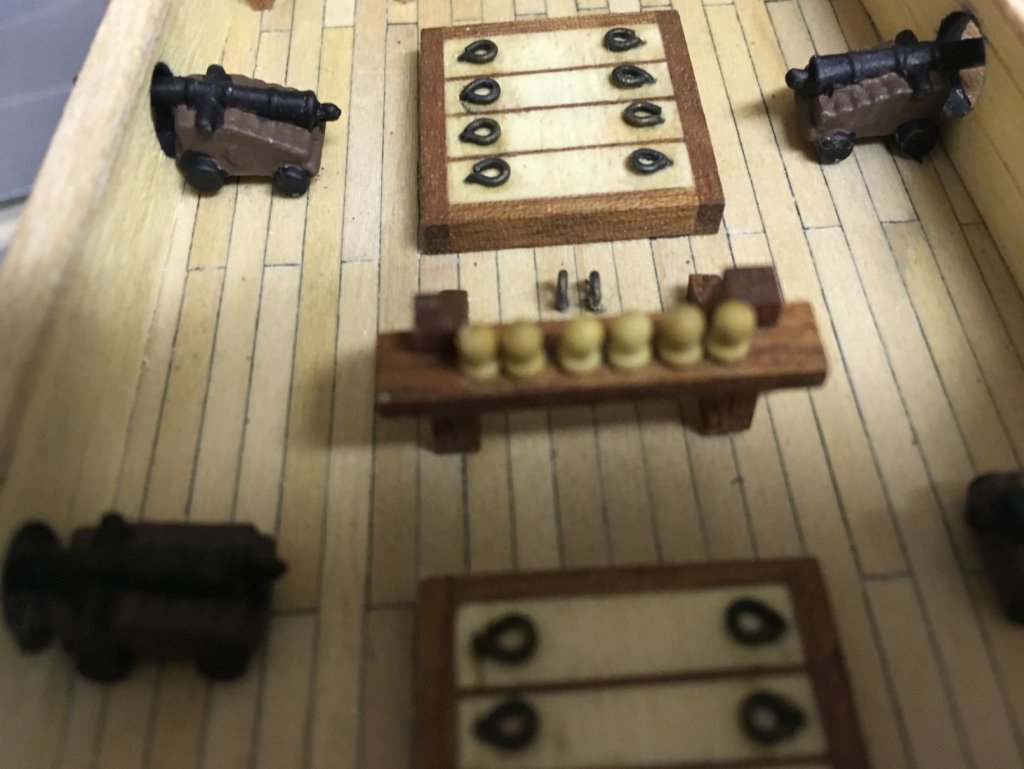
I ended up using the supplied cannons. Just painted them after correcting the direction of the barrels. If the scale would be a little larger... In fact the problem with this ship is that is so small, some things are really tiny.. Painted them using the same acrylics, this time with a little brush, but most of the time with a toothpick. The cannon length is 1.9cm...

-
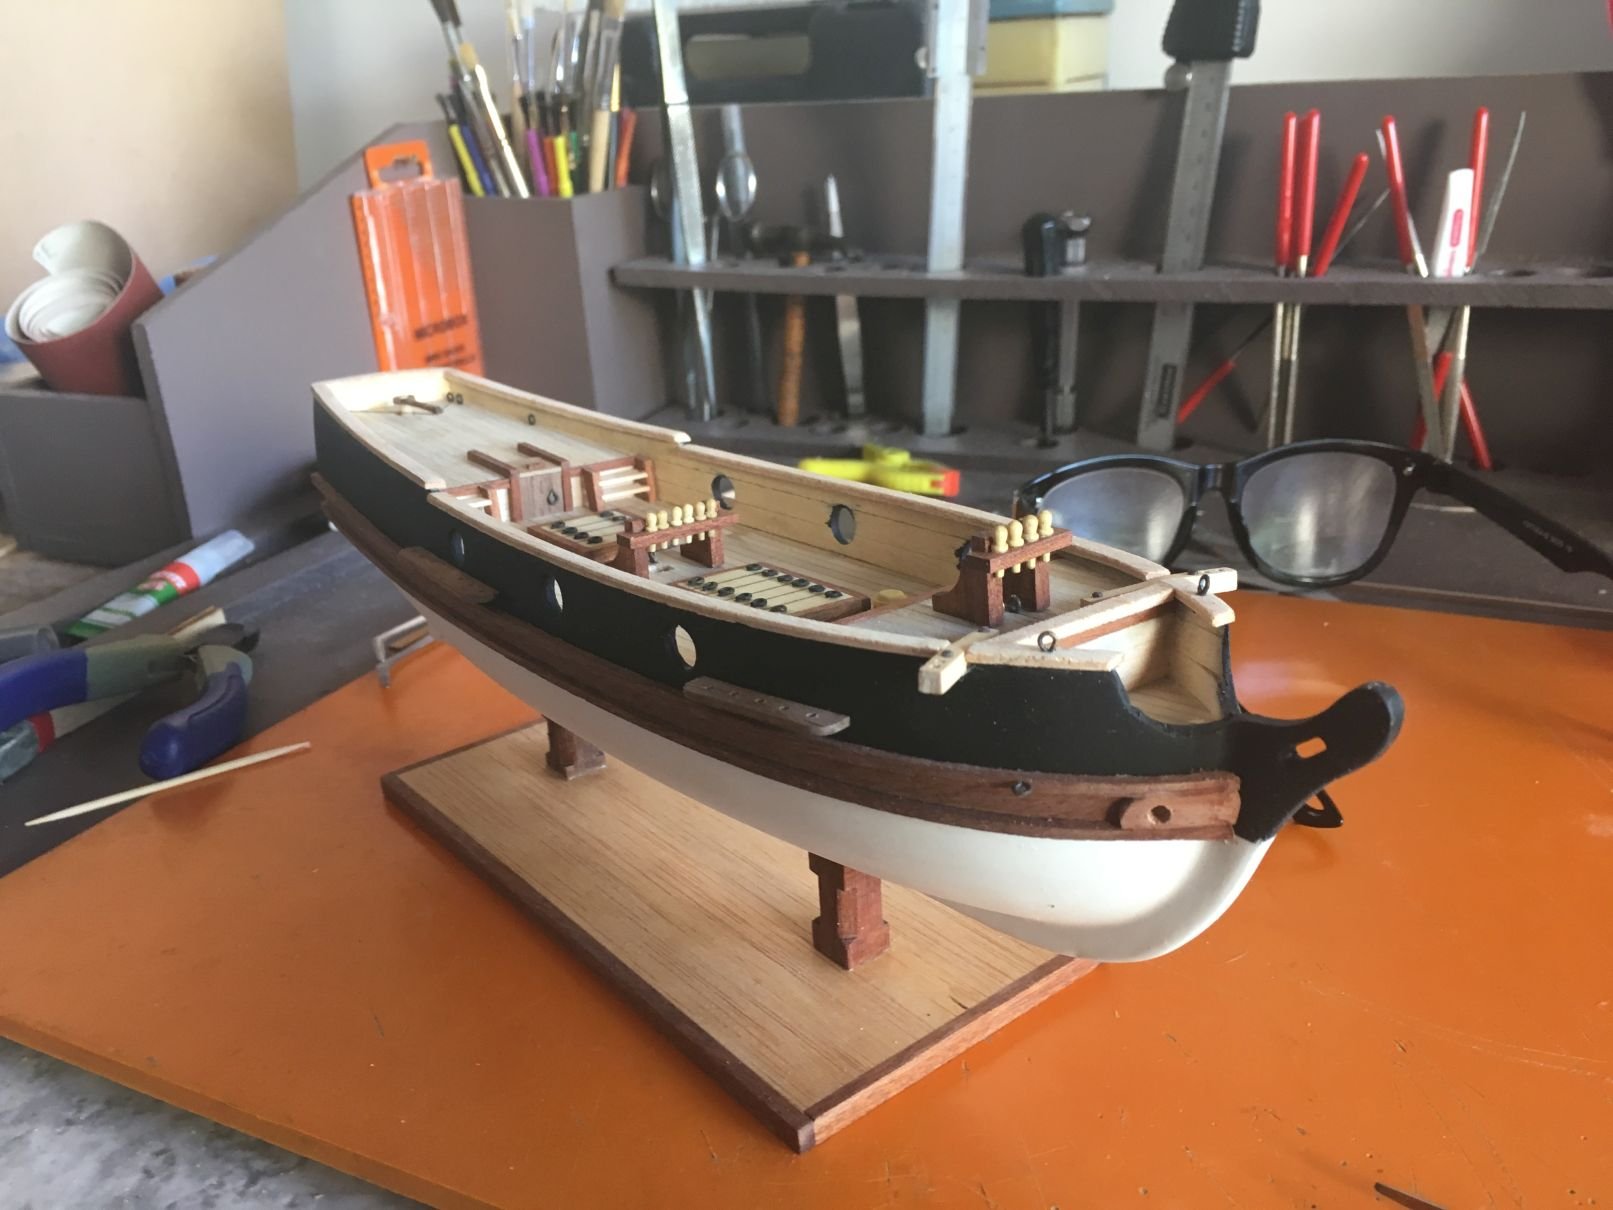
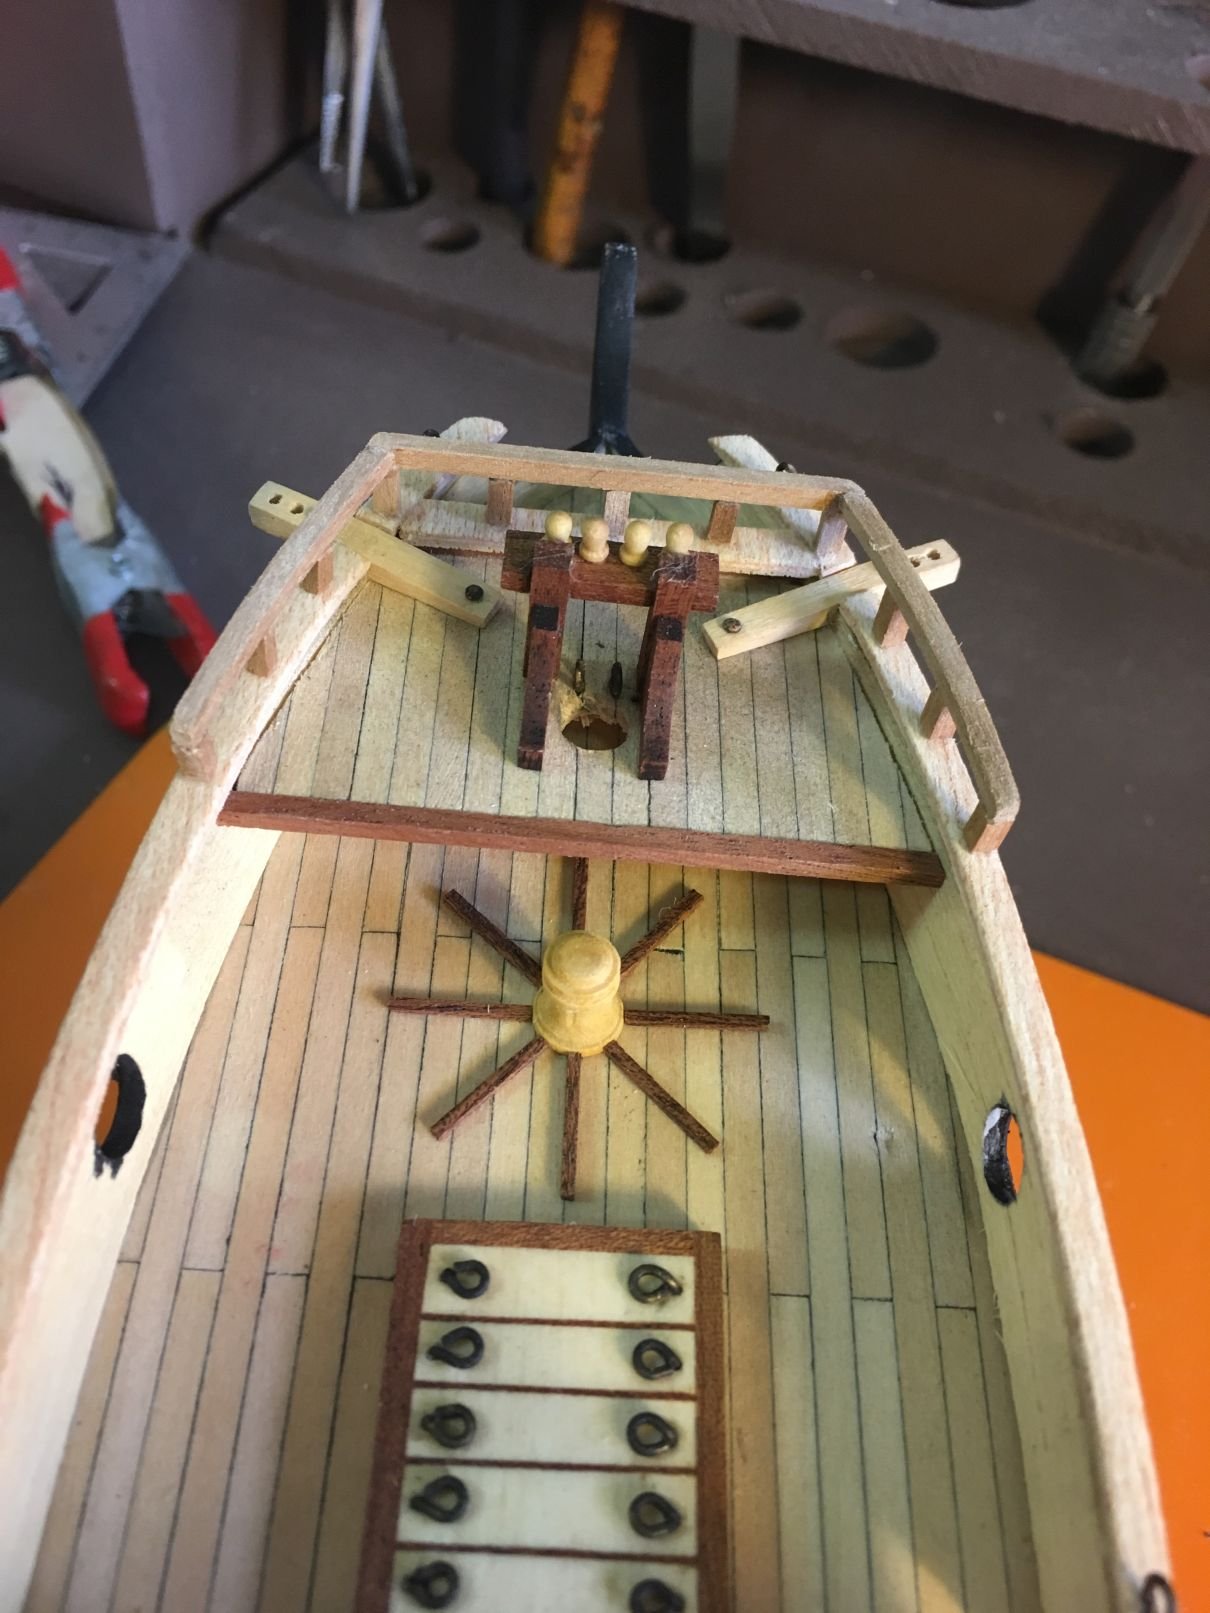
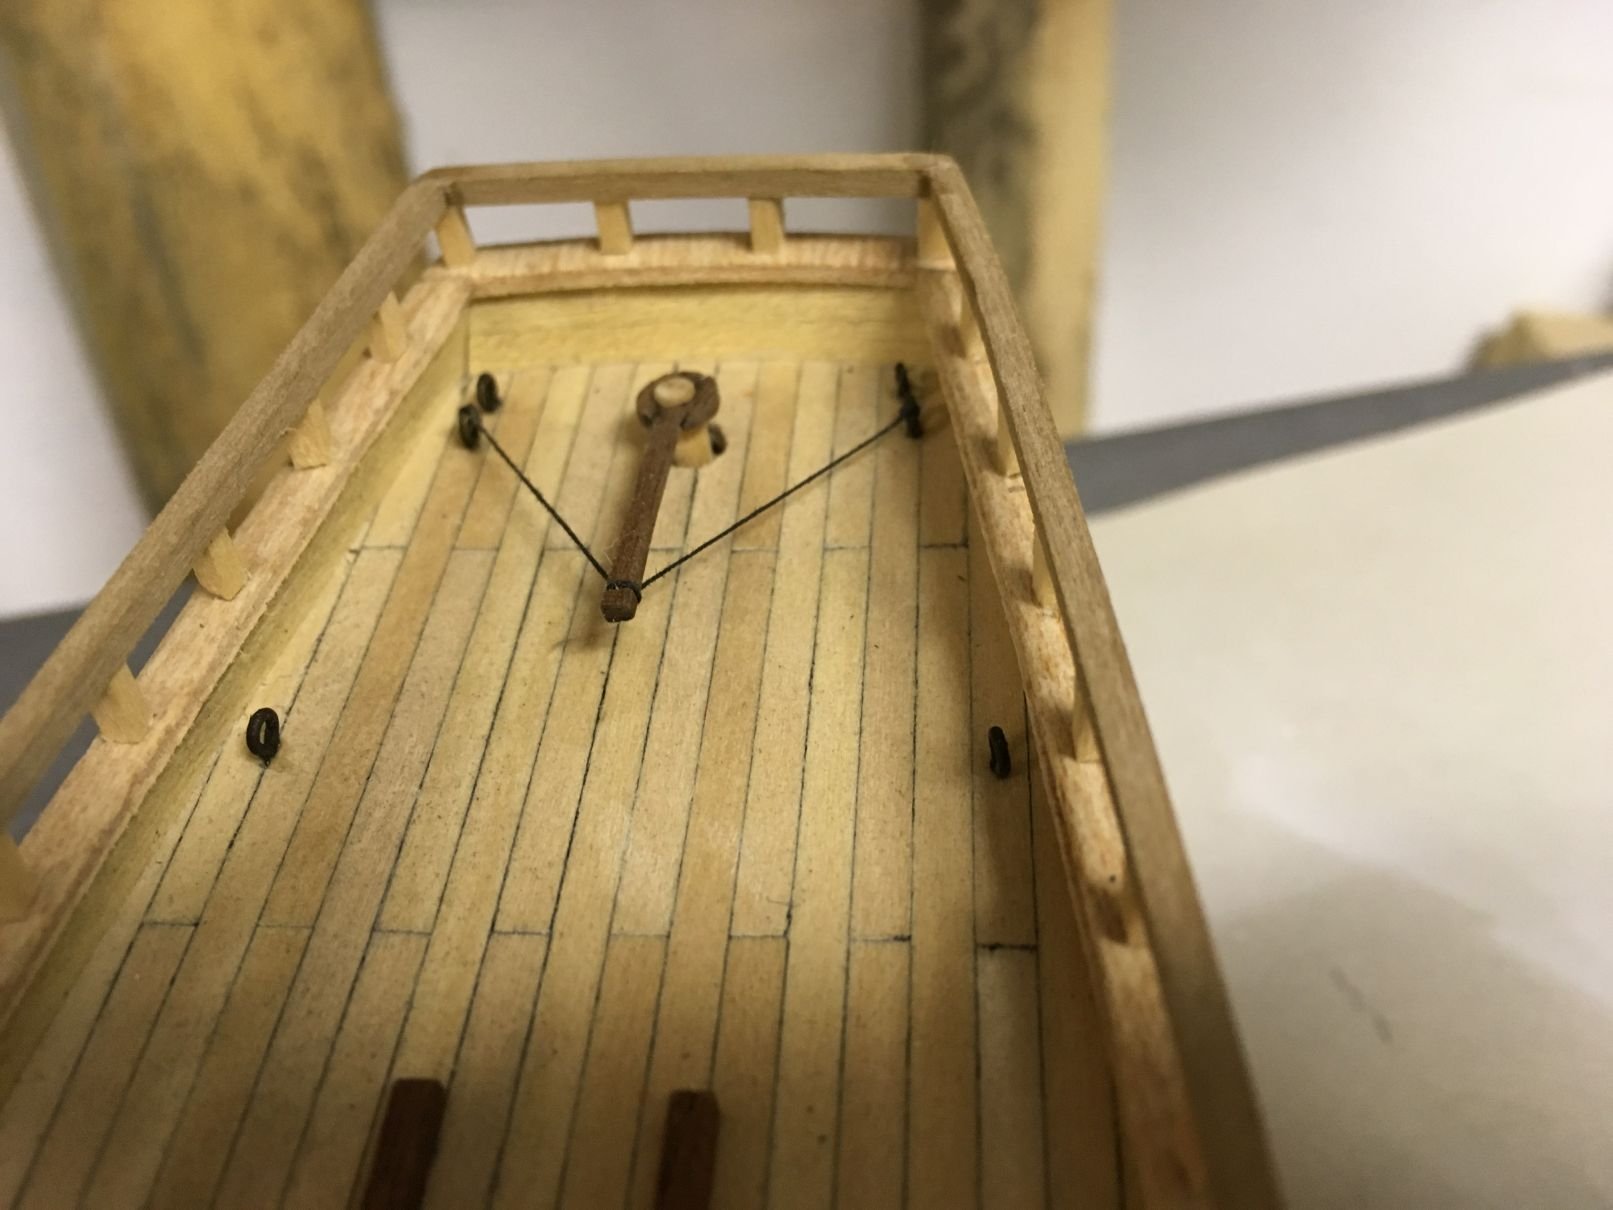
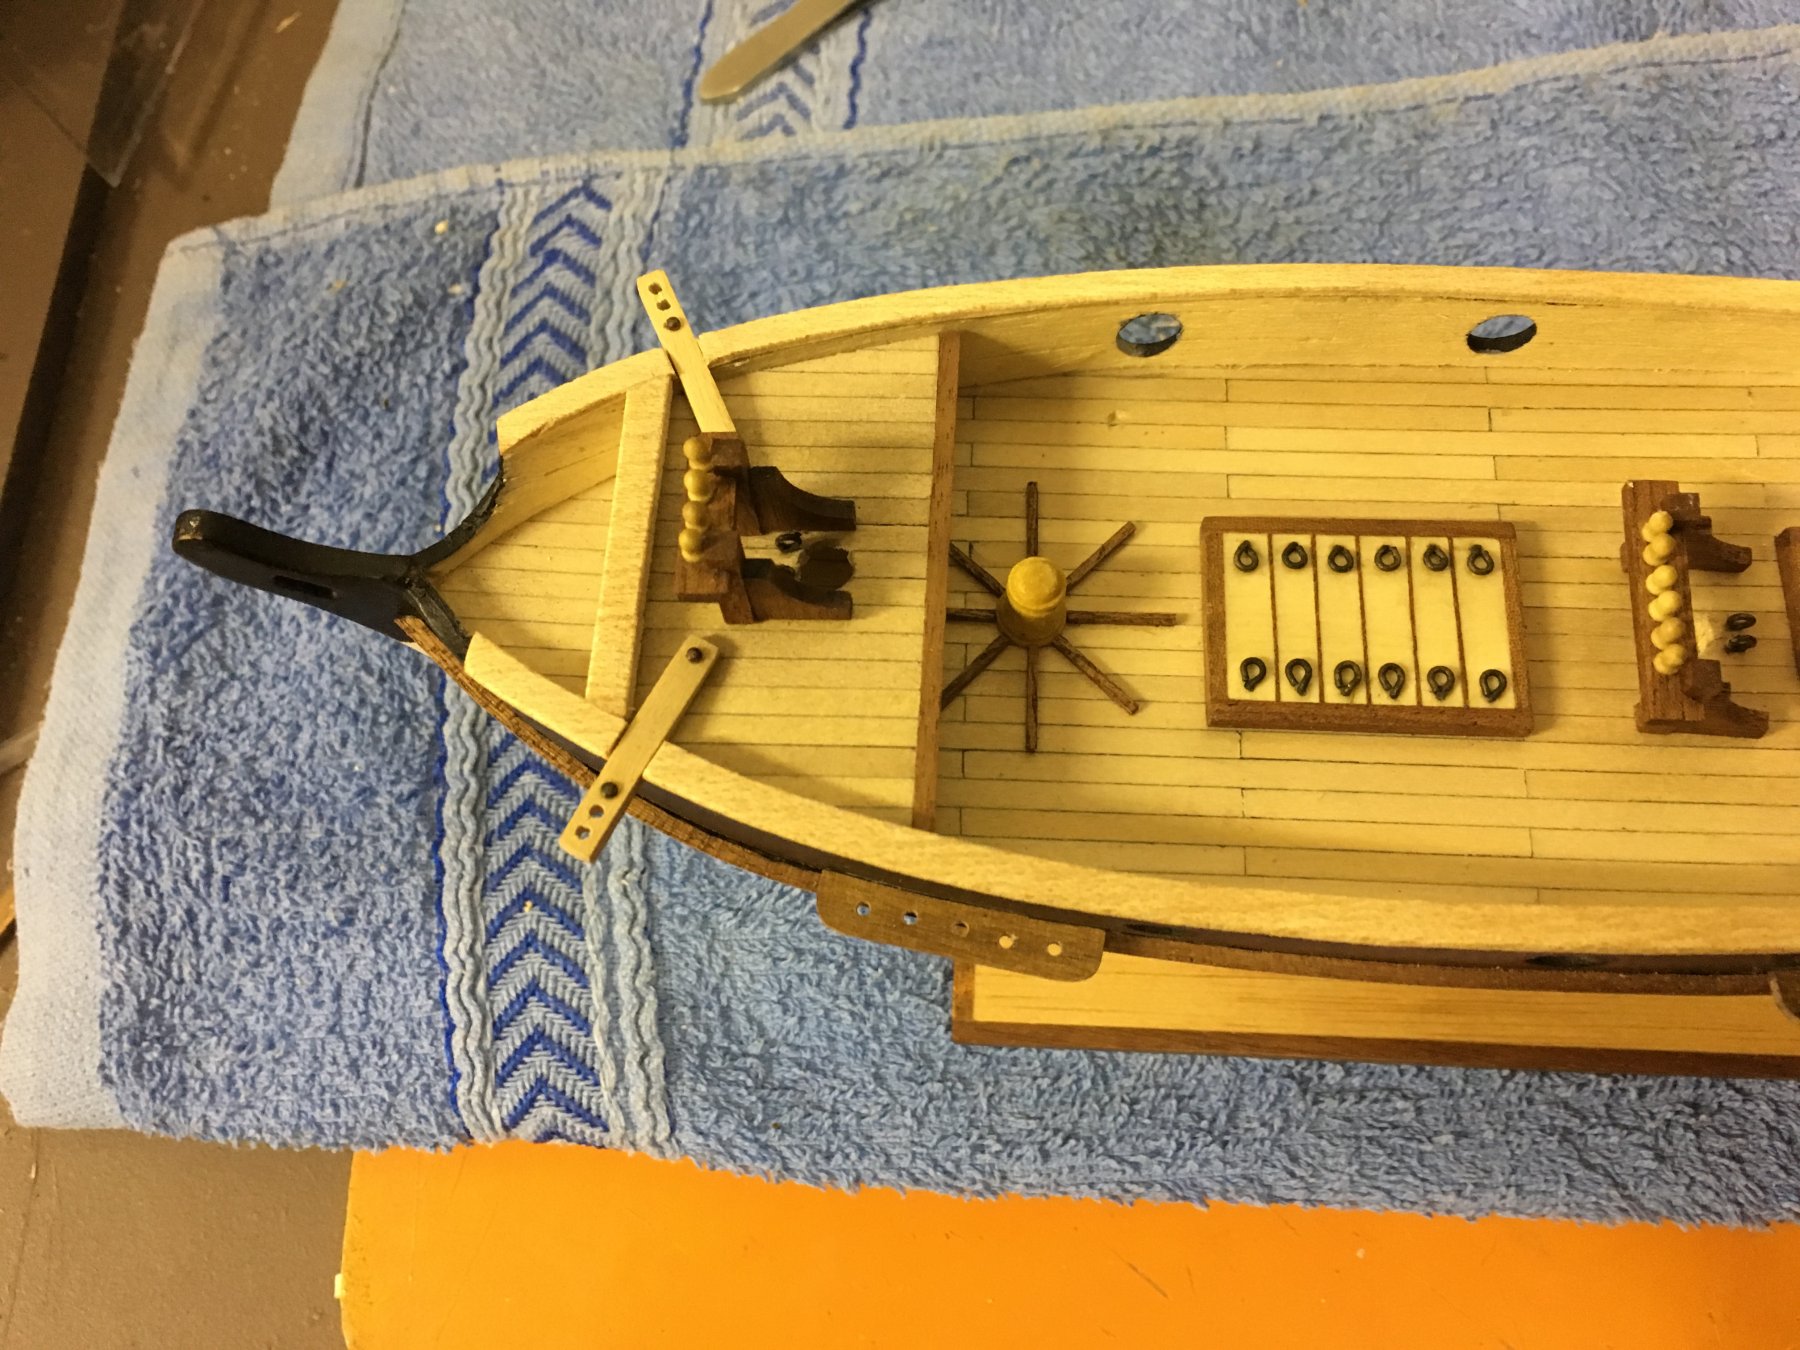
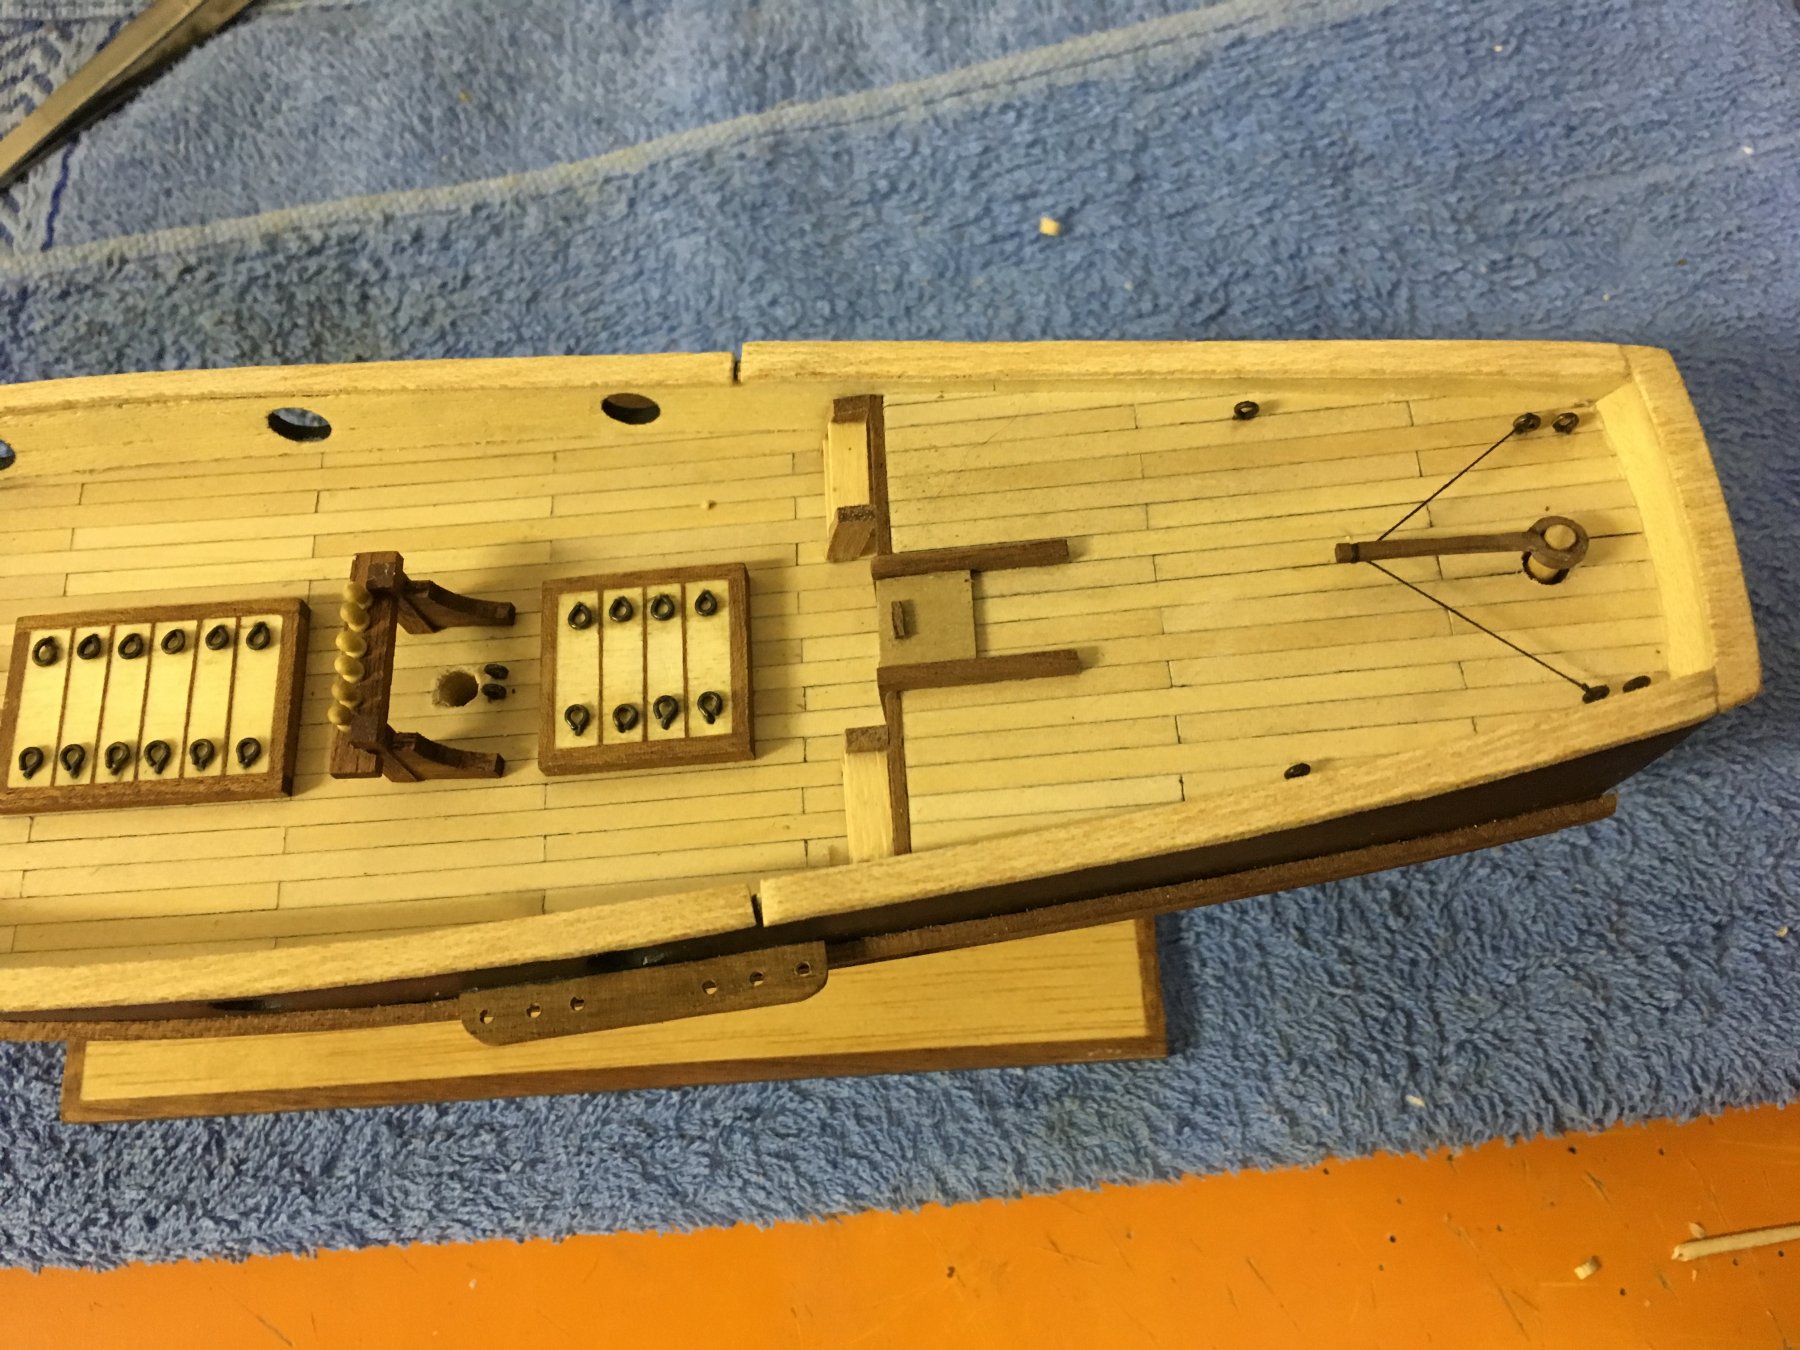
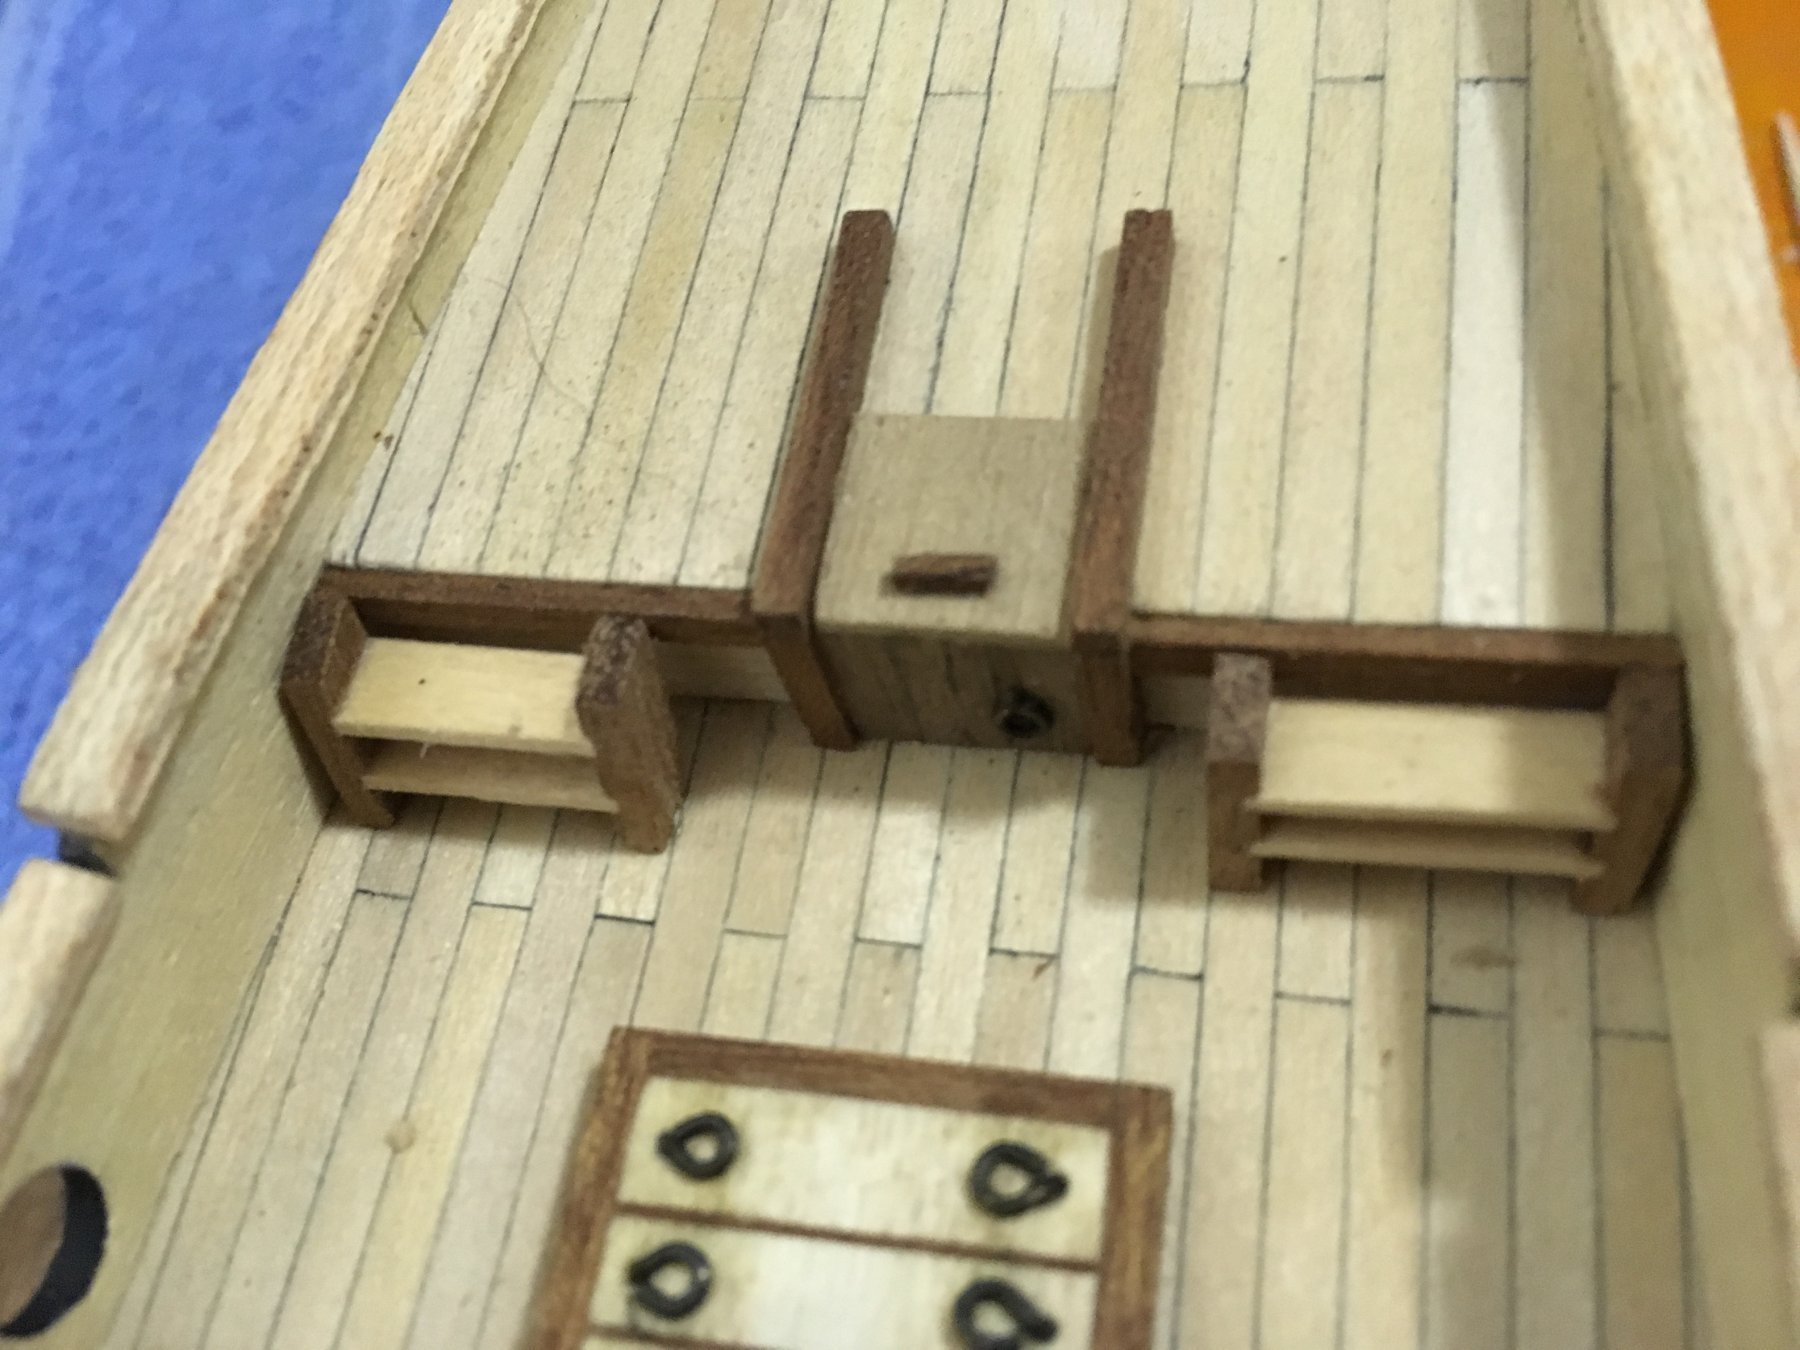
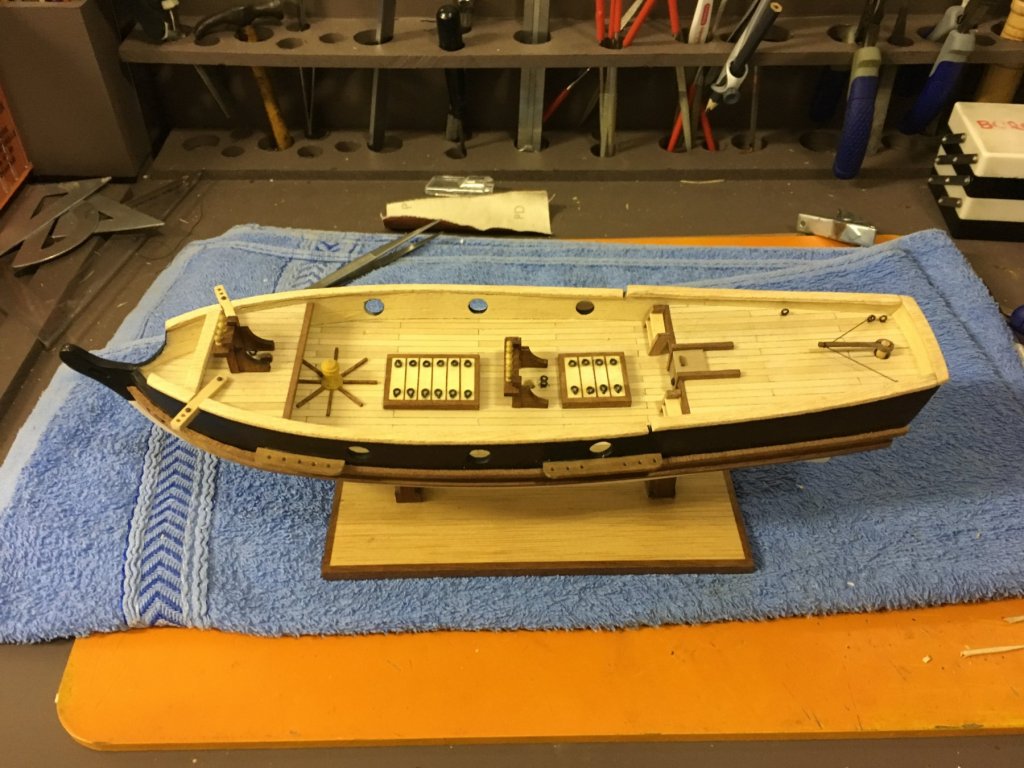
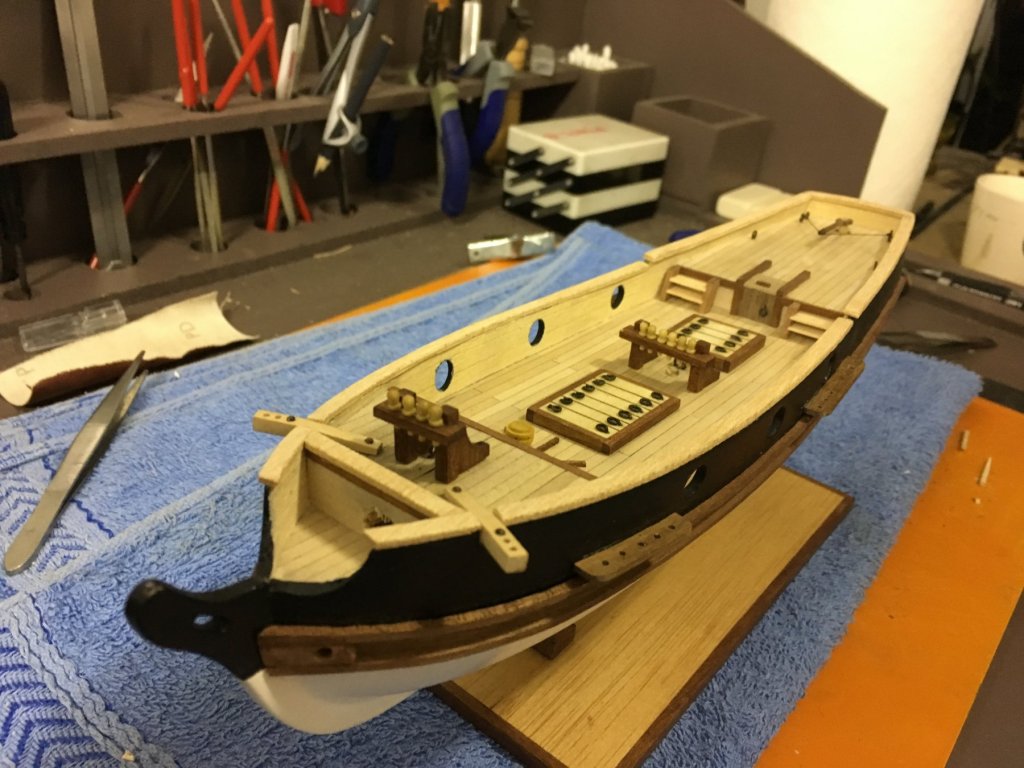
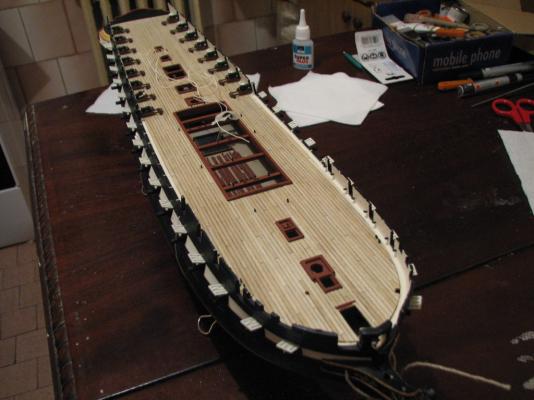
Keeping adding the elements on the deck. The interior of the bulwarks were planked using some leftover 0.5 mm strips. The instructions say that it should be painted, but I was afraid I would ruin the planking (I am not a skilled painter) so I left them natural. I used all the supplied materials for it, excepting the stairs, made them from some leftovers.


-
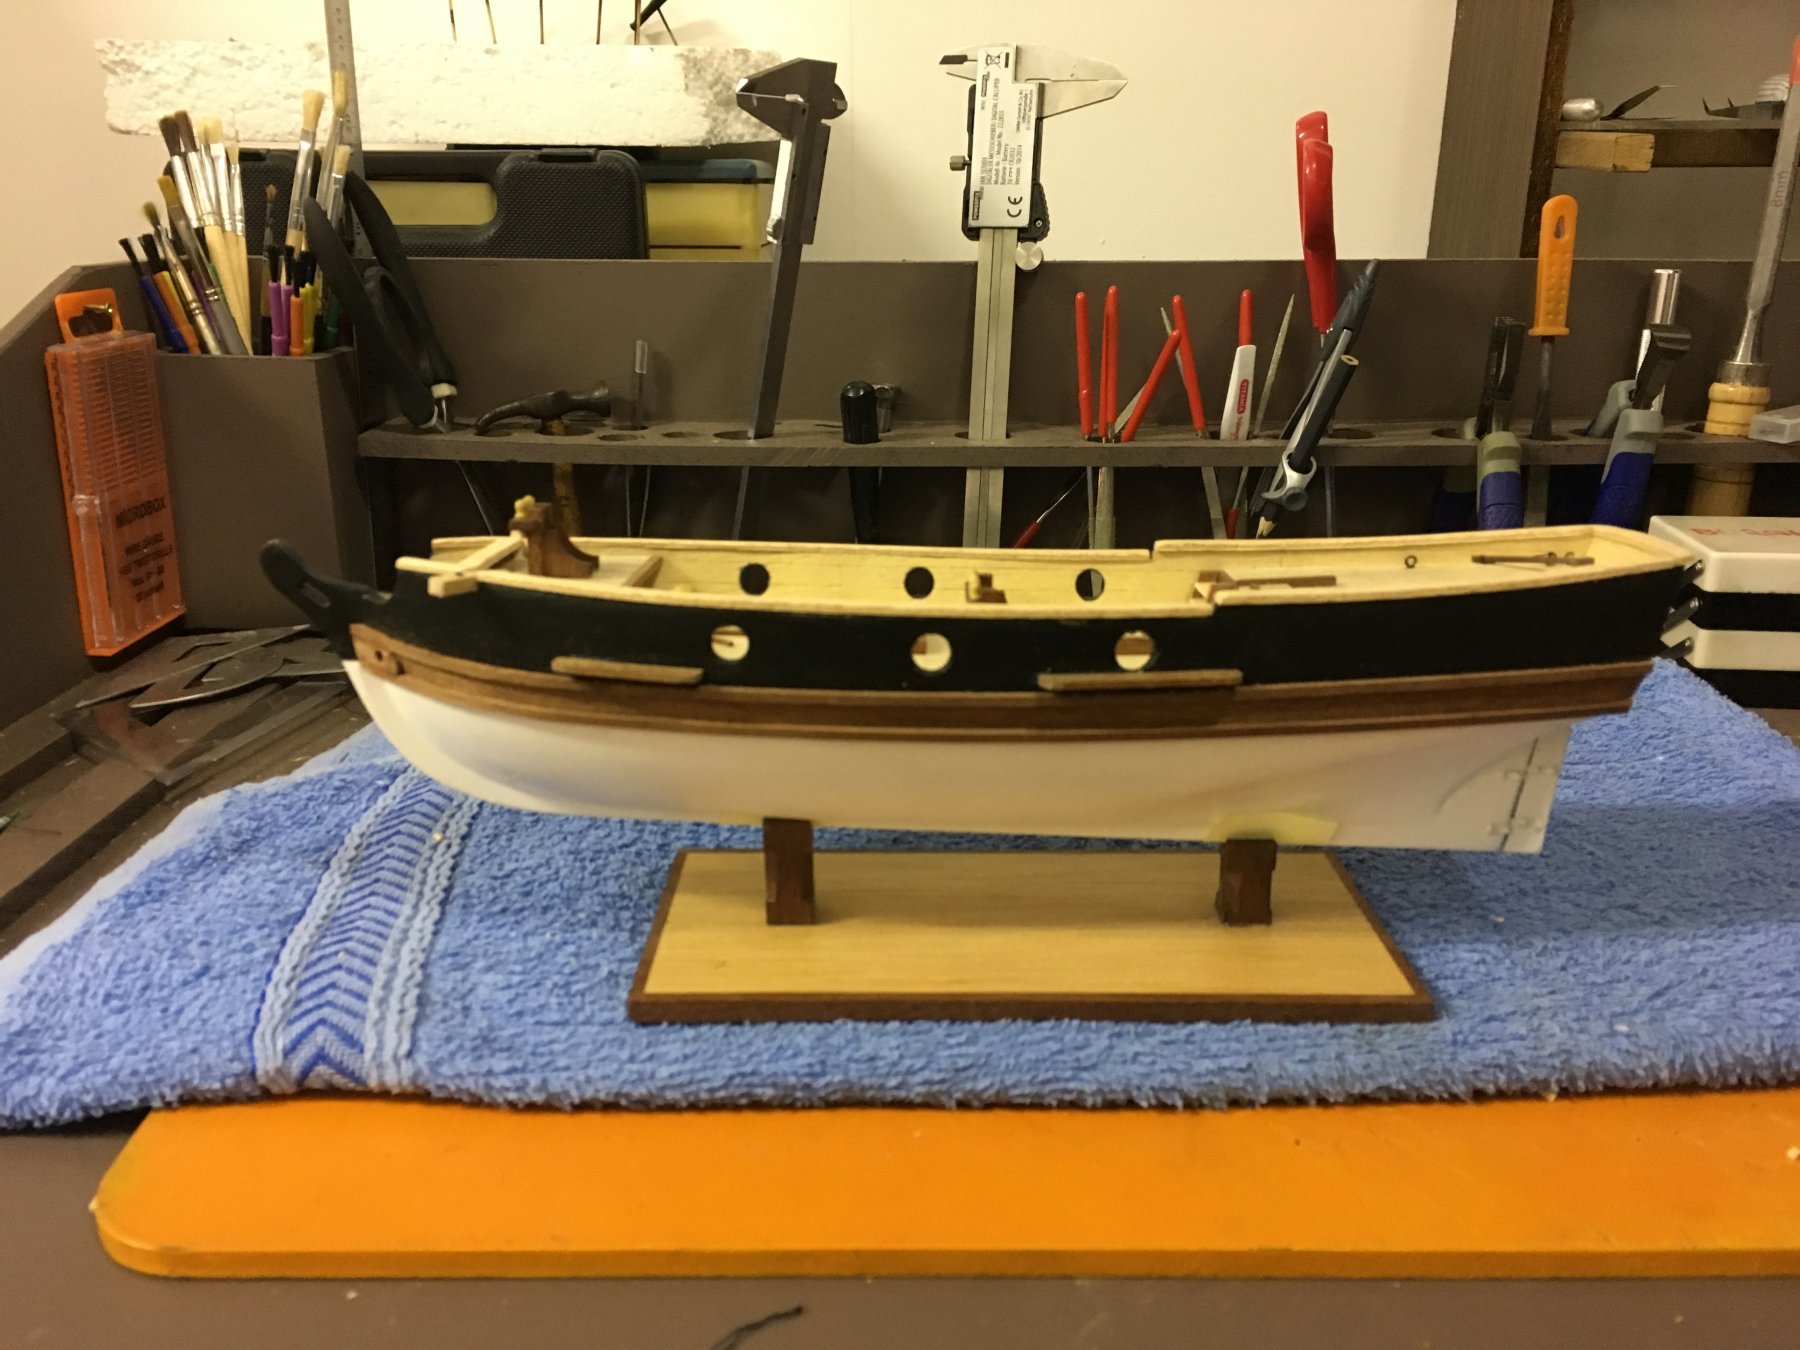
I repainted the ship, this time using mat acrylics from Valejo and using an airbrush. It was my first experience with the airbrush and I think I like it already These paints also work using the brush or toothpicks on smaller surfaces.

-
Hello Bob, I forgot to say that I applied first a grey primer to the hull. I guess spray paints might be good, the painter itself was the problem Thanks for the comment.
-
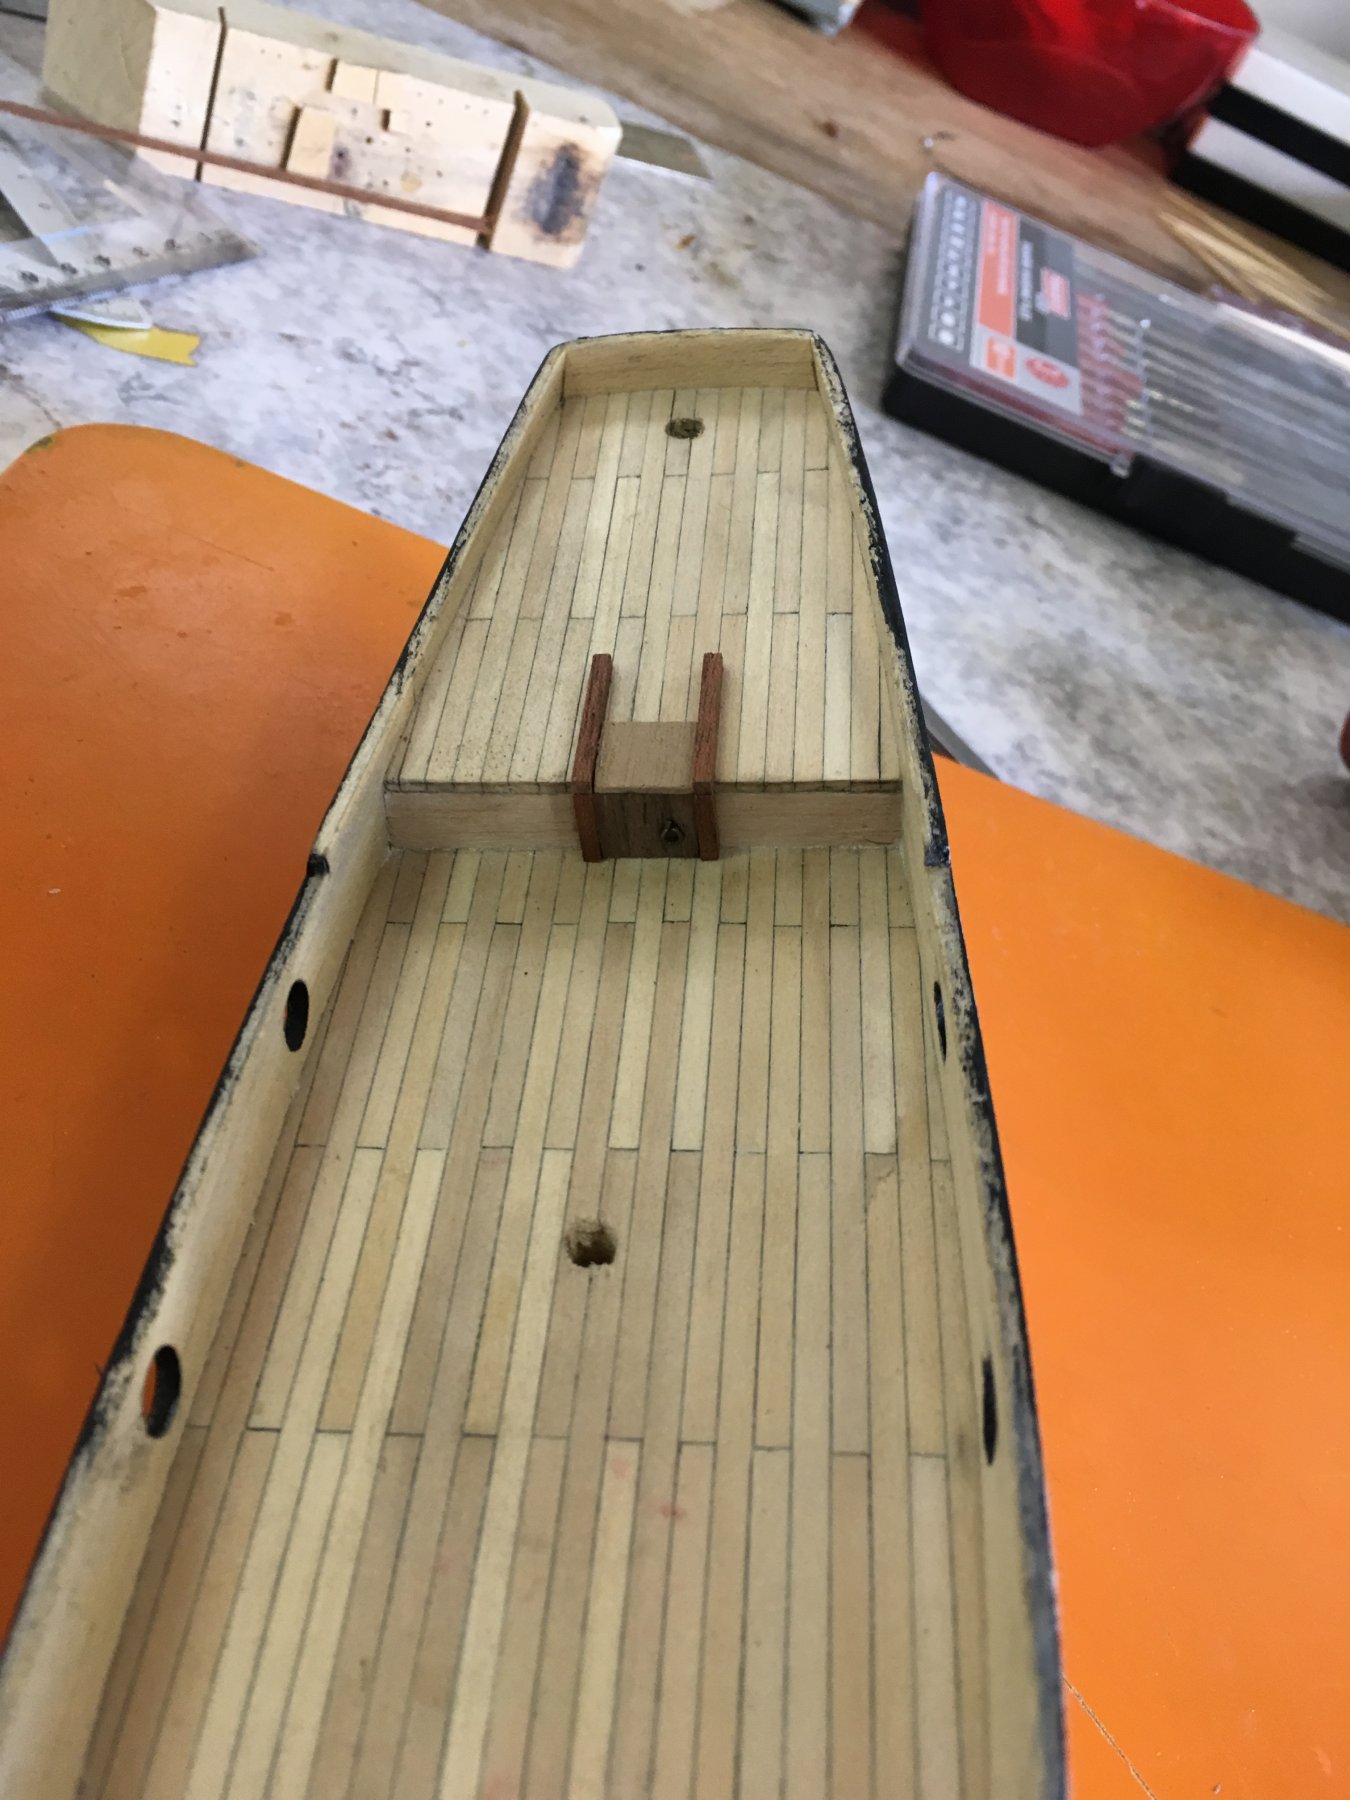
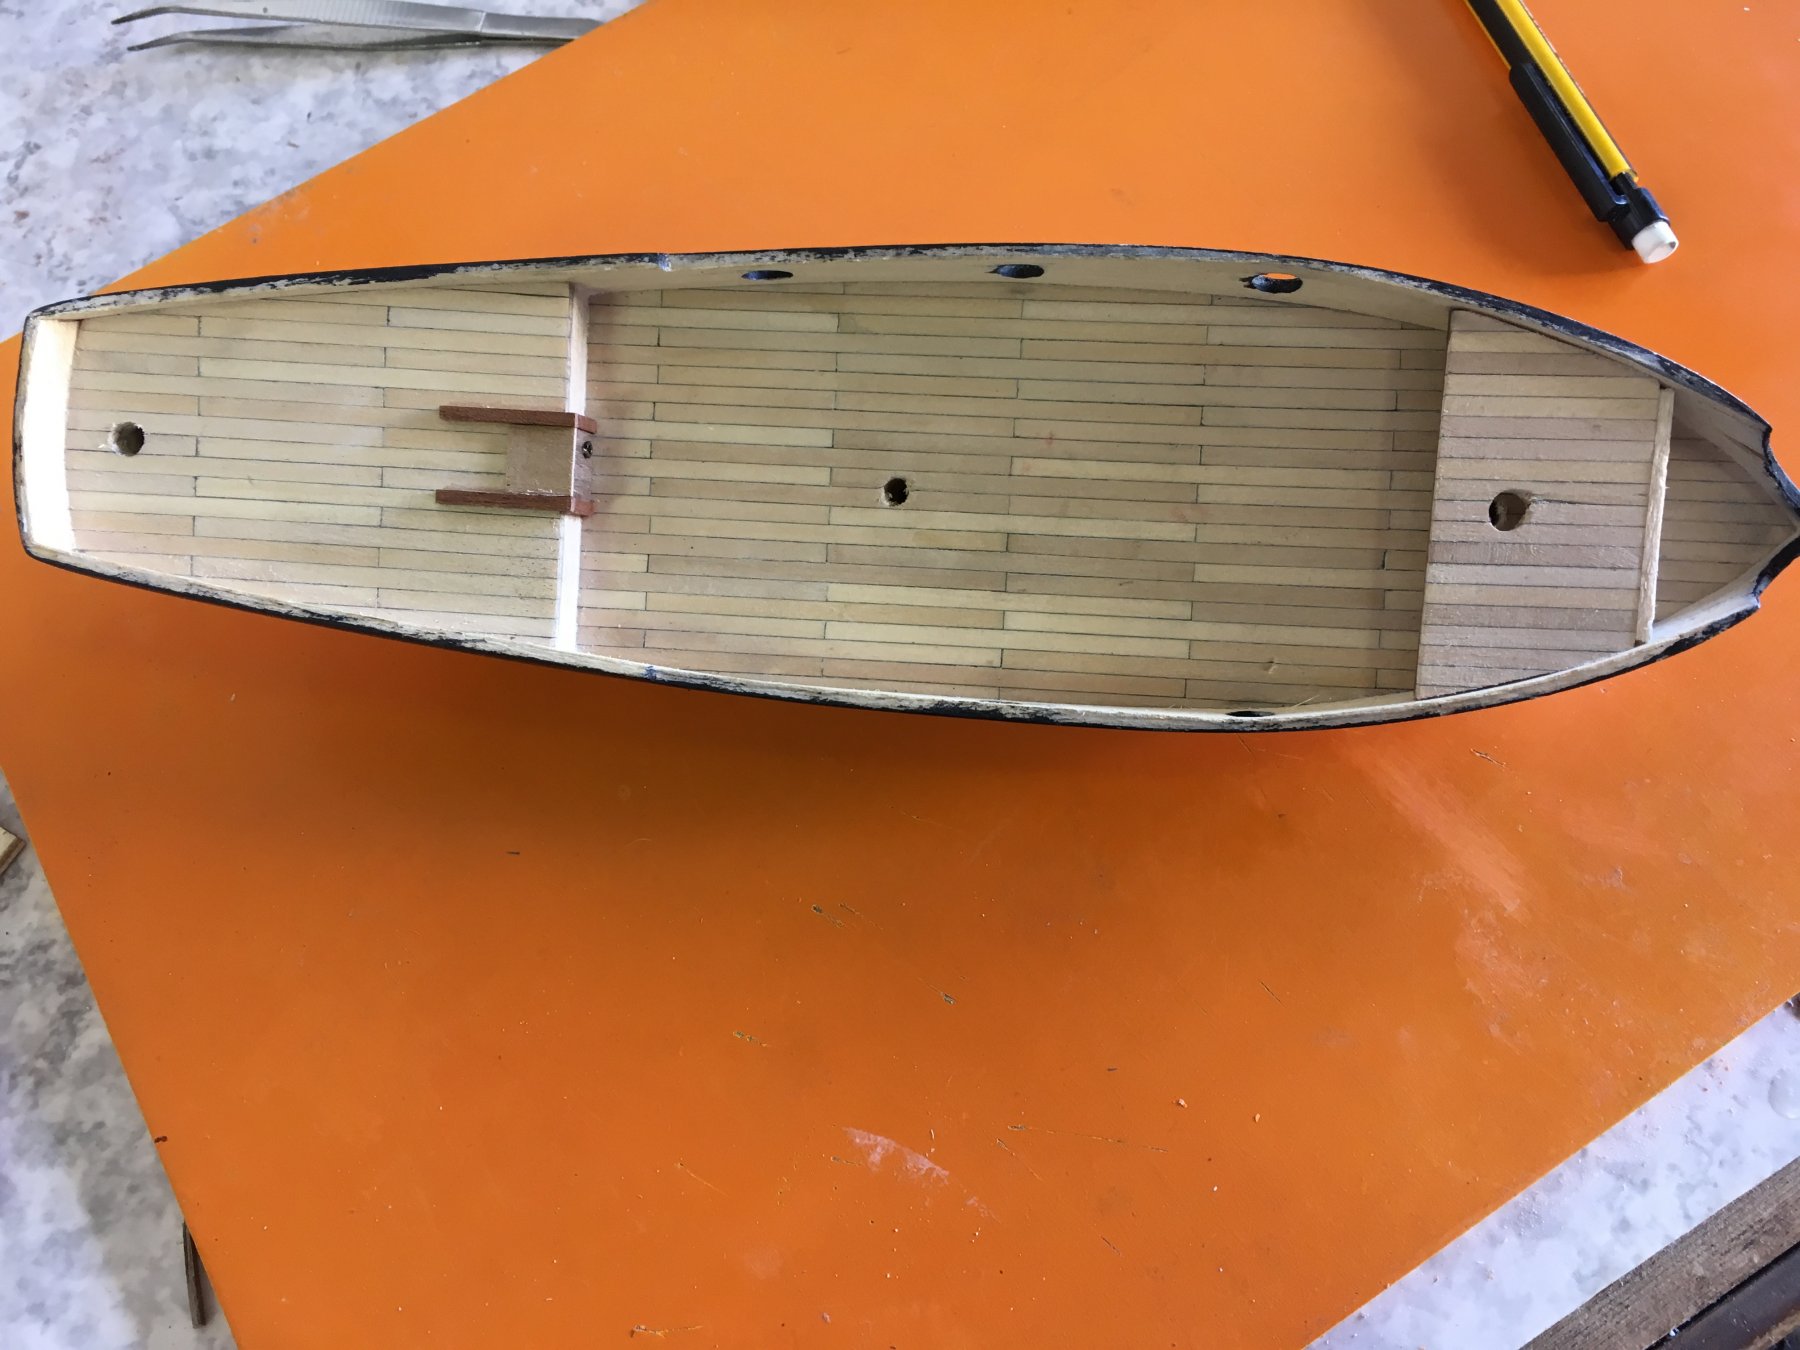
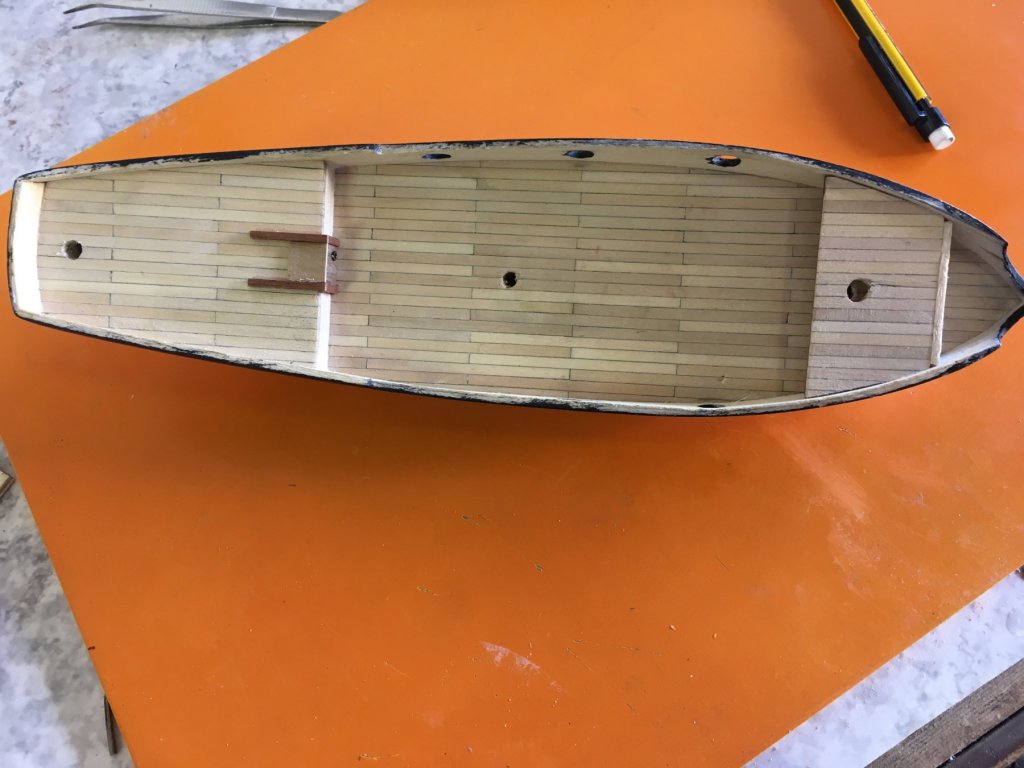
The instructions say the deck should be simulated by using a pen and straight lines directly on the solid hull. I didn't like the idea so I've searched in my goodies shelf and found some 2x1mm lime wood strips. I glued them to the hull using PVA colored with black ink to simulate the caulking and then sand it so I can lower the deck with 0.5 mm or so. I did that before mounting the bulwarks. The strips are 8 cm long.

-
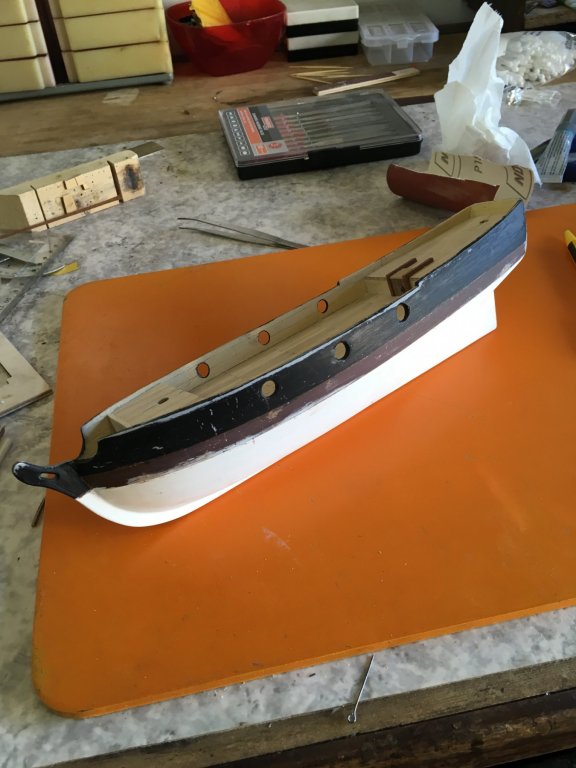
Here is my first pictures of the work: I tried first to paint it with some spray acrylics but I didn't like the way it came, so I sanded it again. The picture above shows my first painting attempt.
-
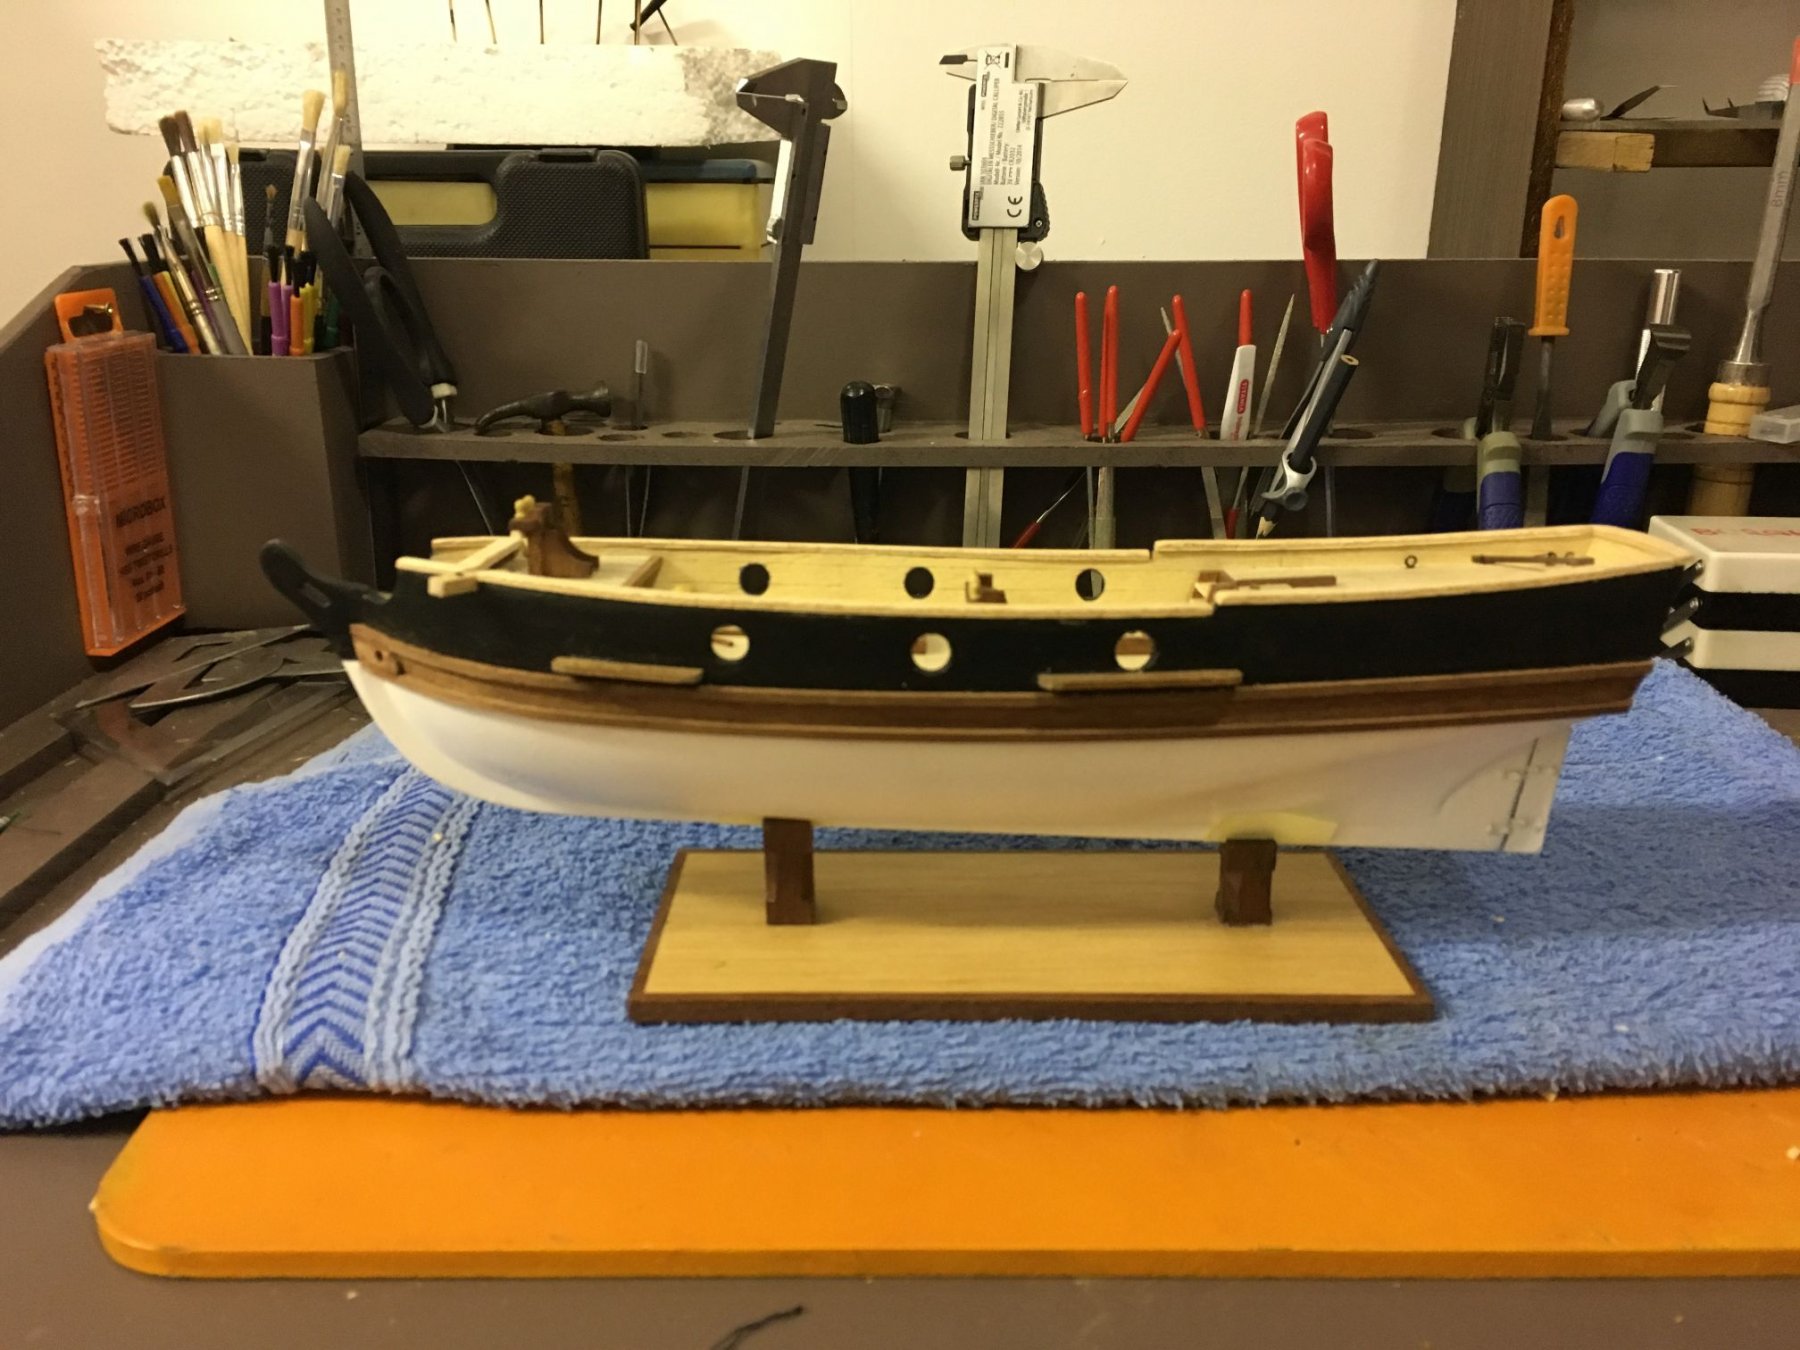
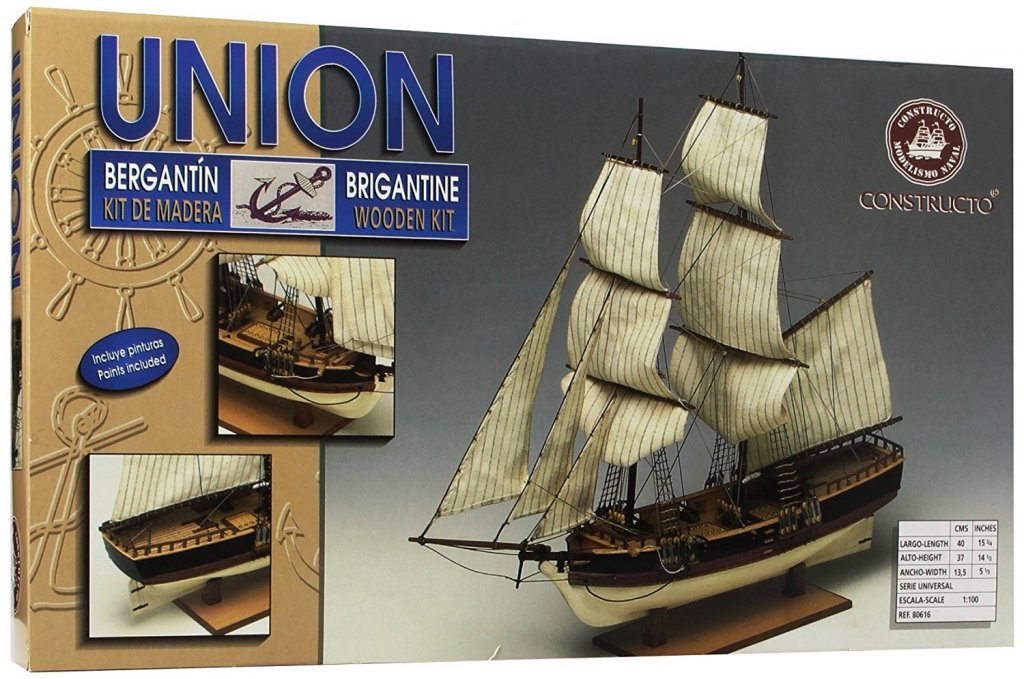
Some dimensions: Length: 40cm Height: 36cm Width: 13cm About the quality of supplied parts: Constructo is supplying the plywood as 2mm balsa sheets. Very delicate to cut off the sheet. Fortunately these sheets are available at any DIY store so I can replace the original ones if I make a mistake (which of course I did). Wood strips: Sapelle of different thicknesses. Very nice wood, straight and consistent along length. Masts: Ramin (or at least looks like it) dowels, very nice. Cannons: precasted. Horible, but at this scale I had nothing to replace with. The barrels were already bent, I had to snip them off and reglue them in a more natural position. I tried to 3D print them, but they are too small for it (or for my friend's printer at least). Sails: printed on canvas. I'll replace them with another finer material, the lines printed at the edge of them will look bad on this scale. Capstan, blocks and tackles: they seem made of boxwood, so it's nice. Eyebolts, nails: brass Paints: 3 bottles of acrylic already dry Threads: good colors but way out of scale. I'll replace them as well. My conclusion is that the materials supplied are OK, considering the kit was about 80 euros.
-
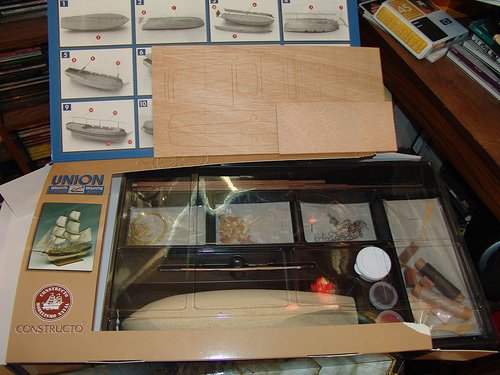
Hello, Three years ago I received as my birthday gift (now that's what I call a nice present) a kit of the Union brigantine from Constructo, scale 1:100. Even if there weren't any ship of that name, Constructo says it is representative for its period (late 18th century, first of 19th). The box looks something like this: And the content: These are not my pictures, I posted them so you can have an idea of what's inside. The hull is solid. It needs a lot of sanding and filling to get the shape right and smooth, especially when it comes to joining the keel and the bulwarks. I didn't take pictures 3 years ago when I started, I was way too enthusiastic and I wasn't sure it will come to an end that I would like. I've worked for about 1 month then, taking a 2 year break after that. Two month ago I returned to this kit and I am posting now a few pictures showing the progress to this day.
-
I'm not sure if it helps, but here is the video log of a guy building the Deagostini version (a monthly magazine i believe). He's at the stage 60 of the build (many numbers to come) and he already has the hull planked and some deck fittings. https://www.youtube.com/watch?v=rS-k5JeIudM It may give you a hint about the building process, the materials provided, and so on. I dont know if this link is allowed, if it doesnt then some admin should delete it.
-
Beauty over power... hard to decide after 500 years French ships of the period take my breath away. And so are the english warships. And yes, dutch ships too. And oh, i forgot the spanish..... Gaetan, I think you are a true master and your work is astoneshing... "Some decorations", you say.. As always, a joy to watch your build log.
- 728 replies
-
- 3
-

-
- le fleuron
- 64 gun
- (and 1 more)
-
I think they are shipping it from Australia.
-
Very nice work so far, Stuart. Im also working (well, im not for the moment, but I keep telling that to myself) on the Revell's Connie. It's strange, but in my kit the pieces were actually pretty clean and well moulded. The masts were warped, by I intend to replace them with wooden ones anyway. About the deck: I've glued thin strips of wood (maple, 0.5 mm in thickness) to the plastic deck. It's making a whole world of difference in my opinion. They were 7.5cm in length (as I've determined to be the real length in scale), and 2.5 mm in width. I will show a picture of it just for the fun of it, I don't intend to polute your topic.
- 34 replies
-
- 2
-
-
- constitution
- revell
- (and 1 more)
-
My two cents would go to the break licquid as well (trusting that the paint is enamel)...
-
As from my knowledge, this ship is provided by Amati and I think Chris Watton has smth to do with it About Hachette: they sold in my country a 140 serie magazines for 1:200 Bismarck (also an Amati kit). It ran quite OK, with a few chocks on the local distributors but it ended all right. If they would sell the BP in my country, I would definitely buy it.
- 40 replies
-
- 1
-
-
- hatchette
- black pearl
- (and 1 more)
-
An amazing build of an amazing ship... I want Victory to be my last ship built.. your log will be so helpful to me... Well done.
- 439 replies
-
- 1
-
-
- victory
- caldercraft
- (and 1 more)
-
Same here, Nenad. Majstor, you're just a hair ahead of me for now Very nice work. I can't work on it until the spring so you're be well ahead. Good for me, I'll have your log to inspire from Nice work indeed.
-
Hi, Steve This is just my personal opinions on the matter. It all depends on what kind of tips do you want for your build. I think that navy plastic kits do their best with modern warships, not with the sailing ships. As you know, I'm building the Revel's USS Constitution as well (well, kind of, I'm on hold for now), and I've built their Gorch Fock and HMS Victory. What I recommend for builders of plastic tall ships: plank the deck with thin wood strips. The effect is great. Replace the masts with wood shaped accordingly (their plastic masts are warped anyway, and if not, it will be soon). Replace the funny plastic sails with real cloth sails. On the other hand, plastic kits of sailing ships have great detailed hulls... especially when the hull is painted (English ships 1700+, for example). If you have any questions on painting your Connie, or any other specific issue, please post it! I'm sure there are many on these site to answer you (I know there are several people building Revel's Connie).
-
Hello, It's a very good idea to plank the plastic deck with wood. I'm building it myself and I took the same approach. As seen in pictures, I've used super glue. That was happening some two years ago and it's holding them really well. Be sure though you put the glue only at the bottom side, and just a hair of it, otherwise it will squeeze between the planks fi you push them, as I've used 2.5mm wide strips.


-
Hello, PVA (if not water resistant) can be soaked in water and it will break, but can also damage the plywood. I had some very good results just keeping it under my wife's hair dryer. After all, PVA is just plastic, it will melt in the heat. (that worked for my wrong glued bulkheads). Augie's advice might work even better, as a "last solution"
-
Although Modeler12 has the right answer, I will put my 2 cents on my no name rotary tool. Invaluable.