DONATION DRIVE - SUPPORT MSW - DO YOUR PART TO KEEP THIS GREAT FORUM GOING!
×


Bahamas Diver
-
Posts
141 -
Joined
-
Last visited
Content Type
Profiles
Forums
Gallery
Events
Everything posted by Bahamas Diver
-
I couldn't agree more with Rich!! It is soooooooo much easier to make sub assemblies and then add them on. At this point I am working at trying to be sure all the blocks for masts and tressel trees are installed before stepping the masts and adding the rigging. I also find that when it comes to the eye-bolts in the deck itt is best to drill and place them but not glue them in so that they are easier to sieze as needed.
-
Brian, The framing of the gun ports looks very clean...as does all your work to date.
-
Rich, I had a similar problem concerning the height of the guns. I found it was best to thin the bases to lower the height of the guns. If you have not glued on the wheels you can sand off a little on both bases. Also as a thought, I set my guns as rigged for sailing. this allowed more room for the blocks. By not crowding the blocks and rigging the set up looked more to scale. Lastly, if you are going to set the guns as run out for firing, you should not worry about the length of the breech line too much (IMHO). Remember that theheavy breach lines have a lot of weight for gravity to pull them down while the thread we use for modeling will not act the same way. You could try coating the breach lines with a dilution of water and white glue to hold them in place. Just some ideas.
-
Larry...if you look at page 4 of my build log you can see a decent picture of how the bowsprit sits in between the knights-heads. Also as you think about placing the bowsprit you need to really think it out. There are a lot of pieces that need to be prepared for but not glued in or you will not be able to insert the bowsprit. If I remember there are also issue to deal with concerning the placement of eye bolts and prepping for them. In any case your works looks good so far and your thinking is spot on.
-
How to install pedestal stands
Bahamas Diver replied to LMDAVE's topic in Modeling tools and Workshop Equipment
I agree with everything Jay said. If you do not drill a pilot hole you can too easily split the wood at the keel. Also you need to be very careful that you drill perfectly straight or you risk setting the ship at a slight angle. If you can use a drill press to this all the better. The other thing you should do is to drill a countersink hole into the underside of the base so that the screw head is below the bottom of the base. This way the base does not wobble. Lastly, I get some felt (you pick the color) and use white glue to glue it to the underside of the base. -
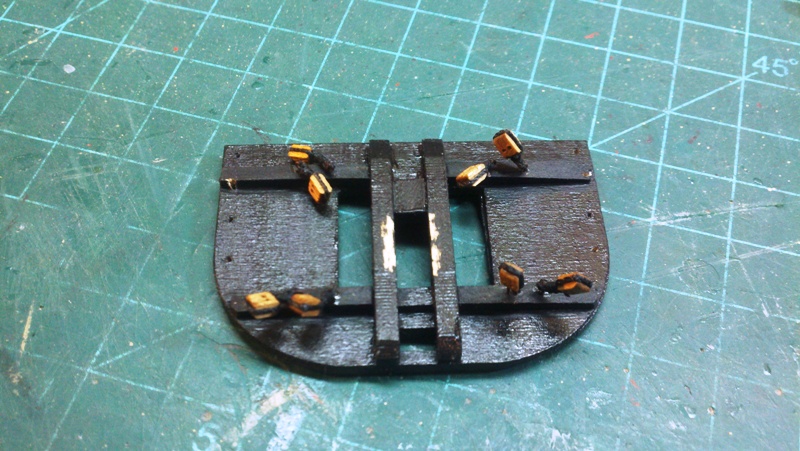
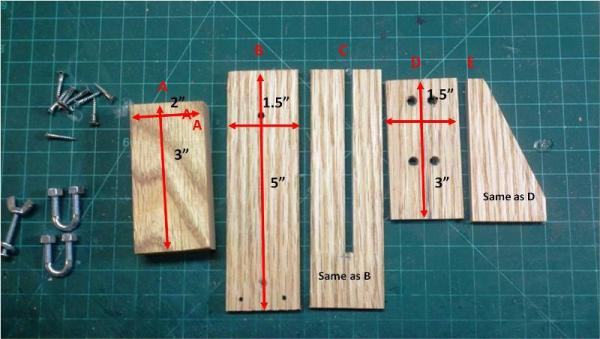
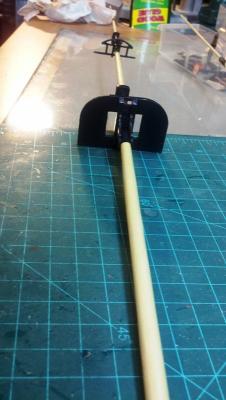
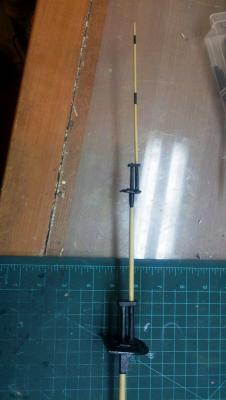
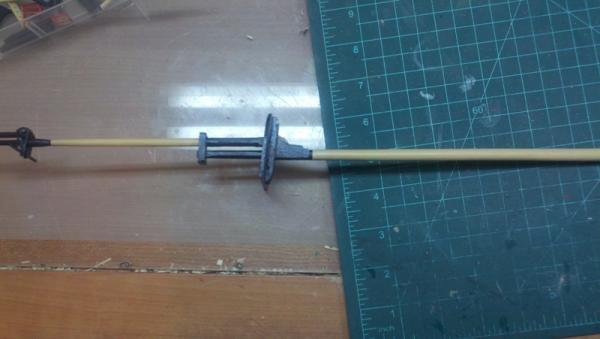
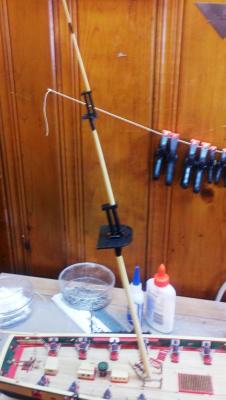
BTW I built a simple waterline marker. here are the pictures...I think that it is easy to see how it was done from the pics...but if you want I can try to remember the steps I took to make it.


-
Rich (and Larry), When I painted my hull I used this process. Paint hull both above and below the green line with several coats of what ever color you choose. I made a dark green by adding black to a Dark Bulwark Green (from Model Expo MS4801). Then use add 2 runs of Tamya tape (it holds really good and does not bleed if you put it on carefully) equidistant above and below the water line. Paint it with several coats of paint. (I made a light green by adding white to the MS 4801). Once finished I added several coats of Minwax Poly. If you want to use the the general colors of the original ship, those colors are in the plan.
-
Anja and Sjors...thank you for the kind comments. Larry...as a lion once said..."Ain't it the truth....ain't it the truth."
-
Ken, Nice job on the chainplates. I found the same issue with the port sweep but elected to leave it open. IMO, closing it up will take away from the symmetry of this beautiful ship.
-
Larry, I used a #2 pencil for the caulking as well and..if memory serves...I stained the deck using minwax golden oak.
-
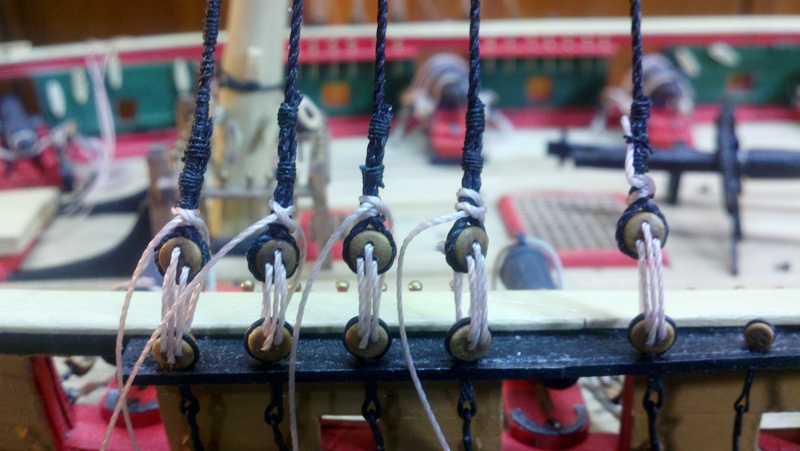
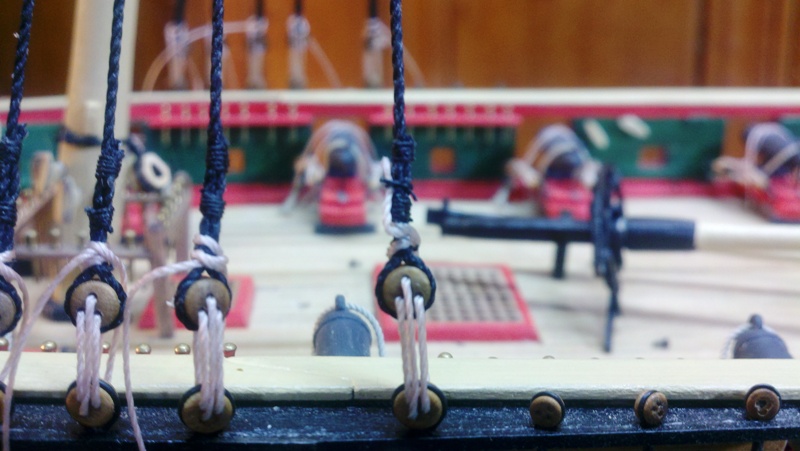
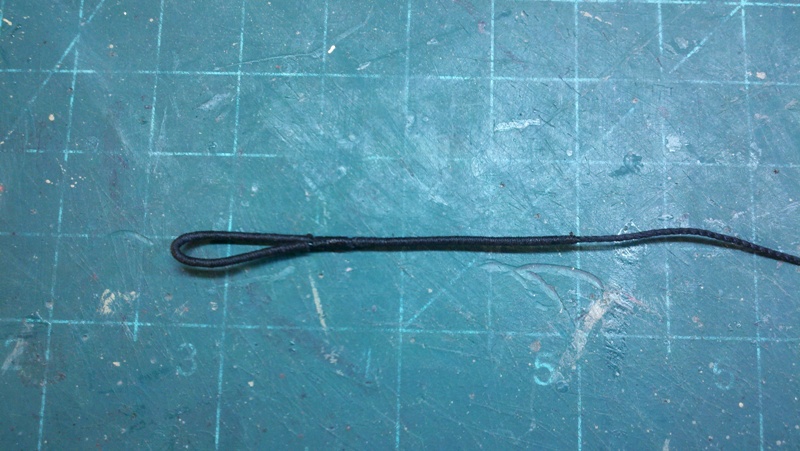
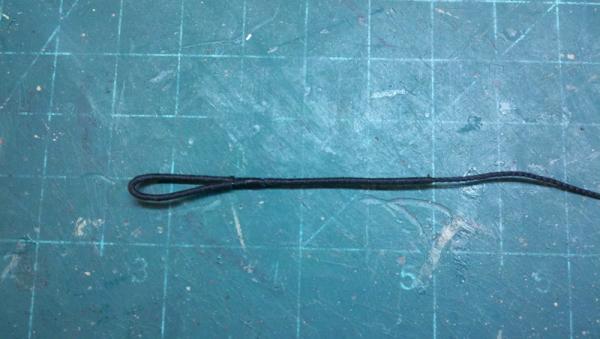
The fore mast is rigged. The lower dead eye lanyards are not yet glued in place. I will wait until the rest of the mast is rigged. Then I can use the lanyards to make any final adjustments to ensure the mast is set properly both starboard/port and fore/aft. The lanyard on the right of the 2nd picture is setup as it will look when finished.


-
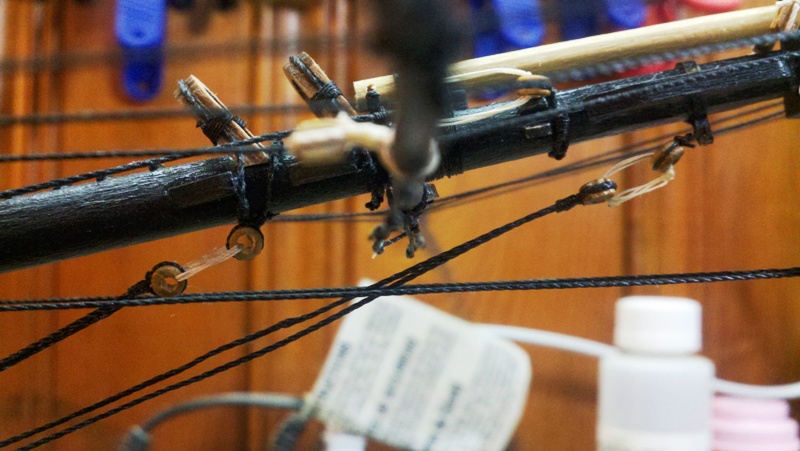
Next step is to add the cleats to the masts and some of the rigging. Then it is time to begin rigging the foremast. Before starting the rigging I served the mast shrouds.
-
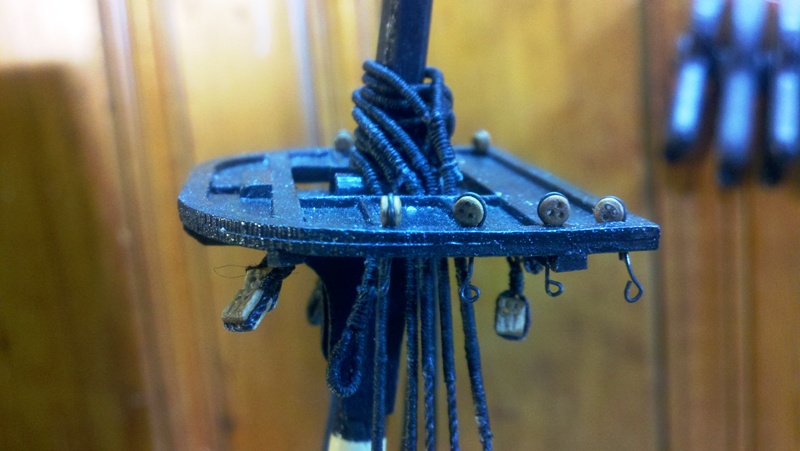
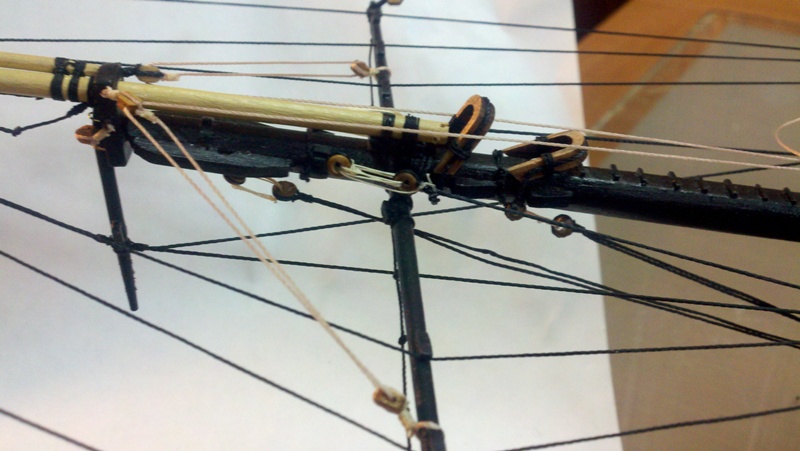
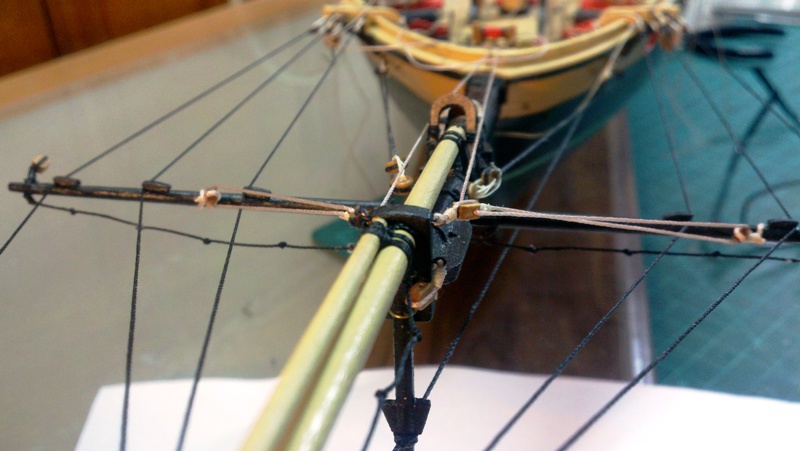
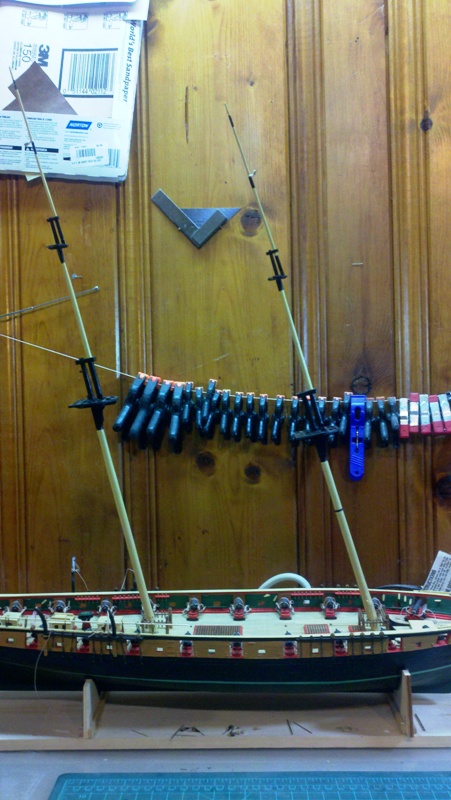
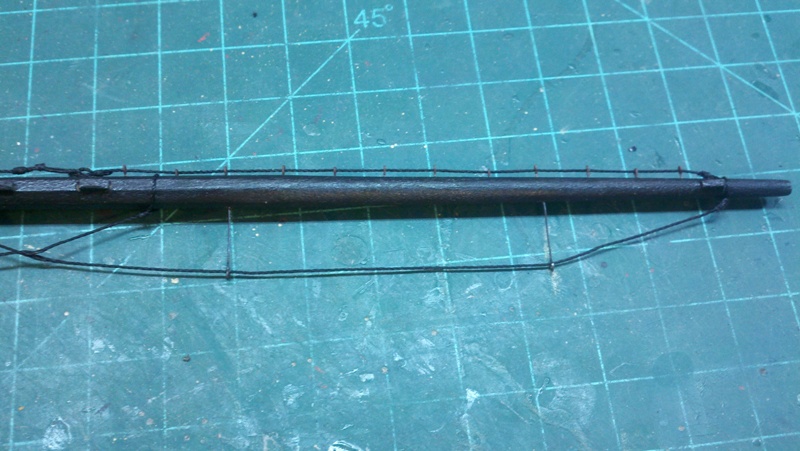
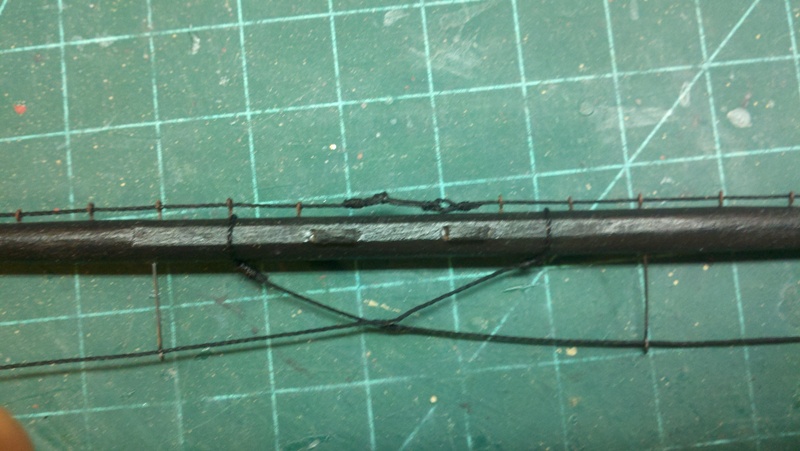
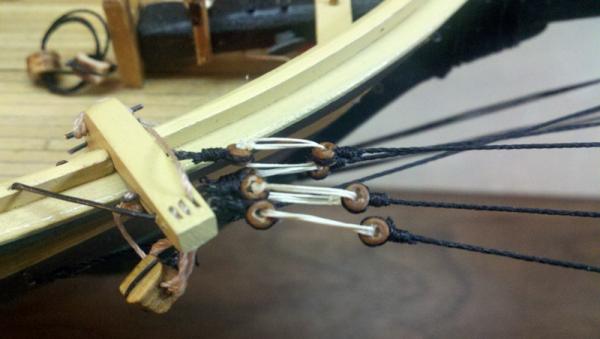
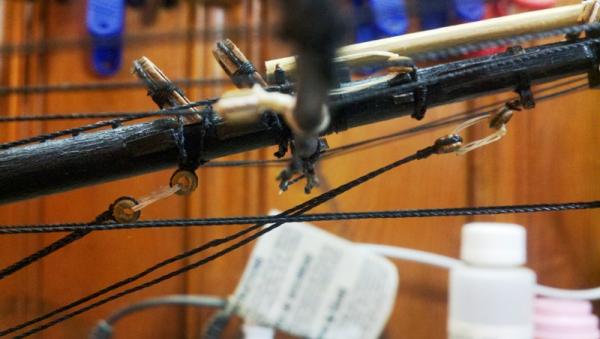
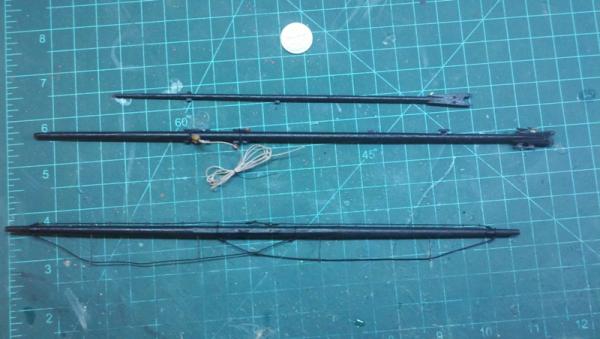
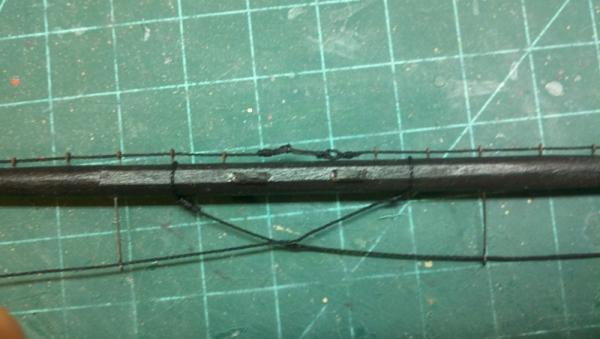
More pictures of the jib boom rigging.
-
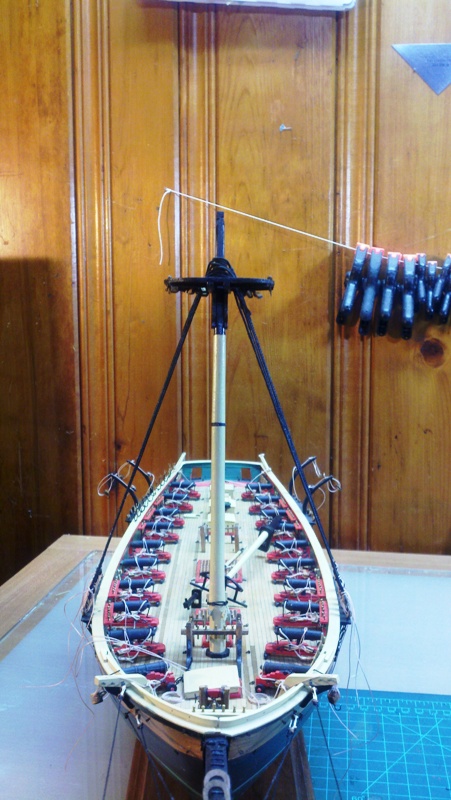
Here the the spritsail/jib boom assembly is rigged as much as possible without the foremast being installed.


-
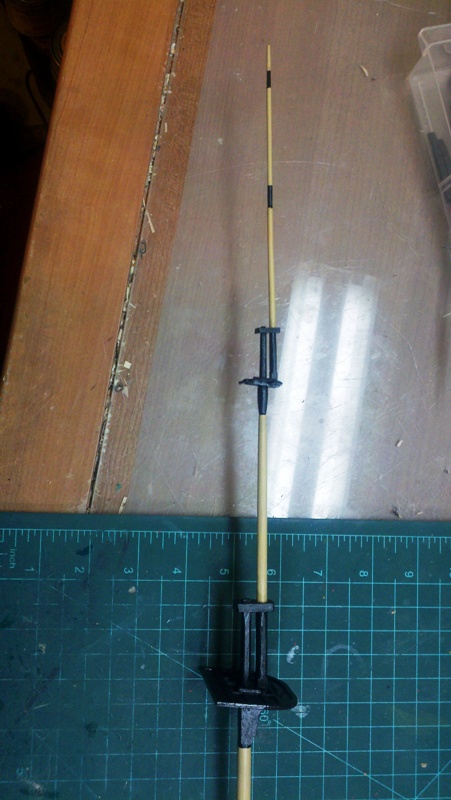
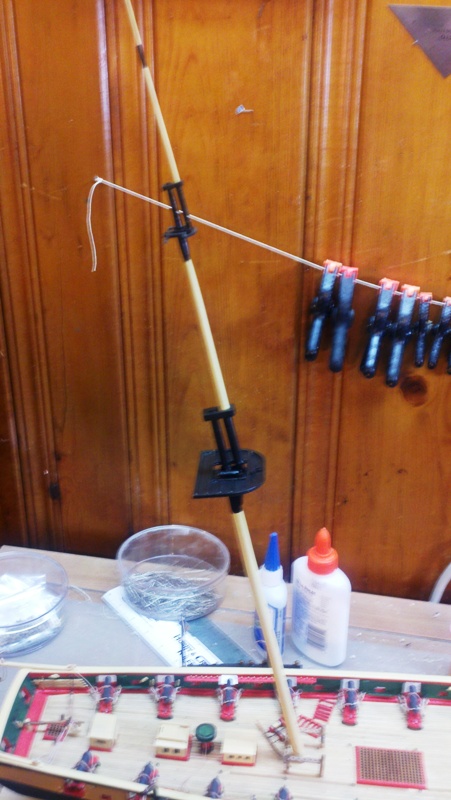
Added the spritsail yard. Next is rigging the jib boom /spritsail assembly.
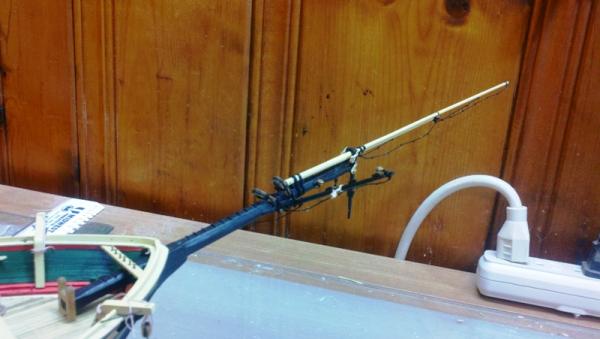
-
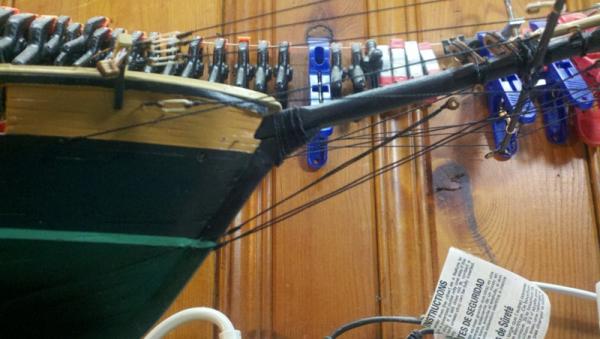
As the rigging is about to start, I felt it was time to mount the hull onto the pedestals.
-
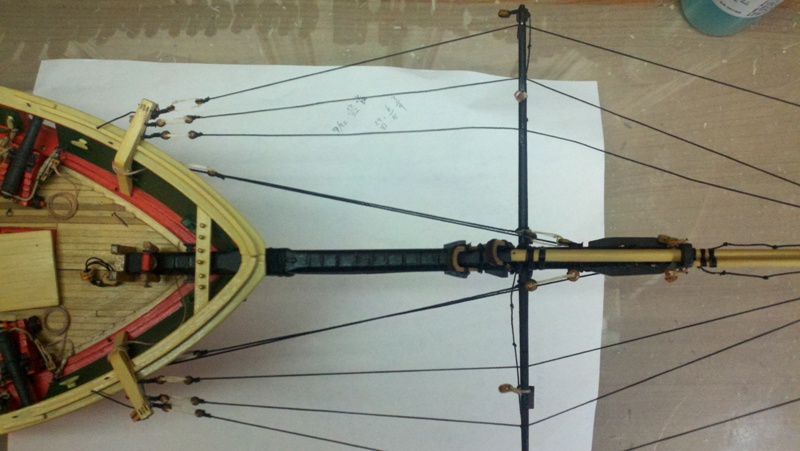
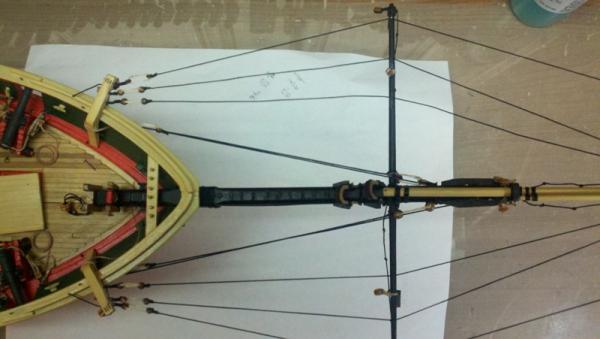
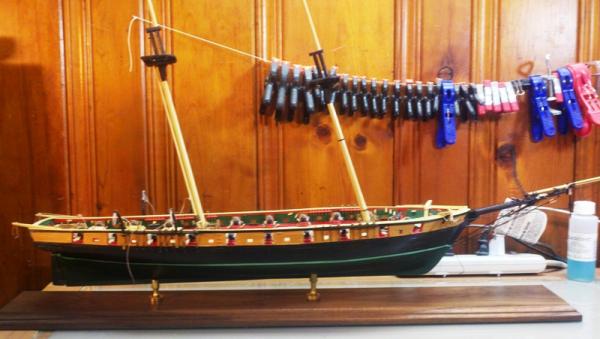
Now the foremast is finished. The masts are not at the proper angel, they are just sitting in the mast holes.
-
Sjors, Rigging is my favorite part of modeling. BTW...I like your signature icon. Patrick I have been watching your build as well. It is going great. Anja, thank you.
-
Ken, I made the metal strip out of manila folder. Using a compass I could get it perfectly round. I then used a black permanent marker to color it black. Finally, I put small drops of CA glue on the ring to look like the bolt heads and once dry used a marker to paint them black as well. There is no metal ring supplied with the kit for this purpose. BTW...in response to your question about the metal bars....You can purchase black annealed steel wire from Model Exp. It is not expensive and solves the problem of trying to paint the bars. I first painted the outside of the companionway and the insides of the windows, then drilled vertically down and dropped the wire into the holes. once the top is put on the bars stay in place.
-
Larry, I don't know if it is common or not...but I see no reason why it wouldn't work. BTW...I did glue the cross trees to the buttresses.
-
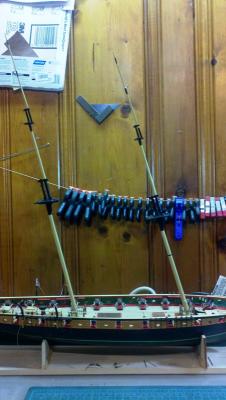
Completed the main and fore mast. All parts are dry fitted. It is my intention to NOT glue the mast sections together. Rather I intend to build them as a real ship and hold them in place with only the rigging. This will also make it easier to adjust the masts to the right angle and be sure the are properly adjusts abaft.
-
I've finished fashioning the some of the yards. There are a number of shape changes on the main yards so this time I started with a squared piece of wood rather than a dowel rod. This made the changes in the yards shape much easier.

-
Finished the top cross trees and added the blocks. After finishing painting and adding poly, I scraped off the area that will receive the glue.

-
Mainstay, Thank you. I'm sorry it has been so long since I've posted but I will try to make up for it over the next few days.
-
Rich, It is good to see you back at it. I think using the weathered oak stain will work out great as the real boats decks (when dry, which is not often enough ) are a sort of grayish/silver color. The comming look great as does the hull profile. I look forward to seeing more of your progress.