HOLIDAY DONATION DRIVE - SUPPORT MSW - DO YOUR PART TO KEEP THIS GREAT FORUM GOING! (Only 64 donations so far out of 49,000 members - C'mon guys!)
×


Bahamas Diver
-
Posts
141 -
Joined
-
Last visited
Content Type
Profiles
Forums
Gallery
Events
Everything posted by Bahamas Diver
-
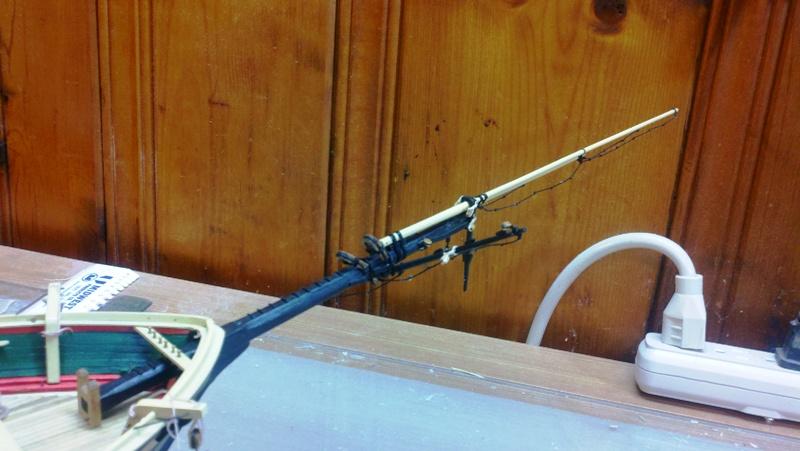
Finally the whole thing is permanently added to the boat. One note. It is not possible to glue the cleats into the bowsprit and then run the bowsprit through the opening in the bow. Instead I drilled the holes for the cleats and then once the bowsprit was in place (but before glued down) I glued the cleatss in place.

-
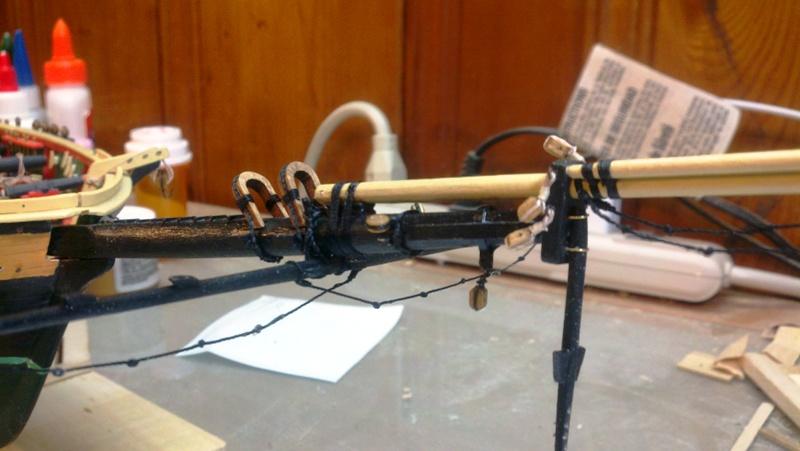
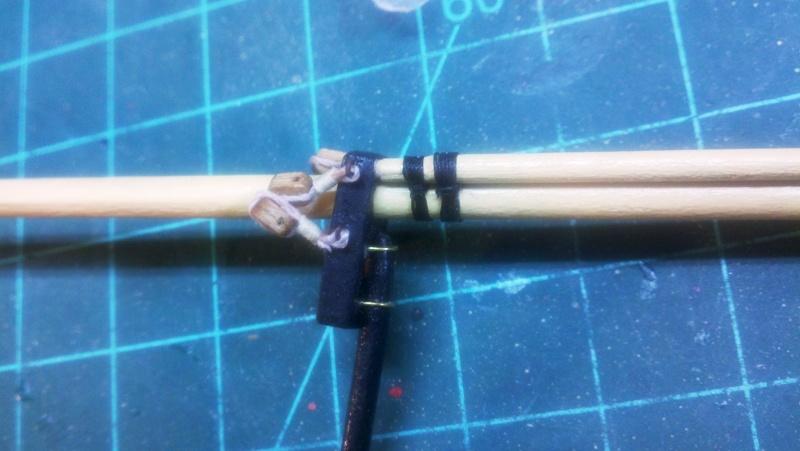
The rest of blocks are added to the bowsprit. The jib boom is lashed to the bowsprit and the yard is attached. All is ready now for the entire set of masts to be permanently set in place.

-
Next came adding the yard and the walking ropes. I painted the walking ropes with a mixture of white glue and water and then hung clamps on them to give them the shape I wanted.

-
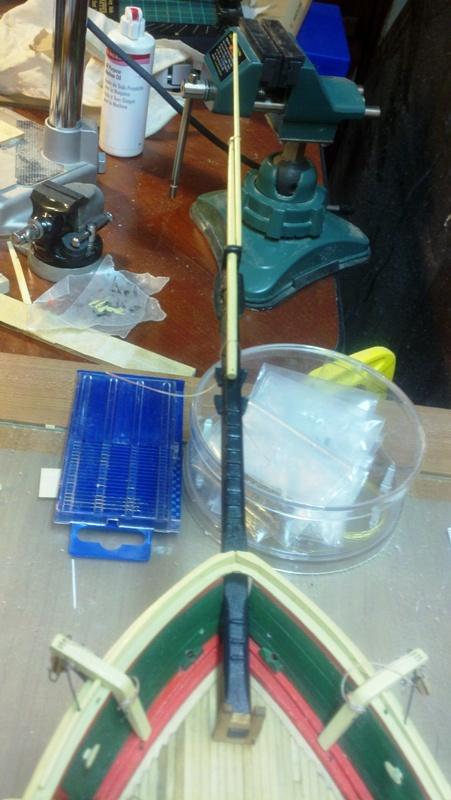
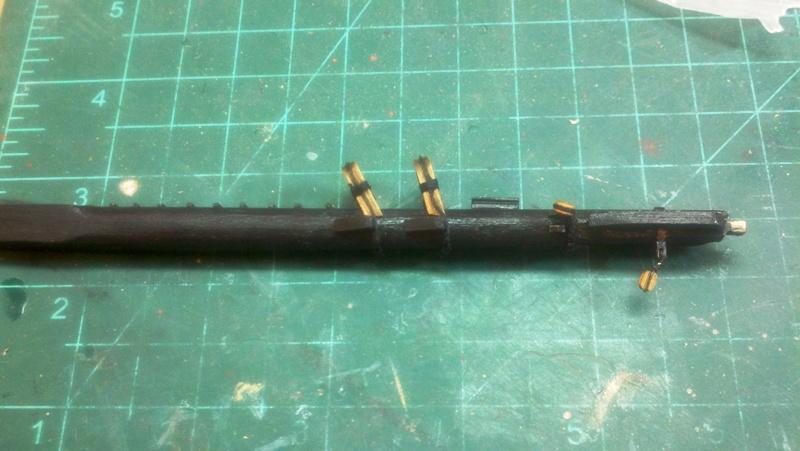
Here the flying jib is lashed to the jib boom. I also added the required blocks before adding the entire bowsprit, jib boom and flying jib to the model. It is so much easier to add the blocks now than once the mast is added to the hull.
-
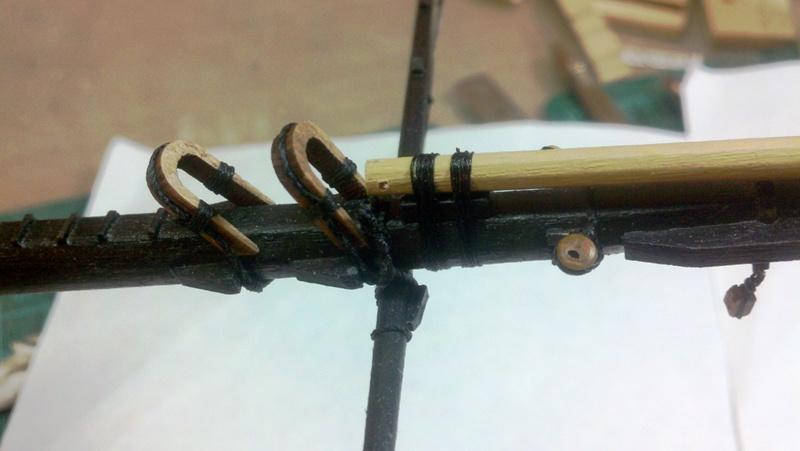
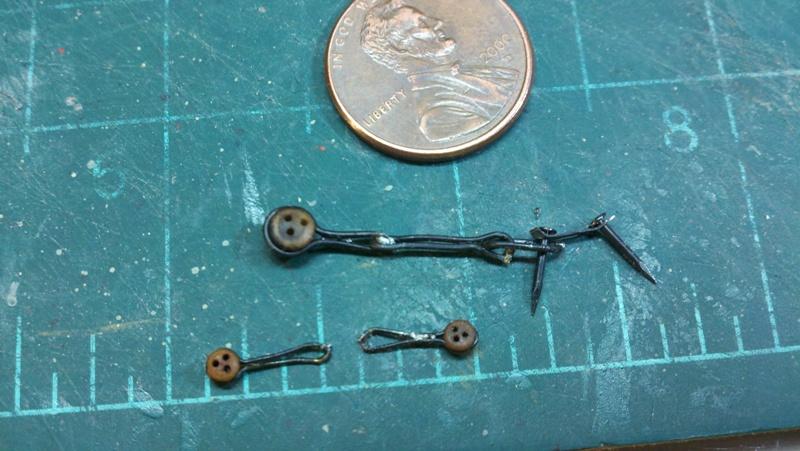
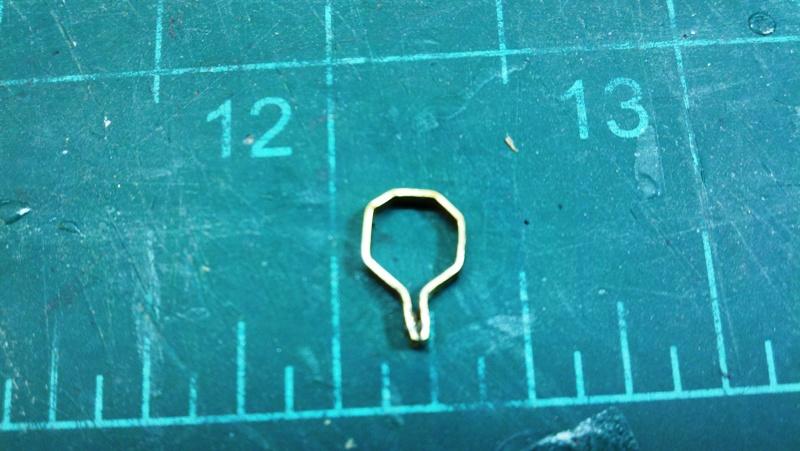
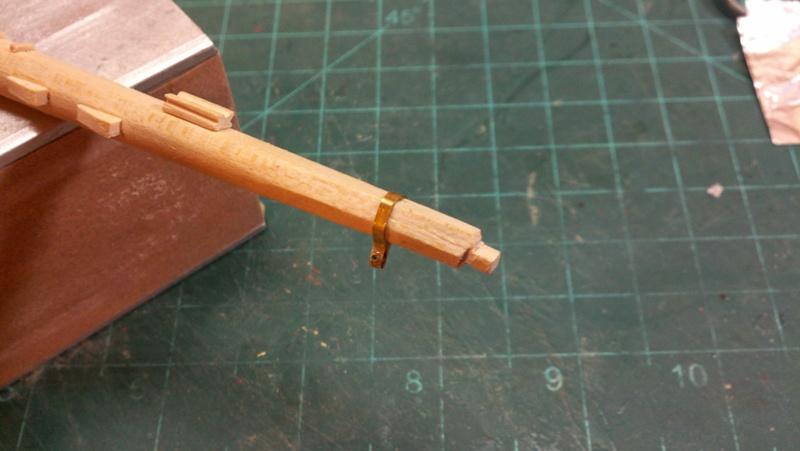
The collar and hearts attached to the bowsprit
-
The bowsprit collar and hearts completed.

-
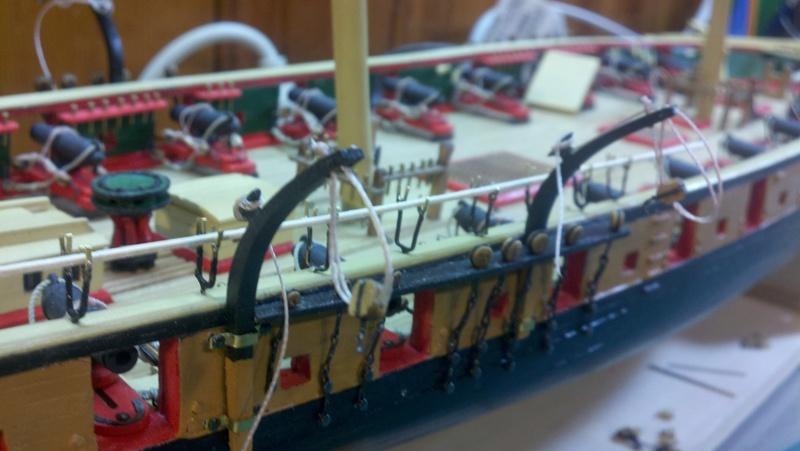
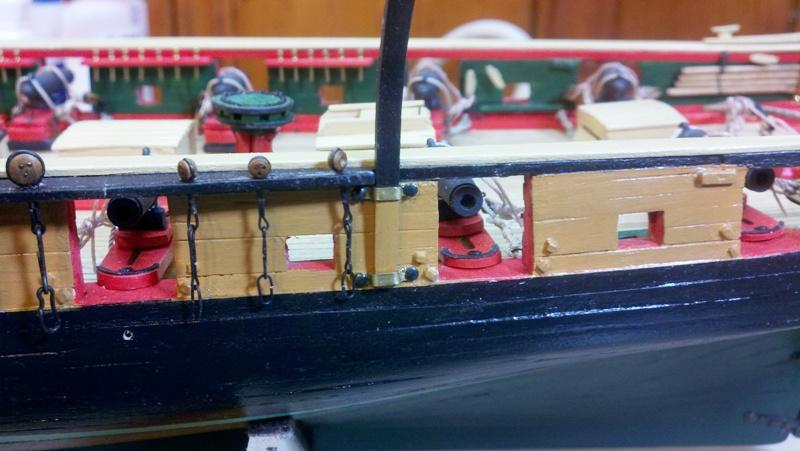
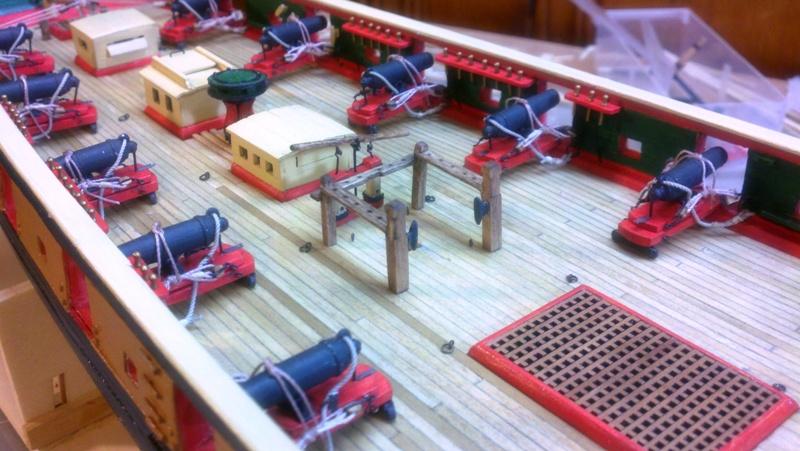
Here the davits are placed and rigged.
-
I think I forgot to add the pictures of the water pump so here they are. I won't add the pump until after the rigging is completed so that it is a bit easier to add all the rope loops. The iron straps are made of manila folder blacked with a black Sharpie.

-
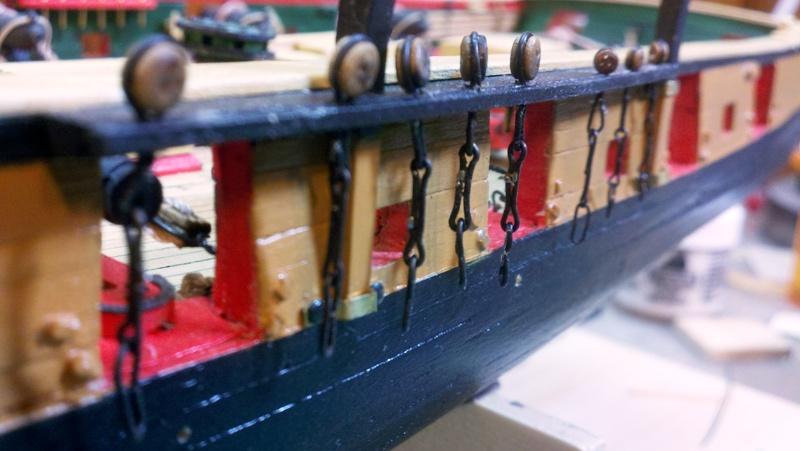
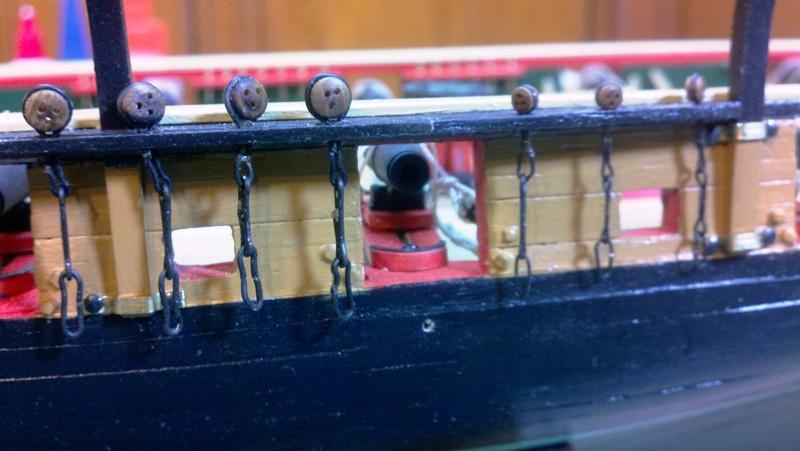
The channels are glued to the hull. Because the whole hull had been painted, I had to scrape off the paint and poly coating were the channels were glued. To add strength to the channels I also used metal wire dowels inserted into the channels and then into the hull. I did not drill holes for the nails yet, waiting until the masts are placed to be sure the angle of the chains is correct. You can see in the first picture the long boat davits were also installed.
-
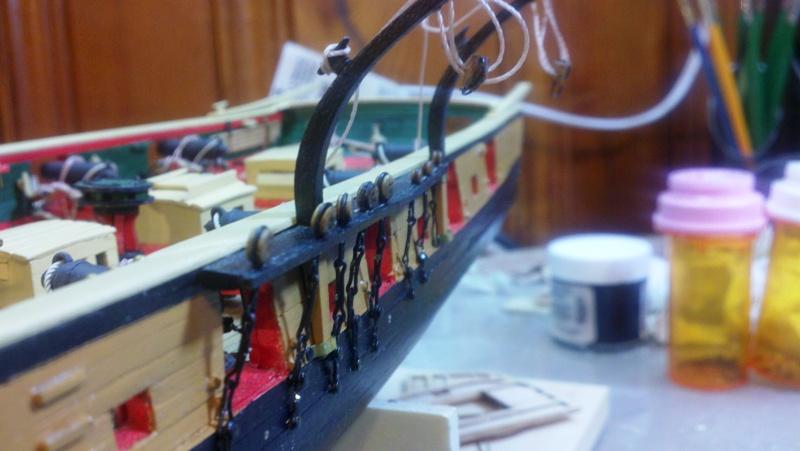
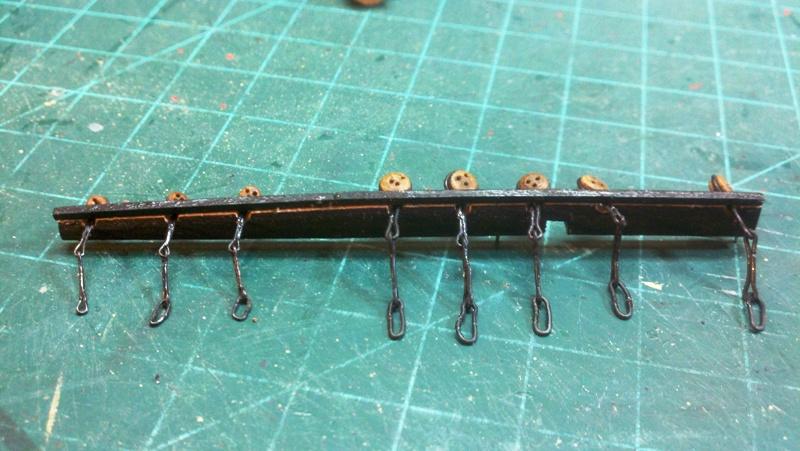
Once the chains were completed, the chain channels were completed.
-
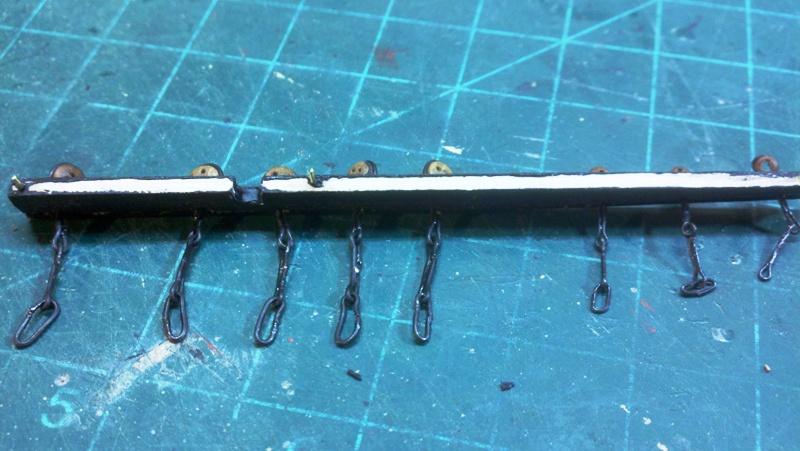
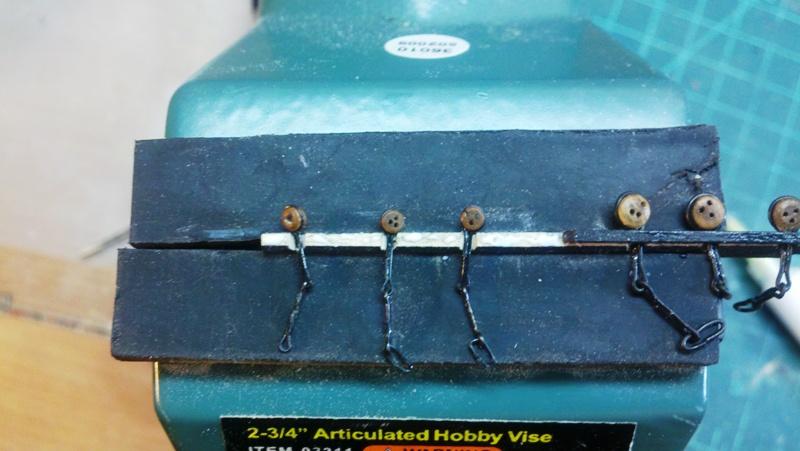
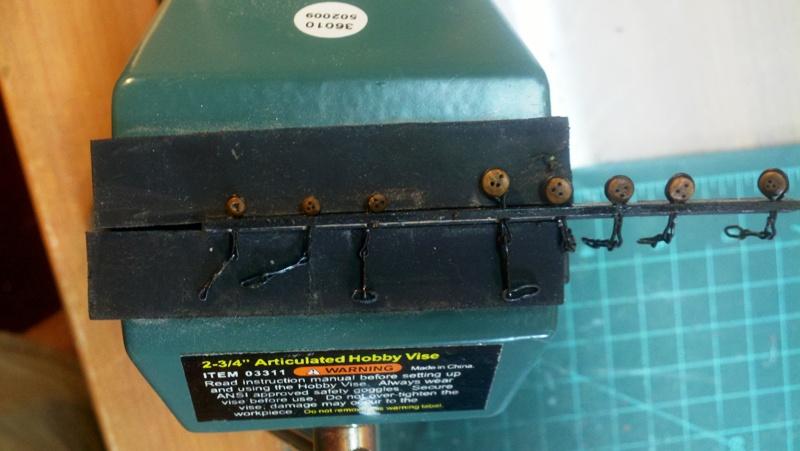
Here the chains to hold the dead eyes. The picture is of one of the 32 need for this ship. I started out trying to silver solder the links closed but the black coating of the annealed steel wire would not accept the solder. I ended up locking the links closed using CA glue.
-
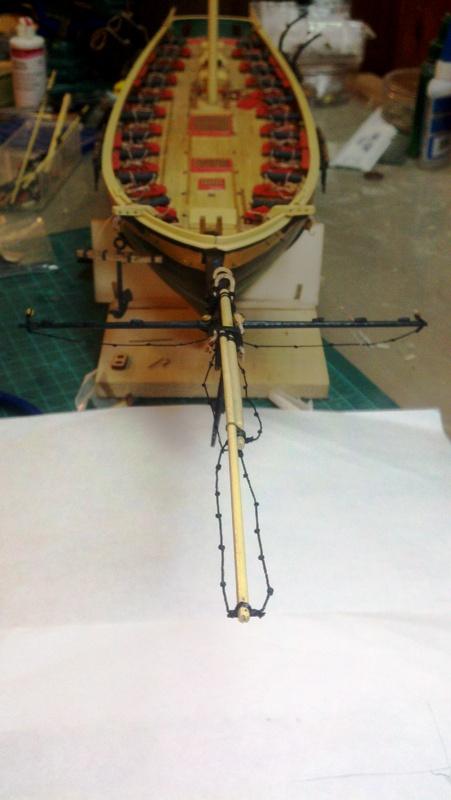
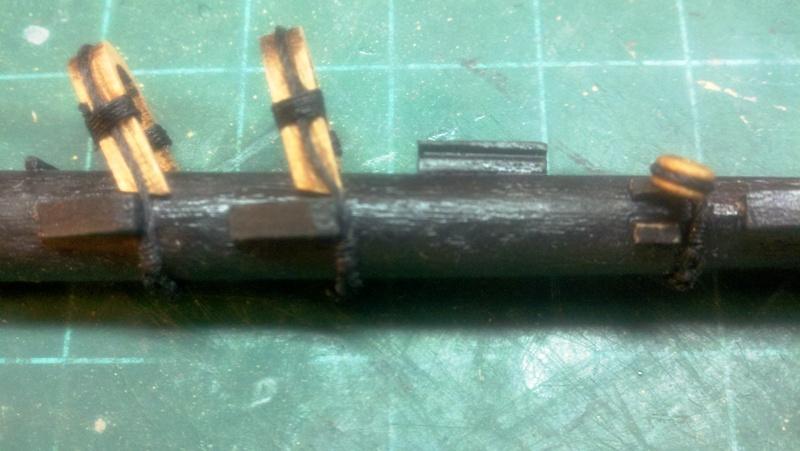
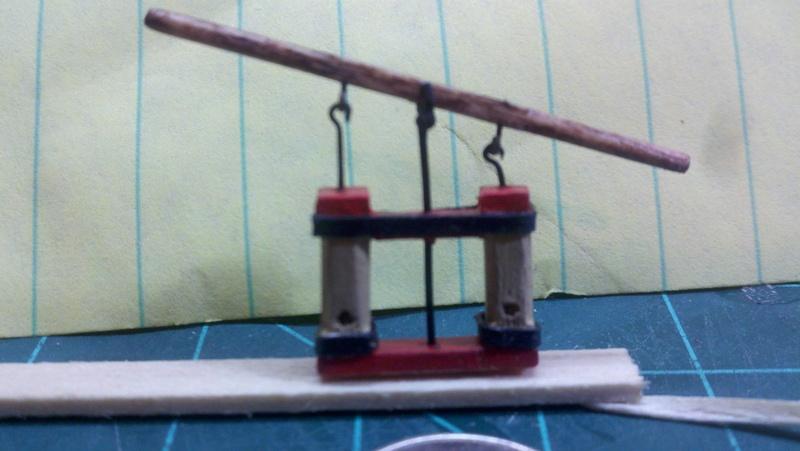
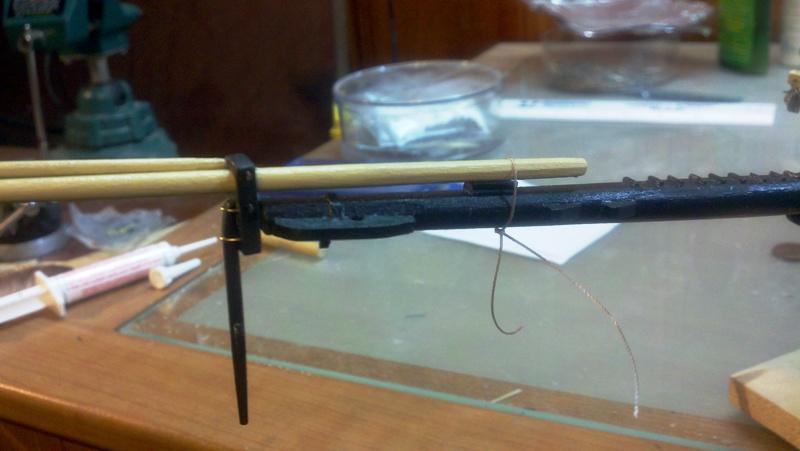
Here the spritsail mast and dolphin striker are temporarily placed on the bowsprit.

-
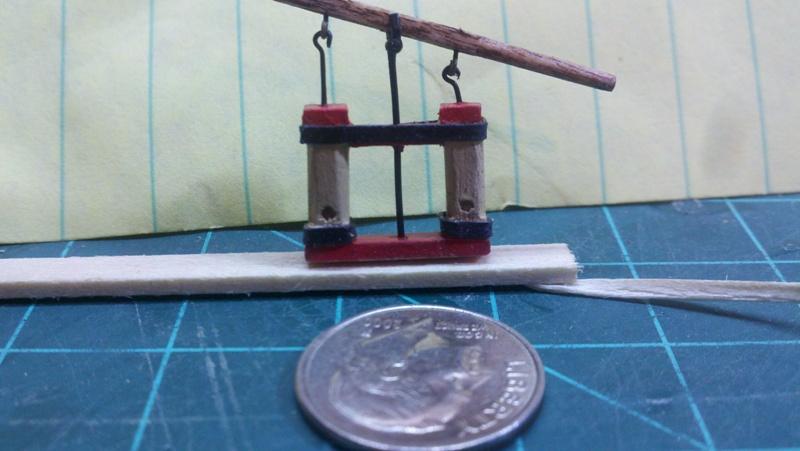
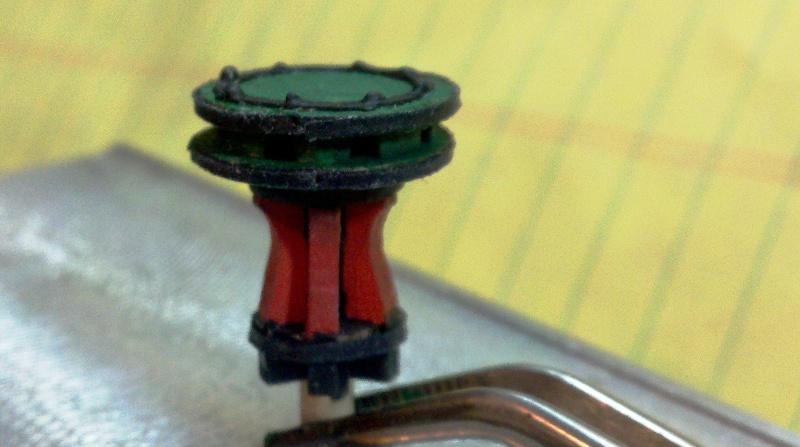
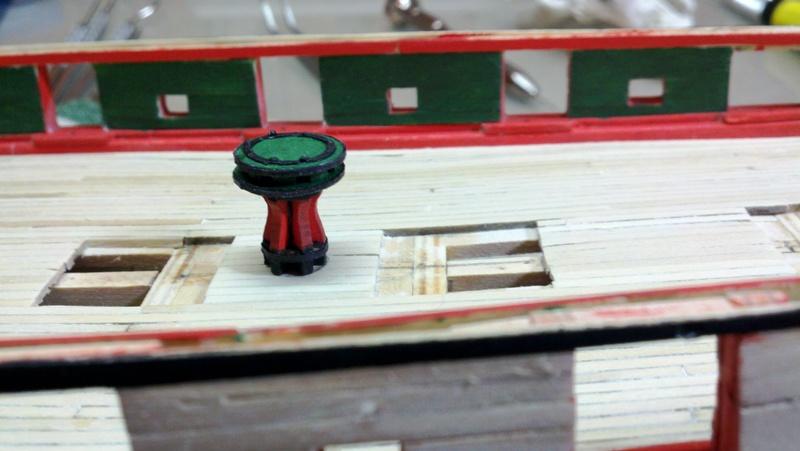
Detail of the capstan. I used drops of CA glue to replicate the bolt heads on the top of the capstan.
-
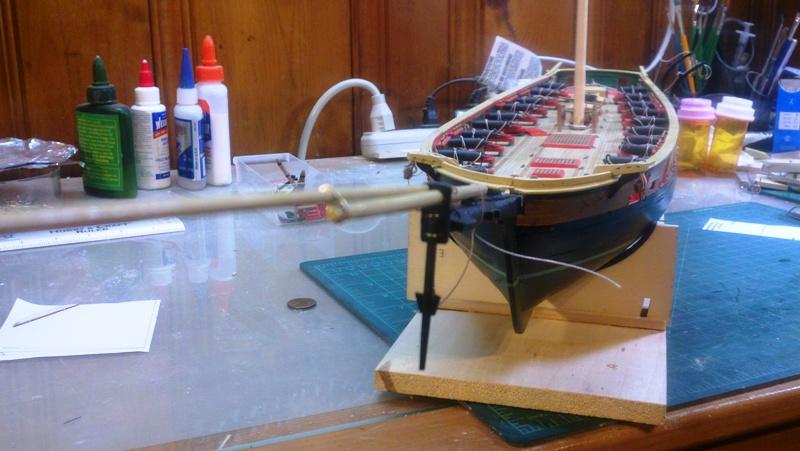
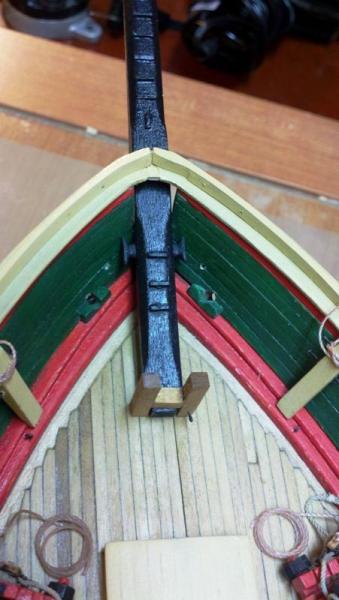
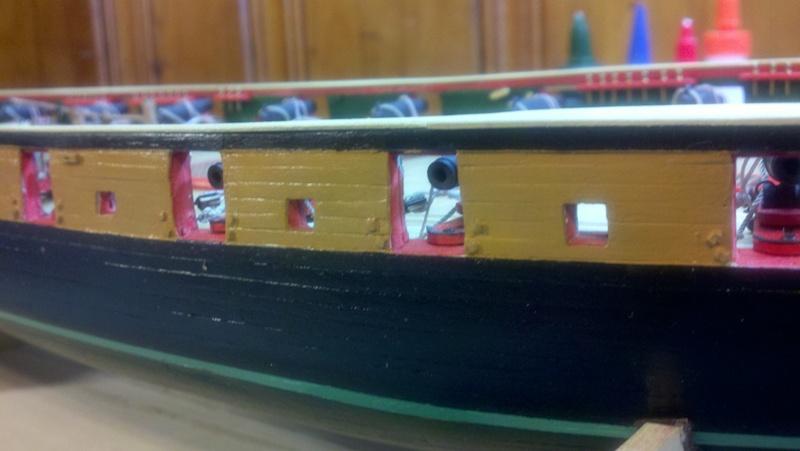
Here the bowsprit is painted black and positioned through the bow. You can also see the anchor line chocks and the placement of some of the eye bolts glued to the waterway.


-
Here are some miscellaneous pictures that I happen to like
-
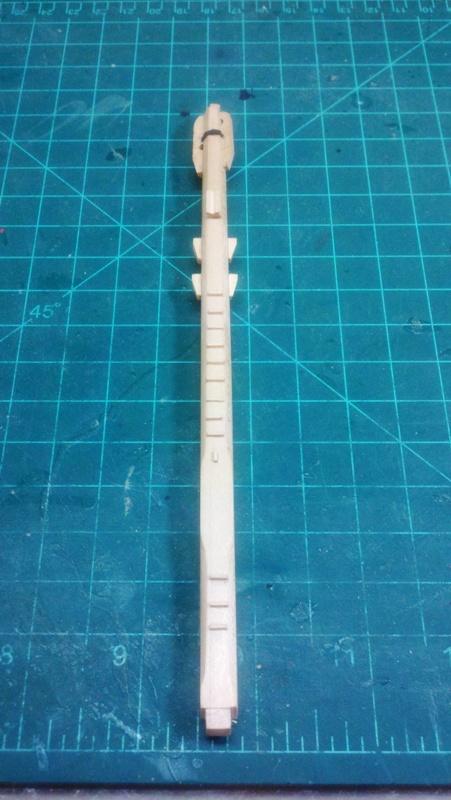
Continuing with the pictures from my old build log are the pictures of the building of the bowsprit .

-
Looking good Larry! The waterway does not get a bevel on the deck side. As for the visible scarf joints, I'm not sure there is a right or wrong way, but personally I like to see them....I think they add interest. If you are going to add a false deck remember you need to change all the measurements for the thickness of the deck planking. I thought this would be more difficult than just planking onto the bulkheads.
-
Larry, I took the approach that Patrick suggested. I made sure everything dry fitted together before gluing. I also painted thw water way pieces before installing and gluing it on.
-
Now that I have most of my PC rebuilt I will again begin adding the rest of the pictures from my old build log.
-
Patrick, Sorry this took so long. My PC crashed and I had to purchase a new one and then rebuild everything. In any case I now have it all completed. I will add the picture you requested of the method the current Niagara uses for storing the anchor line.
-
I saw the same documentary. I also searched for a kit of it and found the same kit. I have not yet purchased it though. I am really glad to see you build this ship. I will definitely be watching your progress.
-
Bob, I think your work space is much too neat
-
I agree with Sherry about the barnacles. You should describe your process for making them. I would be interested in learning your technique.
-
As others have stated......Beautiful details.
-
Thanks Sjors. . I have jury duty this week so depending on whether or not I am picked I will attempt to finish rebuilding (or at least adding pictures to) my log. I feel so depressed...I was a commander or captain before the crash...now I have been demoted! hehehehe.