giampieroricci
-
Posts
829 -
Joined
-
Last visited
Content Type
Profiles
Forums
Gallery
Events
Everything posted by giampieroricci
-
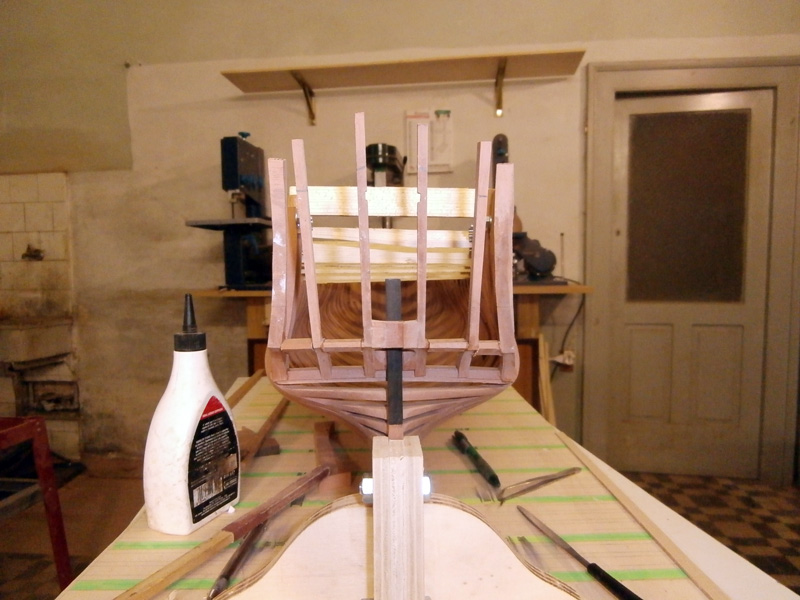
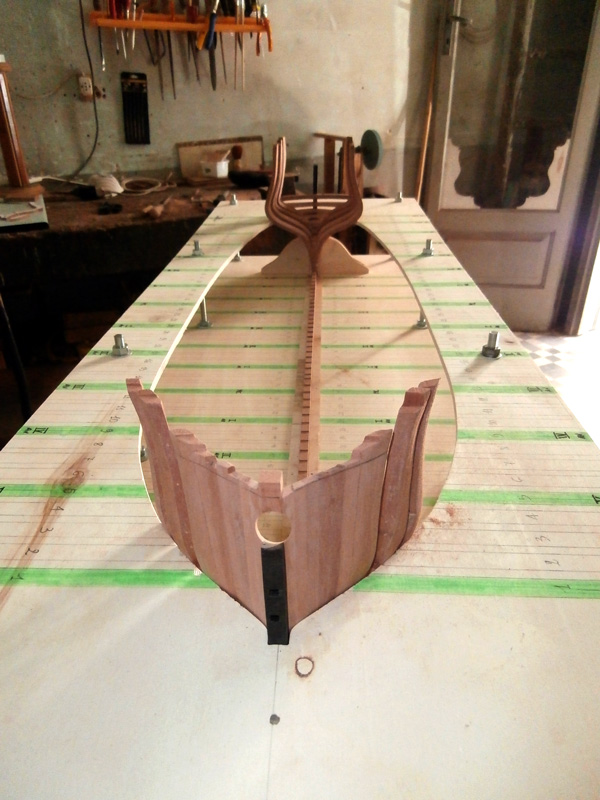
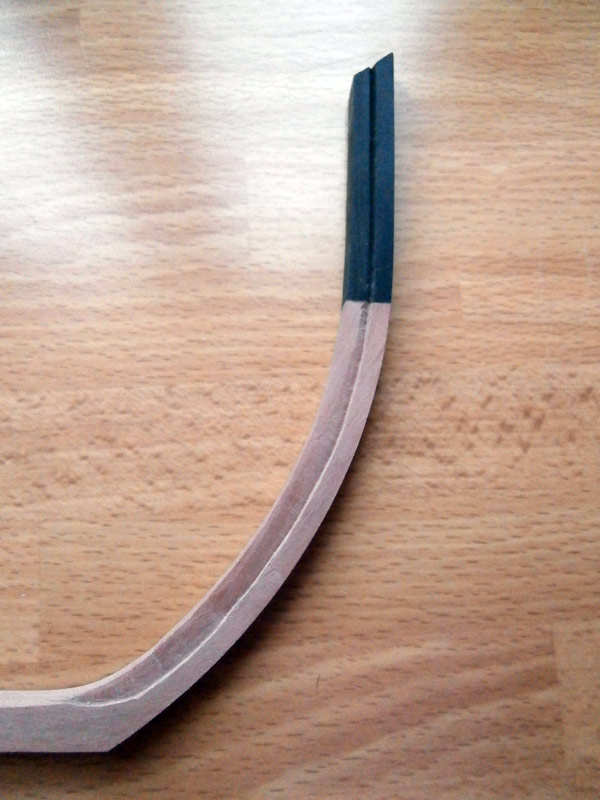
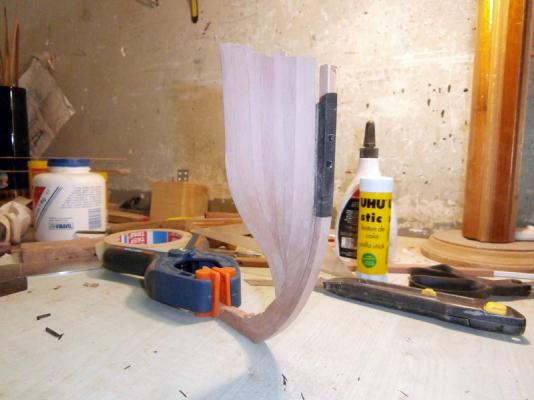
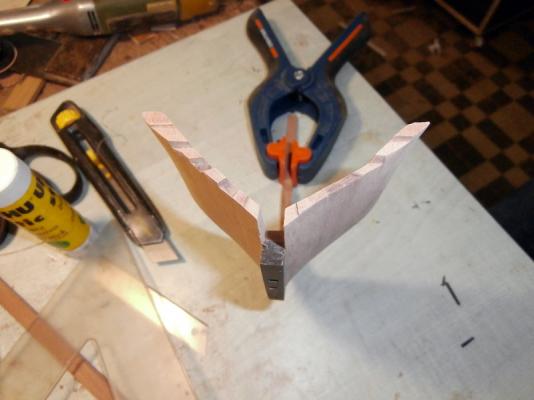
Thank you, friends! Slowly the work going on, I started the construction of the transom: of course is yet to block and finish, especially the two stern oar that for security (or insecurity) I made them abundant


- 738 replies
-
- 14
-

-
I read all your topic, Sherry... I really like your very precise and clean work!! :)
-
This is the eighth wonder of the world......! Simply fantastic!!
-
Thank you friends! I purchased the plans at the author's site: http://gerard.delacroix.pagesperso-orange.fr/monographies/monos.htm I don't know if I can post links: if this is not allowed please moderators delete it
-
Thank you, Daniel! this monograph is done really well, with excellent plans and details. It does not seem to be a ship hard to do, but it's my first job in admiralty construction.......
-
Thank you for your appreciation, I'm very glad for it! its measures I don't remember perfectly but it is about 1,20 m.
-
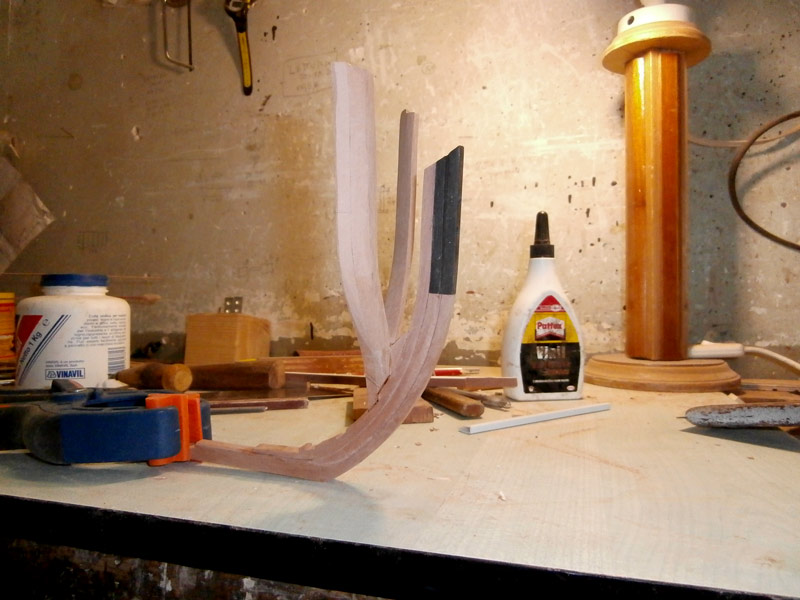
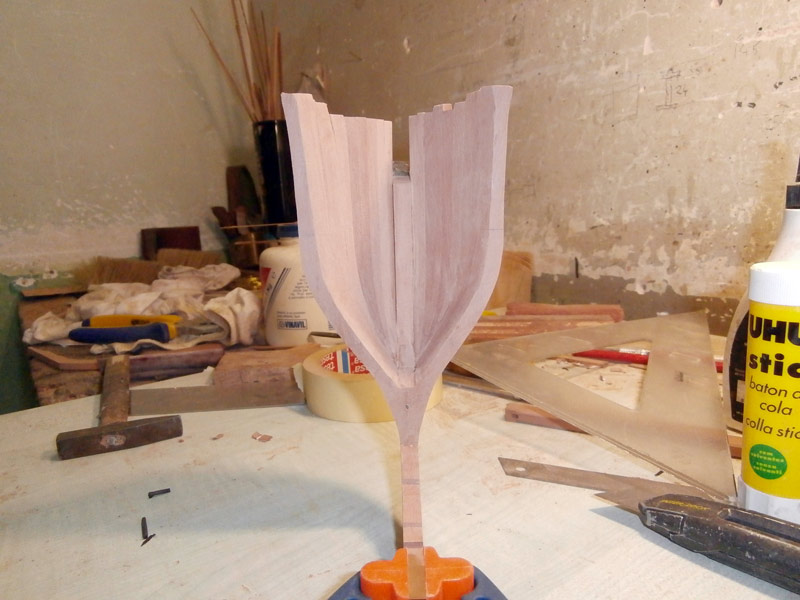
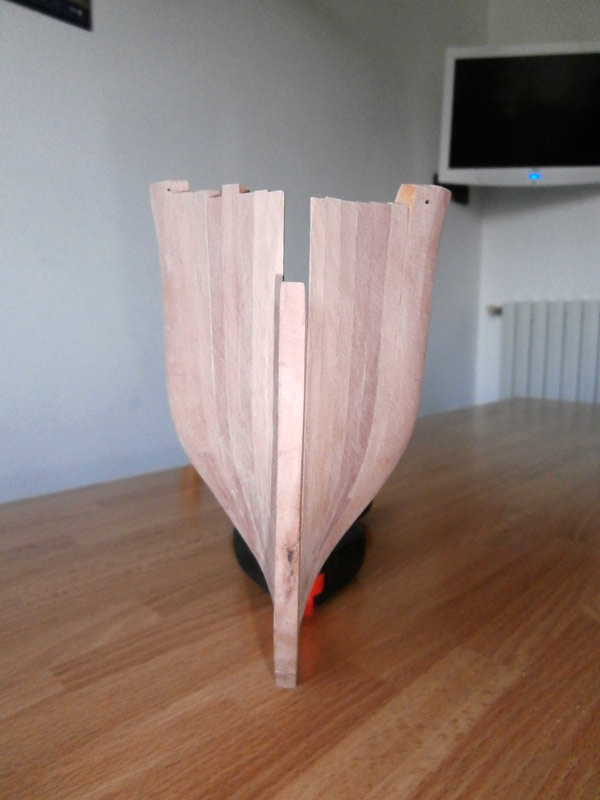
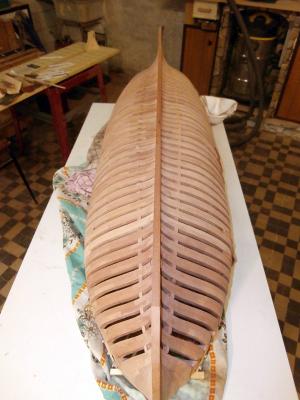
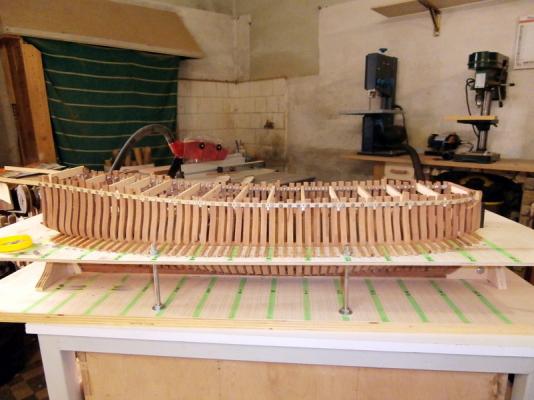
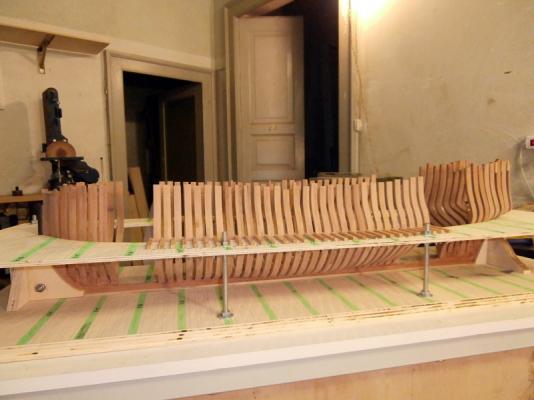
more..... I have finished with these images: the ship is currently at this point in the construction...

- 738 replies
-
- 19
-
-
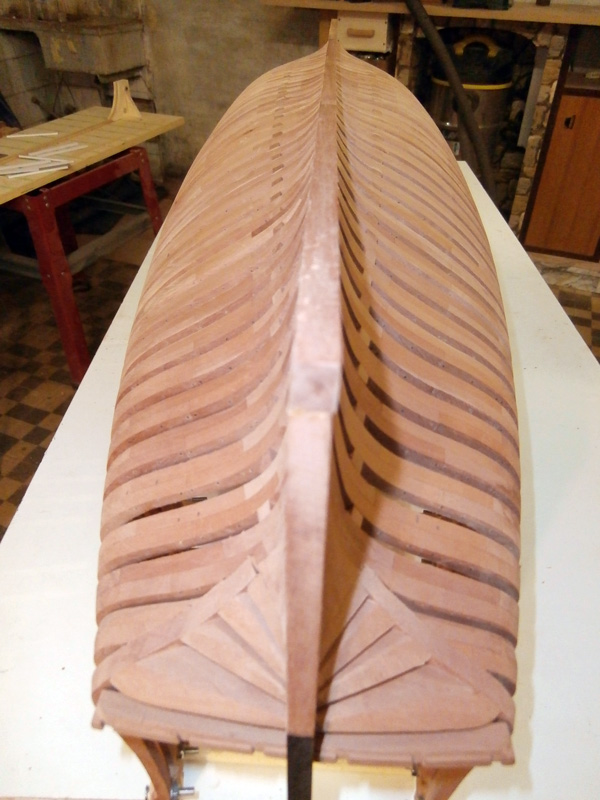
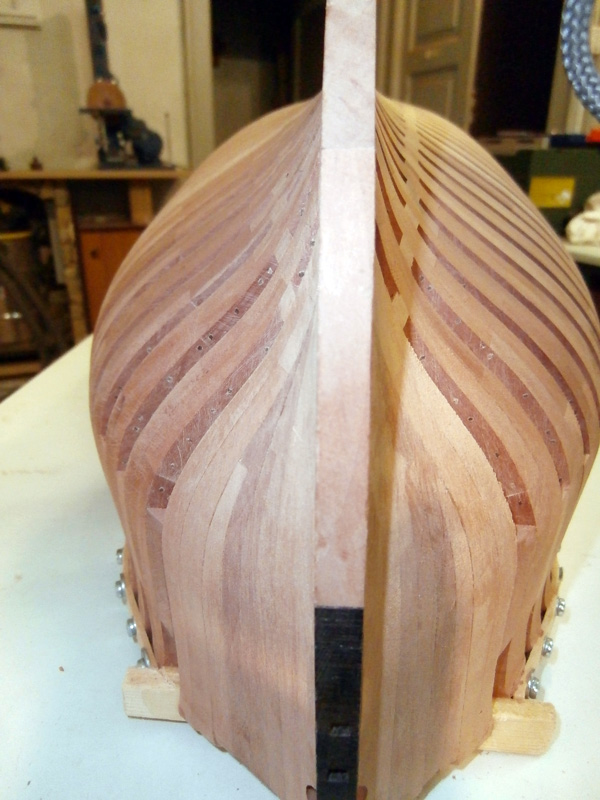
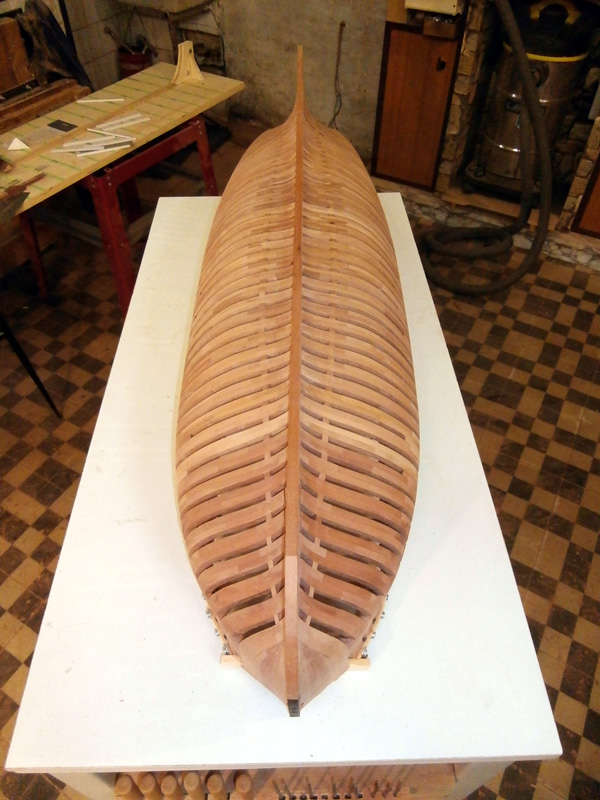
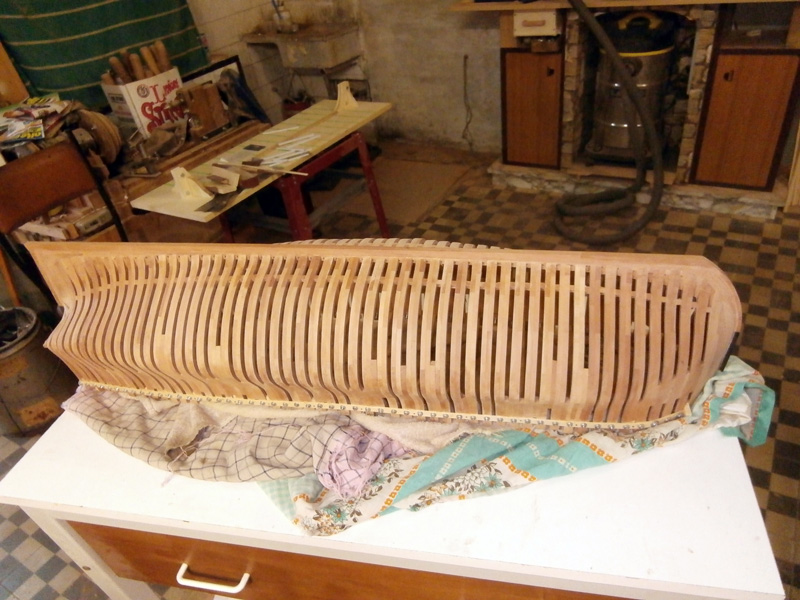
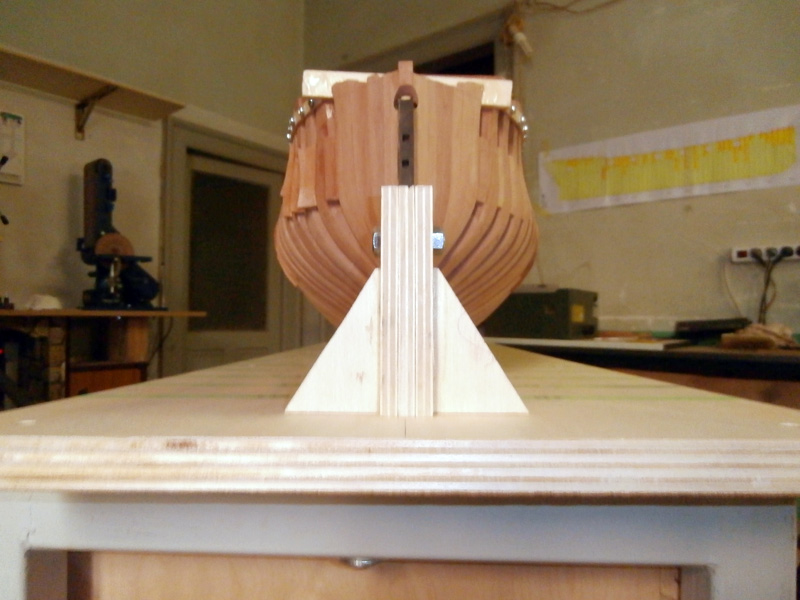
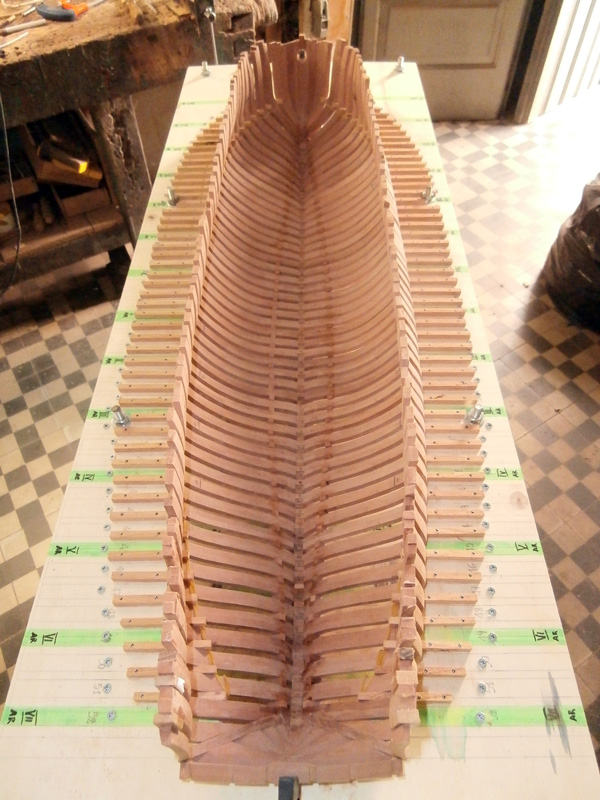
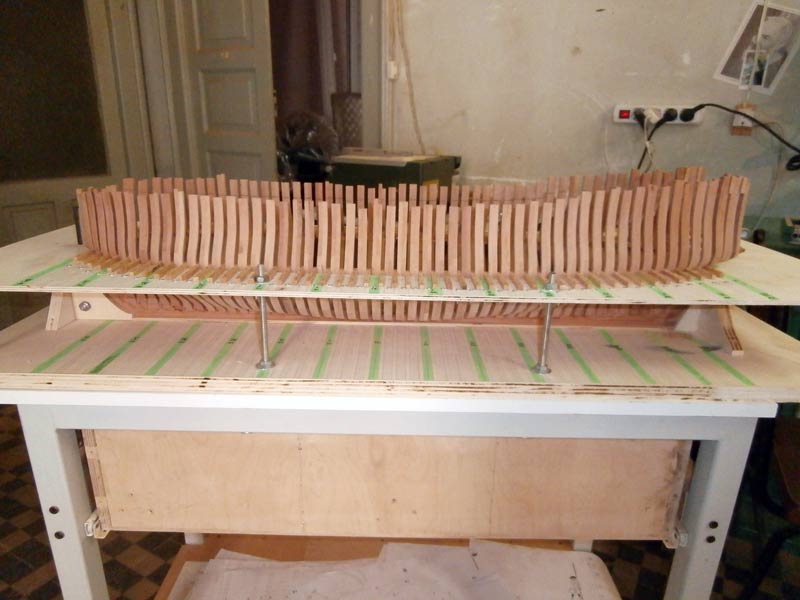
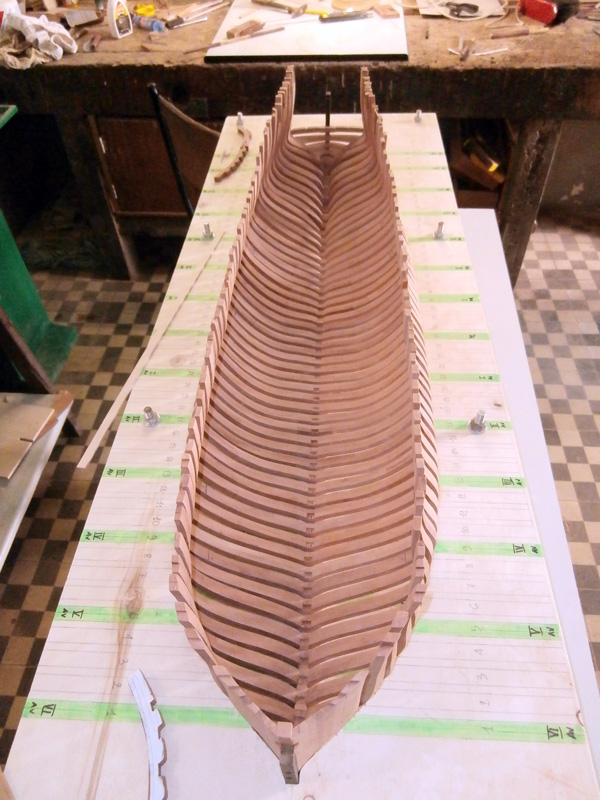
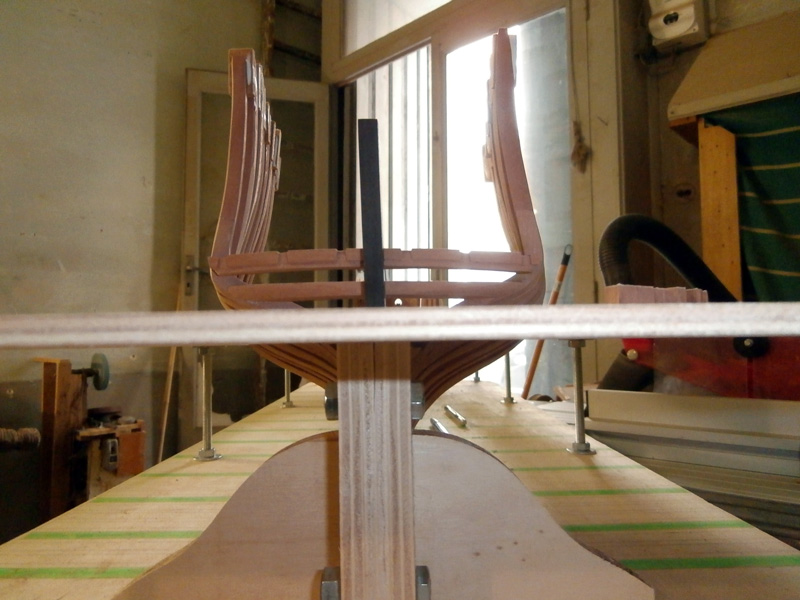
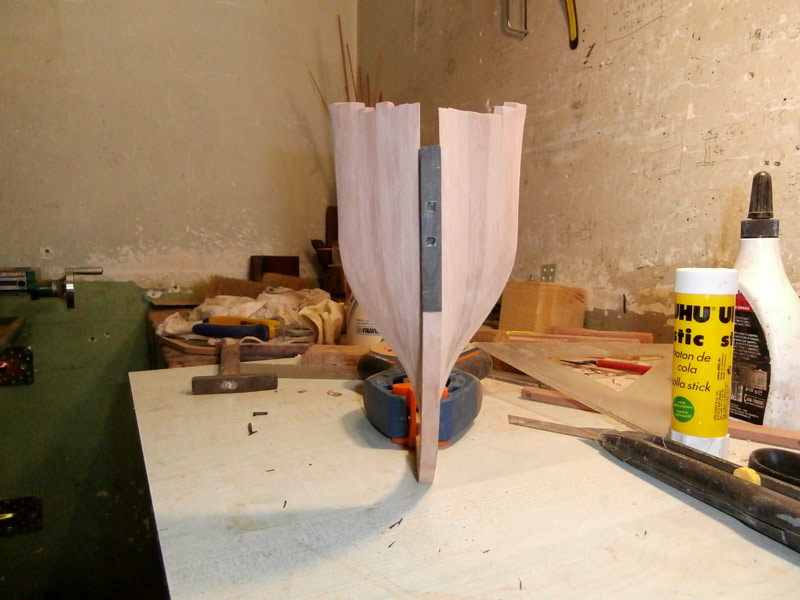
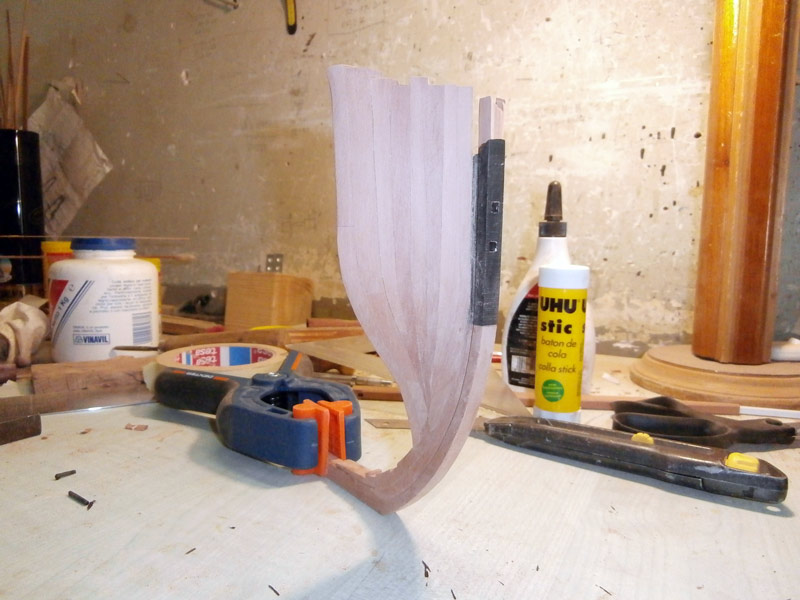
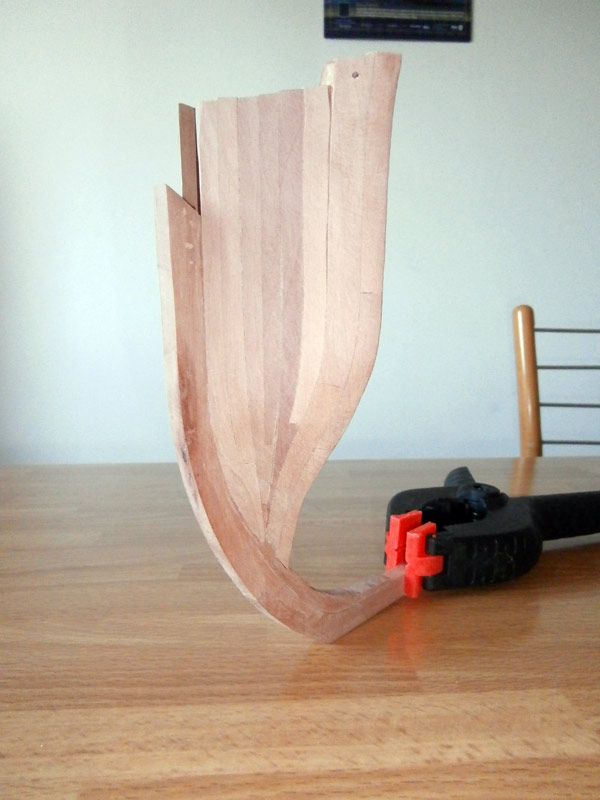
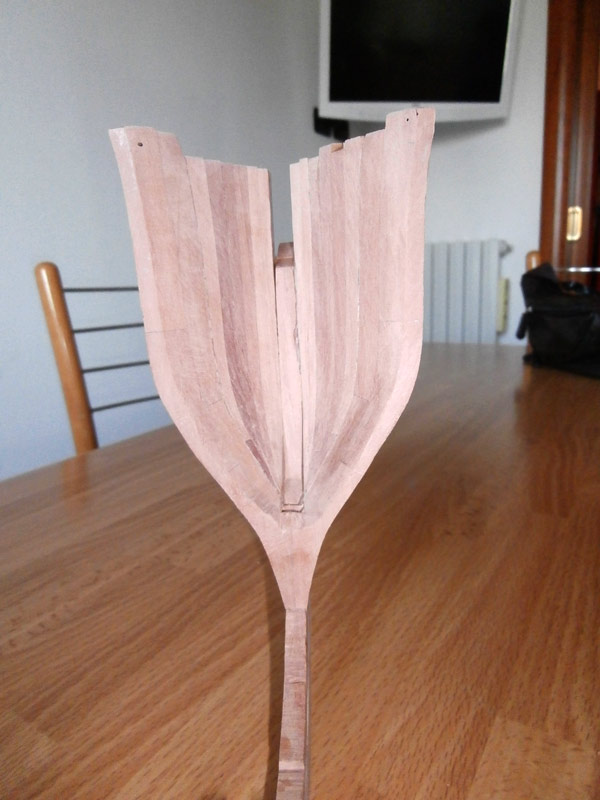
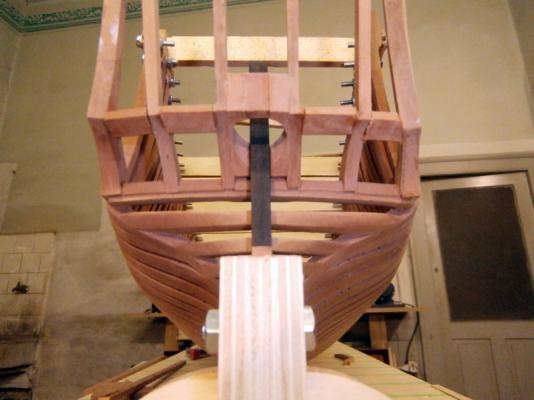
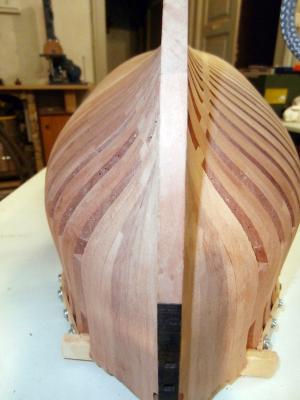
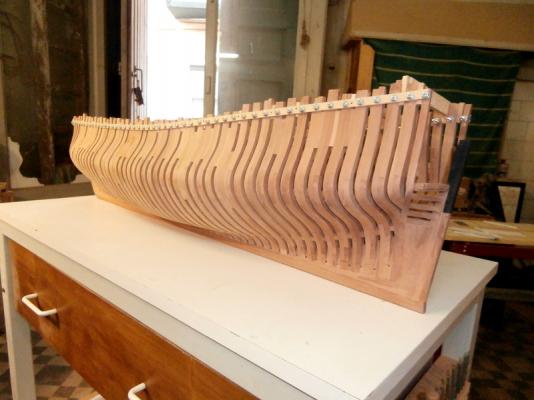
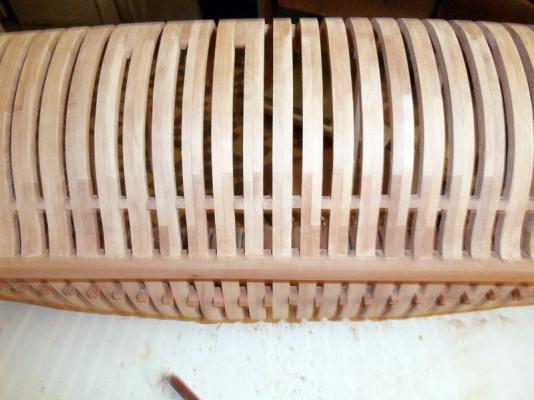
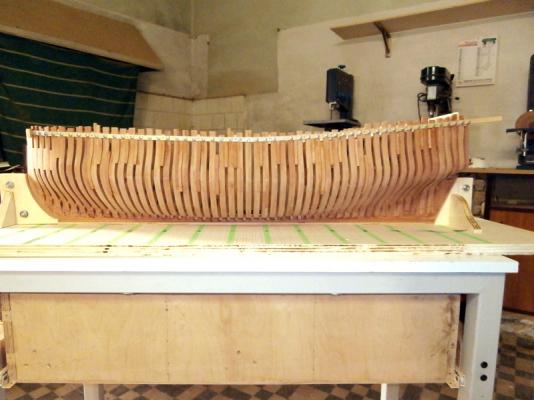
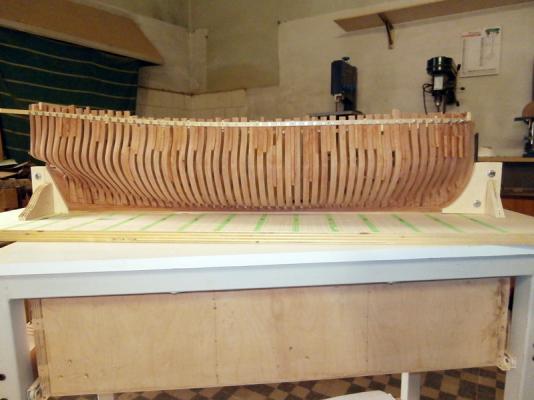
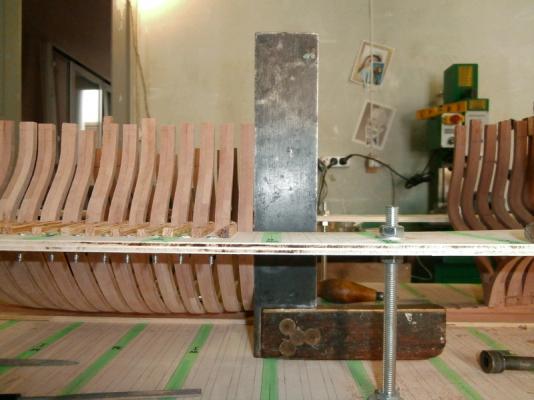
After breathing a sigh of relief noting that the keel has remained perfectly straight, I started the hard work of balancing the exterior of the structure; to do this I'm using the scrapers that, once sharp, working a beauty! Throughout the morning for half of the hull and is not finished yet, in return, my left arm began to creak ..........


- 738 replies
-
- 19
-
-
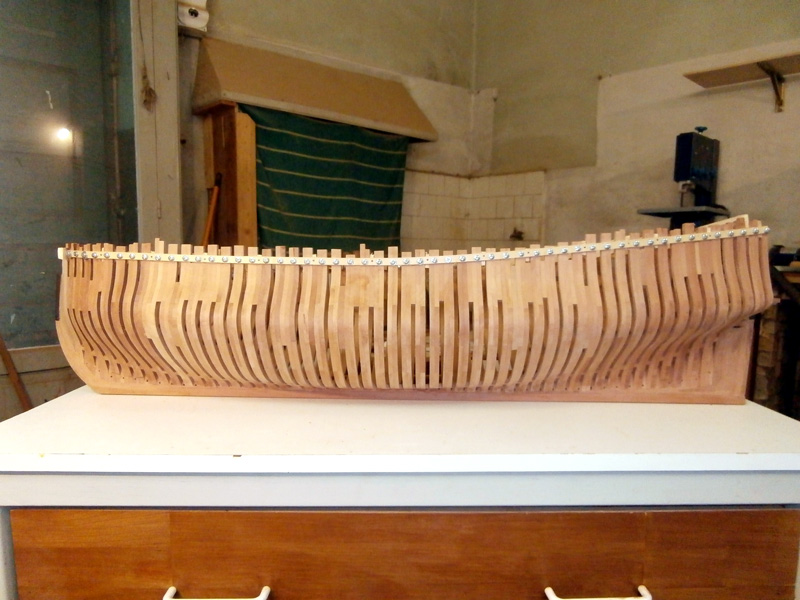
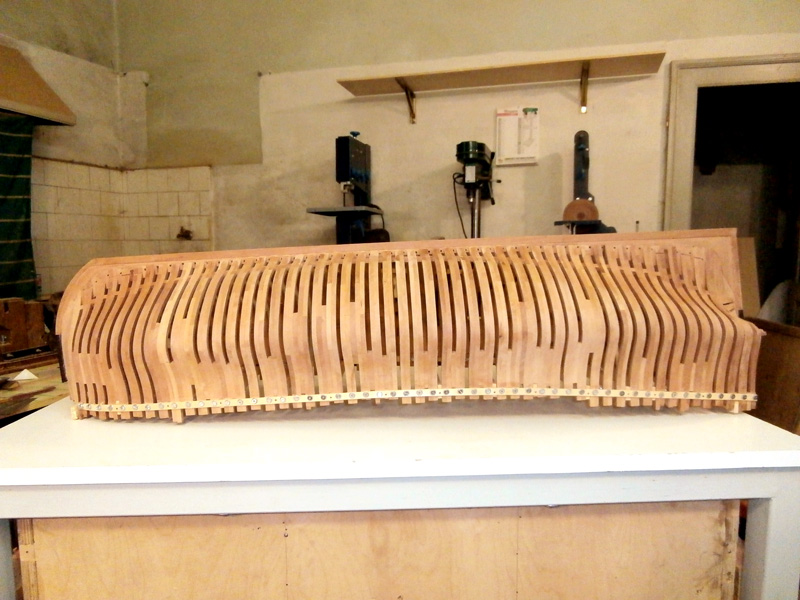
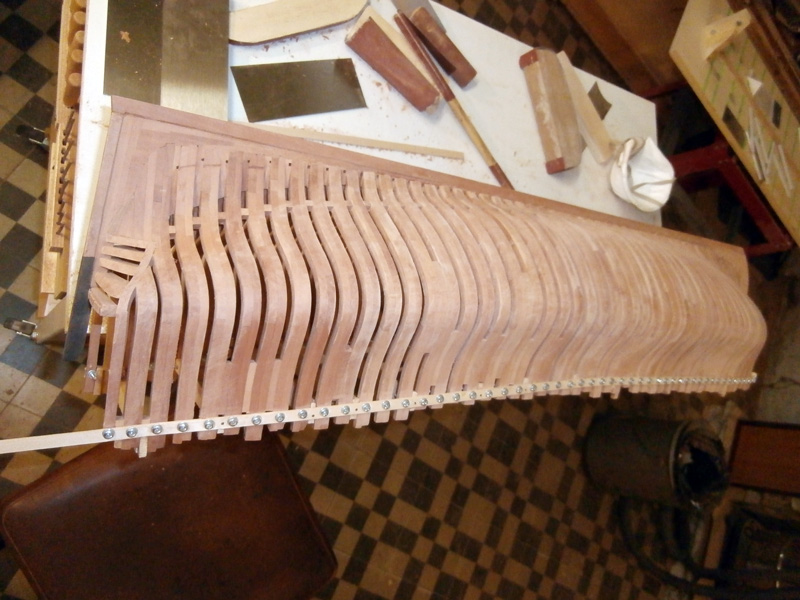
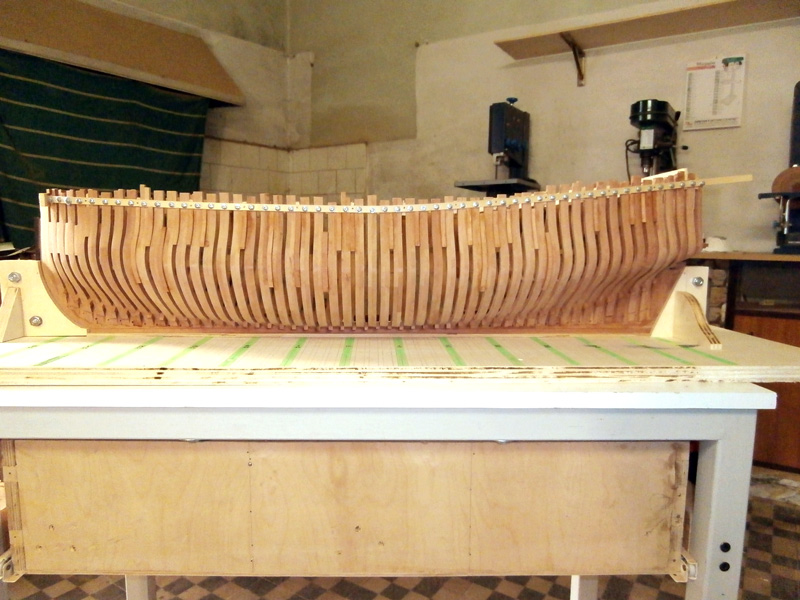
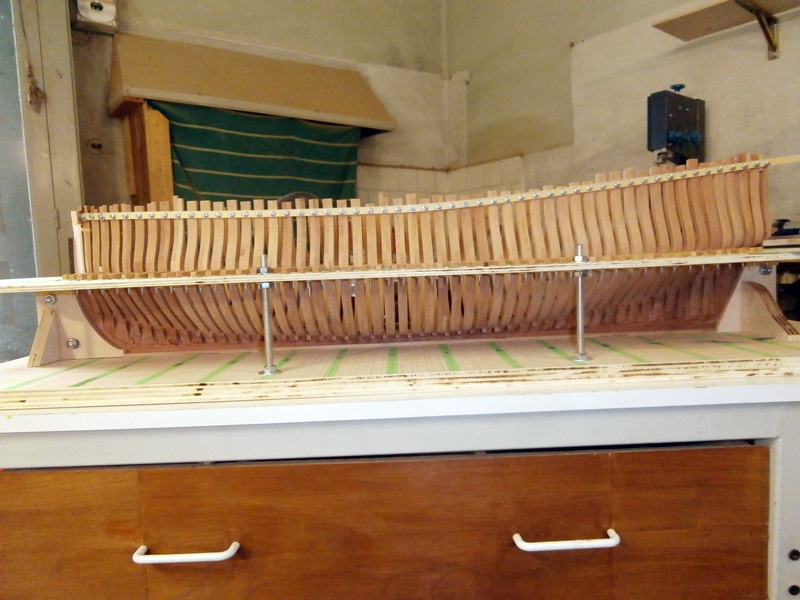
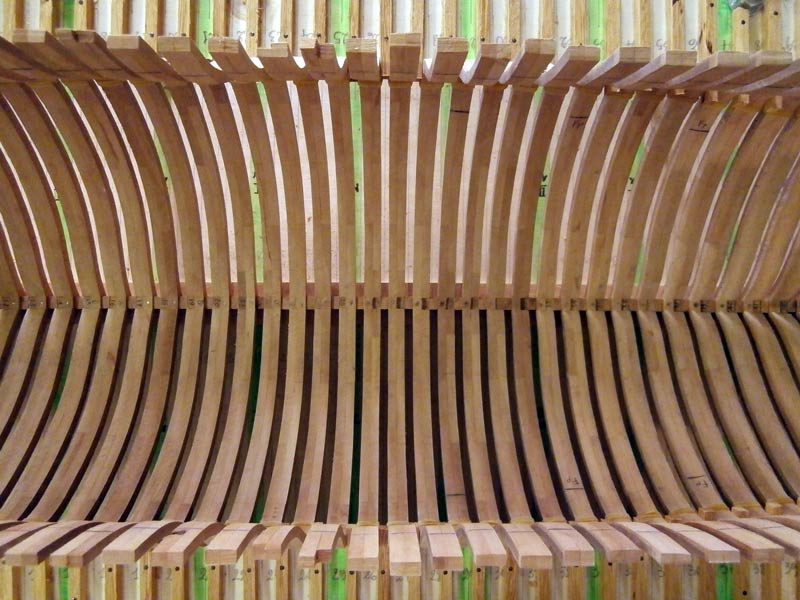
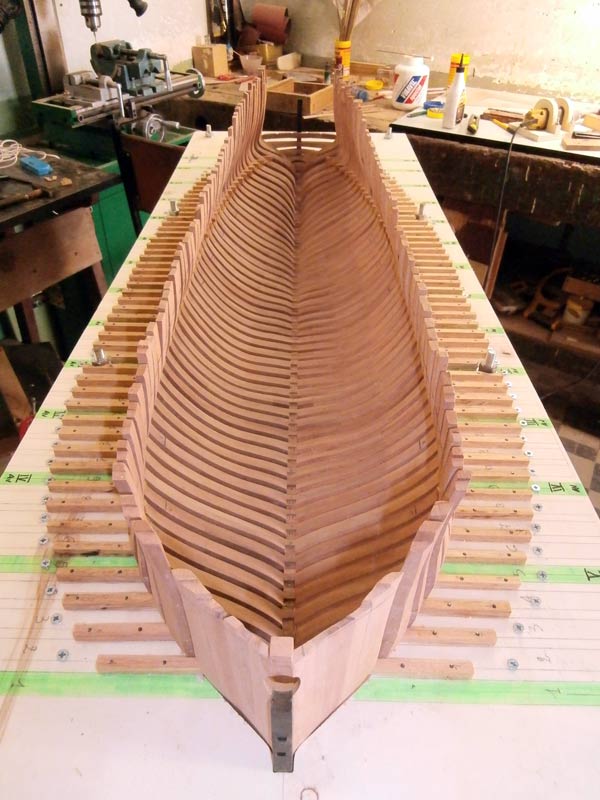
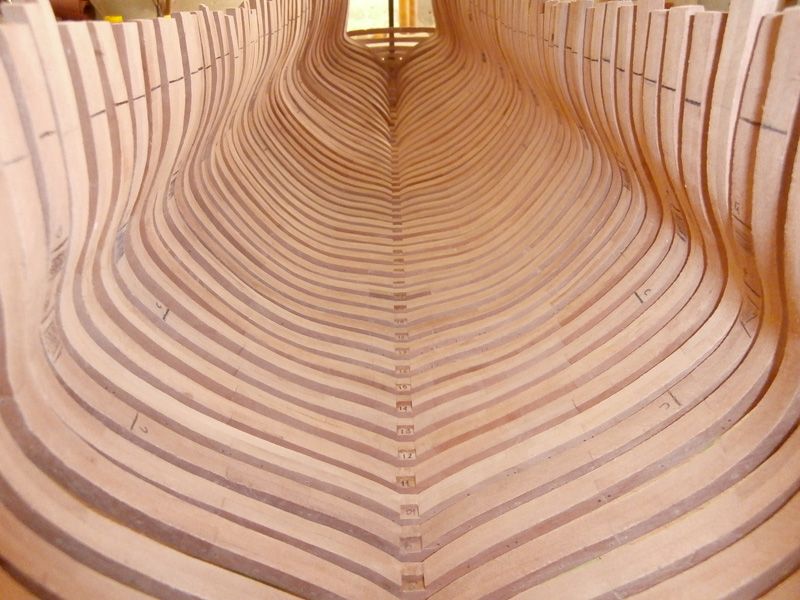
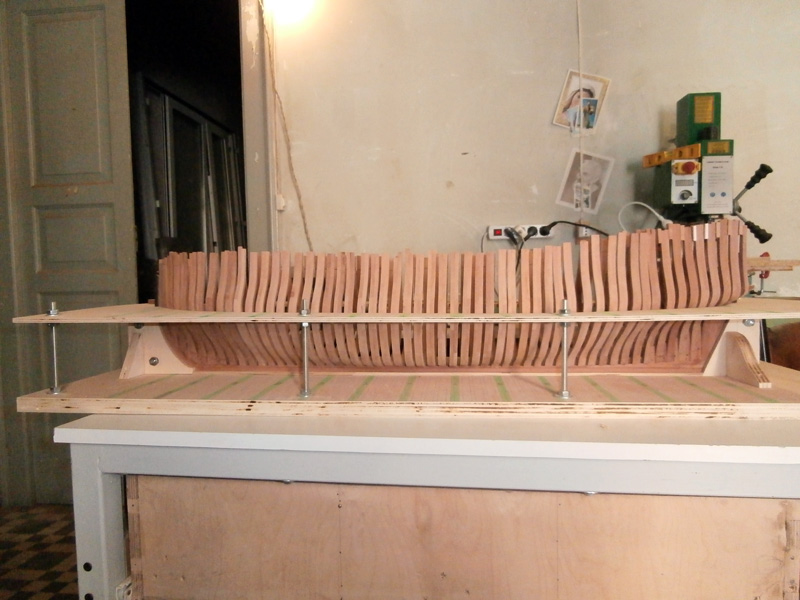
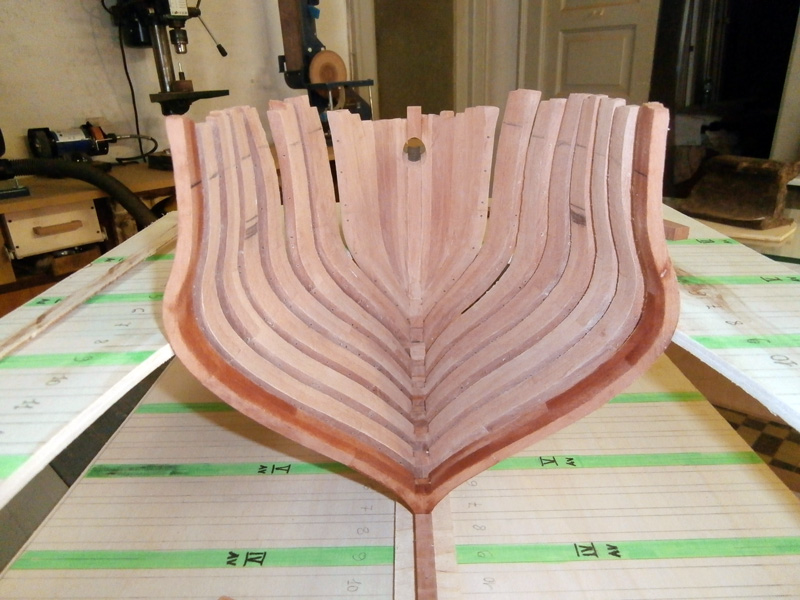
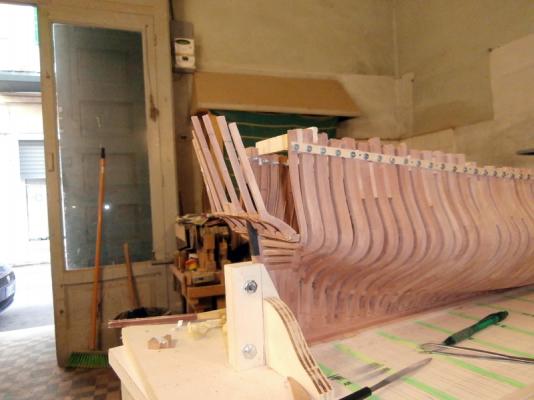
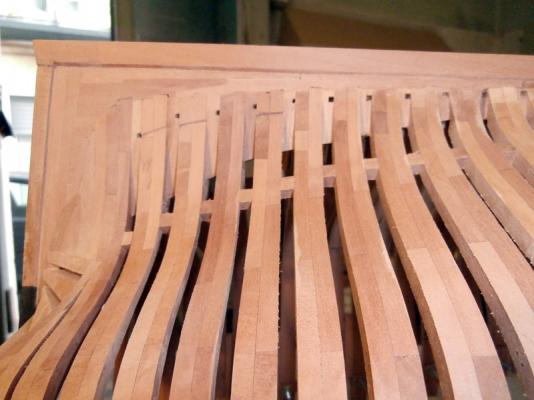
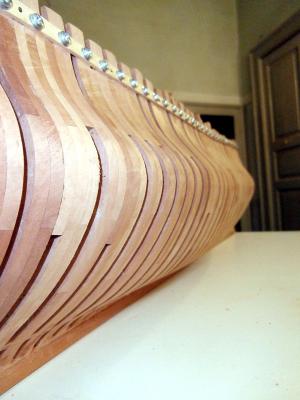
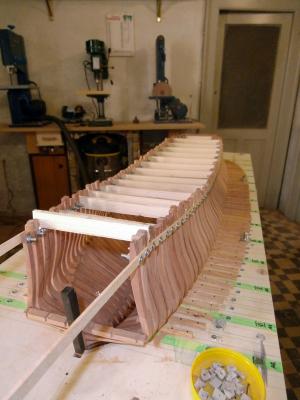
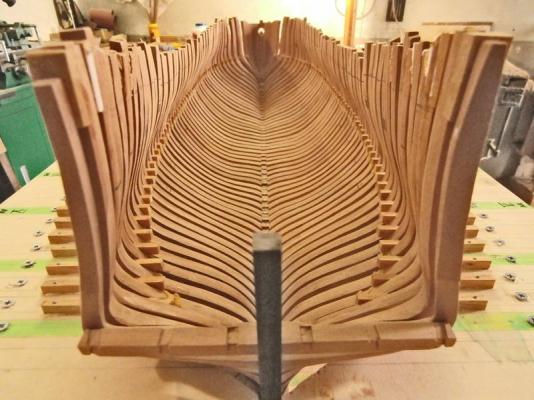
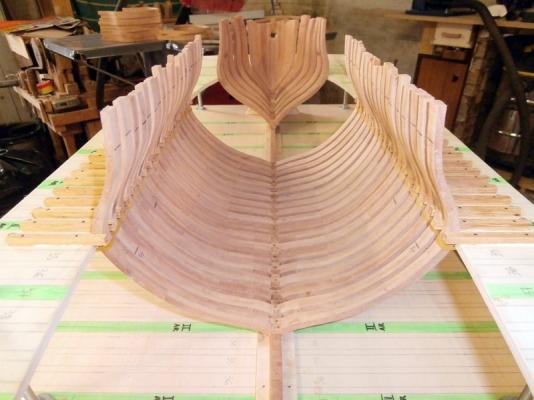
more images Laying of fills. After attaching all the fills of the upper parts, I had to remove the template of the site in order to place some fills even deeper arriving well beyond the waterline


- 738 replies
-
- 13
-
-
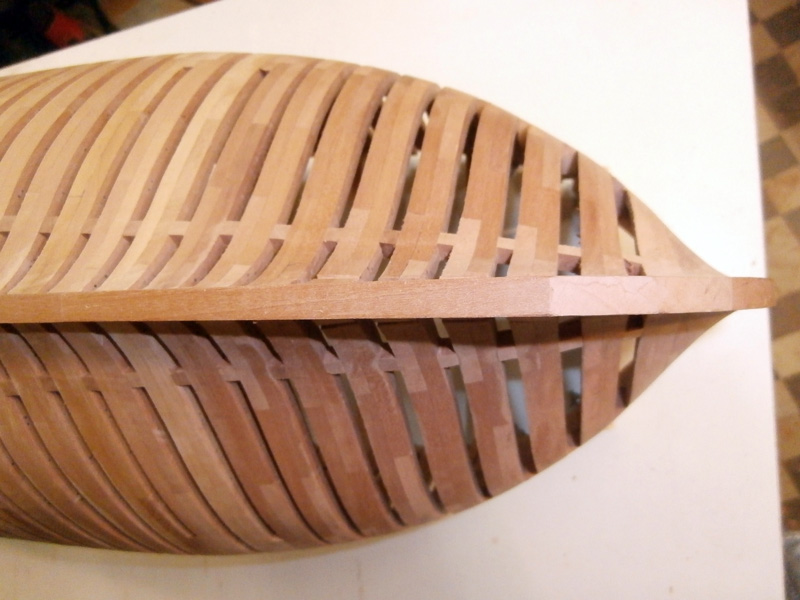
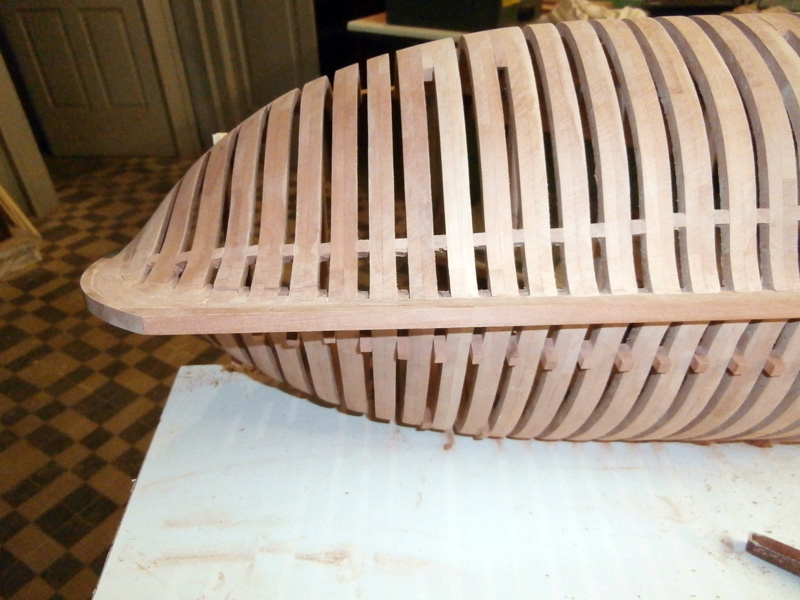
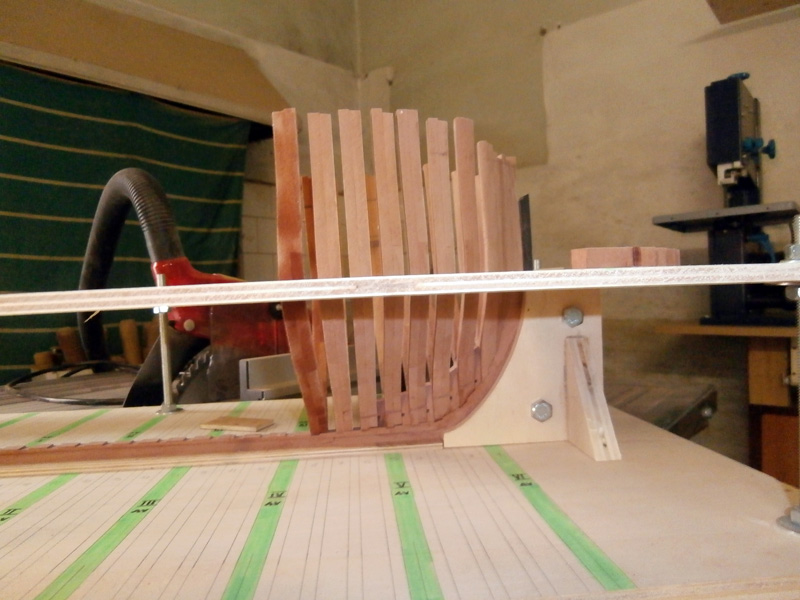
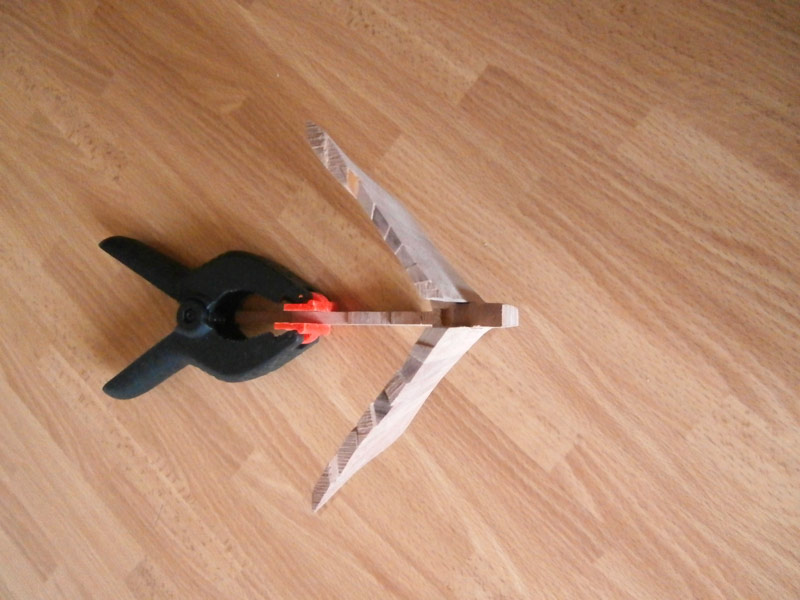
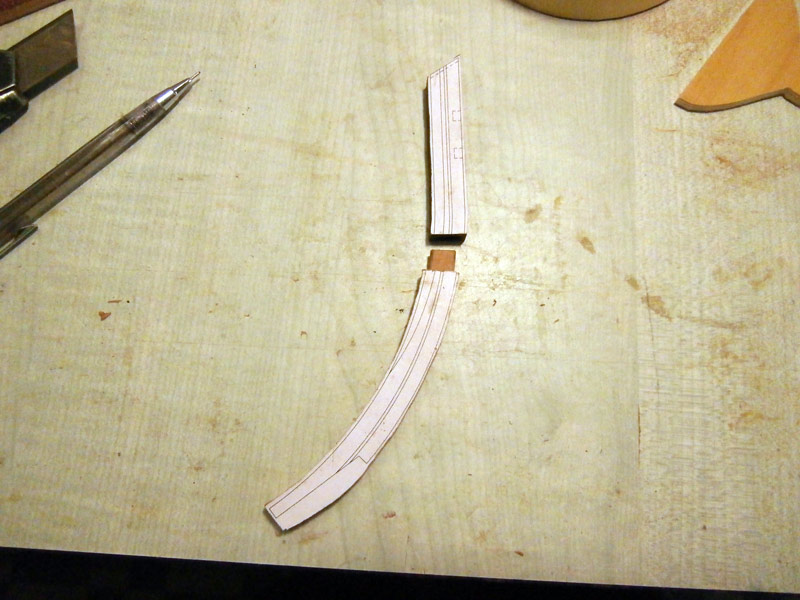
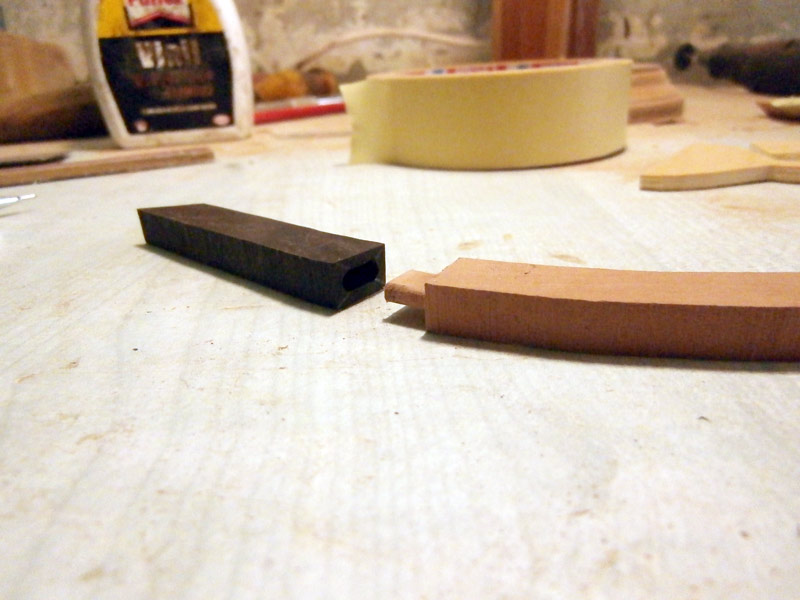
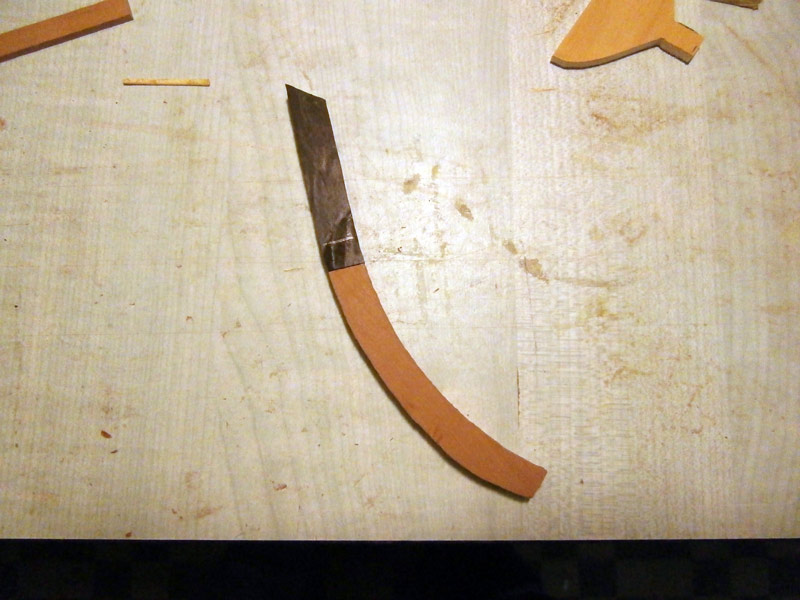
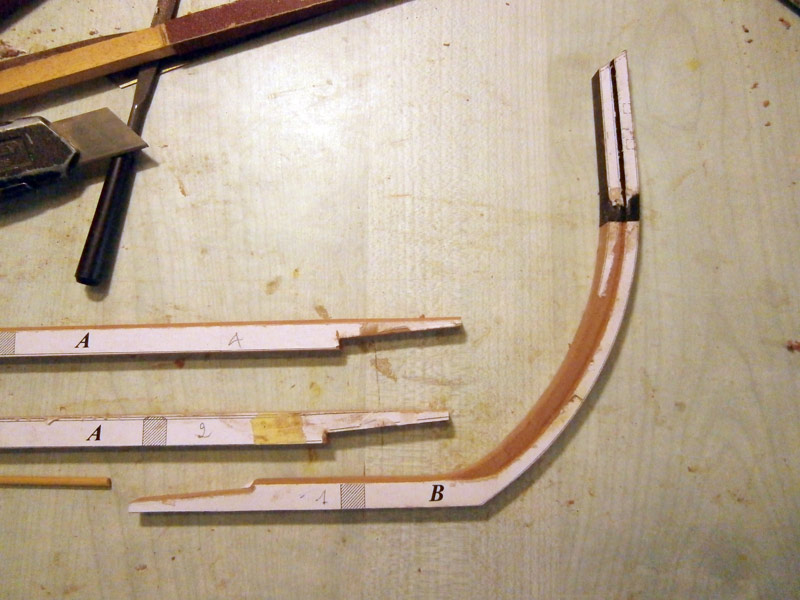
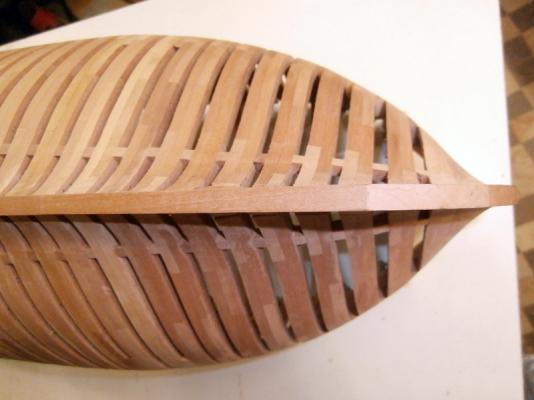
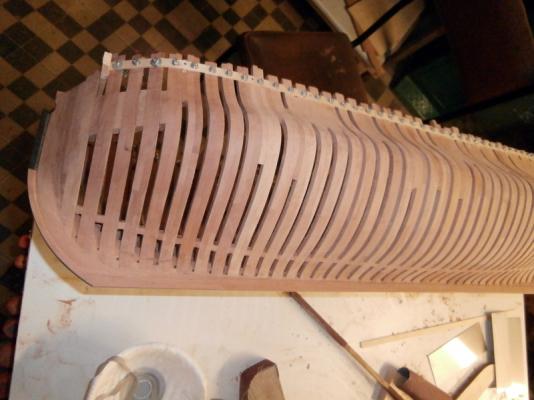
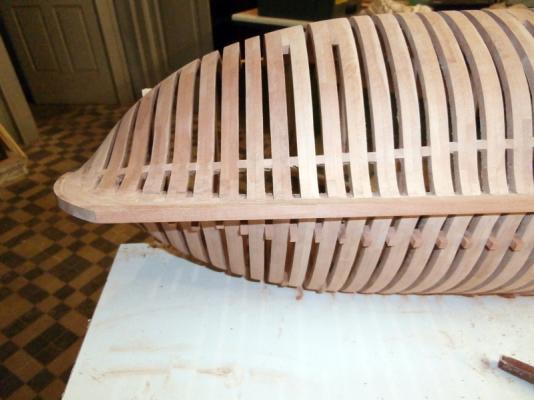
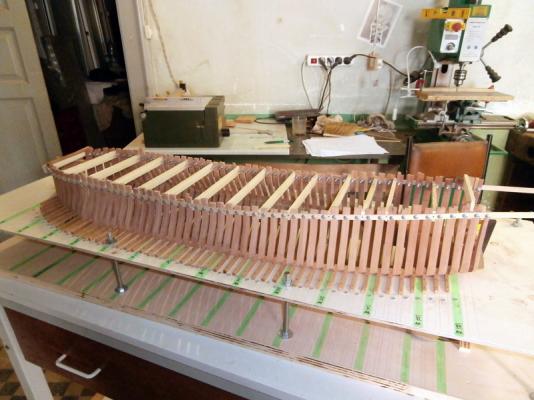
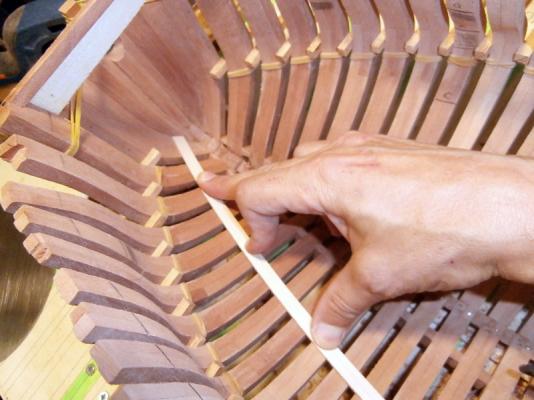
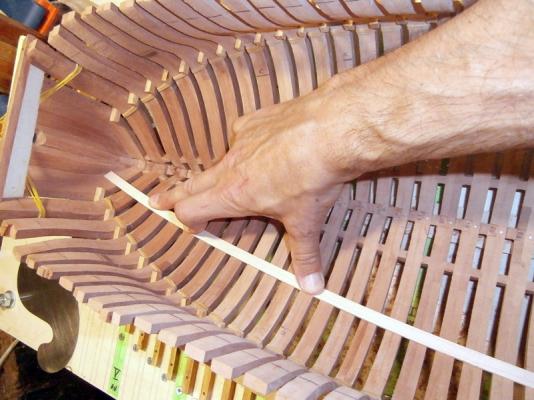
I then embarked on a jogger on the shores of the bow: I must say that I was quite surprised because there is not much to equalize! I used some self-built tools but the work is much better with the scraper, in particular, I used the curvilinear; In the picture you can see the treated part, darker; the test with a strip has confirmed that so far seems to have done a good job! I started to enclose the ship in the upper part of the oarlocks. Perhaps the method I used is not exactly orthodox, but it is really effective and clean and the whole thing is tight.


- 738 replies
-
- 11
-
-
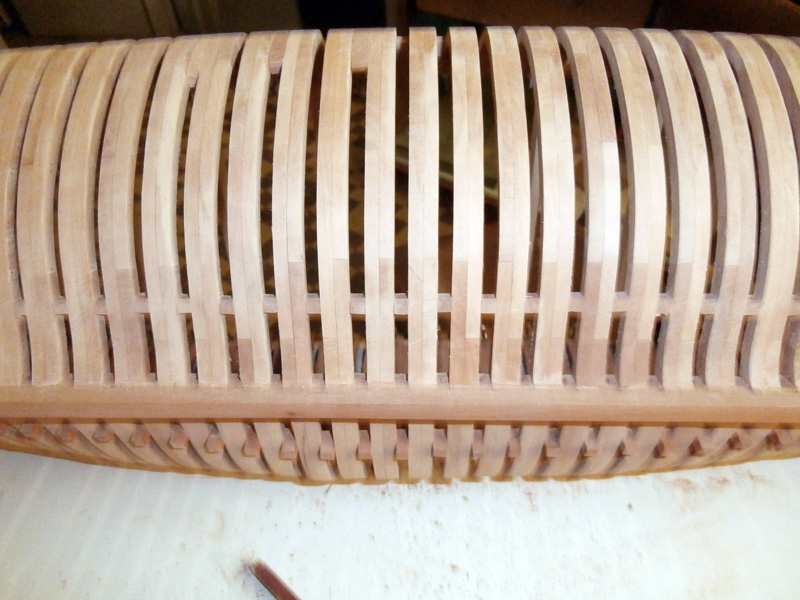
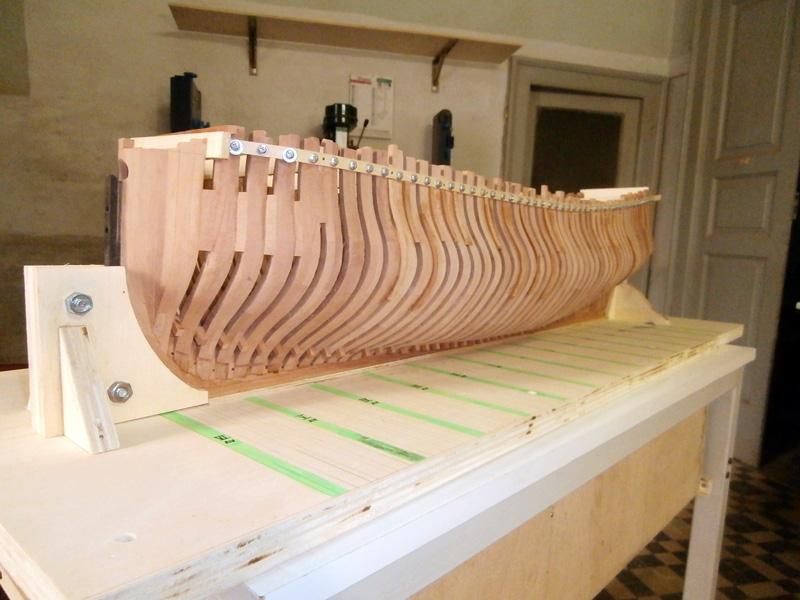
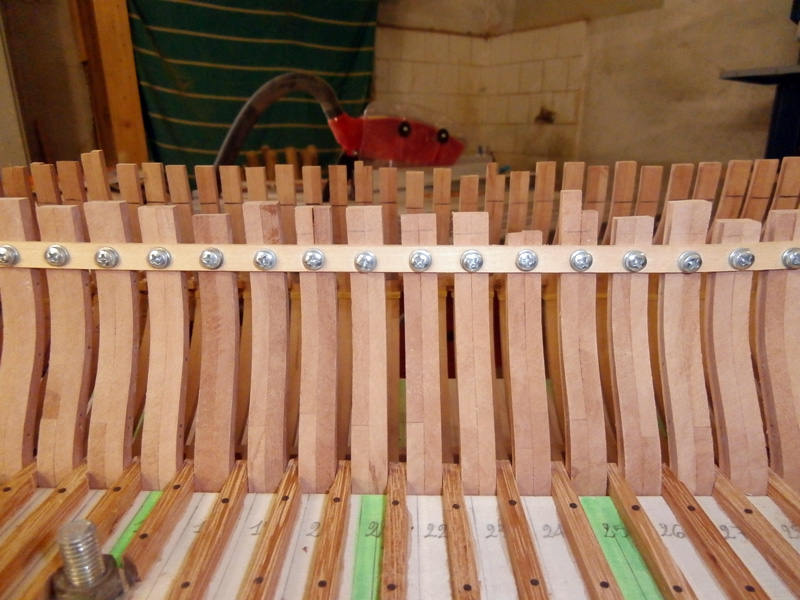
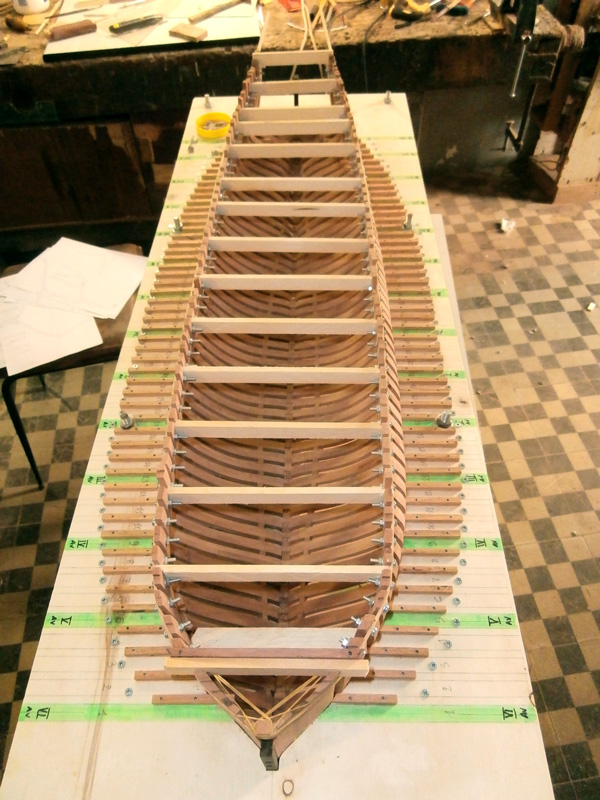
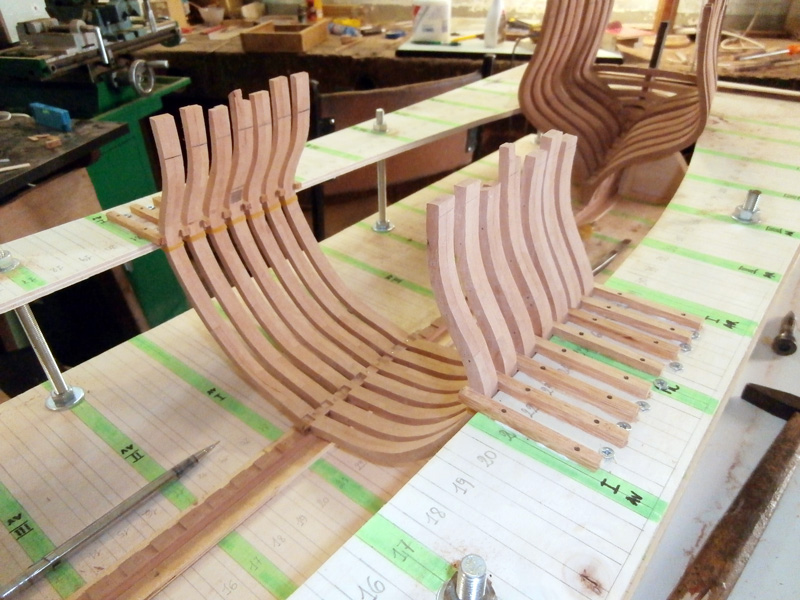
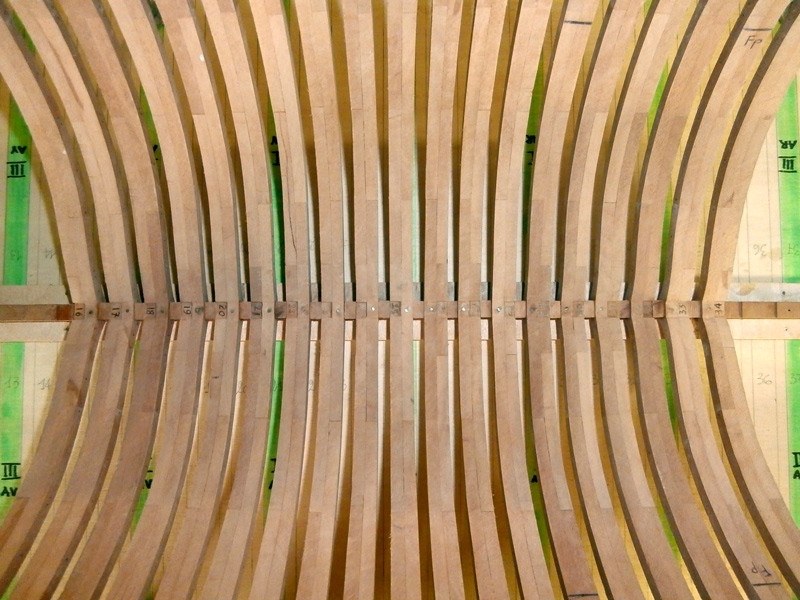
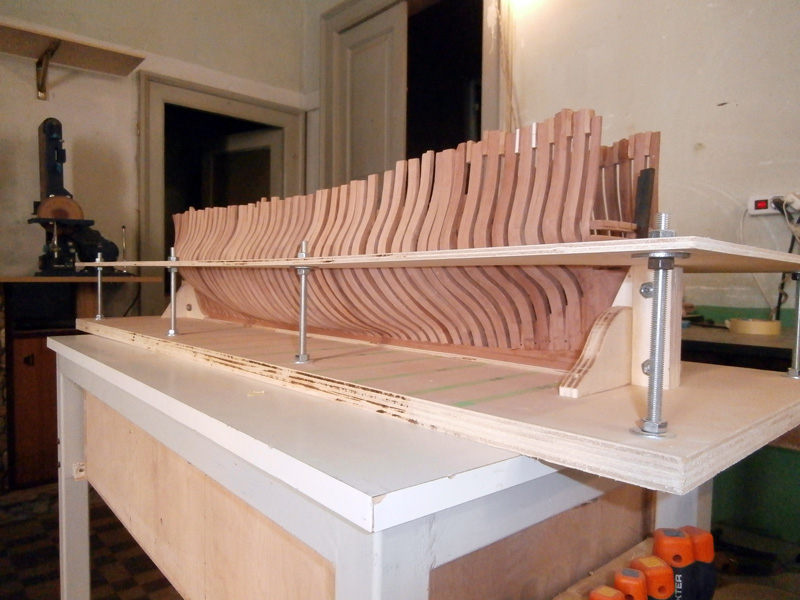
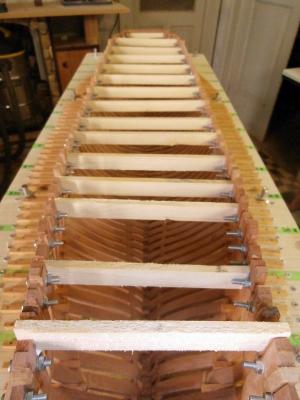
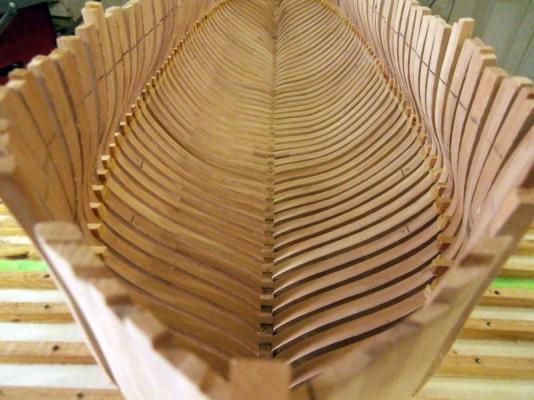
more images I glued the series of spacers in the middle between the butts of the floor frame and the floor frame means


- 738 replies
-
- 12
-
-
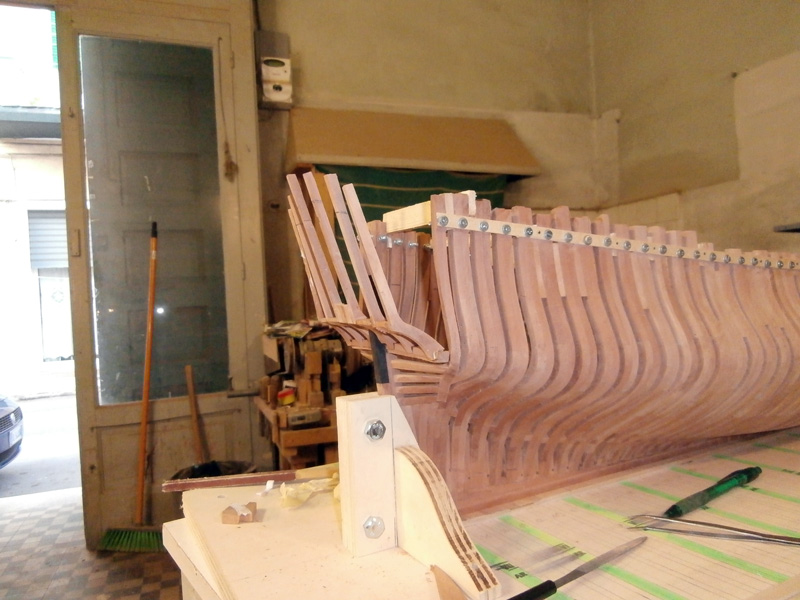
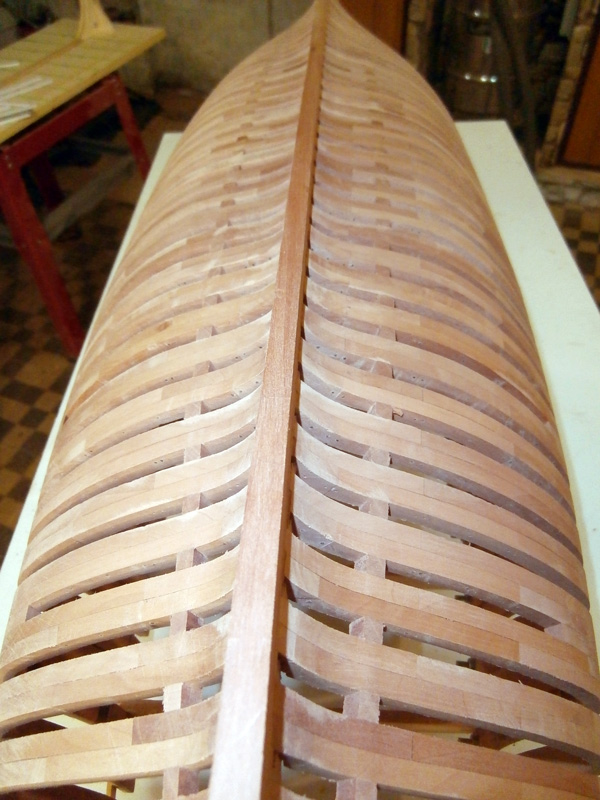
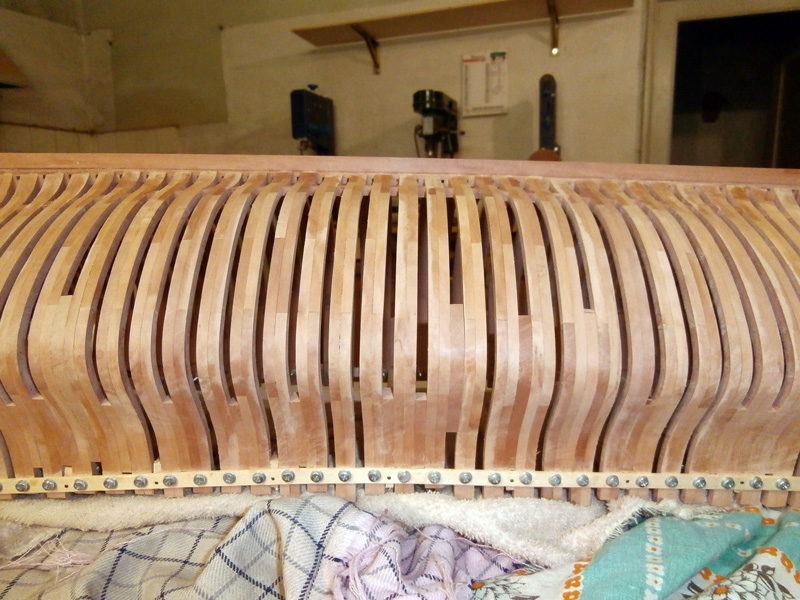
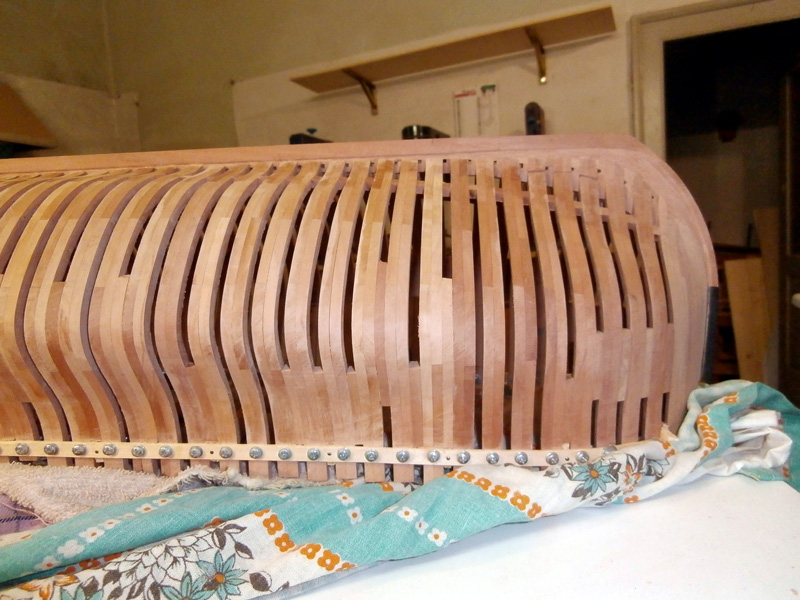
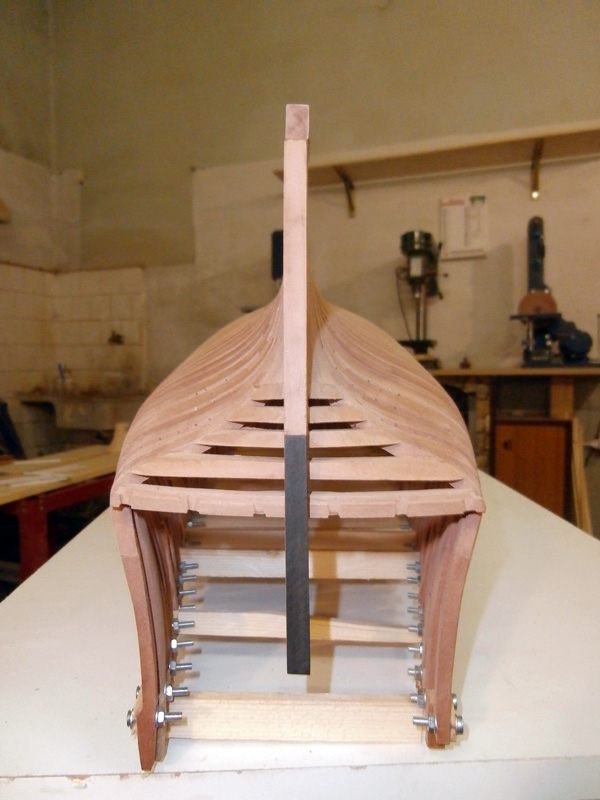
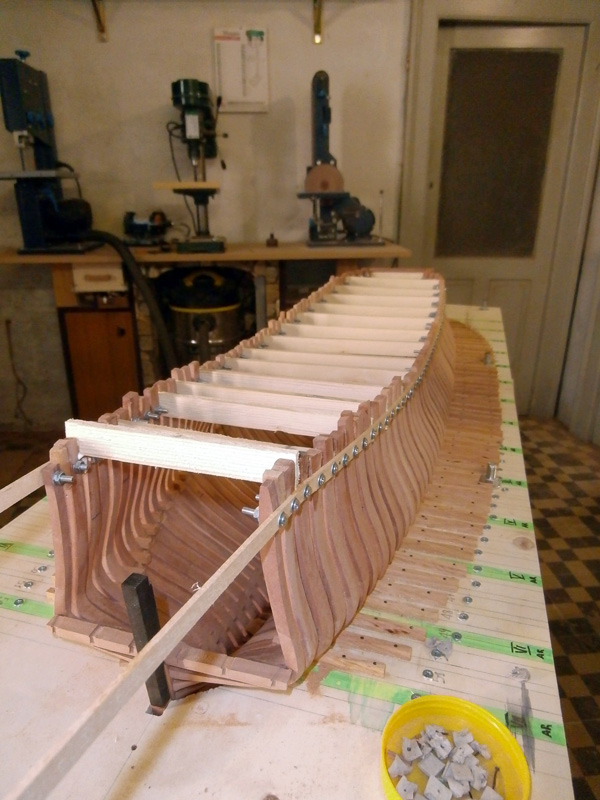
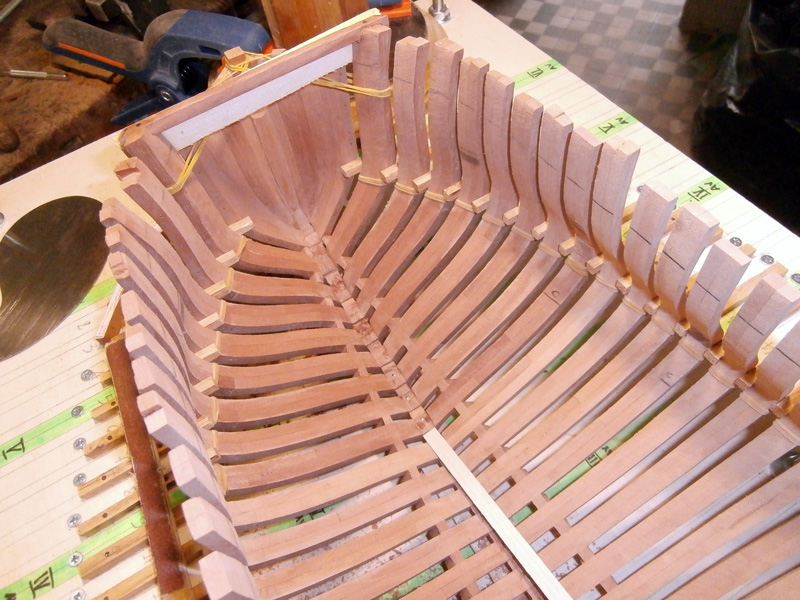
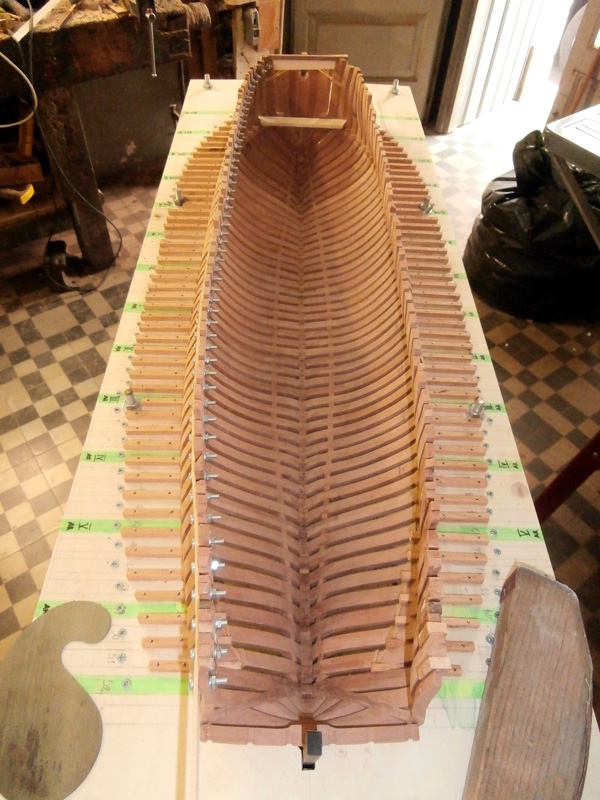
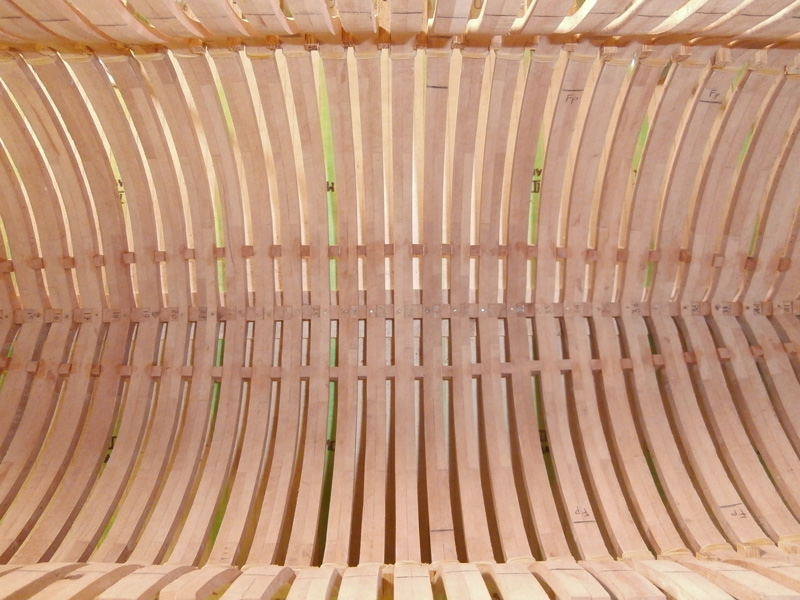
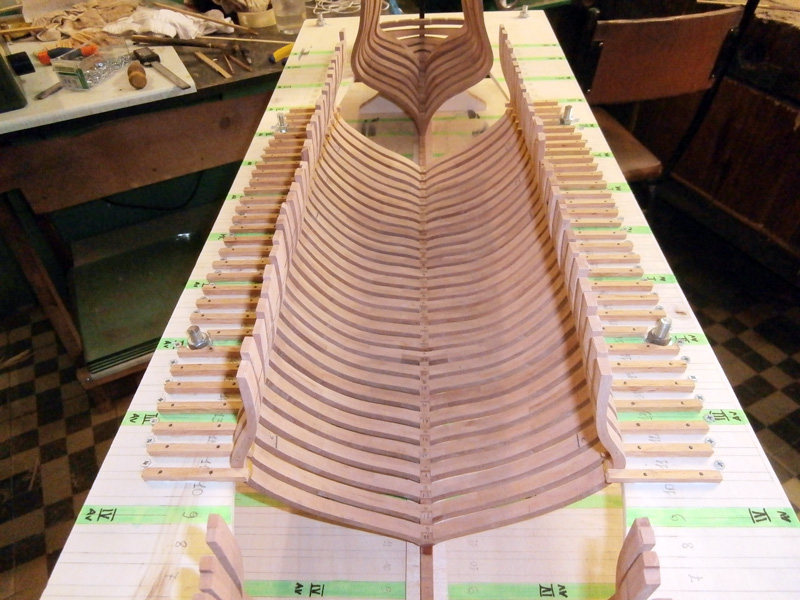
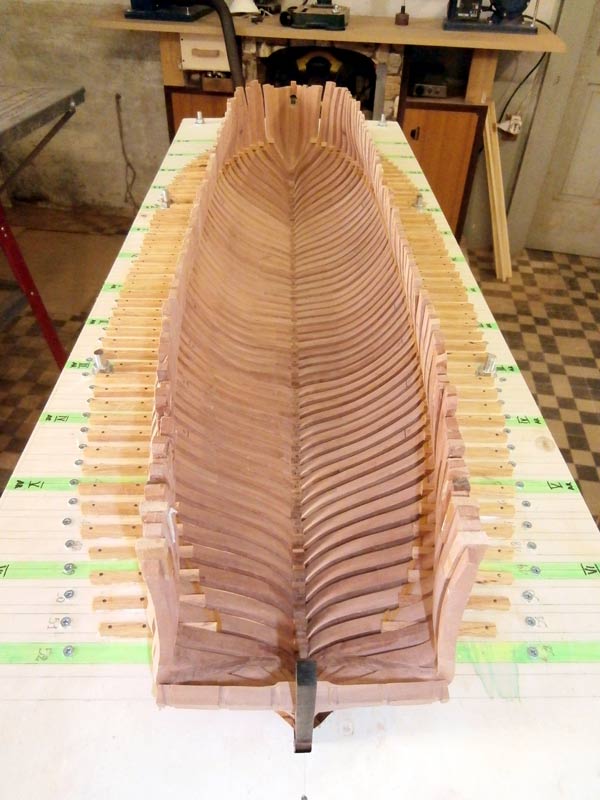
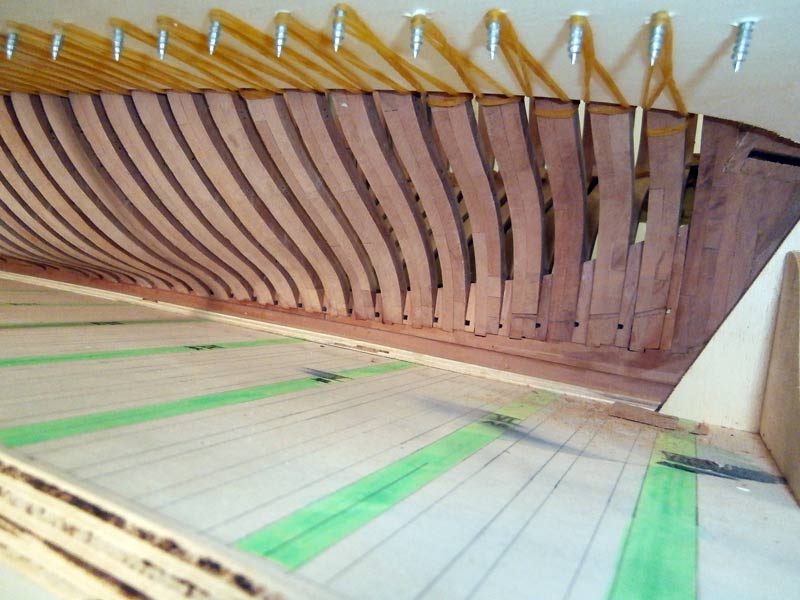
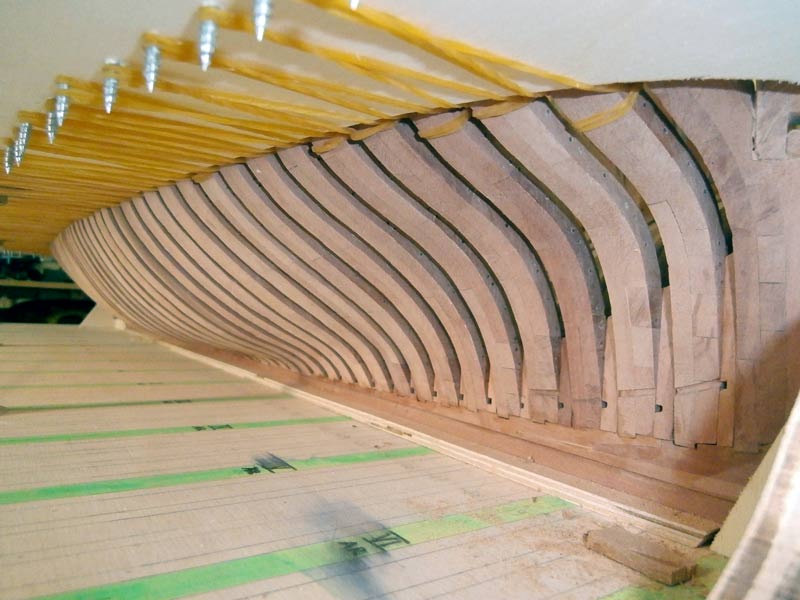
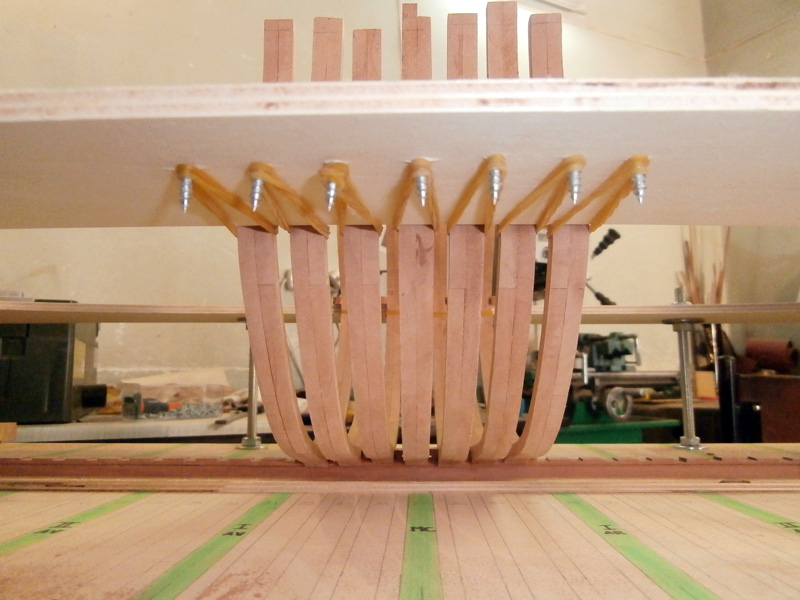
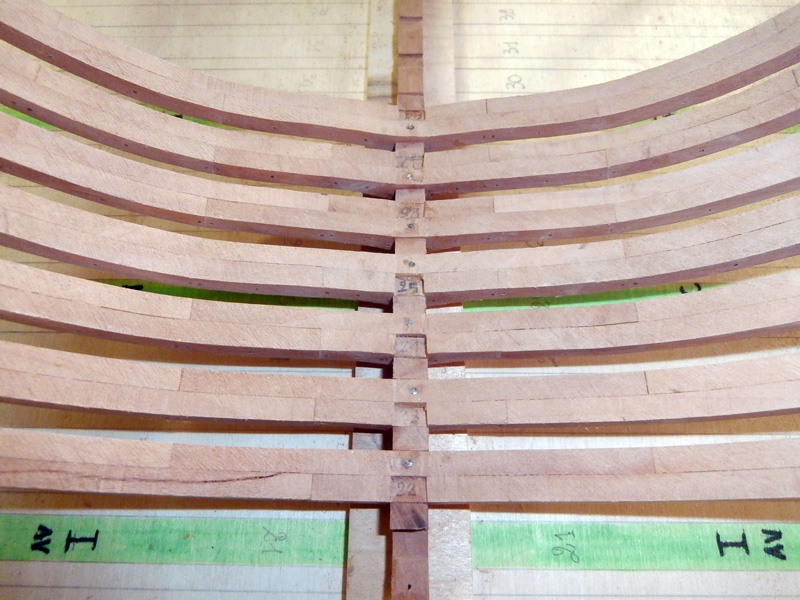
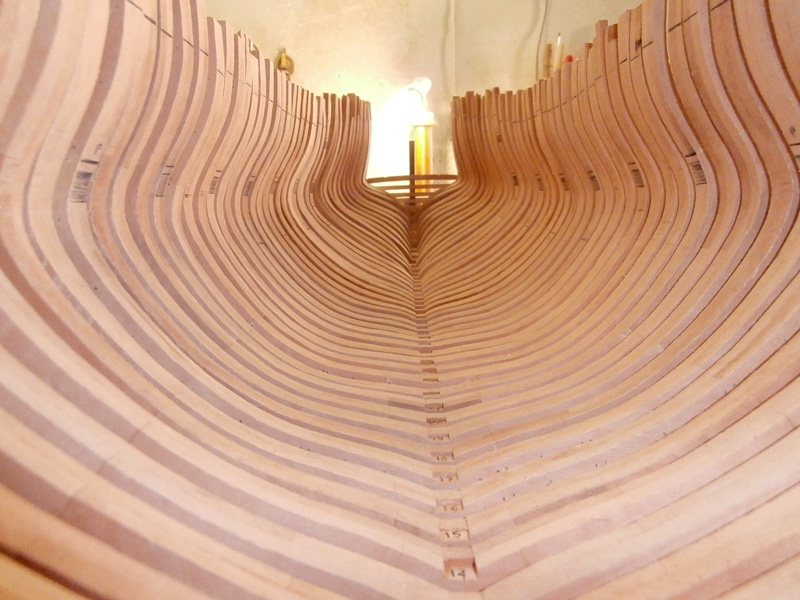
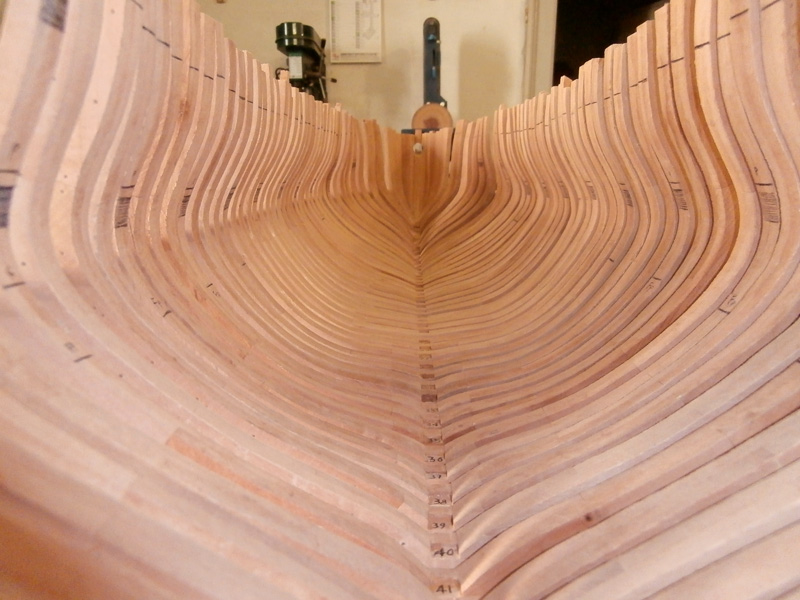
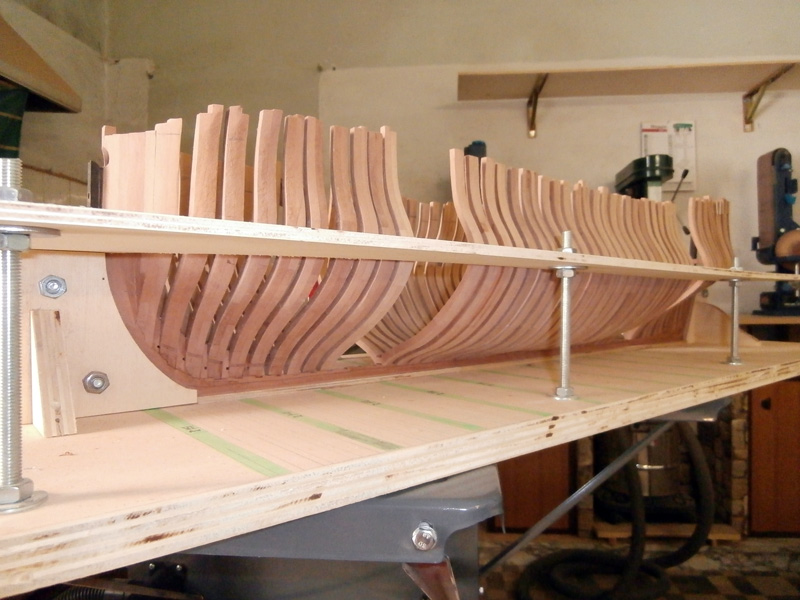
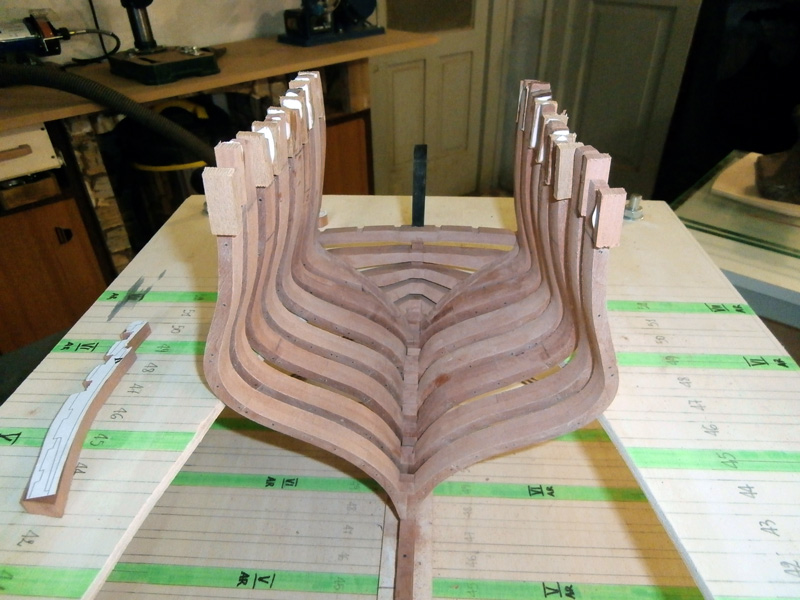
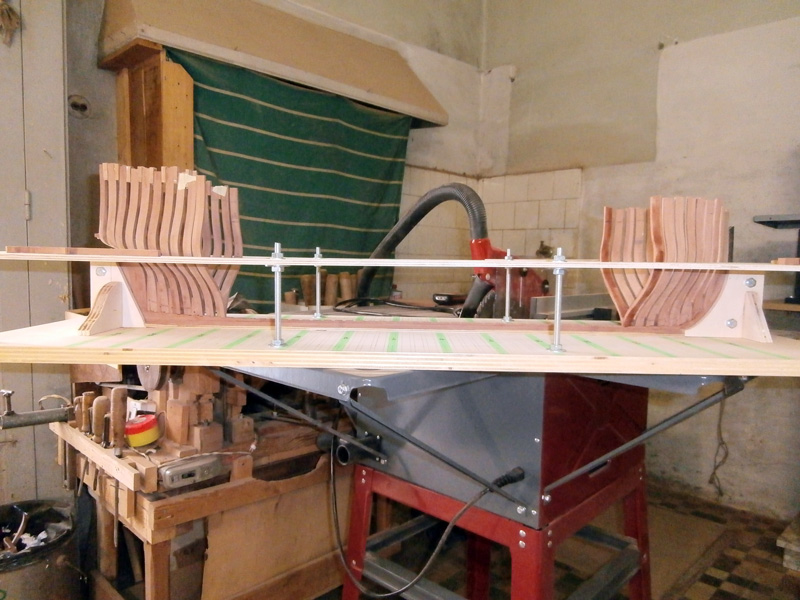
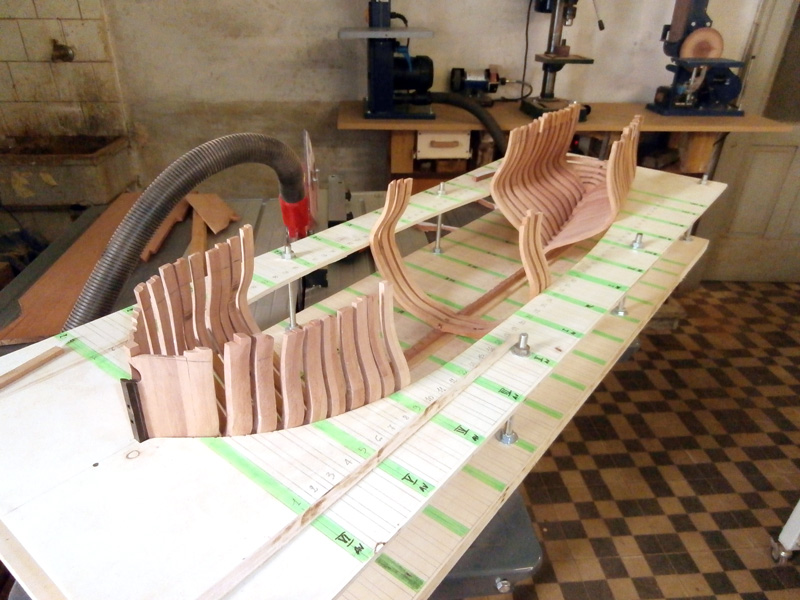
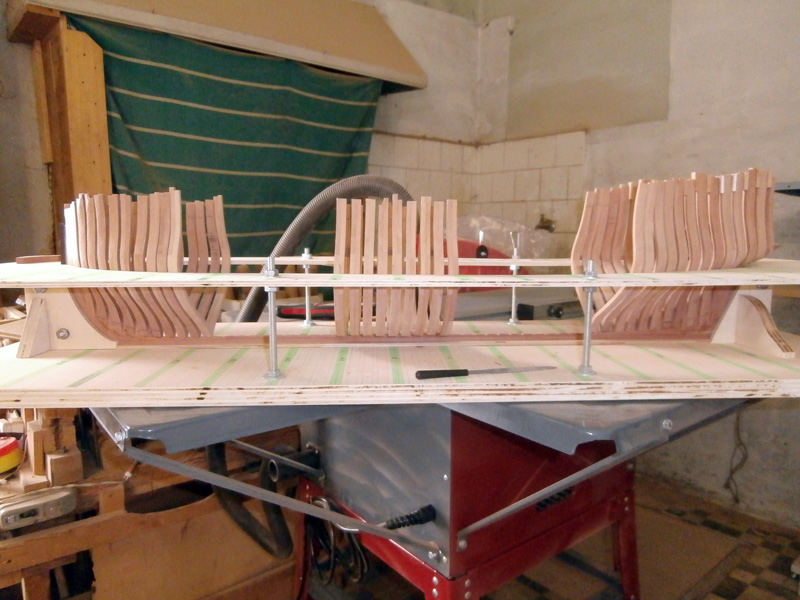
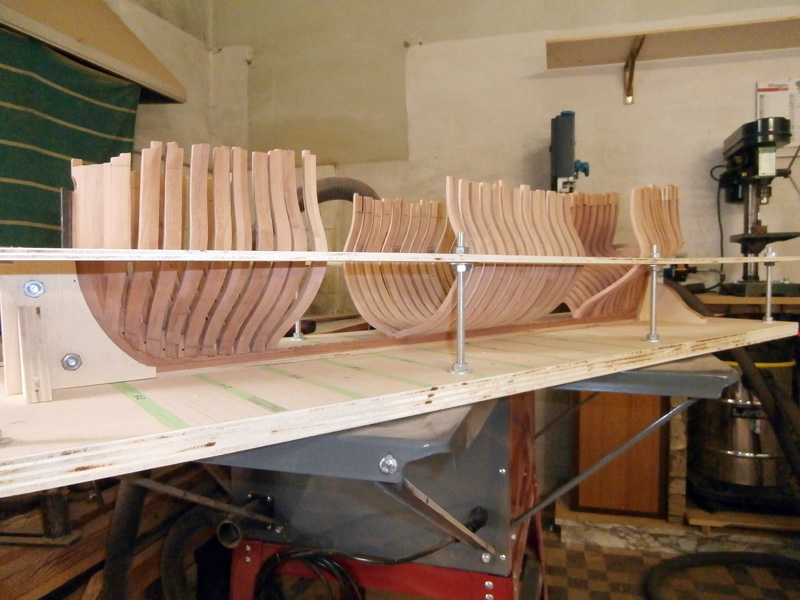
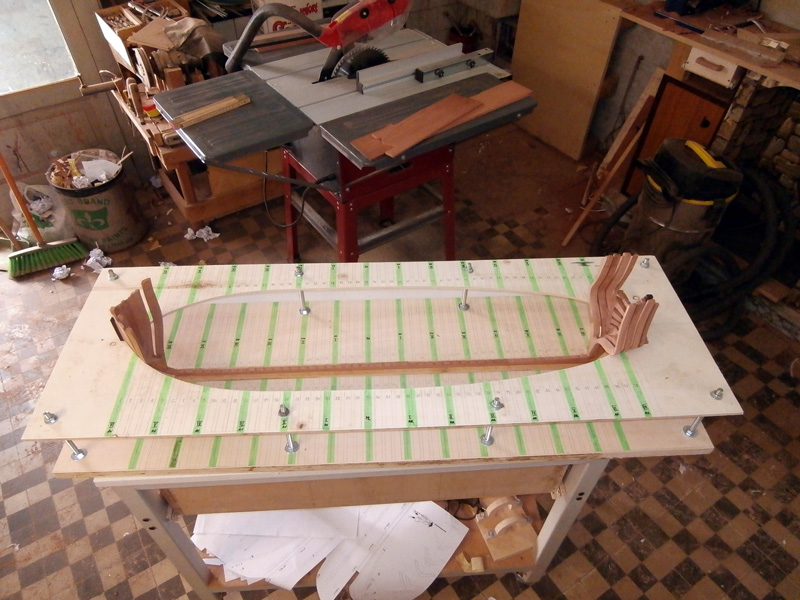
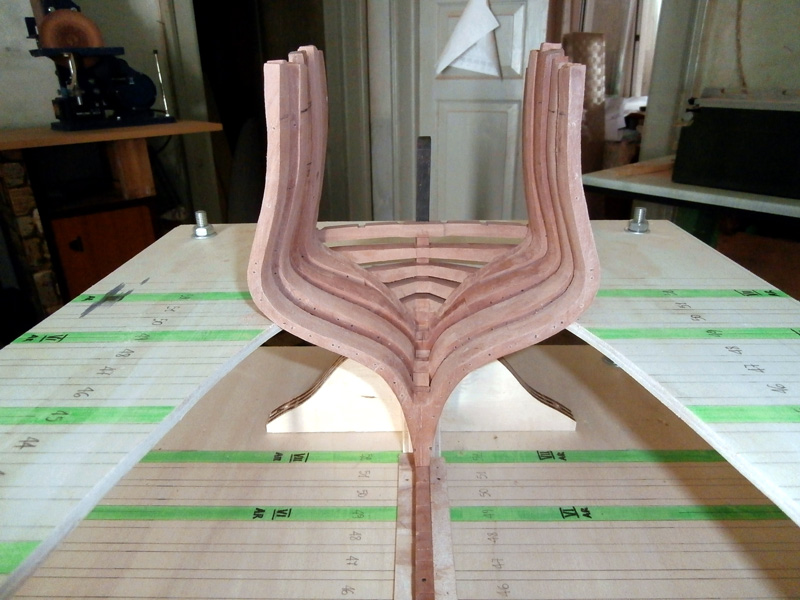
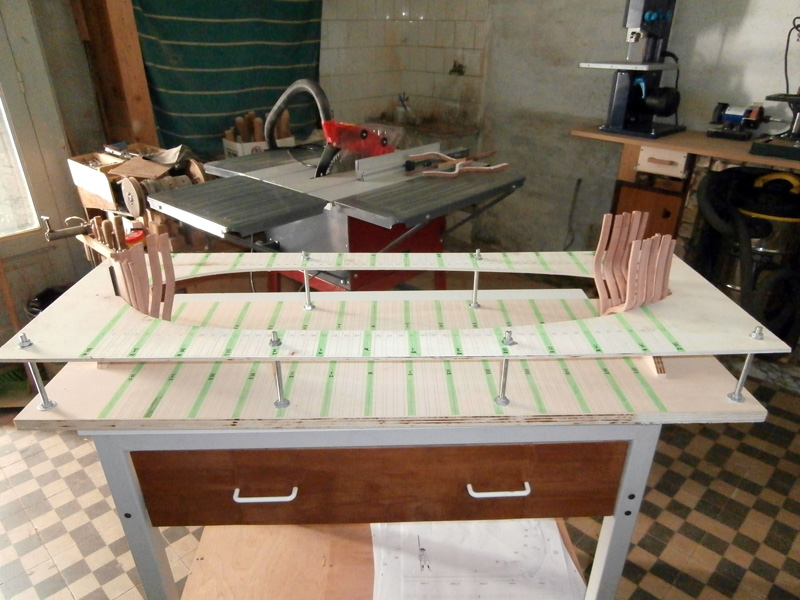
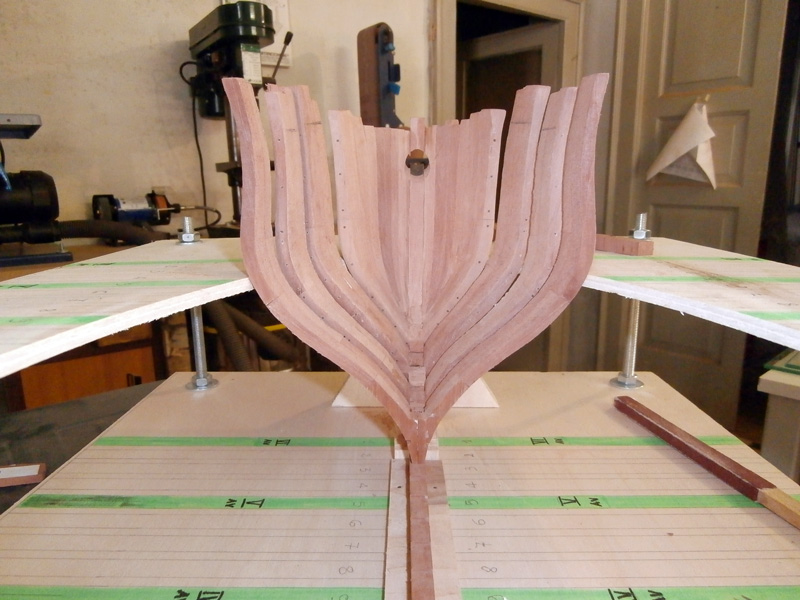
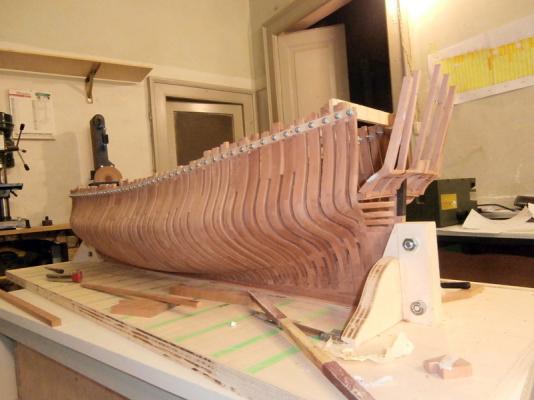
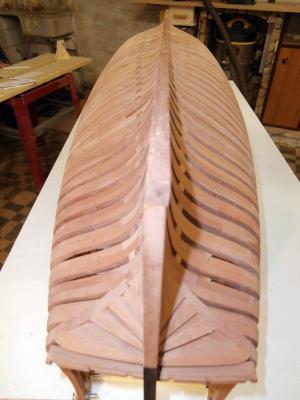
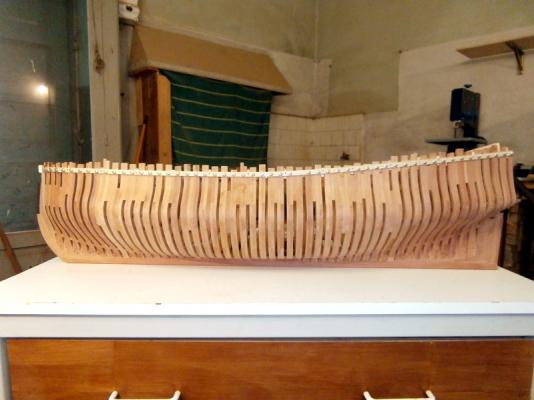
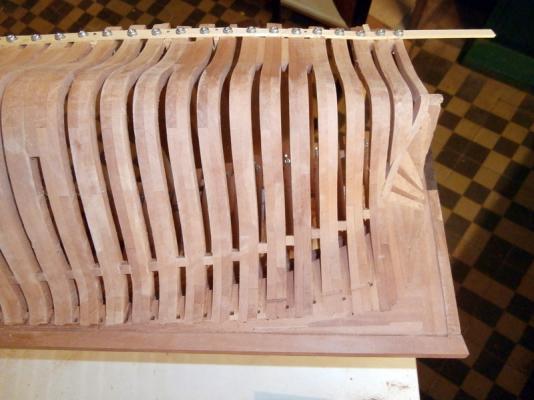
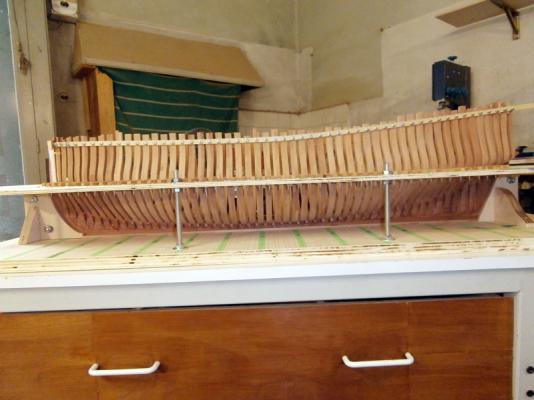
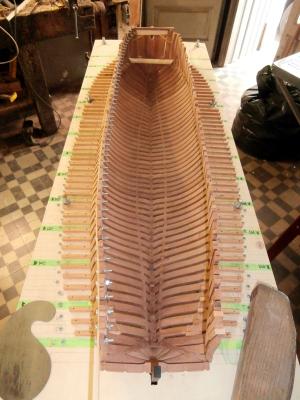
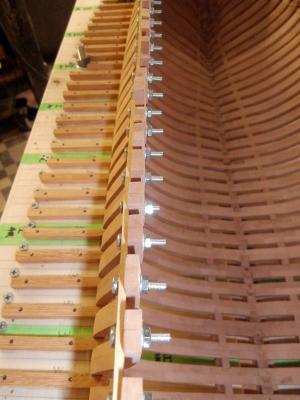
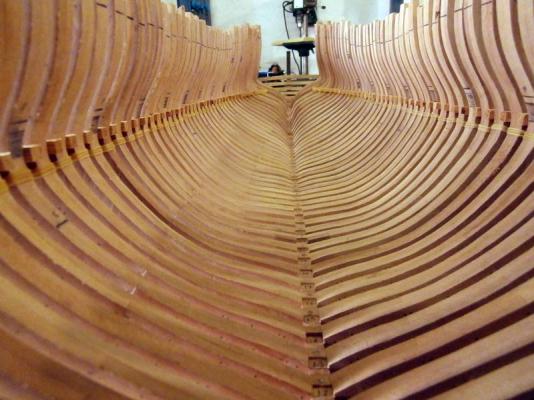
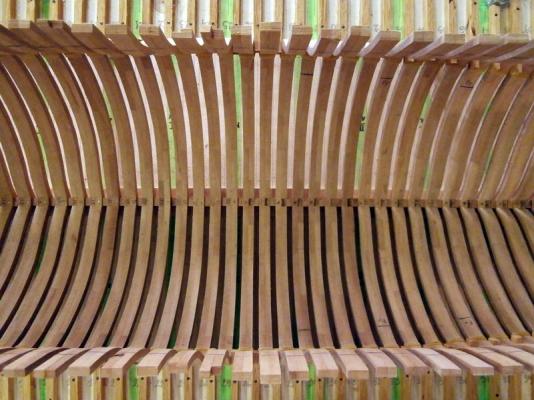
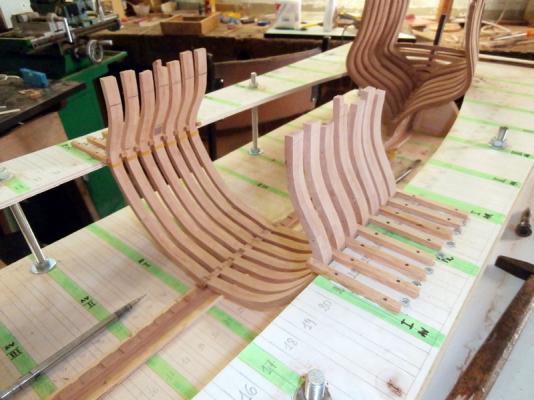
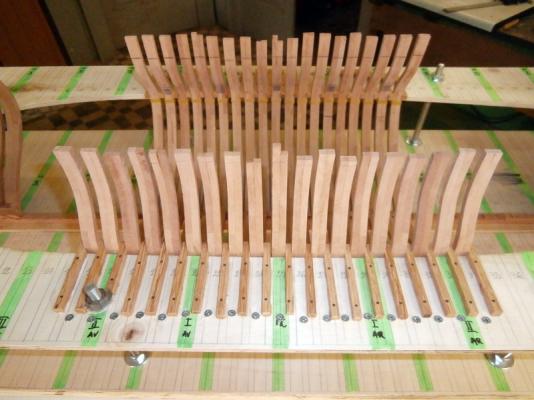
I started to fix the double ribs to the keel permanently. I wanted, for convenience, to starting with the masters quarters and then join with those already established at bow and stern. For greater security gluing I used the double coasts of steel nails nailing the madiere the keel after having done a 1mm hole in the center. After checking the squareness of the coasts, I fixed the spacers on the size of mesh on the template of the site helping with rubber bands (made from under the template) to adhere the coasts of the template itself. I have to say that already so the coasts do not move except in the upper parts of the oarlocks, but this will solve when I put the studs. For the moment I want to fix all the coasts, then I will proceed with the keys at the heads of the floor plates.


- 738 replies
-
- 13
-
-
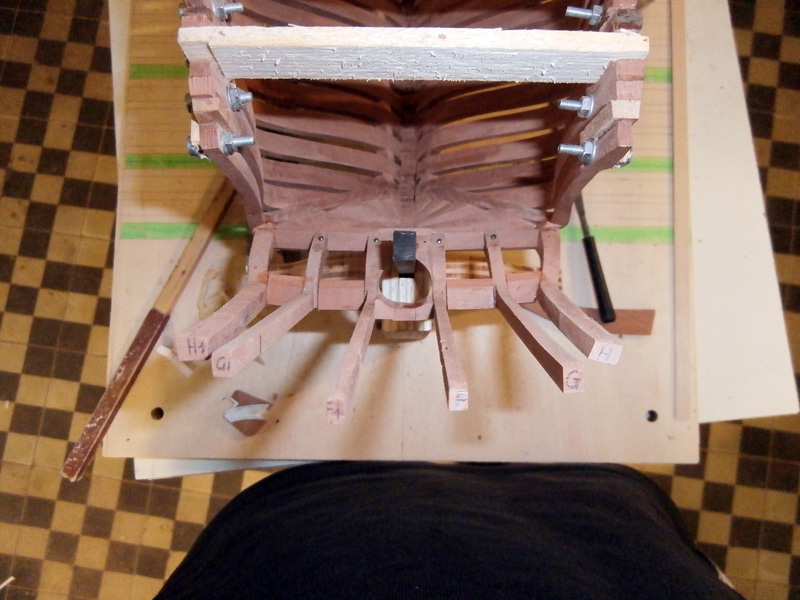
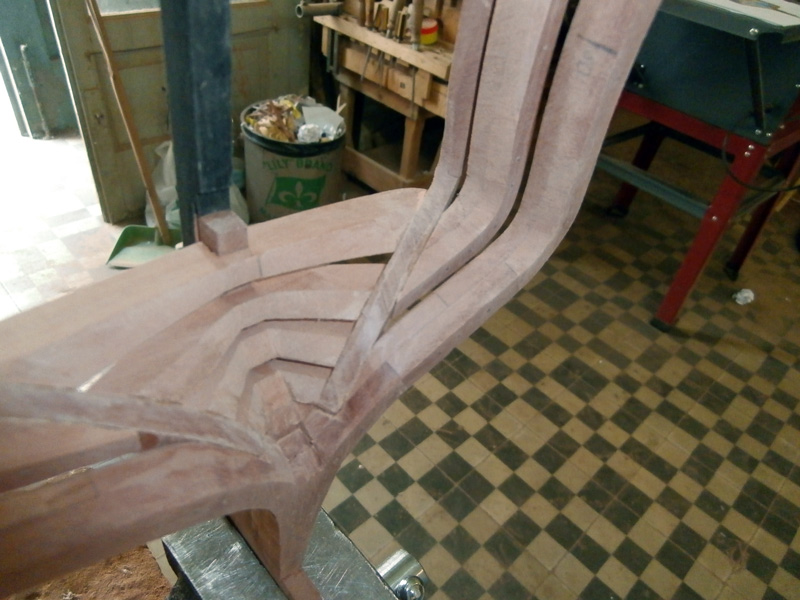
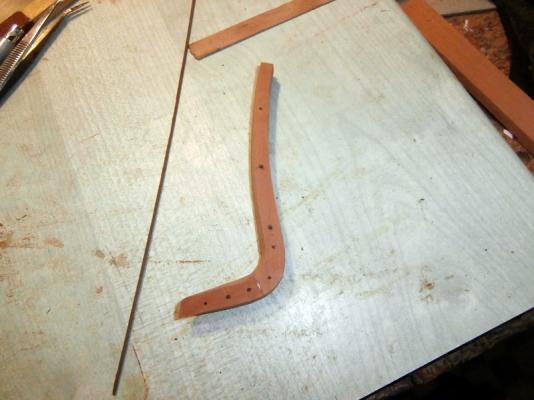
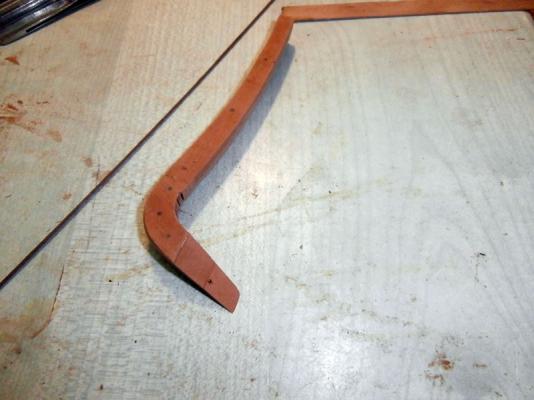
Sorry for my english: I use google translator......... Implementation of the oarlocks of the hip: work very mangy, angle of cut must be very precise in order to avoid false inclinations of the same. I also decided to bolt with square ankles from 1x1mm walnut.


- 738 replies
-
- 17
-
-
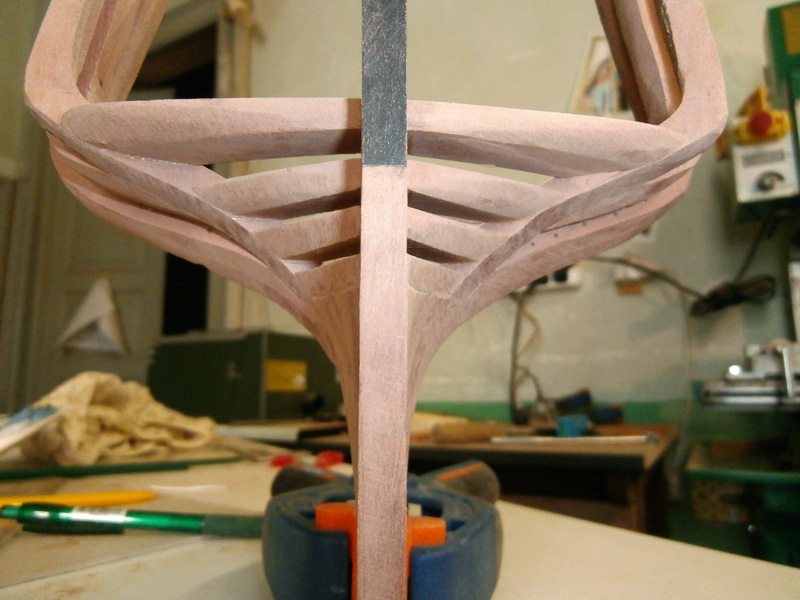
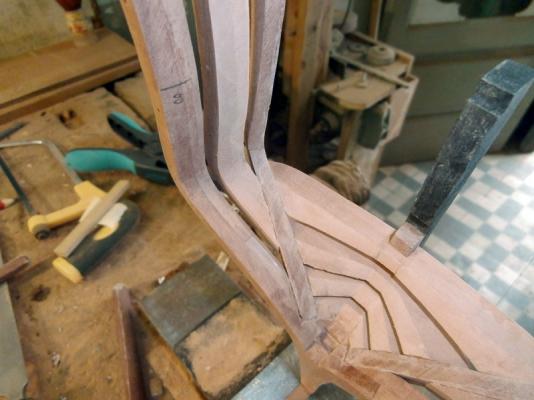
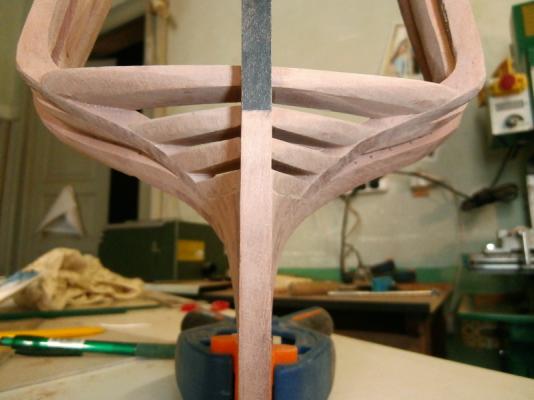
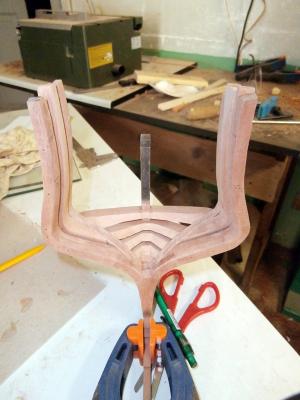
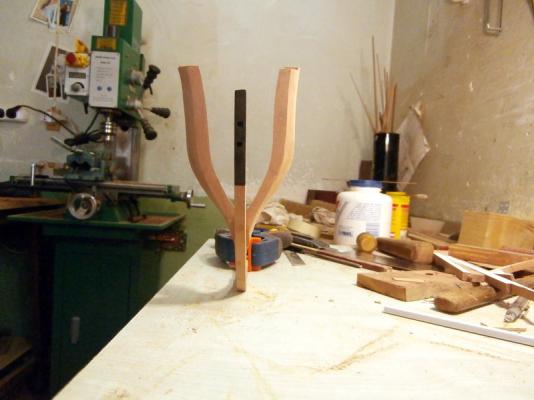
dry test graft: a few minor tweaks and I should be there In the dead time of the various bonding took the opportunity to drill the hole for the tree bowsprit:
-
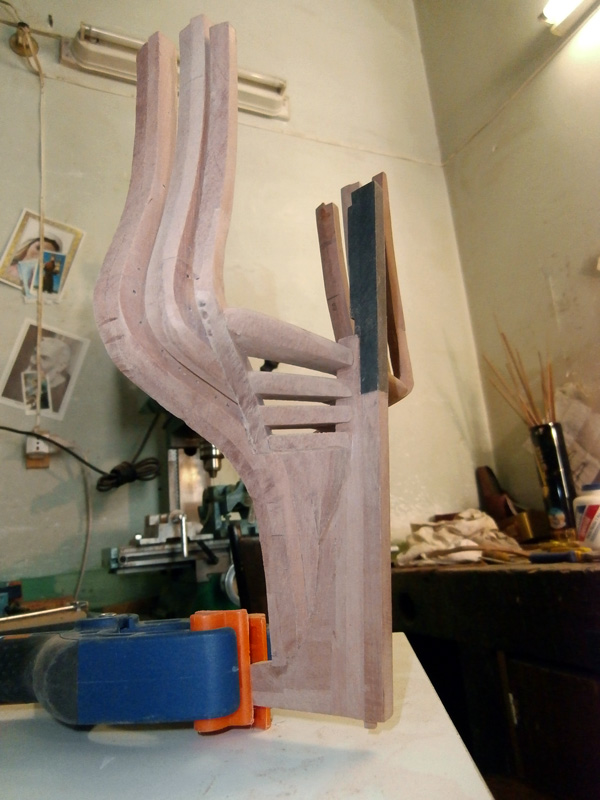
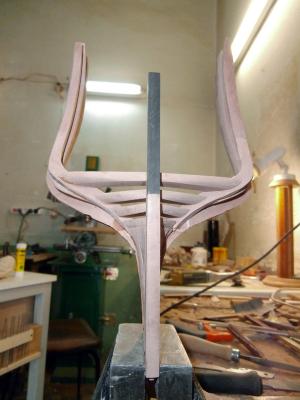
oarlocks fin I fixed the fins to the massive stern Another very complicated piece: n ° 52 of which must fit the two tabs on the bias
-
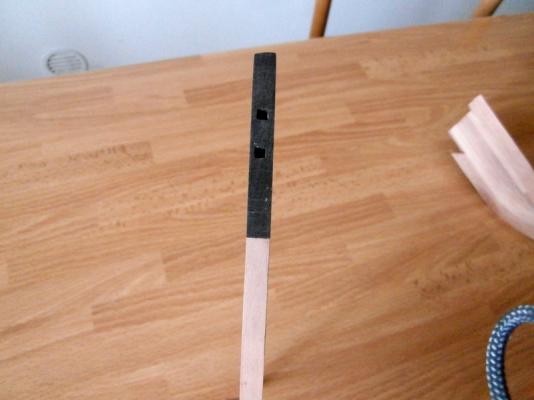
the two mortises for the graft of the spur of the bow Fortunately the two shells wore perfectly .... I dreaded having to redo much of before this time!


- 738 replies
-
- 20
-