


husky1943
-
Posts
100 -
Joined
-
Last visited
Content Type
Profiles
Forums
Gallery
Events
Posts posted by husky1943
-
-
Howdy Steve,
I continue to marvel at your skill! Really, you are 'ROCKSTAR'ing it big time! This model belongs in a museum!
Ciao for now
- EJ_L, Steve 12345 and Eddie
-
 3
3
-
Howdy CAPT Al,
I look forward to following this one. Keep it coming!
Ciao for now
-
Howdy Anton,
I respect much your build! Beautiful. I hear you on the movie "Admiral." I watched it on Netflix, and while I had to read the subtitles, I absolutely was fascinated by the movie. Well-made, well-acted and very interesting!!
Ciao for now
- Hennie, Tallshiptragic and mtaylor
-
3
-
Howdy all,
I had noticed this before, but the rudder and the hull were solid plastic. The more I looked at it, the more it bothered me. So, I took a drill and drilled all the holes between the hull and the rudder, and then cleaned it out with an Xacto knife. Small detail, but I think it looks much nicer than just painting it black, and creating an "illusion" on the gap. Anyway, OCD won the day, and I feel better now. Plus, thanks to Gregory for turning me on to JTilley's Bounty (which is a masterpiece, BTW), I will try his copper sheathing layout on the opposite side of the boat. Lord God, please grant me the patience......

Ciao for now
- Cathead, Steve 12345 and VACorsair
-
3
-
Howdy wefalck,
Thanks. That makes absolute sense. Sorry about the "hinges" thing. I don't know the nomenclature like I should.

Ciao for now
-
Howdy all,
I have a question for the brains around here; would the copper sheathing go over the hinges? The reason why I ask is because I have seen both styles (hinges covered by sheathing and hinges not covered by sheathing). In thinking about it, I think that the hinges would not be covered because that would cause galvanic action. Thoughts?
Ciao for now
- mtaylor and CaptainSteve
-
2
-
Howdy Race and Fright,
Fright, are you talking about the tab located between the two supports that keep the ship upright? I do believe that one is for a center support that also holds the nameplate (I think).
Ciao for now
-
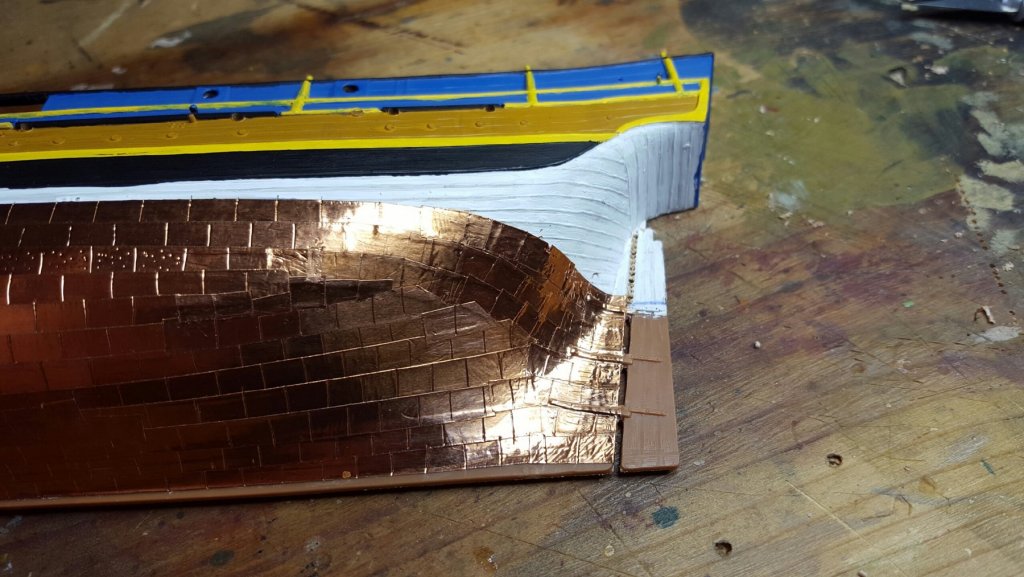
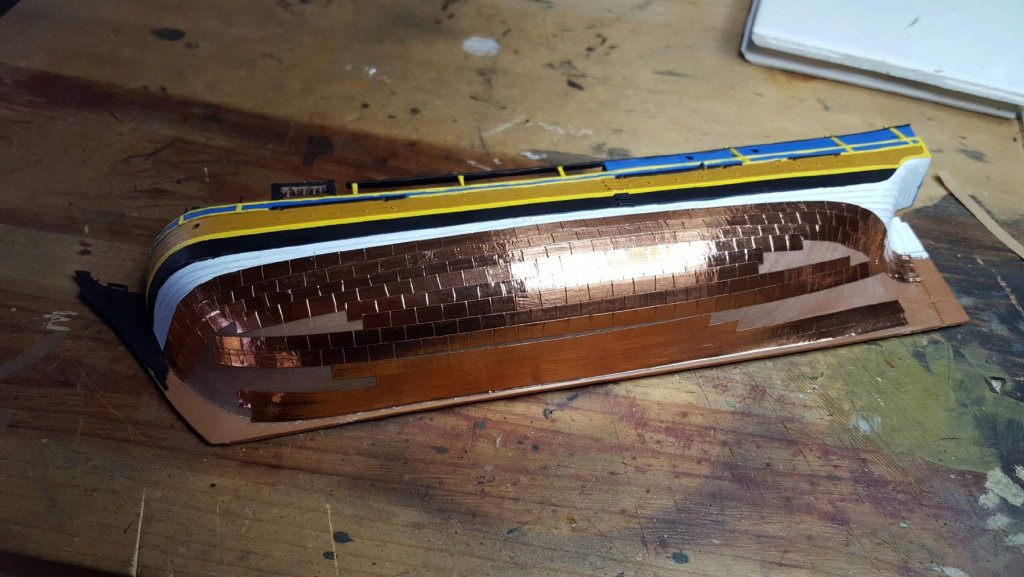
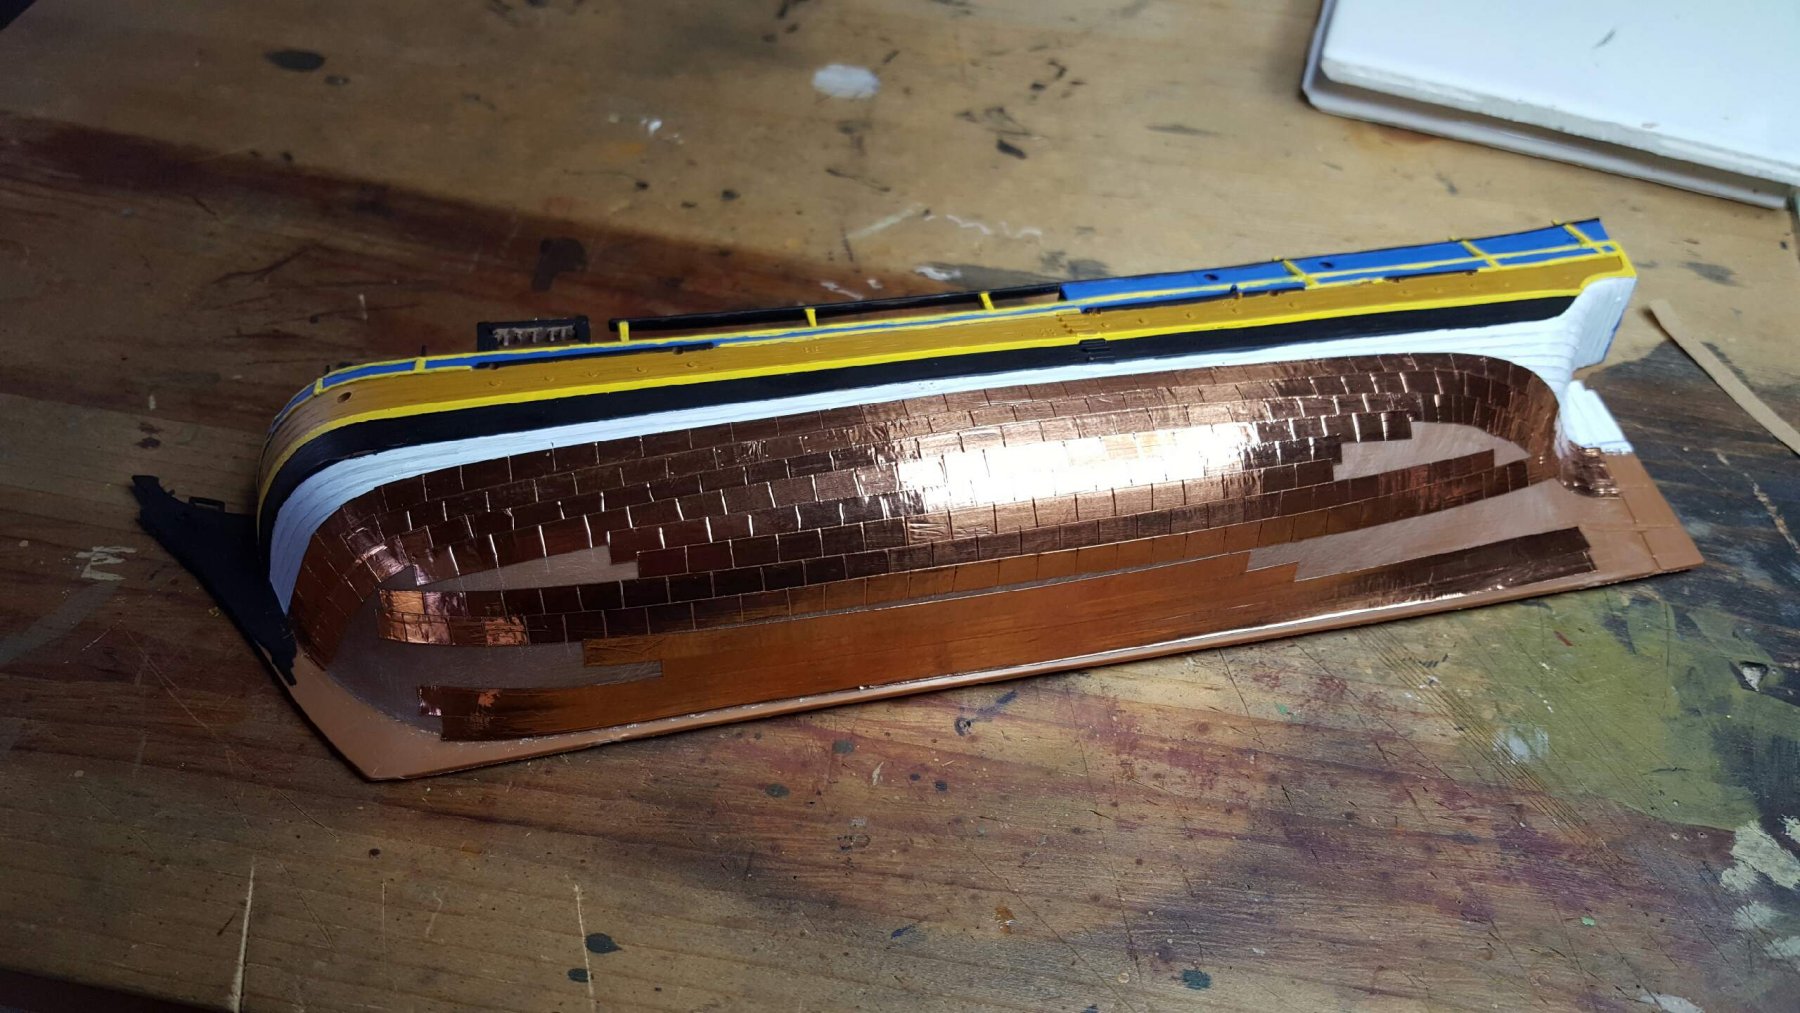
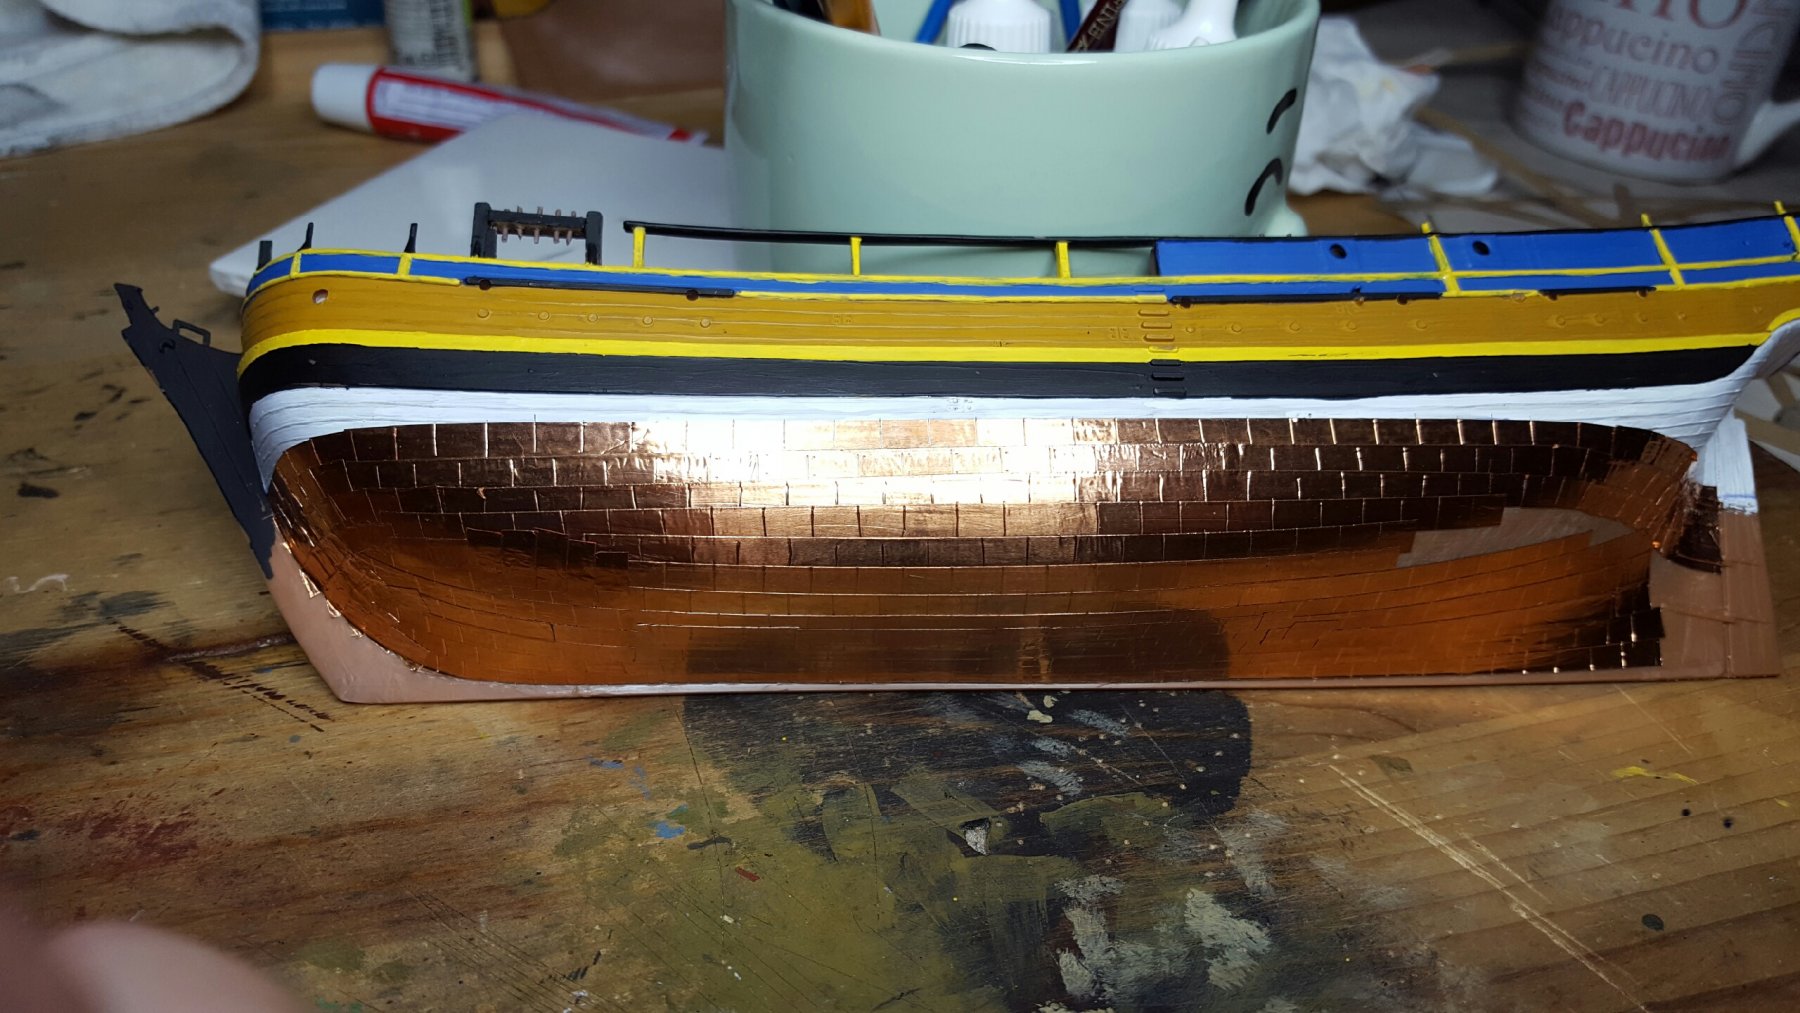
Howdy all,
Well, I did decide to copper the bottom. First, I went to the LHS and got some nice Vallejo blue and yellow. I never prime (something that I really need to start doing) so it took 6 coats to get the color somewhat uniform. After the LHS, I headed over to Hobby Lobby and bought some of the copper tape that stained-glass window folks use. And, it went on like a dream. Now, I tried to make it look accurate, but I mostly used strips and then scored it with a tweezers (made the size the same, and did the job twice as fast. I used strips because I didn't want to cut each individual plate. I like the effect.
Ciao for now

- VACorsair, Steve 12345, hexnut and 1 other
-
4
-
Hey Race and Fright,
Good job on the boat. She is really coming along. I have an idea; I make the belaying pin racks by cutting them off, drilling holes, and then super-gluing wire into the holes, and cut them to length. I use the wire that people use for floral arranging. It's thicker, but still bends easy. Maybe you could do that....The decks look really great.
Ciao for now

-
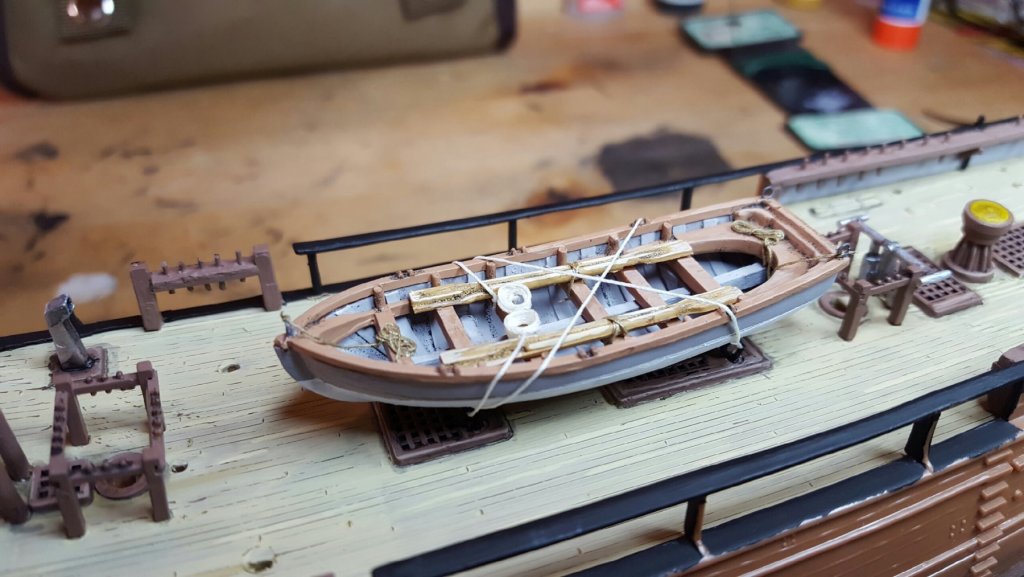
Howdy Eric,
Thanks for the support and looking at my humble attempt at making plastic better. I had mine in my office, when the vacuum caused a door to slam real hard and actually made a frame fall off the wall, which then knocked the Beagle onto the floor....
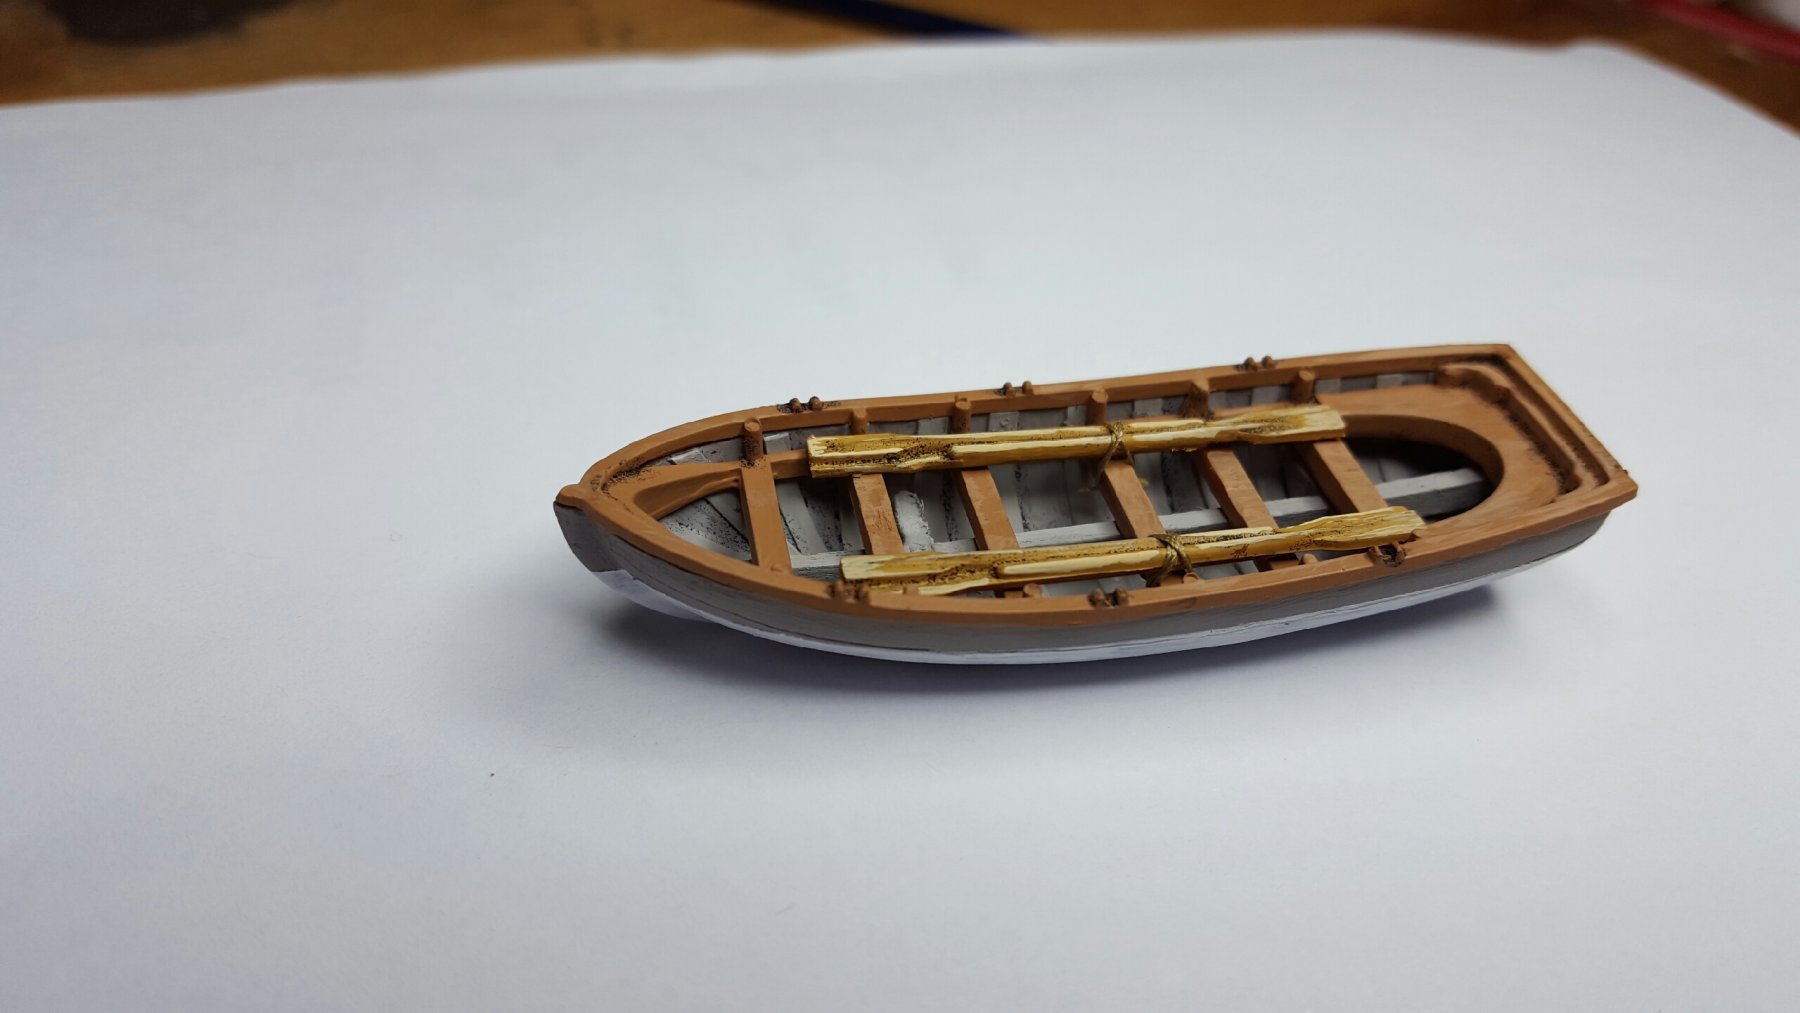
However, I did want to show what the life boat looks like now that she is finished and in place. I know the coiled ropes look a little cheesy, but I like them, so they stay. Then I did some smaller ropes fore and aft and that's it. She's good

-
Howdy everyone,
Well, I just learned something else on the website. Someone (and I wish that I could remember who, but hat tip to them) suggested doing the ratlines after all other rigging has been done. I say right now - Genius!!!! I owe that man or woman a beer (or suitable drink of their choosing).
Ciao for now
-
Ciao Frankie,
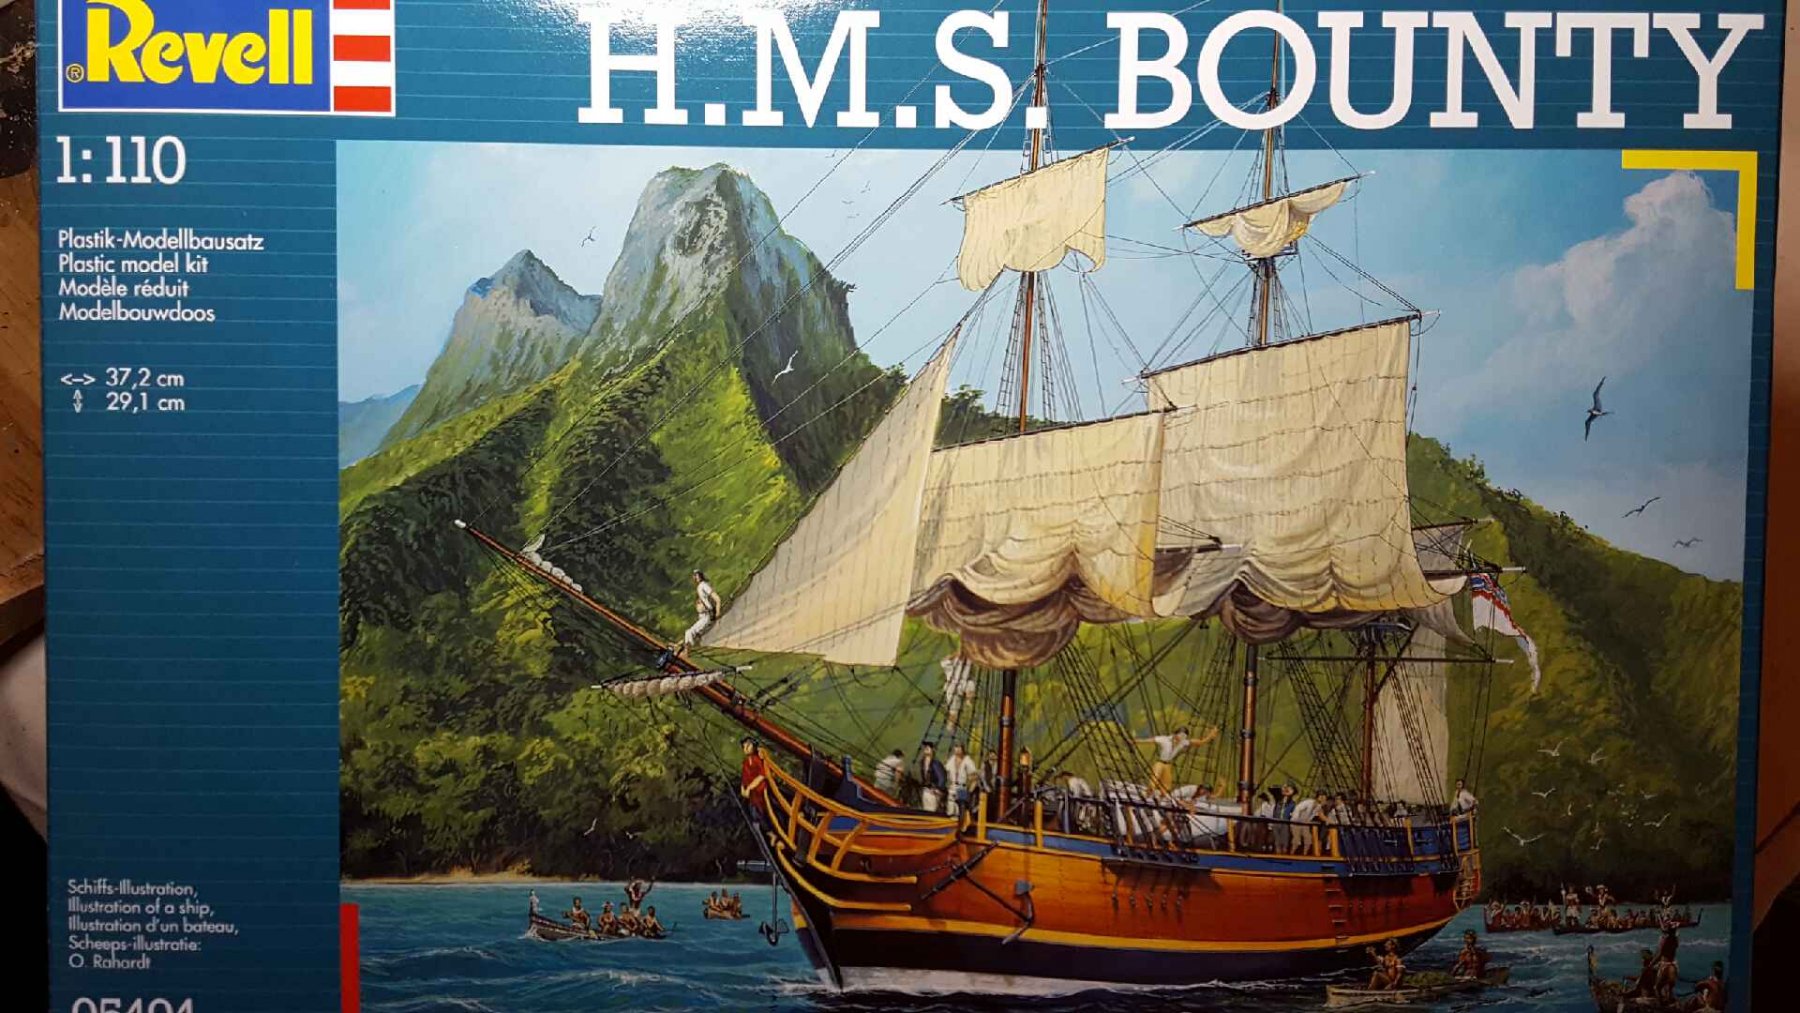
Robert said it best; She is a treasure. Loves me some Revell Plastic. I heard they are re-issuing it sometime soon! Wonder how much the kit cost in 1959???
Ciao for now
-
Howdy Captain Al,
She is a real beauty! Love all the detail.
Ciao for now
- thomaslambo, Grendel and Mike Dowling
-
3
-
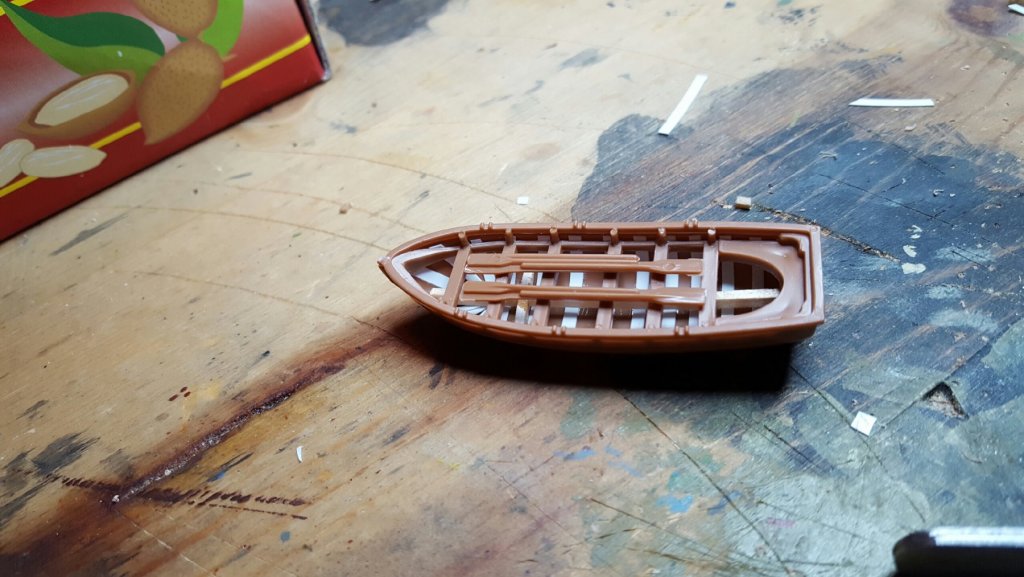
Howdy all,
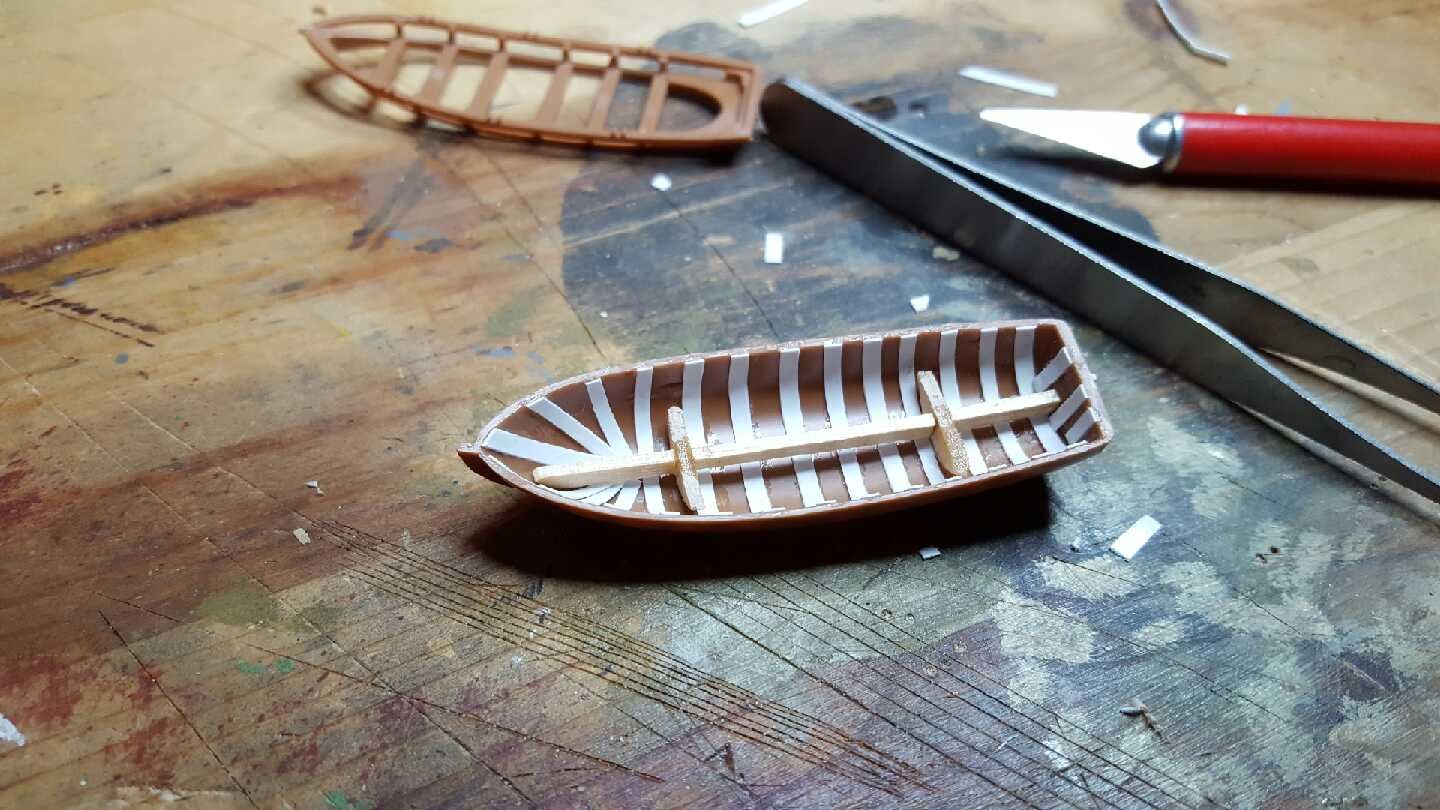
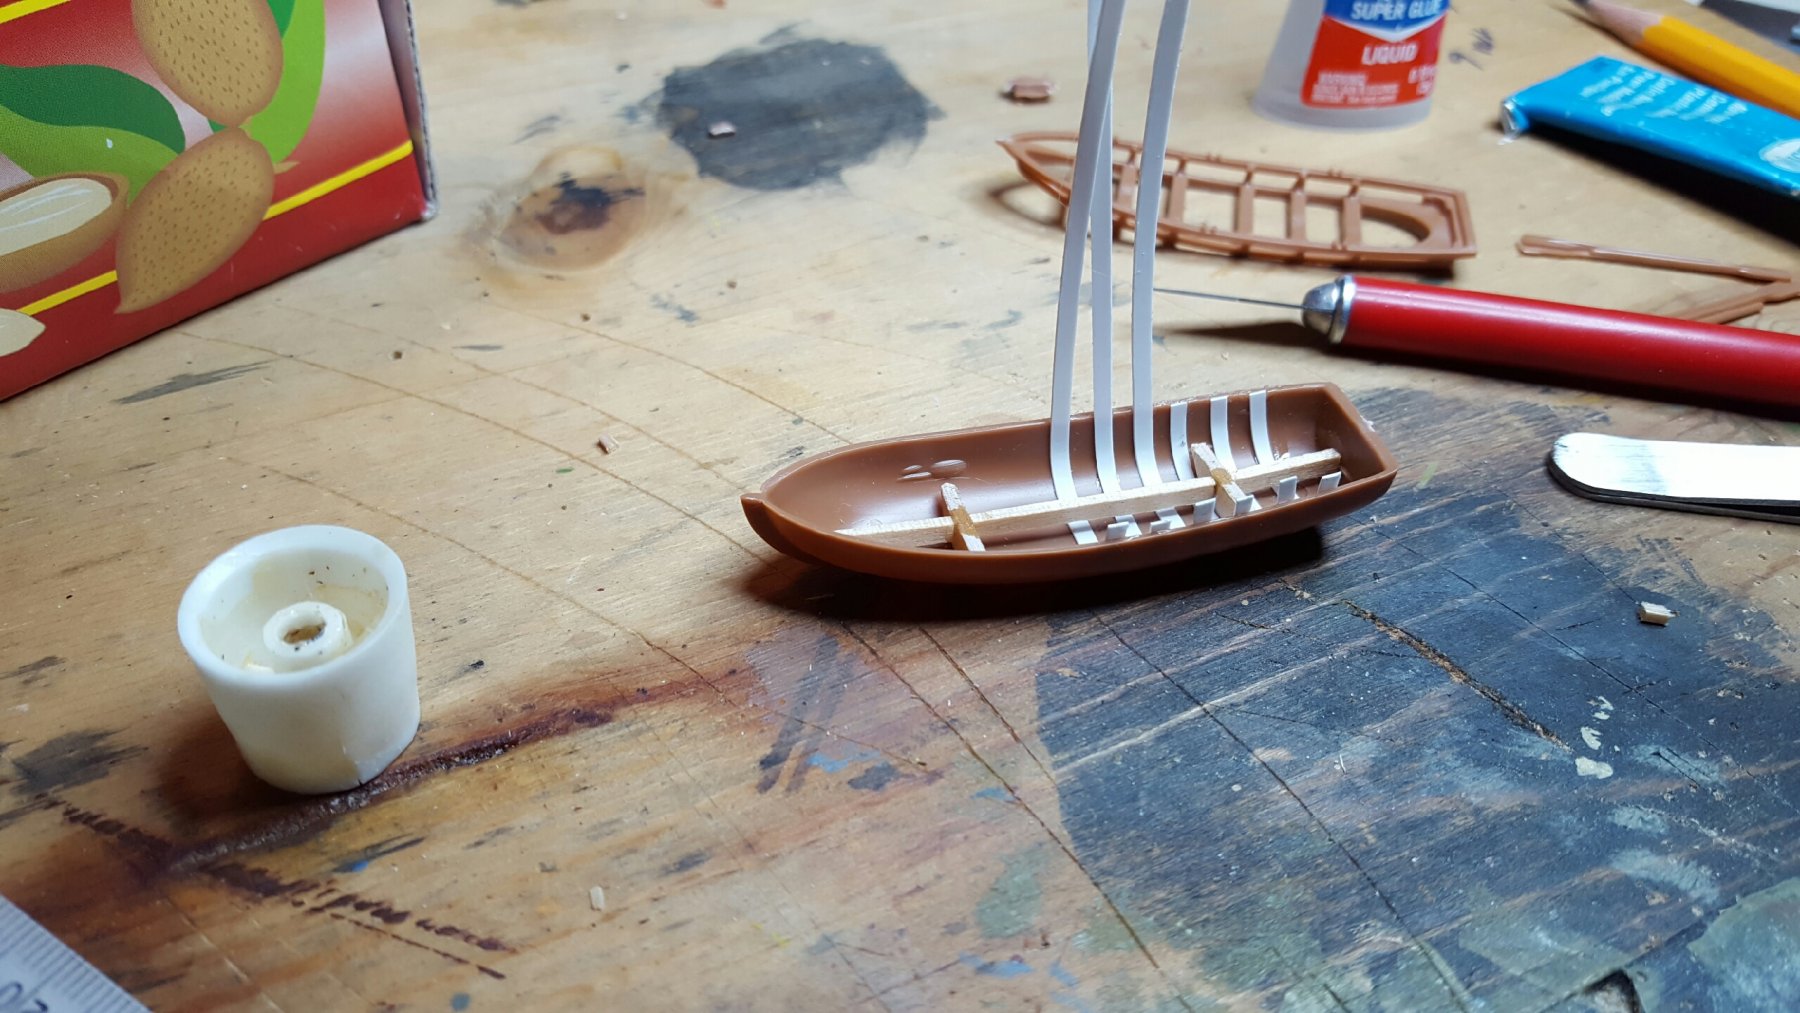
Just wanted to make the launch a little more detailed. I still need to afix a rudder. I just used styrene strips and put some ribs in. The center piece of wood was my first idea to put a wooden lower deck/floor, but it didnt' work out too well. So, I just added the plastic ribs and good to go. Oh, I will also be adding some eyebolts; one on the fore, and two aft.
Ciao for now


-
Howdy Matt,
Wow, you really have done a masterful job. Amazing!
Ciao for now
-
-
Howdy Grendel,
Love the ship! She is coming along beautifully. I really liked the cabins that you installed. Just noticed some things; would the planks on the bulkheads need nails as well? Would the door have hinges and or nails in them? Do the edges of the bulkheads on the amidships cabin where they mate together need trim strips? They look kind of bare...I mean, if you can't see them anyway, I guess it doesn't matter. Just trying to help
Don't get me wrong....she sure is a beauty and she has to be pretty big at that scale!
Ciao for now
- thomaslambo and Grendel
-
2
-
Howdy all,
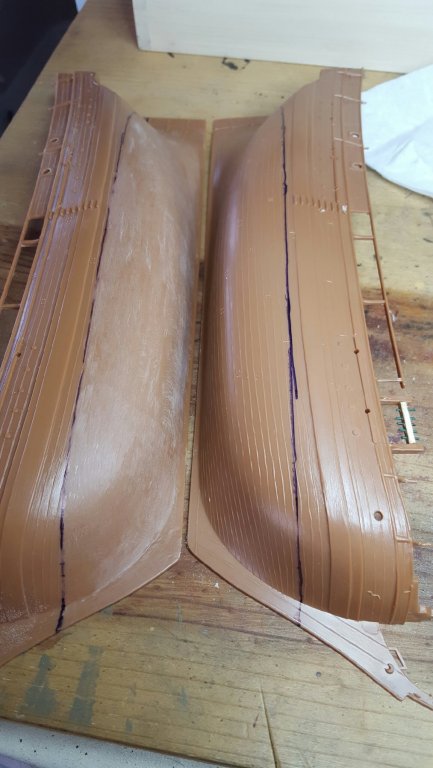
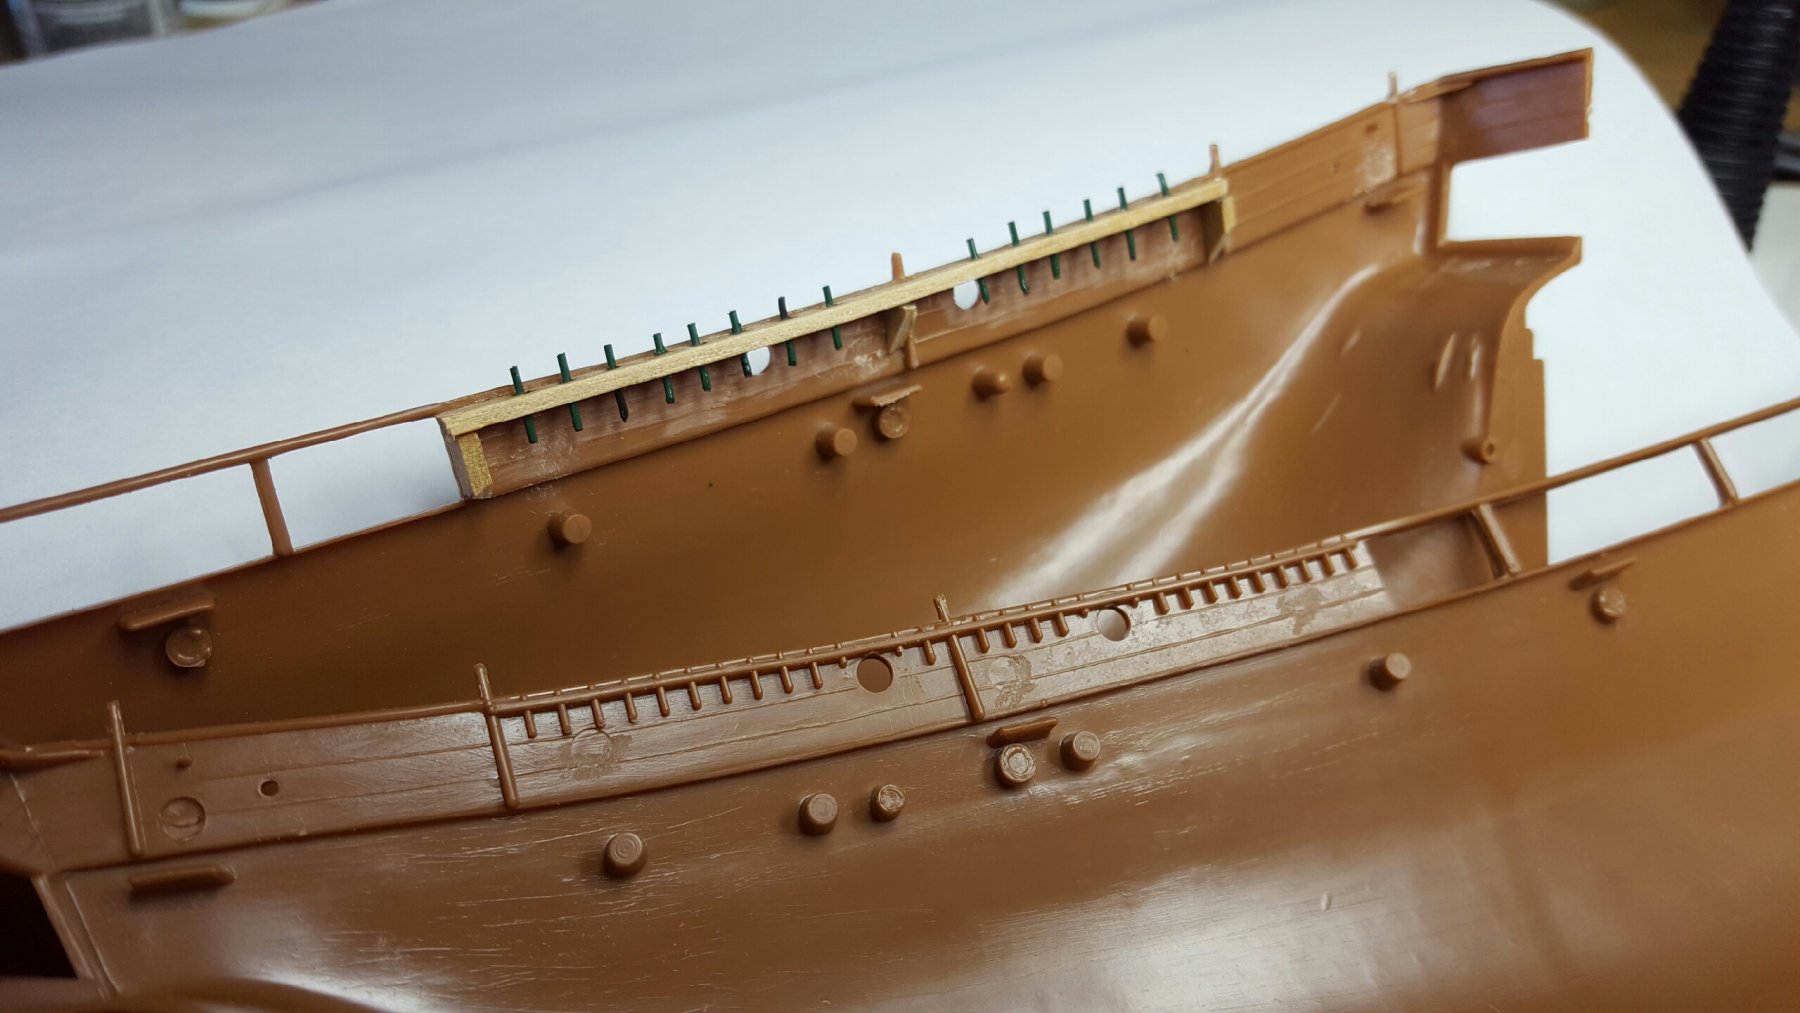
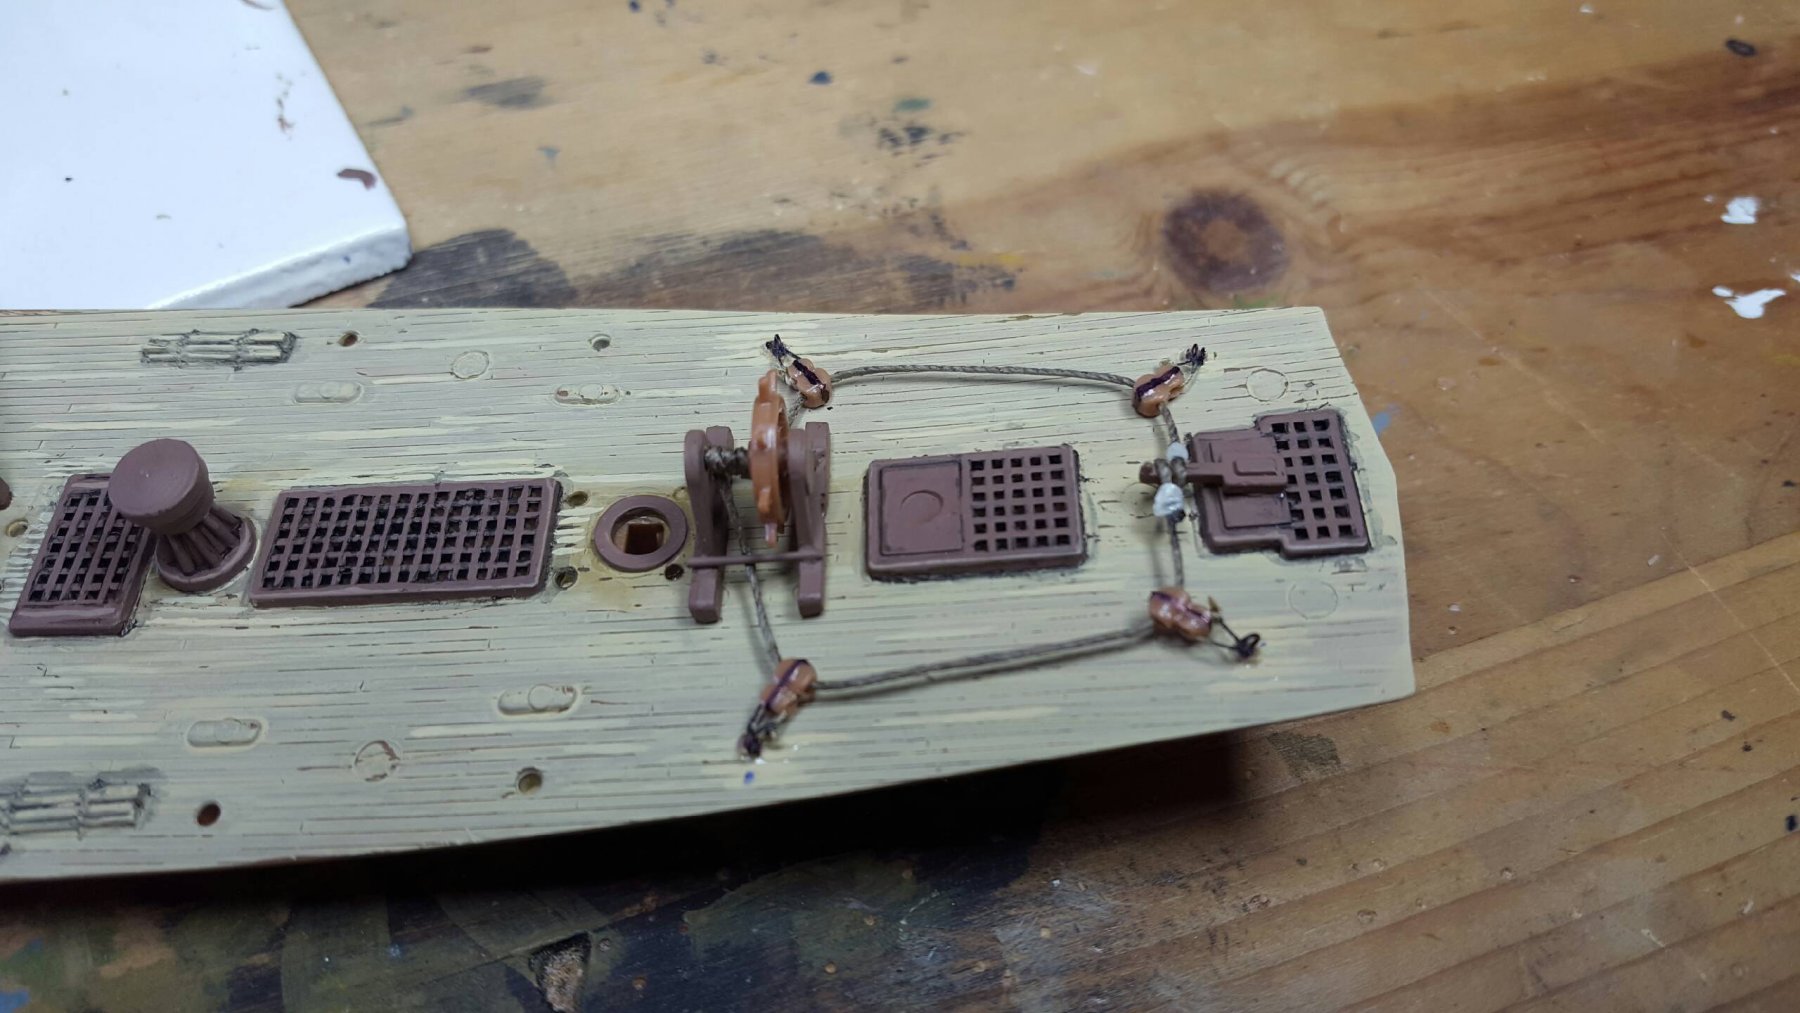
Well, I pulled the trigger and decided to sand down the board lines, so I will be making it a copper bottom. Copper tape for stained glass windows should do the trick. And I think that I learned that from this website, I believe. However, had to get the deck squared away first.
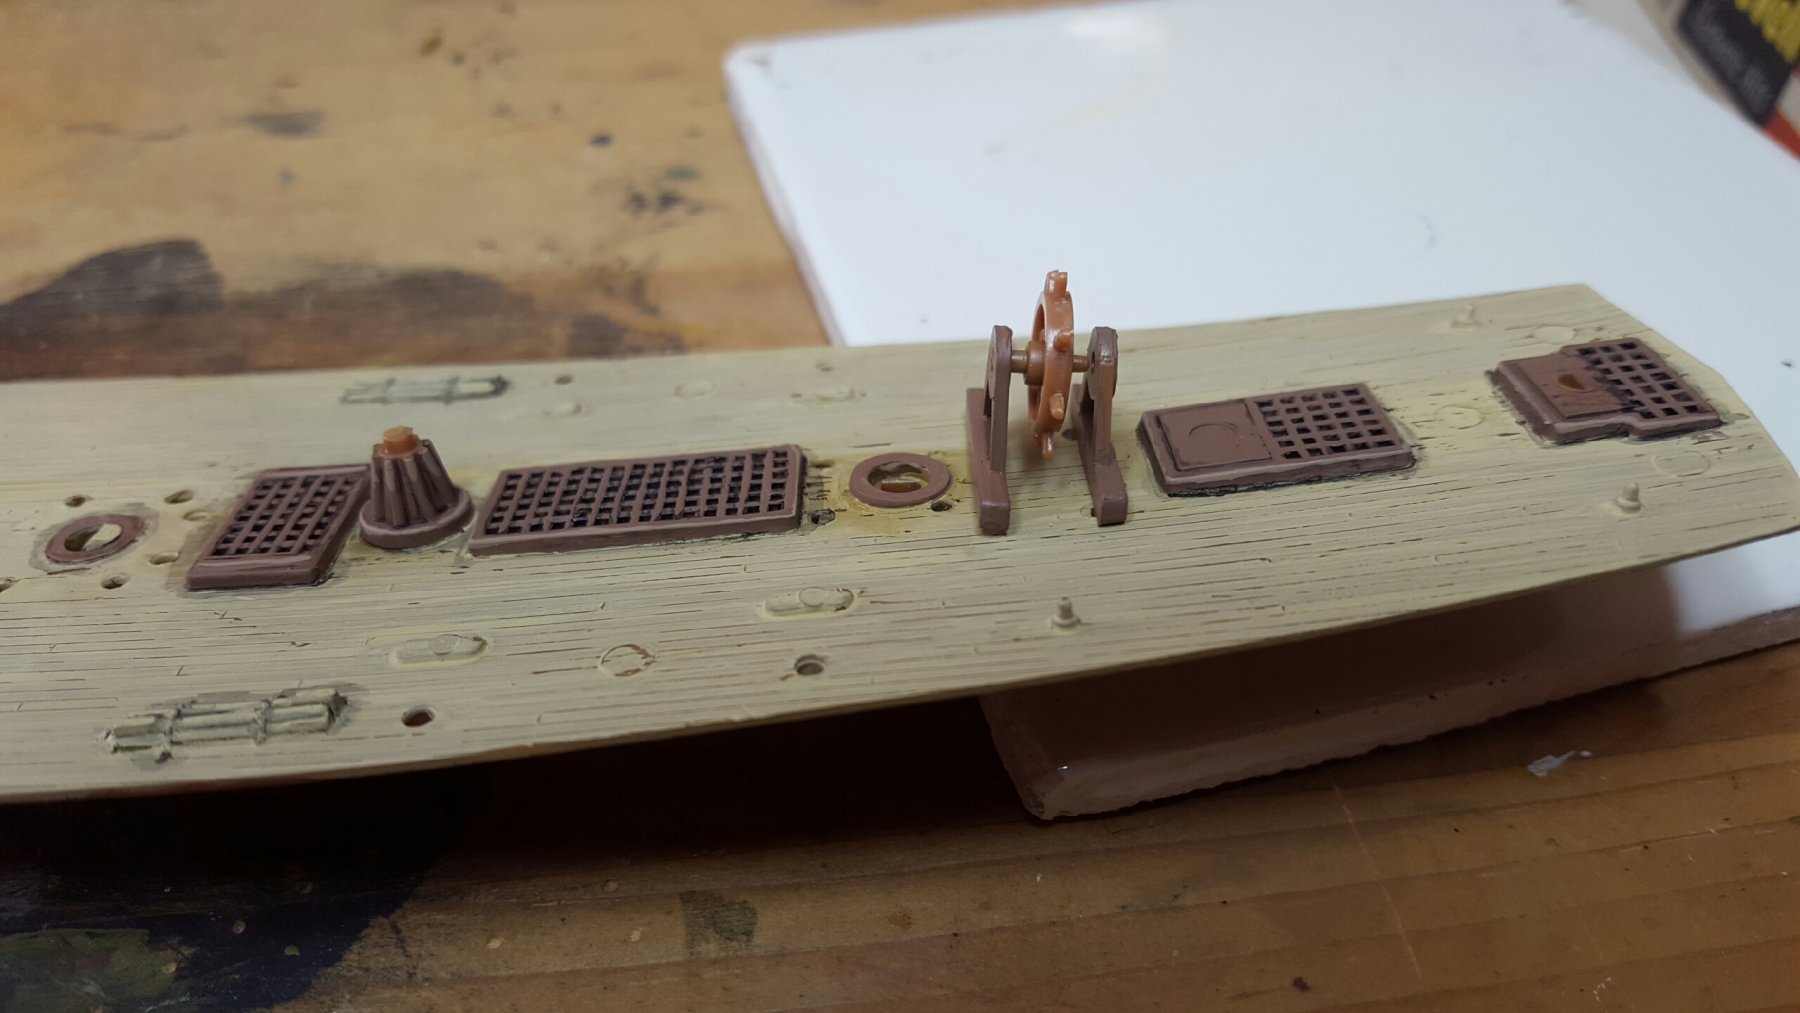
I really disliked the wheel. It fit terribly, and the instructions called for a very cheap representation of the steering gear. So, I made some eyebolts, got me some blocks and redid it better. Thoughts?
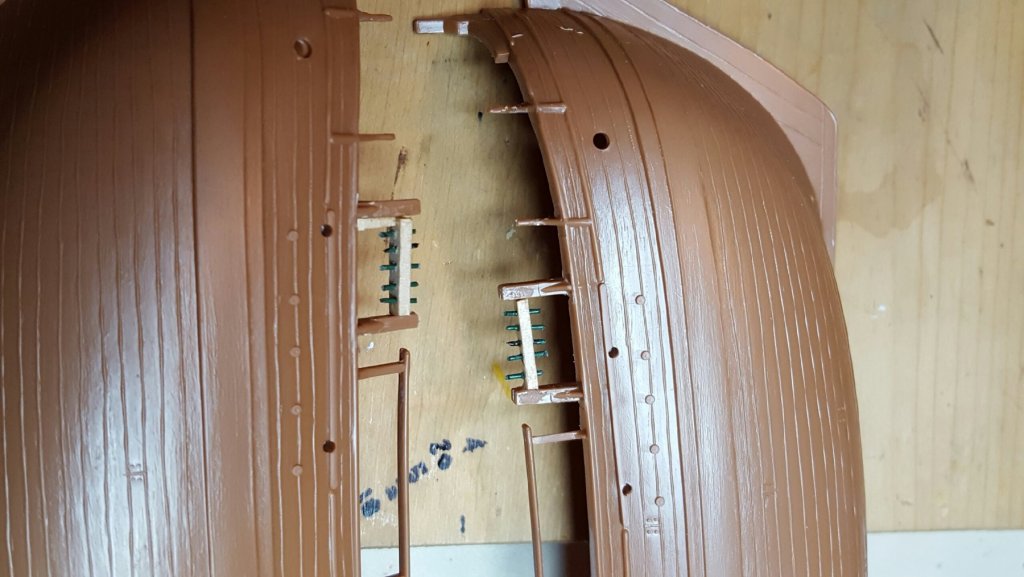
Further, I decided that the aft rack of belaying pins would have to be improved. I mean, they were molded in, and they looked terrible and were completely non-functional. So, I cut them off entirely, and rebuilt them. I think that they look better, and now I can secure ropes to them.
Ciao for now


-
Howdy Steve,
I think that she is looking absolutely fantastic. I like the cannons. Keep up the masterpiece!
Ciao for now
- Steve 12345 and EJ_L
-
2
-
Howdy Steve,
What a beautiful boat you have there. I mean, really, REALLY beautiful. I read the entire thread, and I have to admit that the planking job you did alone is enough to scare me off of ever doing a wood kit (unless it's solid hull). I will be following your build and then stealing good ideas for my plastic bounty.
Ciao for now
- Steve 12345 and EJ_L
-
2
-
Howdy Don, Robert and Gregory. Thank you all for the kind words and inspiration. Don, it was a shame that it fell, but it gave me the opportunity to have another crack at it! Robert, I look forward to your Constitution. I heard that Revell is releasing (re-releasing) the USS United States. Have you heard that? I wonder if it will be a completely new and accurate one. That would be neat! Gregory, glad that I could inspire that special place in your heart. I plan on simply enjoying this one. No stress. I have seen that one, I think, and it is really a spectacular build. Plastic has it's place.
Ciao for now
-
Howdy Steve,
Thank you so much for your attention and compliments. There are two secrets to plastic; 1) IT'S CHEAP. These guys who work with wood are true artisans who really have a talent granted by God Almighty. I do not any such ability, so for I would be wasting money investing in a more expensive wood kit. The other secret is 2) the expectations for plastic are much lower than a wood kit. Therefore, any effort at improvement can truly be appreciated. I work in plastic because I can afford it, it's forgiving, and yes, I think that plastic grants me a lot of leeway to use all kinds of different materials to finish my model. Then, all I have to do is paint over it. Again, thanks for the look Steve.
Ciao for now
-
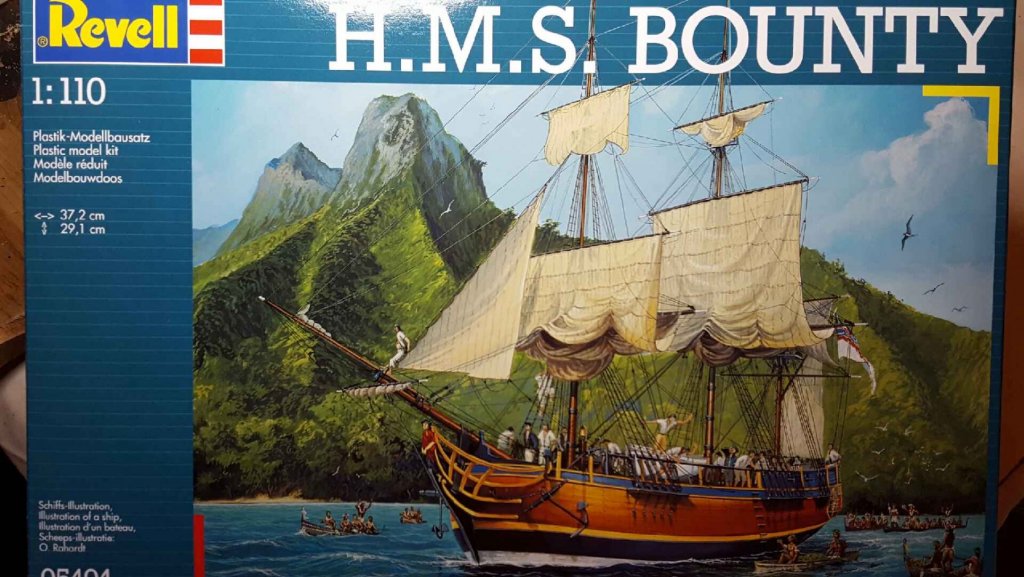
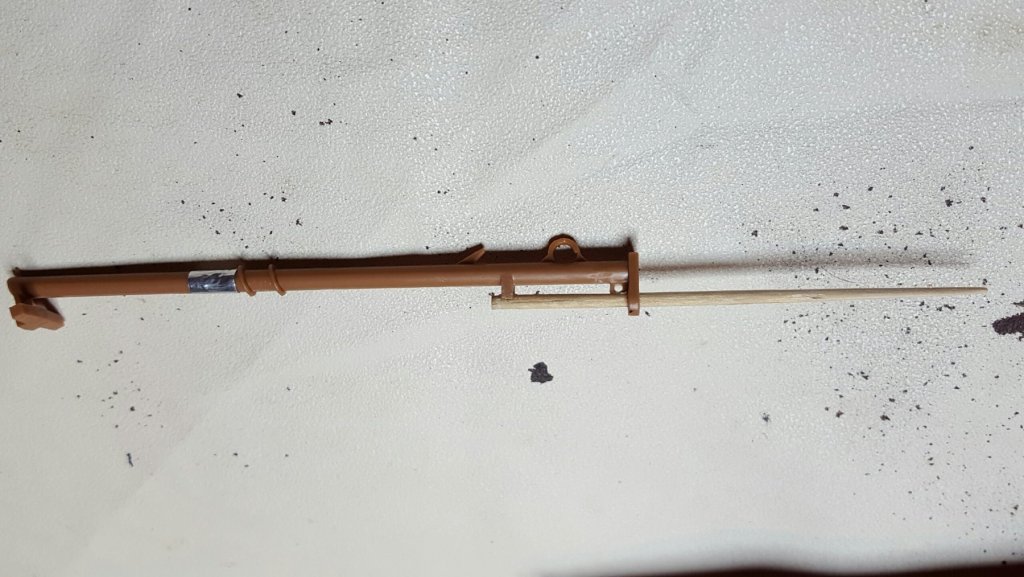
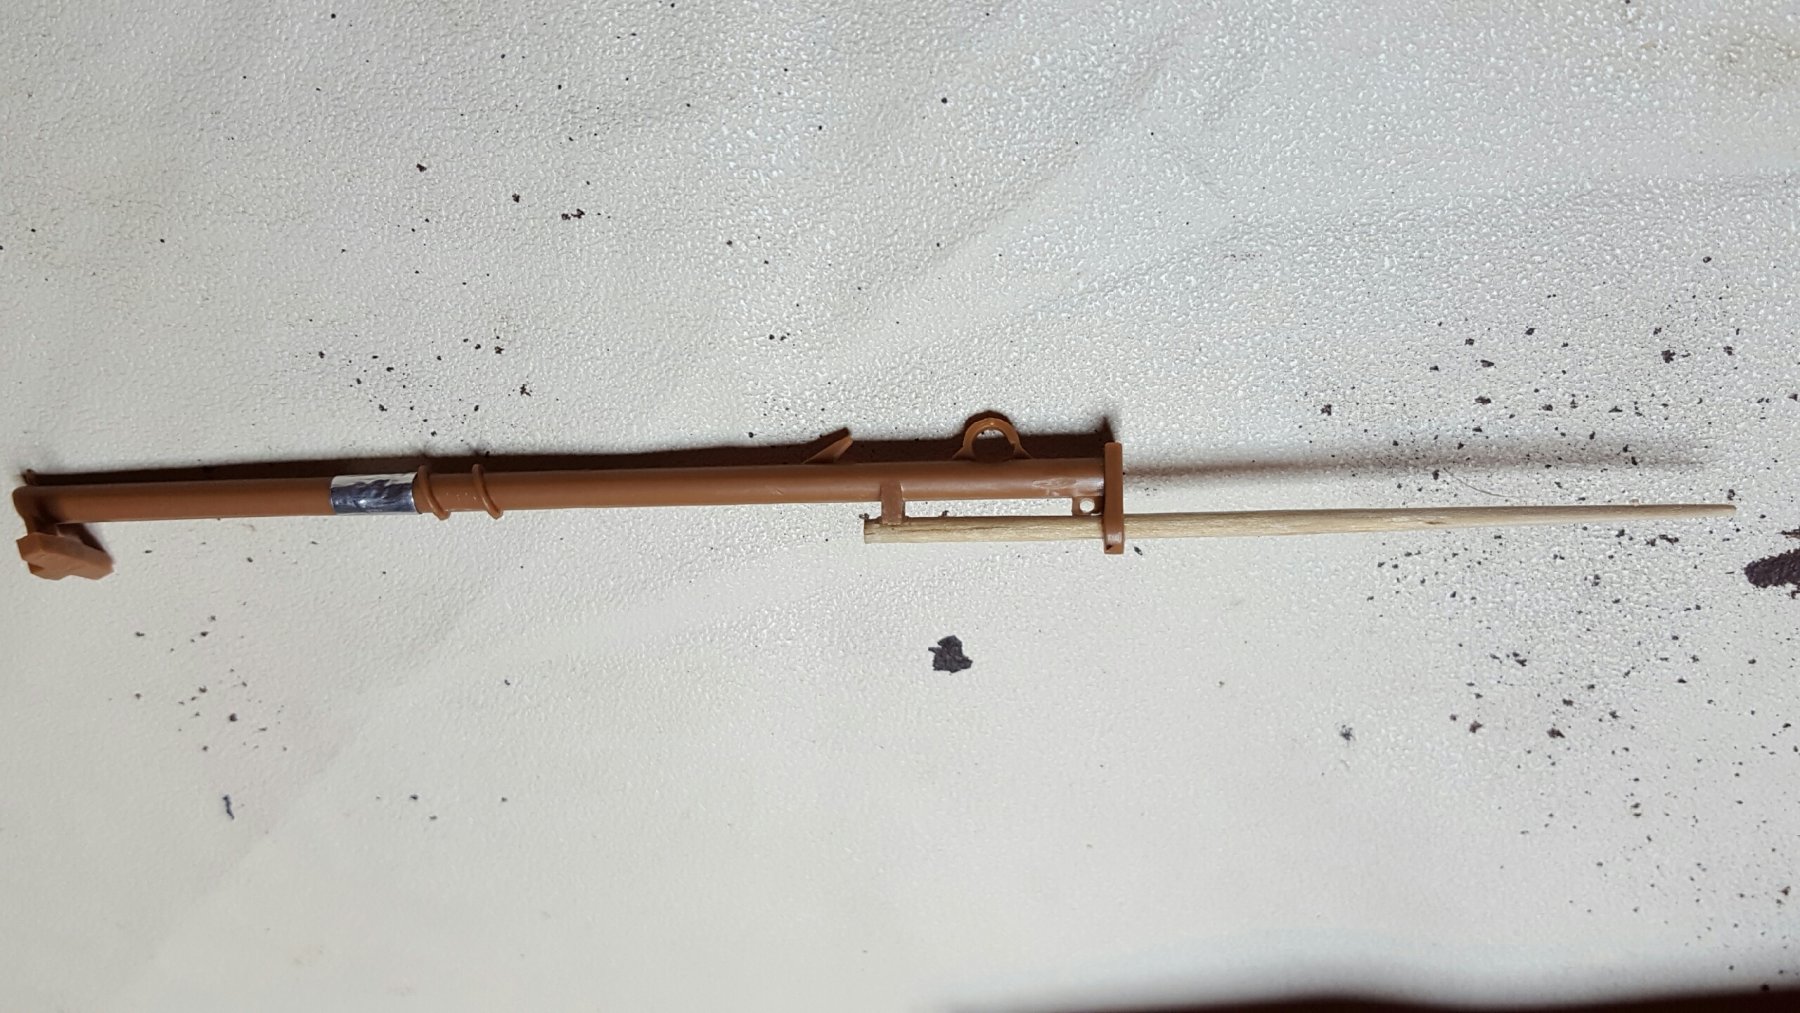
I have decided to build the HMS Bounty. It was a good deal, and I couldn't find the Beagle that was a good deal anyway. (Seriously, eBay. I realize that you treasure some items, but come on! At least make them affordable.) Anyhoo, I have already started building on it, and so far, I have made some modifications such as replacing the belaying pin (racks?) on the sides, and I drilled out and replaced the bowsprit that was hopelessly warped. So far, so good. Right now I am thinking whether I should copper the bottom or not. I got duct tape that I could paint, if needed. Thoughts???
Ciao for now
-
Howdy all,
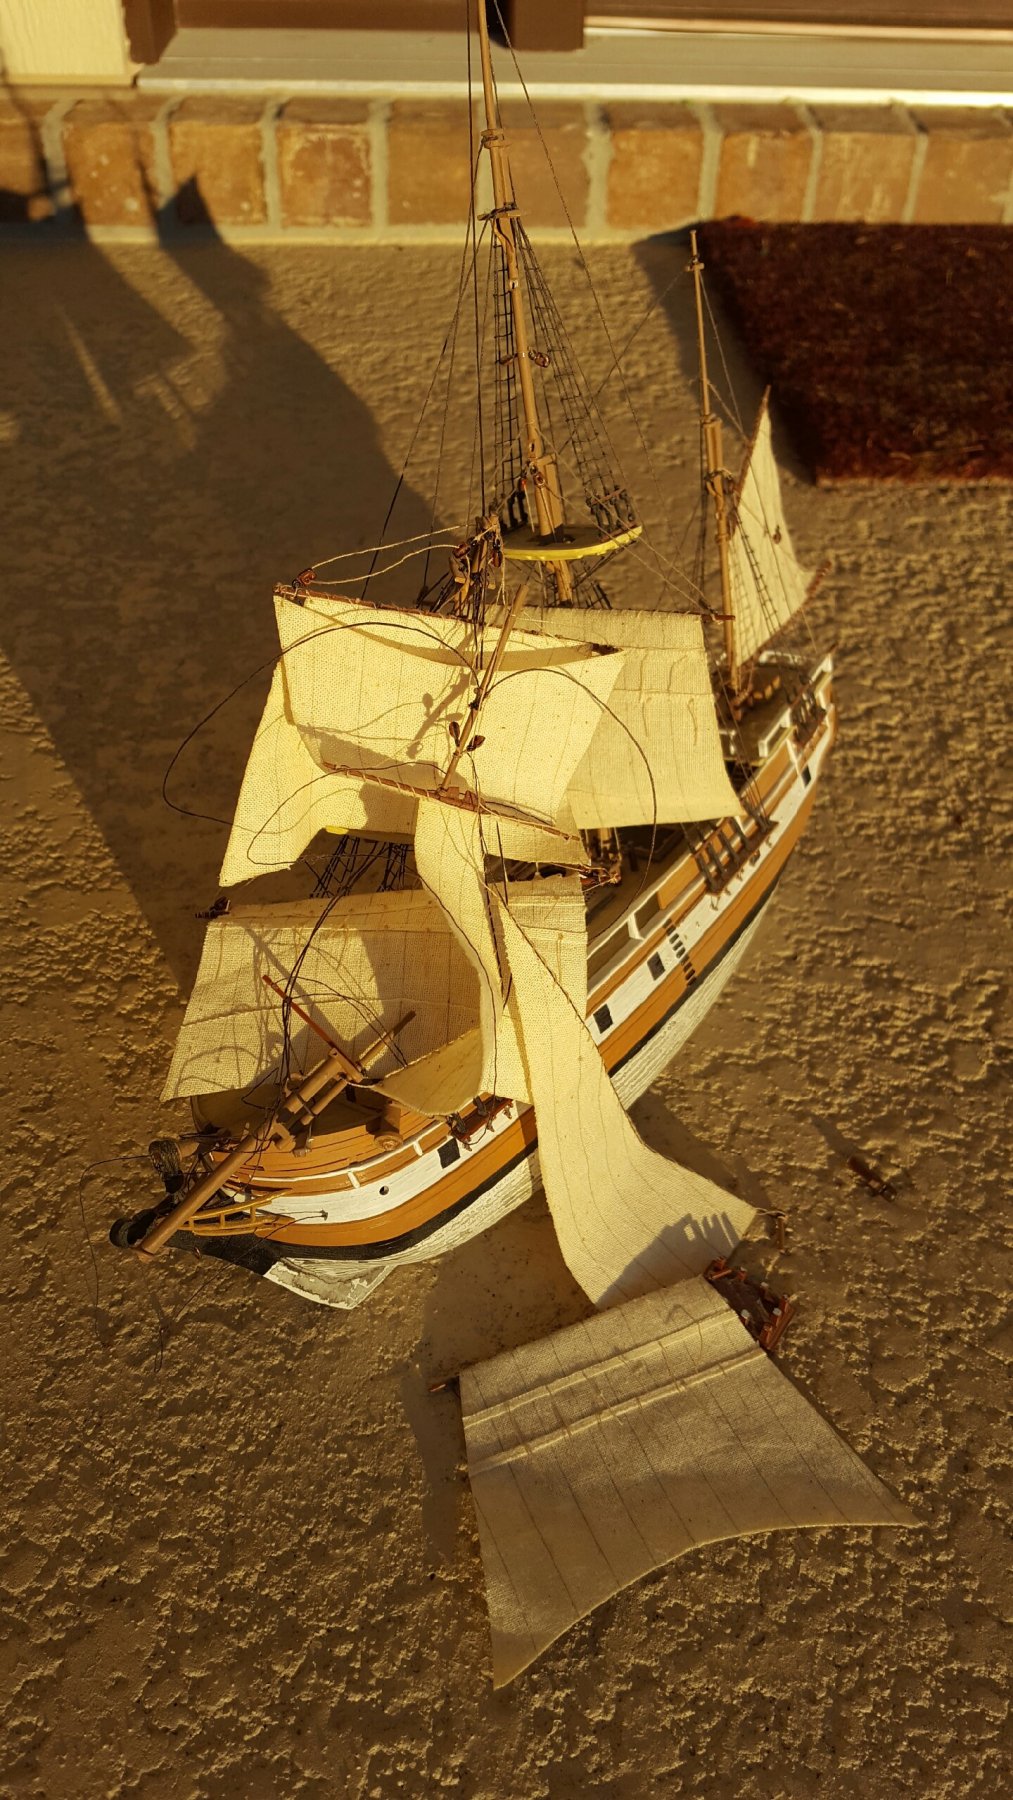
Okay, you might have noticed that I named this "2nd attempt" at the HMS Bounty. Well, that is kind of misleading, but I had originally been building the HMS Beagle. Now, anyone who deals with these boats realizes that the Beagle by Revell is nothing more than the Bounty with cheap modifications (or is it the other way around. I'm not sure). Anyhoo, I was building it and was really enjoying the fact that I could modify it quite a bit and add details. I mean I was making my own eyebolts. That was the first time that I had made my own ratlines. I even "planked" a section of the prow with cut styrene strips. Well, guess what? It fell off the shelf and suffered some serious mangling. My wife asked me if I could fix it, but I just don't see it as worth it. So....

.thumb.jpeg.b438b1f896af5541164963dbd501e50b.jpeg)


.jpeg.62ea9f74a83e3925c82e1c3c271729cd.jpeg)
HMS Bounty by husky1943 - Revell - PLASTIC - 2nd attempt
in - Kit build logs for subjects built from 1751 - 1800
Posted
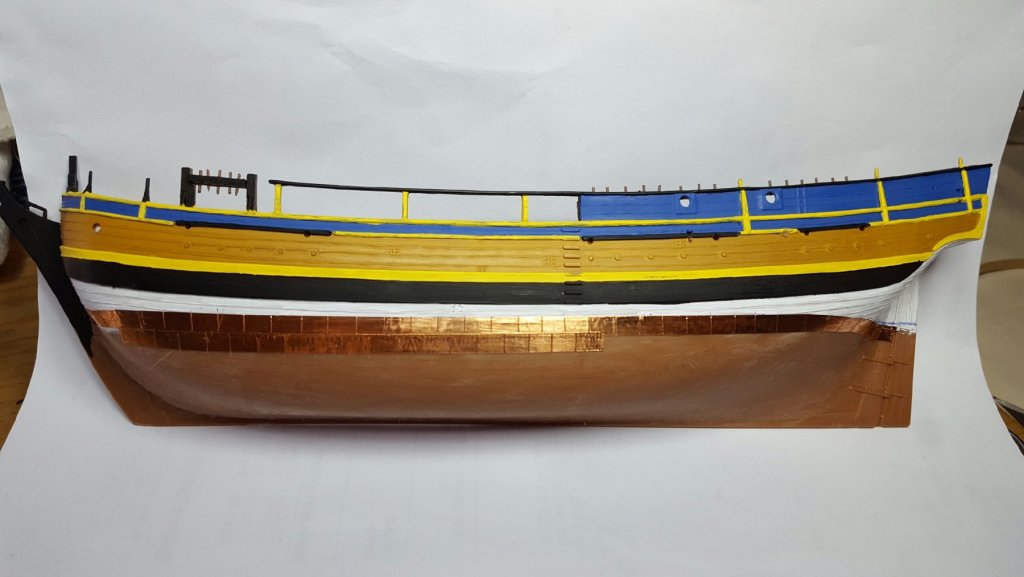
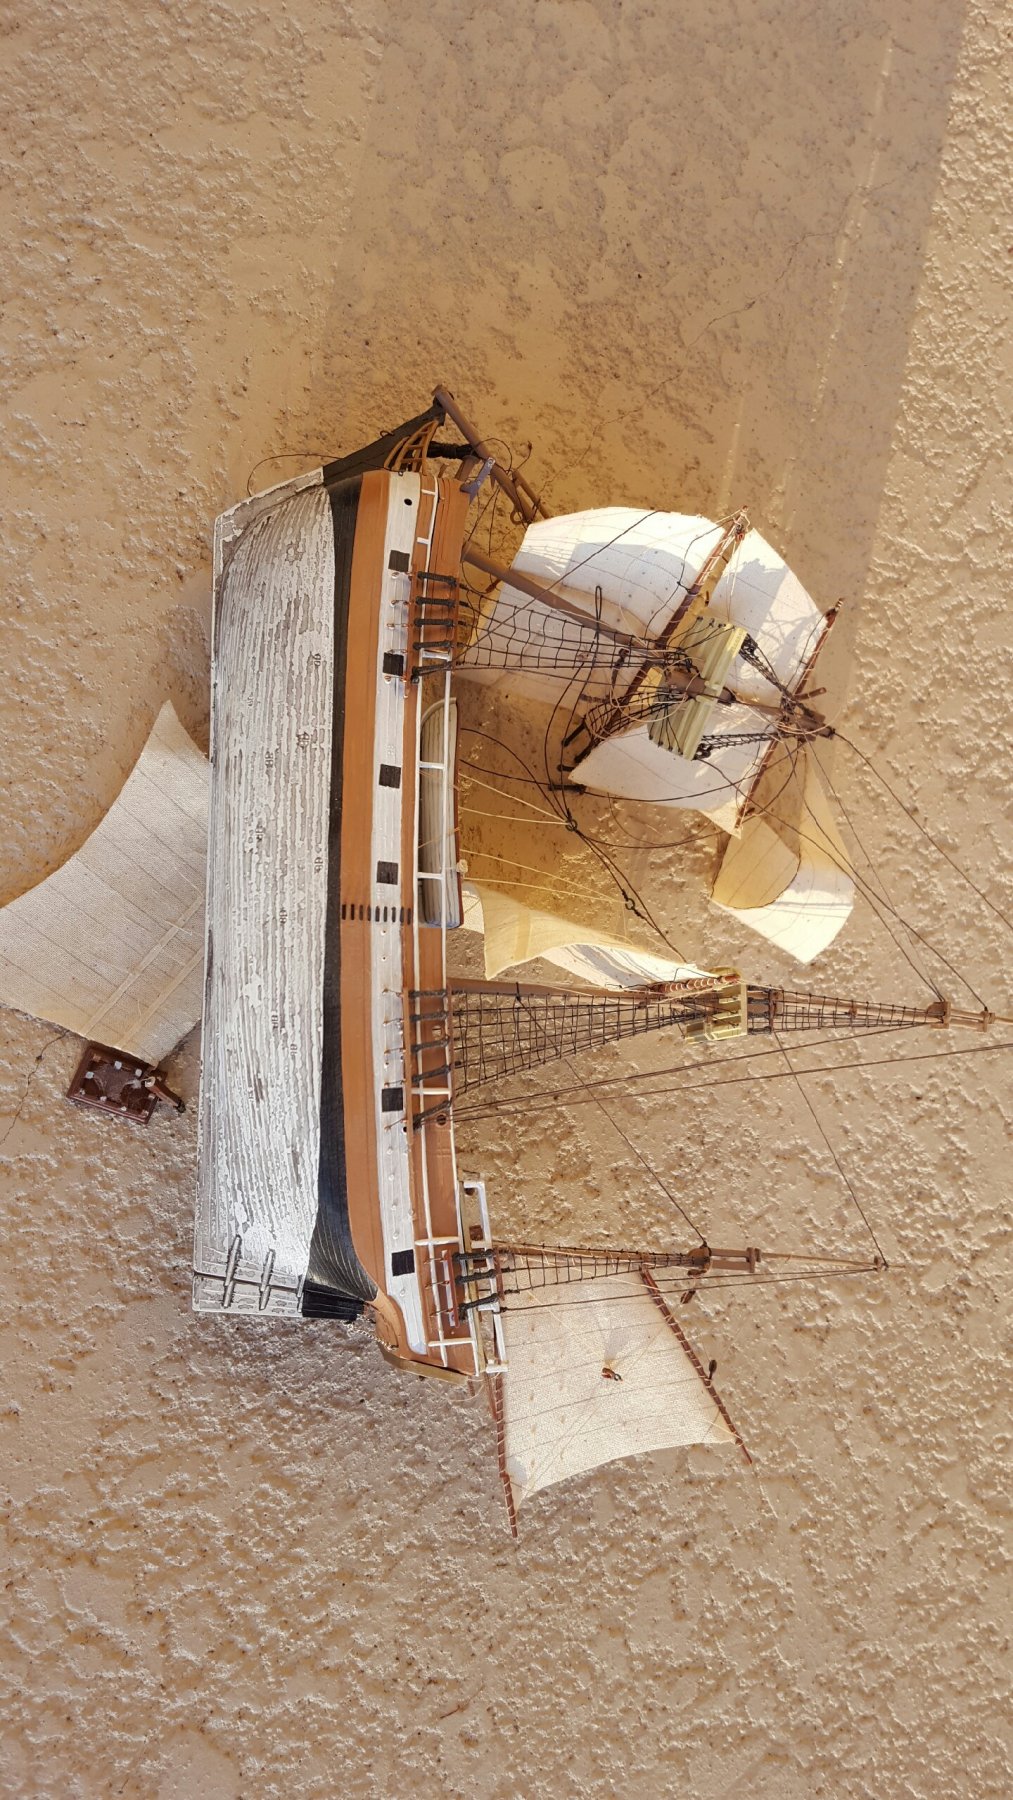
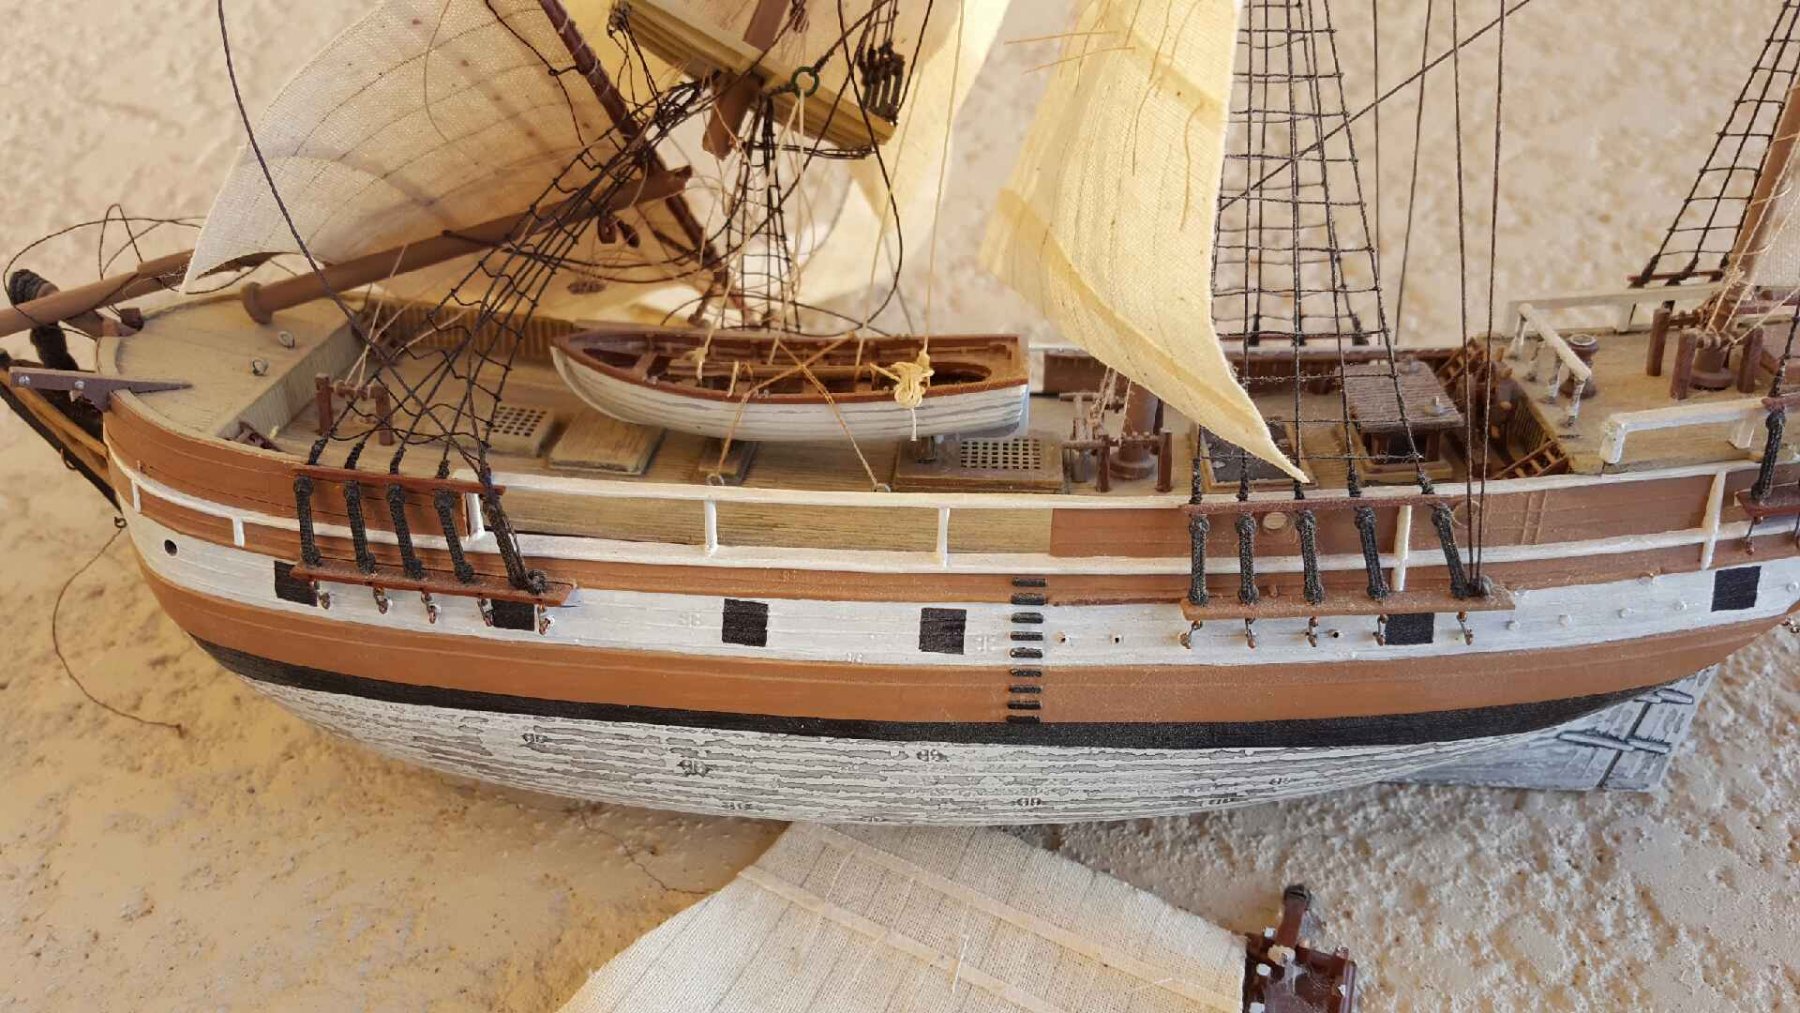
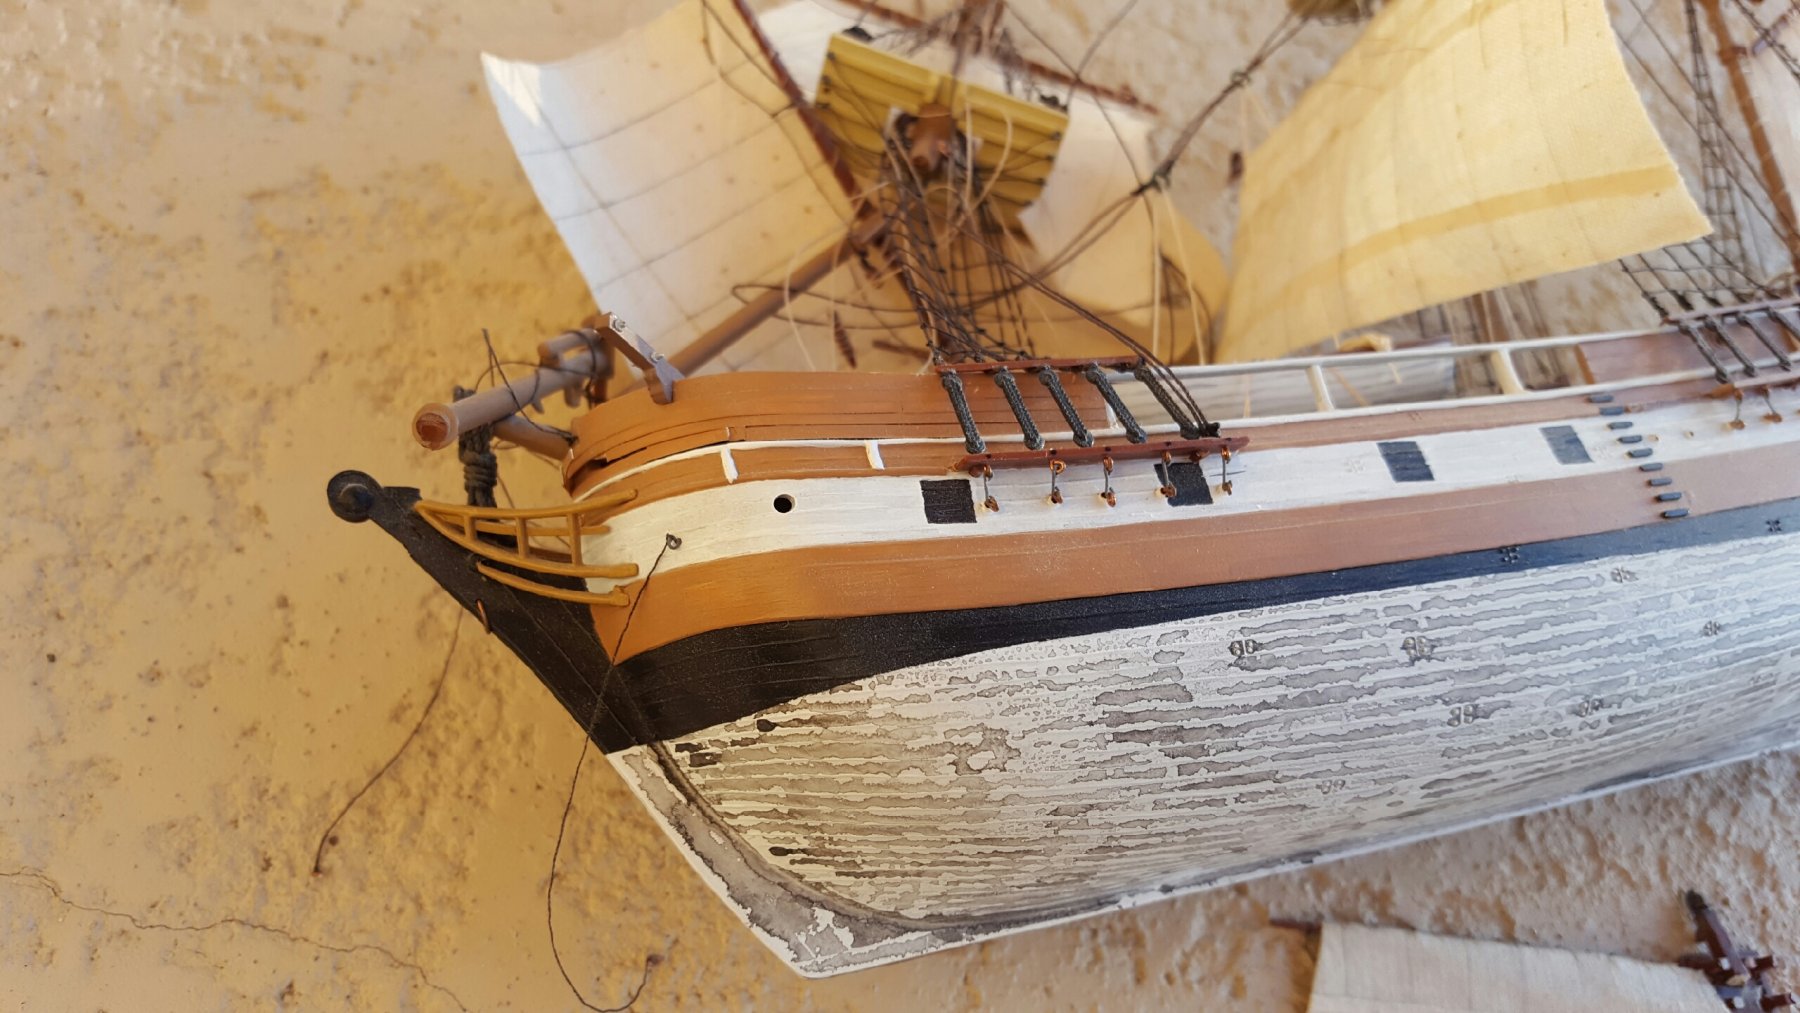
Howdy all,
Finally, got the boat halves welded together, and the aft finished up. Plus, I had to do quite a bit of touch up painting since I'm about as delicate as a steam shovel! I really like the coppering on the bottom. I think it adds a lot of "wow, that's different." Added some chains to the rudder. Not sure how accurate, but they look nice - so good enough. The mount is just temporary. The clay grips the model, but allows me the ability to manipulate the boat if I need to get at a weird angle. The eyebolts were a bear to make and install, but I think, worth the time and effort. I now have to start working on the guns. Four deck guns that I have to detail out. What do you call the tools that a Sailor used to load (like the worm, a rammer and a sponge)? What would be the nomenclature for a set of those? Anyway, updates will be slower and slower with summer coming. I have some acres in the country, and that means cleaning, shooting guns, mushroom hunting, camping. Plus, the beach is going to be calling our name here in a bit. Got to get our tan on!
Ciao for now