HOLIDAY DONATION DRIVE - SUPPORT MSW - DO YOUR PART TO KEEP THIS GREAT FORUM GOING! (Only 13 donations so far - C'mon guys!)
×

alross2
-
Posts
408 -
Joined
-
Last visited
Content Type
Profiles
Forums
Gallery
Events
Everything posted by alross2
-
 Made two new templates for setting the chain plate angles. One is for the forecastle mast, the other for the other five masts. The top of the template corresponds with the slots in the channel while the bottom corresponds with the bottom of the chain plate, You just align the top section with the channel slots and use a pin or ,020" drill through the bottom holes to mark the position of the lower part of the chain plate.
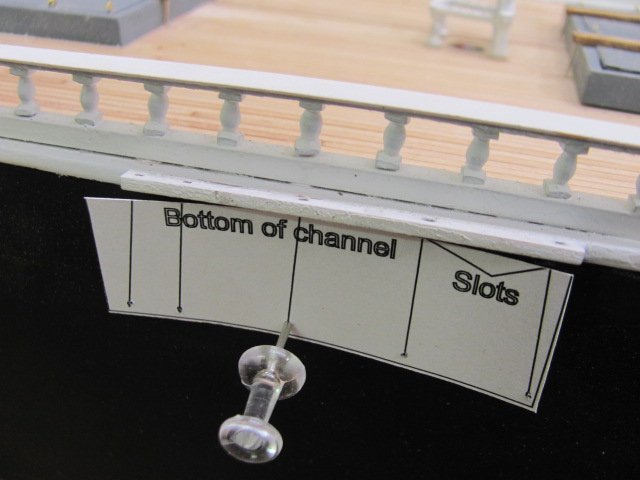
-
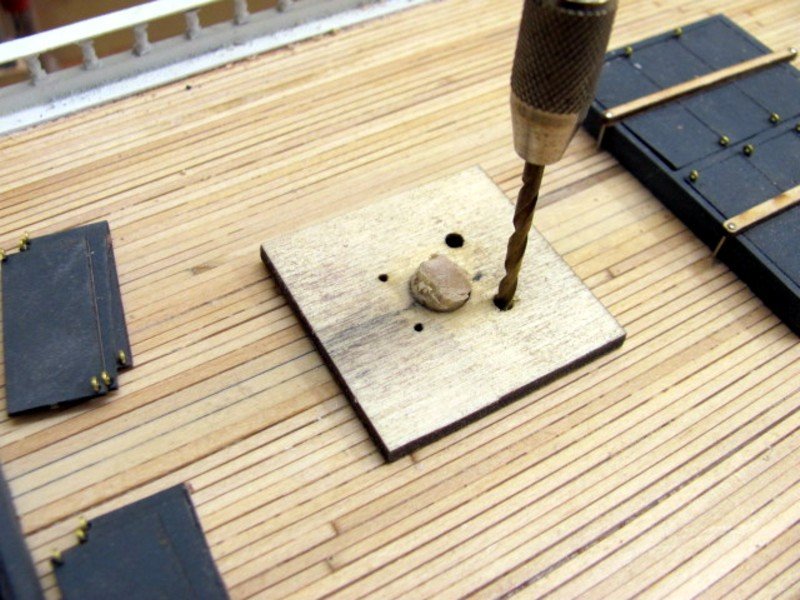
Made up a jig for drilling locating holes for the pegs on the fife rails. There's not much clearance between the mast and inside of the fife rails, so this will align everything properly. It will be part of the kit.
- 194 replies
-
- 10
-

-
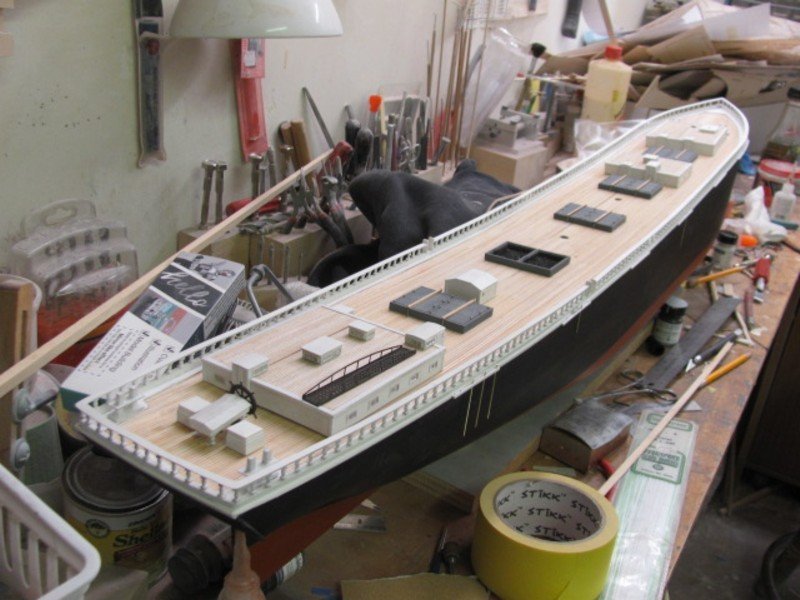
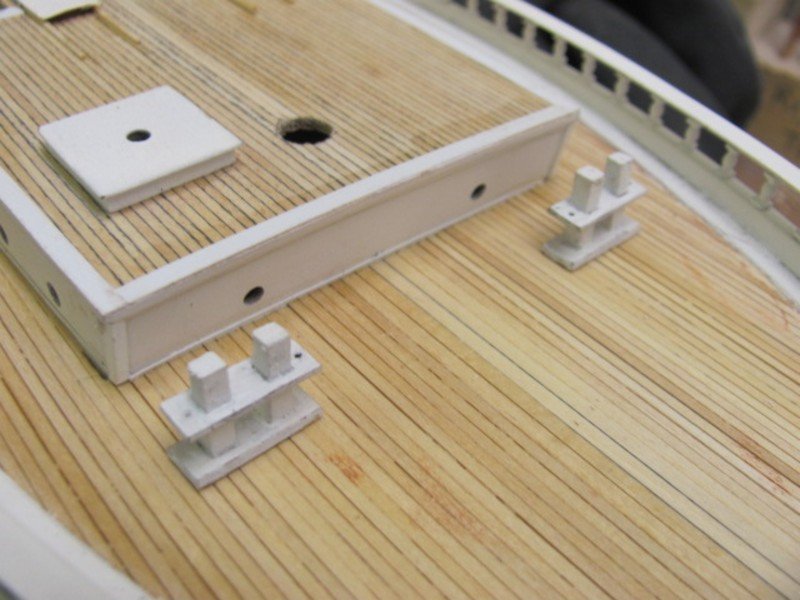
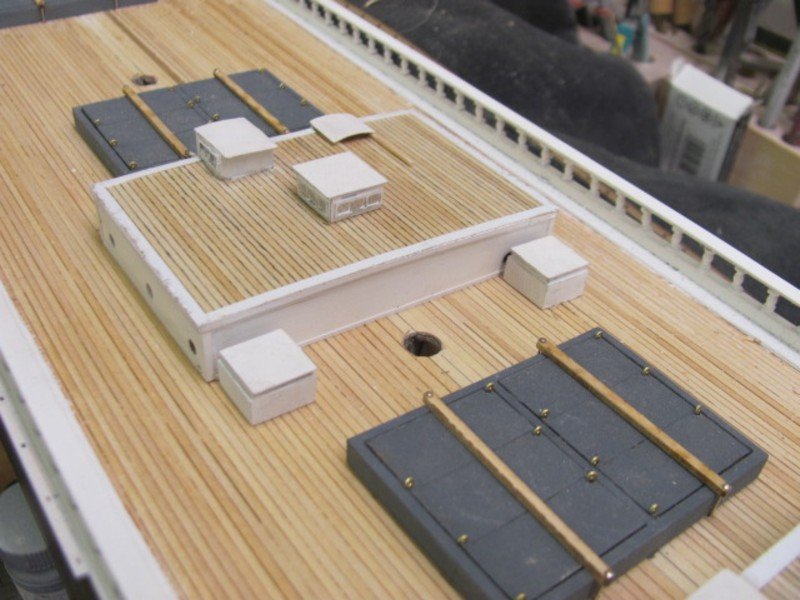
The fore and midships houses are mostly complete and glued down, Got a few more pieces for the aft house, then it will be fixed down. After that, I have to make the deflection rails for the skylights and add the mopboards around the houses.
- 194 replies
-
- 12
-
-
Nic will be bringing the WYOMING in its current state to the New London show this week.
-
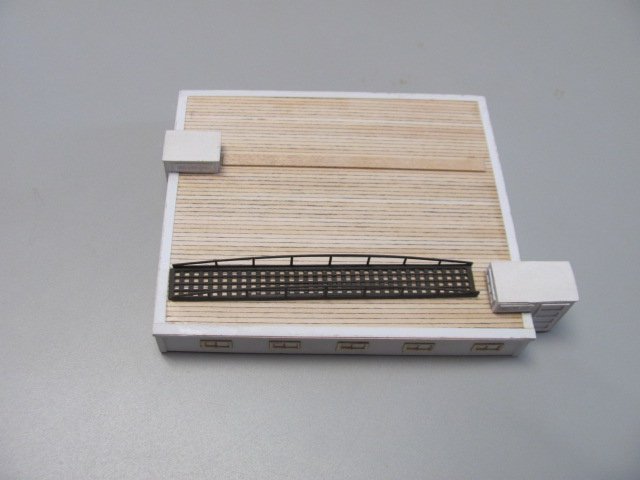
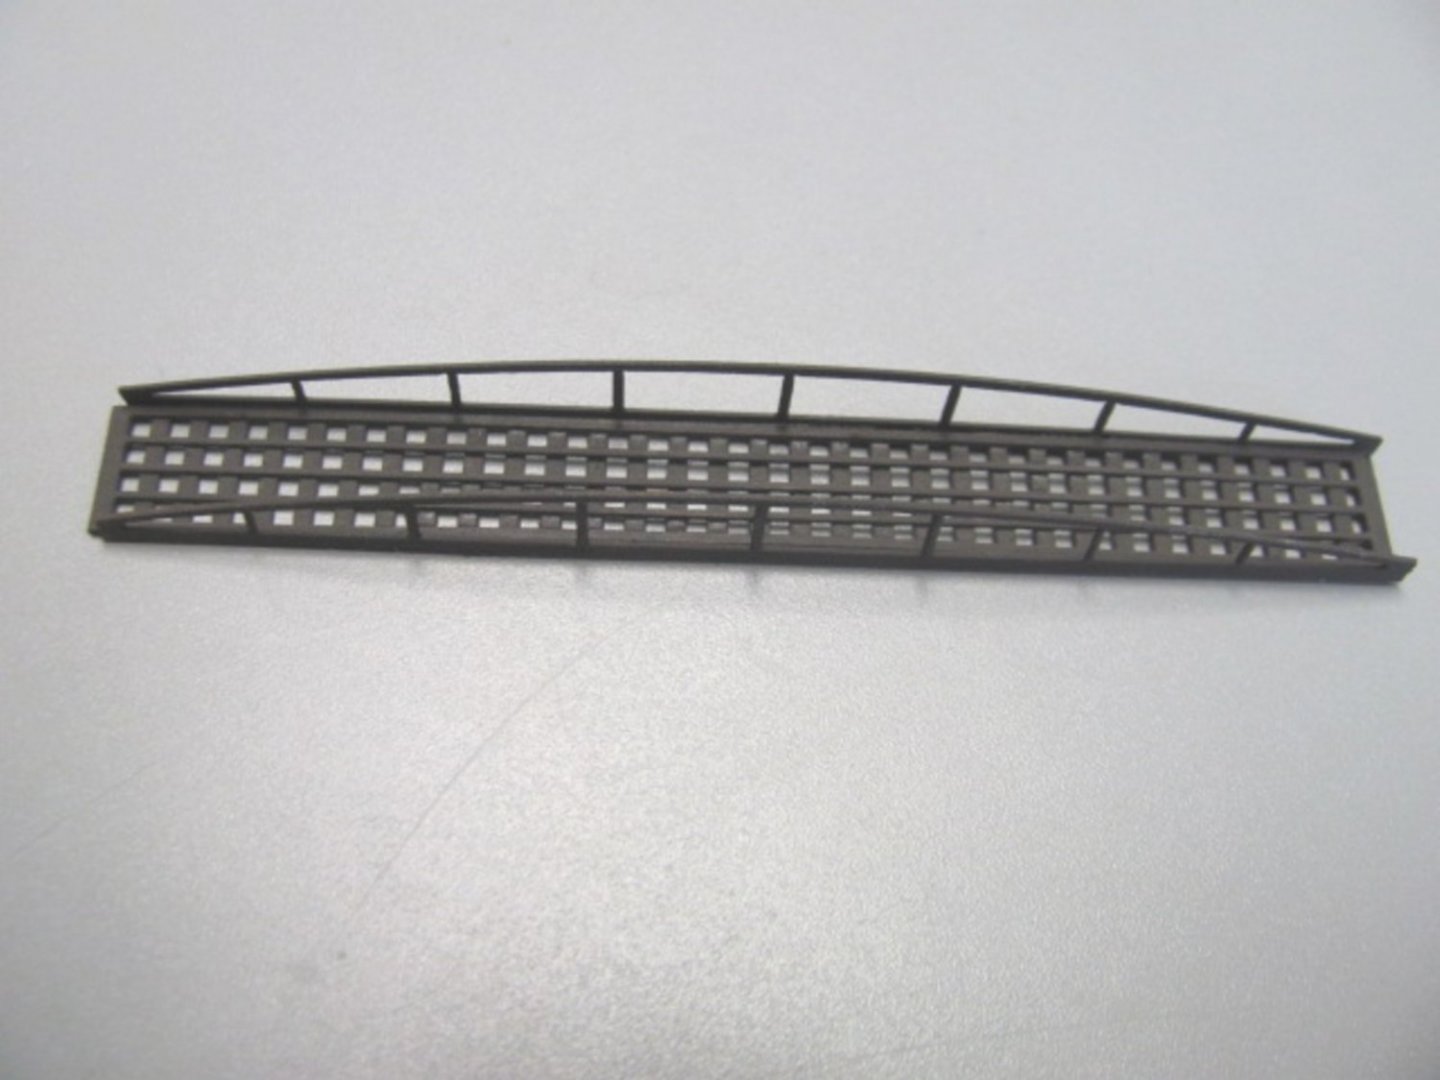
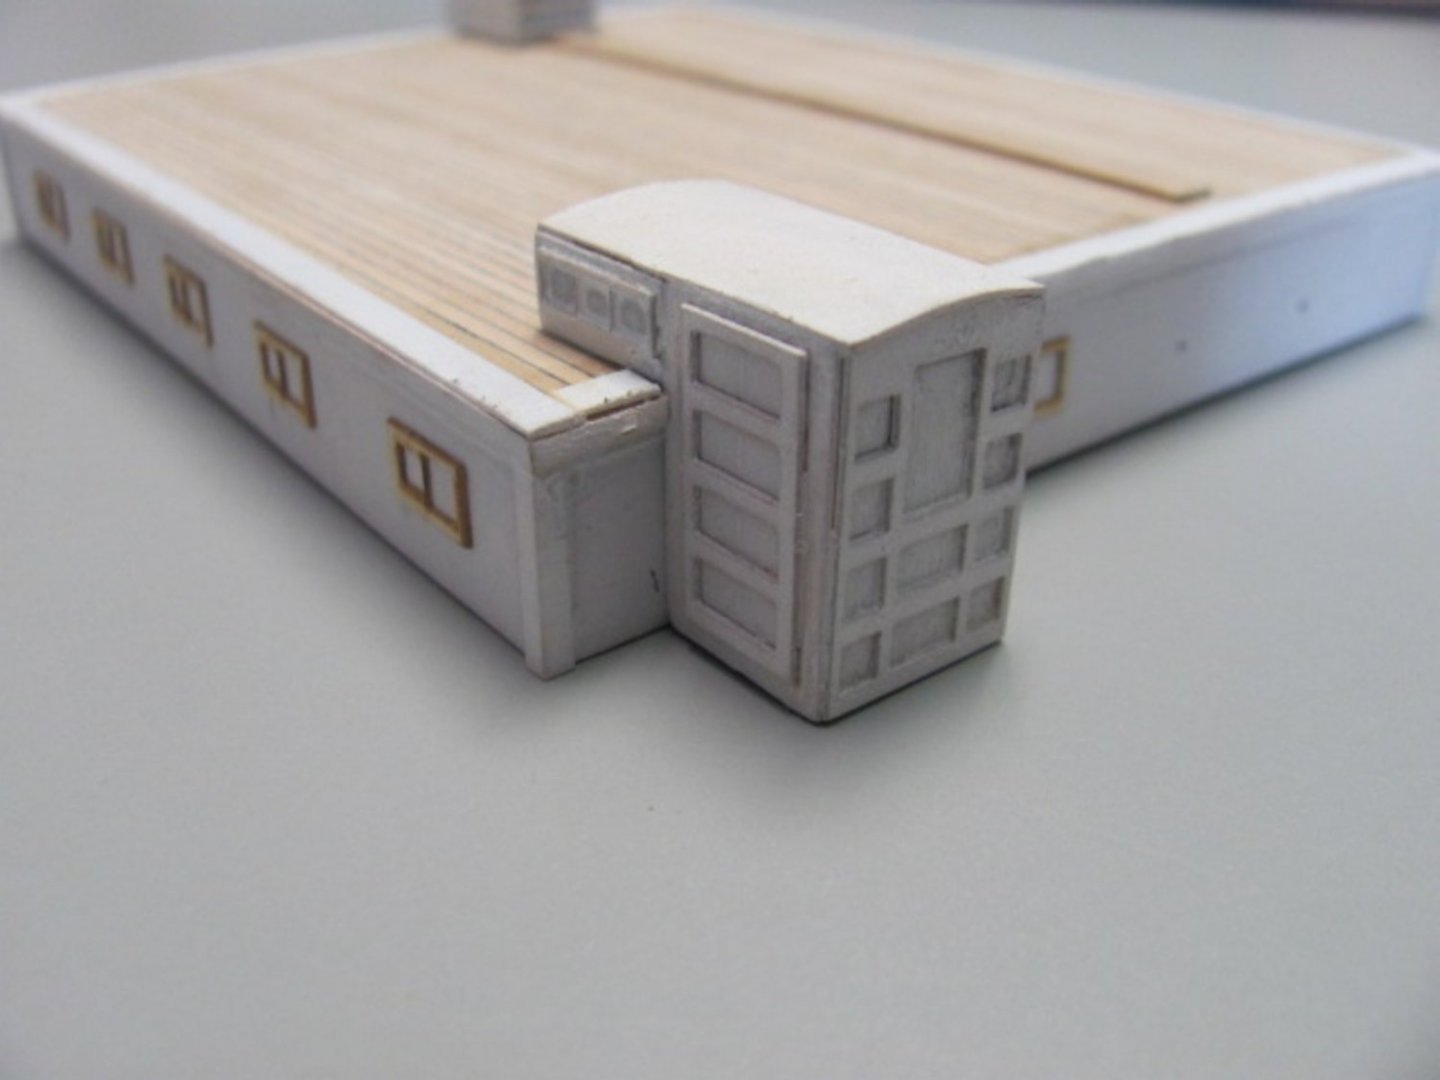
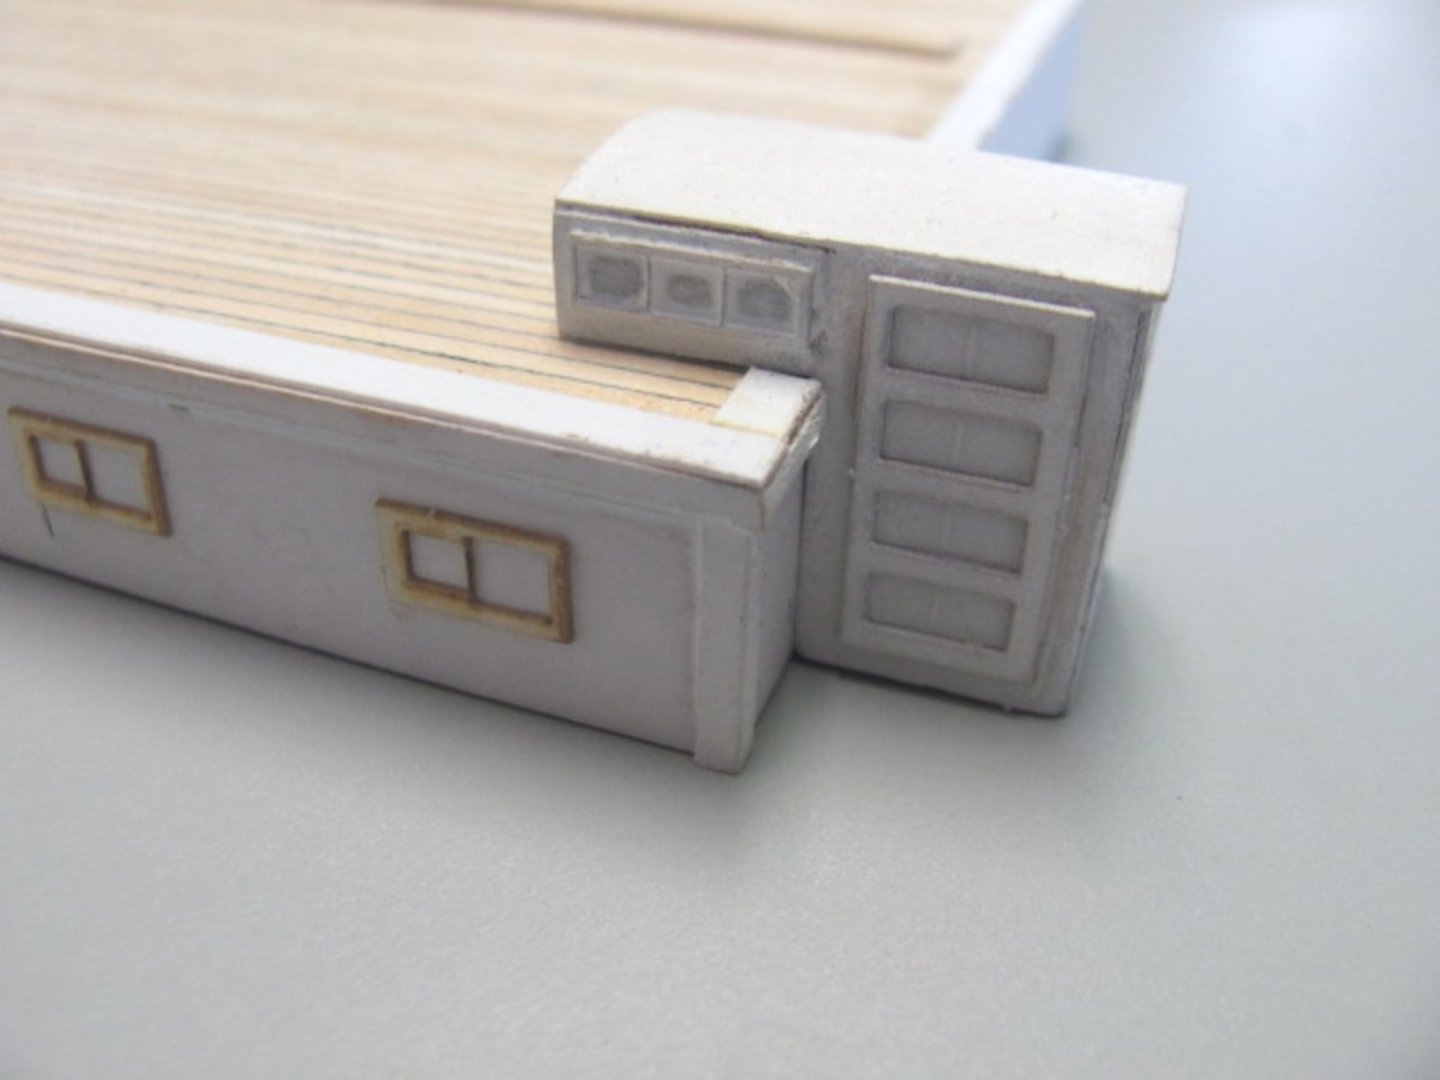
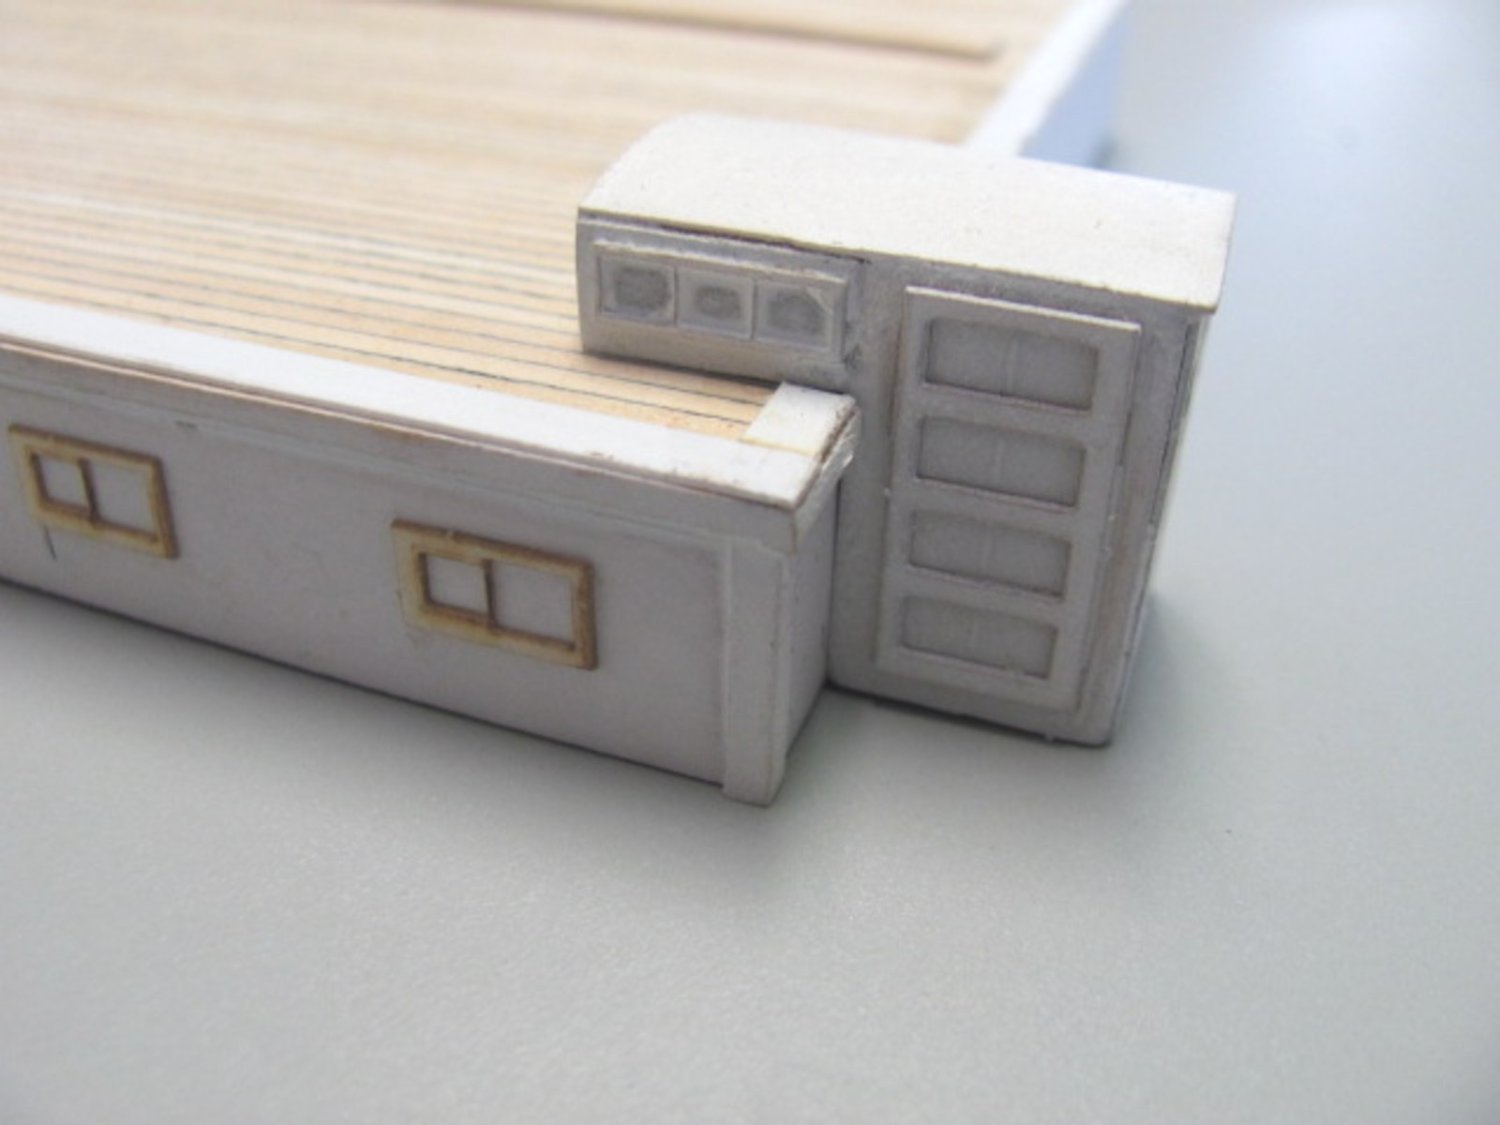
Working on companions and skylights this week. This is the mostly finished aft house. Still have to add the skylight and paint the window frames. The large companion has ten laser-cut parts. The gangway comprises four pieces of .015" laserboard.
- 194 replies
-
- 11
-
-
Railings are complete and painted. Have to do a little touchup, but it came out well.
- 194 replies
-
- 18
-
-

-
Starboard rail is done. Only 125 more stanchions to go... Once both rails are complete, I'll mask off the deck and paint the rails and channels white.

- 194 replies
-
- 11
-
-
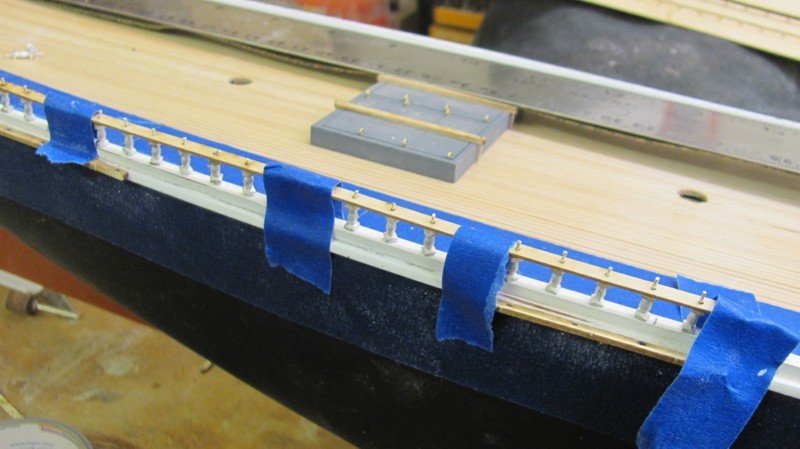
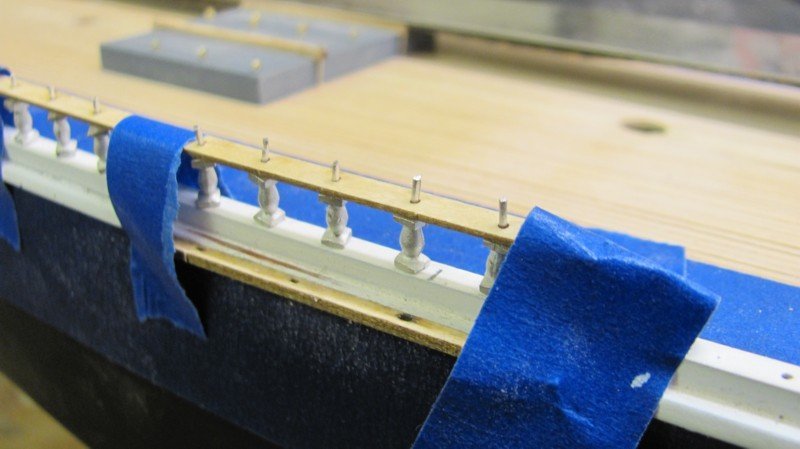
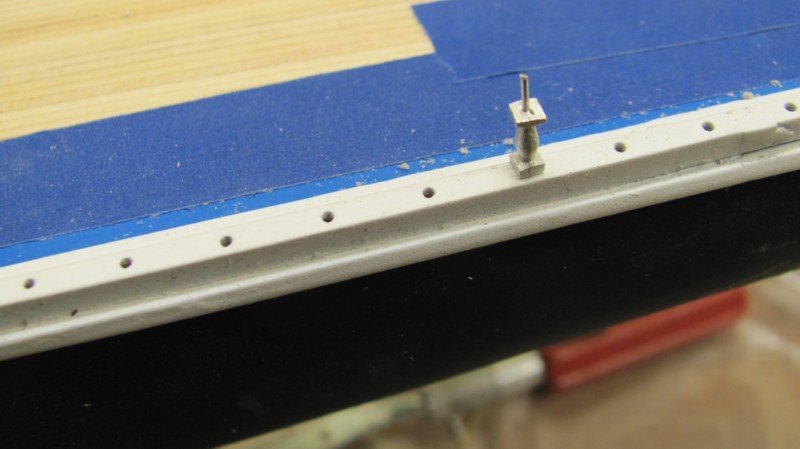
Starboard aft rail with all stanchions in place. Each stanchion has a slight inboard cant to it, so it's best to simply place but not glue then into their holes, then align them one by one with the top rail taped in place, The pegs on the stanchions will be snipped off flush with the top of the rail and will be covered with a .015" laser board cap rail.
-
Test fitting the stanchions and cap rail. Don't wan't to stick all 250 stanchions into the chock rail and not have them line up correctly!!
-
A momentous occasion - the first rail stanchion has been glued to the chock rail!🙂 Only 249 more to go...😱
-
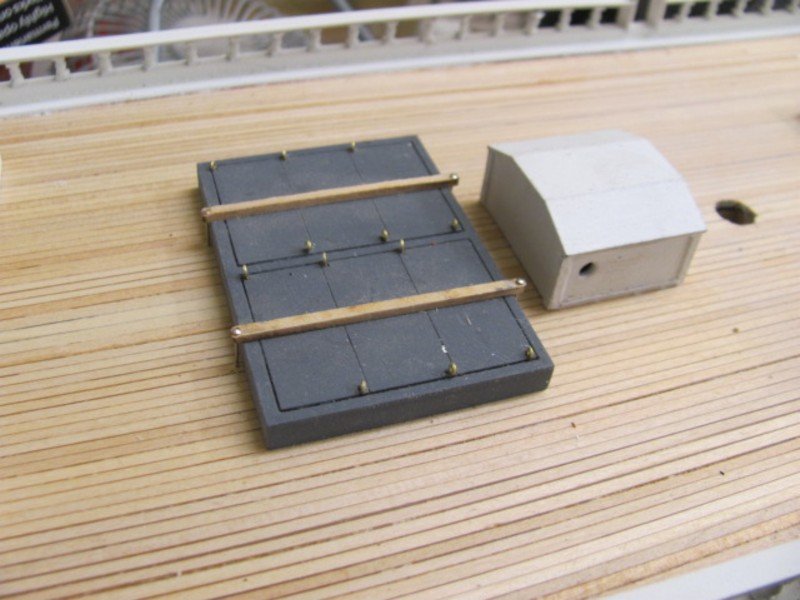
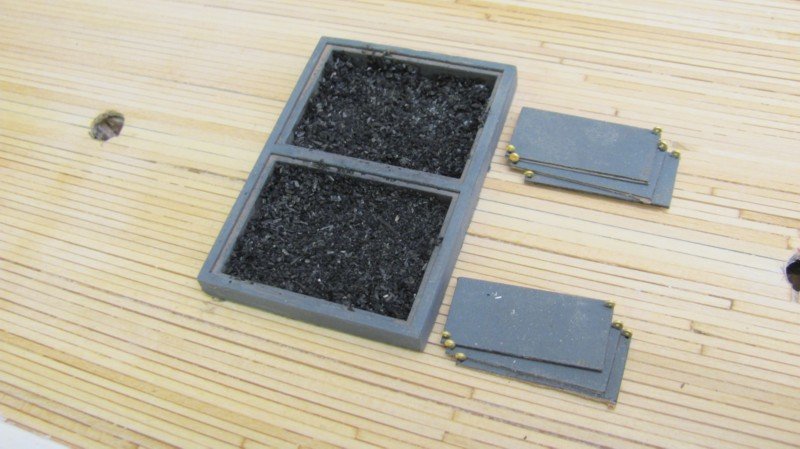
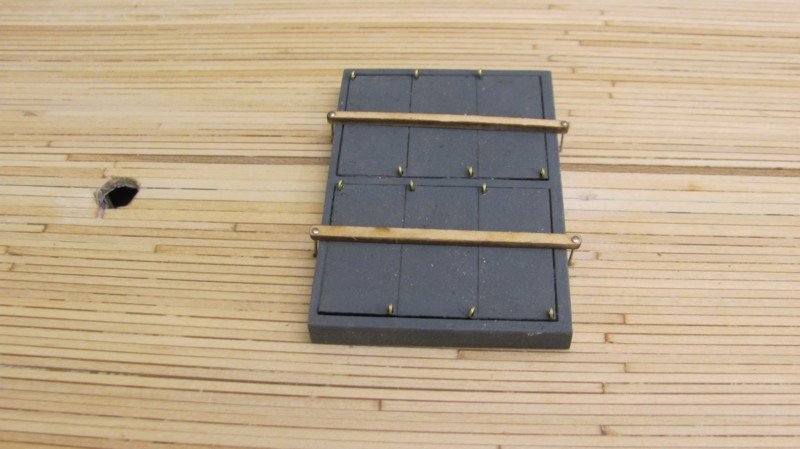
Hatches, covered and open showing coal. The closed hatches have laser-cut battens, as well.
-
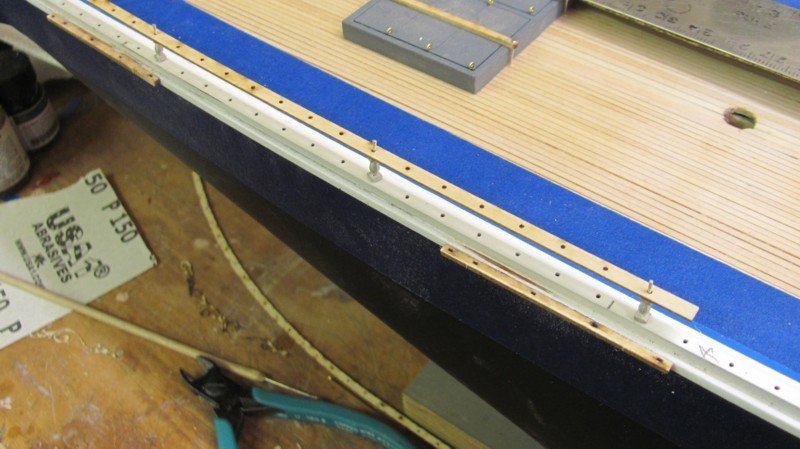
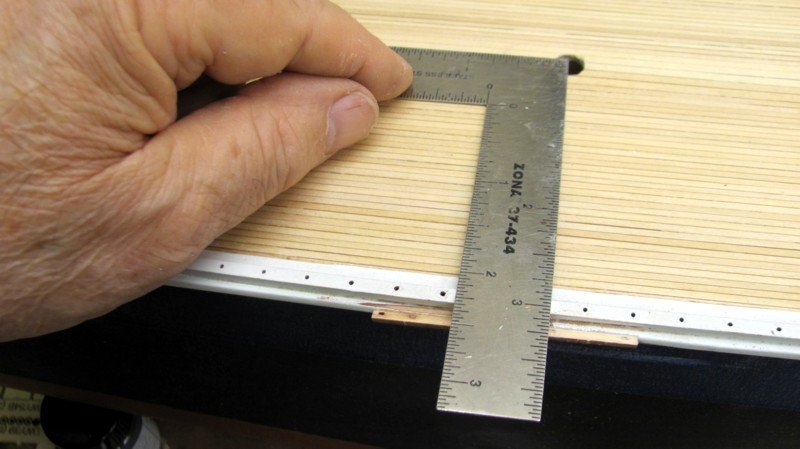
Working on the channels this morning They're laser-cut with the chain plate slots included. They're easy to set up as the second slot aligns with the center of the mast holes in the deck. The chain plates will be cut to length and a template will be provided to set them at the proper angle. The turnbuckles will attach directly to the chain plates.


-
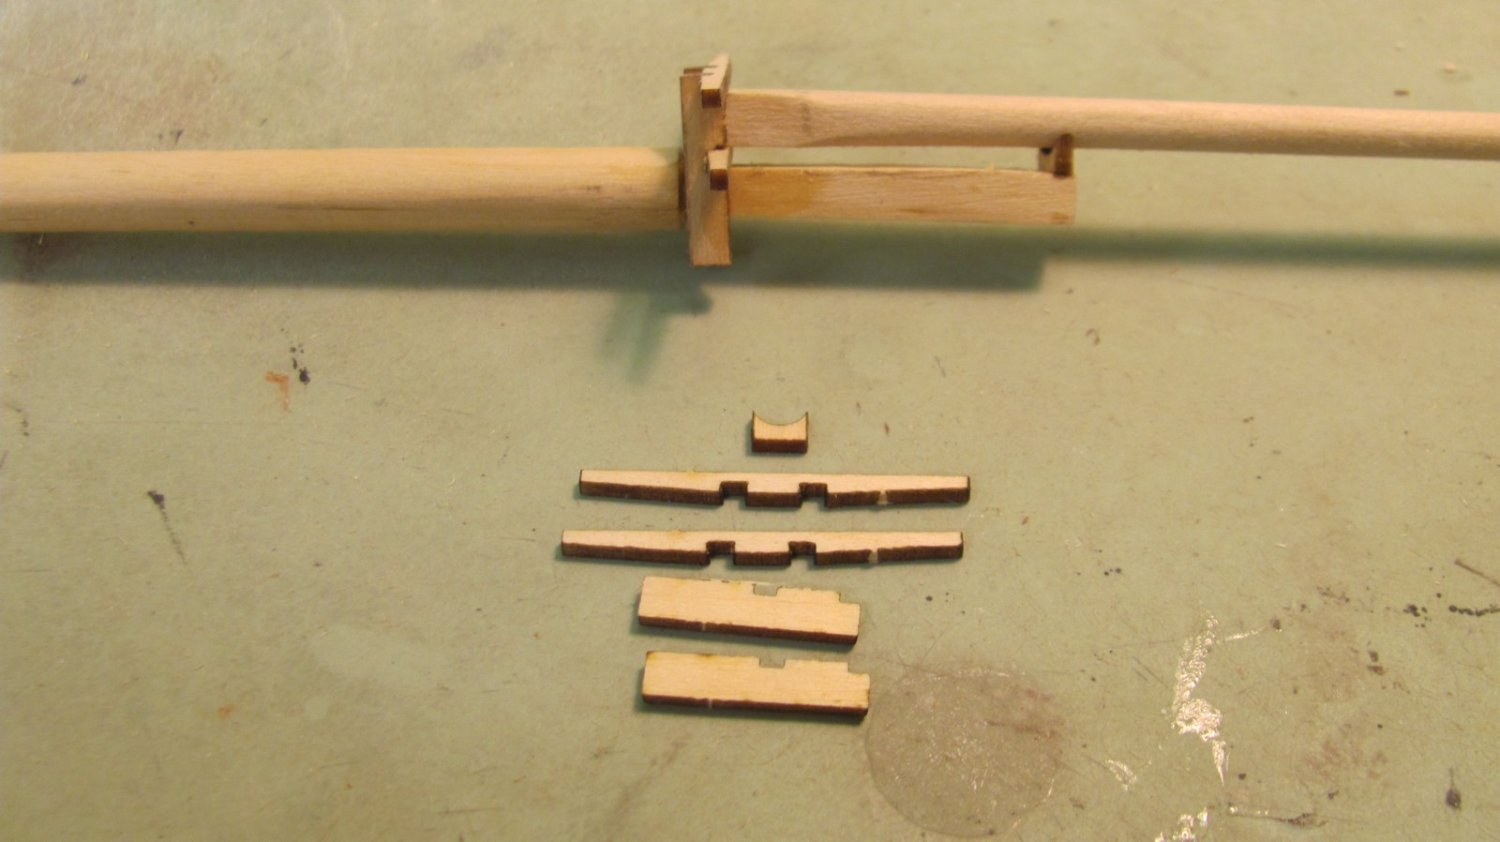
Finishing the masts today. The boom jaw rests have locaters etched on their underside to make it easier to align the four brackets.
- 194 replies
-
- 10
-
-
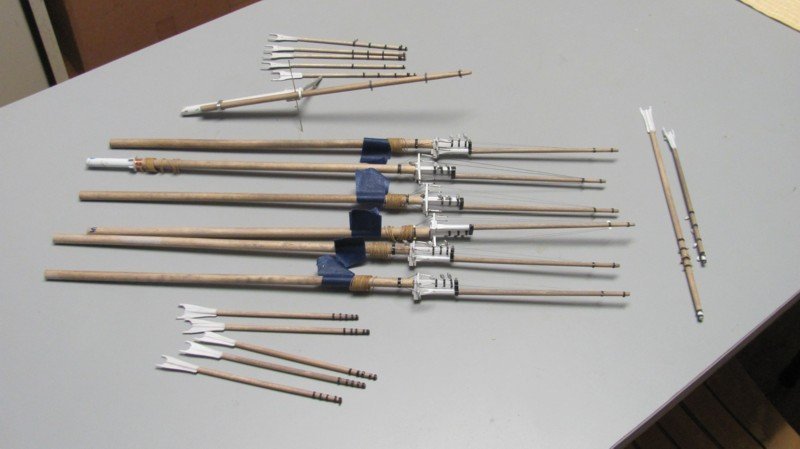
Admin · 6m · Been busy making sticks this week. Still have to add eyepins and blocks to the short booms and gaffs. The blue tape on the masts is just to keep the sail rings from sliding off before i add the boom jaw rests.
-
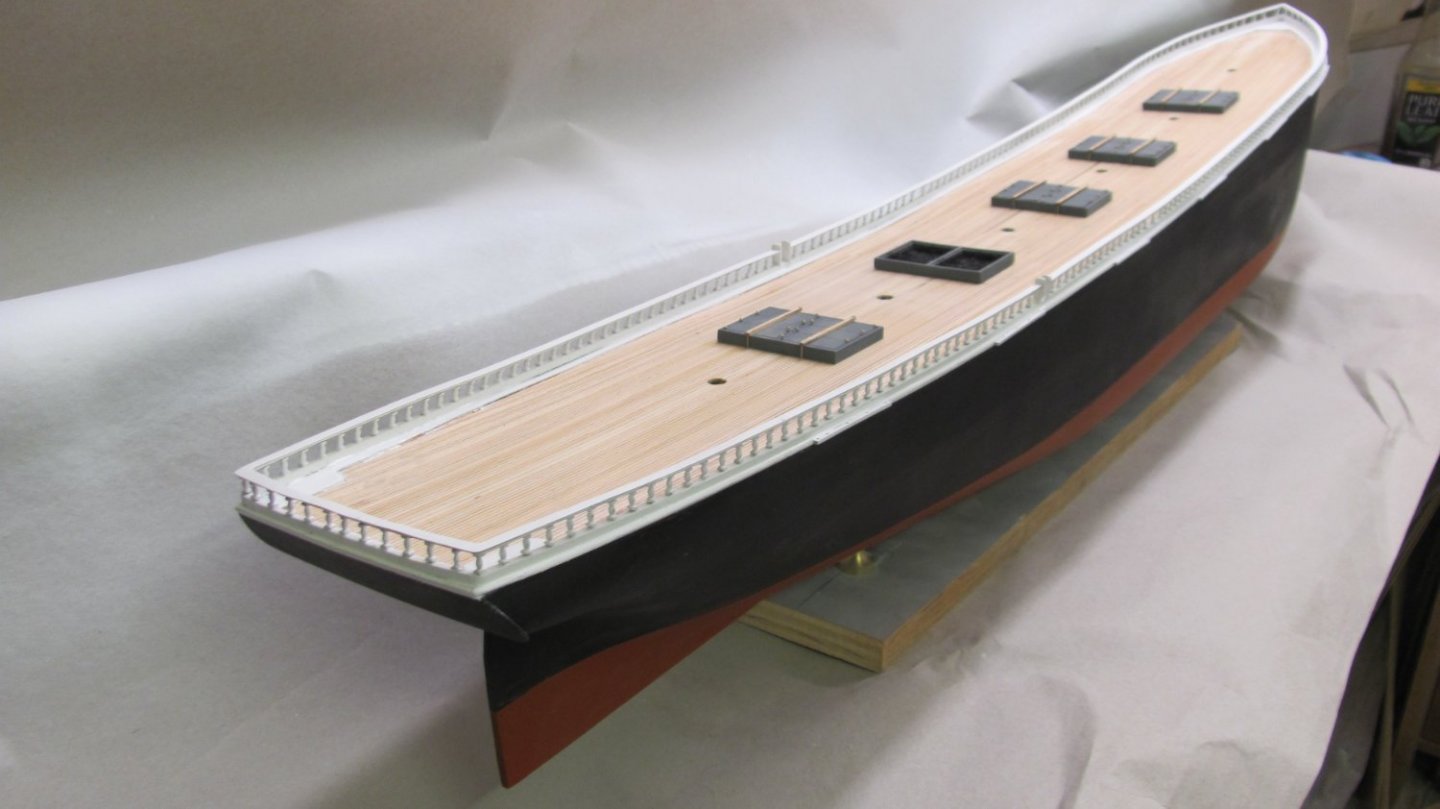
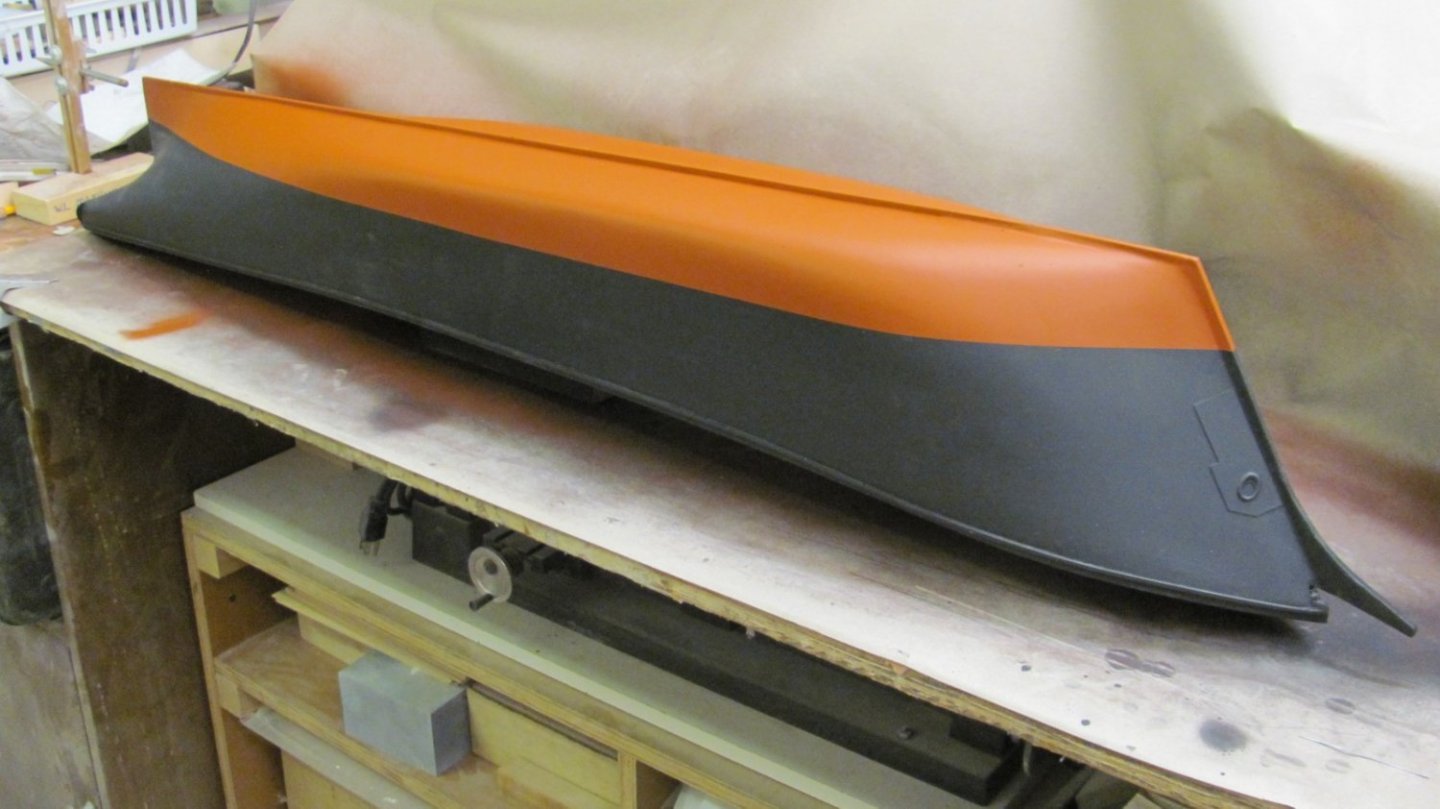
Plans show it as the light load waterline and it seems consistent with this photo.
.jpg.3674f42d93cb5def630c9c055acf3858.jpg)
-
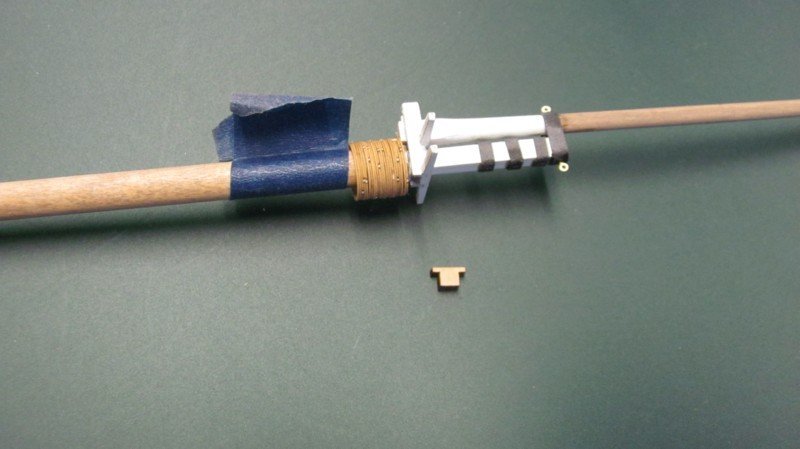
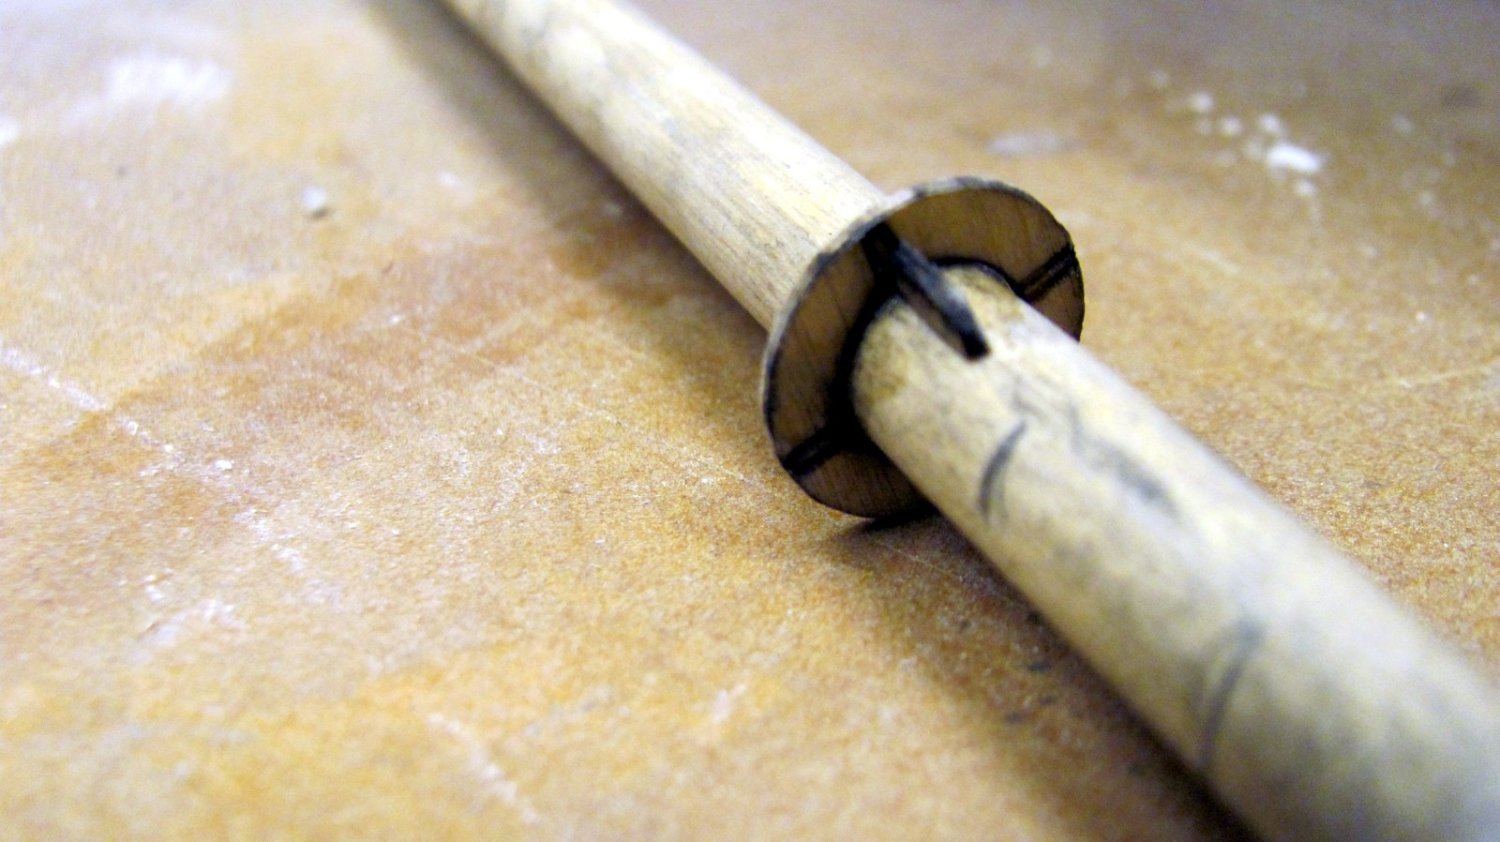
Experimenting with the mast. The bands are black construction paper that will be cut from lasered strips. They are closer to scale thickness than britannia and look like wrought iron, so you don't have to paint them. The items between the blue tape and the doubling are 24 sail hoops lasered from .015" laserboard. The T shaped object is the laser-cut glut. Once that is attached, a black paper strap ("barn door") will finish it off. The boom jaw rest is five pieces of lasered 1/32" ply with a copper tape chafing plate.

-
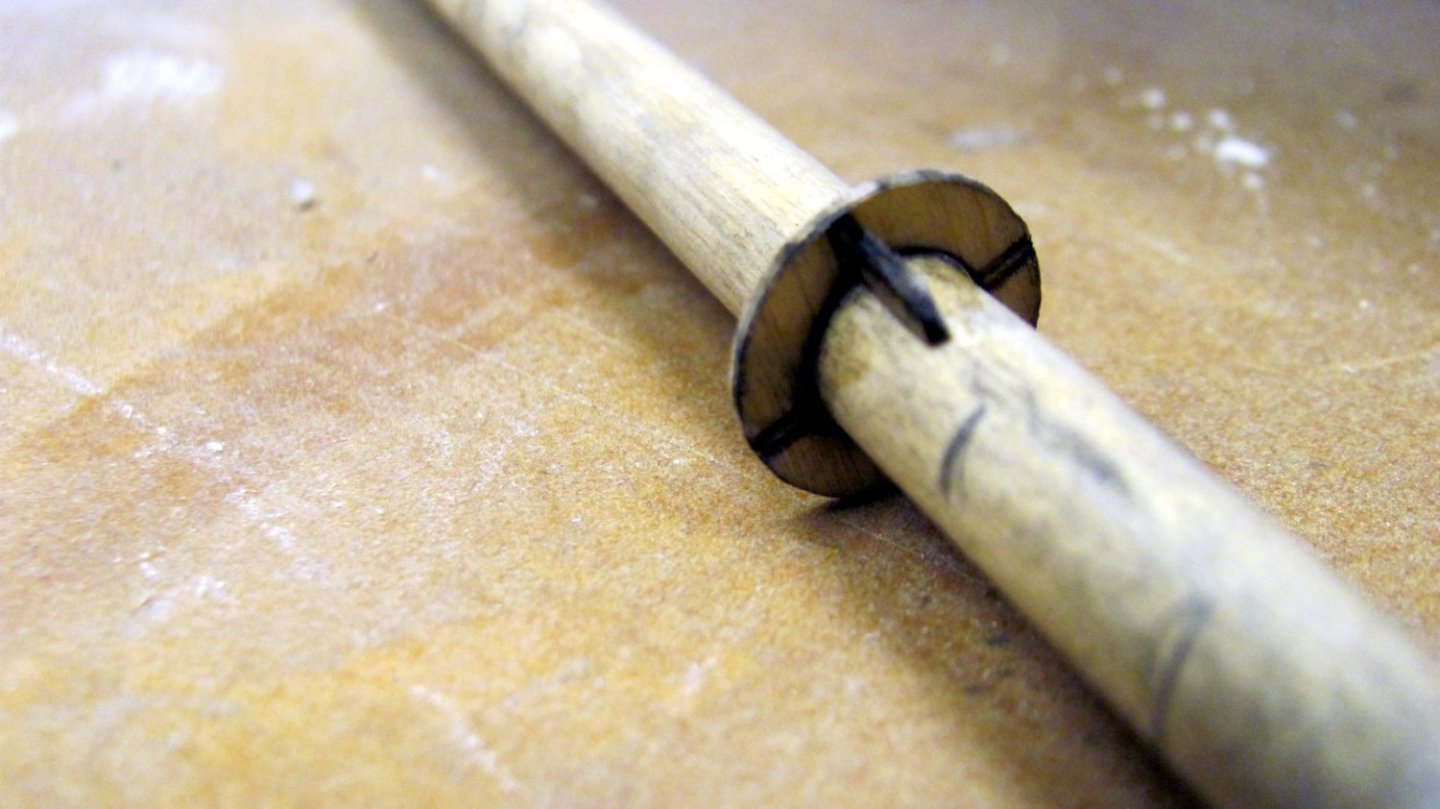
Test fitted the mast components today. Assembling the trestle trees is a bit fiddly, but everything fits snugly. Still have to drill the hole in the topmast for the fid.

-
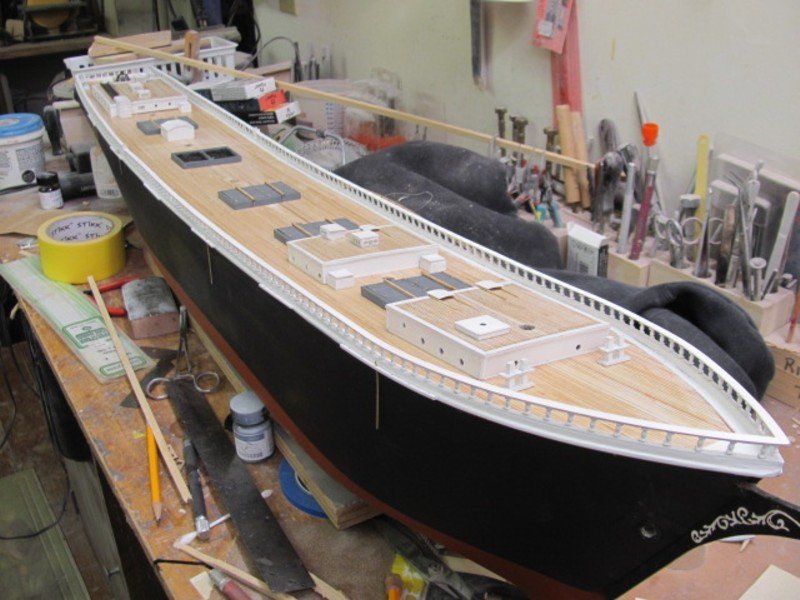
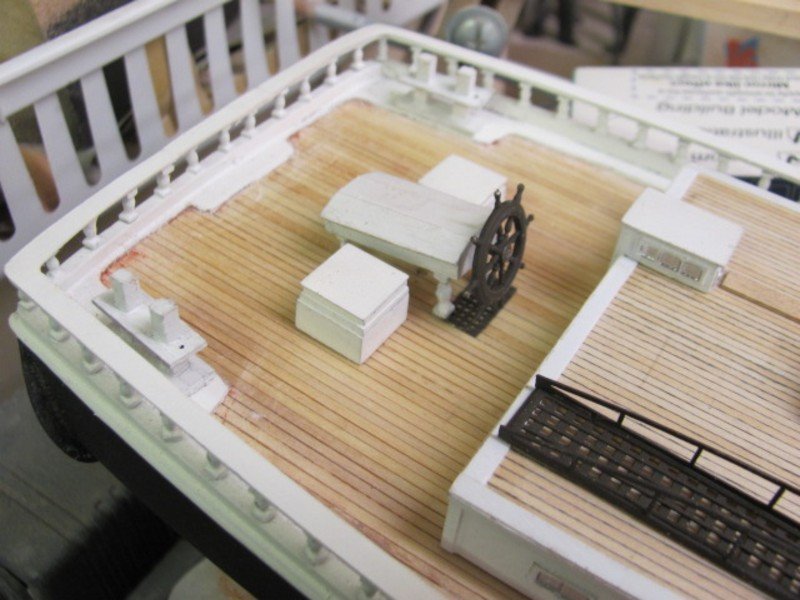
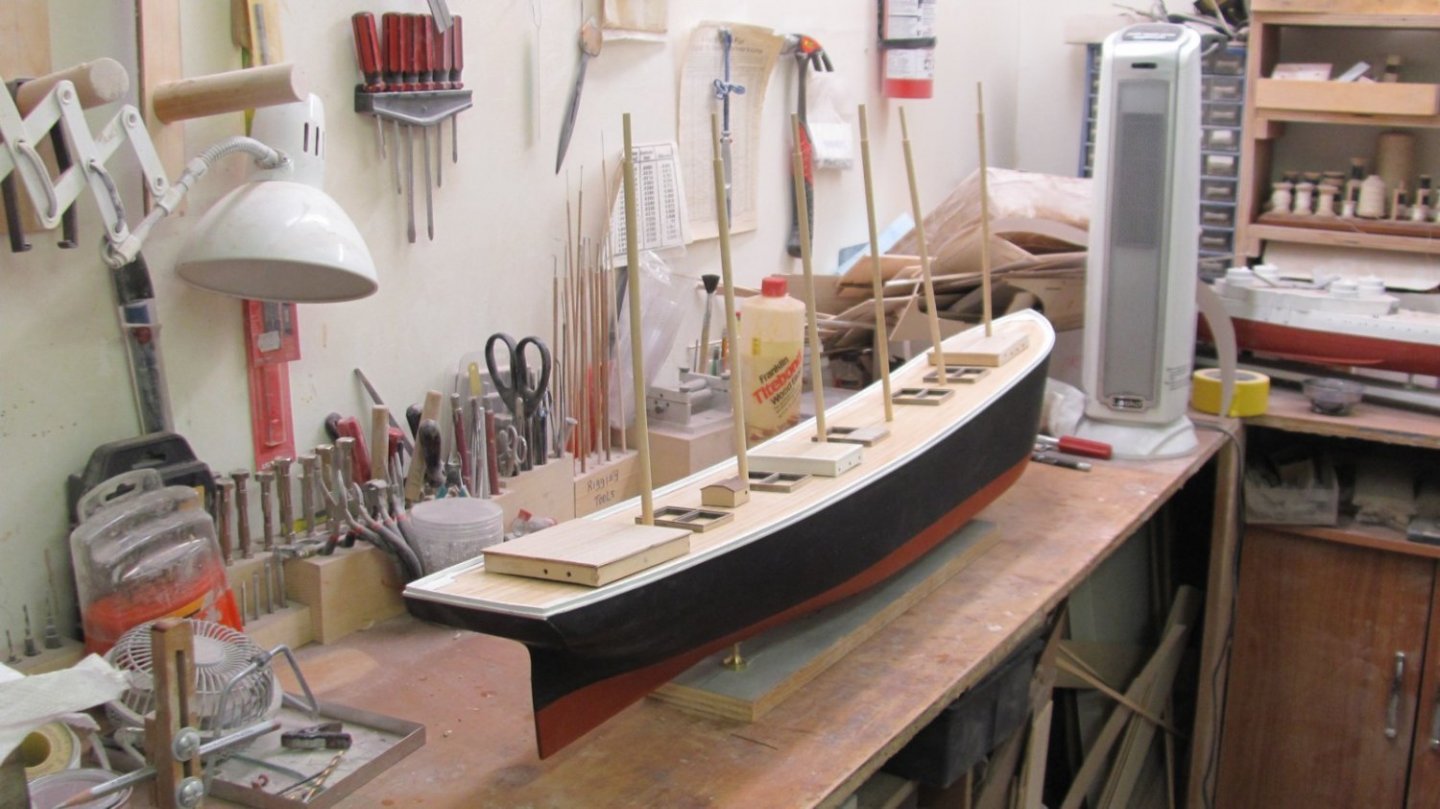
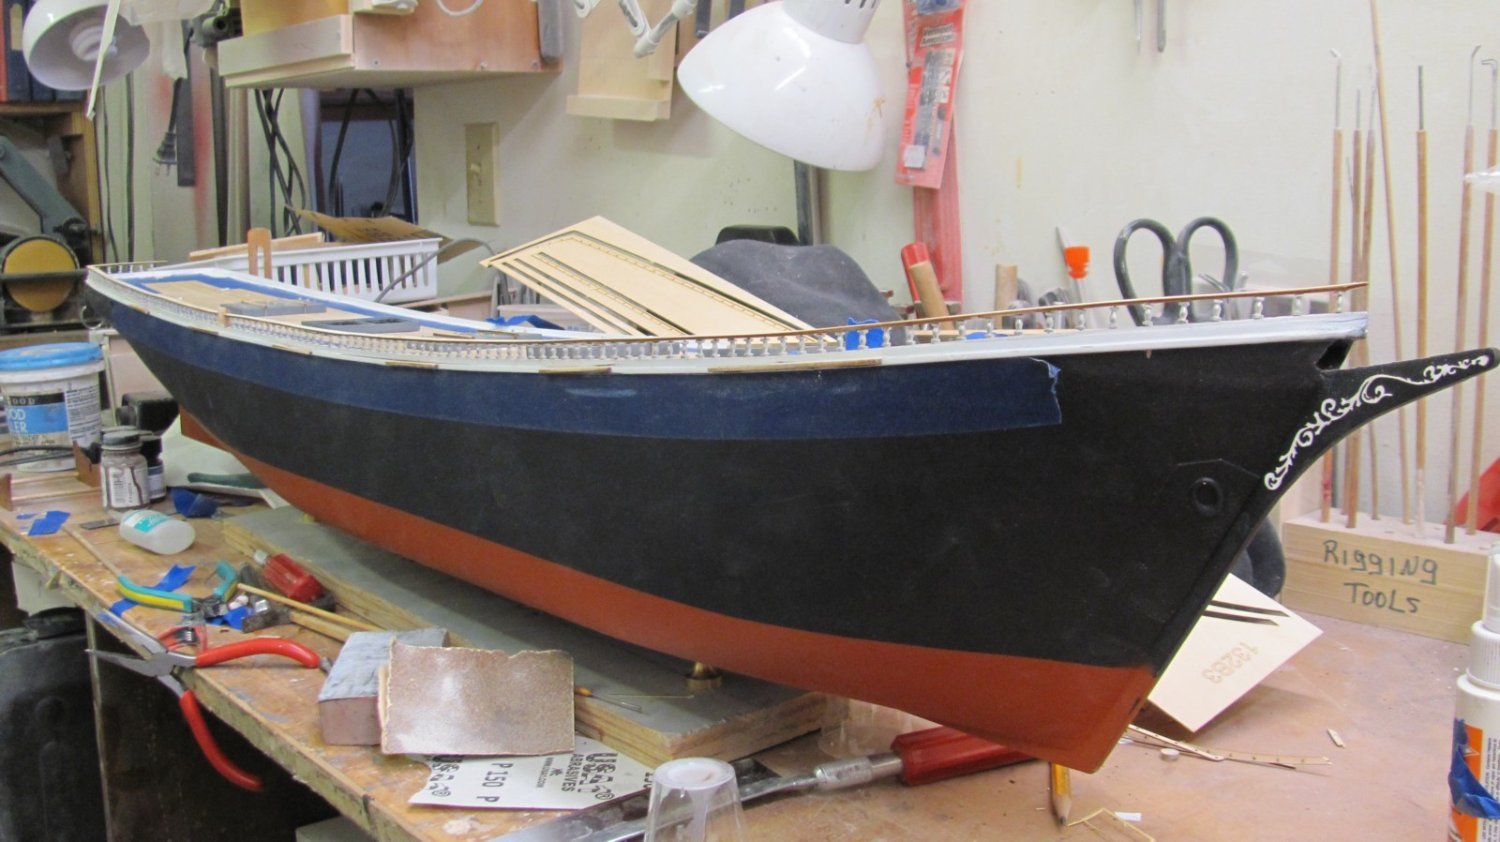
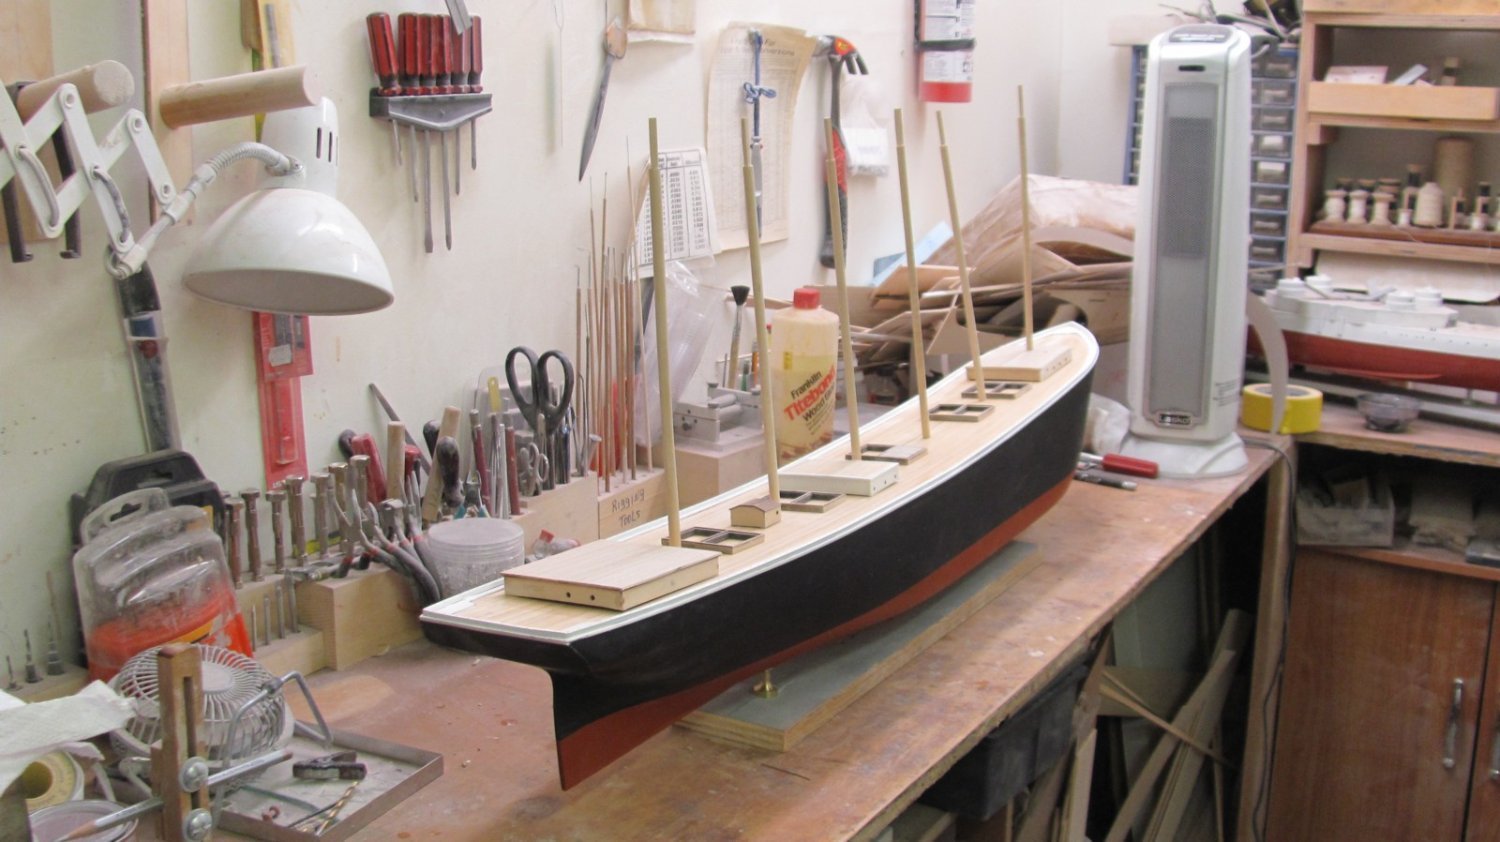
Some of the deck furniture and sticks placed on the hull to get a sense of what it will look like. I still have to fit the houses to the deck camber.

- 194 replies
-
- 10
-
-
-
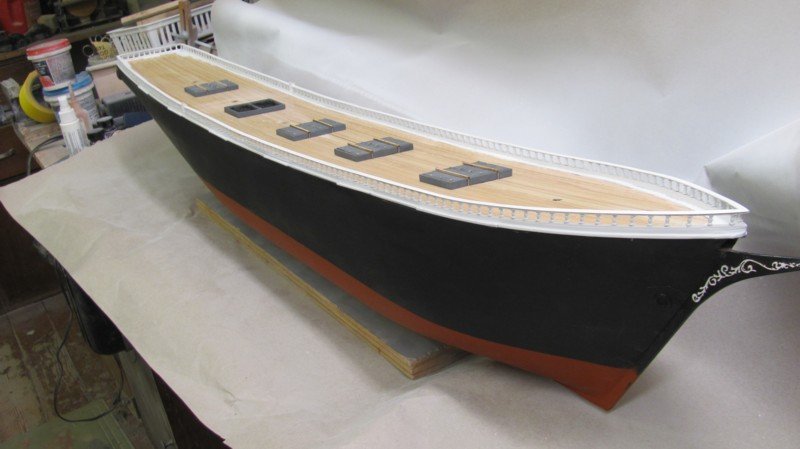
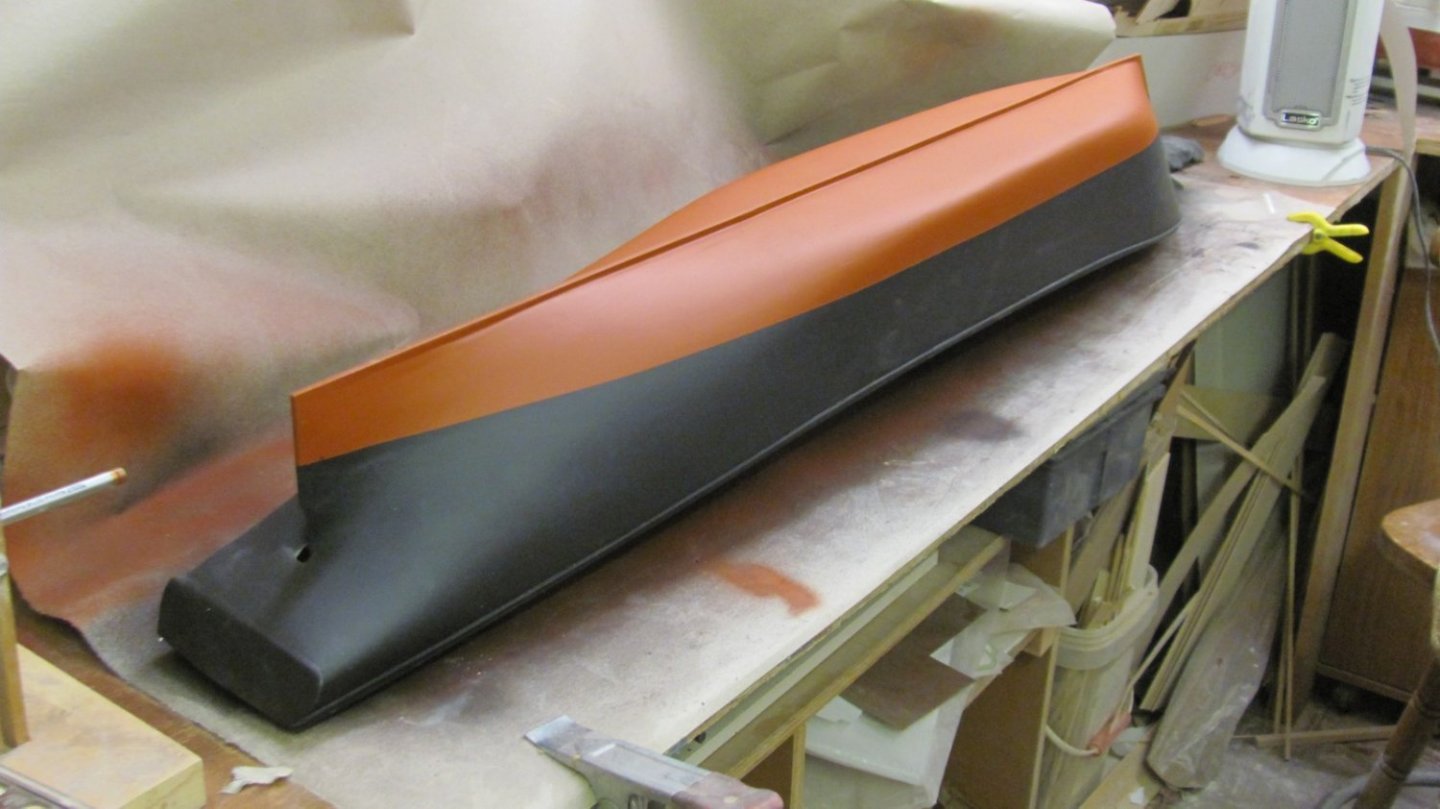
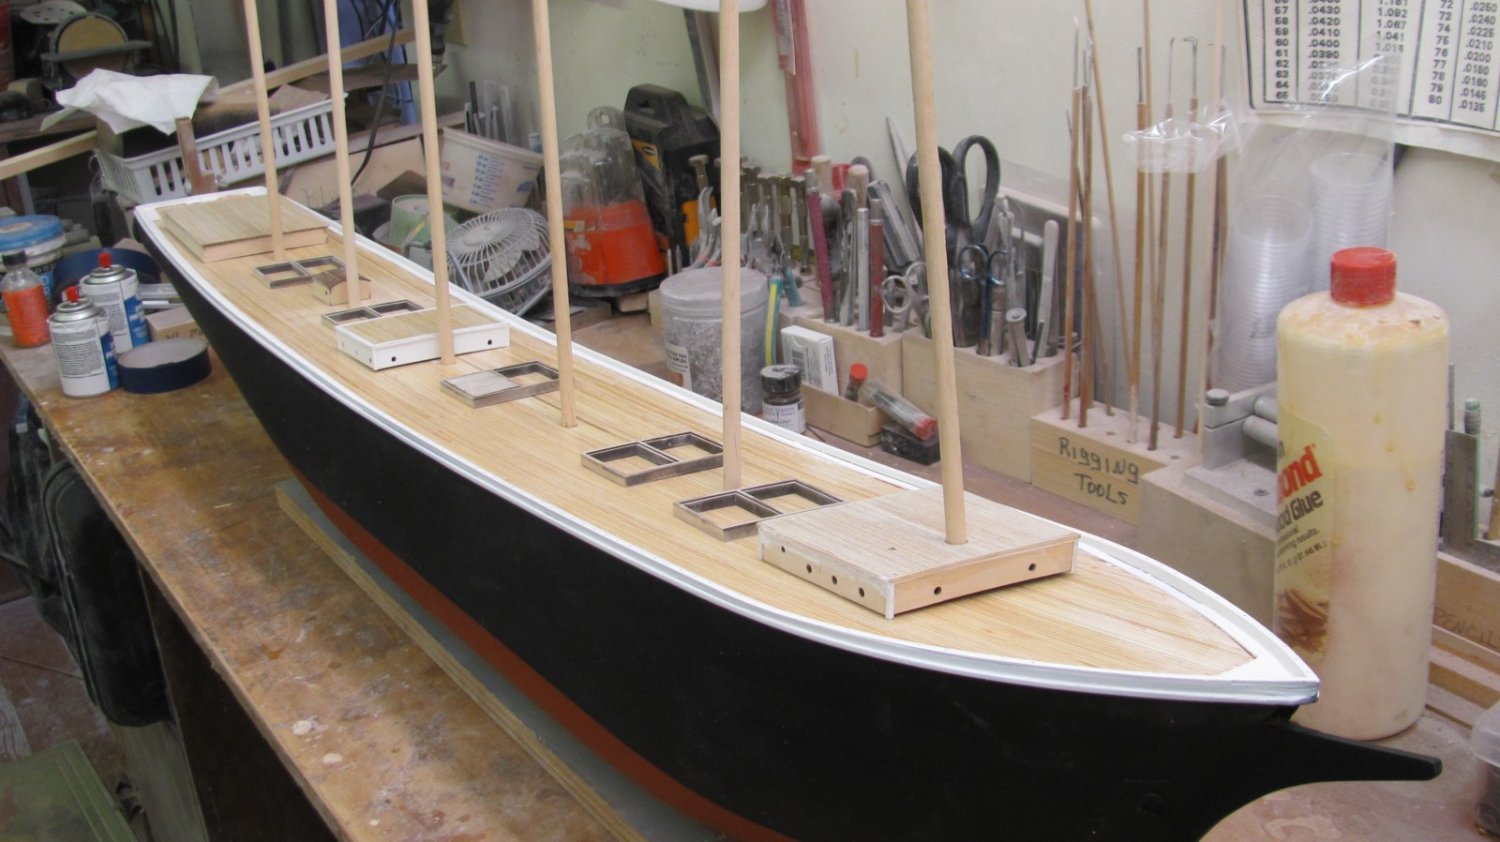
Got the bottom paint on this morning. It's regular red oxide automotive primer and is redder than it appears in these photos. In an hour or so, I'll remask and do the white sheer rail, chock rail and waterway.
- 194 replies
-
- 10
-
-
-
Did you know that the tryworks kit that comes with BlueJacket's 1/24 MORGAN cross-section kit is also available separately? While it looks rather complex, it is really quite an easy build. There are about individual laser-cut bricks that are applied over a laser-cut frame. The pots and stacks are cast resin.
.JPG.5045e9b0d0aaa1434df2182986bc11f1.JPG)
.JPG.5149bb50612ee8b7fe03a35b2643f49b.JPG)
.thumb.JPG.6e1526c160183d060e5031d67b57ae0a.JPG)
.JPG.8a193b23f8bed5df9f412a4d6911e504.JPG)
.JPG.cdea982701cb14352d5268232a755e64.JPG)
.thumb.jpg.a7ce083fd35d2e2fc18aa9acd3835da9.jpg)
.JPG.02bf25ee0a225e94c44ab474865456ed.JPG)
-
- 9
-
-

-
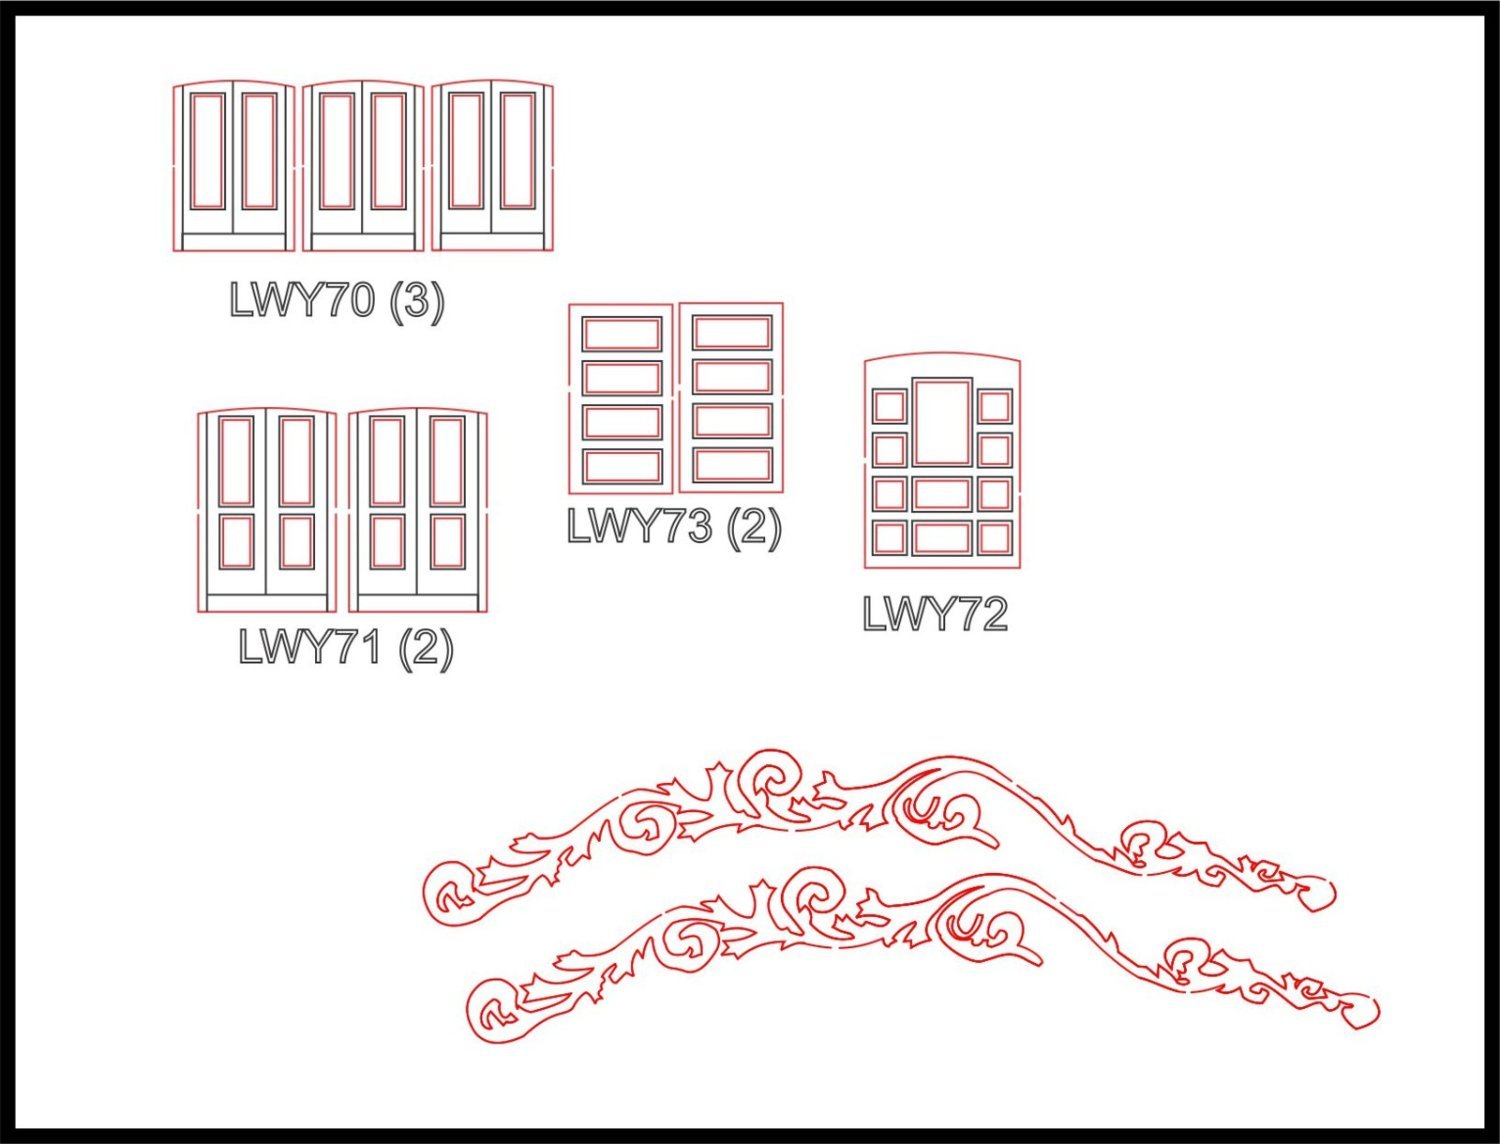
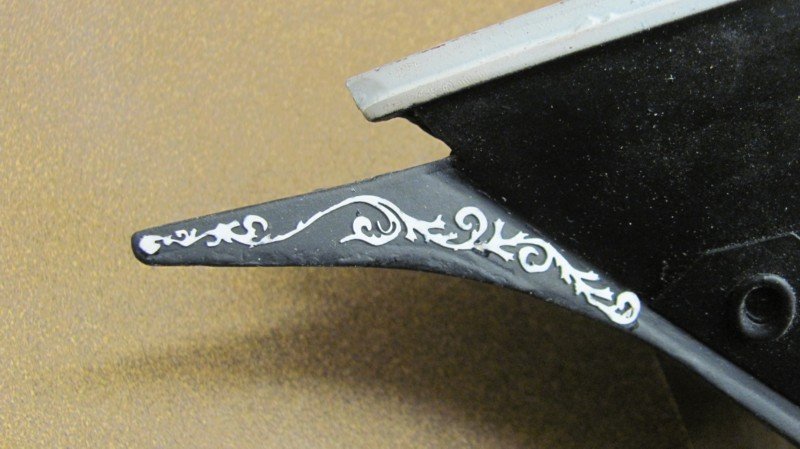
Here are the laser drawings for some of the items I changed over from photoetch to laser. The red lines are cut lines while the black lines are only etched into the surface. These are companions for the deck houses and the scrollwork for the gammon knee.

-
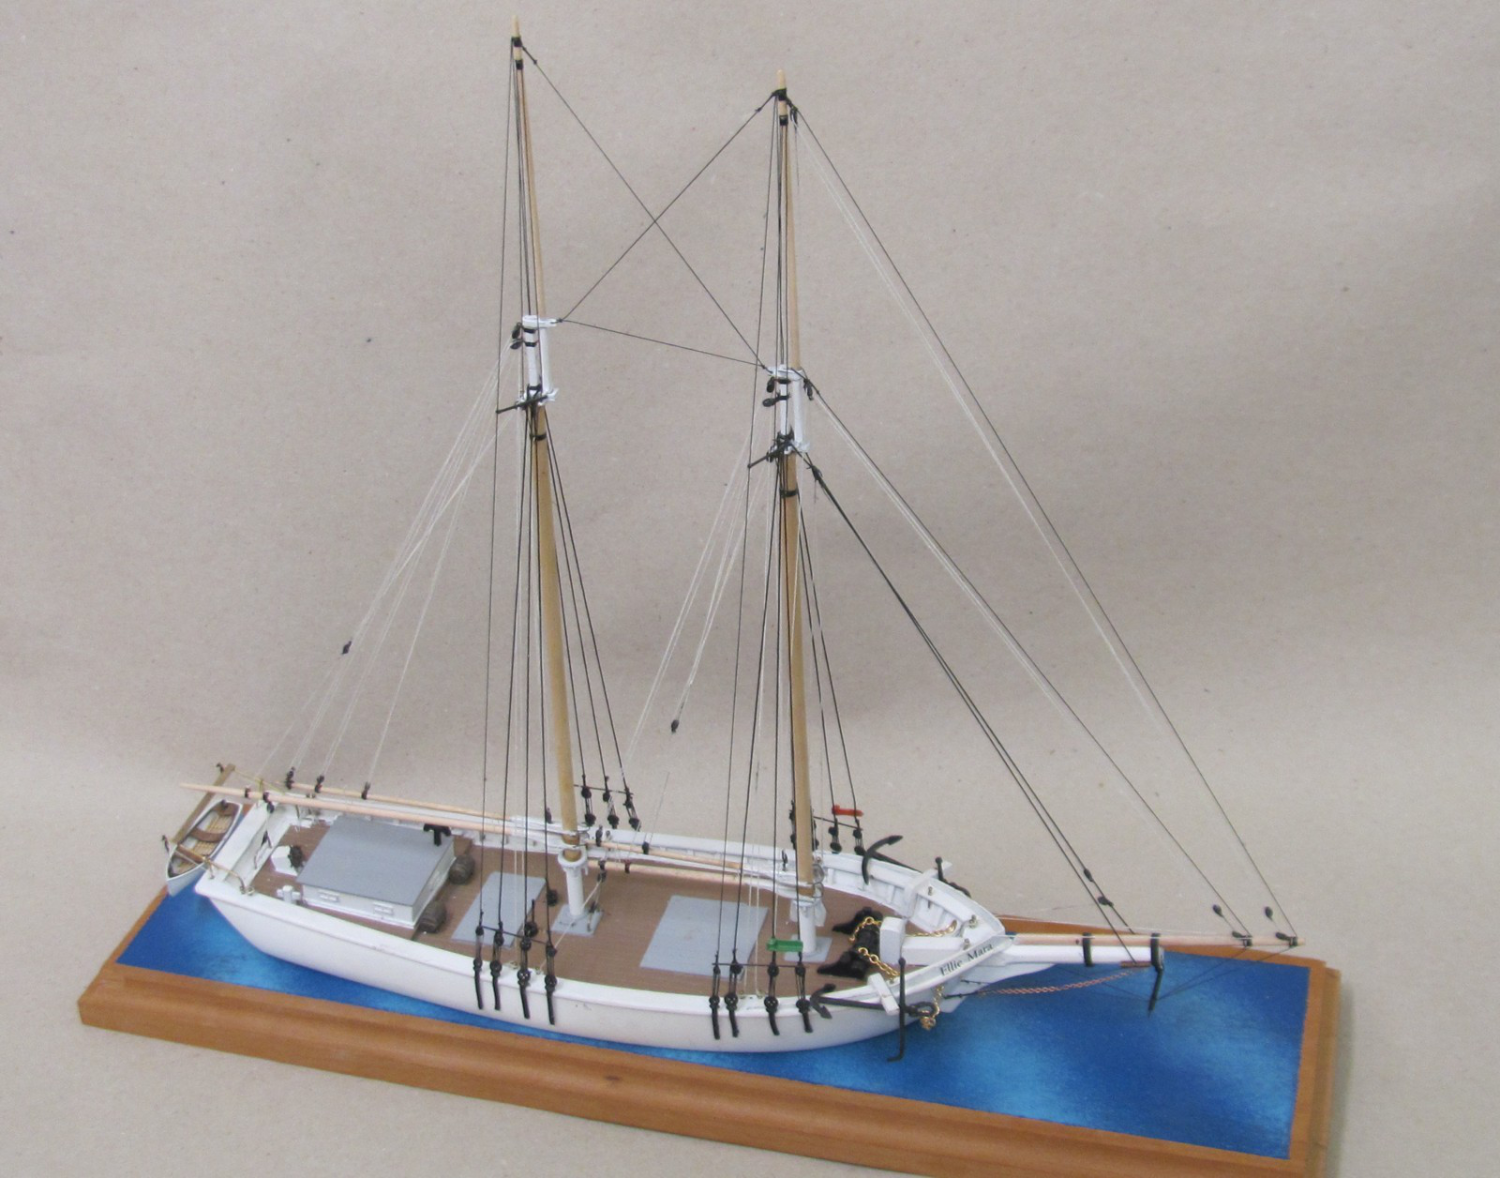
Here's a little surprise I didn't tell you about. This is a side project I've been working on while also doing WYOMING and OREGON. This is an HO scale waterline kit of a generic centerboard schooner. It is based on MATTIE/GRACE BAILEY and is named ELLIE MARA after Nic's daughter. The hull is cast resin with laser-cut details and the usual britannia fittings. Overall length is about 14". It should be in production in a few weeks. Contact BJ for details.

- 194 replies
-
- 11
-
-
-
If it works, use it....😈


.JPG.88abf7c957d7e461fed56d0d754b70b9.JPG)
.jpg.4f0377c715c5b585a48eb08aefdbe3cd.jpg)