kiwiron
-
Posts
702 -
Joined
-
Last visited
Content Type
Profiles
Forums
Gallery
Events
Everything posted by kiwiron
-
 Thats for sure Chris, it would be nice if they proof read the instructions, without everyone's photo's I would'nt have got far.
 -
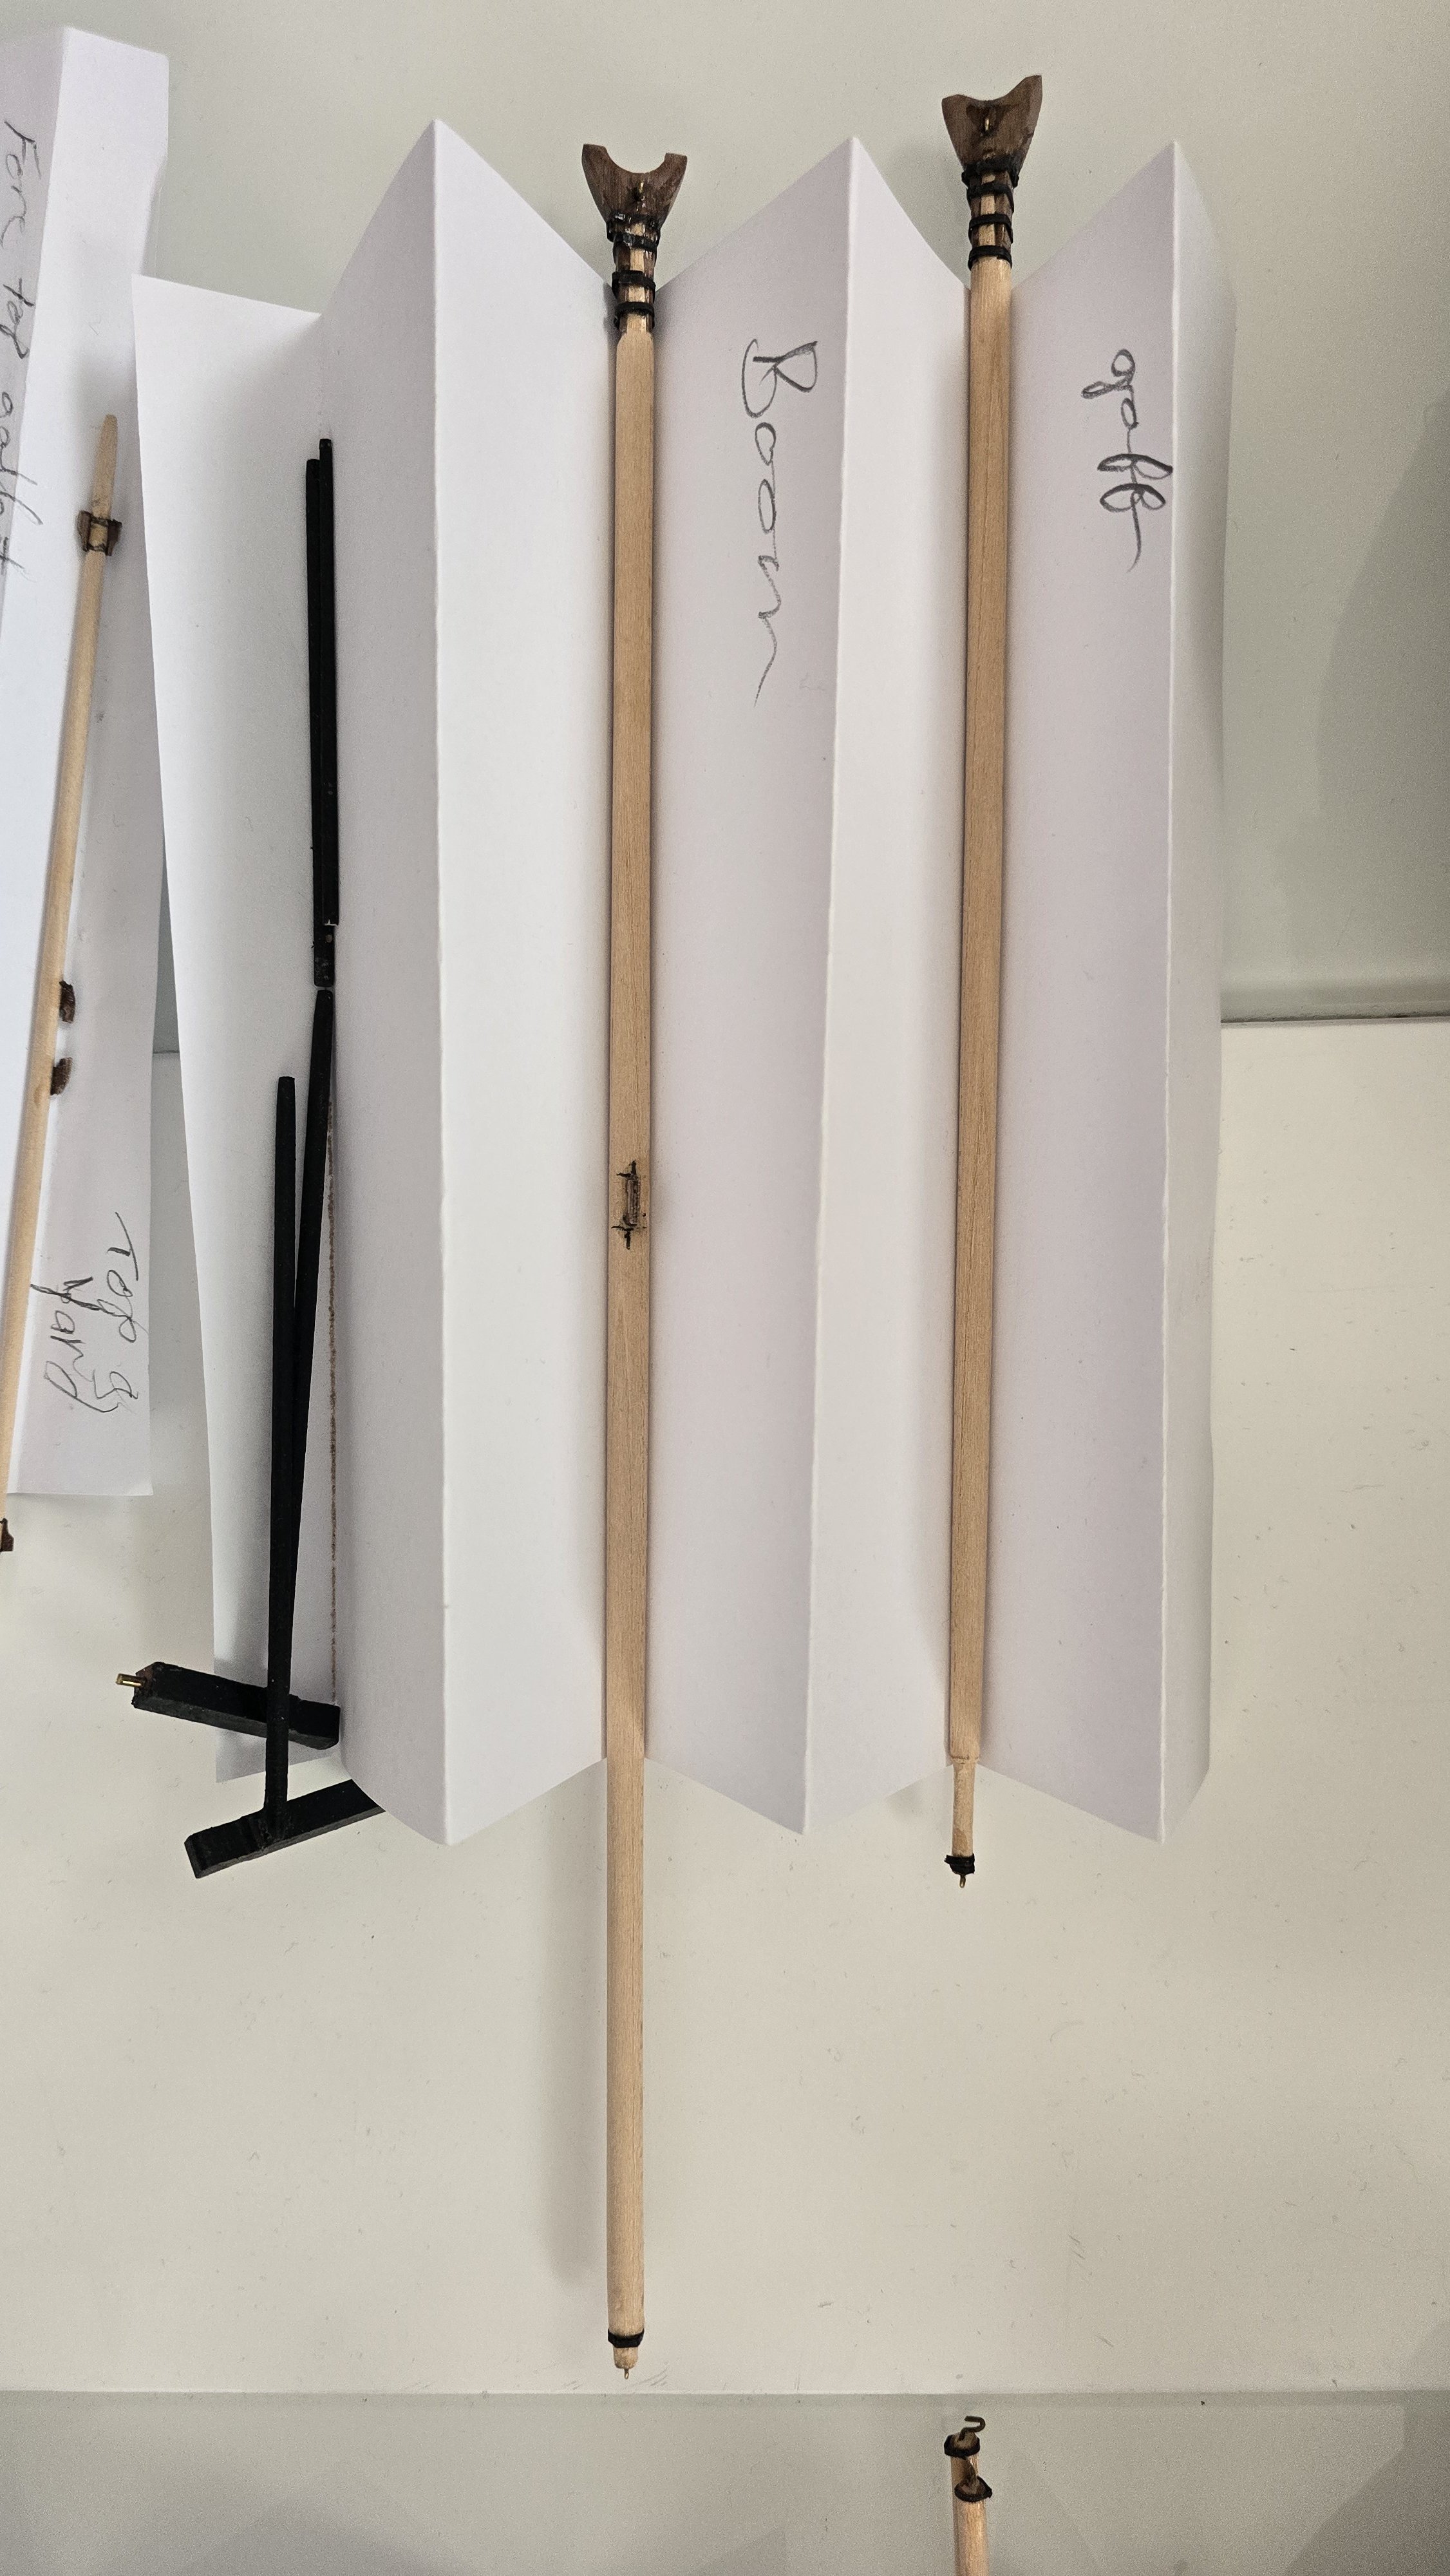
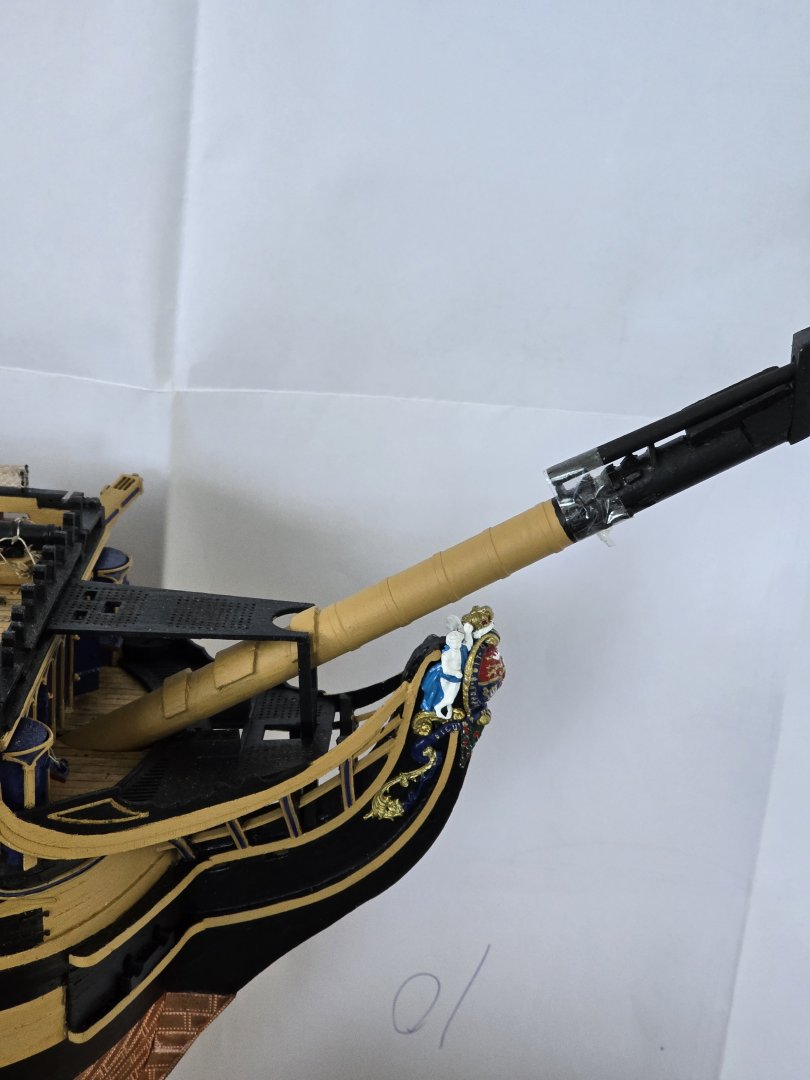
Driver boom
-
Time for paint, I'll have to copy where others have done this.


-
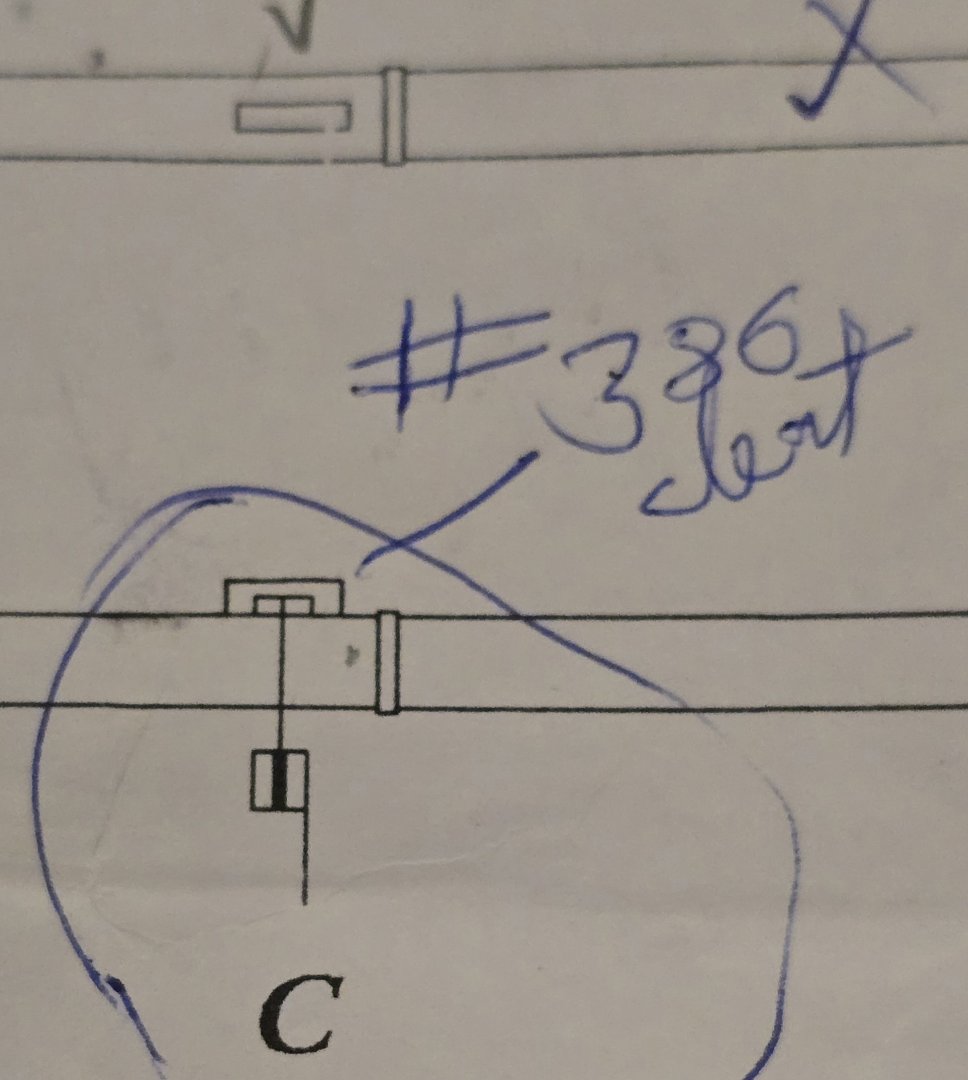
Another one. After making a driver boom comb cleat I found there is actually a part for this # 386. It would be nice if they checked the plans properly.
-
On main topmast yard rings the plan should label the ring 689 not 686.

-
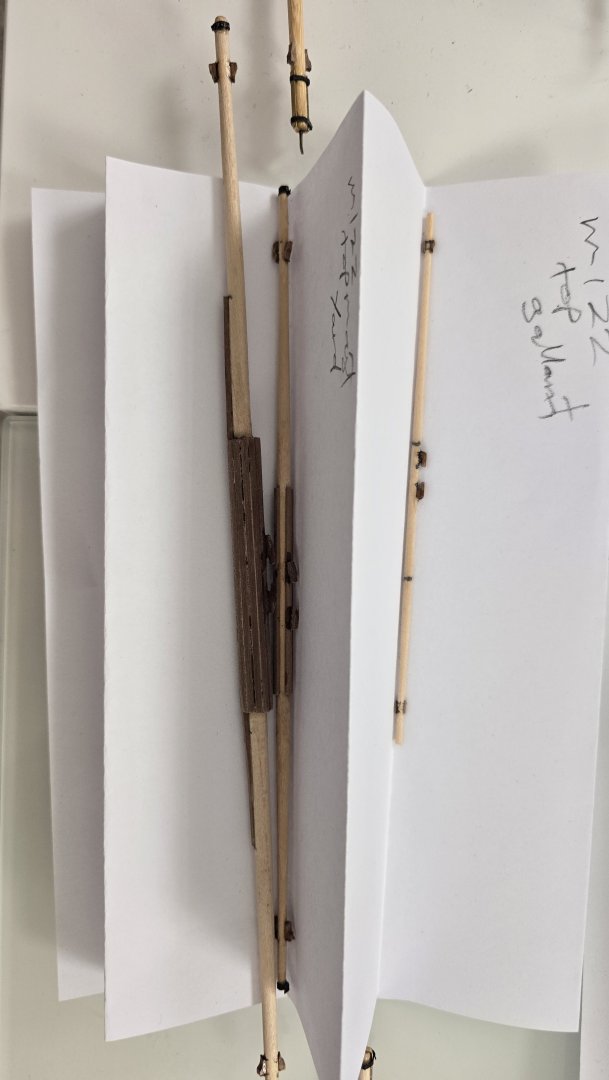
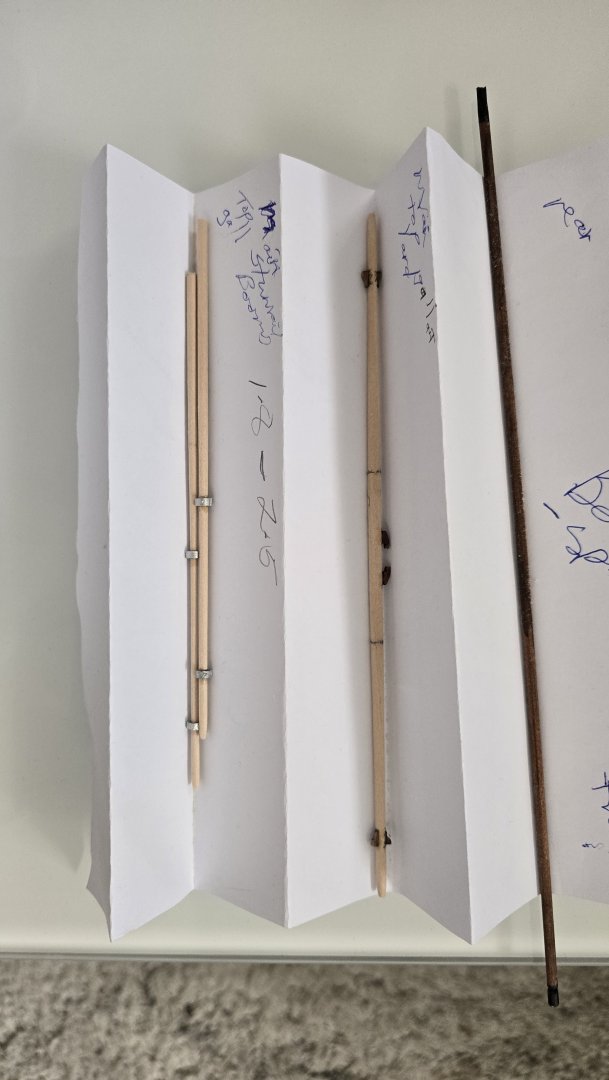
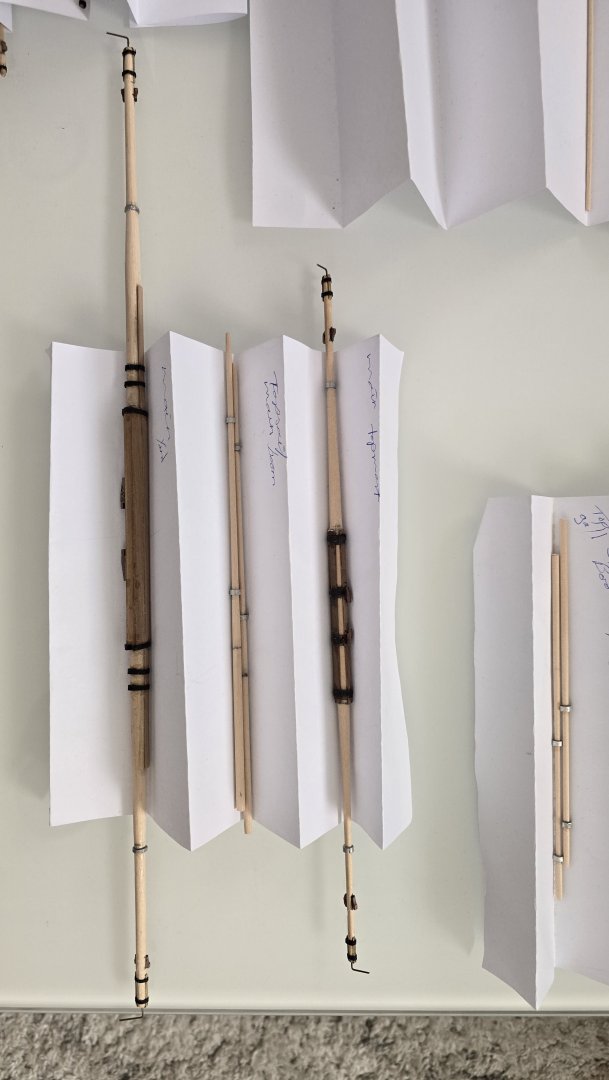
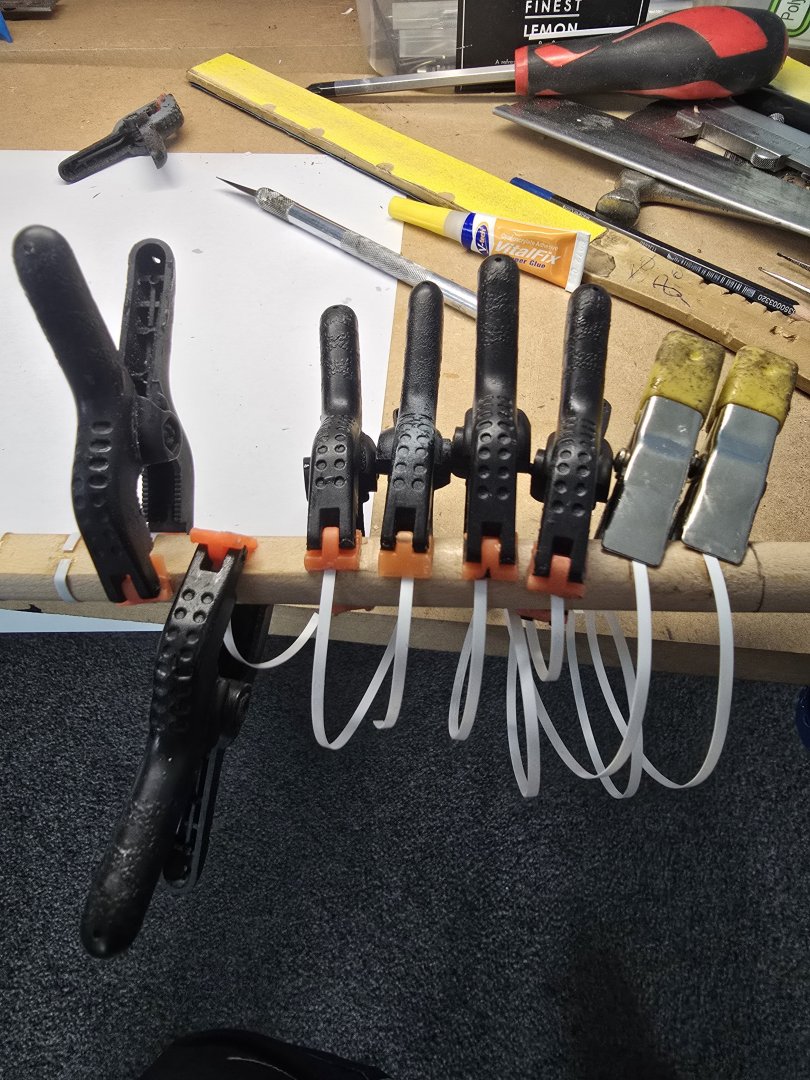
Happy New Year everyone, I hope it's a great year with good health. Time to do a bit more after a 12 month break. Yards, booms etc sanded . I found it was easier with the bigger yards with a lot of material to remove to use a hobby knife to whittle away until close to the required size then sand to size. When fitting the rings I will do the final sanding to get the correct size to get them to fit properly.


-
Caldercraft Victory Replacement Parts
kiwiron replied to Jonathan_219's topic in Wood ship model kits
I had a broken decoration, no response from Jotika at all after 4 emails, very poor service. I got hold of the retailer I purchased the kit from and they got the part I wanted in a few days ready to send to me. -
Wow beautiful job, very well organized.
-
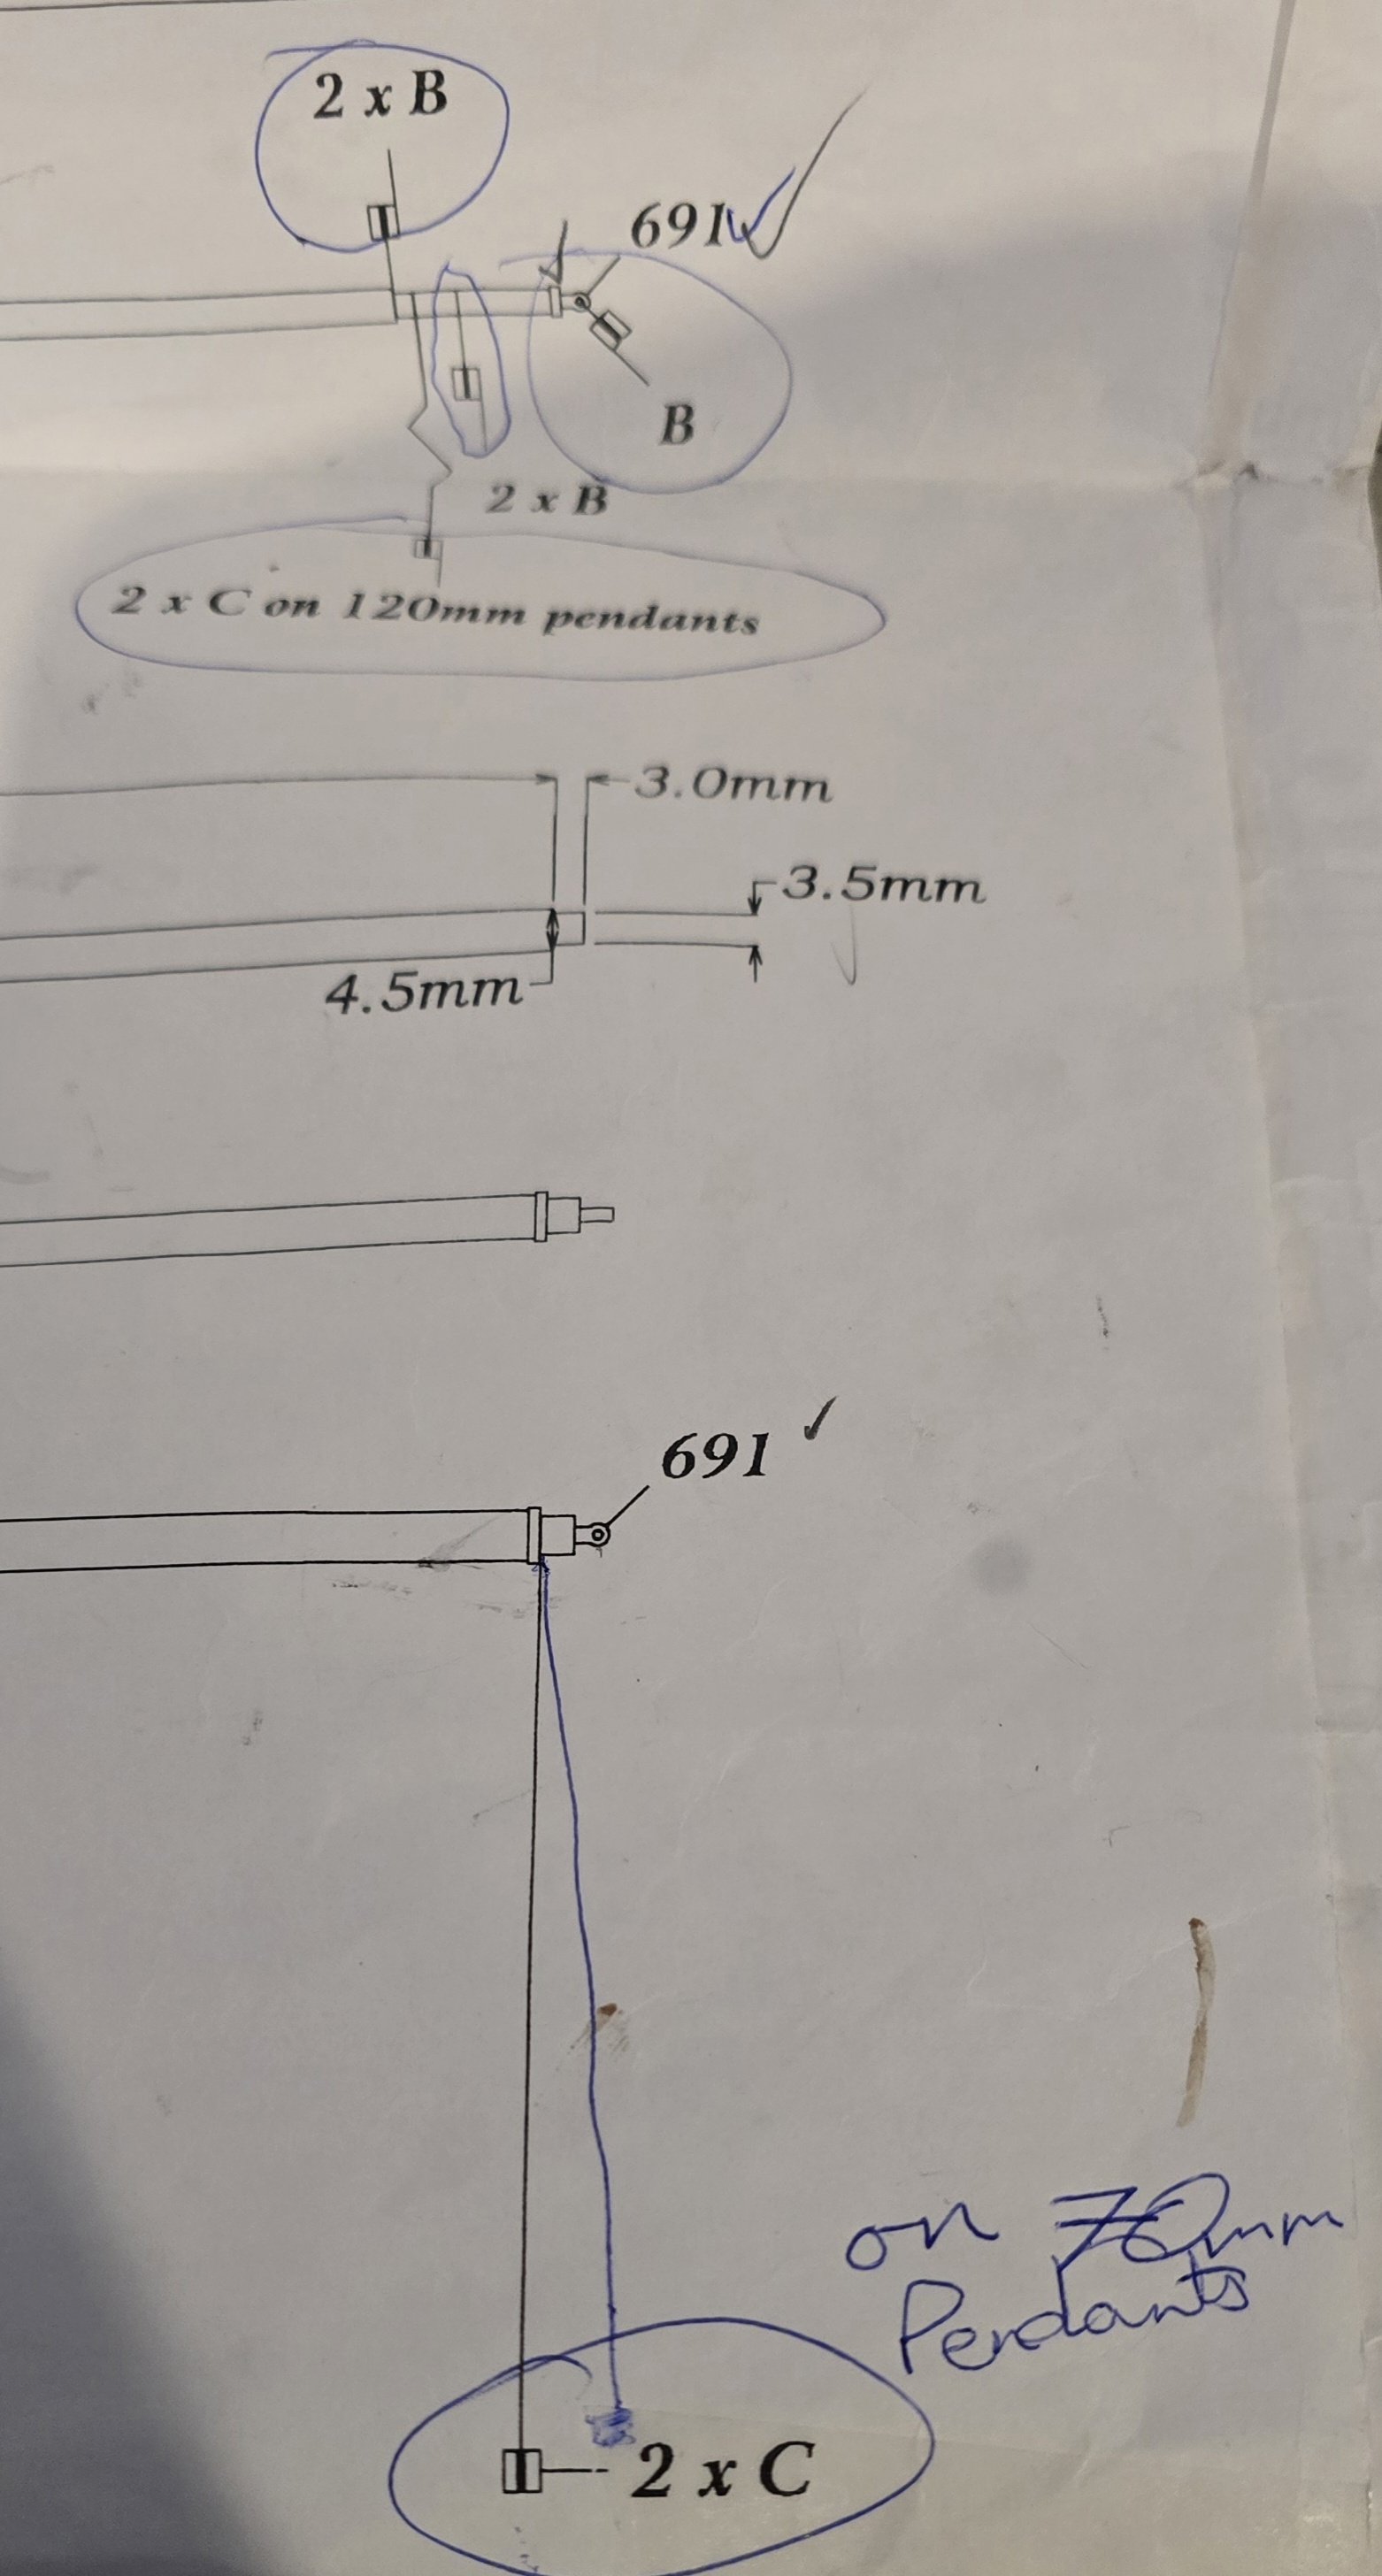
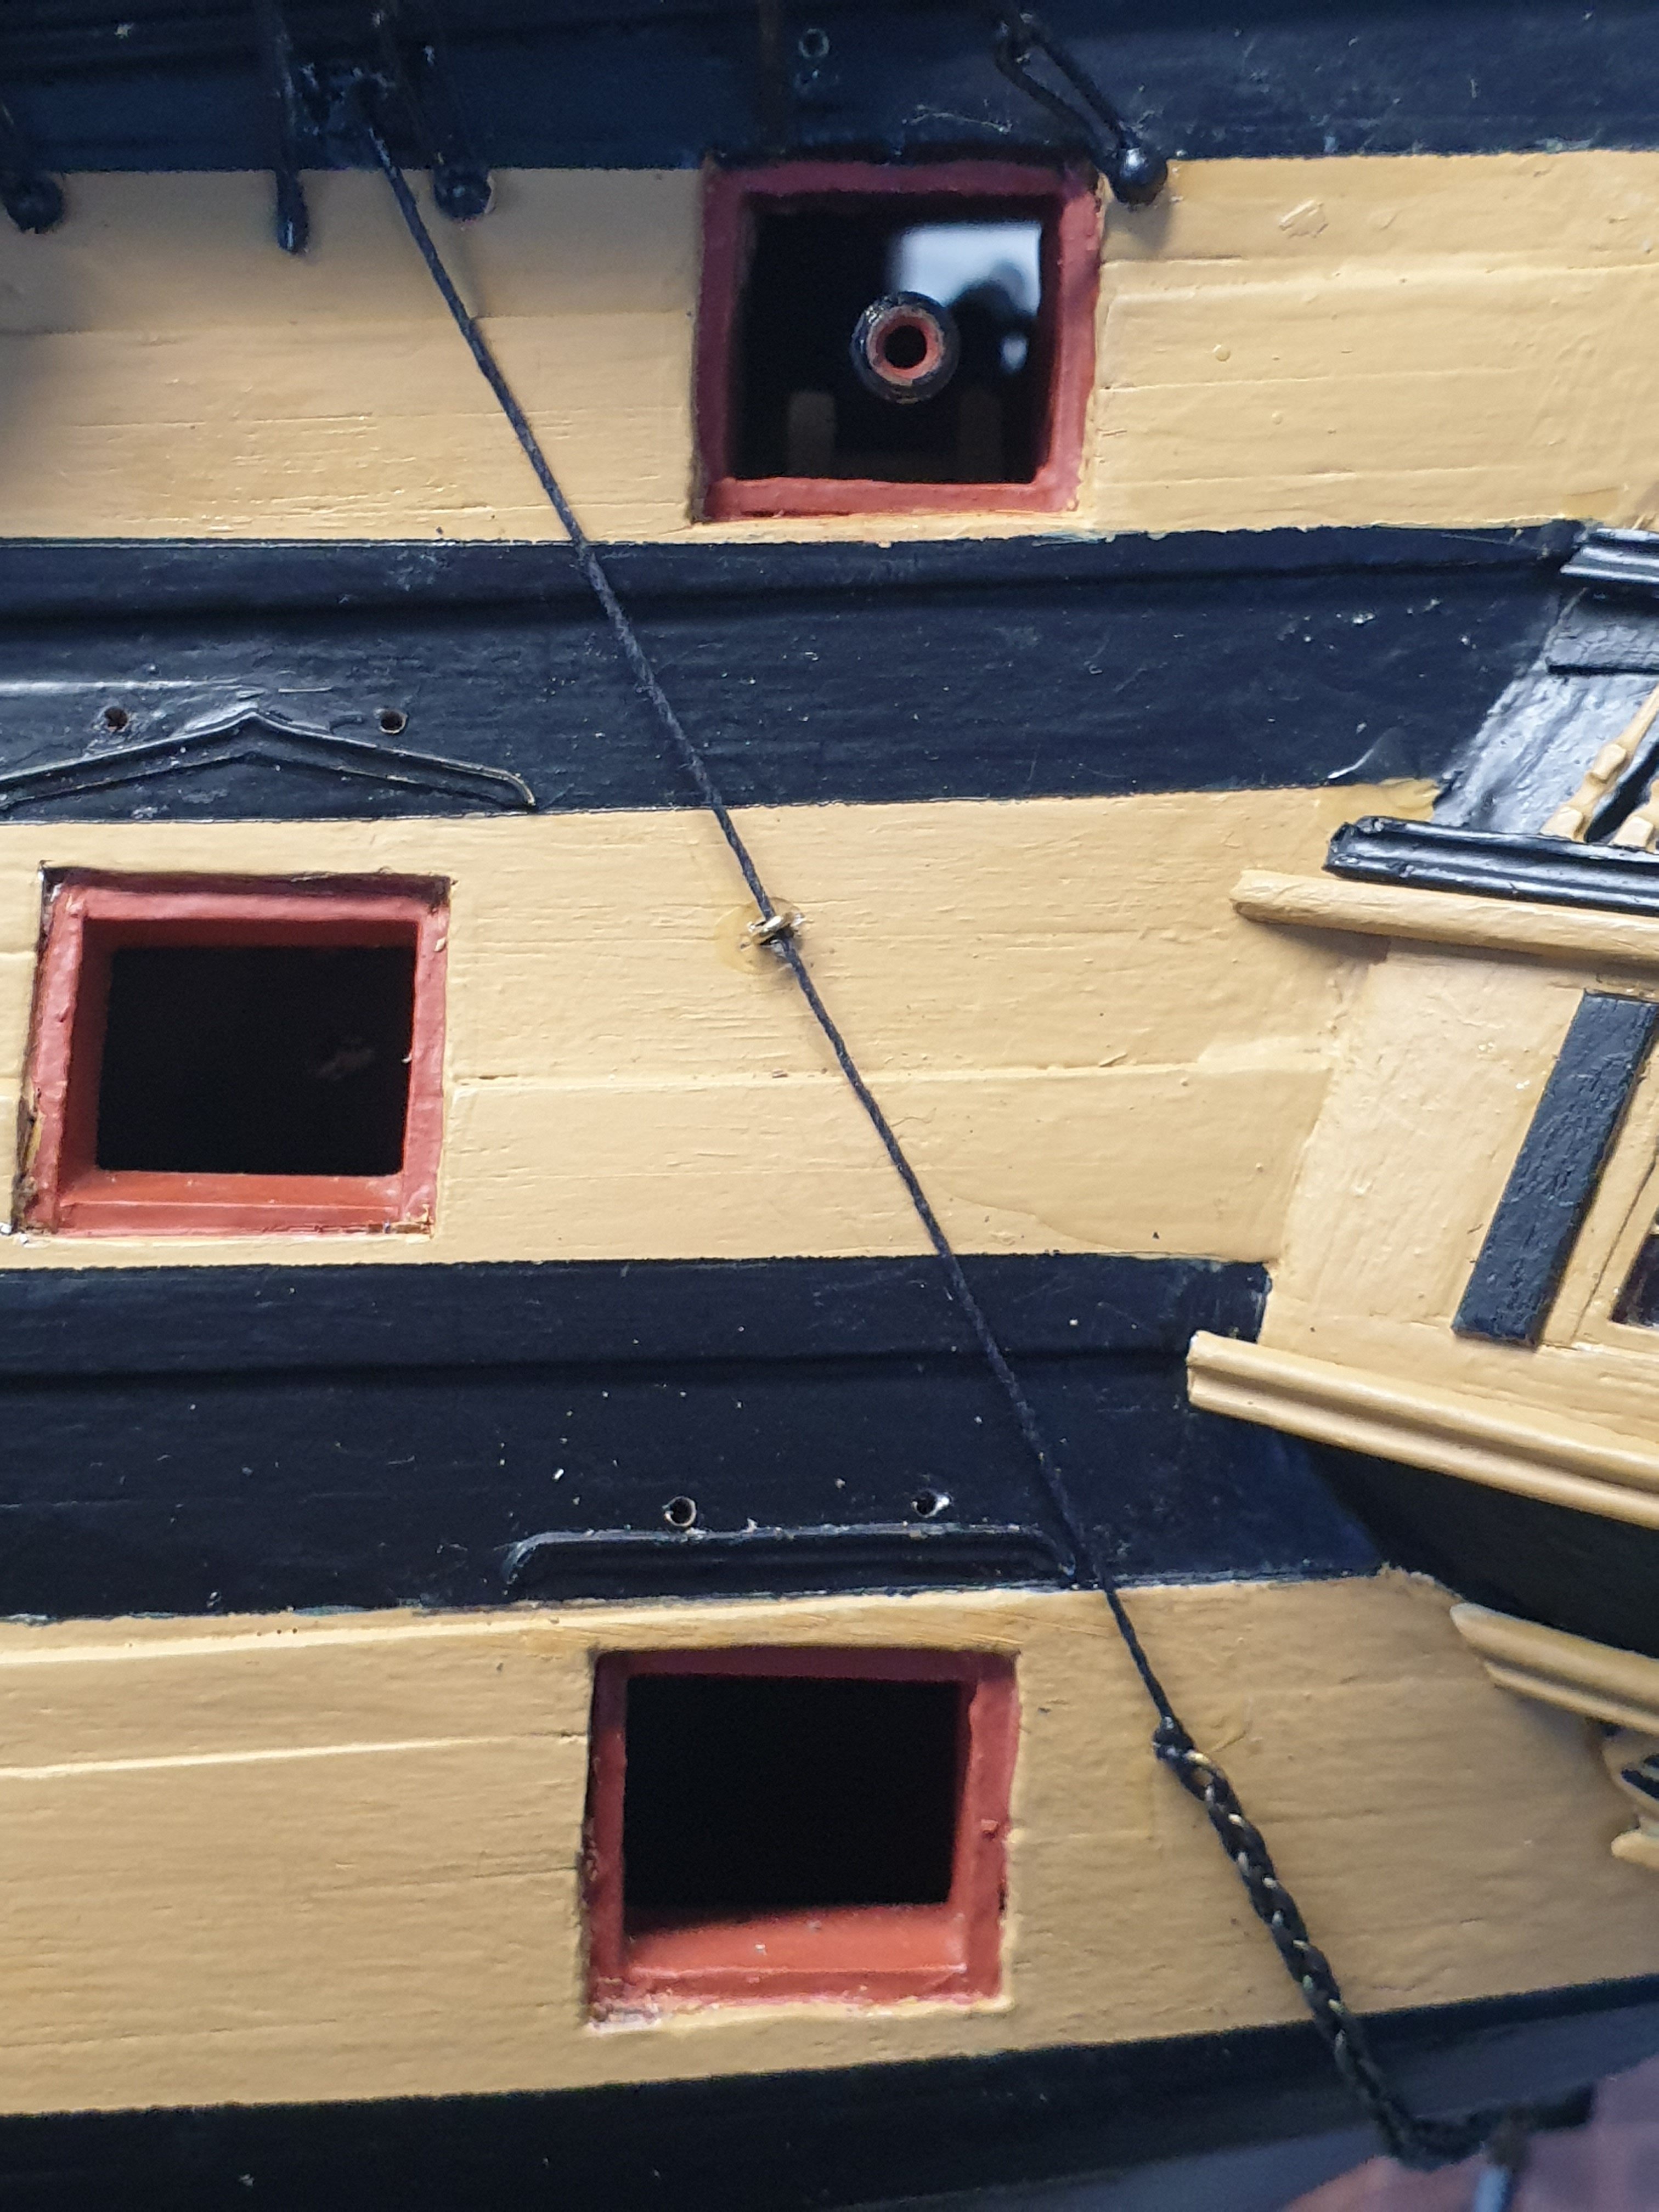
Not very clear, aft holes of #406 then I presume past each side of bowsprit through round hole near rear of stem possibly.

-
Thanks a lot Chris, also thanks for all your photos and advice.
-
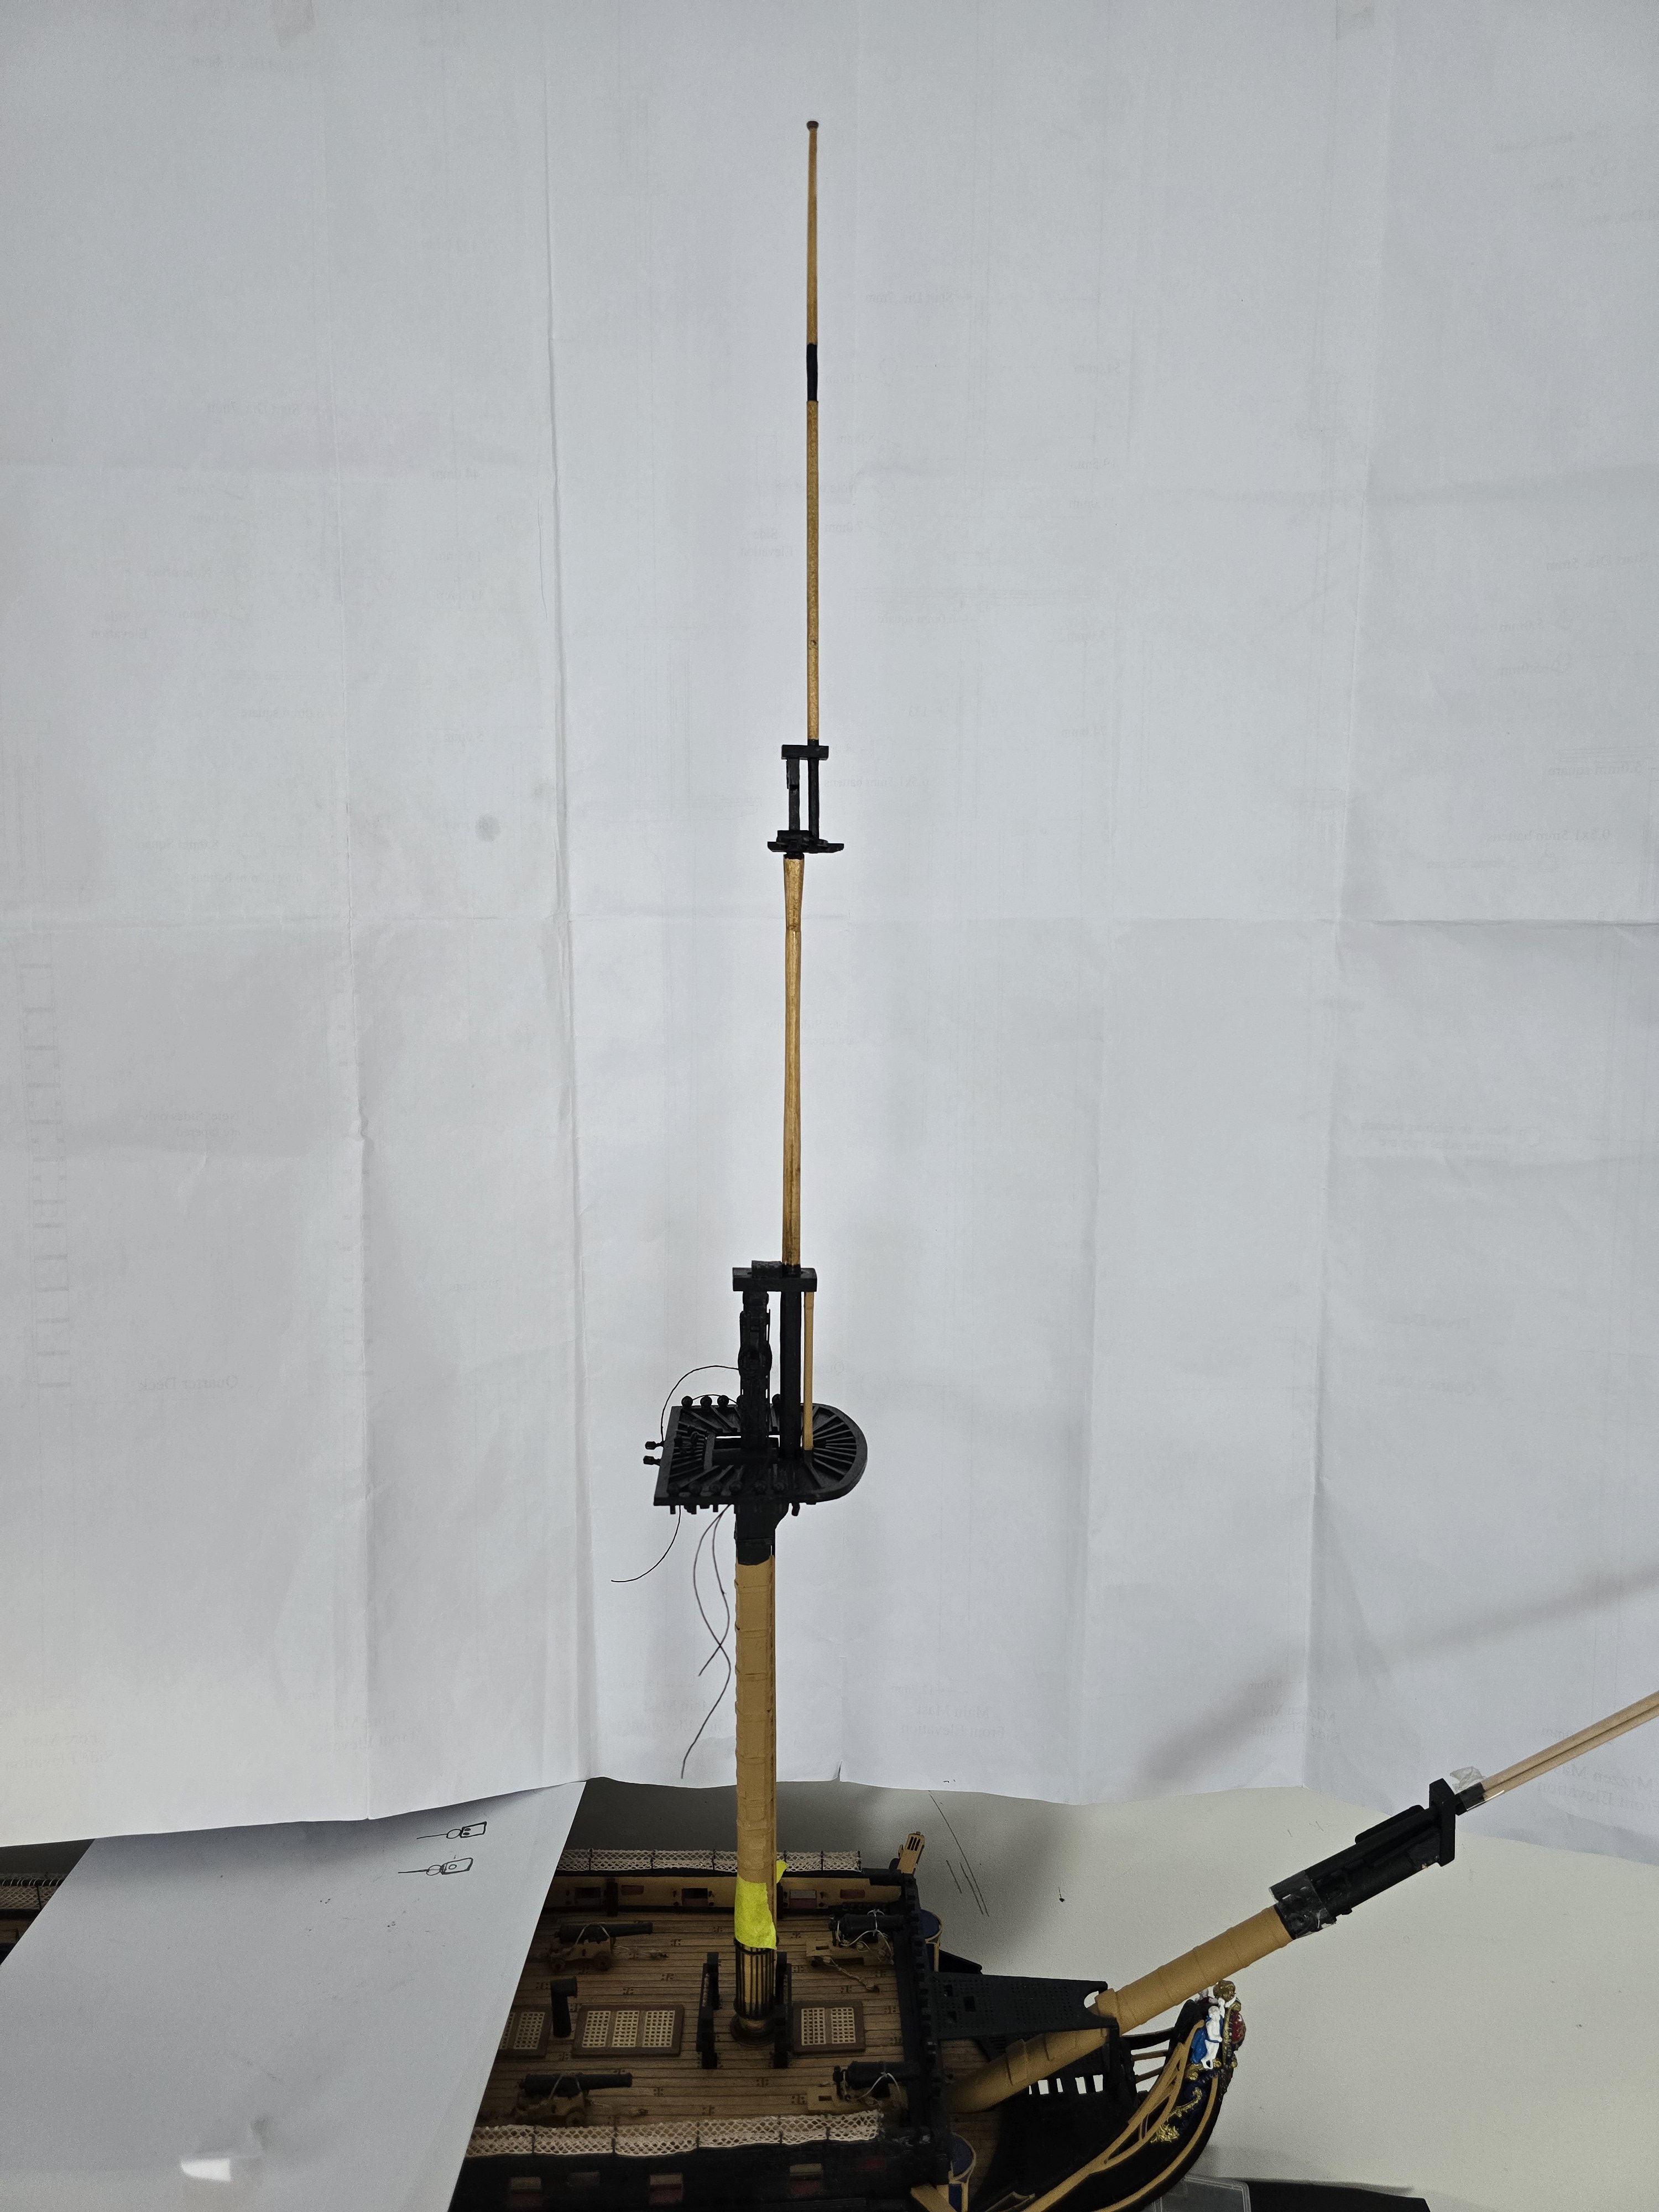
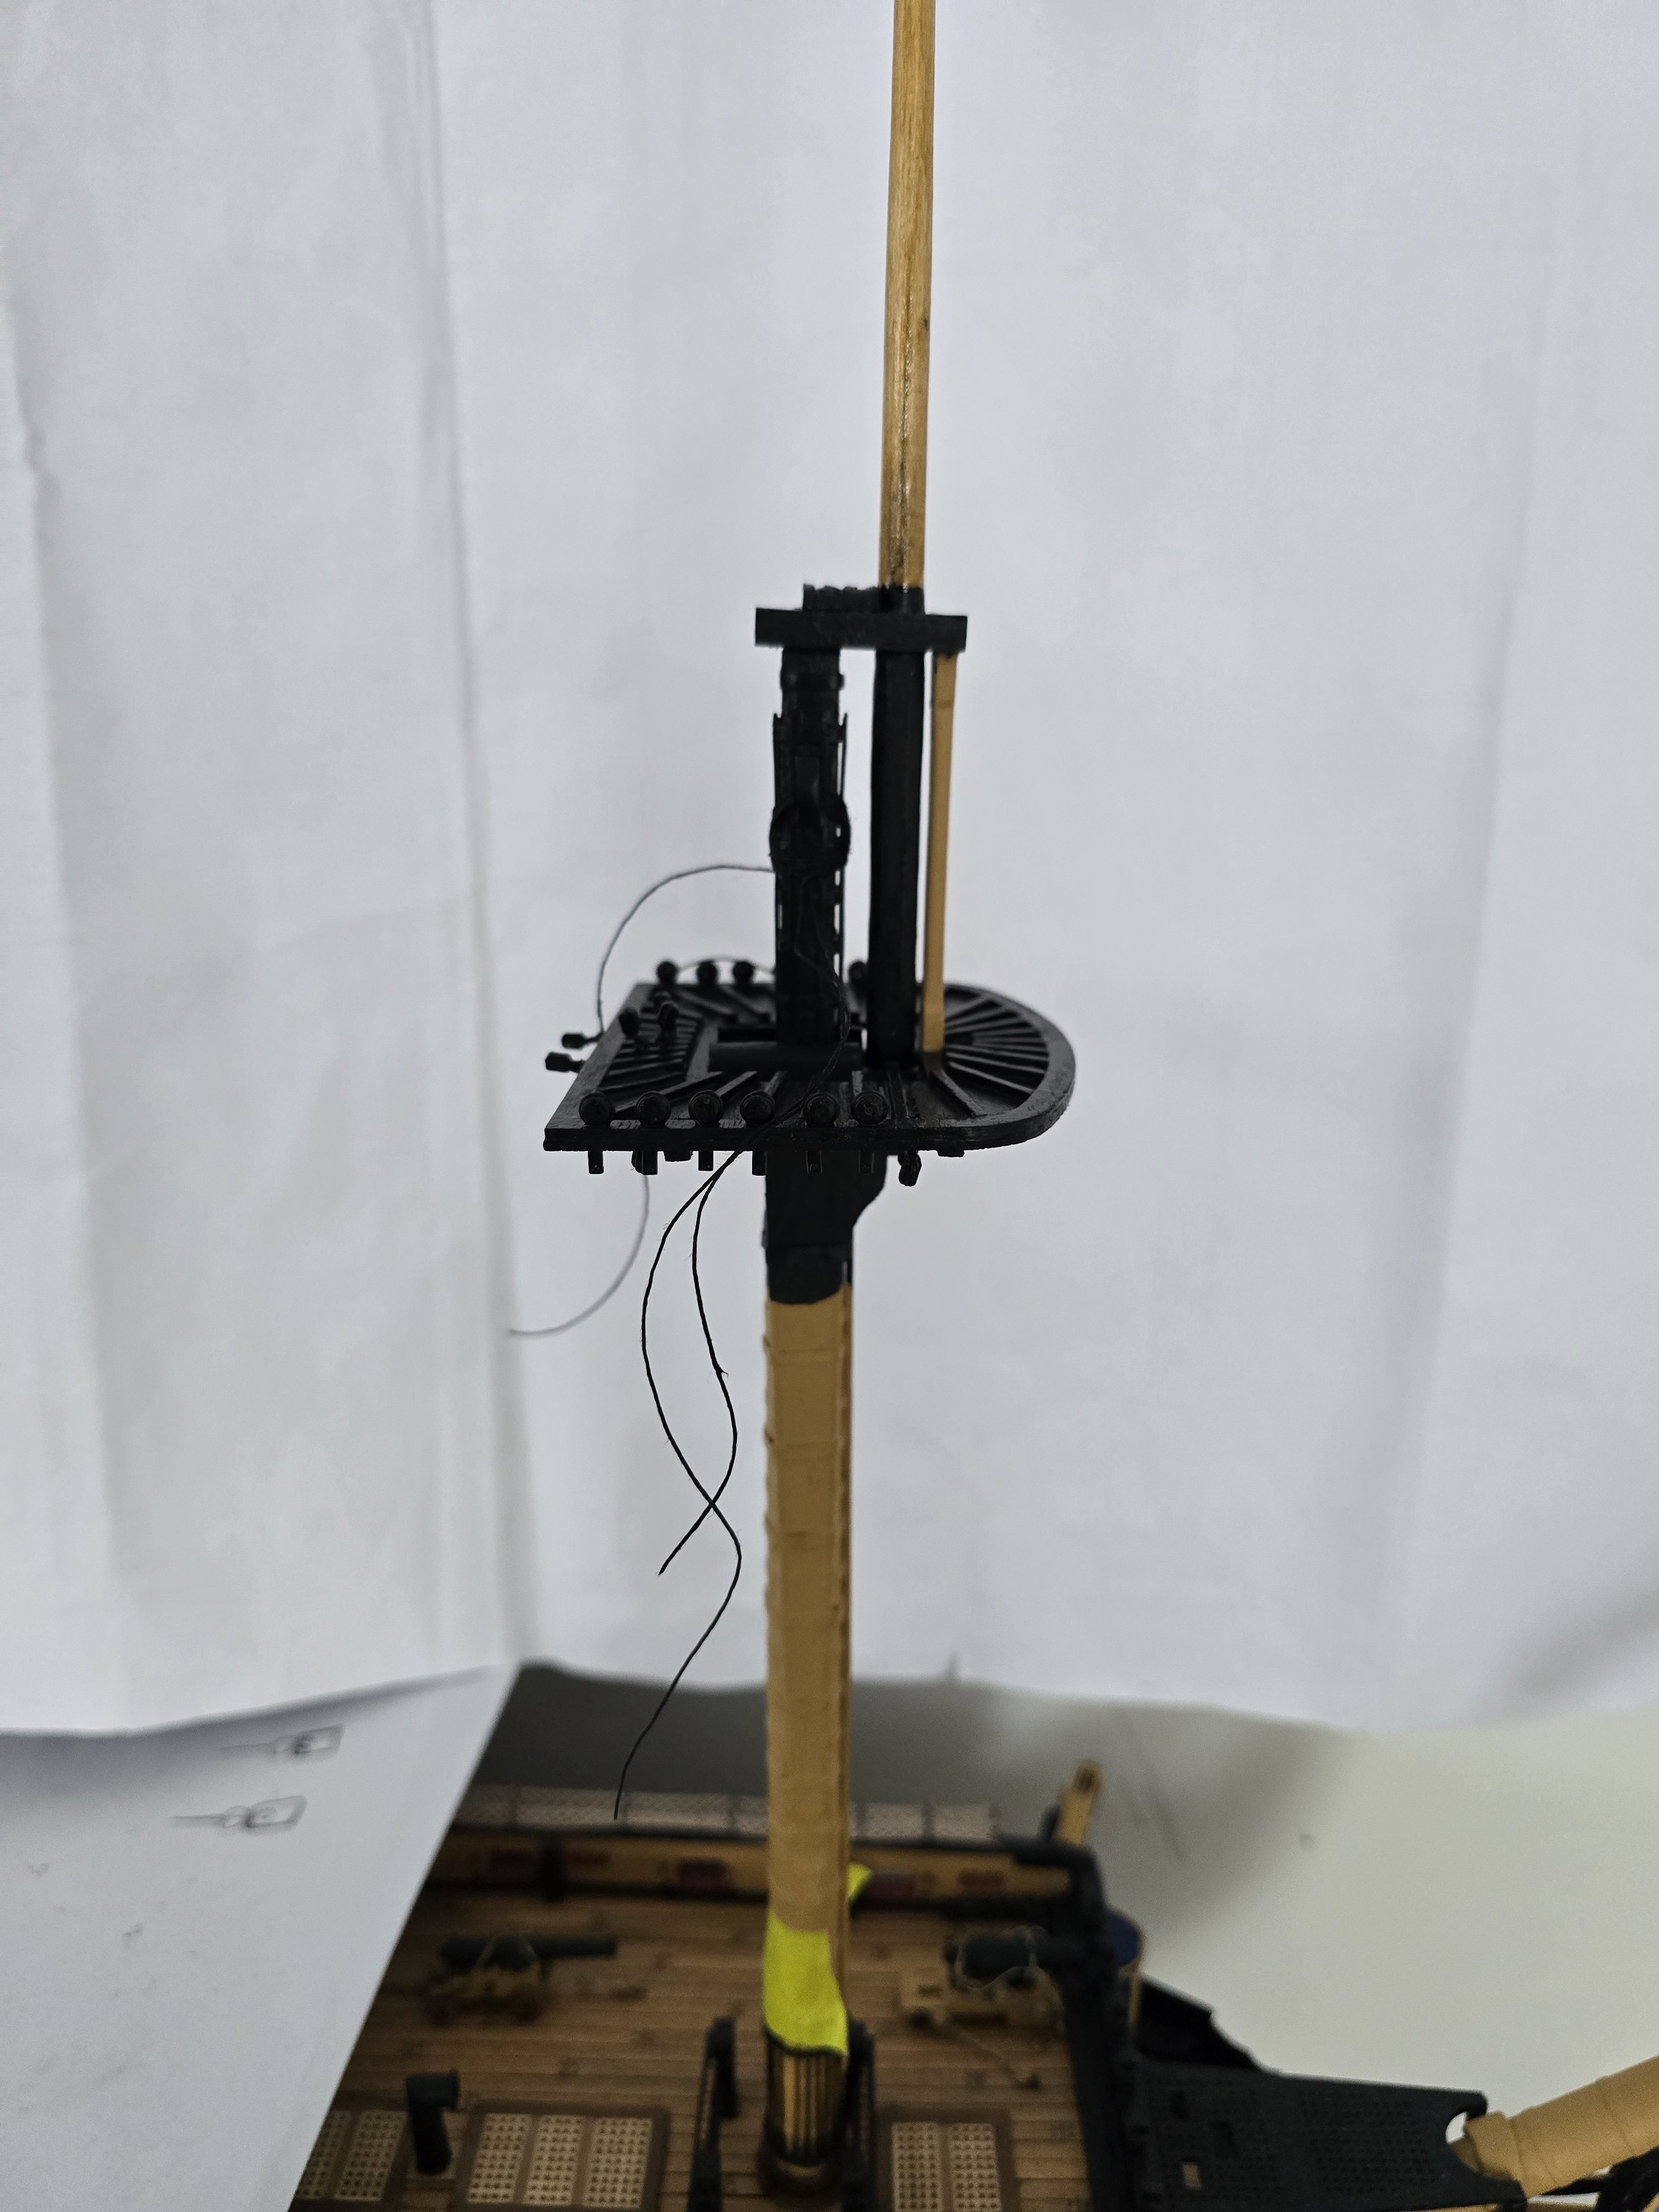
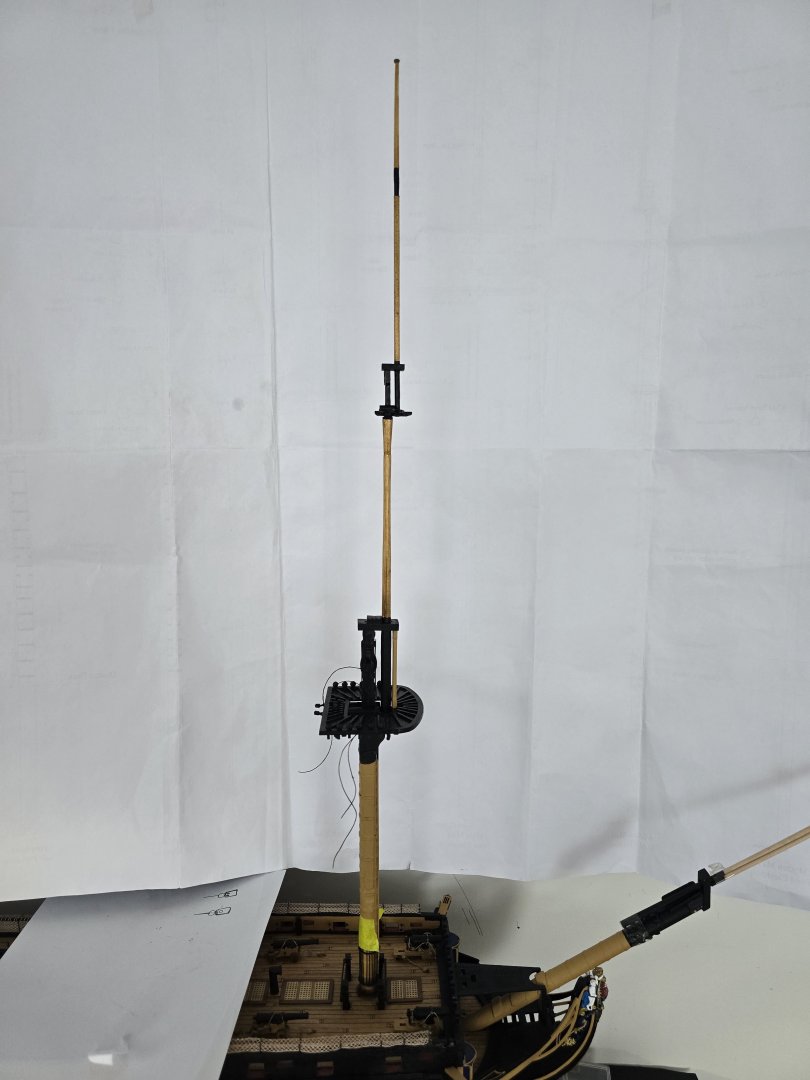
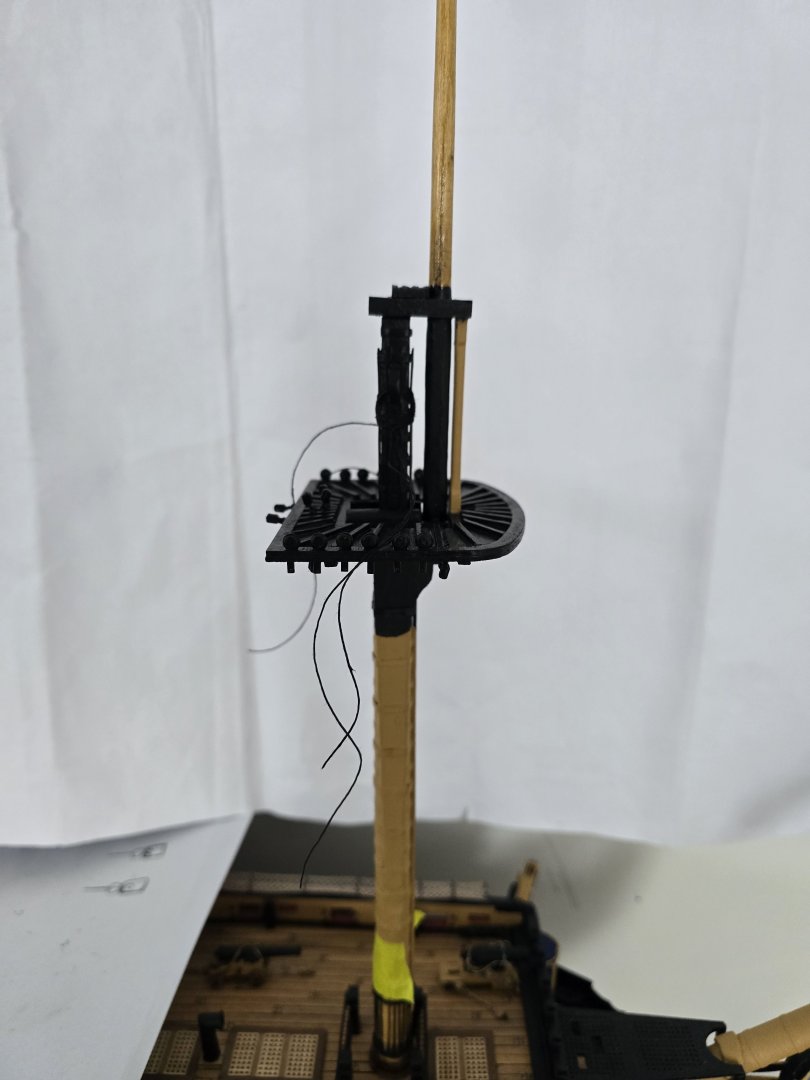
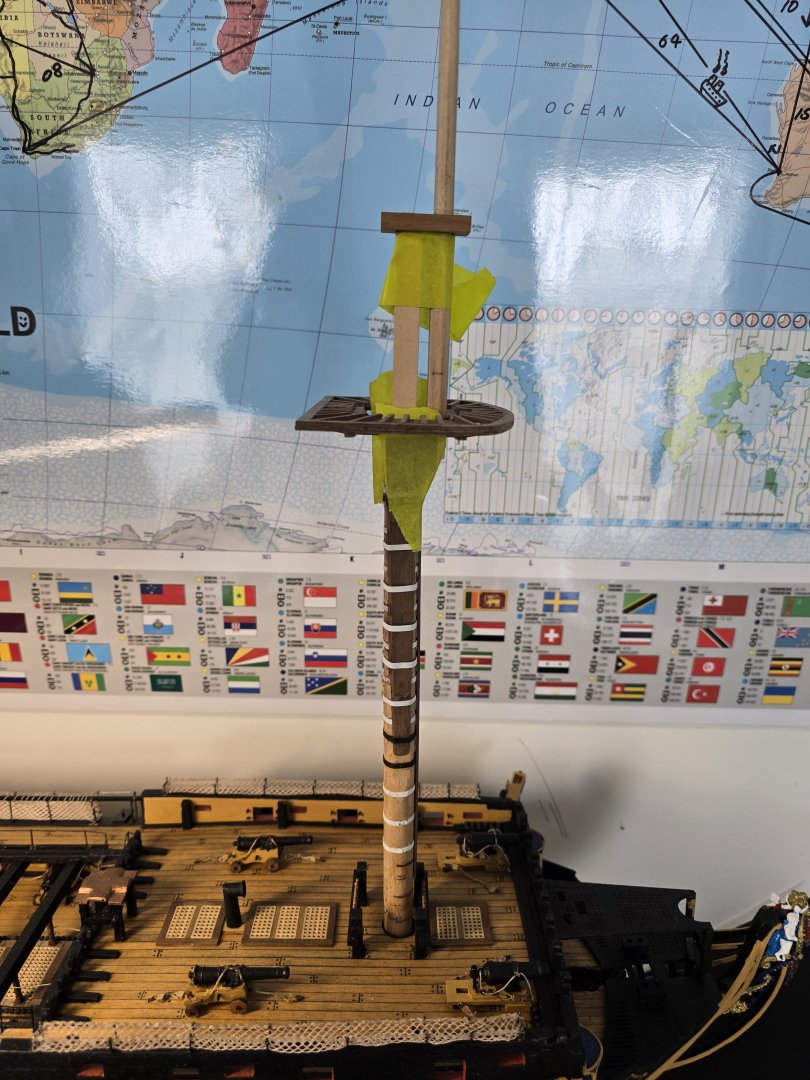
Masts done, now for the yards and booms. Just one mistake I managed to get around. Make sure you match the mast tops to the correct masts and lower or upper position.


-
Plan number wrong
-
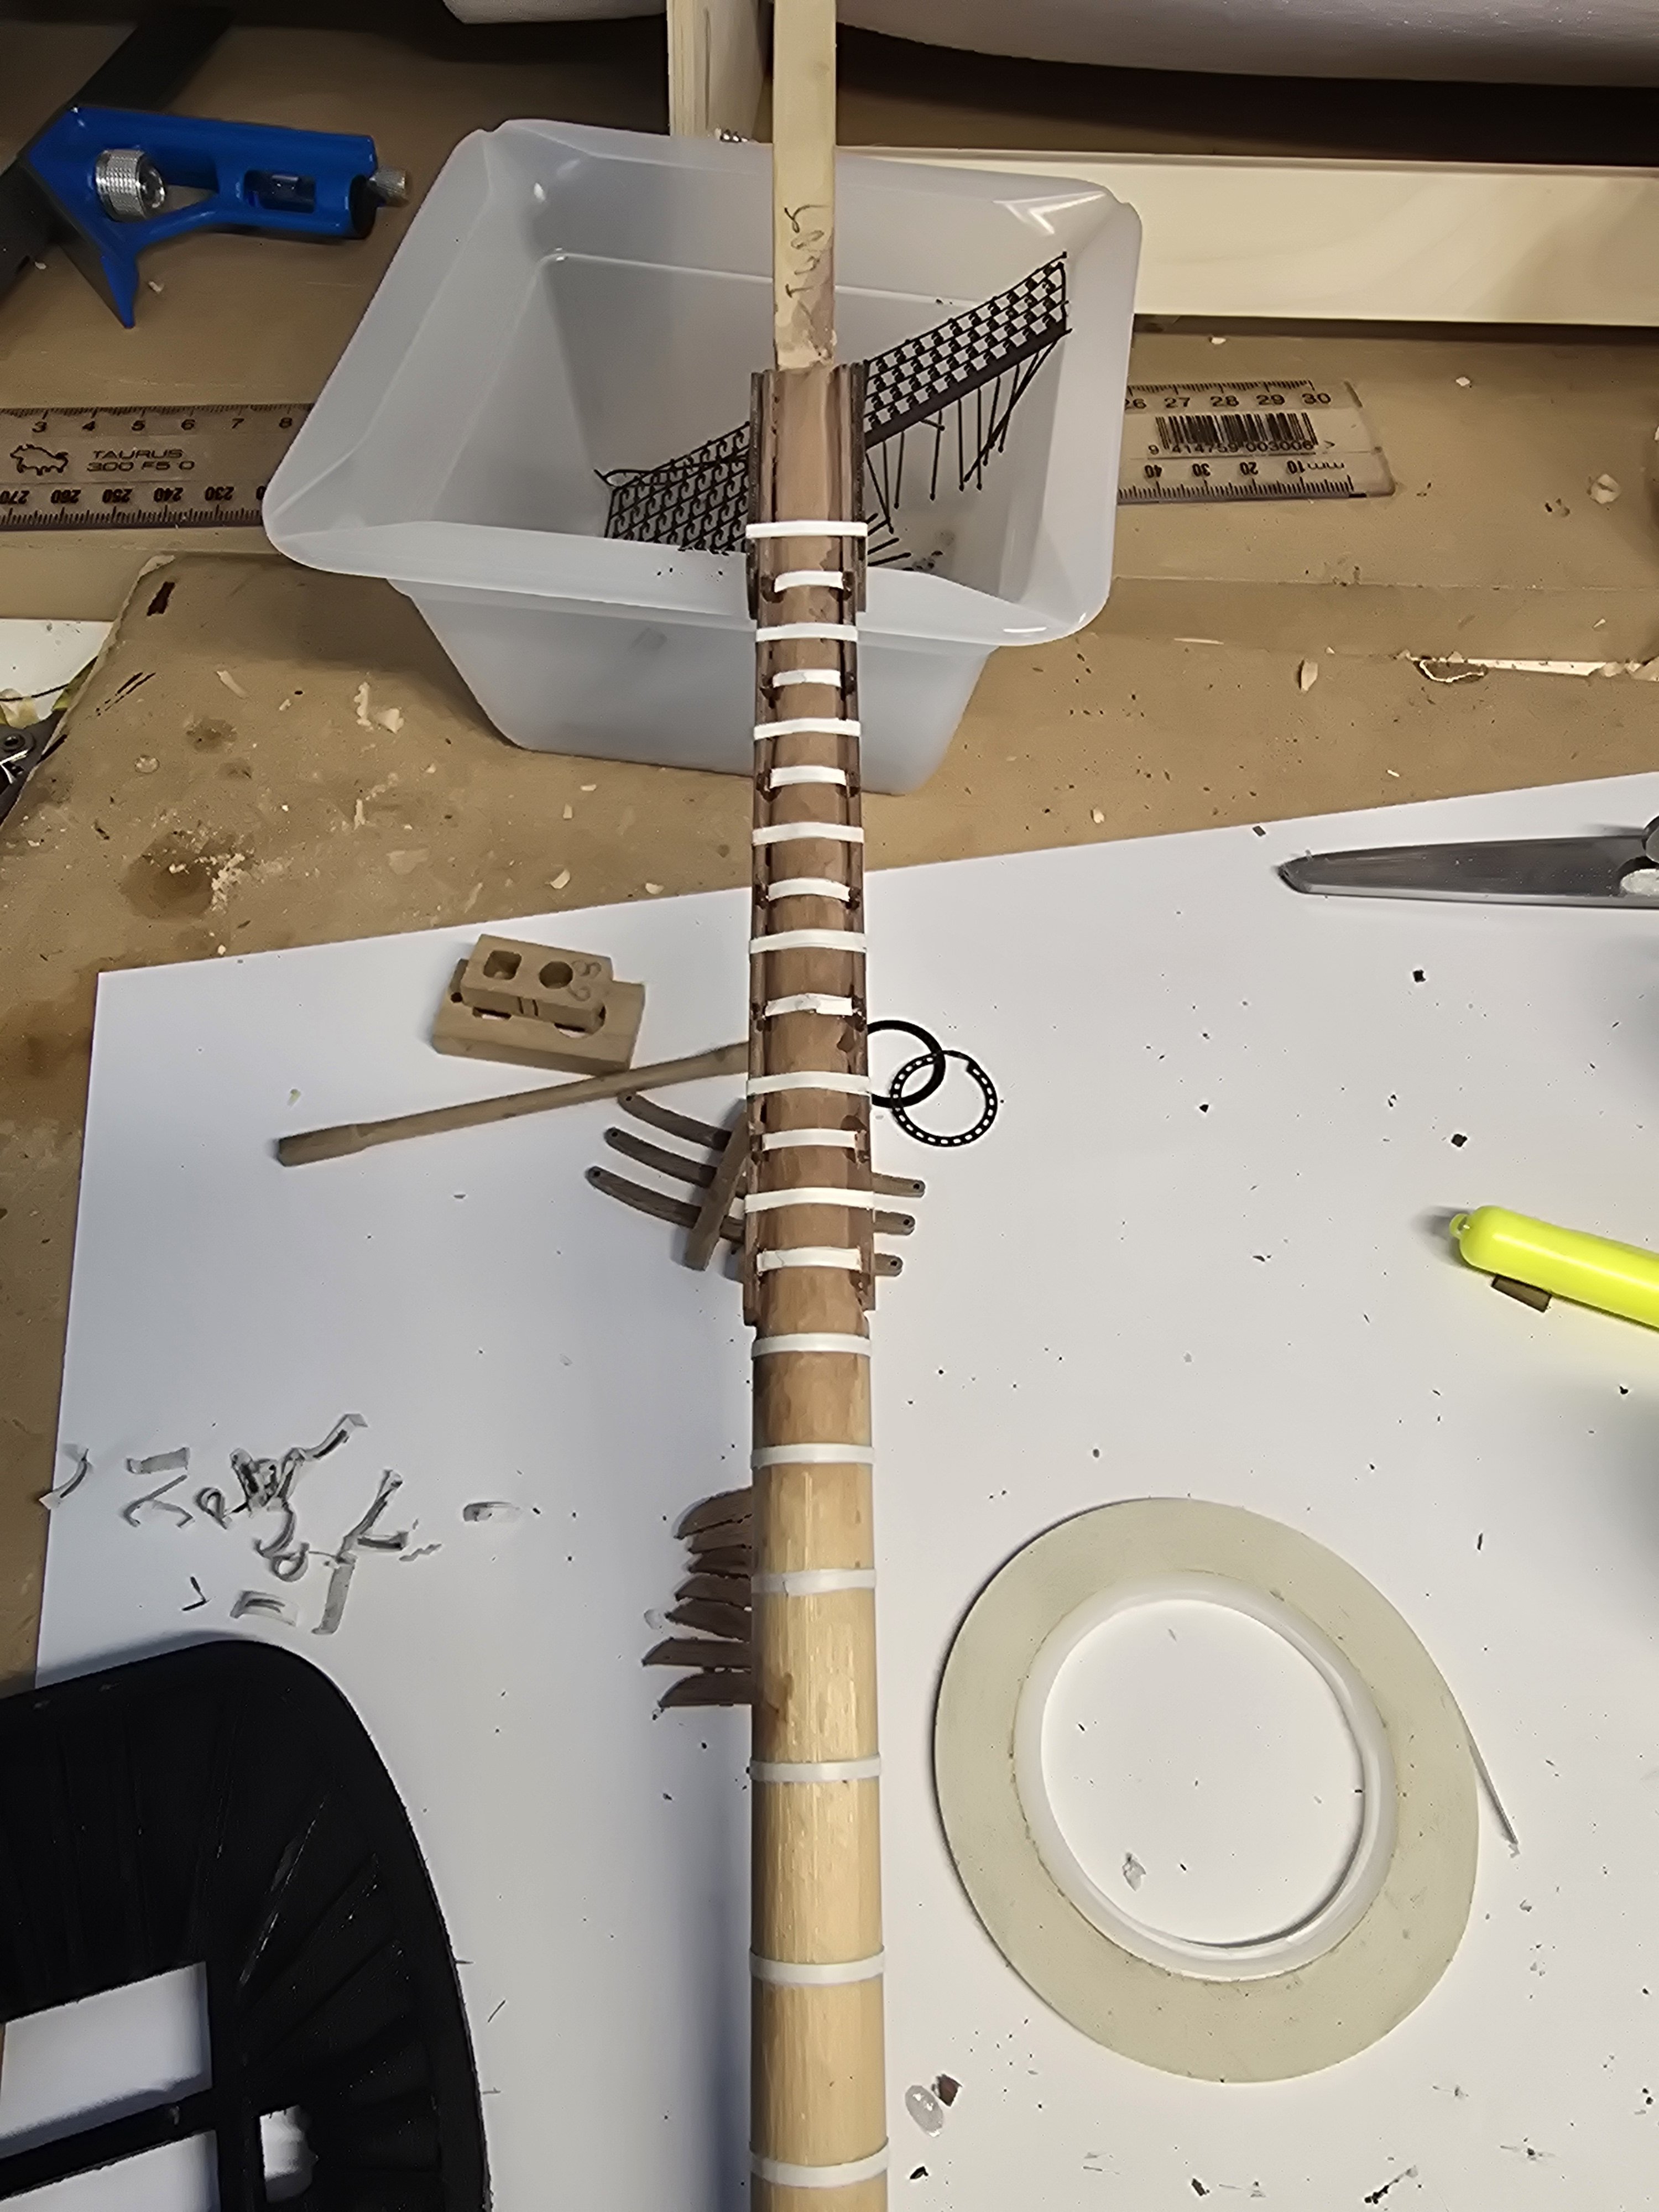
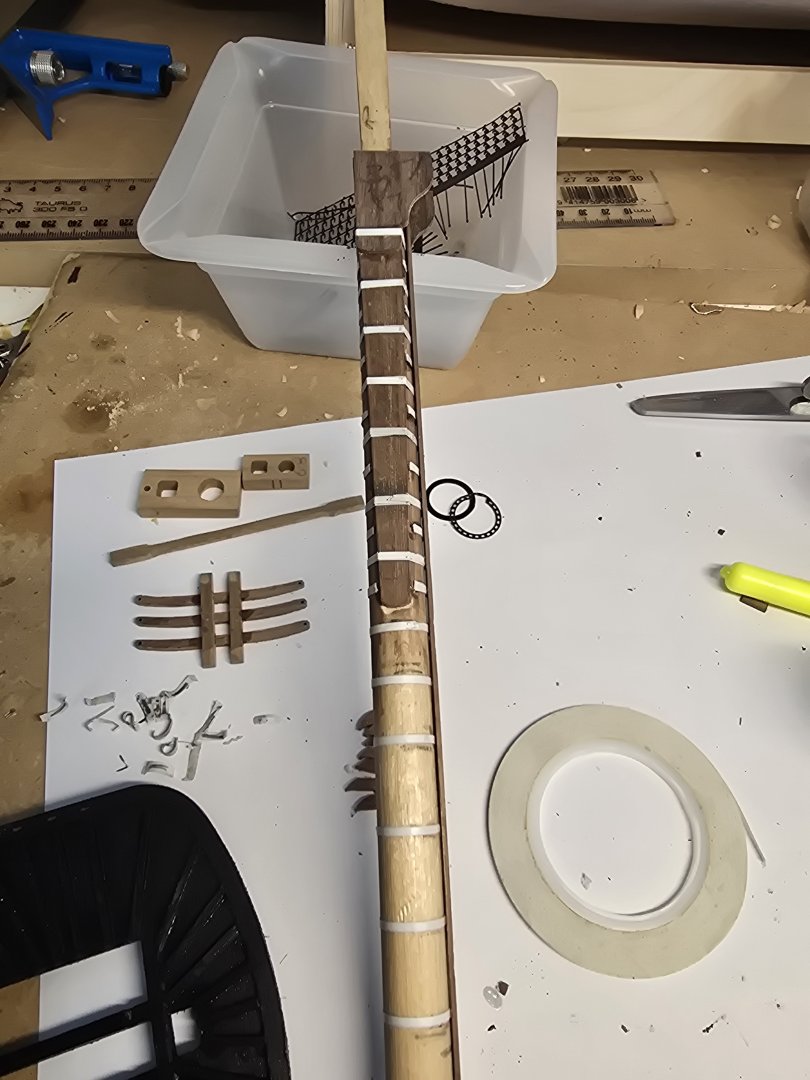
Much easier using pin striping tape for the bands. Just wrapped fully around cheeks and mast twice then just trim tape so it looks like the band goes under the cheeks.

-
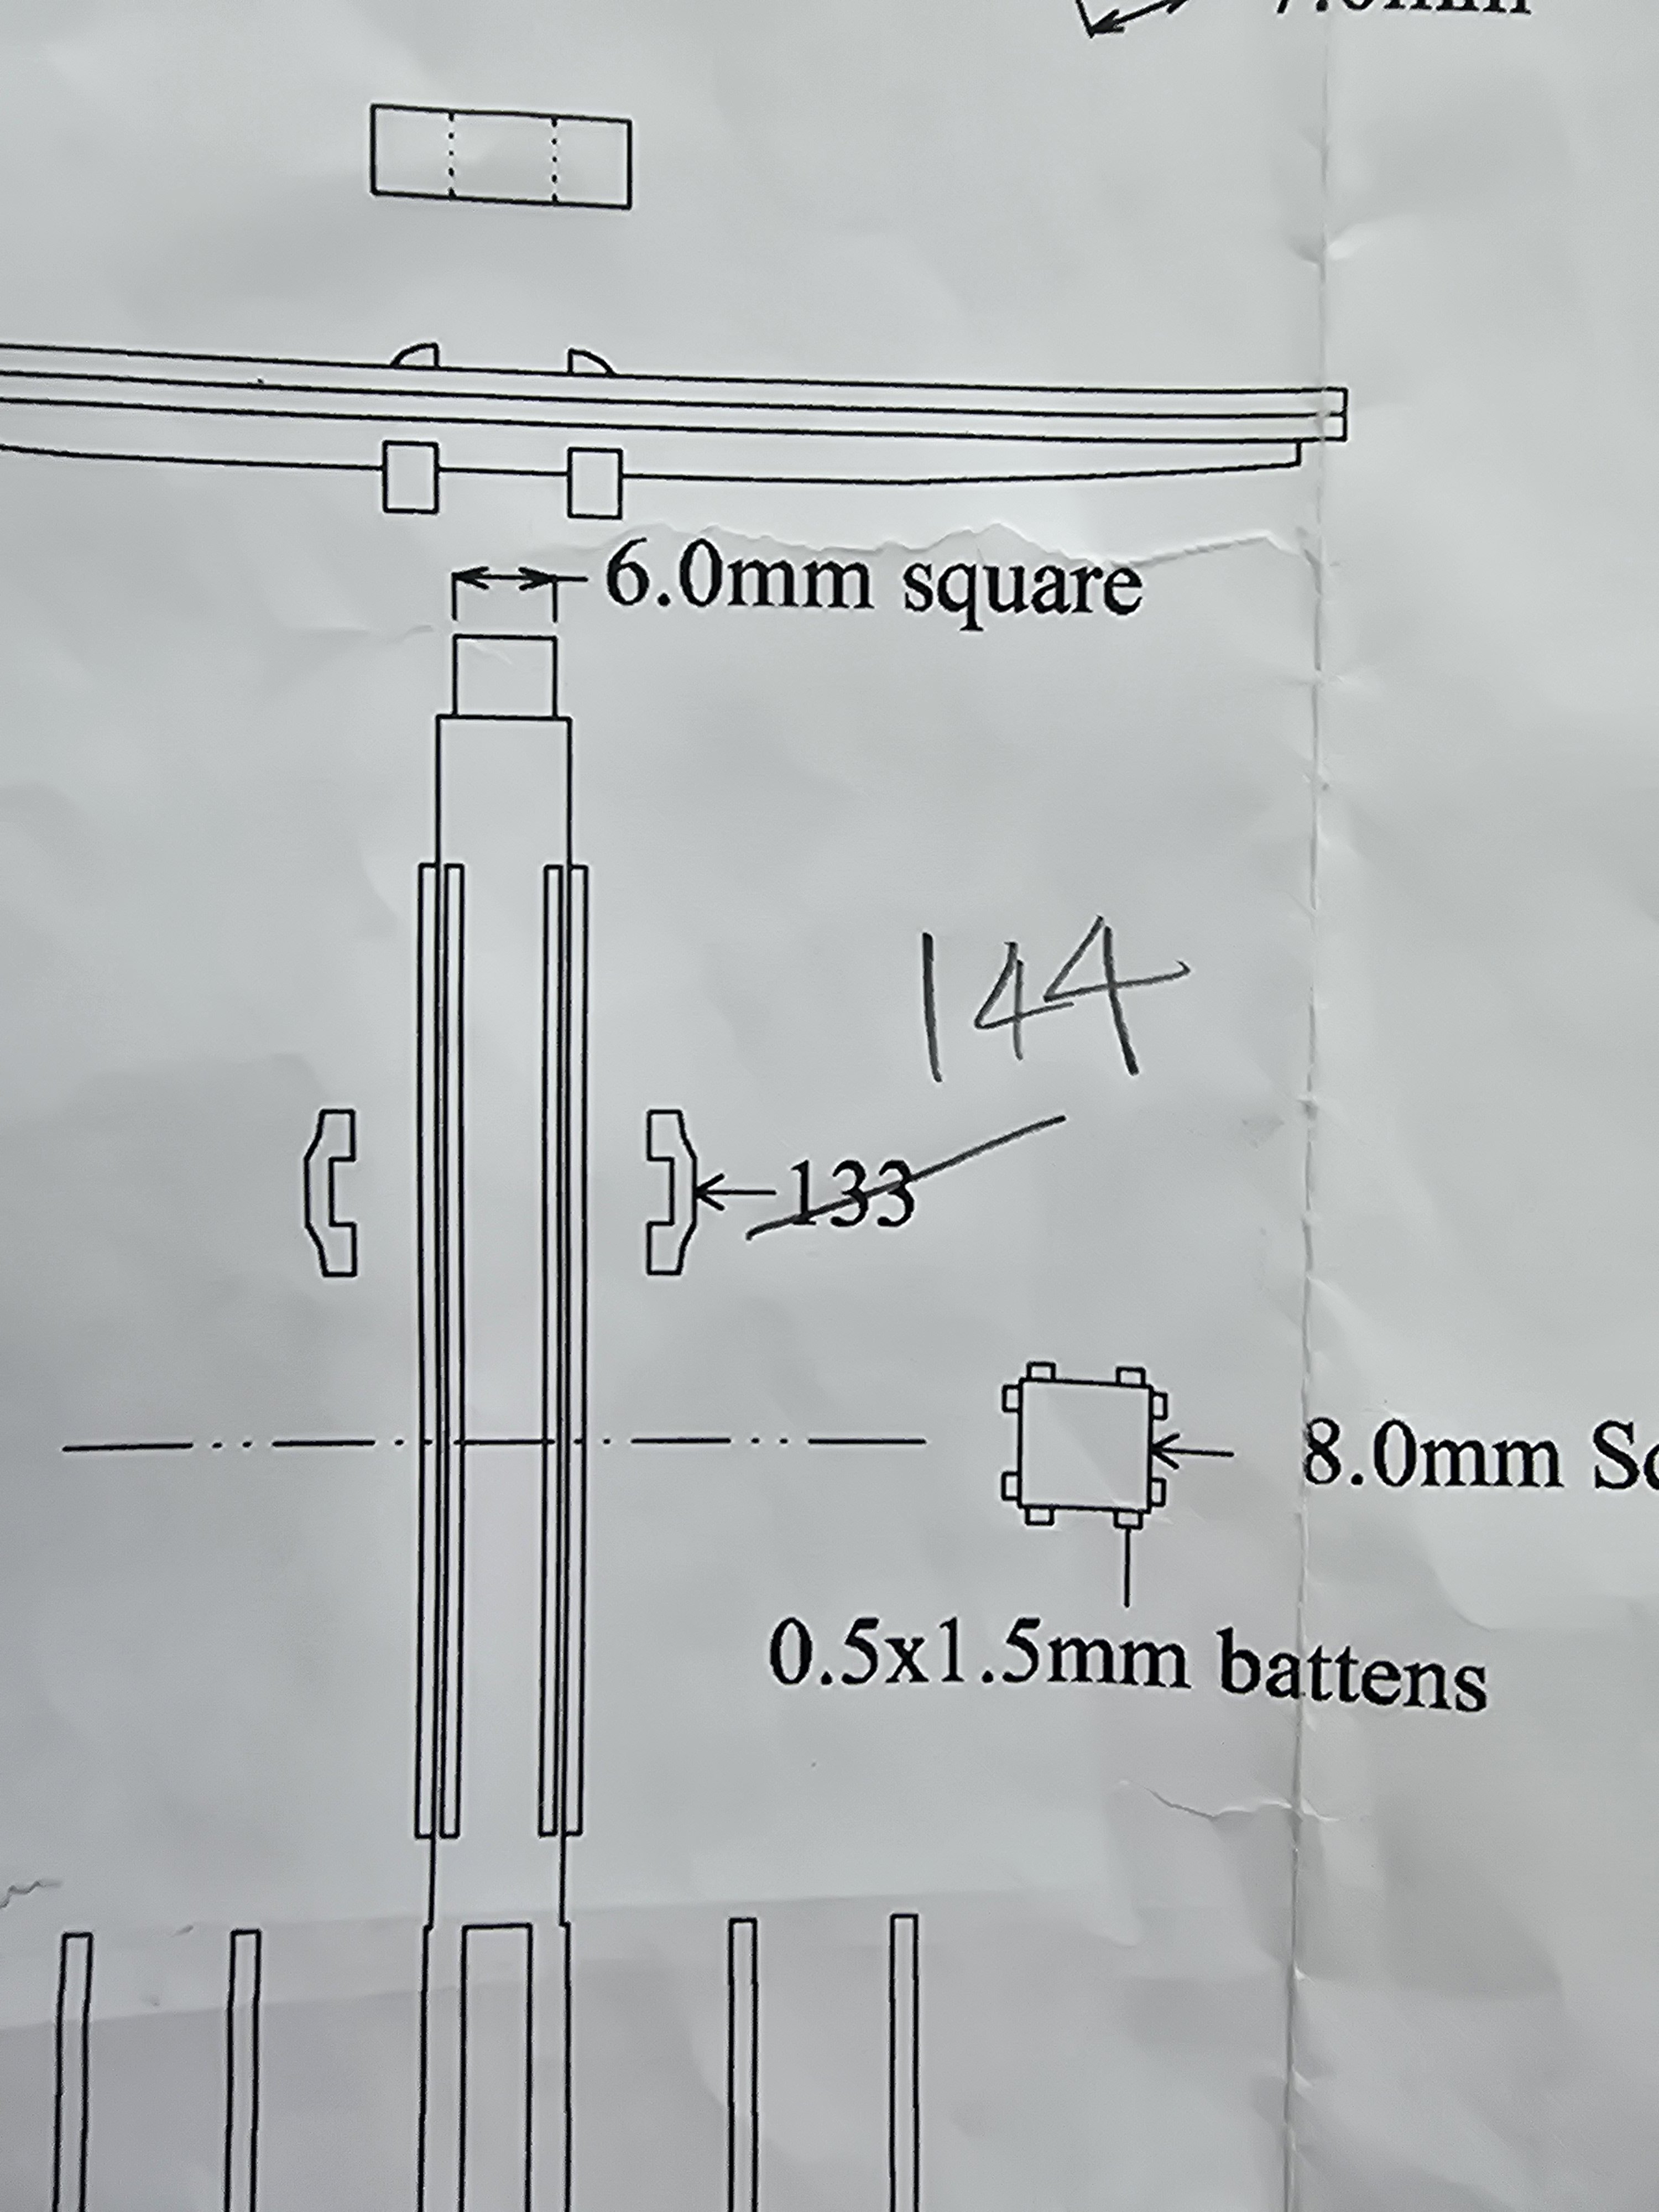
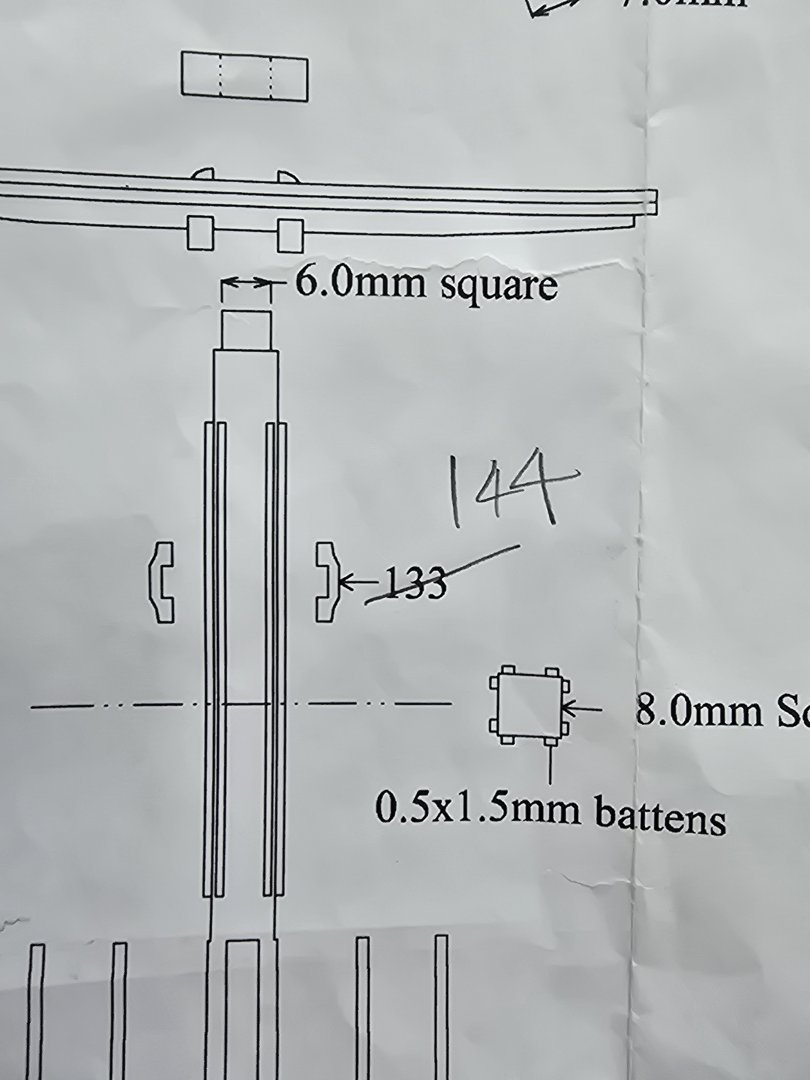
Things I learnt on the foremast. When trimming the mast for the Cheeks to fit make sure you trim for them in line with the 8mm square above vertically. I will try pin striping tape for the bands after the styrene kept breaking. Add blocks to the Platform after painting black. I did'nt so got some black paint on the blocks so had to paint the blocks black. For the mast top cut a small v under it to allow for thread to fit between that and Top Gallant mast. Fit the boarding pikes last, easy to damage. I used styrene for the battens instead of trying to cut 0.5 x 3mm walnut into 0.5 x 1.5mm. Hope that makes some sense.

-
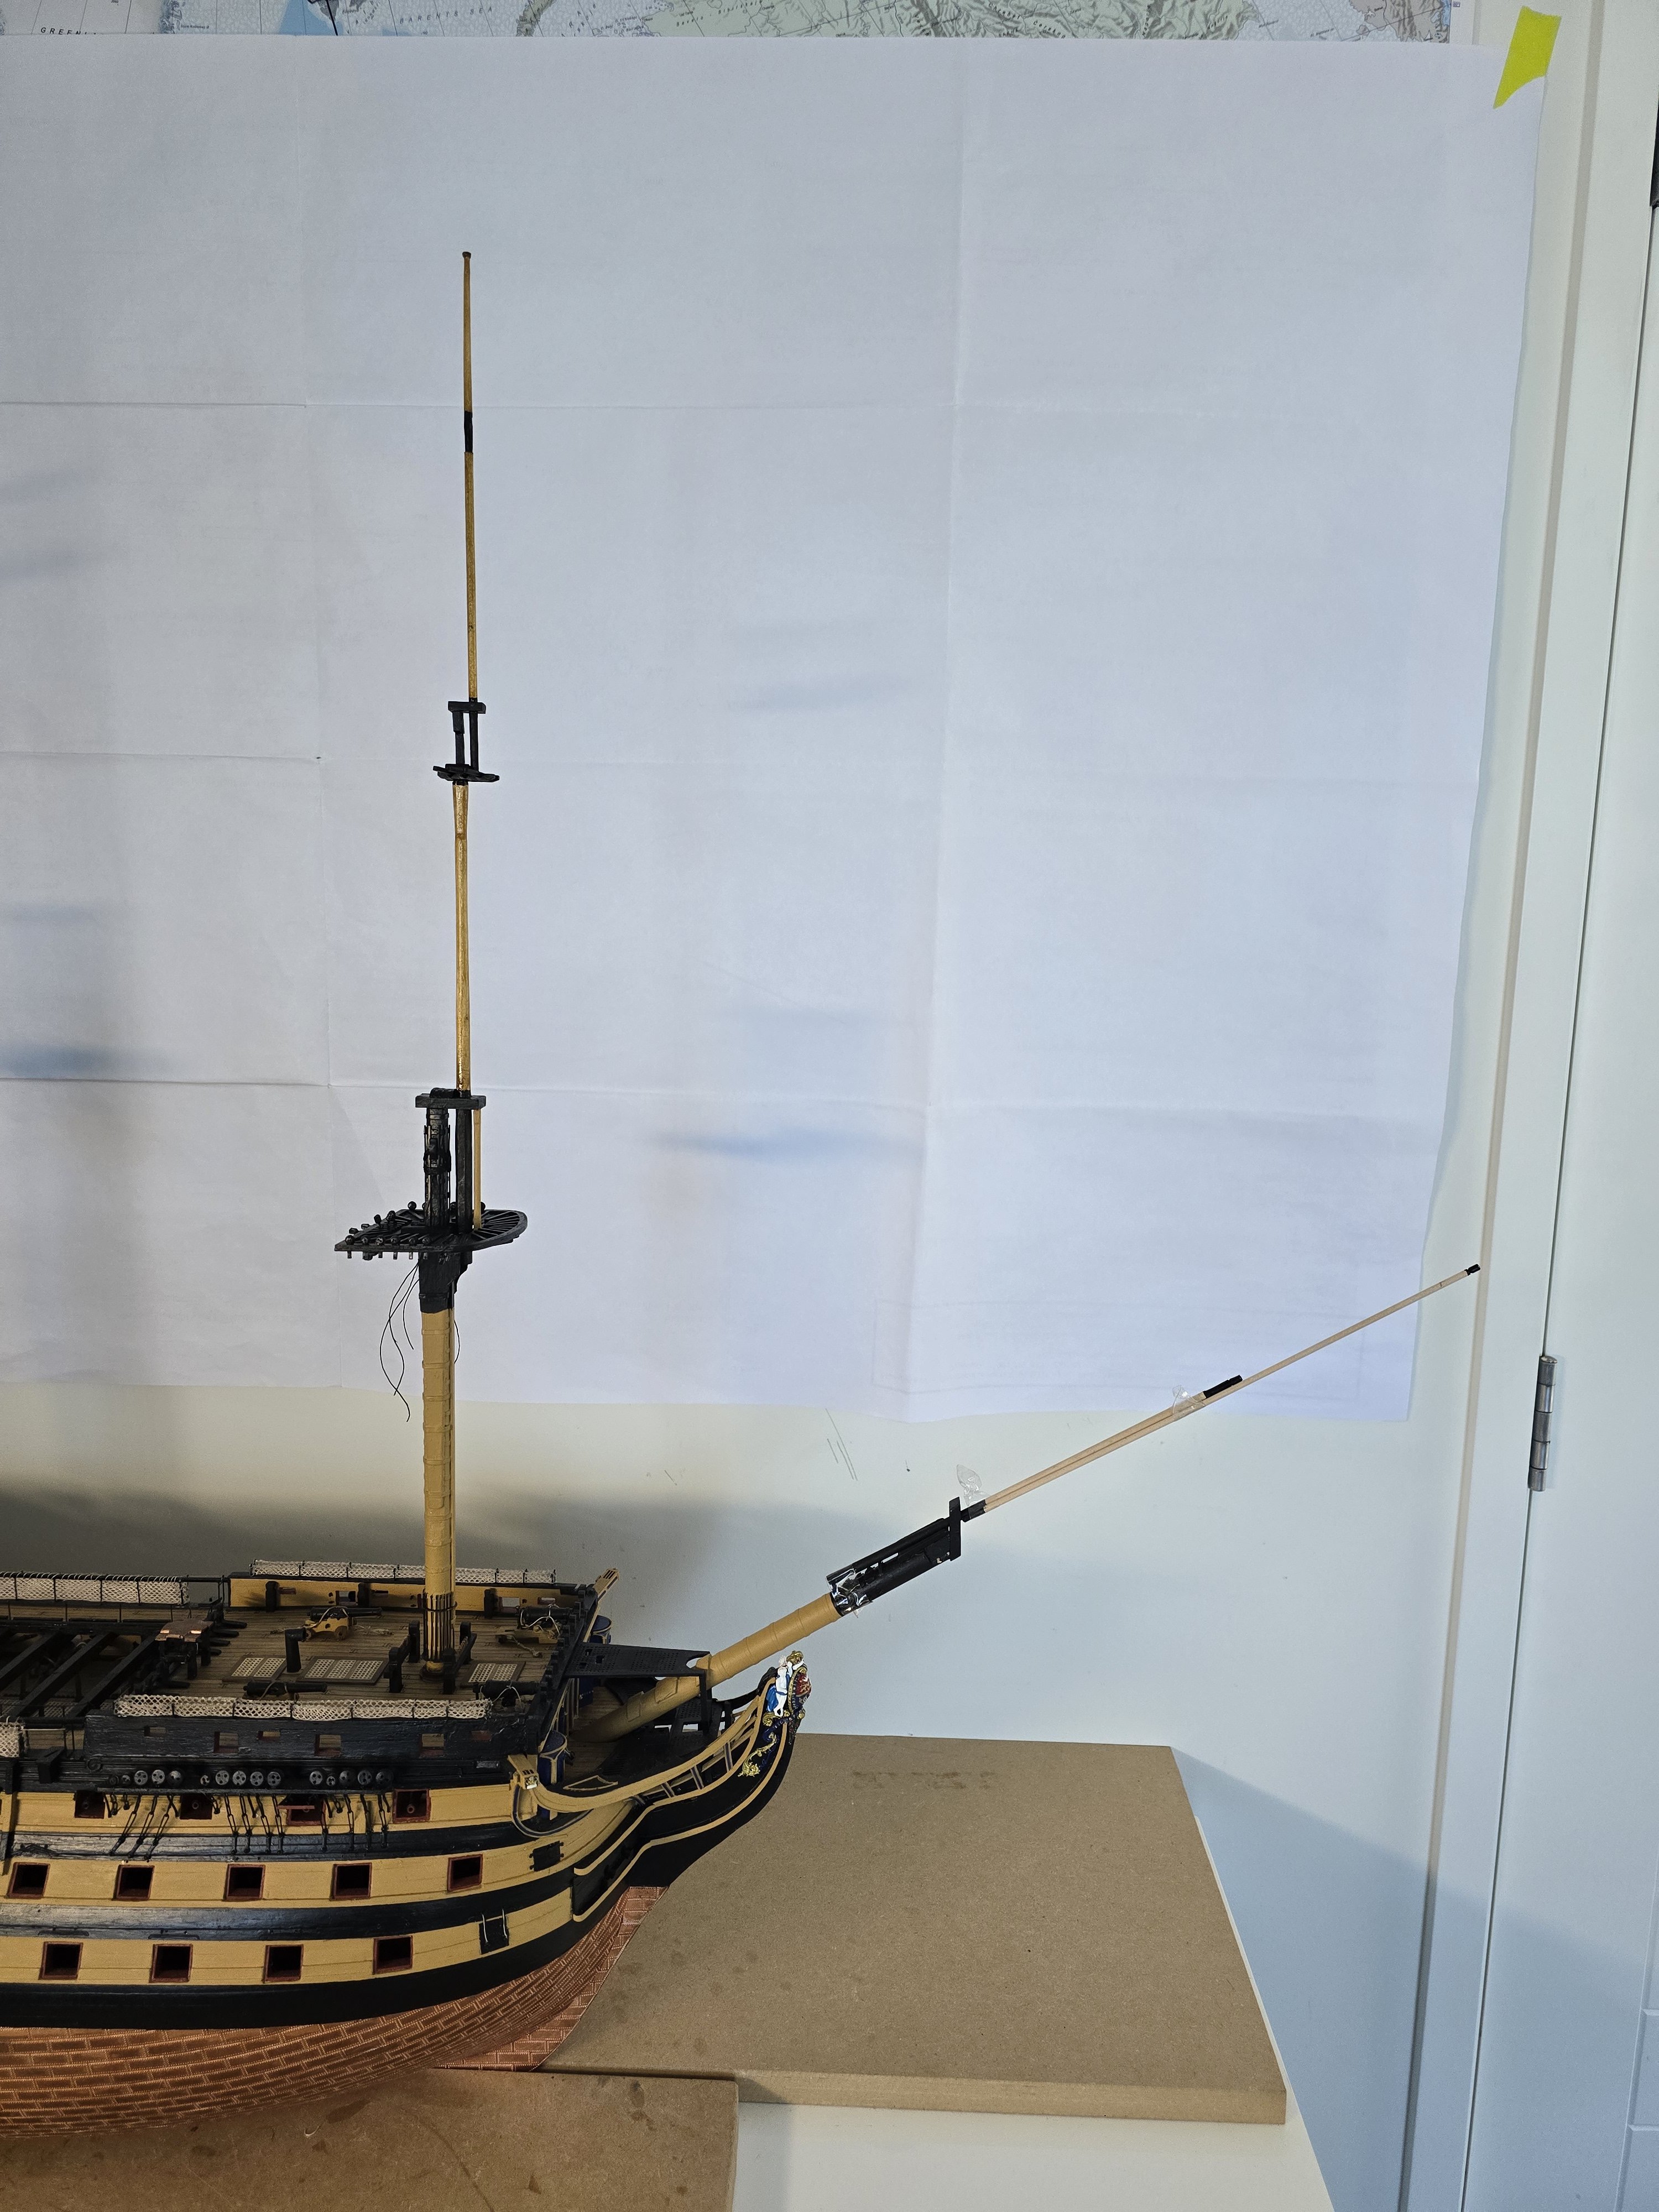
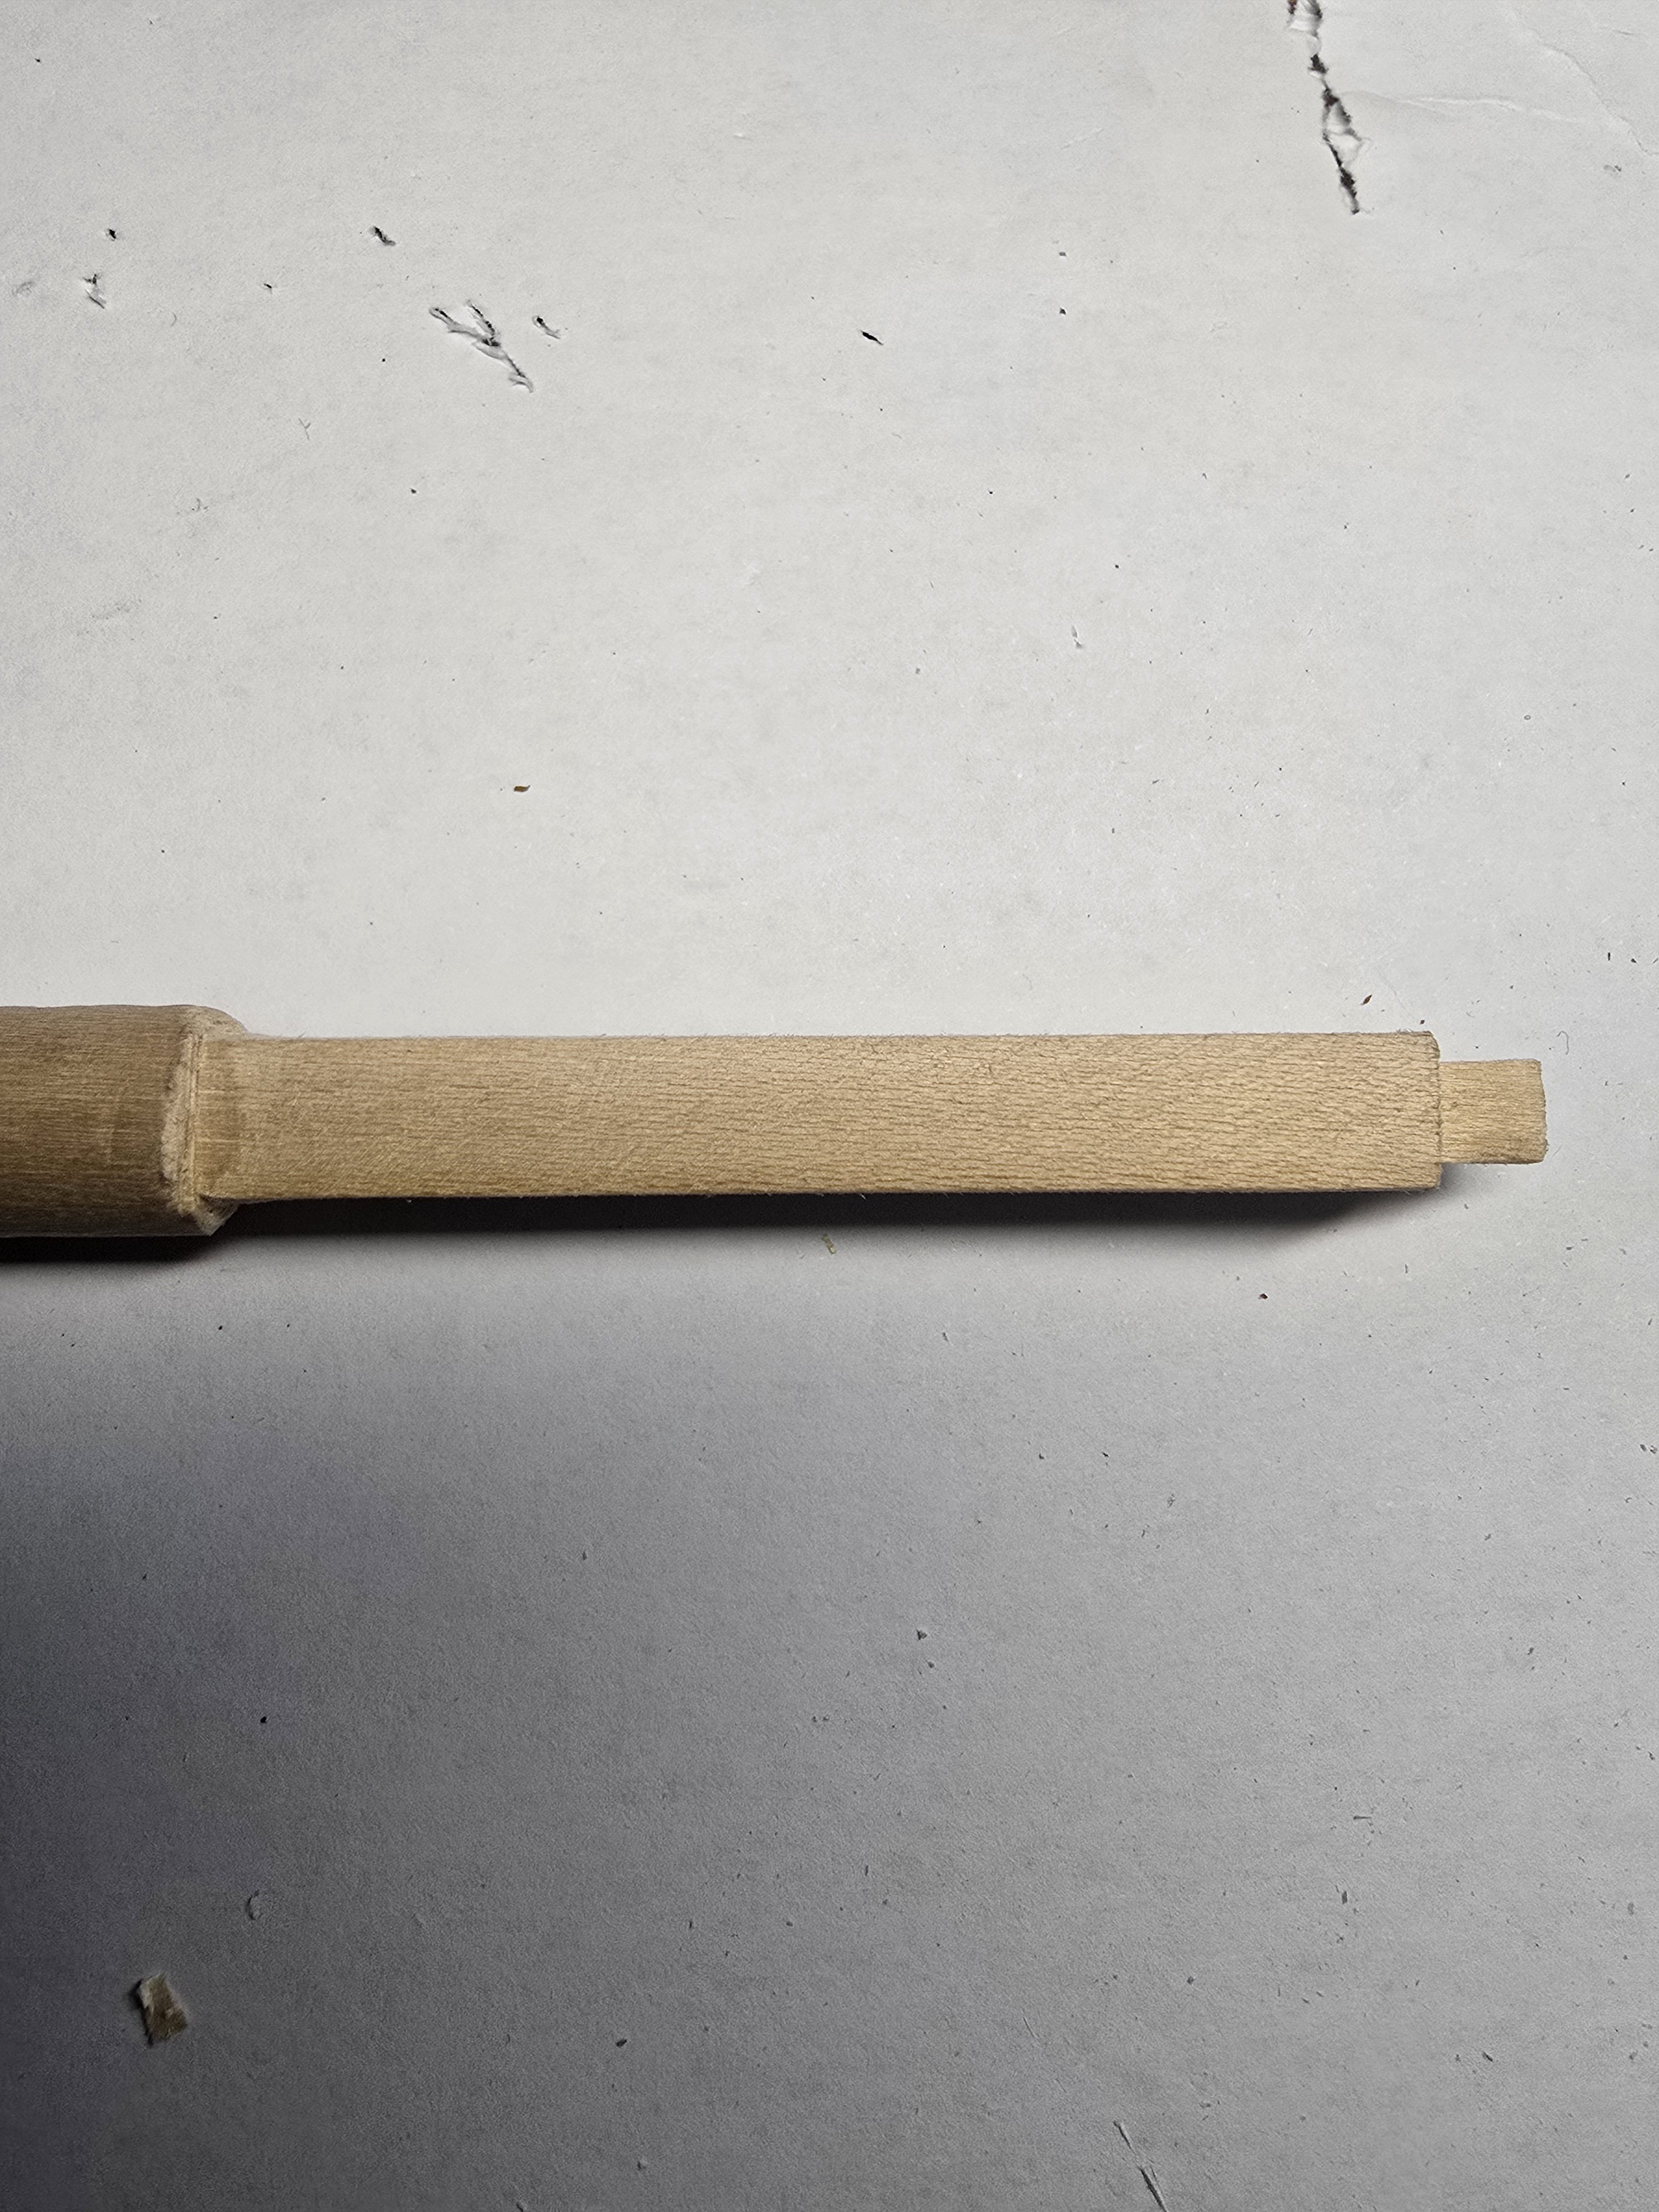
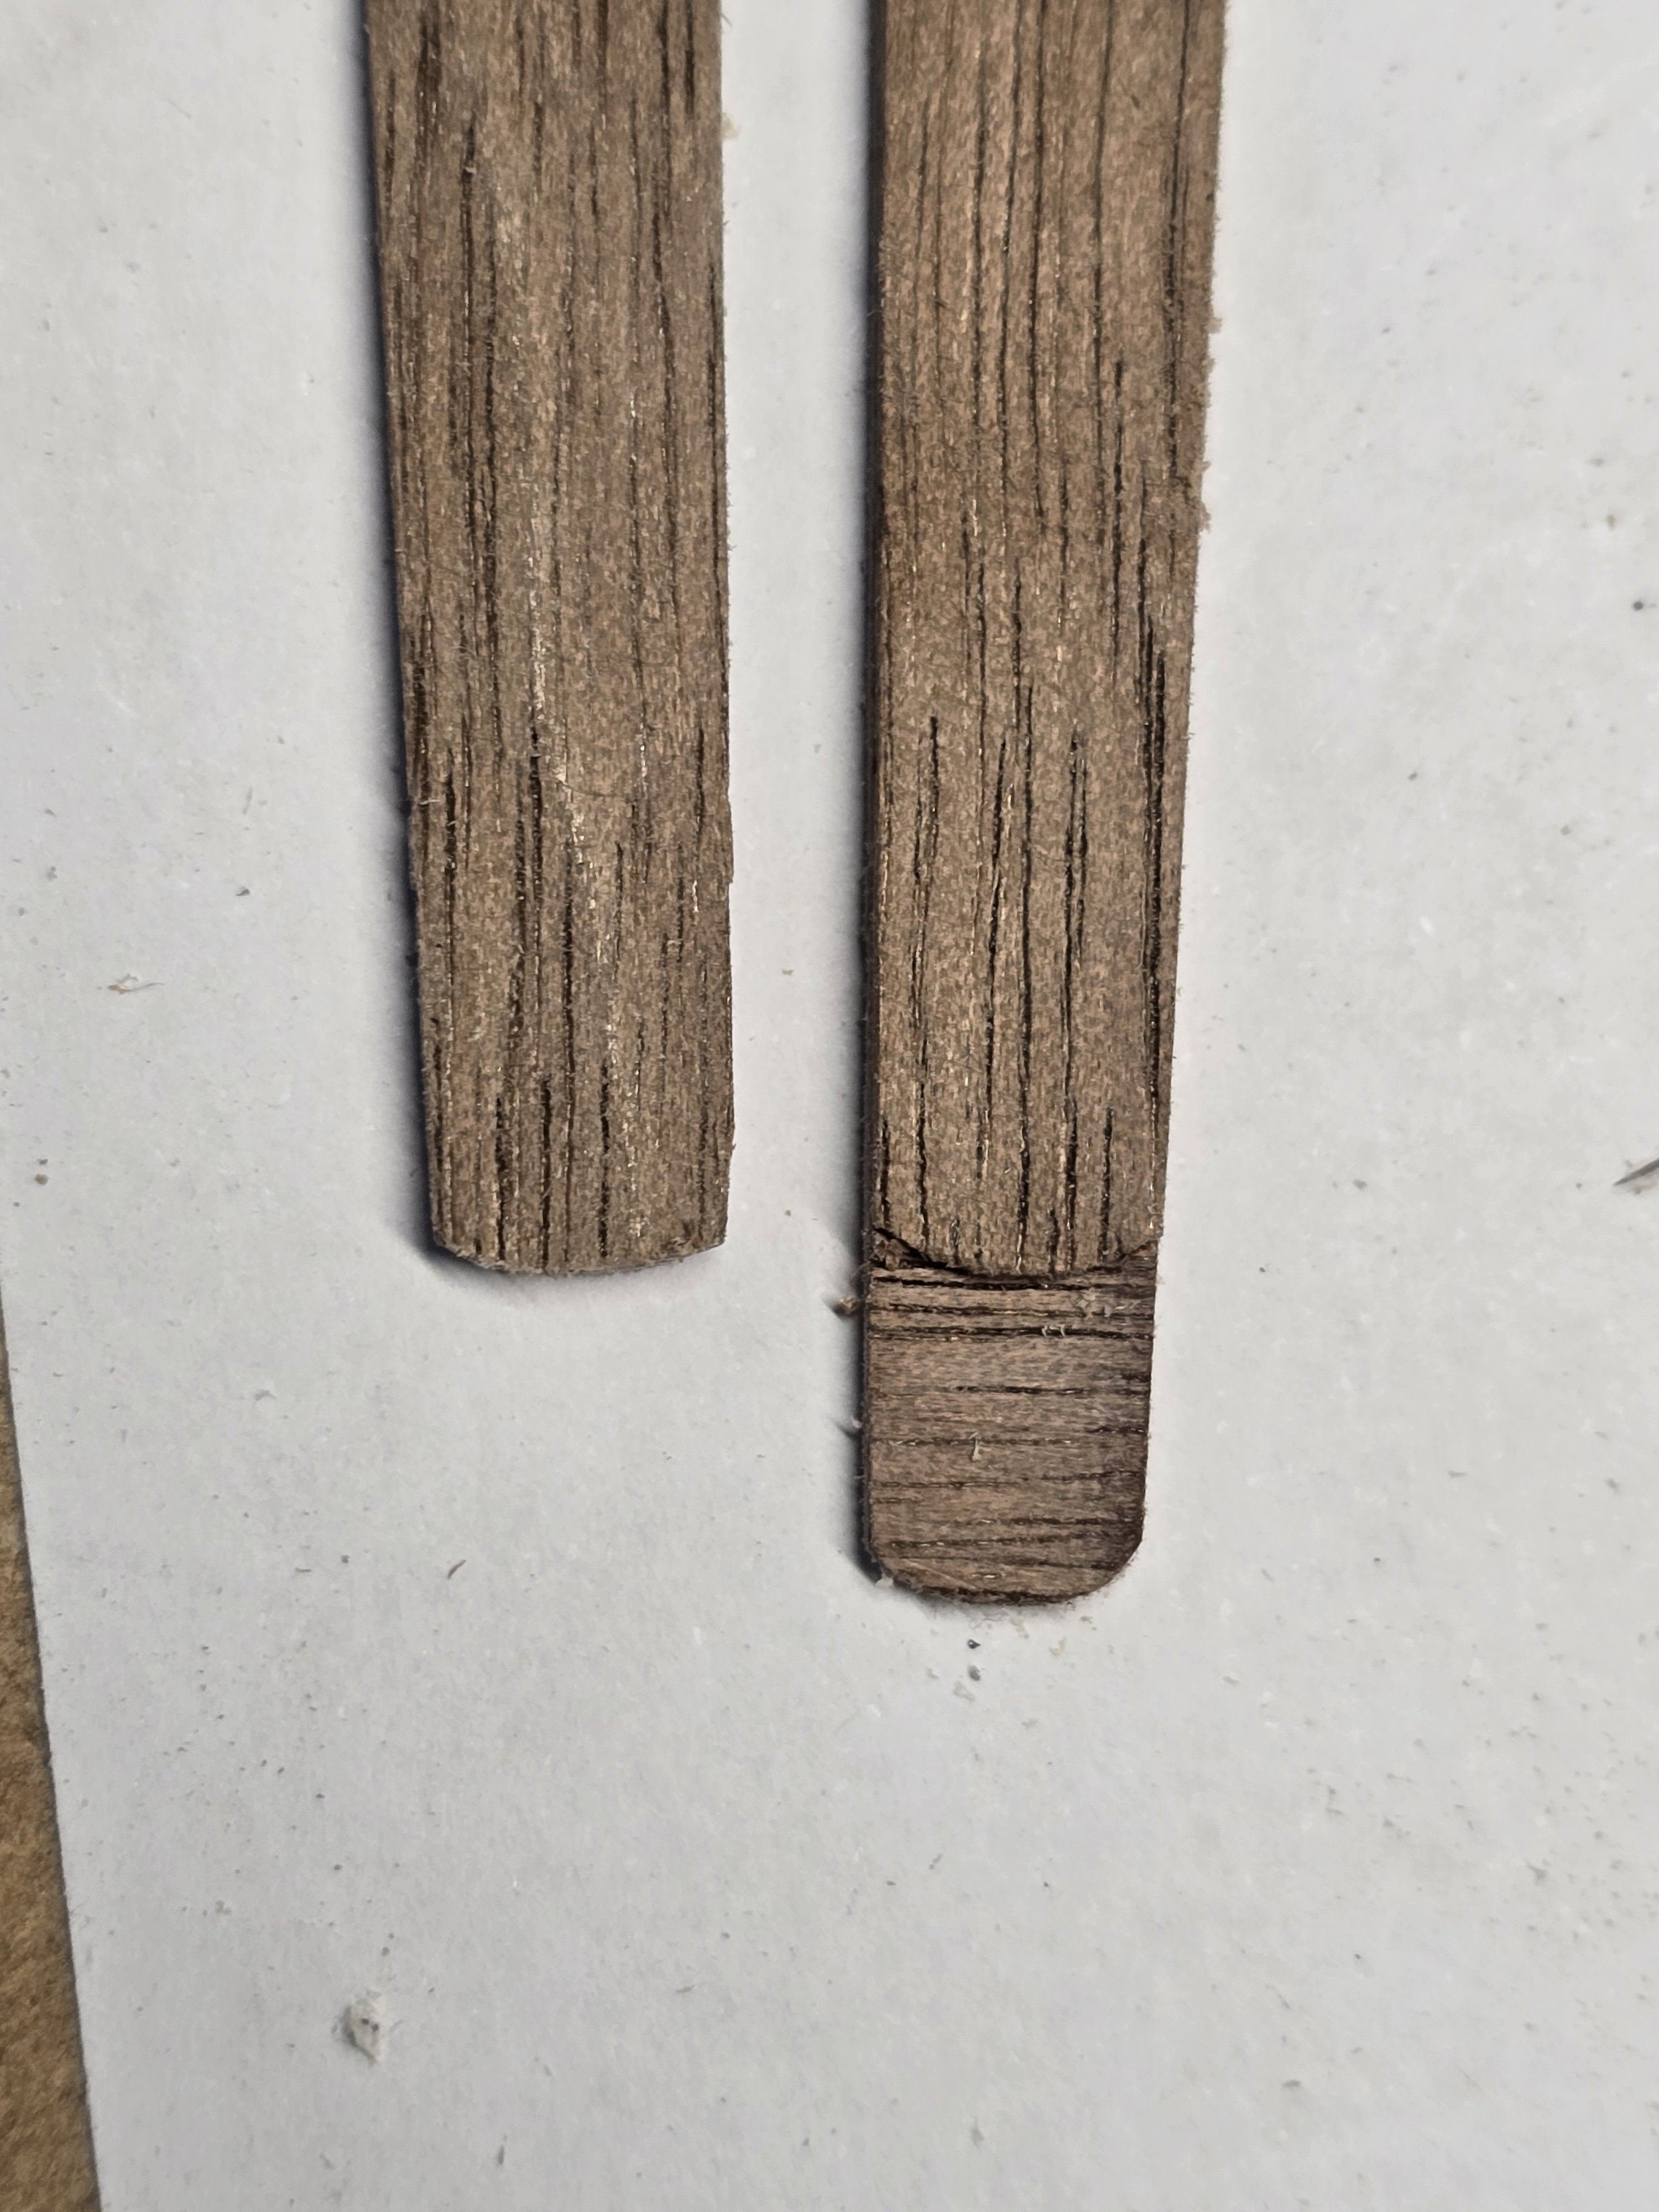
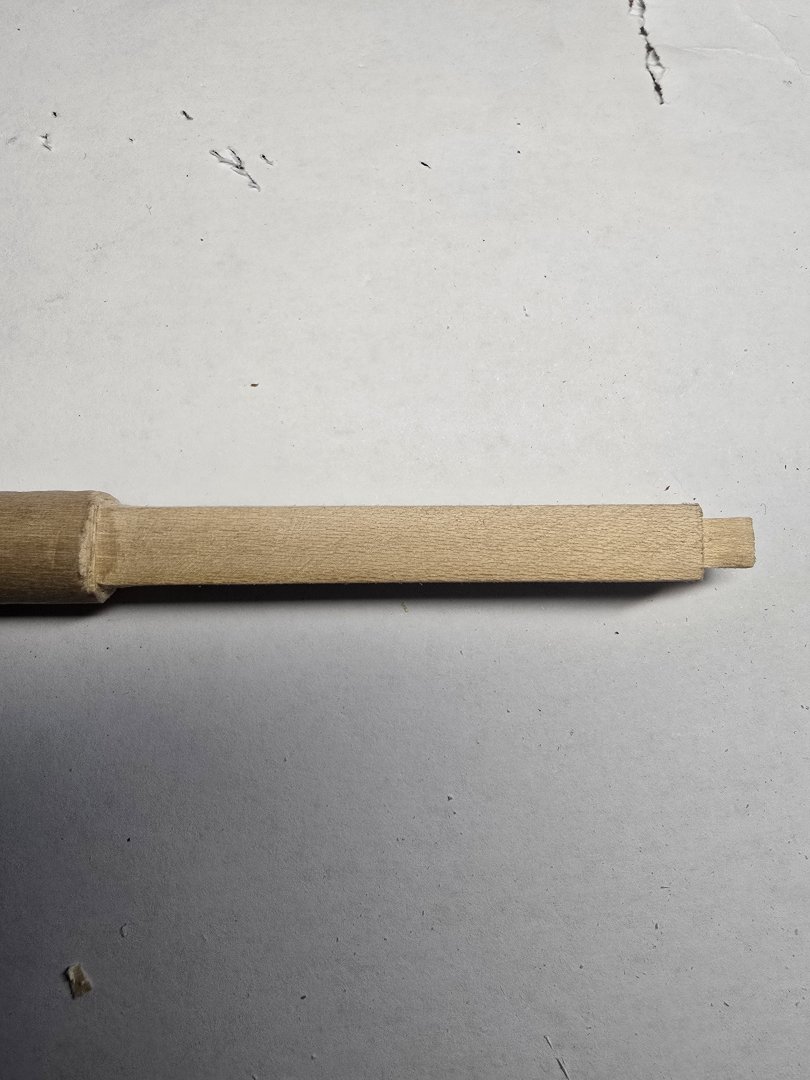
Thanks Chris, I'm onto the masts now after a break. I finally know what I'm supposed to do now studying your photo's over and over for the masts. Between fids, sheaves and bolsters I did'nt have a clue what most were. In the second photo I think I was supposed to take off the small end piece. This now matches the cheeks length on the plan sheet. Mock up of Bowsprit and lower foremast.


-
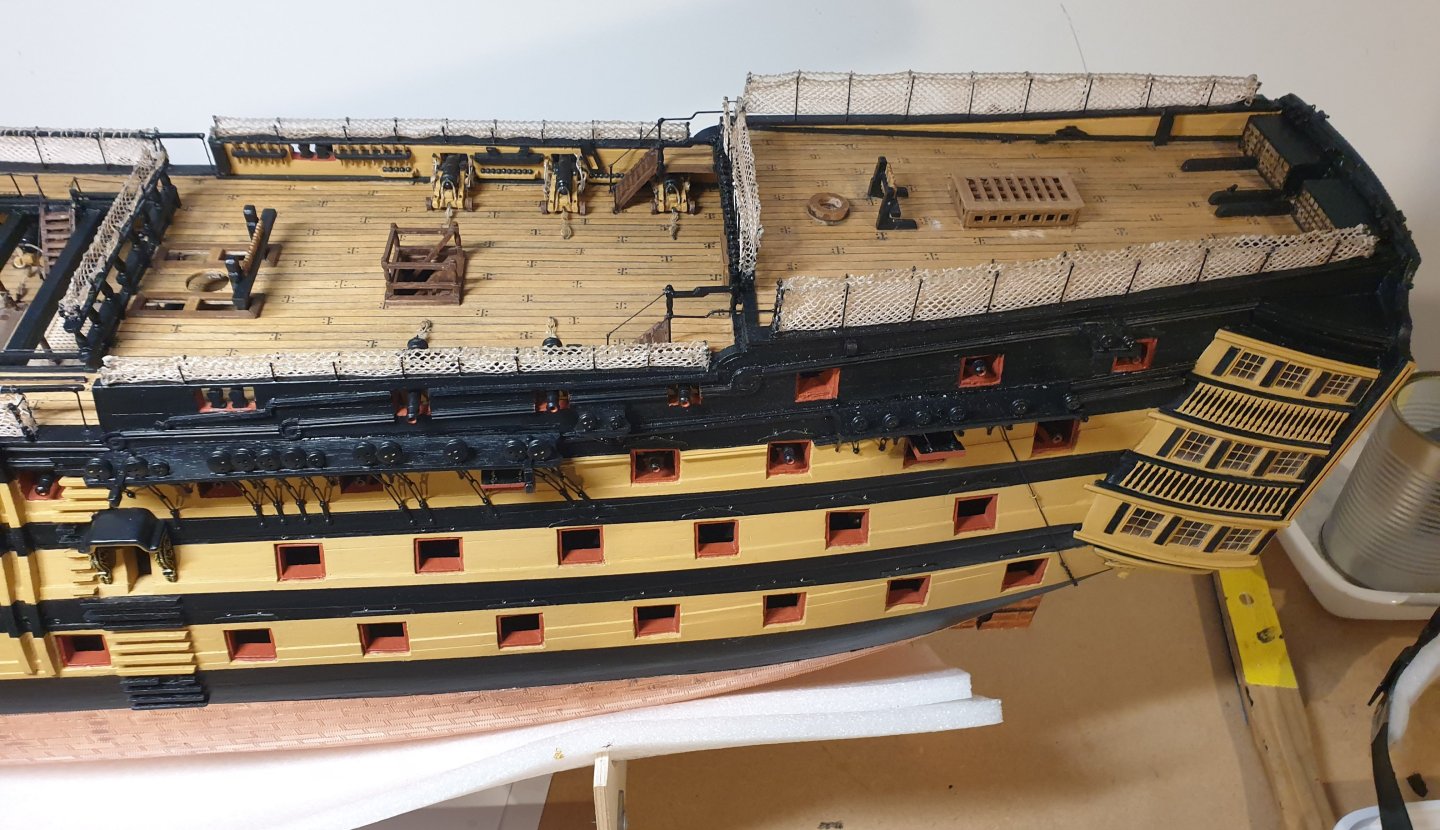
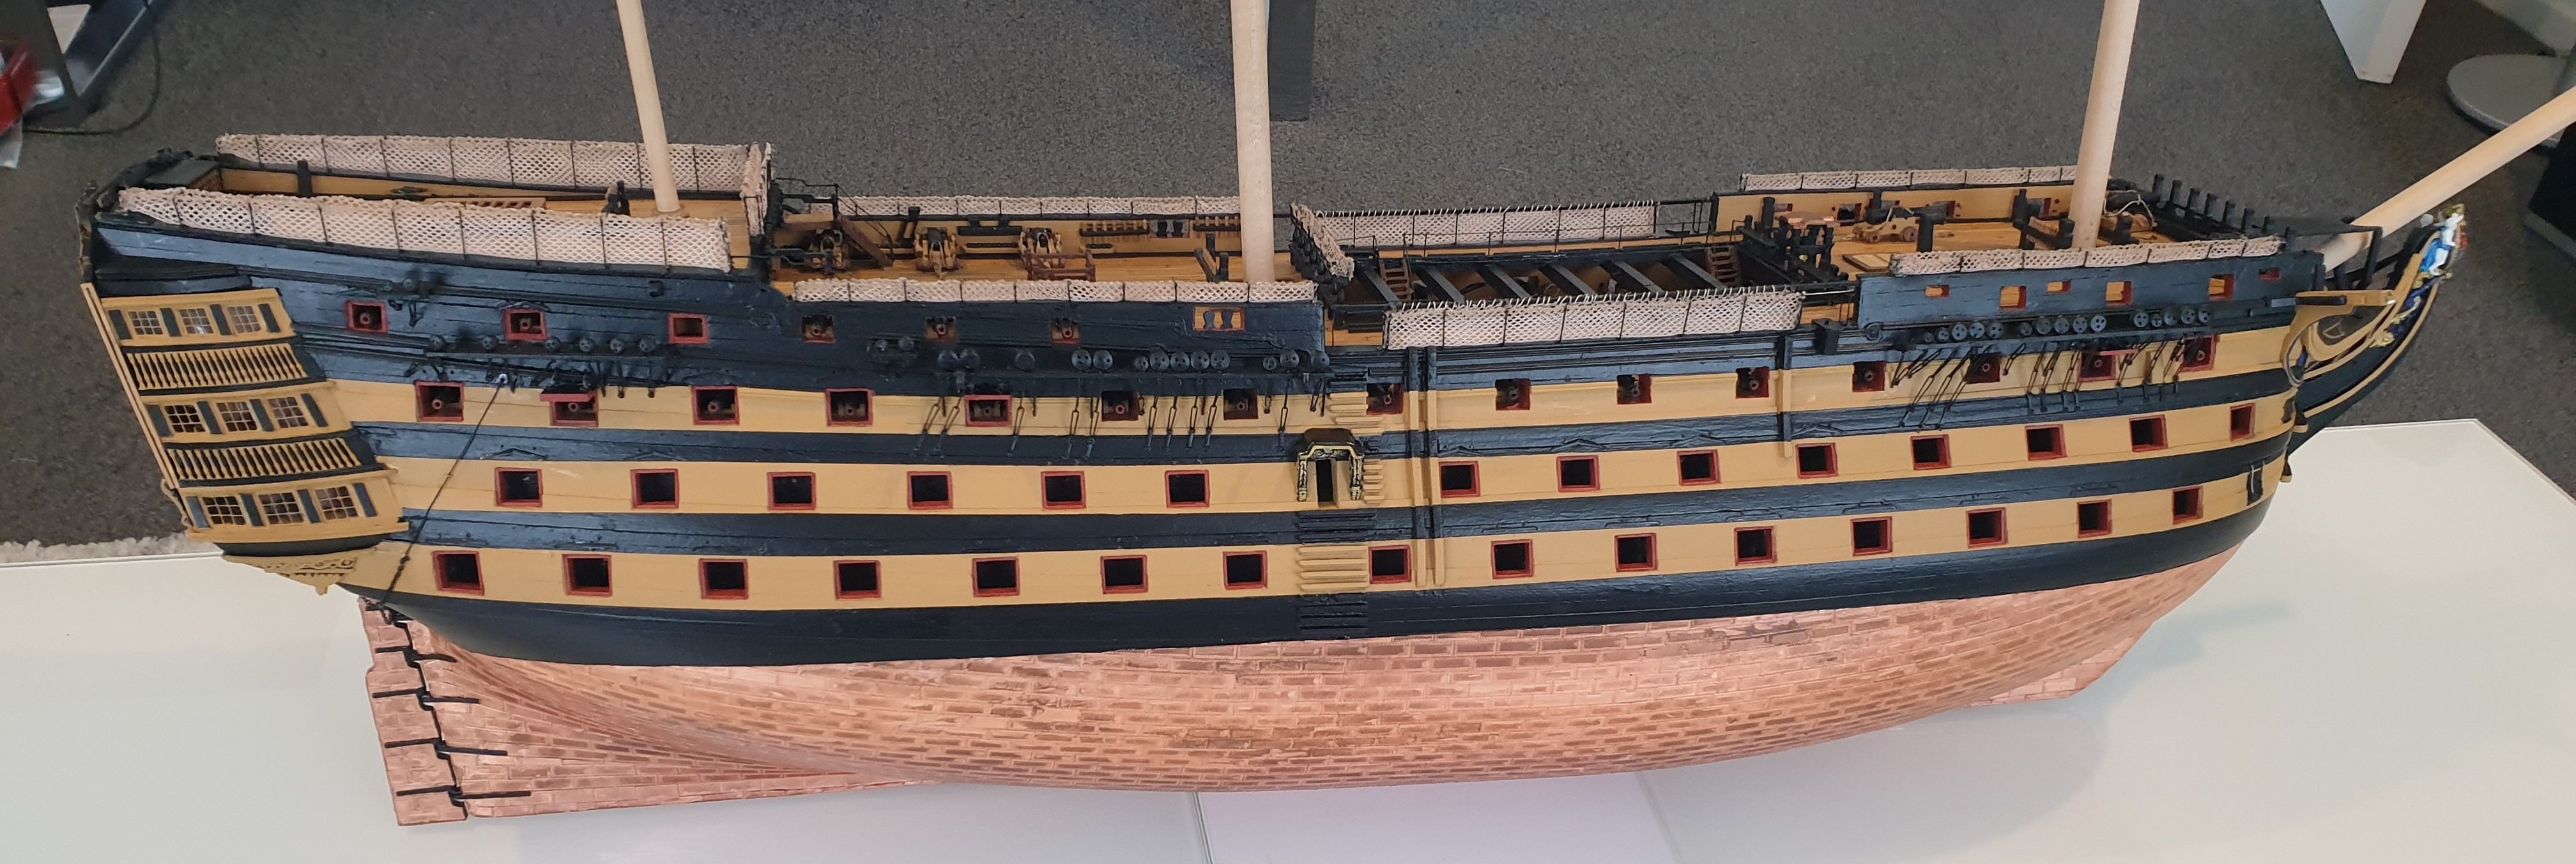
Looking very nice, mine looks o.k from about 20 feet away. I know where every mistake is I've made but hopefully anyone looking at it won't be able to tell. Keep up the great work, Nice to get to the end of the hammock nets.
-
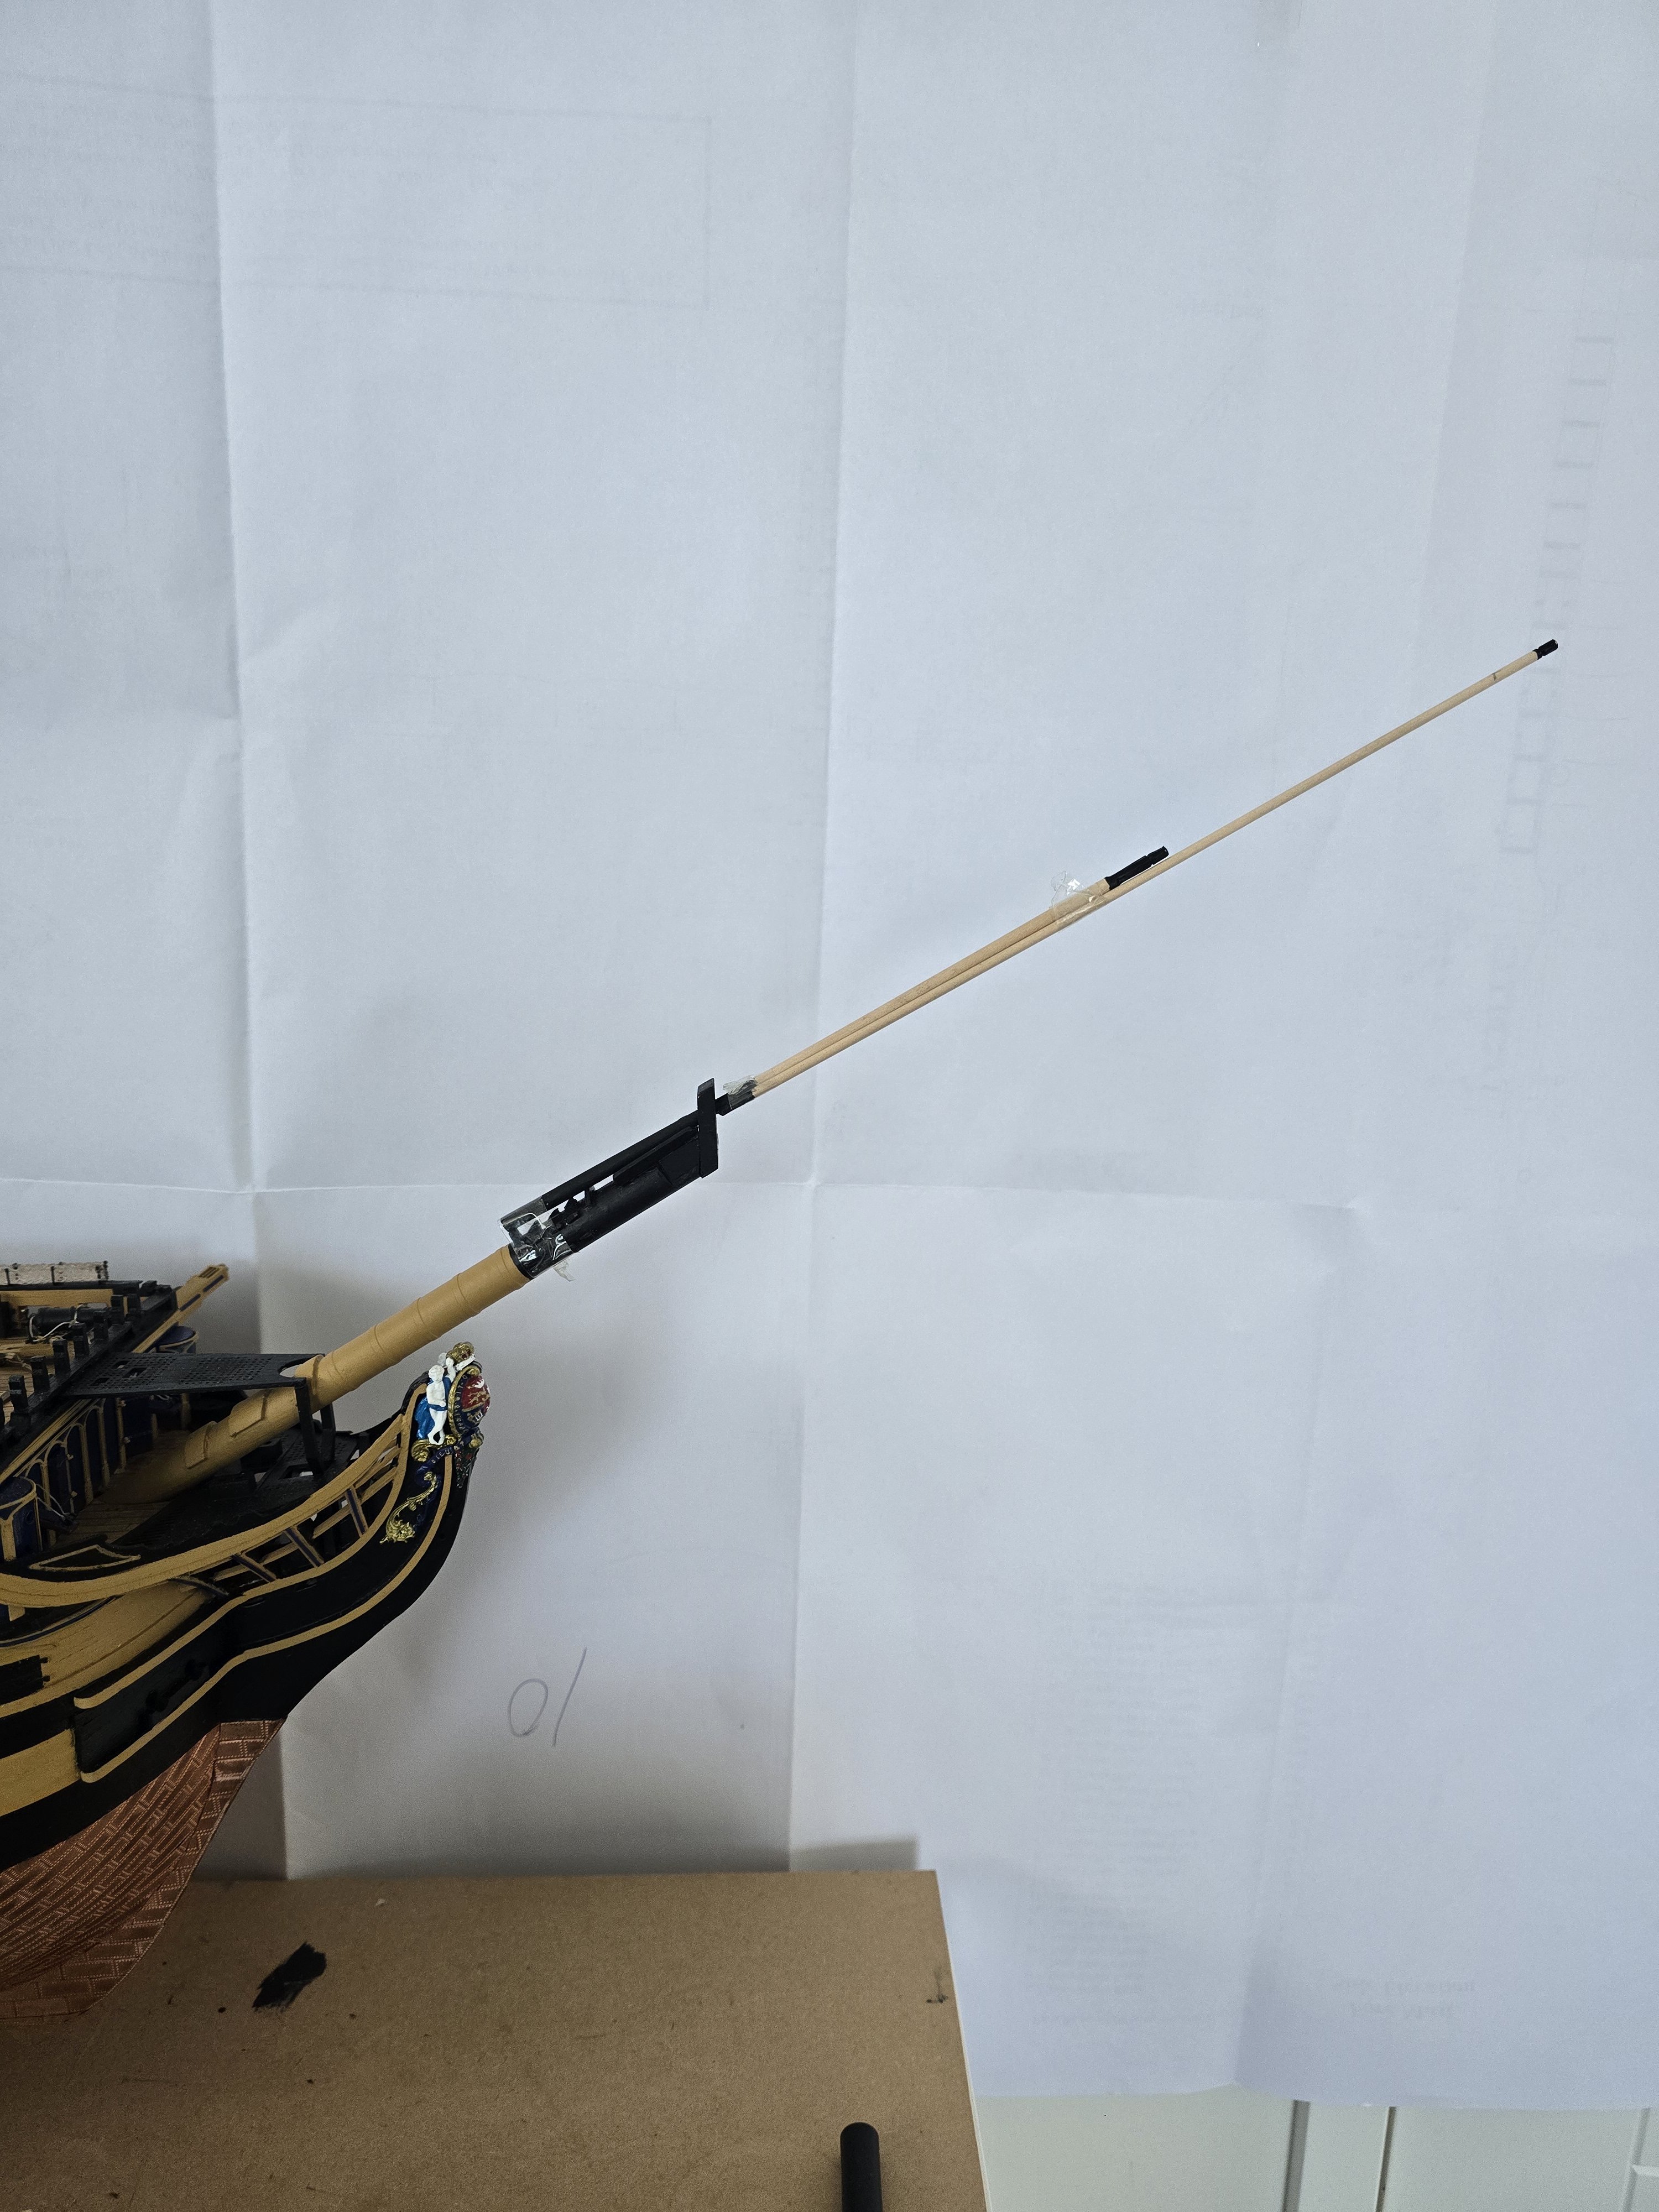
Great work, your photo's are a great help to me as I flounder along. I'm onto my Foremast now. I lined up my Bowsprit Gammoning the best I could but found it lined up even better sliding the Bowsprit out a couple of mm.
-
Thanks Graham, The yacht had 952 pieces and good instructions. I had to re do a couple of things but not too major. As per the Victory it pays to look ahead a few pages if things are a bit vague. You're doing a great job on your shed, very nice lining job. Ron.
-
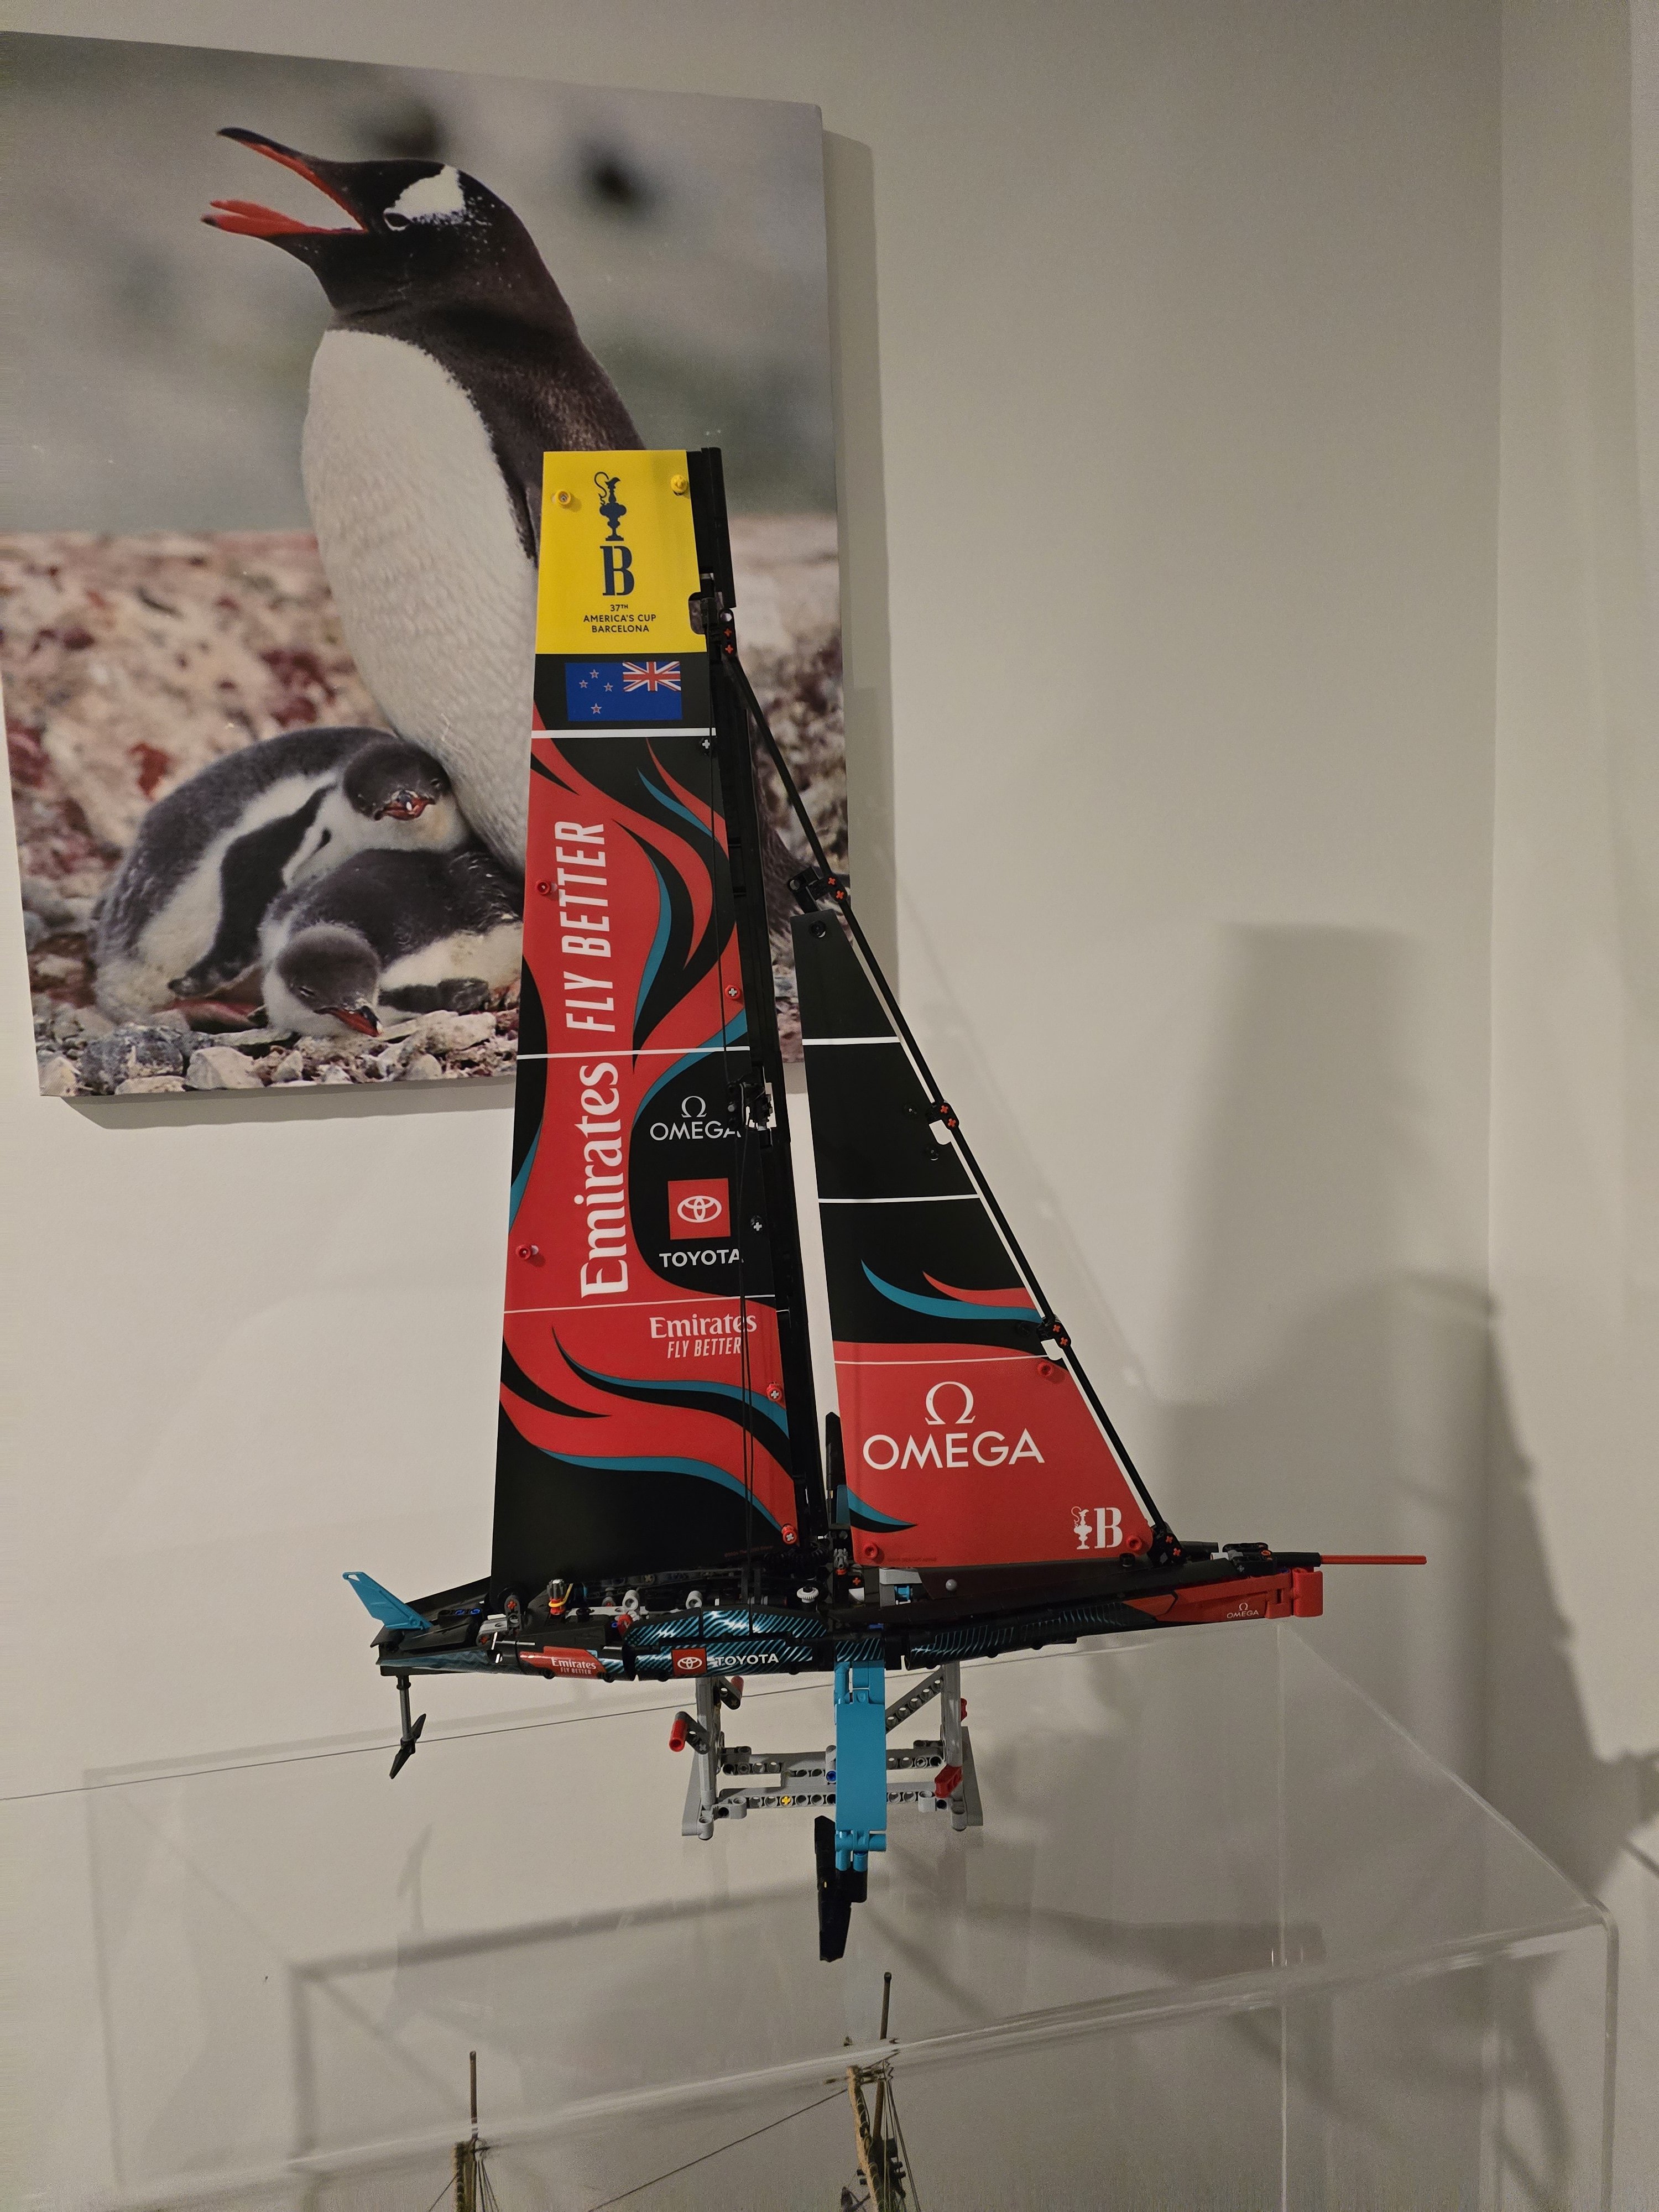
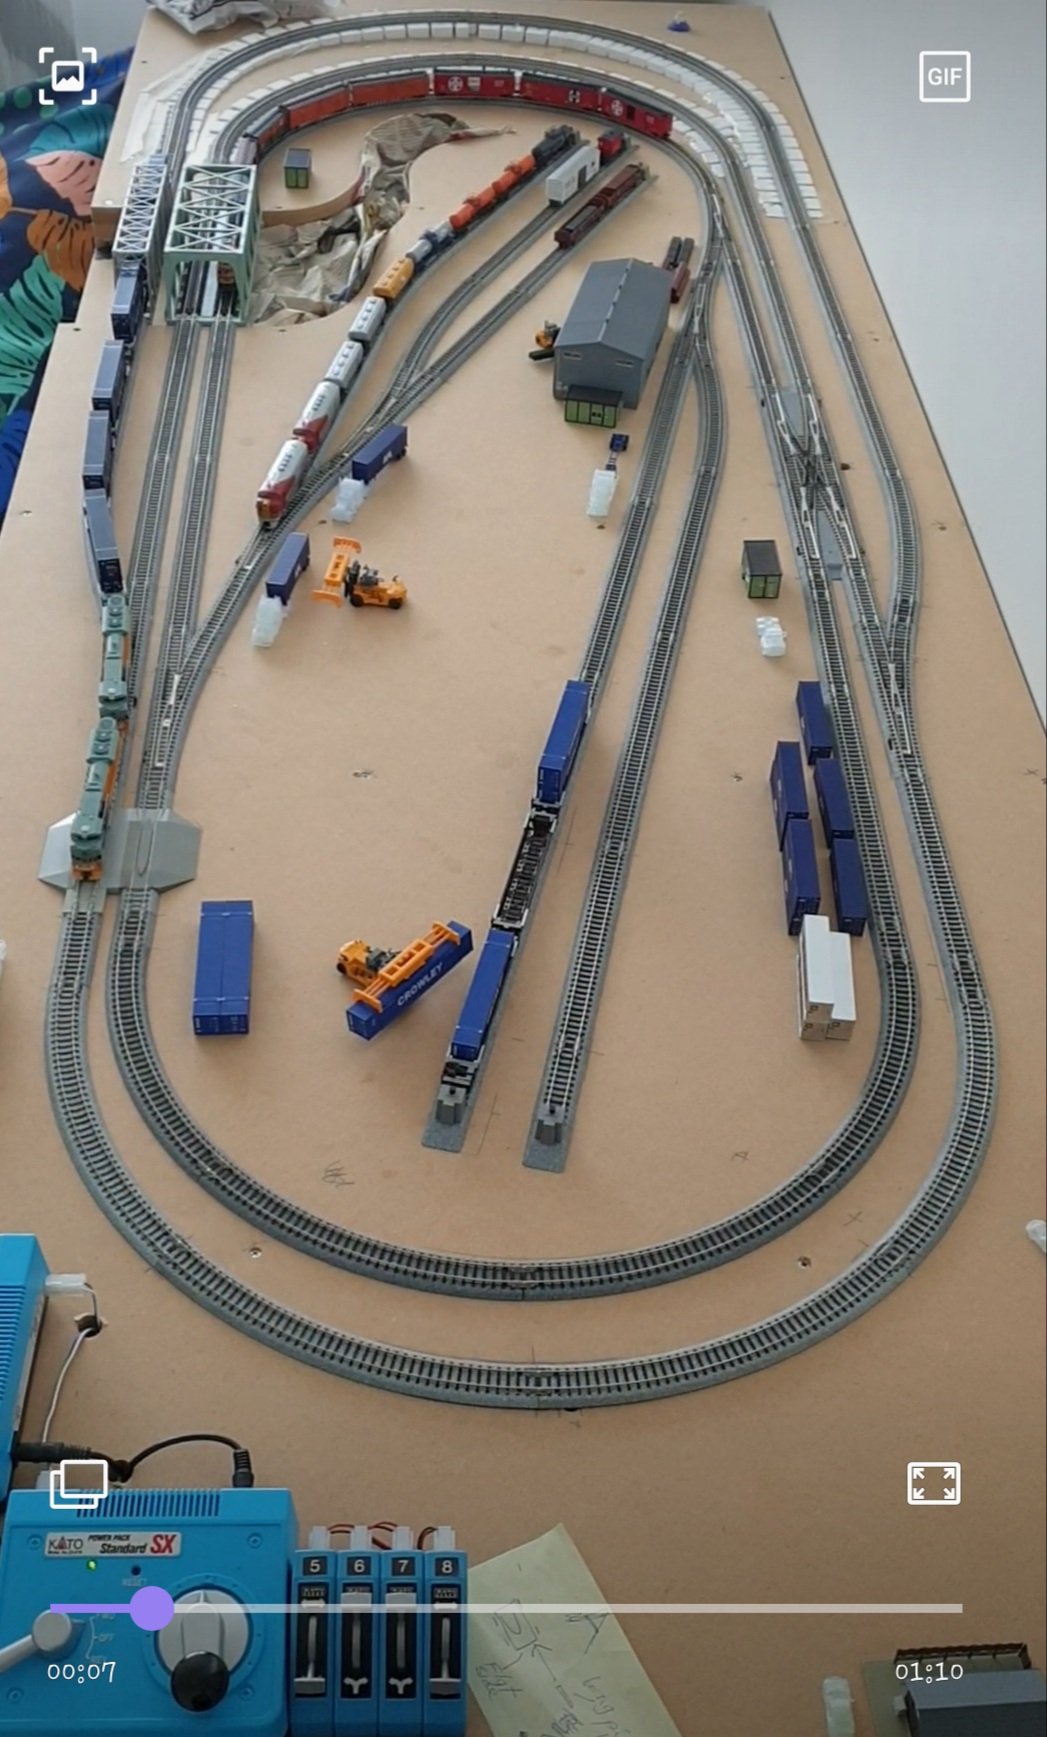
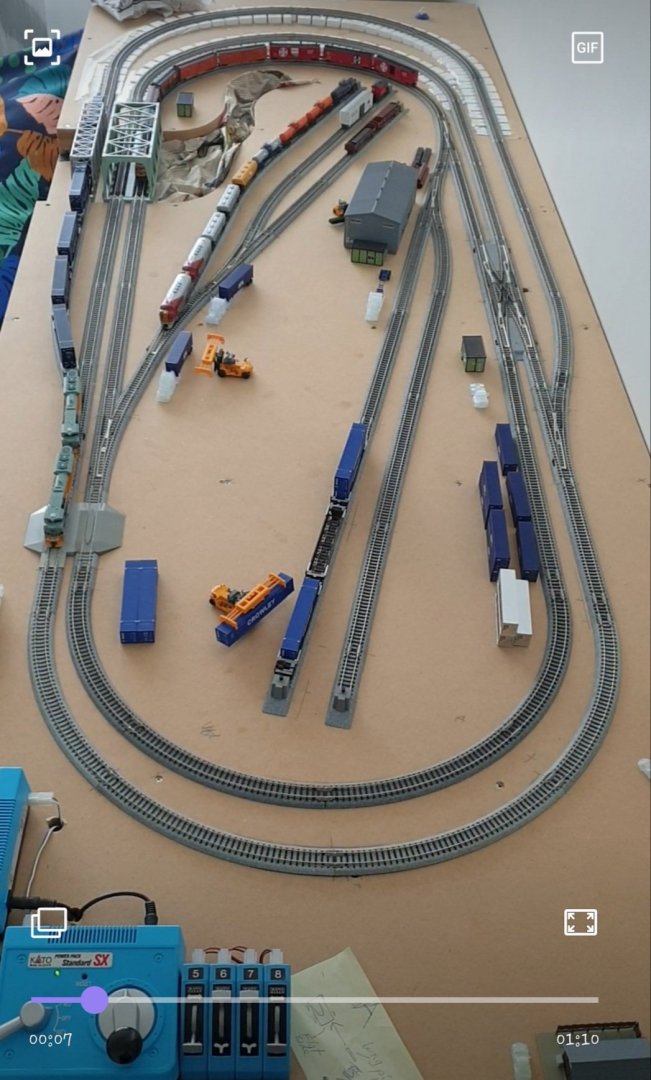
Train layout nearly done. Just painting of cars & trucks to go. With New Zealand winning the America's cup for the third time in a row I had to buy the lego yacht. Putting off the mast tapering for a while over our summer with overseas and N.Z. motorcycle riding to come.

-
Nice work Chris, coming along real well. I was glad when I finished my cannons.
-
Thanks Mike, the layout is an old photo, it's been sealed and painted for a while now. Plaster work next then more paint for tarseal areas then brown paint wash on the hill cutting areas before the grass etc. Graham sounds good, great to share the hobby with a grandson, I loved my dad's trains and his Stephensons Rocket seeing our family were born in Liverpool, England.
-
Thanks a lot Graham, try both methods for the nets, you can cut it off and re do if not happy. Yes more netting on the bow later on also two lots on the masts. This layout is n gauge, I've got an Ho basic one as a test track as well. Under the bridges is for a river. Nice loco, my tracks are dc but I'll probably add DCC to the Ho layout at some stage, not cheap. The main trouble with my local train shop they are now only 5 minutes from home, very dangerous. You could always put a temporary track on the dinner table while the Admiral goes out. Looking forward to seeing your next Victory stage. It will be amazing as usual.
-
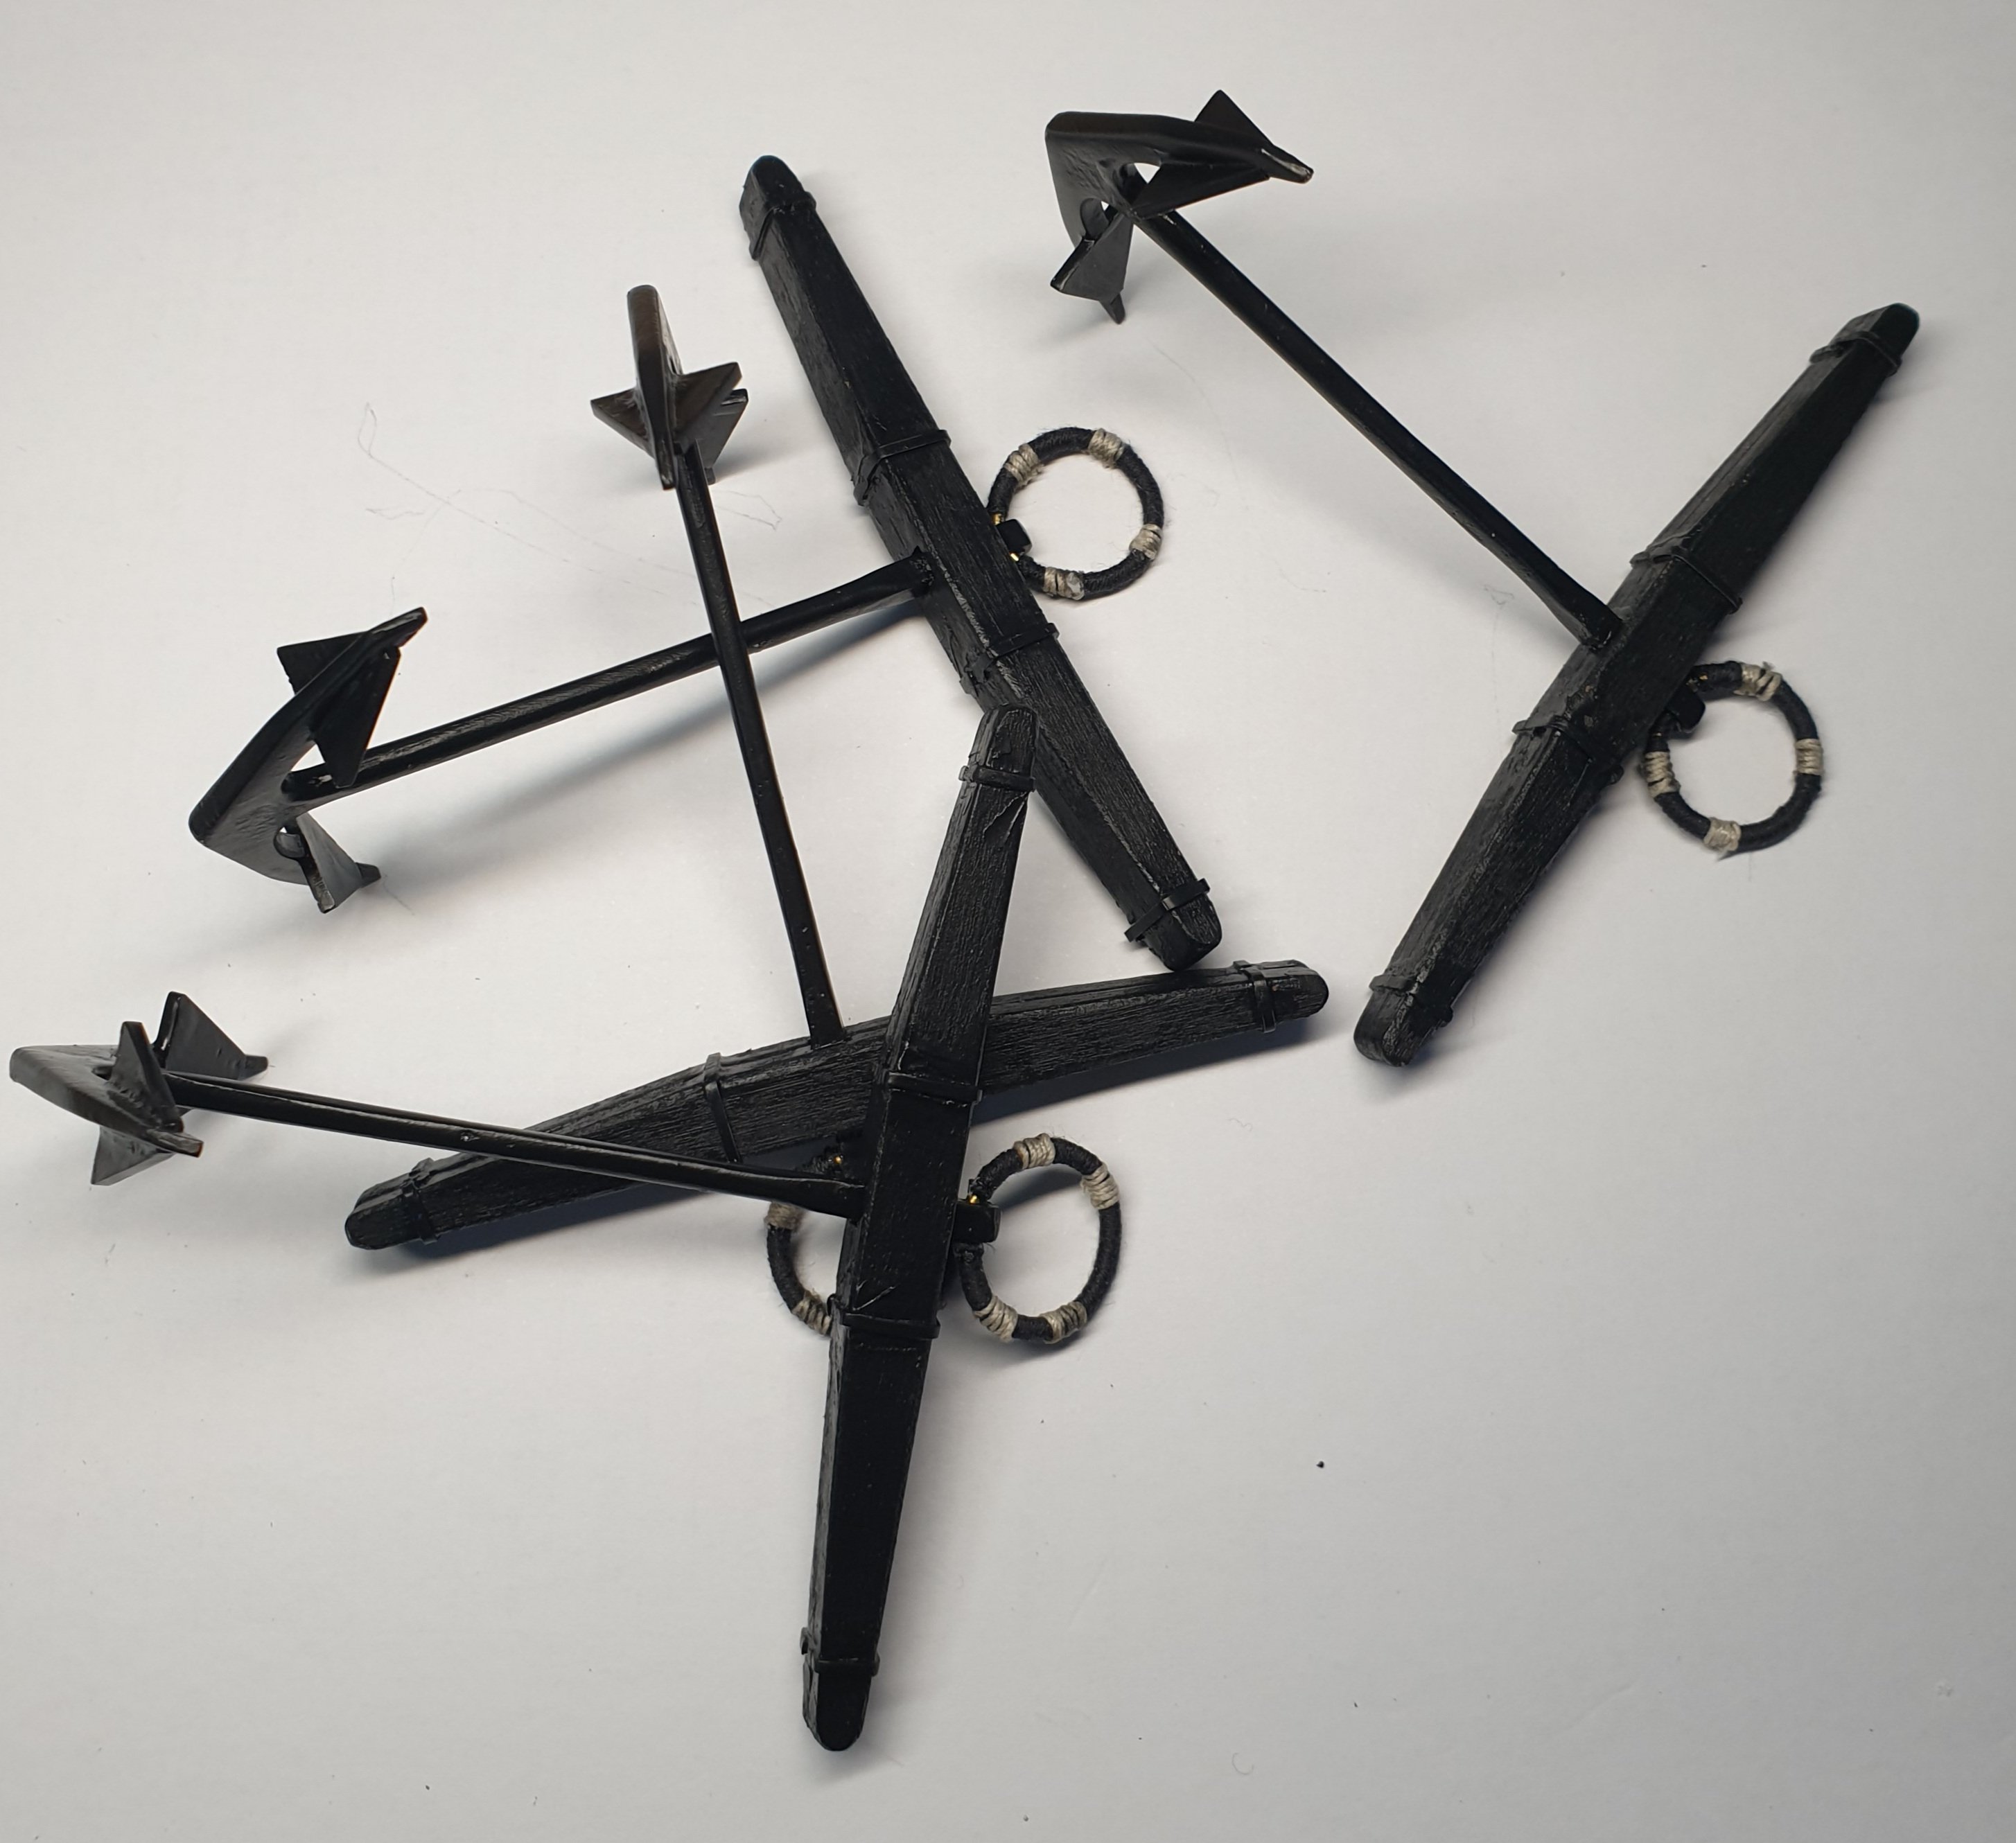
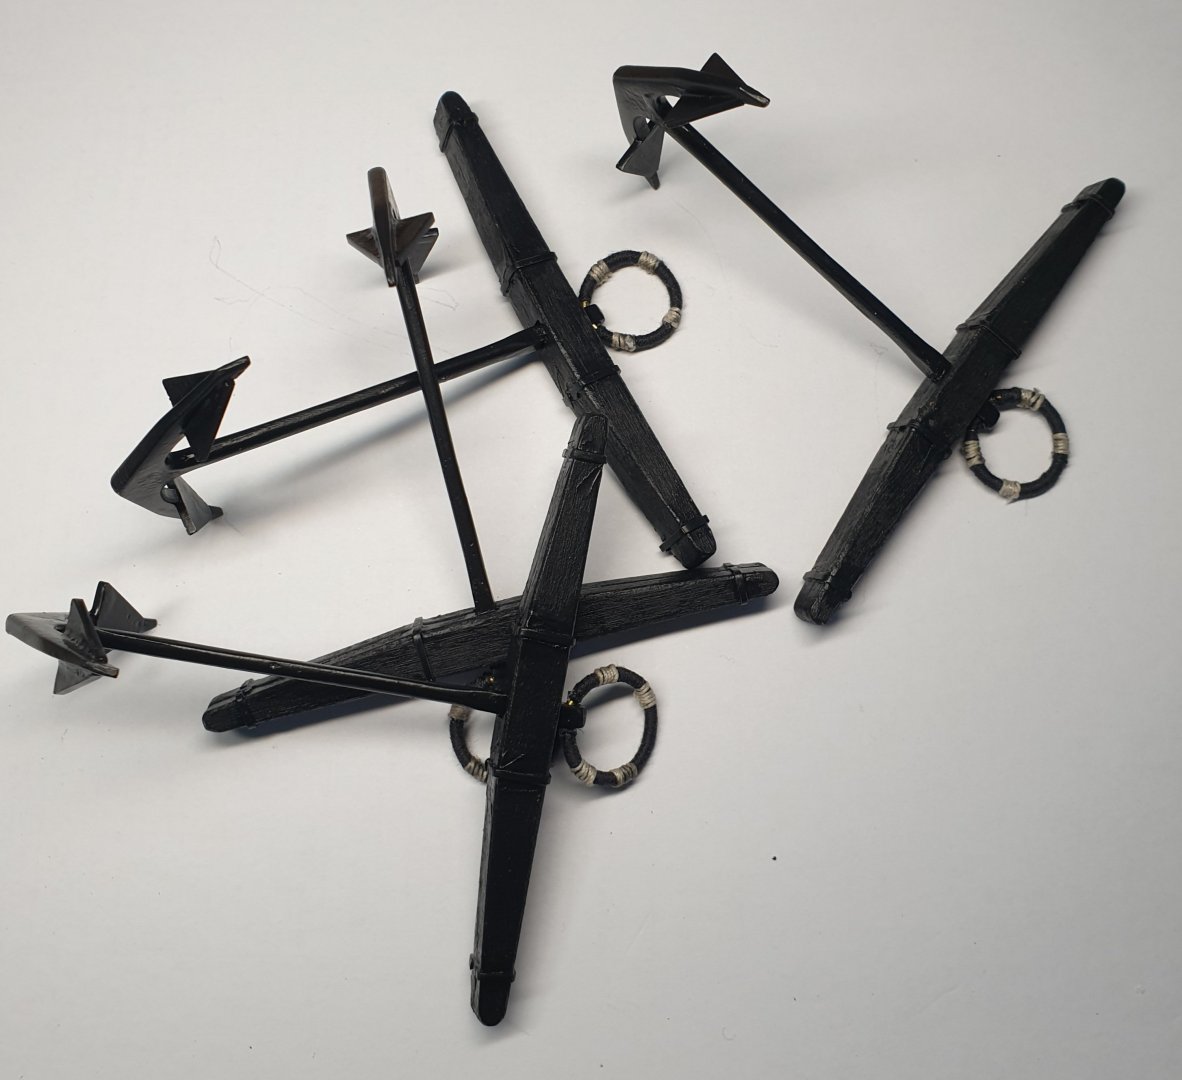
Anchors finished, away in a safe place (hopefully). After that a good tidy up then a break before I start the masts. My other hobby needs some work.

-
Hammock nets finally done. Two ways to do it would be Robert 29'S idea glue top of diamond shape, let dry completely, then fit. Later I just fitted the net glued in place then trimmed the top. Mine is o.k from a distance but it was pretty difficult for me. The thread will catch on everything possible when tying. Fit the waist stanchions and waist hammock crane rail supports also outer poop deck hand rail after the nets. Good luck. Small addition to the anchor chain, eyelets fitted. Onto the anchors now, hopefully easier than the nets.