kiwiron
-
Posts
702 -
Joined
-
Last visited
Content Type
Profiles
Forums
Gallery
Events
Everything posted by kiwiron
-
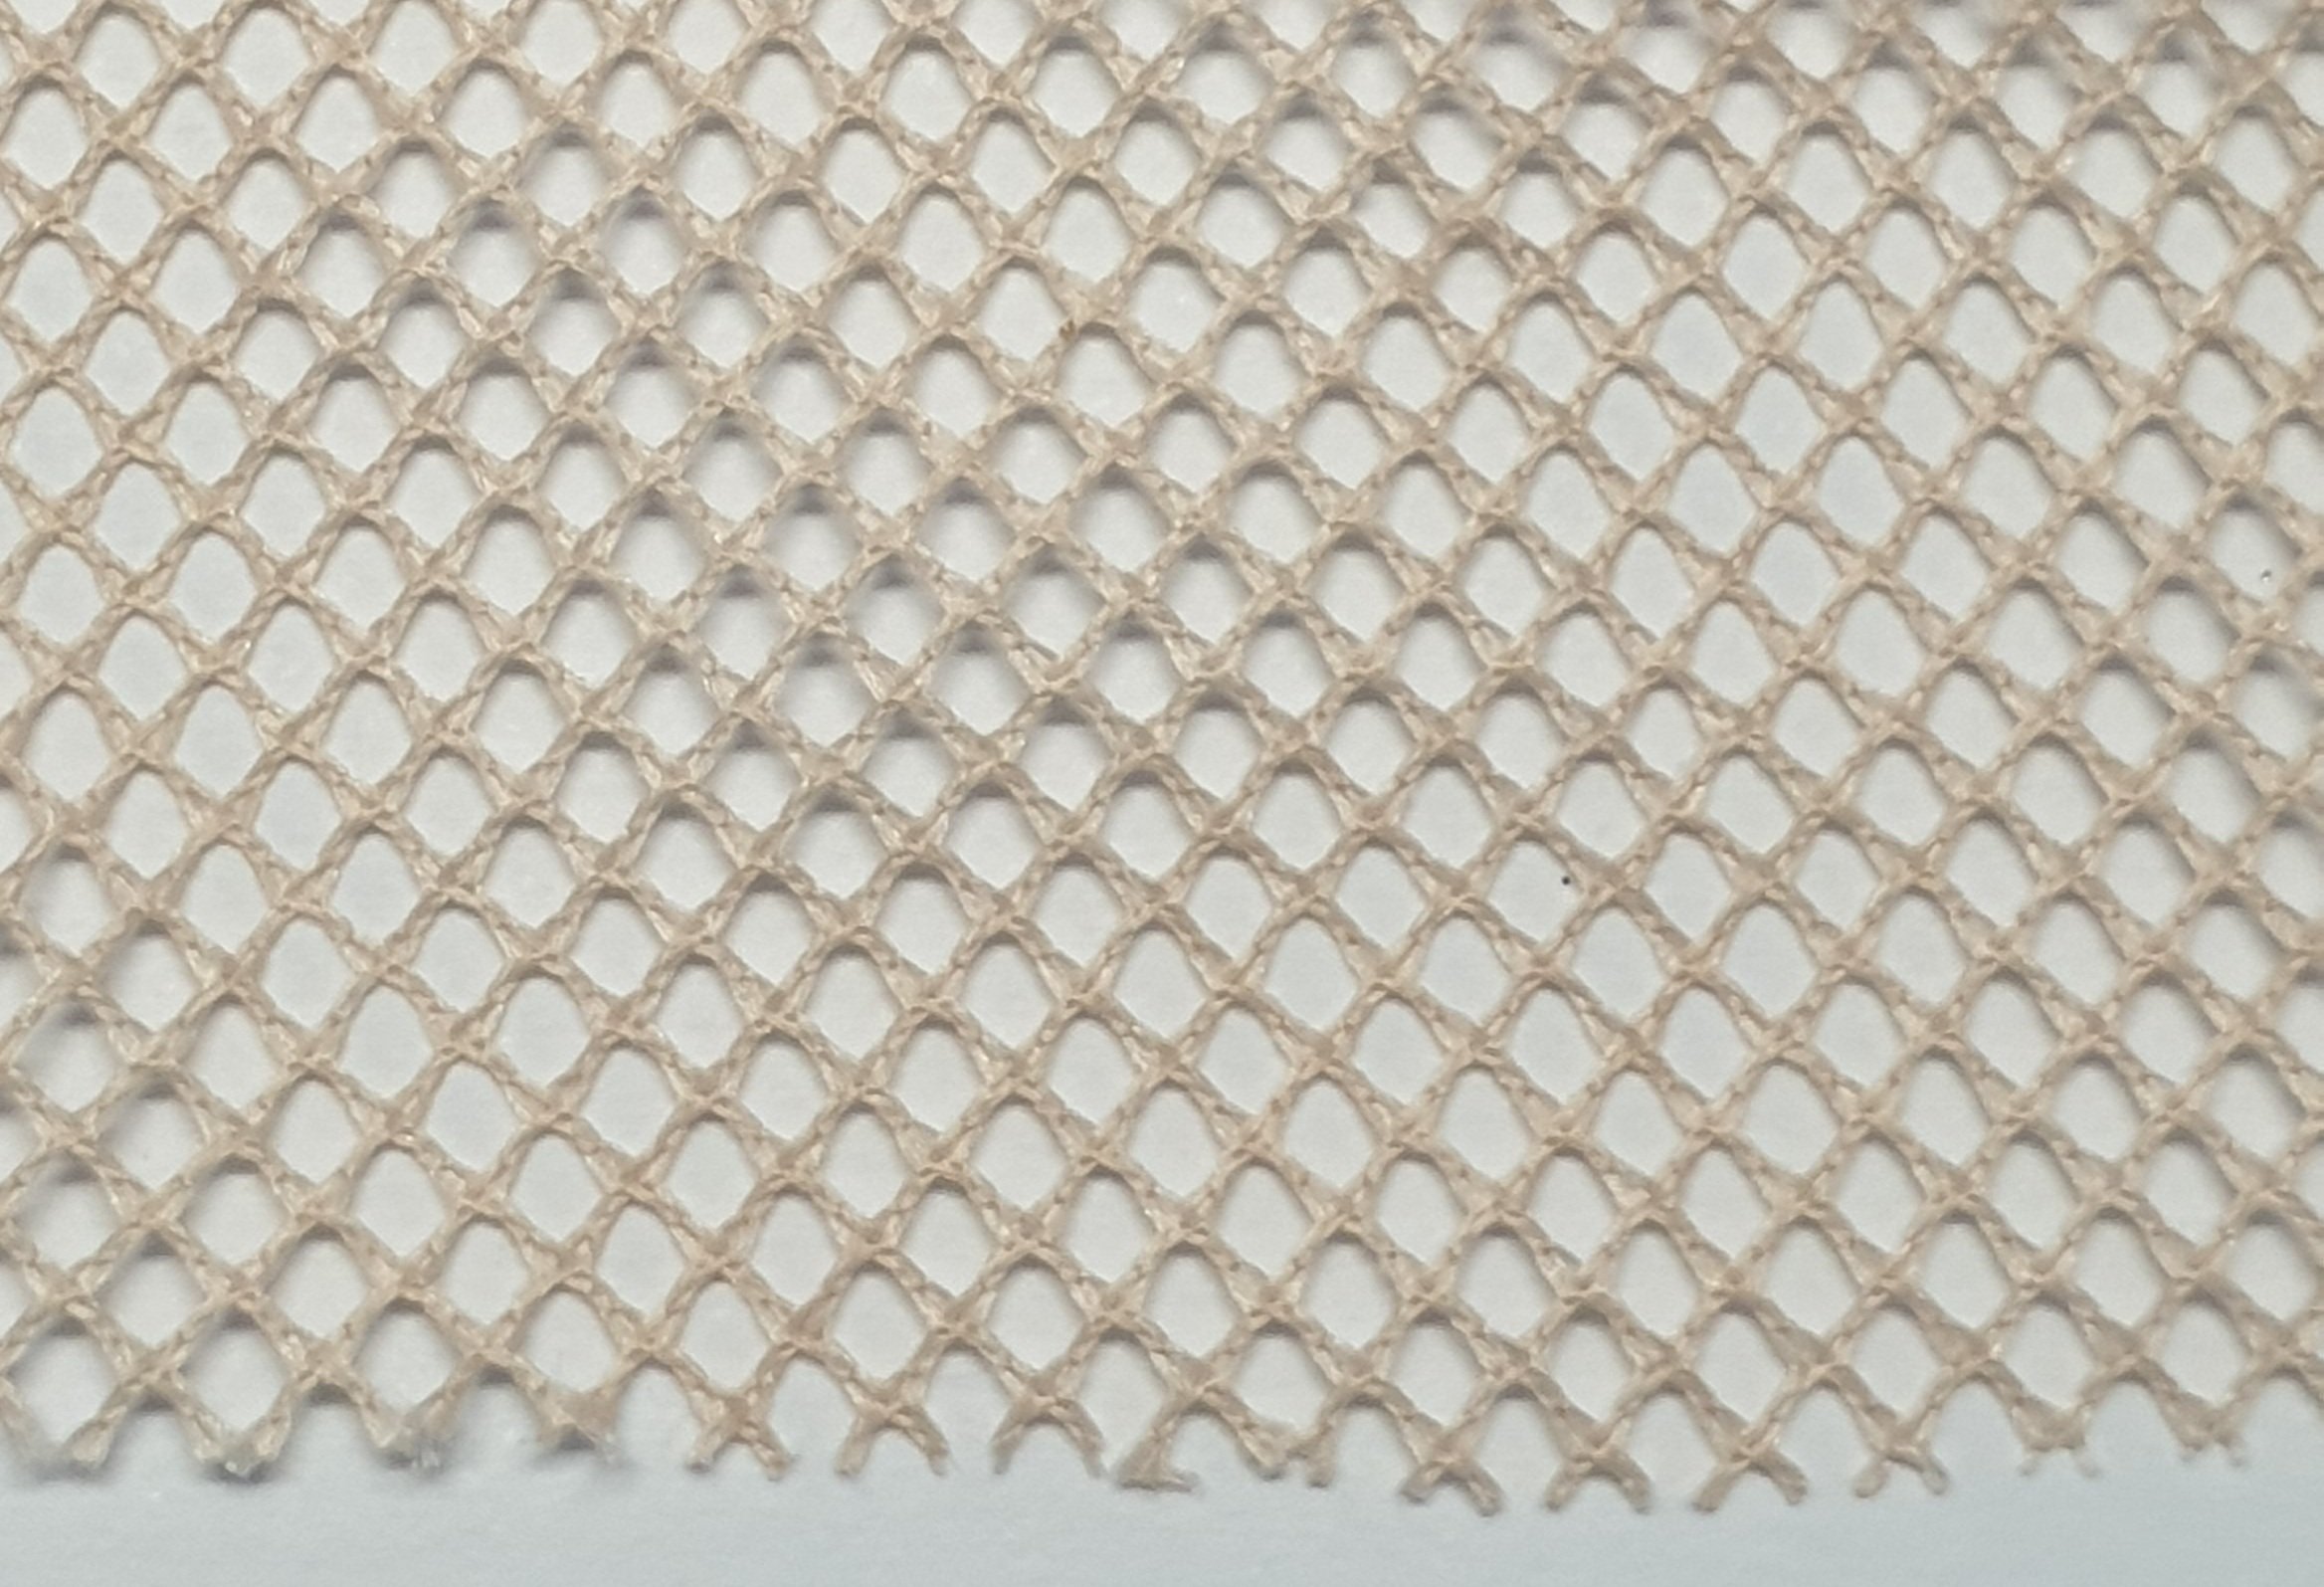
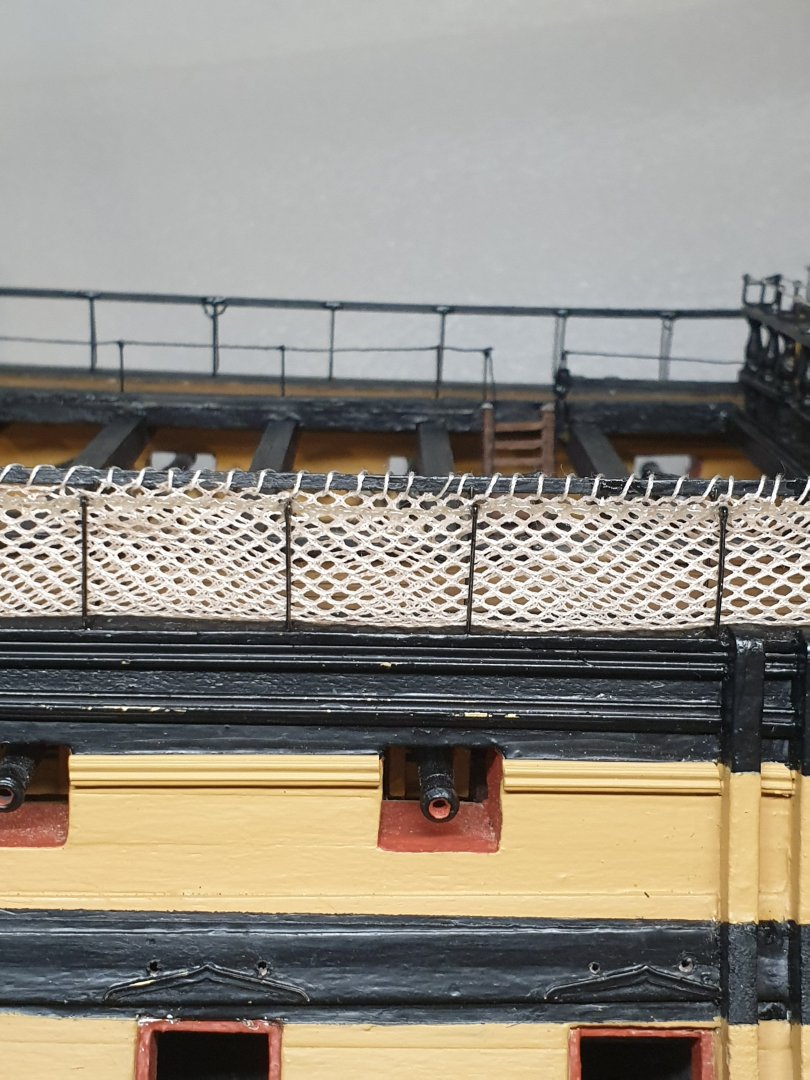
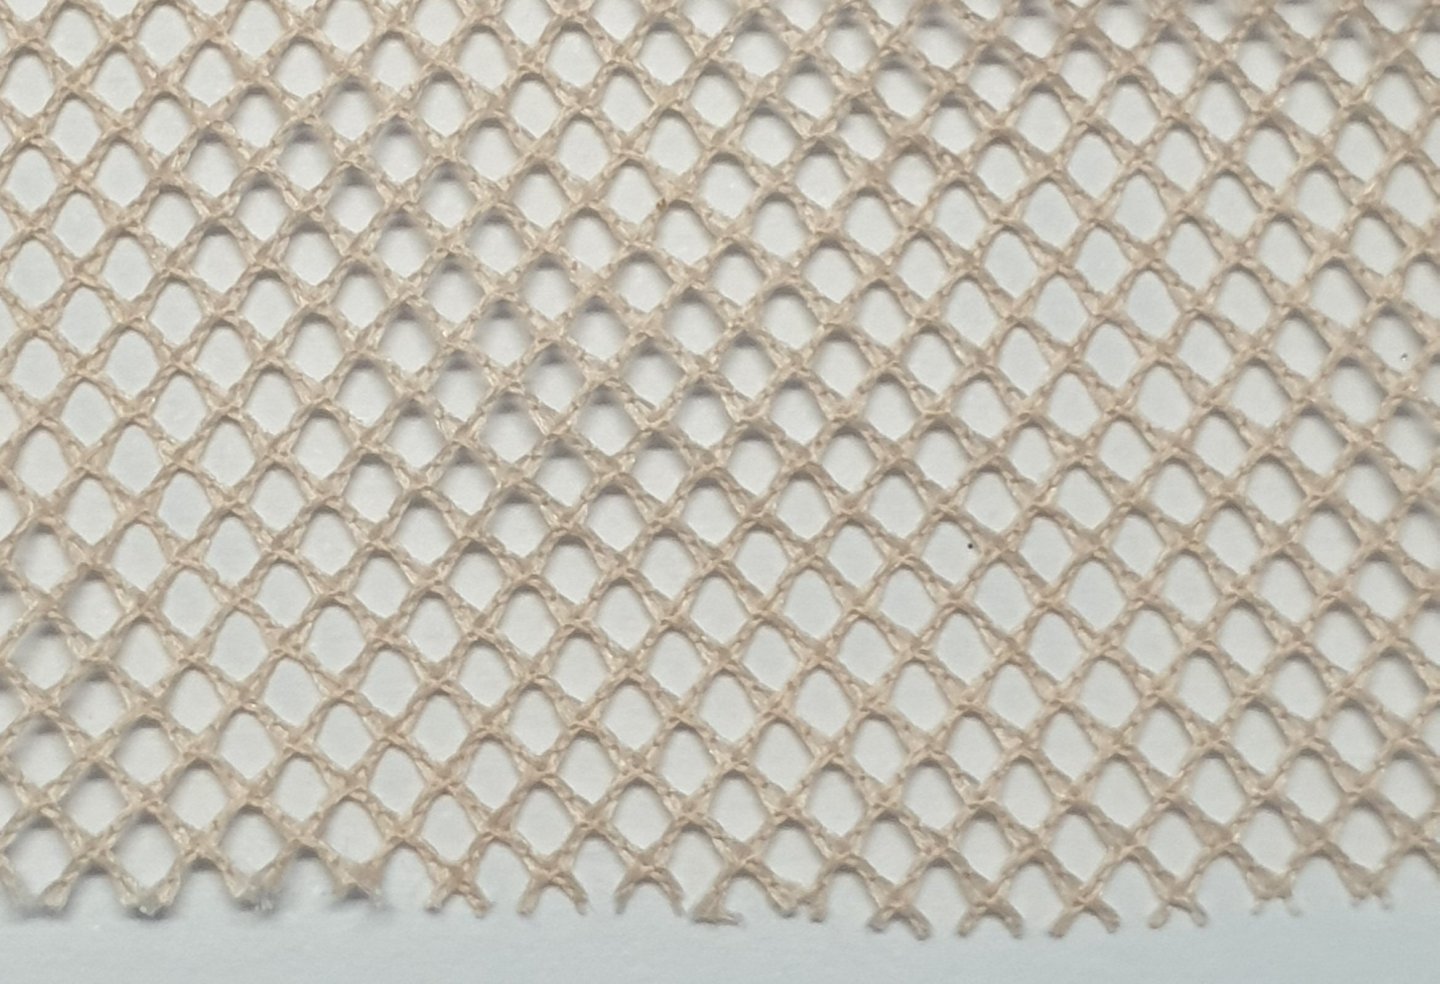
 The scale of the mosquito net looks pretty good. Good luck with your search, I can always send you some from here.
 -
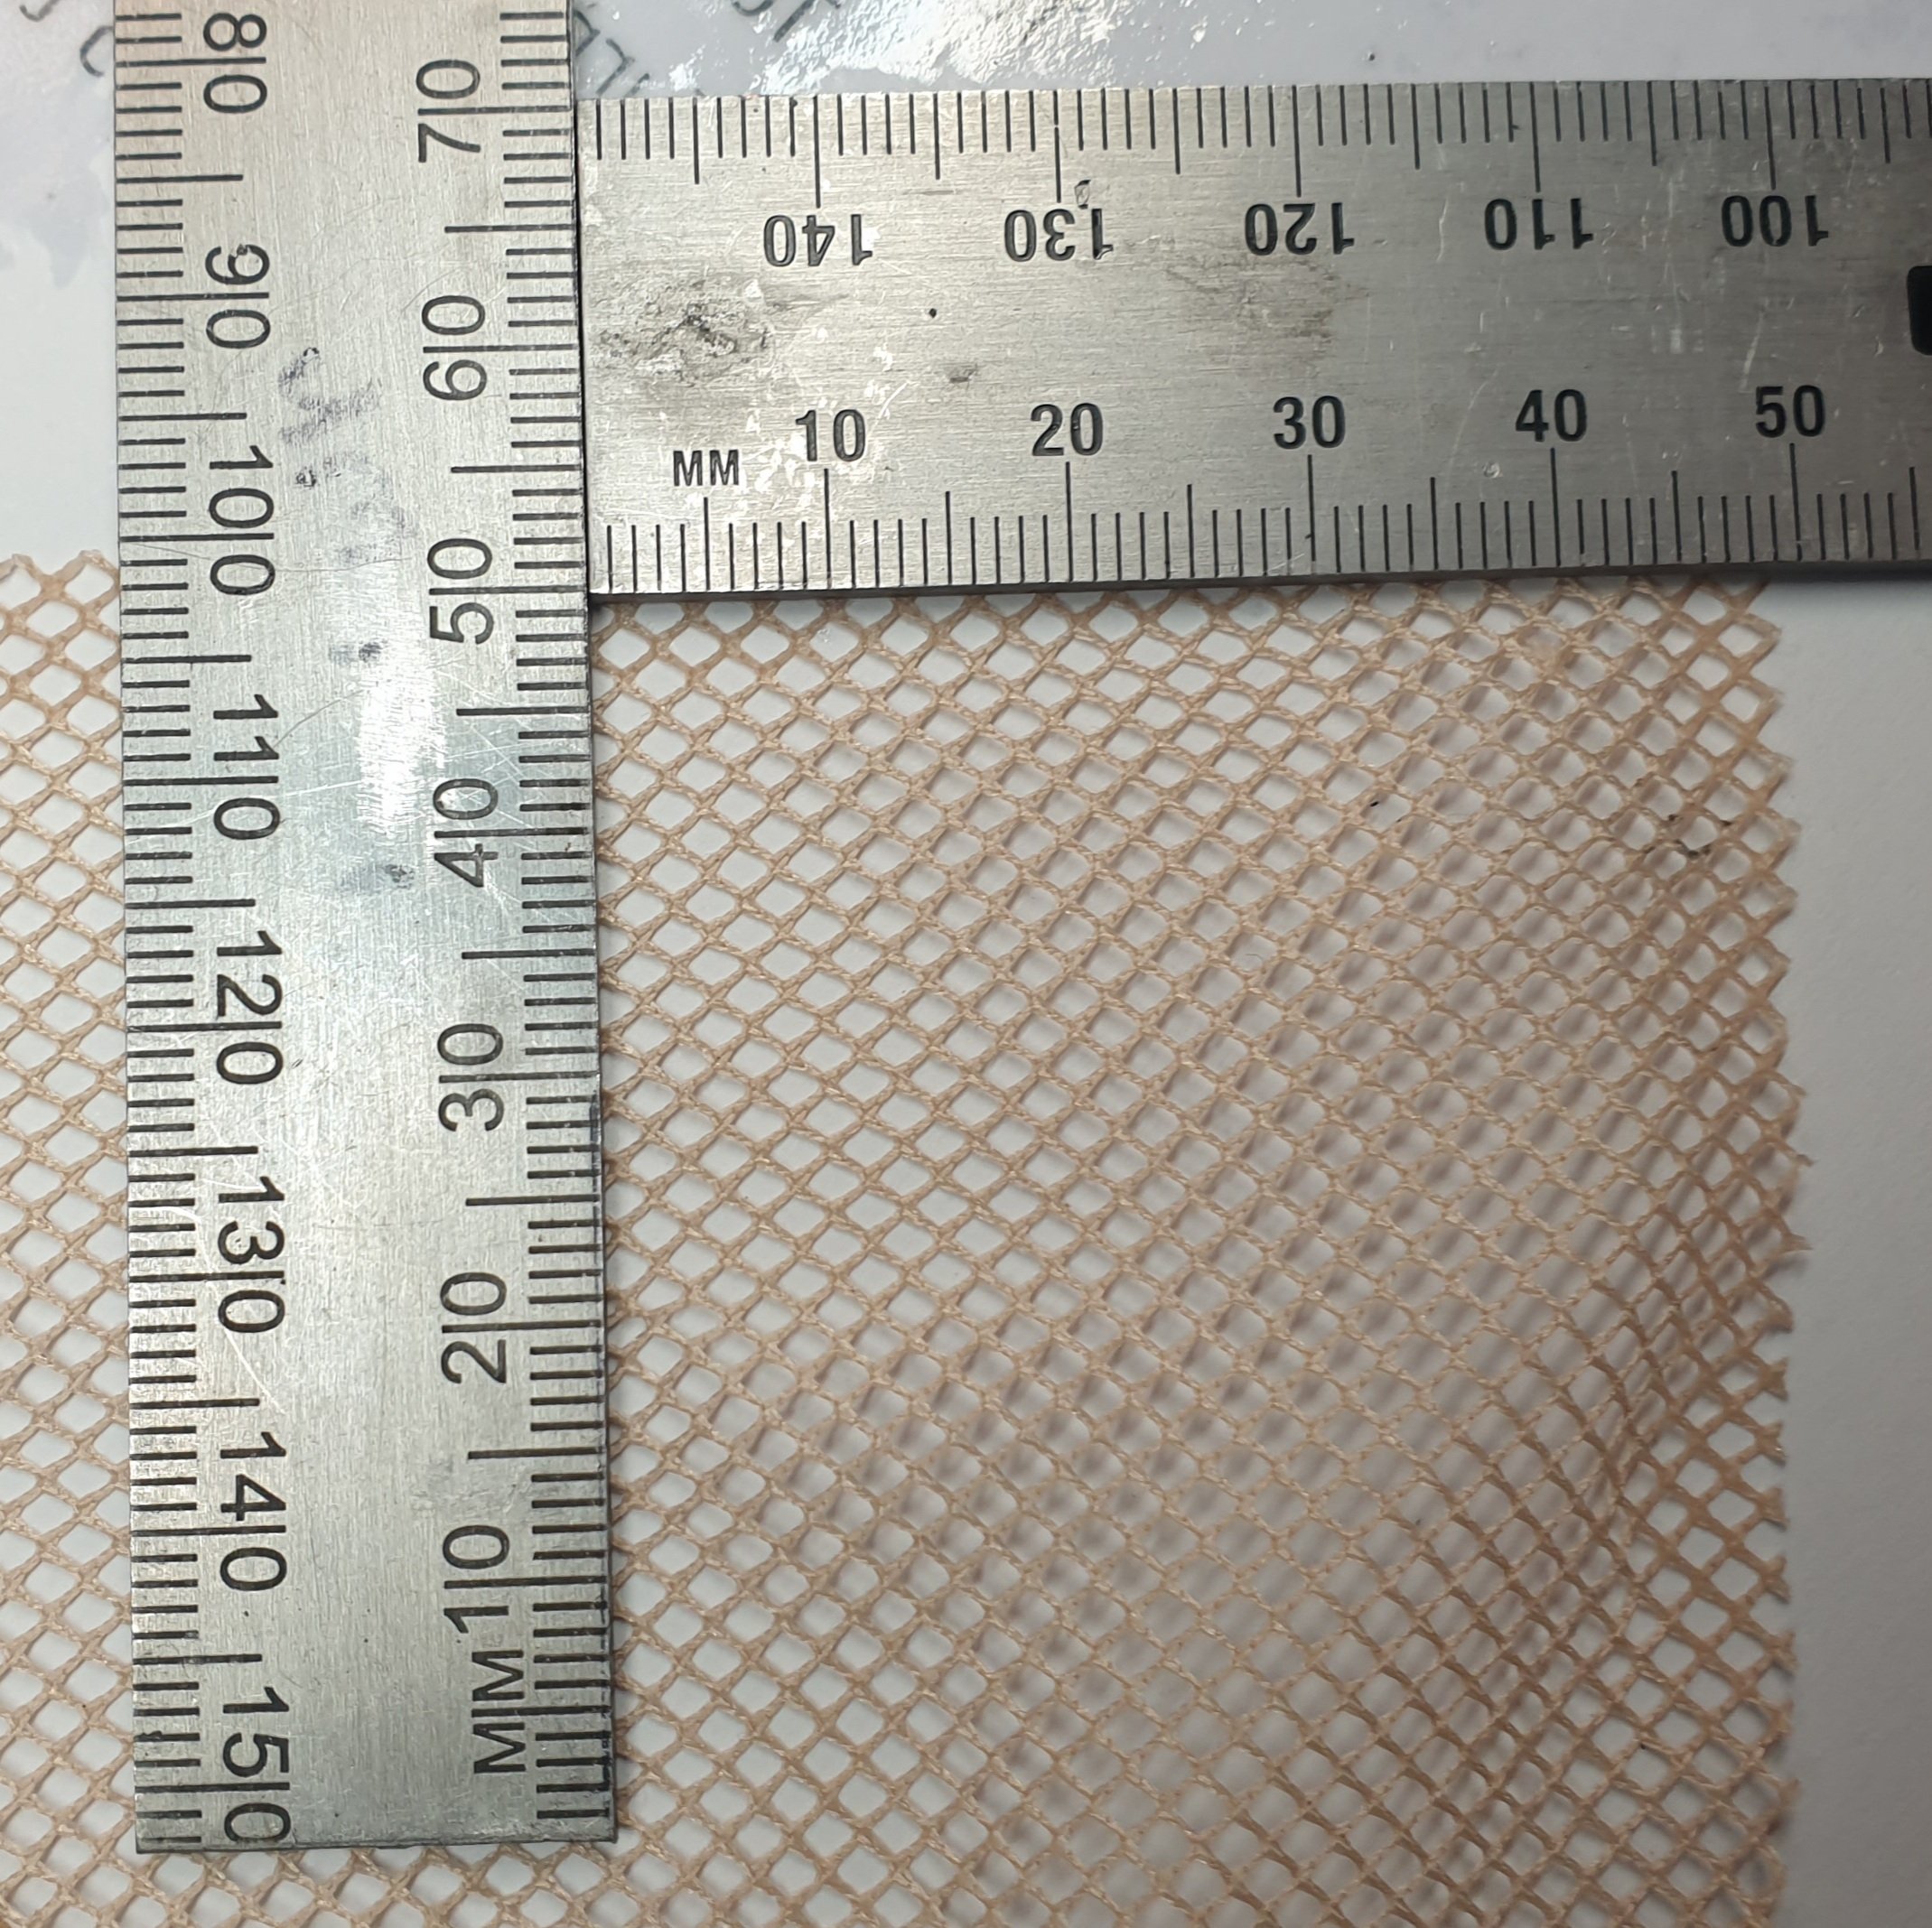
Hi Graham, I hope the photo helps. The mosquito net was the only material I could find with a good diamond pattern. In New Zealand it is from spotlight, overseas maybe camping shop or craft shop. Tulle pattern here was just a square pattern.

-
Thanks Graham, I think my latest technique will be better. I'll explain that later on. The tea soaks into this material really well.
-
Second one a bit better.

-
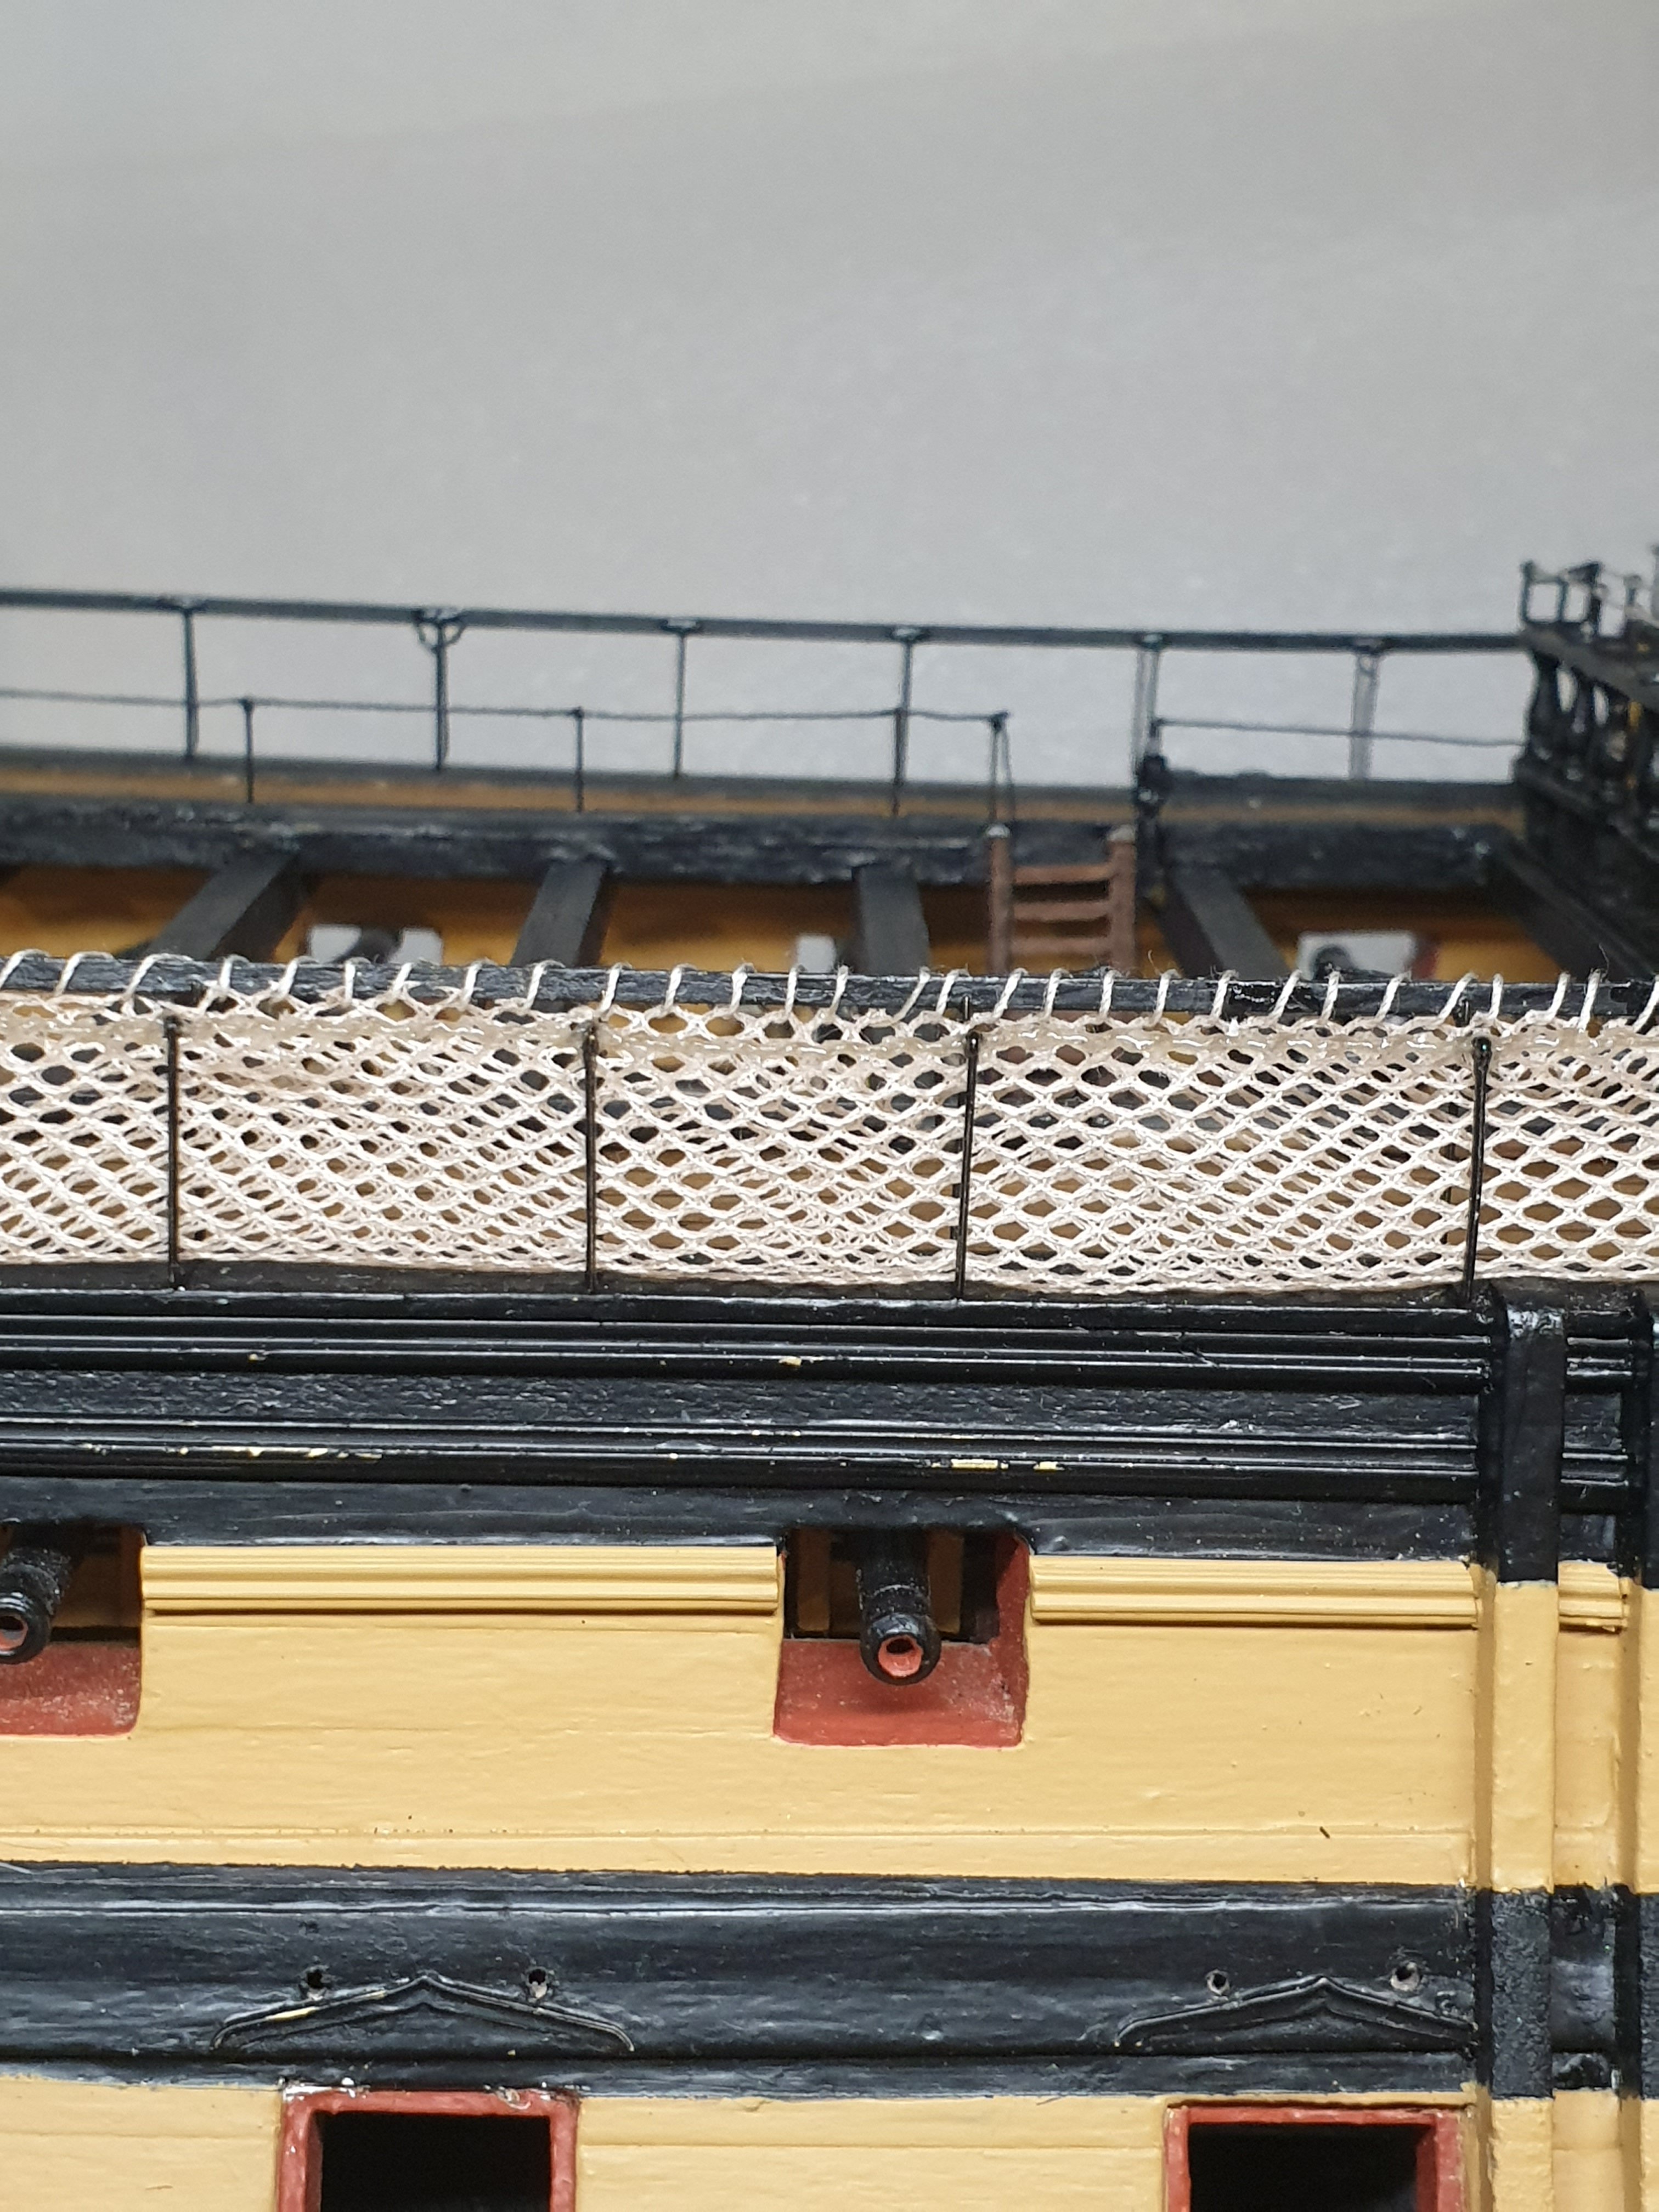
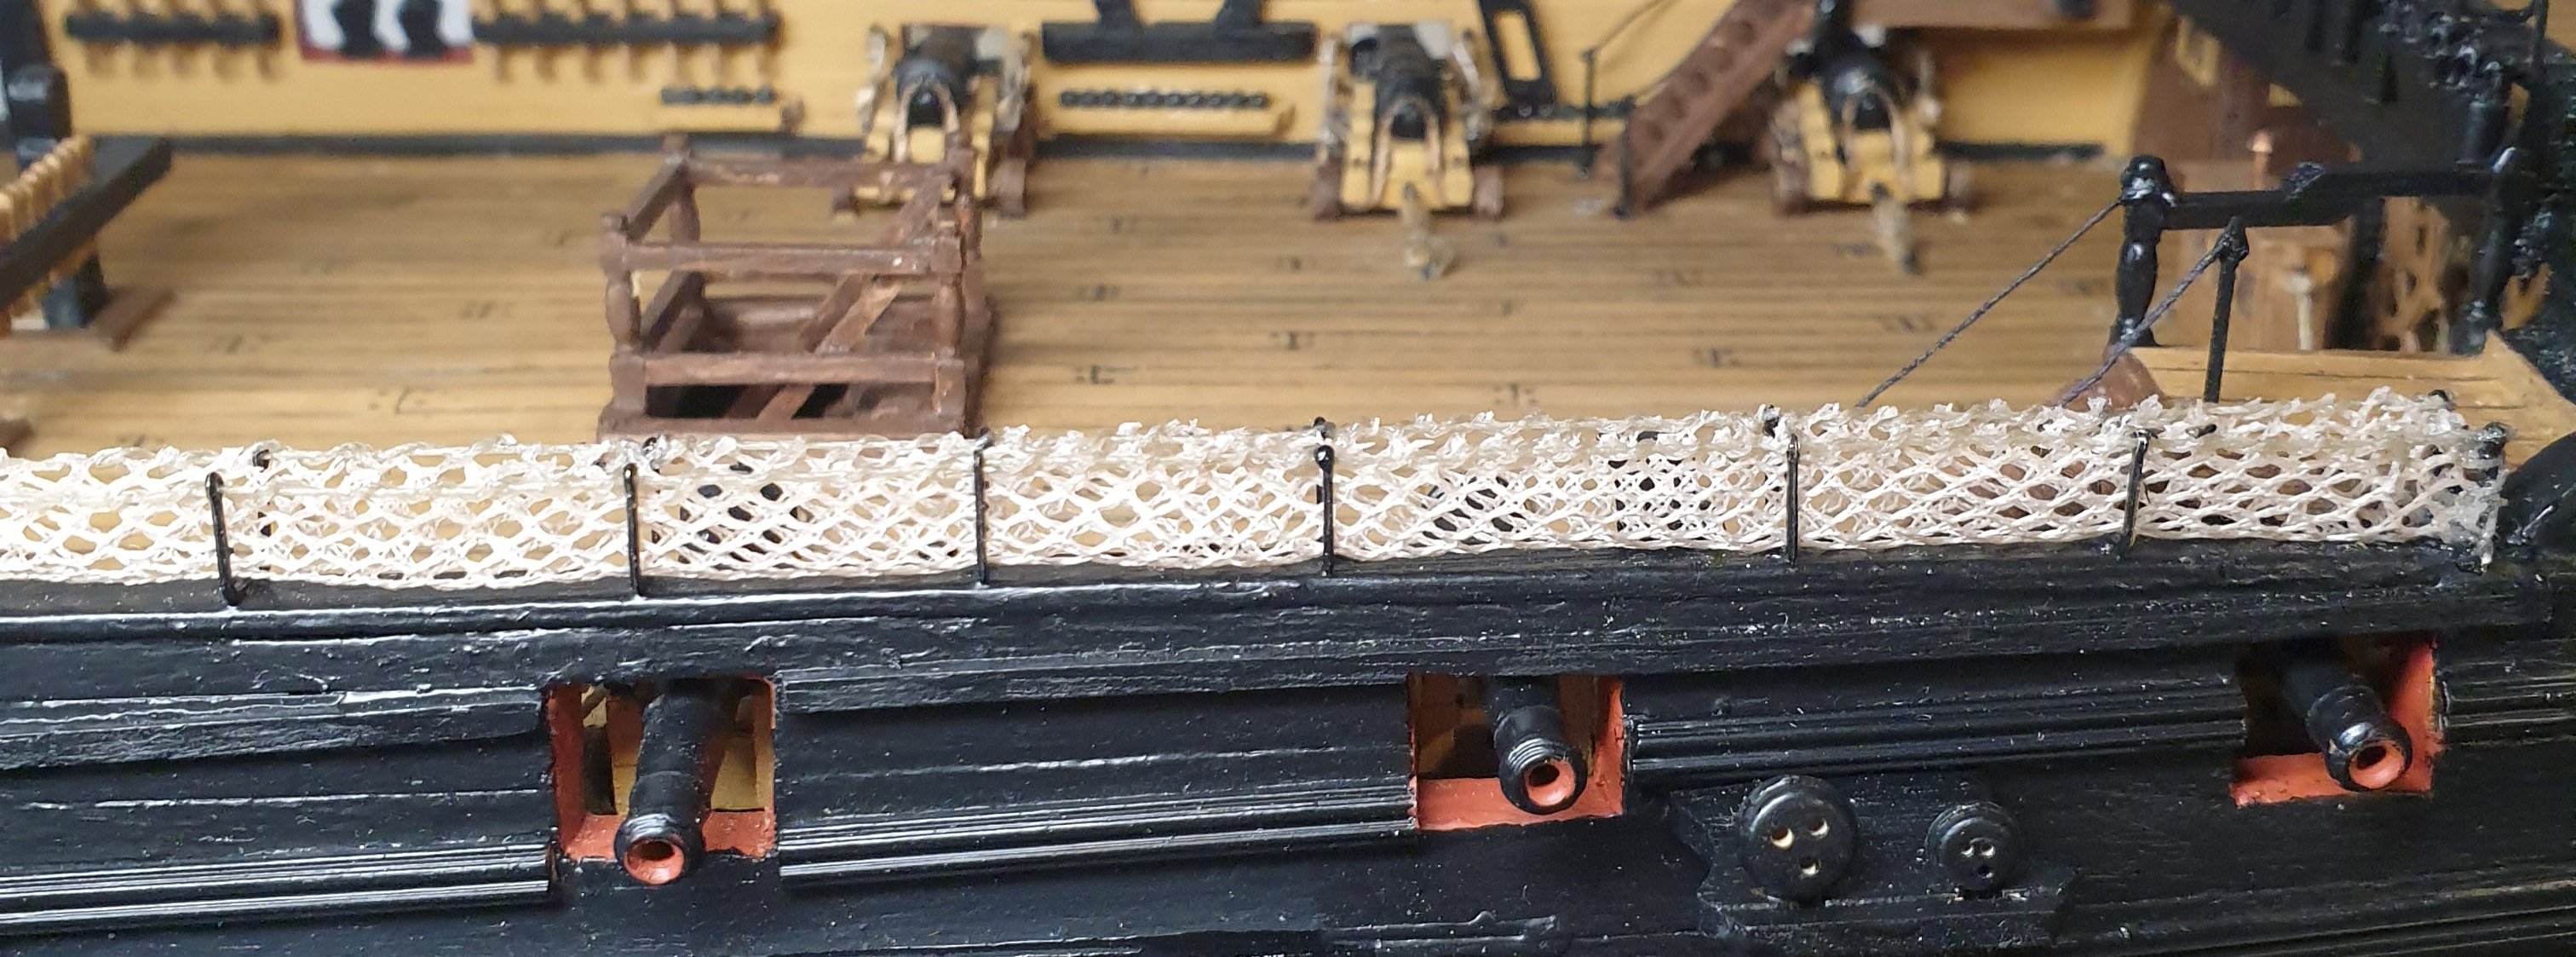
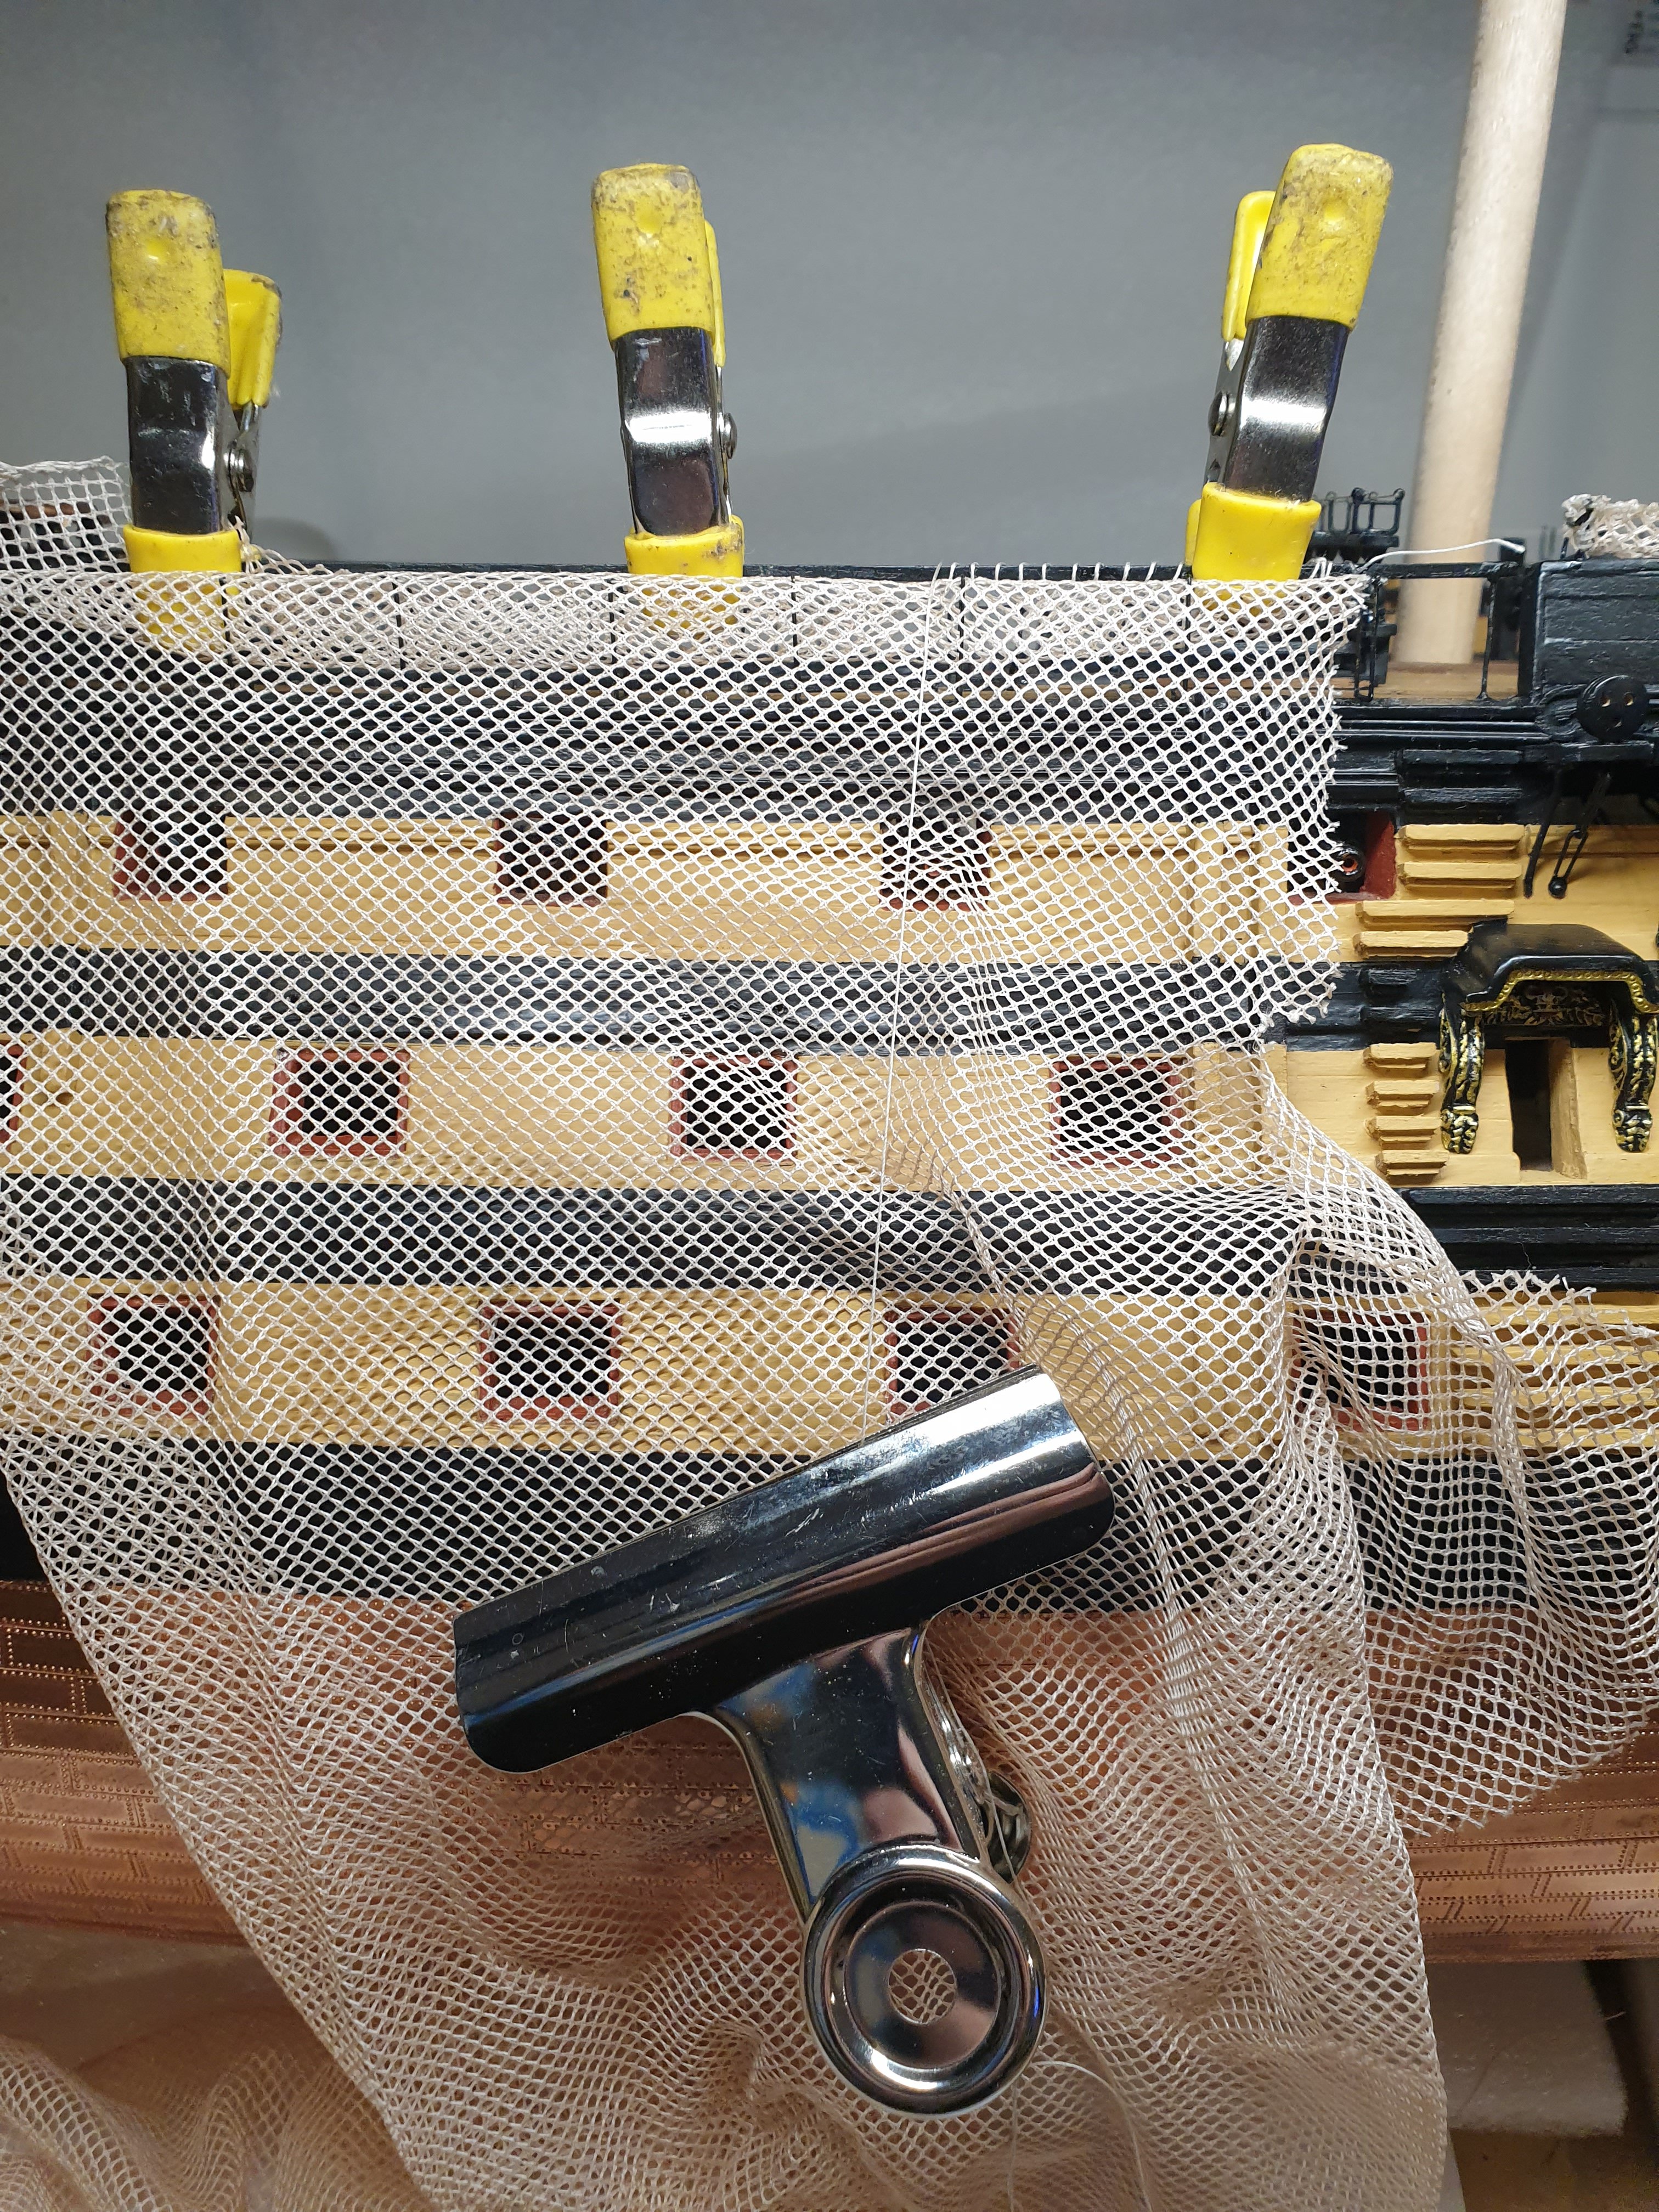
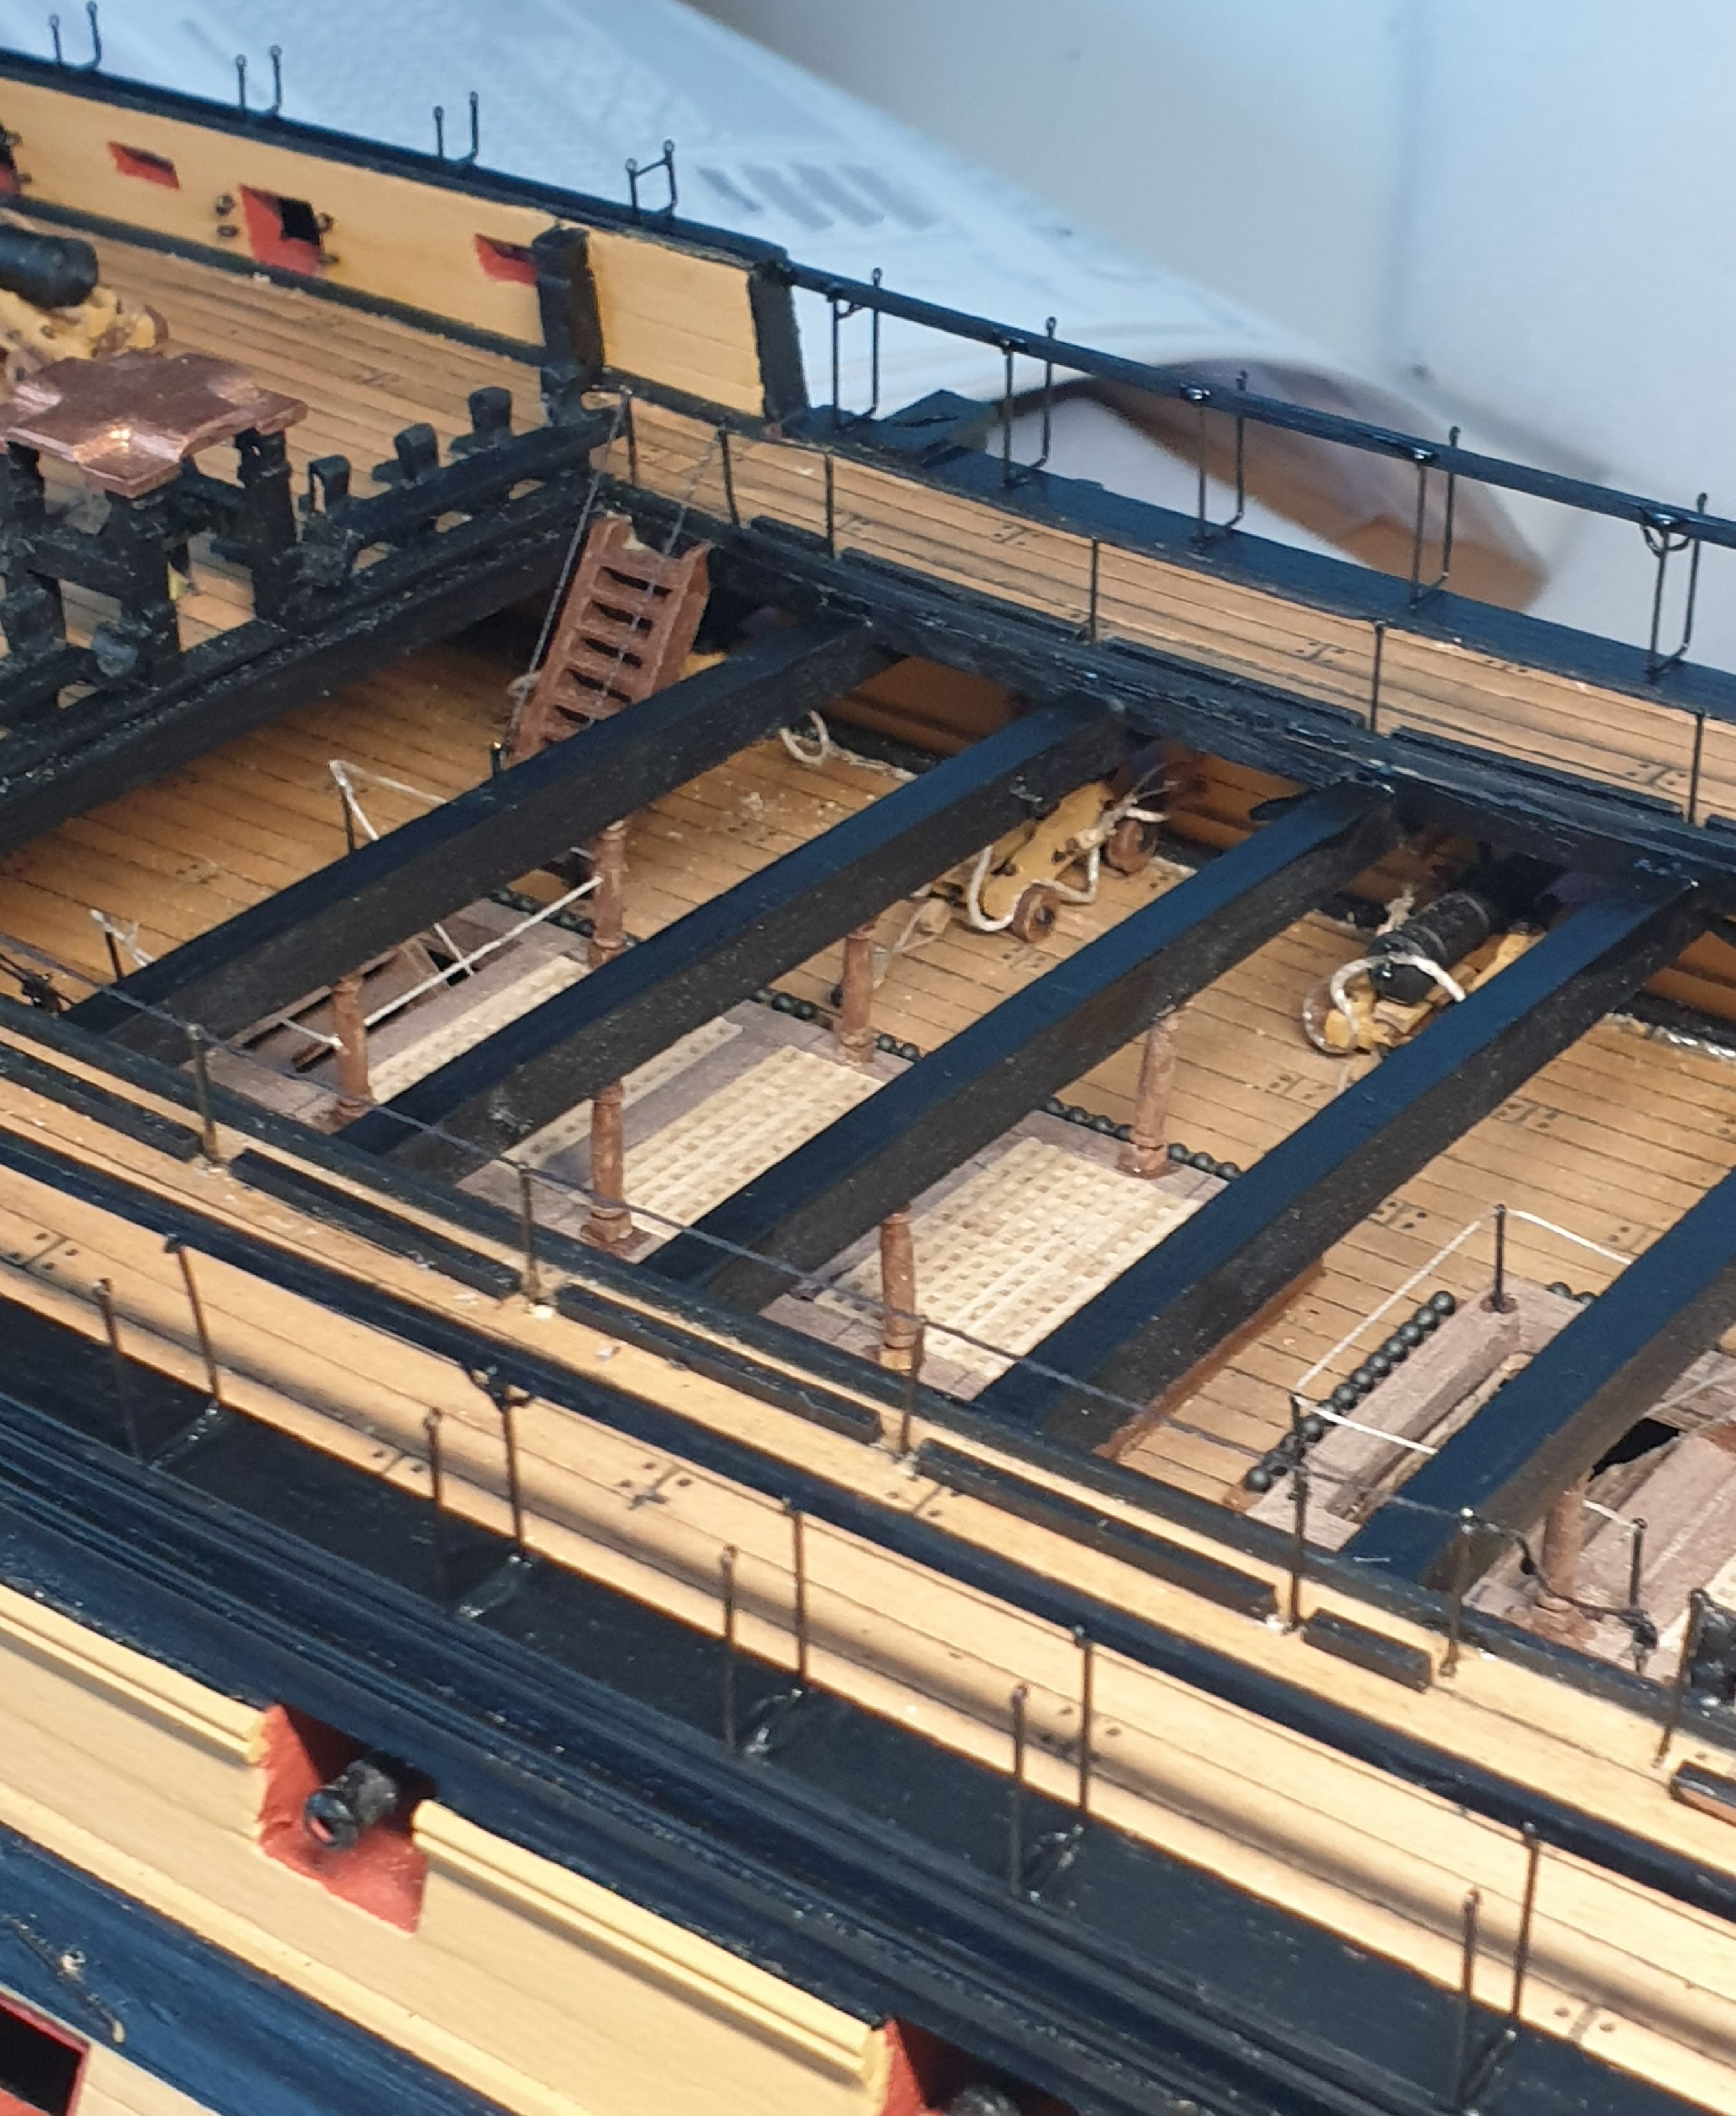
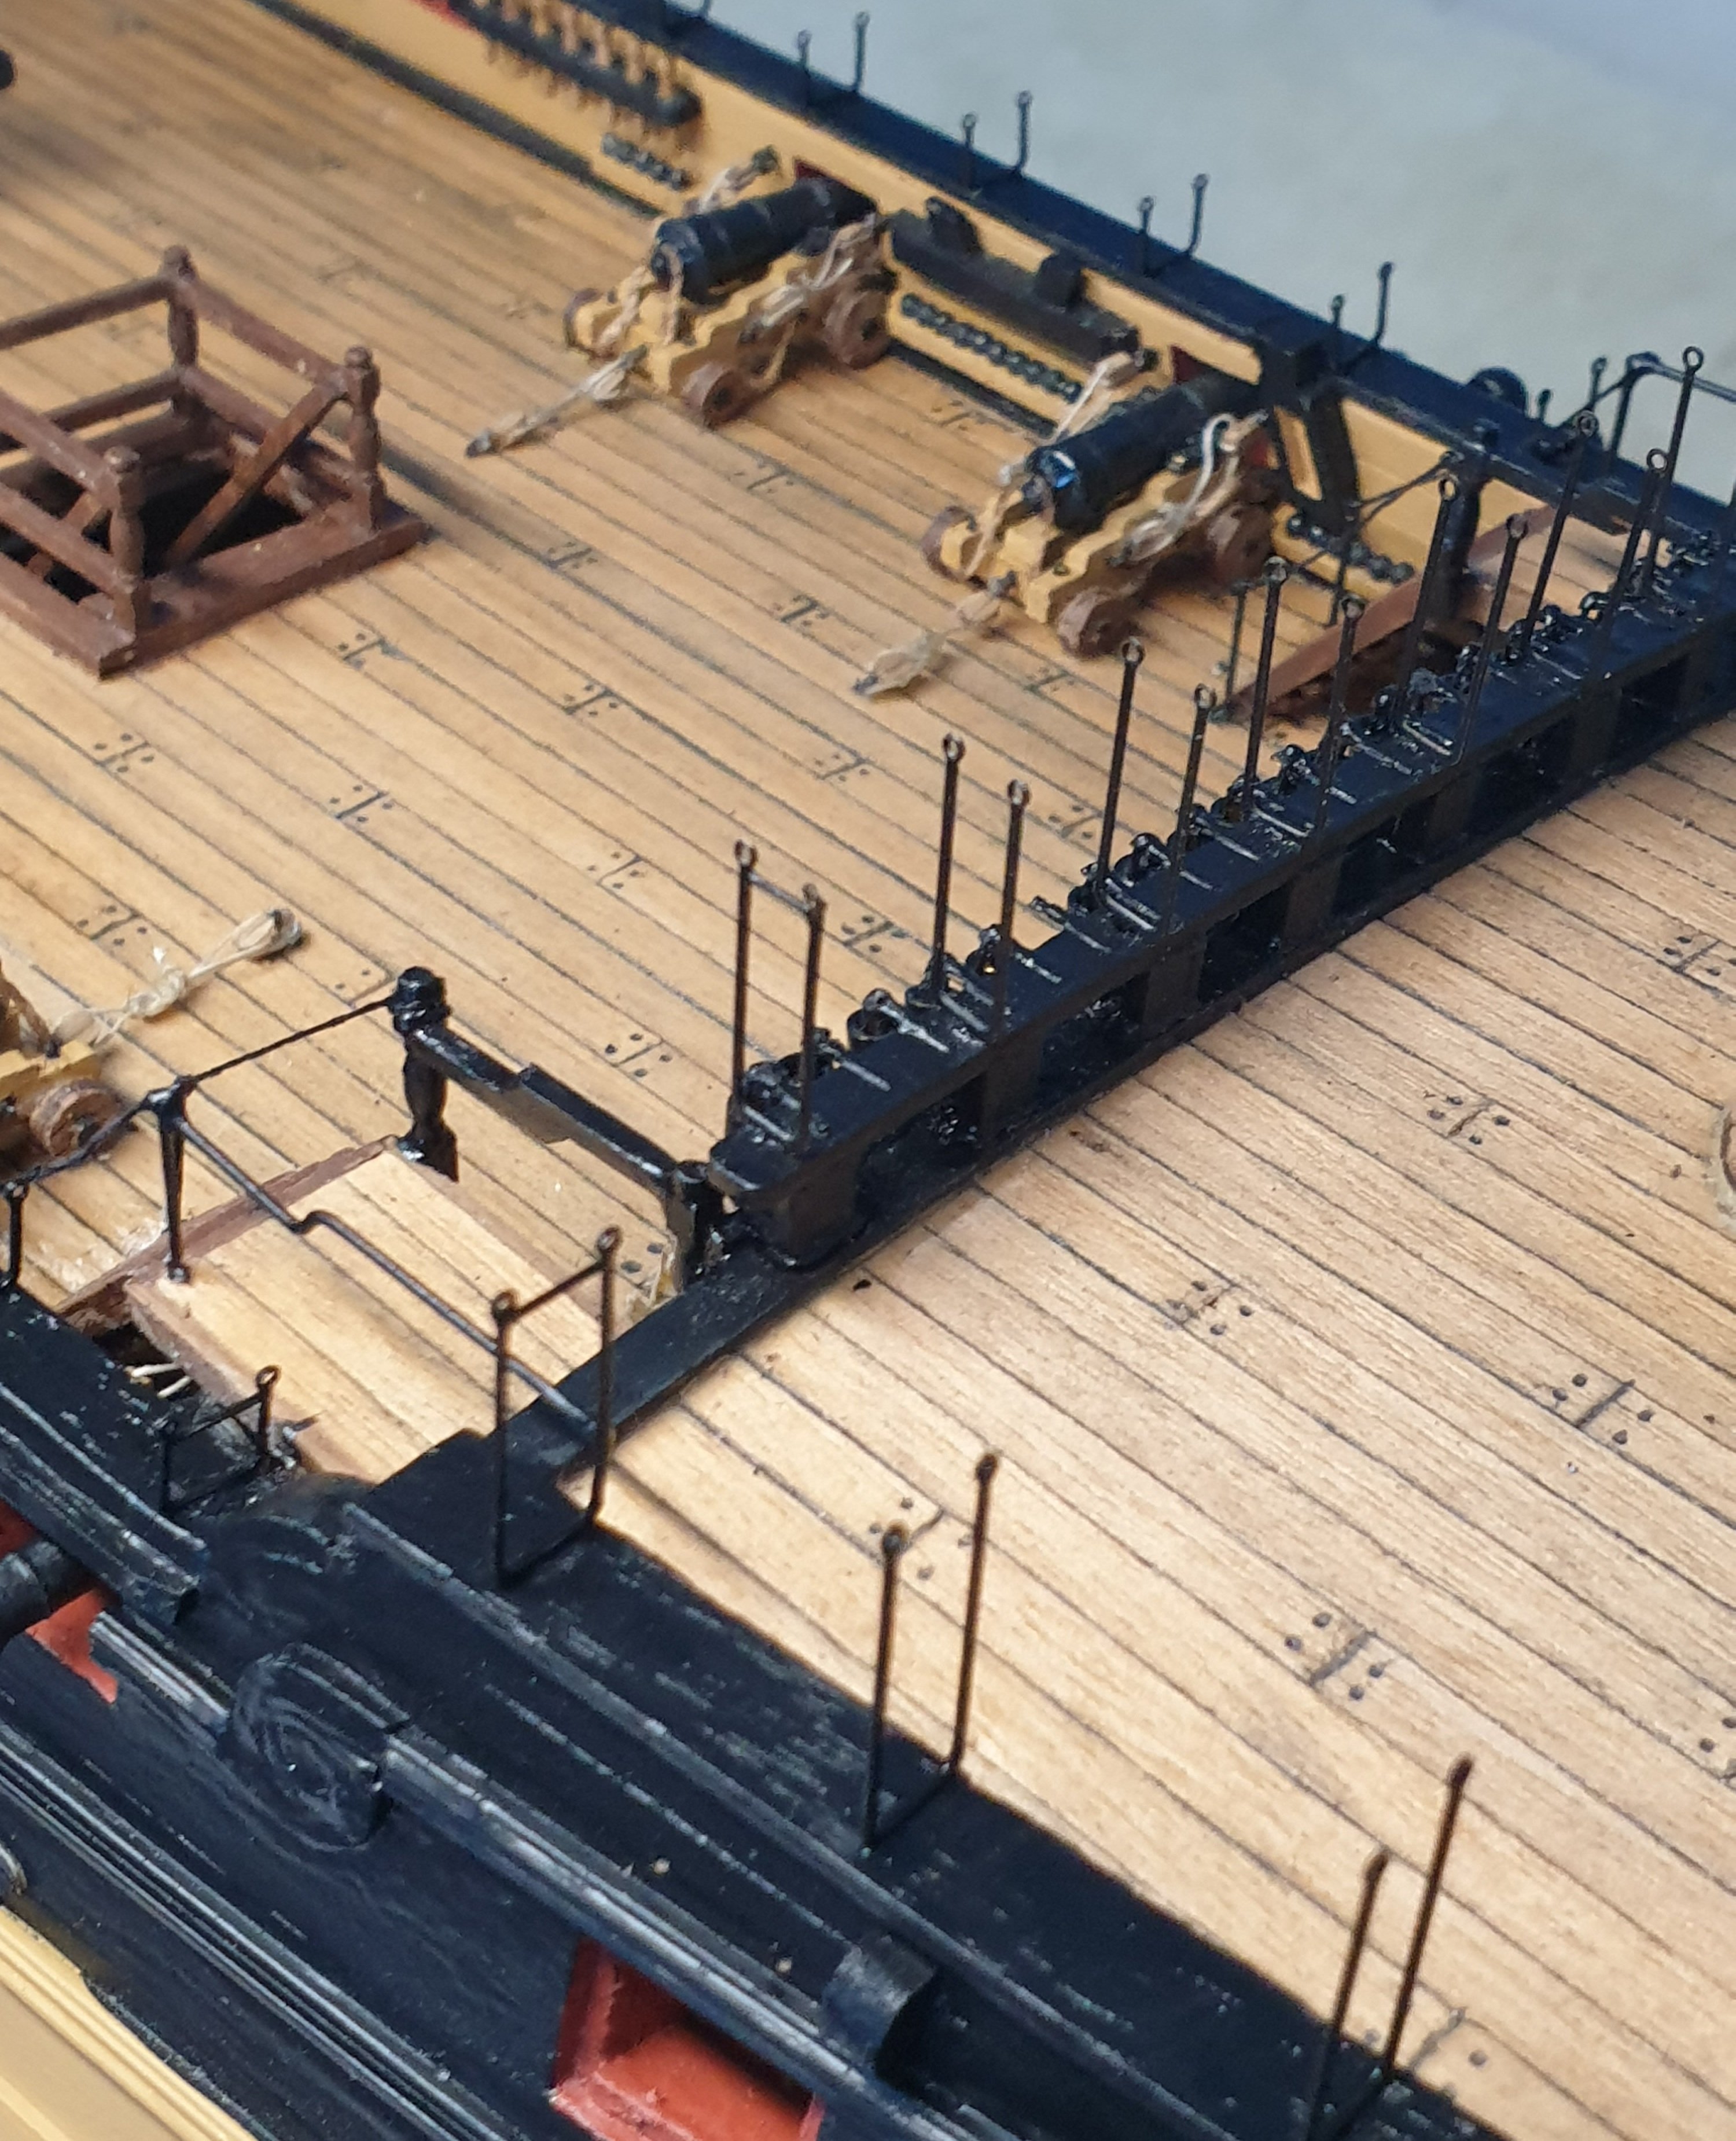
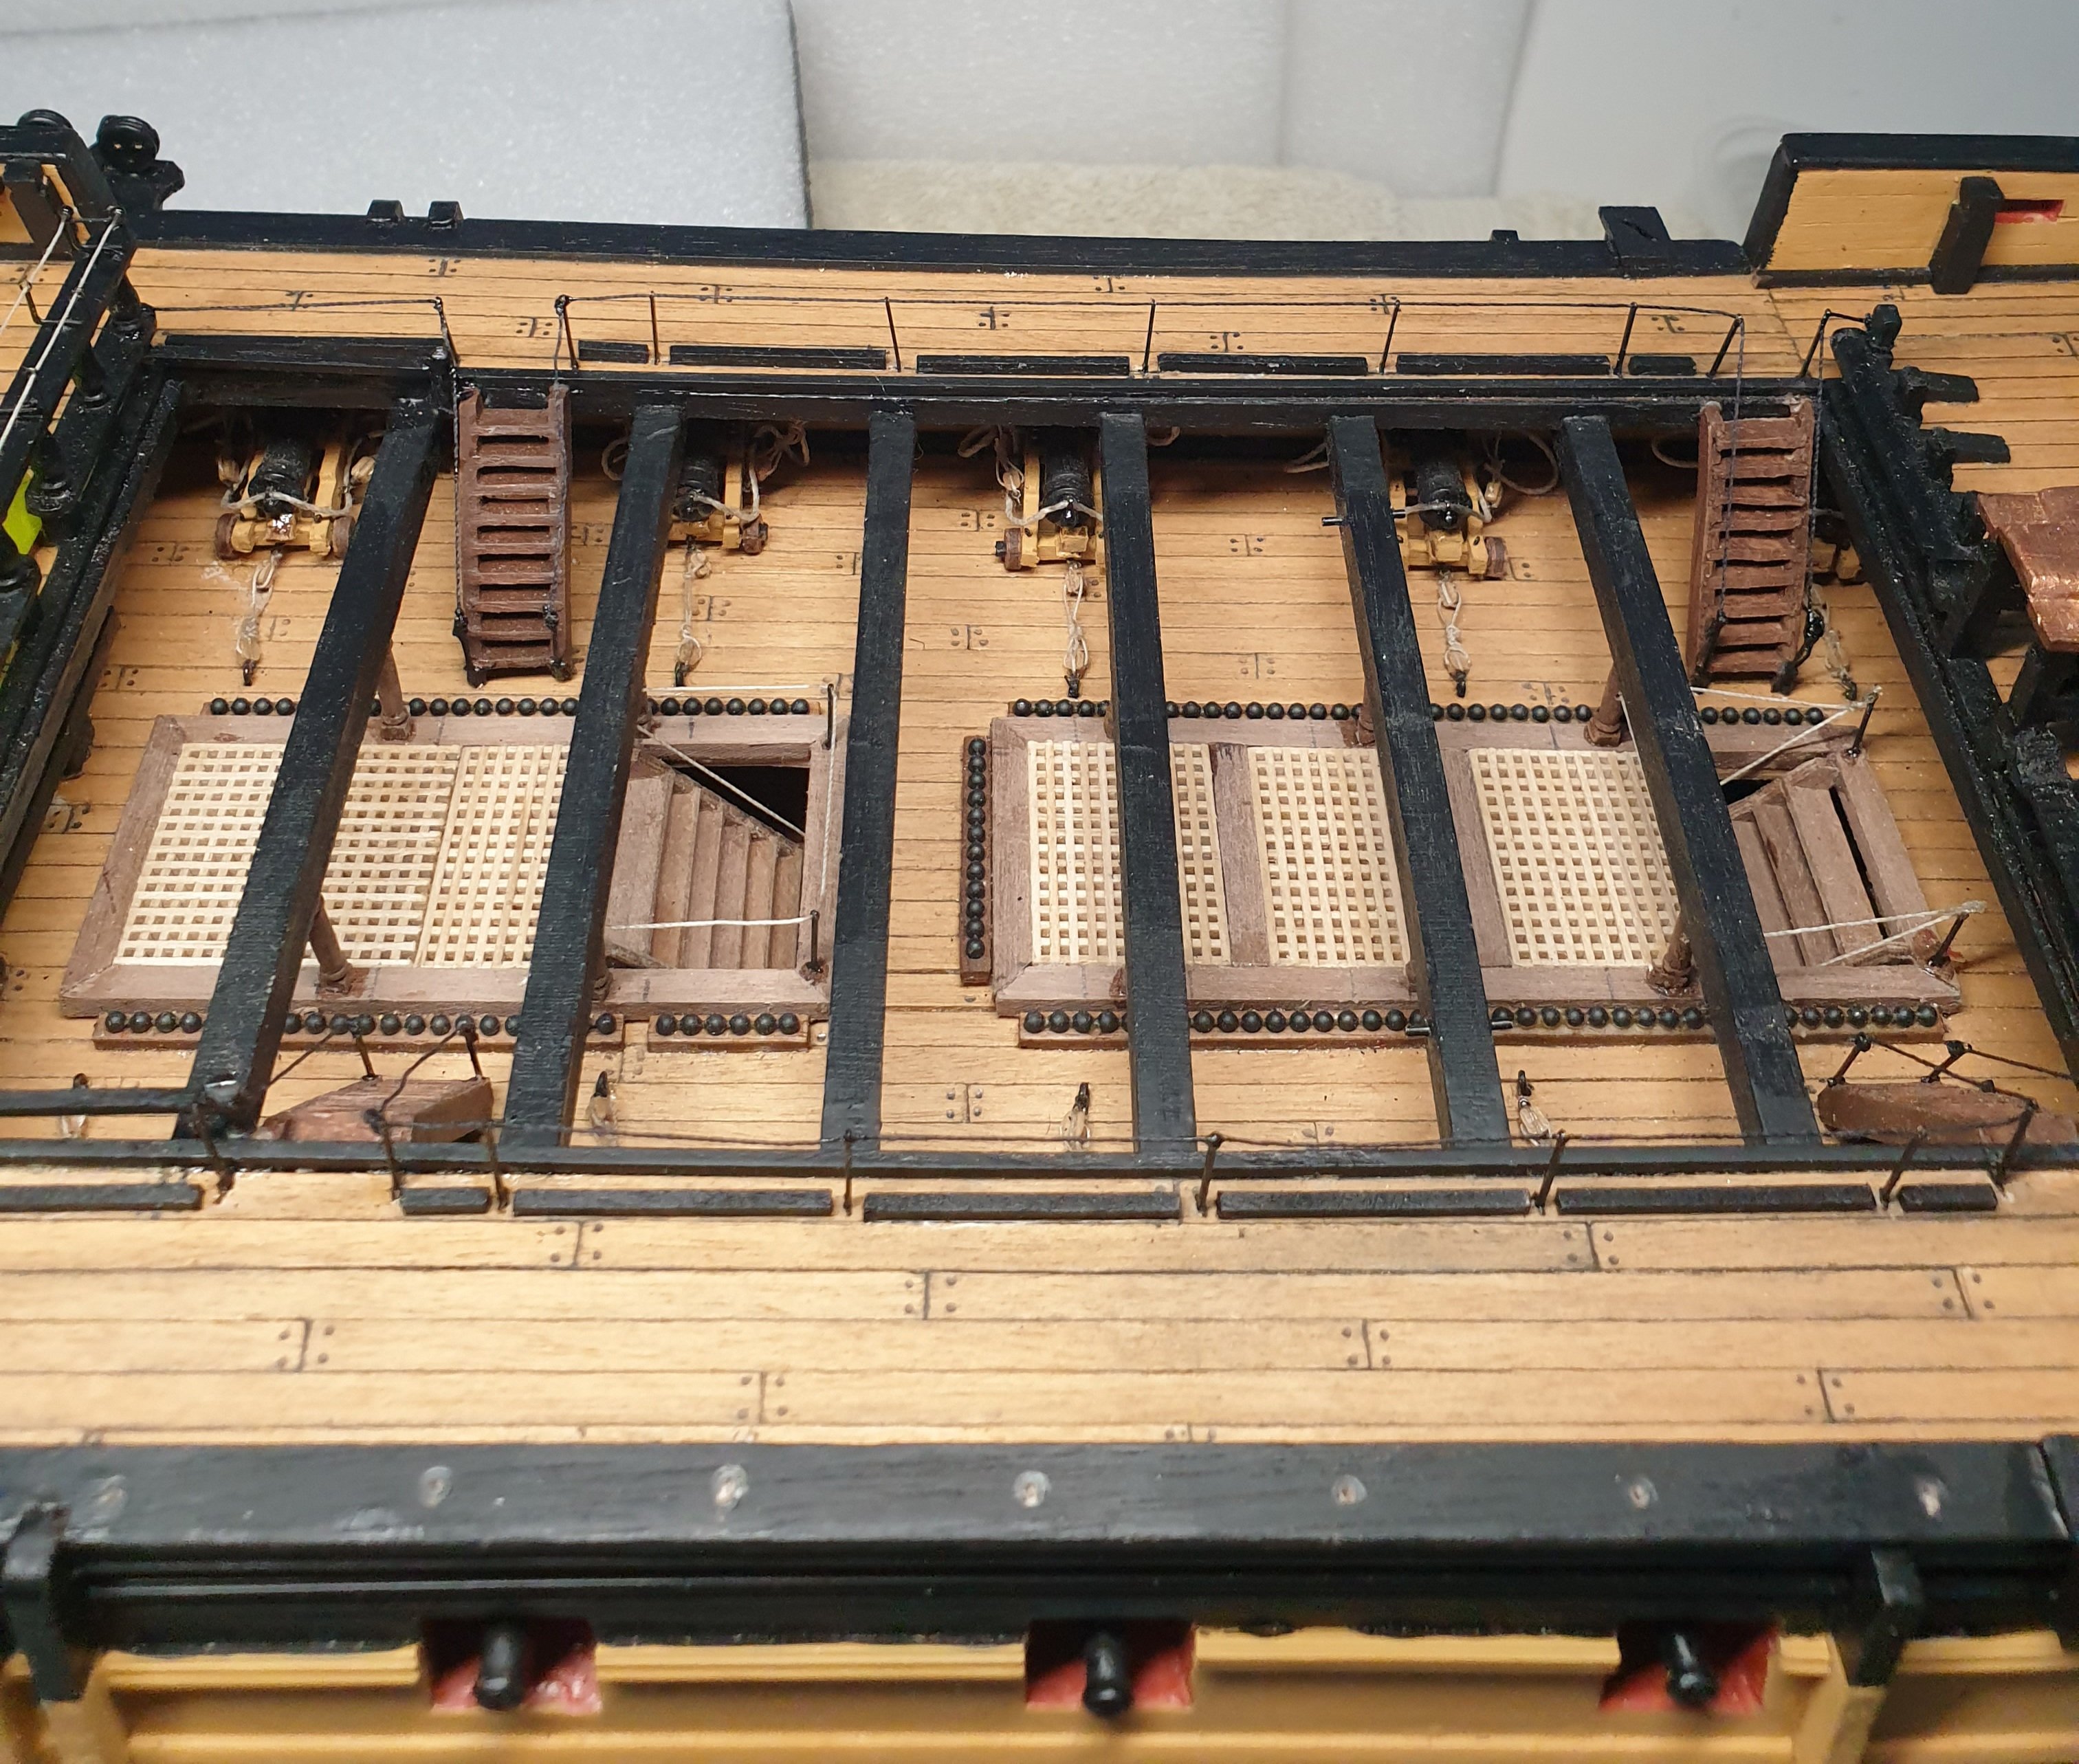
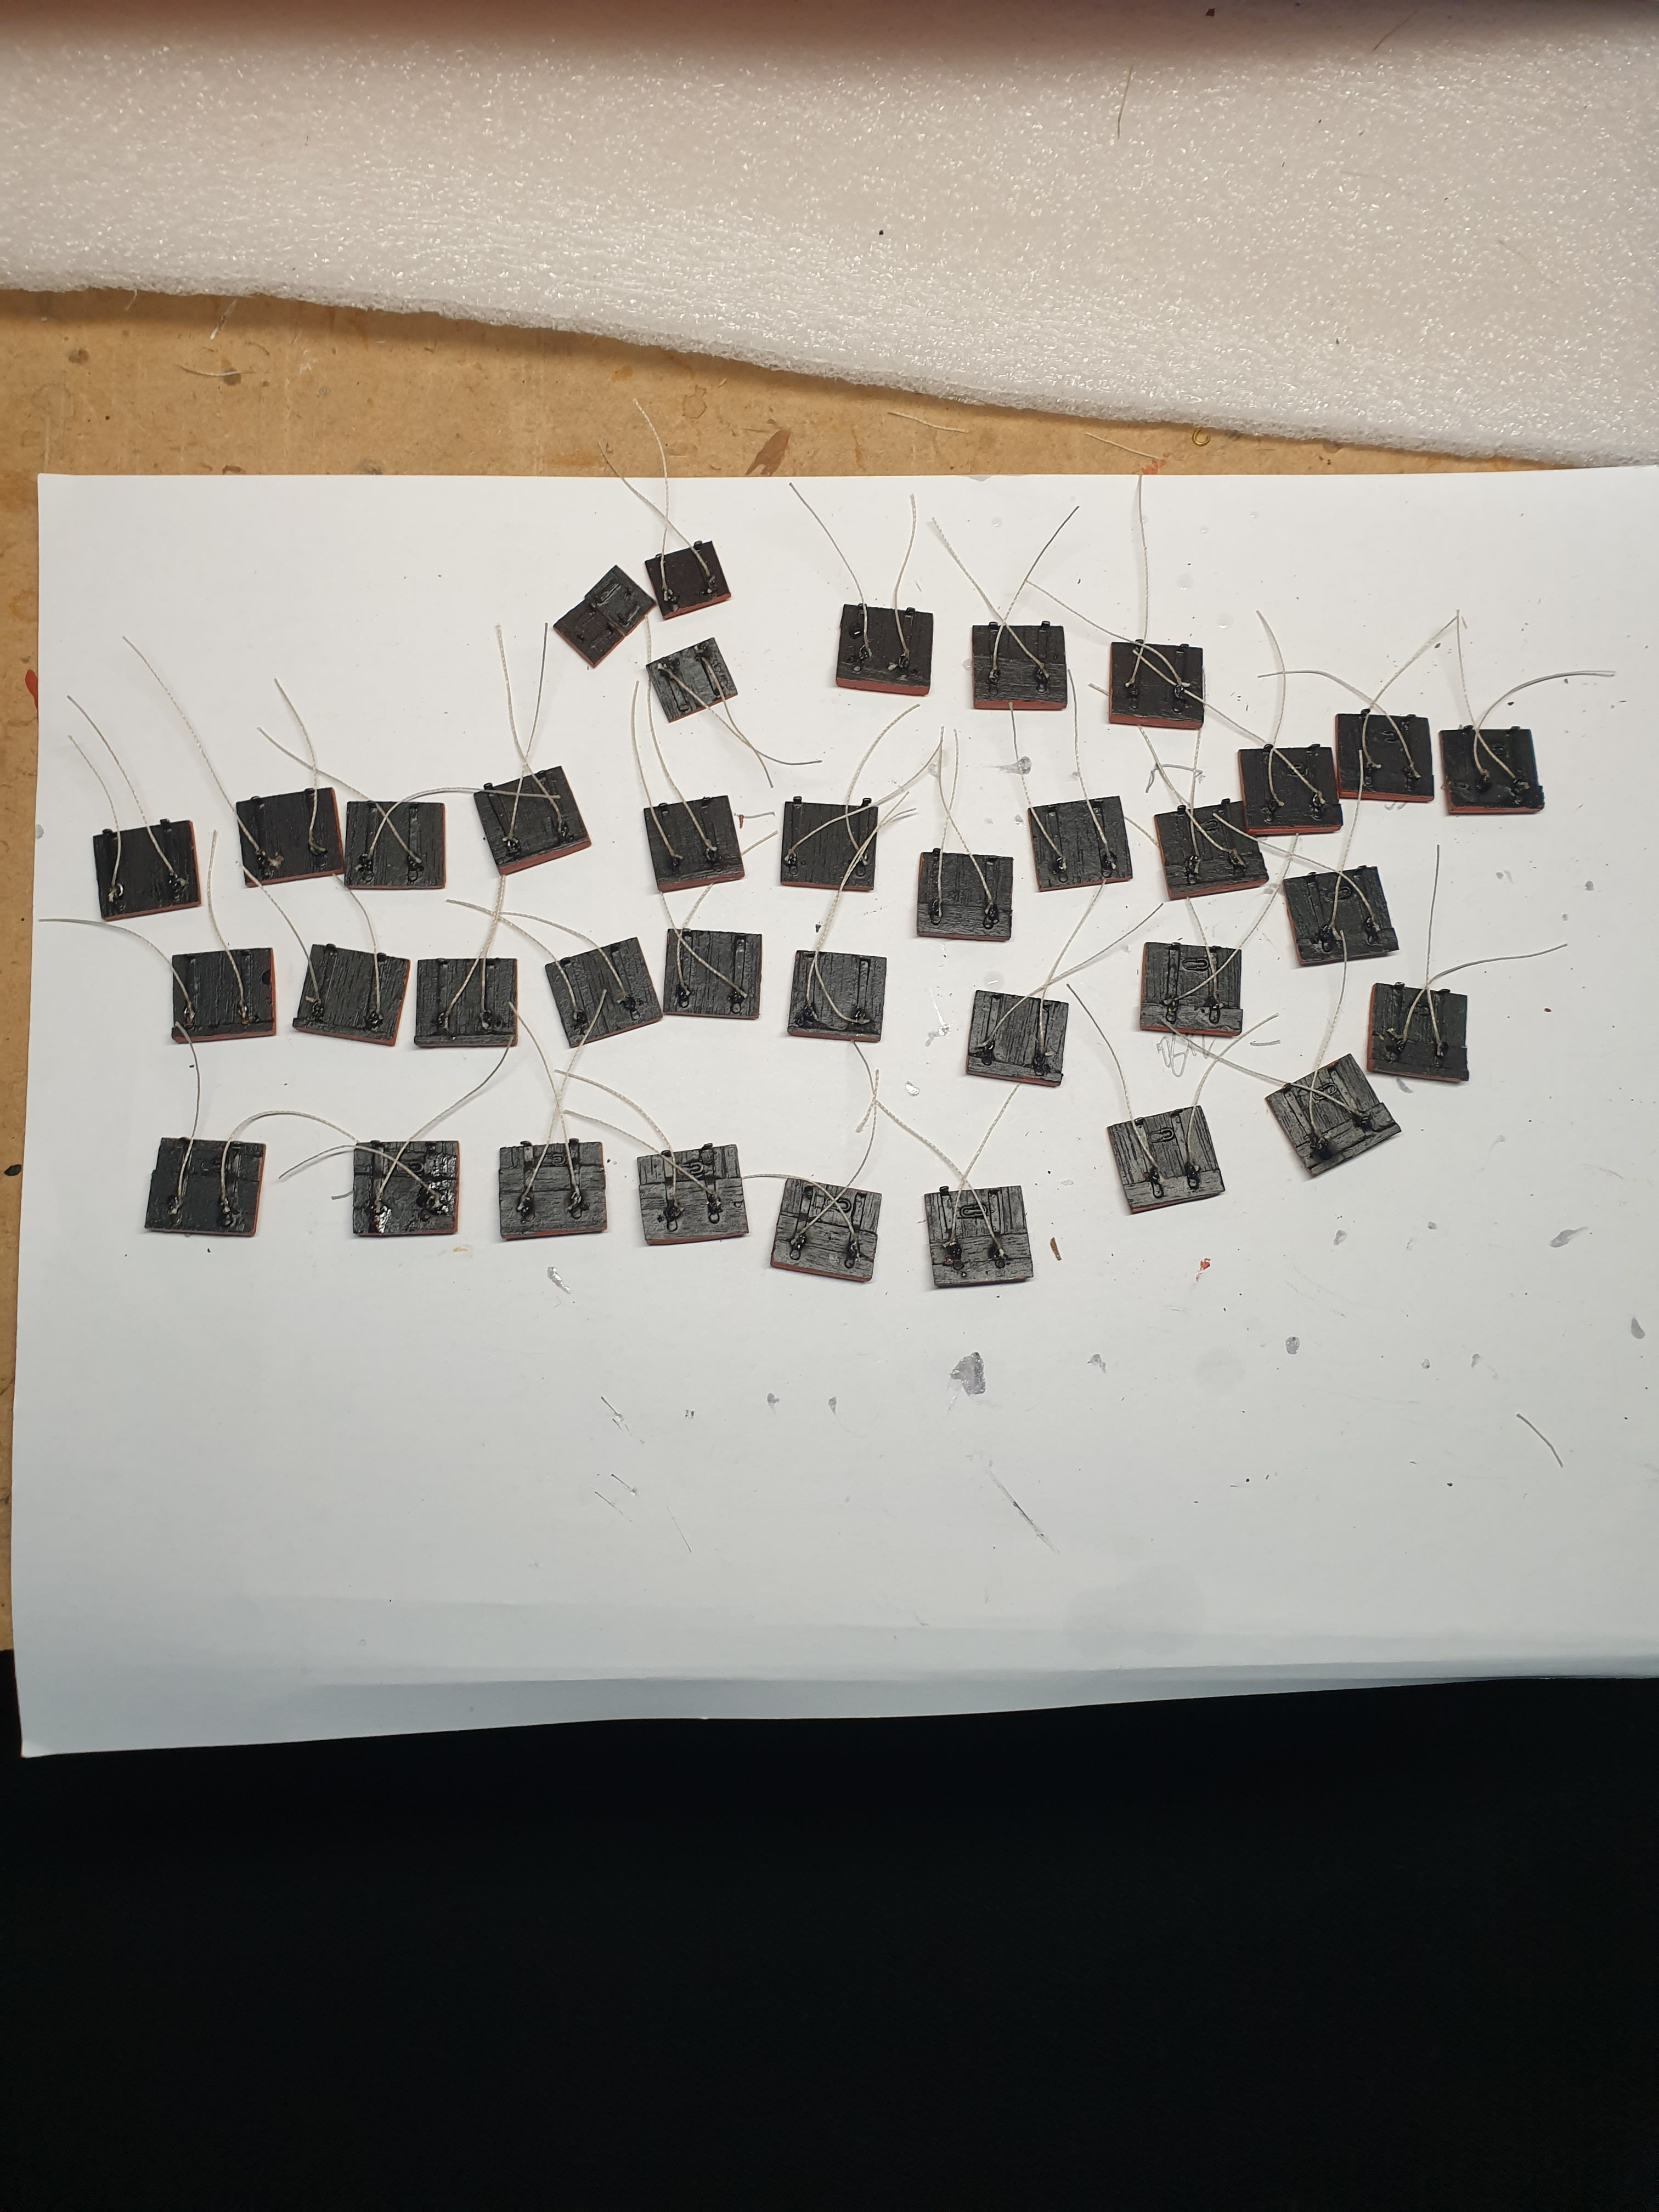
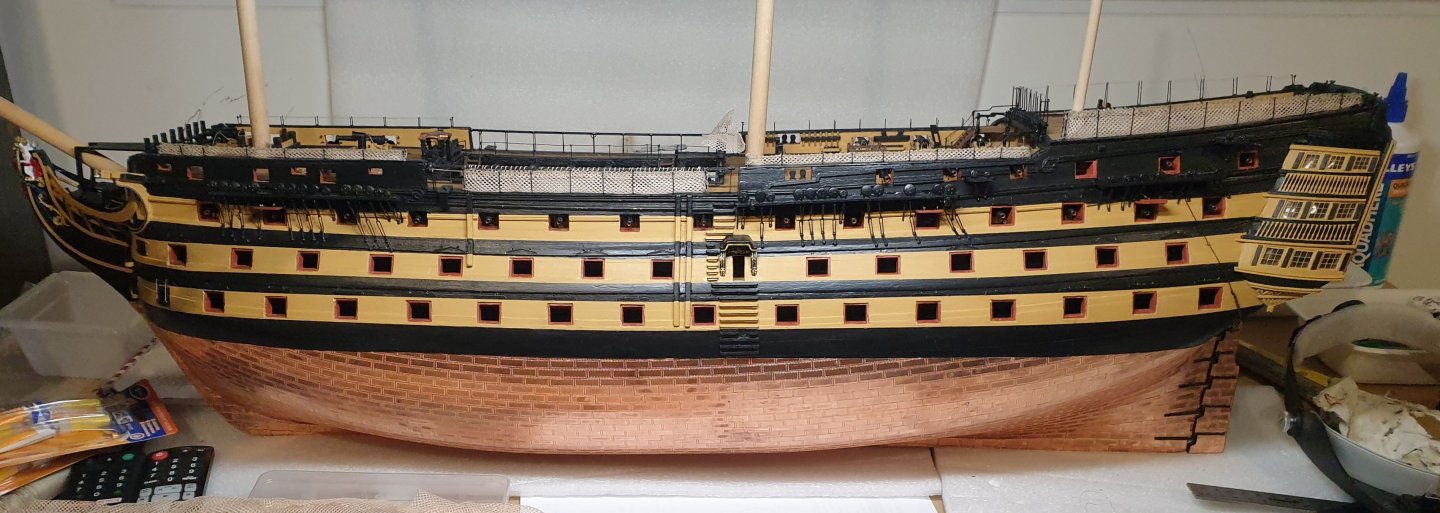
Hammock netting is a work in progress. By the last one I should have a technique that works for me. Leaving the waist stantions and outer poop deck hand rail until later would have been better. I used mosquito net stained in tea, the colour soaked in o.k. lots of breaks needed at this stage.


-
Hammock cranes done, now for thread and wish me luck for the netting. I got mosquito net in the end soaked in tea. The tulle didn't look that good.


-
Waist deck stantions done, now for the hammock cranes.

-
Great job Chris it looks real good.
-
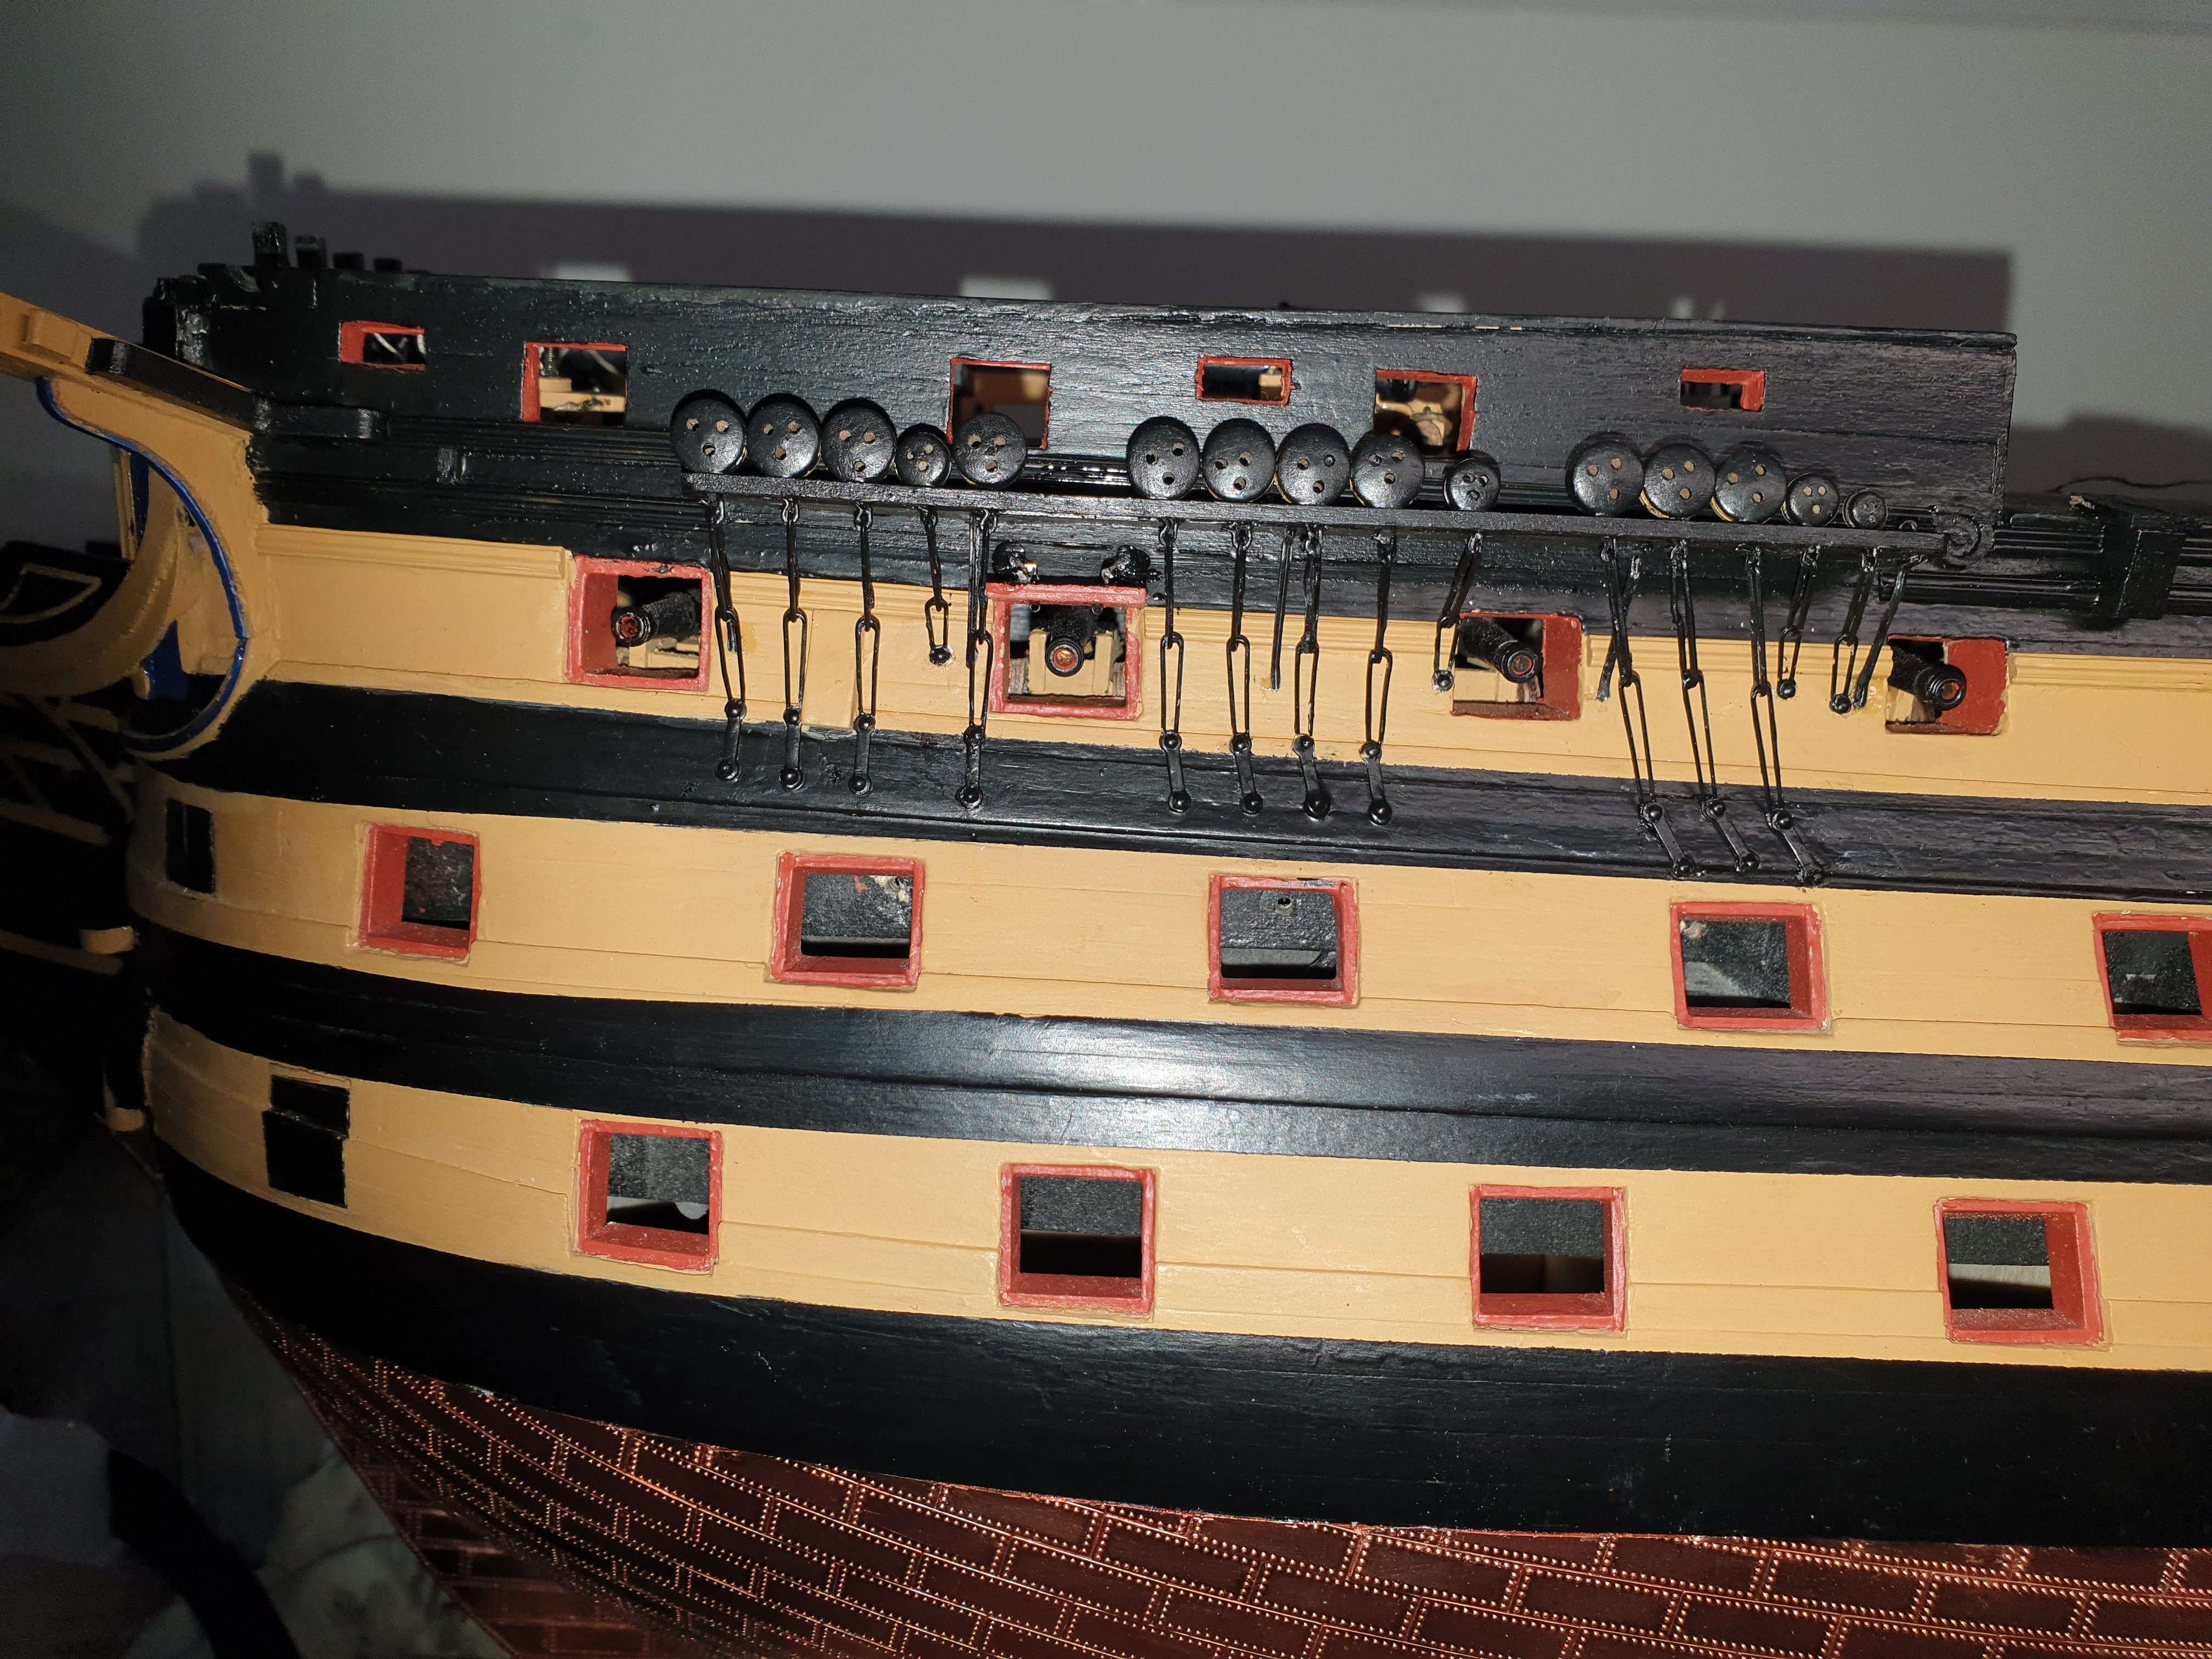
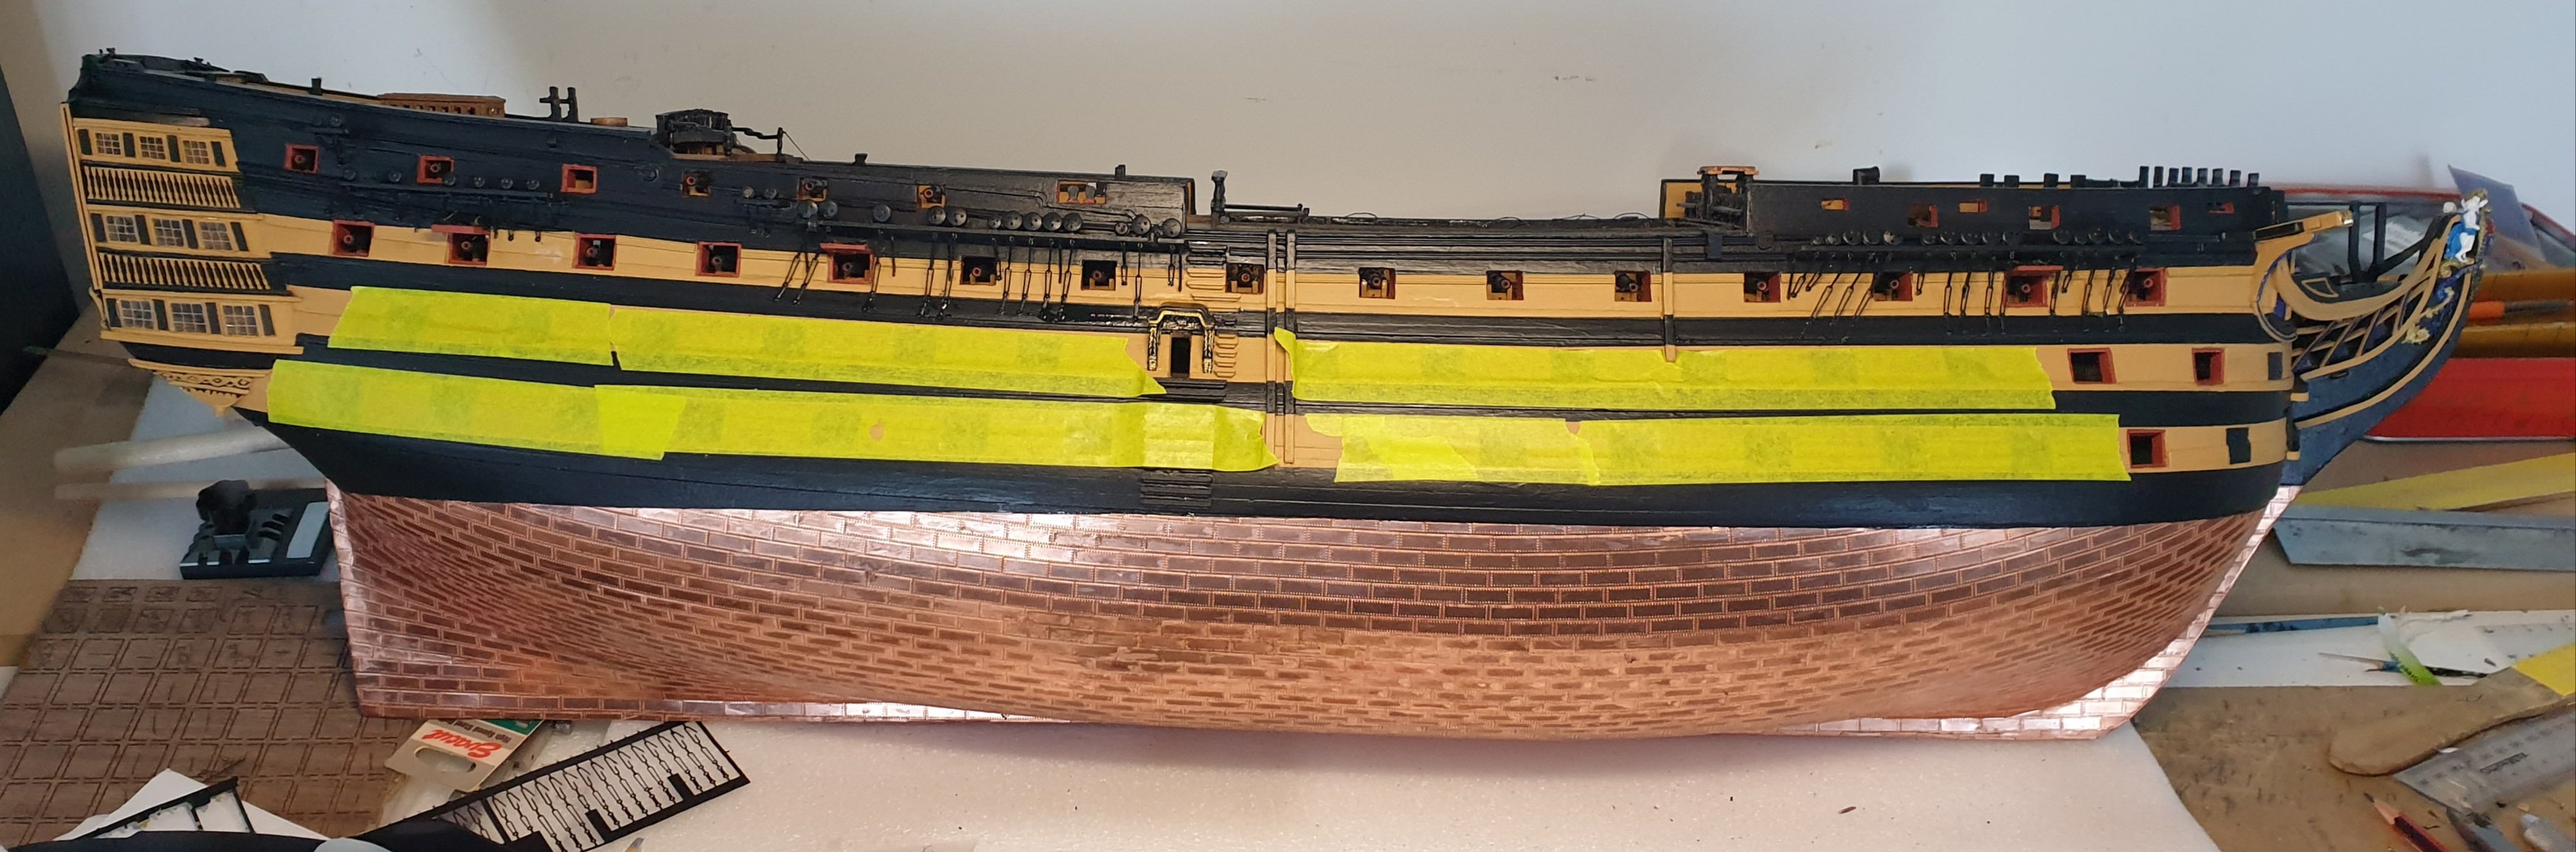
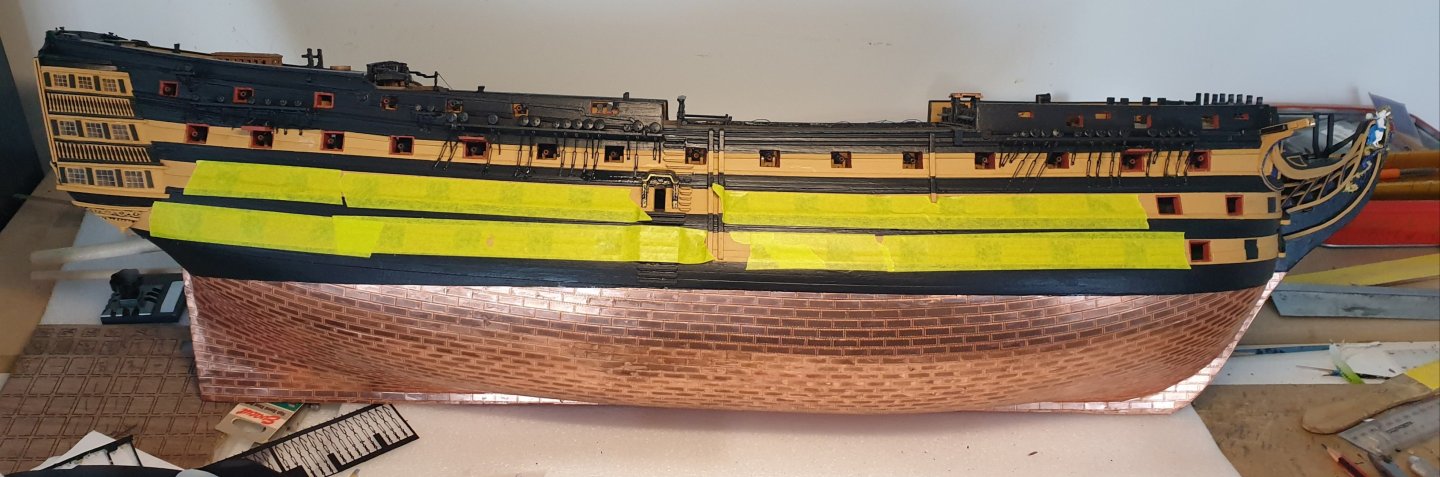
Starboard side done, those lids are a big project alright. Onto the hammock cranes now.

-
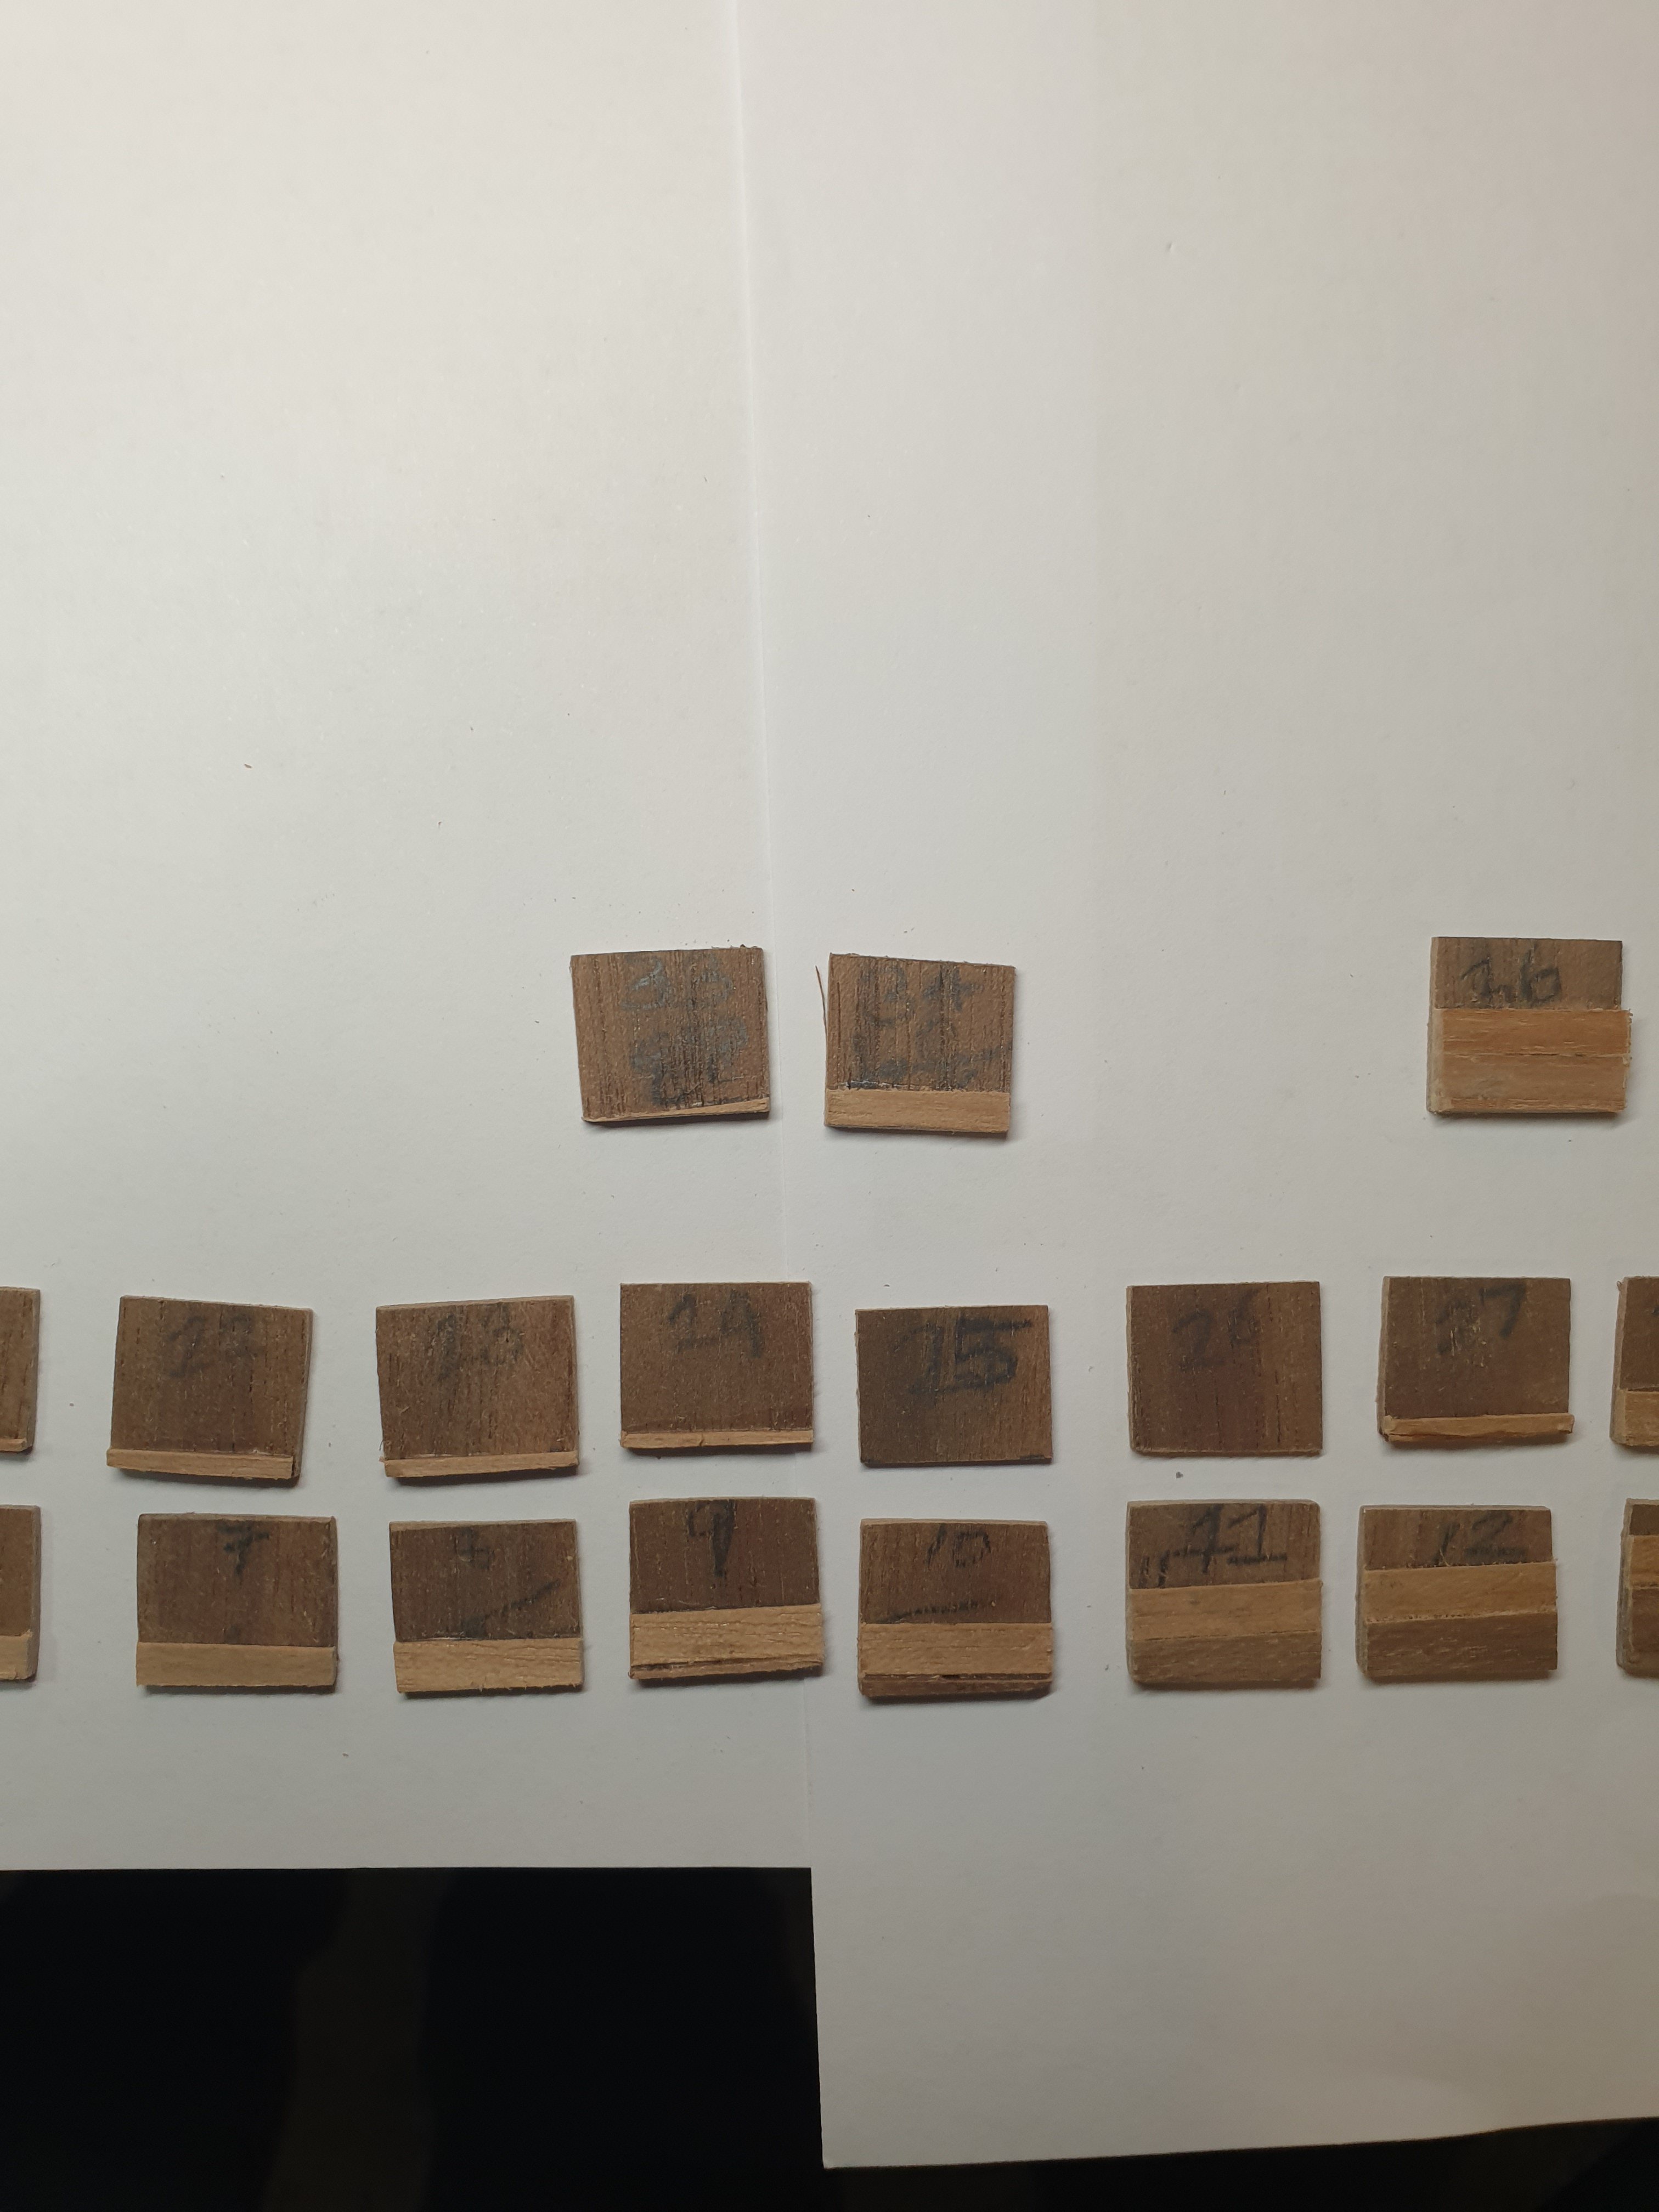
Starboard lid production started.
-
Thanks for the likes gentlemen it keeps me going. A few re works done on areas I wasn't happy with.


-
Port lids done, at least I know the procedure now.

-
I love the porthole Graham and your shed design. You will have plenty of natural light as well.
-
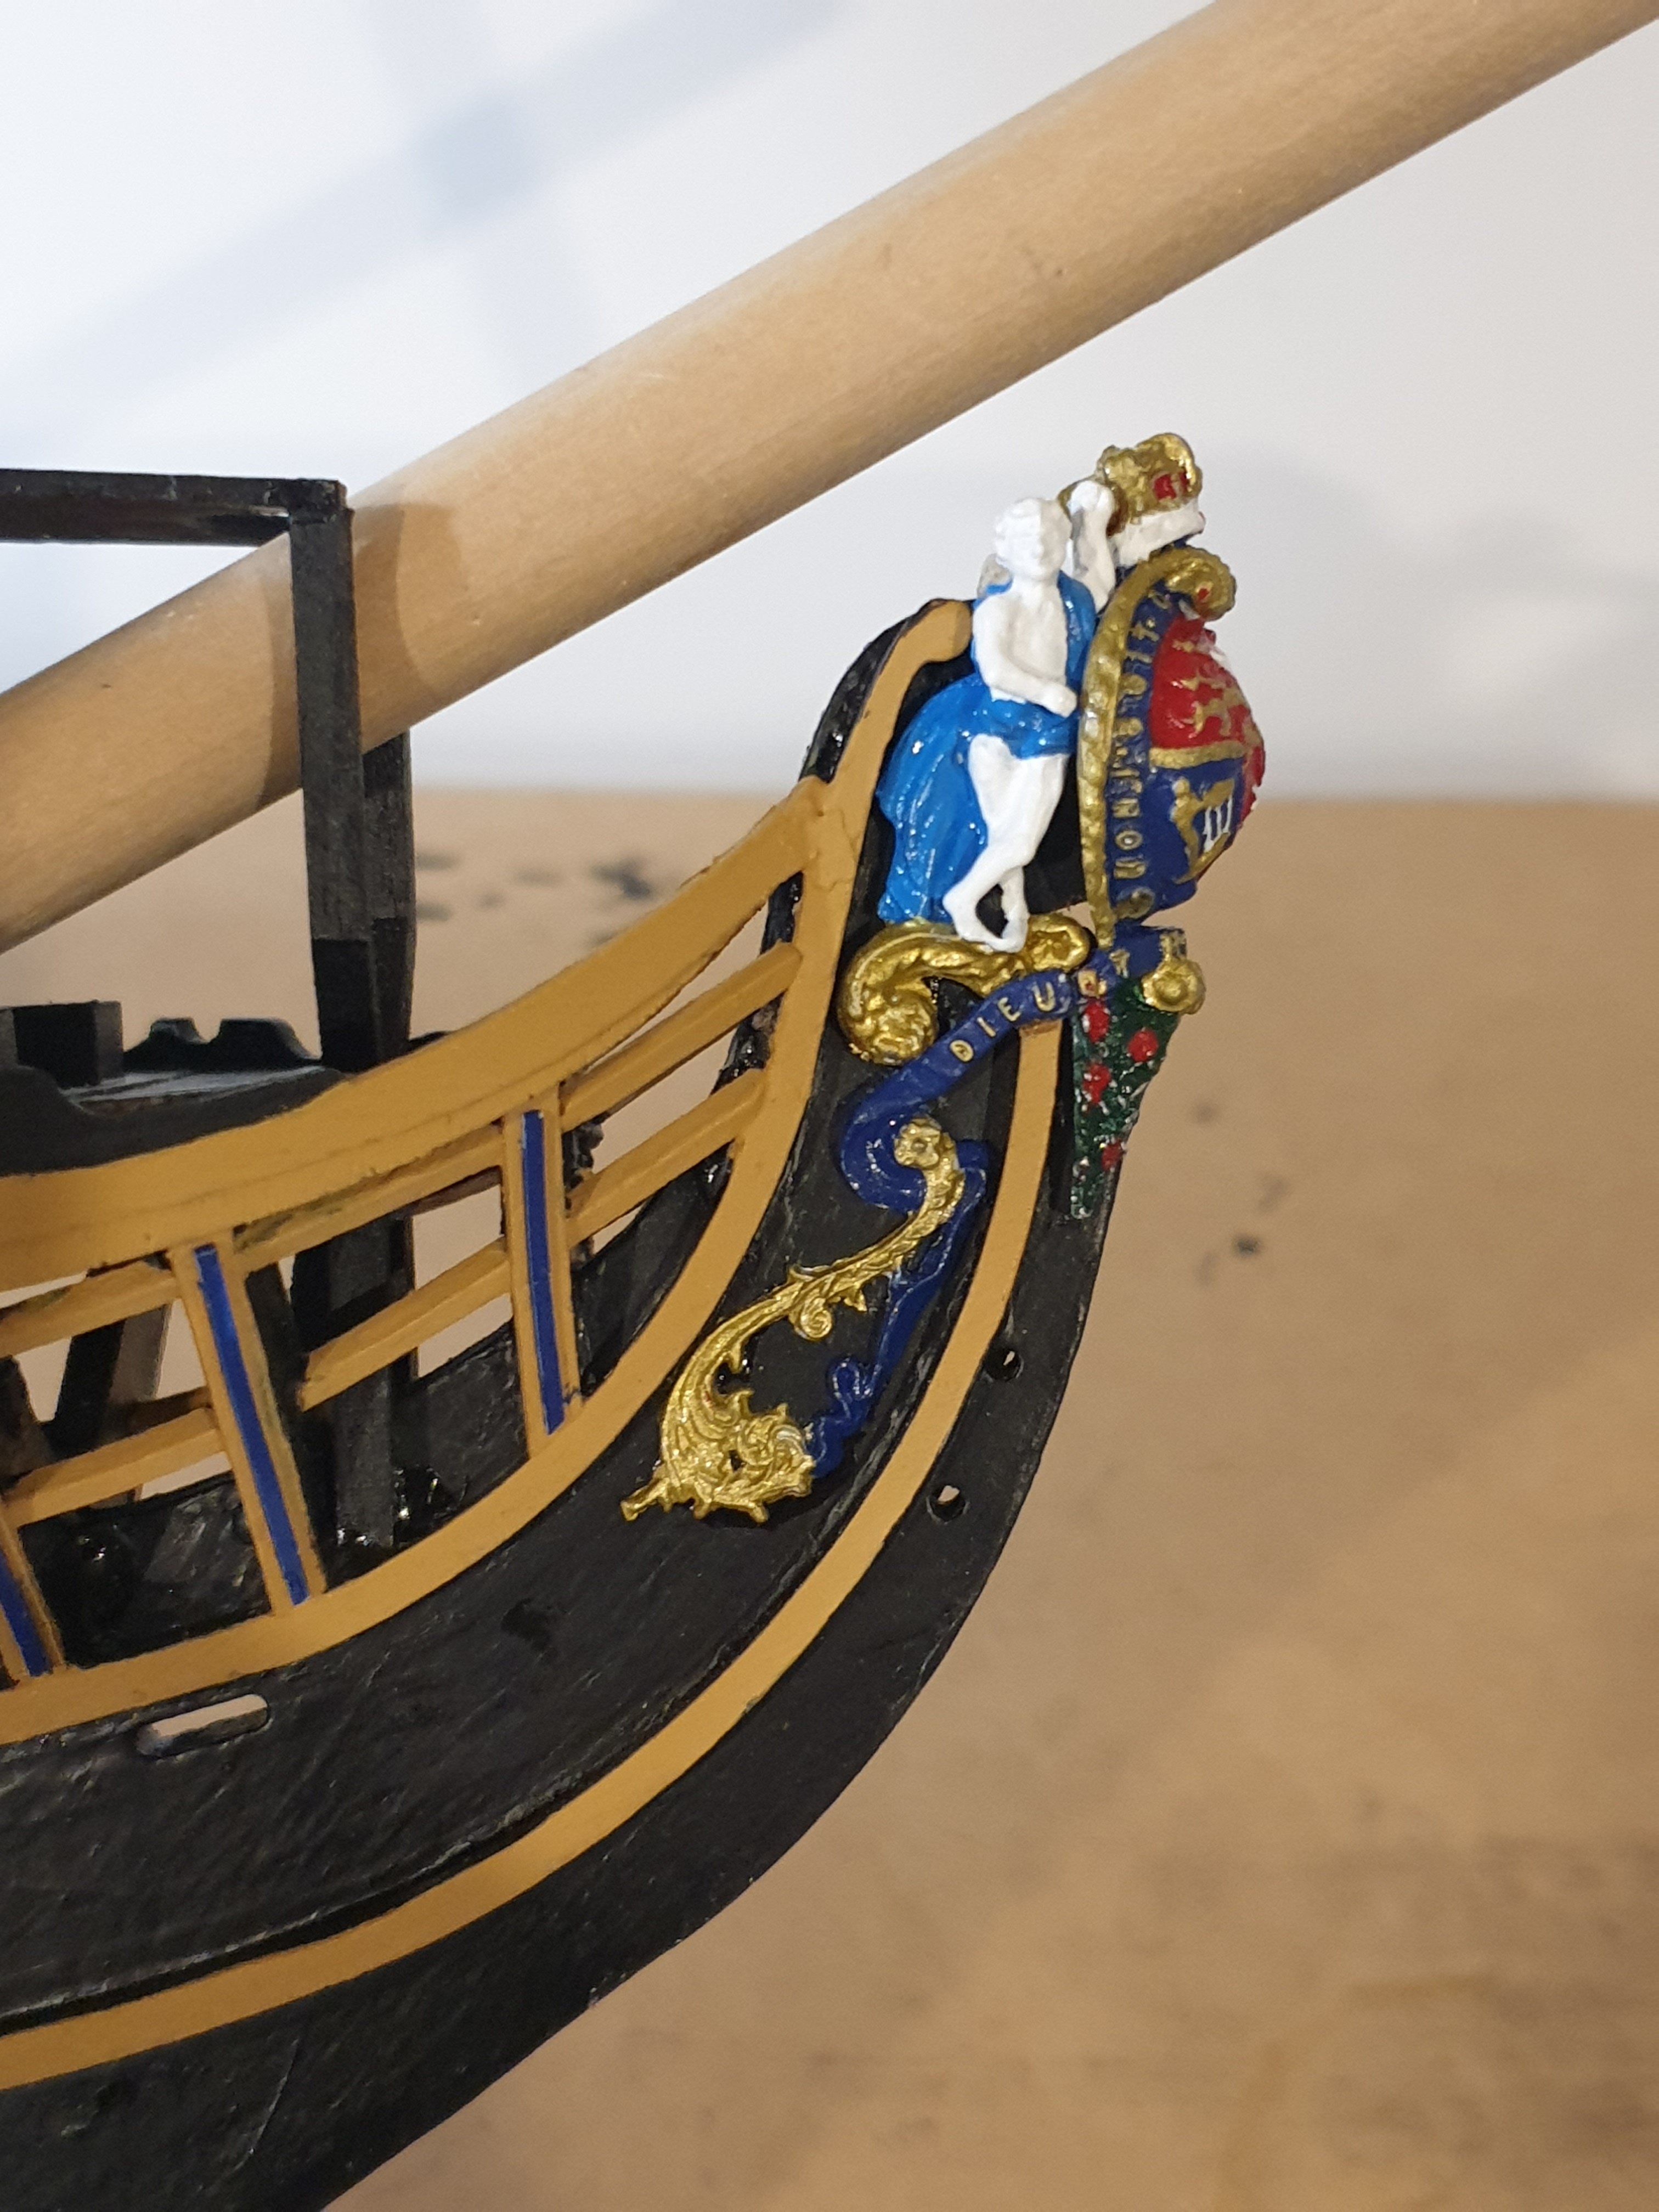
Getting there, rings to fit now.

-
Fantastic build and thanks a lot for all of your photo's and instructions. I would be truelly lost without your log and Graham's. I admire how perfect you can get everything. My dad had a Rollei camera as well. Nice to see your camera collection.
-
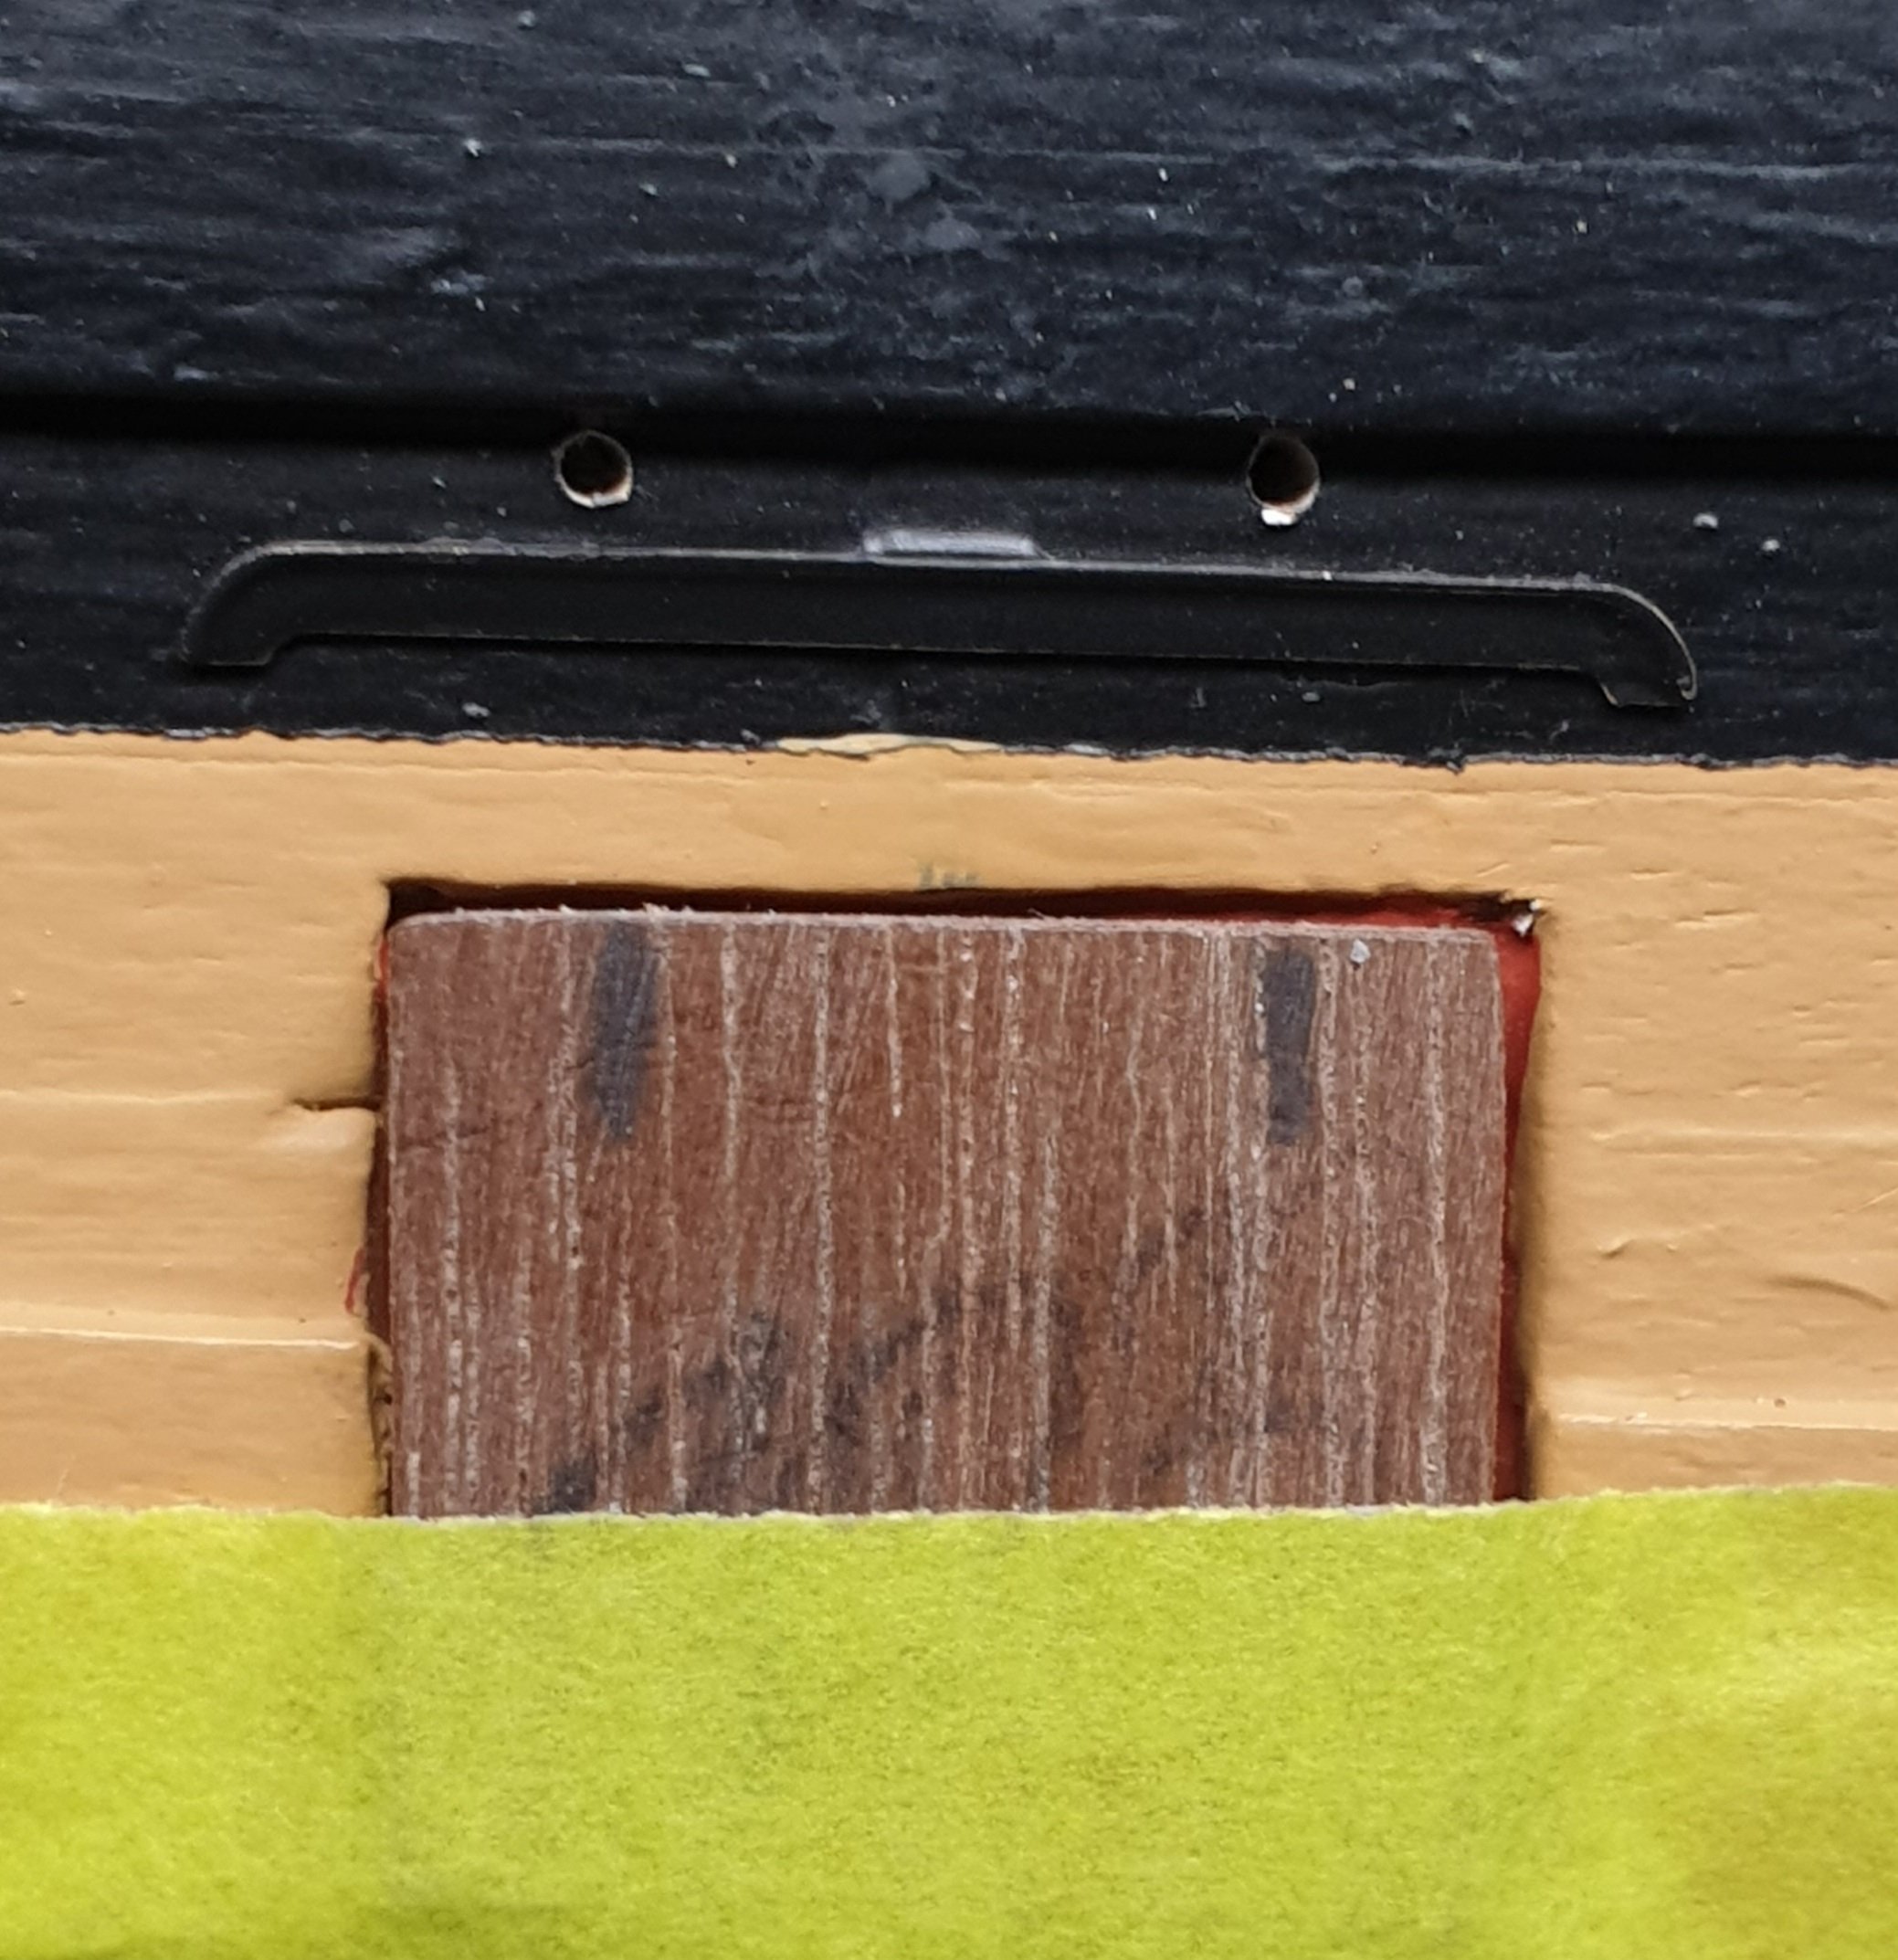
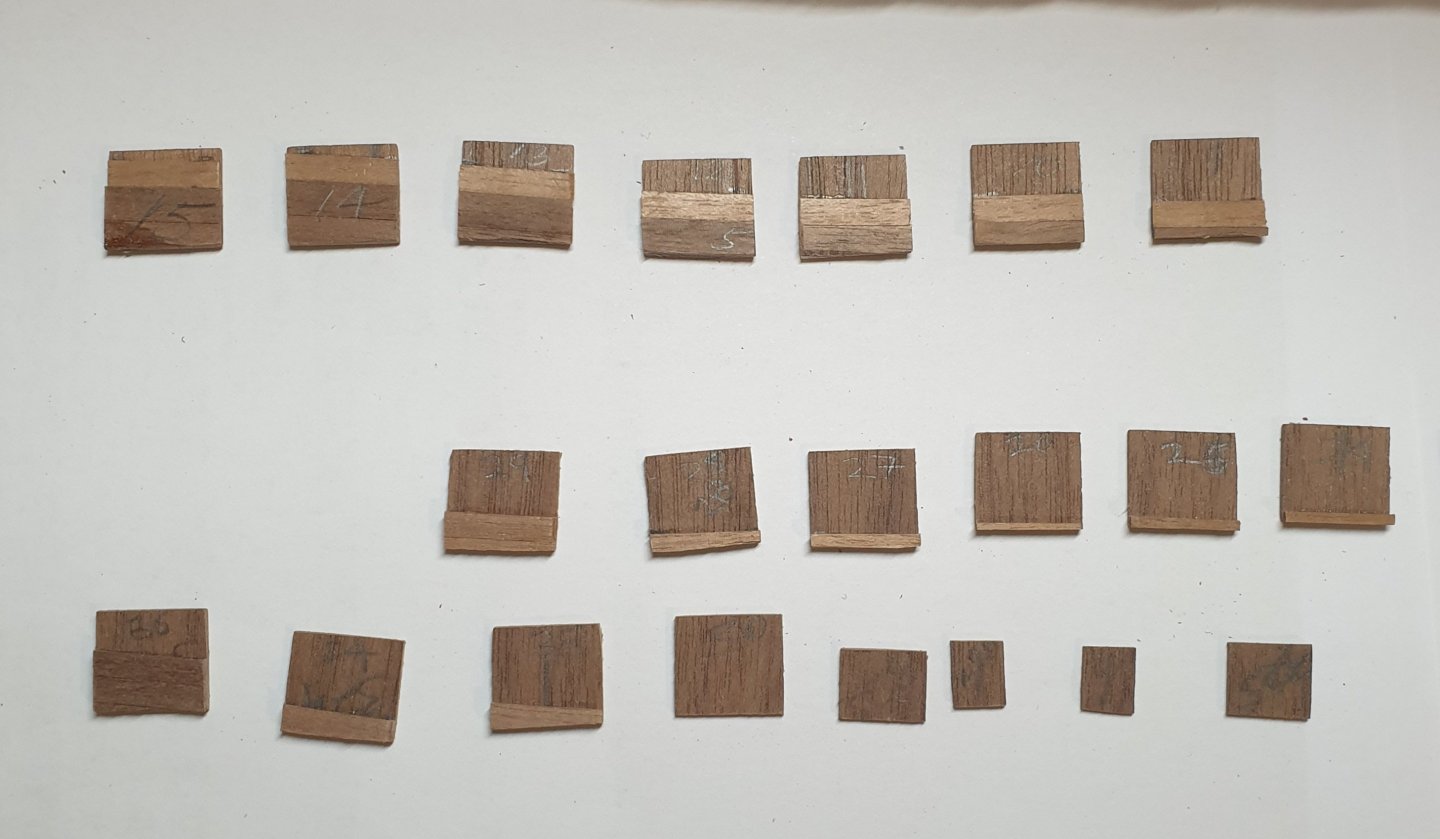
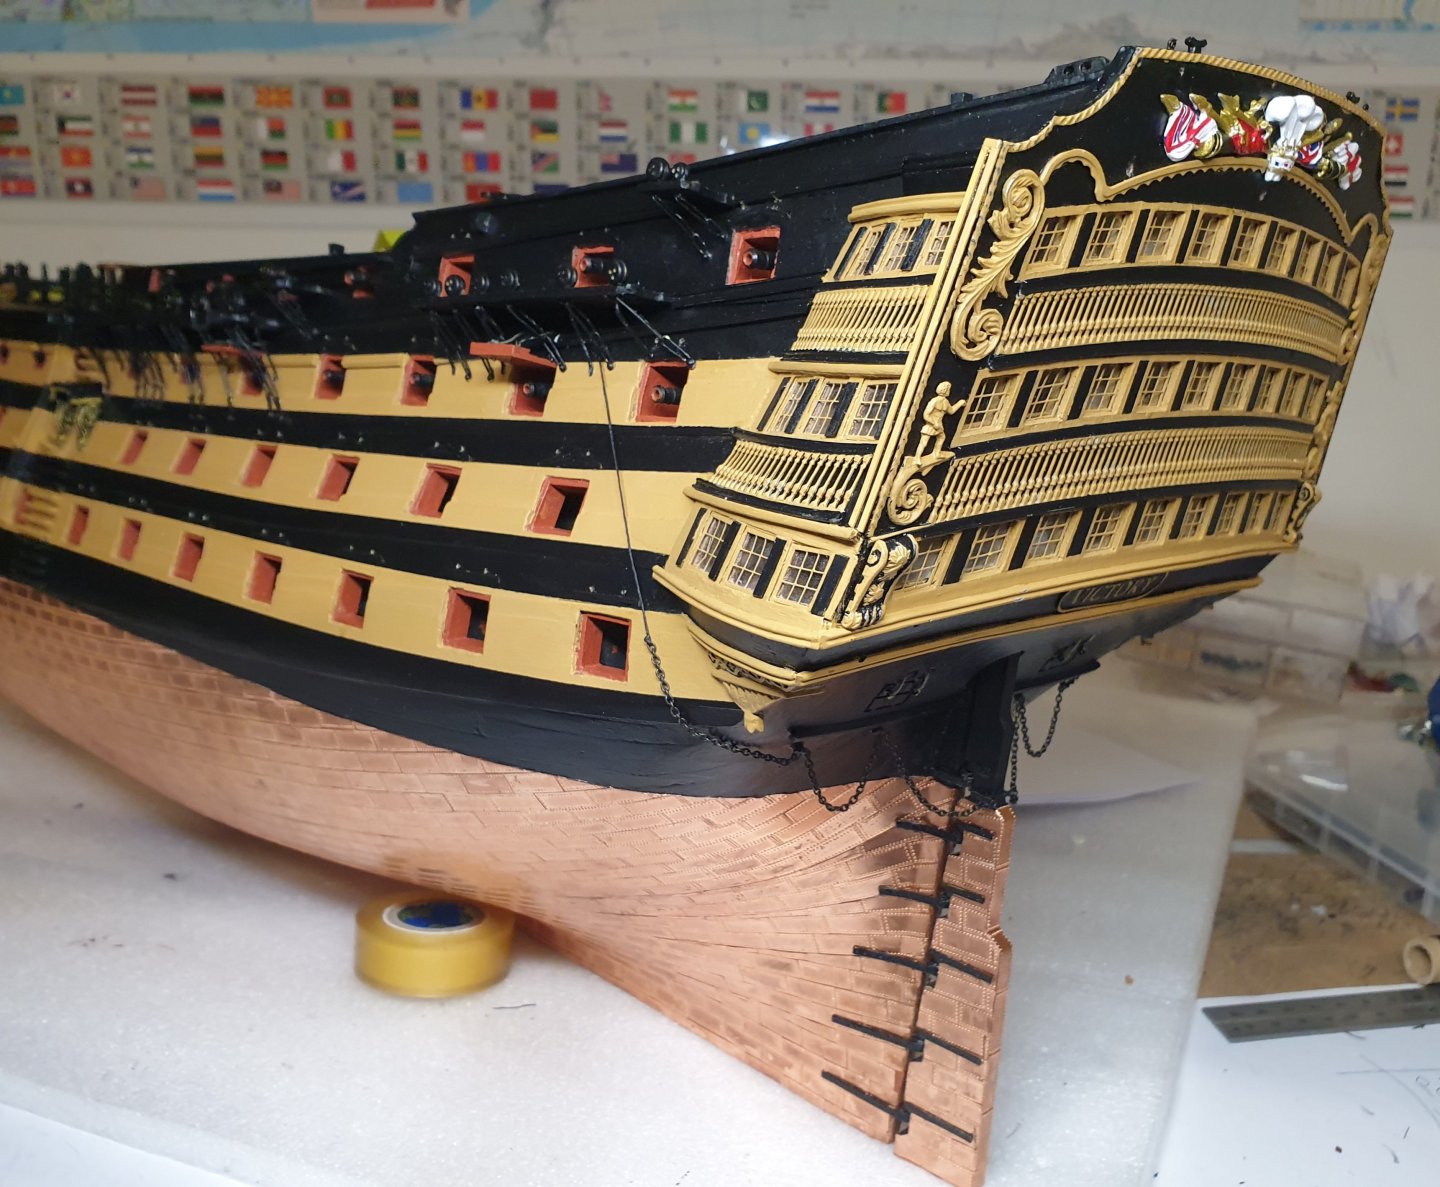
A bit of lid work.


-
Build what you like it is your ship. The Facebook page has good info and you tube has lots of good videos. Personally I like it and people should always encourage others. I have had lots of support here and hopefully I can help others.
-
A bit side tracked with the rudder now back to the gunport lids.
-
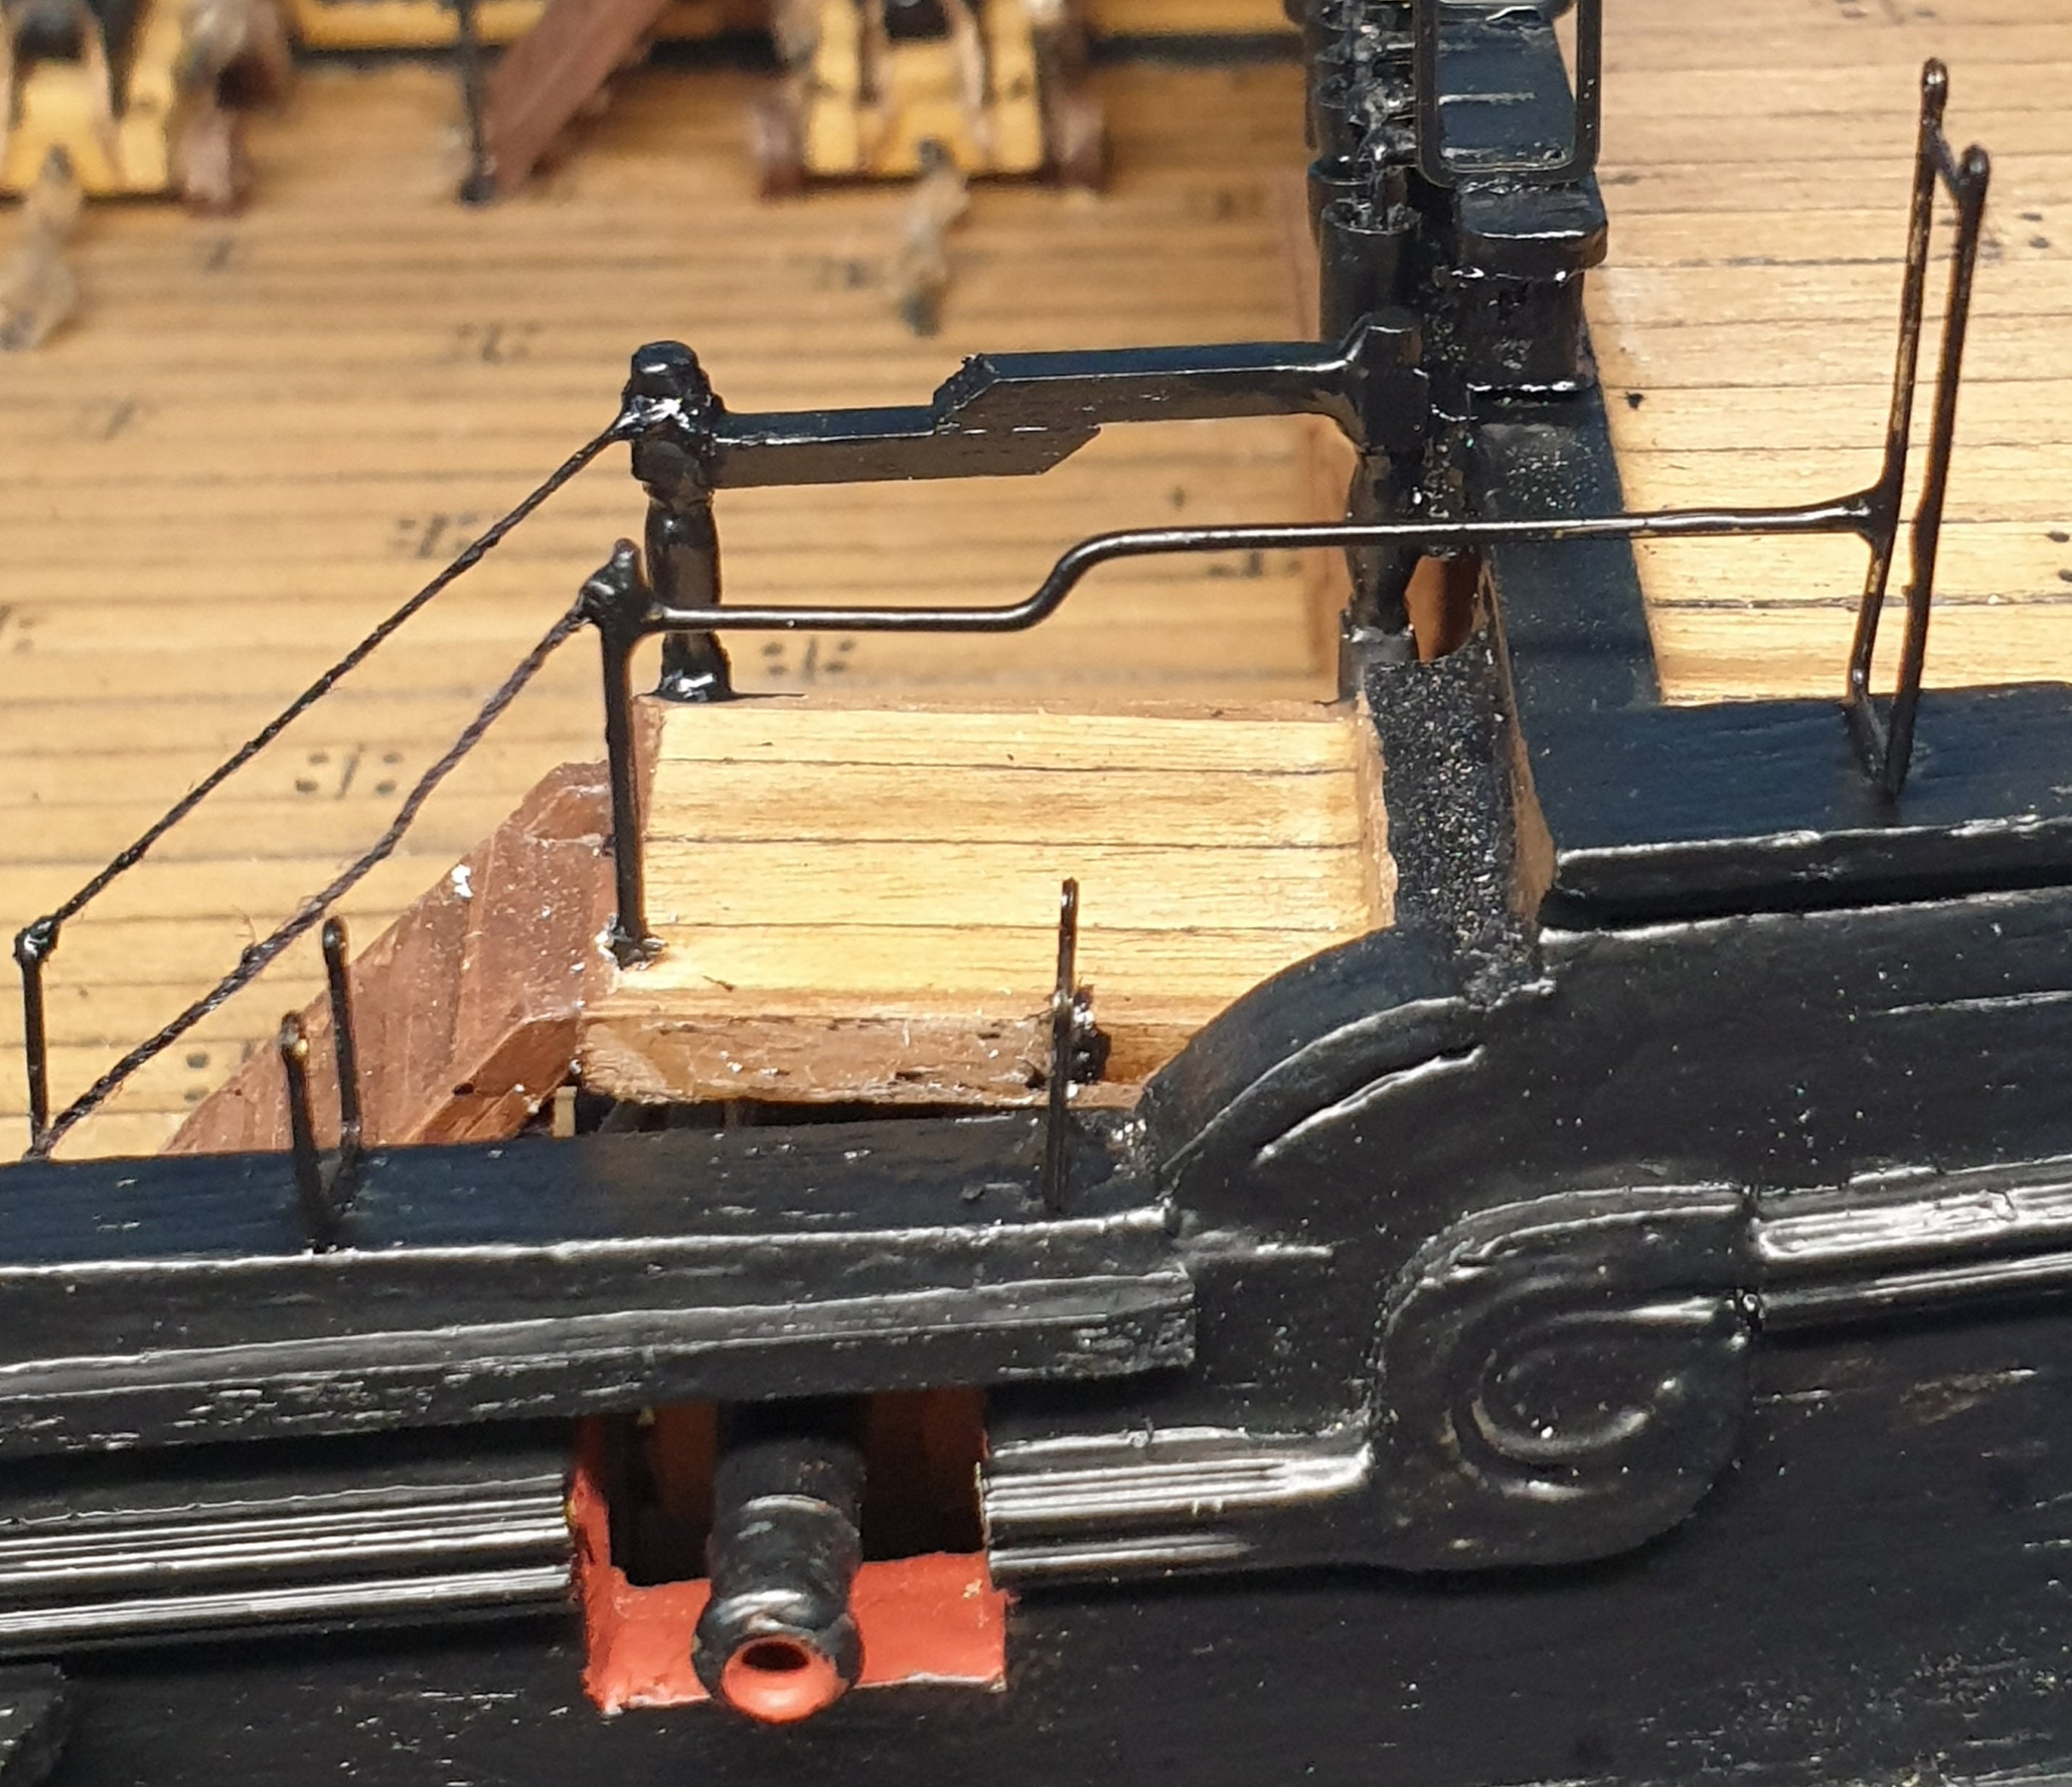
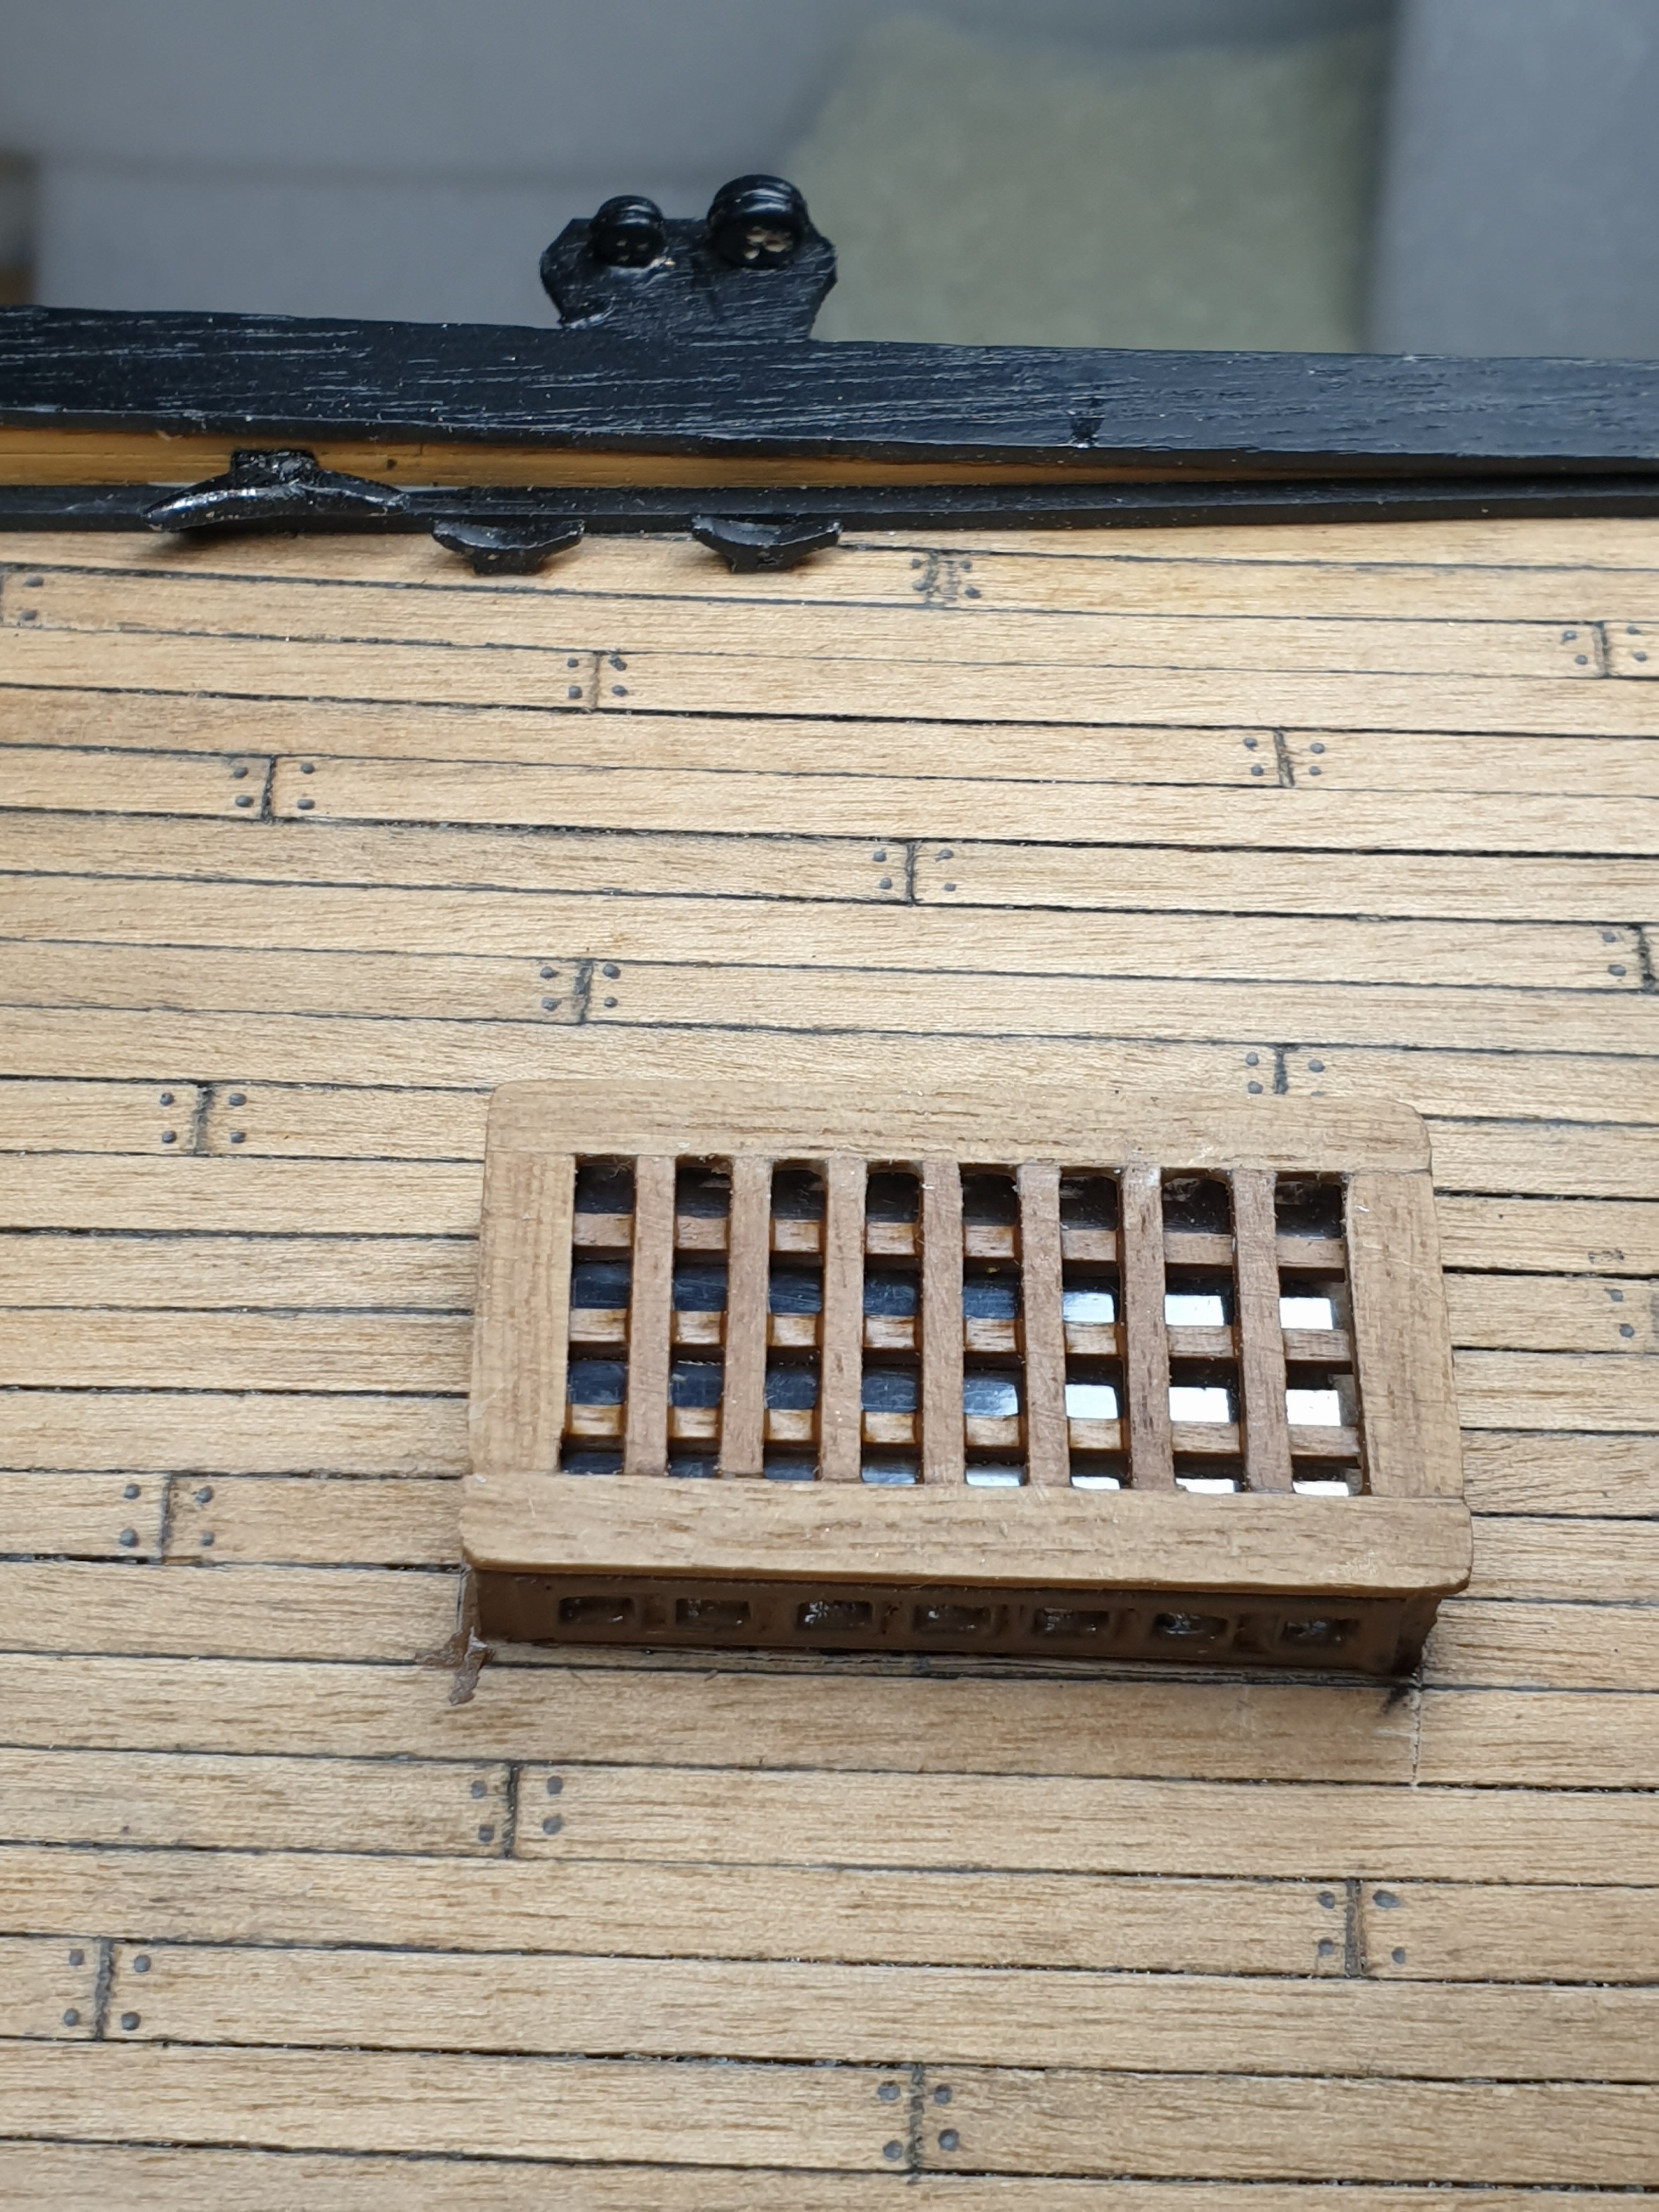
Rigols done, found an easy way for thread hole alignment. 70 holes left.
-
Port side done. Maybe onto the rigols before going back to the lids.

-
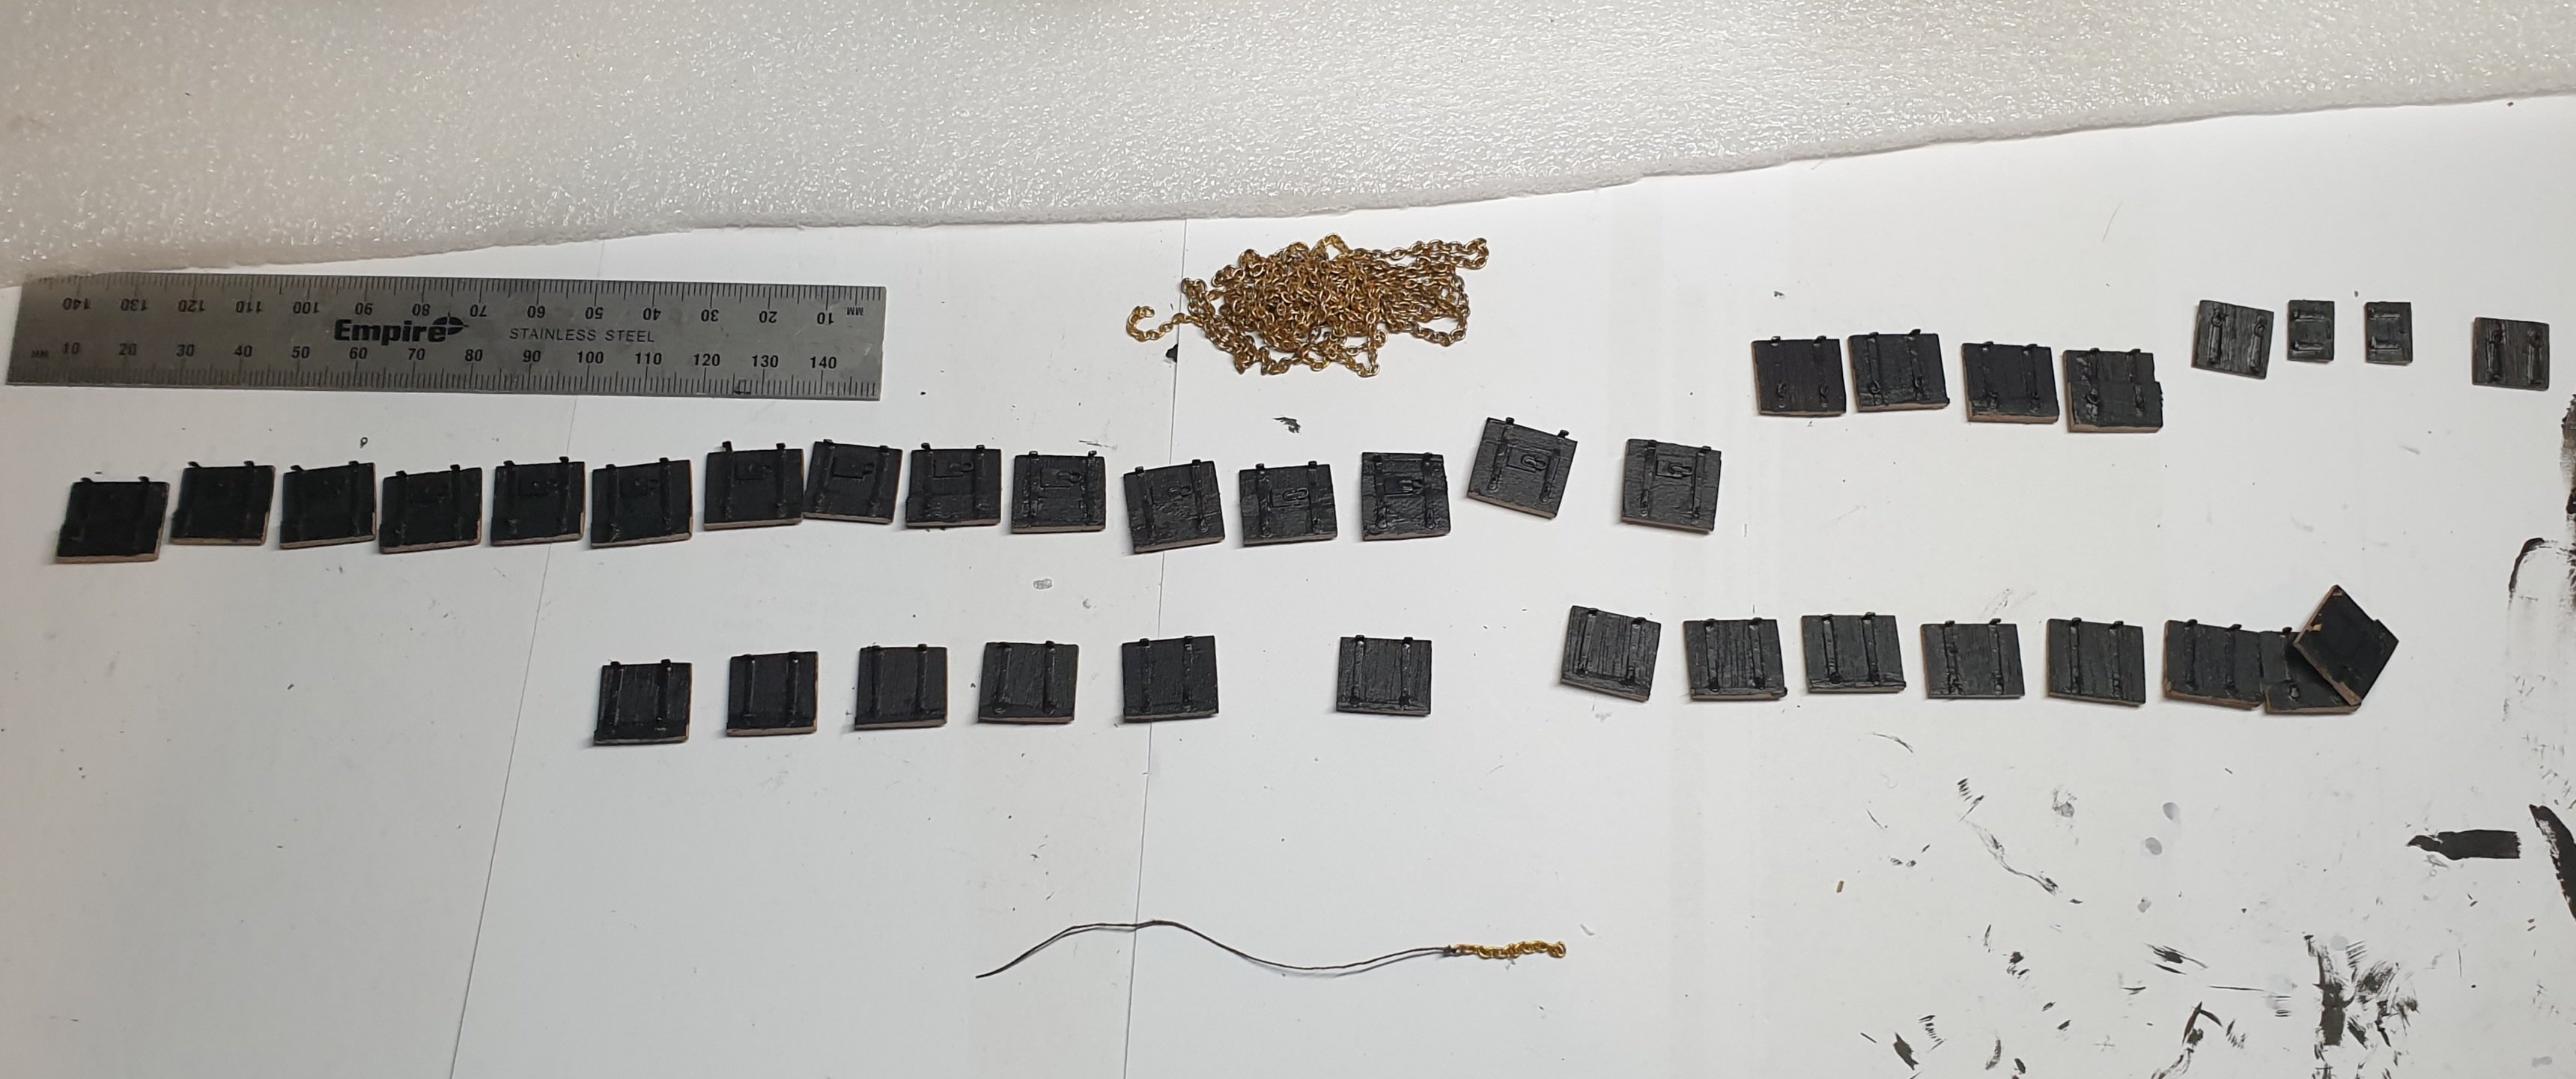
Chain plates done on the Starboard side and lids just under the channels before fixing channels permanently. My channels were a touch too high, it's a bit of a compromise anyway. I covered all cannon port holes as I went. If you haven't done so already put a sheet under your work table makes it easier to find the dropped parts.
-
A magnifier on a stand is good for those tiny blocks.
-
Looking good. Small medic type scissors work well for the small pieces. Yes you will stick those pieces into your fingers.
-
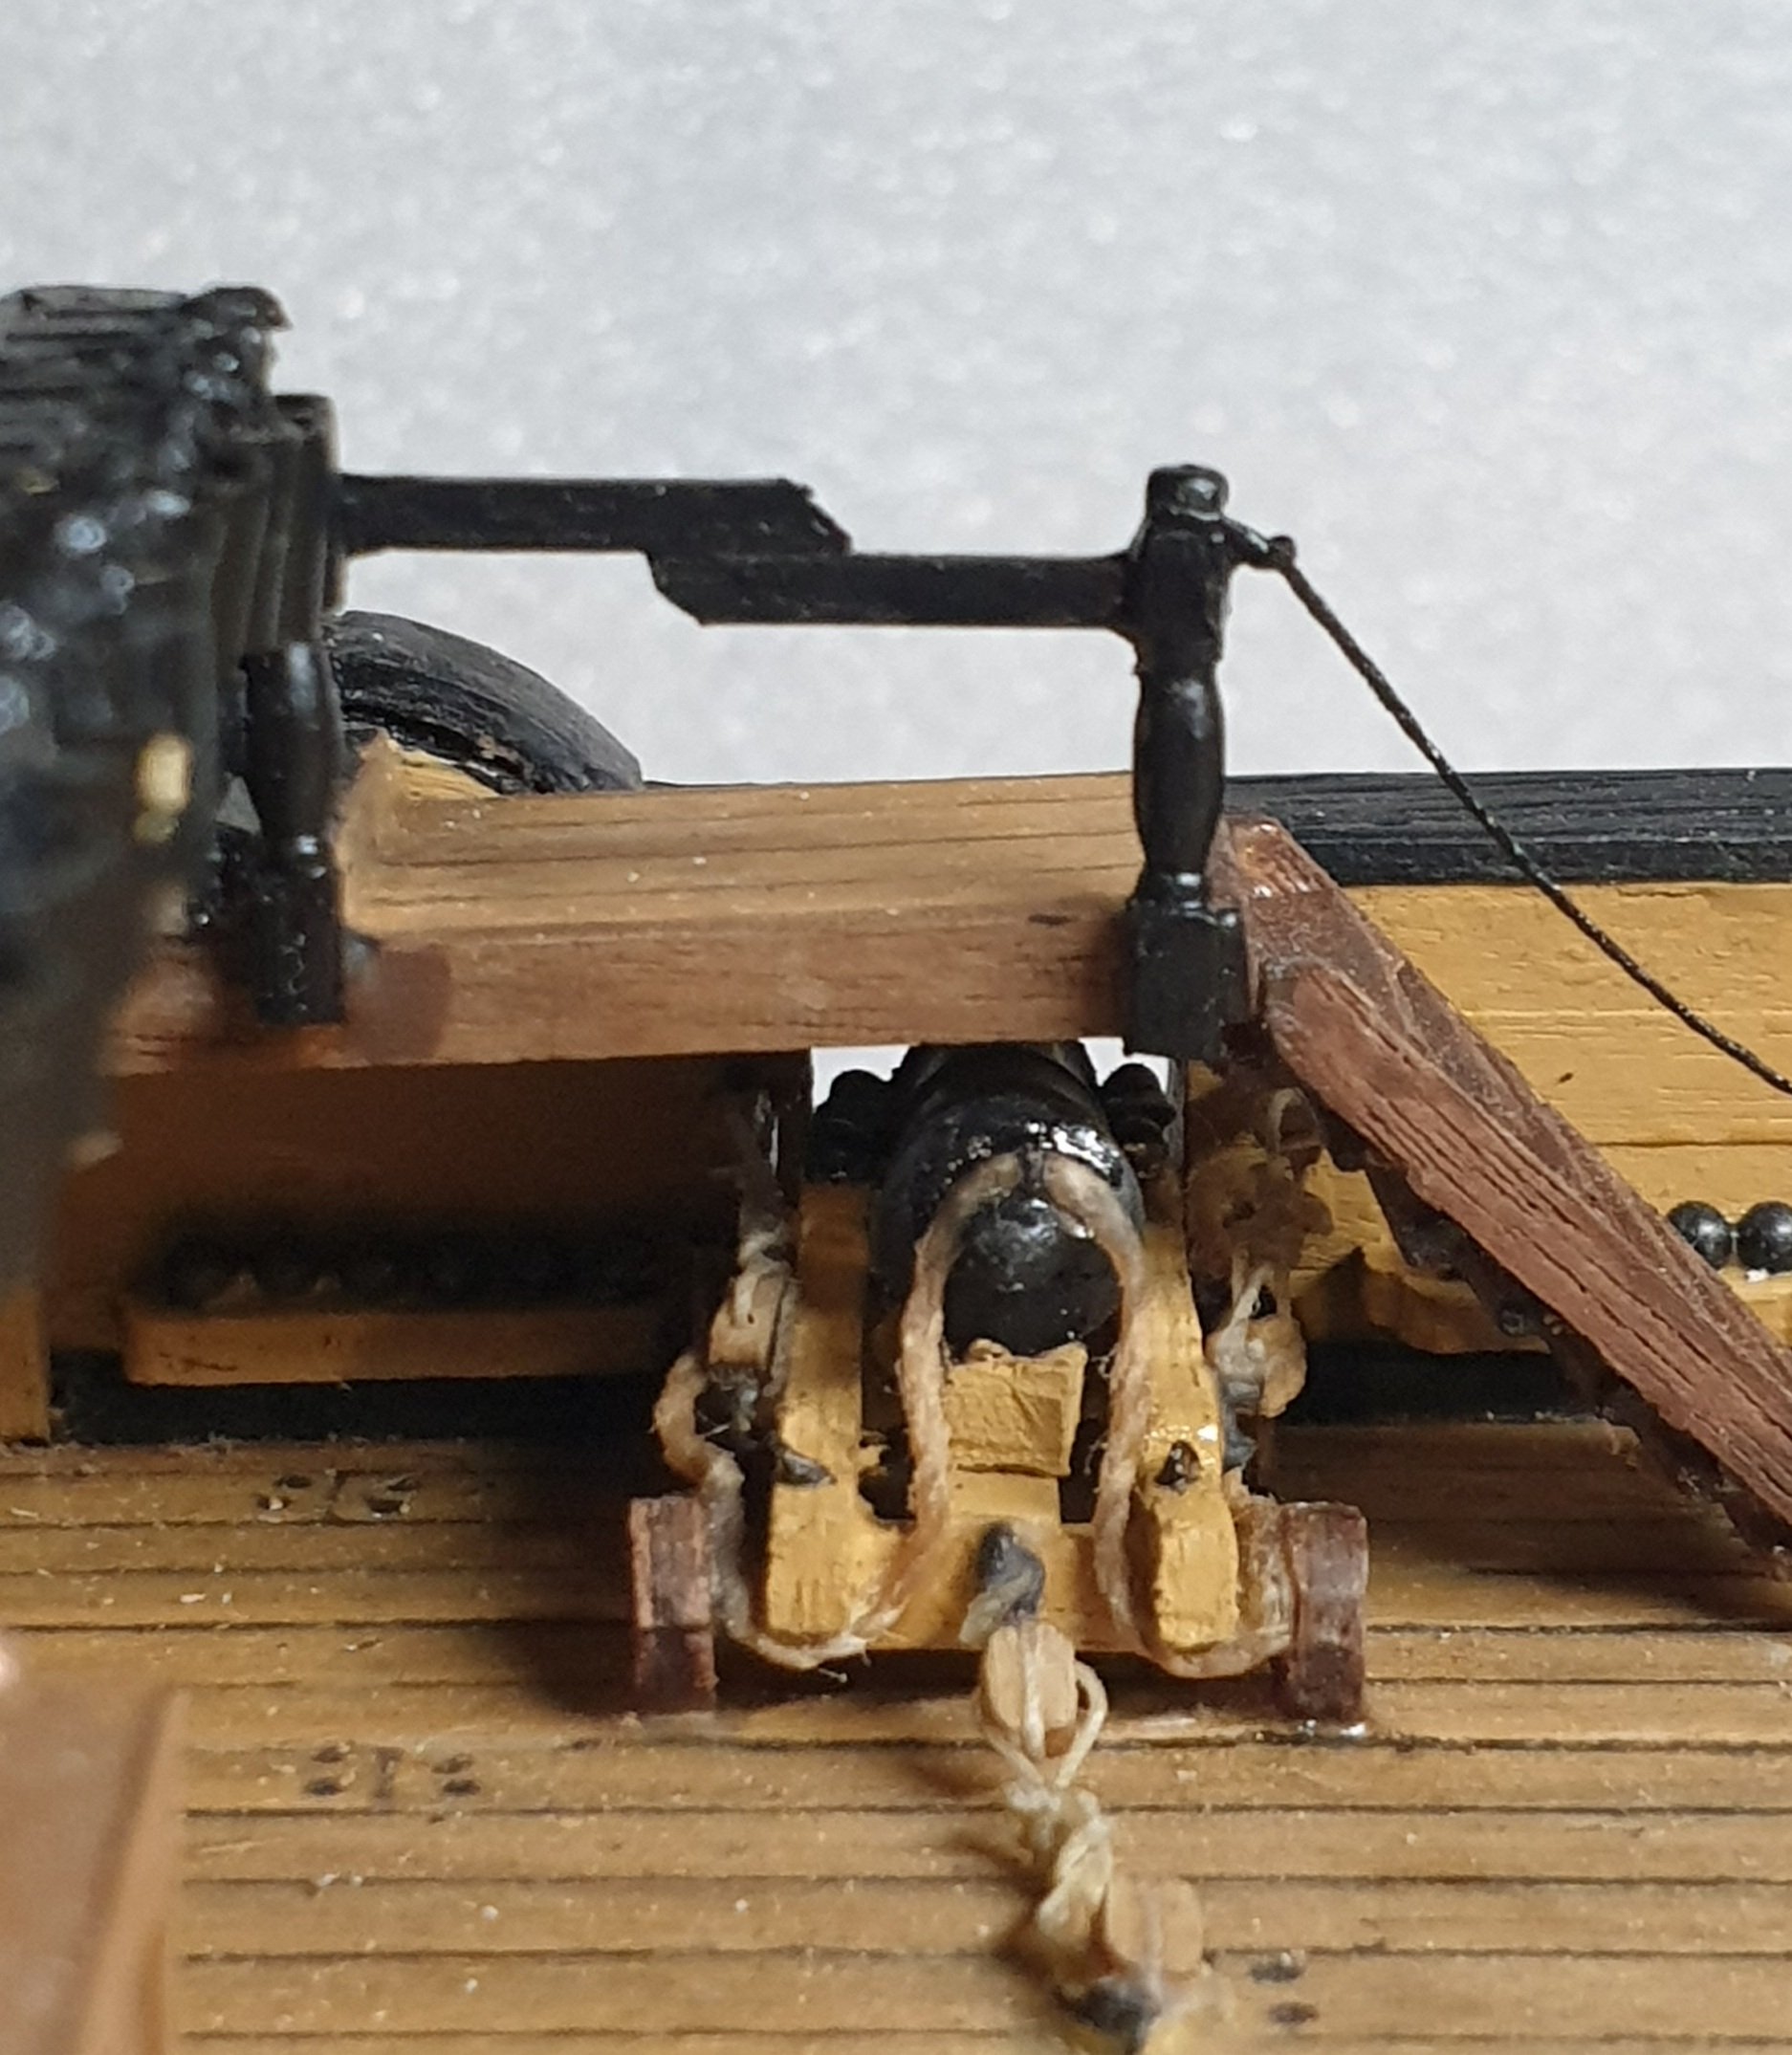
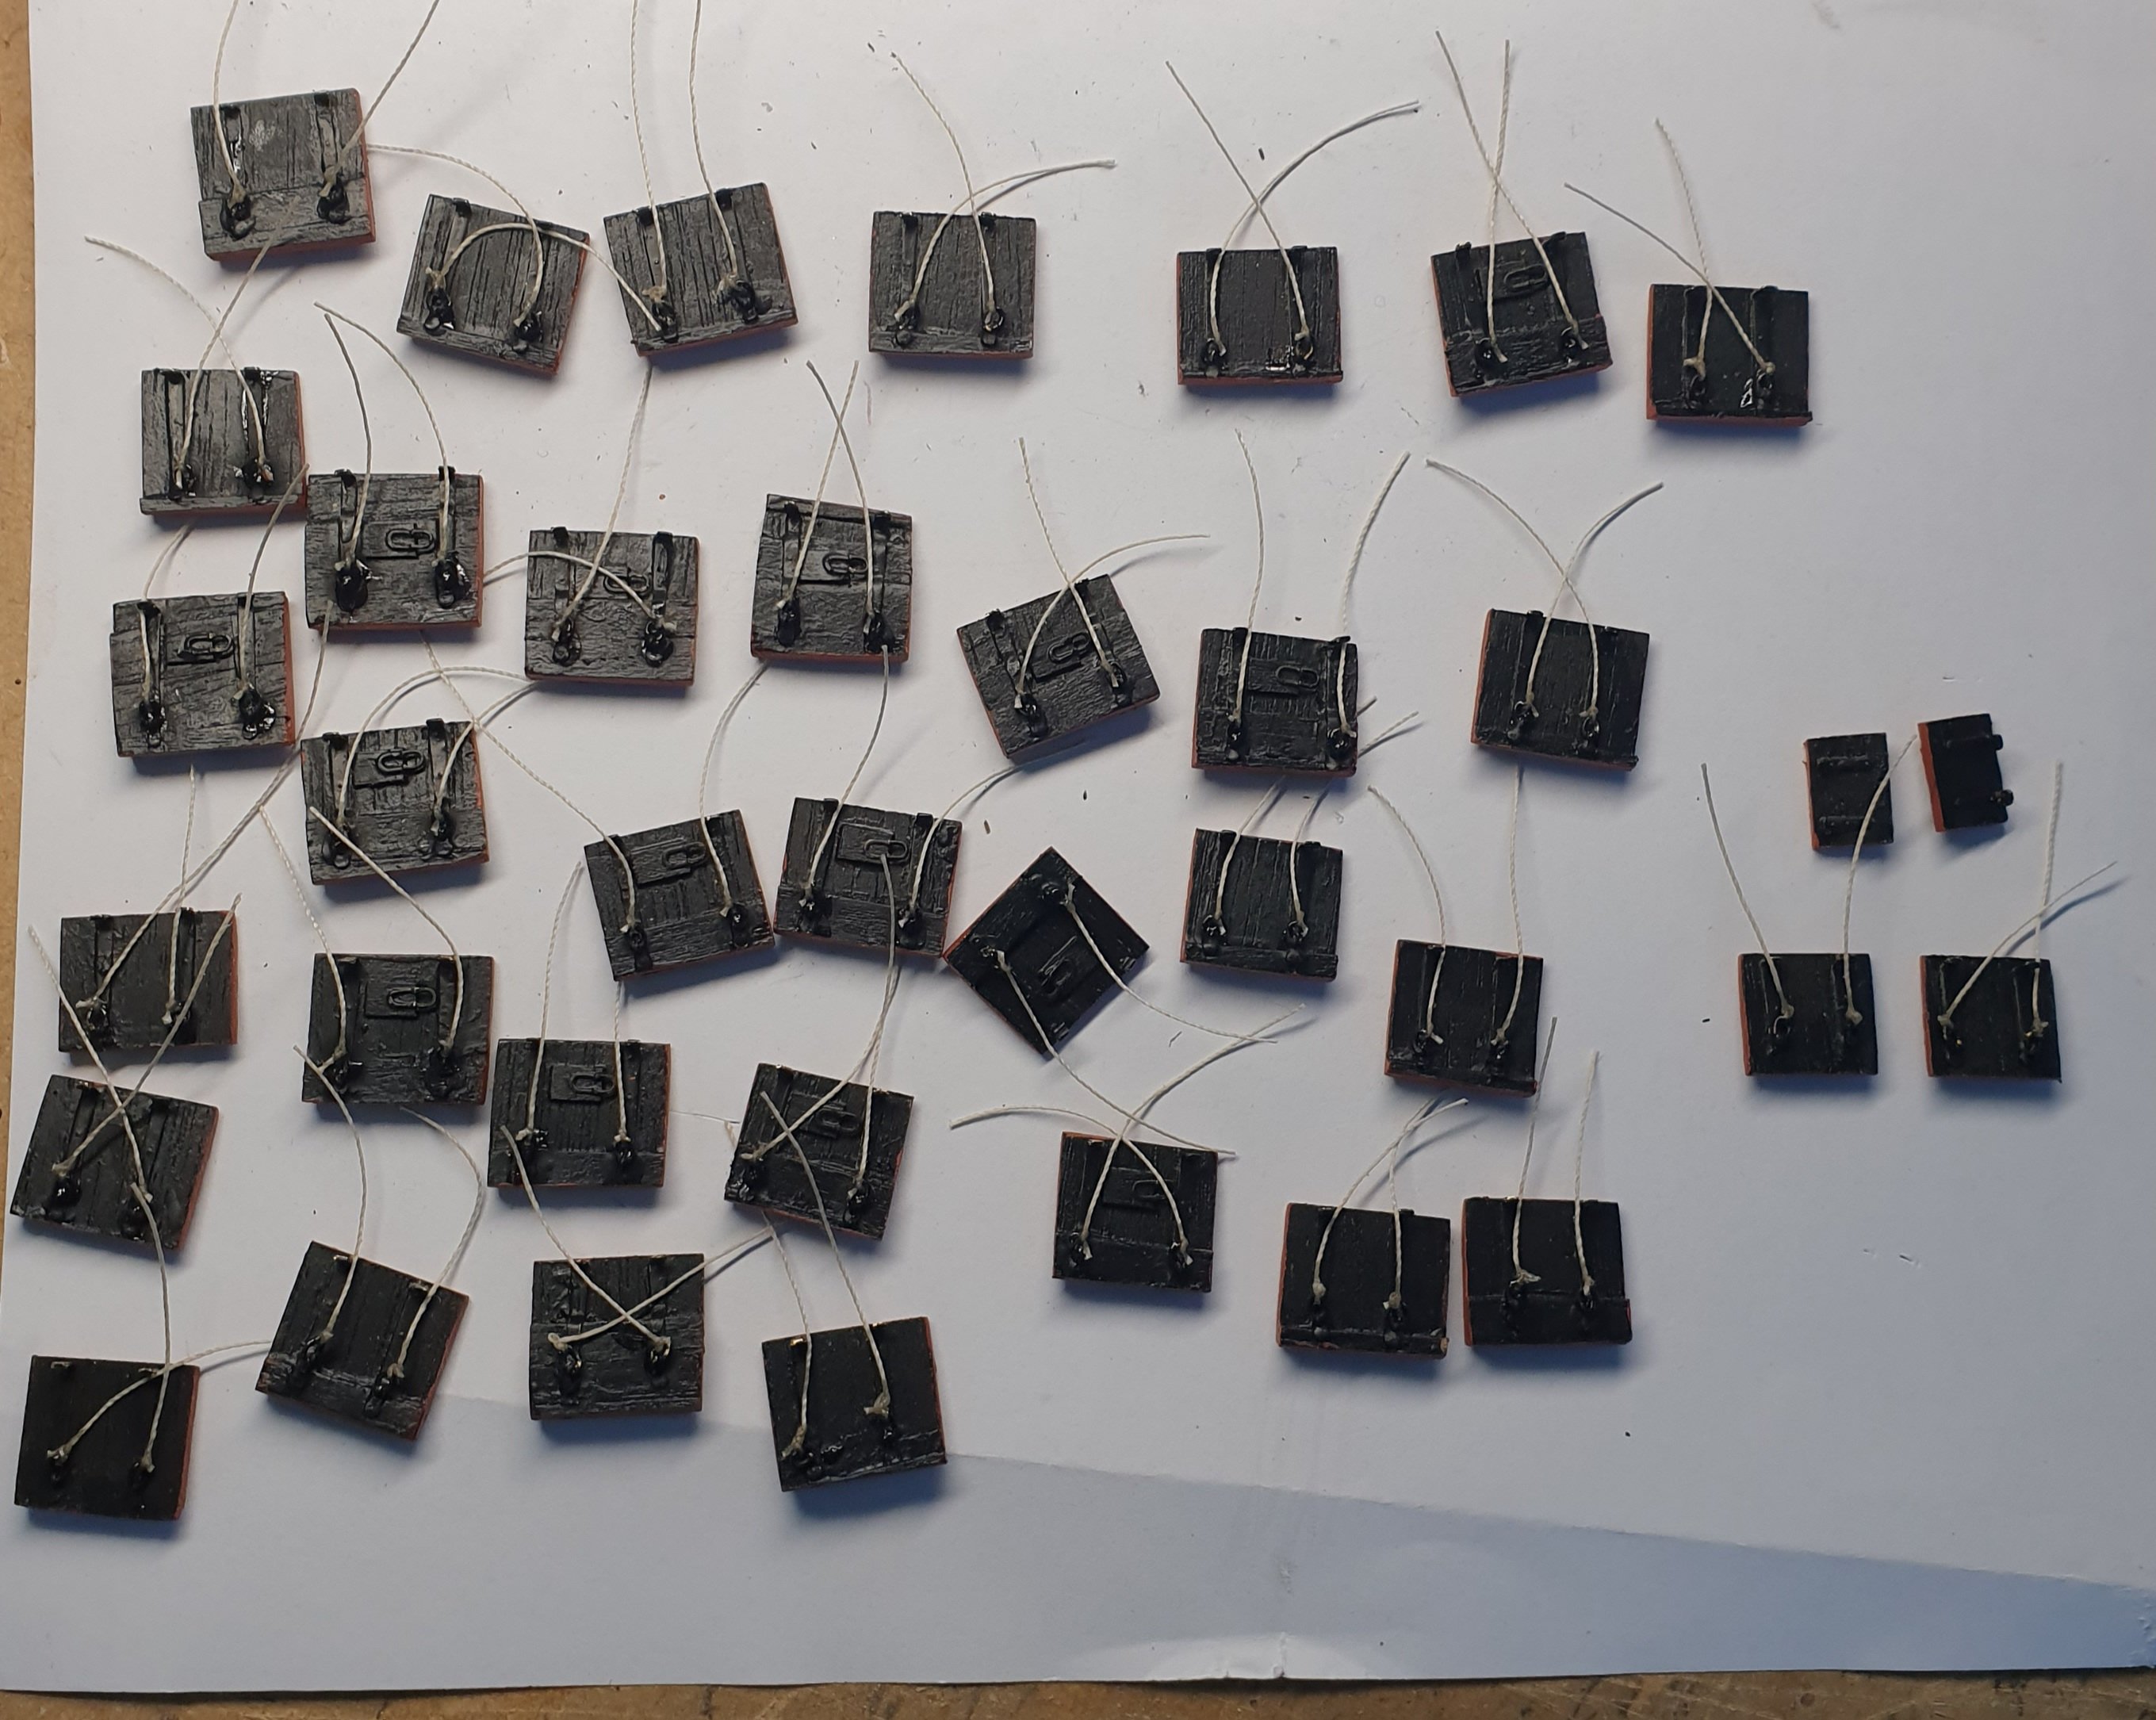
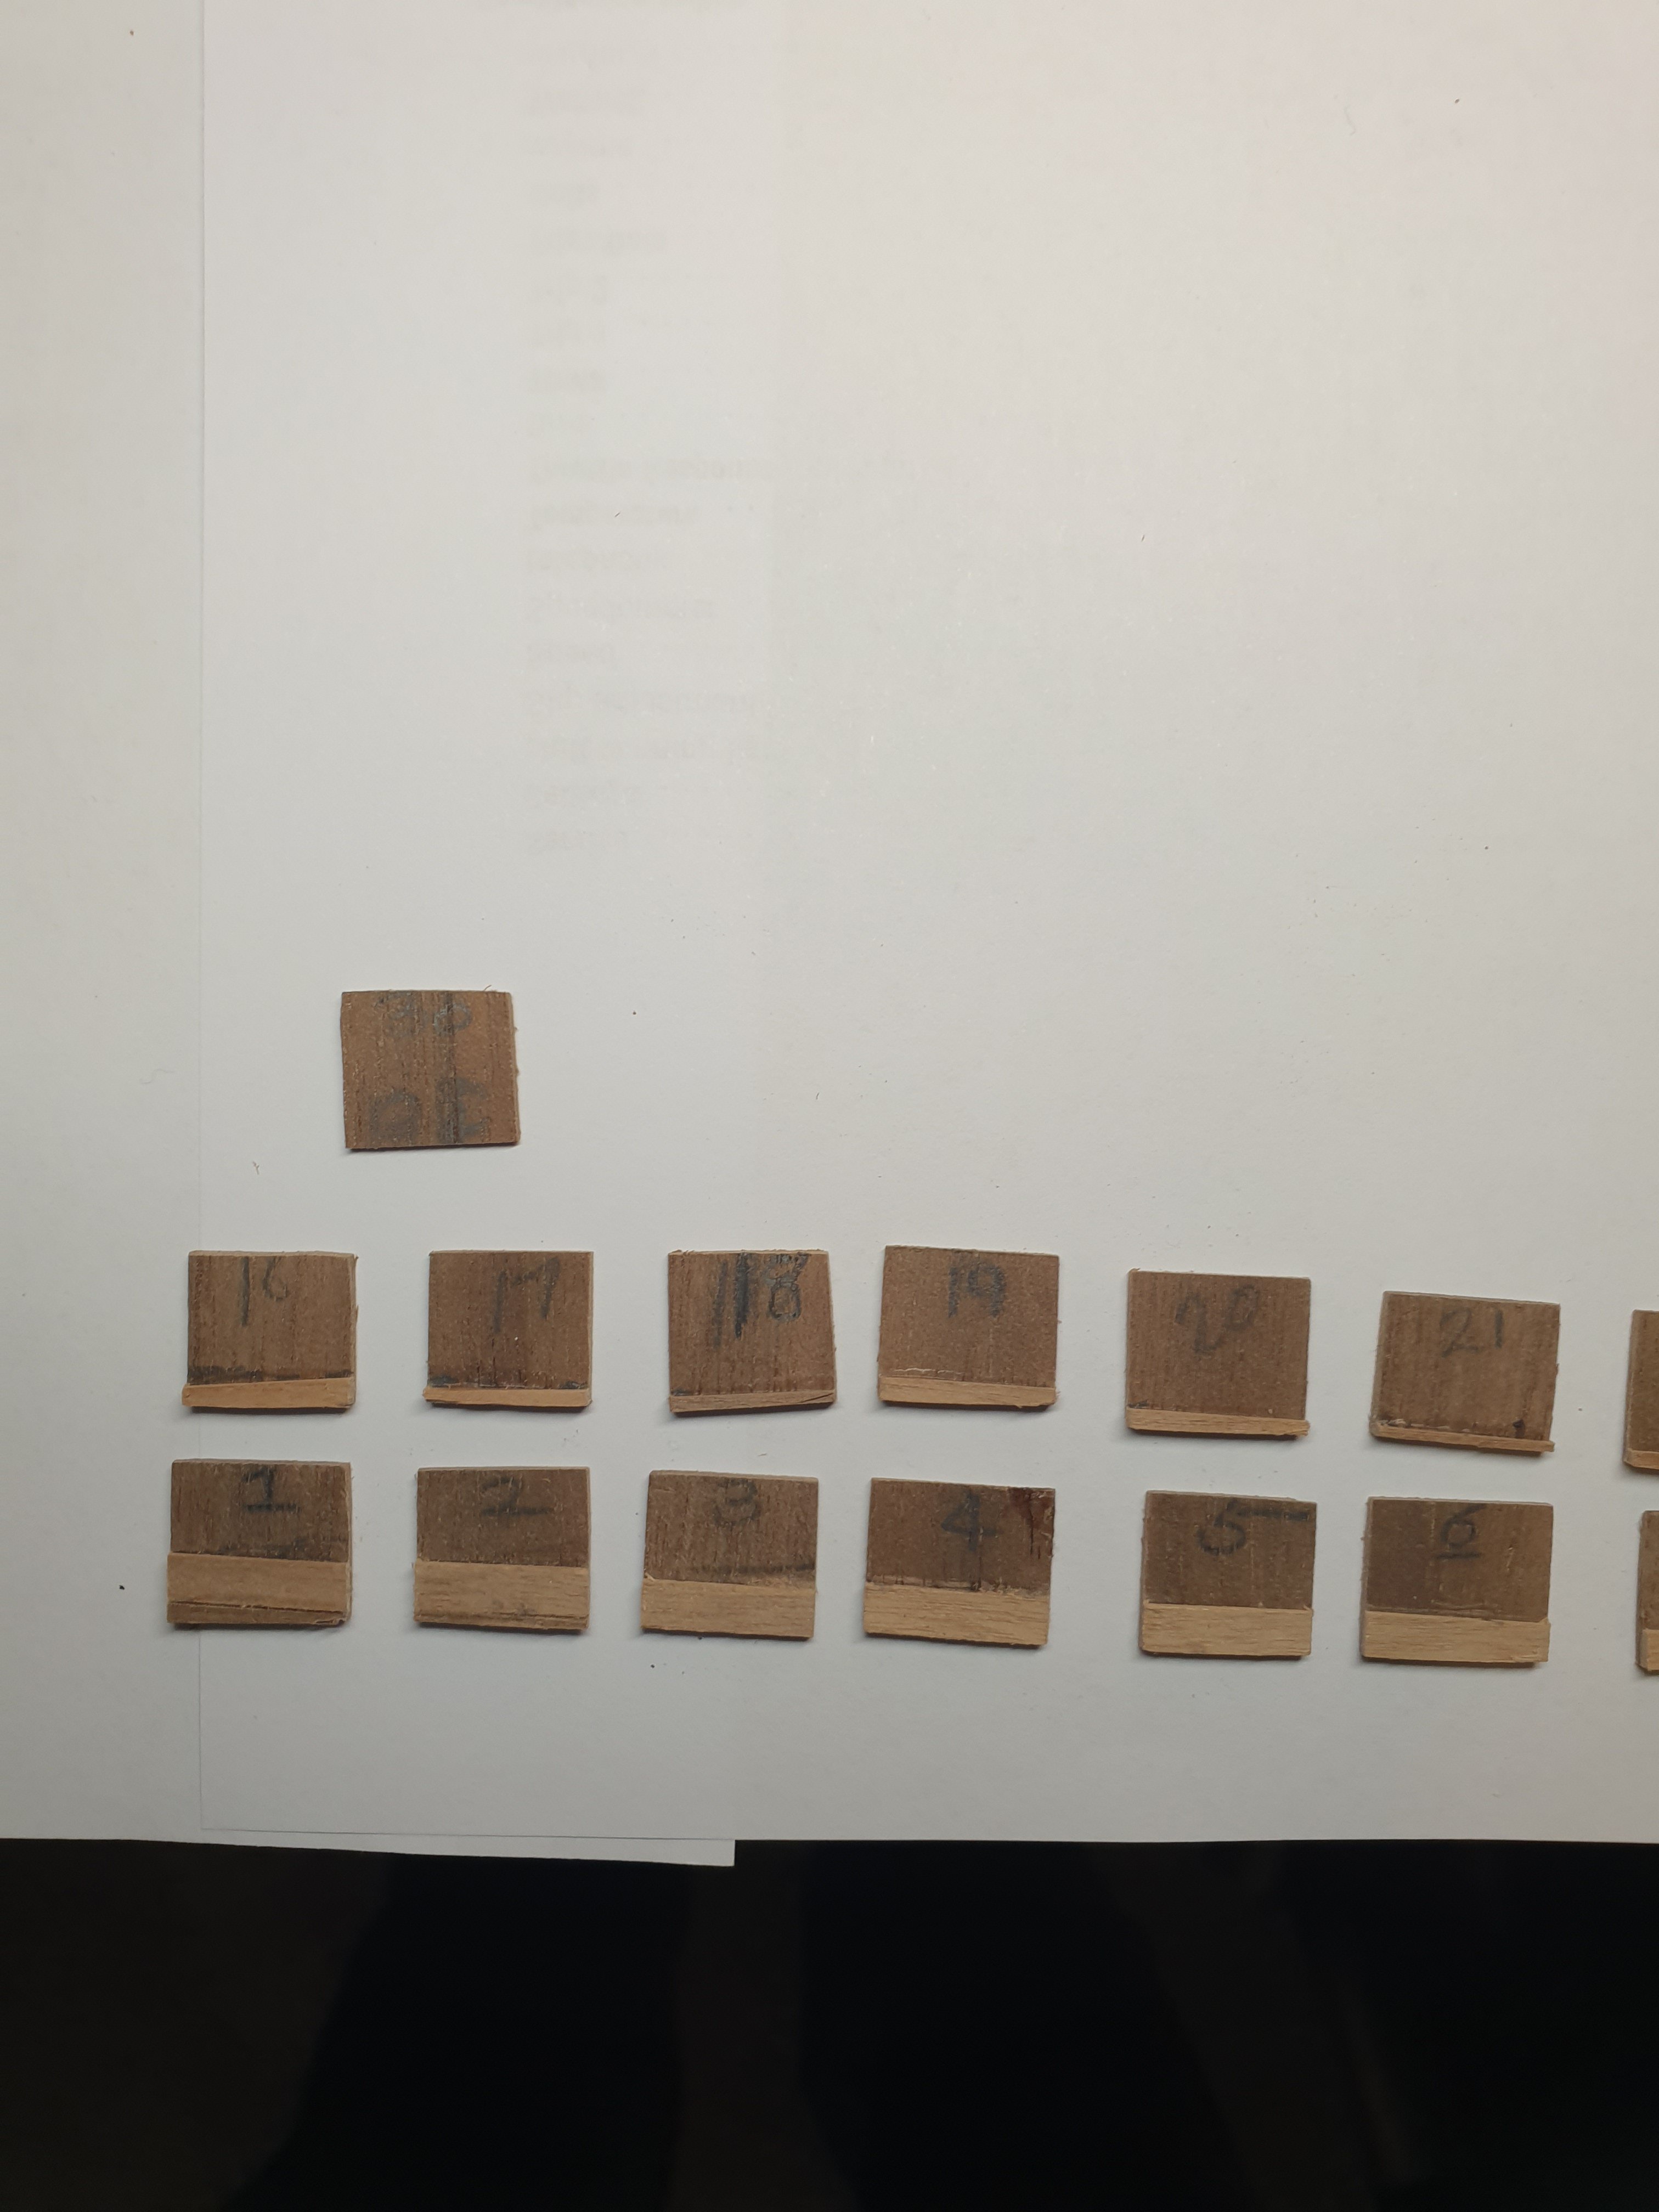
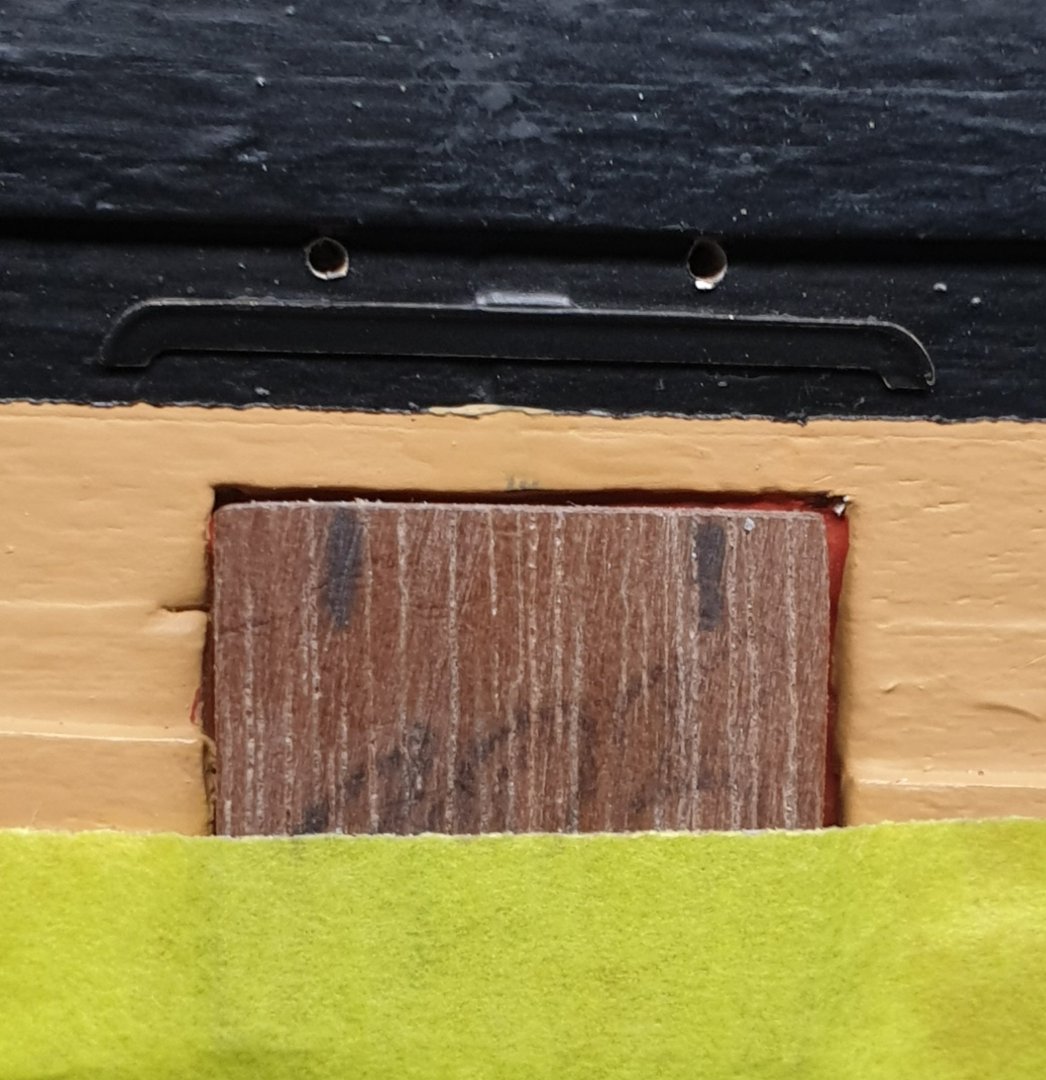
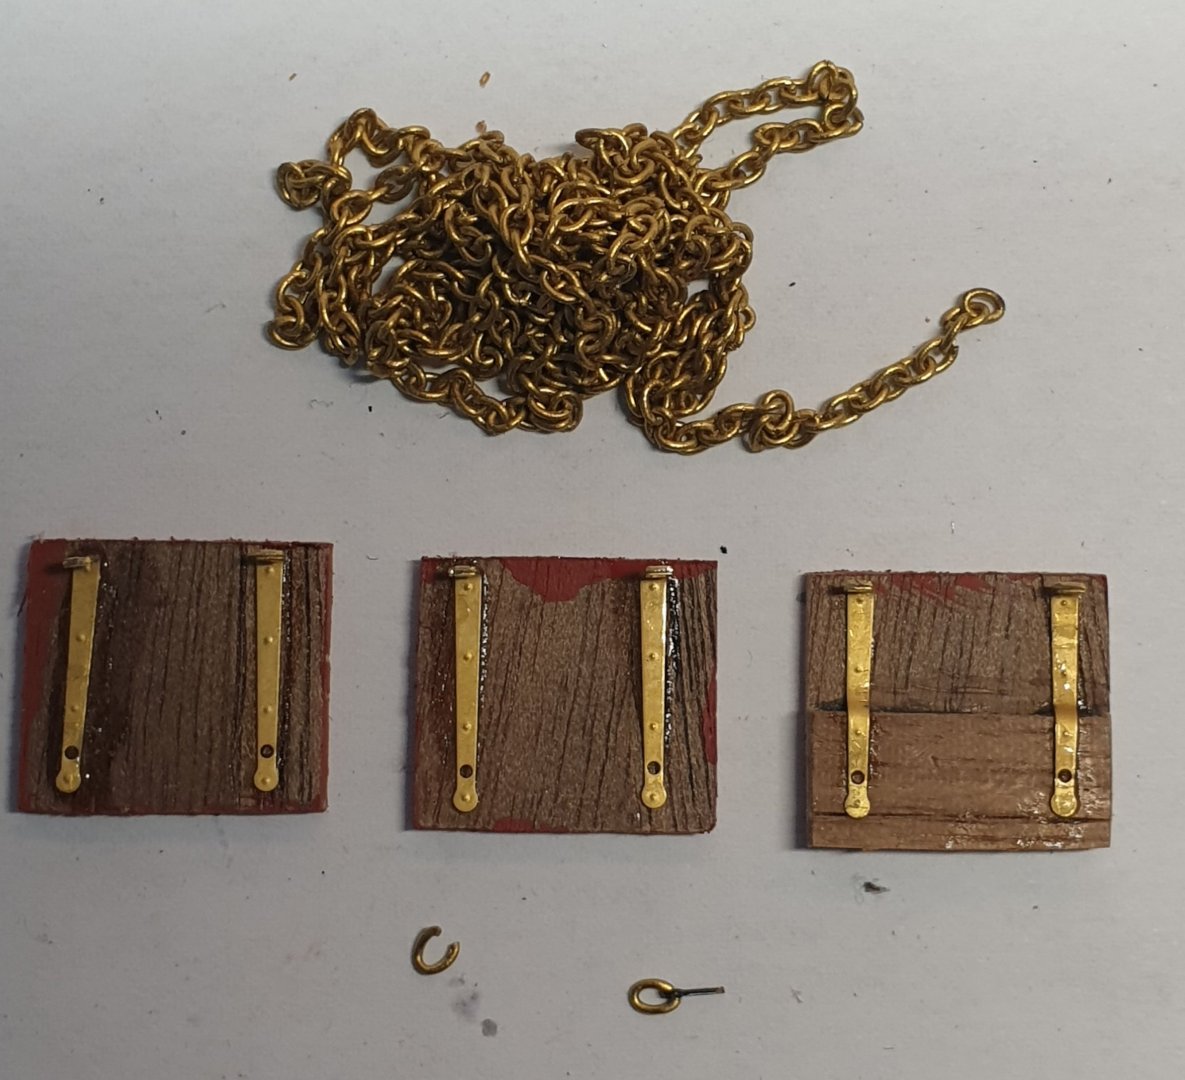
Start of the lids. No thin wall brass the size I want for the lid ropes available in N.Z. postage from cmb to N.Z. expensive. Found some left over rudder chain for my lid rings the right size. I'm going to add the lids I need under the channels then fit those and the supports. Then the rest of the lid work.
-
Nice job on the rings, Lots of lid work coming up alright. I hope the cat does'nt like the taste of walnut.