HOLIDAY DONATION DRIVE - SUPPORT MSW - DO YOUR PART TO KEEP THIS GREAT FORUM GOING! (89 donations so far out of 49,000 members - C'mon guys!)
×


kiwiron
-
Posts
697 -
Joined
-
Last visited
Content Type
Profiles
Forums
Gallery
Events
Everything posted by kiwiron
-
 Thanks Graham, I'll try that next time. Allan it's to late to colour the breech rope for this deck but it's a good suggestion for the quarter deck. Never thought of doing that. I have done that with sails in the past.
 -
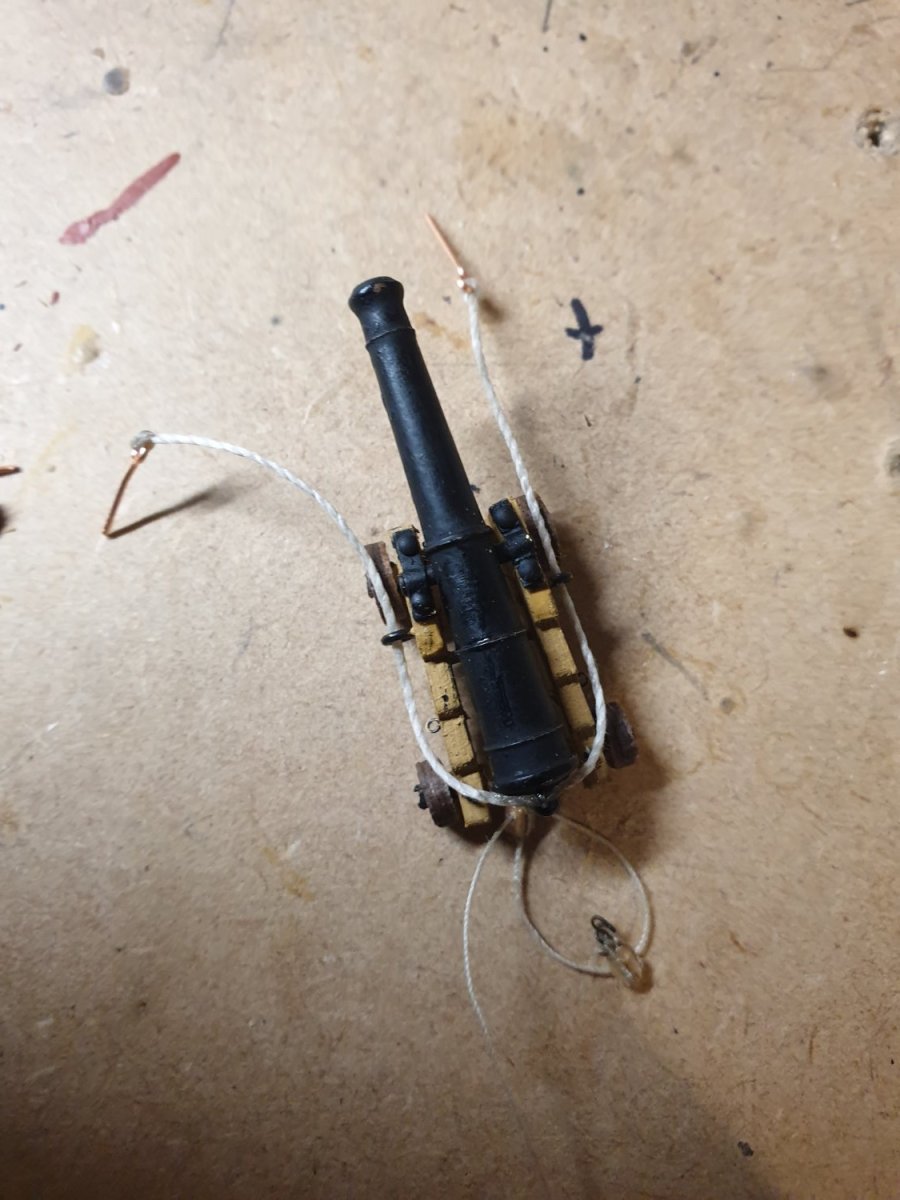
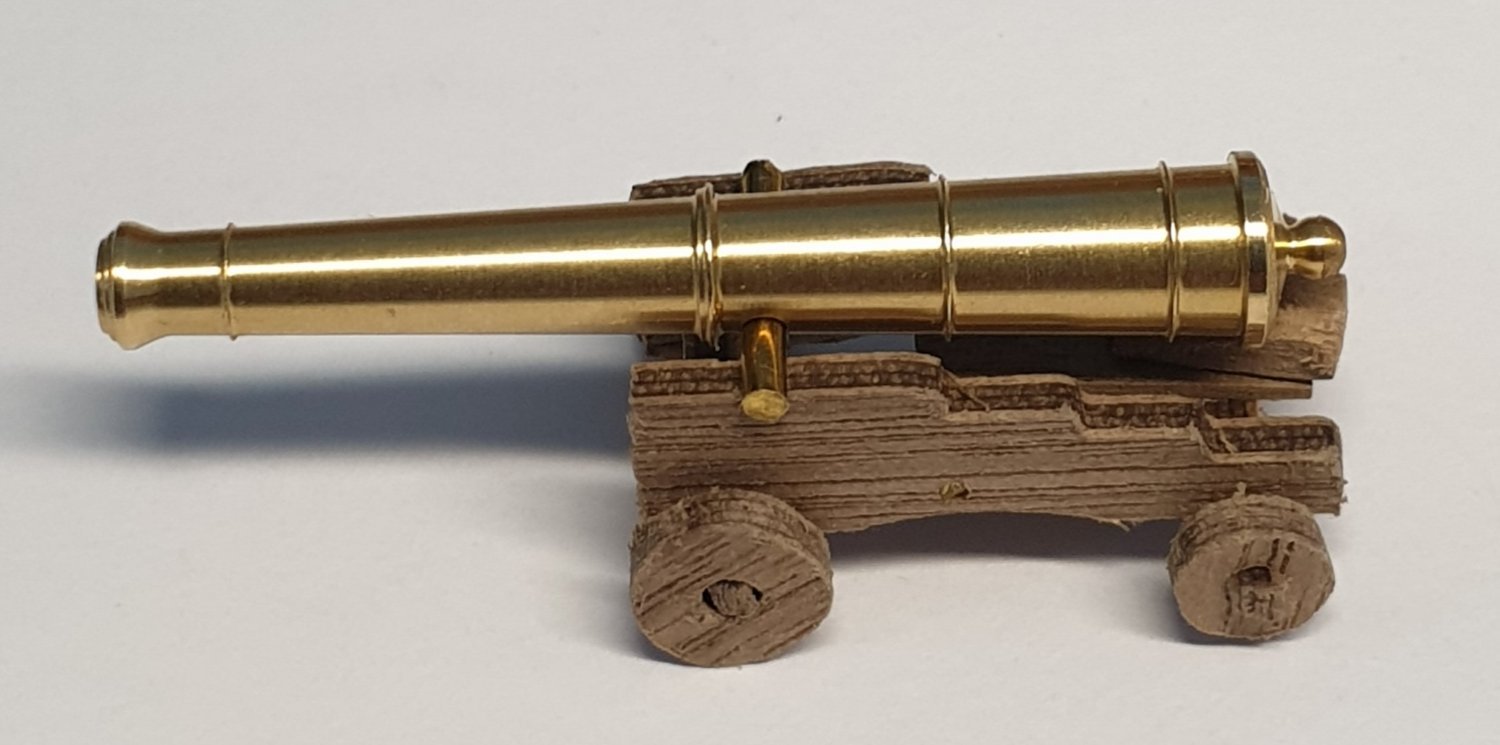
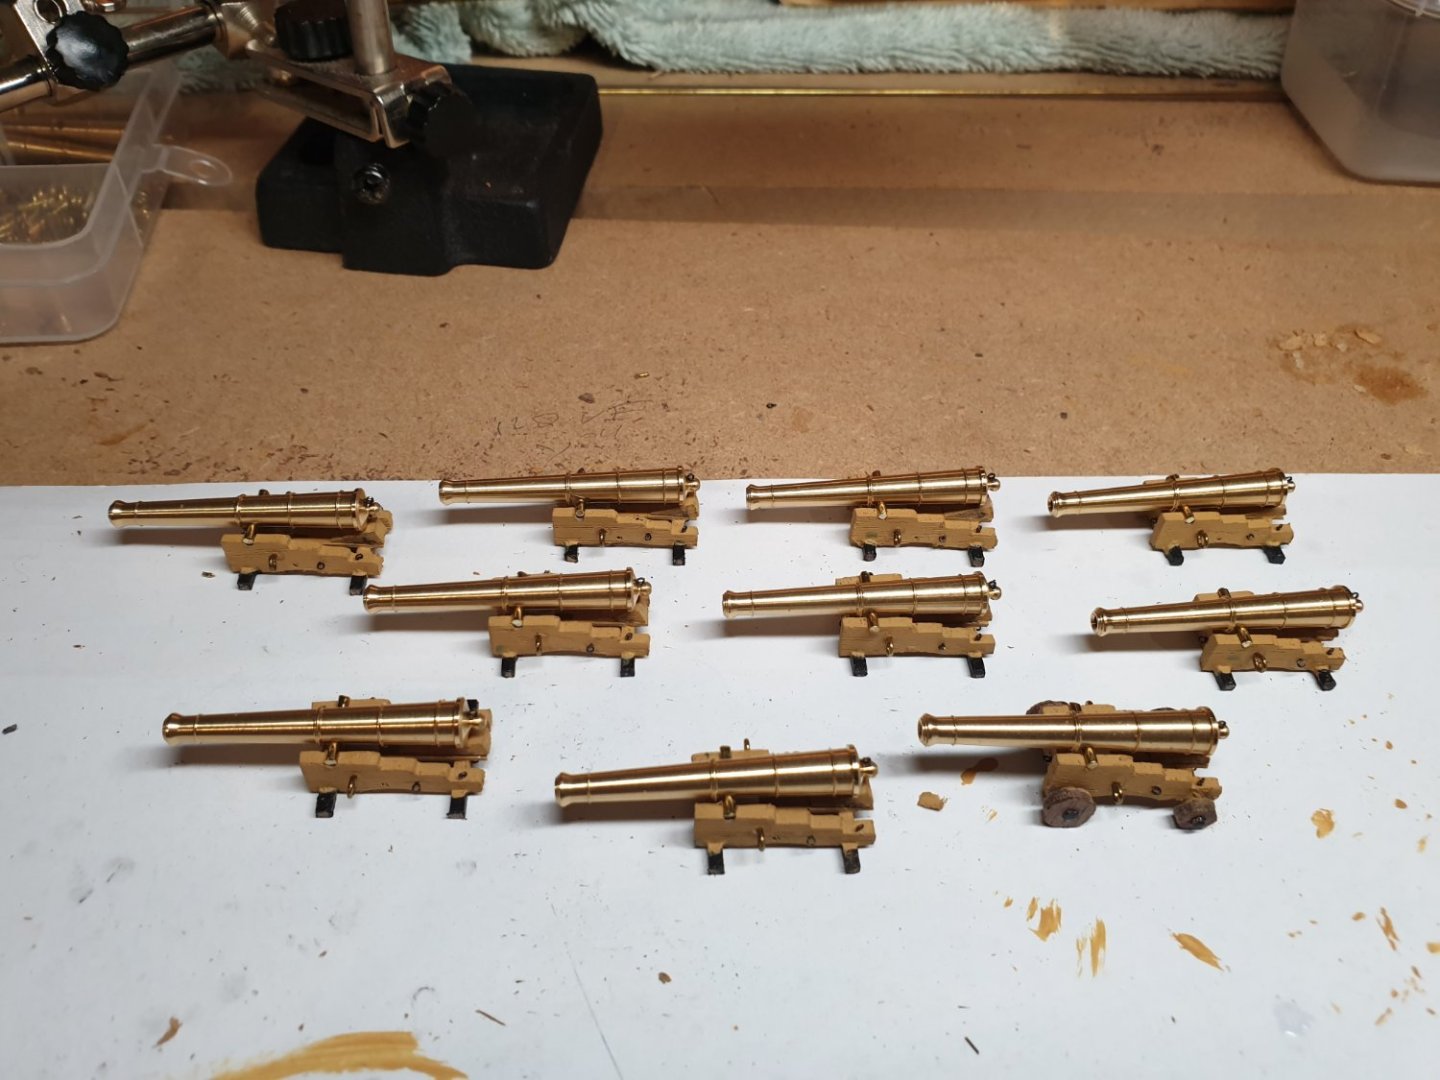
Thanks, I'll dry fit the eyelets to see if I need to blacken them. I failed on the Birchwood Casey brass black for the barrels. It did'nt like to stick very well after 30 seconds and that's with the Birchwood Casey cleaning solution as well. I'll have another go with it on the barrels for the quarter deck.
-
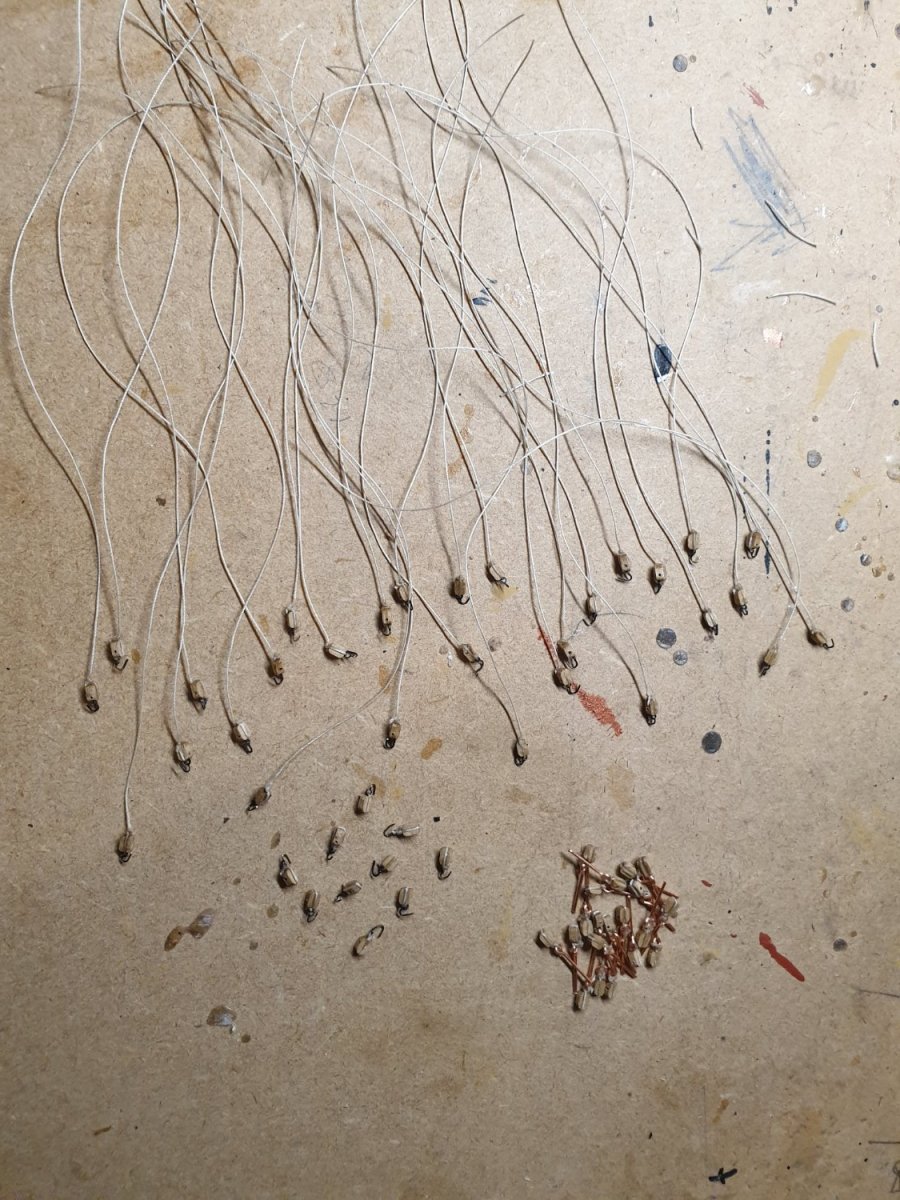
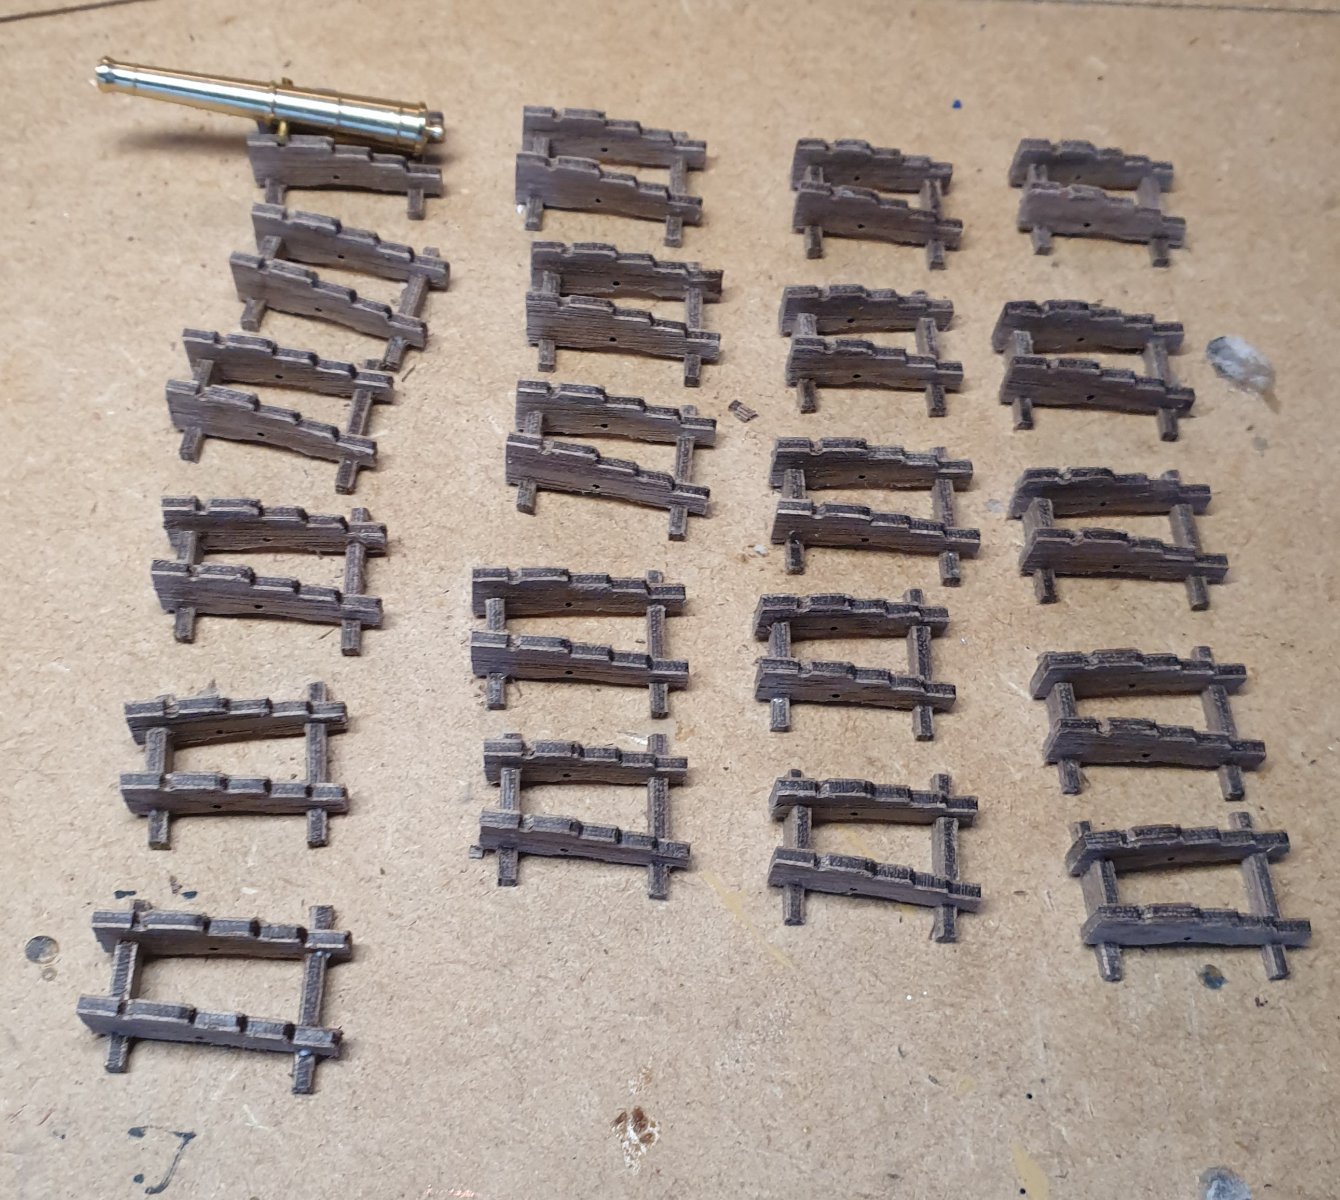
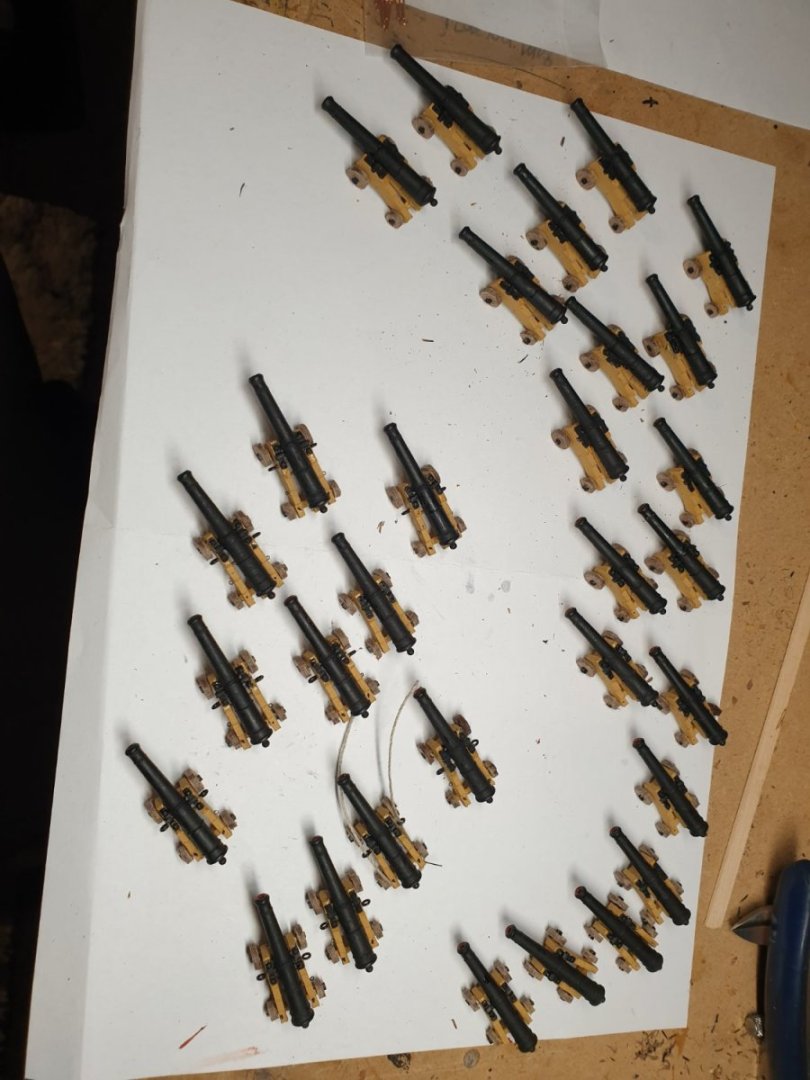
Time to set up rigging on the carriages. Clear the block holes, line up hooks etc. Lots of work so far and I'm only fully rigging 10 cannons that will be seen.


-
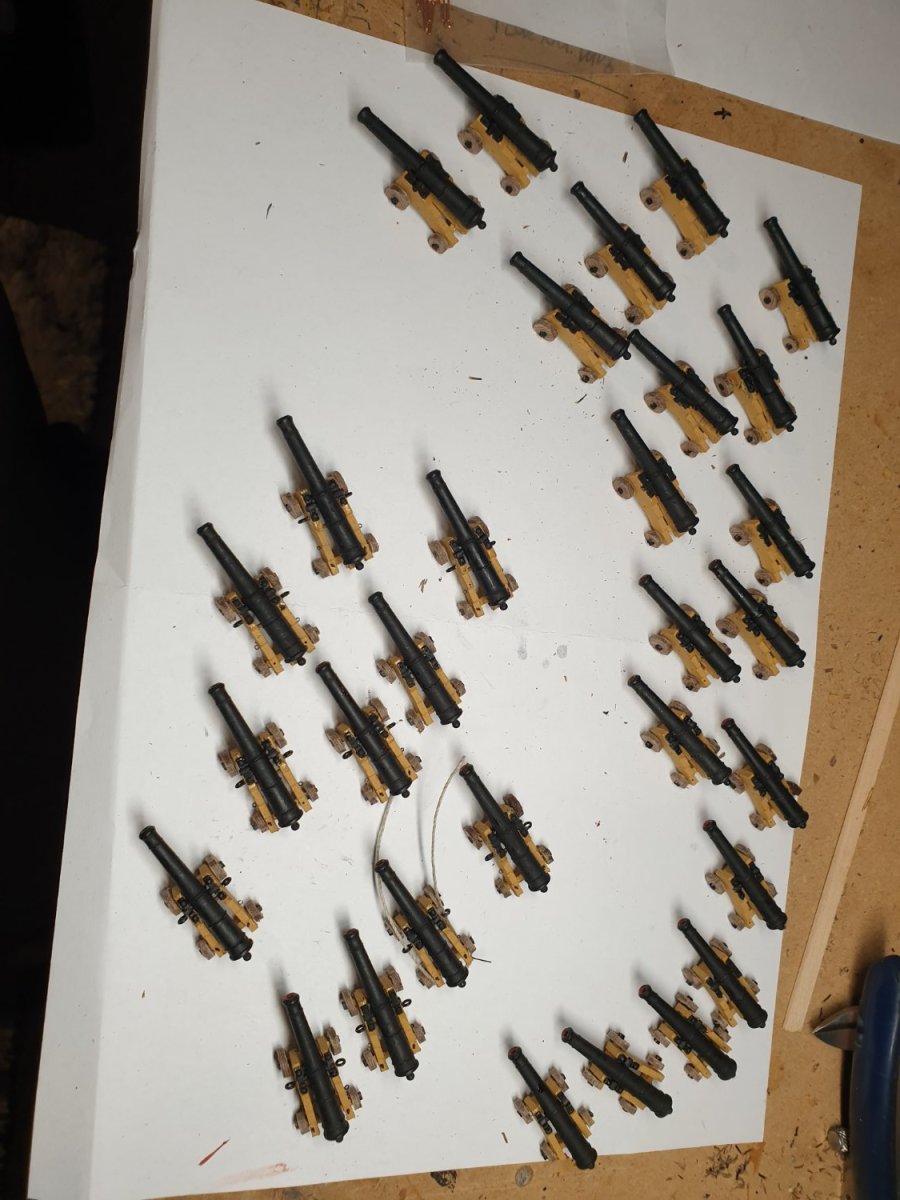
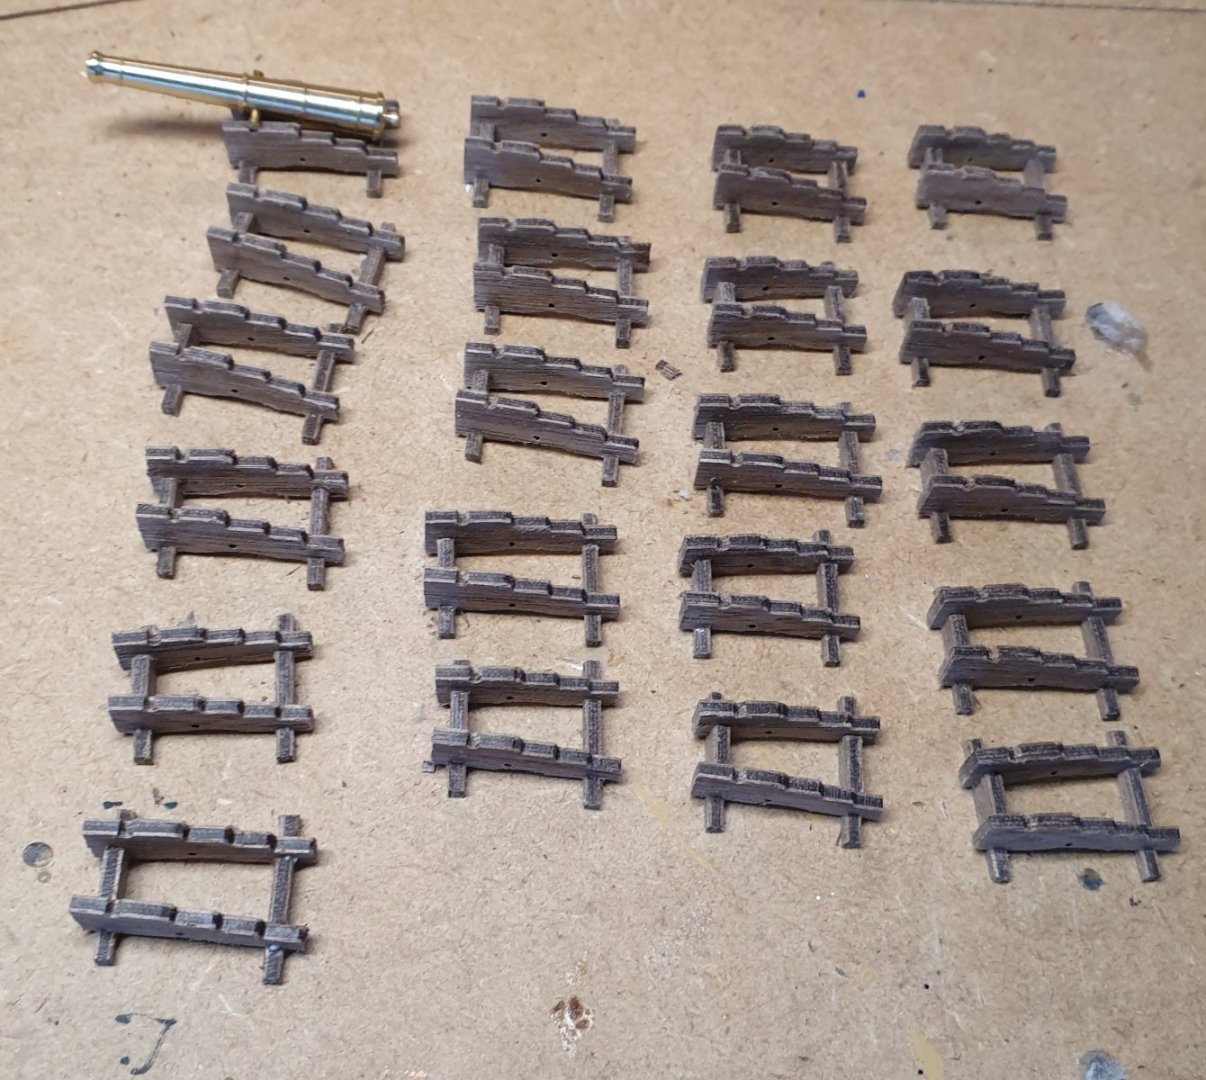
Lol, I tried Auckland for a short time, hated the traffic jams. All dry here too. Trunnion nails were missing but I found some from a previous kit that work. Out of the 30 cannons for this deck you can only see 10, that will do for full rigging. The lower decks are dummy barrels, no carriages. Quarter deck has visible cannons but not many. The eyelets part 480 nearly need a microscope to see. Not a lot of work to go on these cannons. The breach ropes you used would be a perfect size. Take care. Ron.
-
Time to put it away for the night before I go cross eyed. I used part 480 for the breech rope ring. I can get .75 thread through it. Rest of the trunnions before I blacken the barrels.
-
Thanks for the info Allan.
-
Thanks Allan, Sorry don't know anything about the barrels. Ron.
-
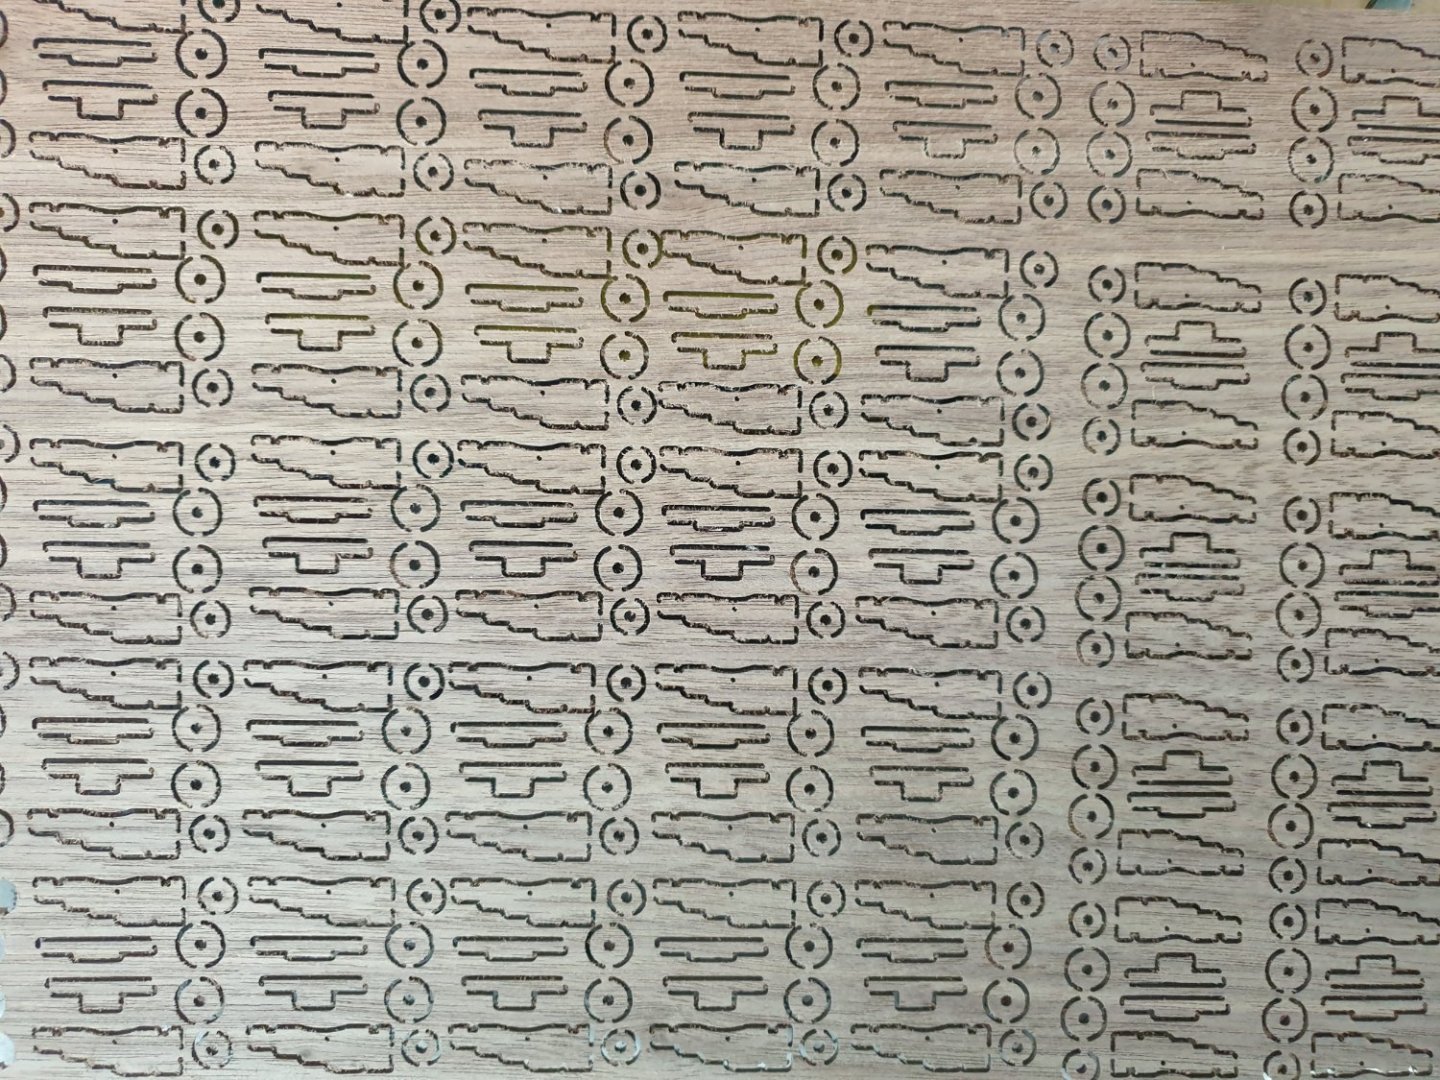
Cannon production line, lots to do.
-
Hi Alastair, good to hear from you again. My last ship finished in 2016 but I still wanted to do a copper hull so here I am. Without others amazing work, photos and advice I would be lost on nearly every step. Up to the cannons now. A still day in Wellington is nice, I grew up there. All the best.

-
Thanks Sjors, It's as good as I could get it. I have learnt a lot doing coppering. Welcome in New Zealand anytime. Ron.
-
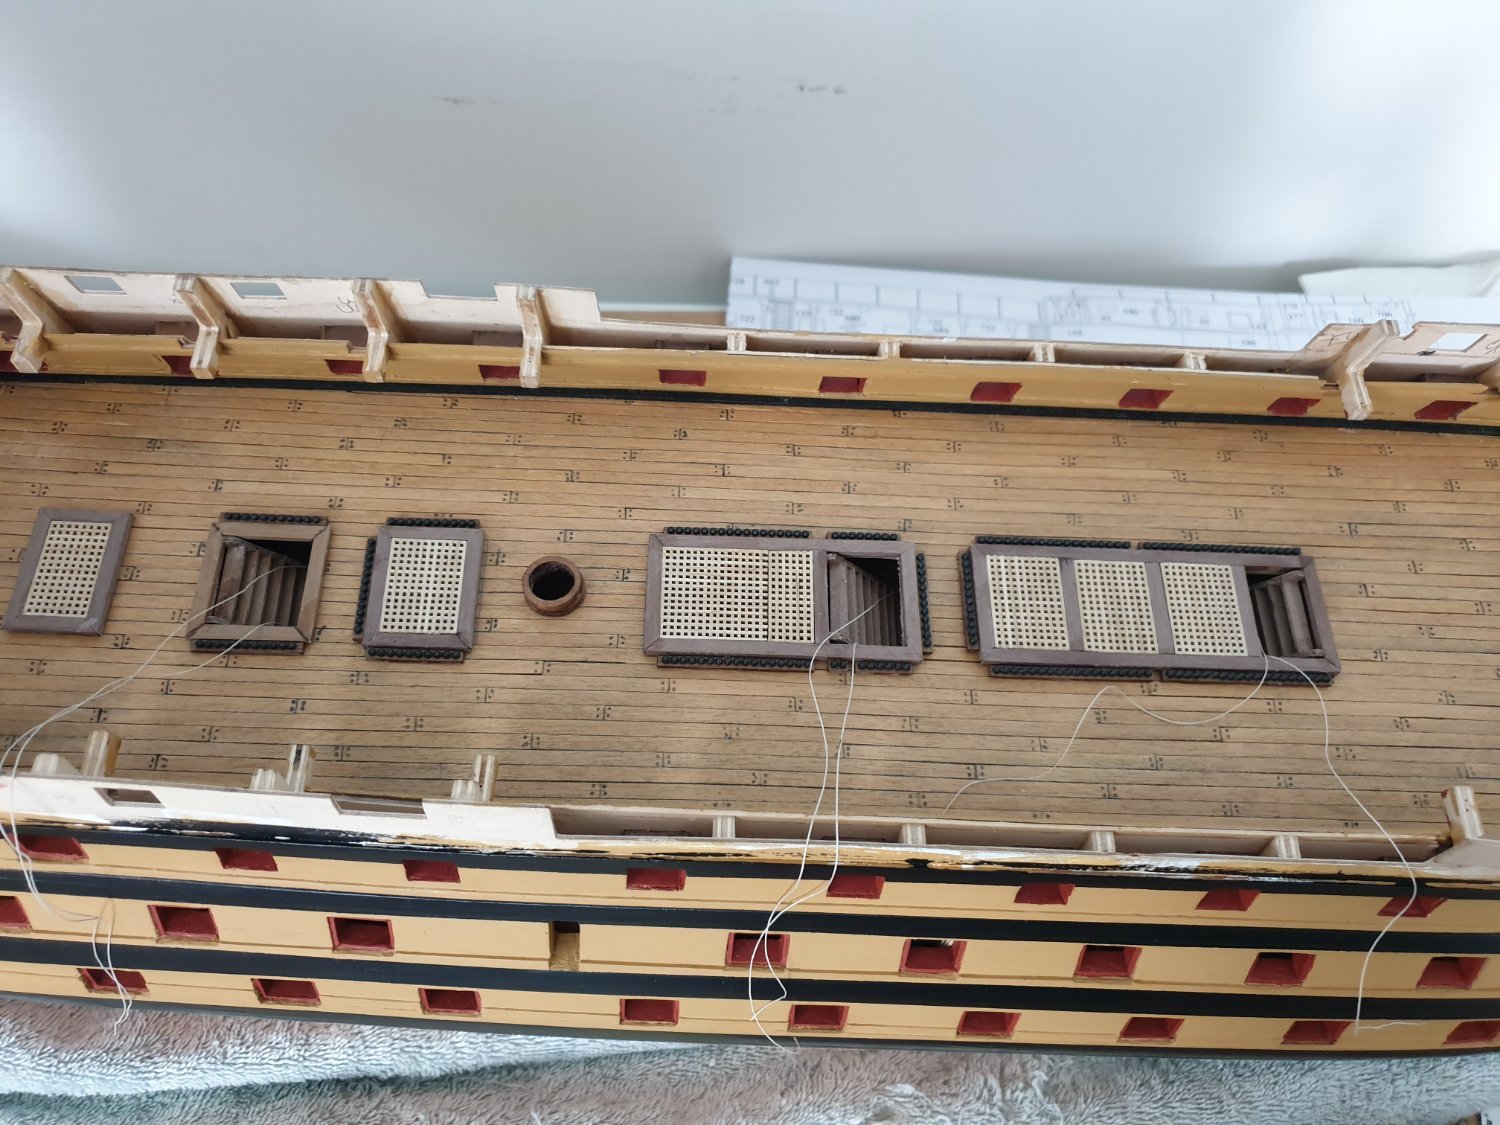
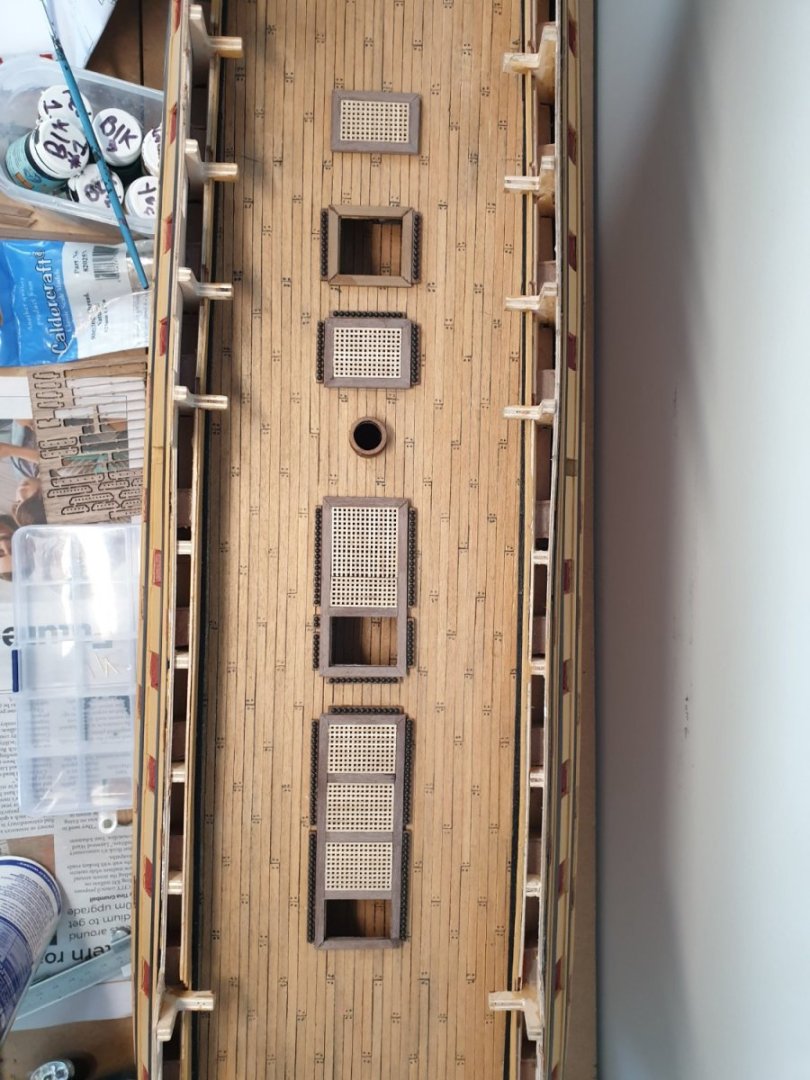
Stairs next
-
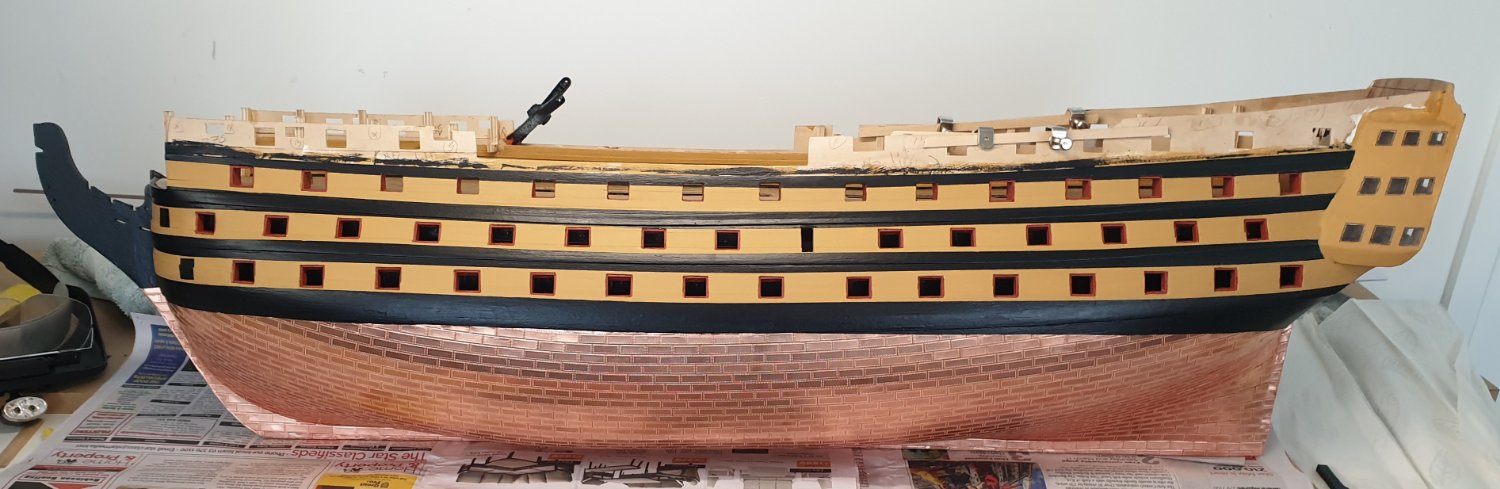
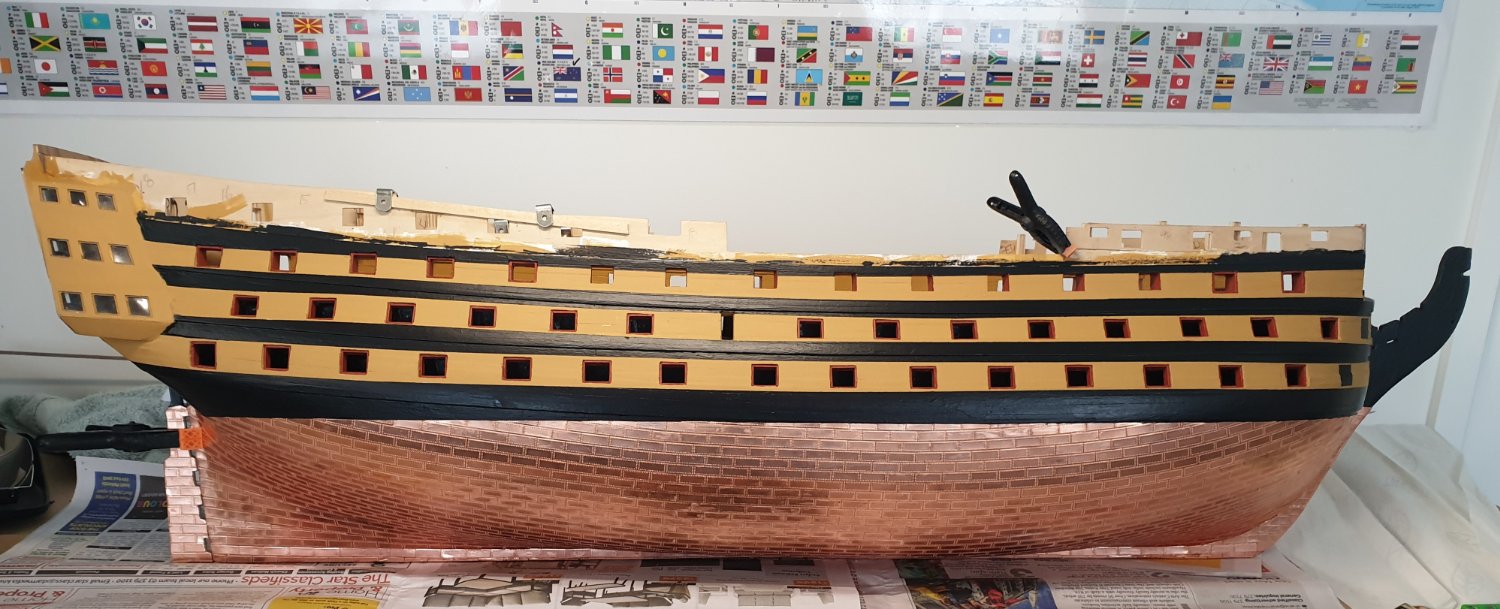
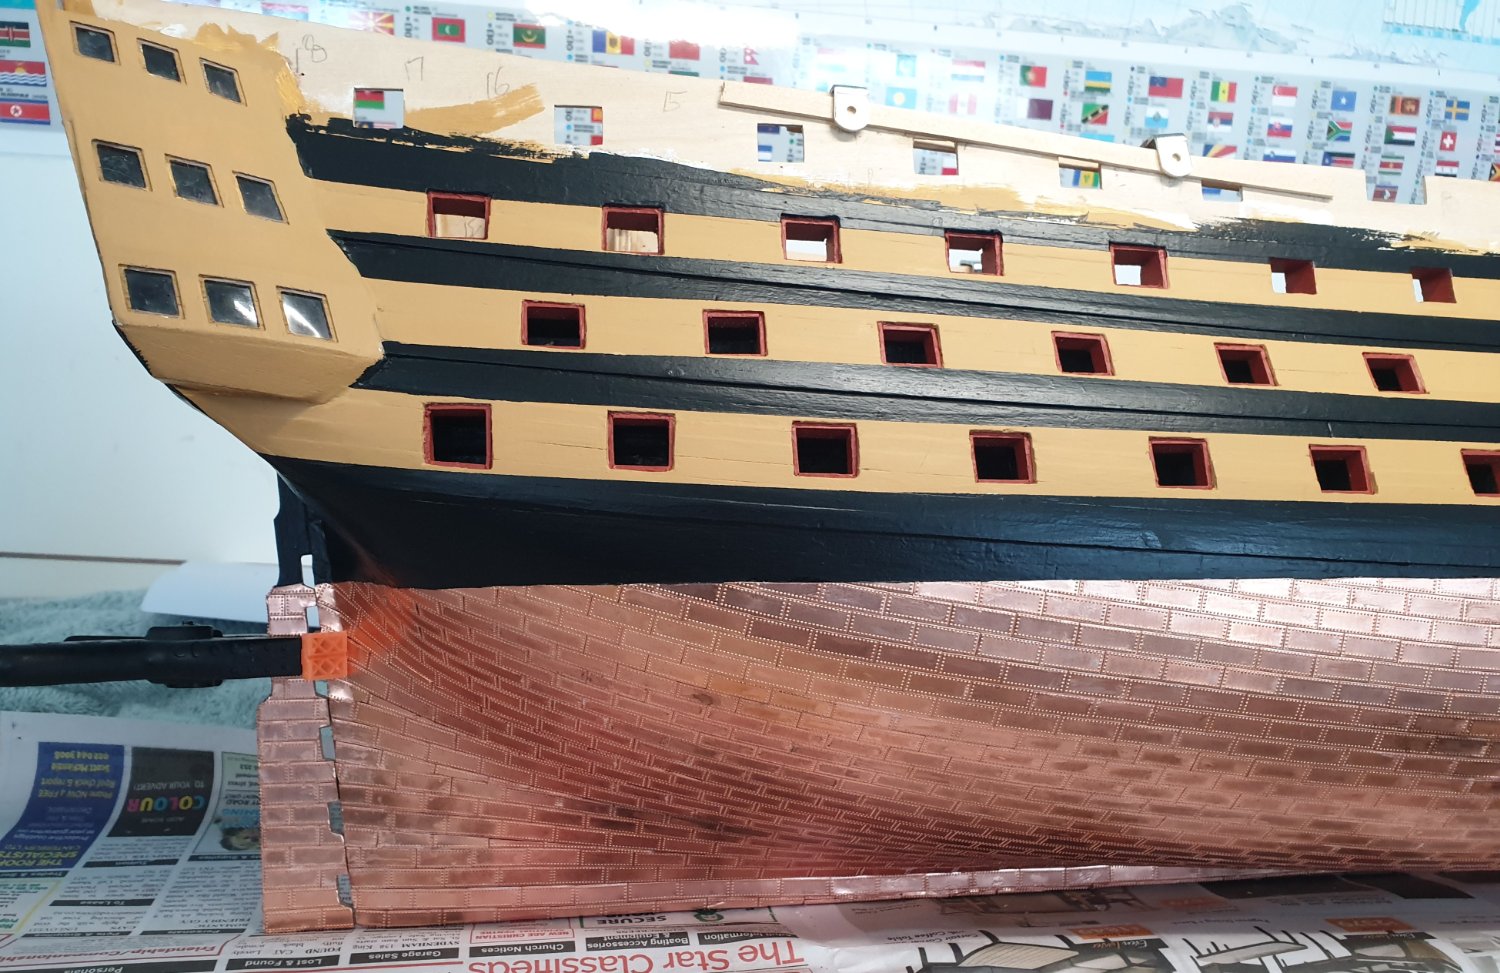
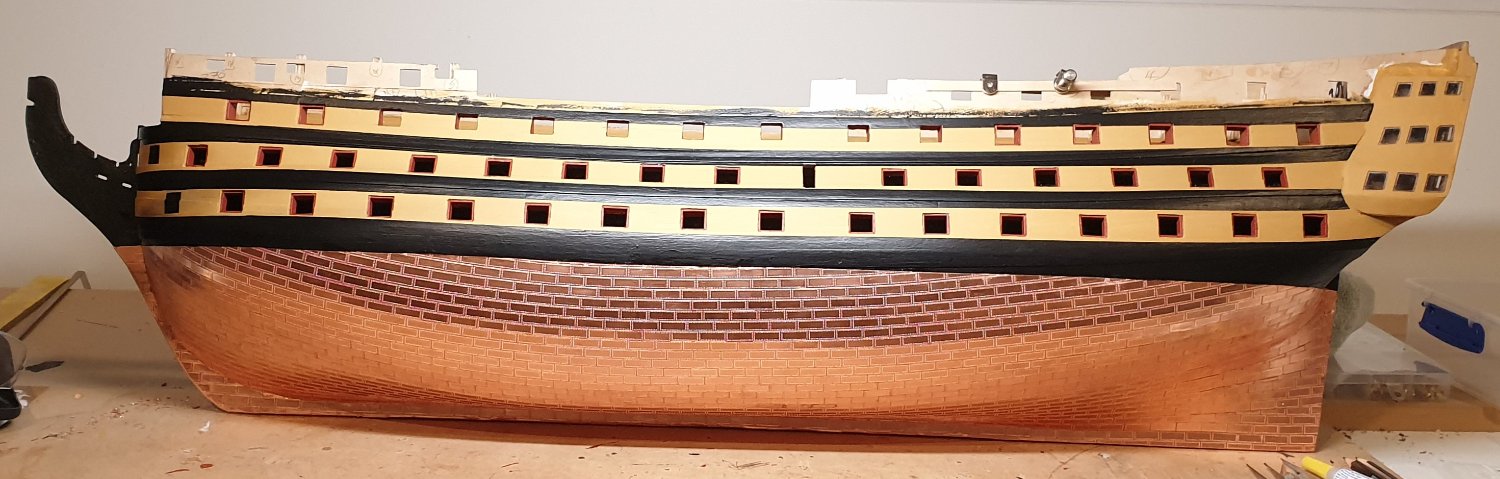
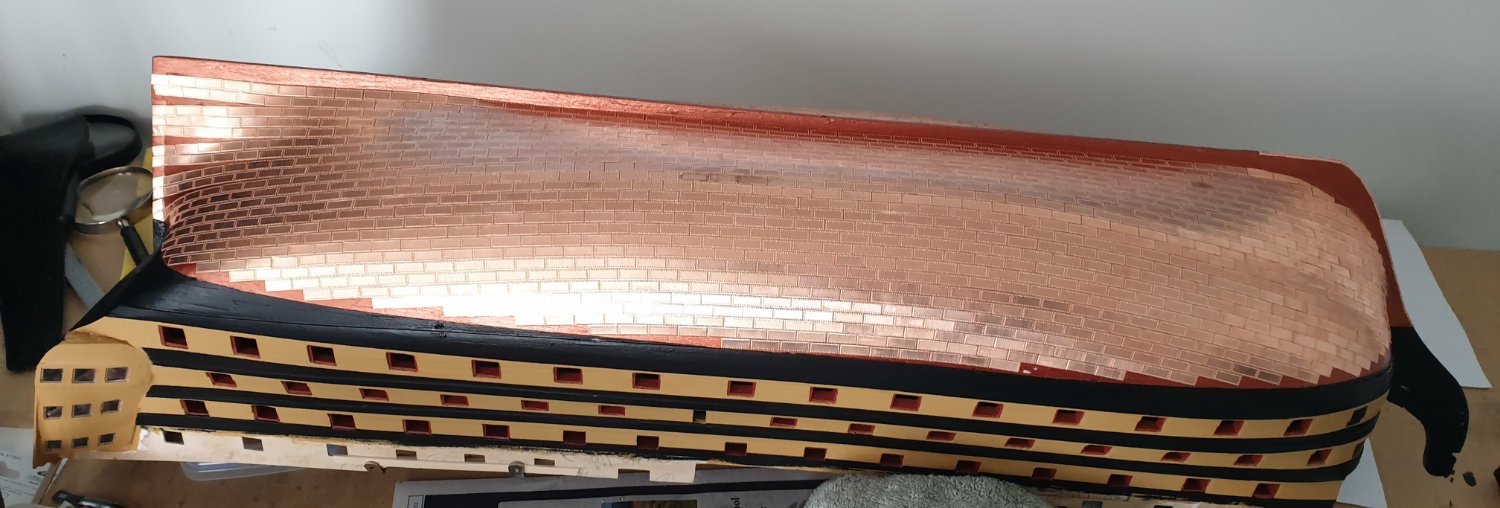
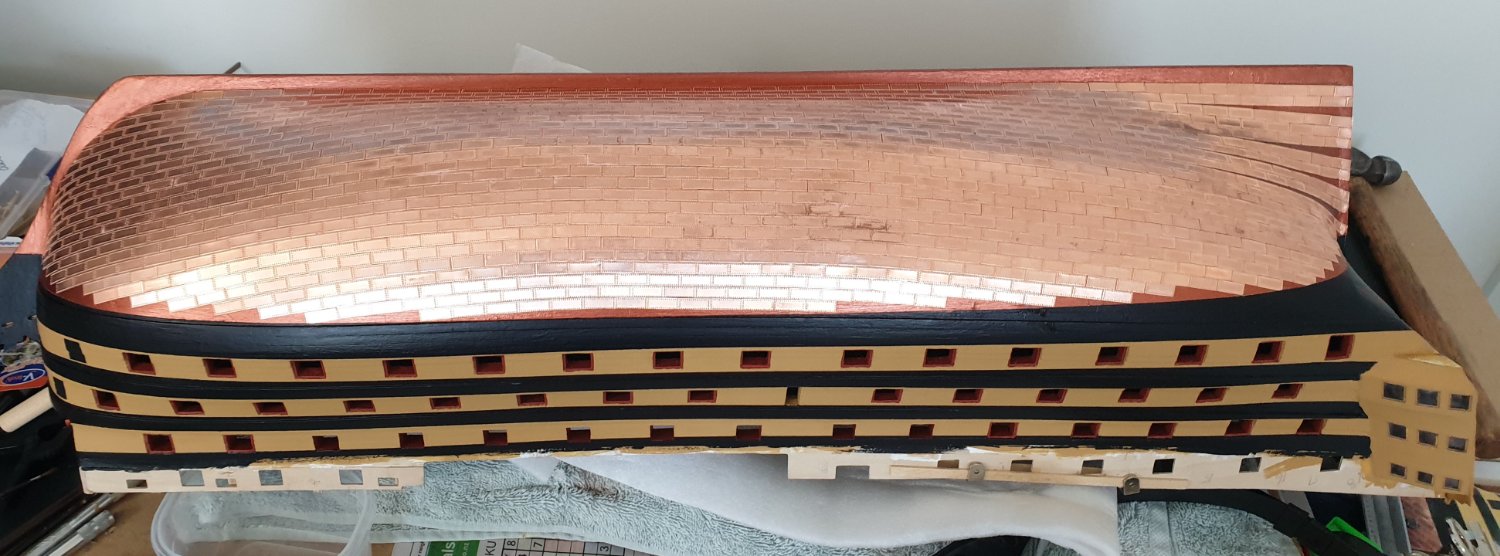
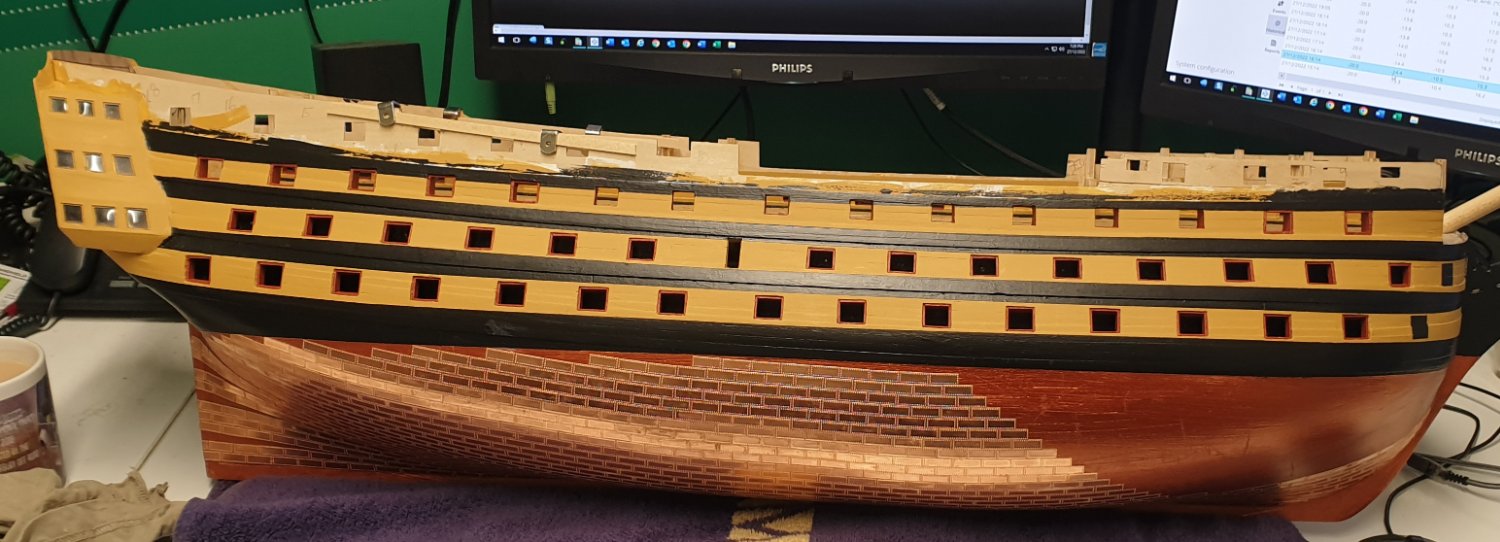
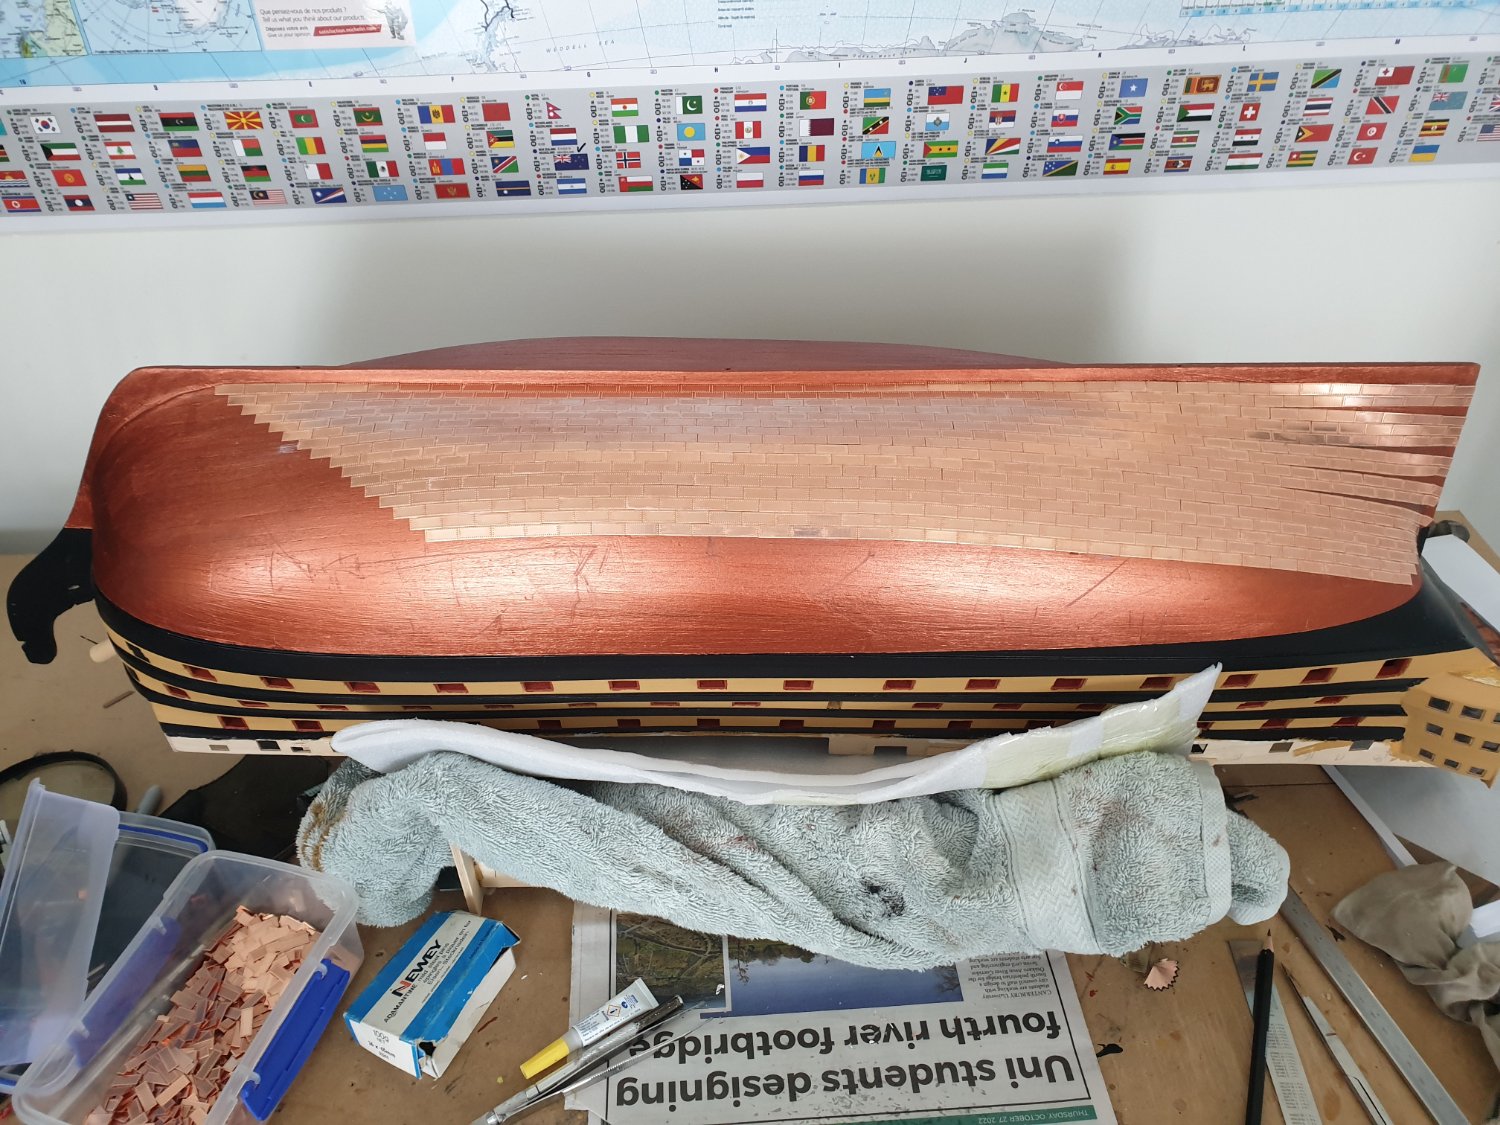
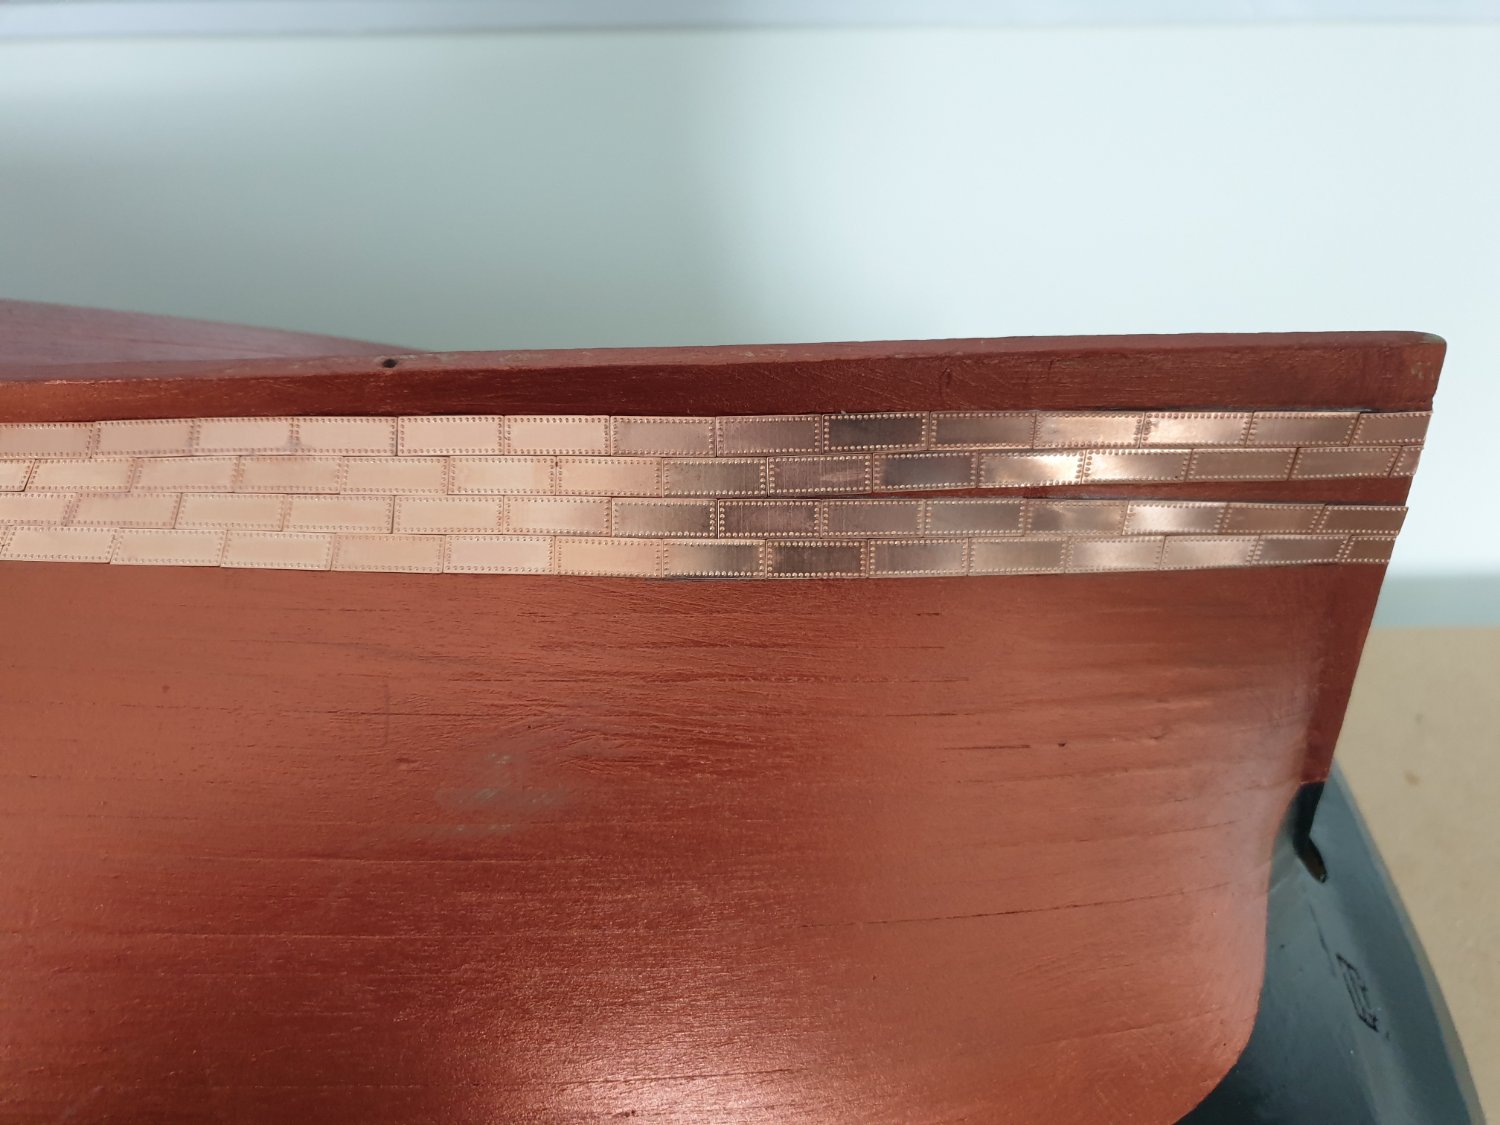
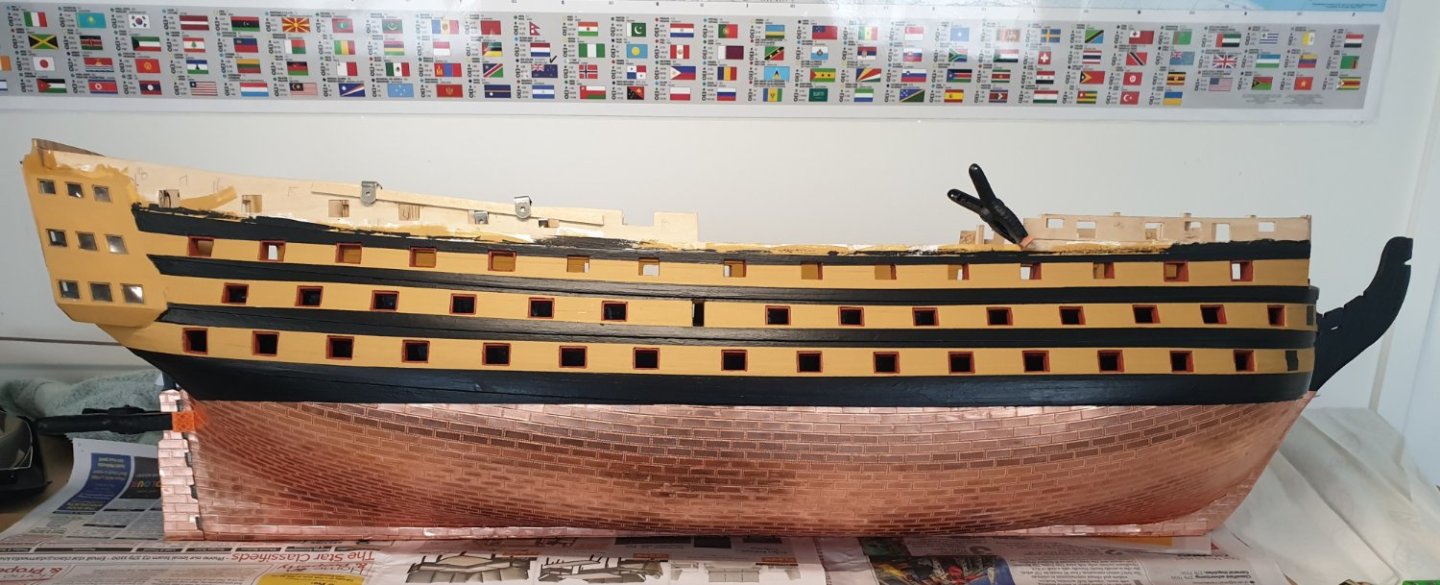
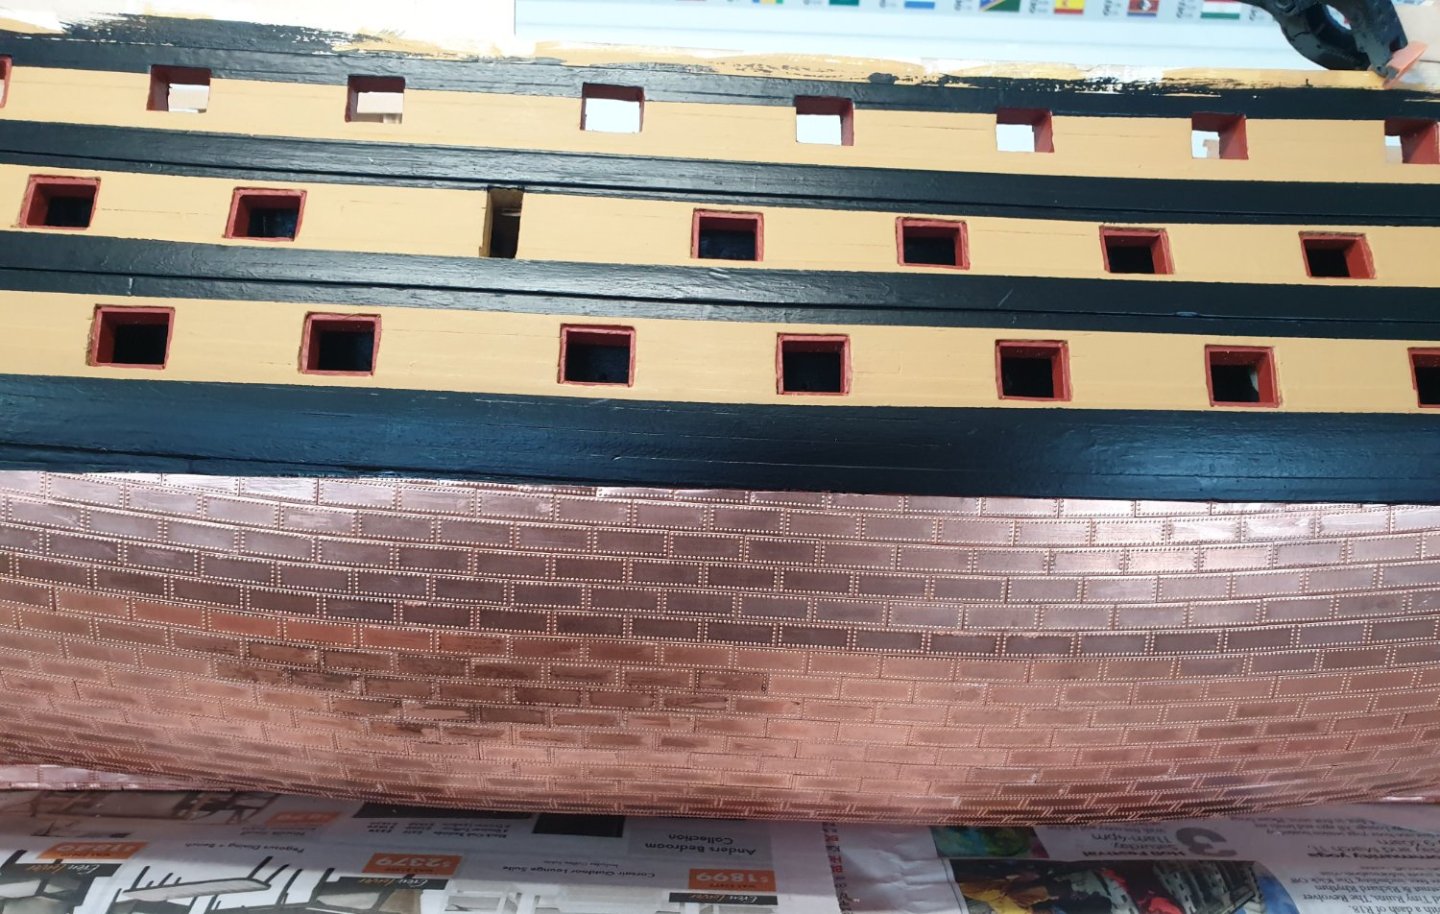
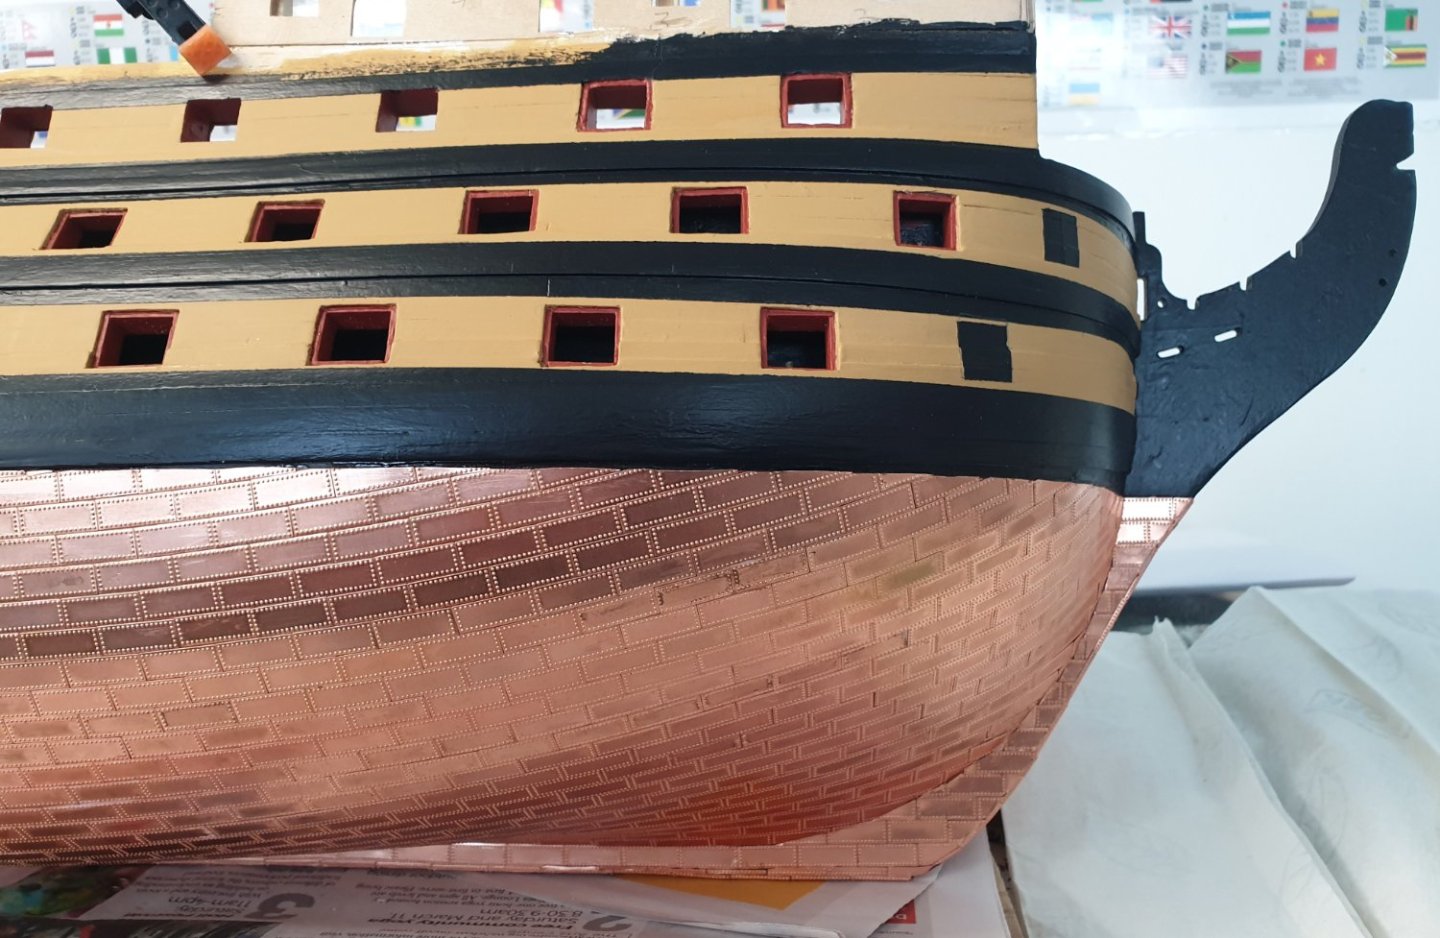
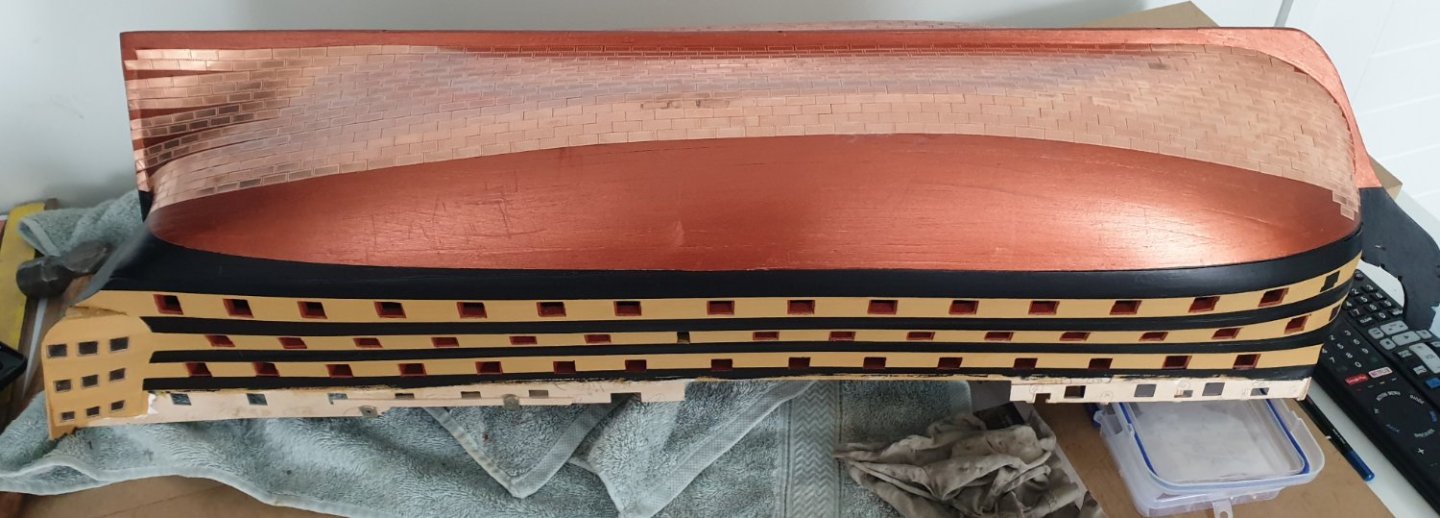
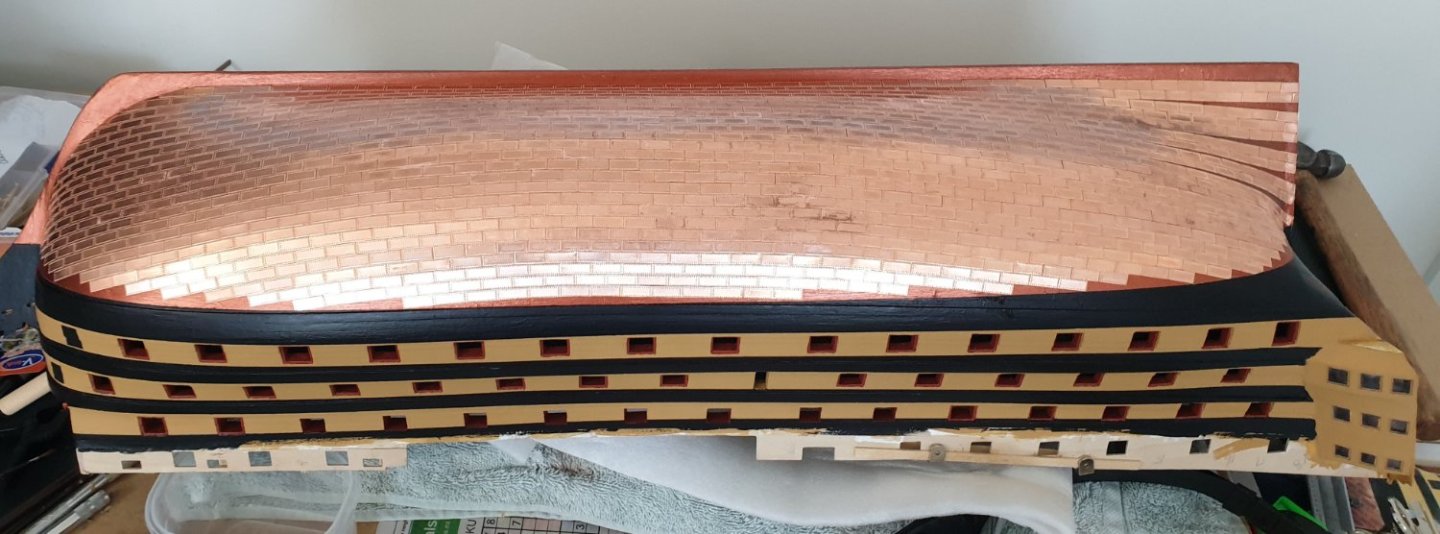
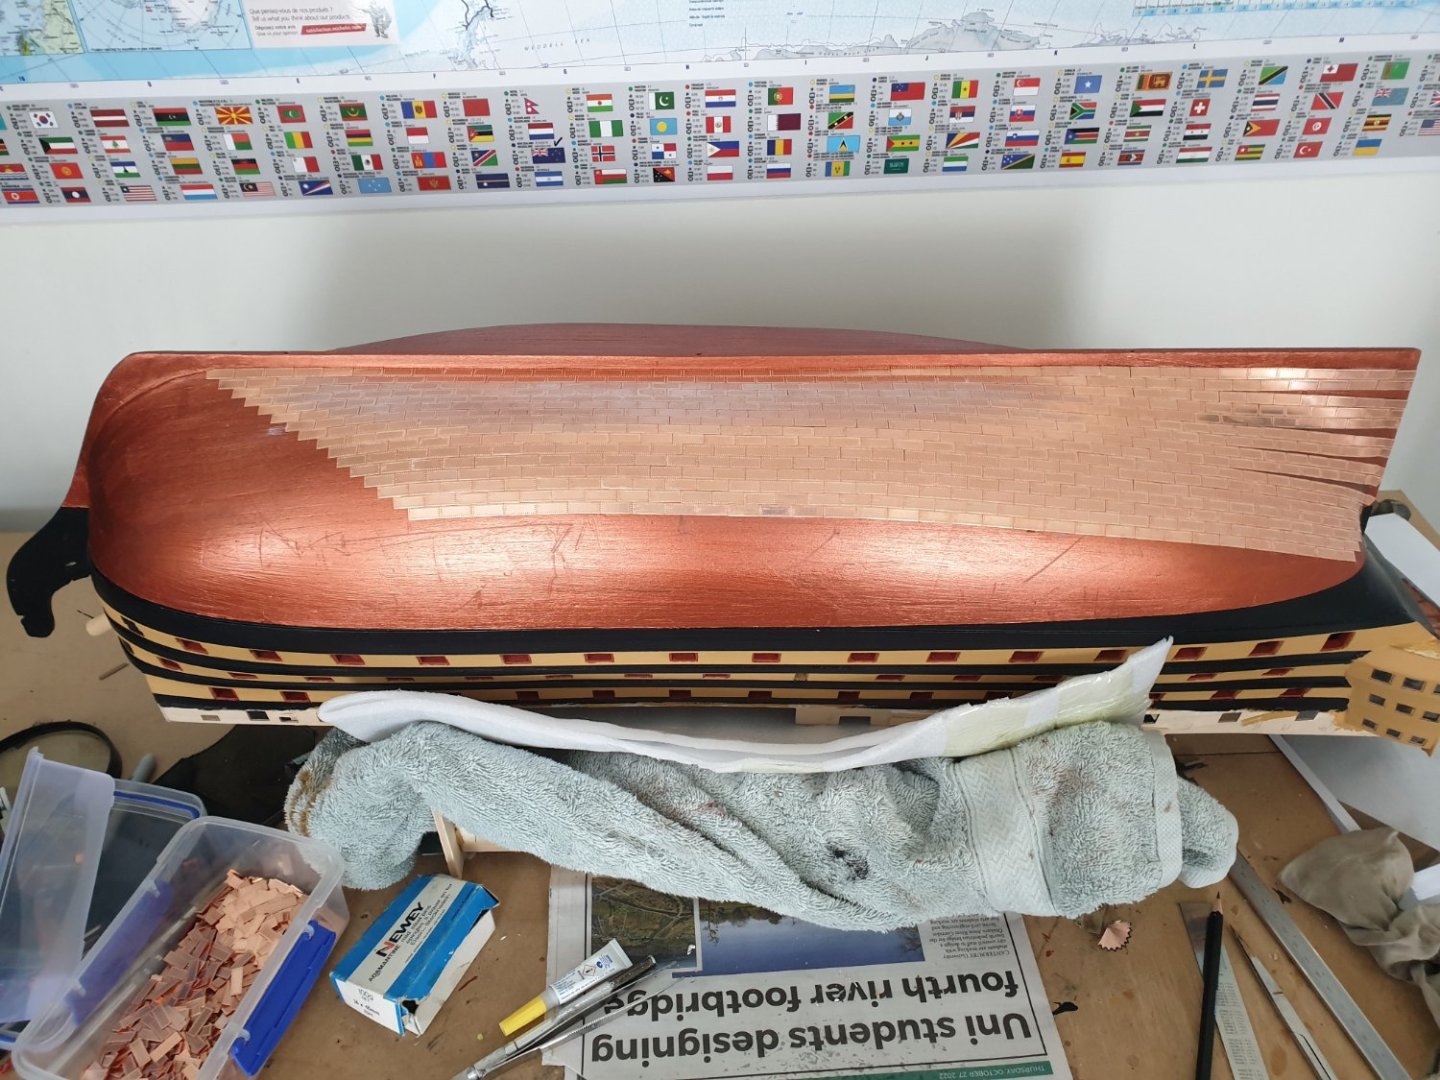
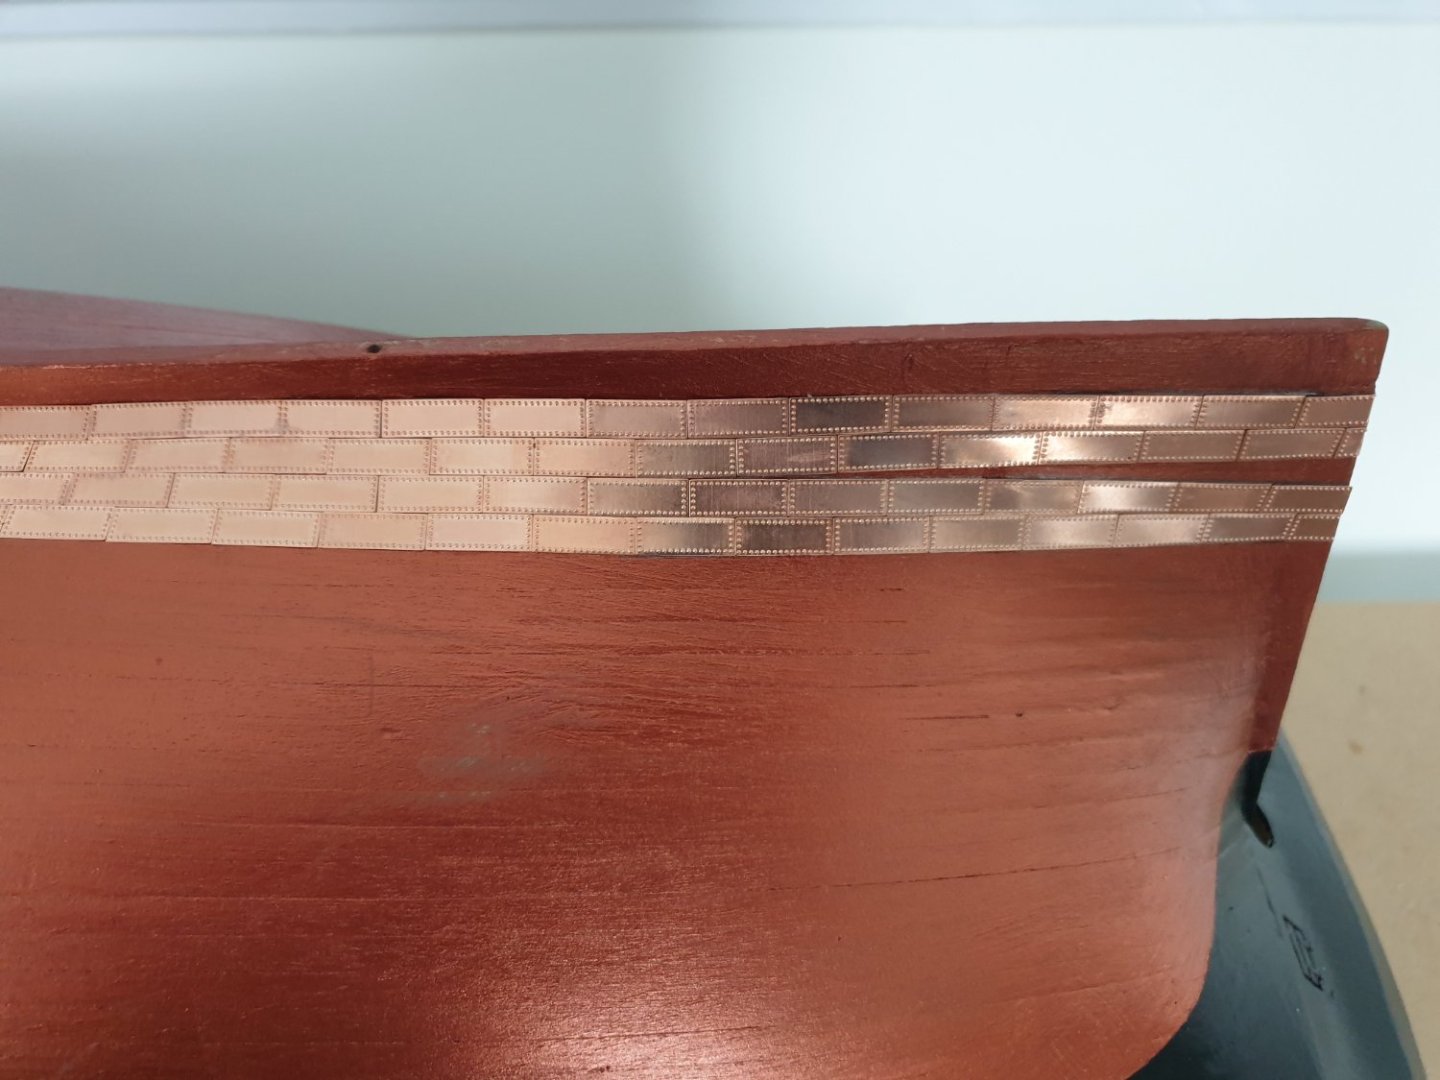
Coppering done. Re work on the keel with the spare plates, a bit better now. I'll miss the slithers of copper sticking into my fingers. Onto deck work now, my favourite part of the build.


-
Port side done. It looks better the further away you get. I've learnt from mistakes on the coppering. Starboard side next just the fillers to do.

-
Port side main plates done, keel next.

-
Half way through the other side. Then fill in the gaps.
-
Thanks for the likes. I'll do this half of the keel, rudder then the other side then see how much I've got left for the gaps. Not bad so far, you will get gaps between plates as the angles change and offset of 50 percent changes. Some stick together or bond instantly. not the first time I have gone to work with a plate stuck to my shirt.
-
The journey has begun, had to re align part way along.
-
Thanks for the info, I also found doing my Endeavour a lot of things were not accurate or just someone's best guess of how things looked. I think with kit parts they do what they can to get close to reality. With the current plates over lapping they would stick up a lot, like you say they should be really very thin. The kit calls for 4 gun port linings. If someone else hasn't got that far they could be left out. Any comments welcome thanks.
-
Thanks, nowhere near your standard but happy with it so far. A start on the copper now, trying to butt the copper plates as close as I can together.
-
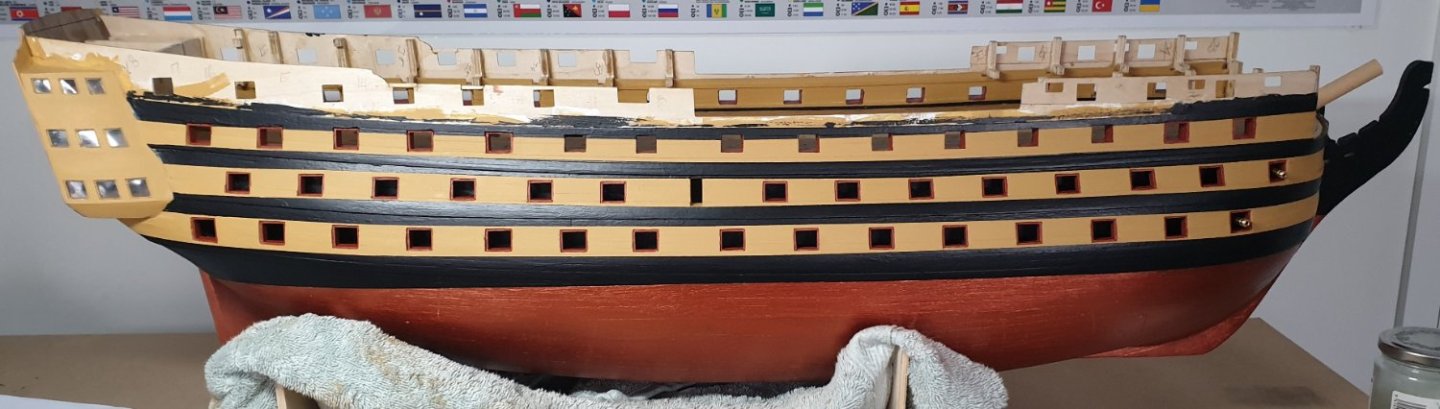
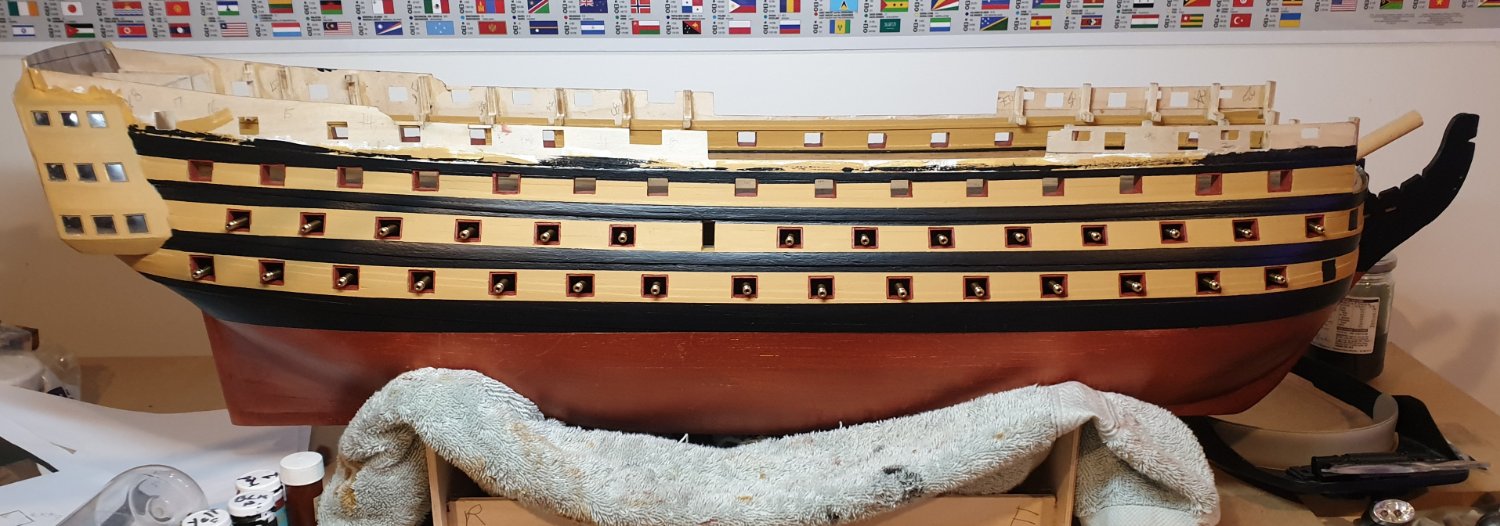
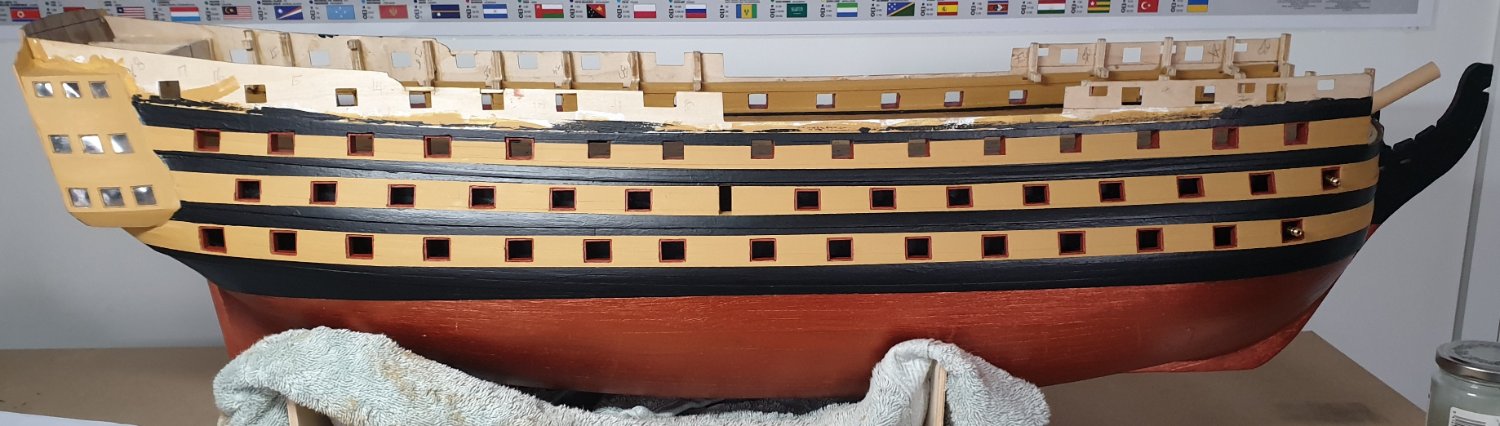
Cannon trial fit.

-
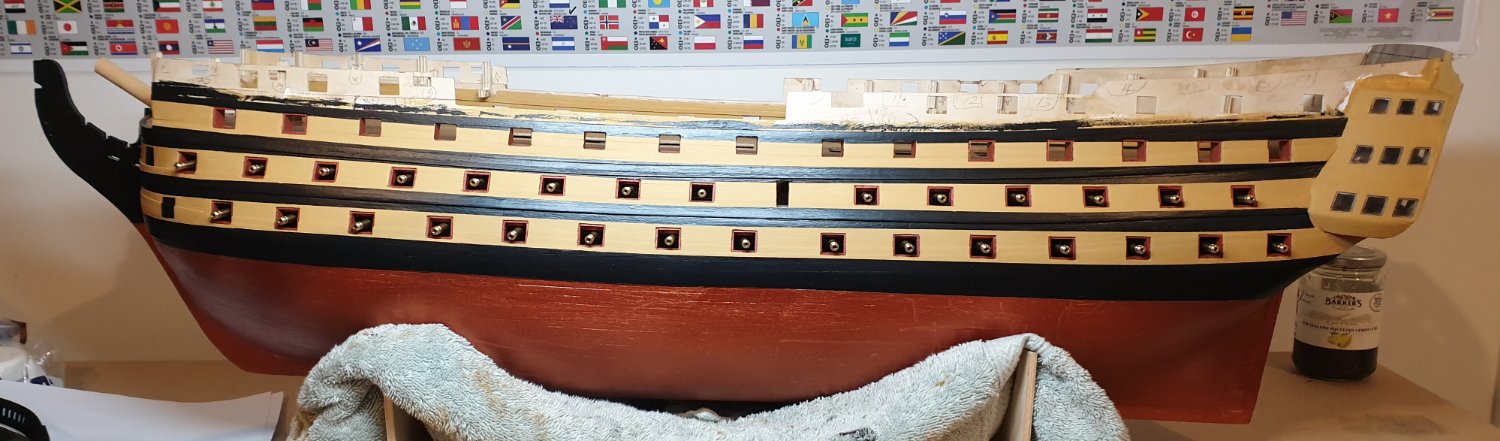
Painting done for now. Trial cannons.