

tomasg
-
Posts
125 -
Joined
-
Last visited
Content Type
Profiles
Forums
Gallery
Events
Posts posted by tomasg
-
-
-
-
Thank you. They are loosing interest too now, especially the older one, hard to fight games on the phones, the battle station was easier and more fun, but one thing i want them to accomplish is to finish the job, a good lesson for life

Btw, great Victory you built Popeye!
-
Thank you Popeye! To be honest the work on the rigging is very basic, but this being kind of a teamwork with two very young kids (10 and 12) it s ok. As a matter of fact i had to stop myself from correcting some of their work and being too pedantic, because this way i was killing all the fun from it.
Tomas
-
-
-
Yes i understand, it s a difficult dilemma. I like the style of OcCre and Artesiana Latina emulating the color with wood, i also appreciate the painted hulls to a degree. I guess nothing else can be done but to buy different kits
Tomas
- GLakie, mrshanks and mtdoramike
-
 3
3
-
Ah, the art of model building! Hat down to your work.
I went thru your build log, where i saw your case for the wonderful model. Maybe you already know that, but if you ll ever take pics of it once inside the case, it s possible to avoid reflections in the glass by using a polarizer filter in front of the lens. Obviously this means that you ll use an interchangable lens camera, like a DSRL, or a MILC. One drawback of this is that the filter will take away about a stop of light (-1 EV) which means only half of the light will reach the sensor, so you ll need more light.
Tomas
-
Nice coppering, but in a way also pitty to cover that wood.
- GLakie, mrshanks, mtdoramike and 1 other
-
4
-
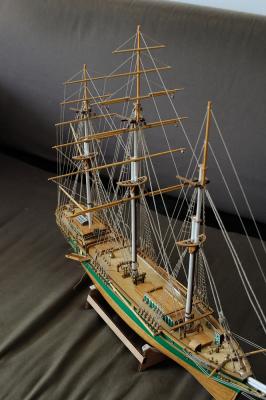
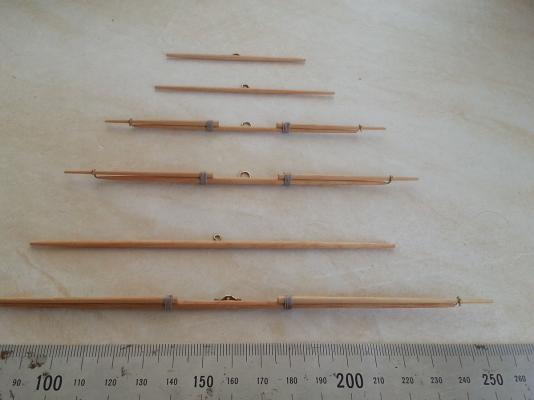
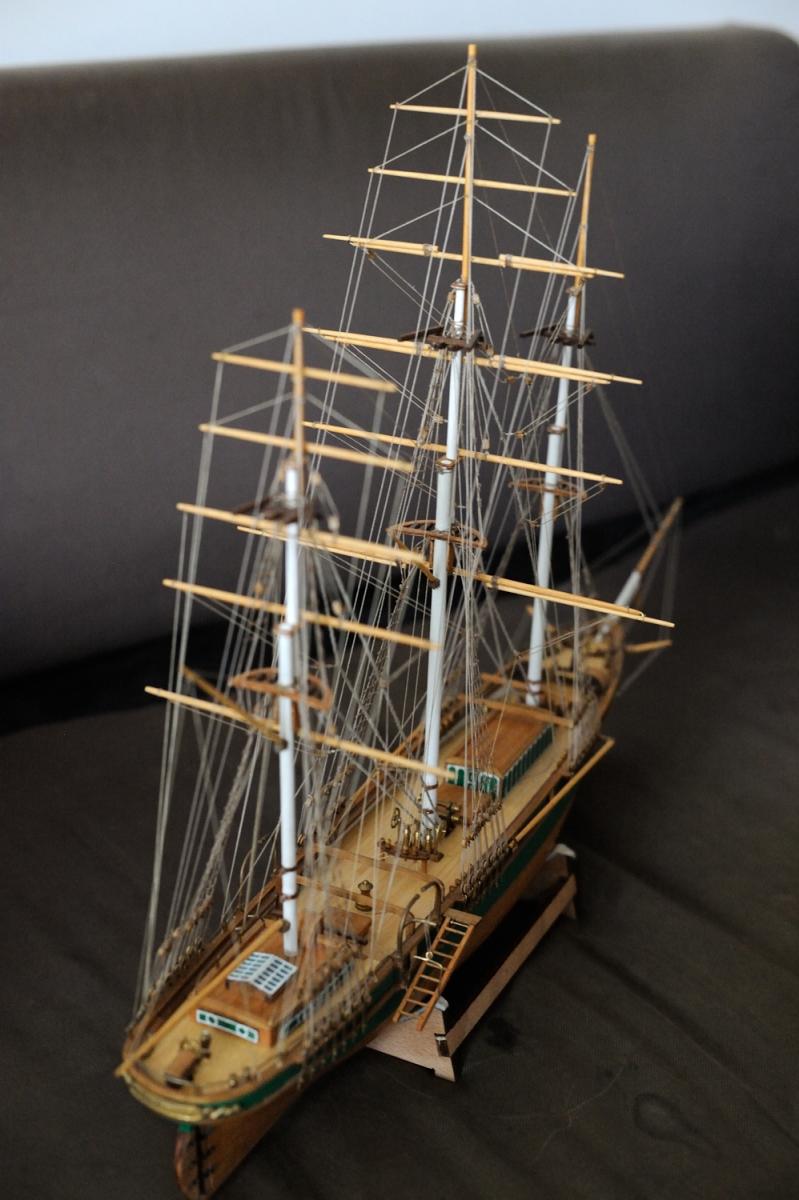
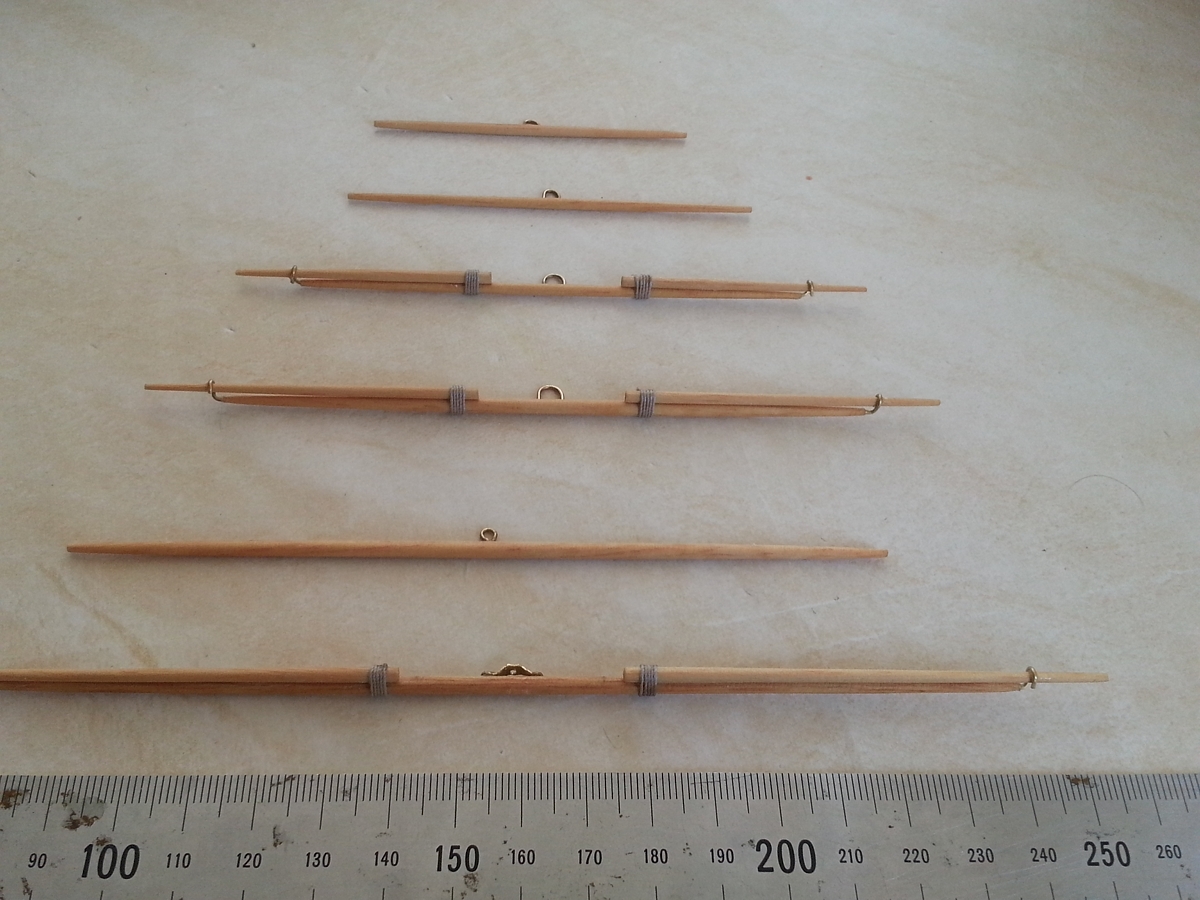
Five more yards to go! Nine done, like on a ship of the line, more or less. For sure clippers are ideal if one likes doing the rigging.
Btw, i admit i use always too much rope, but the kit does`t have nearly enough rope in the box, future builders be advised.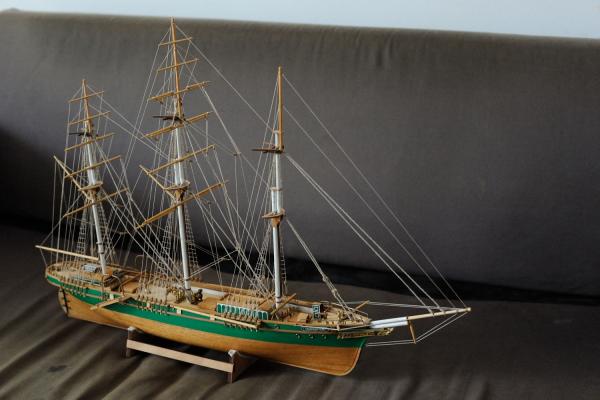


-
Sorry i missed that, yes i saw what you did, great idea, this should allow you more manuvering space when positioning them.
Tomas
-
Hello,
built the San Felipe some 20 years ago. Went thru your log, strange you have all this problems with the gun ports, i don t remember having any, as far as i remember i used a paper template that was provided with the kit. The only slight adjustment i had to do was with the fourth row, the ones with the rounded holes. Anyway, keep going, almost any problem in ship modeling can be overcome!
-
-
-
-
-
-
Very nice job.
Thank you!
-
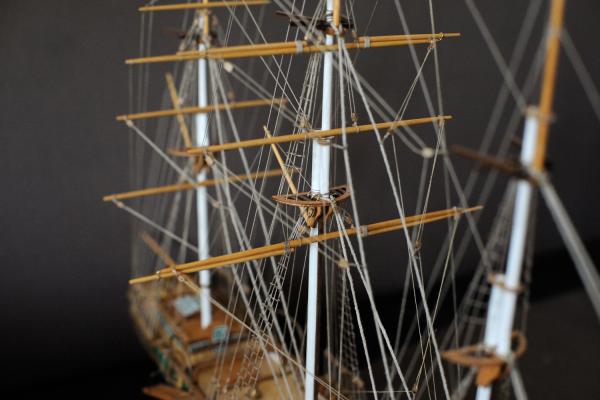
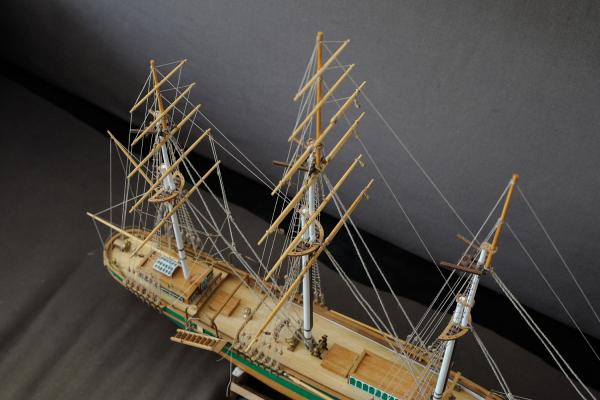
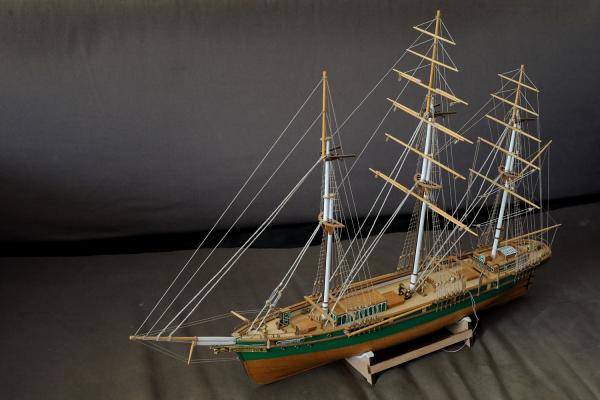
A bit of a progress today. The first goal is for all the rigging to be straight and under tension, an elementary thing with any ship model, but not so easy with this one. If not for anything else, i keep bumping, hooking with the tools and so on the rigging that s already in place. At least my sons small hands are helping a bit.

-
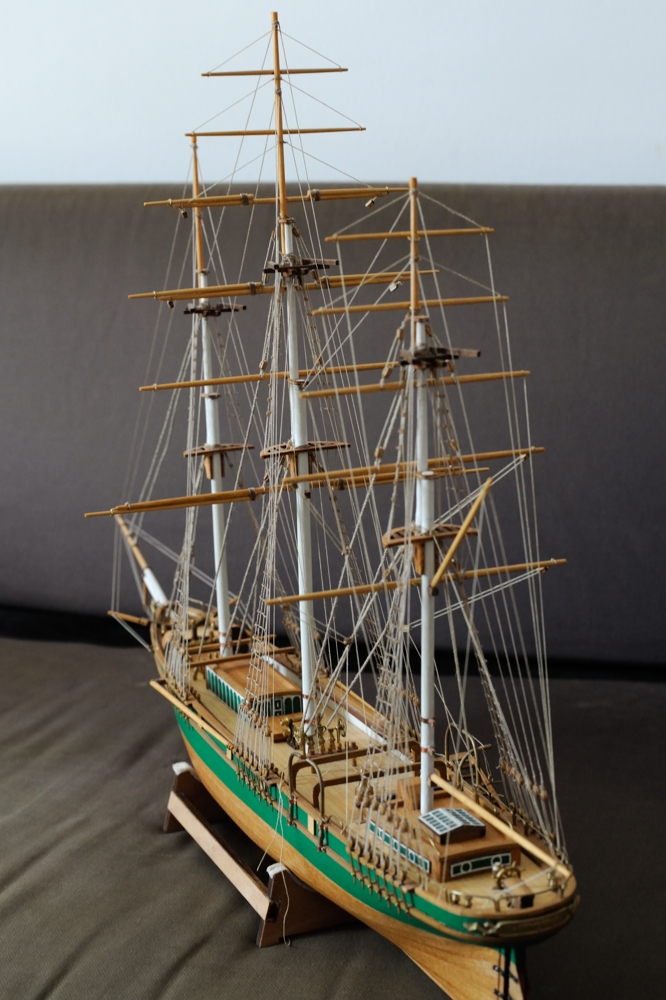
I think the windlass is misplaced on the kit, taking the Cutty Sark as a comparison it should be in front of the fore mast near the fore cargo hatch, but there is not enough room
-
Ah yes......the two strips at the stern
I cut the lower walnut one in three strips 2 x 2 mm, from the original 2 x 6 mm, and managed to bent them and glue them one "one against the other" on the stern since they sit on the floor. This proved impractical for the upper lime strip, i tried to bent it, but the problem was that it came apart "on it s thickness" not on it sides, something that happens when you try to bent something thick too much, hope you ll get what i mean. So i did it as illustrated in the plans, by cutting smaller pieces at an angle and gluing them. Neither method is ideal, pitty that there isn t a piece of lime from which it could be cut out with a small hand saw, or laser pre-cut. There are pics on my log. Tomas
-
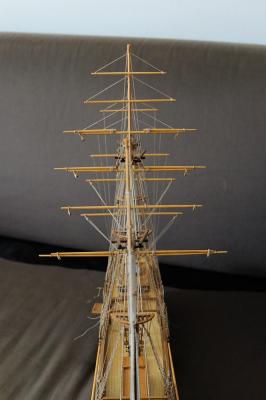
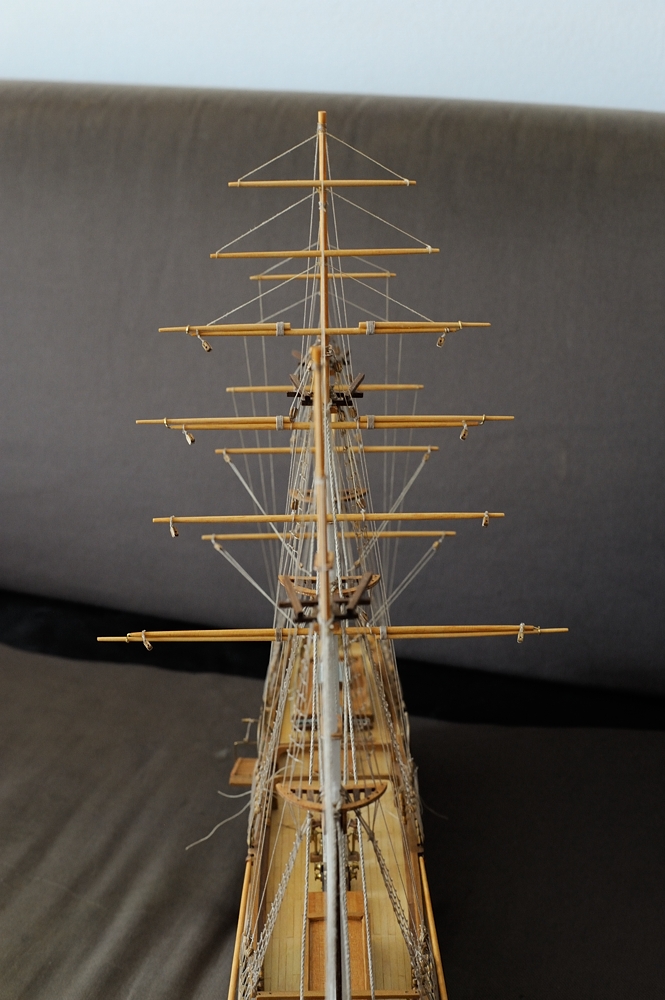
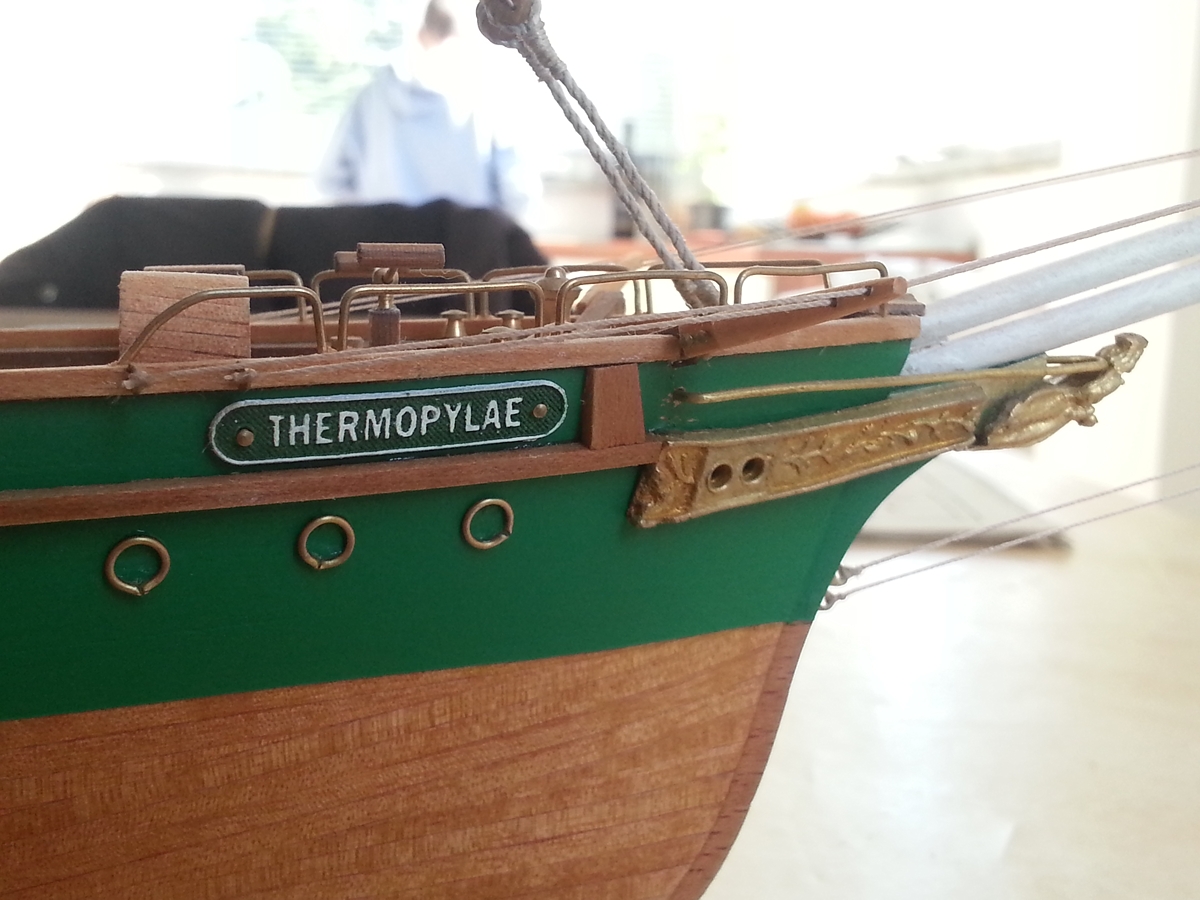
The main mast yards almost ready. In the second picture is the nameplate that is wood etched (for Popeye).

-
Thank you Popeye for the kind words.
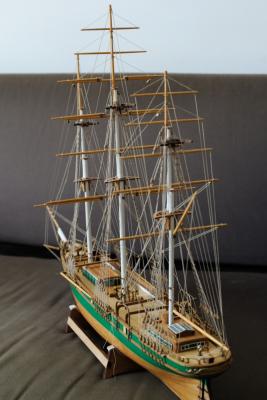
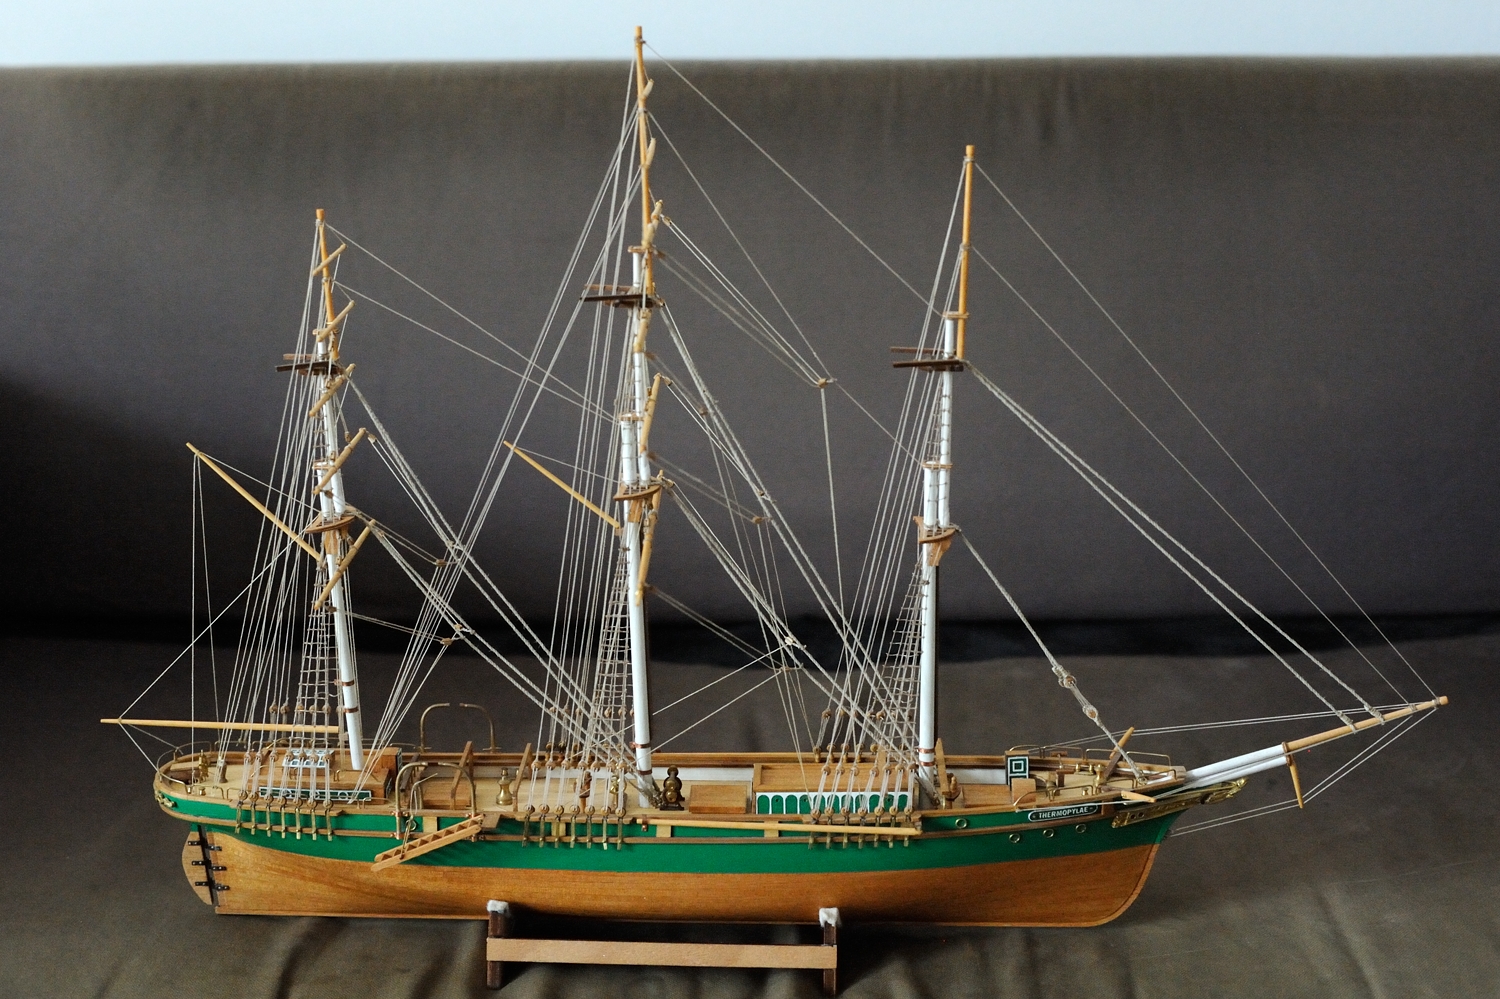
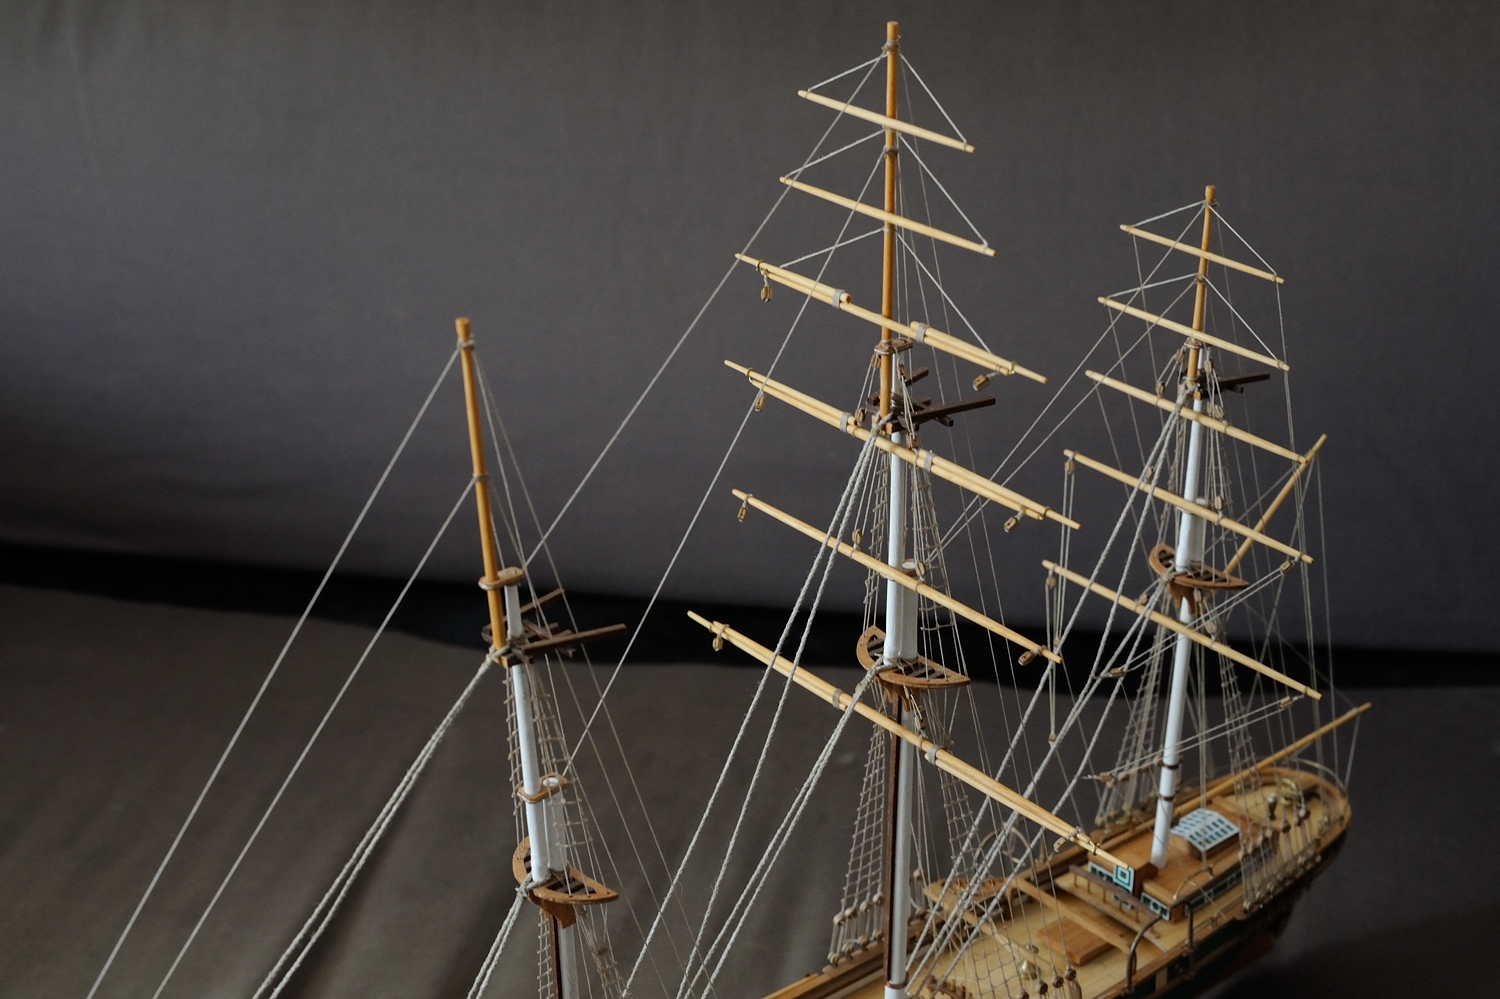
We have the newer version of the kit, where there used to be photo etched brass now there is photo etched wood, like the crew quarters or the name plate of the ship. The scale is a challenge indeed, but on the other side, one have the excuse not to be so precise in building it as a true copy of the ship, but in a more "artistic or figurative" way, something i like.
I also did a bit of research and it seems that the Thermopylae was indeed green, not blue.I would like to re post the pictures, but as i mentioned in a previous post, they got lost due to a HD failure, the repair of which is estimated at 700 eur
The instructions are basic, but the model is not an overly complicated one. I guess you ll open a build log, i ll be glad to try to help if needed. This is the first model with the stuns`l booms i am building, i wasn t sure of the plans make sense. Looking forward to seeing your build.Tomas
-
Hi Tony
i have a lot of experience with the Mantua family kits (Sergal, Panart), in fact all my six kits where from them, mostly because there is a shop that sells then not far from where i live and i prefer to buy them there since they also have Mantua wood and accessories. I must say i am surprised that parts where missing, usually there where extra parts in my kits, not to mention the wood, always in excess.
Now that i know that it was your first build i must say i am even more impressed!
Tomas


HMS Vanguard by RMC - FINISHED - Amati/Victory Models - scale 1:72
in - Kit build logs for subjects built from 1751 - 1800
Posted · Edited by tomasg
As they are arranged now the wider ends of the oars are all on the same side. Maybe you can alternate the ends of the oars, on the first one the "handle" of the oar on the right, the second one on the left and so on. I hope you ll get what i am trying to say. This way you ll save some space, but i am not sure about the aesthetics of it, or if it s the correct way of doing it.