HOLIDAY DONATION DRIVE - SUPPORT MSW - DO YOUR PART TO KEEP THIS GREAT FORUM GOING! (Only 13 donations so far - C'mon guys!)
×

drtrap
-
Posts
907 -
Joined
-
Last visited
Content Type
Profiles
Forums
Gallery
Events
Everything posted by drtrap
-
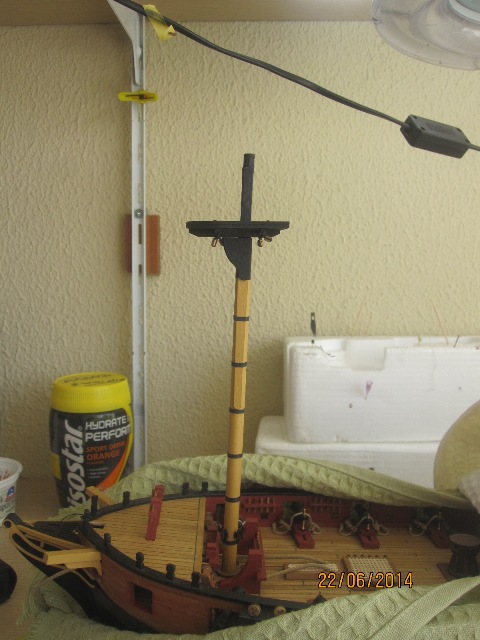
There a slight posterior inclination but the lower top mast is parallel to the waterline. I'm thinking to leave it as it is and glueing in place.

- 1,144 replies
-
- 3
-

-
- snake
- caldercraft
- (and 1 more)
-
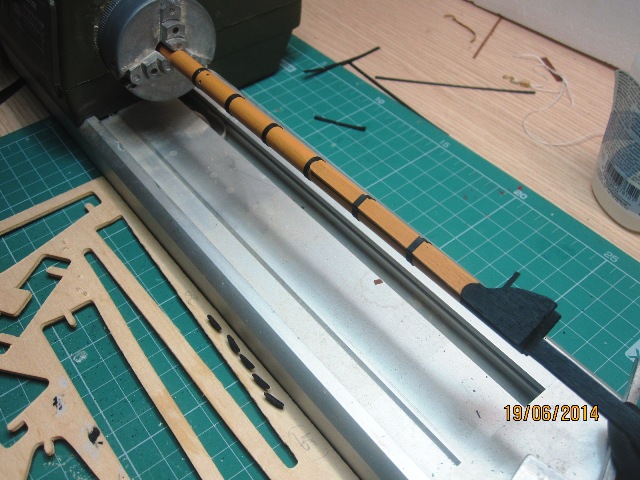
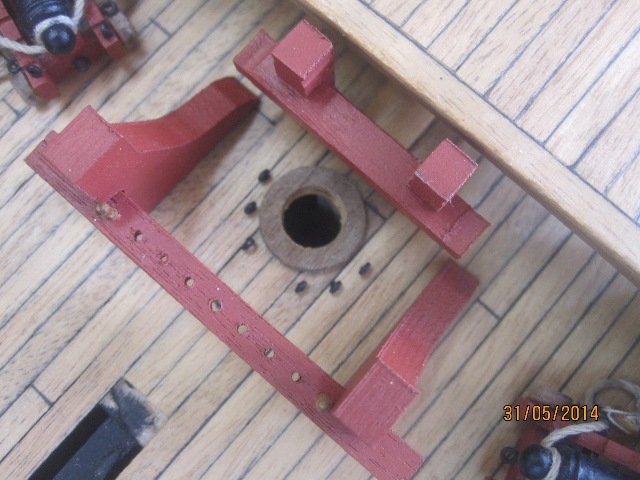
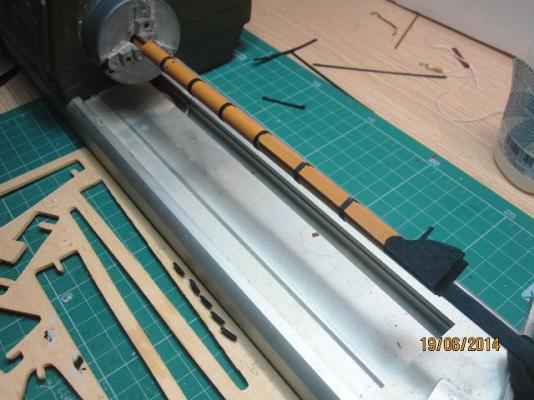
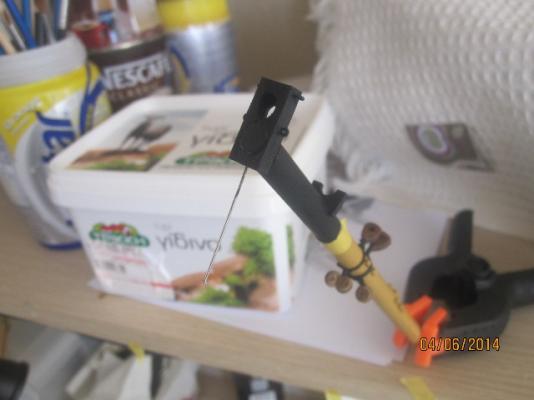
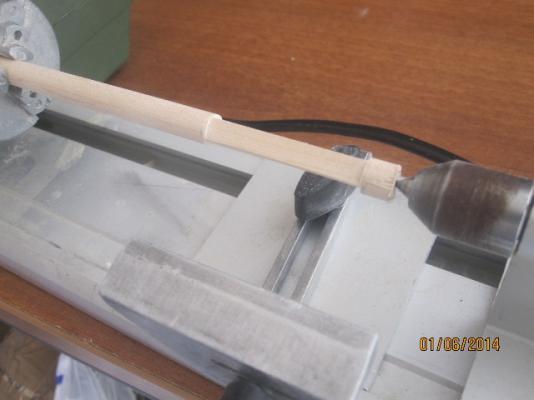
Proxxon db 250 lathe was a very usefull option/tool to enable me to mark and place almost correctly the black "metal" strips.... and the respective cleats.

- 1,144 replies
-
- 3
-
-
- snake
- caldercraft
- (and 1 more)
-
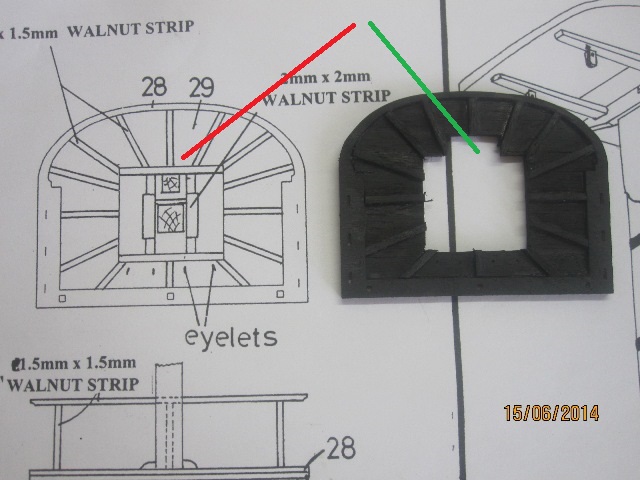
There is a difference between the plans and the anterior "opening" of the lower mast top but I hope that this is a minor cause of concern... Thanks.
-
Crosstrees and tressletrees dry-fitted. The foremast is'nt totally vertical to the deck, there is a slight posterior inclination, but the crosstrees and tressletrees are parallel to the waterline...

- 1,144 replies
-
- 2
-
-
- snake
- caldercraft
- (and 1 more)
-
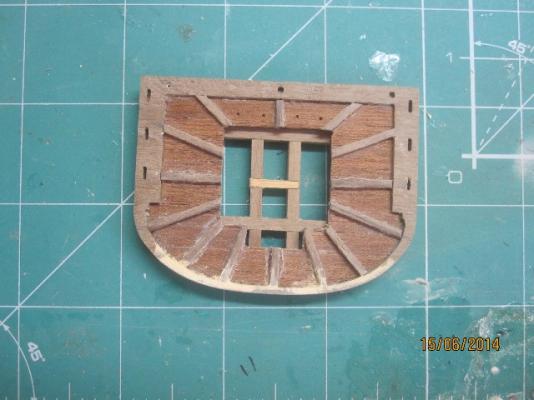
It was a really good option to plank the lower top mast following Jason's log but using 0,5X5 walnut planks and in a parallel way & fashion....
- 1,144 replies
-
- 3
-
-
- snake
- caldercraft
- (and 1 more)
-
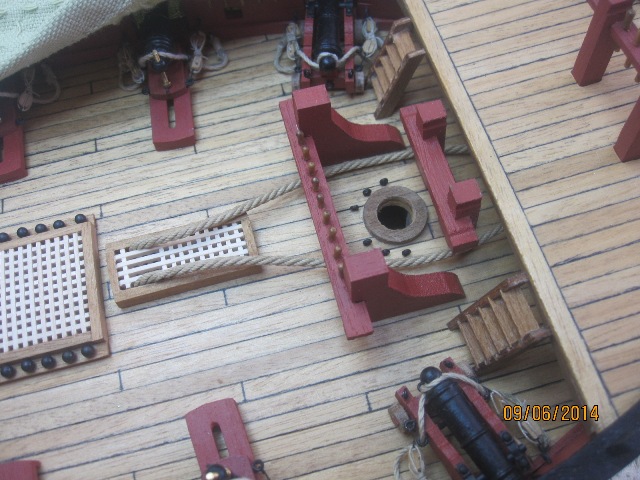
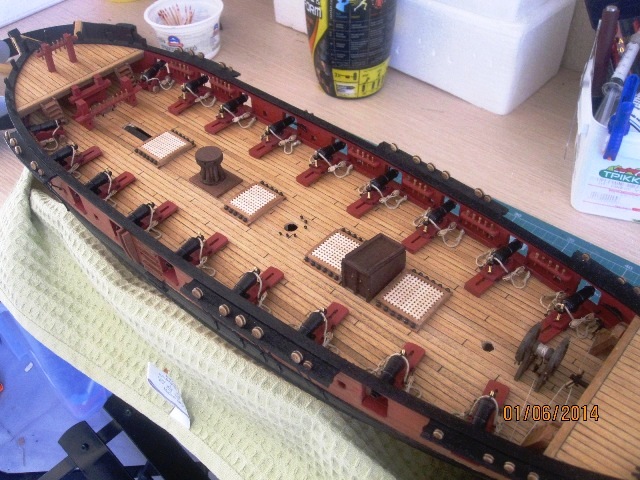
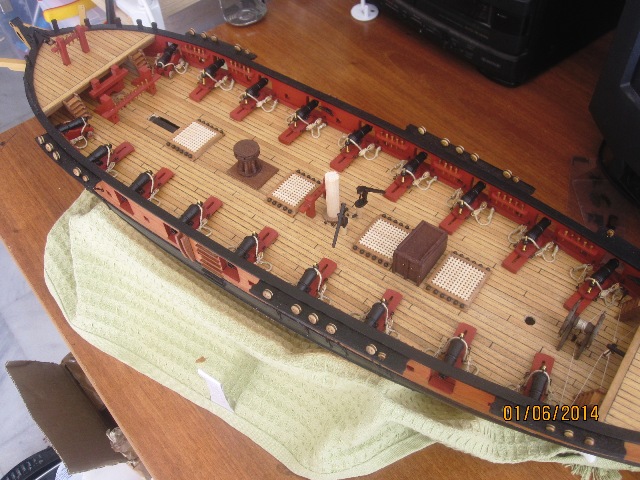
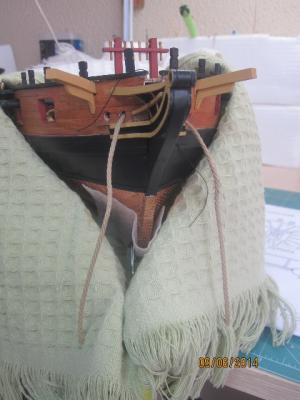
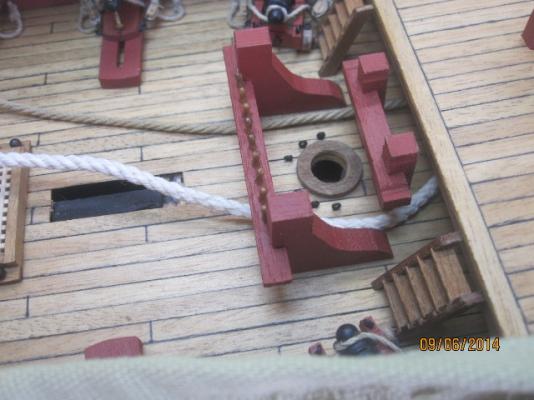
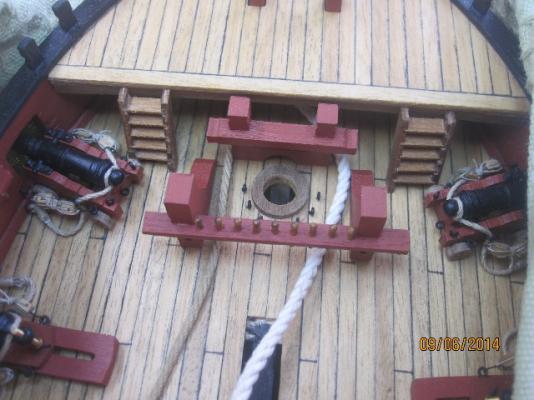
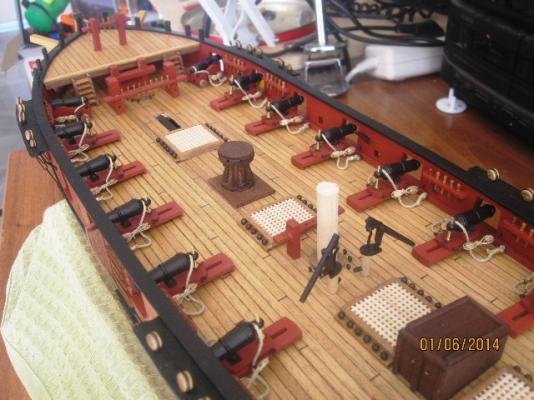
Anyway, I give up. Grating dry-fitted in place with amati aftermarket line of 2mm. I hope that the free edges I left are of sufficient length to tie the anchor after time...

- 1,144 replies
-
- 4
-
-
- snake
- caldercraft
- (and 1 more)
-
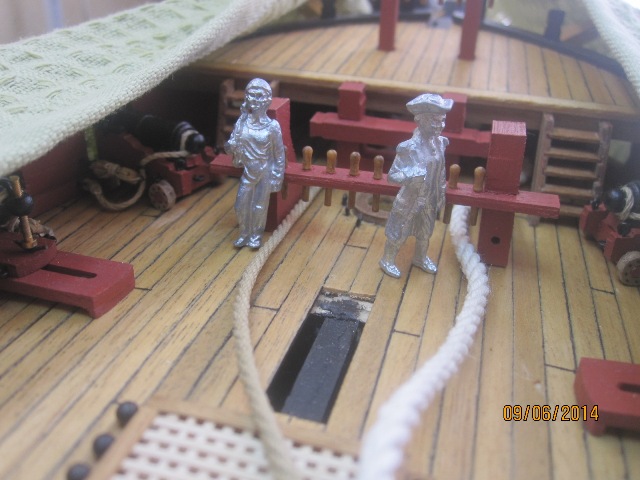
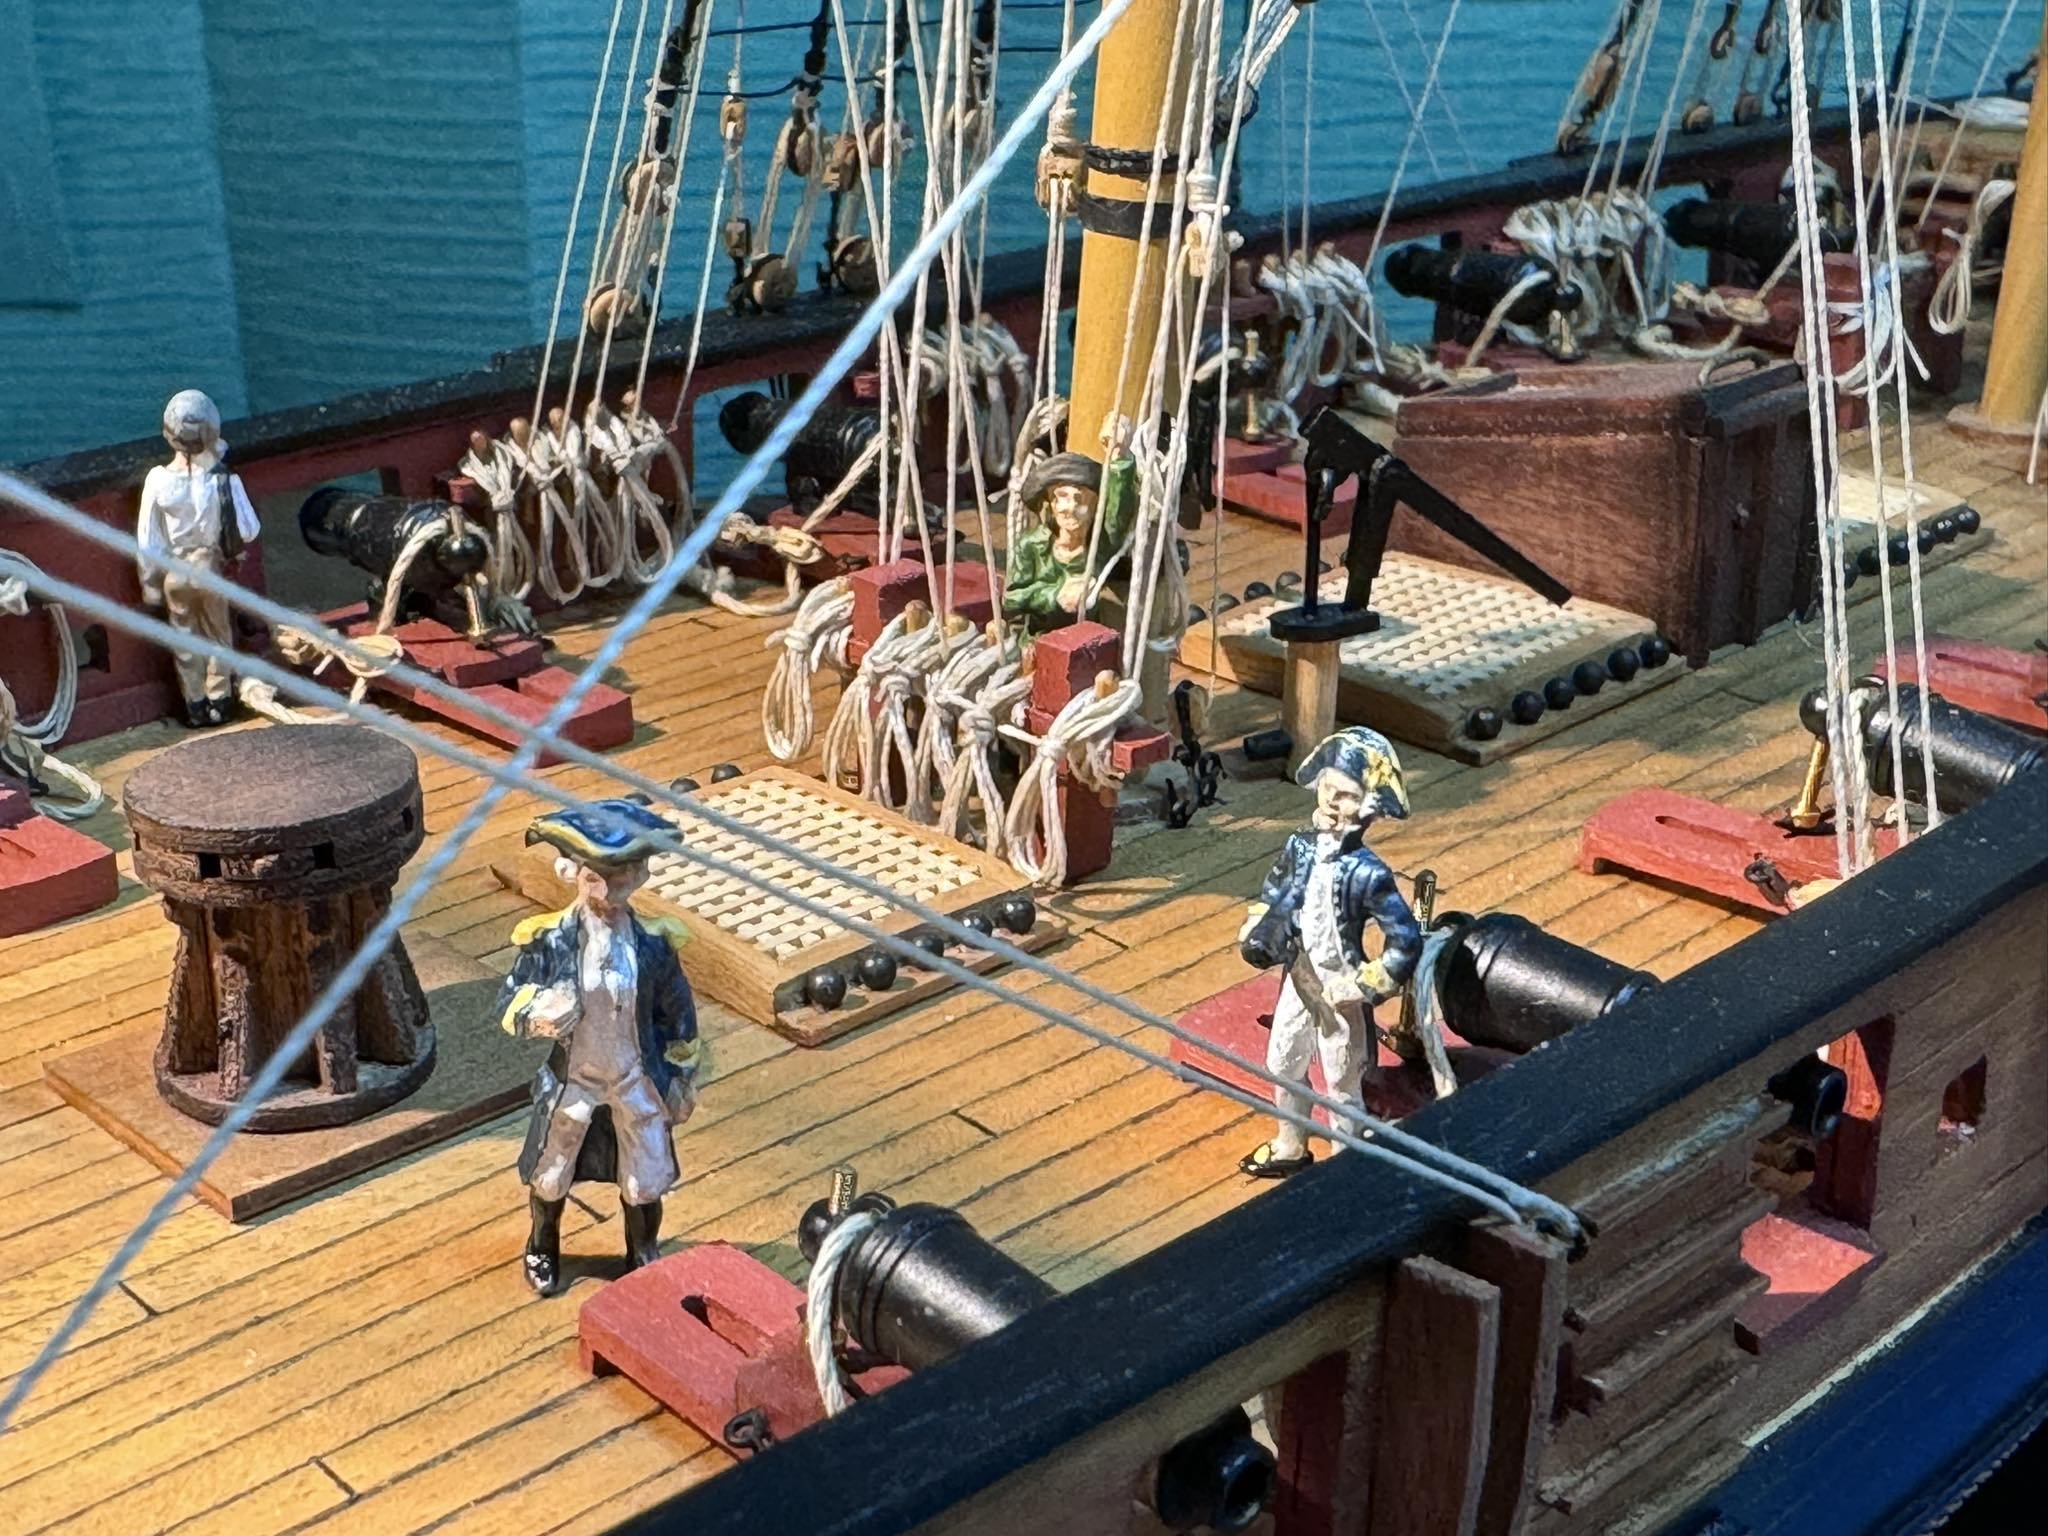
Despite the experienced references to use a 2mm line for the anchors, by looking the crew I don't consider the 2,5 mm line so huge especially as the rope for the main anchors of the ship.... It is my idea?

- 1,144 replies
-
- 2
-
-
- snake
- caldercraft
- (and 1 more)
-
Jason thanks for the pics which hopefully are back in you build log. The point is that I can't see any black paper in the kit...
-
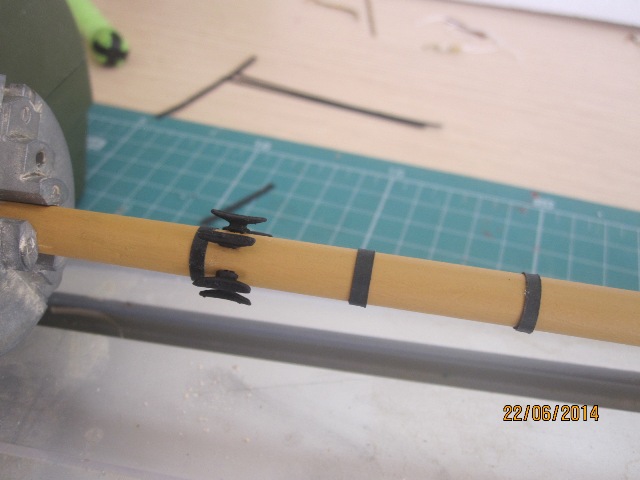
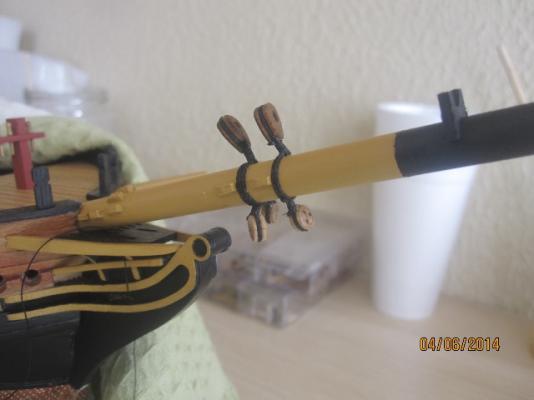
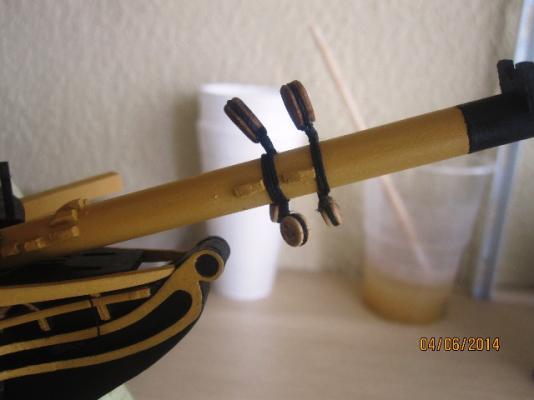
Hi my friends all those small strips of black paper of 2mm.... to simulate the metal bands etc on the masts. It is about a special type (propably self-adhesive) paper? How did you cut it and apply it so perfectly around the masts circumference? I was thinking to apply rings of 2 turns of 0,75 line instead, I don't know whta's your opinion.... Thanks
-
I've left the most anterior grating unglued for the mo. I've seen that Jason and Jim (according to appropriate scales and literature) have used a 2mm line for the anchors. A question in personal debate is how much out of scale could be the option of 2,5mm line...
- 1,144 replies
-
- 3
-
-
- snake
- caldercraft
- (and 1 more)
-
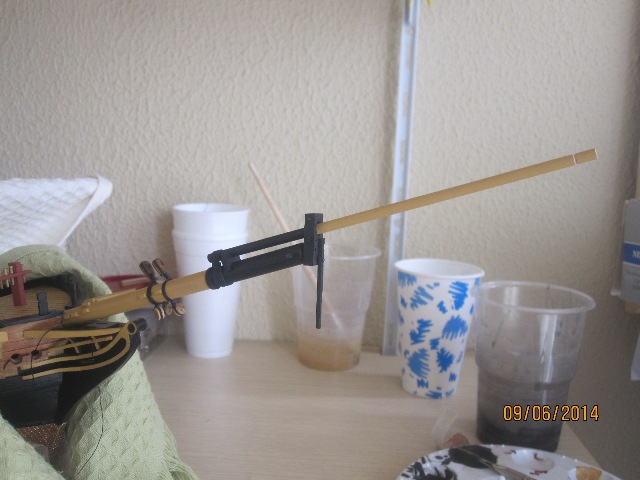
Next stop was to place and glue the jibboom. Pre-testing the bowsprit lashing was very easy. I've used the 0,75mm line for the jibboom.
- 1,144 replies
-
- 3
-
-
- snake
- caldercraft
- (and 1 more)
-
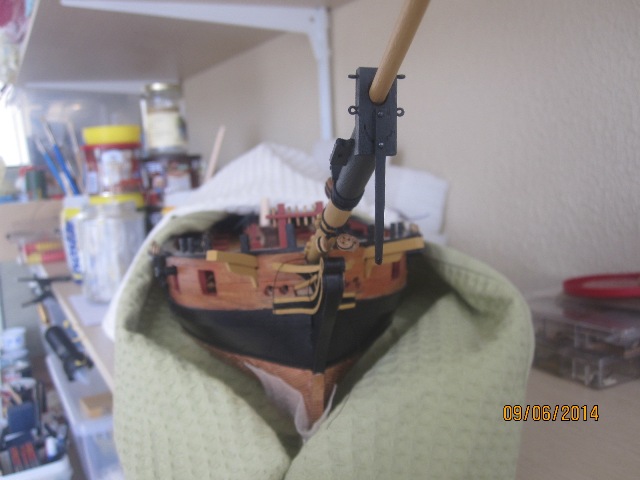
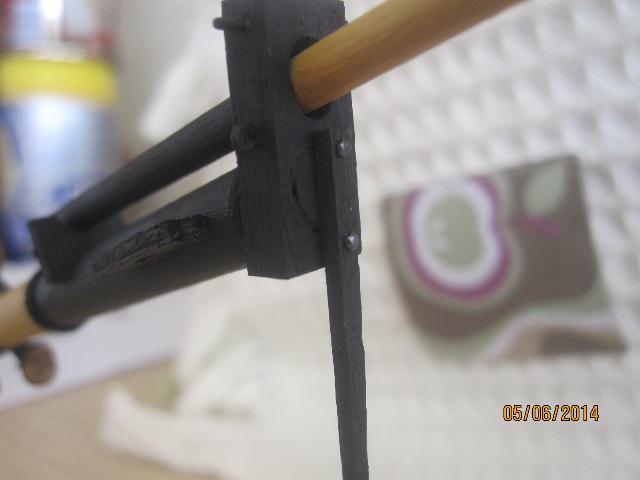
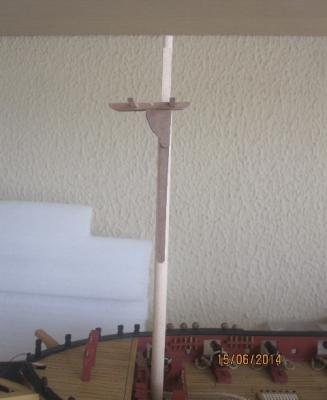
Dolphin striker pinned in place and protected accordingly....


- 1,144 replies
-
- 2
-
-
- snake
- caldercraft
- (and 1 more)
-
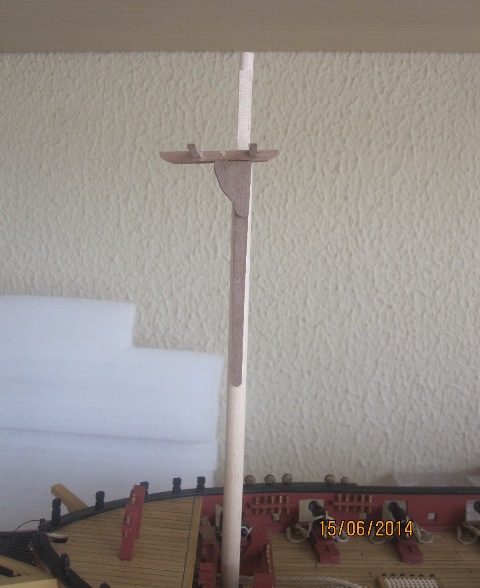
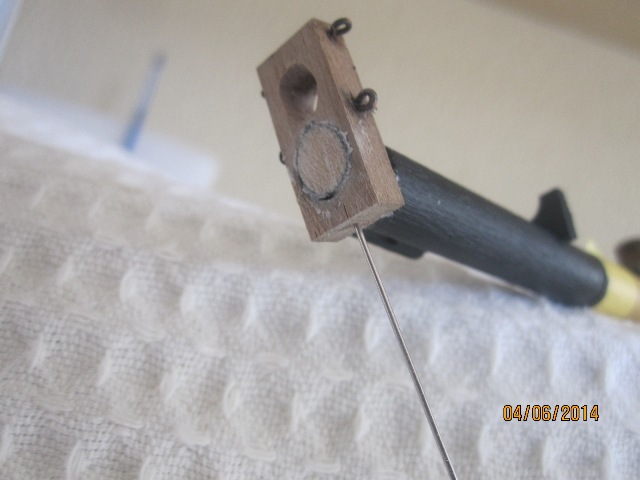
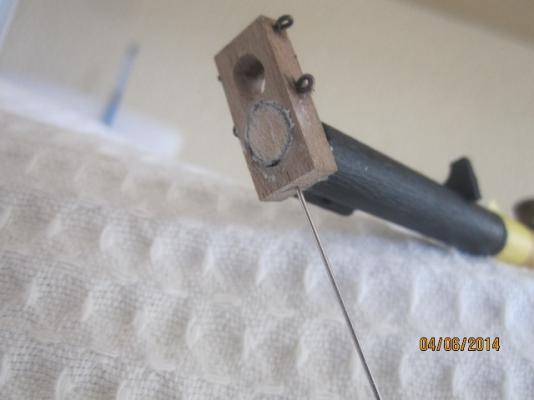
Next stop was to fix the bowsprit cap at 90 degrees to the keel. I used this pin to hold it and after all I cut it and left it inserted flush in the cap to provide more stability.

-
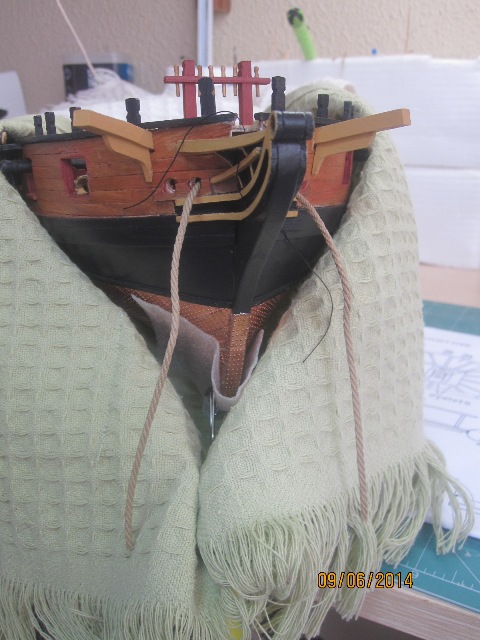
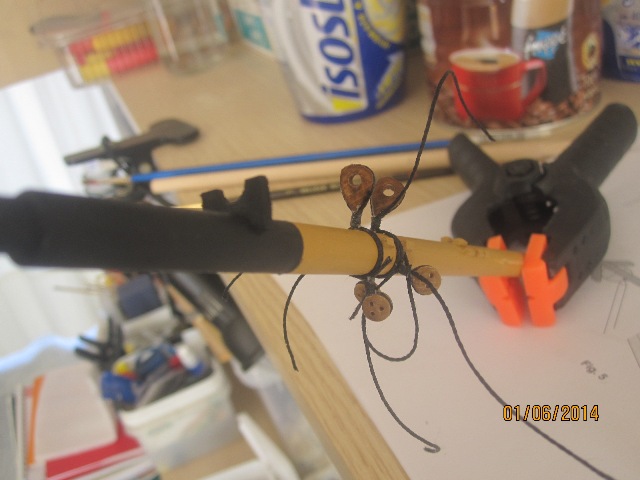
Current update of her status... I made the deadeyes and hearts collars, I'm pretty happy with the "first in sight" results...
- 1,144 replies
-
- 5
-
-
- snake
- caldercraft
- (and 1 more)
-
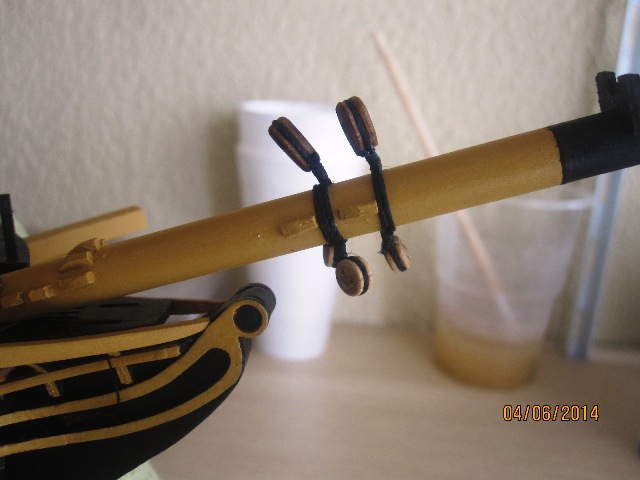
In the meantime i've started to tie hearts and deadeyes around the bowsprit. It was so easy to do it after seeing Jason's drawing....

- 1,144 replies
-
- 4
-
-
- snake
- caldercraft
- (and 1 more)
-
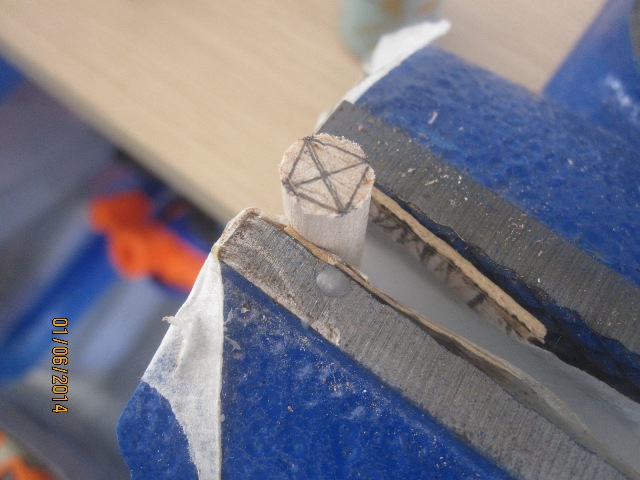
I decided to leave the top edge of the 1st component of the foremast and mainmast round like I did for the tenon of the bowsprit. I consider this as less important issue so I can lιve with it
- 1,144 replies
-
- 5
-
-
- snake
- caldercraft
- (and 1 more)
-
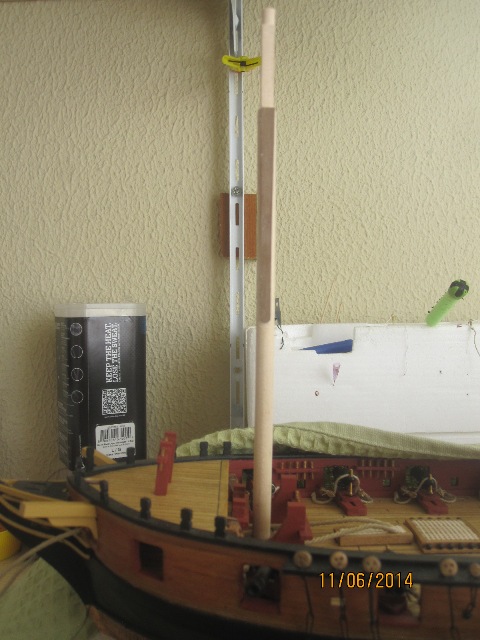
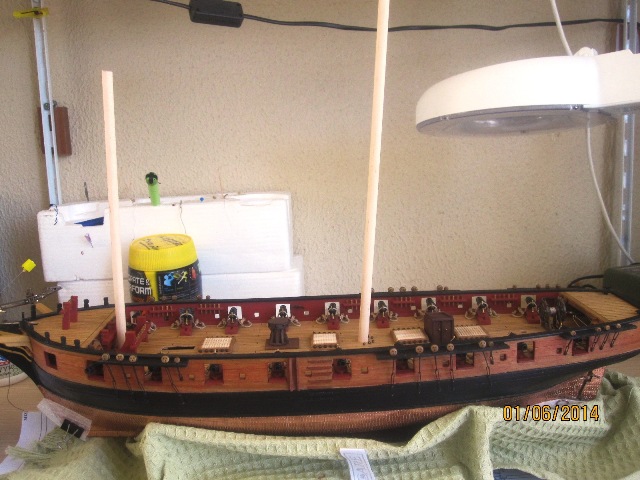
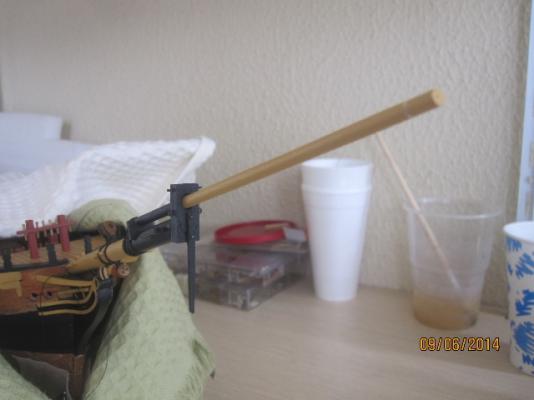
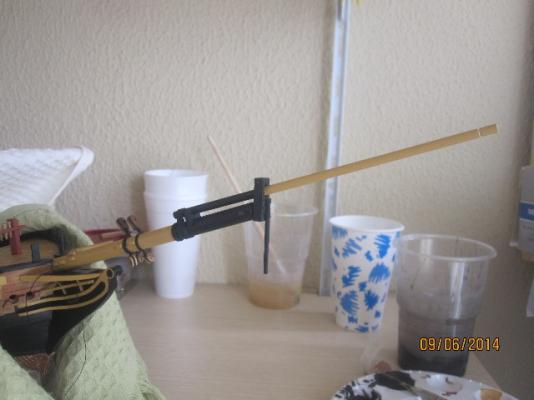
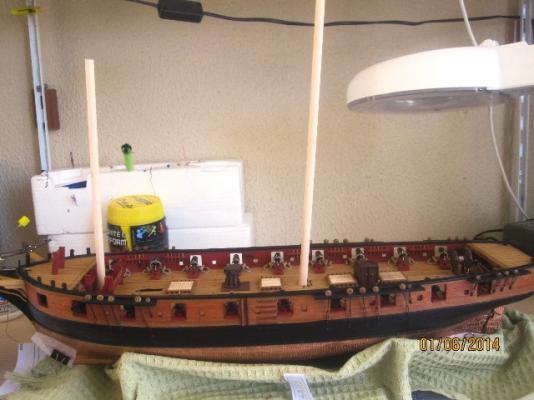
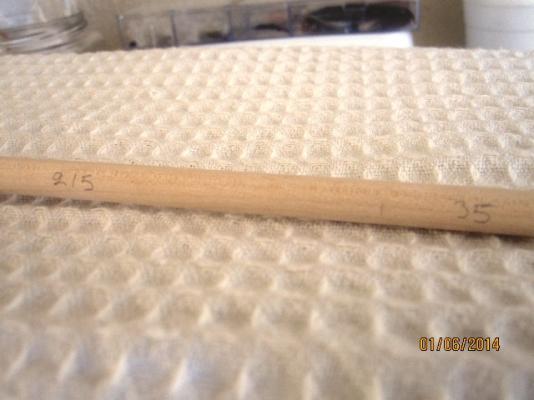
Started to shape the masts after a preliminary chequ for the balance/inclination of the dowels


- 1,144 replies
-
- 6
-
-
- snake
- caldercraft
- (and 1 more)
-
It was a holly weekend as far as modelism was concerned.... Quick update with some pics. Thanks


- 1,144 replies
-
- 6
-
-
- snake
- caldercraft
- (and 1 more)
-
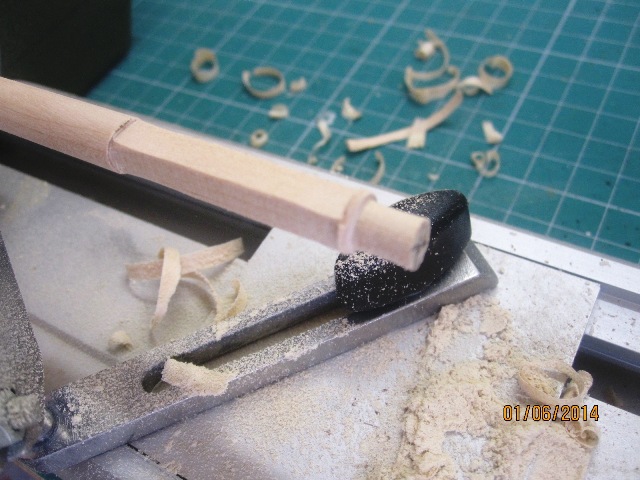
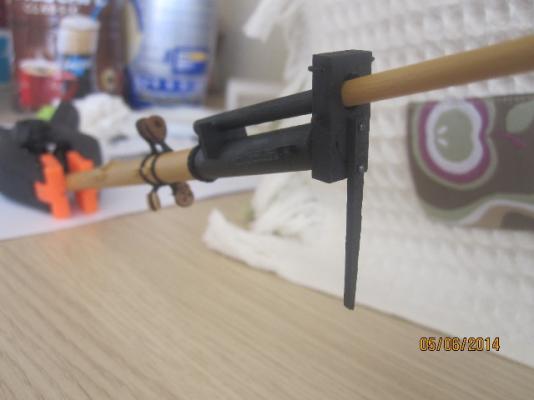
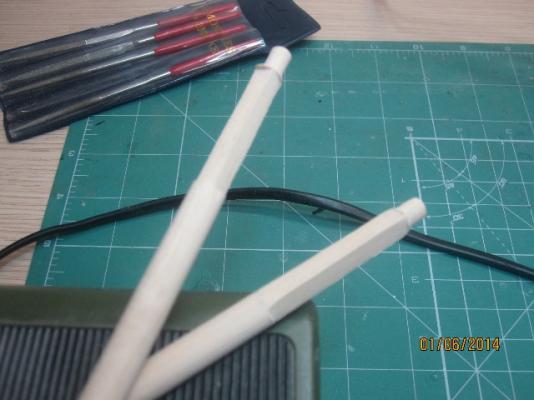
Next stop: started to learn how to cut the various masts sections (and especially how to make square a round section... )....
-
Thanks for dropping Geoff a little touch up is needed.....
- 1,144 replies
-
- 1
-
-
- snake
- caldercraft
- (and 1 more)
-
Thank you Vasileios. To see my next build (even I'm not sure what it will be, but you know my tendency..) I have to accelarate myshelf to finish my second beauty (Snake)