
drtrap
-
Posts
907 -
Joined
-
Last visited
Content Type
Profiles
Forums
Gallery
Events
Everything posted by drtrap
-
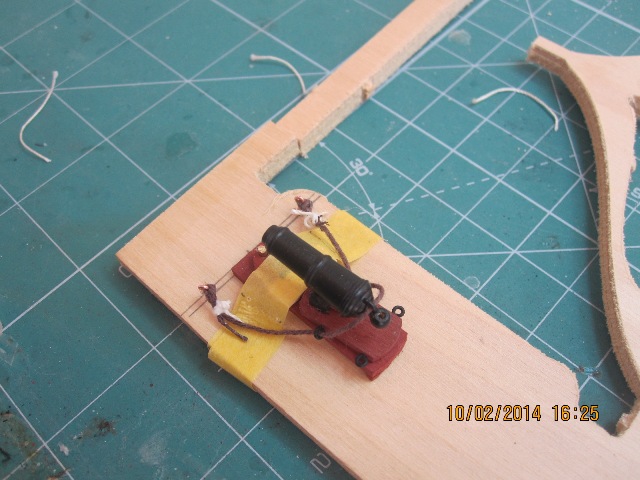
Thank you jason. I've finished with the breeching rope rigging of all the 16 carronades and the 2 cannons. It's time to test the 2mm aftermarkt blocks using 0,1 mm natural rope to create the tackling for the whole of the weaponry.
-
Hi guys, any quick tutorial on how to create hooks from eyelets? Thanks
-
Sometimes I think to use blackened elevation screws Jason, as a natural sign of corrosion/wear etc....
-
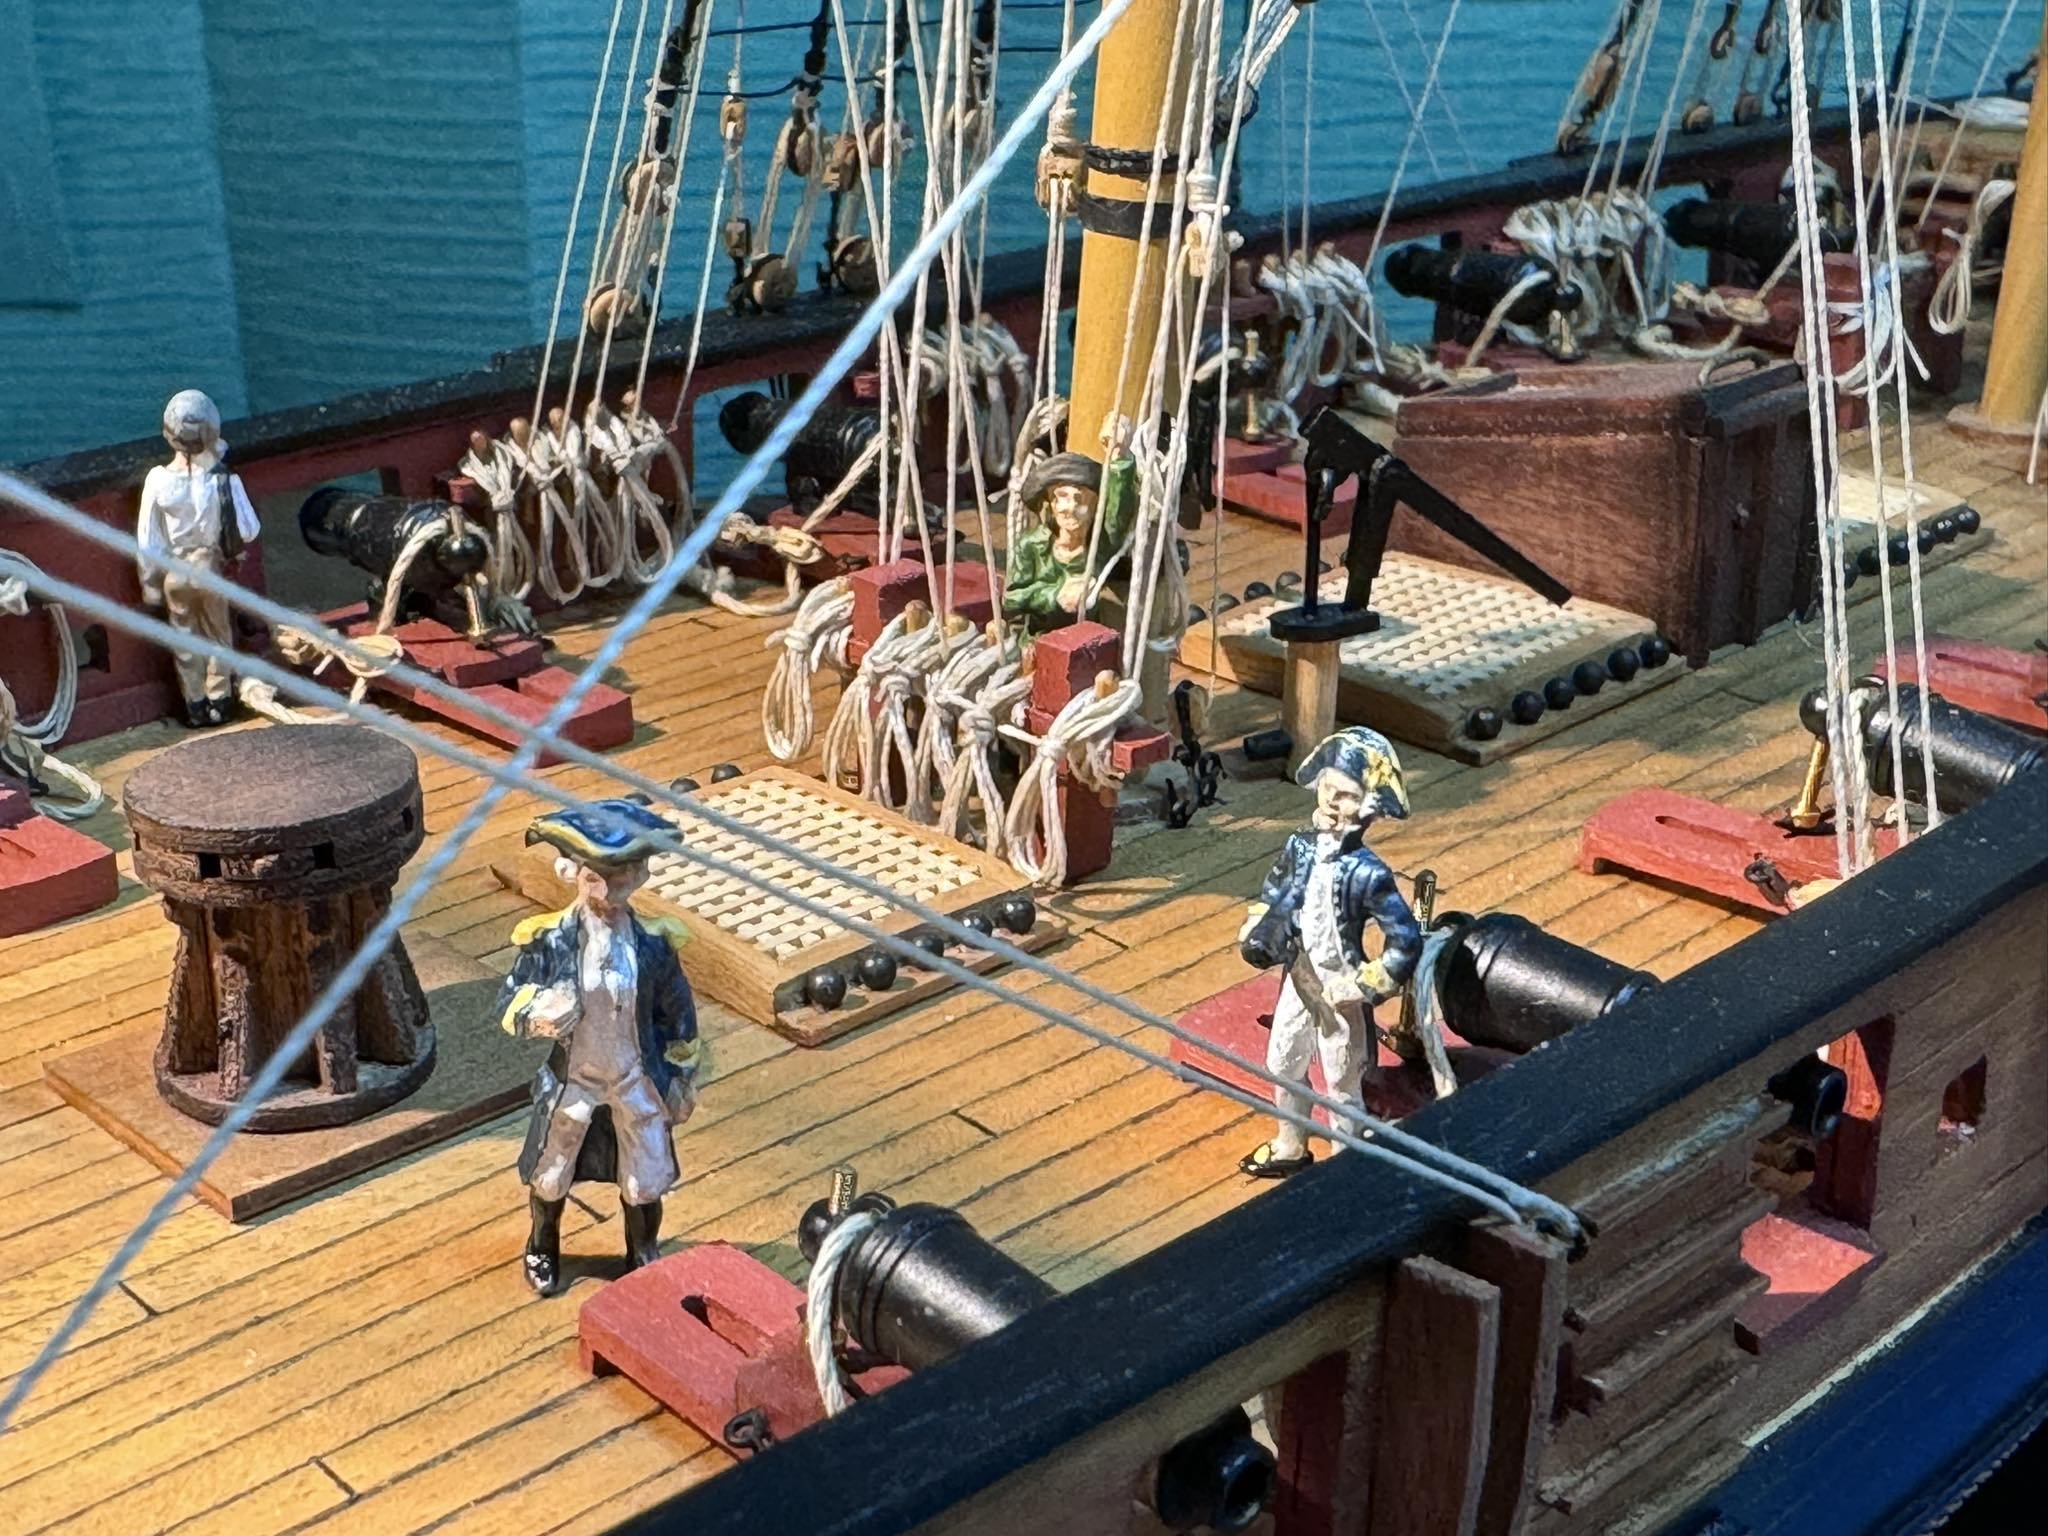
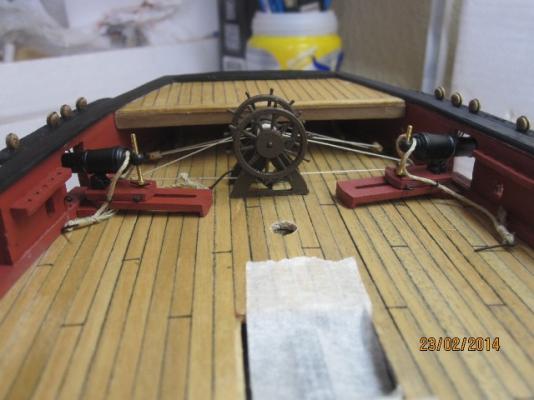
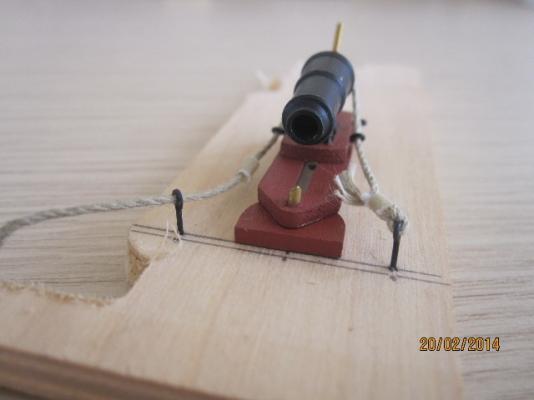
Chequing up the relative heights and aft space of the deck to accomodate the most aft pair of carronades. My plan is to totally thread and accomplish the rigging of the posterior/aft pair of carronades to be able later on to fix the ladders at the right place/distance...


- 1,144 replies
-
- 5
-

-
- snake
- caldercraft
- (and 1 more)
-
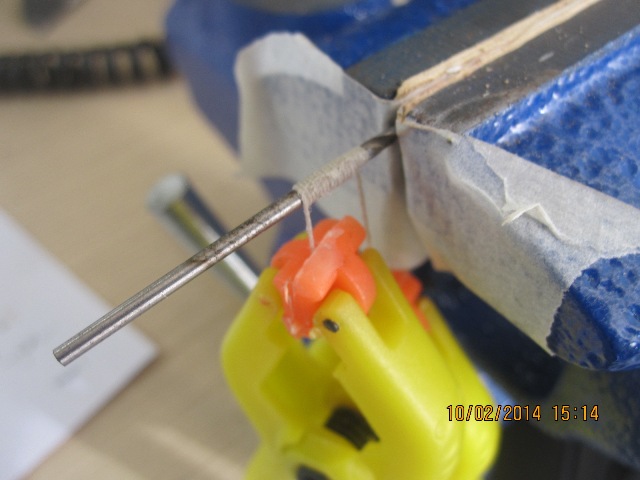
Zip seizings in progress... I'm turning the line around a drill of 1,5 mm diameter according to the correct theoritical ratio... I've purcased the line from the local stores. The ideal would be to use a line of 0,25mm but I prefer much better this type for the mo

- 1,144 replies
-
- 4
-
-
- snake
- caldercraft
- (and 1 more)
-
Hi mates. I would like to ask you, what’s the best stage of the construction to upgrade the base of the model in your opinion. I’ve created in advance two holes (3mm in diameter/9mm depth) under the ship to support her with the relative 3mm rods. Do you believe that the mentioned diameter and depth of the wholes/rods will be secure for the stability of the ship in to the future? Thanks.
-
Great work !!
-
Thanks Jason, I'm thinking to use the same aftermarket 1mm Amati line. It is the testing natural line in my last photo... I suppose that you've placed only a single half-hitch at the eyes, am I right? Thanks.
-
I would say better to wrap the rope....
-
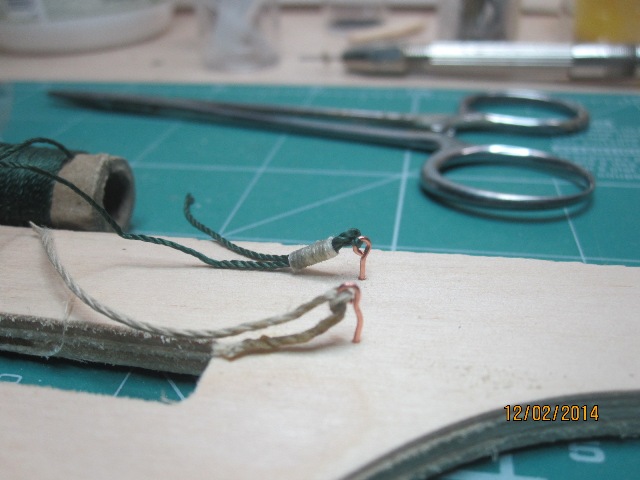
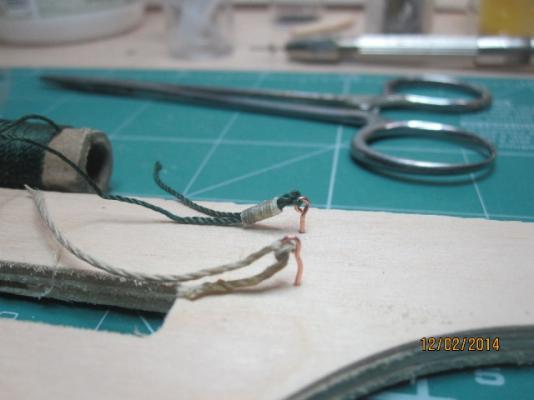
Next step, trying to improve my other skill: seizing of the breeching rope. Except the tecnique I'm showing in the photo (green testing rope), I'm trying to find any step by step tutorial to seize the rope using multiple (I think) "half-hitch" knots... Any idea on this? Thanks. The naturac color rope is Amati, 1mm in diameter. I wonder how could Jason pass it through the eyelet, even with the edge hardened with cyano....
-
These are the relative heights using the 24's and 32's carronades respectively... http://modelshipworld.com/index.php?/topic/634-hms-snake-by-stergios/page-9
-
Hi Norman those pics are without the placement of the rear elevation screw and just for practice.. In every case I'll test the relative heights.... Thanks
-
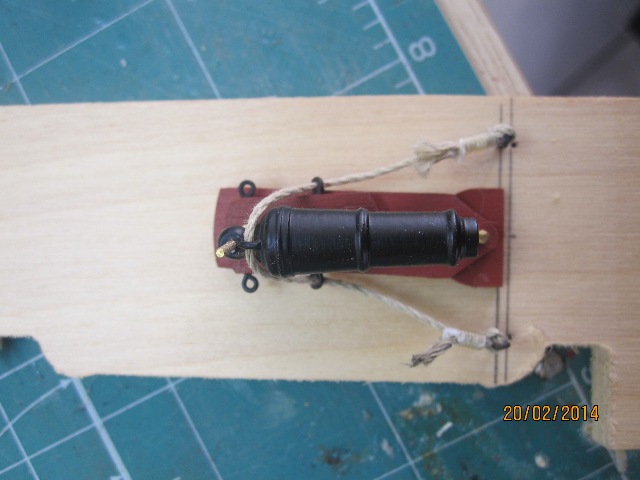
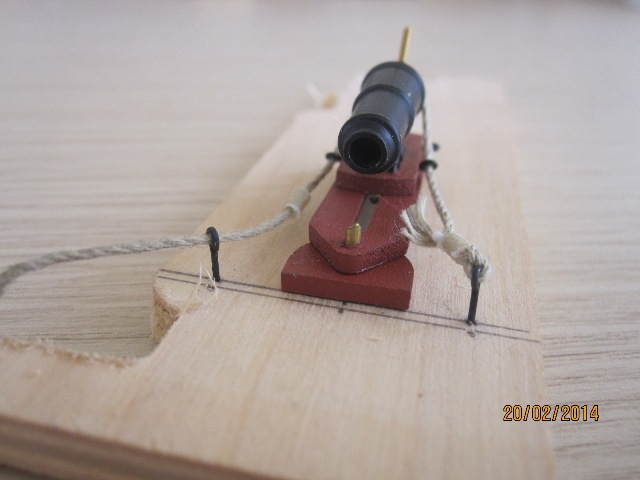
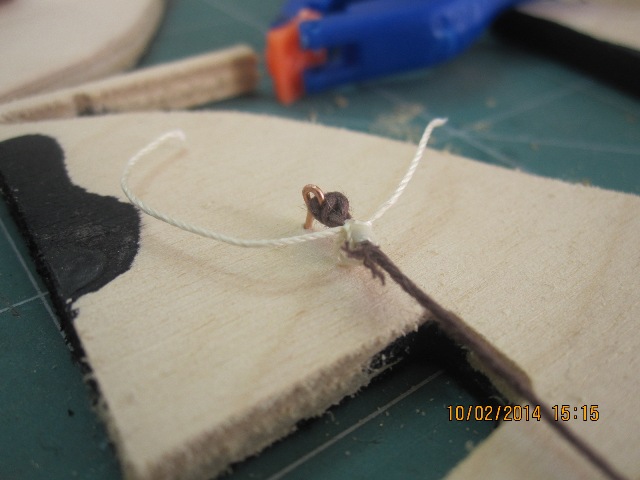
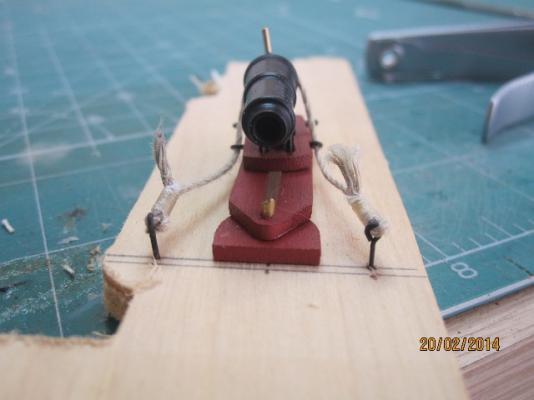
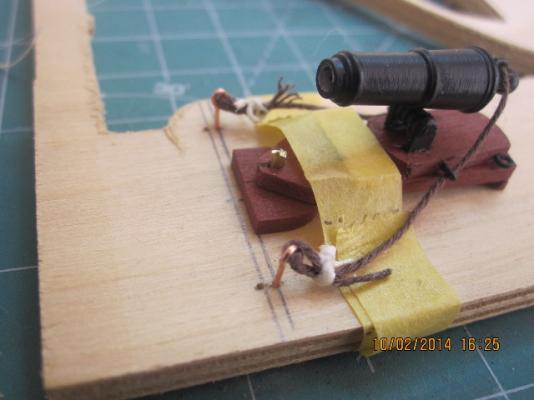
Trying to set a correct device for the rigging of the guns. This is a second hand "jig" for 24's carronades (I'll use the 32's) just to feel more familiar with the rigging of the breeching rope. The whole procedure especially for the seizing and using PVA to secure the knots is so time consuming... Thinking of use cyano to proceed faster. In the other hand an alternative option to avoid the knots: pro-made seizing (using 0,25 line and PVA. Cyano glue makes too dificult to withdraw the setting from the drill...).


- 1,144 replies
-
- 2
-
-
- snake
- caldercraft
- (and 1 more)
-
Still waiting for the "out of stock" replacement parts... In the meantime I'm looking for any tutorial or guide to help me with the rigging of the breeching rope and the tackle for the guns. Have u used any special method? Thank you
-
...I've problem with two elevation screws as they can't penetrate the respective hole of the barrel.... I've applied for replacement at cornwallmodelboats....
- 1,144 replies
-
- 1
-
-
- snake
- caldercraft
- (and 1 more)
-
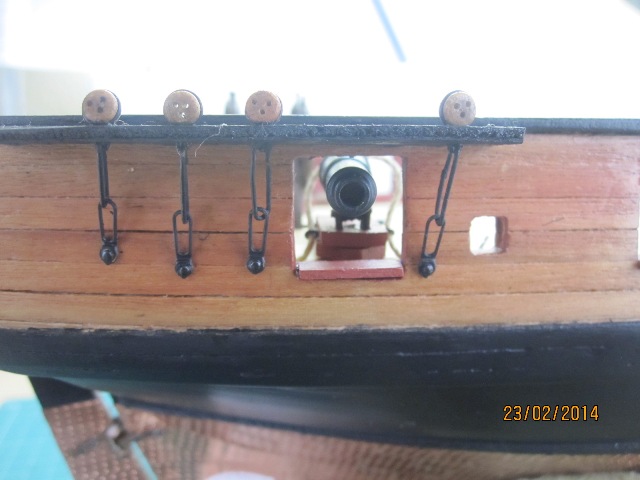
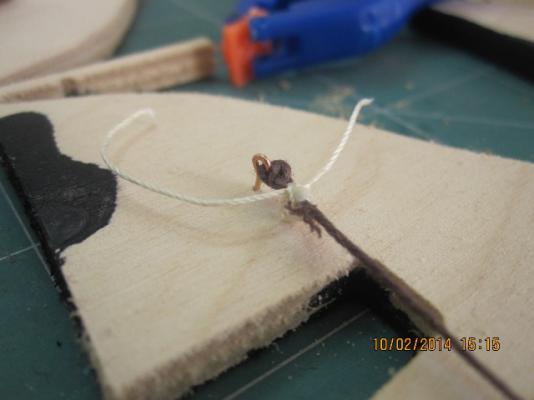
Fixing the wire-hole for the breeching rope.. The second photo illustrates a minor complication regarding the thread of the passing screw...


- 1,144 replies
-
- 4
-
-
- snake
- caldercraft
- (and 1 more)
-
Ok, I think I've found it....
-
Hi mates, a question in brief...: how can I measure the width of a rope/line of the market, I mean how can I make clear its width/diameter? Thanks
-
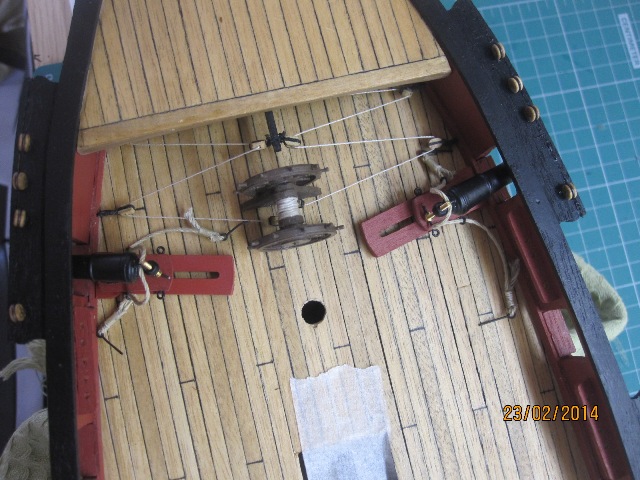
Thanks again Jason! Another one question: how have you fixed the deck blocks (walnut part No 1 ) on the deck of the model, using PVA or any kind of glue or drilling the deck for every kit to pass the 1,5 mm rod through each deck block and fixing them in place? Sorry to ask you so many questions but to my knowledge you;re the first and the only one who purchased those after market kits. Cheers. Stergios
-
Thank you Jason, I think you told me to use cyano glue to fix them on the barrels, is thsi correct?
-
I'm about to create the hole for the rope on the cannons using the 0,8 mm wire. May I ask you Jason, how have you bend and cut/shape those wire hole-curvatures for all the barrels? Thanks!!
-
I can't wait for another 15-20 days to have back the [in question] replacing walnut parts. I had to wait 25 days to receive all the seven kits in two posting periods... I'll try to fix the problem by my own to a couple of the kits. The other five left, are fine.
-
I'll try to talk to them Jim, even I'm not so hopeful....
-
Started to unpack the fittings of the kits of the aftermarket 32's carronades... The quality of the 2 mm walnut is so poor, that I can;t stand it, and I paid a lot of money for all of them !!