
drtrap
-
Posts
907 -
Joined
-
Last visited
Content Type
Profiles
Forums
Gallery
Events
Everything posted by drtrap
-
Hello to everyone, I'm back again. Jim, Pete, I still wonder, did you use and glue in place the (somehow curved) standard posterior capping rail provided by the kit, or did you place another not so curved 2x2 wallnut plank? I'm about to fix it, but because of its curved shapeI can't place it "equally spaced" on the stern fascia. Thanks a lot

-
Fully understood now, Jason. You know, many techniques and surgical procedures in shoulder arthroscopy use to enhance this kind of tip...
- 800 replies
-
- 1
-

-
- snake
- caldercraft
- (and 1 more)
-
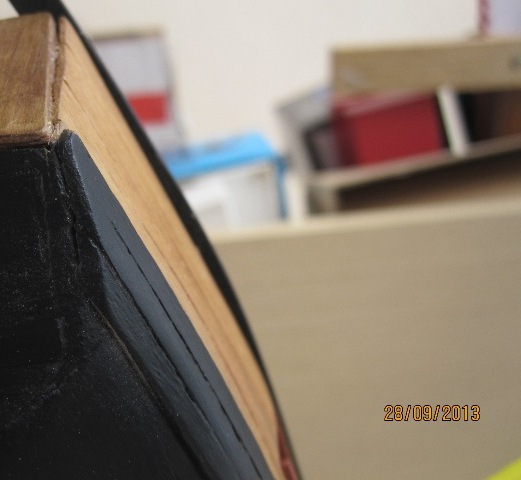
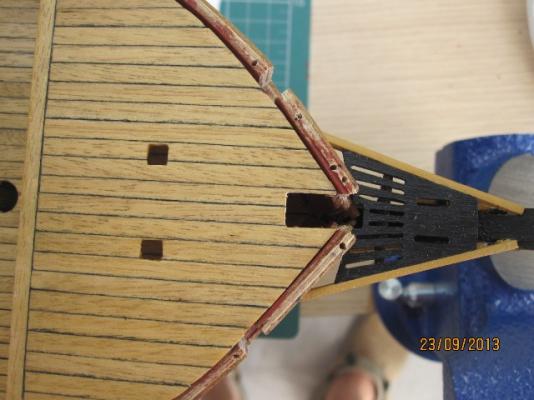
Hi to everyone. Capping rail (lateral and posterior) dry-fitting is in progress, I'm concerned with the shape of the aft capping rail, as it's a bit curve and not so suitable to the upper rim of the (more straight) stern fascia... Did you re-shape it anyway or just left as it was and glued in place? (I saw Jason has made his own aft capping rail, propably for the above mentioned reason..). Thanks.
-
Thank you mates for encouraging! Well, I'm about to fix the platforms and glue the capping rails in place.
-
Nice work Jason, absolutely nice work. Could you please specify the tip (?) with the wire helping place the knot where you want to ? Thanks.
-
Trying to place on the right (middle) point of the bulwark the posterior edge of the capping rail. Its pre-shaped posterior arch and bending can't help me at all. Thinking to leave it as it is, as a so-called lateral "offset", on that place. Hope to not create additional troubles following next phases...

-
Thank you again Jim.
-
Hi Jim does the distance between the pillars are suitable to that of the keel holes you've opened in advance? Thanks Stergios
-
Those shearing lateral forces of the bad-shaped capping rail especially at the stern is a huge headache for me. I think that using beam or heat is a useless option to decrease the unwanted curvature at the rear edge.... I hope to finally have a nice result with those 1 mm wires....

-
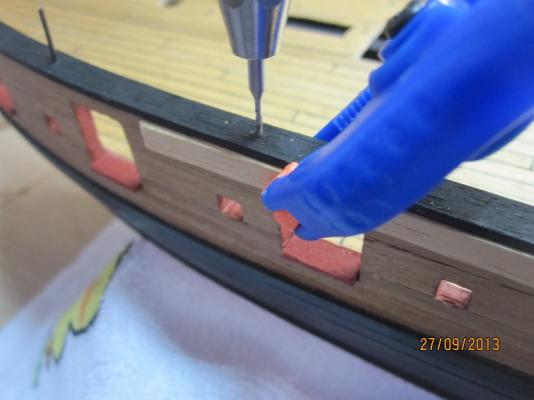
Two planks (1,5 mm each) help me to place and drill the capping rails in the middle border (between the inner and outer bulwarks... I try to do my best despite the fact that the capping rails and bulwarks respectively are'nt cut in relative harmony... Out of plan for another time...
- 1,144 replies
-
- 1
-
-
- snake
- caldercraft
- (and 1 more)
-
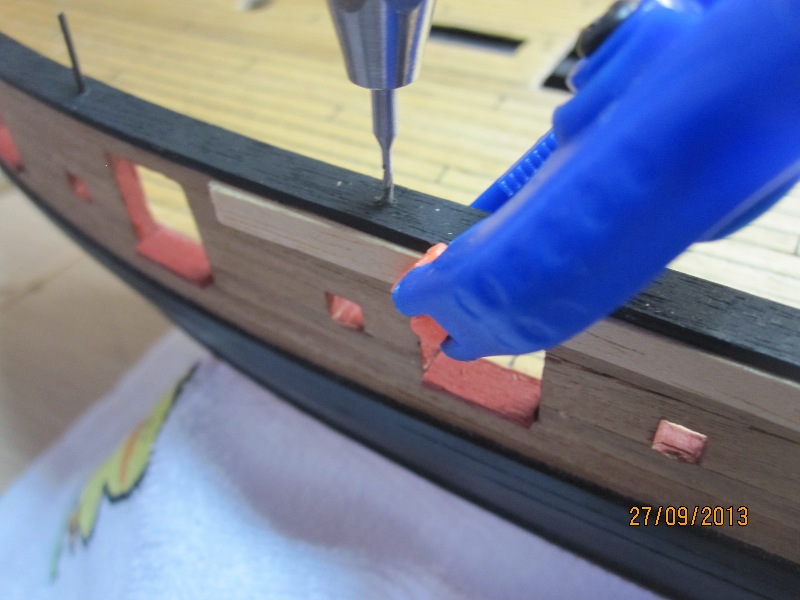
I was thinking about glue, only as a coverage of the holes, Pete...
-
Thank you Jason. Any recommendation on the type of fast drying stuff? You know, local products are'nt the same and personal experience is highly required..!
-
Thinking of use carpenter;s glue to cover those 1 mm holes before the final painting instead of wood filler... What;s your suggestion? Thanks

-
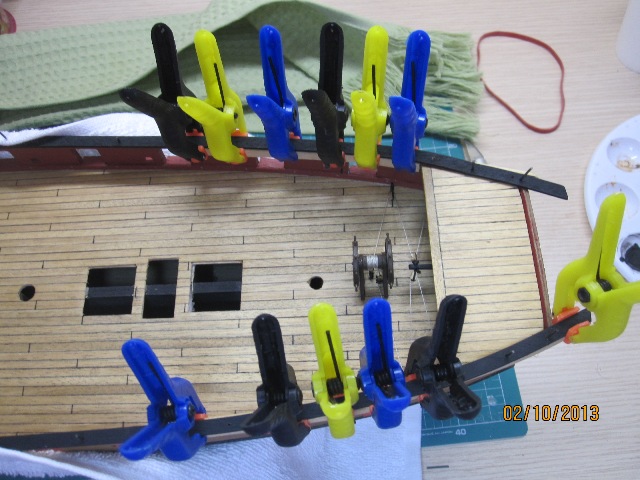
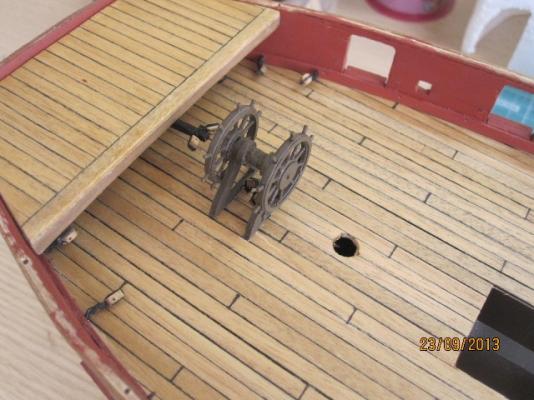
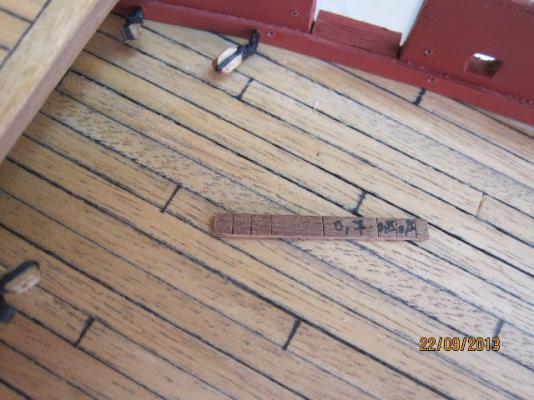
The whole procedure finally was so easy. I used the 0,25 line for the rigging. Next step: the capping rails....
- 1,144 replies
-
- 3
-
-
- snake
- caldercraft
- (and 1 more)
-
Thanks Pete, I'm thinking to start from the tiller the rigging, going bilaterally to the eyelets/blocks and finishing at the wheel....
-
Thanks again Jason. I thought that you used the 0,1 line, I think I read yesterday your thosedays post....
-
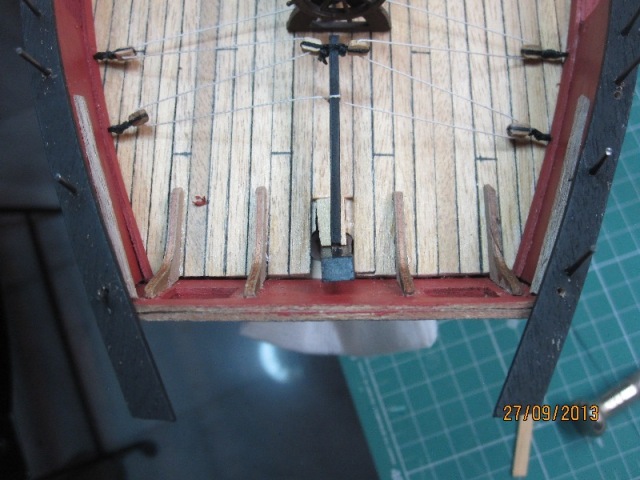
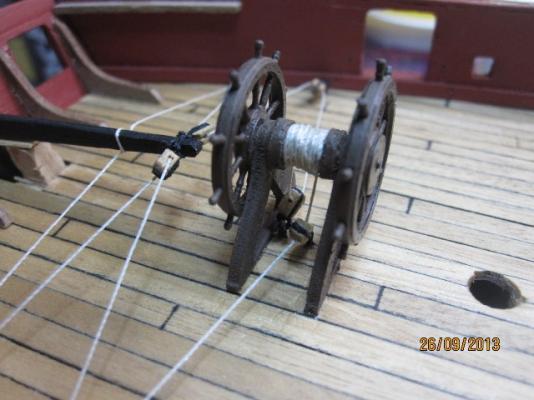
The wheel in place, finally. A question still in debate: the rope for the wheel... Should I use 0,1 or 0,25 line for the rigging? And something for the front platform: is it a major fault to leave it's gap (for the bowsprit) rectangular than to shape it in a semicircular fashion, like you did ?
-
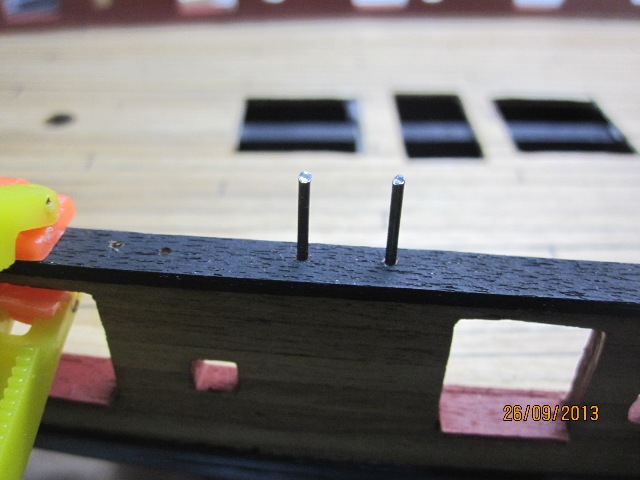
A custom made mini ruler for the symmetry of the anchoring holes....
- 1,144 replies
-
- 1
-
-
- snake
- caldercraft
- (and 1 more)
-
You're always welcoming, Jason. Thanks for the photo!
-
Small quick update... and ready to fix the wheel on the deck
-
Nice tutor Jim! Absolutely helpfull
-
Yes Jason I tend to reduce the height, I placed the ladders uncut and temporarily.... I can imagine you've opened the holes for the breeching so close to the eyelet's hole for the wheel....
-
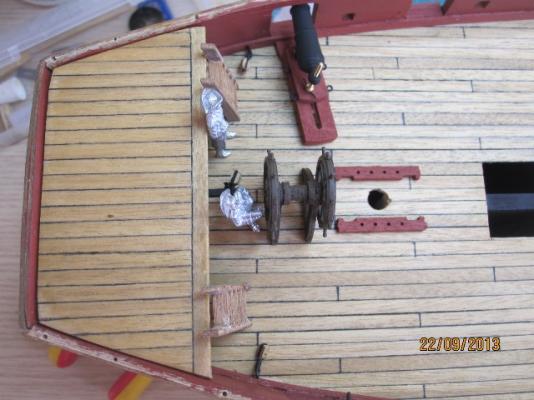
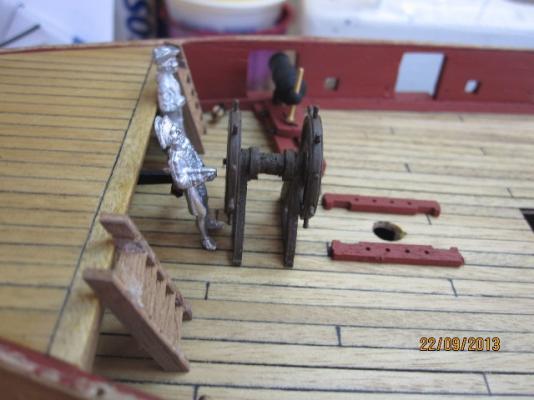
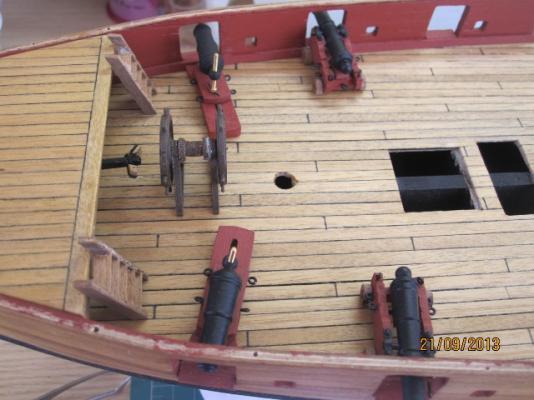
So realy difficult to place all the deck fittings back here... Especially to find the right spot to drill the front holes for the eyelets of the wheel rigging, because of the holes of the last caronnade. I think I need to study your previous photos mates! The fittings are placed temporarily of course...


- 1,144 replies
-
- 3
-
-
- snake
- caldercraft
- (and 1 more)
-
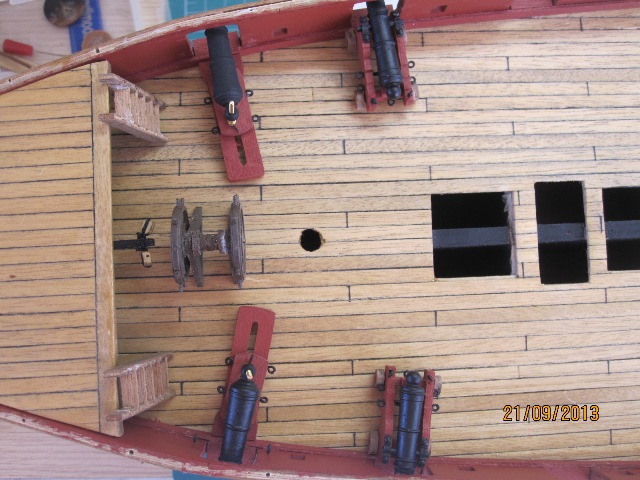
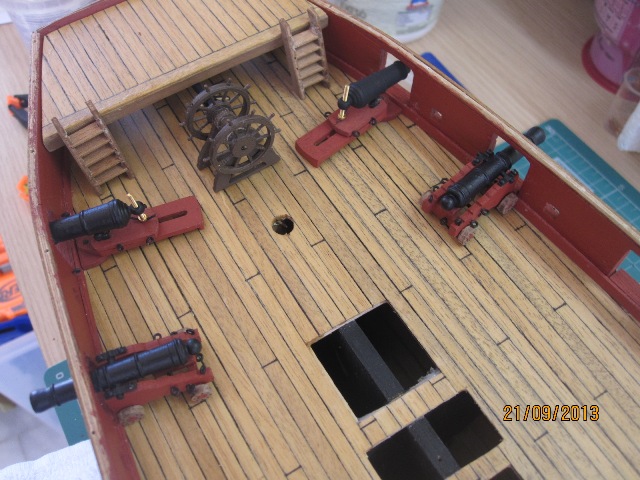
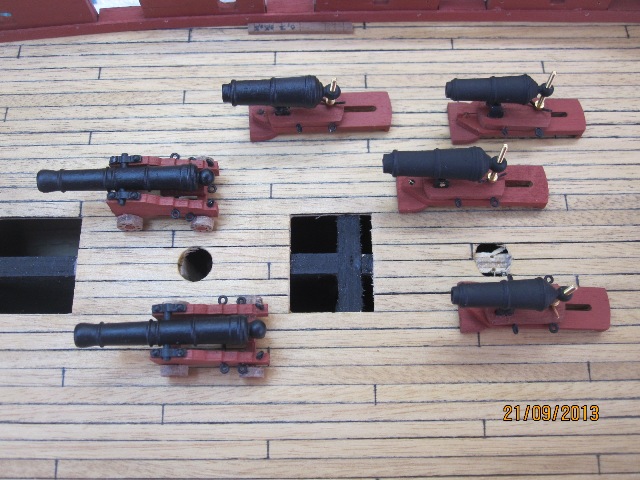
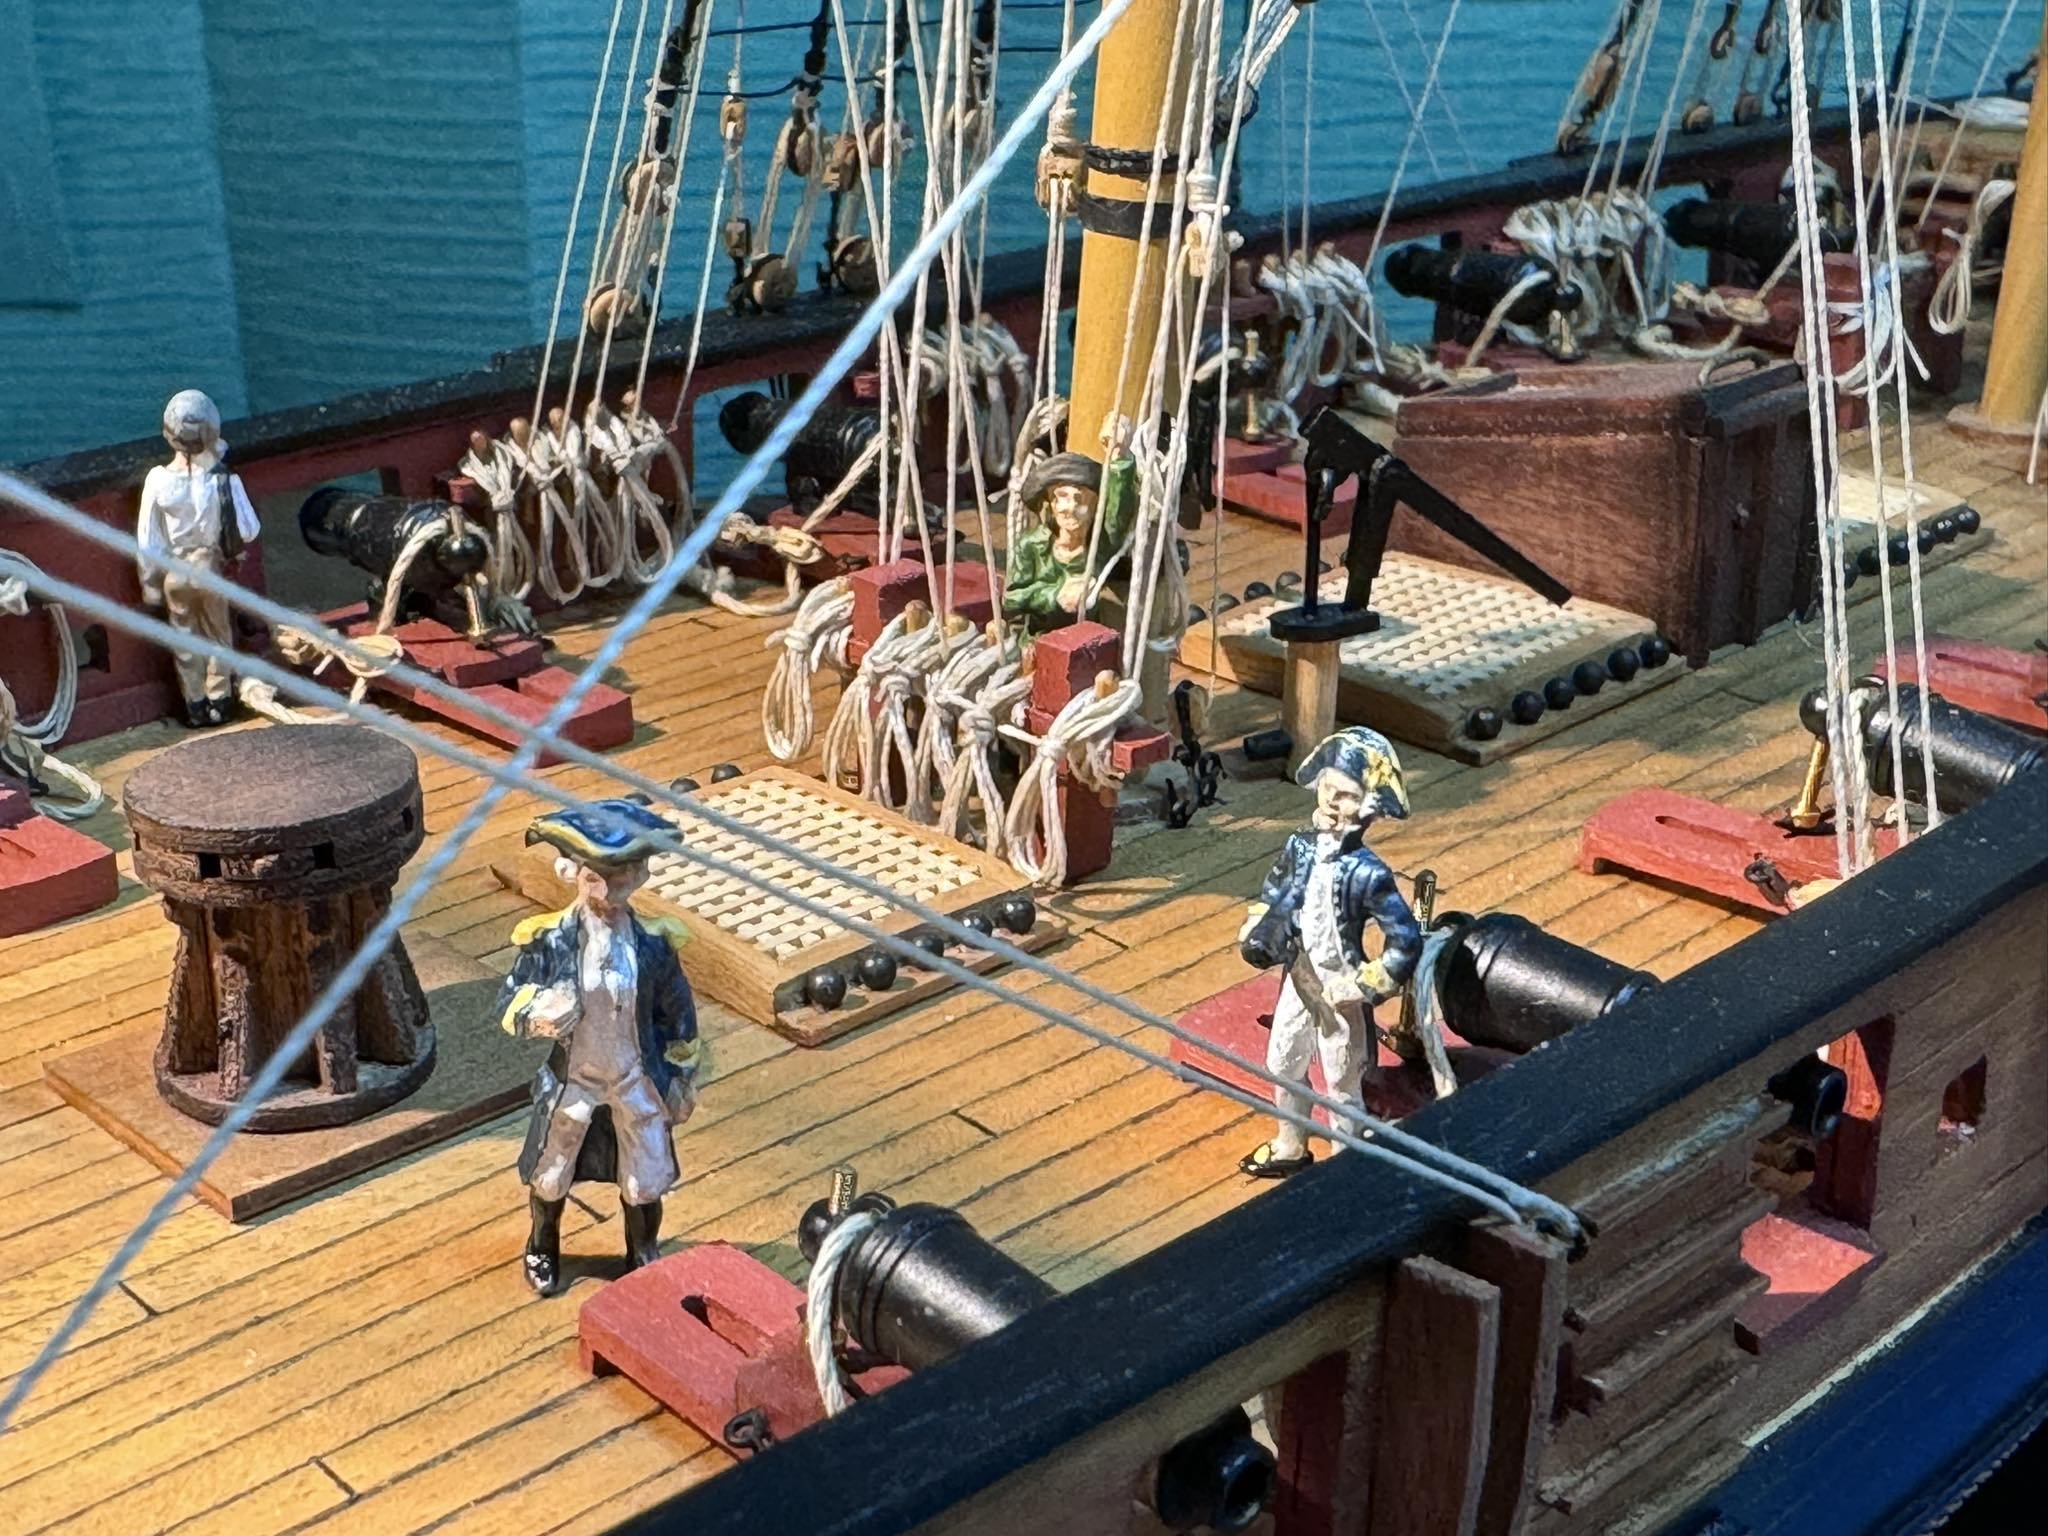
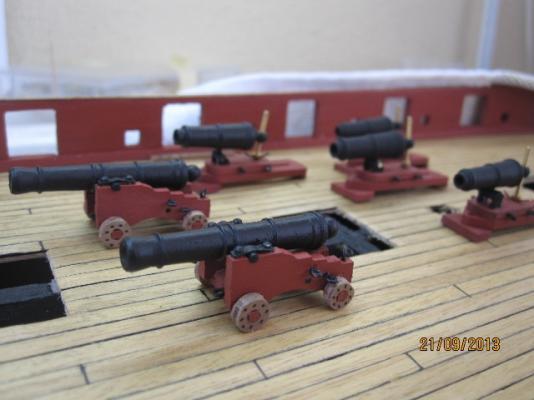
A couple of pics from my latest work... It was the best opportunity to see and understand better the sizes of the weaponry...

- 1,144 replies
-
- 2
-
-
- snake
- caldercraft
- (and 1 more)
-
...everything is so clear now.... Cheers