

drtrap
-
Posts
904 -
Joined
-
Last visited
Content Type
Profiles
Forums
Gallery
Events
Posts posted by drtrap
-
-
Hello to everyone.
It's very interesting to me to know which type of guns (size and type of carronades) finally you are about to place...
I'm waiting to see relative pics.
Thanks.
-
Wishing you the best Jason for your birthday!
Stergios
-
Fine Jason, I'll change my plans.
I do appreciate your experience and your mind of deep insight!By the way, have you tried to order these 24lbs instead of the 32lbs ??
Thanks
C85824AK Carronade Kit, 24lb, 1:64, C1795 (2) -
In my turn I think is better to place the tiller arm ropes first.
This way, I'll be more free in case of need to modify the inclination and treads of the aft ladders later without disturbing the so closed aft space .
-
I spent a lot of time dry fitting the various components and had completed the aft ladders to determine where the various rudder steering lines need to go so they don't interfere (the plans are horrible in this respect). This took a bit of playing, but once done, I knew I could position the blocks, wheel and tiller arm with confidence - I think its the only way to do it to prevent an issue because once the aft platform is fixed it would be difficult to fix. The rigging of the aft carronades also need to be factored in as well as it gets pretty cramped back there. I ended up having to make my own tiller arm as I had an accident with the kit piece.
Thank you again for replying so promptly !
-
Jason, Jim
do you have any special comment regarding the length of the tiller arm I've placed?
I dont feel very safe with the plans and I'm about to start the wheel's rigging.Thanks
-
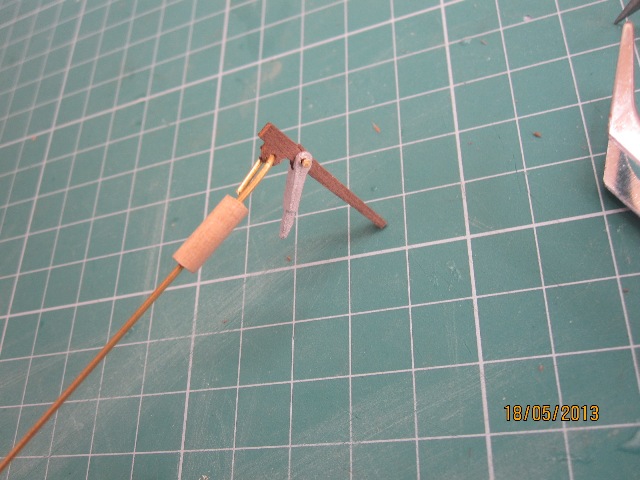
Tiller arm in place, dry-fitted, no trimming needed.
Can you estimate from the relative distances and especially from the aft platform and the last gunport whether I'm in right place to start the tiller's and wheel's rigging?
Thank you, again
-
Jason, I;m currently seeing the rigging of the wheel and tiller.
Have you use wire or black rope to strap the blocks (3 mm)? The white rigging rope is of 0,25 mm?
Thanks
-
I could upload it again tomorrow, but I thought you had decided to buy the Caldercraft aftermarket carronades so I deleted the post ?
Pete
You never know....
-
The carronades do sit up rather high, higher than cannons, and on this ship the 32lb'ers are pretty big for the ship. Its the same with the aftermarket ones as well. A lot of this gets driven right back when the gun port patterns were installed and the relative height to the deck, seems even a 1mm difference can make a huge difference with the room for the carronades.
What do you think Jason for the 24lbers ??
-
I found the barrels sat high for two reasons - 1st the pivot brackets protrude too far from the carriage, push them down further and put a small flat on the bottom of the white metal barrel mount helps, 2nd the lengths of the elevating screw can vary by a few mm thus increasing the problem, I built them up with a piece of brass rod - hidden as it was inserted into the carriage.
Norman
I plan to shape the swivel brackets in a "rectangular Z" fashion (profile view) to decrease the distance of the carriage to the deck and accomodate better its fixing to the sill with the pin....In my work we call this a "Z plasty".
In the other hand i'm thinking seriously to buy the aftermarket carronades that Jason ordered, or alternatively the cannon 9lb kits which I prefer better.
I don't know what's the reason of the "huge" (per pair) cost difference (15,29 Vs 6,71 pounds)....
-
Hi Pete
I can't locate the pic you have uploaded showing the tip with the wood removal just to have seated better the trunions....
-
So Jason with the carronades you plan to use you don,t need to fix or mount them on the sills...
Have I understood right ?
-
That's for tonight.
I'm waiting your help and thoughts about the placement of the guns.
In case I'll keep the standards guns of the kit, I'll be obliged to not place in position the sills, just to decrease the hight and the inclination of the carronades.....
-
-
Tiller arm in place, dry-fitted, no trimming needed.
Can you estimate from the relative distances and especially from the aft platform and the last gunport whether I'm in right place to start the tiller's and wheel's rigging?

-
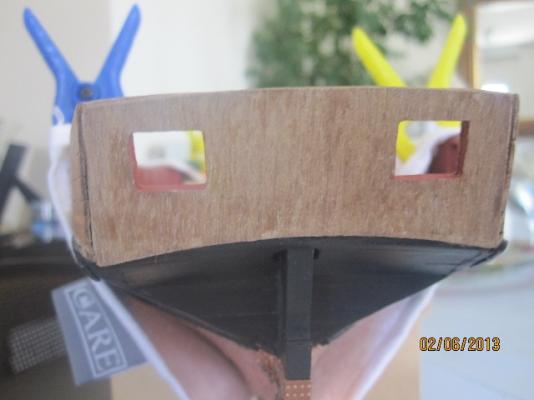
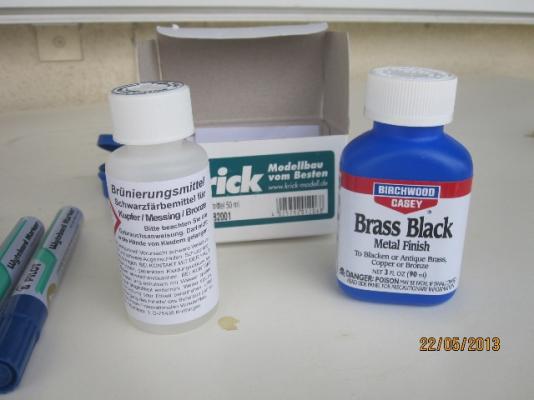
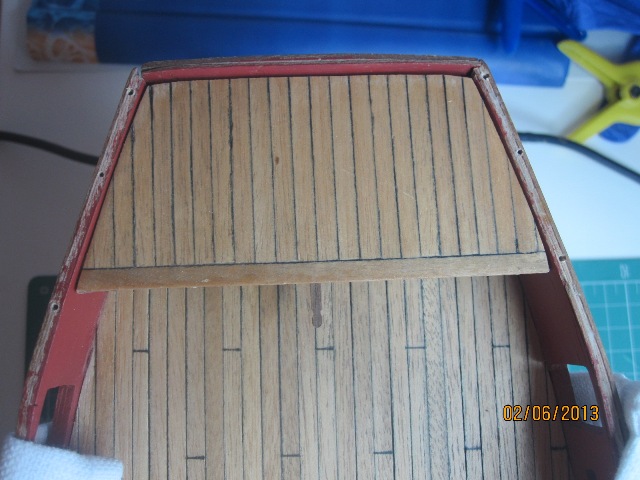
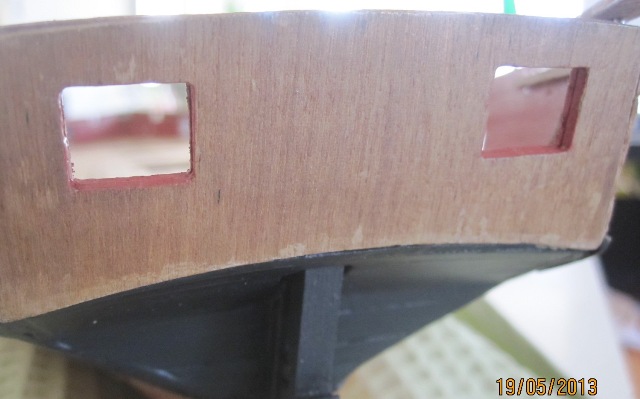
The best team for me, just to create a warm and sweet matt black layer...
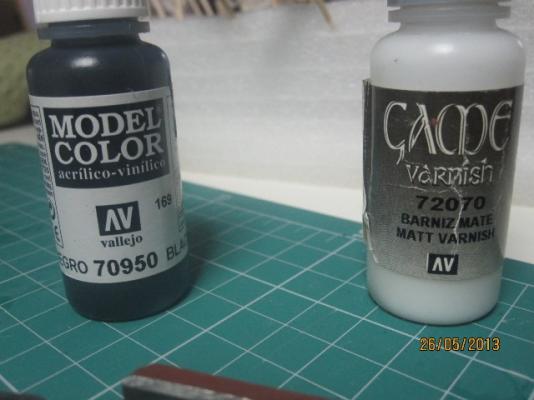
-
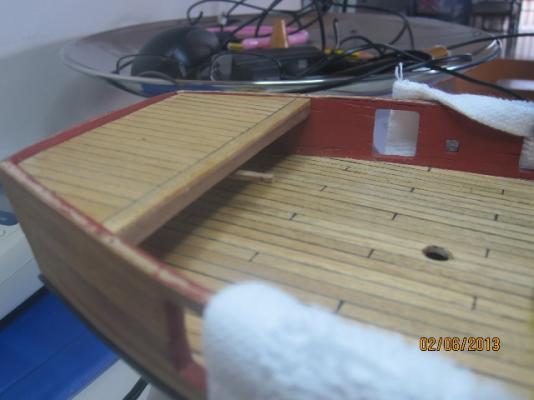
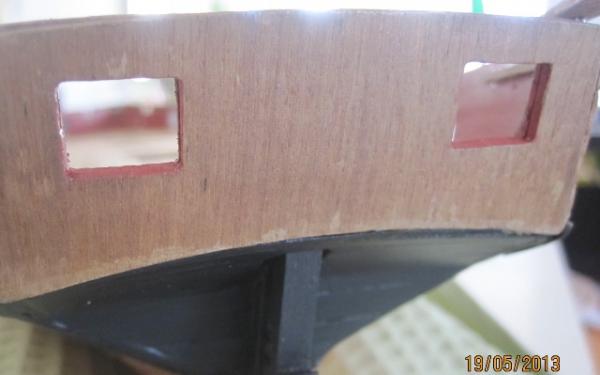
One step before paint it black?
Possibly, but for the moment I'm trying to diminish the abnormalities using my pen sander.
Next step, two layers of matt varnish just to restore a kind of sea-wear walnut....
-
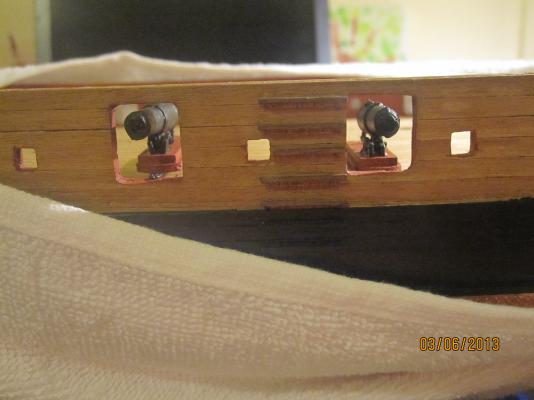
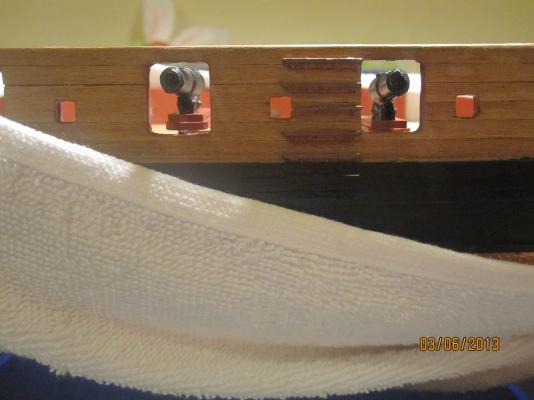
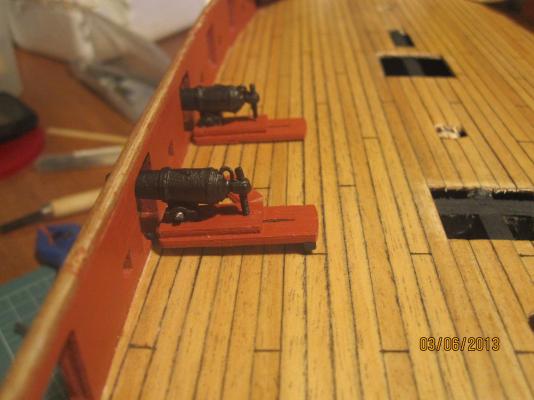
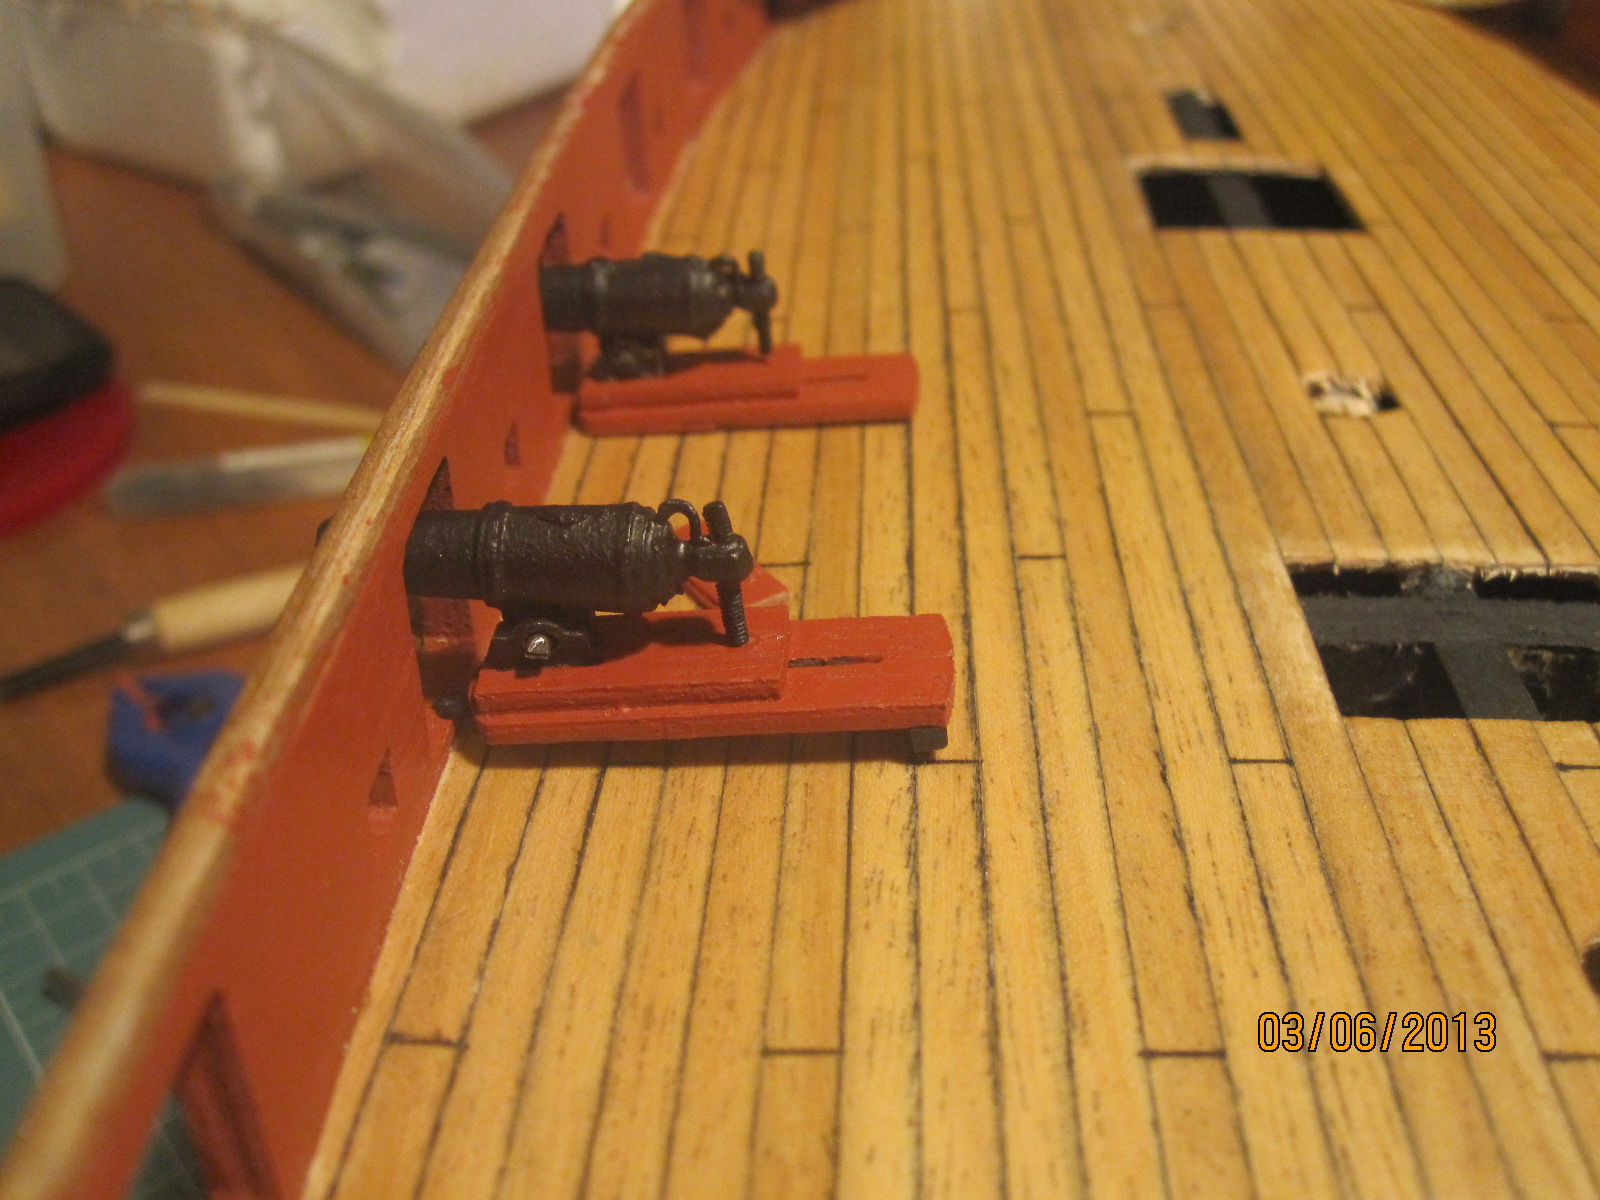
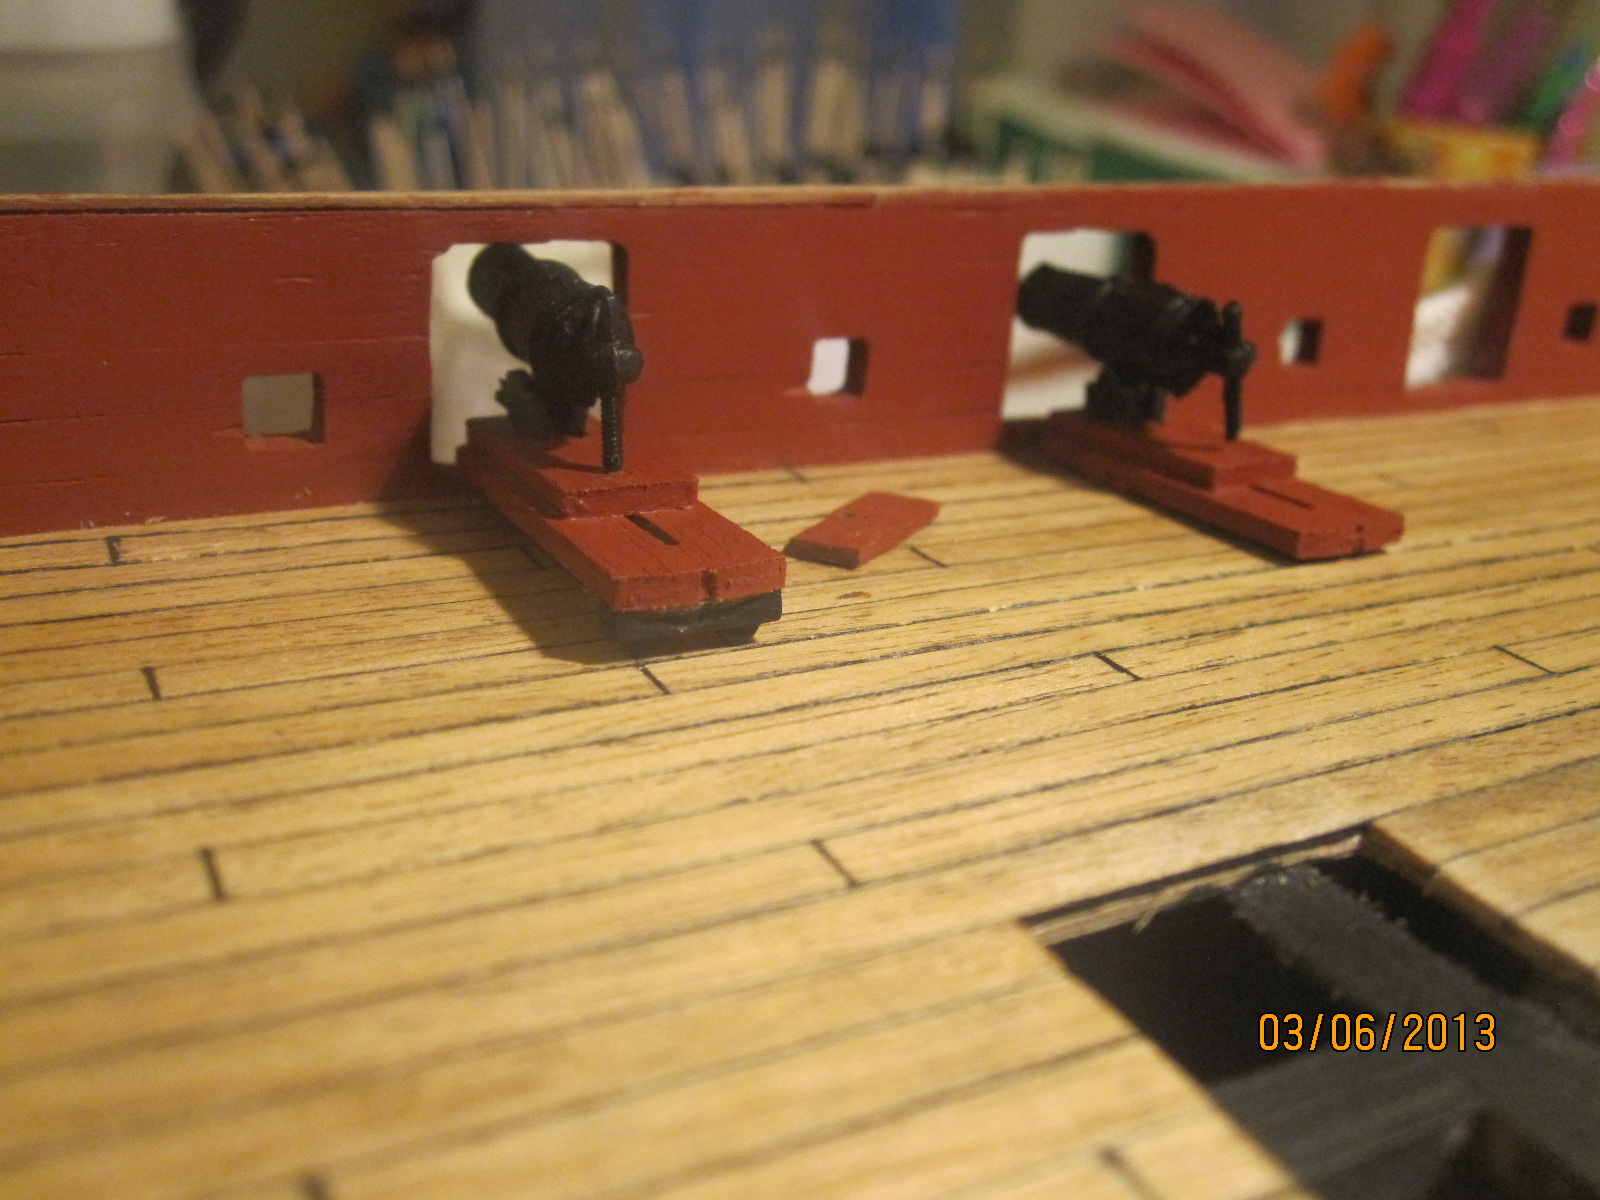
I have tried temporarily to place a couple of carronades on the deck.
It's clearly obvious that the 1st gun completed on the carriage is too high (and without placing the relative sills into position (!!!) ).
In my opinion besides that the 2nd carriage without the swivel bracket and back wheel assembly is more suitable acoording to the gunport....
Any thought or suggestion?
Possibly another indication and option to call for aftermarket guns and carriages ??

-
I was trying all the day to deal with the 1st carronade's assembly just to familiarize myshelf, but it's impossible.
So I should be grateful if you would kindly help me about the consecutive steps of this procedure.
I've glued firstly the swivel bracket and the back-wheels easily but when I tried to fix and glue the trunnion brackets, the carronade and the 1,5 mm brass rod (en block) that was a nightmare....
Thank you in advance.
Stergios
PS: 1] Did you use carpenter or CA glue for all the above?
2] I'm very dissapointed with those cheap materials of the standard Caldercraft's kit. I would prefer to pay more just to have the opportunity to deal with precise and of upper quality basic units of the box......
-
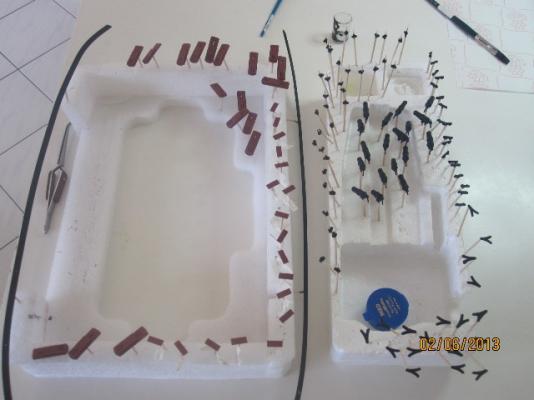
-
Absolutely precise work Jason!
Stergios
PS: Where did you get that profile gauge?
-
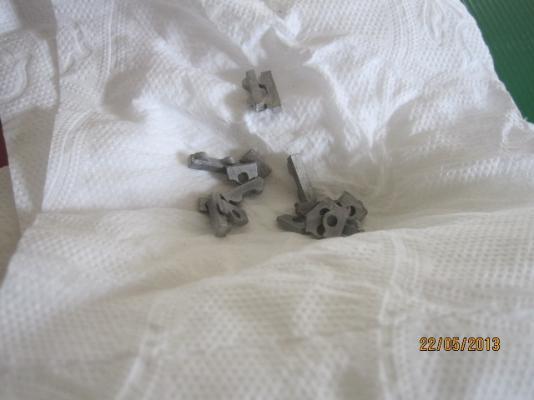
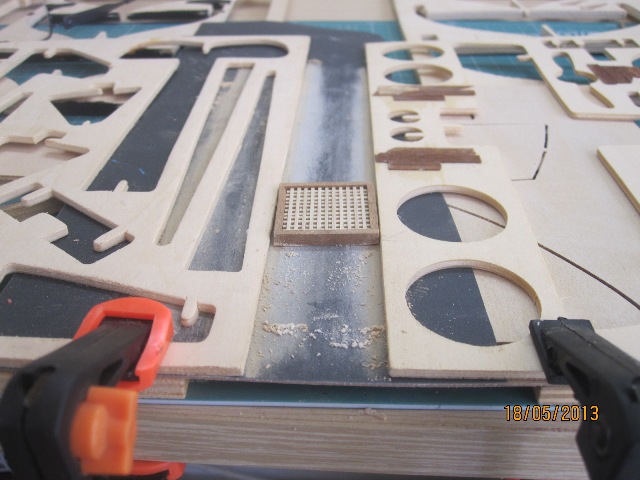
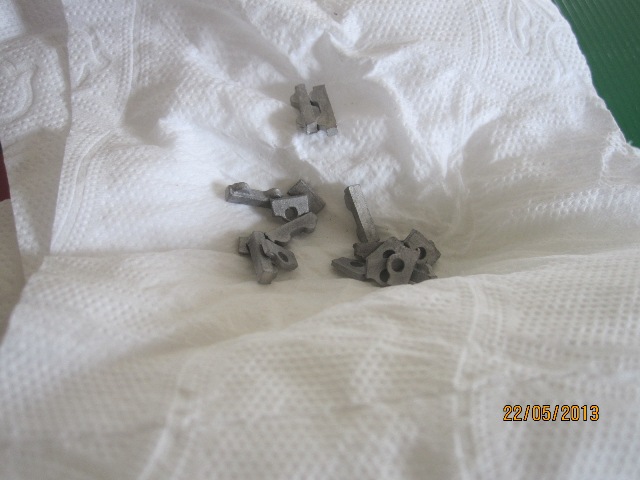
I've had no issues paint the white metal fittings using a Revel Tar Black Acyrlic paint and even the Admiraty Enamal paints now discontinued sadly. I have found the paint covers well. The parts you have shown look like the trucks for the carronades and yard fittings for the stuntbooms.
Norman
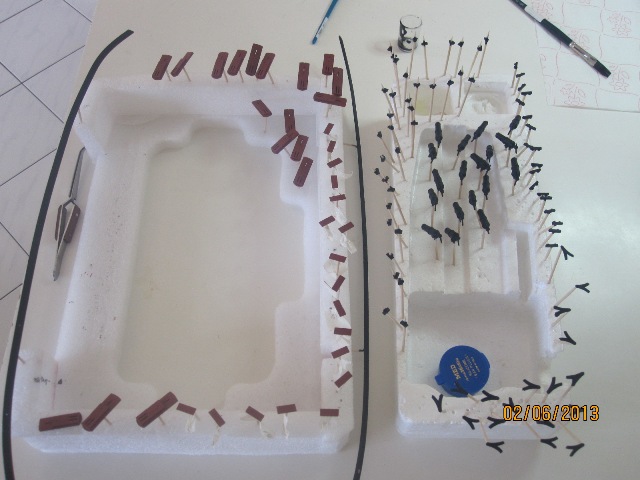
Yes, those parts are the fittings for the carronades. I painted them yesterday using admiralty's matt black and I'm satisfied with the result. I plan to "seal" that black using vallejo's matt varnish....
-
I've tried twice with these darkners to "paint" dark/black the carronade fittings, but no result.
Perhaps this is due to the nature and quality of that soft metalic alloy ...


HMS Snake by drtrap - Caldercraft
in - Kit build logs for subjects built from 1751 - 1800
Posted
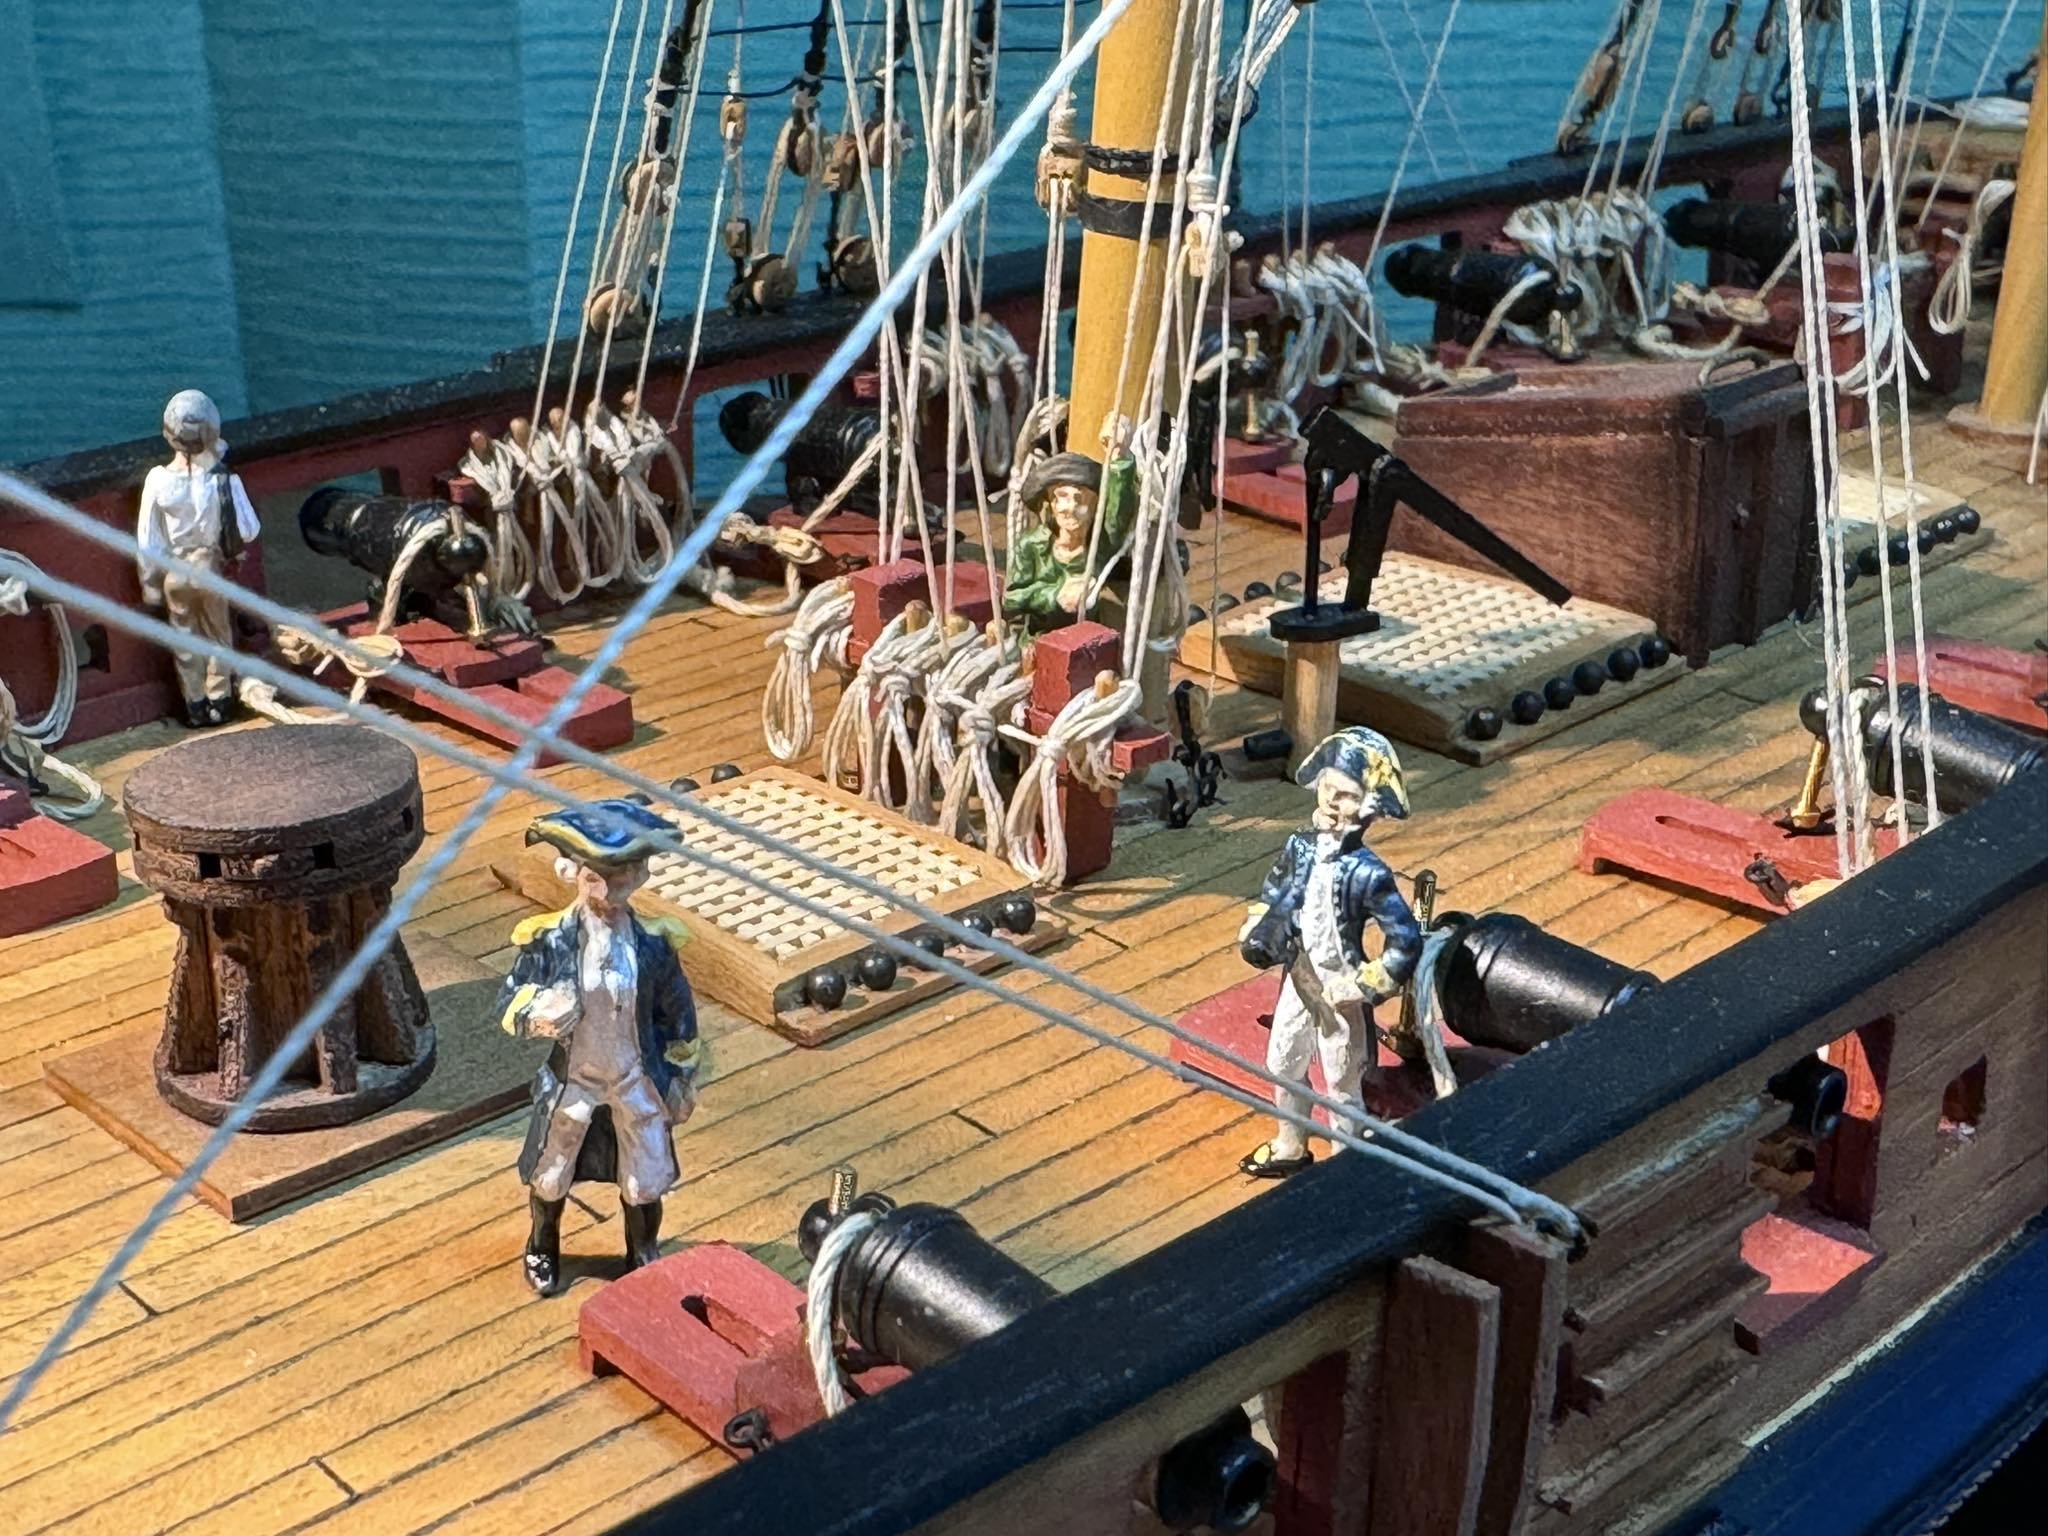
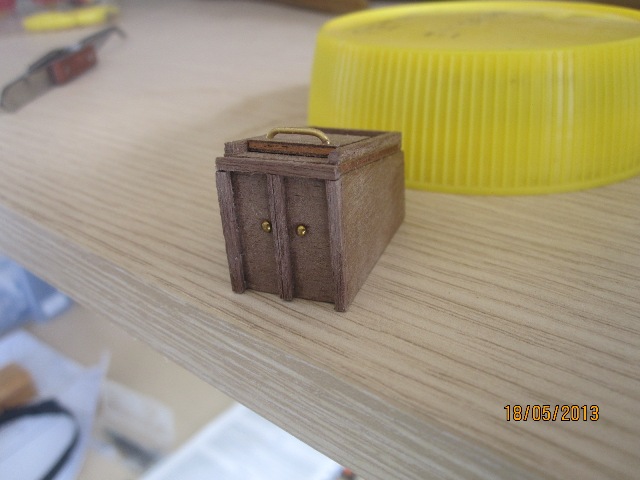
Nothing it's fixed.
I placed the captain just to estimate the relative dimensions...