

drtrap
-
Posts
904 -
Joined
-
Last visited
Content Type
Profiles
Forums
Gallery
Events
Posts posted by drtrap
-
-
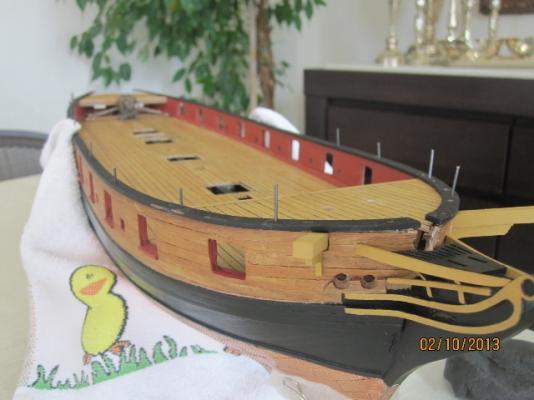
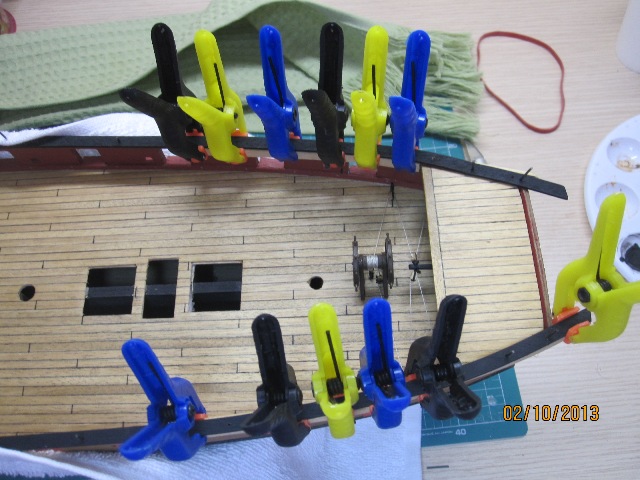
I've attached temporarily the channels in place.
Learning all the time from your experience, I'd like to ask you my friends about the order of channels, deadeyes and chain-links assembly.
I've read a relative post by Jim, but I did not realize exactly the right conscecutive steps of the whole procedure.
Thank you in advance!!
-
I've attached temporarily placed the channels in place.
-
-
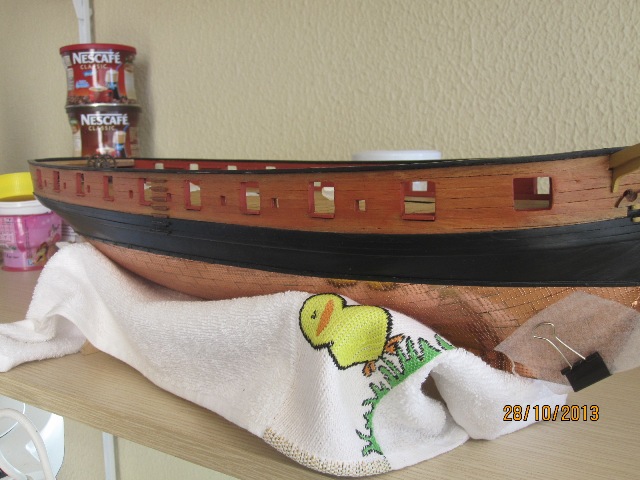
I've tried to improve the gunports profile this morning adding a second layer of red ochre paint.... Bedides the fact that I placed tamiya's tape for security, the accident of leakage to the outer (natural wood) bulwarks has happened thrice...

After a couple of efforts to handle this problem I really felt that I liked that cherry-wood like "camouflage" appearance of the wood. Took the decision to extend that looking to the rest of the bulwarks using 1-2 drops of red ochre diluted in matt vallejo's varnish.
I like the short-time results, I'll wait to apply a second layer tommorow trying to have a more uniform coverage of this strange-mixture and I'll see...
In case of unwanted results, a more formal (walnut ?) painting of the wood will be one-way solution....

-
Thanks to a good friend (and mate) of mine I can use the profile gauze and shape the channels curvature better.
I've read the manual for channels placing, I consider that as a harmless procedure...


-
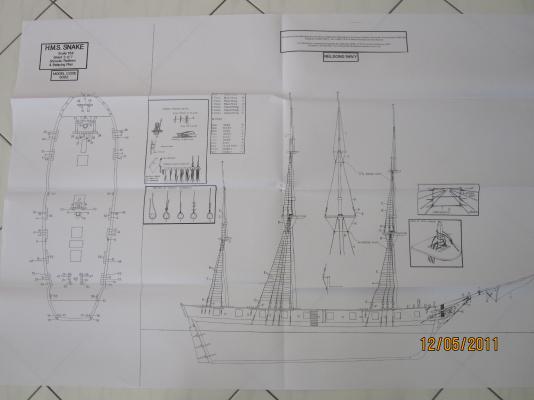
I'm not Jason but you'll want pages 2-7 for the channels and shrouds.
Wow Jim sorry, I did'nt see its reference in you build log!
Thanks for your help.

Stergios
-
Hi Jason, as I' m about to start the channels and drill the ringbolts holes etc
Could you please please help to locate the "Rigging Period Ship Models" pages that illustrate the whole procedure?
Thanks.
Stergios
-
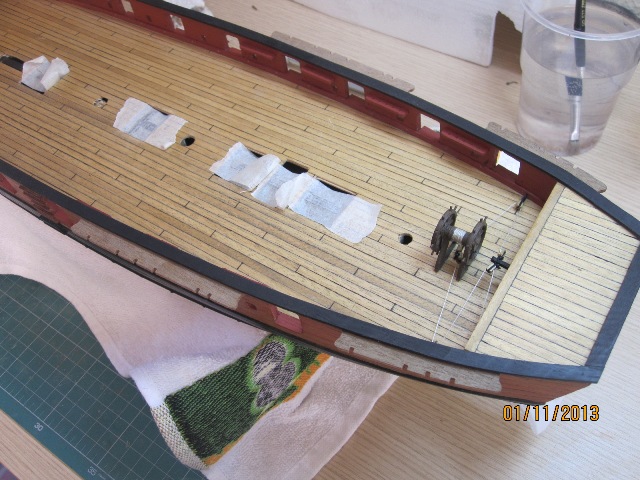
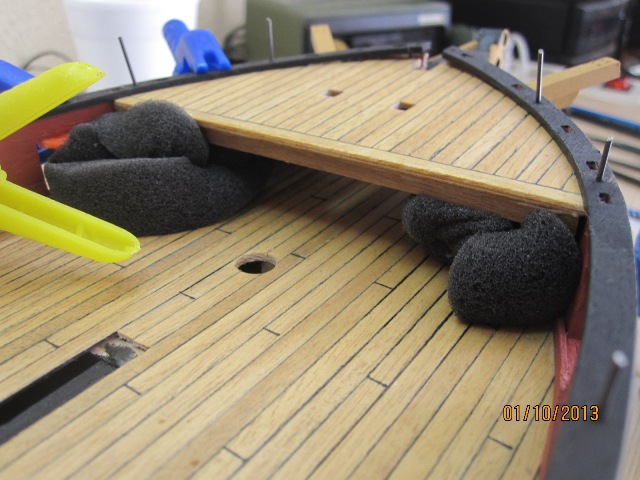
Now, working on the pinrails skeleton....
-
Hi mate,
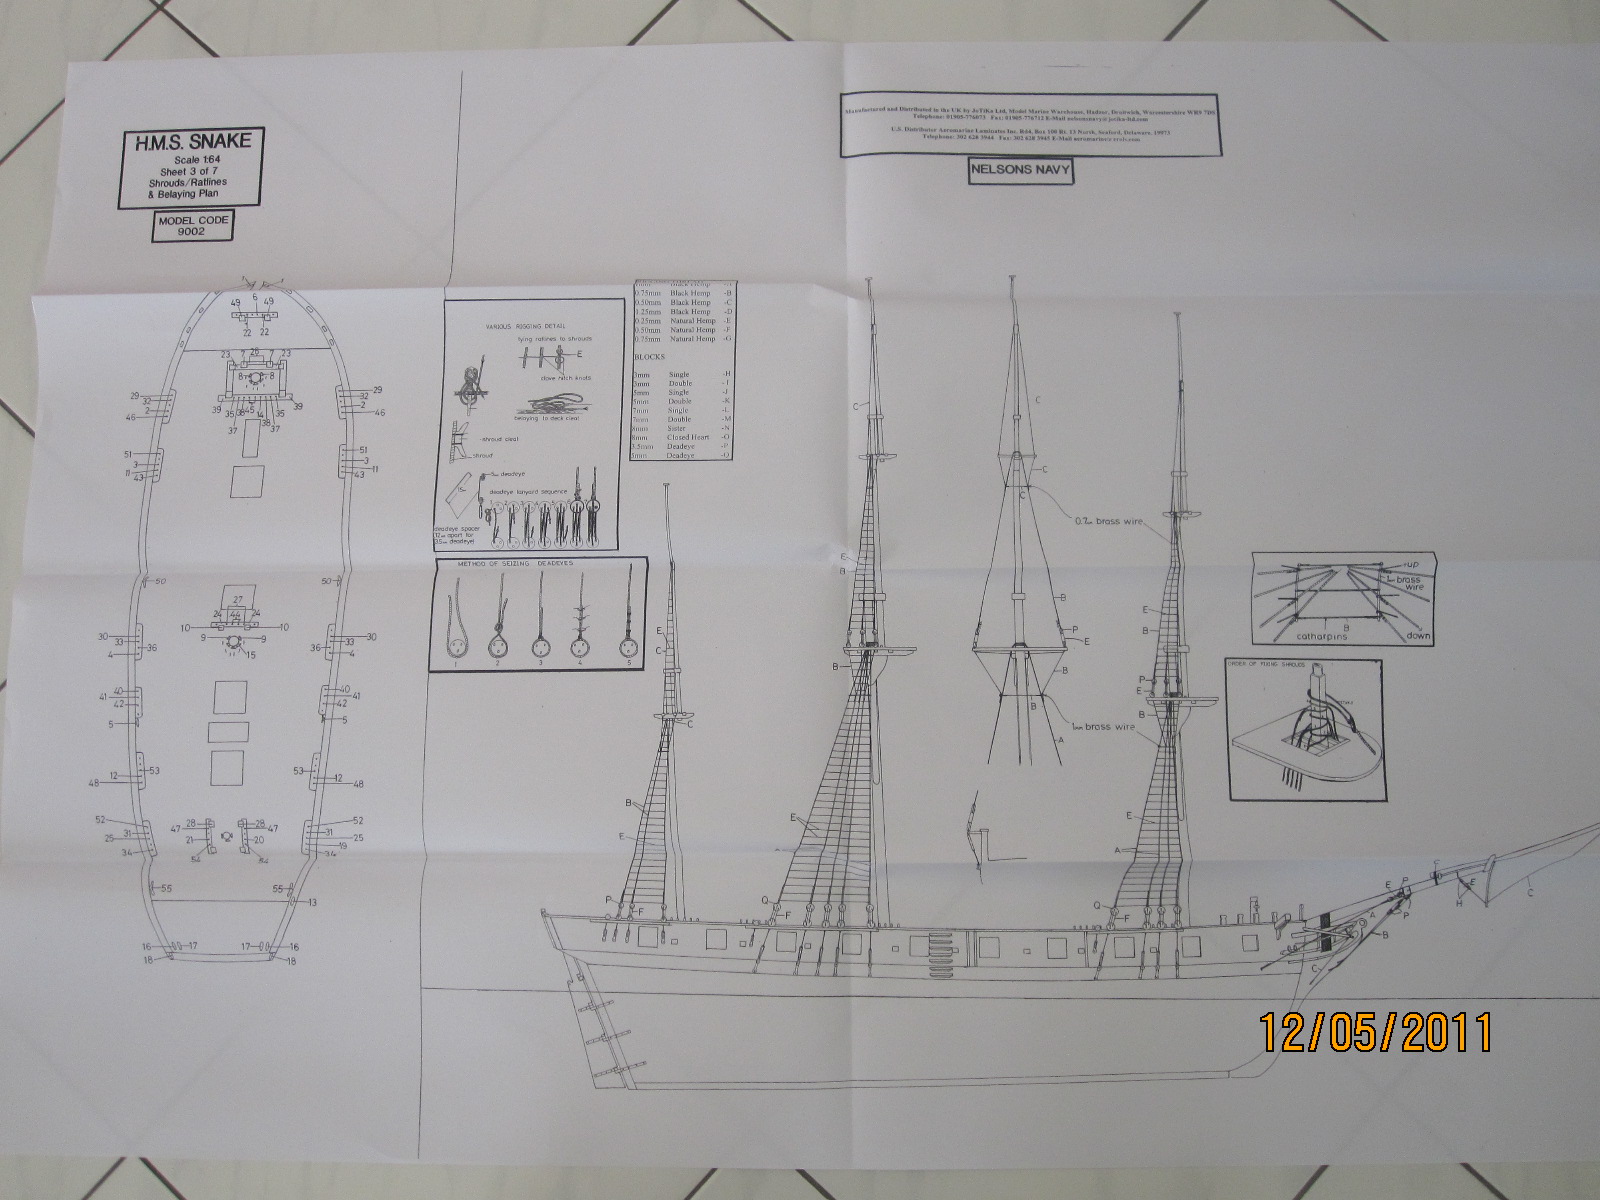
That plan is the belaying plan and the numbers indicate rigging line numbers from plans 5,6 and 7. They are not part numbers.
Jim
Hi Jim, thanks for sharing.
-
Sorry for another add on - just occurred to me. Don't believe you've installed the channels or chains yet, that is something to consider doing as well before mounting the cannons - especially as the barrels protrude slightly and could be easily knocked when installing the chains. The channels also give a bit of protection, I'm sure others would have advice here as well.
Don't worry!
My next, consecutive steps are: the pinrrails, the channels and finally the guns.
-
Jason, as always your help and comments are so precious....
- Beef Wellington and JayCub
-
 2
2
-
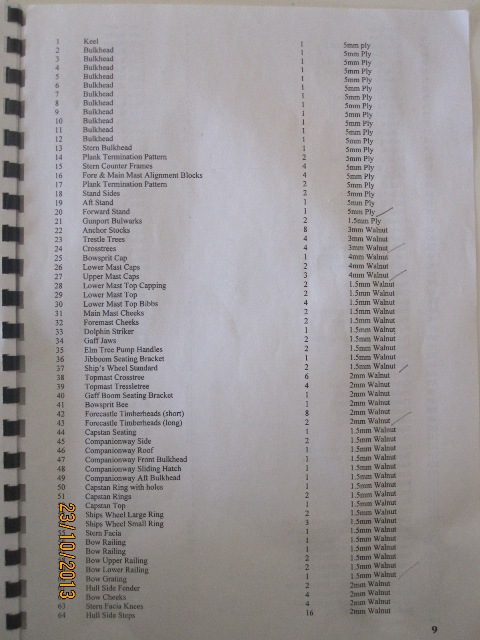
For part 165 see sheet number 1

Vasileios
Copy that, Vasileios (as aviators use to say...
 )!
)!Thank you.
Do stay joined with the company!!
-
I think there is a mismatch between my kit's sheets as far as parts No 50 & 55 are concerned....

-
My personal opinion only - didn't find that the bulwark pinrails interfered at all in the cannon rigging, but do what you think you' be comfortable with. I'd definitely suggest fixing the bulwark cleats (part 165) before the cannons and this may also play into where you position the pinrails. This is one of those sneaky items that the instructions don't call out and you need to look at plan '3 of 7' to find them. Confusingly there are 6 bulwark cleats identified (for lines 55, 5, 50) but only 4 supplied. If you look at plan '4 of 7', you can see that line 5 does not in fact need to terminate at a bulwark cleat I ommitted that one, installing the bulwark cleats at locations indicated for lines 55 & 50 on plan '3 of 7'. This is less than clear, and fingers crossed it is correct...hope I haven't caused more confusion.
I can't locate parts No 165 (4 pieces, casting) on my "3 of 7" plan...
Could you please upload any relative photo for understanding better?
Thanks
-
Hi Guys,
Just a comment. Why don't you make up the pin rails first and mark where they belong on the bulworks but do not glue them in place. Next rig your cannons and then glue the pin rails in place. The extra rigging room will come in handy.
Mort
Hi Mort, this was my point of concern.
I think that Jason (so many steps ahead) knows better...
-
Hi Stergios, don't think you need to do anything drastic at all. They are a tight fit. I'd suggest just sanding down the timberhead pieces slightly, and then pushing them into place with a small amount of force (wiggling back and forth). The wood is pretty soft and I found it does respond to this well. The other benefit, you'll have a nice solid fit.
Thank you again, Jason!
By the way, from your experience what;s the best next step you advise me to follow: placing the pinrails etc or placing, fixing and rigging the cannons & carronades?
Cheers!
-
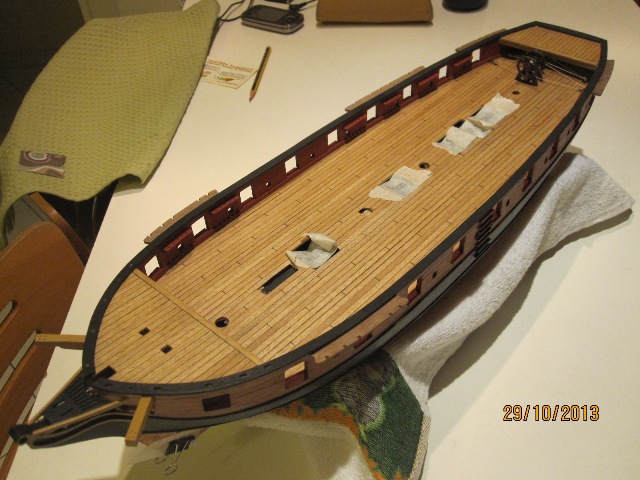
Building like a turtle....
The slots of the capping rails (that unfortynatelly I've permanently glued) are undersized comparing to the timberheads.
Should I use my dremel for a bit of enlargement?
-
Absolutely proffesional work Jason

-
Jason, I've seen a type of spray for the dust at the yard...
Is it an anti-dust type for compiouters etc? Some kind of them extrude small quantities of a liquid material (wich evaporates immediately) with the air, but I dont know whether is safe for the paint, varnish, etc...
-
Great progress, looking very good. I love the colour of the wood in the second photo.
I forgot to comment on your previous post, you are correct that I made the stern capping rail because the curvature wasn't quite right. It was as much for practice as anything, and I could have used the pre-cut piece and it would probably have looked OK. It easy to judge the curve by putting some card overhanging the stern and draw the profile with a pencil, that gives you the template to make your own or compare to the supplied piece and see if its close enough for you.
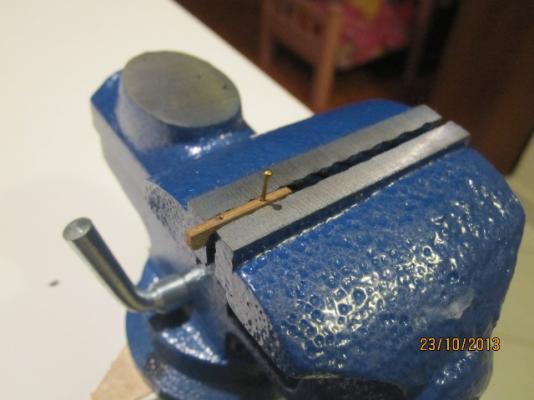
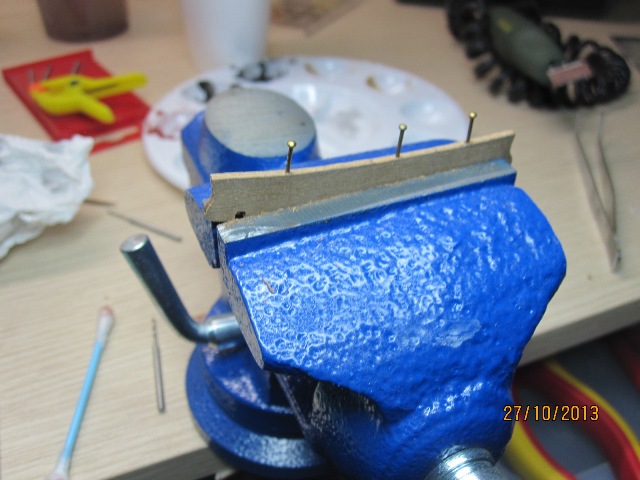
Thank you Jason, finally I did my own (custom-made) posterior capping rail.


-
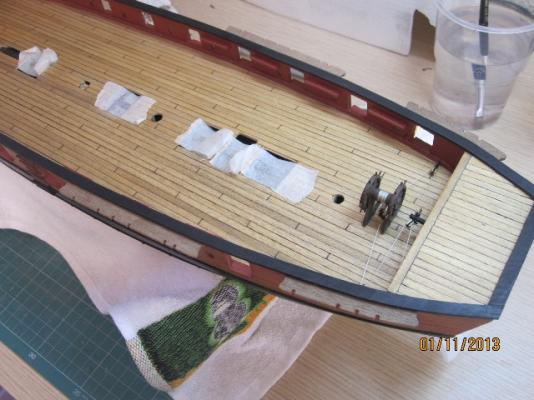
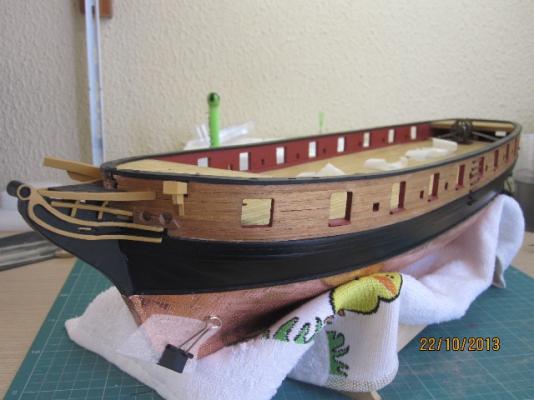
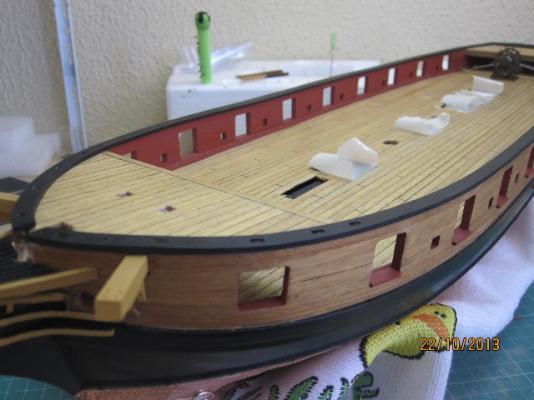
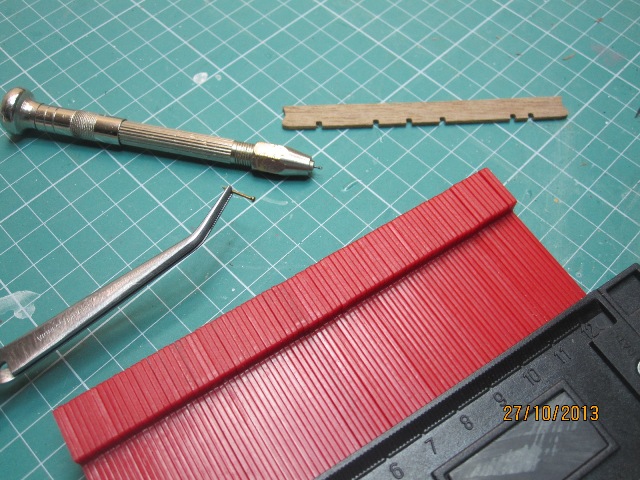
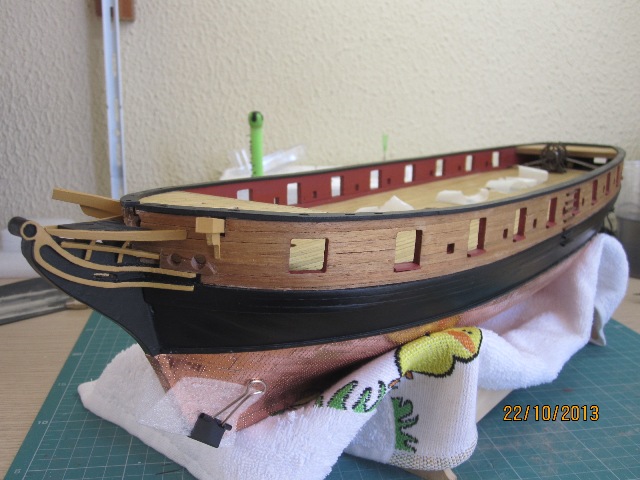
Lateral bulwark capping rails glued in place.
I've left unglued only the anterior and posterior thirds just to have the option to manipulate the edges later to obtain a equally spaced placement on the bulwark's rim and a better symmetrical adaption on the anterior and posterior platforms respectively.

-
Hello to everyone, I'm back again.
Jim, Pete, I still wonder, did you use and glue in place the (somehow curved) standard posterior capping rail provided by the kit, or did you place another not so curved 2x2 wallnut plank?
I'm about to fix it, but because of its curved shapeI can't place it "equally spaced" on the stern fascia.
Thanks a lot

-
Fully understood now, Jason.
You know, many techniques and surgical procedures in shoulder arthroscopy use to enhance this kind of tip...
-
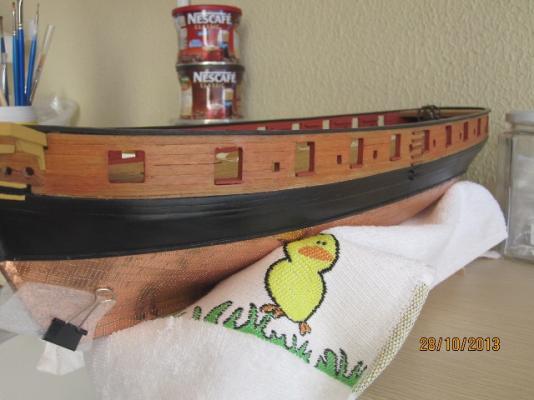
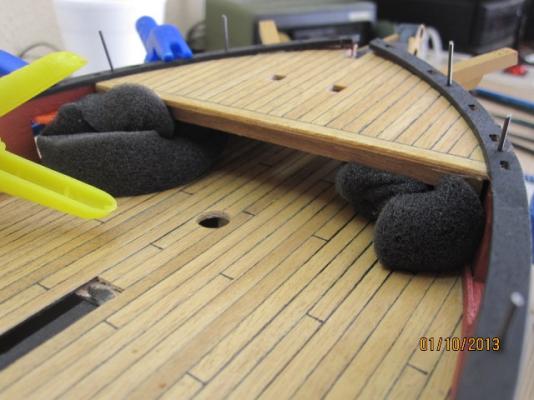
Hi to everyone.
Capping rail (lateral and posterior) dry-fitting is in progress, I'm concerned with the shape of the aft capping rail, as it's a bit curve and not so suitable to the upper rim of the (more straight) stern fascia...
Did you re-shape it anyway or just left as it was and glued in place?
(I saw Jason has made his own aft capping rail, propably for the above mentioned reason..).
Thanks.


HMS Snake by drtrap - Caldercraft
in - Kit build logs for subjects built from 1751 - 1800
Posted
Copy that, Jim.
Many thanks!!