

drtrap
-
Posts
904 -
Joined
-
Last visited
Content Type
Profiles
Forums
Gallery
Events
Posts posted by drtrap
-
-
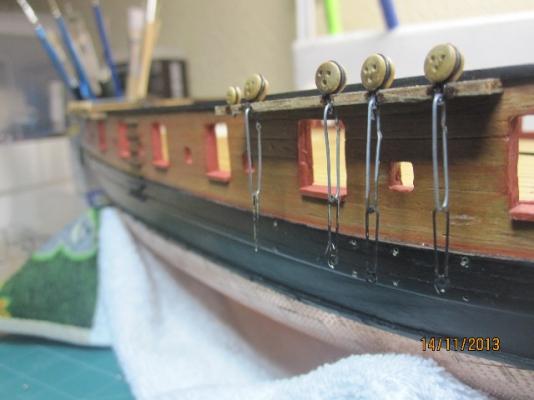
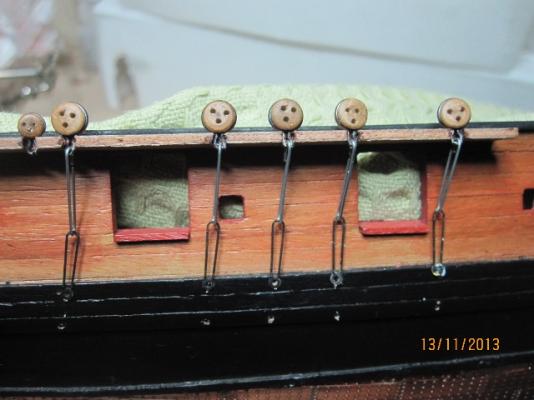
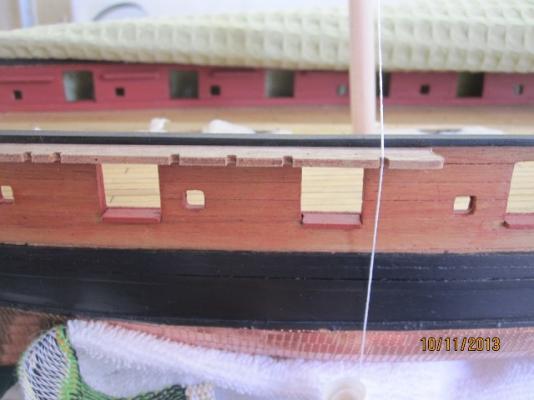
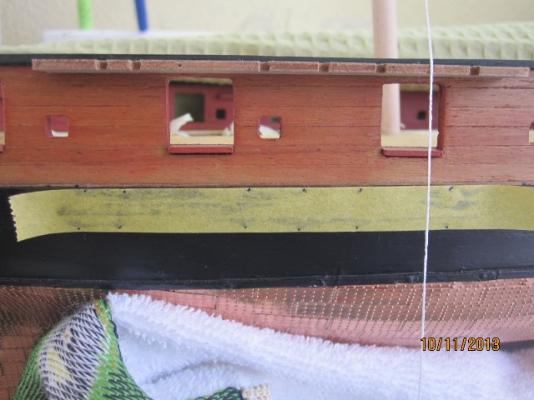
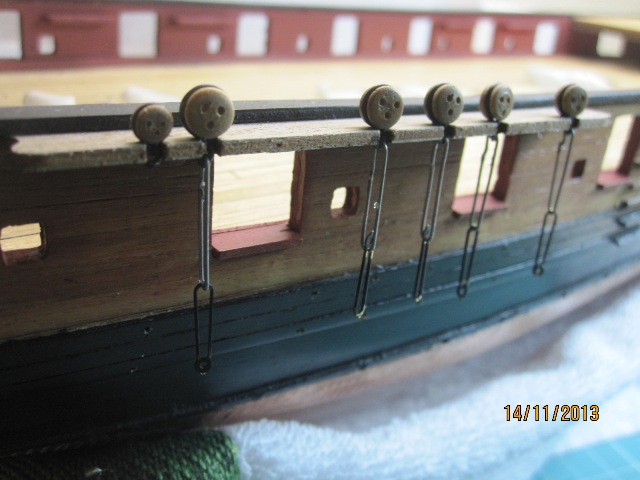
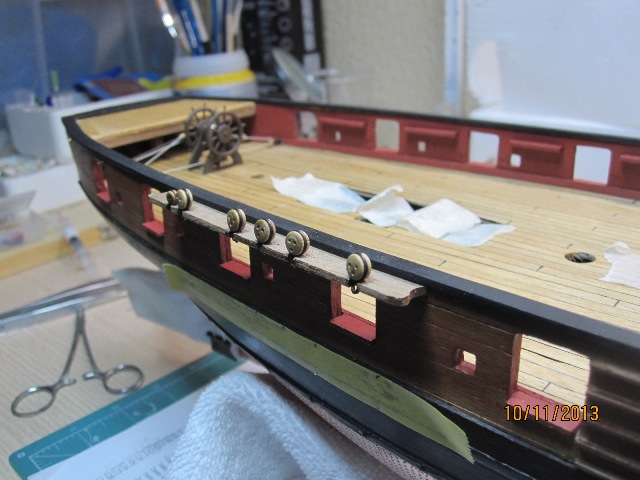
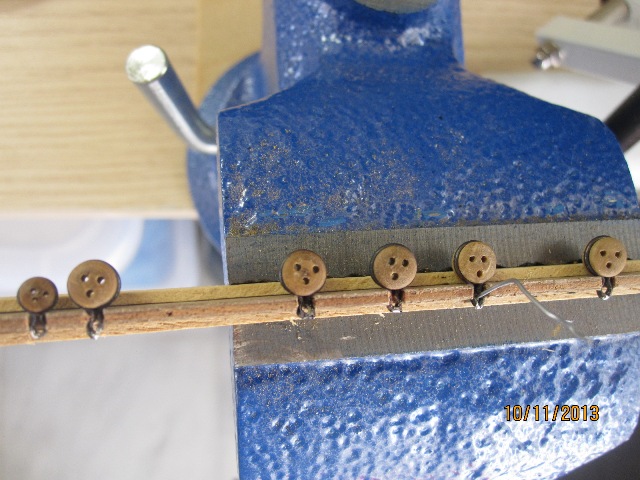
Today's progress: all the channels permanently glued in place.
Starboard chain links and custom made long chain (closed) loops hanging from the relative channel.
Next steps: primer application, painting and final pinning on the hull.

- egkb, Beef Wellington and WackoWolf
-
 3
3
-
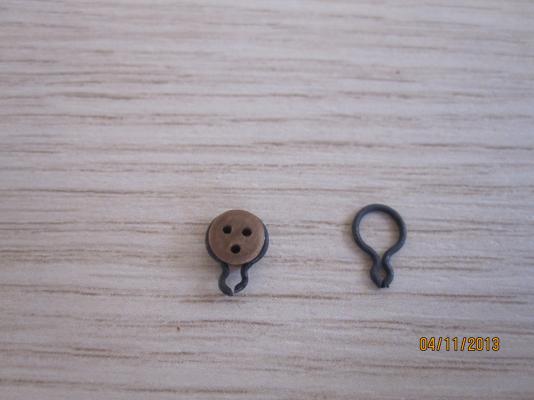
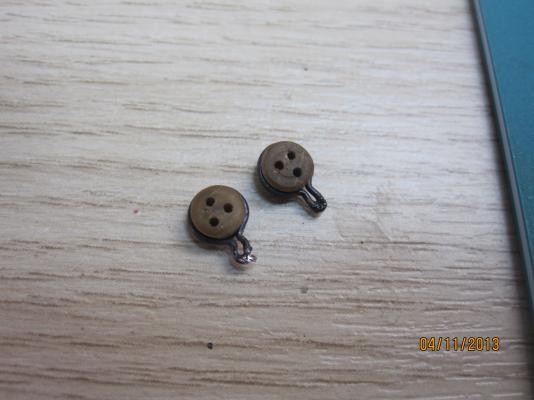
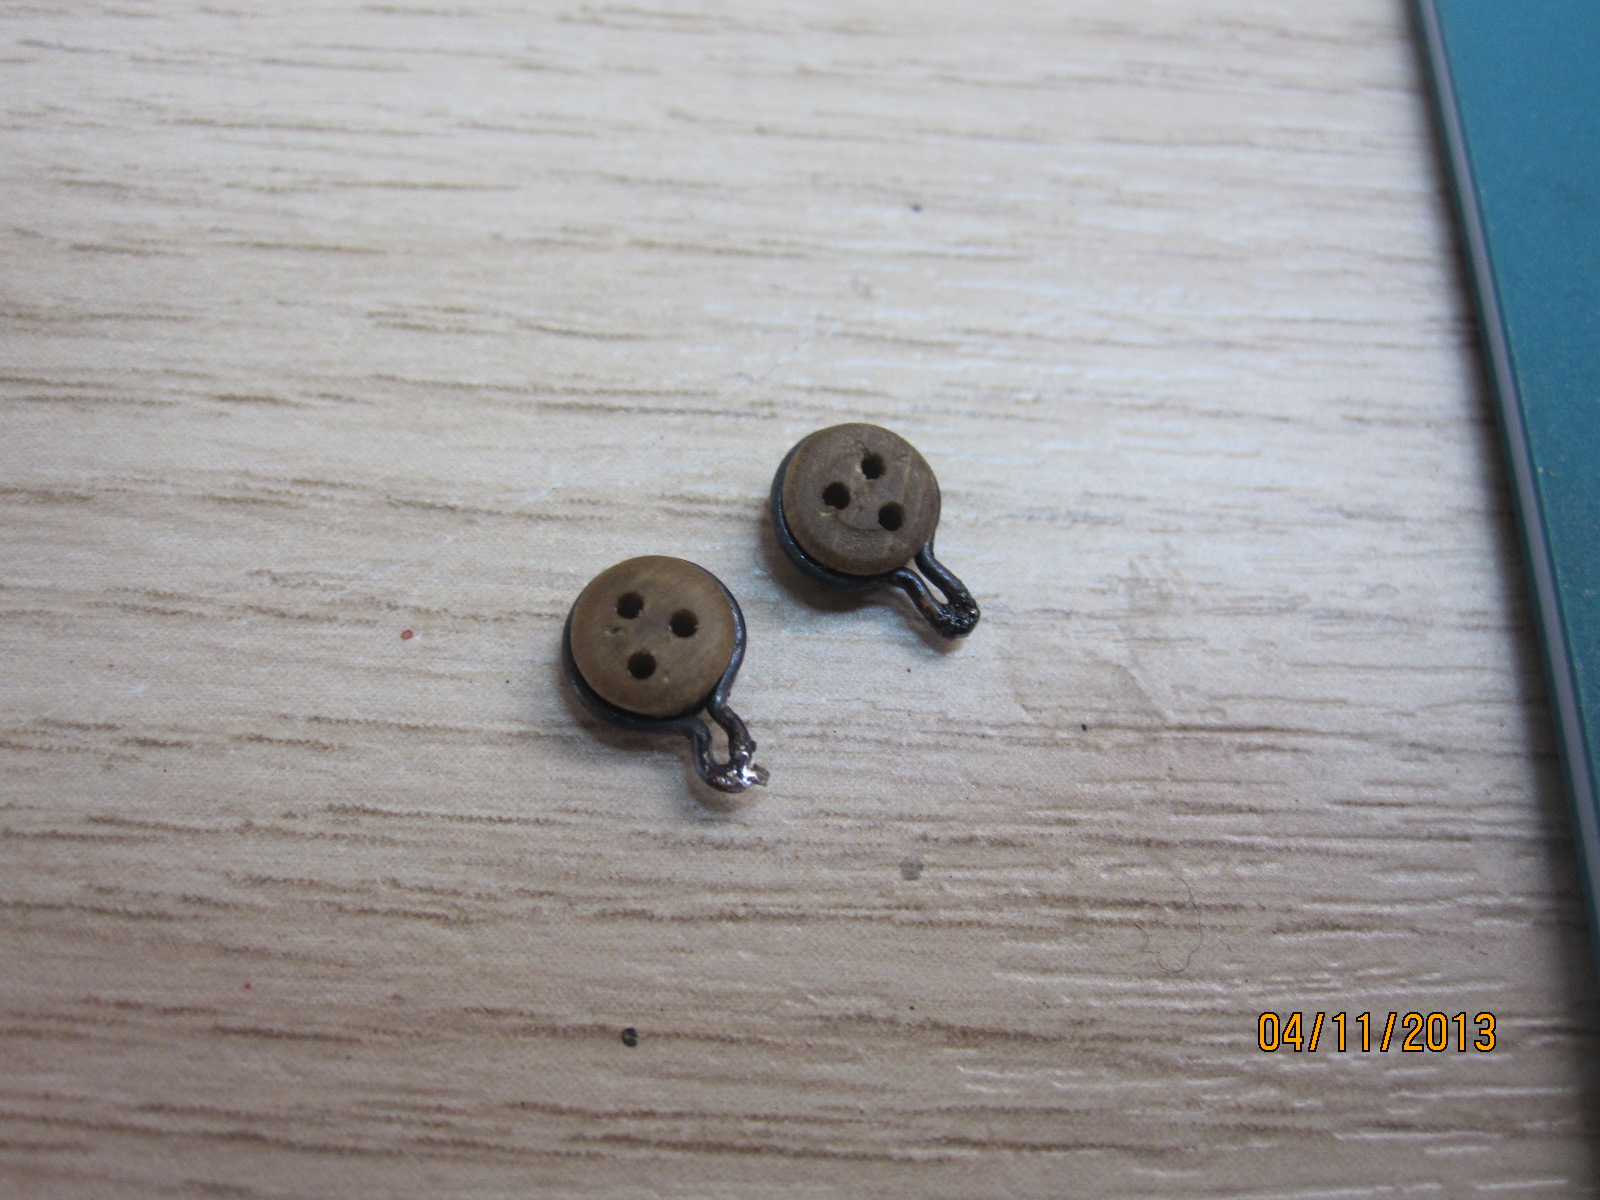
I was trying to close the chain loops using solder iron, just for practise this afternoon.
Those flux knots were in every case highly unwanted
-
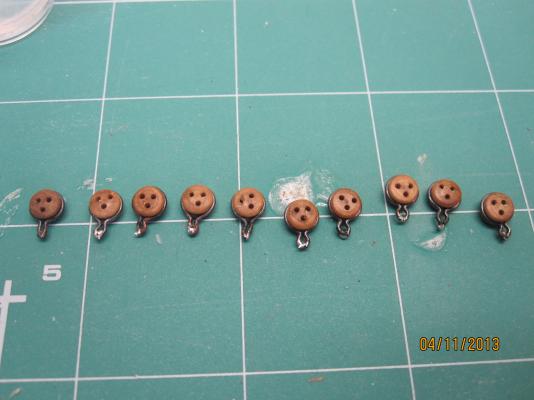
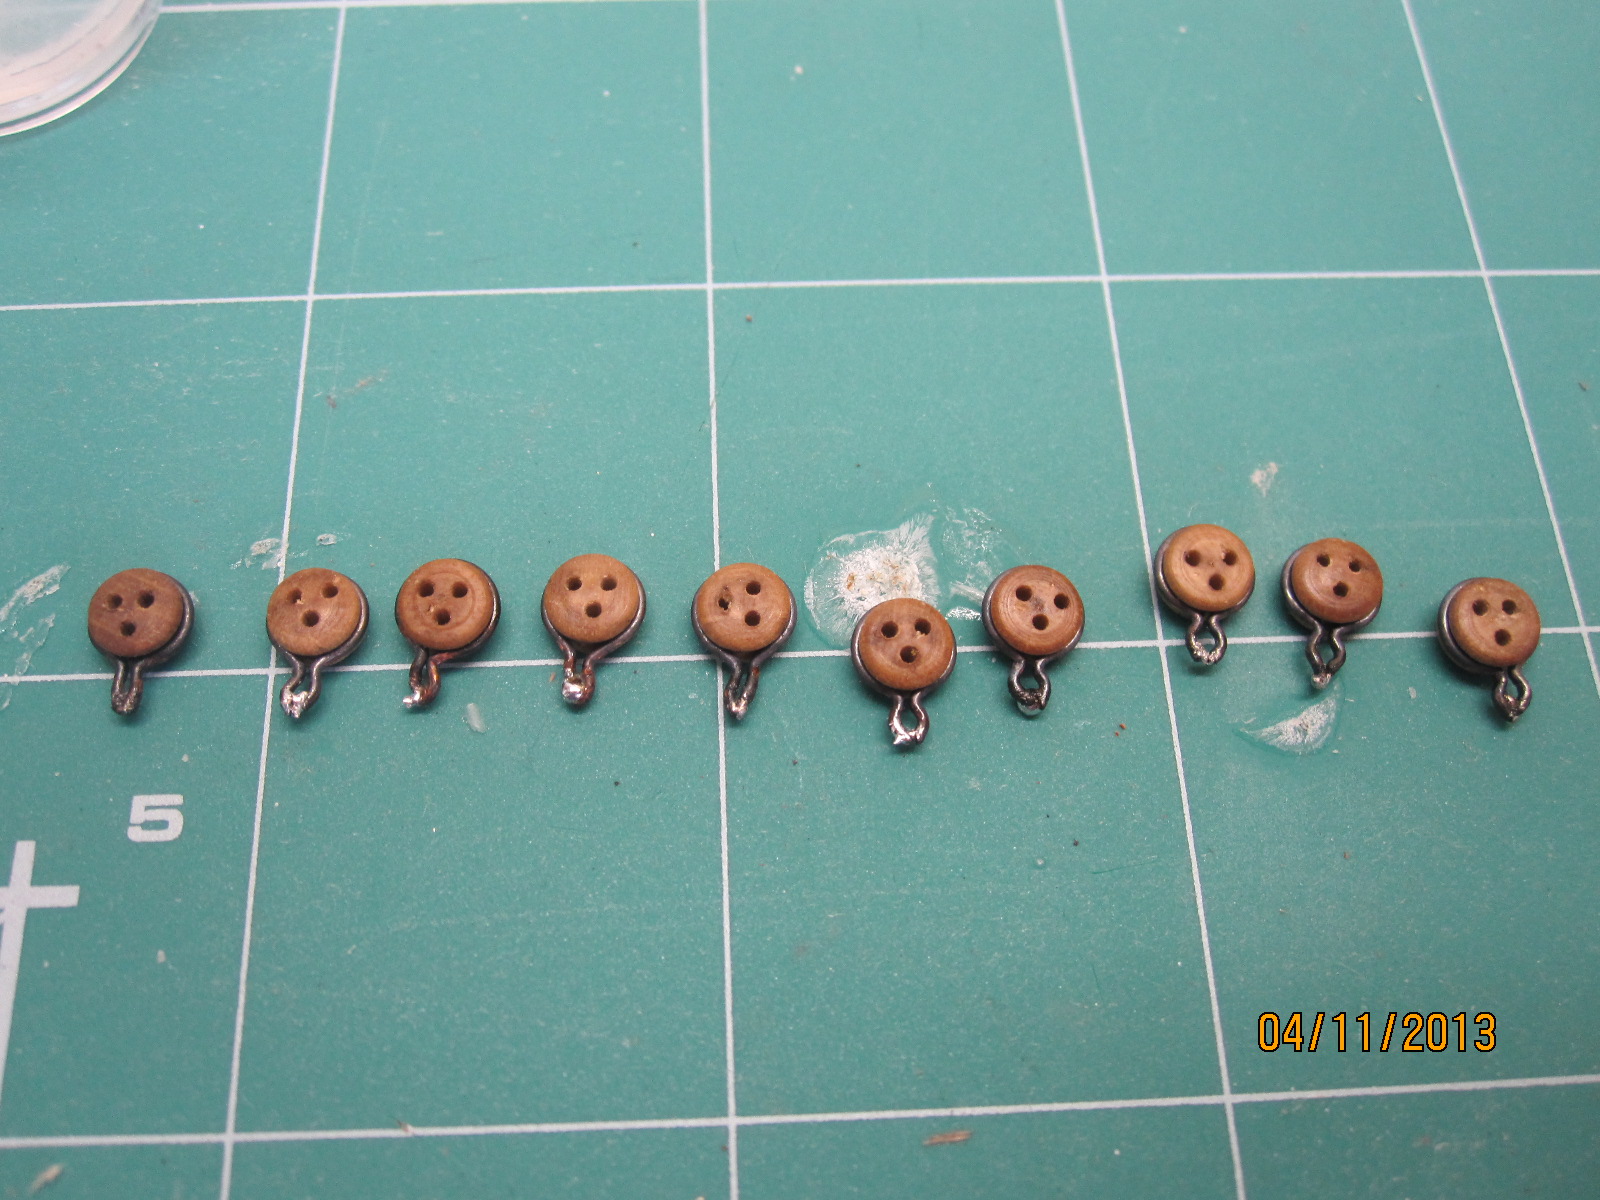
In the other hand I have to assemble five more channels...
I could try to assemble and solder the deadeyes and all the channel's "accesories" in advance and finally place and fix them on the channels and the hull respectively, like Jim suggests.
That's all for today, I'm leaving the shipyard after the permanent gluing of all the channels on the hull.
-
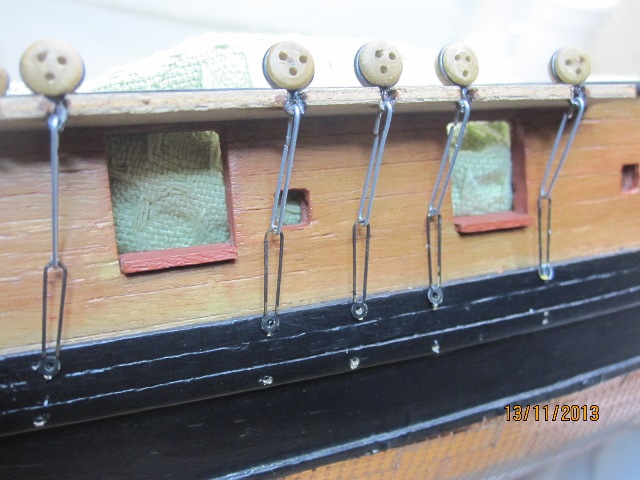
That's looks great Stergios, makes a big difference to the look of the ship doesn't it! The loops are pretty strong without any bonding, and even if there is a small gap they are pretty well hidden if you put them at the back like you've done.
Something I found helpful (I took the exact same approach as you with the nails to bend the loops) was to add a number of nails in a circular pattern each with a slightly different distance from the center - that way you can measure the gap and then make a loop of correct size quite quickly.
Thank you Jason for the feedback!
The problem was the stropped deadeyes of the main channel (starboard) which I had glued permanently, so trying to assemble the custom made loops on it was a very painfull story especially for the occasion of soldering and closing the loops.
From a "biomechanical" point of view I was told that only minor pulling forces could be applicable on the loops. I believe that this is not a serious problem even for the next, rigging period....
That's way i tend to not close the loop-rings just to gain a more cosmetic result.
-
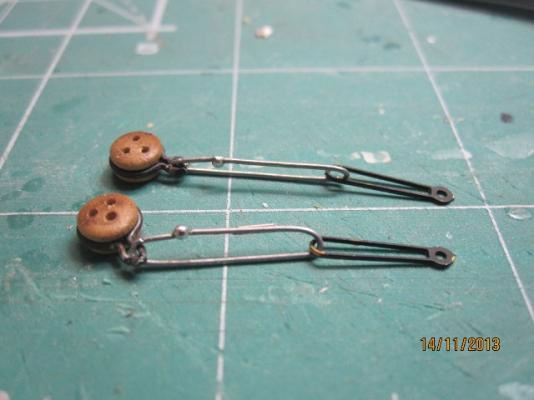
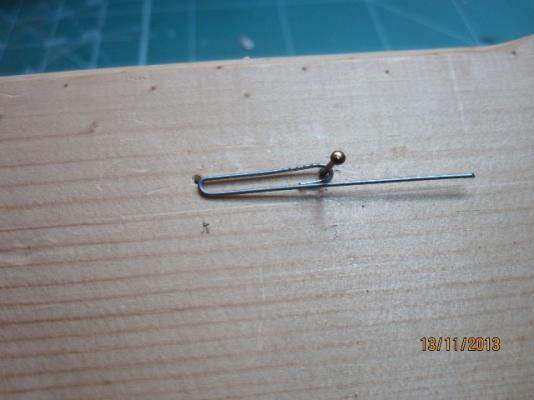
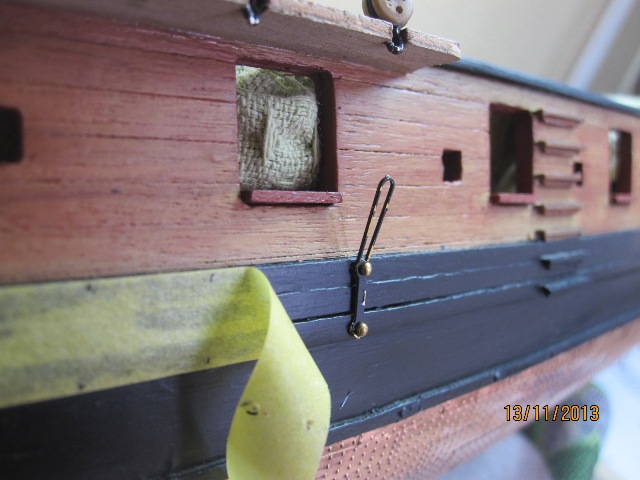
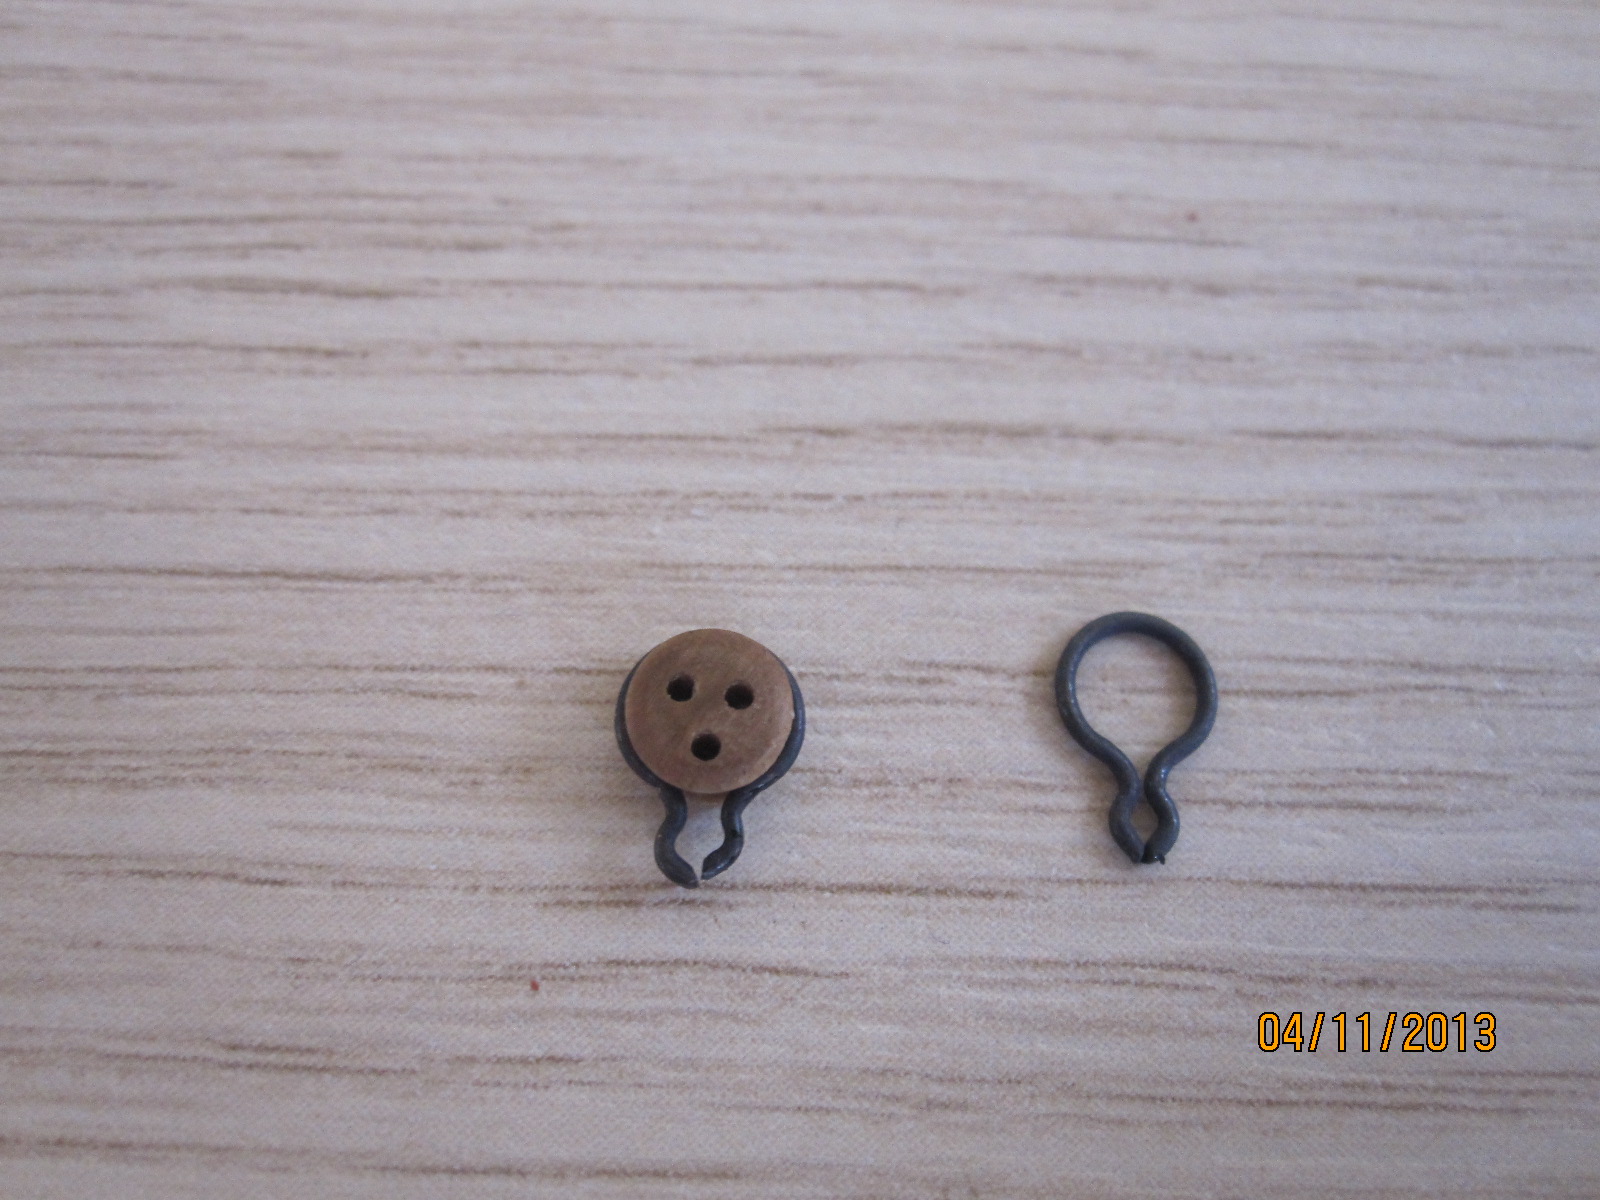
Started to shape my own chain loops. Temporary placement of the chains...
The measurement, assembly and above all closure (by soldering or gluing) of the loops on the model (as the deadeys of the right main channels are permanently glued with cyano) are pretty challenging.
My basic concern is the visual appearance of the solder/flux knot that bridges the edges of the loop...
Thinking of leave the edges of tha e loops touching each other without any bonding.


- JayCub, Beef Wellington and egkb
-
3
-
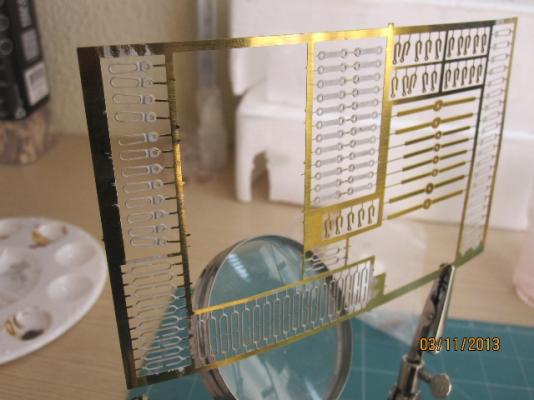
Hi Stergios, hope I can answer your question. The chainplate brackets (part 111) were positioned first and the holes drilled along the position lines marked on the wale. The thin end needs to go at the top, as the hole on the chainplate links (part 109) is also half thickness, the pin goes through both of these. Once pins installed (without glue) the chainplate link can then be bent to the correct angle and the length on the chainplate loops estimated. The chainplate loops were the only pieces custom made. Once the loop has been made, the chains can be assembled, and then placed on the ship for final gluing of the pins.
Thanks so much again Jason.
So If I have understood well, only parts No 107 were custom made, is this correct?
Did you use common/regular wire (like 0,8mm thickness wire) for those loops?
Cheers
Stergios
-
Have been working/tinkering with the "chain problem". Decided to just plow ahead and have a go at making my own from wire. Pictures are pretty self explanatory, these are yet to be finally fixed but seem to indicate that this approach will work just fine. It illustrates the issue because the chainplate brackets have no room for movement as they are exactly the same length/width as the wale to which they attach. The lack of a gap in the chain loop looks much more authentic to my eye - the downside is that it will take much longer to complete. Photos are of the starboard fore chains.
Hi again Jason.
As I'm looking these pics with your custom made chain links I wonder, how have you attached so flush with the hull the brackets and especially their upper part with the thick wire of the chain link underneath?
-
I had no problem soldering my strops but you do have to ensure the area to be soldered is very clean and I used some extra rosin flux, they are of a copper metal. I have used either a 12W or 25W iron and old fashioned lead based electrical solder.
Norman
Yep, I believe that additional rosin flux could help better....
-
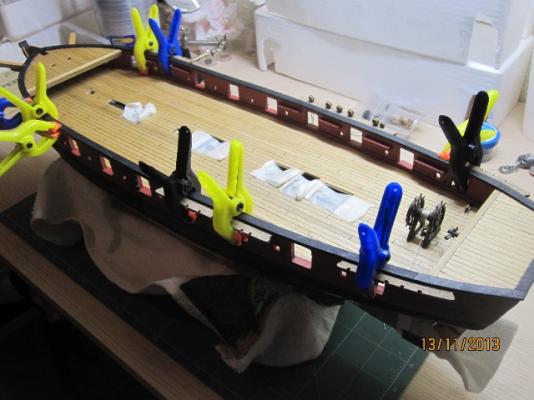
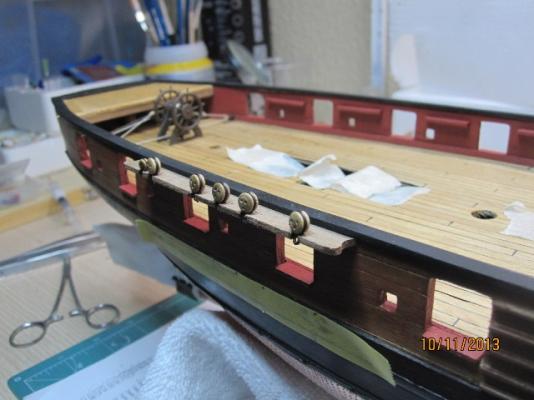
Started with the right main channel as a guide...
-
Strops soldering is quite difficult.
Their material is 'nt copper, so bonding the edges with solder is a real headache for me....
Well I've found the solution....
A little bit of filling was needeed to emerge the undercover copper-material of the strops.
The rest of soldering works pretty well now.

Thanks Vasilios !!

-
Stergios, didn't close the chains with anything, creating the chain with the 'joint' down a side like the PE part gives them a lot of strength. Your strops look great.
... "PE part" ??
-
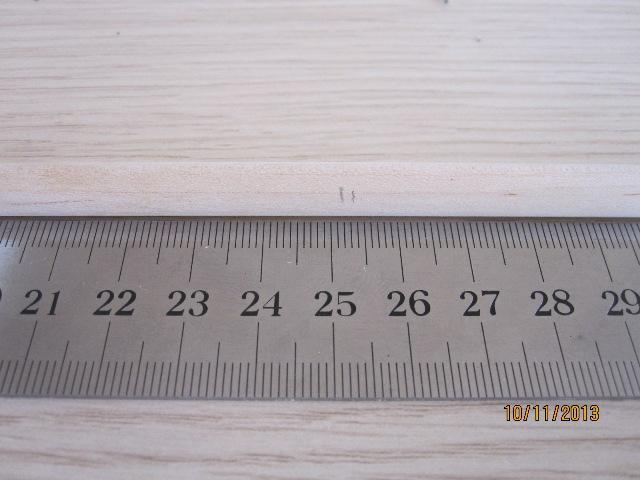
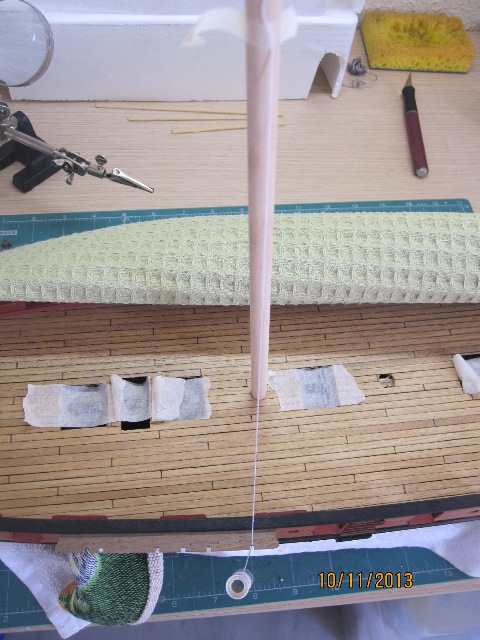
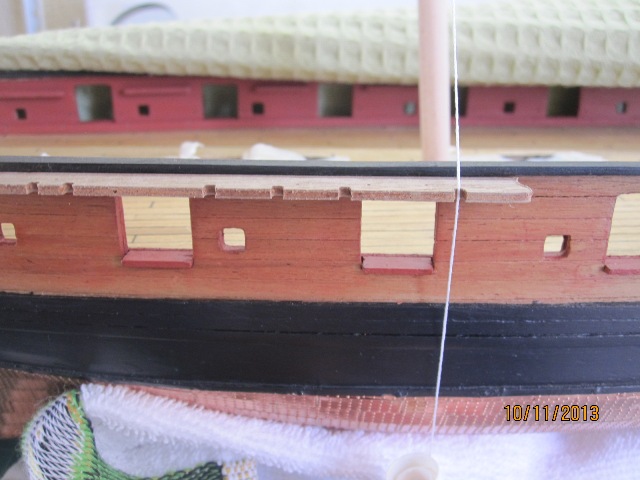
Consecutive steps and photos to trace the long and short chains inclinations.

-
Dry fitting of the deadeys of the right main channel...
Next step is to secure the soldering adding a micro drop of cyano glue, black paint touch up and glue/stabilize the deadeyes to the channlel's slots with cyano.
Final step is to fix and glue the pinned channel on the hull.

-
Strops soldering is quite difficult.
Their material is 'nt copper, so bonding the edges with solder is a real headache for me....
-
Stergios, I'd add the following. Like Jim, I didn't solder mine - I tried and failed! You can bend the metal strops so they close pretty well, but the chains can pop out if there is undue pressure. To alleviate this concern, I ended up putting some epoxy in the slots when all was complete to eliminate this risk.
I'd also suggest you consider the following points, I thought I'd documented what I did pretty well at the time, but going back and reading it afresh there is fair bit omitted.
The chains want to be in line with the shrouds and stays. You can get the correct line by tying some thread to a dowel at the appropriate height and then trace where the various fixing points should be.
Given than the two end fixing points are defined (most of the chains attach to the wale) and the deadeyes sit on the channels, the length of the chain is then defined. Using the kit supplied pieces will at best result in a gap. Making your own is an options using thick wire and bending manually - you can get a more authentic look as each chain is custom fit for its position. The kit supplied pieces are all the same size even though the lengths needed vary. Takes longer but for me had more satisfying result.
Hi Jason
How didi you close the loops of your own (custom made) wire chains? Using epoxy or cyano glue?
Thank you again.
-
Thats how I did mine Stergios, the solder holds very well and if done carefully is easily covered with a dab of black paint once the flux has been cleaned away. I used a small 10W iron.
Norman
Hi Norman, is it important the level of power (ie 10W), in this case ?
Thank you.
-
Nice job Stergios those looked to turn out nicely. Did you just use a regular soldering iron?
Yes Jason, I used a simple, pen-style soldering iron.
-
Following your advice, started to solder the strops...
Bonding the edges of the strops is'nt so easy, propably my technique is not the appropriate one, as is the first time I'm trying to do this, but step by step it's getting better.
Hope that solder bonding to withstand the tension of the shrouds/chainlinks....
-
There were some pre-cut parts in the kit, which were a tapered shape, and also the instructions mention cutting extra from 4x2mm walnut I think.
I'm at work at the moment. I'll try and take a picture when I get home.
No detailed instructions for that, Jim.
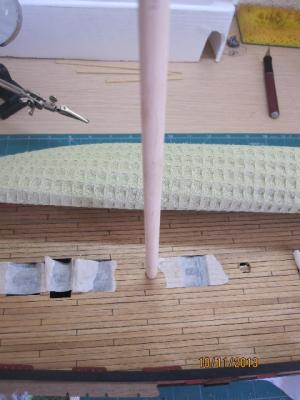
Finally I made my own fenders like the others.
Thanks anyway.
-
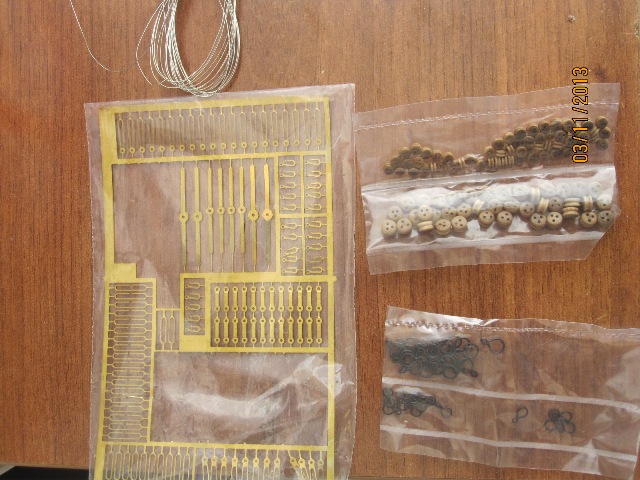
Another today's question: have you stropped the deadeyes using the standard kit wire?
Thanks
Well, I just have realized that I don't have to create my own wire-strops for the dead eyes.!
These are already included in the standard kit...


-
Hi Jim
what have you done with those fenders? Have you used the parts provided by the kit?
Thanks
-
Another today's question: have you stropped the deadeyes using the standard kit wire?
Thanks
-
Hi Jason, and thanks for typing so much helping info....
Yes, I saw your previous post but I thought the chain length discrepancy as a theoritical complication which I should be solving away...but given that the chains are all of the same size, yes this might be a cause of concern....
I'll start to place the deadeys first and I'll see...
Thanks again.
Stergios
PS: Why to use some epoxy and not some cyanoacrylate ?
-
No worries. My main issue is that my strops and chains aren't soldered and so are a potential weak point. Fortunately only one had failed whilst rigging the shrouds. Managed to fix with black rigging thread and is unnoticeable.
Basically, now I'm thinking to attach the wire-stropped deadeyes and chain assemblies to the channels and afterwards glue the channels on the hull....


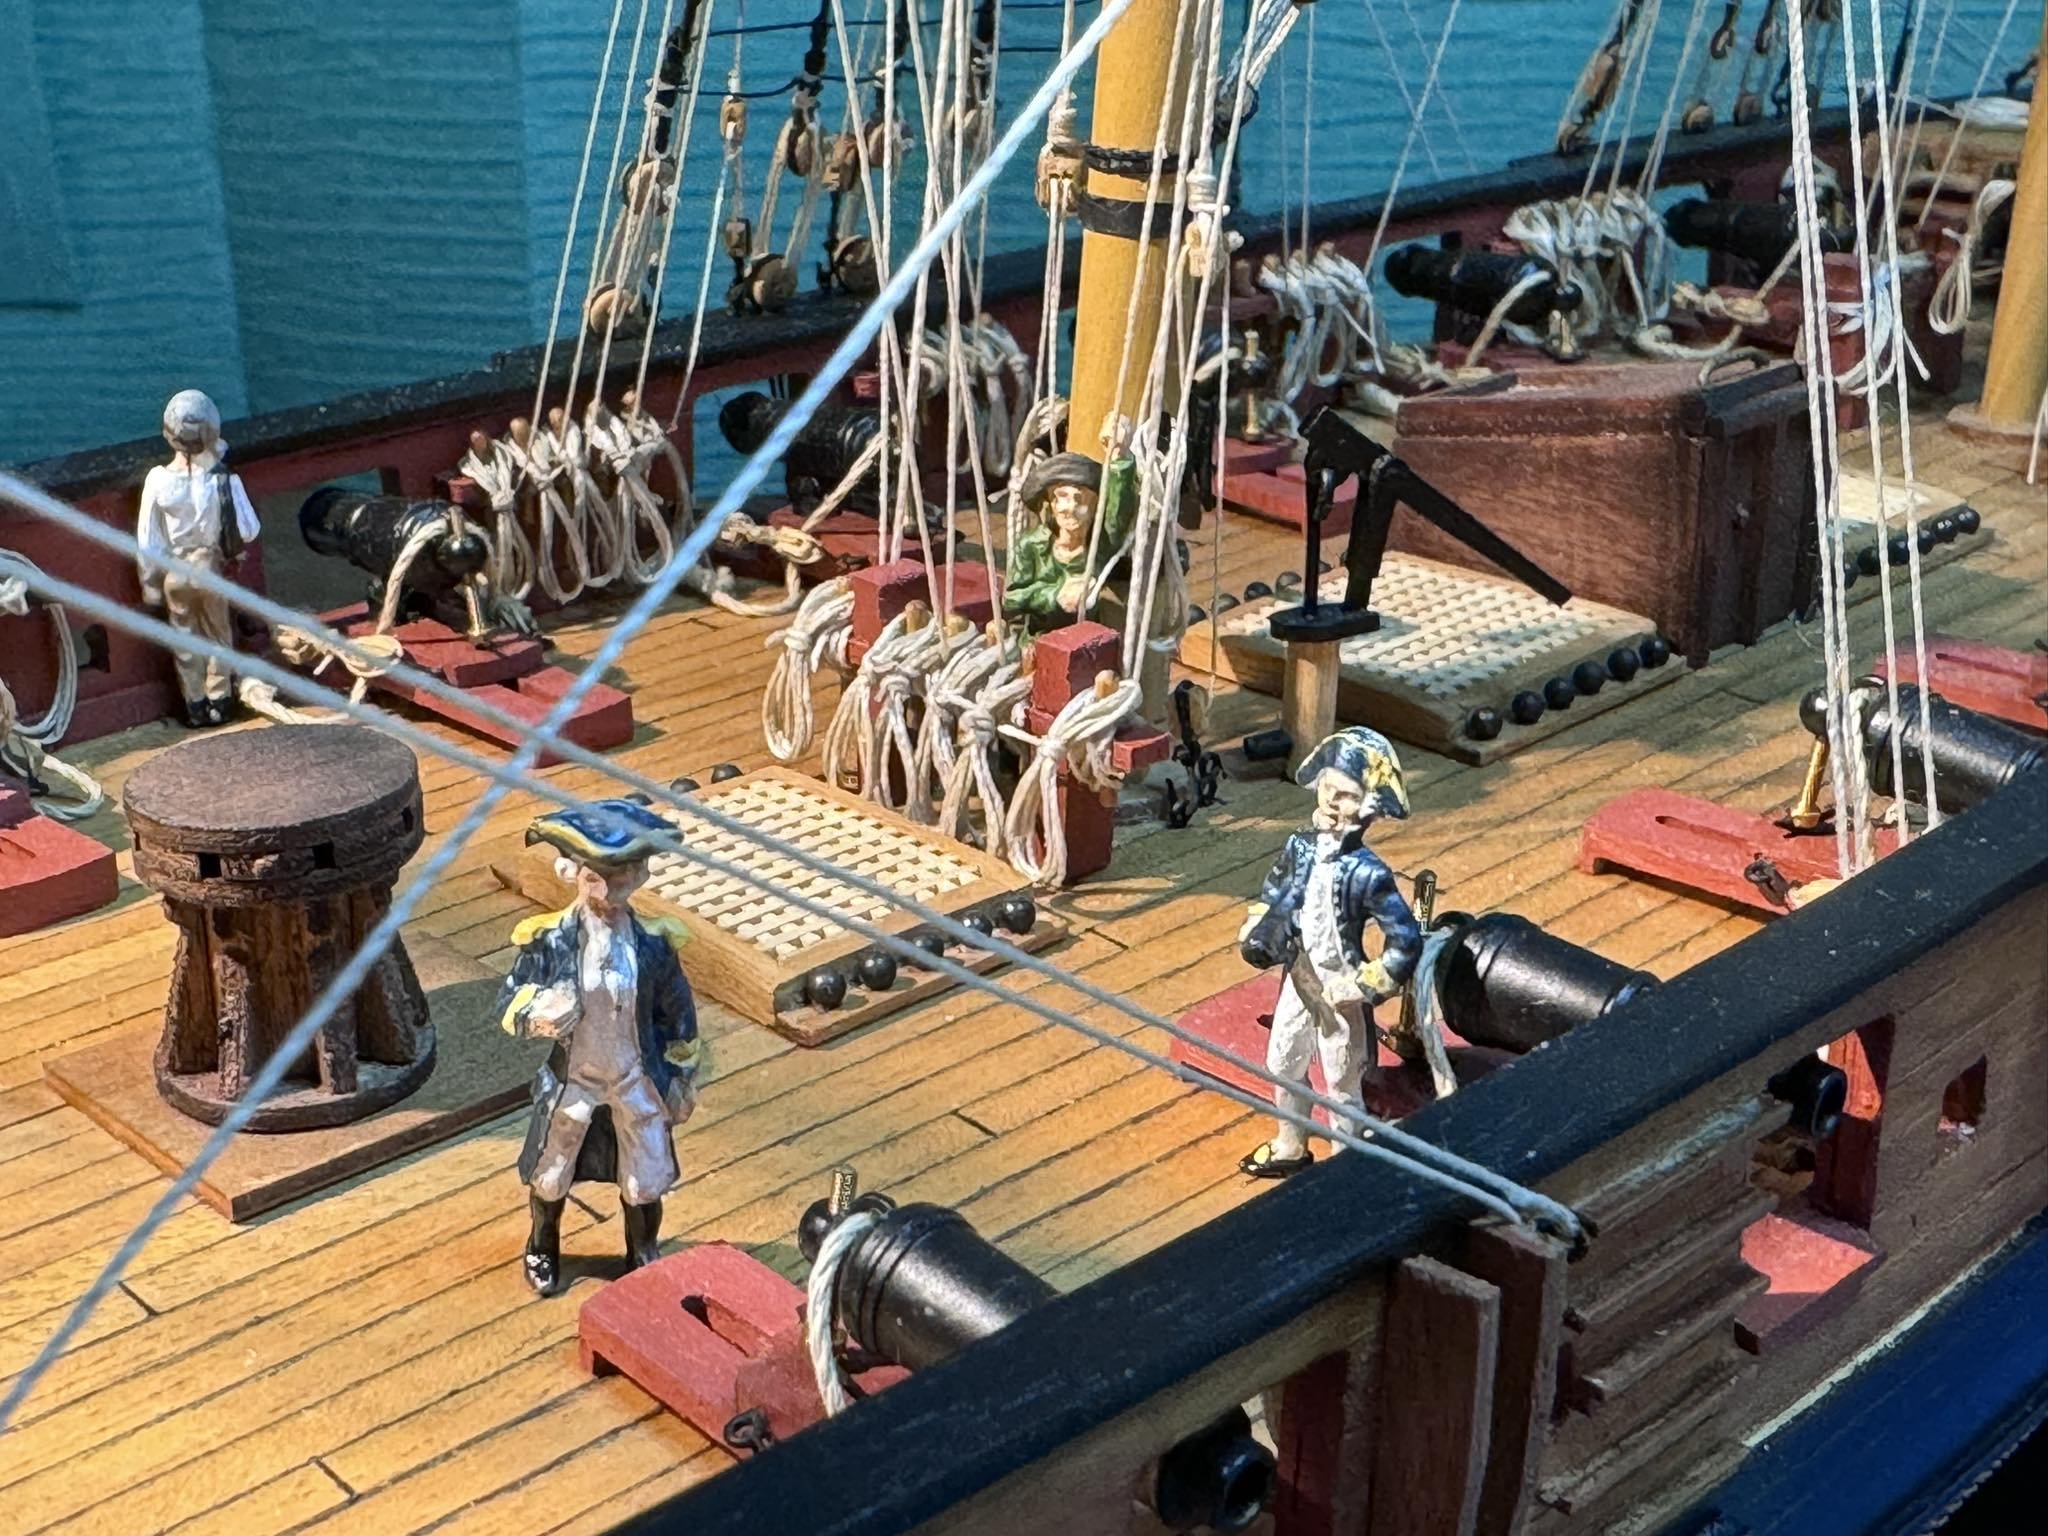
HMS Snake by drtrap - Caldercraft
in - Kit build logs for subjects built from 1751 - 1800
Posted
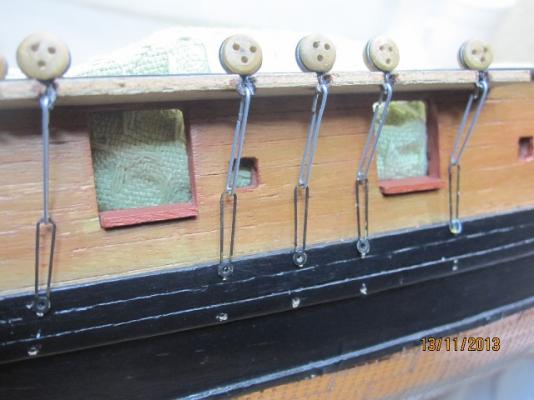
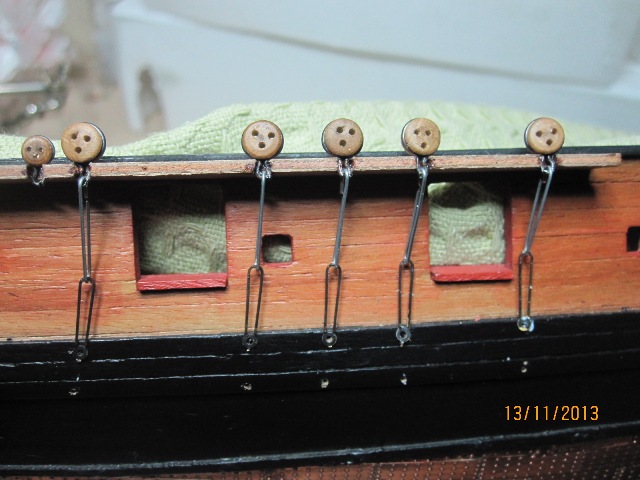
Port side ready, channel's tackles "hanging" in place.
Finally making my own loops was much easier than I expected....