HOLIDAY DONATION DRIVE - SUPPORT MSW - DO YOUR PART TO KEEP THIS GREAT FORUM GOING! (Only 20 donations so far - C'mon guys!)
×

drtrap
-
Posts
907 -
Joined
-
Last visited
Content Type
Profiles
Forums
Gallery
Events
Everything posted by drtrap
-
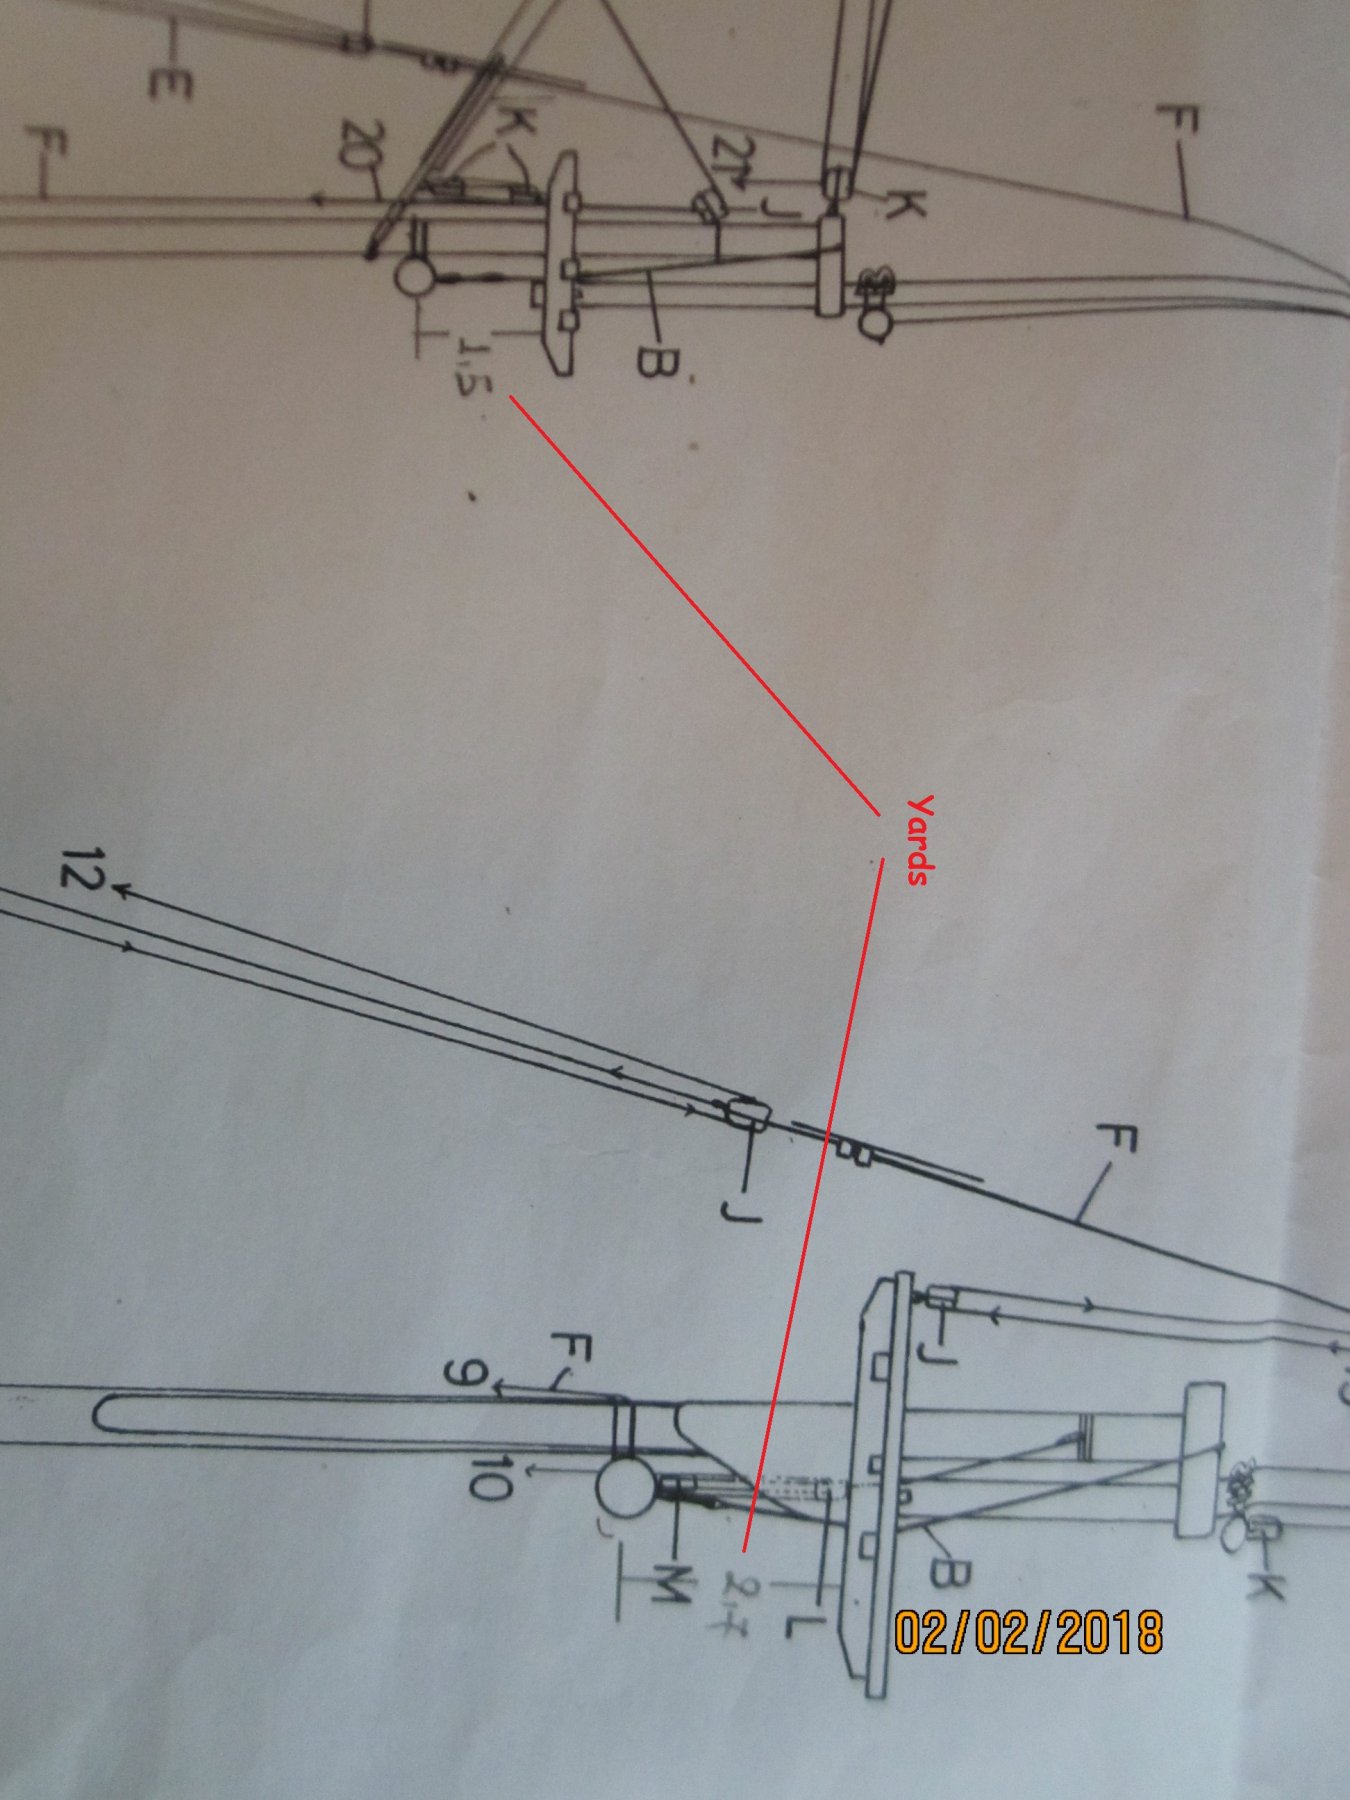
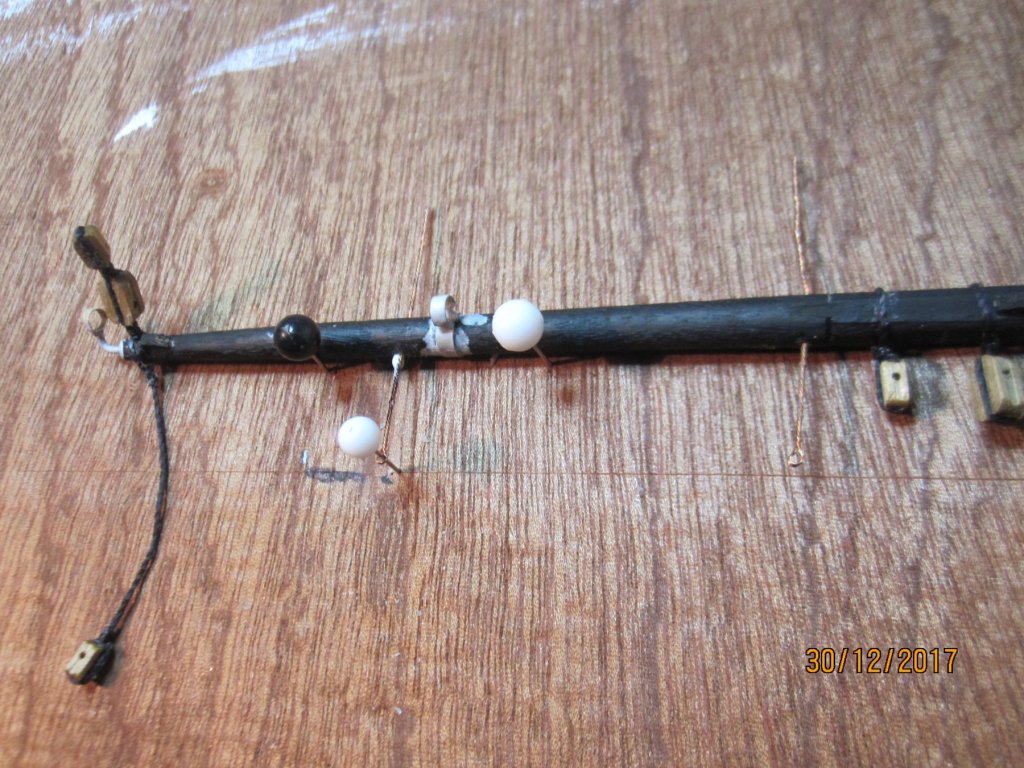
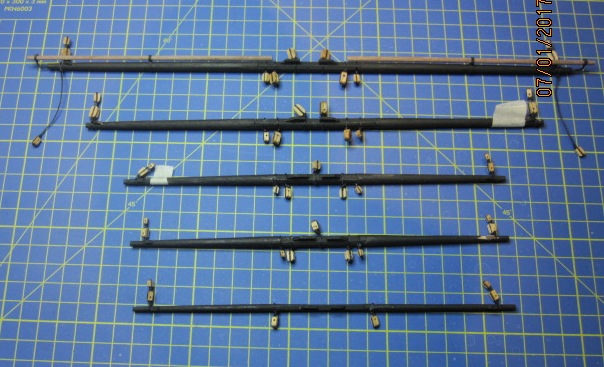
The entry poinys of the pins and the relative heights of the yards are defined. Cheers. Any advise on how to roatate the pics [anticlockwise] or contact the administrators to help?


- 1,144 replies
-
- 4
-

-
- snake
- caldercraft
- (and 1 more)
-
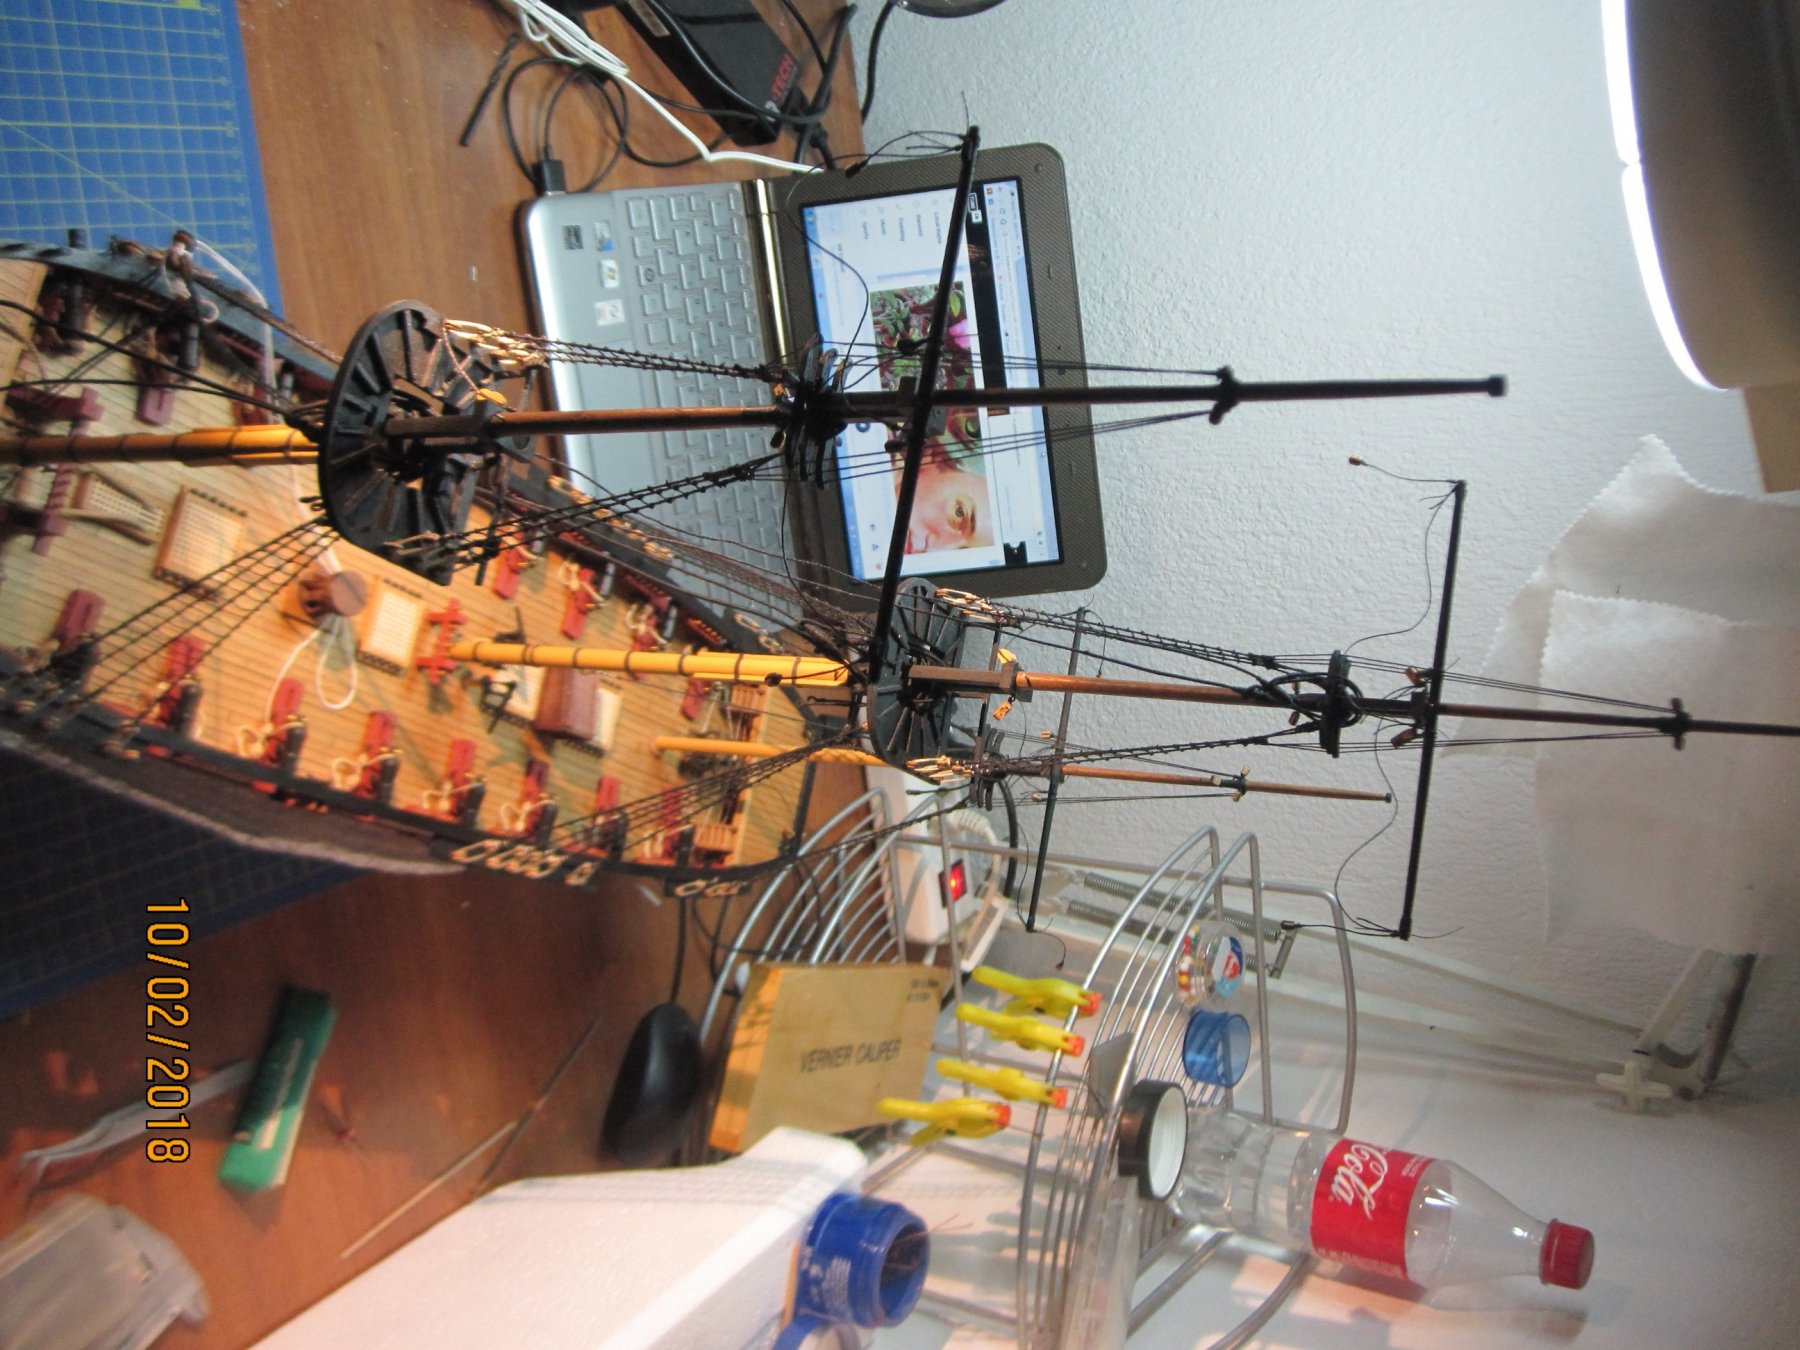
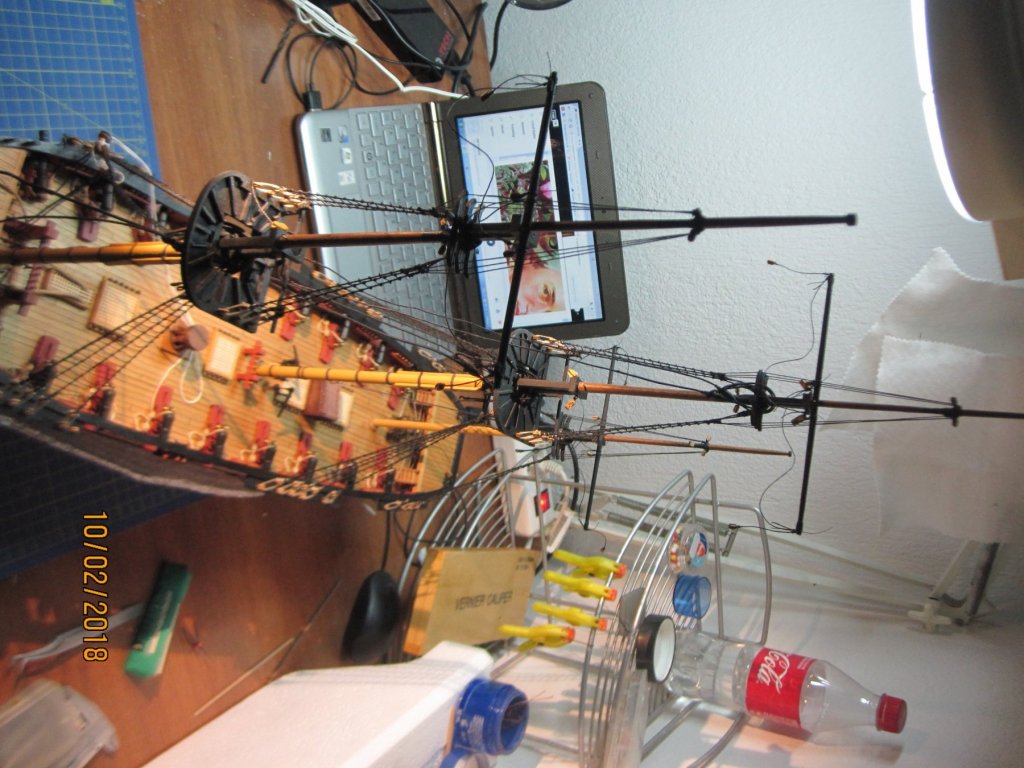
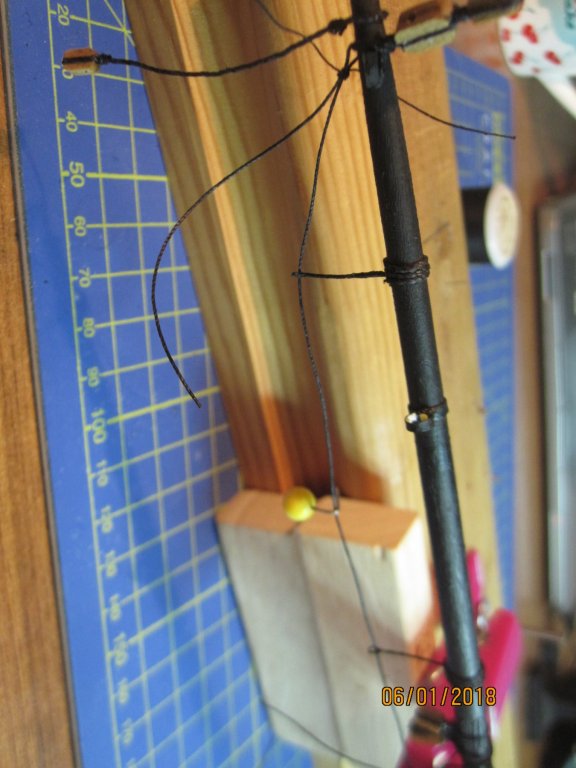
The rigging of the yards is almost complete. Thinking to leave all of them unmounted out off the masts. I'll continue with the permanent placement of the bowsprit and start this way the standing rigging of the ship. If you consider I'm wrong, please say it now.
-
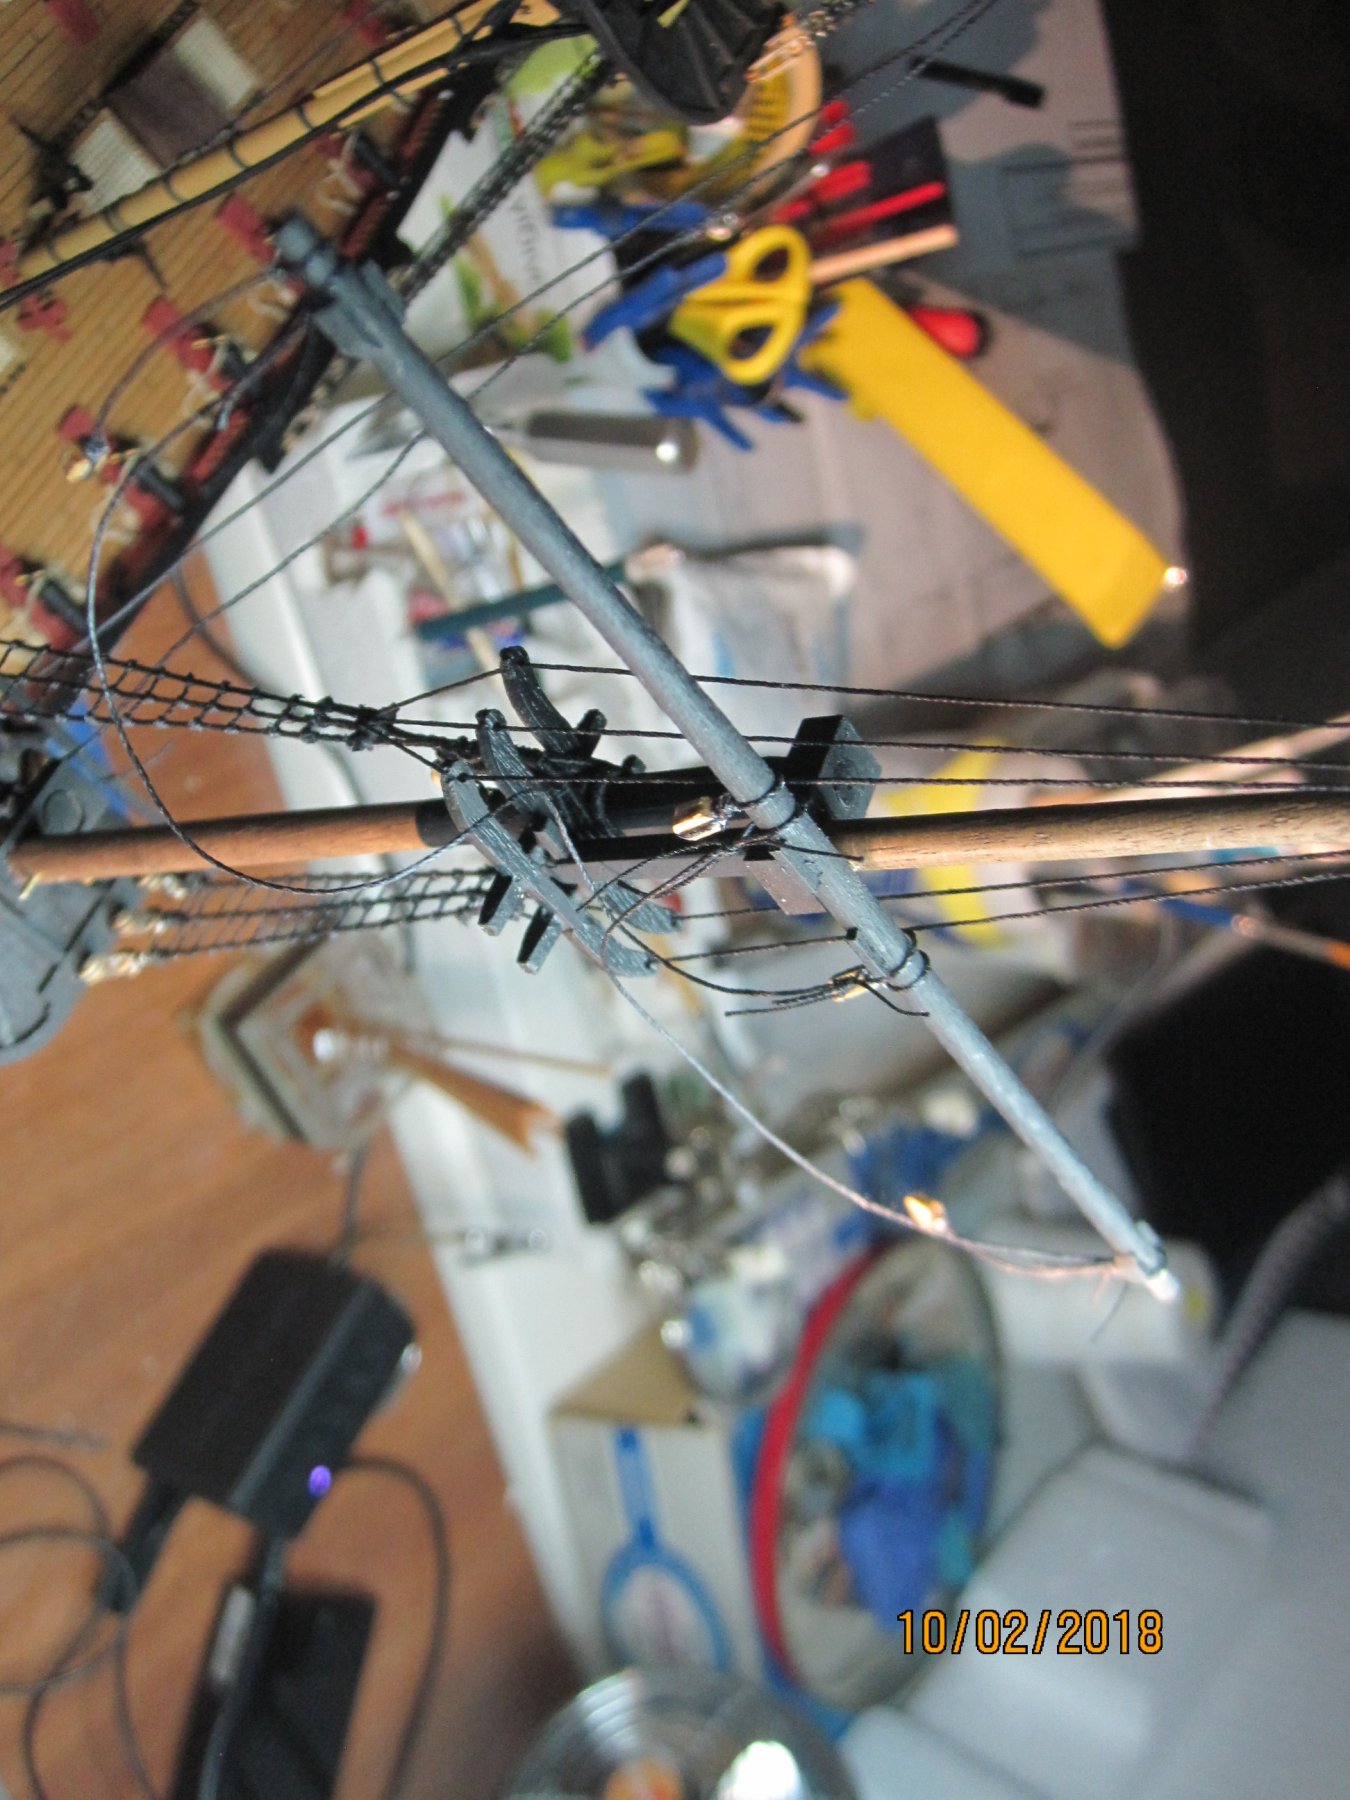
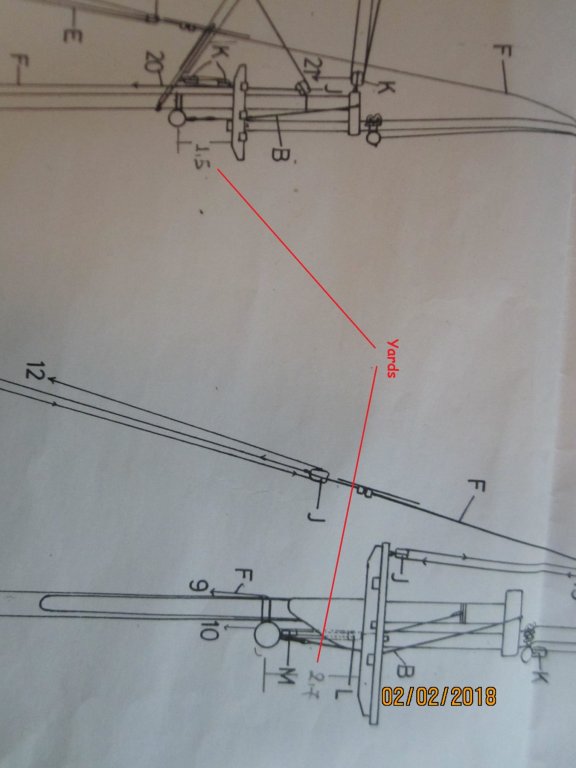
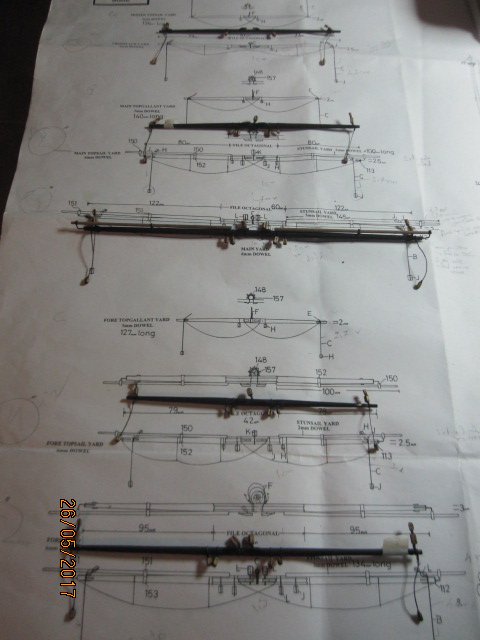
Now ii's time to find the right height for the yards. I'll go using the respective platforms (I can't recall their names, now...) as a reference for the right height for the point to drill a 1mm hole and to fix the yard. PS: The photos are "uploaded" in a 90 degrees orientation. I sent a query mail to msw, no reply.....
-
That's my version for the sling of the main yards. I used for the eye a custom made 5mm deadeye. Thanks. Stergios PS: The loop is passed the wrong way, I'll fix it later.
- 1,144 replies
-
- 4
-
-
- snake
- caldercraft
- (and 1 more)
-
No problem, I've found my way
-
Than you again Jason. I plan to use a 5mm deadeye and open a central hole to serve as the eye for the sling.
-
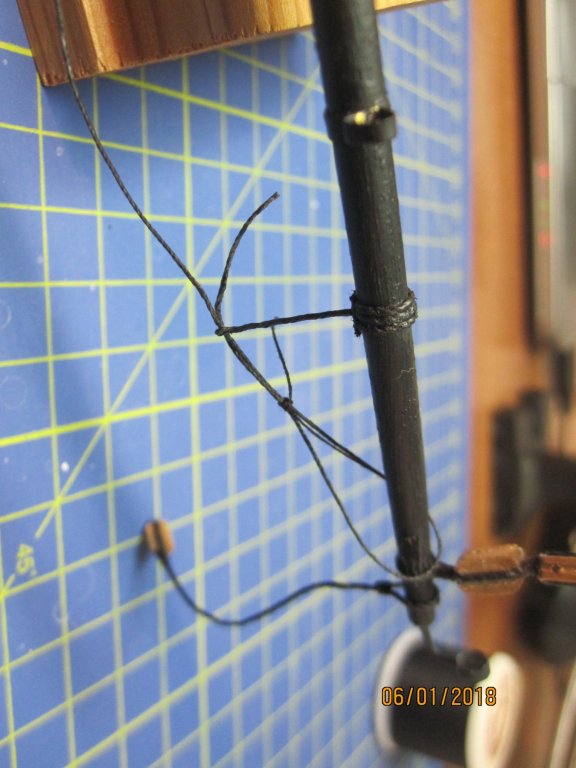
Hi folks. Any idea or suggestion on how to create, serve and fit those lower central slings of the "senior" masts? Thank you in advance.
-
Hi Jason That metallic (?) ring/"eye" of the lower sling, belongs to the standard kit's fittings? Thank you.
- 800 replies
-
- 7
-
-
- snake
- caldercraft
- (and 1 more)
-
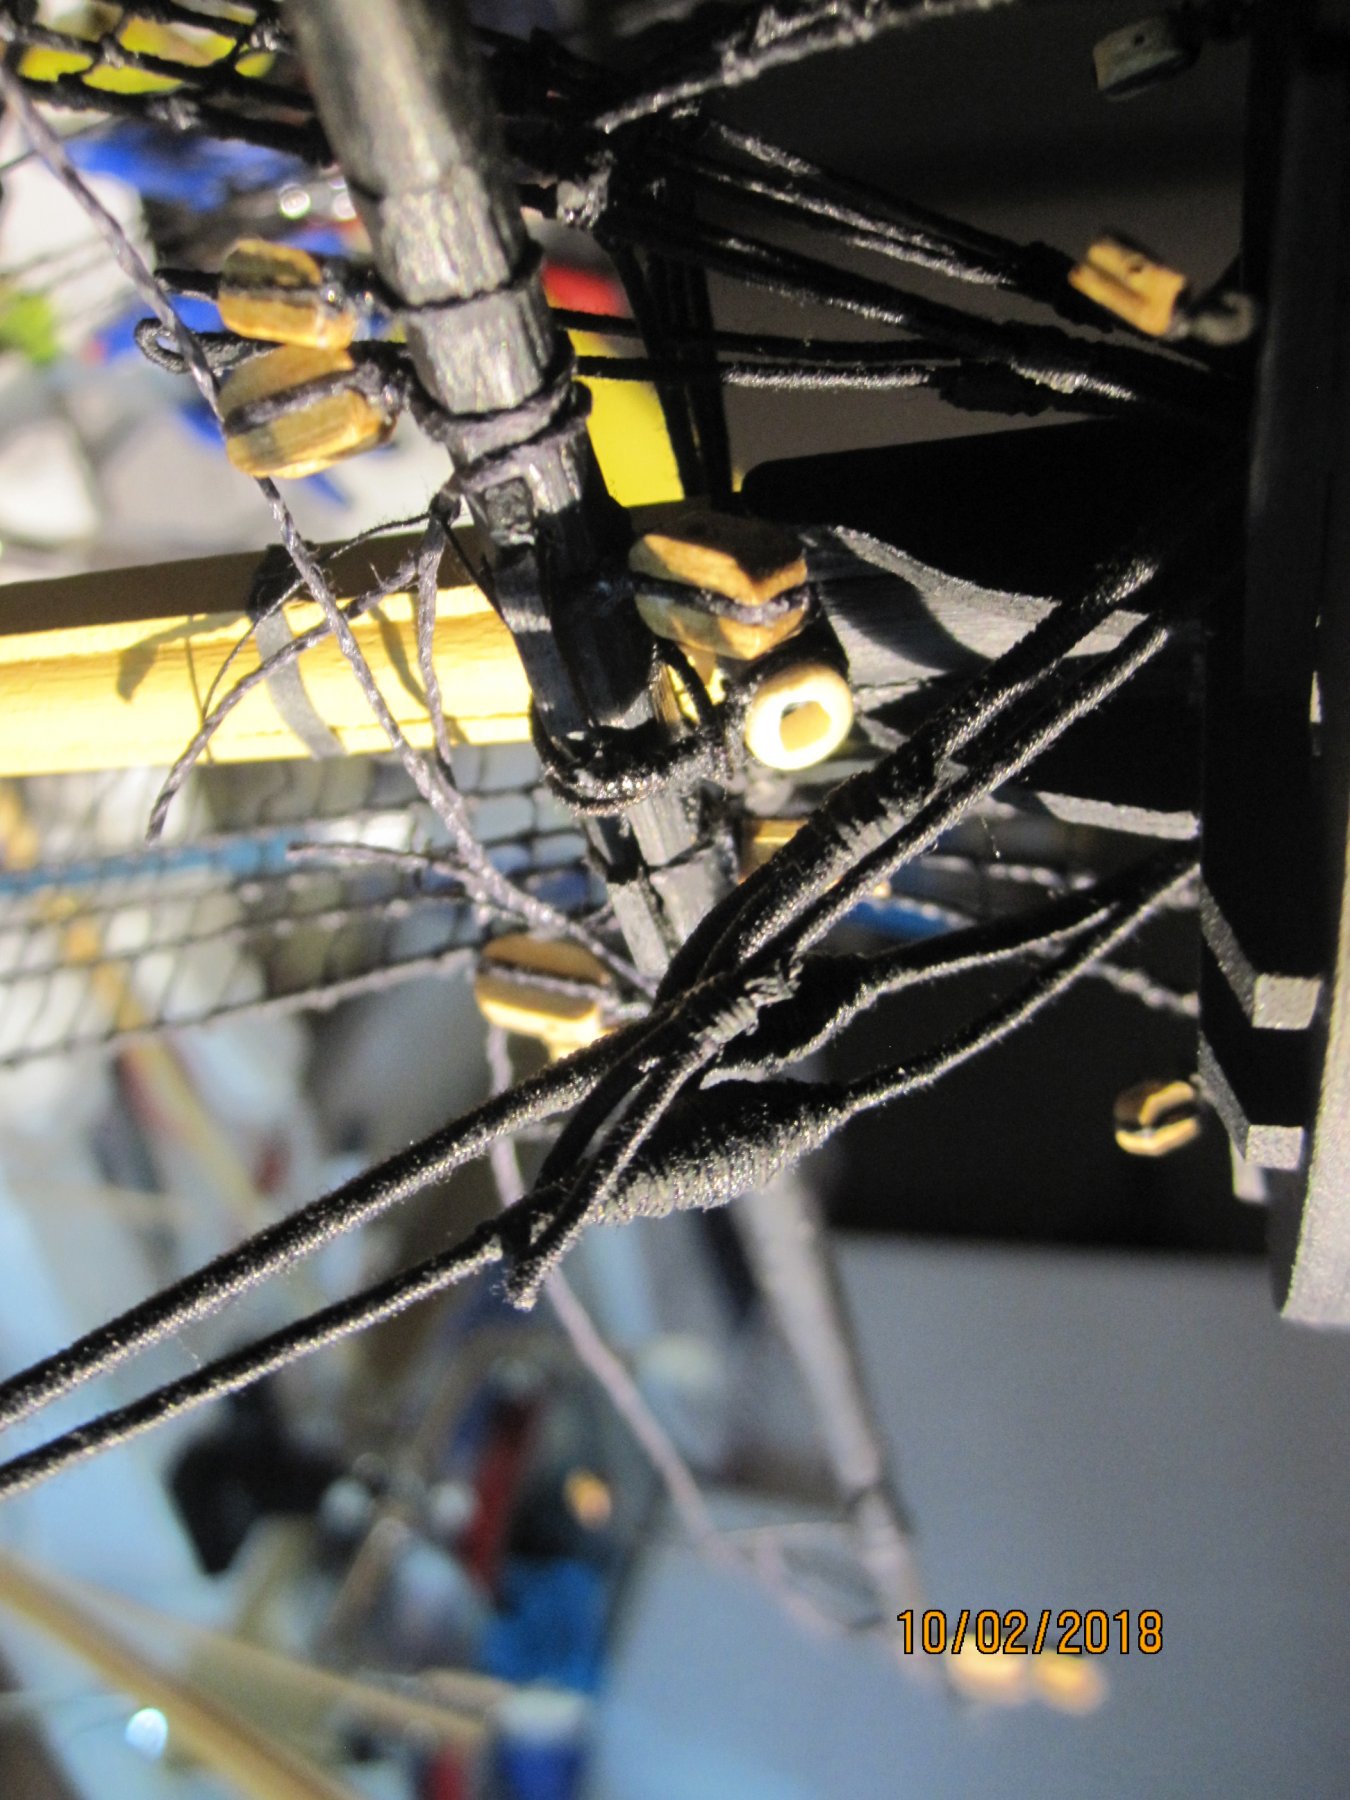
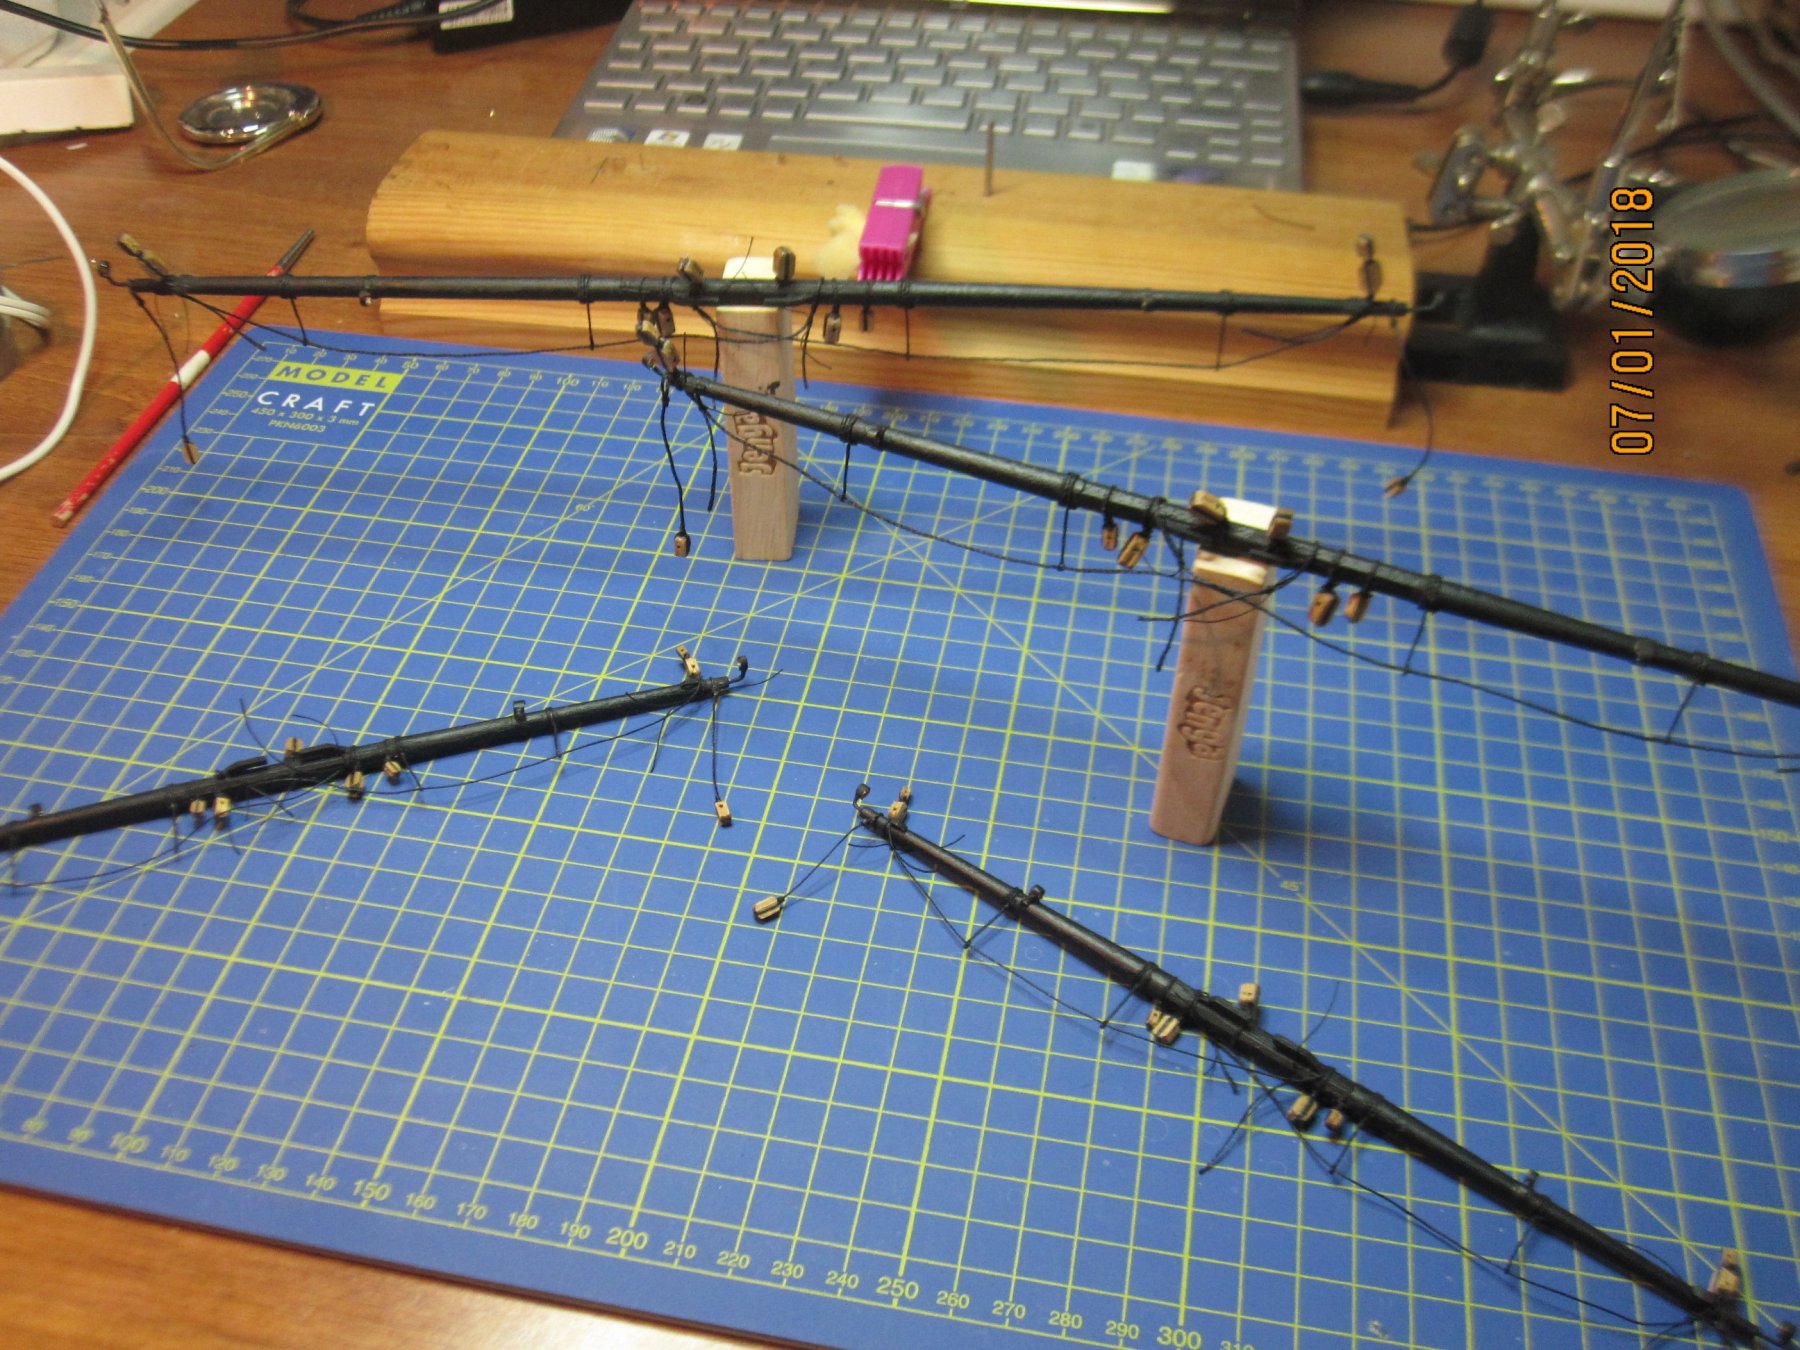
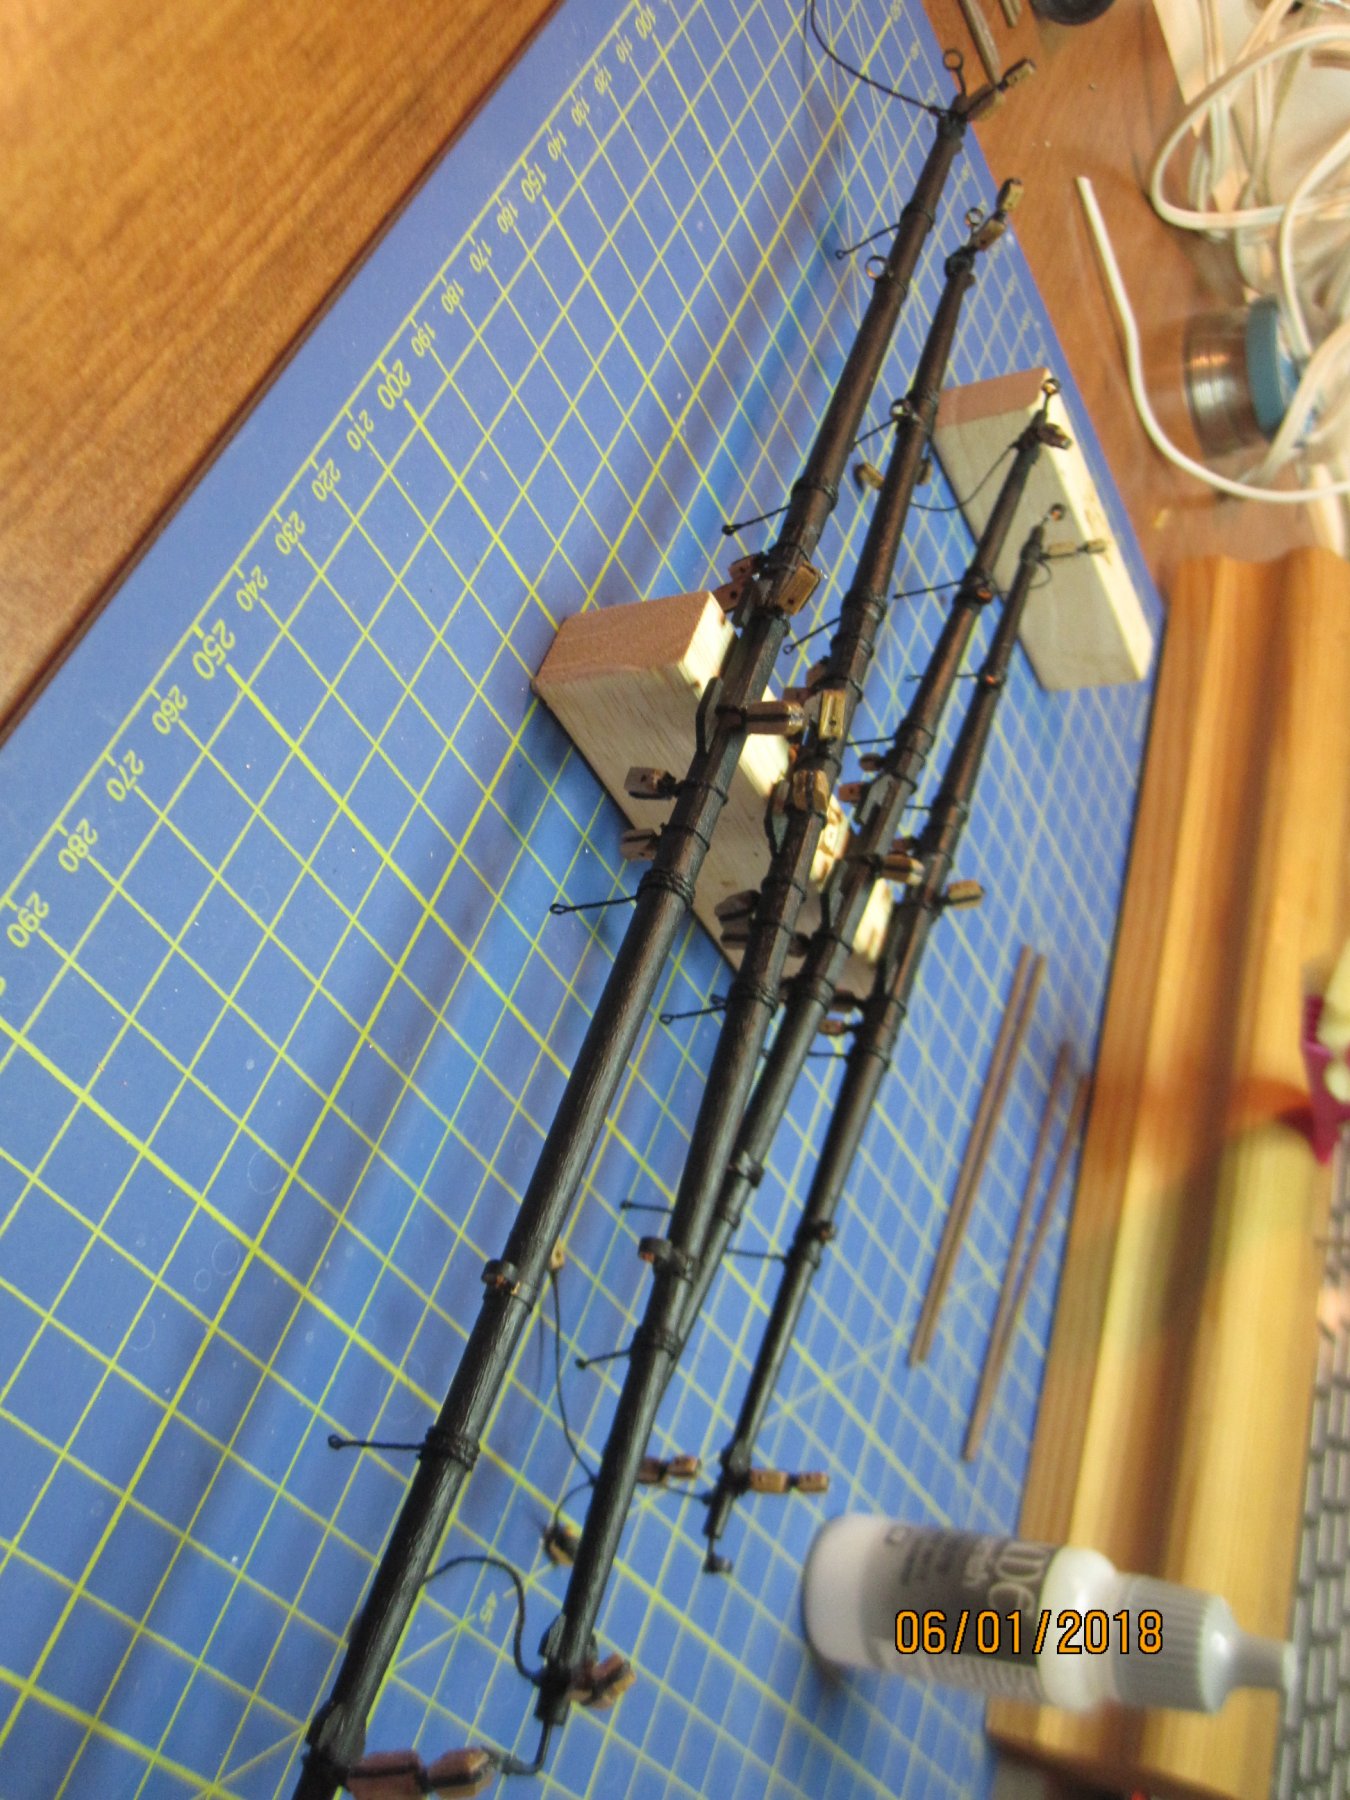
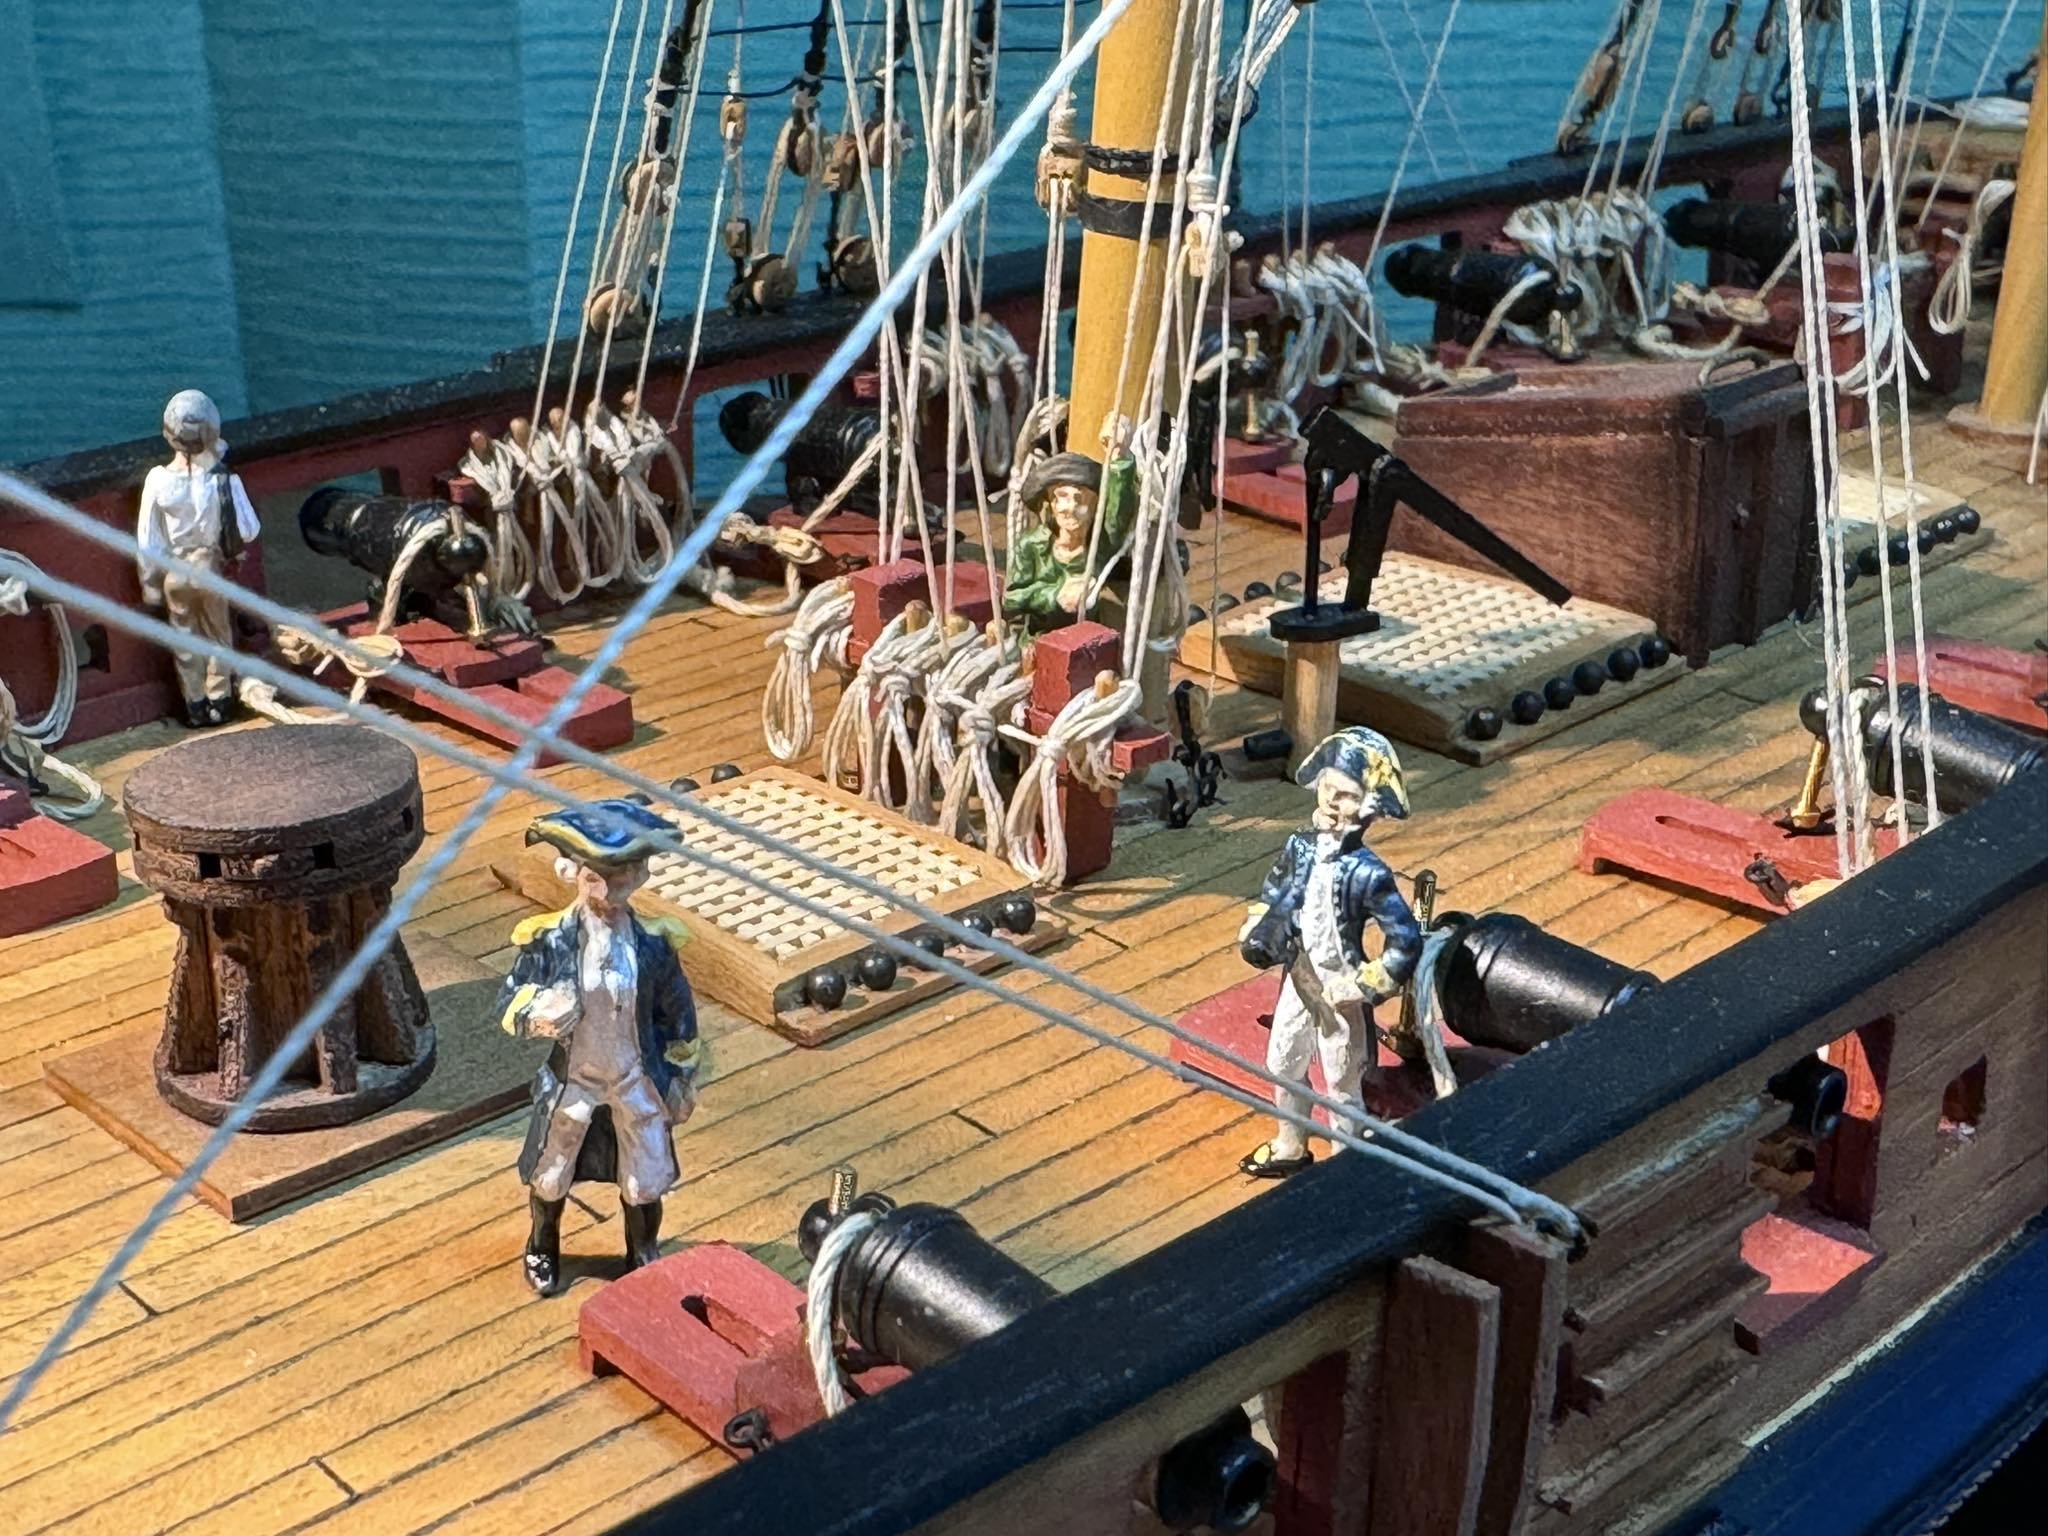
A couple of pictures demonstrating the preliminary result using 0,5 and 0,75 black thread for the footropes. I'll leave the rigging semi-loose till the final placement just to be sure for the tension of the fittings and to simulate a sense of gravity rope "sagging" using floor cleaner as a rope hardener. I've found the tip to save my photos in a 270 degrees orientation. This way i can upload and show them without problem preserving my (and yours) cervical spine stablity.

- 1,144 replies
-
- 4
-
-
- snake
- caldercraft
- (and 1 more)
-
I think it is better to simulate the footropes using 0,75 black thread for the larger yards and leave 0,50 thread for the other two (nr 2 and 4)..
-
Starting the rigging fot the footropes. I'm going for that with 0,5 black thread but I'm not feeling sure whether 0,5 seems "under-scaled", especially for the main yard....

- 1,144 replies
-
- 3
-
-
- snake
- caldercraft
- (and 1 more)
-
Unable to rotate all those pictures... Any help??
-
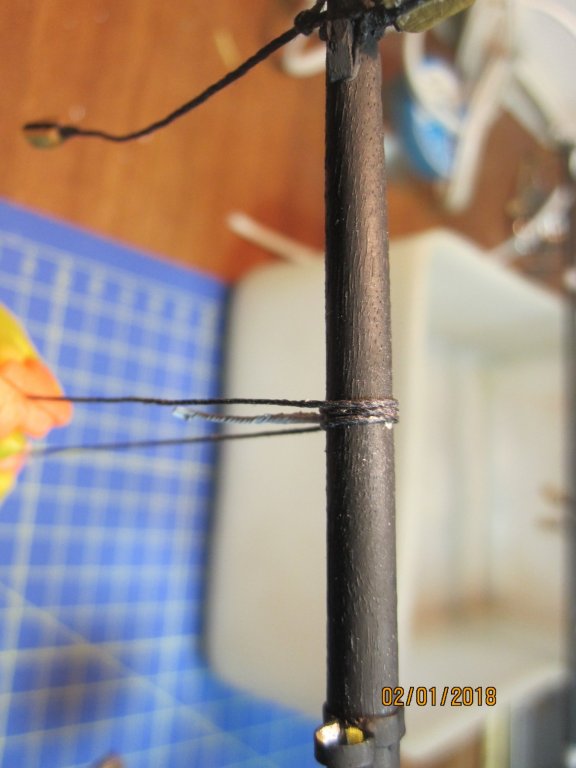
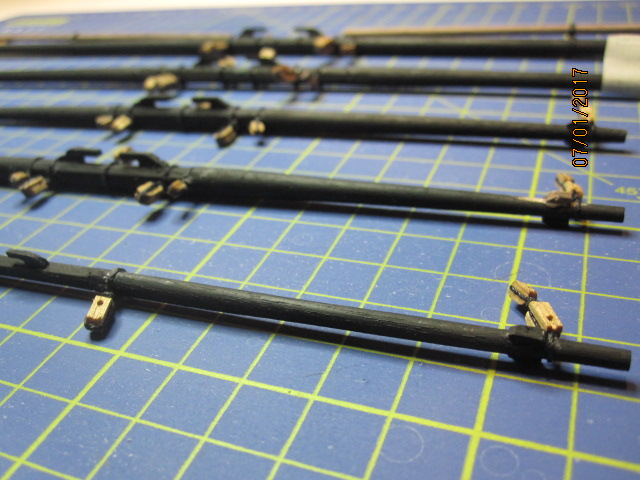
Thank you Jason. Now all yards are almost ready for the final rigging. I've applied of course a thin layer of the best in my opinion varnish: vallejo matt varnish 71120

- 1,144 replies
-
- 3
-
-
- snake
- caldercraft
- (and 1 more)
-
This step of action trying to test and compare 0,5 vs 0,75 black thread for the lashing....

- 1,144 replies
-
- 3
-
-
- snake
- caldercraft
- (and 1 more)
-
I must find a way to rotate the pictures....
-
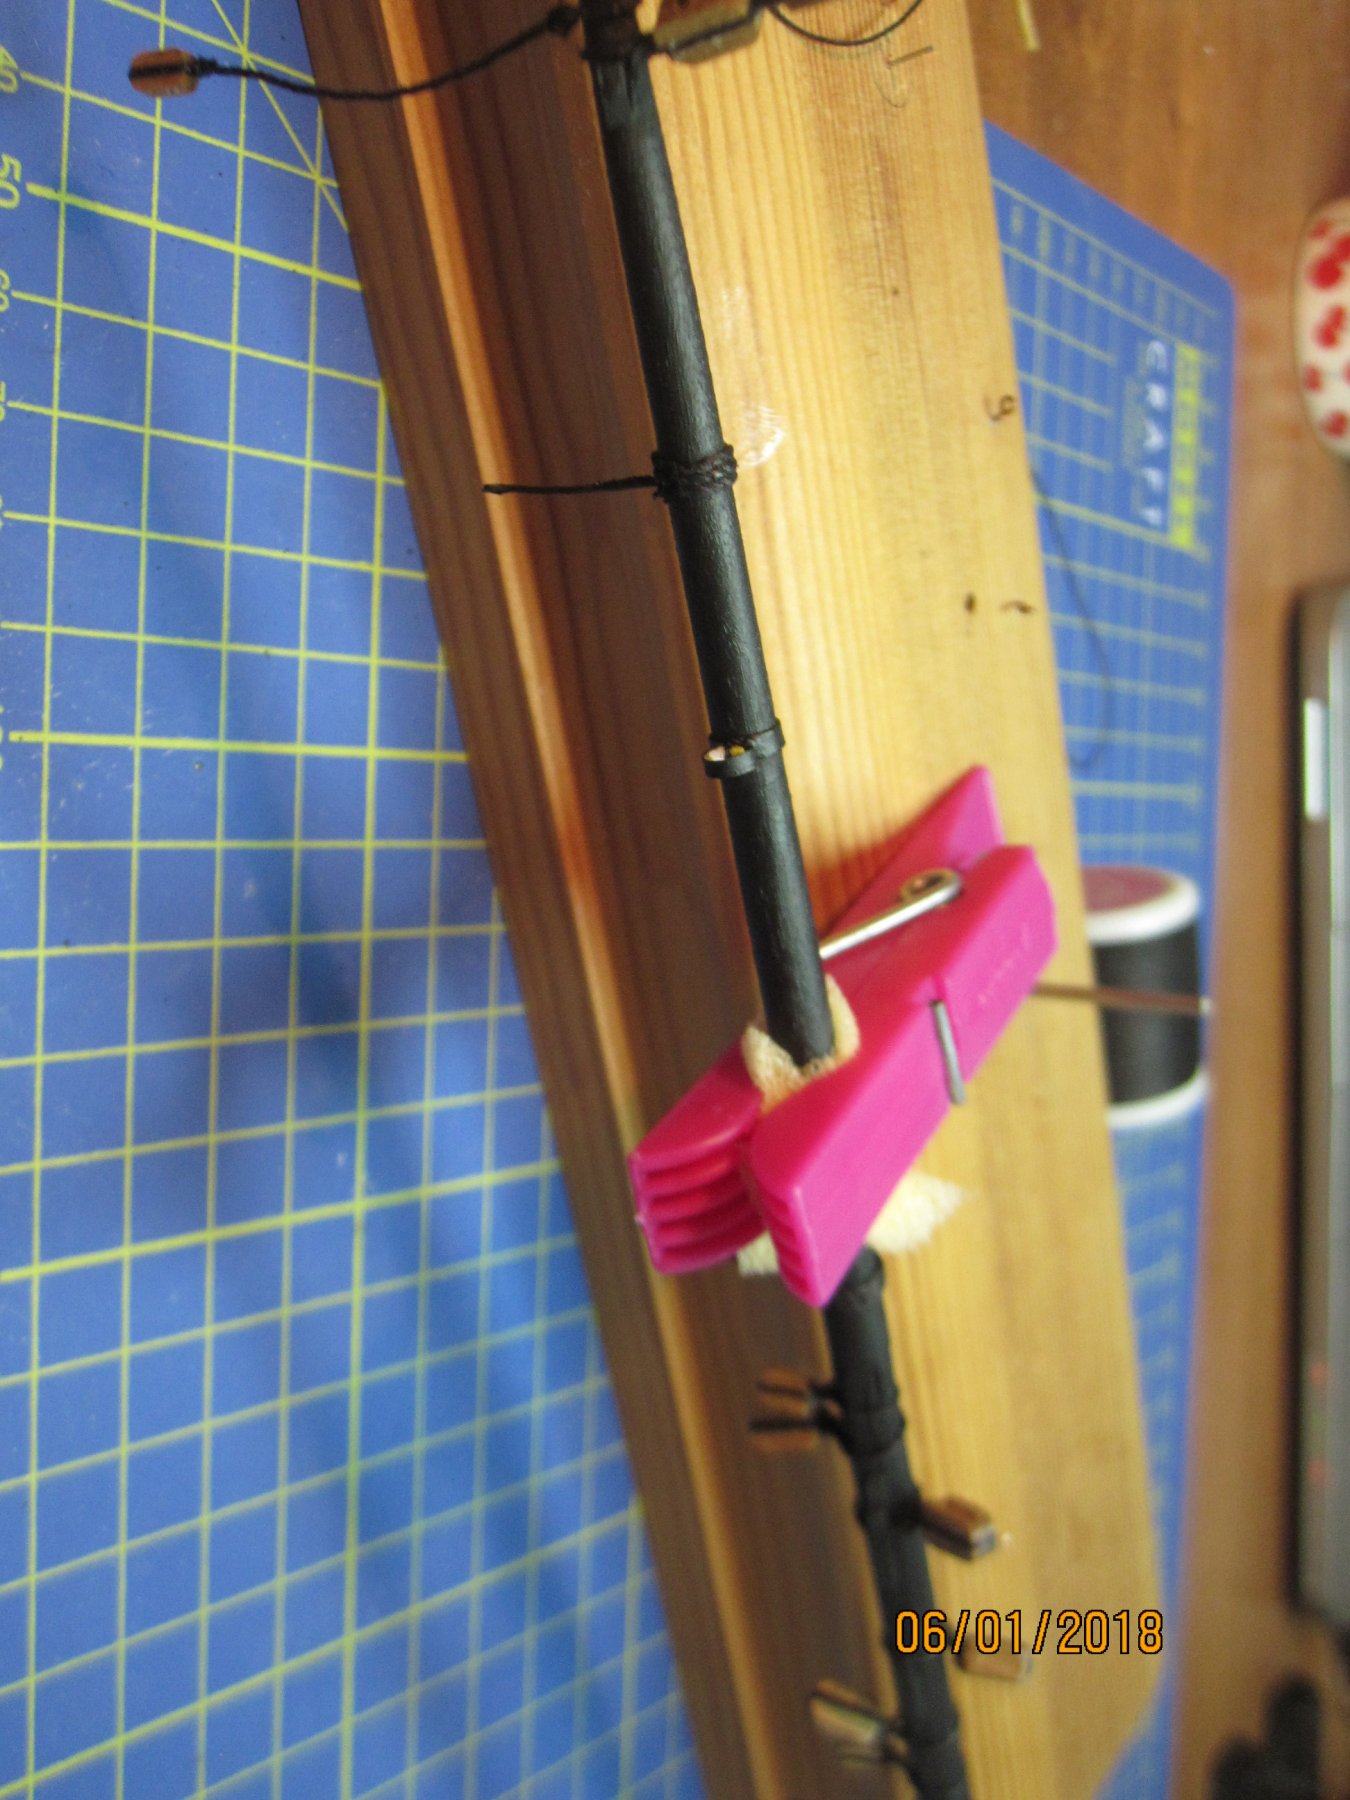
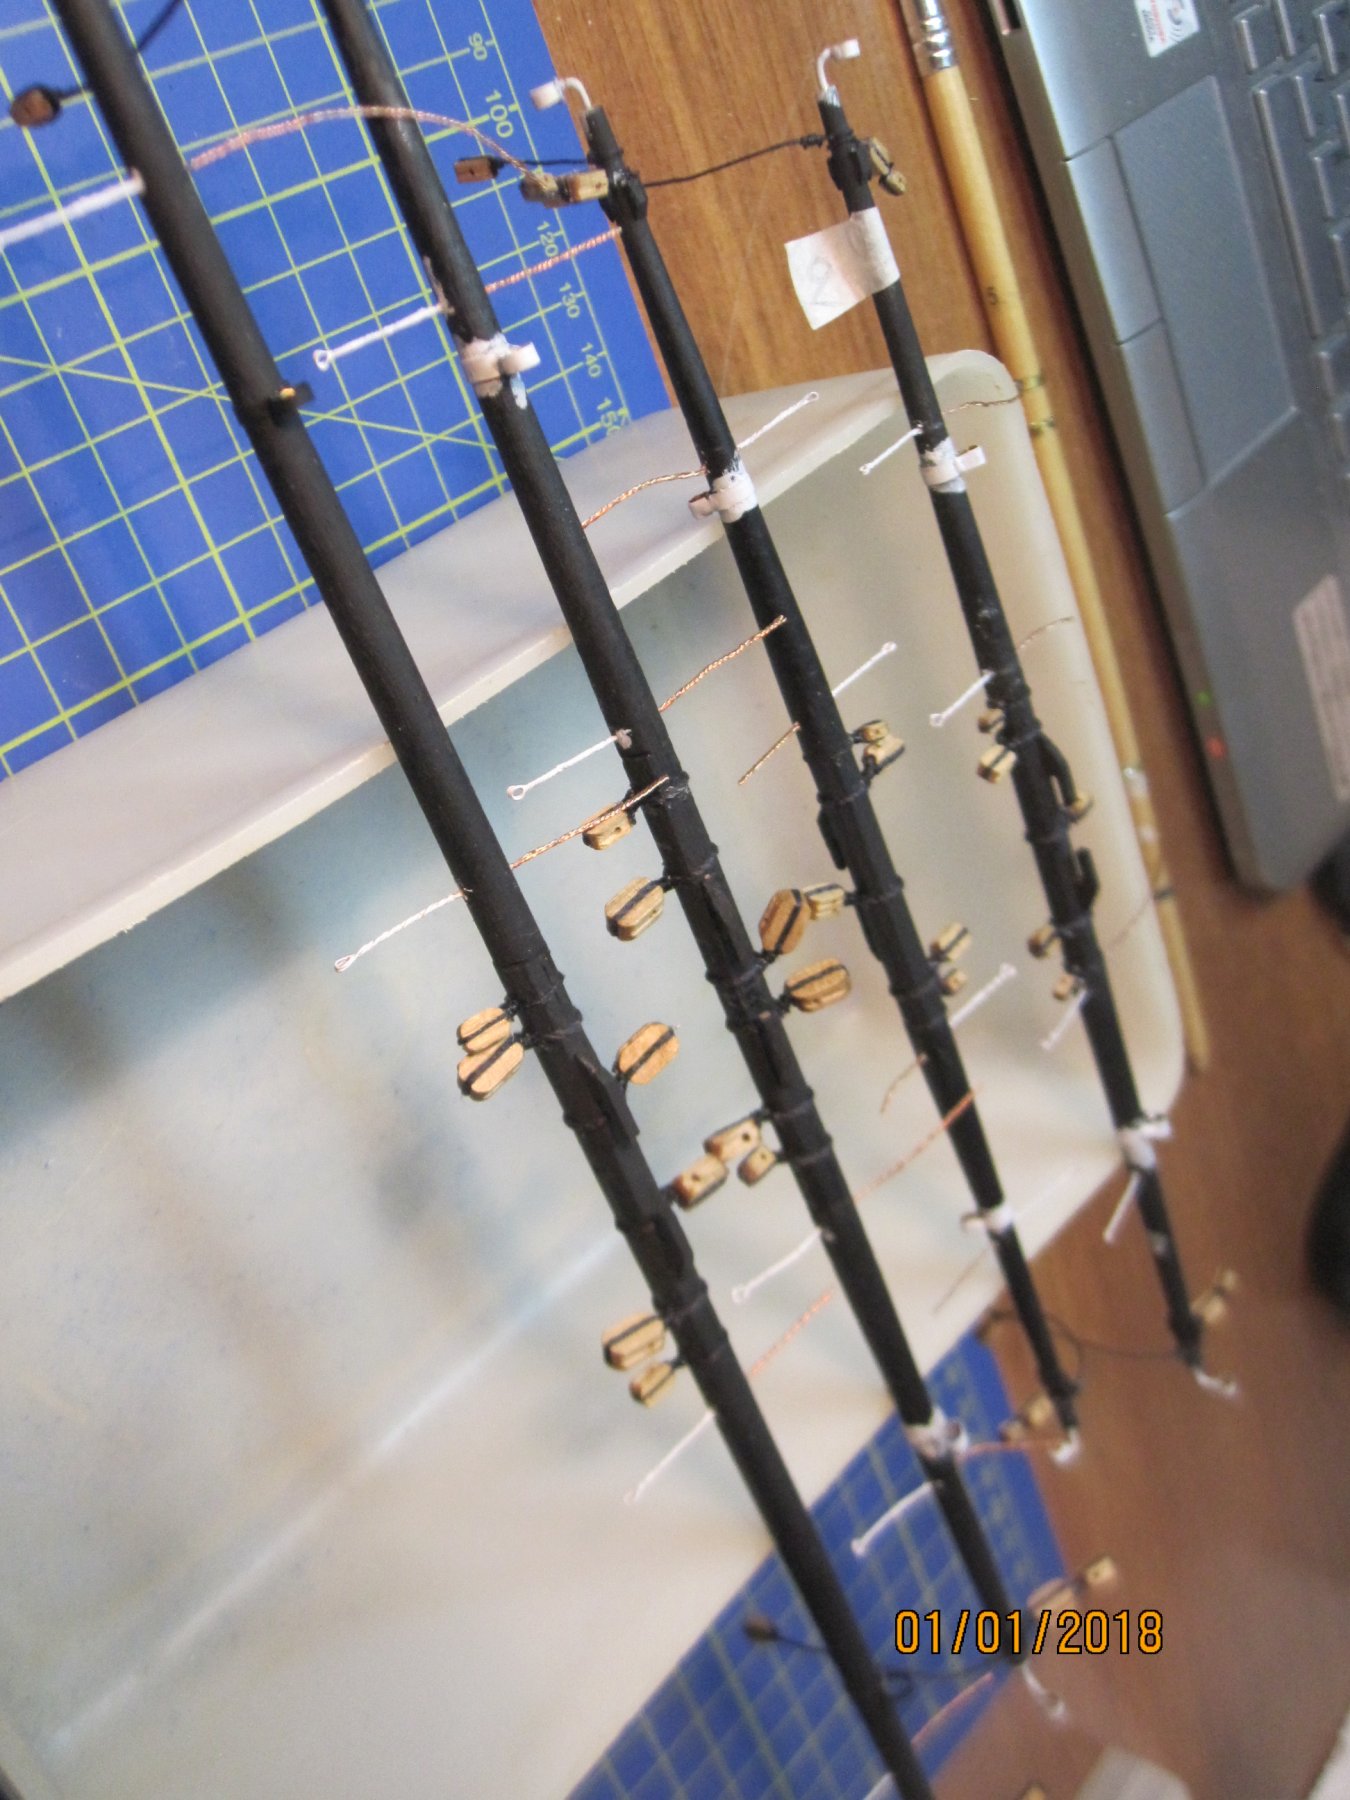
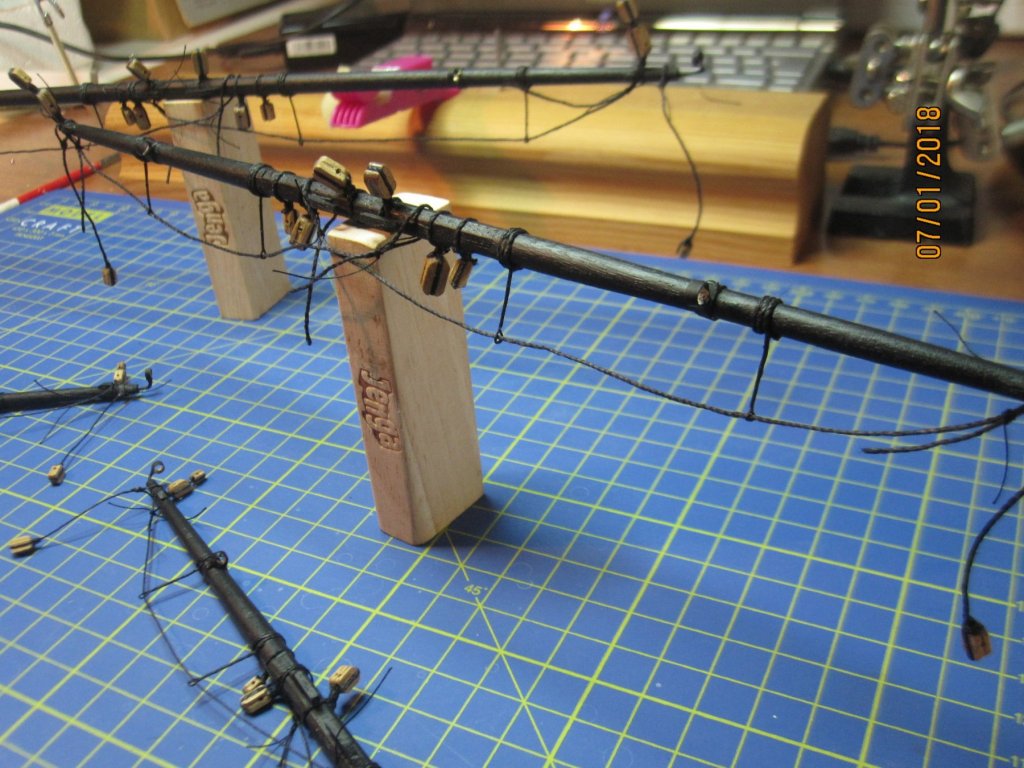
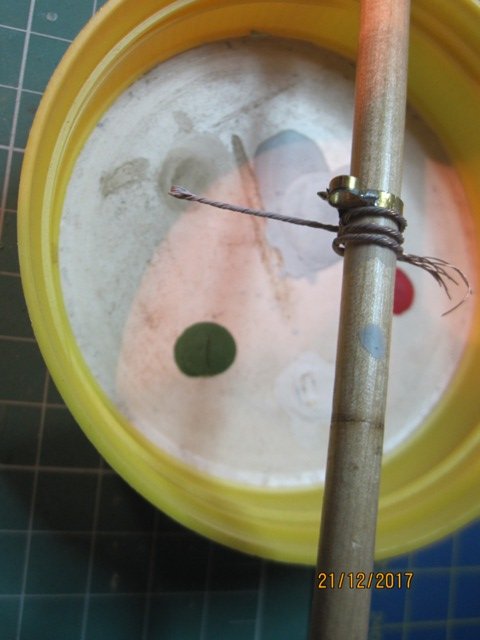
Happy New Year 2018 to everyone!! A couple of pics showing the progress of this phase, using a custom made jig just to set the same length [14 mm] of the stirrups........


- 1,144 replies
-
- 1
-
-
- snake
- caldercraft
- (and 1 more)
-
Excellent, neat work Jason!!
-
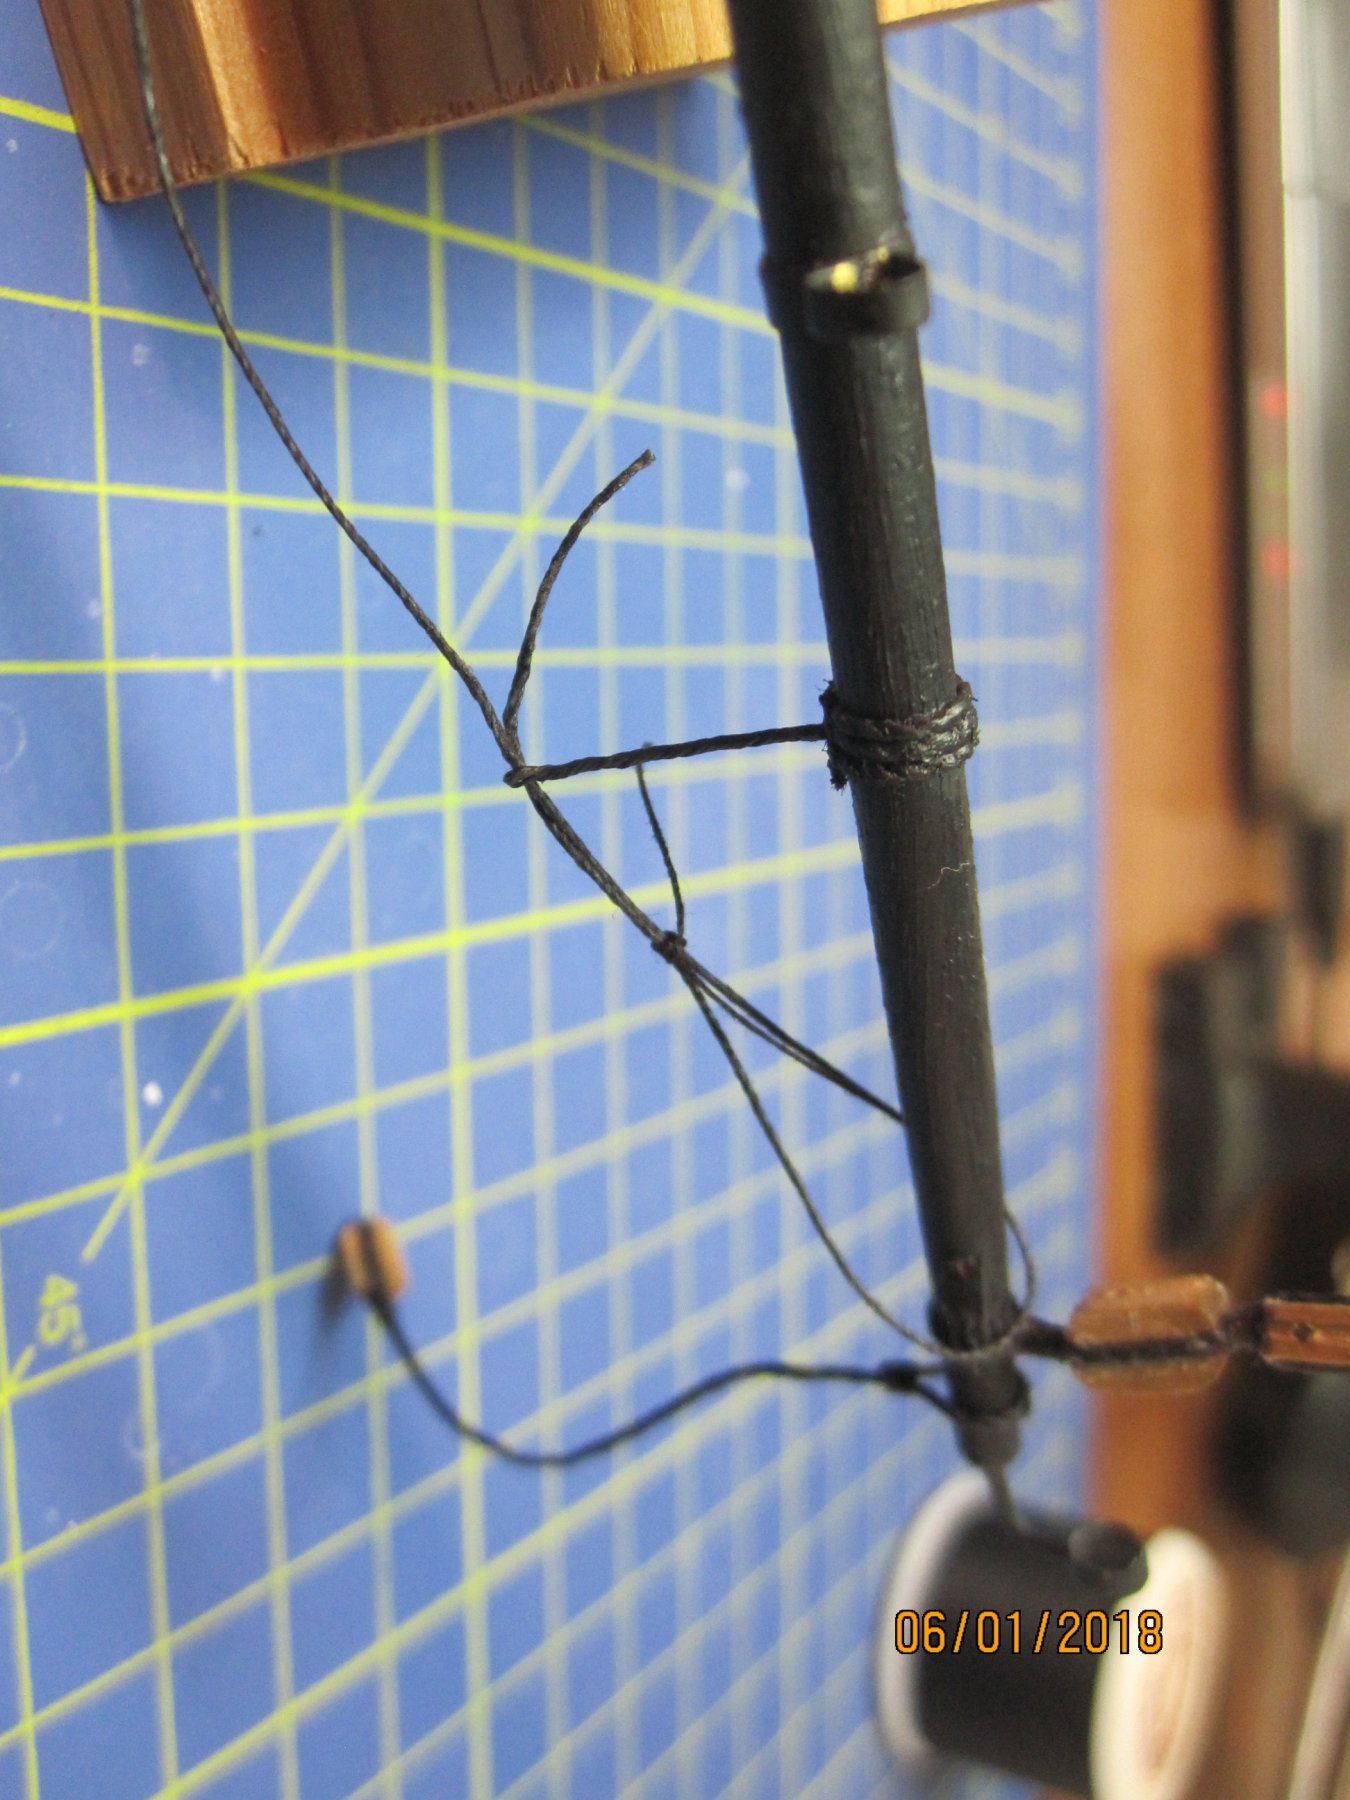
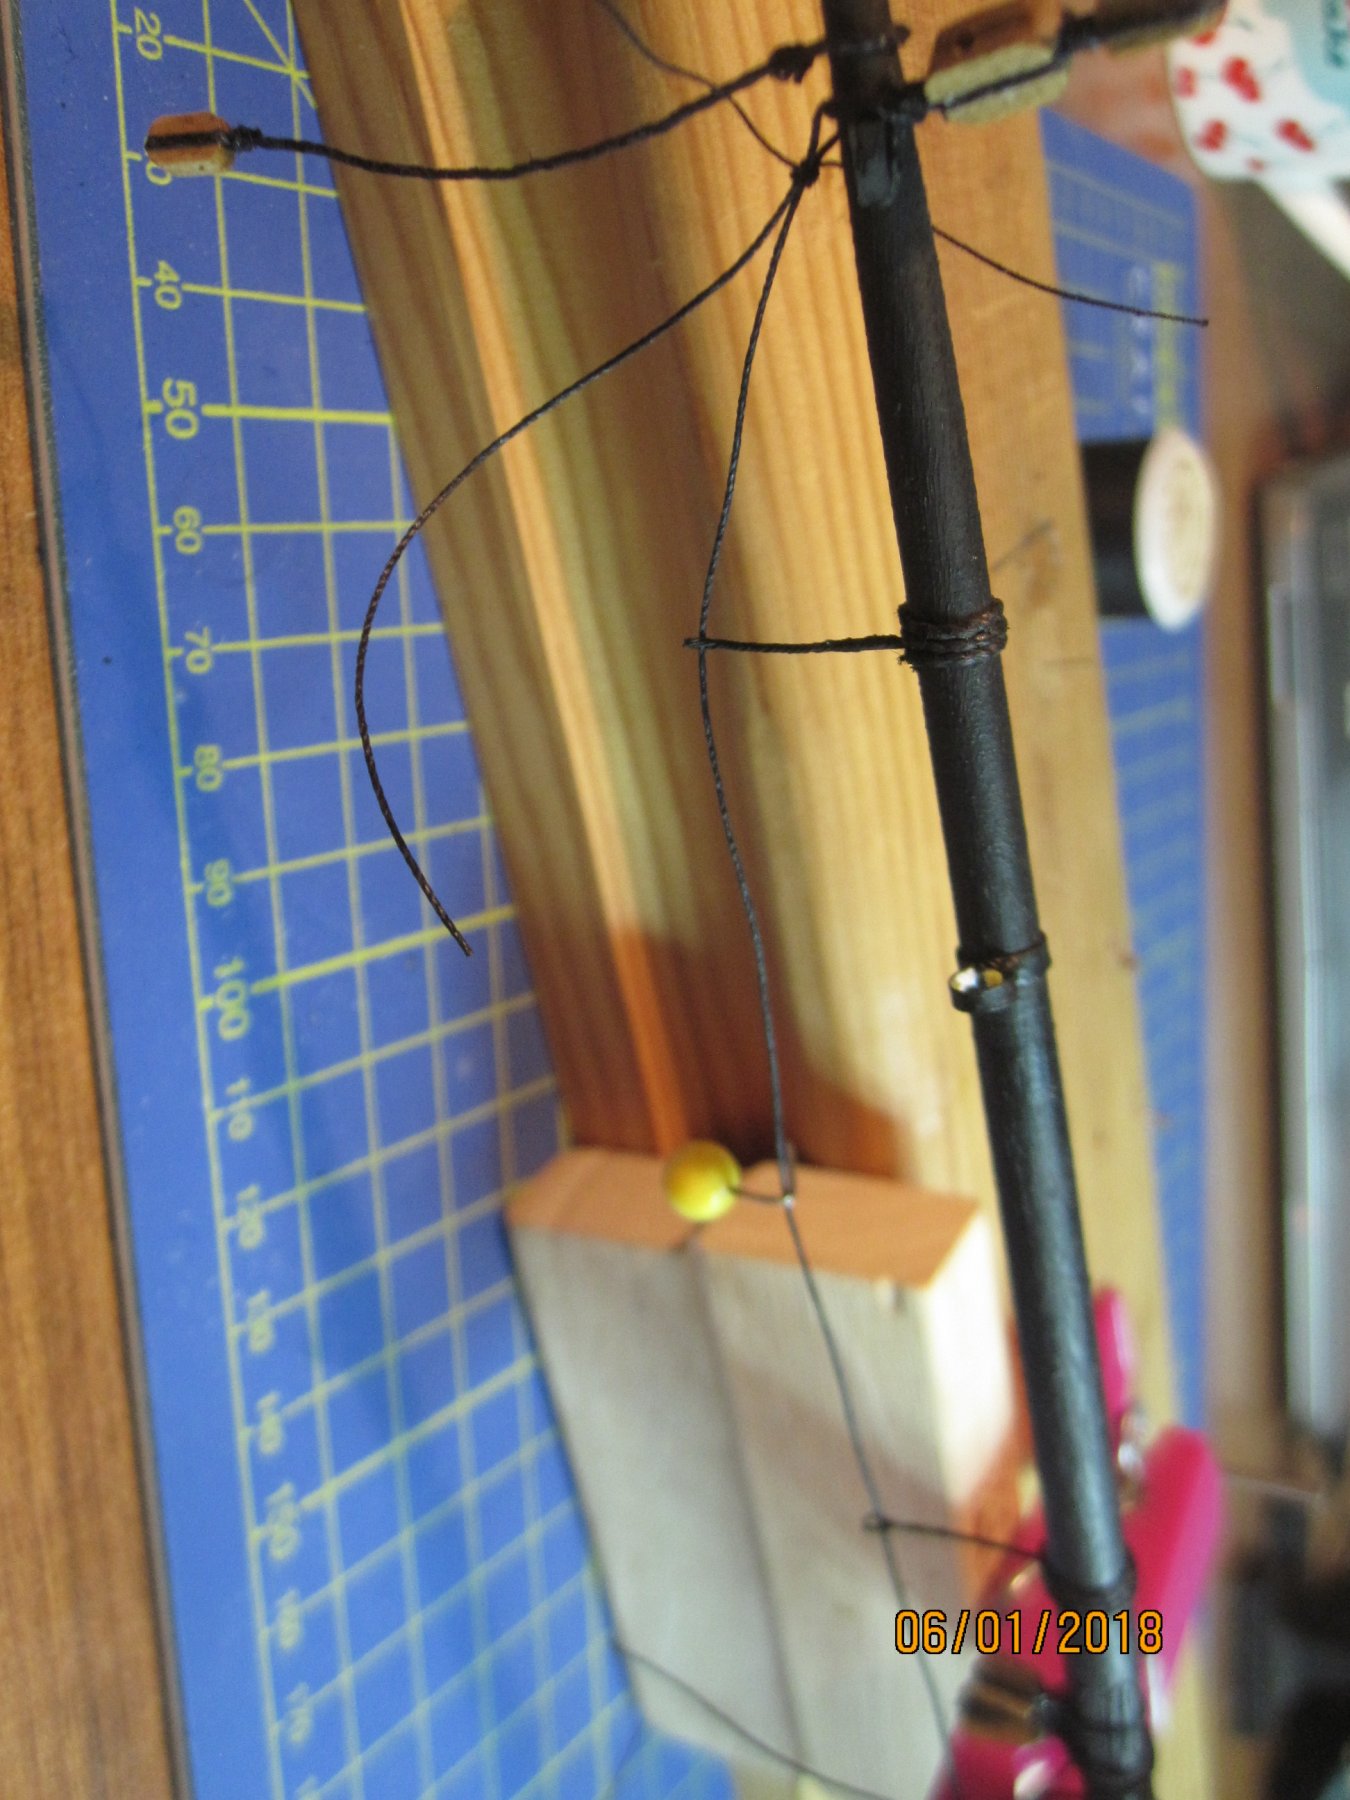
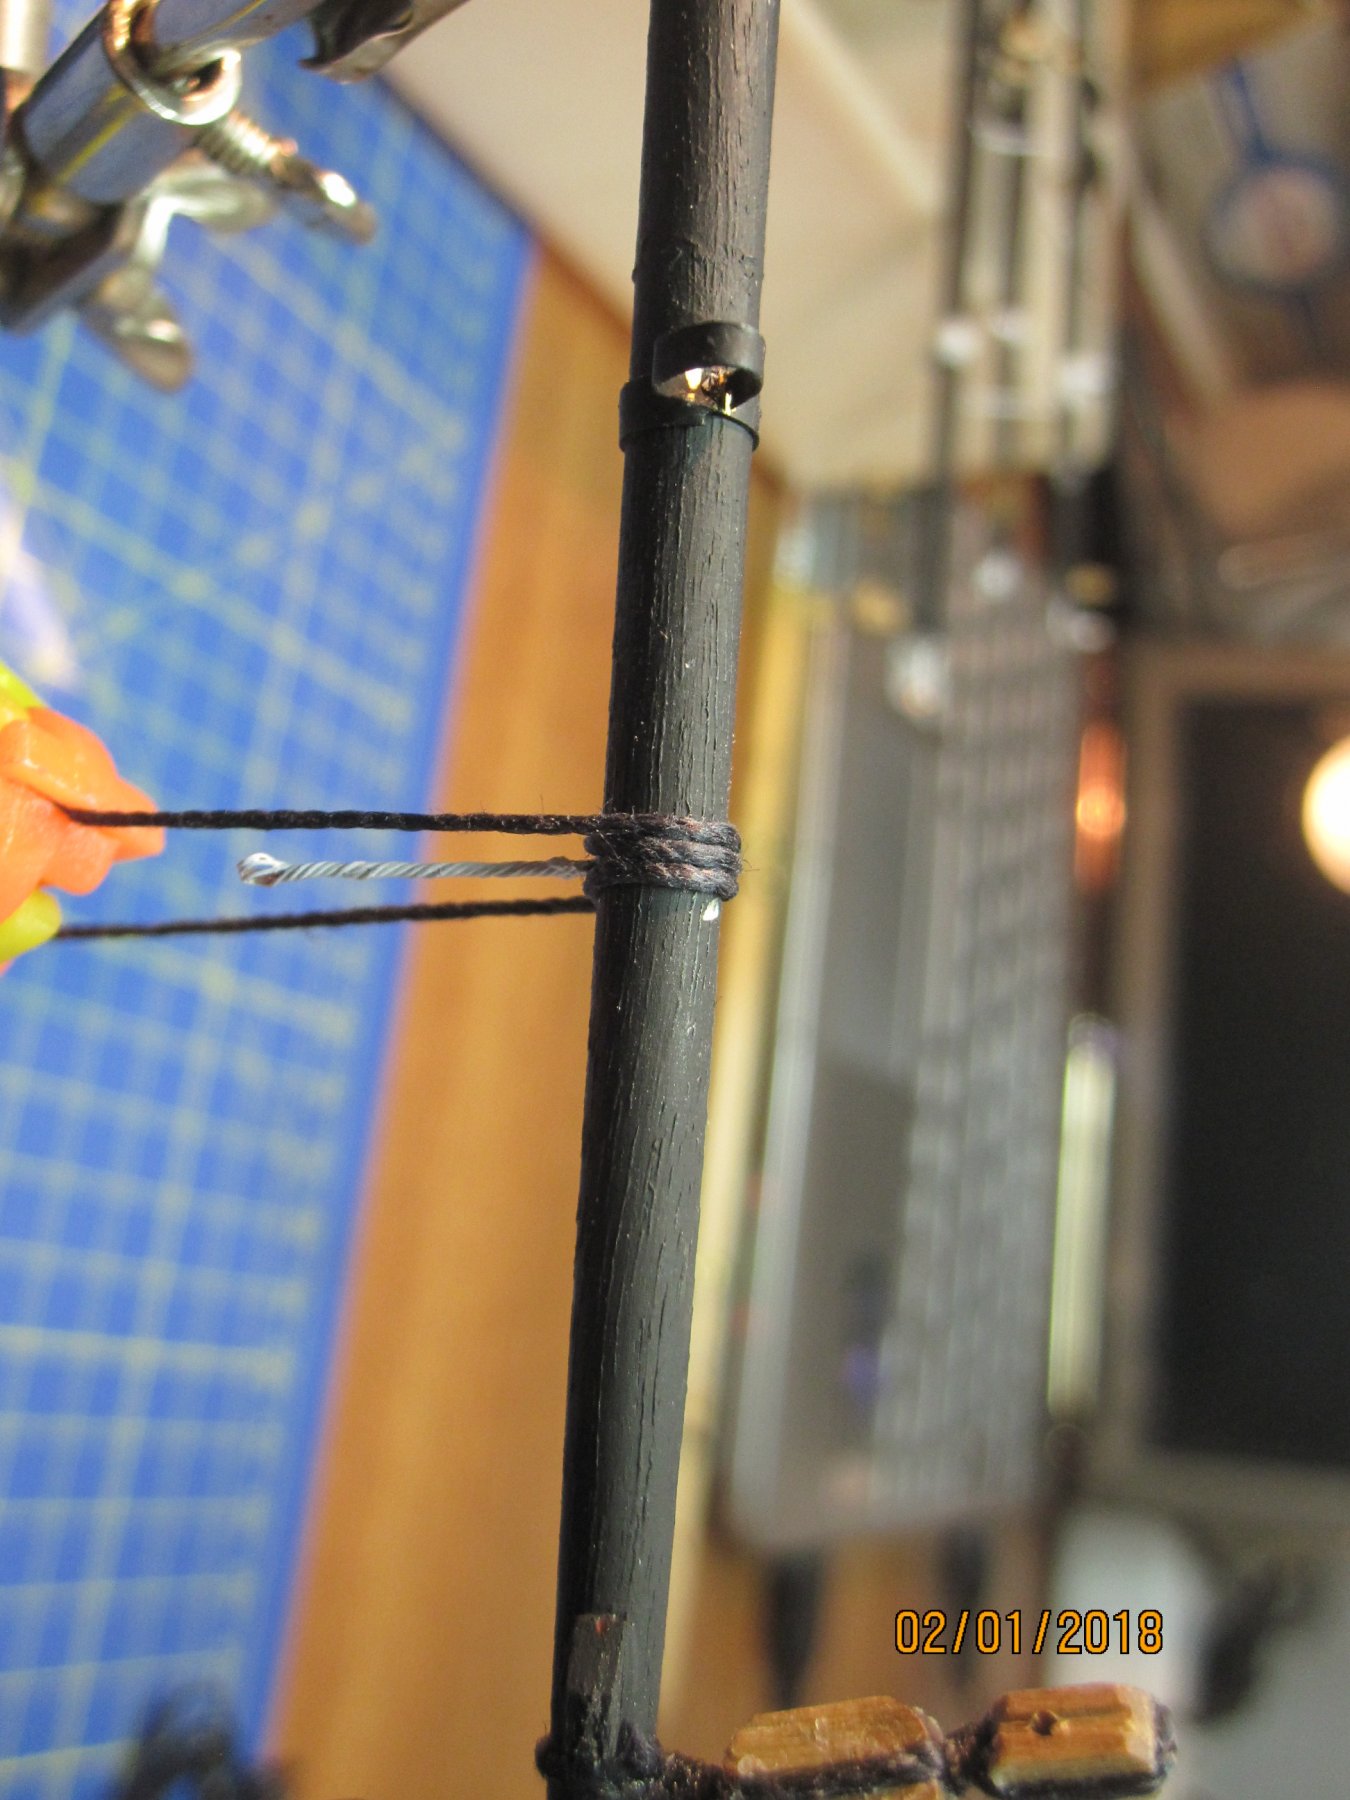
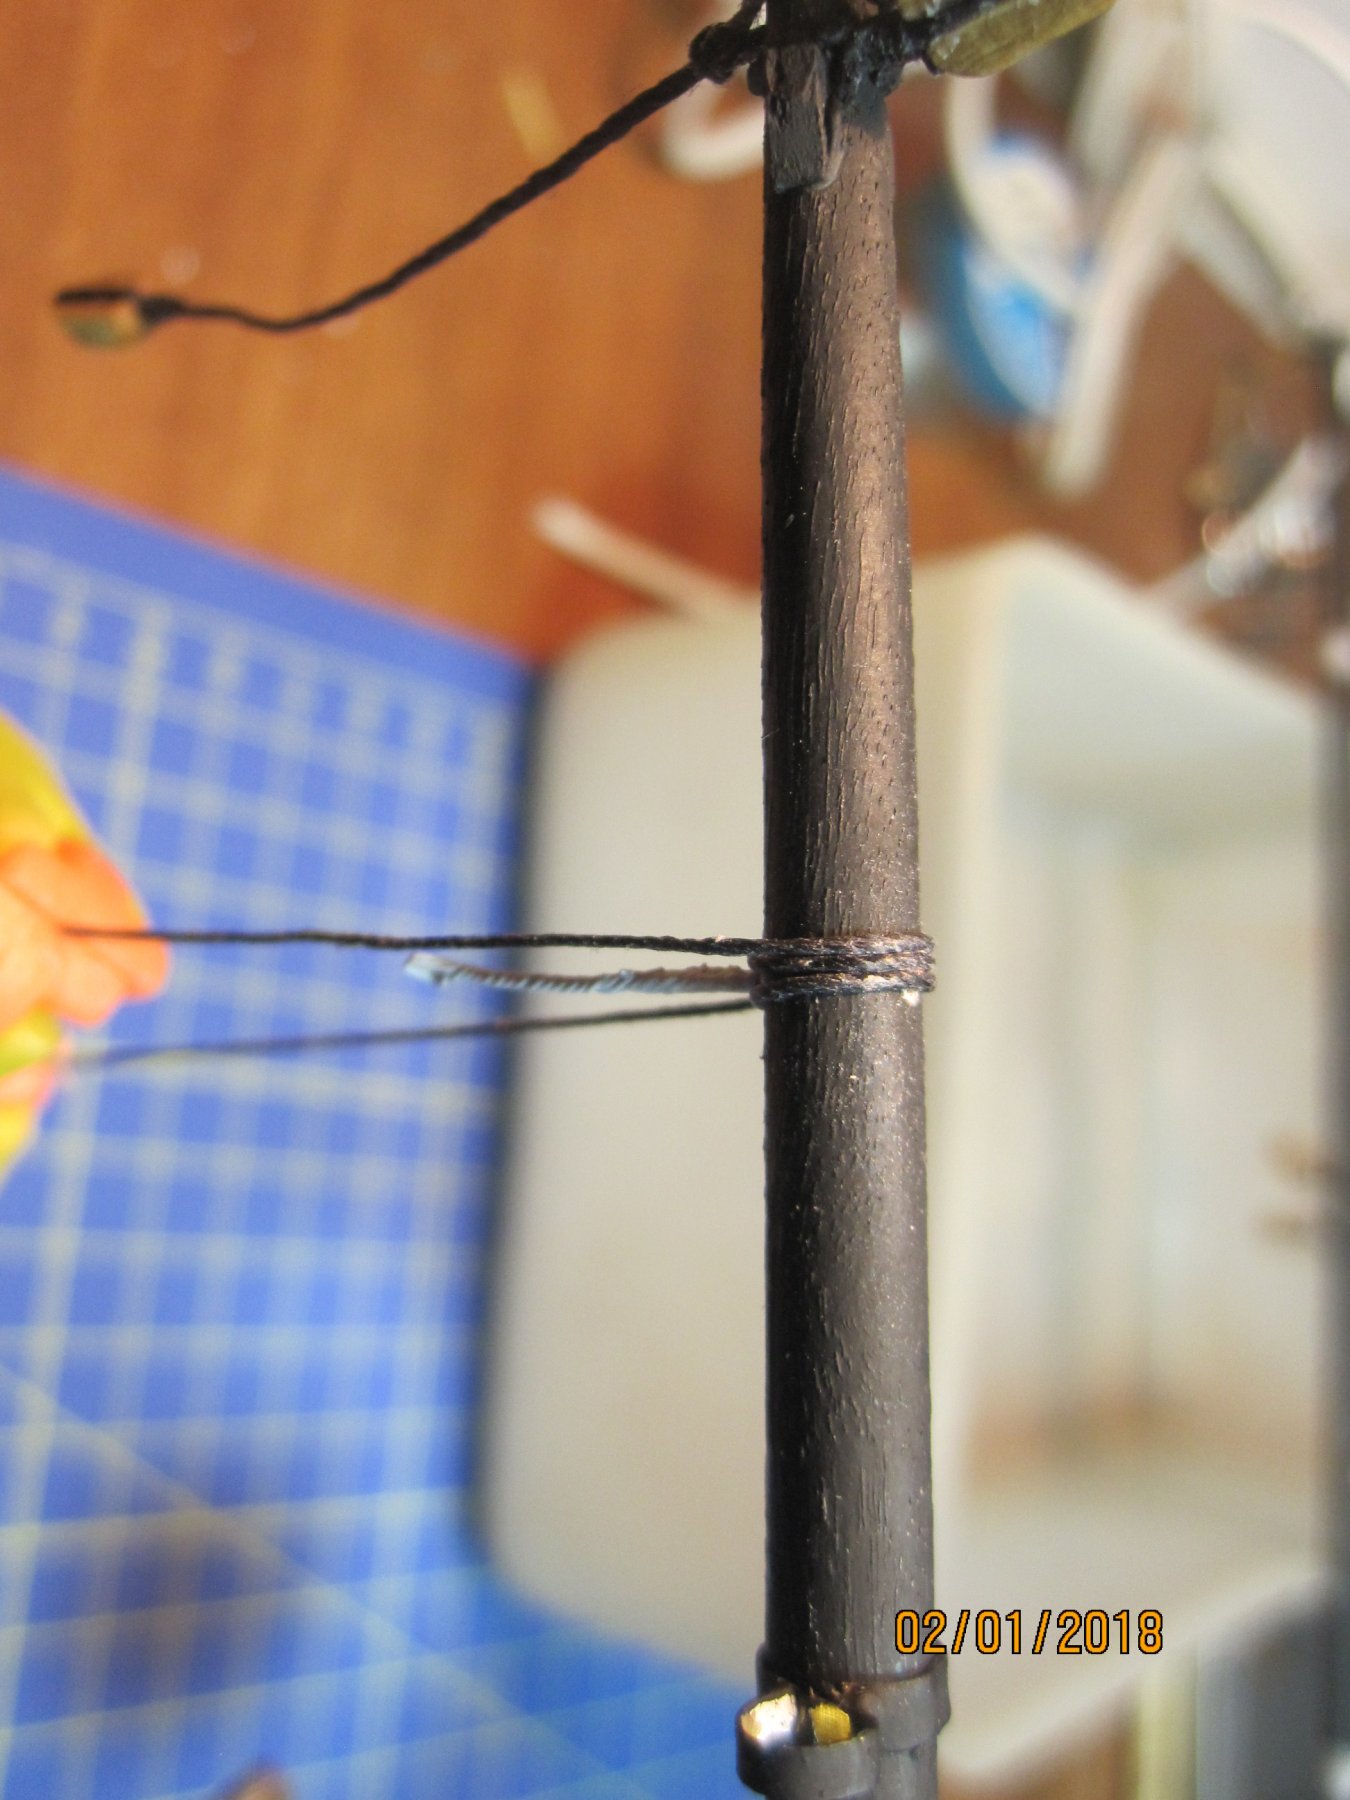
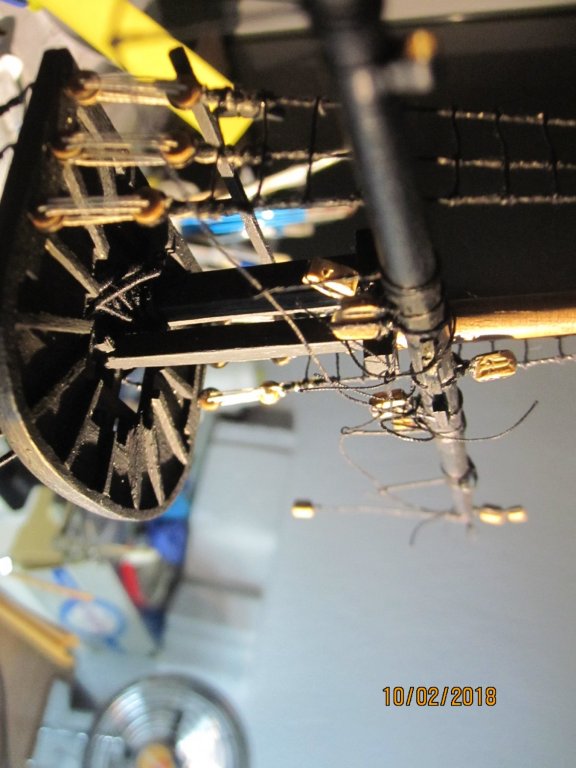
Thinking to pass the twisted wire through a hole to the yard and accomplish the whole procedure covering the stirrup with a kind of lashing of additional relative's size black thread. That will be the second version of realism, hanging the stirrups through the center of the yard and not behind it...
-
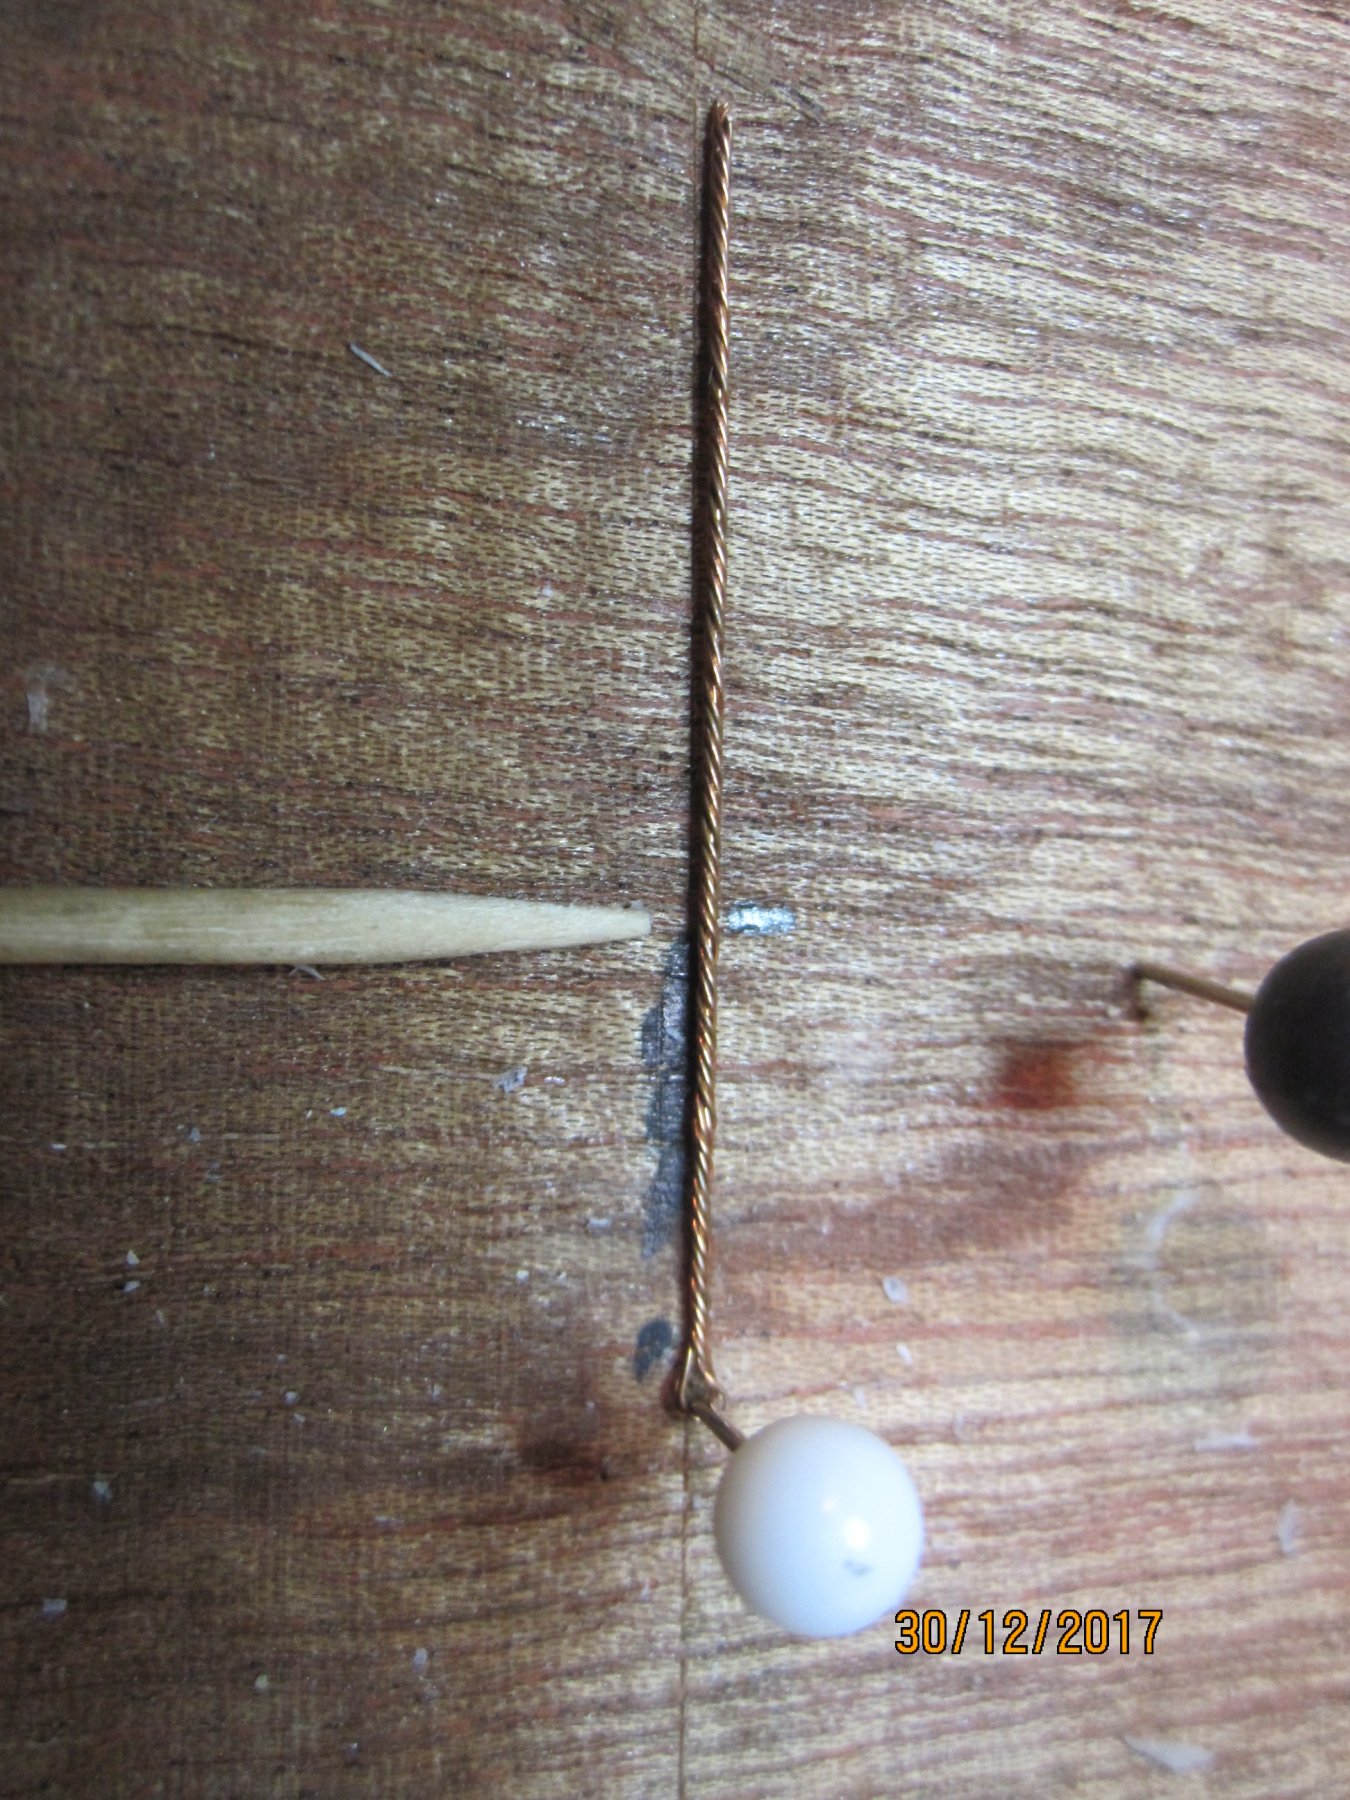
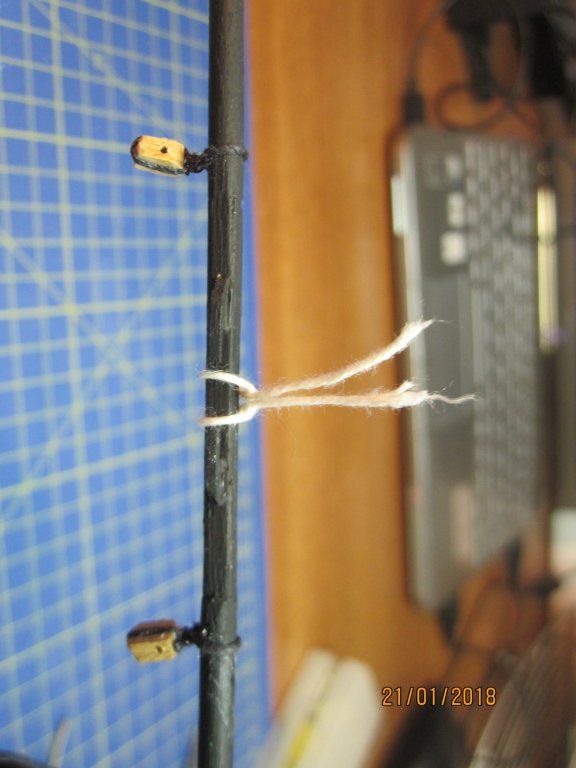
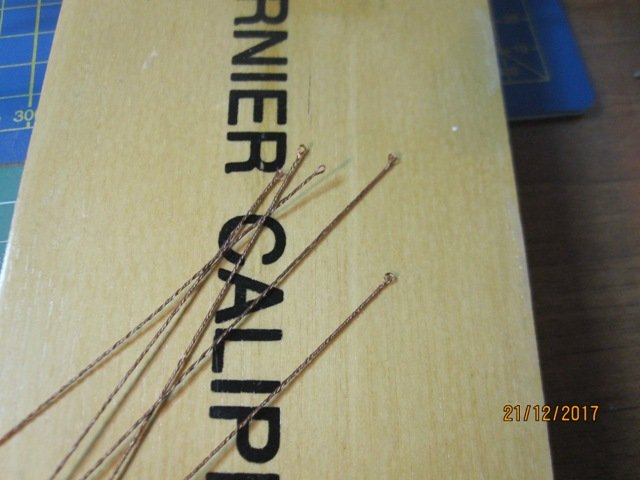
Hi Jason, those are three tinny telephone wire twisted bundles. The bottom pic is with the primer... I'm about to paint it black just to see its appearance Thanks
-
Hi, yes that's right. Only the formast seems perpendicular to the deck, as per the plans.
-
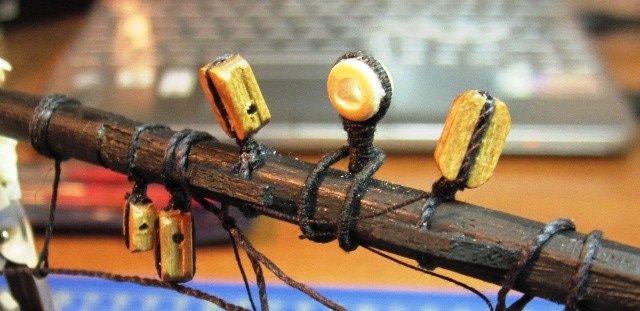
Hi to everyone, next step the stirrups... That's my personal poin of view regarding the "wired" stirrups. My main concern is to find a way to keep those 2-3 loops around the yard closely and firmly tied each-other. Thanks
- 1,144 replies
-
- 3
-
-
- snake
- caldercraft
- (and 1 more)
-
Great job Jason. All the best!
-
Well it is a real headache to navigate myshelf into the new msw interface... Can't find friends and previous posts...
- 1,144 replies
-
- 1
-
-
- snake
- caldercraft
- (and 1 more)
-
Hi guys! Just wanted to say that I'm still here!! Cheers Stergios
- 1,144 replies
-
- 8
-
-
- snake
- caldercraft
- (and 1 more)
-
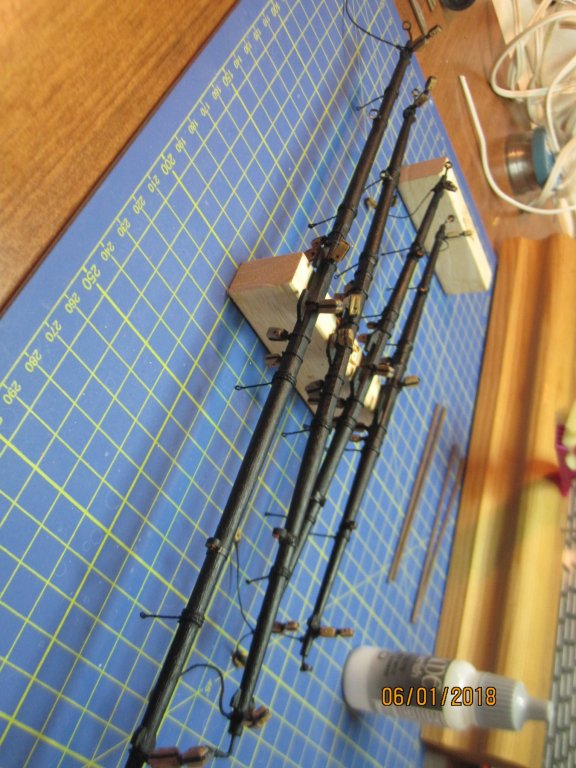
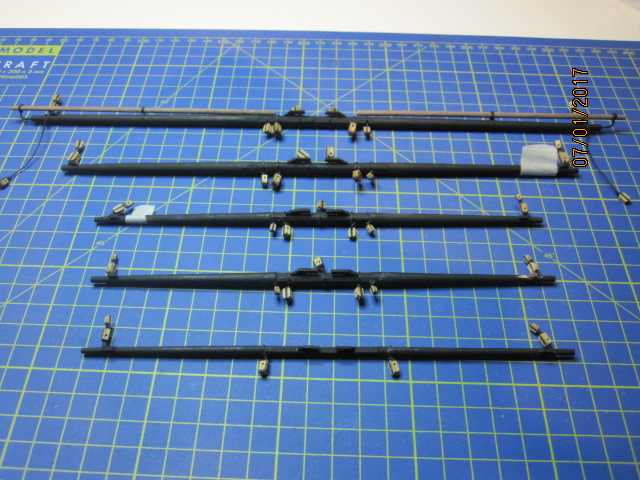
A couple of pics showing the initial progress with the basic yards. In need of a final touch up, of course...
- 1,144 replies
-
- 10
-
-
- snake
- caldercraft
- (and 1 more)